Pen, Eraser and Scissor Organisor
by Mike-Sanne in Living > Organizing
853 Views, 6 Favorites, 0 Comments
Pen, Eraser and Scissor Organisor

In this instructable we will teach you how to make a simple pen holder with the help of tinkercad.
the items needed are:
3D-printer
Tinkercad

We are going to start with placing a cilinder
make the cylinder 70 by 70 and 90 high ( the measurements in tinkercad are in Millimeter)

make a cylinder with stripes on it and is see through, and make it 60 by 60 and 90 high

place the see through cylinder in de regular cylinder 5mm from the bottom upwards with on each side 5mm space on each side

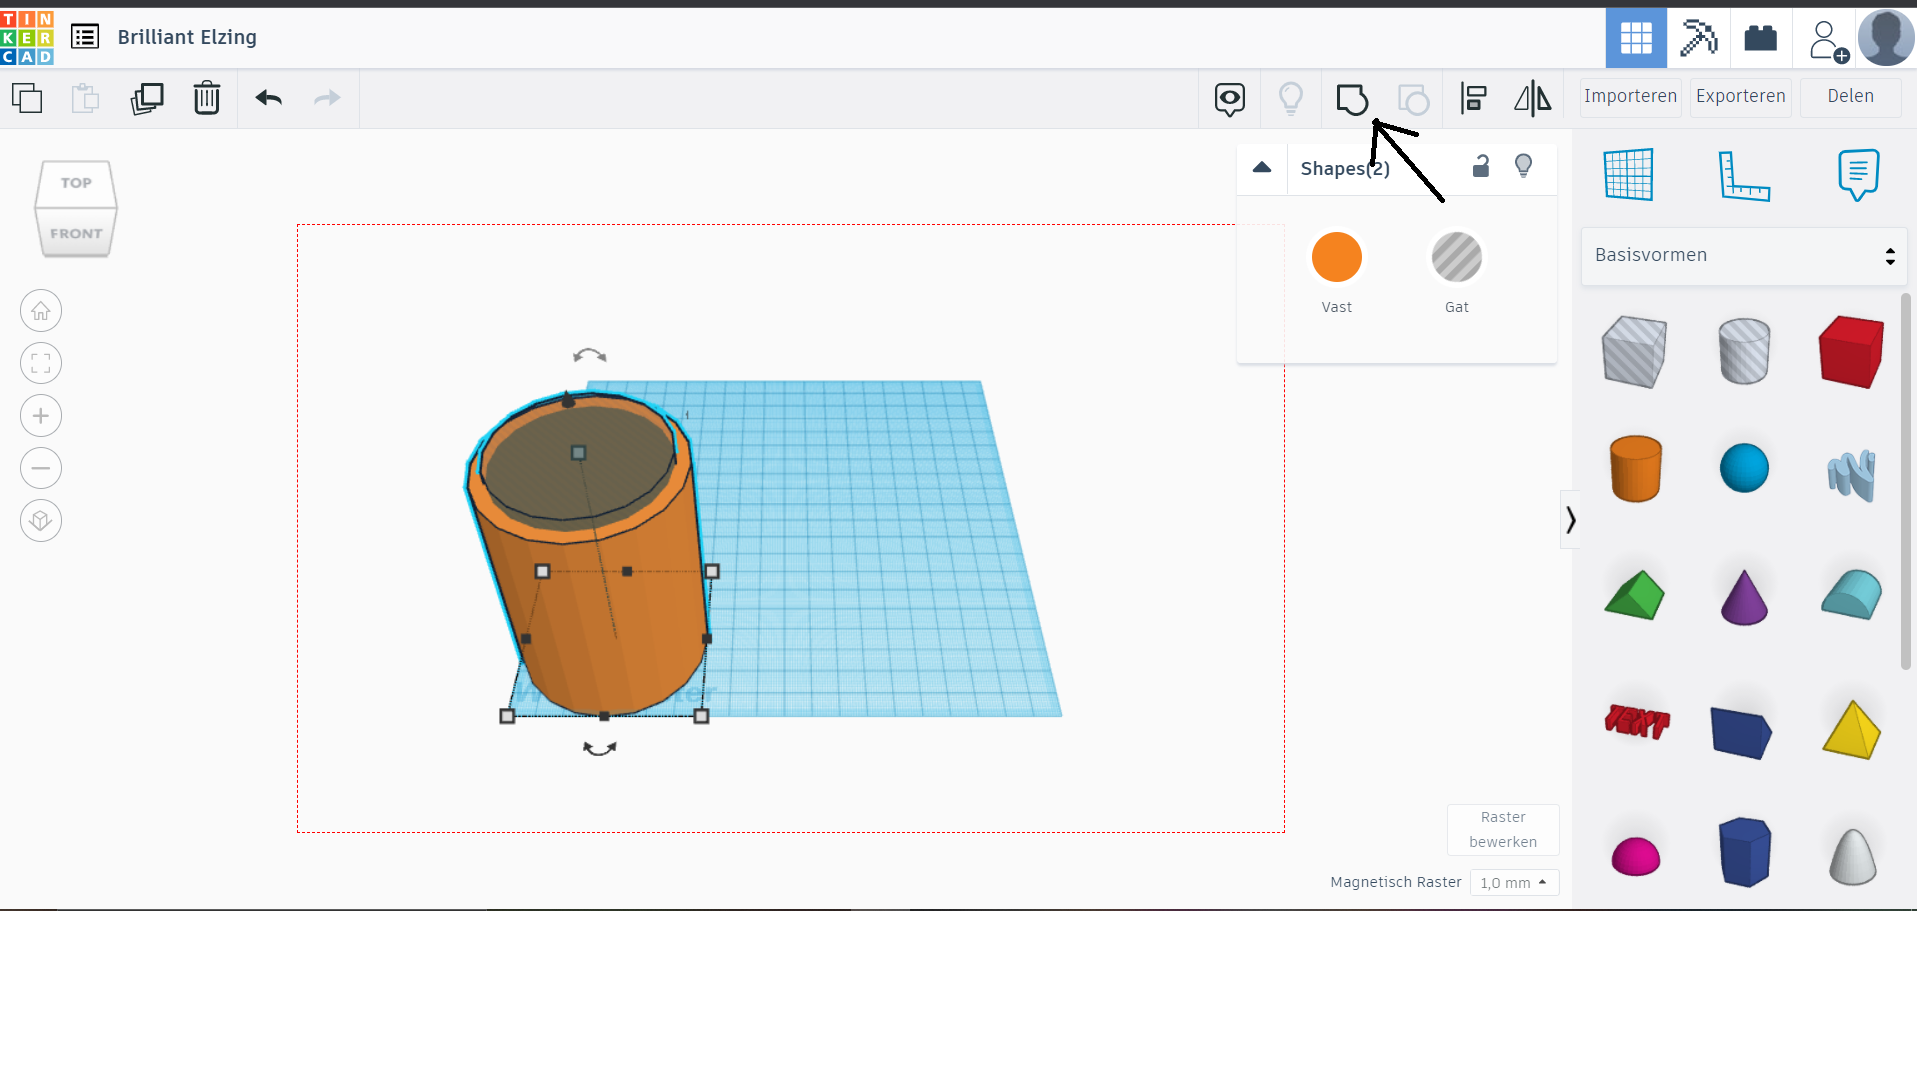
group the 2 cylinders and copy it 30 mm next to the original cylinder

make a platform 85 by 50 mm and 5 mm high with the cube

place it in between the 2 cylinders with 10 mm leftover space on each side

Use the grouping button again, and you can choose a different colour as well

use a cube to make a small plate that is 34 mm by 6 mm and 36 mm high
place it 45 mm up

make a small see through plate that is 6 mm by 25 mm and 20 mm in height and copy it
use the see through and make them 52 above the bottom

Put the 2 see through cubes next to each other with 6 in between them
group the 2 see through cubes and the solid one together

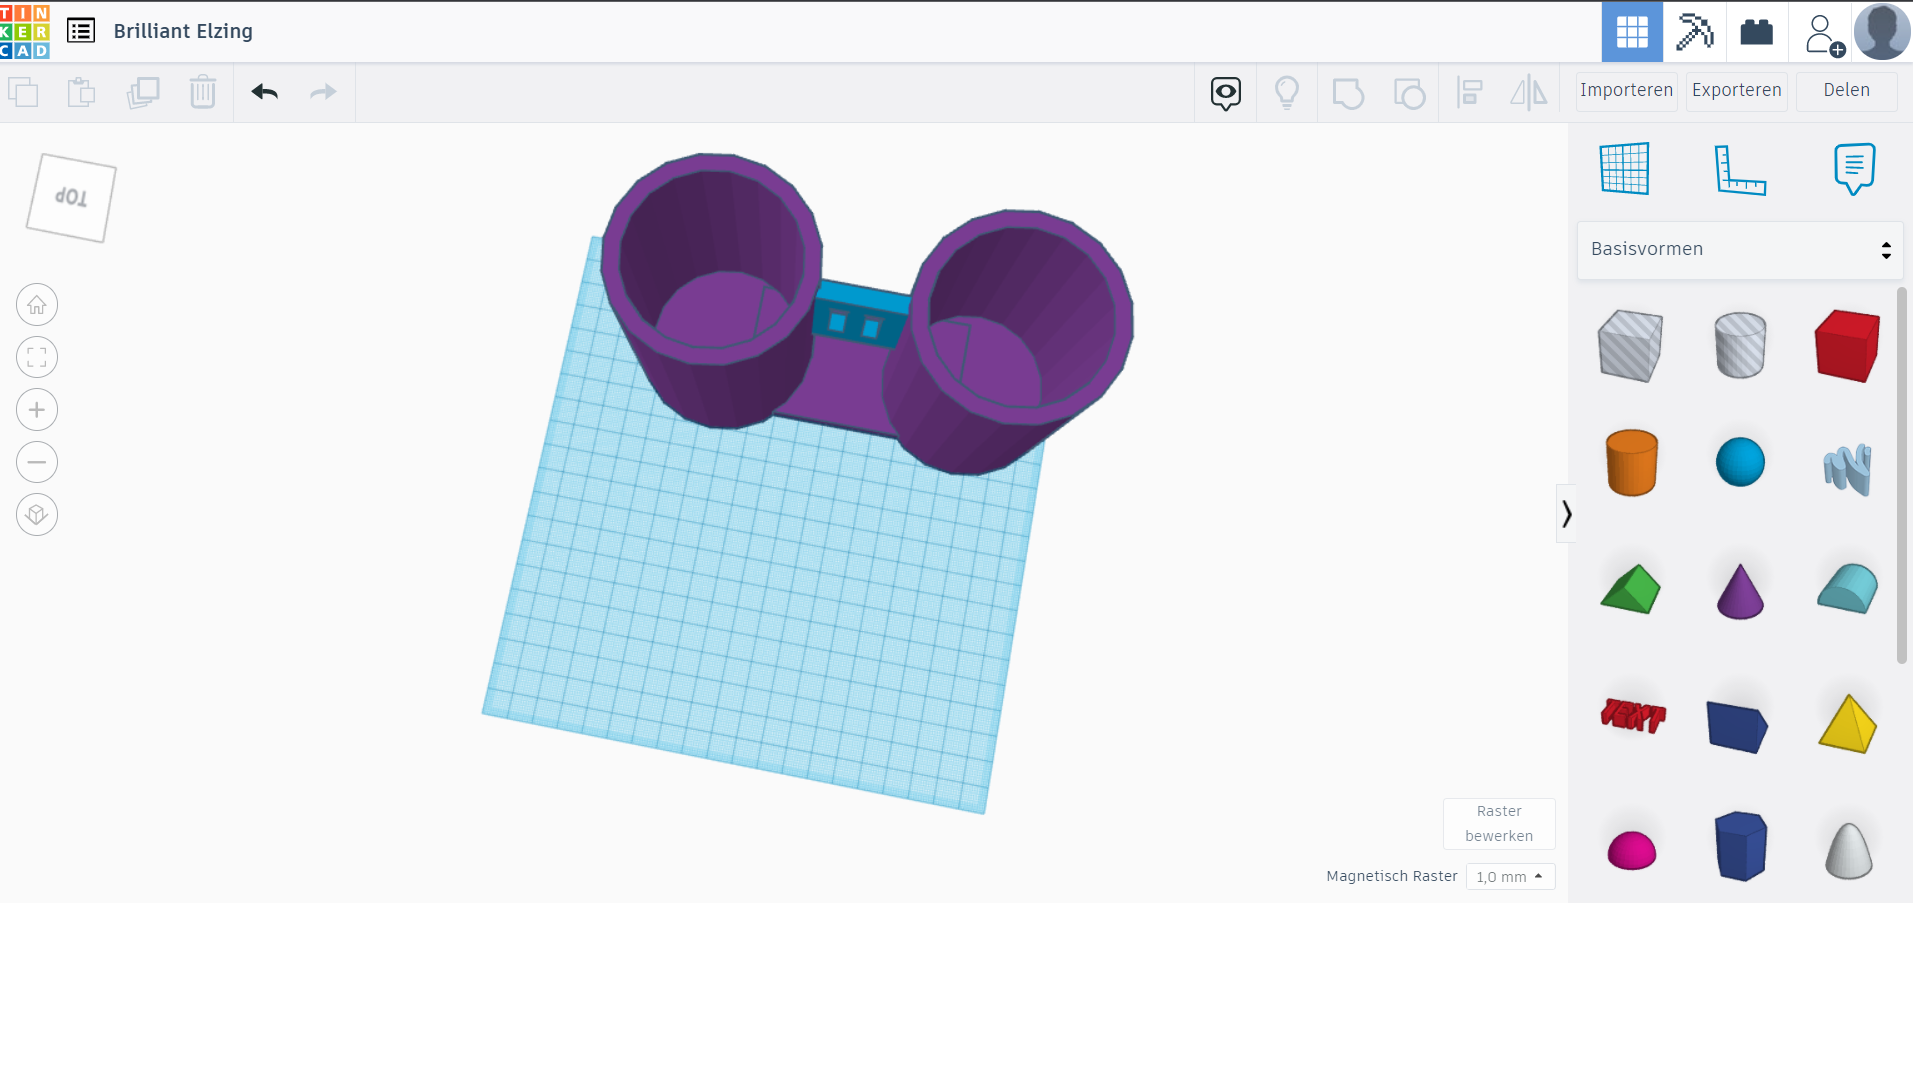
place the newly grouped object in between the two cylinders and group again

make a plate that is 67 by 5 mm and 20 mm in height, then copy it

place the 2 plate on either side of the bottom plate colliding with the cylinders

Then group again
Your almost done!

Now you only need to print it on a 3d printer, but because every printer works different we’re not gonna show you that in this instructable
We hope that you enjoyed this instructable and put it to good use just like us