Personalize Your Own Wine Holder in Less Than 5 Minutes
by Create_Yours in Living > Decorating
328 Views, 2 Favorites, 0 Comments
Personalize Your Own Wine Holder in Less Than 5 Minutes

This is my first tutorial on Instructables.
First, I'll show how I made the mold, then I'll show you all the steps to make from an image to a wine holder. With the setup already done, you should be able to personalize your wine holder in less than 5 minutes.
Link to file on Tinkercad:
https://www.tinkercad.com/things/3NjpVfSjh20
Enjoy tinkering...
Please let me know if you're having trouble or have any questions. I'll be happy to help.
Also, don't forget to drop a message or share if you've made it. I'll definitely do a dab to see your creations.
Creating a "Mold"
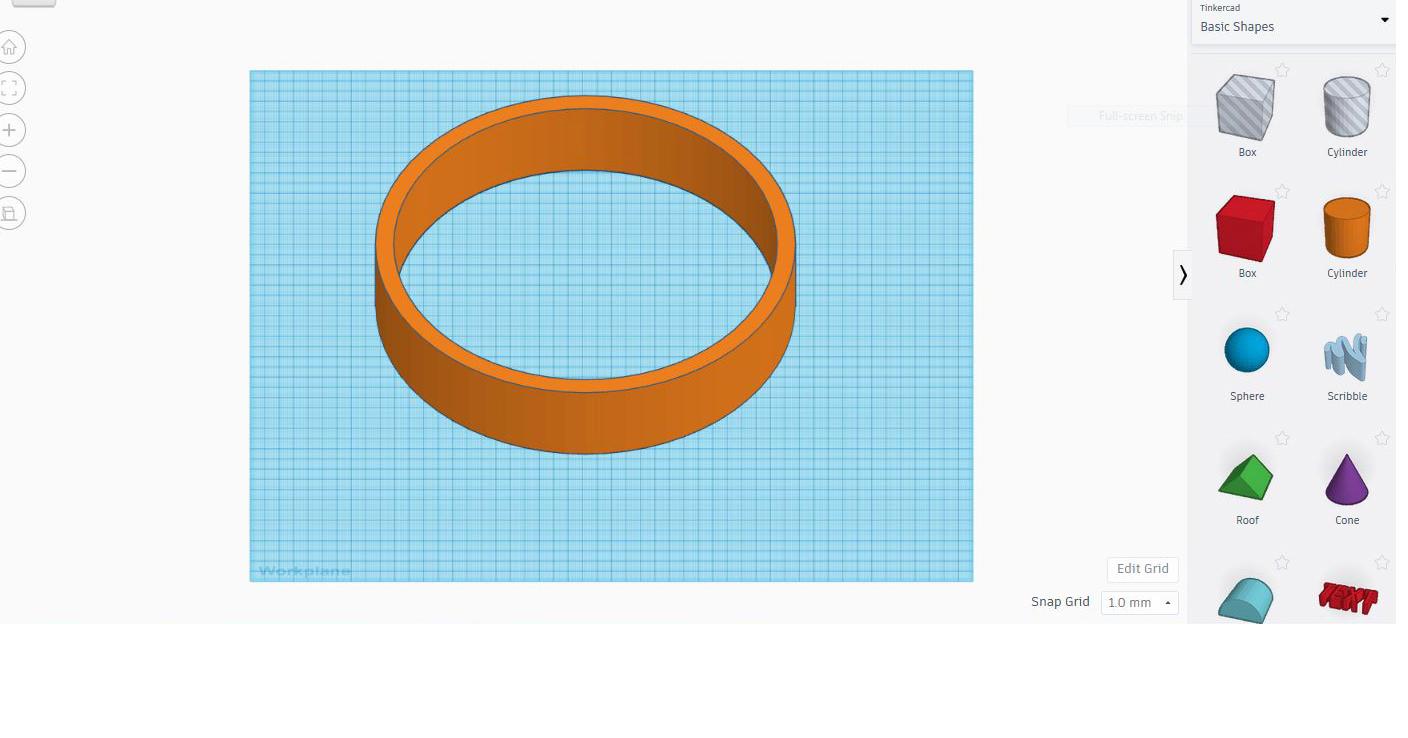


These are the steps that I created in Tinkercad to show the process of how I created the "mold" for the wine holder. Step 1 is for you to understand how I came up with the "mold". It's just a legwork part before anyone can start using the "mold" in step 2 to personalize their own wine holder.
Tinkercad:
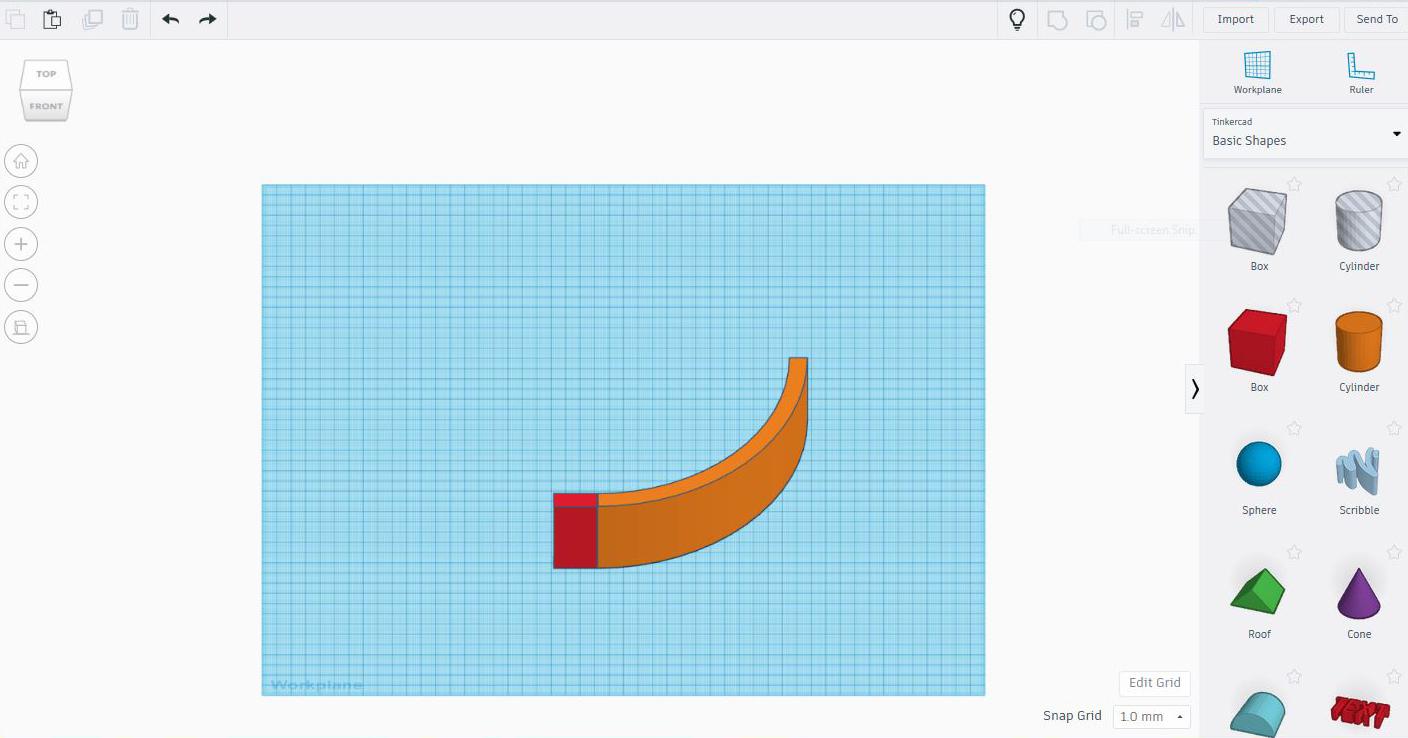
1.1 - Using Tube to create the curve
1.2 - Using Box to create the hole to cut the curve and leave only 1/4 left.
1.3 - Add Box to the curve to extend stability when stand upright. The extended piece also help when working on 3D printing.
1.4 - Using hole Cylinder to create an opening hole for the wine bottle to hang.
1.5 - Duplicate the same curve to top and bottle without the opening hole.
Now Below are the steps to personalize your own wine holder.
Convert an Image to SVG File


This is where the fun and your creativity begin.
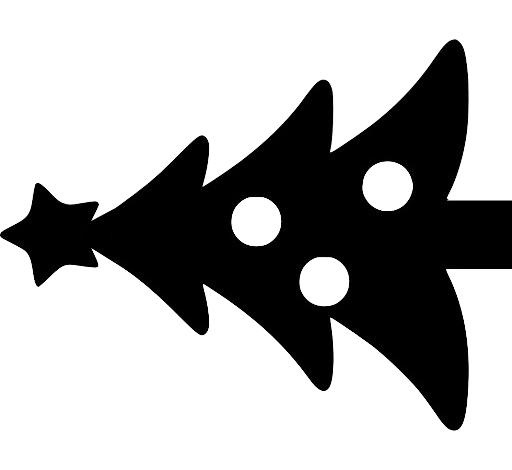
2.1 - Pick your favorite image. You can use JPEG or PNG image. Recommend a rectangular ratio image works best. The christmas tree image I'm using is 500x400 pixels or 5x7inch. A silhouette image works best.
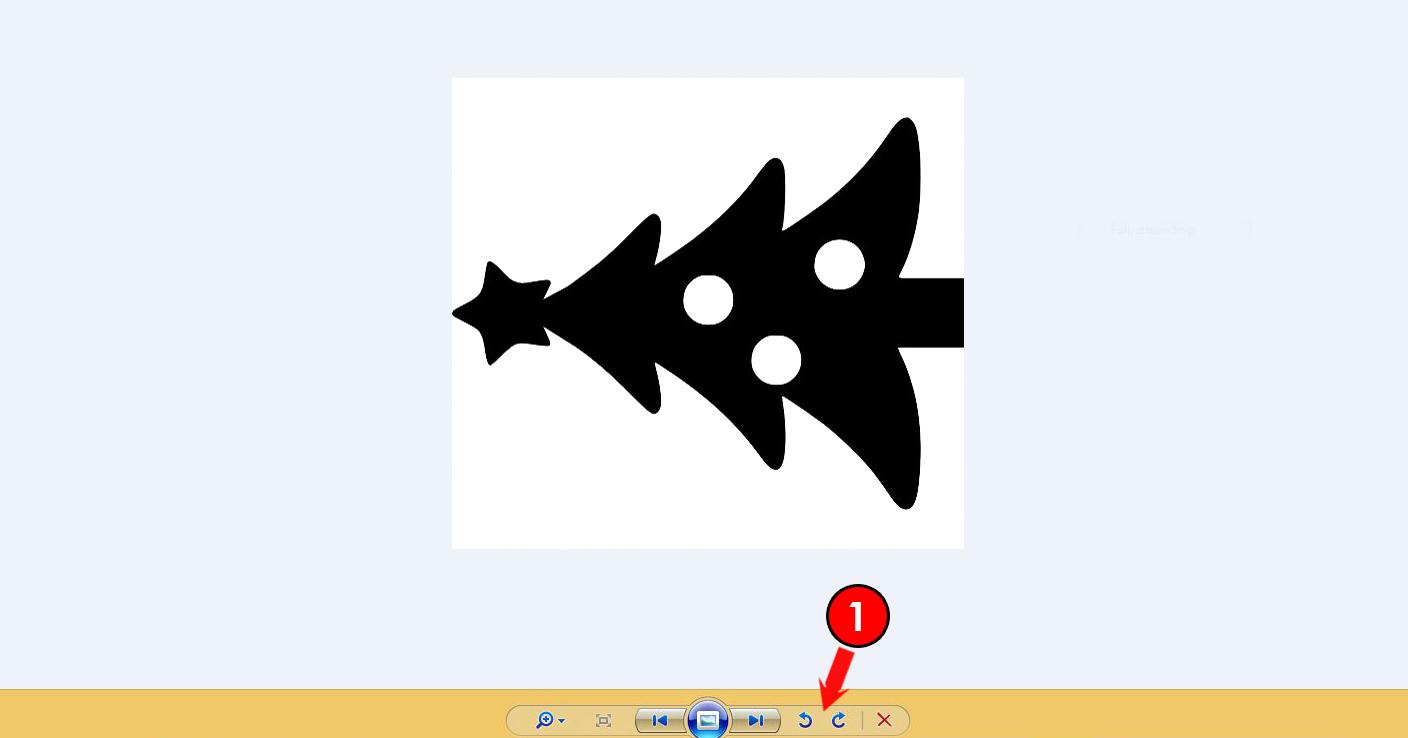
2.2 - Need to rotate image horizontal. Use (1) Rotate tool in the Windows Photo Viewer. Don't need any special software to do the rotation.
2.3 - We need to convert the image to SVG file in order to work in Tinkercad. I use Online-Convert.com for the conversion. Click (2)"Choose Files > (3)Start Conversion > Automatically will download or click (4)Download
Next we'll go into Tinkercad.
Your Personalized Image Comes Alive


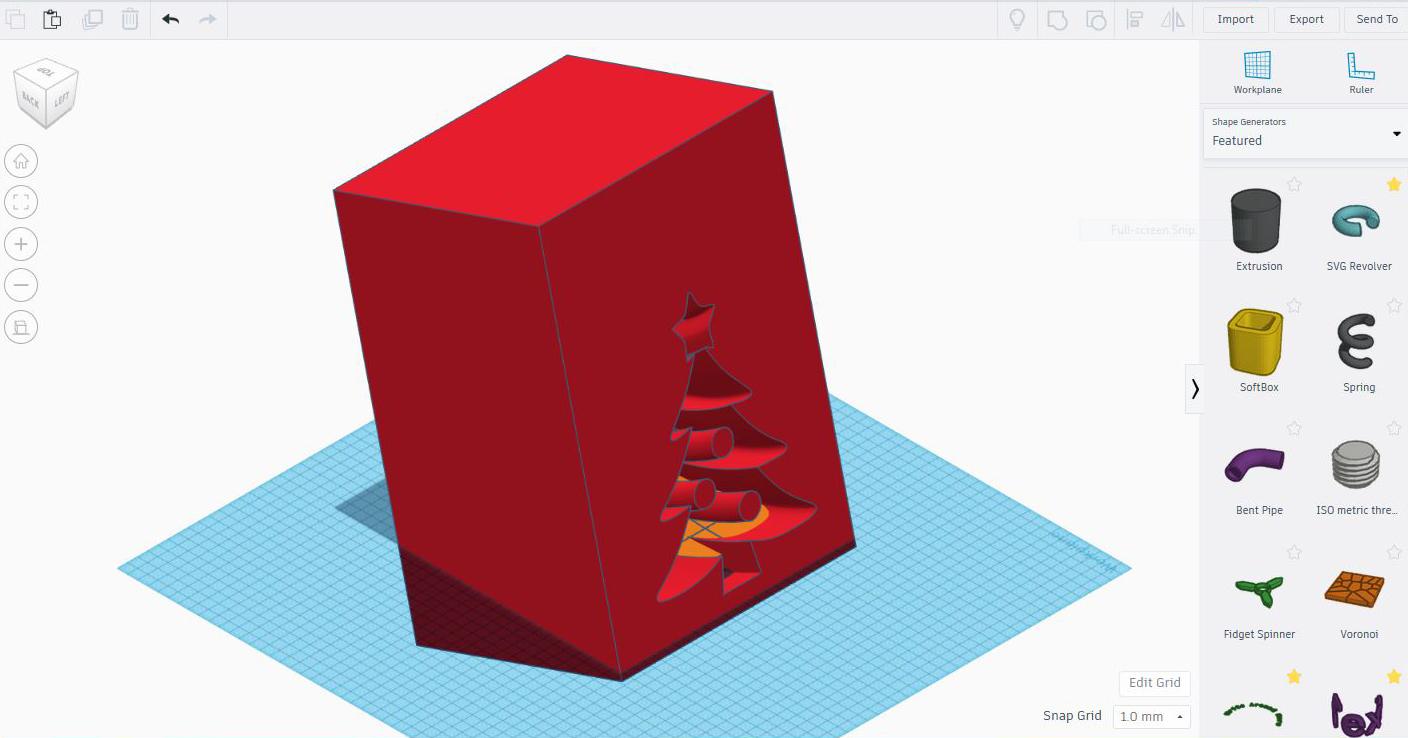


By using SVG Revolver, everyone can use their favorite image to make the wine holder.
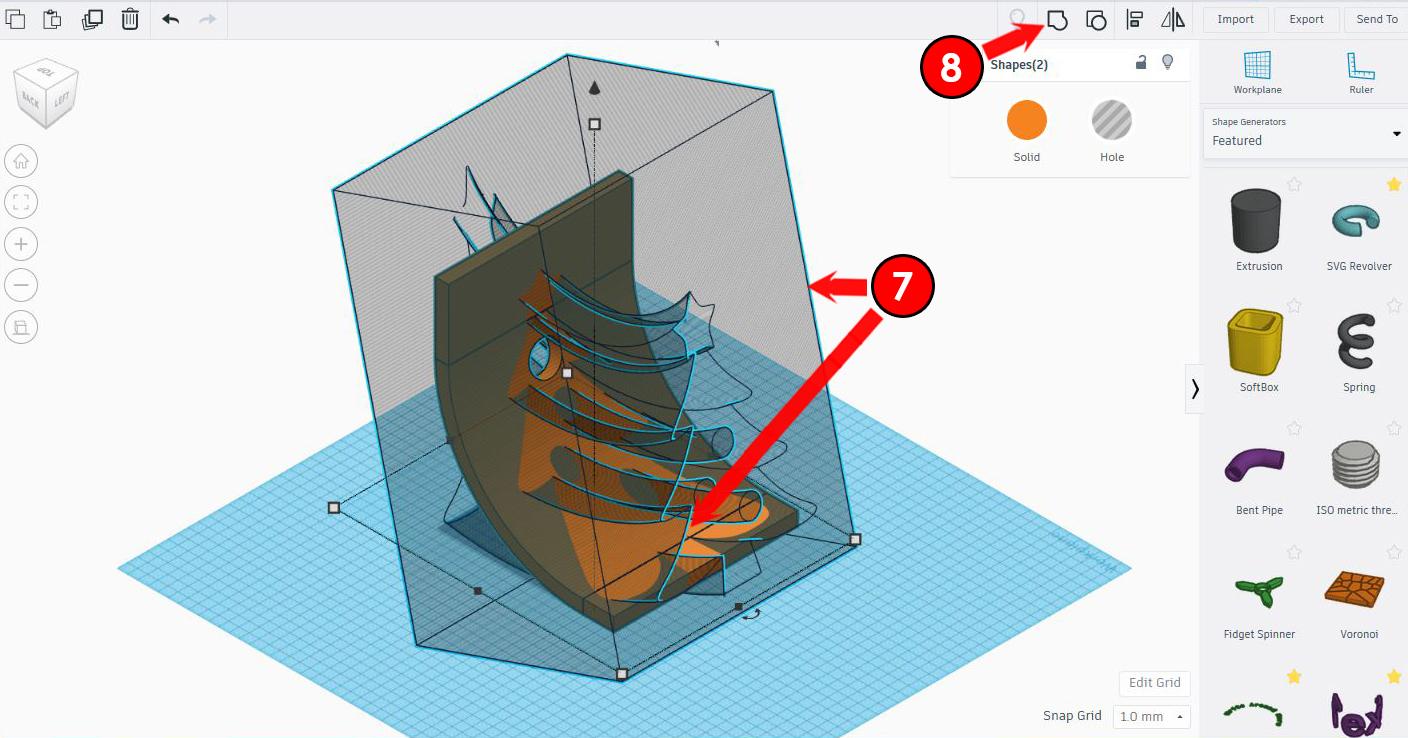
3.1 - Select (1)hole Revolver to bring out the modification window. Click on (2)"Or choose one" and select the SVG file that you created. Wait for it to load to a new SVG shape.
3.2 - Once done loaded the new SVG shape, Select (3)both the hole Revolver and the red box. Hold "Shift" key to select both shapes. Then (4)click Group or Ctrl+G to combine two shapes. Once done you should see a void cut into the red box.
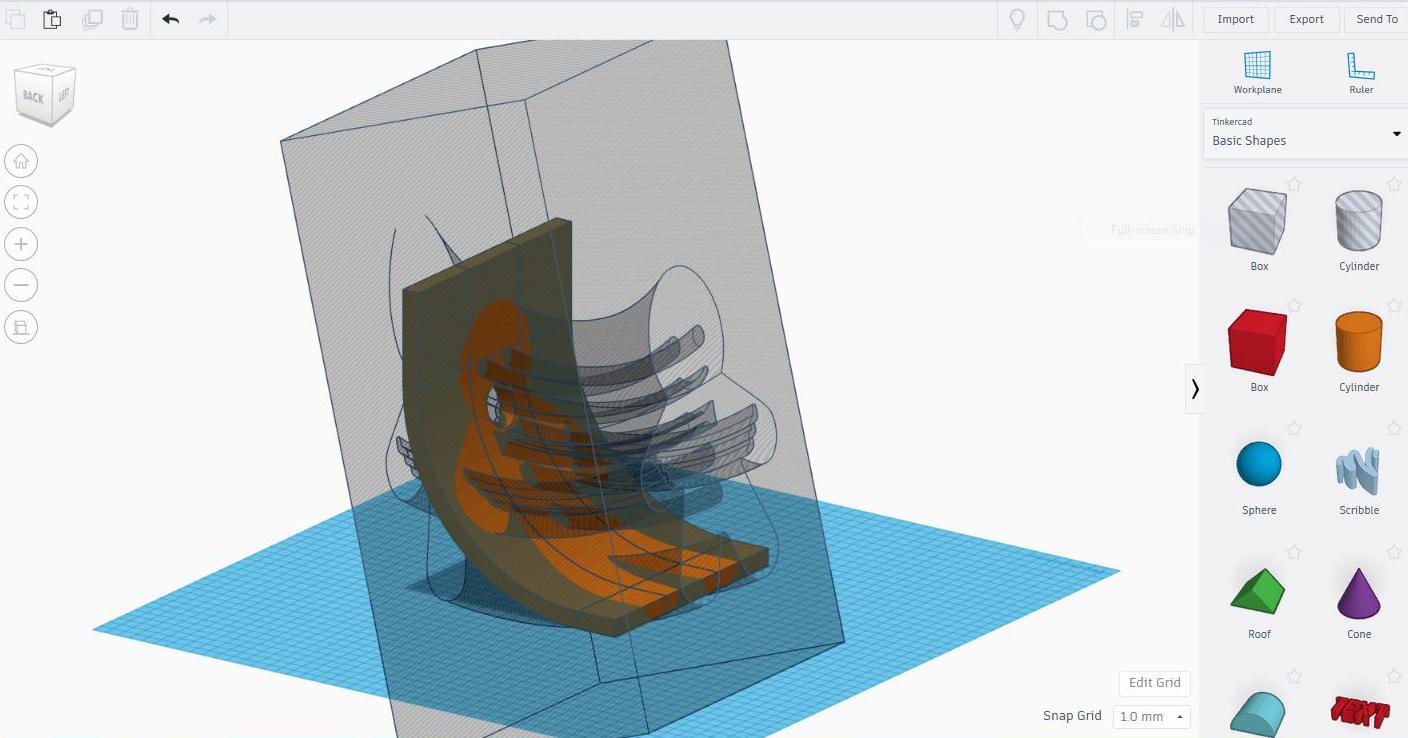
3.3 - Now, select (5)red box and turn red box into (6)hole. You should see the orange curved shape inside.
3.4 - Again, Select (7)both the hole box and the orange curved shape. Hold "Shift" key to select both shapes or click left mouse outside of the shapes and drag to both shapes to select both shapes. Then (8 click Group or Ctrl+G to combine two shapes. Once done you should see the final wine holder. May takes a minute or two.
You can select the wine holder shape and export into STL for 3D printing.
Now do a Dab/
Please let me know if you're having trouble or have any questions. I'll be happy to help.
Also, don't forget to drop a message or share if you've made it. I'll definitely do a dab to see your creations.
Using the Mold to Create Gingerbread Man

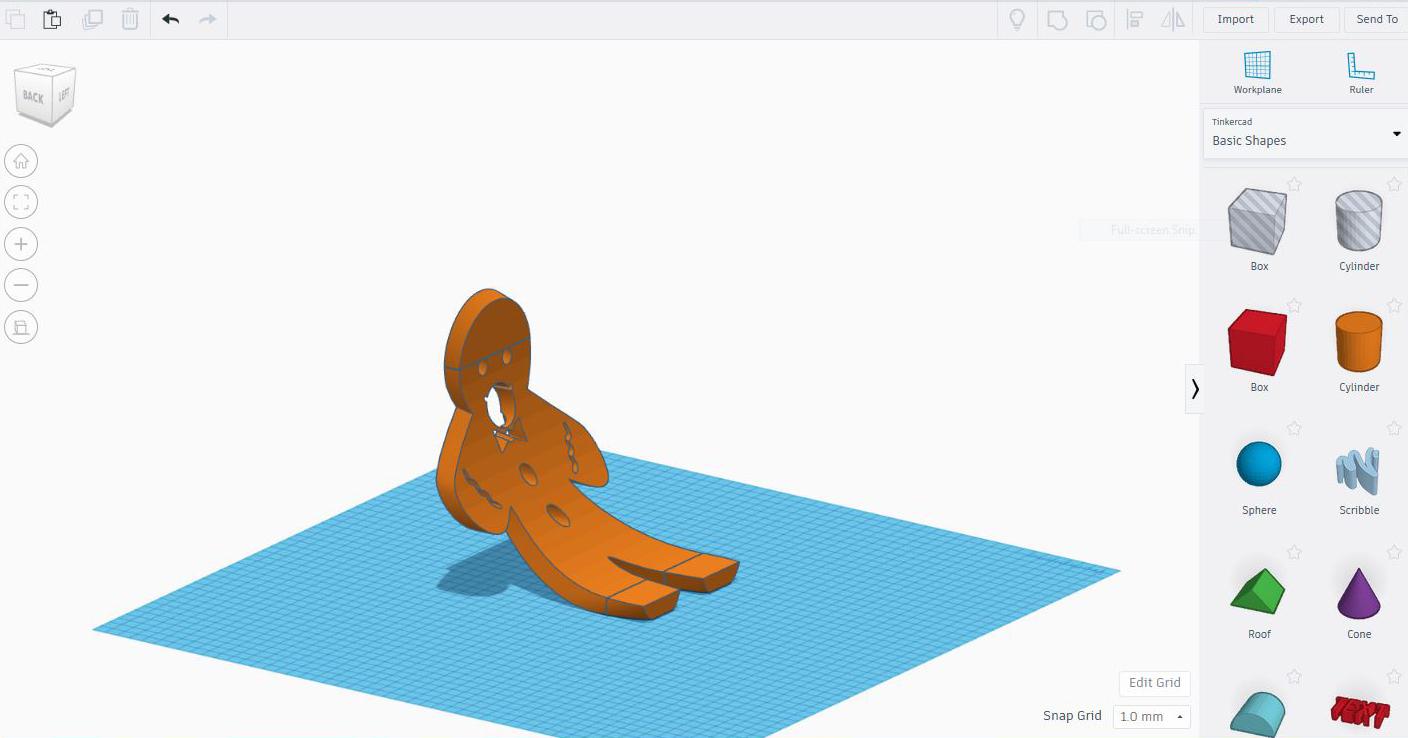
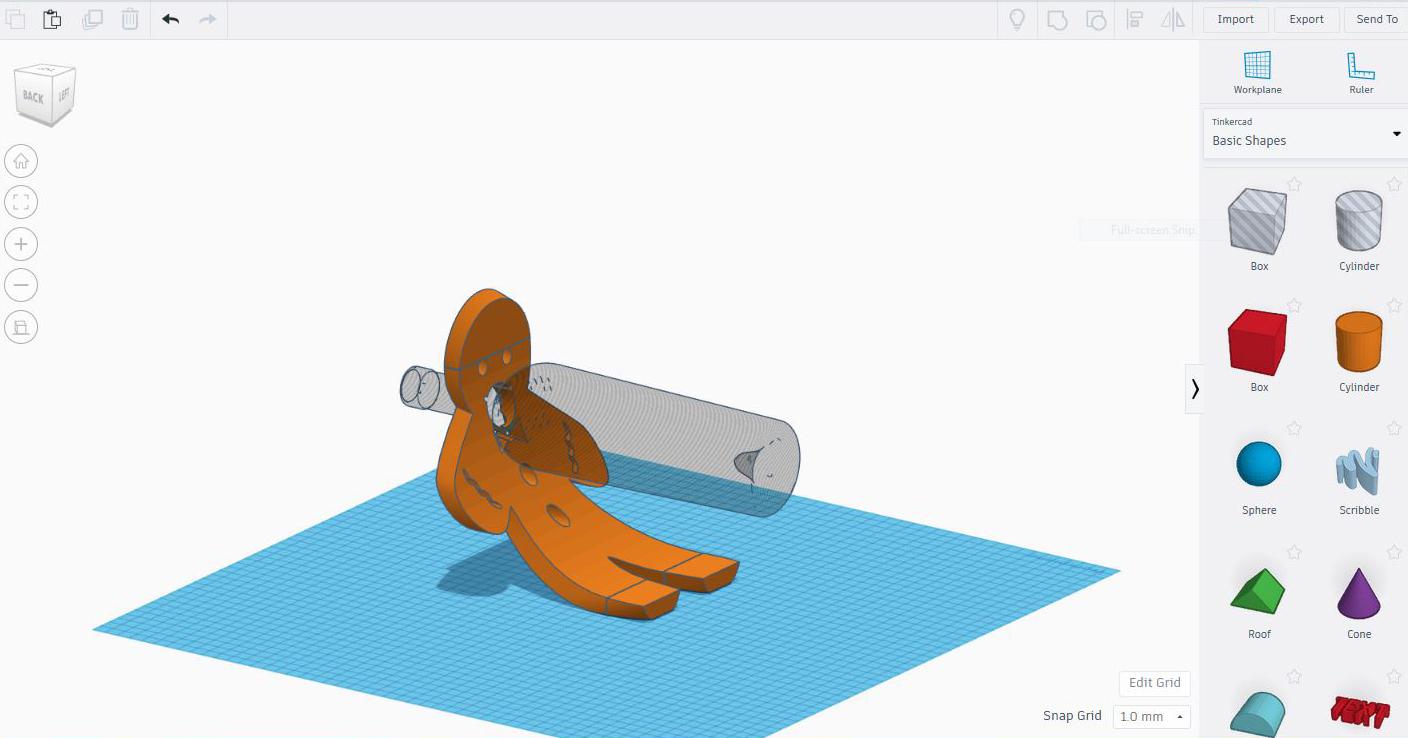

Once you have selected your favorite image, it should take you less than 5 minutes to create your favorite wine holder.
Enjoy Tinkercading!!!
3D Print

This shows how it looks in Cura, a slicer software for 3D printing
Happy Printing...