Pinewood Derby Car With Headlights Using Chibitronics
by rfair404 in Circuits > LEDs
5859 Views, 17 Favorites, 0 Comments
Pinewood Derby Car With Headlights Using Chibitronics


Pinewood Derby cars are awesome, kids love making them and they learn a lot about woodworking, painting, aerodynamics and weight distribution. To enhance the experience (and make your car even cooler) add LED headlights or tail lights. For this year's cars we used Chibitronics to make adding these effects even easier. The following Instructable takes you through the entire process of adding LED headlights or tail lights to your Pinewood Derby racer.
Gather Materials

To complete this Instructable, you'll need the following:
Chibitronics LED Starter Kit
Pinewood Derby Car Kit
Pencil
Tweezers
1/4 inch wood screw
Small binder clip
(and of course all the tools you need to actually make a Pinewood Derby car)
Plan Your Car
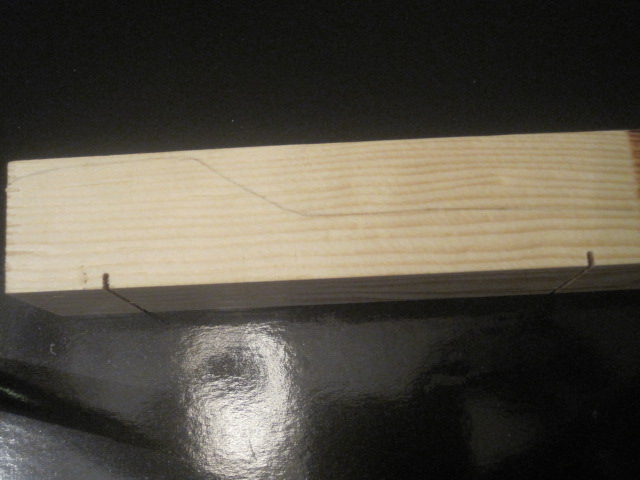
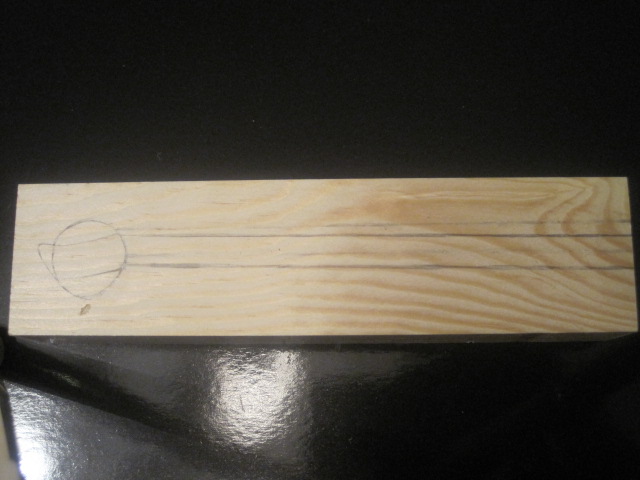
It is helpful if you plan your car from the very beginning to include the Chibitronics. Identify where you want to place your LED's and your battery before you start making any cuts on the car. It is helpful if you sketch your design on paper first, and then transfer it to the actual car. Remember that once your car design has been cut out some, if not all, of the Chibitronics placements will be removed and will likely need to be re-drawn onto your car.
In the design be sure to leave at least 1/2 inch of flat surface for your LED stickers and at least 1 square inch of flat surface for your battery. You'll also want to consider how the copper tape will impact the look of your car. We used two cars to demonstrate the difference between adding the lights before and after painting.
Once you've decided on your car design start by lightly sketching it on surface of the car. Mark where the Chibitronics and battery will go on the car.
Build Your Car
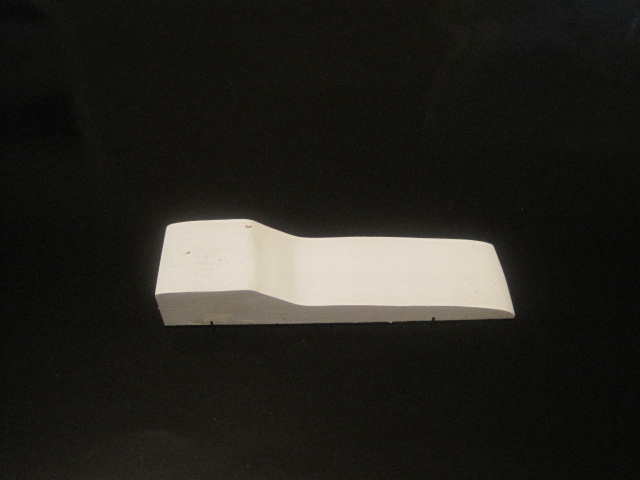

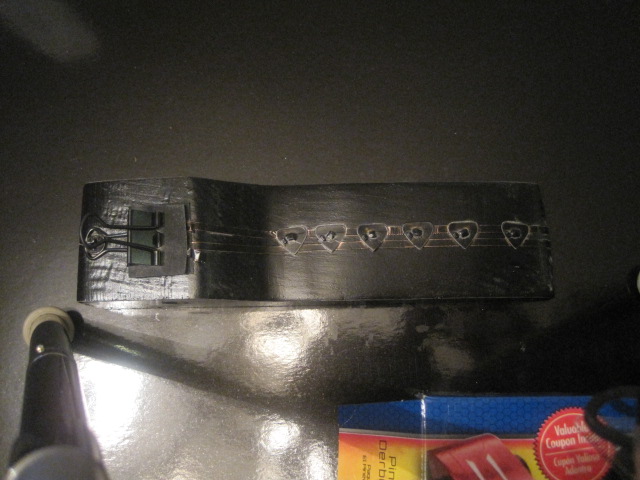
Complete all the required steps to prepare and complete your car. Adding the Chibitronics circuit should be one of the last steps. Adding the Chibitronics stickers after you paint your car is best as the stickers tend to stick better to a painted surface than a raw wood or primed surface. However, you may for the sake of your design decide to attach the stickers before you paint. The photos here demonstrate the difference between the two options. On the black car, we primed the car, then added the copper tape and LED stickers BEFORE applying the final coat of paint (we covered the LED stickers with tiny pieces of blue painters tape). On the car with the red stripe we added the copper tape and LED stickers after applying the final coat of paint.
For more information on how to build your car, see this Instructable, How to Create a Pinewood Derby Car
Add a Battery Holder


You must find a way to semi-permanently attach the battery that makes removing it simple. While there are more sophisticated methods, the easiest way is to use a 1/4 inch wood screw to attach one side of a small binder clip to your car, as seen in the picture. Note that using a plastic or other non-conductive material is recommended; if you use a metal clip (like we did on the red & black car) you will need to add some type of insulation to prevent short circuiting your battery.
Plan the Circuit
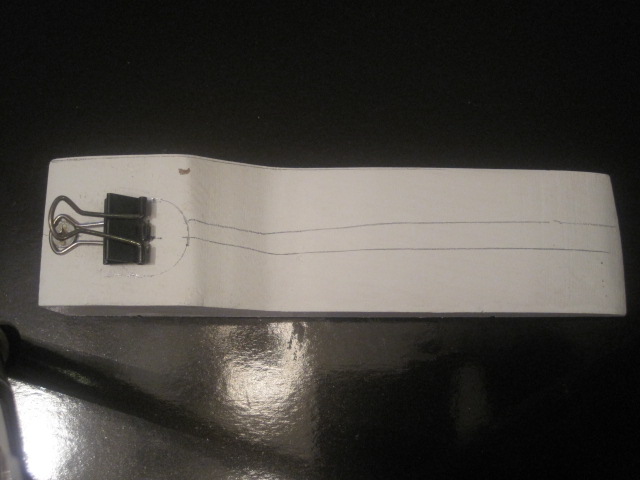
The next step is to plan the Chibitronics circuit. If you're unsure how the Chibitronics circuits work, start by watching some of the videos on their website.
Start by marking the position of the lights (in our cars. the headlights or race stripe) and the copper tape. Use a ruler or straight edge to sketch the circuit wiring onto the car body.
Next, determine the battery placement. It is best to place your battery on a flat surface to ensure a good connection with the copper tape. Once you have your battery placement in mind, trace around the battery so that you know where to terminate your circuit. Be sure to mark the polarity of the battery.
If you're using an effects sticker, create a place for if first, as it will likely impact how the circuit is designed. Placing the effect sticker close to the battery is recommended. Be sure to mark each corner of the effects sticker properly as it makes drawing the remaining circuit more challenging.
Once you have your battery and LED (and effects sticker if applicable) placements you can design the rest of your circuit. Remember that the Chibitronics conductive tape is about ⅛ of an inch (3mm) thick and that you'll want to leave ⅛ inch (3mm) between the positive and negative part of your circuit. Start with the side of the circuit that will be located the closest to the battery.
Lay Out the Conductive Tape


Starting at the battery holder, apply the conductive tape that will carry electricity to the LED stickers (and effects sticker, if applicable). Remember that the positive and neutral sides of the circuit should not touch. Leave plenty of extra copper tape to so that you can reach your battery holder. Remember that you can always cut it later, you can't put more on without re-wiring your whole circuit.
Note the polarity of the battery when creating the circuit. You will need to know which side of the circuit is the negative and positive when applying the LED stickers in later steps.
It is also worth noting that you should not attempt to repair or join the conductive tape. If your tape breaks, remove it and start over. Attempting to join the tape will lead to unreliable conductivity and may mean an inoperable circuit.
Add LED Stickers and Effects Sticker (if Applicable)

Using tweezers, attach each LED sticker to the conductive tape. Firmly press the stickers to the car surface ensuring good contact between the conductive tape and the copper conductors on the LED stickers.
If you plan to use an effects sticker, attach it now, otherwise skip to the next step to test the circuit.
Attach the effect sticker to the conductive tape. Firmly press the sticker to the car surface ensuring good contact between the conductive and the copper conductors on the effect sticker.
Test the Circuit


Once your LED Stickers and effect sticker (if applicable) are in place, check that the circuit is working by inserting your battery and firmly pressing down on the conductive tape and battery. The LED's should turn on. Congratulations, you can skip to the next step to complete your car.
If the LED's do not turn on, follow the steps below to debug common problems.
If none of the LED's turn on:
Check the Battery polarity - make sure that the positive side of the battery is touching the positive side of your circuit. LED's will not work if the battery is inserted backwards.
If using an effect sticker, be sure that the effect sticker is firmly pressed onto the conductive tape and that the polarity is correct.
If one or more LED(s) works but others don't:
Check the non-working LED(s) - be sure that the LED stickers are firmly pressed onto the conductive tape.
Check the polarity of the non-working LED(s) - remember that LED's don't work if the polarity is reversed.
Completing the Car

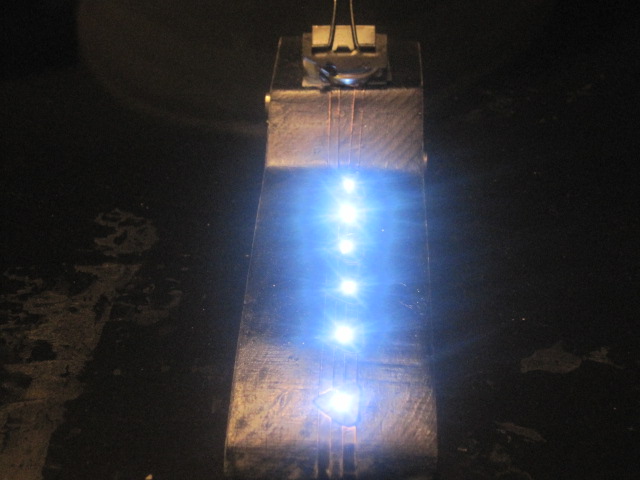
Now that your Chibitronics circuit is laid out, attach the copper tape to the battery holder. If you used a conductive (metal) clip you will need to create insulation between the tape and the battery. The easiest way is to cut a piece of paper about 1" by 2" and fold it in the middle. Insert the paper inside the battery holder (to prevent closing the circuit) and lay the positive and negative ends of the circuit along with the battery inside the clip.
Once you've finished this step you should do all remaining steps to get your car ready for race day.
Activate the Lights on Race Day

Before racing your car, insert the battery into the binder clip, making sure that it is contacting the copper tape.
Ask your pack leader, or track master to dim the lights so that everyone can see how awesome your car looks with lights!