Pocket Pyrolysis Wood Burner: Wood to Gas Flame Efficiency
by jfunky1111 in Outside > Fire
99 Views, 2 Favorites, 0 Comments
Pocket Pyrolysis Wood Burner: Wood to Gas Flame Efficiency
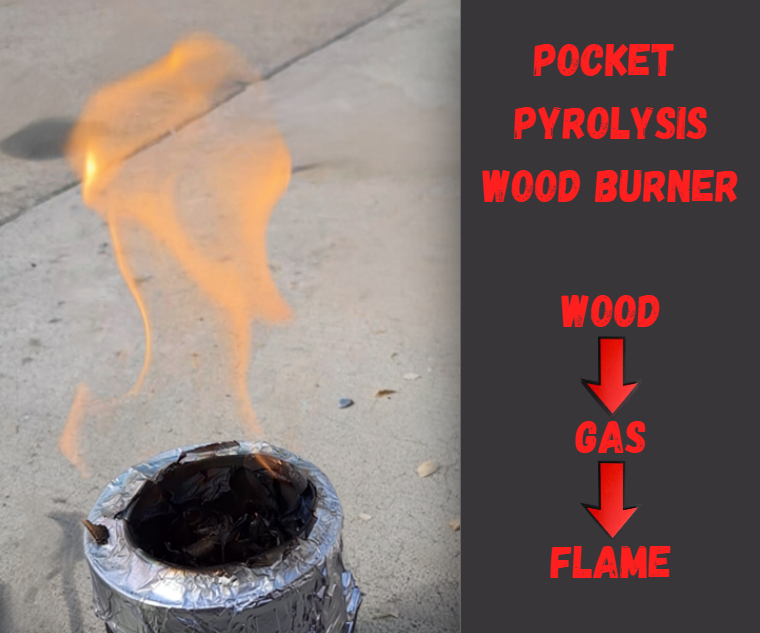
The 10-Second Trash-Can Gasifier: Pocket Survival Stove
This ultra-portable, off-the-grid micro-stove uses the principles of pyrolysis to actively burn its own smoke. Instead of burning wood directly, it bakes the fuel to create a clean, high-efficiency "syngas" that shoots out of upper jet vents like a kitchen stove burner.
Built entirely from two standard metal food cans and everyday kitchen supplies, it requires zero electricity and achieves complete secondary combustion.
Supplies
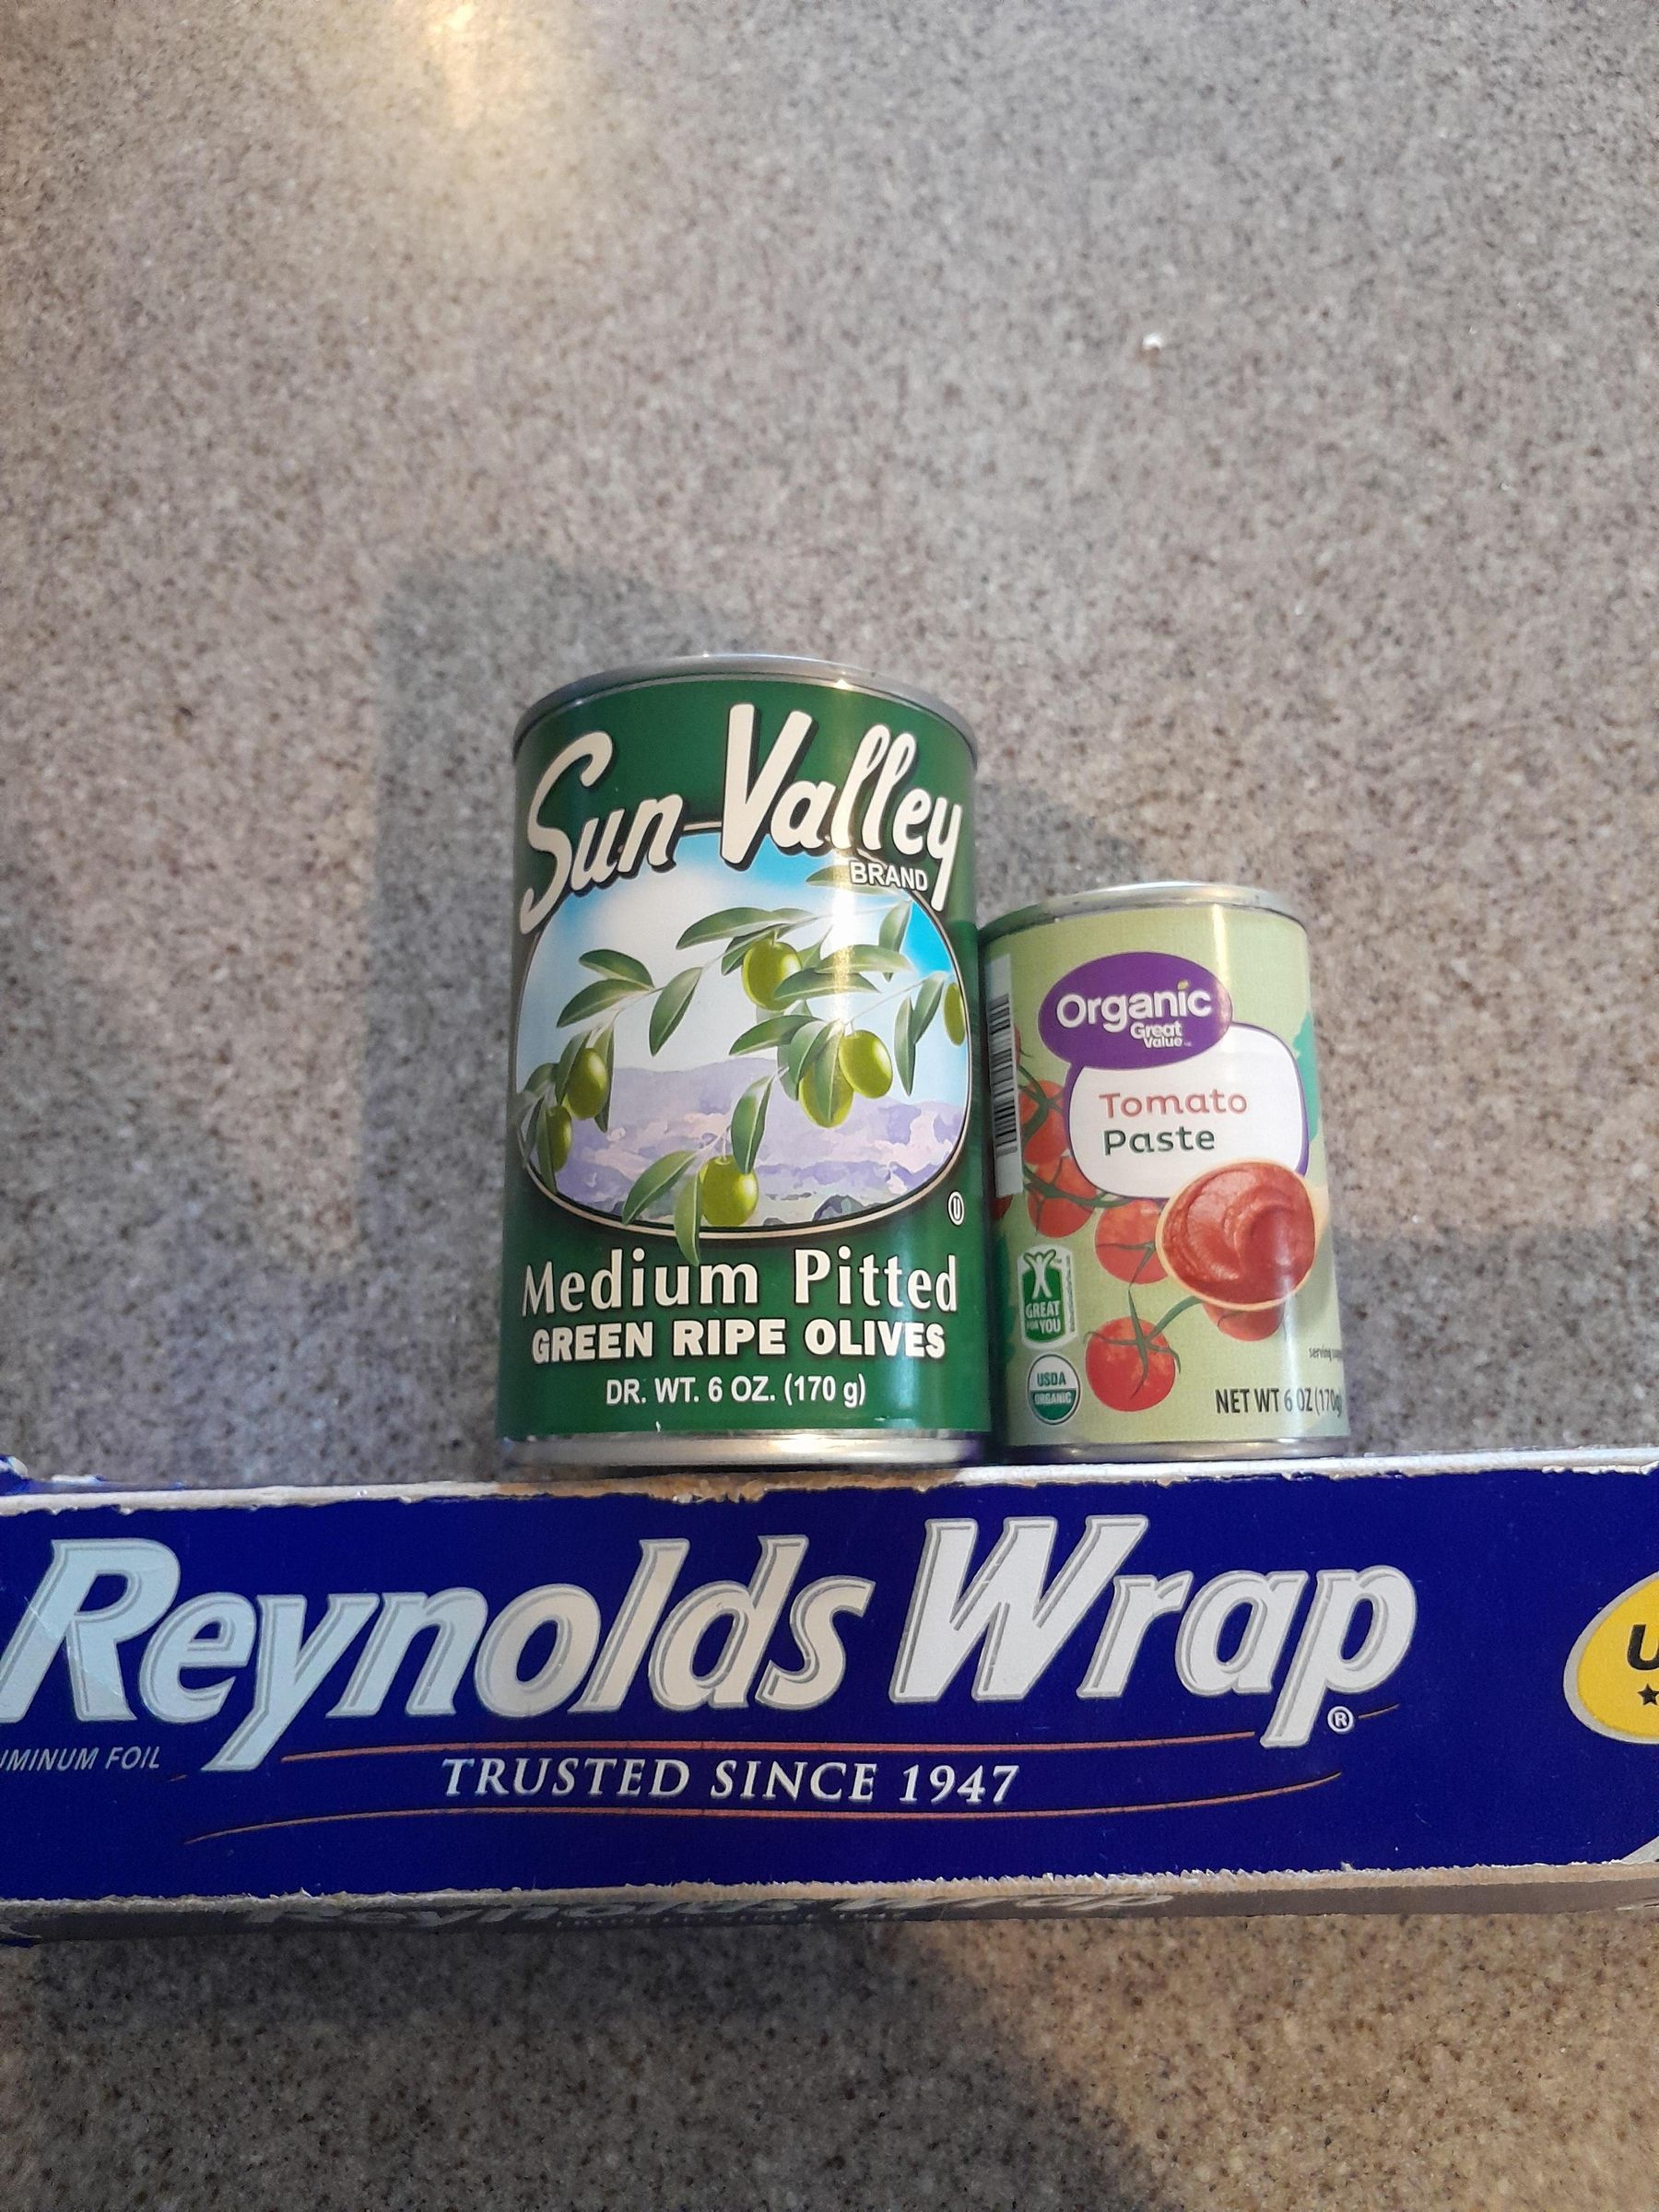
You do not need specialized survival gear or expensive parts. Everything can be sourced from a recycling bin and/or a quick trip to the grocery store.
- Outer Can (Air Jacket): 1 standard 14oz size STEEL can.
- Inner Can (Fuel Chamber): 1 standard 6 oz tomato paste can.
- Gasket / Seal: Standard, NOT non-stick Aluminum Foil
- Fuel Source: Bamboo skewers and/or natural twigs less than 1/4" in diameter
- Firestarter: Wood chips, pencil sharpening scraps, etc...
Tools:
- Hammer and 1/8" Nail or 1/8" drill bit
- Lighter/Matches
Always remember to wear gloves when dealing with sharp steel or tin cans!
Always remember to have water on hand in case the fire gets out of hand! Burning gas is dangerous!
Prep the Cans
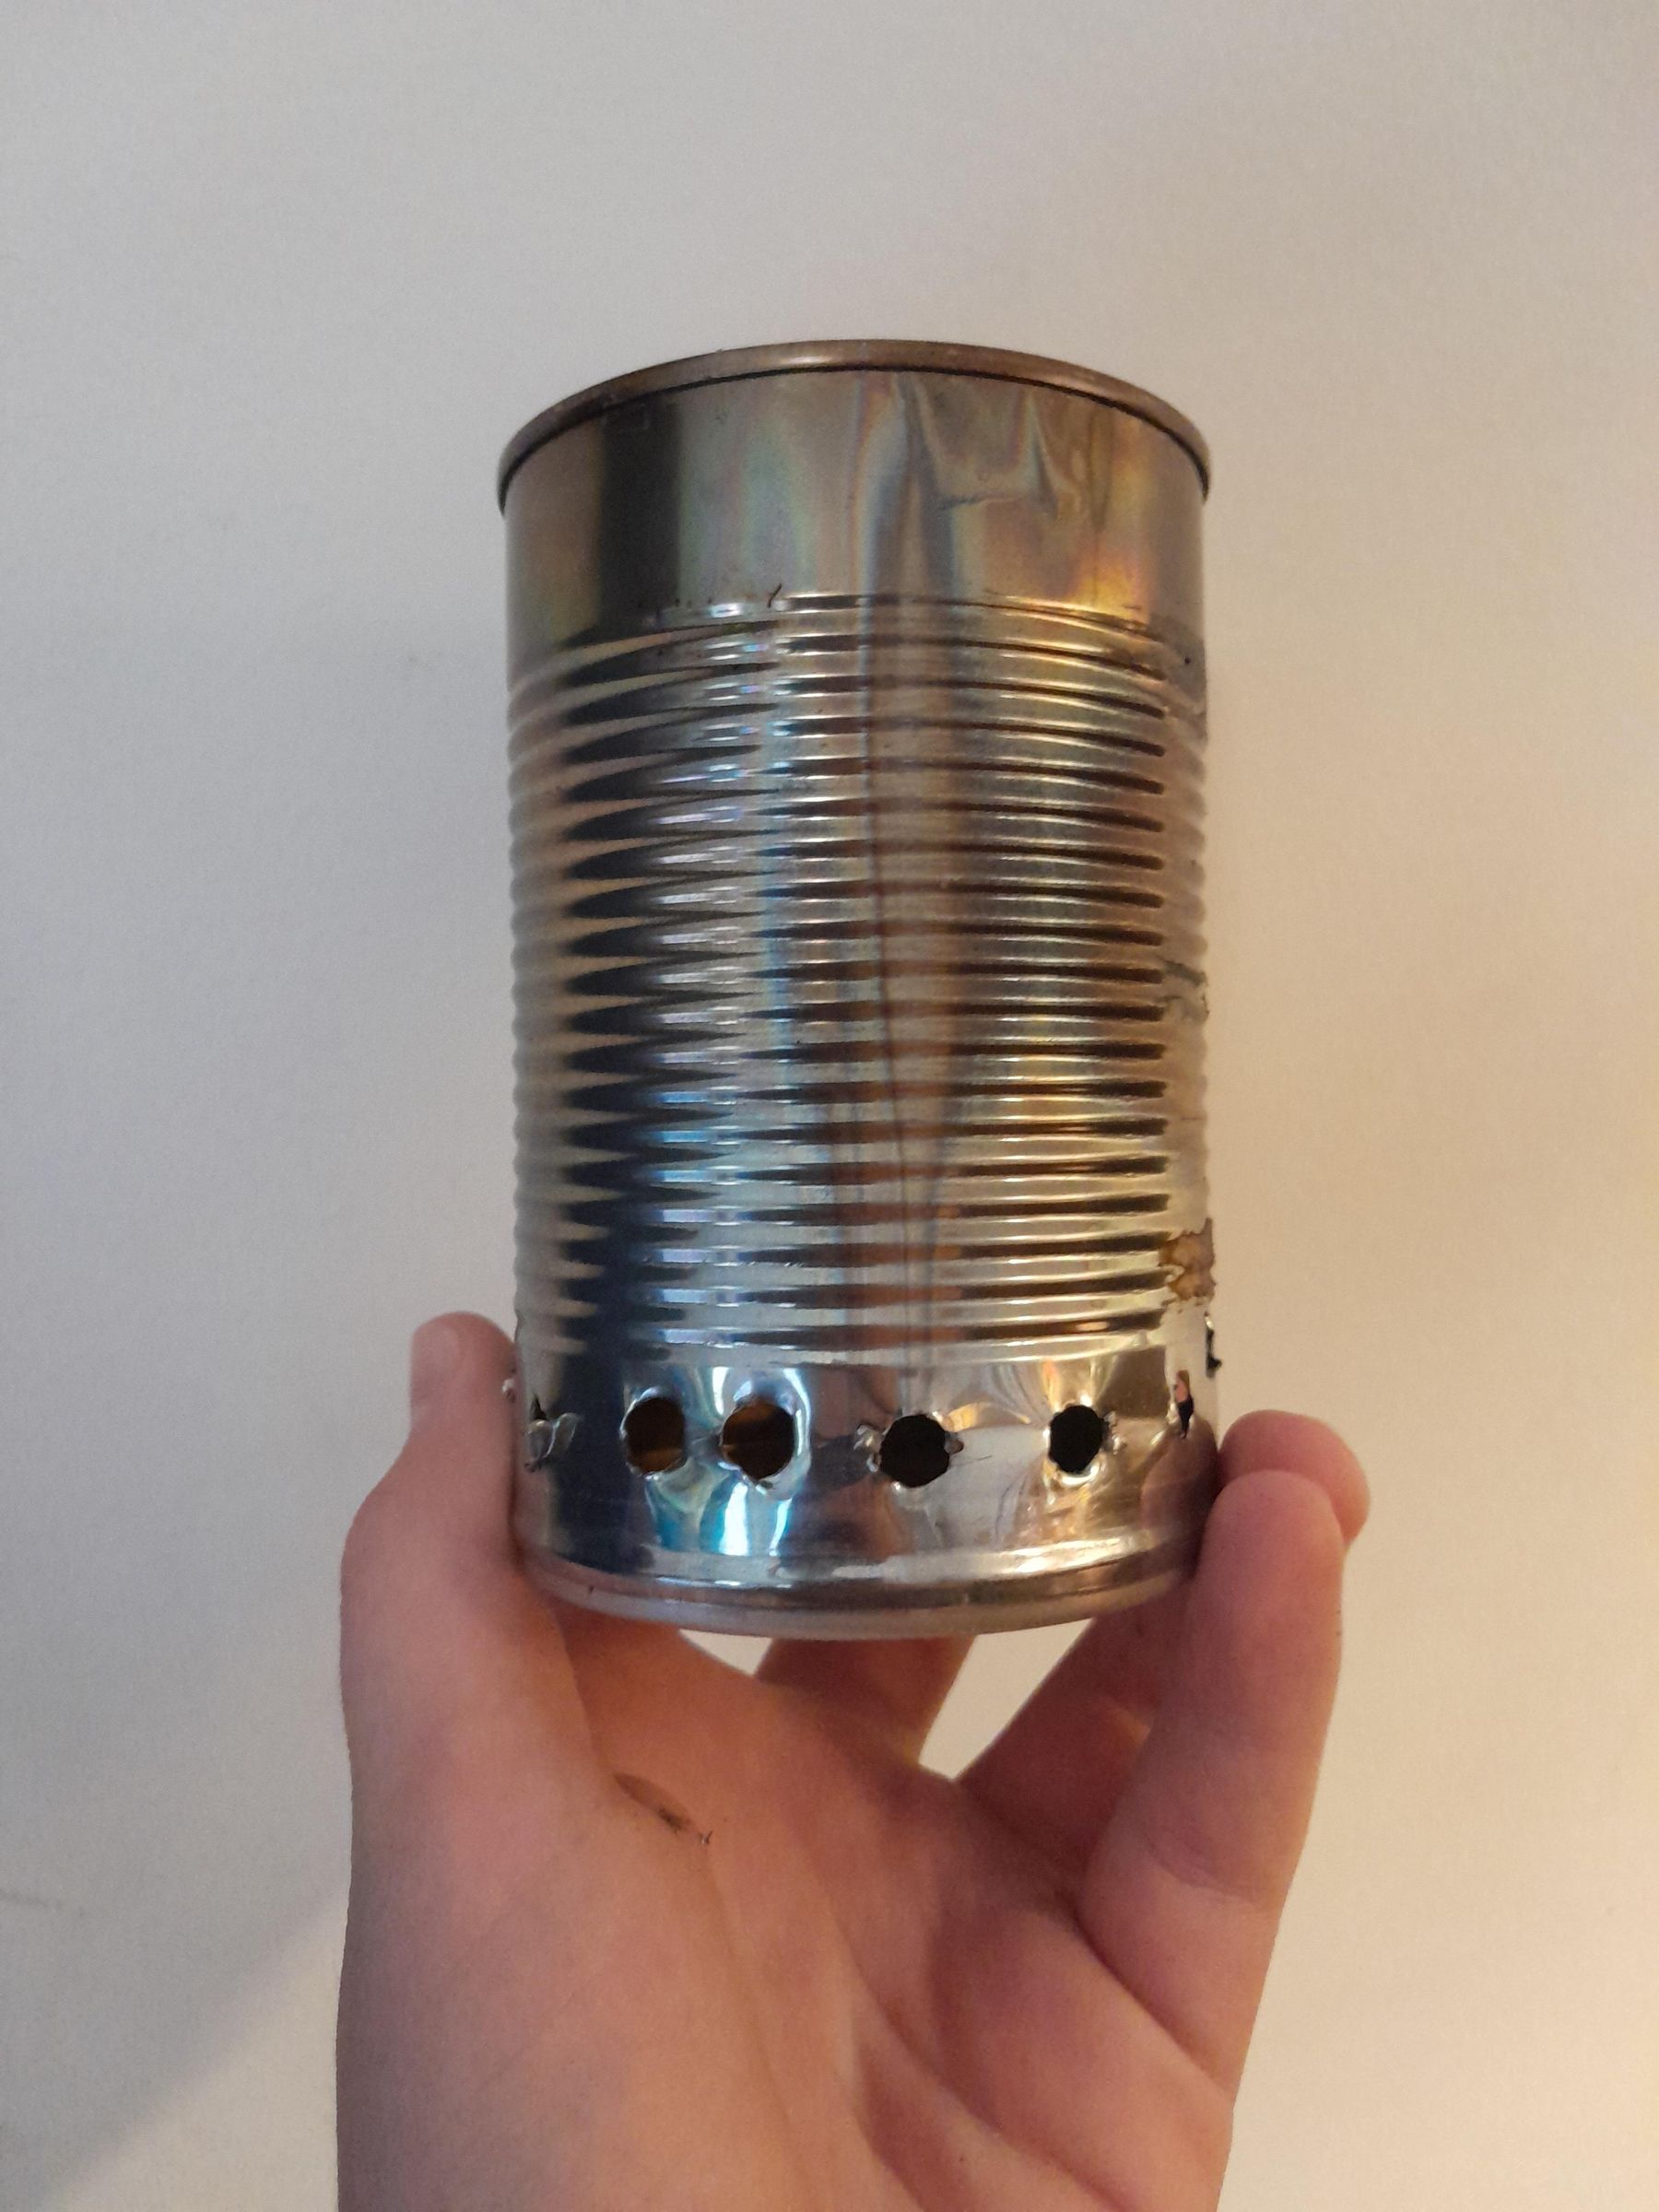
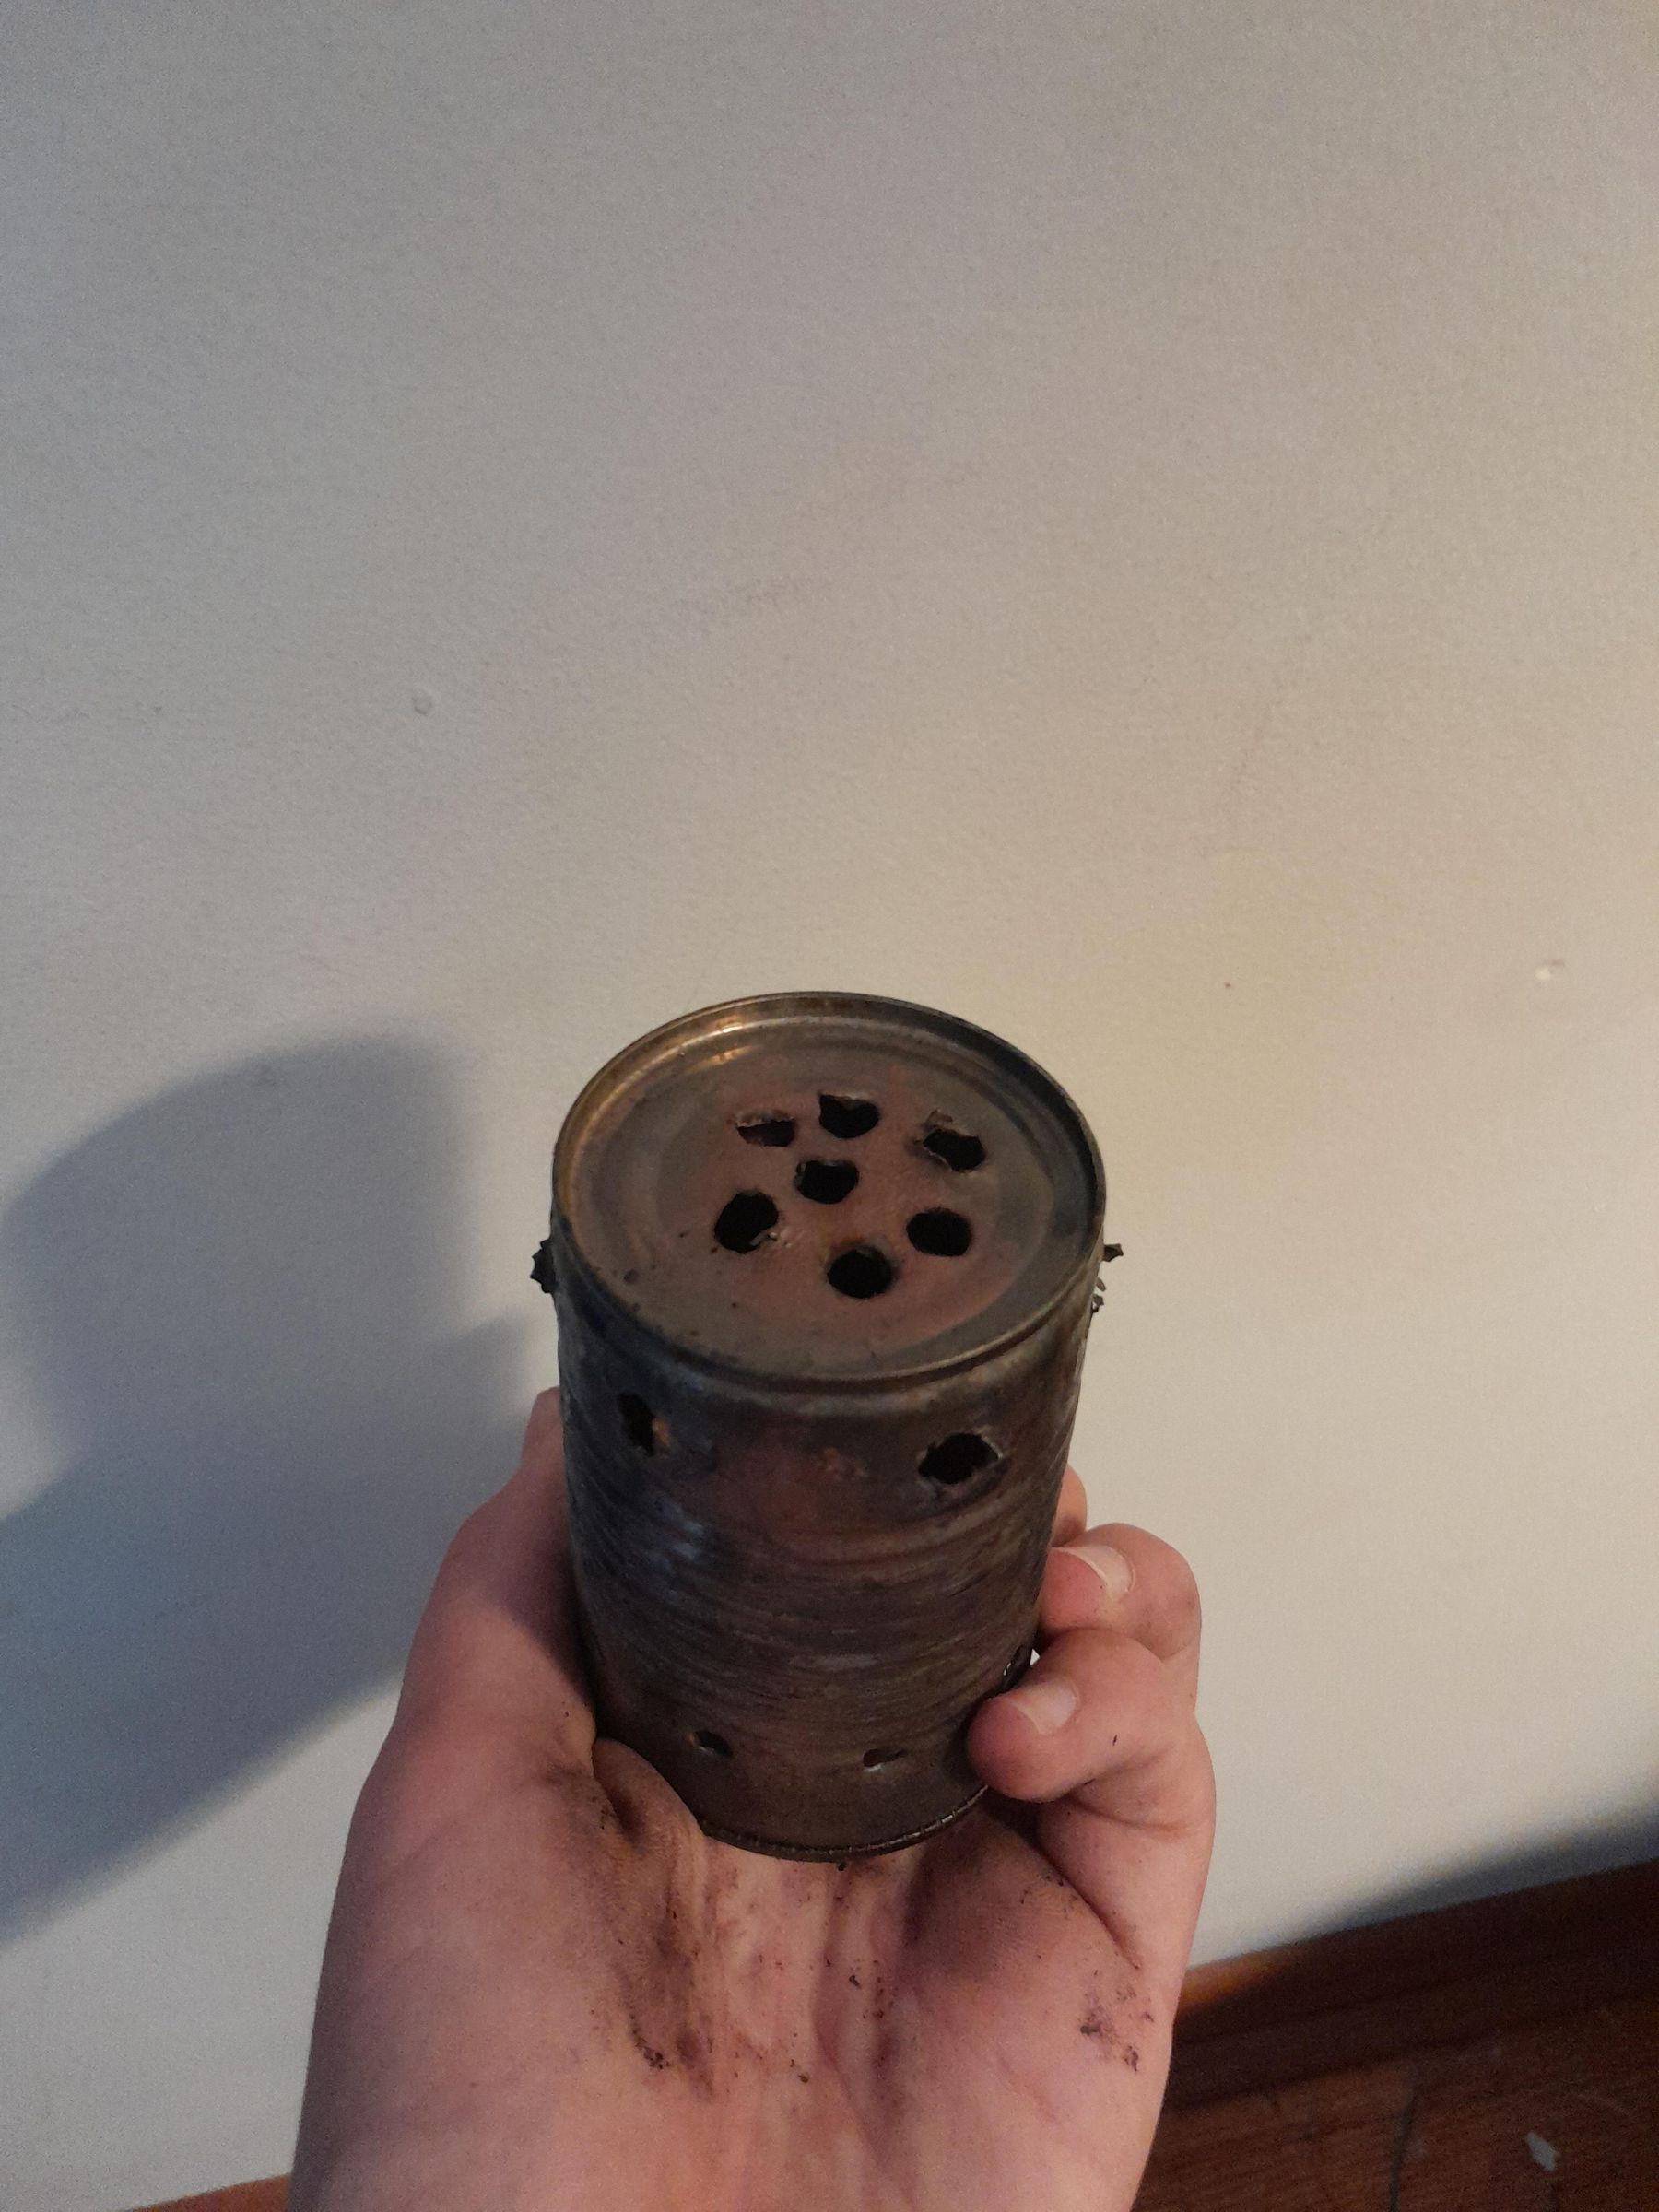
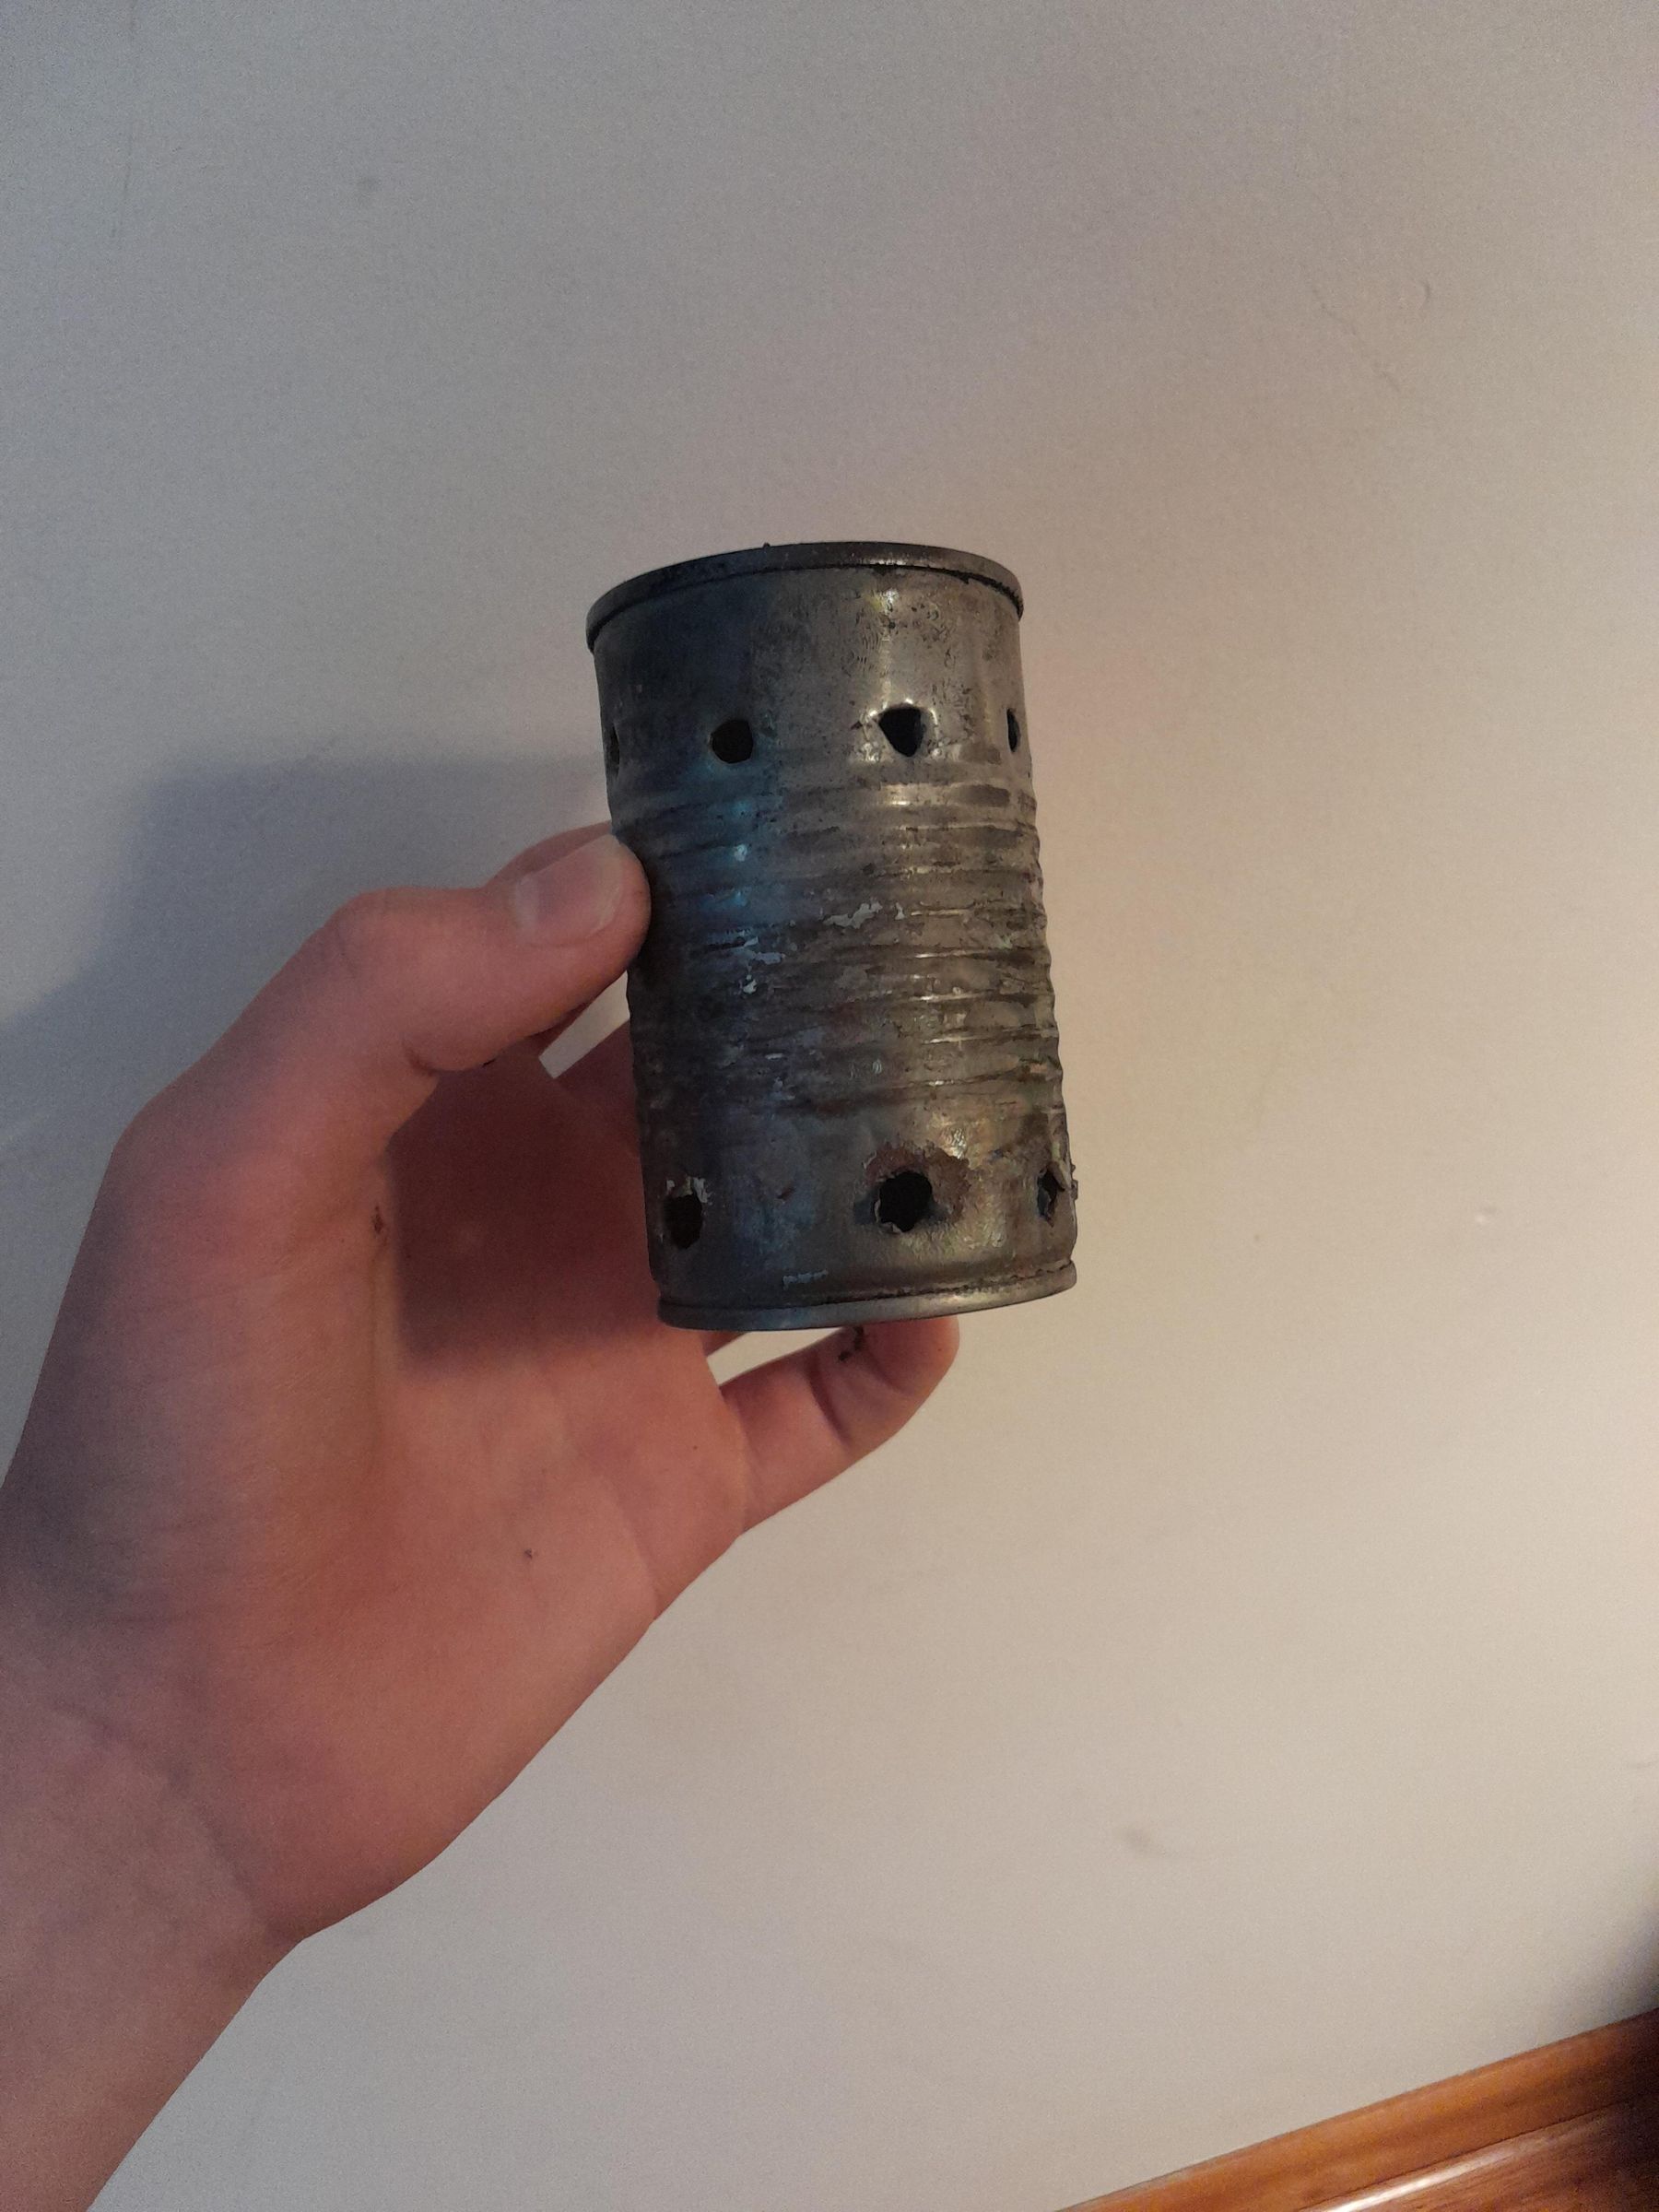
- Remove one side from both cans (they should both have a solid bottom and an open top.)
- On the smaller can, drill 7 holes in the bottom, then another 8 around the rim as close to the bottom as you can get, then another 8 about 1/2 inch from the top.
- On the larger can, drill 16 holes around the bottom.
- Clip off any remaining metal chips for safety.
Create the Airtight Rim Seal
![20260829_171902[1].gif](/proxy/?url=https://content.instructables.com/F8A/ZIJM/MTBYLEIT/F8AZIJMMTBYLEIT.gif&filename=20260829_171902[1].gif)
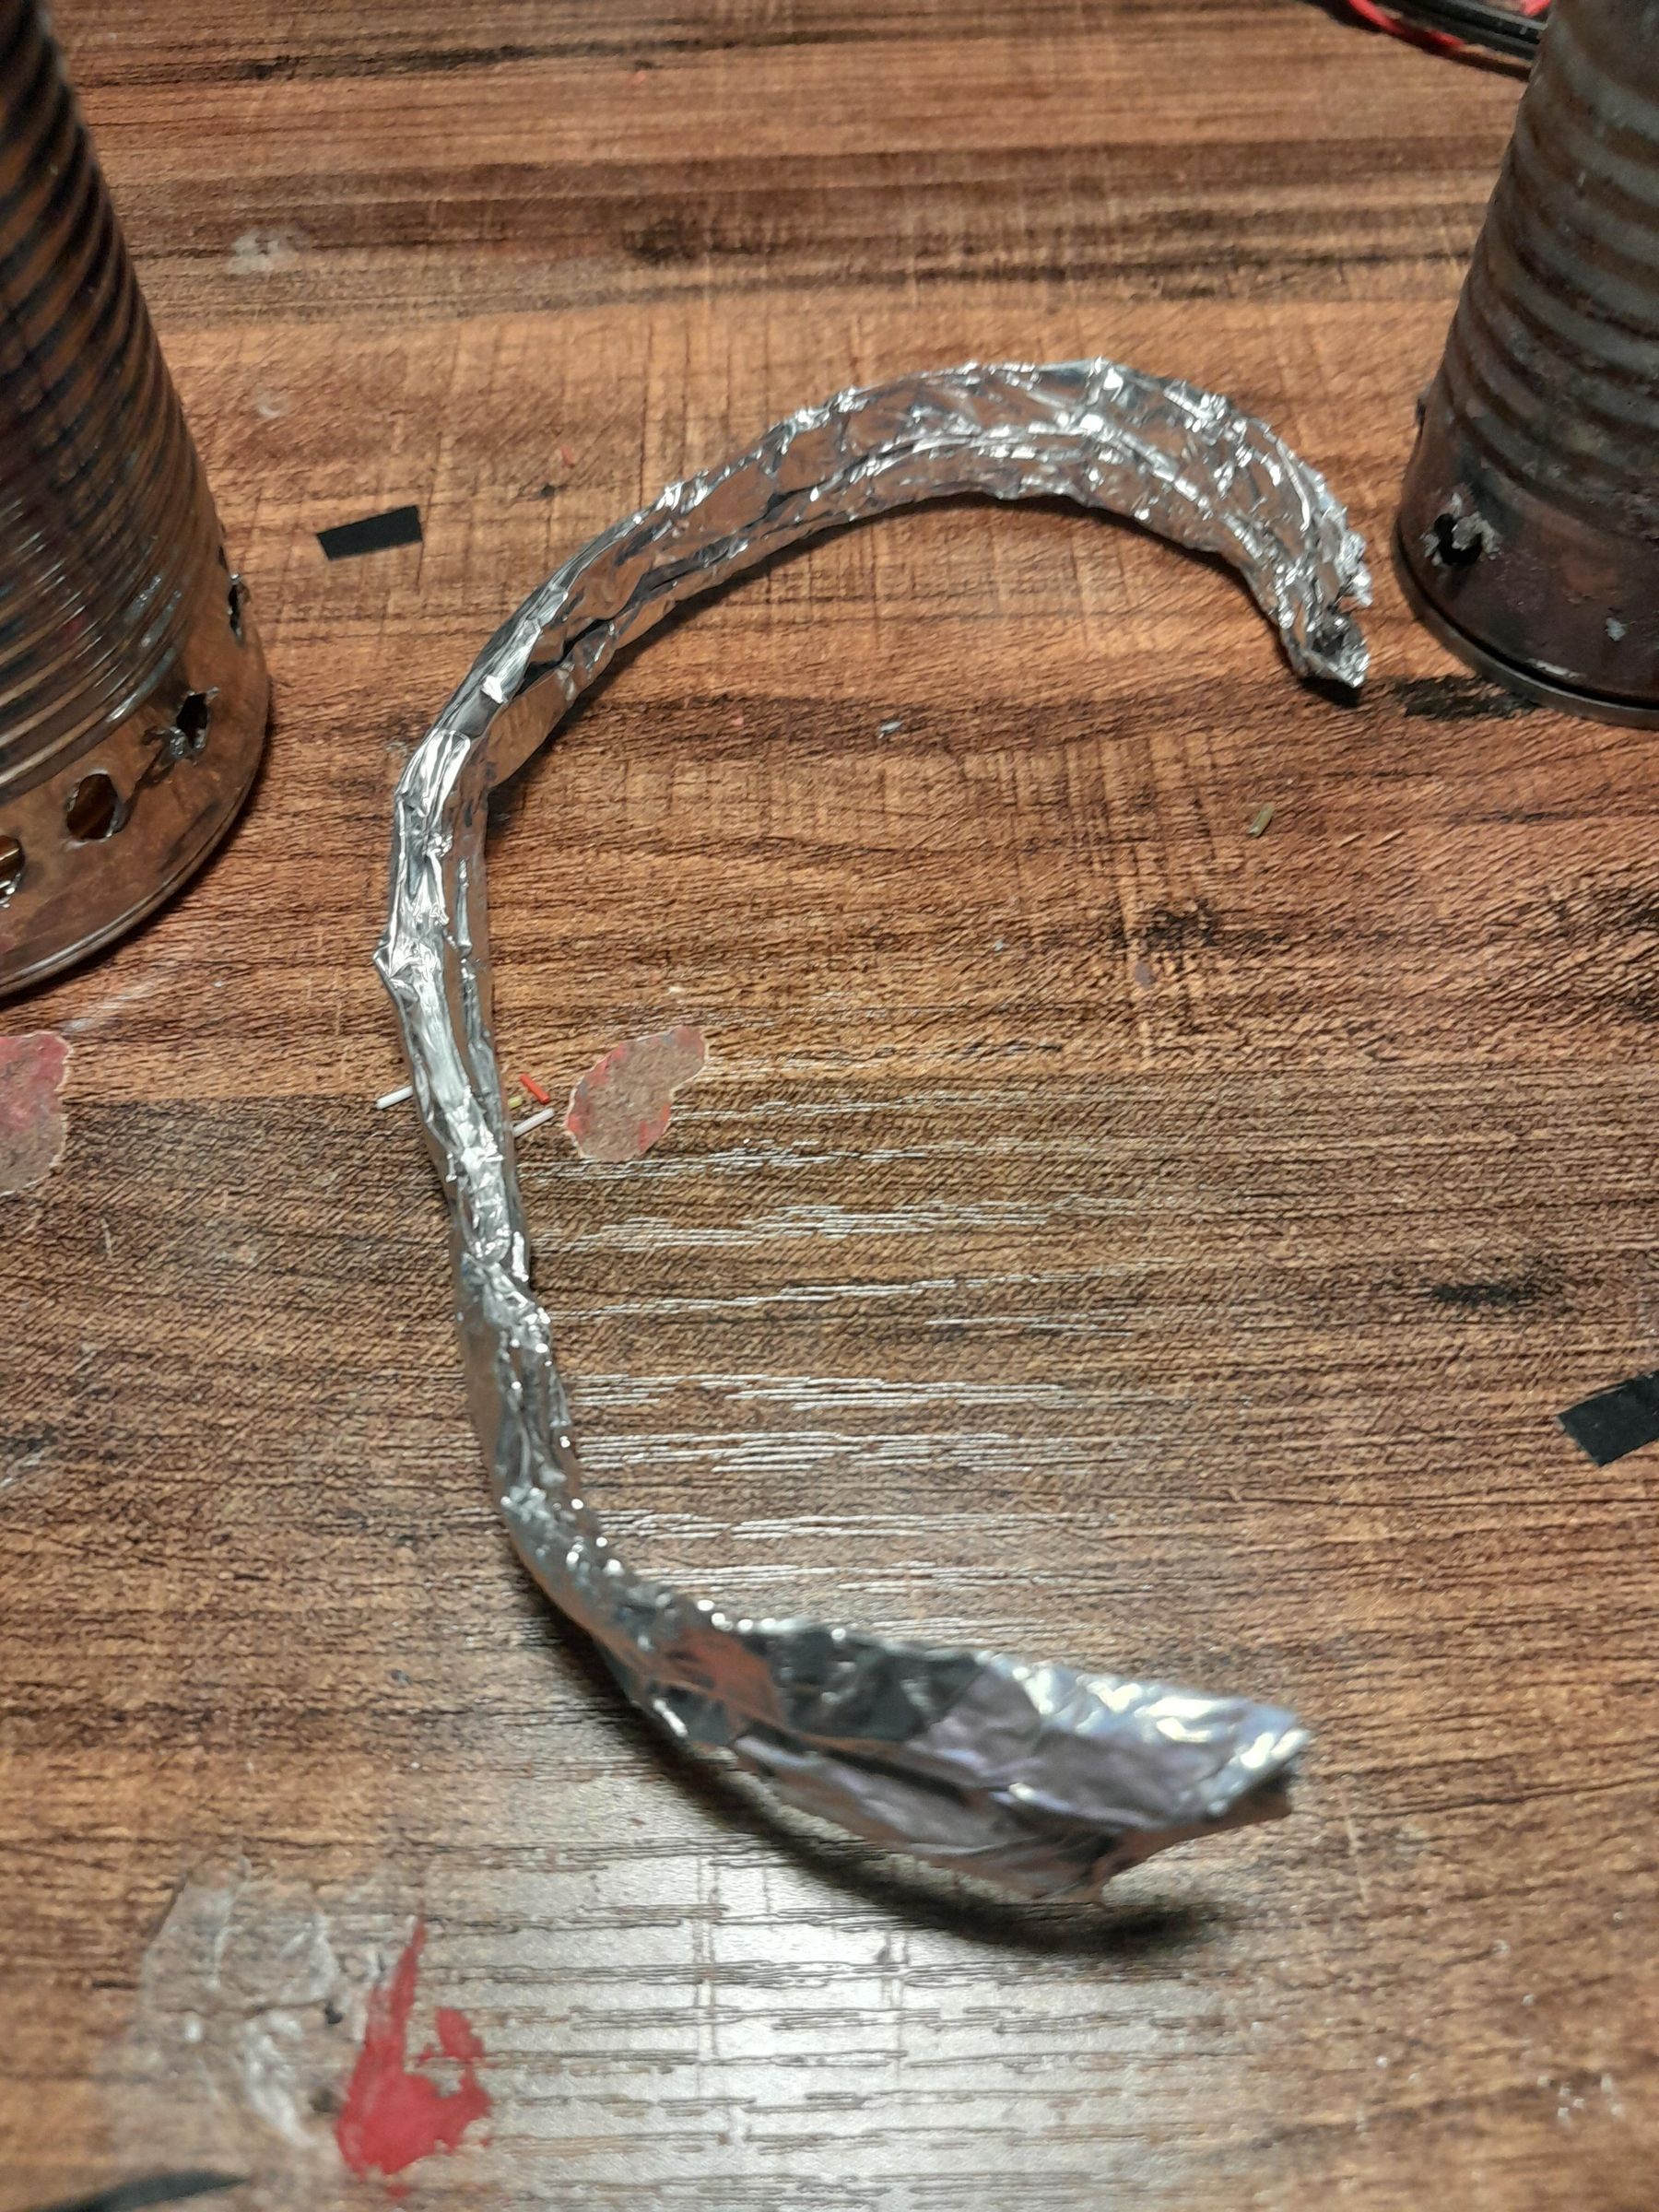
- Cut an 8-inch-long piece of aluminum foil.
- Roll it up into a tight snake, as shown in the GIF.
Check: It should be rounded and tight, not a rectangle. If it is not thick enough, it will not seal, and your gas will escape.
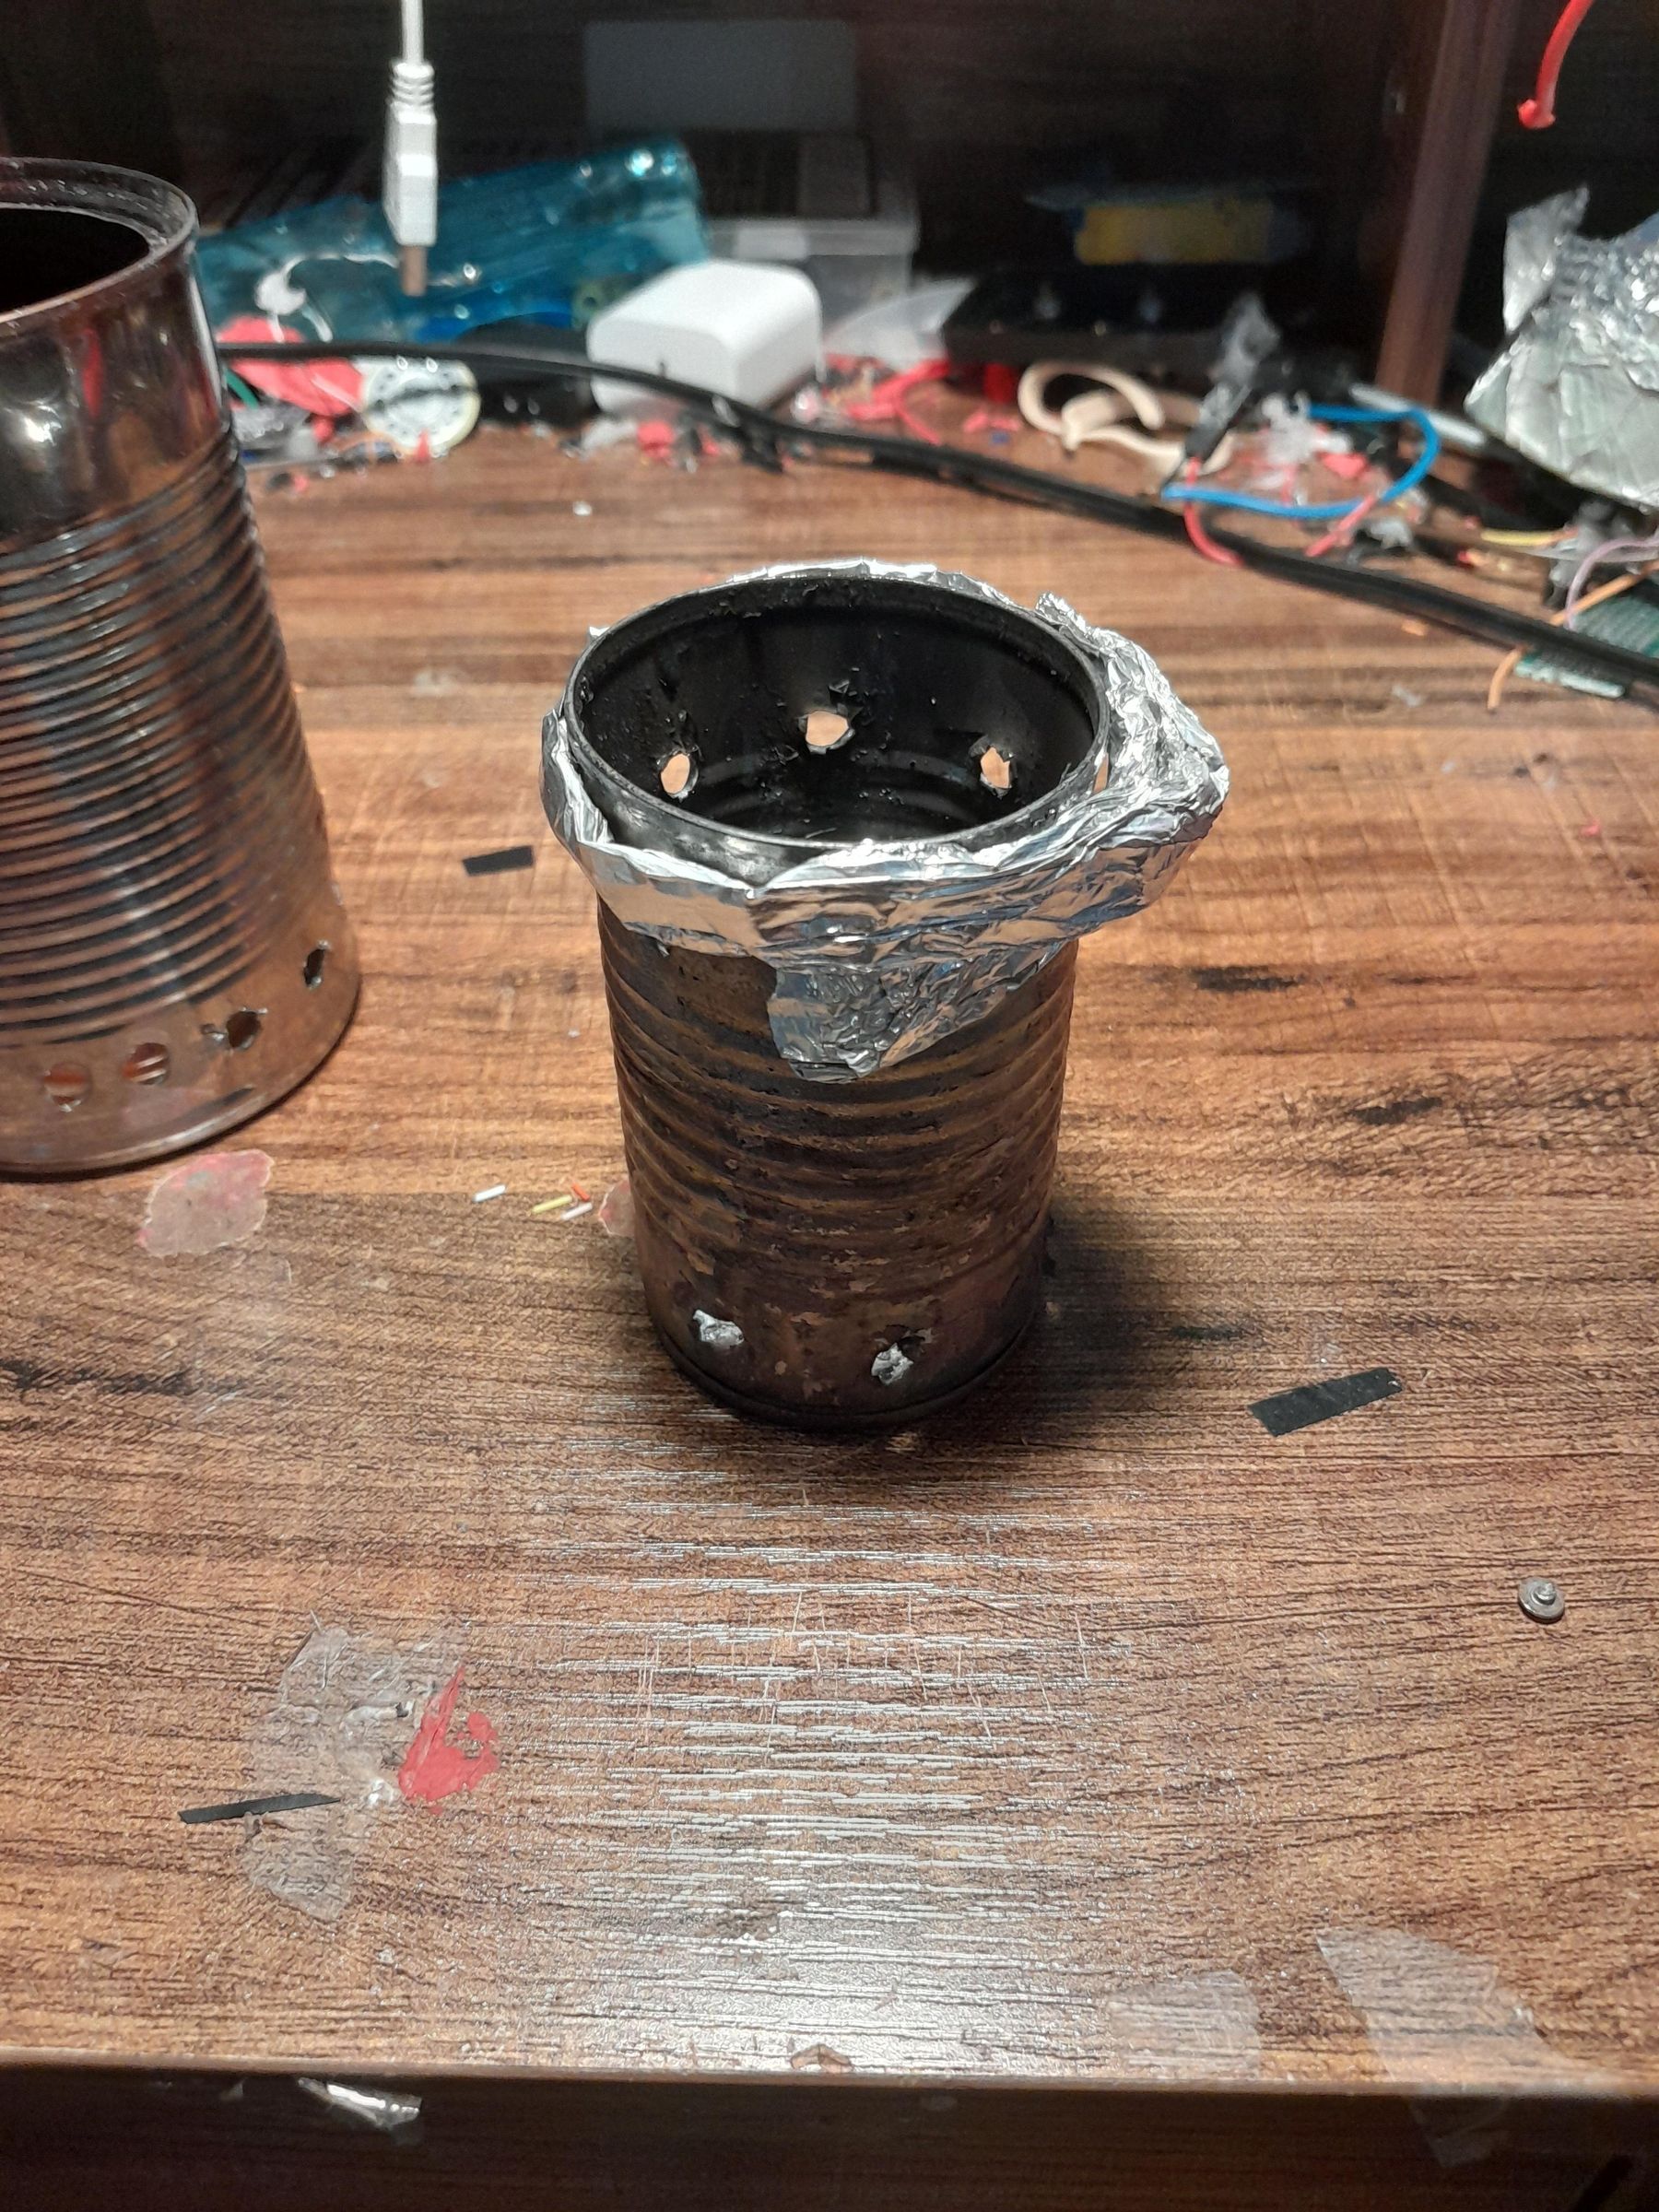
3. Wrap the foil snake around the top rim of the smaller can, between the rim of the can and the holes you drilled earlier, as seen in the picture.
Seal the Two Parts Together
![20260829_171945[1].gif](/proxy/?url=https://content.instructables.com/FKT/79CW/MTBYLEIK/FKT79CWMTBYLEIK.gif&filename=20260829_171945[1].gif)
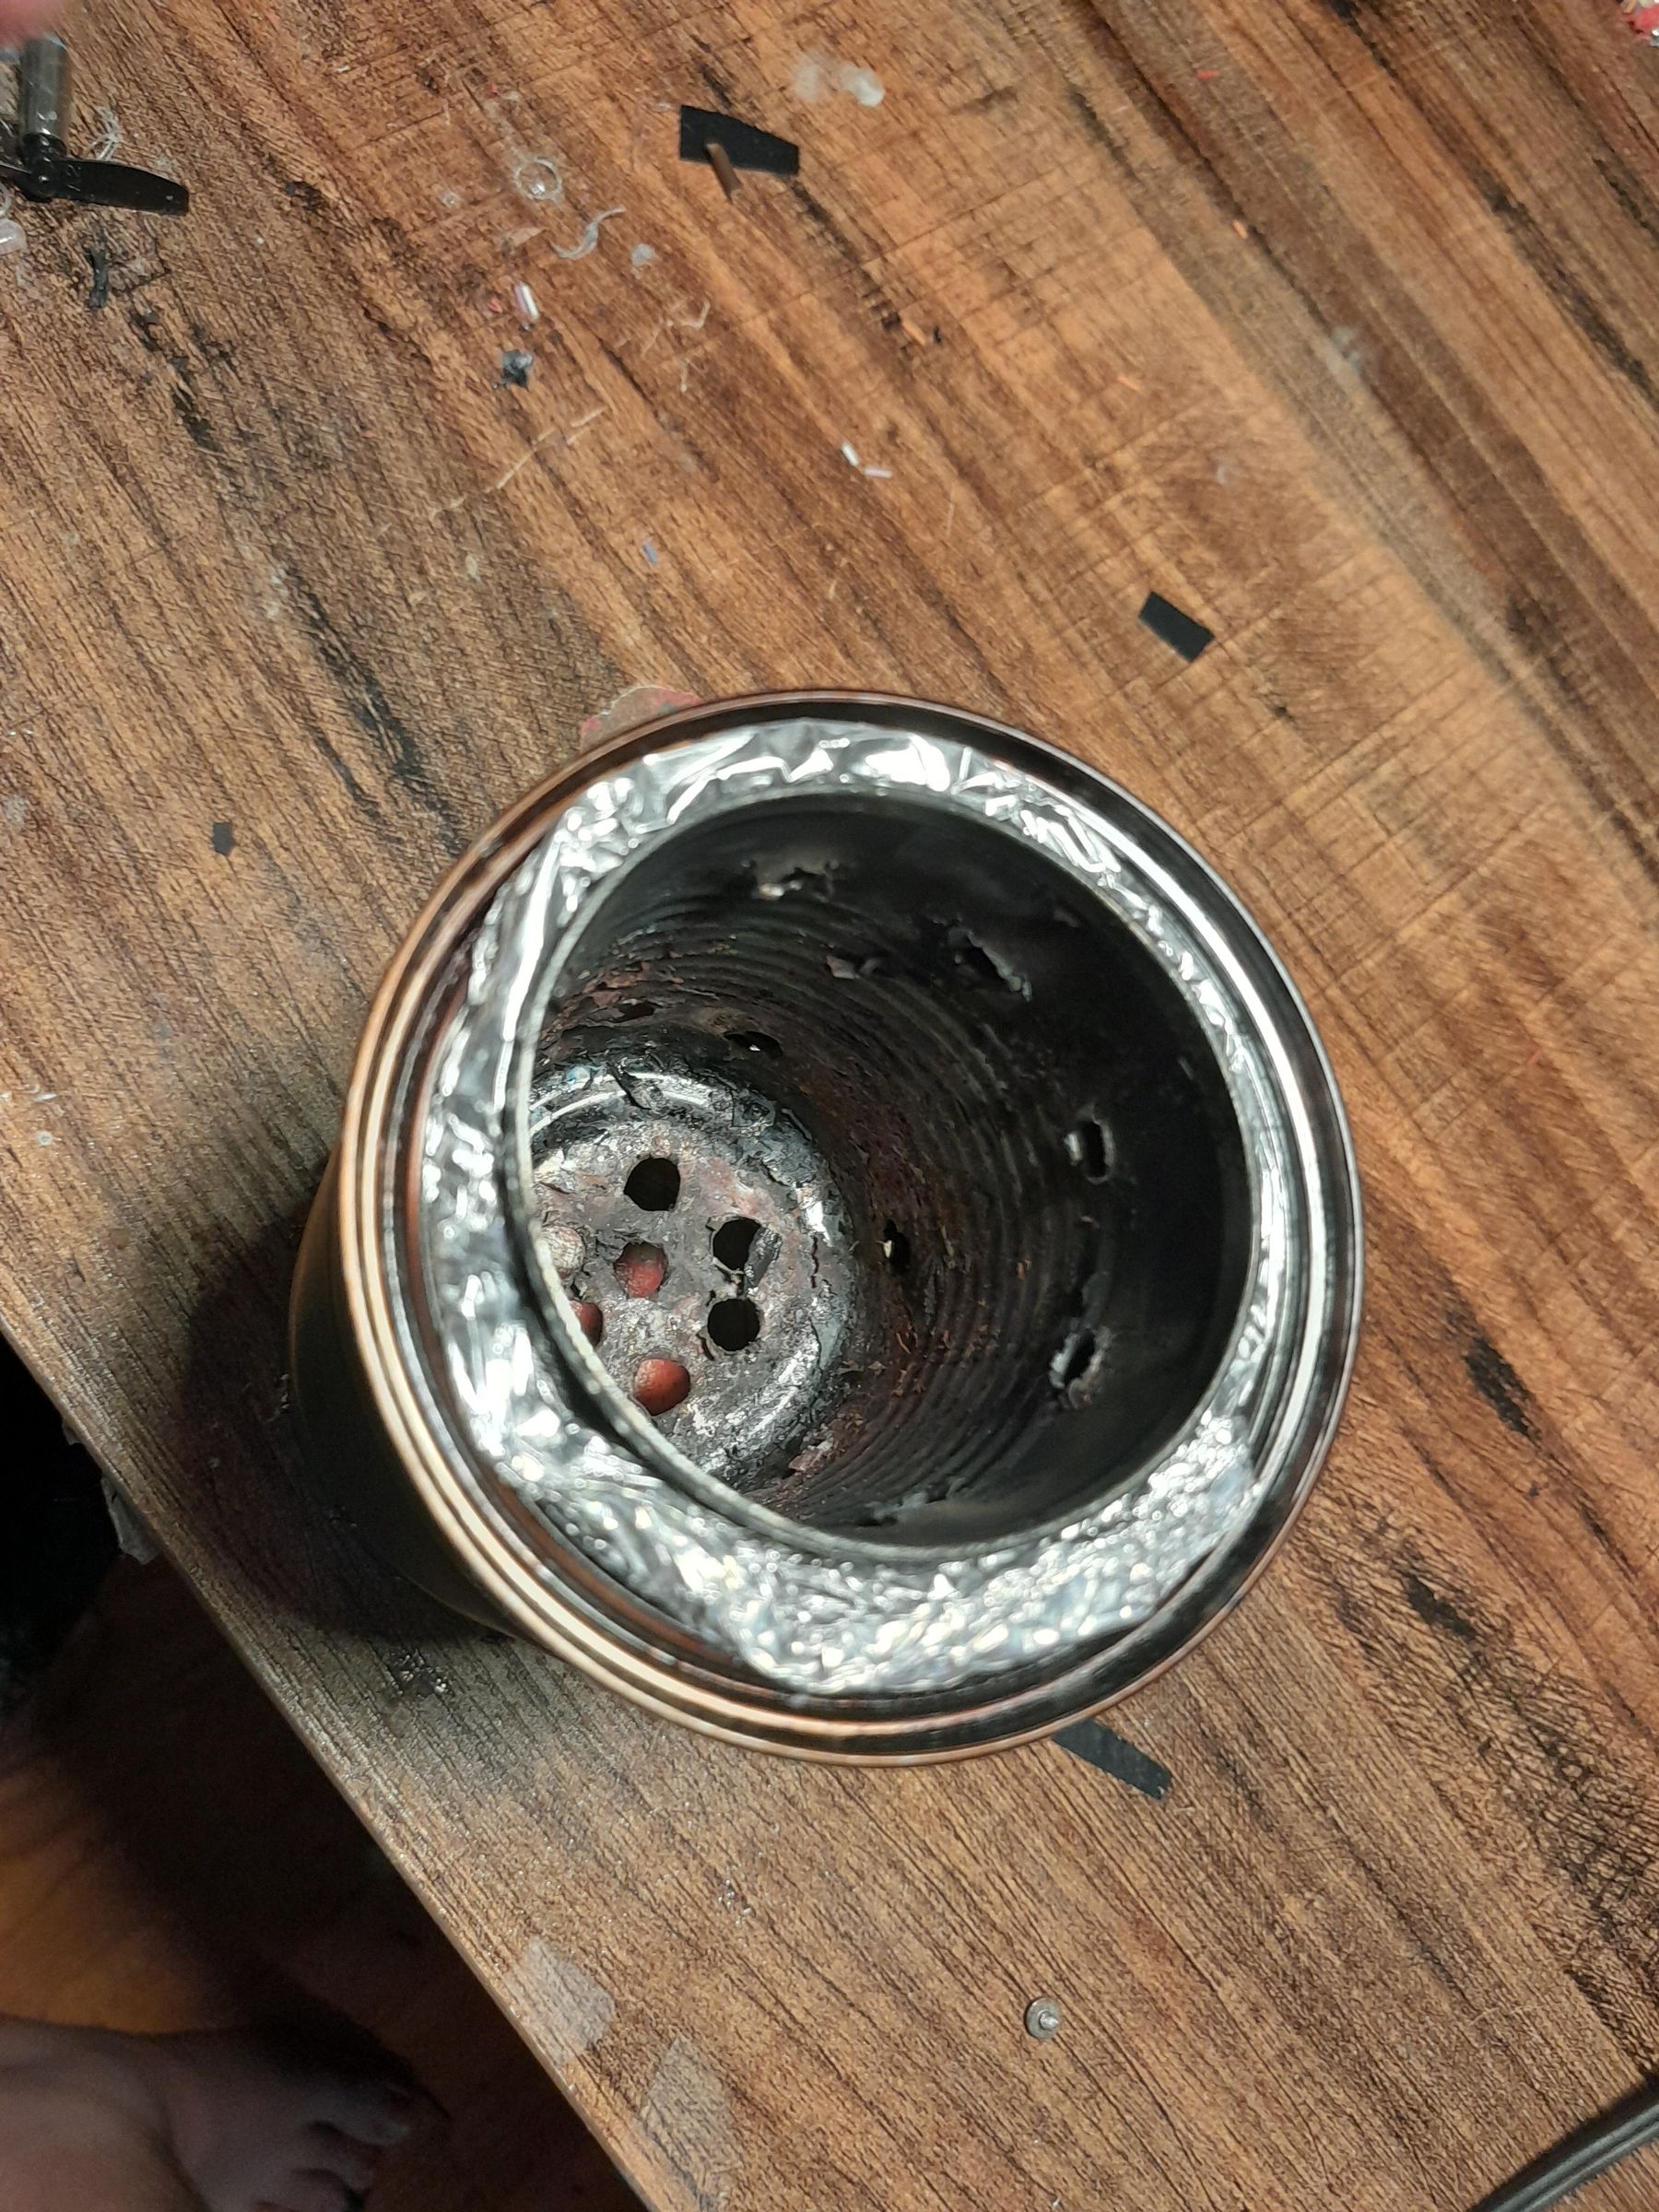
- Insert the smaller can into the larger can's top, with the foil in between them.
- When the smaller can is about 1/4 inch above the bigger one, press the foil seal in so it holds the smaller can in place, as seen in the GIF.
Check: Make sure that the foil goes all the way around and that there are no visible gaps between the foil and the cans.
Seal the Outside
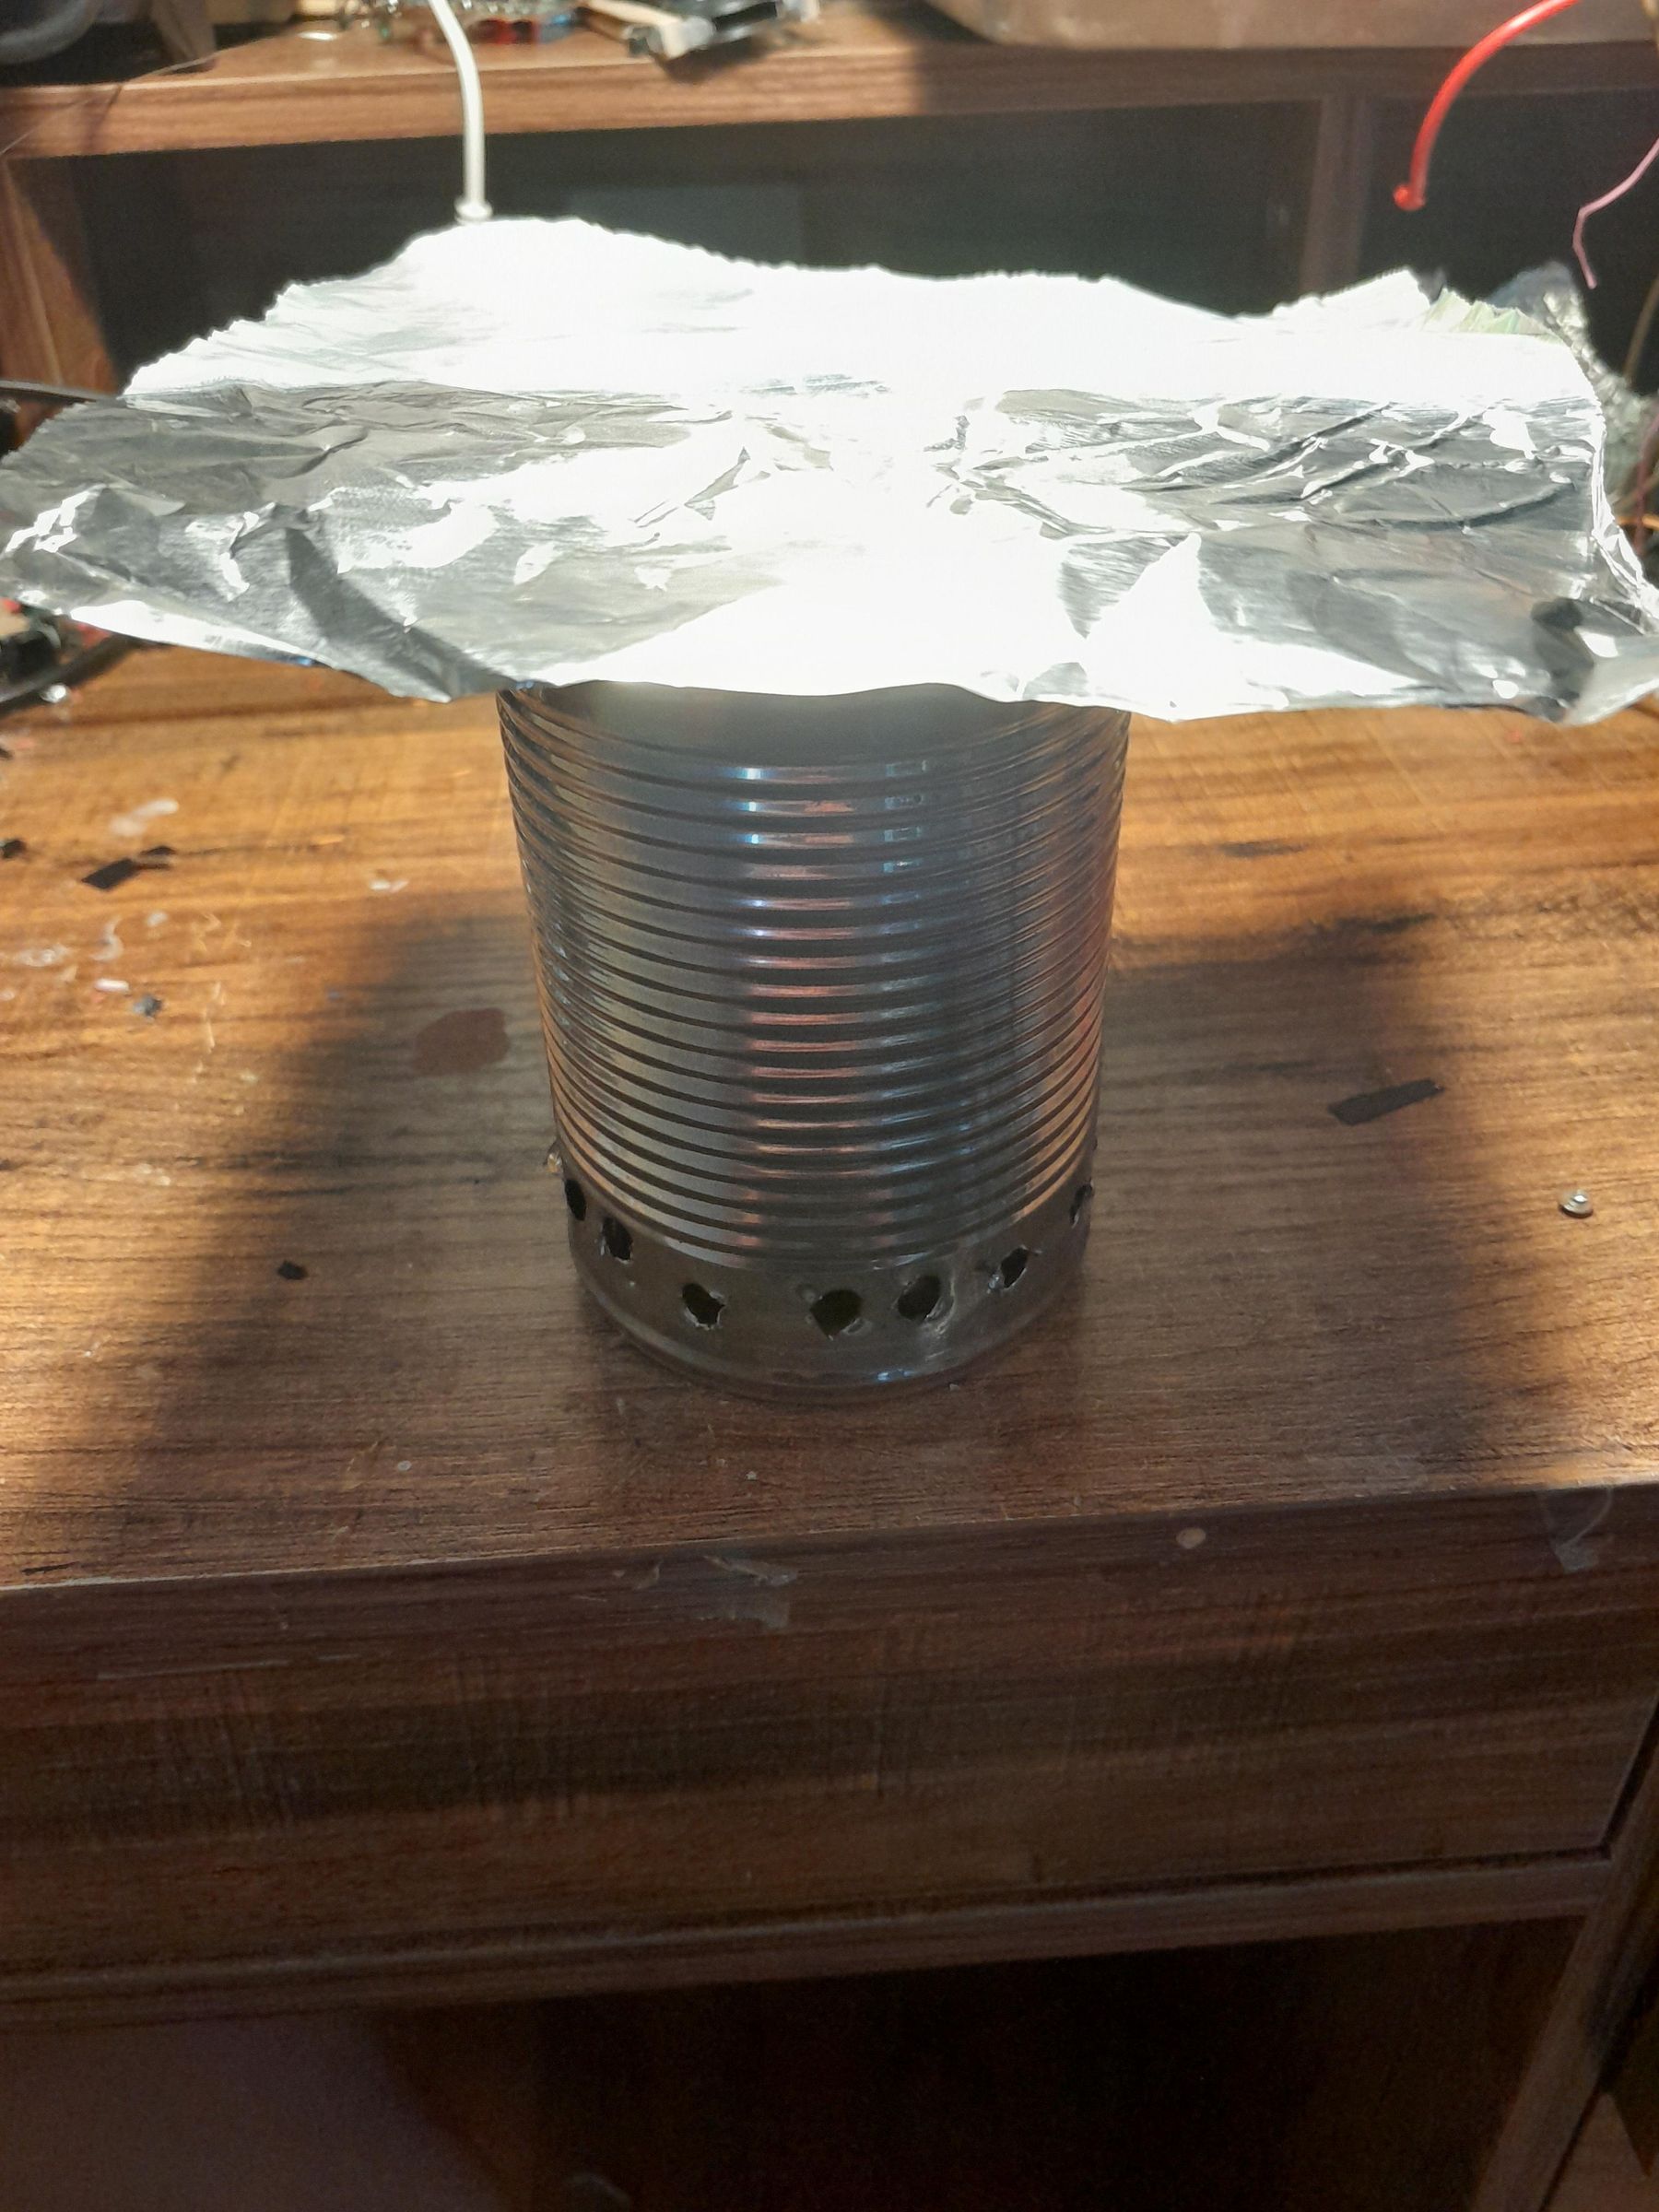
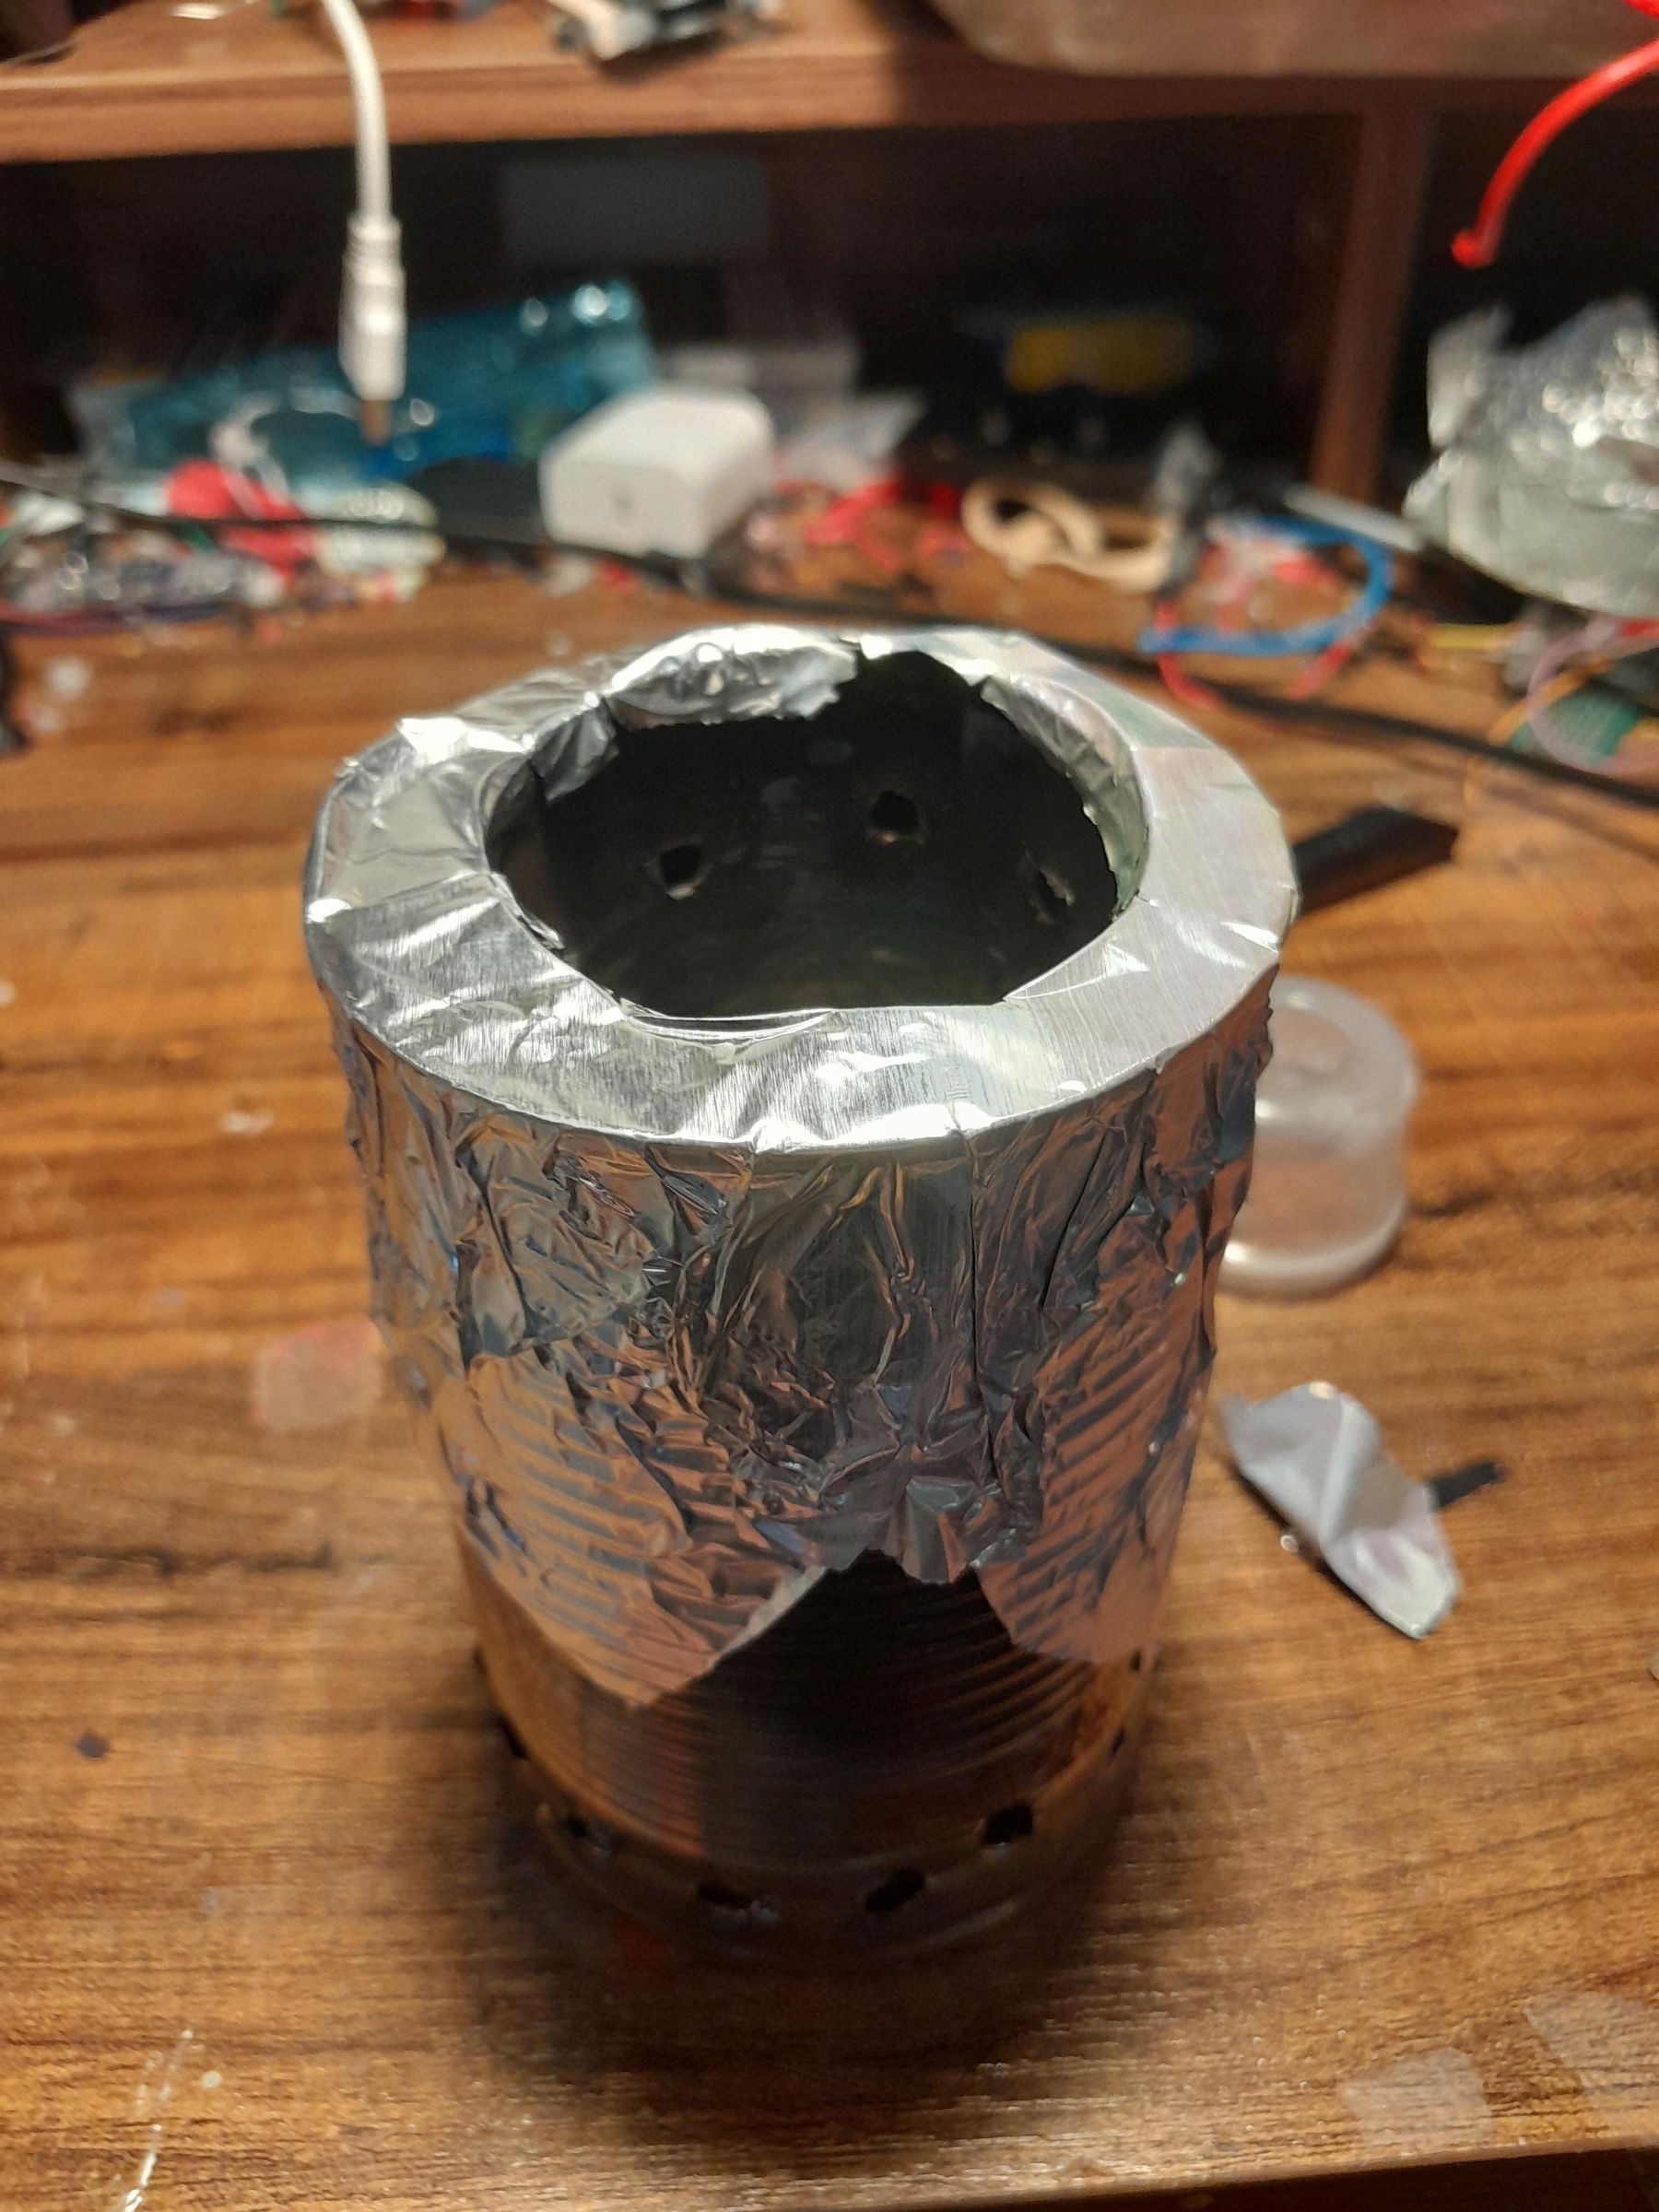
- Place an 8-inch square of foil over the top.
- Bend the sides over the first can so they cover the top half of the assembly.
- Cut 0.8-1 inches of foil out of the middle.
Check: Make sure it's not too much, as you will have to redo this step if you cut too much!
4. Fold the inside edges down so it covers a little bit of the inside of the can, but not past the drilled holes.
5. Smooth the whole thing over to cover any accidental gaps or leaks from the previous step.
Creating the Fuel Sticks & Fueling Micro-Stove
Because a micro-stove has a highly sensitive air-to-fuel ratio, using mixed fuel ensures a consistent, high-heat burn without choking the airflow.
- Cut enough sticks/bamboo skewers to comfortably fill 75% of the inner can. They should be long enough to rest on the bottom and not stick up past the top holes on the inner can.
- Place them inside the inner can, making sure they do not fall down through the bottom ventilation holes.
- Top it off, but DO NOT pack down the remaining space up to the top holes with your chosen tinder.
Light'er Up!
.gif)
- Use matches, a gas lighter, or a propane torch to light the top wood chips.
- Wait for it to catch the sticks.
- Add a small amount more wood chips, and then wait some more
- After about 2 minutes, the flames should spike, and you should hear a rushing noise. This is your biogas being produced, pulled up to the top by convection, and being ignited by the smoulder at the top!
If the top half is black and charred when this happens, than it is baking and you have achieved pyrolysis!
If this doesn't happen, or if it starts smoking or not catching fire, refer to Troubleshooting (Step 8).
The Science Behind the Spectacle
.png)
In this image, we see how our gas is created and then flammably expelled.
- Air is pulled in through the holes in the big can.
- The fire/smoulder going on inside of the small cn draws the oxygenated air in and consumes it, creating heat and fire.
- The heat and fire either
- goes out the top, resulting in a small flame, or
- conducts into the small can, heating it for the baking process.
- The now-hot inner can thermally decomposes the wood into Syngas (Synthesis Gas). This gas is a mixture of Carbon Monoxide (CO), Hydrogen gas (H2), and Methane (CH4). This leaves solid, pure carbon at the bottom of the can.
- As soon as the gas clears the air where the fire is eating up all of the oxygen, it reacts with the air and transforms into eco-friendly, pure carbon dioxide and water vapor, causing a high jet of flame.
This process is entirely eco-friendly and one of the most carbon-efficient ways to burn wood. It even leaves behind purified carbon, which is very good at locking nutrients into the ground.
Troubleshooting
- Smoke & No Vents
- P (Problem): Heavy smoke and zero flame jets.
- S (Solution): Your aluminum foil seal is too loose. Wood gas is escaping out the top instead of mixing with oxygen.
- S (Steps to Fix):
- Pull the inner tomato paste can out.
- Wrap a thicker, tighter rope of Reynolds Wrap around the upper rim.
- Jam it back down into the olive can until it wedges tightly like a cork.
2. Fire Dies After 20 Seconds
- P (Problem): Top starter burns out before the wood fuel catches.
- S (Solution): Fuel is too damp, or the starter layer is too thin.
- S (Steps to Fix):
- Dump the can and ensure the fuel is 100% dry.
- Pack the fuel vertically, leaving a 1/2-inch gap at the top.
- Fill that gap with pencil shavings or dry lint.
- Add 3 drops of rubbing alcohol to create a stronger heat bridge.
3. Weak, Floppy Flames (No Jets)
- P (Problem): Lazy flames flickering on top instead of roaring 6-inch jets.
- S (Solution): The intake holes at the bottom of the outer olive can are too small.
- S (Steps to Fix):
- Take the stove apart.
- Use your hammer and nail to enlarge the 16 holes around the bottom base of the olive can.
- Reassemble, seal the rim tightly, and relight!
Go Build It!
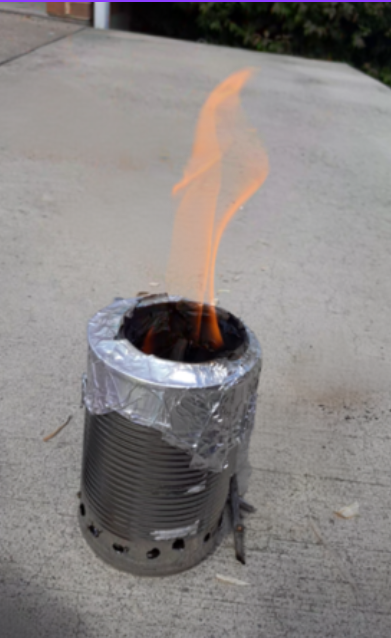
That is all it takes to turn two everyday metal cans into a high-performance, pocket-sized survival utility. Building this micro-gasifier proves that you don't need expensive solar grids or fossil fuels to generate clean, high-efficiency thermal energy—just basic physics, smart geometry, and scrap materials.
Drop a comment below with your burn times, post photos of your flame jets, and let me know if you used bamboo or yard scraps for your build.
Happy making!