Pop Up Box Card
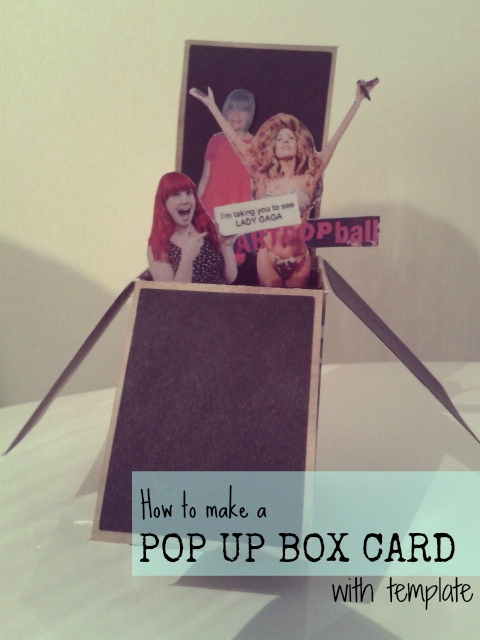
I waited for months to tell my mum what I'd bought her for her birthday - now that's a lot of time to think about how you are going to tell the person and what better way to let someone know you are taking them to see LADY GAGA than to make a pop up box card!!!!
WHAT YOU WILL NEED:
- 2 different types of coloured card
- Strong glue (I used a hot glue gun for speed)
- Die cutting machine (unless you want to cut by hand)
- Pop up box card template - I've attached the image file
Step 1: Cut Your Card
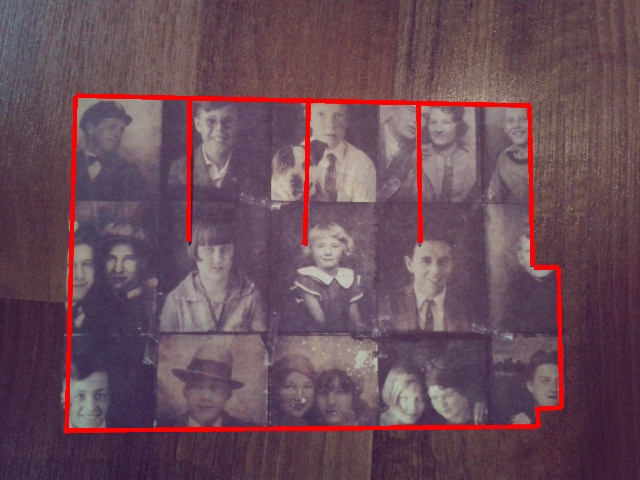
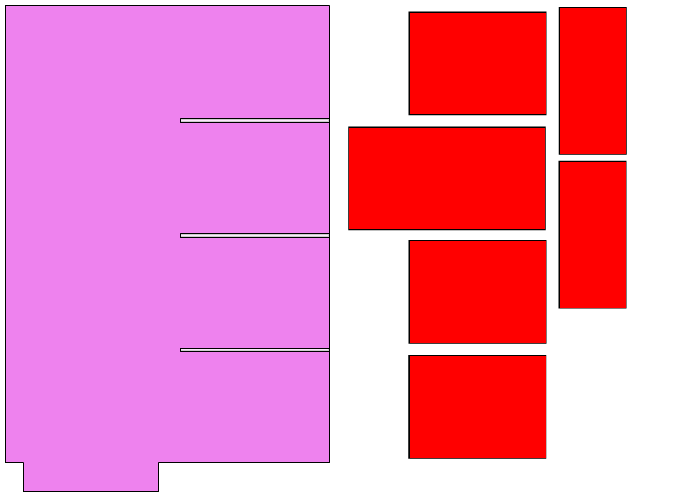
If you don't have a Die Cutter then this is the shape you need out - go back to the intro for the files
Fold
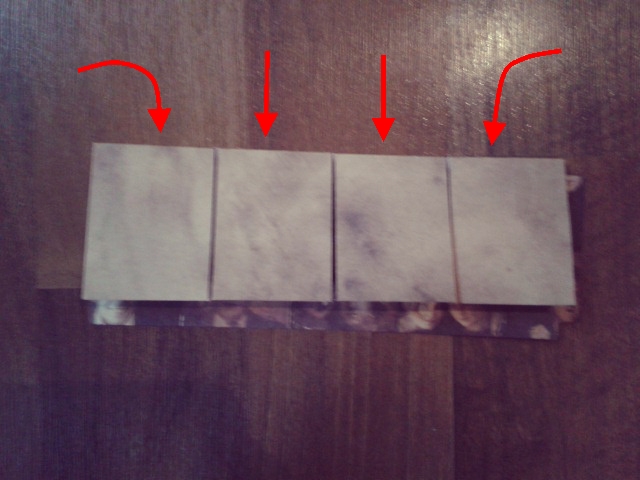
Fold the top flaps out the way
Crease
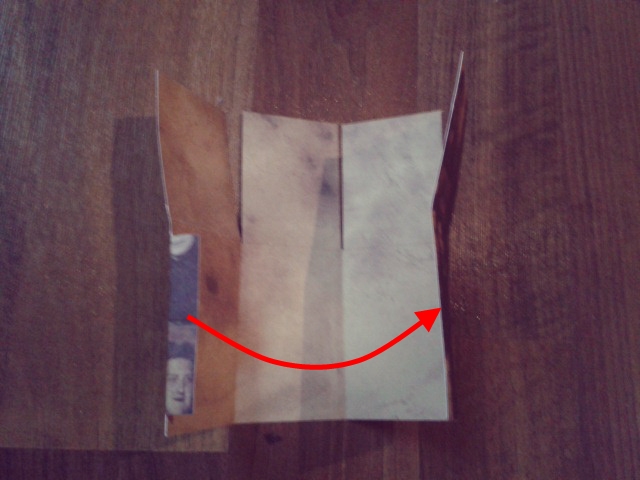
Crease lines down the bottom half of the card so you create a box shape, also folding over the small flap on the edge
Add an Extra Colour
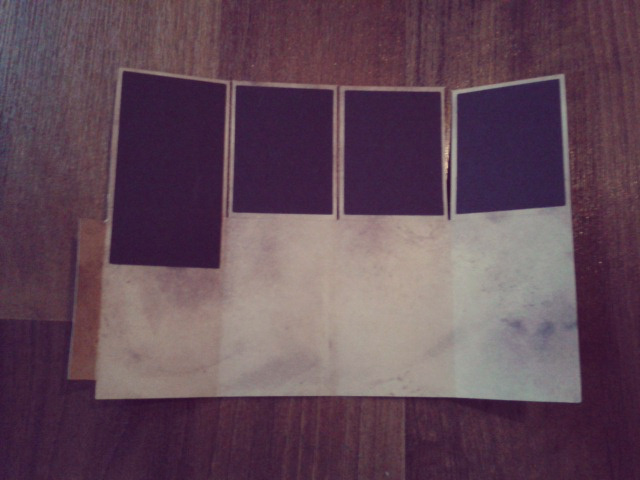
Glue on your 4 largest rectangles - putting the largest of the 4 next to the edge with the flap
Add a Message
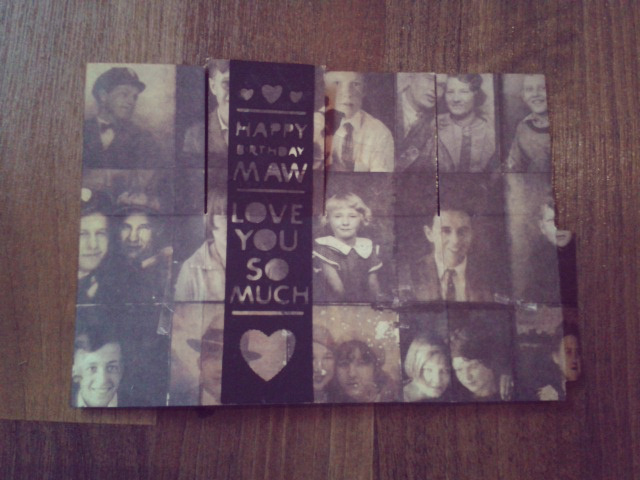
Flip over the card and on the third section away from the flat - glue your birthday message, or any other message you want on the front of your card.
Glue Box
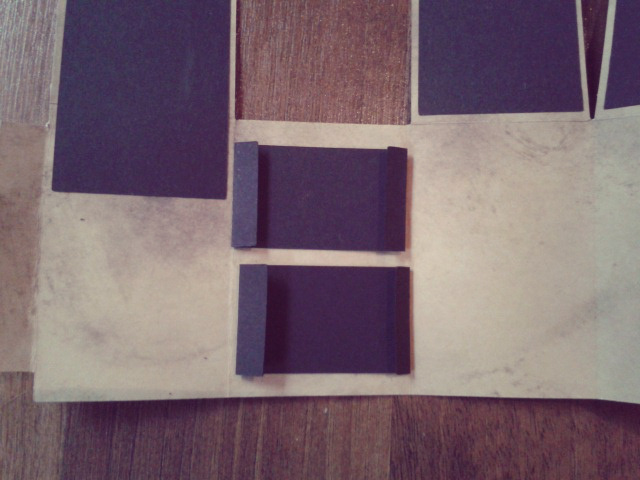
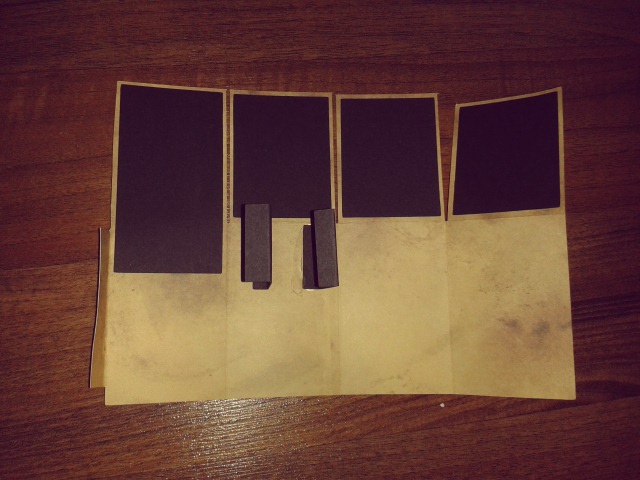
Take the two smallest rectangles and fold both ends over so that it fits inside one of the four sections of the card
Glue down one of the folded sides of both rectangles on the second section away from the flap - giving a bit of room at the front and back of the section
Then place glue on the other sides of the folder rectangles and the flap and stick them all down so that the flap joins the card together in a square shape and the middle rectangles form 3 sections inside the box card.
Add Your Pop Up Pieces
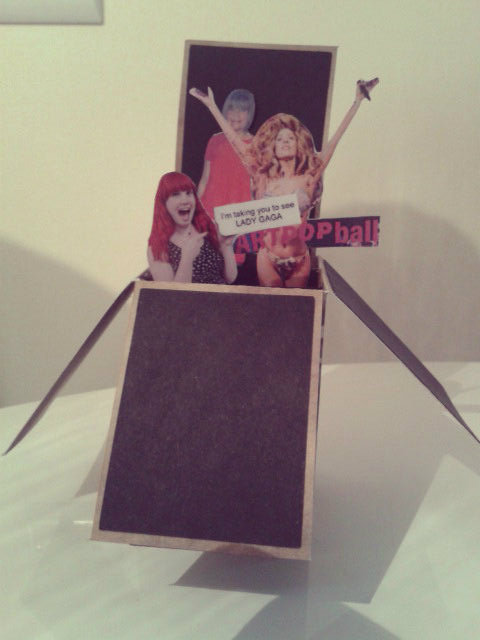
Take the pieces you want popping out of your card and glue them to the folded rectangle sections you made inside your card - this gives the box depth.
NOTE: Make sure that out of all your large background rectangles, the largest of the 4 is at the back of your card, as this keeps this side of the card up whilst the others fall down.
Close Your Card
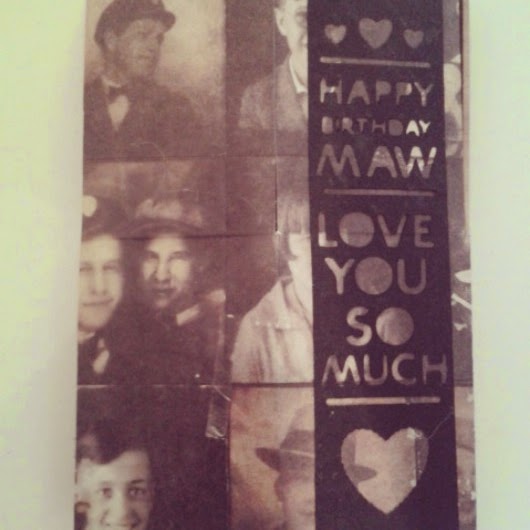
Close your card up and wait to see the surprised look on the recipients face!!! To do this you just new to put up all the flaps and then push it down to the side so that the box is folded in half along the creases you have already made