Portable Cooling Mister & Bonus Stationary Pet Version (2 Different Options)
by Oh well why not in Outside > Water
732 Views, 5 Favorites, 0 Comments
Portable Cooling Mister & Bonus Stationary Pet Version (2 Different Options)
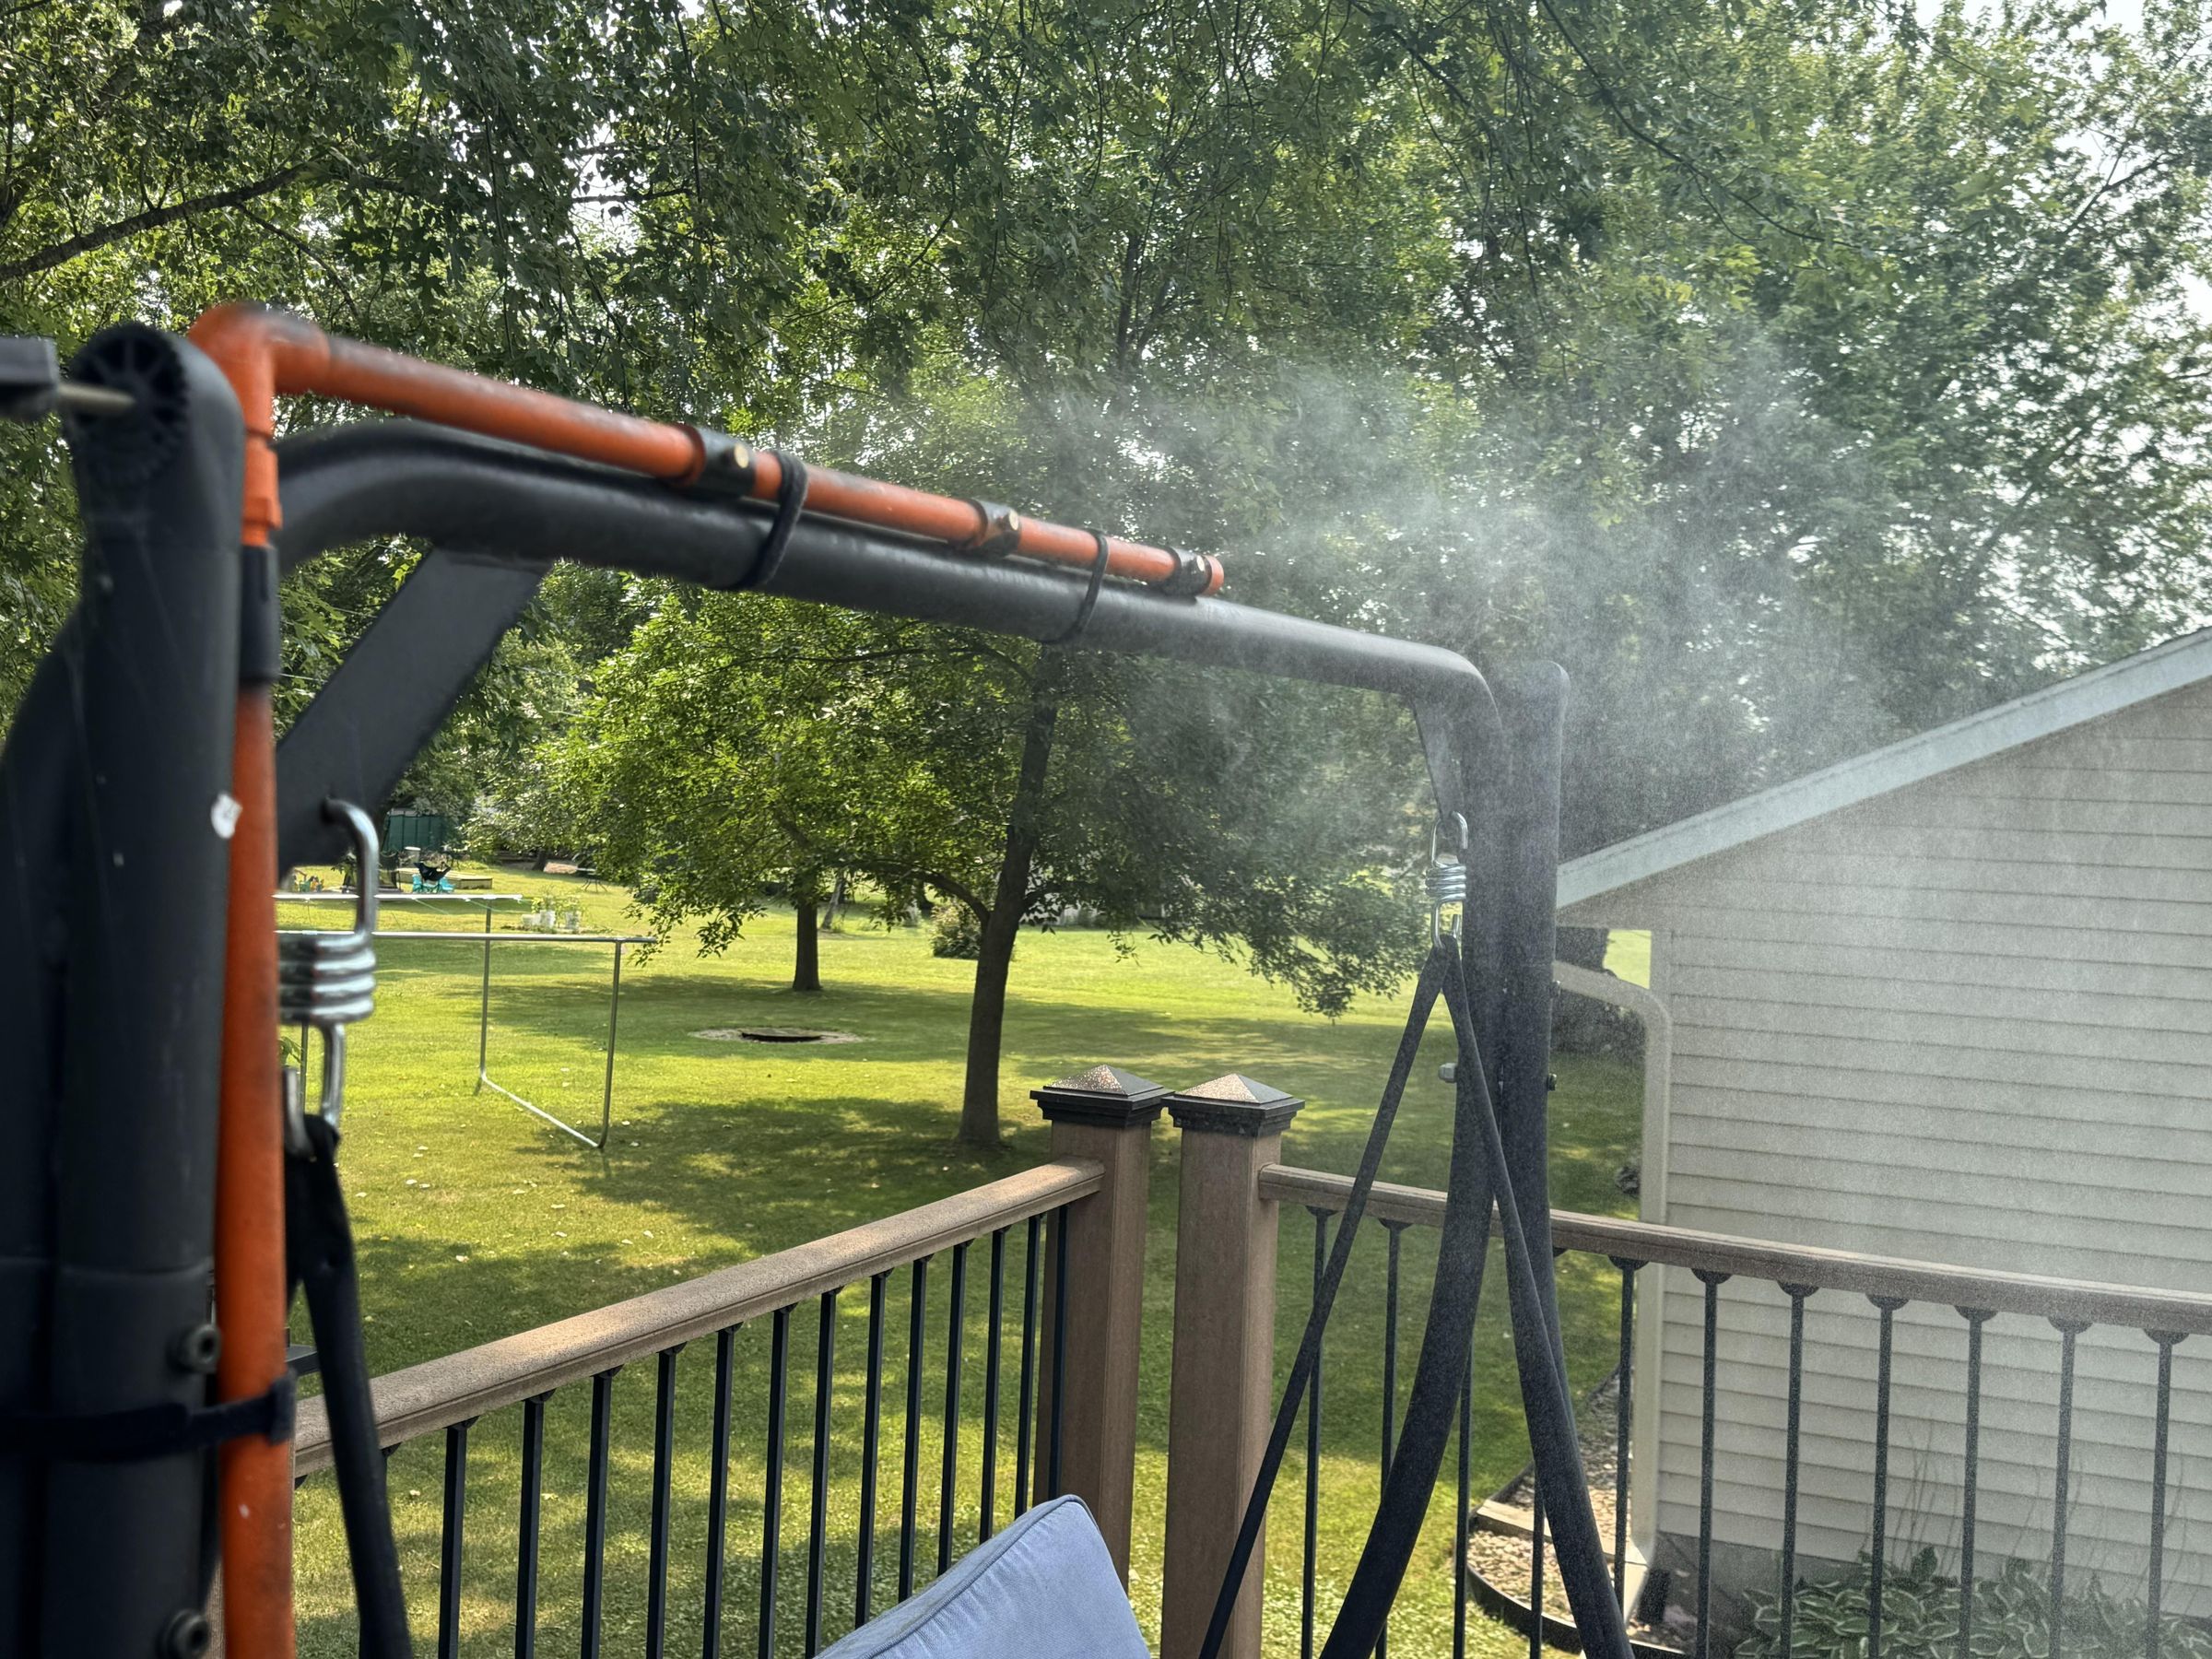
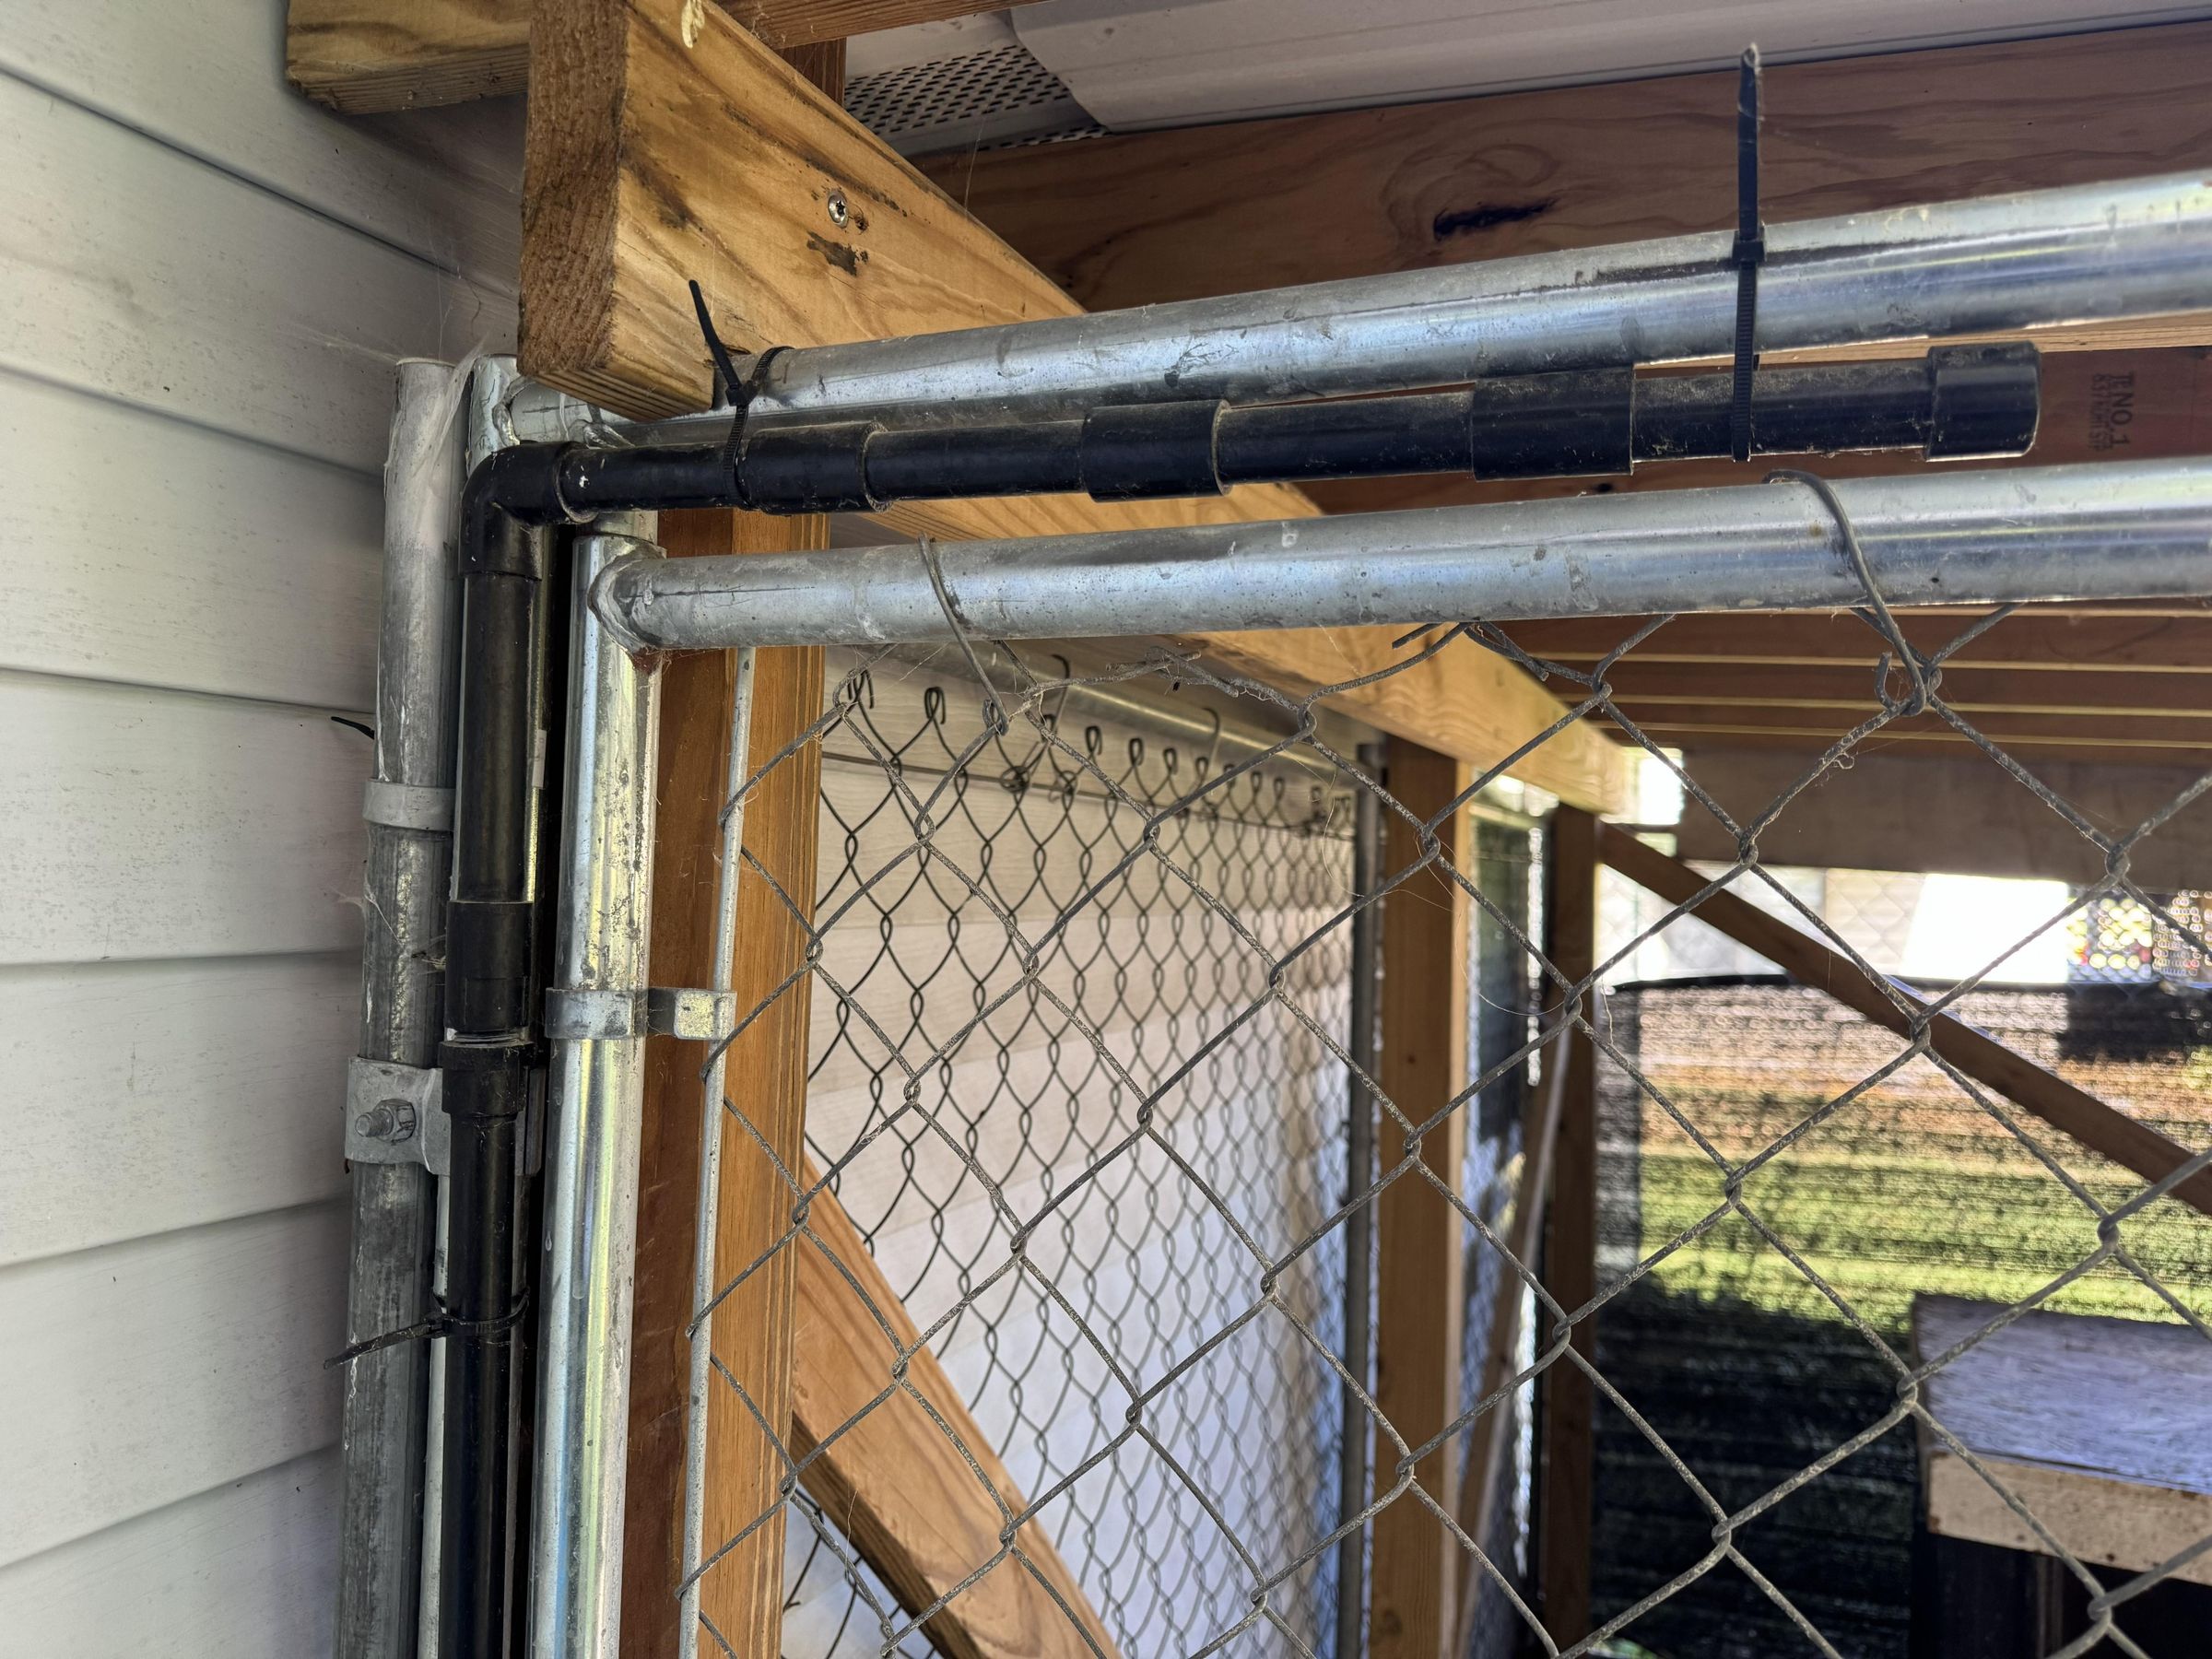
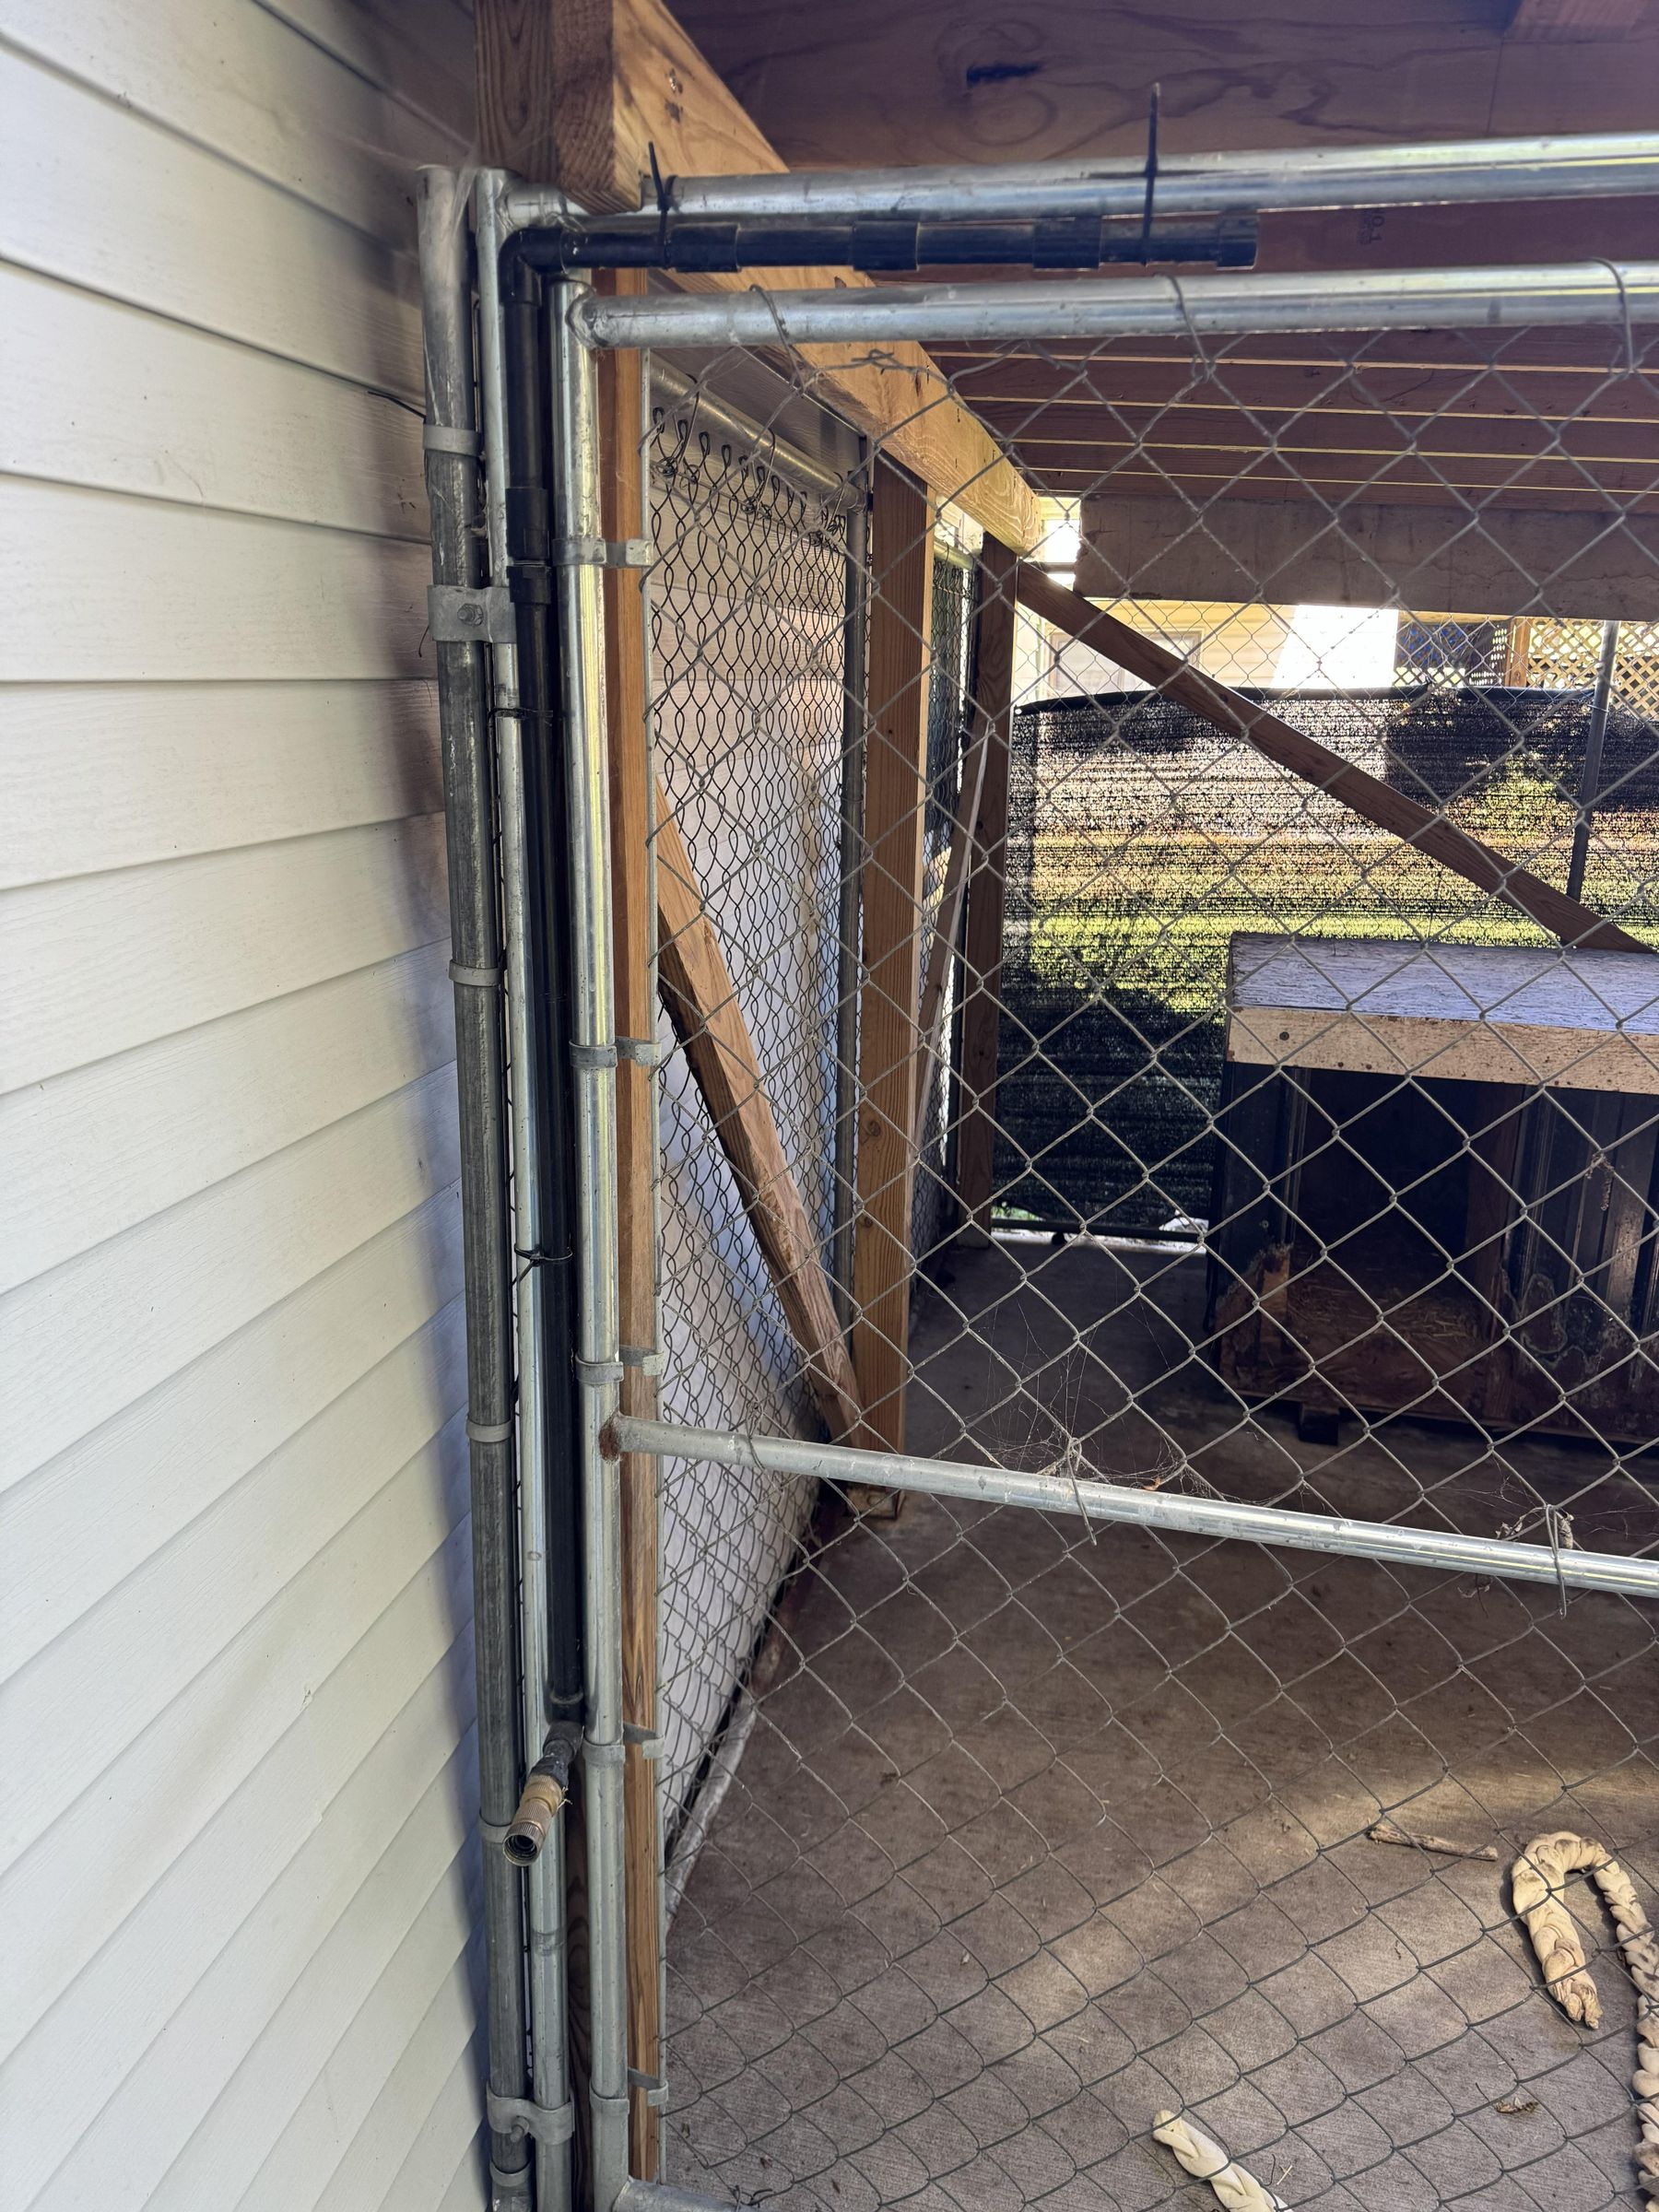
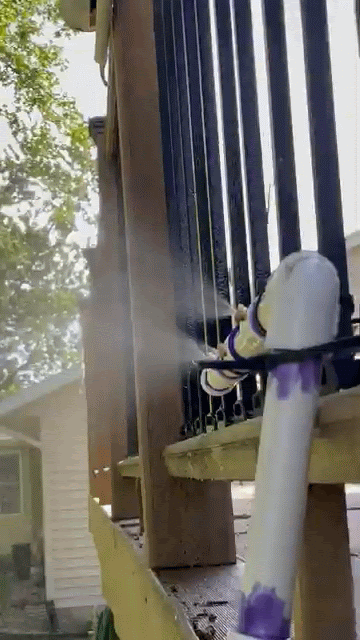
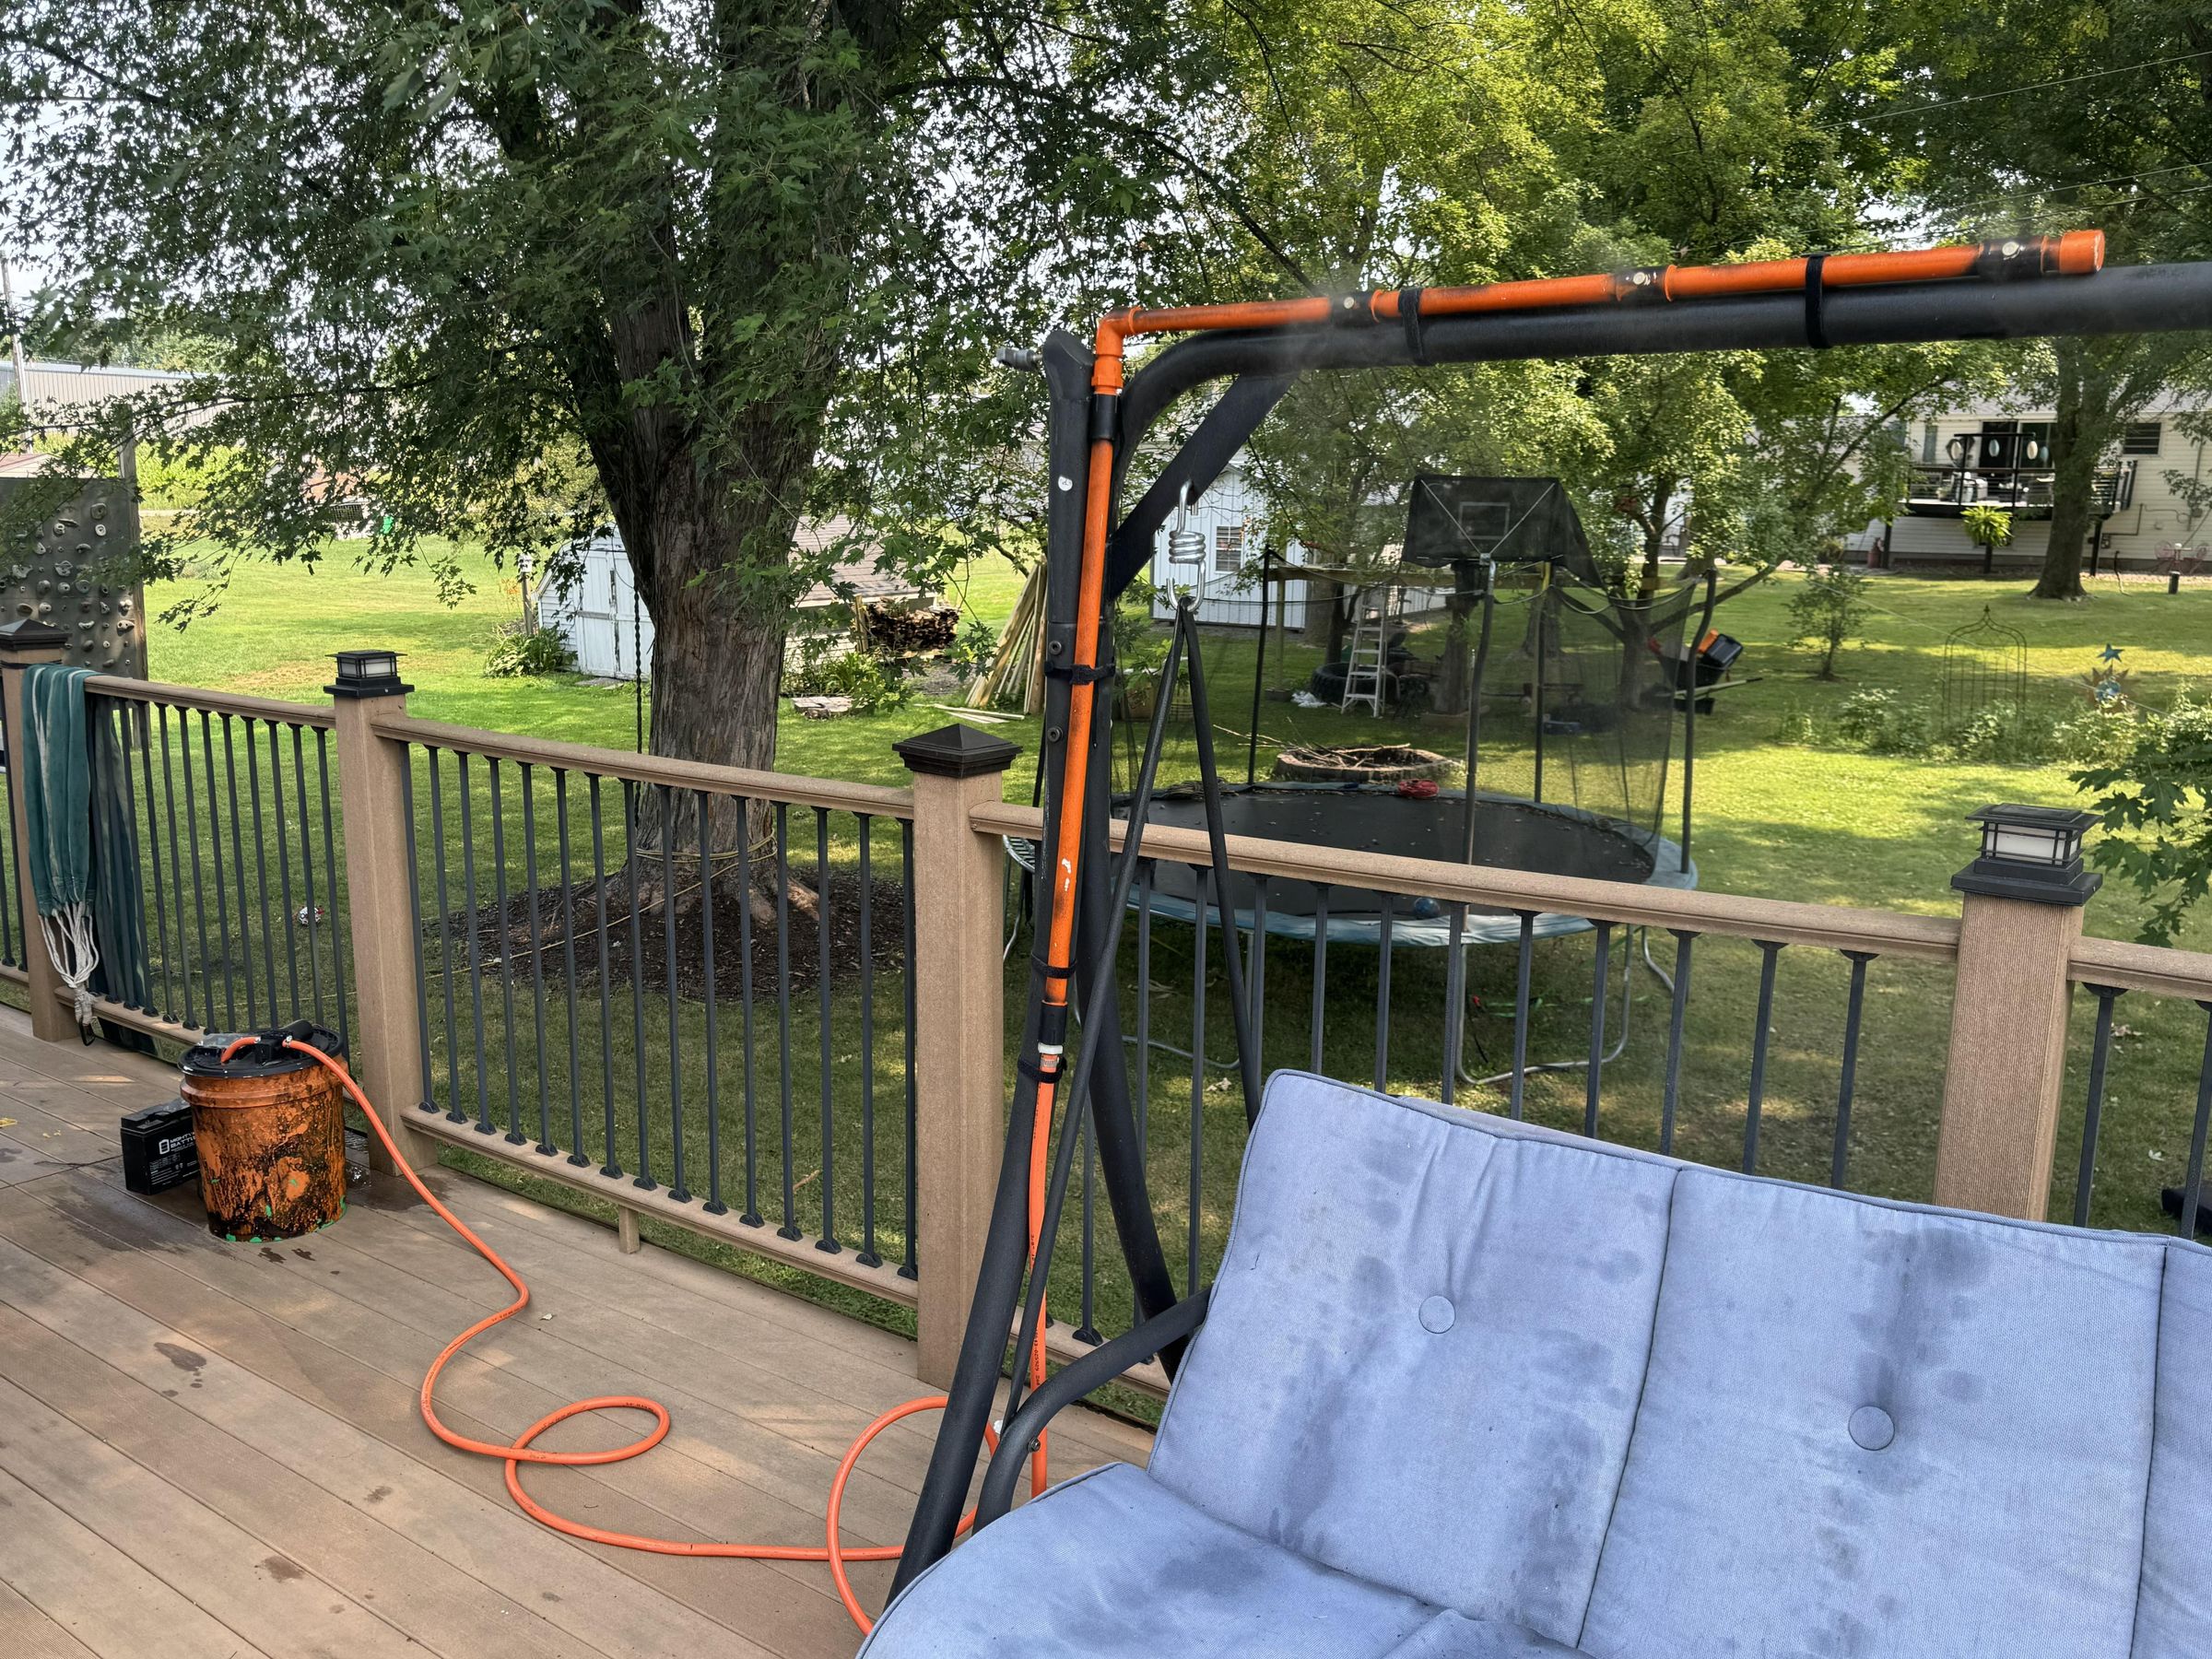
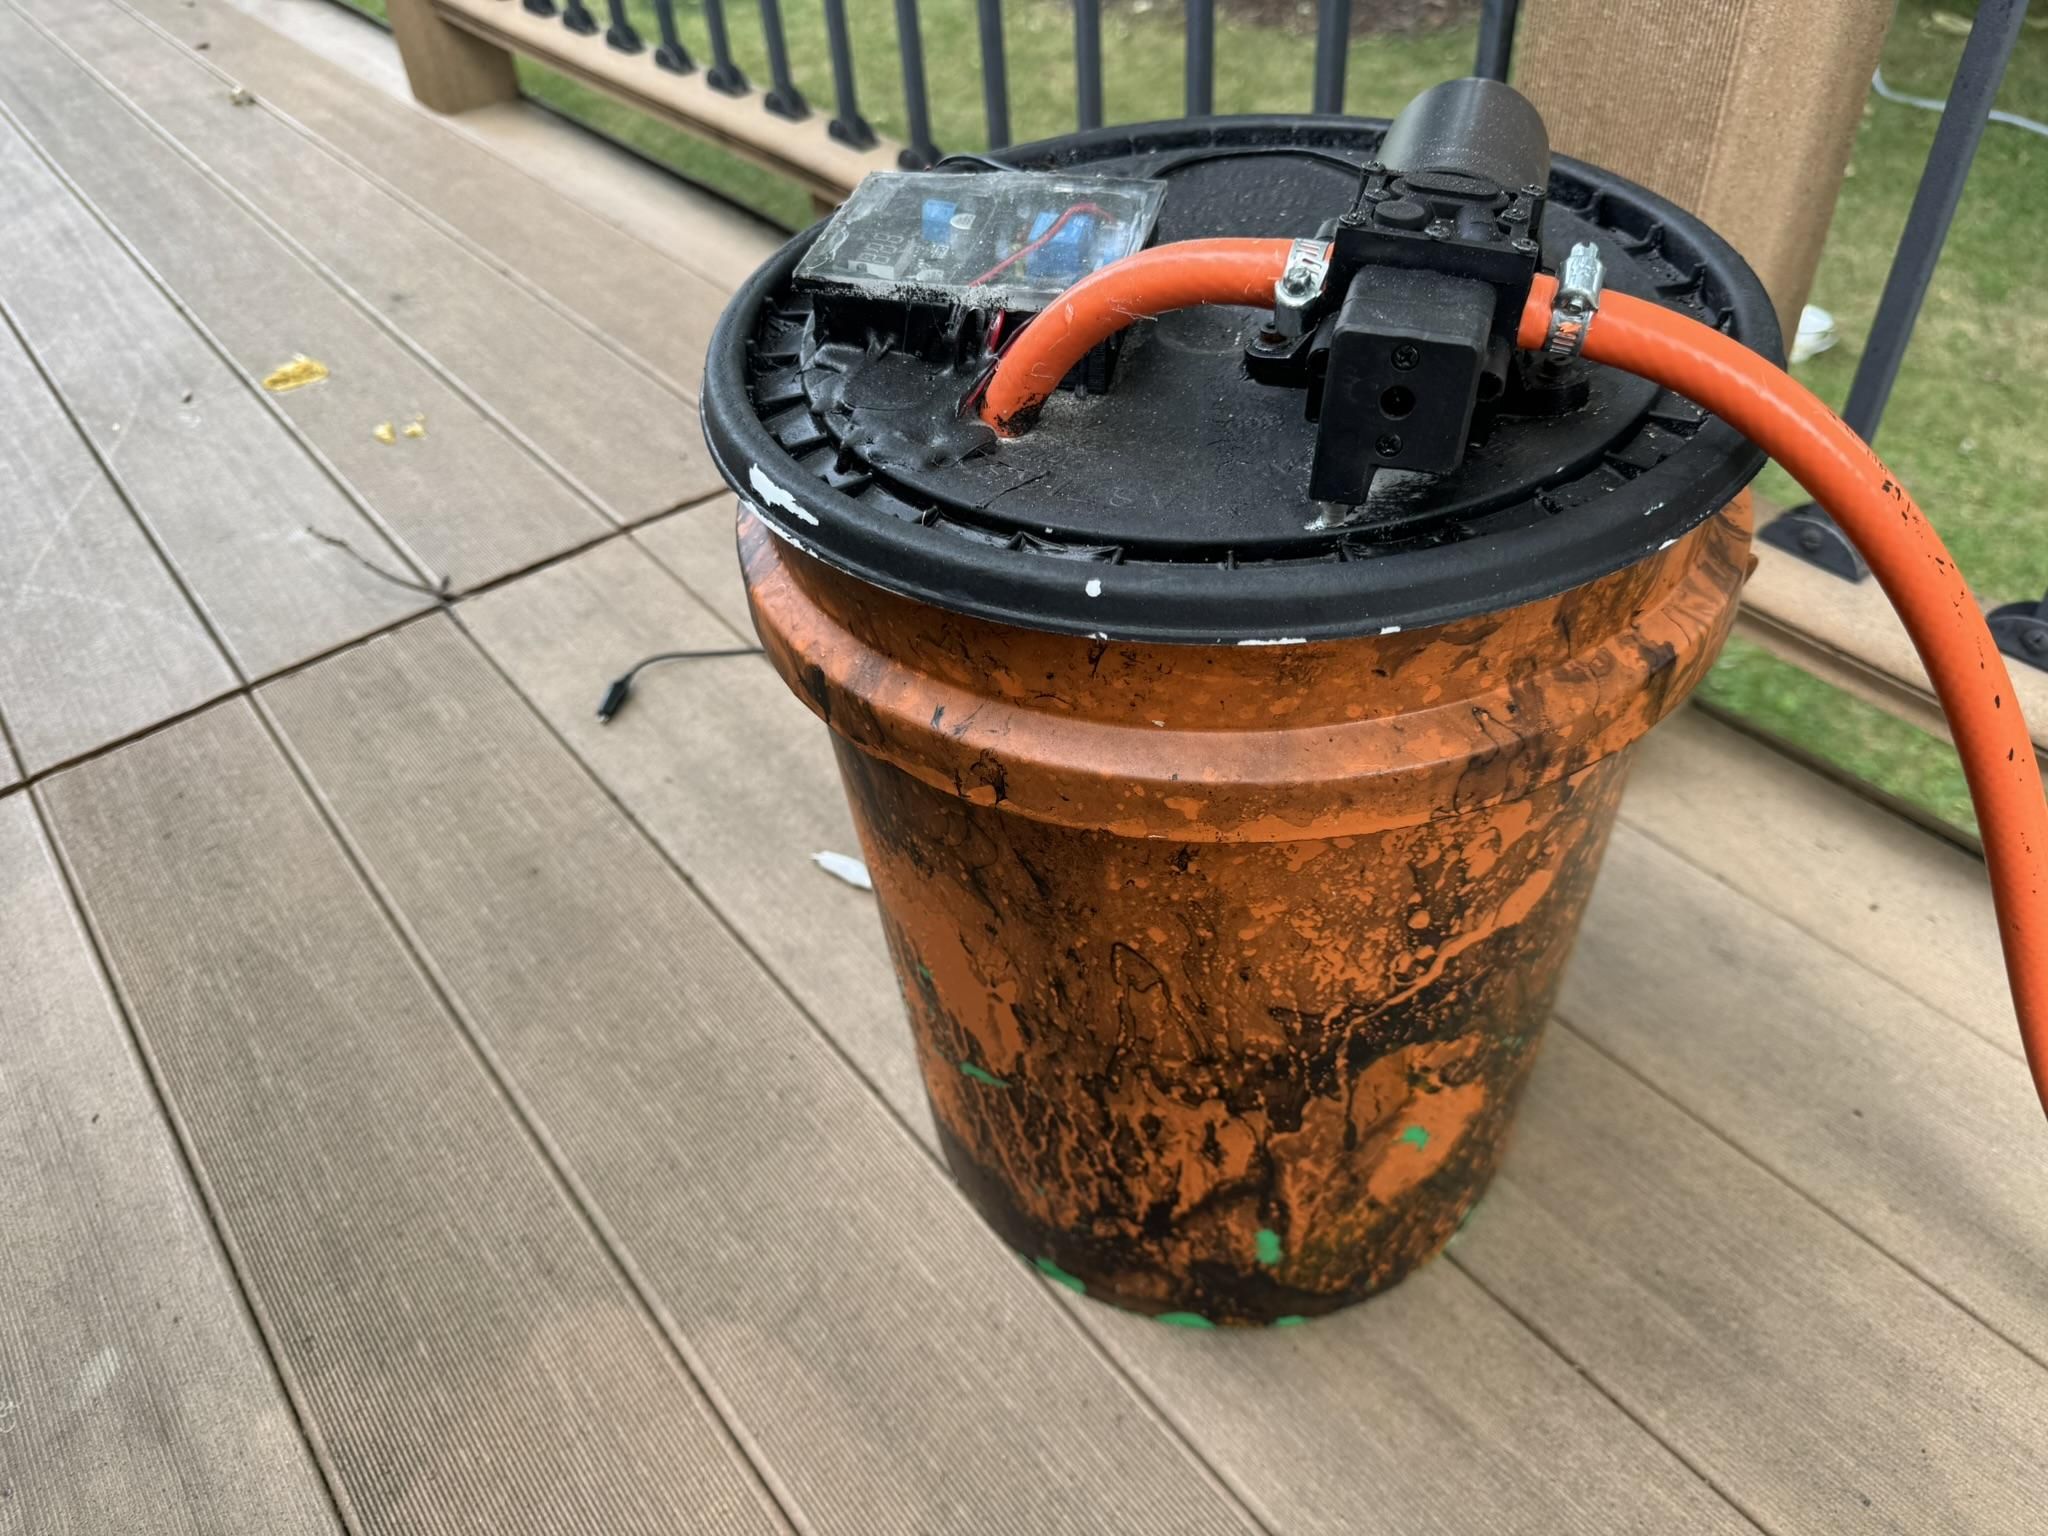
One simple PVC misting bar, with a stationary hose-fed setup for the dog kennel or a portable battery-powered version for people that can go anywhere.
Hey friends—
Want to be the hero of your next outdoor gathering? Or give an outdoor dog a cooler place to hang out on hot summer days? I got you.
This is one of those projects that may look intimidating, but if you can cut and glue PVC together, drill a few holes, screw some brass nozzles into said holes, then you can absolutely do this. I built two versions around the same basic misting bar: one stationary unit that hooks to a garden hose and permanently attached to our dog kennel, and a portable battery powered unit that can go anywhere for cooling people.
The kennel version has been working the past four summers without issue. The portable one has been zip-tied to pop-up tents and deck railings, and it has earned a permanent invitation to family gatherings.
Fair warning: on a hot day, people will congregate around it. Conversations with Uncle Dan at the family reunion may be an unavoidable side effect.
What I built
Version: Stationary
Water source: Garden hose
Best use: Outdoor dog kennel, deck/patio or another spot close(-ish) to a spigot. It doesn’t have to be for animals, but this version stays put.
Version: Portable
Water source: Five-gallon bucket, 12 V pump, and battery
Best use: Pop-up tents, family gatherings, patios, and anywhere without a nearby hose connection
How the cooling works
You know those cooling misters at theme parks? You know that arctic blast when you step out of the shower and moving air hits your wet skin? Both are examples of evaporative cooling.
I’m no rocket-surgeon, so here is the short uneducated explanation: Breaking water into tiny droplets creates a lot of surface area. Tiny droplets evaporate easier than larger quantities of water... lots easier. As those droplets evaporate, the phase change uses/absorbs heat from the surrounding air, the remaining water, and anything nearby. The ambient air feels cooler.
In general, using these evaporative coolers doesn’t get you wet at all, although that isn’t a challenge. If you put your face 2 inches from the spray nozzles, the mist won’t have enough time/space to evaporate. Humidity, wind, nozzle size, pressure, and distance all matter. This works best in hot, dry weather. On muggy days the droplets evaporate more slowly, so expect less cooling and more wet stuff.
On hot days, these things are an absolute game-changer.
Supplies
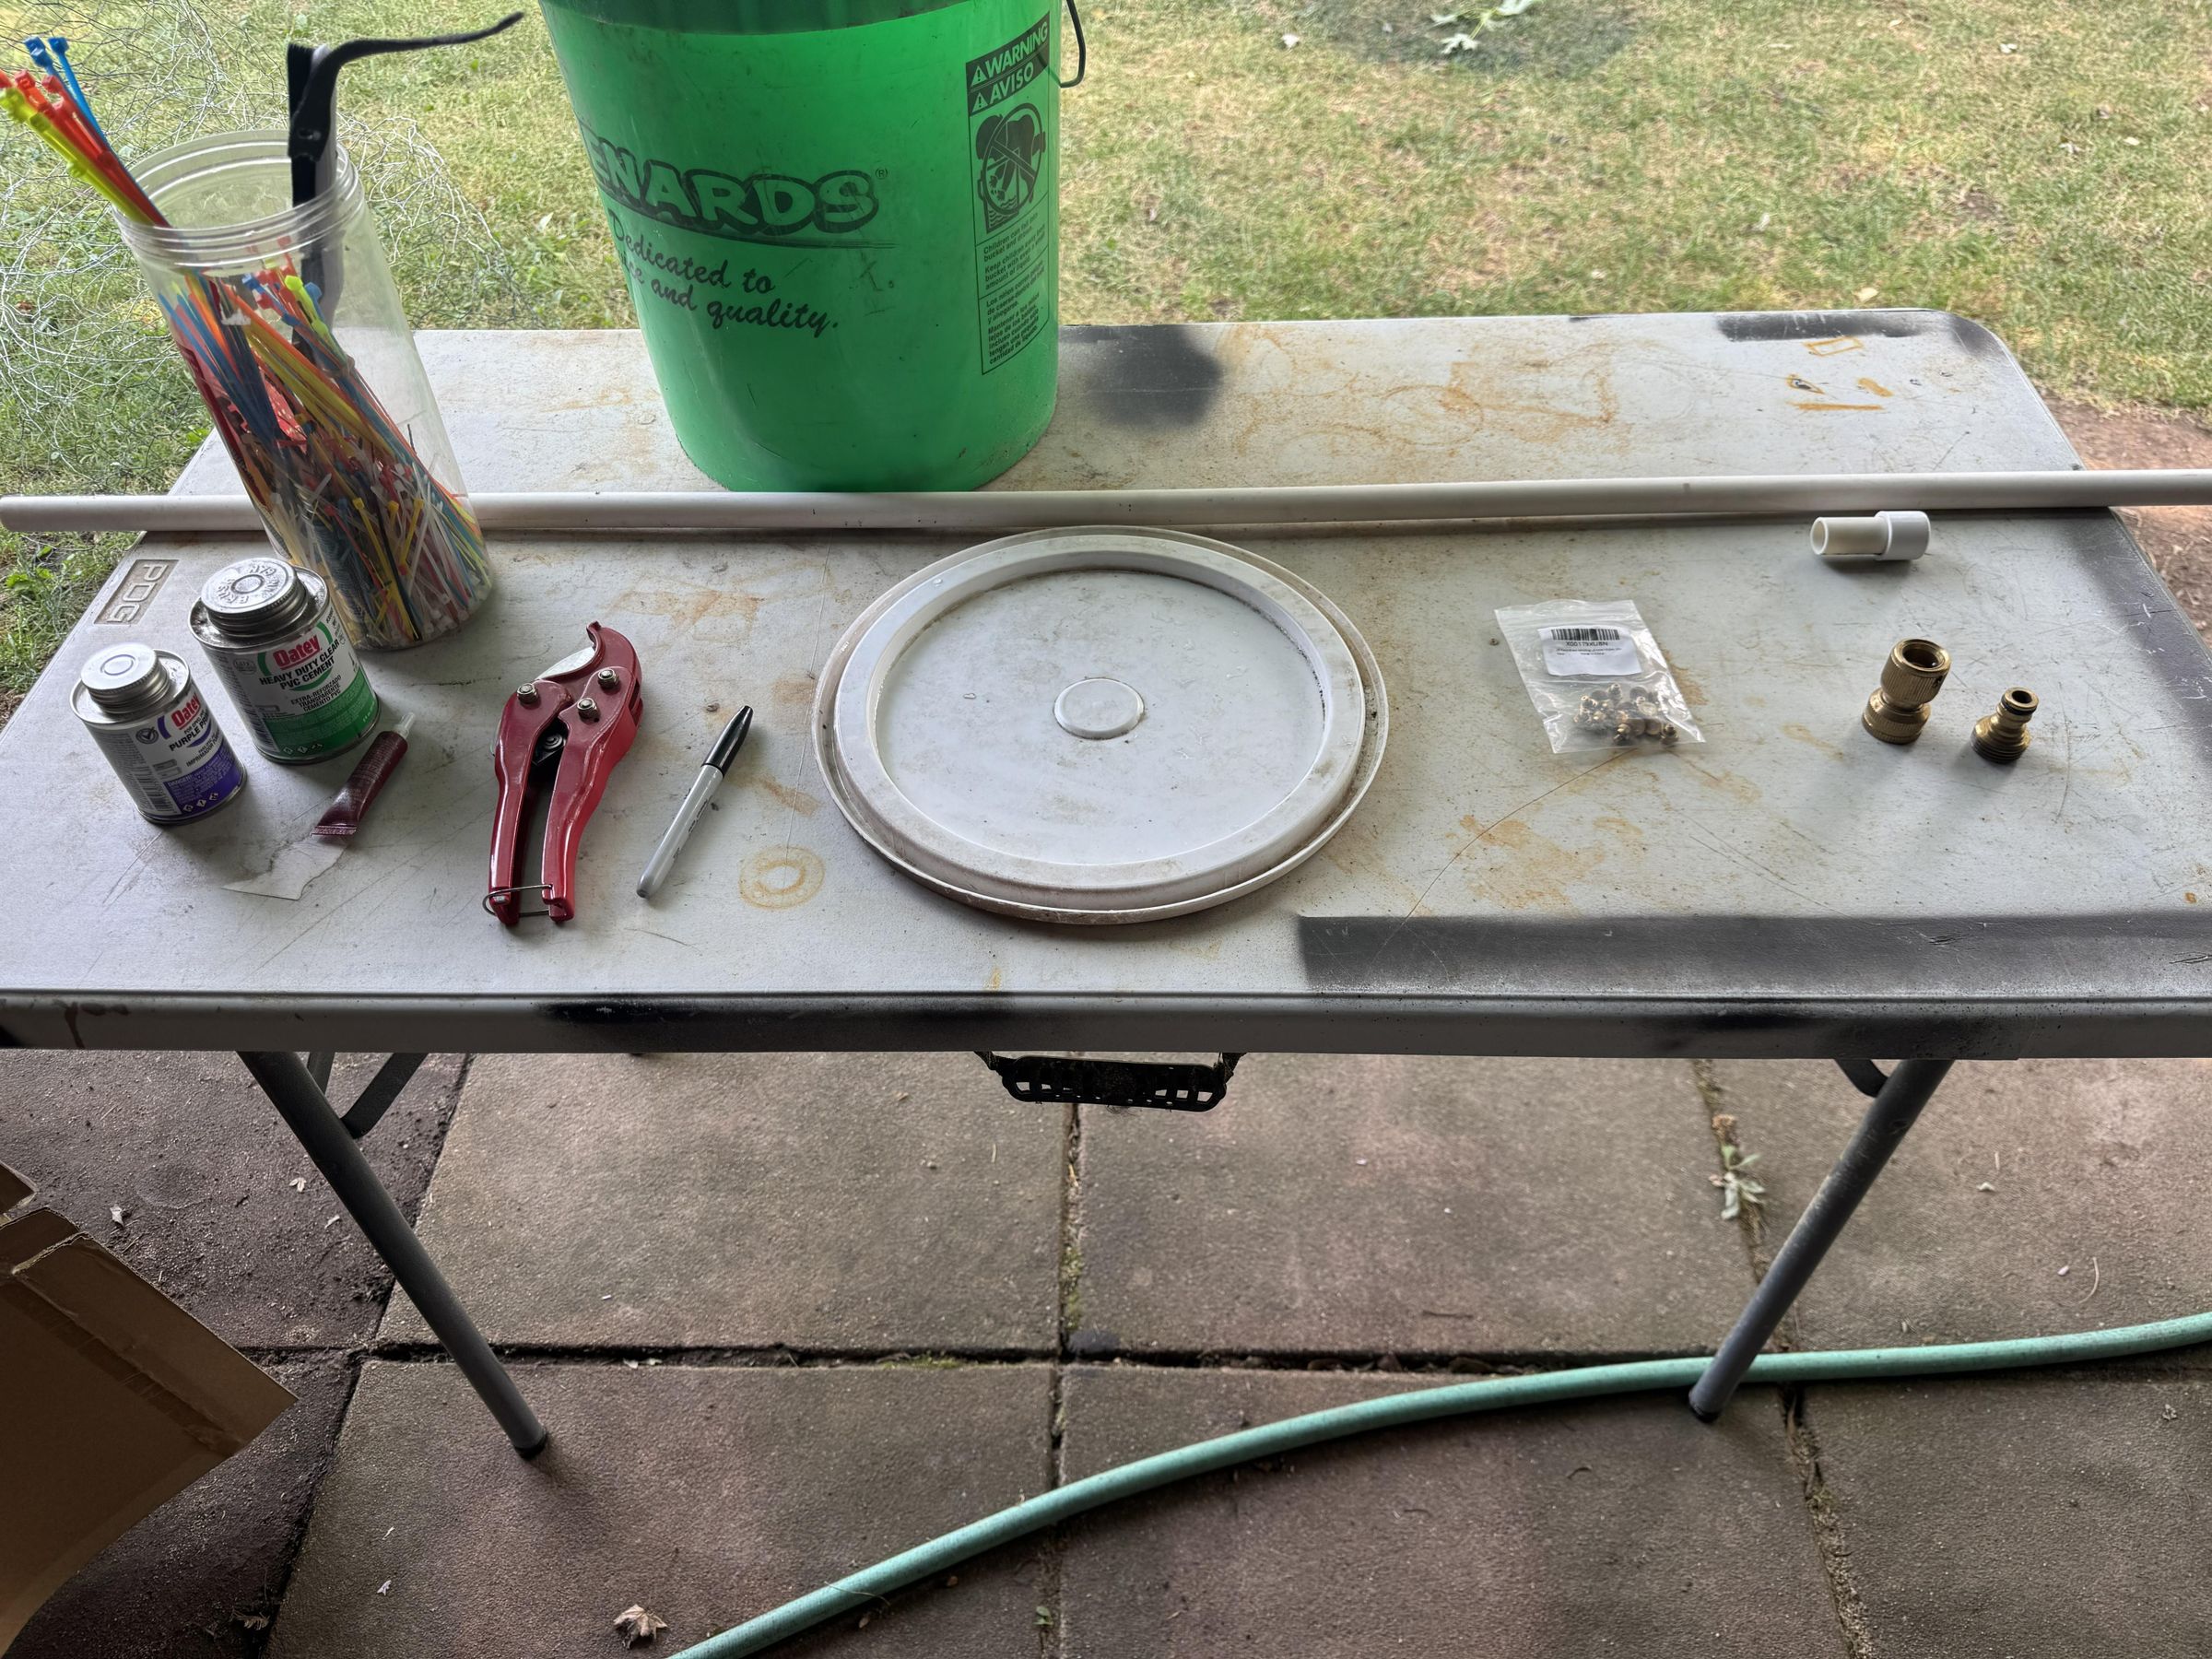
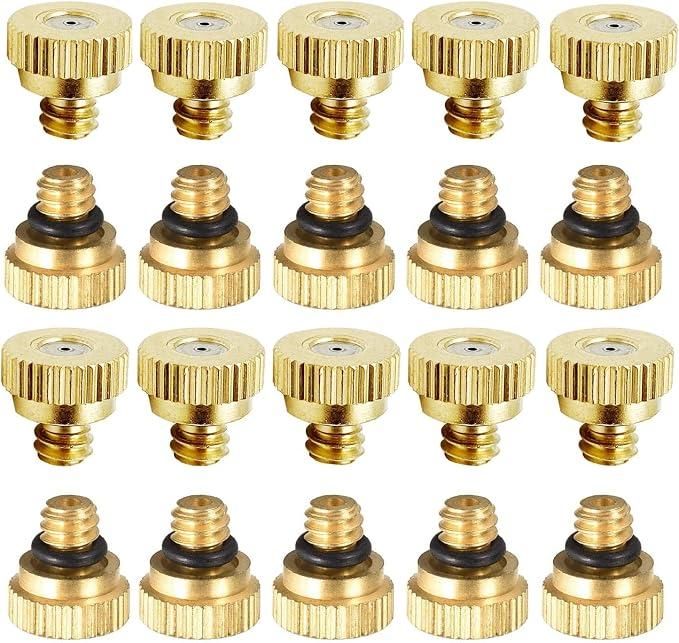
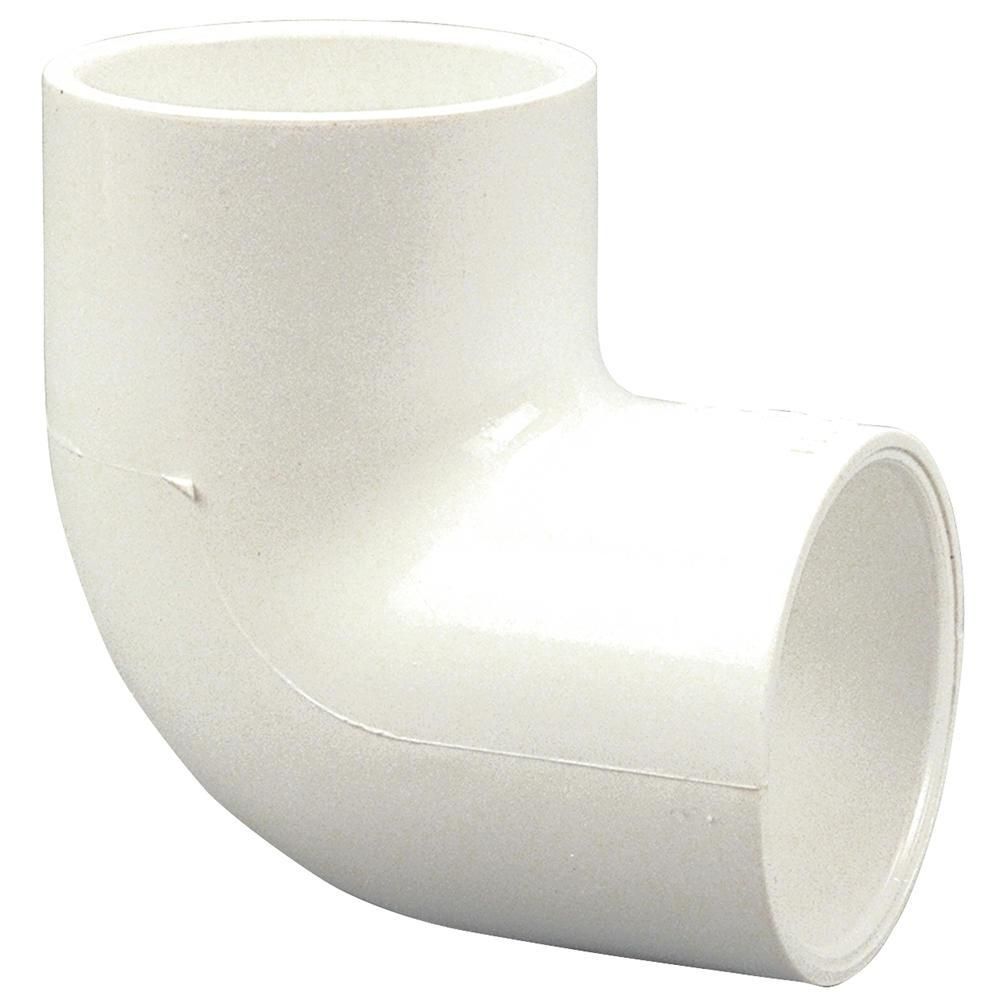
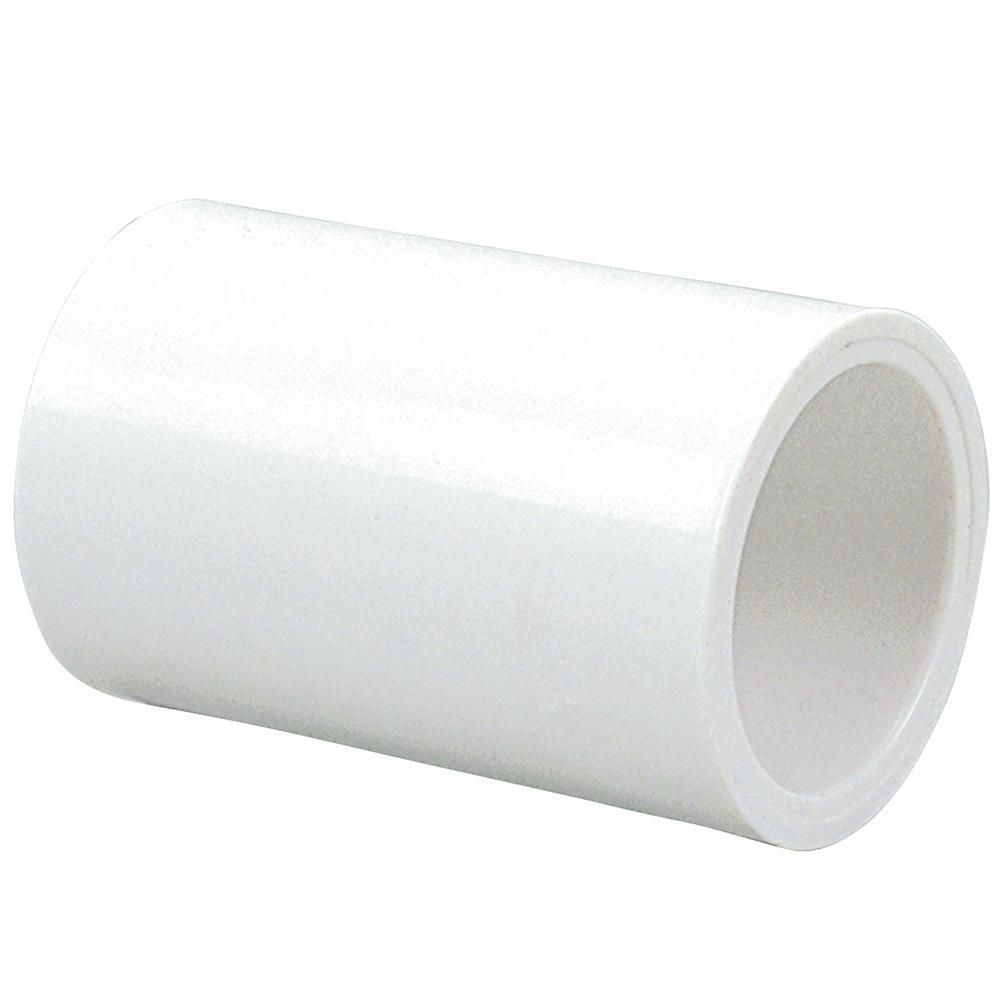
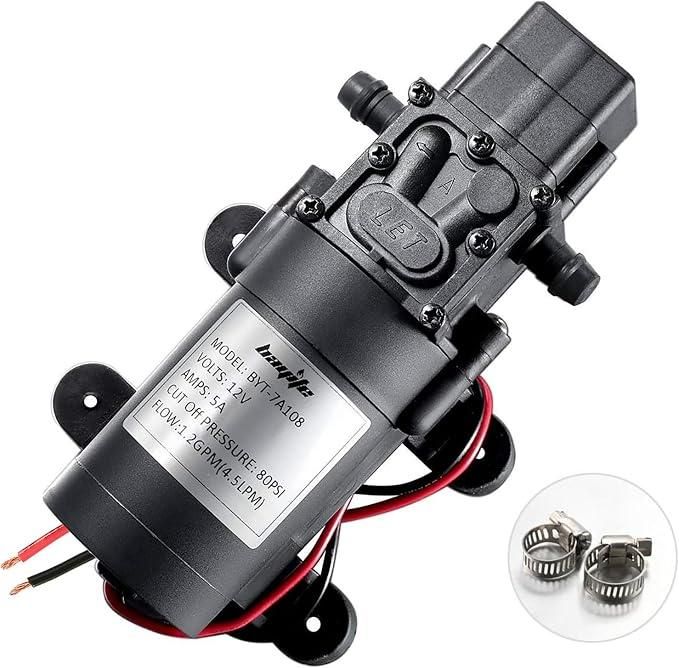
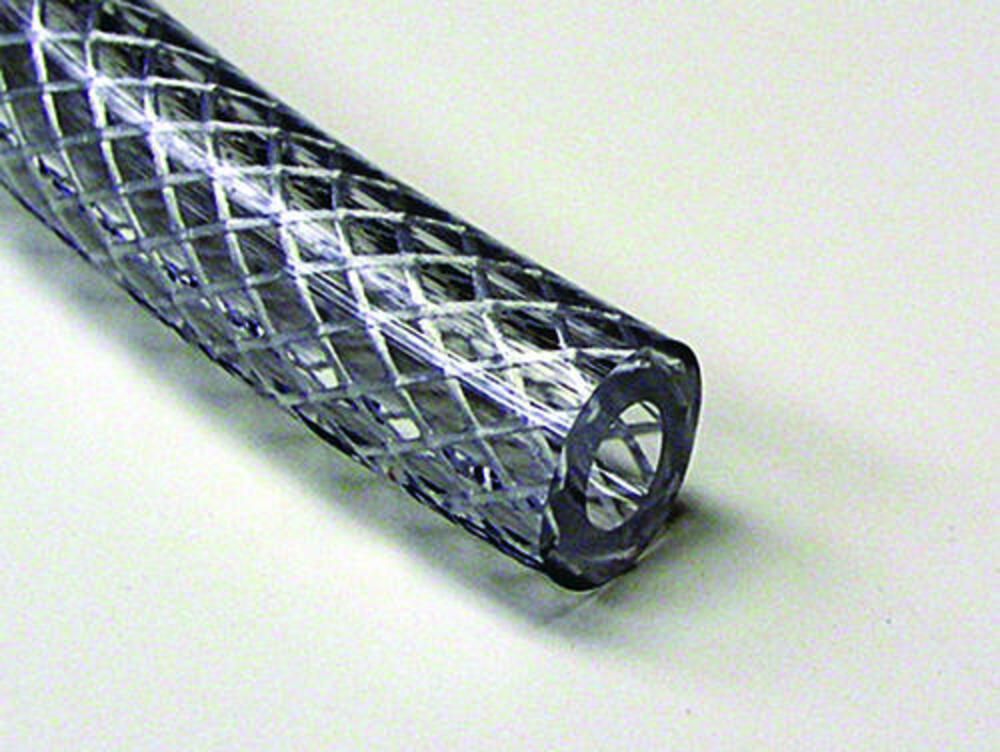
Shared misting-bar parts – Parts list for making 1 unit. (Double if making both versions)
- About 5 feet of 1/2-inch pressure-rated PVC pipe (the exact amount depends on your layout)
- Three brass misting nozzles with a 0.012-inch / 0.3 mm orifice and 10-24 UNC threads (I suggest getting a 20 pack from Amazon for $10)
- Three 1/2-inch PVC slip couplings / unthreaded female to female adapters
- One 1/2-inch PVC end cap
- One or two 1/2-inch 90-degree elbows (again, depending on your layout)
- PVC primer and solvent cement
- Loctite or similar thread sealant
- Zip ties or other mounting hardware
Tools
- Tape measure and marker
- PVC cutter or fine-tooth saw
- Drill and 5/32-inch bit (a #25 bit is the standard tap-drill size for 10-24 threads)
- 10-24 UNC tap and tap handle
- Vise or clamps
- Safety glasses and gloves
For the stationary version
- Enough garden hose to reach between your spigot/faucet and the soon-to-be-cool location
- Garden-hose quick-connect (not necessary but nice if you’re going to use this hose for anything else)
- 3/4" MGH x 1/2" Female Socket PVC Adapter(1/2in female PVC to garden hose adapter)
For the portable version
- 12-volt self-priming diaphragm pump (mine is rated 4.5 L/min (1.2 GPM) and 80 PSI)
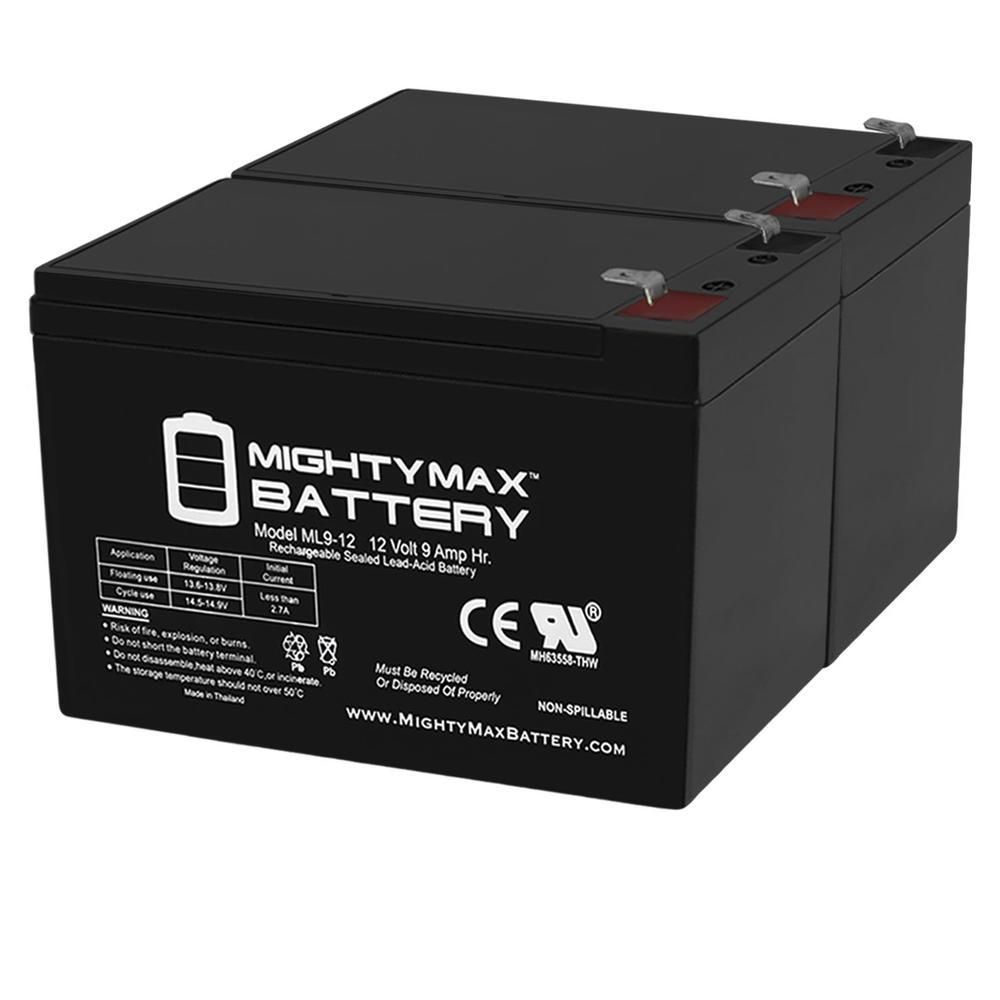
- 12-volt battery (a small lawn-tractor battery works for my setup)
- Inline fuse and fuse holder sized according to the pump manufacturer's instructions (Because the safety people are always watching)
- Weather-resistant battery box with covered terminals
- Five-gallon bucket and lid
- 3/8-inch pressure-rated tubing (My pump has 3/8in hose barbs. If you get a different pump, get appropriate size tubing)
- Hose clamps
- About 15 feet of pressure-rated hose between the pump and the misting bar (15 feet is a lot, but it allows me to put the main body very far away from the mist. You don’t have to use 15 feet, but more than that is probably excessive)
Optional upgrades
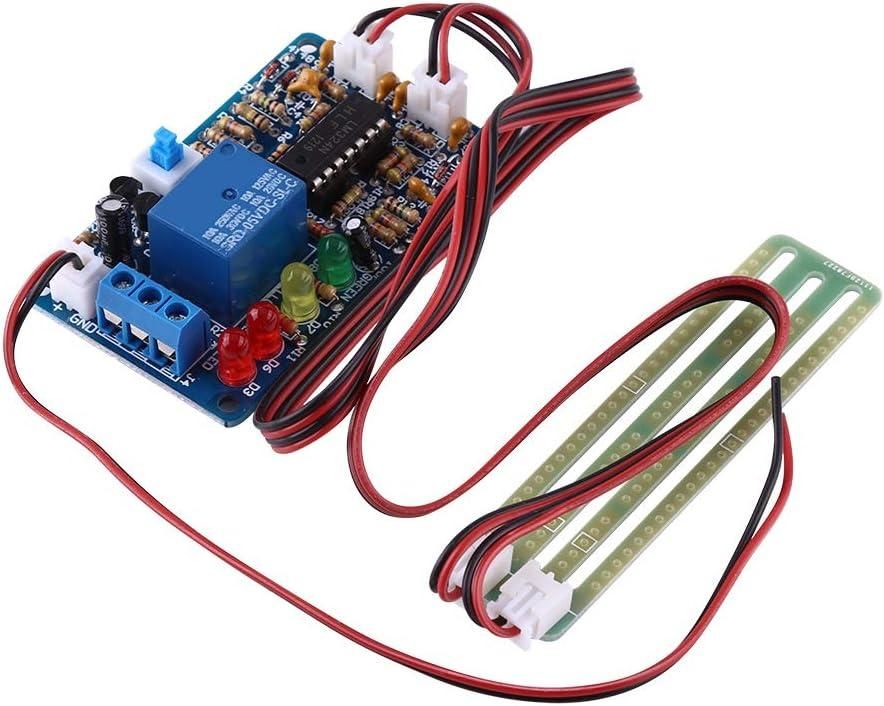
- Low-water cutoff or liquid-level controller rated for the pump load, or wired through the correct relay
- A “dirt guard” or “grit guard” for your 5 gallon pail
- Five-gallon water jug for refilling
- Waterproof switch and connectors
- Small lawn mower fuel filter
Pick a Location That Isn’t in the Way
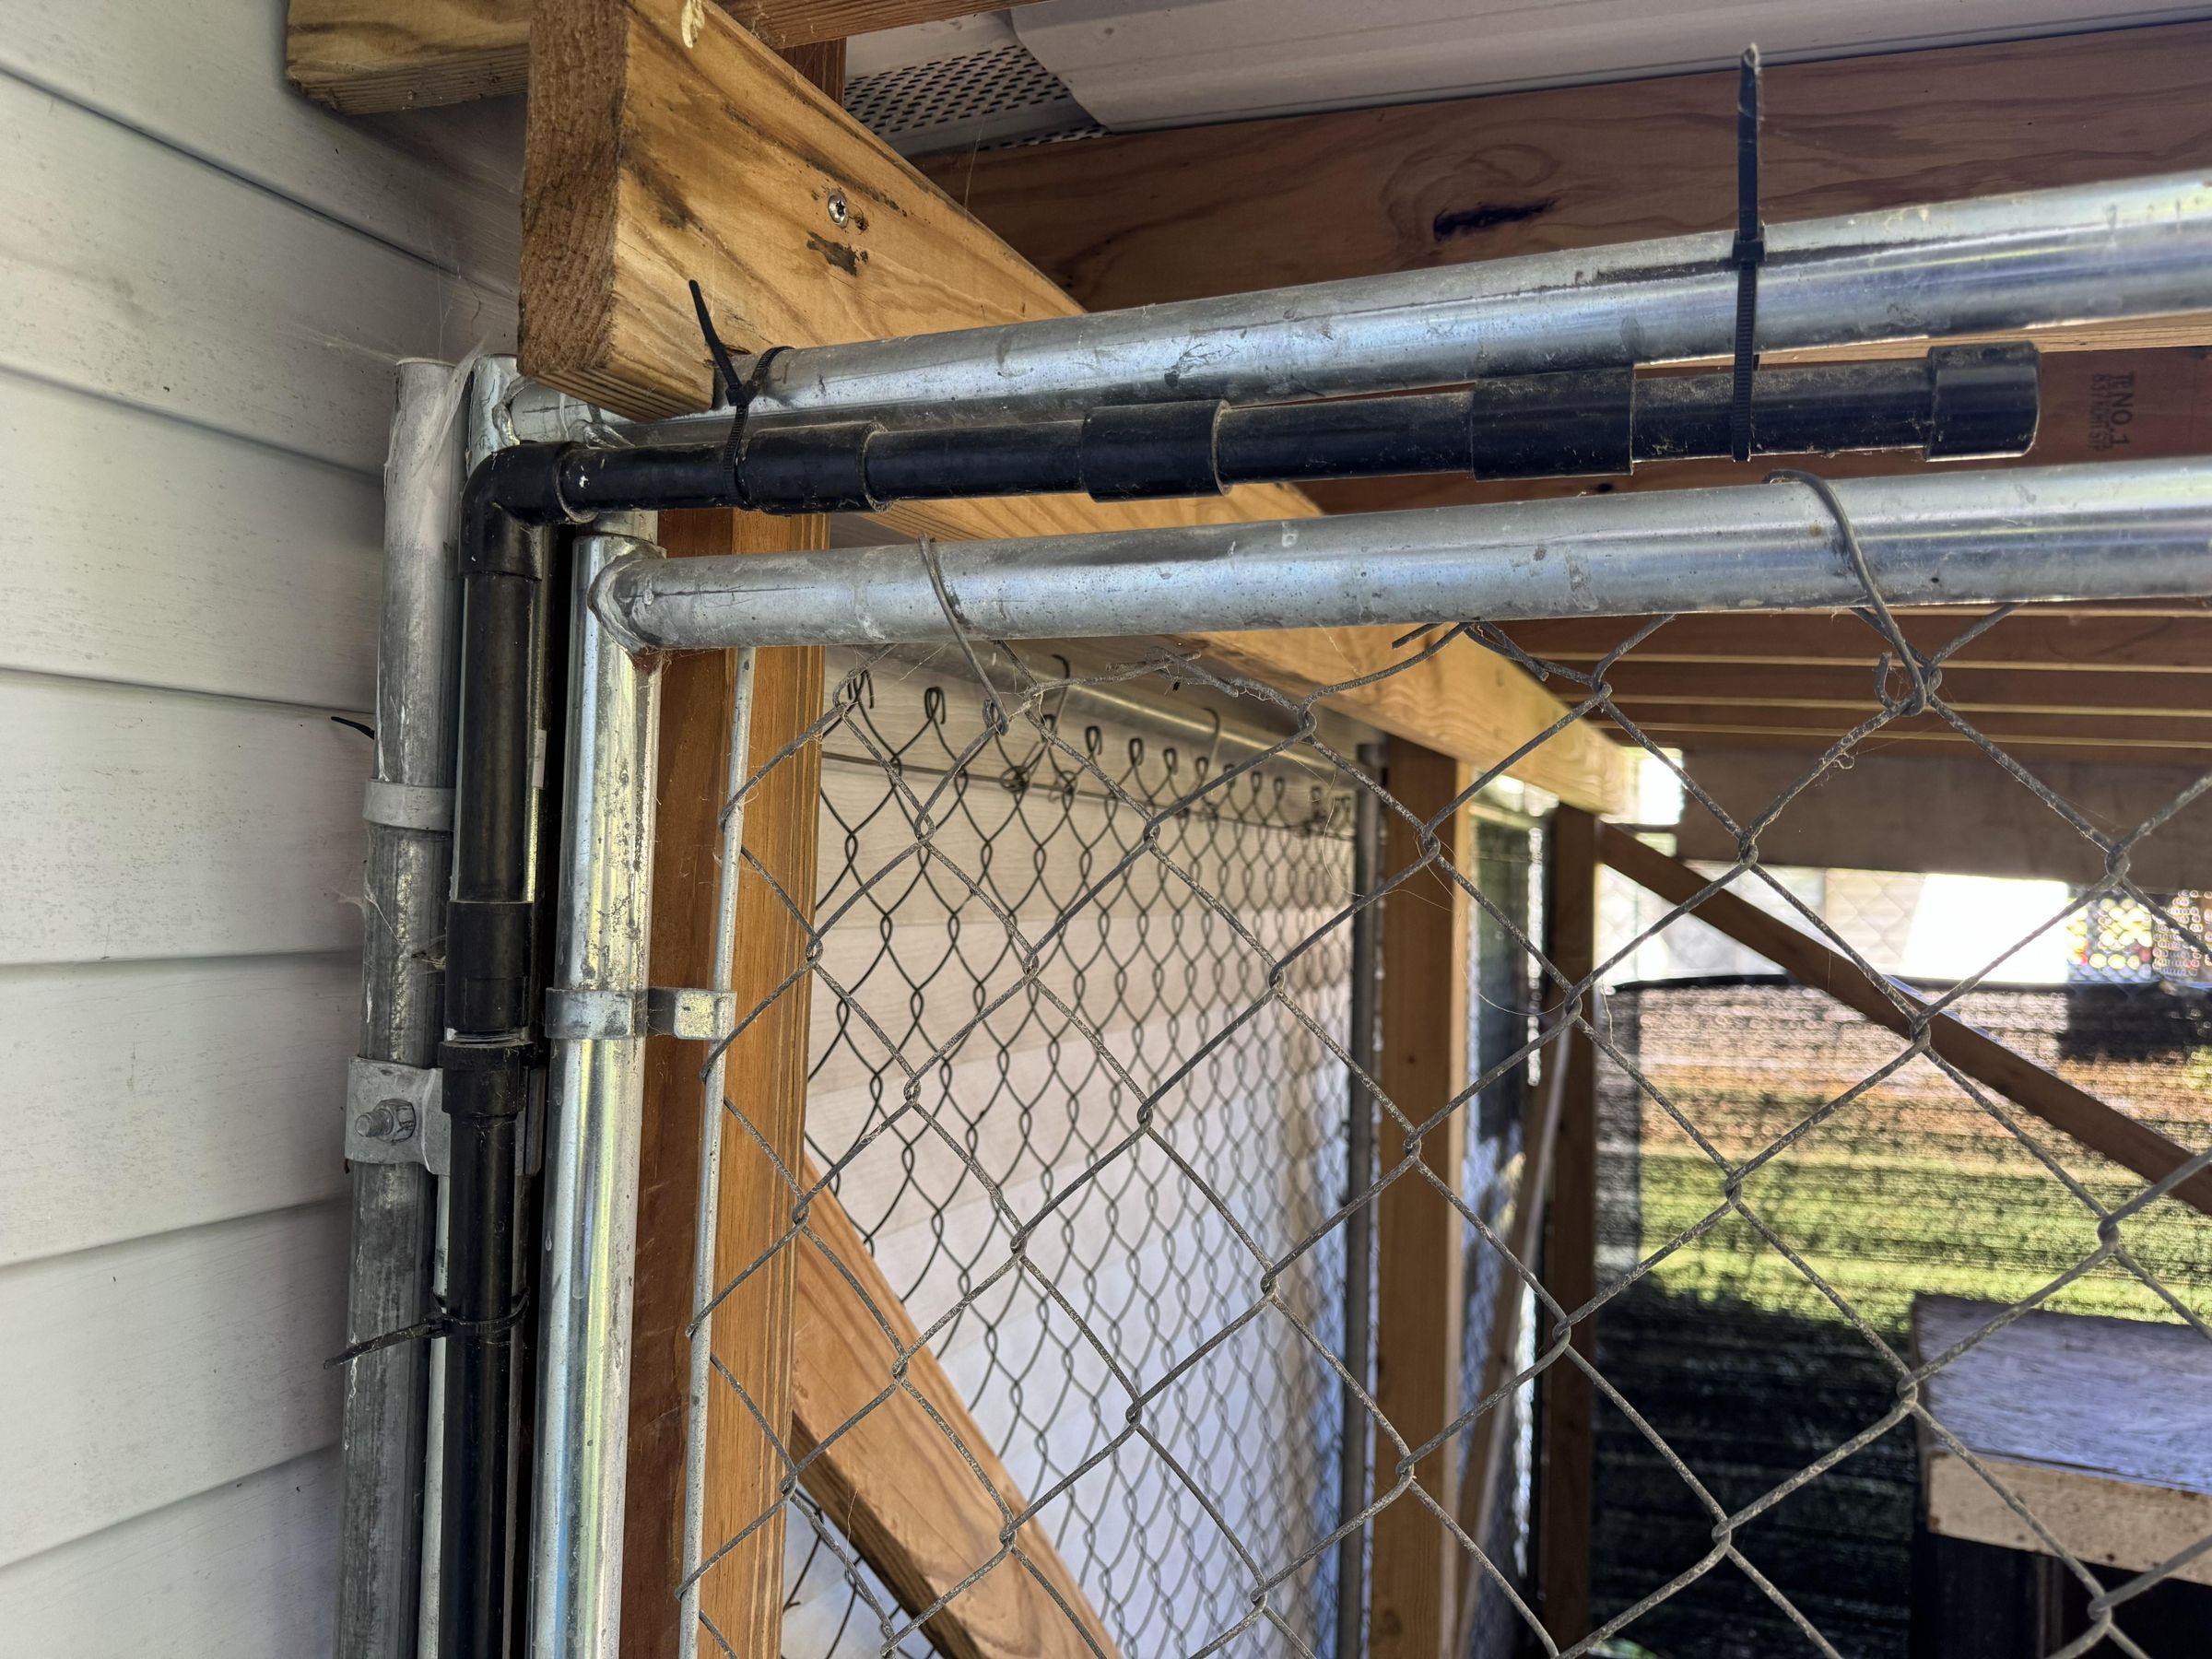
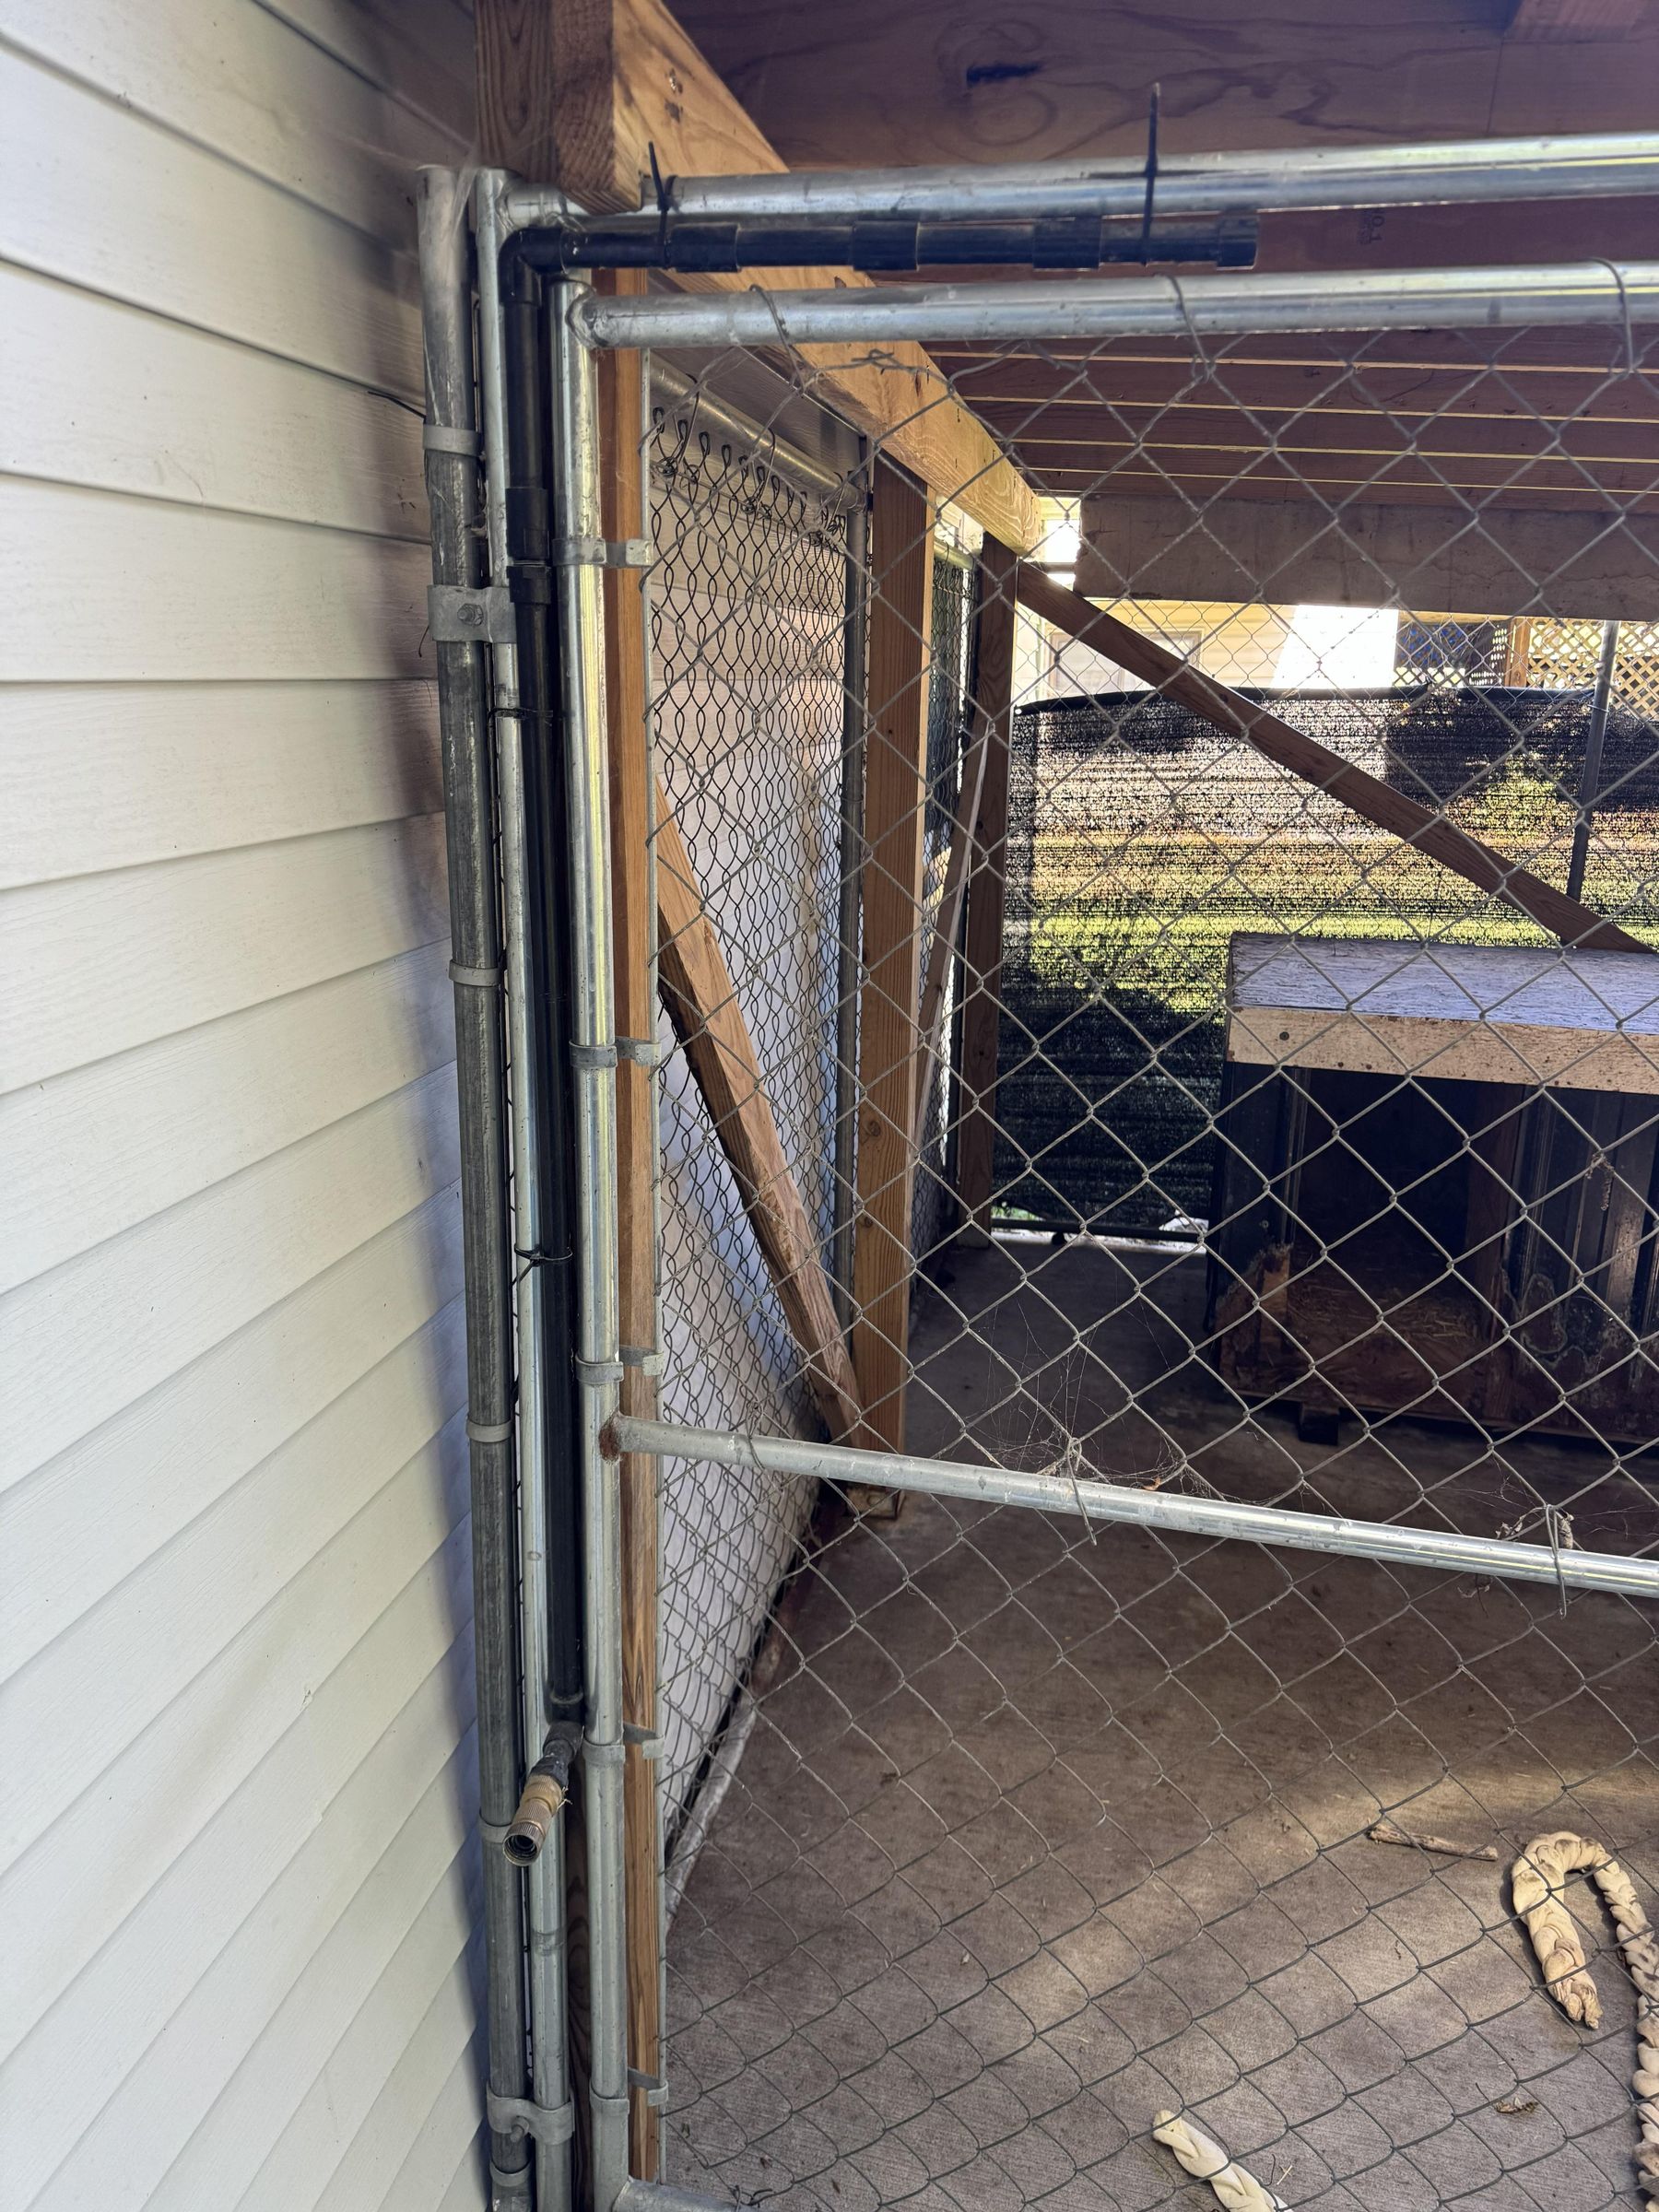
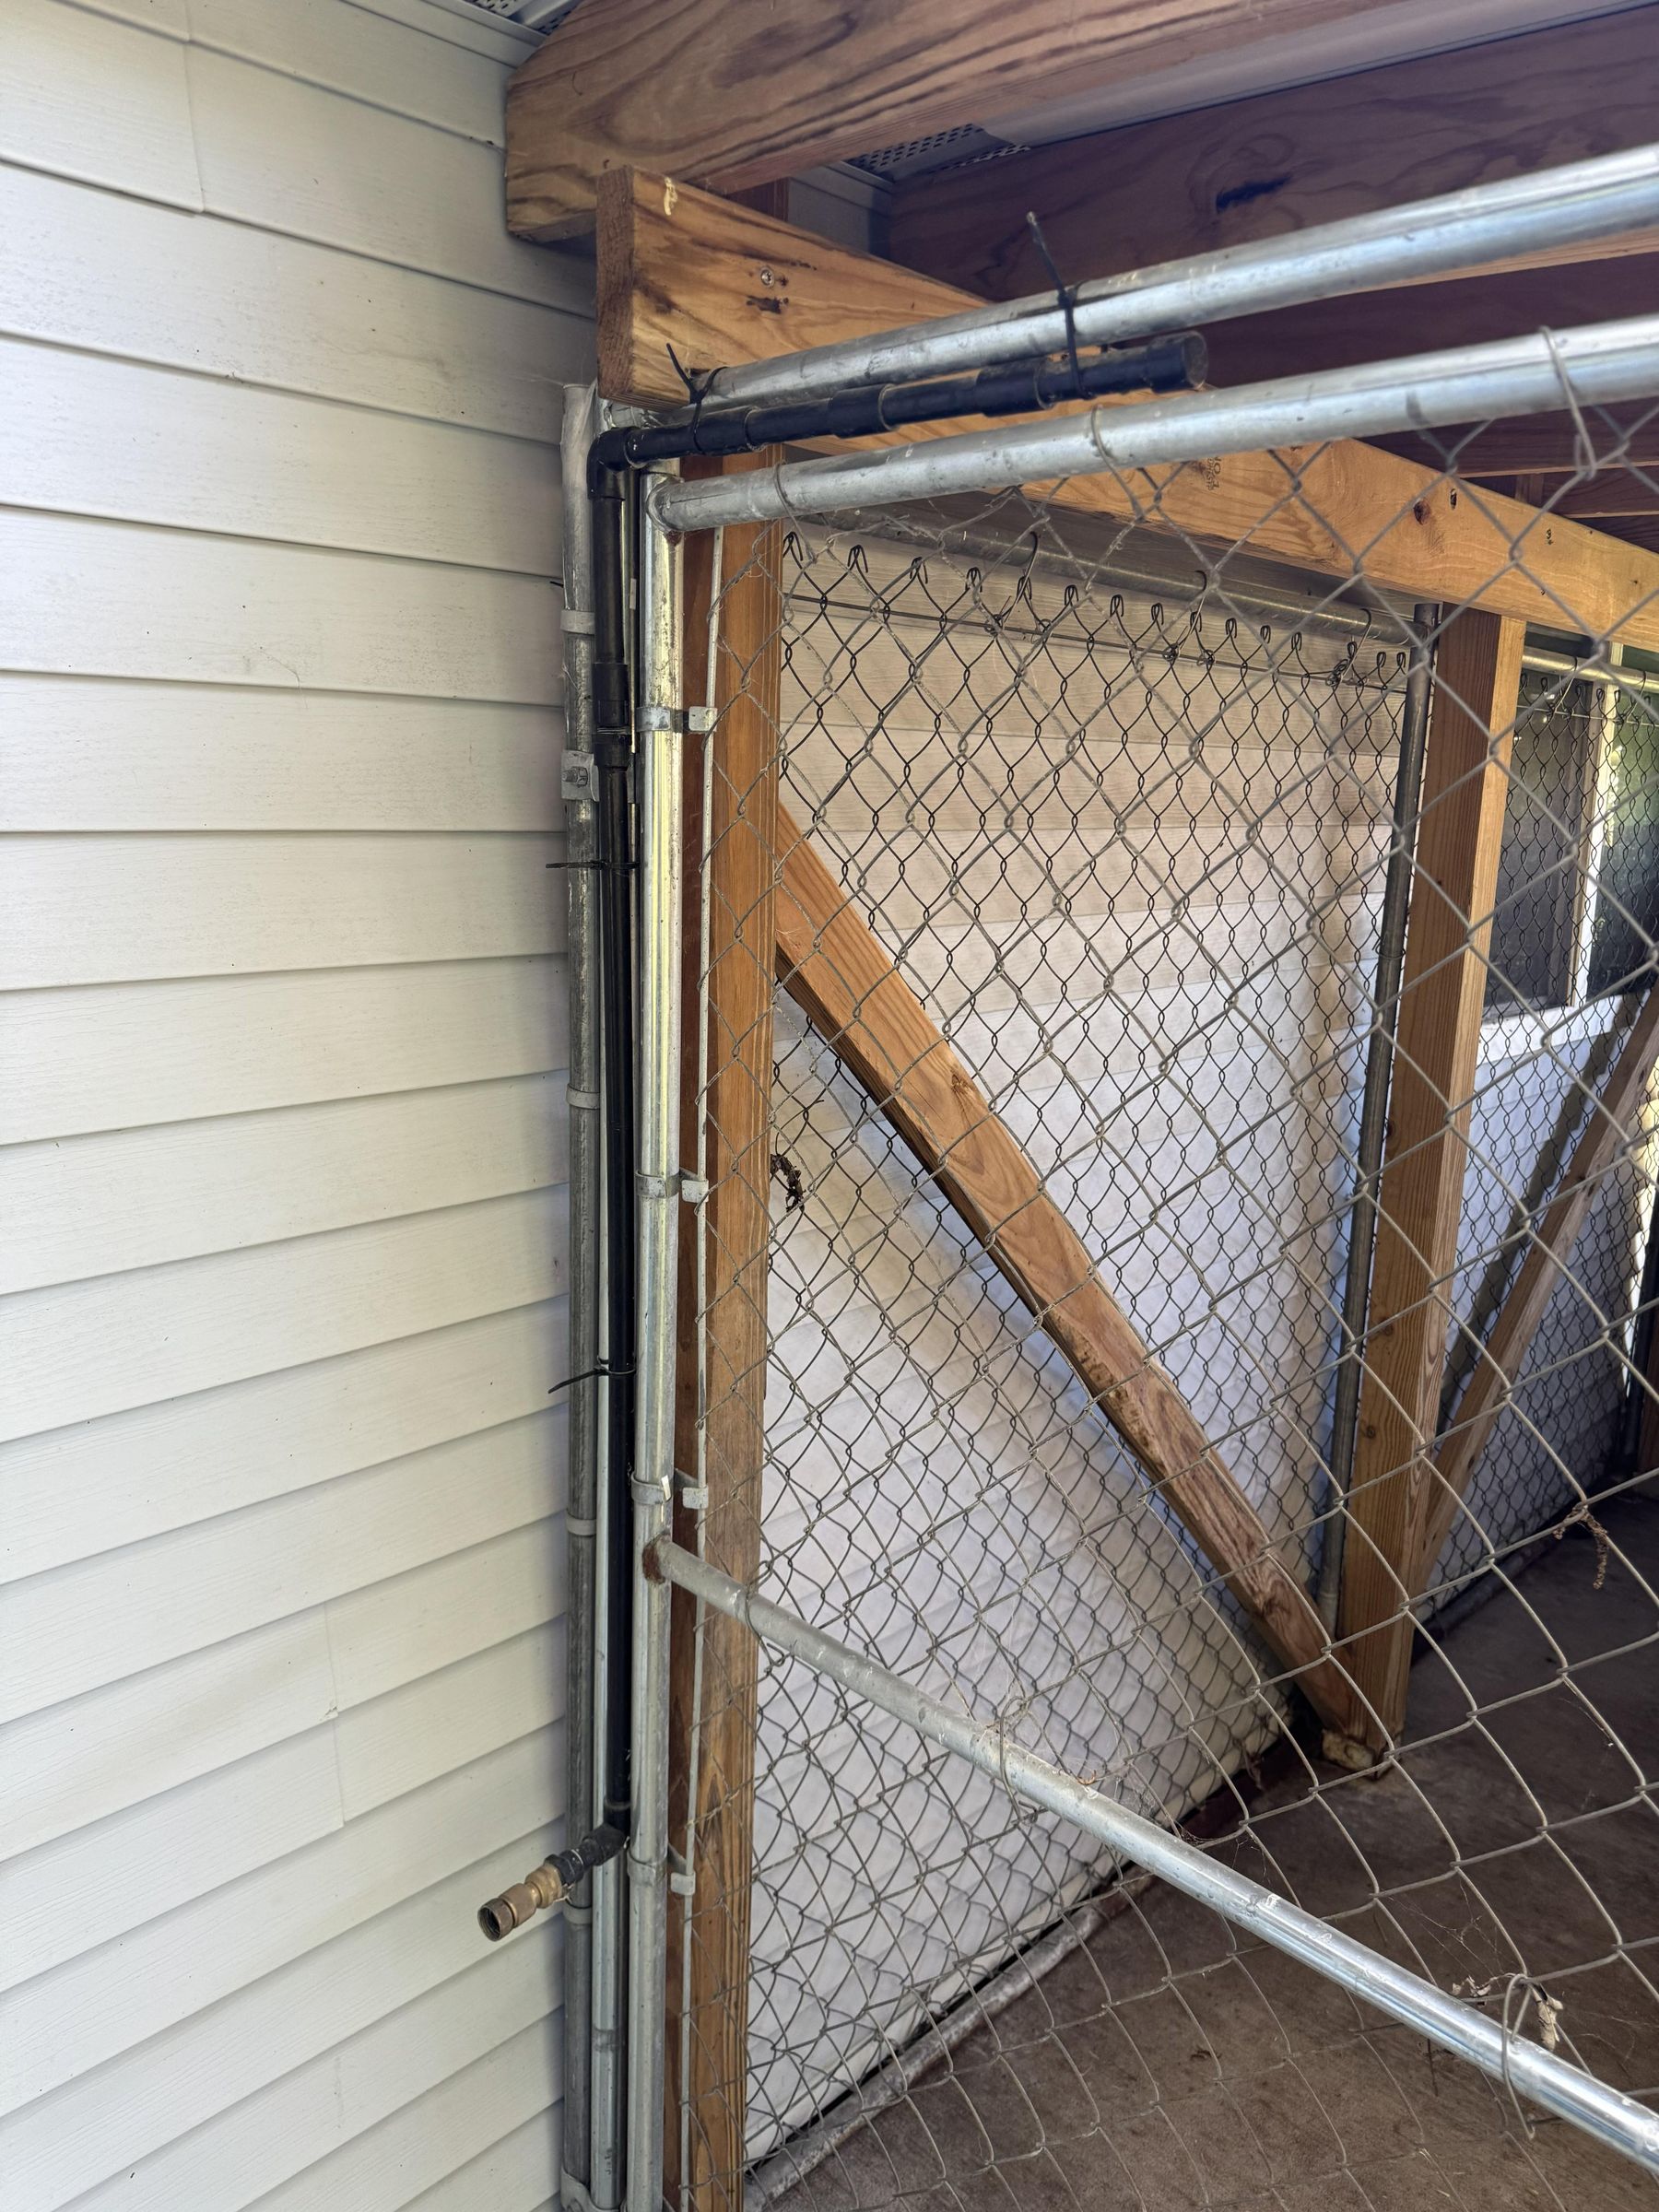
Start with the place you actually want to cool. For the stationary / pet version, I wanted to ensure that everything remained outside the kennel and inaccessible to our beast. He’d find a way to eat it if anything was inside. I looked at our dog kennel and found a spot along the door where the misting bar could sit overhead without getting in the way.
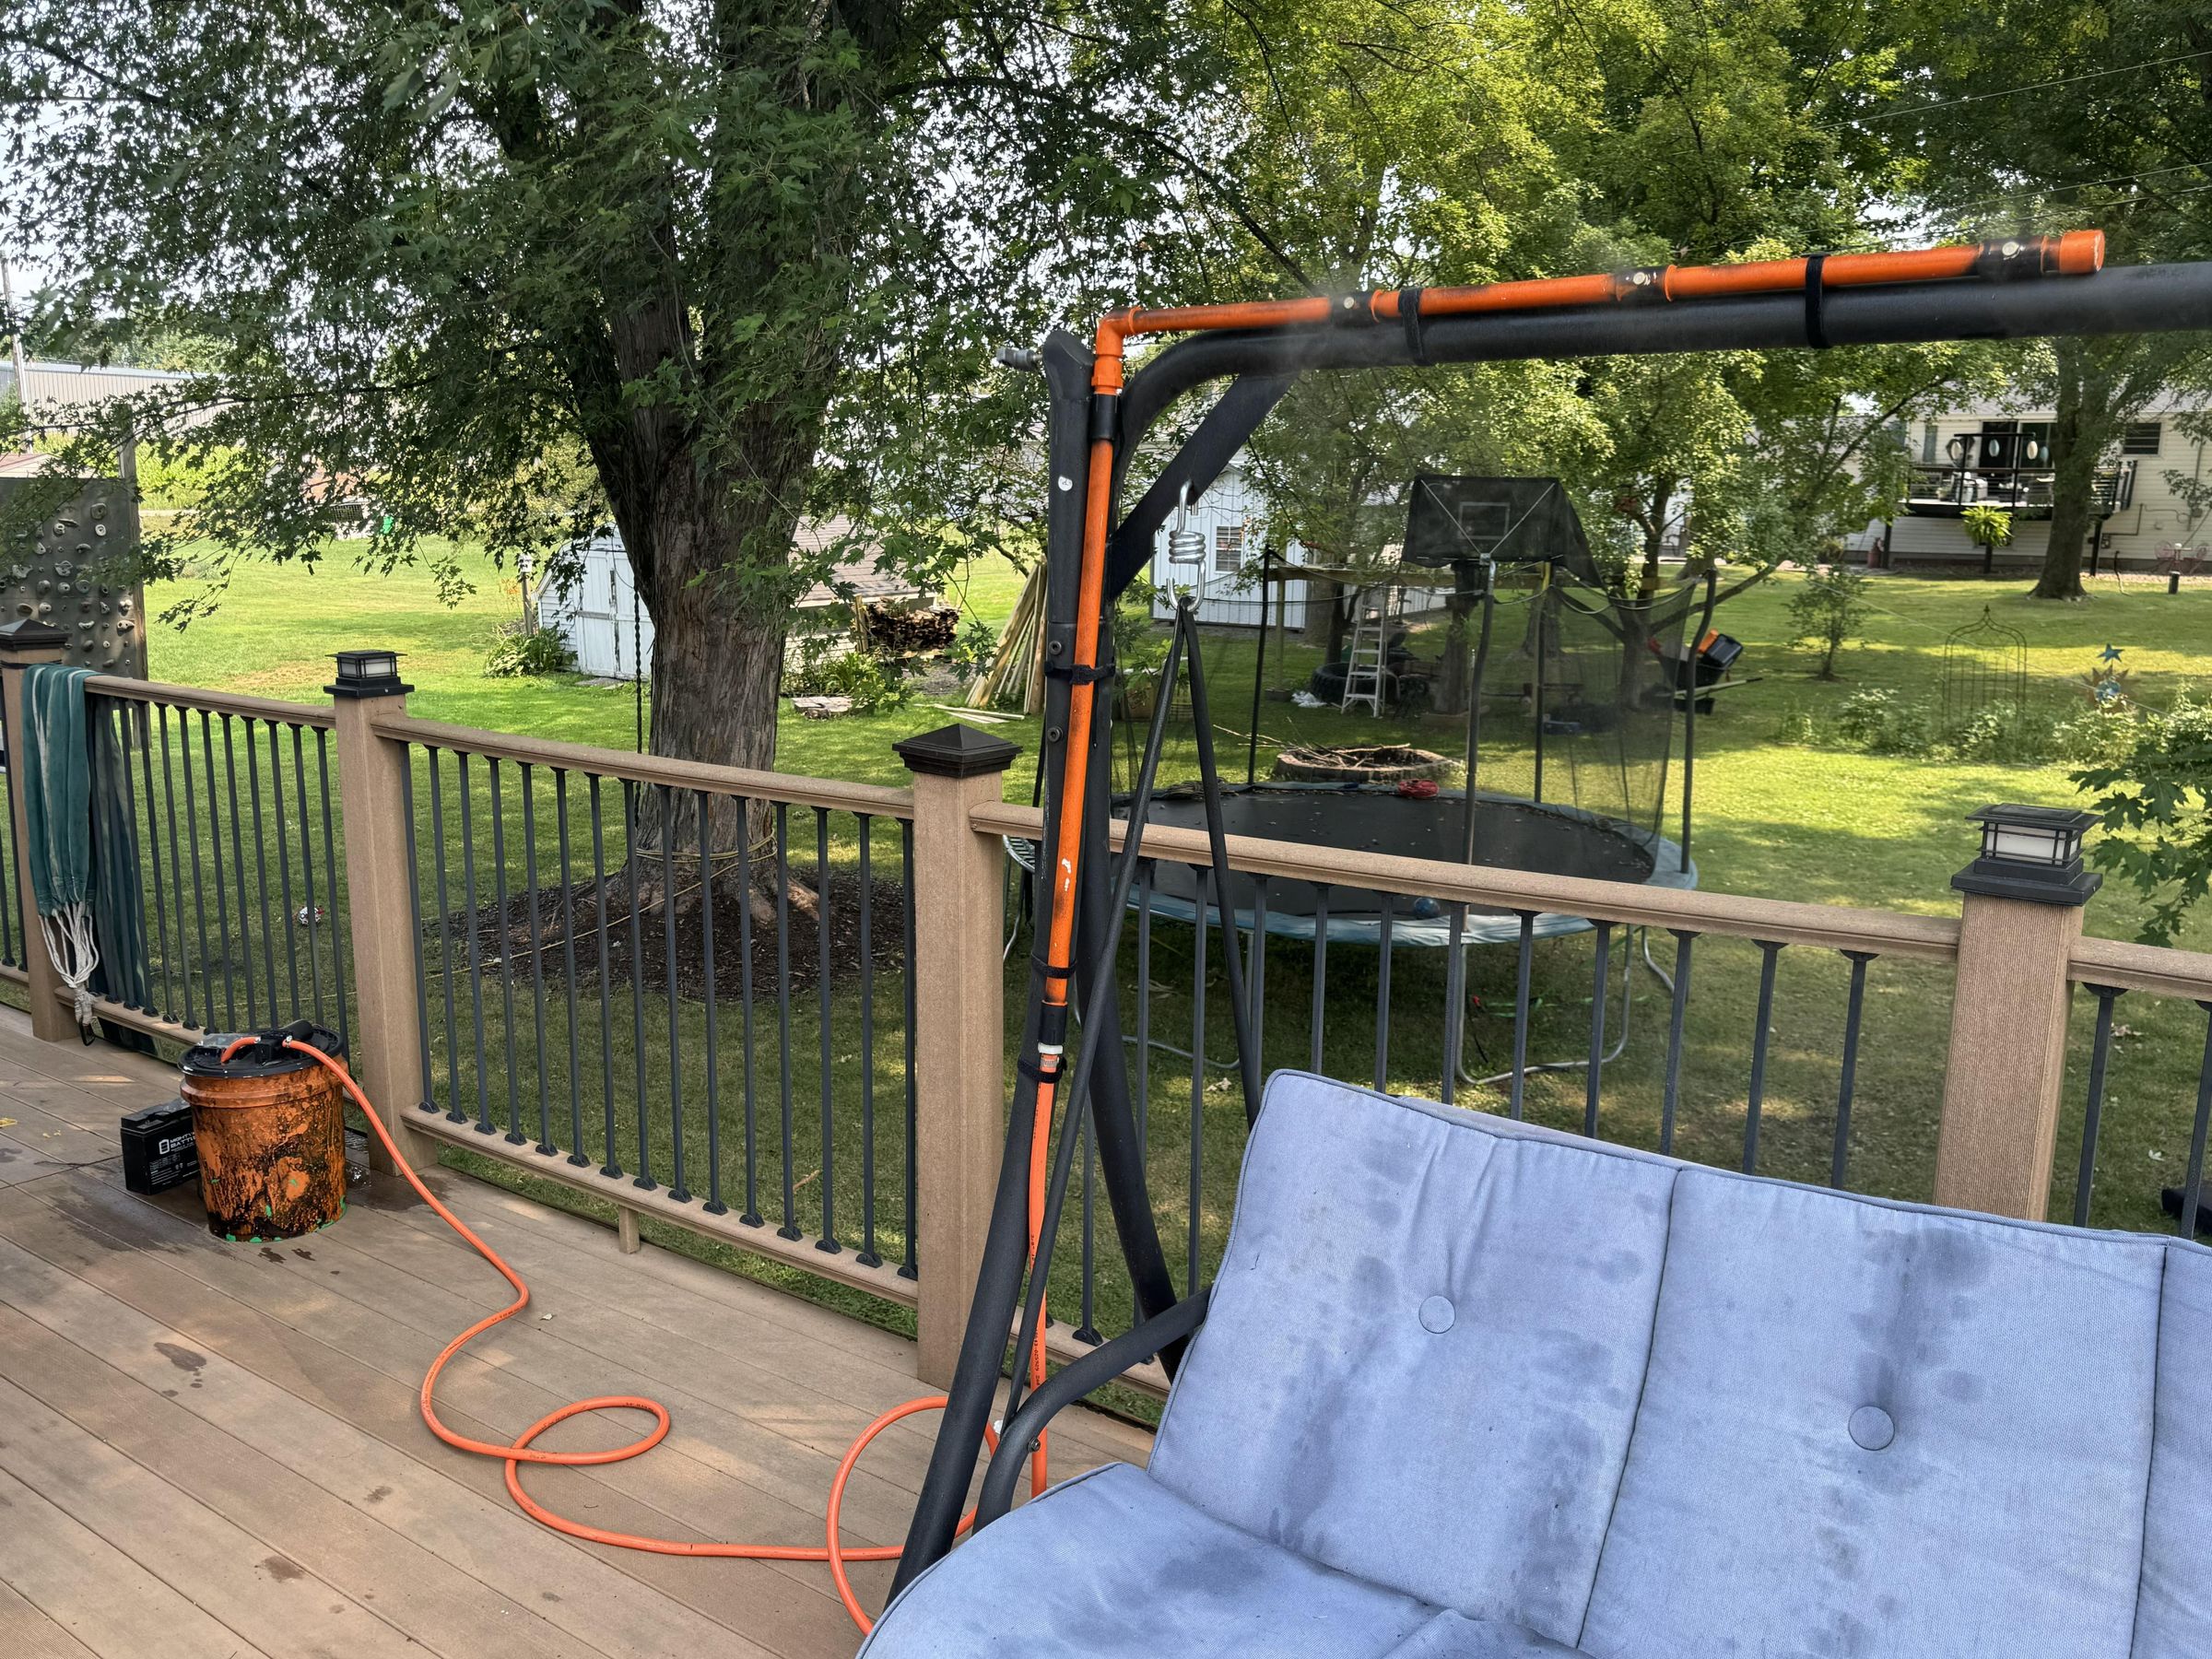
For the portable version, I wanted enough hose to put the bucket and battery well away from the spray while the bar hung from a canopy or deck railing.
My stationary build uses a roughly 16-inch horizontal misting bar and a 40-inch vertical supply leg. The top is made from four 4-inch pieces separated by the three nozzle couplings. My portable version uses a roughly 32-inch horizontal run and a 26-inch vertical leg. Treat those dimensions as starting points, and you can make whatever dimensions work. You don't want the nozzles too close together or the mist will saturate the air and not be able to evaporate. I wouldn't go closer than 4 inches.
Fittings add length, and your mounting spot is probably not identical to mine. If it is, that’s slightly creepy.
***PET SAFETY Mist is extra cooling, not a replacement for shade, fresh drinking water, supervision, and access to a cooler area. Mount the system so the animal can leave the mist whenever it wants.***
Cut and Dry-fit the PVC
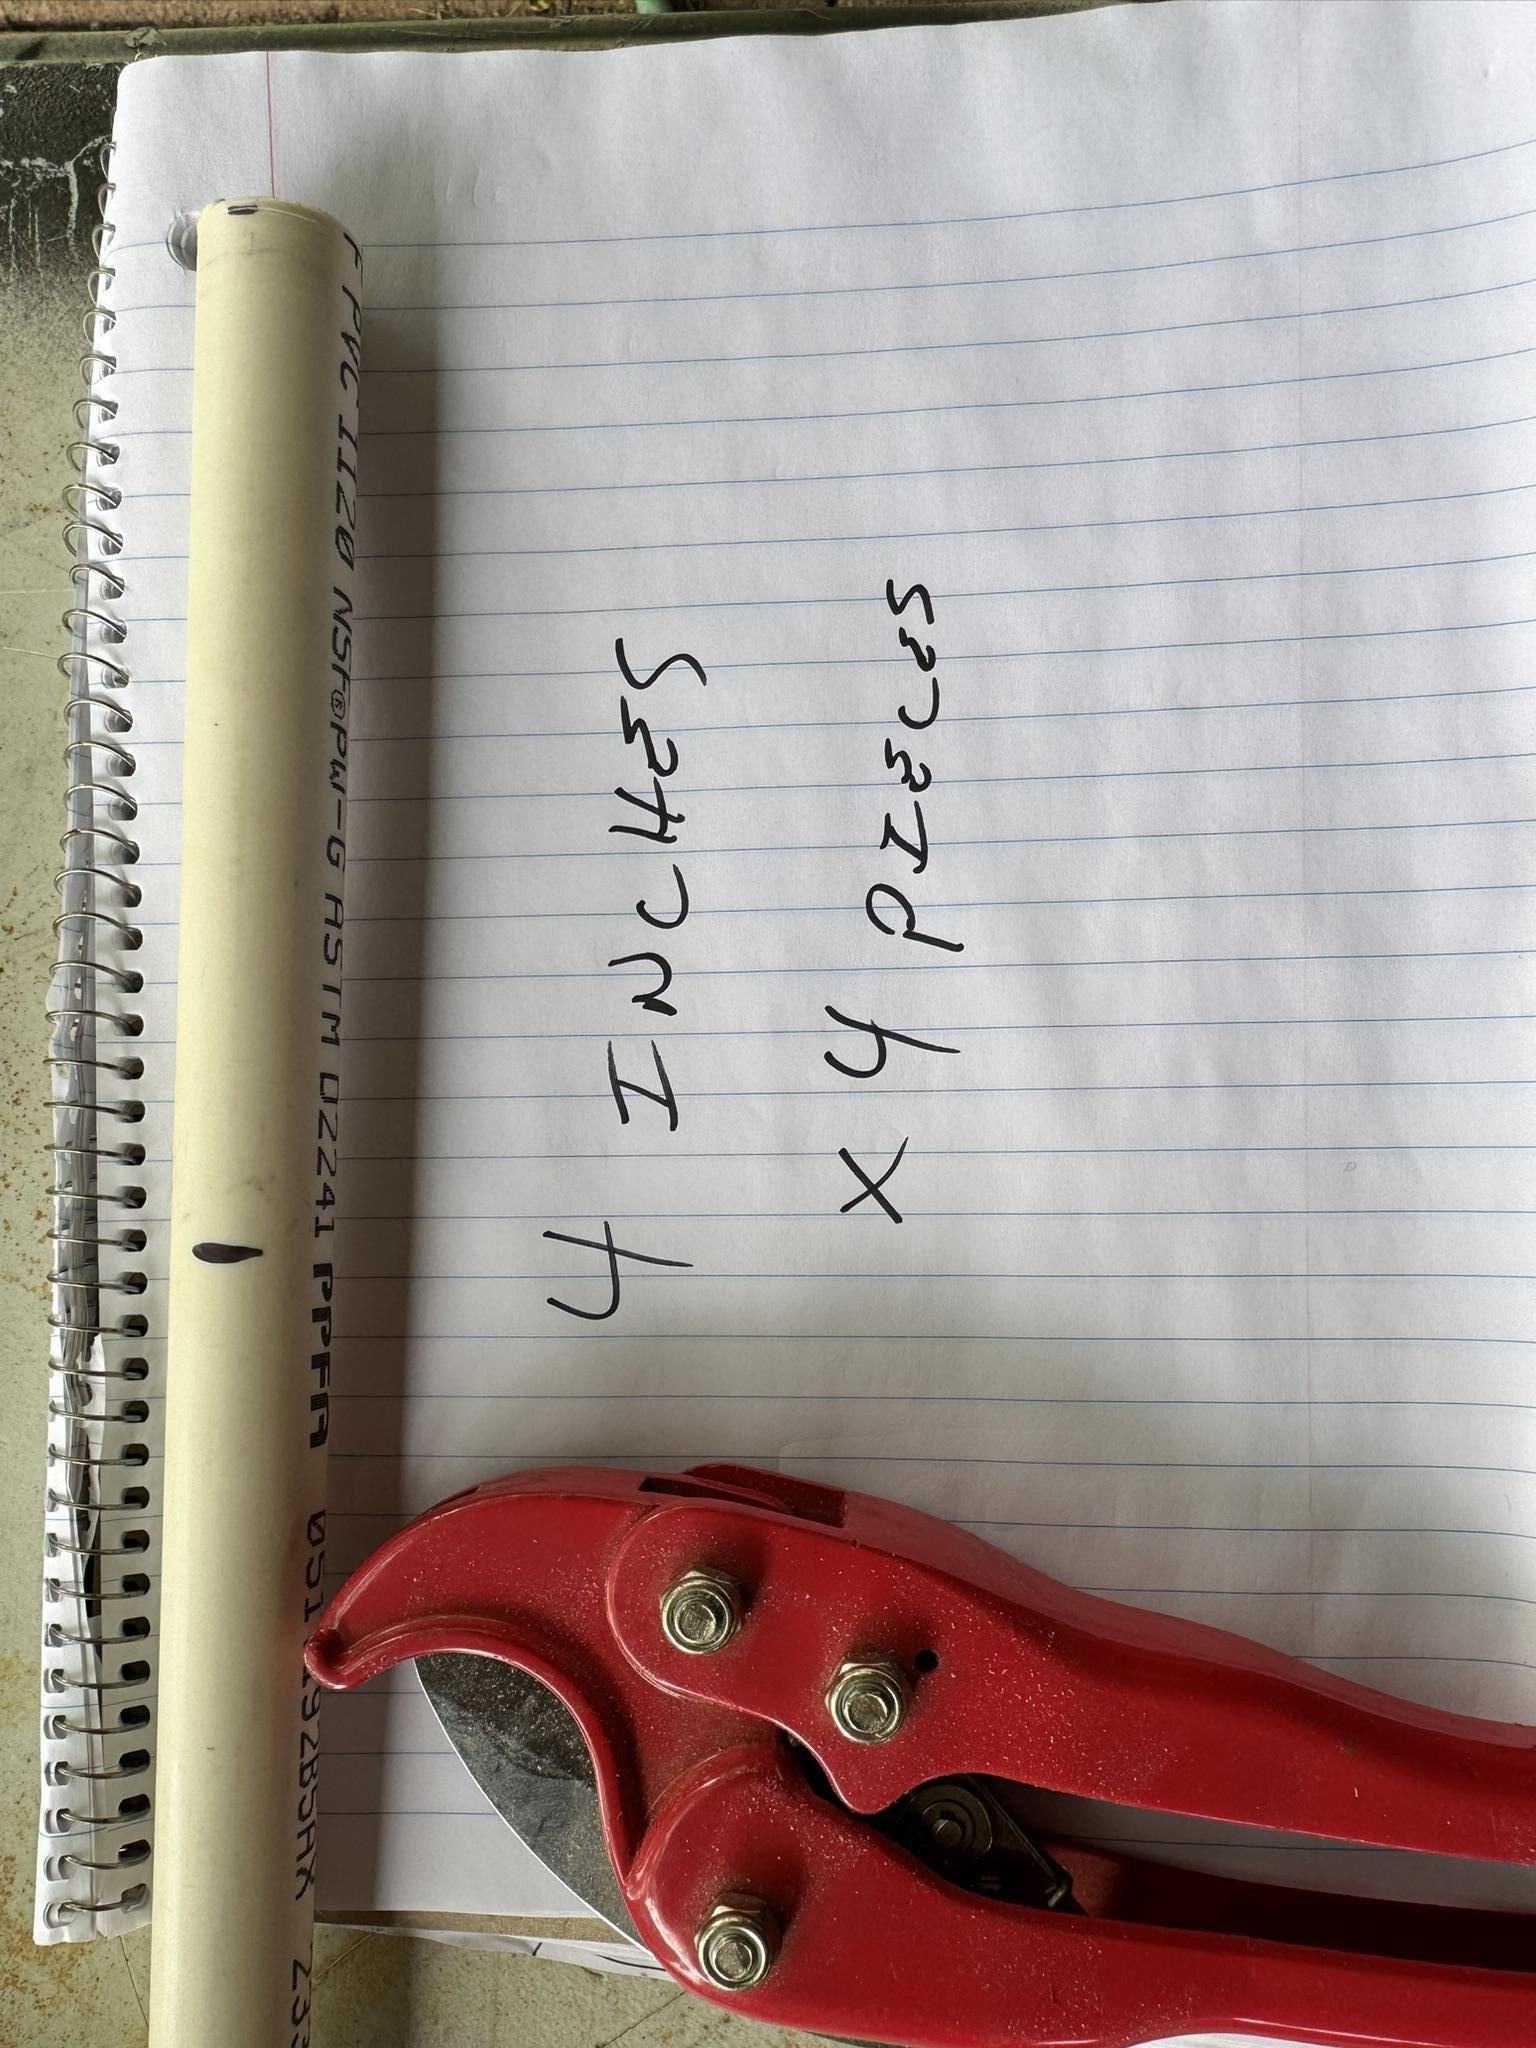
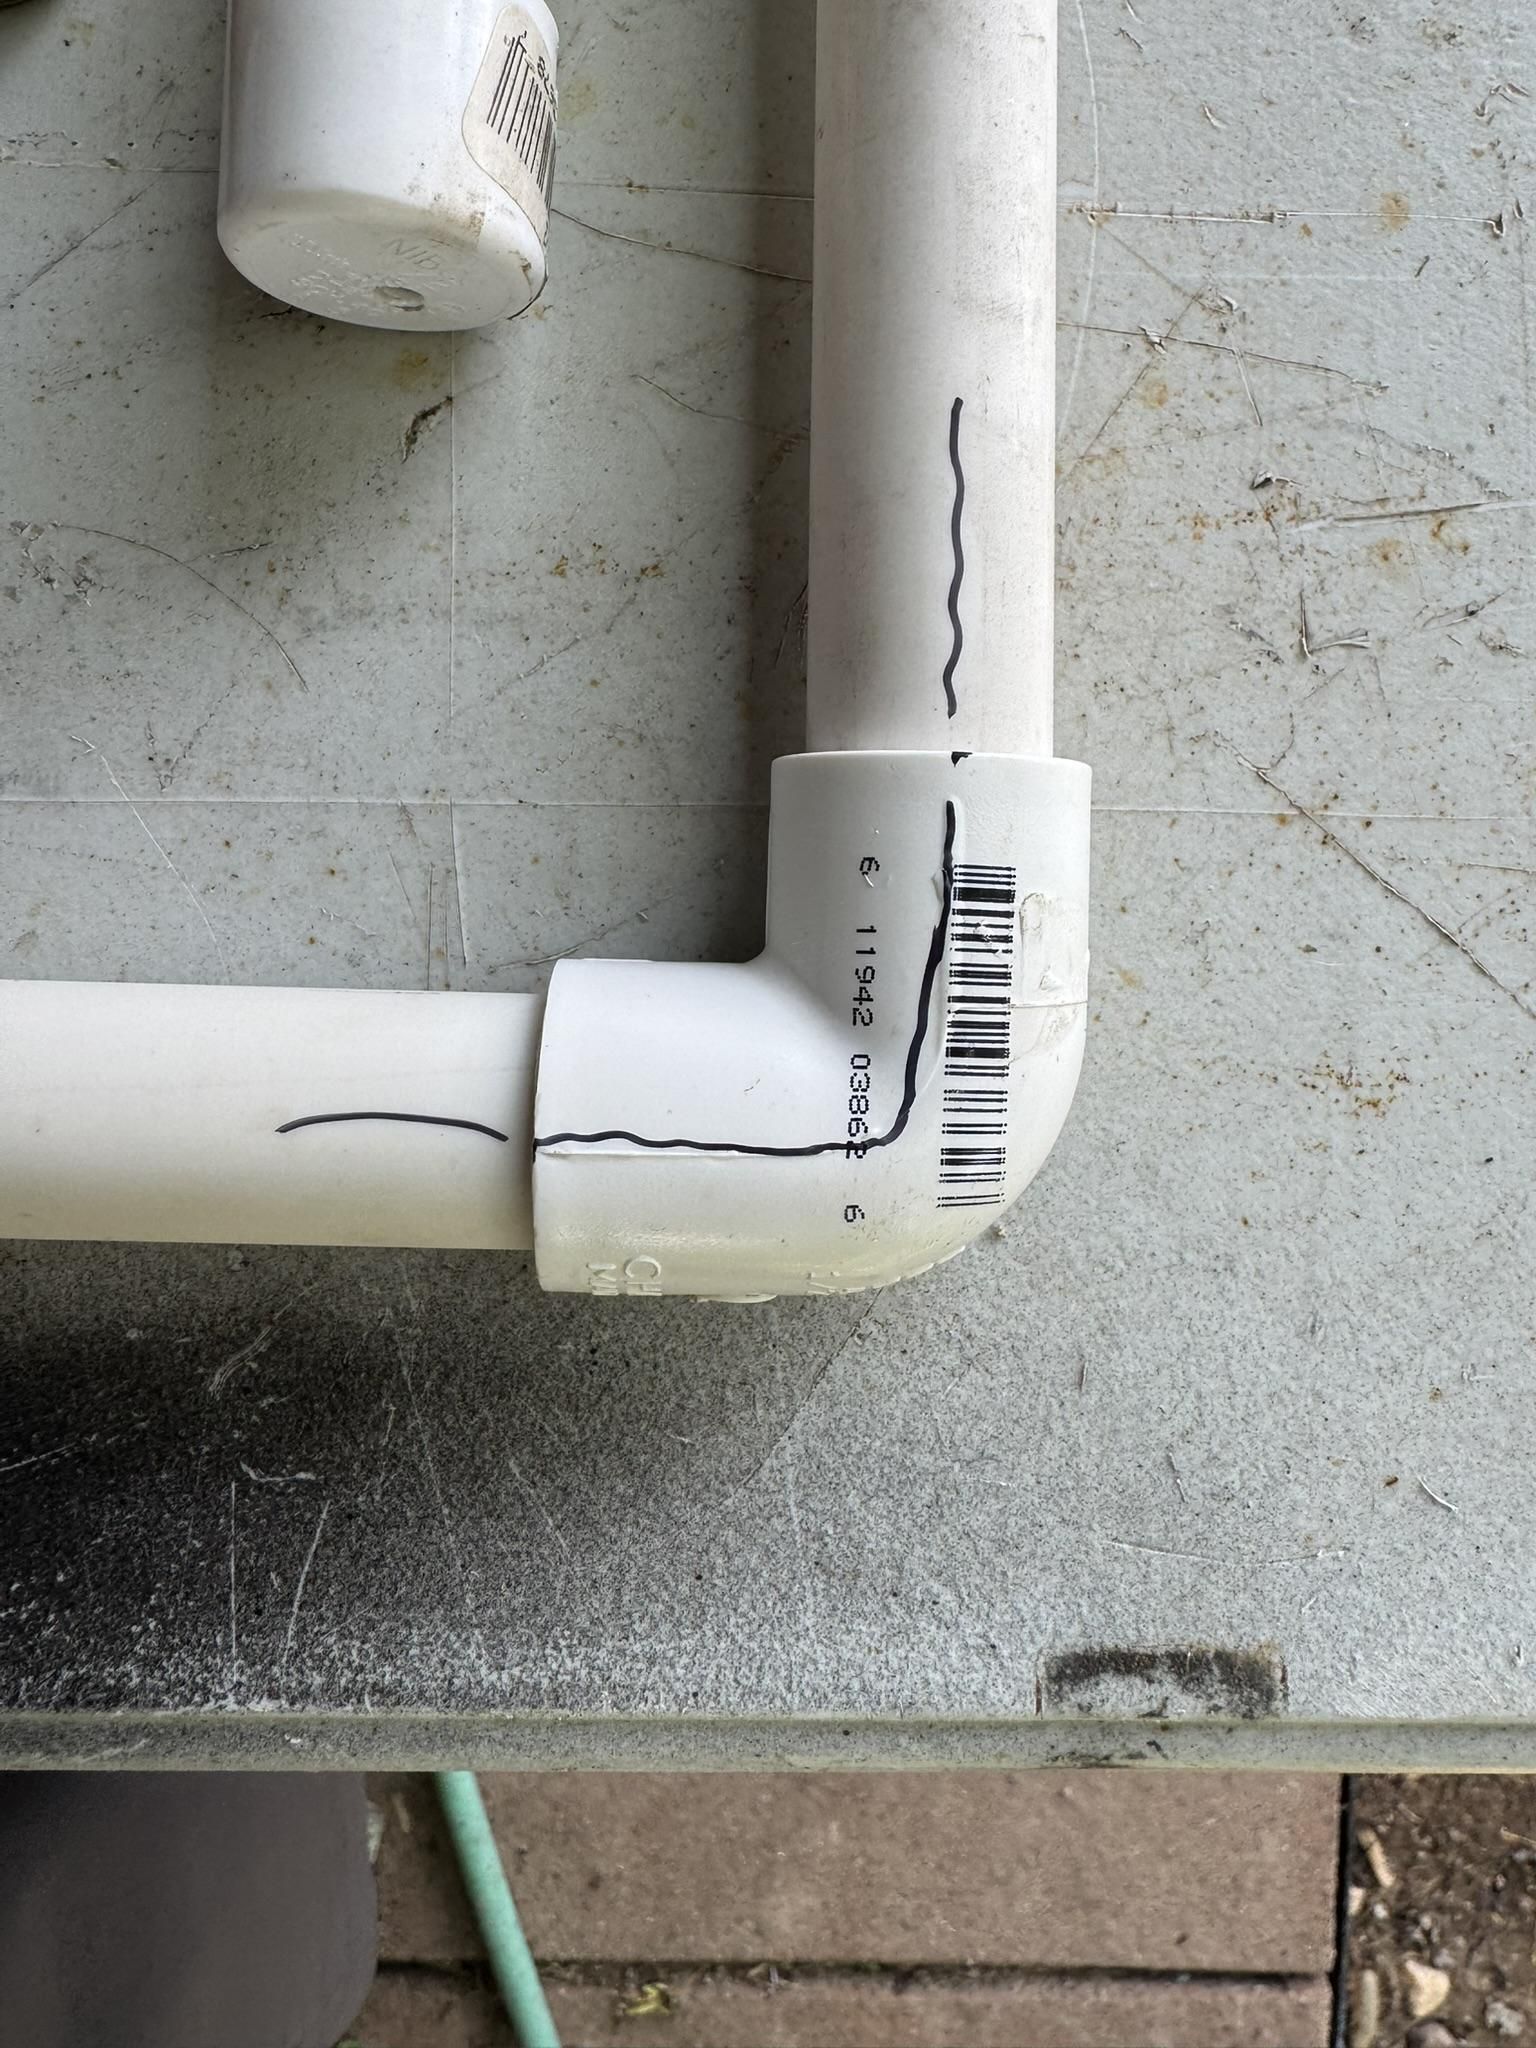
Cut the PVC for your layout, then assemble everything without primer or cement. This is the point where you find out that your careful napkin sketch forgot the width of a fitting. Dry fitting is easier than sawing apart a permanently glued mistake.
For my stationary bar, the water path runs through the bottom connection, up the vertical leg, around the top elbow, through three nozzle couplings, and ends at the capped piece.
I found it easiest to build backward from the end cap toward the water source but that’s just how my brain works.
ASSEMBLY ORDER End cap → short PVC section → nozzle coupling → short section → nozzle coupling → short section → nozzle coupling → short section → top elbow → vertical leg → water-source adapter.
Once everything fits, draw a straight alignment mark across each pipe and fitting. Or don't, I'm not your mom. Those marks make it much easier to keep the misting nozzles pointed in the same general direction while the cement is setting.
Drill and Tap the Nozzle Fittings
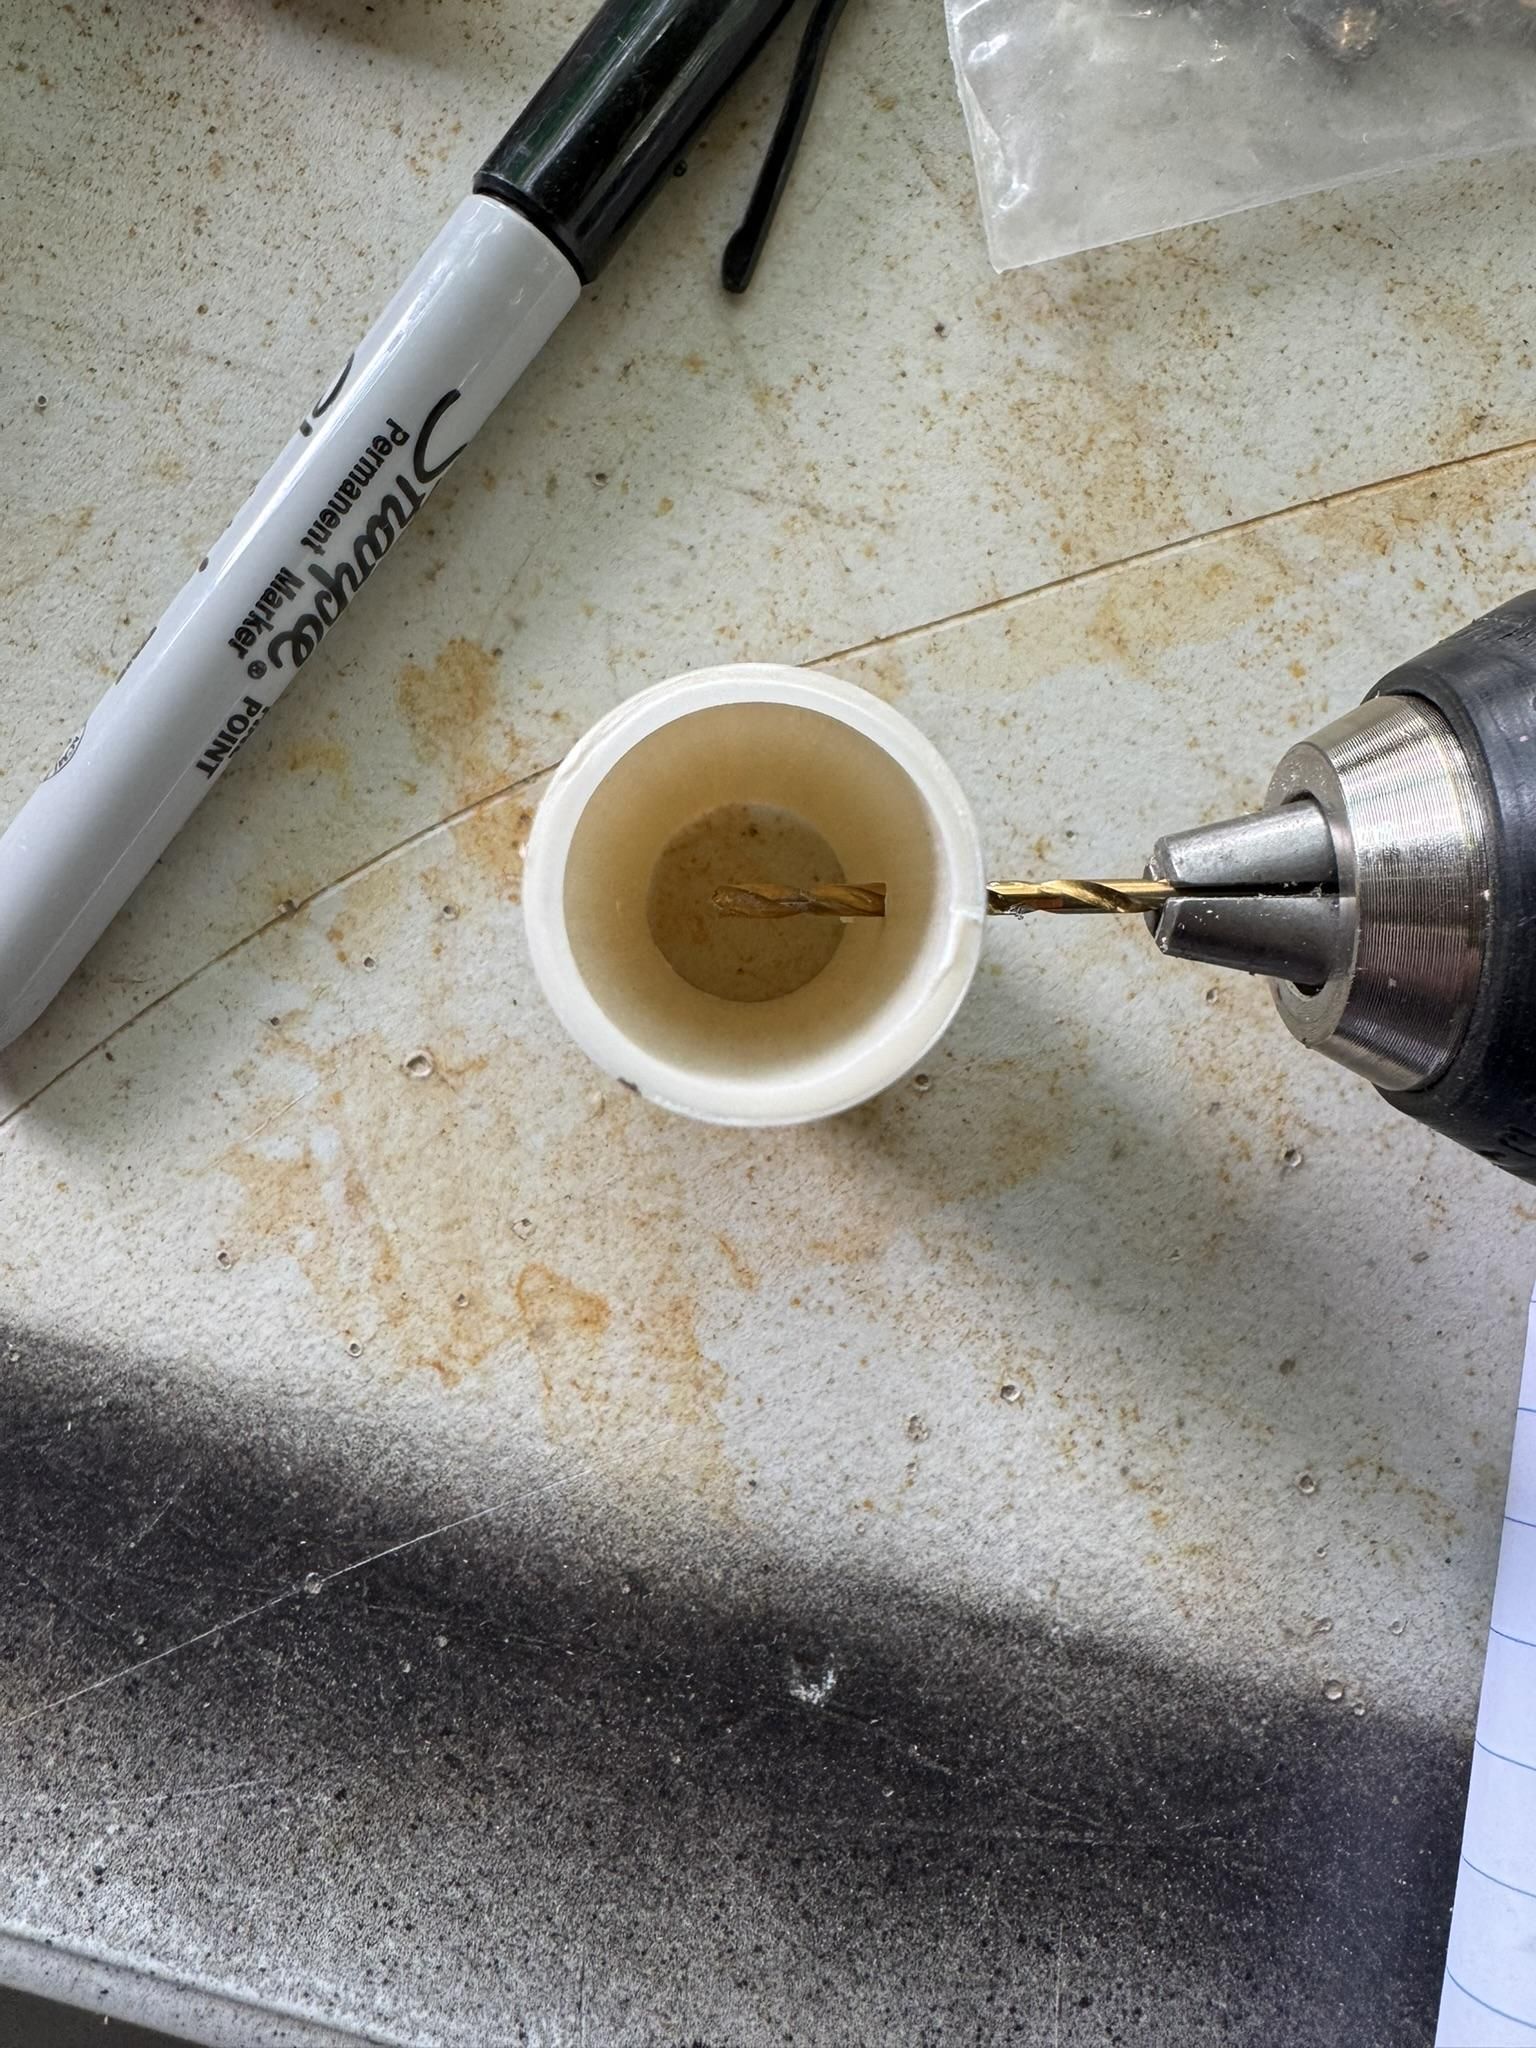
Clamp each of the three couplings securely and mark the center. Drill through one wall only. Do not drill all the way through the fitting.
For this next step, I used a tap to create threads in the PVC. PVC is soft and with a little elbow grease, the brass would theoretically cut its own threads. I strongly suggest a tap, because I don't want the safety people after me. You do you boo.
My nozzles have 10-24 UNC threads. I used a 5/32-inch bit, which worked in my fittings. A #25 bit is the standard tap-drill size for 10-24 and will give you a little more thread engagement. Match the drill and tap to the nozzles you actually bought.
Run the tap into each hole slowly. Back it out every few turns to clear the plastic chips. PVC is soft, so this does not take much force. Clean out every chip before installing the nozzle. Tiny debris and tiny nozzle openings are not friends, in fact they once insulted each other’s mothers and are enemies.
Apply a small amount of Loctite or similar thread sealant, then screw in each nozzle until it is snug. Do not muscle it down. Too much torque can strip the plastic threads or crack the fitting.
Solvent-weld the Misting Bar
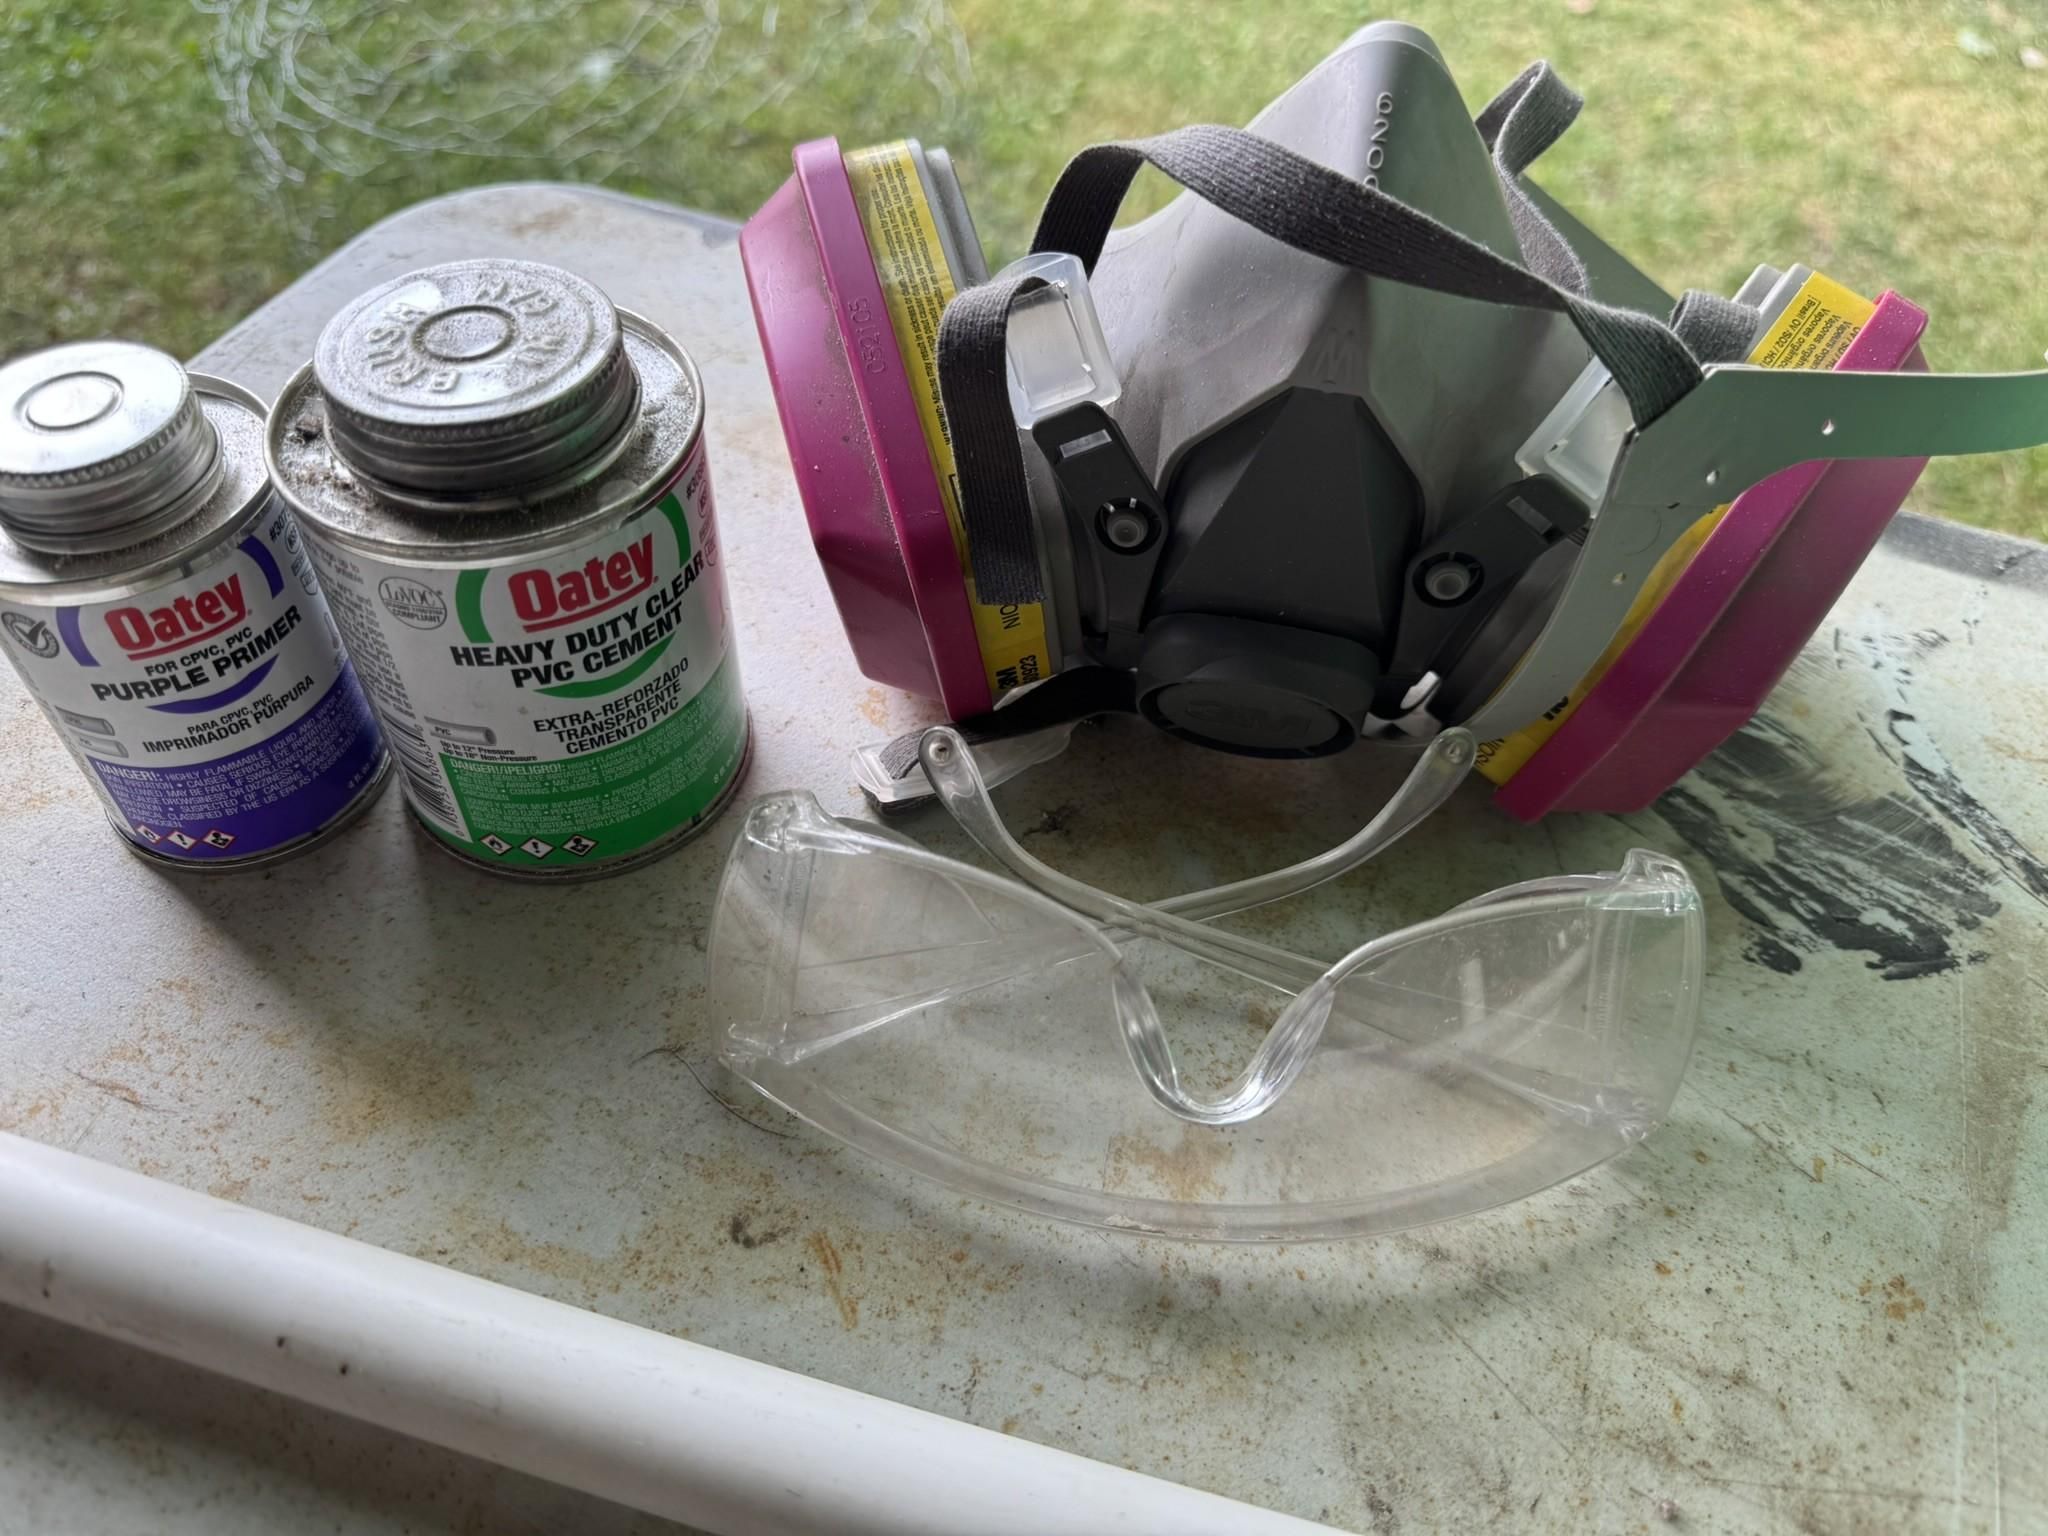
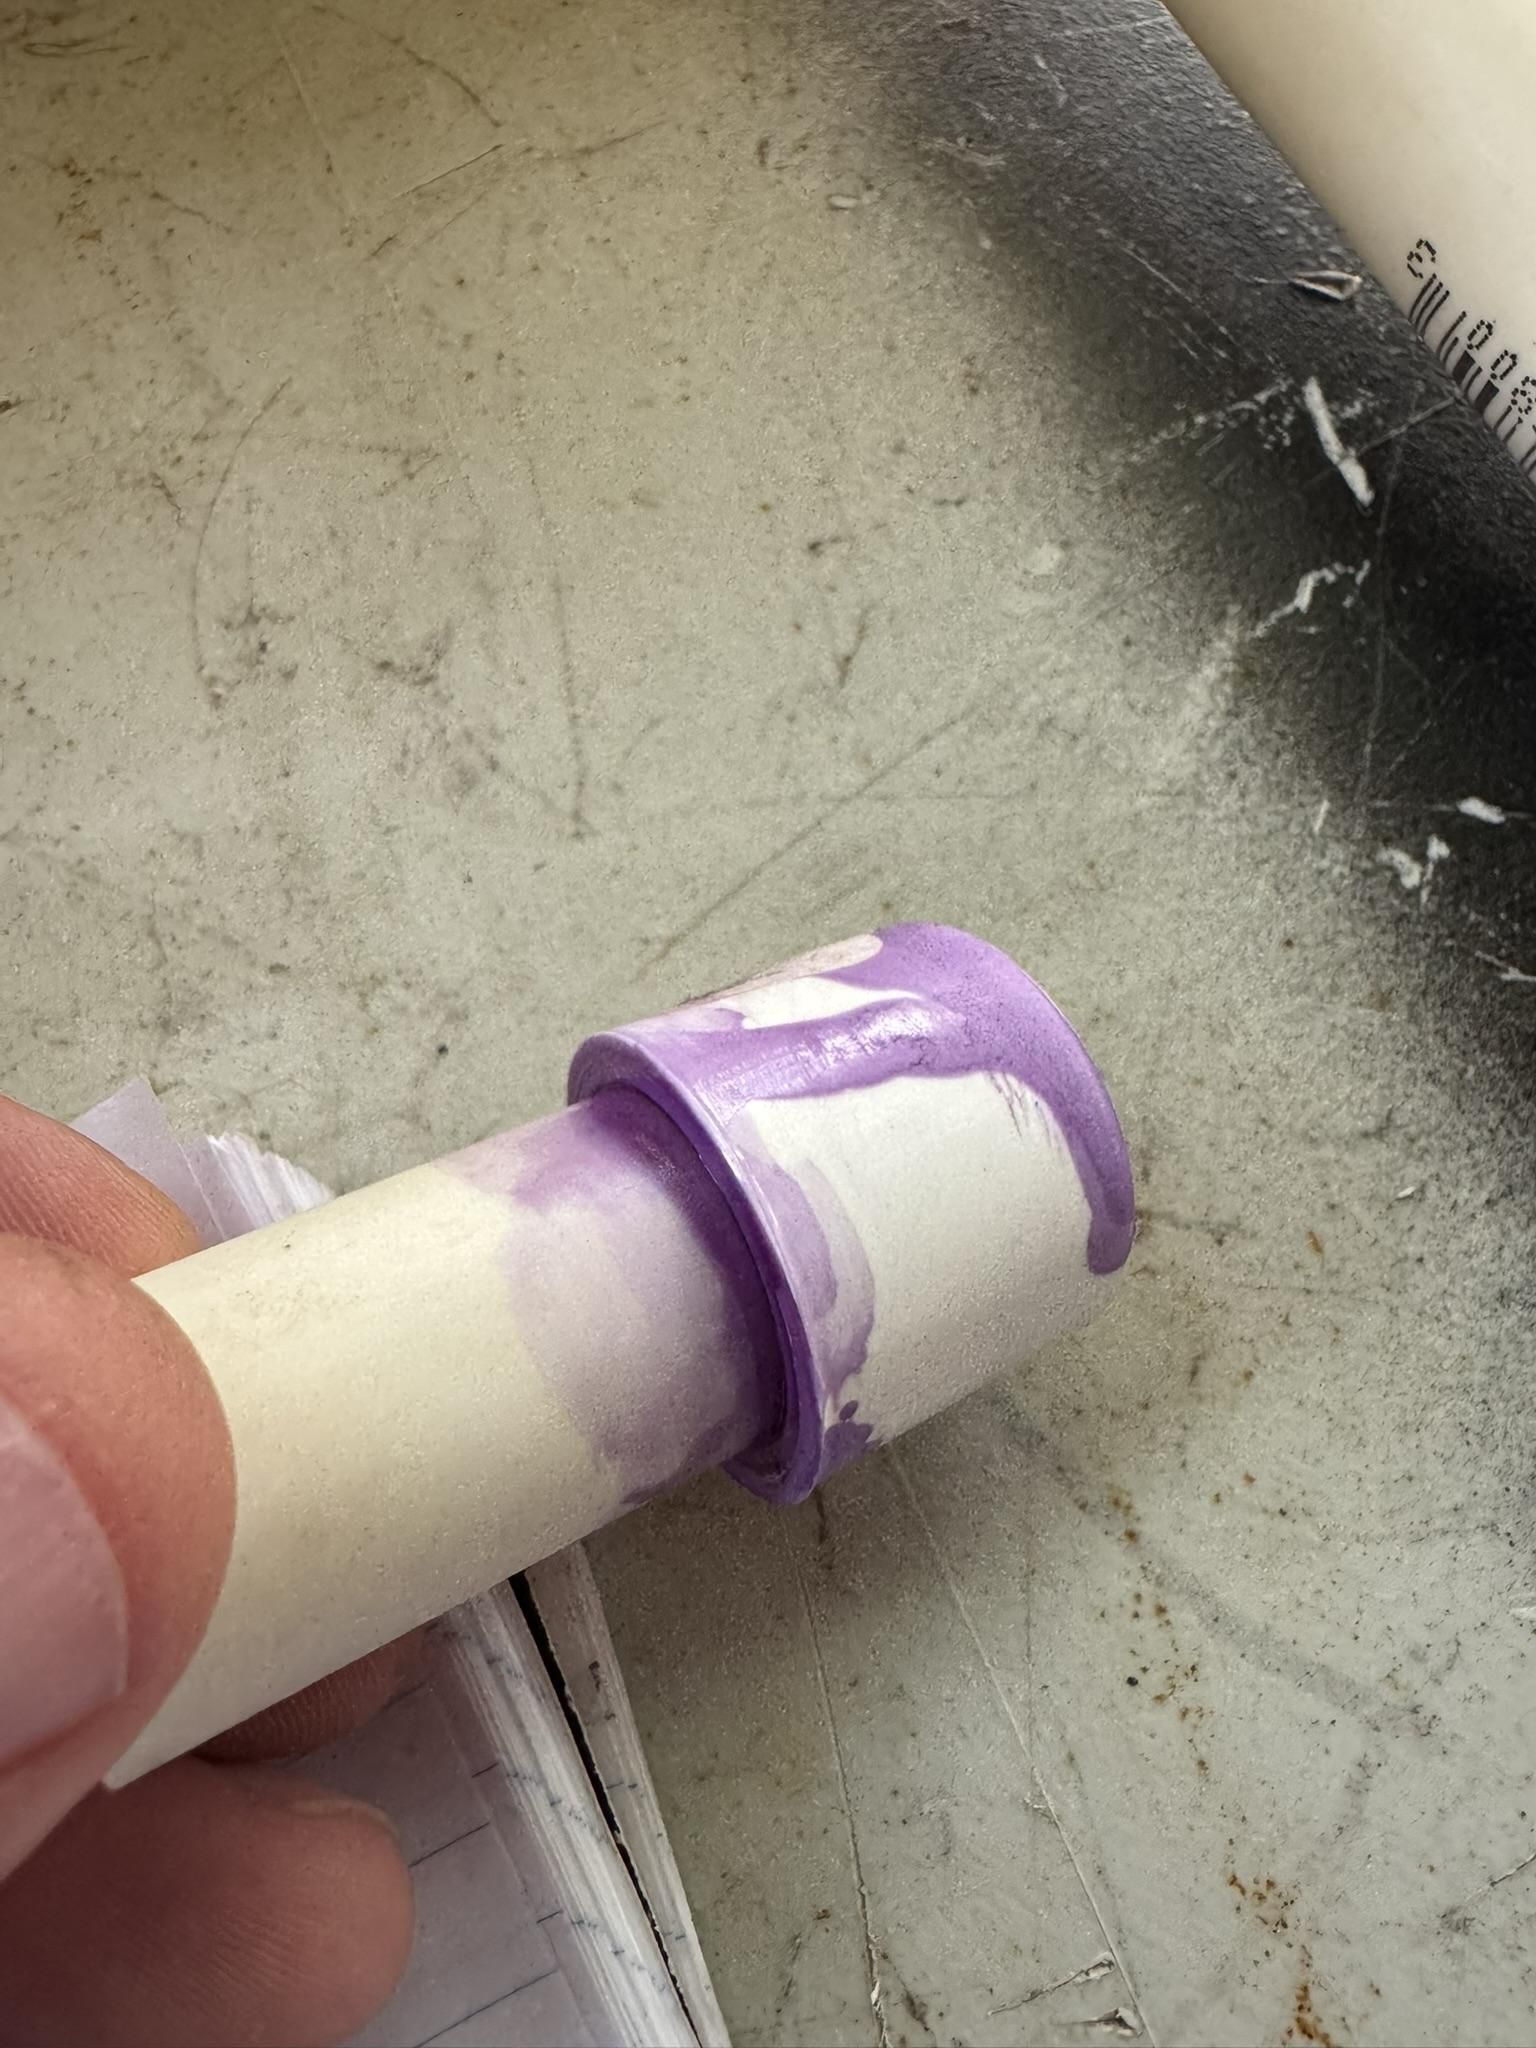
***VENTILATION PVC primer and solvent cement give off strong fumes and can irritate skin and eyes. Work outside or with good ventilation, wear eye protection and gloves, and follow the cure time and safety directions on the product labels. Don’t be dumb, you only get 1 set of lungs.***
Clean the pipe and fittings. Apply primer to the outside of the pipe and the inside of the fitting, then apply the solvent cement as directed on the can. Push the pieces together with a twisting motion and hold them briefly so they do not creep apart.
Work one joint at a time, following the alignment marks from the dry fit. I intentionally aimed my nozzles a little differently to spread the mist (I swear), but the difference is subtle and probably unnecessary. Keeping them roughly aligned matters more than chasing three perfect angles.
Let the assembly cure for the full time listed on the cement. If you paint the PVC, mask the nozzle openings and threaded connections first. I painted mine because purple primer and white PVC is visually distracting.
Connect and Mount the Hose-fed Version
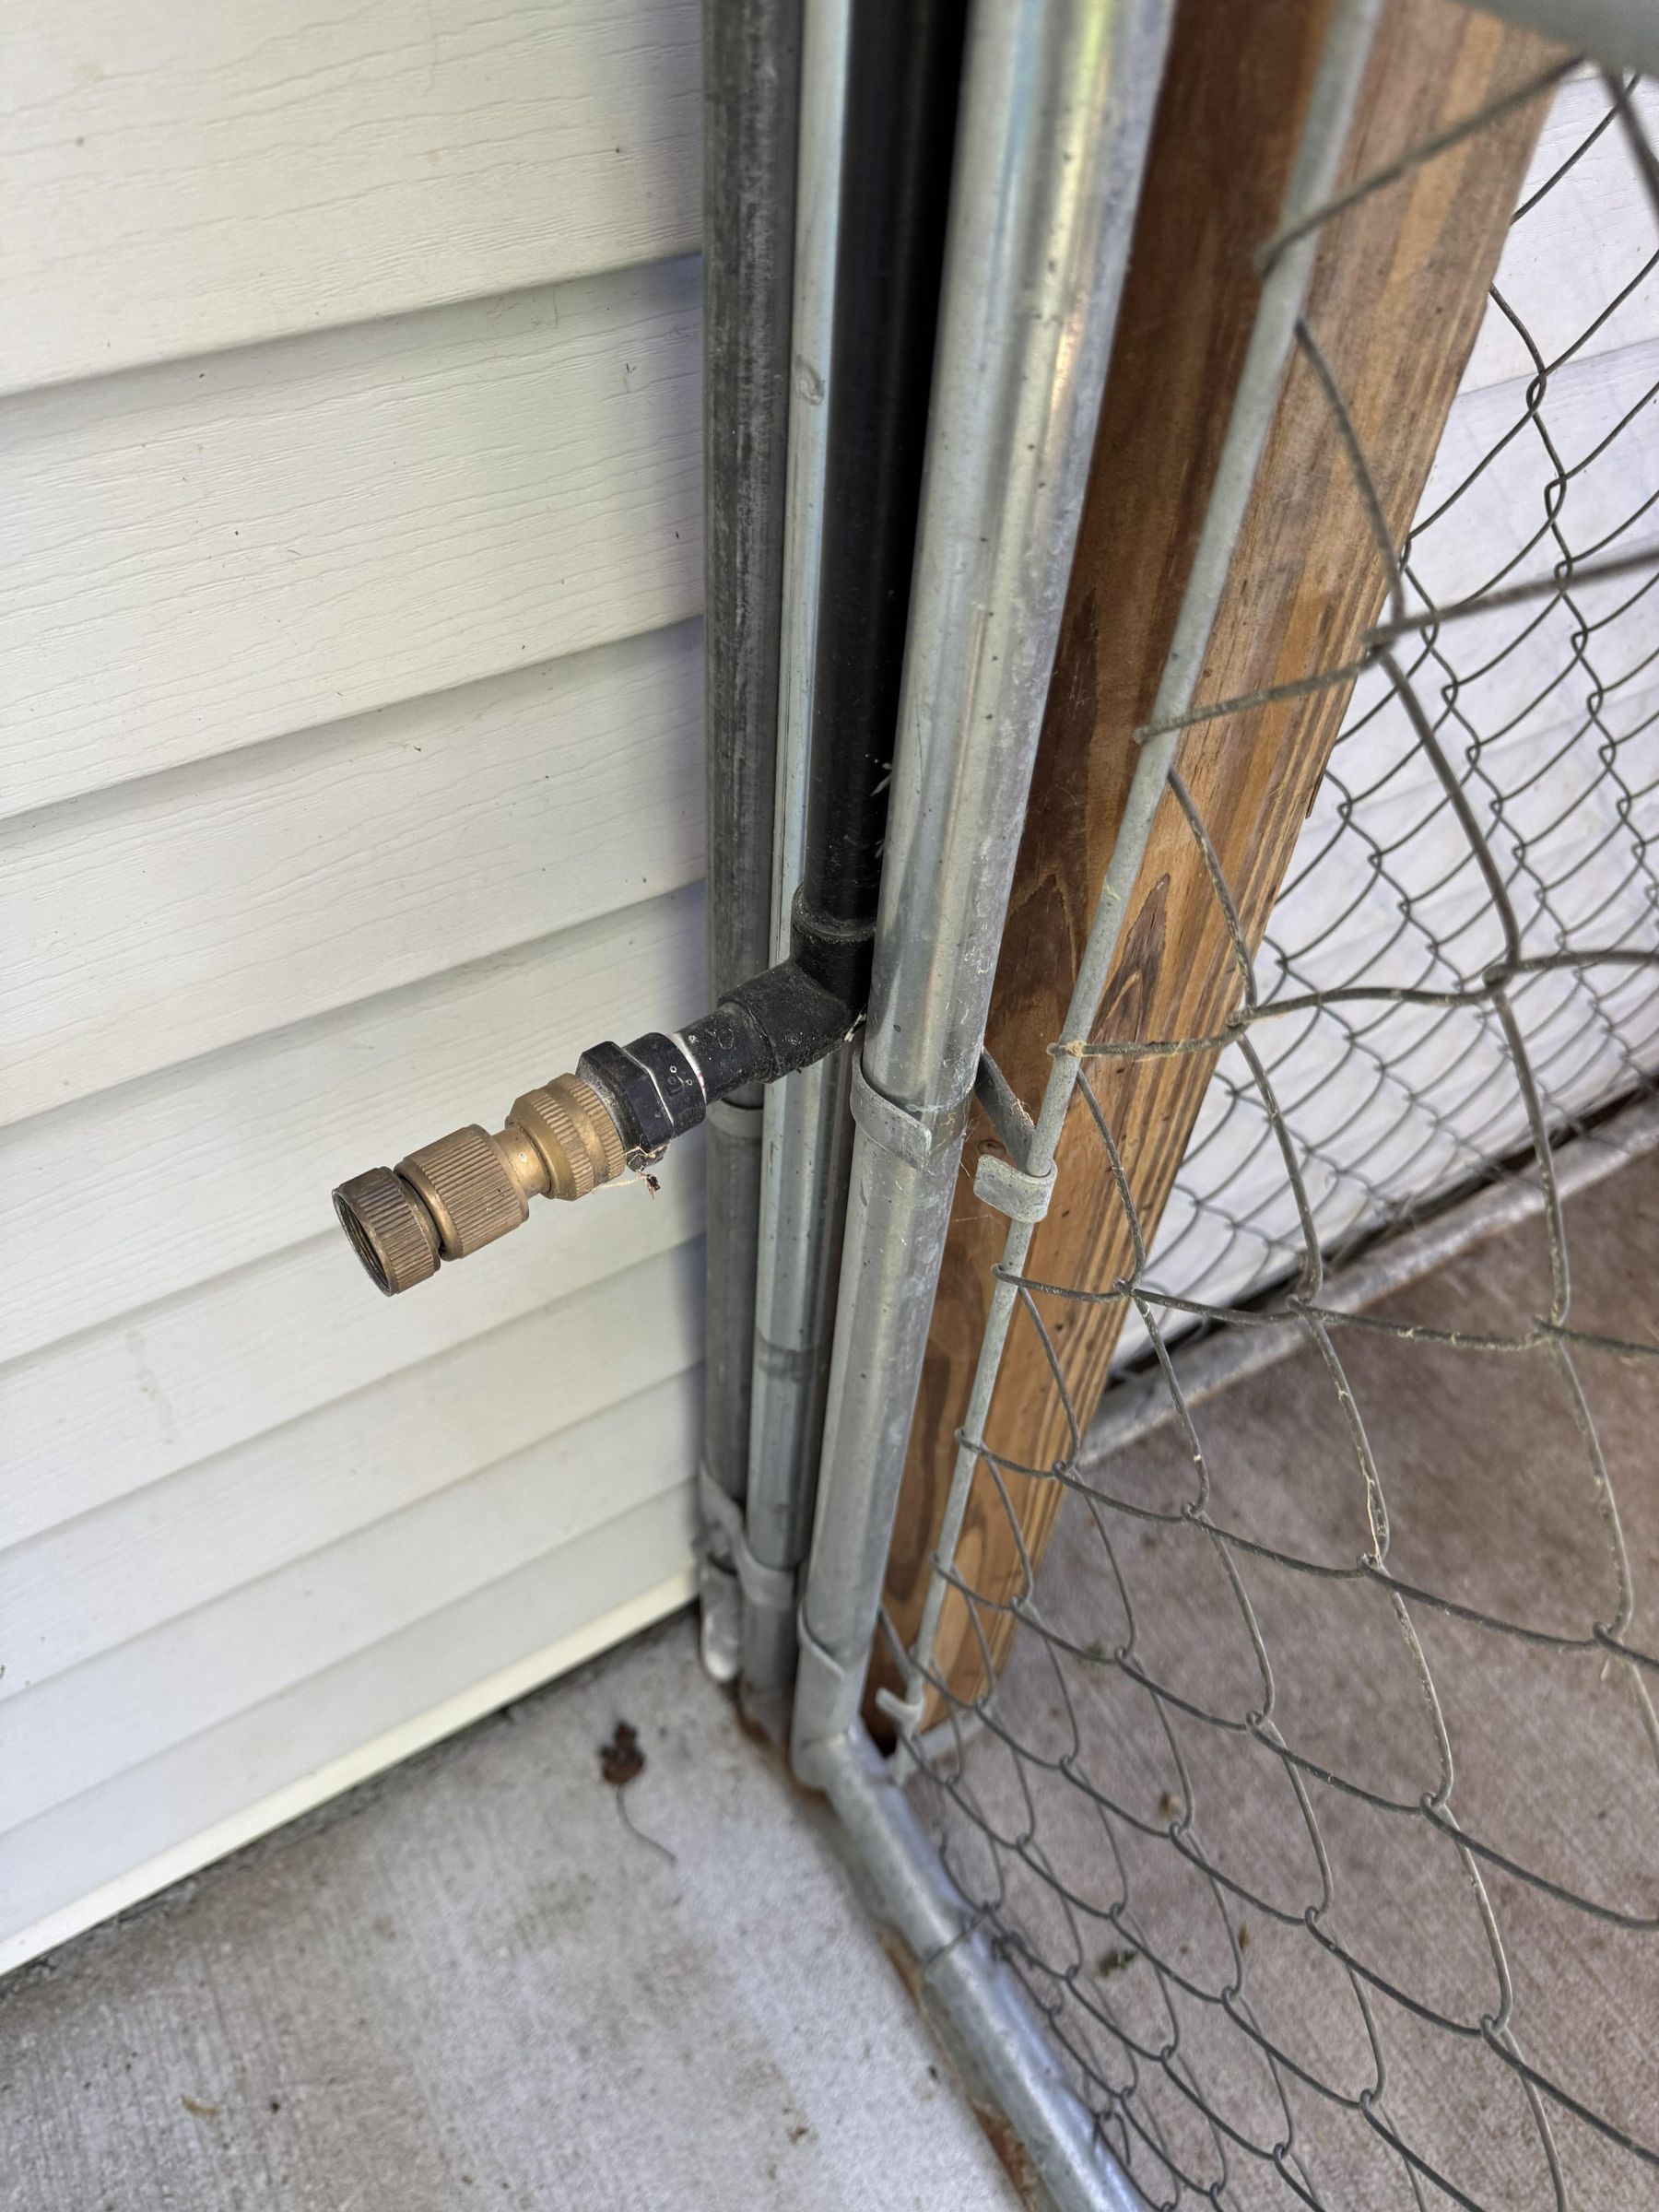
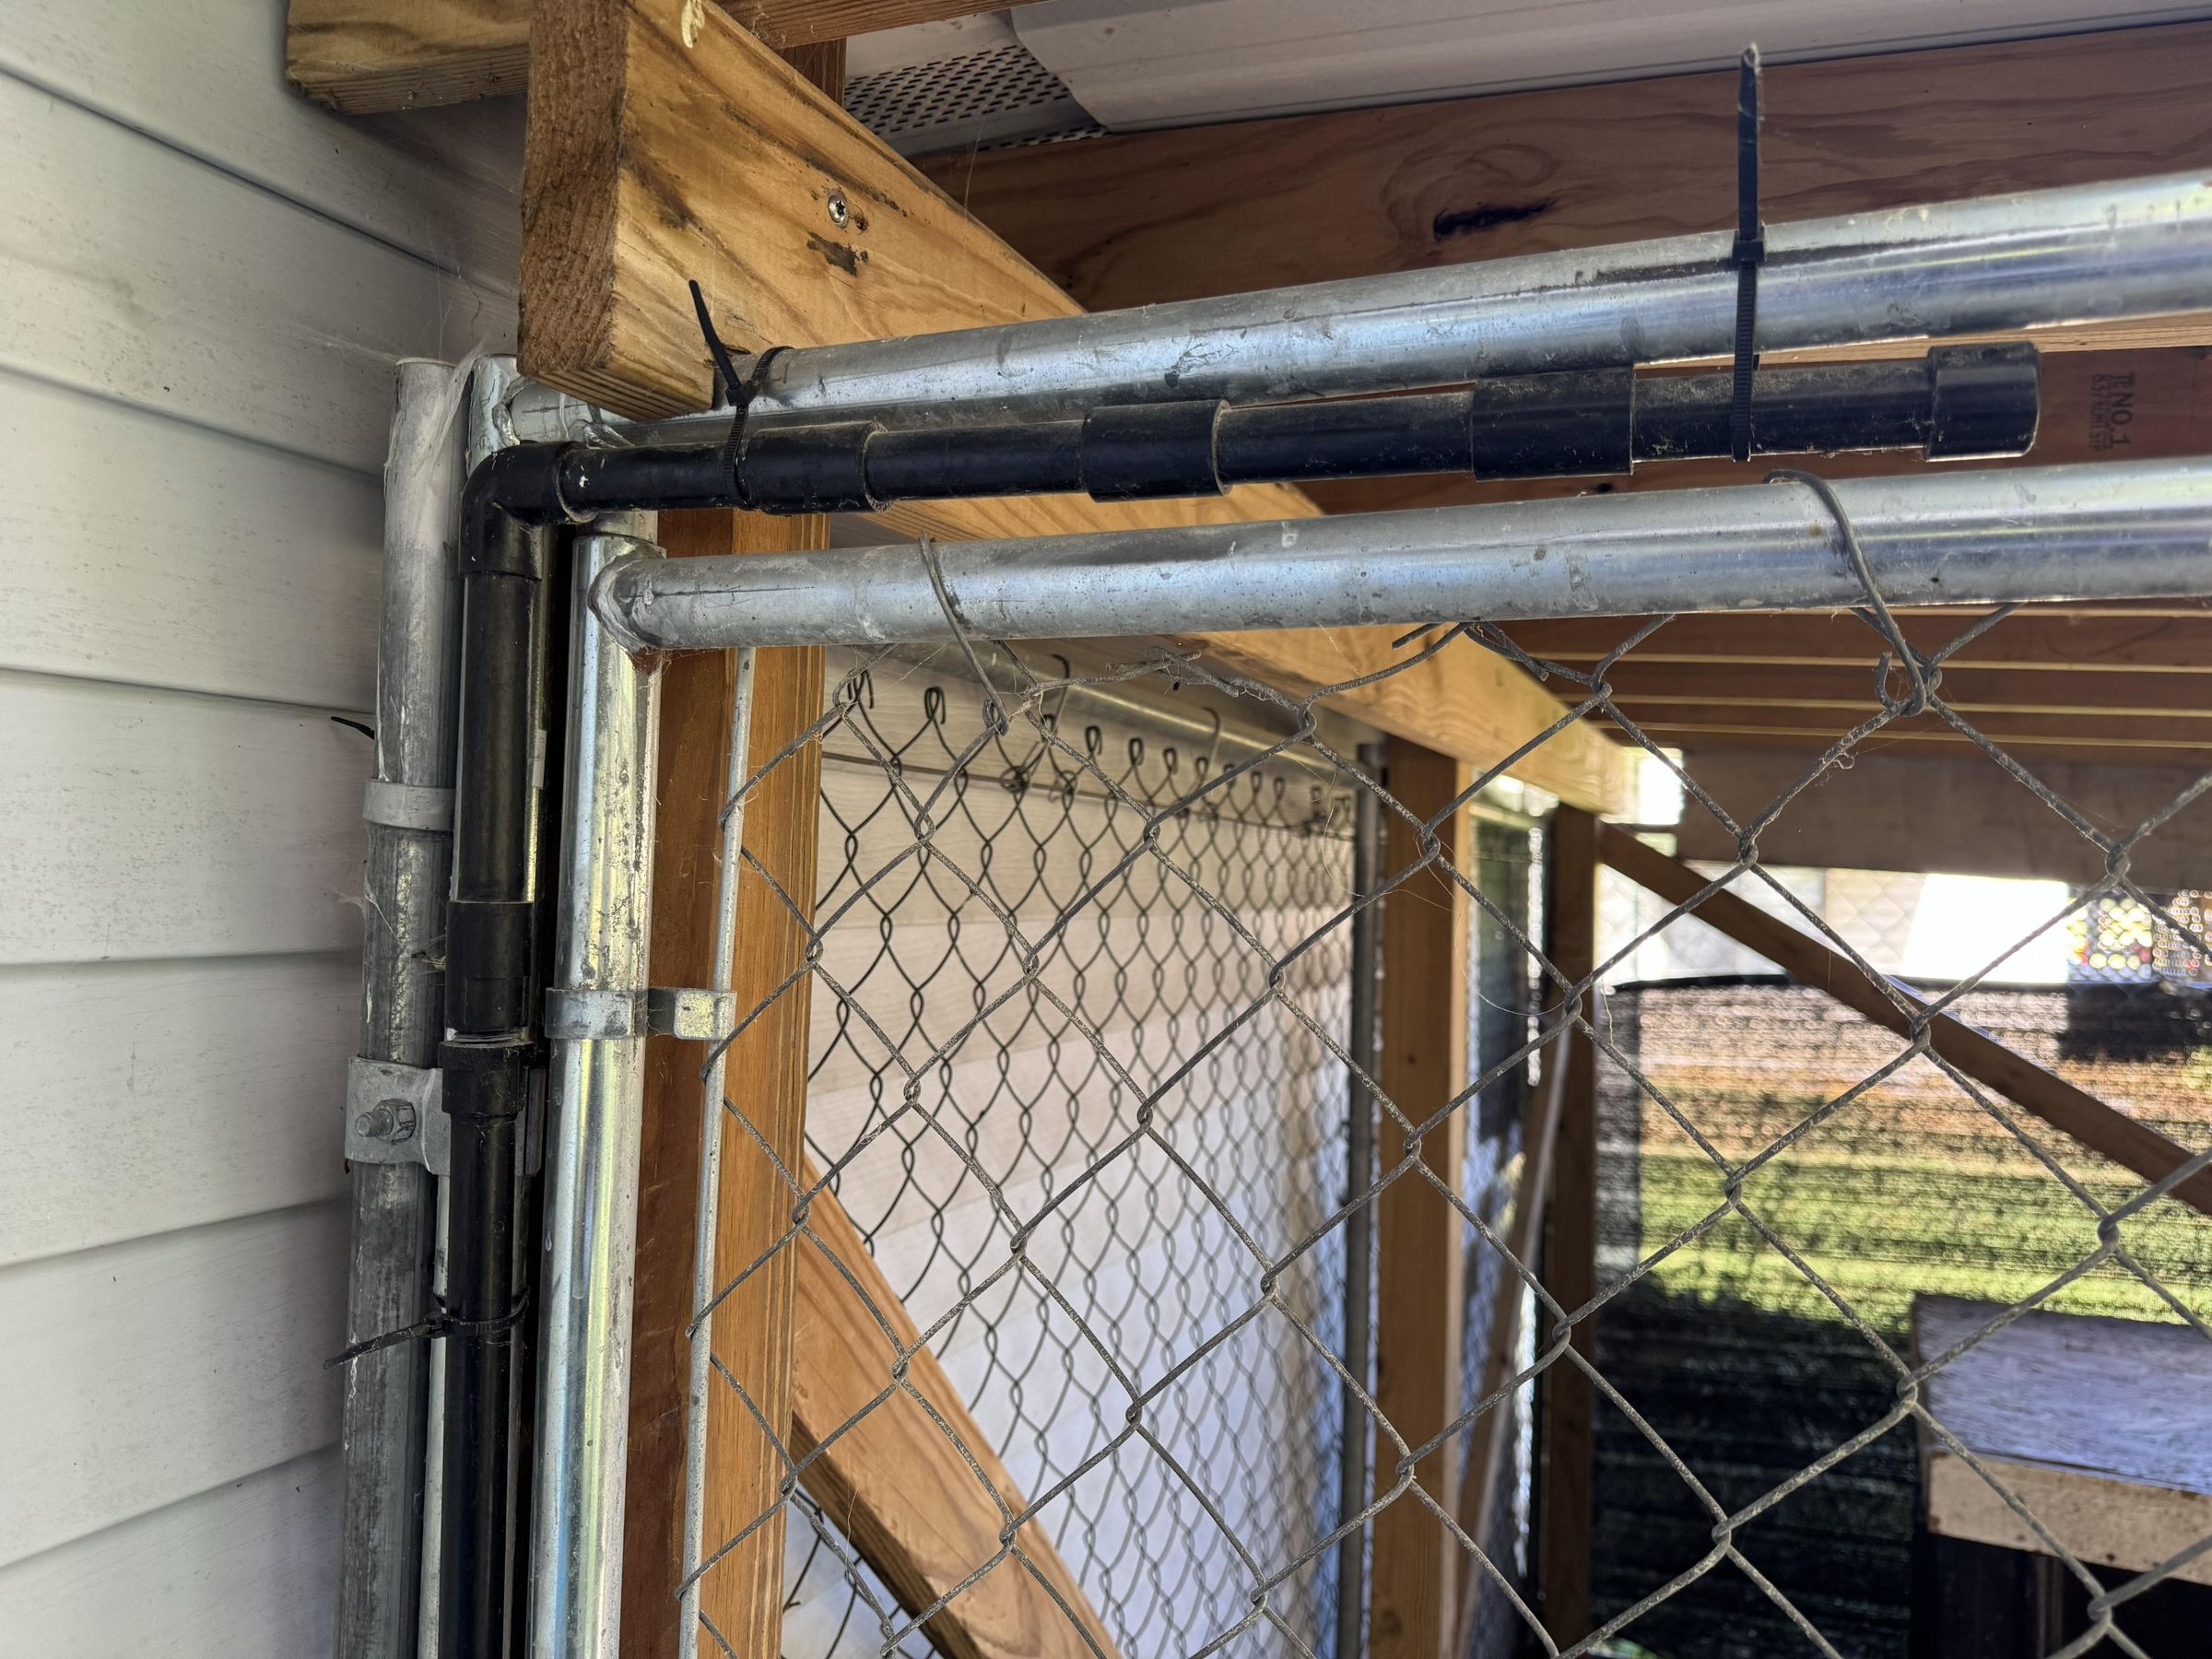
For the stationary build, I added a second 90-degree elbow at the bottom of the vertical leg and connected it to a garden-hose quick-connect. The extra elbow is not strictly necessary, but it makes the hose easier to attach and remove in my setup.
Before installing, connect everything and turn the water on slowly and check every joint for leaks. I originally built mine with four nozzles, but our household water pressure could not support a useful mist from all four. I shortened the bar to three nozzles, and it has worked well for four summers. More nozzles do not automatically mean more cooling; every nozzle divides the available pressure and flow.
After ensuring there were no leaks and the nozzles were secure, I zip-tied the assembly to the dog kennel with the nozzles above the doorway and outside of the doggo’s reach. Use enough attachment points that the PVC cannot swing, fall, or leave a sharp edge where an animal can reach it. Keep the hose routed where it will not become a trip or chew hazard.
The cooling effect is dramatic even if you’re just in the area near the misting cooler. I don’t have the tools to measure the exact temperature difference and some of the difference is certainly “perceived temperature” vs actual temperature drop. To me, in a completely non-scientific way, the difference feels 10-20 degrees cooler.
I don’t at all promise that a thermometer would confirm this, but the cooling effect is noticeable and significant.
Build the Portable Version
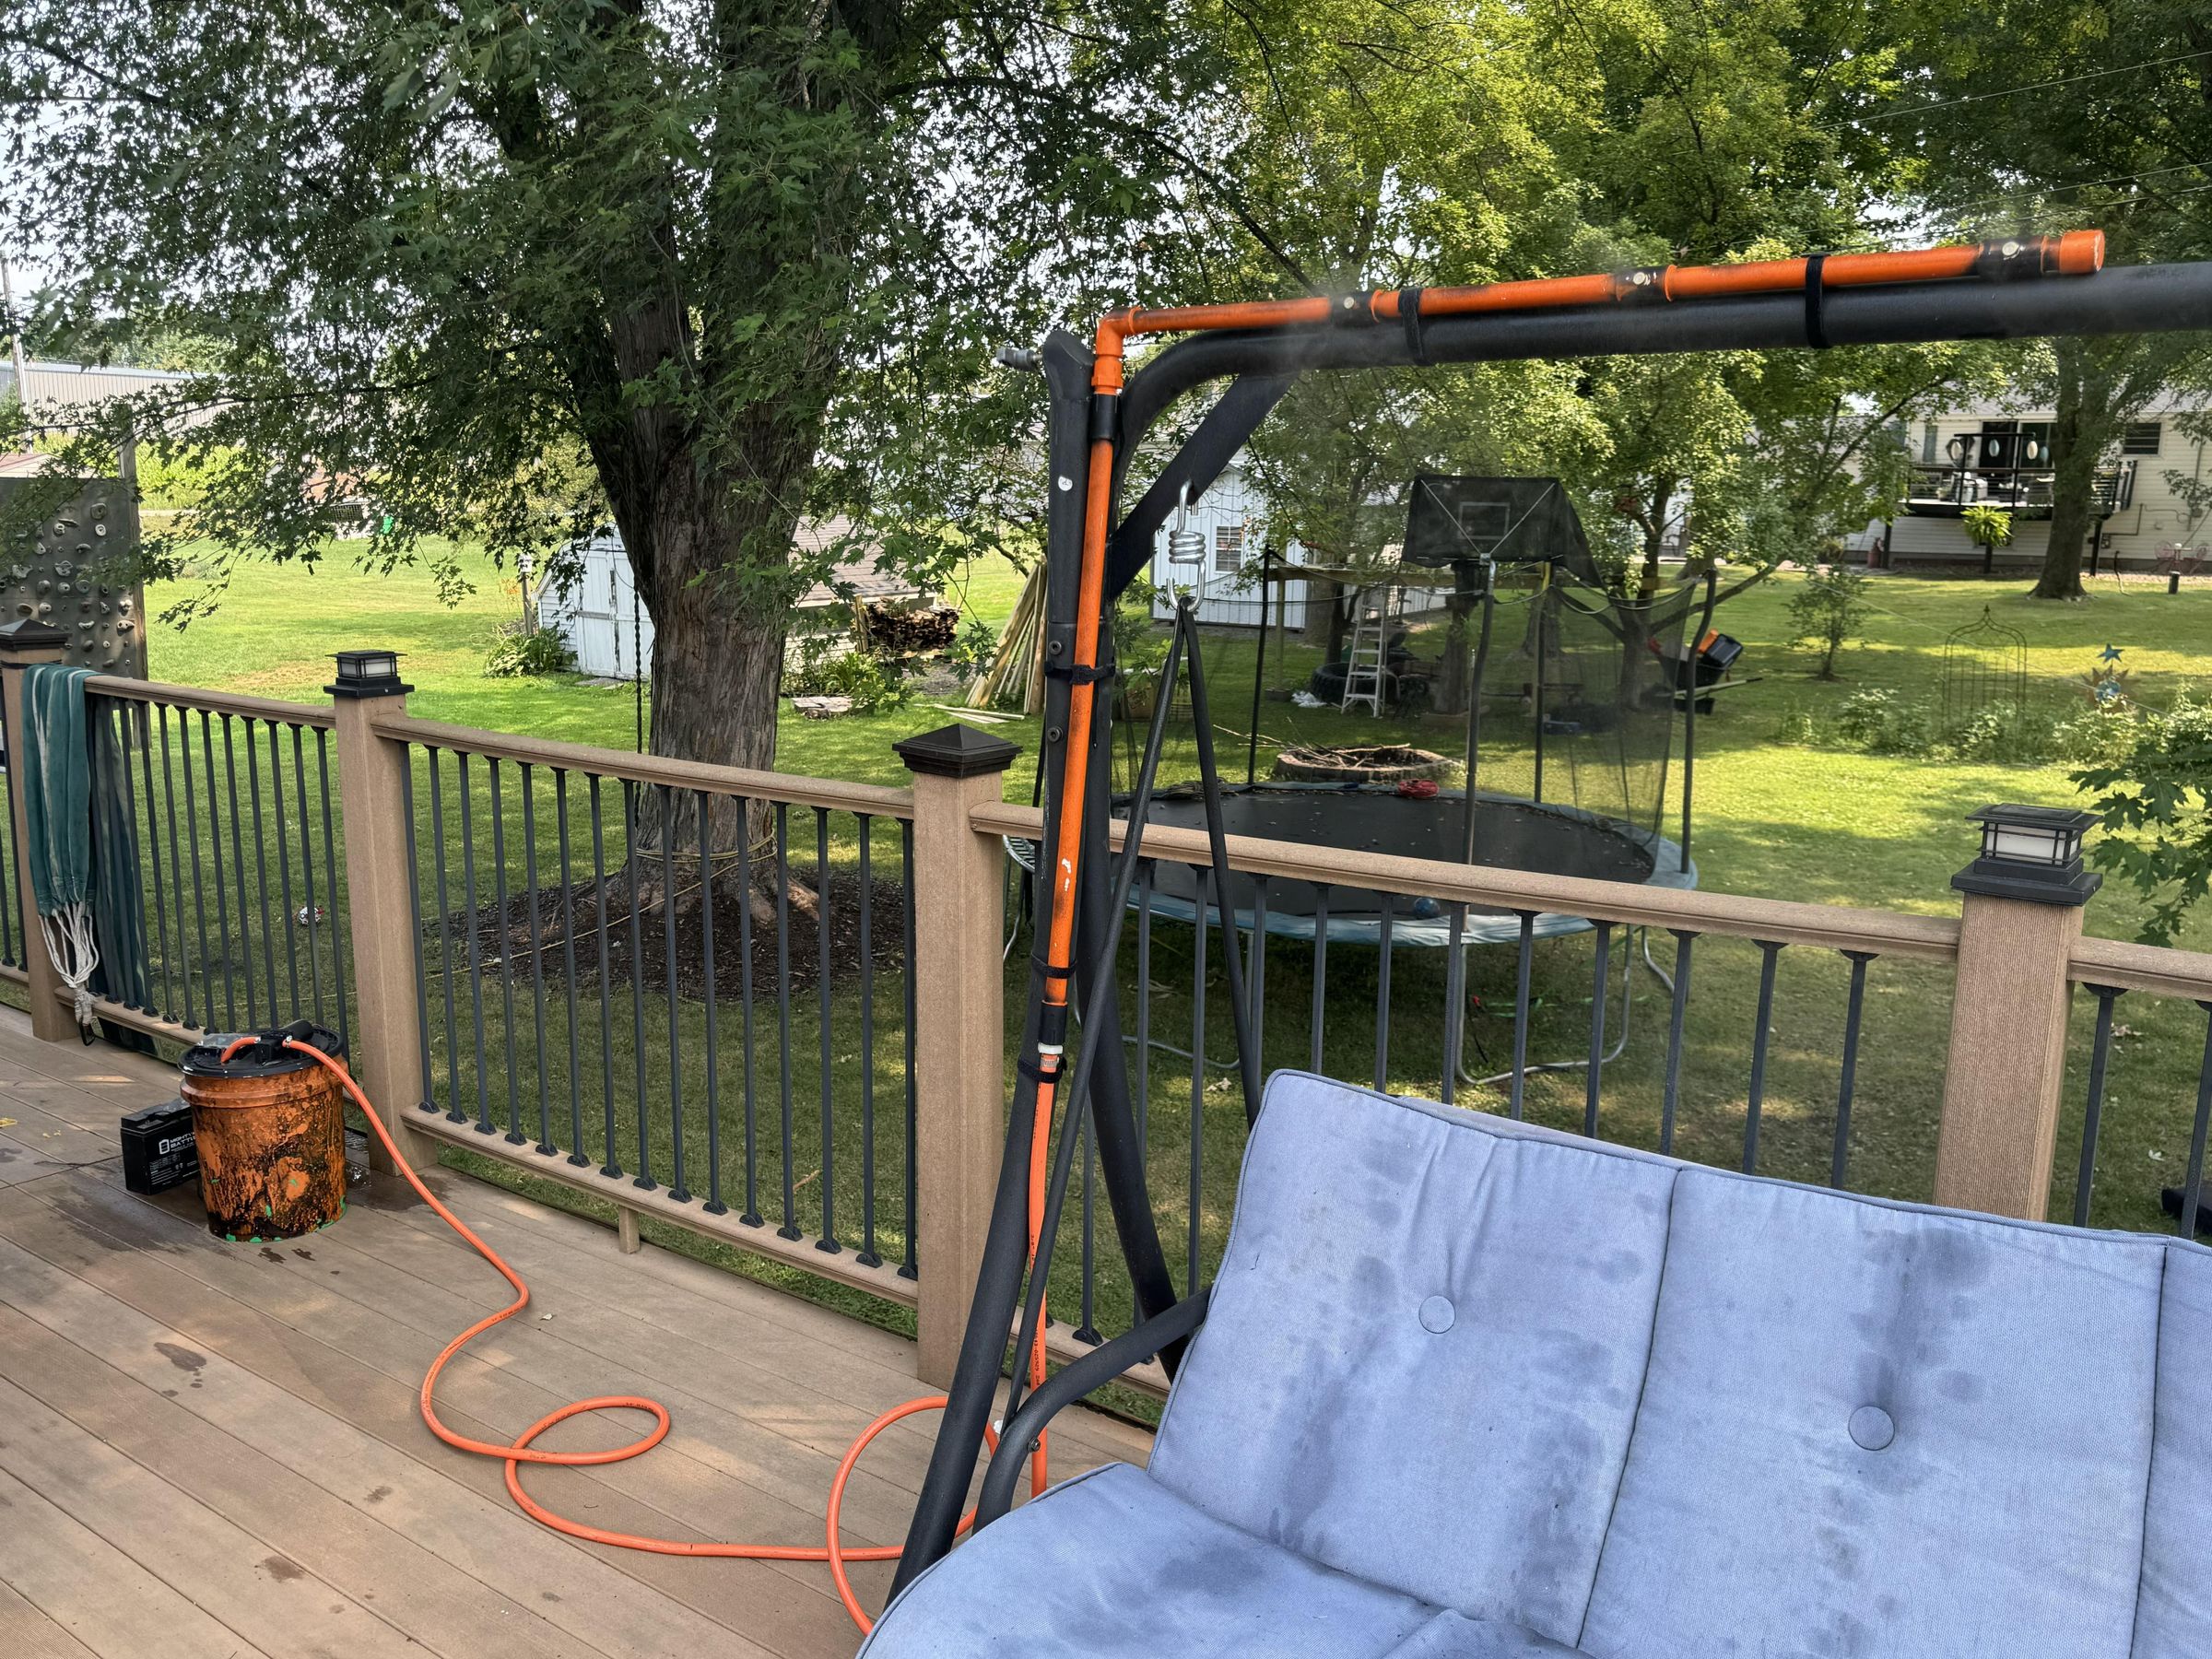
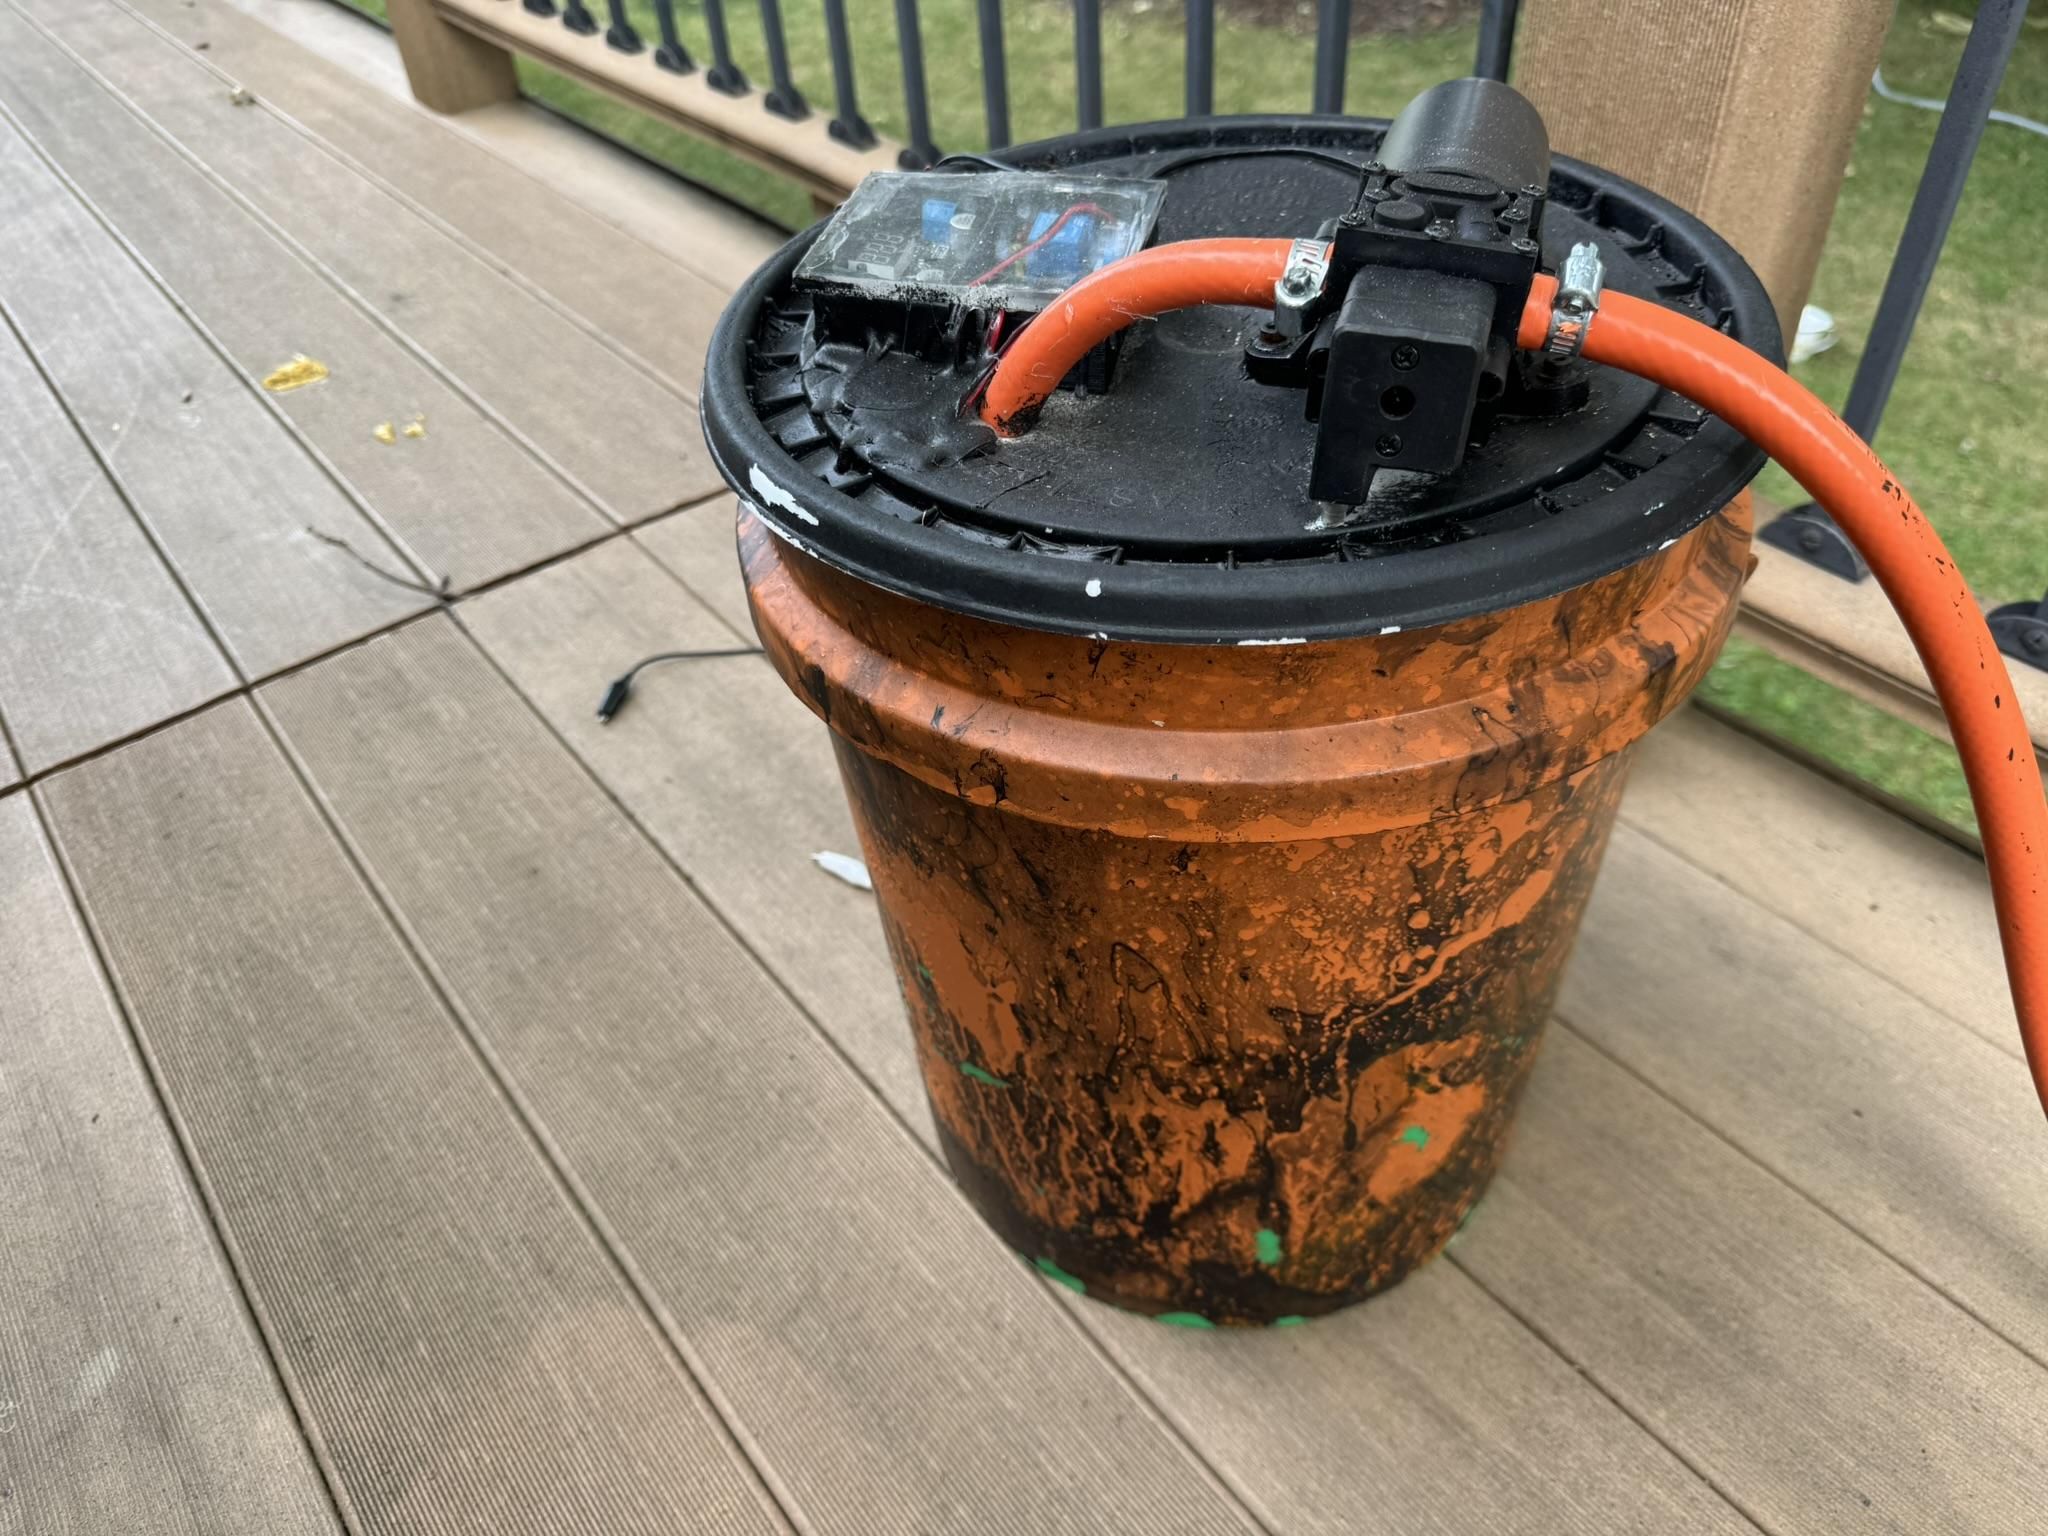
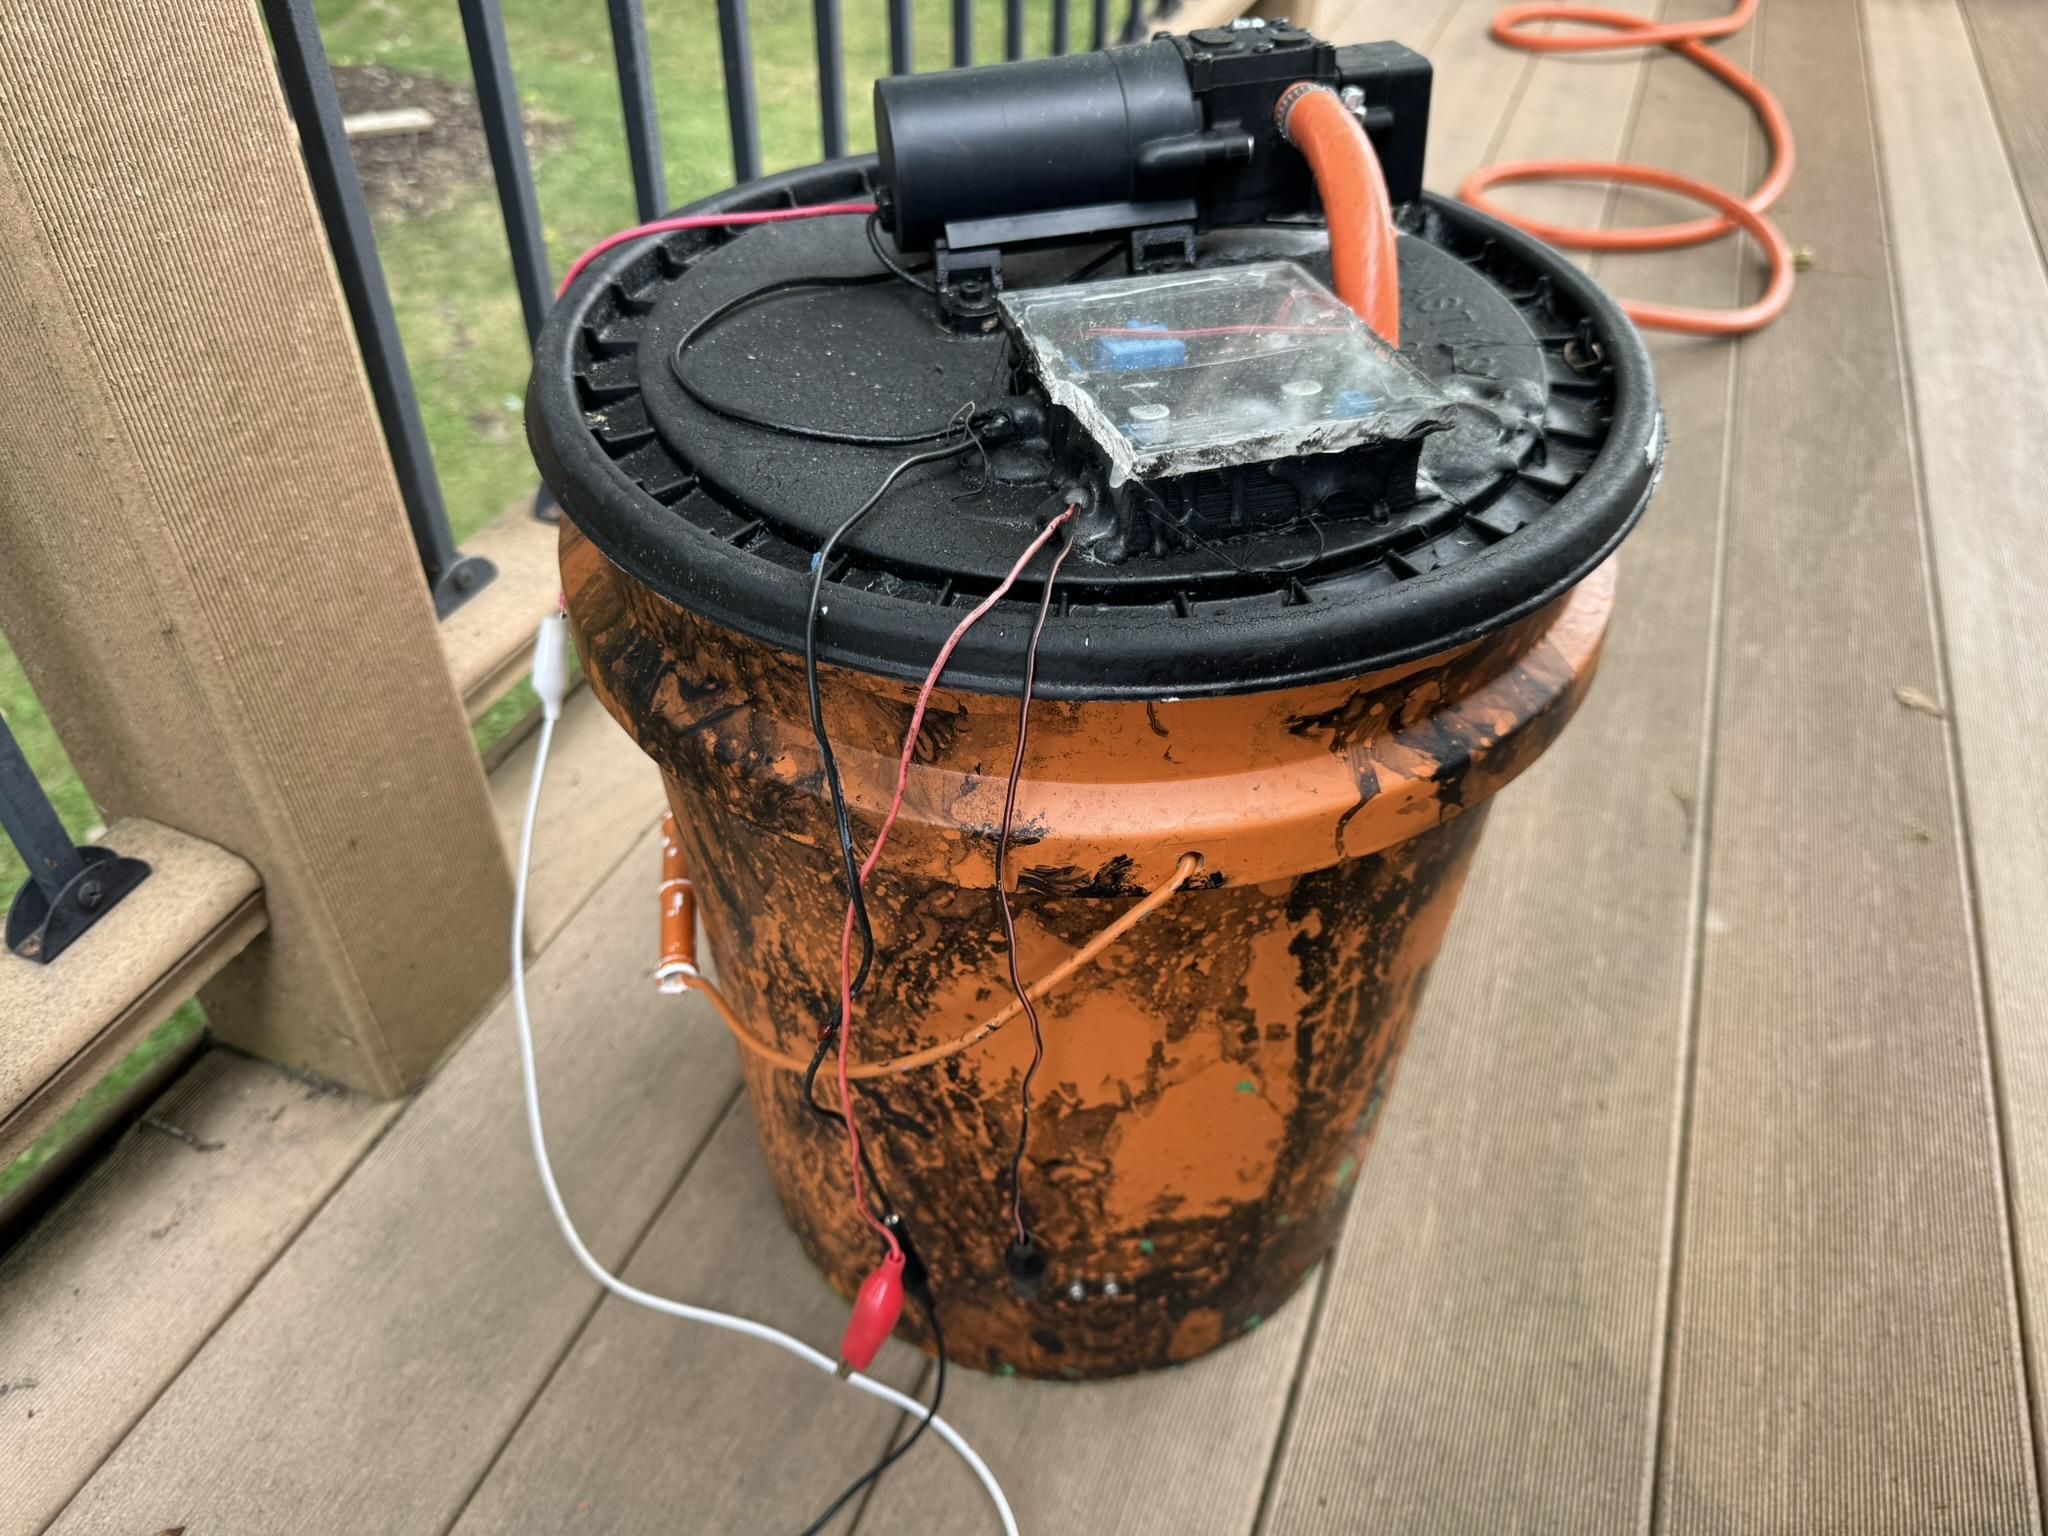
I started with a five-gallon bucket and lid from the big-box store. I hydro-dipped the bucket because why not?, and sprayed the top of the lid with truck-bed liner because moderation is for cowards. Both of these are completely unnecessary and kinda silly, but pretty cool. I do think the truck-bedliner has a dampening effect on vibration from the pump but that’s not why I did it.
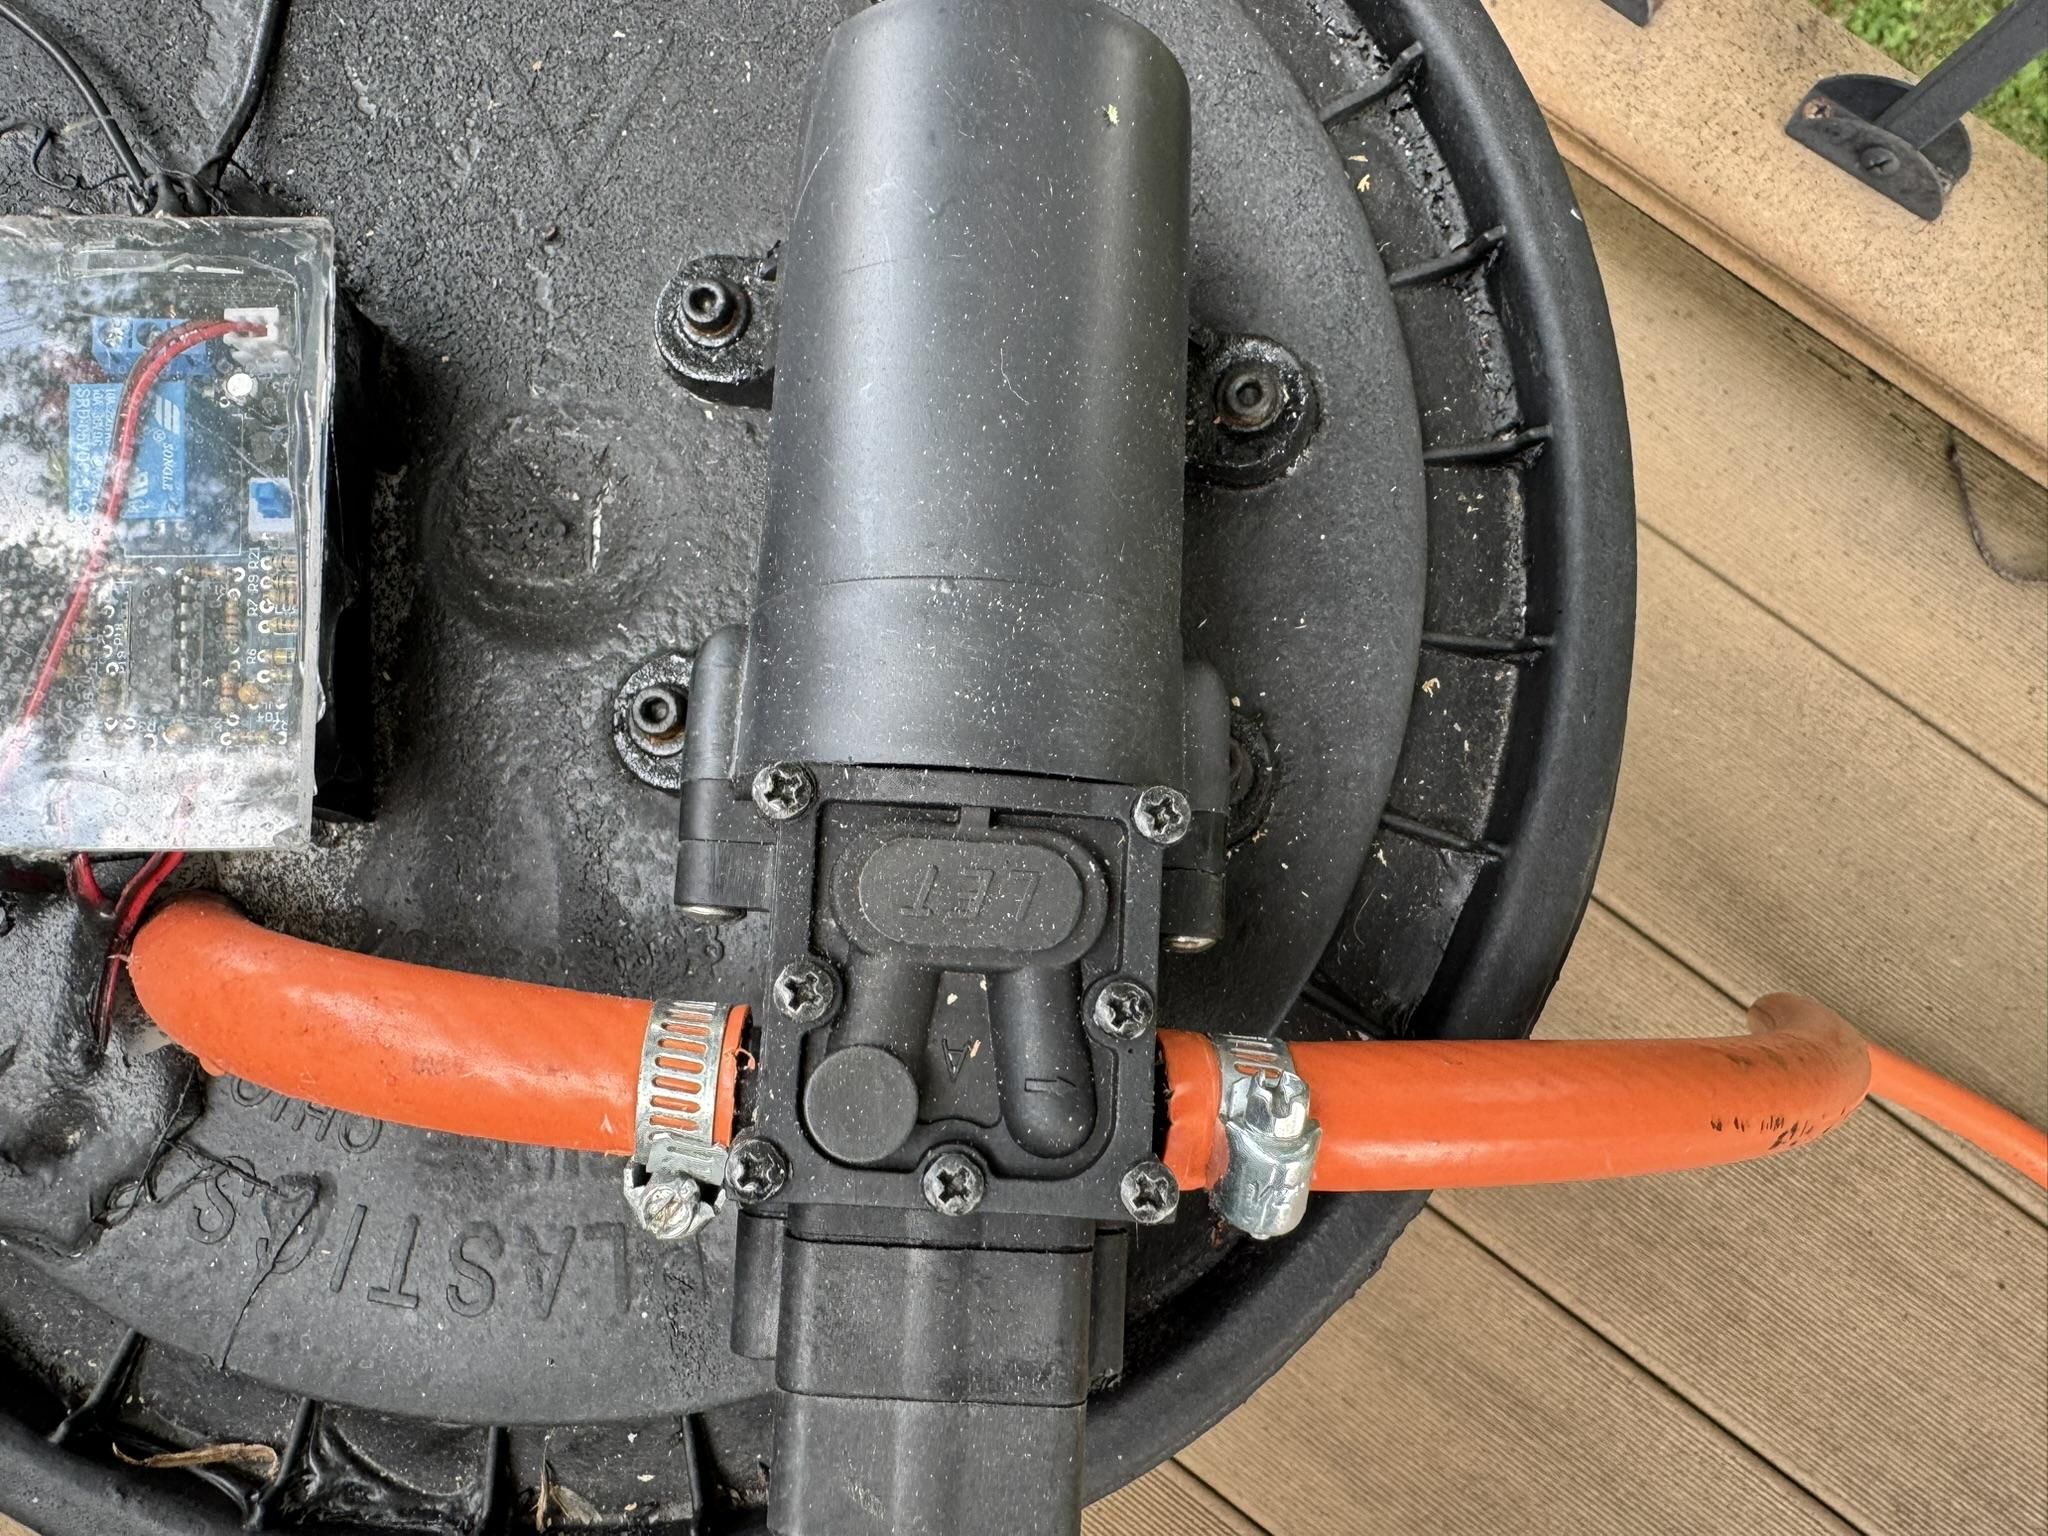
Mount the 12-volt pump to the lid. Drill an appropriately sized hole in the lid for the inlet tube. Run a short length of pressure-rated tubing from the pump inlet down toward the bottom of the bucket. You want the tubing to go almost all the way to the bottom, so it can suck up water until it’s almost empty, but not all the way, so it can’t suction itself to the bottom. Alternatively, you can make it long enough that it coils on the bottom a bit.
Connect the pump outlet to the longer hose that feeds the misting bar. Secure every barb with a properly sized hose clamp.
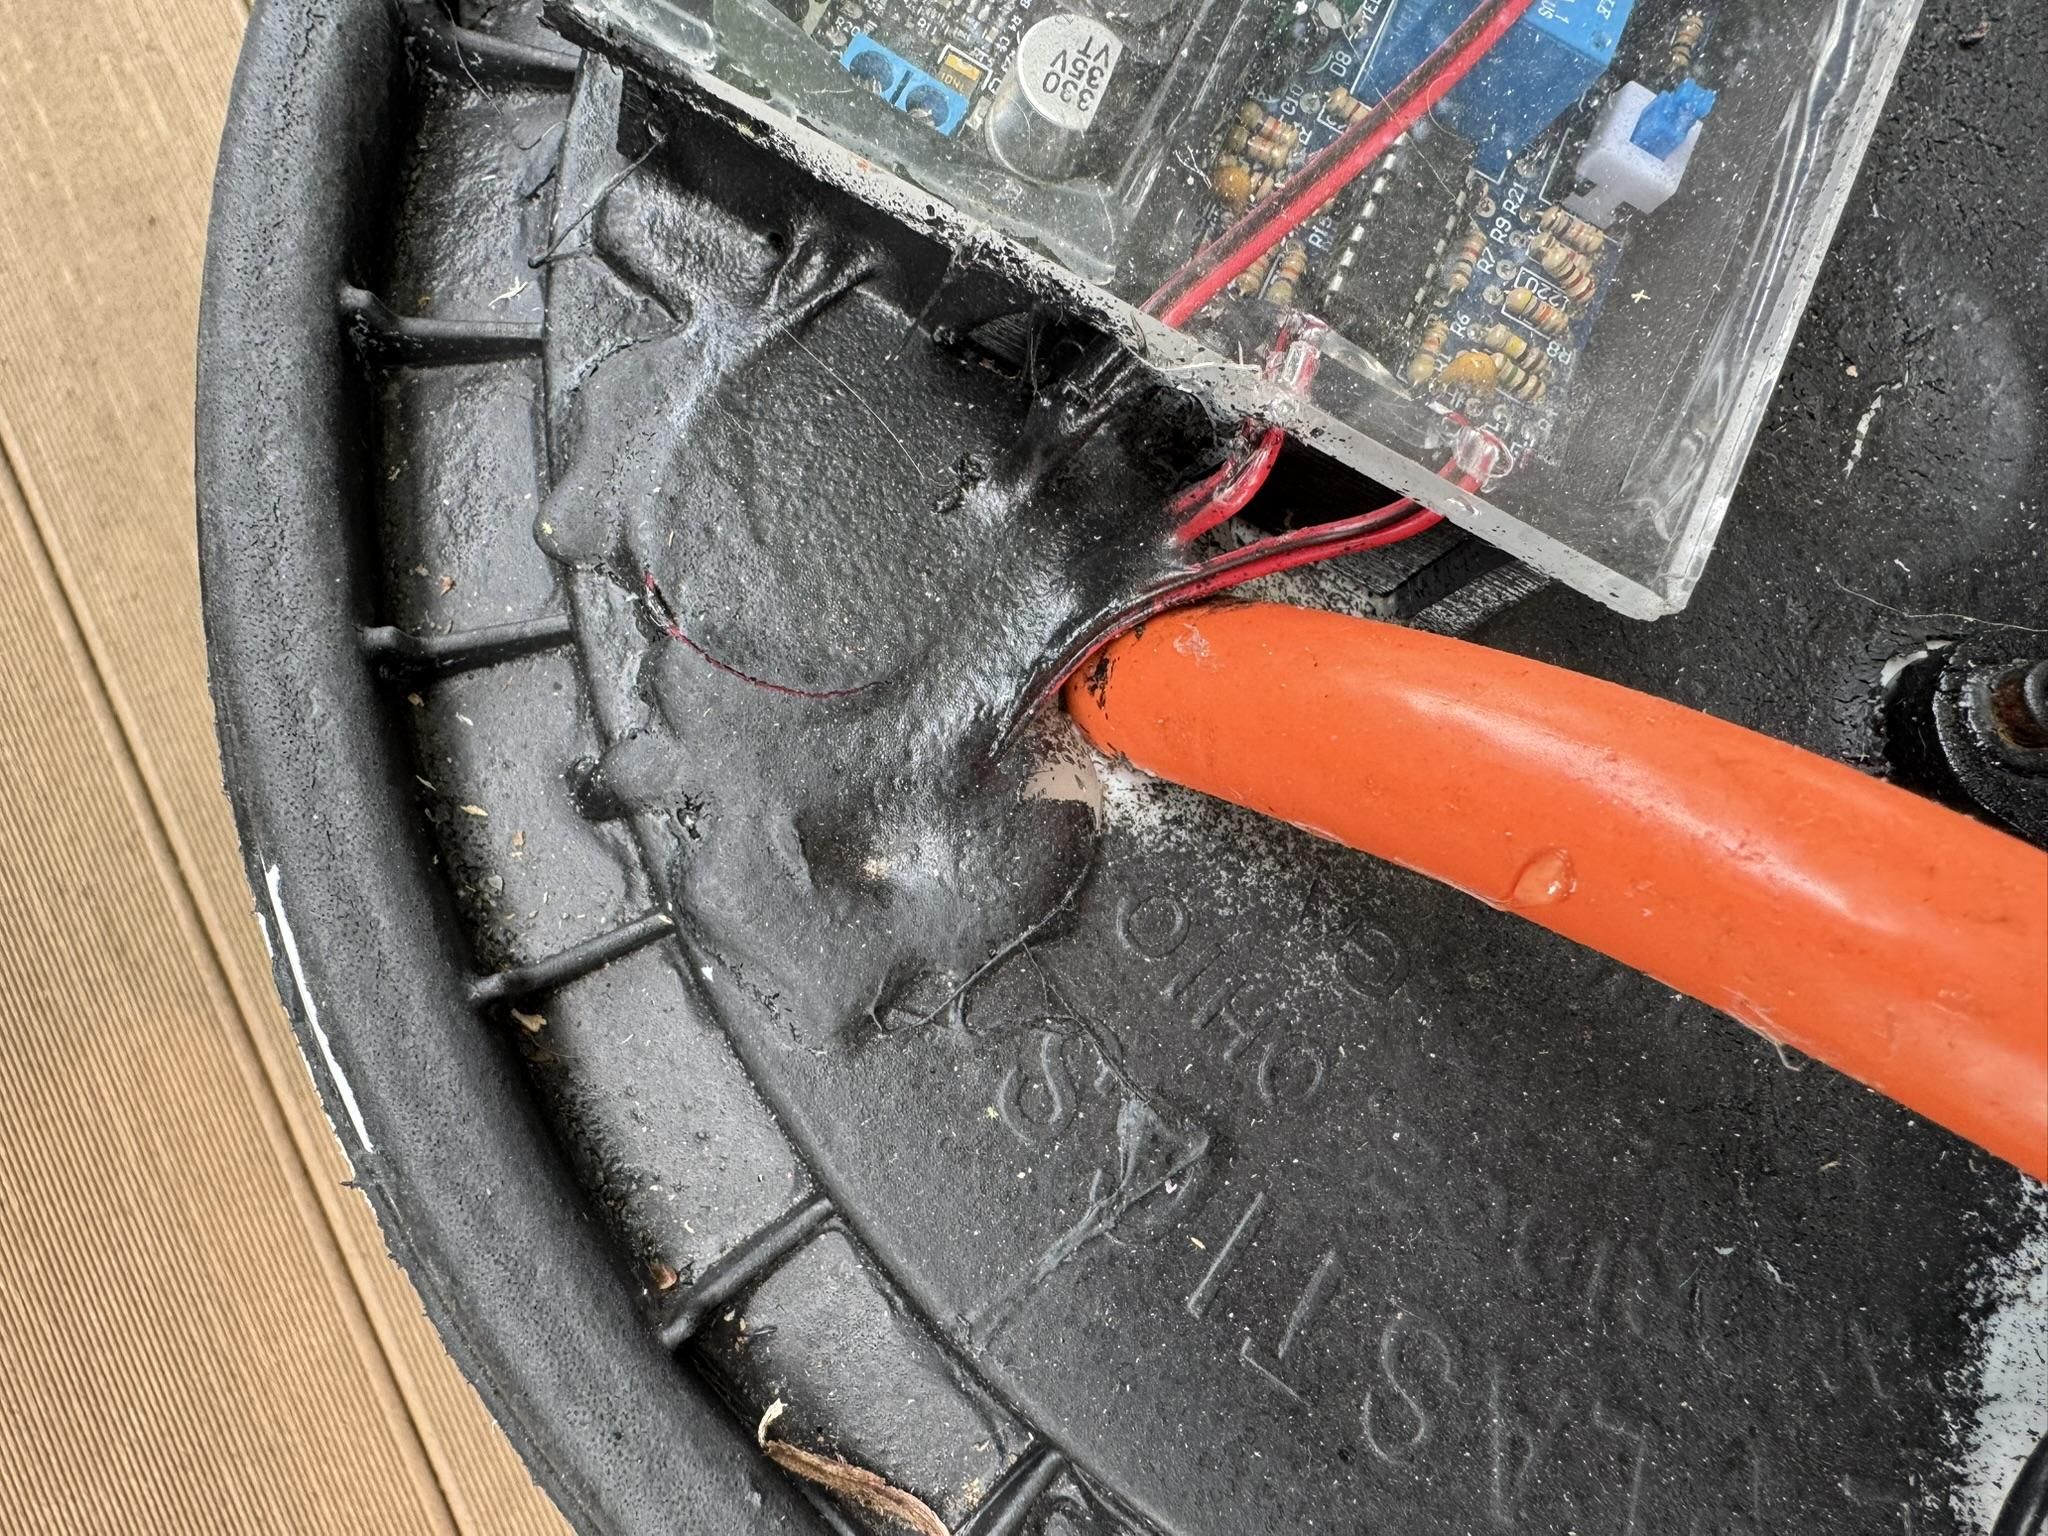
I sealed the tubing pass-through with hot glue on my original build. It worked, but a rubber grommet or bulkhead fitting would look “prettier”.
The pump is noisy for a few seconds while it primes. Once water is moving, mine settles down to a quiet hum that disappears under normal conversation.
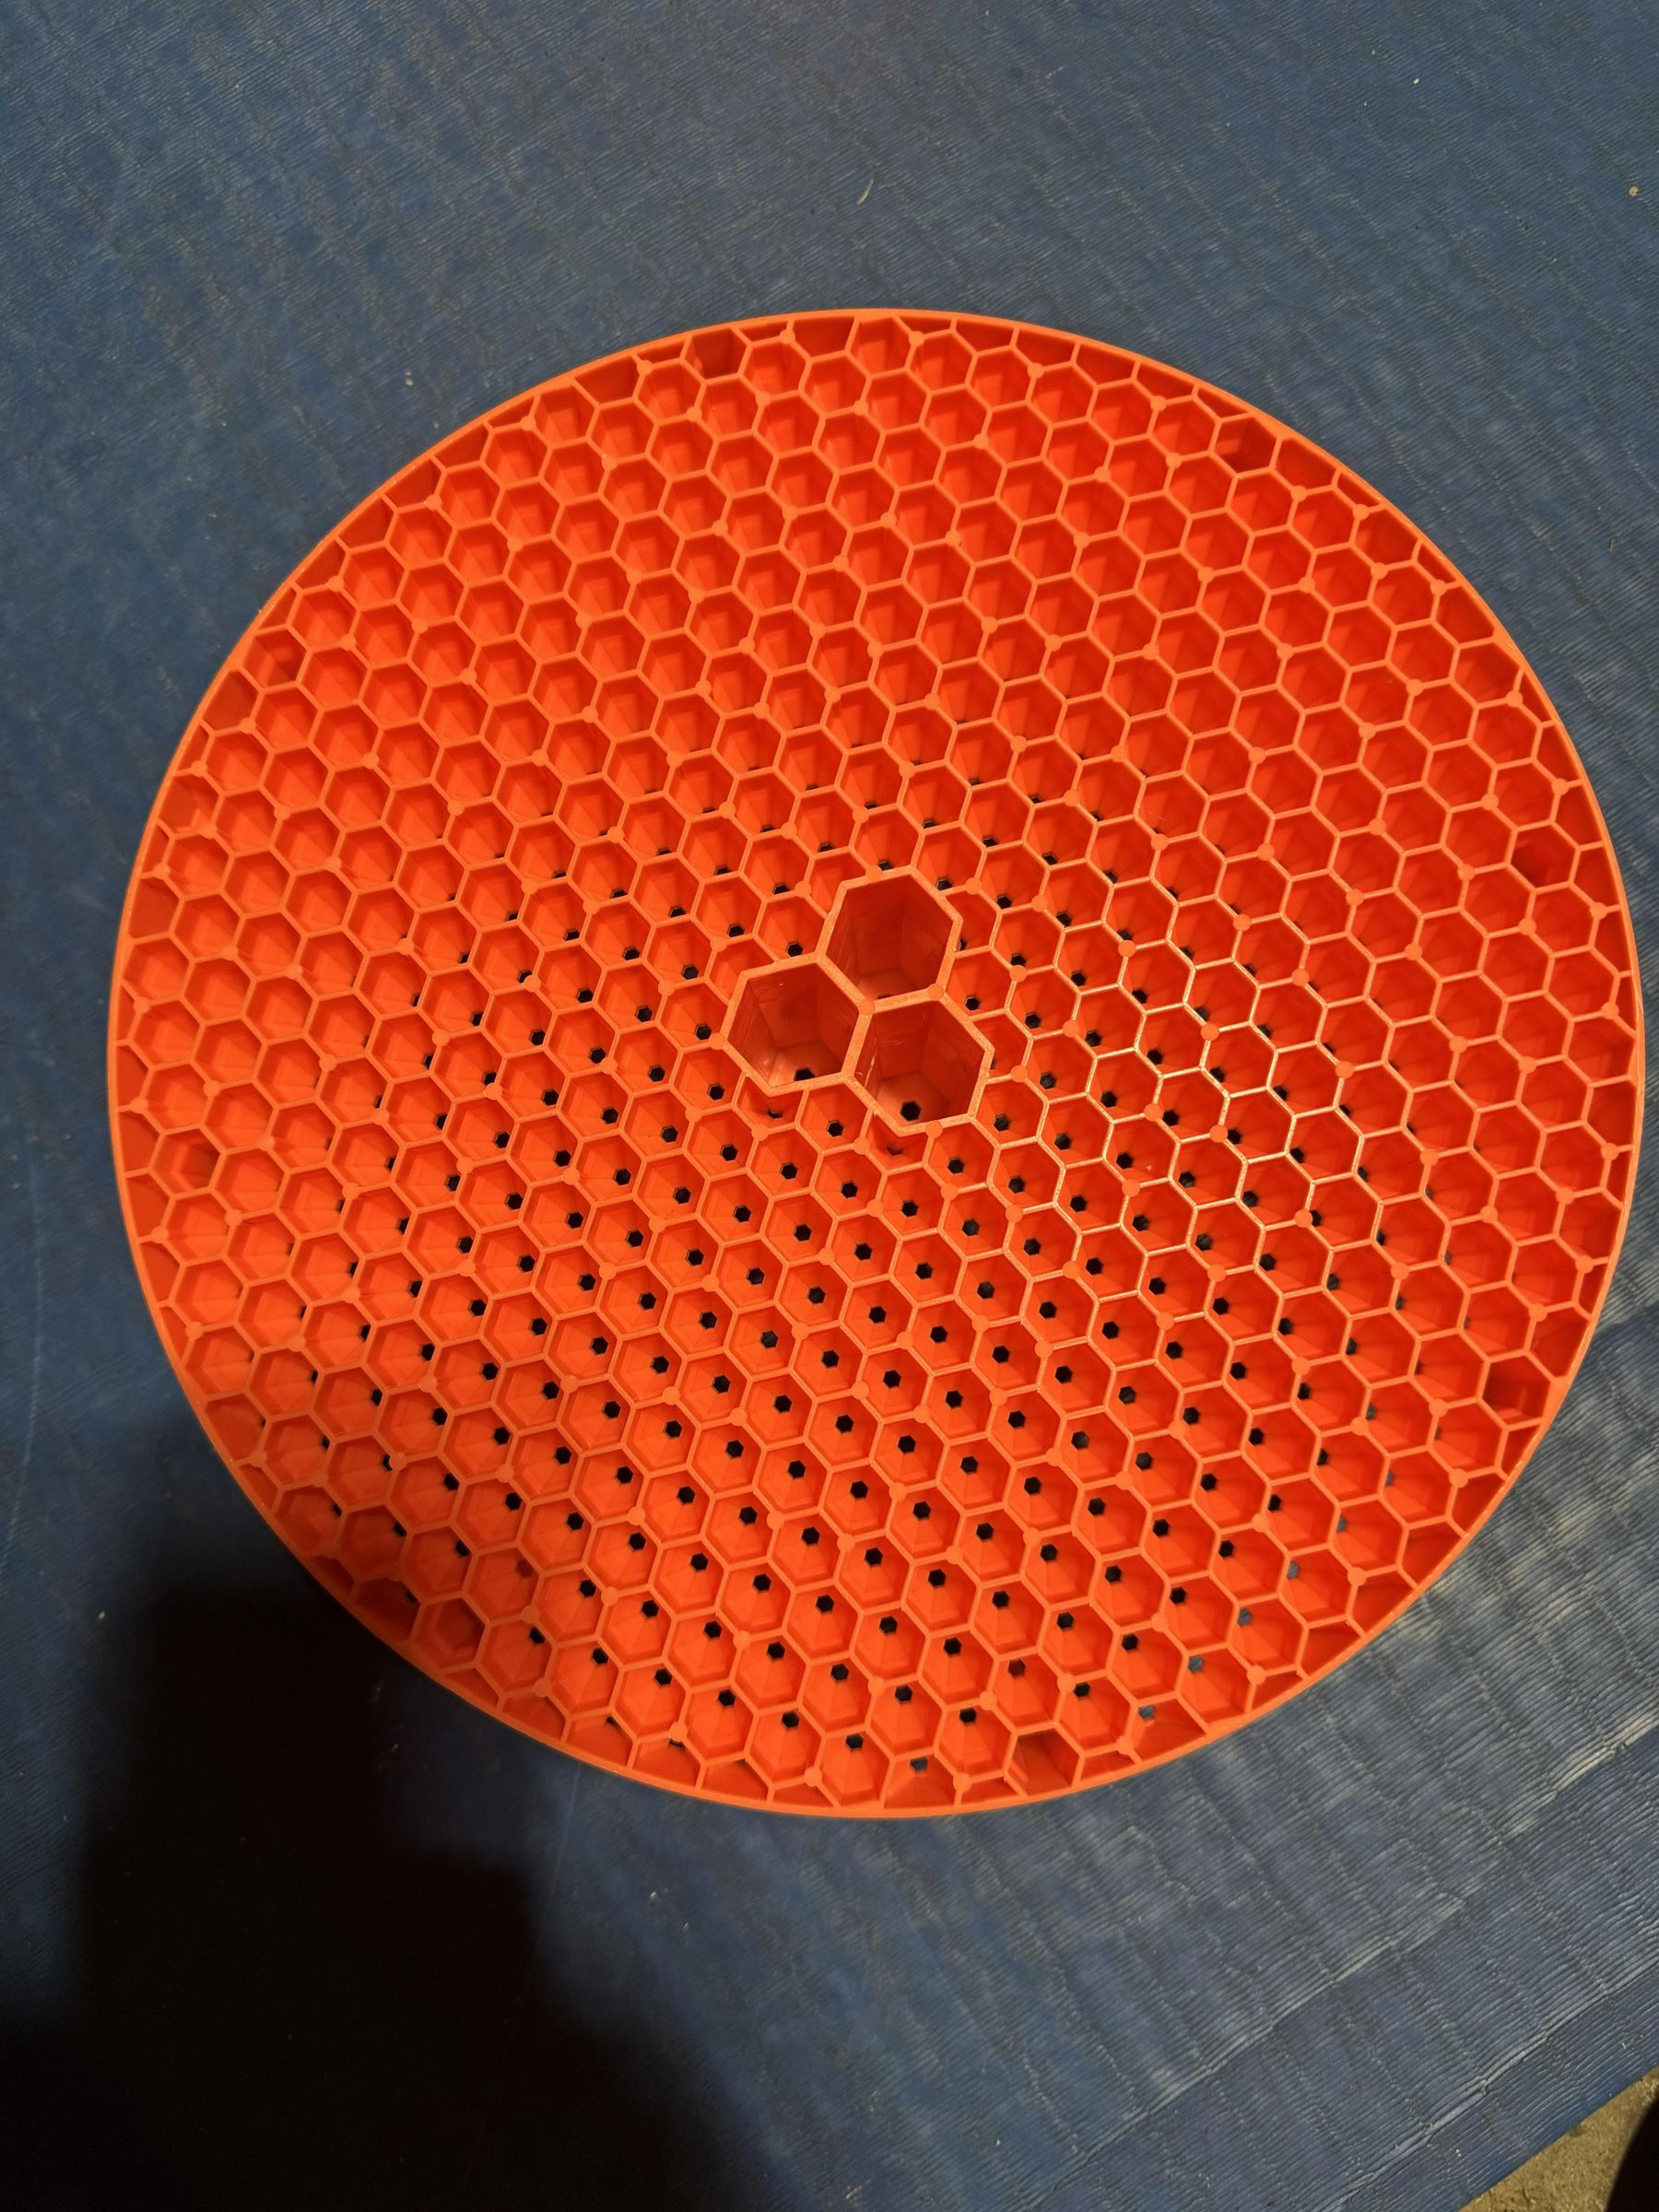
Bonus tip: At some point after my original construction, I stumbled upon a “dirt guard” or “grit guard” for my 5 gallon pail at my local big-box store. Adding this to my setup allowed me to dump a bunch of ice into my portable evaporative cooler and not worry about the ice getting caught in the suction from the inlet hose.
Again, I can’t provide proof ice water cools better than room temp water, but it certainly feels like it does.
Wire and Protect the 12-volt System
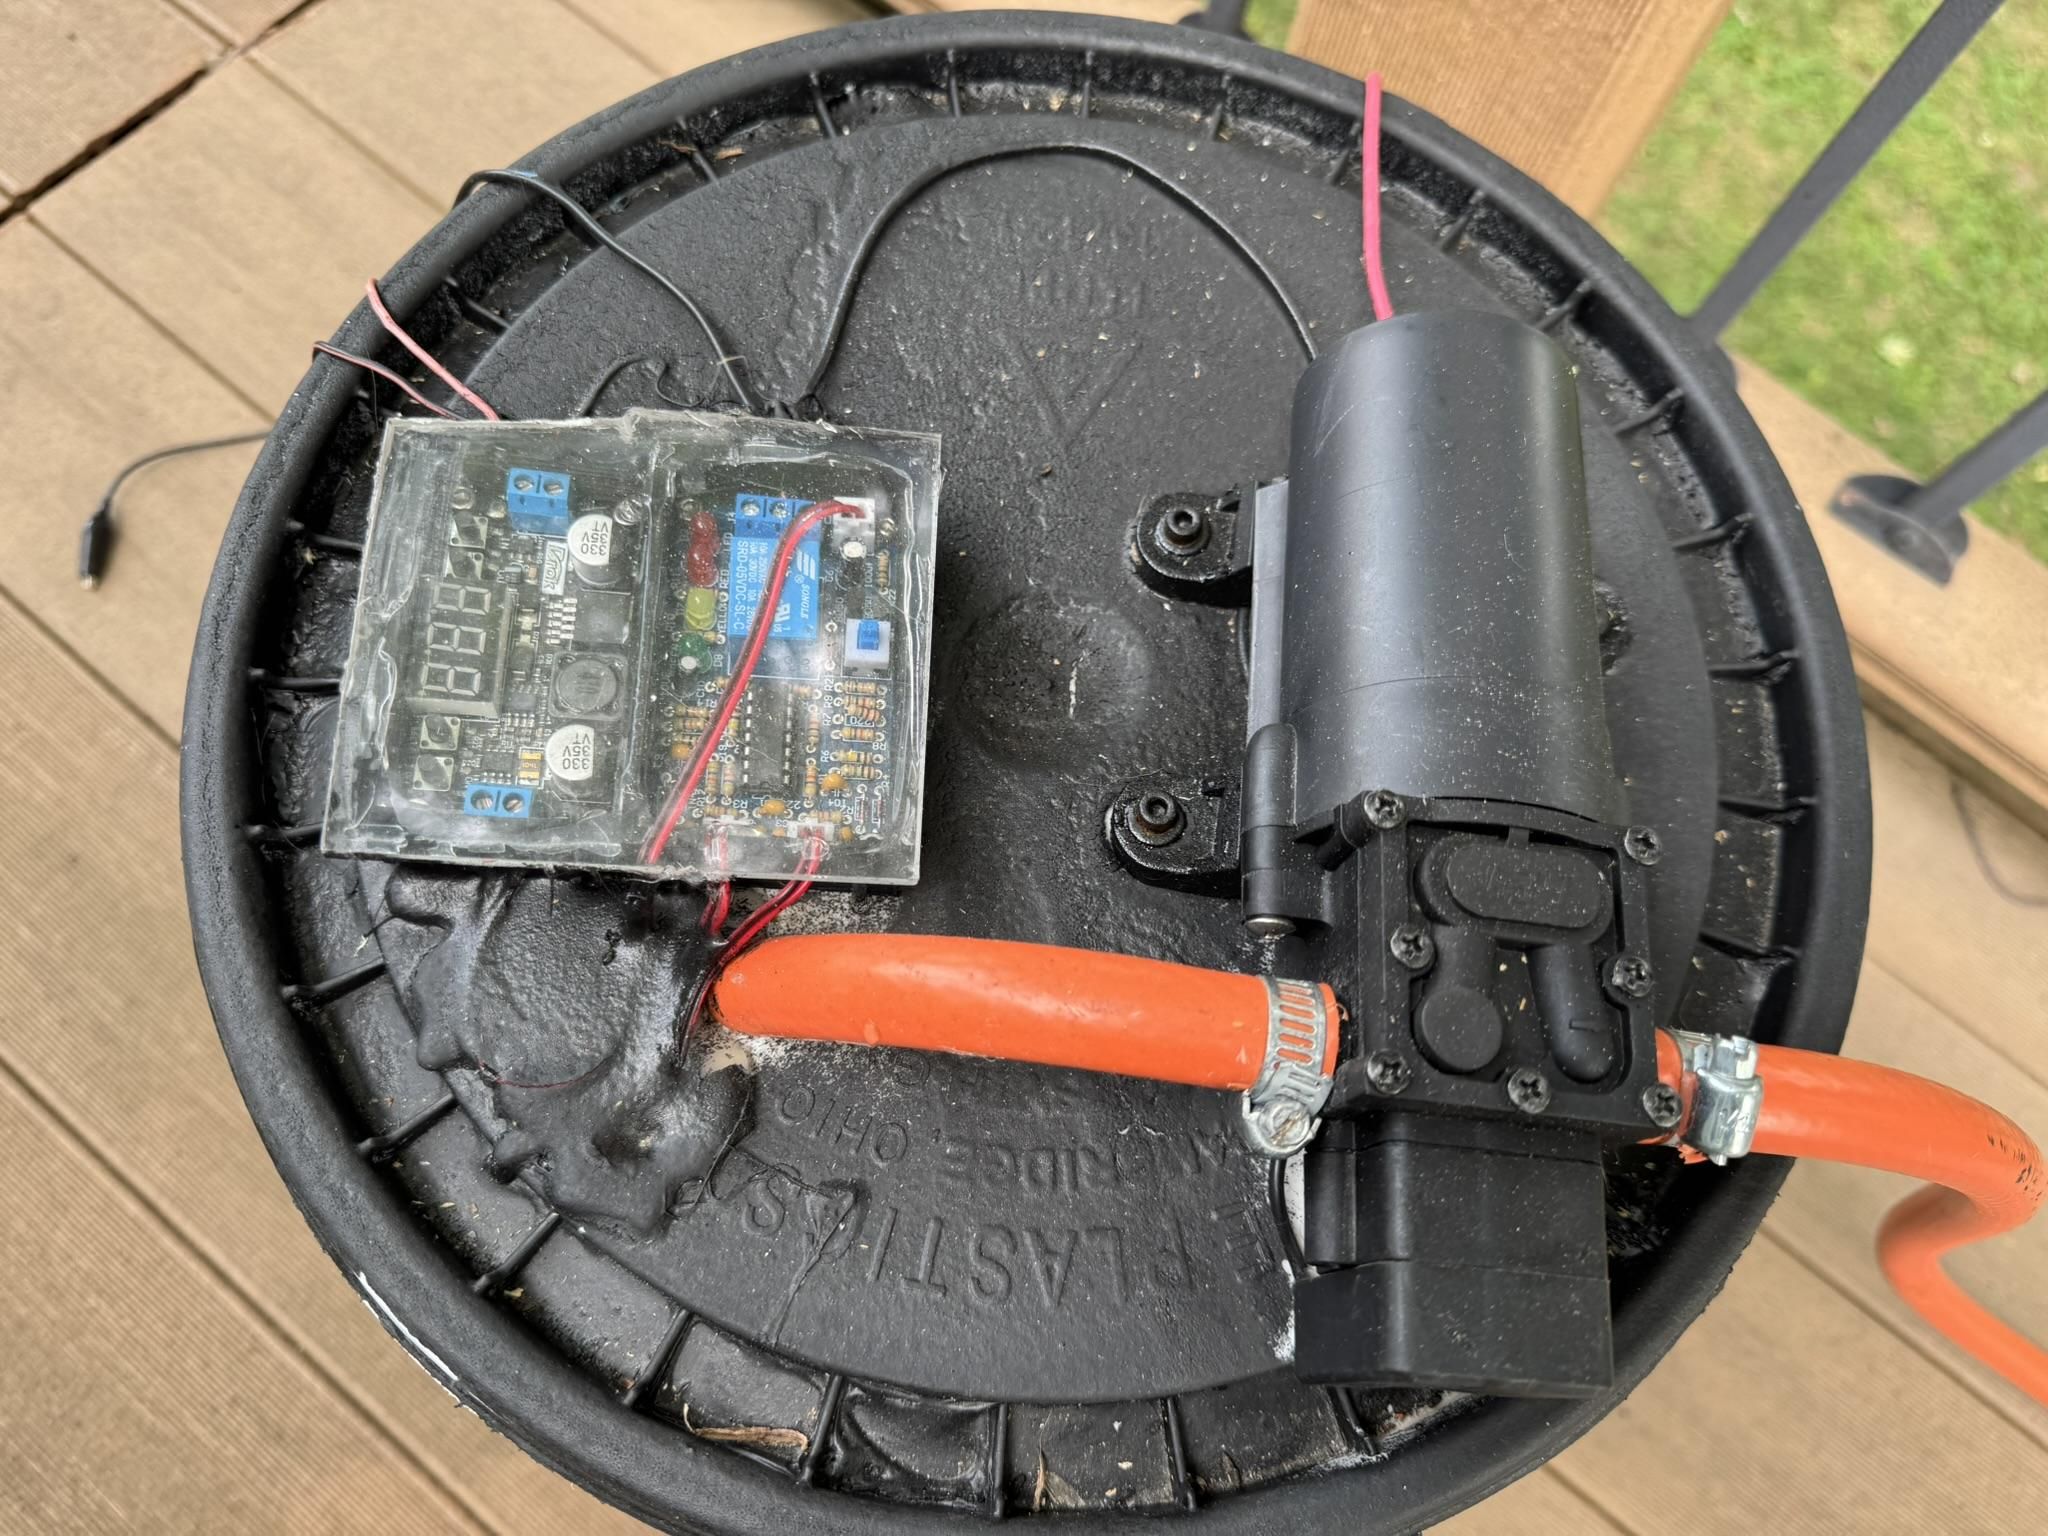
***BATTERY SAFETY A 12-volt system is less likely to shock you than household power, but the battery can still deliver enough current to melt a wire or start a fire. Install an inline fuse close to the positive terminal, cover both terminals, use wire sized for the pump, and keep the battery in a secure weather-resistant box away from spray.***
Wire the pump according to its manual. I use alligator clips to connect the battery. If you add a switch, use one rated for the pump current and protect the connections from water. Do not charge the battery in the misting area, and do not run a household extension cord into the wet zone.
The listing for my pump mentions 6.6 feet (2 meters) of lift, but listings are not always clear about whether that means suction lift or another measurement. Check the actual manual for your pump. In practical terms, a small 12v pump can’t pull water from the bottom of a canyon to cool you. I’ve mounted my portable misting bar 7 feet above the pump and had zero problems.
A small lawn-tractor battery can run my setup for hours, but battery capacity and pump current determine the real runtime. You probably shouldn’t be sitting in the sun for 6.5 hours anyways.
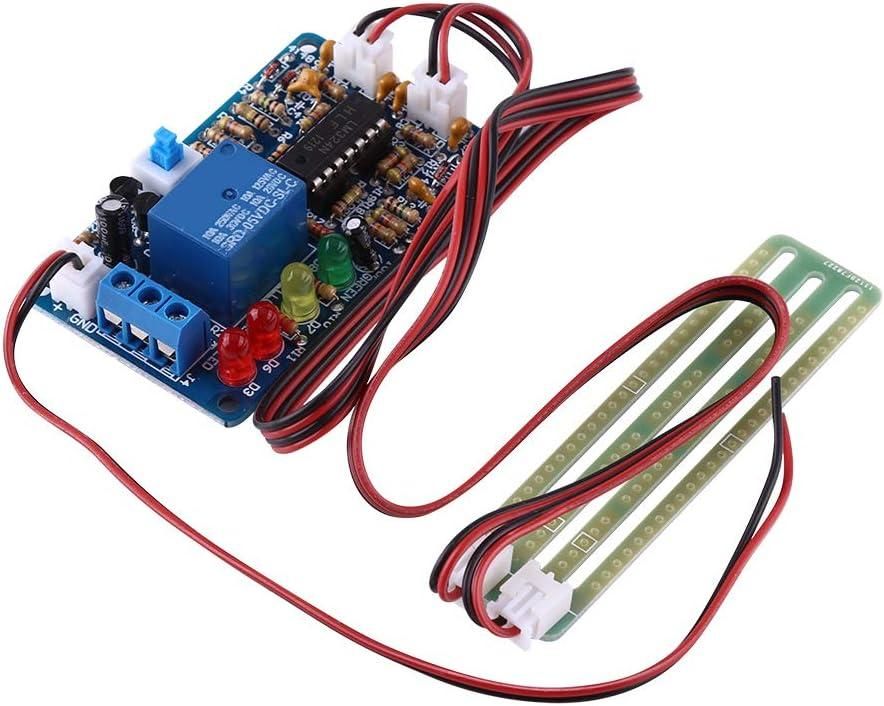
I experimented with a low-water sensor that could shut off the pump. It was a fun upgrade, but I rarely wandered far enough away to need it. I still check the bucket regularly (maybe once every hour or so) and do not leave the system unattended. If you add an automatic cutoff, make sure the controller can carry the pump current or use the correct relay. If I had to redo this project, I’d probably skip the auto-shutoff, but it is a cool feature.
Mount, Prime, and Tune the Portable Version
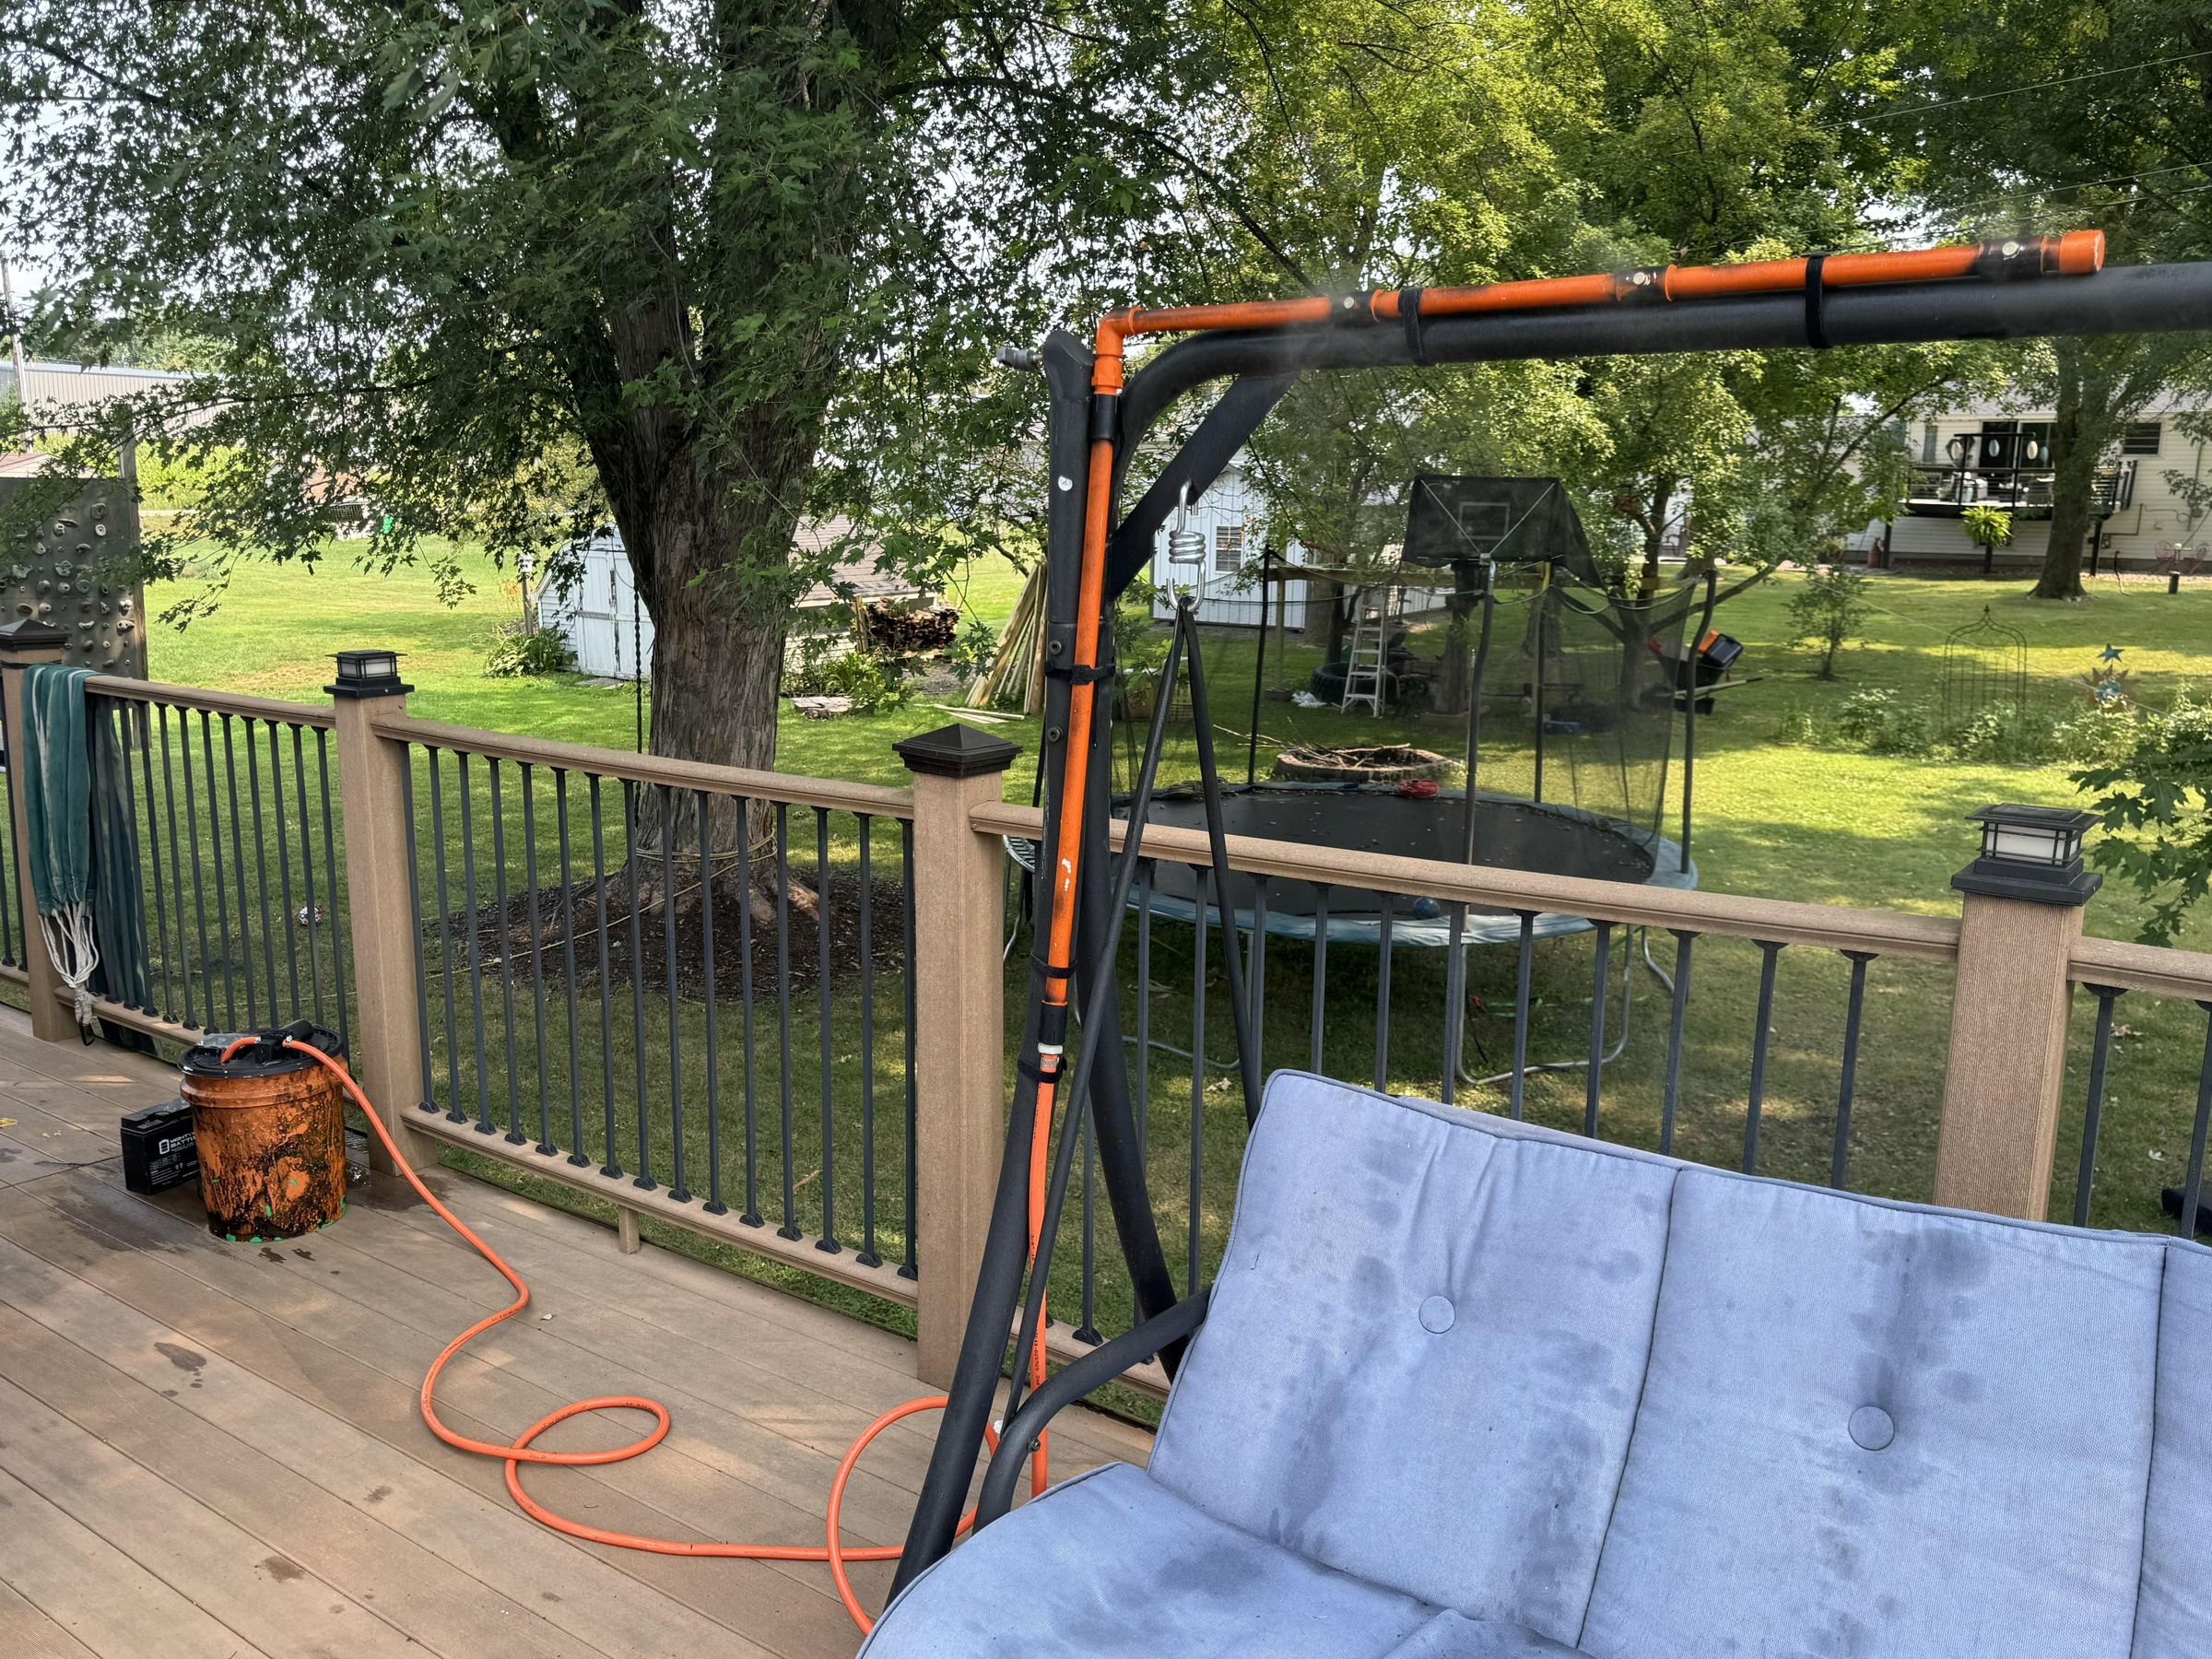
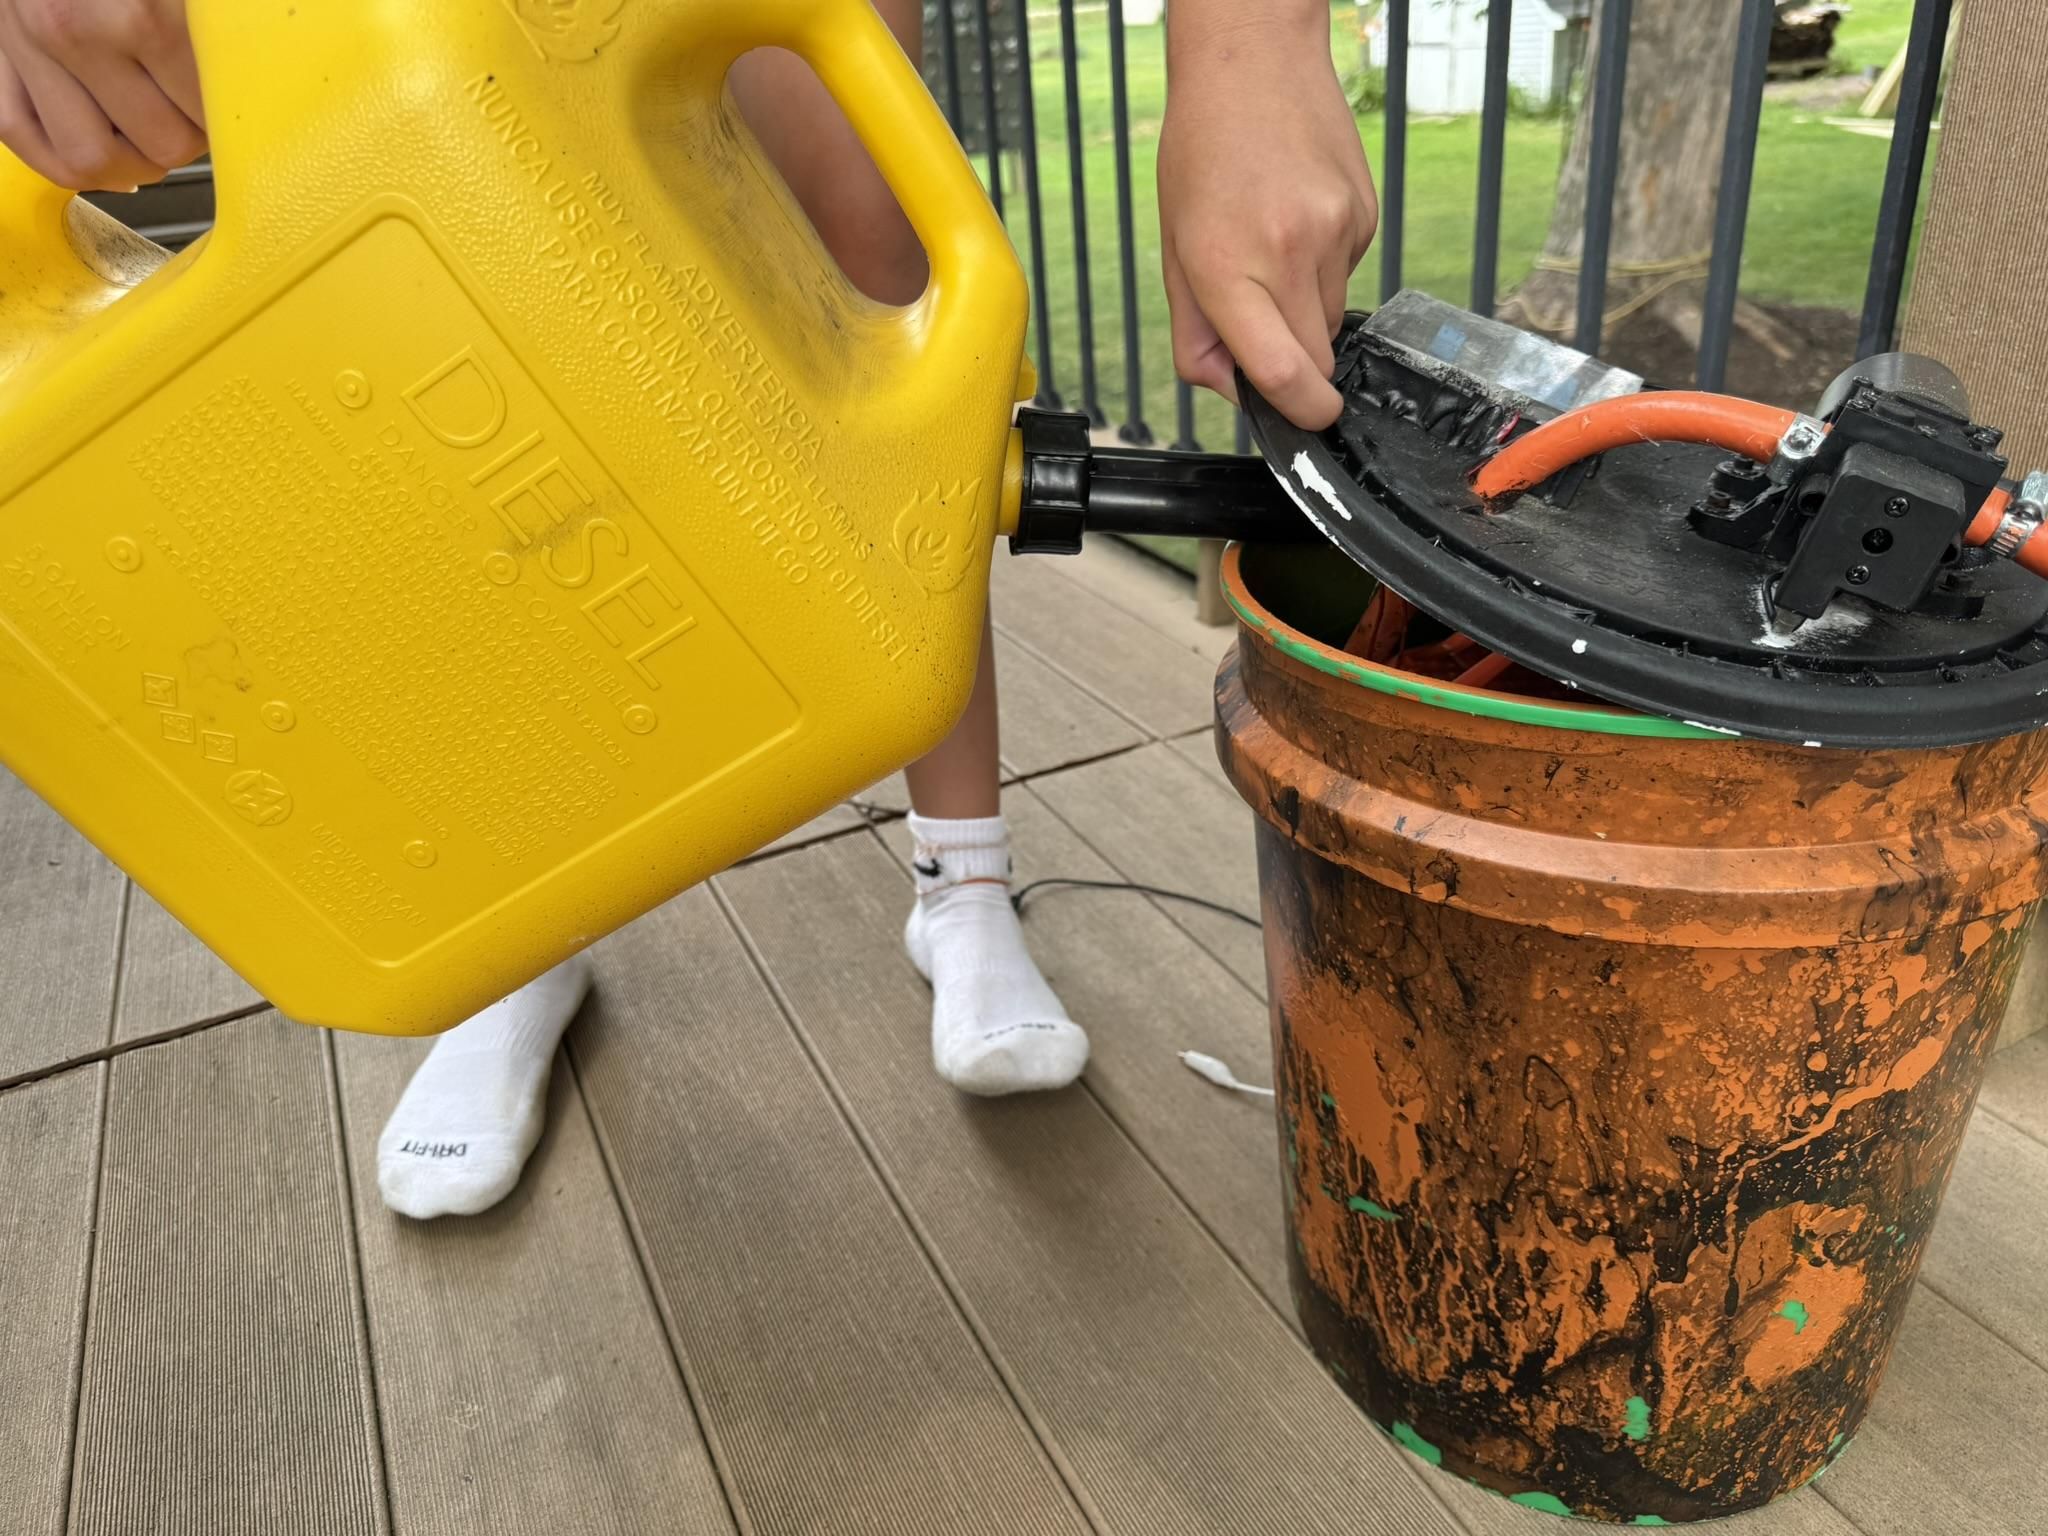
My portable misting bar has about 15 feet of hose, which gives me room to zip-tie it to a pop-up tent or deck railing while keeping the bucket and battery out of the spray. Secure the hose or make sure it’s out of the way. Otherwise Aunt Jenny will find a way to trip on it, because she’s like that.
Fill the bucket with clean water, verify that the inlet is submerged, and switch on the pump. Check for leaks before anyone stands under the bar. The nozzles should produce a fine mist, not three tiny squirt guns. If the pump cycles rapidly, loses prime, or sounds unhappy, shut it down and check everything. I’ve had zero issues with mine.
You want this thing upwind of you if there are any strong gusts. Aim the mist across the area instead of directly into faces. A small change in nozzle direction or mounting height can make the difference between comfortable cooling and a damp picnic table.
The cooling effect can be felt in a surprisingly large area and you don’t have to mount it directly above or next to your desired area of effect.
I also suggest keeping it high enough kids can’t reach it, because they’ll try.
Use It, Maintain It, and Improve It
Don’t leave water sitting in the misters or 5 gallon bucket. Stagnant water will grow all kinds of creepy crawlies. We aren’t making a germ factory. Drain it after using. Wash it out before use. I run a small amount of diluted vinegar through mine a few times a summer to sanitize. Rinse well after using chemicals.
The hose-fed version stays on our kennel year-round and only gets used during hot weather. With my hose water, the brass nozzles generally last about one season before mineral buildup makes replacement advisable. A 20-pack costs about $10, and I use three at a time, so the supply lasts for years.
Your water may be kinder to the nozzles than mine. Inspect and replace any nozzle that spits instead of misting. If freezing weather is possible, disconnect and drain the assembly so trapped water cannot crack a fitting.
I have a small lawn mower fuel filter at the pick-up end of the inlet hose. It’s probably not completely necessary but I believe it keeps the nozzles clear of debris.
The five-gallon portable version will run for hours in my setup, but I check it about once an hour and top it off when needed. Actual water use depends on the number of nozzles and the operating pressure. Obviously you could make however many nozzles with whatever pump, but just be aware of the safety limits of the PVC pipe you’re using. When PVC fails, it catastrophically fails and overpressure is extremely dangerous.
That is really the whole project: one simple PVC misting bar, two ways to feed it, and a noticeable improvement on a hot day. It is practical, inexpensive, and unique enough to start a conversation. Uncle Dan will find you.
Costs
I'm estimate the station version costs about $50 in parts, assuming already have a garden hose.
I estimate the portable version costs about $150 if you have to buy everything including a battery.
Obviously prices differ significant based on where you may live.
Bonus Feature Unlocked!
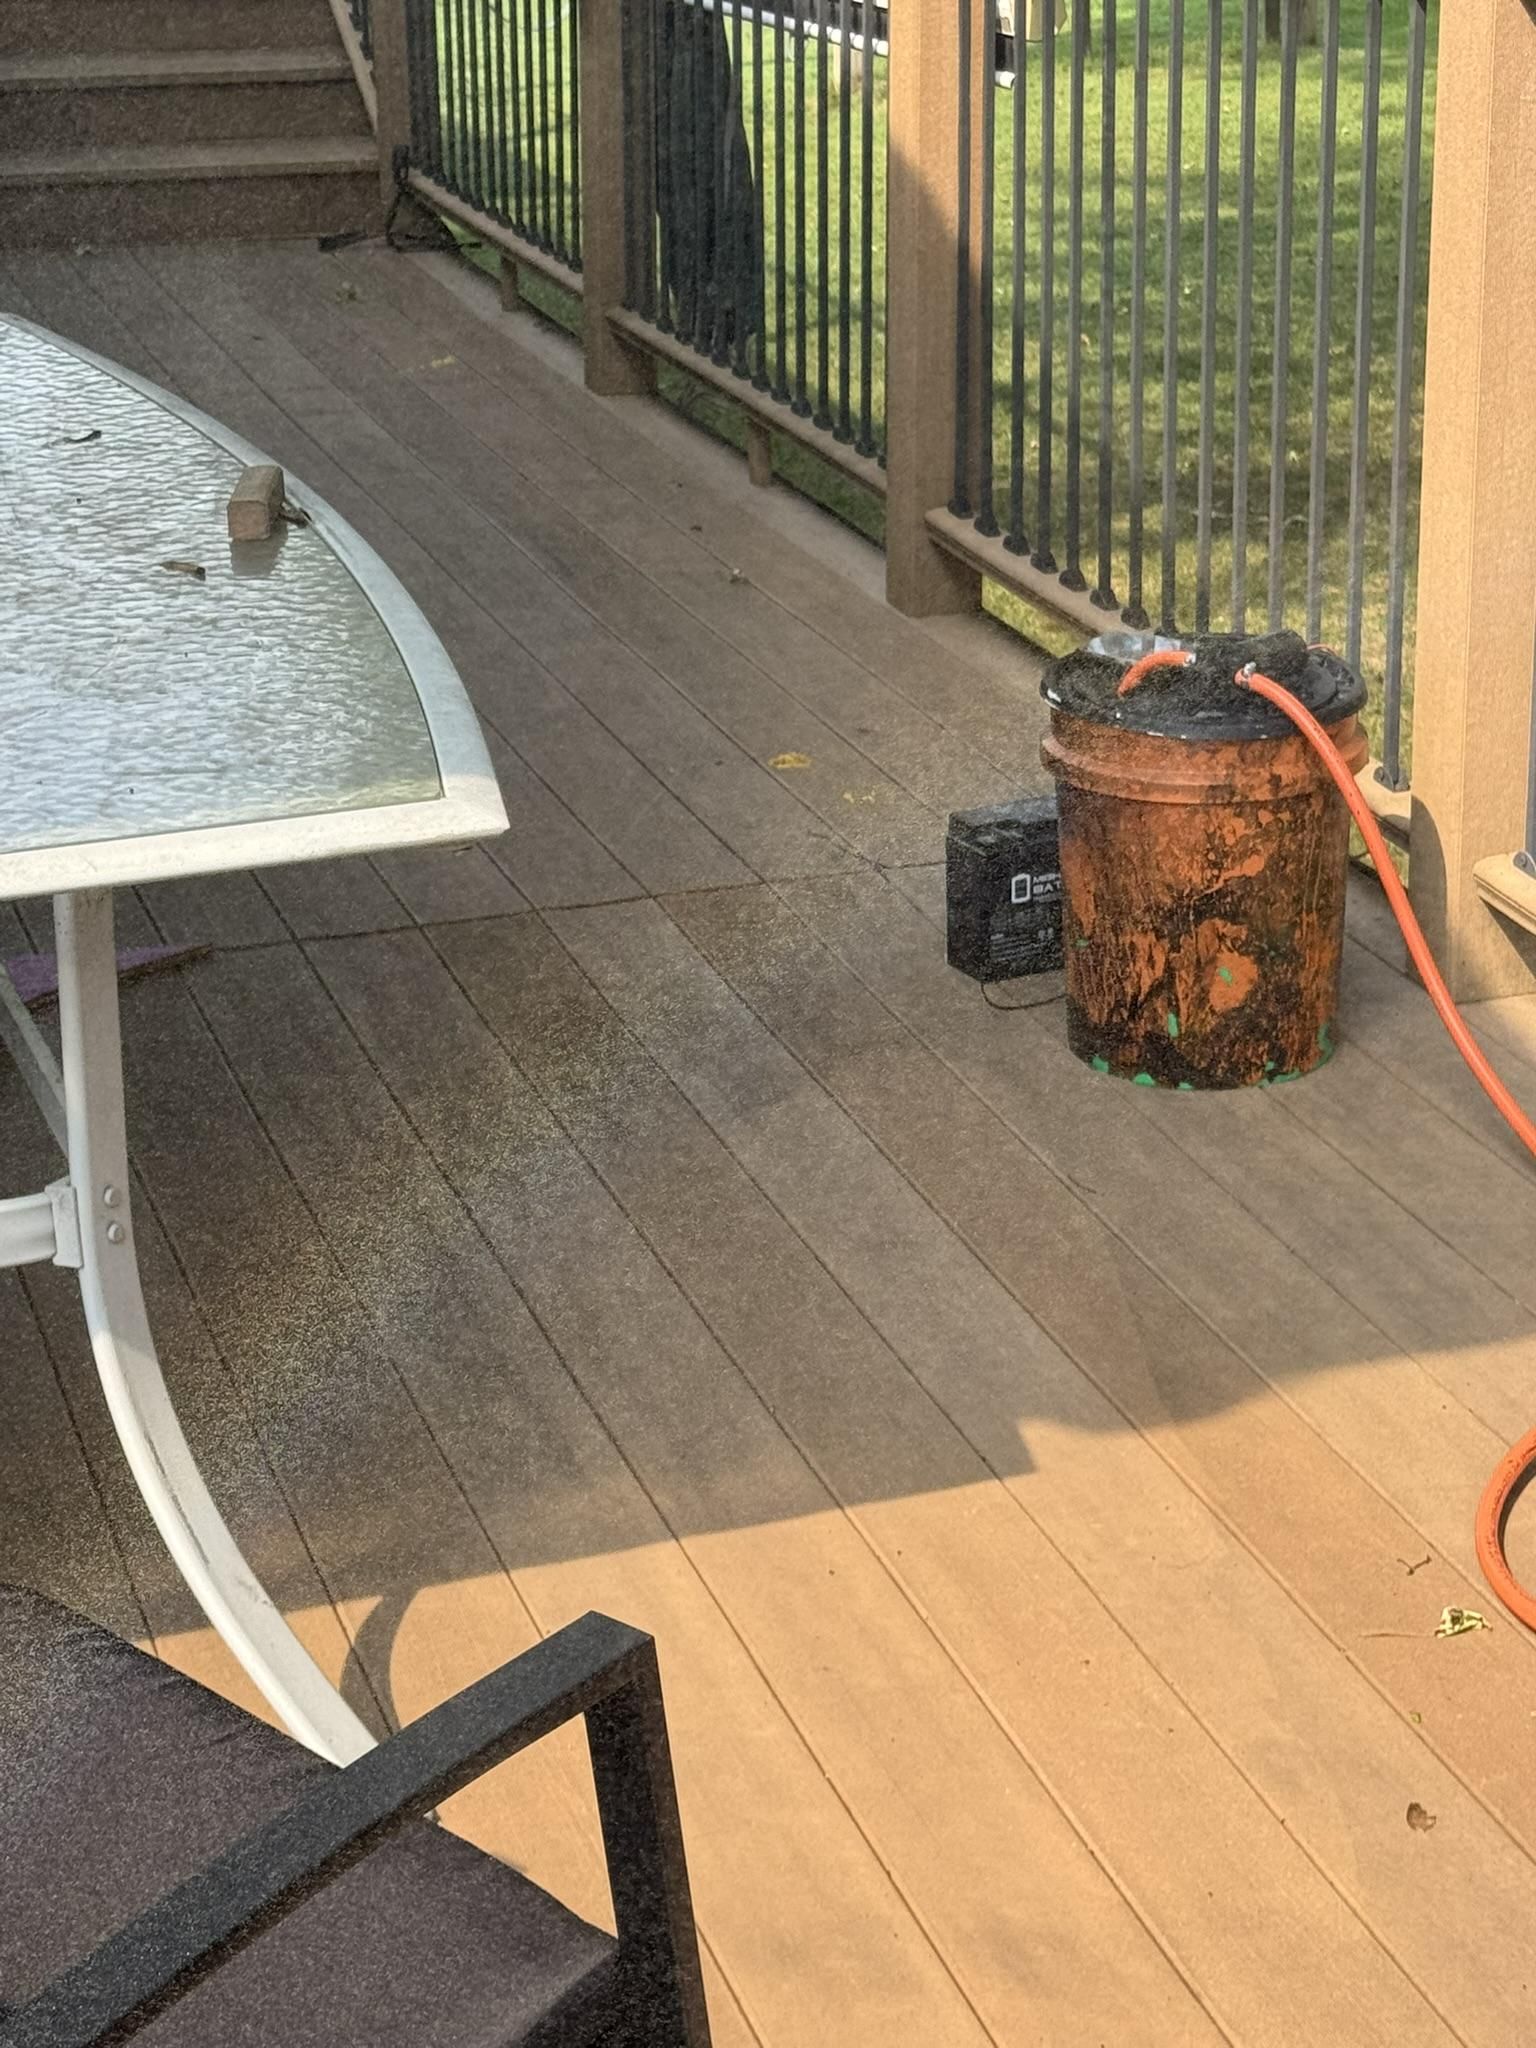
While taking pictures for this Instructable, I noticed this faint rainbow in the mist. So I guess it's also a rainbow generator! Pot of gold not included.
Thanks for checking this out!