Portable Wireless Bluetooth Speaker
by dlbauer01 in Circuits > Speakers
438 Views, 2 Favorites, 0 Comments
Portable Wireless Bluetooth Speaker


We made a blue tooth speaker that has a rechargeable battery so we could listen to music on the go.
Supplies
Materials
Charger Module Micro USB 5V 1A
Machines Used
- Taz Lulzbot Mini 2
- https://lulzbot.com/store/lulzbot-mini-v2-0-boxed-for-retail-na-kt-pr0047na
- Universal 3.60 Laser Cutter
- https://www.laser2000.eu/site/universal
Circuitry

First, we put together our circuit.
- We tried to use minimal soldering until we got the wiring right.
3d Printing and Laser Cutting
.jpg)

We 3d printed the casing for the 3d speaker using the Taz Lulzbot Mini 2.
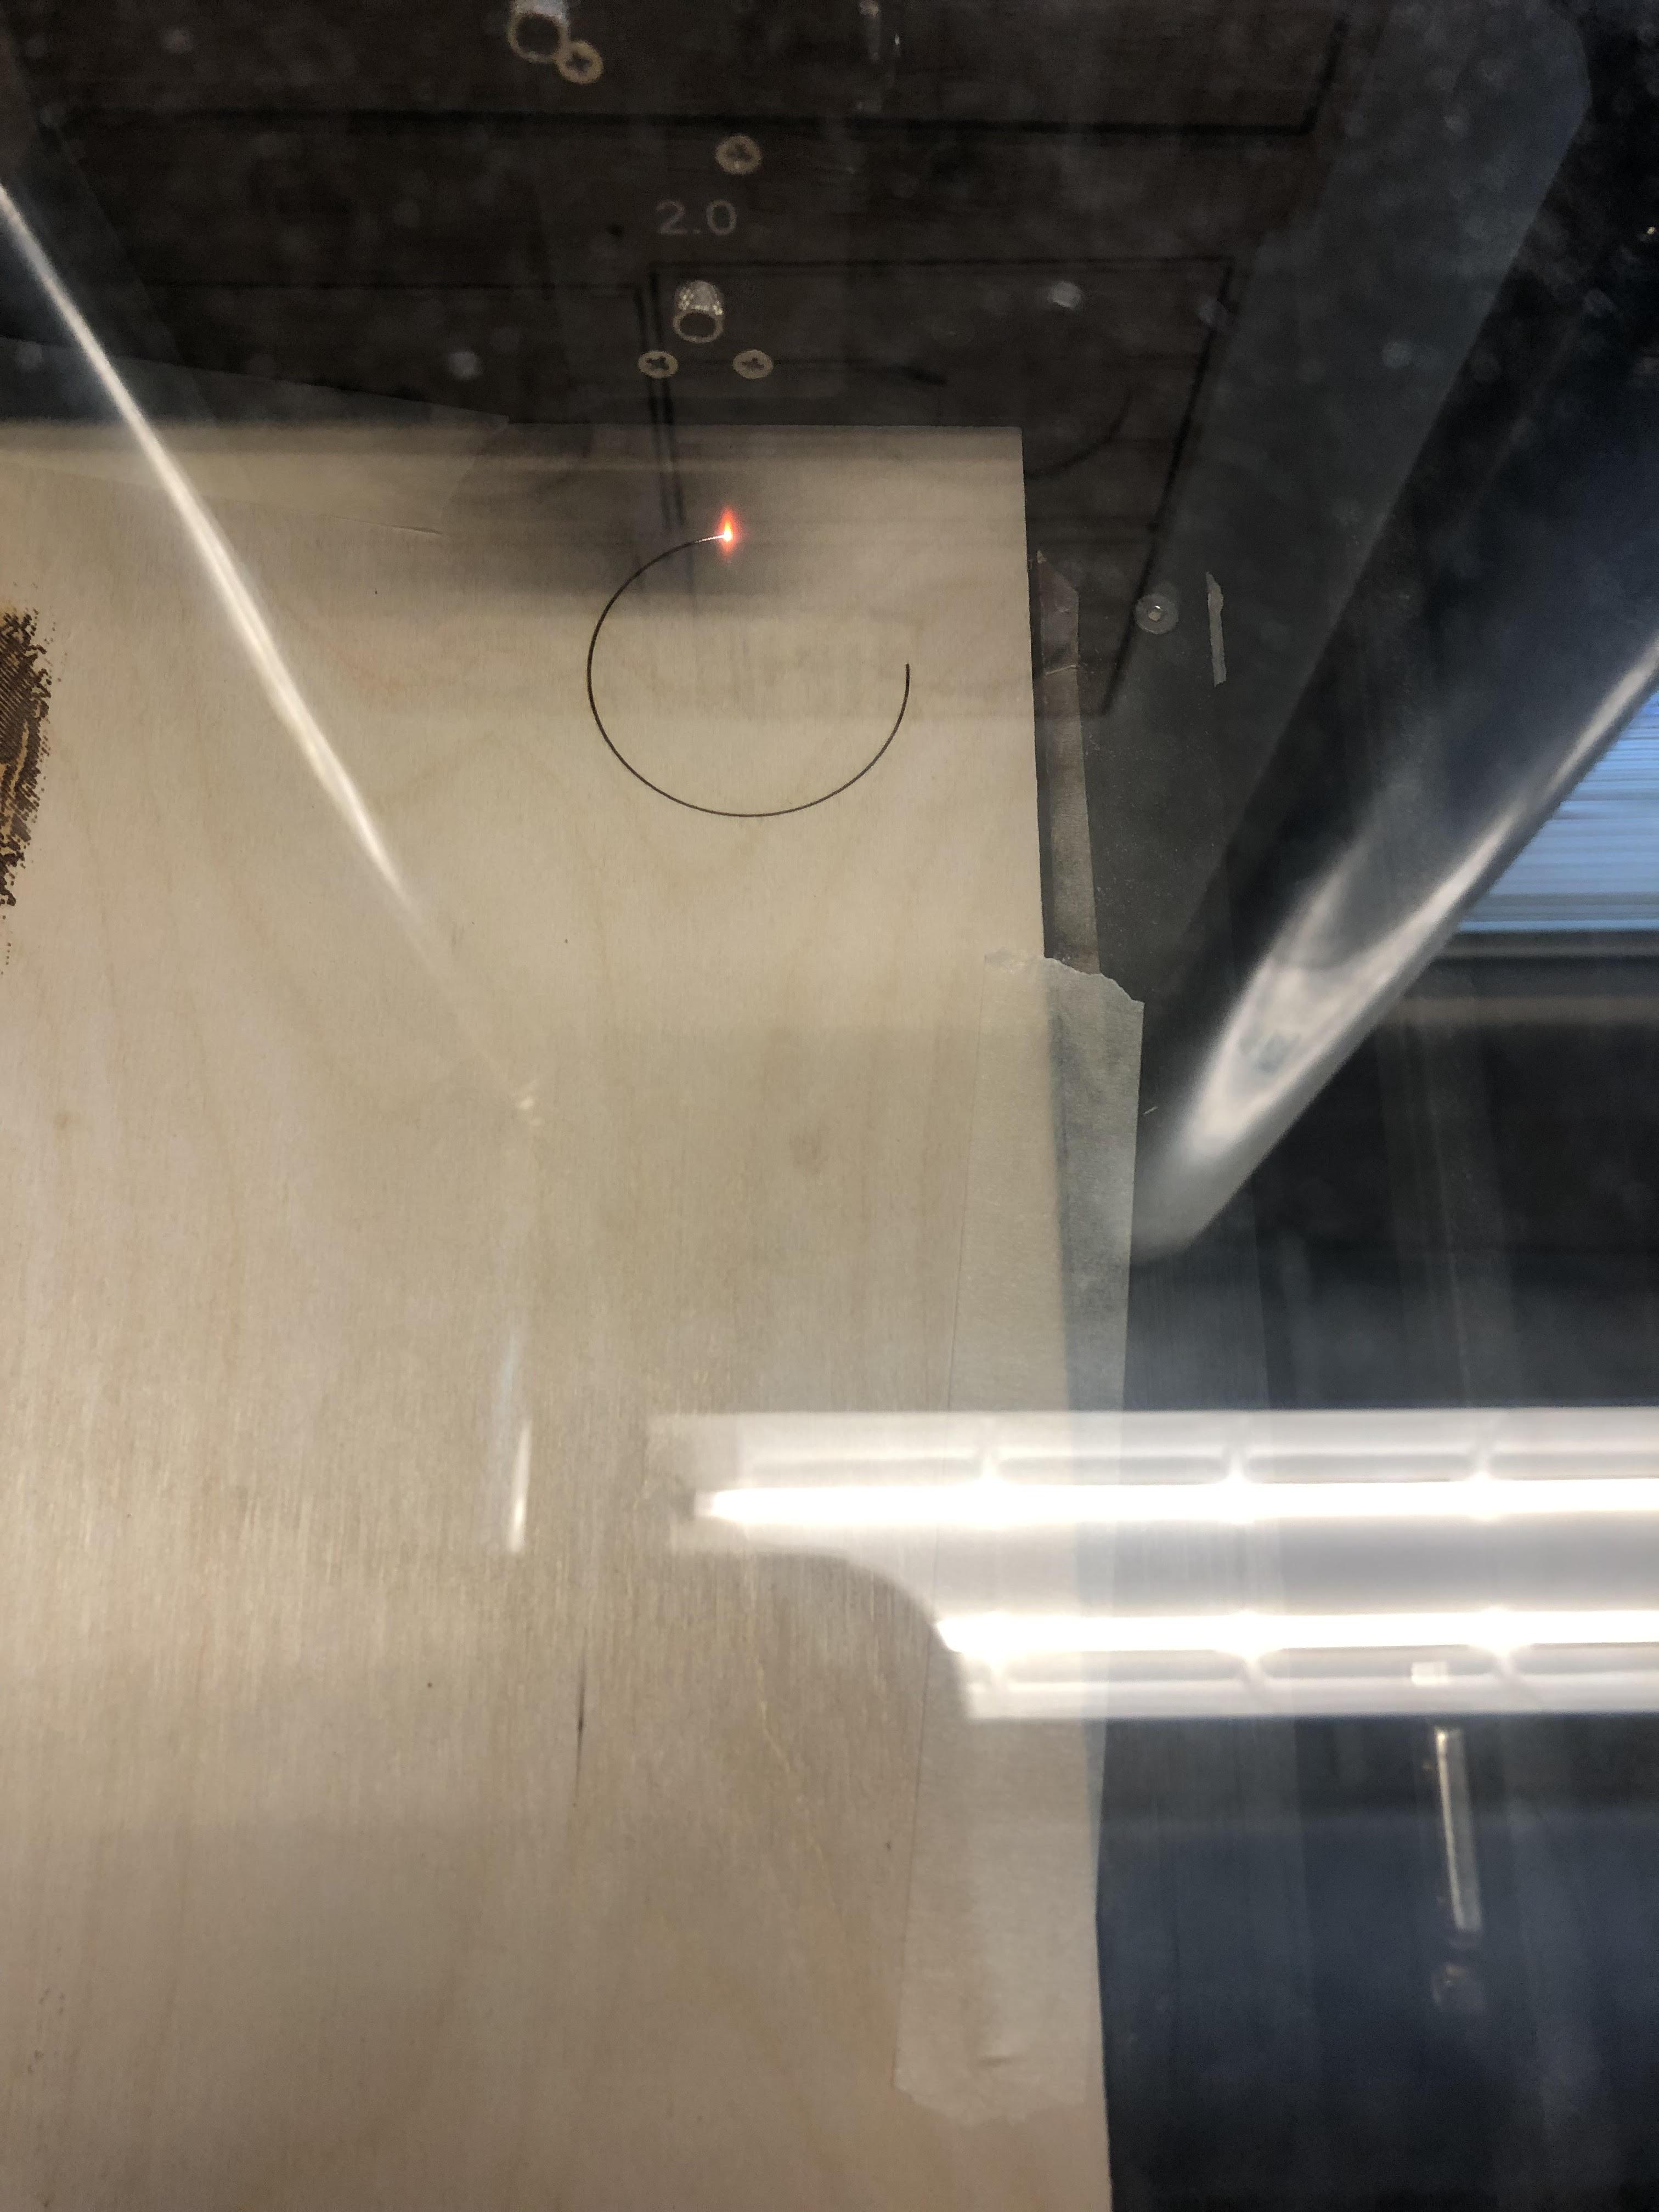
Afterwards, we laser cut circular shapes that connect to the speakers and circular shapes with a waffle pattern to protect the speakers. We also laser cut the pieces for the wood stand.
- Files are included below.
- 1x speaker box
- 2x wood circle pieces
- 2x speaker+legs
- 1x speaker+legs+connector
- 2x cover
Wood Stain


At this point before anything is glued and assembled, we wood stained all of our laser cut pieces.
We used black wood stain to do so.
We stained the wood with one coat and let the pieces dry over night.
Hot Glue Speakers to Wood Pieces
.jpg)
.jpg)
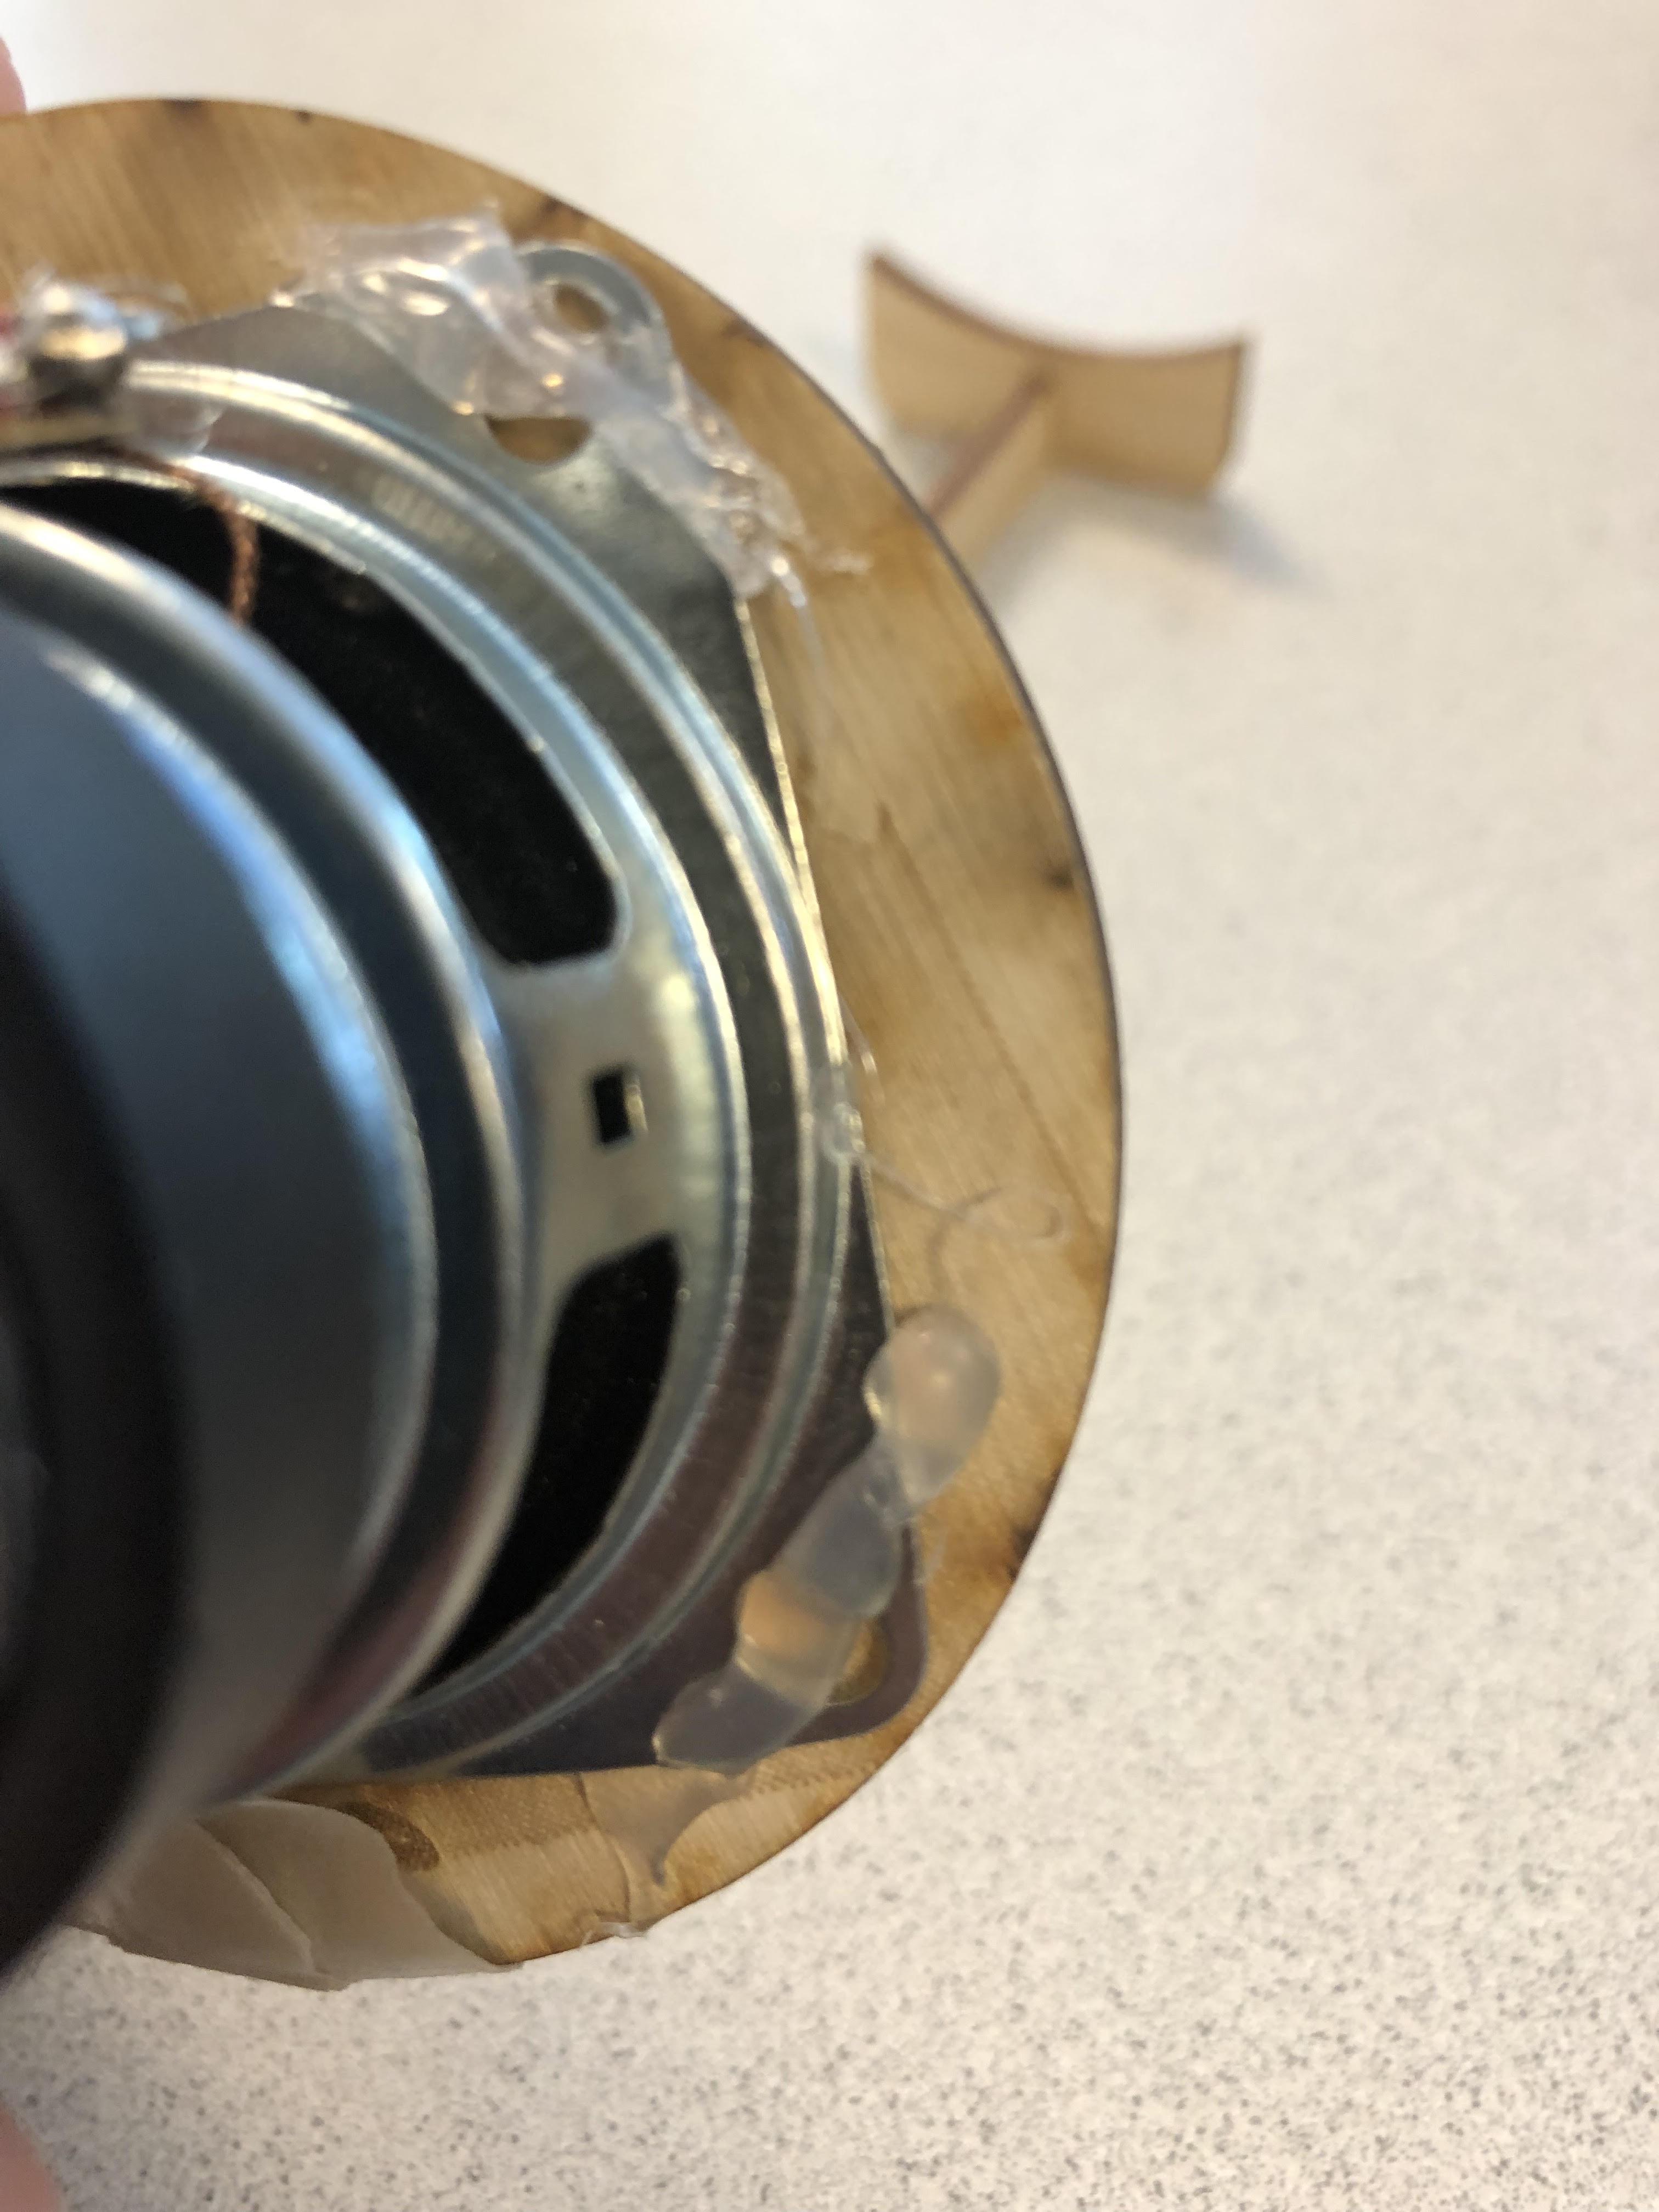
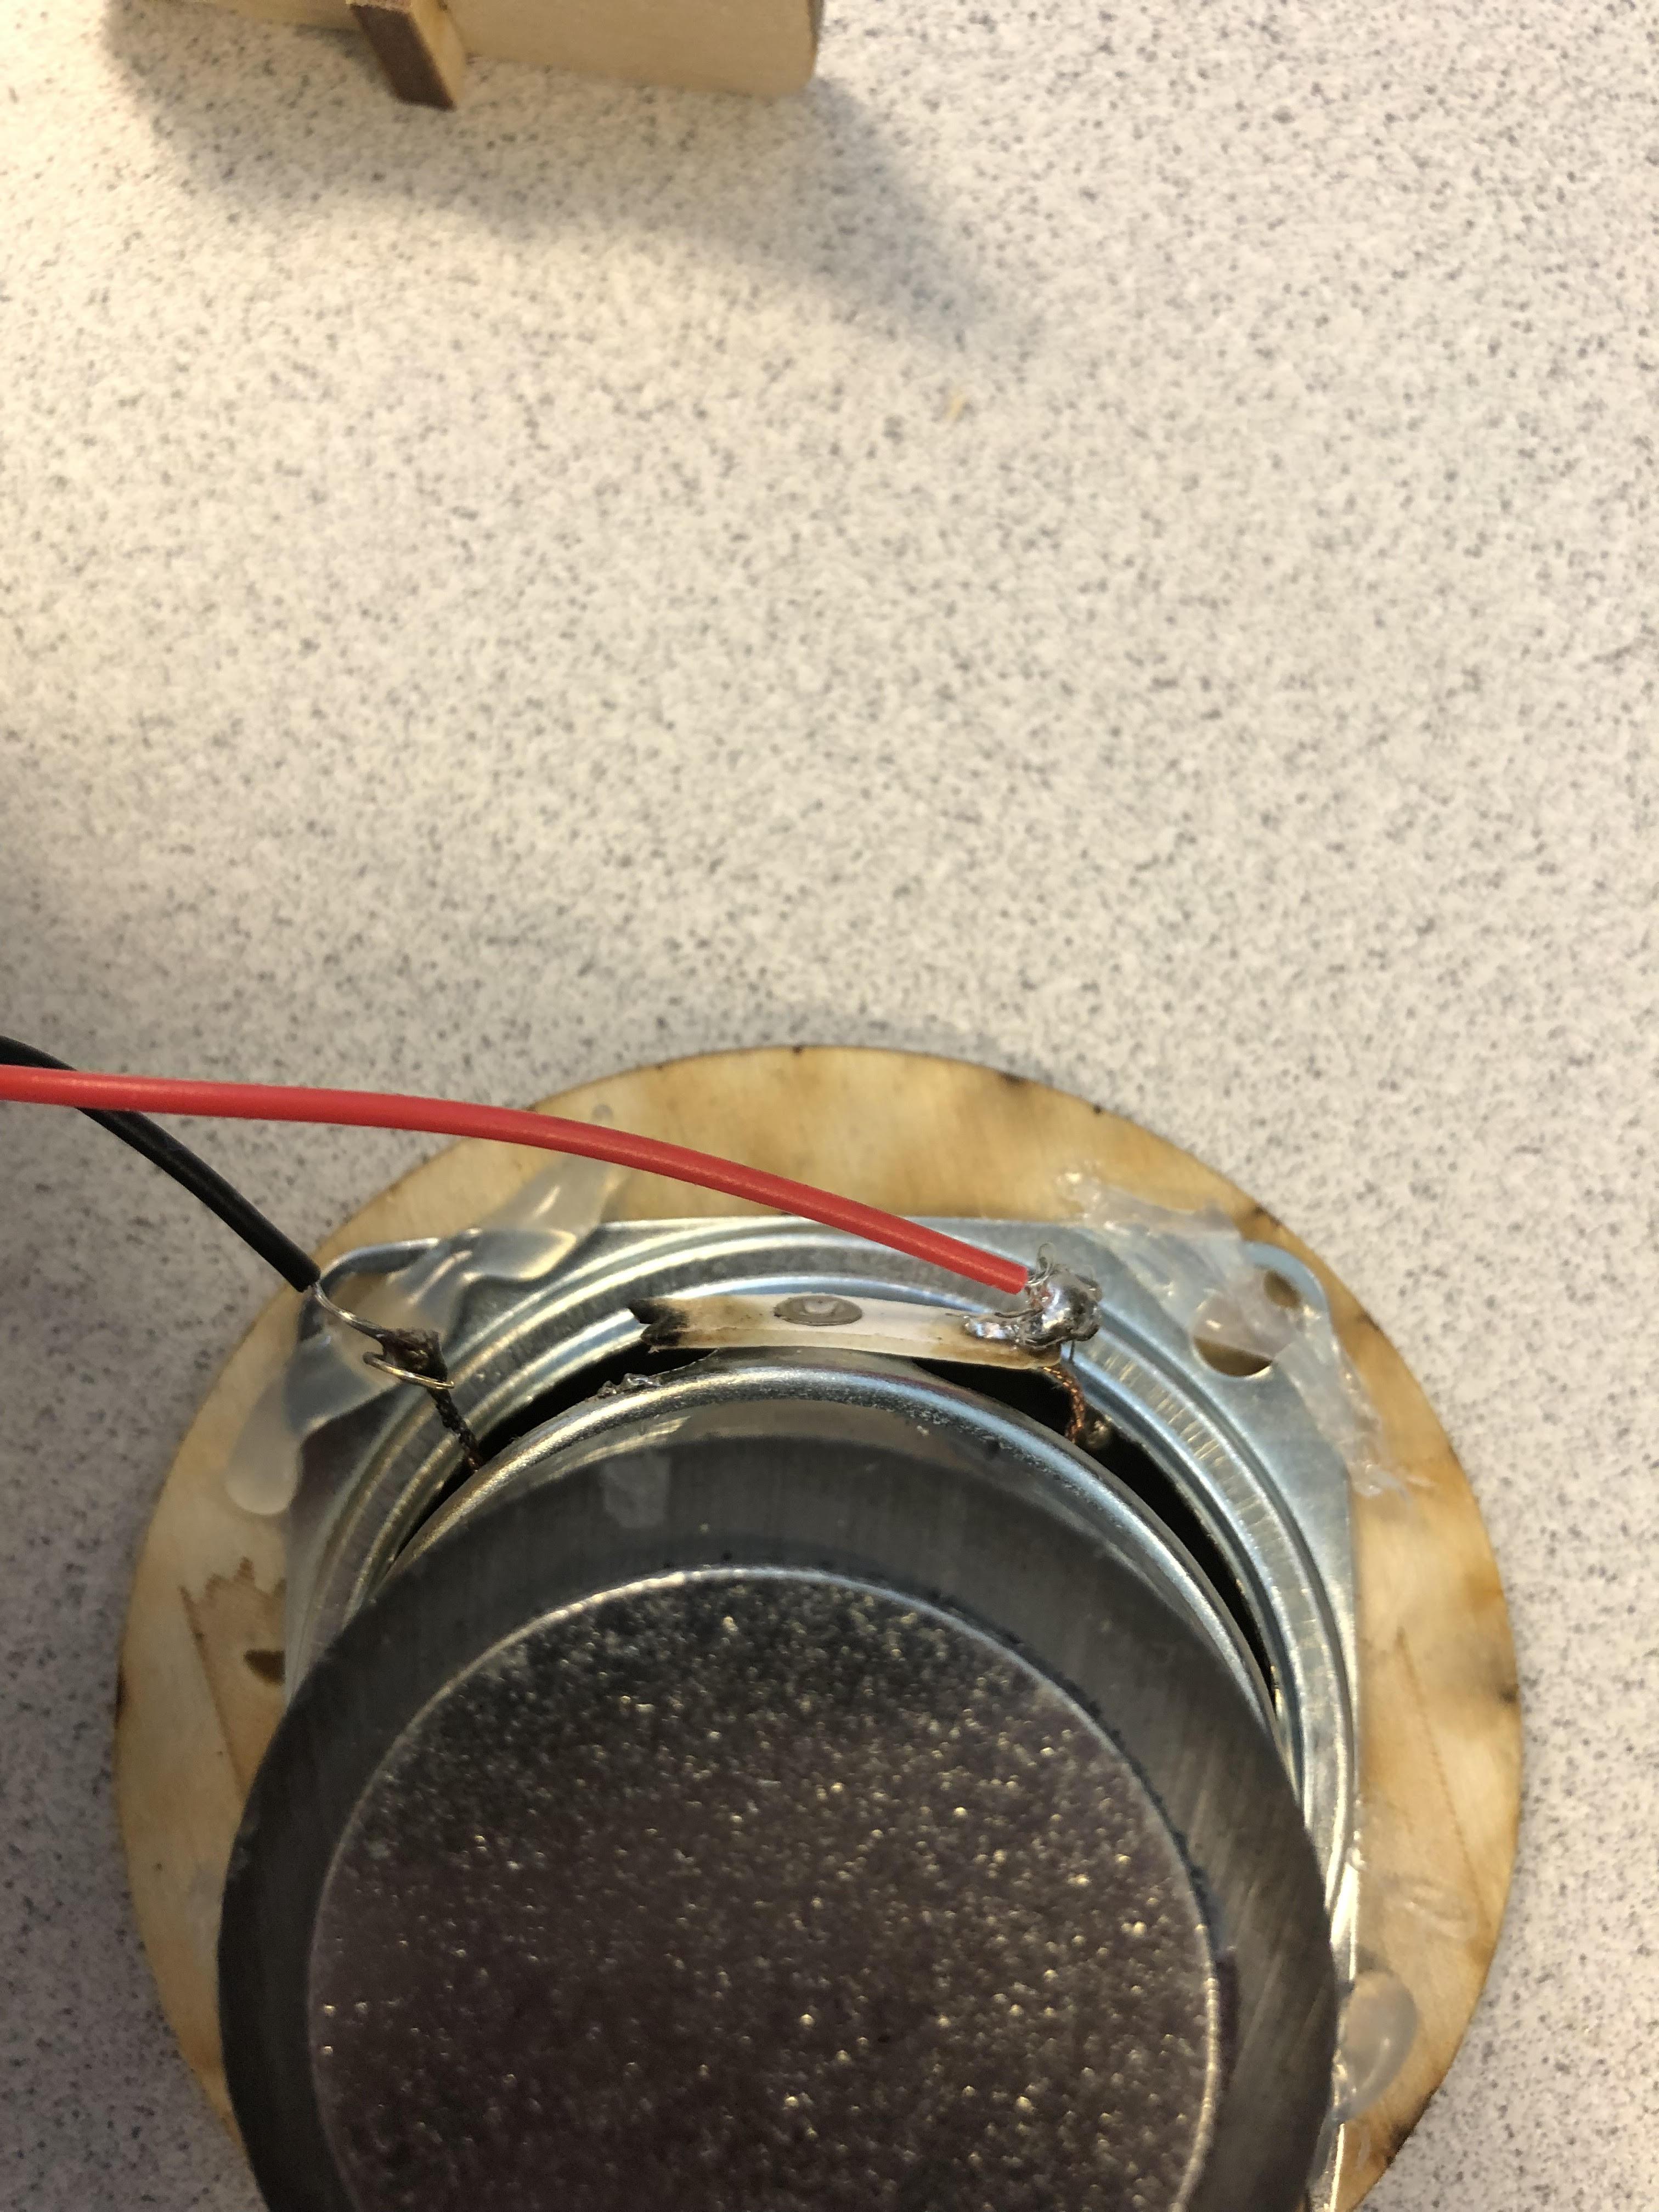
The wood circular pieces go on the outside of the speaker and should fit snugly. Apply hot glue to the corners of the wood pieces and the speakers to keep them in place.
Soldering + Assembly
.jpg)
We made sure our circuit worked then finalized it by sawdering.
- Make sure while soldering you leave one speaker un-soldered and both the switch and charging port un-soldered until they are in the correct spots.
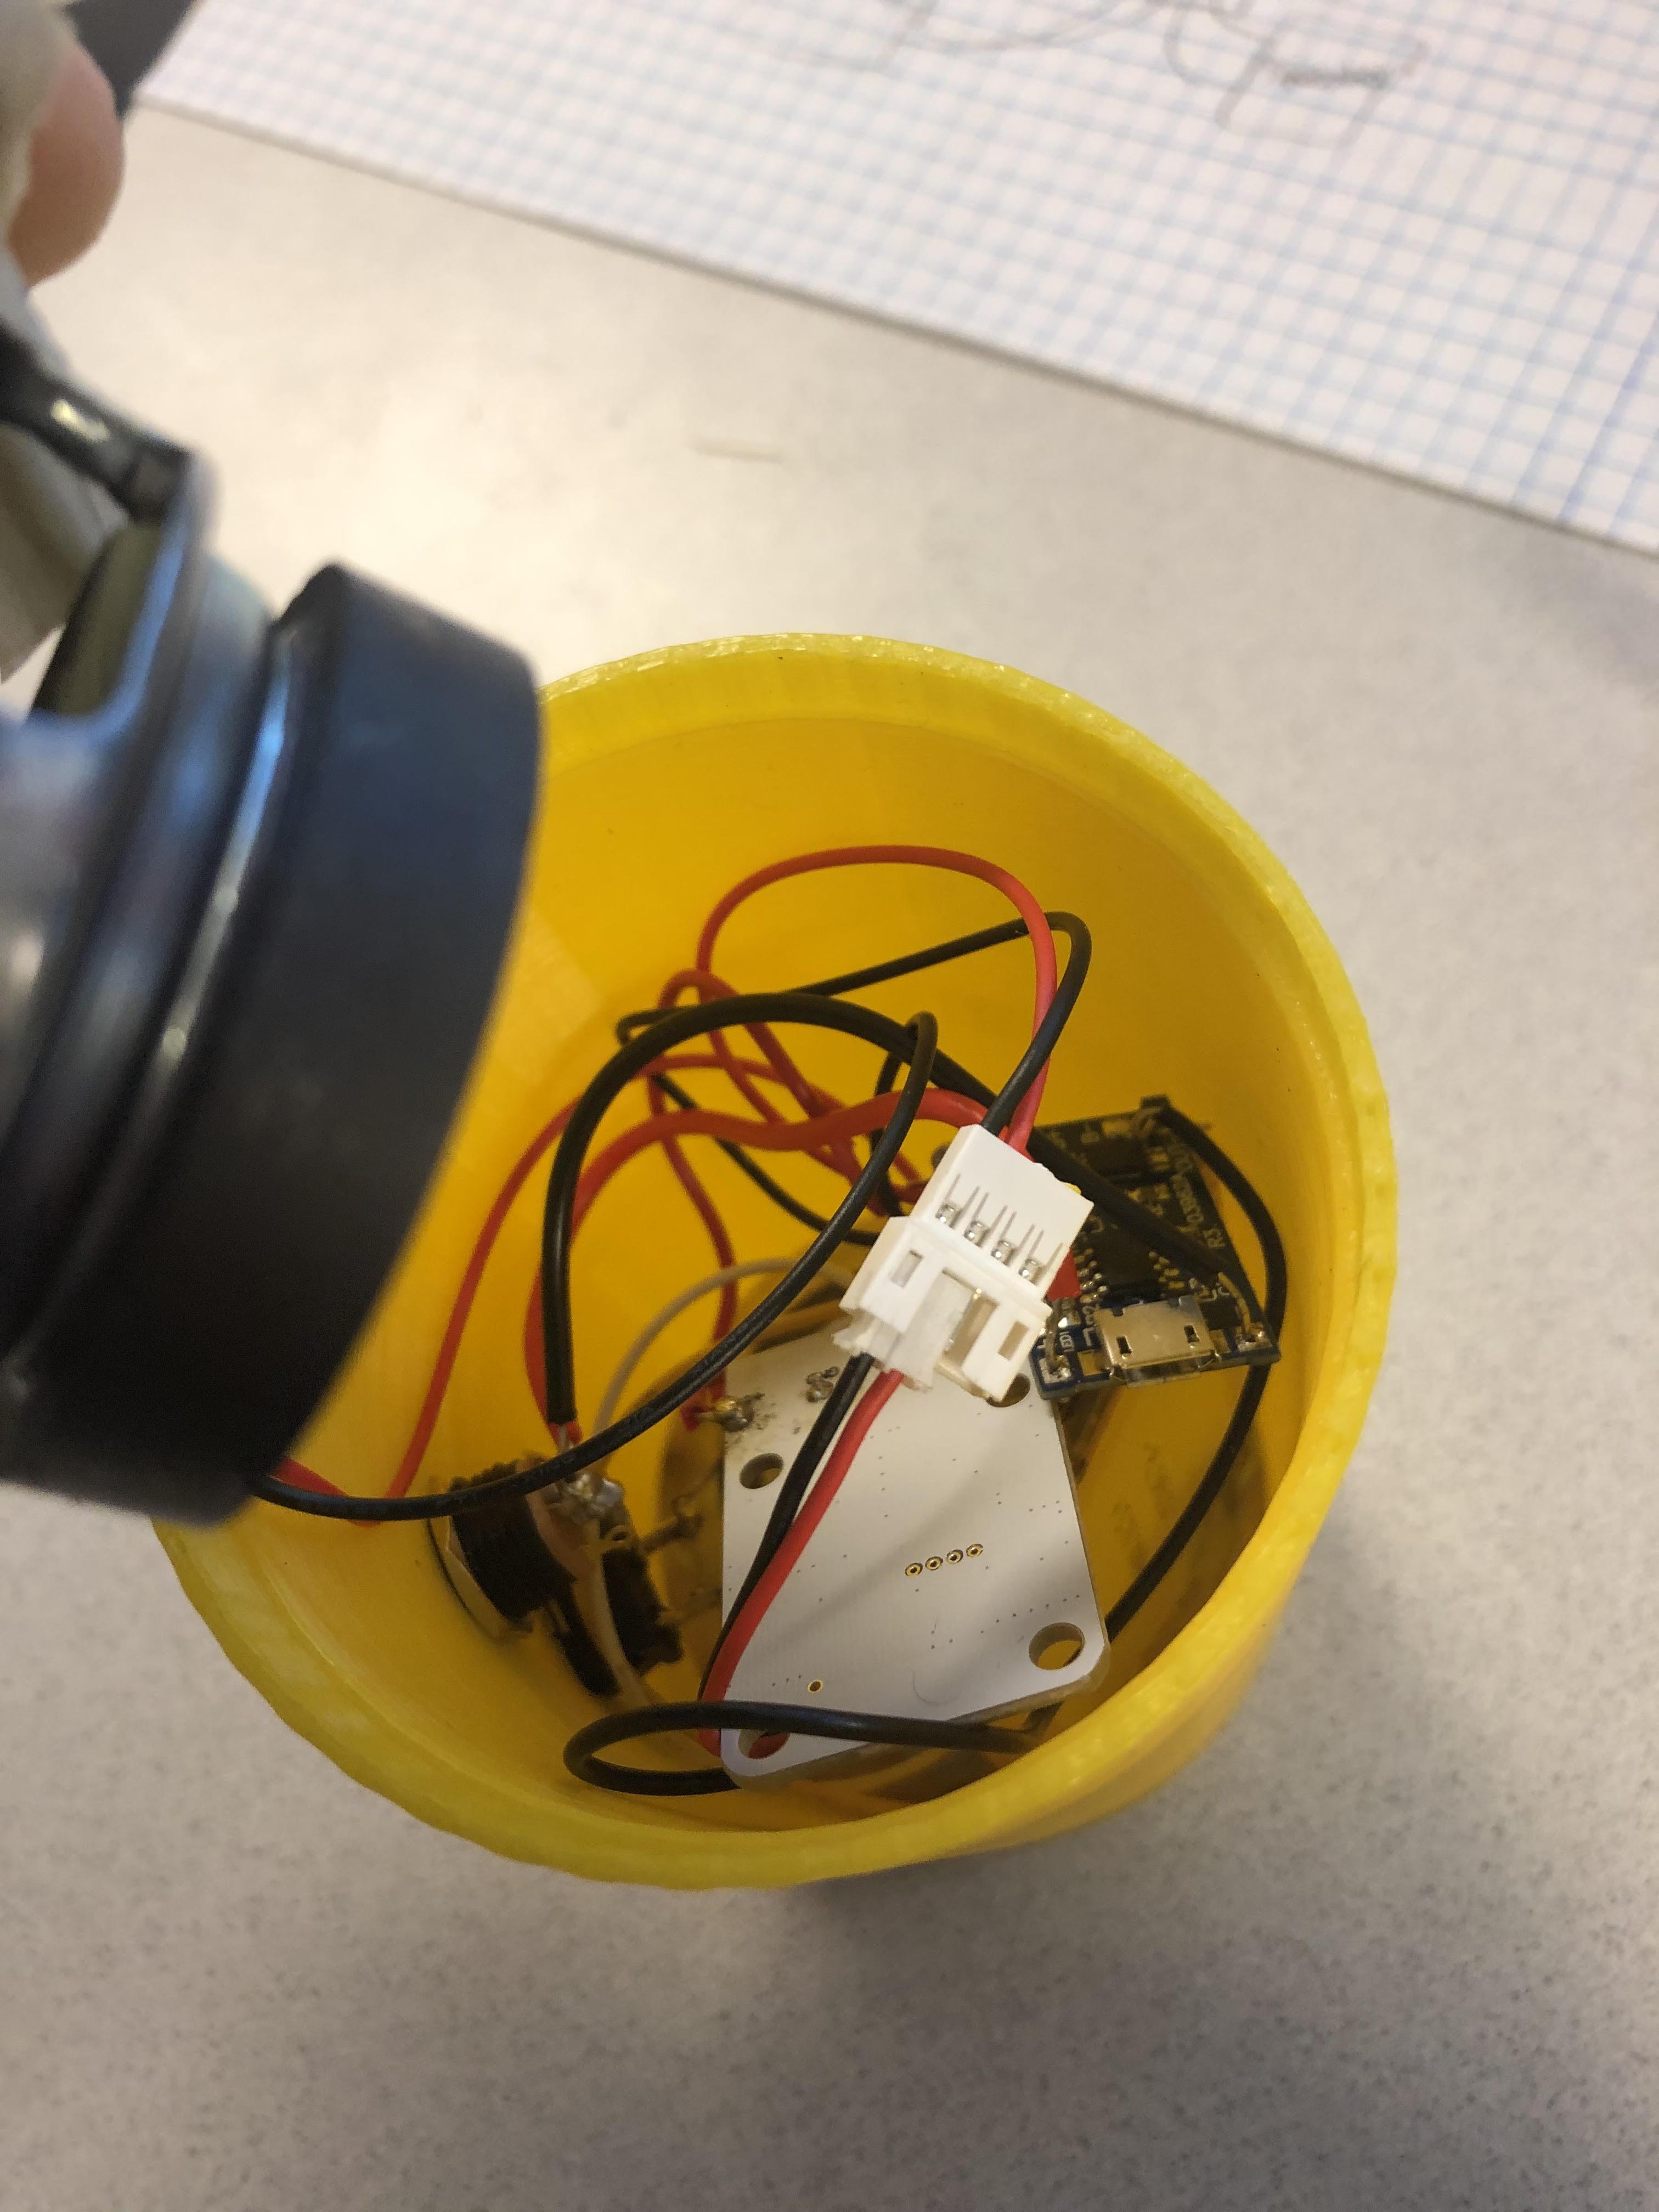
- Insert components into the speaker casing. Pull the wires that go to the switch and charging port through the corresponding holes. Solder the wires to the switch and the correct wires to the charging port. Then insert the switch and charging port into the case. This might require sanding.
- After you insert the charging port use the included nut to keep the charging port snug.
- Proceed to pull the wiring through the casing that connects to the un-soldered speaker. Solder the speaker to the correct wires.
- Put a small amount of hot glue (super glue will work also) and press both speakers into the casing.
- Finally, put a small amount of wood glue around the wood pieces and press in the waffle shape on top.
- We used clamps and let the glue dry over night. If you do not have clamps you can turn the speaker on its side and put a heavy object on top.
Finished Product
Enjoy!