Press Fit UCSB Storke Tower
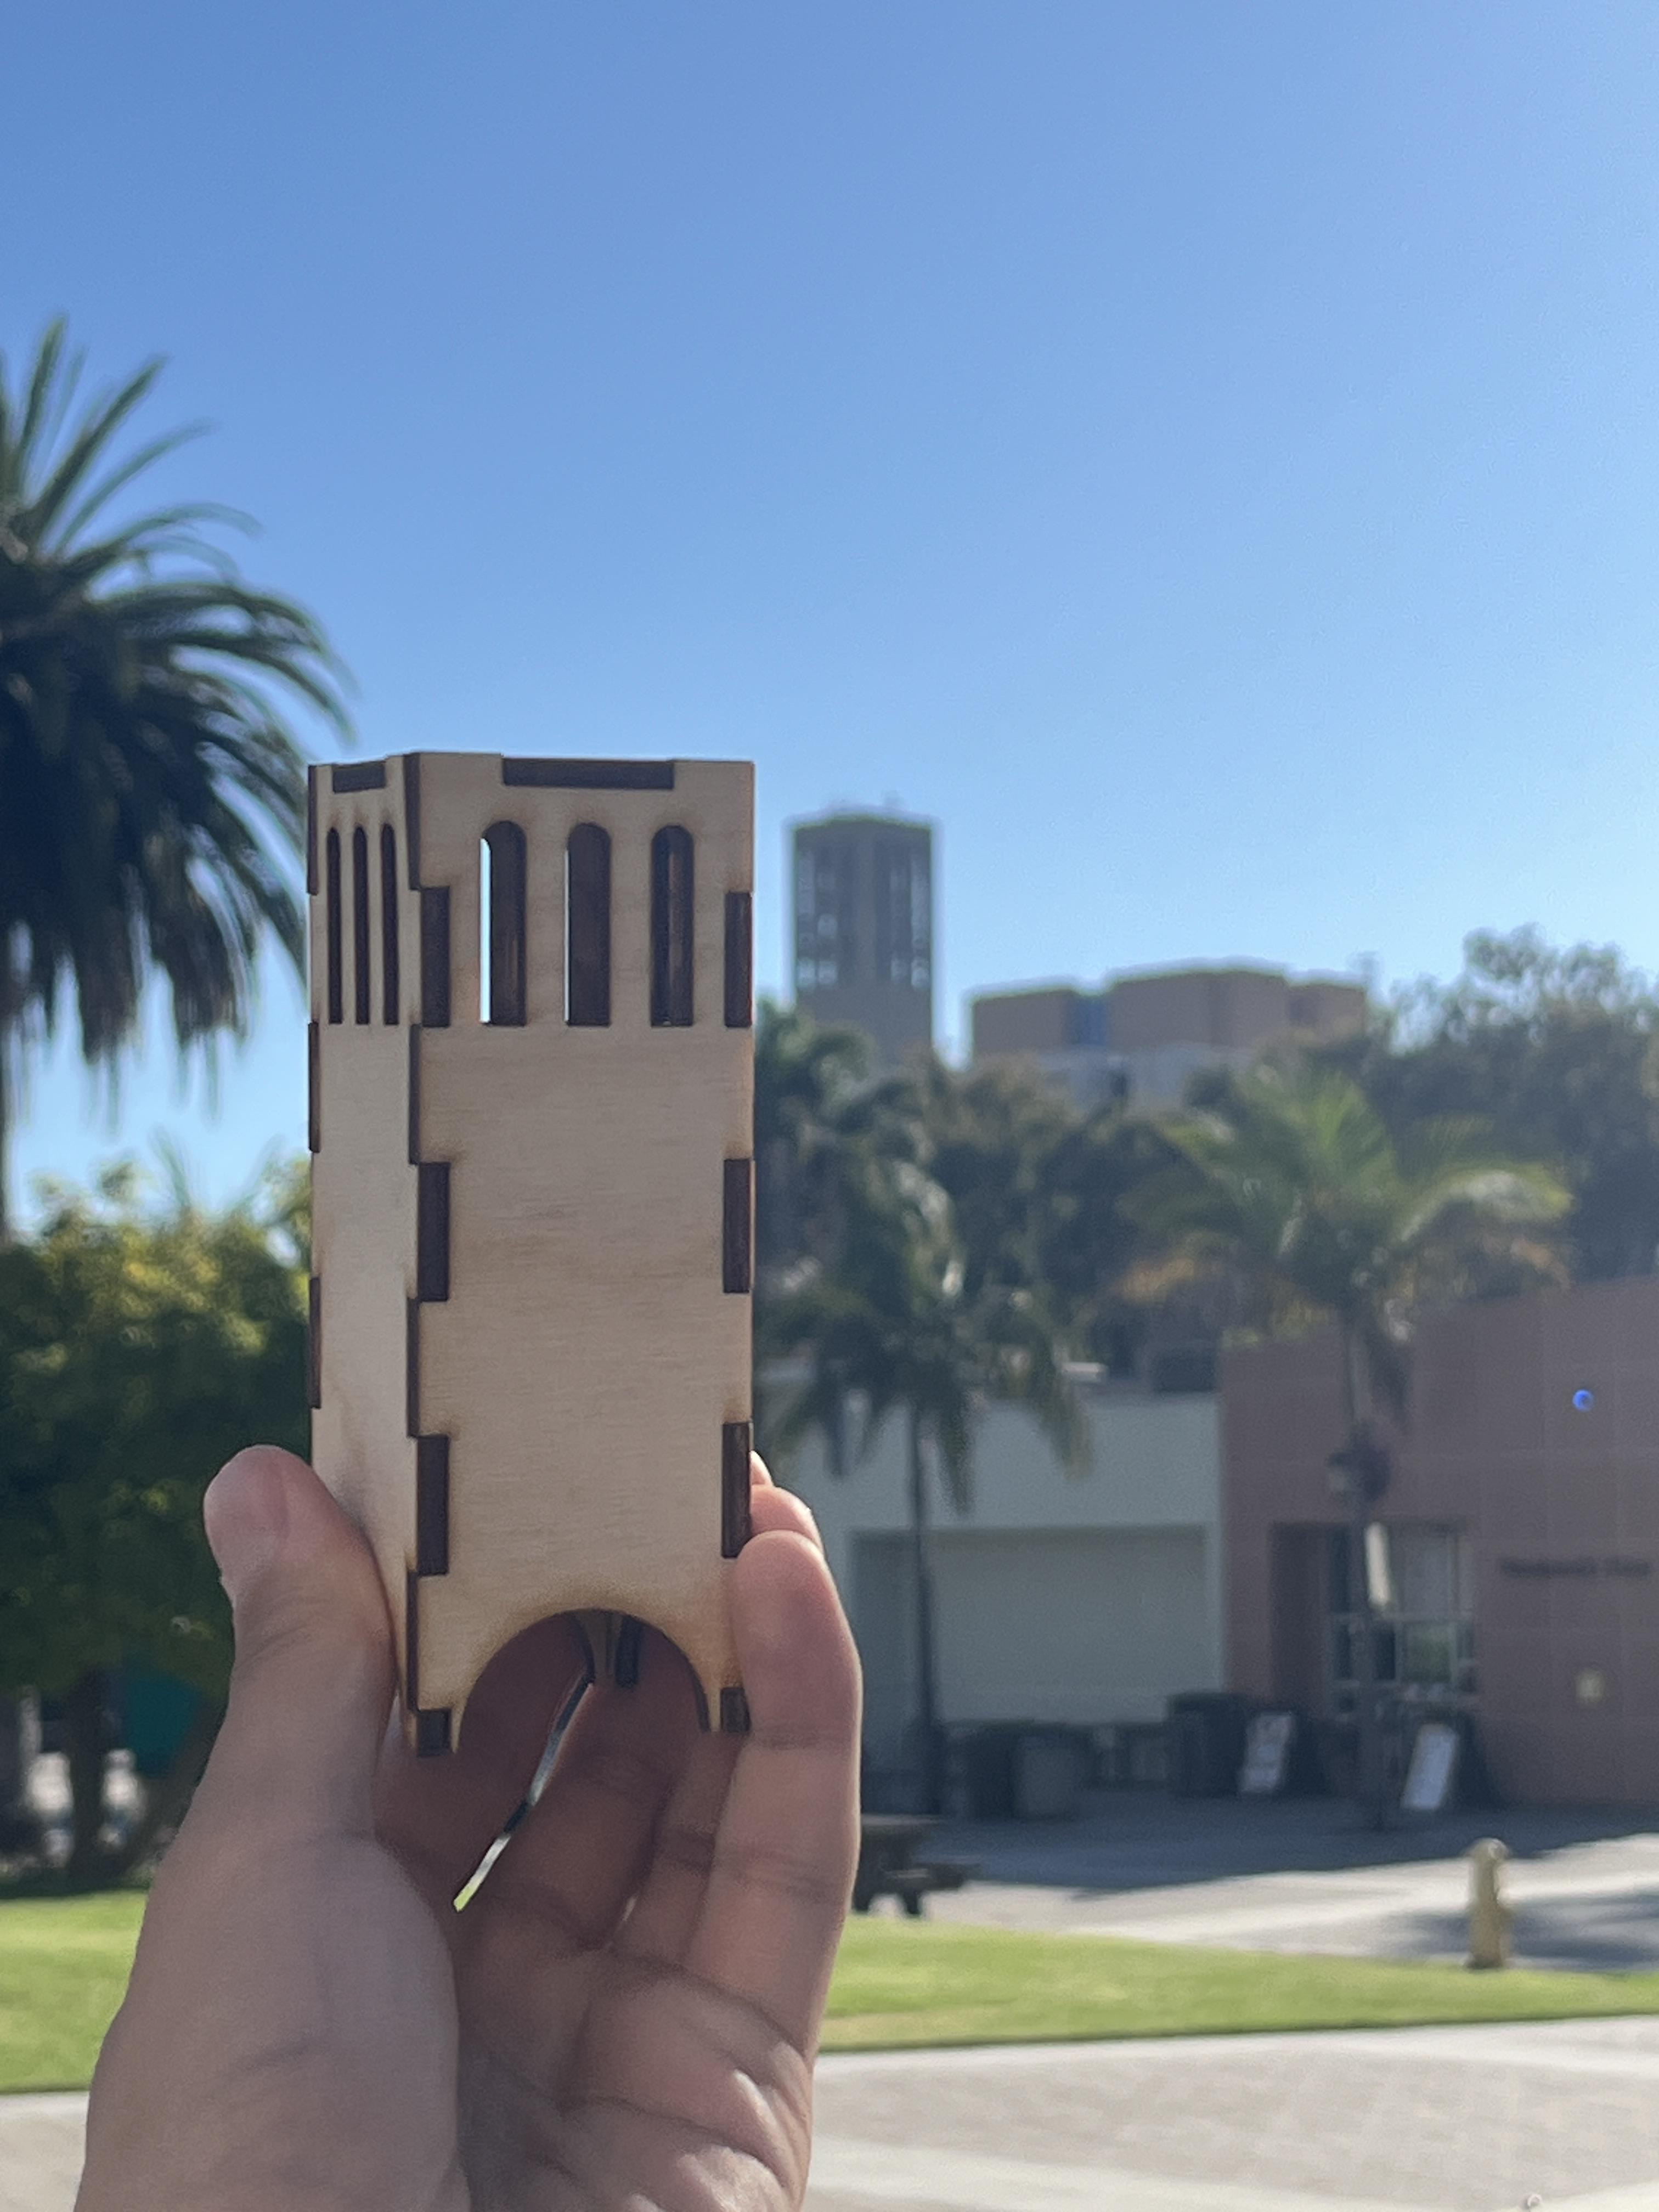
For my Week 3 press-fit assignment, I created a simplified, “cute” version of UCSB’s Storke Tower using 1/8" plywood. Since this was my first time designing a press-fit kit, I wanted to start with a recognizable but simple shape. The natural wood color reminded me of the real tower, which inspired my choice. My goal was to design a sturdy structure with finger joints, experiment with slots and tolerances, and capture some of the tower’s iconic features such as windows and curved base corners.
Supplies
1/8" plywood (152 × 203 mm area used)
Makerspace laser cutter (wood settings, kerf = 0.25 mm)
Fusion 360 (parametric design, slot dimensions)
Step 1: Sketch
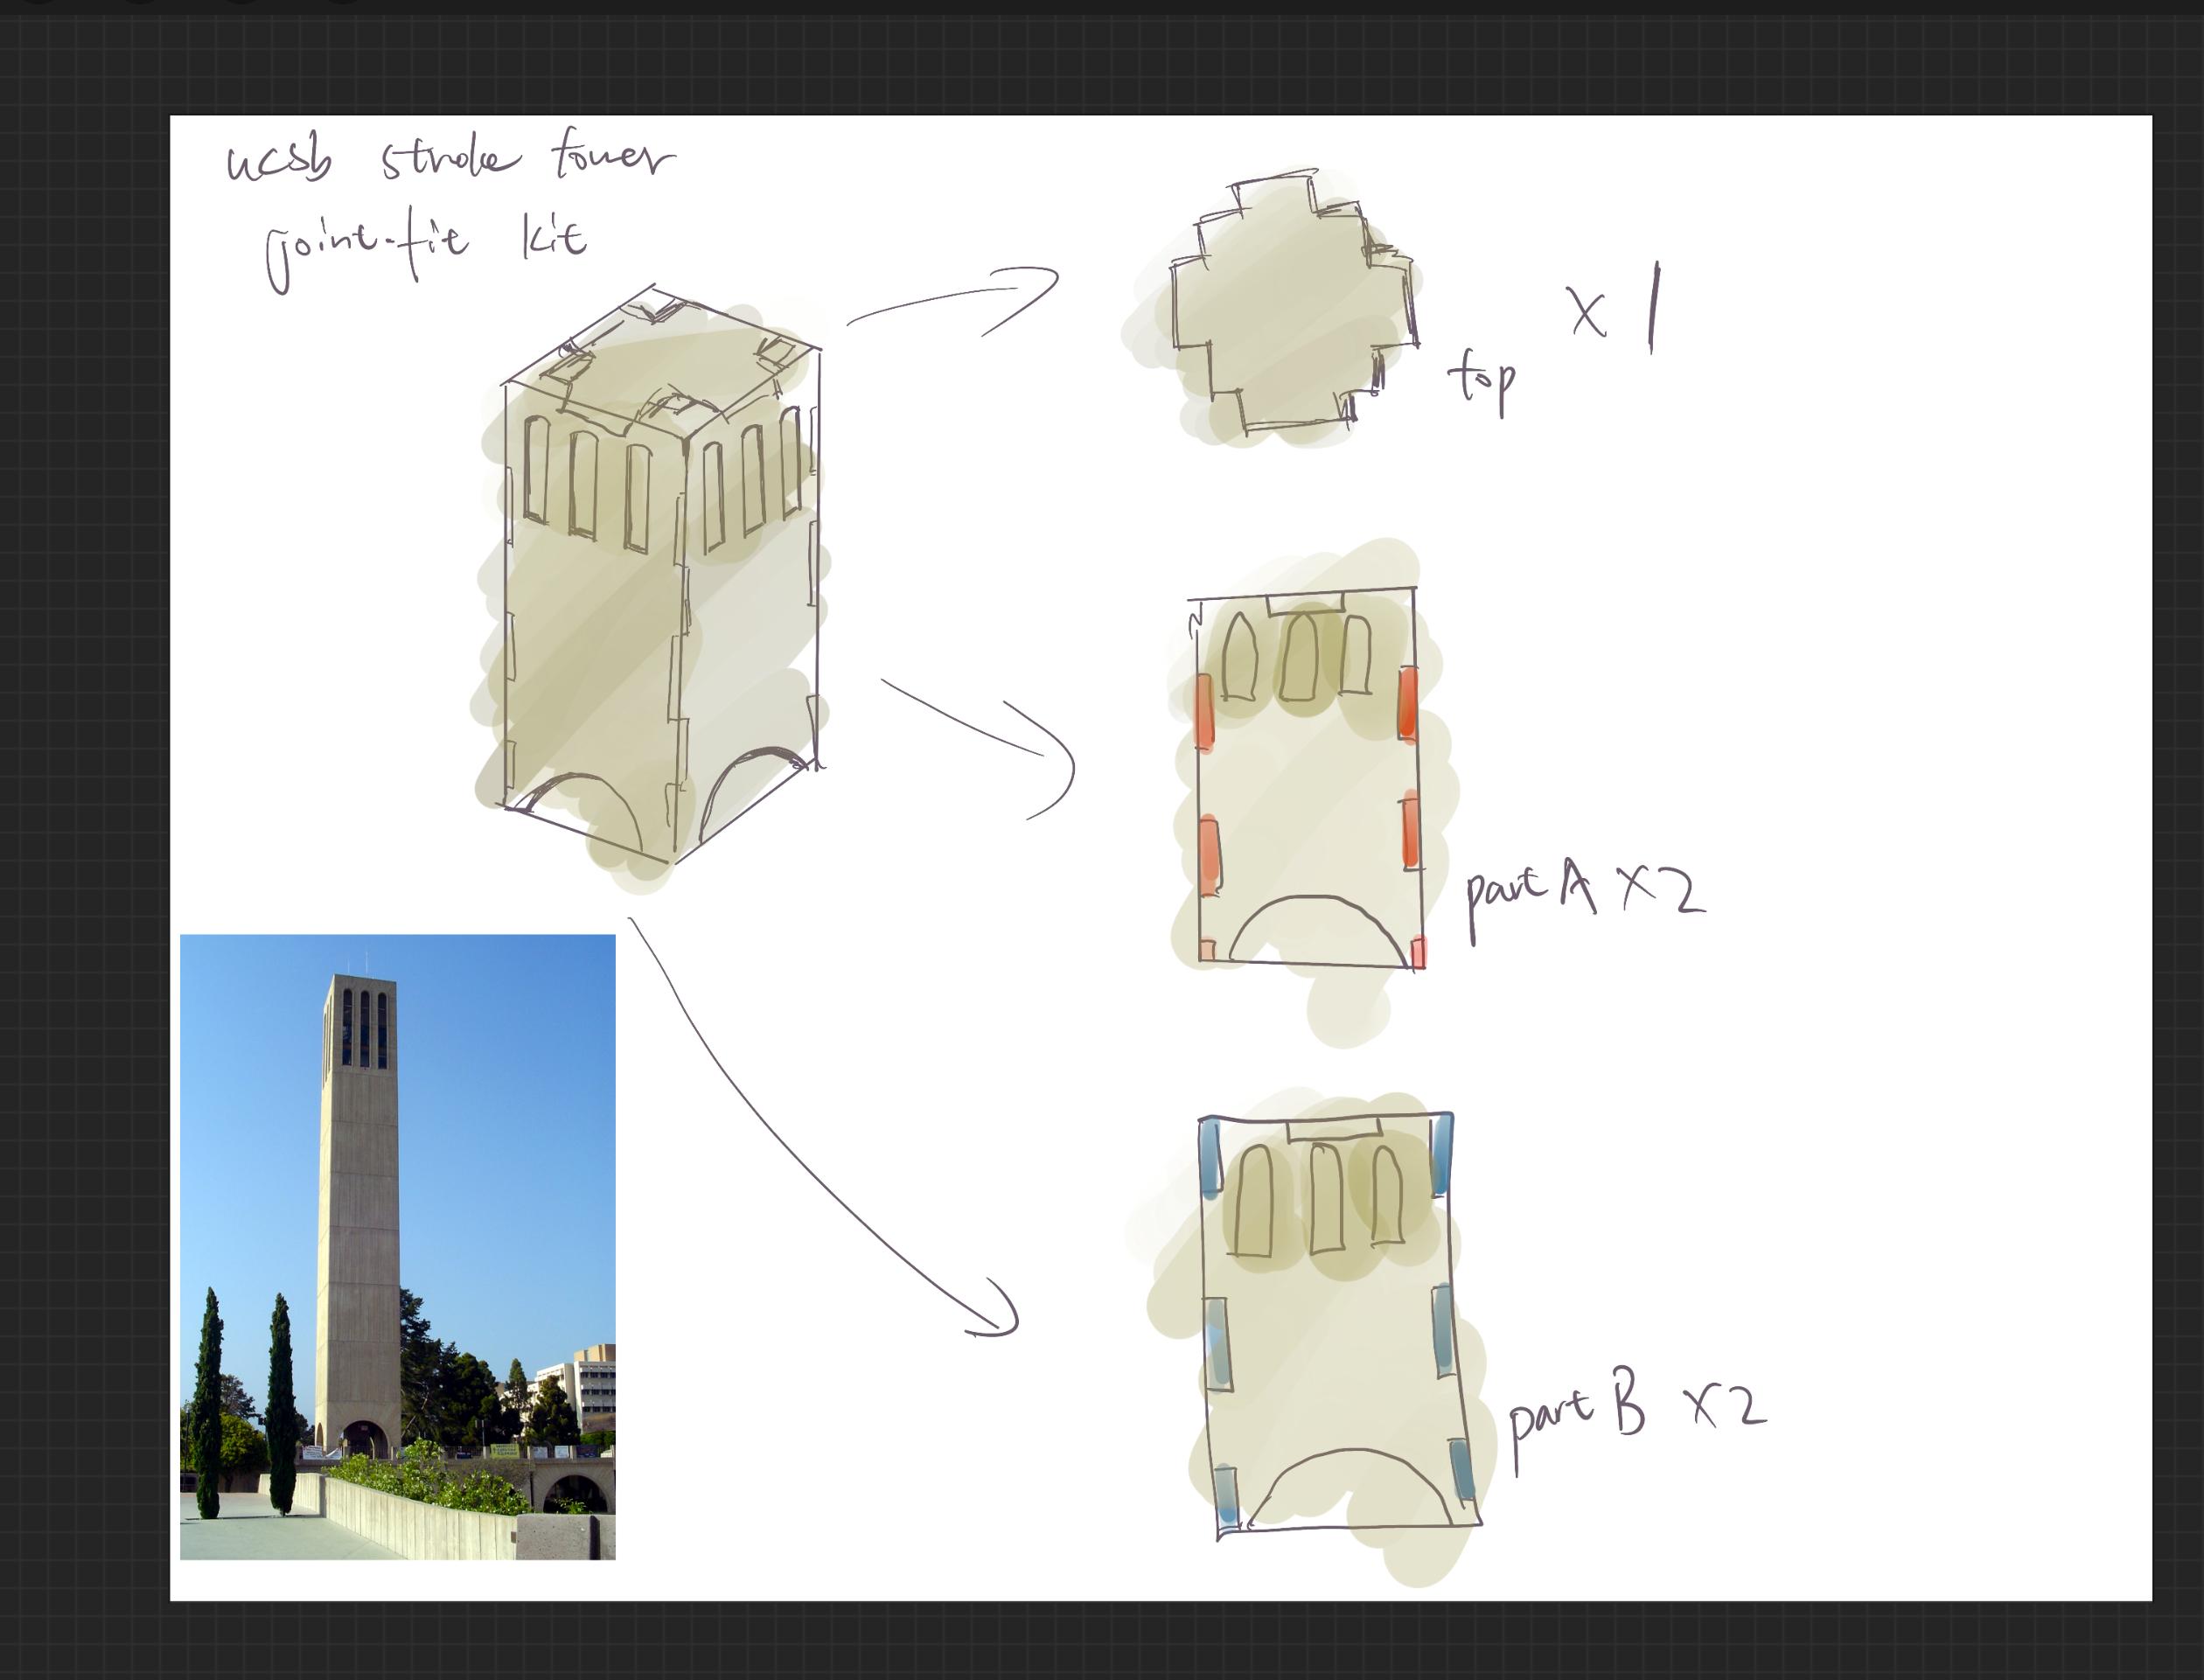
I started with a hand sketch of the tower, dividing it into five parts:
- Four side panels
- One top panel (cap)
I annotated approximate dimensions and thought about how the finger joints would connect. I shortened the tower’s height to make it look “cuter,” closer to a small toy than a realistic scale model.
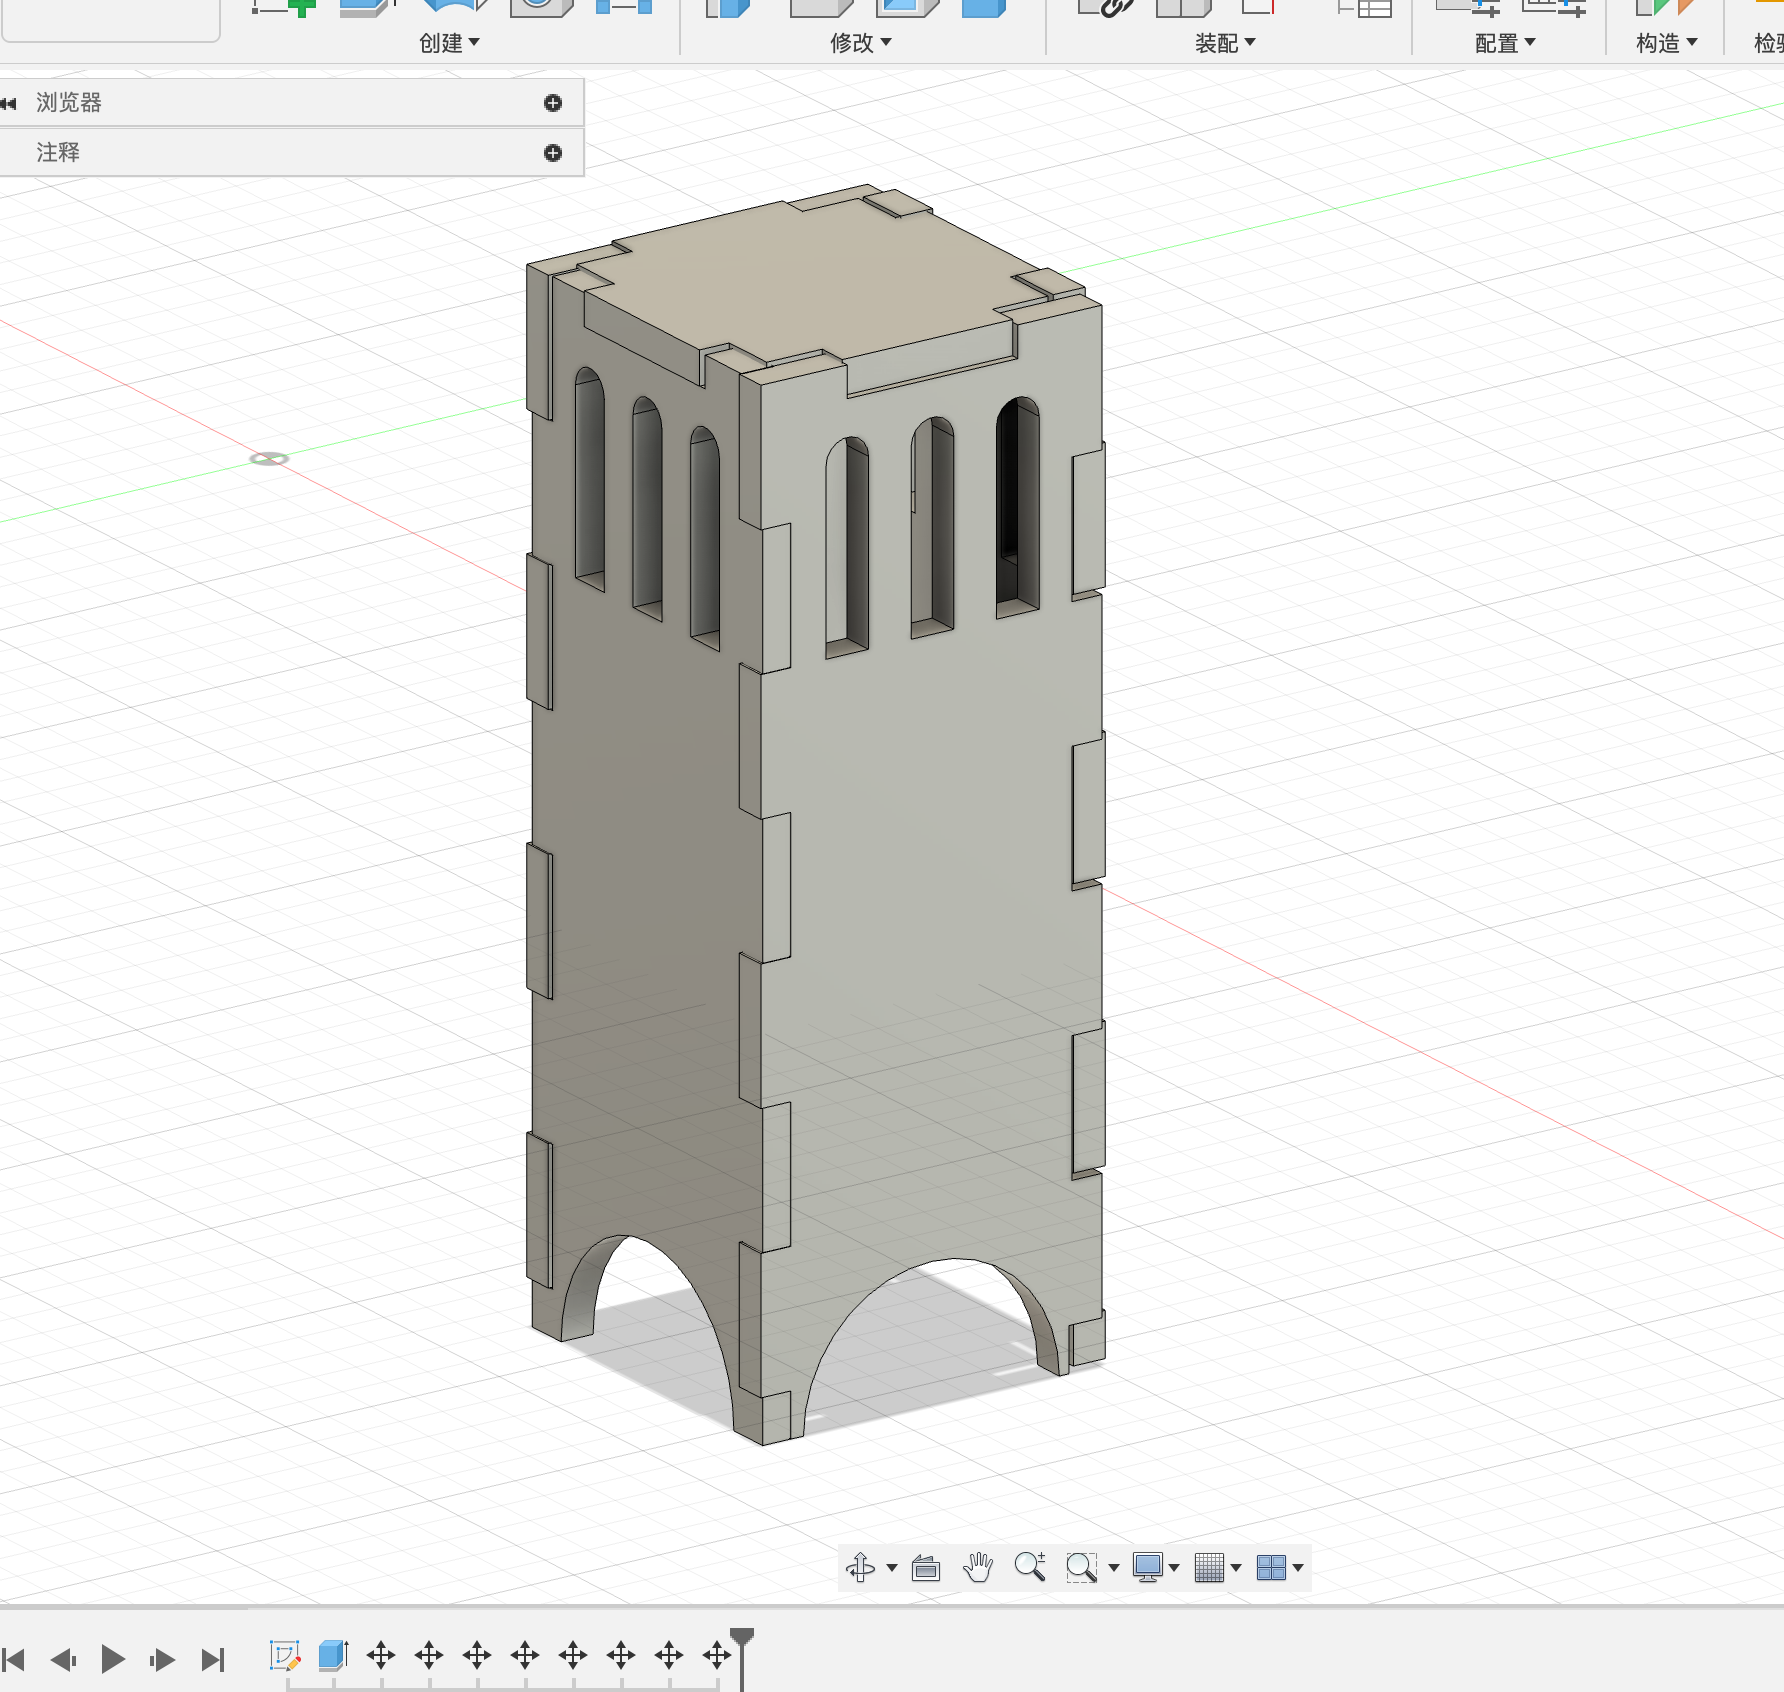
Step 2: Fusion Design


In Fusion 360, I parameterized the key dimensions:
- Thickness = 3.175 mm (1/8 in plywood)
- Kerf = 0.25 mm
- Slot width = 3.5 mm
- Slot length = 15 mm
Each side panel was 40 mm wide × 110 mm tall. I added simple cut-out windows for detail, and curved the base corners for a softer look. The four side panels and top fit within a 152 × 203 mm bounding rectangle (smaller than the 6 × 8 in requirement).
Laser Cutting


I exported the dxf and laid out the five pieces. Cutting worked smoothly, though the slots were slightly tight. To hide the burn marks from the laser, I placed the charred faces inward during assembly.
Assembly

used press-fit finger joints for all edges:
- The four sides locked together with finger joints.
- The top cap pressed in firmly to close the tower.
Assembly was a little stiff due to tight tolerances, but once fit together, the tower was extremely stable and required no glue.
Outcome


The final tower has a squat, sturdy look that feels playful and toy-like rather than perfectly proportional. I was especially happy with how the windows and curved base corners added character. The inward-facing burn marks gave the outer surfaces a clean finish.
Reflection
Reading Skylar Tibbits’ Things Fall Together influenced the way I thought about this project. The chapter emphasized how complex structures can emerge from simple parts and well-designed joints. This helped me realize that even with just five panels, I could create a meaningful architectural form if I carefully designed the press-fit slots. The reading also made me think differently about tolerances: the “rules” of how pieces connect define how the structure holds together, just as Tibbits describes assembly as emerging from material interactions. In practice, I set my slot width to 3.5 mm, slightly larger than the plywood thickness, to account for kerf and ensure a snug fit. Although assembly required some force, the final result was stable and glue-free. Overall, the reading encouraged me to think about design not as forcing pieces into place, but as shaping constraints that allow parts to naturally come together into form.
Commentary & Evaluation

What worked: Sturdy finger joints, playful proportions, clean exterior finish.
Challenges: Slots were a little too tight, which made assembly harder.
Improvements: Next time, I’d test slot widths with a kerf sample piece before cutting the full design.
Future ideas: I originally considered making a dice tower, but the proportions were too small to allow dice to roll. For a final project, I’d like to scale this concept into a full dice tower with functional interior ramps.
Conclusion 🌟
This project showed me how a small set of flat pieces can assemble into a recognizable landmark. Even as a first attempt, the process taught me about kerf adjustment, parametric slot design, and how design choices (like wood color and proportion) connect form to meaning. The result is a simple but sturdy press-fit model of UCSB’s Storke Tower.