Print a Fidget (tinkercad/3-d Printing)
by wallainbrooklynn in Design > Digital Graphics
257 Views, 1 Favorites, 0 Comments
Print a Fidget (tinkercad/3-d Printing)
I made a fidget toy on tinkercad, Please tell me if you make it !
Supplies


.png)
THINGS YOU NEED TO MAKE THIS:
A MakerBot METHOD, https://www.tinkercad.com/, 32GB Thumb Drive, PLA filament( any color), PVA filament, And https://login.makerbot.com/login?redirect=https%3A%2F%2Fcloudprint.makerbot.com. You will also need a tub, a gallon of water, and some weights. Please make sure you double-check supplies.
Getting Started
.png)
Go to tinkercad, sign up or log in.
Once Your In

Once you have logged in click "create new design".
Start Designing
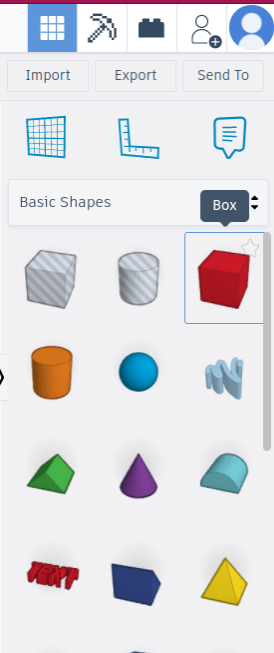
Then go to your toolbox and click "Box". Hover your mouse over the workplane and click.
The Settings

Click the edit grid button and then change it from millimeters to inches.
More Settings

Now click the snap grid button and change to 1/64 inches.
The Base

Click the top right corner and drag till at 3.22 on both sides.
The Height

Then click the top middle and drag up until at 3.22.
Work Plane
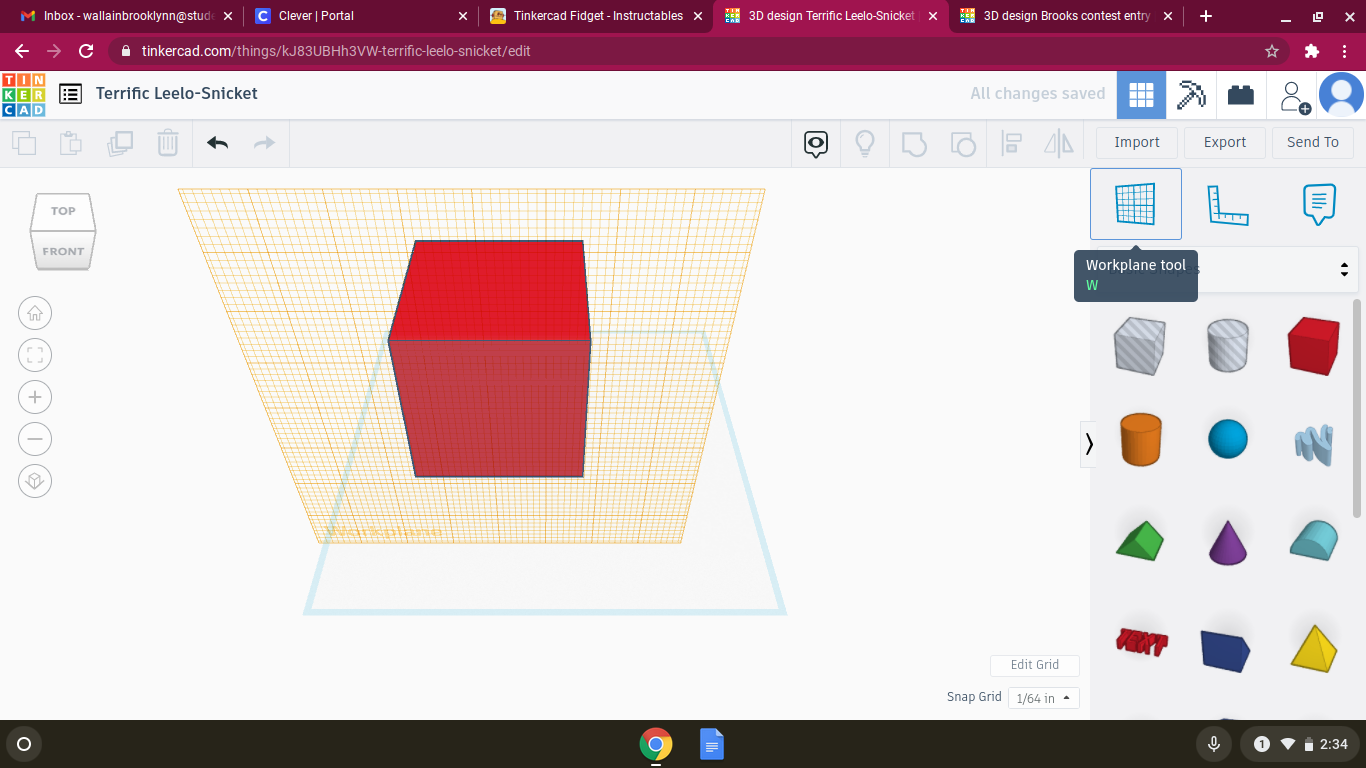
Now click the work plane tool and click the side of the cube.
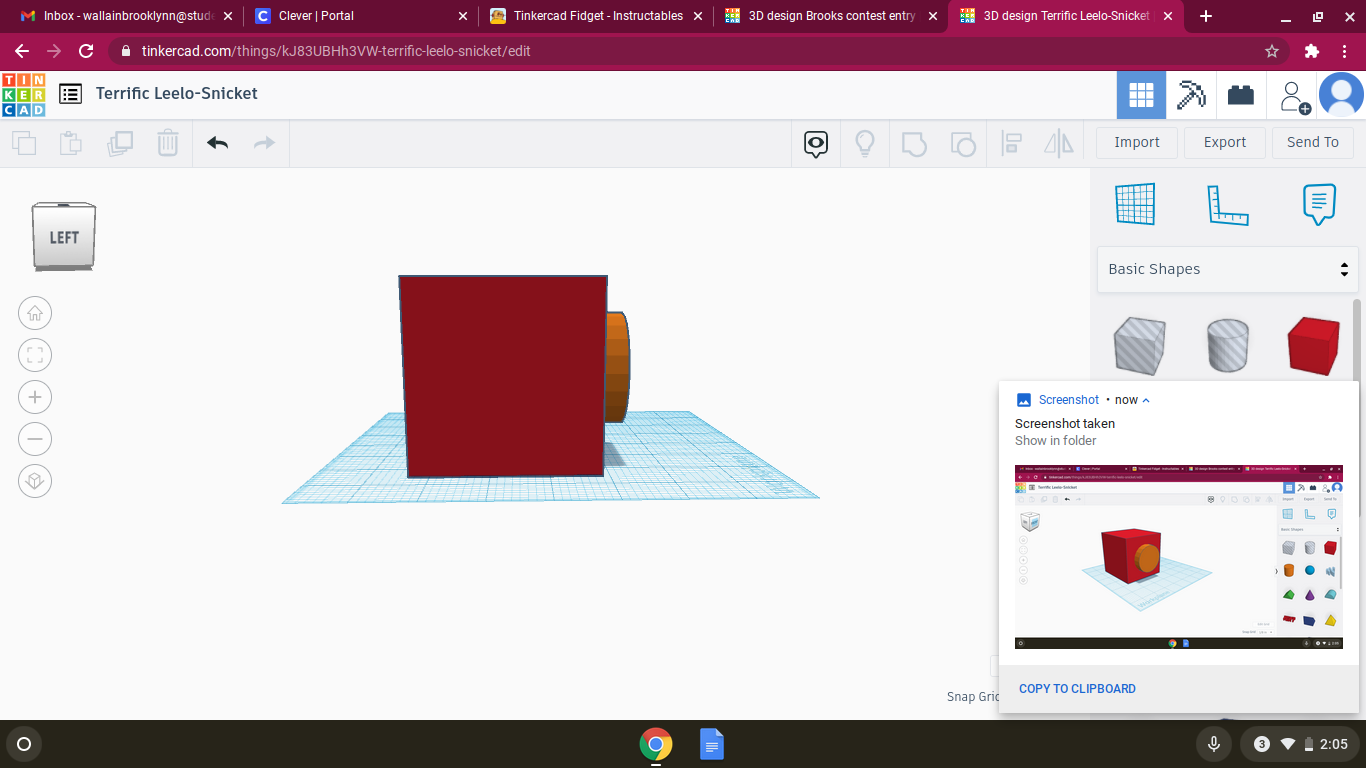
Side 1

Then drag a cylinder from the toolbox and drop it on the middle of the box.
Adjusting

Click the top right corner and make it 2 by 2
The Size

Drag the middle back until it is 1/2 inch thick. Recenter the circle.
Workplane Adjusting

Use the work plane tool and reset it so that it is on the bottom of the box.
Viewing Cube


Use the viewing cube to turn to the left.
Side 2
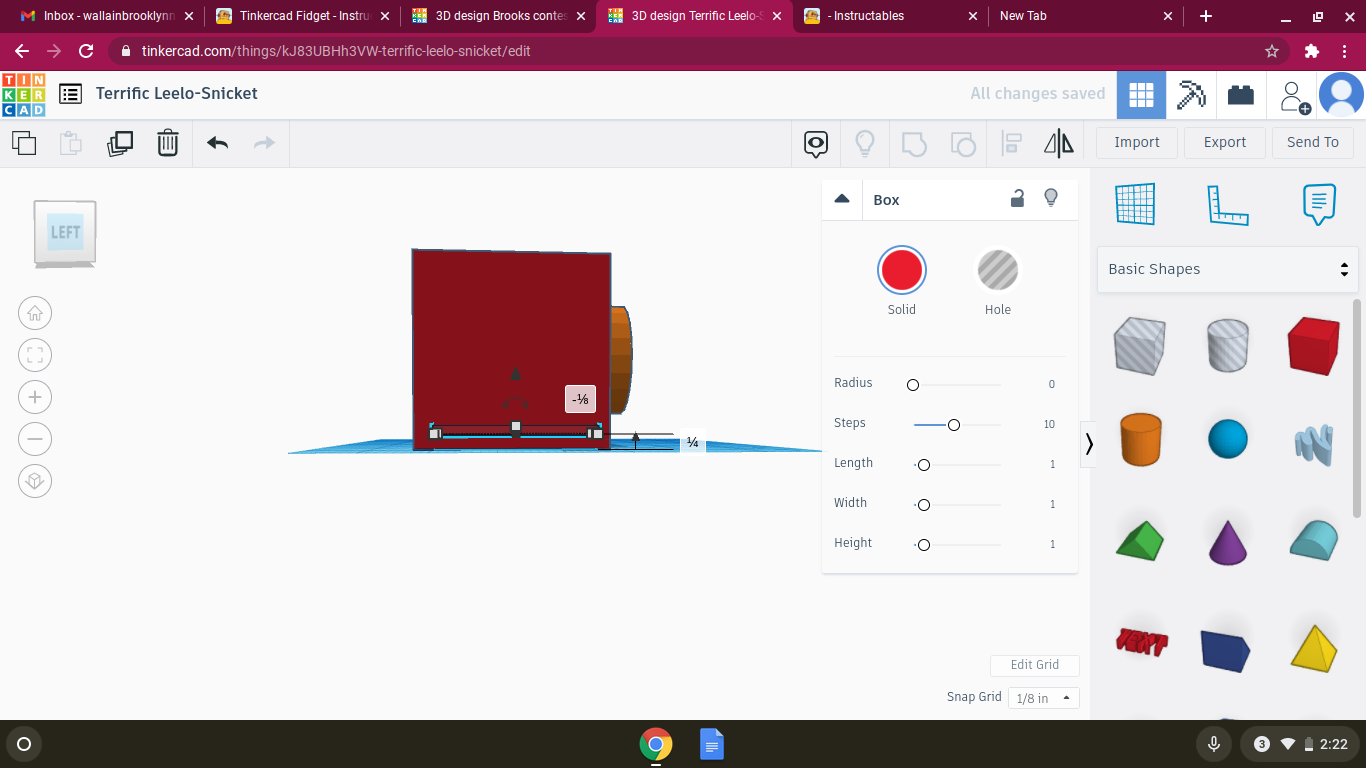


Get a box from the toolbox. Put the box on the side. Use the triangle as shown above to move the shape up. Then make it only 1/8 inch thick. Make the box 2 5/8 inches long. Recenter.
Adjusting
Now you click the elongated box and hit ctrl+d on your keyboard this will copy the box. Then grab the triangle and drag it up 1/8 inch. Repeat until at the top of the large box.
Shapes


Turn to back. Go to your shapes library. Click structures and scenery. Then scroll down all the way. Click More Shapes.
Workplane

Use the Work Plane as in Step 7, put it on the back.
Gathering Shapes
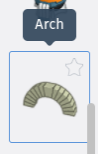
Scroll down and click arch.
Side 3
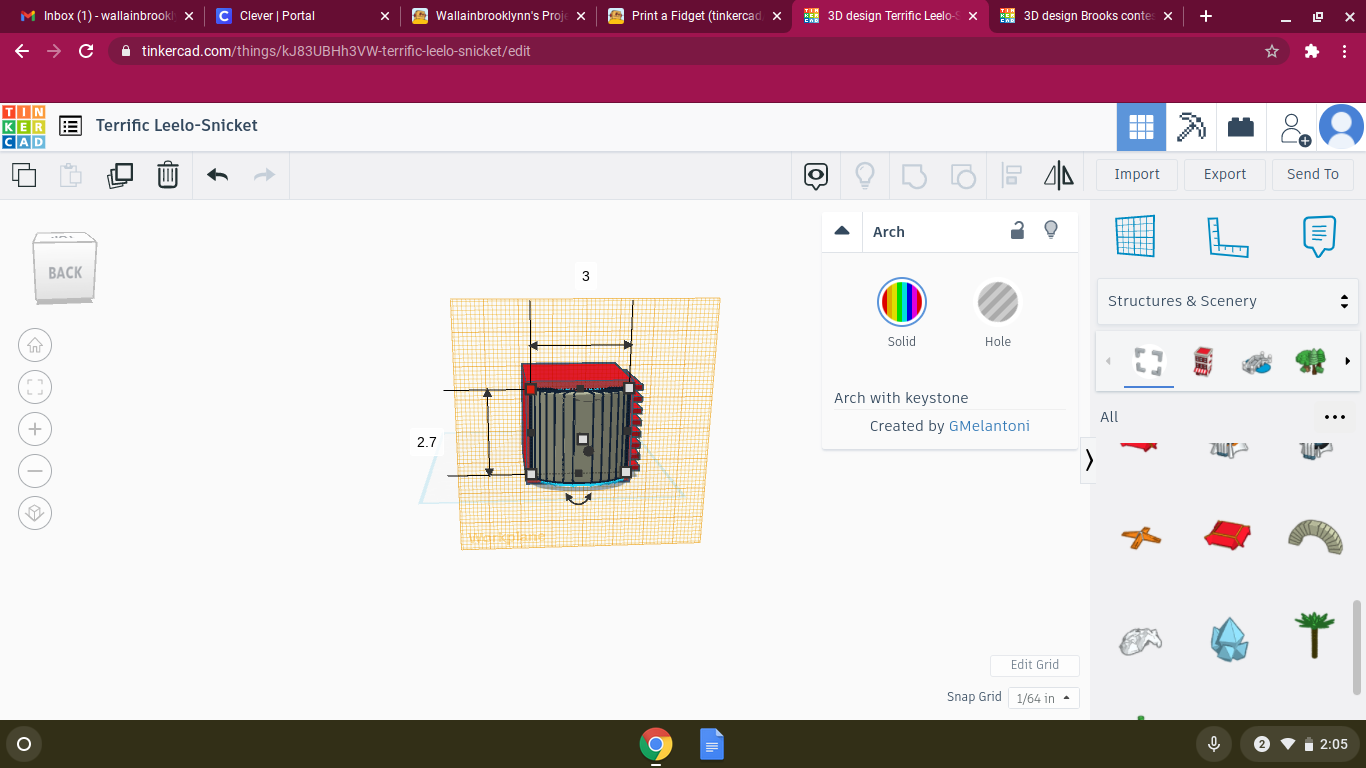
Put the arch on the work plane. Center. Make the arch 3 inches wide and 2.7 inches tall.
Next
Reset the work plane then turn to right using the viewing cube.
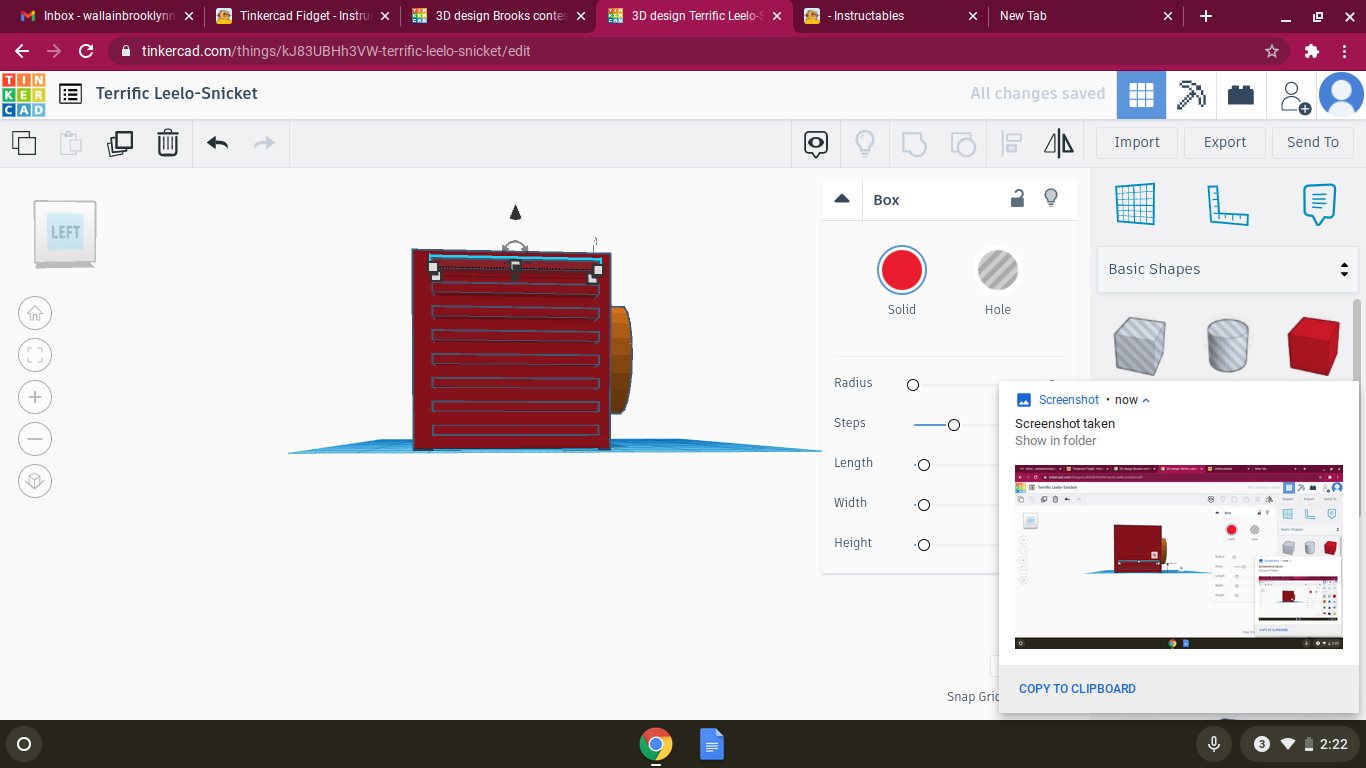
Side 4

Go to hardware in your shapes library click "more shapes". Click chain and put on box. The chain should be 2/8 inches in from the edge. It will also be 3.109 inches tall. Make sure it is not touching the top or the bottom of the box. Then Push ctrl+d and drag the chain over 2/8 inches. Repeat.
The Top

Use viewing cube to go to the top of the box. Then put wok plane down. Go back to basic shapes in your shape library.
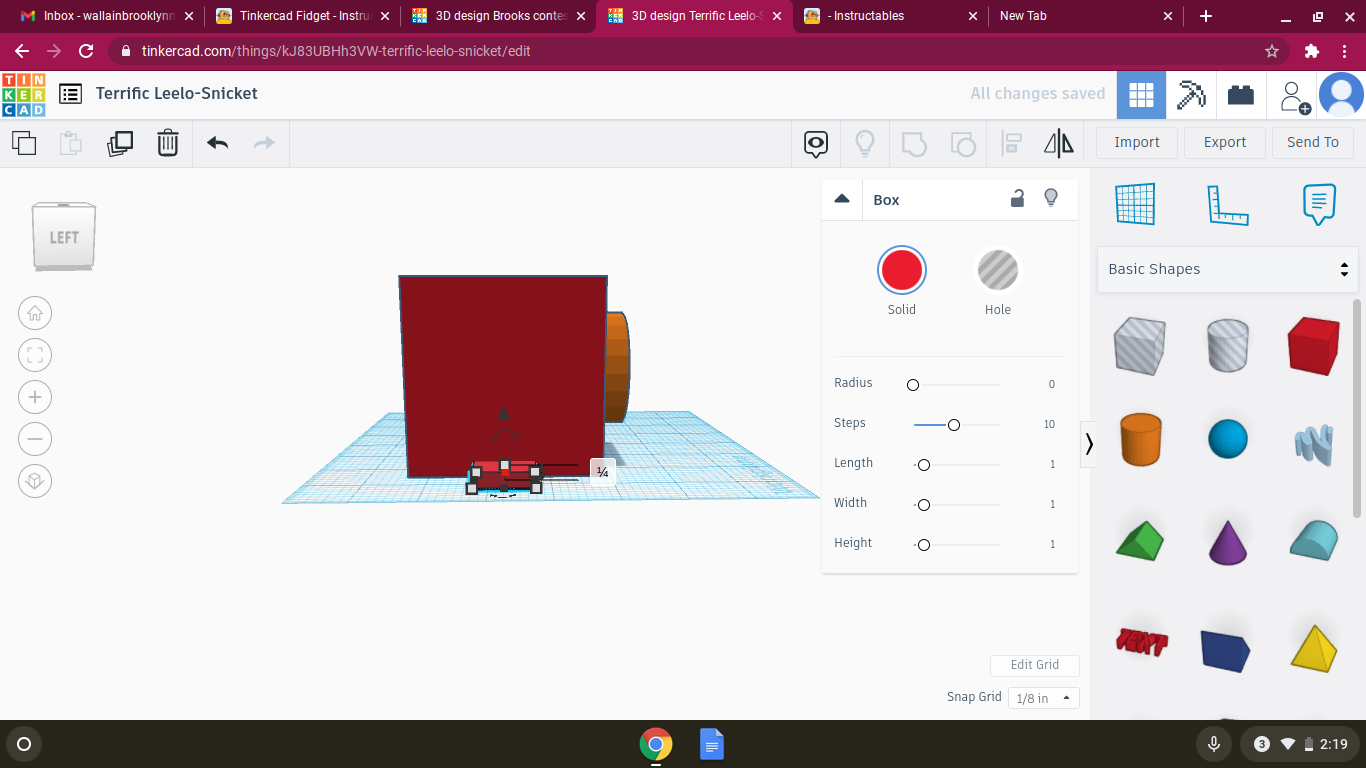
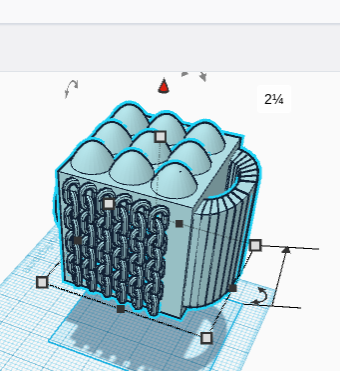
The Steps
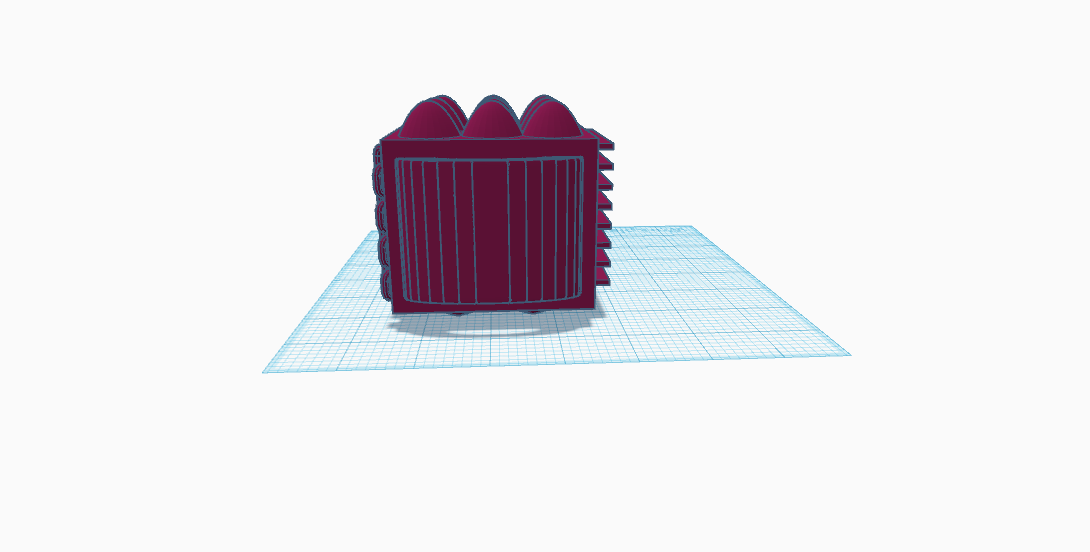
Grab a paraboloid from the toolbox. Put it in the corner. Make sure it is 1/8 inches in from the edge. Make it 1/2 inch tall.
Copy + Paste


Press ctrl+d drag the paraboloid over until each paraboloid is barely touching. Repeat once. Press ctrl+d again this time make the paraboloid drag it to the side of the other one. Repeat until it looks like the image above. Reset work plane.
Grouping


Now you click the work plane and drag across all the shapes. Then click the grouping symbol shown above. Click and drag again and then click the color button shown above to choose a color. All the shapes should be the color that you chose, if not regroup them.
Next
Now pick up the shape using the triangle pick up until you can see the bottom of the shape. Put your work plane on the bottom of the shape.
The Last Side

Go to your shapes library and click "everyday objects". Now scroll down and click more shapes until you find a "chain link". Put the chain link on the bottom of your shape. Make it 2.9 inches long and 1 1/4 inches wide it should be 1/8 inch thick. Press ctrl+d. drag the copy chain link to the other side of the box it should look like the picture above.
Finishing the Design


Now group the shapes as in Step 25. Reset the workplane. Bring it down to the workplane.
Export

Click the export button.

Then click.STL
Go to https://login.makerbot.com/login?redirect=https%3A%2F%2Fcloudprint.makerbot.com. Now make an account or sign in.
New Print
Click start a new print.


In the upper left-hand, corner click add models. Then click add file. Choose the file you just uploaded.
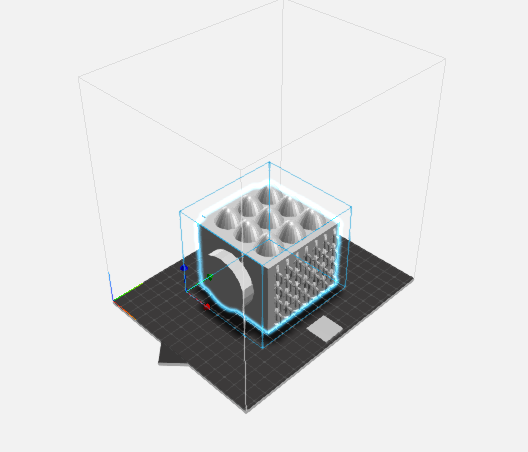
It should look like this
Settings
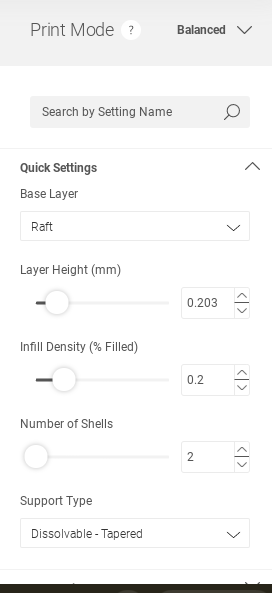
Now make the settings look like the image above.
Method

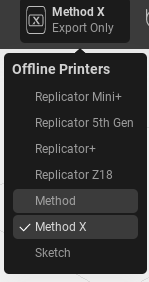
Change the printer to the method.
Export


Click preview then click export.
Files

It should show up in your files
USB

Plug in the USB Port.
Saving

Drag the new file to the USB drive.
Unplug
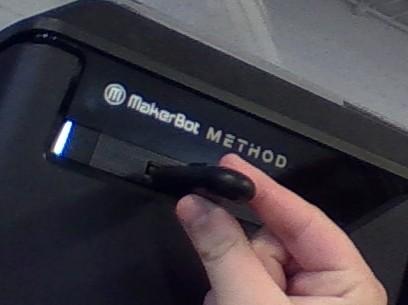
Unplug the USB and plug it into the printer.
Filament
how+to+put+filiment+into+a+makerbot+method
https://www.youtube.com/watch?v=nVuAuN6TgJU Go to each link and load the printer with your filament.
The Rest
Answer the questions it asks you.
Dissolving
Wait until it is finished. Then put it into the hot water leave for 24 hours until supports are gone.
Finished!


Then it will look like the picture above please tell me if you make it!