Processing Wild Clay for Slip Casting
by bassman76jazz in Outside > Backyard
168 Views, 1 Favorites, 0 Comments
Processing Wild Clay for Slip Casting

There are hundreds—maybe thousands—of videos out there showing how to process clay, and for the most part, they’re pretty good. But I think there are a few simple things that can make the process a lot easier—not faster, but more enjoyable. For me, it’s one of my favorite parts of the whole journey, not just a step to get through. Processing clay doesn’t have to be just a means to an end; it can be a really satisfying, even meditative, part of this detailed process. So let me show you how I do it—how my approach is a little different from most videos—and maybe, if you’re lucky, you’ll find yourself in the backyard with a couple of buckets, trying it out for yourself and discovering how much you actually enjoy it.
Strain and Levigat
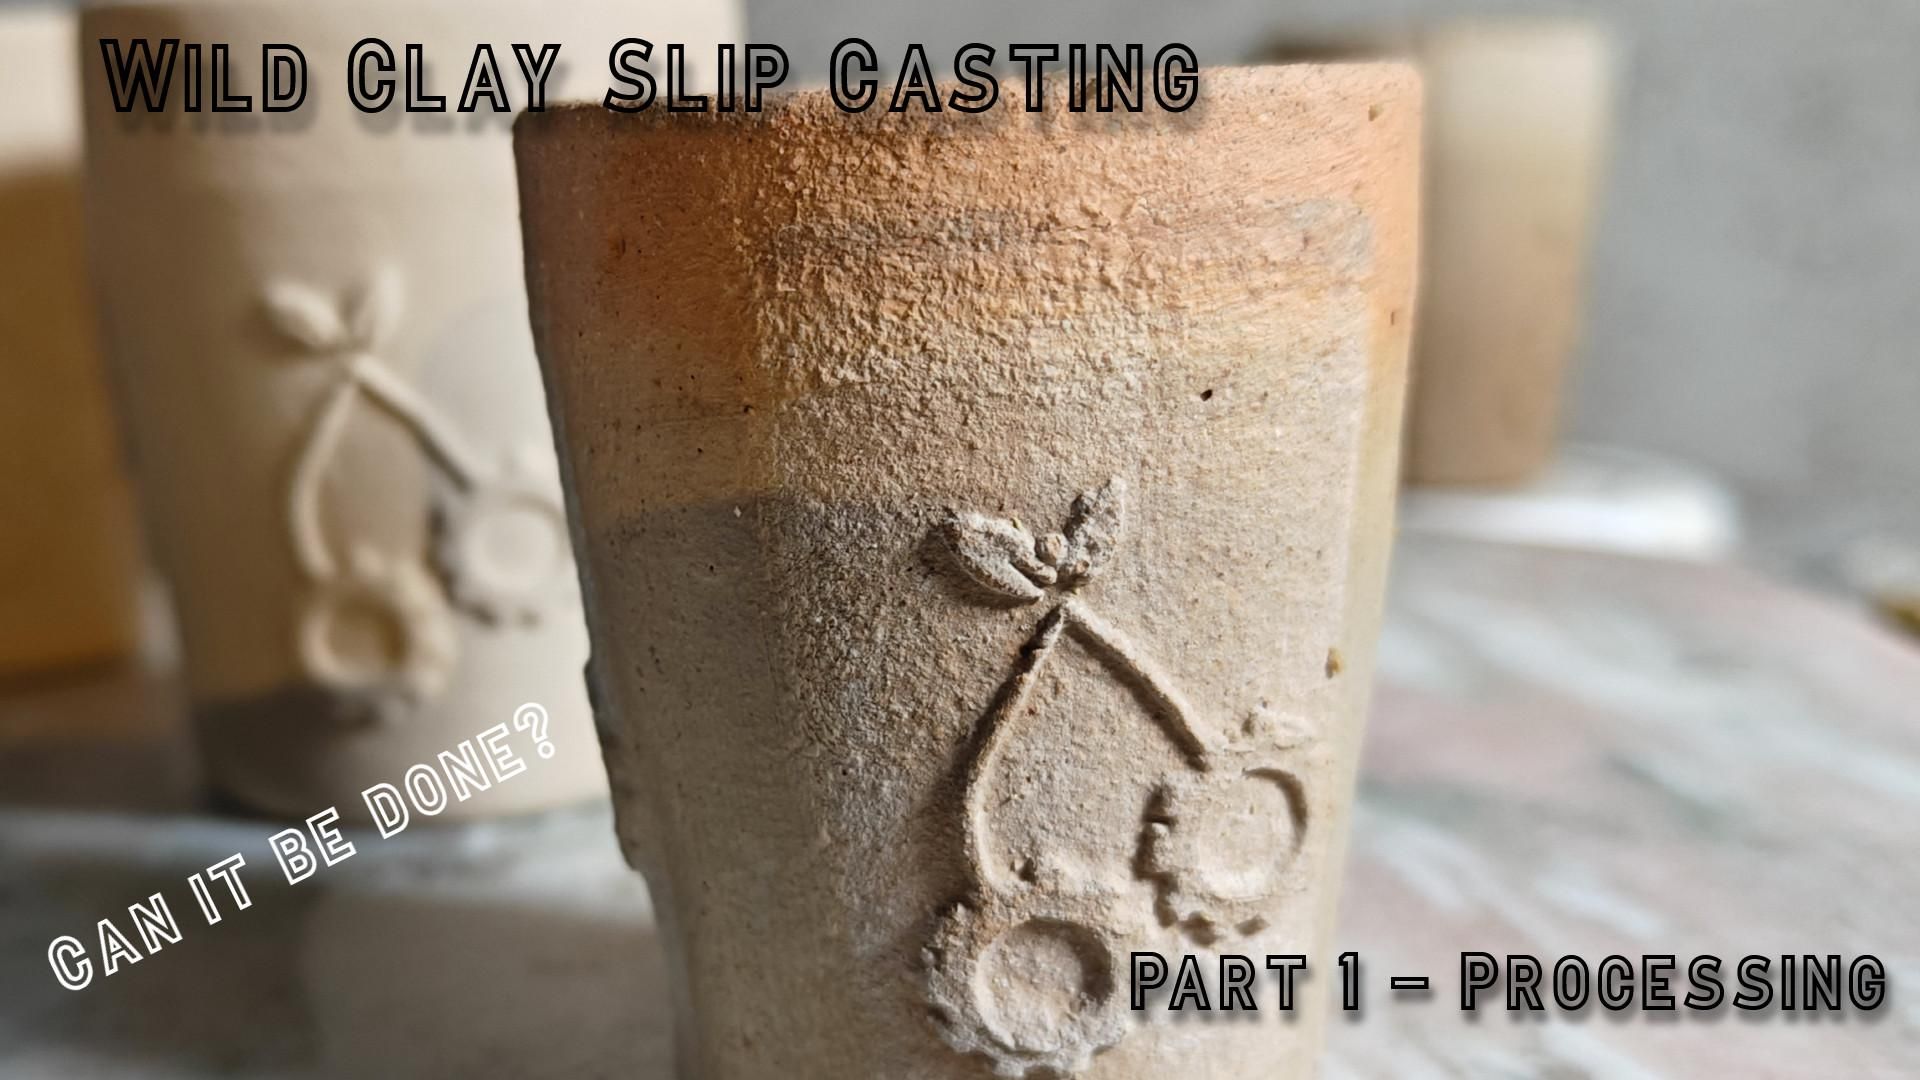
First, I slake the clay by adding water until the bucket is nearly full, then break up the chunks and mix everything thoroughly together—using my hands, which lets me enjoy the tactile experience and get a better understanding of what the clay will be like, what kind of sand content it has, and whether it’s short (not very plastic) or very plastic. Next, I use a can to transfer the clay and water through a strainer to filter out a bunch of the organic material and small rocks. At this point, the bucket is very heavy, so I don't have to lift it to pour off the clay and water. I also need to clean the strainer frequently. I start mixing up the bucket, letting it settle for a short time, and then pouring it back through the strainer, leaving the settled material behind in a process called levigation, and I repeat this until I’m satisfied that what I have is primarily clay with very little sand, but there will always be some grit to it. Then I let the clay settle out and decant the water from the top of the bucket, which removes any water-soluble elements, such as salt, and any additional organic material. If the clay doesn’t settle well or quickly, like in an hour or two, it’s usually because of the pH of the solution, so I add some distilled vinegar and watch for a reaction, which lets me know the in this case the clay is somewhat alkaline, and then I add water, settle, and decant a few more times until I think it’s good enough. When I’m finally satisfied, I pour the clay into a flat tray to increase surface area and let it dry completely. I skip the pillowcase method that almost everyone else seems to use, mainly because I mostly slip cast and need to control the amount of water closely, and because it’s just less messy to store the material dry and mix up what I need, a batch at a time—usually the day before, letting it hydrate overnight so it’s ready for me the next day.
Drying
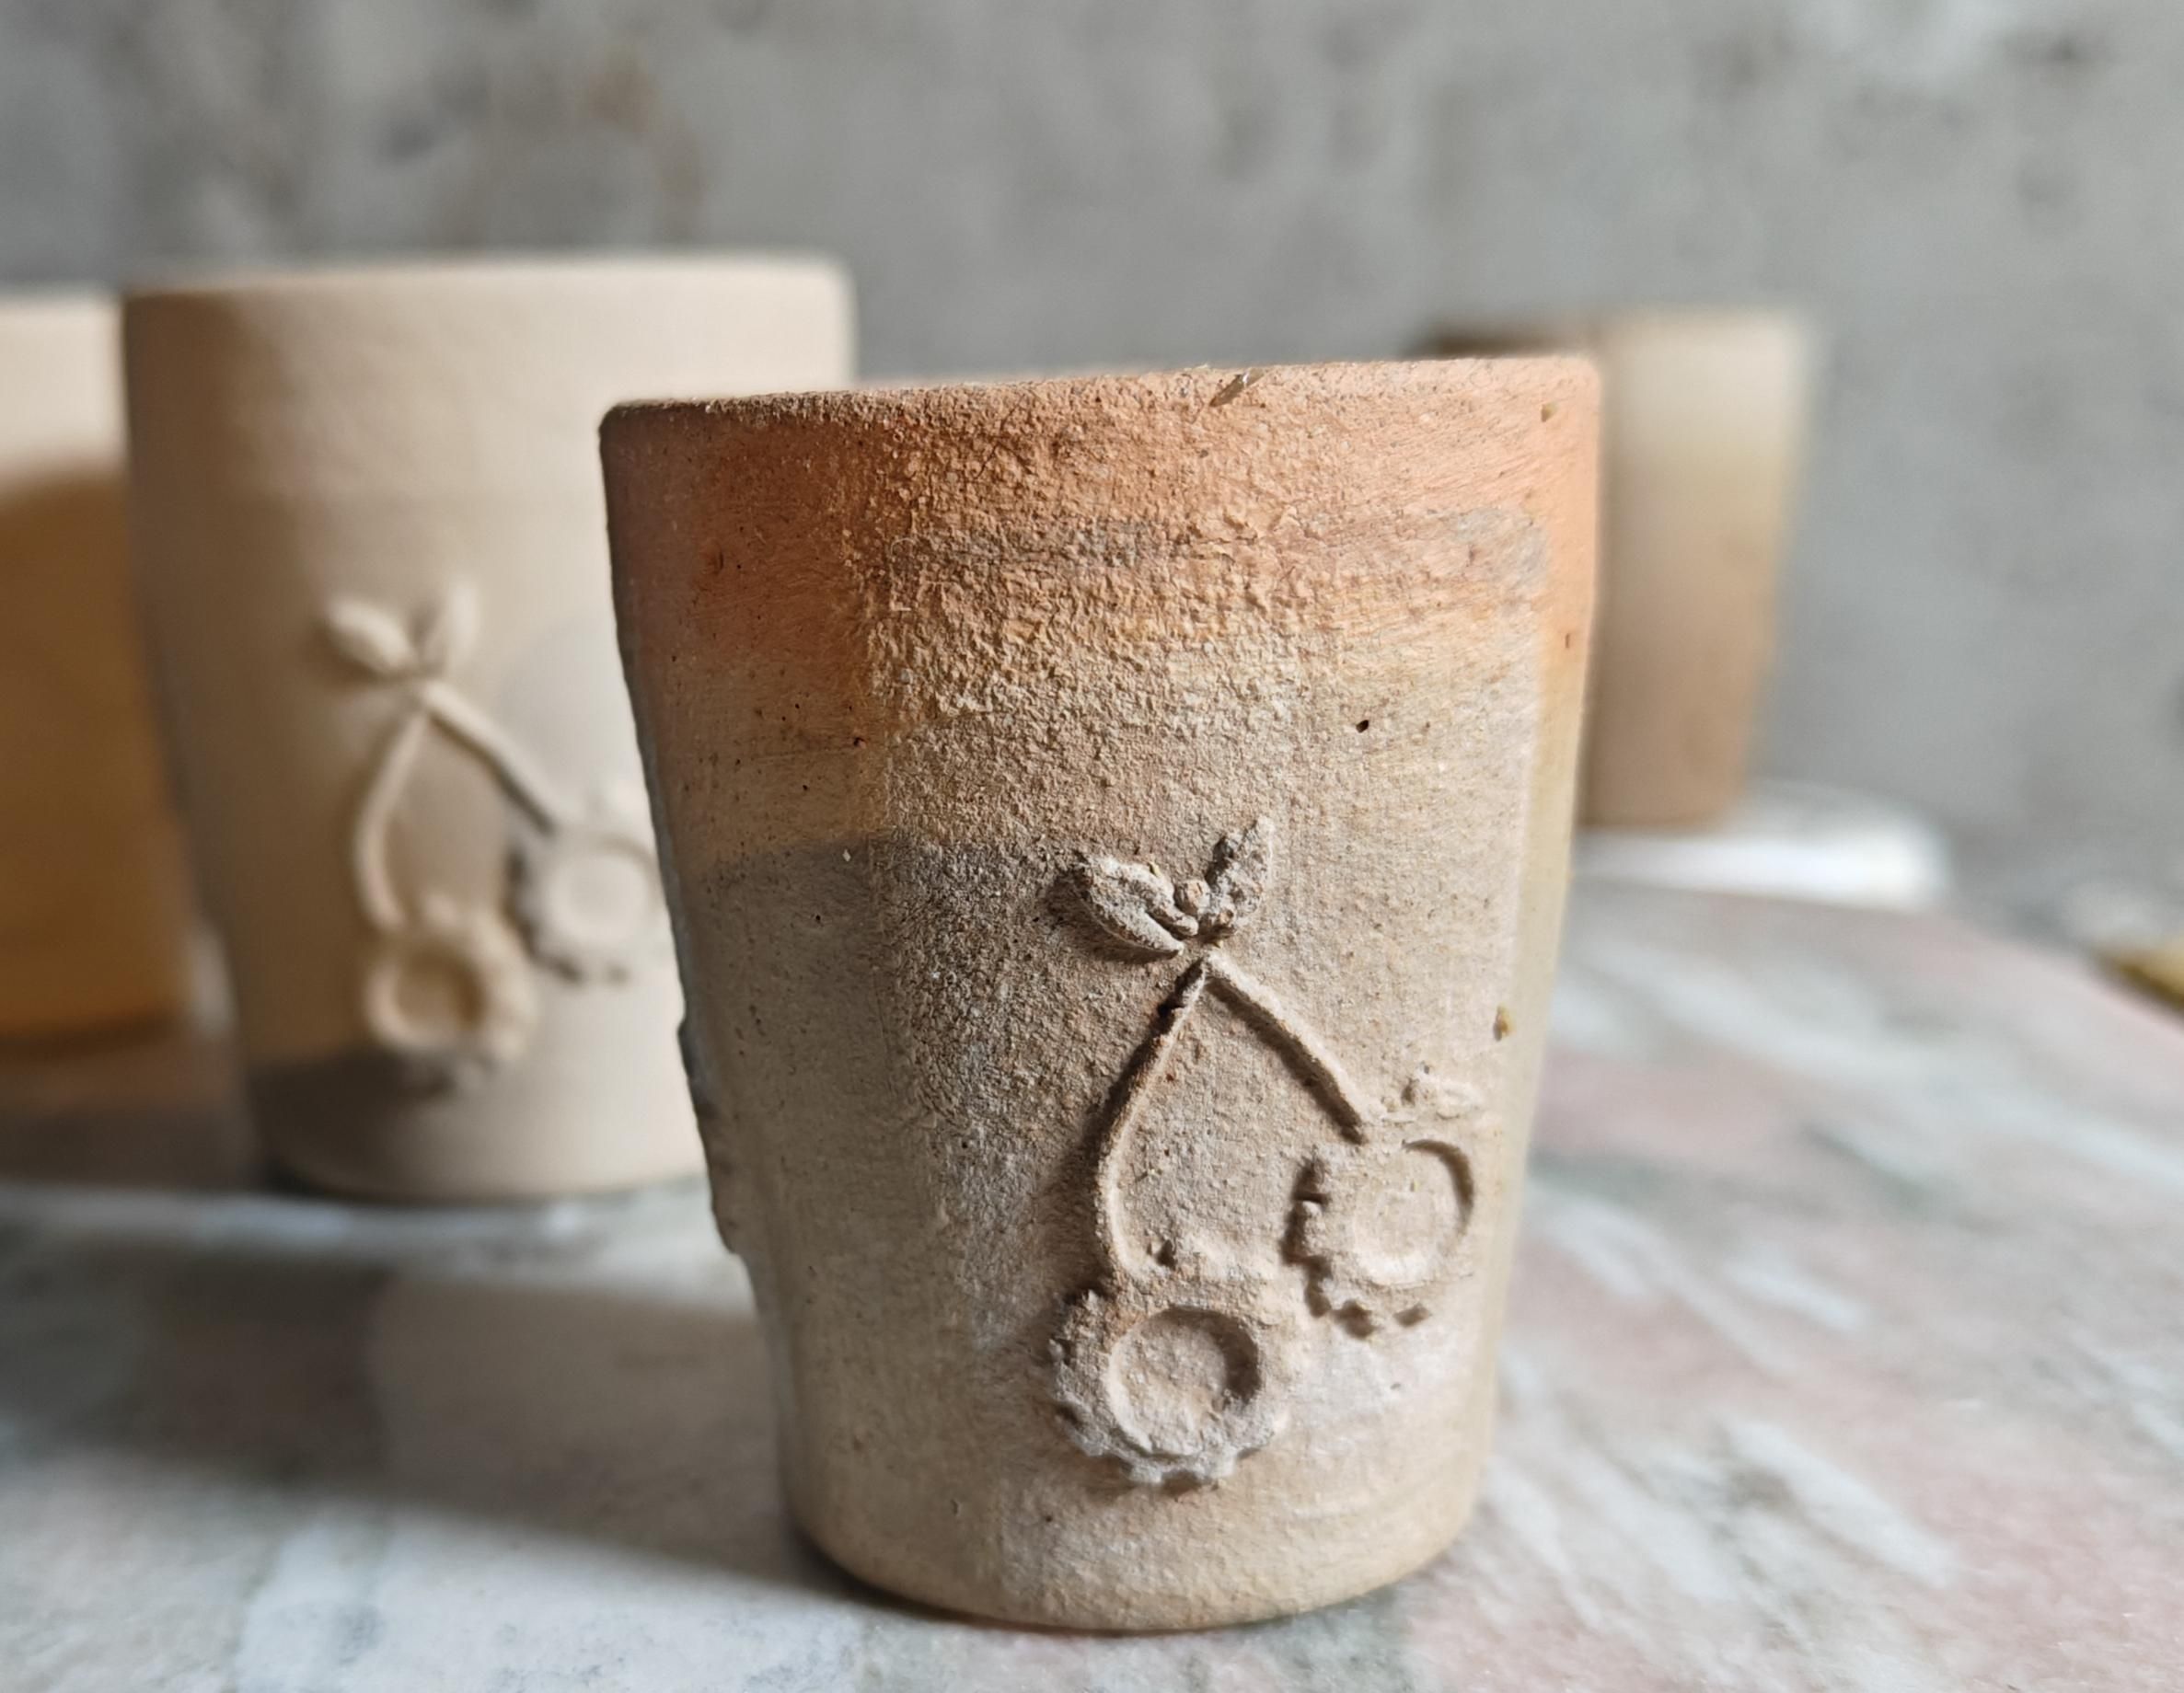
Living in Utah, where the dry air and hot sun usually dry the clay in just a day or two. I break up the clay as it starts to dry, increasing its surface area. However, sometimes the usually consistent hot, dry days can change: a few small rain showers slowed the process, followed by the most intense rainstorm I have ever experienced, which turned the street into a river that my daughter's friend used for a little float. Fortunately, there was no damage, but it did take a few extra days for this batch to dry and be ready to make casting slip. That process will be covered in the next video, which is almost ready and should be out next week. So don't miss it!
Up Next!
I’m putting together a new set of videos that will make the whole process easy to follow and enjoyable. We’ll start with mixing casting slip from refined raw materials and adding just the right amount of sodium silicate to get the perfect consistency. Then, I’ll show you how to cast in plaster molds, clean up the seams, and get everything ready for firing. You’ll get to see how I use a forced-air gas forge for the bisque firing, and I’ll take you through the fun of creating glazes from natural, local sources. Finally, we’ll explore glaze firing in both oxidation and reduction atmospheres. My goal is to make each step feel simple and approachable, so you can relax and enjoy learning at your own pace.