Program & Control Arduino + PHIRO Robot Simultaneously With Pocket Code Smartphone App
by RobotixUSA in Circuits > Arduino
9760 Views, 47 Favorites, 0 Comments
Program & Control Arduino + PHIRO Robot Simultaneously With Pocket Code Smartphone App
.png)
PHIRO Pro is an educational robot that helps children learn to code. One of the ways to program and control PHIRO is via an Android app called Pocket Code available on Google Play for free. Pocket Code has the ability to program and control an Arduino and PHIRO simultaneously via Bluetooth. In this instructable we will show you how to use an analog color sensor connected to an Arduino Uno board to communicate and command PHIRO as per the color detected.
Let's see how it's done!
What You Will Need
Components required:
1) PHIRO Pro - currently available on Kickstarter (https://www.kickstarter.com/projects/2074714954/phiro-a-smart-robot-for-kids-learn-to-code-in-5-wa)
2) ARDUINO UNO - http://www.amazon.com/arduino-org-A000066-Arduino...
3) HC-05 - http://www.amazon.com/arduino-org-A000066-Arduino...
4) Color Sensor - http://www.amazon.com/arduino-org-A000066-Arduino...
5) 9V Battery - http://www.amazon.com/arduino-org-A000066-Arduino...
6) Connecting Wires - http://www.amazon.com/arduino-org-A000066-Arduino...
7) Pocket Code on an Android smartphone
Uploading Standard Firmata to Arduino

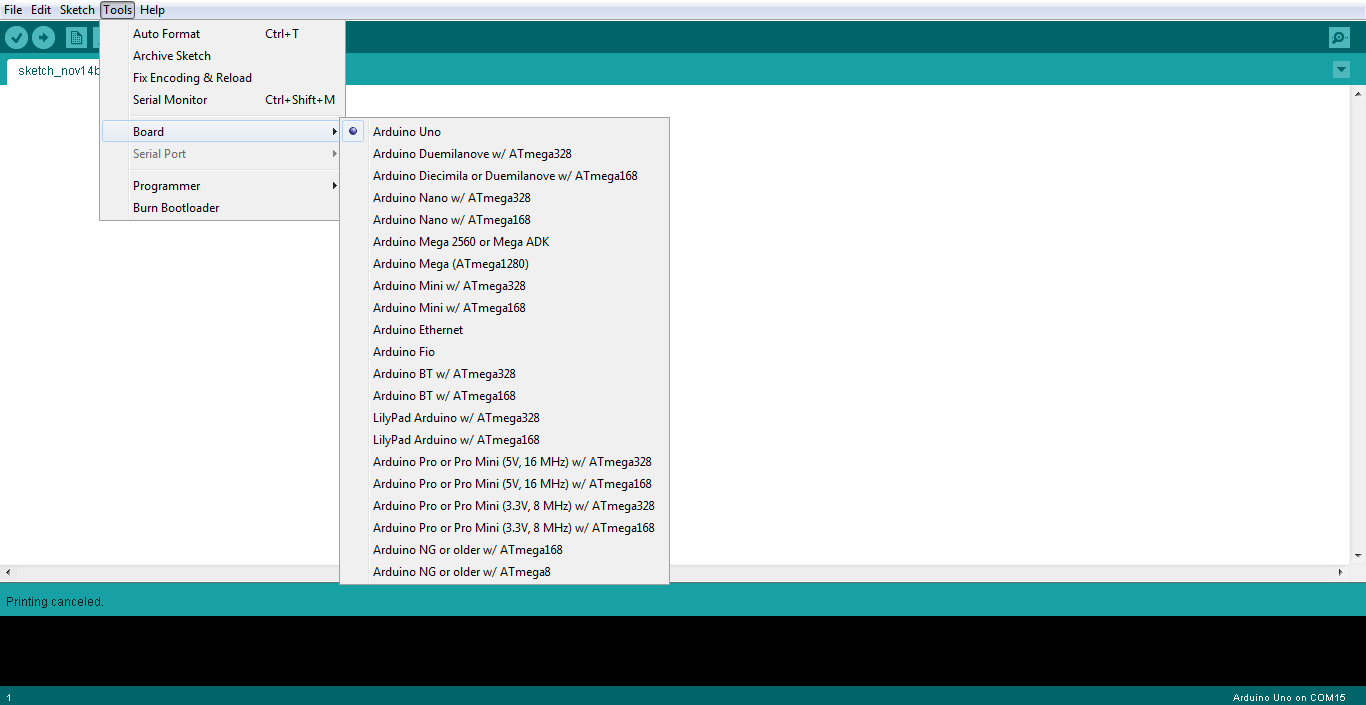
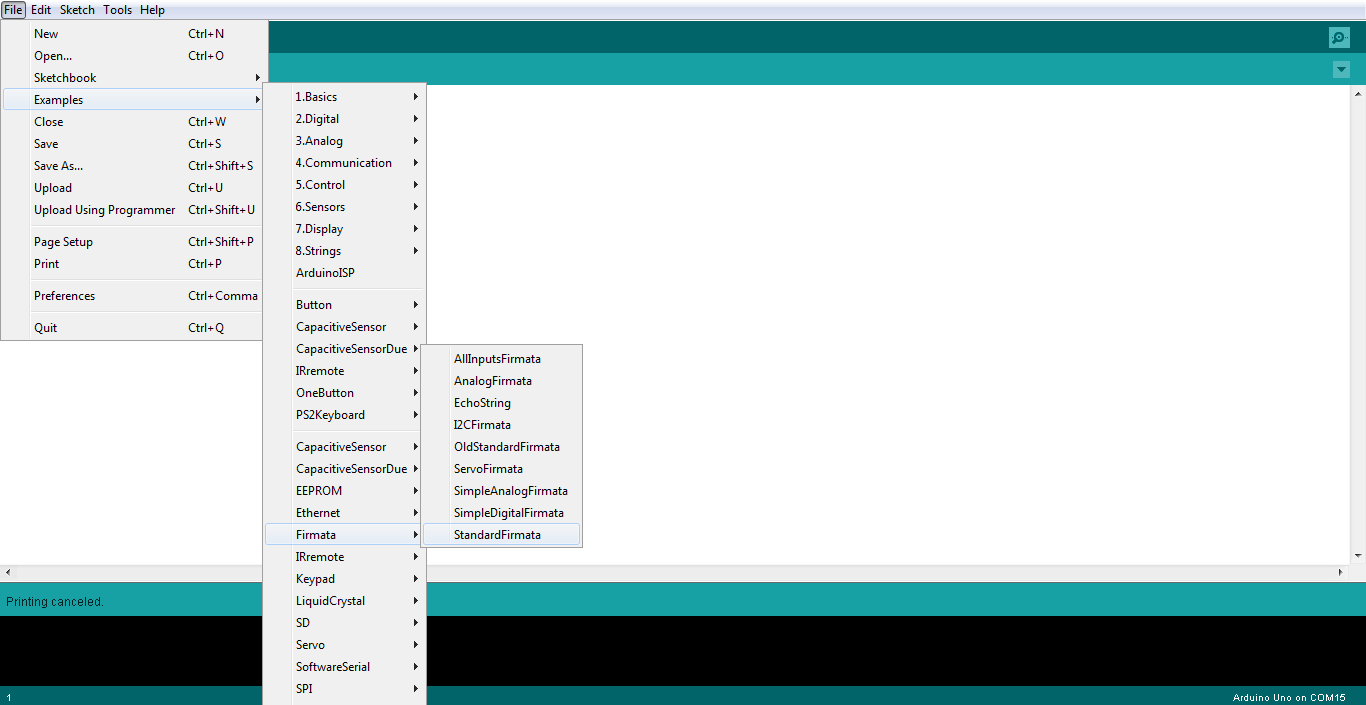
In Arduino IDE,
Select the COM Port - Tools -> Serial Port -> Corresponding COM Port
Next select your Arduino Board. Tools -> Board -> Your Arduino Board (We have used an Arduino Uno, but you can use ANY Arduino board)
Next we are going to select the Standard Firmata. Click on Examples -> Firmata -> Standard Firmata
Click on Upload.
Connecting Analog Color Sensor to the Arduino Board


Now we will connect an analog Color sensor to the Arduino board.
Connection are to be made as follows:
Vcc - 5V
R - A0
G - A1
B - A2
GND - GND
Connecting a HC-05 Bluetooth Module to the Arduino Board


Connections are as follows:
HC05 Tx - Arduino Rx
HC05 Rx - Arduino Tx
Vcc - 5V
GND - GND
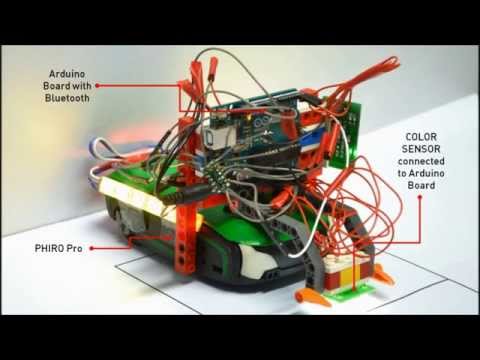
Mounting the Arduino Board to PHIRO Pro


Now we mount the full Arduino setup on top of PHIRO Pro.
For this step we have used some LEGO(R) pieces to fit onto PHIRO. Since PHIRO is LEGO(R) compatible, it's one of the easiest ways to connect stuff! You could however simply use duct tape to stick the board to the robot!
For our application, we will need PHIRO to read colors from a mat below. We used double side tape to secure the boards and the battery to the LEGO(R) part.
Programming Your Android Smartphone With Pocket Code

First, grab your Android smartphone and get Pocket Code.
It's a nifty application that even kids can use to to make applications, games and harness the power of all the sensors already available on your smartphone. We have put up a video showing the steps to program in Pocket Code.
Play!
For this, we made a custom mat printed with colored boxes.
Here, once the virtual dice is rolled by touching the smartphone screen, PHIRO will move the number of steps correponding the number on the dice. If RED is detected, PHIRO will move one step backward. If GREEN is detected, PHIRO will move one step forward. BLUE signifies finish. The player who reaches the finish line in minimum turns wins!
This way you can develop your own board games and have fun!
Hope you liked our instructable, do feel free to drop in your comments and suggestions.