Projector Using Old Smartphones
by Creativitybuzz in Circuits > Mobile
39052 Views, 312 Favorites, 0 Comments
Projector Using Old Smartphones
.png)
In this tutorial, we make a homemade DIY smartphone projector using your old, outdated smartphone, which is going to be scrapped. We reuse this smartphone for making prototypes with simple steps and available, low-cost materials. You can make this projector without a 3D printer by using a cardboard box.
Supplies
.png)
.png)
.png)
.png)
.png)
.png)
We require a smartphone that is outdated in terms of generation and operating system but is still functional.
We need the following materials for making a smartphone projector.
1) Old Smartphone ( with LED Display )
2) Cardboard https://tinyurl.com/3mts88nd
3) 500 mm Focal length Convex Lens https://tinyurl.com/2p8w3v98
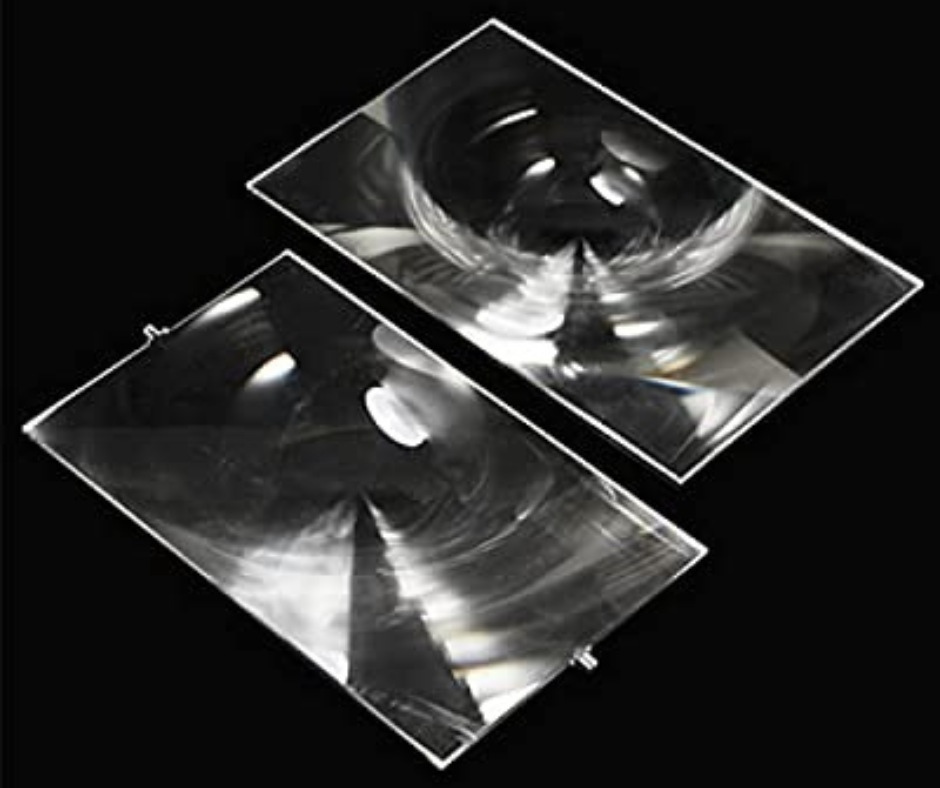
4) 7 inch Fresnel lens https://tinyurl.com/2b7cvty2
5) 9 Watt LED Bulb https://tinyurl.com/3ppjb657
6) 3D Printer https://tinyurl.com/2p8fwcn9
7) Smartphone opening kit https://tinyurl.com/muwxb5xv
Open Smartphone


Find your outdated, non-functional old smartphone with an LED display (NOT an IPS display). Try to find a smartphone that is still functional, but if the battery is dead, you'll need to give it a 5V power supply straight away to get it going. It's okay if your smartphone has additional issues with the speaker, network, or camera.
At my house, I discovered a Motorola phone that was not in use. Everything on this smartphone is functional, but the battery drains quickly.
Note : Before you begin, make sure to turn off your phone.
First, turn off the phone and remove the back panel with a screwdriver. Lift the back cover gently until all plastic clips have been released. To remove the SIM card from your phone, use a SIM eject bit, SIM eject tool, or a paper clip. Remove all nineteen 3.1 mm T3 screws from the midframe using the mobile opening tool kit. Raise the midframe away from the phone.
Disconnect Battery and Display


Note: Be very careful not to puncture the battery with any sharp tools. A damaged lithium-ion battery can catch fire and/or explode.
Use the point of a screwdriver to disconnect the battery's positive (red) and negative (black) wire pins.
Then disconnect the display connector from the motherboard.
Remove Display
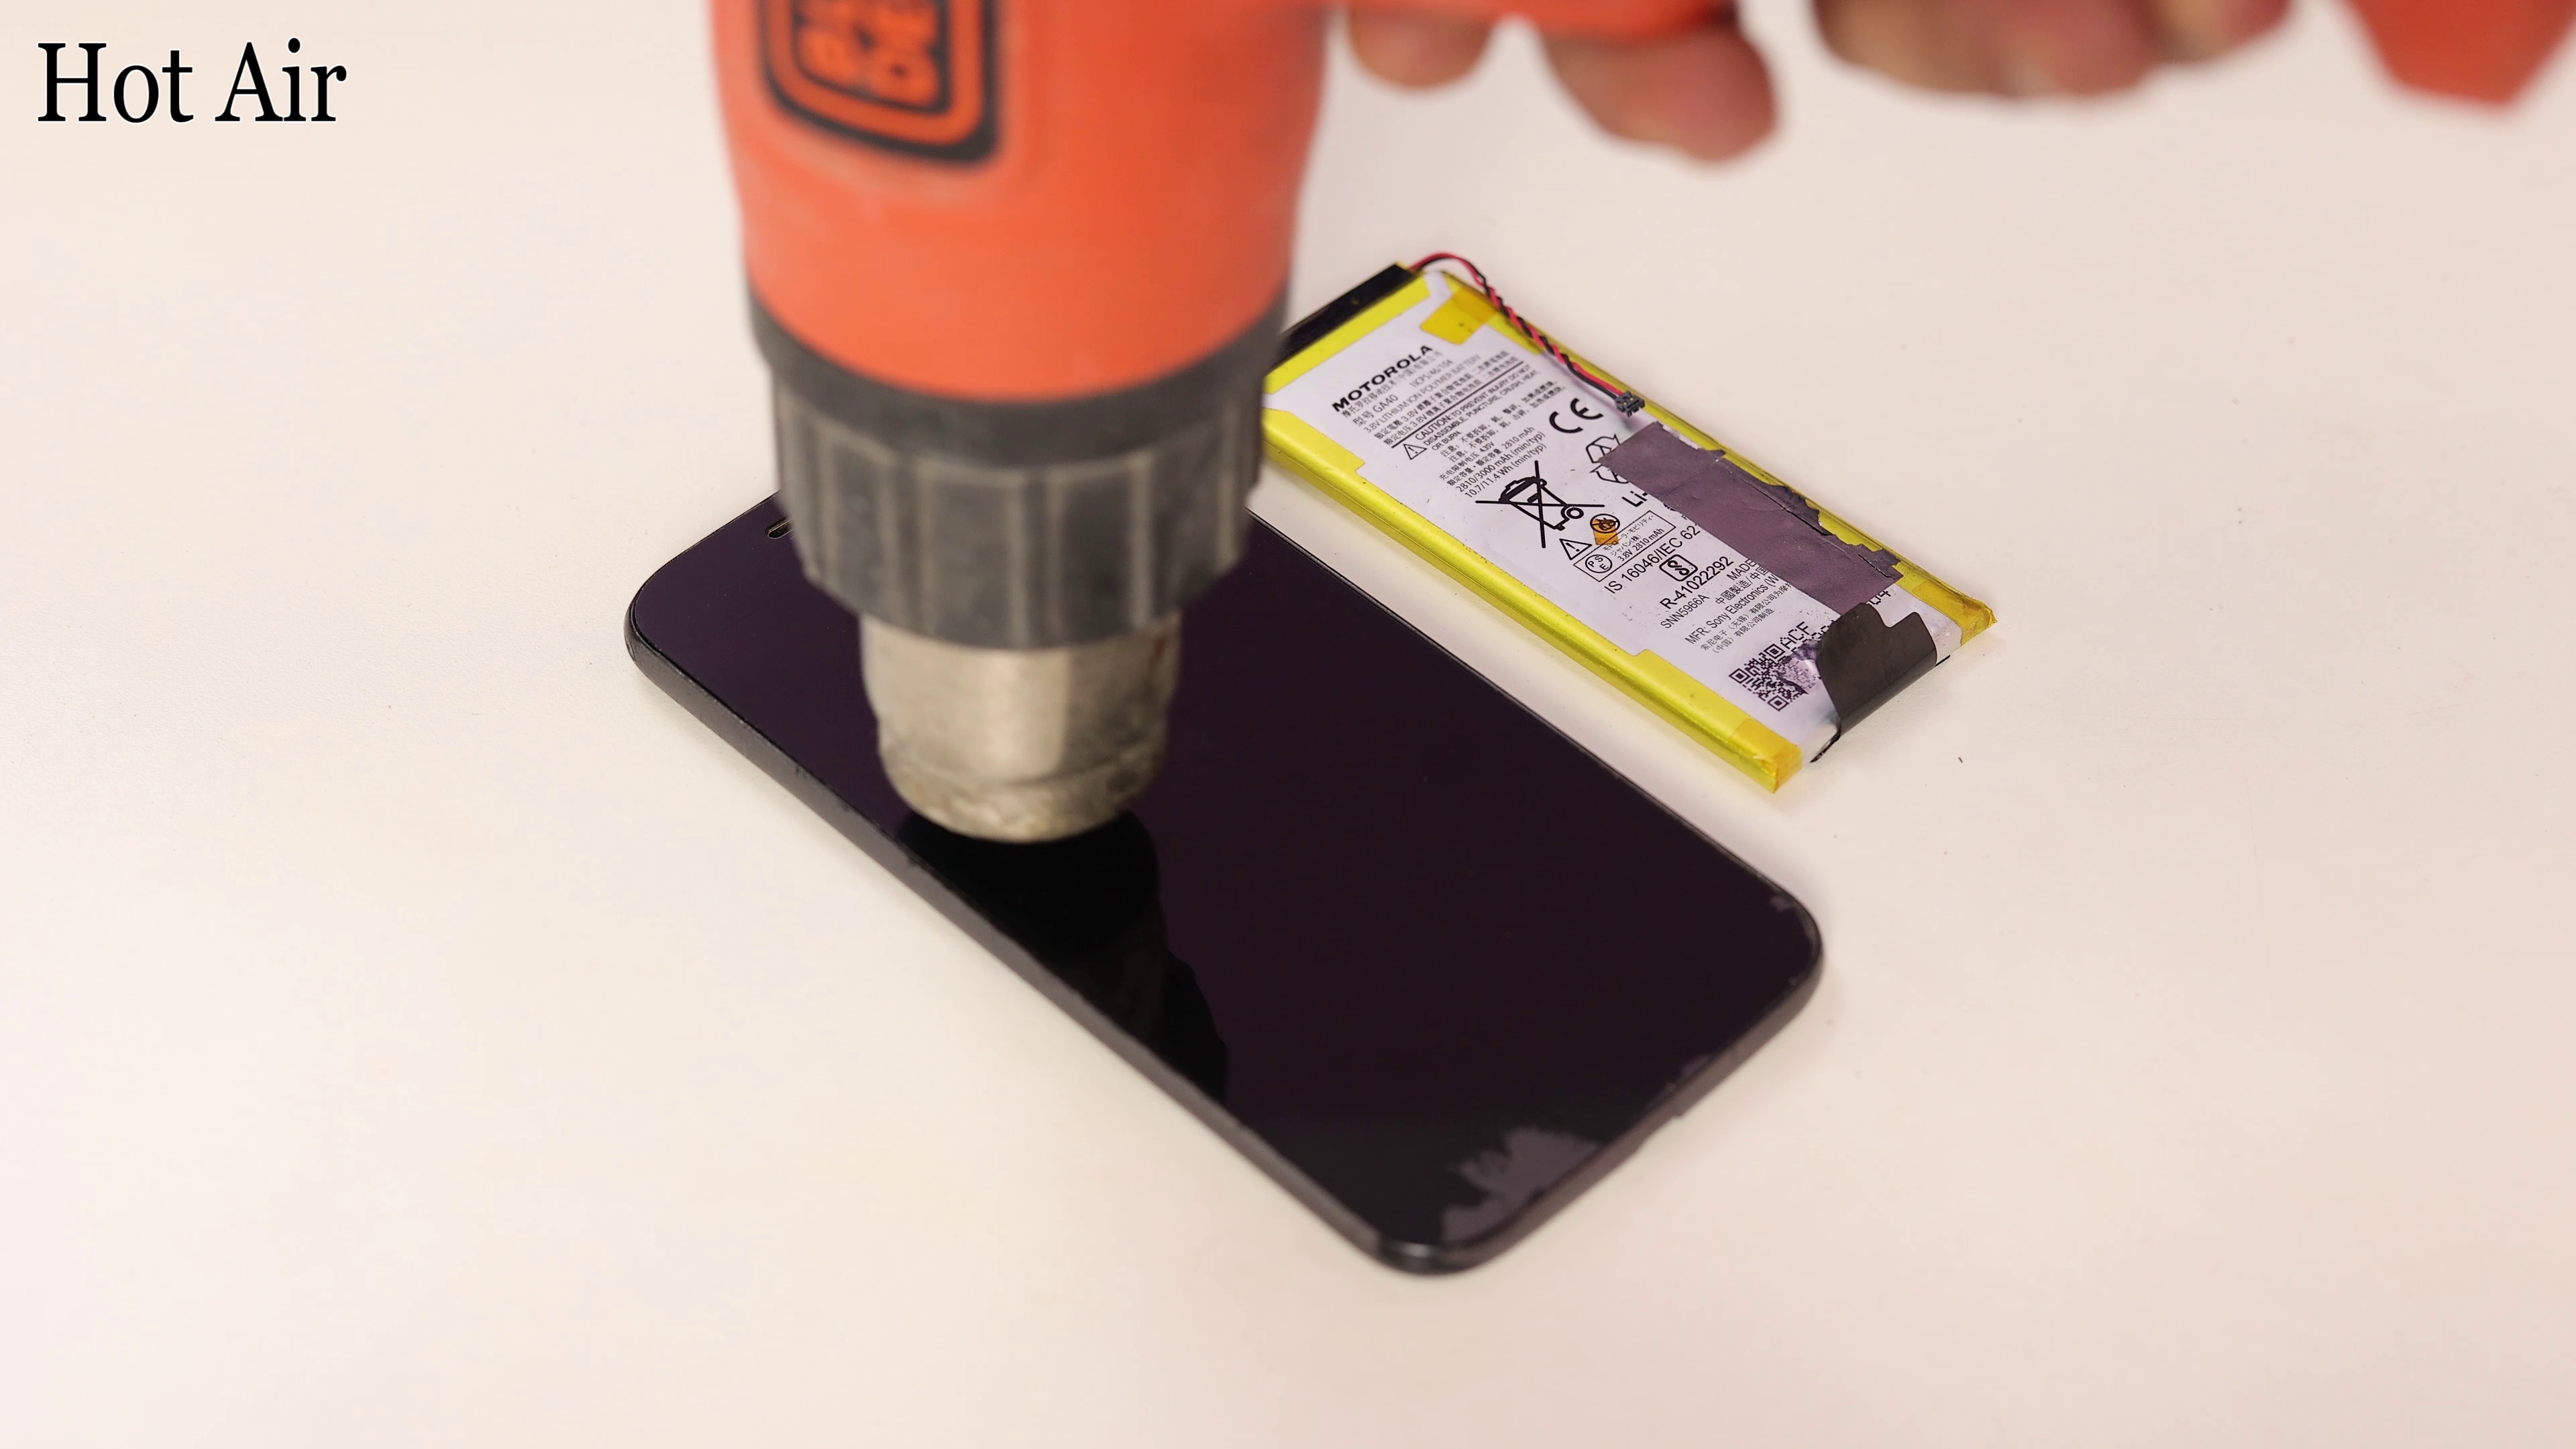


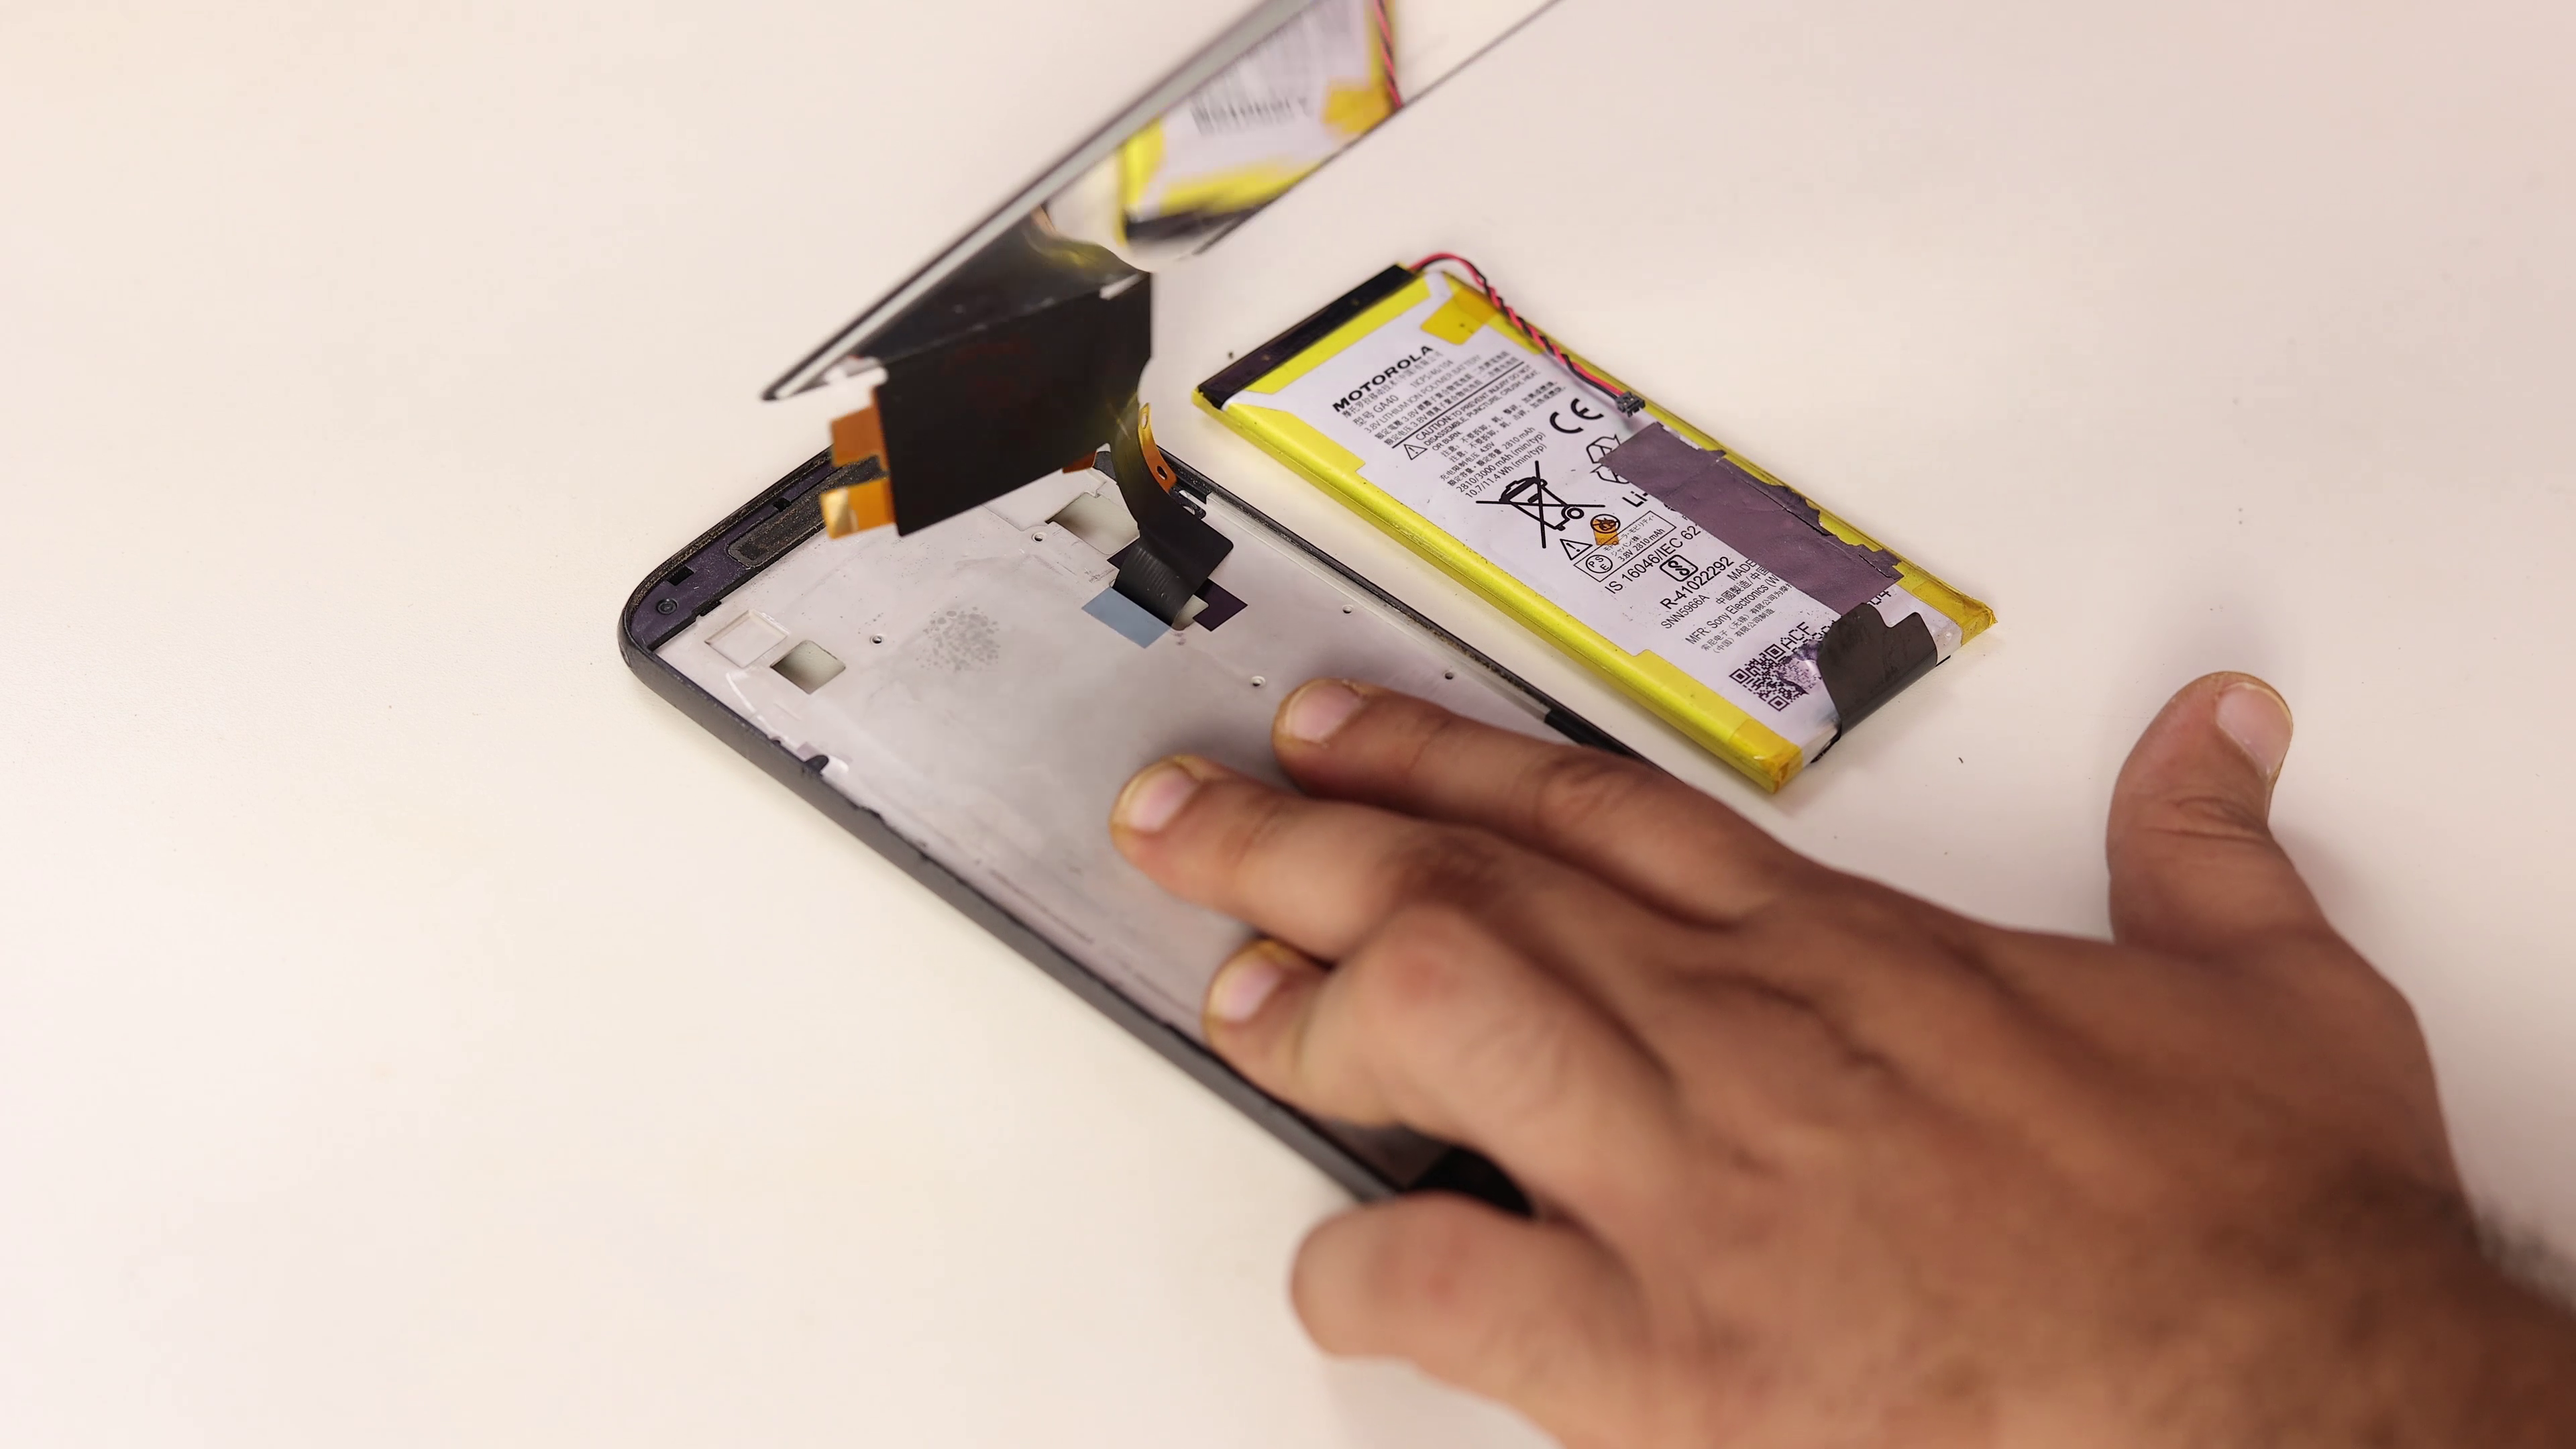

Prepare a heat gun and heat the front of the phone along its left edge for about two minutes, or until it's slightly too hot to touch. This will help soften the adhesive securing the display.
Note : A hair dryer or hot plate may also be used, but be careful not to overheat the phone, the display and internal battery are both susceptible to heat damage.
- Apply a suction cup to the display, near the middle of the left edge.
- Pull the suction cup firmly and consistently to create a small gap between the display panel and the back case.
- If the display does not separate even with considerable force, apply more heat to soften the adhesive further and try again. Because the adhesive cools quickly, you may need to
- Once all the adhesive is cut, carefully lift open the display from the down.
- Remove the display only halfway. There are still cables that connect the display assembly that can easily rip.
Check Display Still Working or Not


Reassemble for determining whether or not the display is operational During reassembly, align the connector in its socket, then press straight down to reconnect it. Do the same for the battery connector.
Turn on mobile and test all of your smartphone's functions.
Make Plastic Case for Projector


To make the plastic case for the projector, we need a 3D printer and PLA filament. Refer to the .stl file below, which was created with Tinkercad online software. You must modify the design to fit your display width. If you have a basic understanding of software, you can easily edit on the online software Tinkercad.
After you've finished editing the design, export it to the Ultimaker Cura software and create a gcode file for the 3D printer. Then save it to a memory card and print all five items in a 3D printer according to the first image.
Then, cut cardboard to fit the size of the case and adhere it to the case to decorate it. Skip all cardboard steps if you don't want to decorate.
Stick projectors are located beneath the projector's case.
Set Display in Case and Remove Back Film


Remove the connection from the display and place it in the case's stand. Then, insert the motherboard into the projector case and reassemble the display. During reassembly, align the connector in its socket, then press straight down to reconnect it. Do the same for the battery connector.
Then turn on smartphone and wait.
To make the display transparent Using the screwdriver, get between the back polarizer and the display and pull the reflective polarizer off of the display.
Remove all three films reflective, diffuser, and mirror from your display, and then your display will become transparent.
LED Bulb Mount


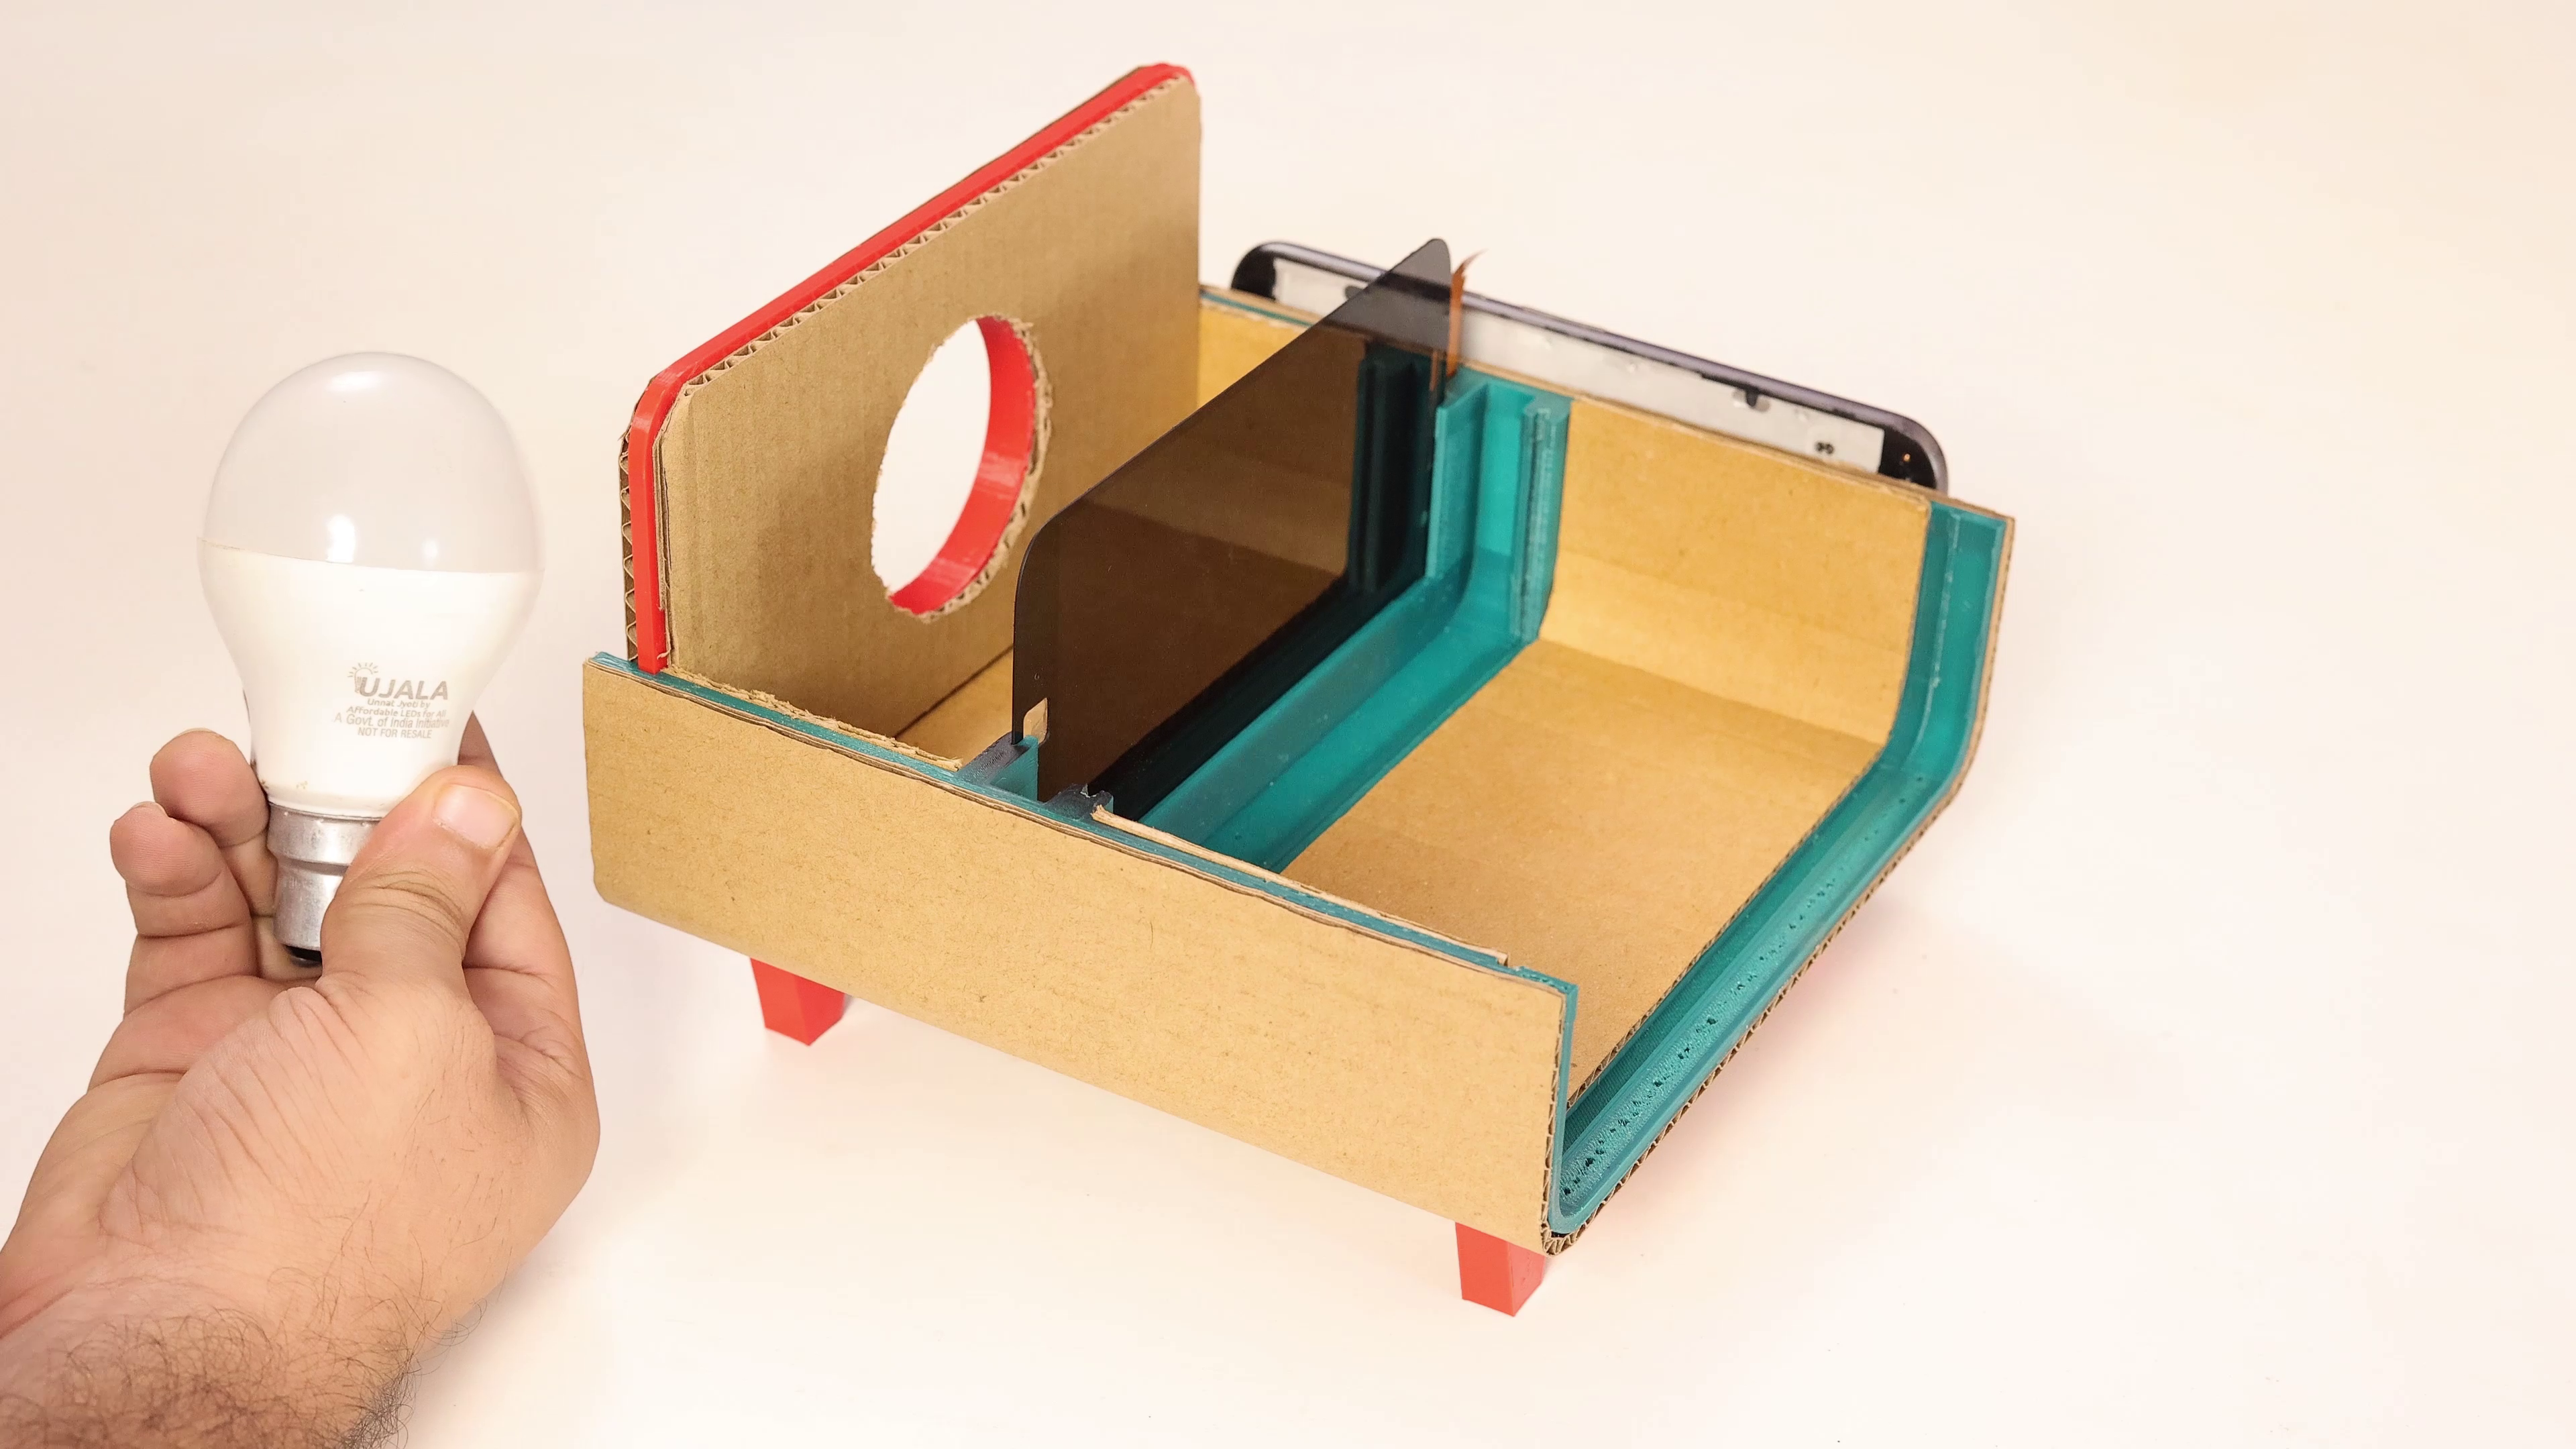


Cover the case with cardboard and insert the projector's 3D-printed back side for mounting the LED bulb. Remove the round diffuser from a 9-volt LED bulb by twisting it with your hands, then place the LED bulb at the back side of the LED display.
Lens Mount


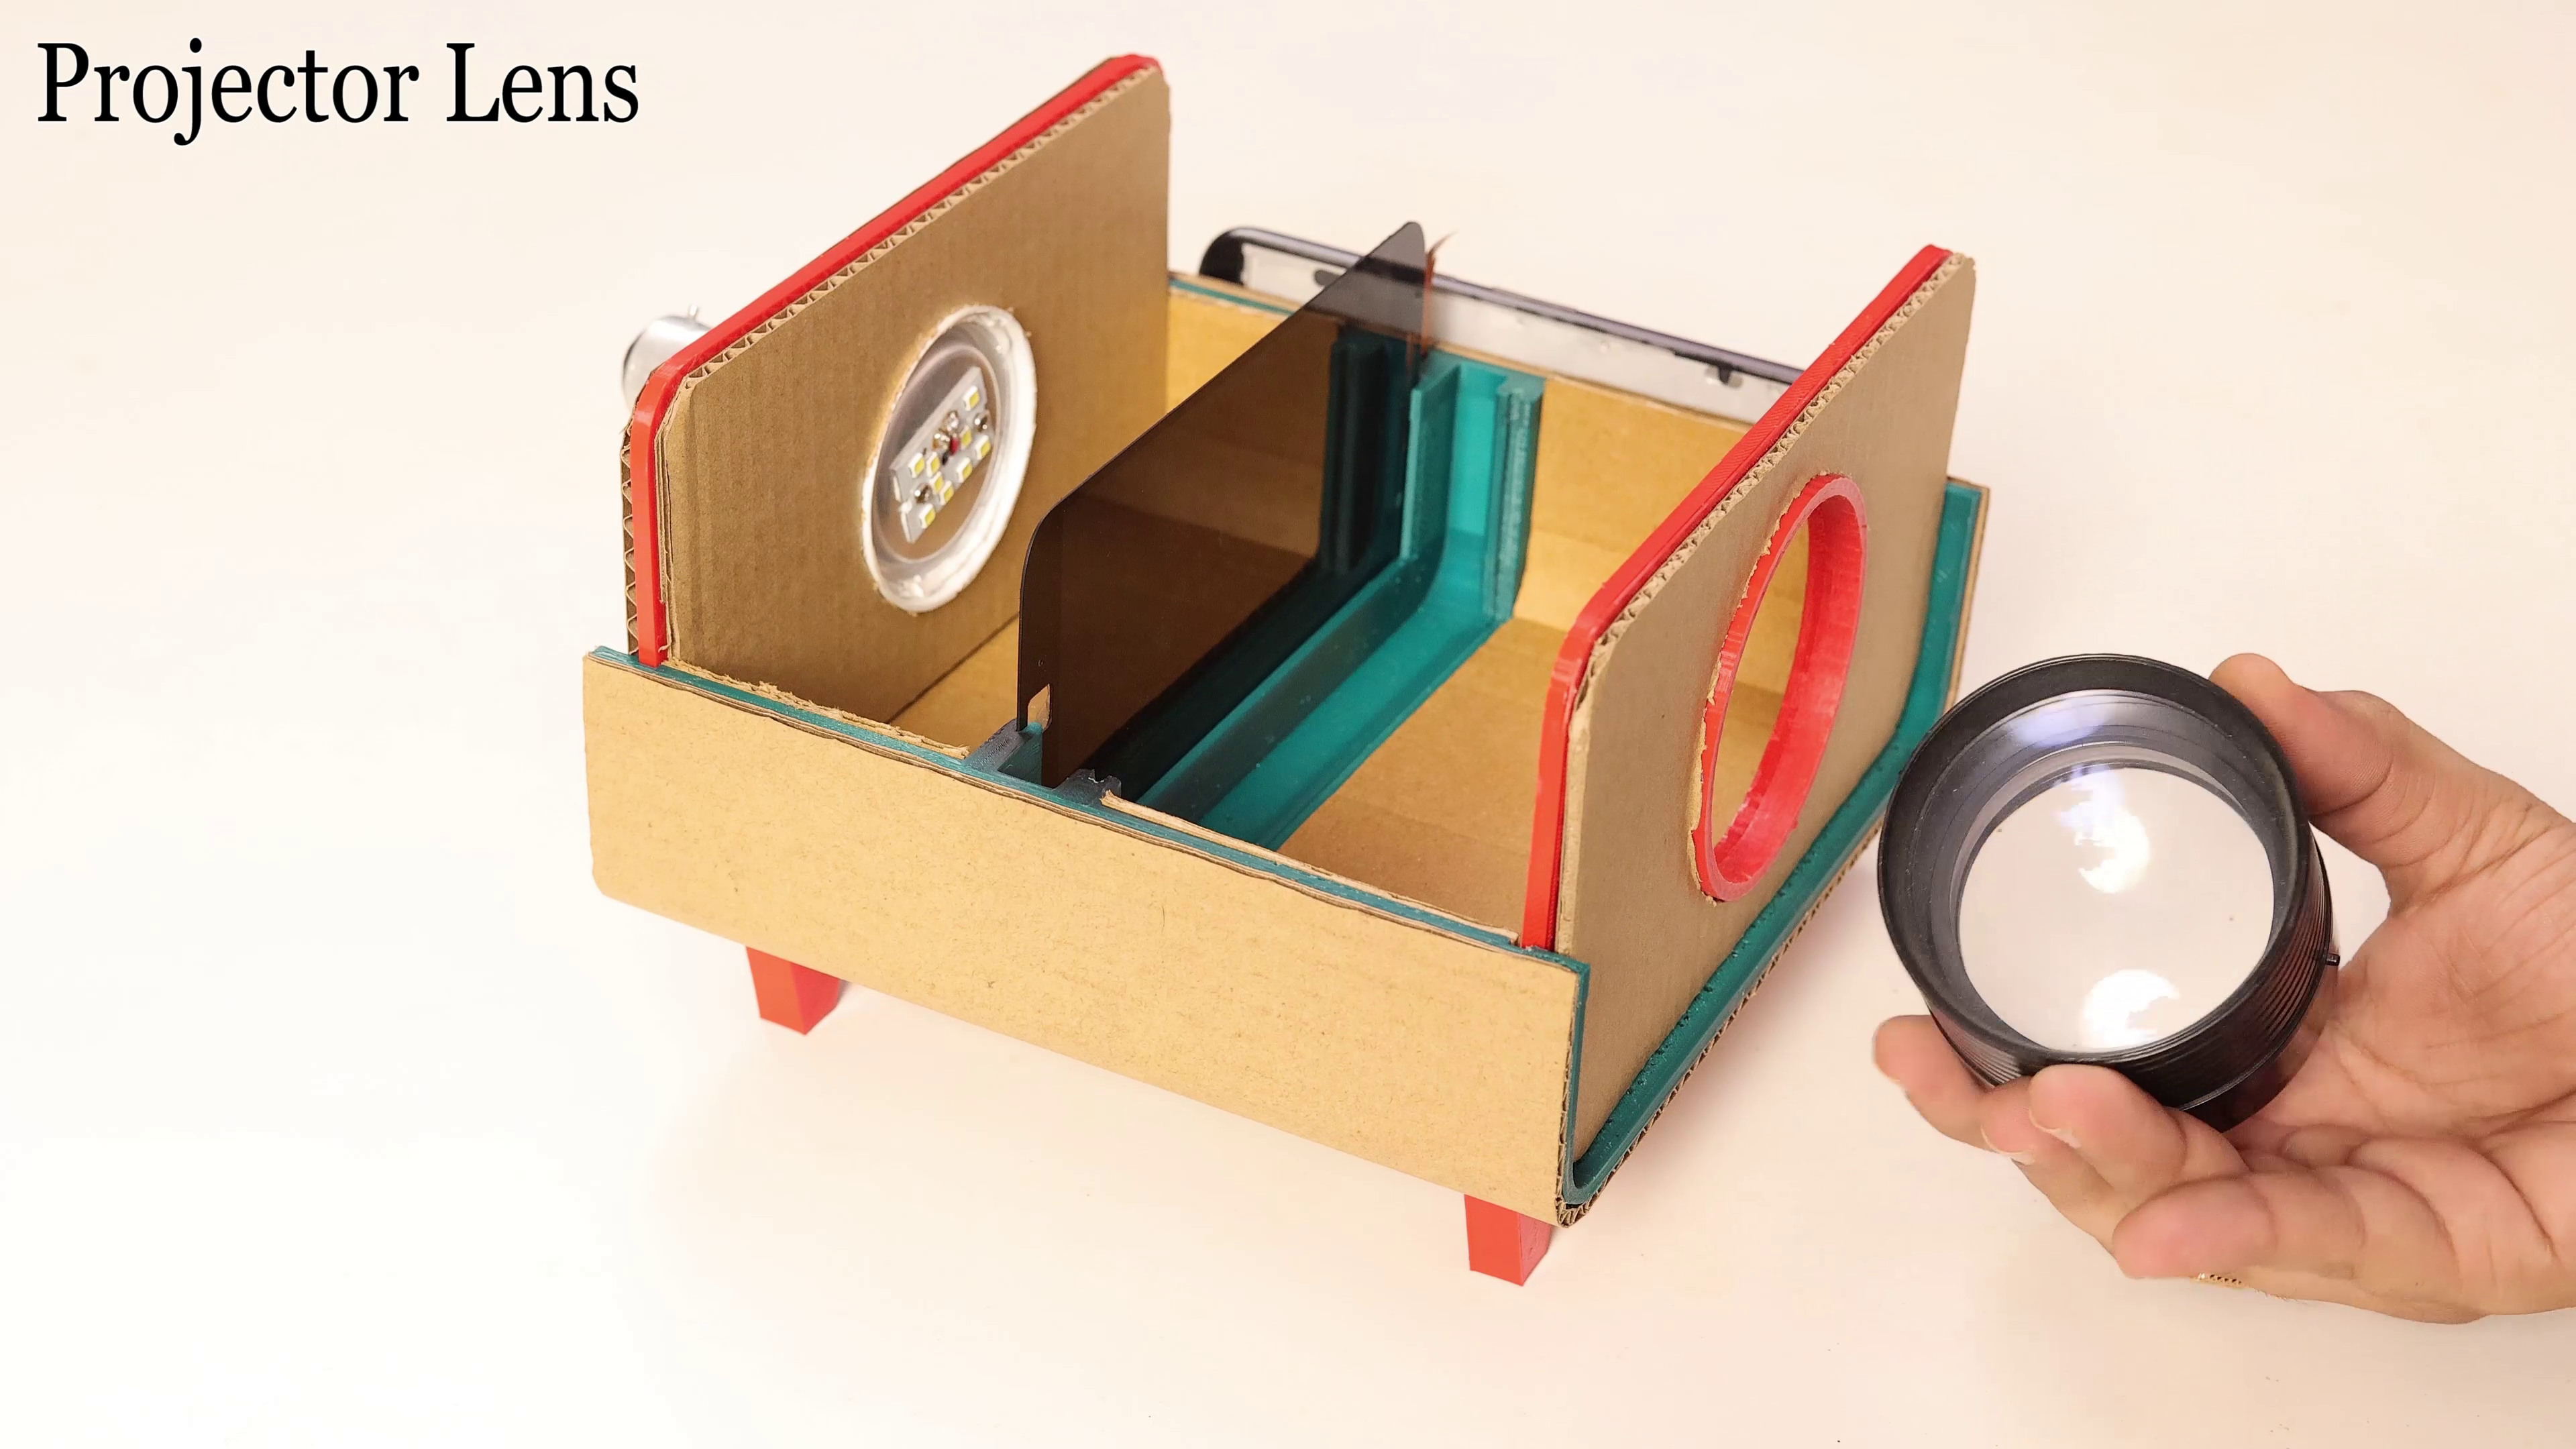


Place the projector's 3D-printed front side for mounting the lens. Mount a 500-mm focal length convex projector lens on the front side. This lens can move front and back to remove blurry projected images. I need to setup lens only first time you set projector.
Turn ON
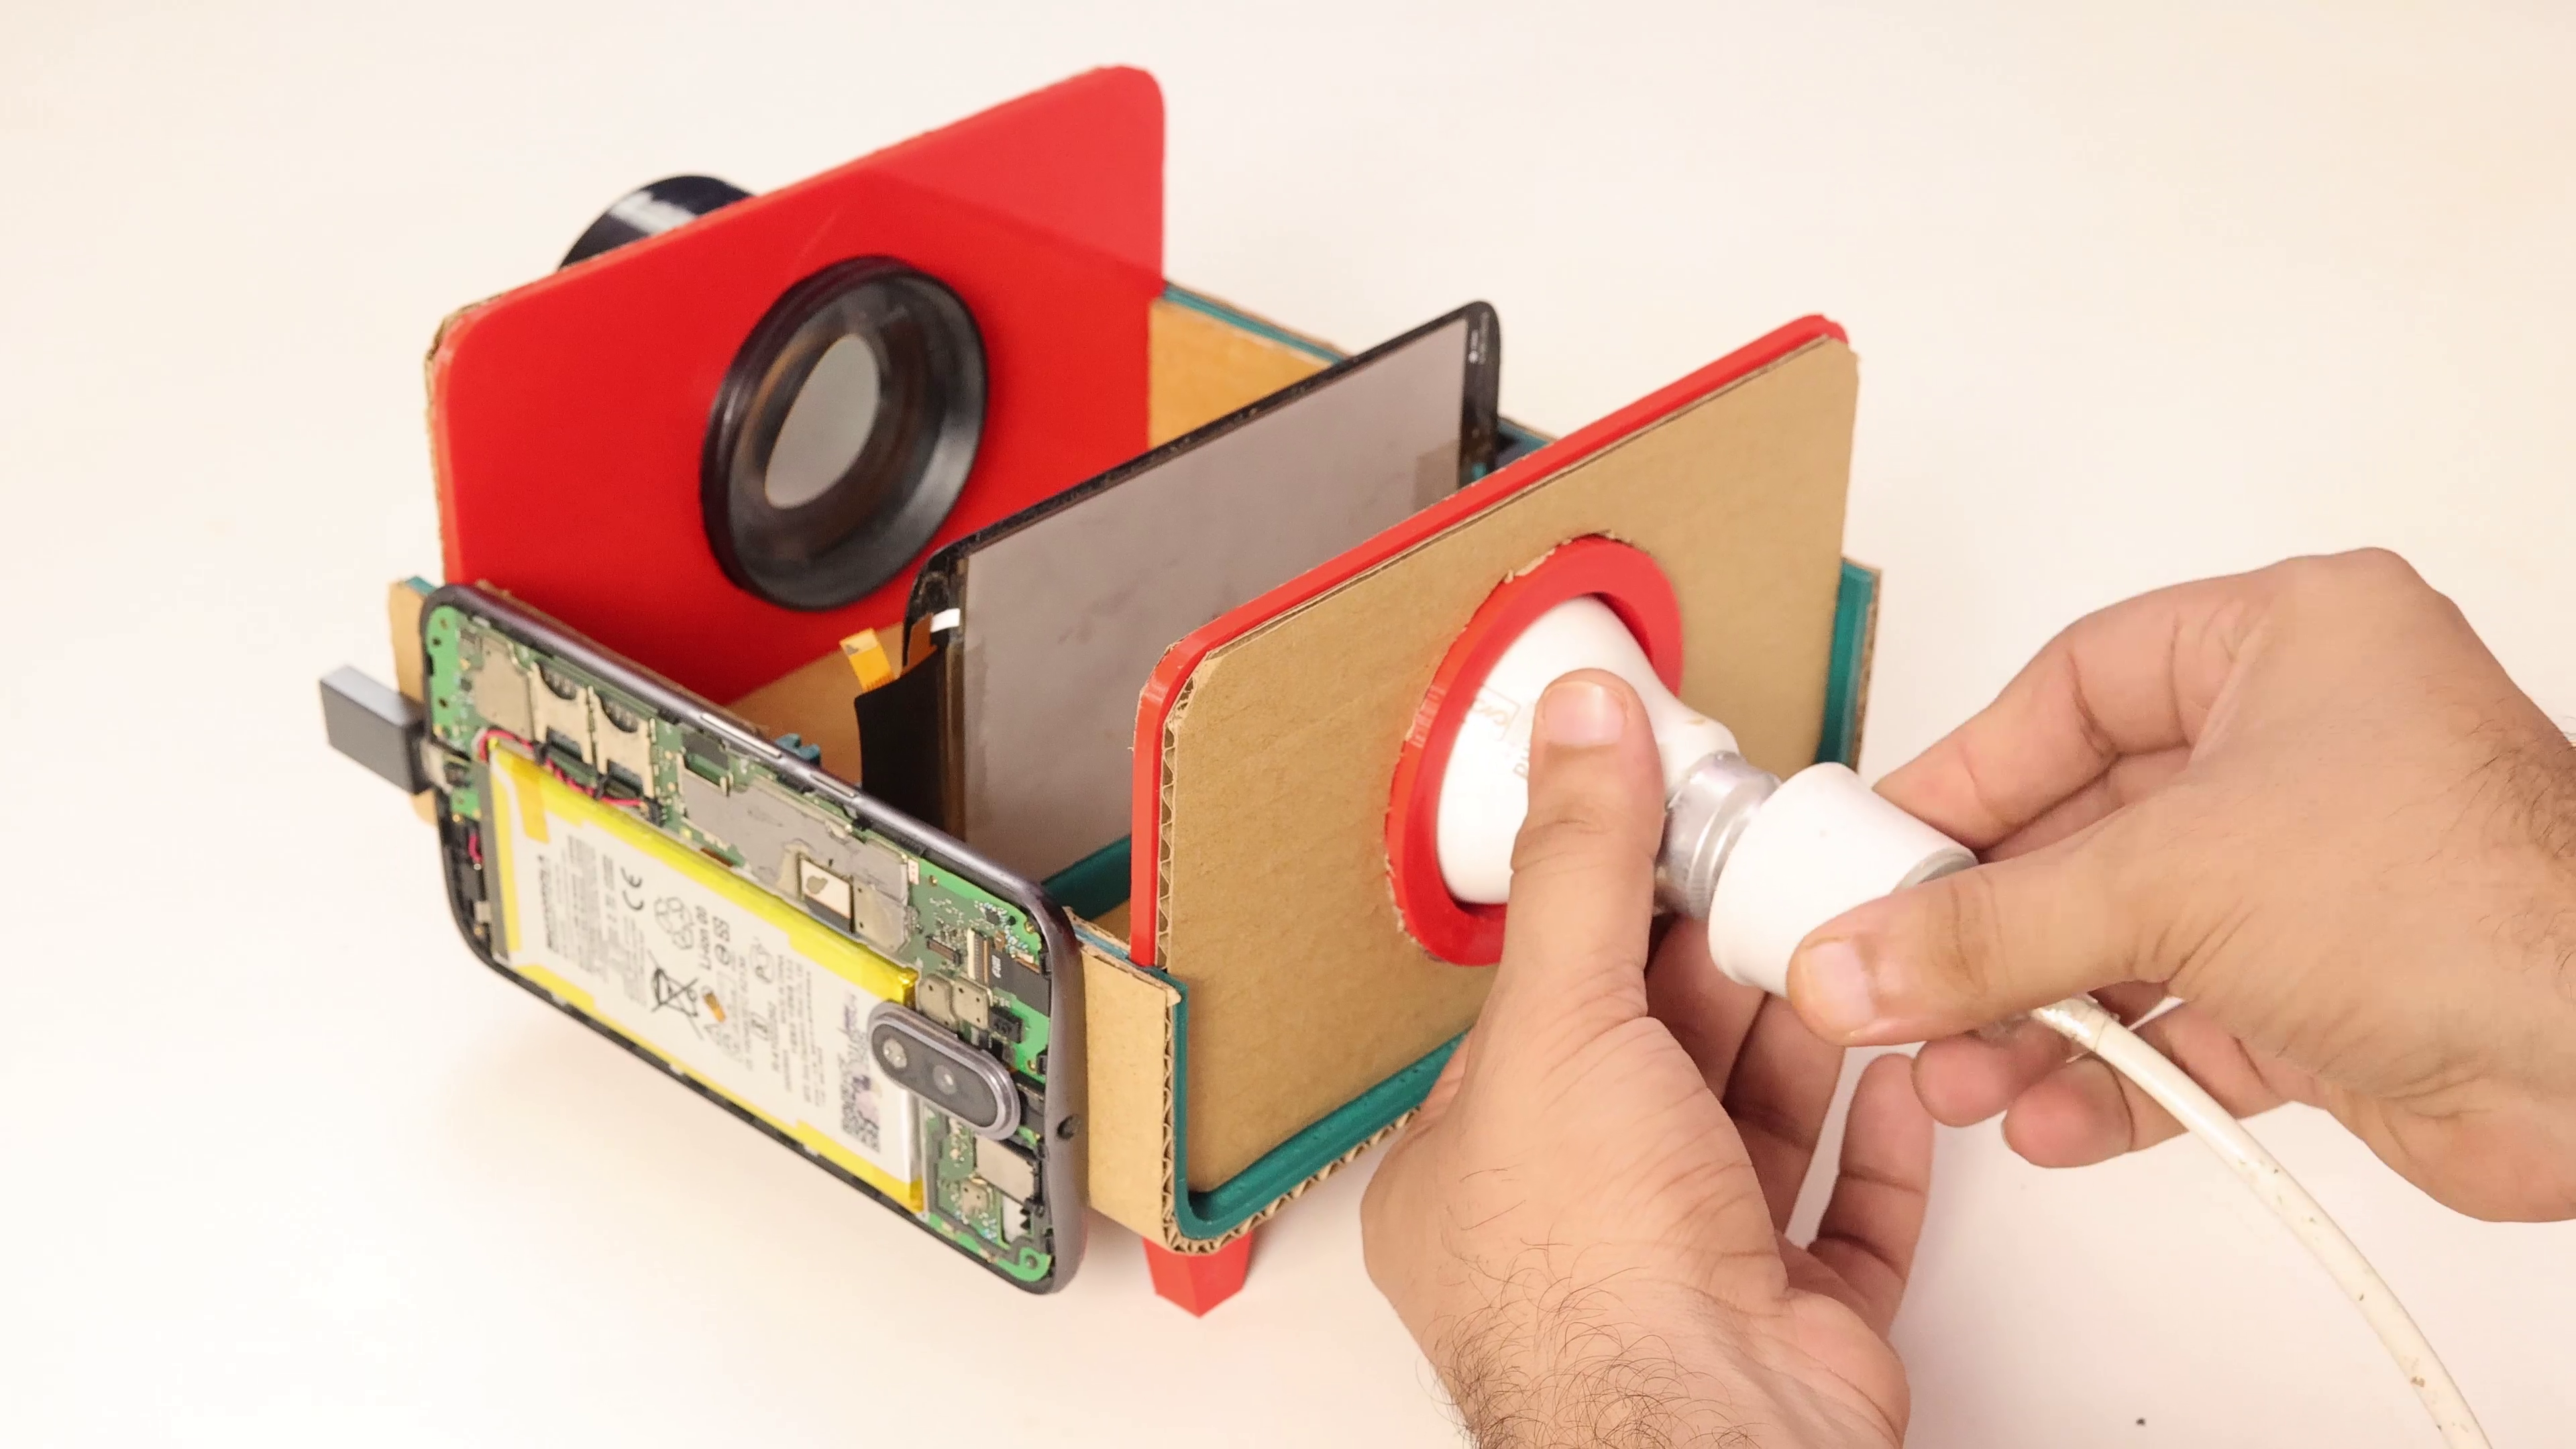


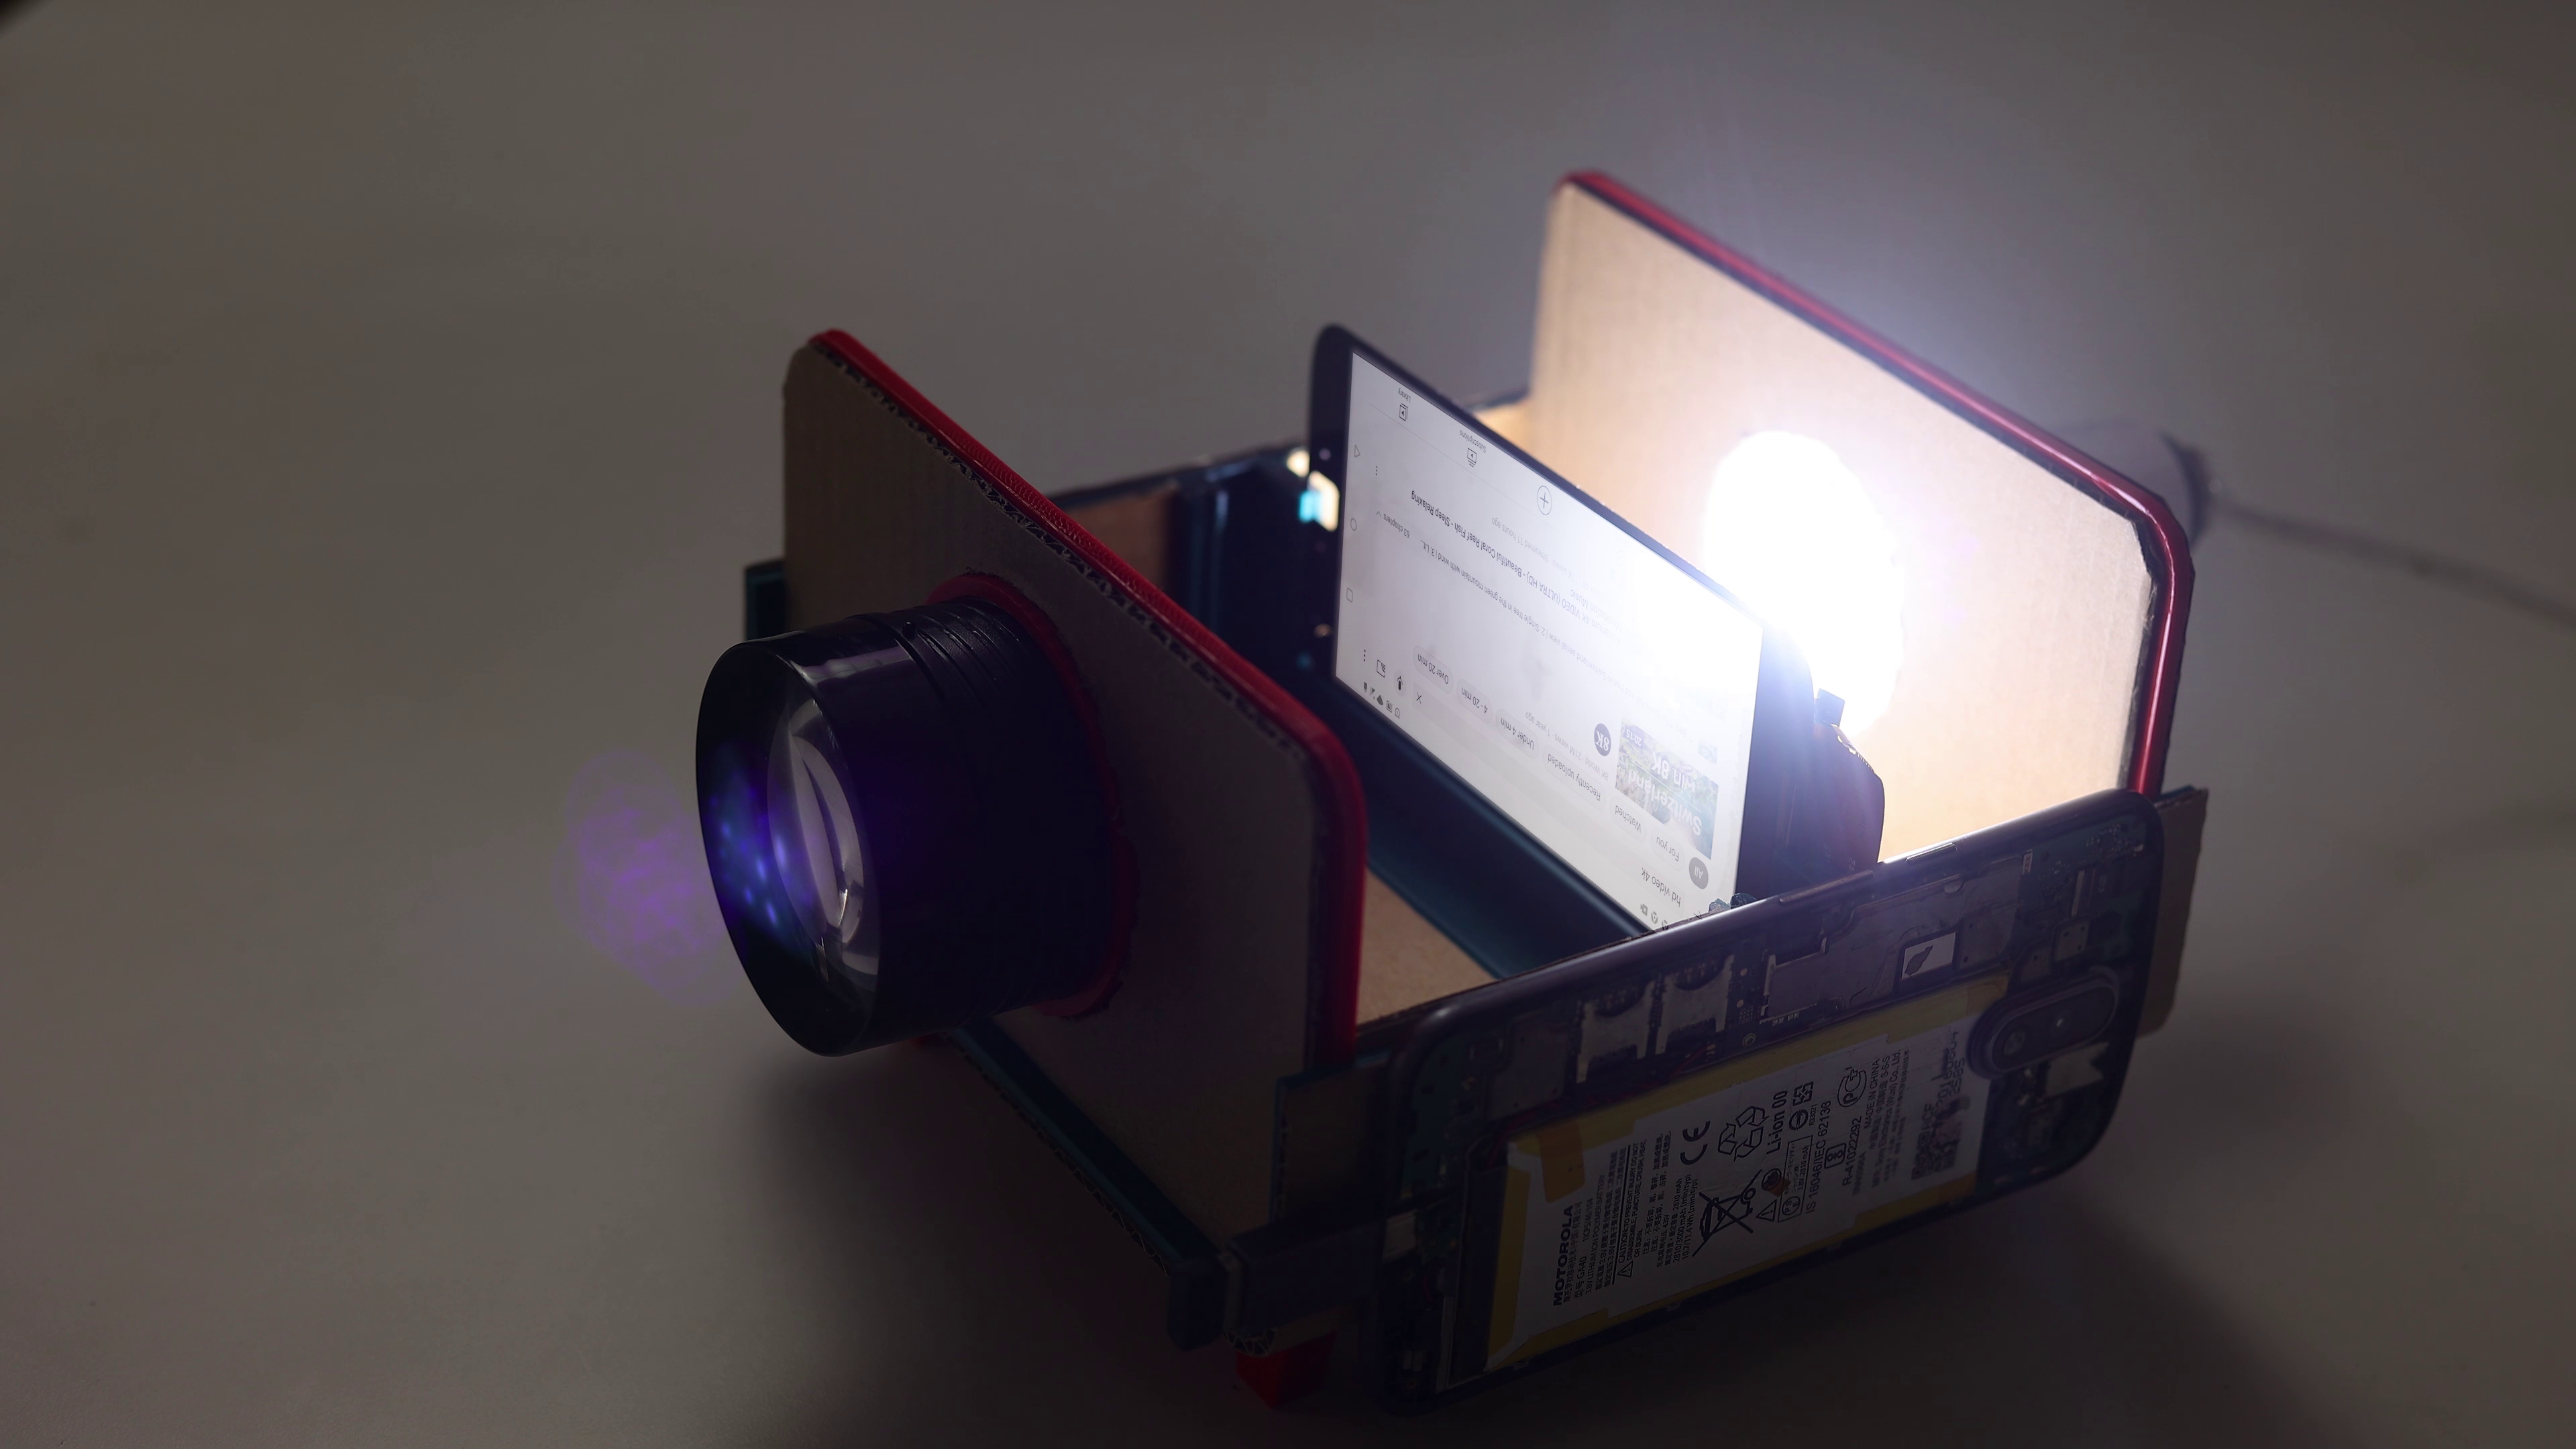

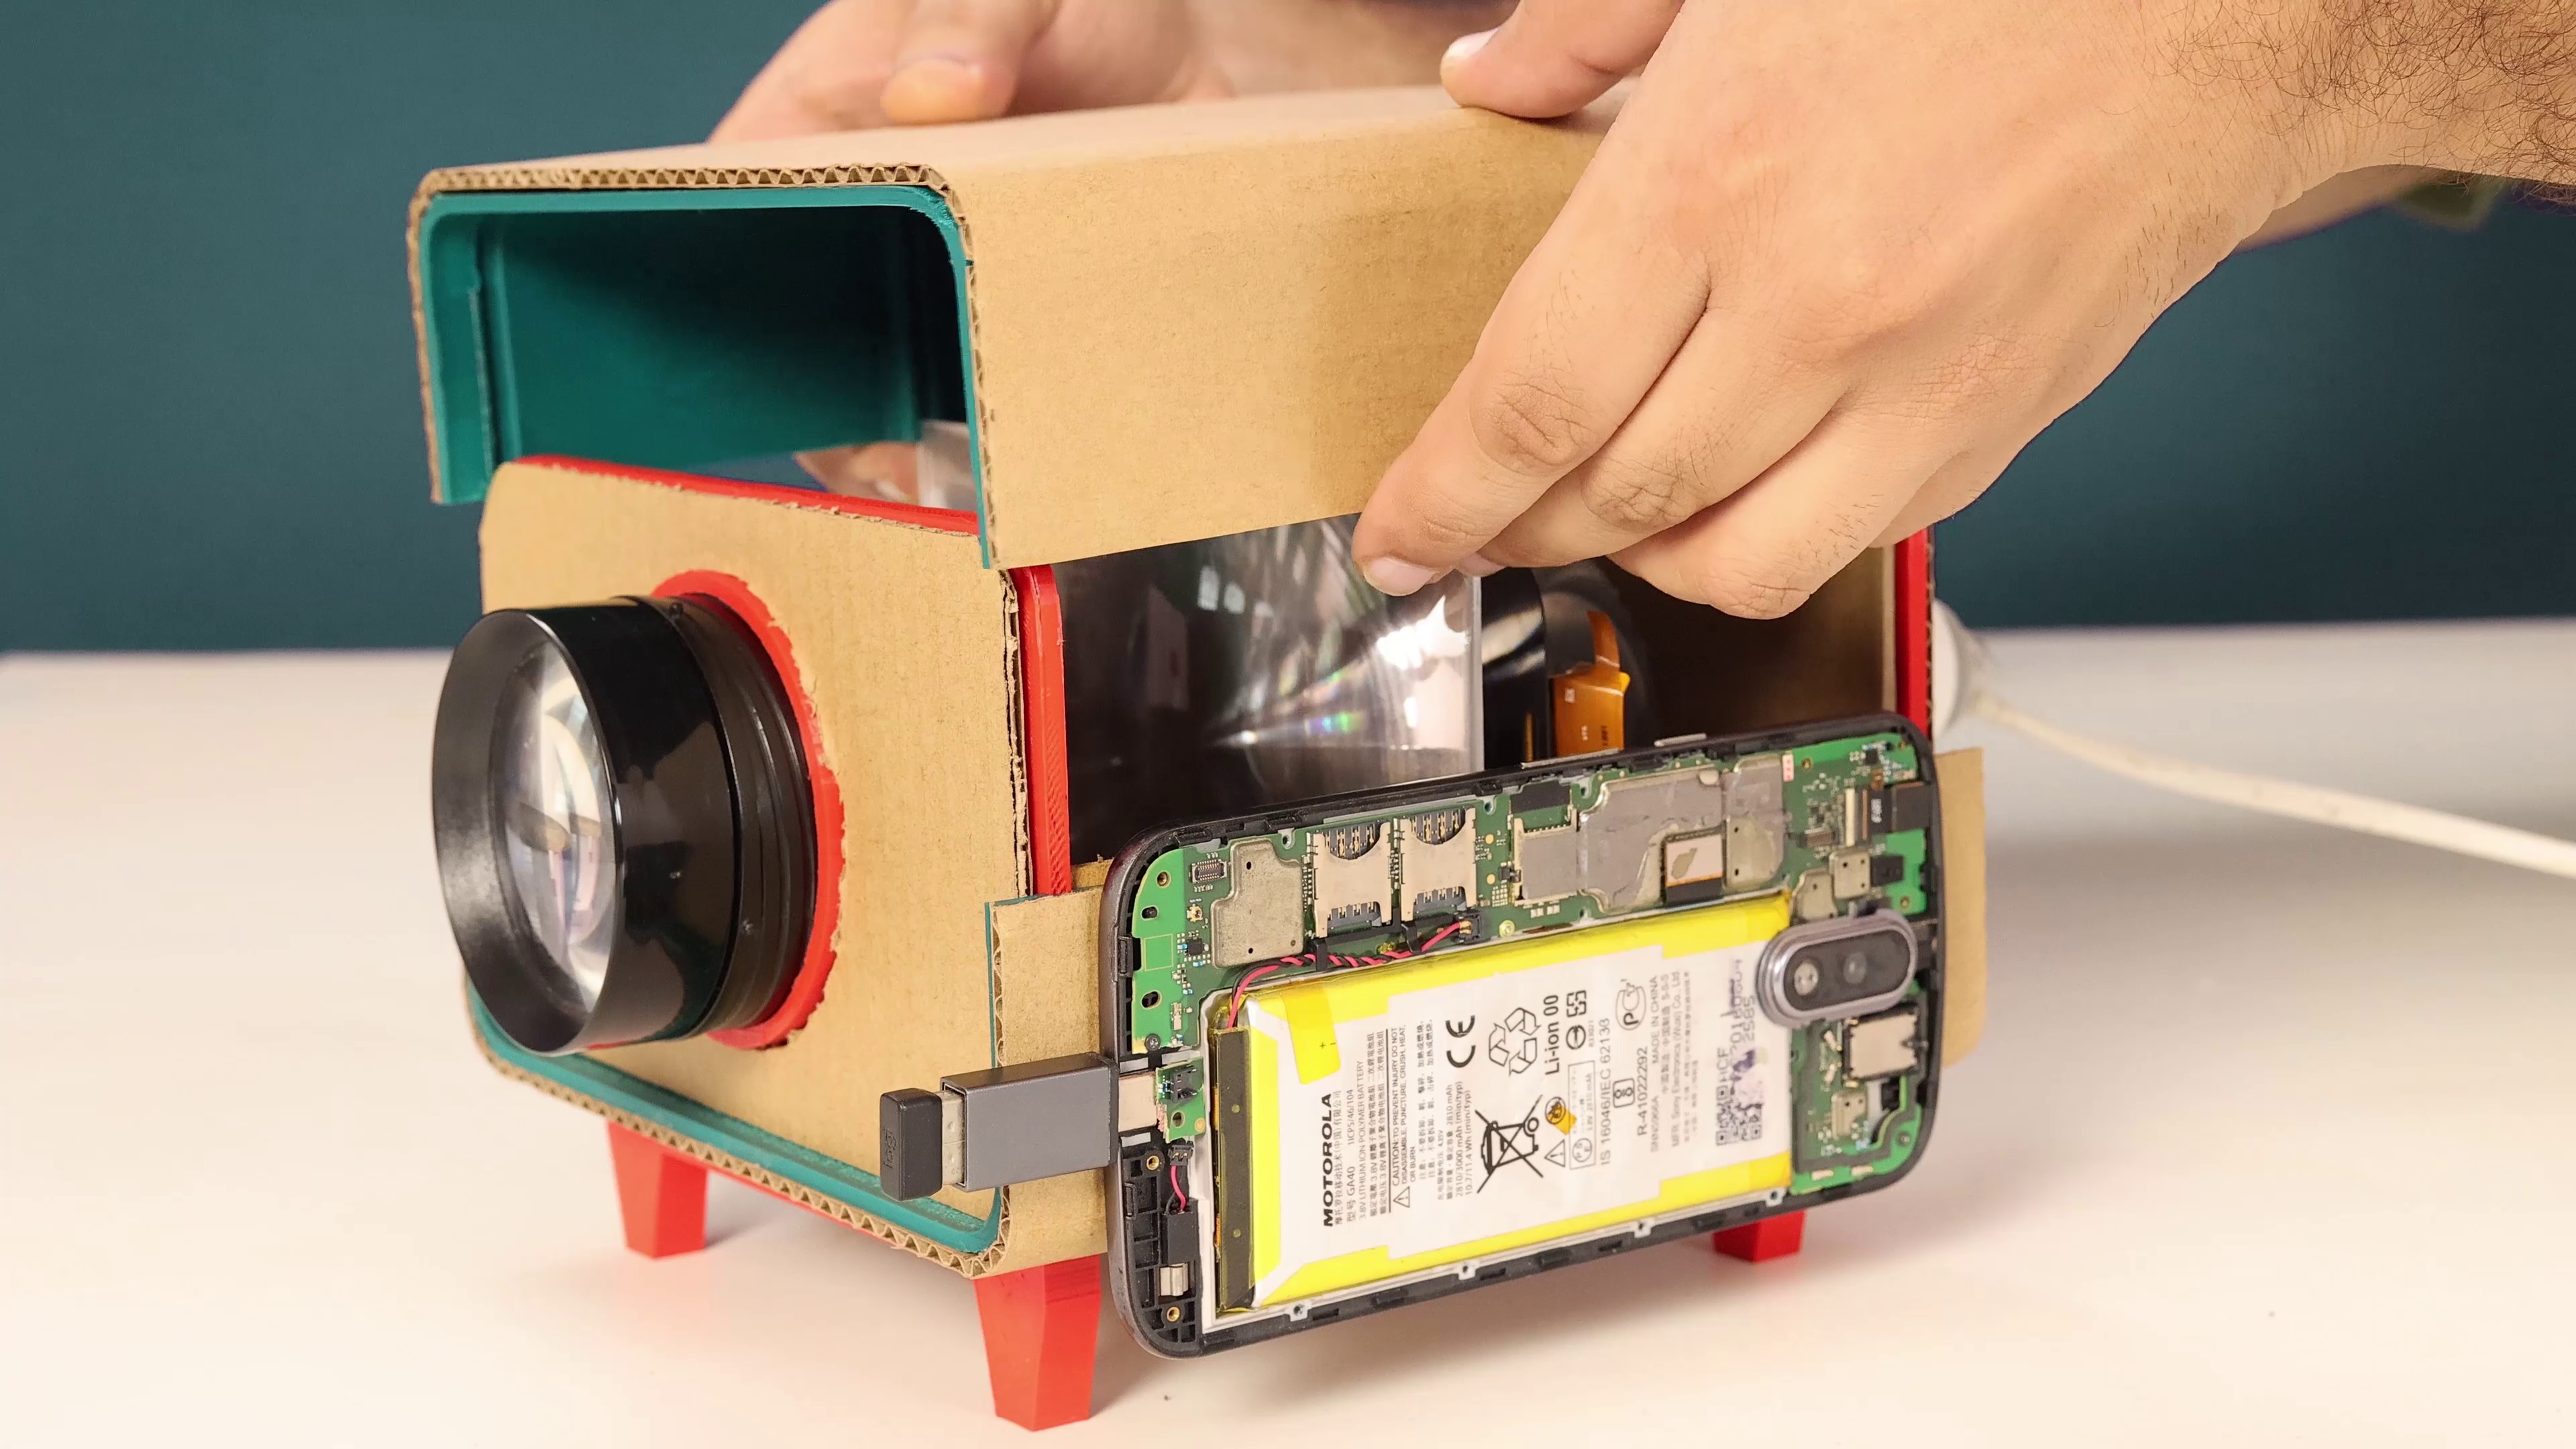

Connect a 9-volt bulb to the power supply and the mouse to your smartphone via the OTG pin. Then turn on the LED bulb and smartphone. For a narrow display picture, place a 7-inch focal length lens in front of the LED display and deliver a 500mm F convex lens. Then place the top case over the projector.
Use


Throw a beam on any white surface by playing any video on your smartphone with the mouse.Turn off all room lights for better brightness and quality. If the projected image appears blurry on the surface, move the projector lens slowly forward or backward.When the projected image is clear, stop moving the lens.
Enjoy a cinematic experience at home with a DIY projector made from an old smartphone.