Prone Standing Frame
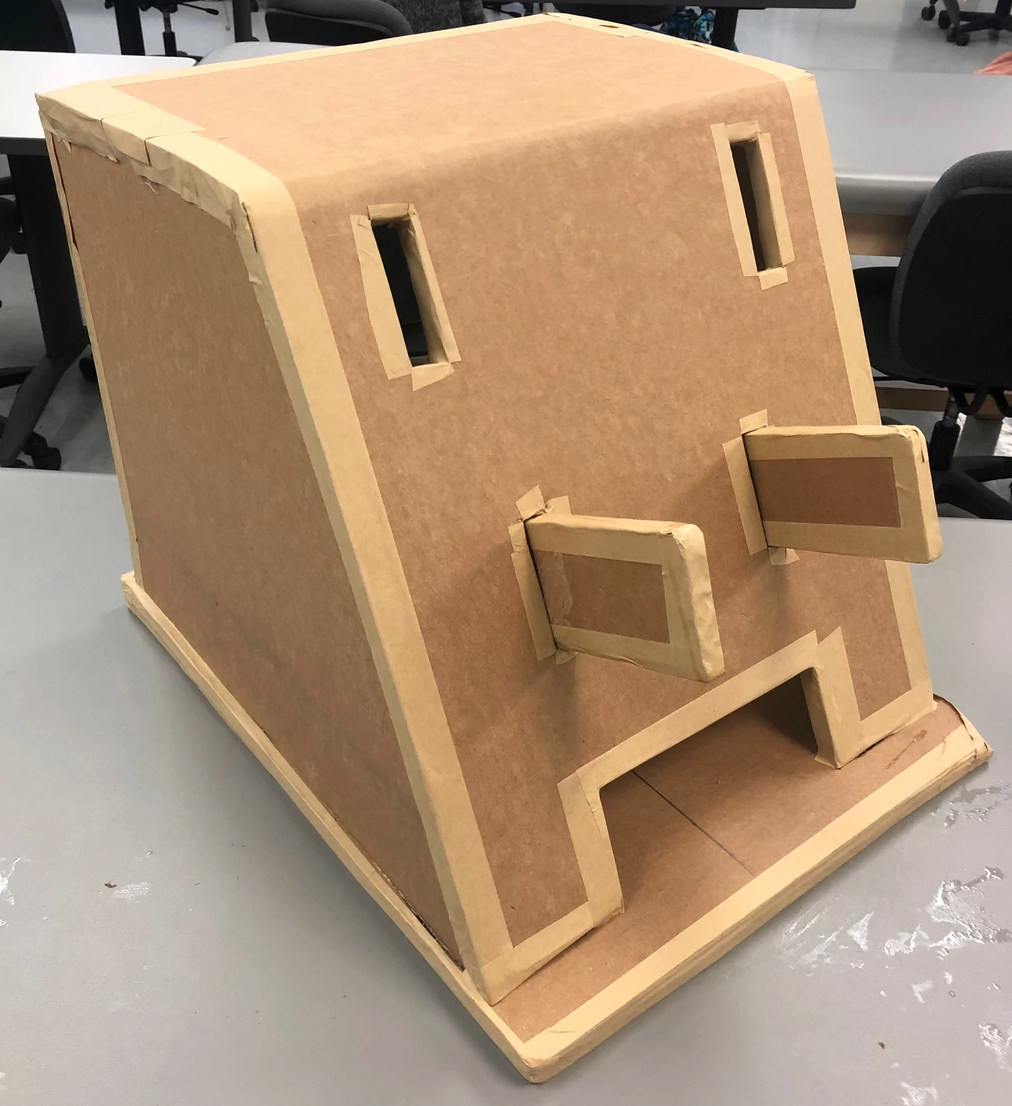
I learned cardboard carpentry at the Adaptive Design Association.
Downloads
Supplies
Tools
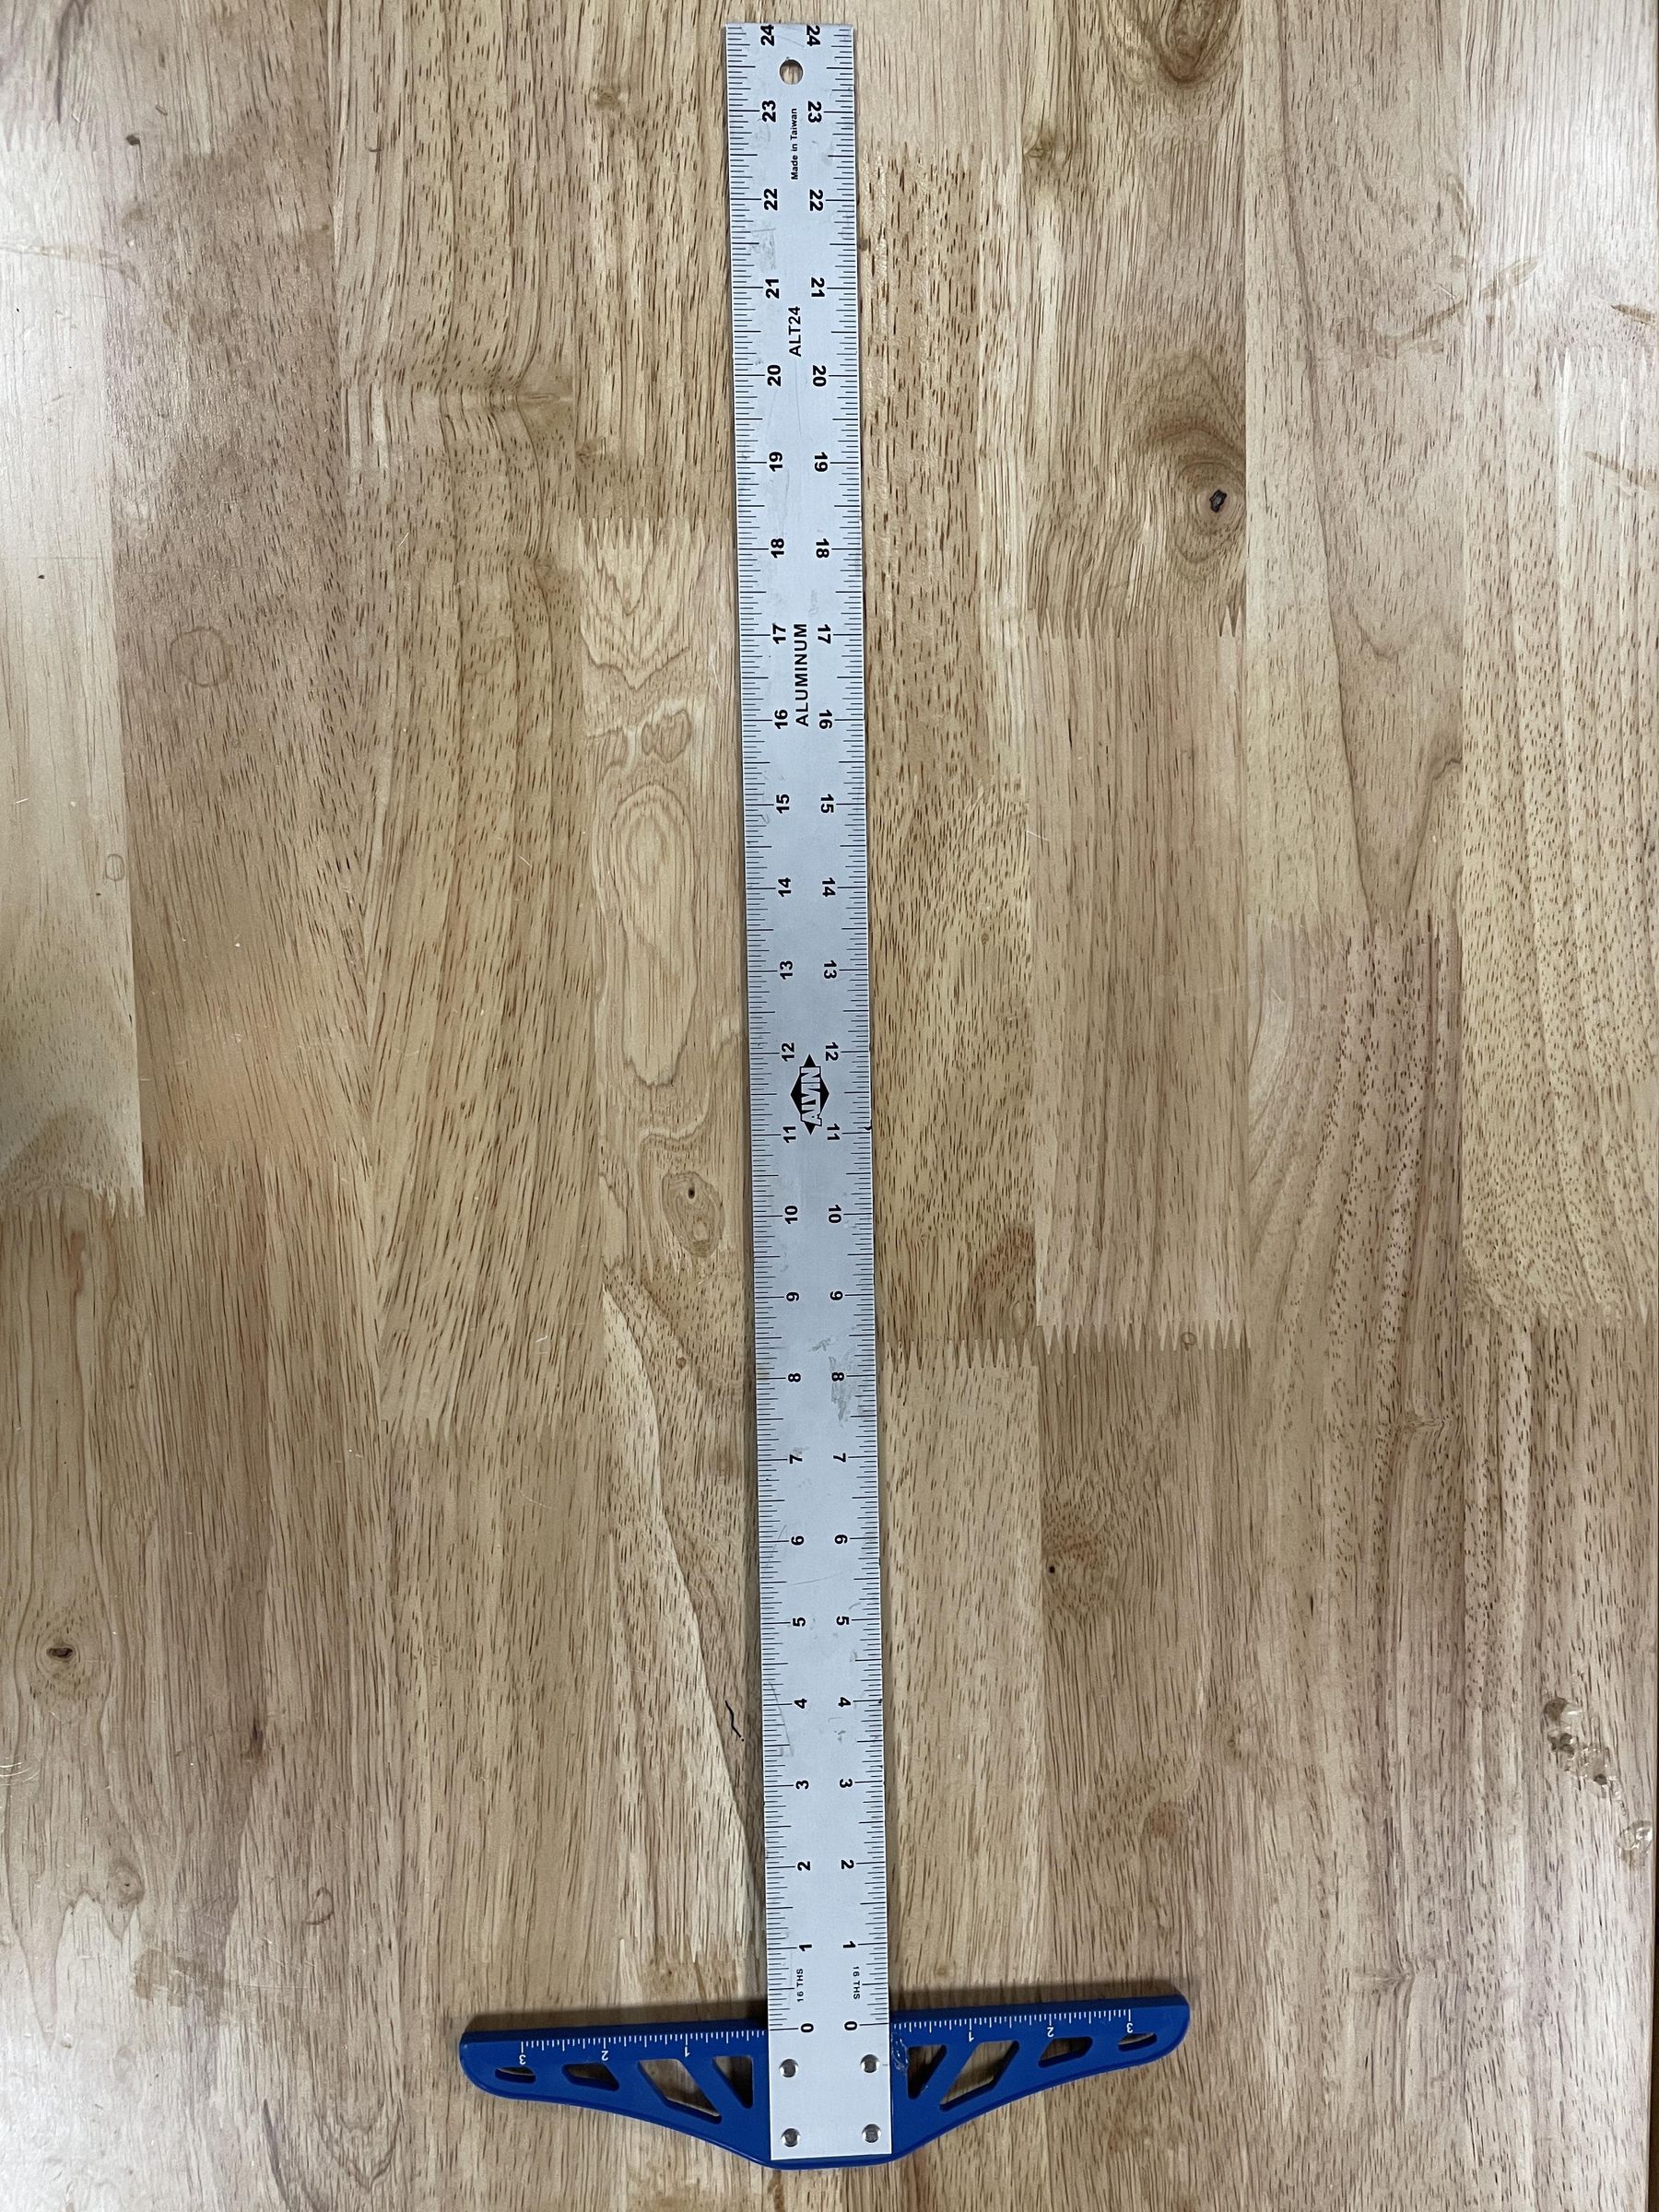
- T-Square
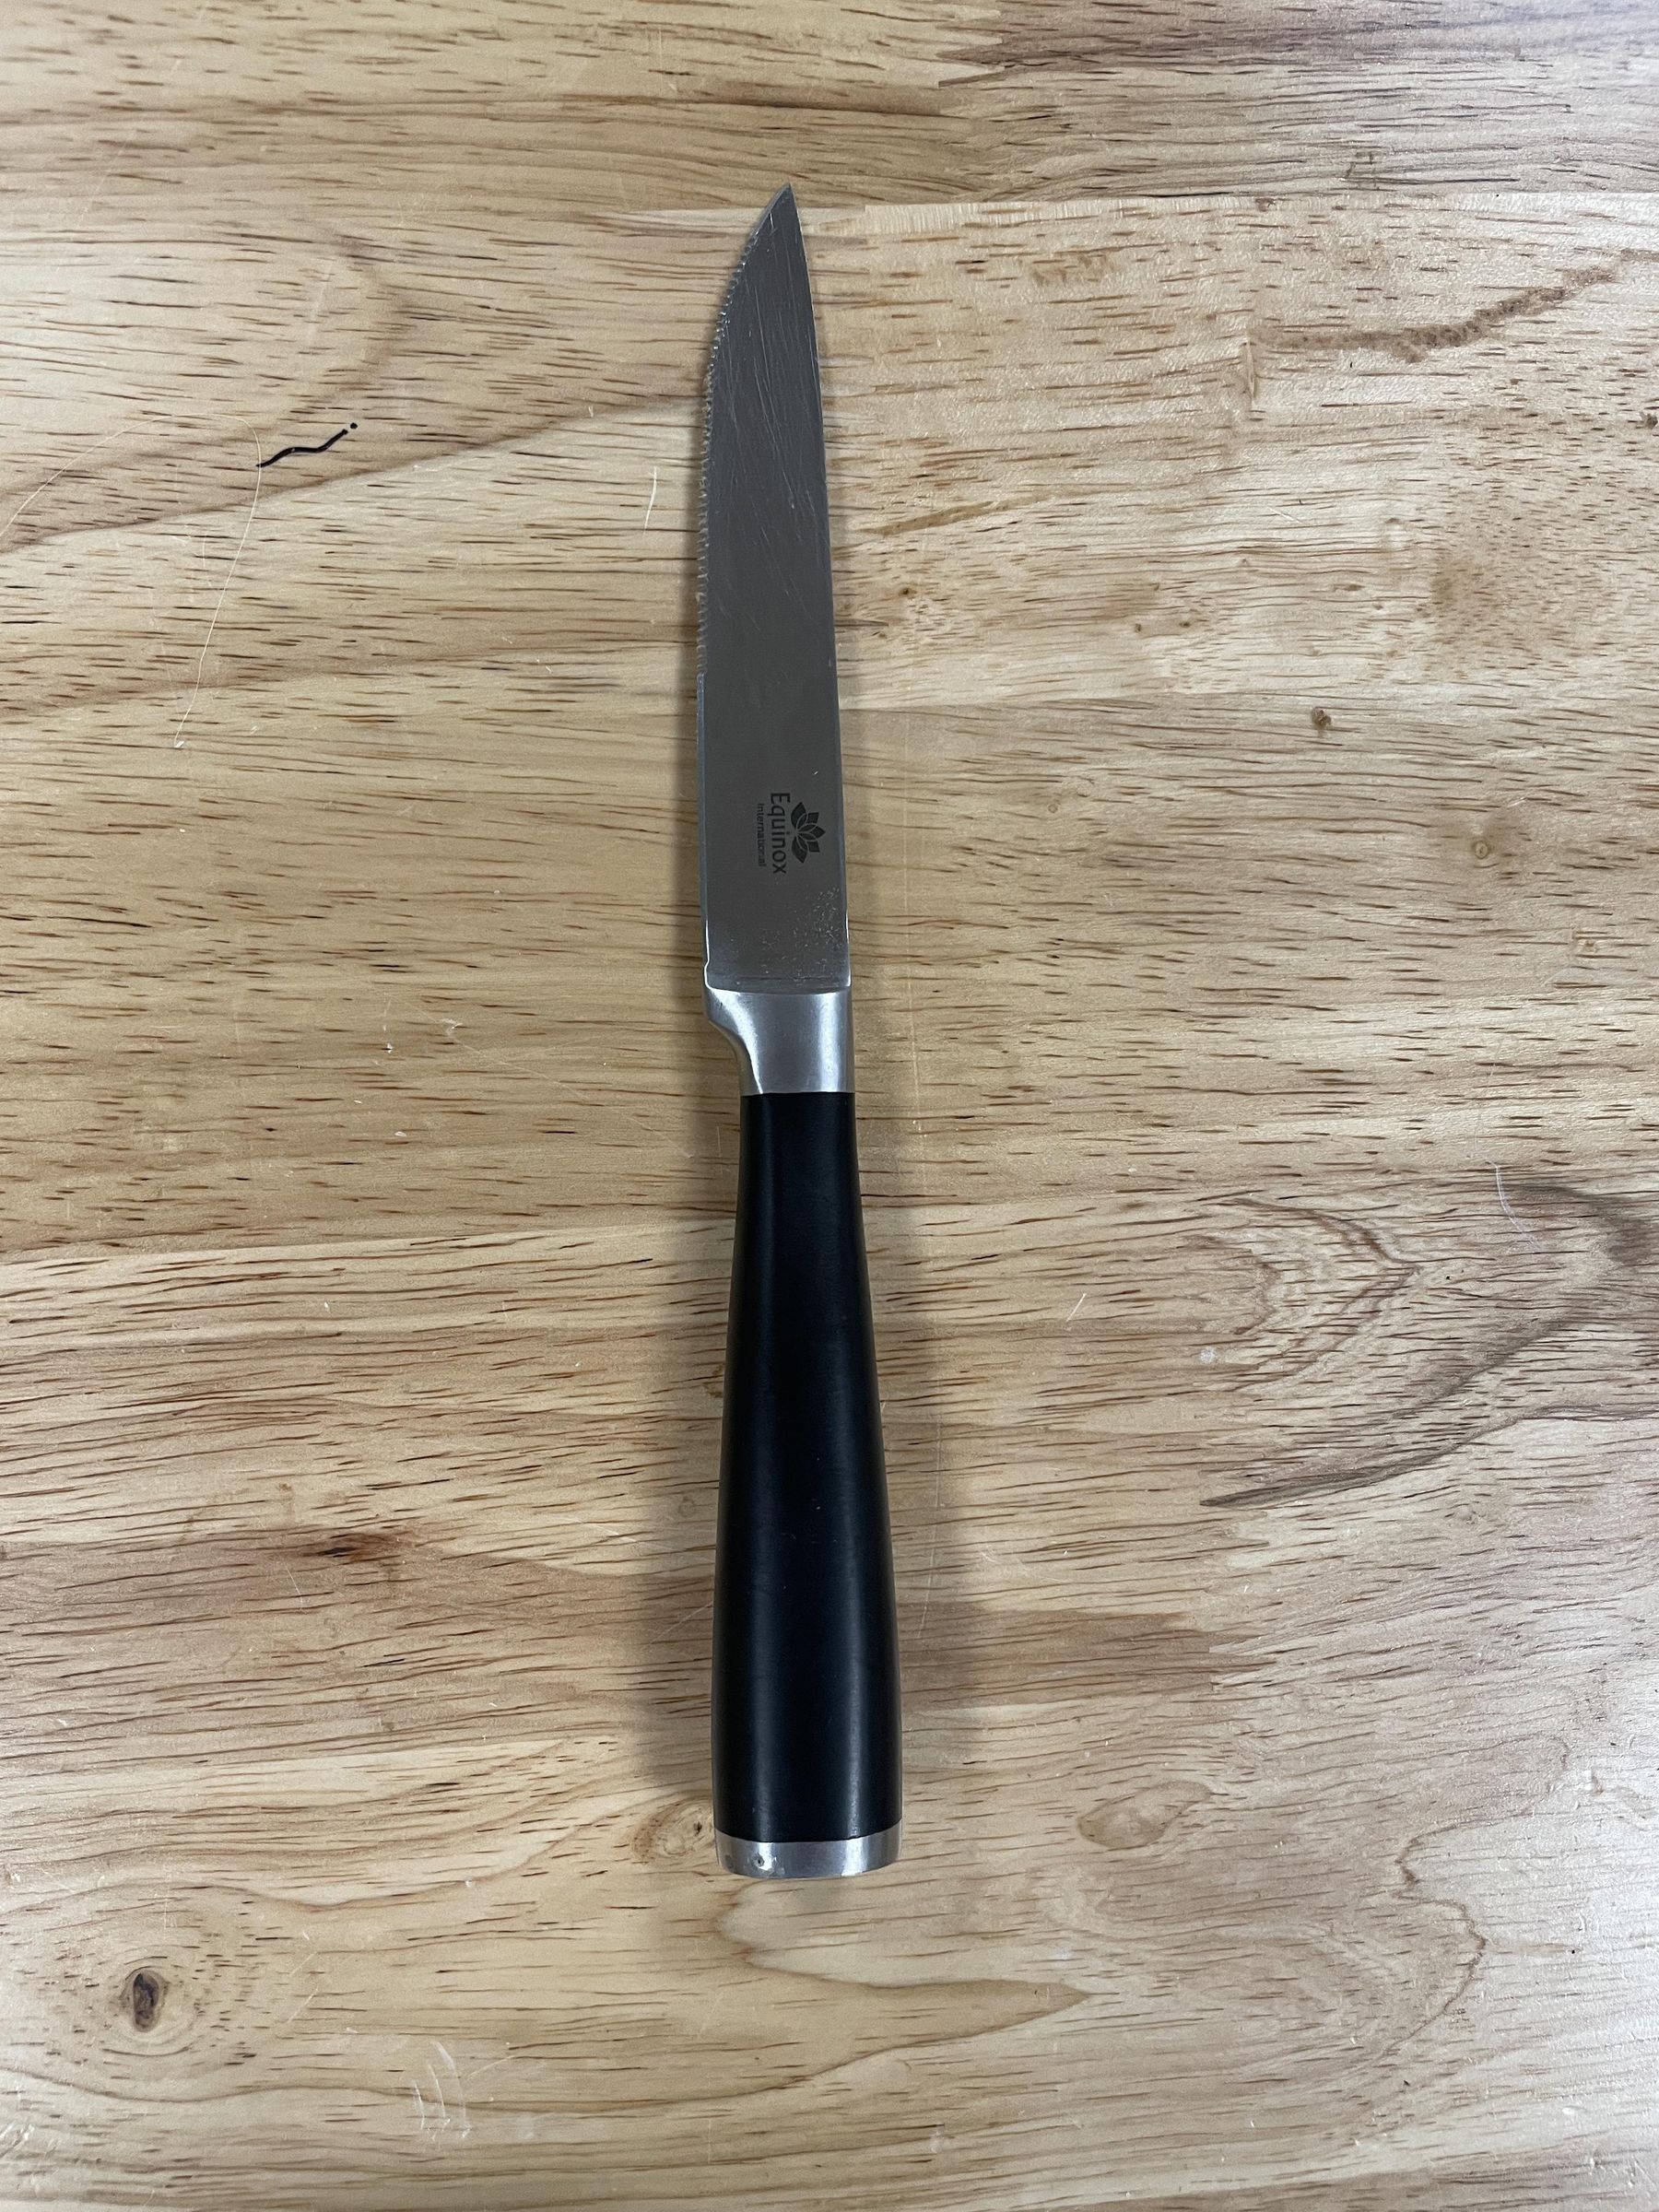
- Knife
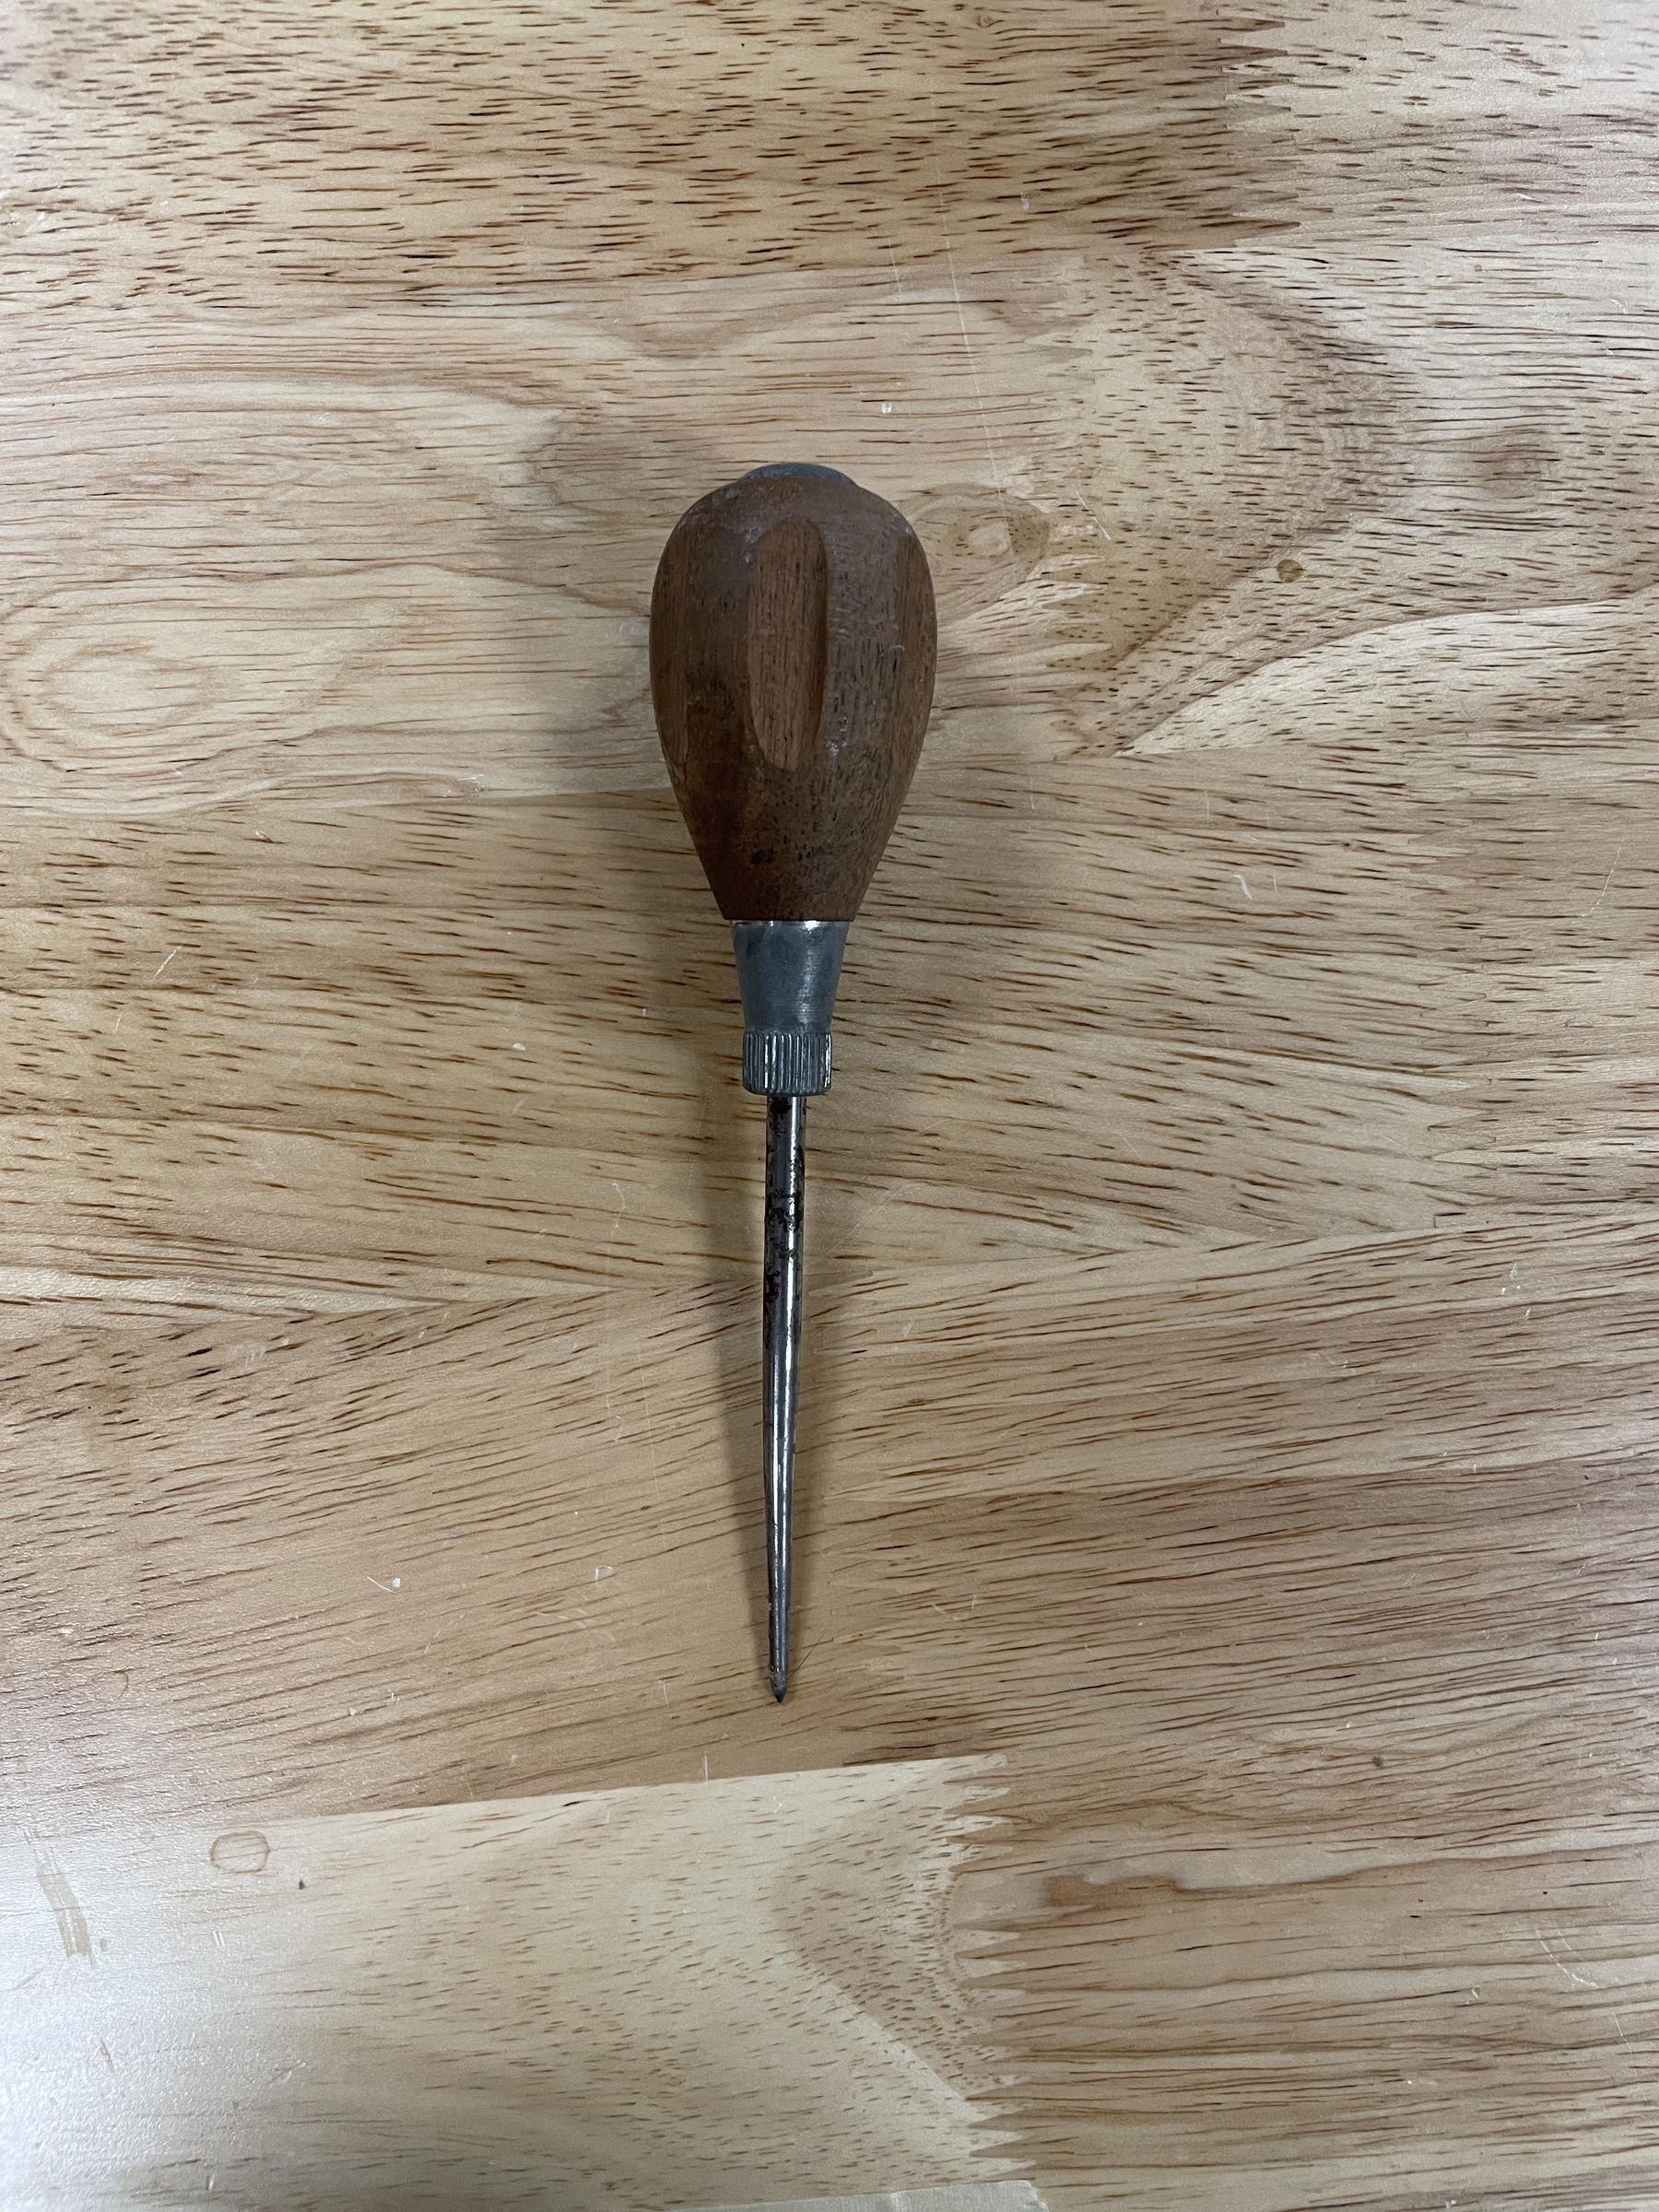
- Awl
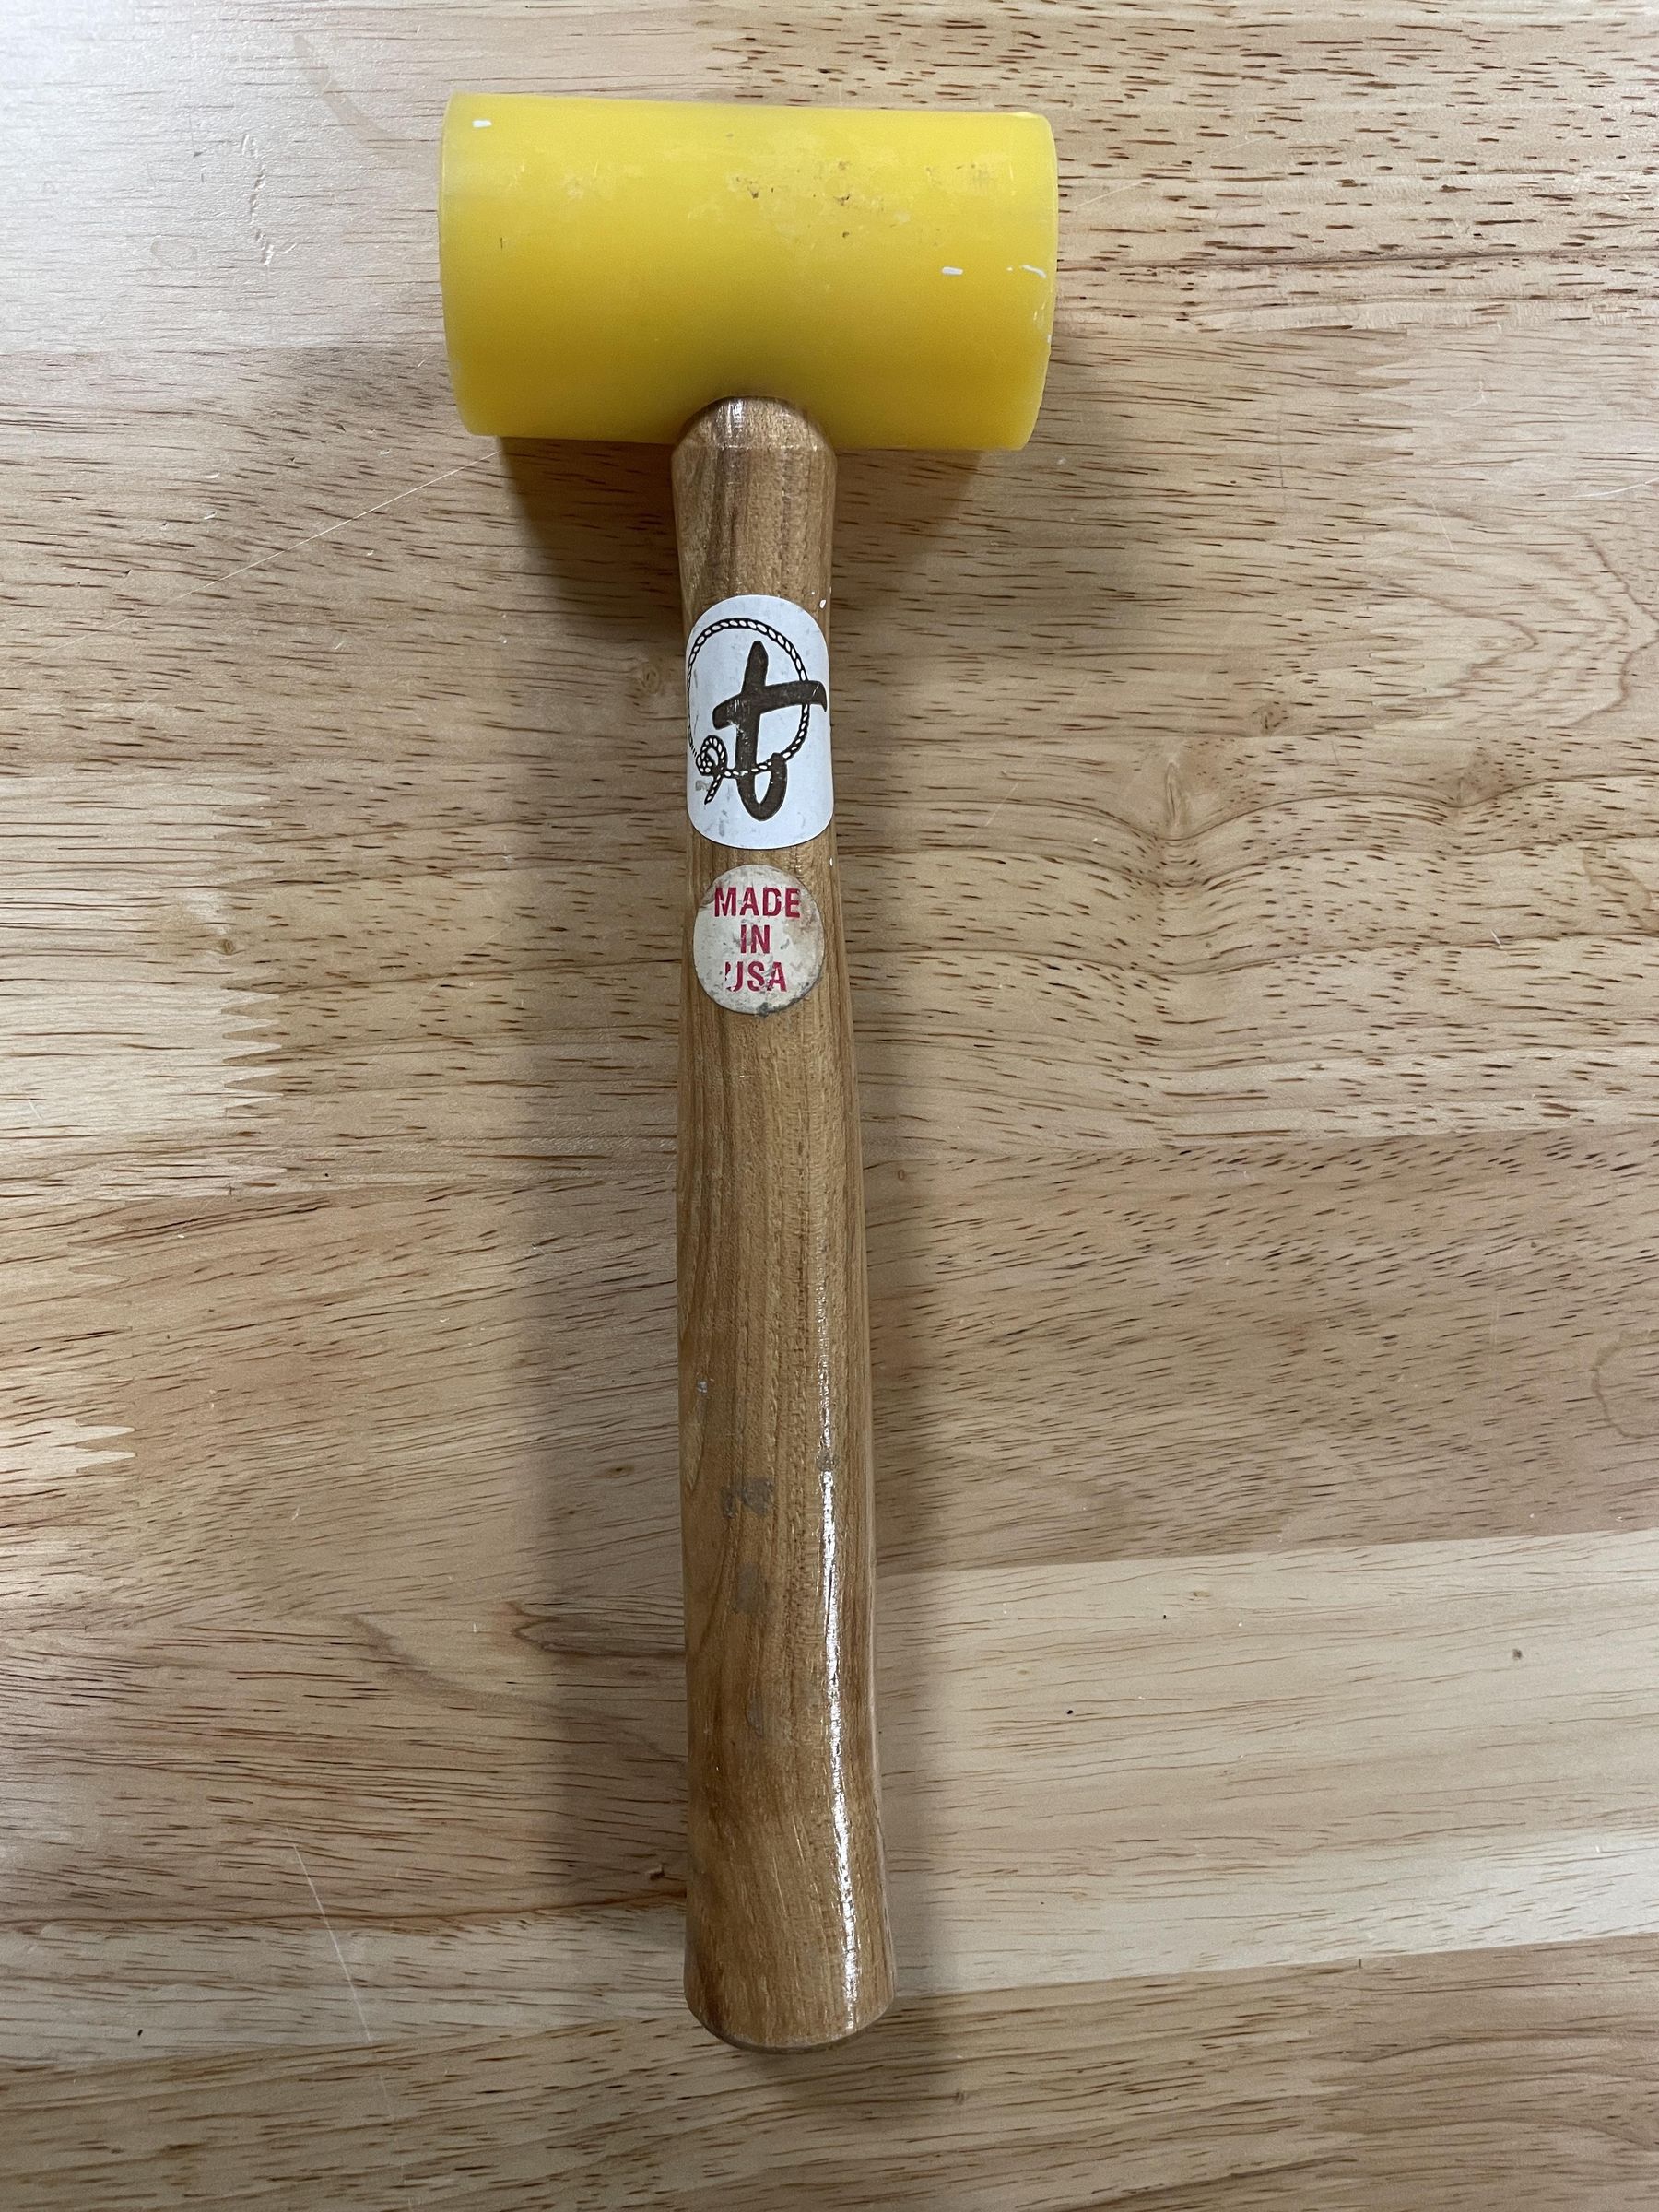
- Mallet
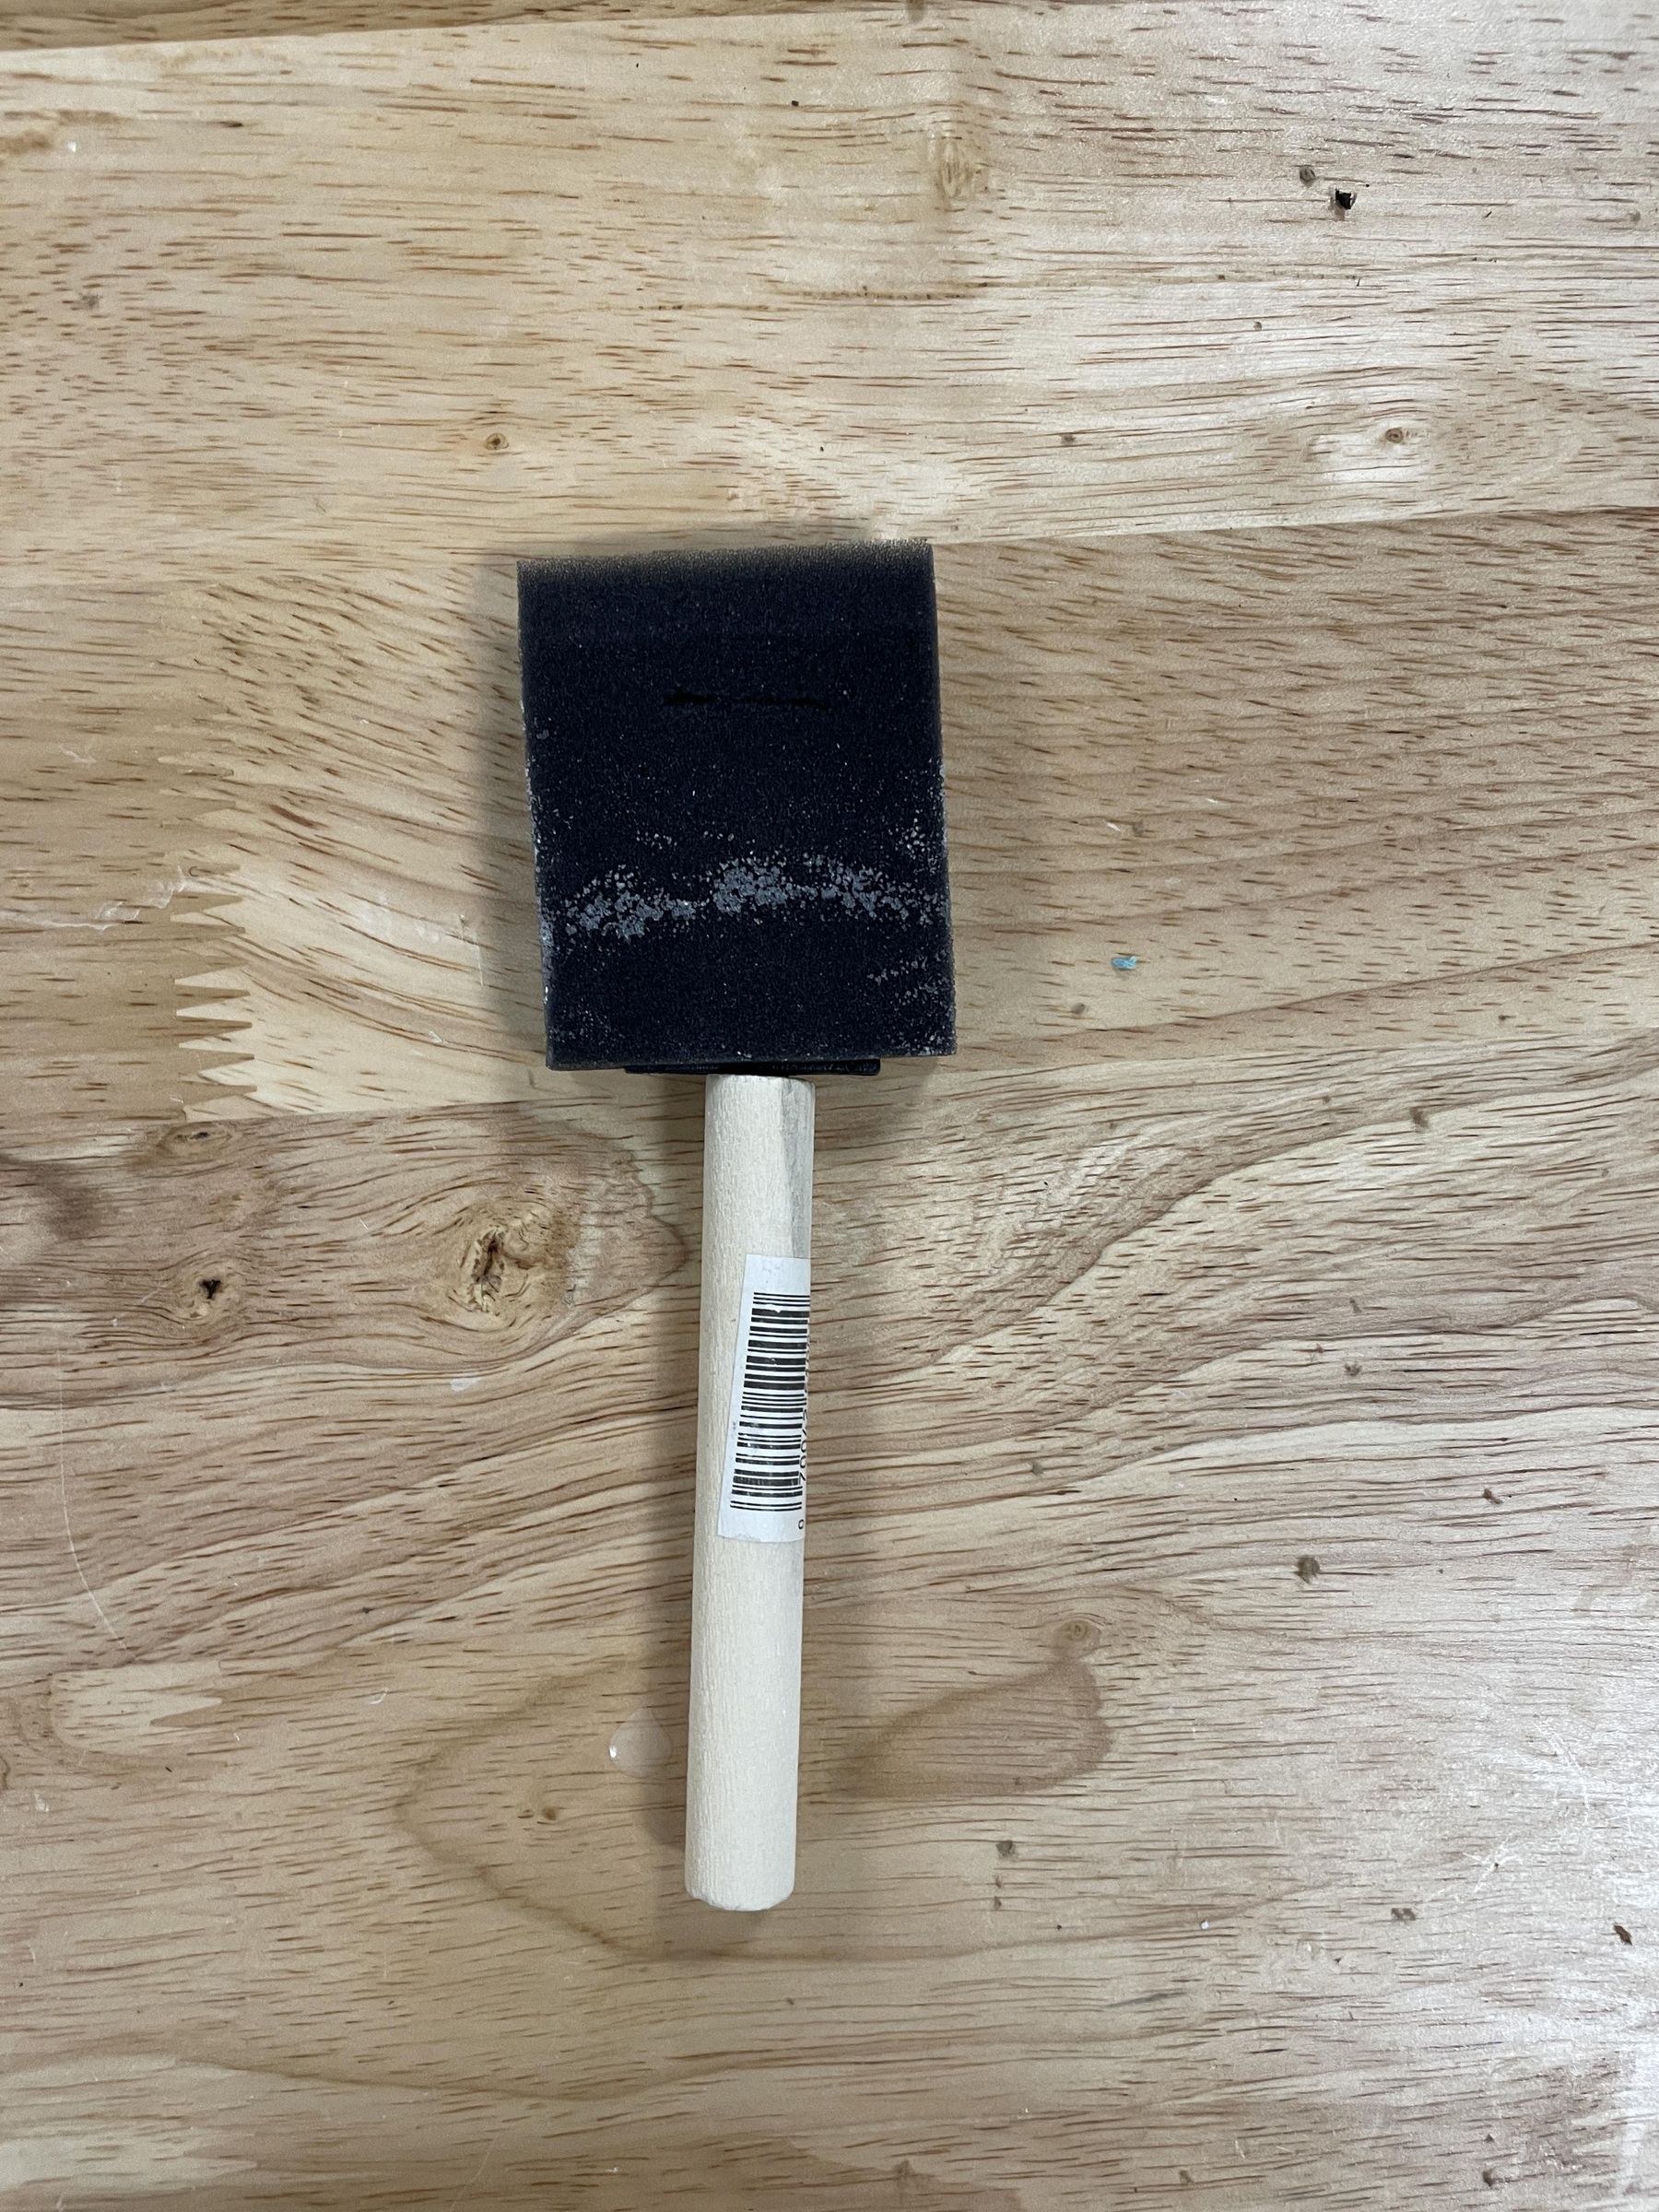
- Foam Brush
- T-Square
- Chisel
Materials
- Cardboard
- White glue
- Nails
- Glue tape
- Water
- Primer
- Paint
- Polyurethane
Skills
- Cutting cardboard with a knife
- Punching holes with an awl
- Joining with white glue
- Inserting nails
- Edging
- Bending cardboard
- Removing layers of cardboard
Make Side Pieces
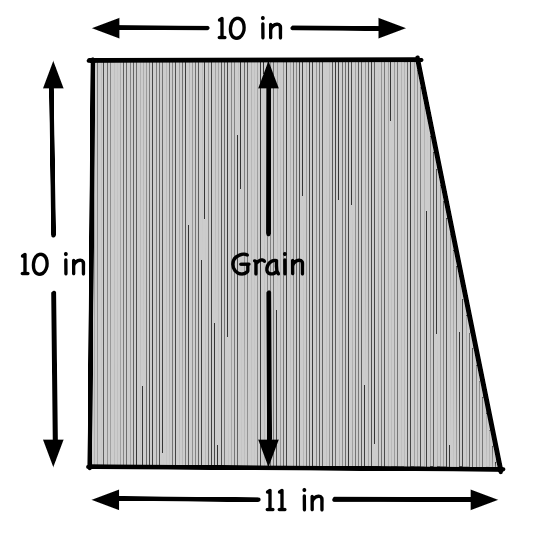
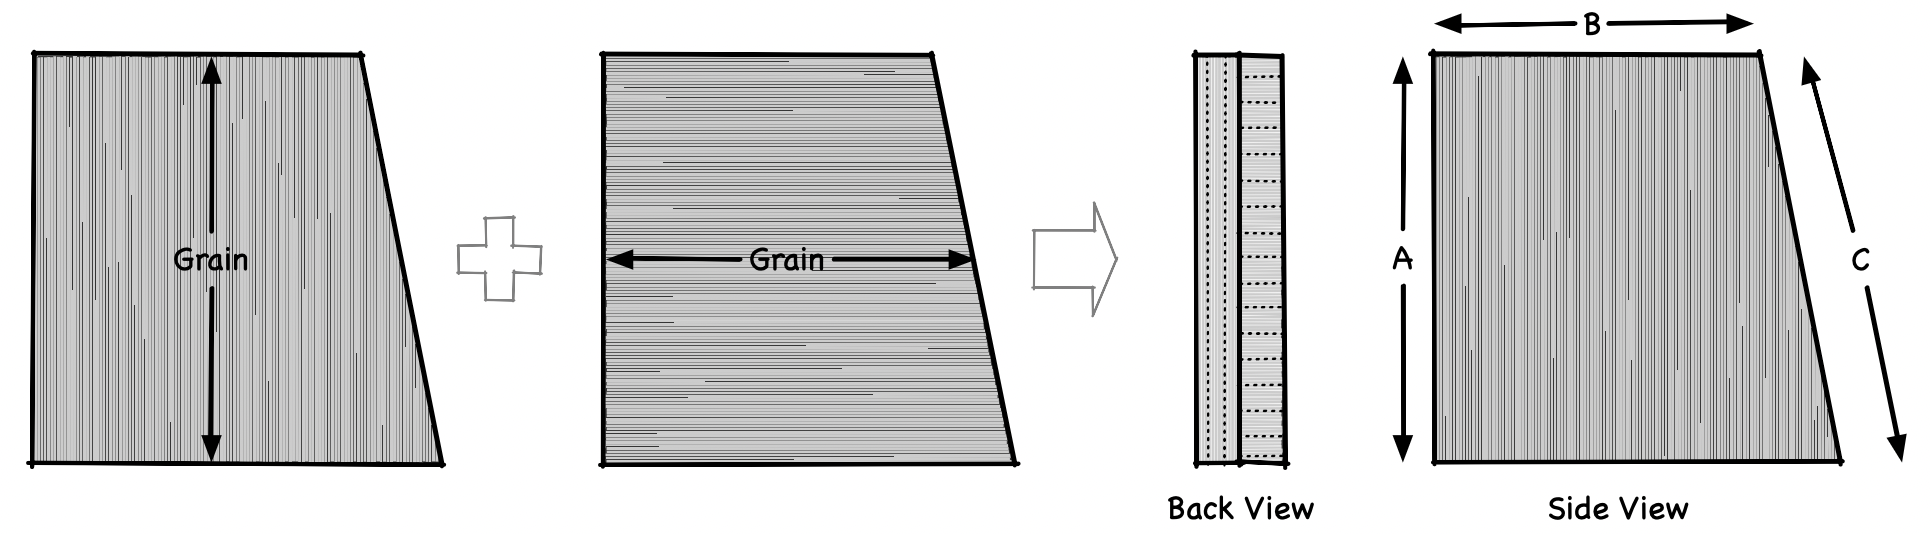
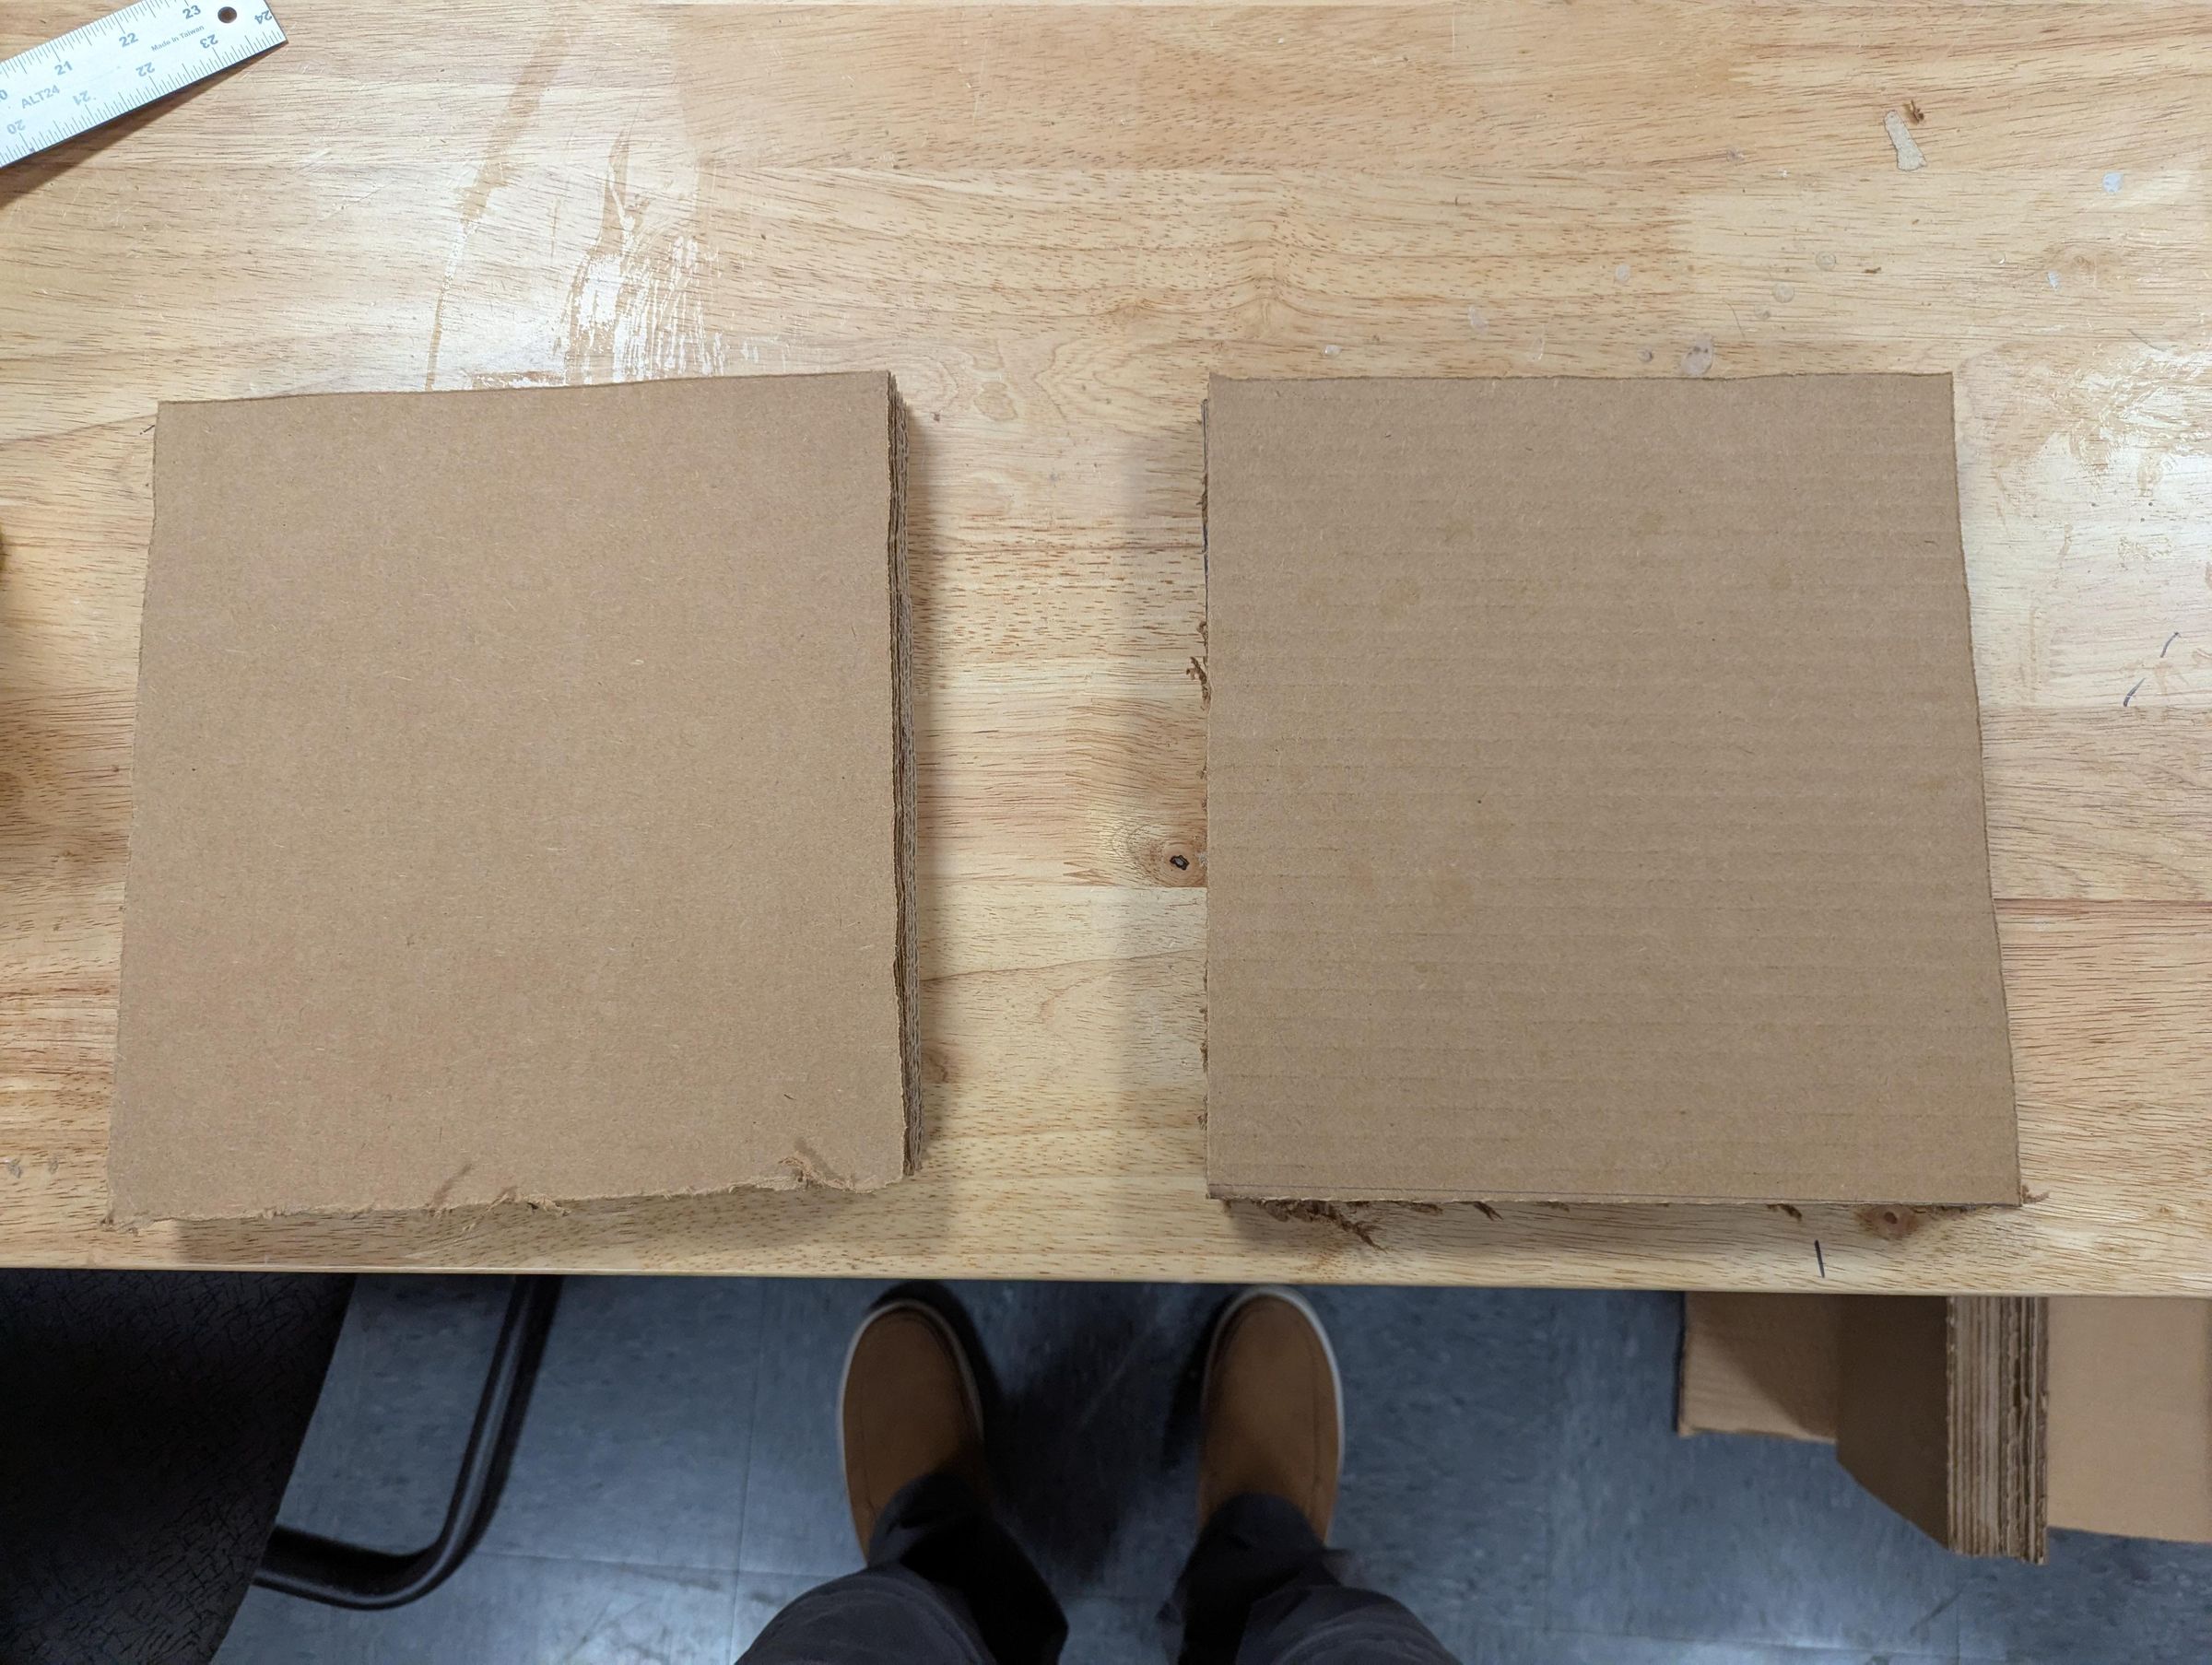
Cut one side piece
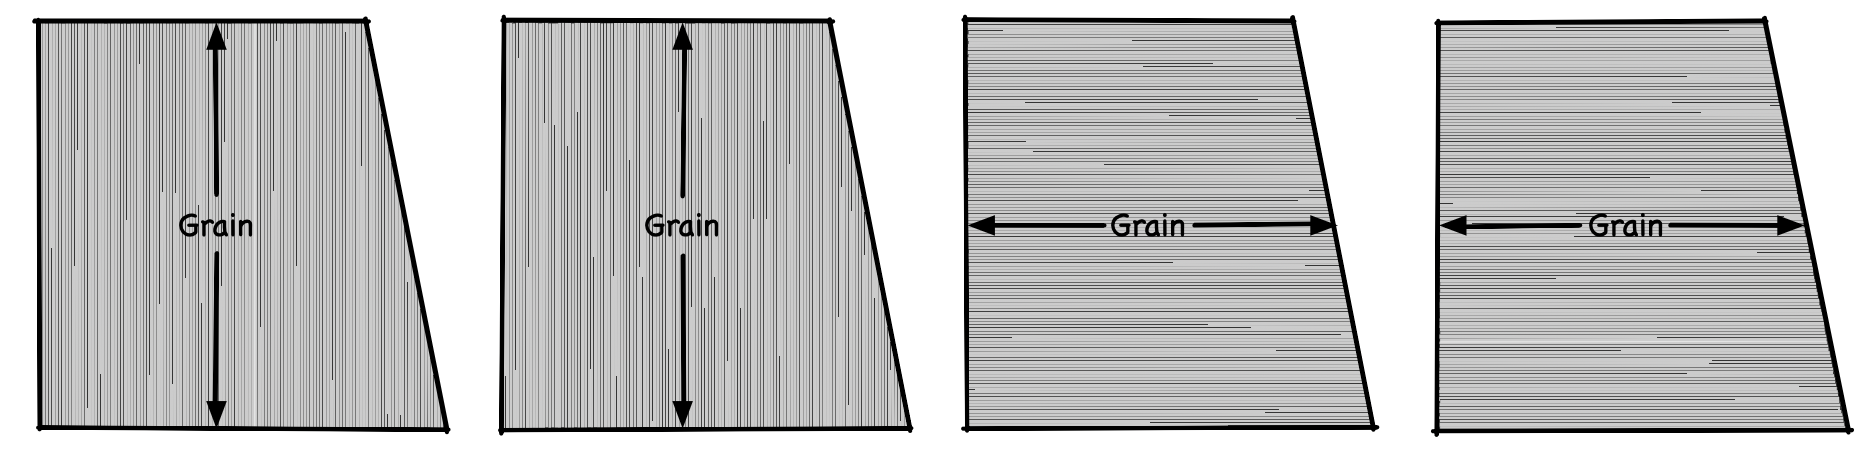
Using your first side piece as a template, measure and cut three more side pieces
You want two pieces with vertical grain and two pieces with horizontal grain.
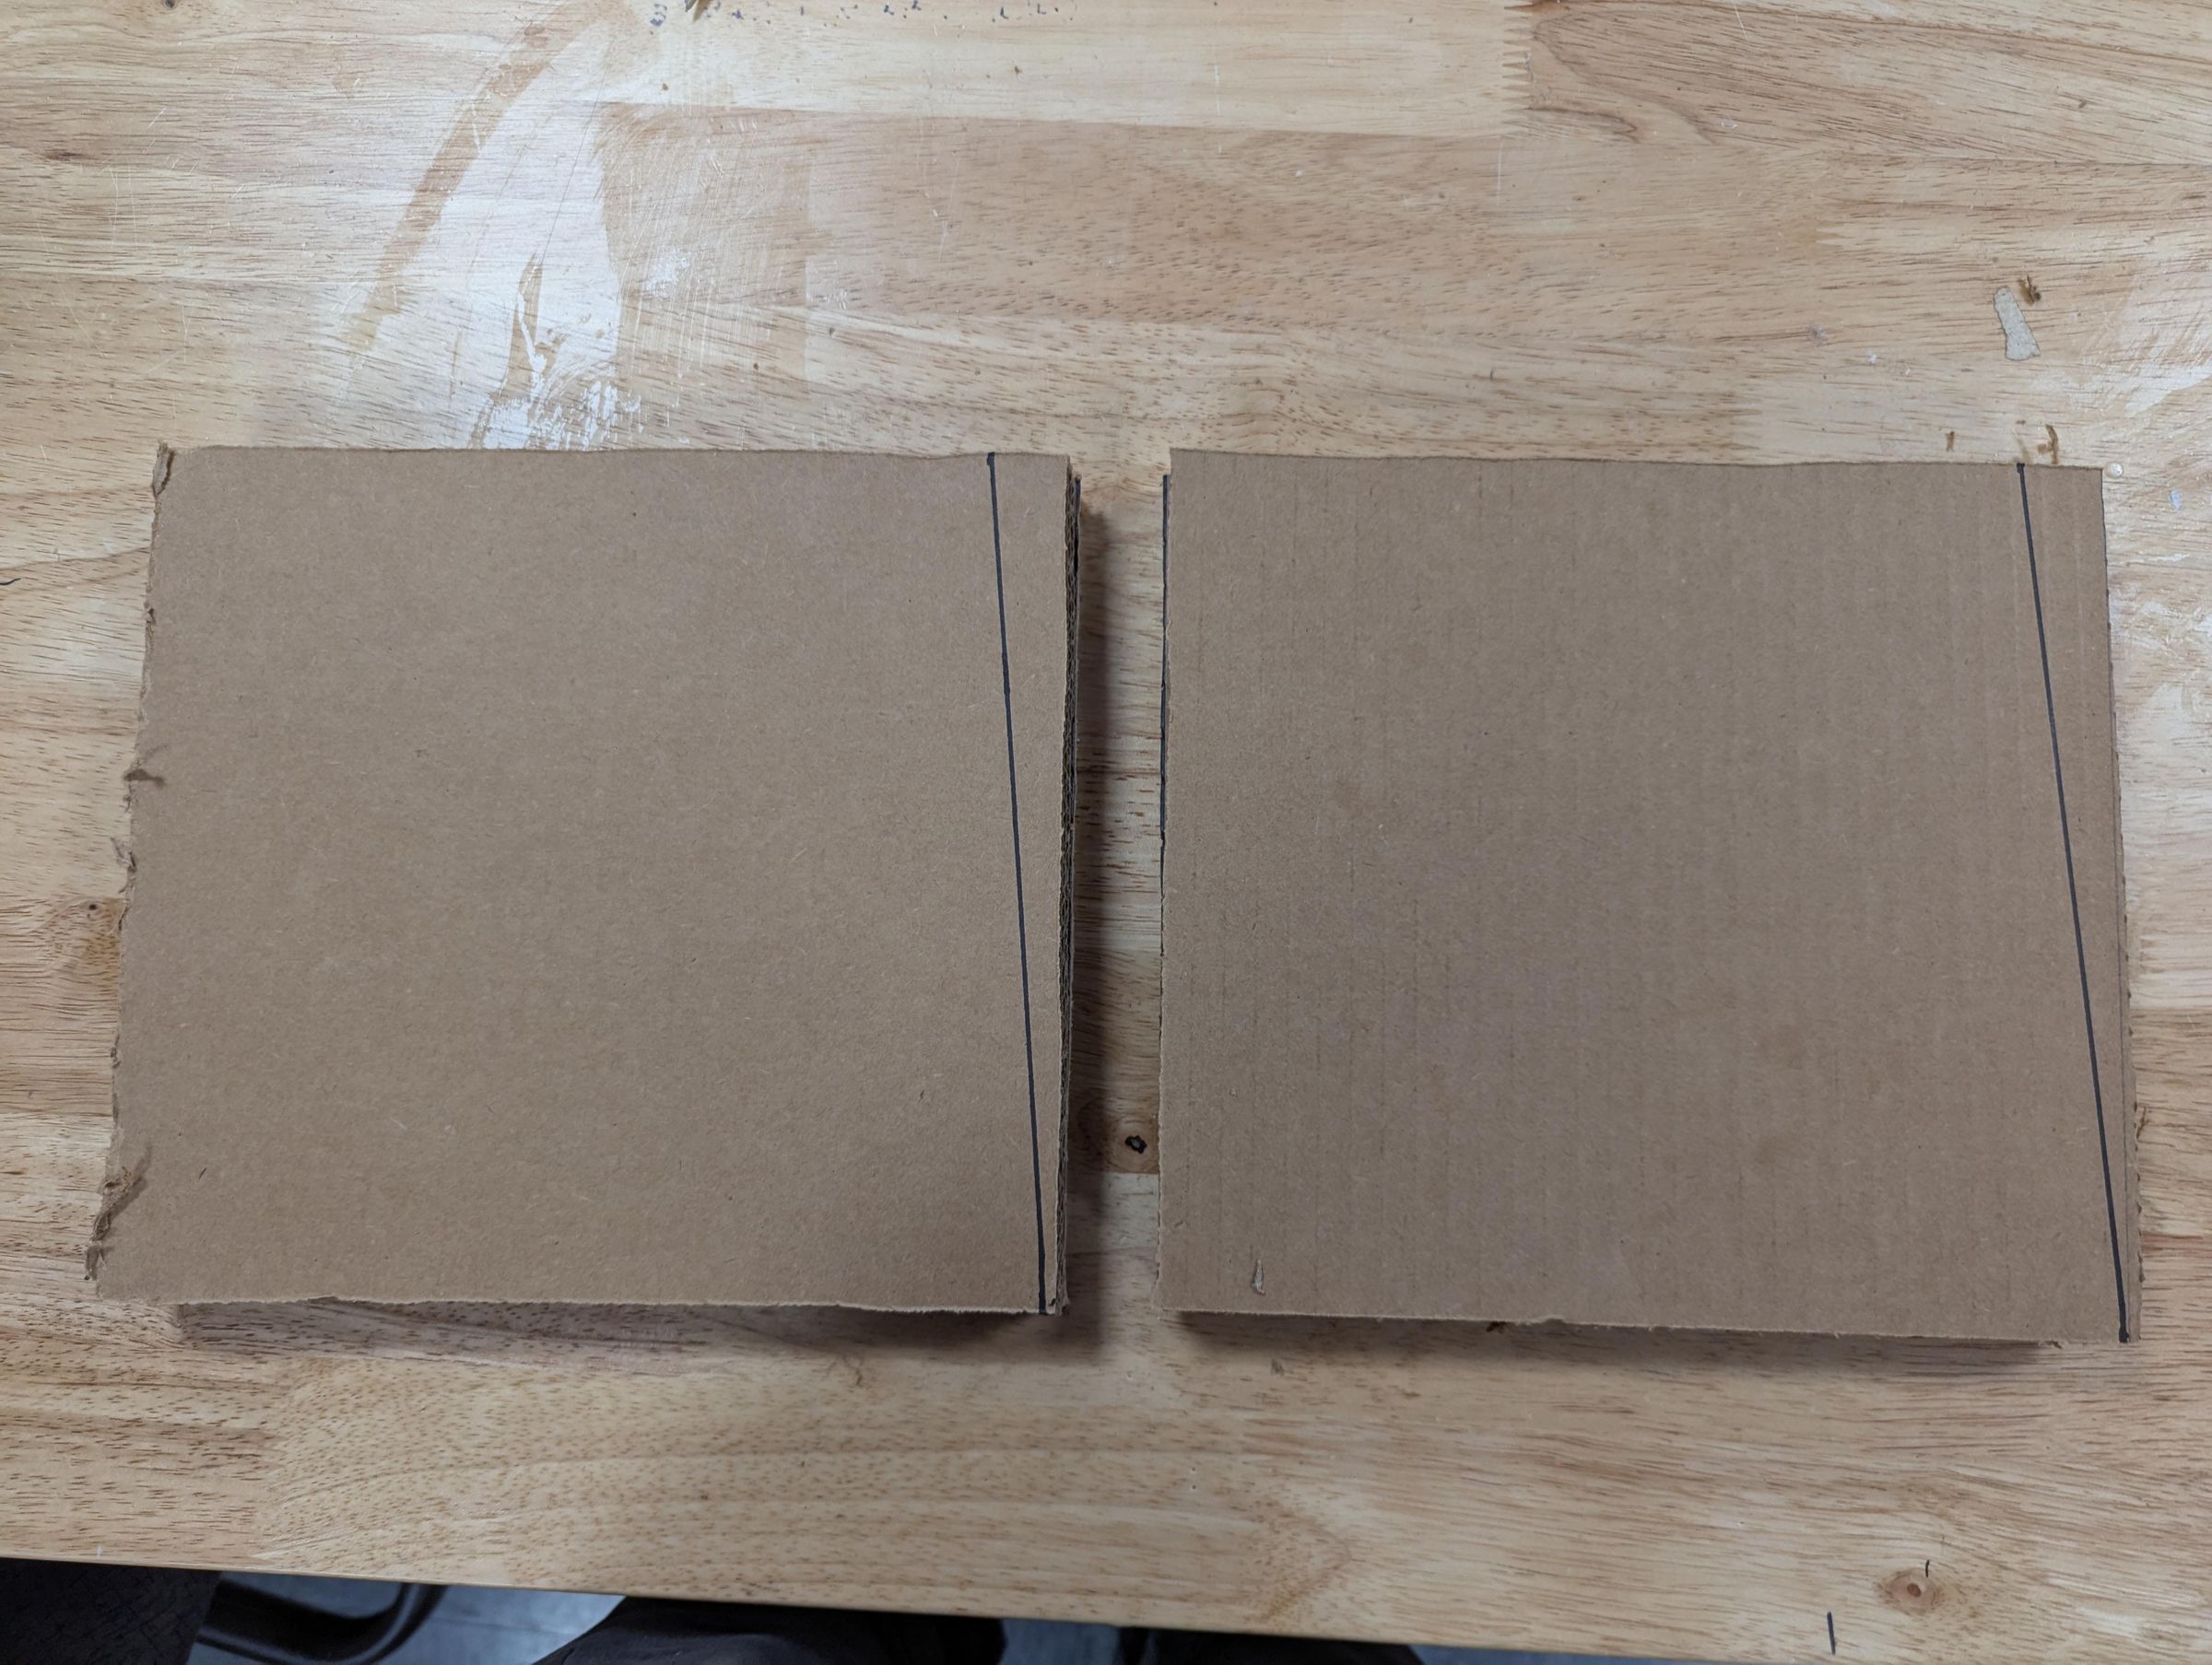
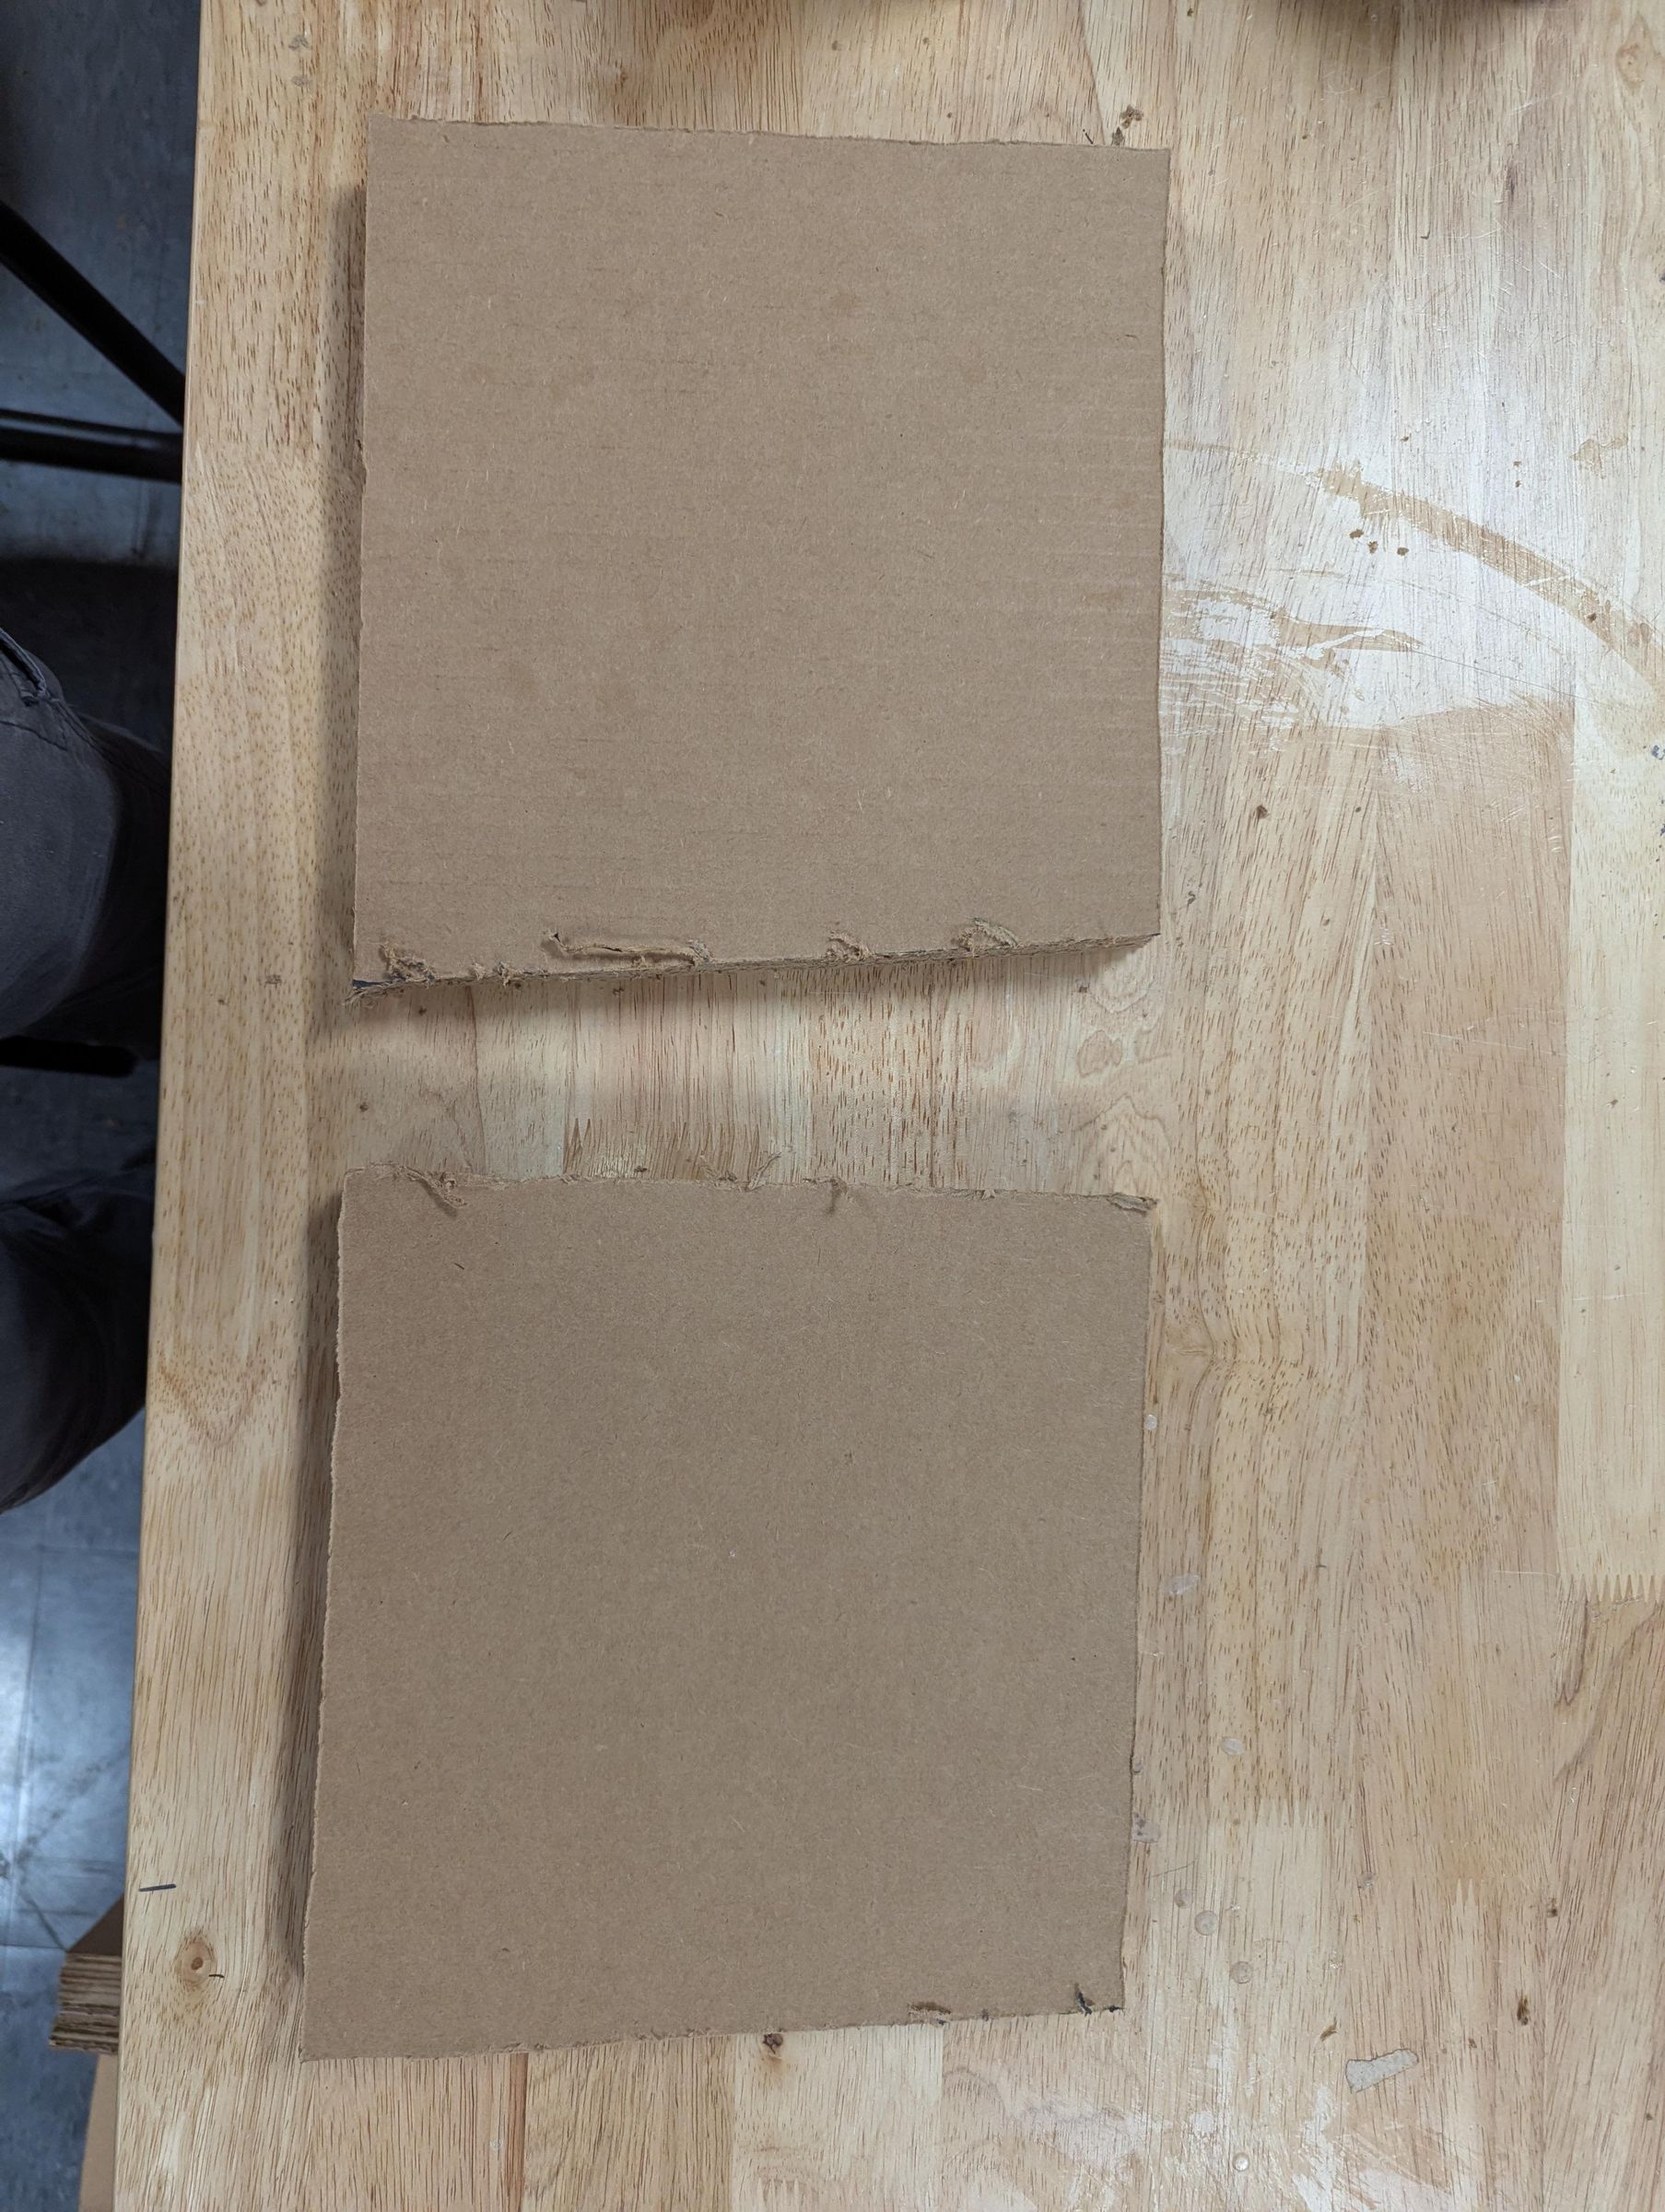
Using white glue, join pieces with alternating grain to create two side pieces
Clamp the pieces together to dry
Cut both side pieces to create a slant on the front
Measure Out Main Piece
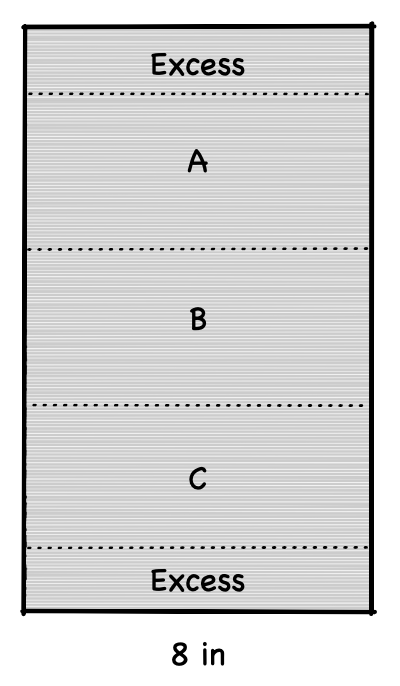
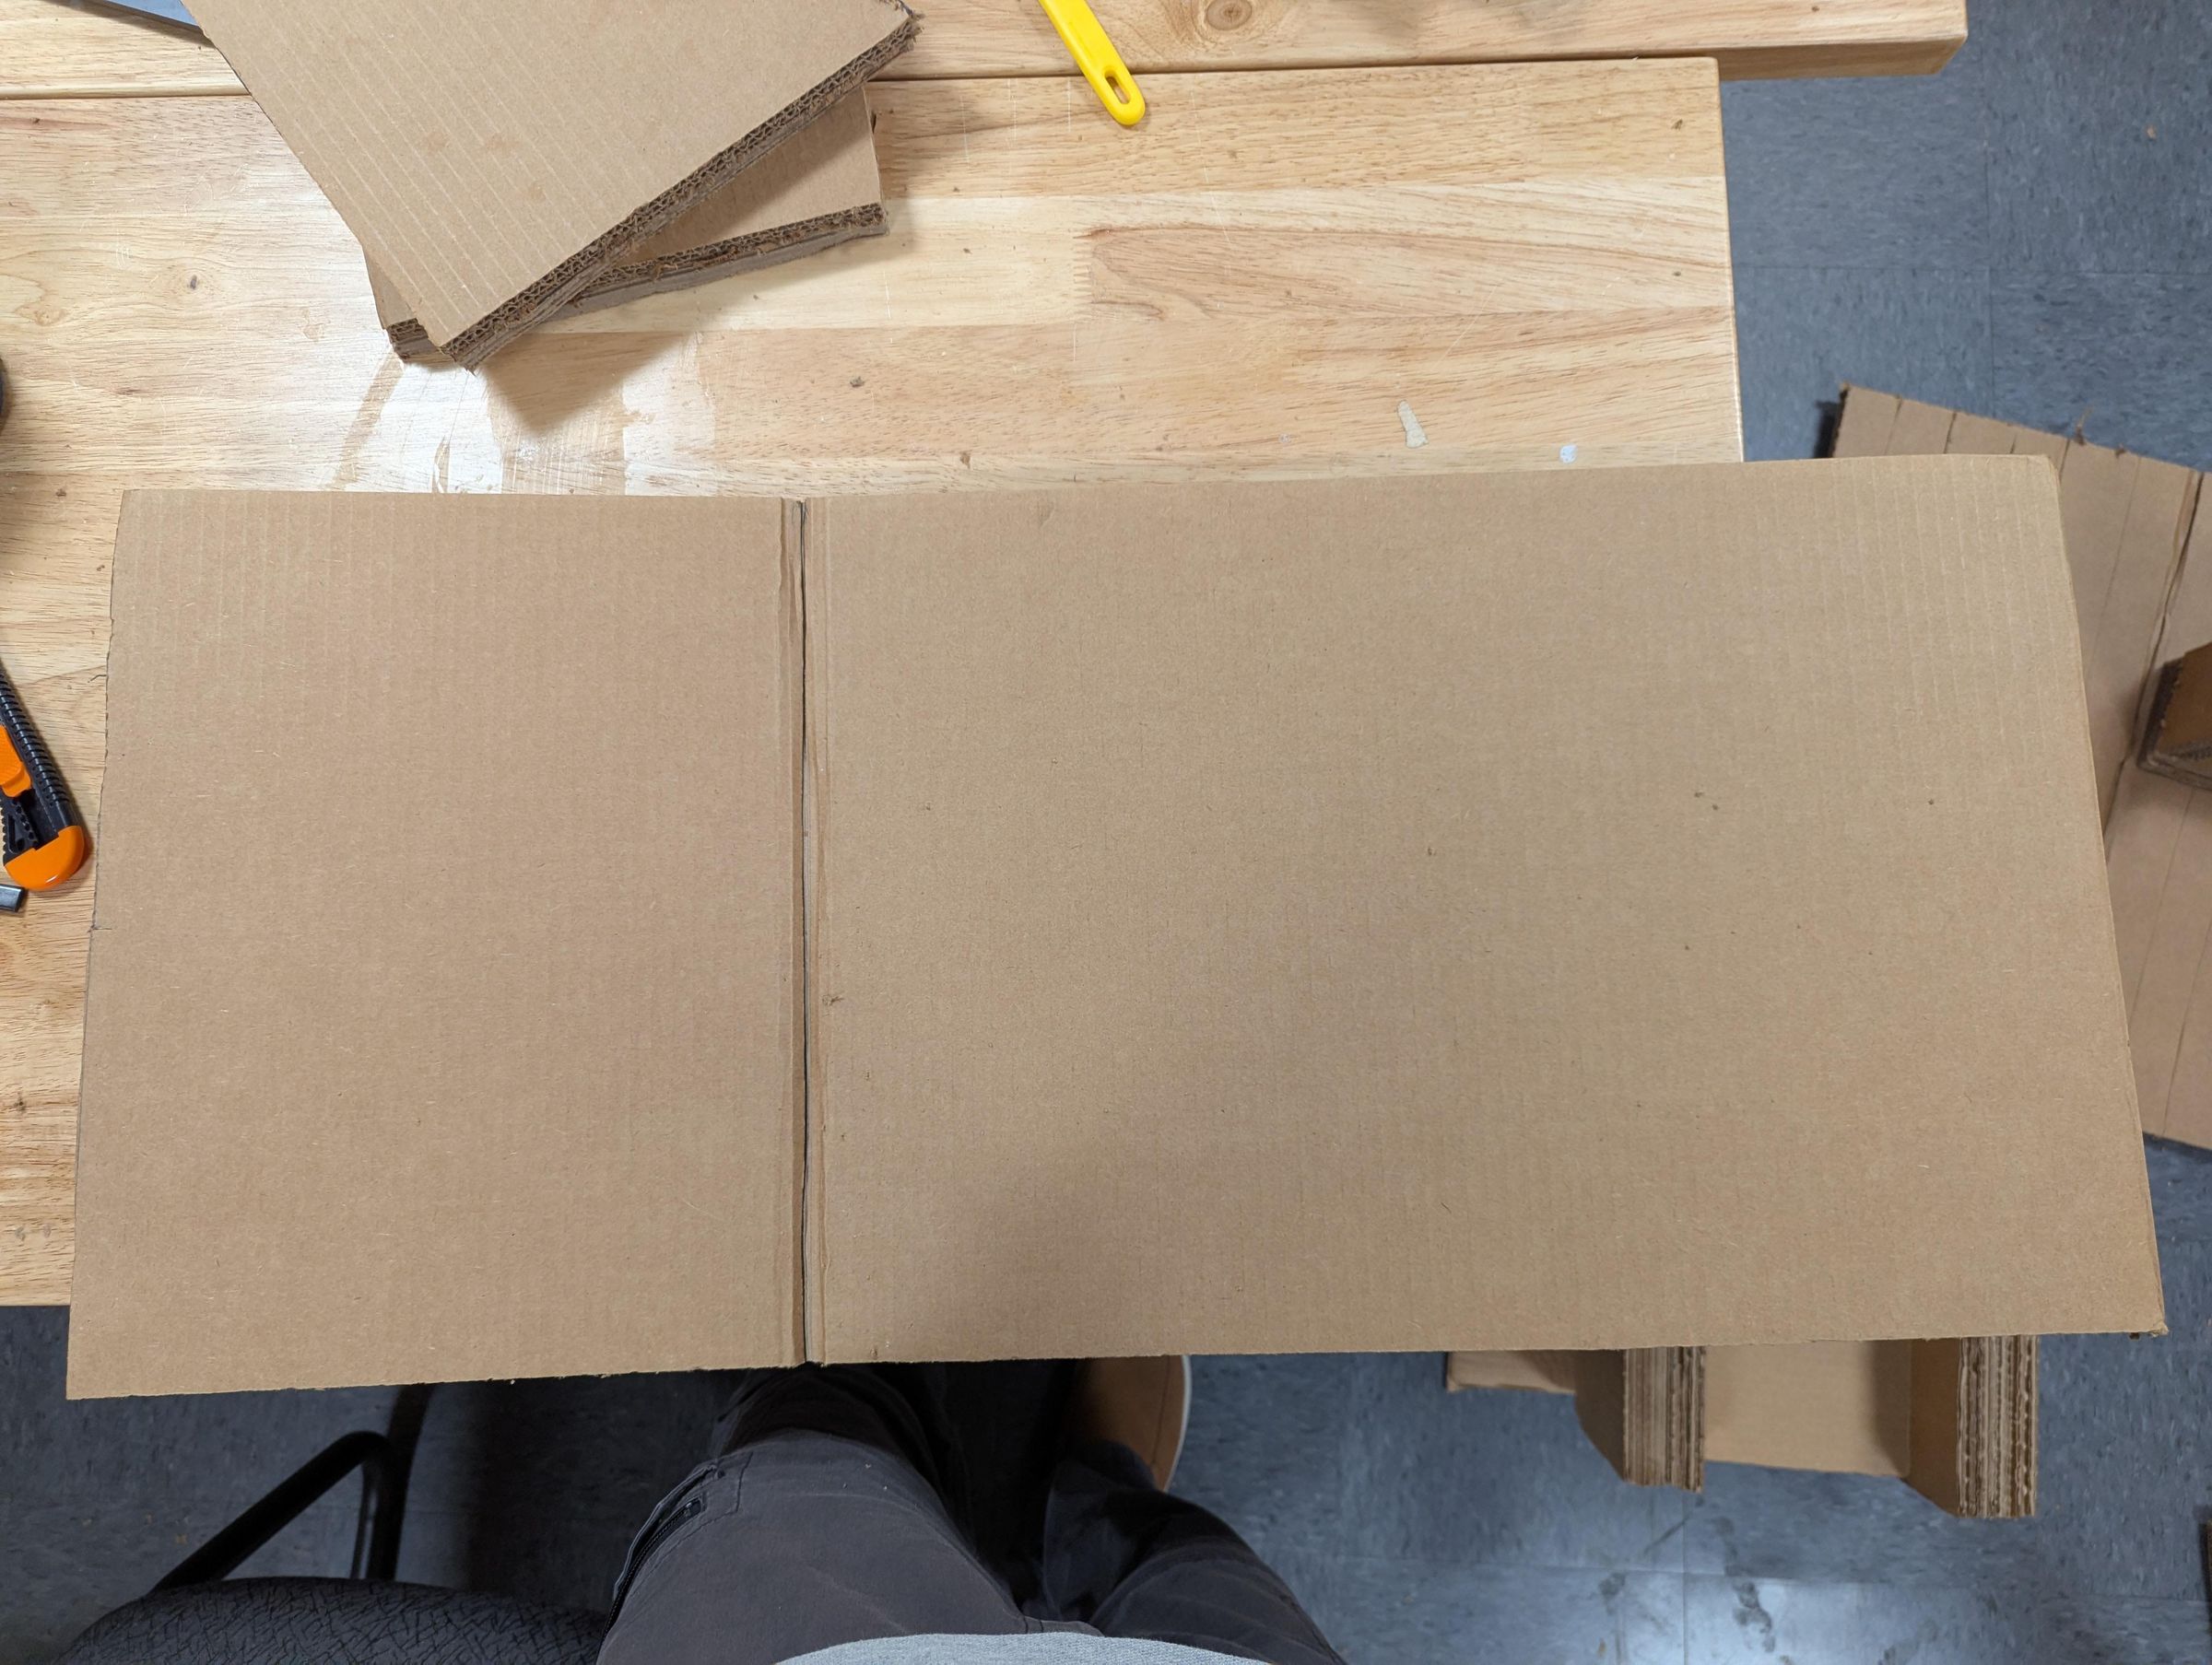
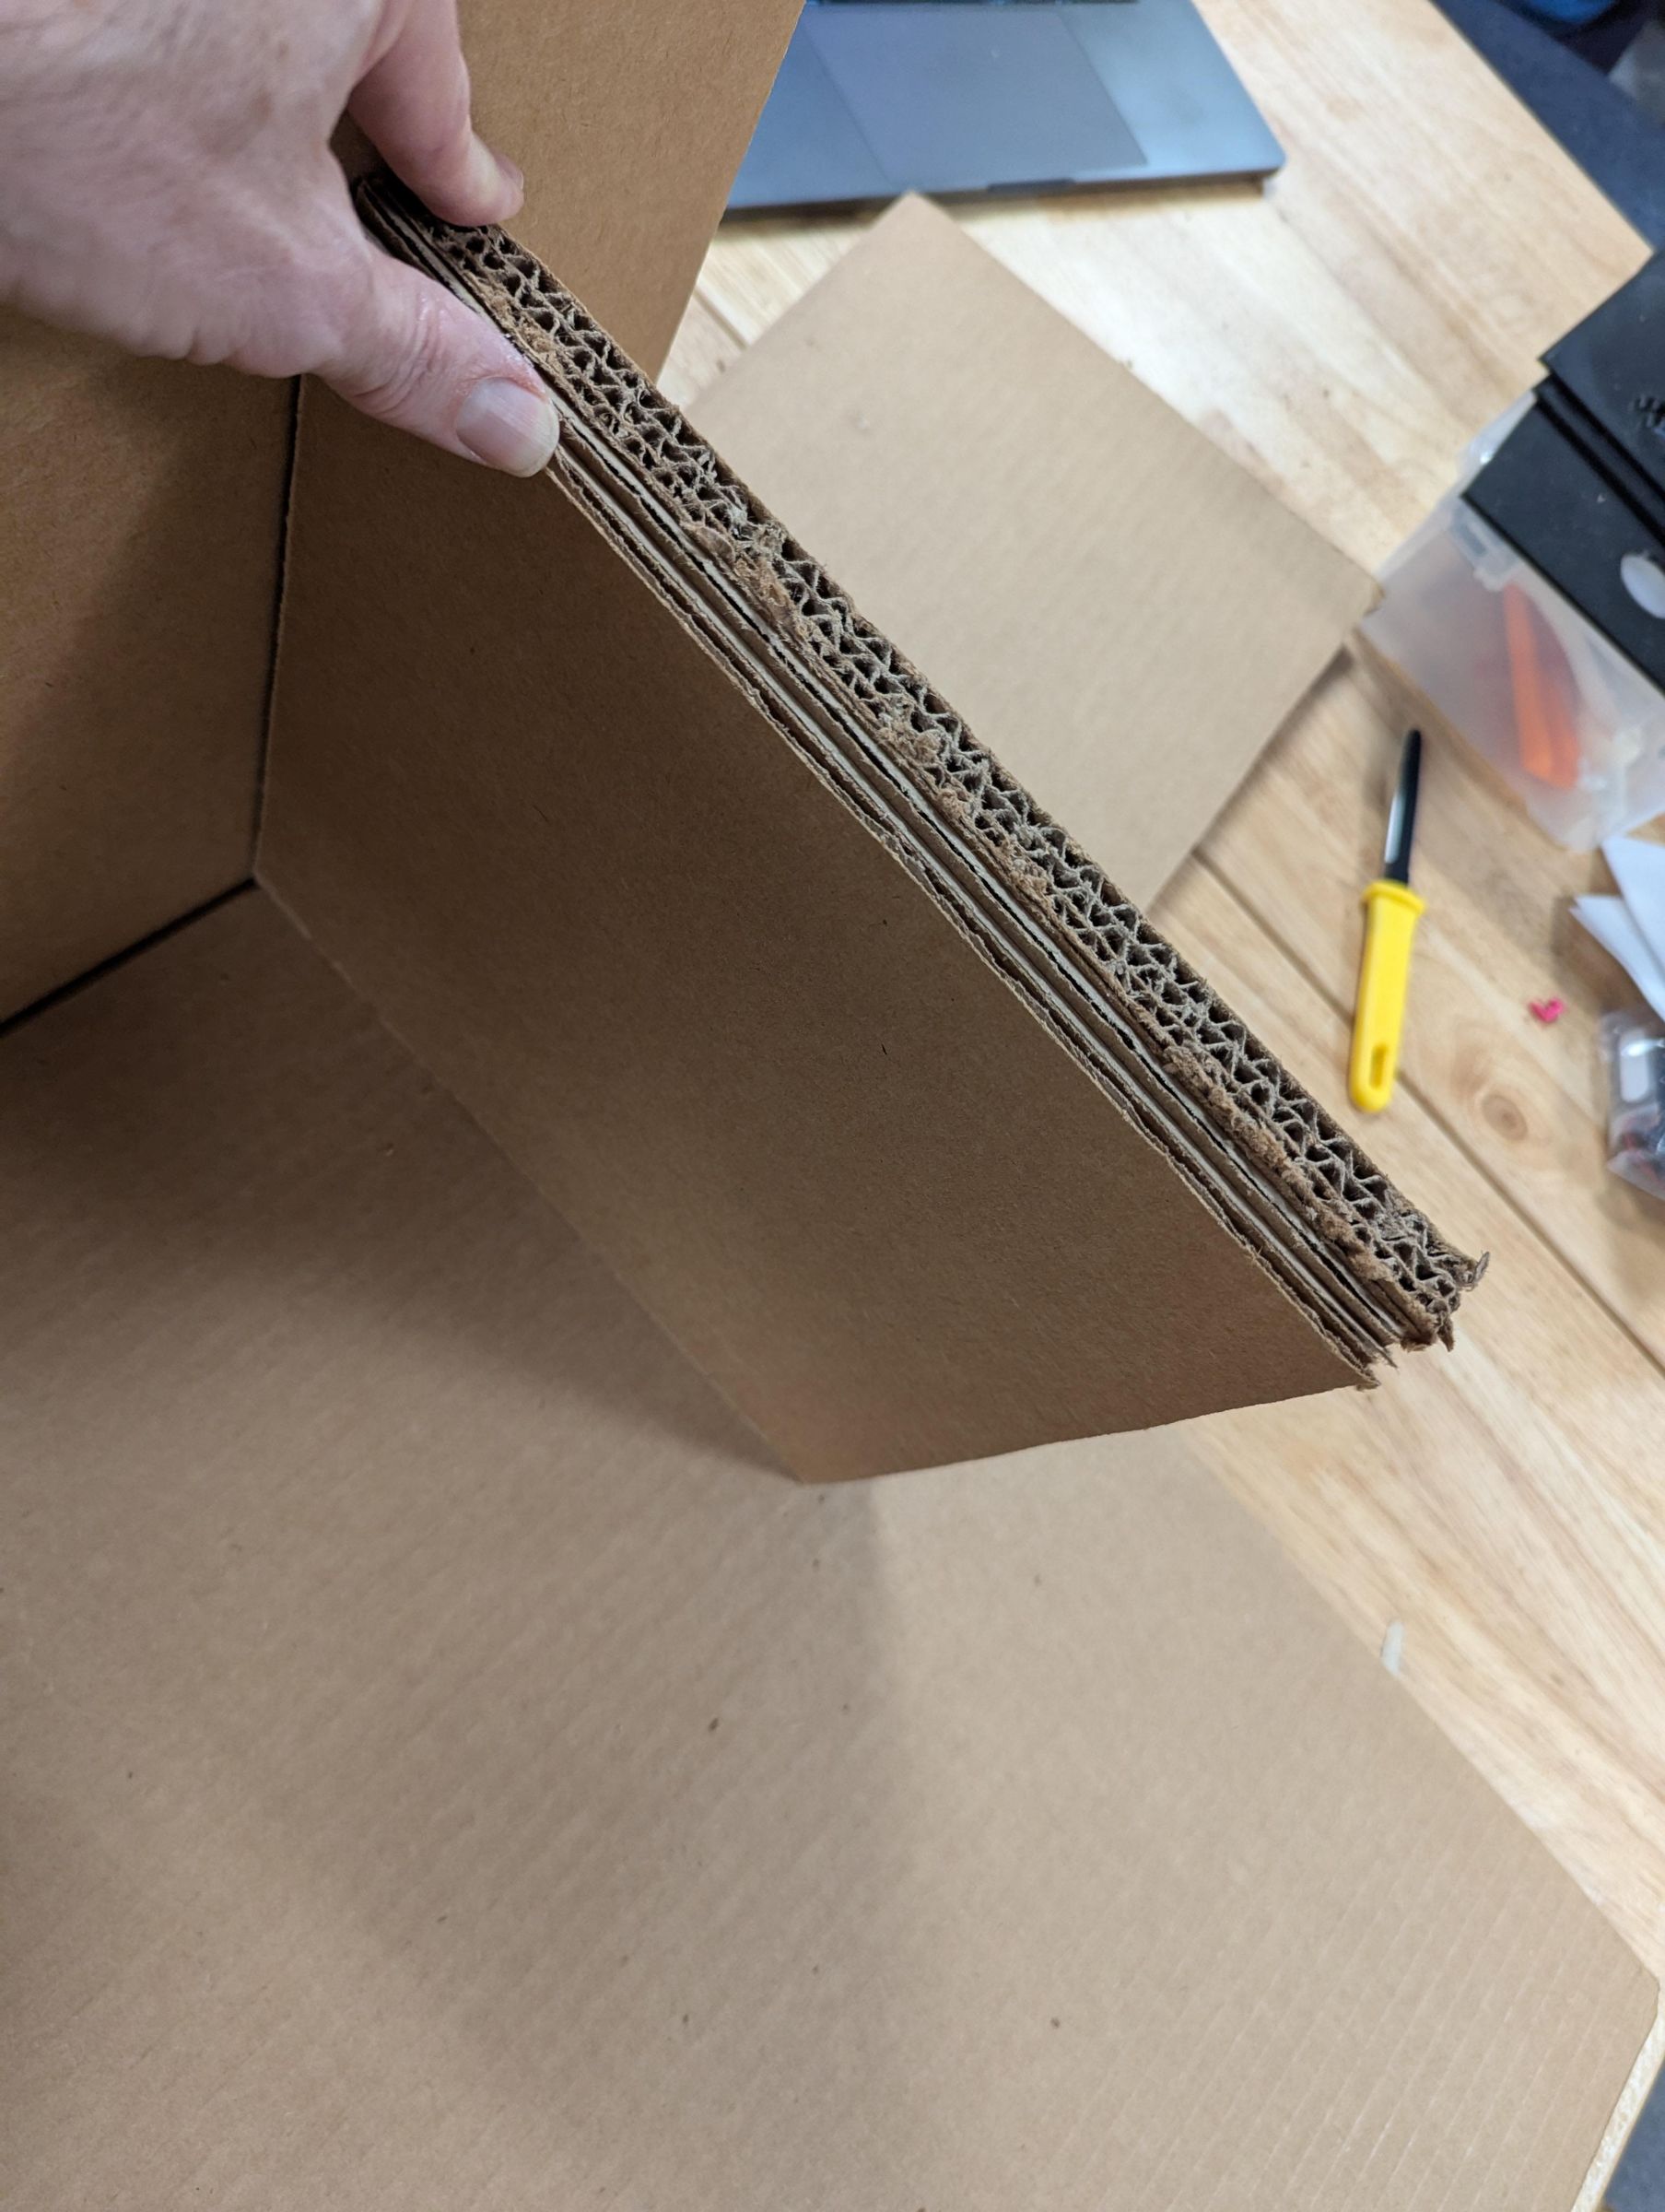
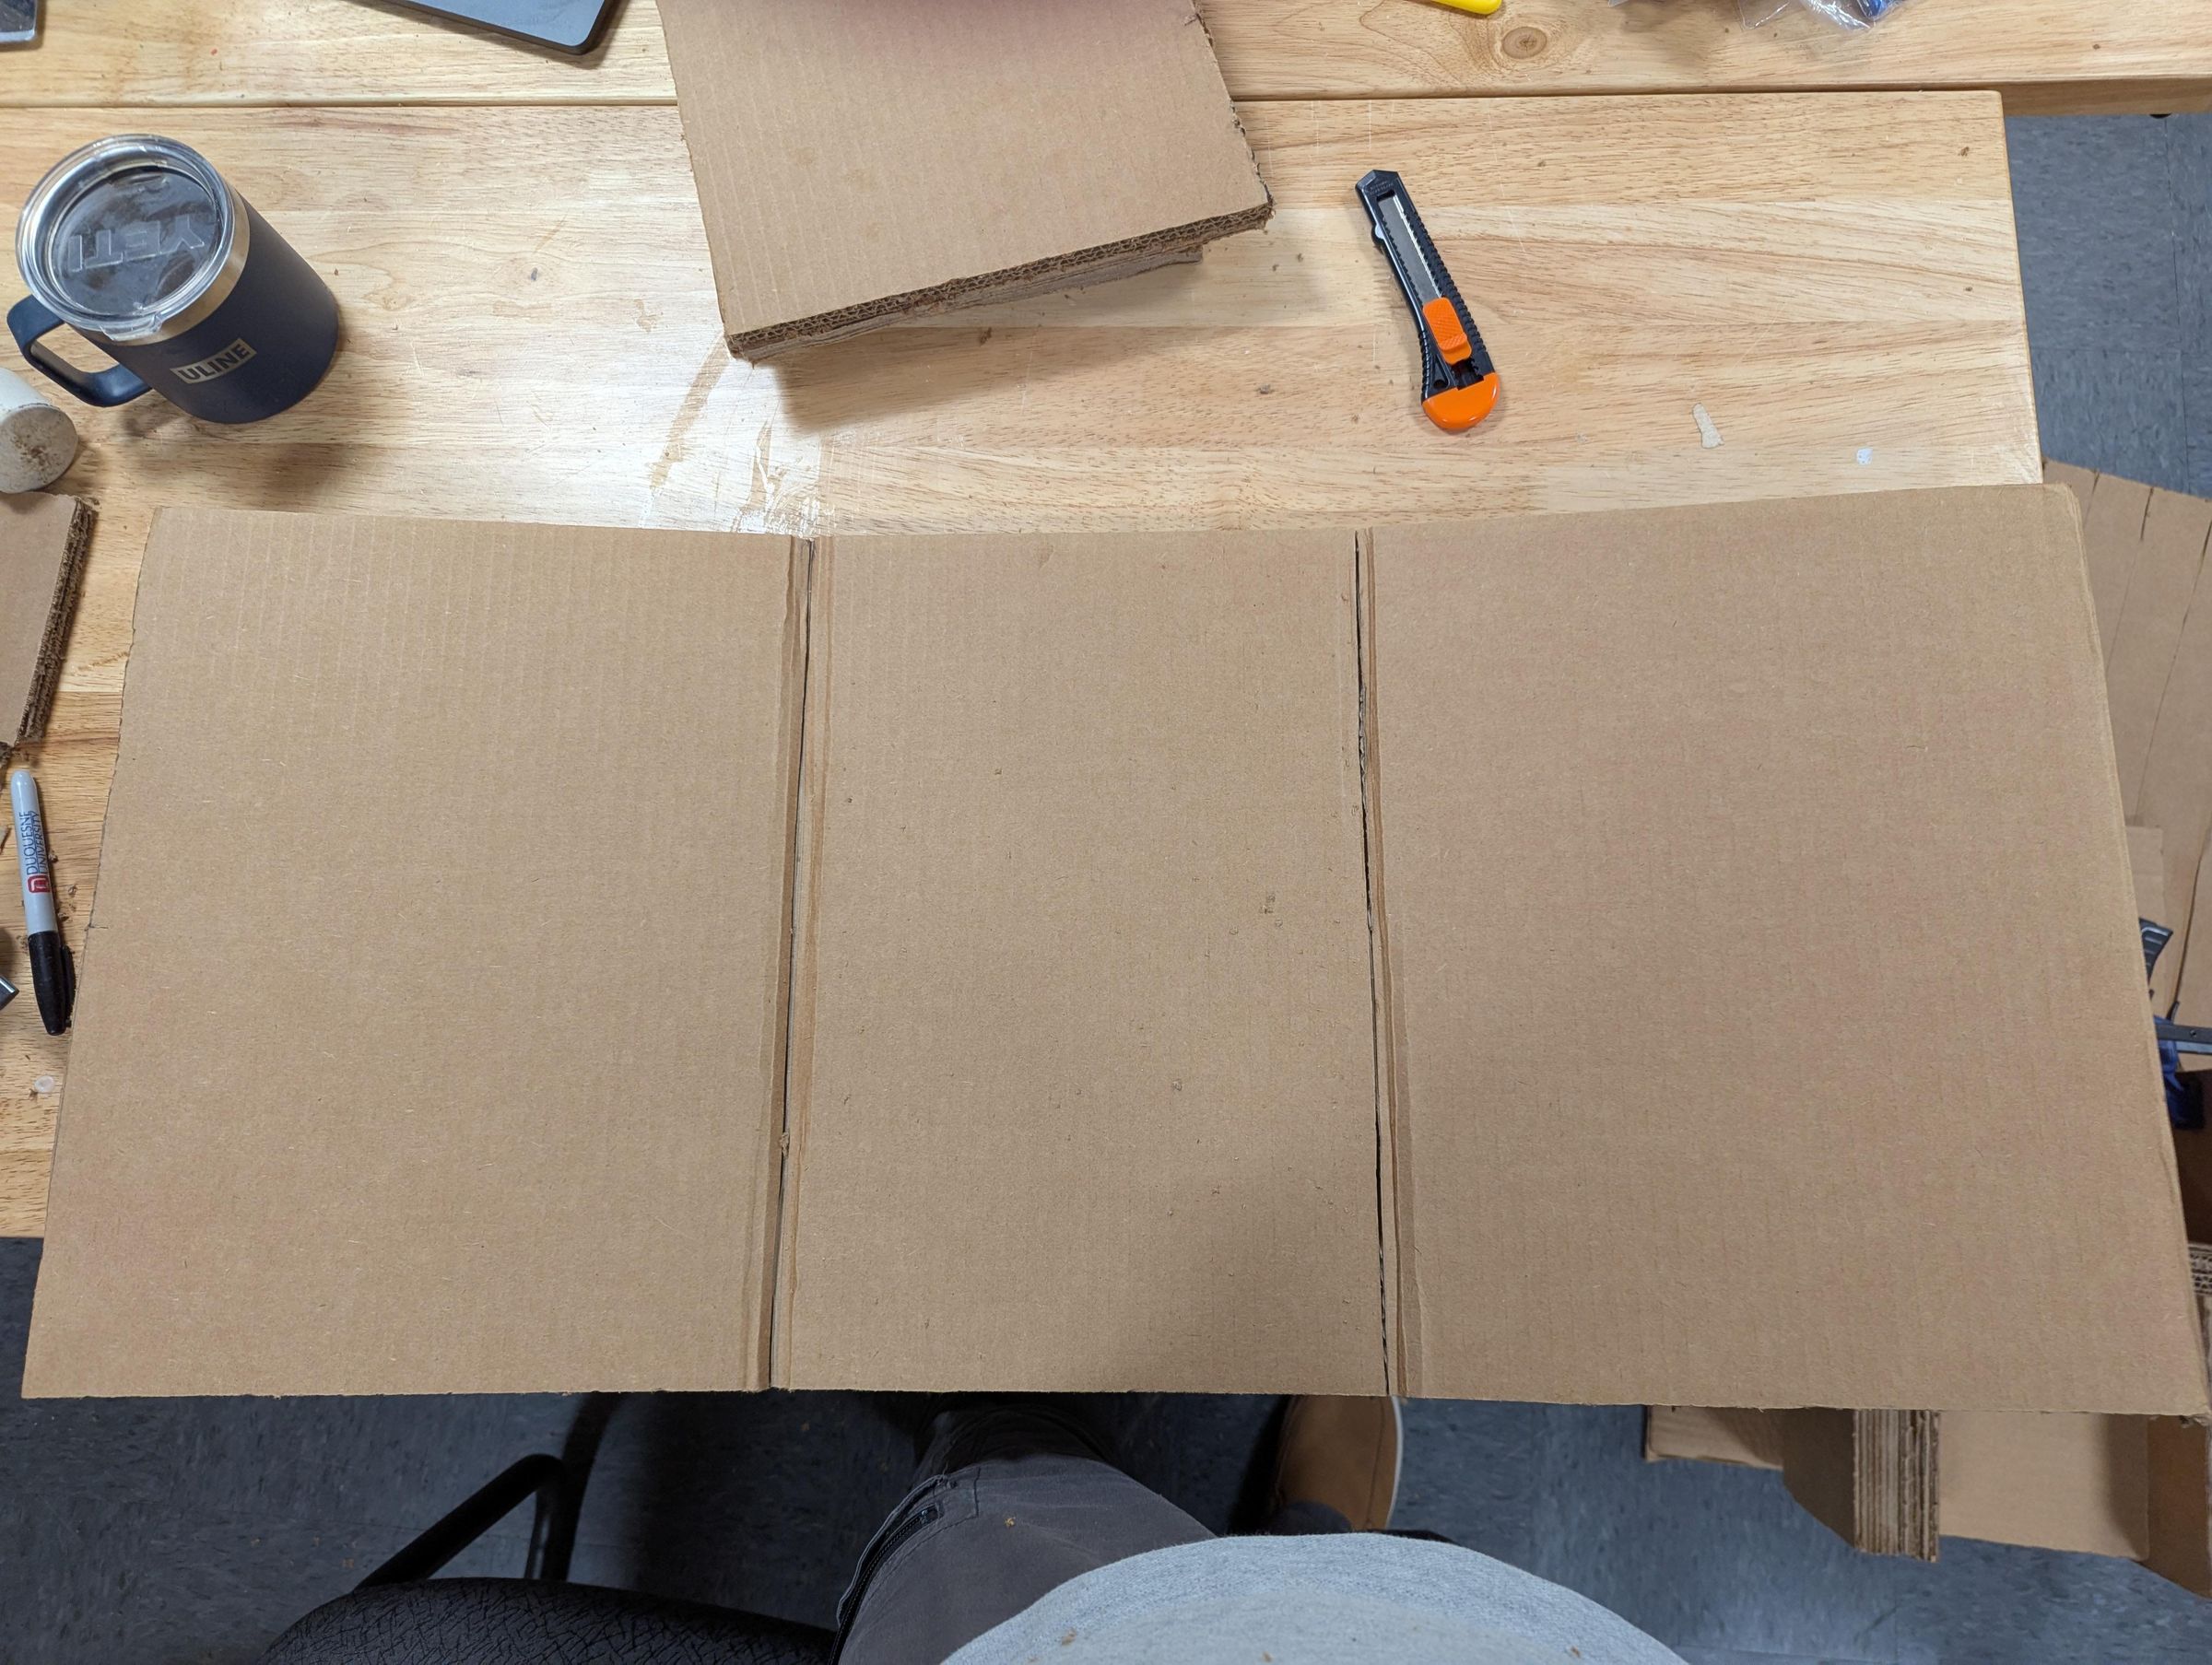
Use side pieces to measure out main piece. Leave excess for bends.
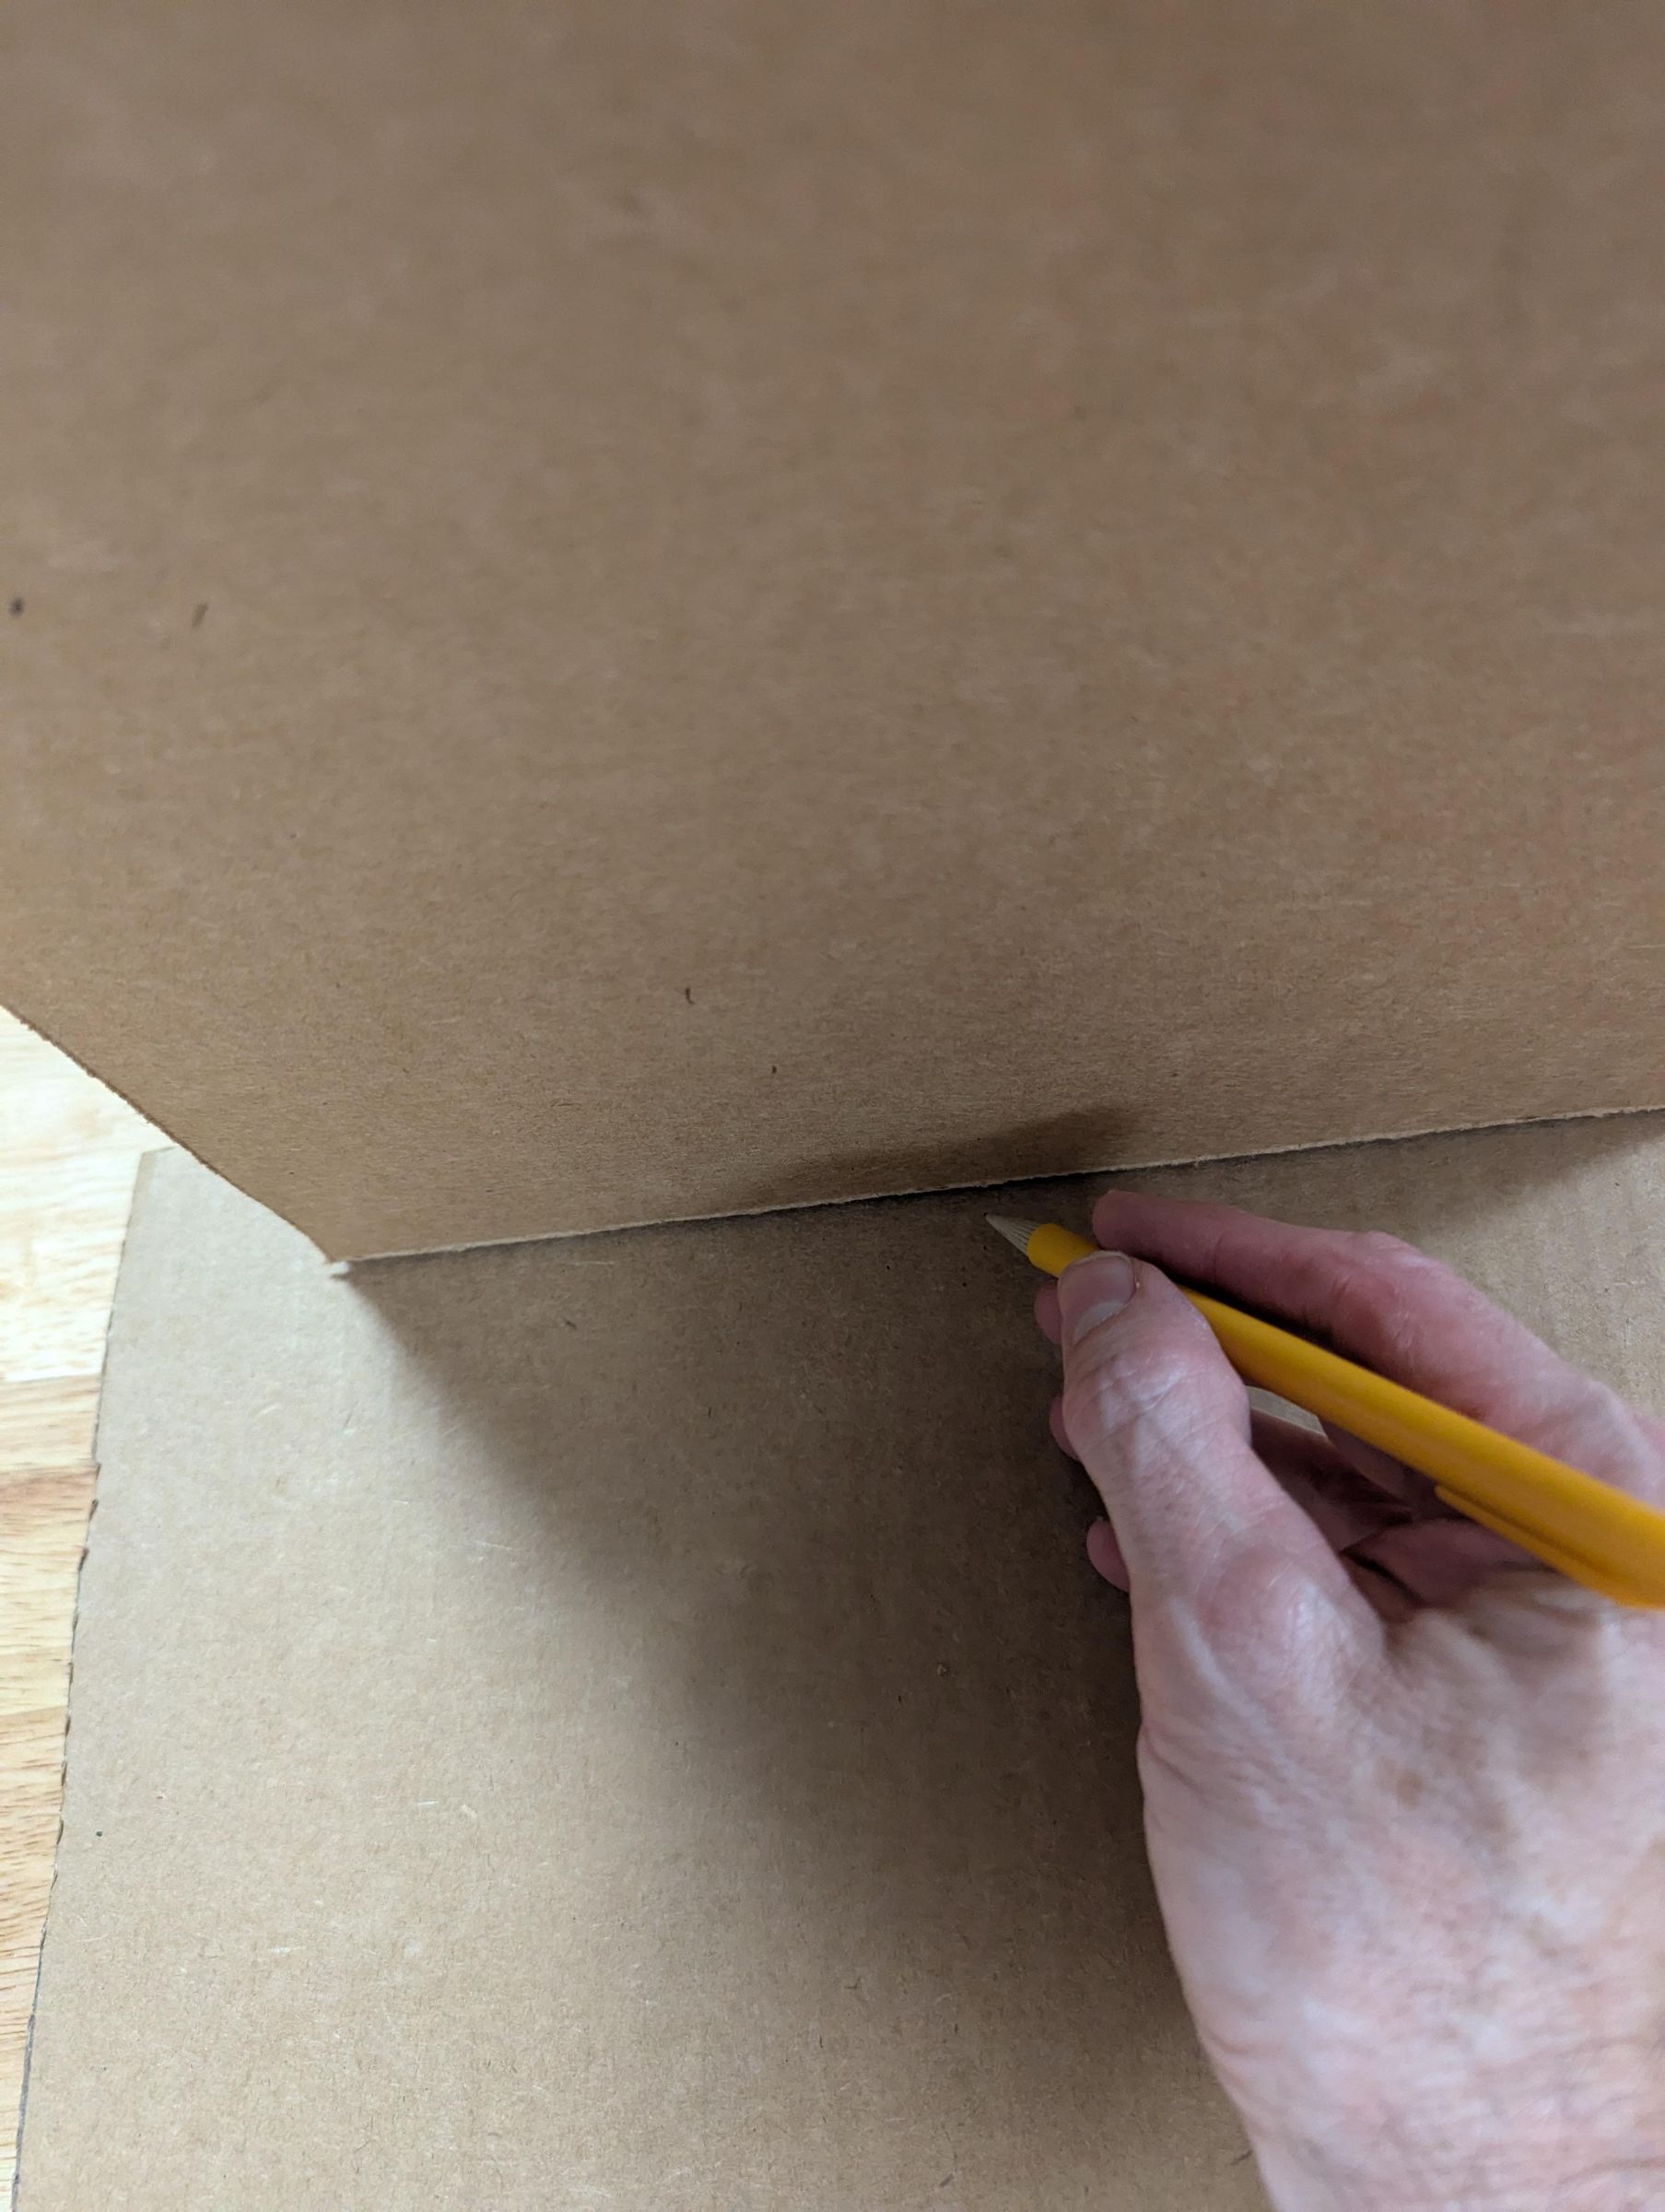
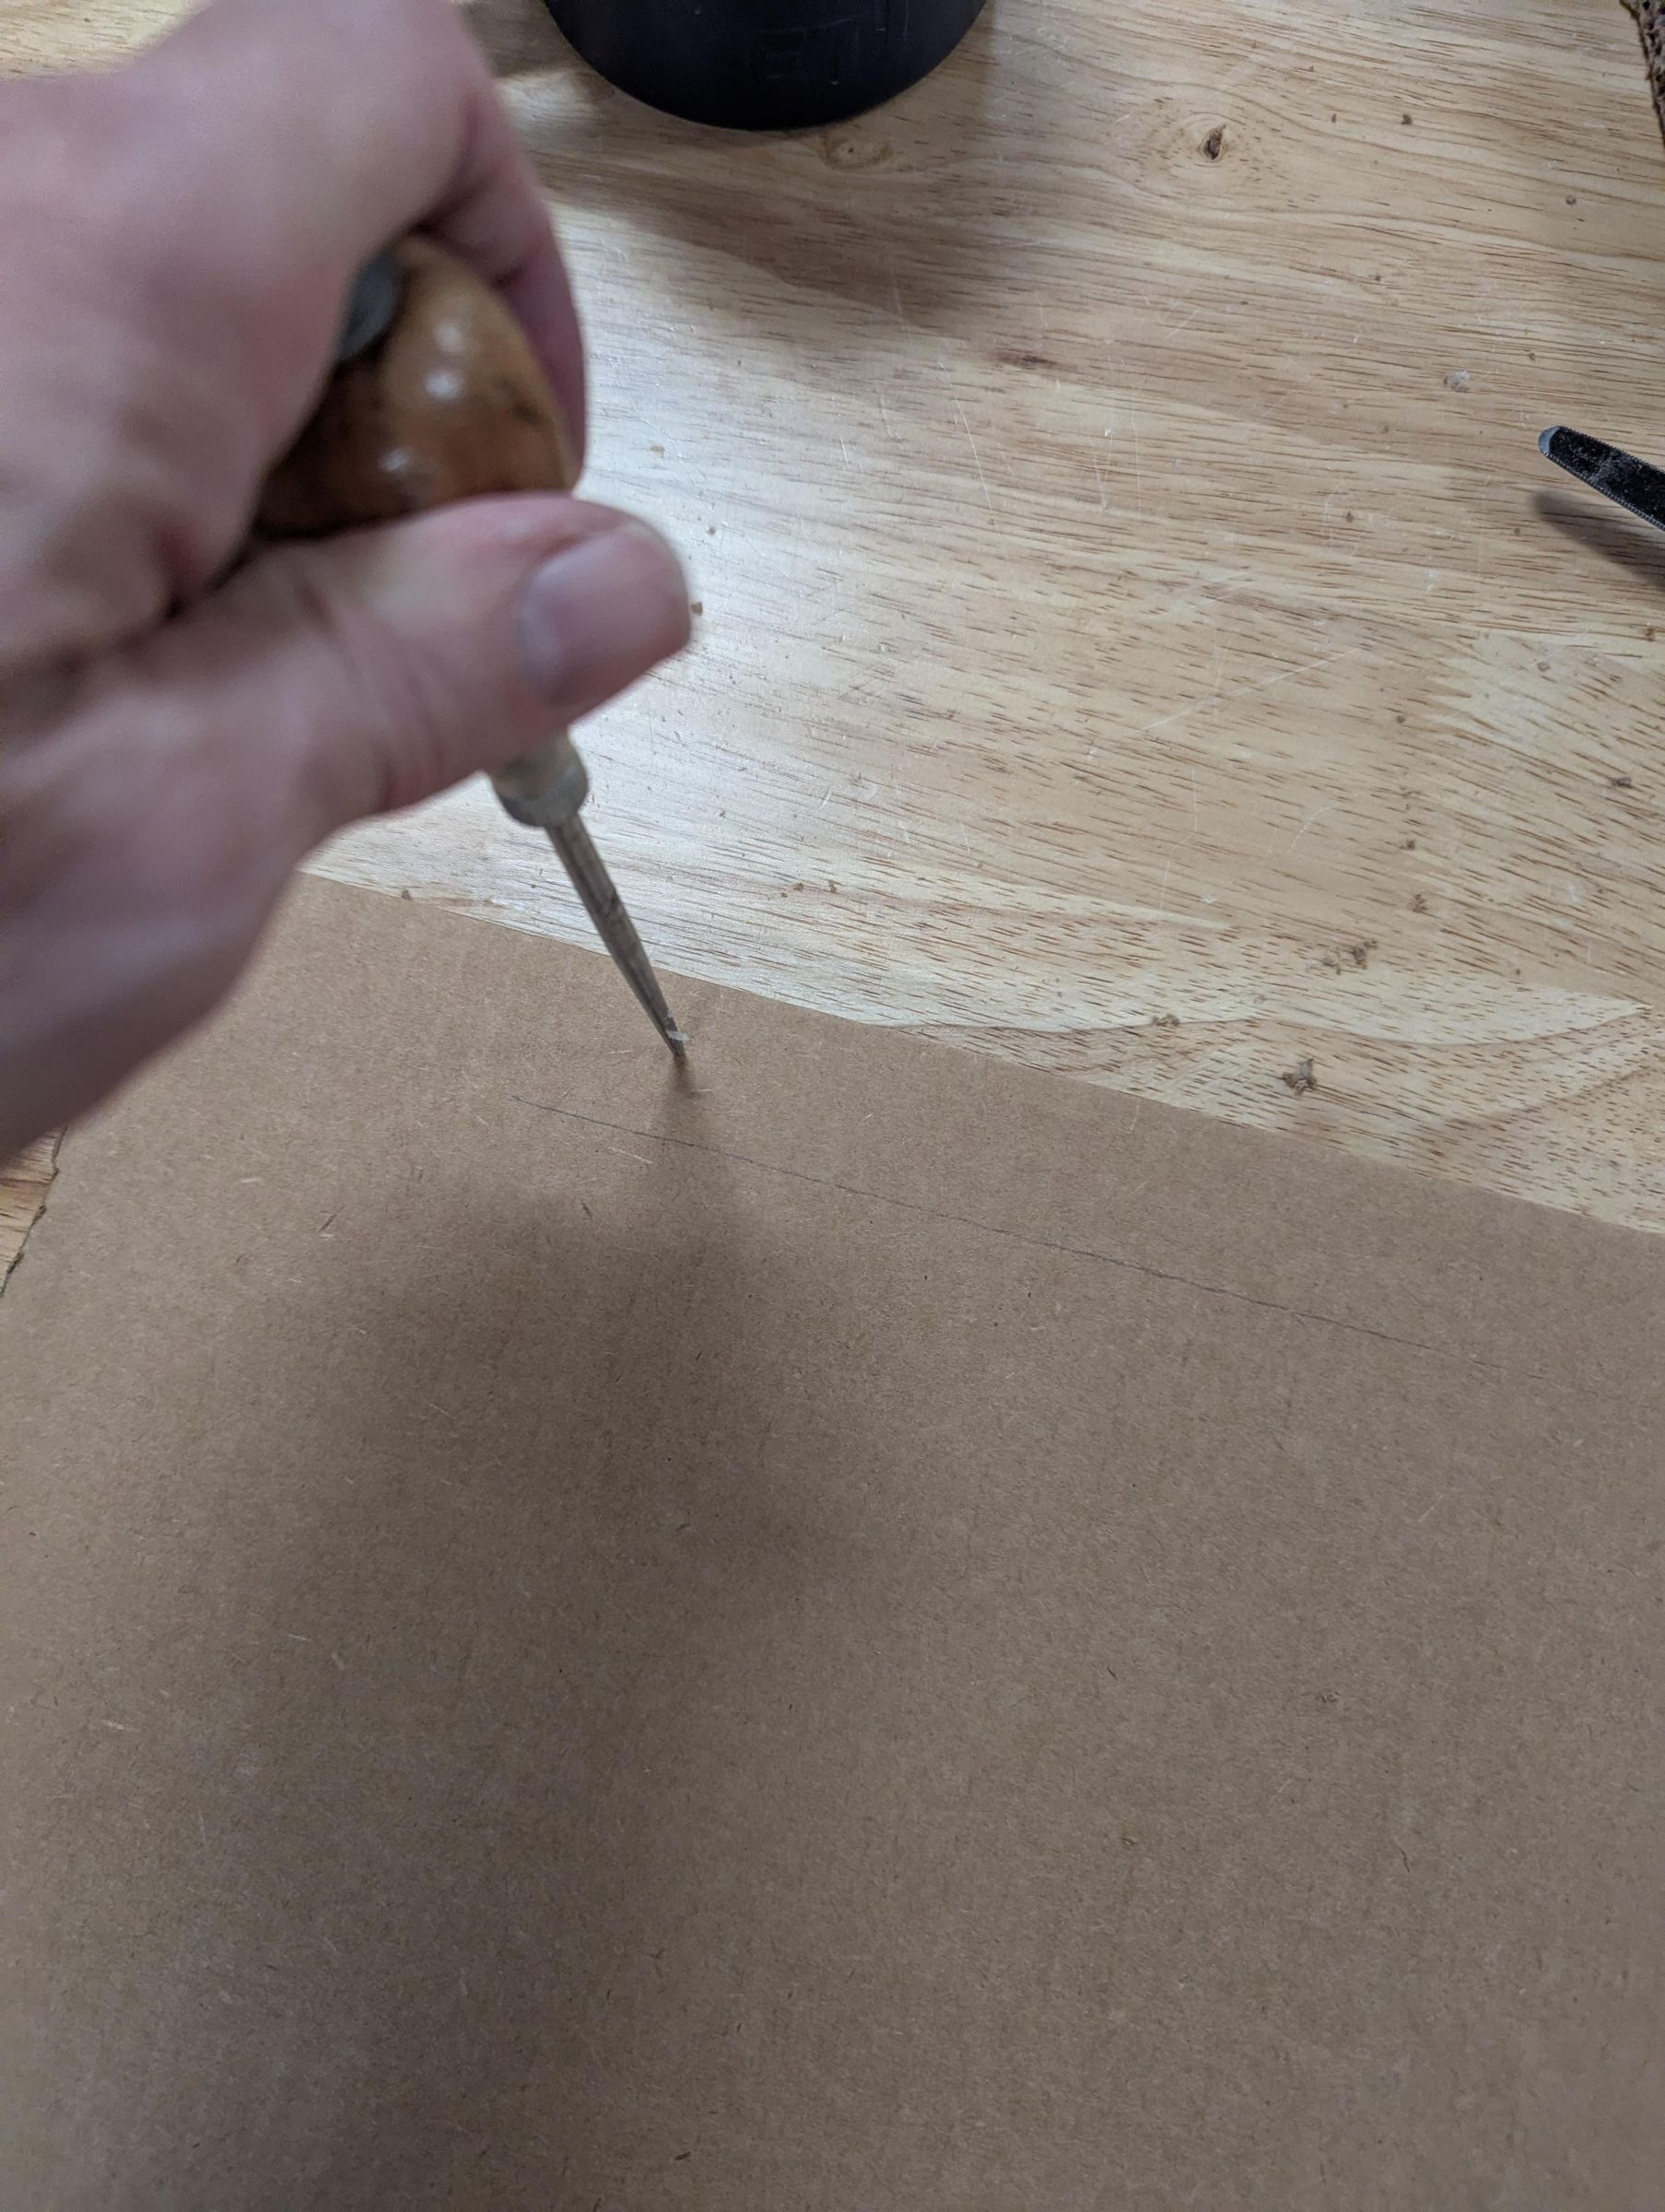
1. Mark out where you want your cardboard to bend
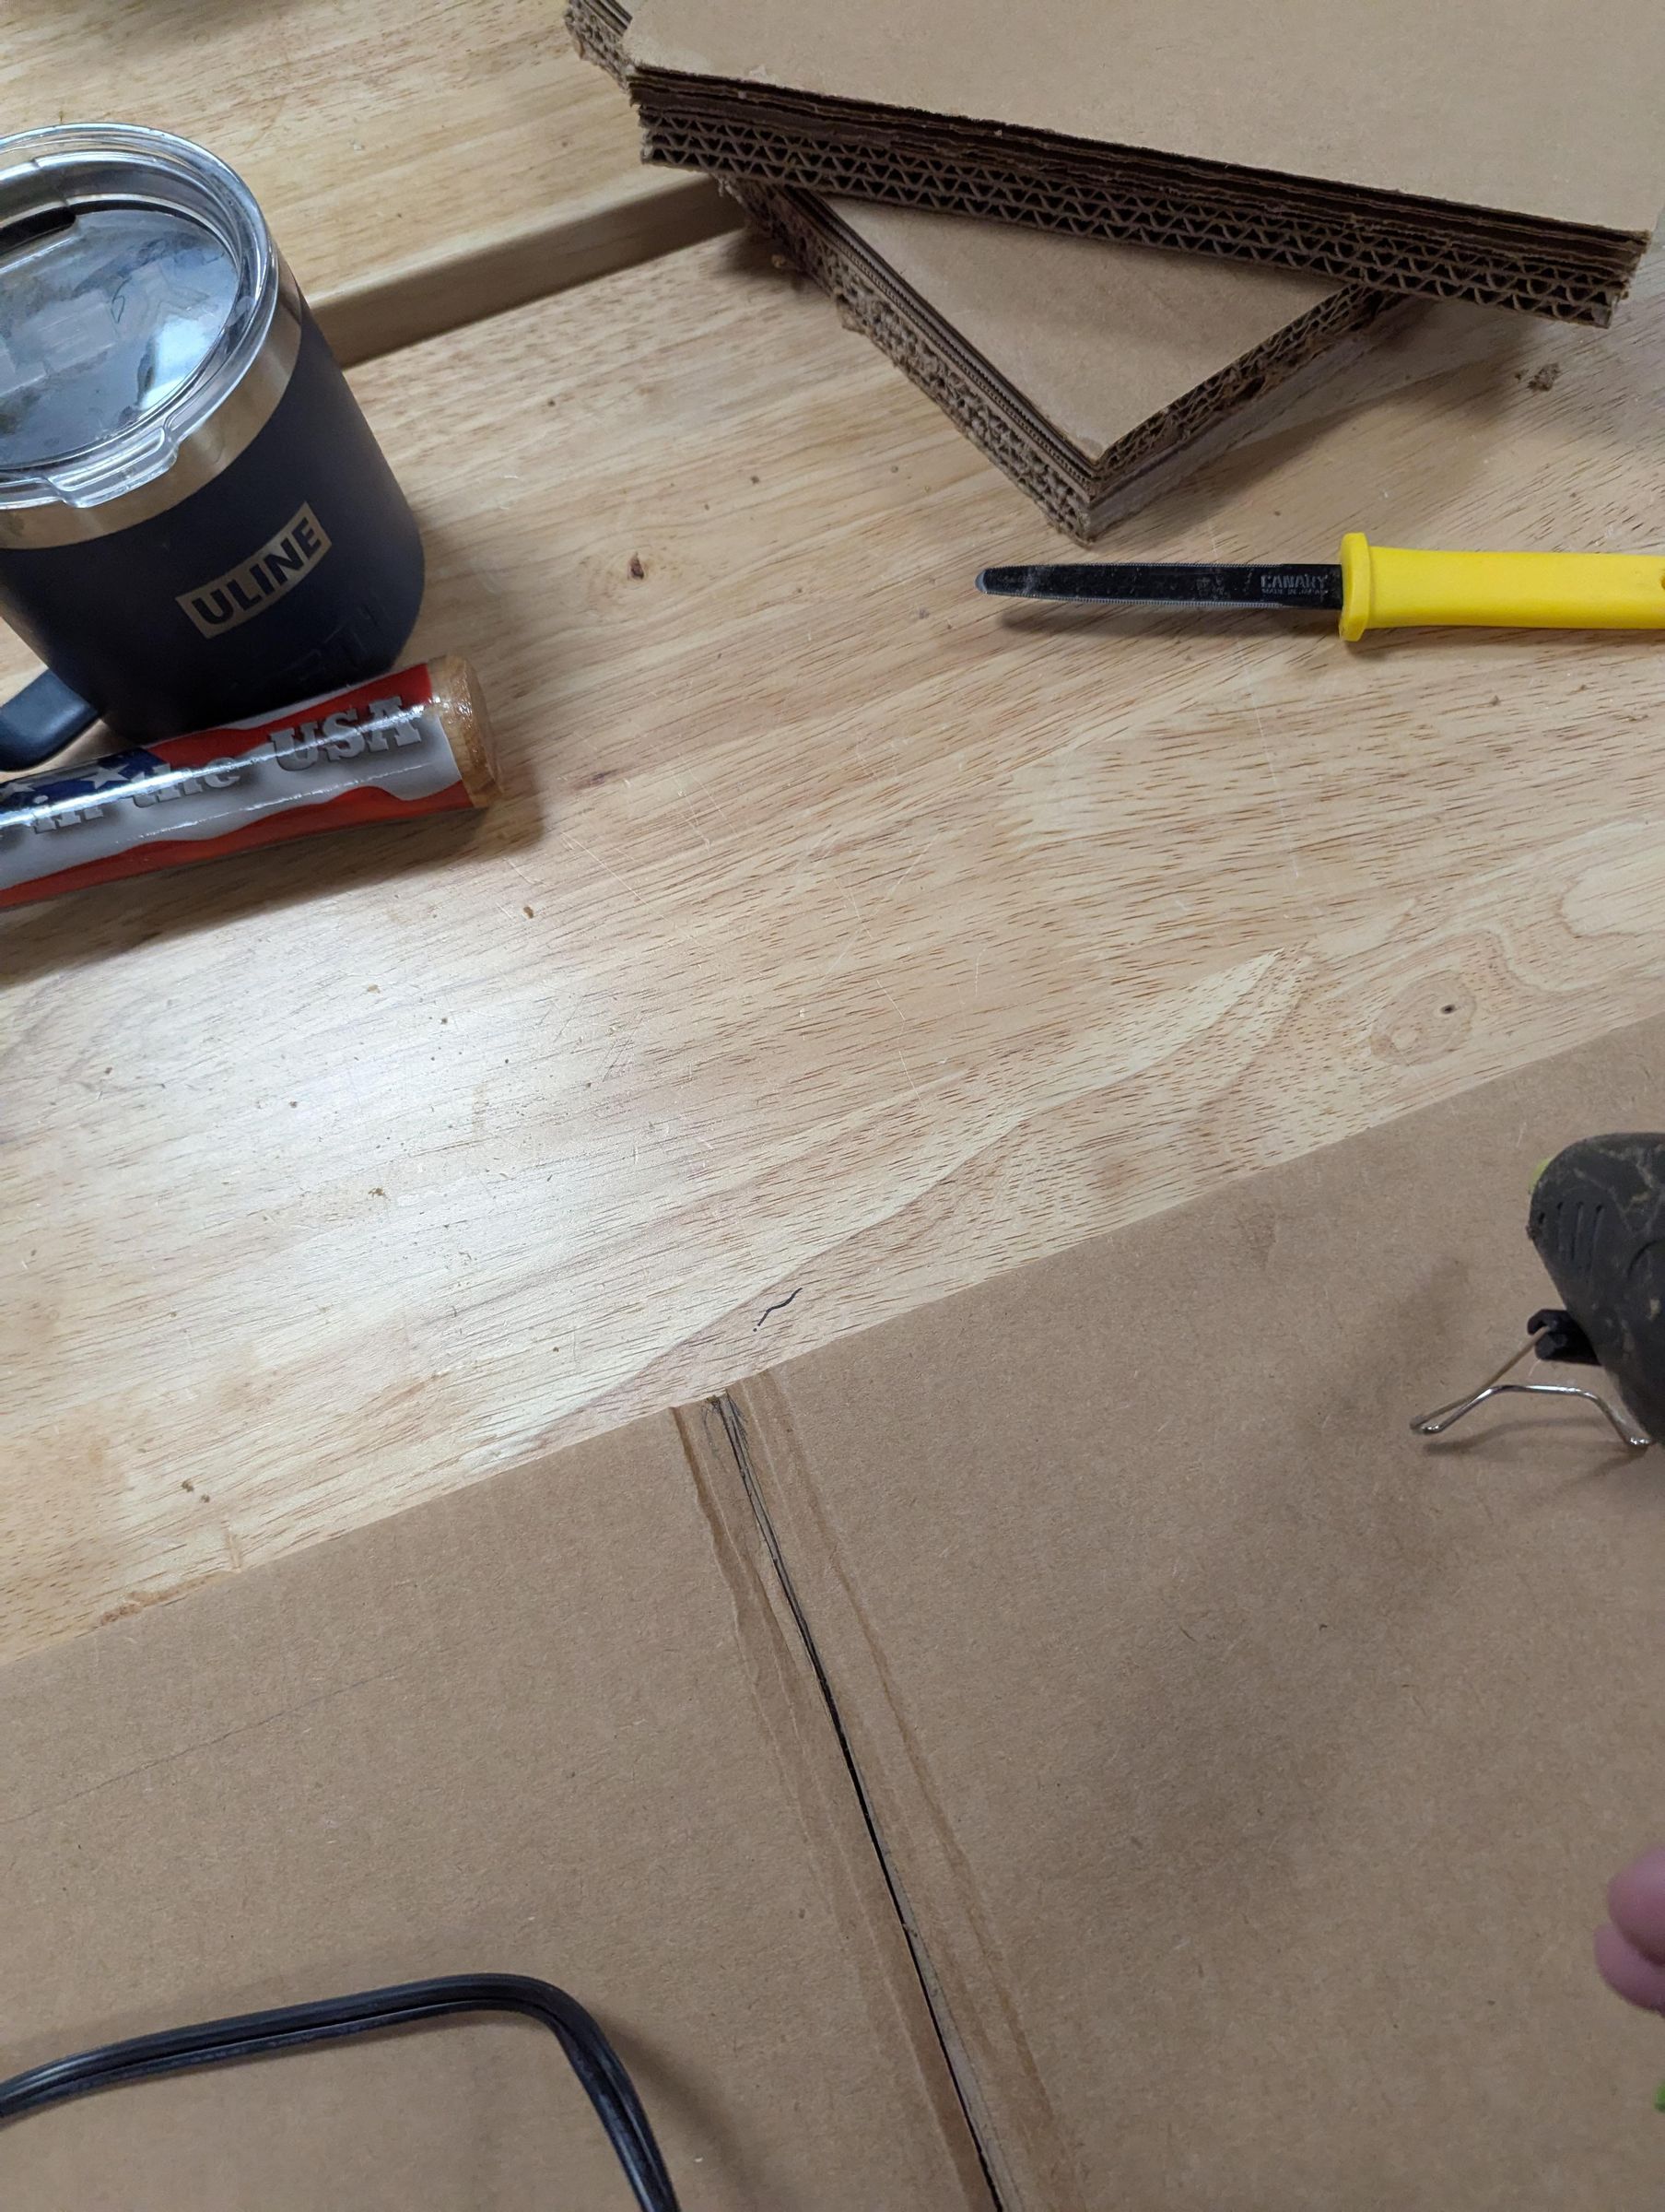
2. Score the cardboard with a box cutter
Attach Side Pieces to Main Piece
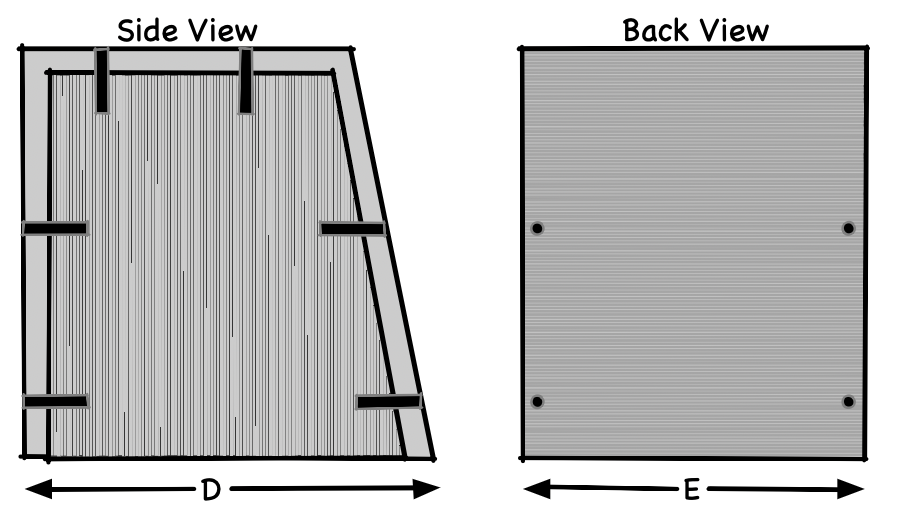
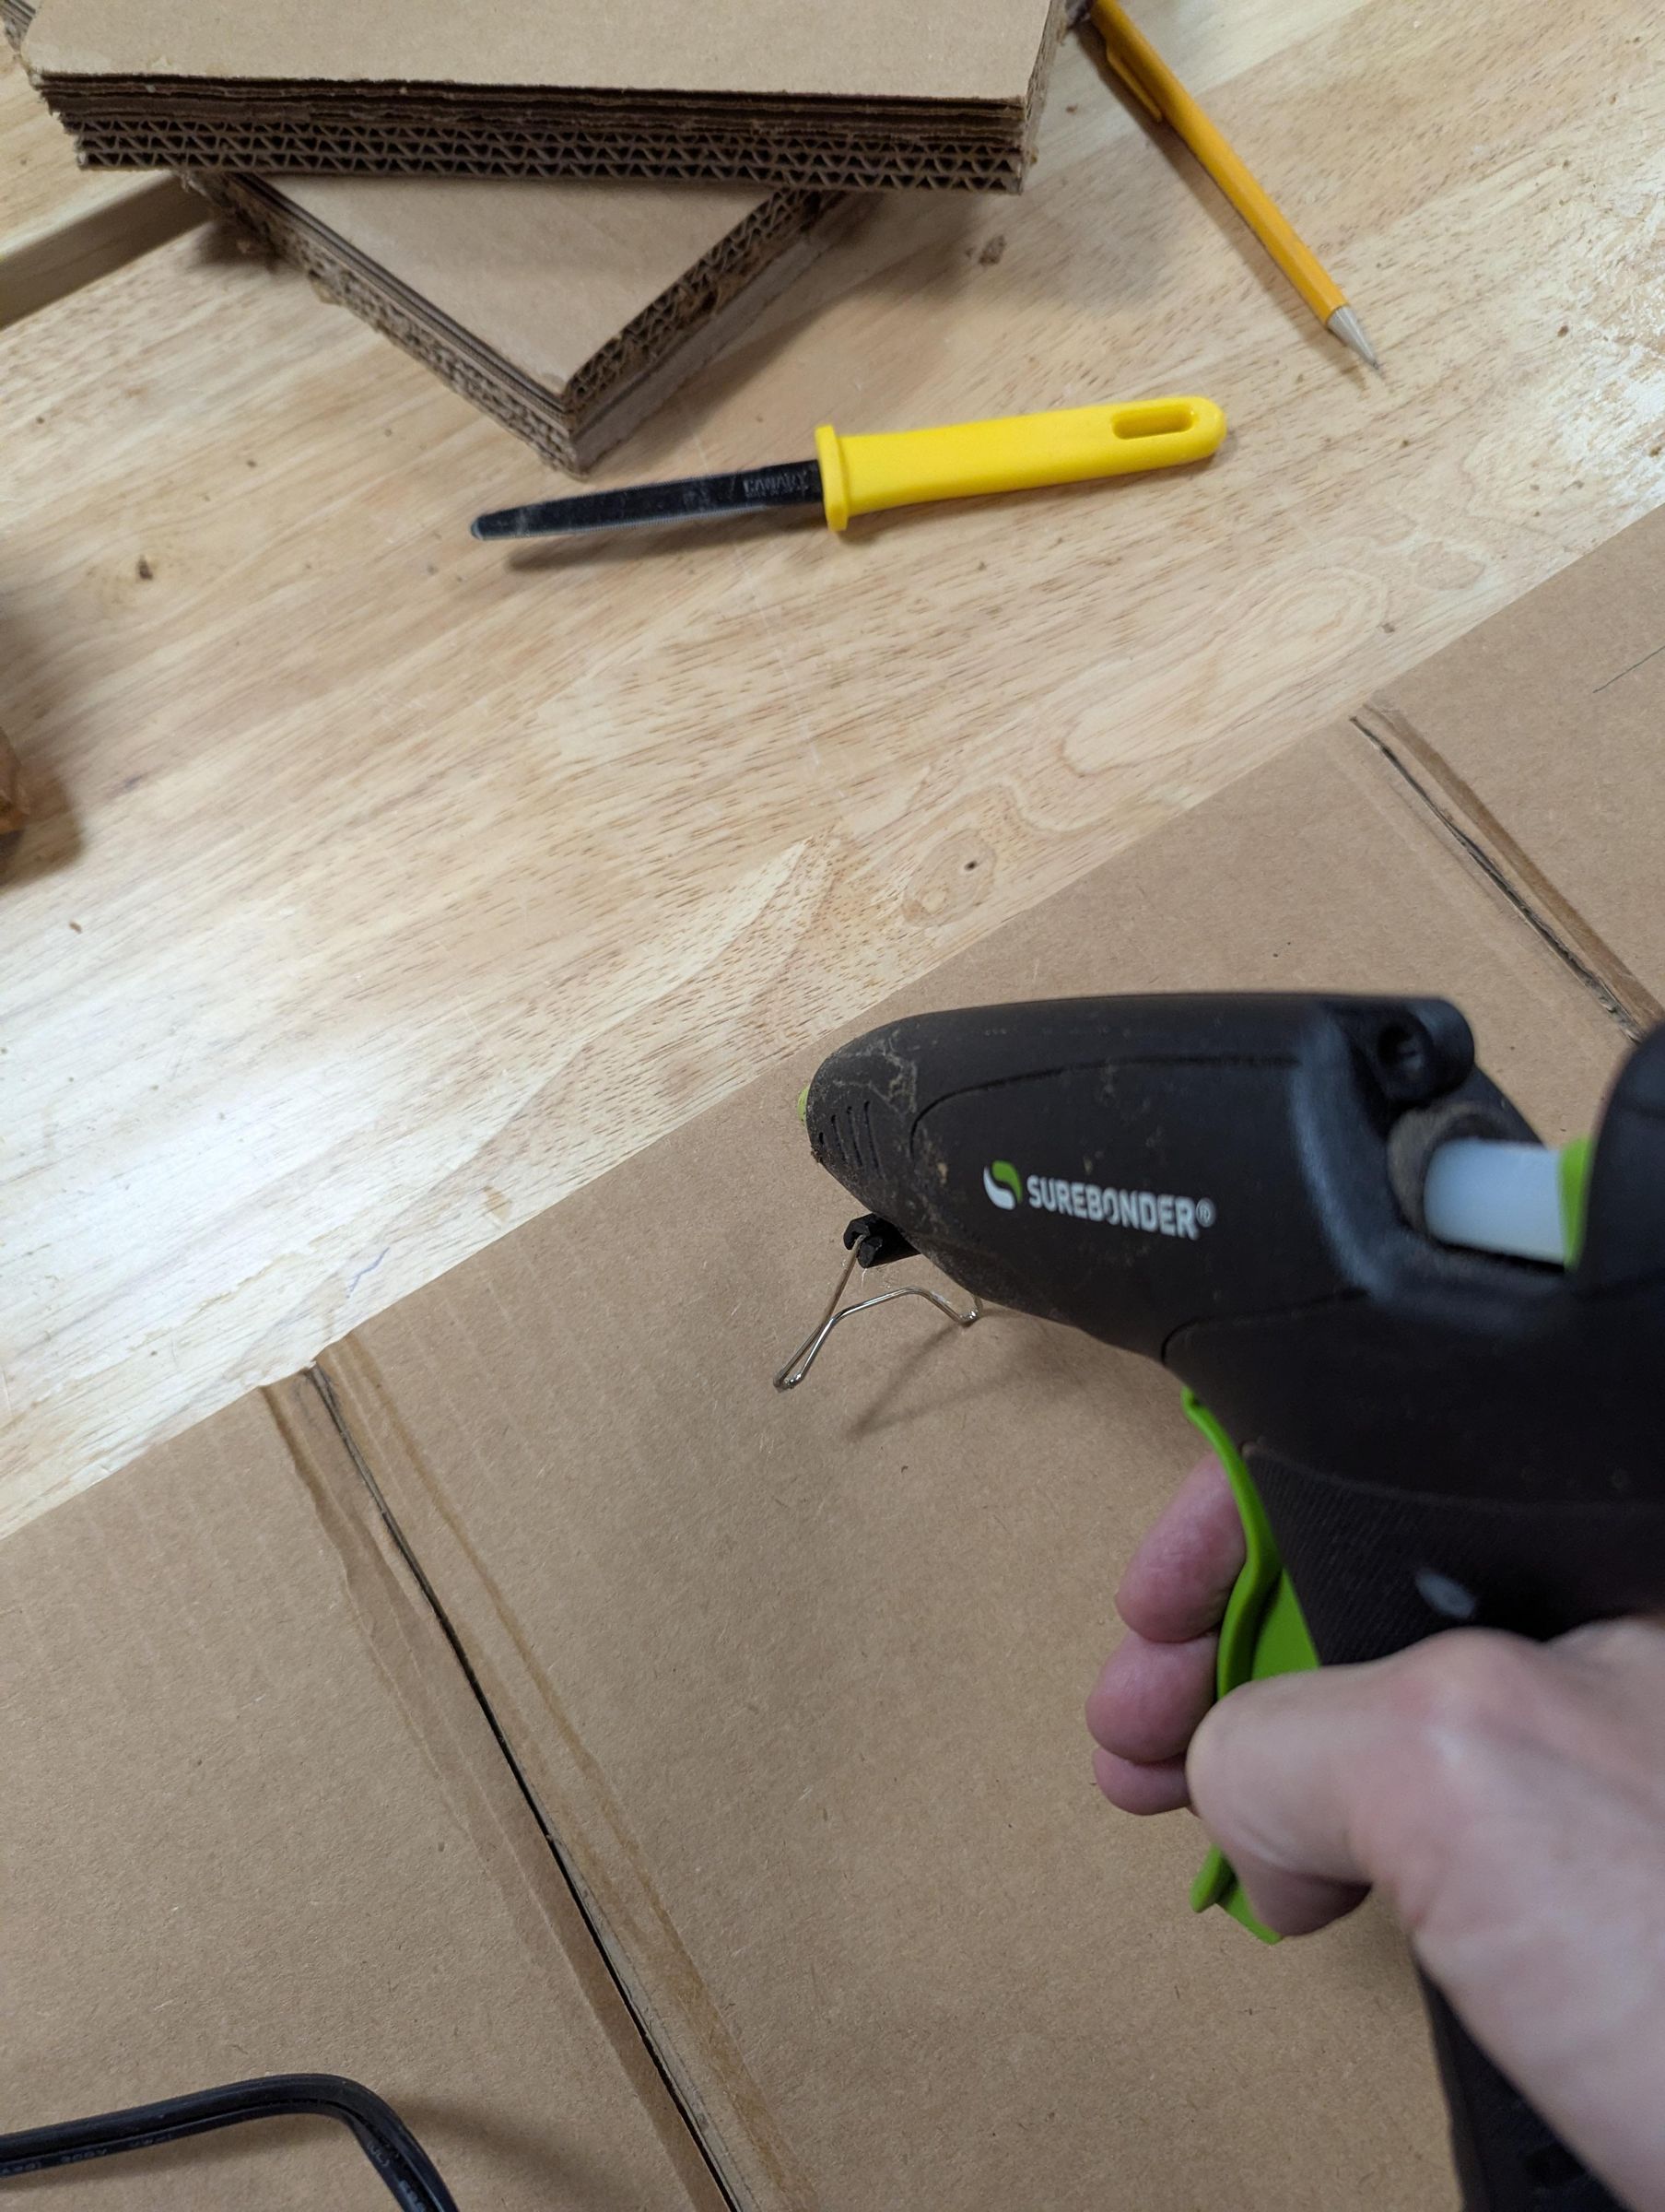
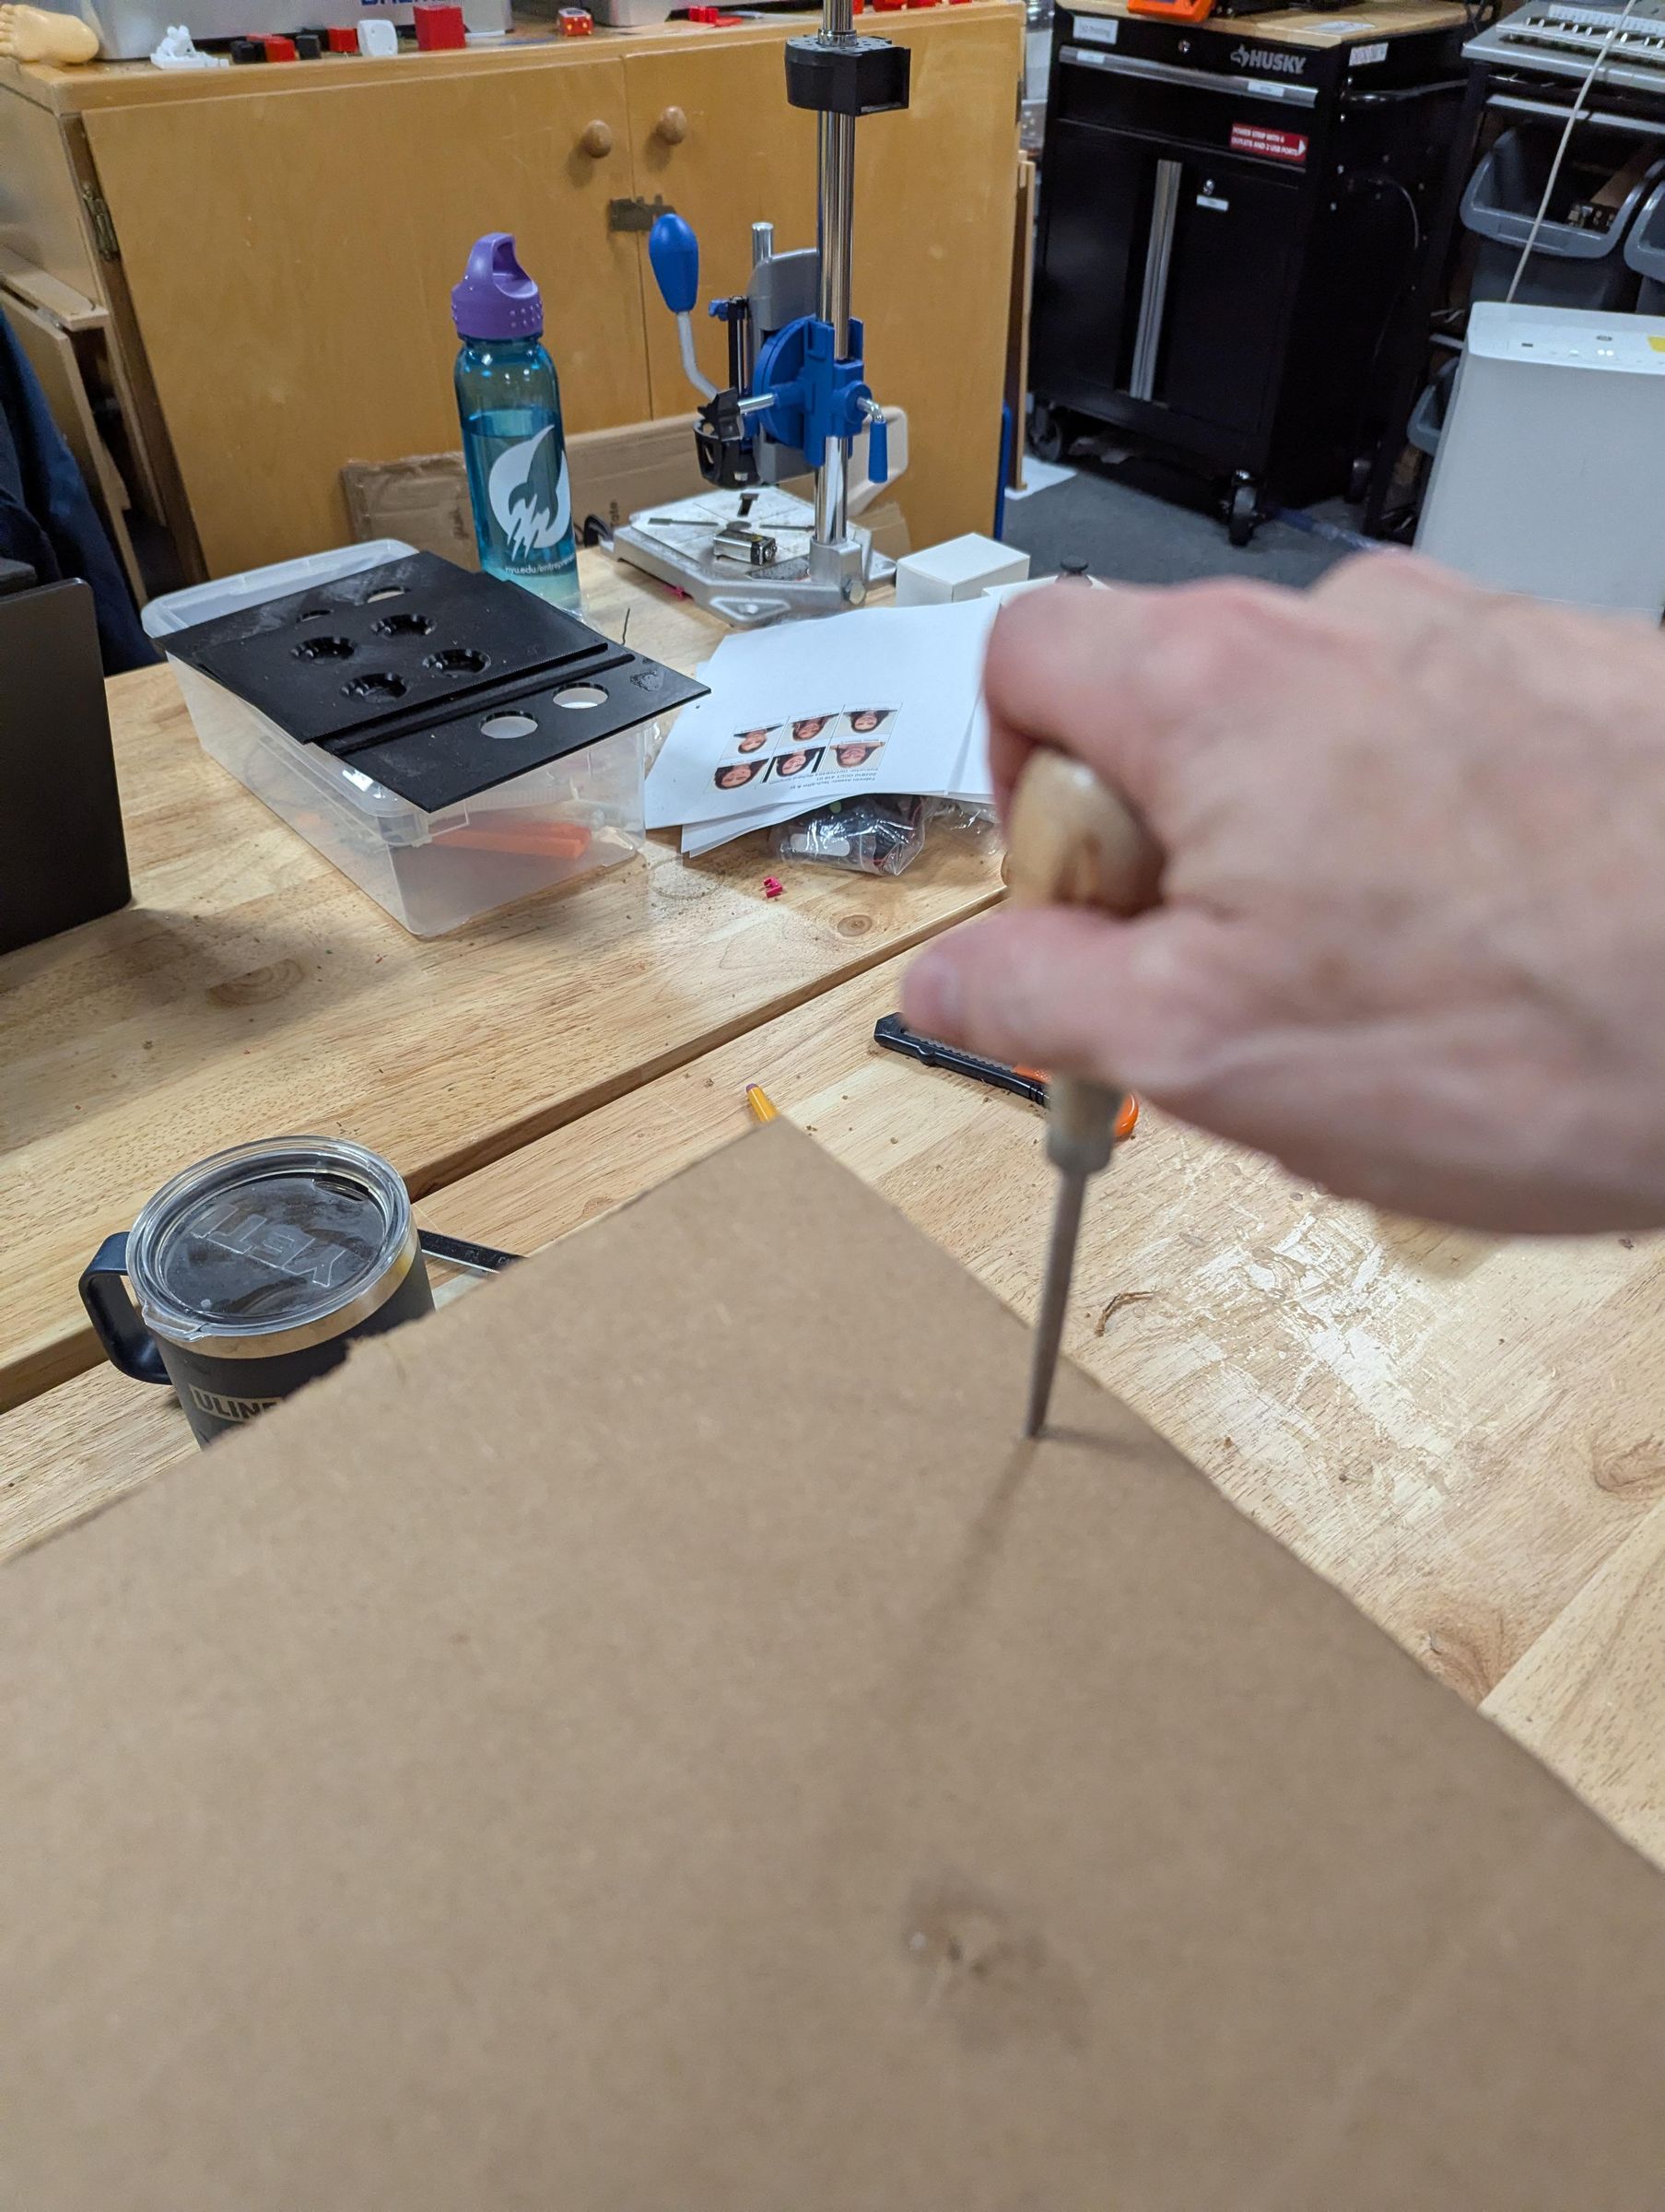
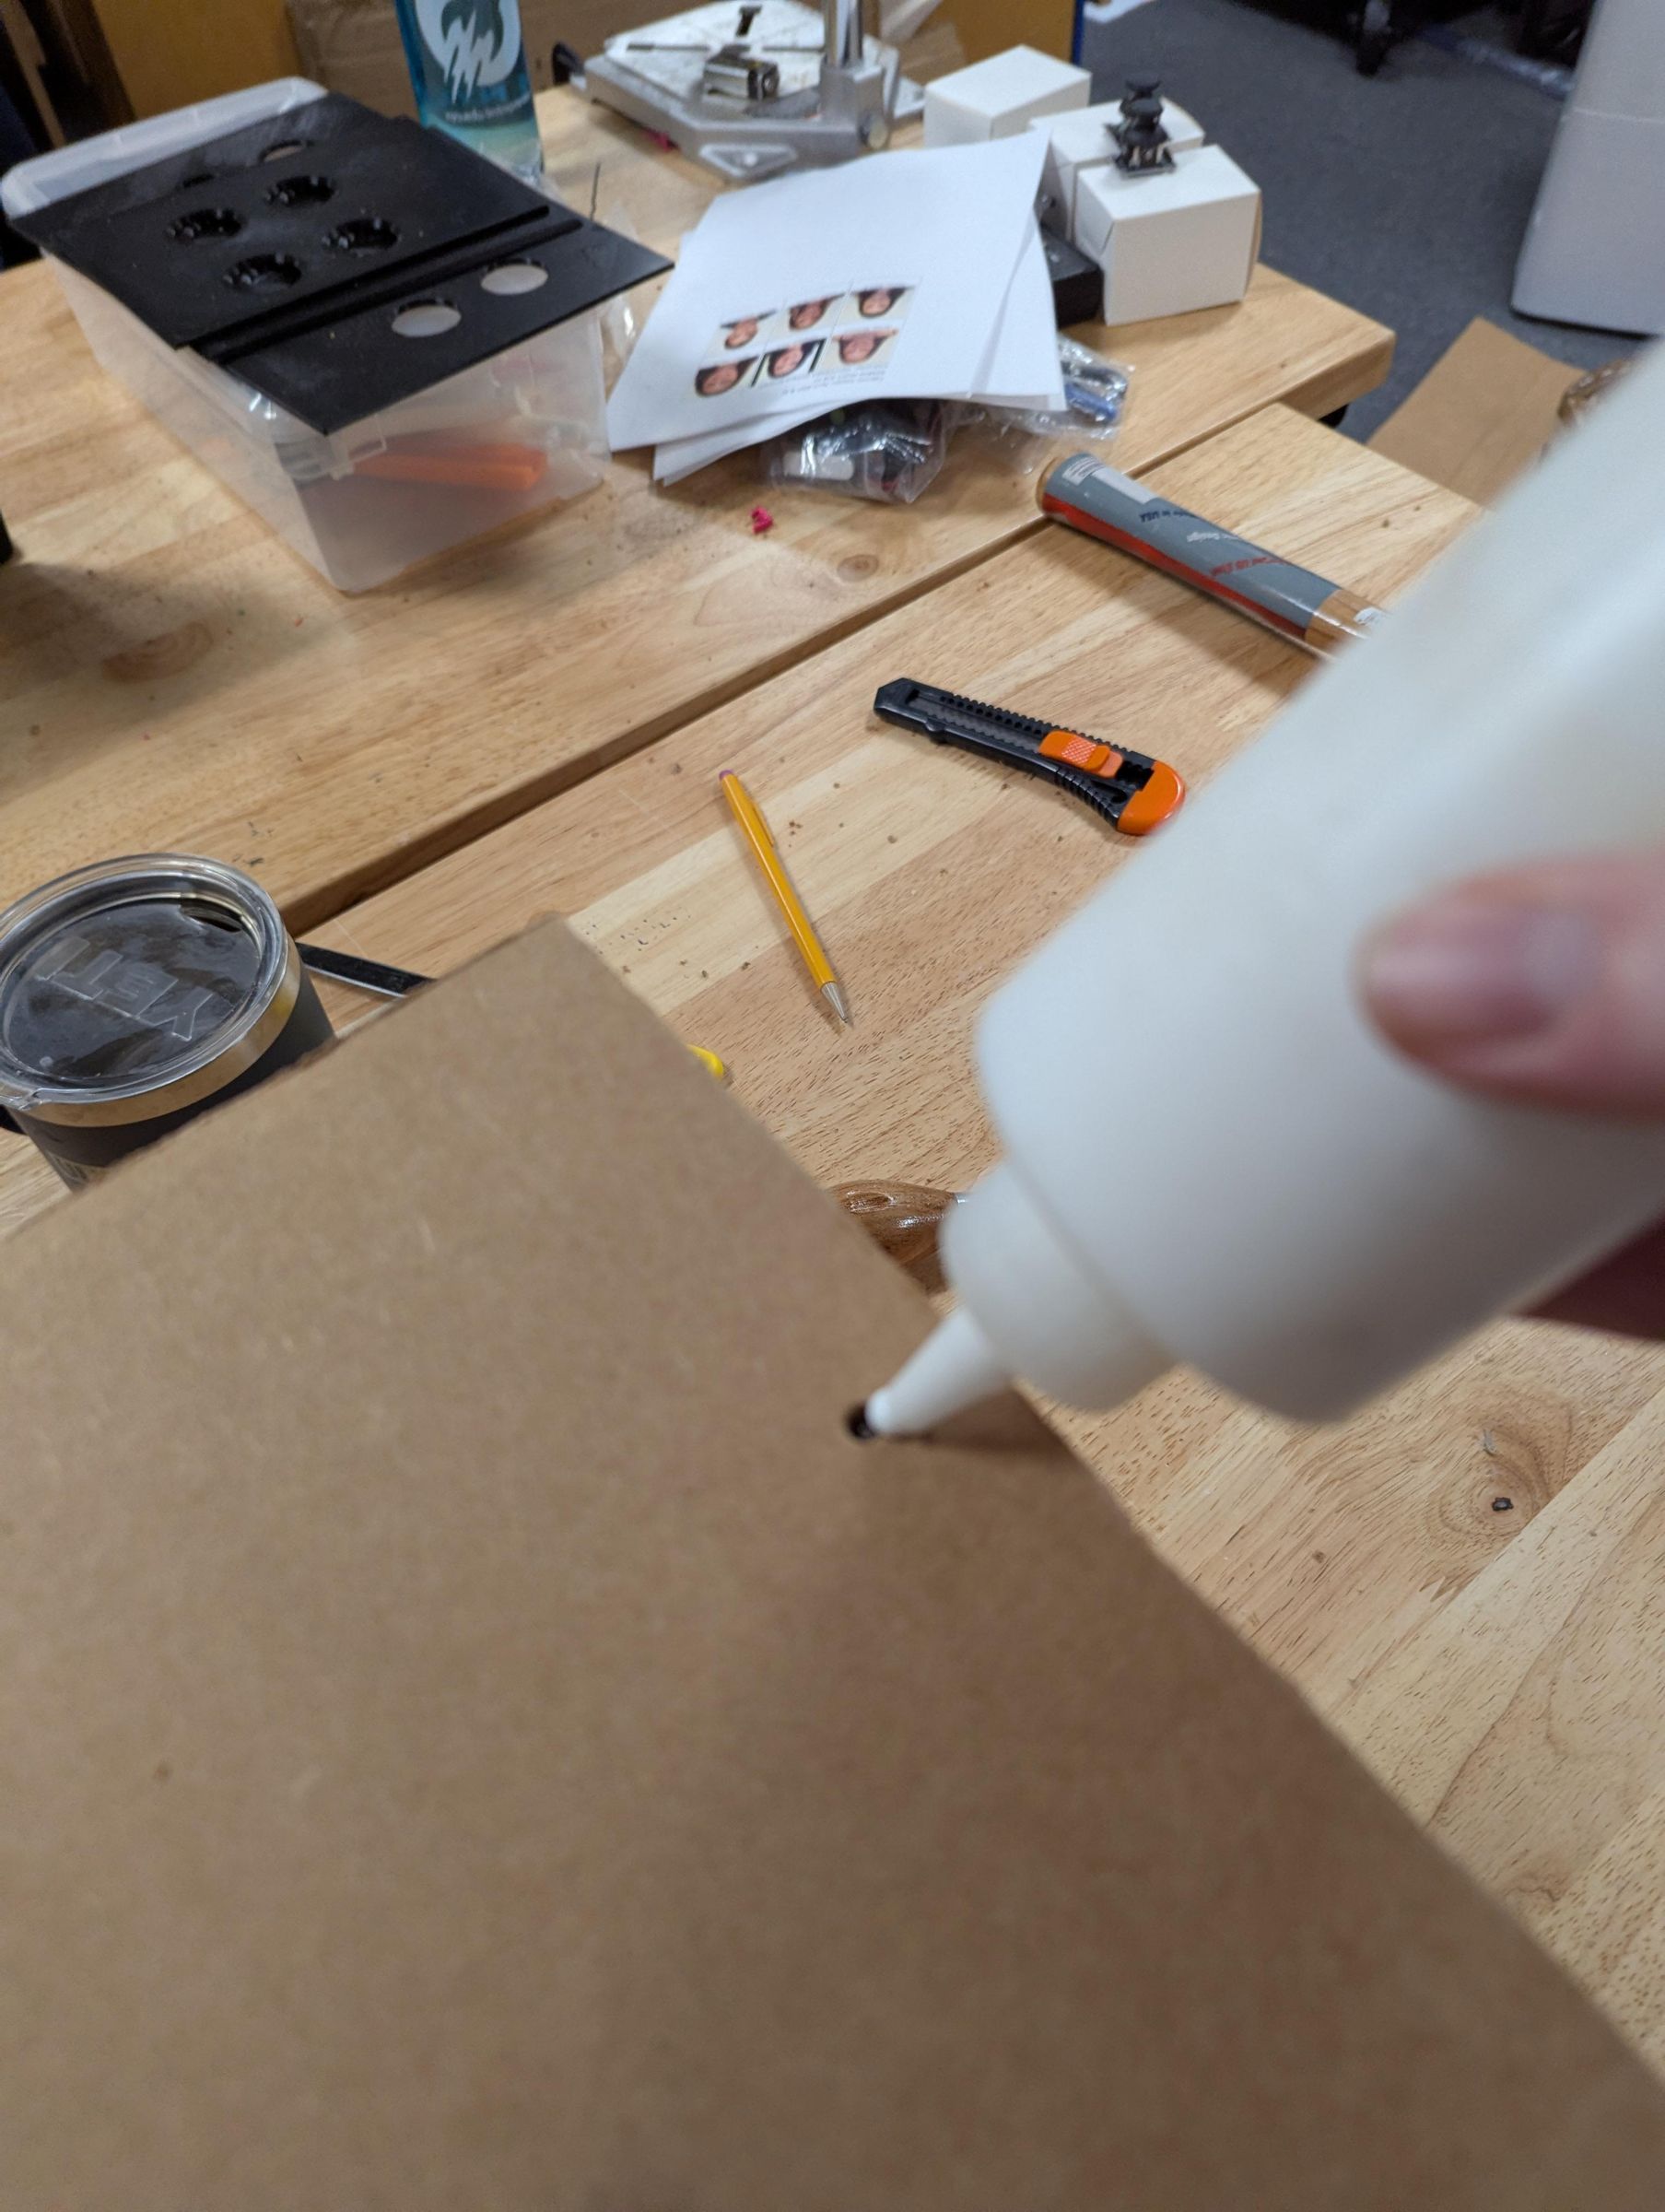
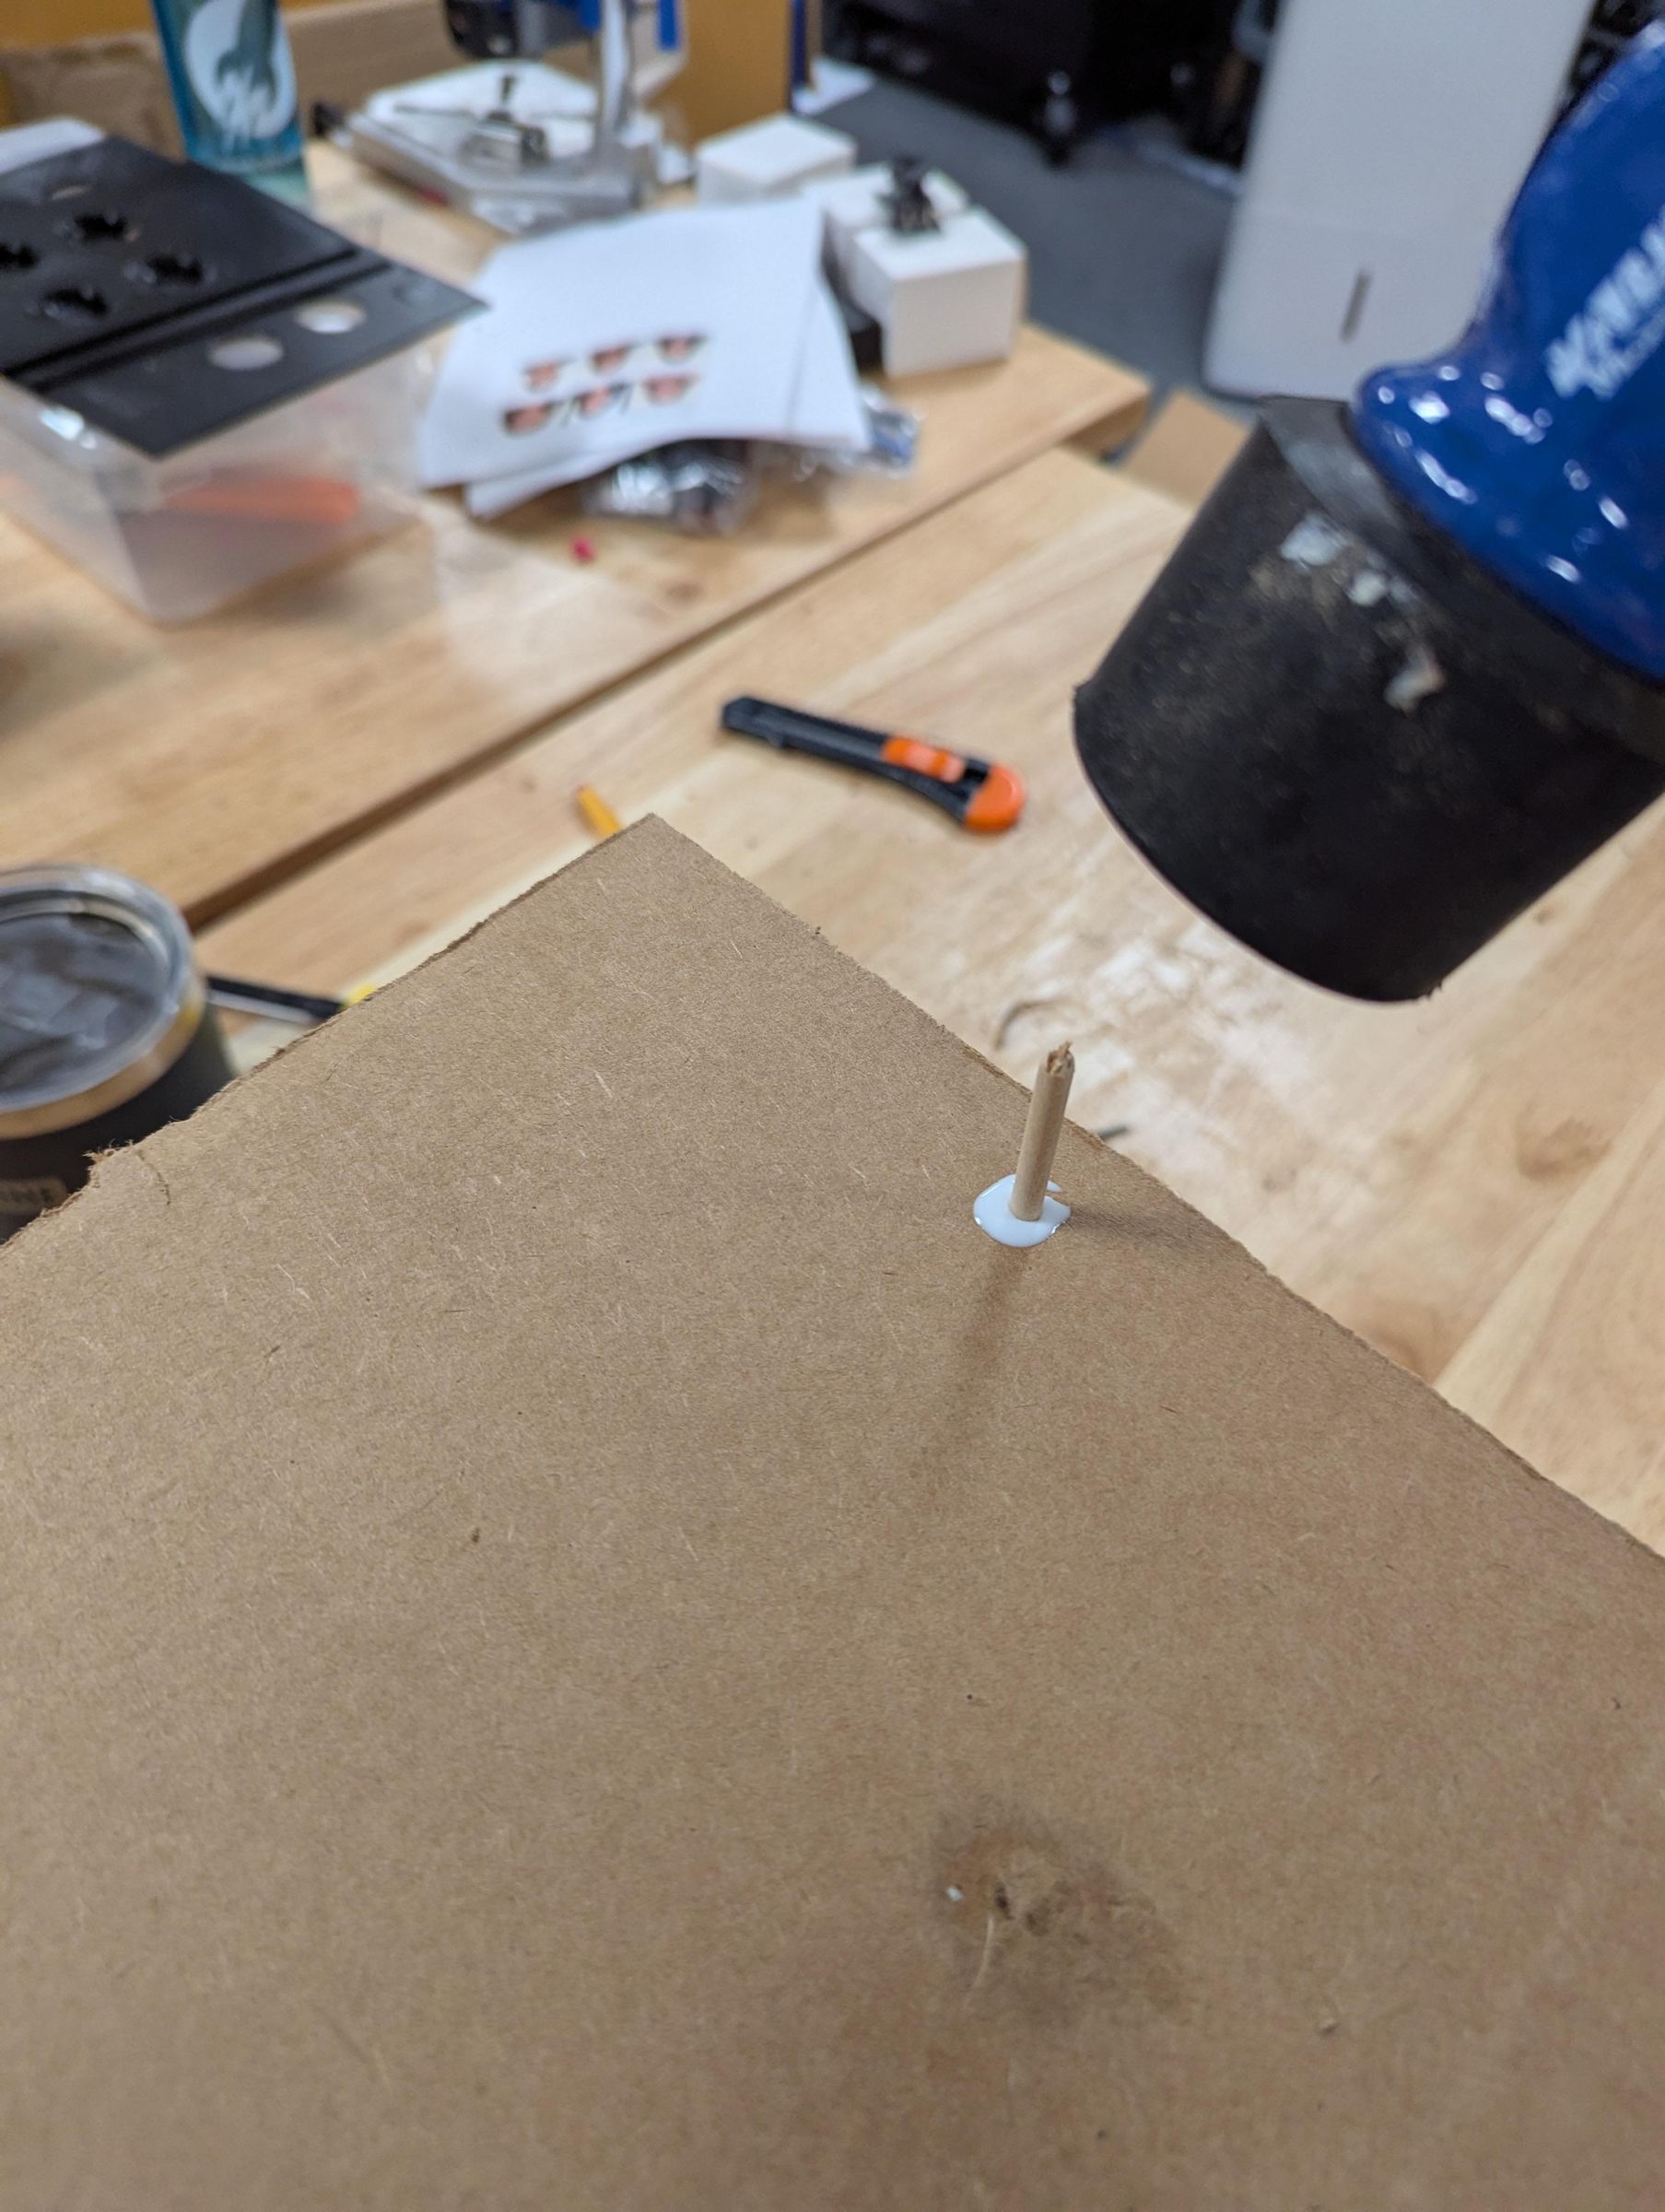
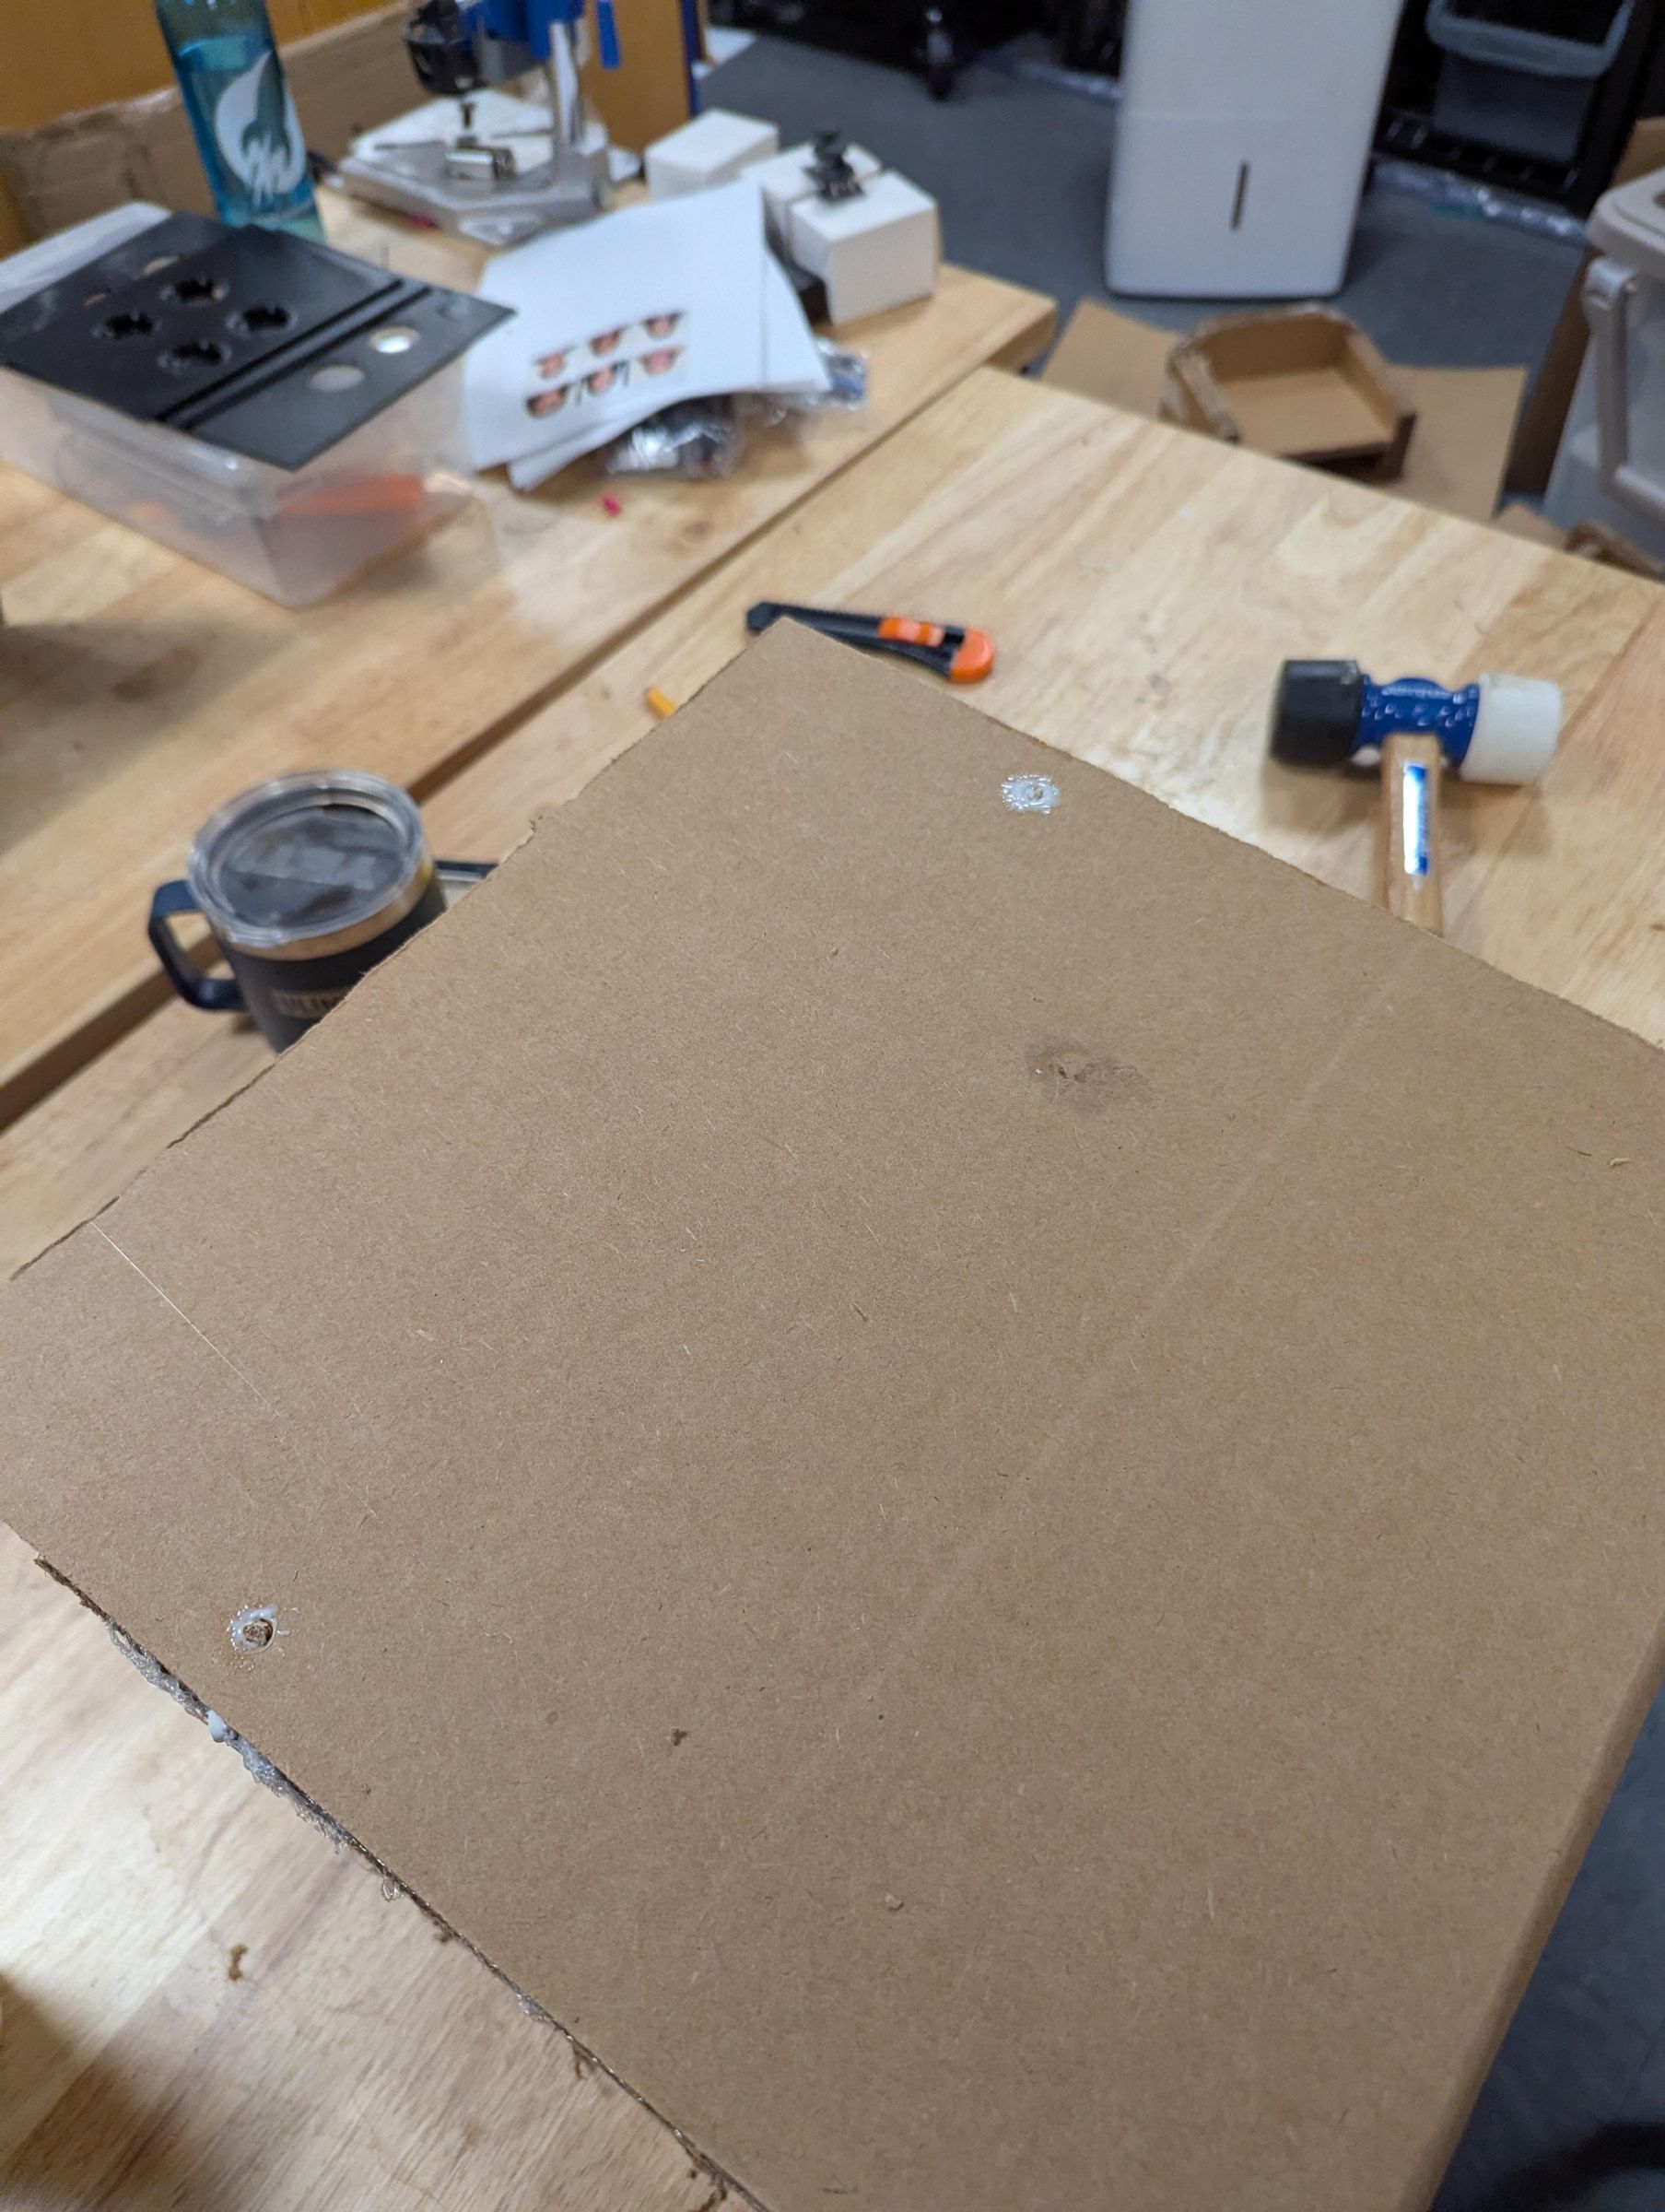
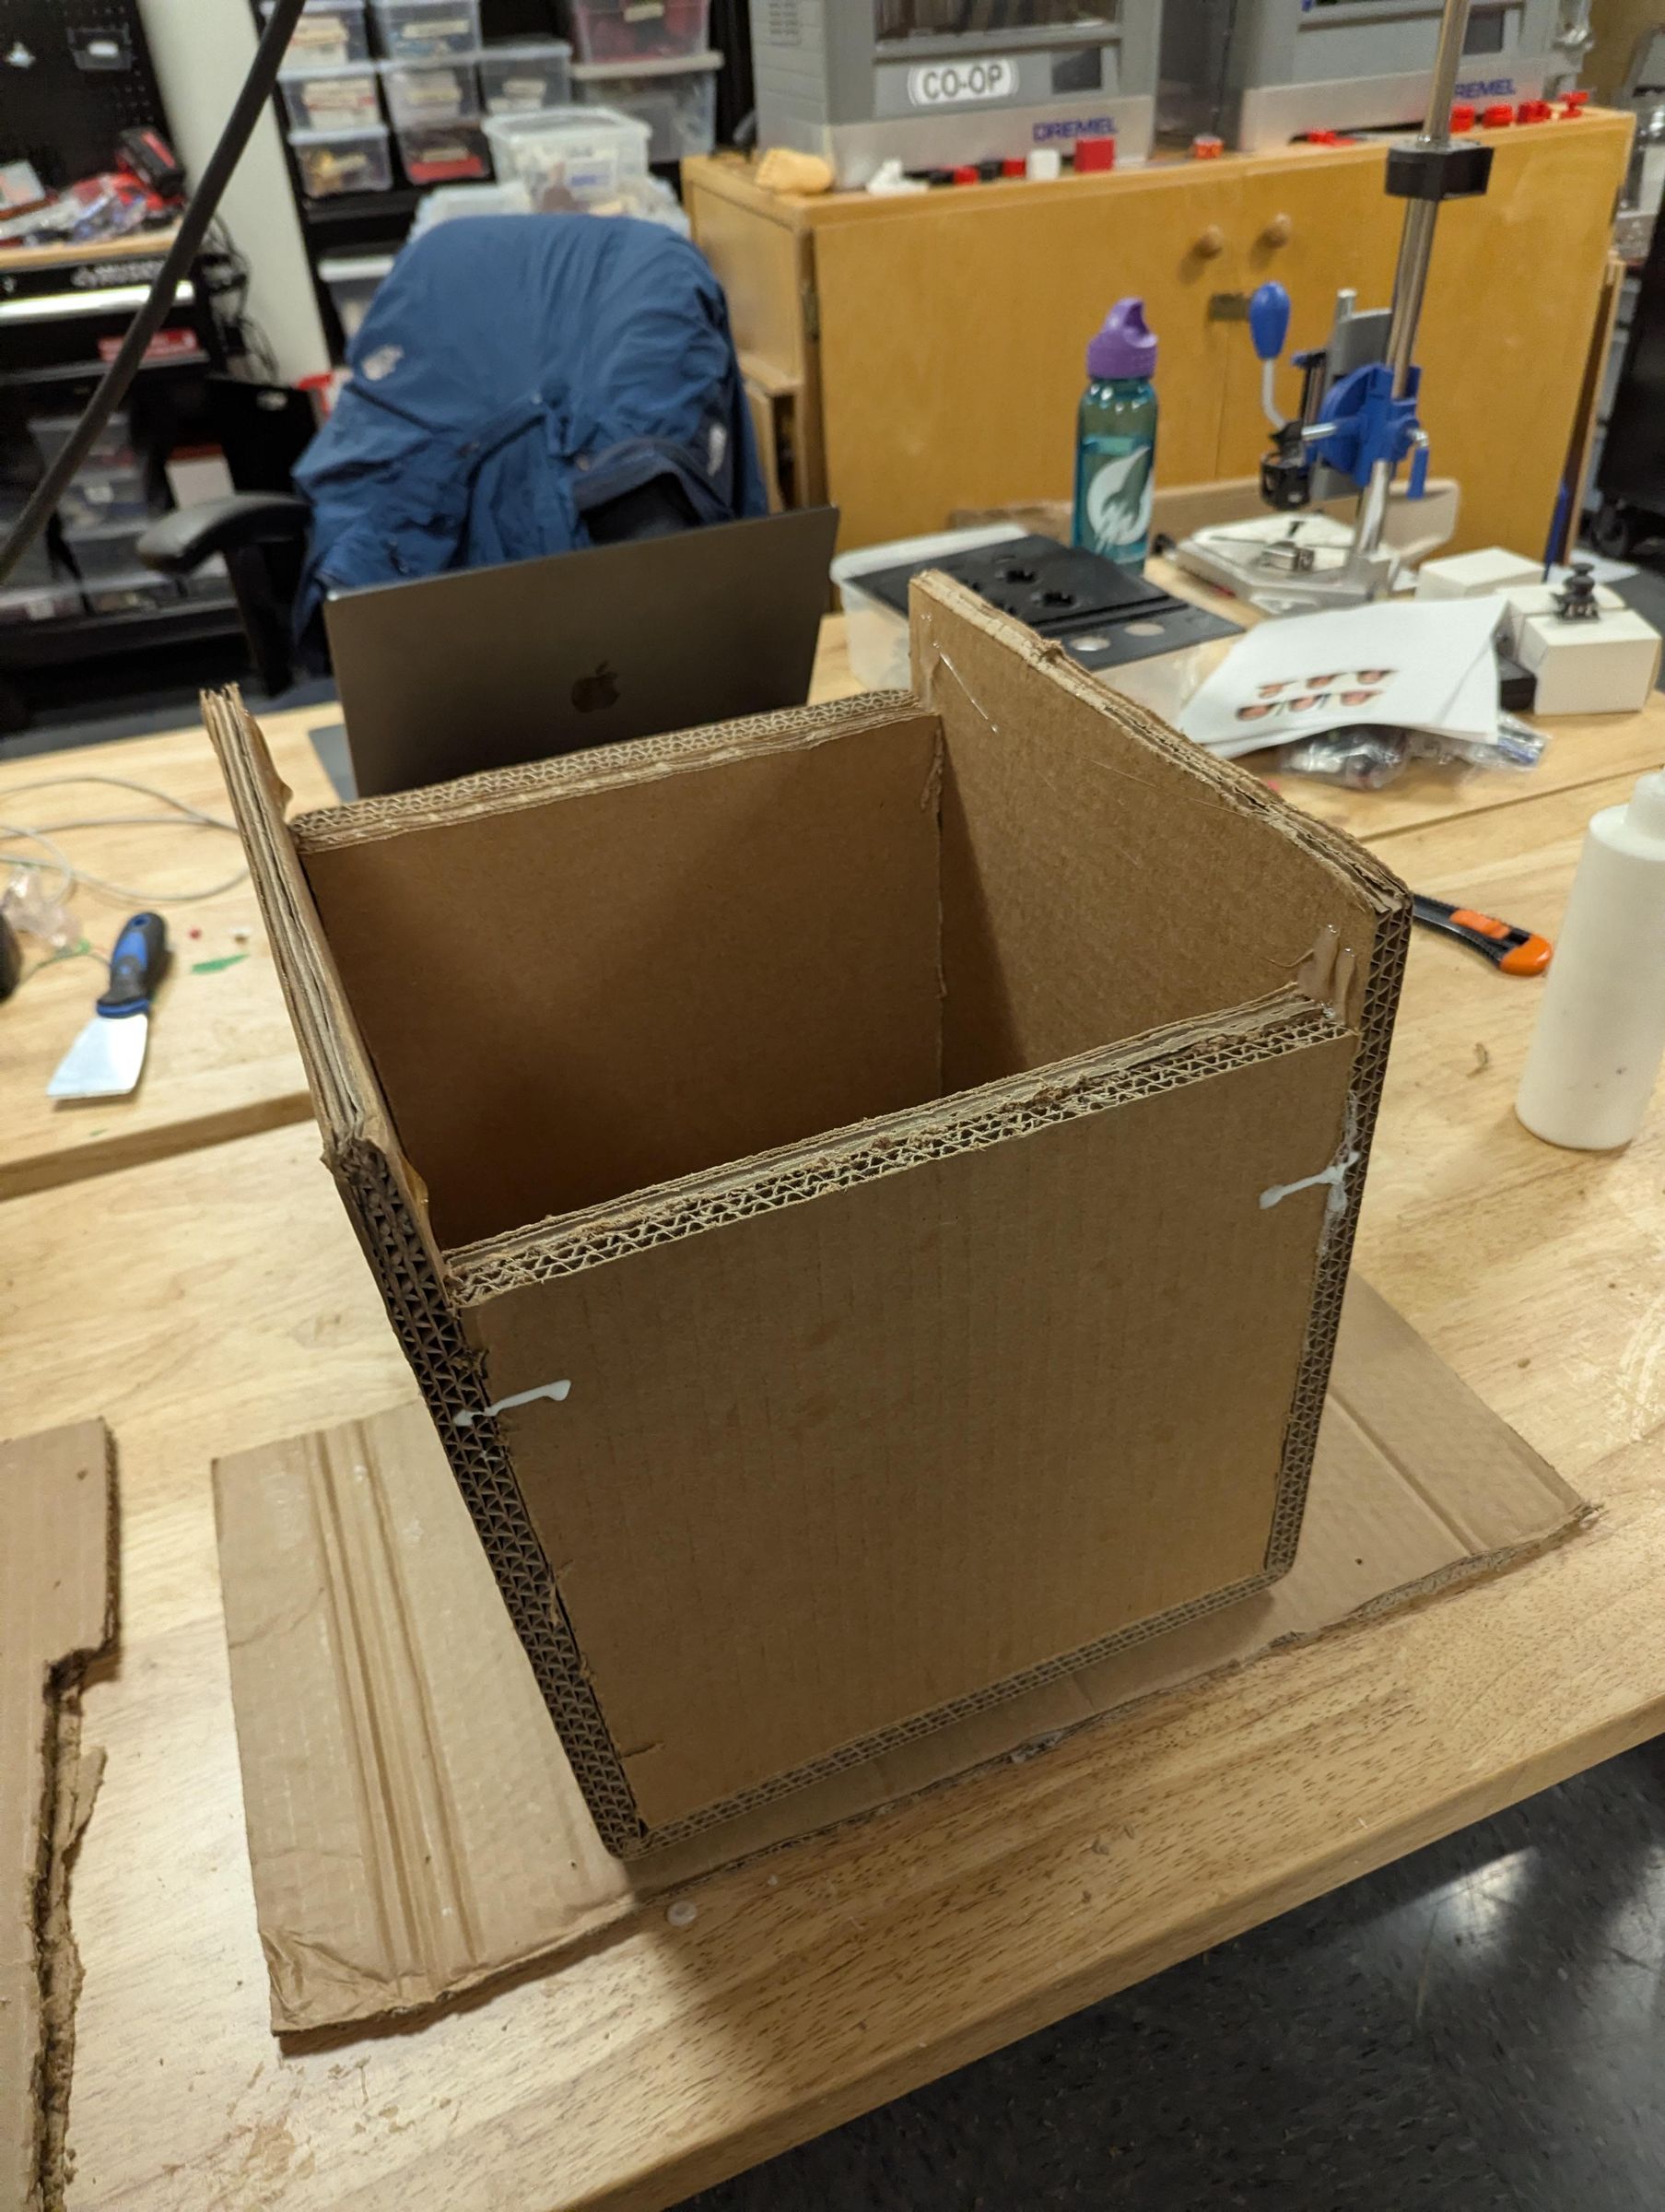
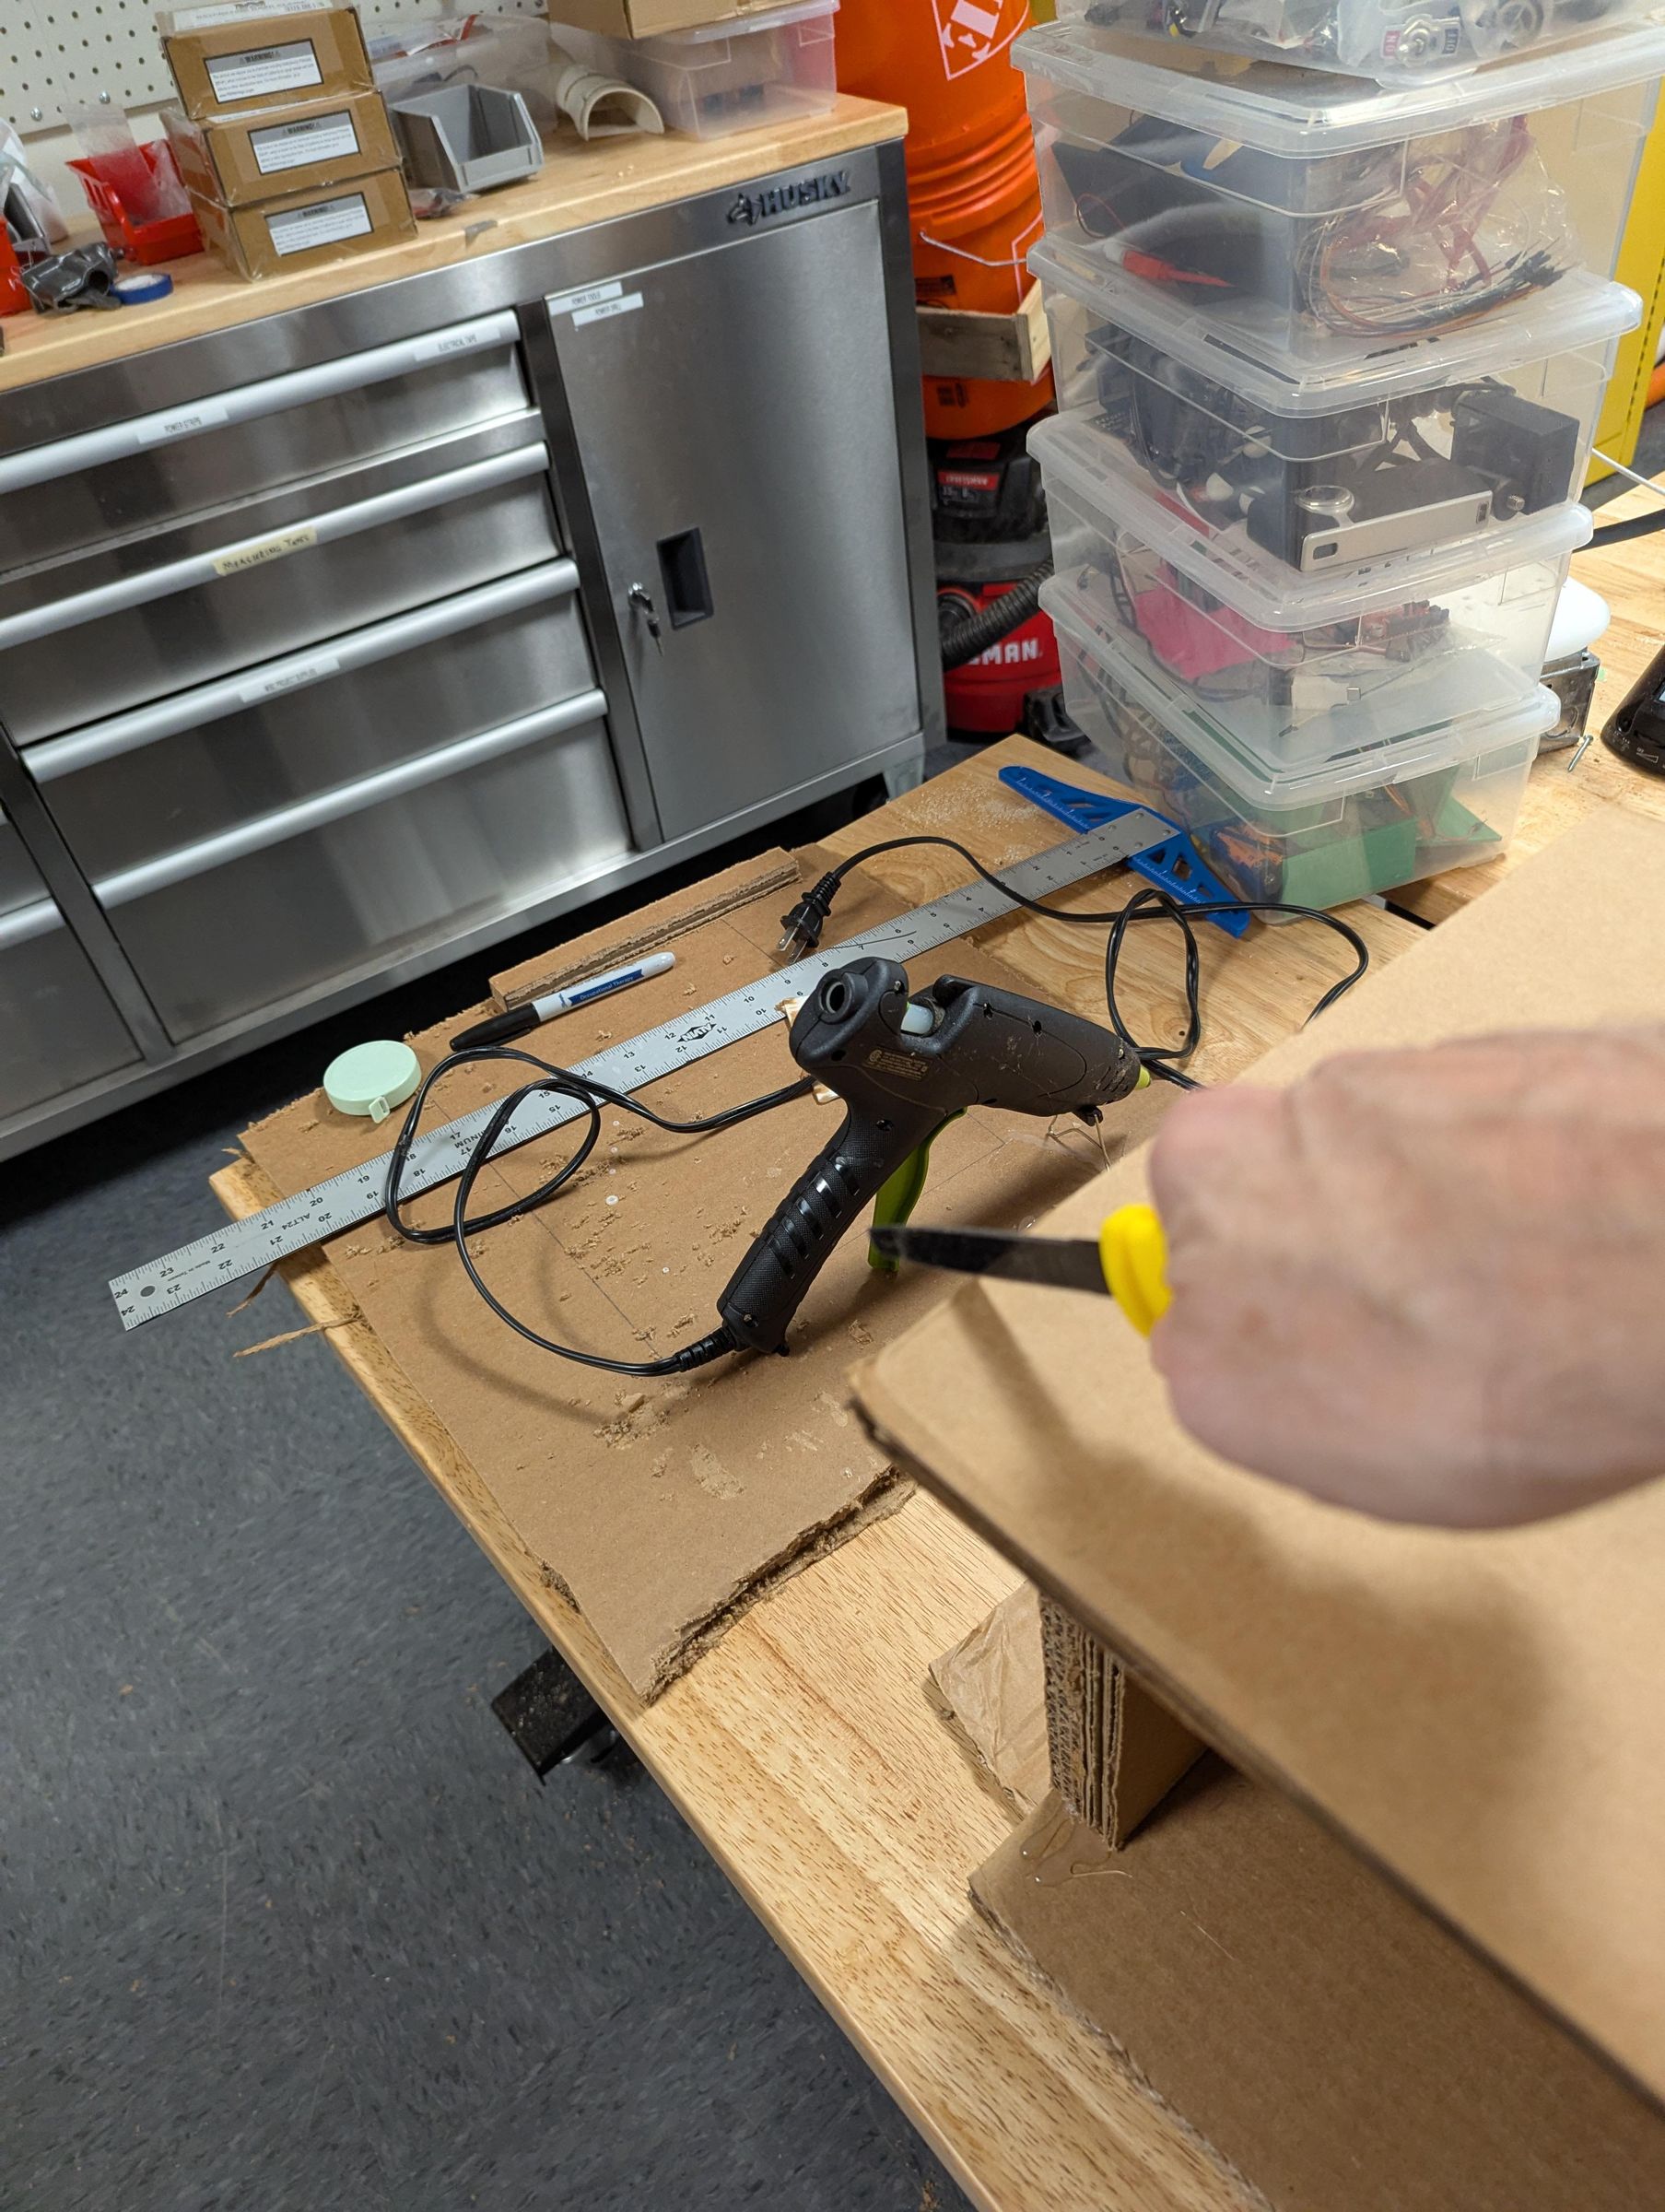
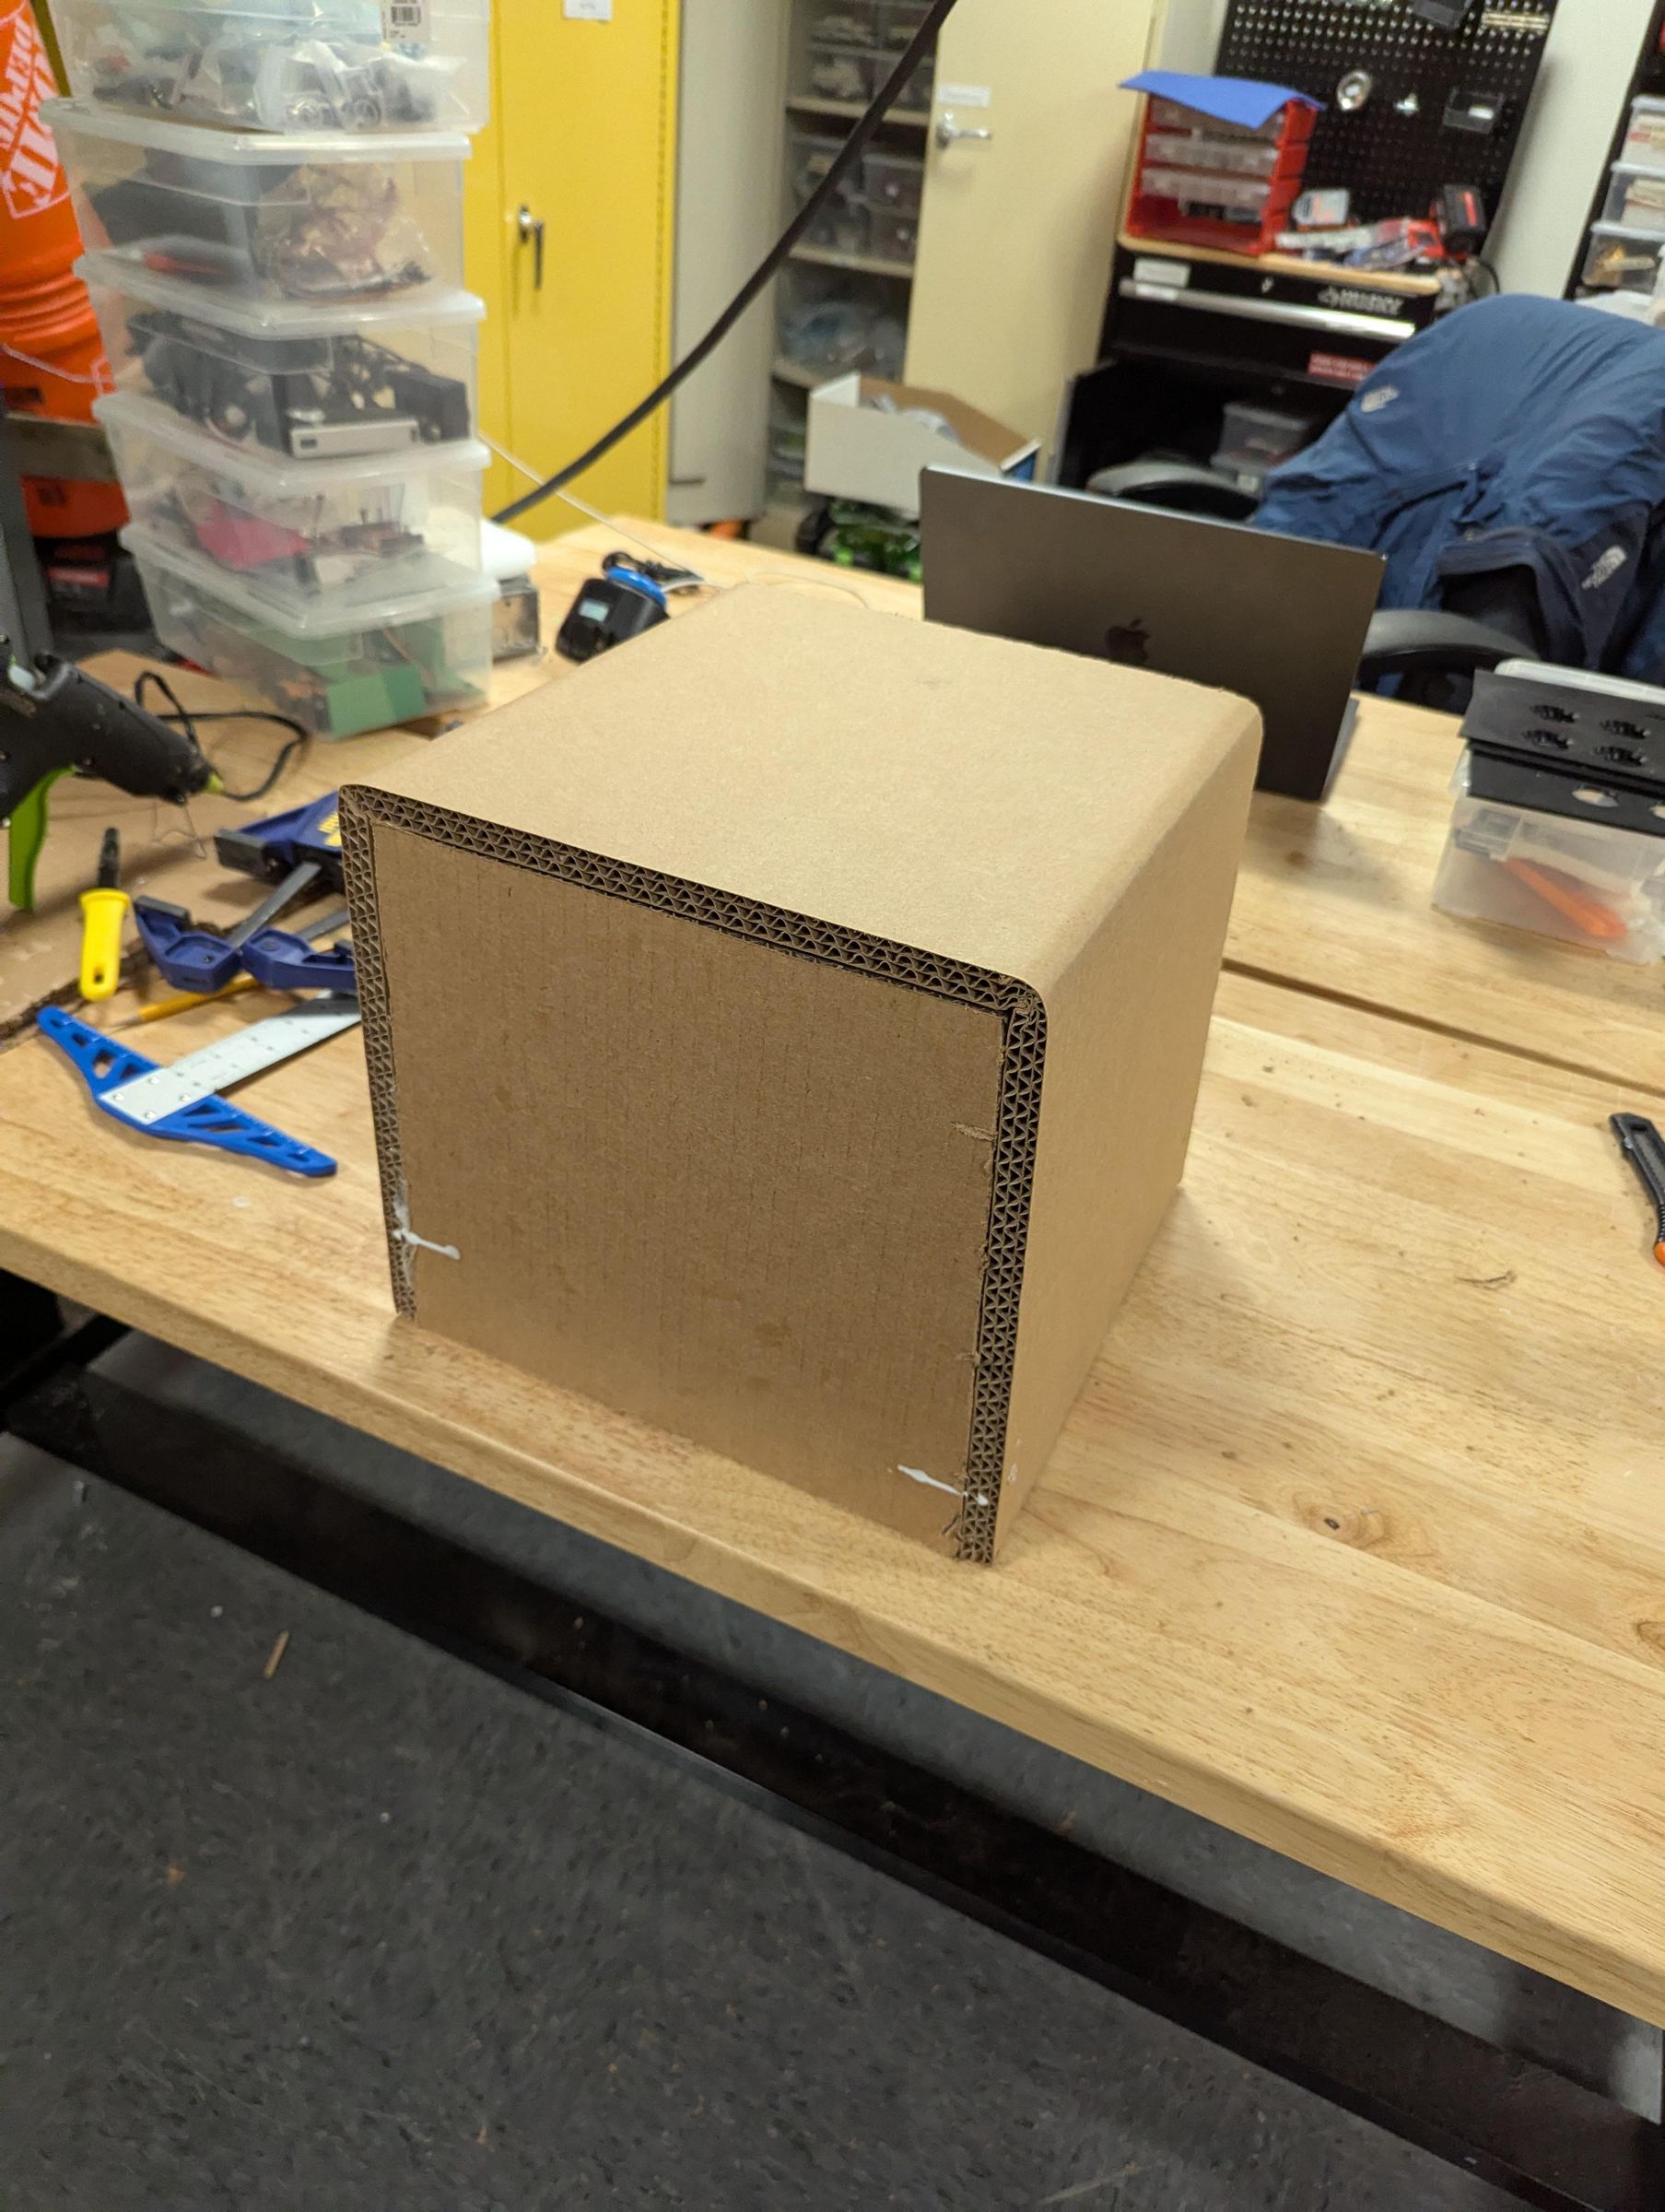
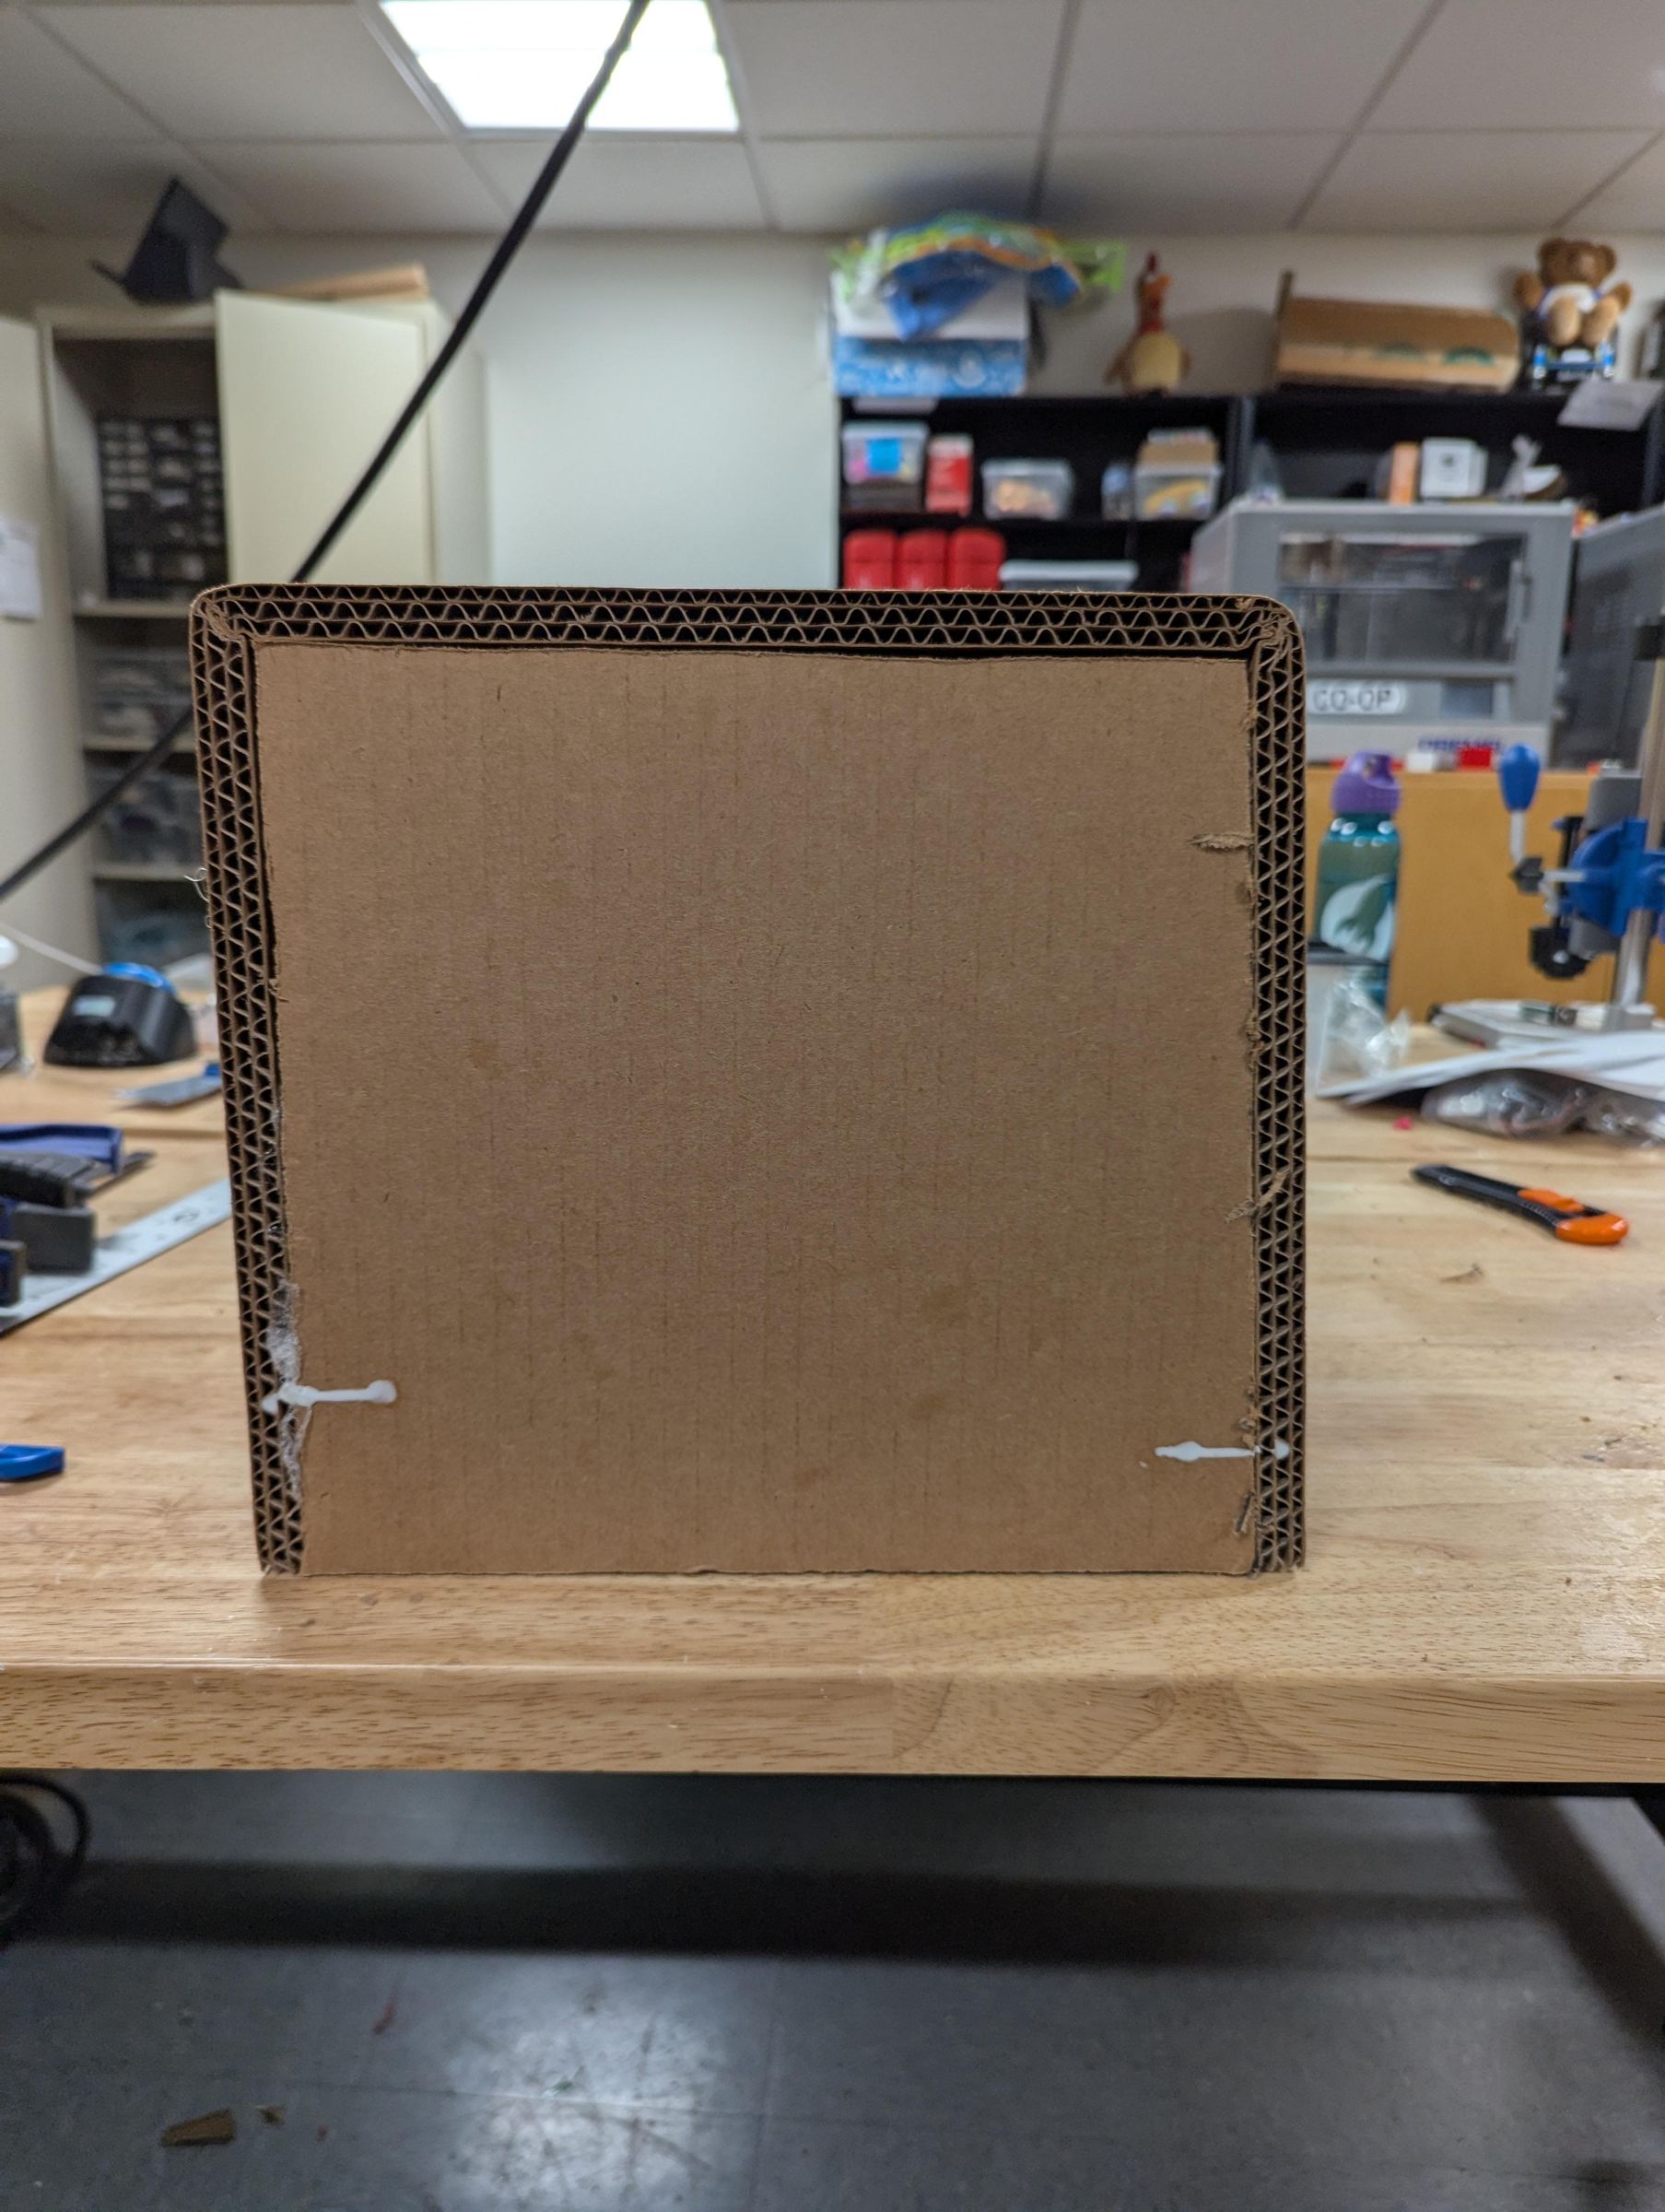
1. Glue the side pieces to the front and let it dry
2. Insert nails in the front (2 on each side)
3. Glue the side pieces to the top and let it dry
4. Insert nails in the top (2 on each side)
5. Glue the side pieces to the back and let it dry
6. Insert nails in the back (2 on each side)
7. Remove excess cardboard
Cut Out Holes for Feet and Thigh Strap
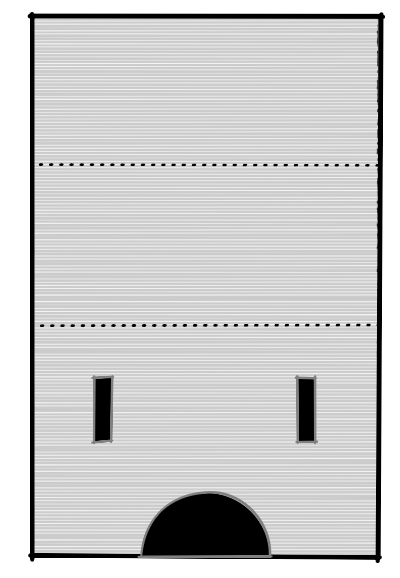
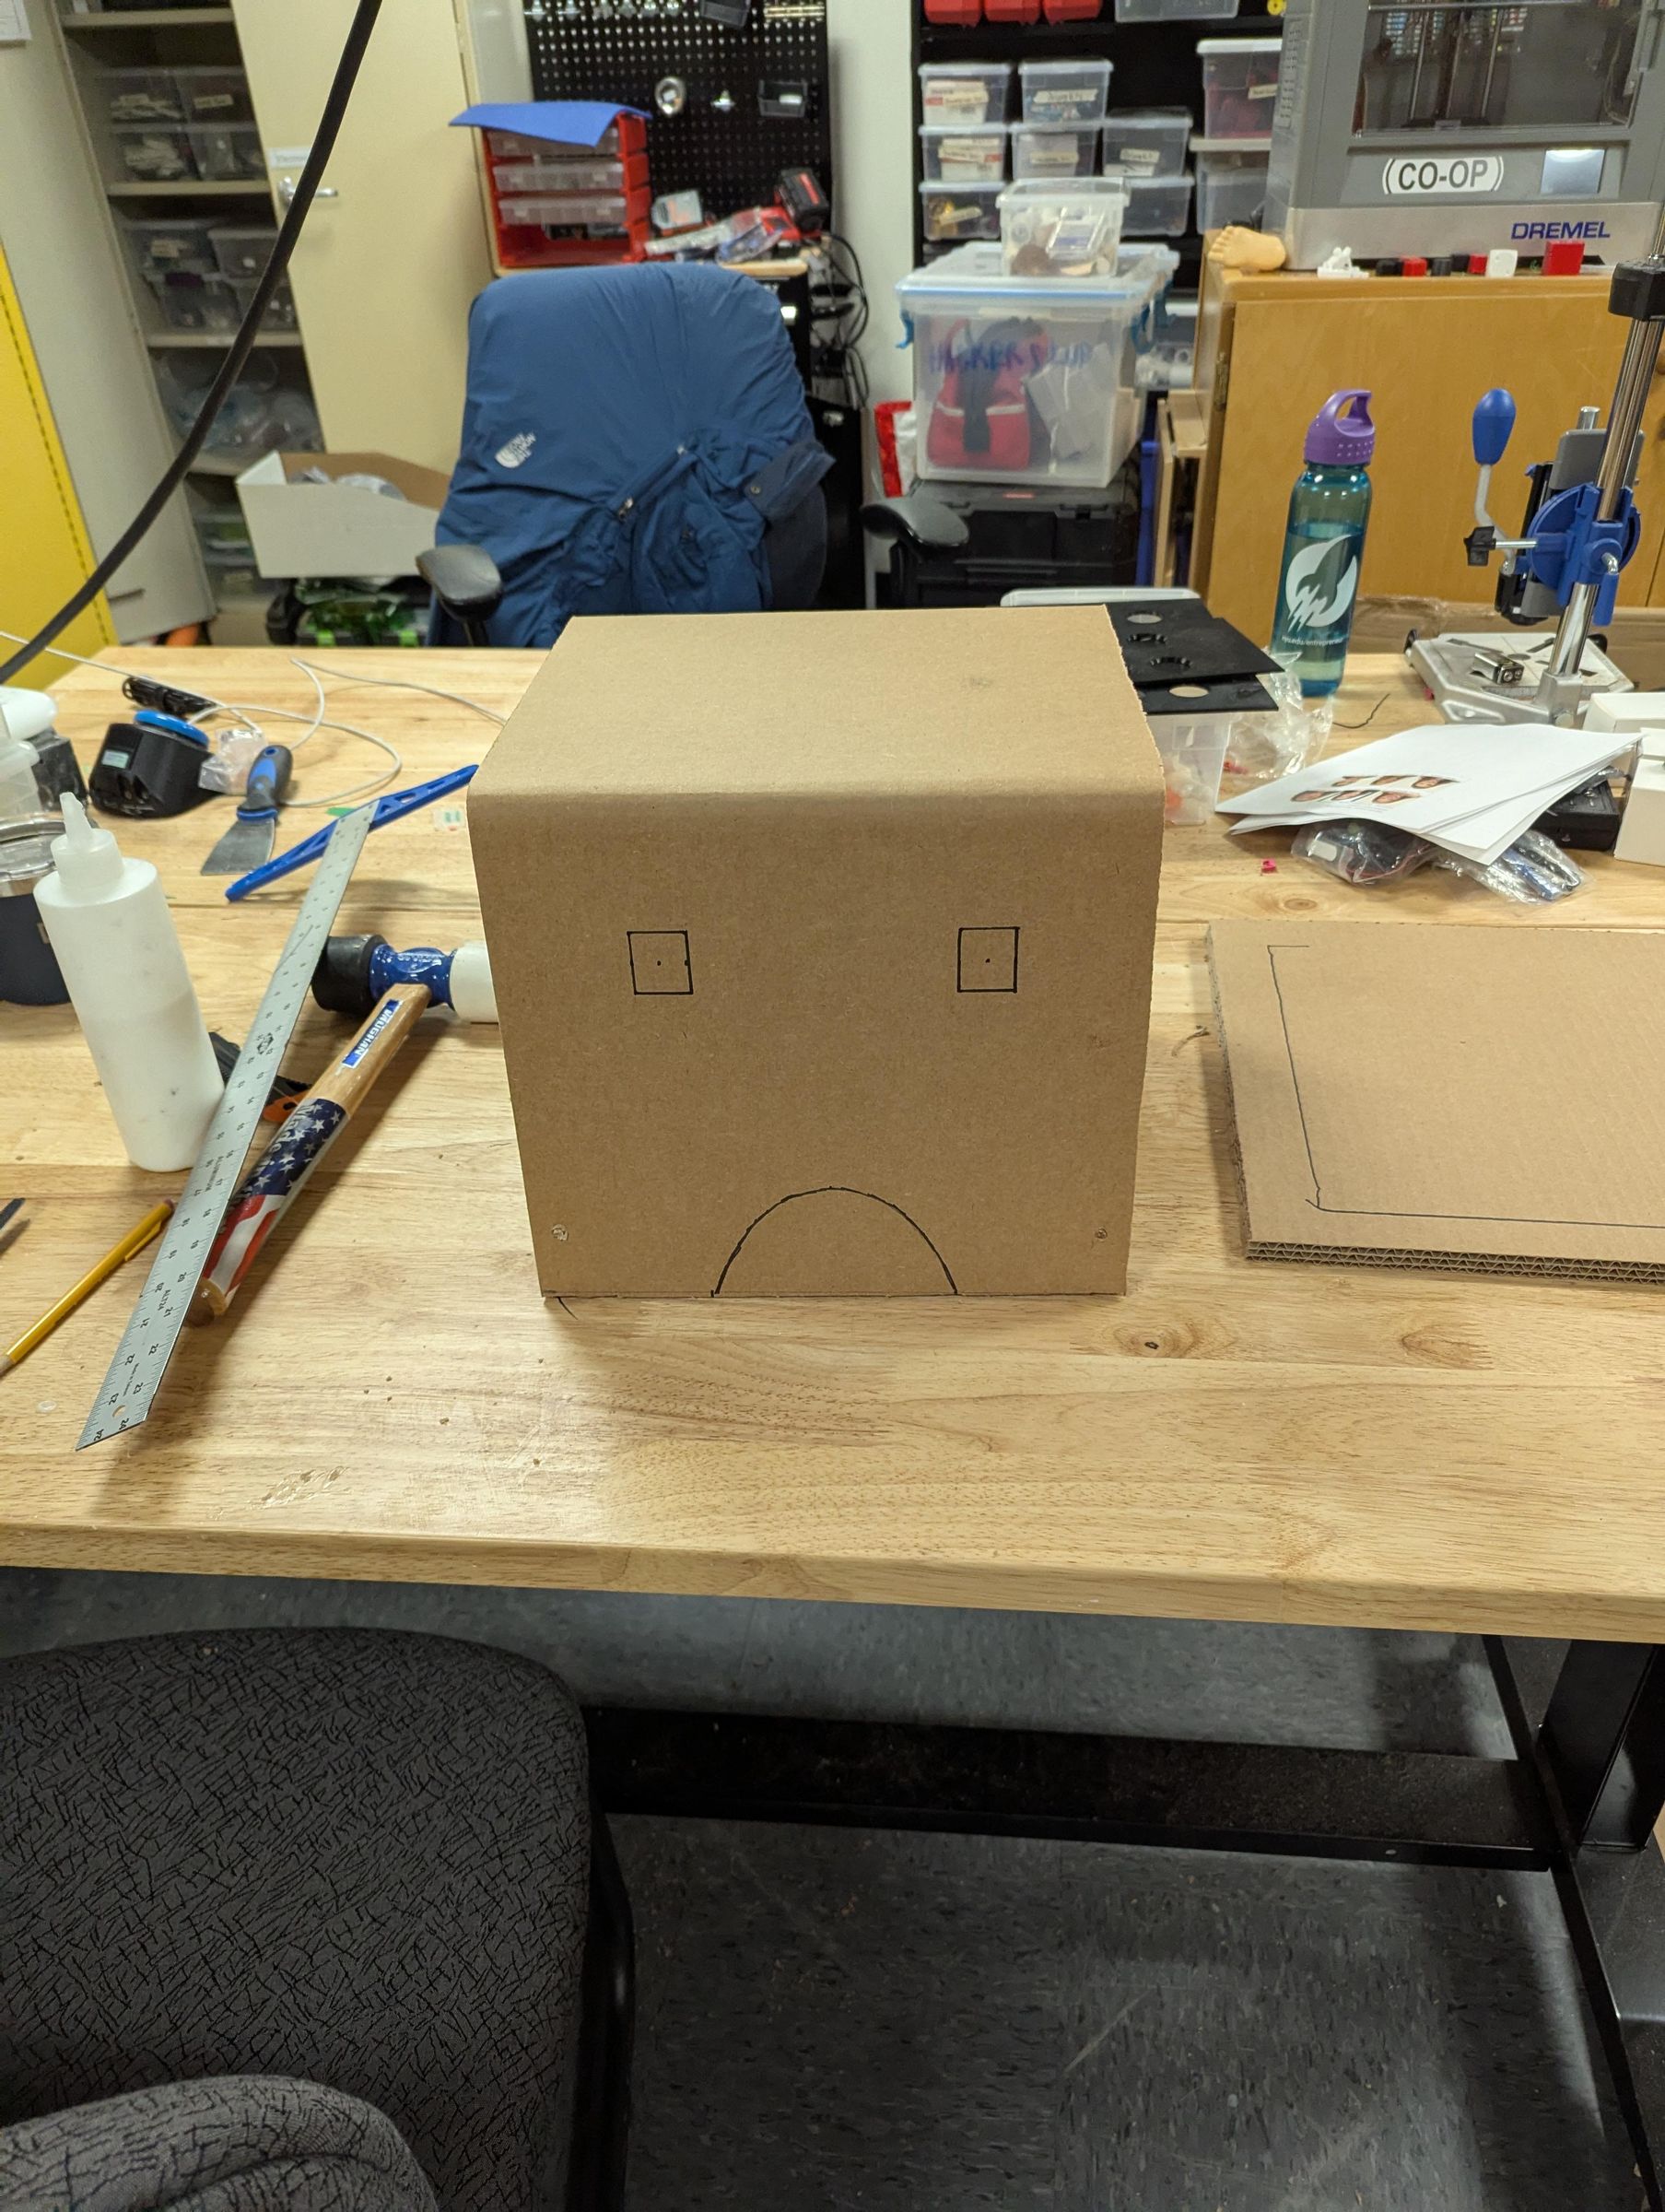
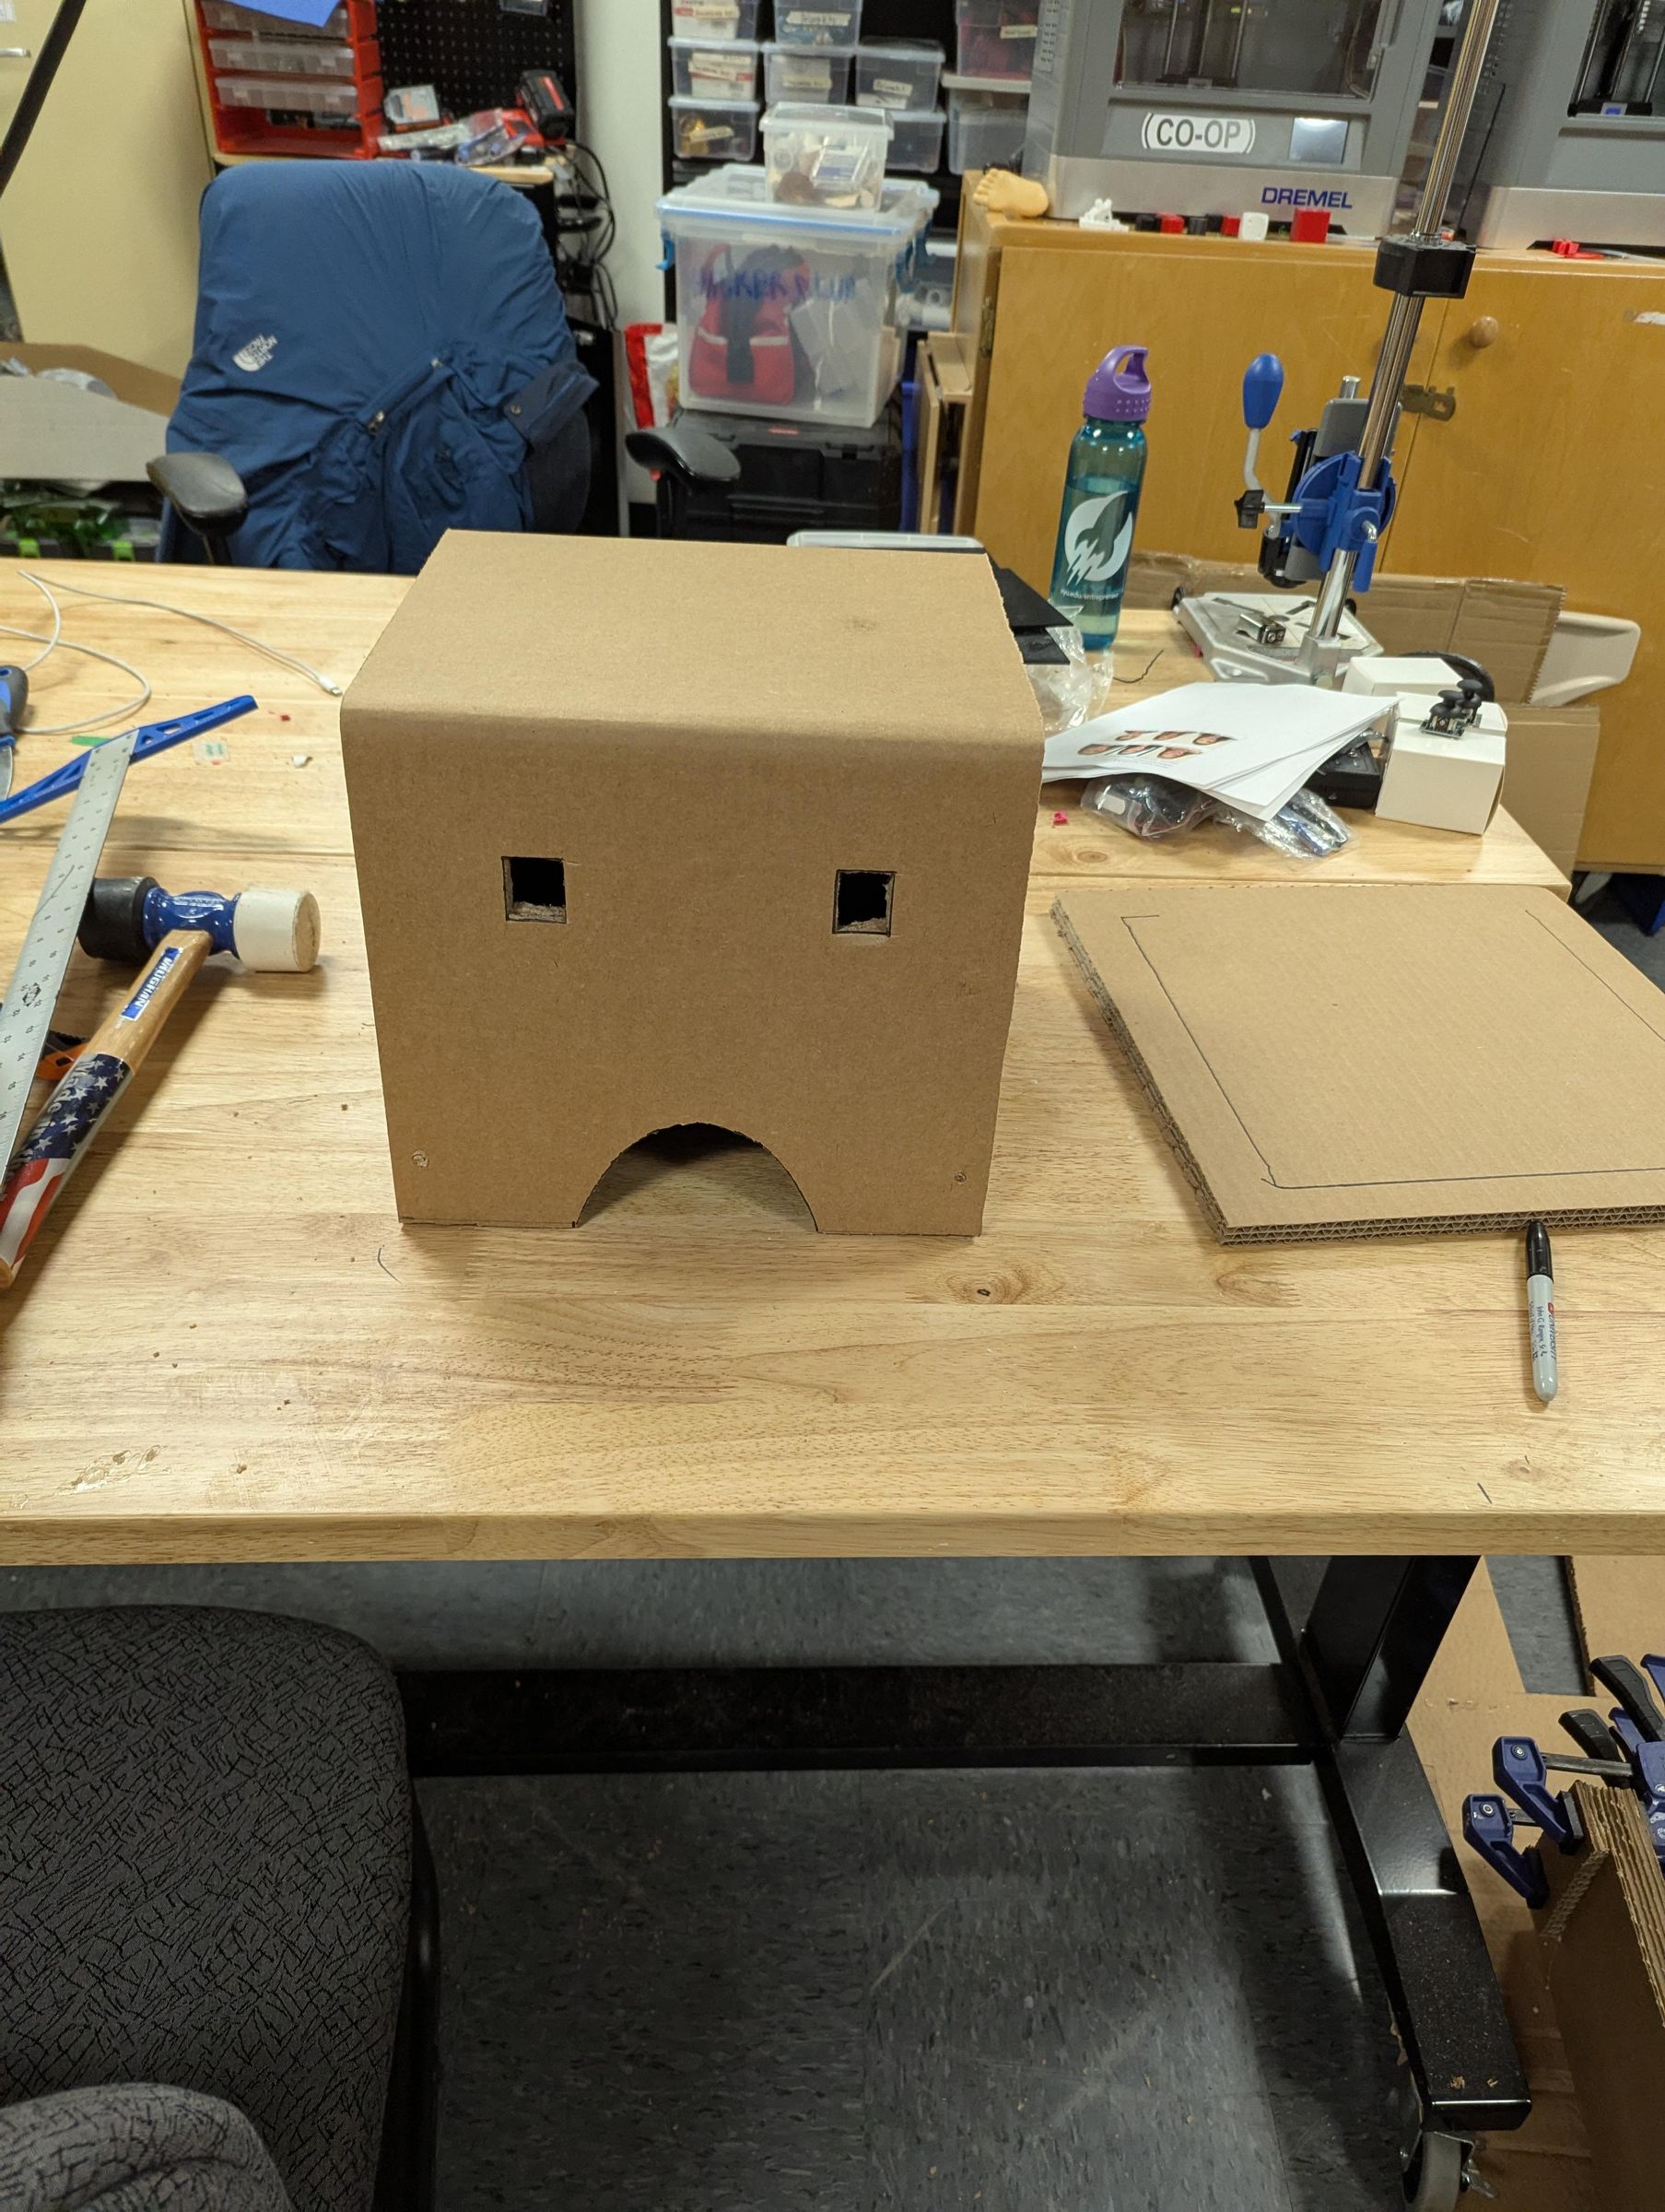
Mark out where you want foot hole
2. Mark out where you want holes for the thigh strap
3. Cut holes with knife or jigsaw
Make sure you leave enough room for edging the holes!
Measure Out Base
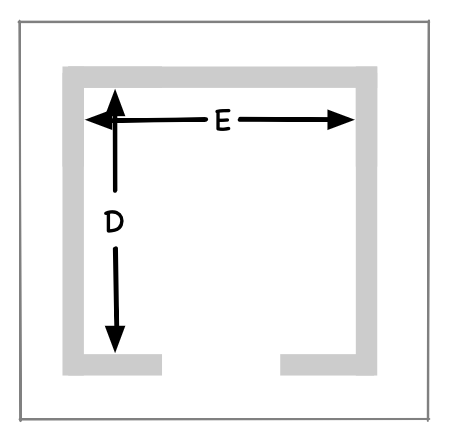
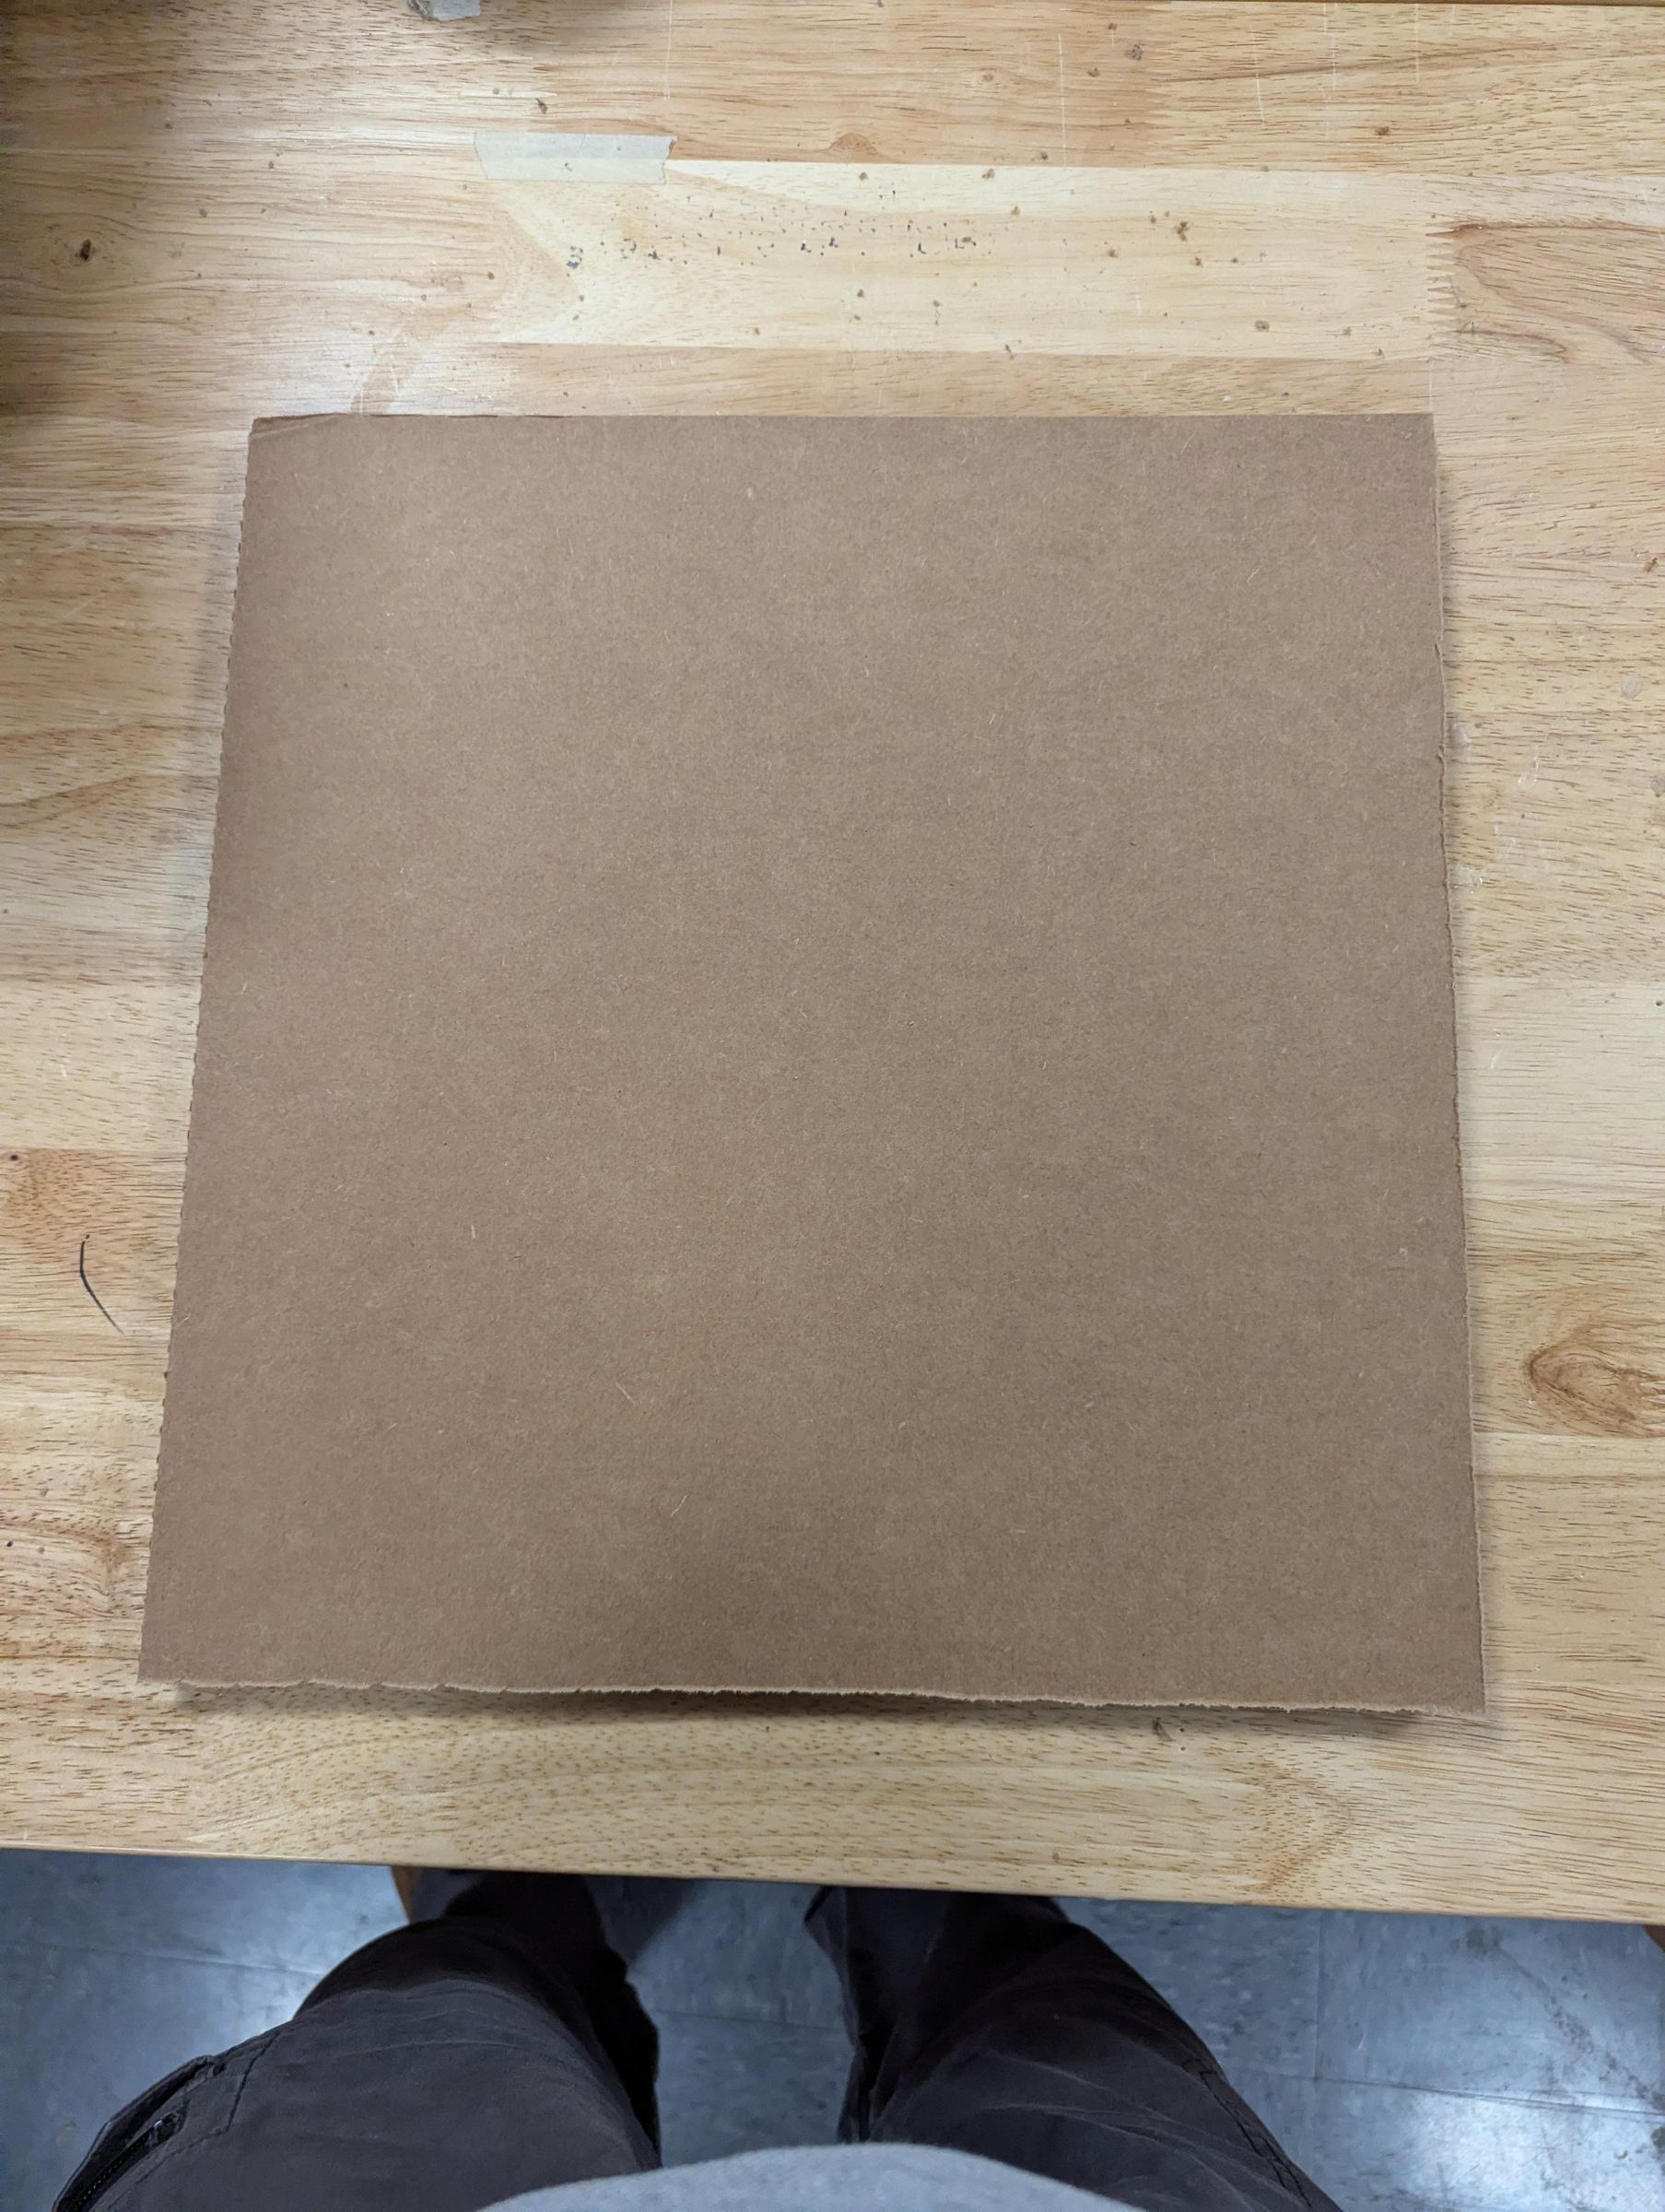
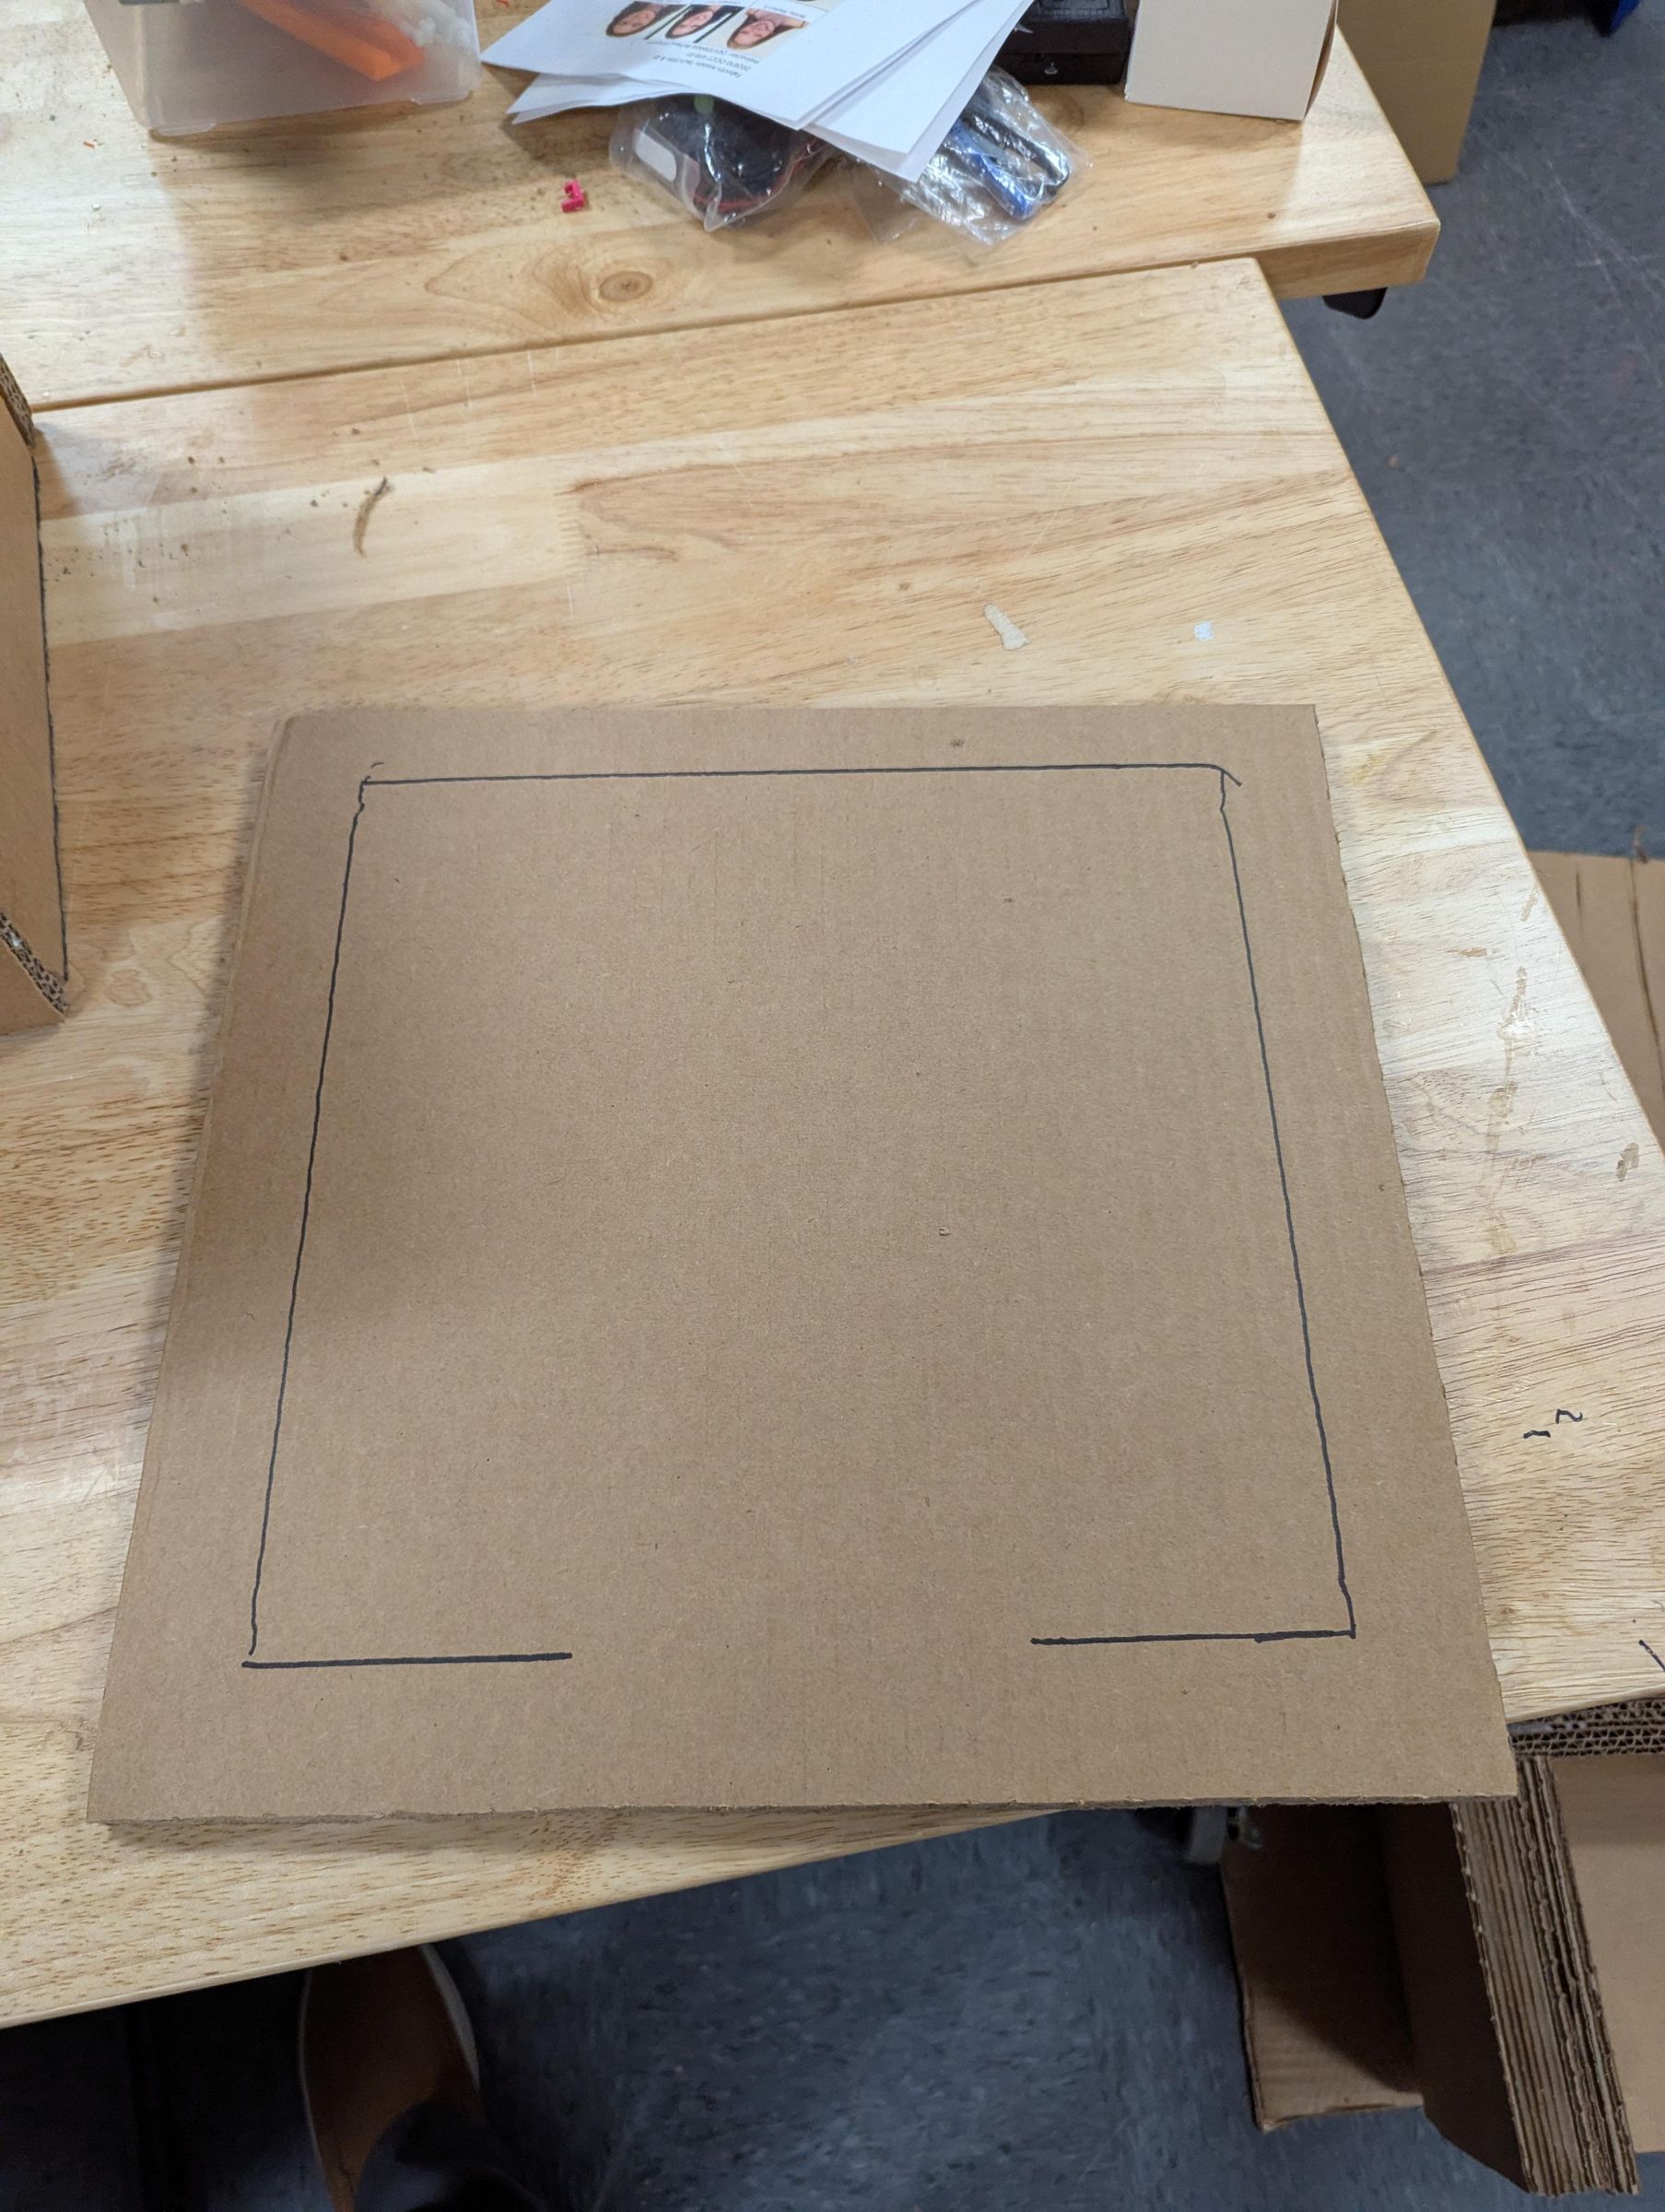
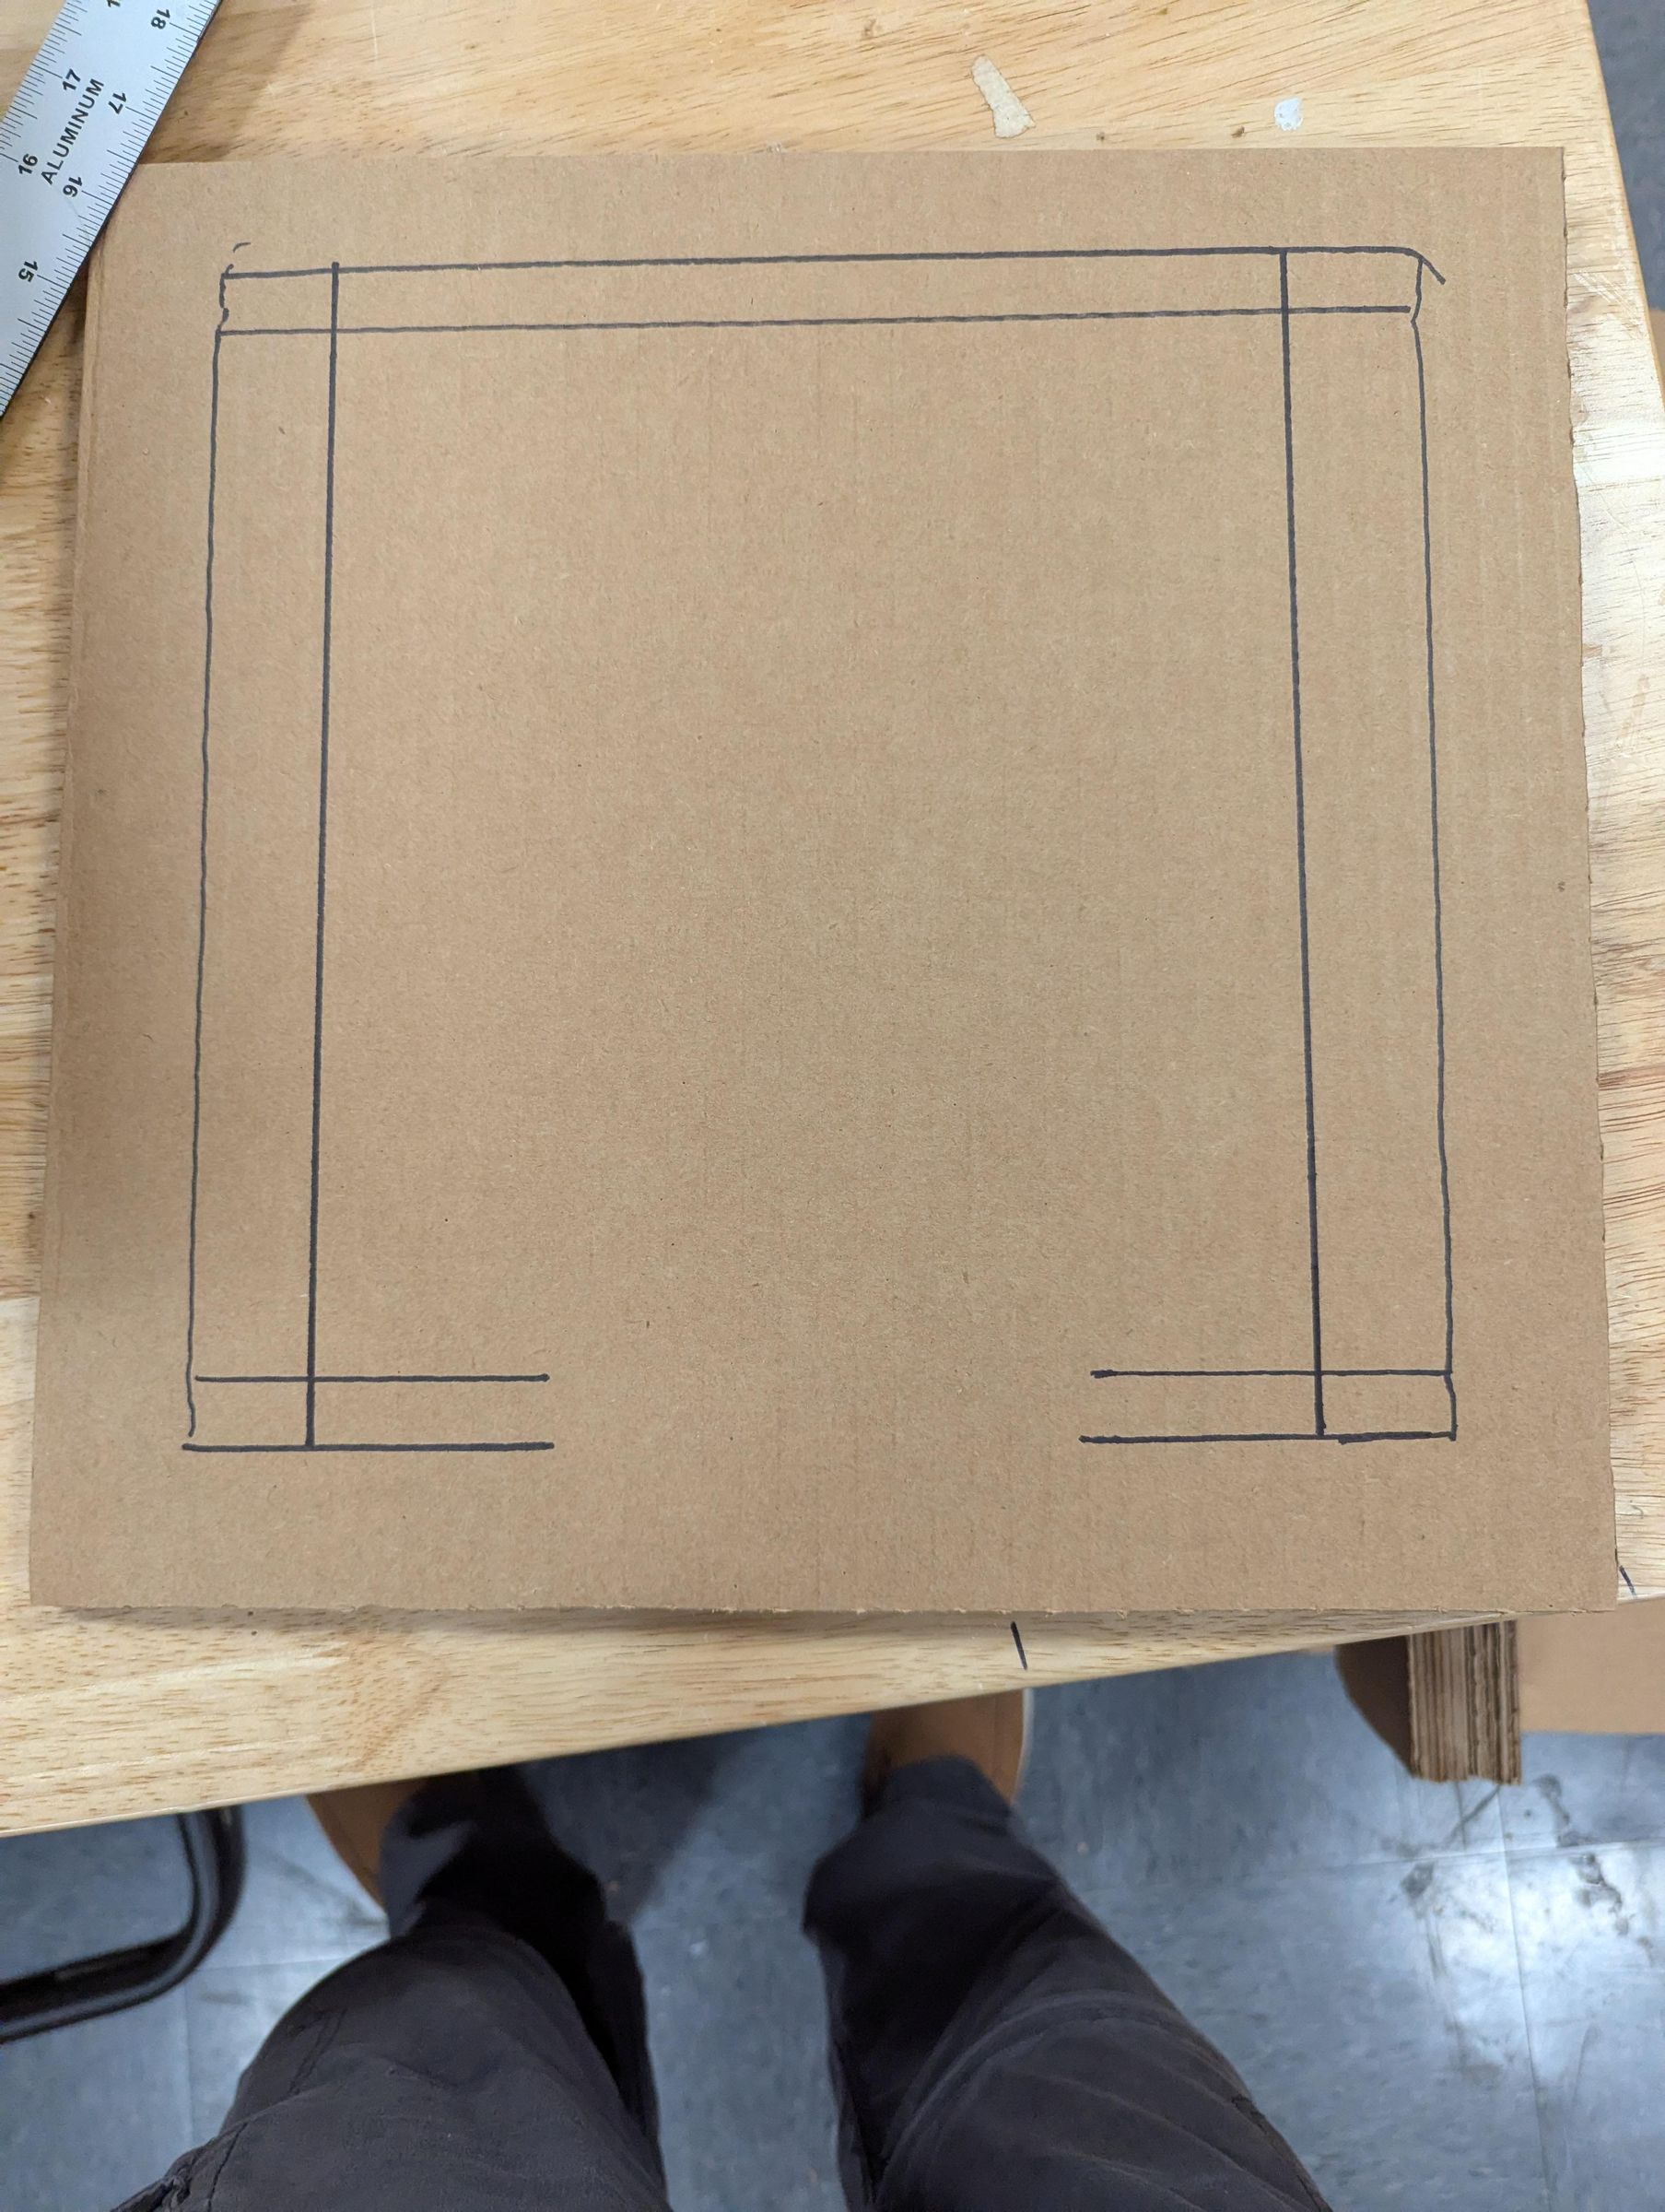
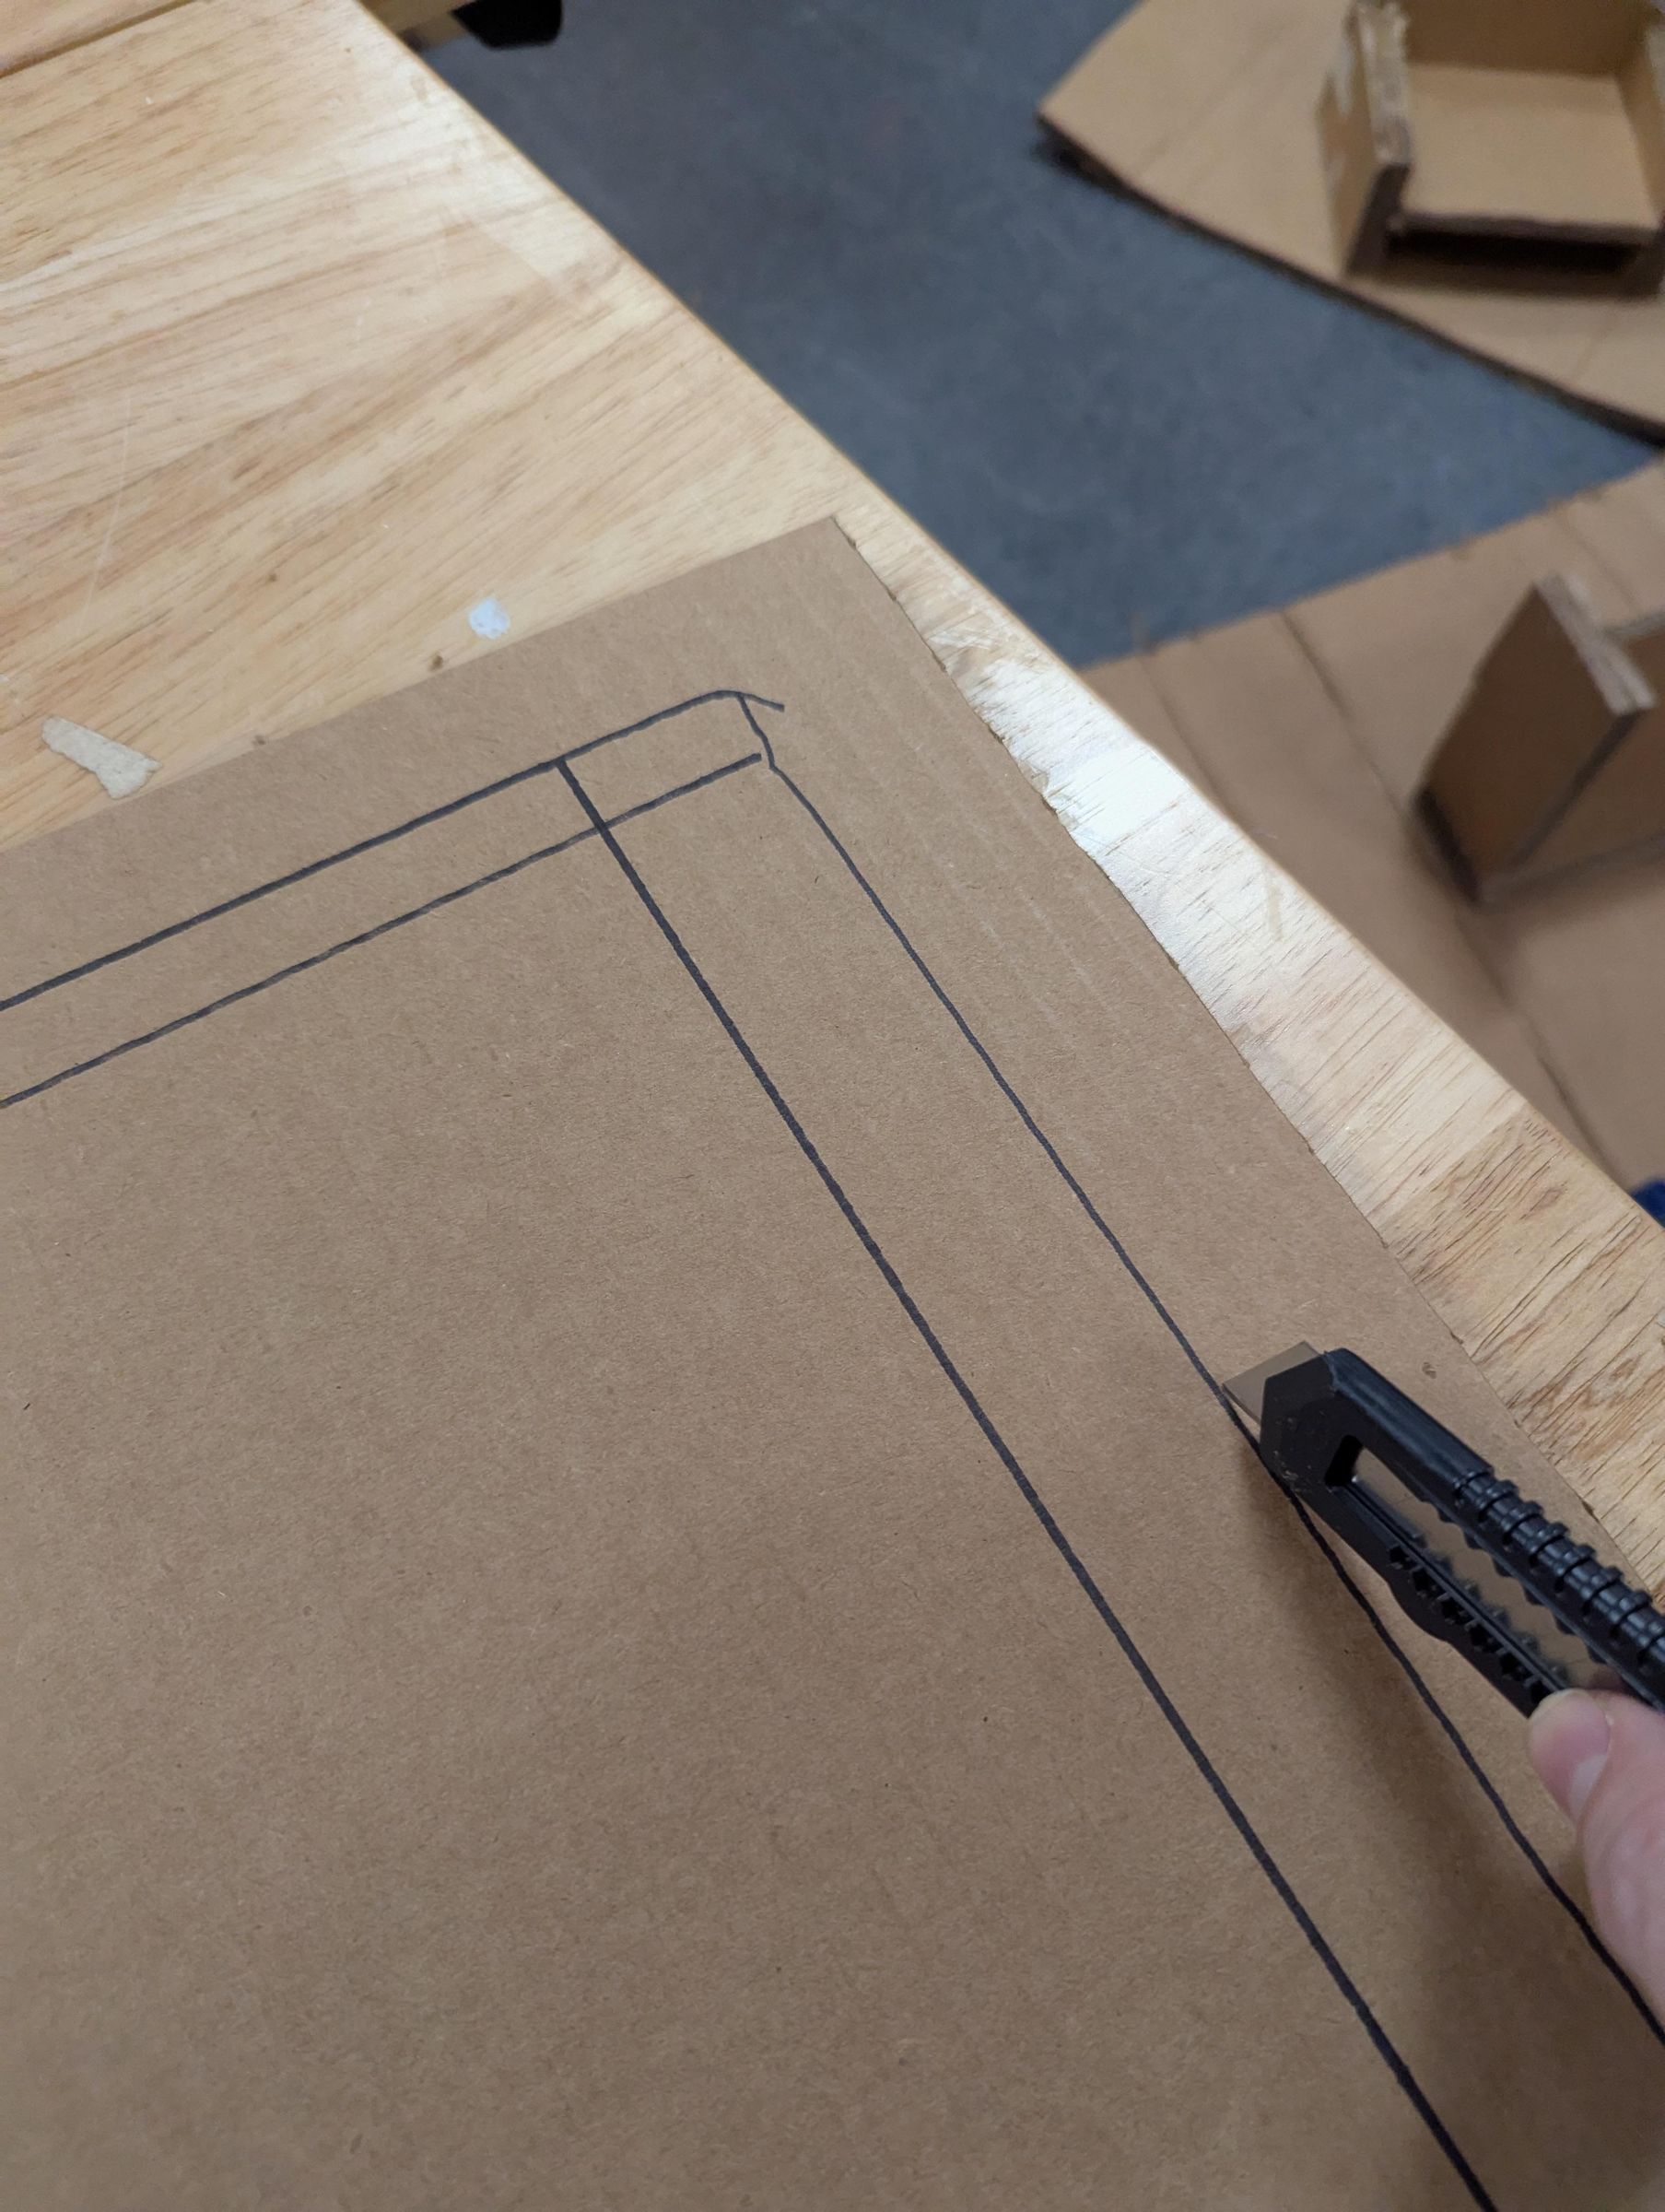
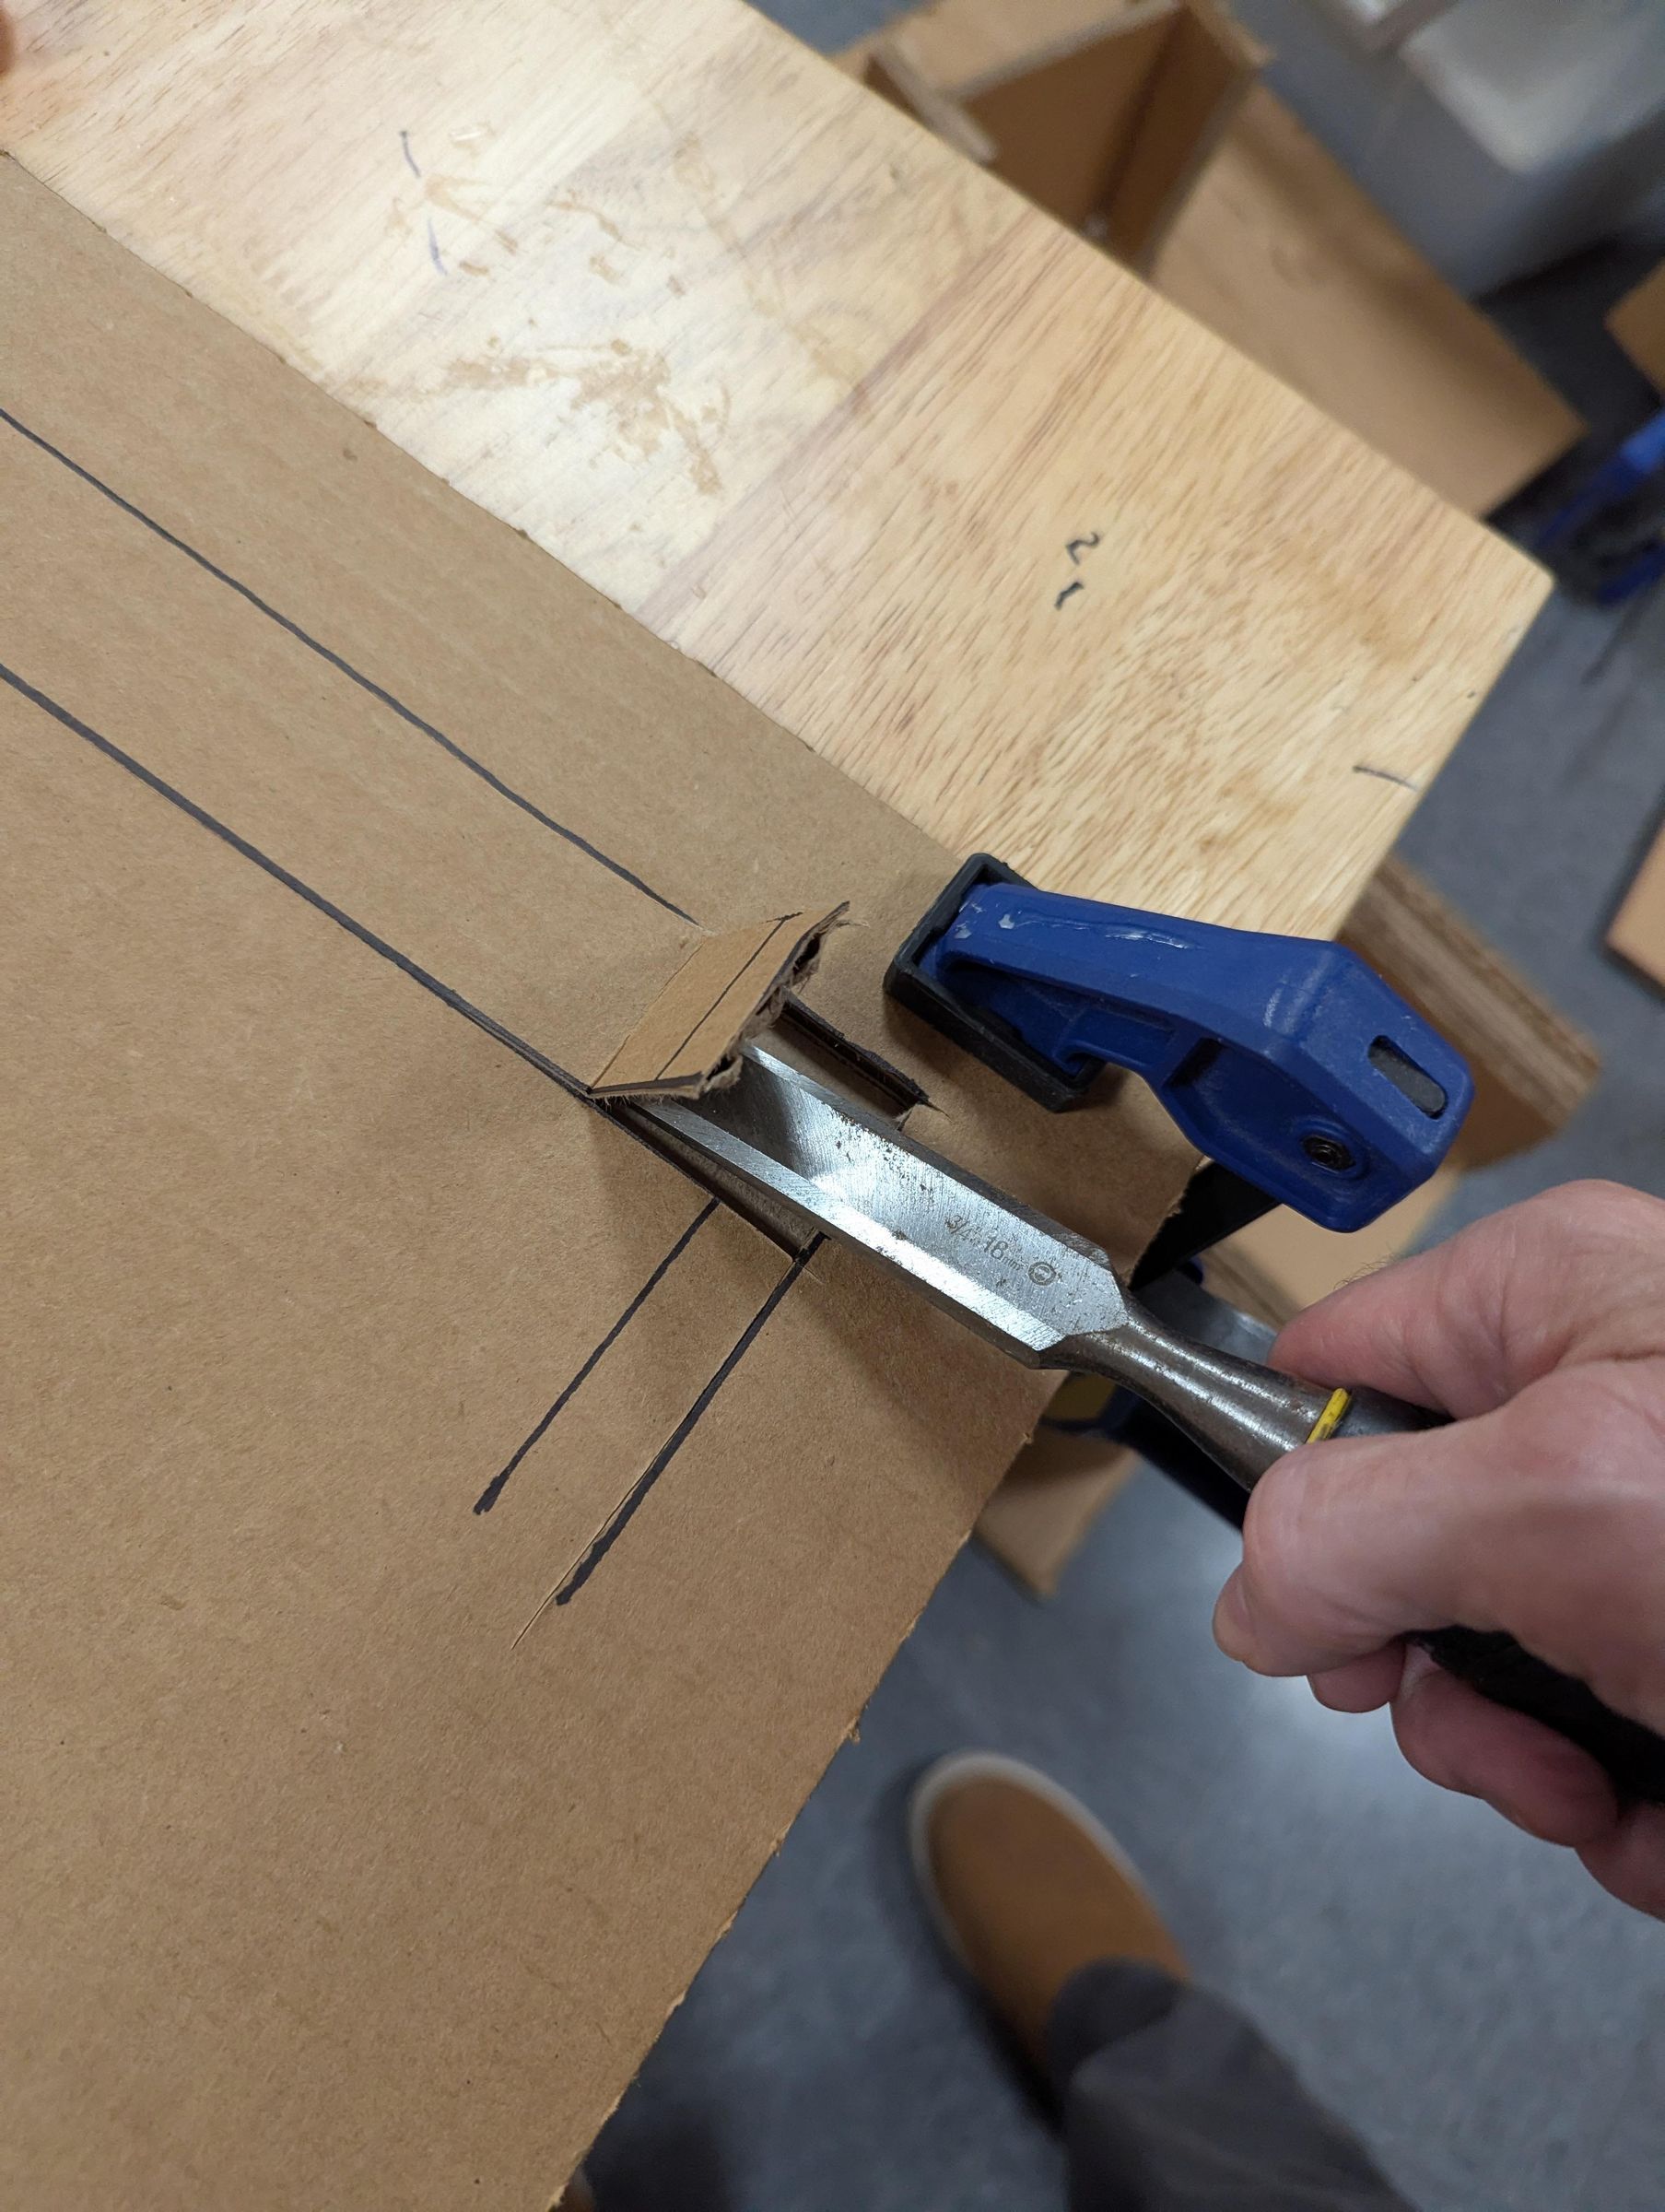
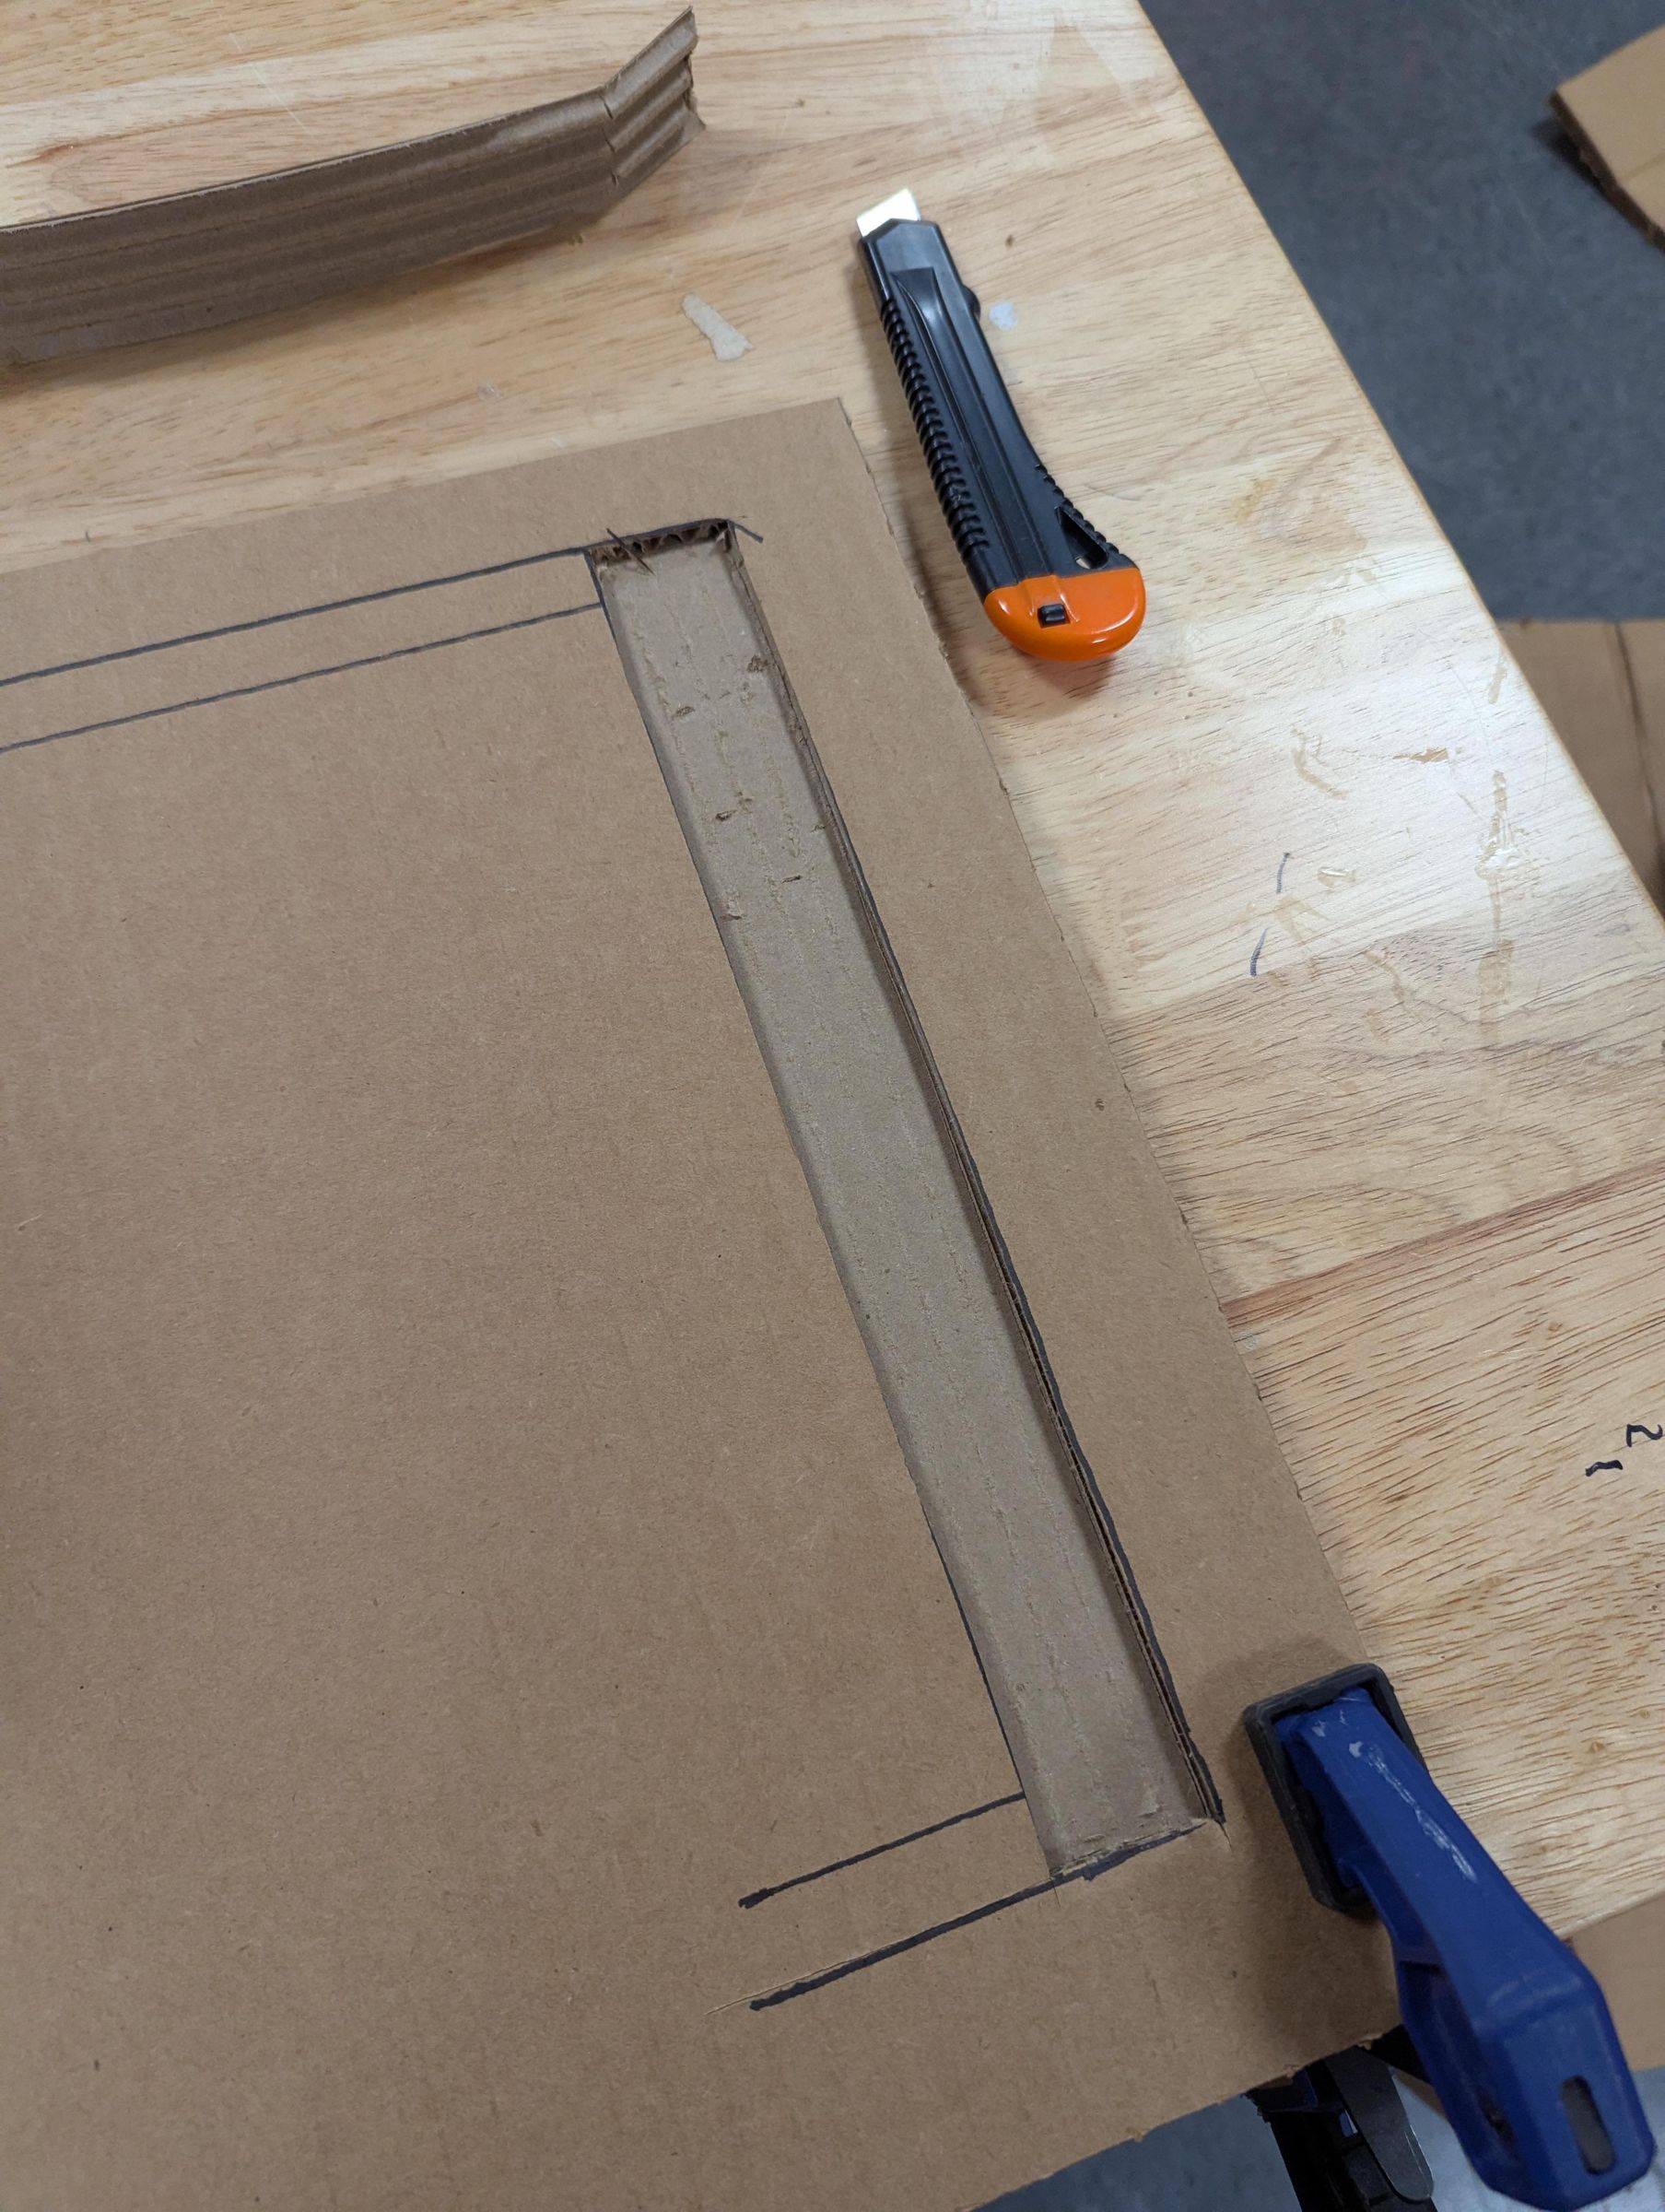
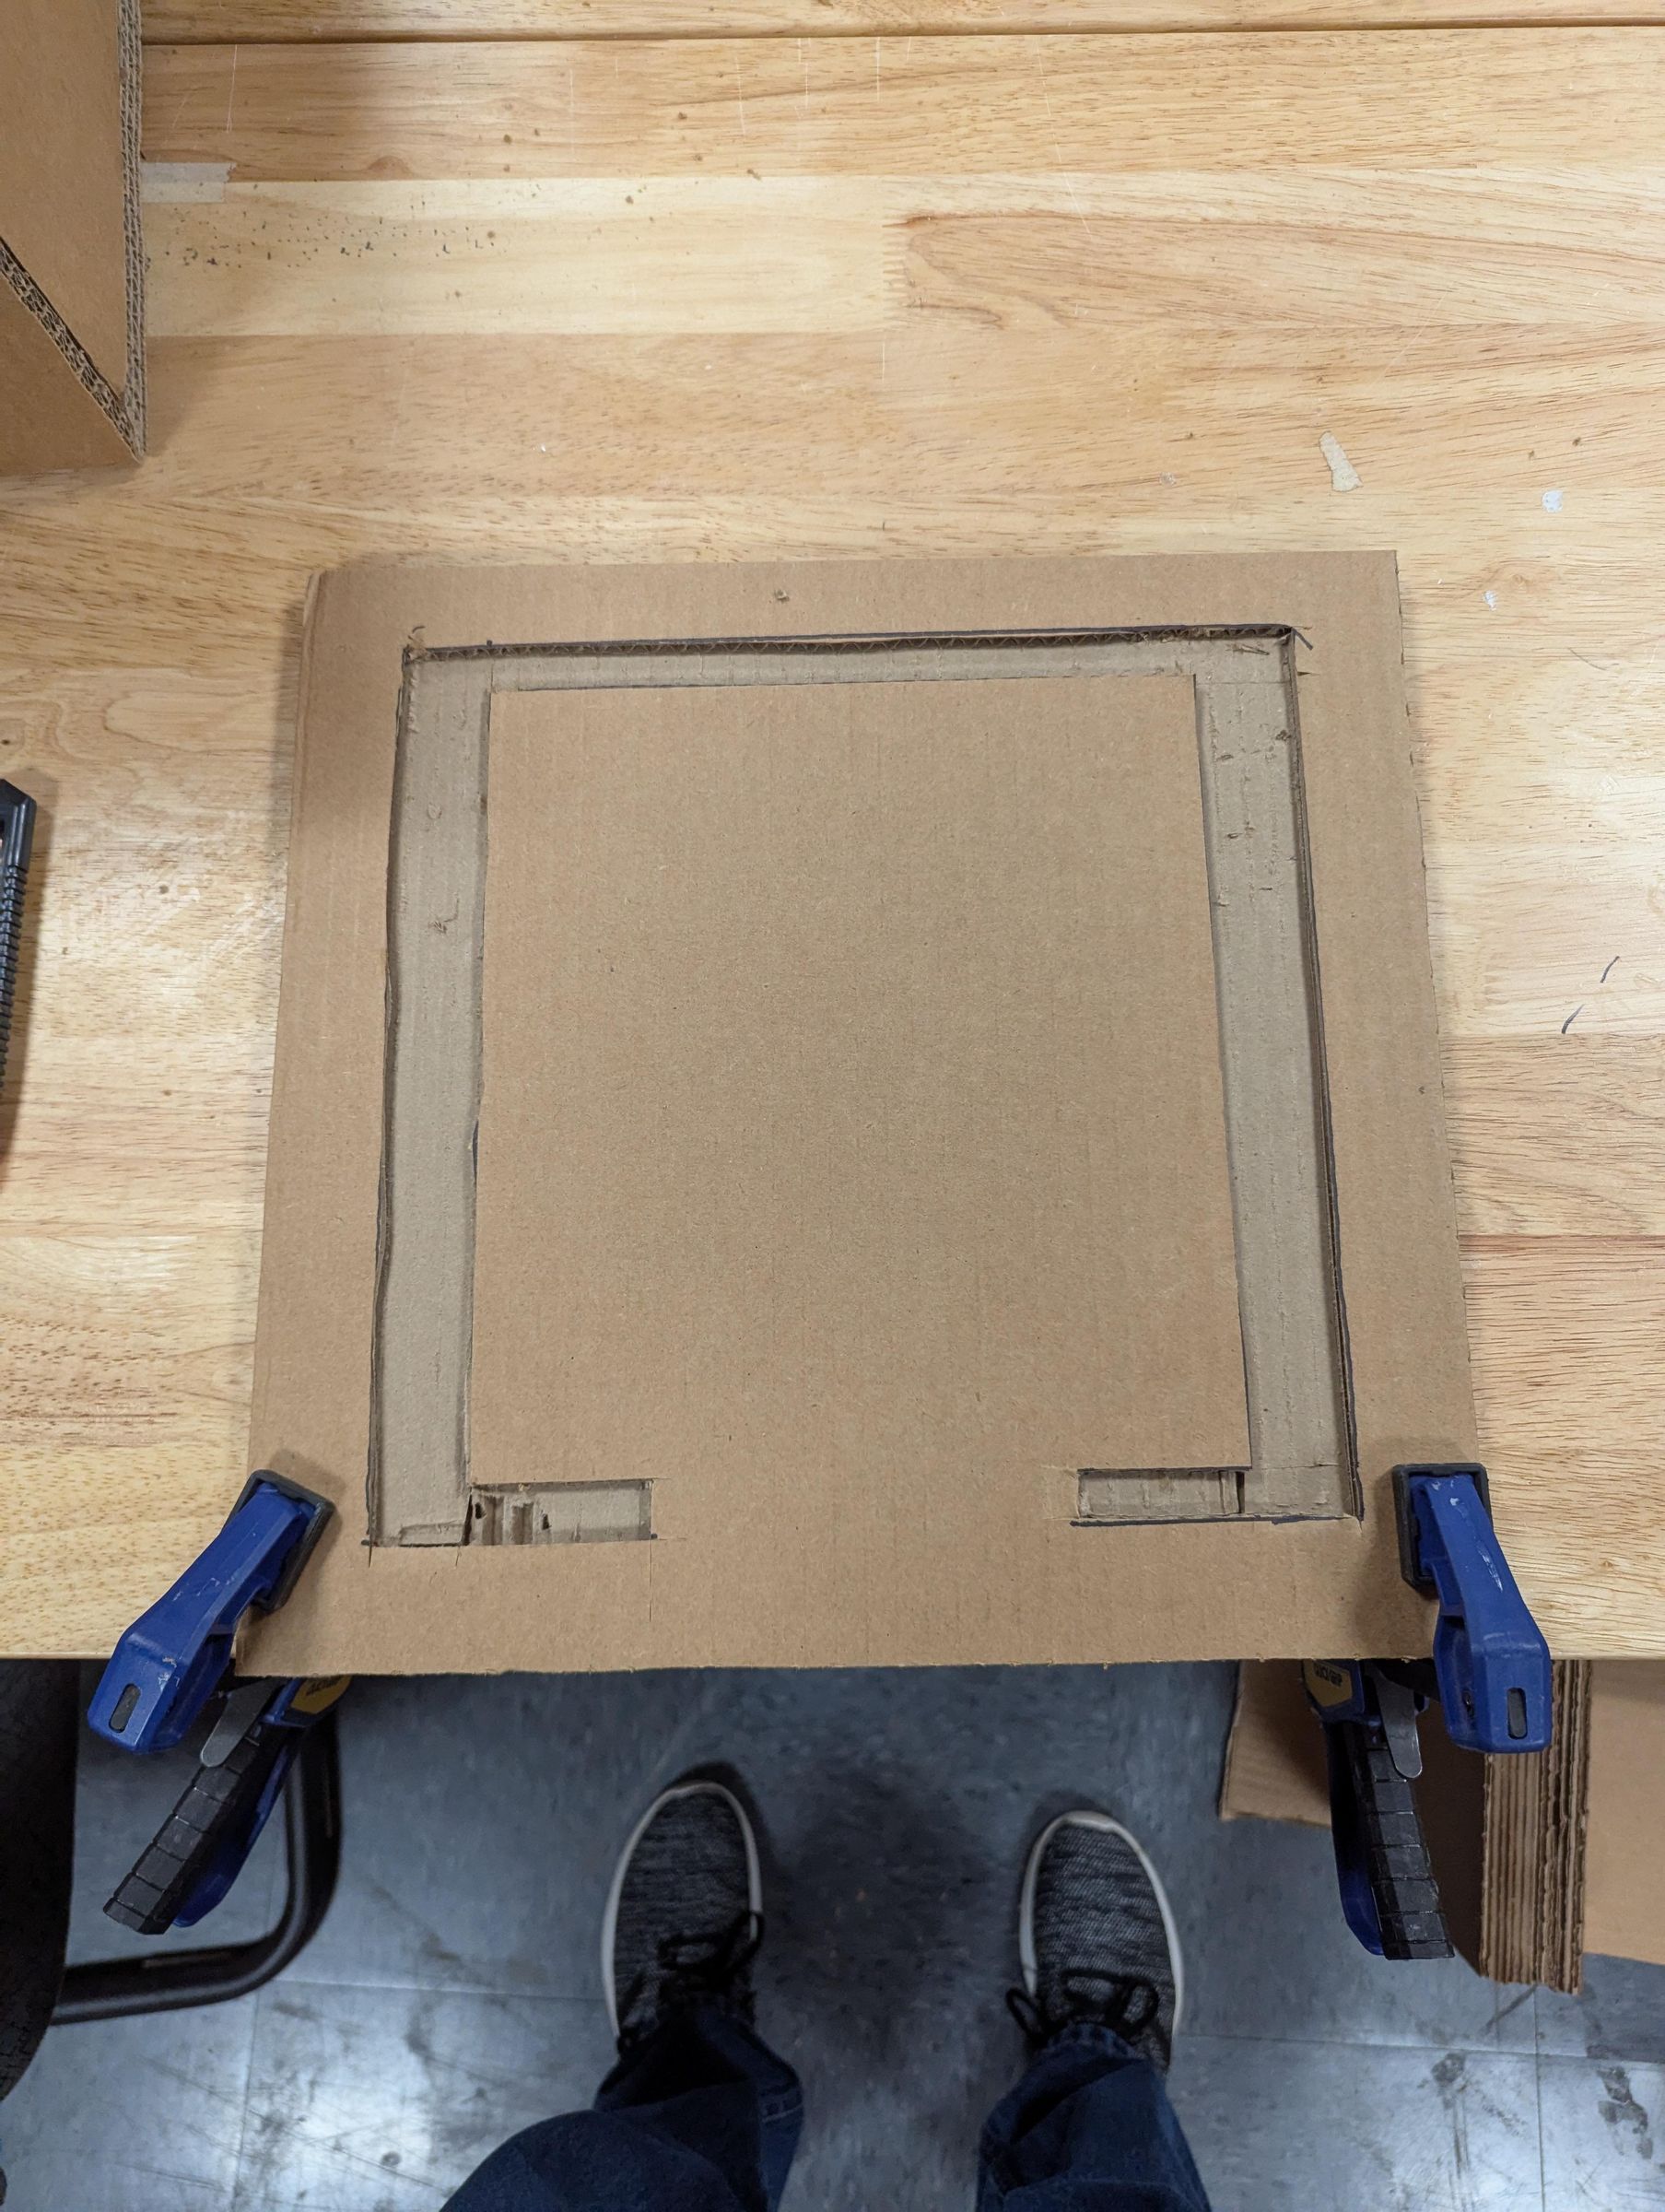
1. Mark out where frame will attach to base
2. Use chisel to remove one layer of cardboard from base
Make the base about two inches longer and wider than the frame.
Attach Frame to Base
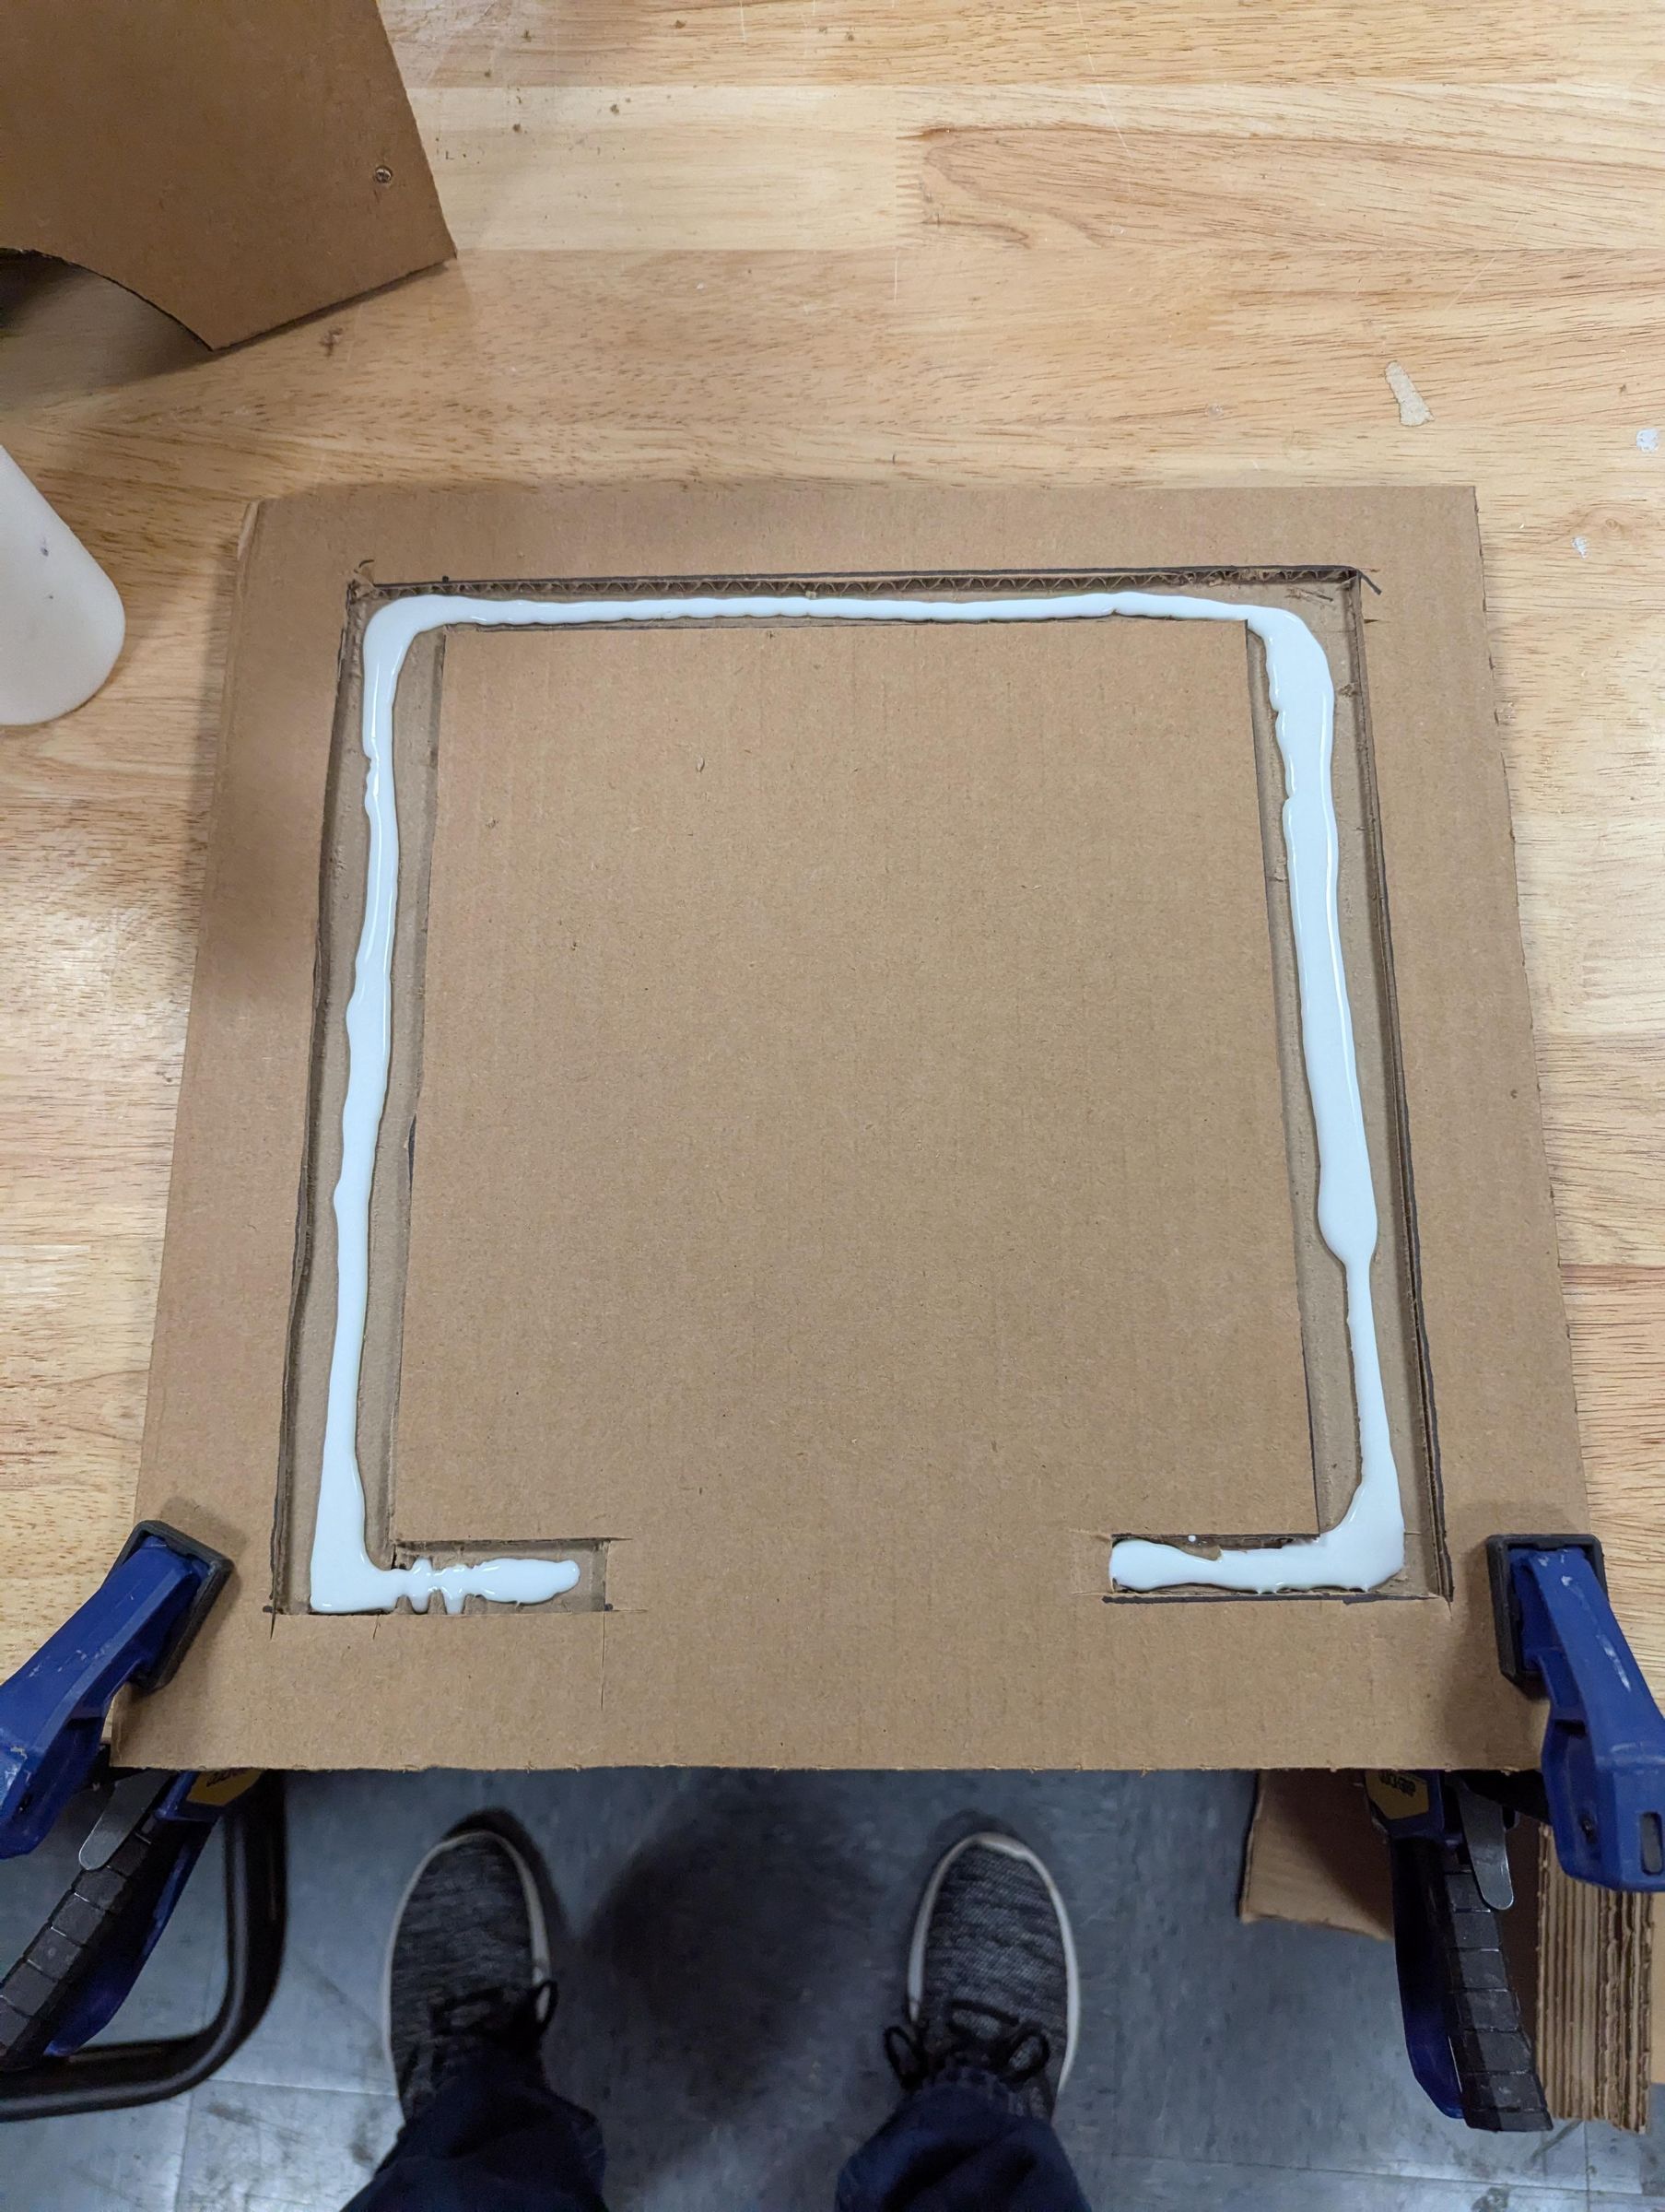
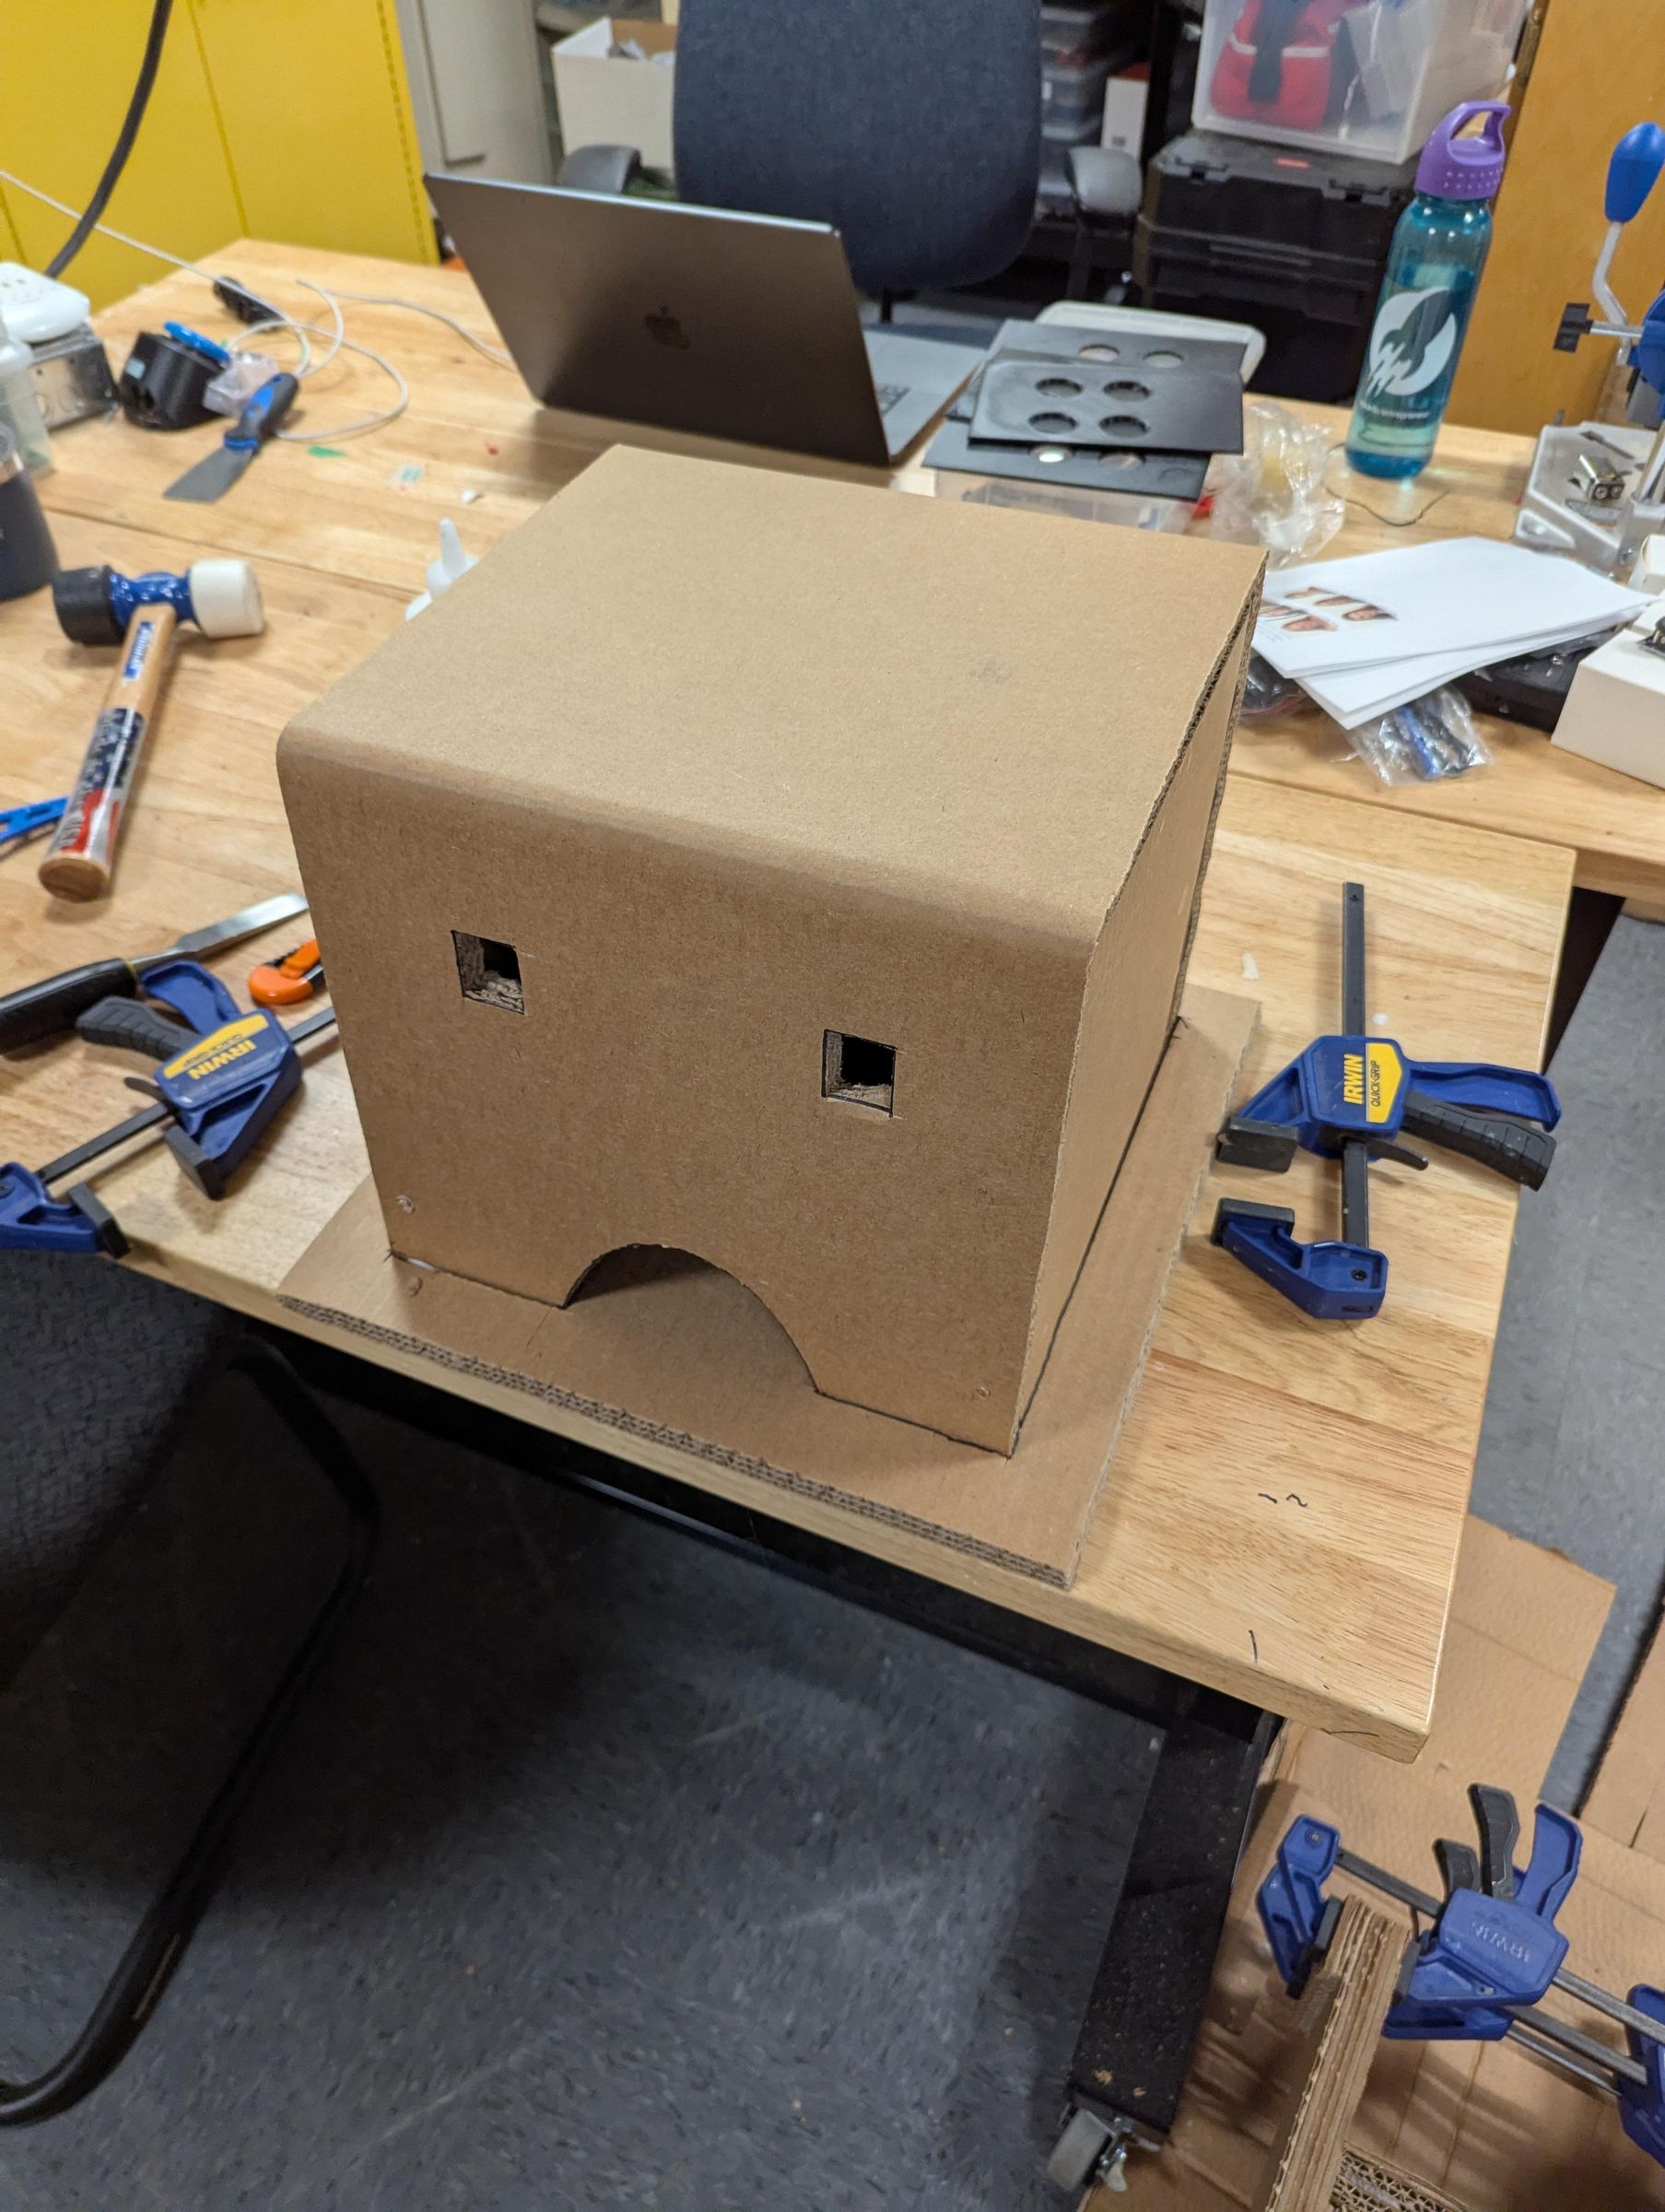
Use white glue to attach frame to base
Edging
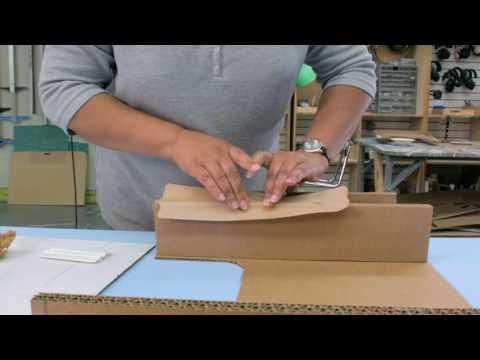
You need to seal off the edges to help keep water out. I use gummed packing tape. You can look at this video from the Adaptive Design AssociationYouTube channel
Finishing
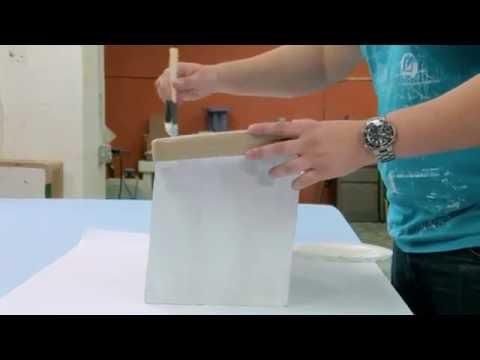
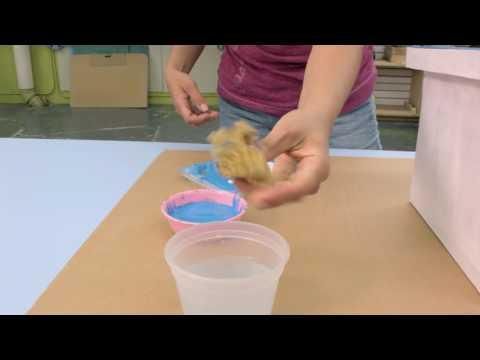
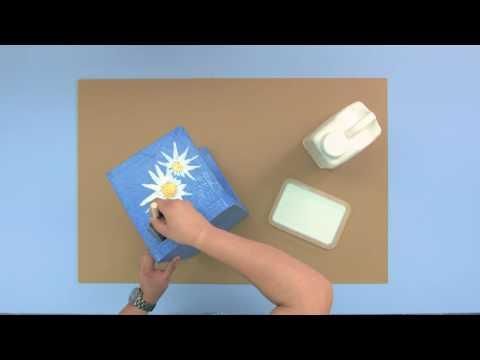
Finish the standing frame, you need to apply primer, paint and polyurethane. I use water-based products to make clean-up easier.
You can look at these videos from the Adaptive Design AssociationYouTube channel