"Quick" Canoe Made From Plywood
17393 Views, 123 Favorites, 0 Comments
"Quick" Canoe Made From Plywood

-6.jpg)
-4.jpg)
.jpg)
When I was growing up, our family had a beautiful, wood and canvas canoe. It wasn't the lightest canoe in the world but she sure was pretty. As an adult, moving back to Canada, I decided it would be great for our family to have our own canoe to go exploring in. However, we didn't have a ton of extra cash for a fancy canoe. That's when I decided to build it myself. Out of plywood.
I found a great set of plans online, and met Michael Storer, a boat builder with a history of well-renowned boat designs. His idea was to design a "Quick Canoe" that could be made in a relatively short time. This meant simplifying the construction of a canoe into a flat bottomed boat made from 3 sheets of plywood. One would expect a flat bottomed boat of this style to be sluggish, hard to maneuver, and just generally not awesome. However, the combination of hull bottom and keel creates a very well mannered boat, equivalent to, or better than any canoe I have paddled in (though I have never paddled in a super expensive canoe) All I can say, is the first time I took it out I was beyond impressed with how well it worked!
I'd love to share my building journey with you and maybe inspire you in your own projects. Let's get making!
Supplies
Quick Canoe Plans: These plans are designed by Michael Storer. He's a great, helpful guy with a ton of knowledge.
3 sheets of 1/4" plywood (exterior grade or marine grade)
2"x8" board: 10 or 12 feet long and as clean and straight as possible
1" x 4" board: 8 feet long
Epoxy Supplies (these were supplied to me by Noah's Marine)
ARK Epoxy two to one: 3/4 gallon of resin, 1.5 Quarts medium Hardener
11yards of 6oz x 2" fibreglass tape,
Wood flour-1 quart, cotton fiber- 1quart, coloidial silica- 1 quart
Squeege to spread epoxy: I made my own with a strip of rubber from a car mat, clamped between a couple of thin wood pieces
3/4" screws for temporary holding parts together
2.5" Stainess steel screws: 10 of them to be left in the canoe permanently
Duct tape
Small thin nails
Sandpaper
Plastic sheeting
Ziplock bags
Zip ties
Clear Packing Tape: To cover wood strips for gluing
Paint: Good quaity weatherproof paint. I used Valspar Duramax
Spar Varnish: For protecting the inside of the canoe. I used Old Masters Oil-Based Spar Varnish
Tools I used: Jigsaw, disc sander, router, hand plane, table saw, sanding machine, drill, Tape measure, square, clamps, paintbrushes, Oscillating multi tool
Safety First.
I am in no way an accomplished woodworker, so just because I do something in a certain way doesn't mean it is the best or safest way to do it. There are a lot of tools and chemicals I use in this project that have the capacity to seriously injure you. It is your responsibility to learn how to safely use these tools and products before starting this project.
Make Some Marks on Some Plywood
.jpg)
.jpg)
.jpg)
The canoe is going to end up 15 1/2 feet long. As 16 foot plywood is kinda hard to find, I will need to create two sets of pieces and glue them together at the center to get my canoe the right length. There are really only two main pieces that create the canoe's shape. There is a bottom piece that gets cut out twice (front and back) and there is a side piece that gets cut four times. Put 'em all together and you've got a canoe!
Getting the parts of the canoe correctly drawn on the plywood is really important, because once it's cut out, that's what you are stuck with!
The method of transferring the parts onto the wood is relatively straightforward but does require working without distractions.
- I made marks every 300mm along one long edge of the plywood.
- I made marks every 300mm along the other long edge of the plywood.
- I drew lines across the plywood, joining the marks on opposite sides.
- Following the plans, I made measurements from the edge, up each 300mm line, and marked them to give me a very simple dot-to-dot outline of the canoe pieces.
The front and back of the side pieces are slightly more complicated as it is necessary to further divide up the last 300mm section into smaller sections to place the marks correctly.
It is worth double-checking the measurements at the end- I made a small mistake but luckily caught it before I cut the ply!
Nails + Long Bendy Strip of Wood = Nice Smooth Lines
.jpg)
.jpg)
.jpg)
.jpg)
.jpg)
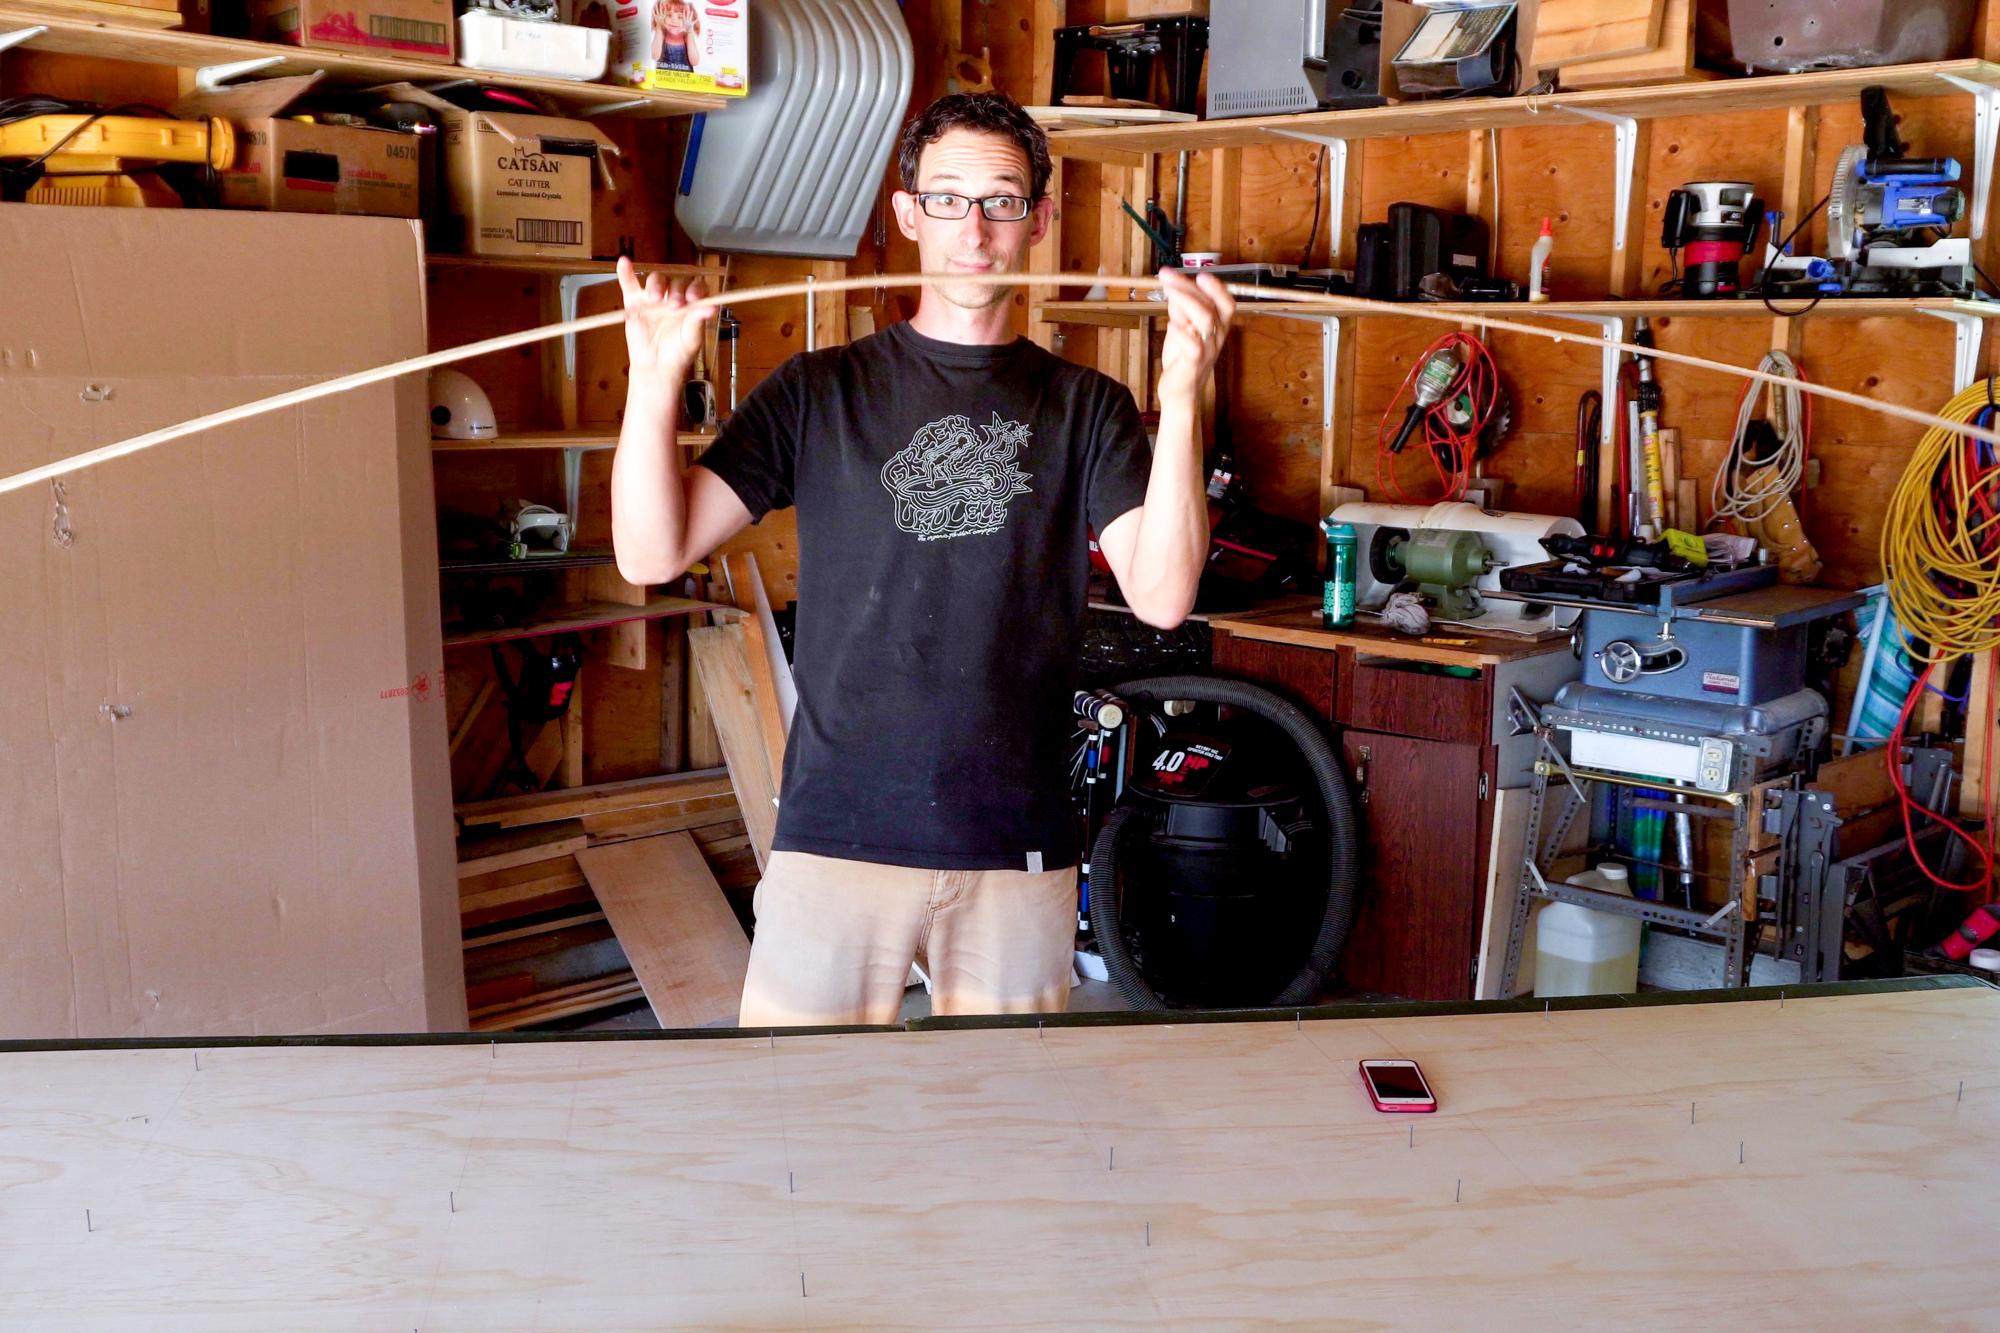
This step is all about turning the marks on the piece of wood into nice smooth continuous lines. Boats work better when they don't have sudden changes in bottom contours, so that's why we are going for smooth here! In order to get a smooth line, I needed a long batten, or strip of wood that was reasonably flexible, so it would bend along the lines of the canoe, while still holding a nice even curve.
- I grabbed a bunch of small nails that don't have a very large head.
- I nailed them in at every mark I made in the previous step, deep enough to stay, but not all the way through the plywood.
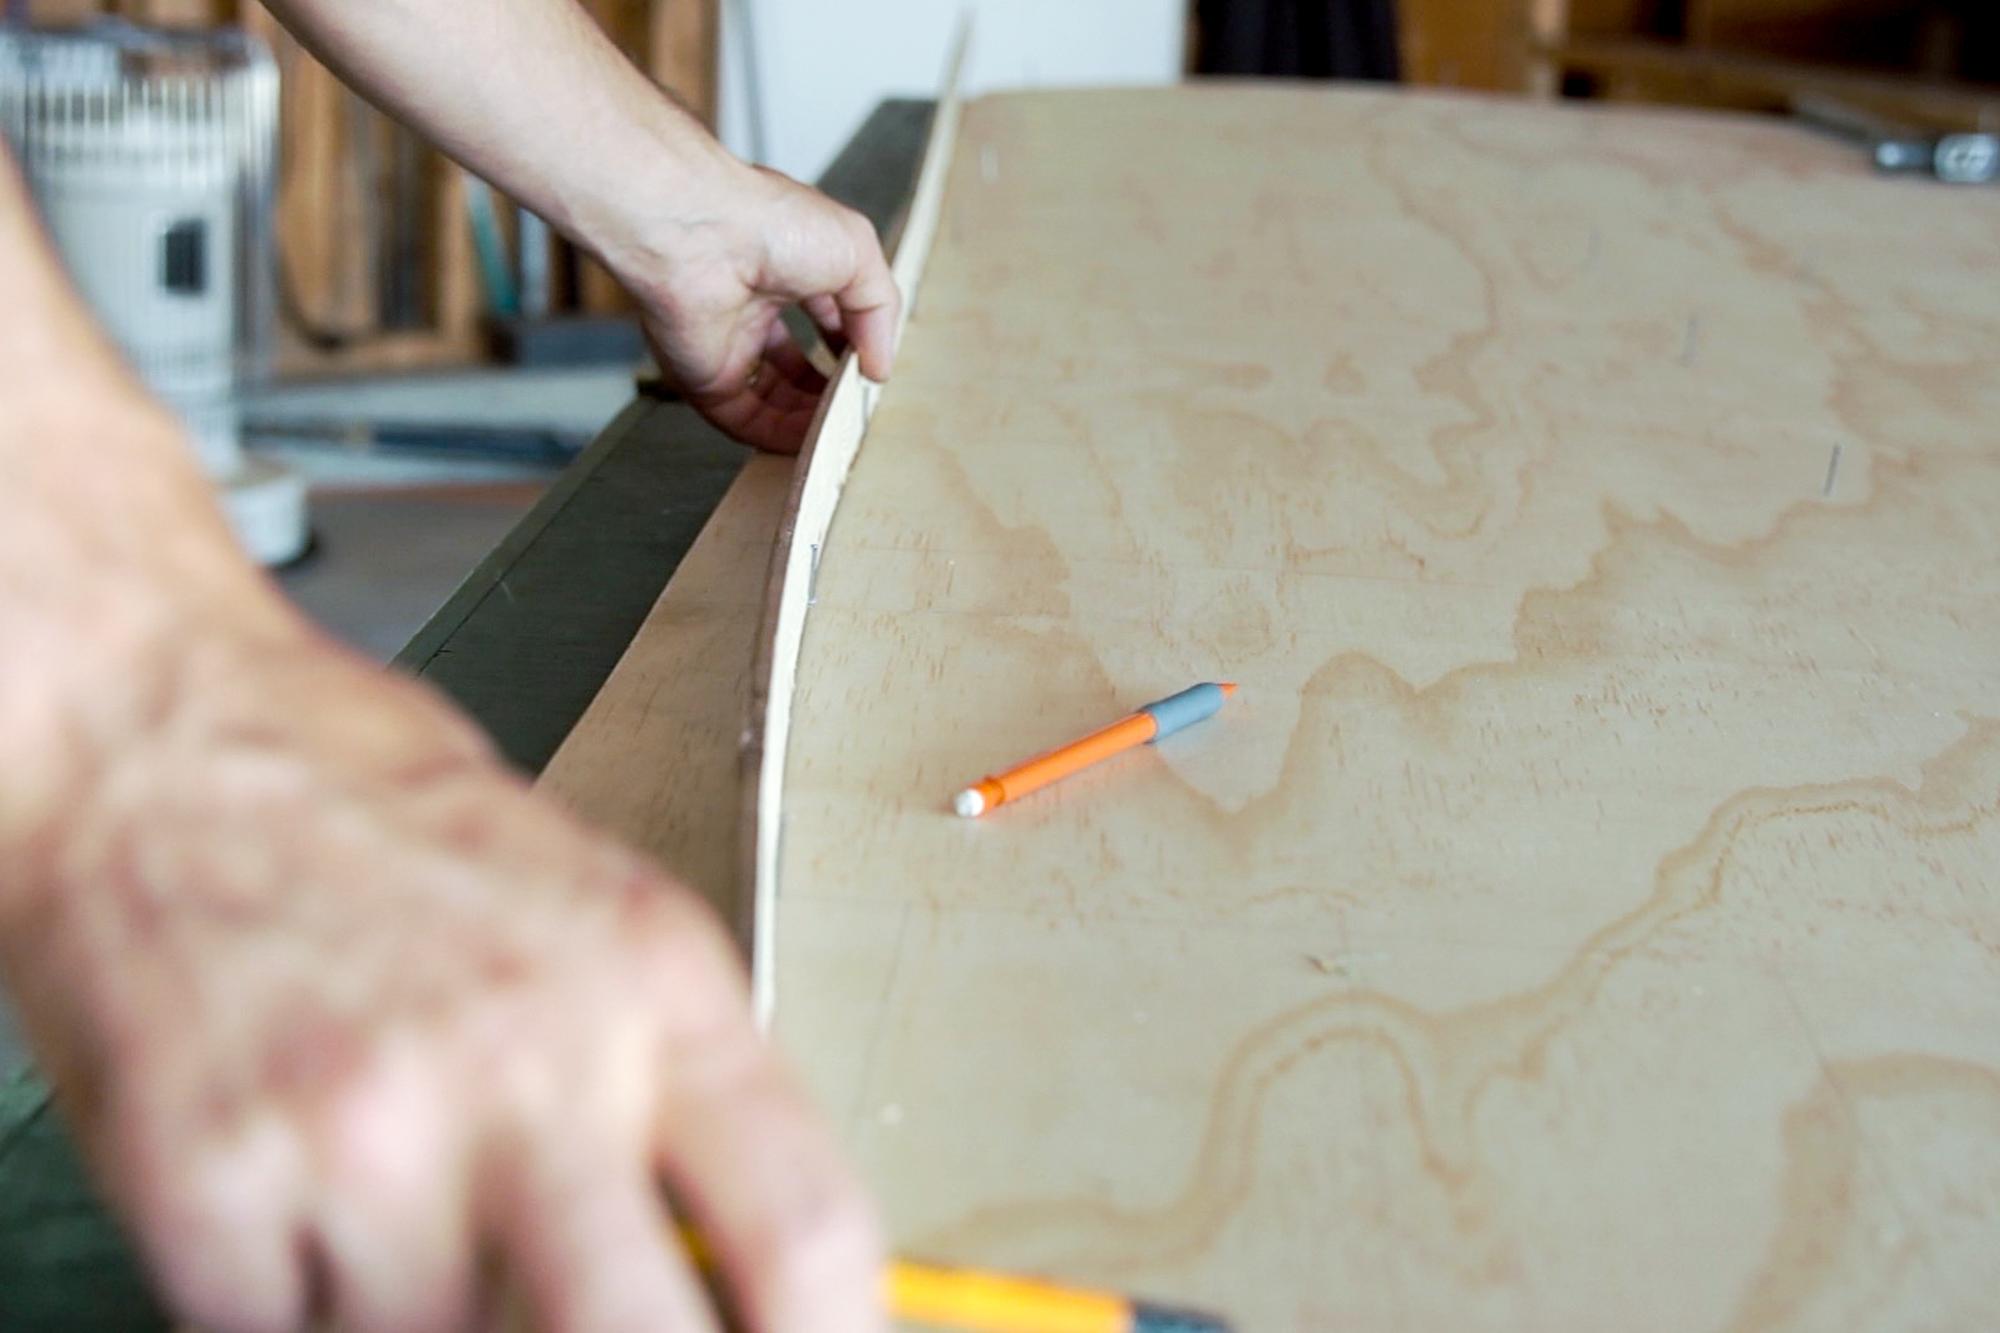
- I placed the batten on the plywood, and held it on edge against the nails in the board. This required bending it slightly until it contacted all the nails. If you don't have enough body parts to hold the batten in place, a heavy weight or two can be very helpful.
- I traced along the edge of the batten to create the lines of the canoe pieces.
- I removed the little nails
If you notice that the batten is not able to contact one of the nails, this is a sign that your measurements might be off, and a good time to do some double checking.
Cut Out the Canoe!
.jpg)
-2.jpg)
-3.jpg)
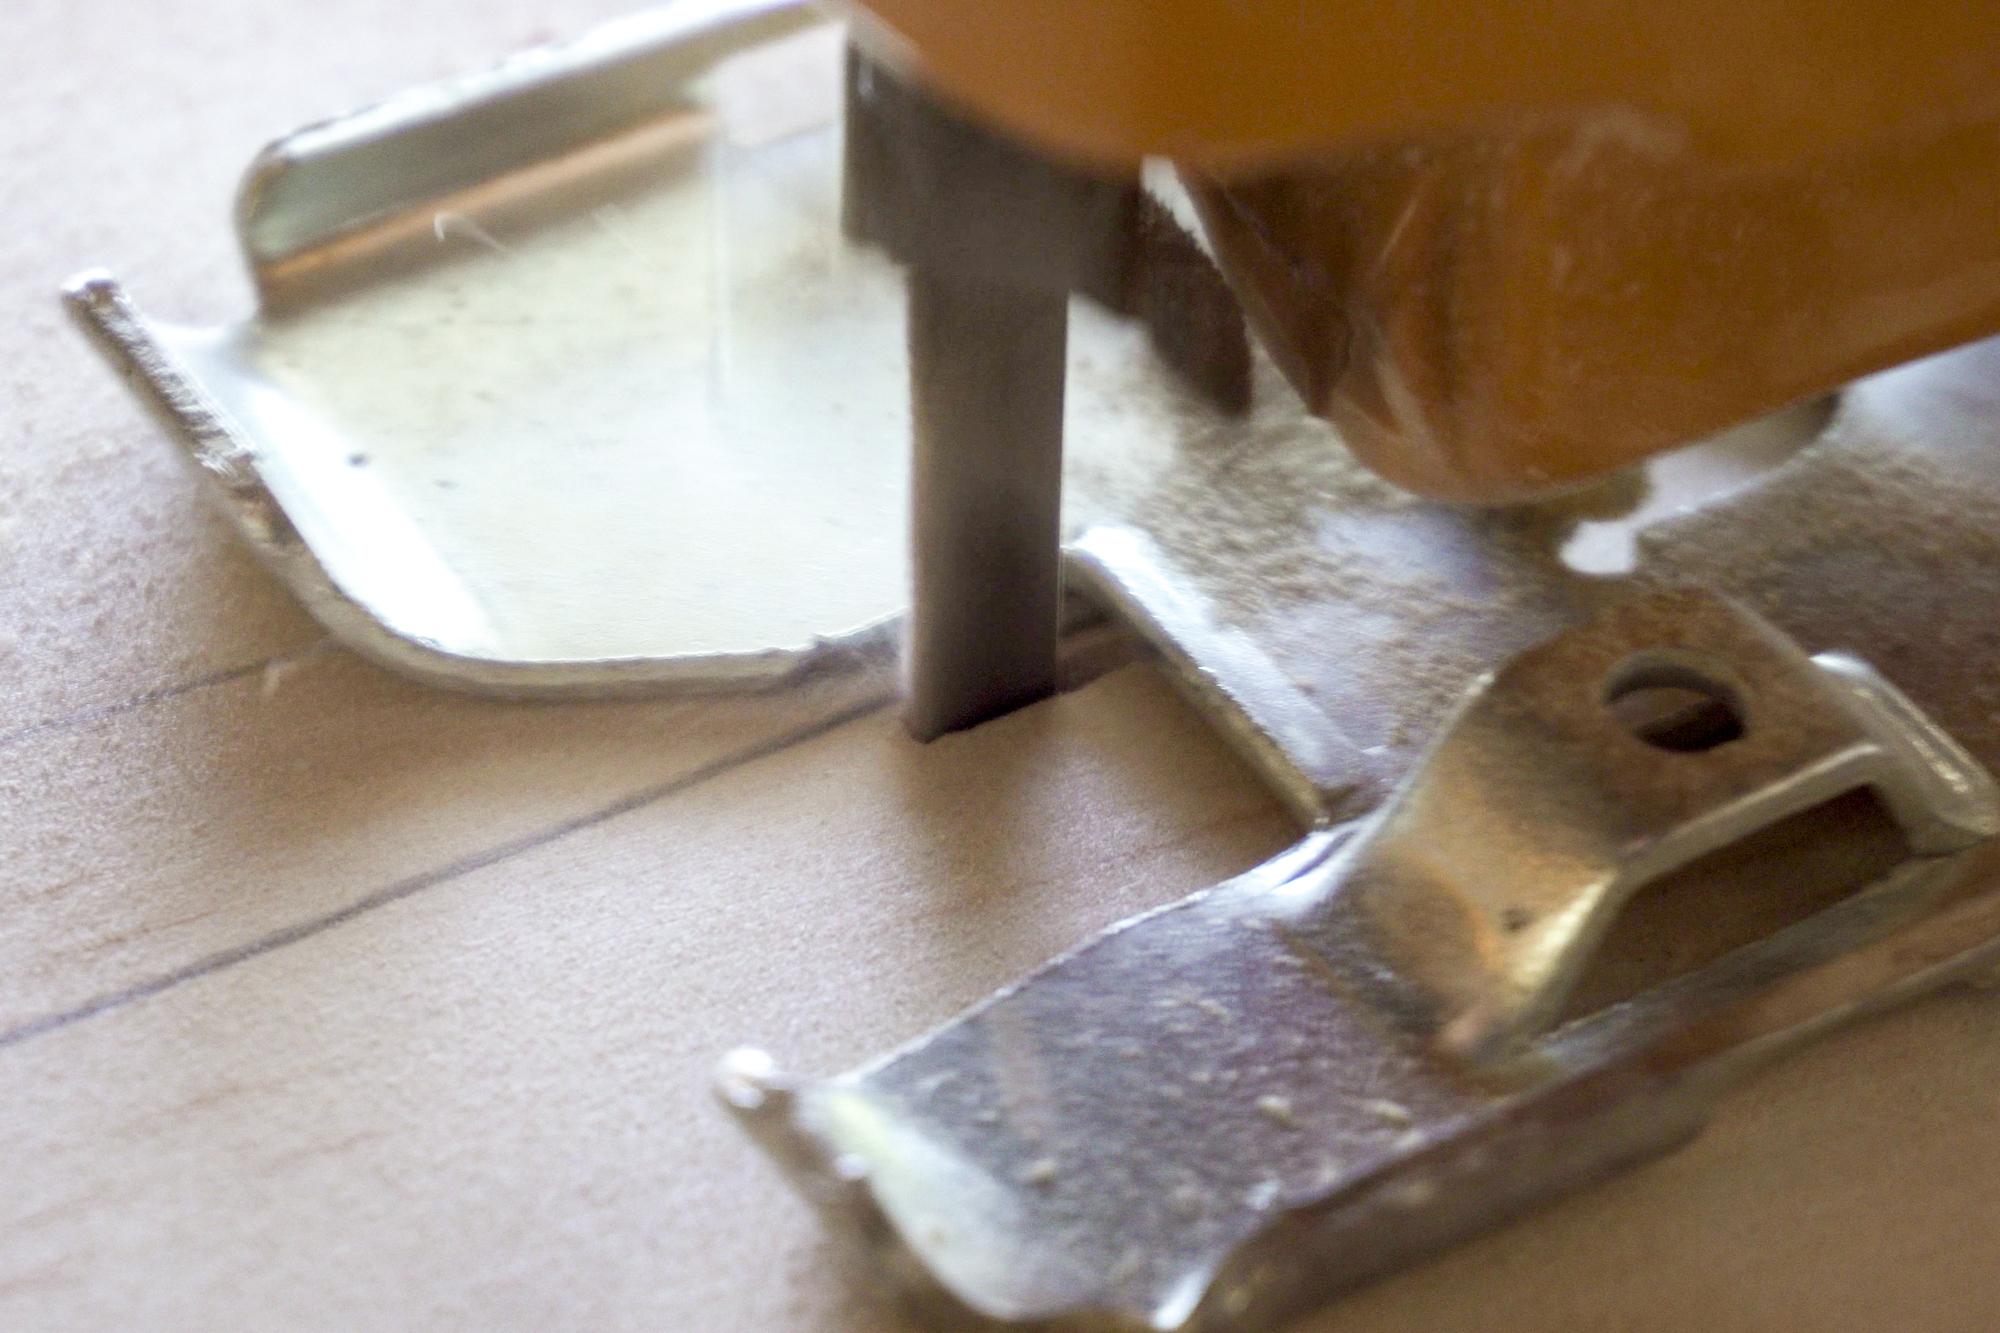
Using a jigsaw, I cut just to the outside of the lines I had drawn, until I had all 6 pieces cut out.
I then used a hand plane to smooth the cut edges and bring them right down to the pencil line.
Skeg Doublers and Butt Straps
-4.jpg)
.jpg)
.jpg)
.jpg)
There are just a few more other pieces to cut out.
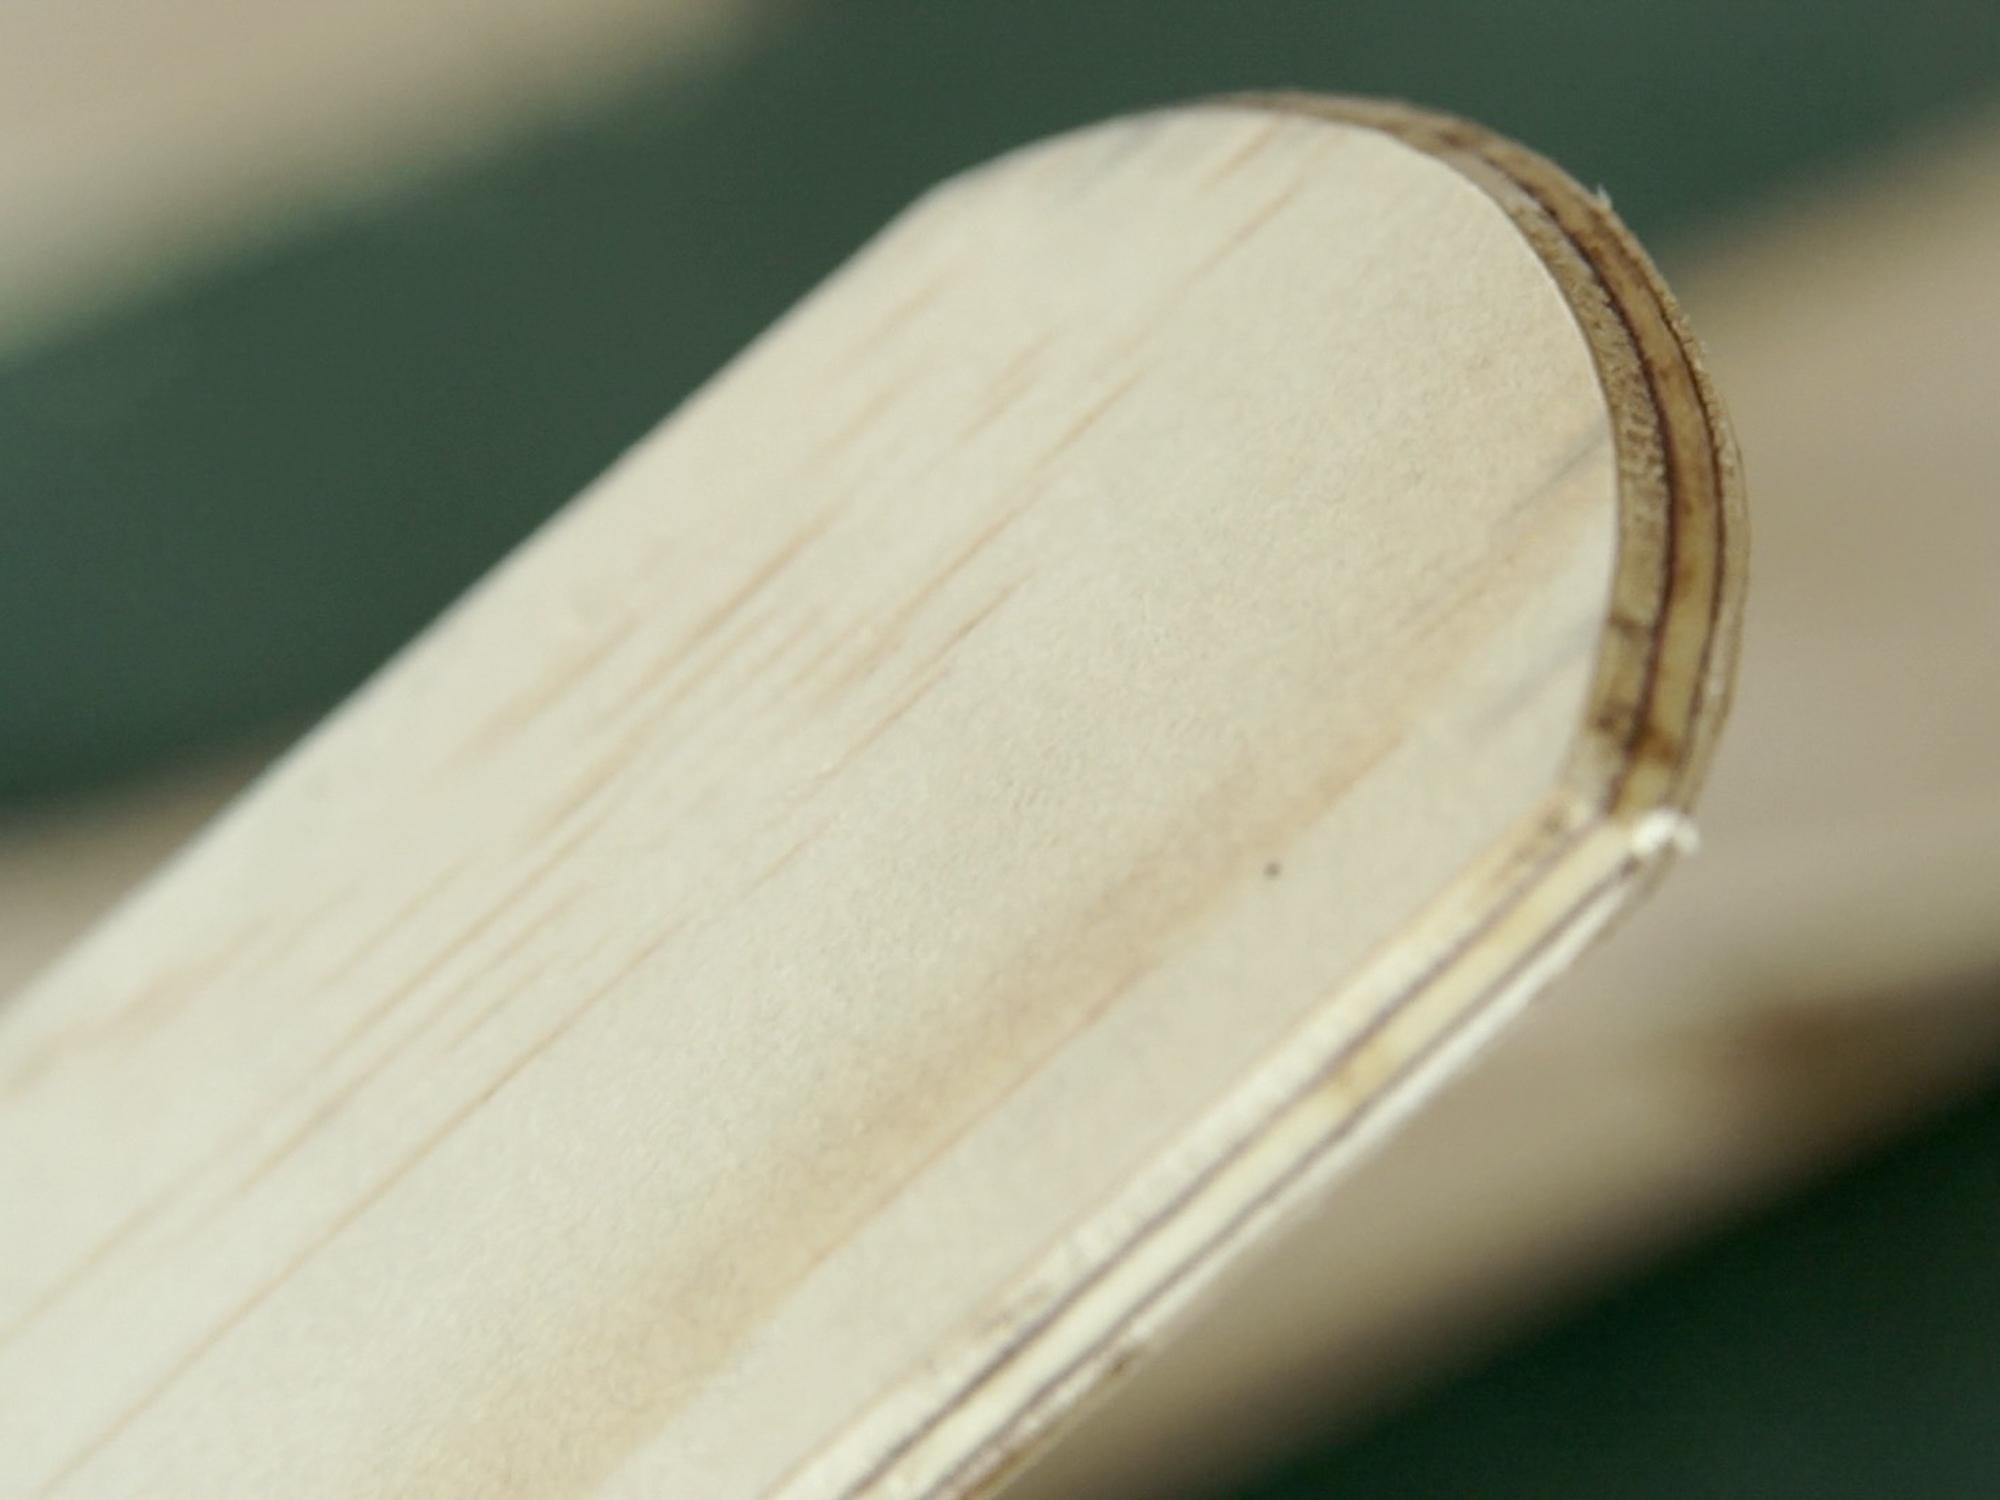
The skeg doublers, which will add some extra reinforcement on the front and back of the canoe are made from a strip of plywood.
I rounded the back end of the skeg doubler by tracing around a can.
The point of the skeg doubler needs to fit right into the tip of the canoe, so I held up two scraps of plywood over the canoe tip and traced the lines I needed to cut to give the skeg doubler an accurate angle.
The buttstraps are rectangular pieces of plywood that are going to add strength to the joint in the centre of the canoe. I think they are called buttstraps because the joint is a butt joint.
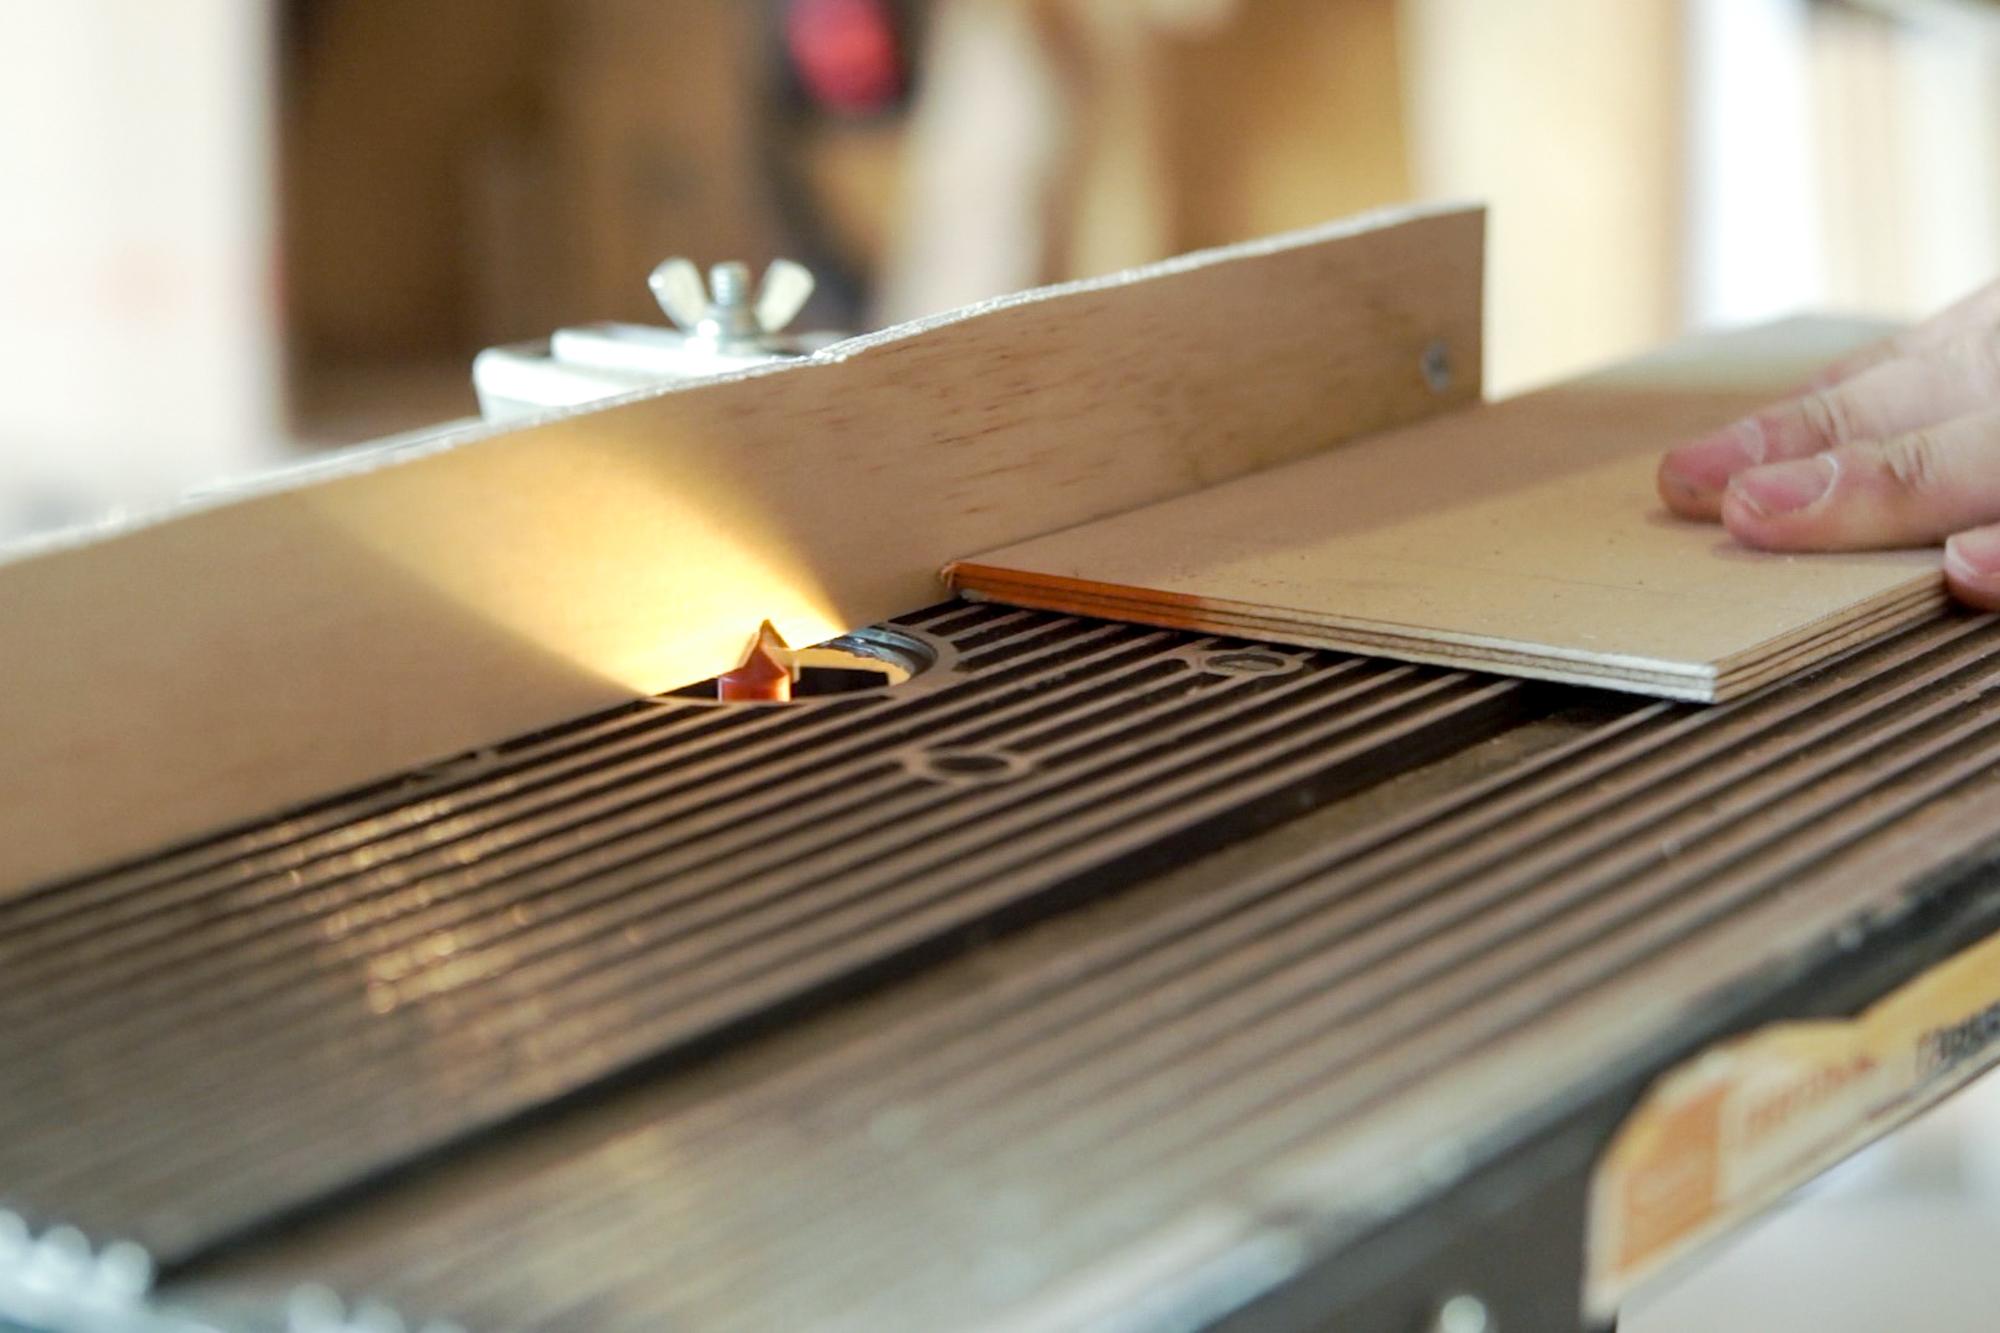
I used my router to give the butt straps and skeg doublers a nice chamfered edge on one side. So I won't stub my toe on them when I am walking around in my canoe.....
Make Some "No-Stick" Sticks.
.jpg)
.jpg)
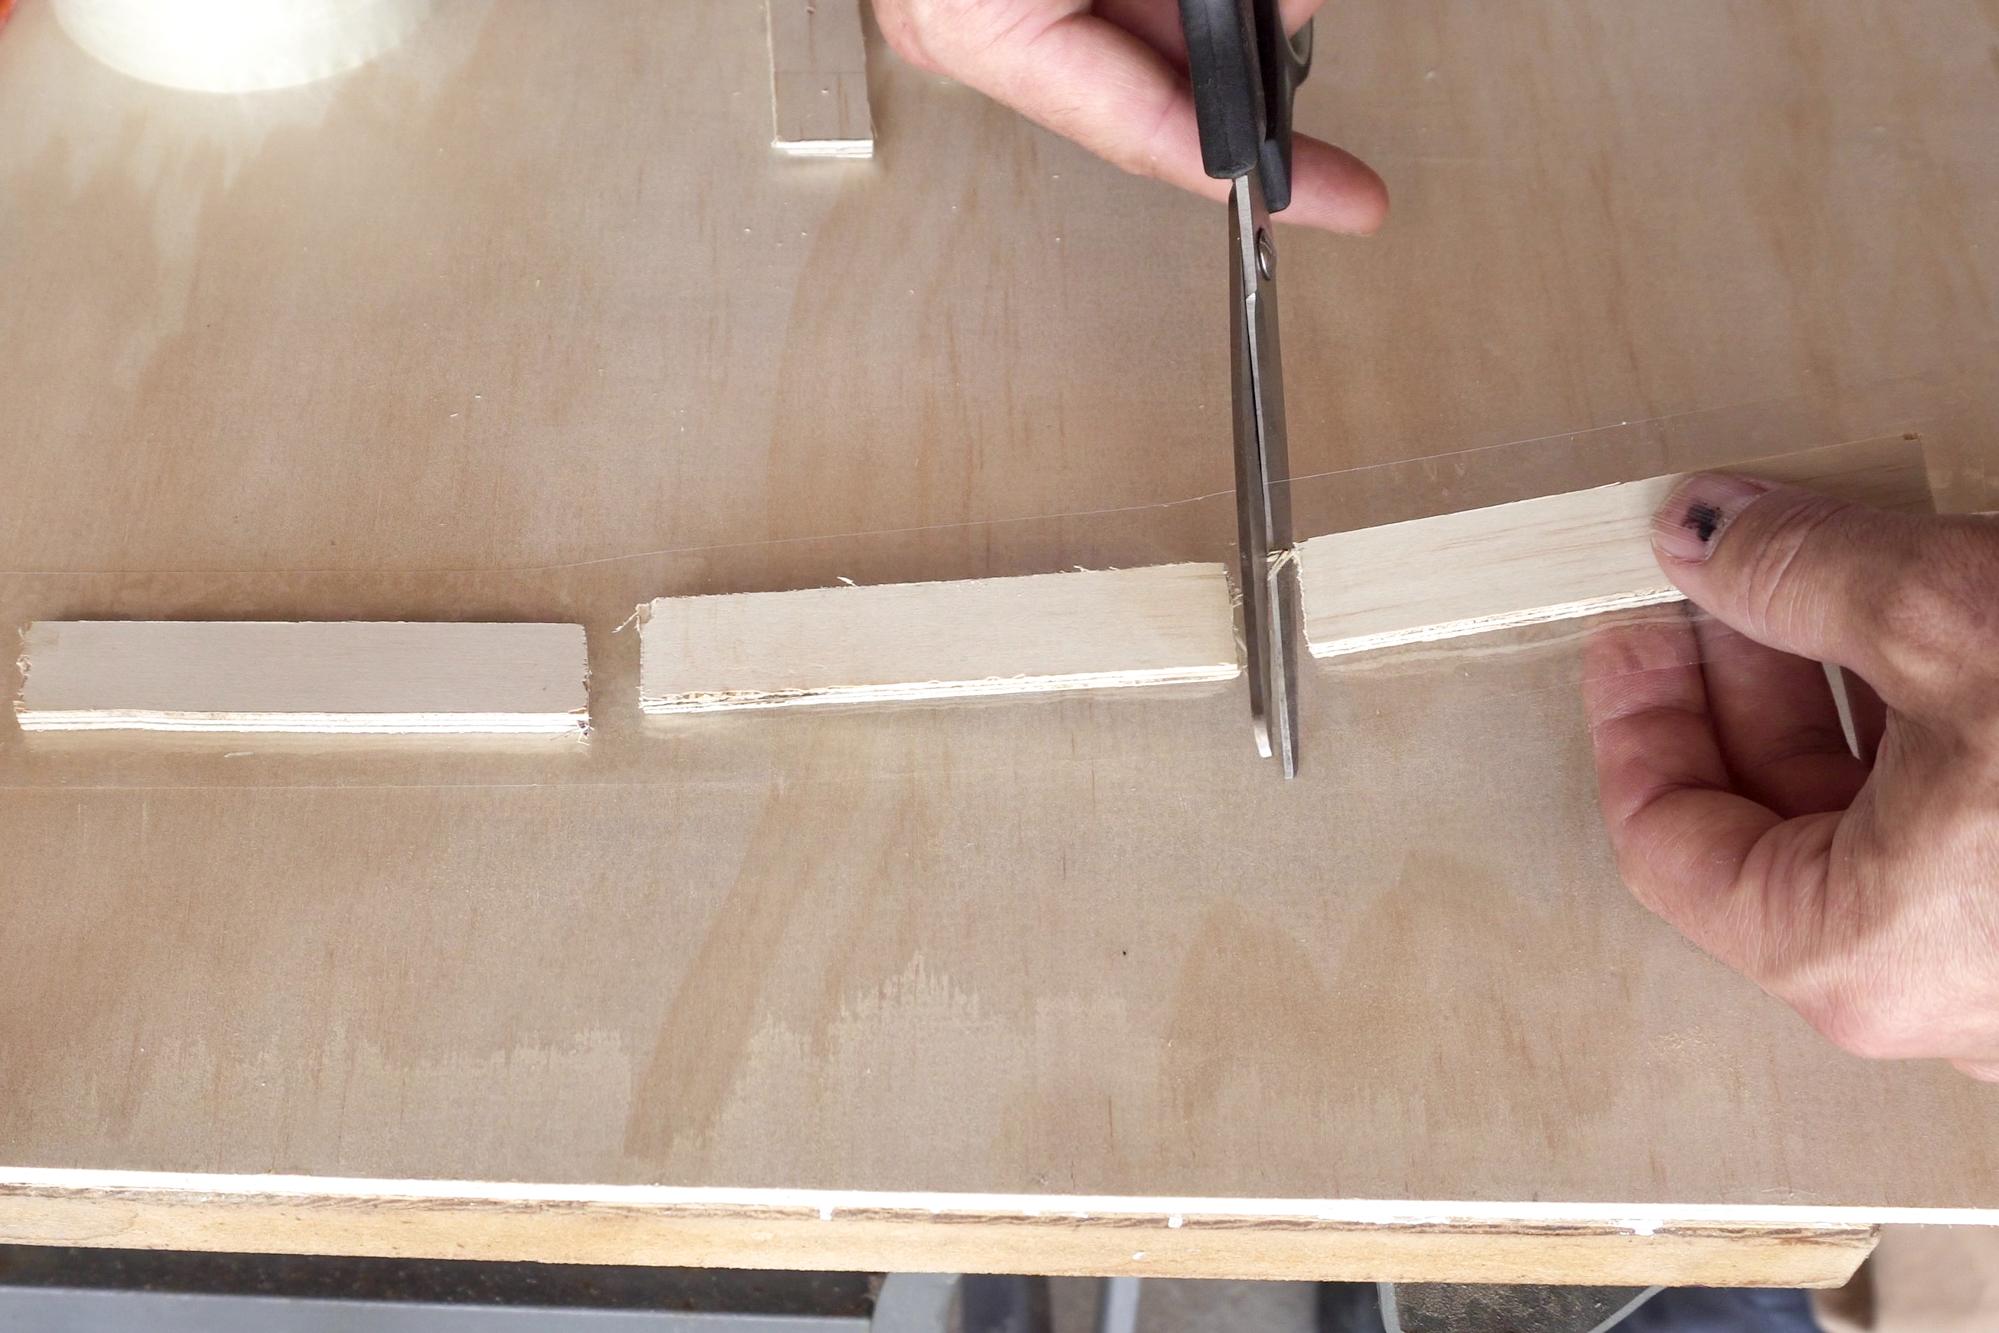
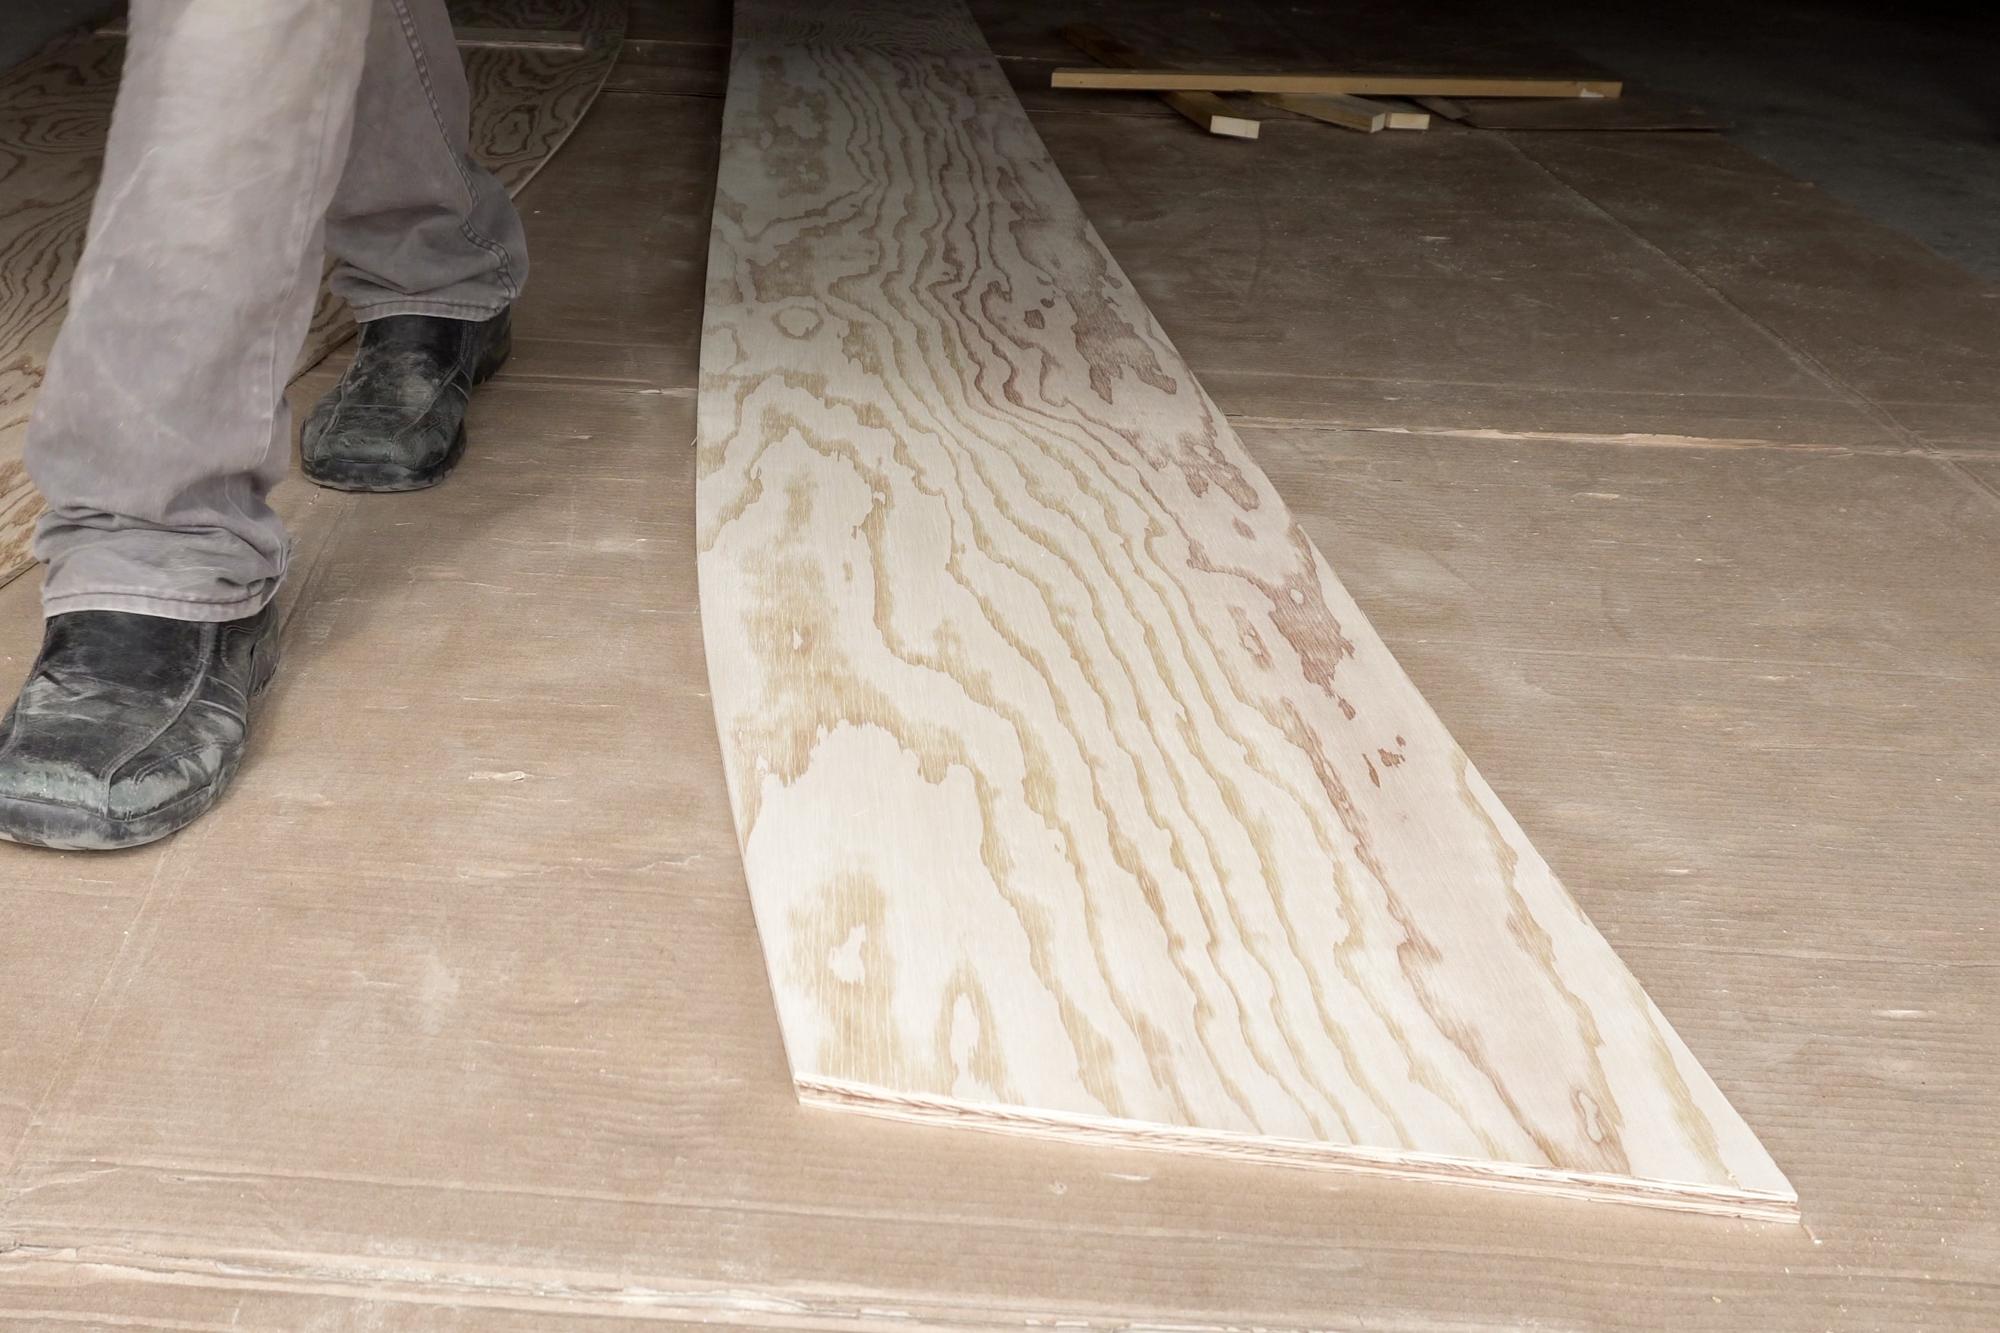
Pretty soon it is time to put the two halves of my plywood parts together, but in order to do that, they need to stay nice and still while the epoxy cures. Time to make some fancy fasteners!
I covered some thin strips of plywood with packing tape so that the epoxy wouldn't stick to them, and then hammered a small nail through each end. Fancy.
Set It Up
.jpg)
.jpg)
-5.jpg)
-6.jpg)
.jpg)
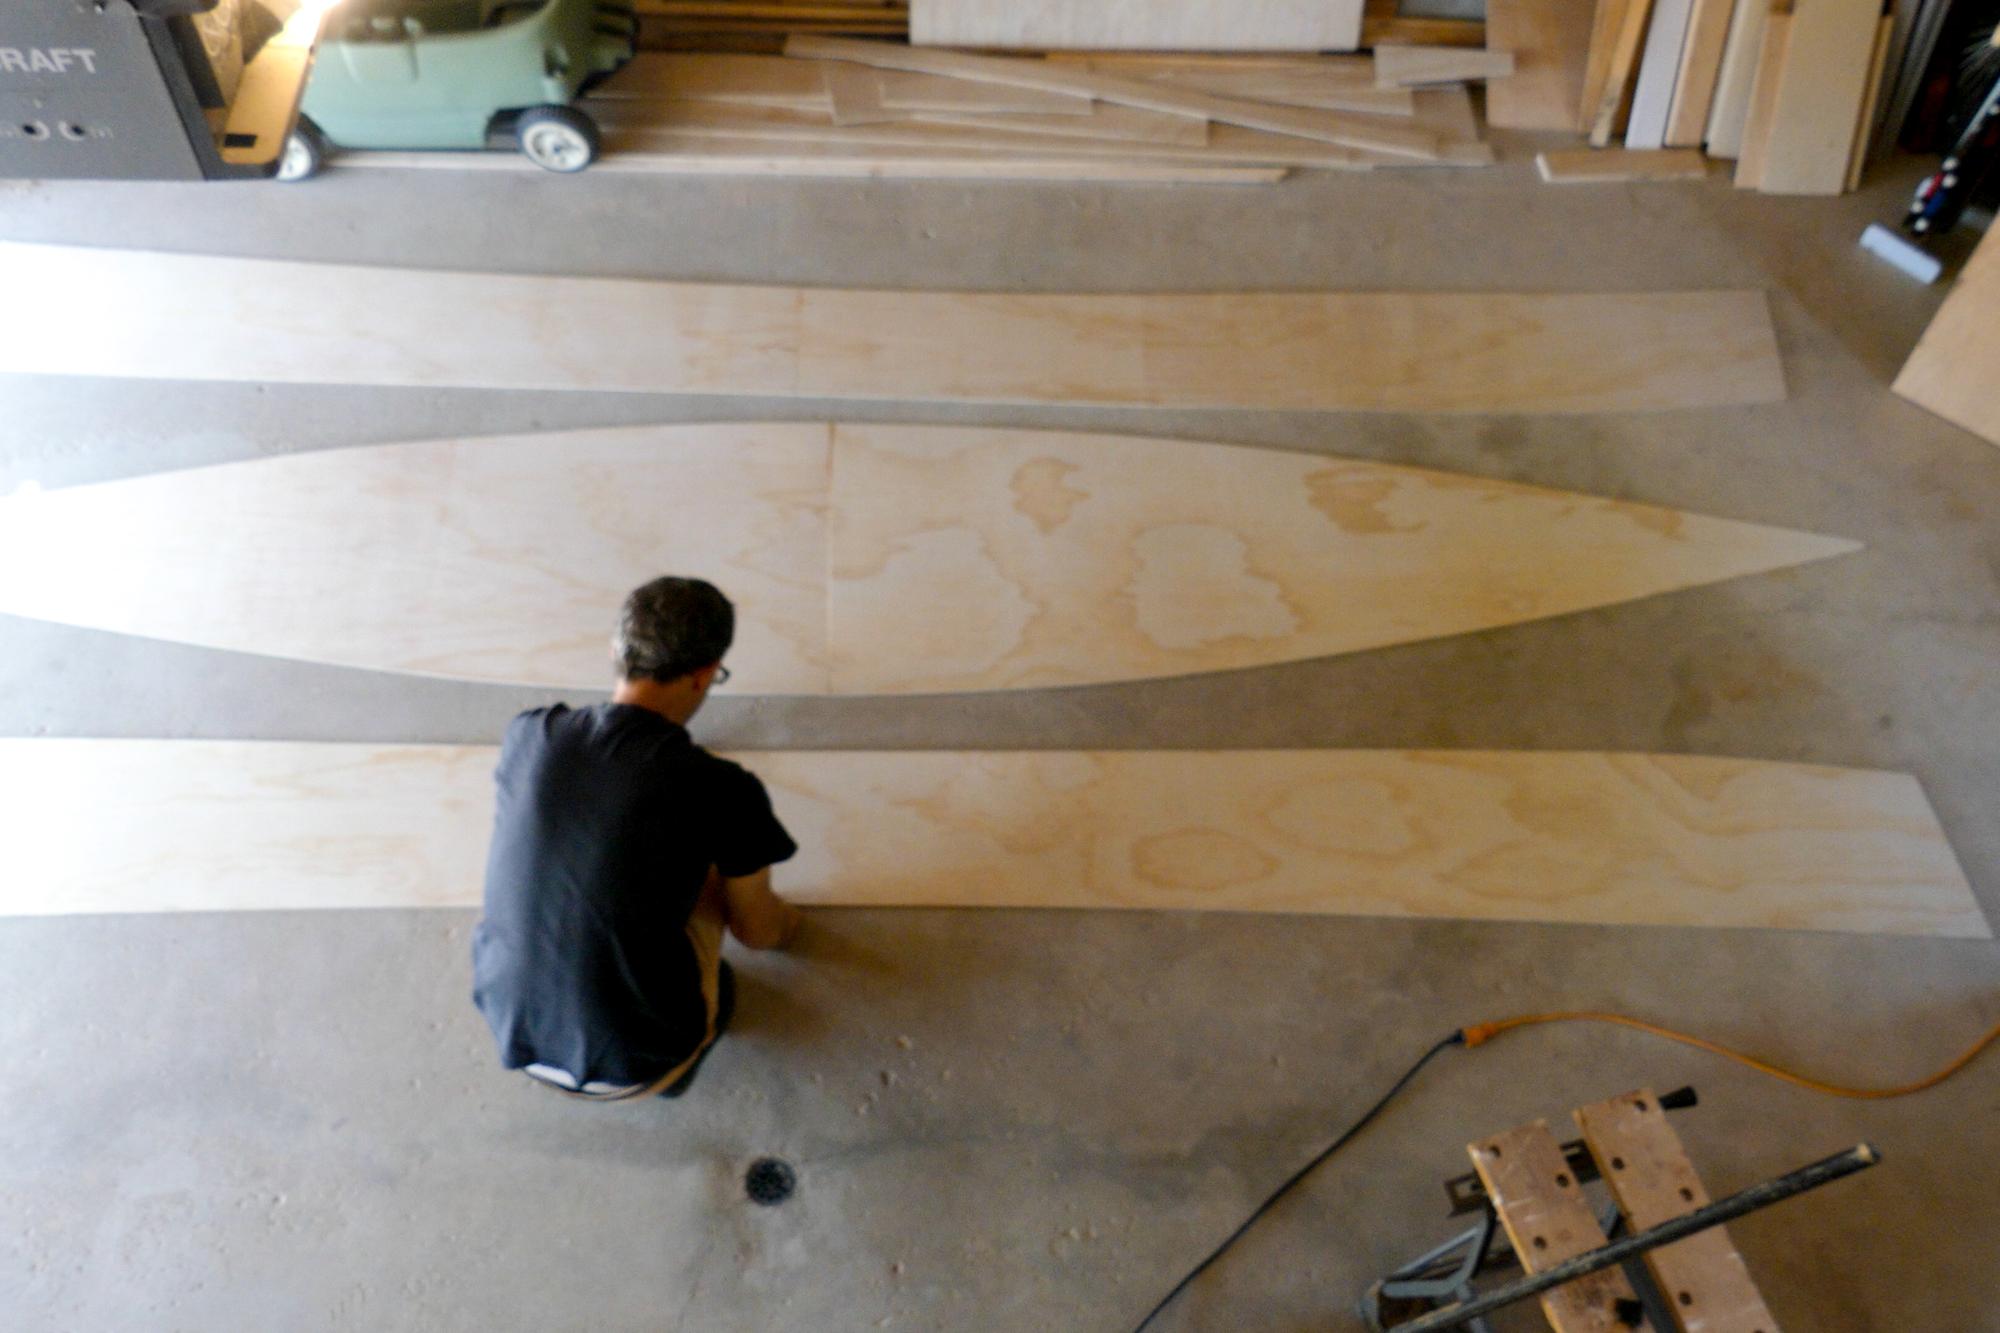
- I lay all my pieces out on the garage floor. It is important to make sure the sides are mirror images of each other.
- I traced where the buttstraps were going to be placed so I would know where to put them once they were covered with epoxy.
- I placed a piece of scrap plywood with some plastic on top of it under the joint between the two halves.
- I nailed the halves of the canoe to the wood strip, just outside where the buttstraps would go so the nails wouldn't interfere. This was to hold the parts in alignment while I glued down the buttstrap
Let's Talk About Epoxy
.jpg)
.jpg)
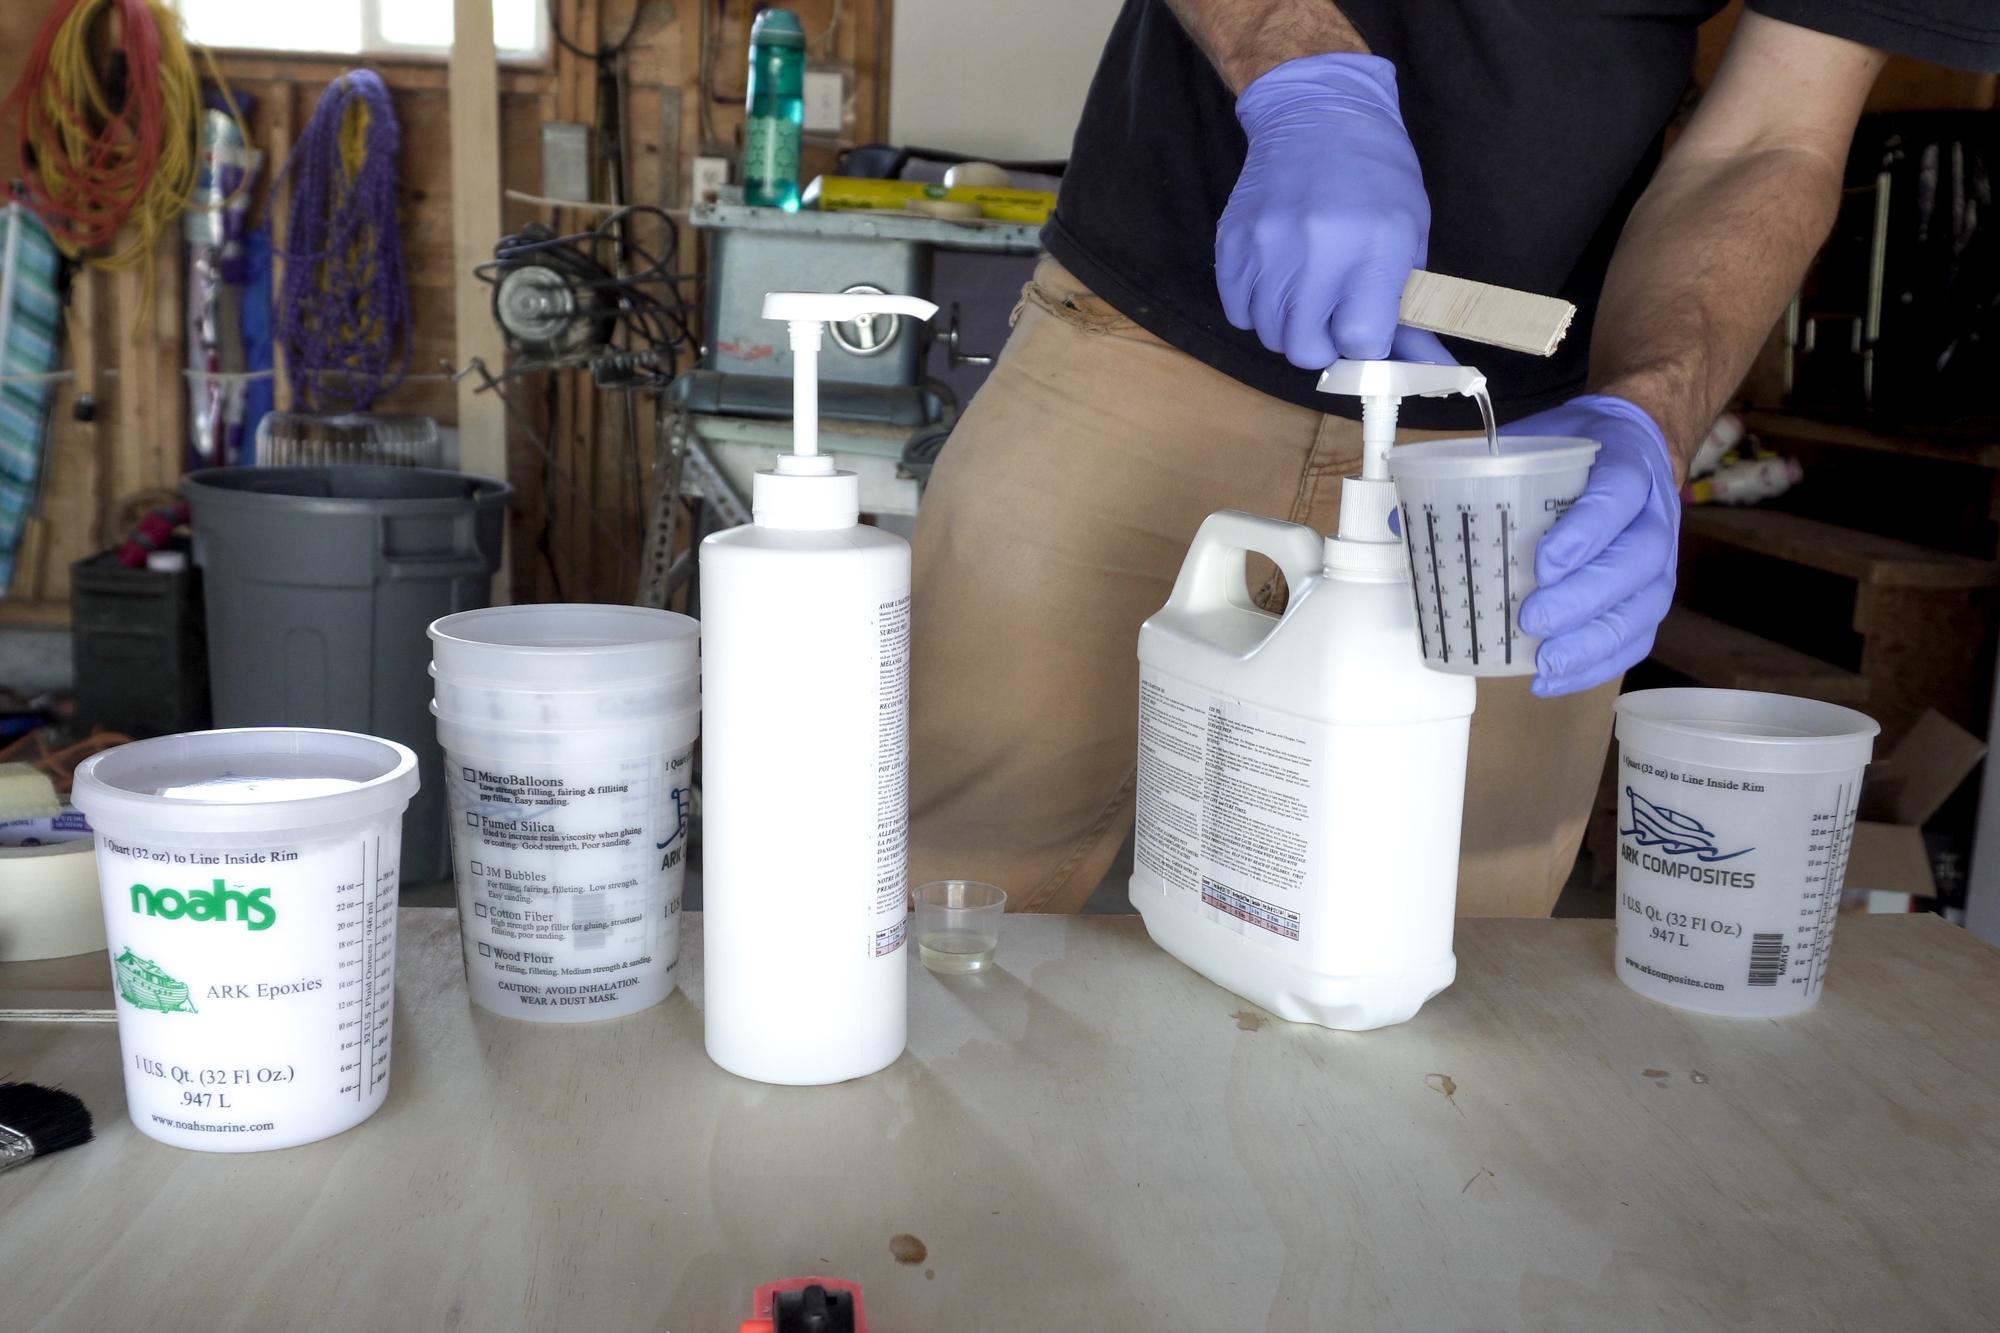
If you haven't used epoxy before, it would be a good idea to do some independent research before starting this step. It's important that you practice proper safety and understand what you are working with. Protect your skin with gloves and protect your lungs with an appropriate respirator.
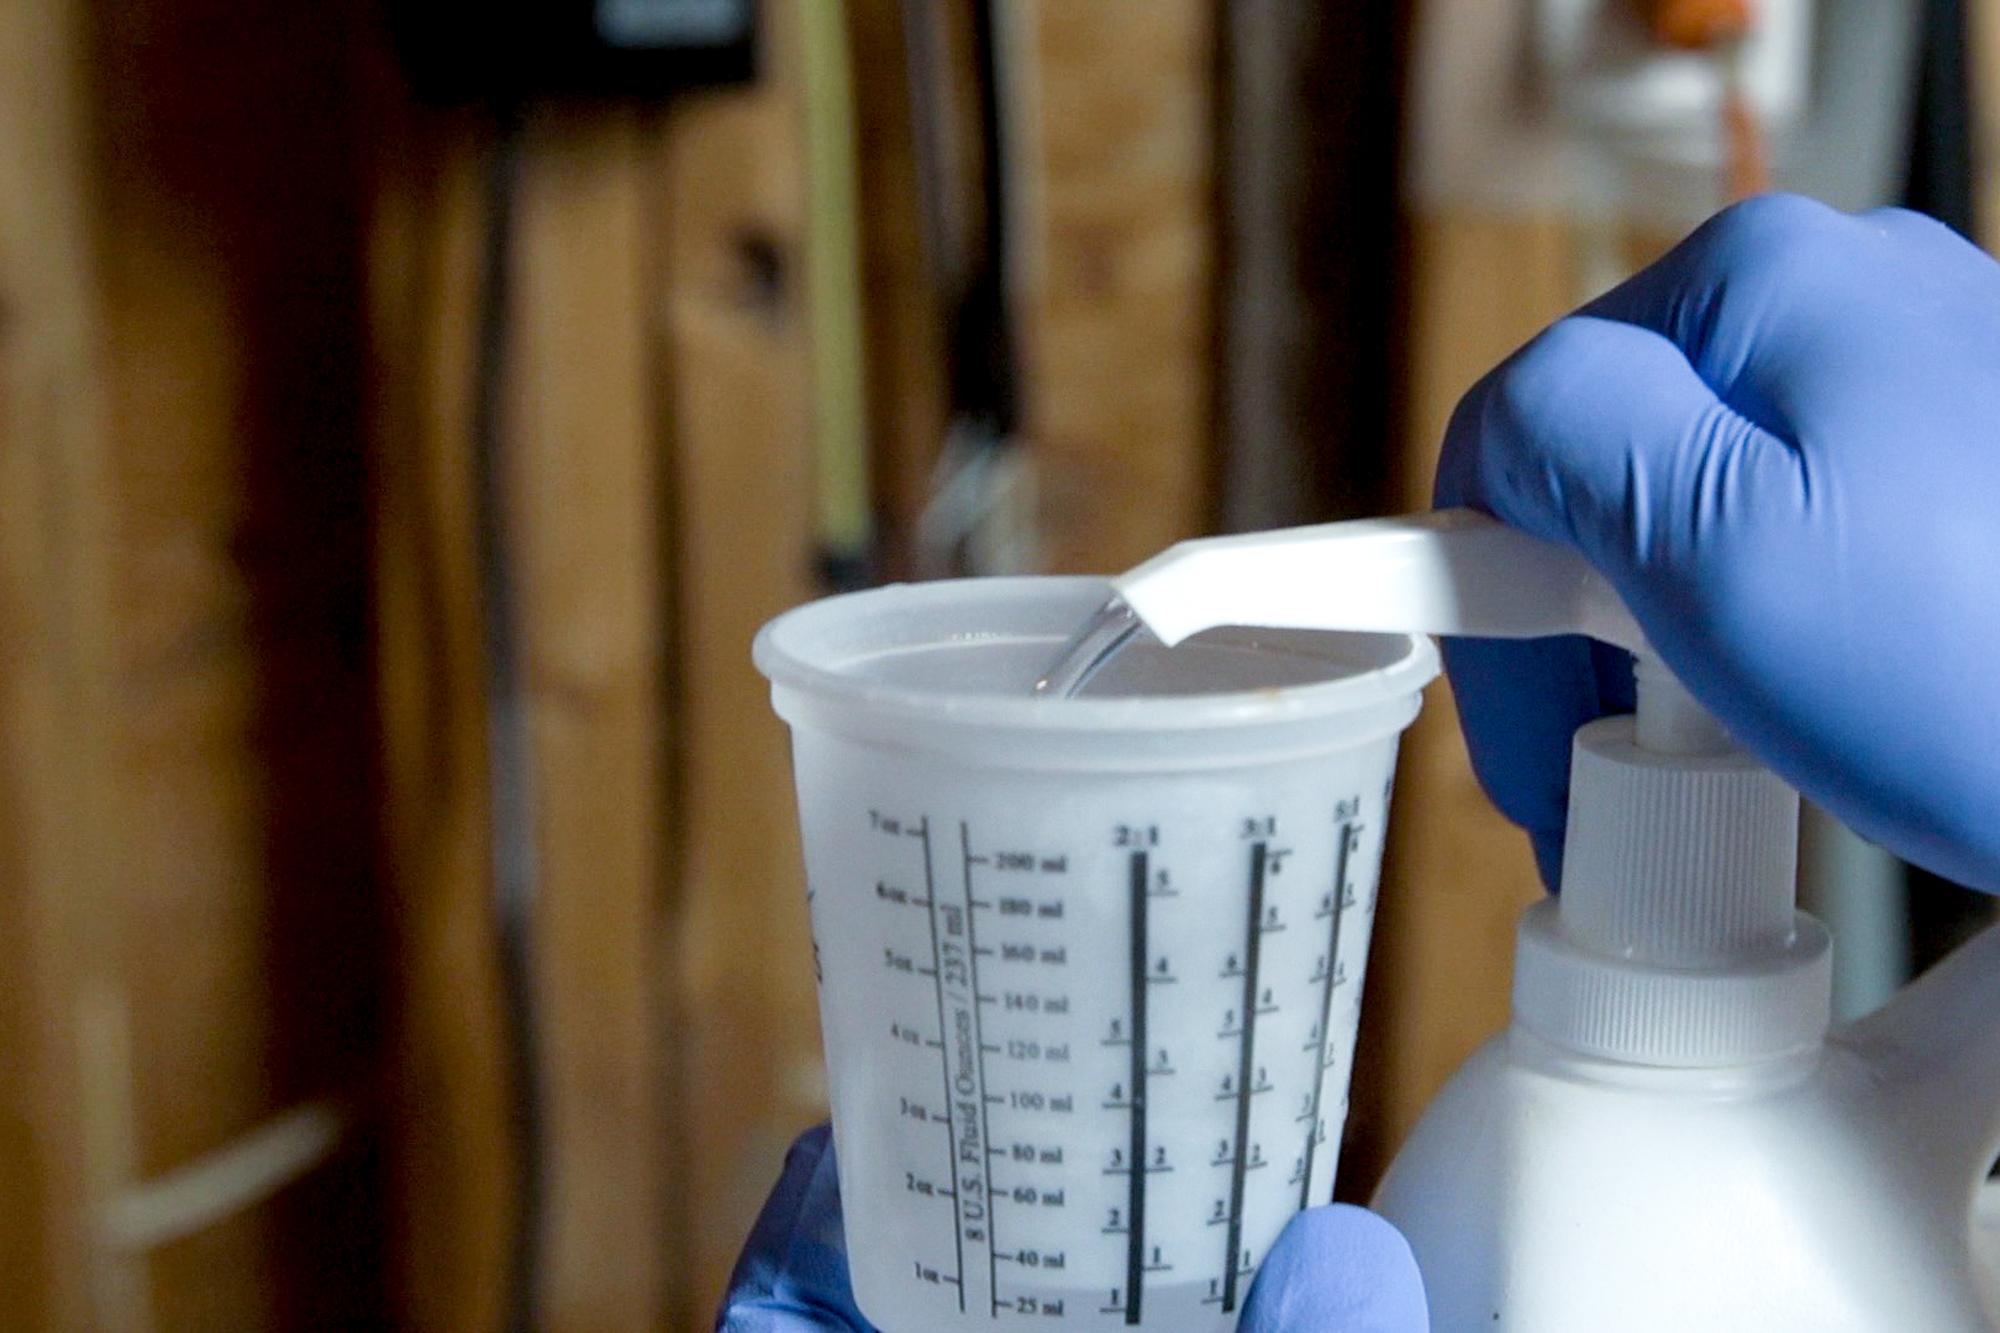
I used Ark Epoxy 2:1 resin and hardener. That means that the two parts need to be mixed together in a two-to-one ratio. It is super important to get the ratios right, so whether that means using special pumps on the epoxy bottles or carefully measuring in a graduated cup, do what you need to to get that ratio. If you mess up, the epoxy might not ever harden, which will lead to much groaning and sad faces.
Epoxy must be thoroughly mixed so take your time and don't rush the mixin'
The cure time of epoxy varies based on a few factors:
- The type of hardener you use: There are different "speeds" of hardener for different circumstances. I used the "medium" hardener, and it worked pretty well. Sometimes I wished it would go off faster than it did, but sometimes I wished it would go off slower. so, I guess overall it was the right choice.
- The ambient temperature: The hotter it is, the faster the epoxy will cure, and the cooler, the slower.
- The volume: If you mix a larger volume of epoxy and keep it in one big container, it will go off much faster than if you mixed a smaller volume. It will also get really hot if it goes off too fast!
- Humidity: If it is really humid, the epoxy will cure slower.
In this project, I used a few different additives to create epoxy with different characteristics.
- Cotton Fibers: Used to create a thick, strong, gap-filling glue. Whenever I say "Glue" this is what I am using
- Wood flour and colloidal silica: Used to create a paste that holds its shape- used to make the fillets around the inside of the canoe.
Another interesting epoxy tidbit is that a second layer of epoxy will only stick to the first layer if the first layer hasn't totally cured yet (still just a little bit tacky) Once the first layer has completely cured, it must be sanded before another layer will bond to it. This is good to think about when planning multiple epoxy layers, as you want to be available at the right time to give that second coat without having to spend a bunch of time sanding!
Stop Taking and Start Gluing!
.jpg)
.jpg)
.jpg)
-10.jpg)
-7.jpg)
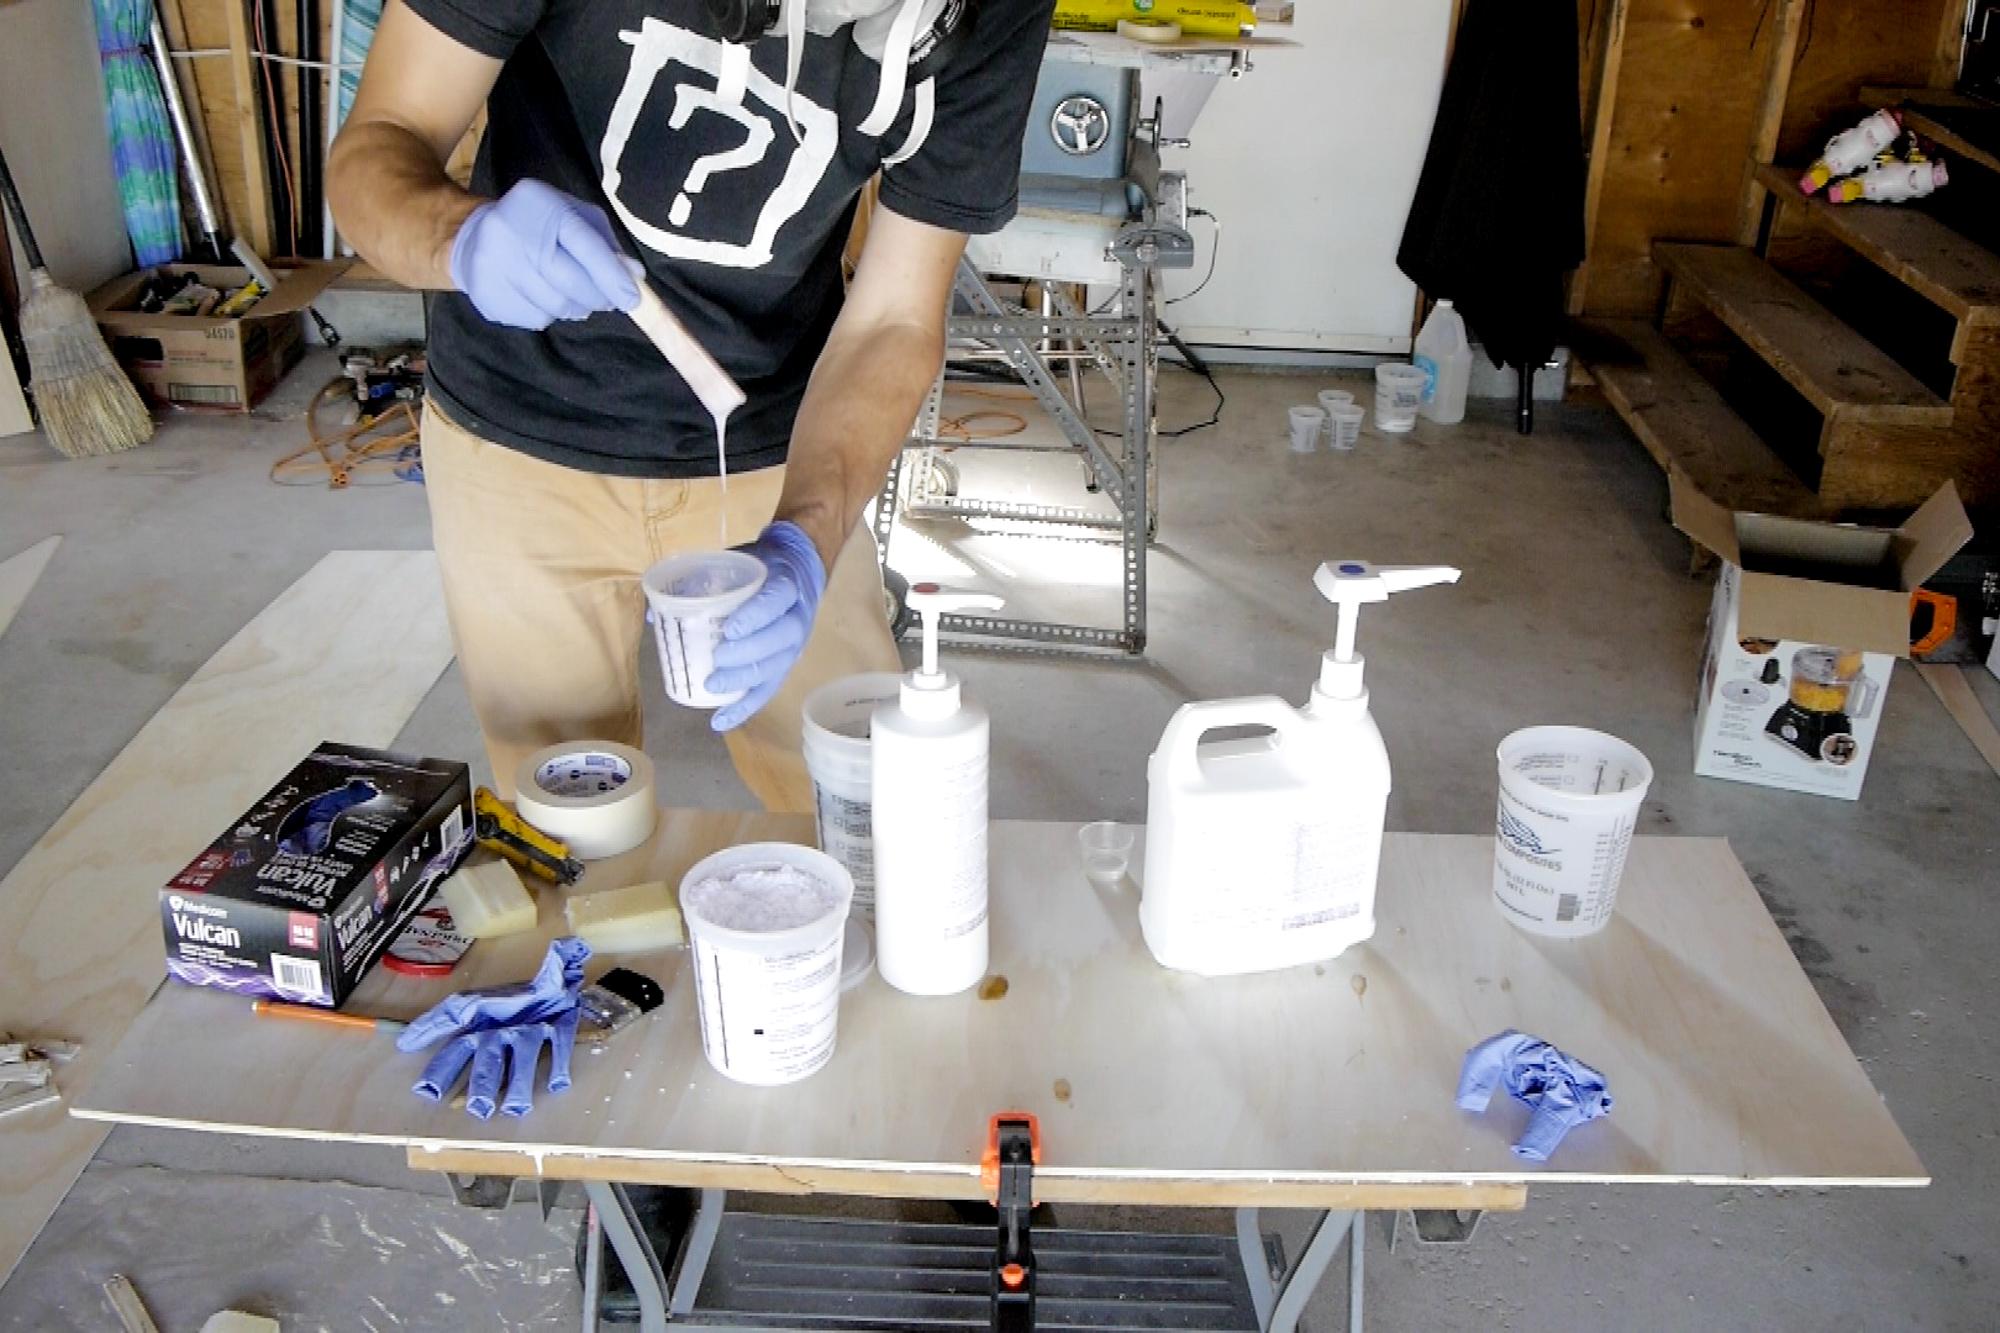
I mixed up some epoxy, and added cotton fibers until I had a honey-like consistency.
I spread the honey glue all over the back of the buttstrap and placed it over the joint.
I used my little tape covered nail blocks to nail through the buttstrap and the canoe pieces so that the buttstrap would be firmly held against the joint.
I did this to connect the two bottom halves together as well as for the side pieces.
If you have trouble getting the nails to hold the pieces firmly enough, you could also use some small screws to hold the pieces together.
I got a little worried at this point, as it was the first time I had used this epoxy, and the glue paste didn't seem to be hardening as quickly as I thought it should. However, I resisted the urge to pull everything apart, scrape off the epoxy and try again, and instead left it overnight. To my relief, in the morning the epoxy was fully cured!
Draw Some Lines
.jpg)
.jpg)
.jpg)
.jpg)
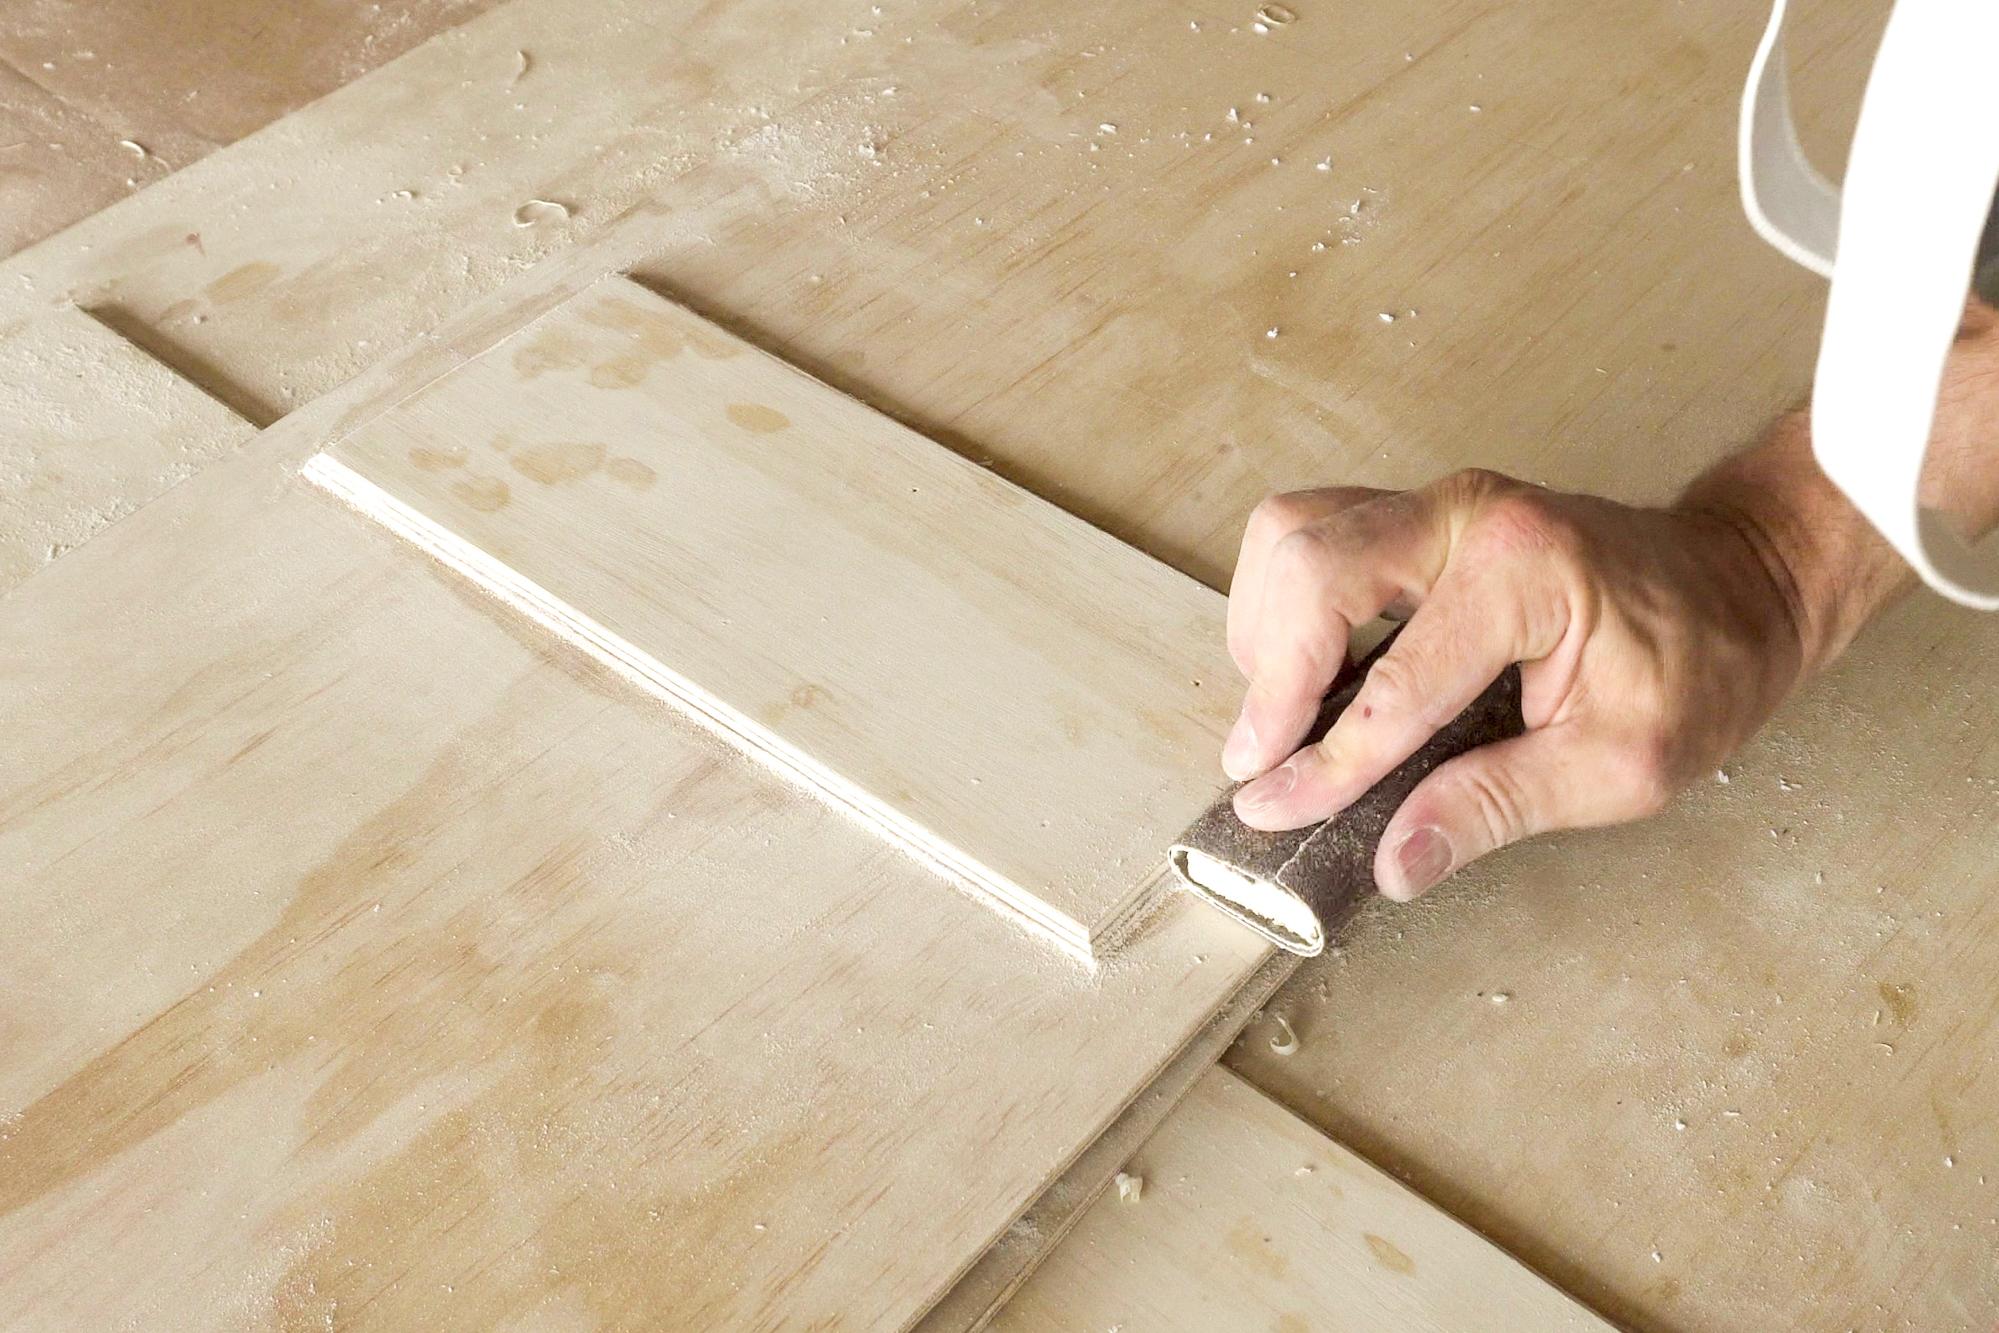
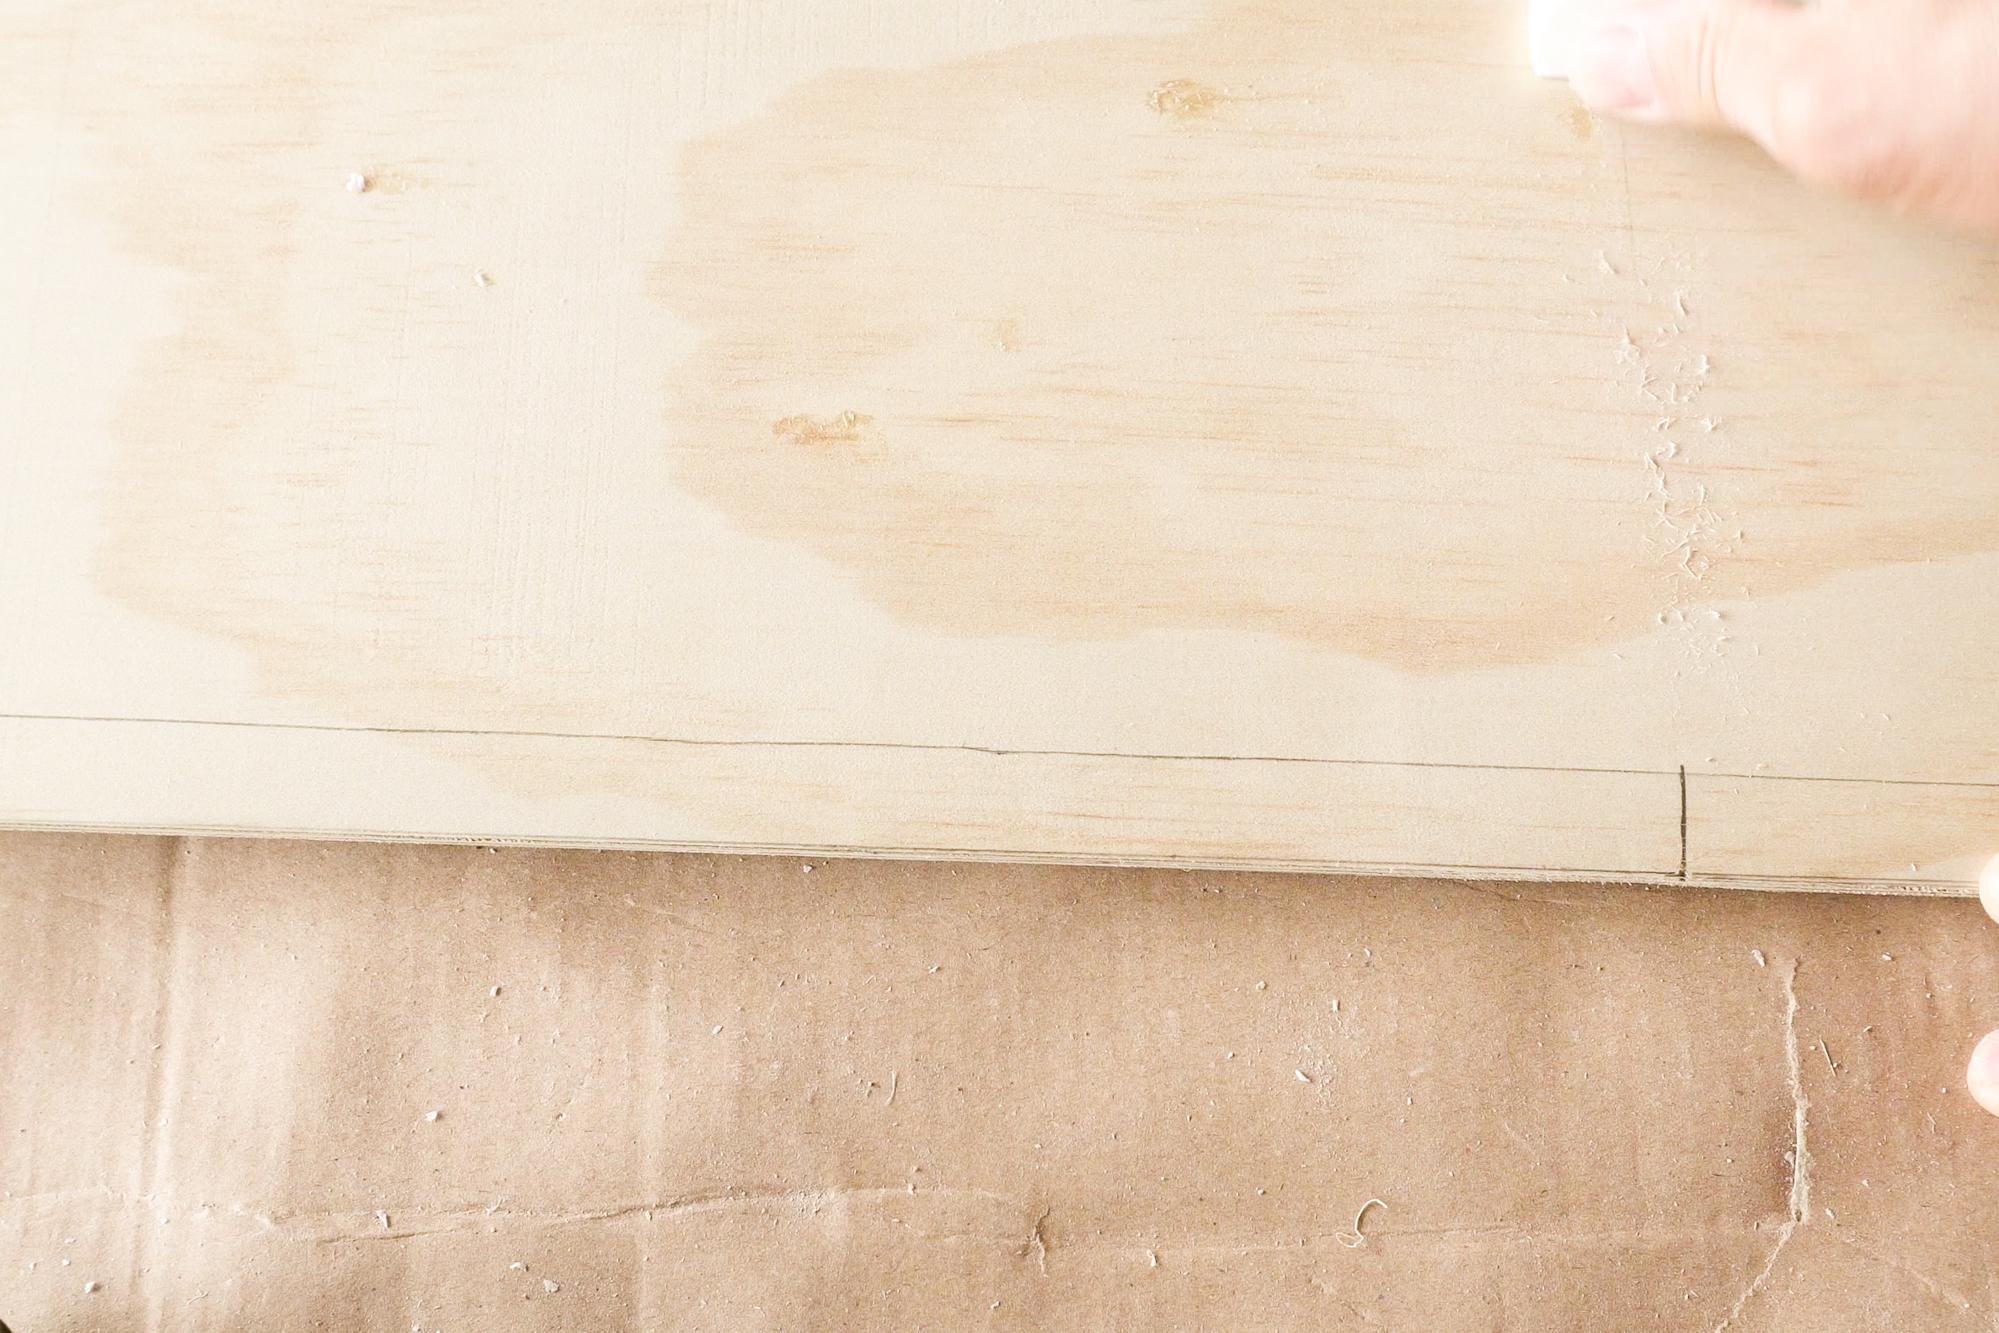
- I cleaned up the epoxy that had squeezed out from the buttstraps with some 80 grit sandpaper.
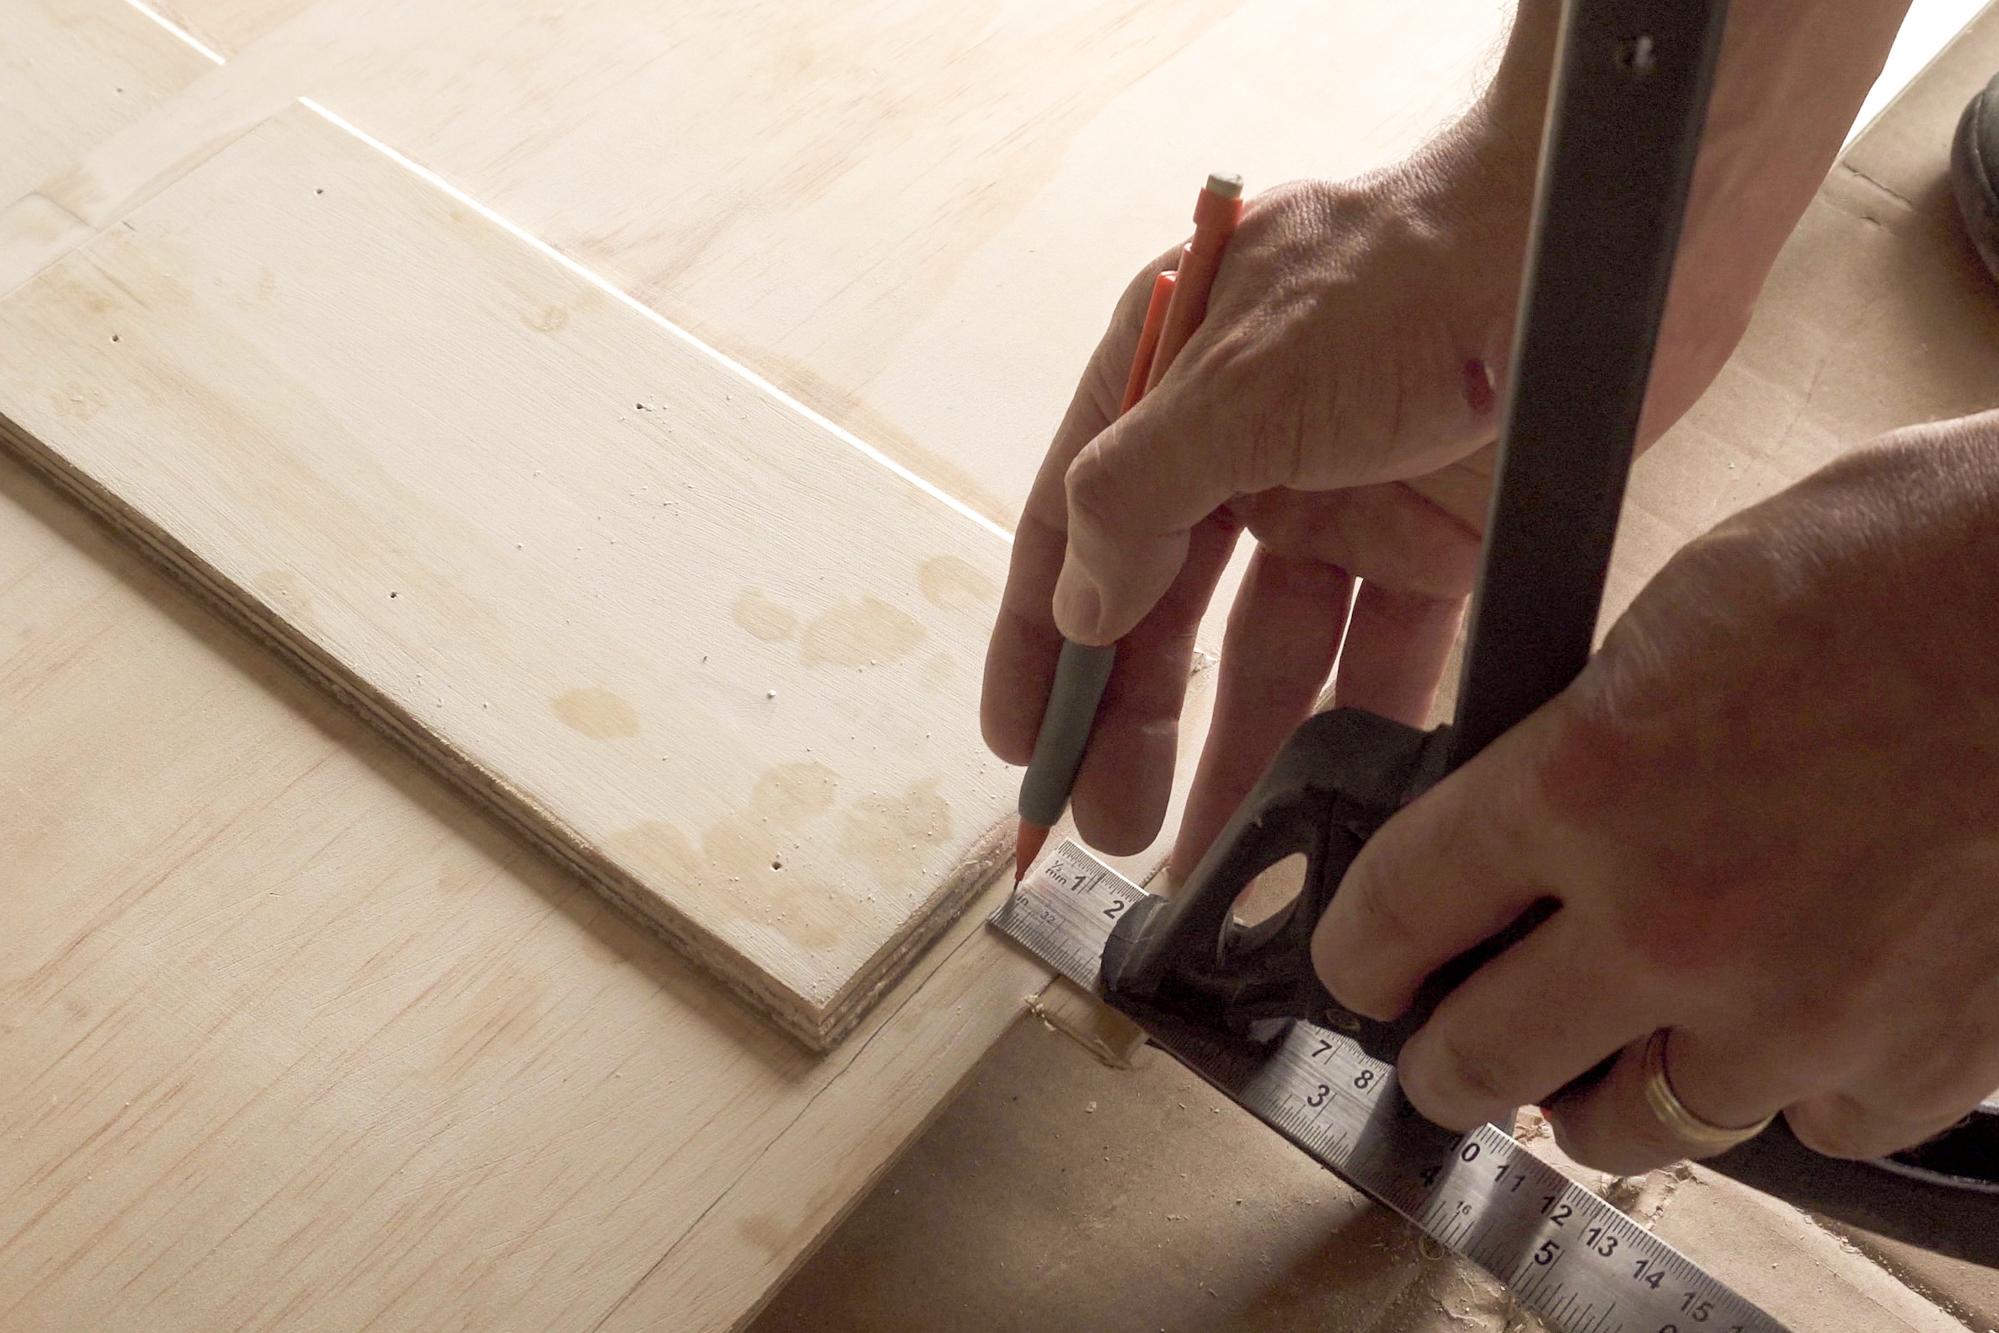
- I made a mark 19mm down from the top edge of the sides, - I made a little tool out of a clamp and a ruler so I could just run it along the edge to get a consistent line. There's an actual tool that does the same thing I'm pretty sure, but I didn't have one of those.
- I erased all the 300mm lines on the sides that were below the 19mm line, and darkened them above the line.
- I drilled holes along the centerline of the bottom piece at every 300mm mark, and then erased that line as well.
Make a Big Stick Into.... Little Sticks
.jpg)
.jpg)
.jpg)
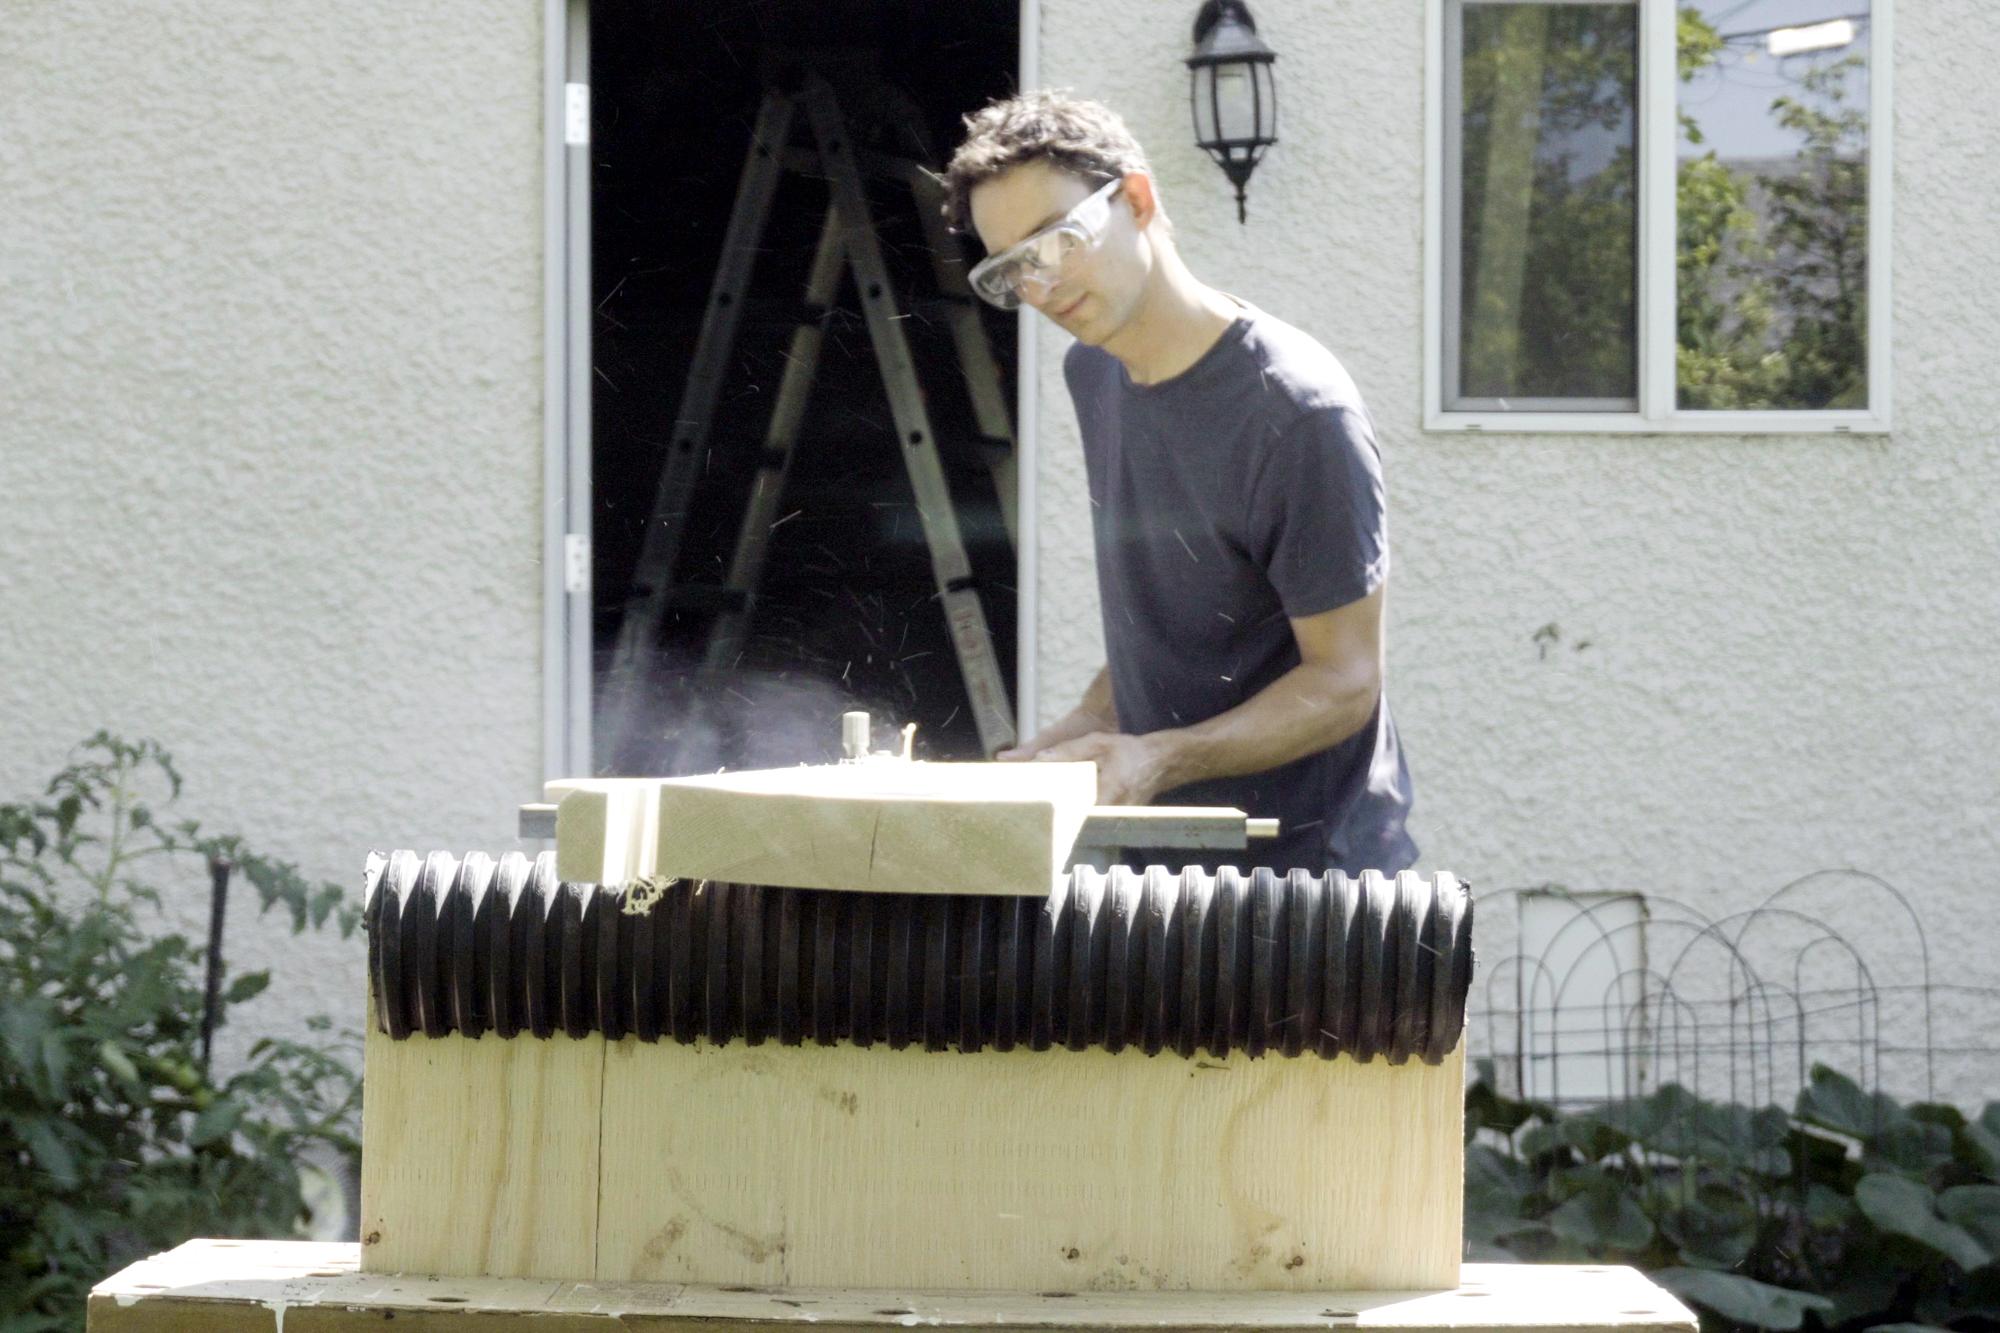
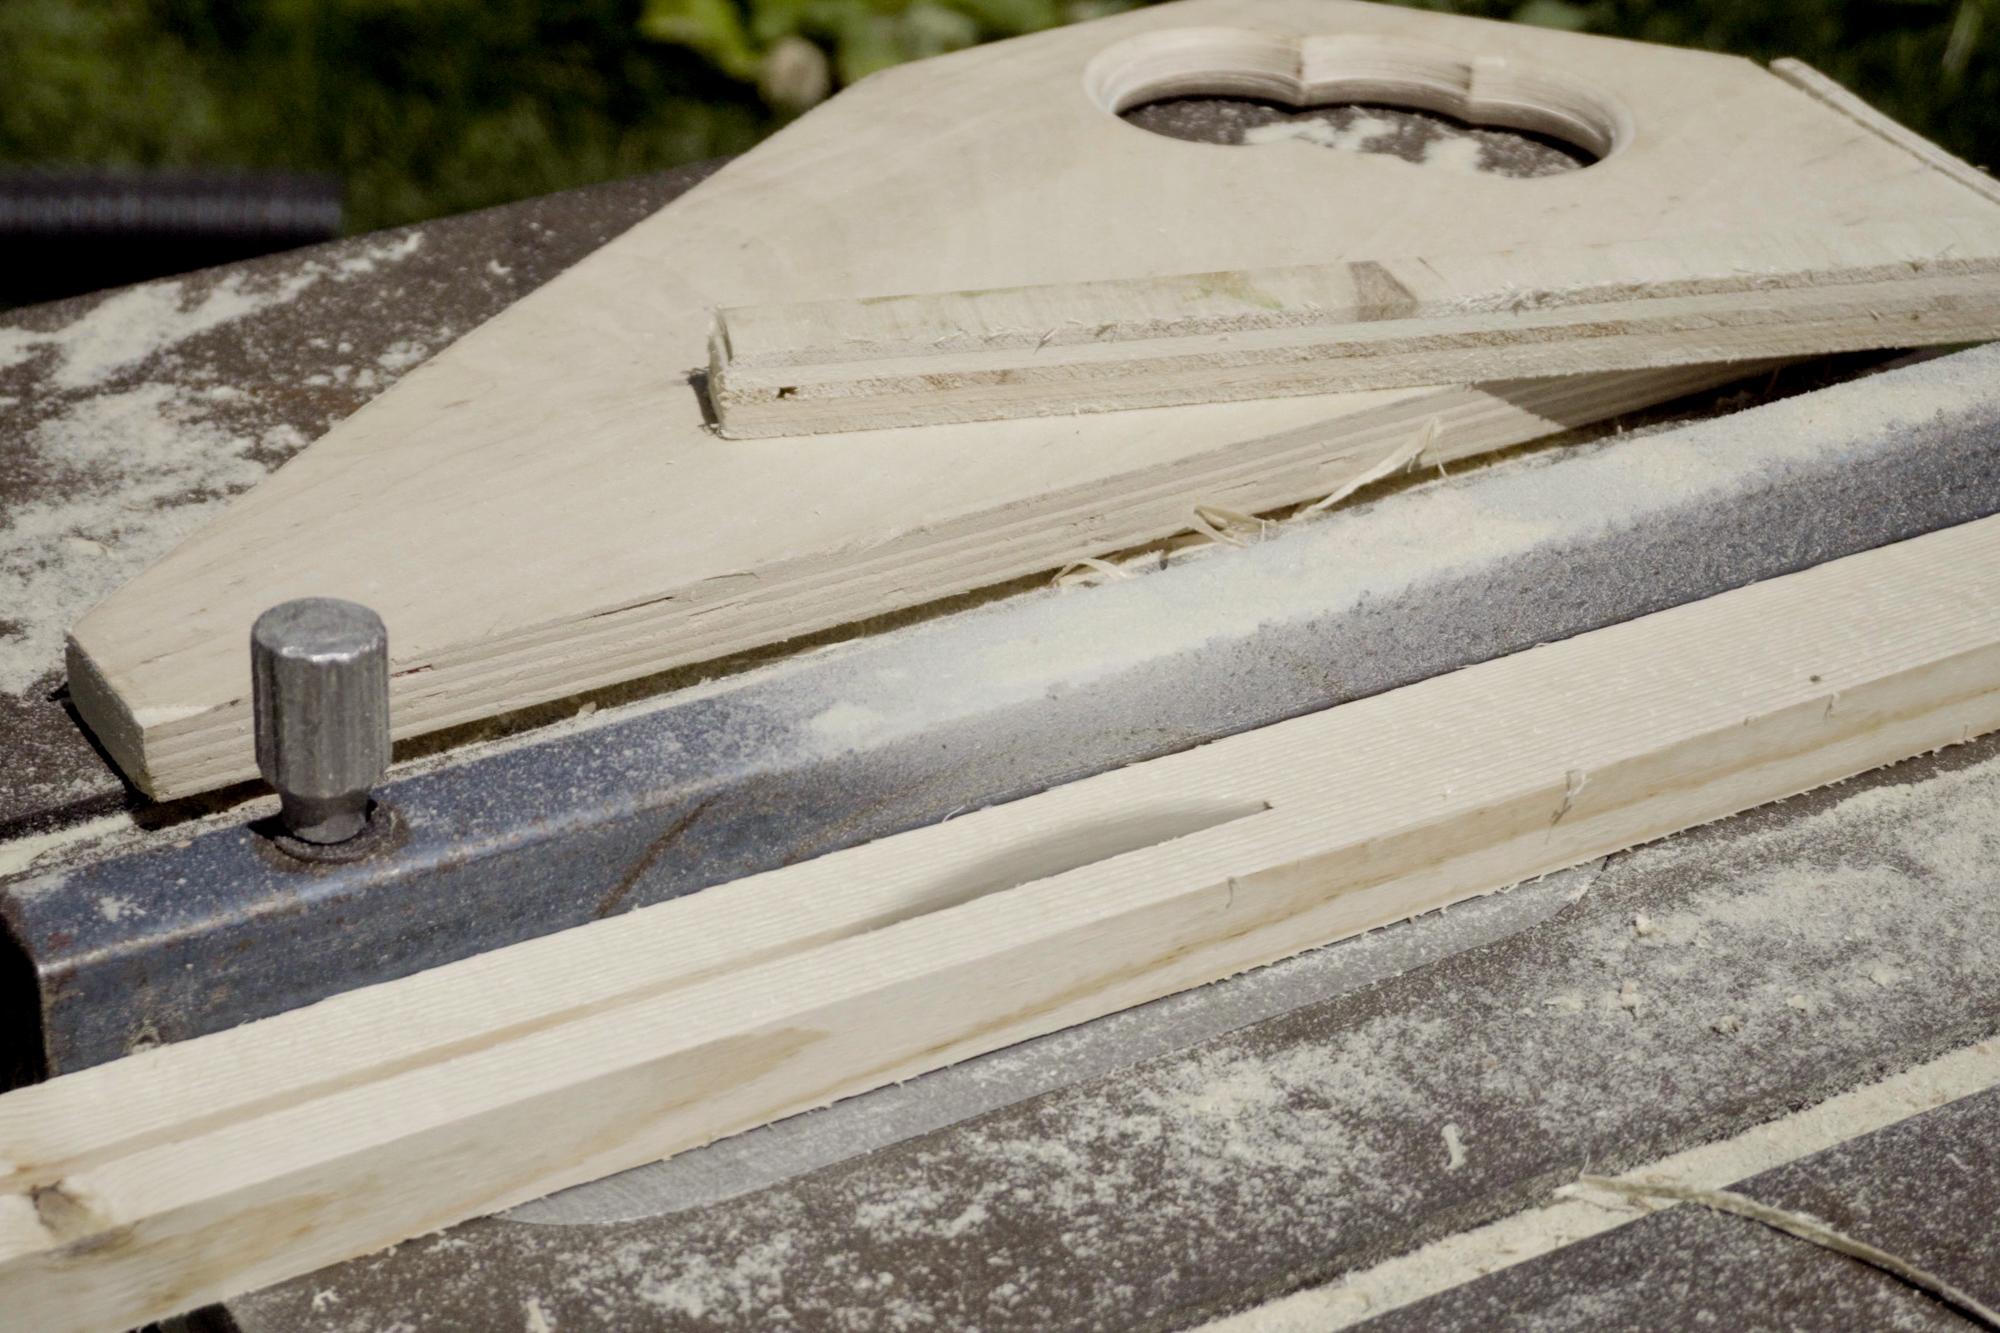
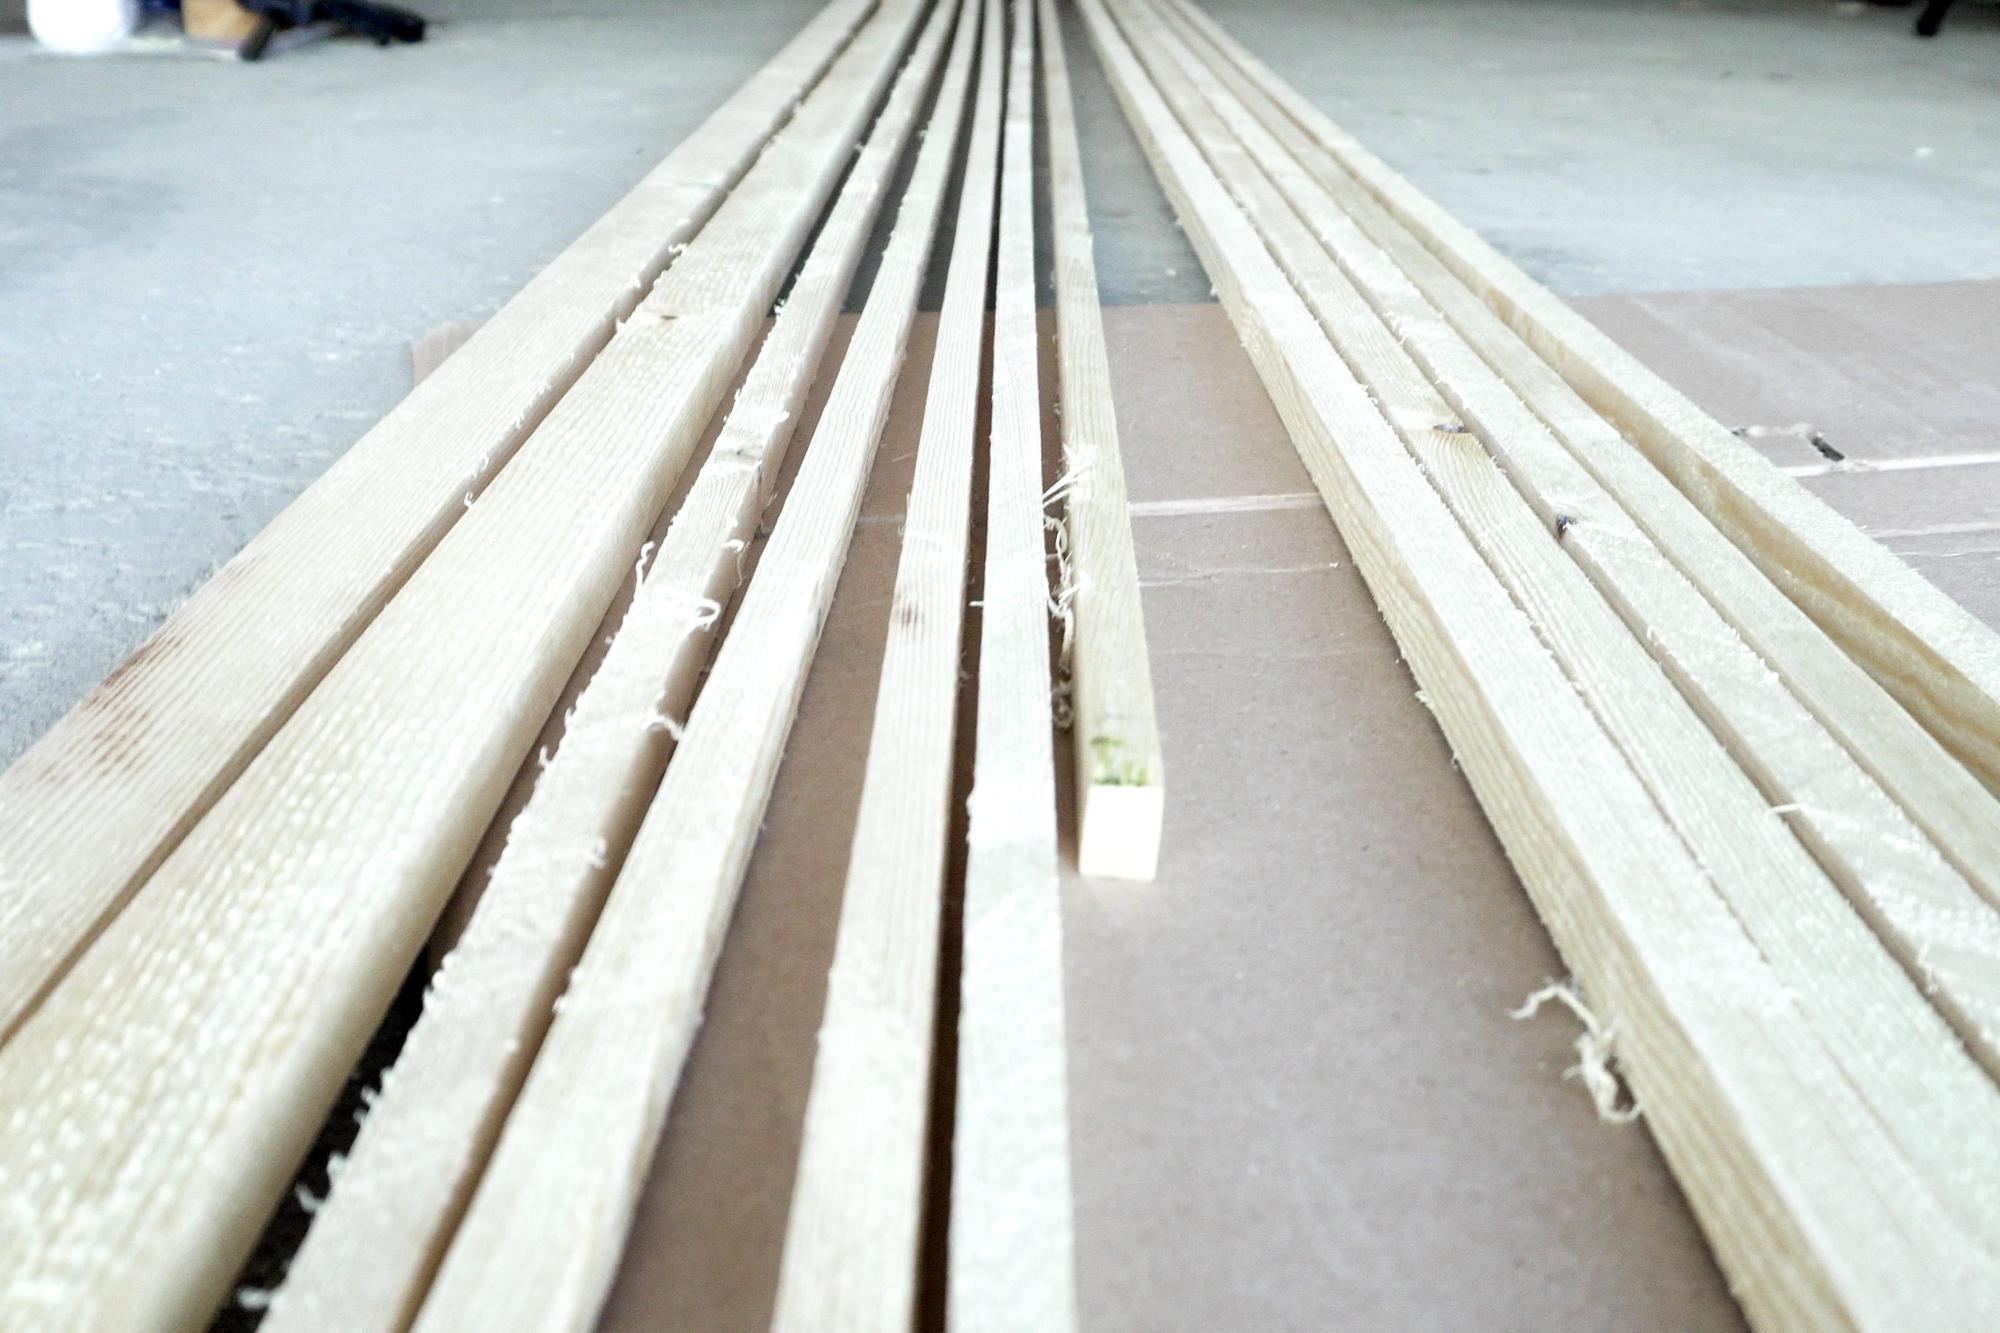
I got out my grandfather's table saw and ripped my 2x10 into a bunch of smaller diameter pieces. These will be used for the inwales and outwales, keel batten, and seat supports.
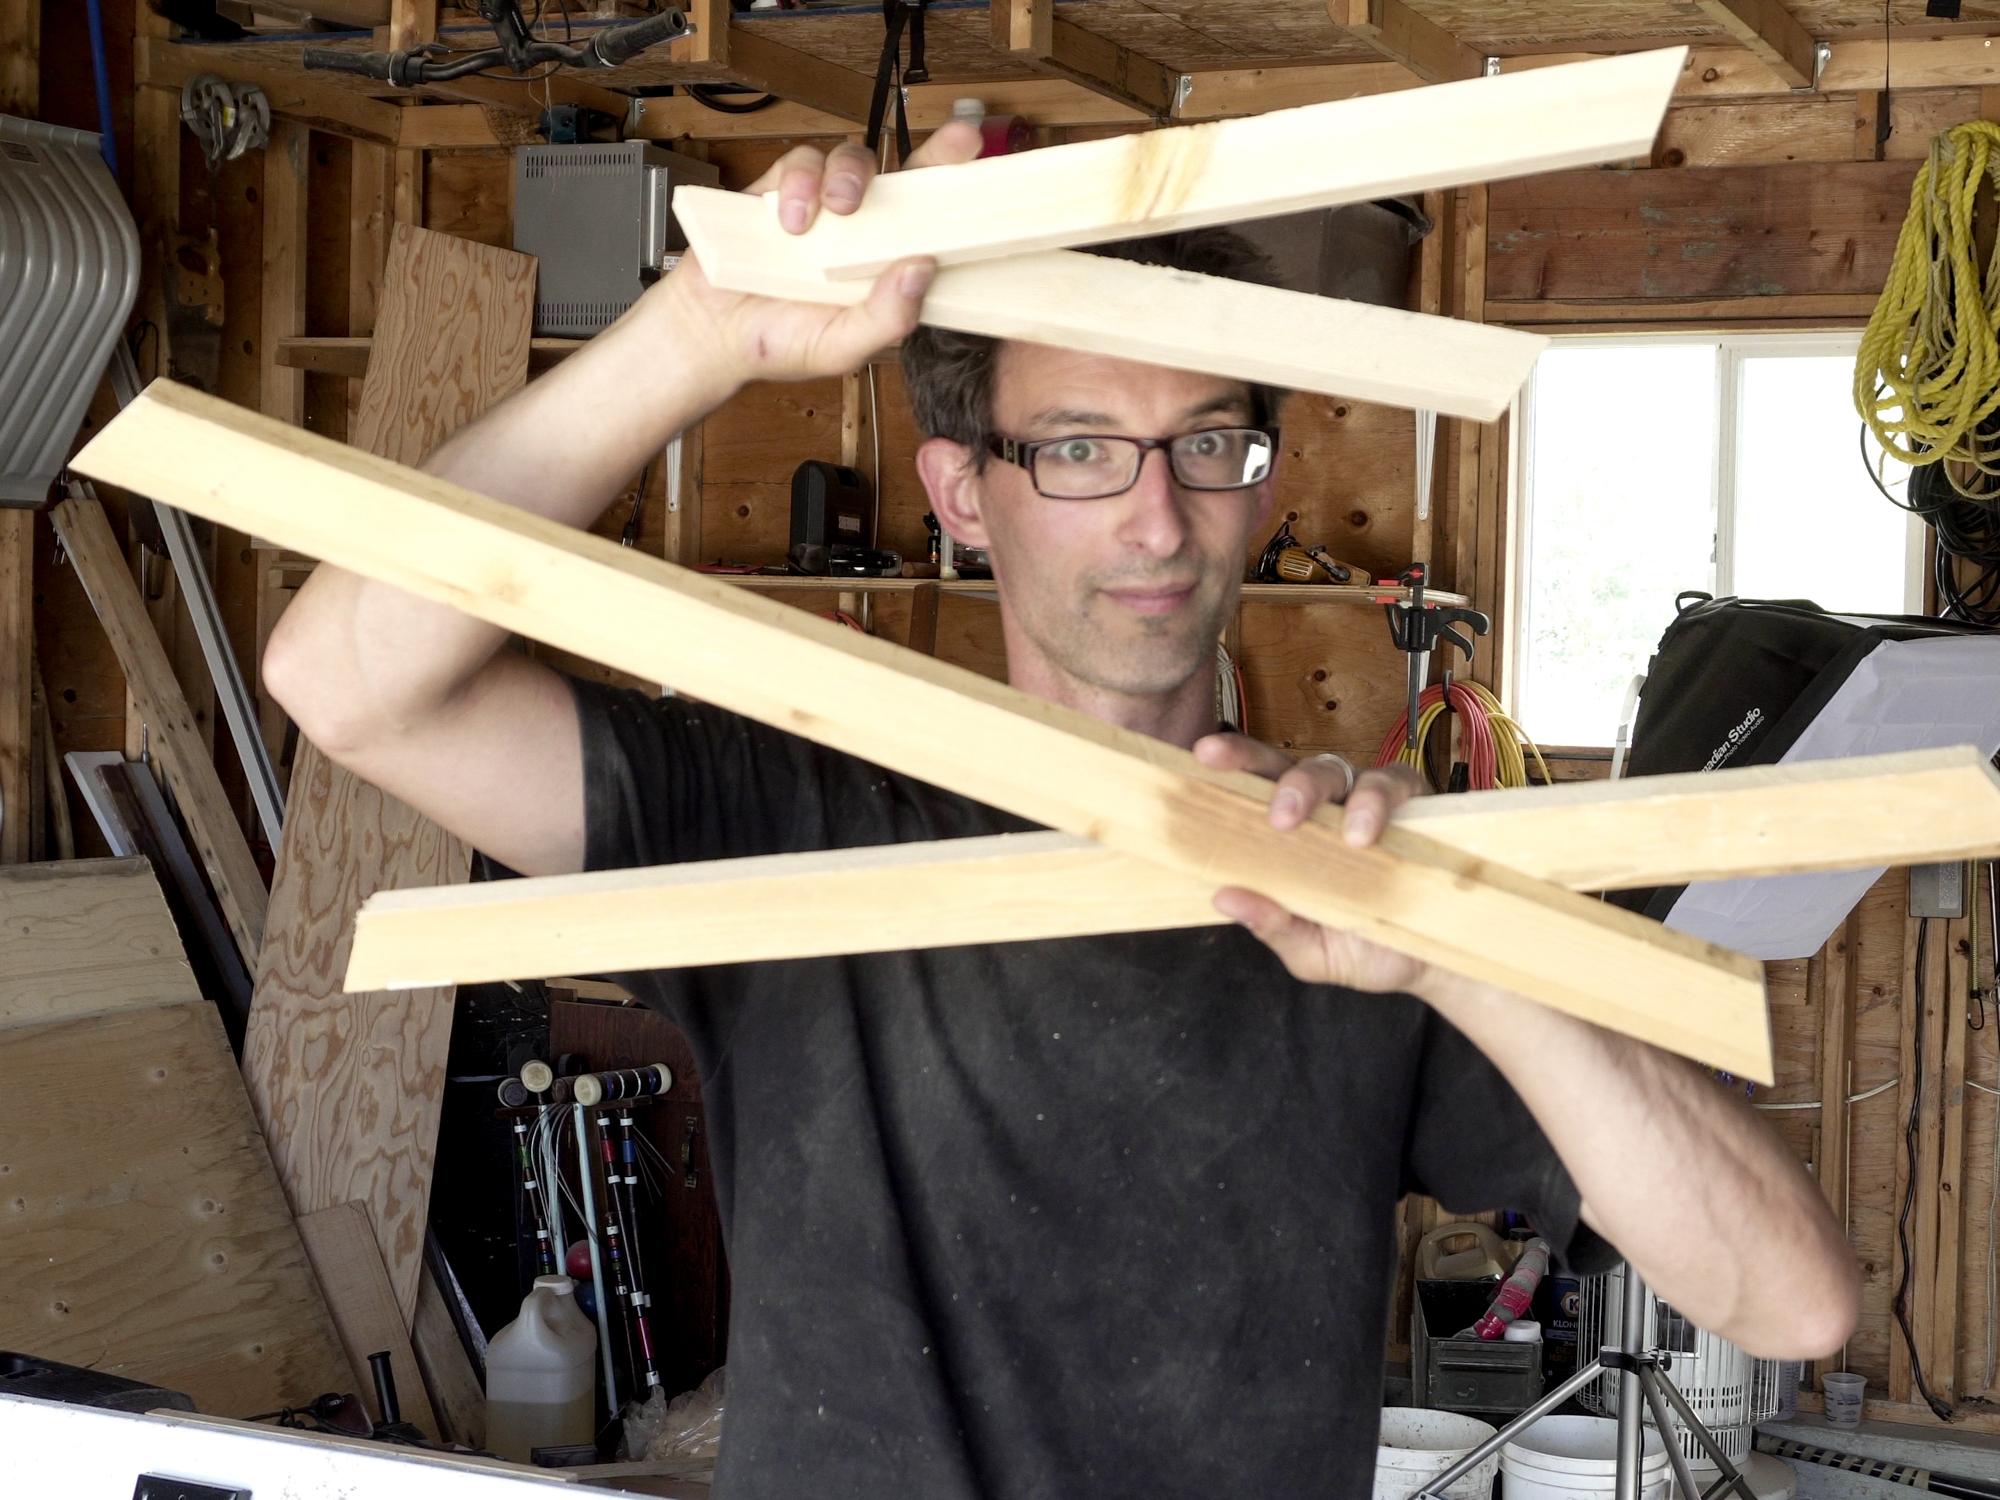
In the video I mention that I should have worn gloves to protect from slivers, however, I have learned from the many comments on YouTube that wearing gloves while using a table saw is a big No-No, if it catches a little bit of the glove, it can pull your whole hand in!
Make Short Sticks Into Long Sticks
.jpg)
.jpg)
.jpg)
.jpg)
-8.jpg)
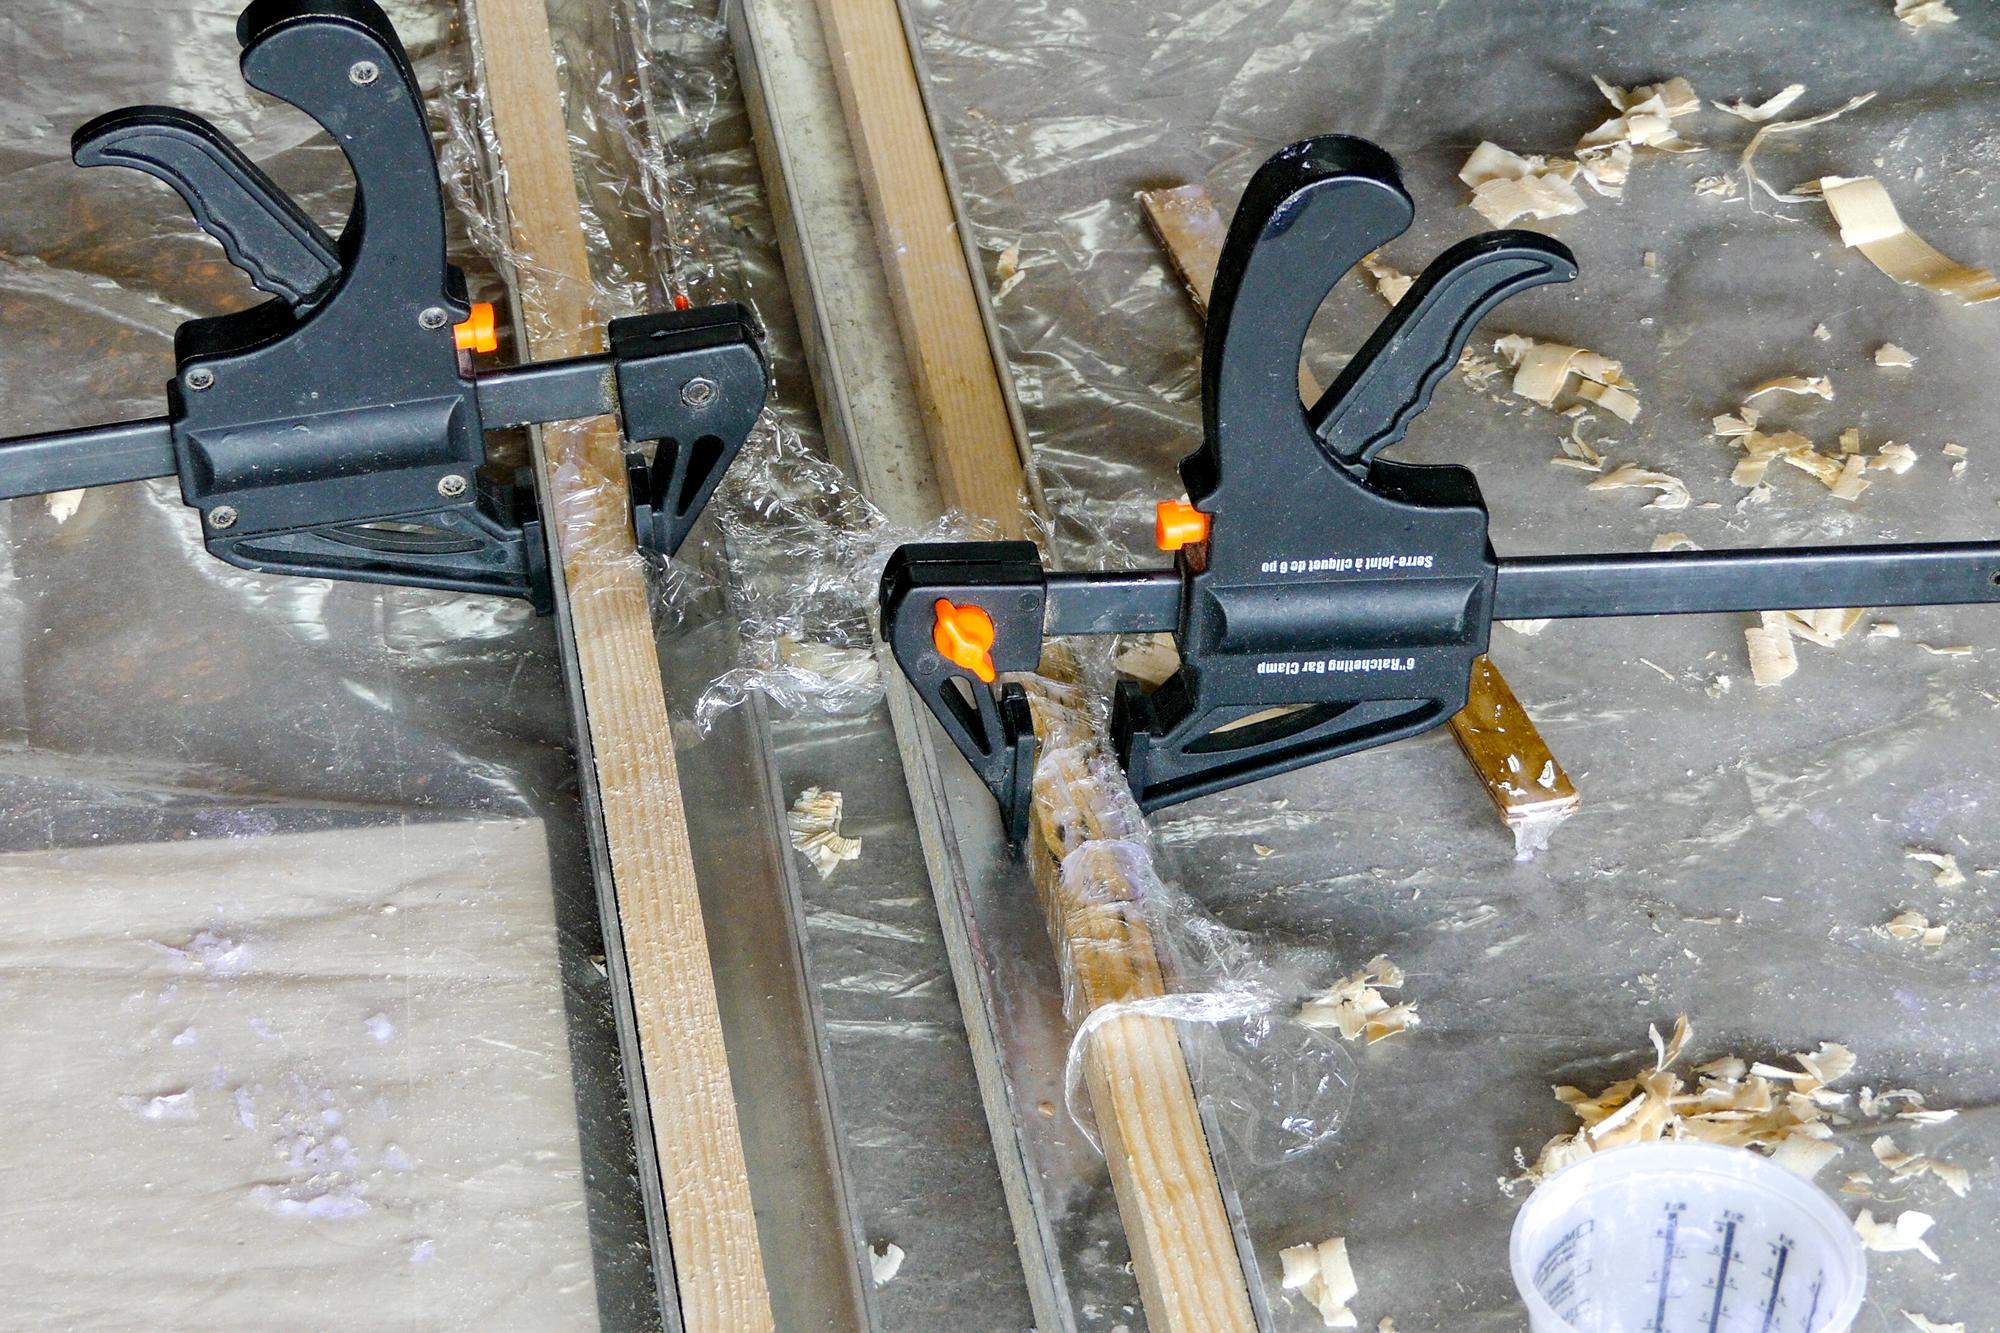
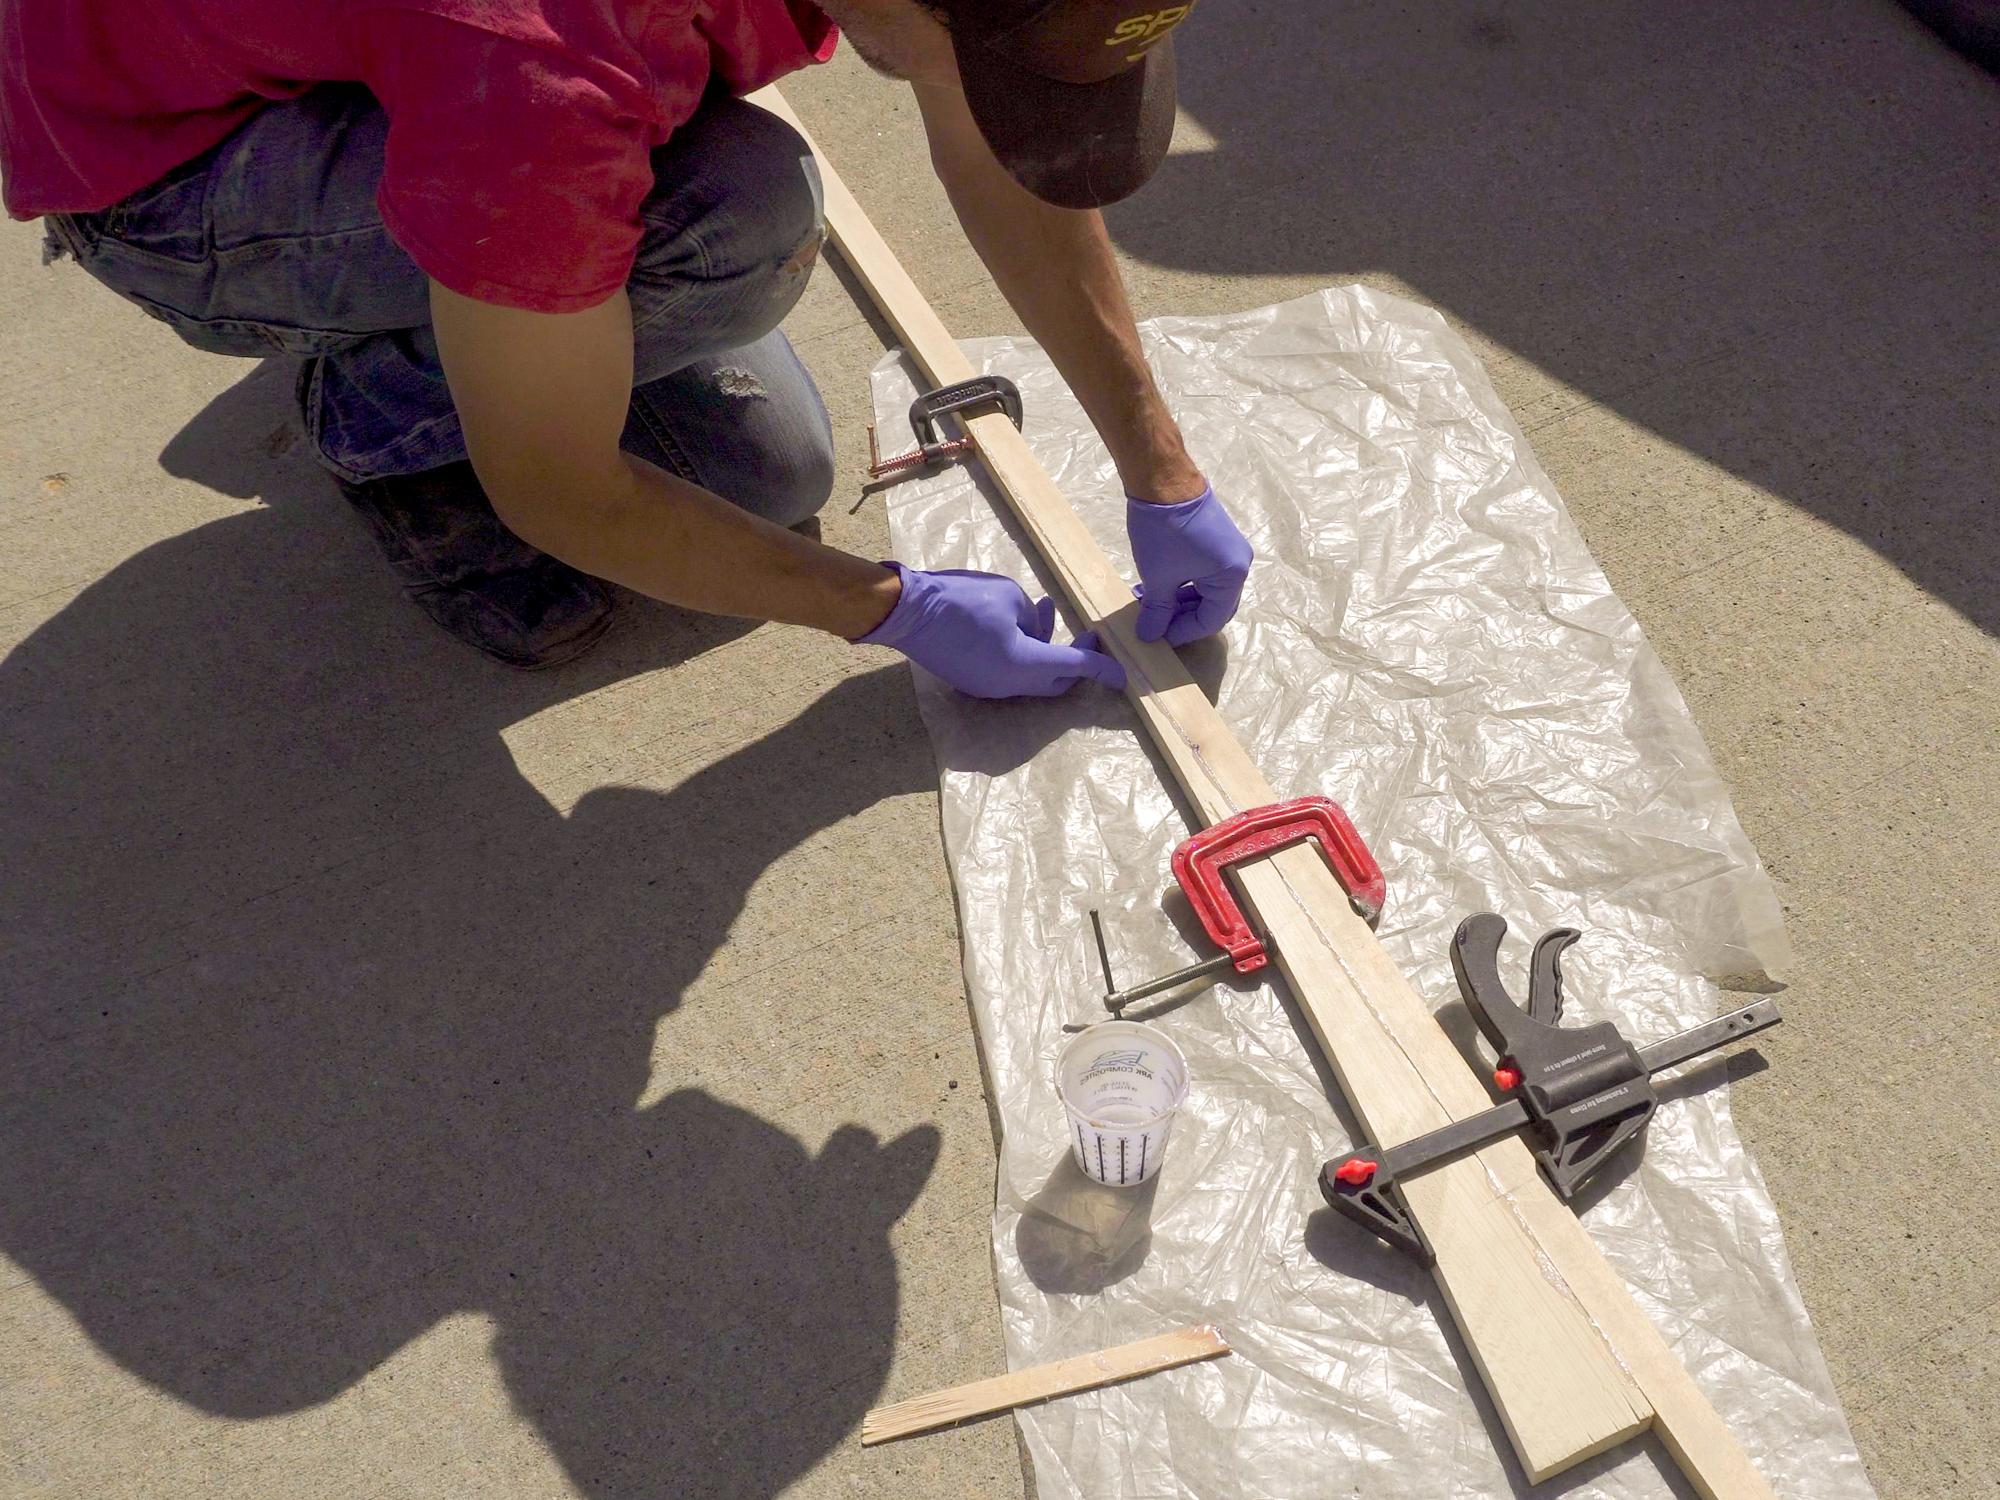
If you can find 16 foot lumber, that's great, but since I couldn't, I needed to splice mine together to get that length.
Apparently, in order to get a strong splice, the length of the splice should be six times the thickness of the piece of wood being spliced. Mine were 15mm thick, so I made a stack of them that stepped back 90mm per step, and then used a hand plane to plane the "steps" away until I had a nice smooth ramp.
I then had two sets of pieces that fit together perfectly.
I lined them up, gave them a generous coating of the epoxy/cotton fiber glue mix, and clamped them to a piece of metal with a 90 degree profile- with a sheet of cling wrap between the wood and the metal to keep the wood from getting glued to the metal.
This is the technique I used to make the inwales, outwales and the keel batten.
These strips of wood are going to be under a fair bit of stress when bent into the canoe shape. Try to make sure there are no large knots in the sections you are using because that is where the strip is likely to break.
Zip Ties and Duct Tape
-9.jpg)
.jpg)
.jpg)
.jpg)
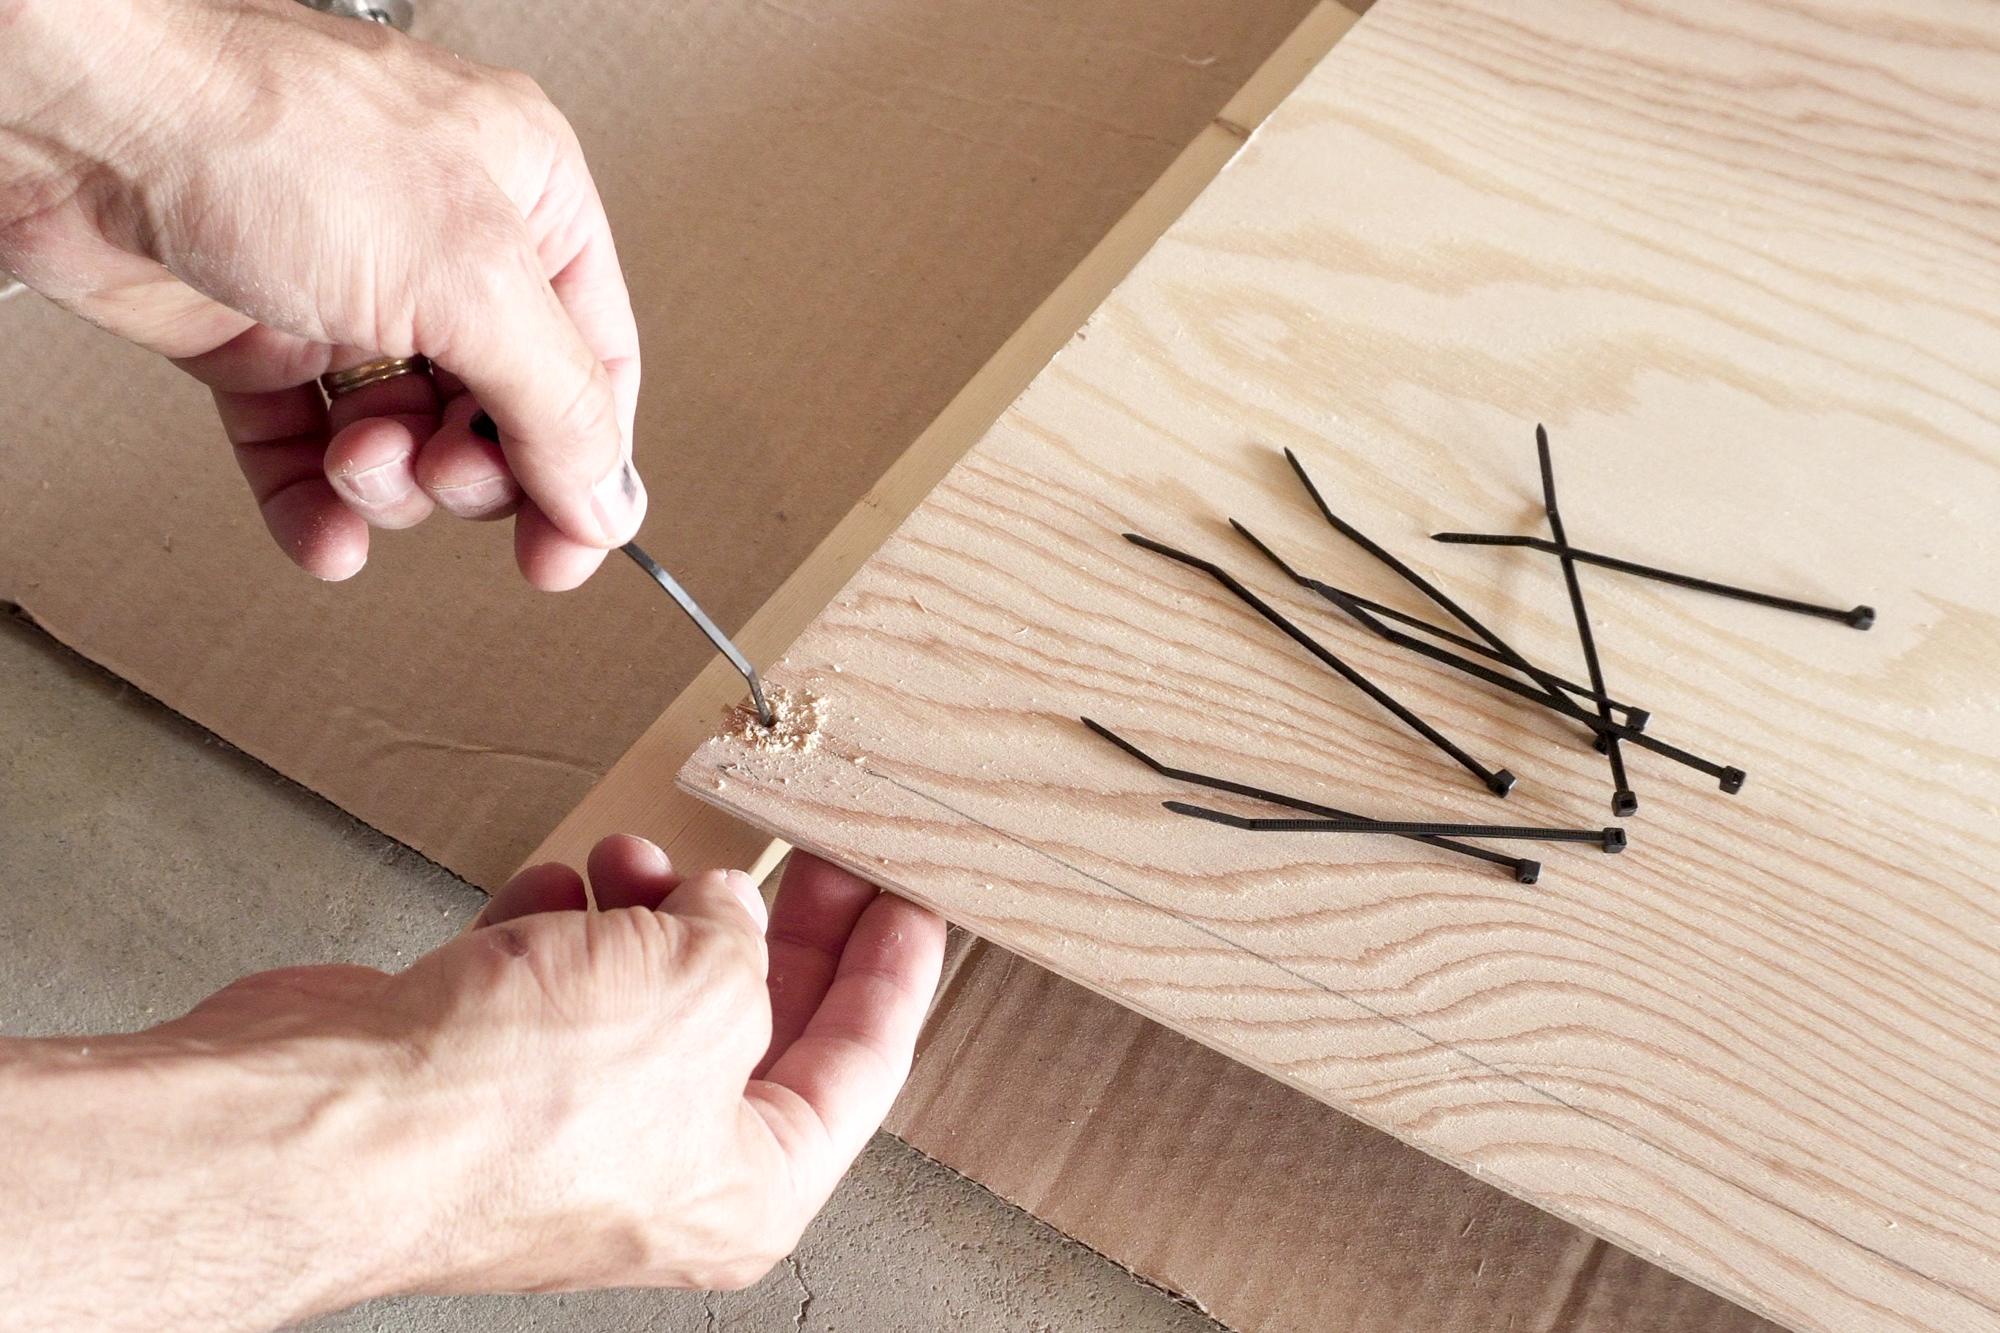
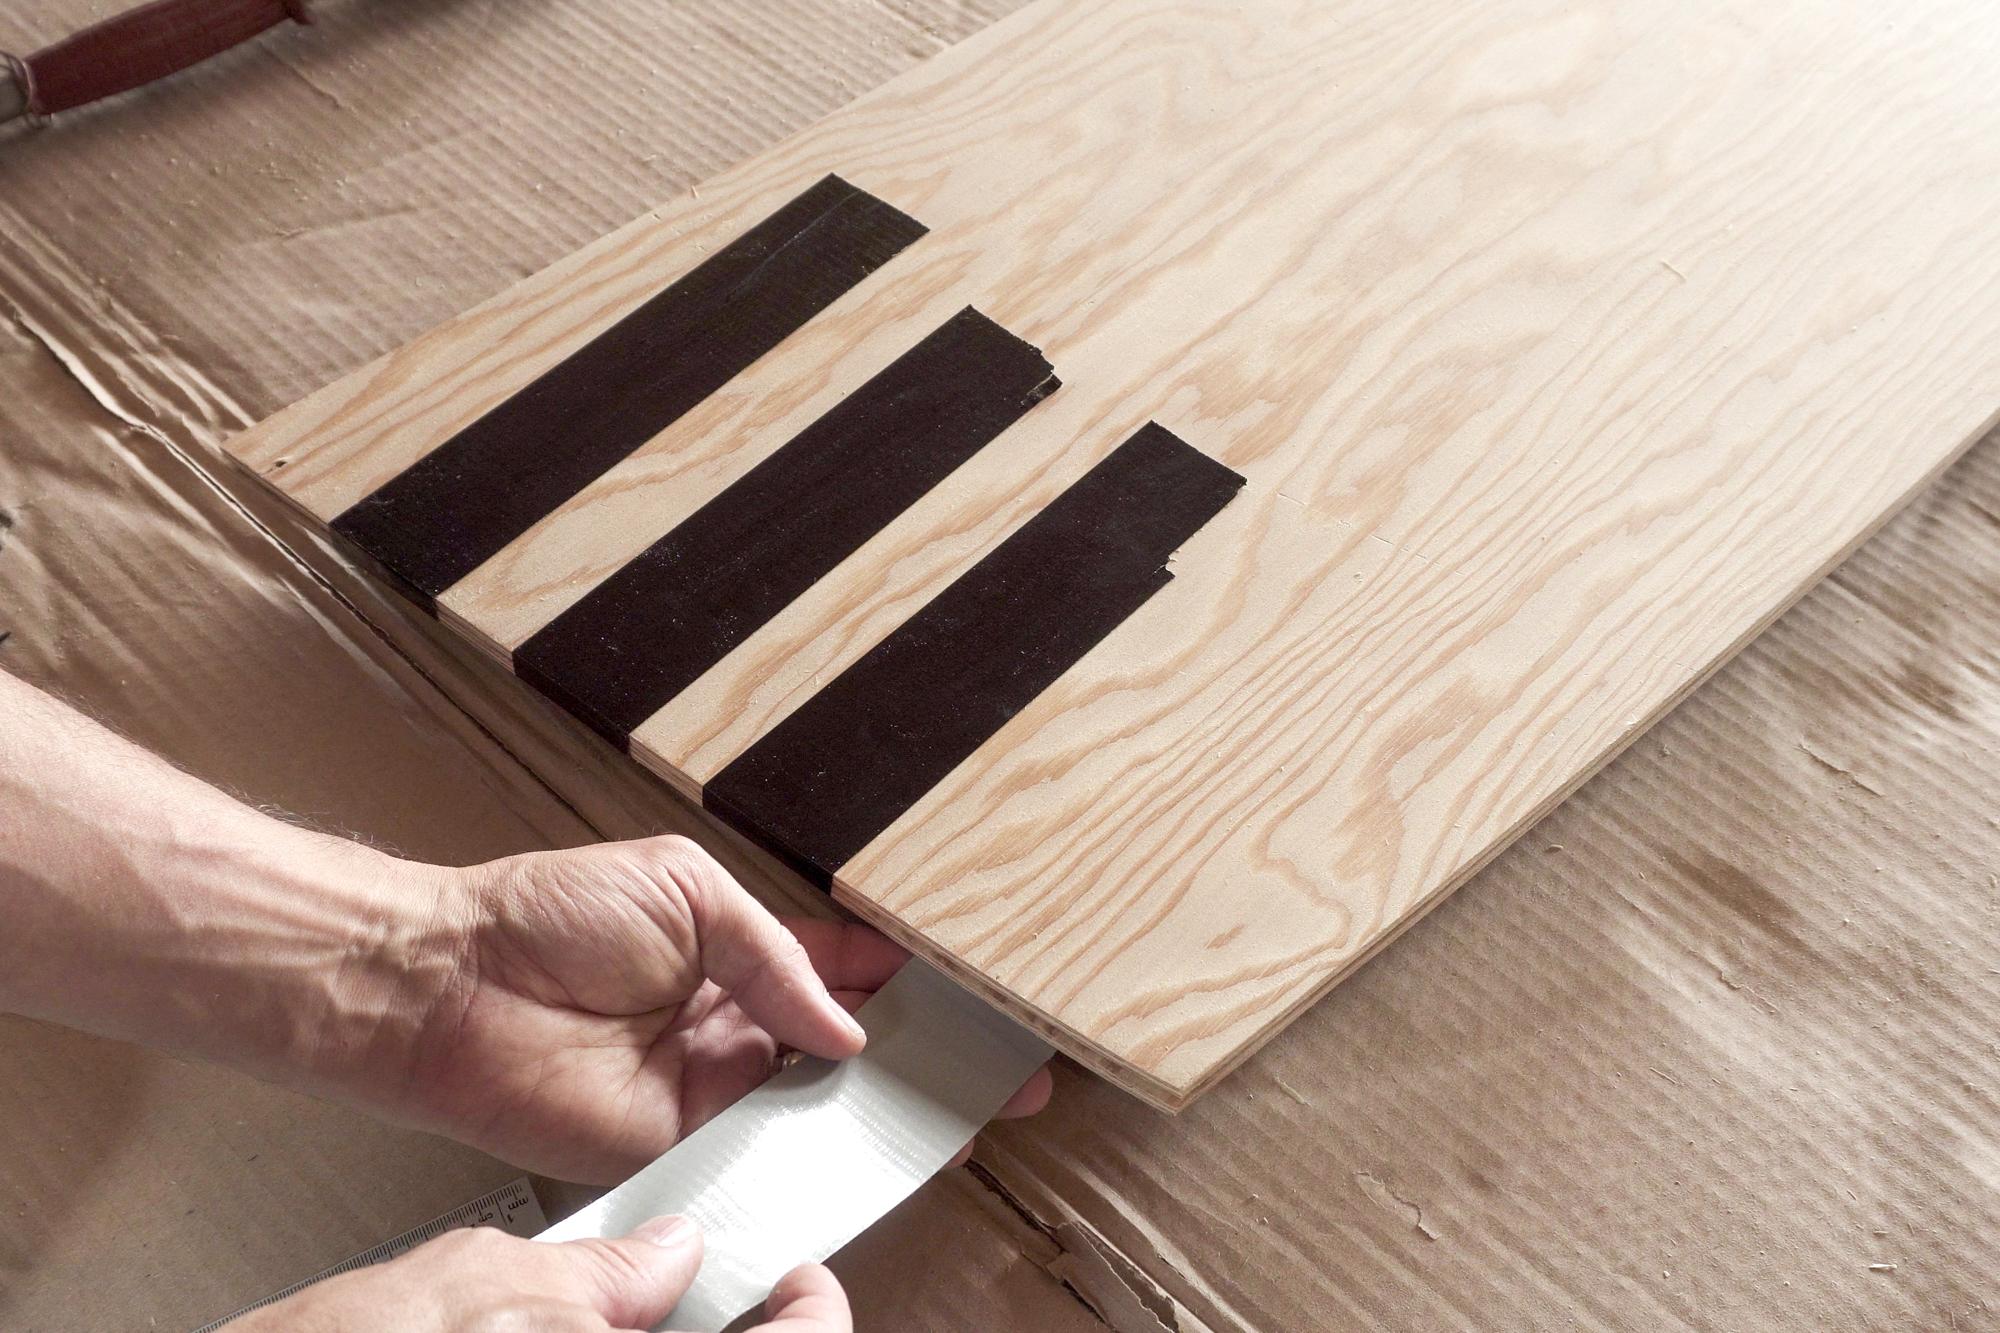
This canoe construction is a variation of the stitch and glue technique, which would normally require drilling many holes along the edges of the wood and then using pieces of copper wire threaded through and twisted together to hold everything in place while it is glued. Instead, we are going to use zip ties and duct tape!
- I lay the two side pieces on top of each other, buttstrap to the center, and lined them up with each other.
- I drilled a hole through both side pieces, 6mm in from the front edge, on the 19mm line I drew in the last step.
- I used strips of duct tape about 30cm long, wrappped around the front edge to hold it together.
- I didn't feel like this was strong enough, so I added a couple more zip ties, one in the middle and one at the bottom of the front edge.
- I repeated this for the other end.
Let's Get 3D
.jpg)
.jpg)
.jpg)
.jpg)
.jpg)
I cut a couple of temporary spacers from some scrap wood, according to the pattern.
I spread apart the sides of the canoe, by standing in the middle of it, and then screwed the temporary spacers into place. The screws go through the plywood into the end of the spacer.
You will see in the pictures here, the spacers are lined up with the top edge of the side. I think that was a little mistake I made, because I had to move them down later to accommodate the inwales. I would suggest aligning the top of the spacers with the line that is 19mm down from the top edge.
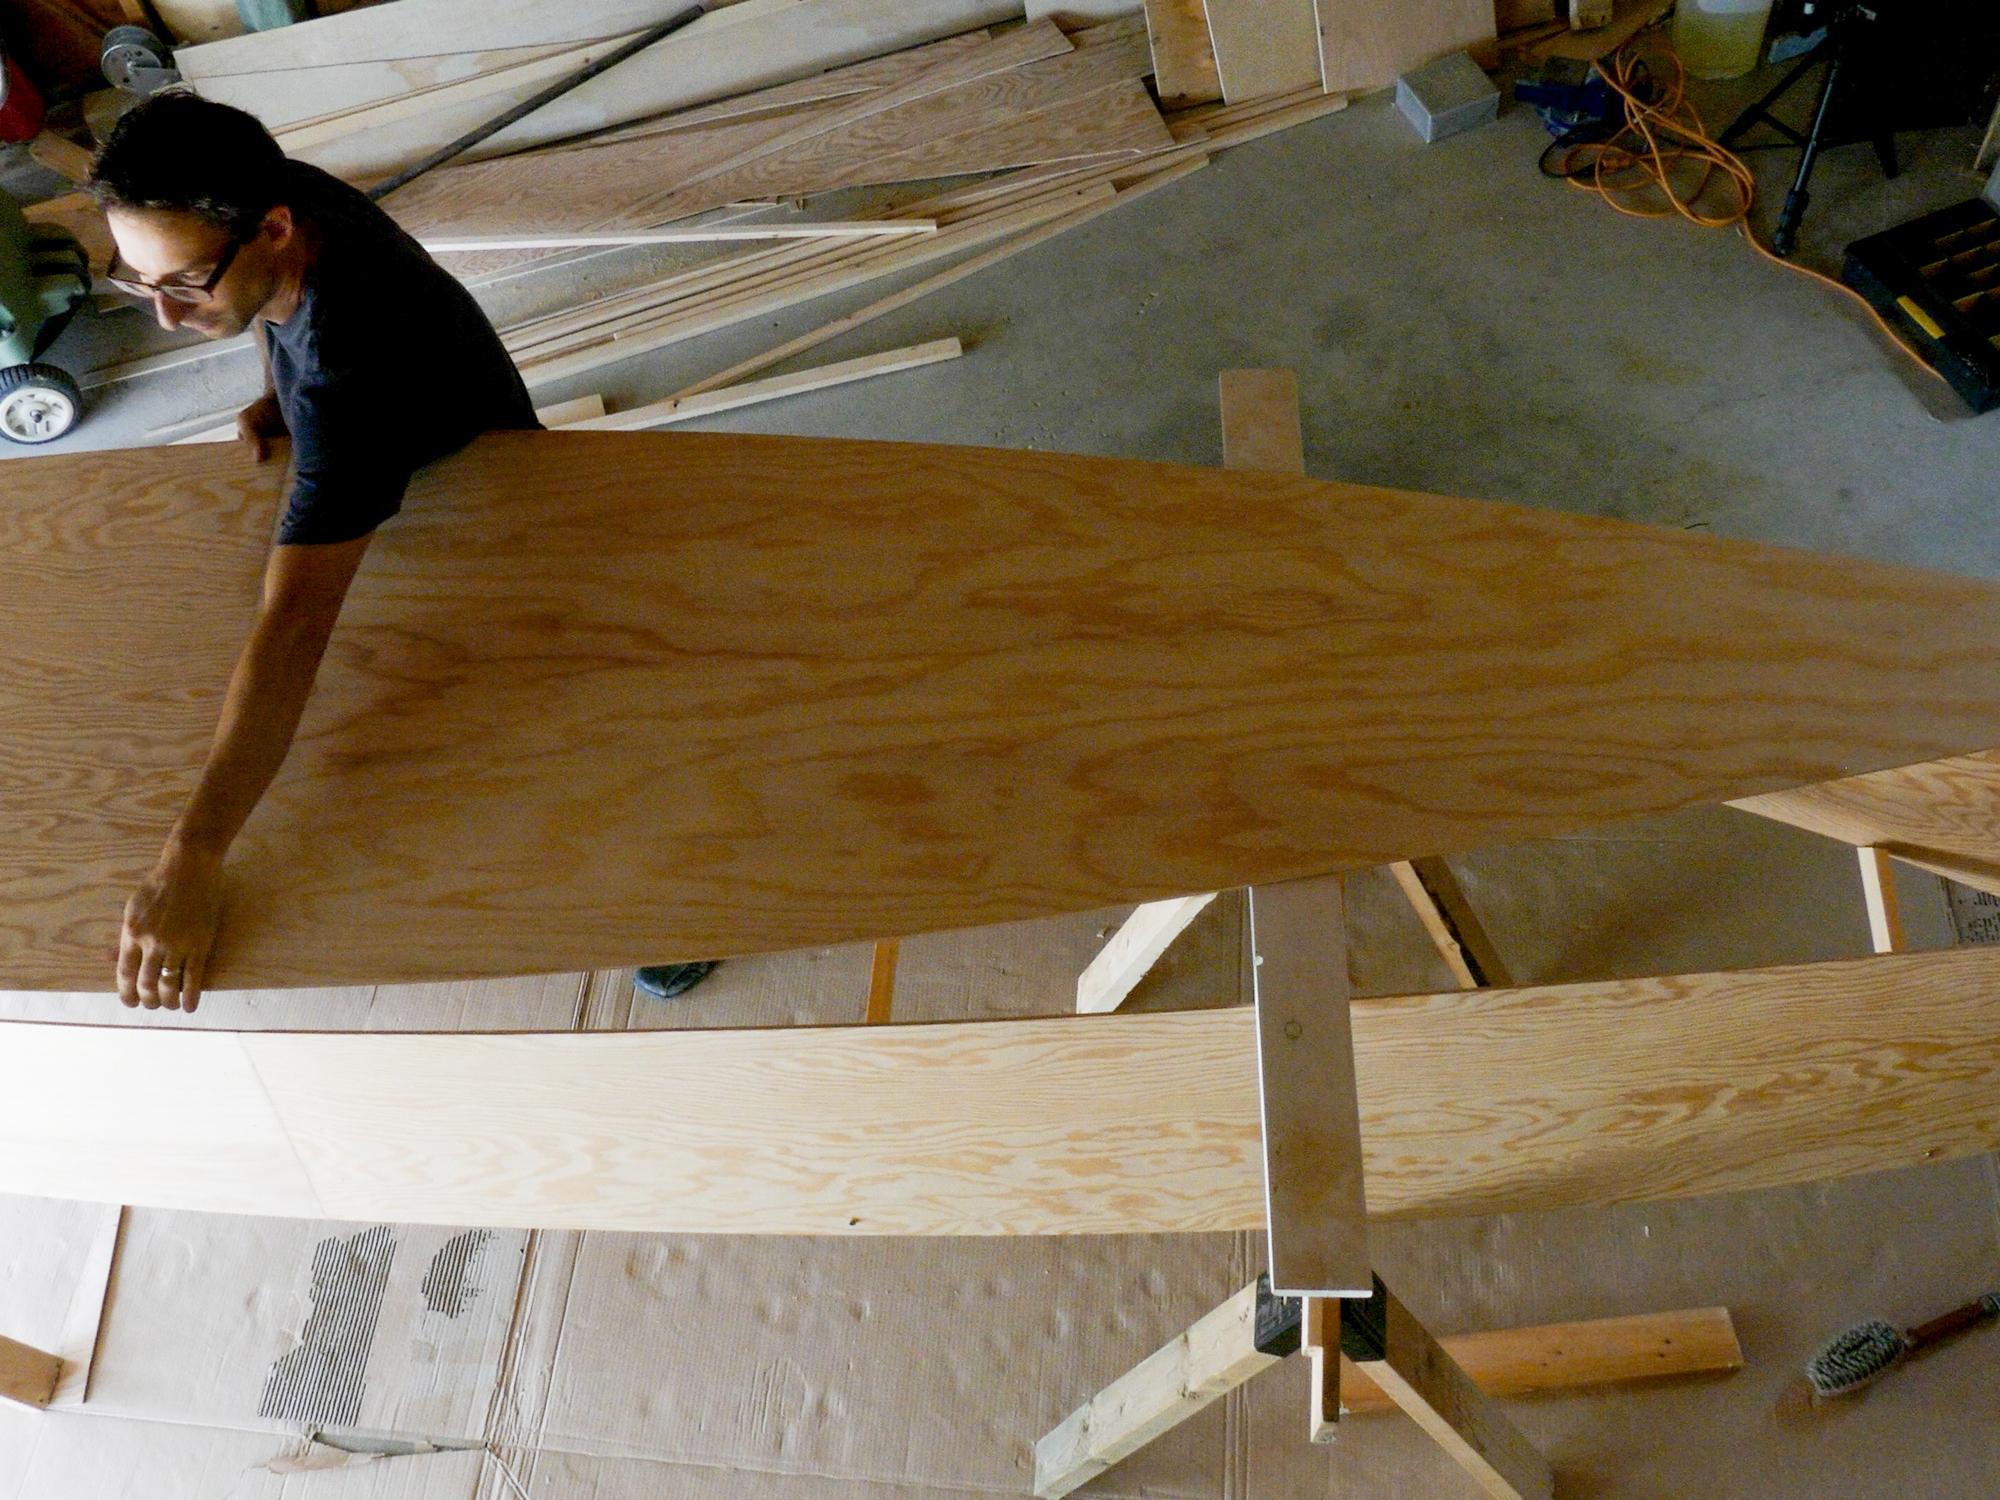
I got some help to gently flip the canoe upside down and set it on a pair of saw horses. By laying two long straight pieces of wood across the bottom, I could check to see if the canoe was sitting straight and level on the sawhorses. It was a little off, so I adjusted the sawhorses until the two boards lined up with each other.
I lay the bottom piece over the boards- they just were there to temporarily keep the bottom from falling through while I attached it.
More Zip Ties, More Duct Tape
.jpg)
.jpg)
.jpg)
.jpg)
.jpg)
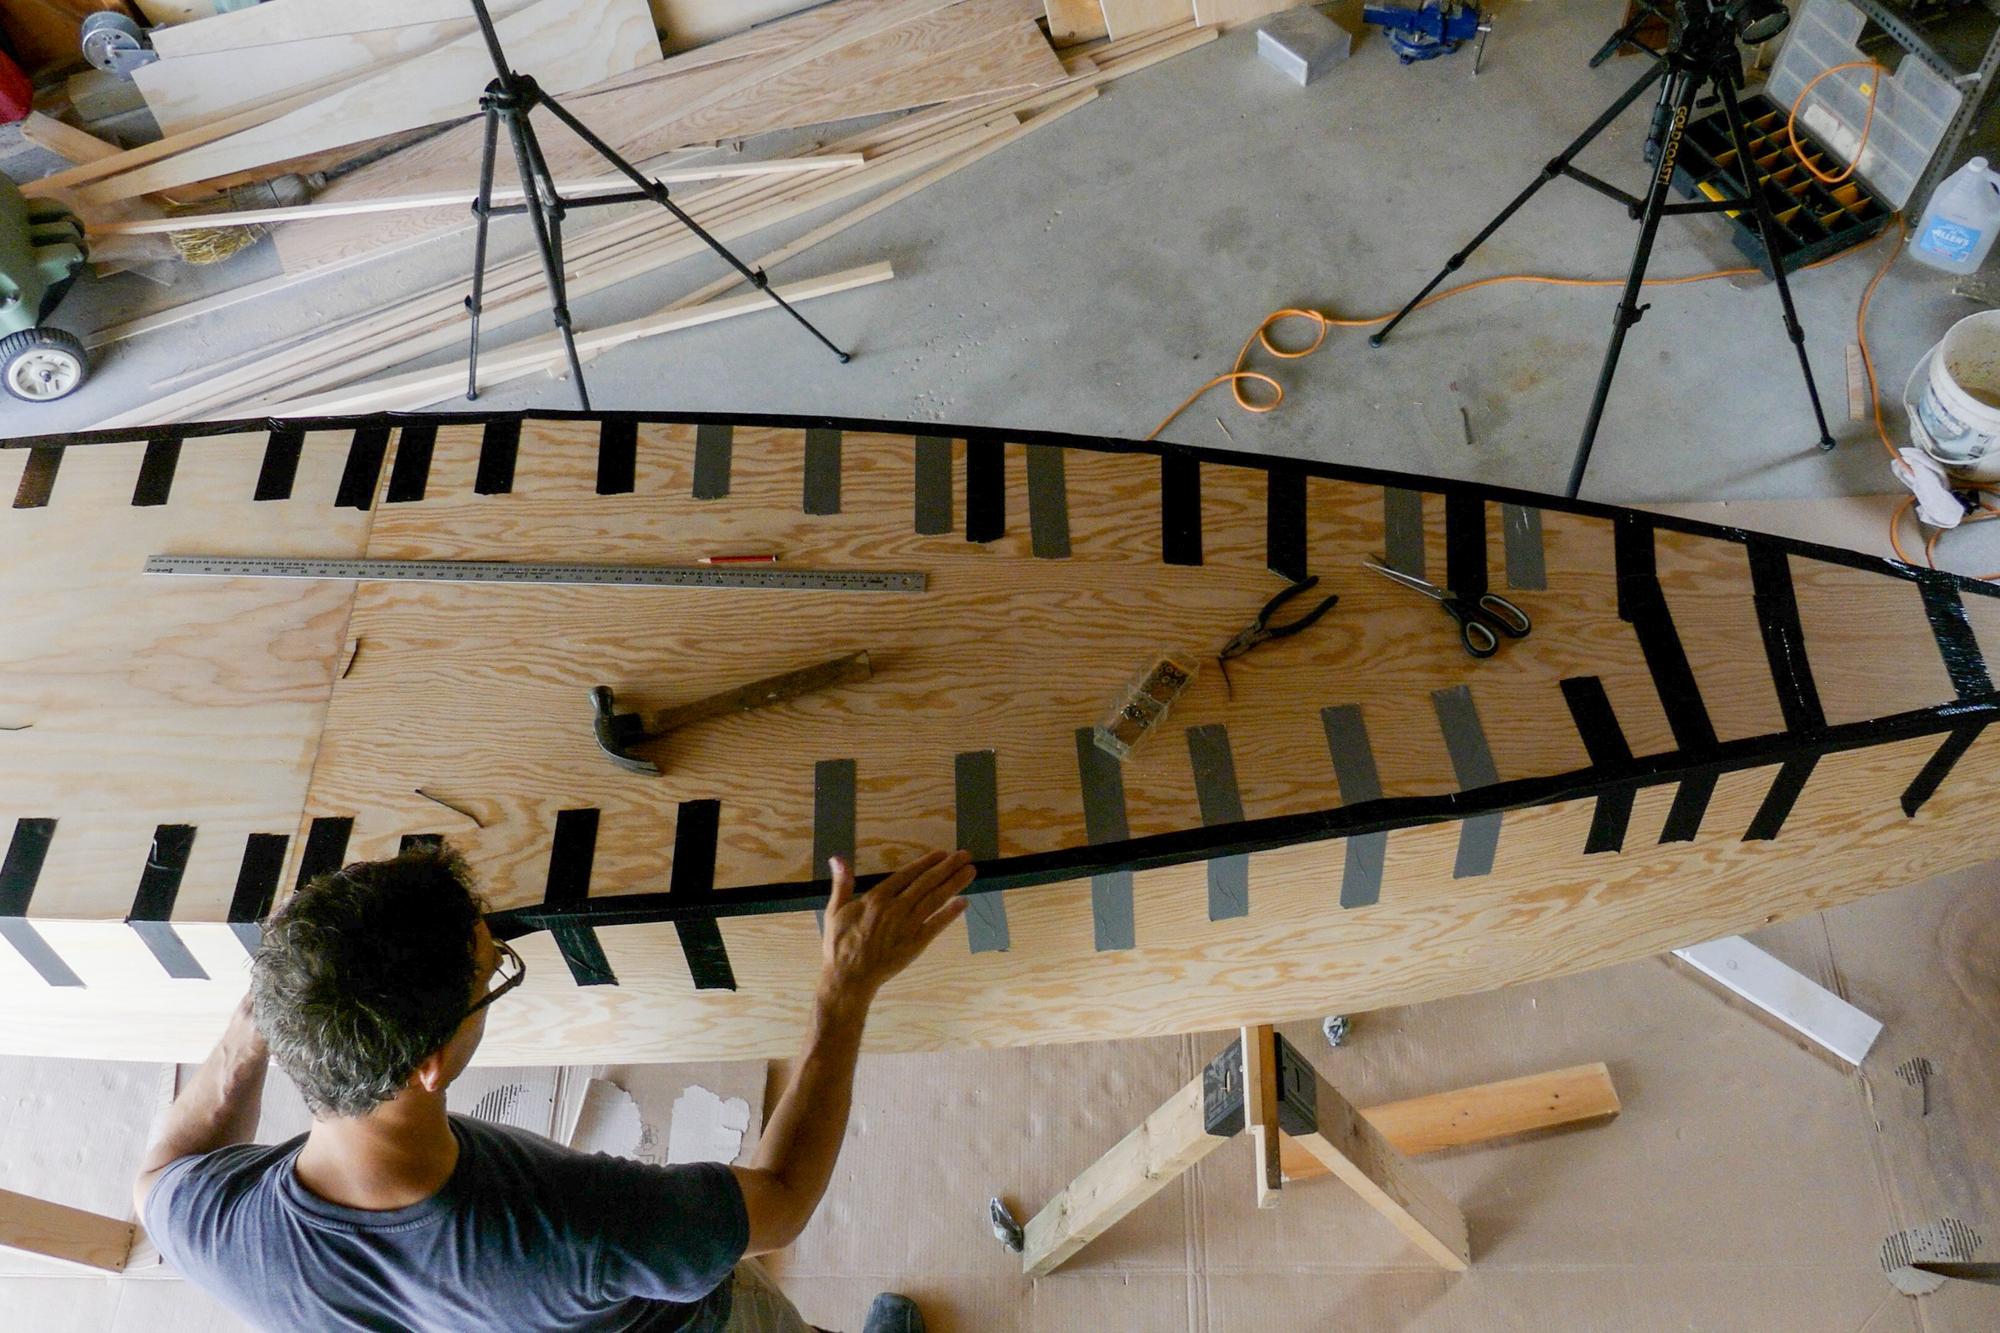
I used the same zip tie and duct tape technique that I used on the front and back, to attach the bottom piece. I drilled holes 6mm in from the edges wherever I decided I needed a zip tie, and used duct tape to hold the rest together.
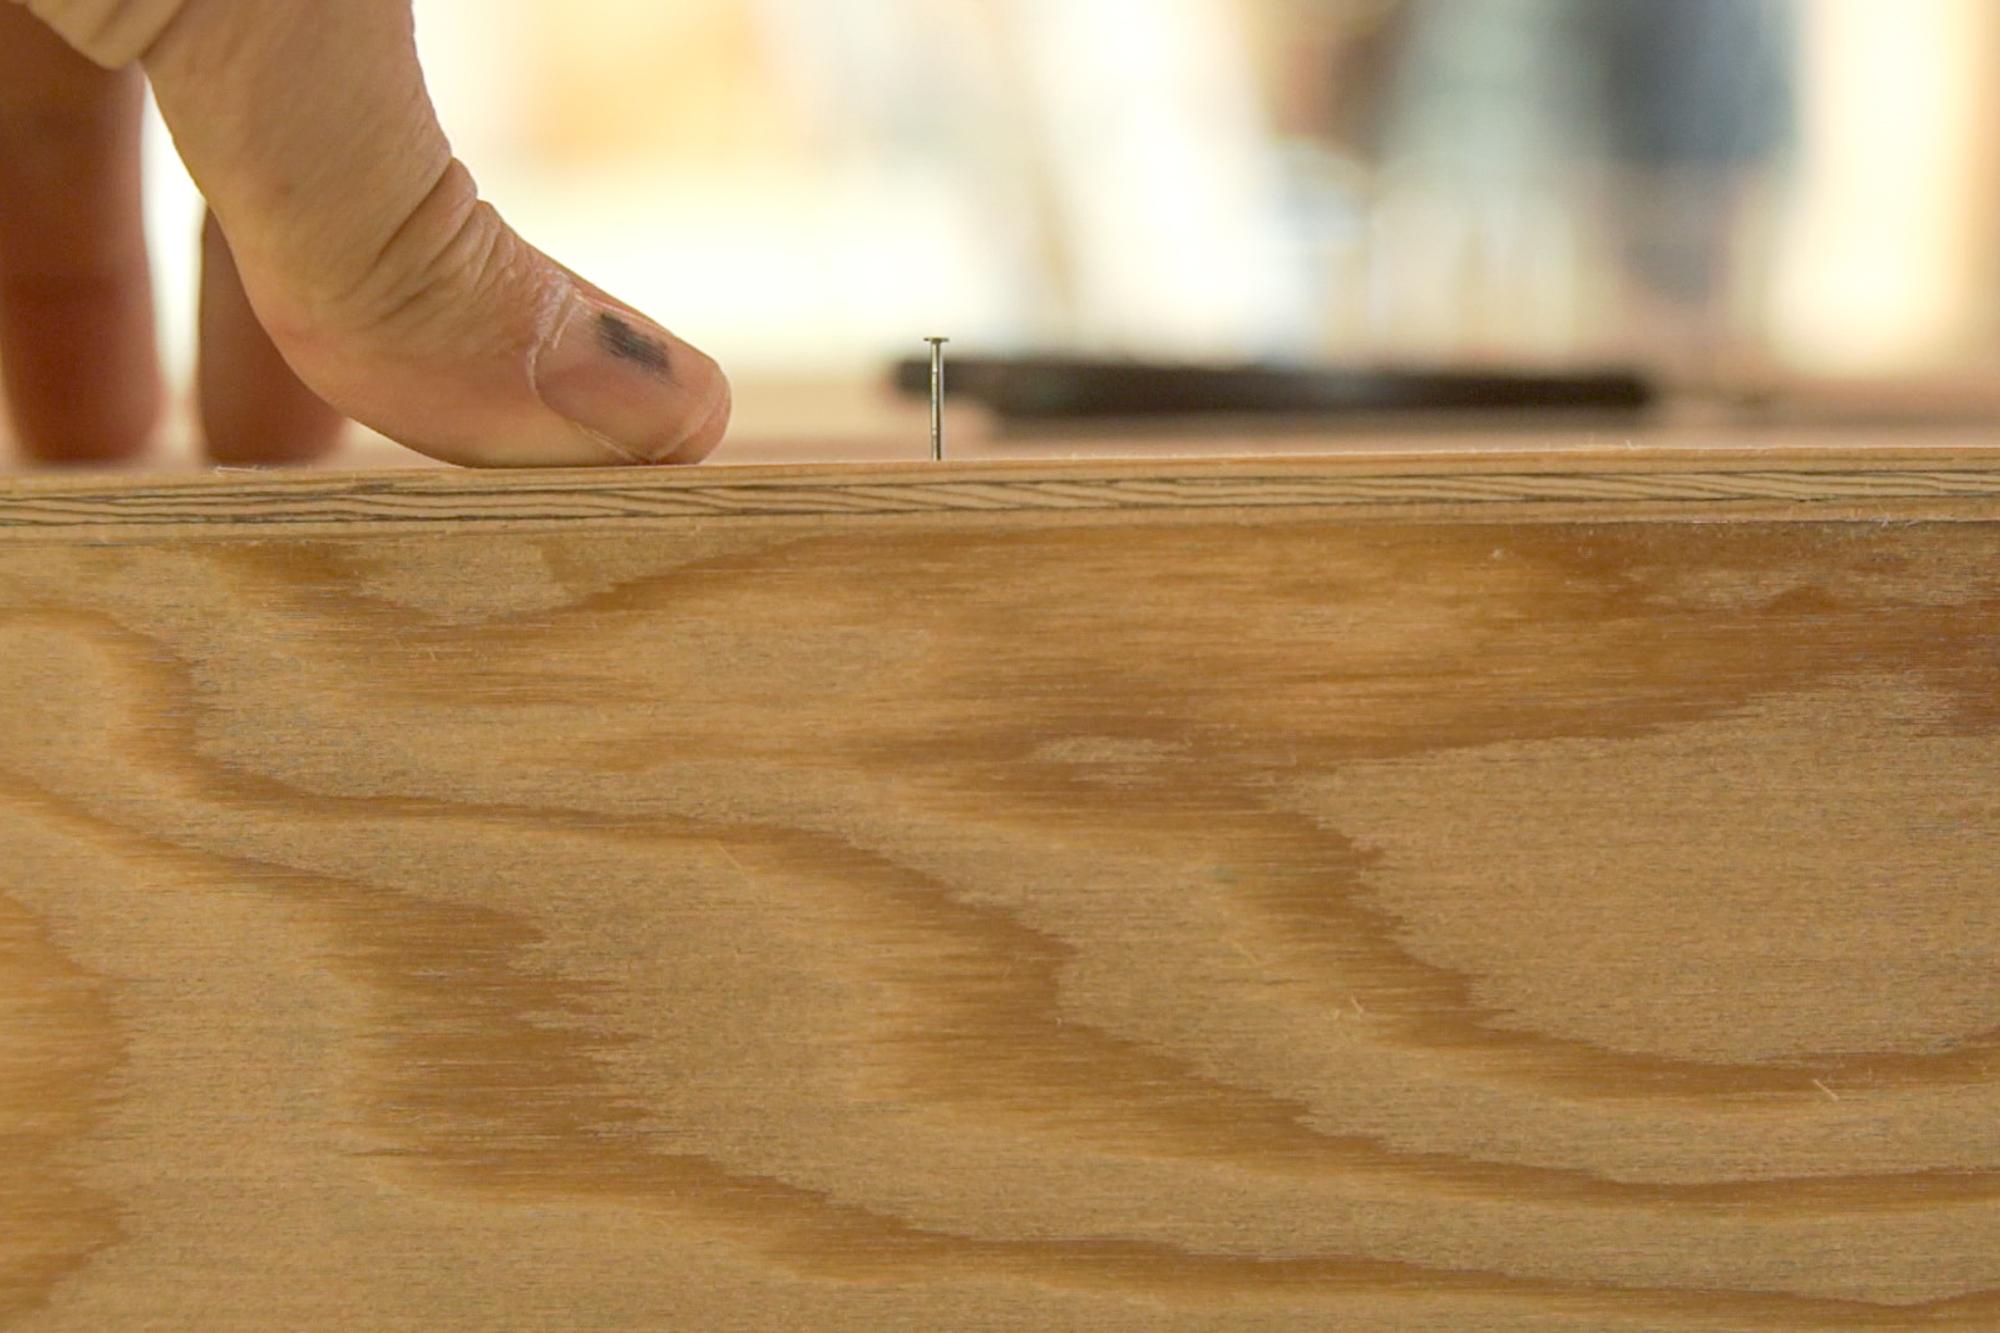
The duct tape worked well for places where the sides wanted to protrude out past the edge of the bottom, but in some places the sides wanted to sit inside the bottom edge. To help keep these parts lined up perfectly, I used some tiny nails hammered down through the bottom into the sides so that they couldn't move. I didn't hammer the nails all the way down so that I would be able to remove them again later.
Depending on the type of wood you use and the type of duct tape, the tape may or may not hold long and well enough for you to complete the gluing properly. I was lucky, mine held up while I glued it, but the next day when I came back to it, a lot of the tape had come loose from the wood. If I was to do it again, I would add some insurance by using more zip ties around the bottom.
Temporary Outwale Attachment
.jpg)
.jpg)
.jpg)
Once I add the epoxy paste to the seams, the shape of the canoe will be pretty much locked into place. In order to make sure the top edge is held in its proper curvature, I need to temporarily attach the outwales.
I screwed the outwales to the sides of the canoe at the center, lining up the top of the outwale with the top edge of the side.
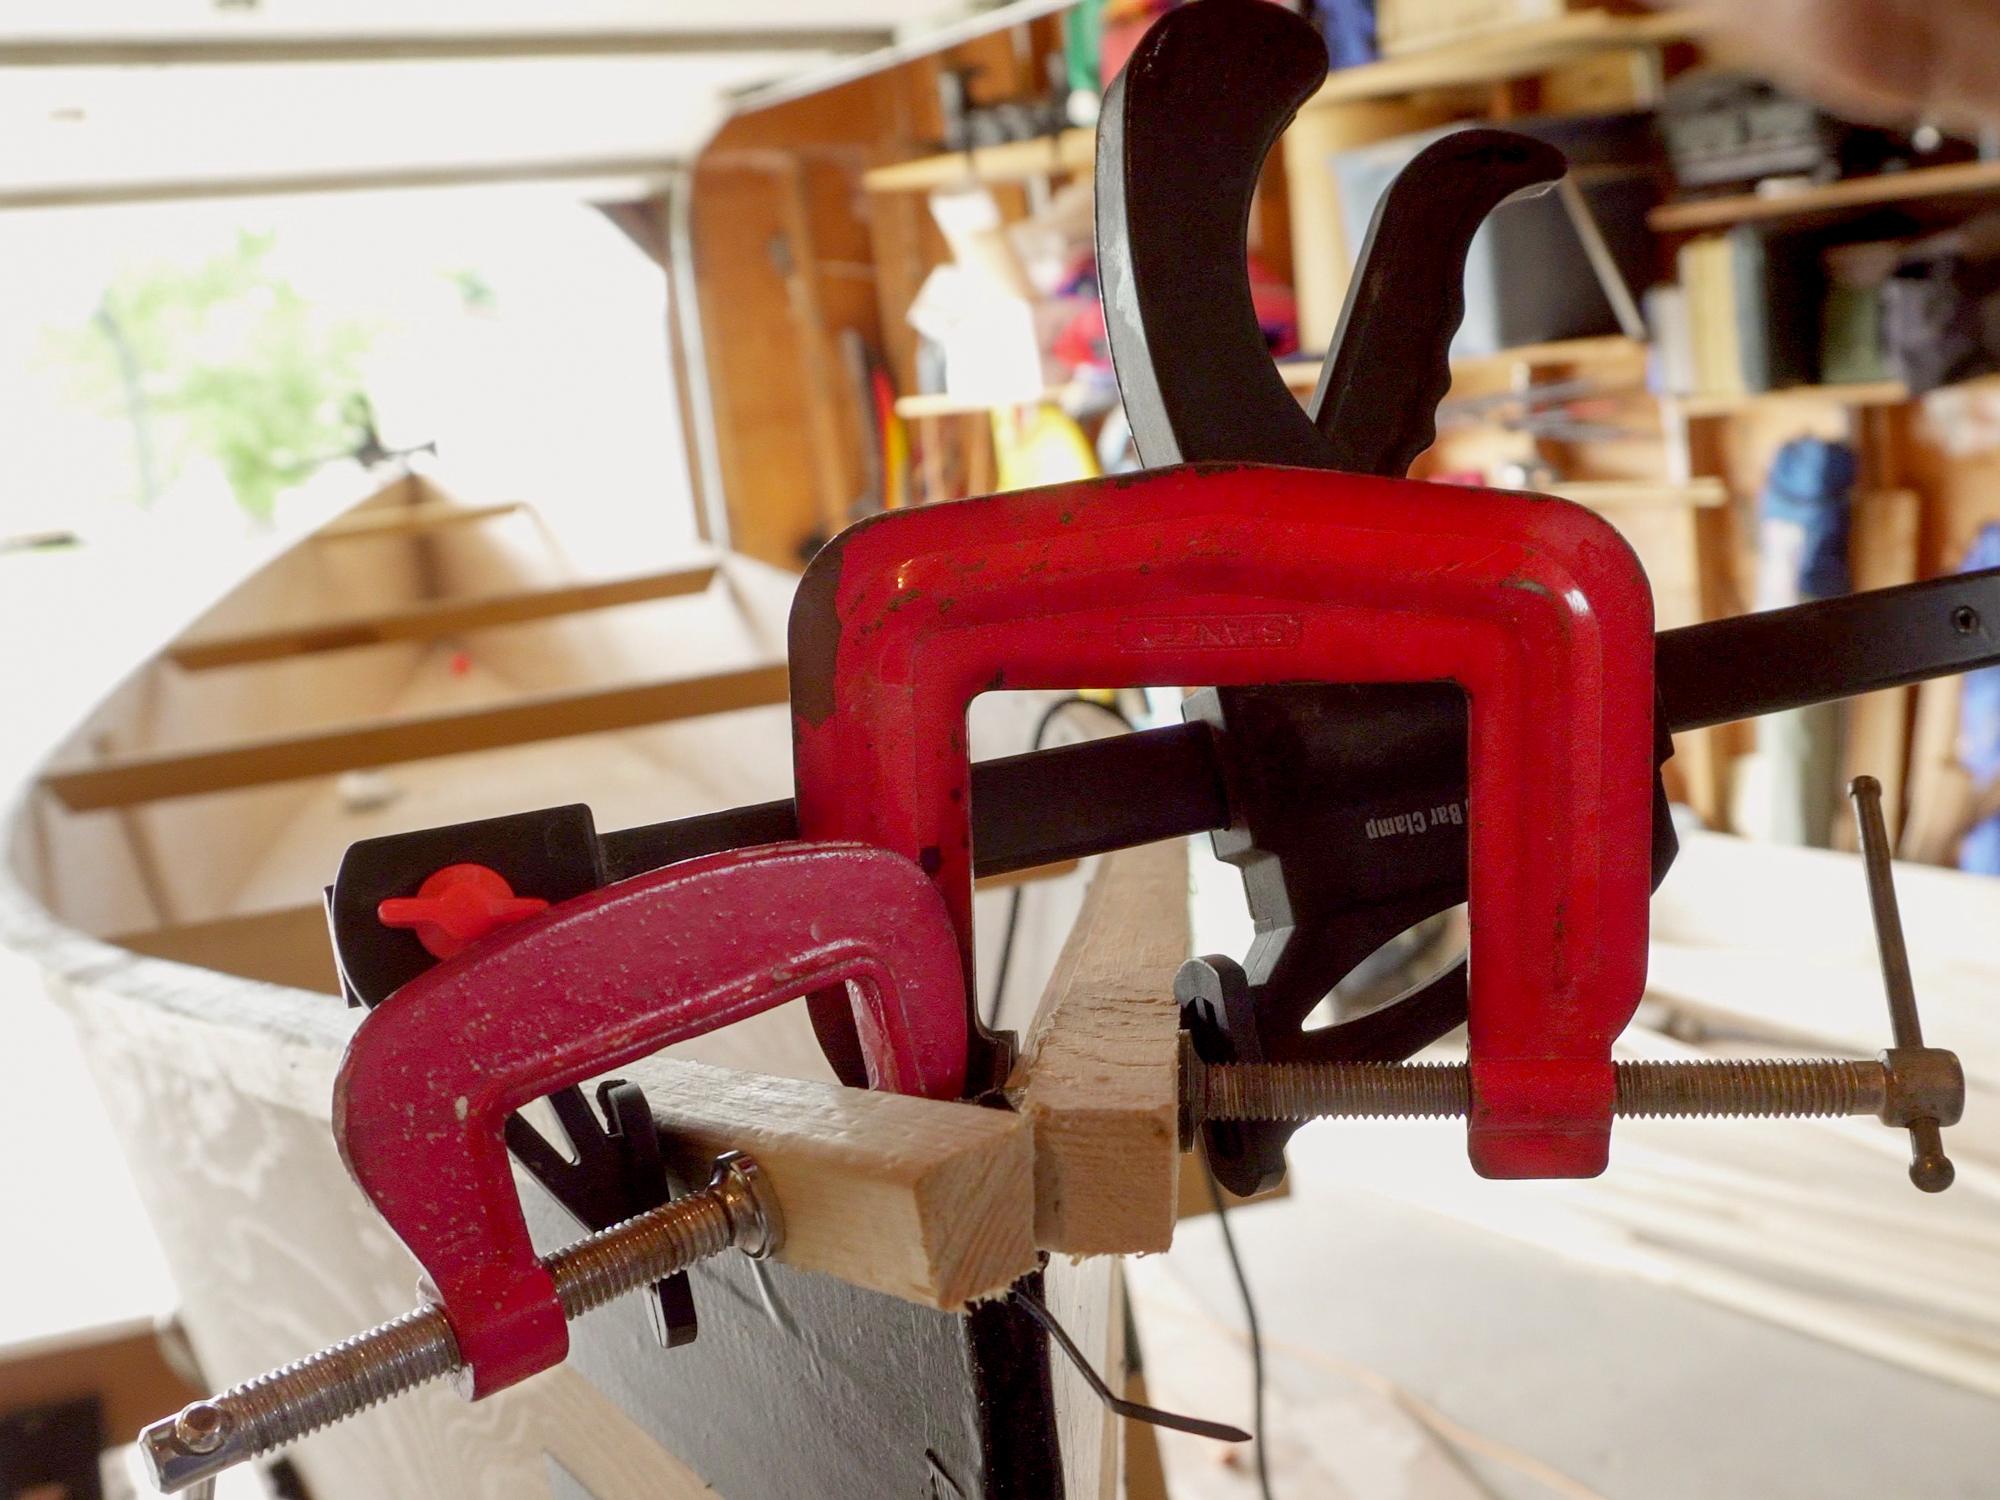
I clamped the ends of the outwales to the front and back of the canoe. This was a bit scary, as I felt like my strip of wood was going to snap on me at any time as I was bending it. Fortunately, it didn't, and I was able to clamp it in place without too much trouble. In the picture, you can see I have a clamp on each side holding the outwale to the side, and then I have one clamp holding both sides together to decrease the stresses on the tape and zip ties.
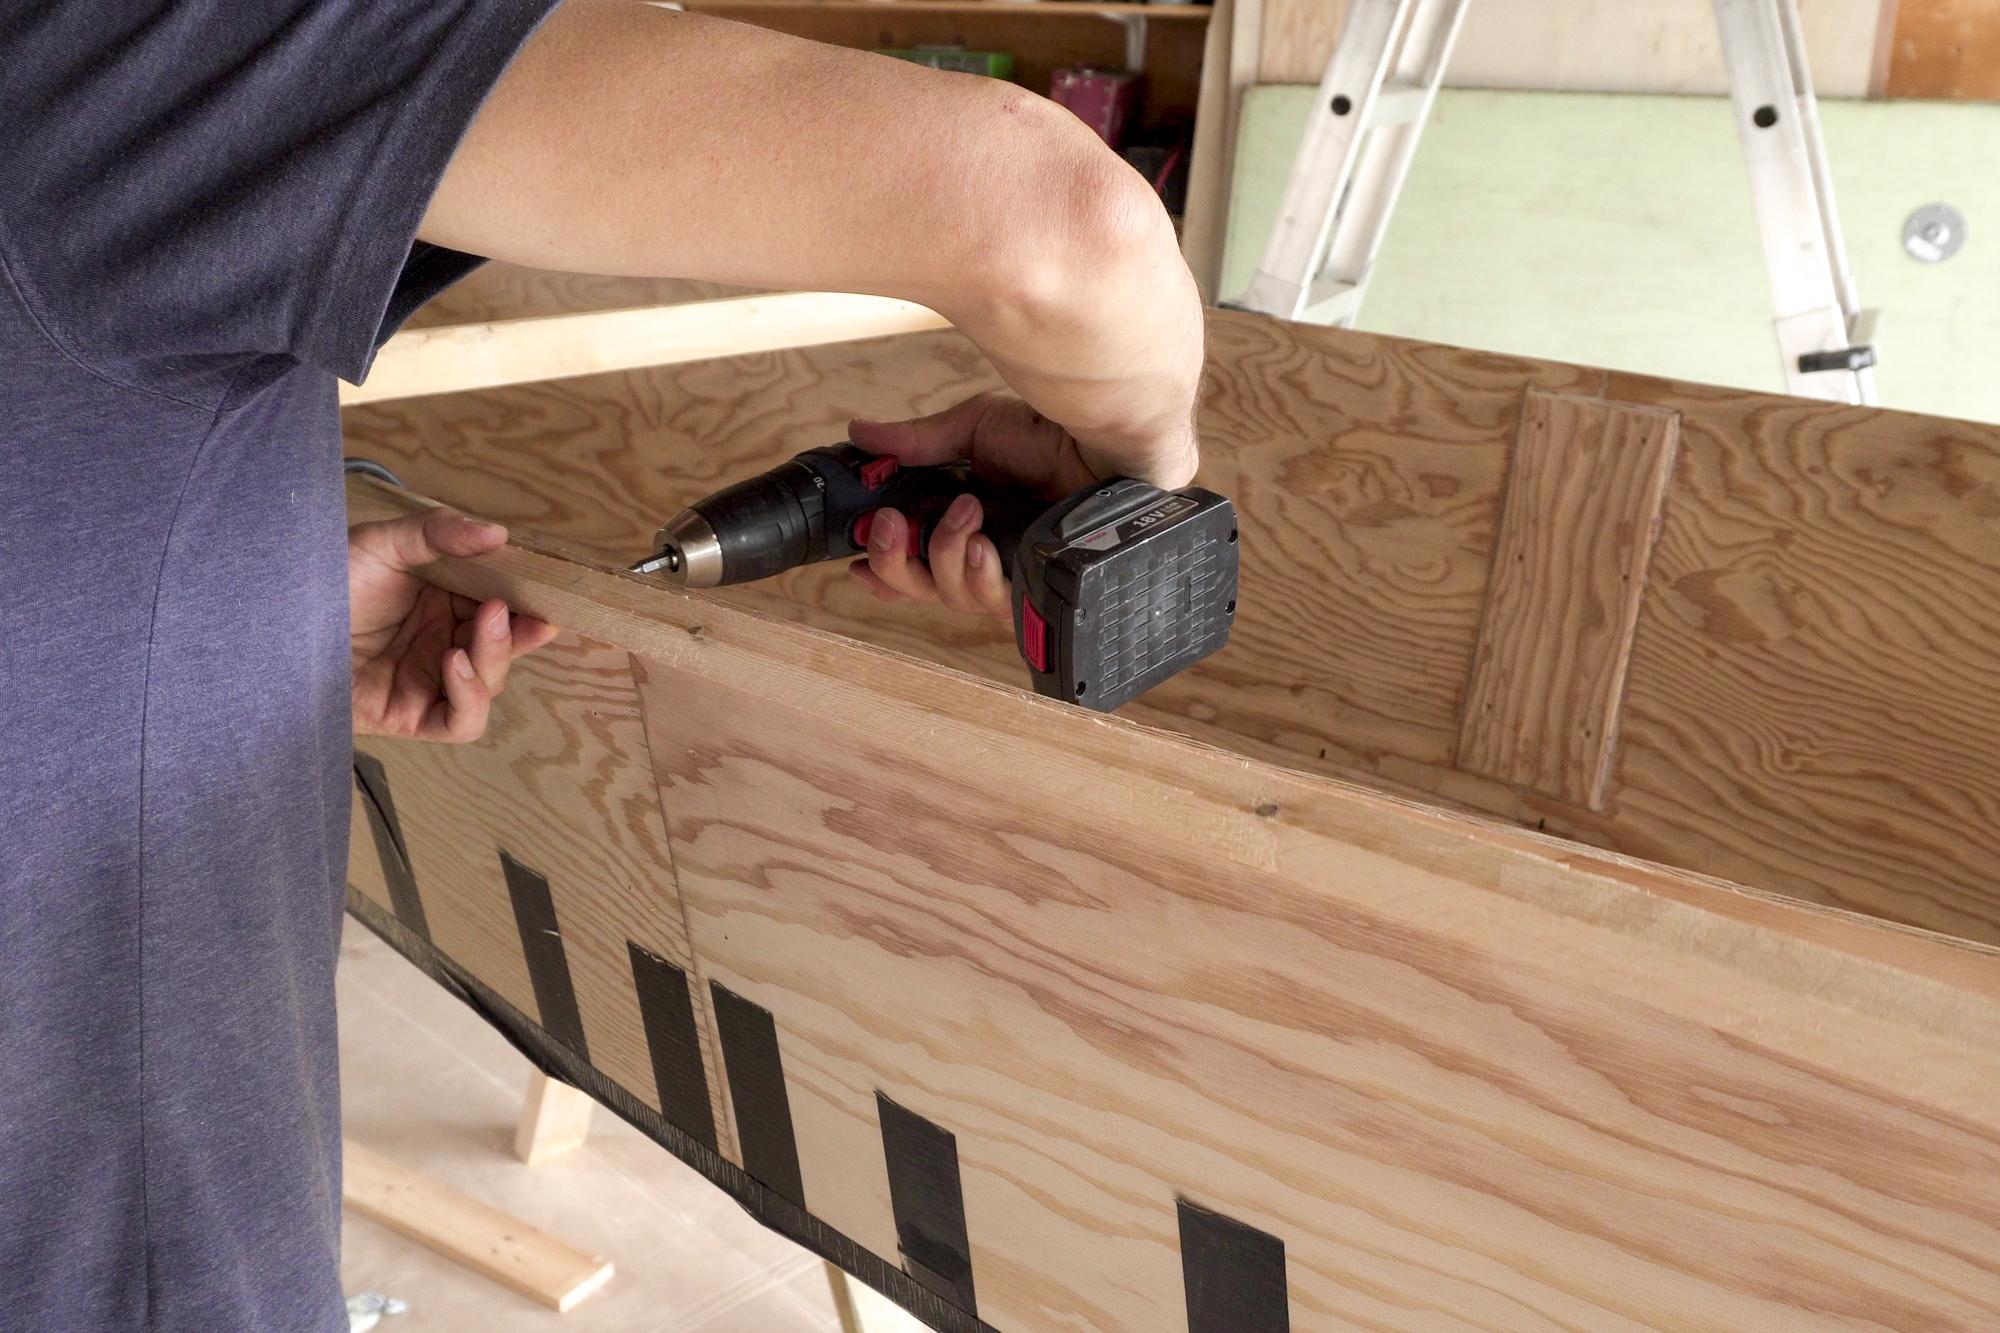
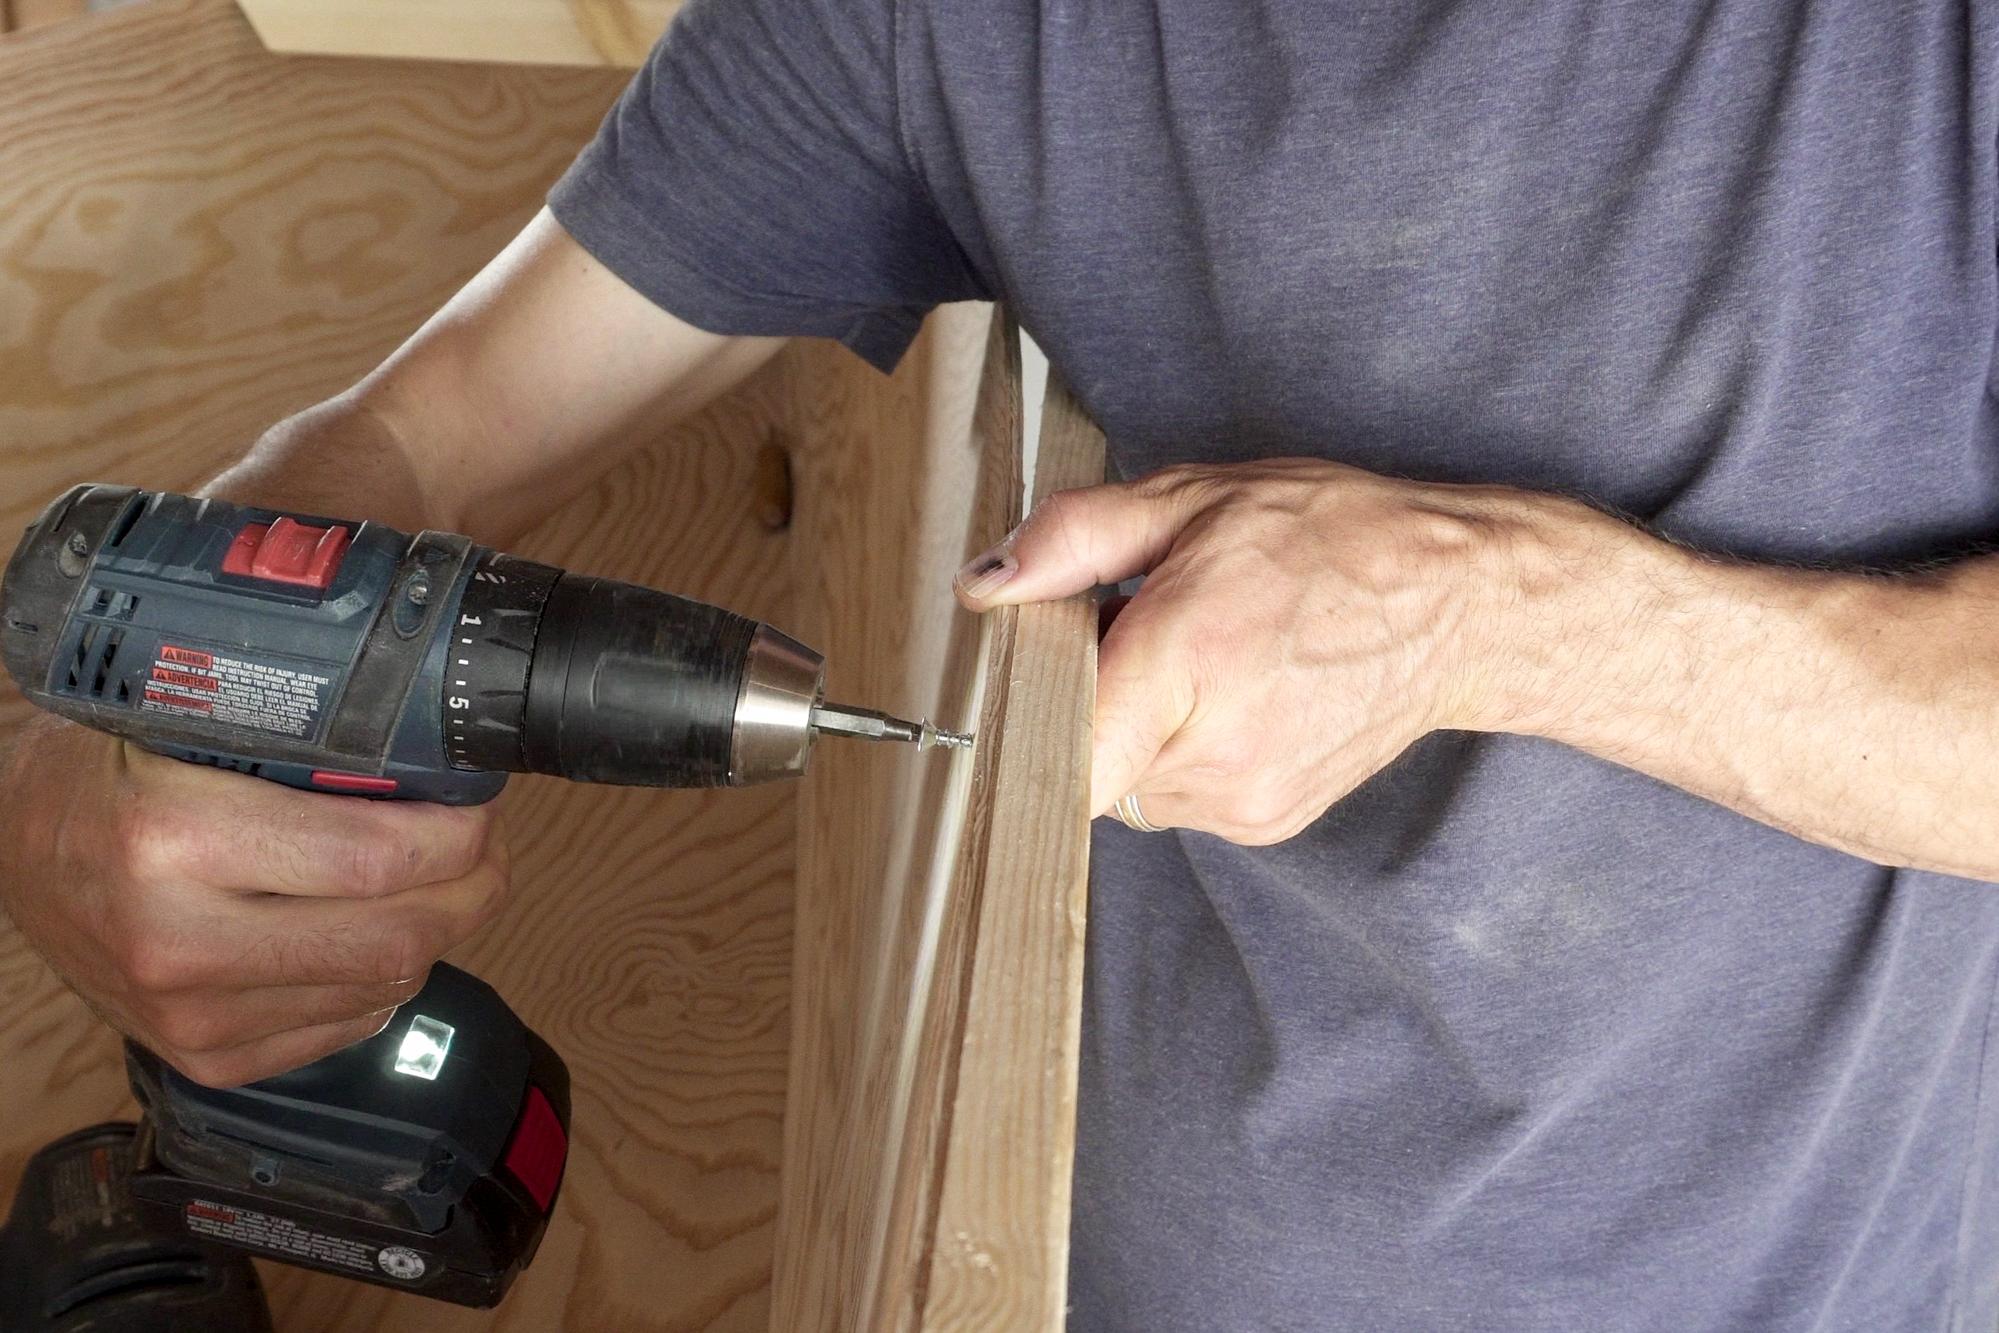
I then screwed the outwales to the top sides of the canoe, screwing from the inside of the canoe at each 300mm mark. It is a good idea to pre-drill before screwing into any of these thin pieces to prevent splitting.
To give the canoe some nicer lines, I raised the outwale slightly above the top edge of the canoe as it got close to the end. Later I would plane off that extra to create a slight taper in the depth of the outwale.
Peanut Butter... You Wouldn't Want to Eat on Toast
.jpg)
.jpg)
.jpg)
.jpg)
.jpg)
With everything held in place, it's time for the magic. Epoxy magic!
I first mixed a batch of plain epoxy with no additives, and used a sponge to apply it along the seams. This is to let the wood soak up some epoxy so that when you add the paste, it doesn't suck the epoxy out of the paste and create a poor bond.
- I made an 80/20 mix of wood flour and colloidal silica.
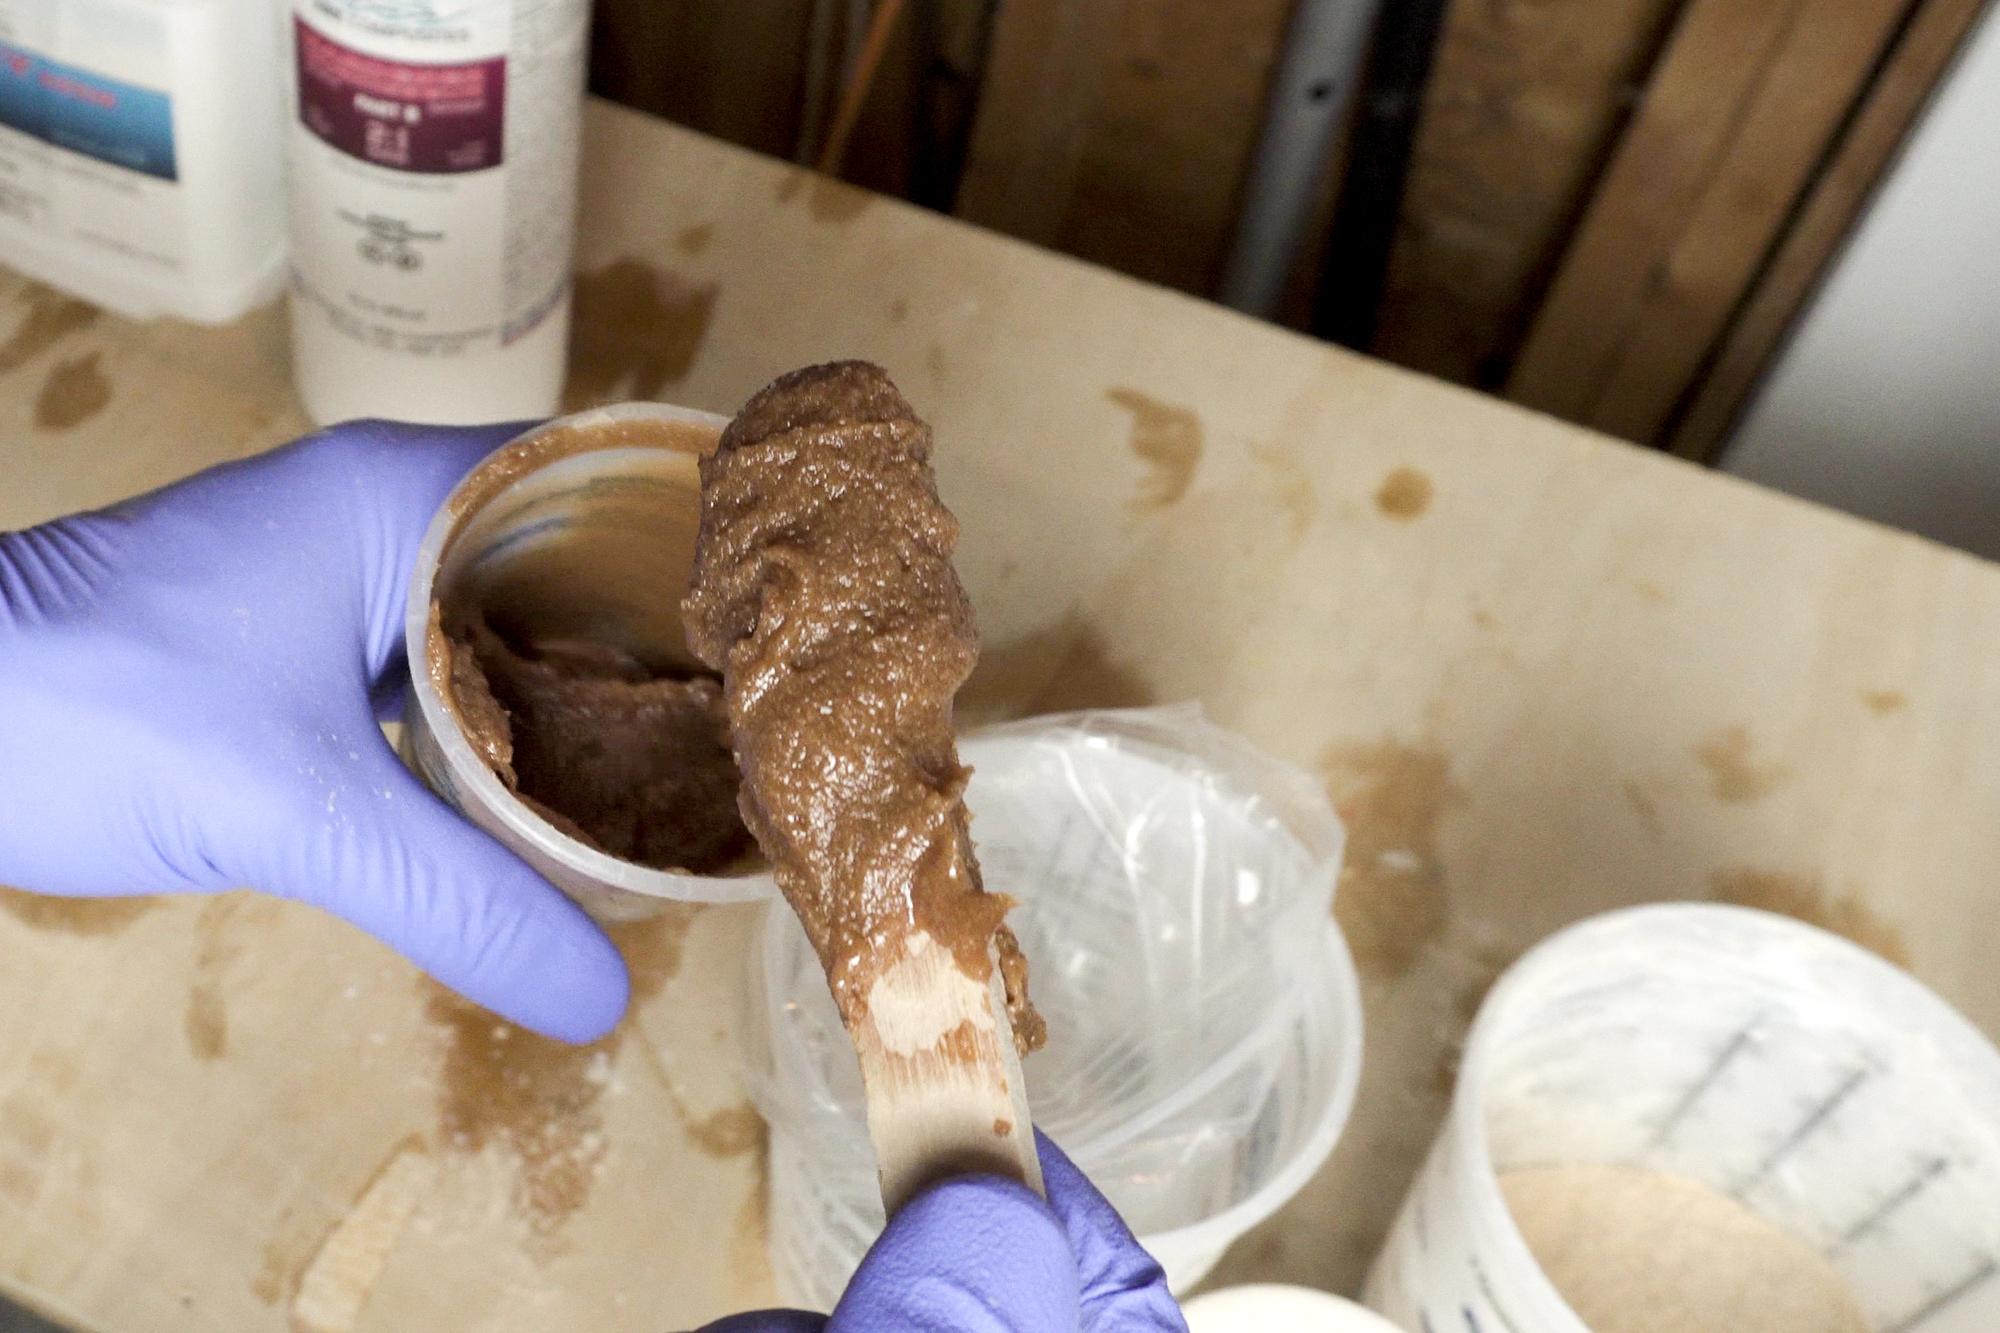
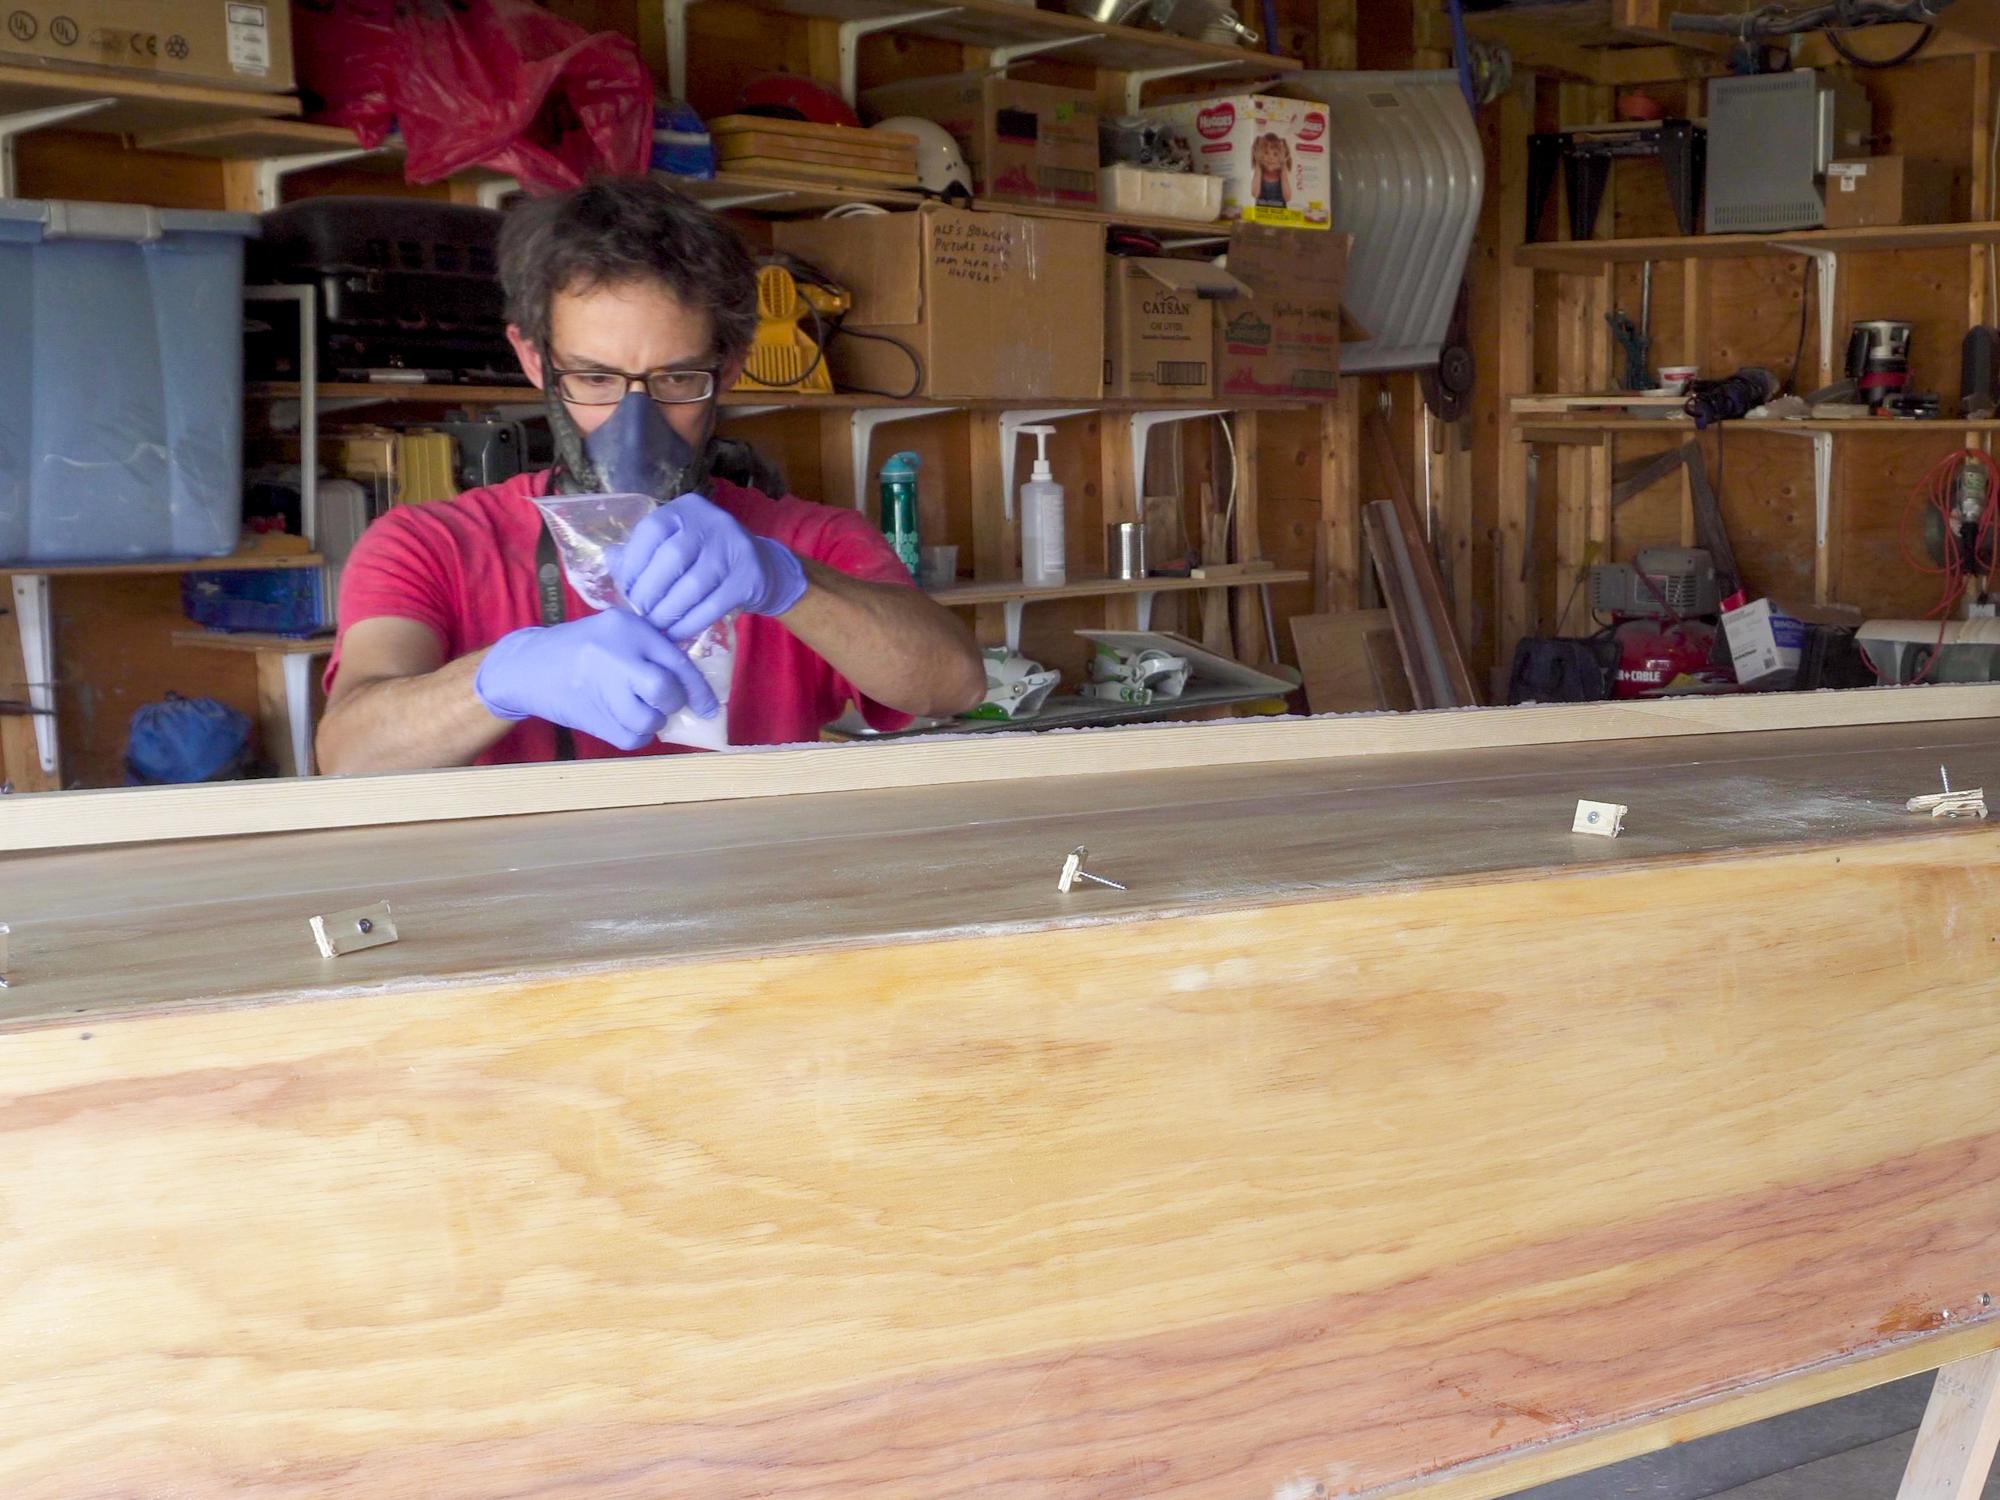
- I mixed up a batch of epoxy and added my wood flour/silica until the epoxy was a peanut buttery thickness.
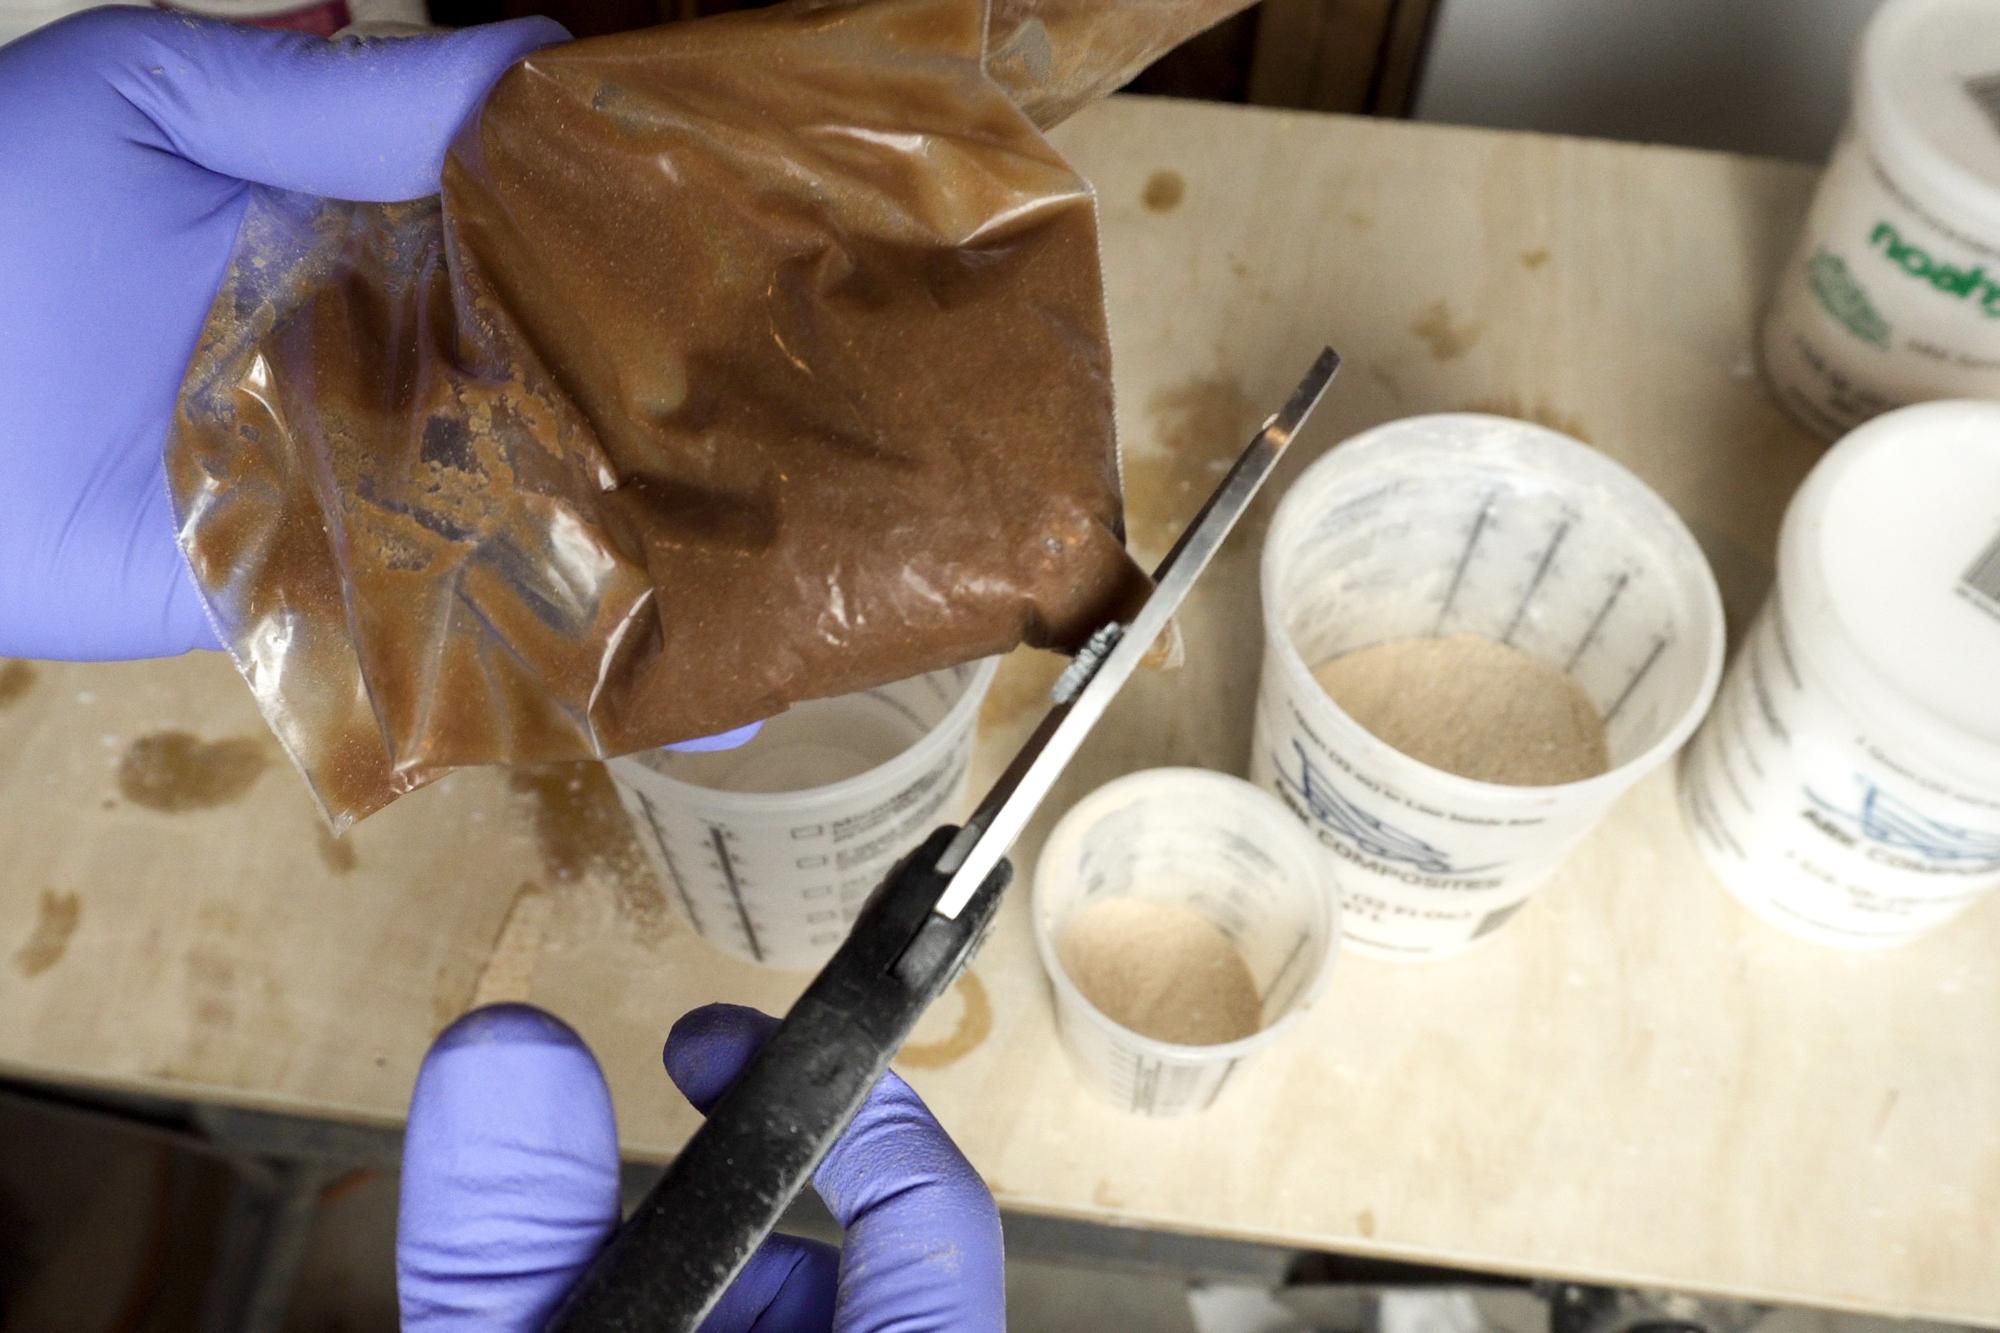
- I put my paste into a zip lock bag, cut off one corner, and then squeezed out the paste along the seams.
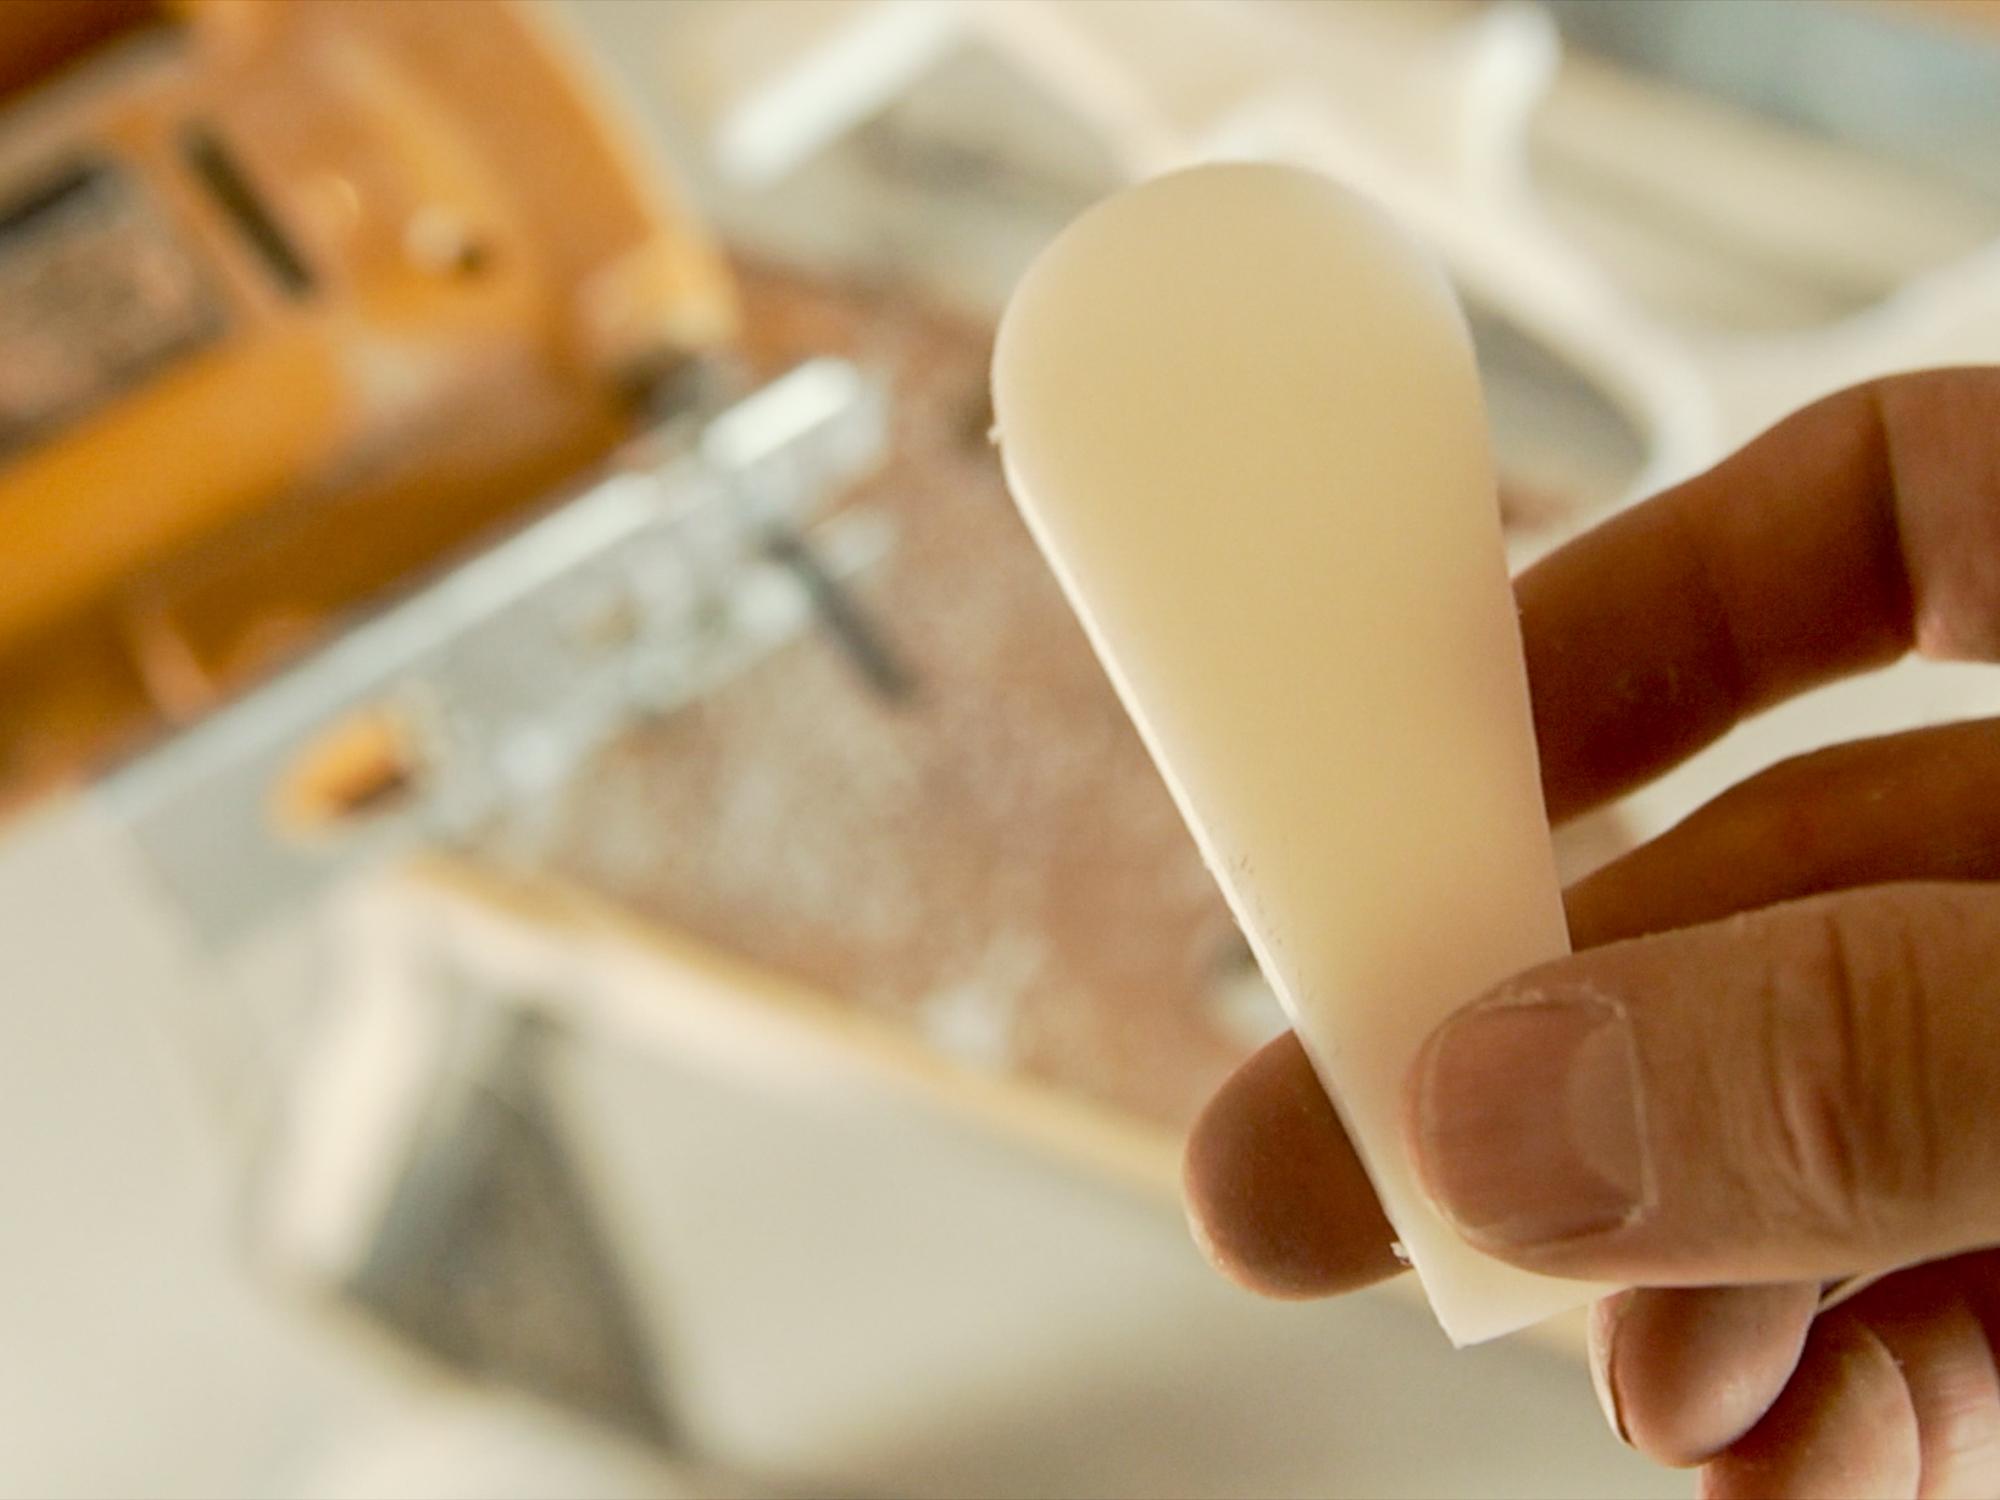
- I created a nice fillet along the seams by using a little tool I made from an old cutting board that had a rounded end. Right after squeezing out the paste, I would follow up by running my filleting tool along the edge. It seemed that I got the best result if I could do a long section without having to go back over a part again. Definitely takes a bit of practice to get nice looking fillets!
- Once all the edges were done, I left the canoe undisturbed for a day to let the epoxy totally cure.
Make It Smooth
-5.jpg)
.jpg)
.jpg)
.jpg)
.jpg)
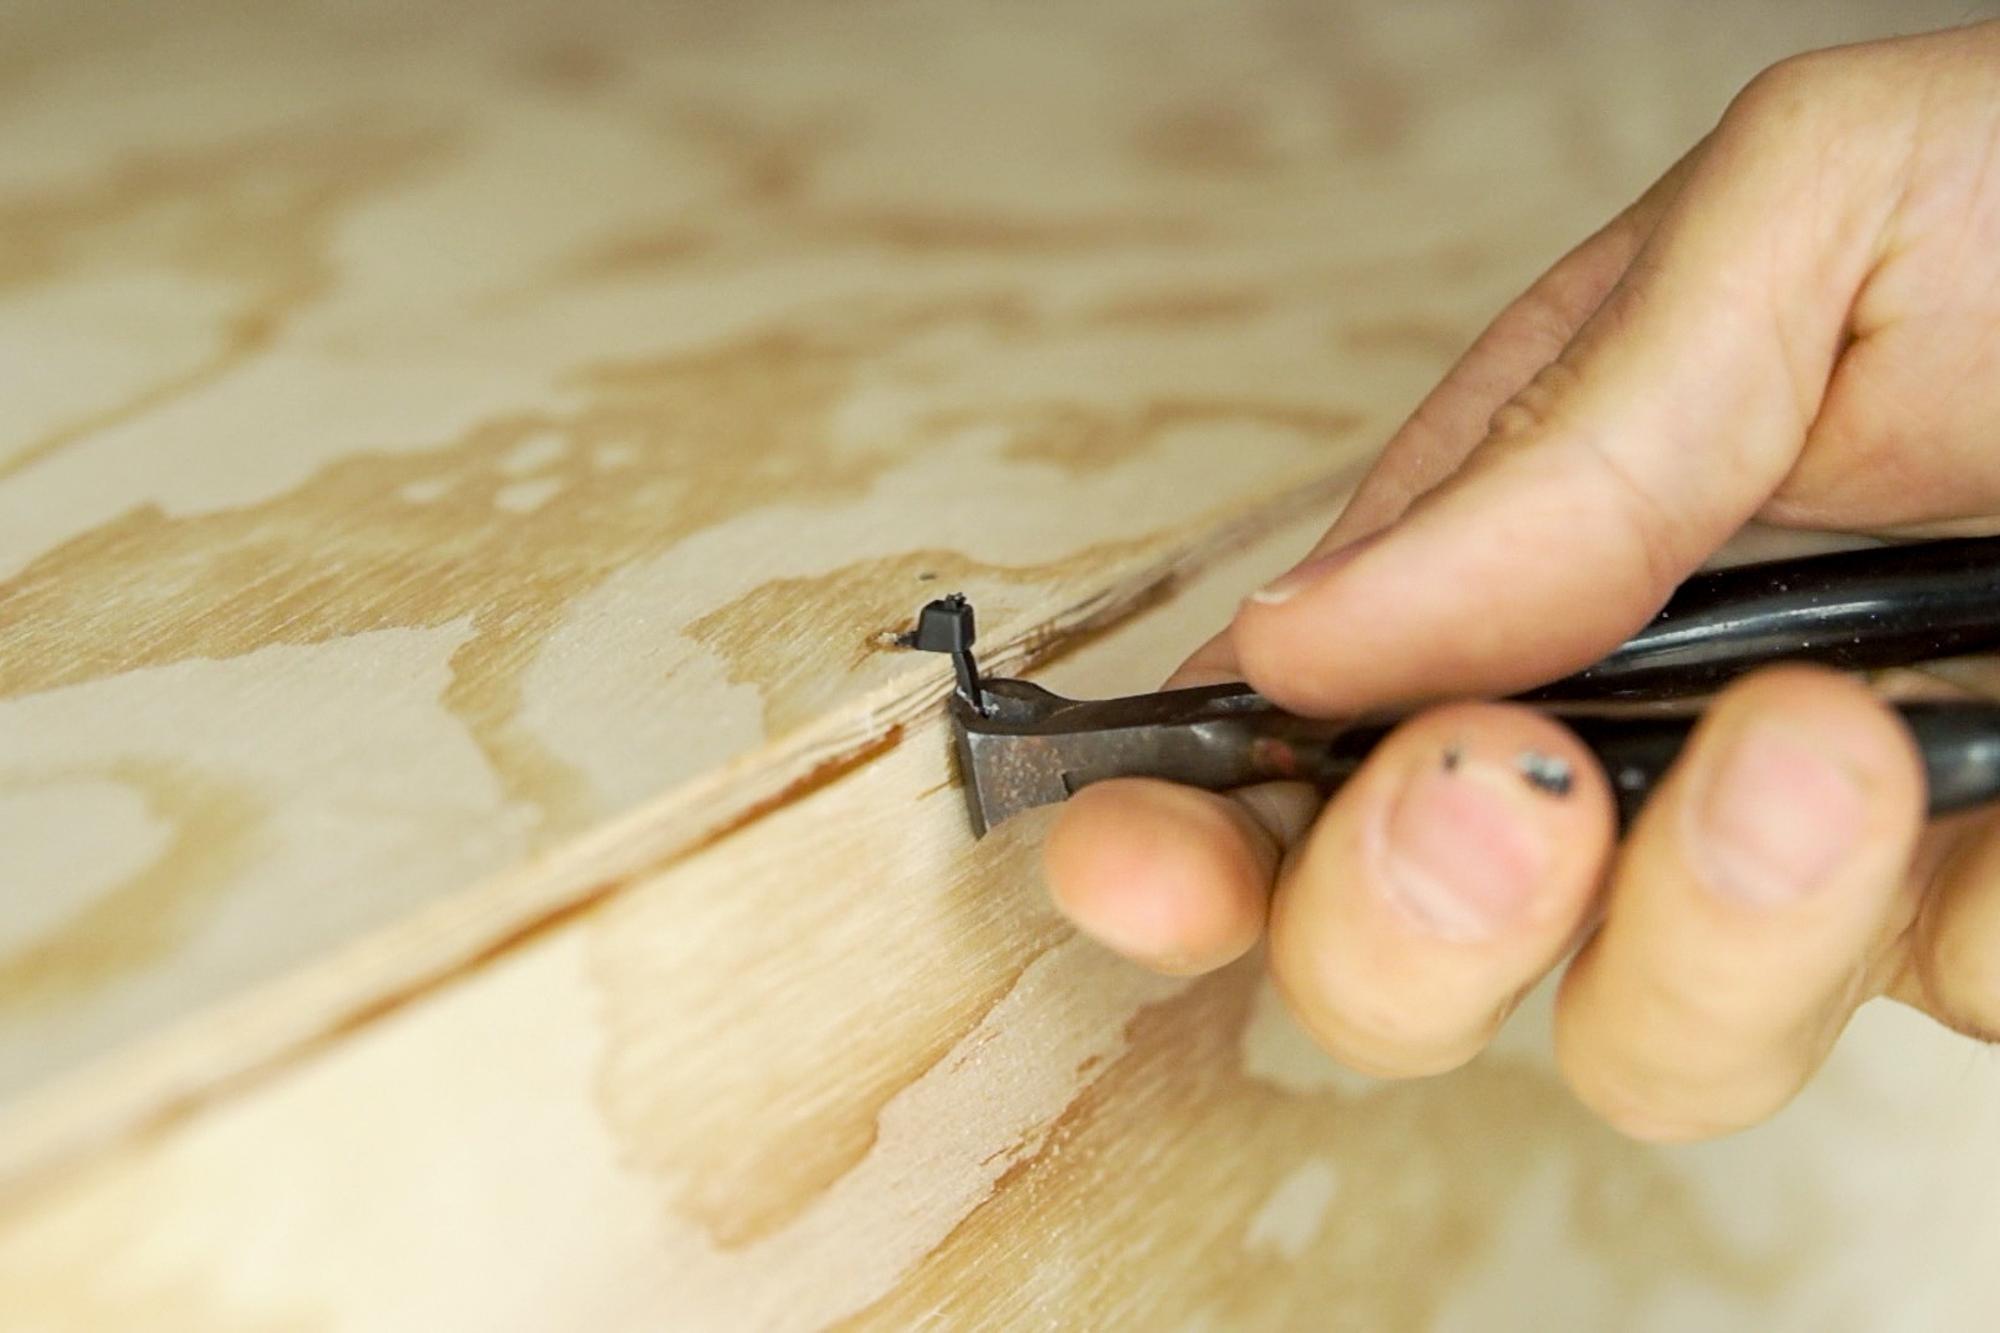
Once the epoxy is cured, all the duct tape comes off, all the zip ties get snipped off, and any little nails get pulled out.
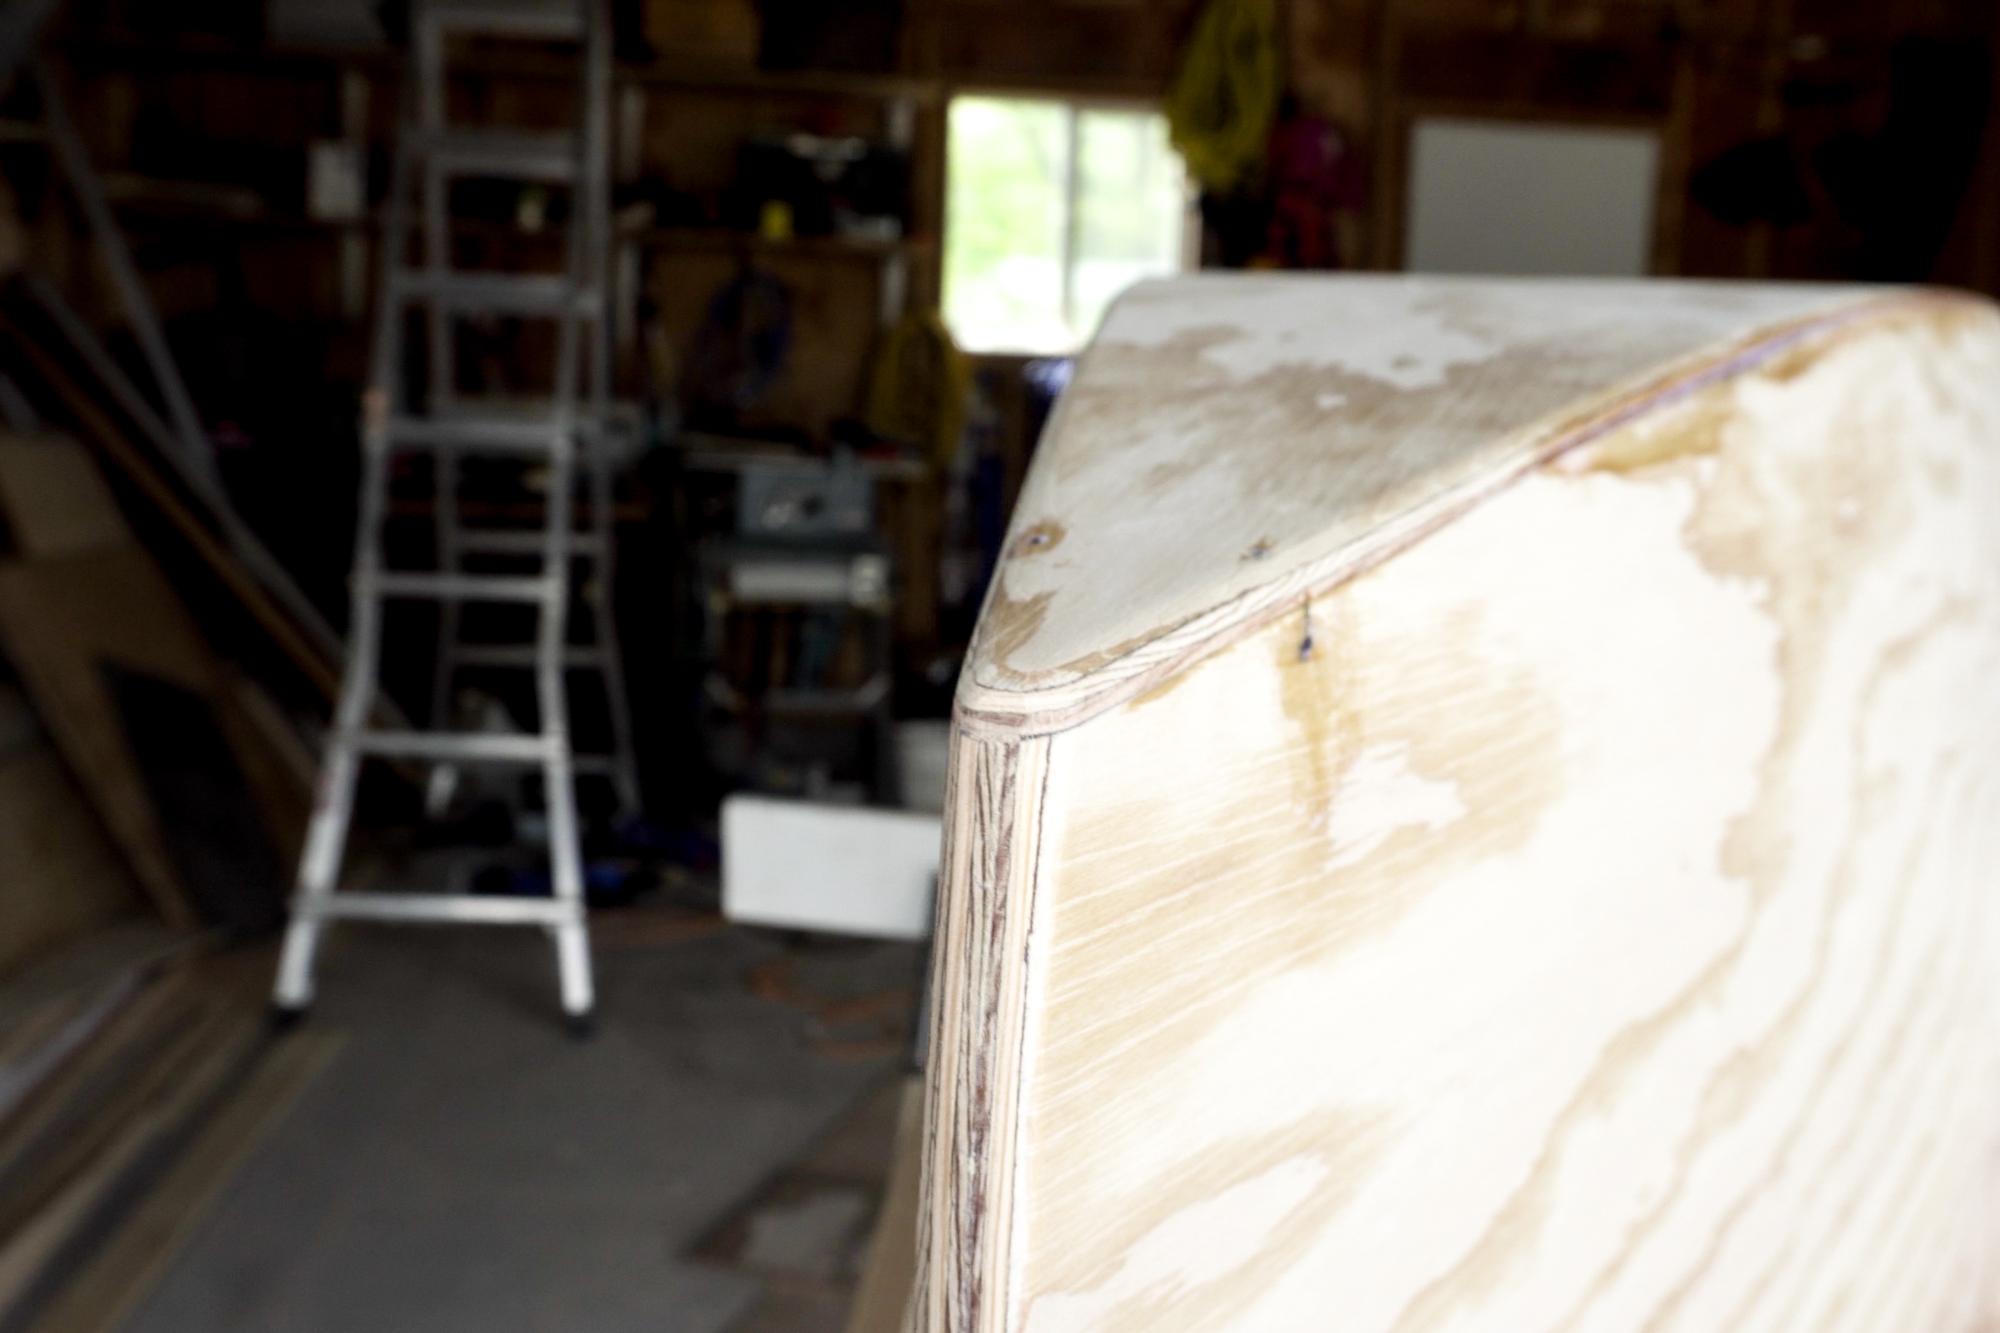
I used my disc sander to sand the bottom edges flush with the sides, round off the front edge, and sand a 45-degree angle all along the bottom edge. The 45-degree angle then gets sanded round by hand with some coarse sandpaper. The reason for this is that I will be adding fiberglass cloth to these edges, and fiberglass cloth has a tendency to lift away if it has to go around a sharp angle. With a smooth radius on the edges, it will be much happier to lie nice down nice and smooth.
Reinforce With Some Fibreglass Cloth
.jpg)
.jpg)
.jpg)
.jpg)
.jpg)
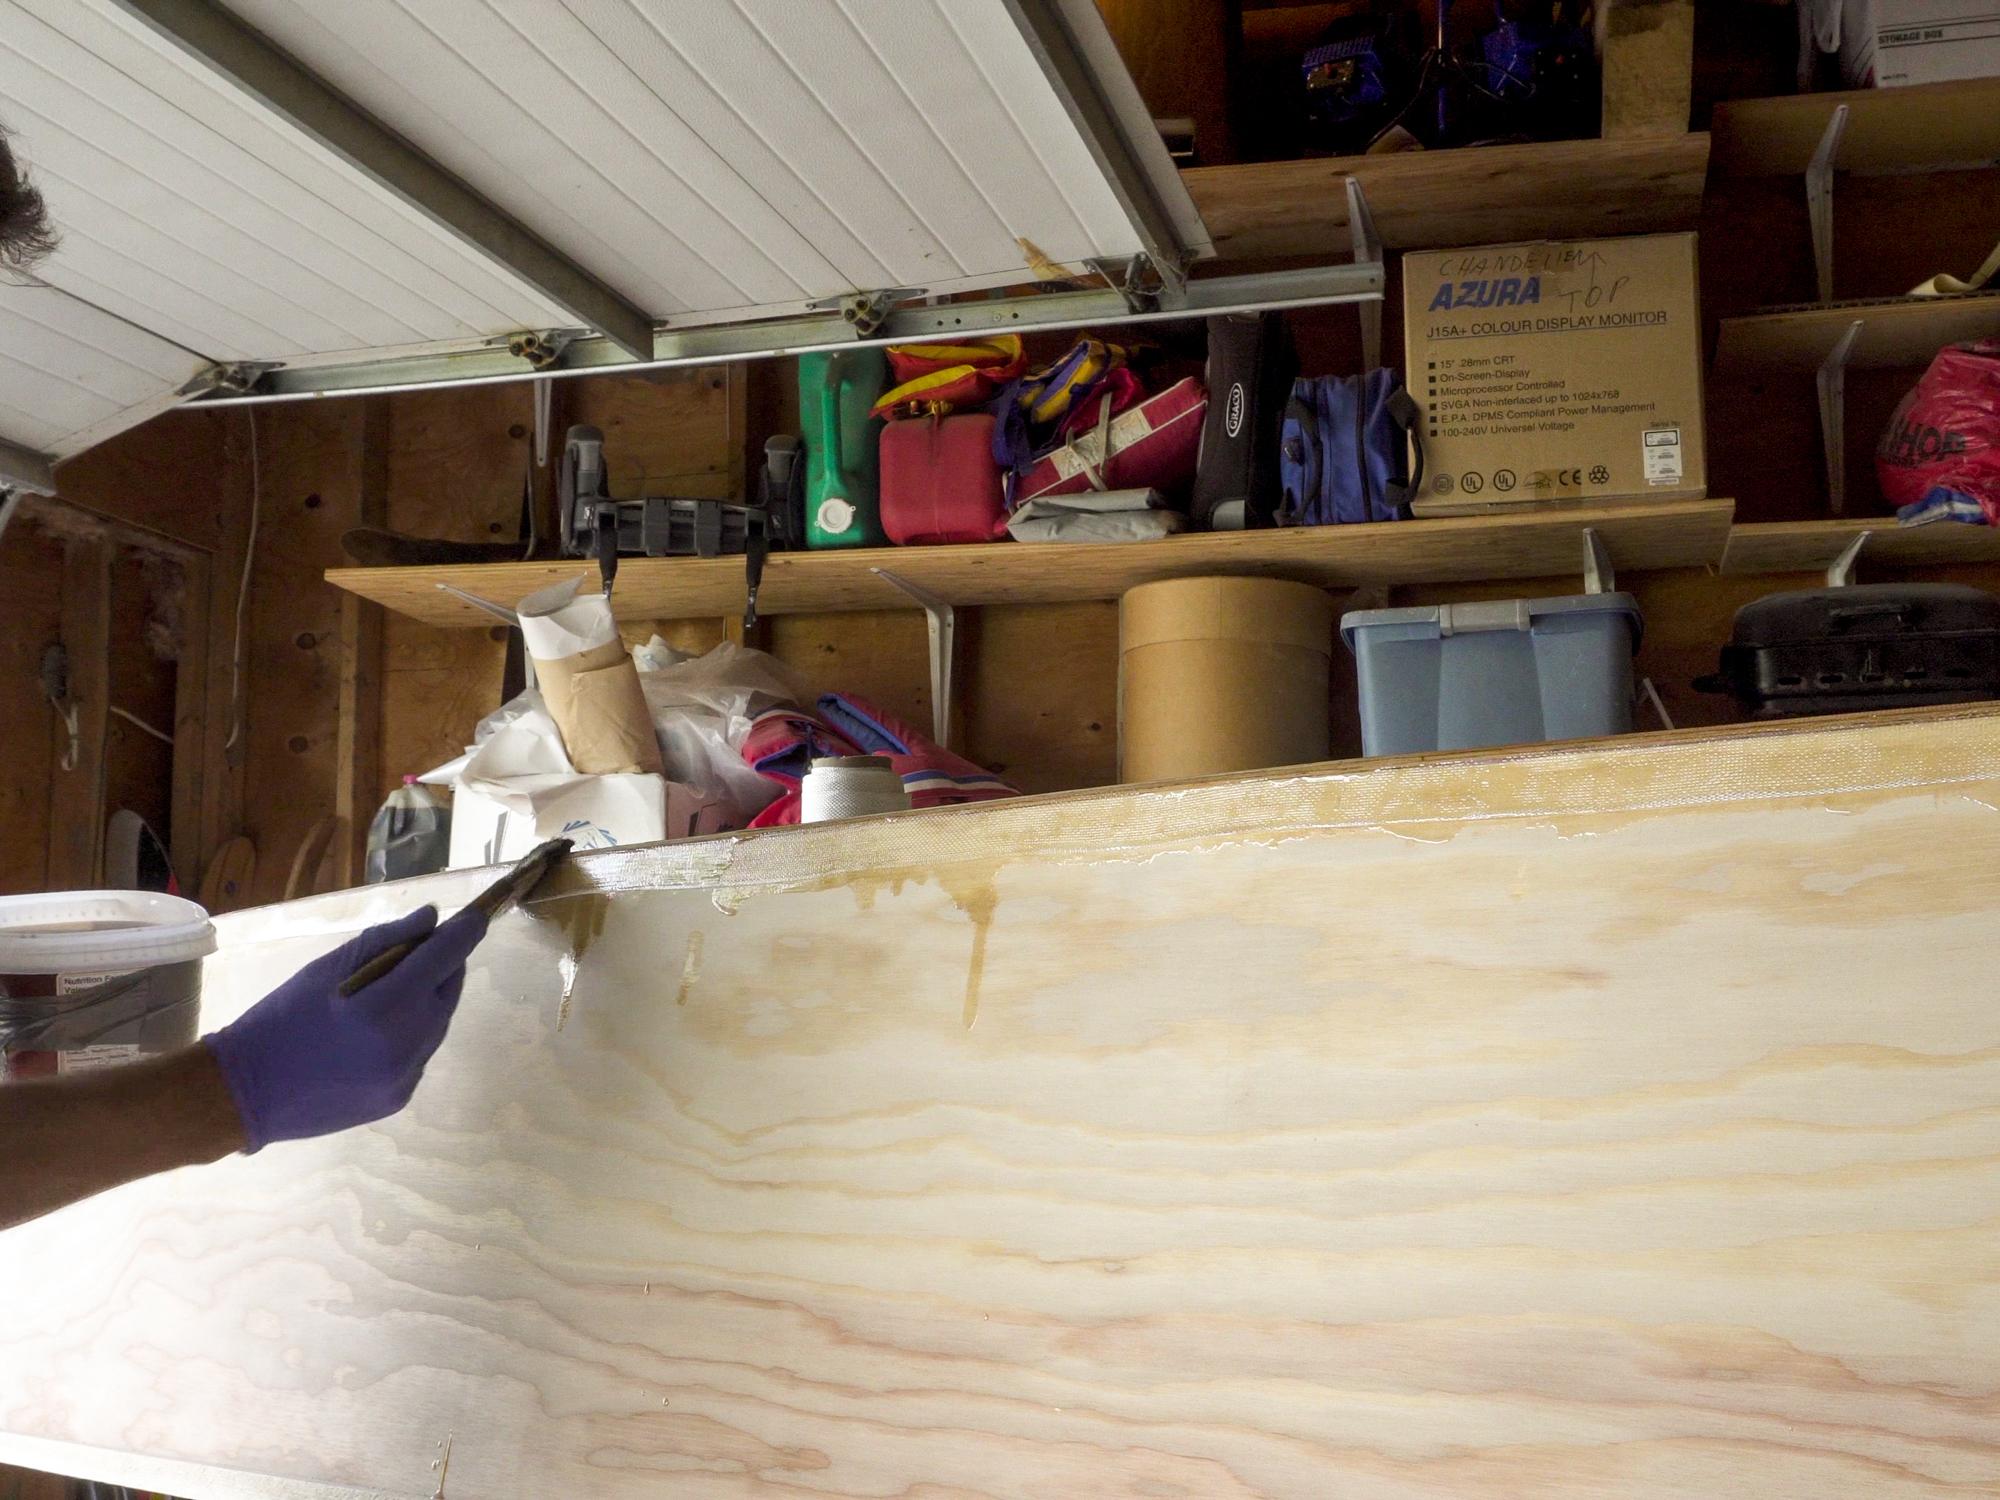
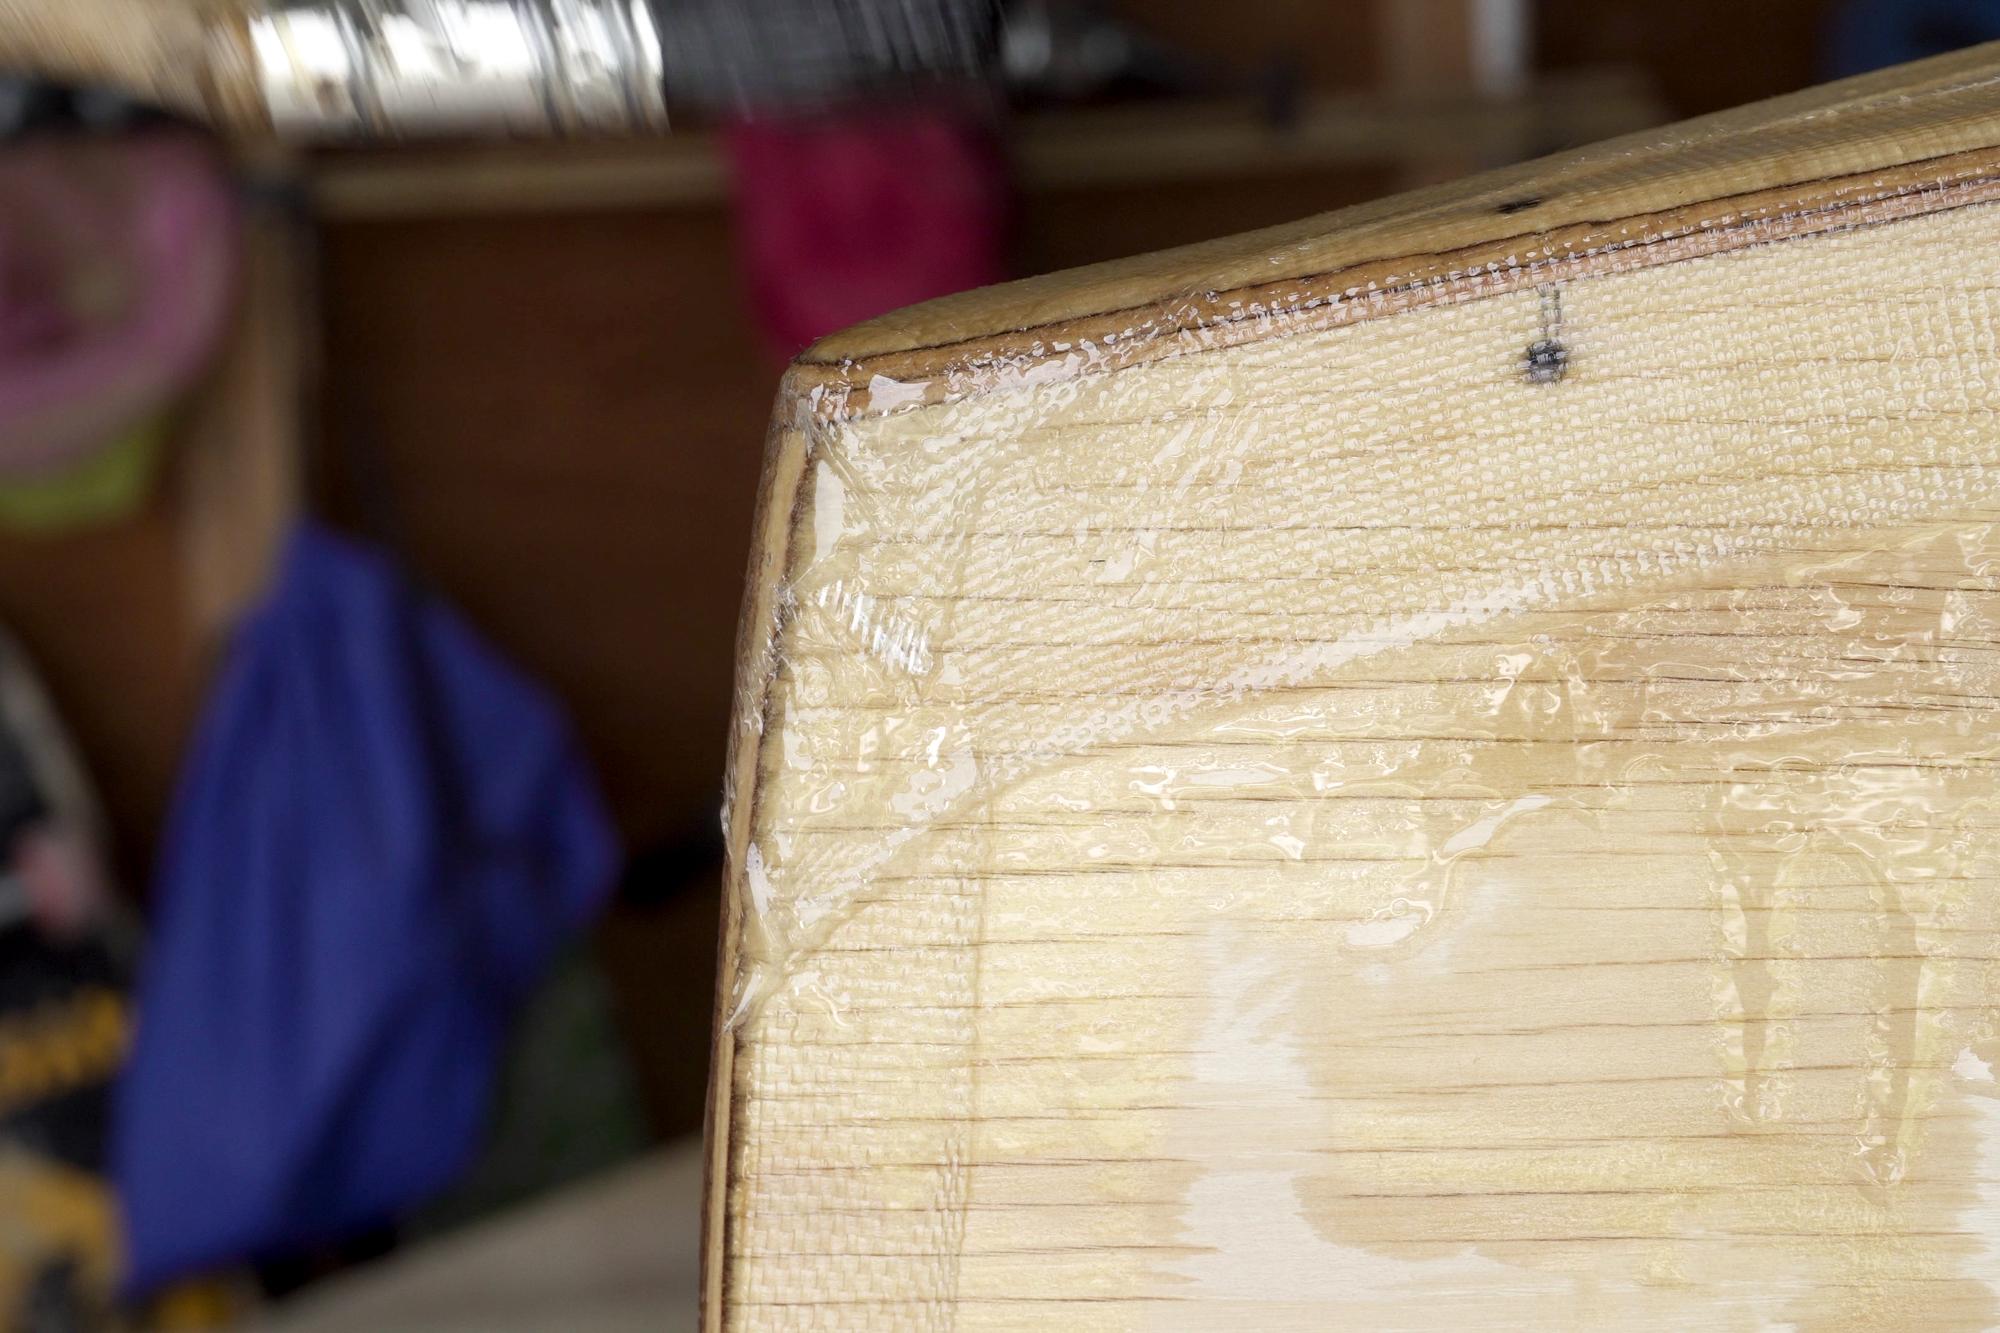
The edges are the parts of the canoe that are going to get the most abuse, so they need to be reinforced from the outside. I used some 2" fiberglass tape for this.
- I wet down the edge where the tape will go with epoxy.
- I lay my strip of fiberglass cloth centered on the seam.
- I used a short bristled brush (I cut down the bristles) to brush more epoxy over the cloth until the cloth looked clear.
Too much epoxy at this point is not helpful, as it will cause the fabric to "float" up off the surface of the wood. Just use enough to get the fabric to turn clear.
I waited for the epoxy to cure until it was tacky and then I gave another coat of epoxy to fill in the weave of the fabric. A disposable foam brush works great for this, however, I just used a piece of upholstery foam that I cut into a wedge shape. It's a good idea to have a bunch of these on hand because you will only get one use out of each of them.
It's really important that the first epoxy coat isn't allowed to totally cure before adding this second coat, as then there will be no chemical bond between the layers, and you don't want to have to sand that first layer. If you do, you will sand through the fiberglass, causing it to lose its strength.
Sand.
.jpg)
.jpg)
.jpg)
.jpg)
.jpg)
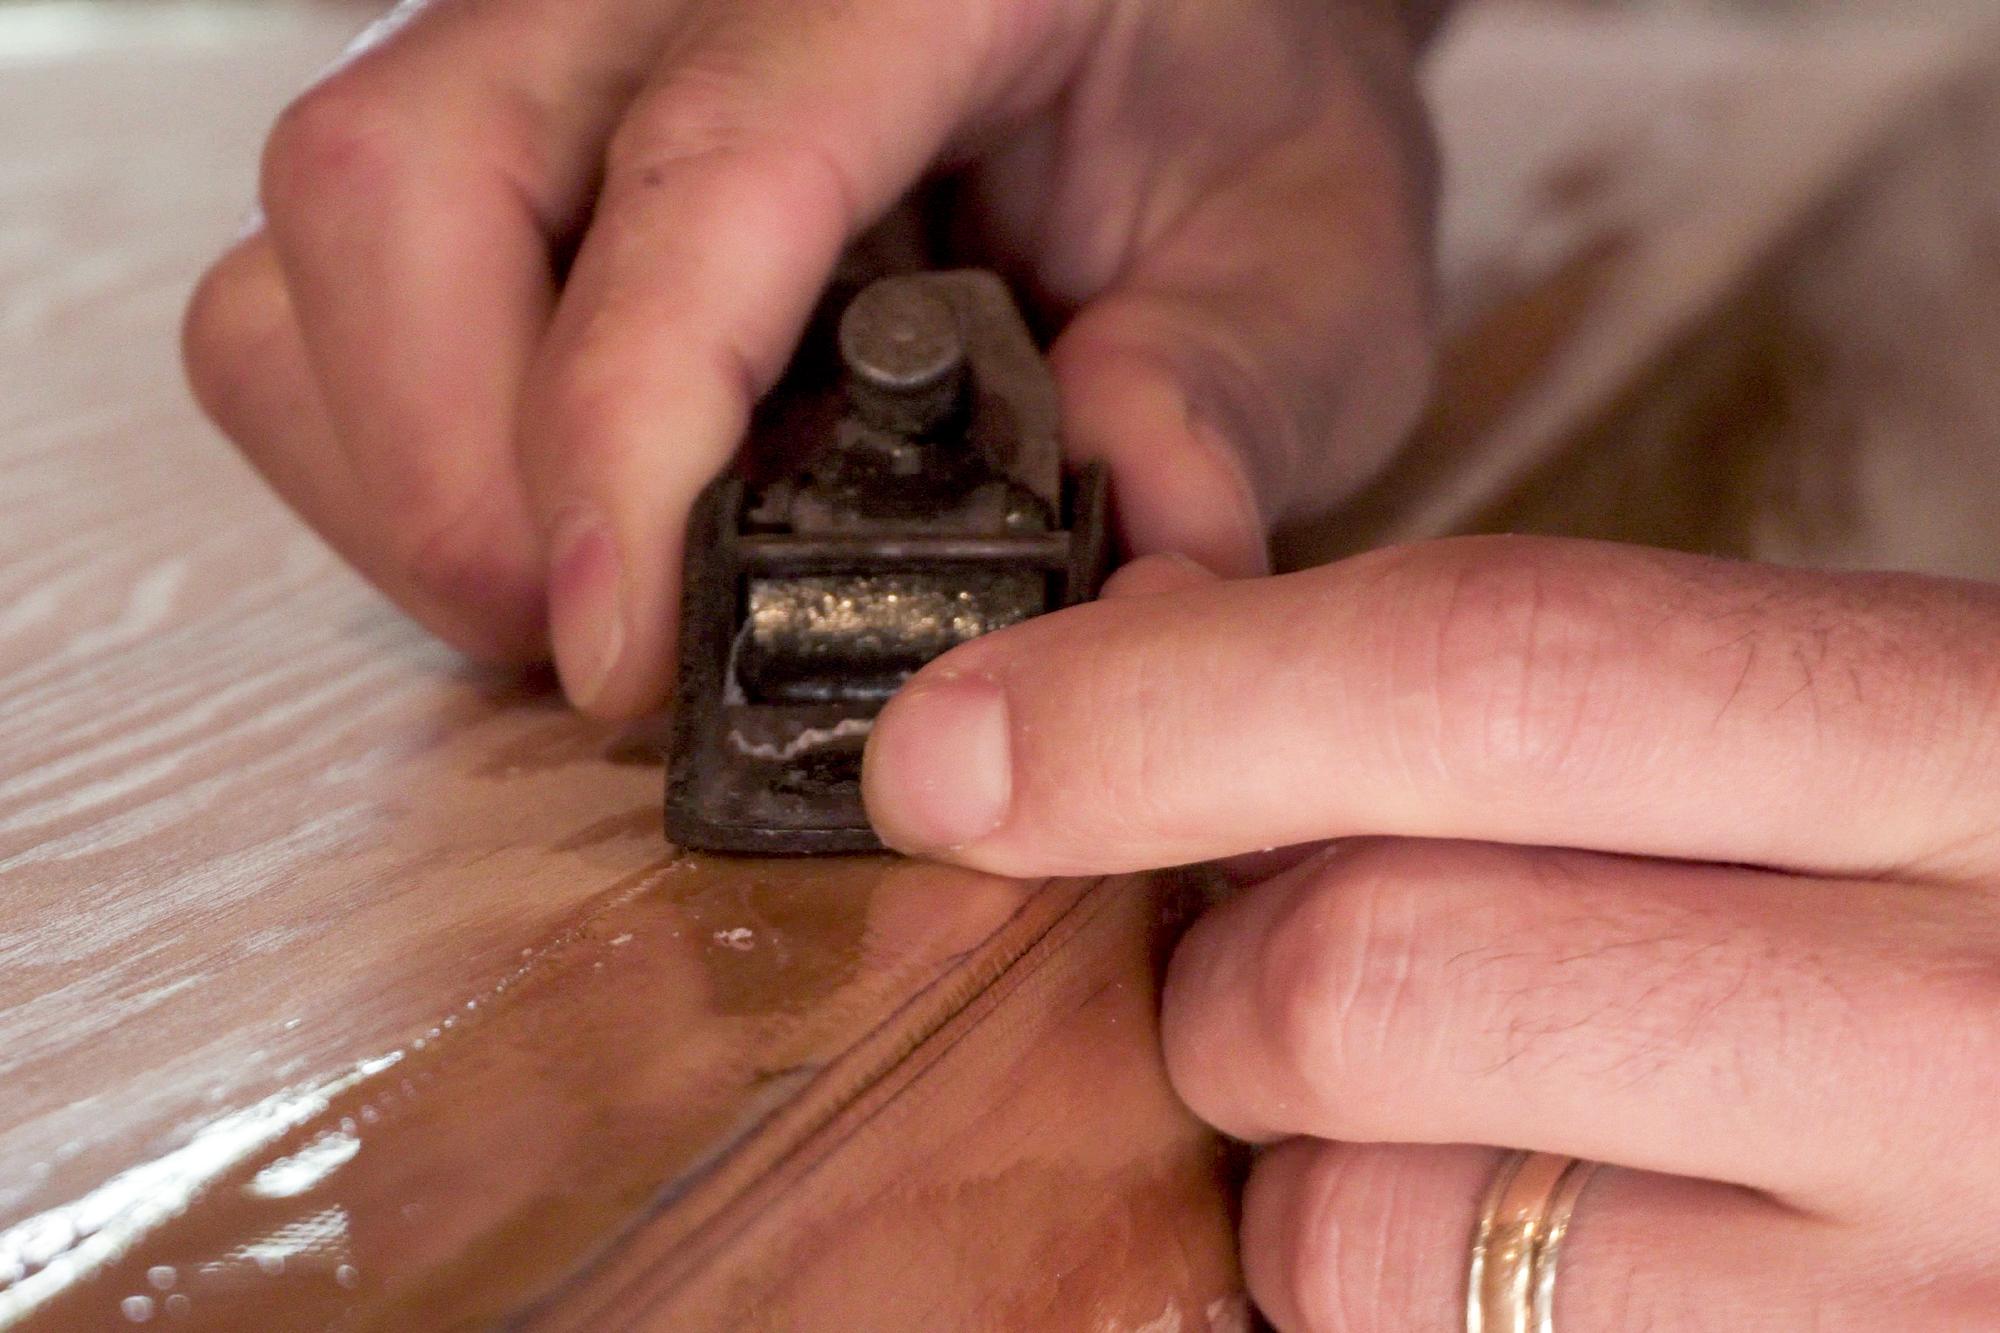
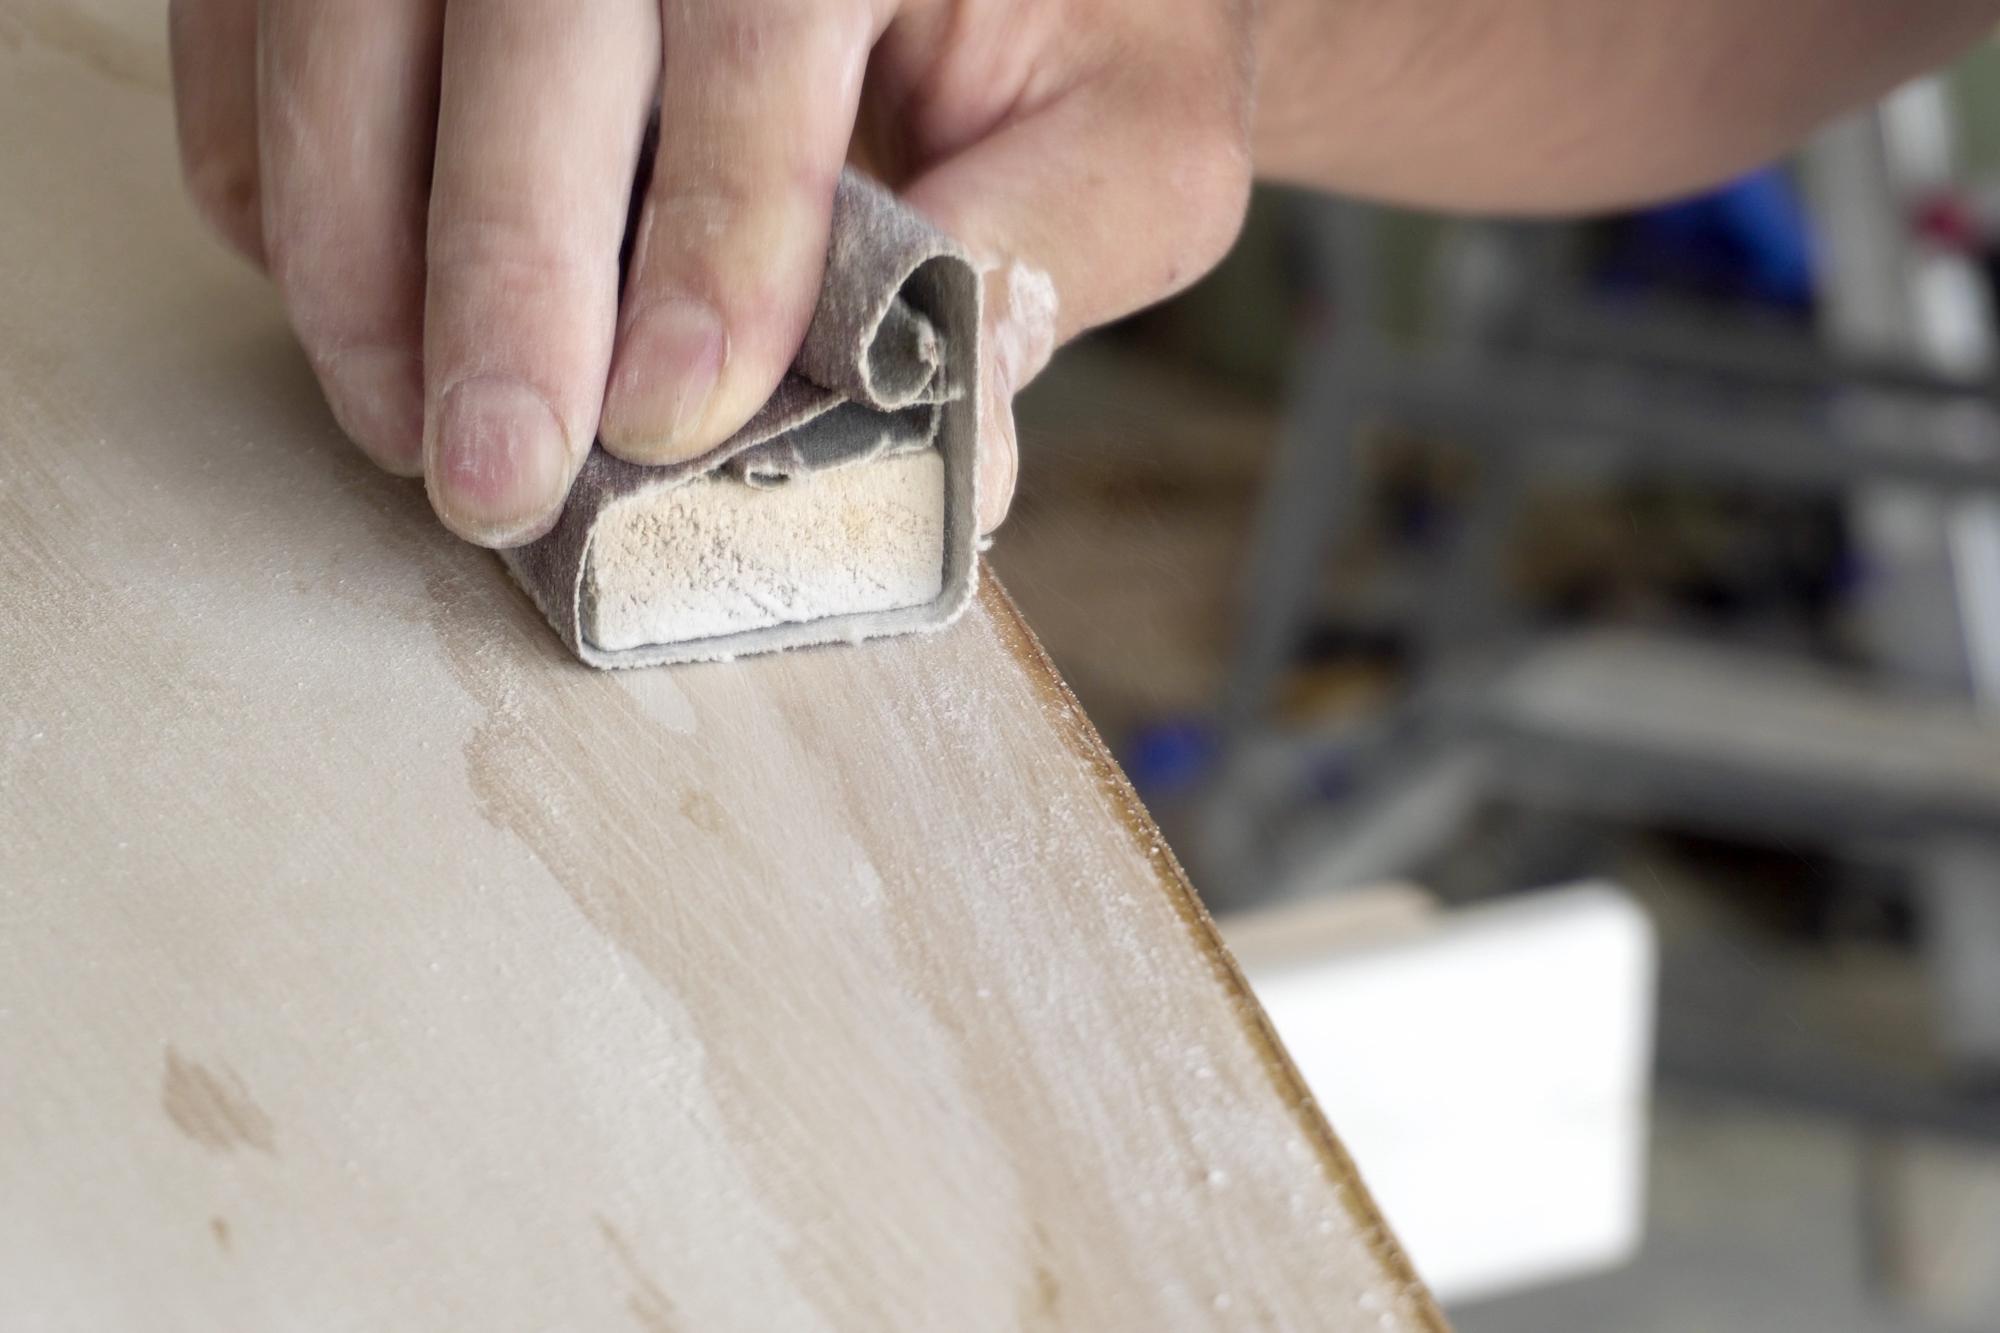
Now it's time to blend in the epoxy on the edges with the rest of the wood, so that everything is nice and smooth. This is purely for cosmetics, so if you wanted to save yourself a bunch of time you could skip it.
- I used a tiny plane to remove the raised outside edge of the fiberglass tape.
- I use my disc sander to smooth it out further
- I finished it off sanding it by hand.
Glue the Outwales
.jpg)
.jpg)
.jpg)
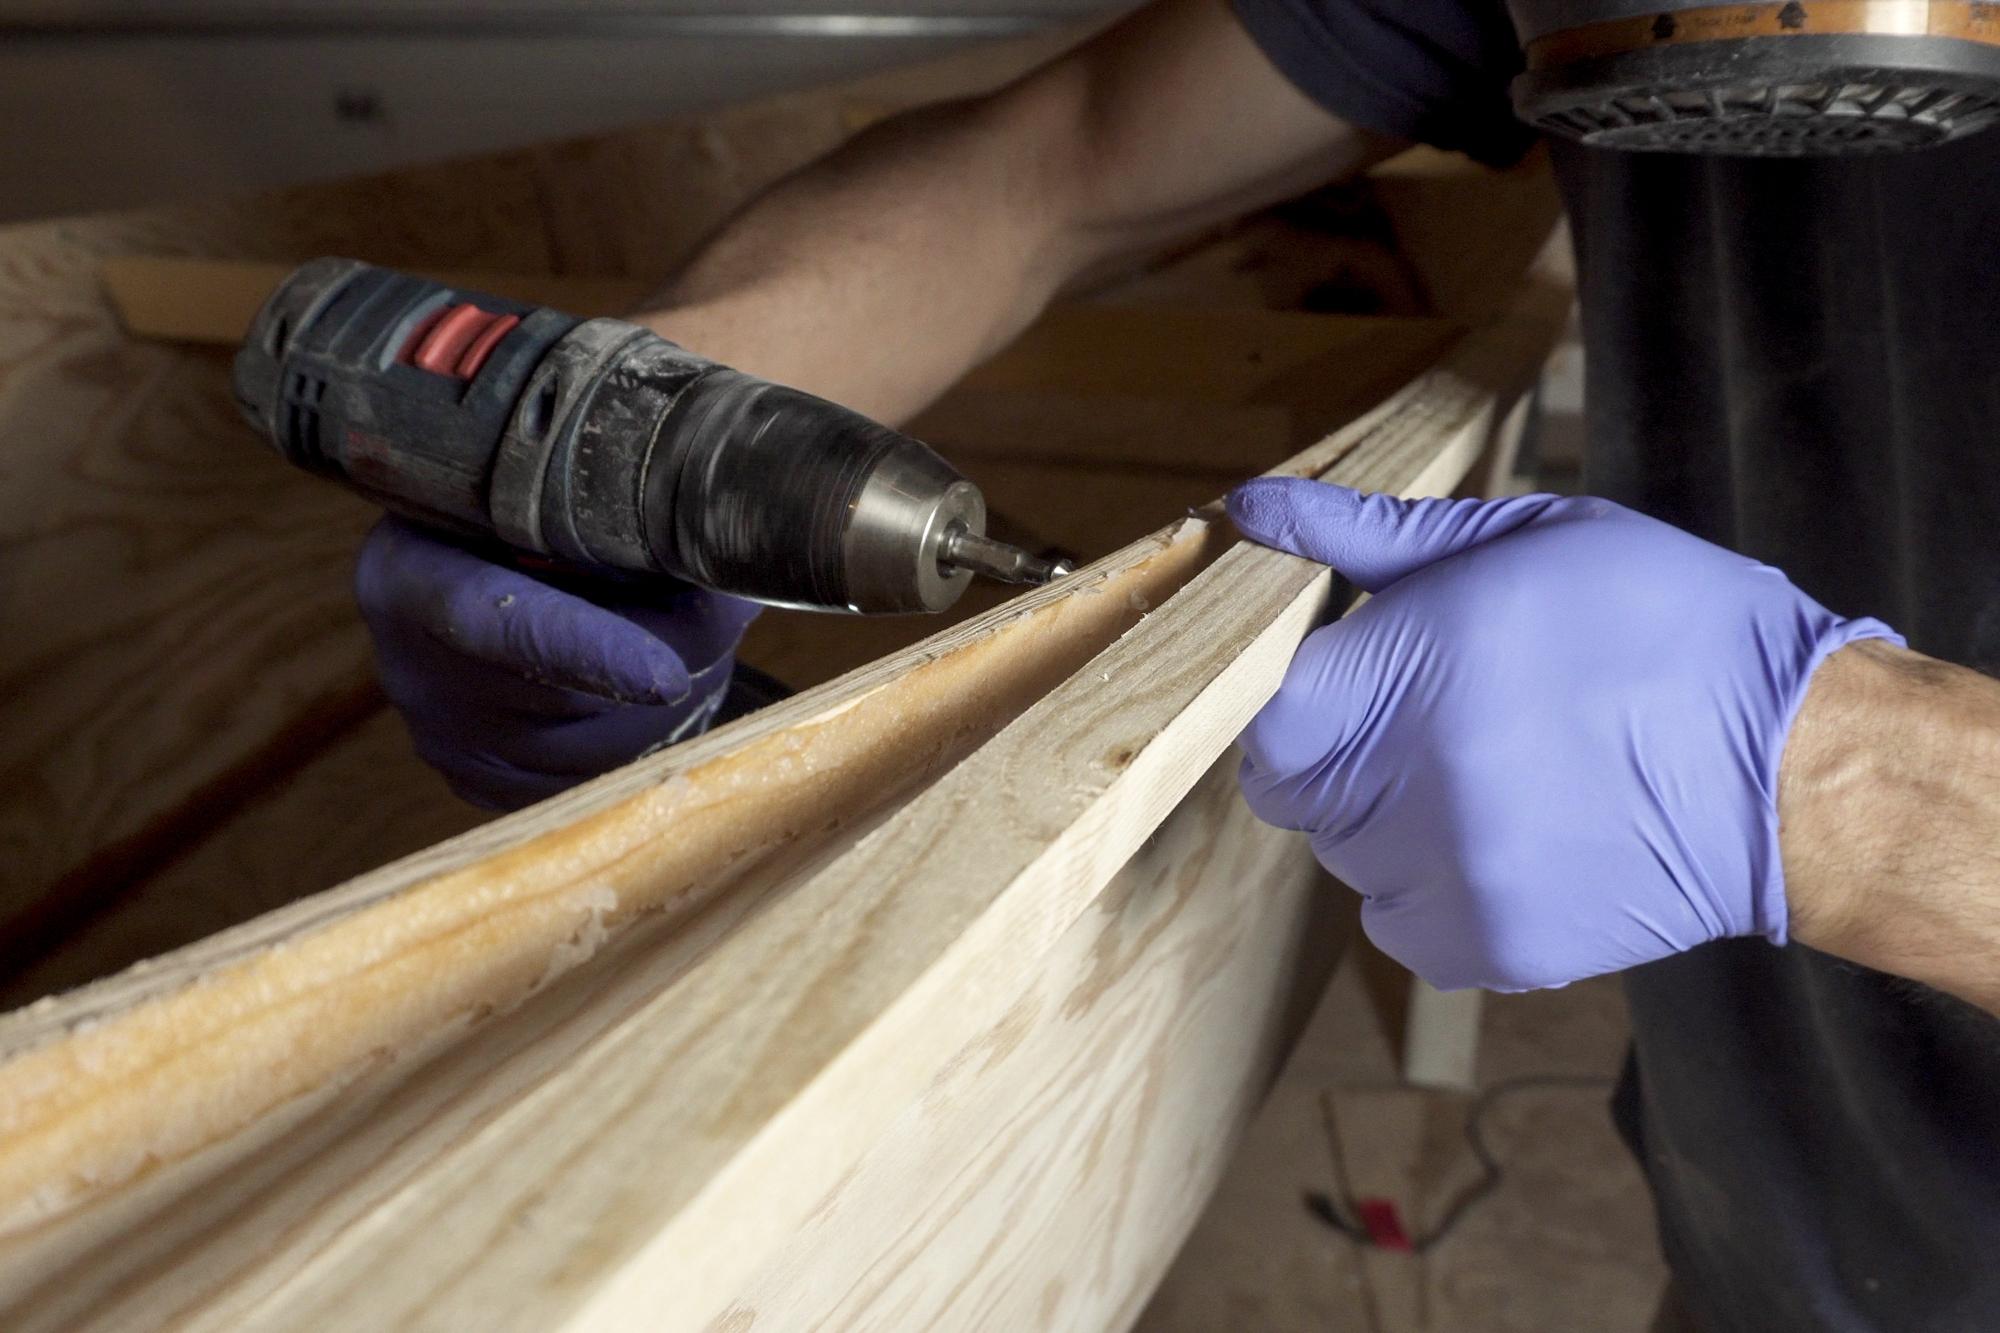
I unscrewed the outwales, squeezed some glue mixture along the side of the canoe where the outwales would go, and screwed the outwales back in, so that any excess glue squeezed out.
Once the epoxy had cured I removed all the screws I had used to hold it temporarily in place.
Make the Inwales
.jpg)
.jpg)
.jpg)
.jpg)
.jpg)
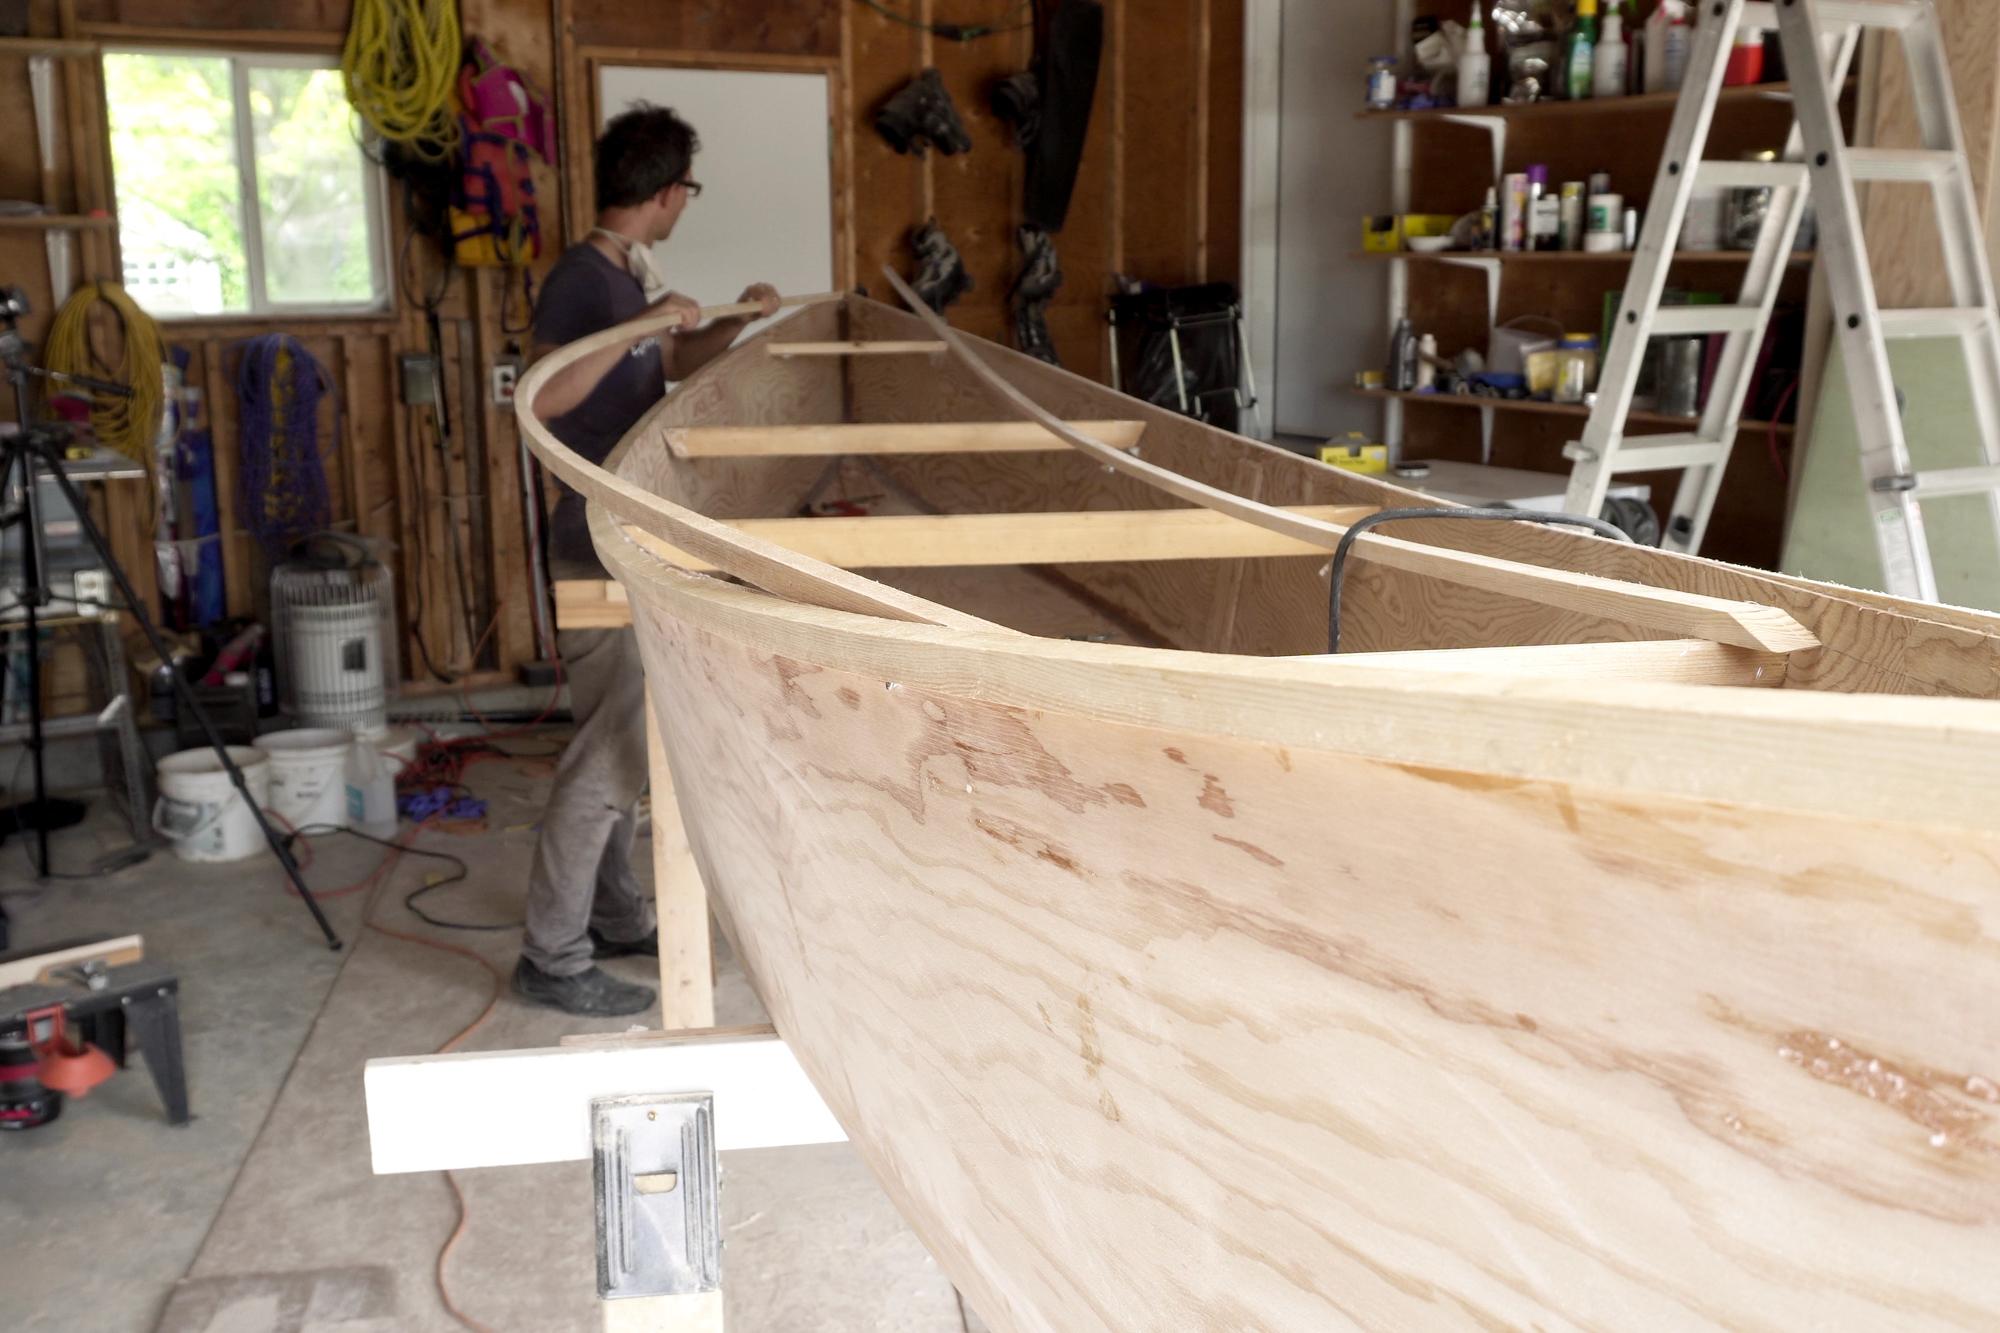
If you haven't figured it out yet, the outwales go on the outside of the boat, the inwales go on the inside of the boat and together they are called "gunwales"
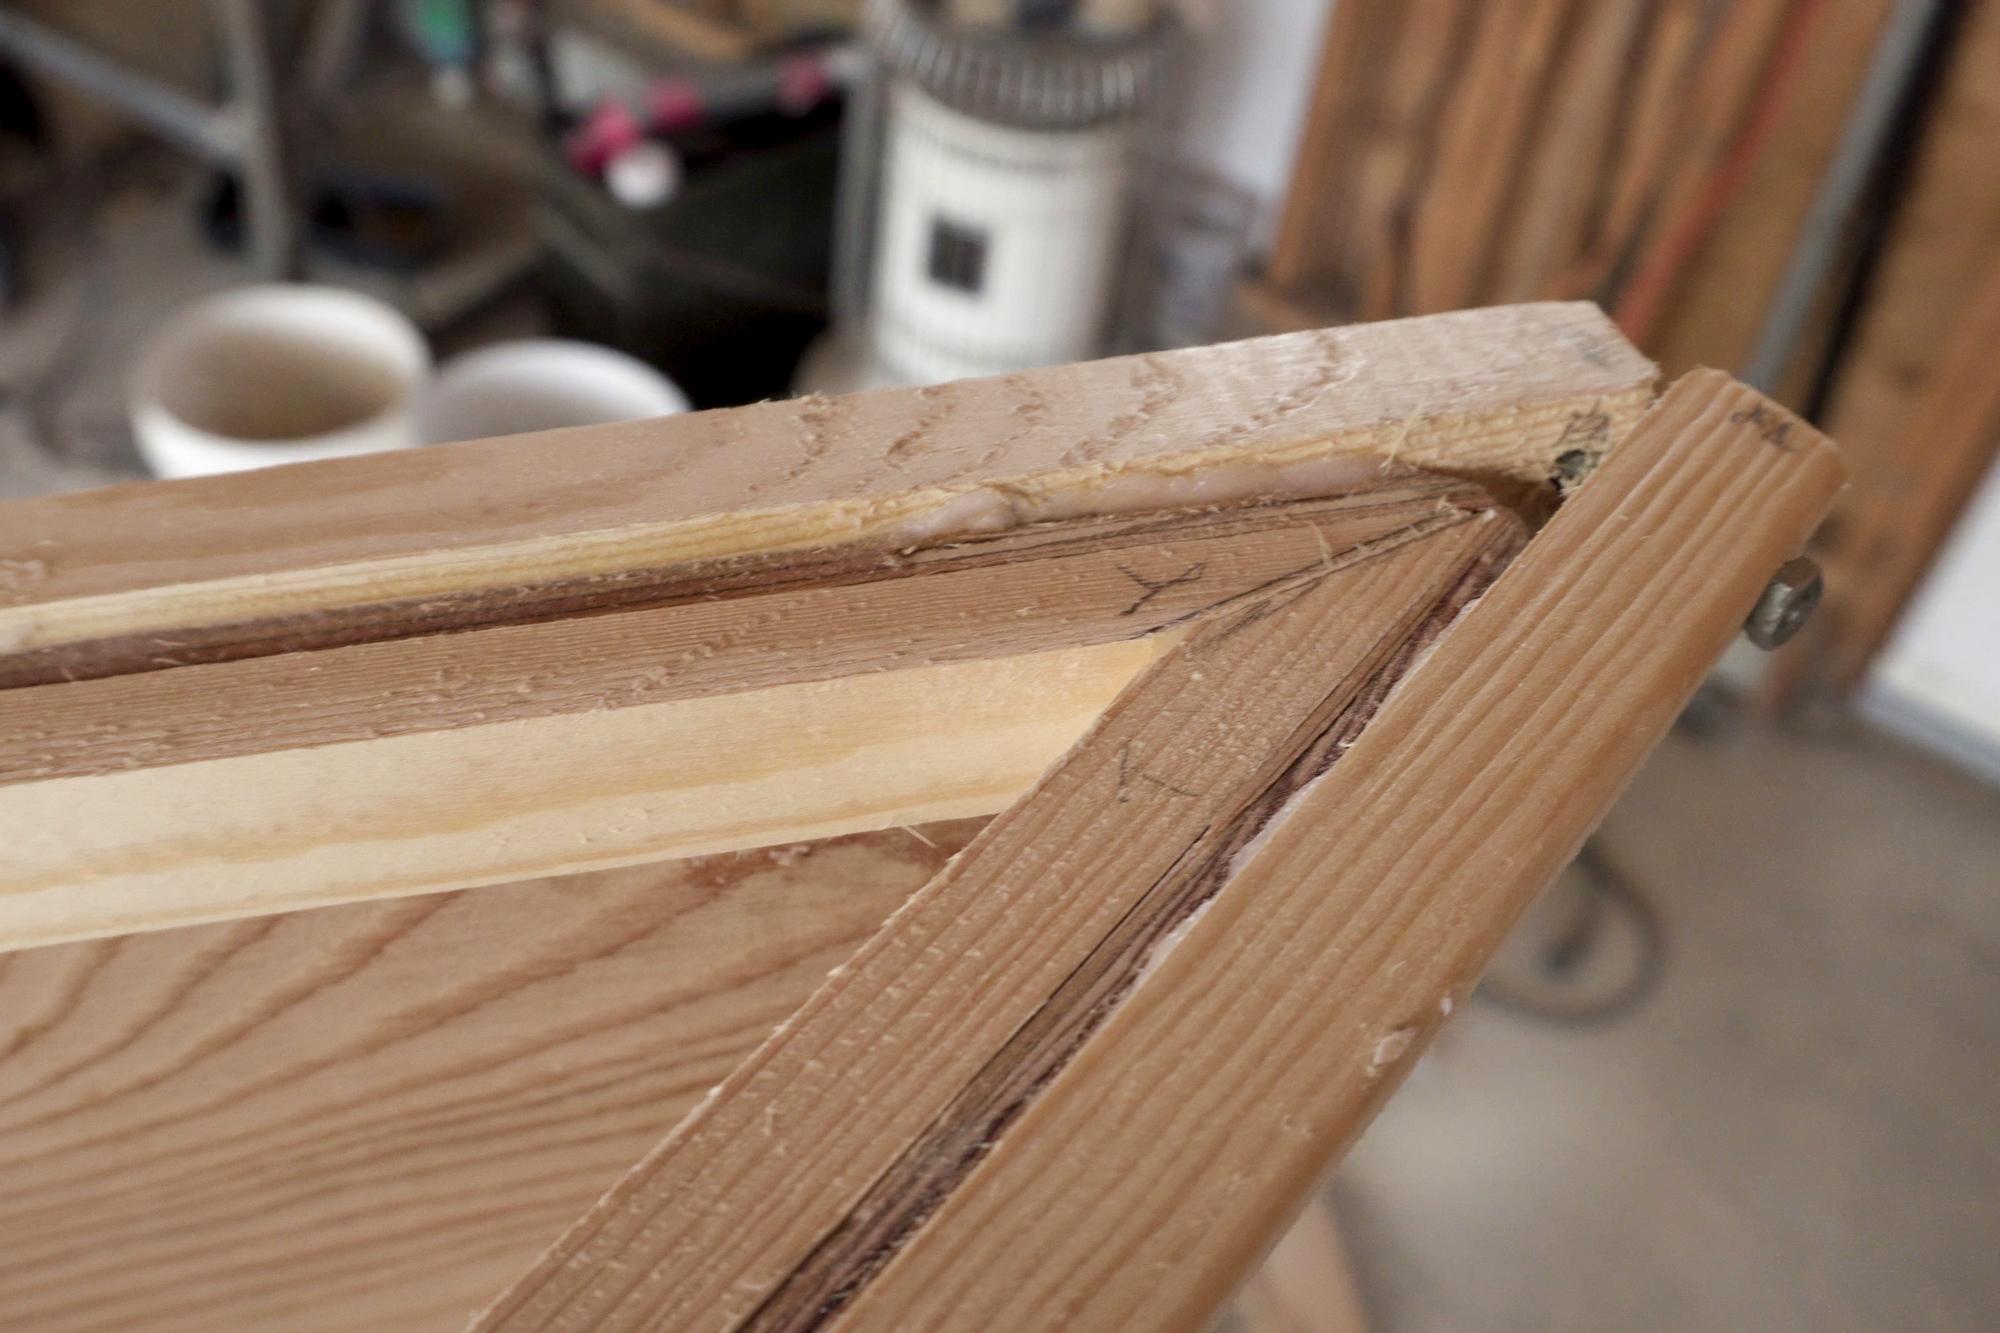
Now it is time to add the inwales. They are a little trickier because they need to fit nicely inside the point of the canoe. I used my sanding machine to sand the angles at the end of the inwales until i was happy with the fit.
I predrilled through the inwale at regular intervals and used screws to hold it in place. I used a little scrap of tape covered wood between the screw and the inwale so that the tapered head of the screw wouldn't create a larger hole in the inwale than was necessary.
After dry fitting the inwale with all the screws, I took it off, applied glue paste and then screwed it back into place to hold it until the epoxy cured.
Once cured, I removed all the screws.
Add a Rope Hole
.jpg)
.jpg)
.jpg)
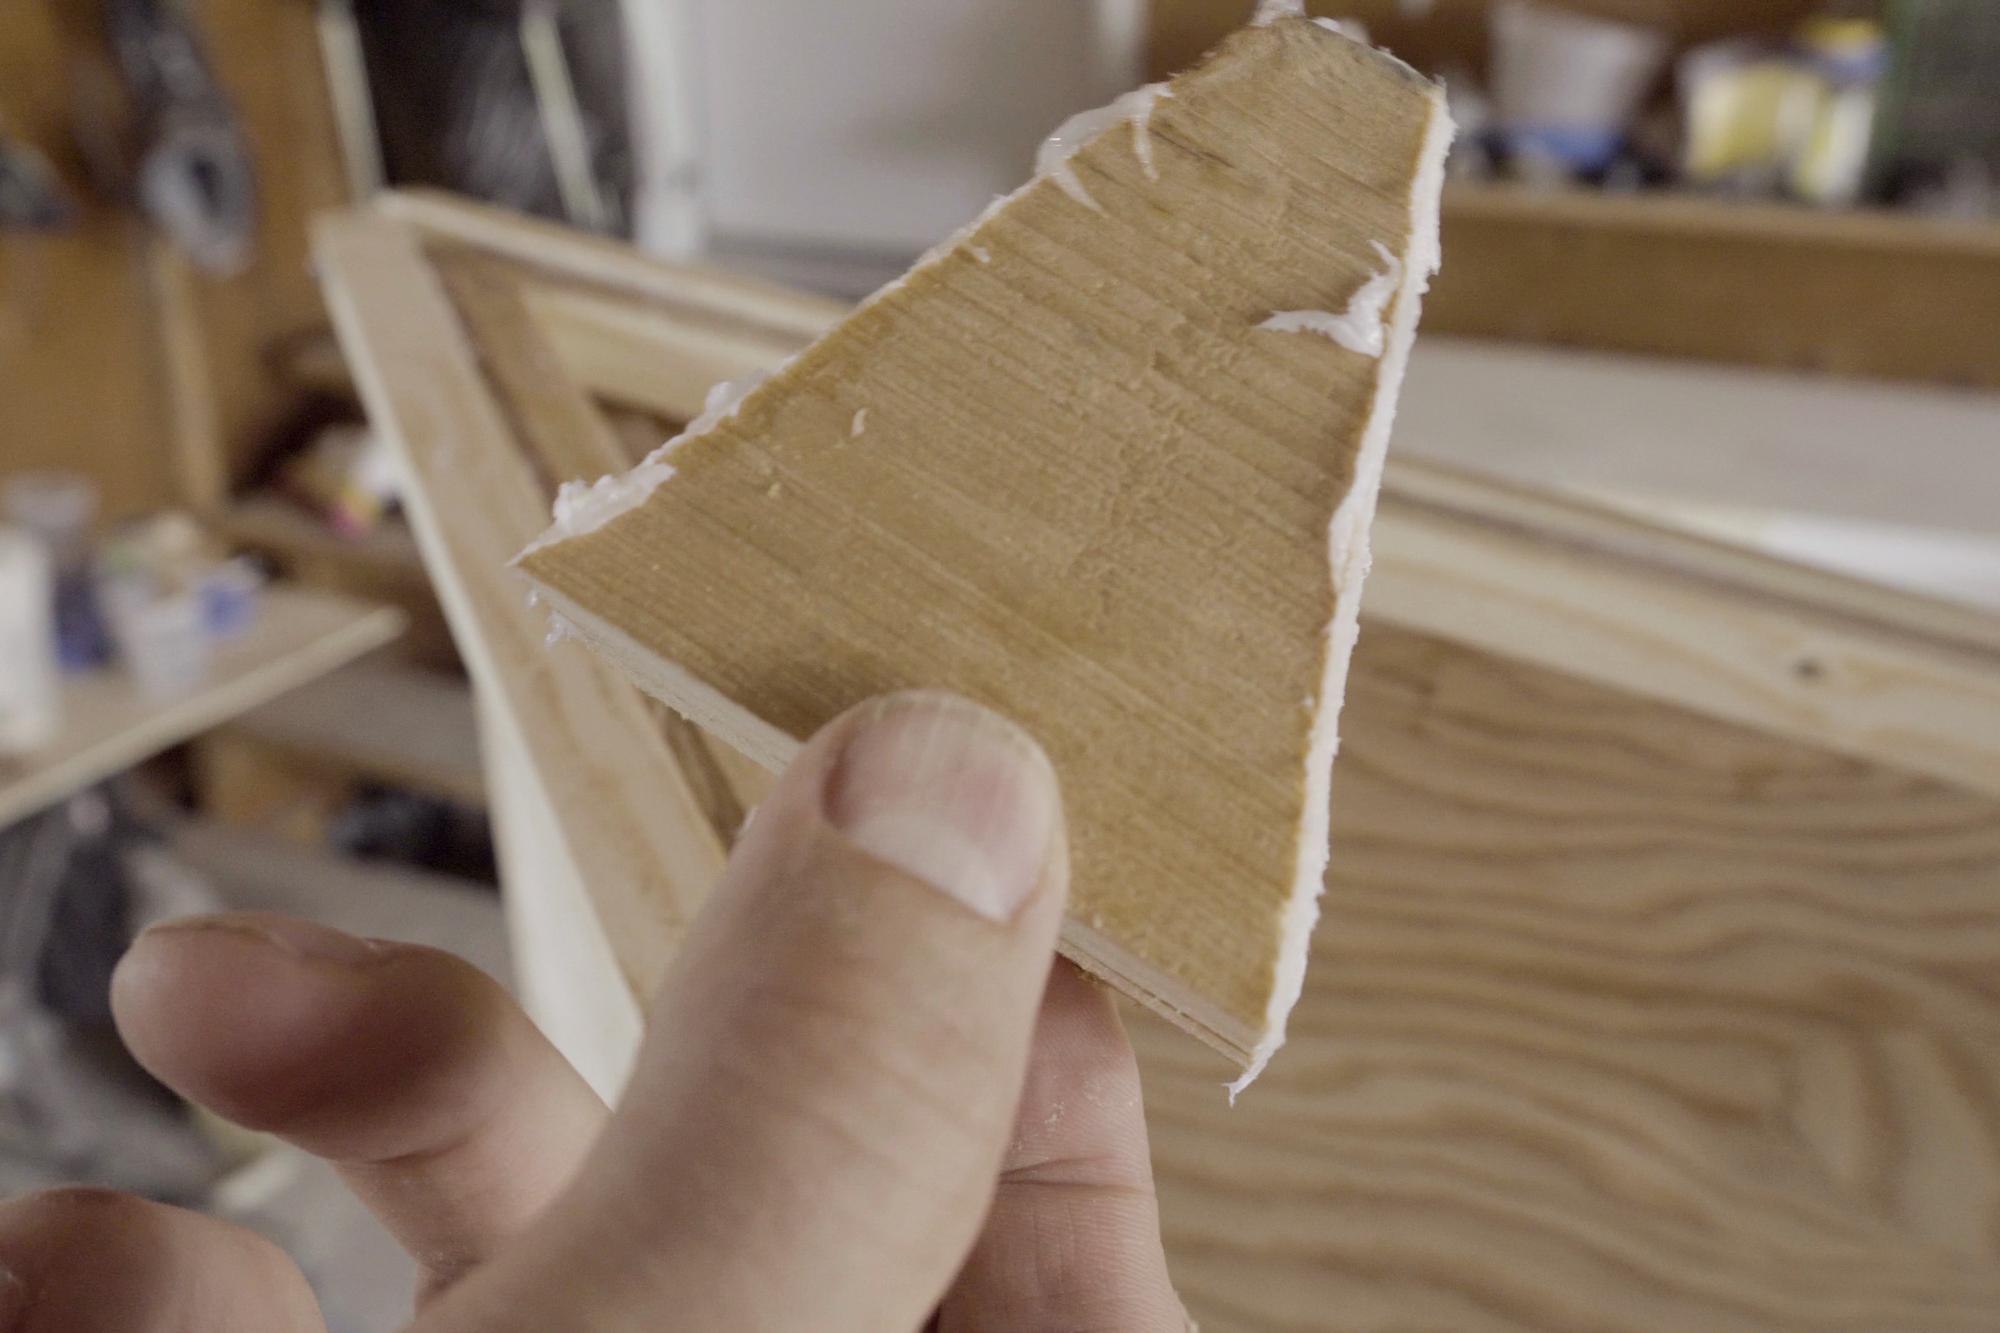
I cut two triangular pieces that would fit into the the front and back points of the canoe, just under the inwale.
I glued them in place using the epoxy glue paste.
Once the glue cured, I drilled a large hole through the side of the canoe and through the middle of the triangular block, coming out the other side. This way, I had a hole through the front and back of the canoe, but it was also sealed from water coming into the canoe through that hole.
This is not something in the plans, but I wanted a good way to carry, and tie the canoe to my car, and this worked great!
Clean Up the Ends
.jpg)
.jpg)
.jpg)
.jpg)
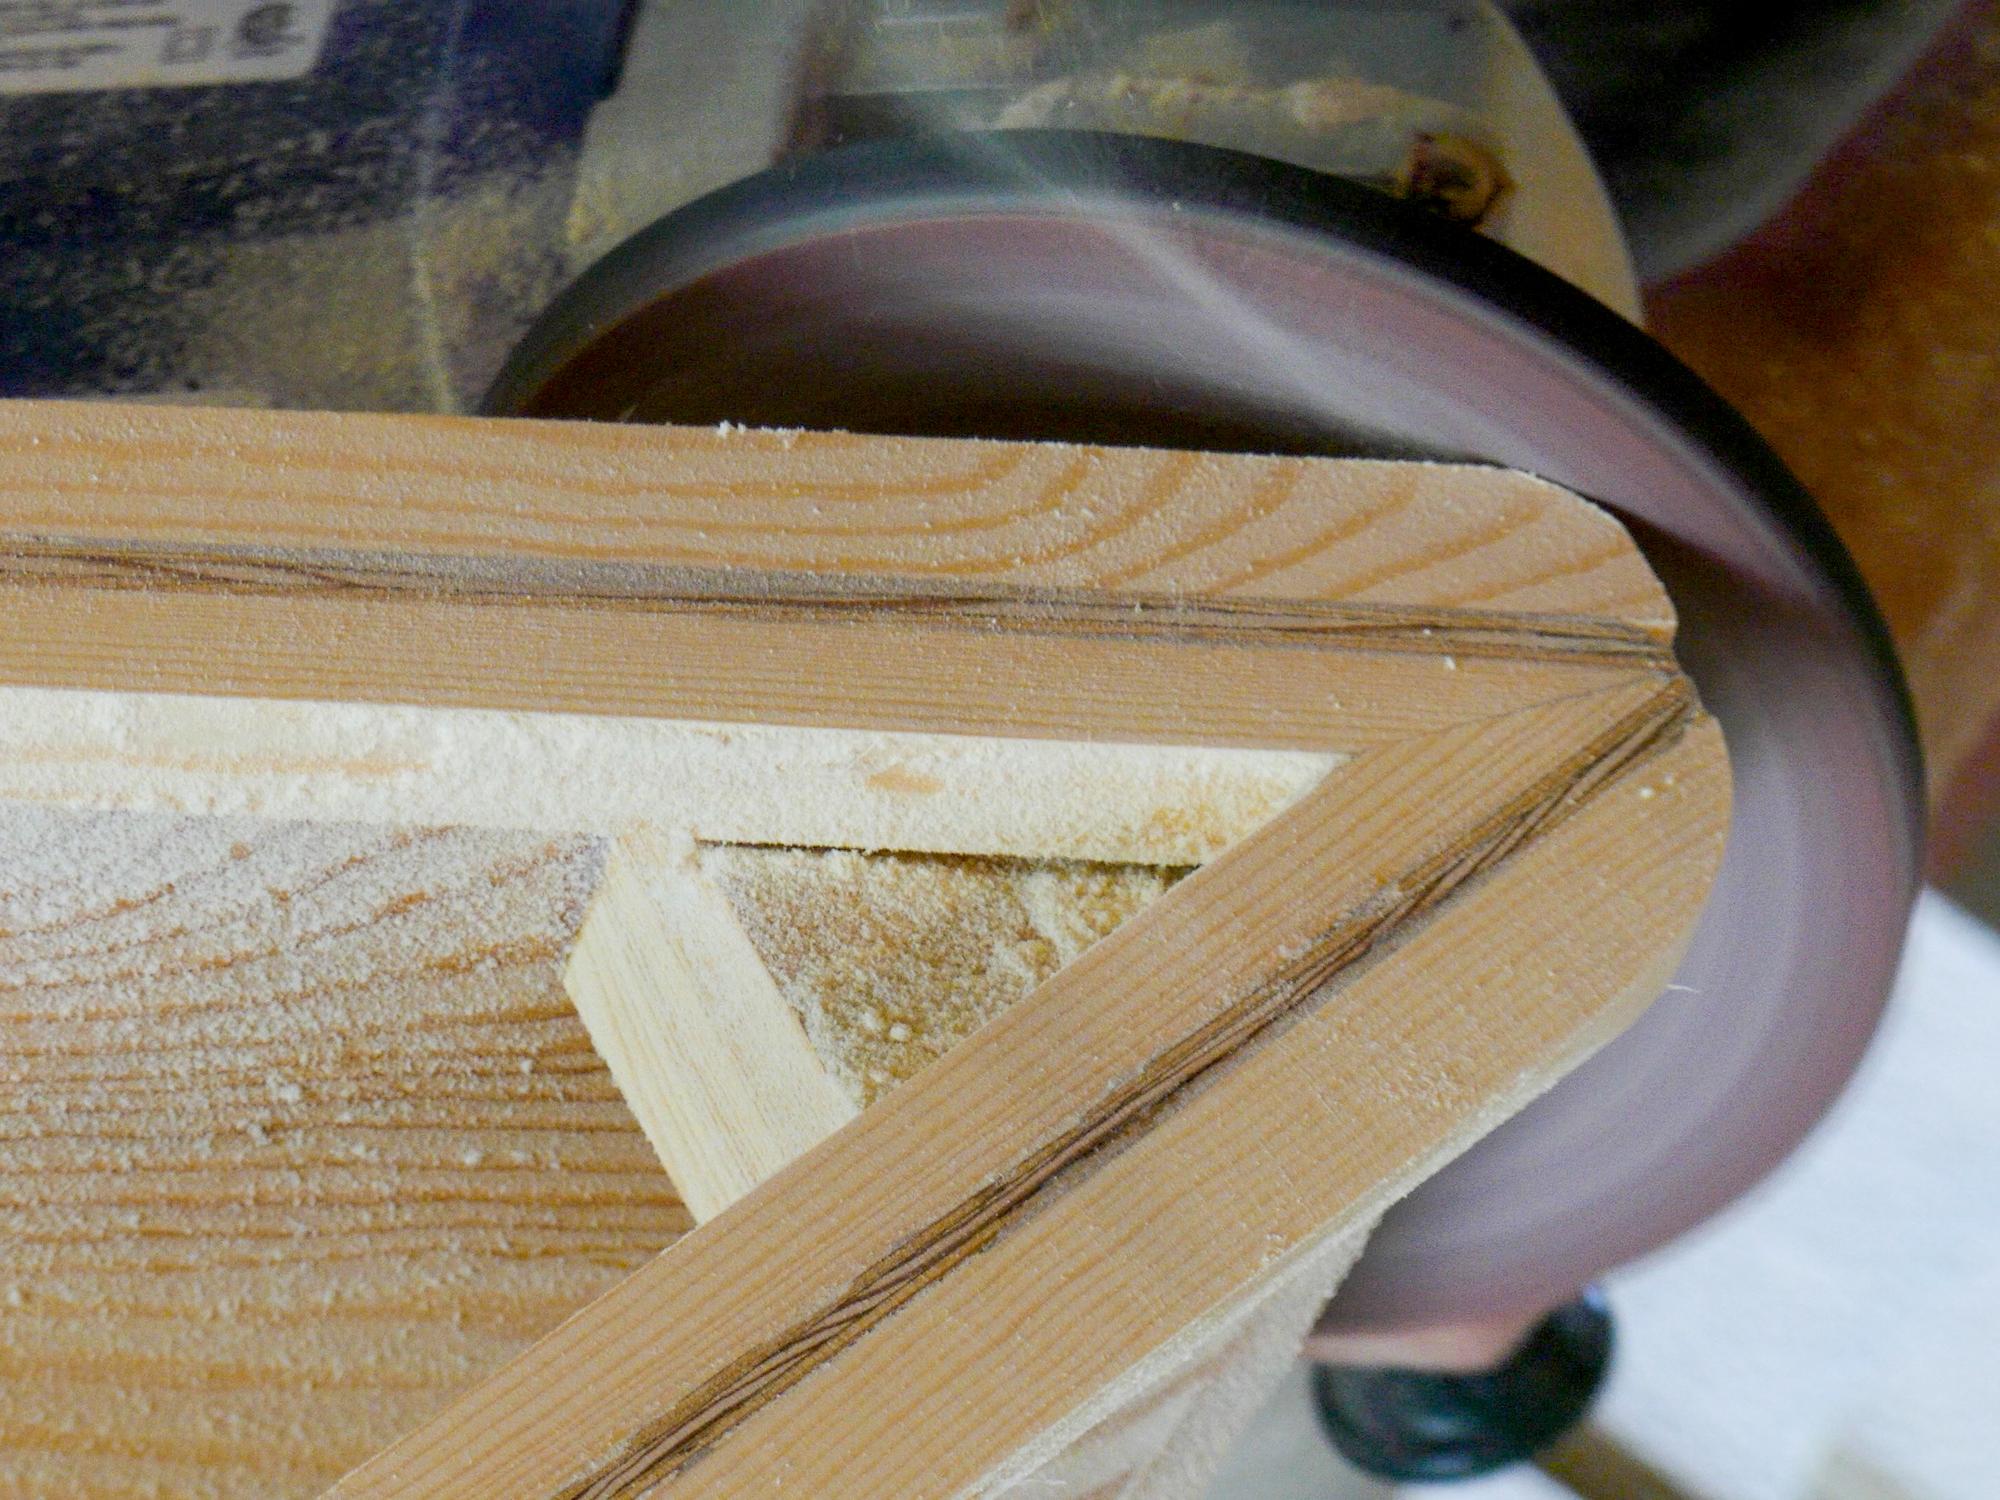
I cut the ends of the outwales off and used a hand plane to plane the outwales down until they were even with the top edge of the plywood.
I used my circular sander to round off the front edges of the outwales.
Make the Centre Spreader
.jpg)
.jpg)
.jpg)
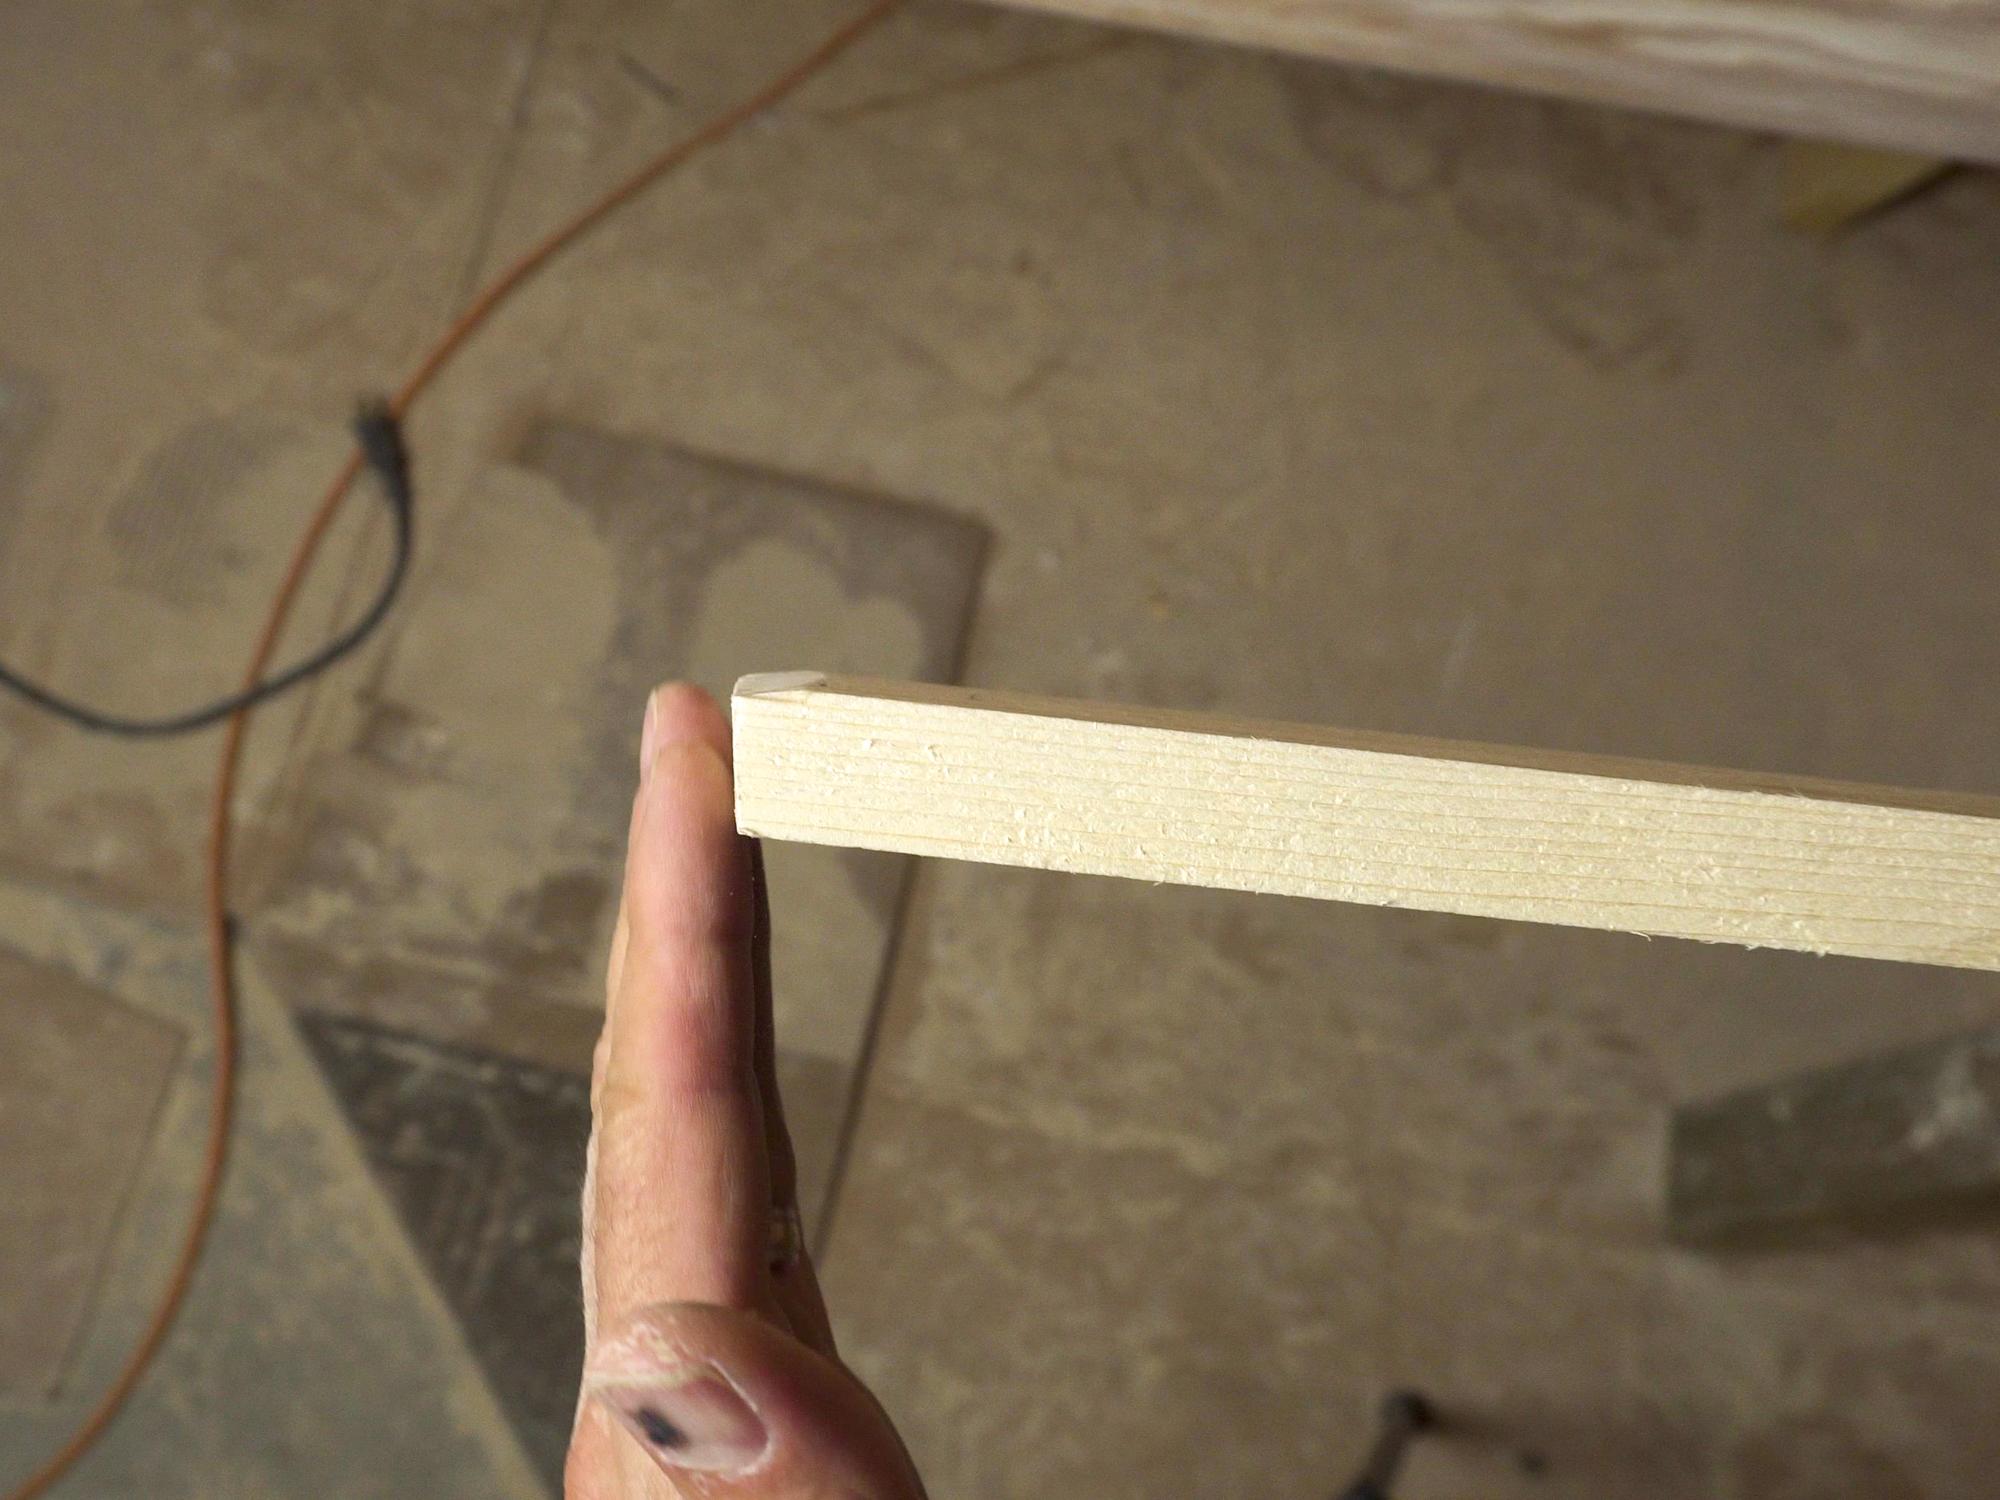
I put the center spreader just in front of the Buttstrap. I made it from a 1x4.
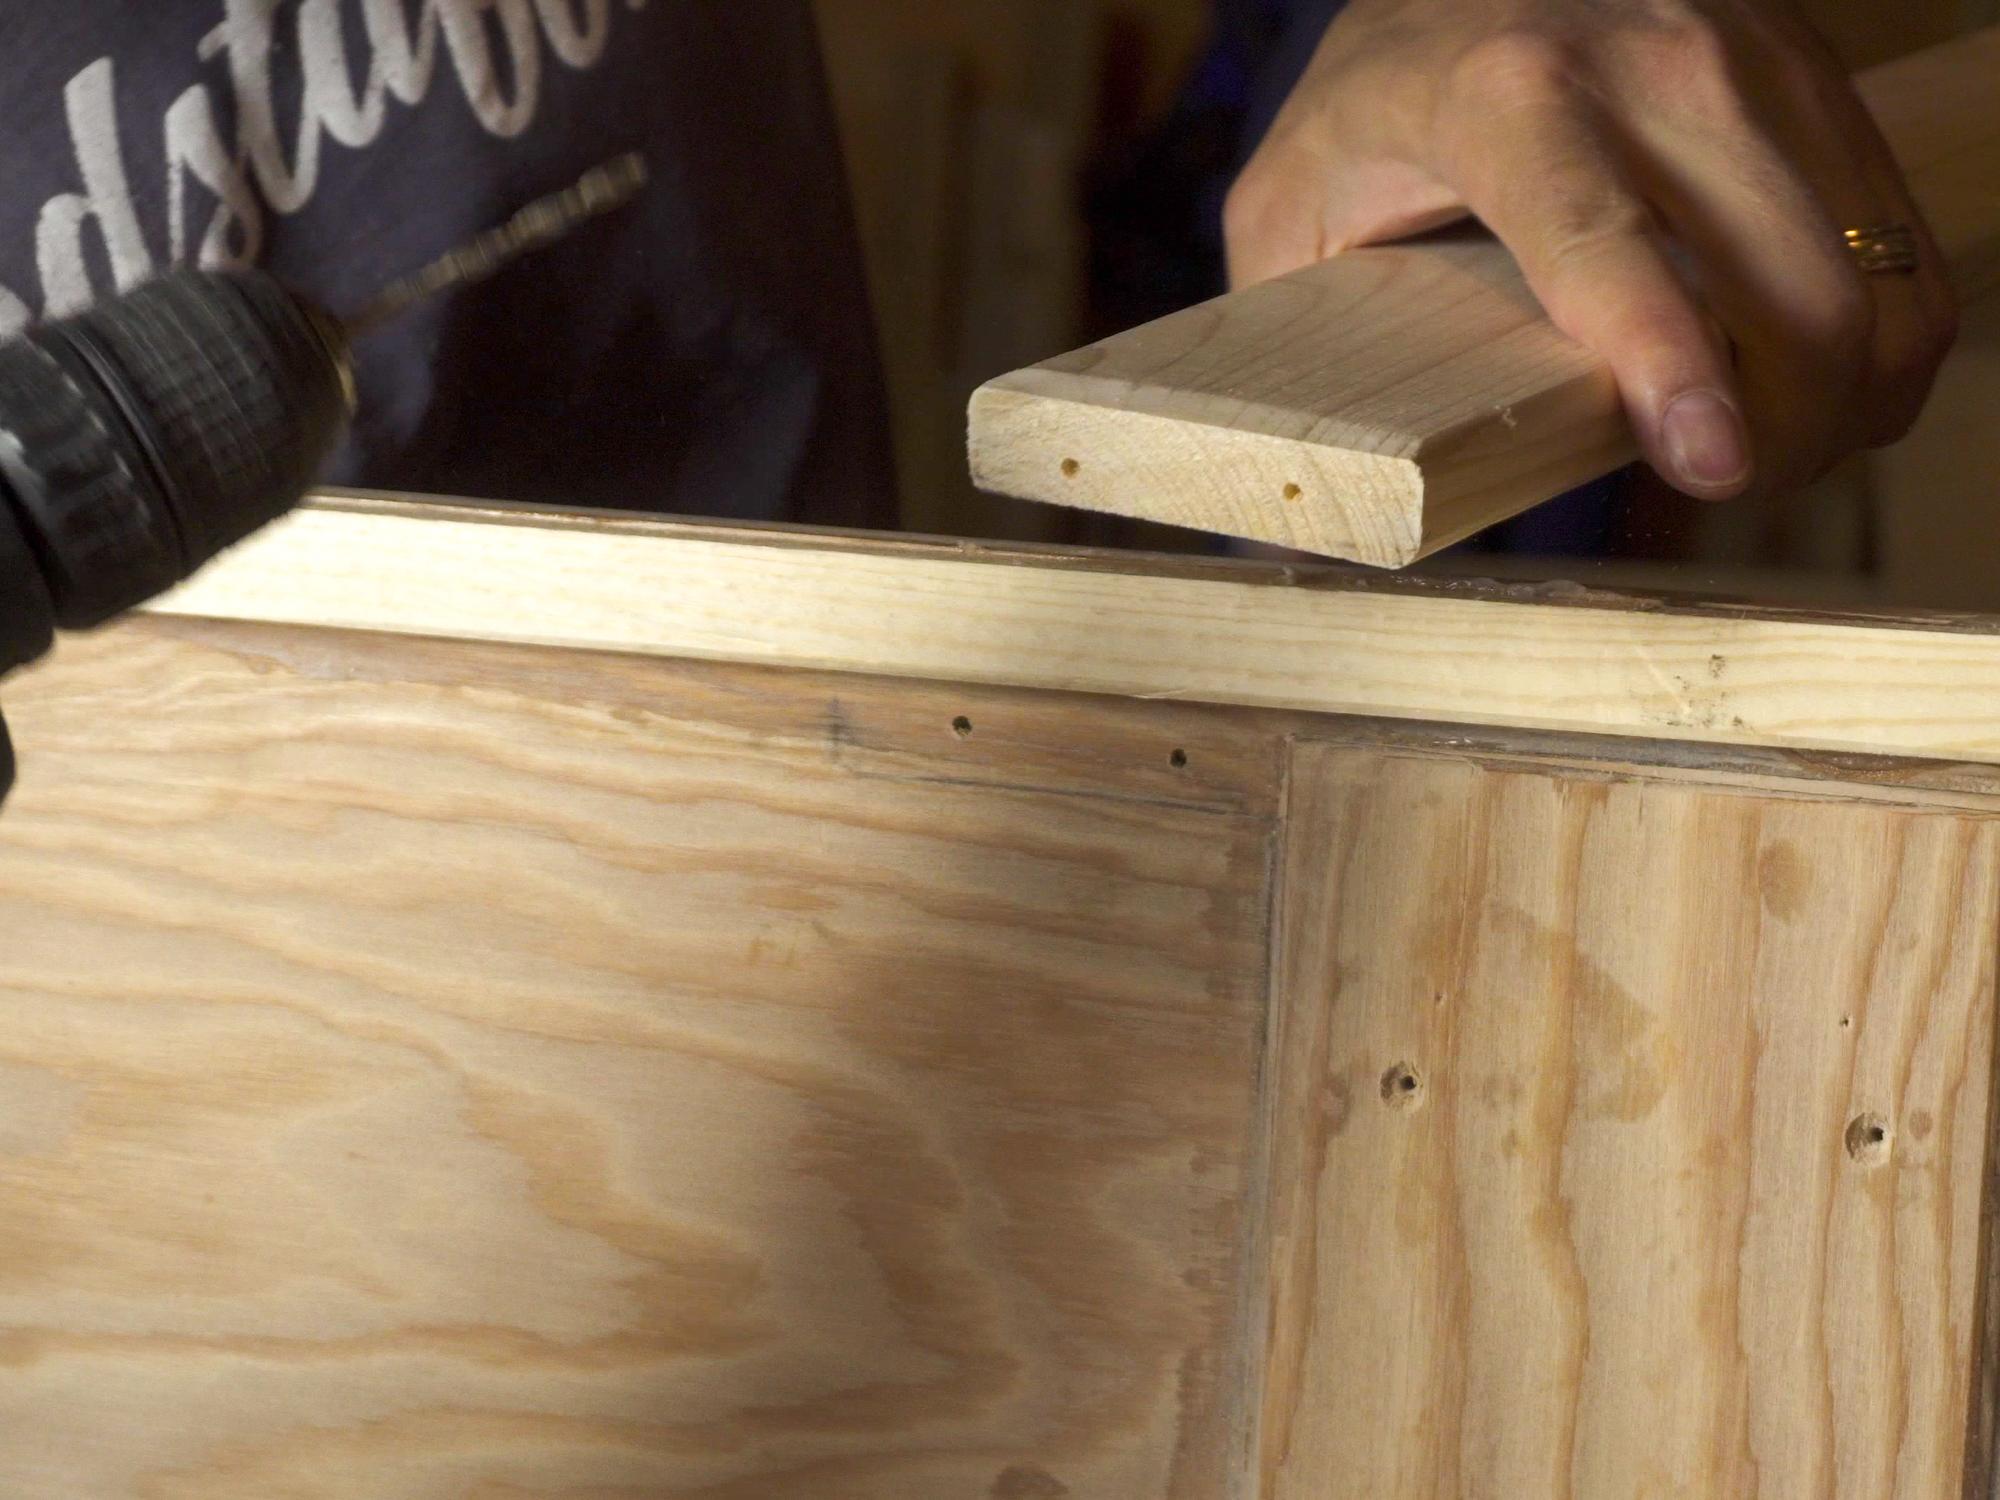
It is necessary to cut the ends at a slight angle and then plane a shallow angle on the top so that it butts nicely against the side of the canoe as well as the underside of the inwale.
I applied glue paste and then screwed it in from the outside of the canoe to hold it in place while the glue cured. These screws will actually be replaced later with some permanent stainless steel ones.
Glue Down the Skeg Doublers
.jpg)
.jpg)
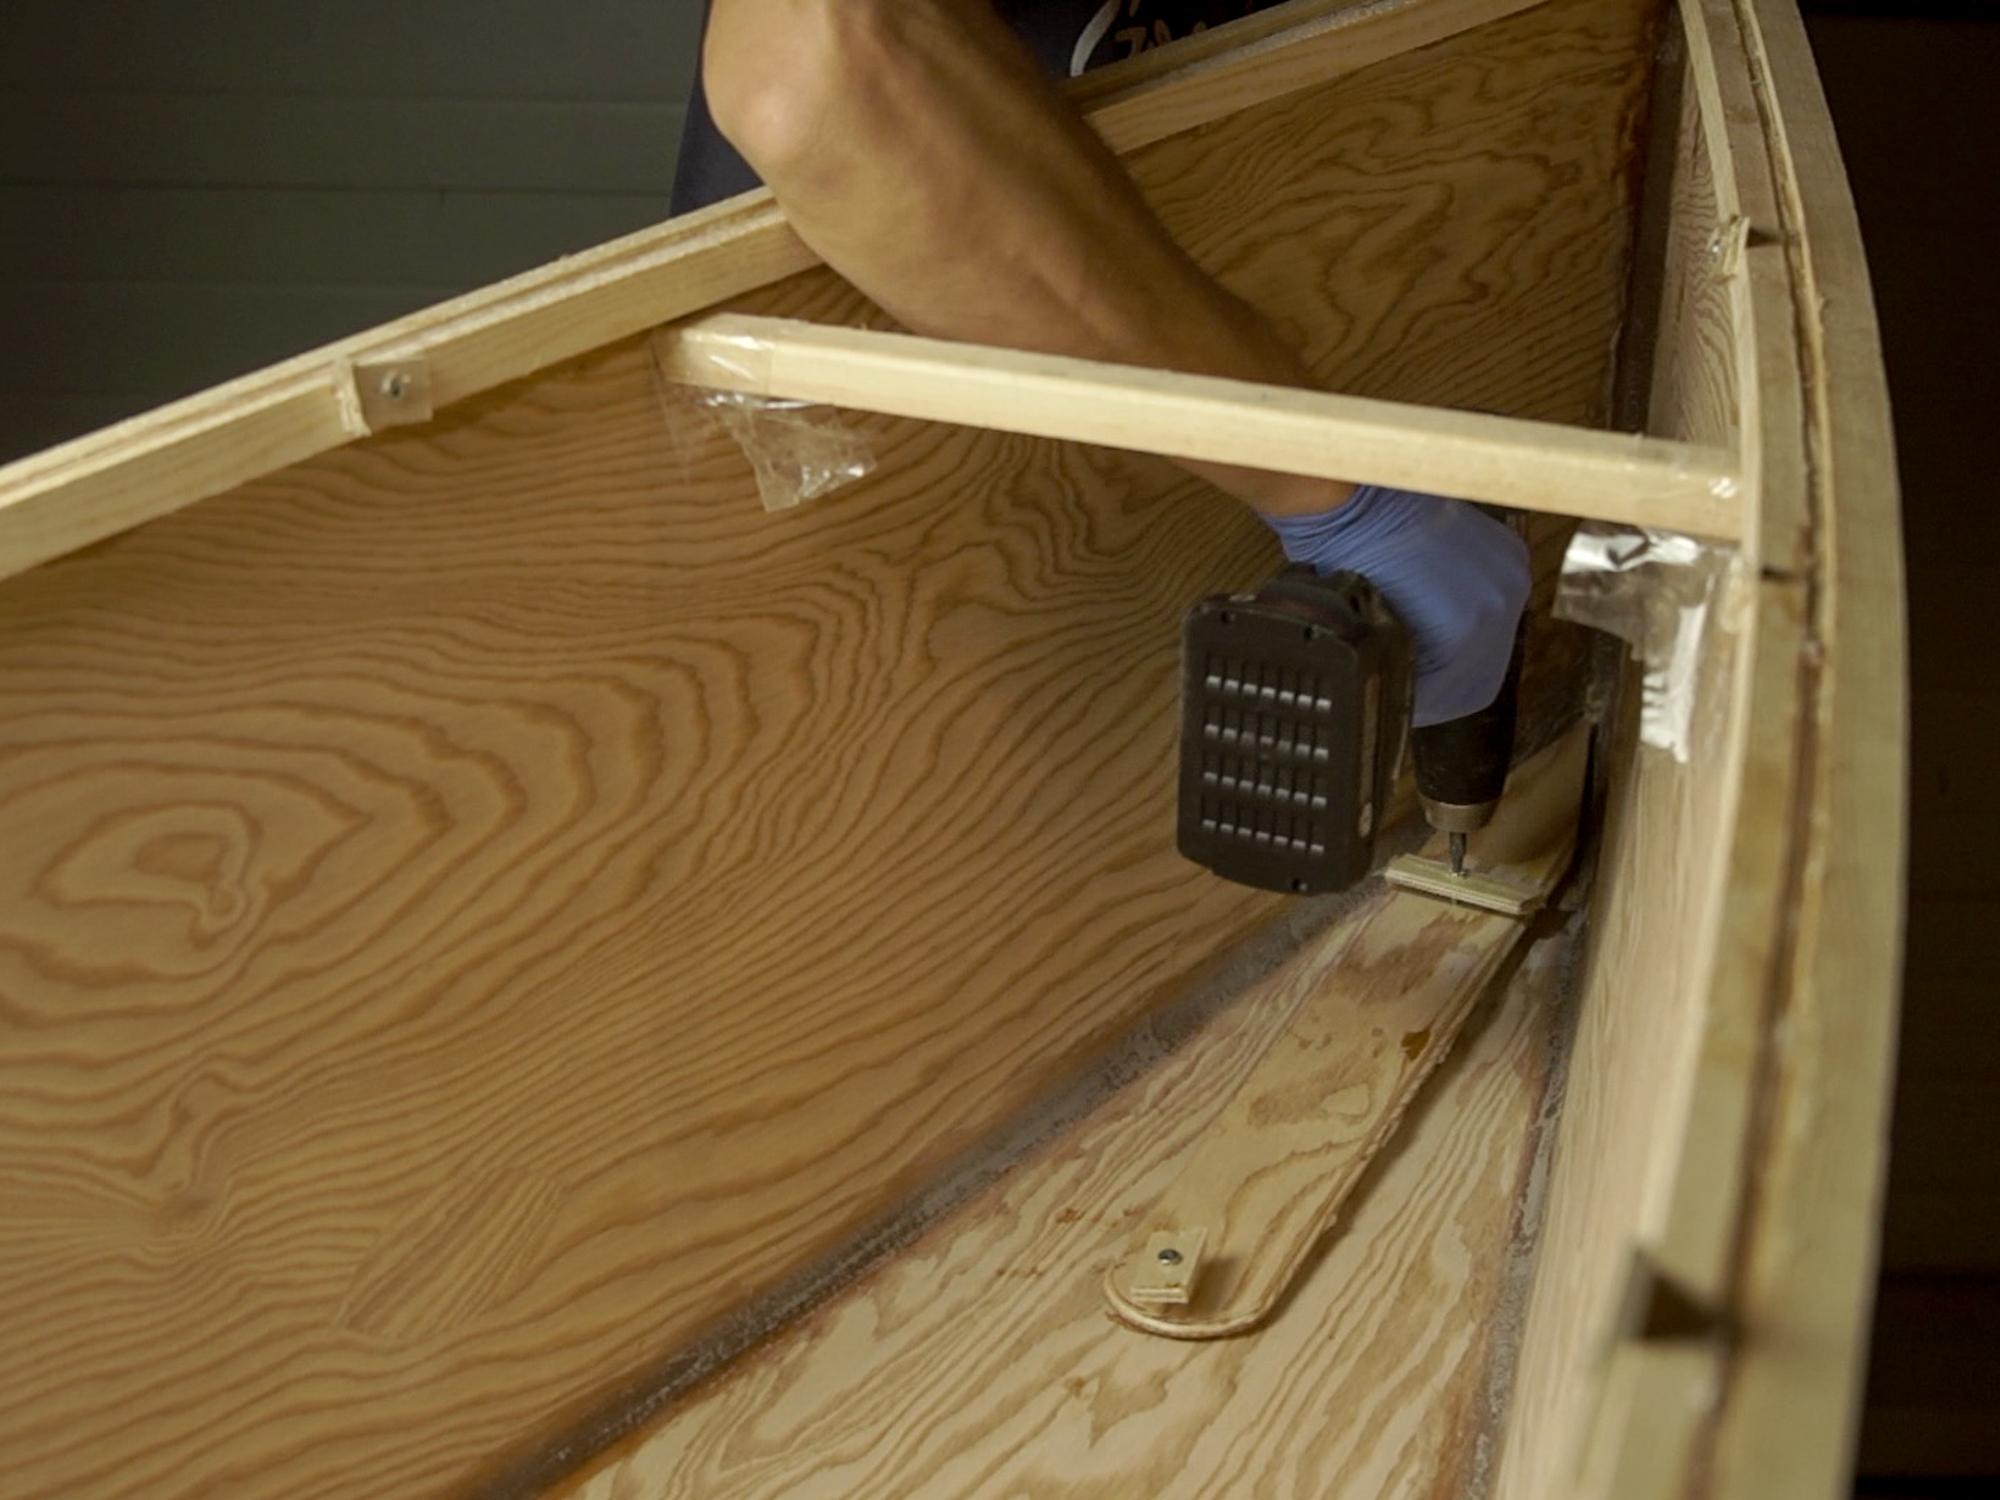
I used a few temporary screws to hold the skeg doubler down while the epoxy glue paste cured.
Once cured, I removed the screws
Deck It Out
.jpg)
.jpg)
.jpg)
.jpg)
.jpg)
I went a little more intense than the pattern calls for here. Rather than just gluing the decks on top of the gunwales, I decided to inset them. It was definitely more work, but the end result is really classy!
- I used a piece of cardboard to figure out the shape of my decks.
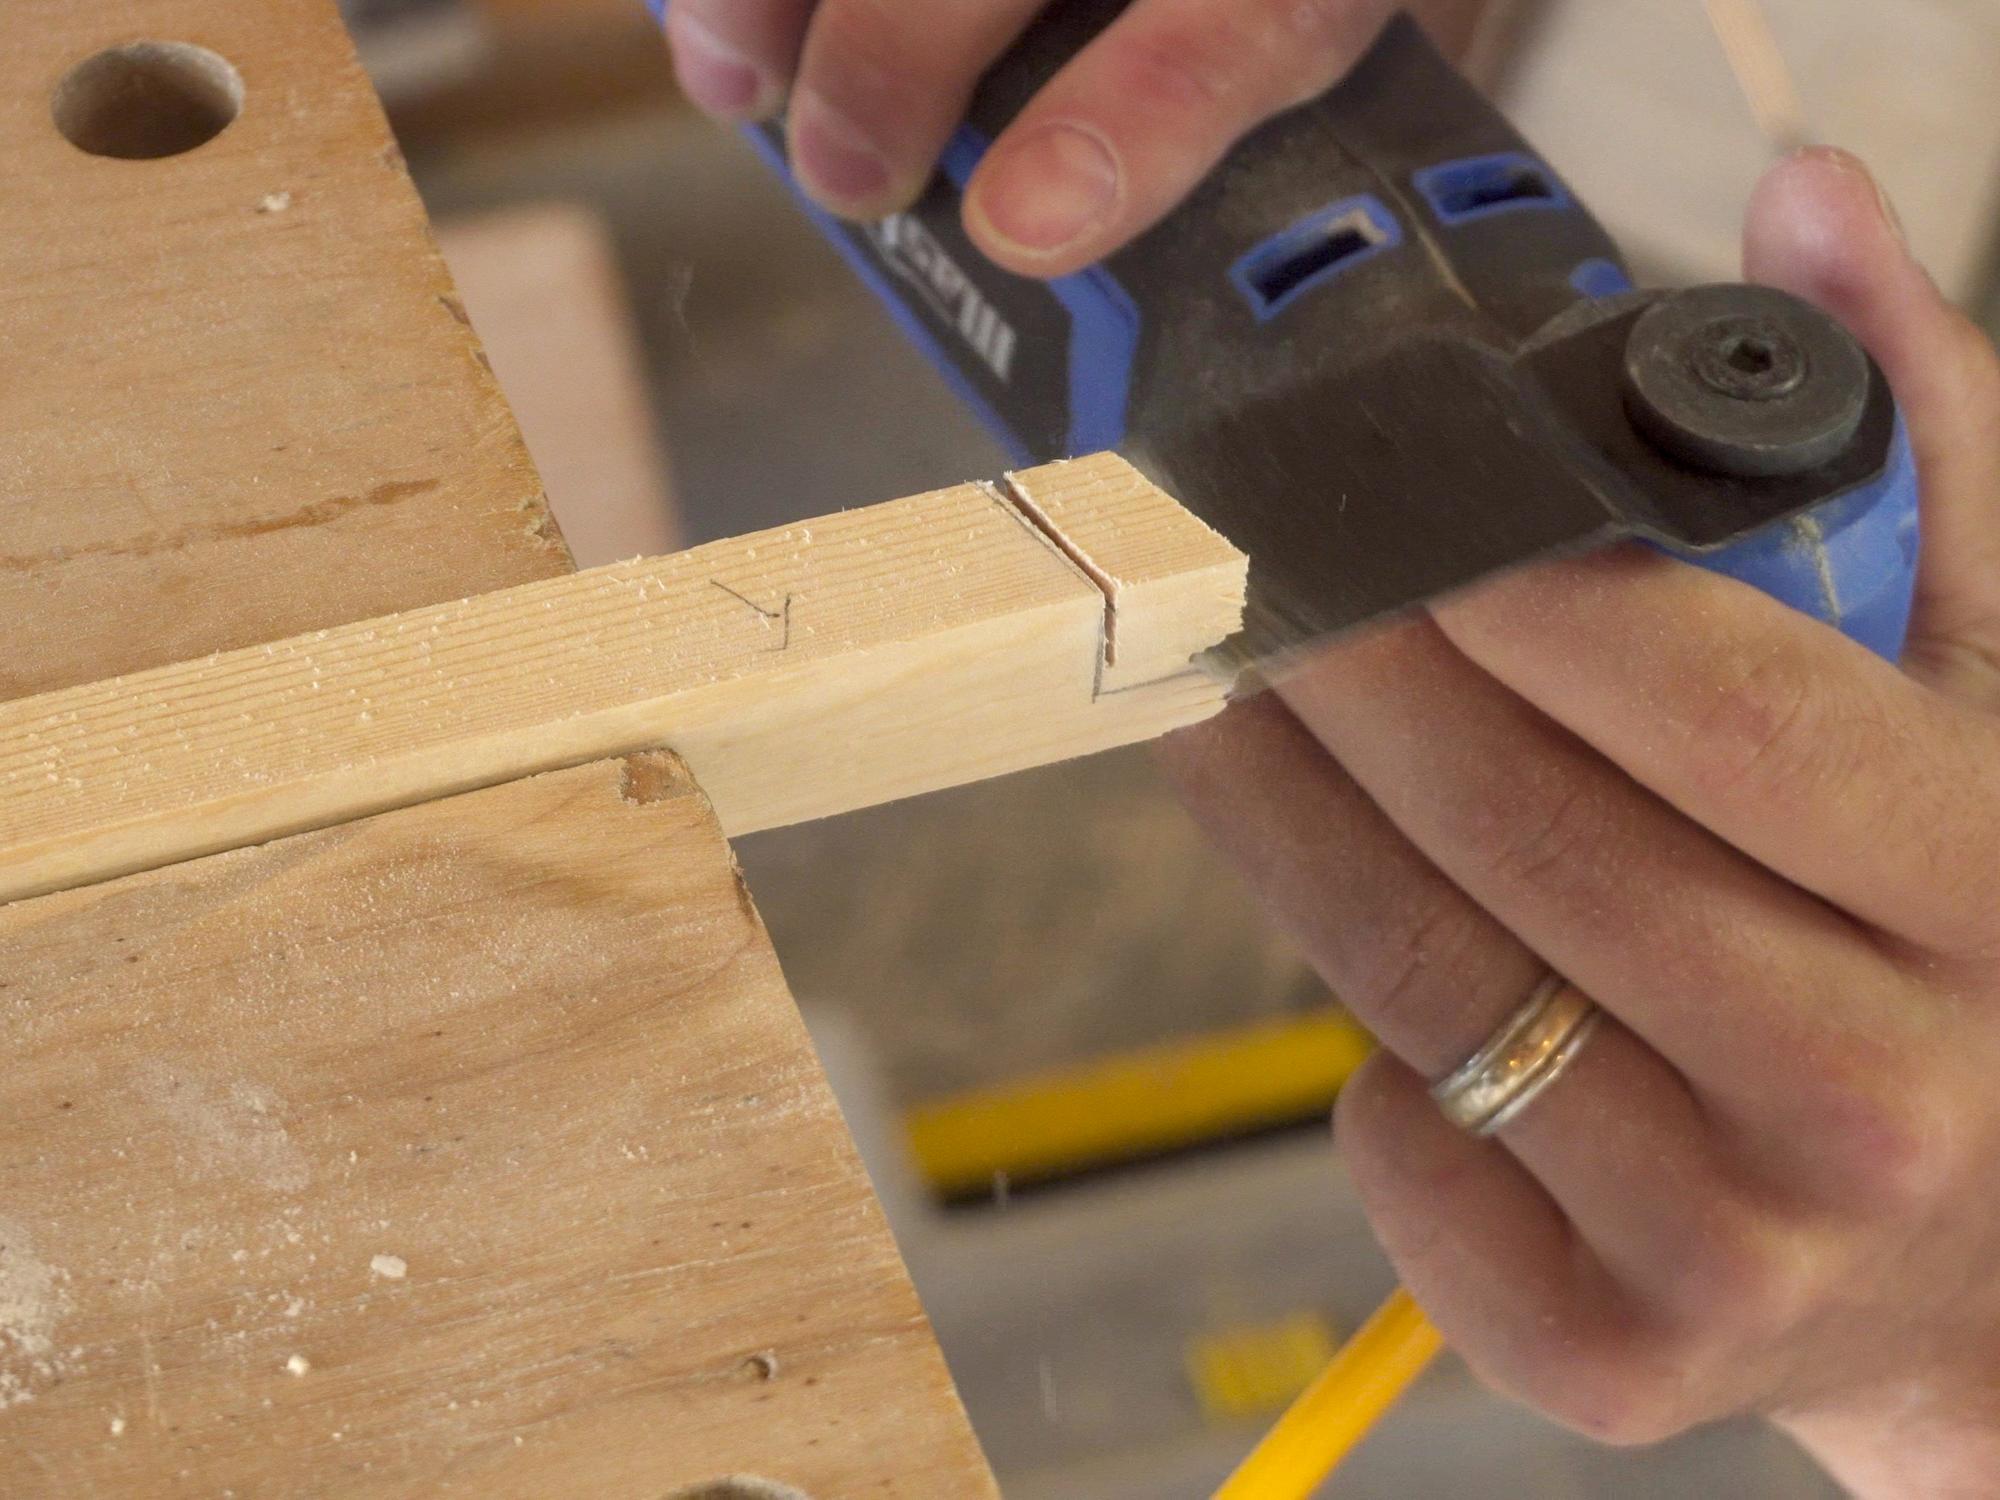
- I used my router to remove about 5mm from the inwales, and deep enough so that the plywood deck would sit flush.
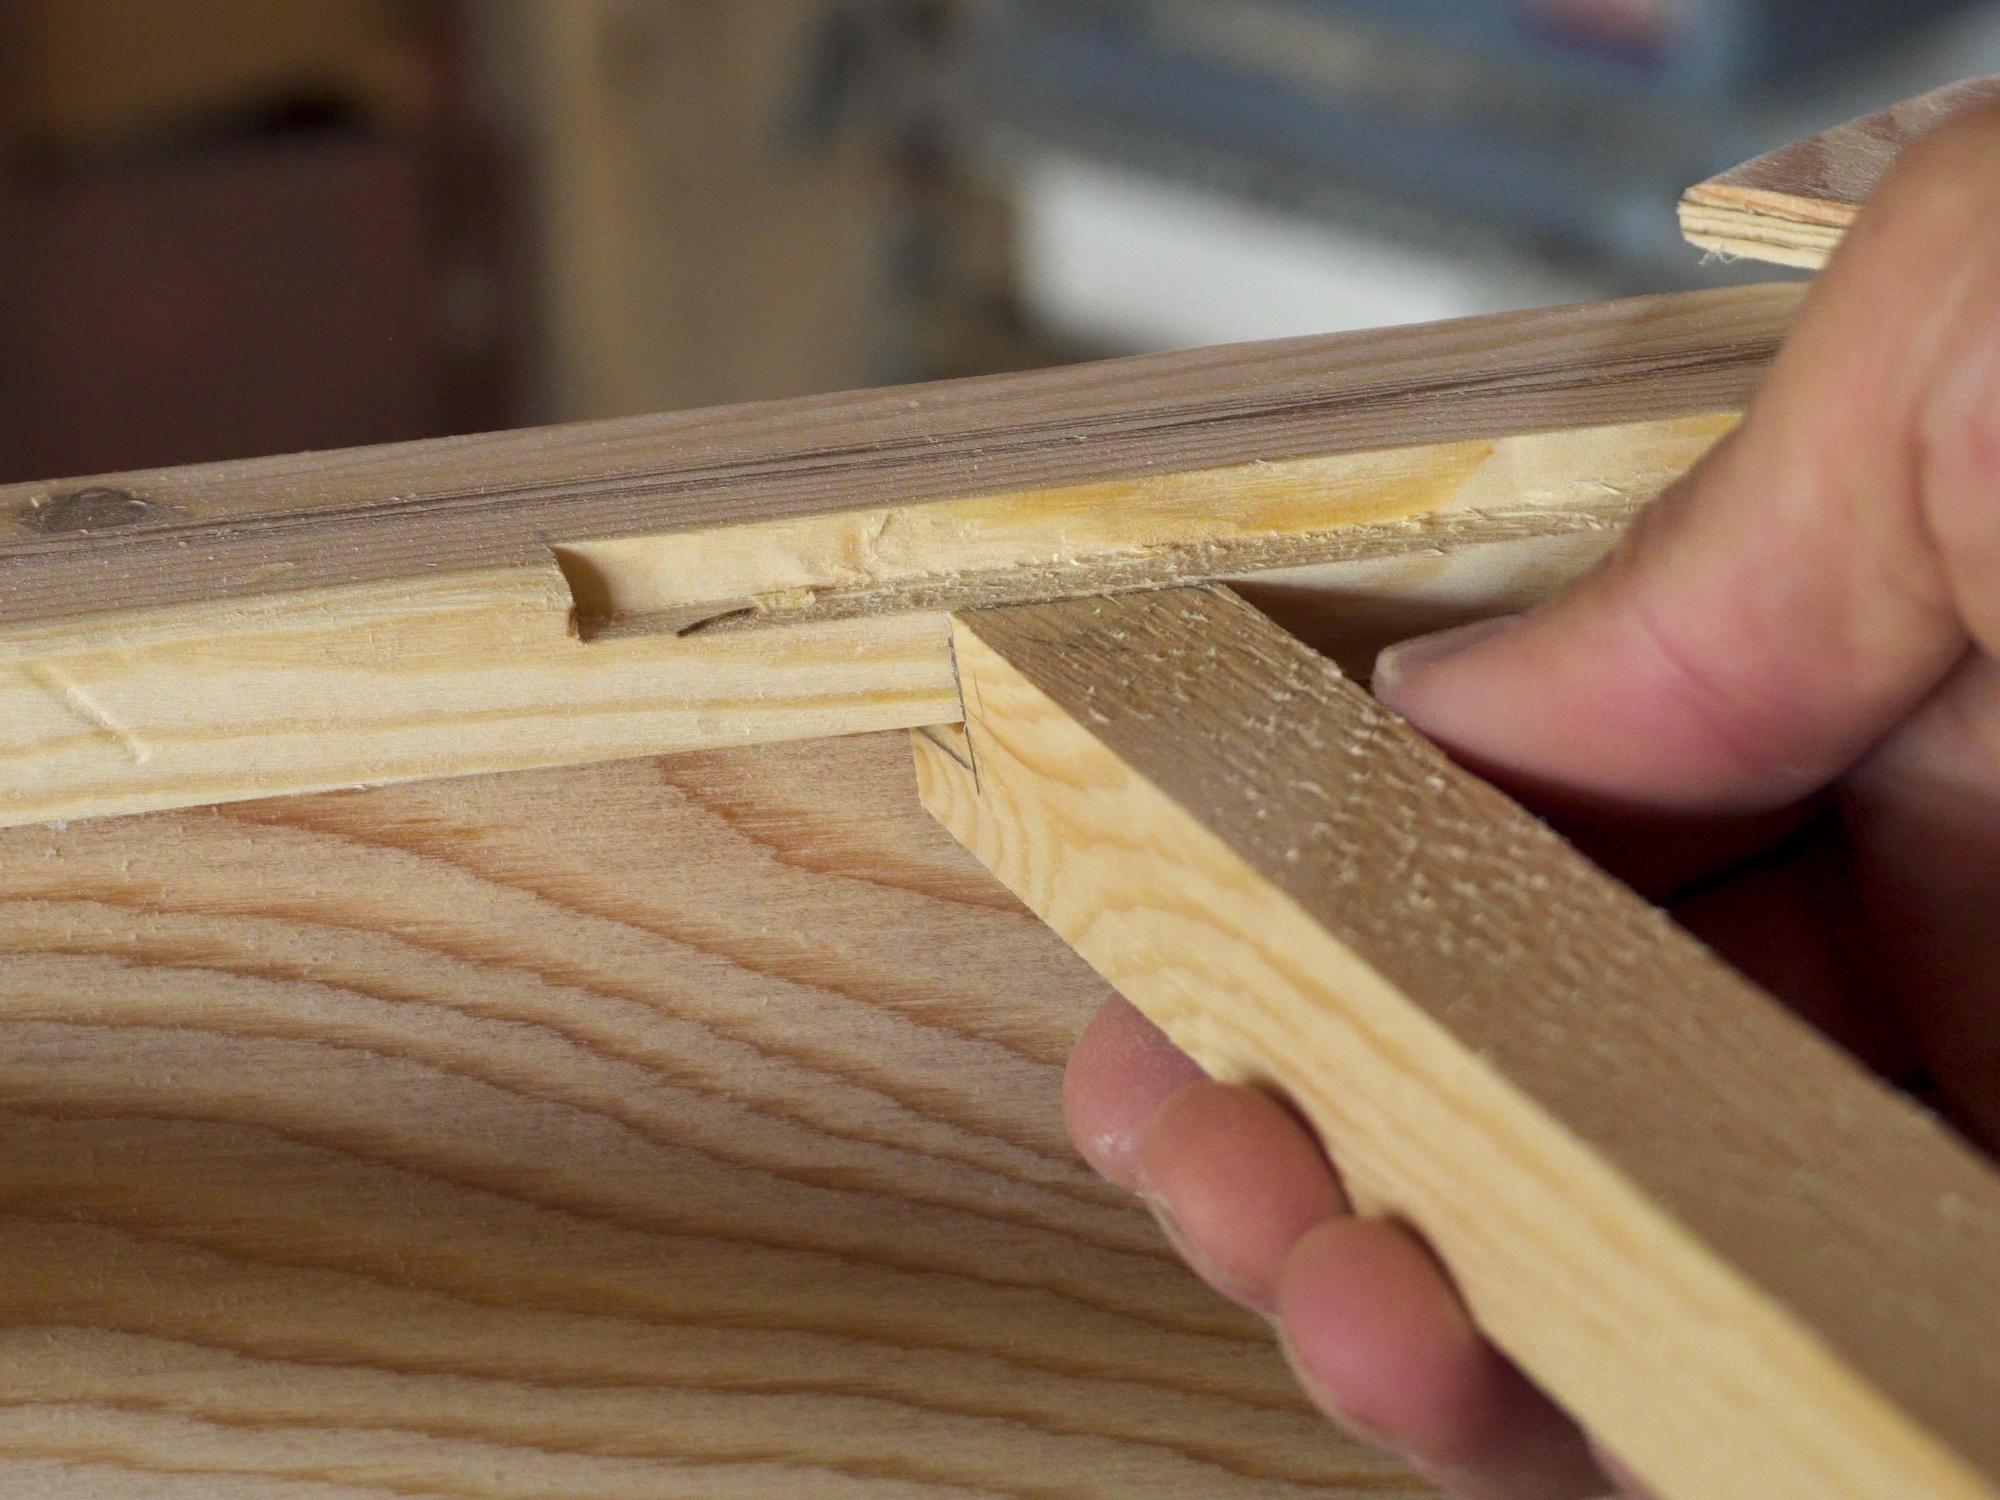
- I cut a short piece of wood to go under the unsupported edge of the deck.
- I notched the support piece so that the top of it was flush with the bottom of the cutout for the deck.
Fancy Clamps for Gluing the Deck
.jpg)
.jpg)
.jpg)
.jpg)
.jpg)
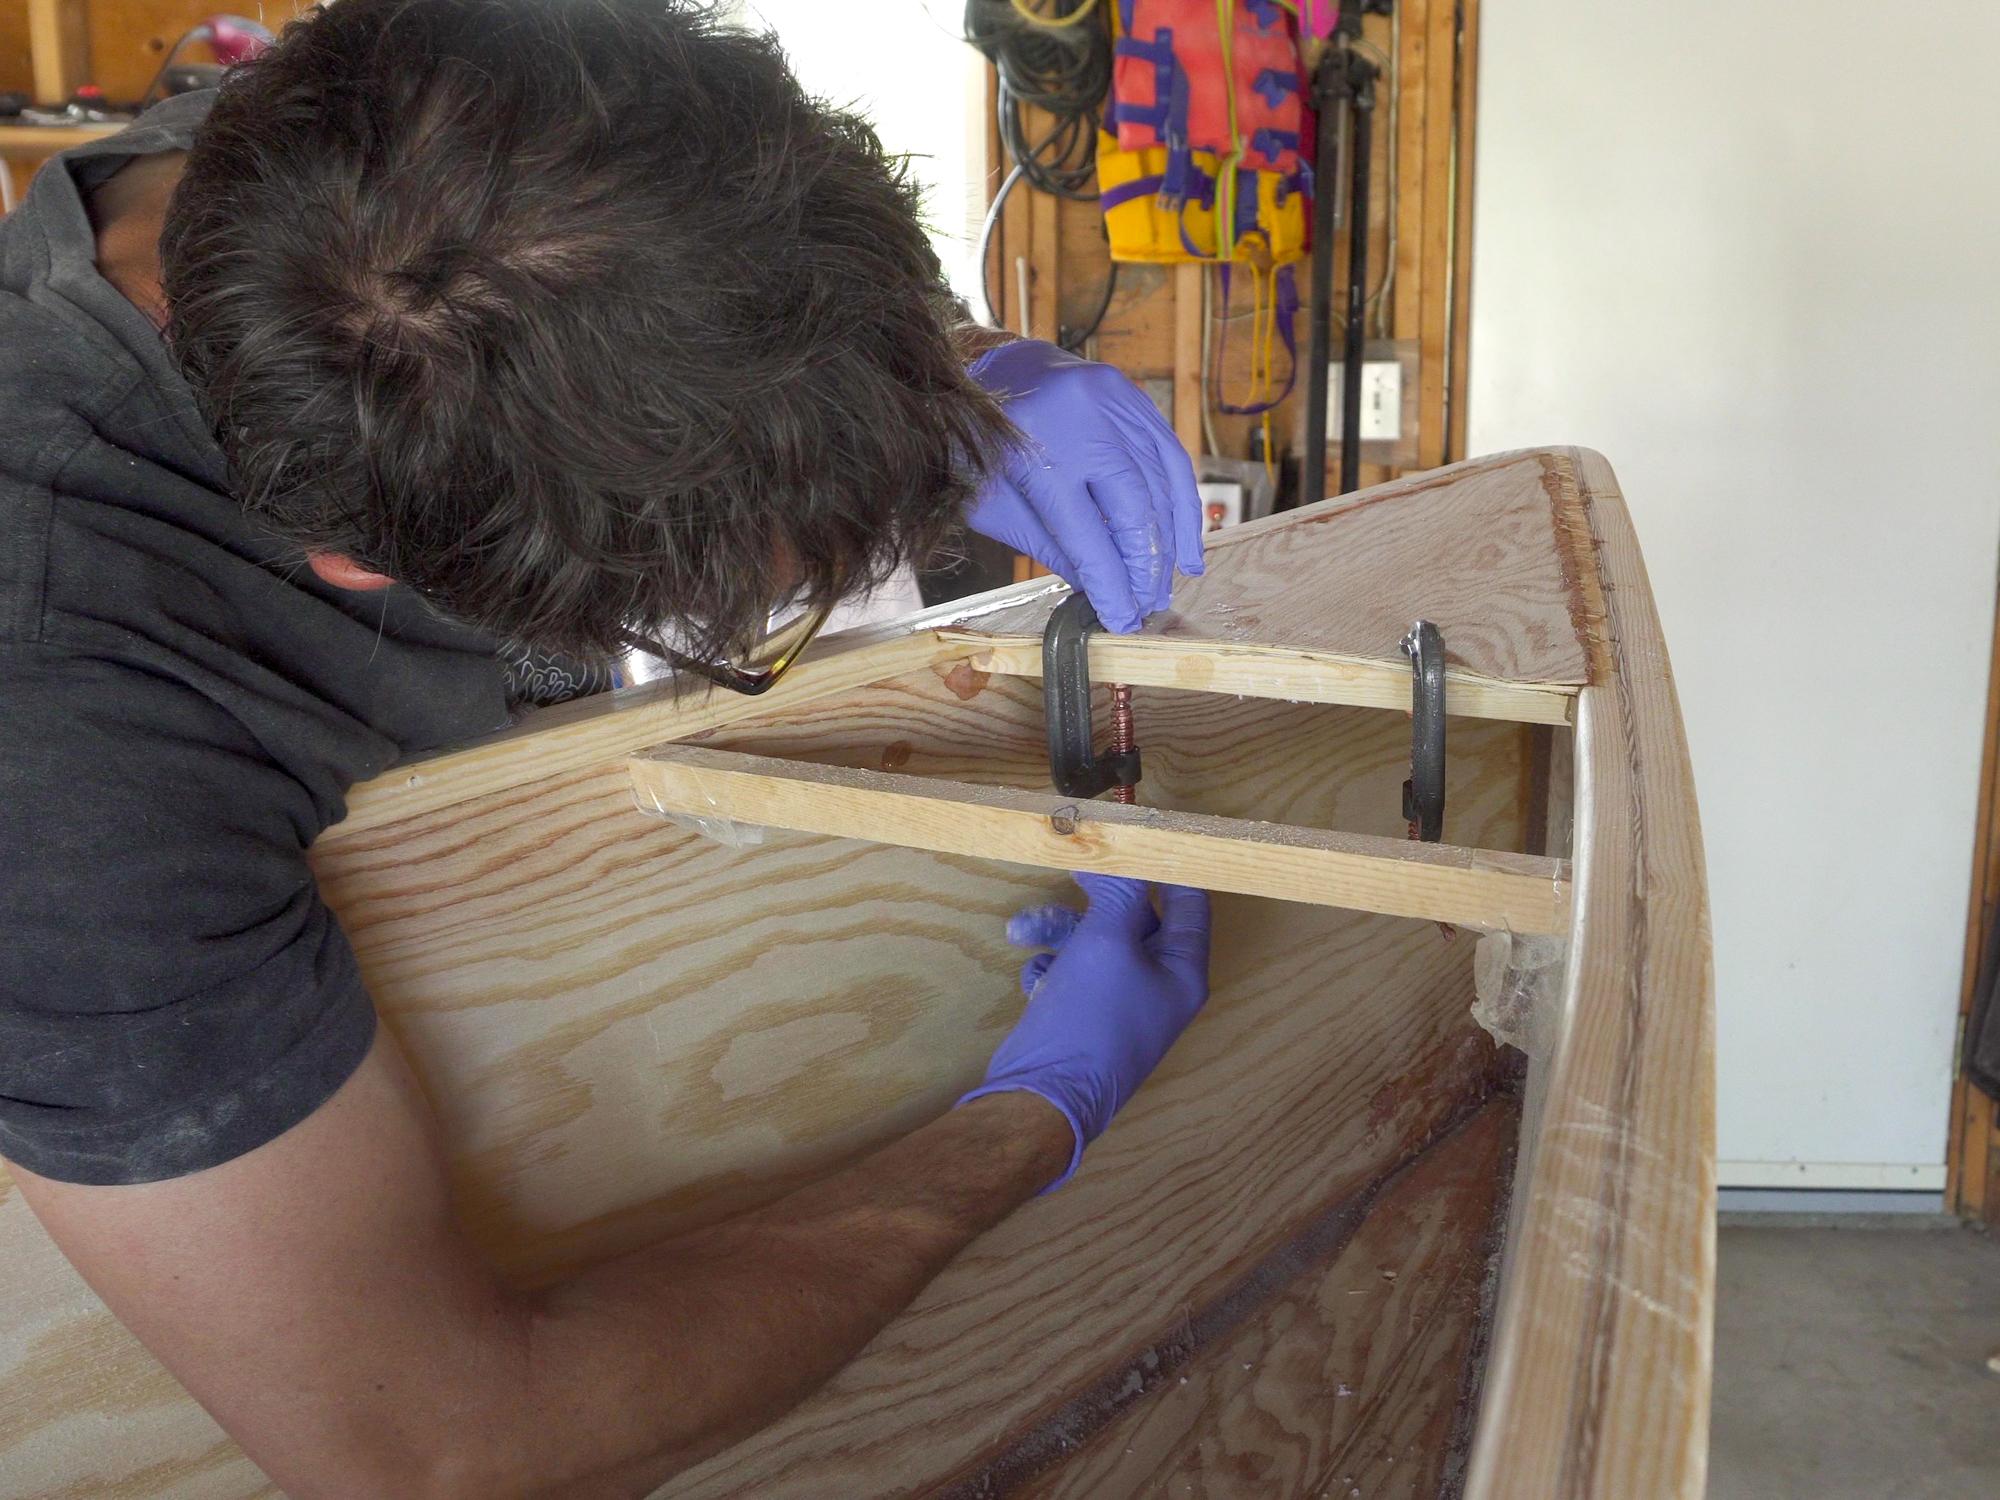
- I applied glue to the notch where the deck would sit, and put it in place.
- I applied glue to the deck support wherever it would contact the deck, the inwales, and the sides
- I clamped the deck support to the deck with some small clamps.
- I lay a sheet of plastic over top of the deck.
- I made two loops of rope and threaded two boards through them, so that one board would rest on top of the deck, and the other would rest against the bottom of the canoe.
- I used two thinner boards to twist the rope on both sides until there was enough pressure to hold the deck down nice and firmly in place.
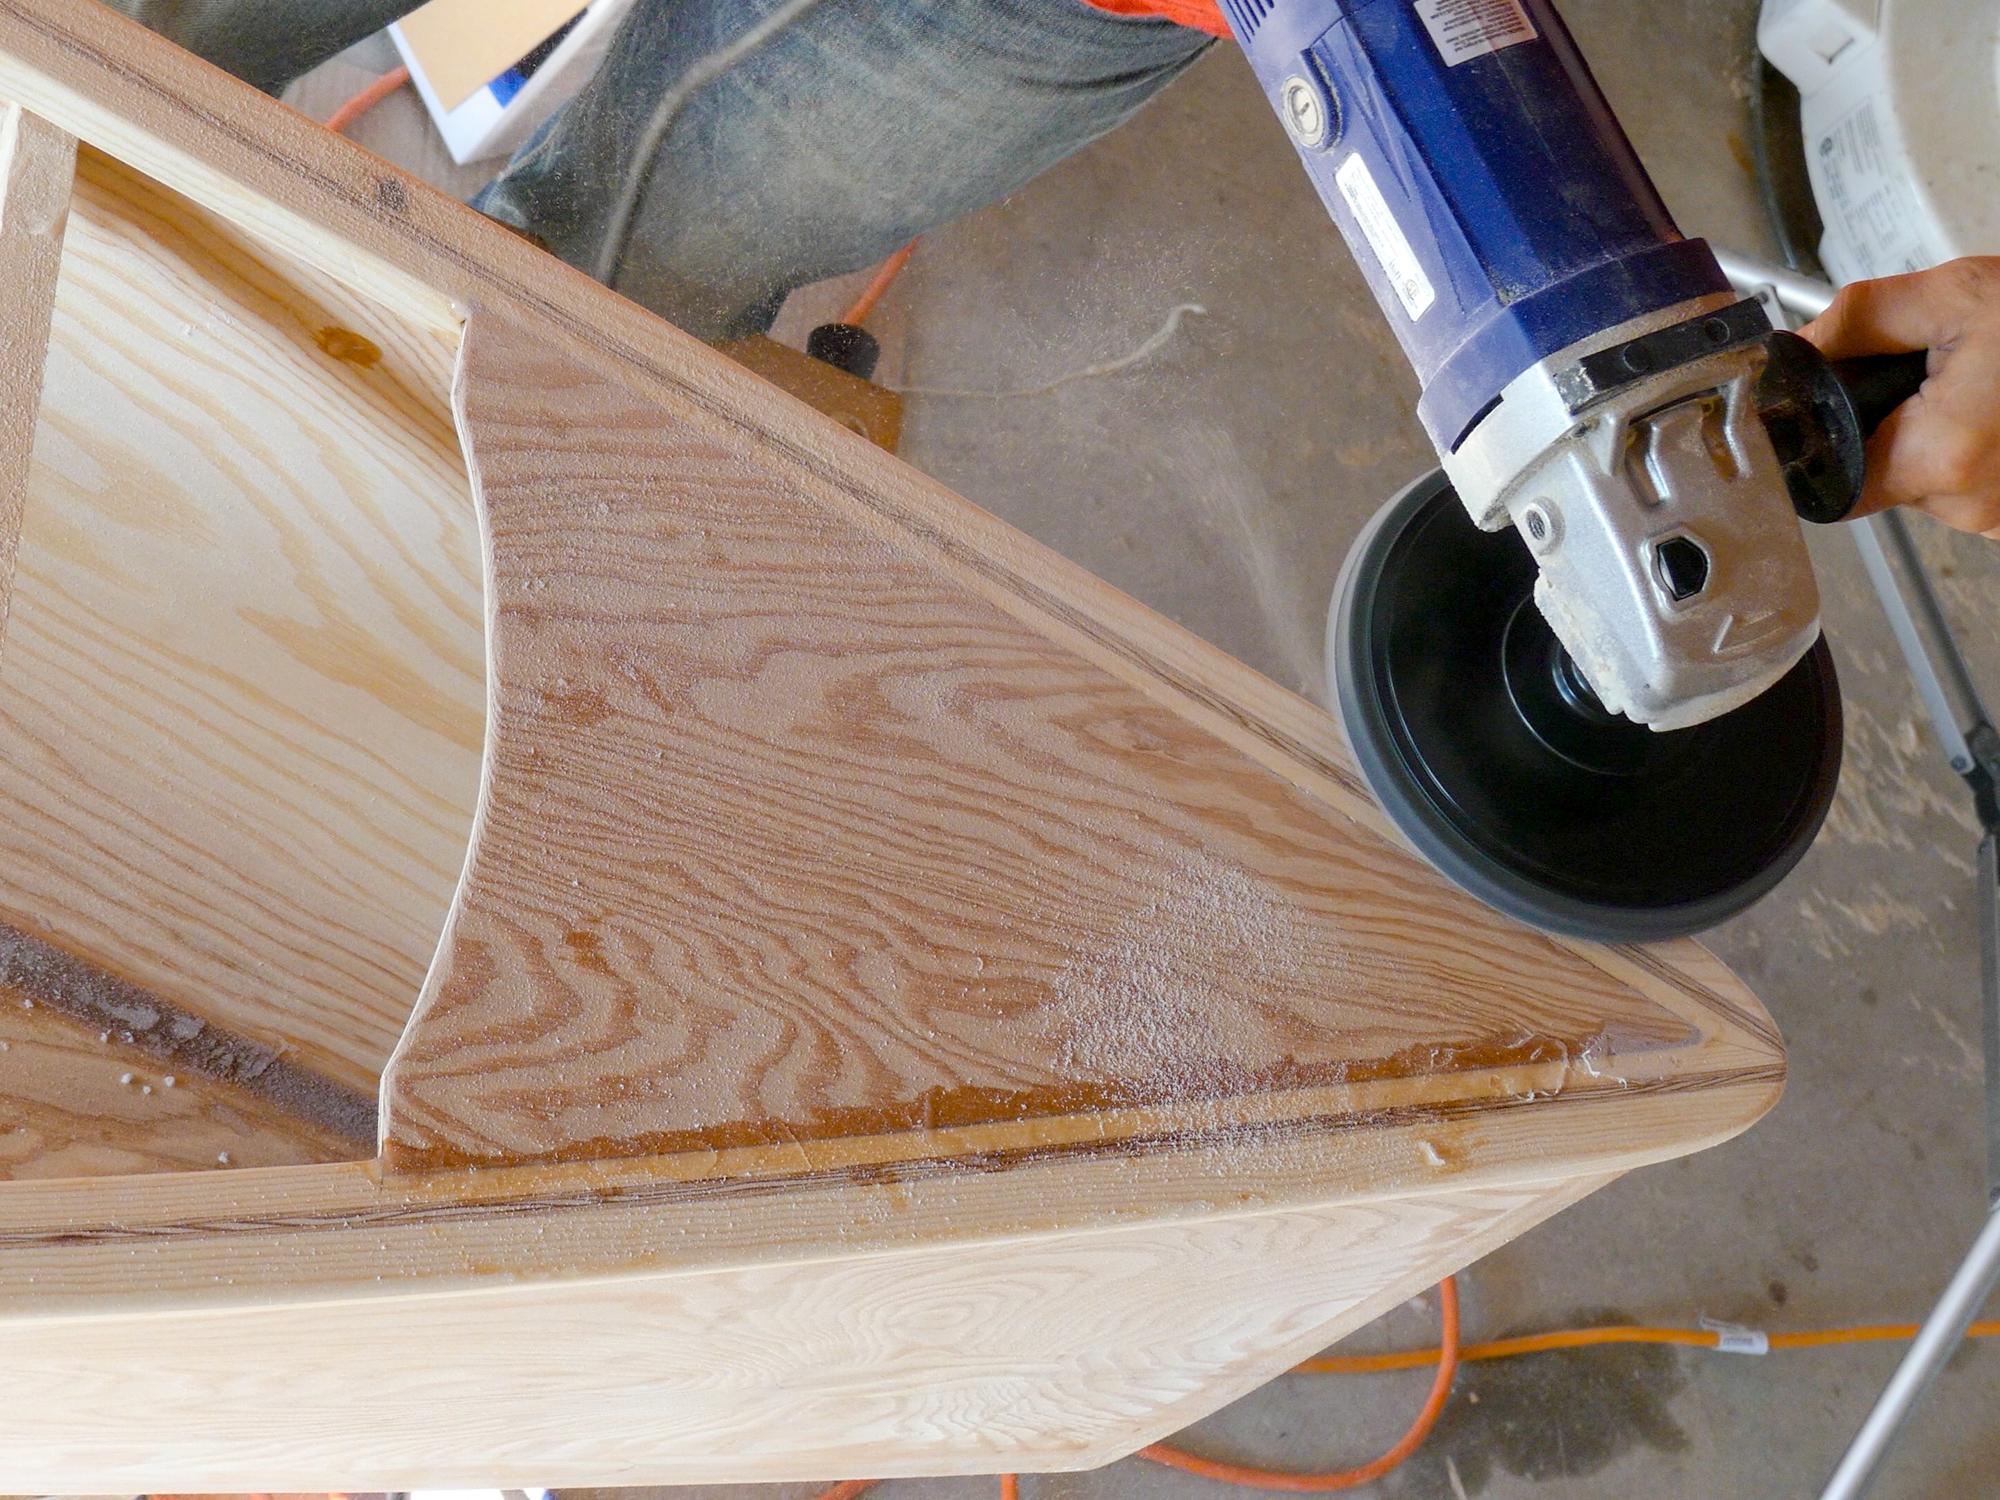
- Once the epoxy cured, I sanded any extra epoxy away.
Filling and Sanding
.jpg)
.jpg)
.jpg)
.jpg)
.jpg)
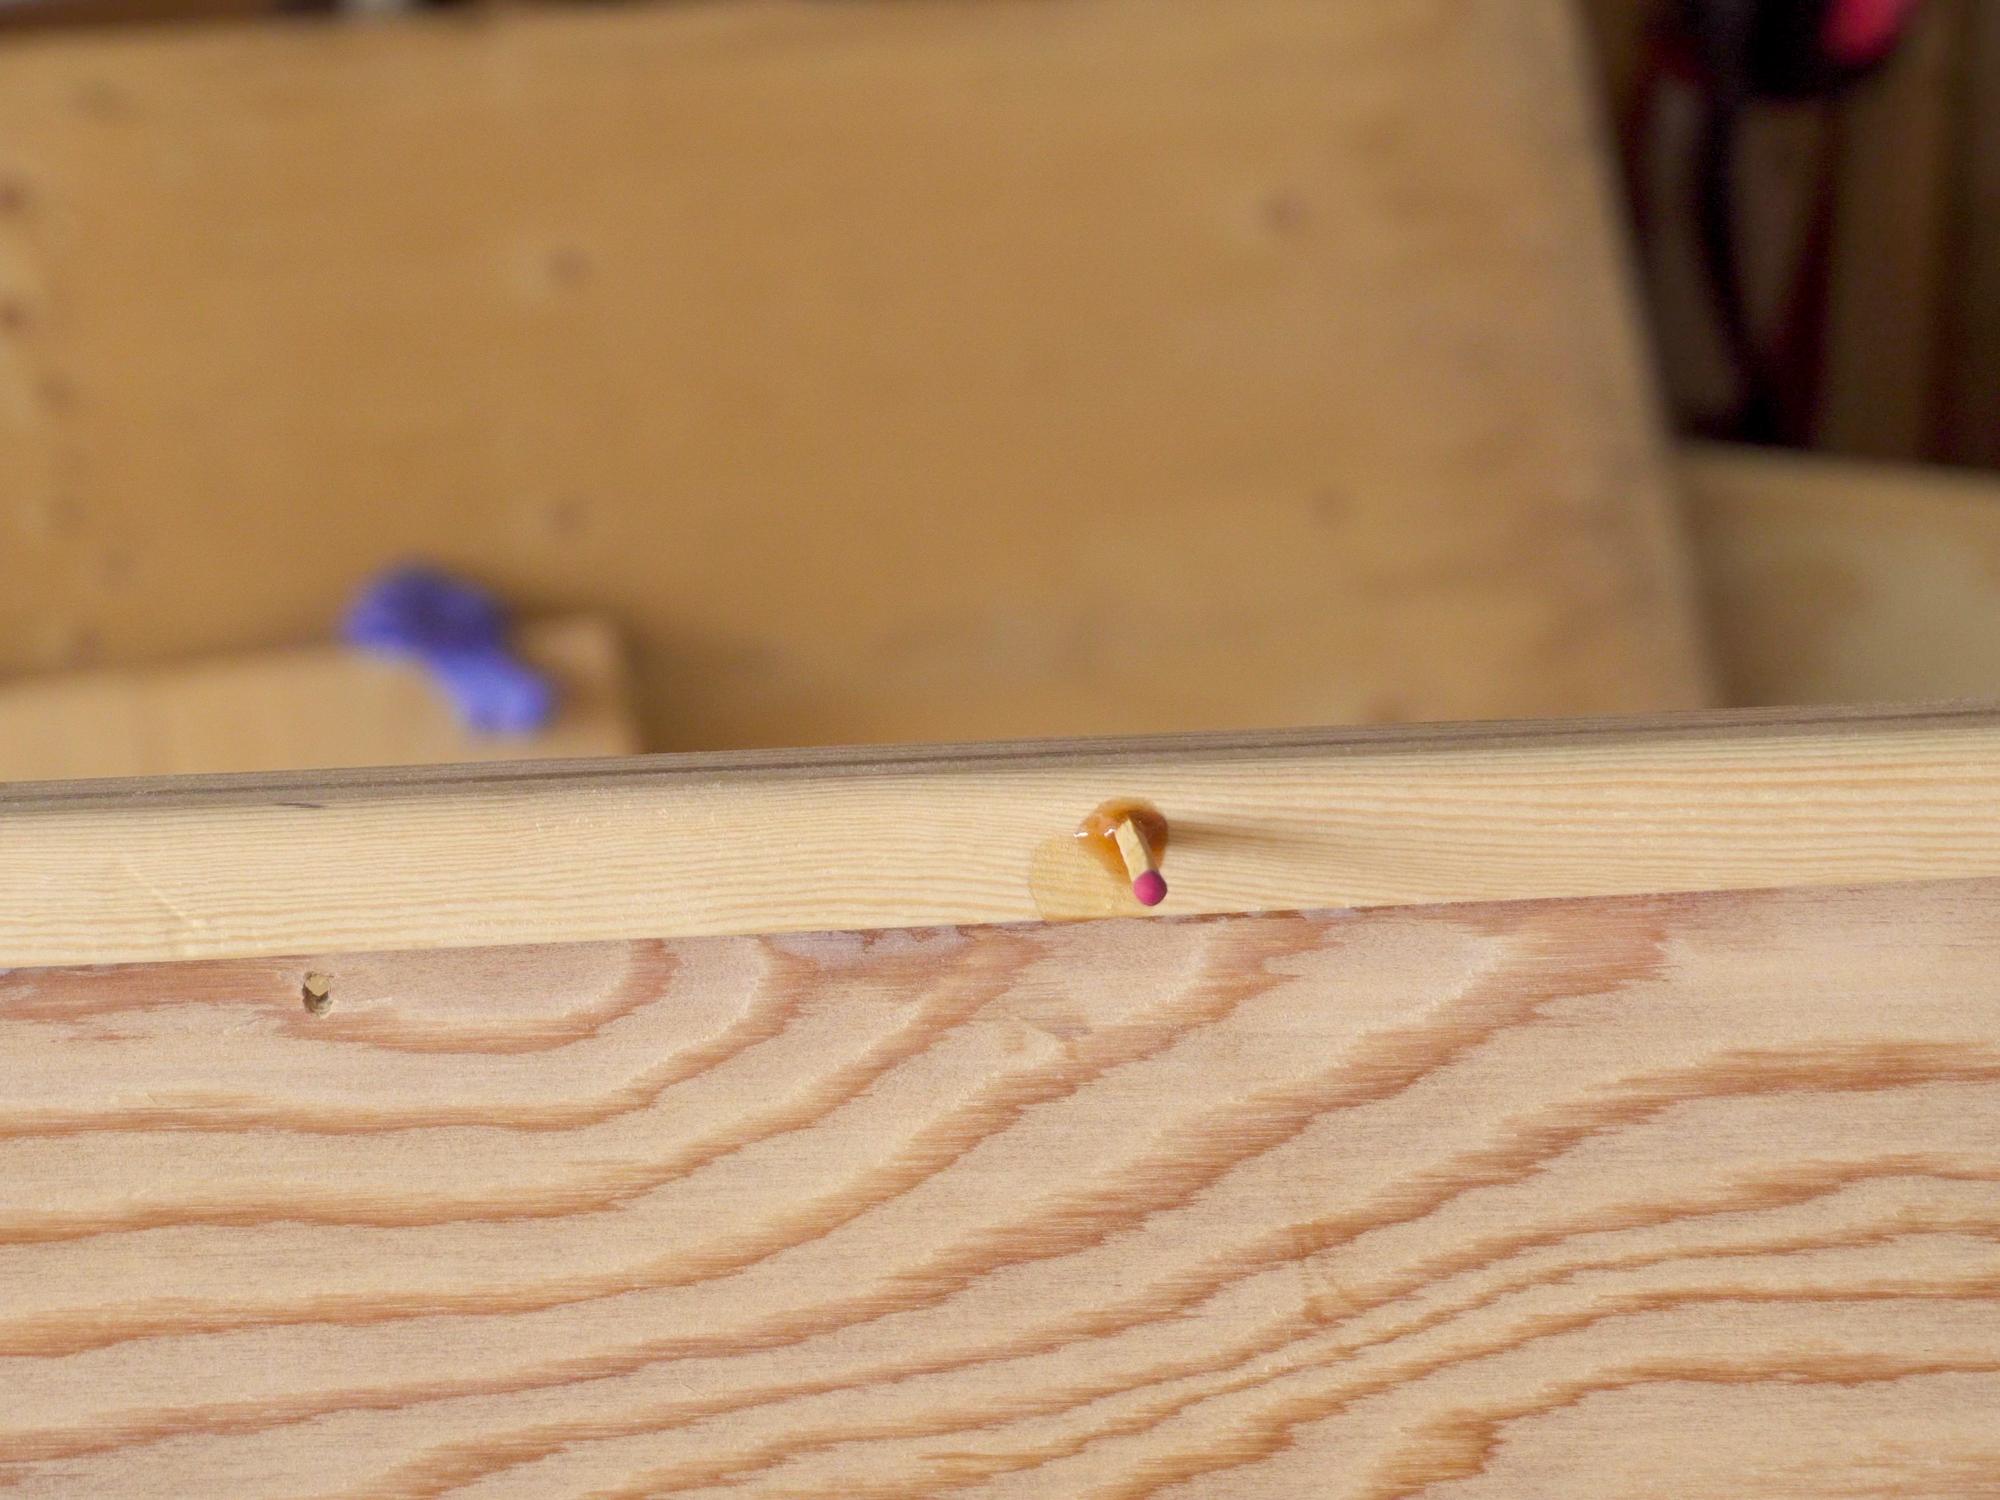
You may have noticed that as I have been making this canoe, I have actually been putting lots of holes in it! Not something you want in a boat.... Happily, that's not too hard to fix, and some epoxy, thickened with wood flour does a great job.
It can be hard to fill a hole with a paste if the hole doesn't go all the way through because air gets trapped in the hole and blocks your best filling attempts. What worked well for me was to use a matchstick. I would dip the end of the matchstick in the epoxy paste and then push as much paste as I could in the hole. I finished off by leaving the matchstick stuck in the hole. Once the epoxy cured, I cut off the matchstick and sanded it flush.
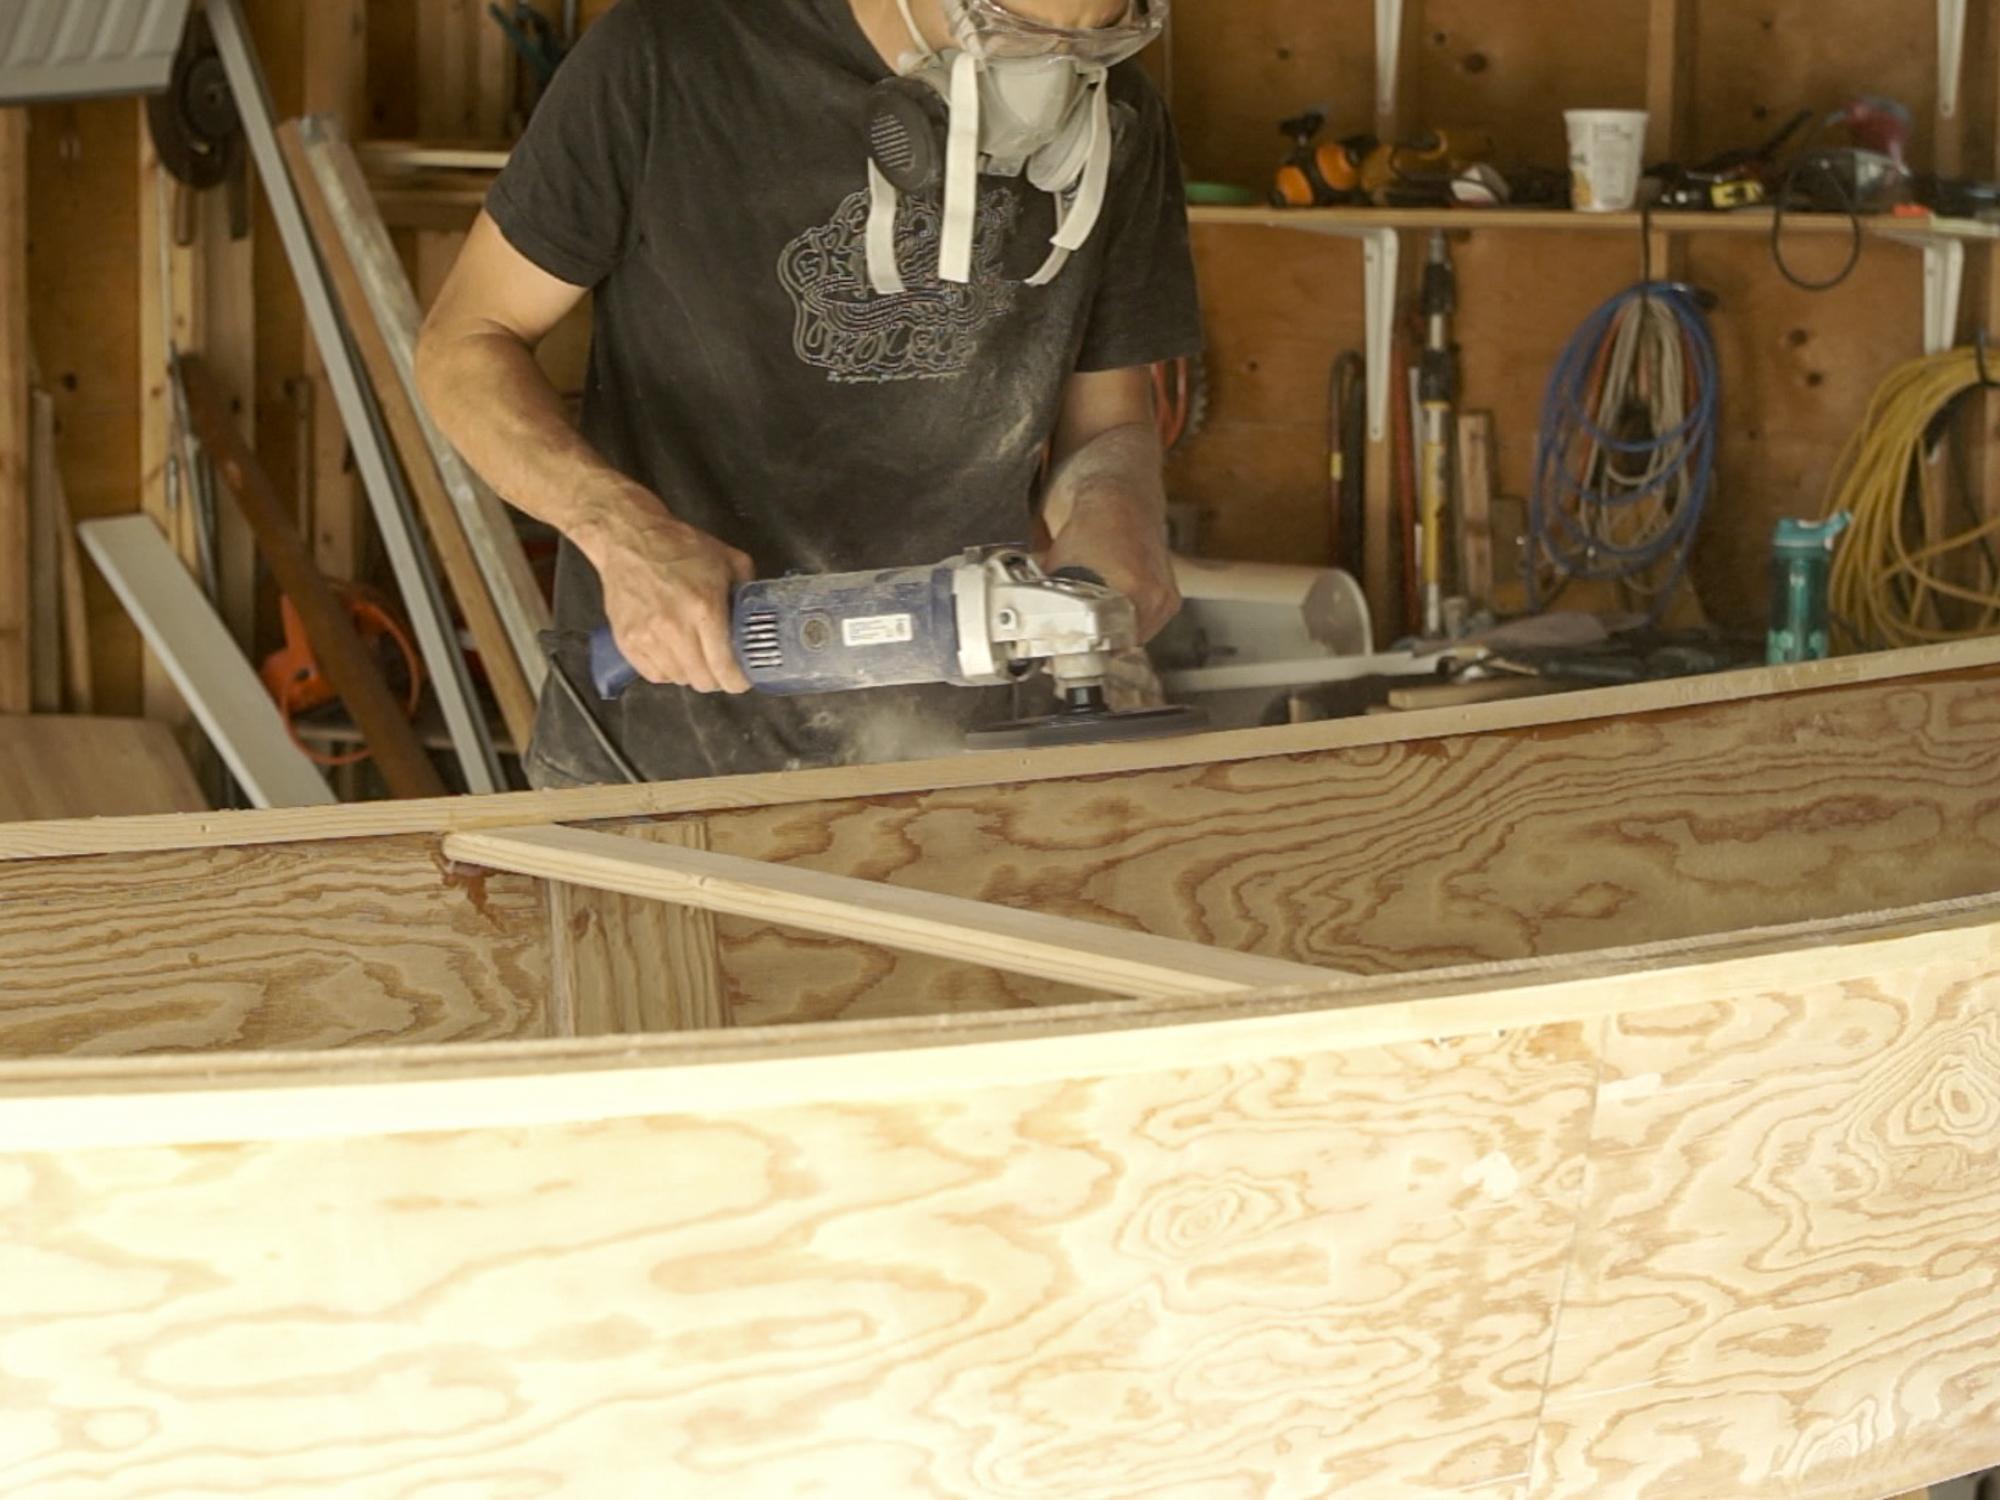
- I used a router to round off the edges of the gunwales.
- I sanded the gunwales until they were nice and smooth.
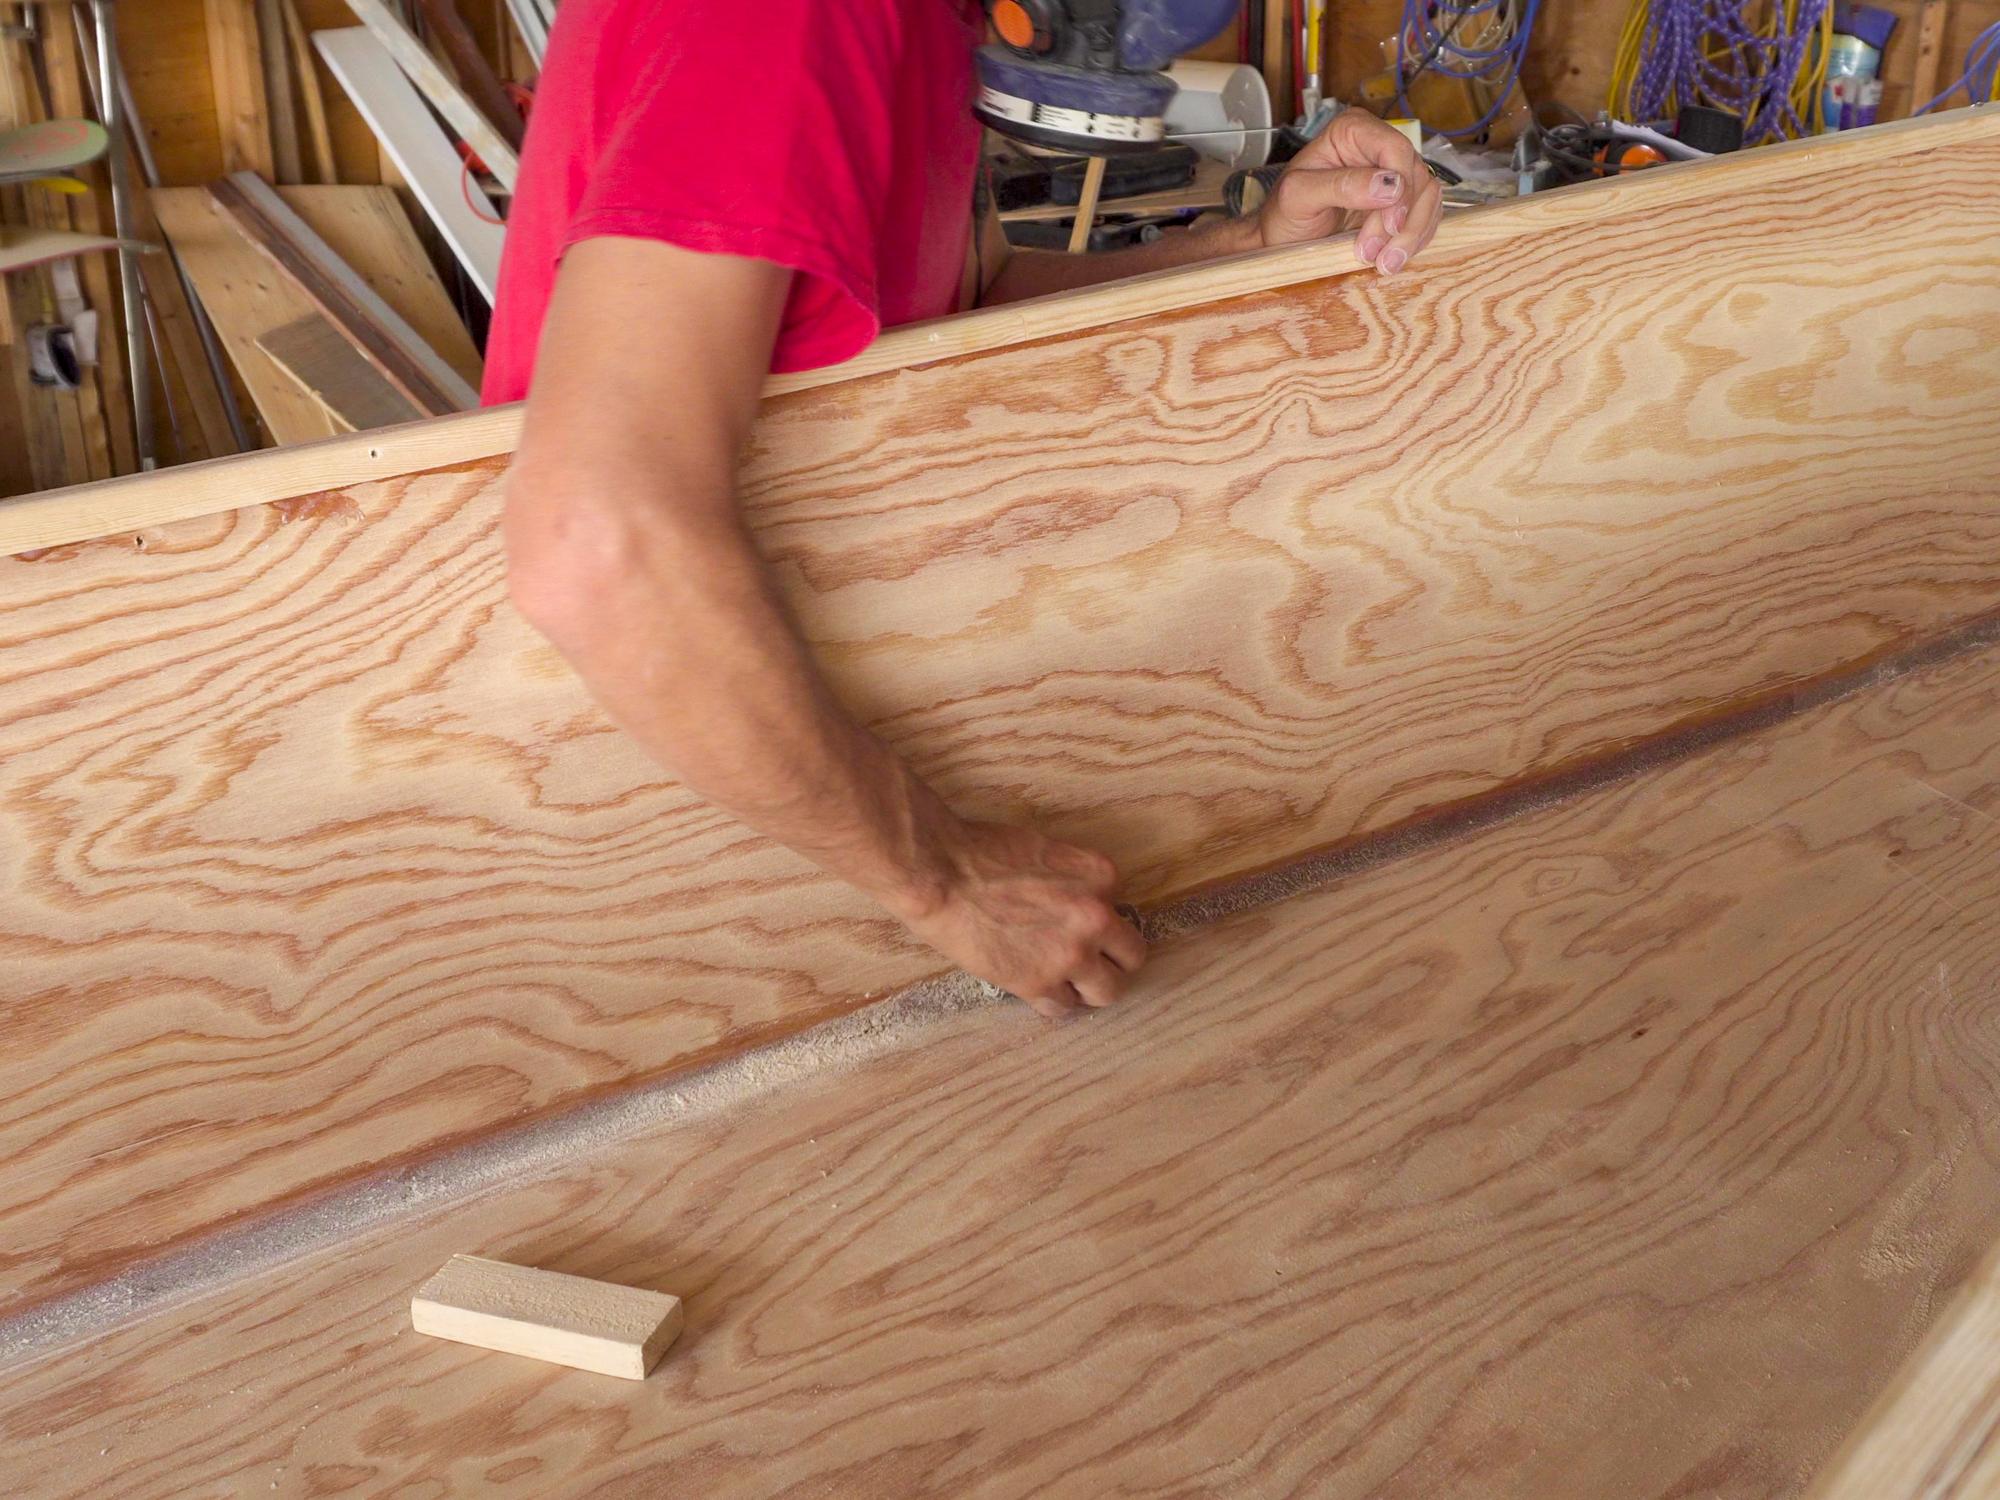
- I sanded the epoxy fillet inside the canoe. I used some coarse sandpaper wrapped around a round dowel to match the concave shape of the fillet.
Epoxy Coating the Canoe
.jpg)
.jpg)
.jpg)
.jpg)
-3.jpg)
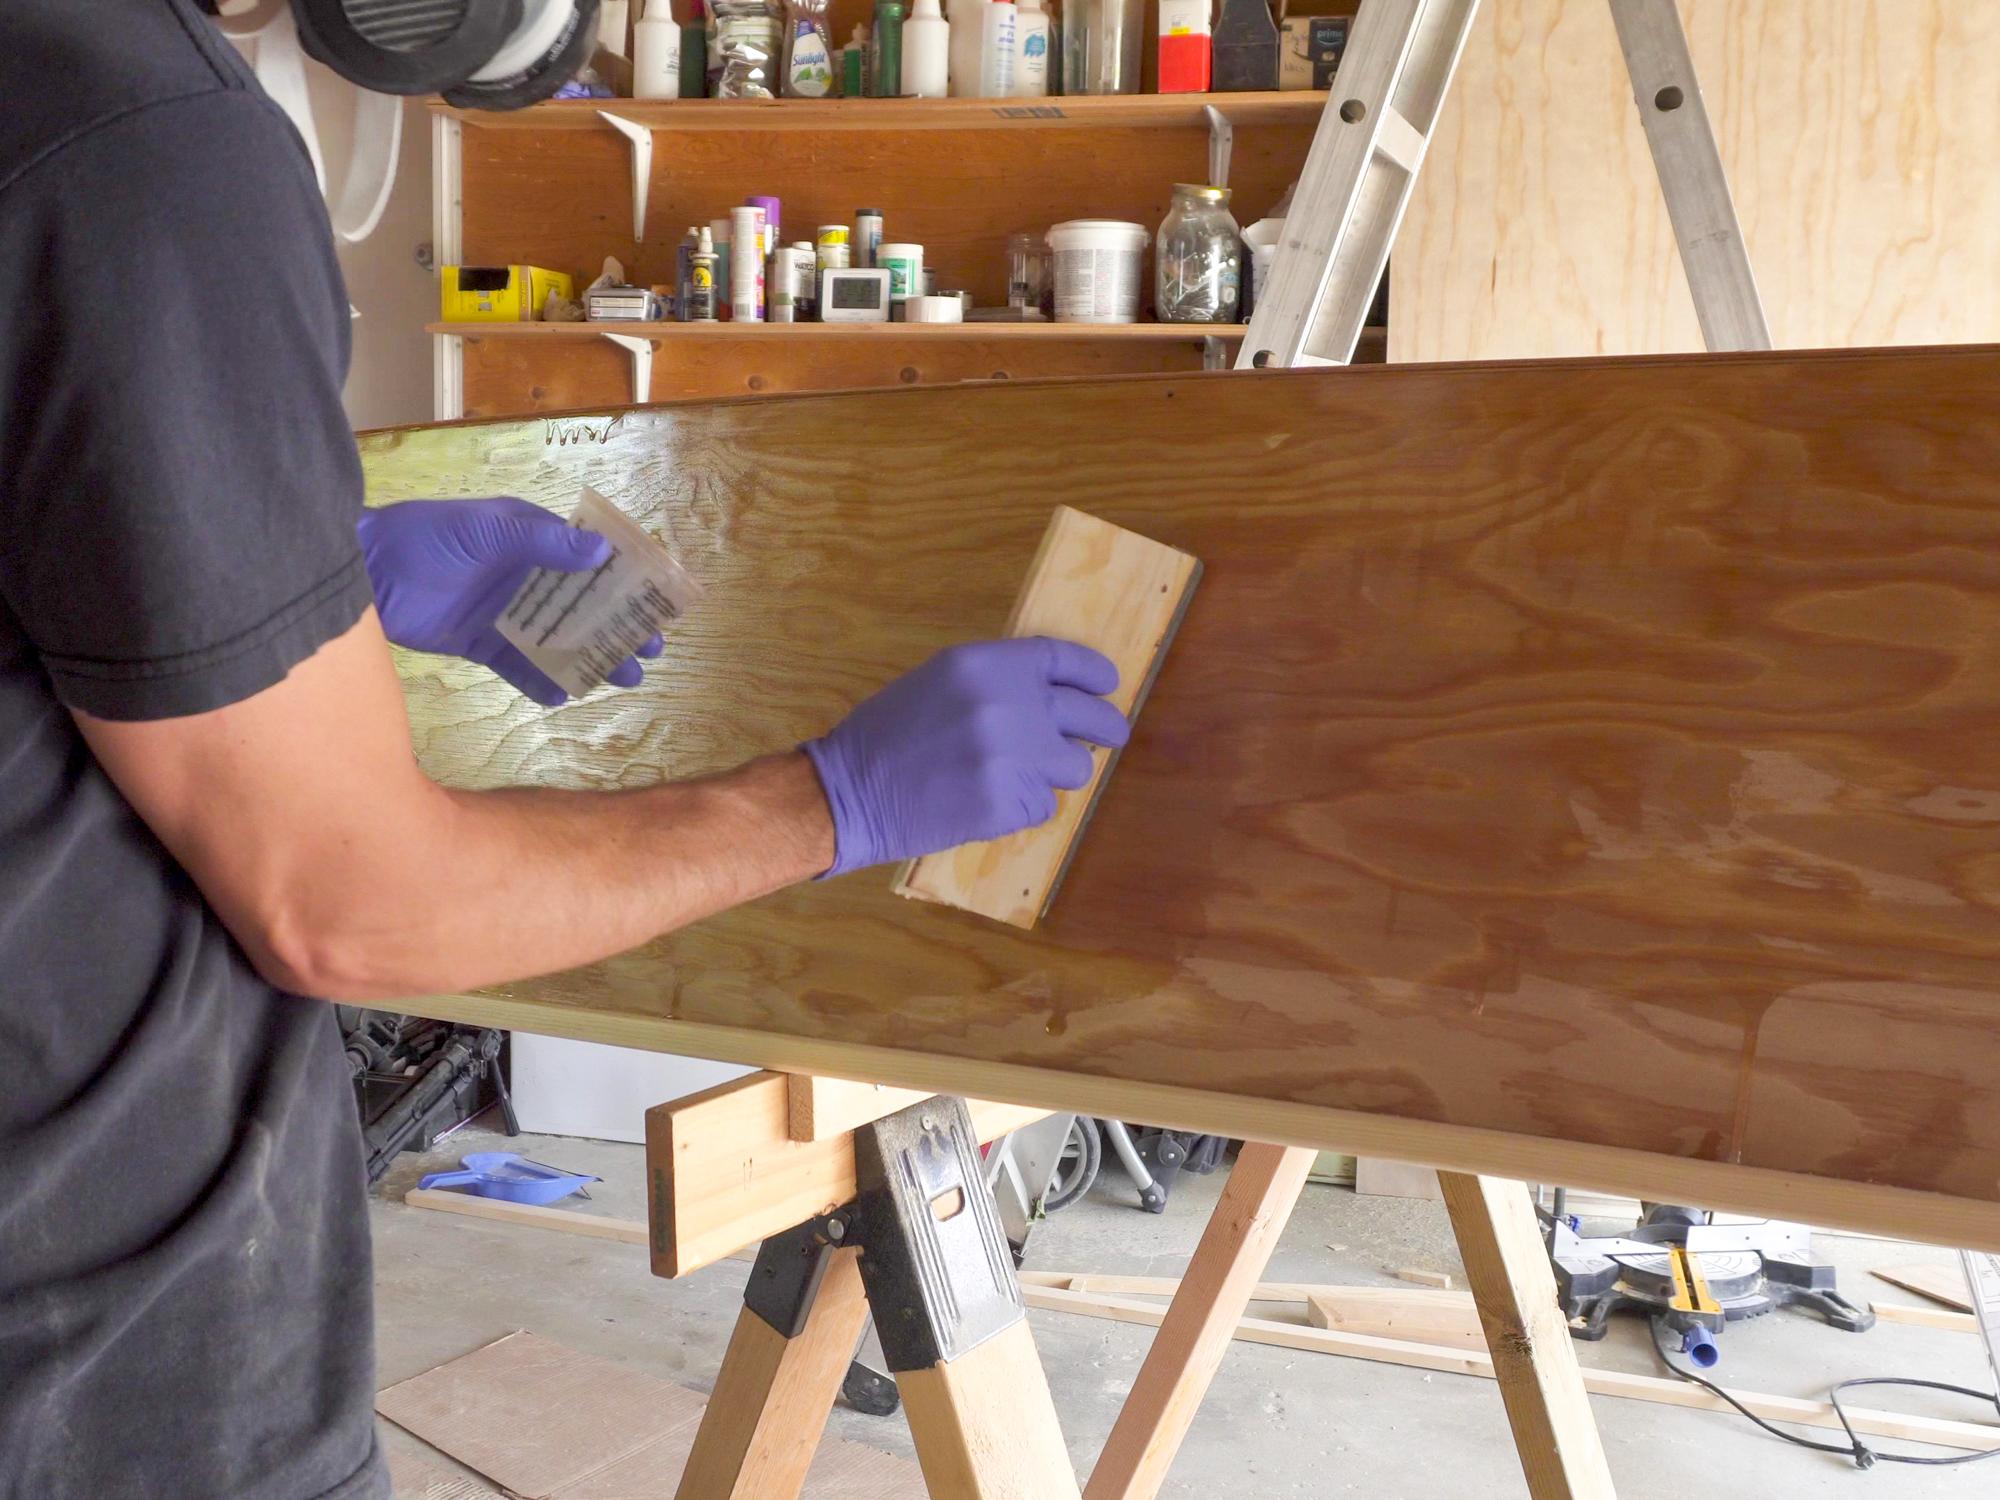
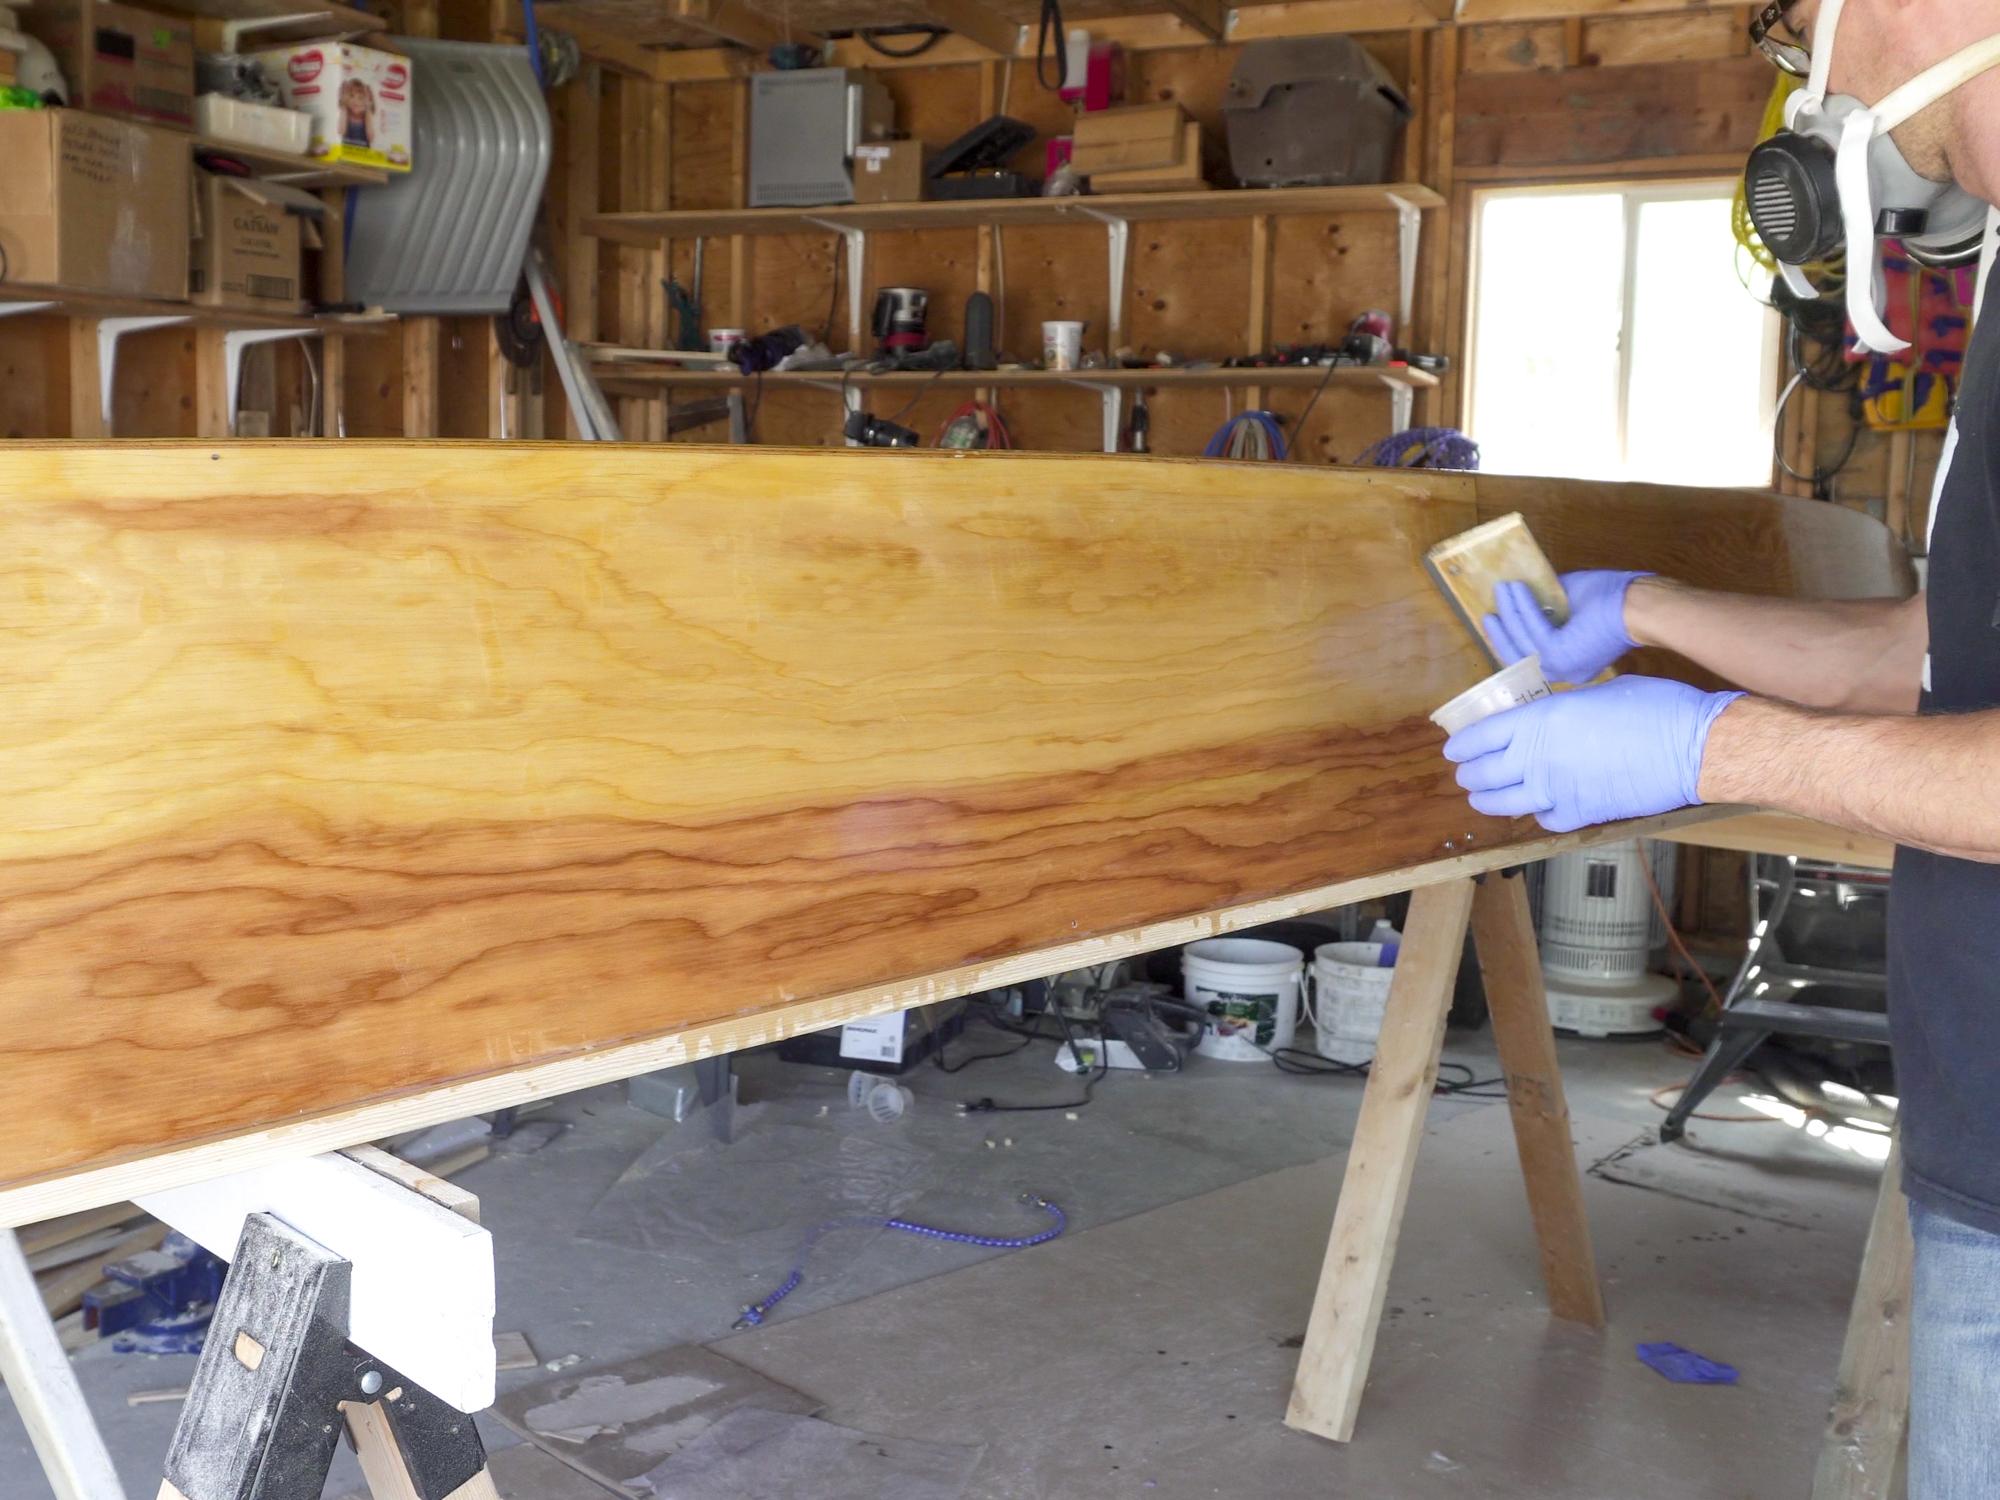
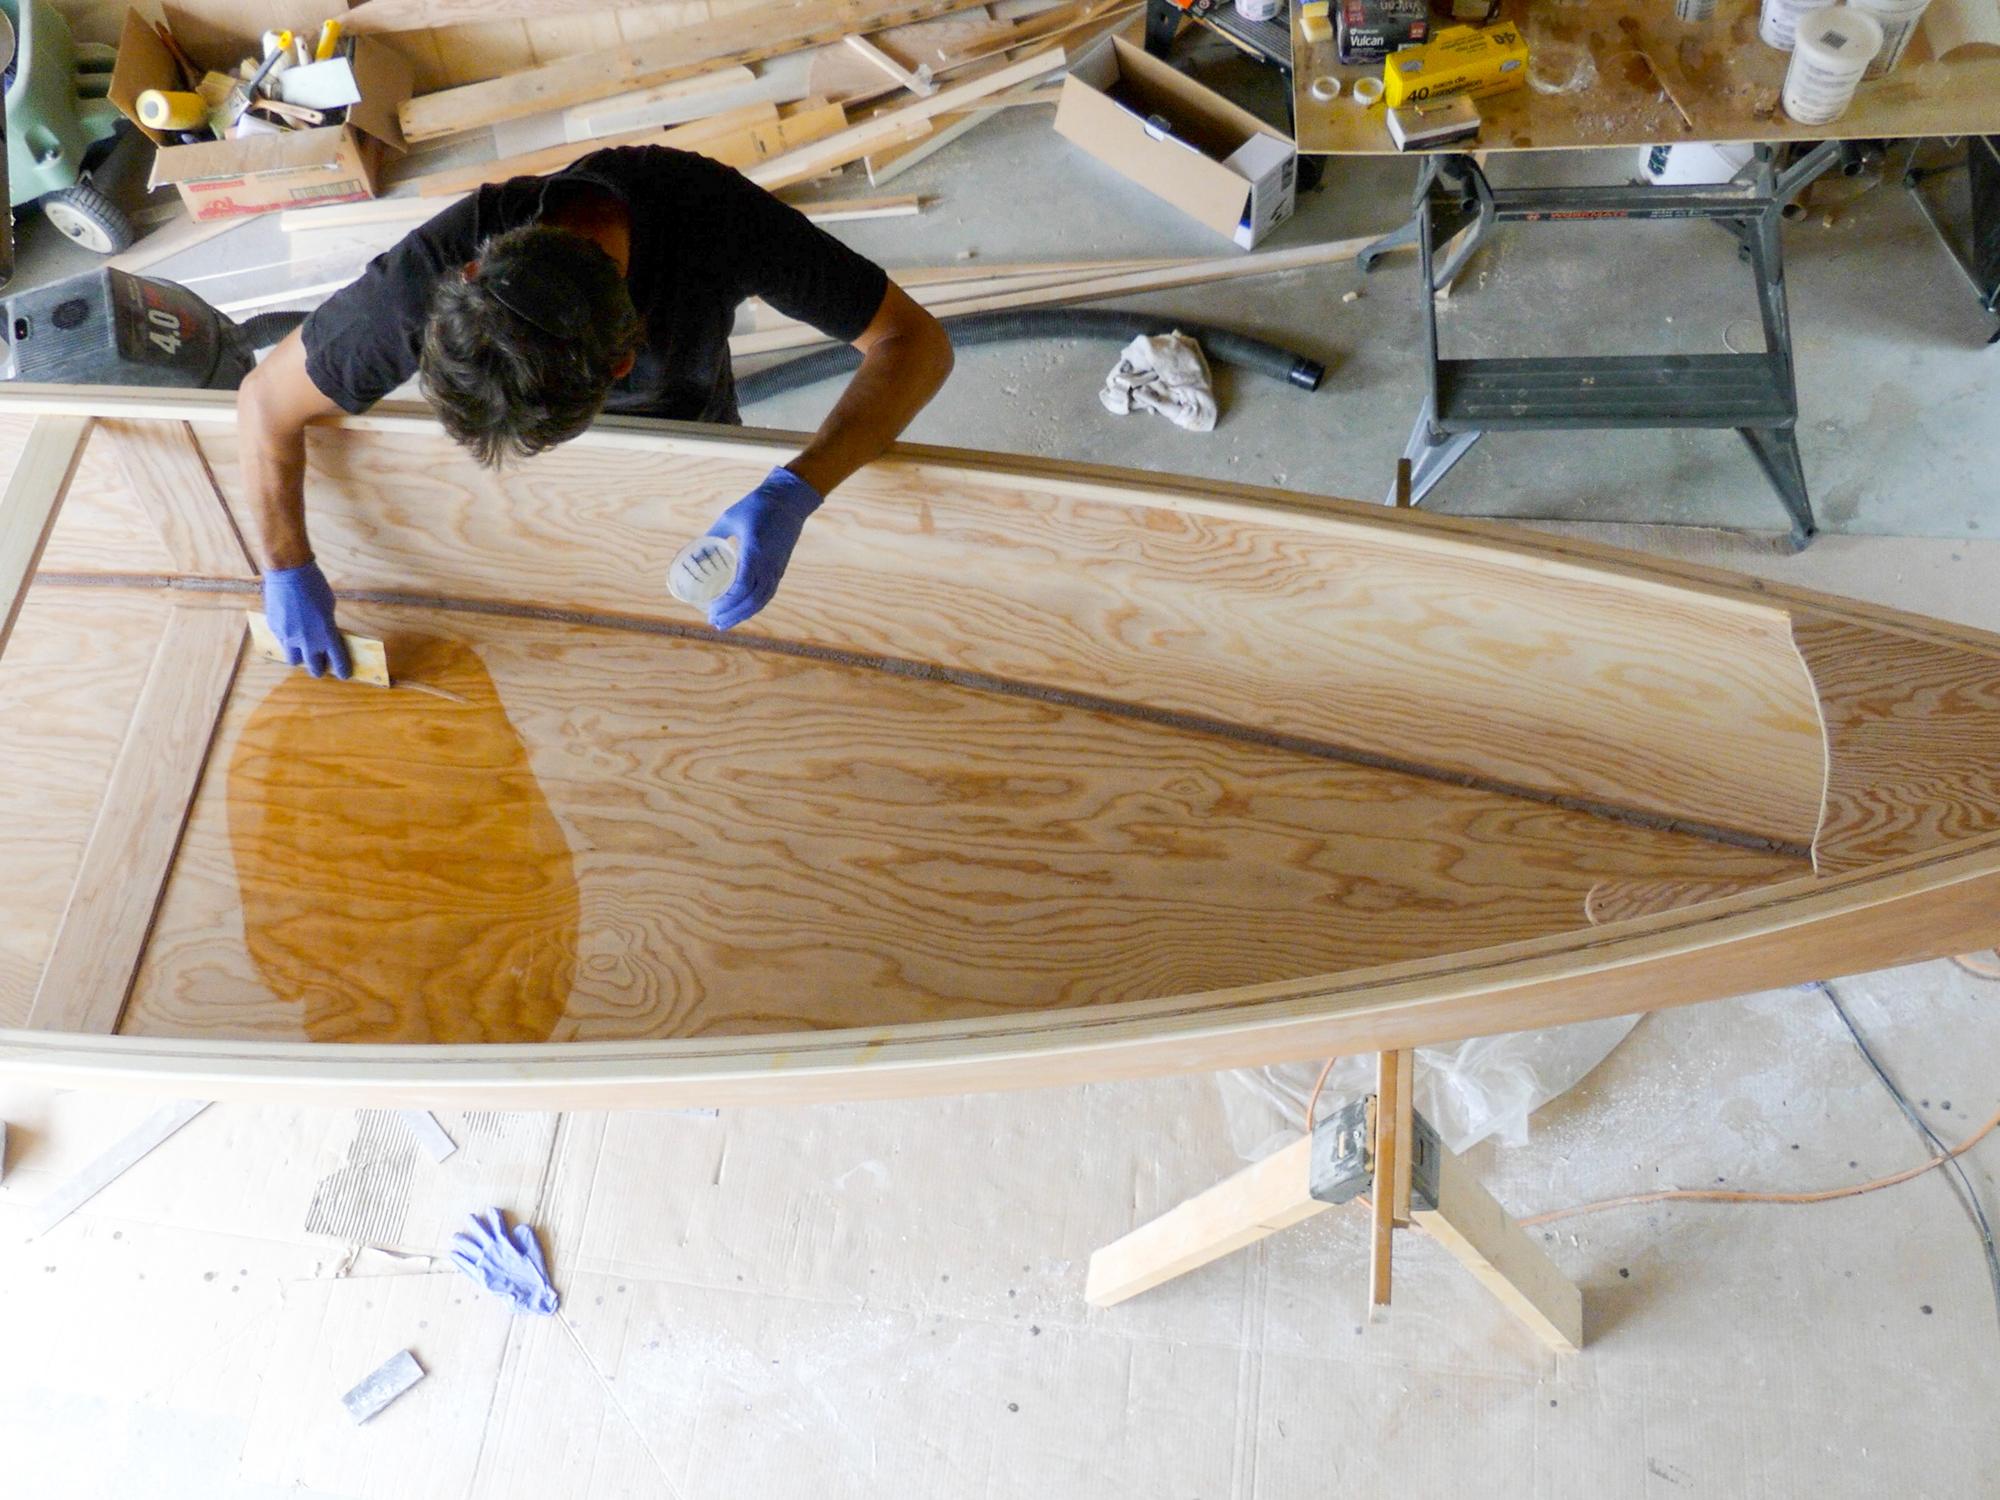
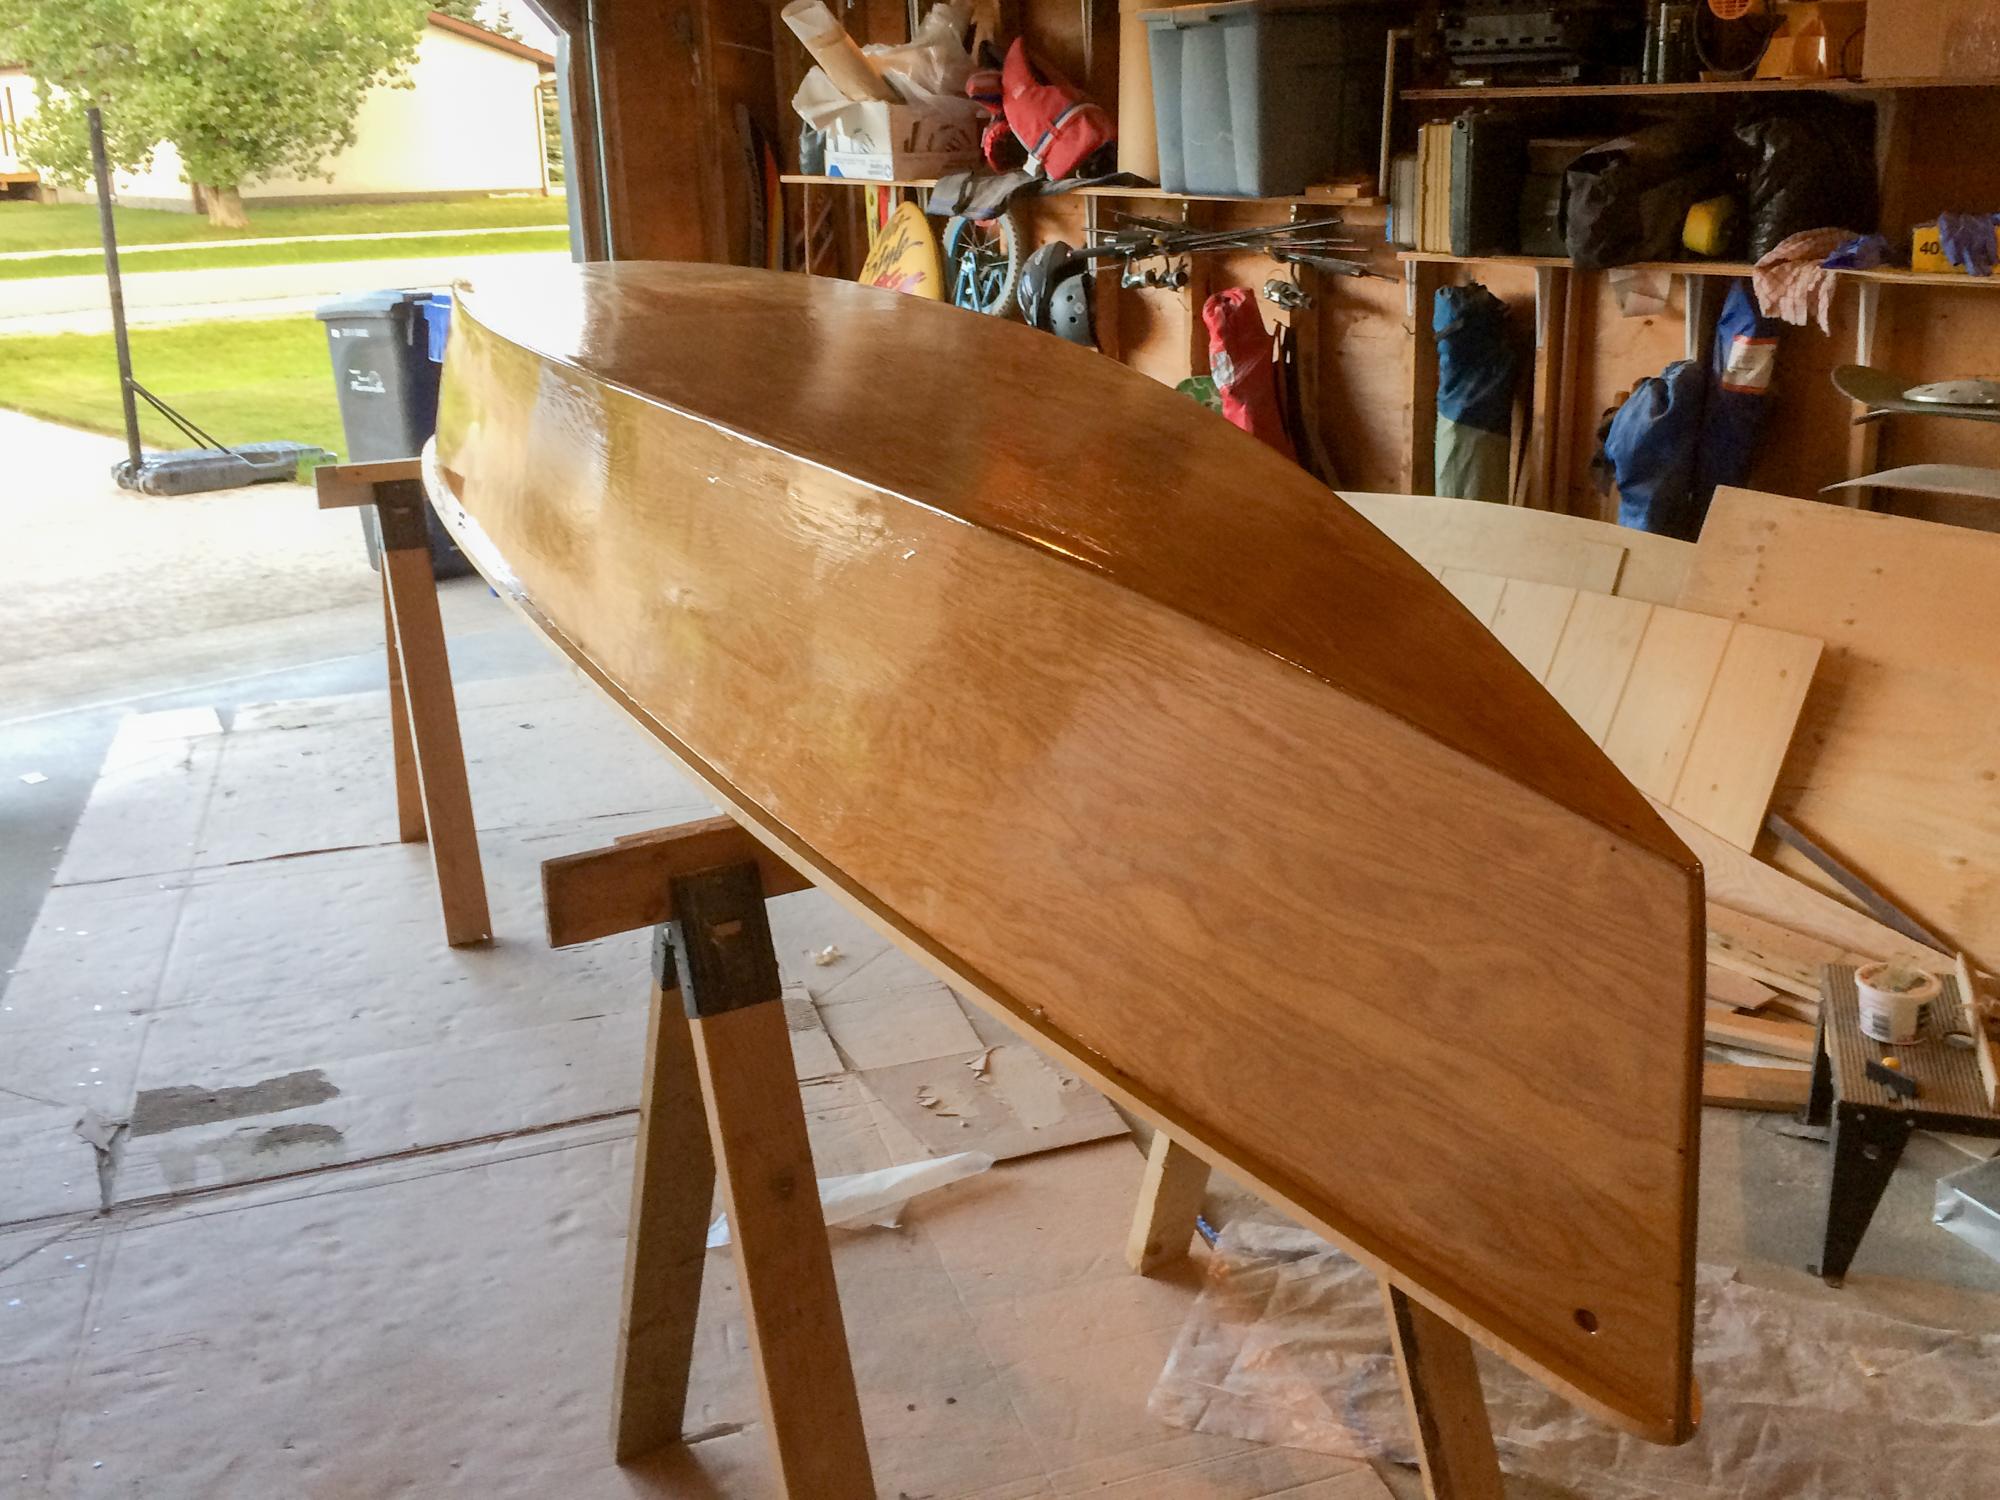
In order to give the canoe a good waterproof coating, I spread a couple of coats of epoxy on it, both on the outside and inside.
I mixed up a batch of epoxy and spread it as thinly as I could all over the bottom and sides of the canoe, using a squeegee. (make sure you have something down to protect your floor)
I waited until that layer was cured to the point of being tacky and then gave it another coat of epoxy using the same method.
I did this on the inside as well. Shiney!
....but not for long
Sand Away That Shine.......
.jpg)
.jpg)
.jpg)
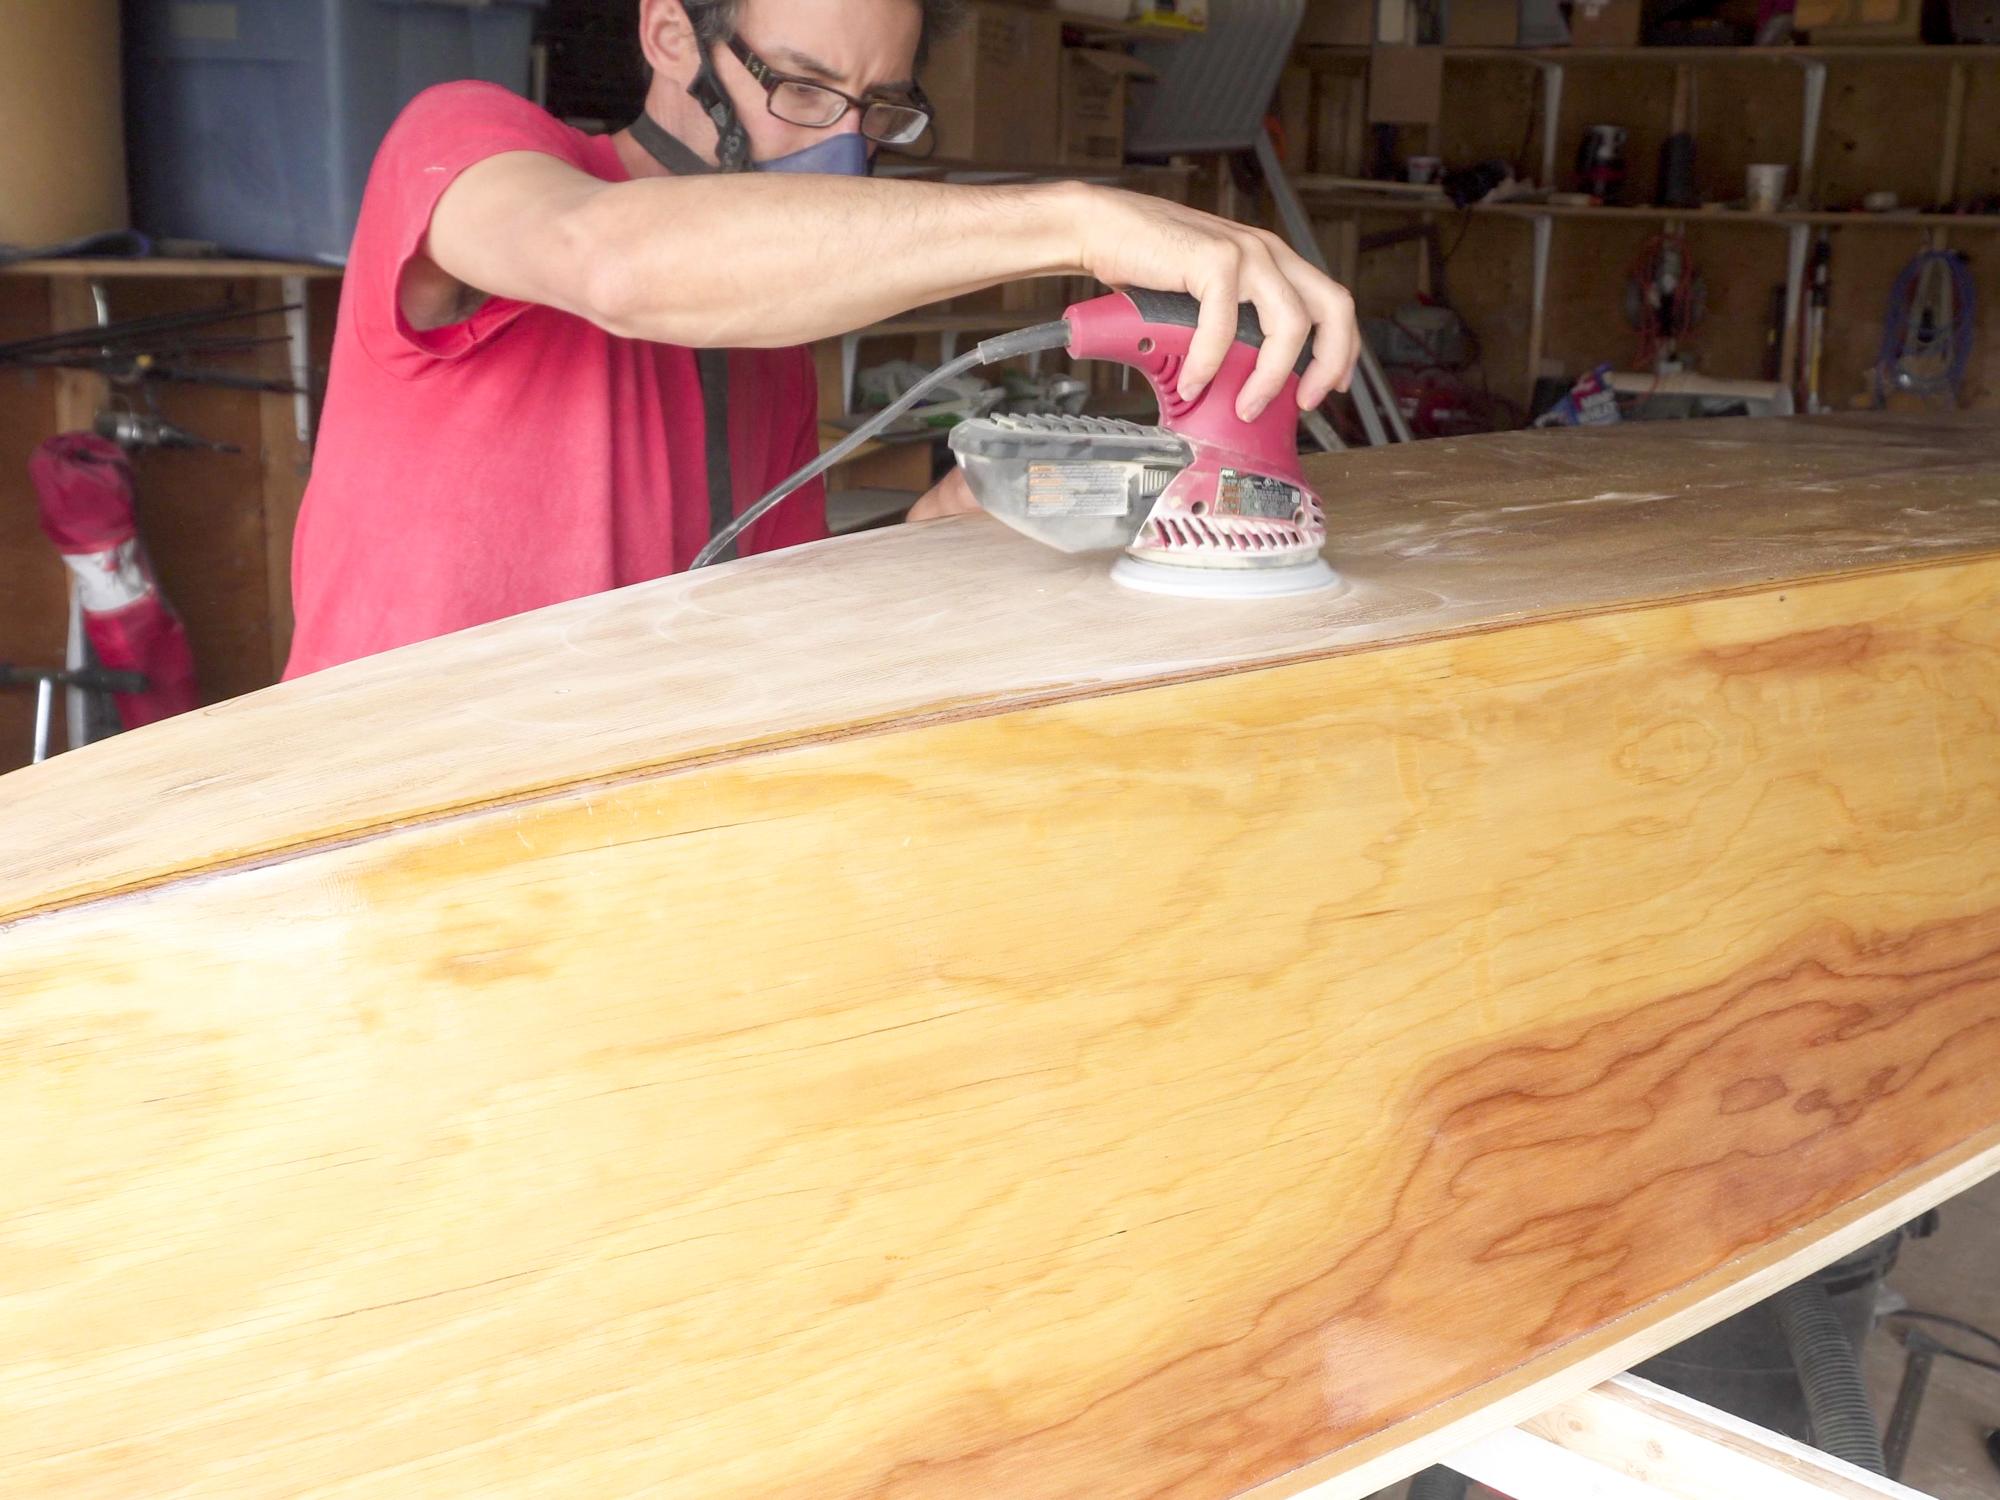
Okay, this is the sad part, as well as the time-consuming part. The epoxy I used is not UV stable, so if I leave it exposed to the sun for too long, it will start to degrade. After all this work, I definitely didn't want that, but in order for paint to stick to the epoxy, it needs to be sanded......Yay.....
I used a combination of random orbital sander and hand sanding. I got it as smooth as possible without sanding all the way through my precious epoxy.
The Keel
.jpg)
.jpg)
.jpg)
.jpg)
.jpg)
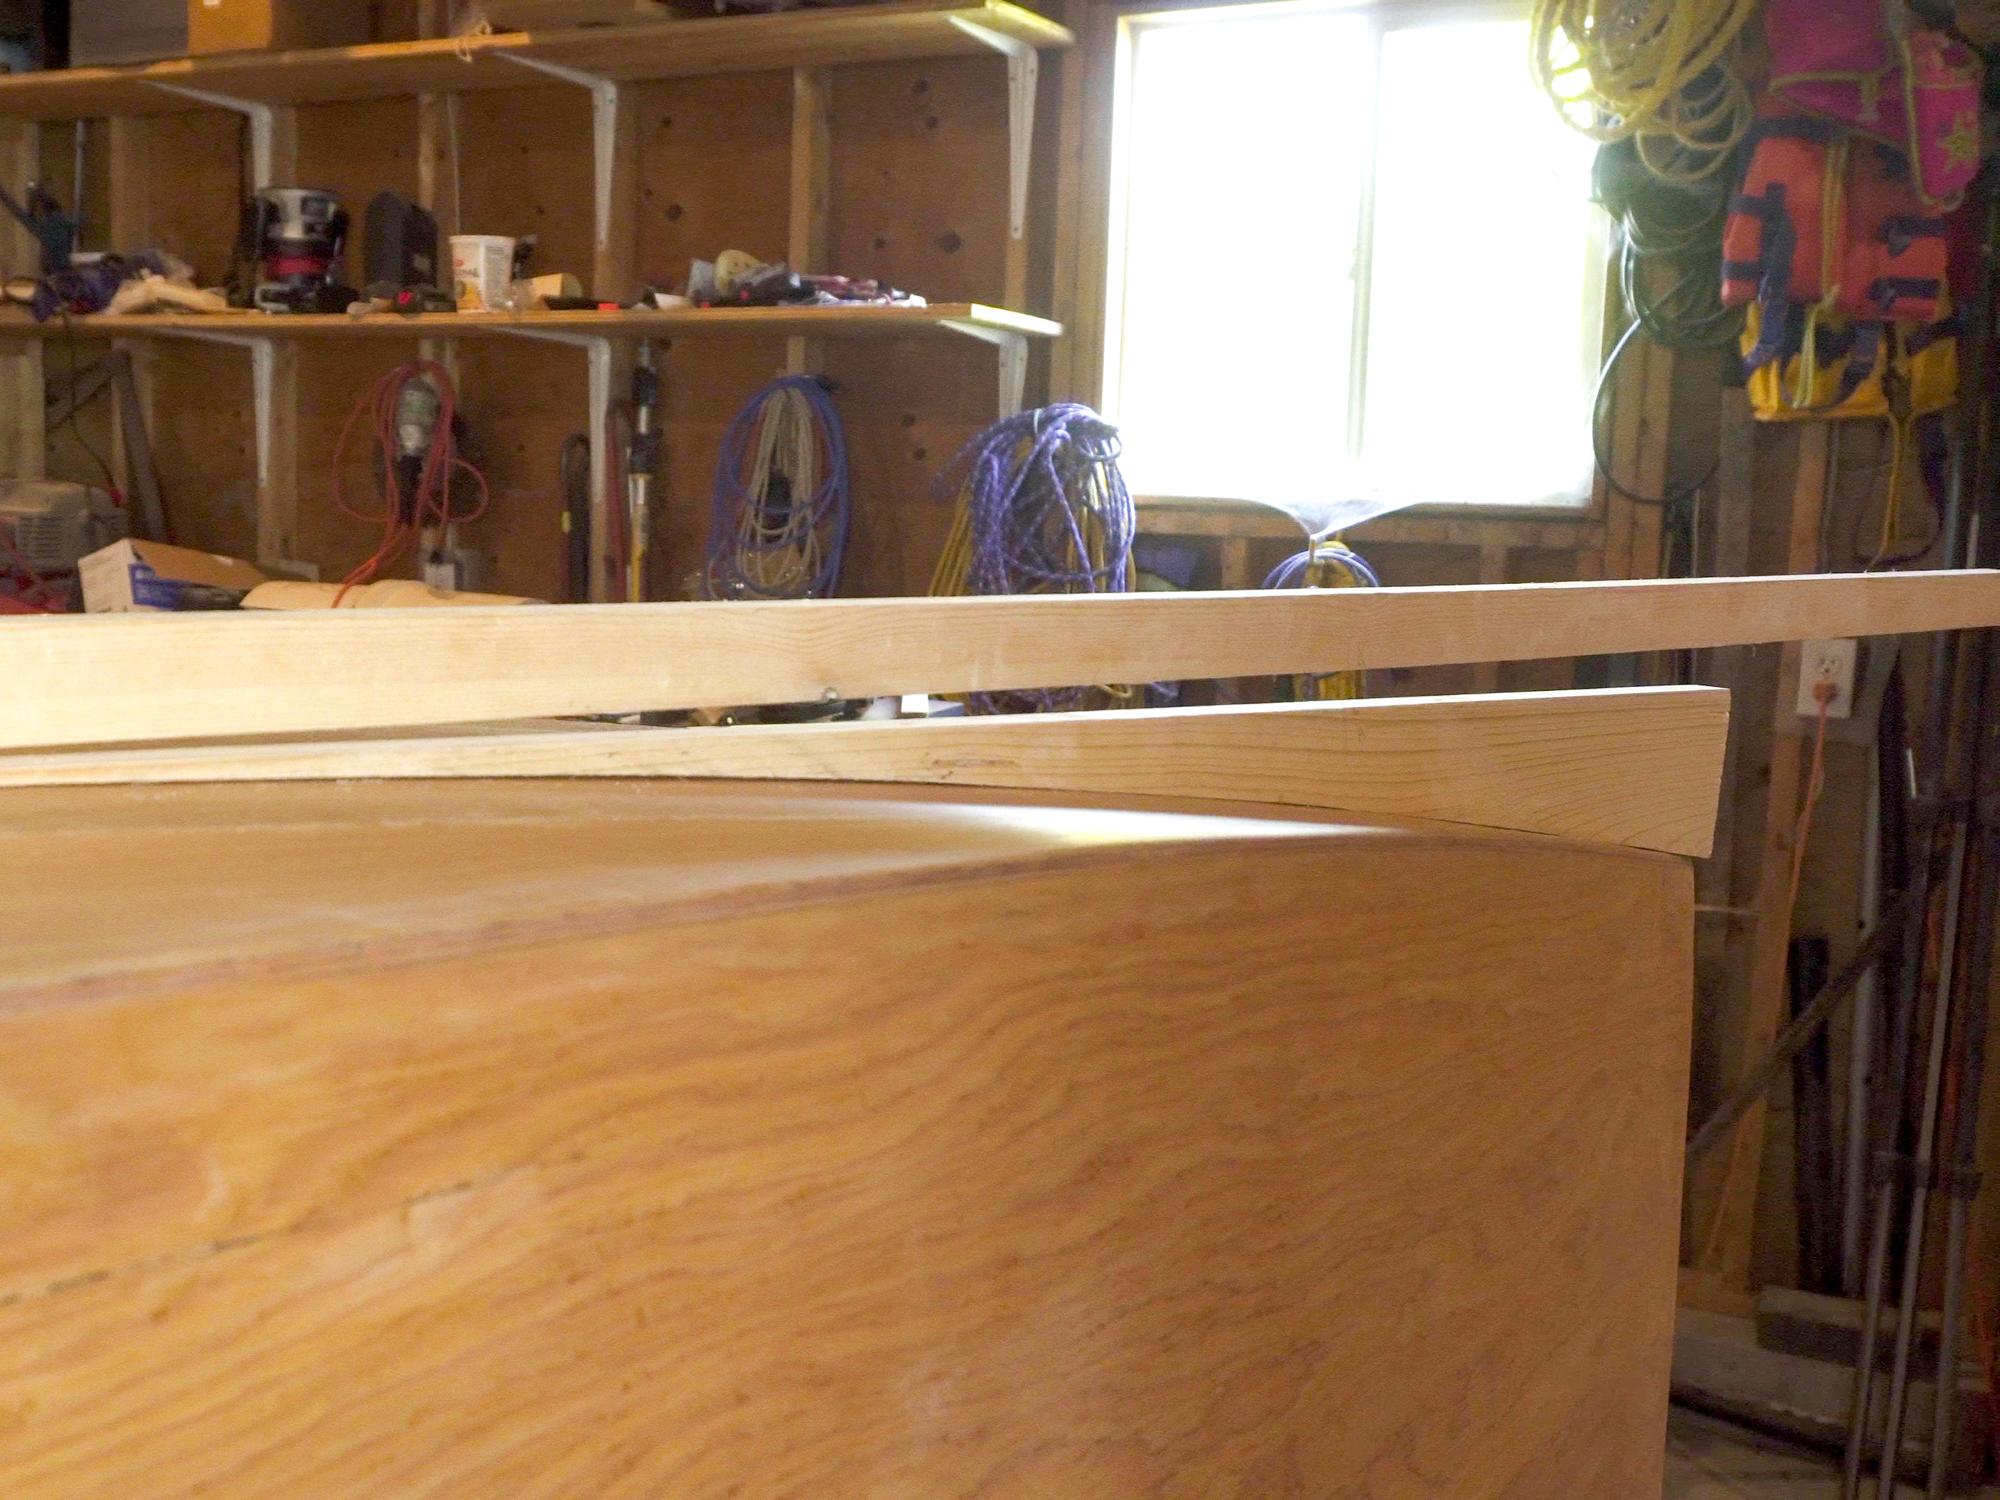
A standard canoe creates it's own keel effect by the way the front and back cut into the water. If I just left the bottom flat, it would spin on a dime and be very hard to paddle in a straight line efficiently. That's why it needs a keel. The keel will also serve to protect the bottom of the canoe from bumps and things.
The keel is made of 3 pieces. One triangularish shaped piece on each end that has one side cut to fit the contours of the bottom of the canoe, and then one long strip that stacks on top of the other two and stretches the entire length of the boat.
- I cut the two end pieces from my 1x 4, following the measurements on the pattern. That got me close, but I still needed to do a fair bit of sanding to get a really nice flush fit against the bottom of the canoe.
- Once I had a decent fit with the end pieces, I glued the long keel strip to the two ends to make the complete keel.
- I glued this to the bottom of the canoe, screwing it in from underneath through the holes I drilled way back in the beginning.
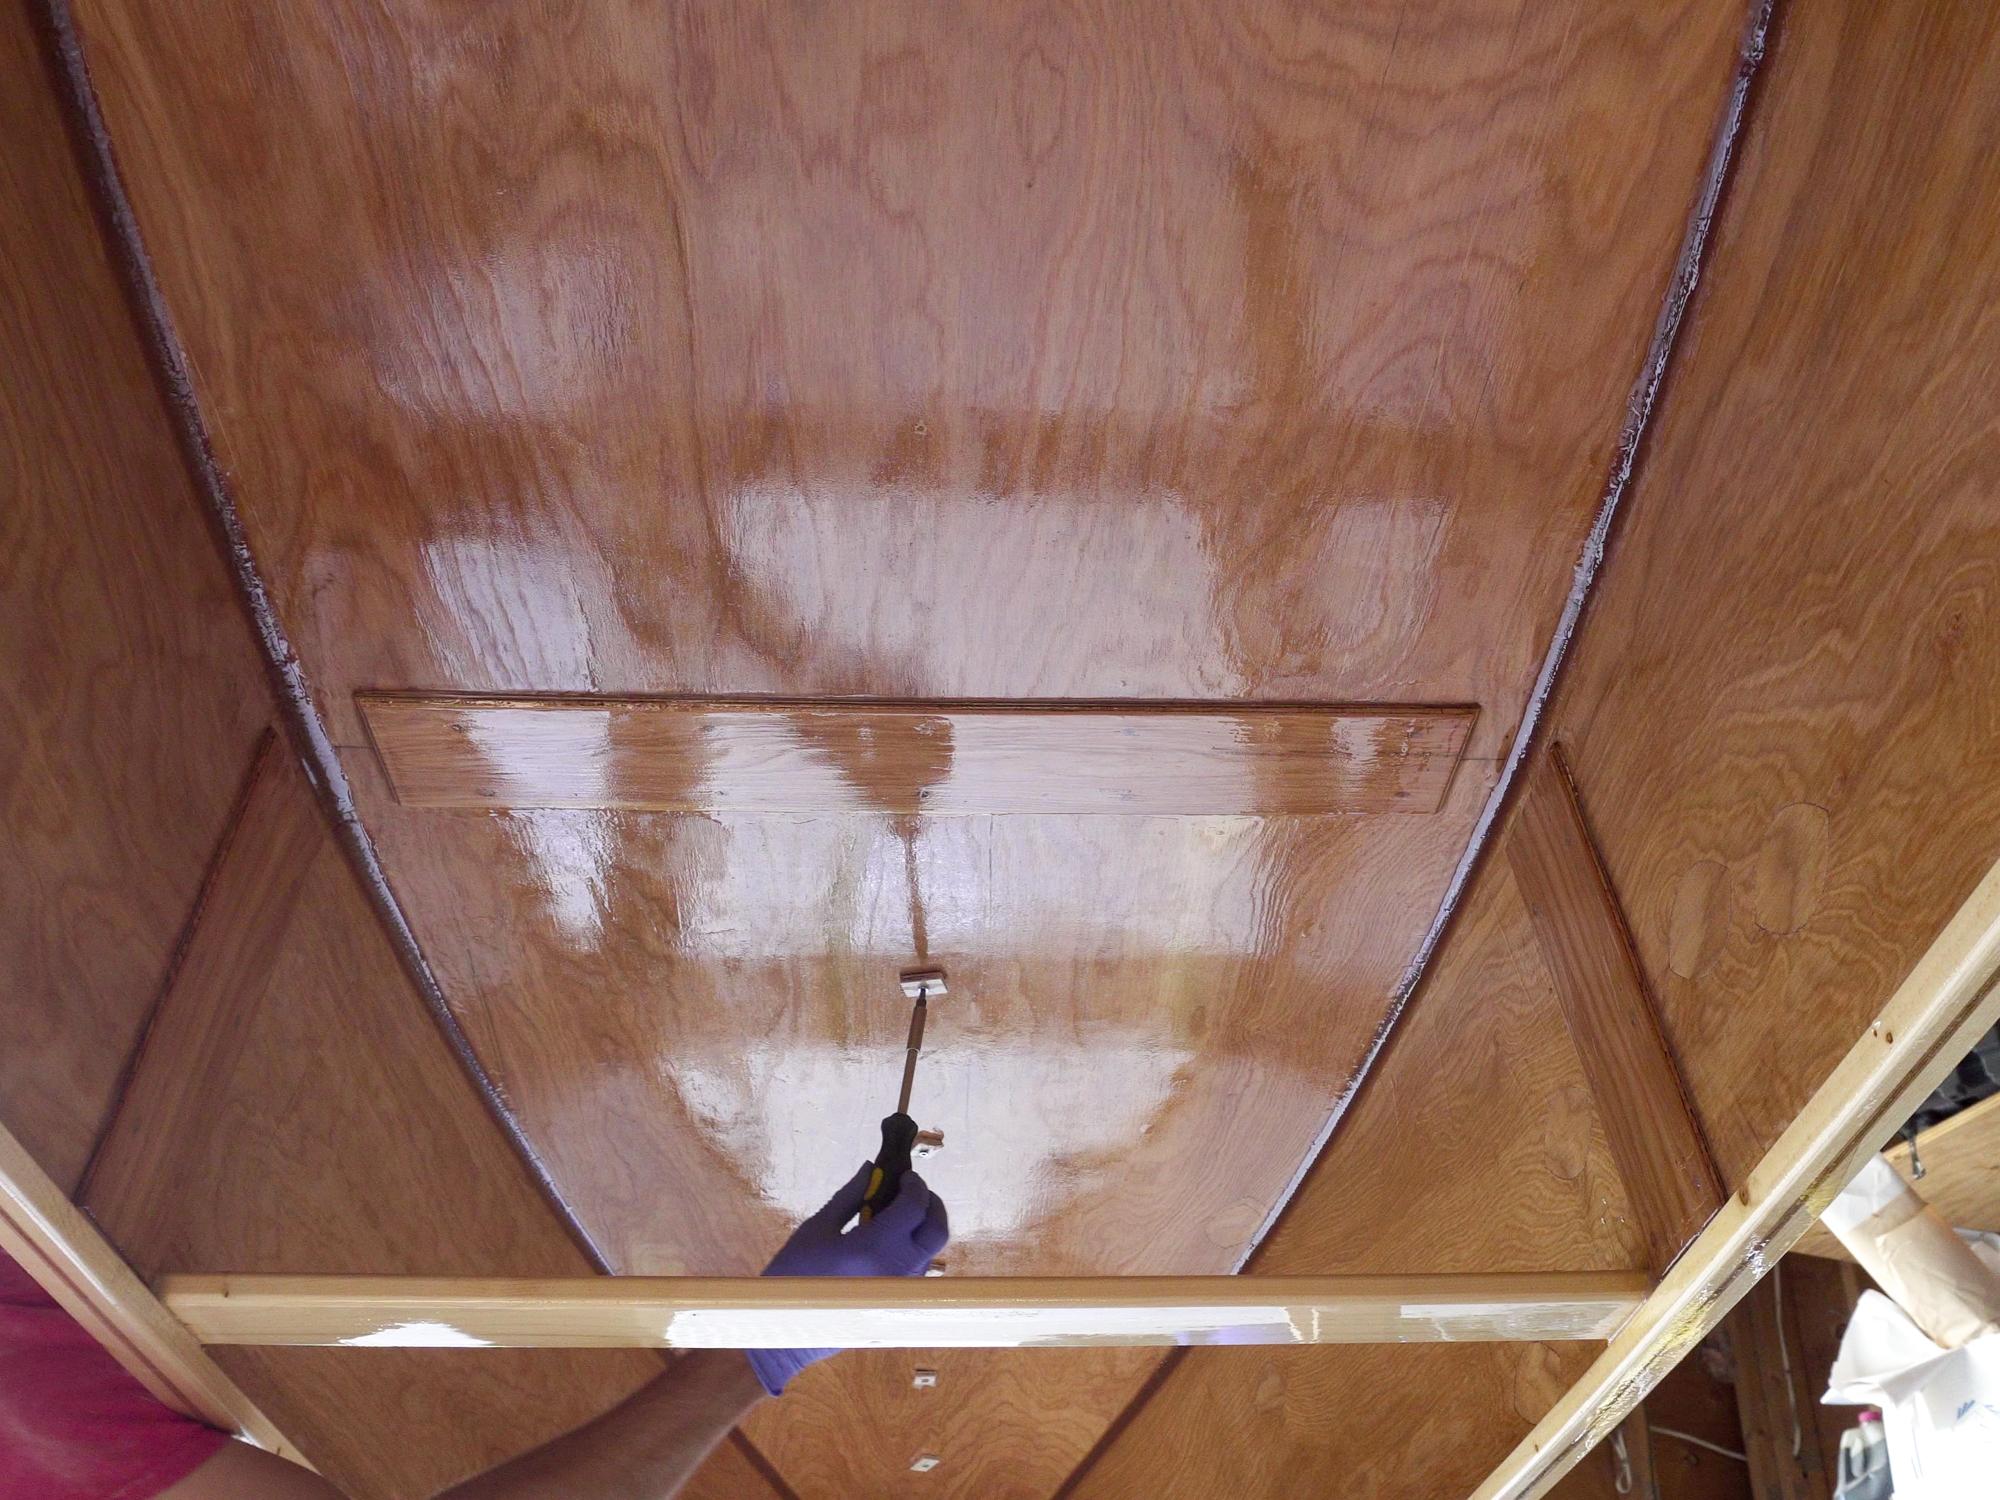
- Once the epoxy cured, I removed the screws, and filled all the holes except for the two through the skeg doubler. These I replaced with some stainless steel screws that would stay permanently. I applied a little epoxy to the screw first so it would seal the hole as the screw went in.
- I also replaced the temporary screws on the center spreader with stainless steel screws in the same way.
Make the Keel Look....Keely
.jpg)
.jpg)
.jpg)
.jpg)
.jpg)
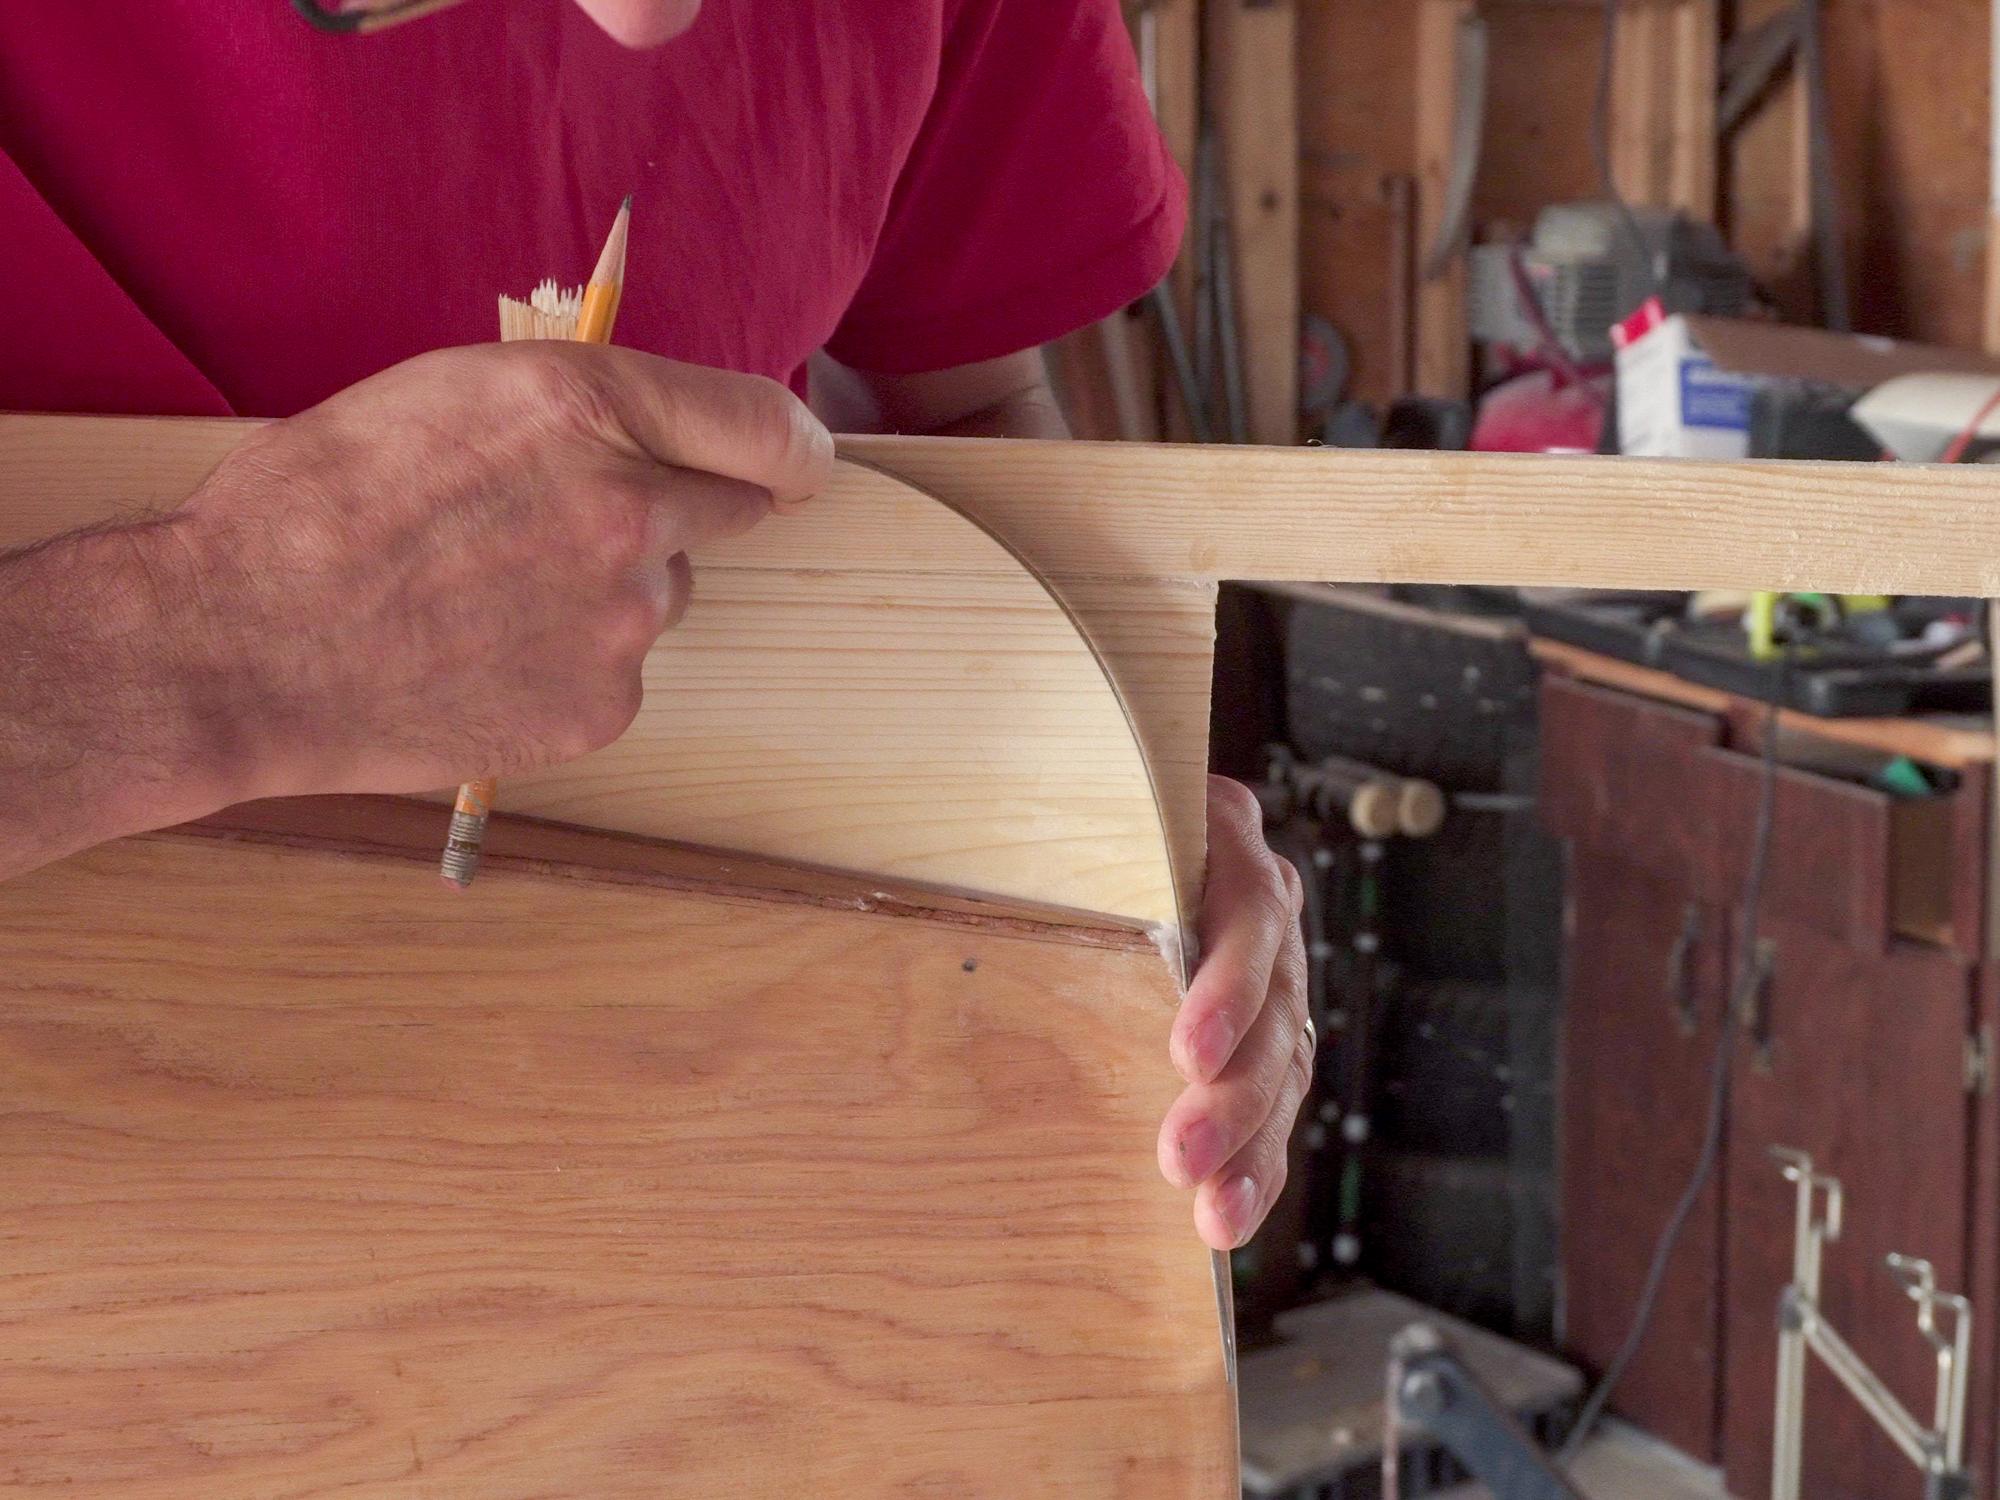
- I used a flexible steel ruler to create the curve at the front and back of the keel.
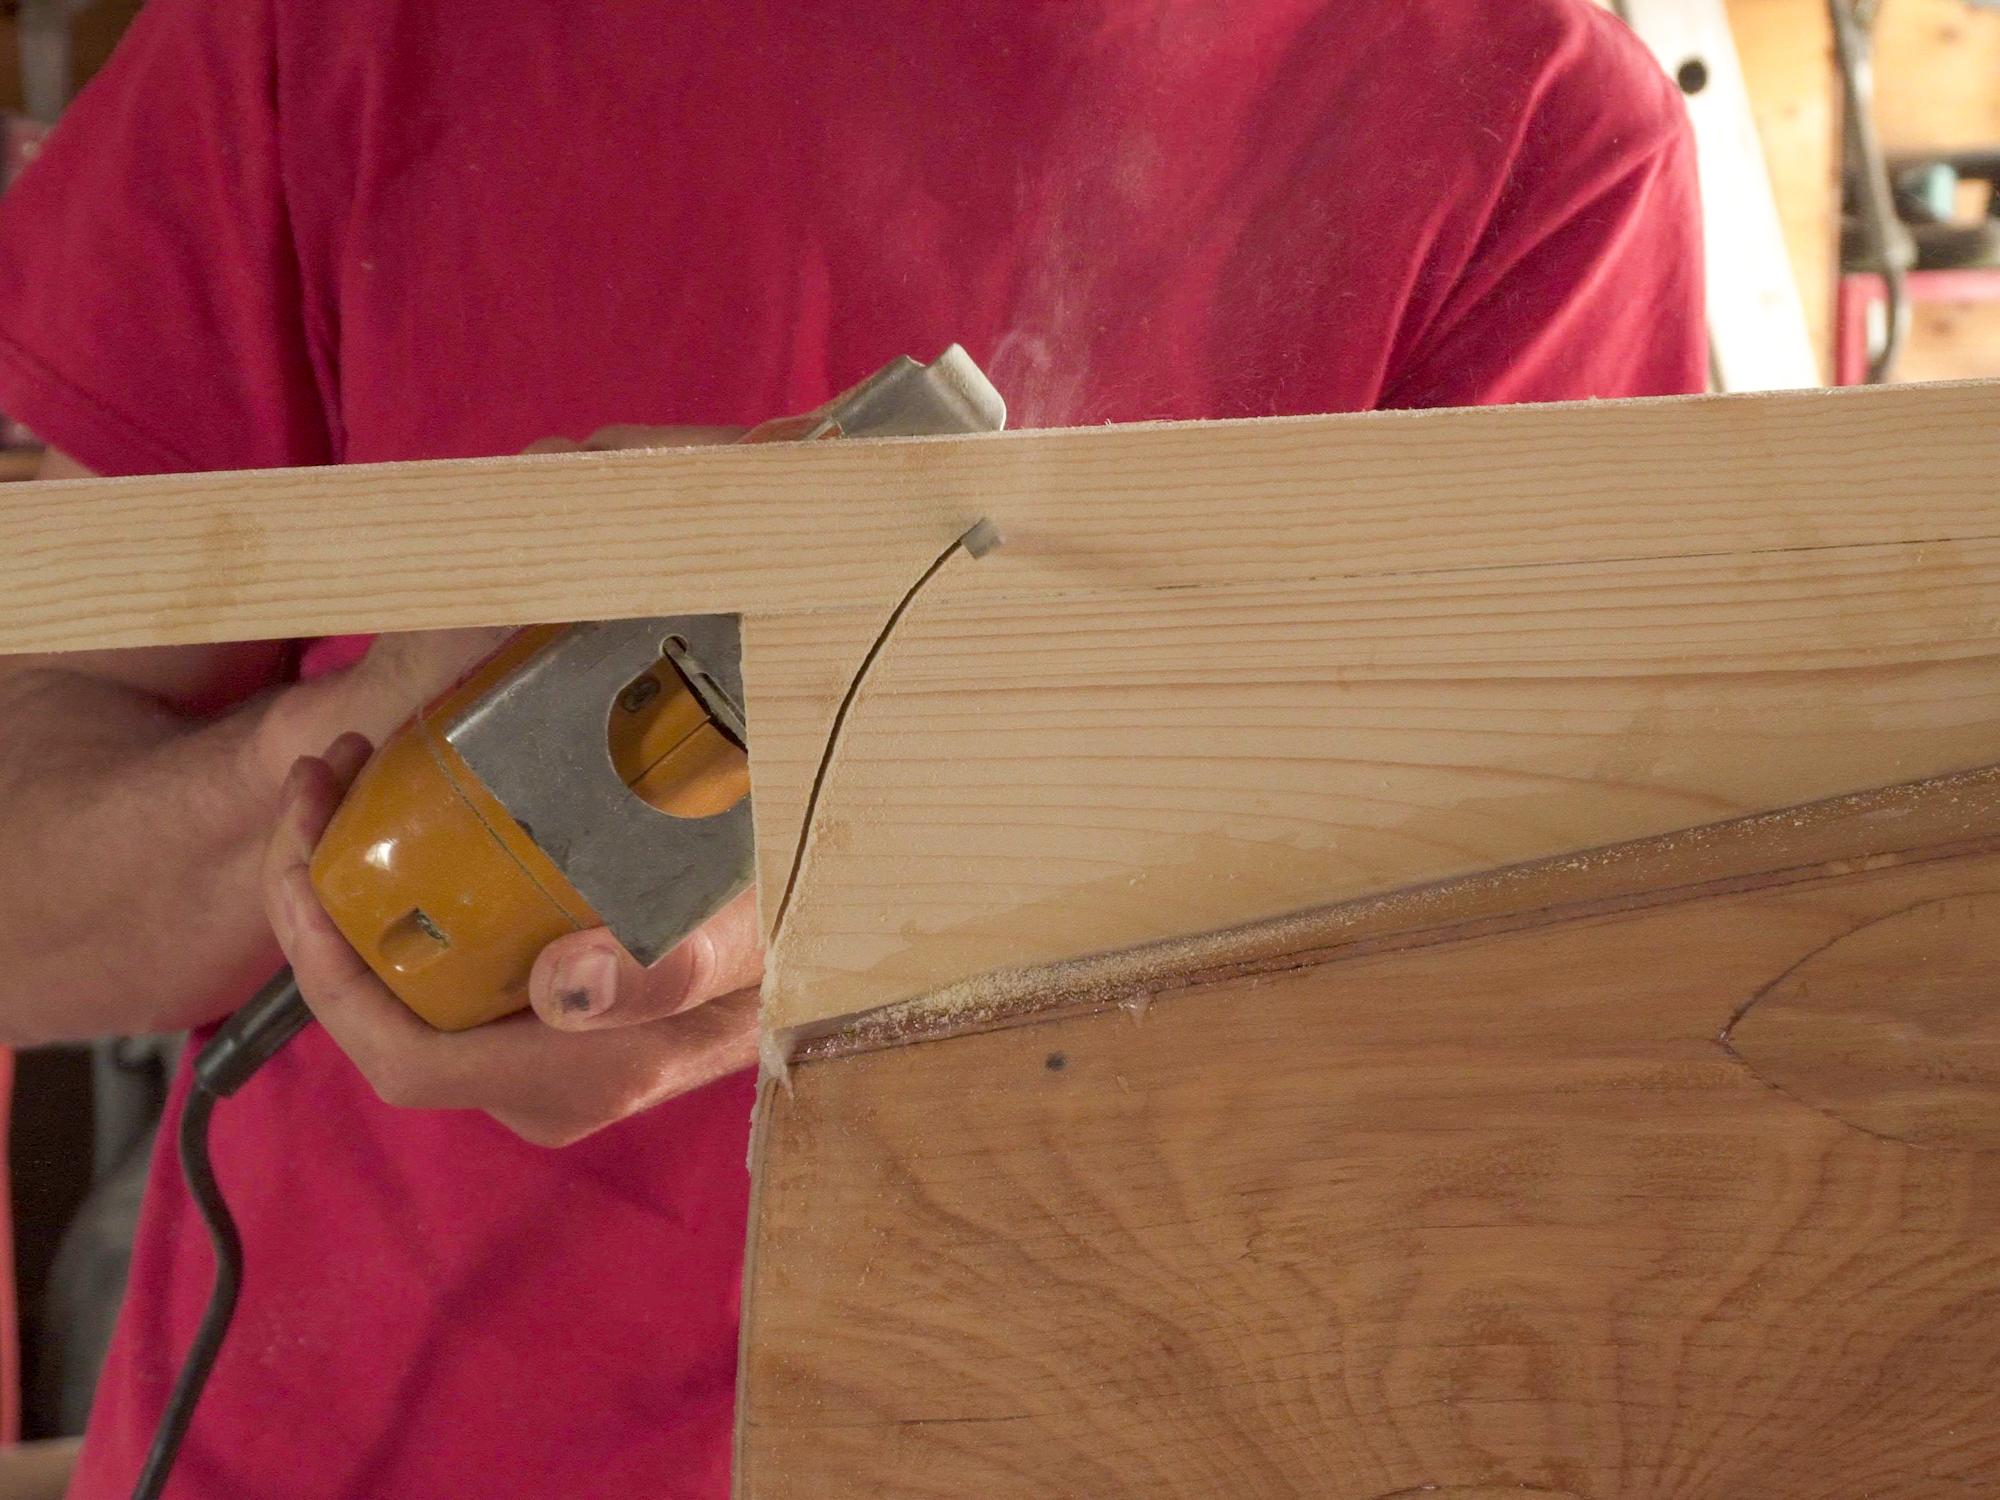
- I cut it out with a jigsaw and rounded the front edge with sandpaper.
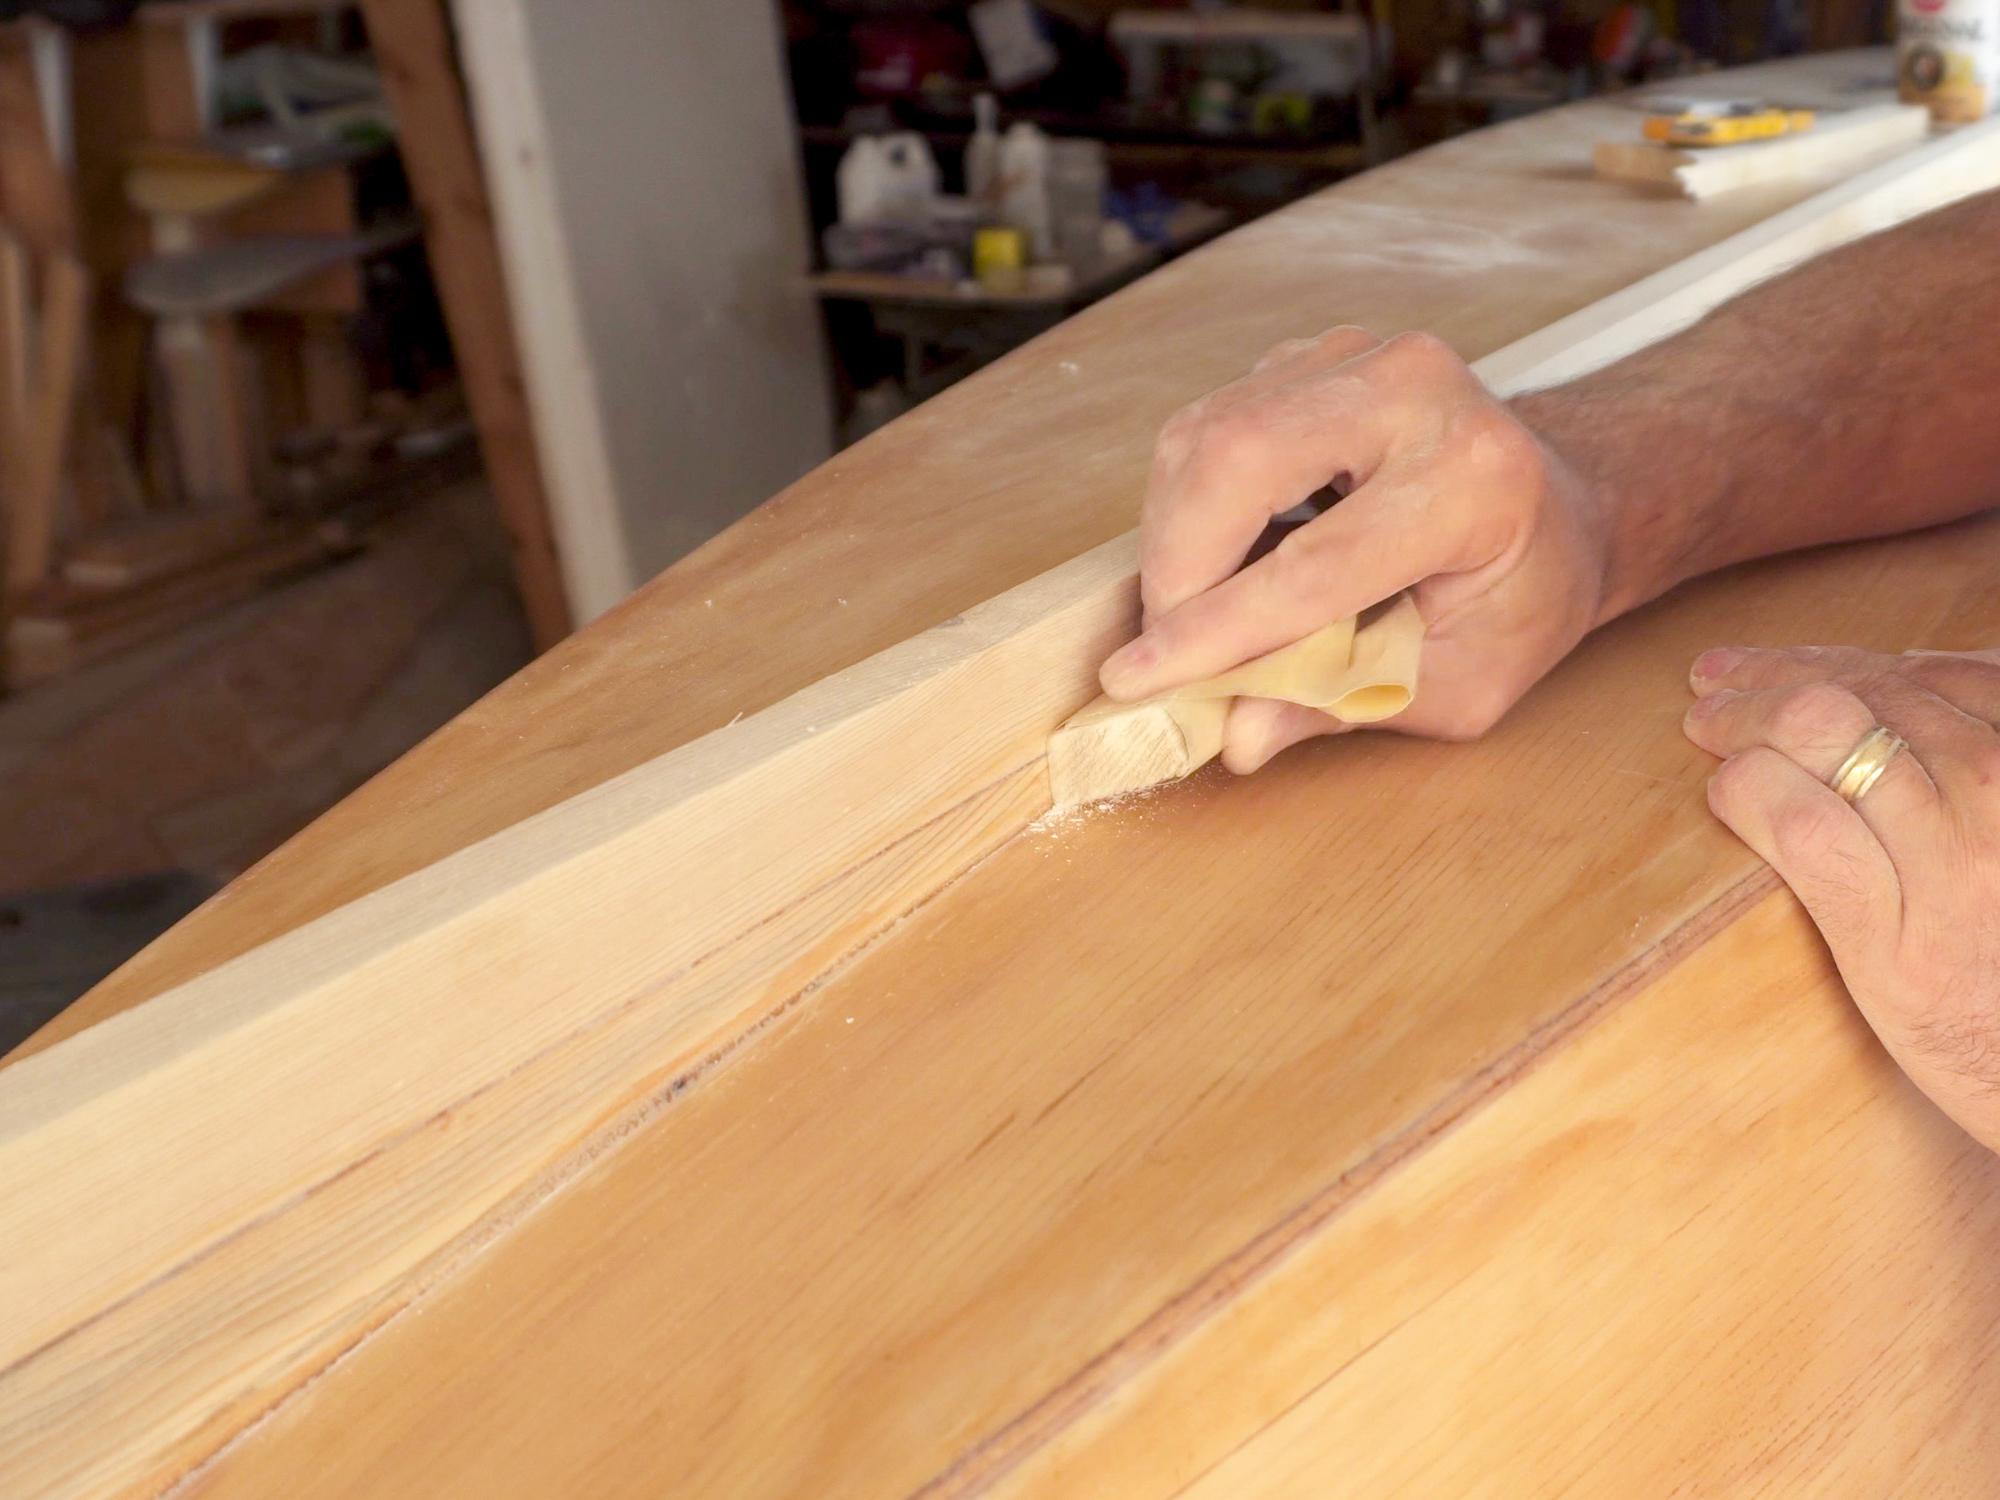
- I then sanded any excess epoxy that squeezed out between the keel and the canoe bottom.
Add Seats
.jpg)
.jpg)
.jpg)
.jpg)
.jpg)
I actually painted and took the canoe out for a few test paddles before deciding on the seat placement. I wanted to make sure I had it how I liked it before committing. Of course, if you know where you want your seats, it is much more efficient to attach them now.
- I cut out the side brackets from some 3/4" thick wood.
- I sanded one side of each bracket at an angle so that it would match the side of the canoe, with the top edge staying horizontal.
- I temporarily screwed the brackets to the sides of the canoe.
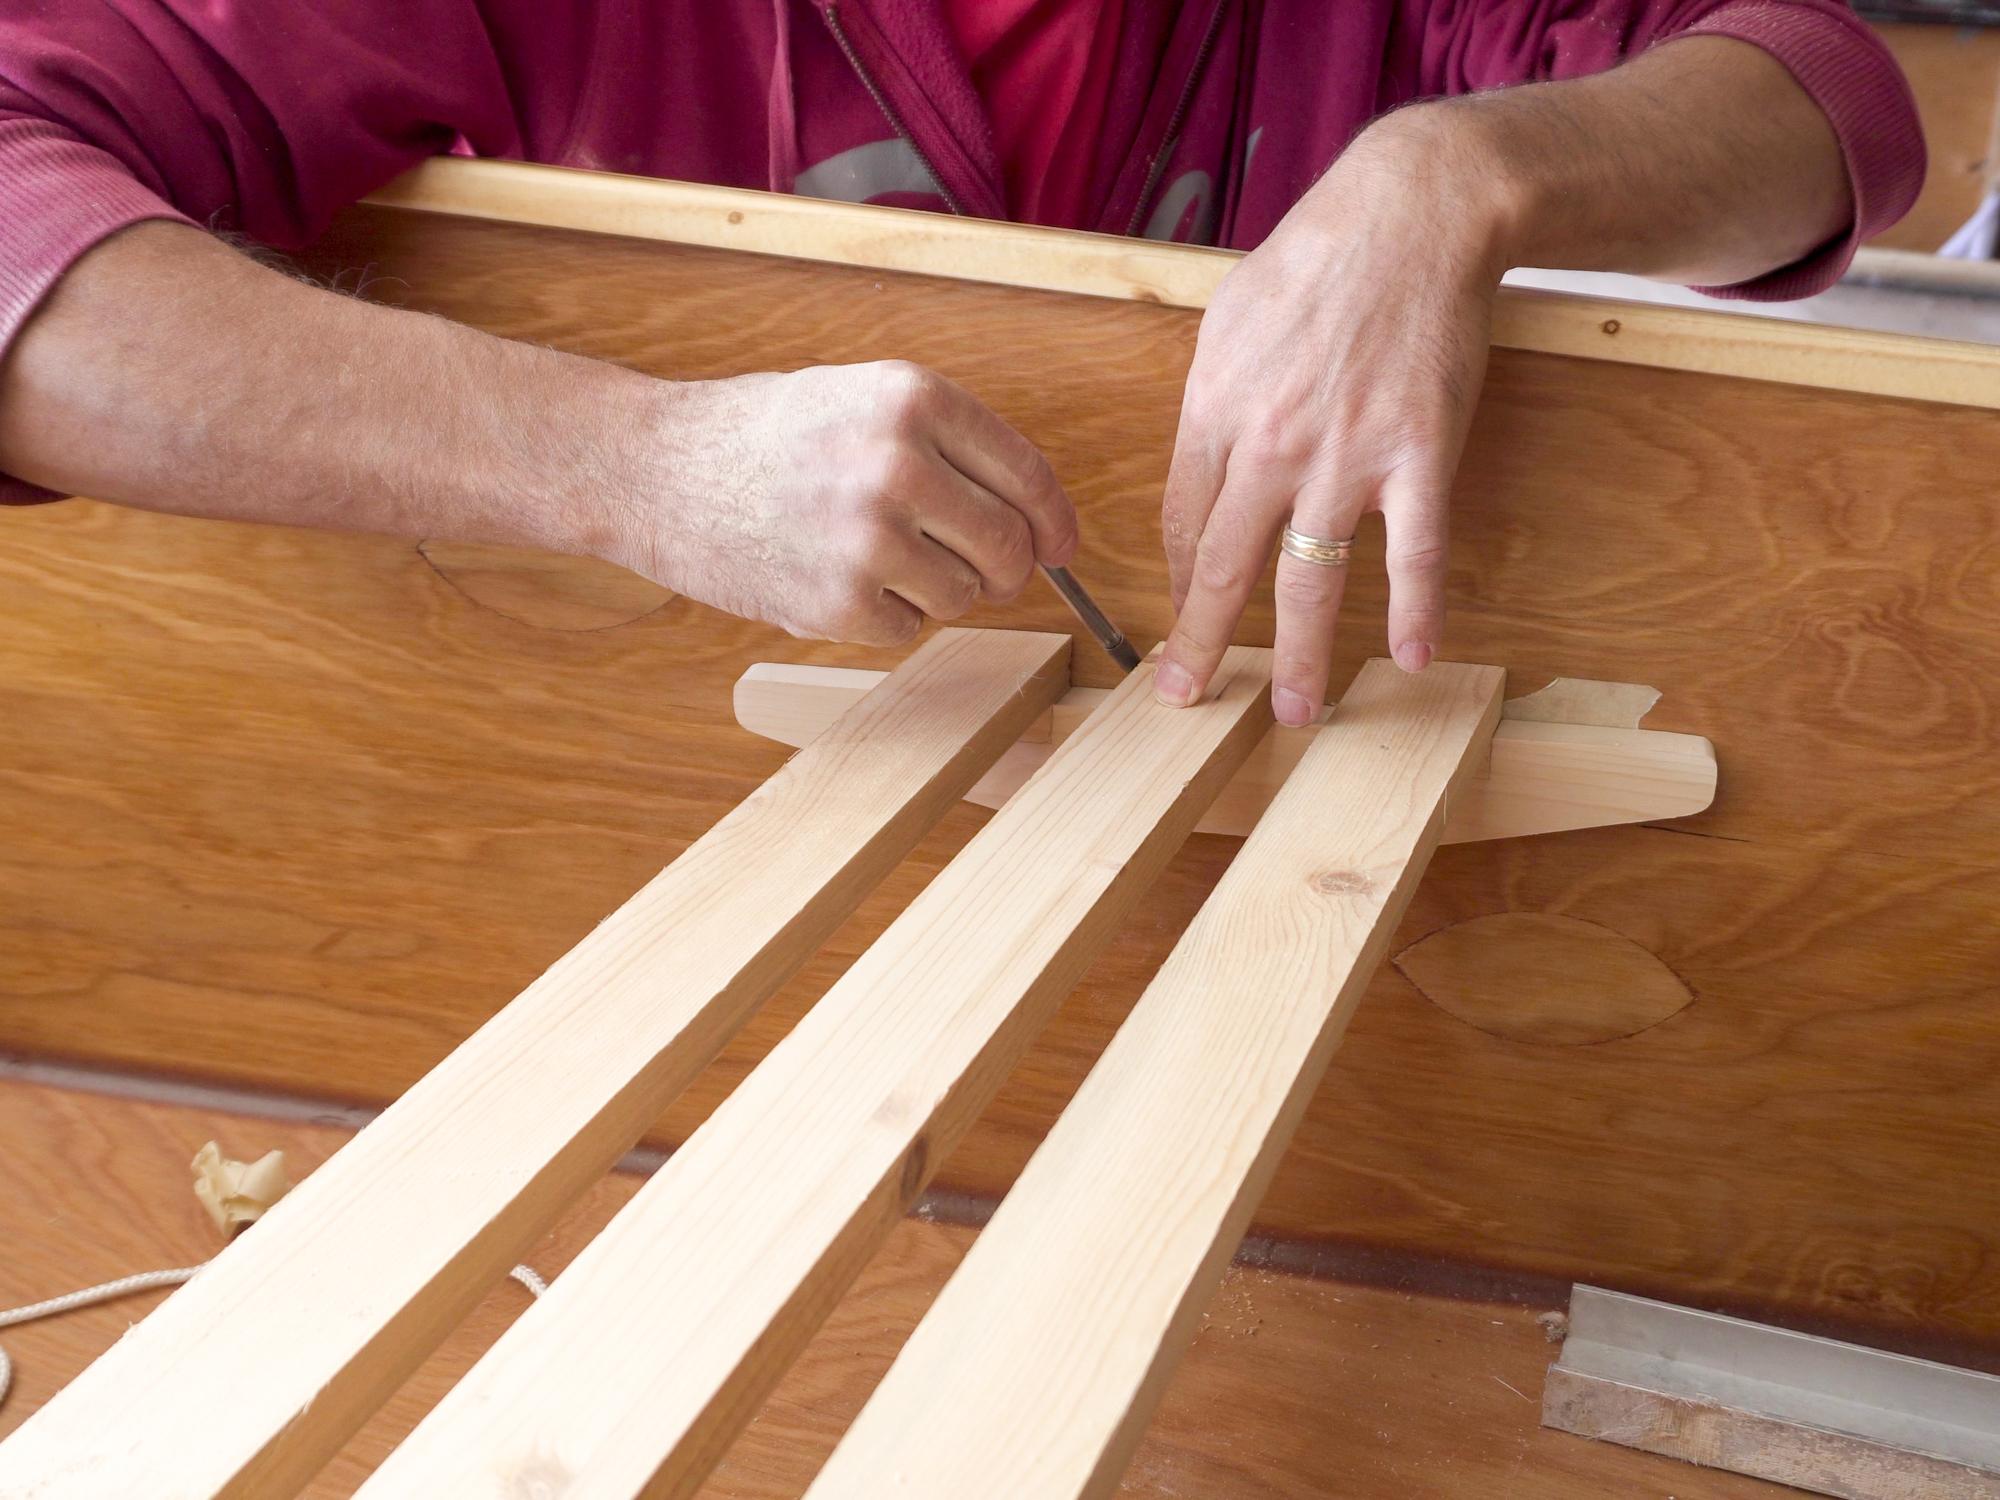
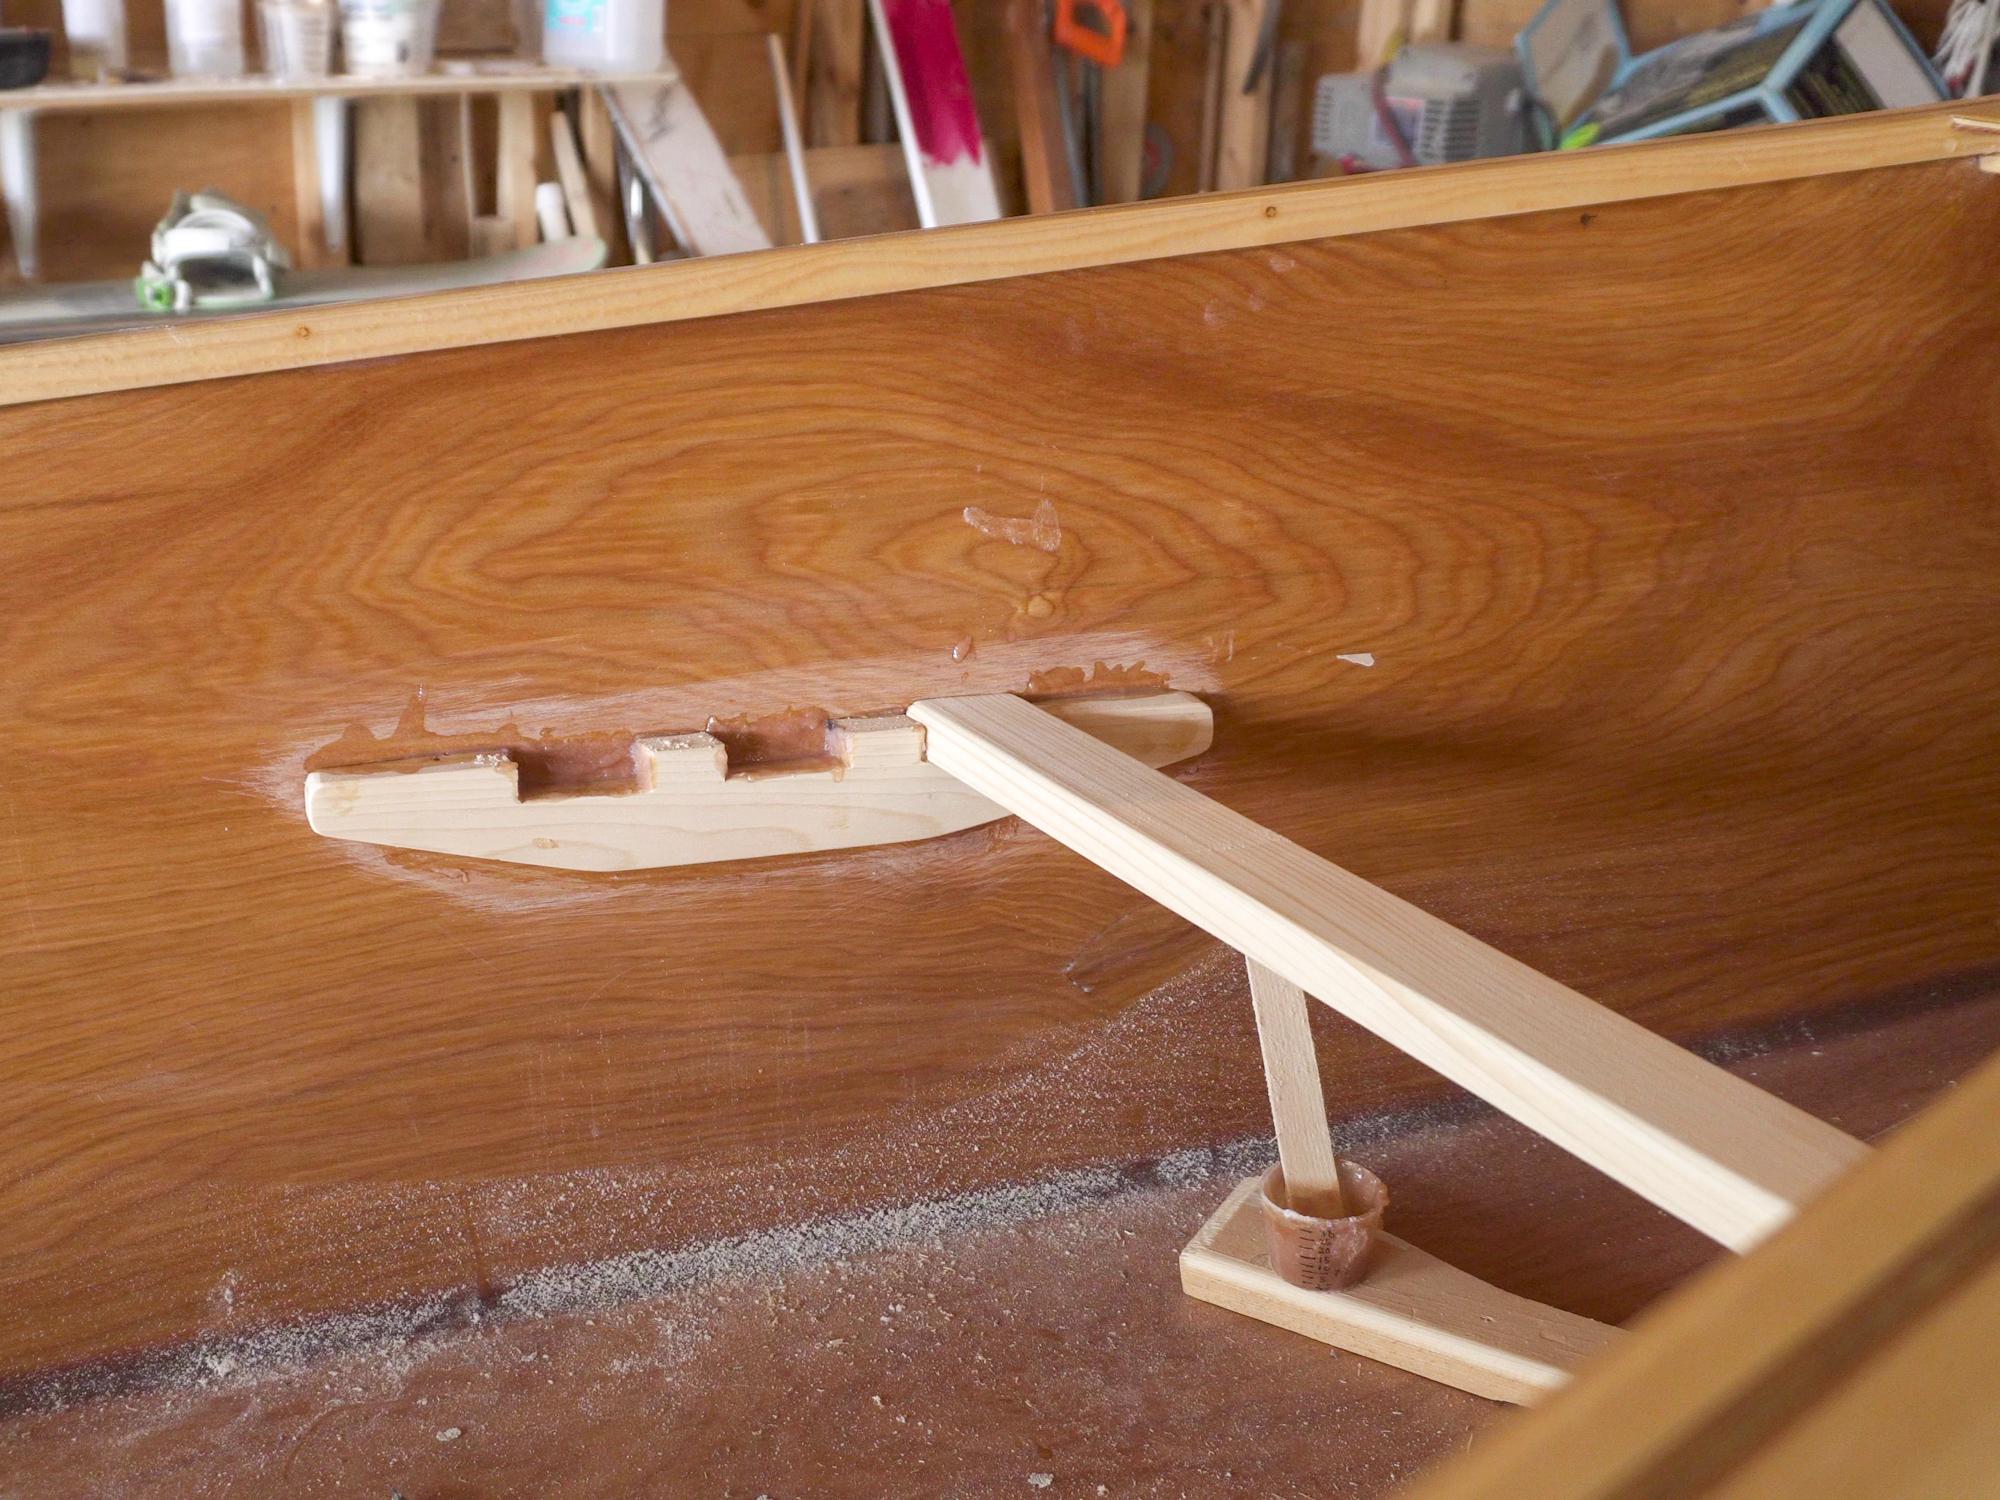
- I lay my crossbars where I wanted to place them and marked them on the brackets.
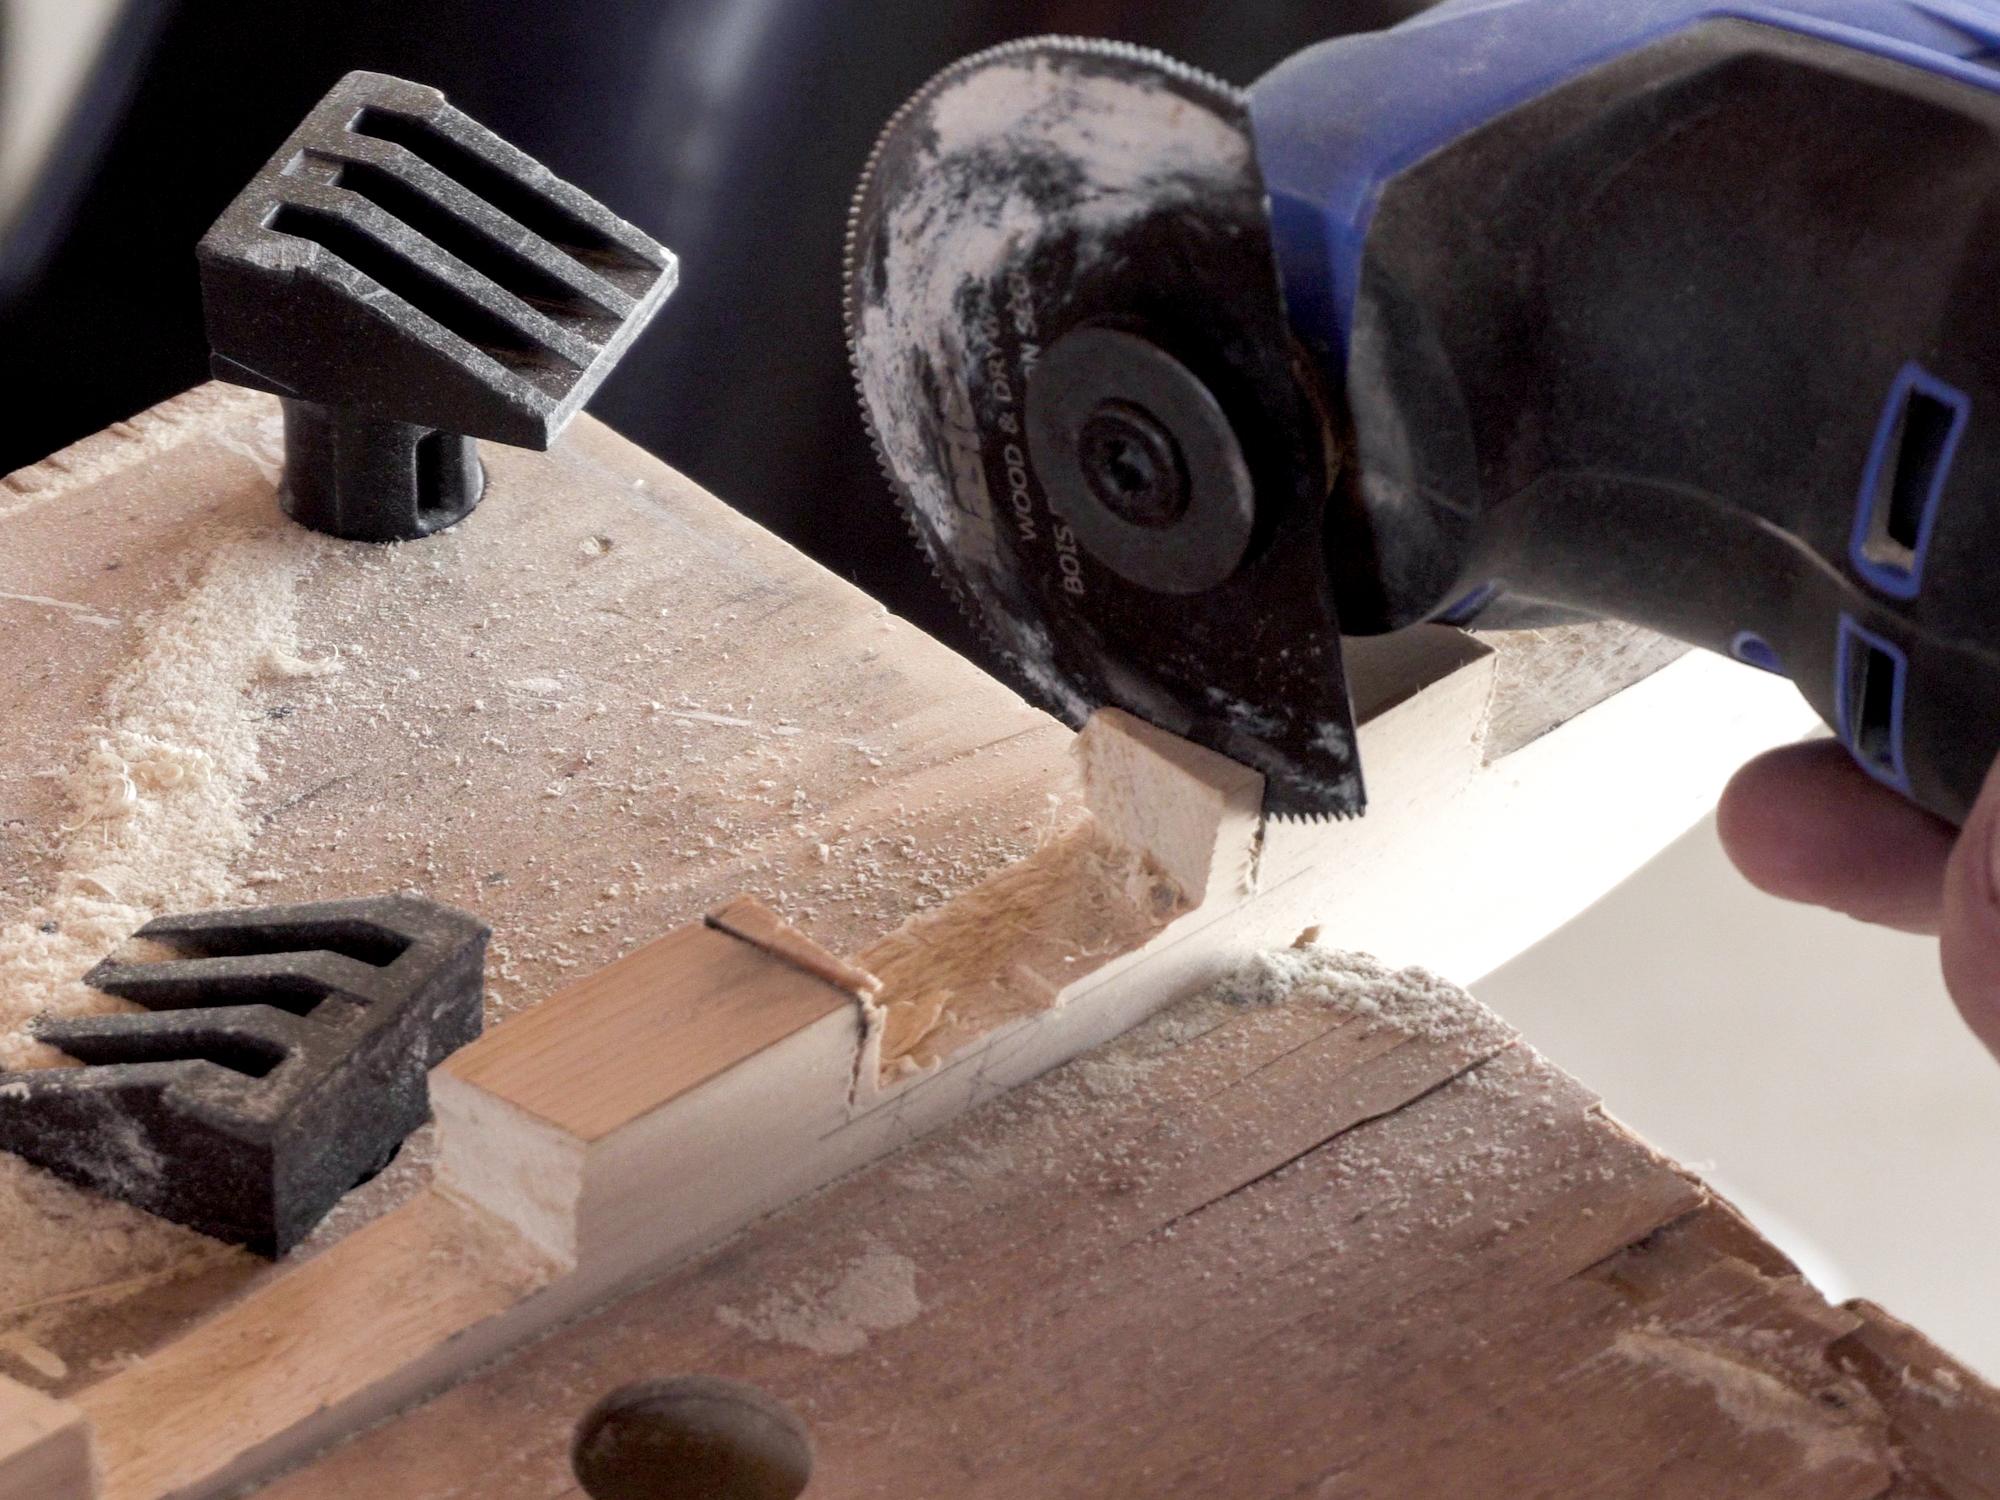
- I removed the brackets and made a cut out for each crossbar.
- I sanded the side of the canoe where the brackets would be glued.
- I glued the brackets to the sides, using the screws to hold them until the glue cured.
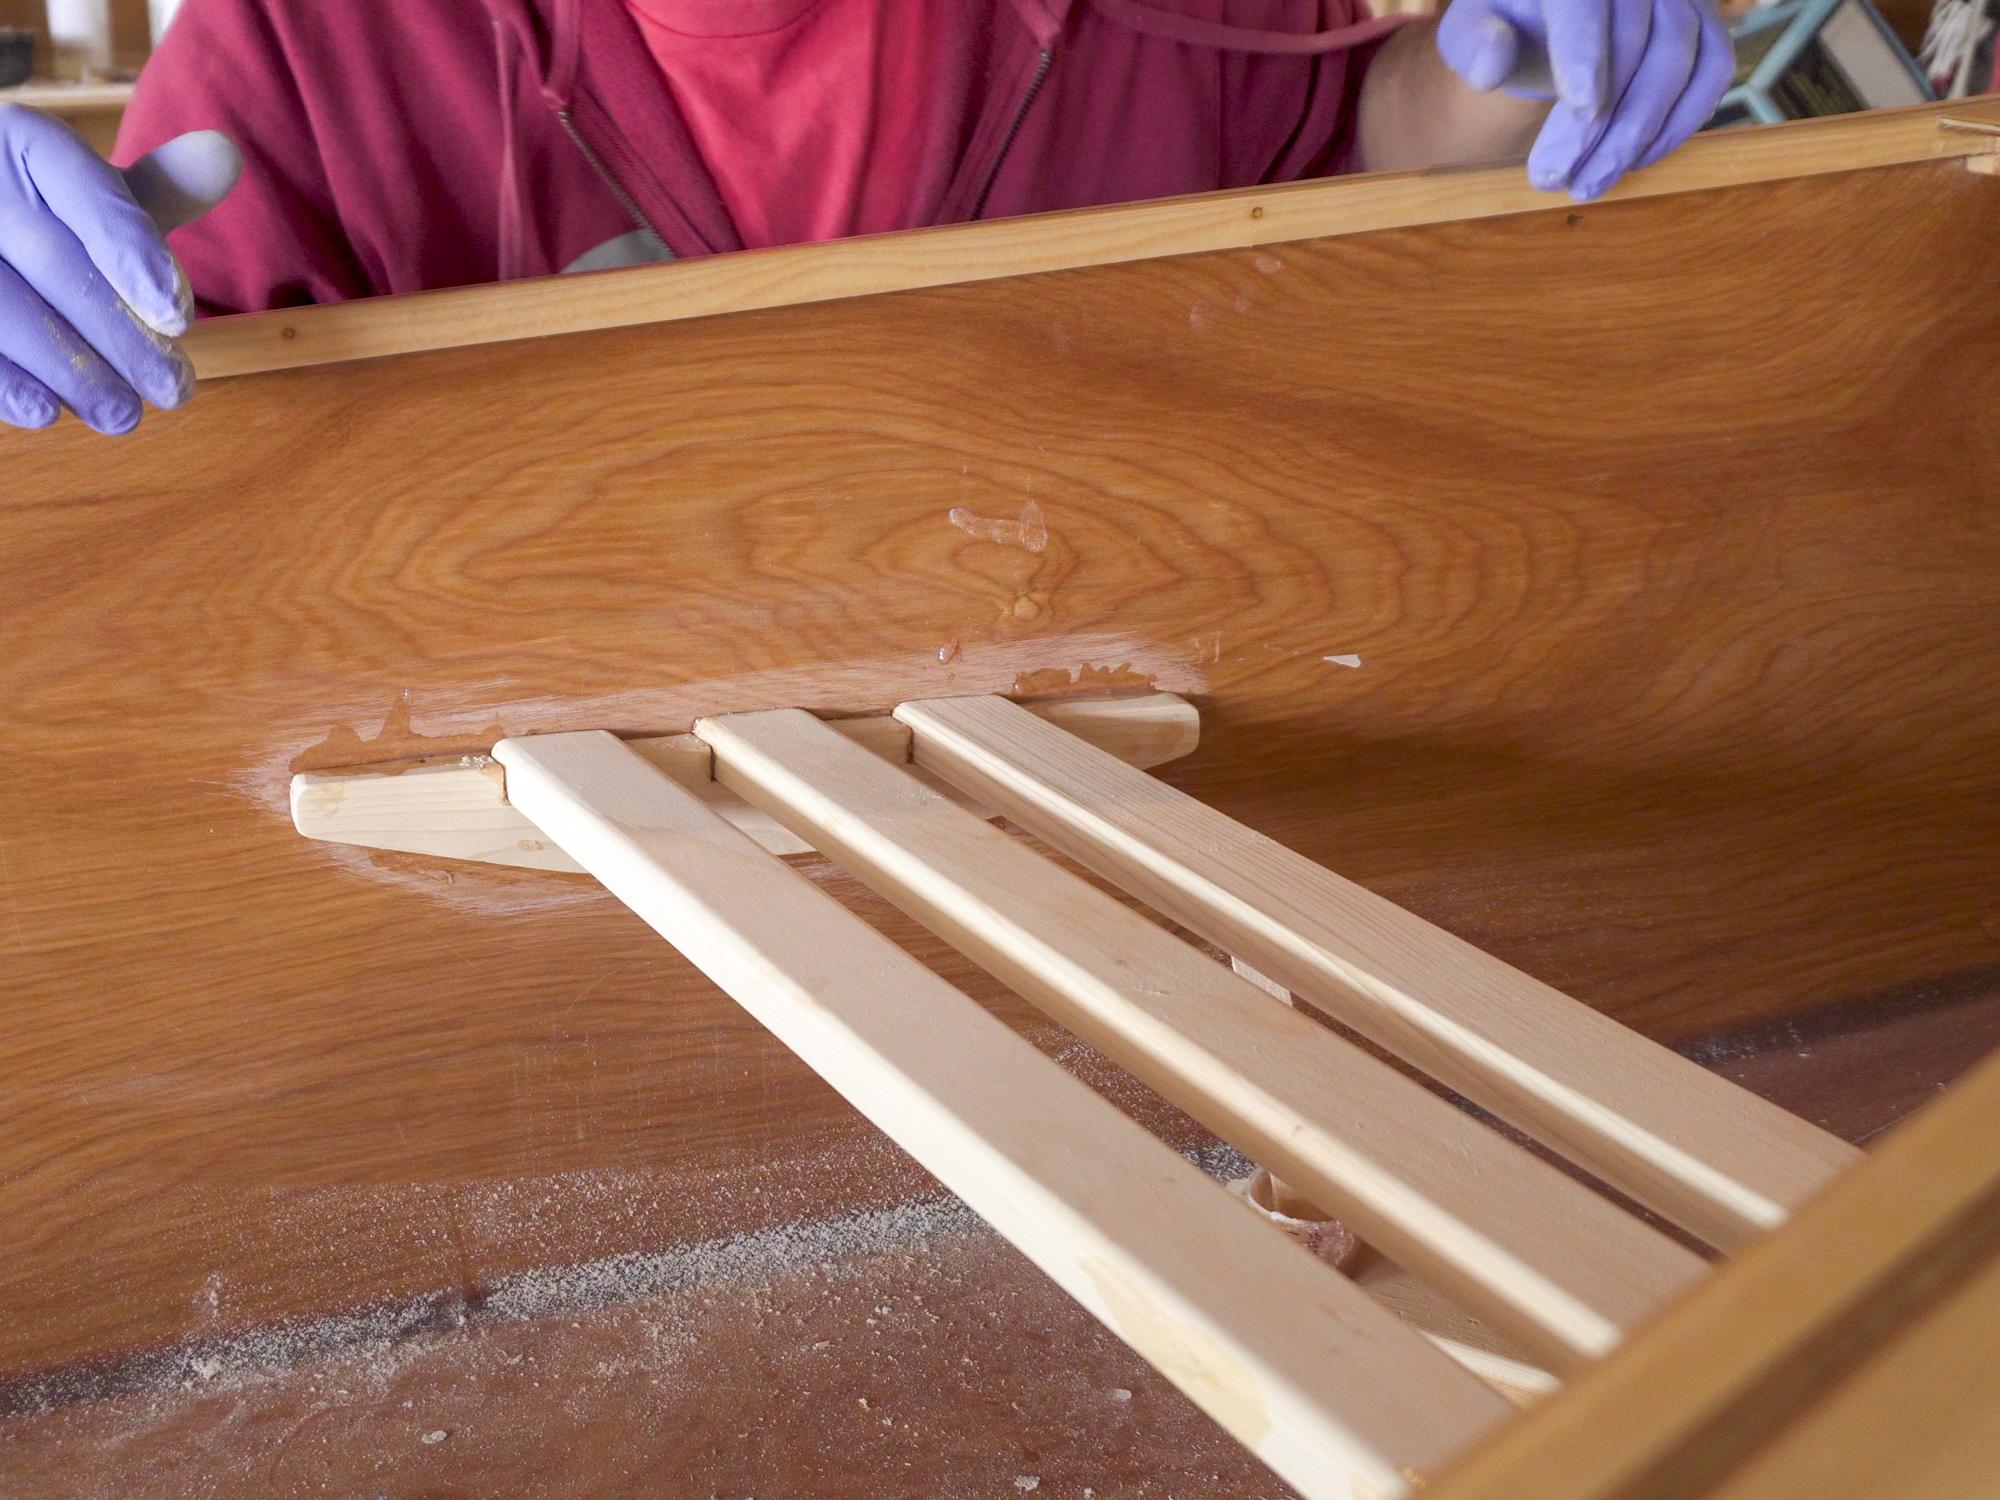
- I glued the crossbars into their slots.
I ended up using seat placements quite different from the placements shown in the pattern. I felt like the ones shown were too close to the center of the canoe and would create difficulty paddling. My seats are in what I think are fairly traditional spots, with the rear seat closer to its end of the boat than the front one is to its end.
Protect All Your Hard Work
.jpg)
.jpg)
.jpg)
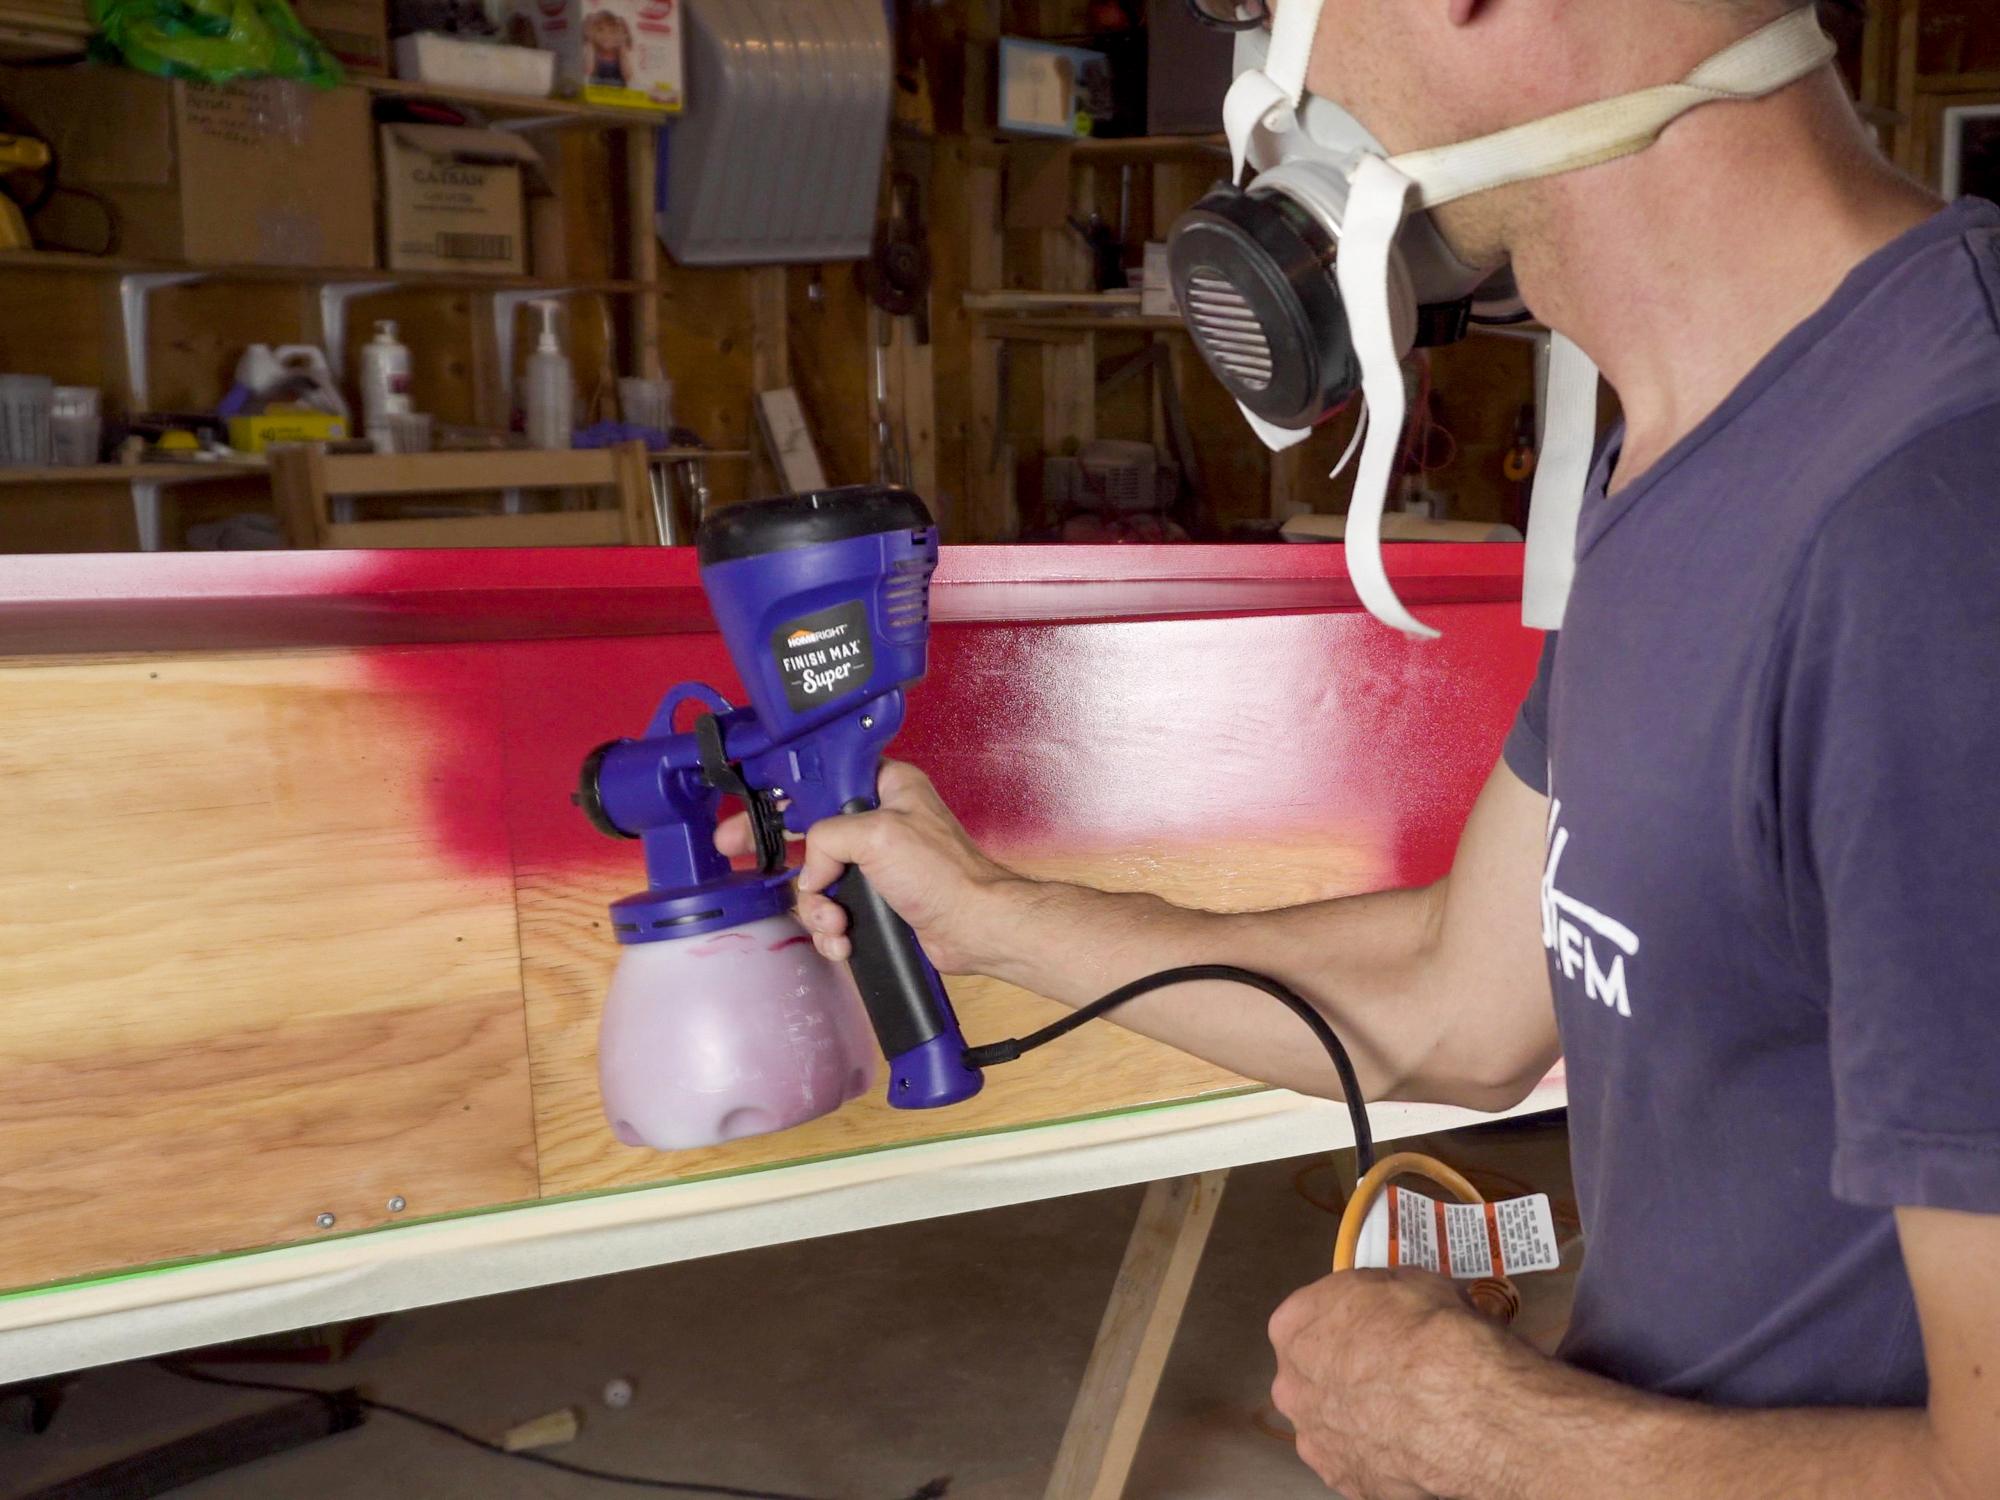
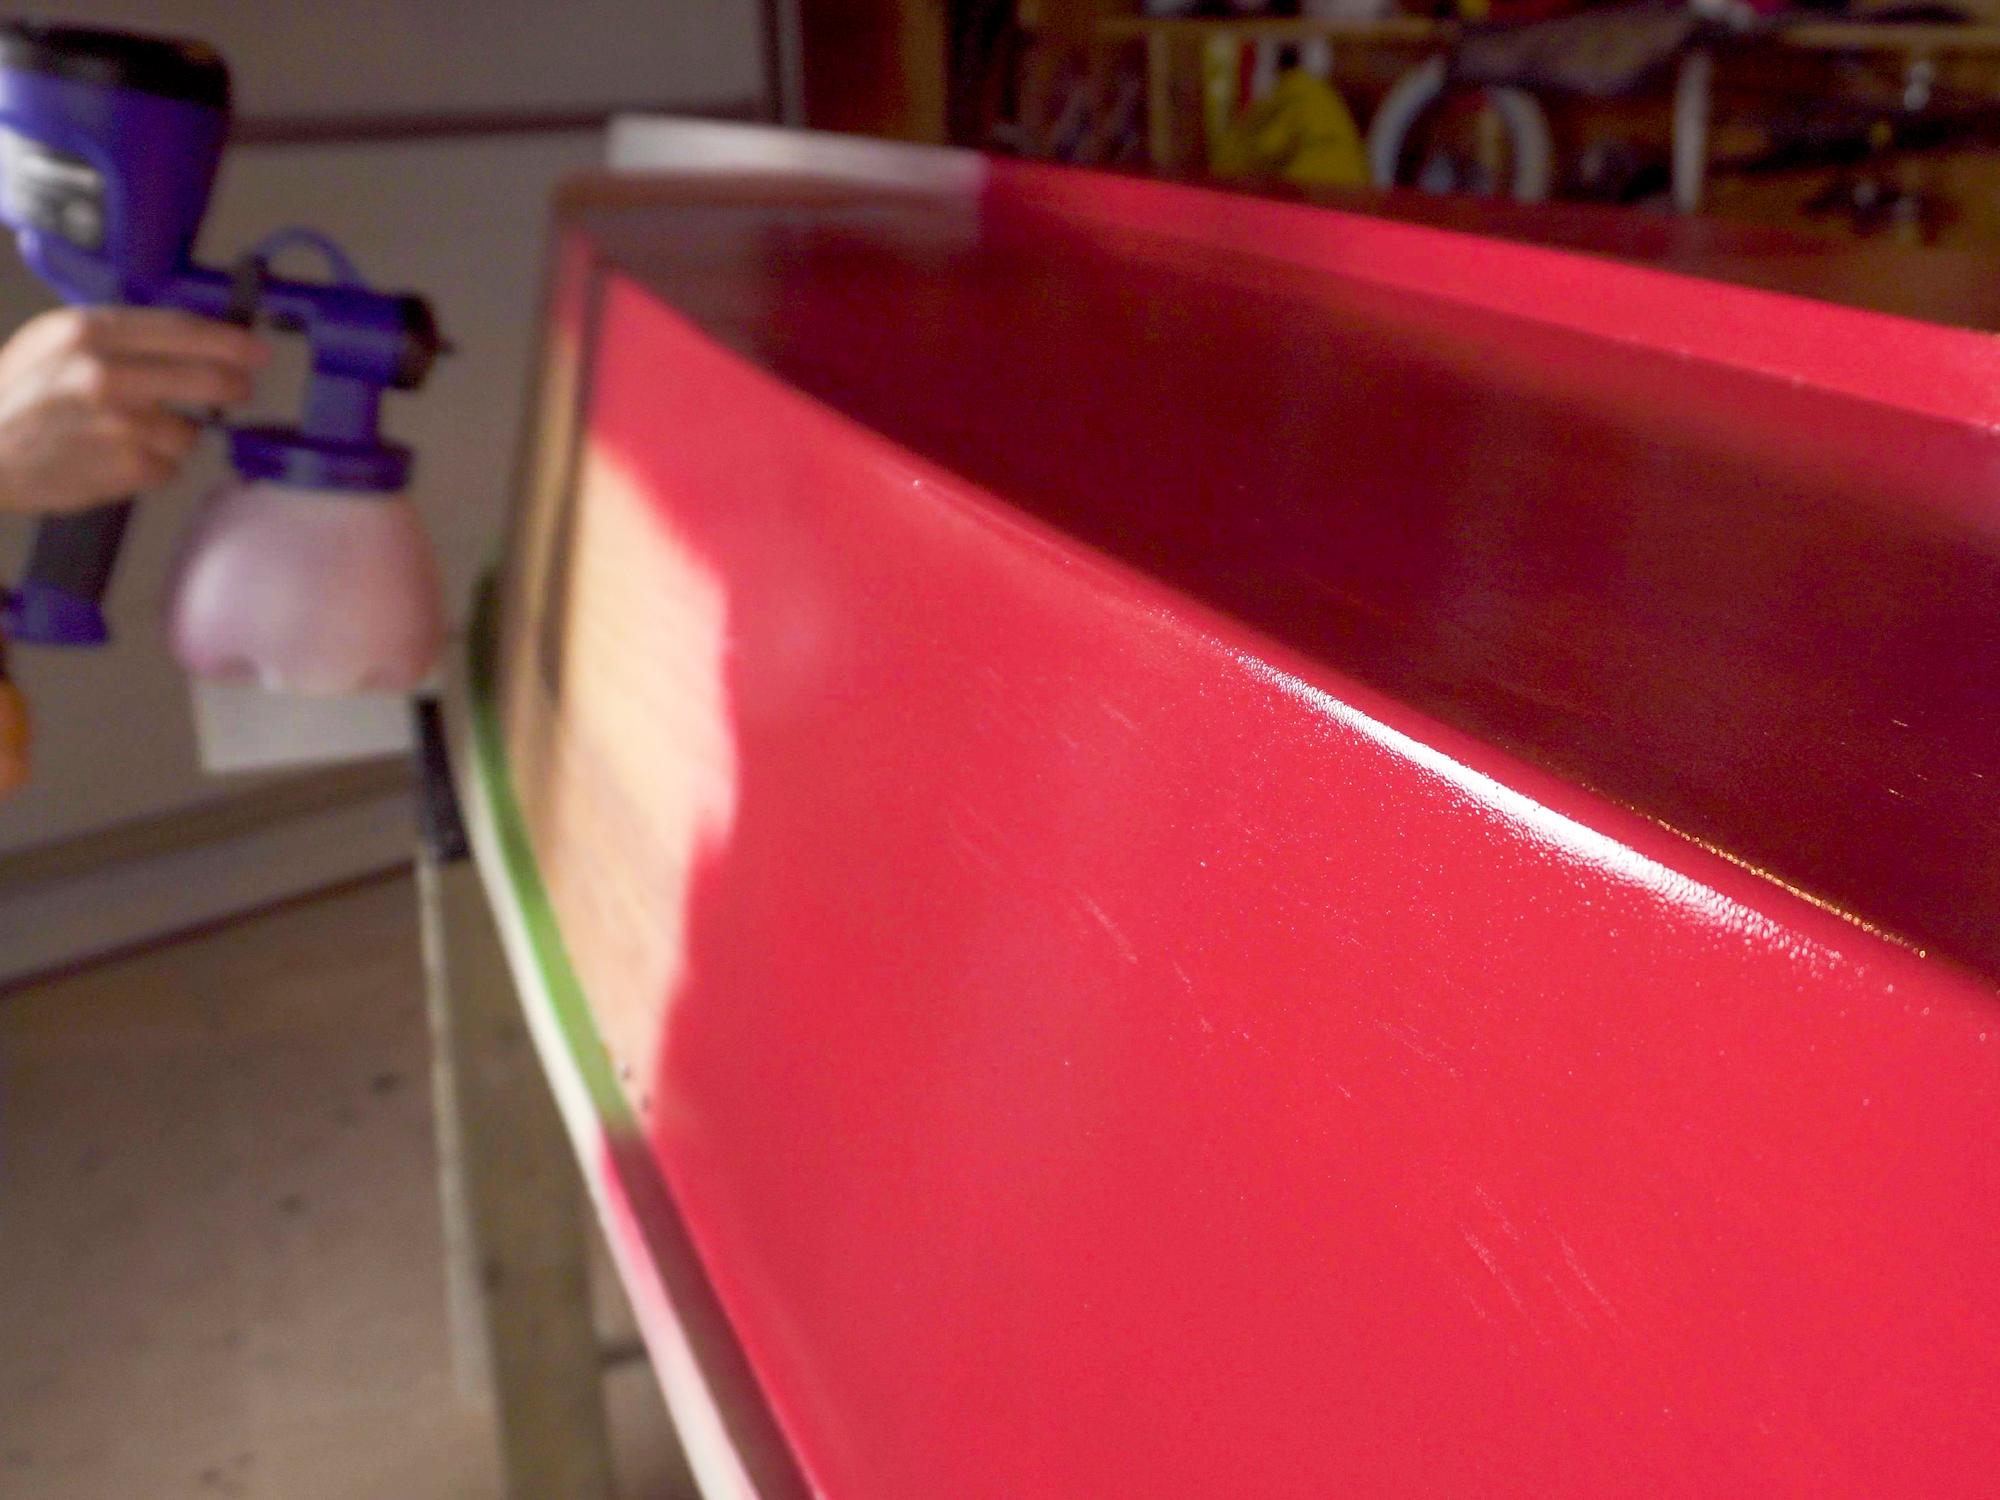
I mentioned before that the epoxy I used wasn't UV safe, so I needed to protect it.
I sprayed the outside with Valspar Duramax paint.
I varnished the inside with Old Masters exterior oil based "Spar-Marine Varnish"
Go Explore the World....in a Boat You Made YOURSELF!
-2.jpg)
.jpg)
.jpg)
I am super happy with how this build turned out. The canoe looks beautiful, paddles really well, and tracks nice and straight but also turns when you want it to. It's pretty stable- I could stand in it and wiggle it side to side without feeling like it was going to tip. The weight is a little more than I would like, it is around 70lbs, which is similar to a molded plastic canoe. That makes no difference in the water but you don't want to be portaging for miles carrying it! I used fir marine plywood, but I found out afterward that fir has a tendency to check (get little cracks in it), and I notice that happening to my canoe. I think if I give it a coat of paint every couple years, I should be able to adequately protect it, but in hindsight, I should have spent a tiny bit more for the higher quality marine plywood.
One thing I know, we are creating memories in our plywood canoe that will last forever!
Thanks for hanging out with me!
If you'd like to see more of my projects you can find me here:
Subscribe to my Costume Making YouTube Channel
Subscribe to my "Everything Else" YouTube Channel
Follow me on Instagram
Check out my pattern shop