Quill-ectric Guitar!
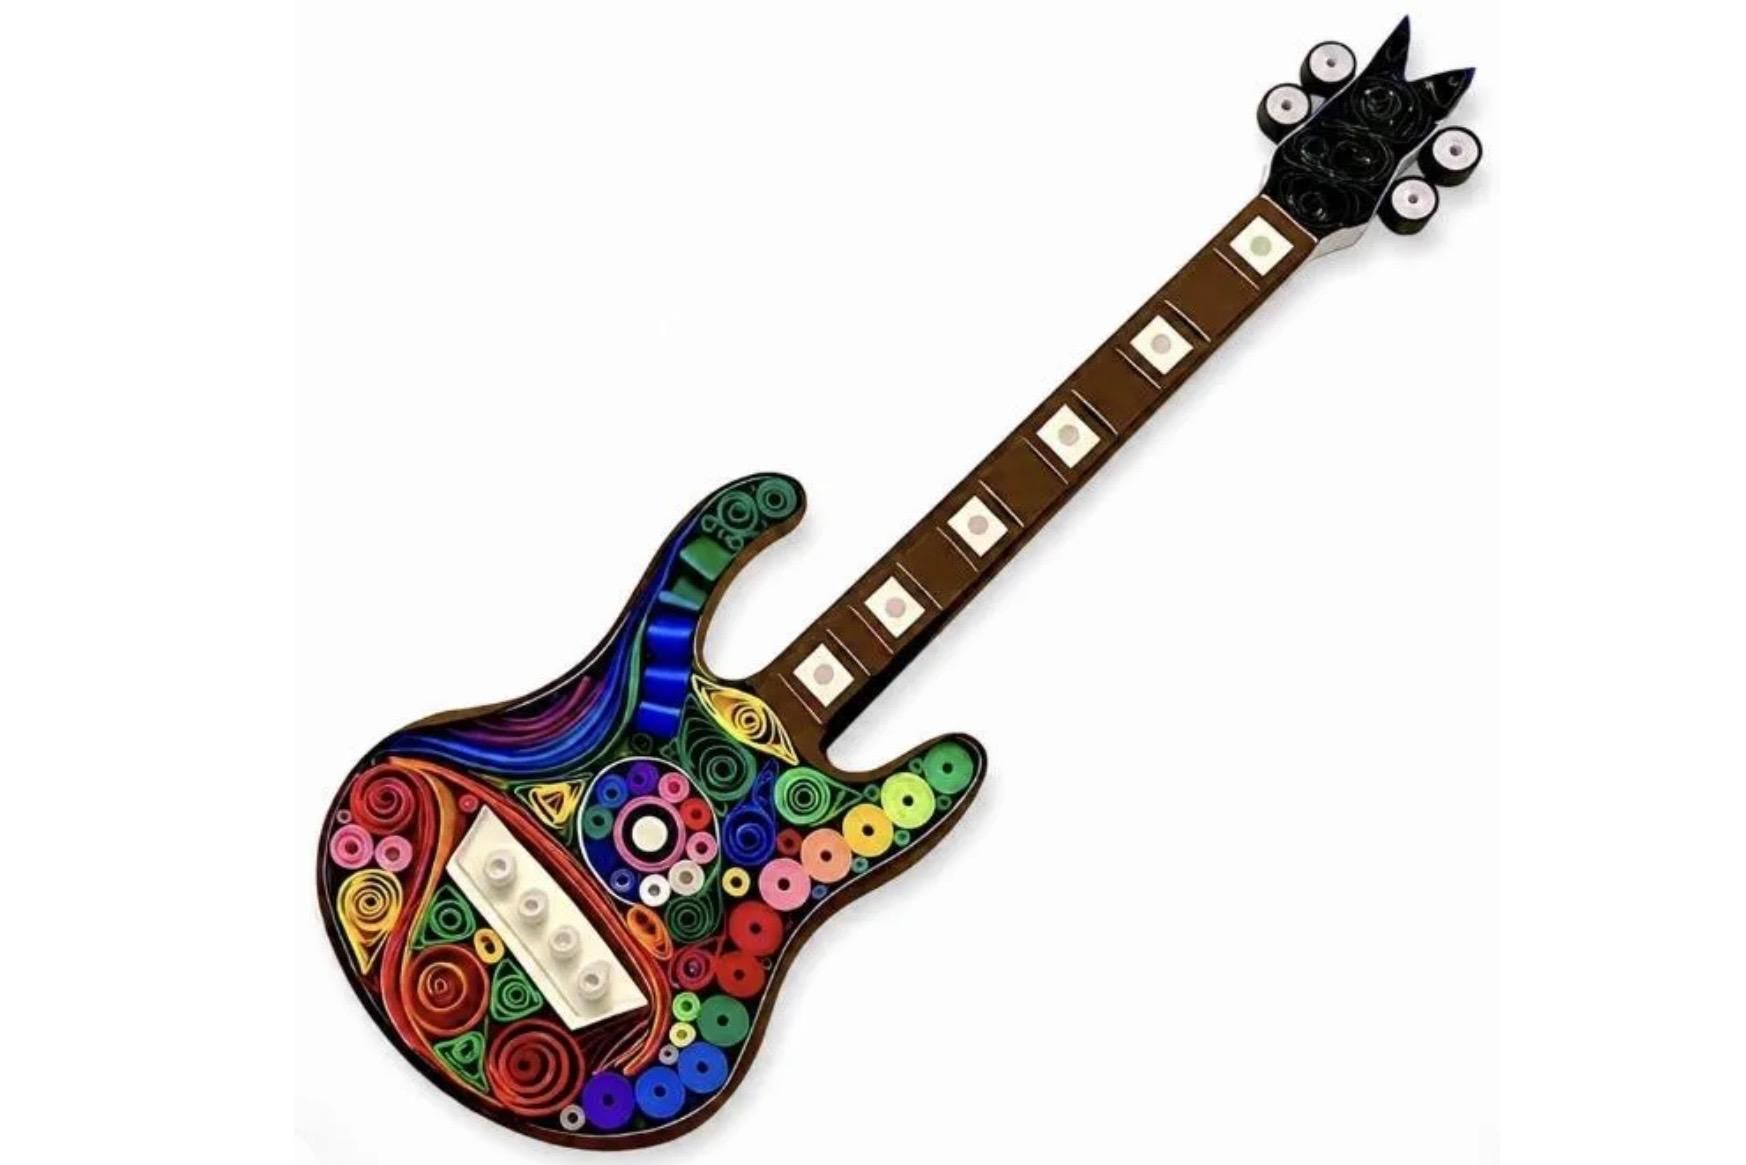
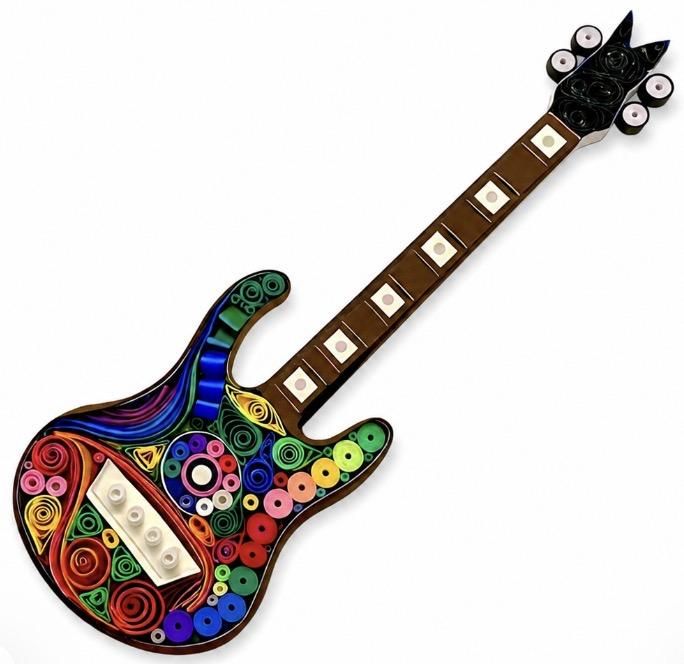
I'm a music lover and created this colorful guitar made of simple coiled strips of colorful paper. The actual craft is called quilling and I'm quite new to it having started just this year, but found it easy because I had most of the supplies already (paper, glue, scissors, paper cutter, tooth pick, etc.). The process is easily customizable by color or shape - I looked at some photos of guitars, and created an outline, adding my own personal touches to the design.
Supplies
Essential Supplies
- Sturdy cardstock: Serves as the base to glue your final design onto.
- Colorful printing paper: Used to make the quilling strips.
- Toothpicks: Used for rolling the paper into tight coils.
- Craft glue: Secures the paper shapes together and holds them to the cardstock.
- Scissors: Cuts the paper strips and design shapes.
- Tweezers: Helps handle and place the delicate paper coils accurately.
- Pencil and eraser: Used to sketch your design outline onto the base.
Optional Upgrades
- Pre-cut quilling strips: Saves time spent cutting paper manually.
- Slotted quilling tool: Makes rolling the paper coils much faster and easier.
- Precision glue bottle: Features a fine tip for clean, exact glue placement.
- Tracing paper: Helps transfer designs if you prefer not to freehand sketch.
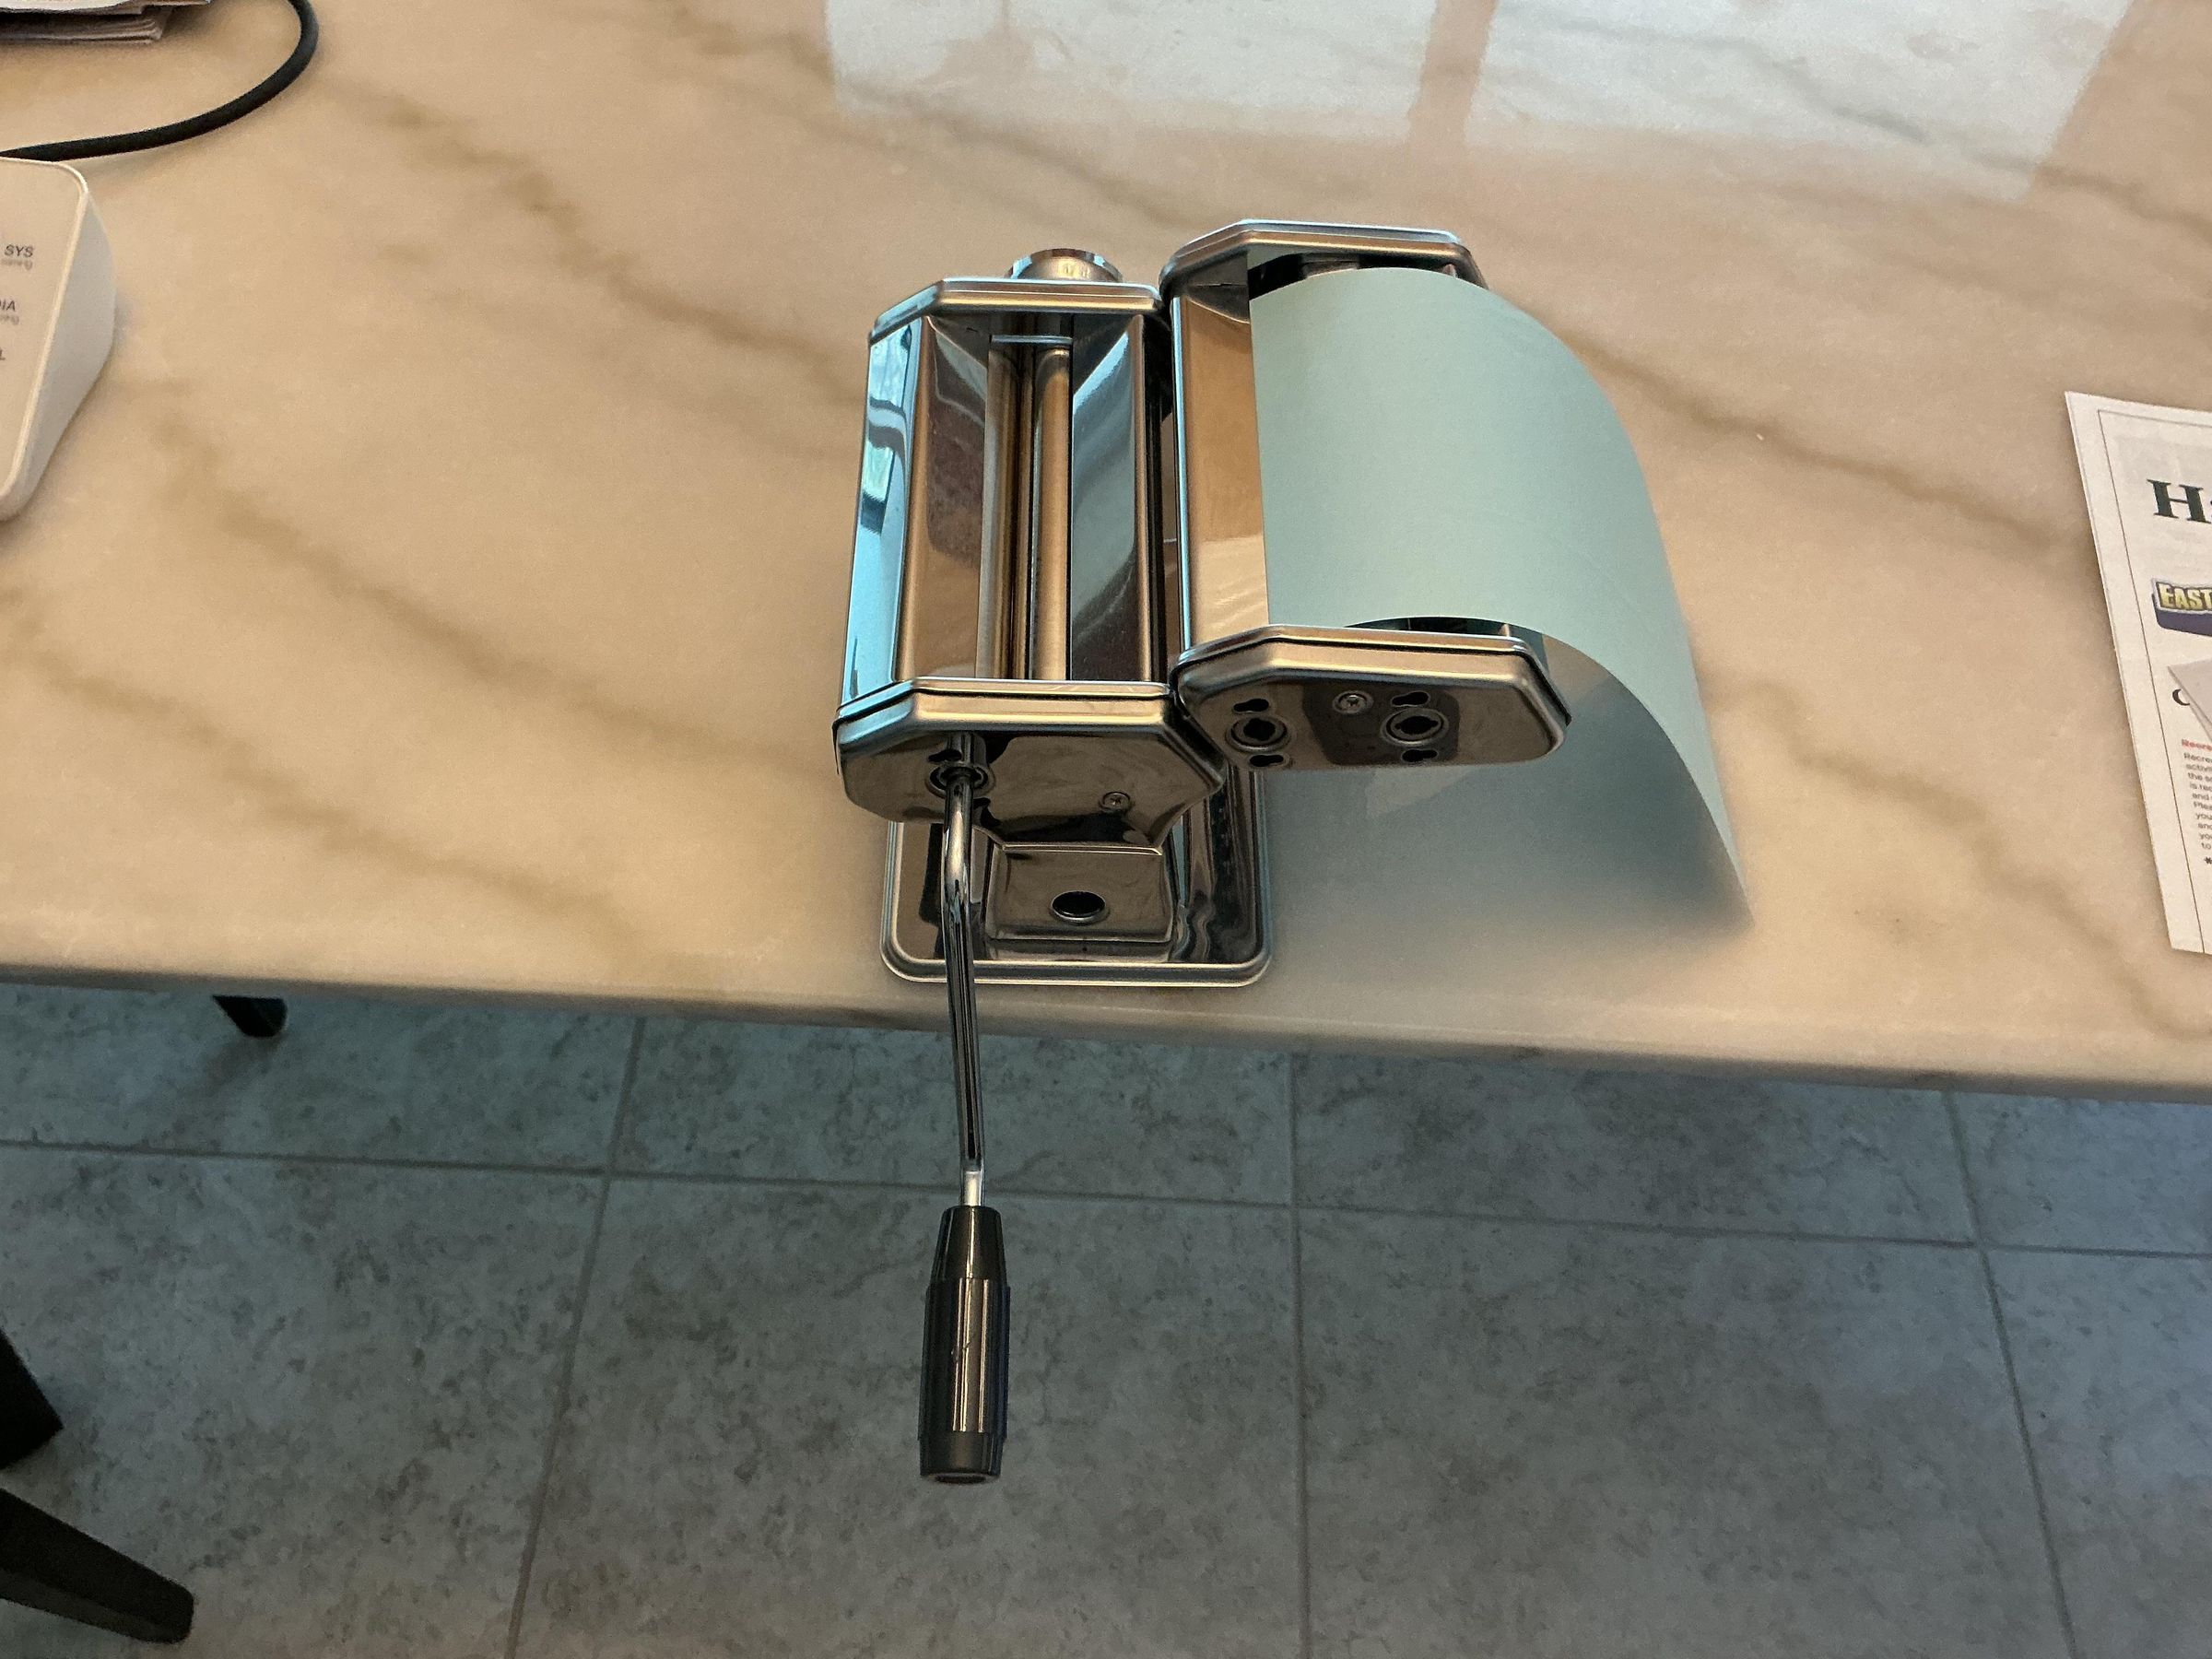
- Manual pasta maker: Cuts custom paper strips easily from any sheet of paper.
- Foam core and T-pins: Provides a workspace to pin down and organize loose strips.
Create the Outline of Your Design
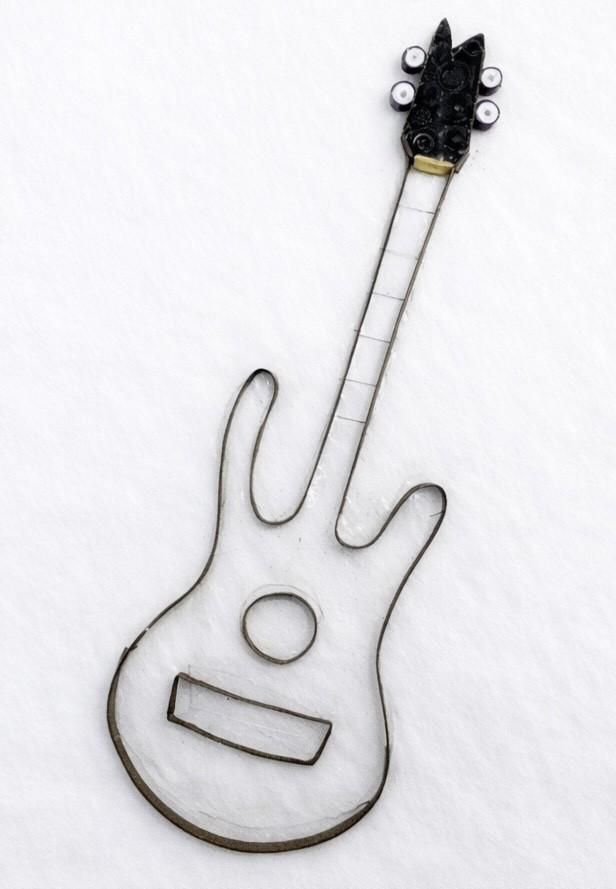
1: Decide on your base
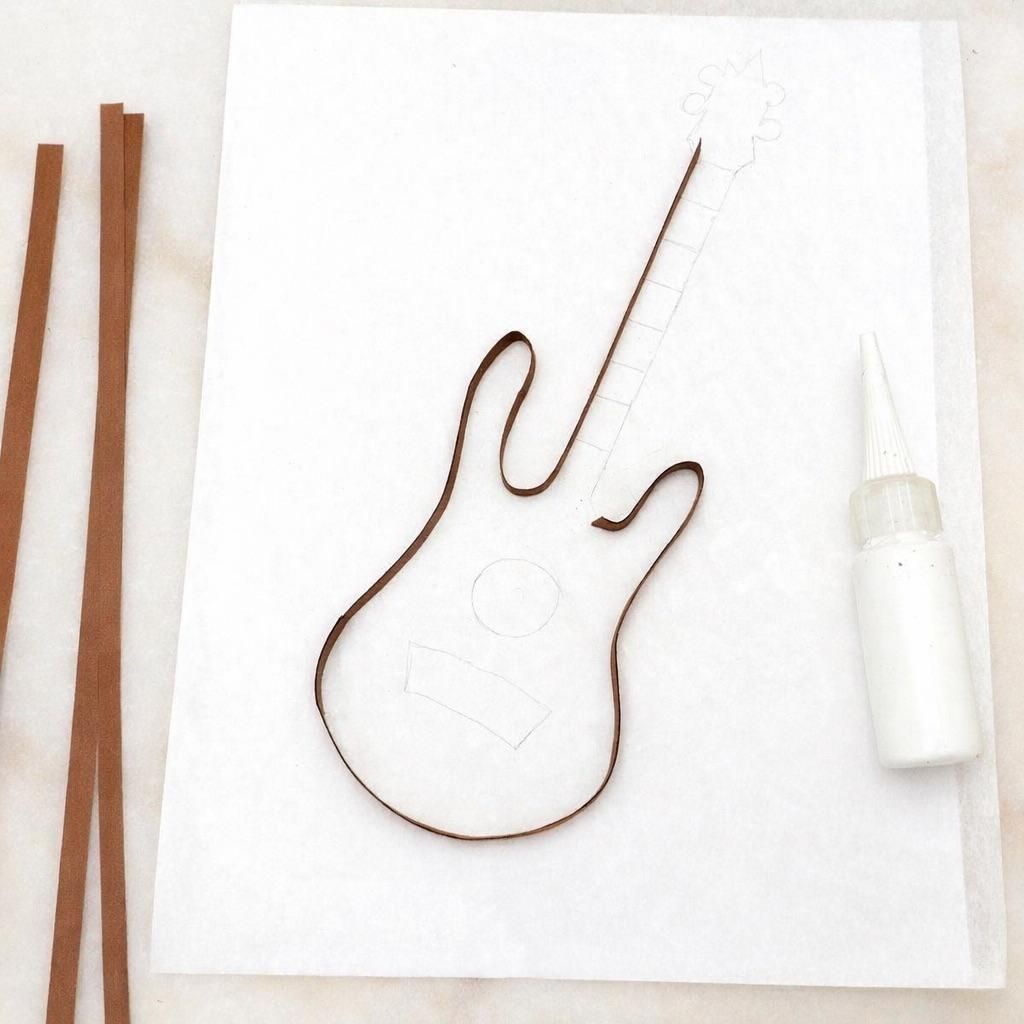
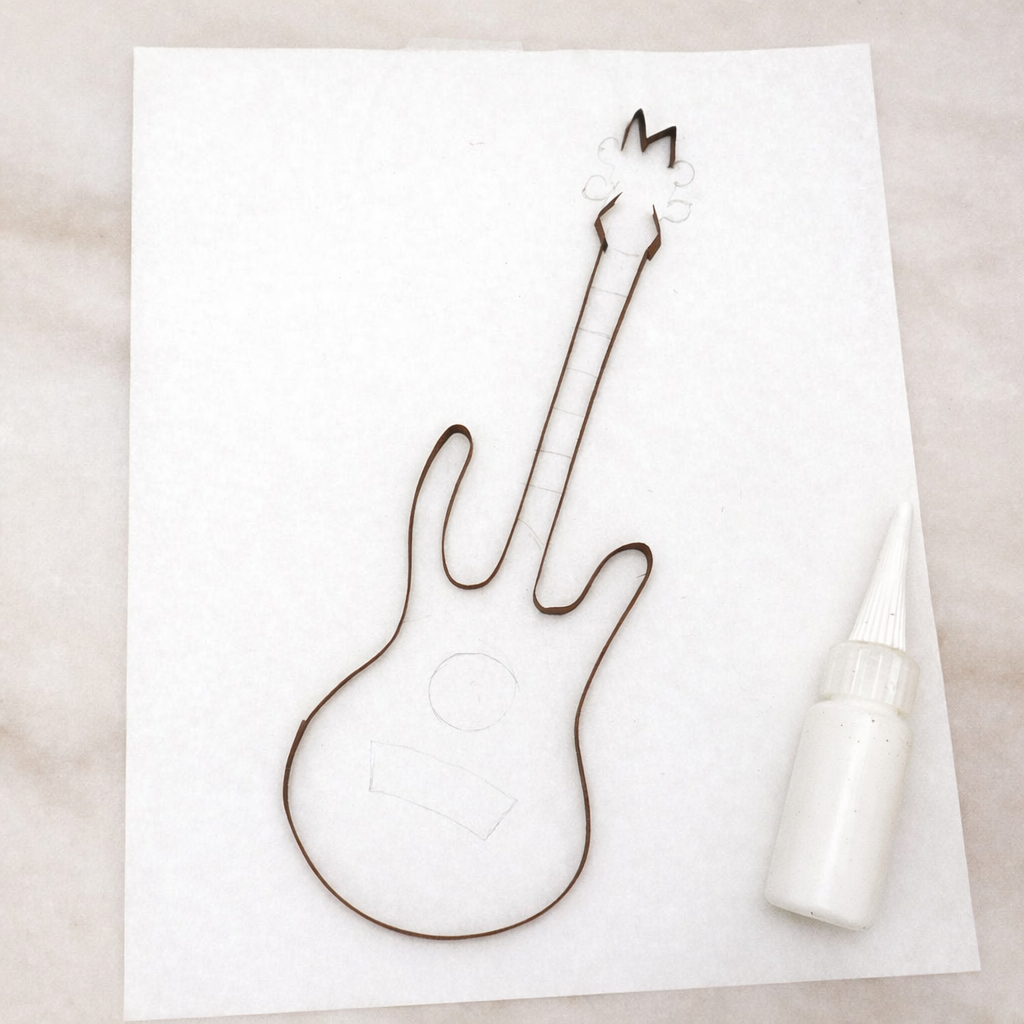
If you're a beginner, you can start with something as light as tracing paper or regular computer paper to glue your quills onto, as you will be cutting out the finished project for placement on sturdy cardstock when finished. When you are more advanced, you can create your project directly on the cardstock.
2: Use Sturdy Paper Strips for your Outline
You can either use a strip of cardstock or glue two regular quilling strips together back-to-back to double their thickness.
3: Glue in Sections
Apply craft glue and place your outline strips down one segment at a time. Working in short sections makes it much easier to shape curves than trying to manipulate a long strip all at once. You can use a pencil to help shape strips into smooth, gentle curves.
4: Don't Worry About Messy Glue
Unless you are gluing directly onto your final cardstock base, do not stress over a little extra glue left on the backing paper. Simply wipe away the biggest excess pools before they dry. The extra glue won't matter because the entire paper base will be cut away and discarded in the final steps.
Making Coil Shapes
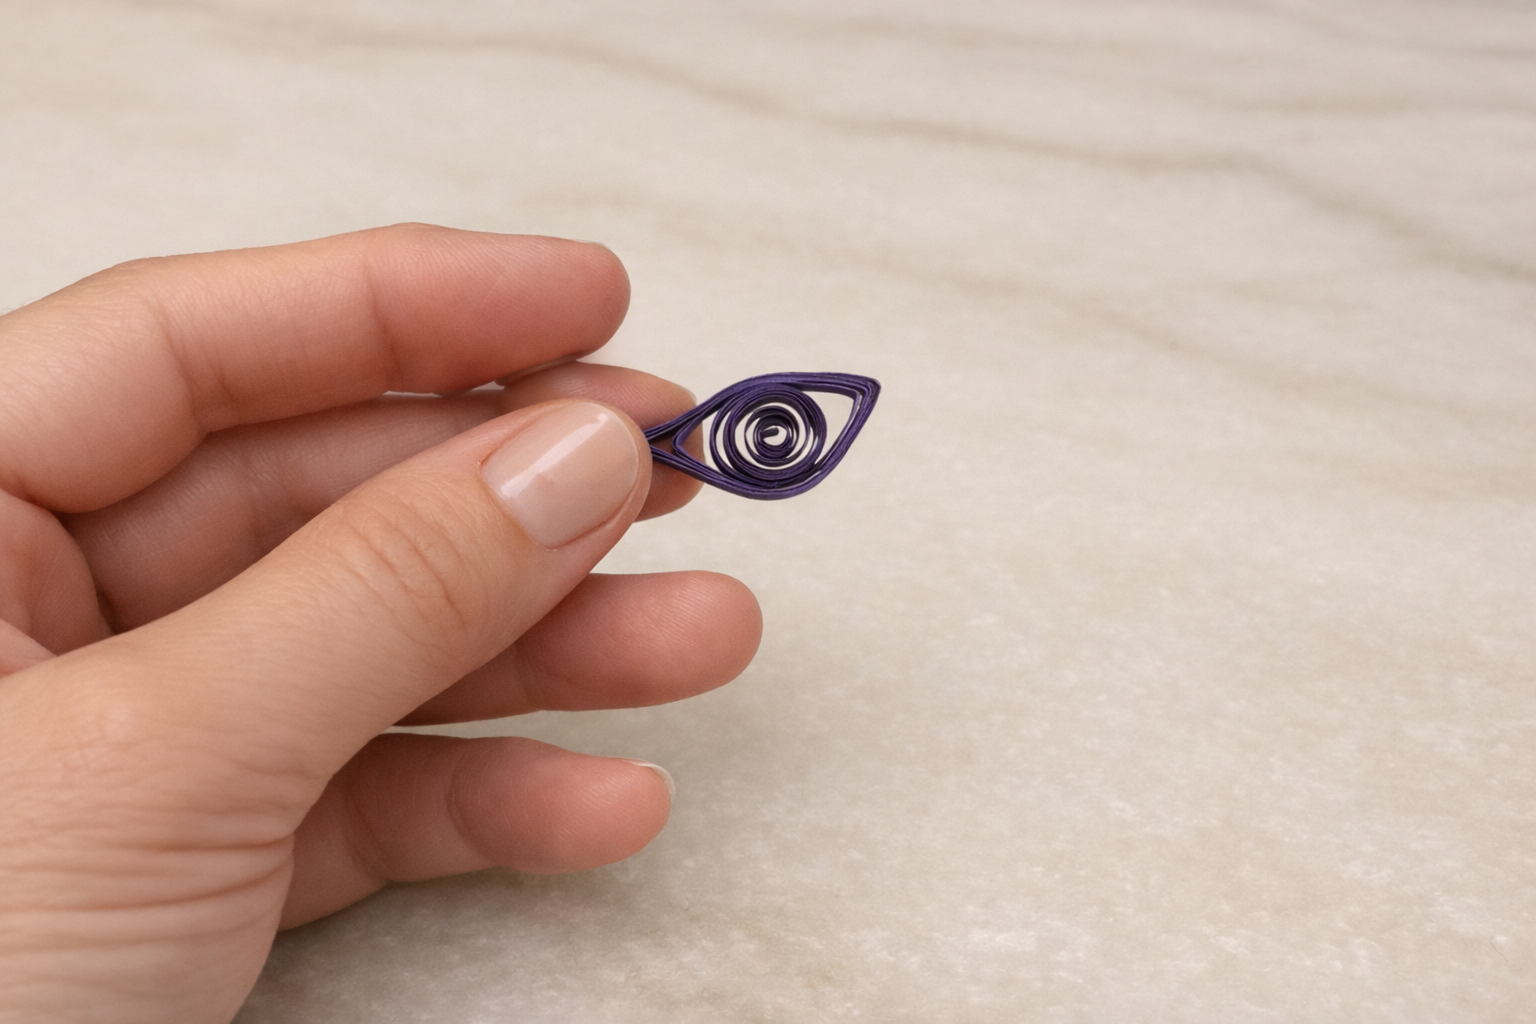
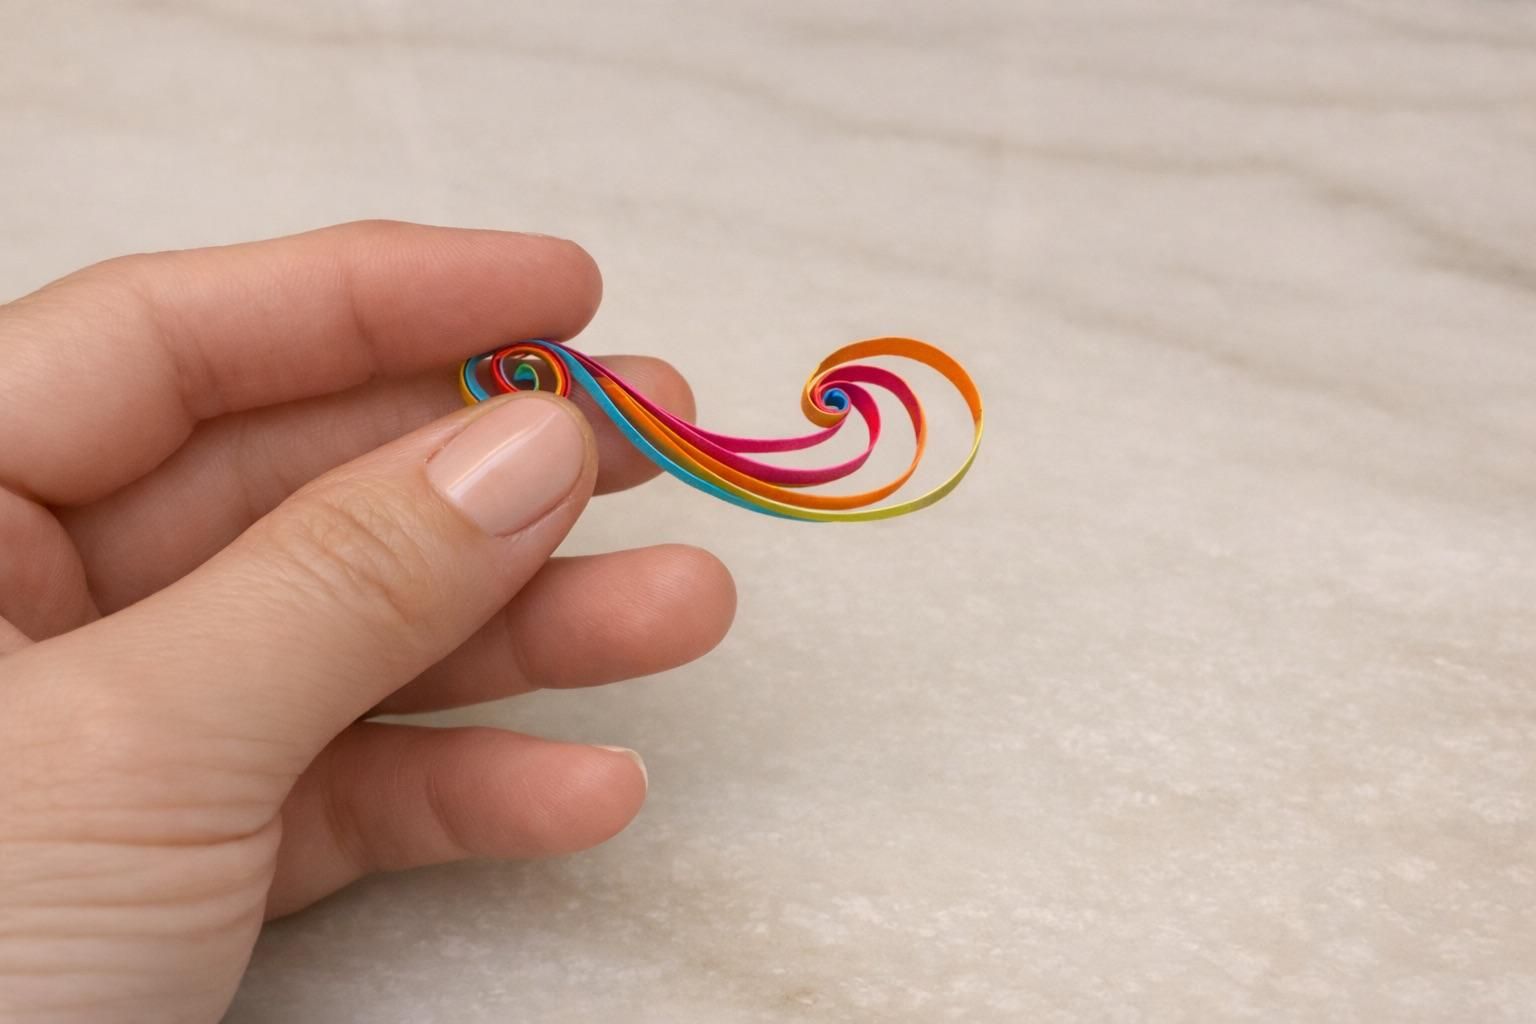
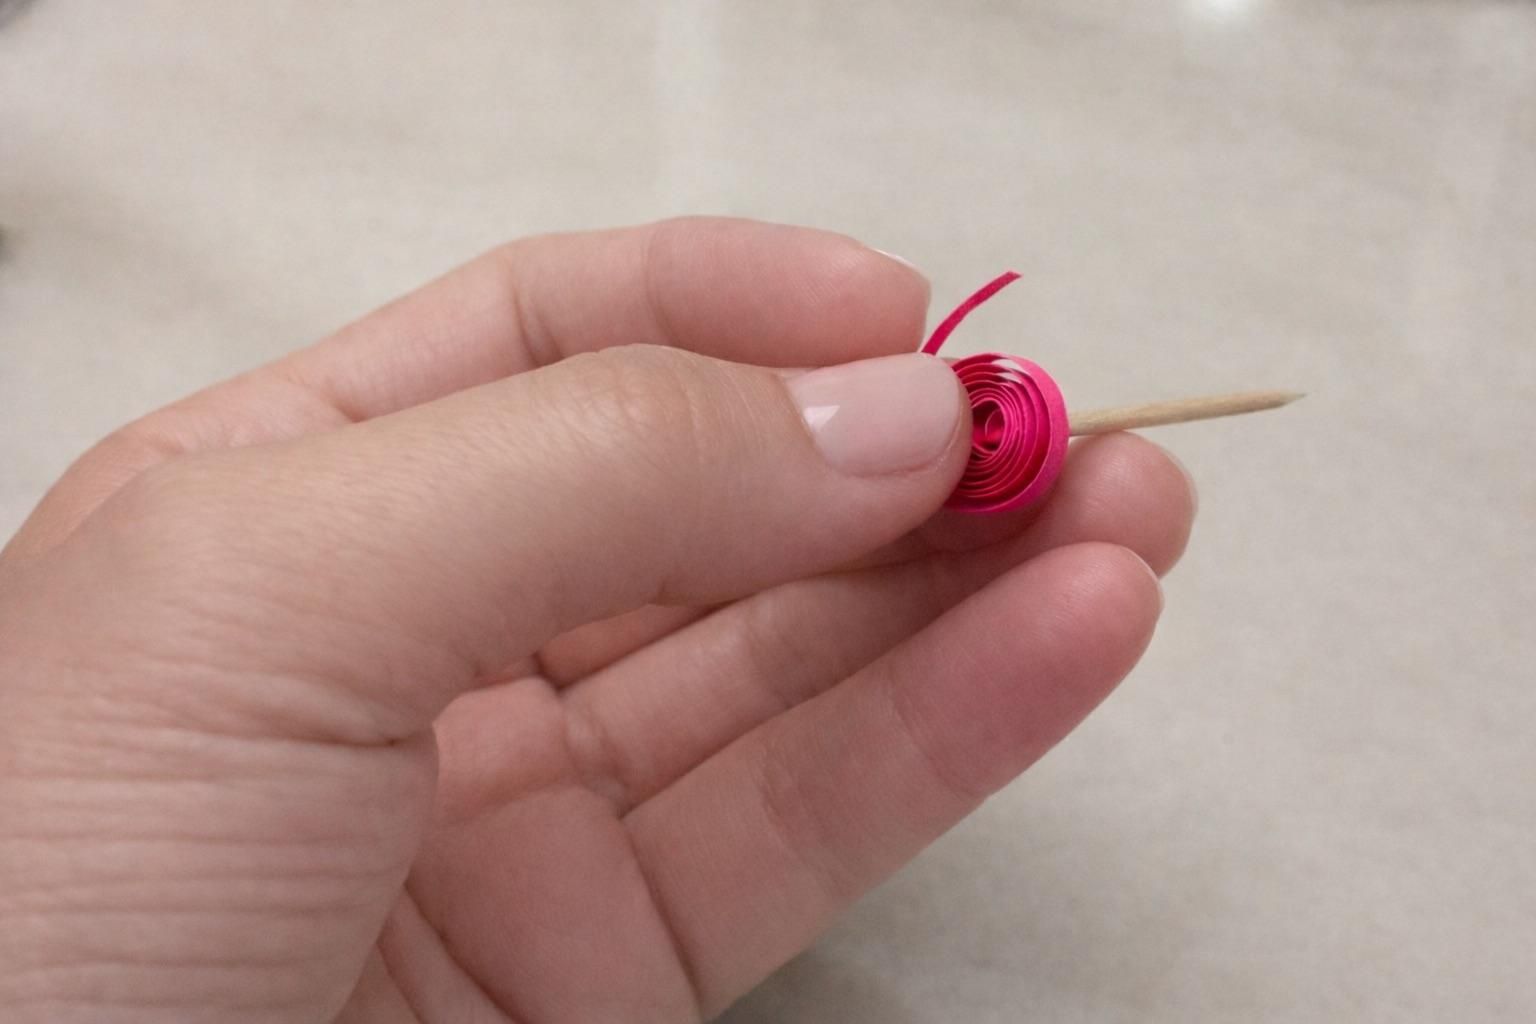
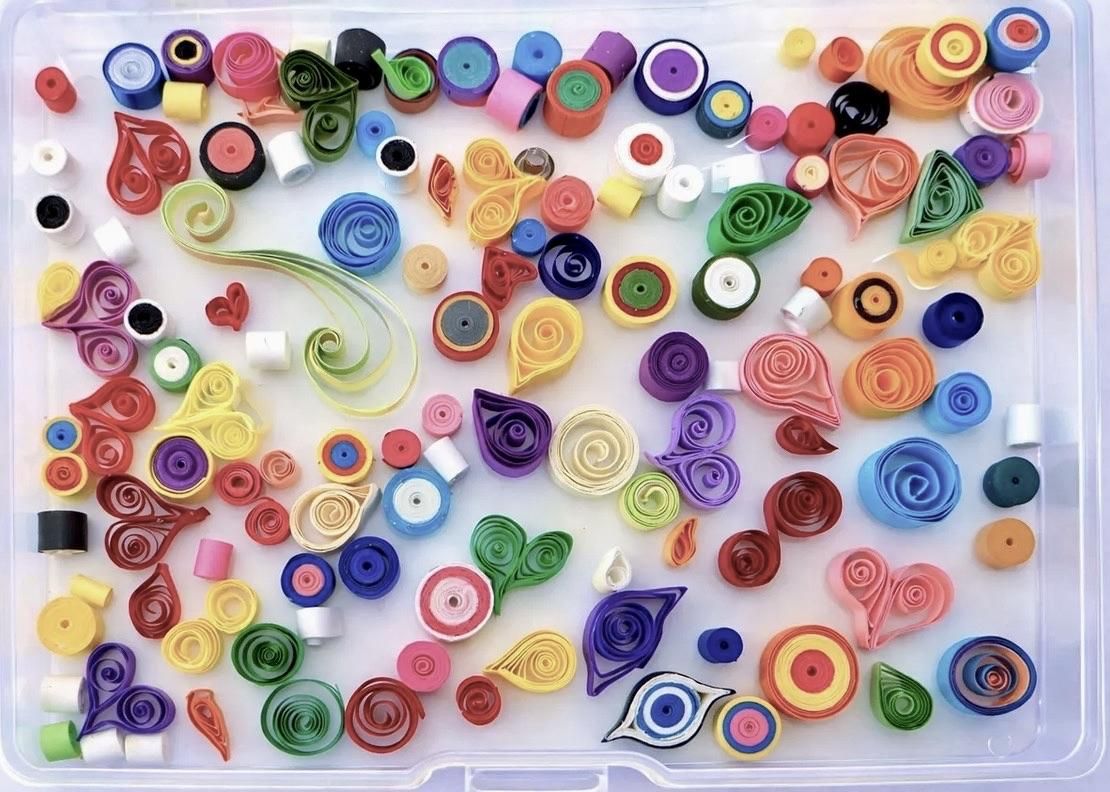
You will need LOTS of coil shapes in various sizes and colors. Any extra ones you make can be saved for another project. Here's how to start making your coils:
1: Roll the Base
Wrap the end of a paper strip tightly around a quilling tool or the tip of a toothpick. Keep rolling the paper around itself; the more you roll, the larger the coil will become.
2: Remove the Tool
Once you reach your desired amount of paper, twist the tool slightly backward. This creates just enough slack to easily slide the tool out of the center of the coil.
3: Finish Your Coil
- For a Tight Coil: Keep the paper wrapped tightly. Use a clean toothpick to apply a tiny dab of glue to the end of the paper strip, then press it down to secure the shape.
- For a Loose, Larger Coil: Place the coiled paper onto a flat surface and let go. Allow it to unfurl naturally until it reaches the size you want, then glue the outer end to hold it in place.
Remember that your coils will improve with practice, and even the smallest coil can be used to fill in spaces, so keep all of your practice coils.
Creating Your Unique Design
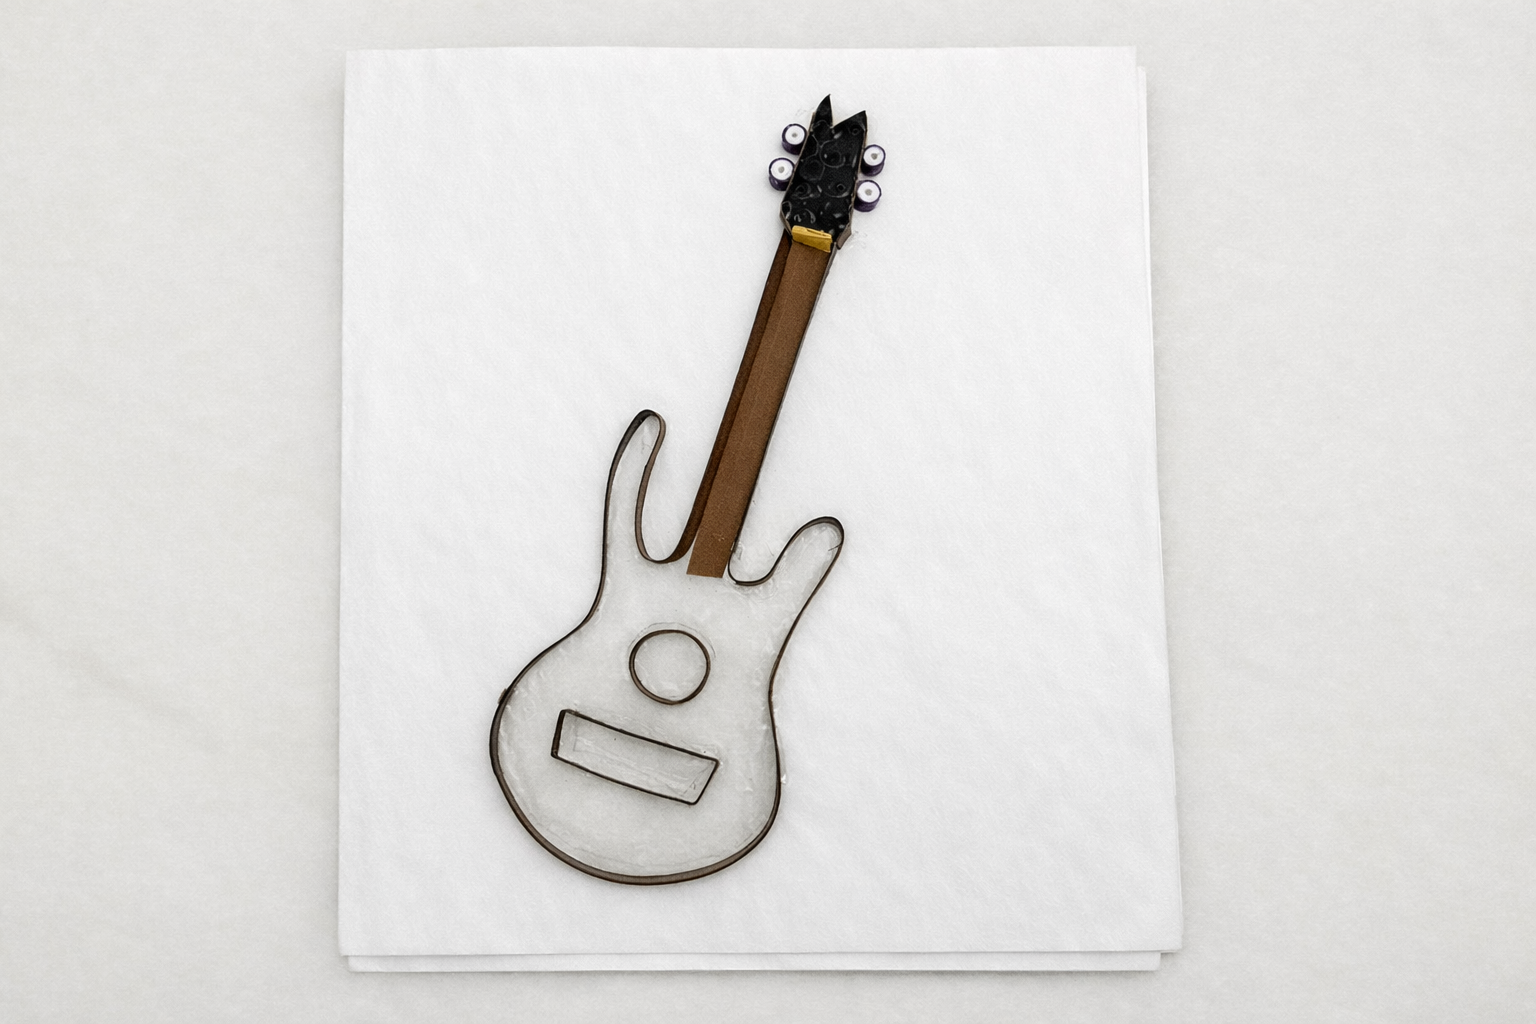
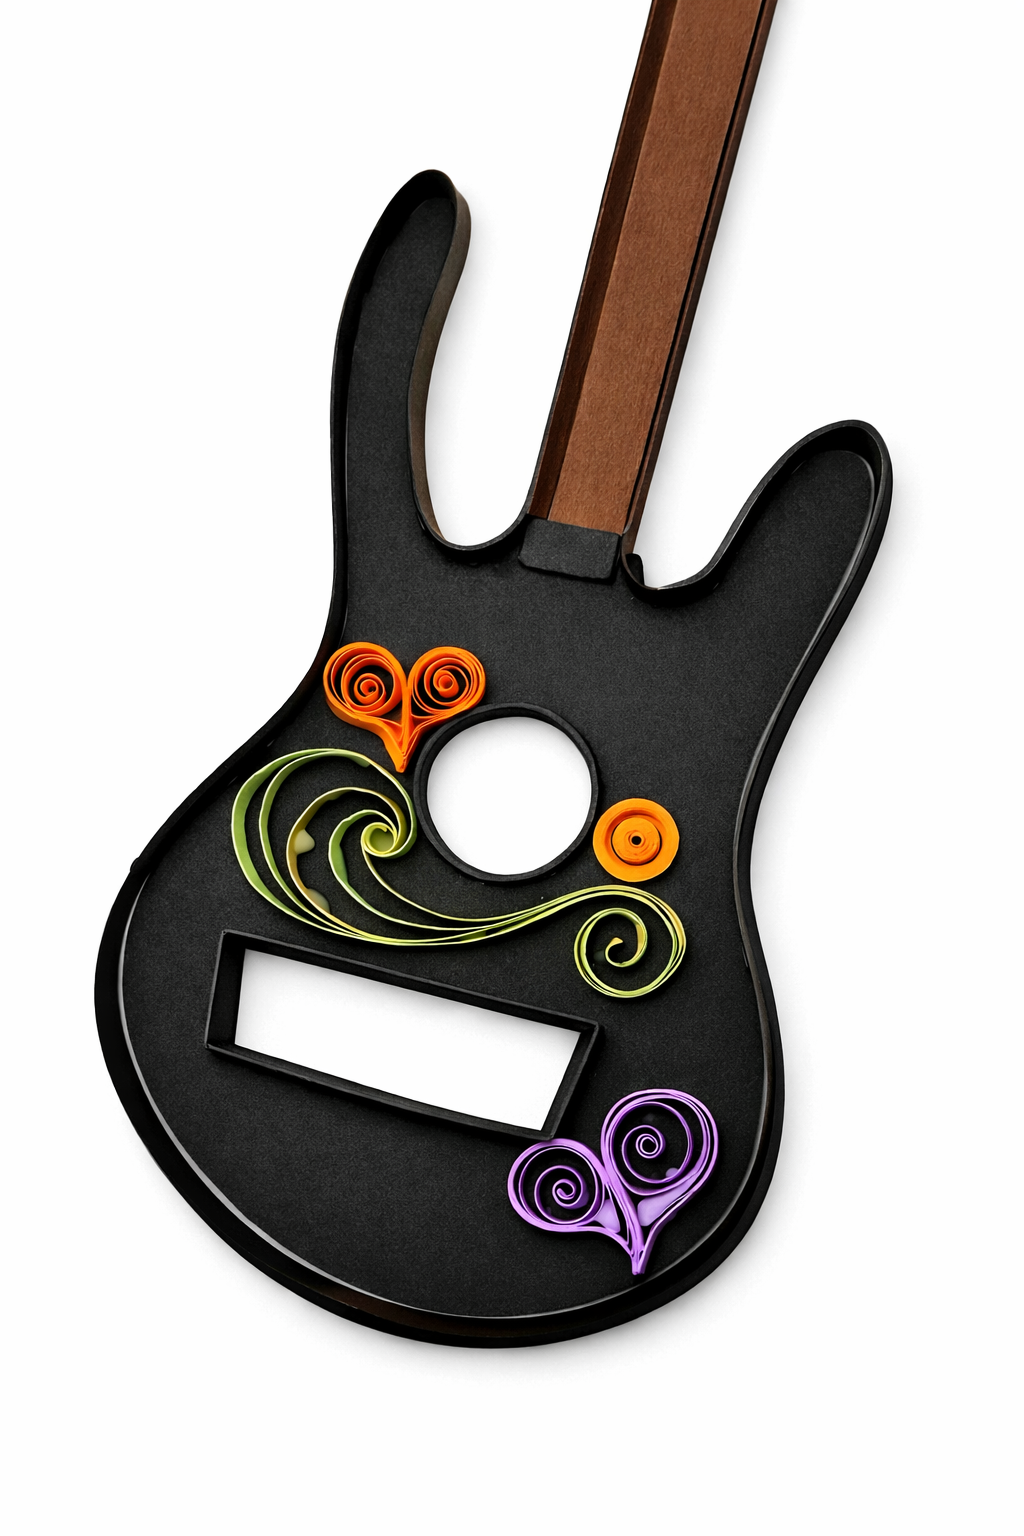
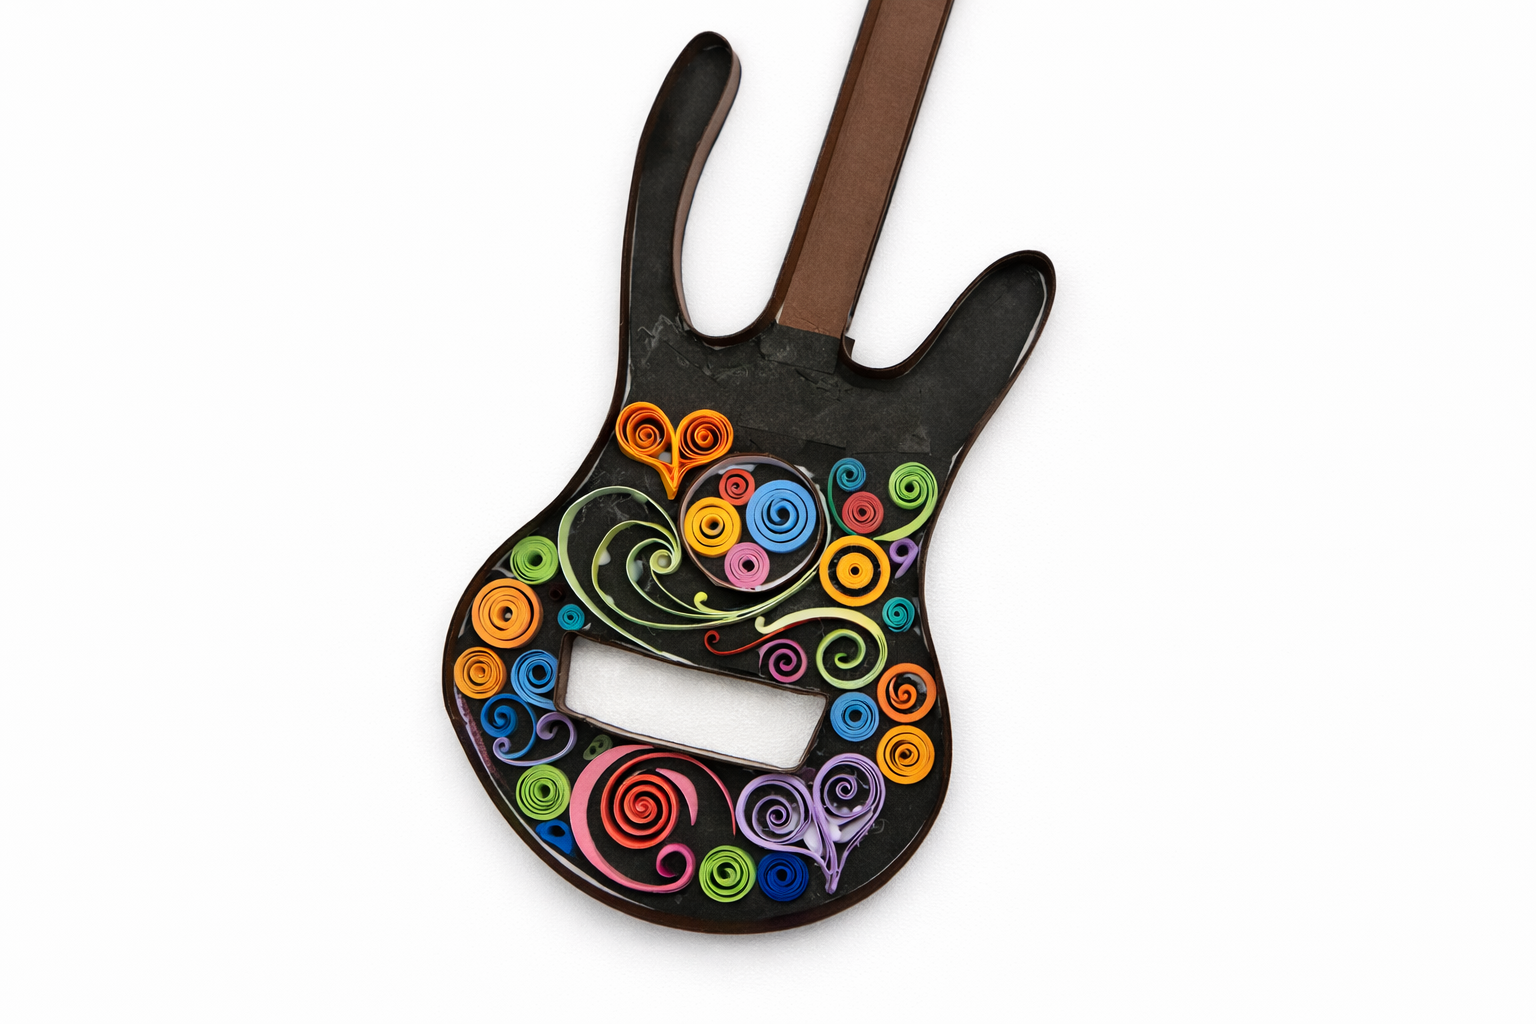
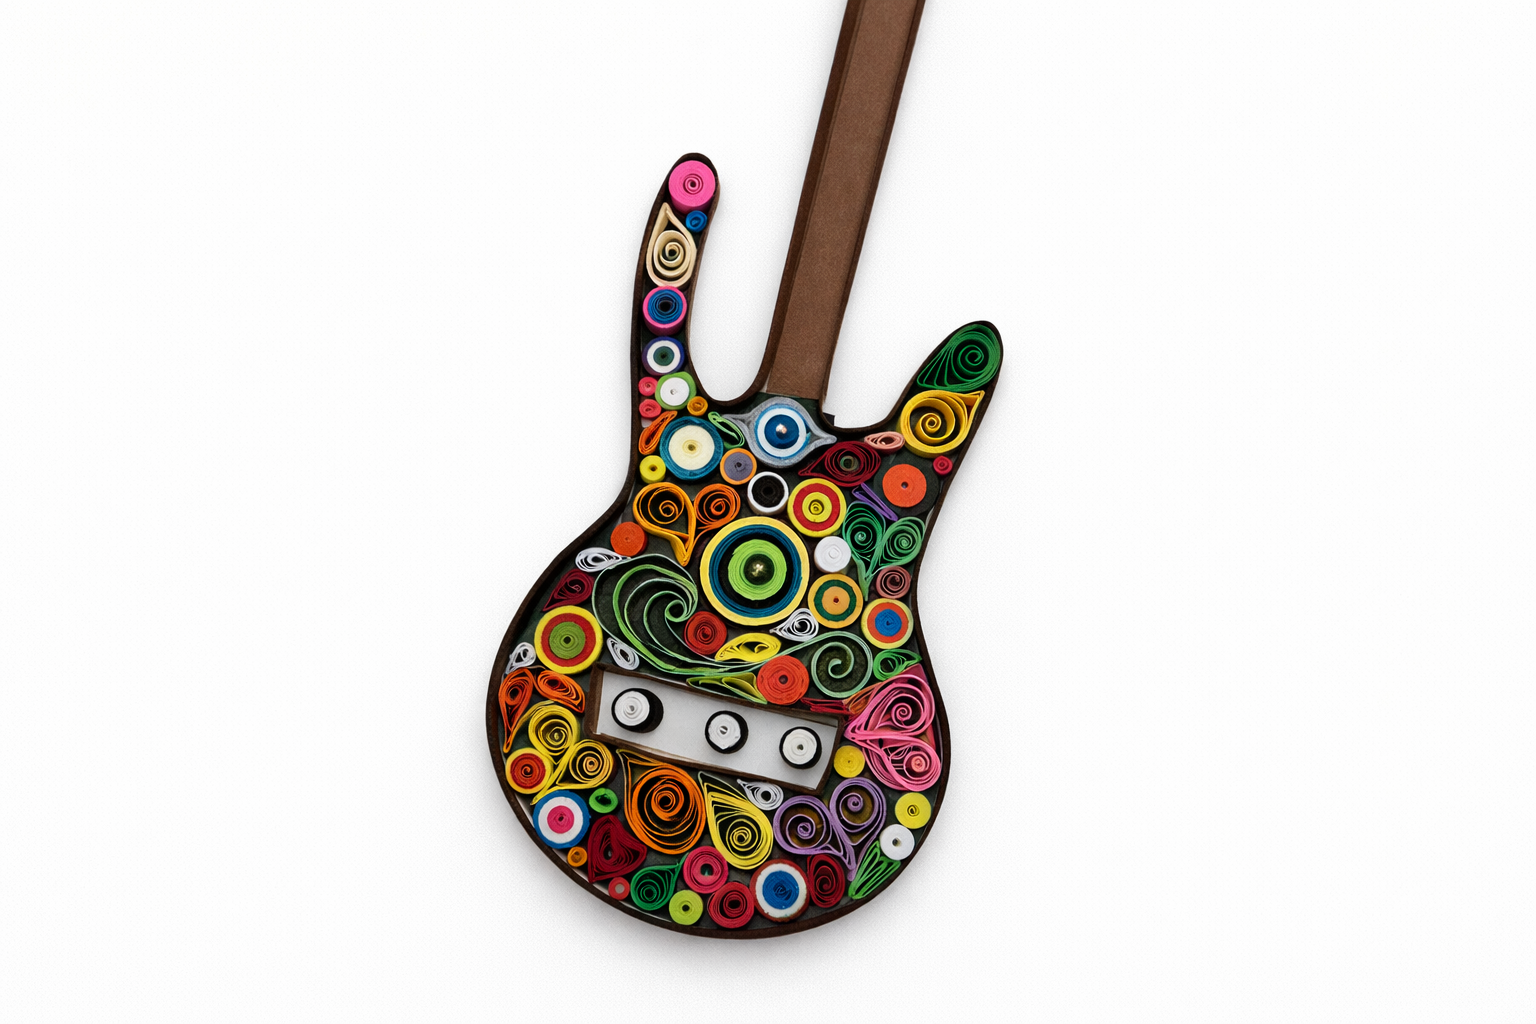
Now for the fun part — start adding your coils one by one to the base. In this photo you can see that I filled in the background of the body of the guitar using pieces of black paper for contrast, but it's not necessary. For the coils You can stick with a simple color palette, such as different shades of one color, or mix various colors and shapes to create a more visually interesting design. Continue placing your coils till the outline is completely filled in.
Finishing Up
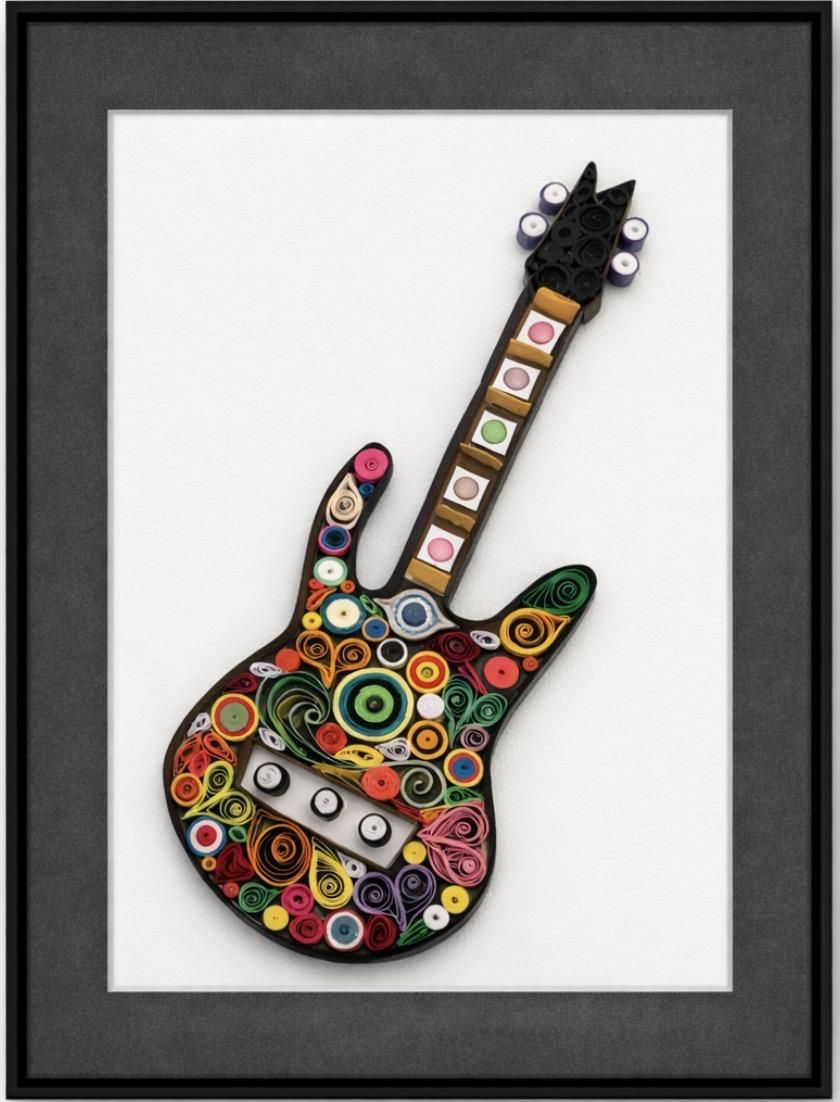
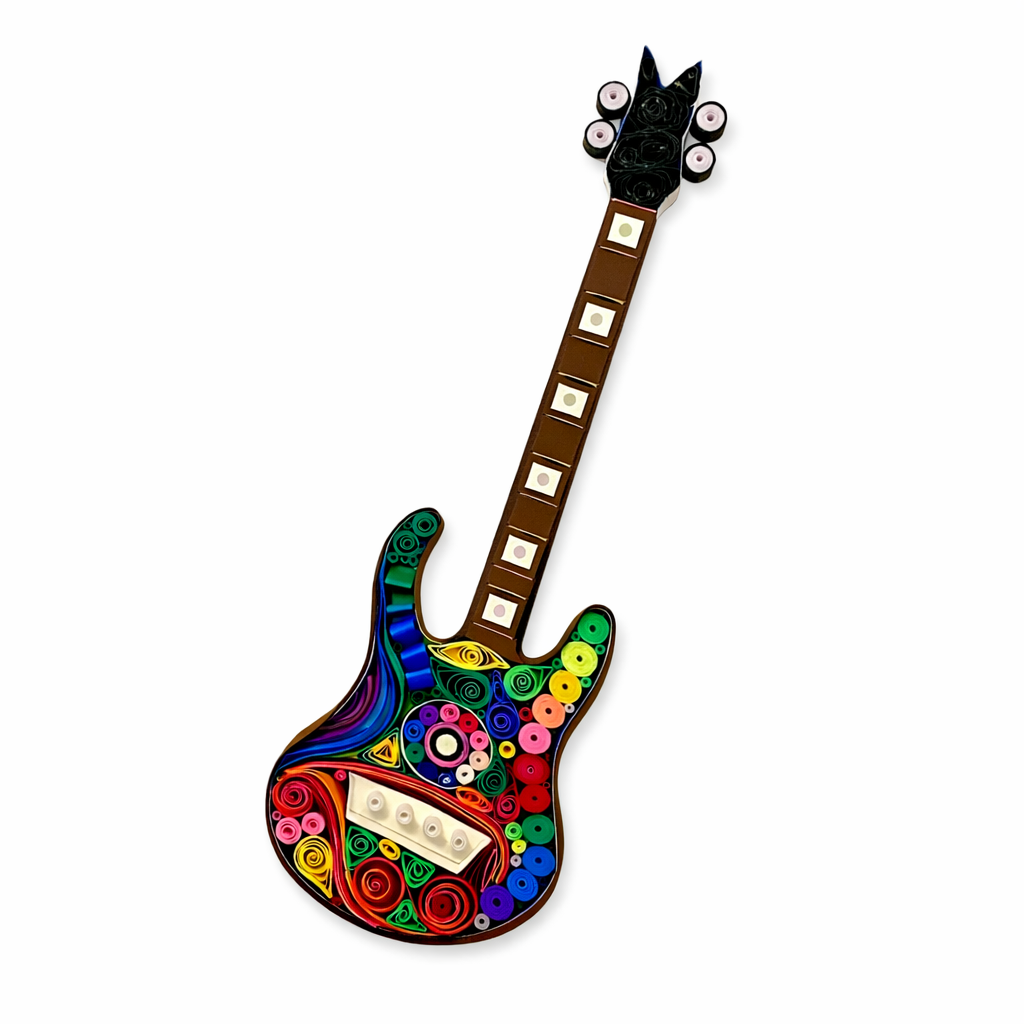
I added a few embellishments to the fret board and, as you can see from the photos of the two quilled guitars I created, they are different but each has its own personality and were super fun to make. I can't wait to gift one of these to the guitar player in my band!
Helpful Hints and Ideas
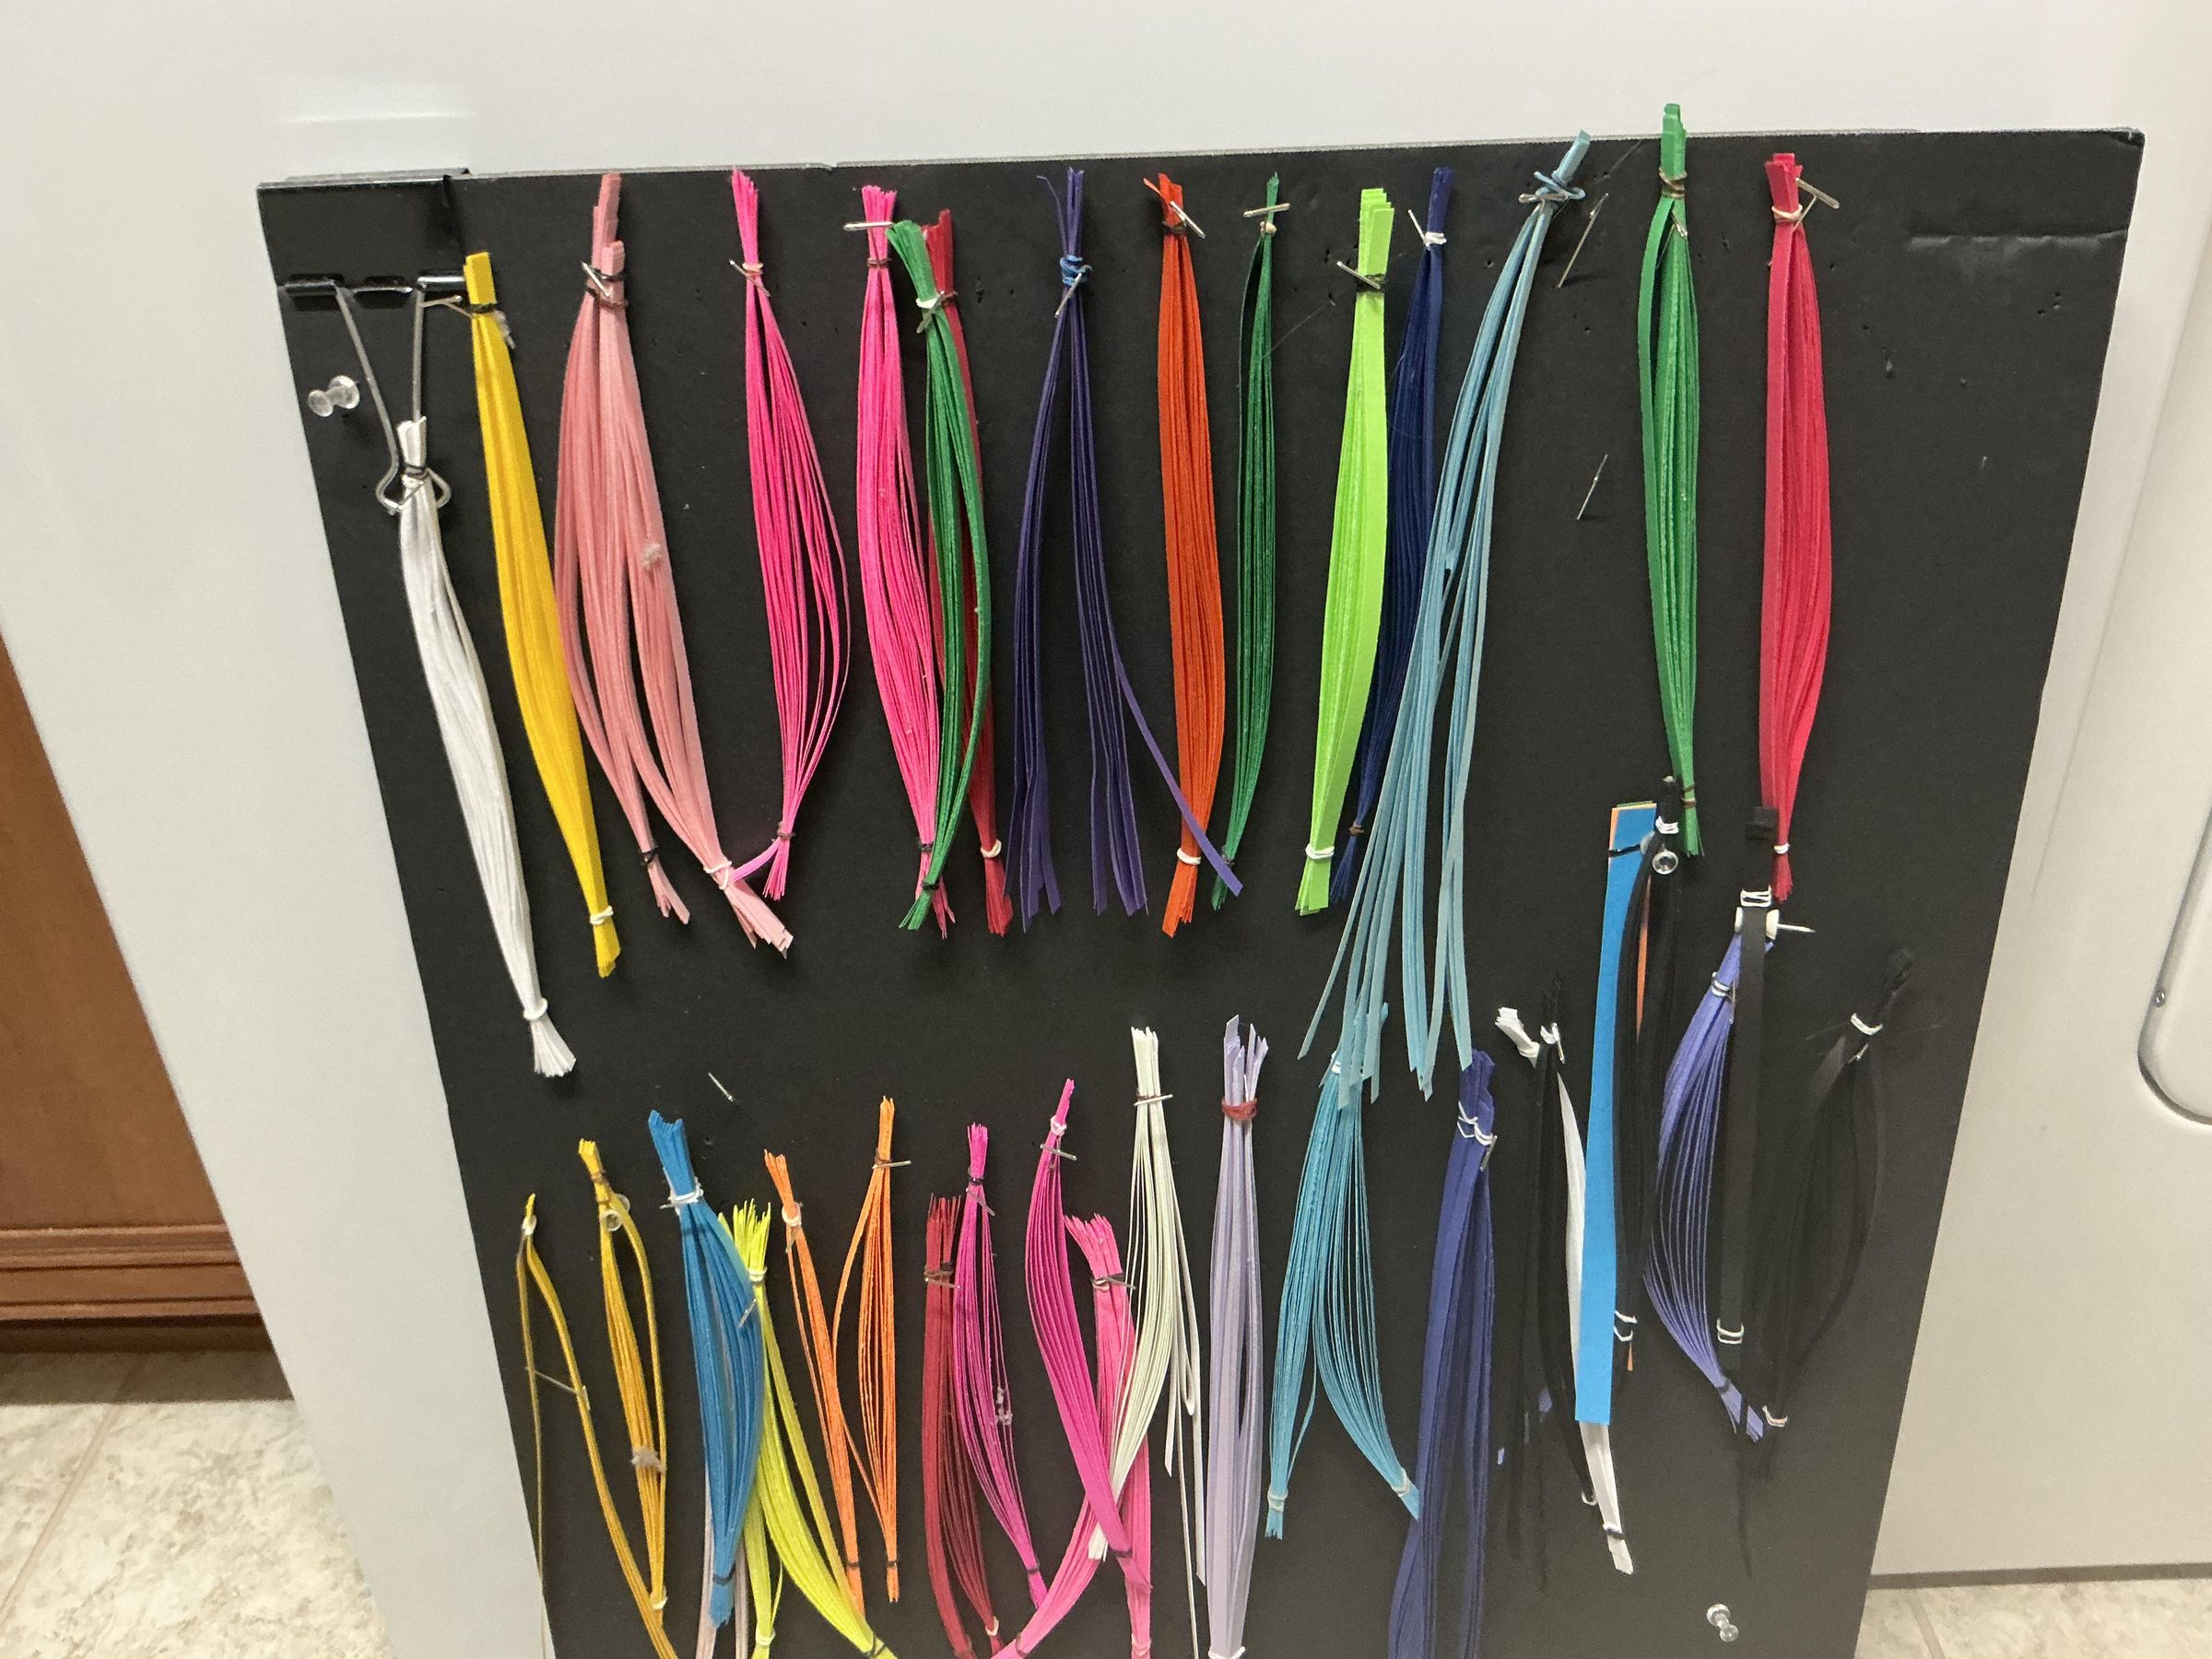
- Those narrow quilling strips can get disorganized and bend easily, so I came up with a way to organize them that was much better than just throwing them into a box. I bundled each color and, at the Dollar Store bought a pack of baby rubber bands to secure the bundles with. I also purchased (at the Dollar Store) a sheet of foam core and, using T-pins, I hung the bundles of strips over the T-pins. It was super easy to create this, and is narrow so it doesn't take much room to store.
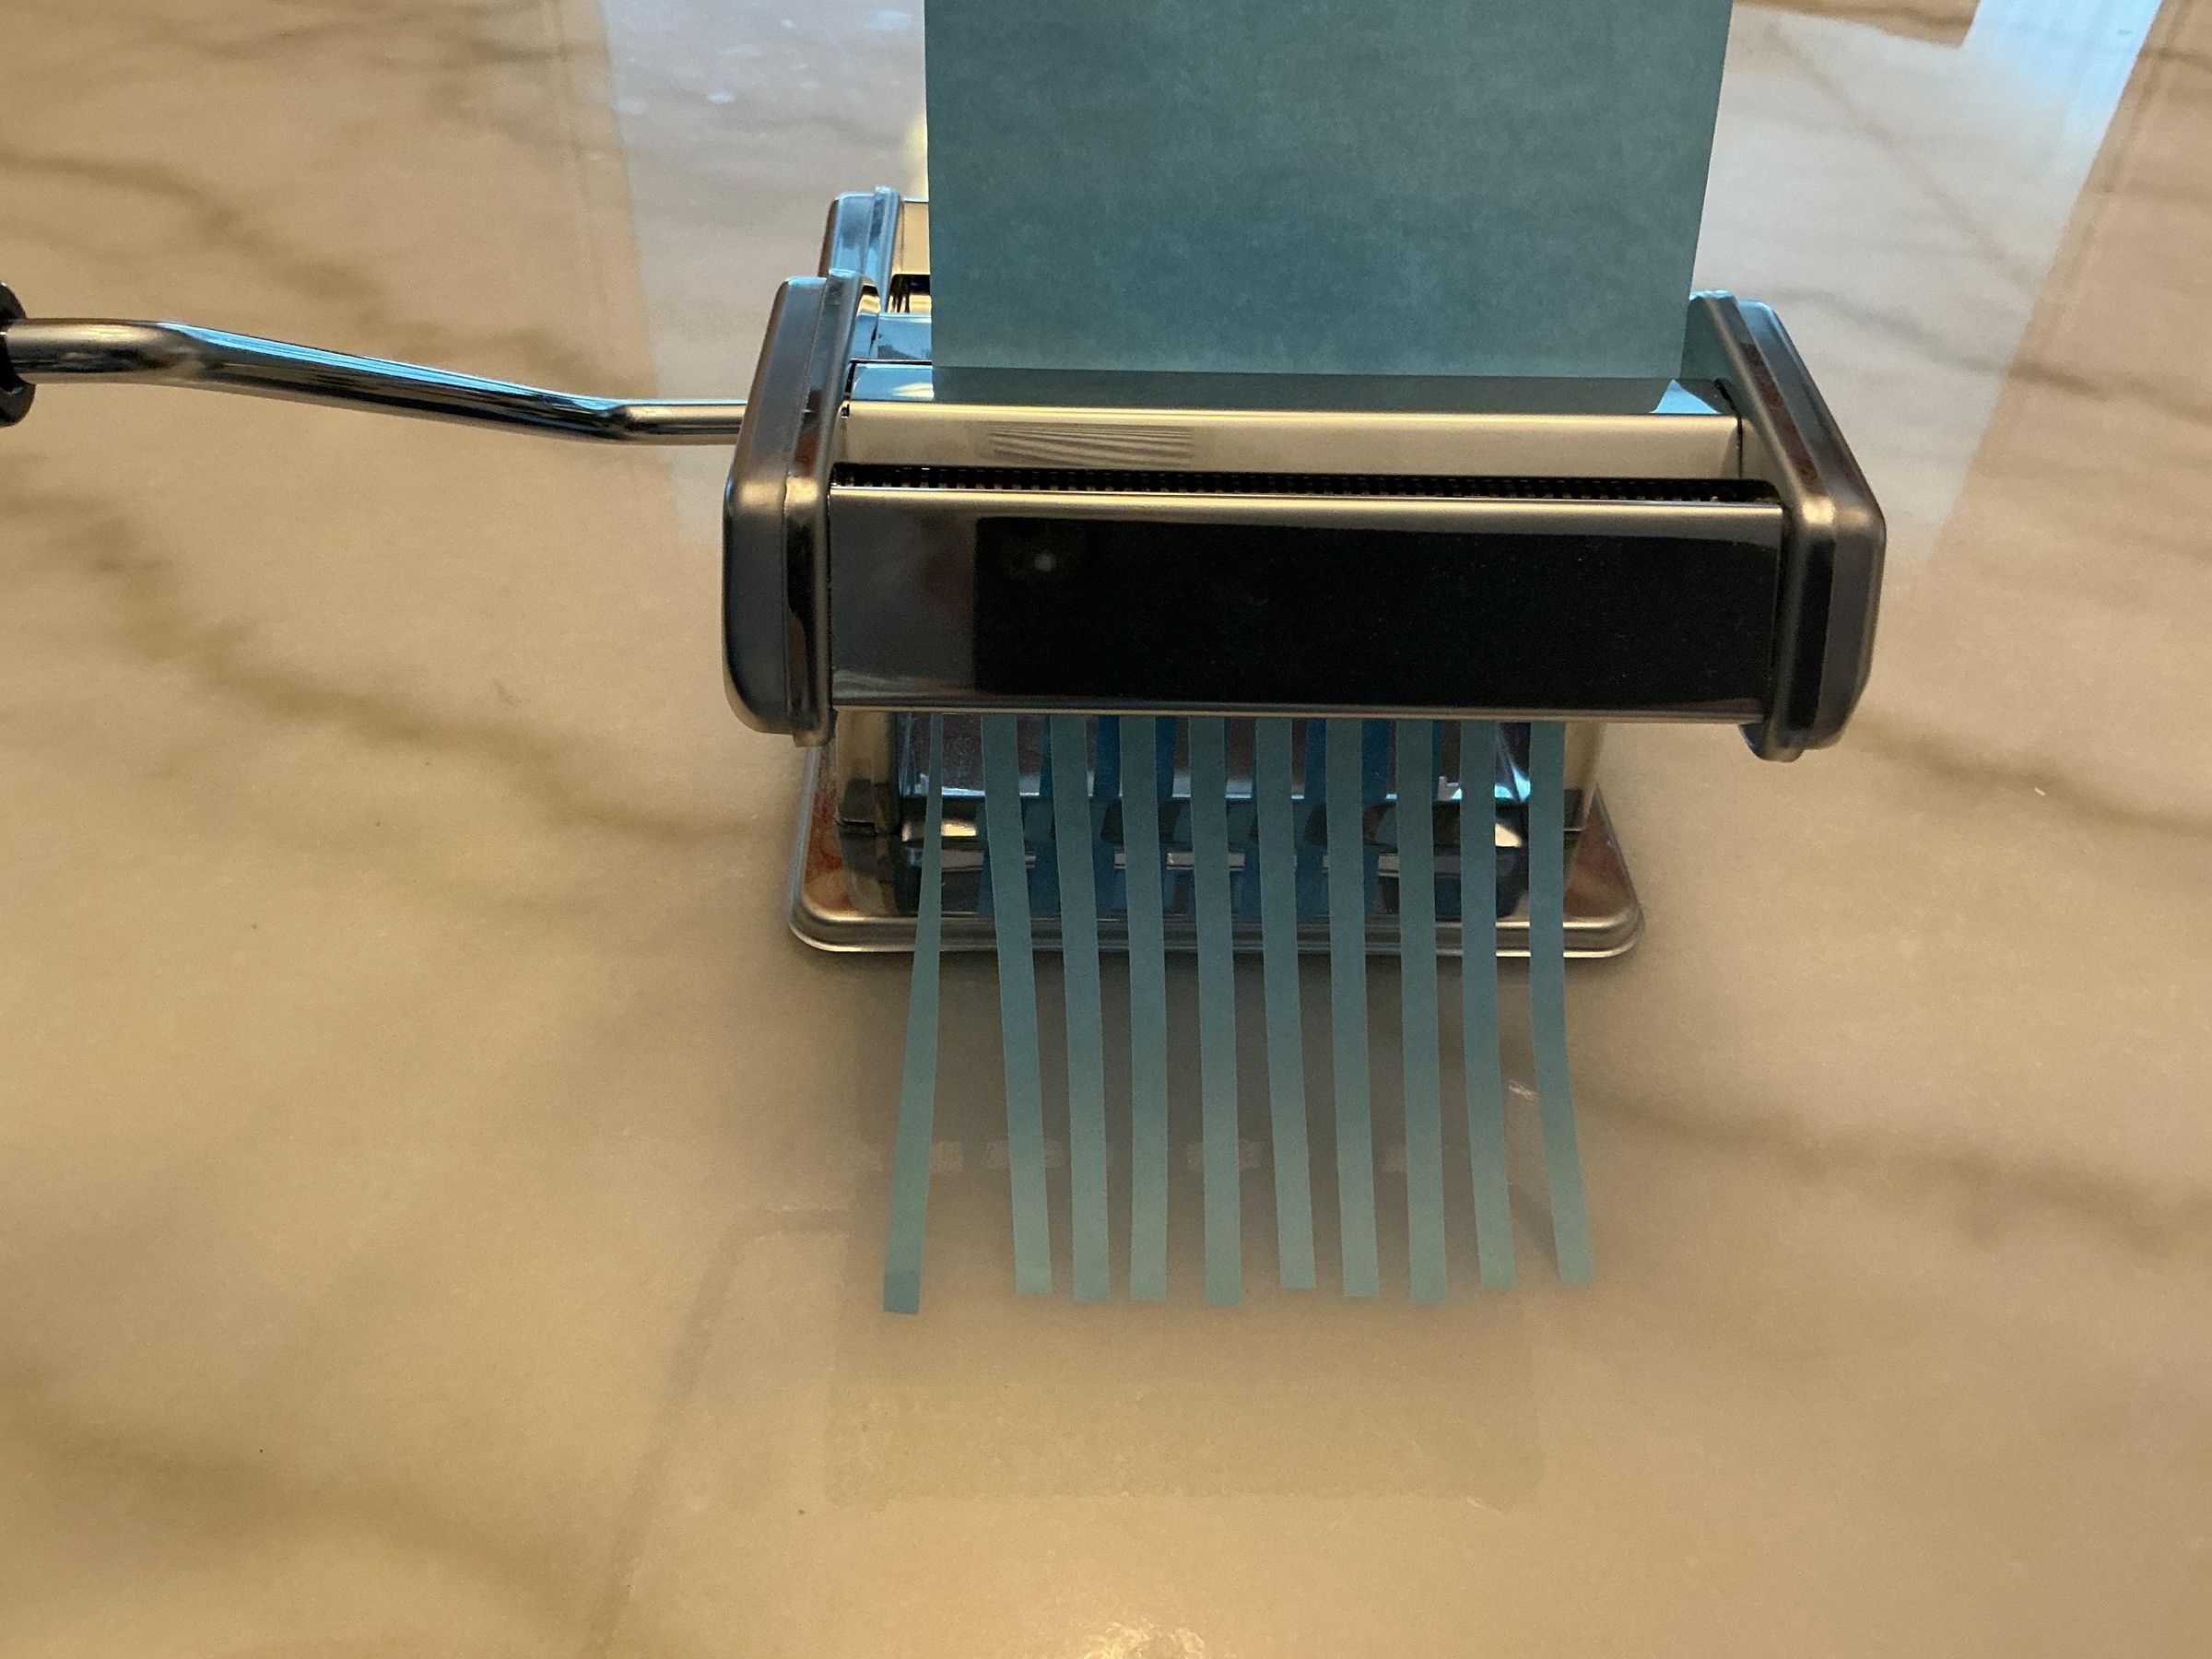
- I found that although there are options for purchasing packets of quilling strips, occasionally I only needed a particular color. It's possible to purchase single sheets of color from a print store, or a multi-color pack at Walmart very inexpensively. Using this pasta maker that I purchased very inexpensively online makes it so convenient to just cut a small number of strips in the exact color I want. In the long run it has saved me money and has provided me with a huge variety of colors.
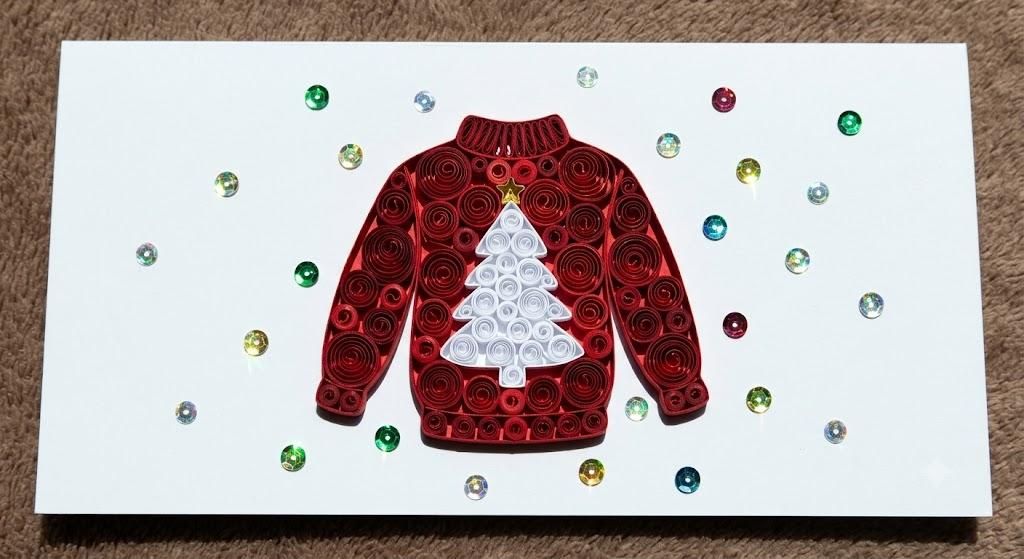
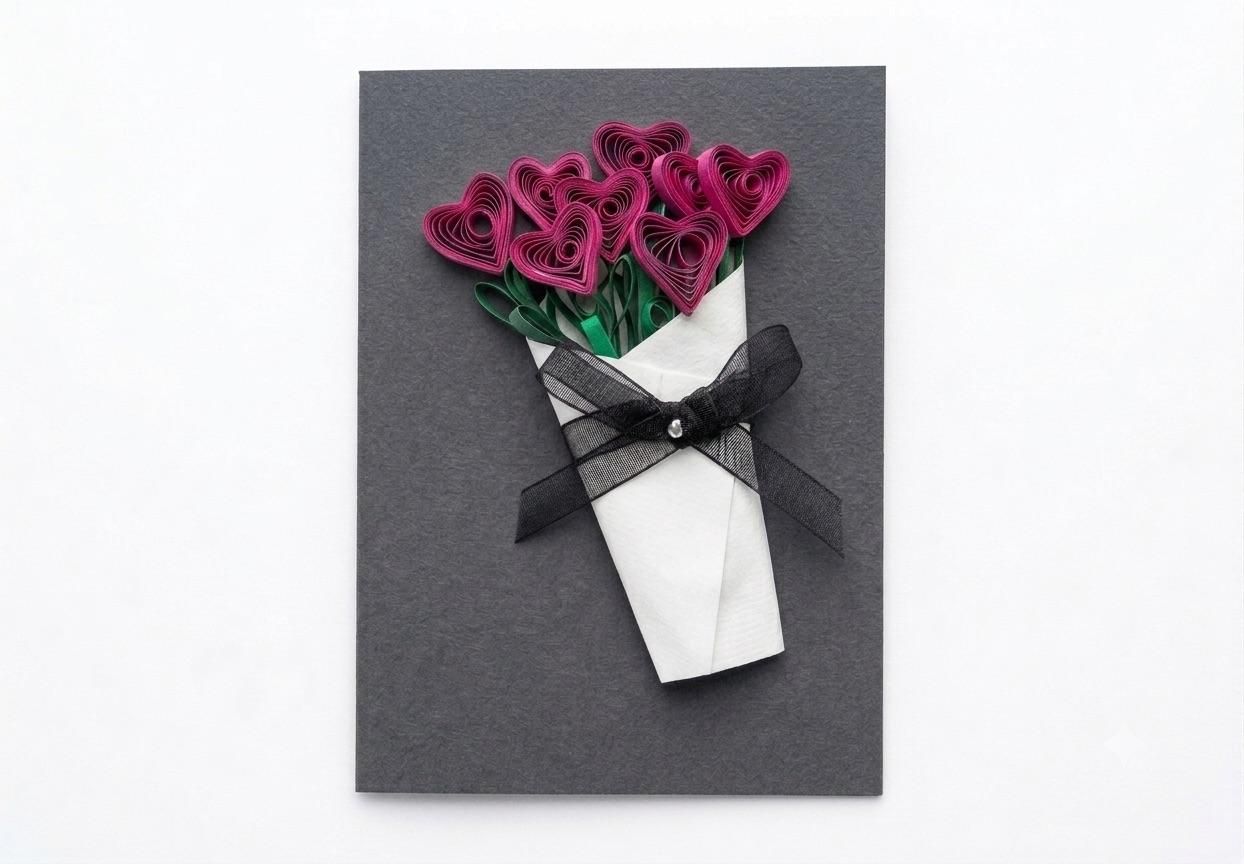
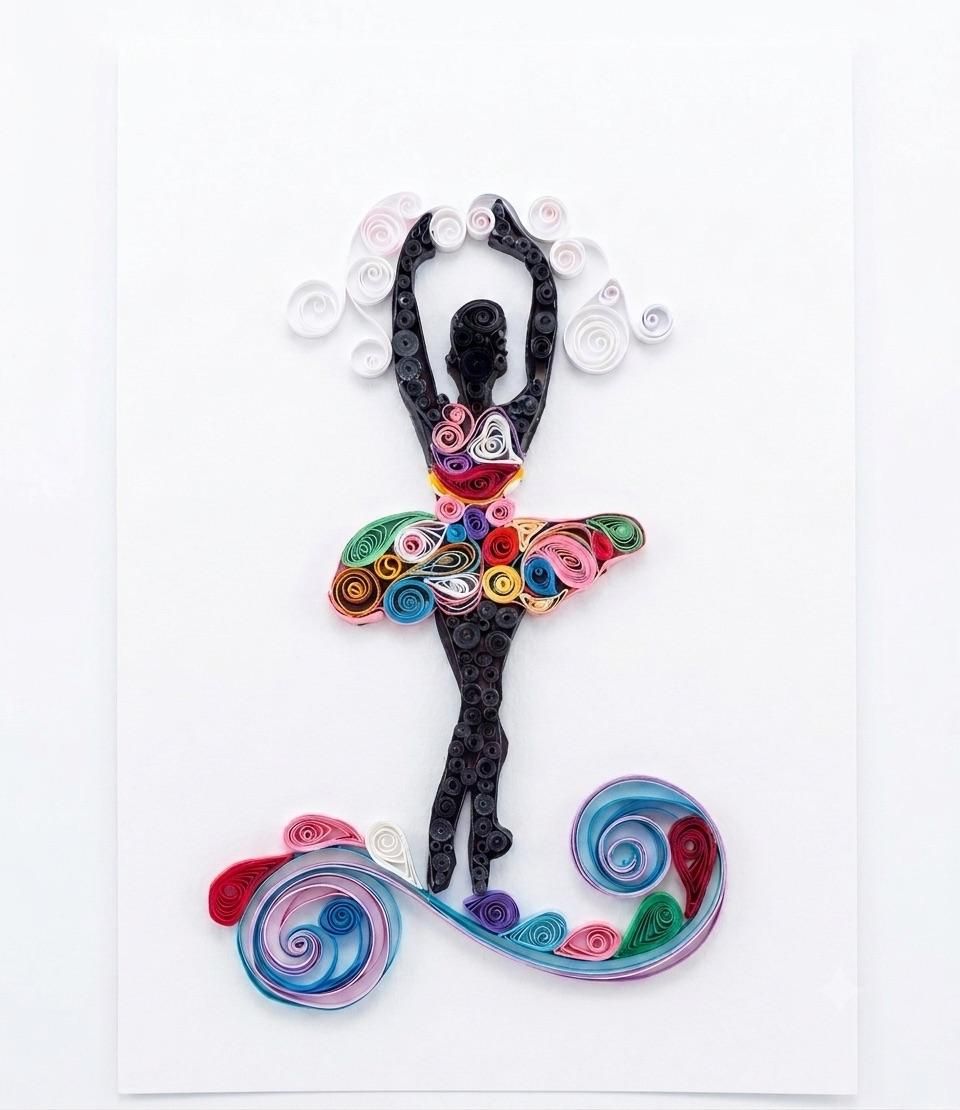
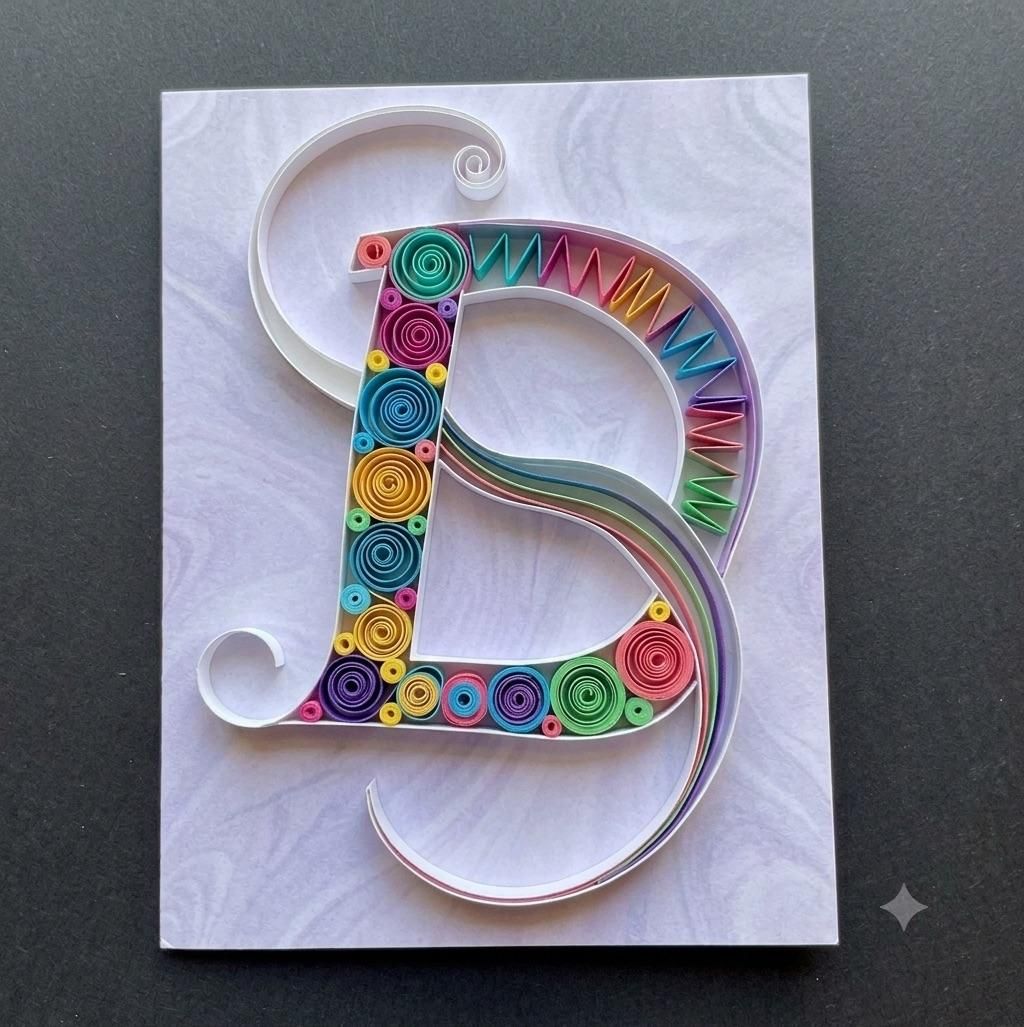
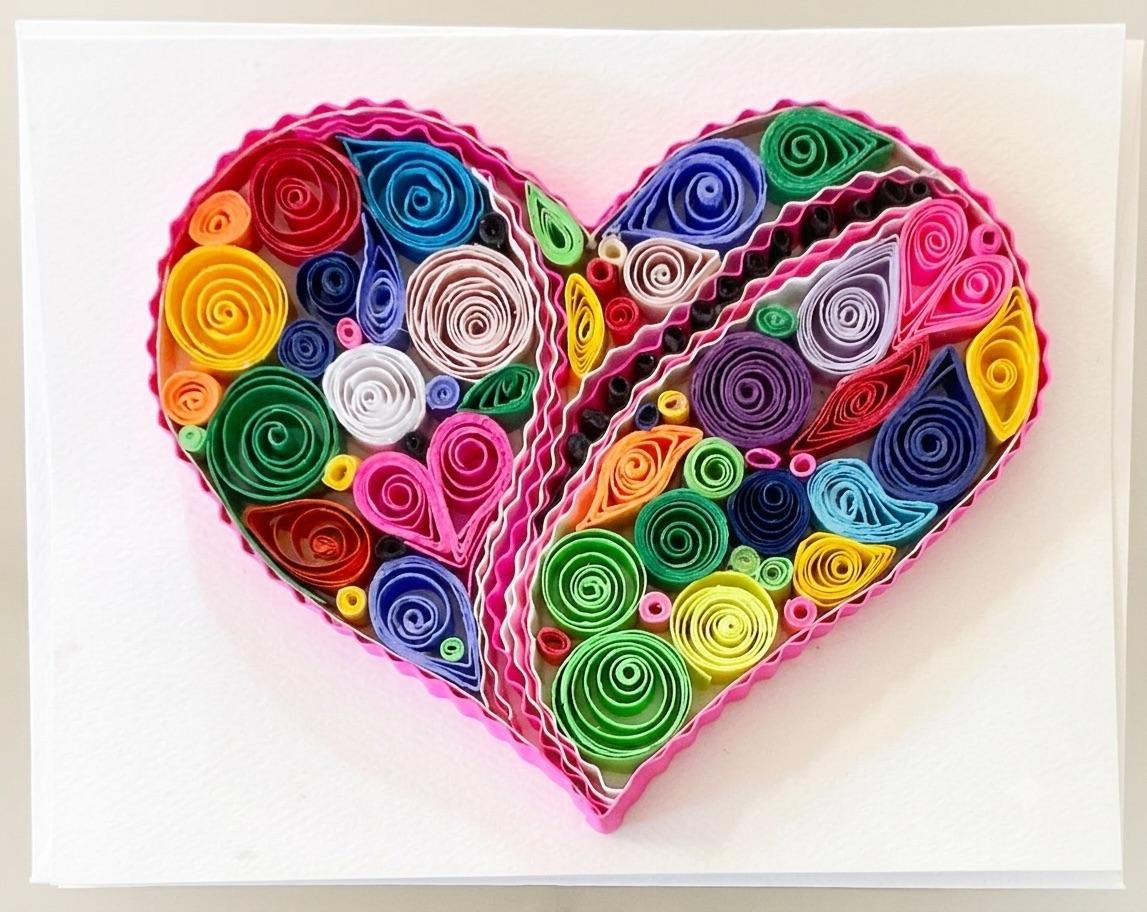
- Finally, I just want to share that I have made adorable greeting cards using these quilling techniques. There are many wonderful visual ideas online about how your newly acquired quilling skills can be used to create unique greeting cards.
To Inspire: Some of My Quilling Projects
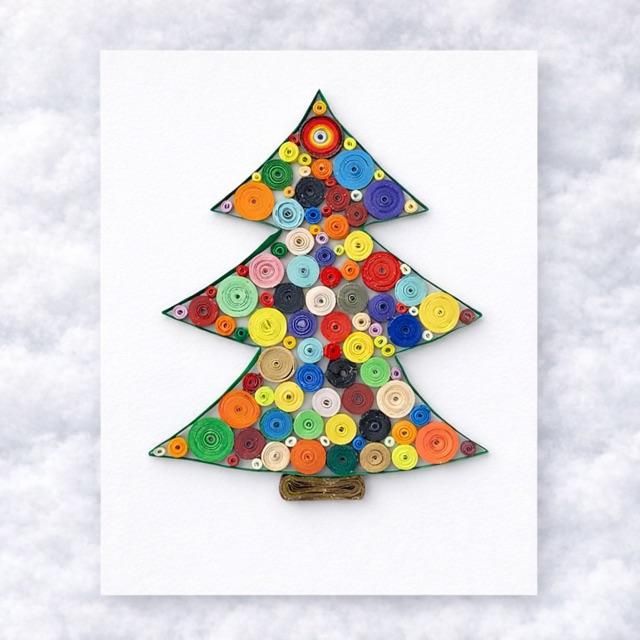
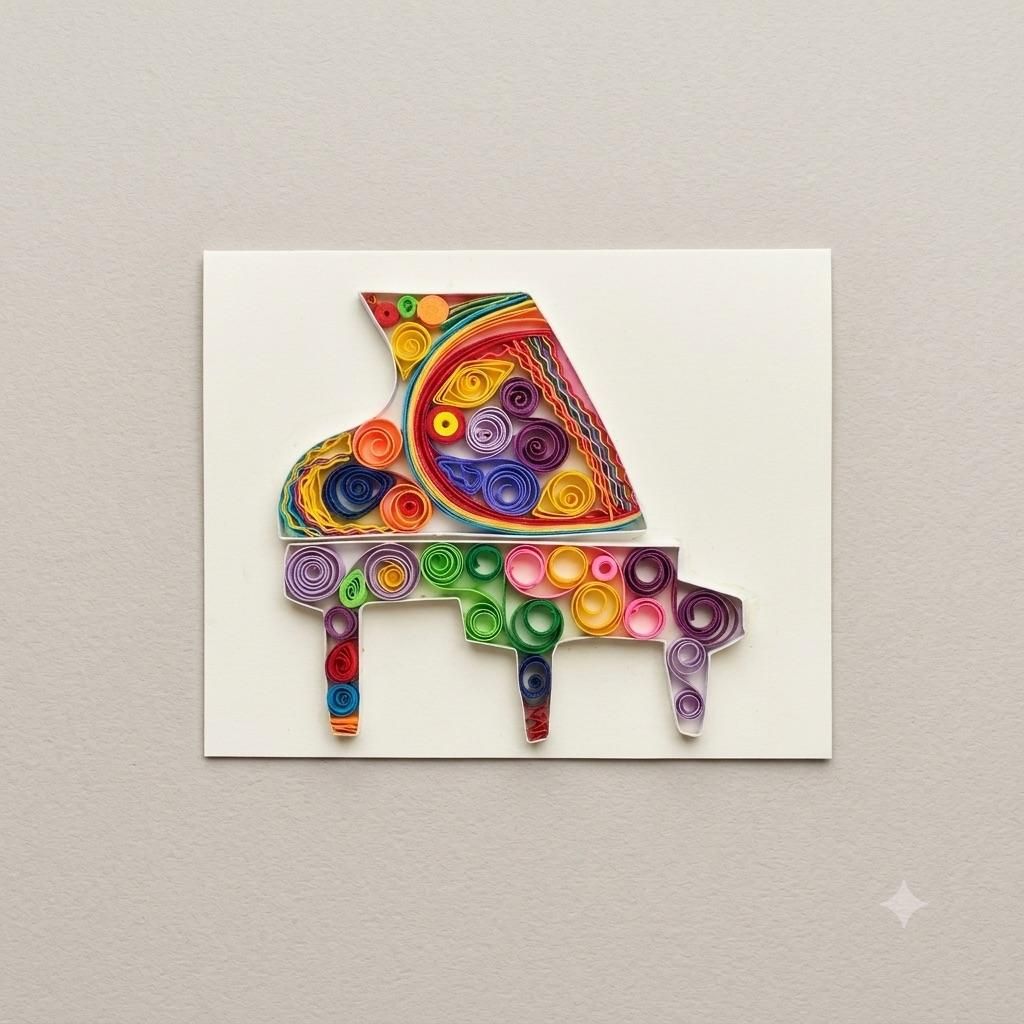


I hope you've enjoyed this Instructable and have fun making ones of your own!