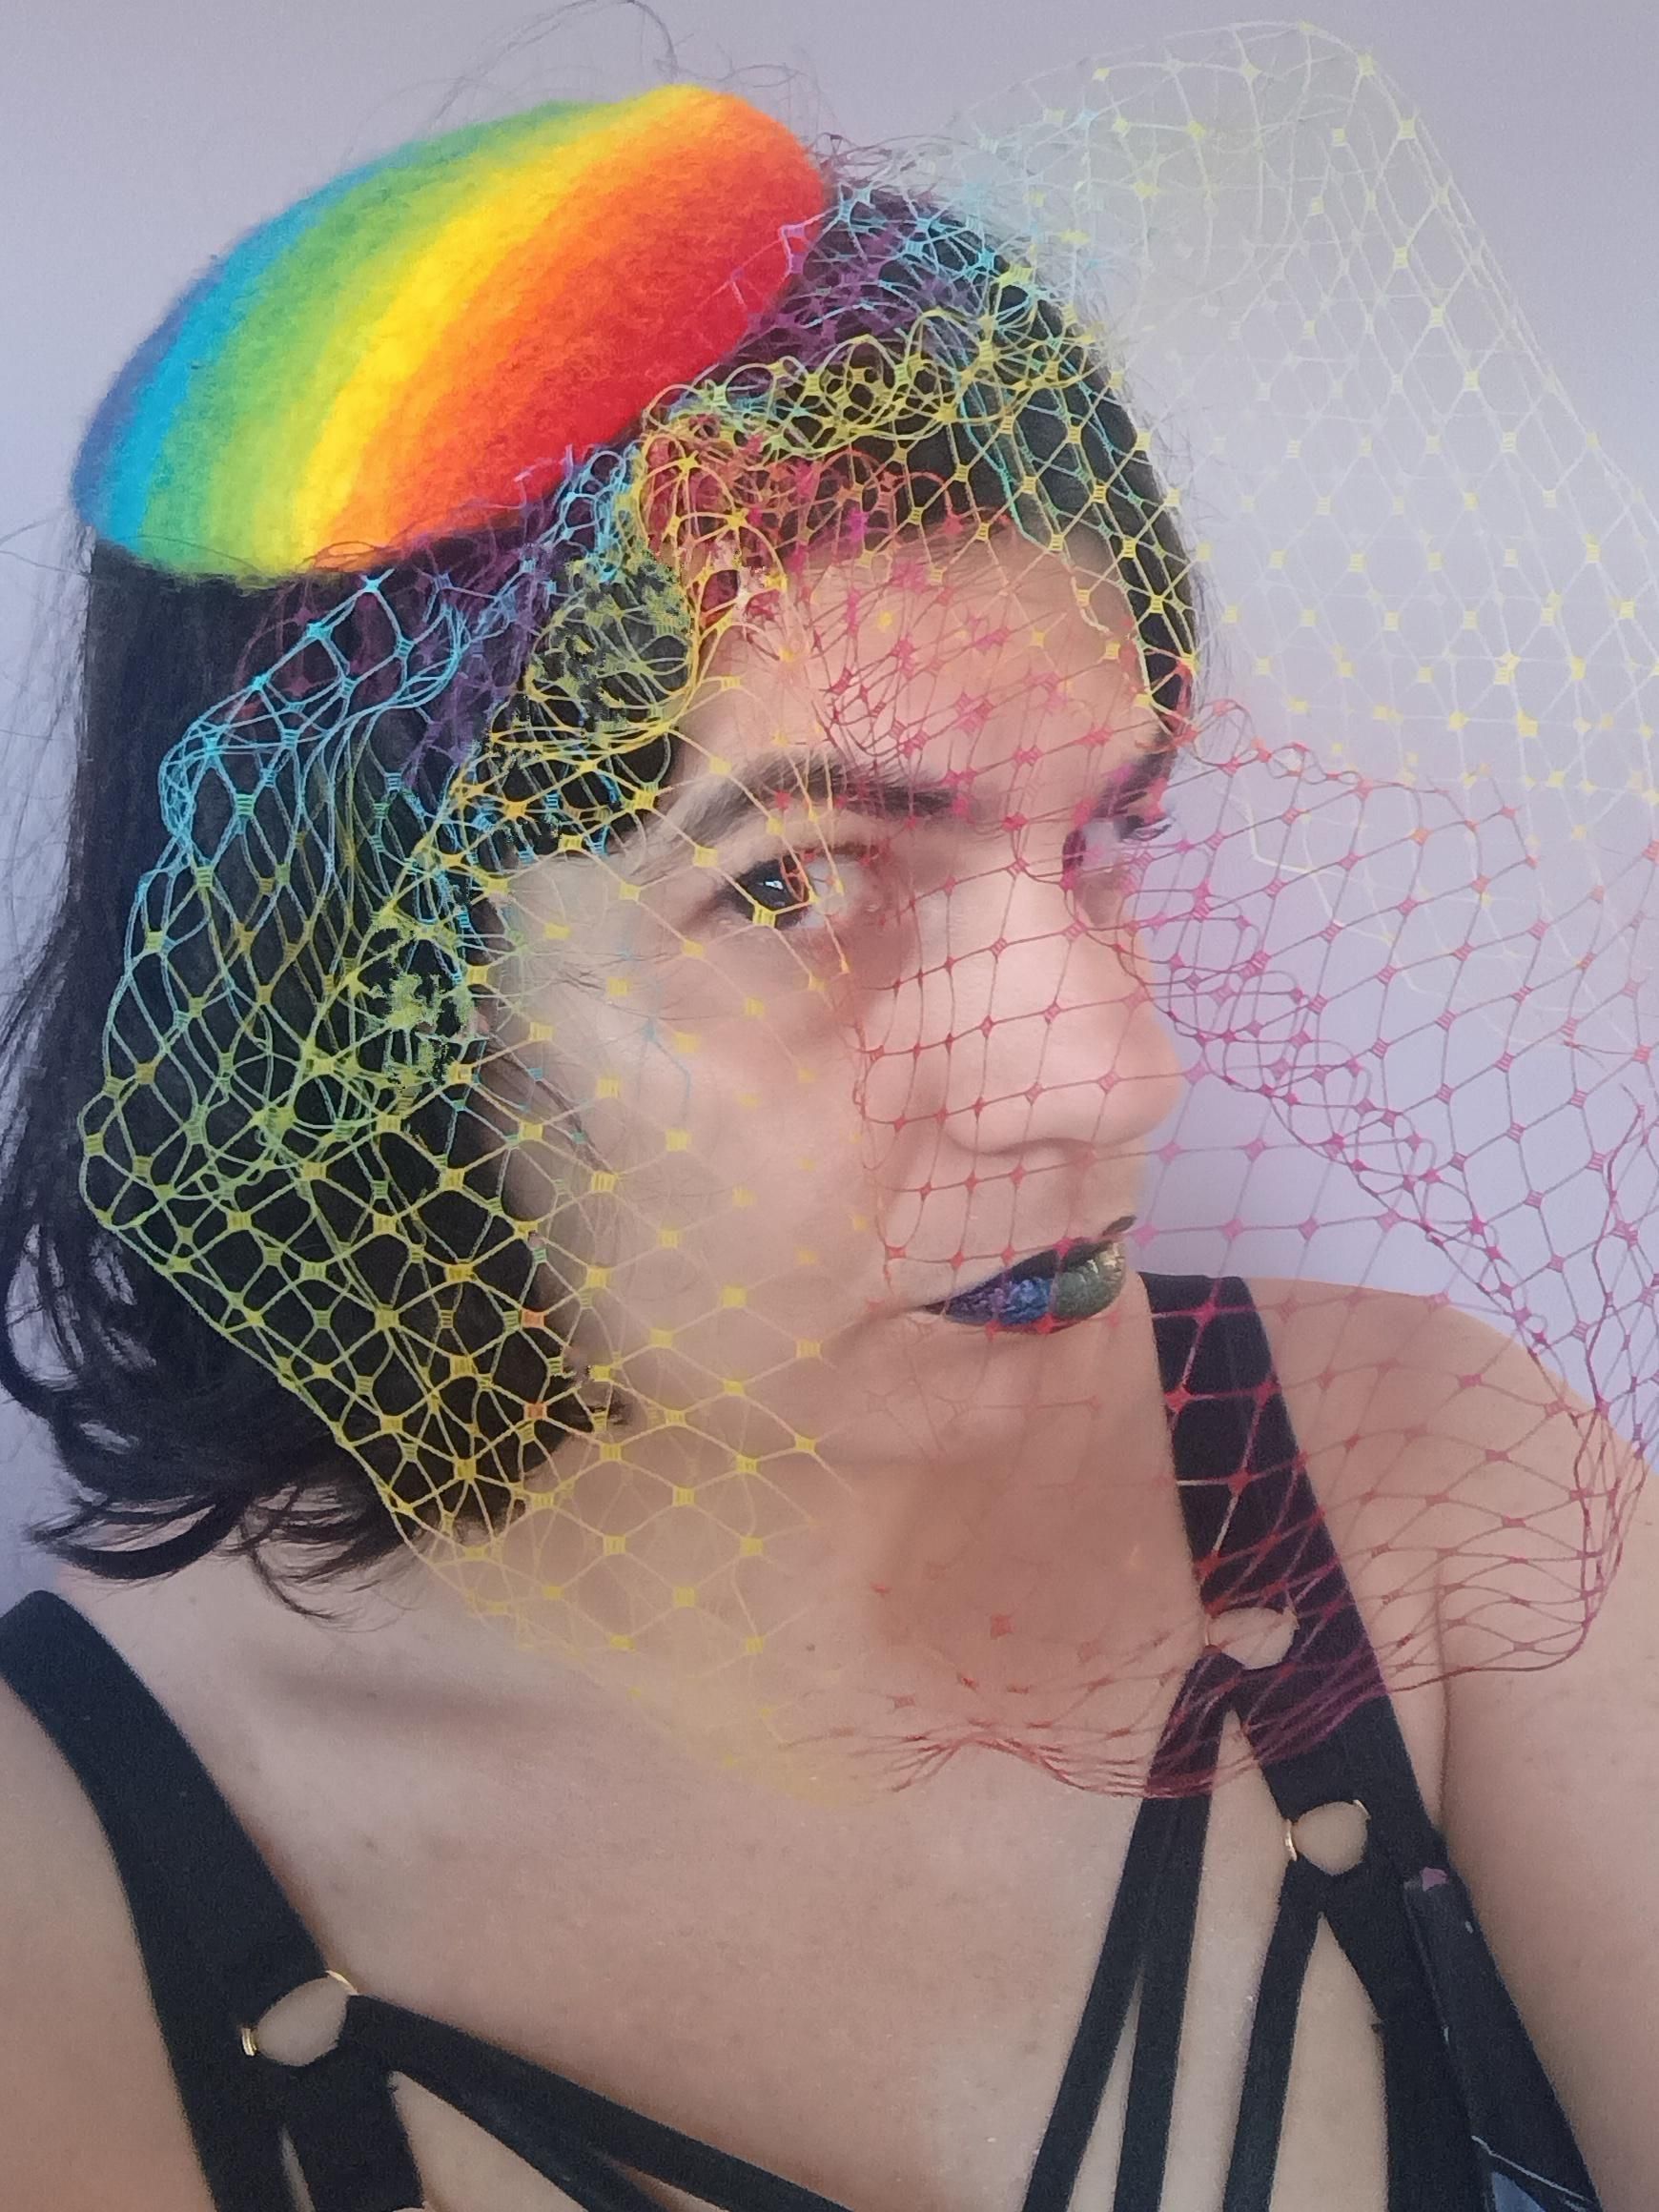
Rainbow Fascinator and Veil
by kinkybutcute in Craft > Fiber Arts
322 Views, 1 Favorites, 0 Comments
Rainbow Fascinator and Veil
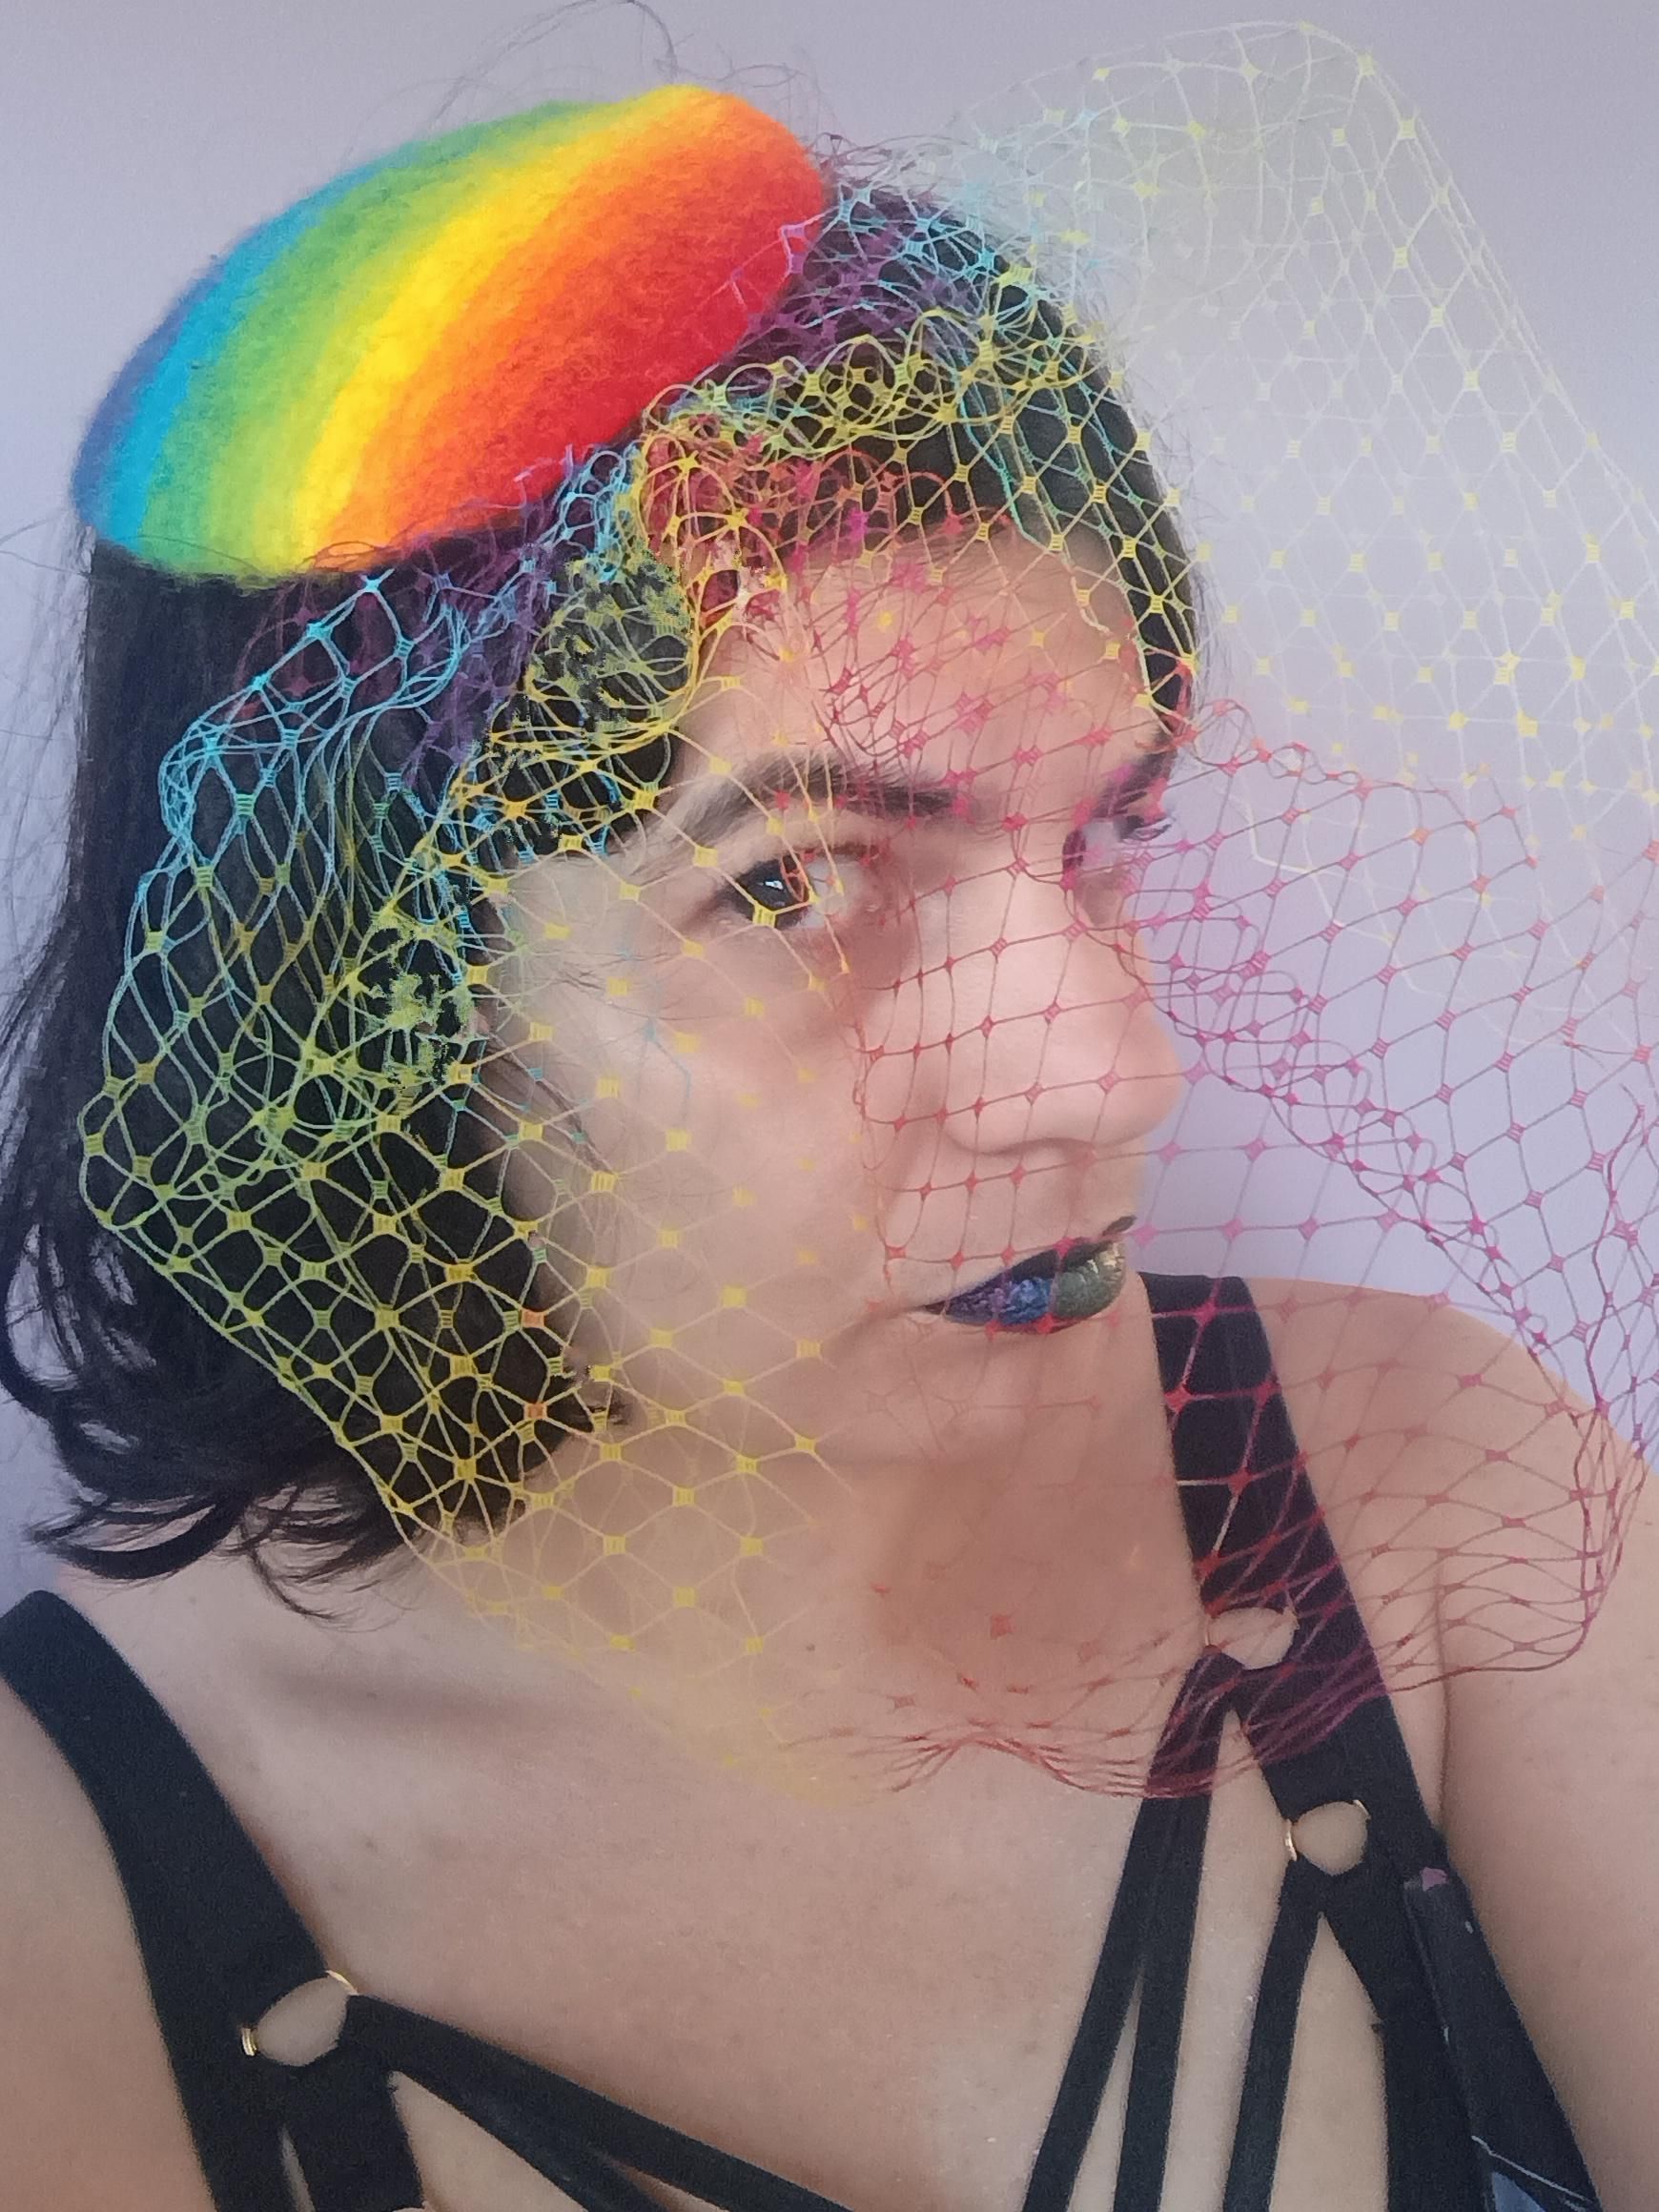
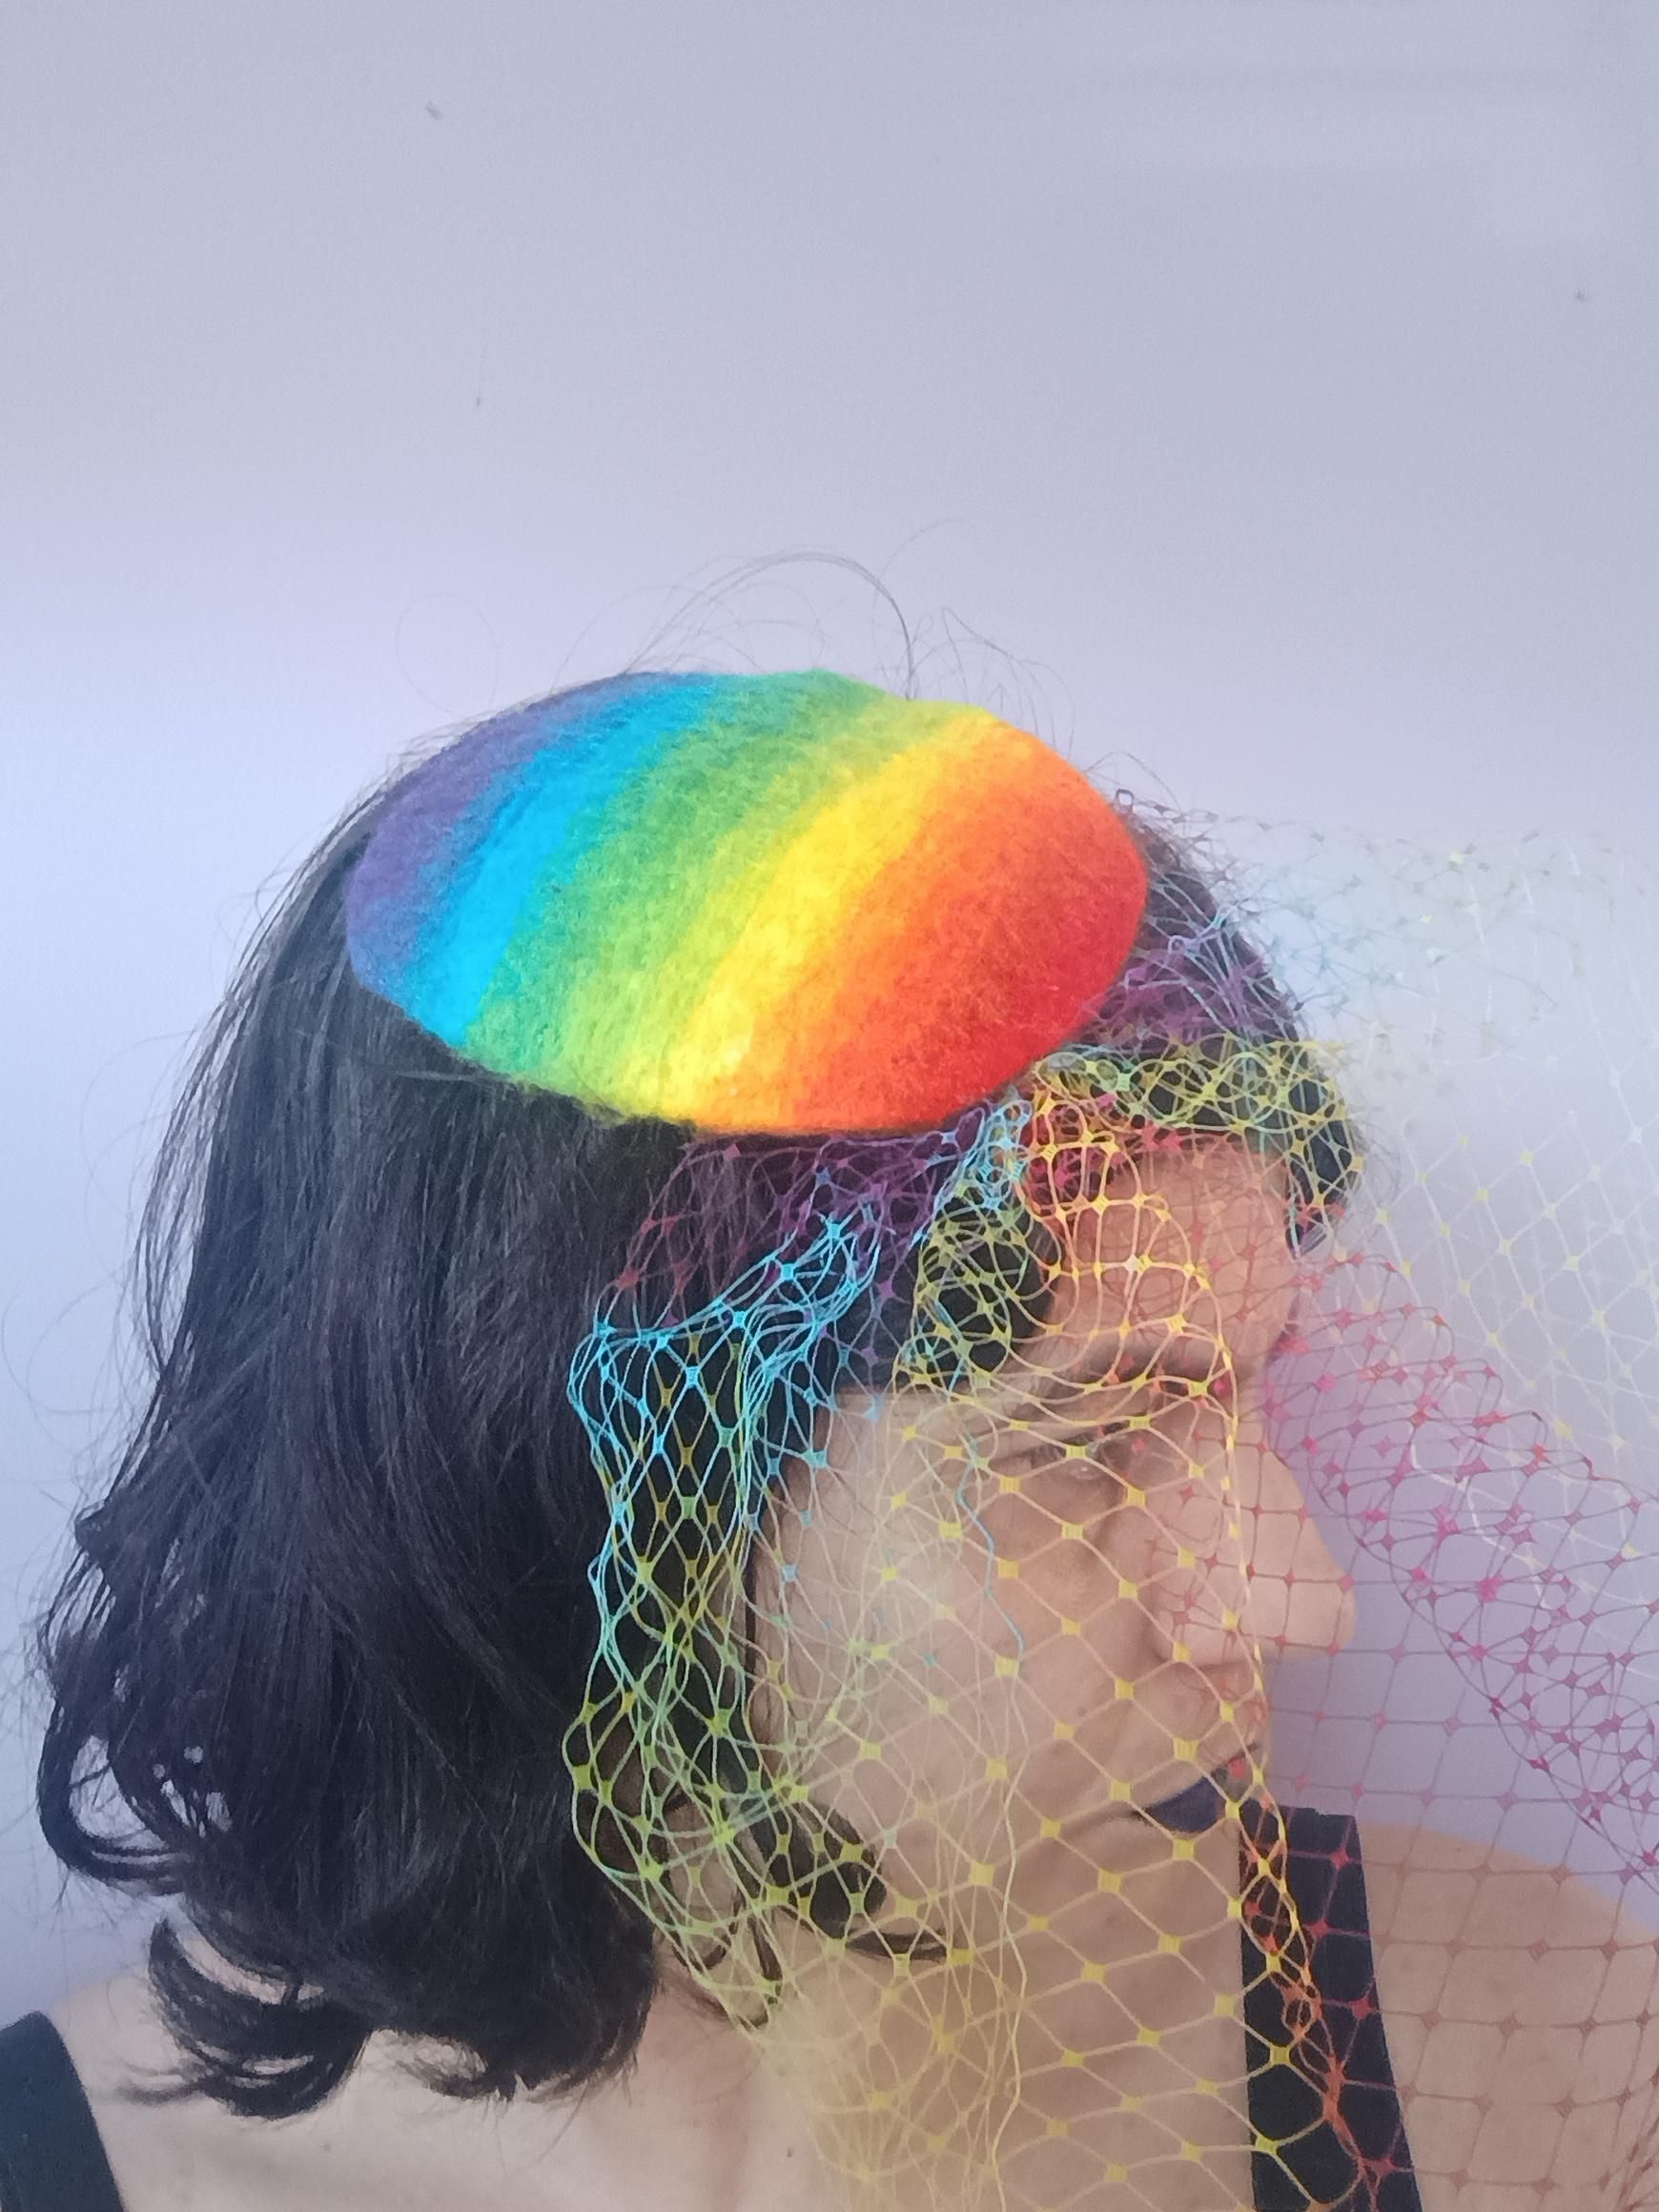
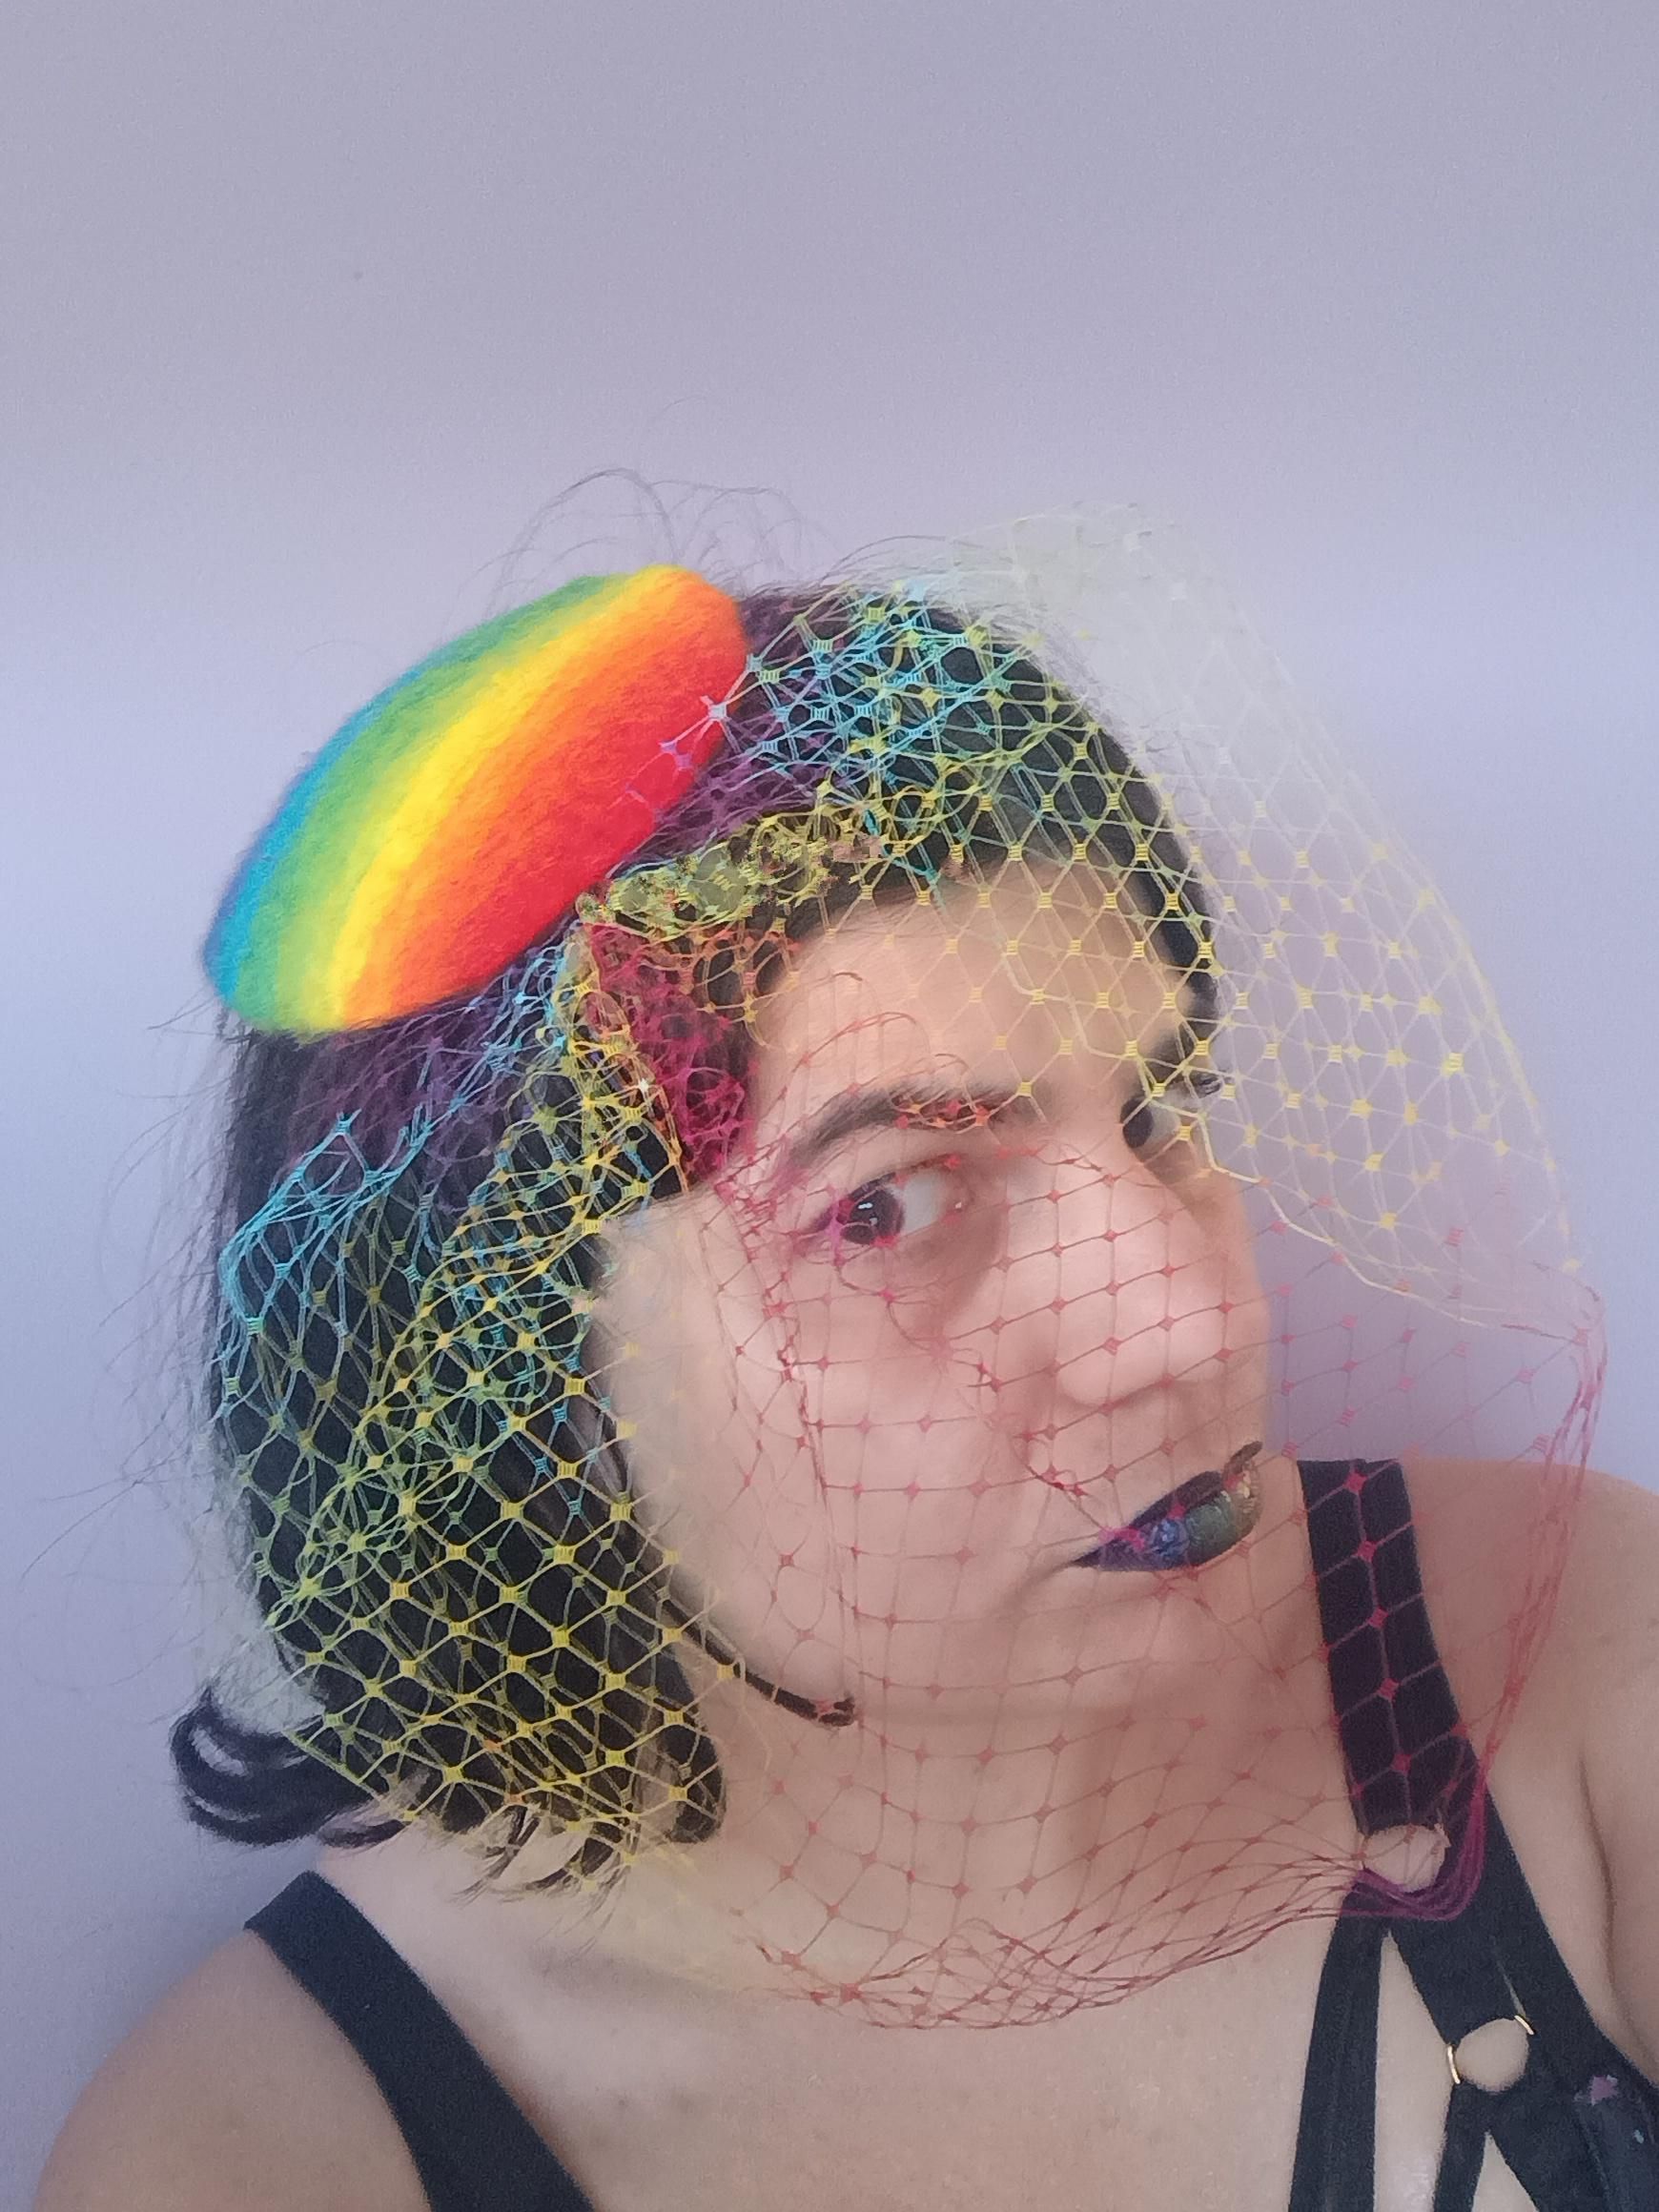
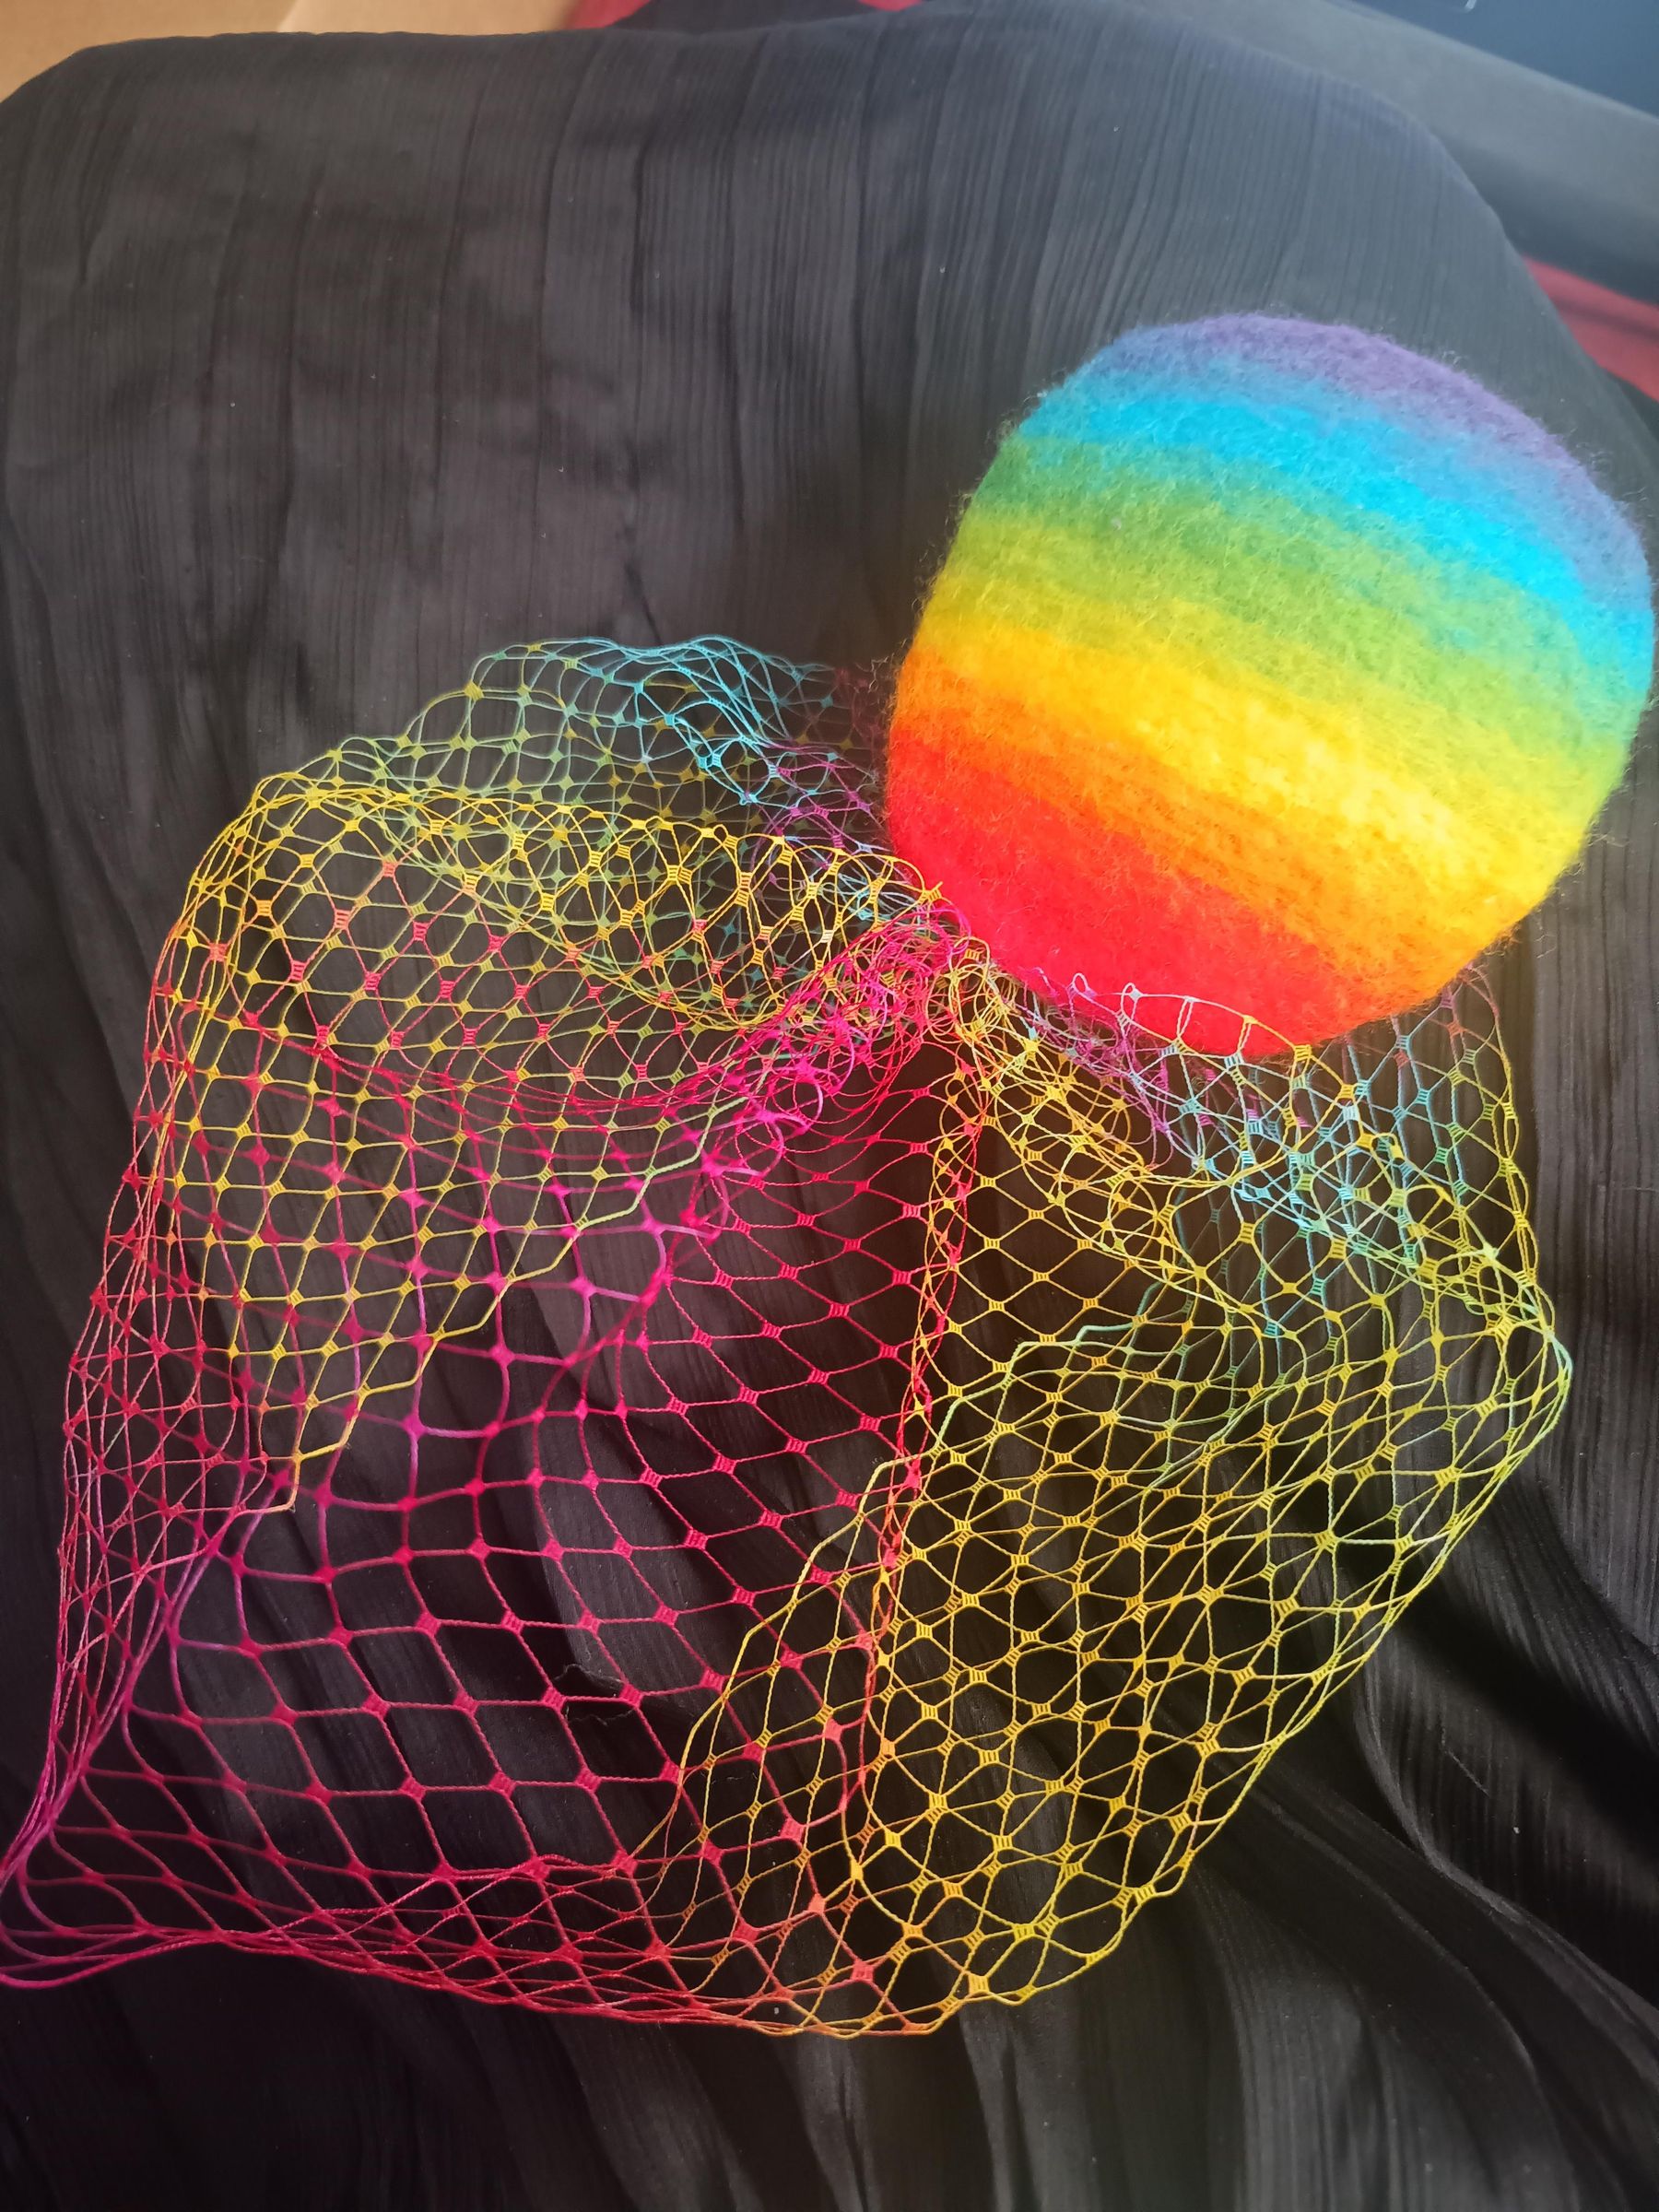
This project was born out of a pair of removable foam cup inserts from a sports bra I bought - they looked exactly right to make fascinator hats out of! So one day when I was bored (and because Manchester Pride month isn't until August) I decided to use one to make a nice gay hat.
Supplies
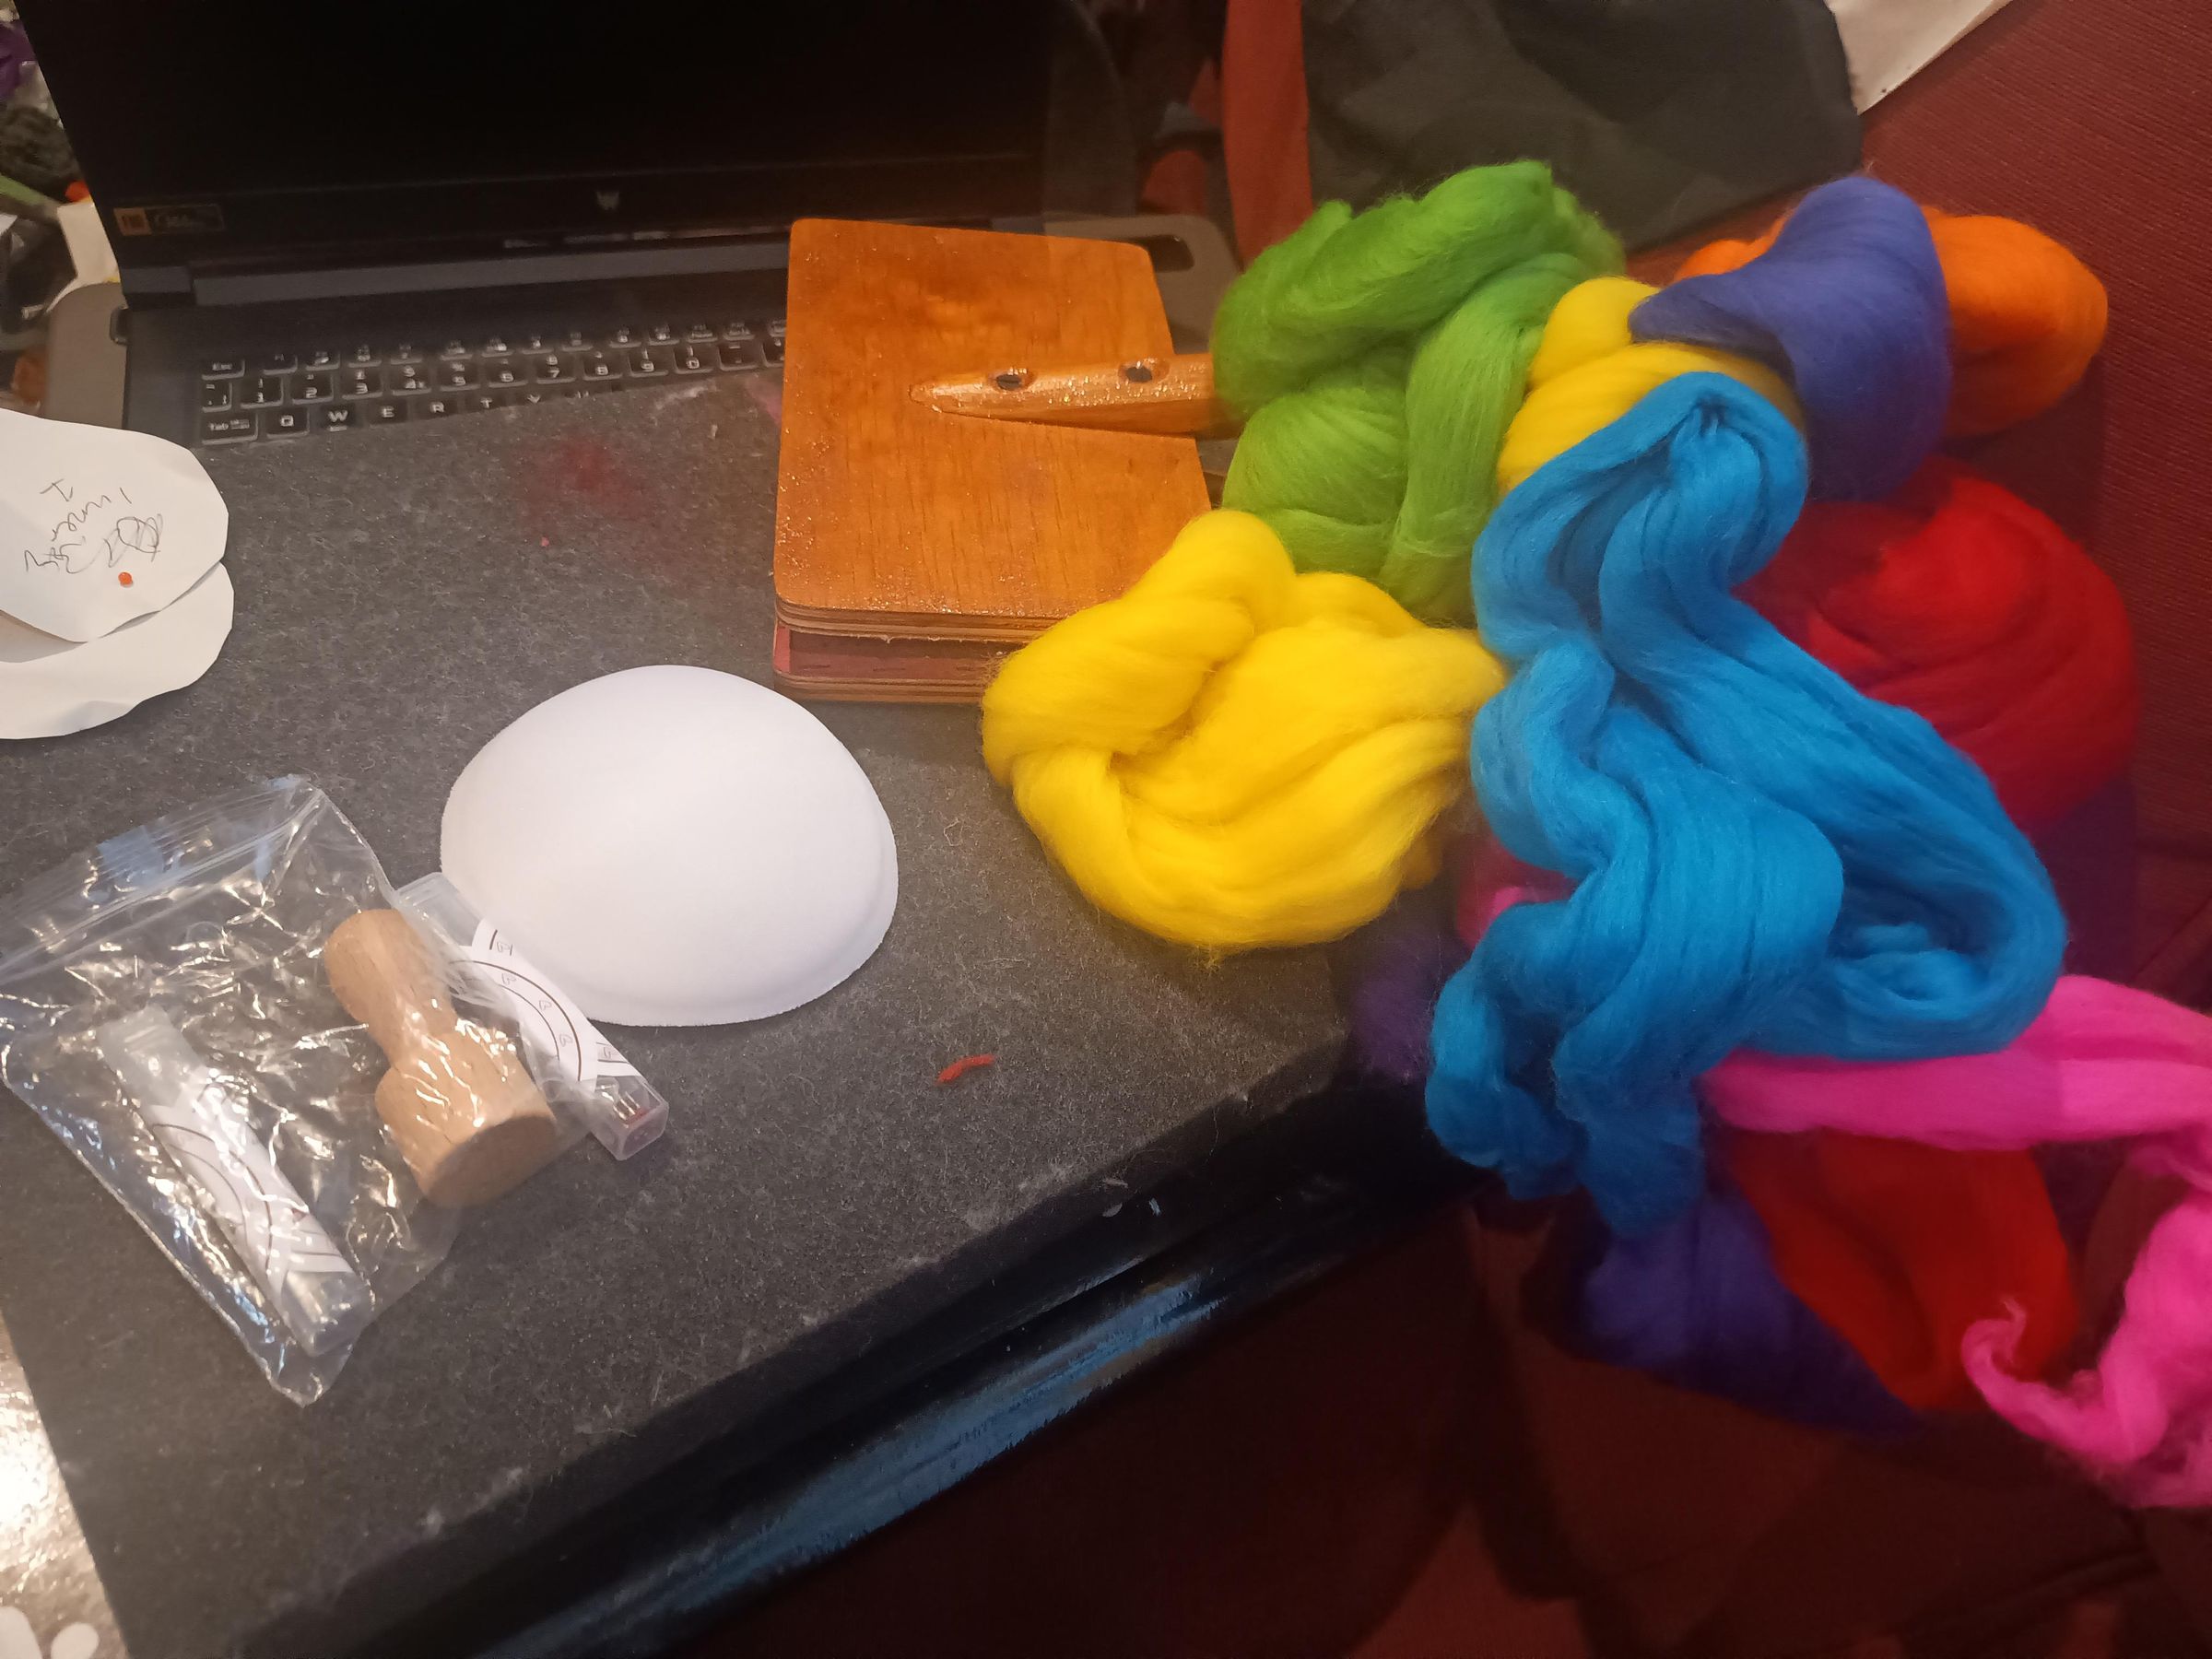
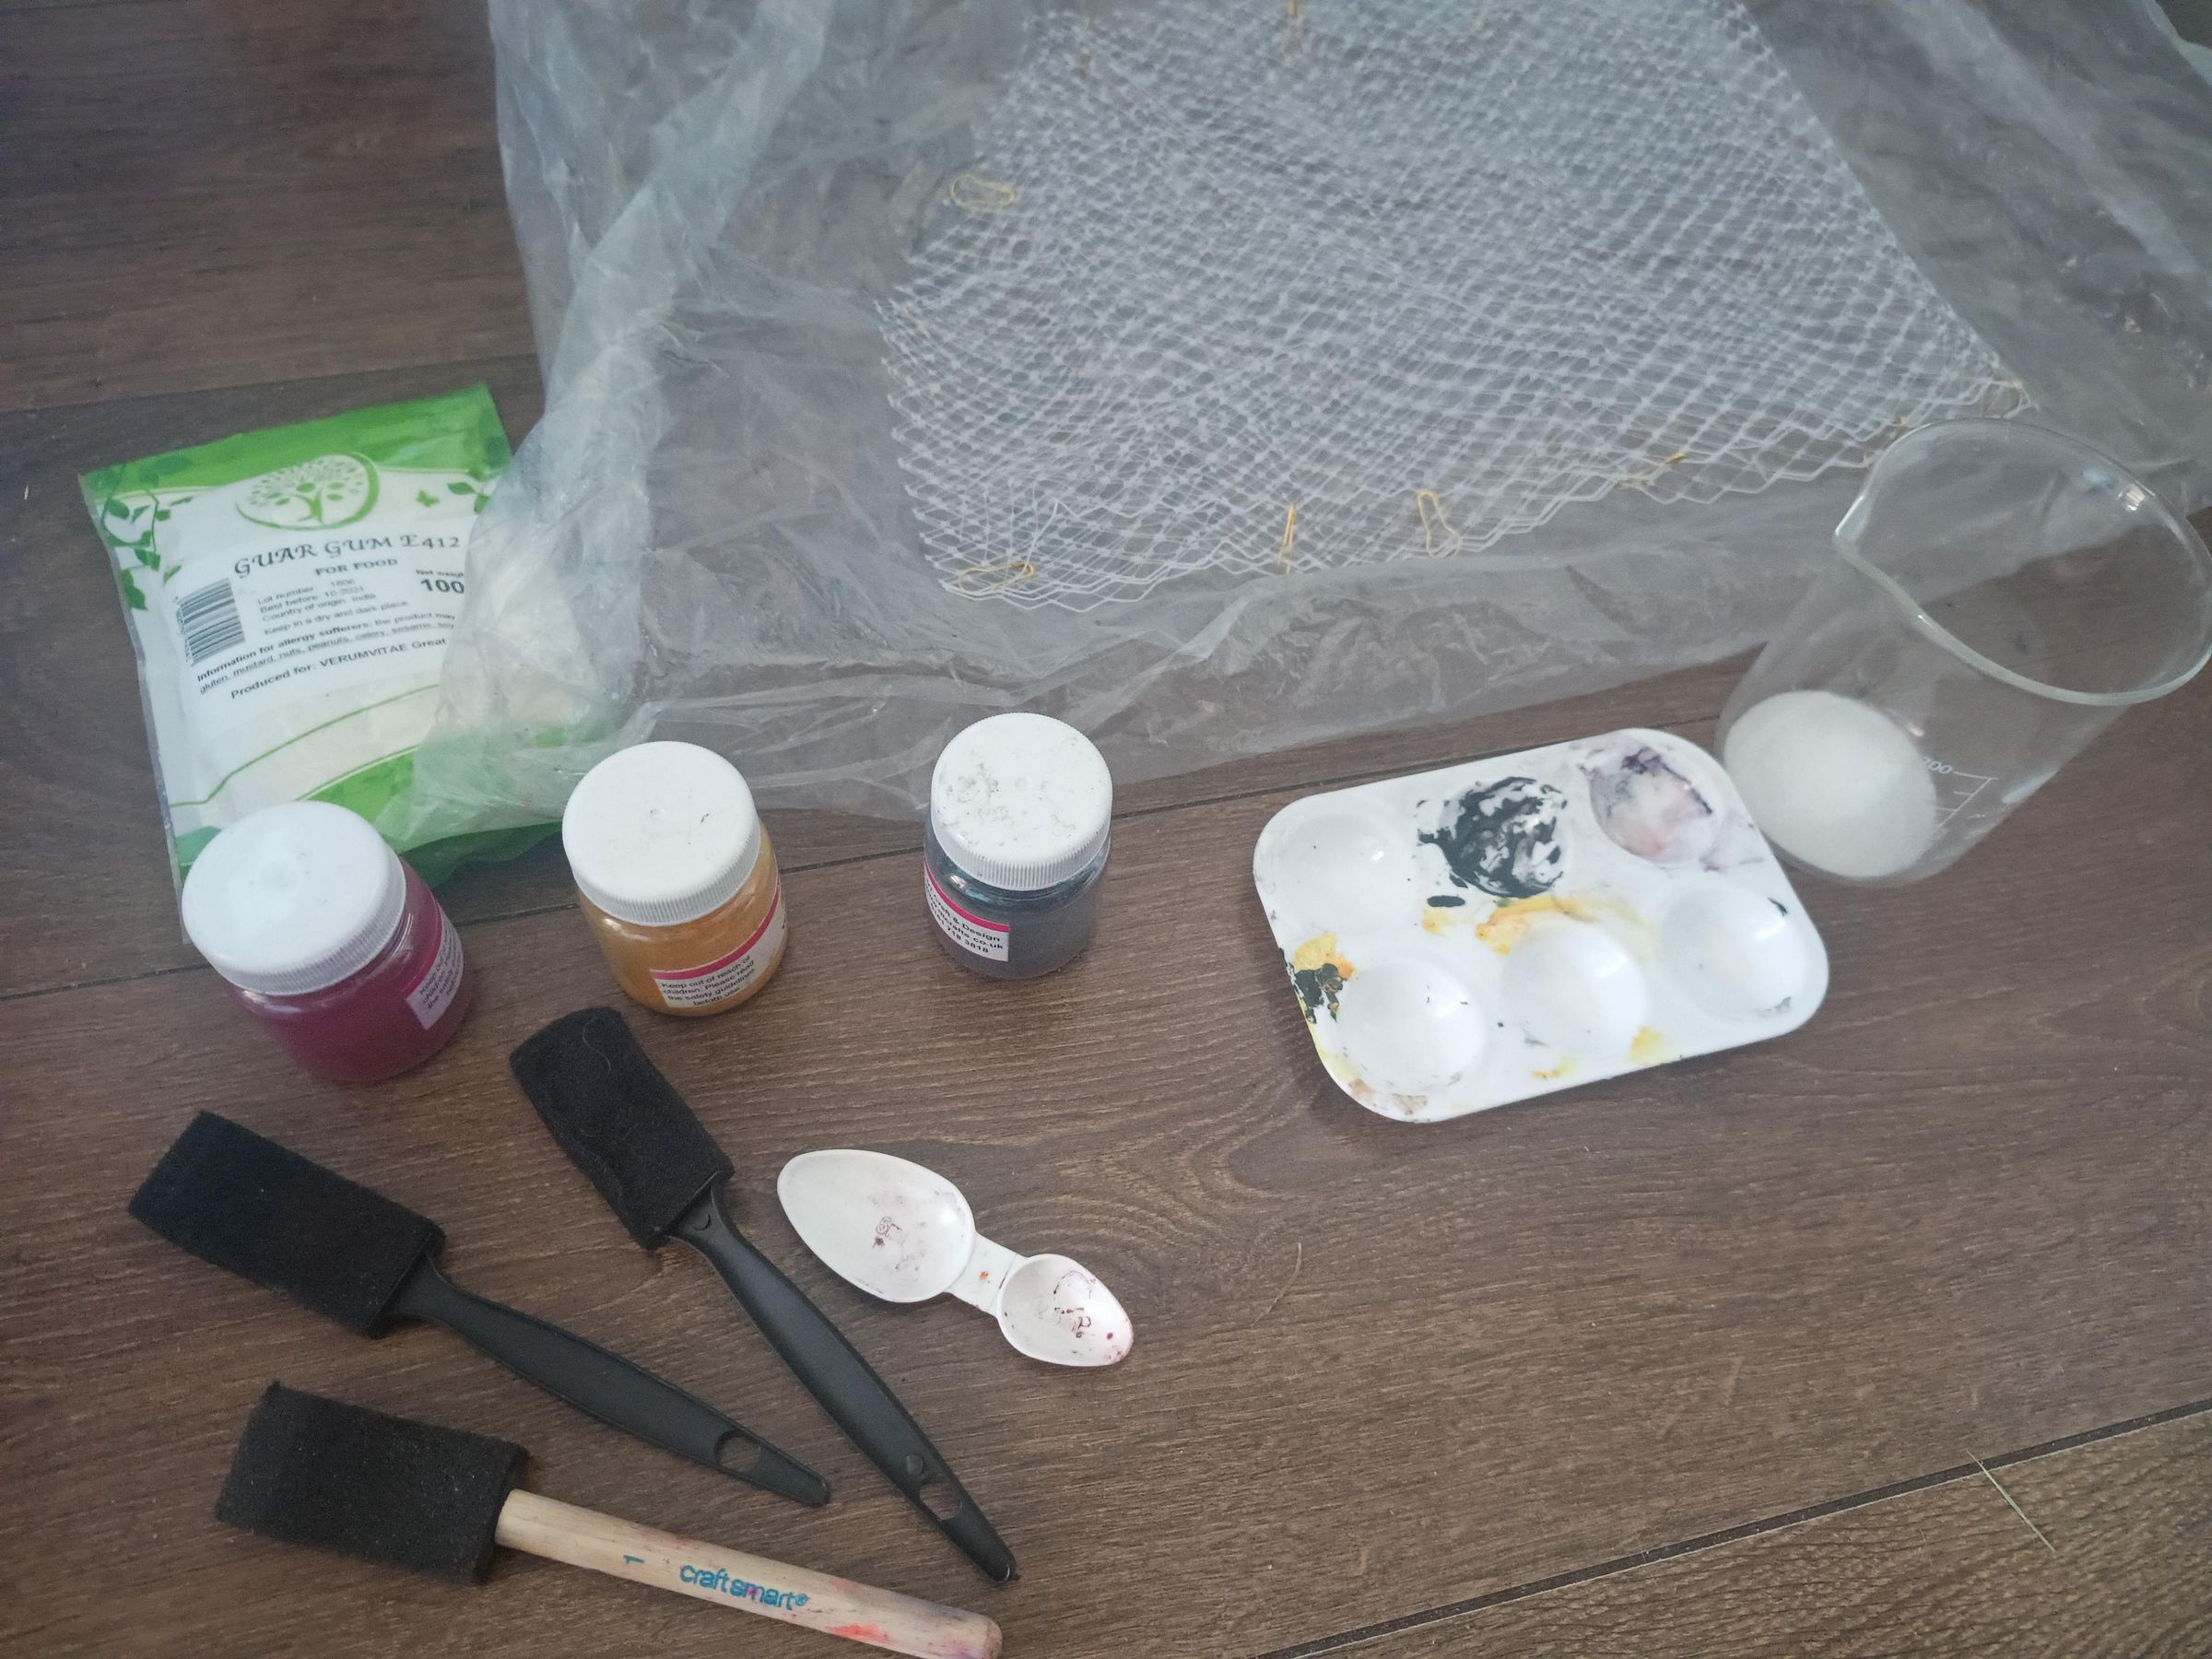
The hat and the veil can be made separately or together.
Hat supplies:
- foam bra cup
- needle felting needles (I used coarse then finer) and holder (it'll go quicker if your holder takes multiple needles)
- needle felting mat
- rainbow wool (I used merino tops)
- hand carders or dog grooming brushes (you can just mix the colours with your hands, but it's easiest with carders or dog brushes)
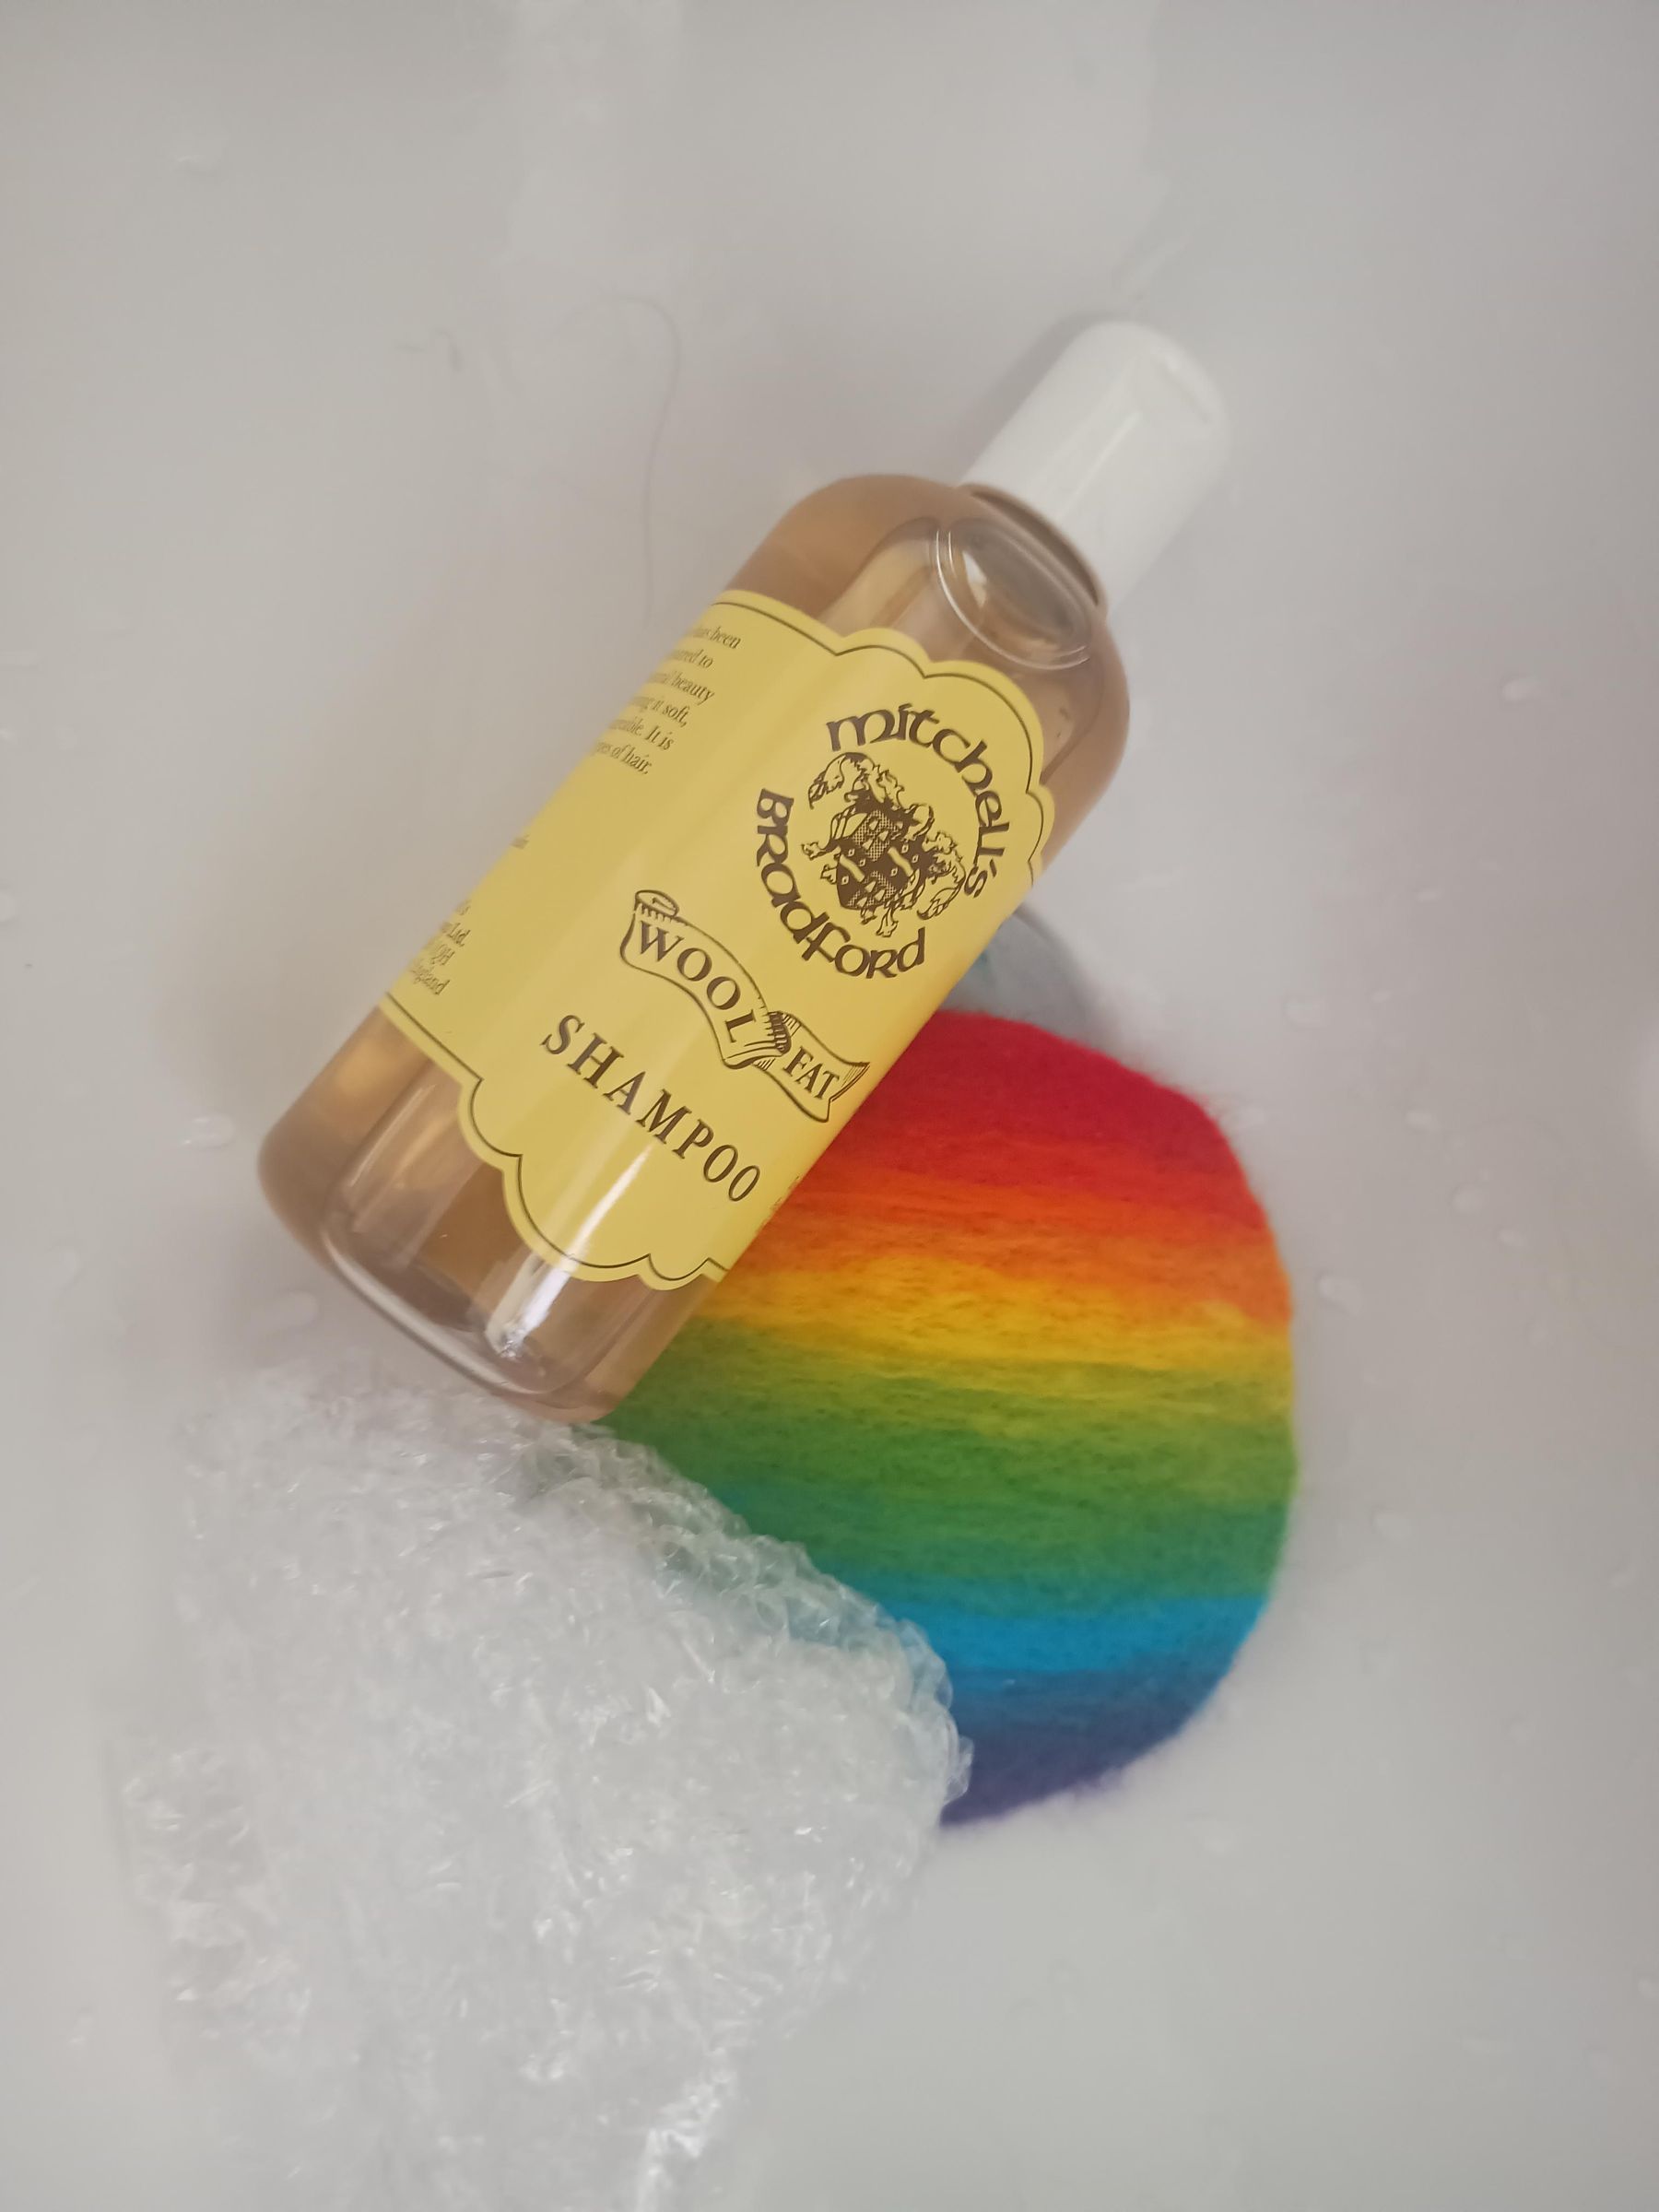
- optional: soap/shampoo and bubble wrap (I wet felted as a final stage because I'm not great at getting a smooth finish from needle felting, you can skip this stage if you're more skilled/less fussy than me!)
- needle and thread
Veil supplies:
- nylon veiling (I used a wide net merry widow veiling)
- acid dyes (I used magenta, yellow and turquoise, I also made a second more muted version by adding silver grey over the top)
- citric acid
- guar gum or other thickener
- mixing palette, sponge brushes, plastic sheeting
- steamer pan
- needle and thread
Preliminary Felting
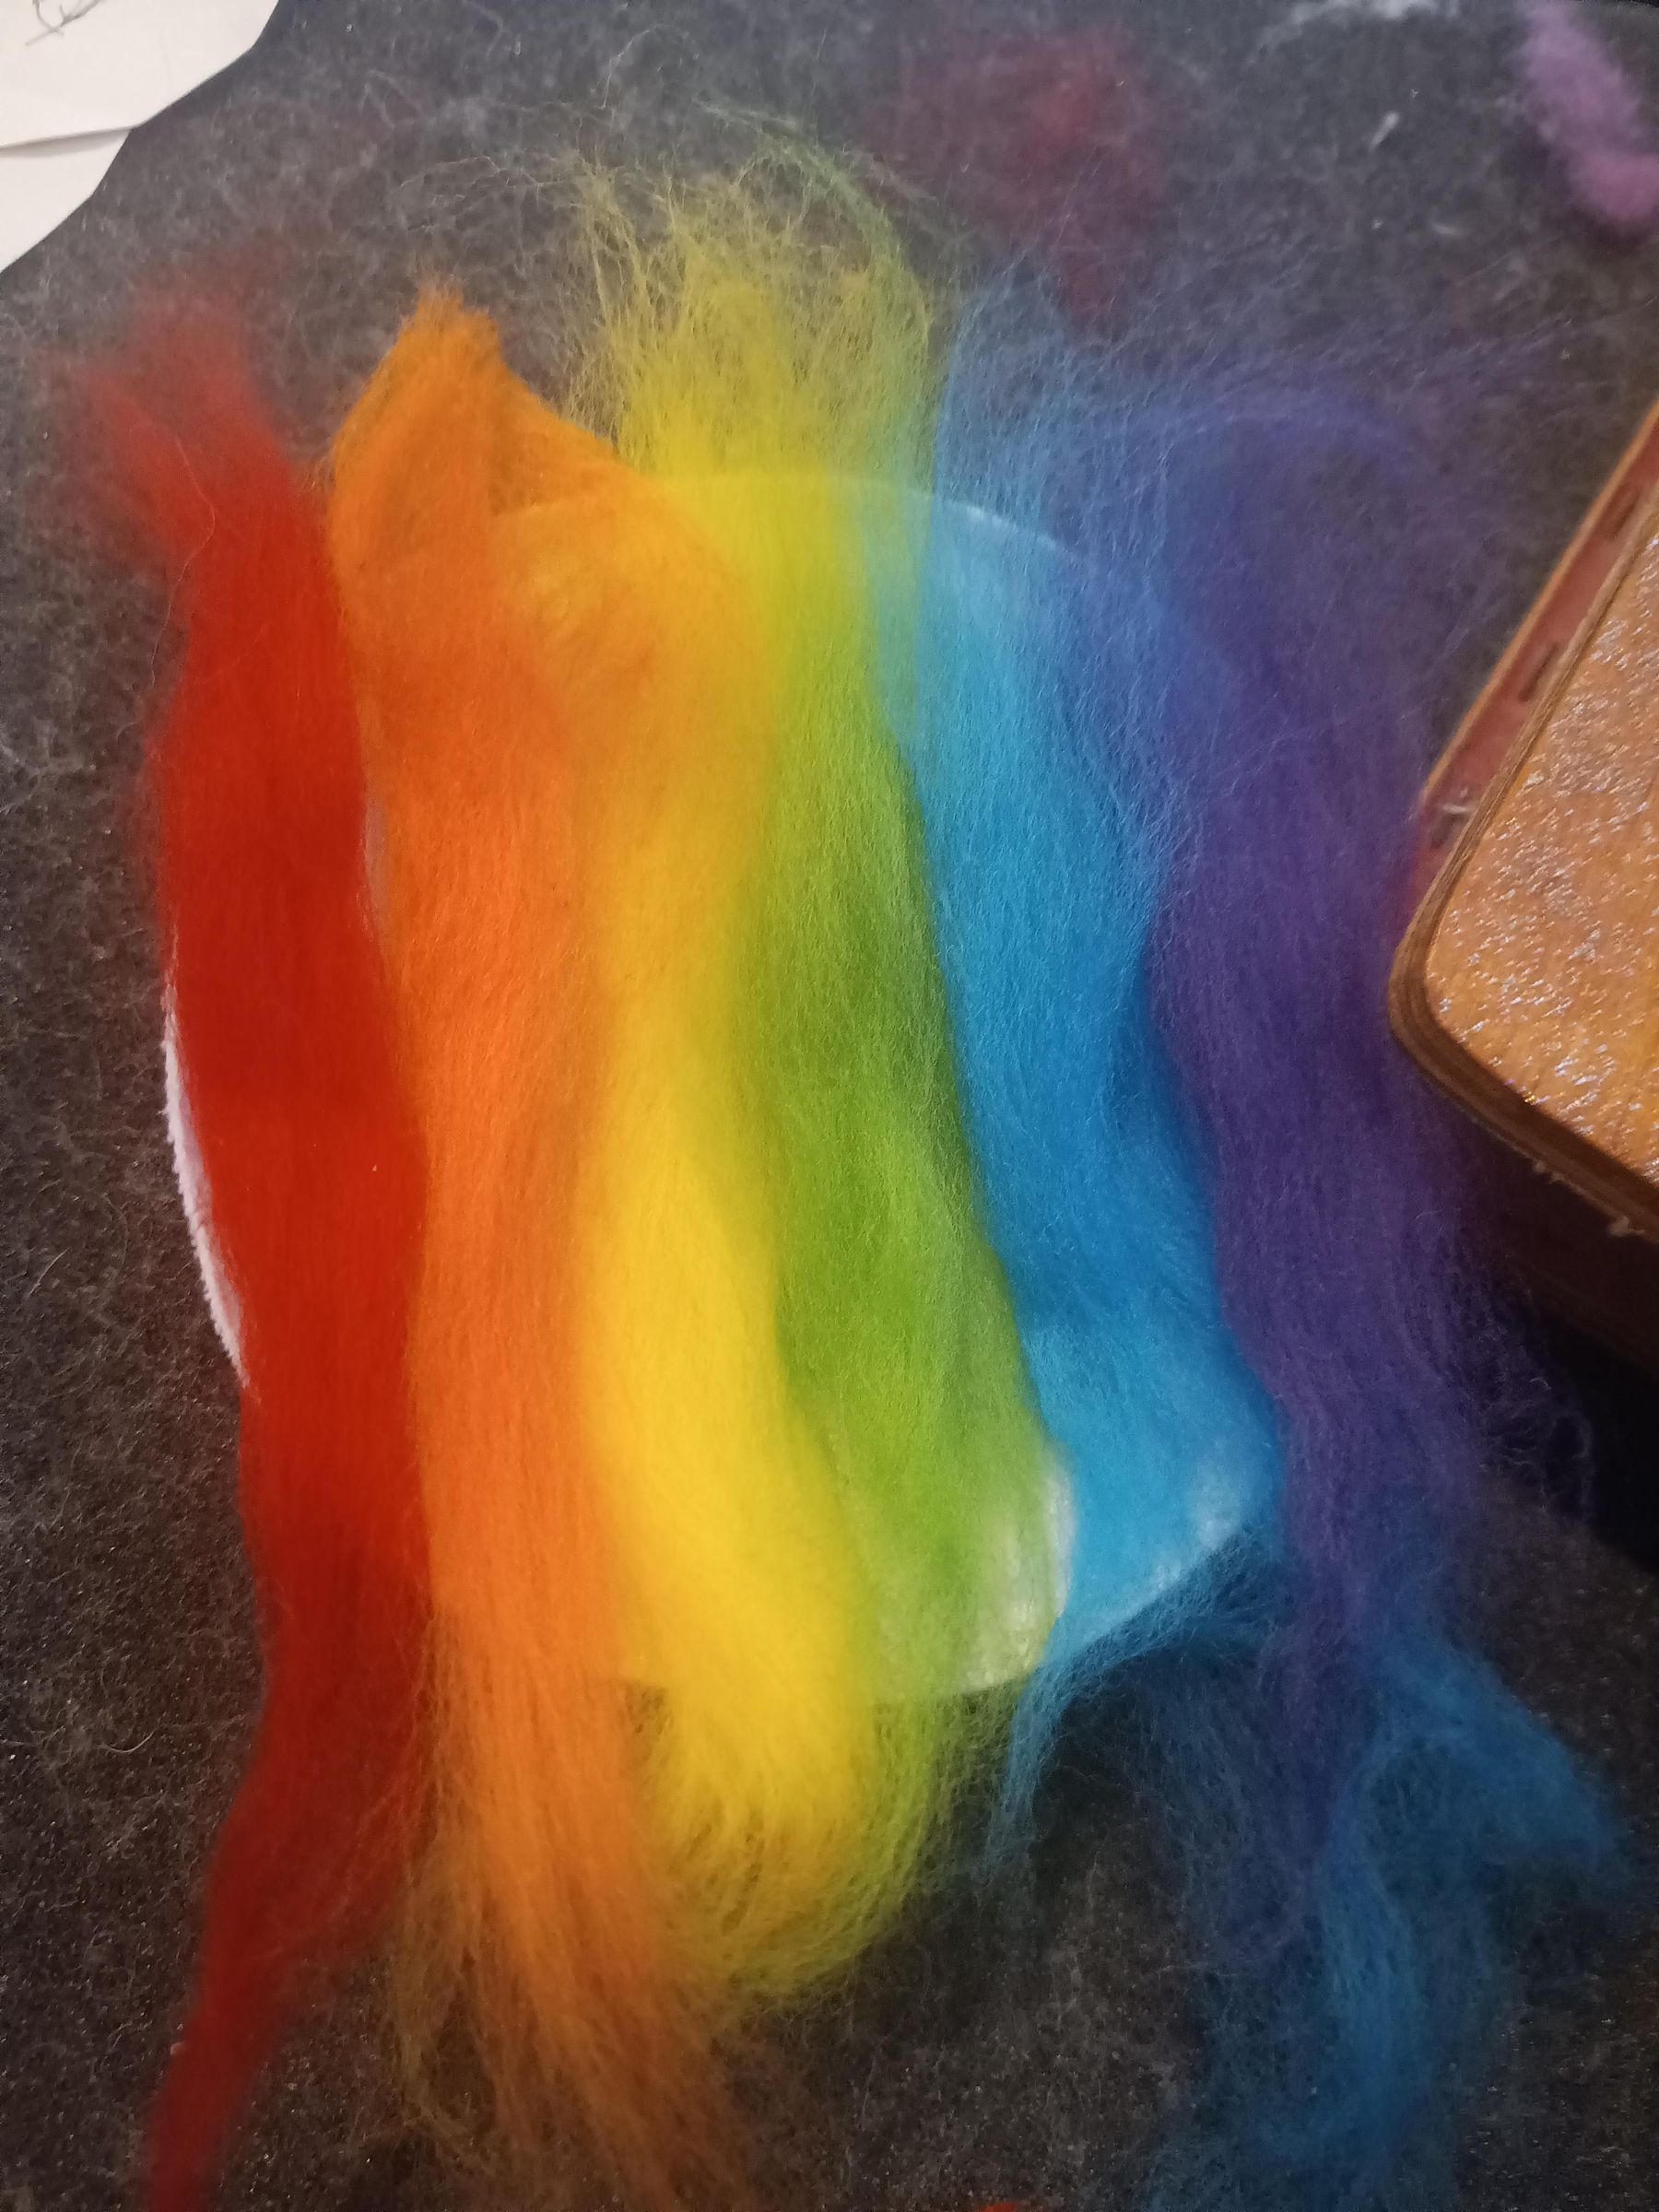
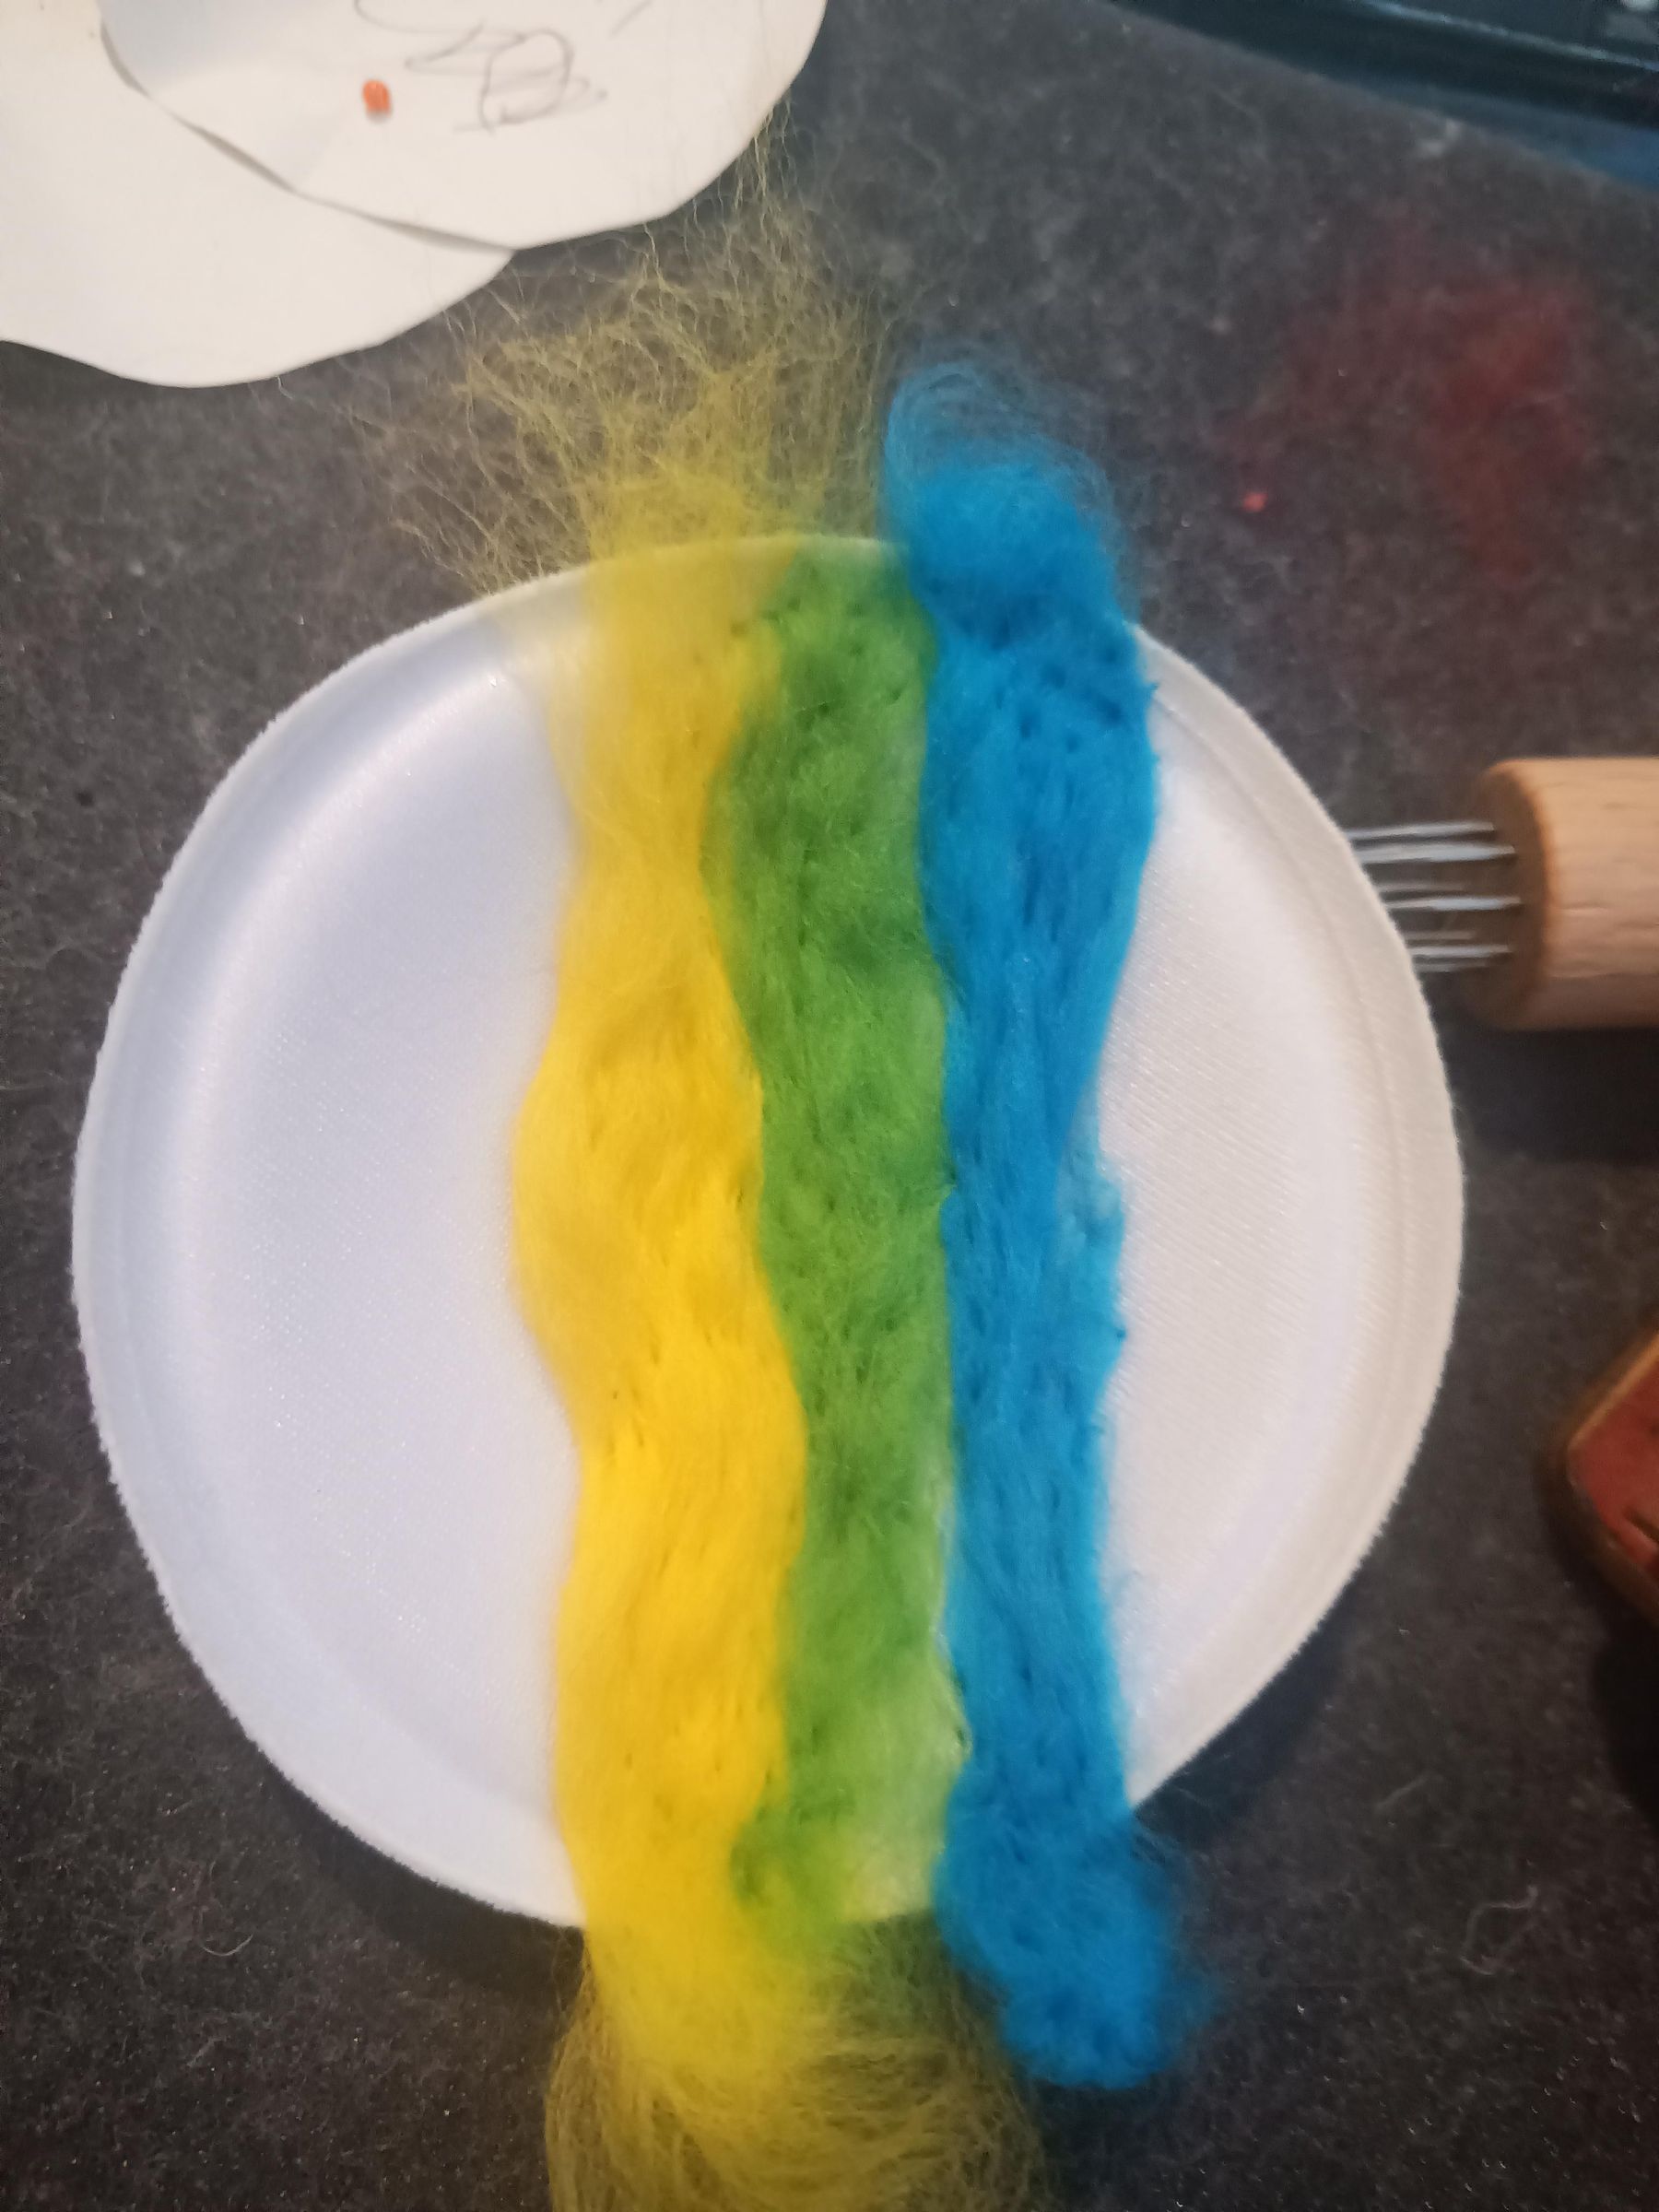
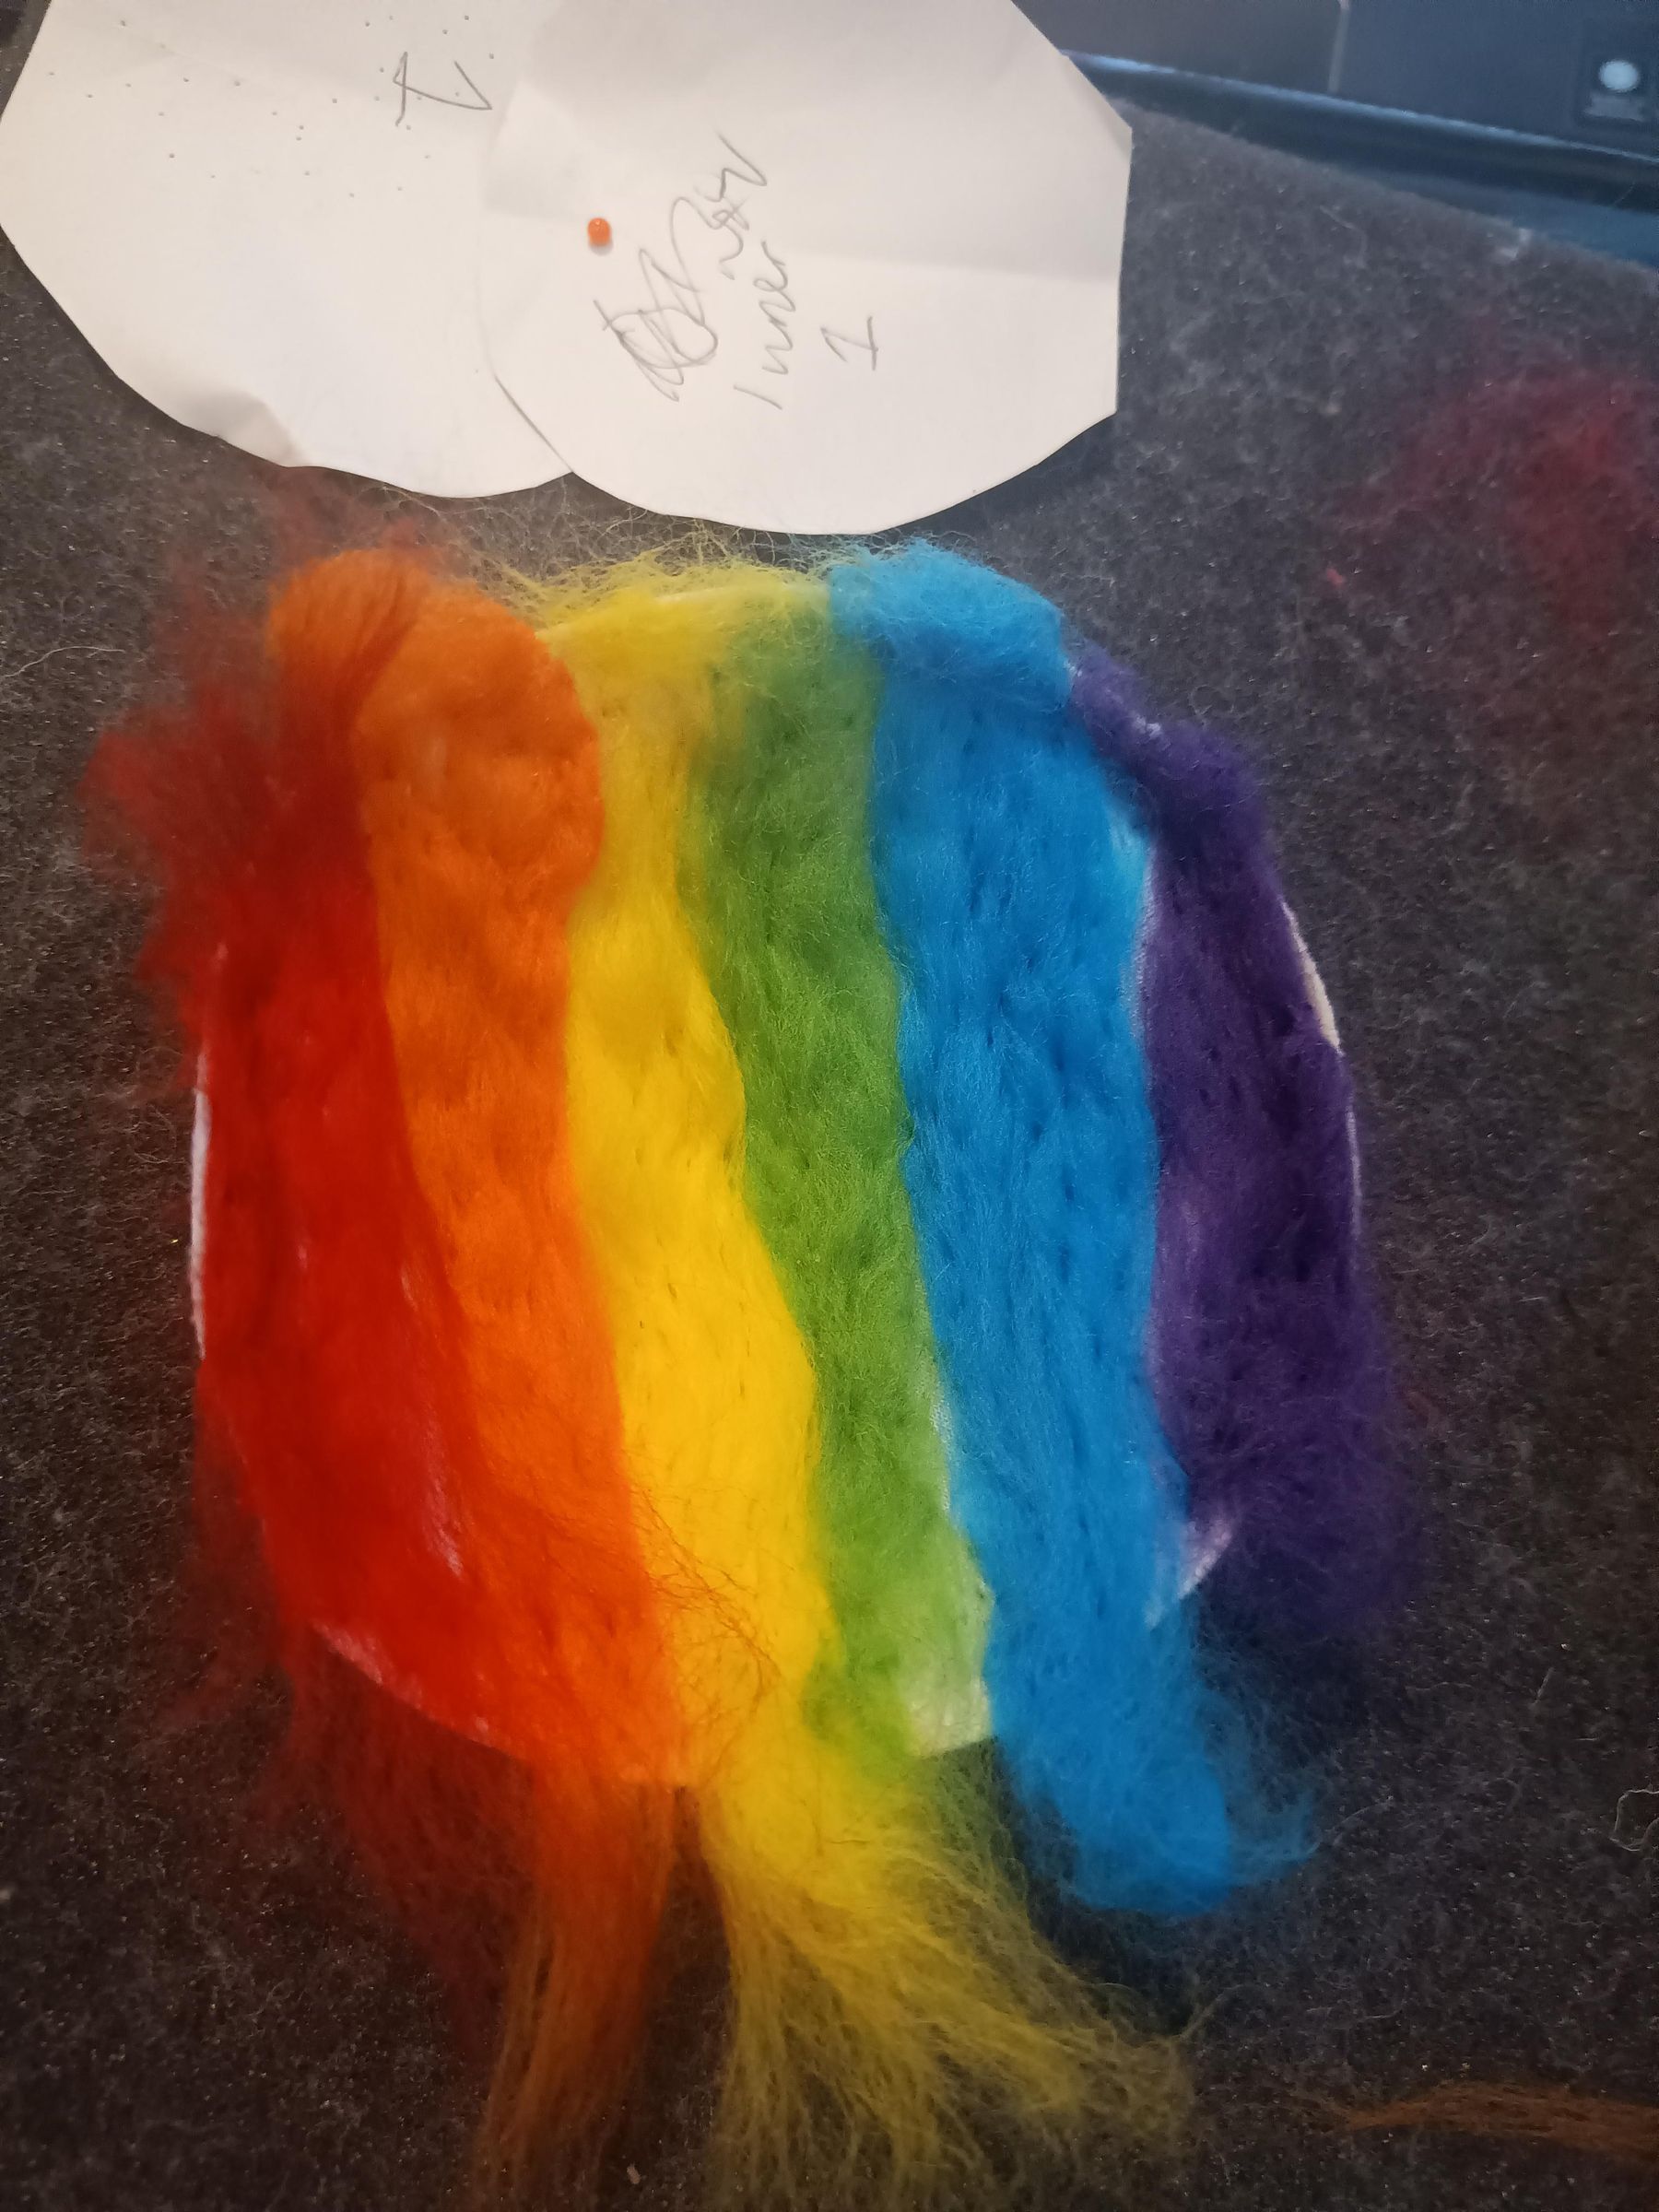
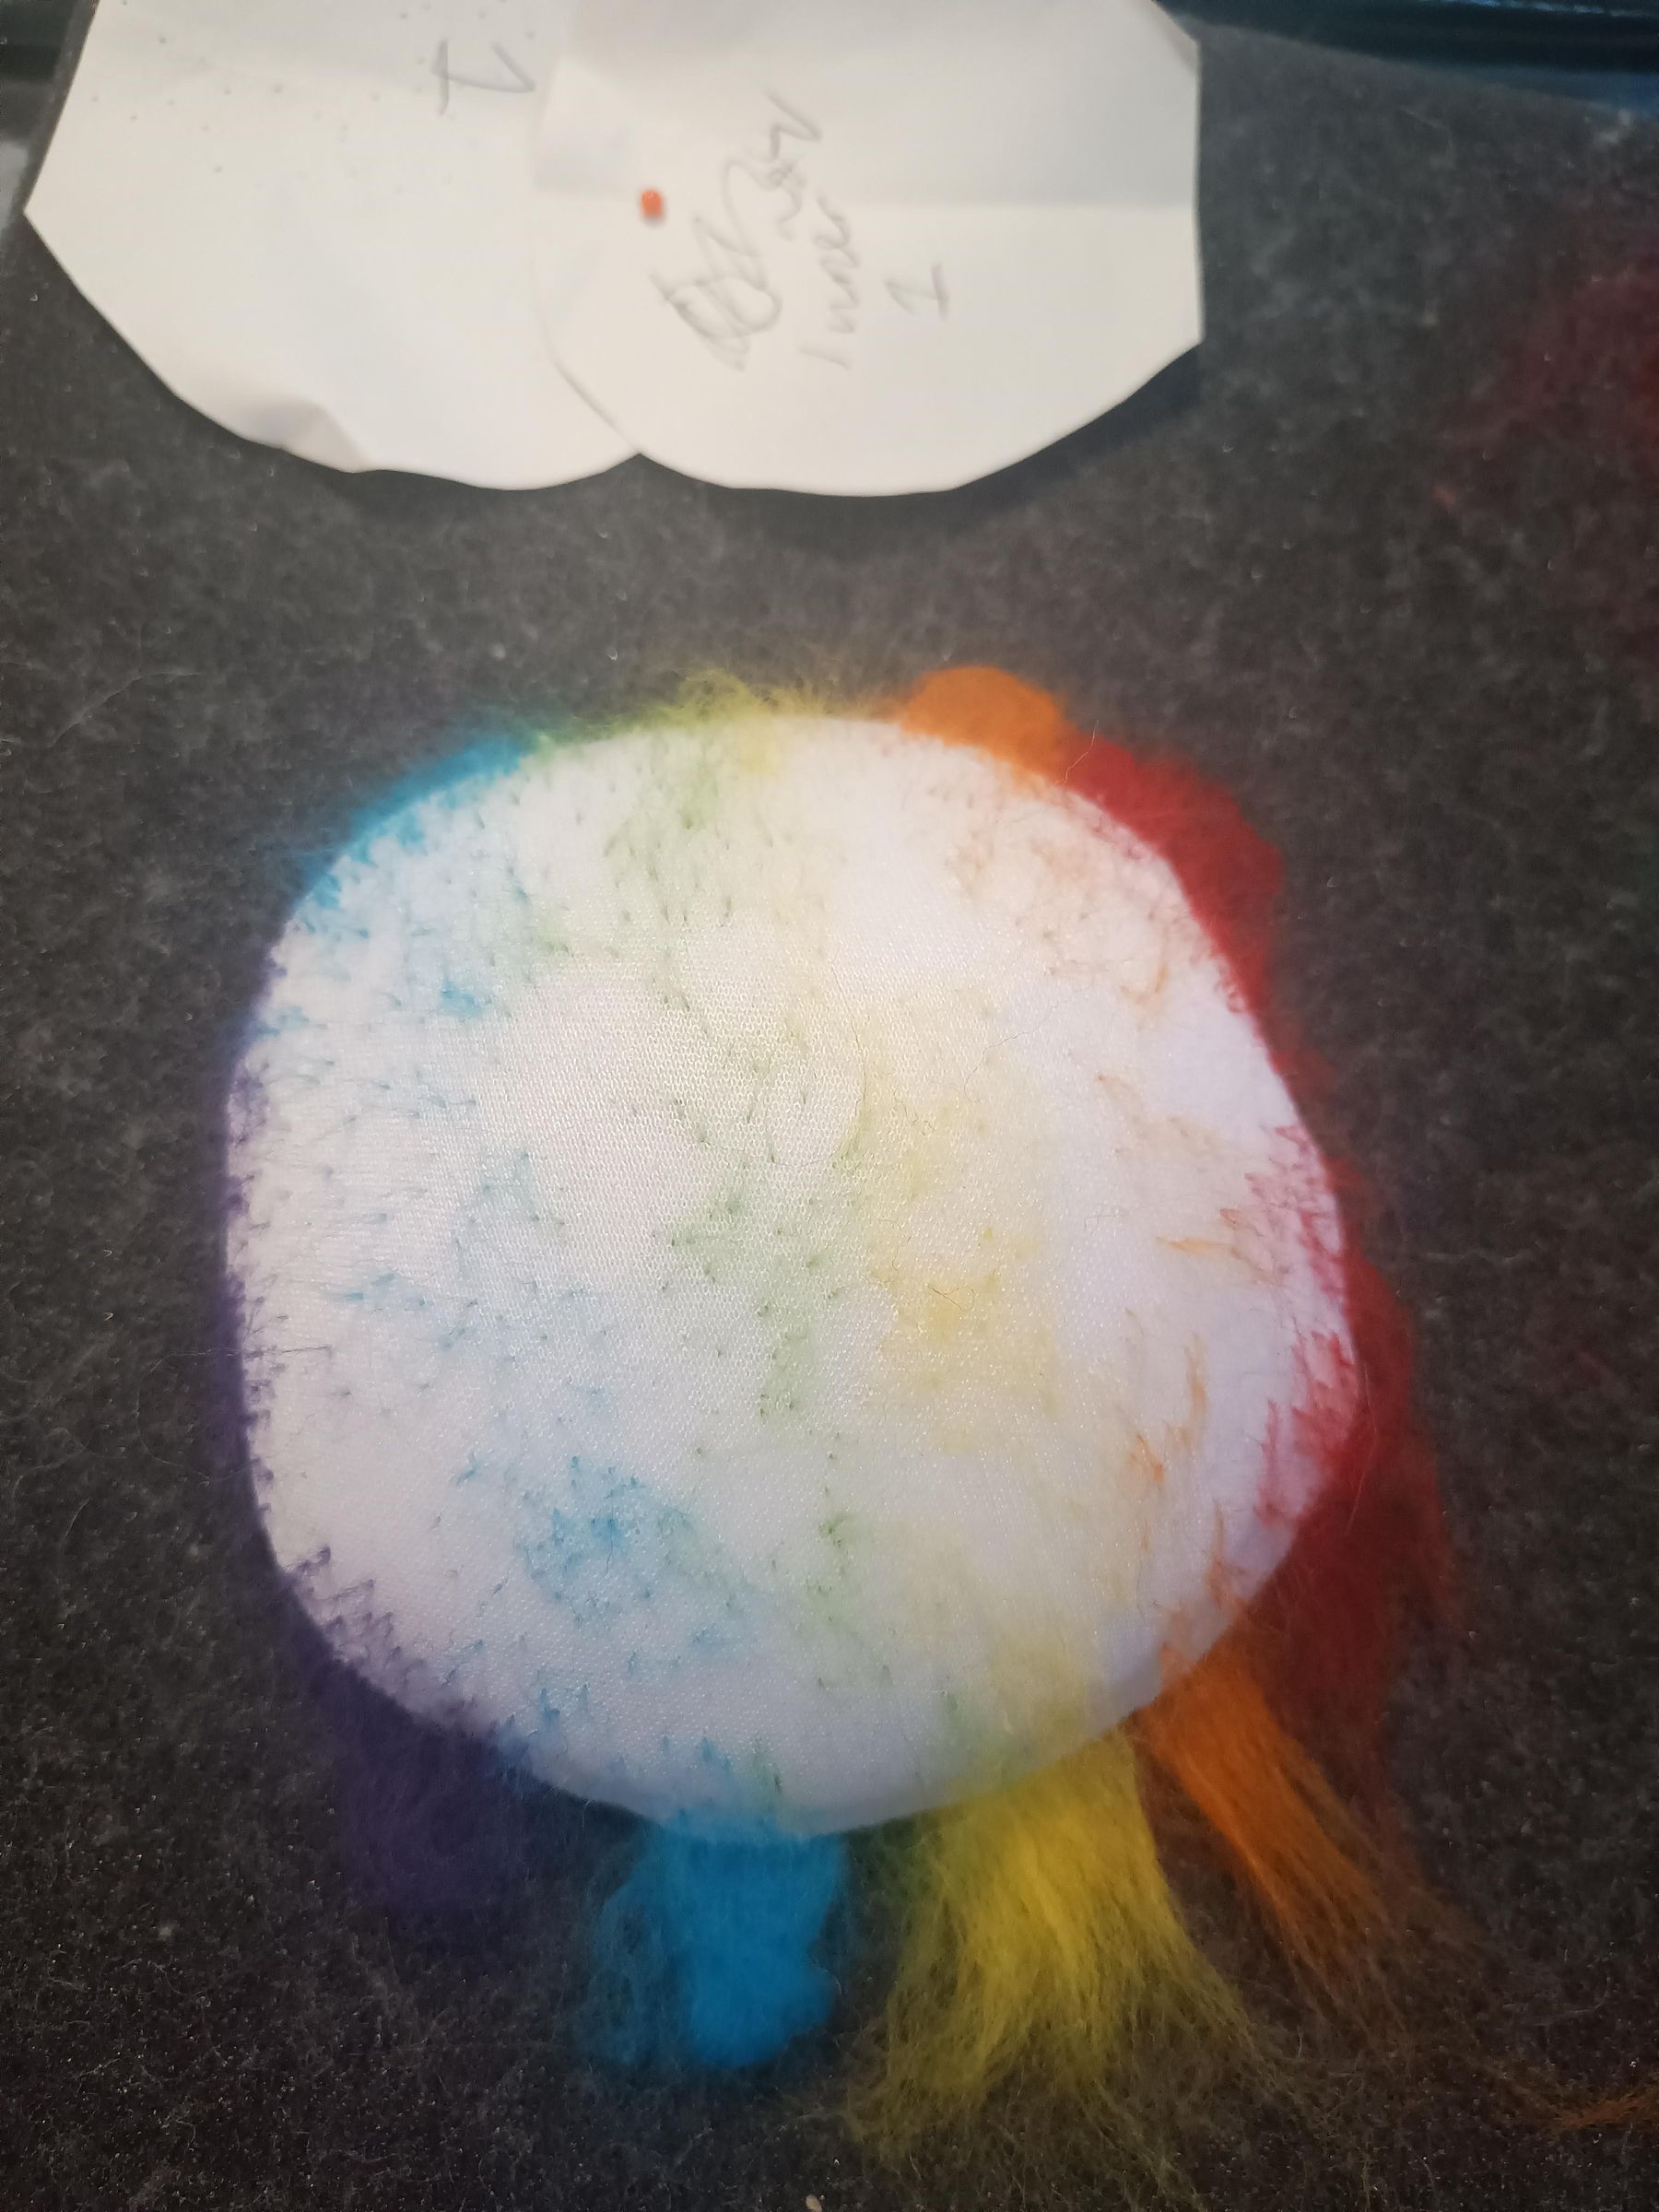
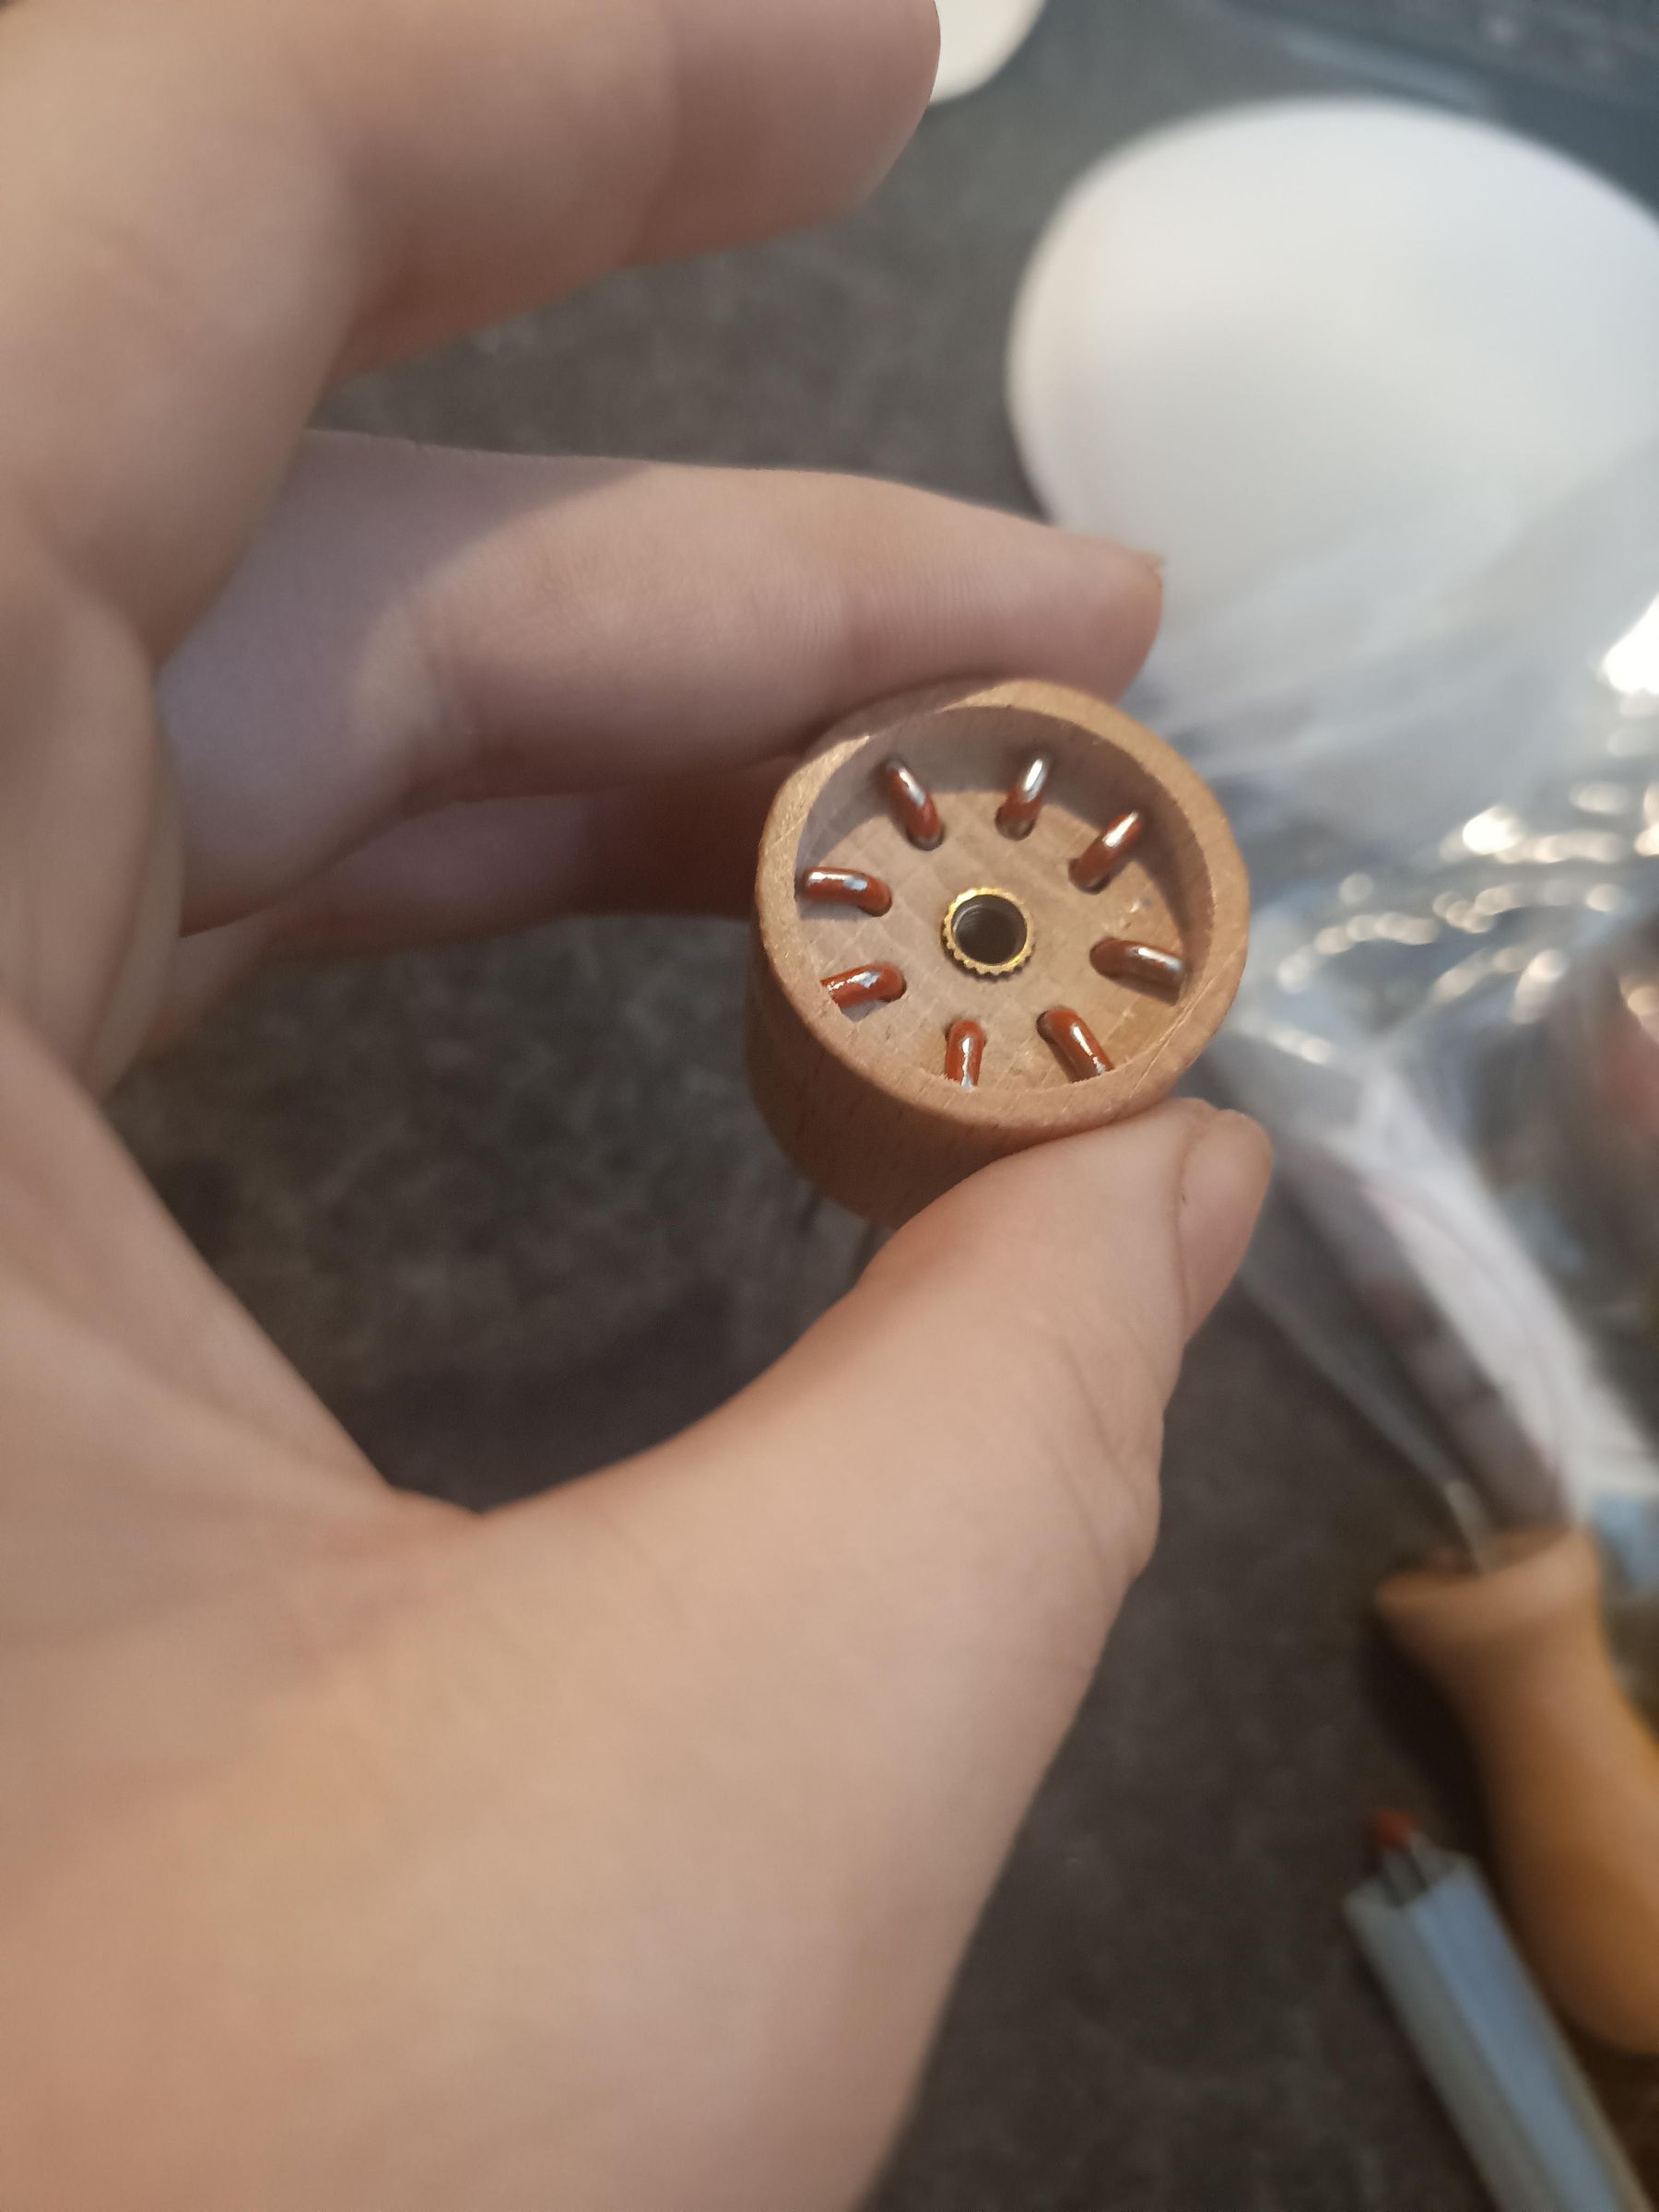
Pull some strips off of your felting wool and lay them on the bra cup (I did the inner side first) to work out placement. Then, working on each colour at a time, start felting with your coarser needles. It's fine to have gaps between the colours, we're going to fill them in later with intermediary colours.
Once you've got the main colours down, flip the cup over and do the other side. The colours will probably be poking through from the inner side, so placement should be nice and easy.
Blending
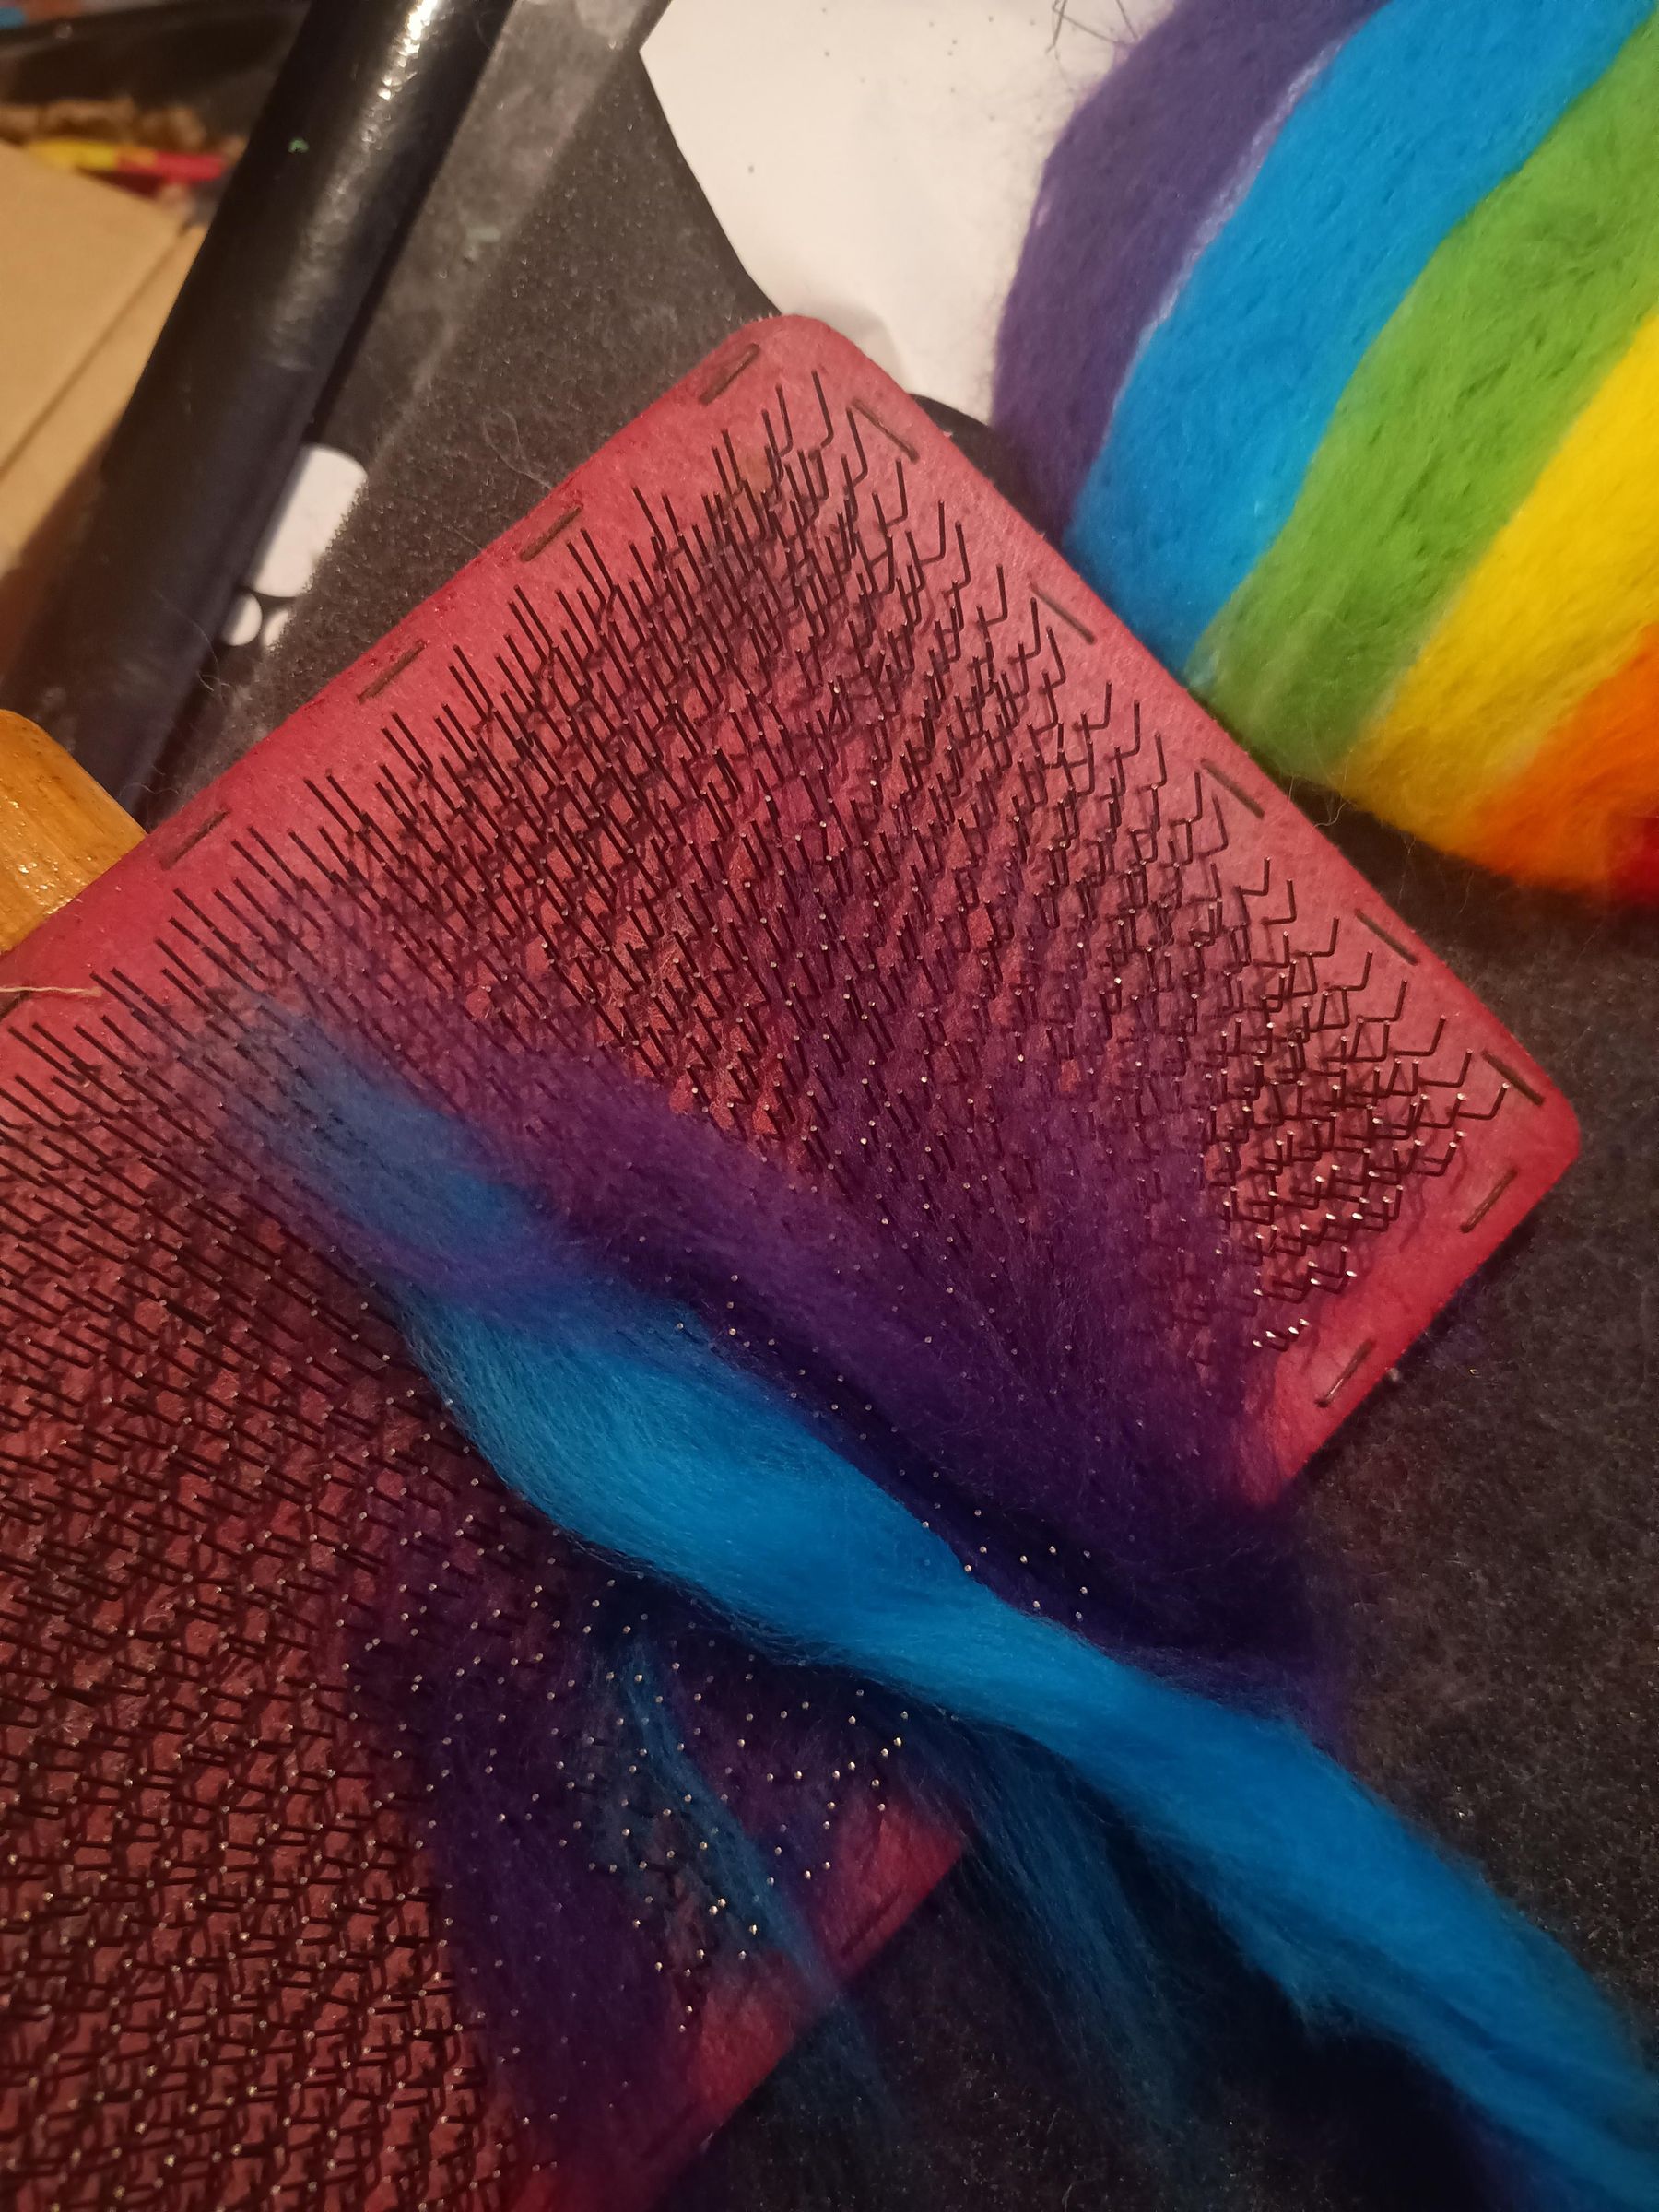
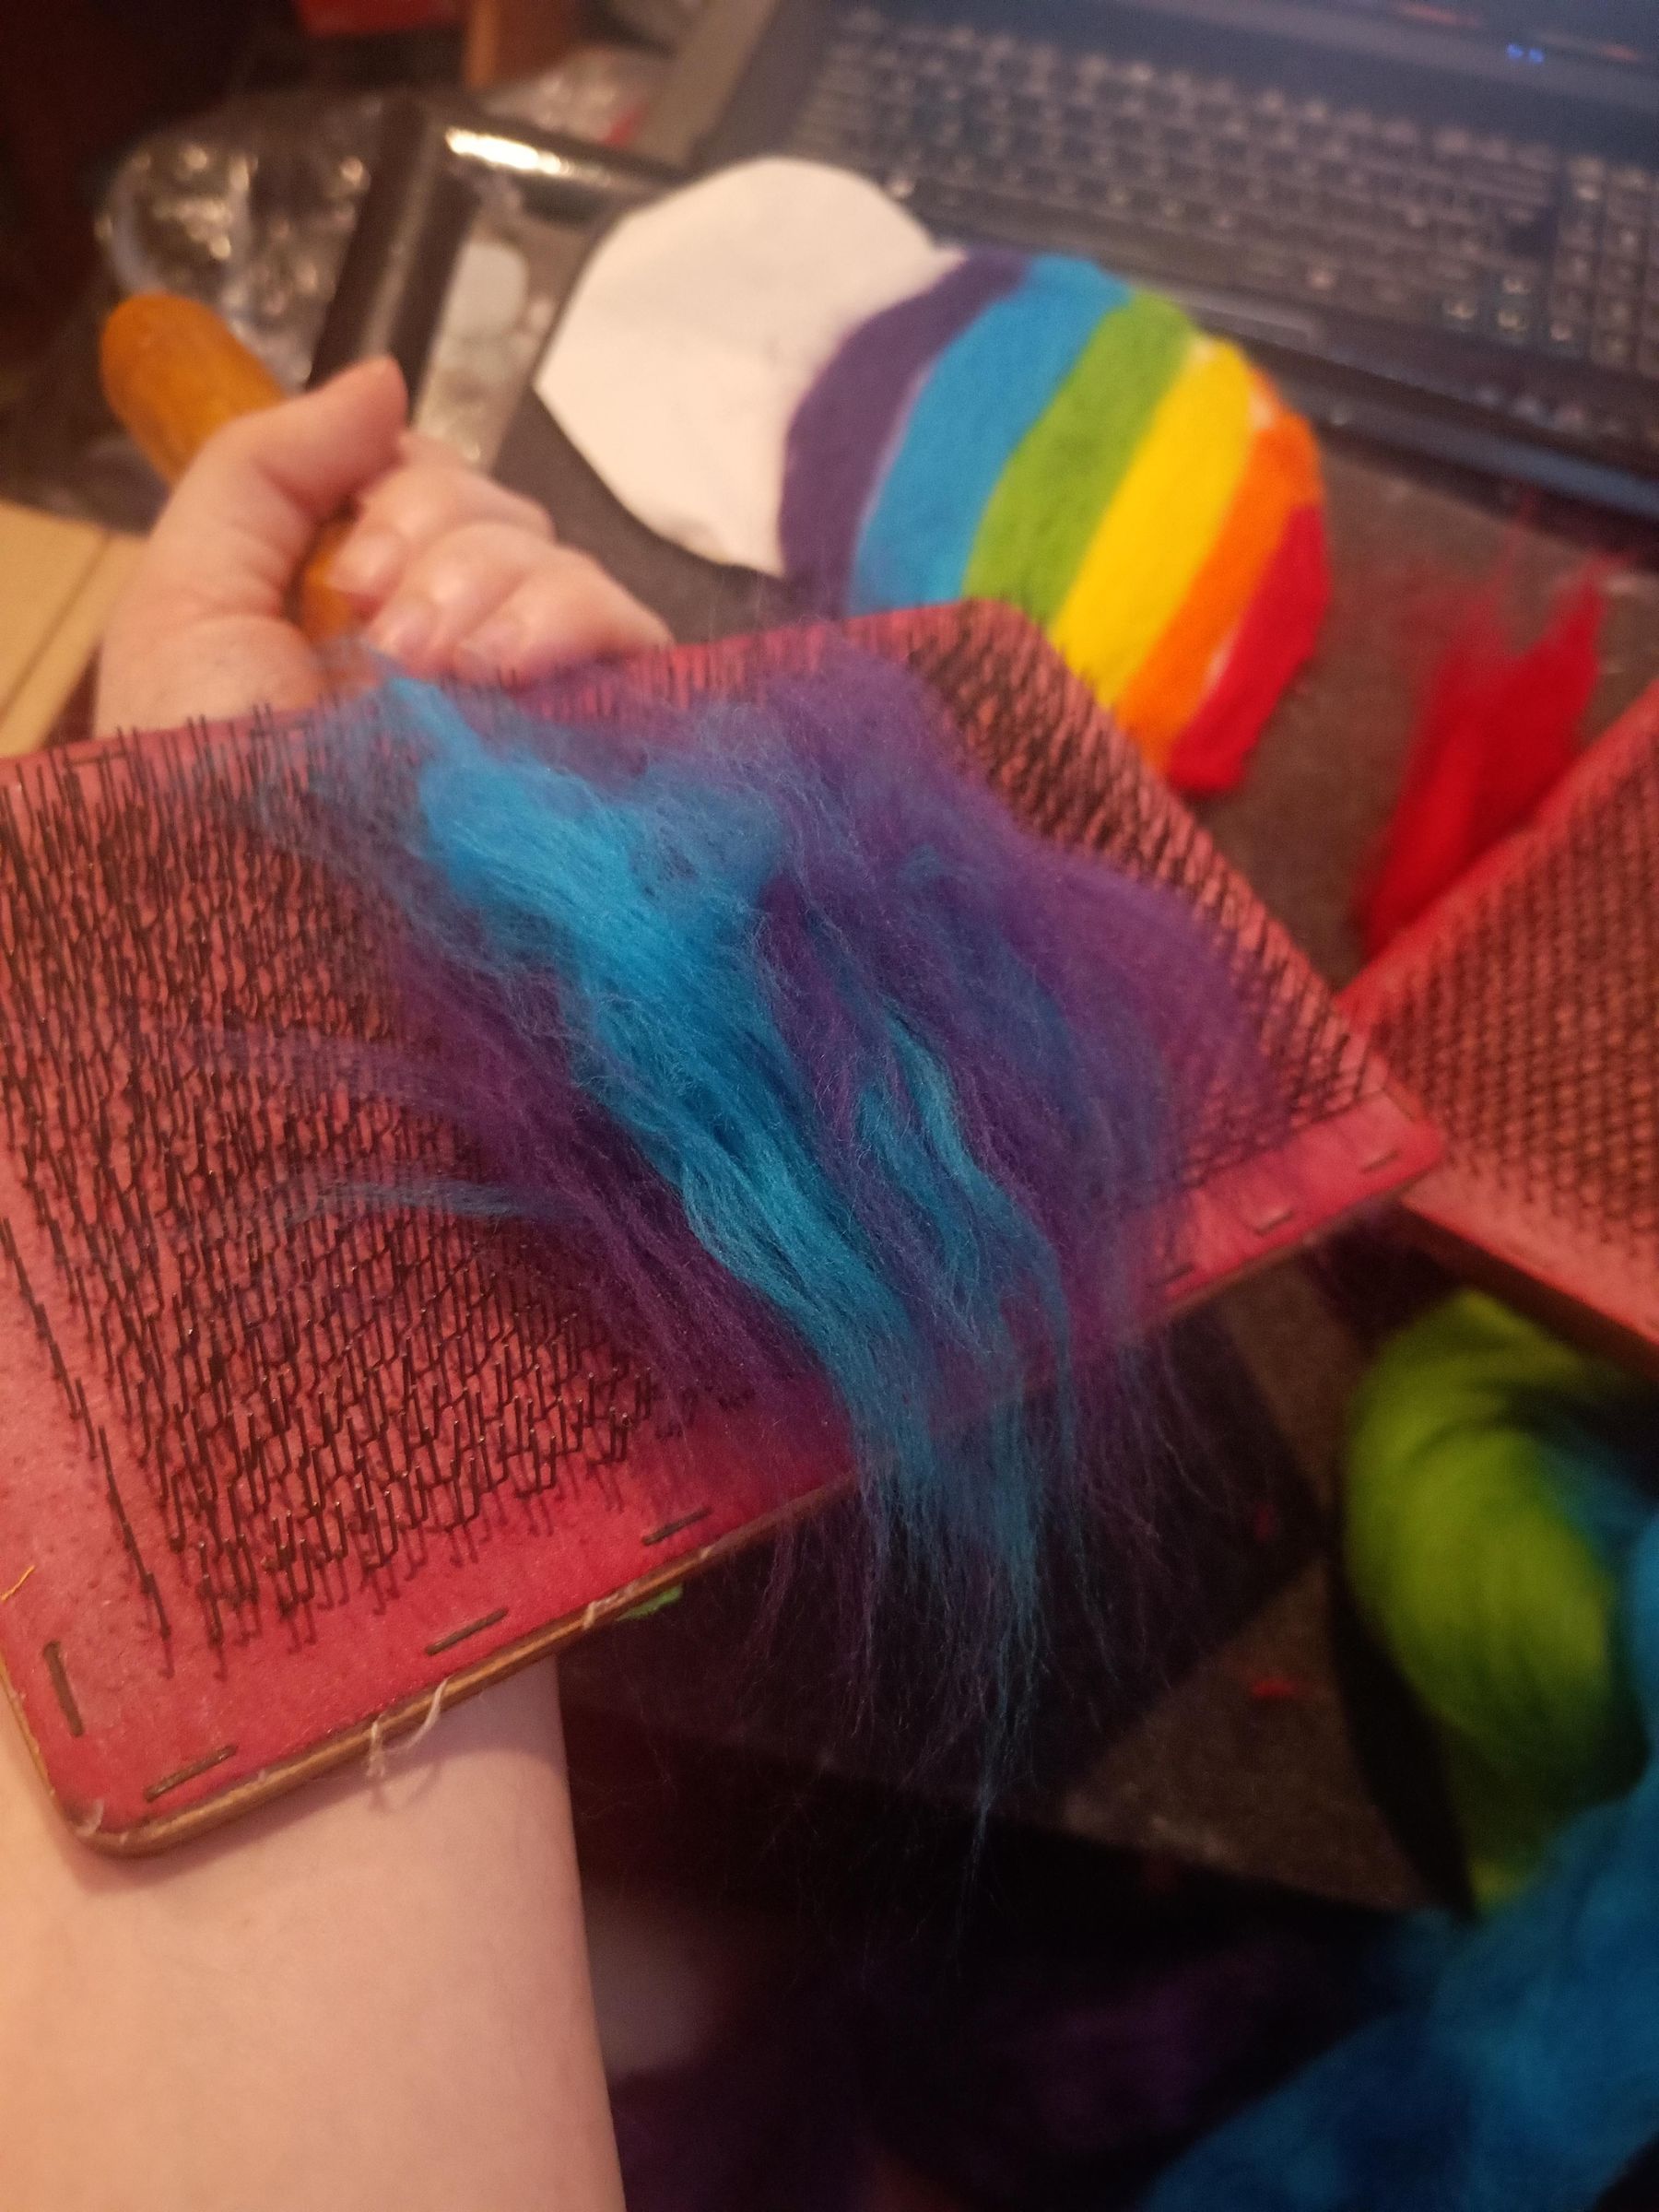
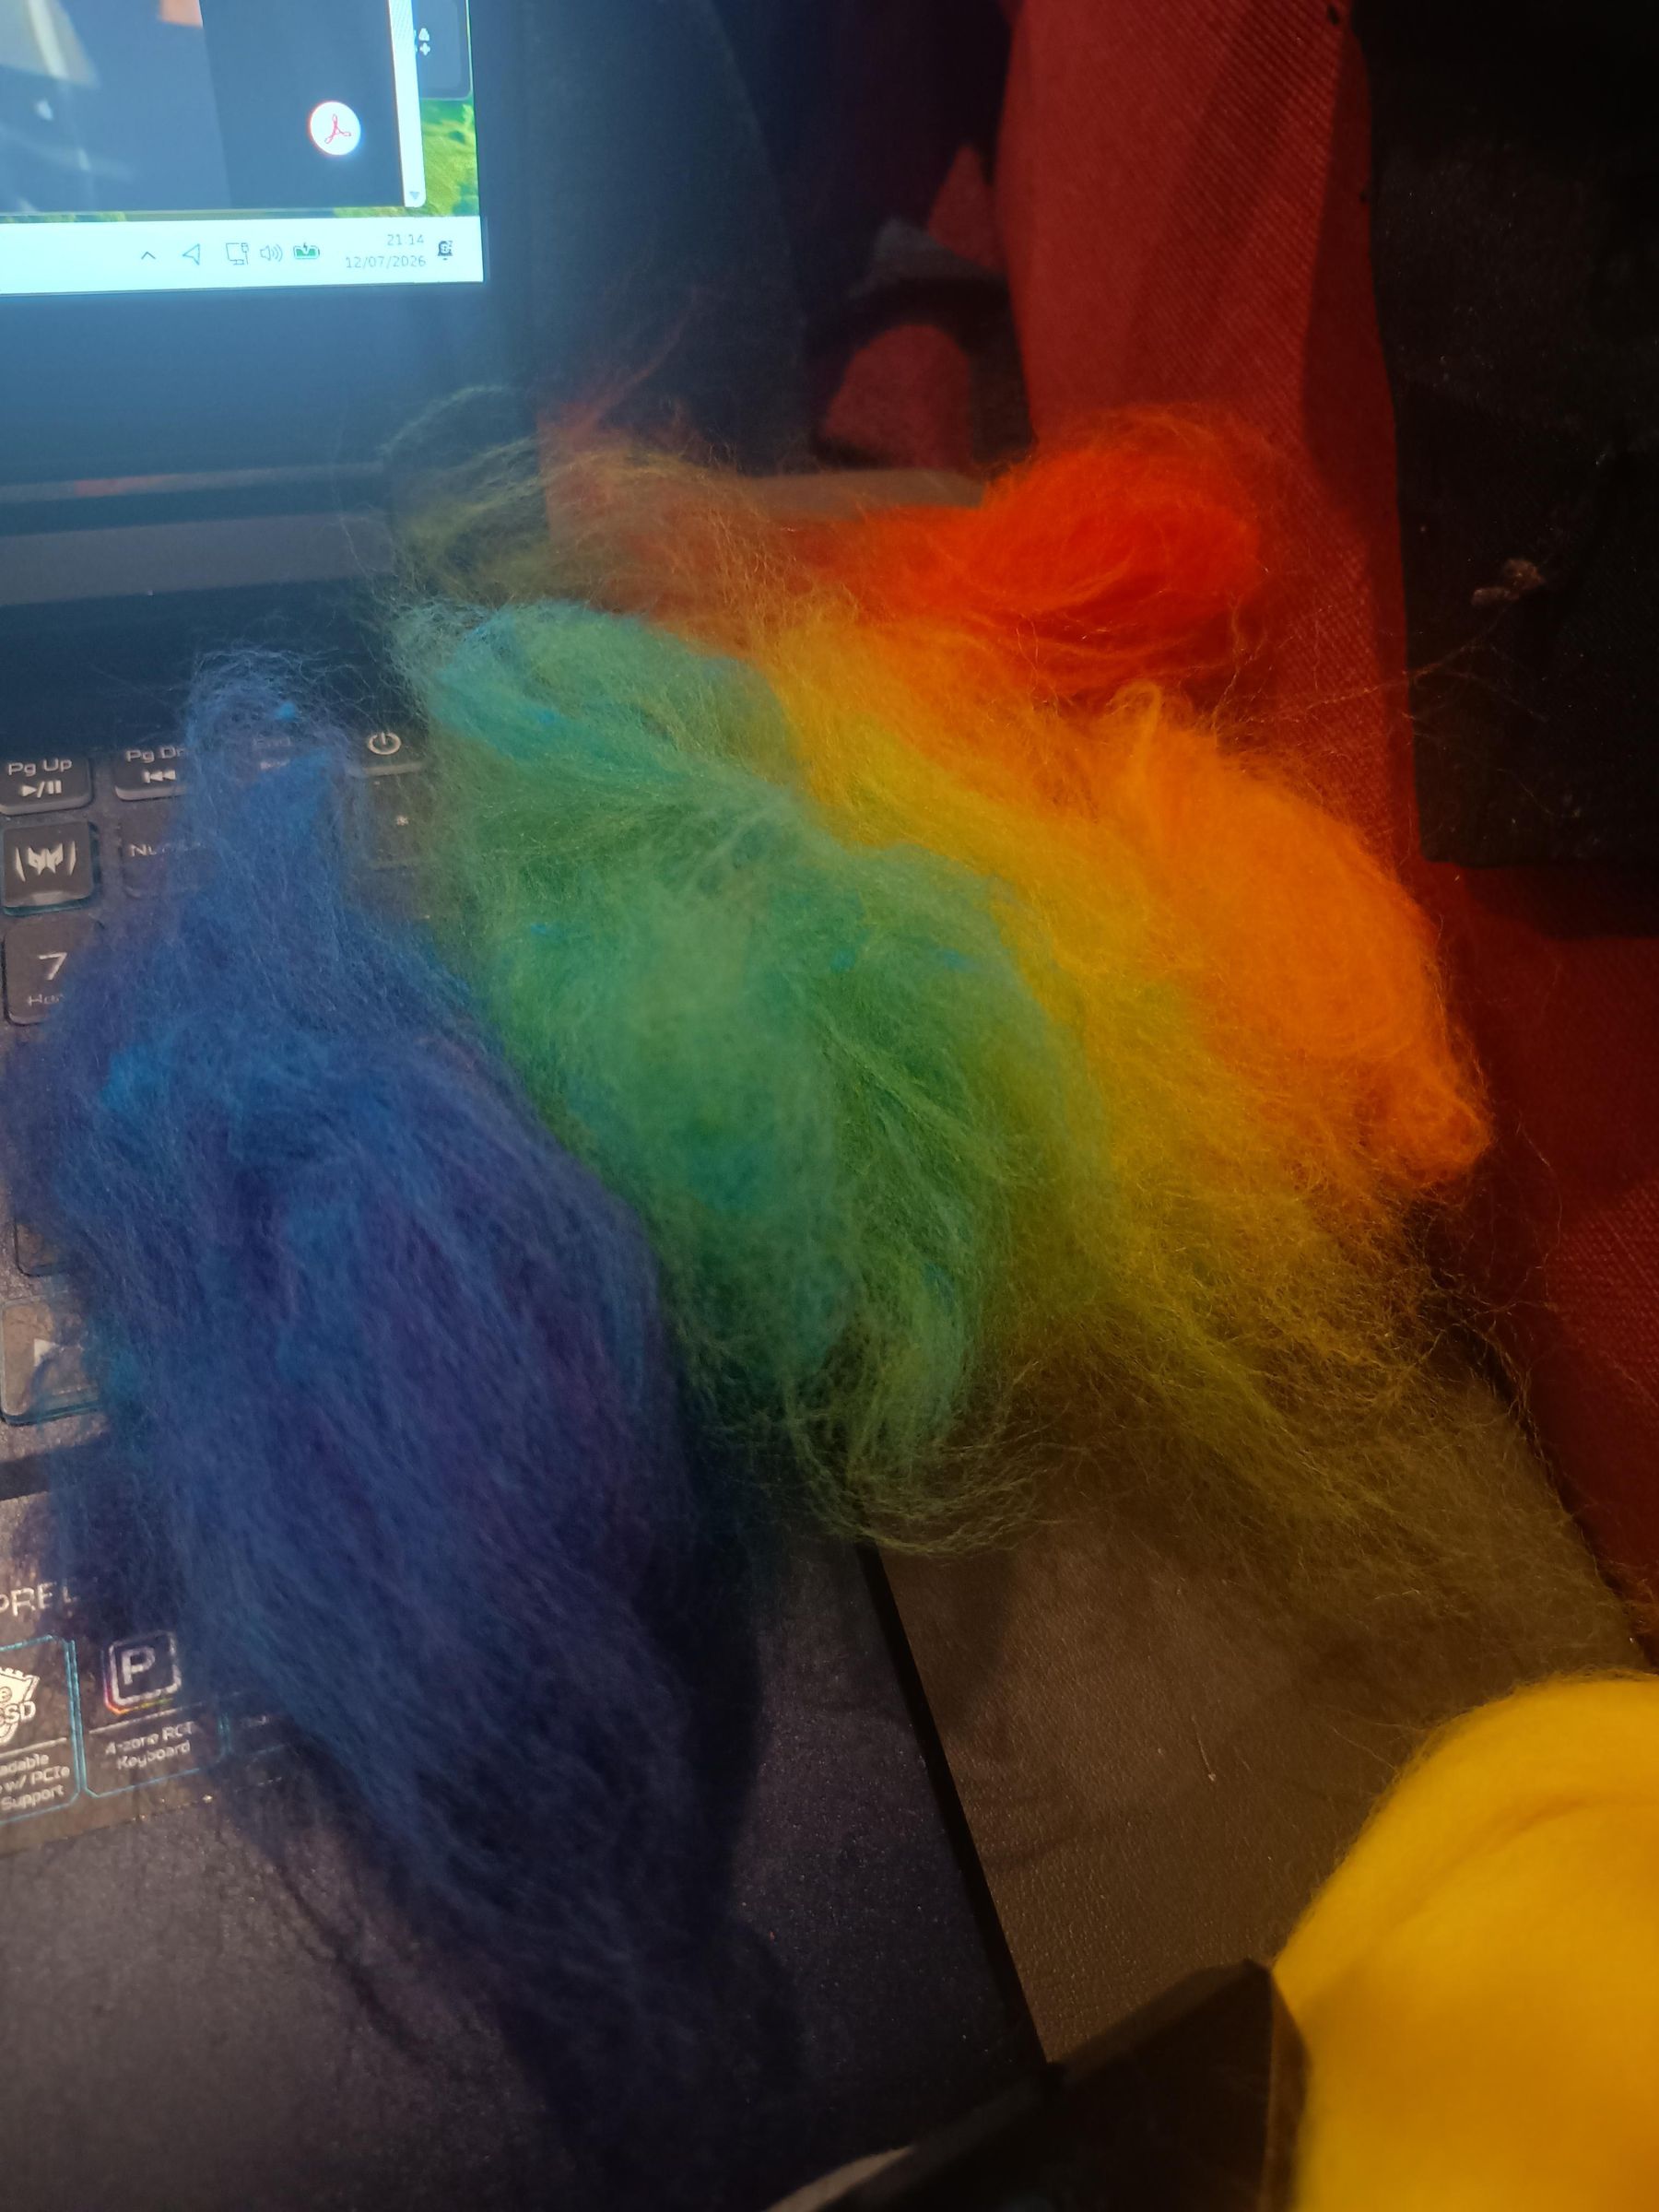
Now we want to custom blend the fibres to get a nice smooth gradient. Start by mixing each pair of colours 50:50, carding them together to make a colour halfway between the two. Do this with each side by side pair.
Then, if you want a *really* smooth gradient, further divide and blend. So I took a part of my purple/blue blend and an equal part of pure purple, and blended that to make a more purplish intermediary colour. I then took another part of the first purple/blue, and added an equal part of blue. So then I could make purple changing to purple/purple/blue to purple/blue to purple/blue/blue to blue. Do this with all your colours if you want a mega smooth blend!
Felt Felt Felt
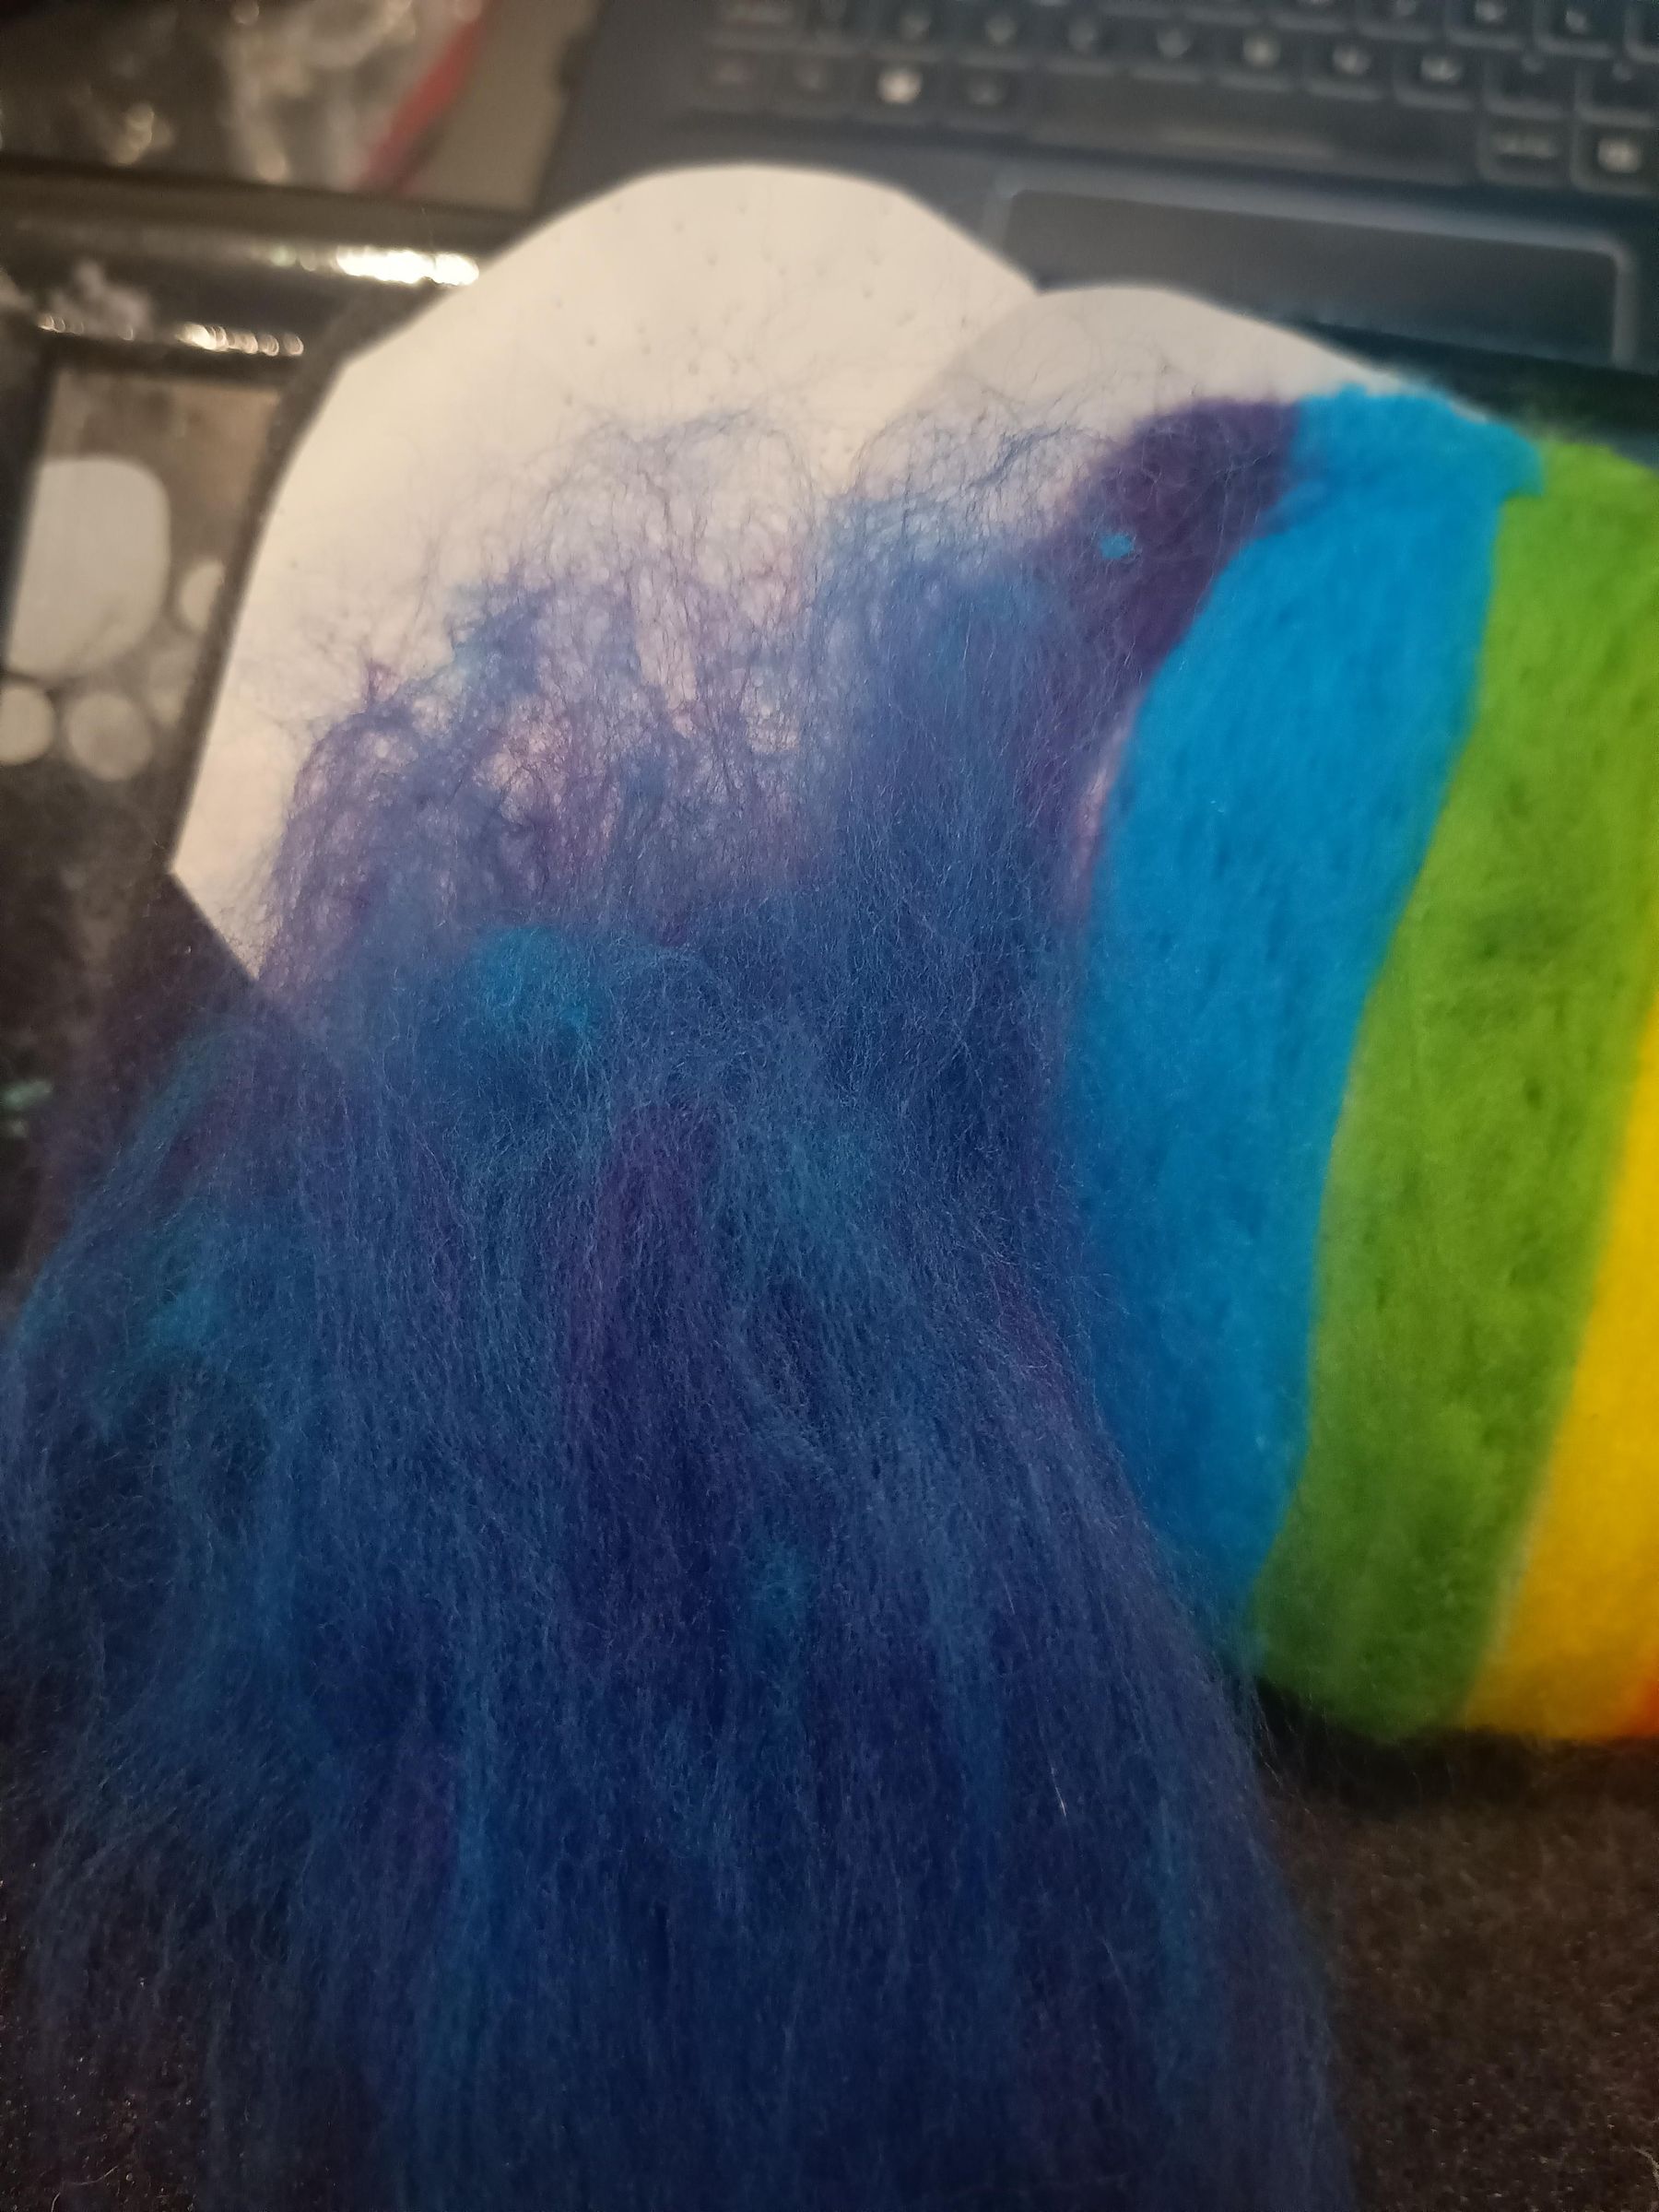
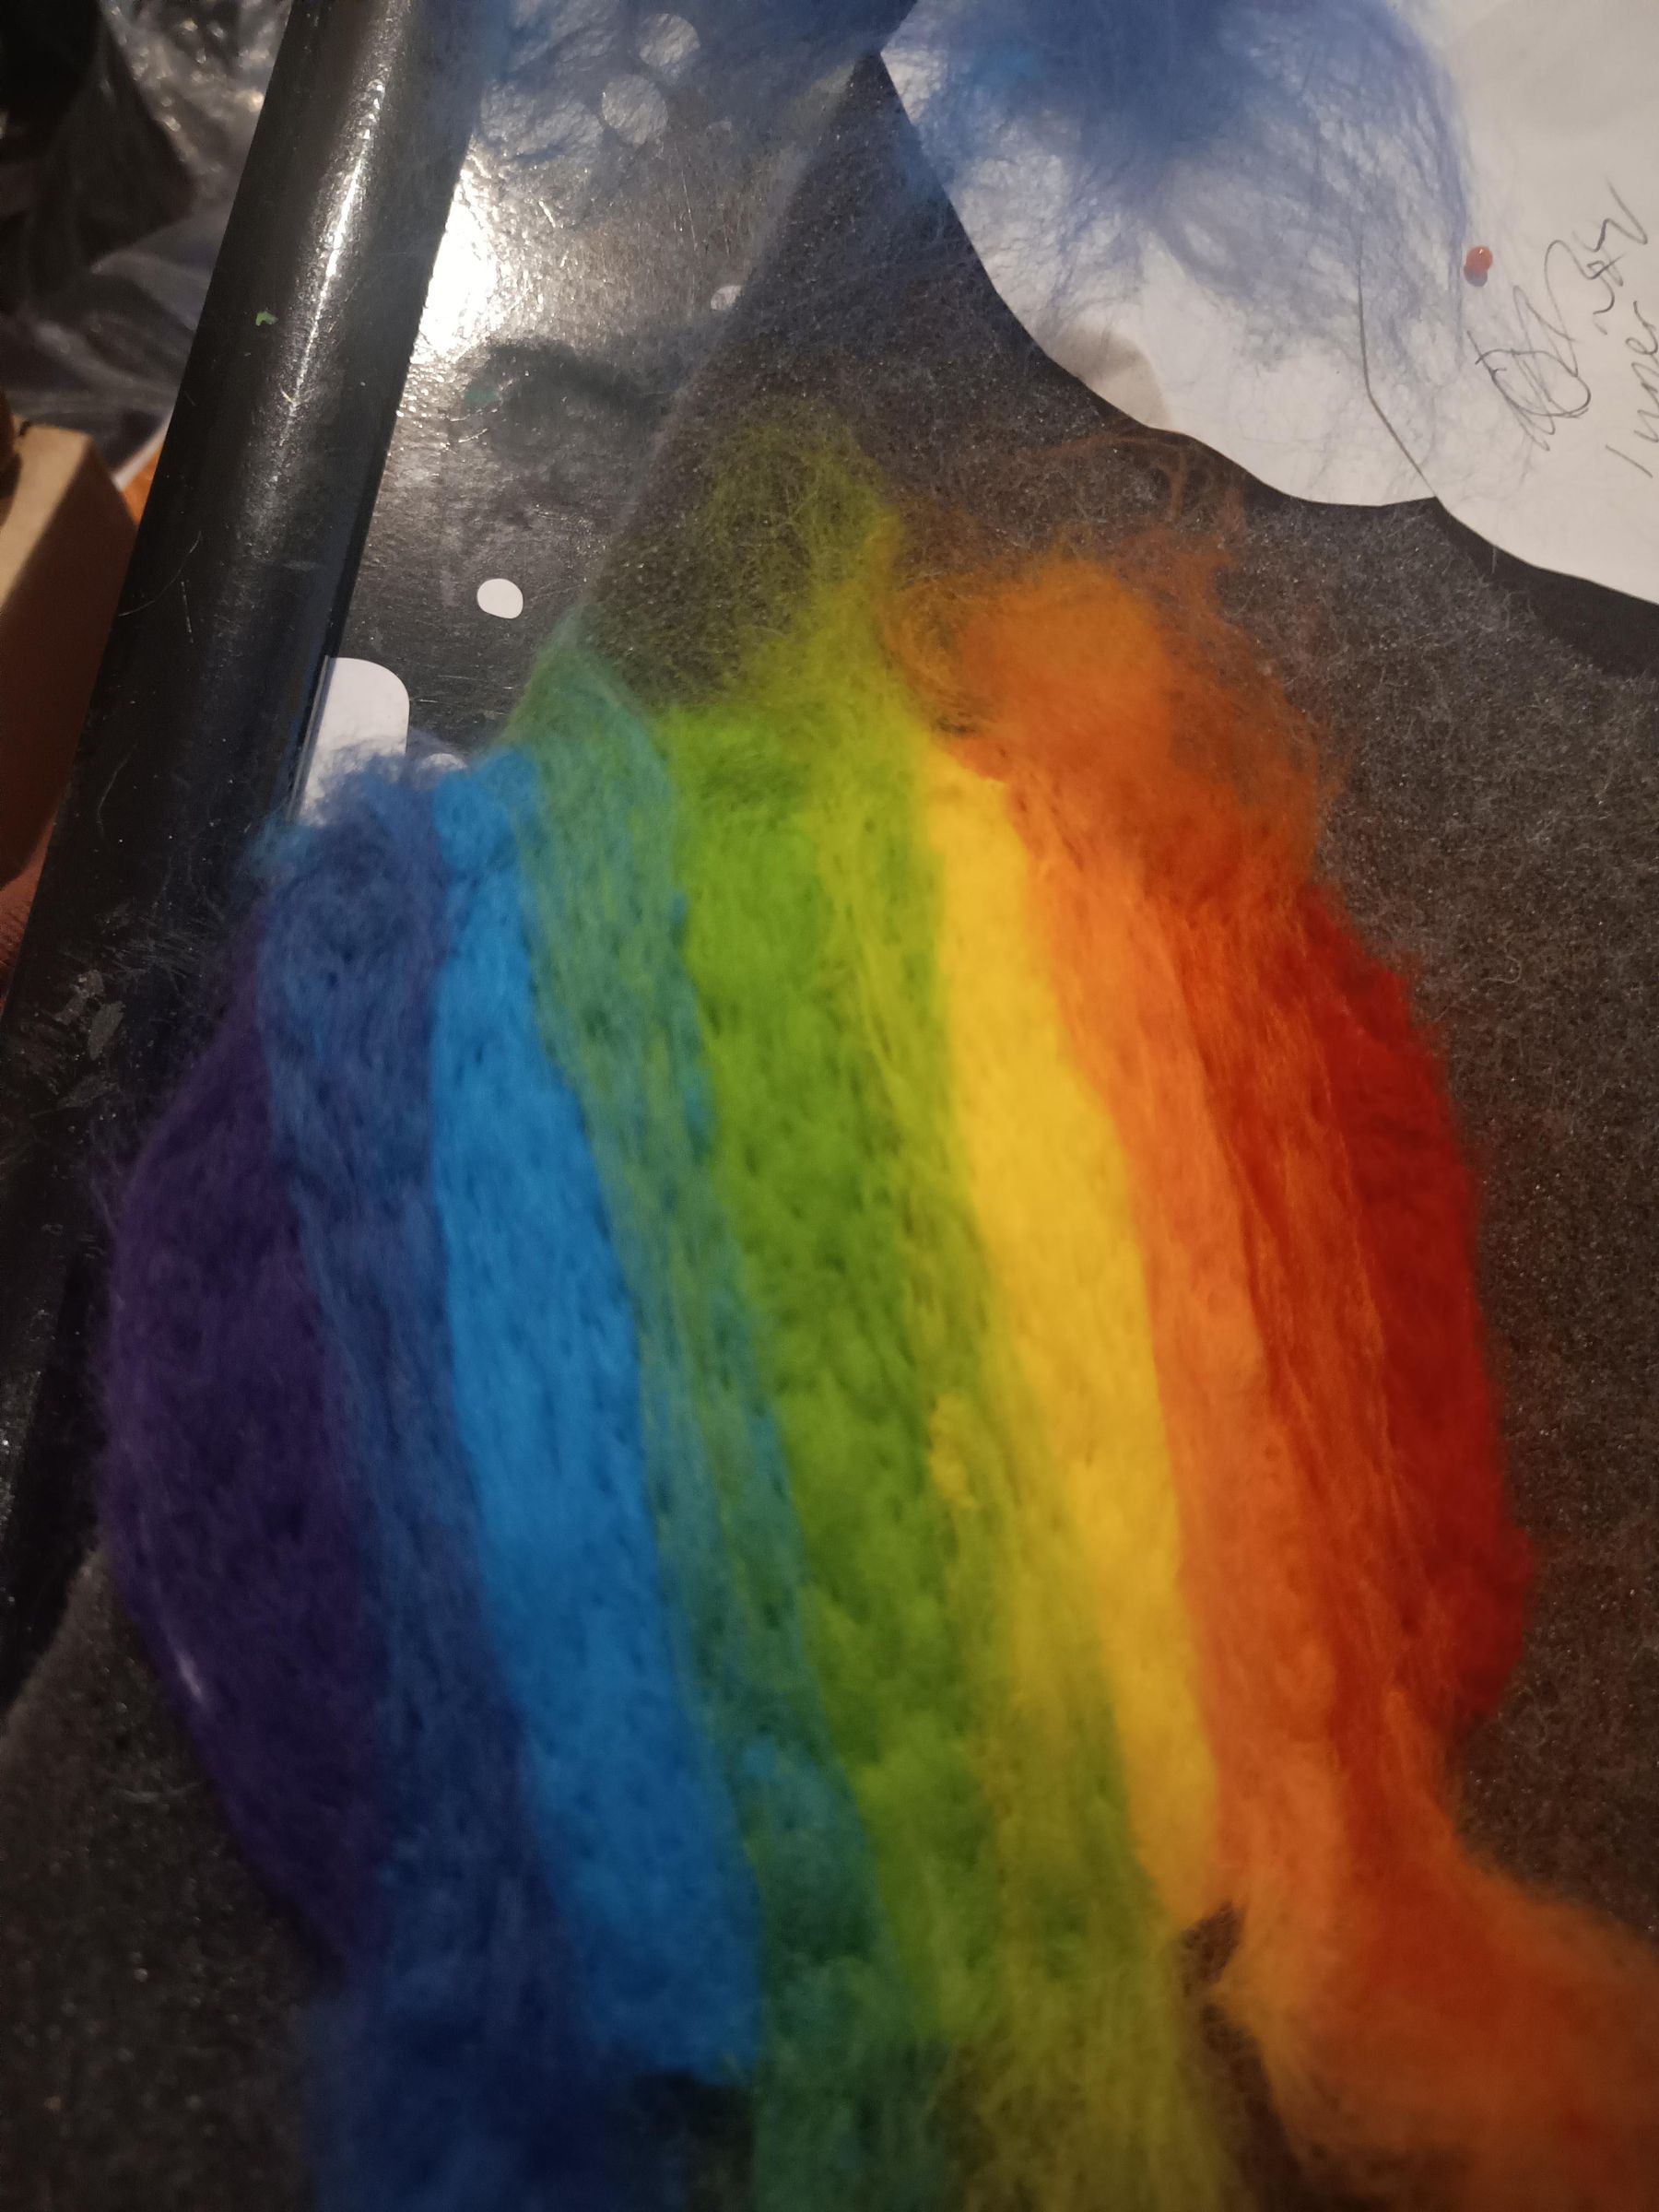
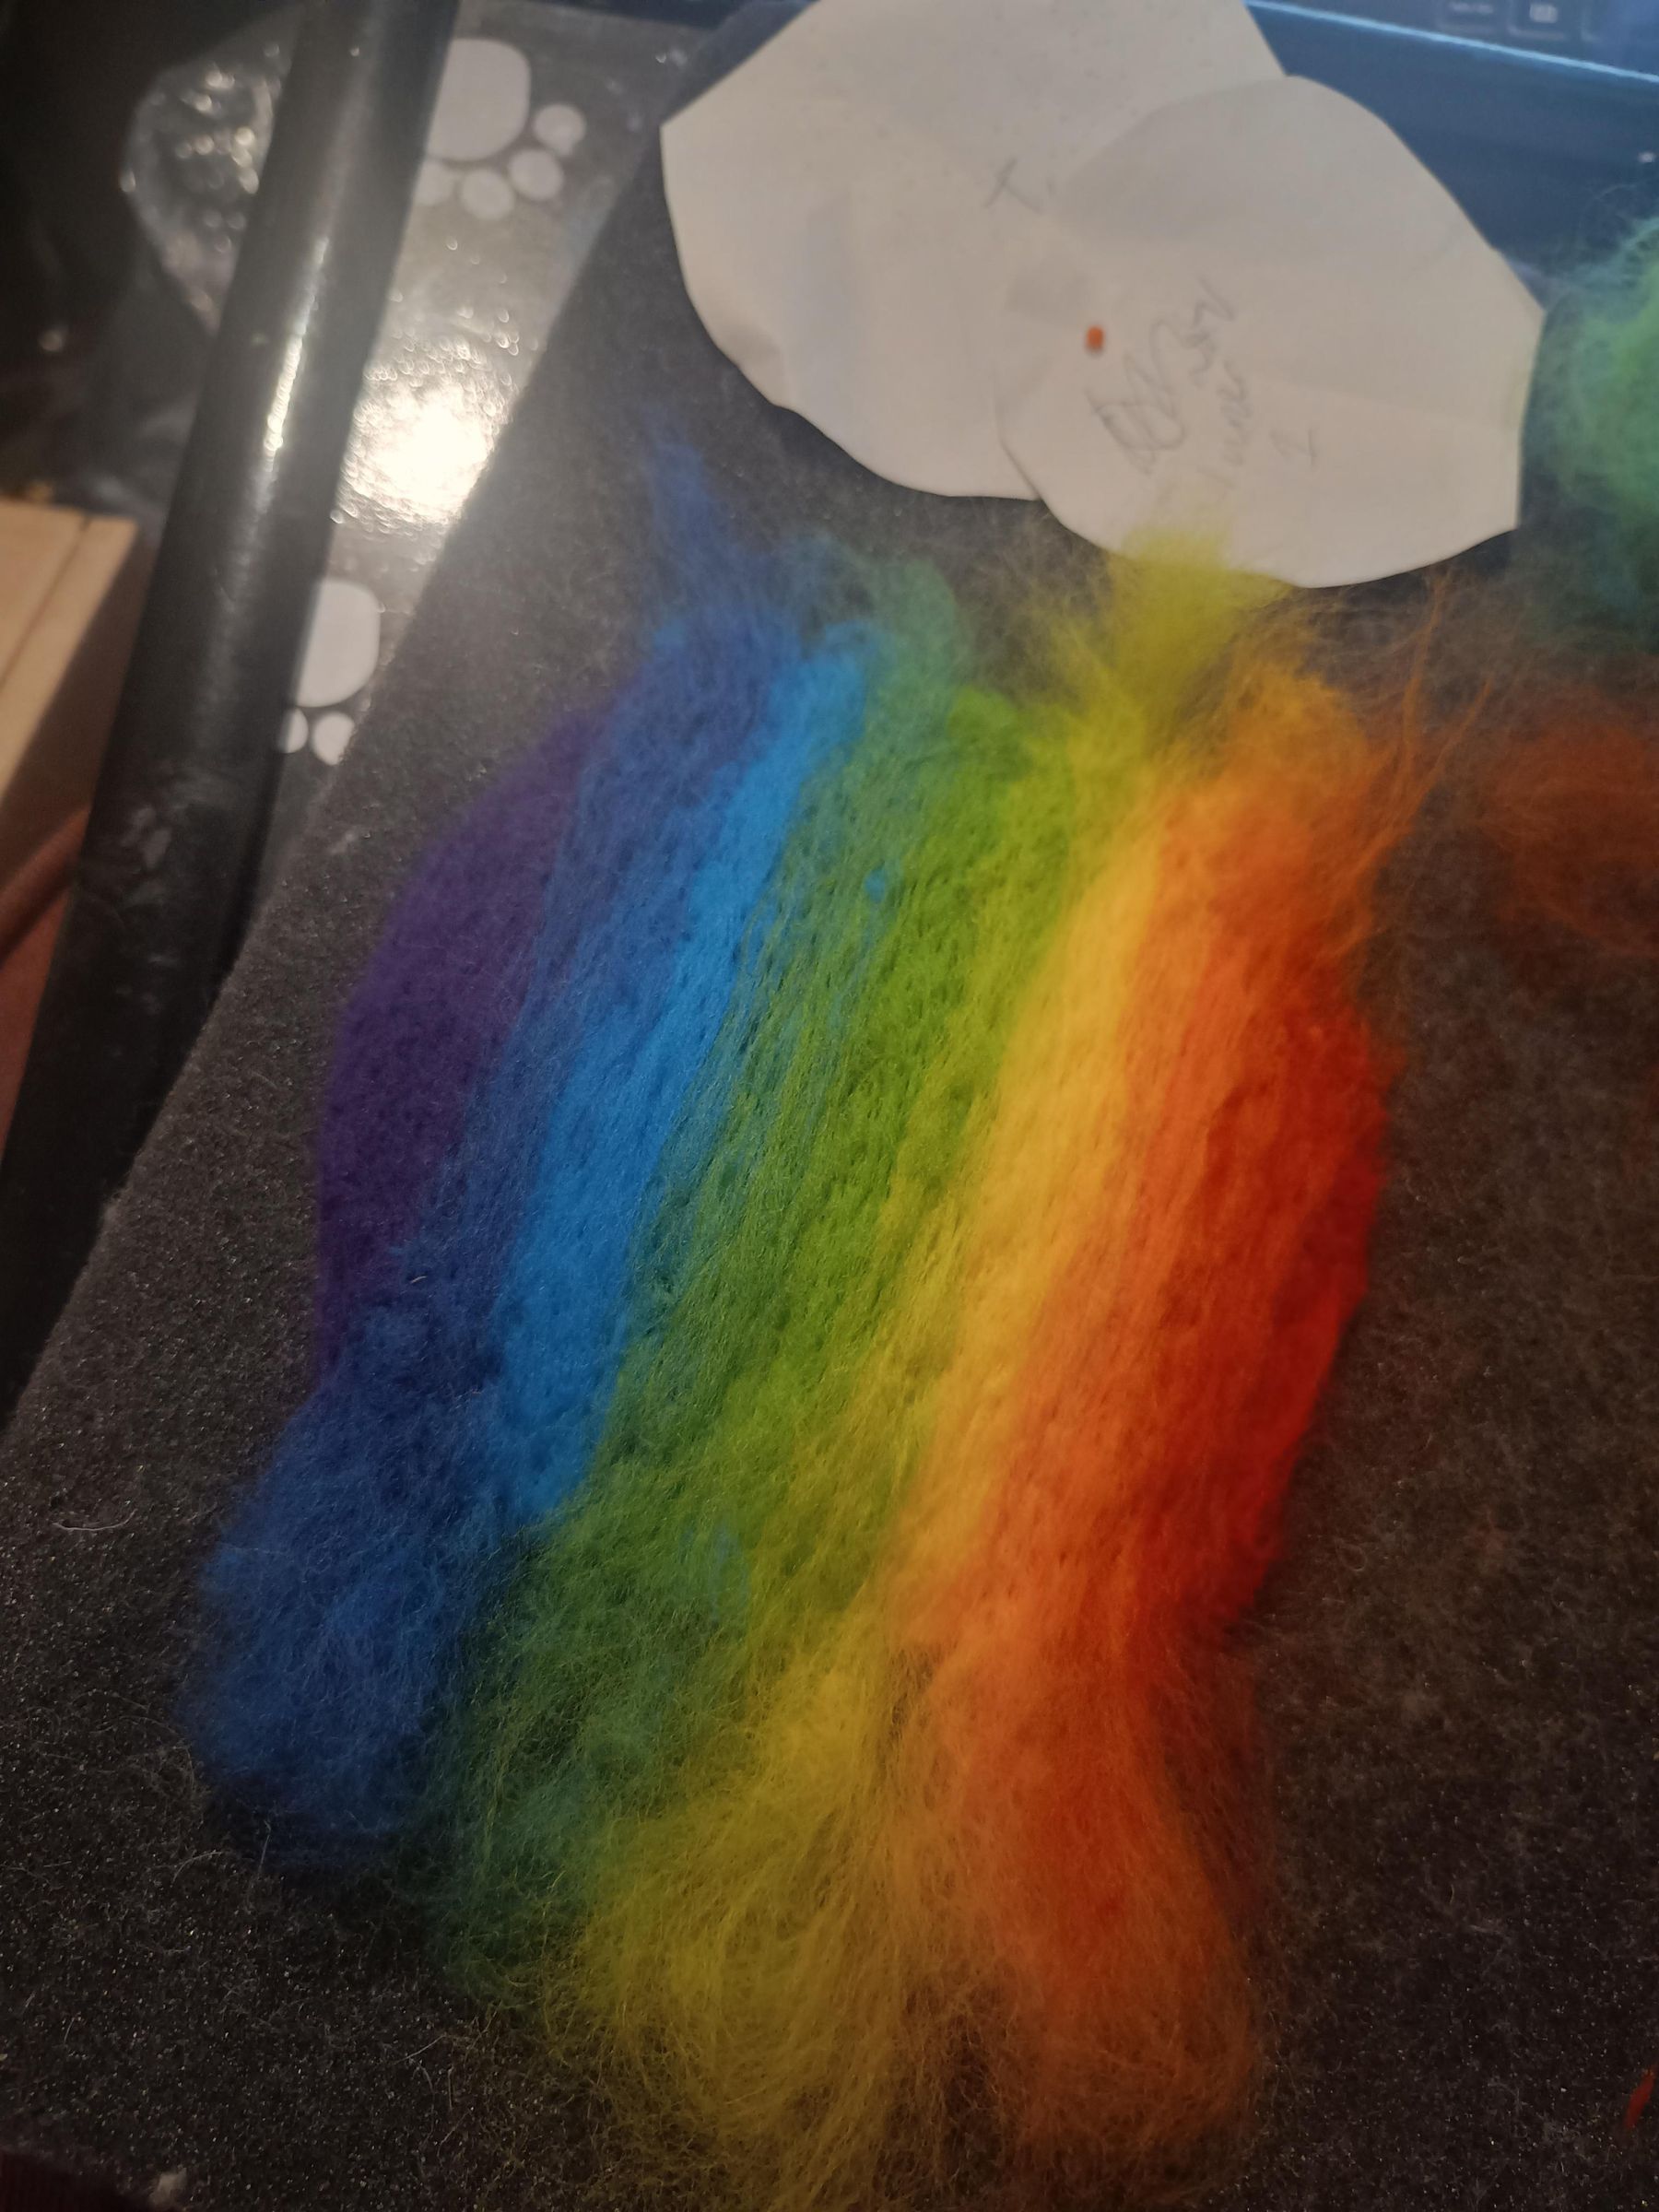
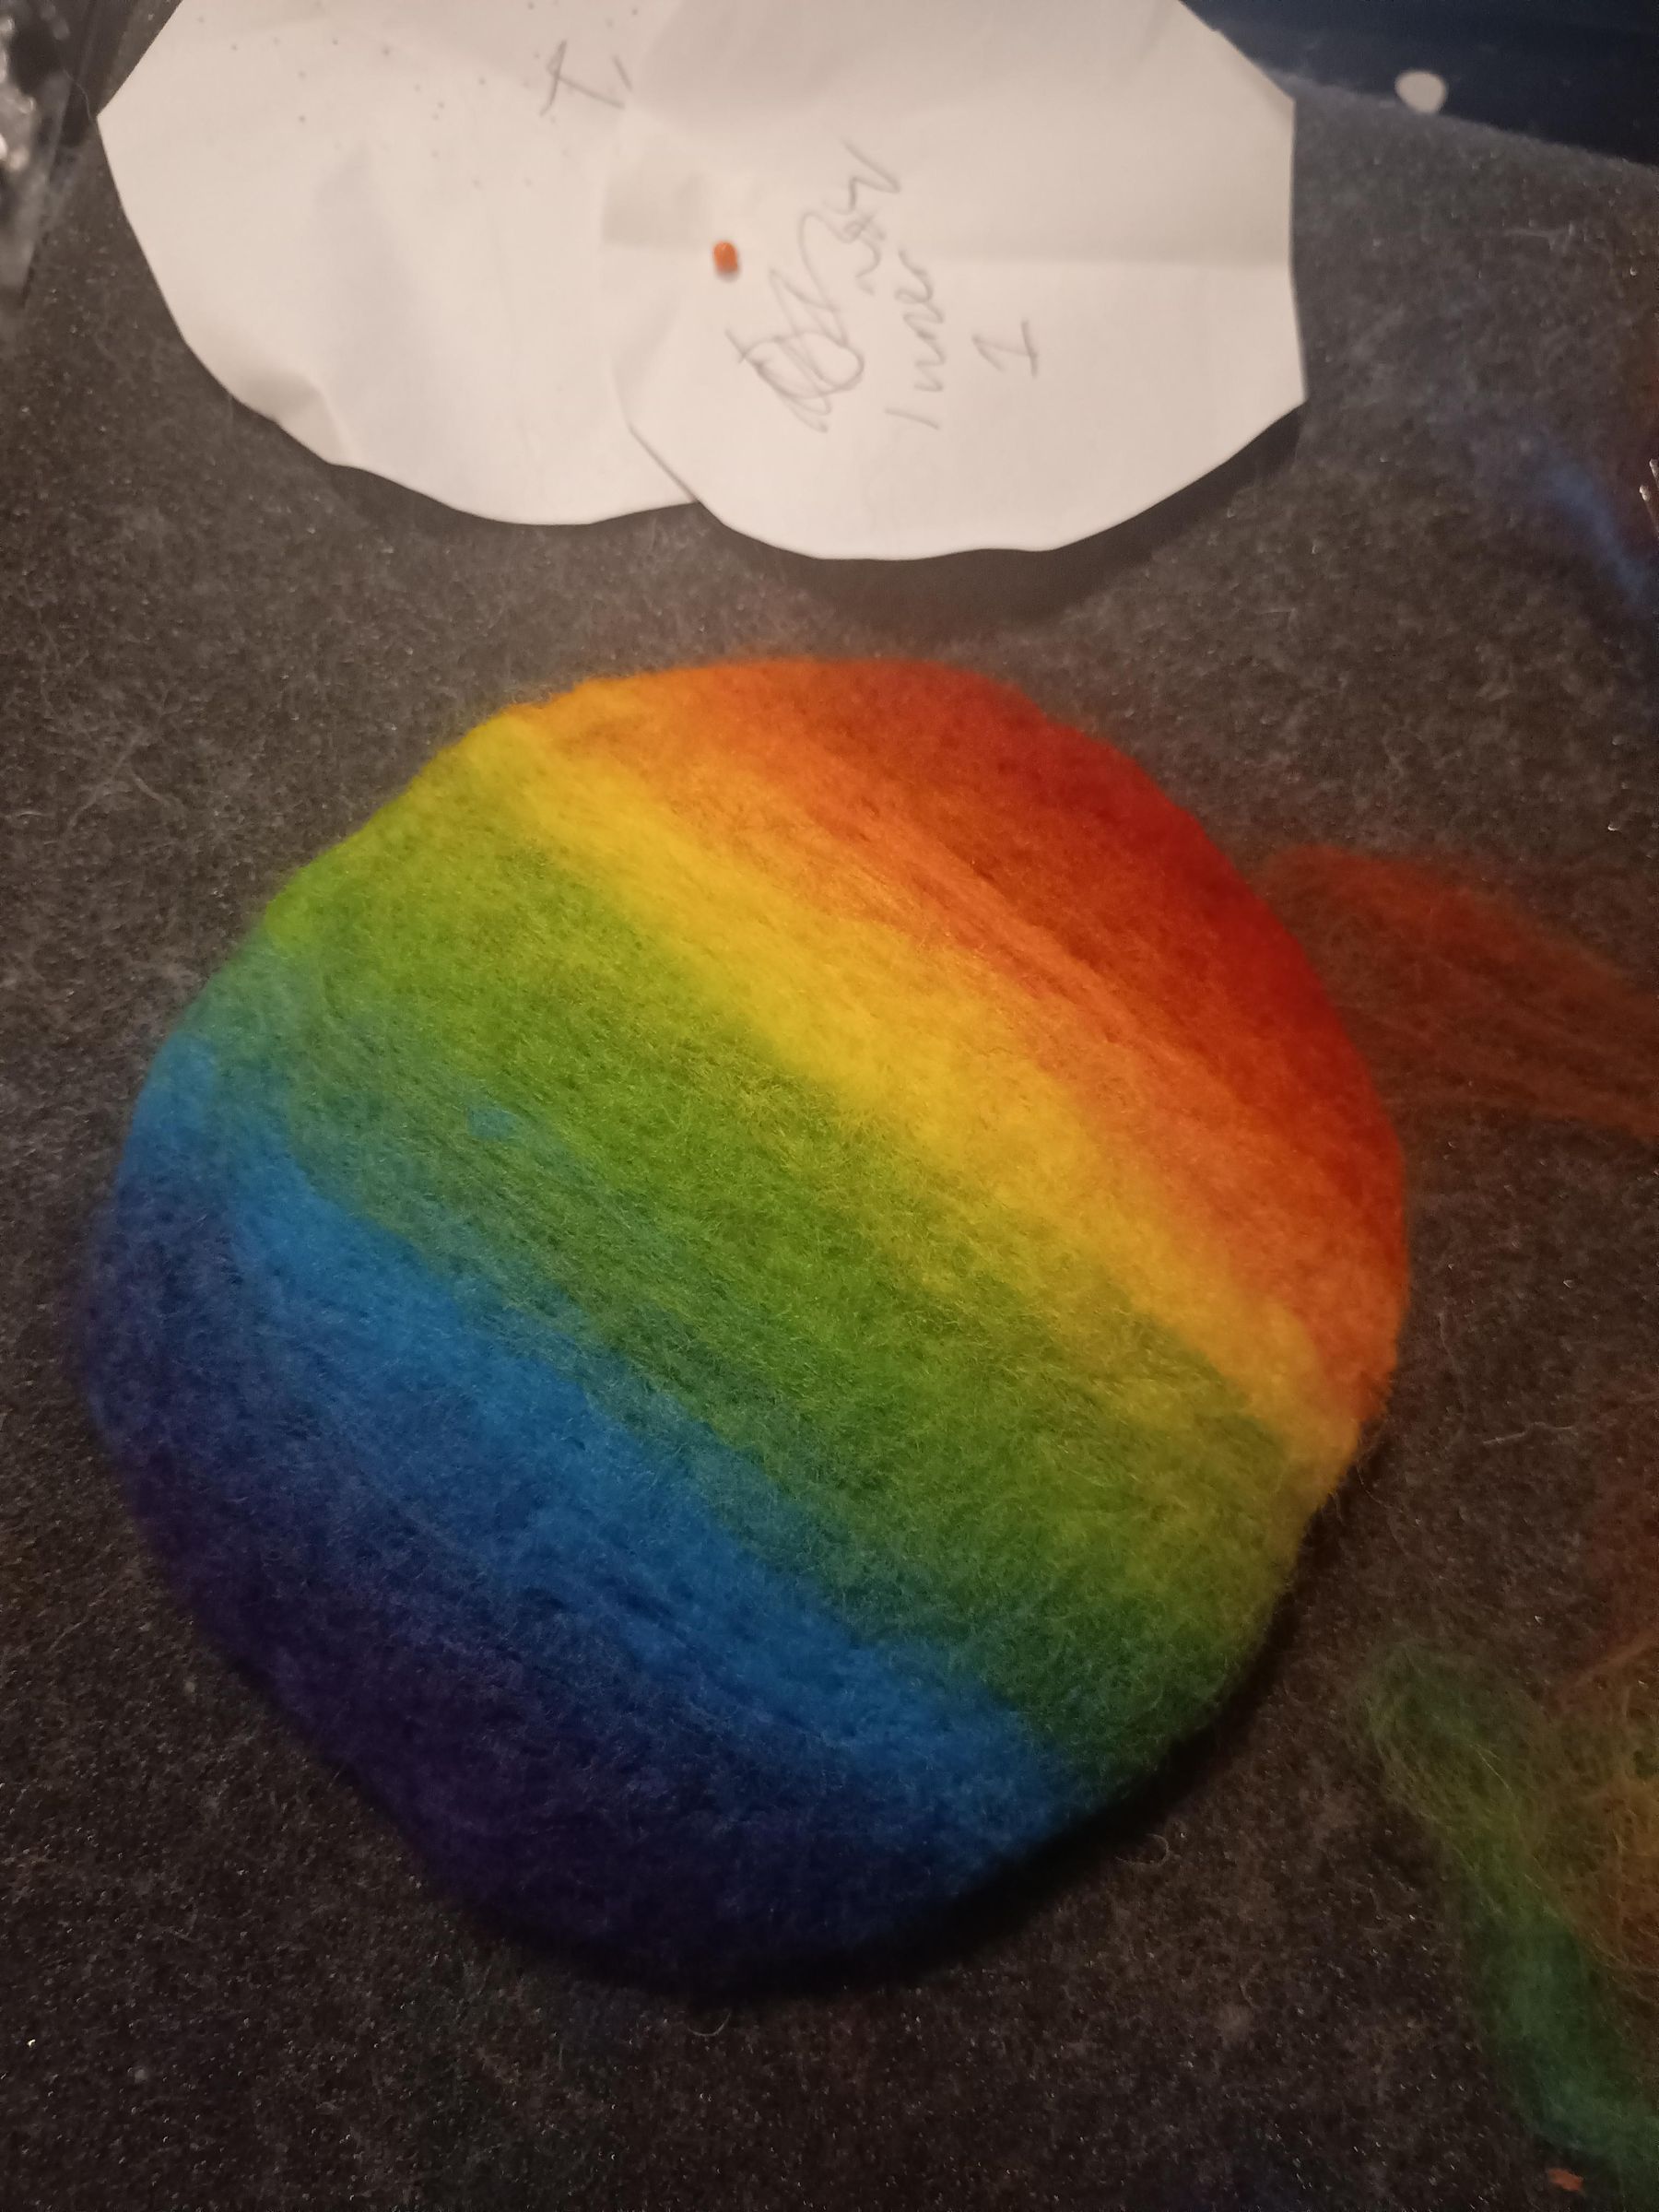
You can either felt in each new colour blend as you go (if you struggle to distinguish between colours this is the way to go to avoid confusion), or blend all your colours and then felt all of them into the gaps. When you're getting happy with the gradient do remember to switch to your finer felting needles. And, if you're insane, don't forget to do a nice smooth gradient on the inner hat too!
Final Felting
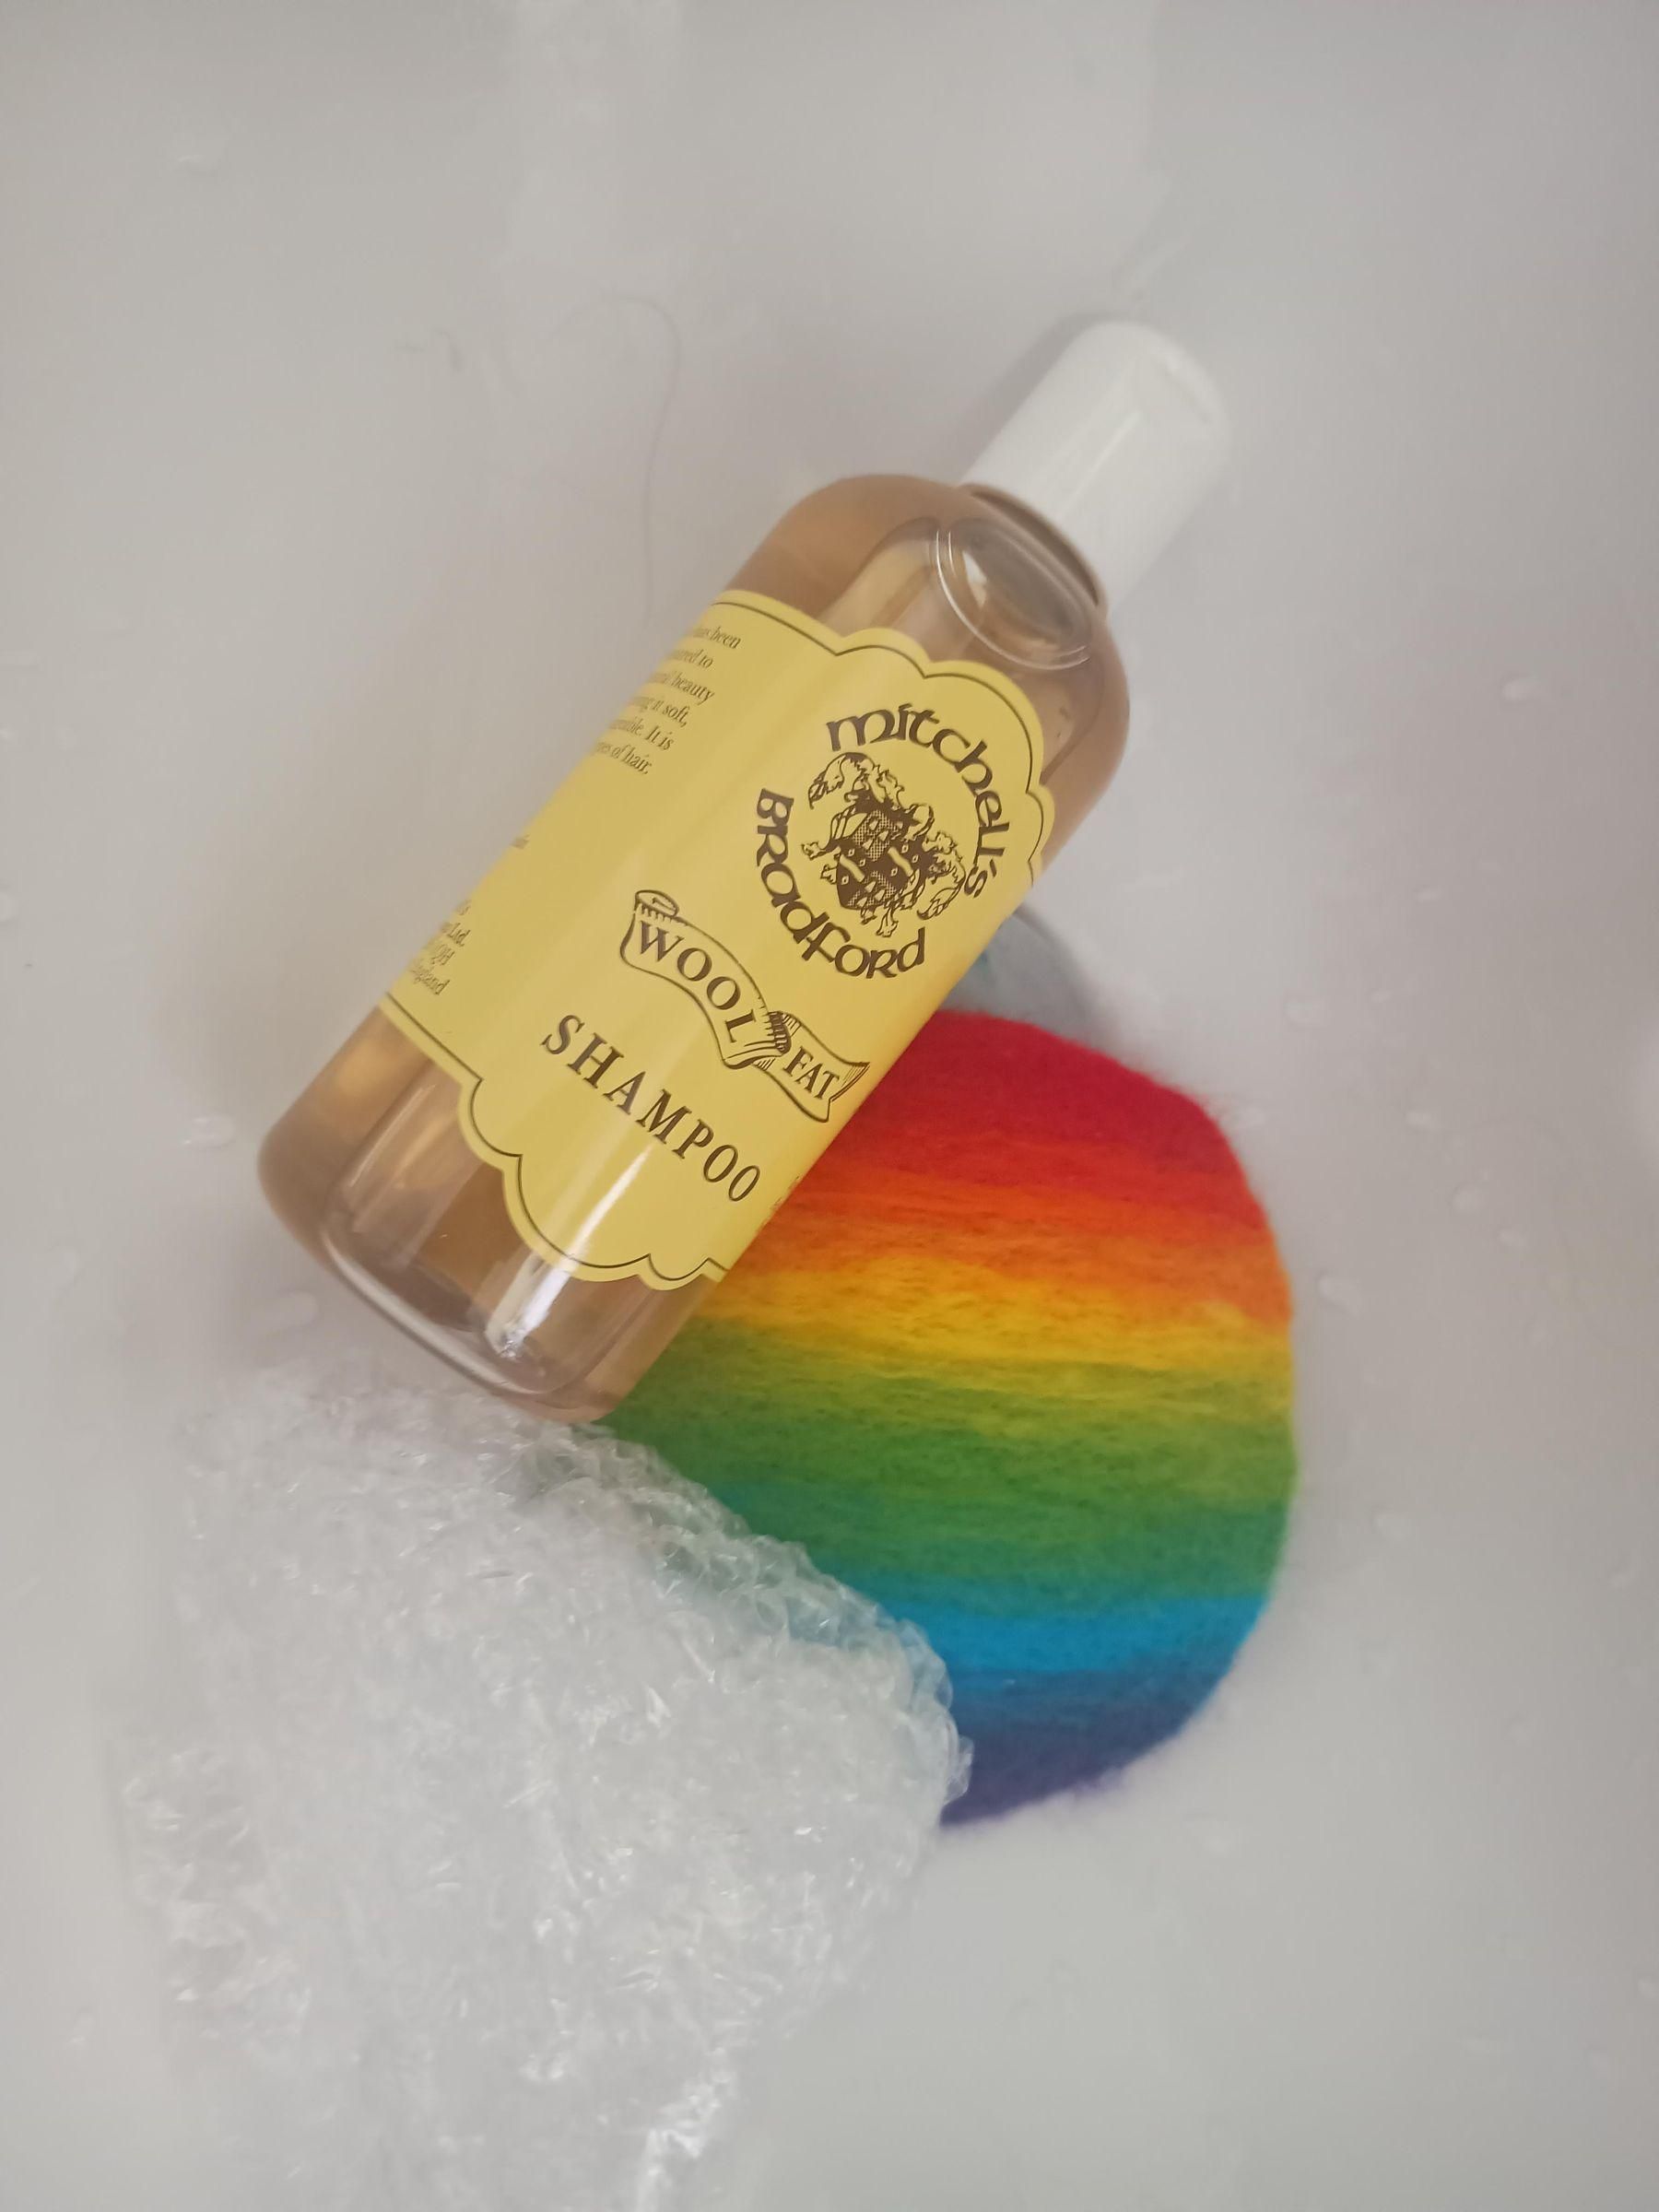
As I said in the materials list, I am not an expert needle felter. Because I wanted a nice smooth finish, almost like boiled wool, I did a final wet felting stage at the sink. If you're happy that you can get a good finish with needle felting, just keep going with that and skip this stage.
Fill the sink with nice hot water mixed with a bit of soap or shampoo (I'm using lanolin shampoo). Submerge the hat. Then fold your bubble wrap into a nice textured pad shape. Then rub rub rub, supporting the hat with your hand so you don't lose the curved shape. Work on both the inner and outer sides of the hat. Keep rubbing until you're happy.
Rinse very thoroughly until all bubbles are gone, then leave it to dry somewhere warm (which is not hard if you too have been living through multiple heatwaves). Again, make sure the hat is supported to dry in a curved shape to fit to your head.
Cut Veil
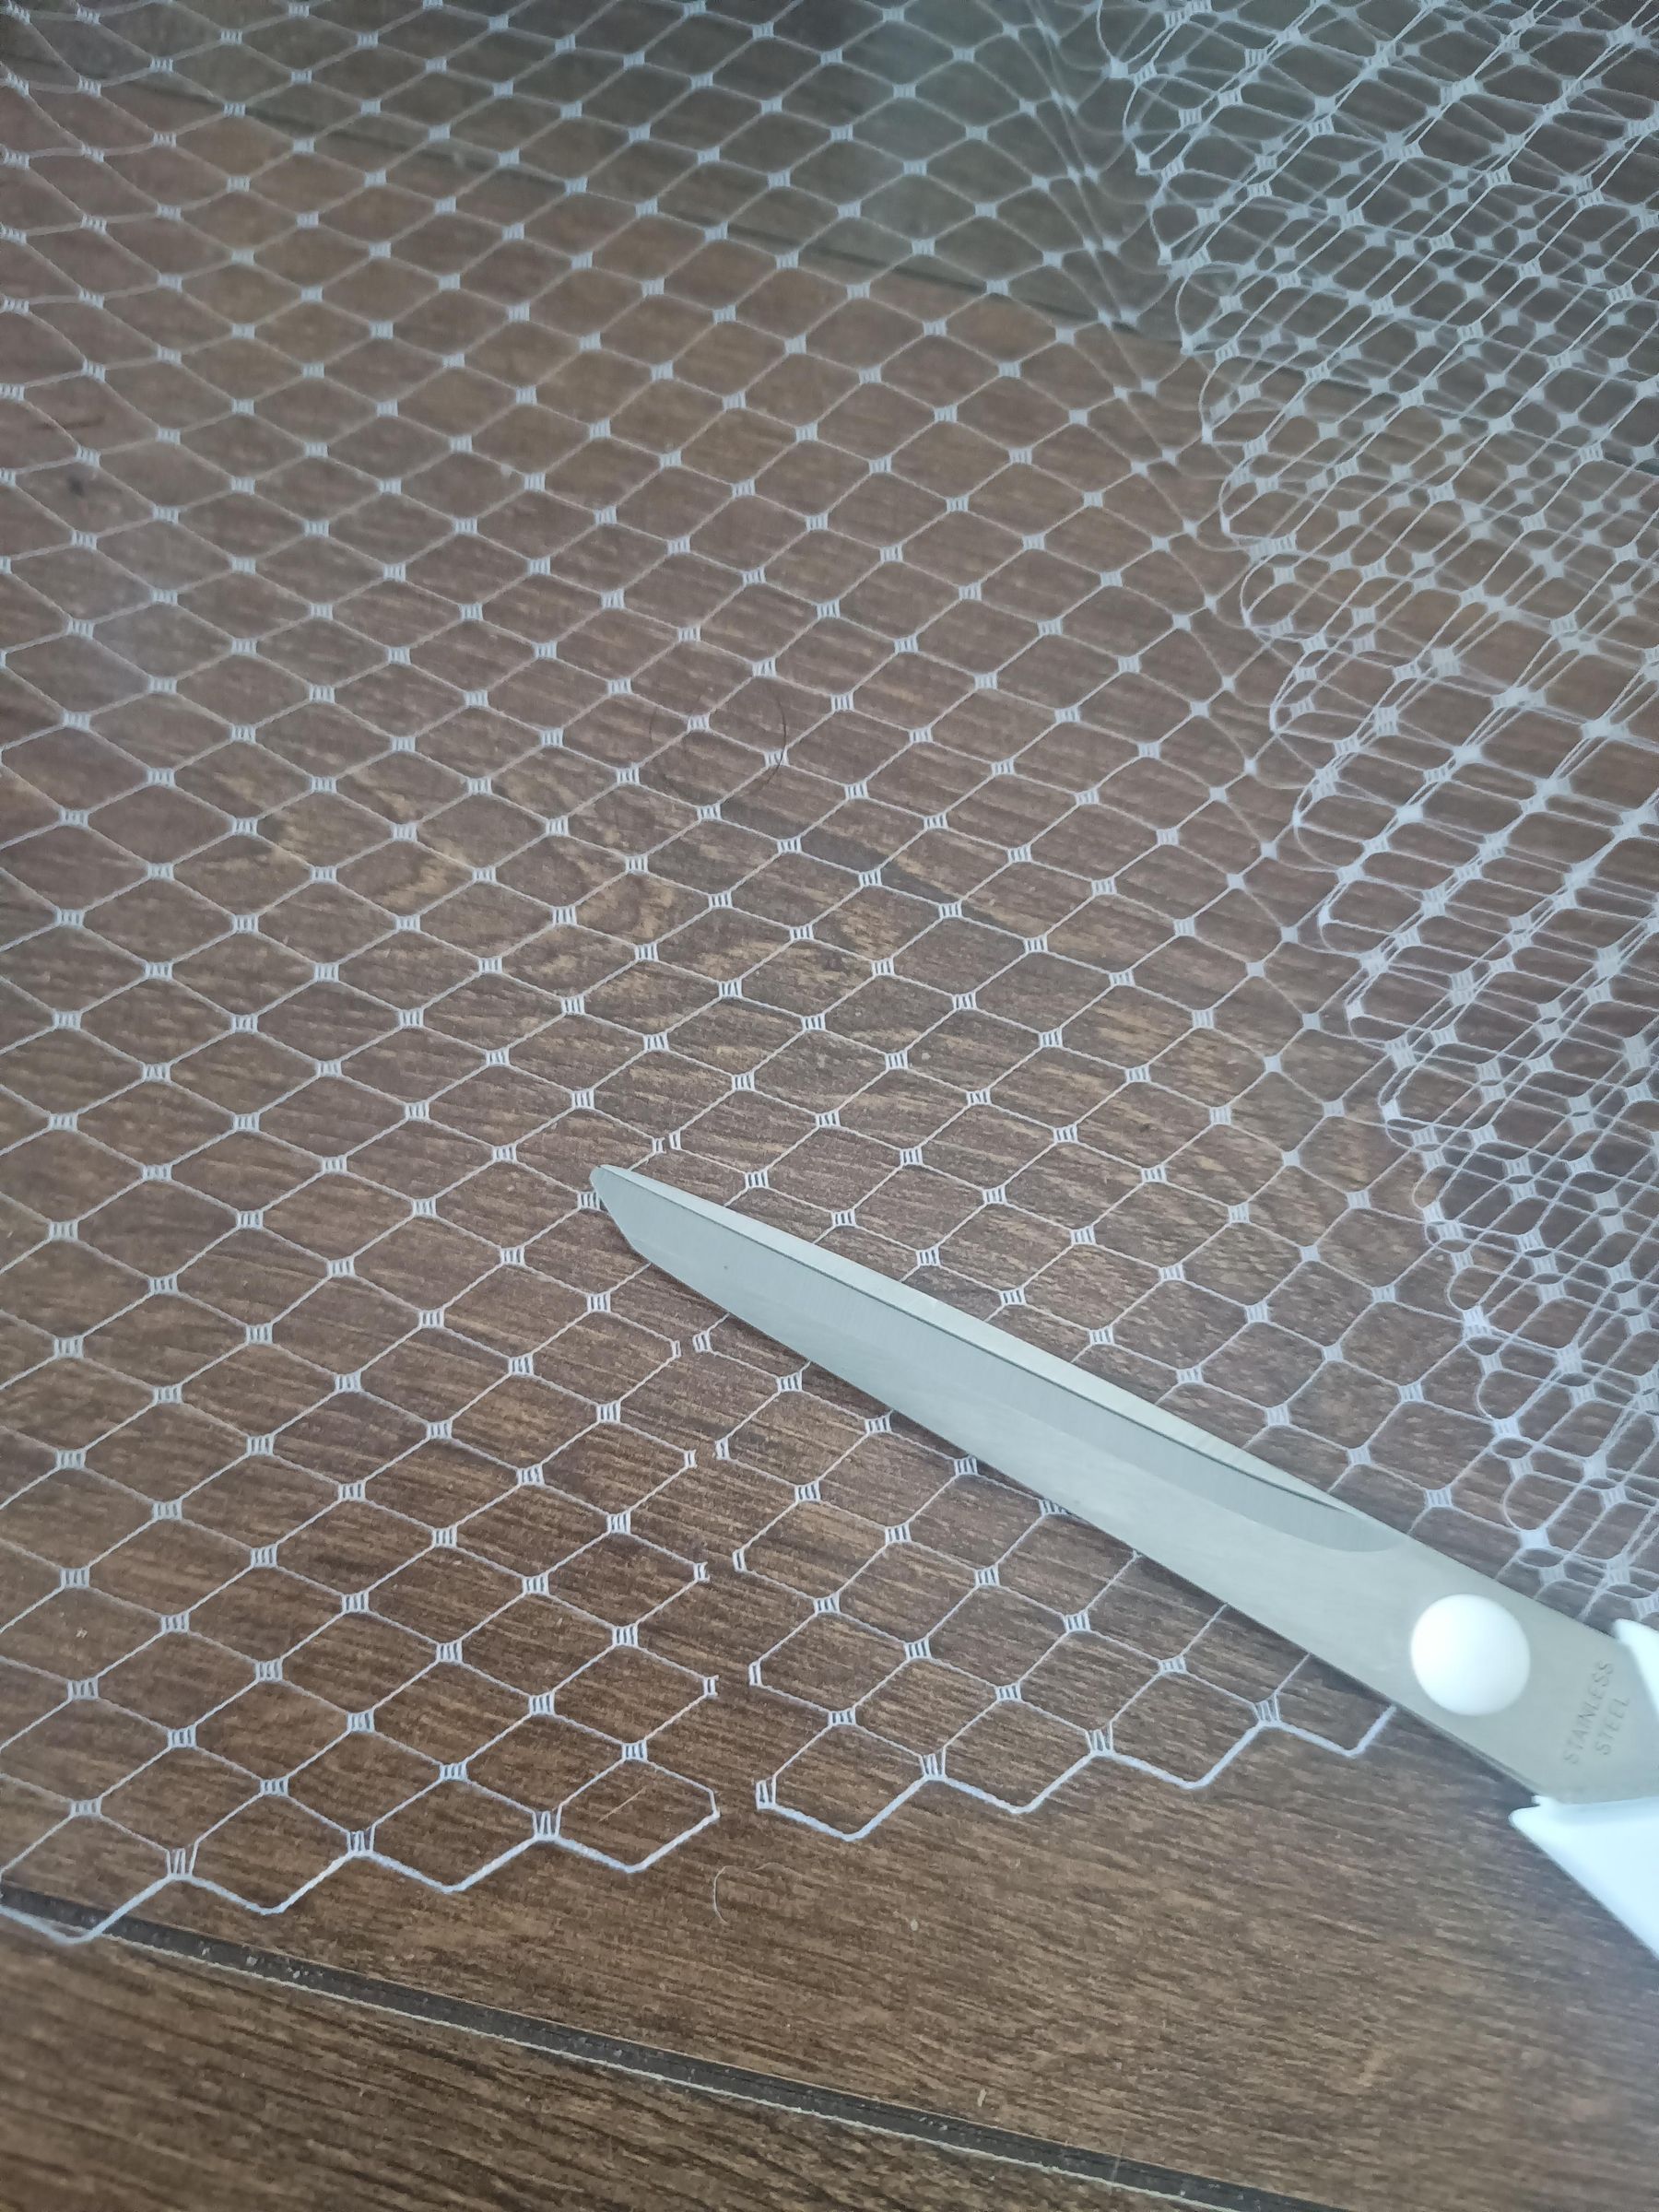
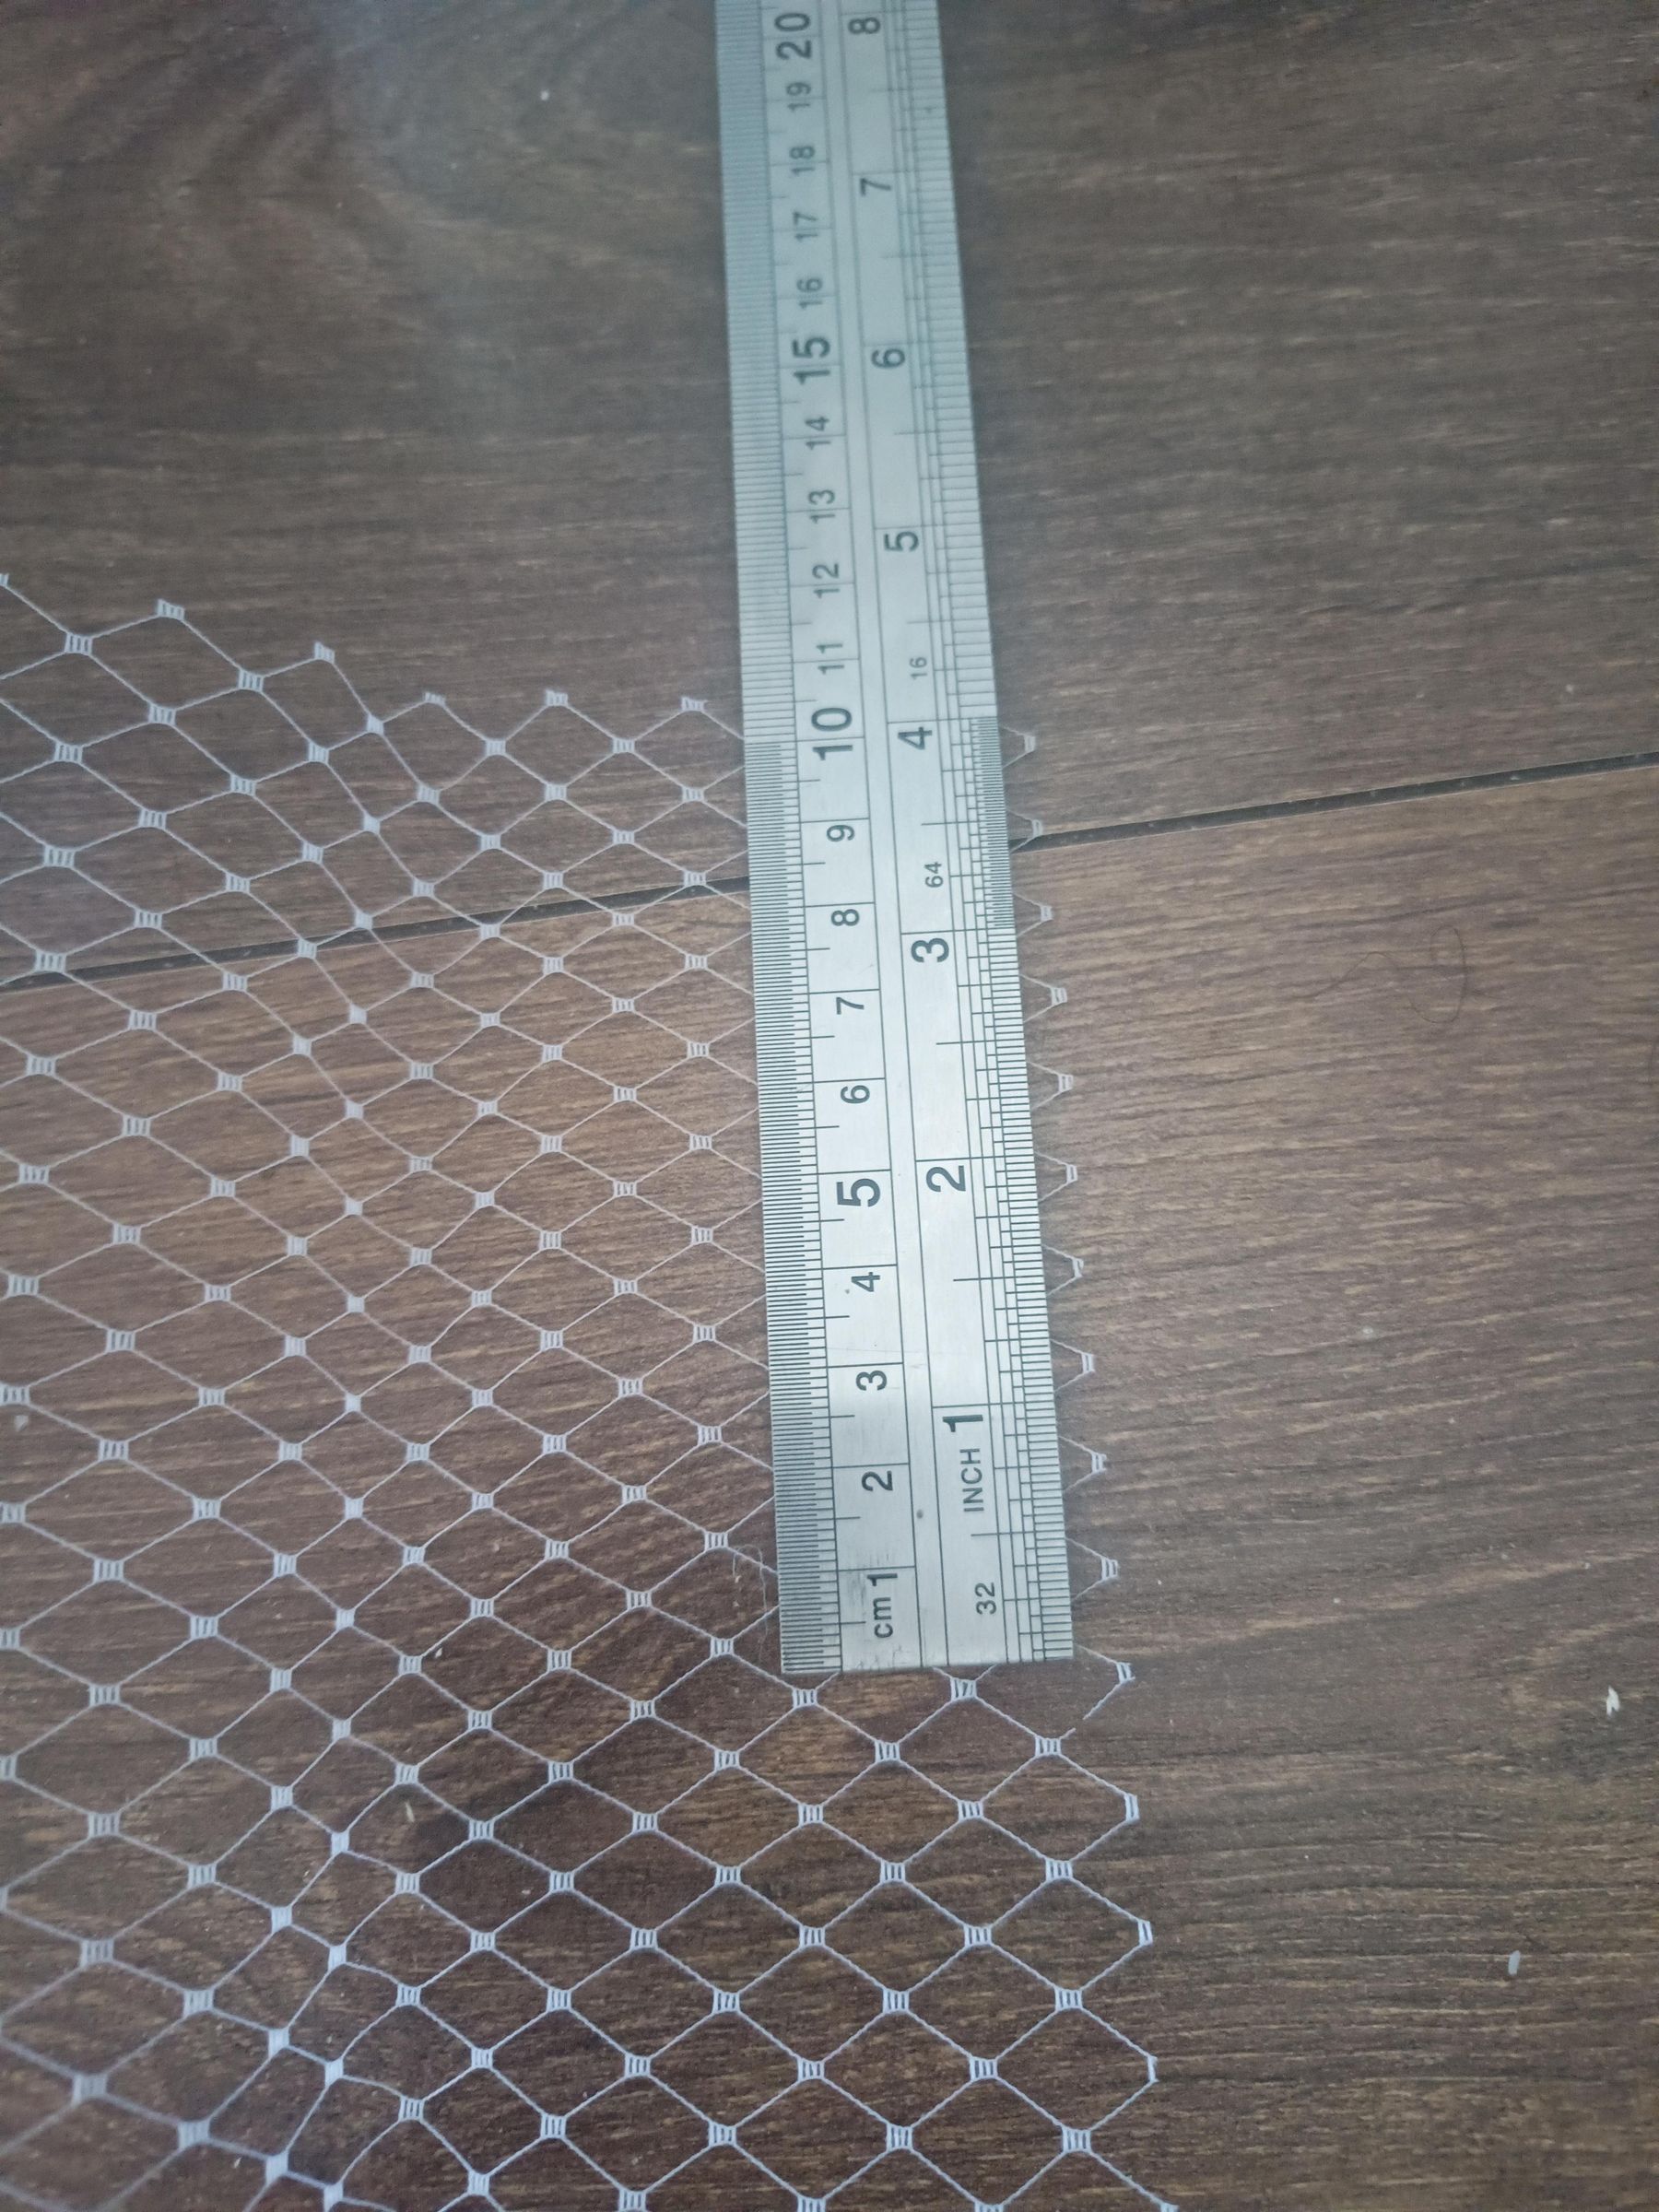
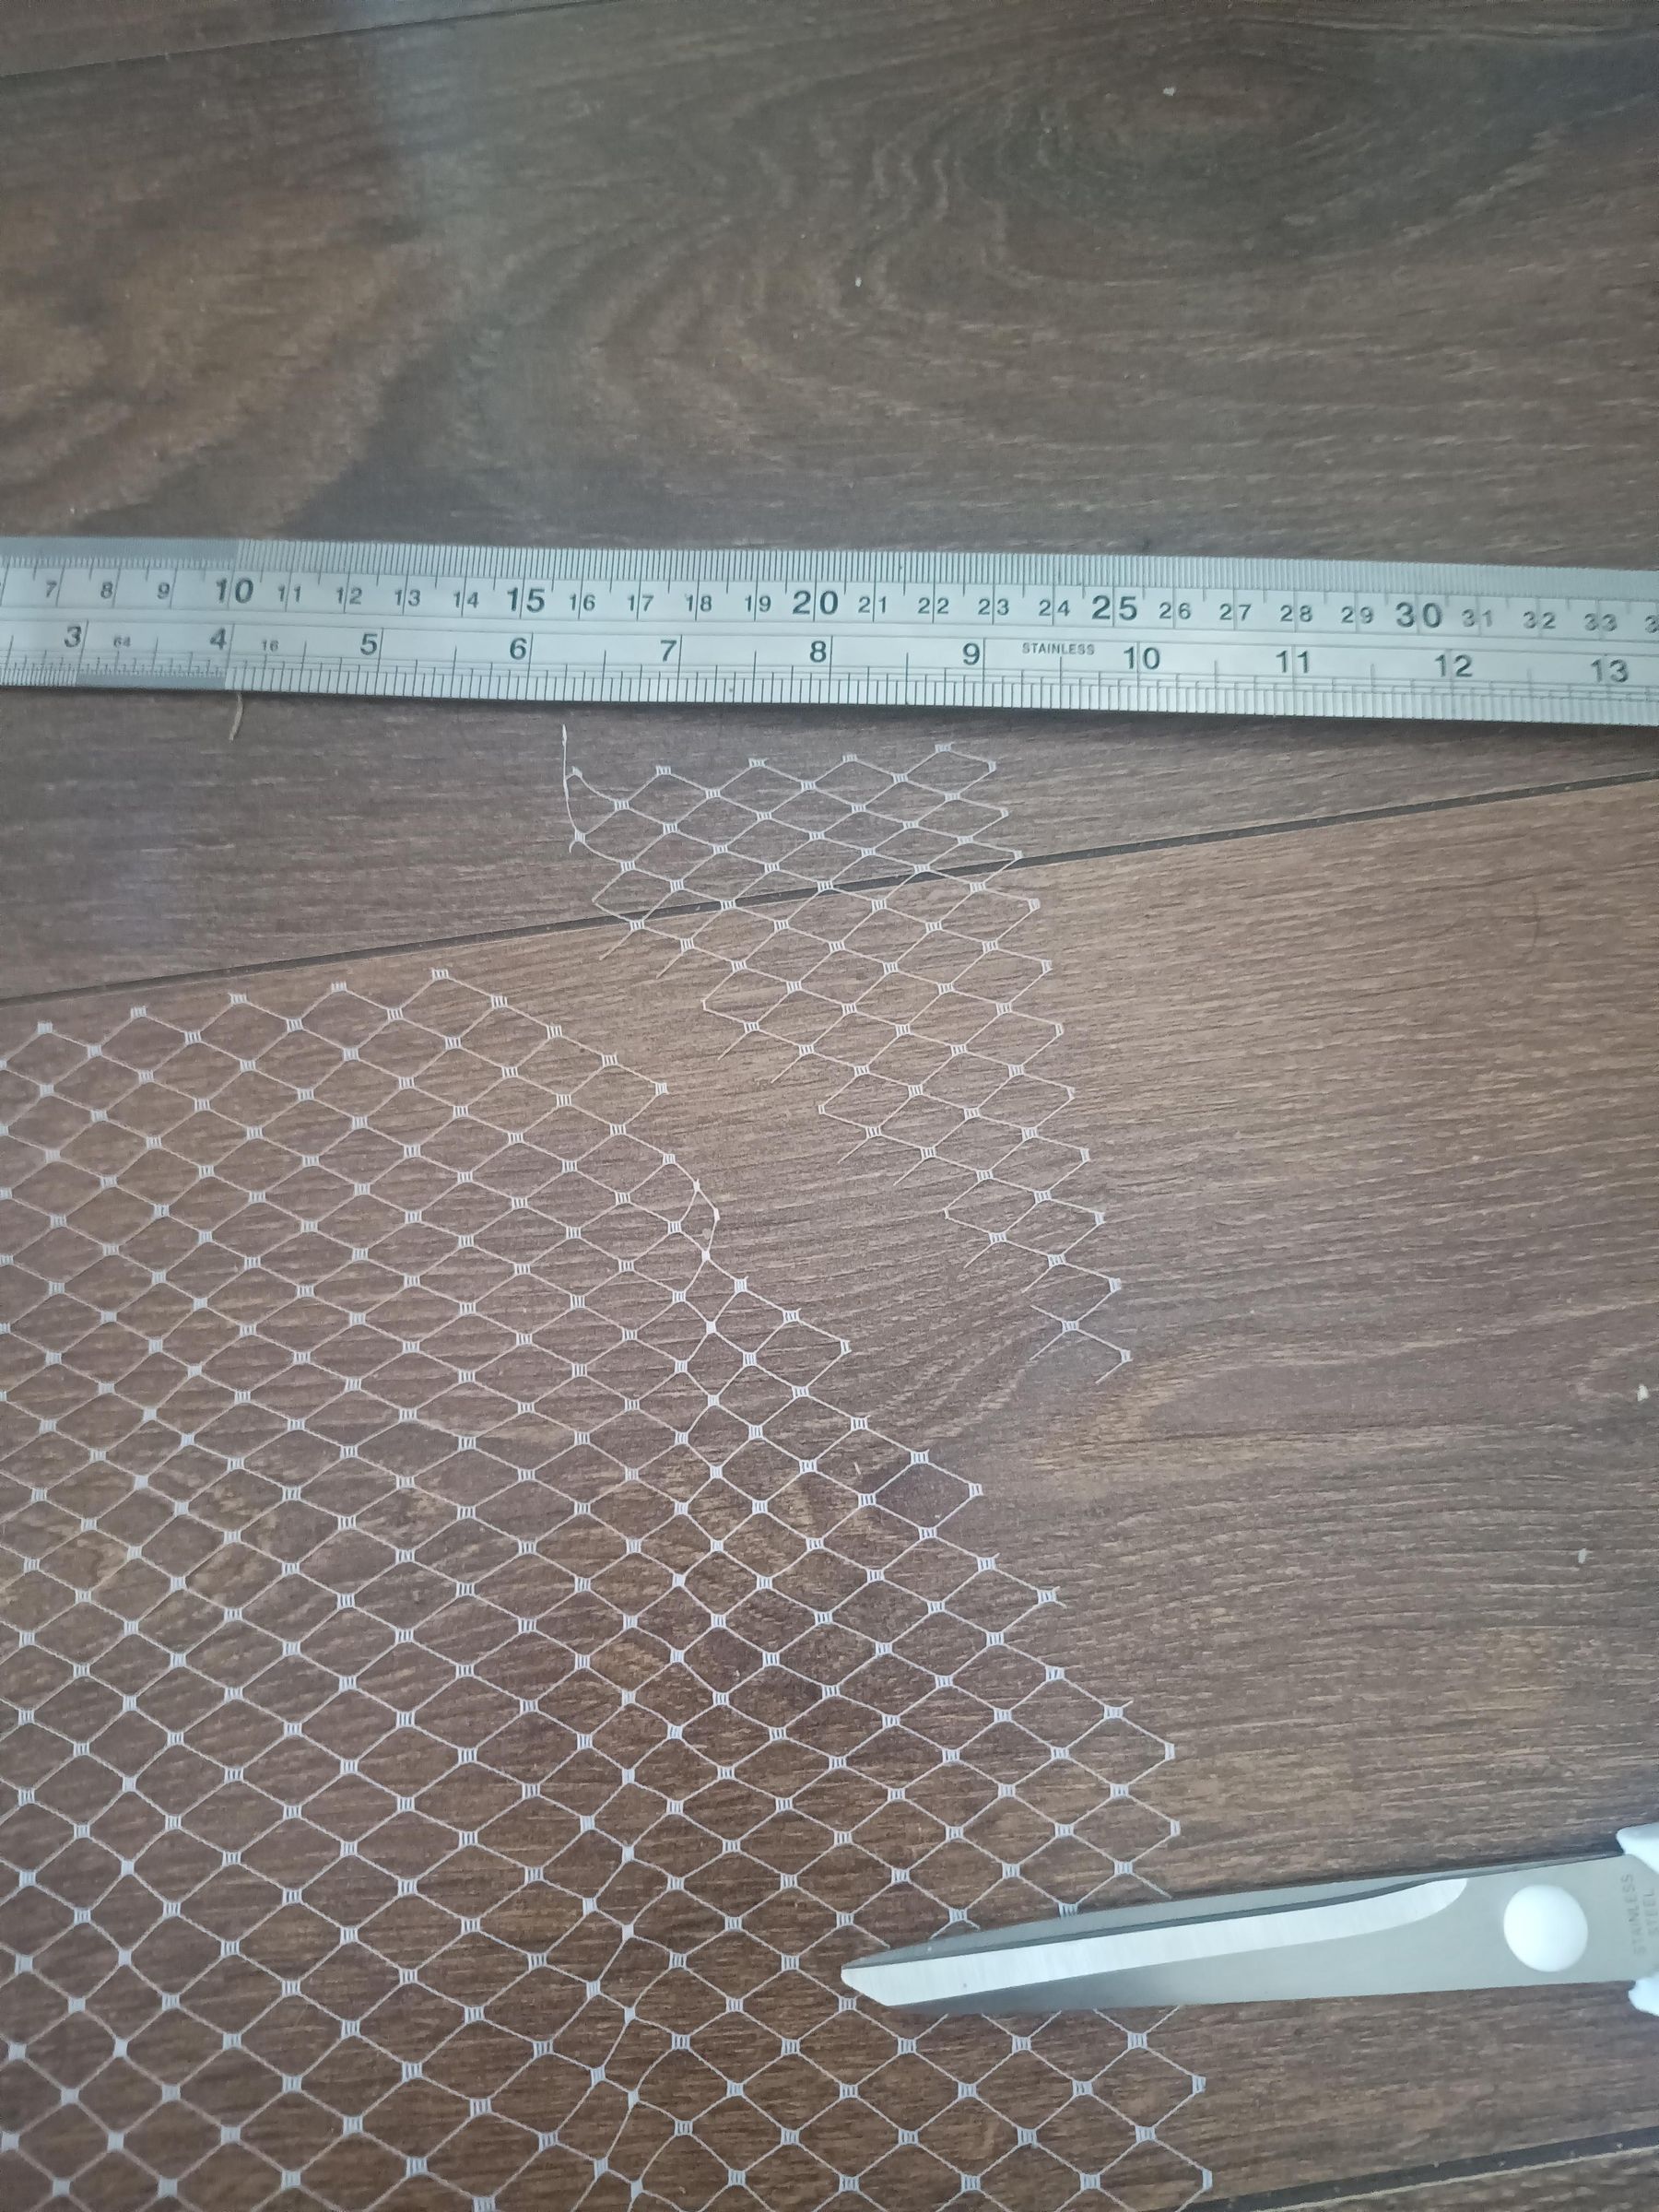
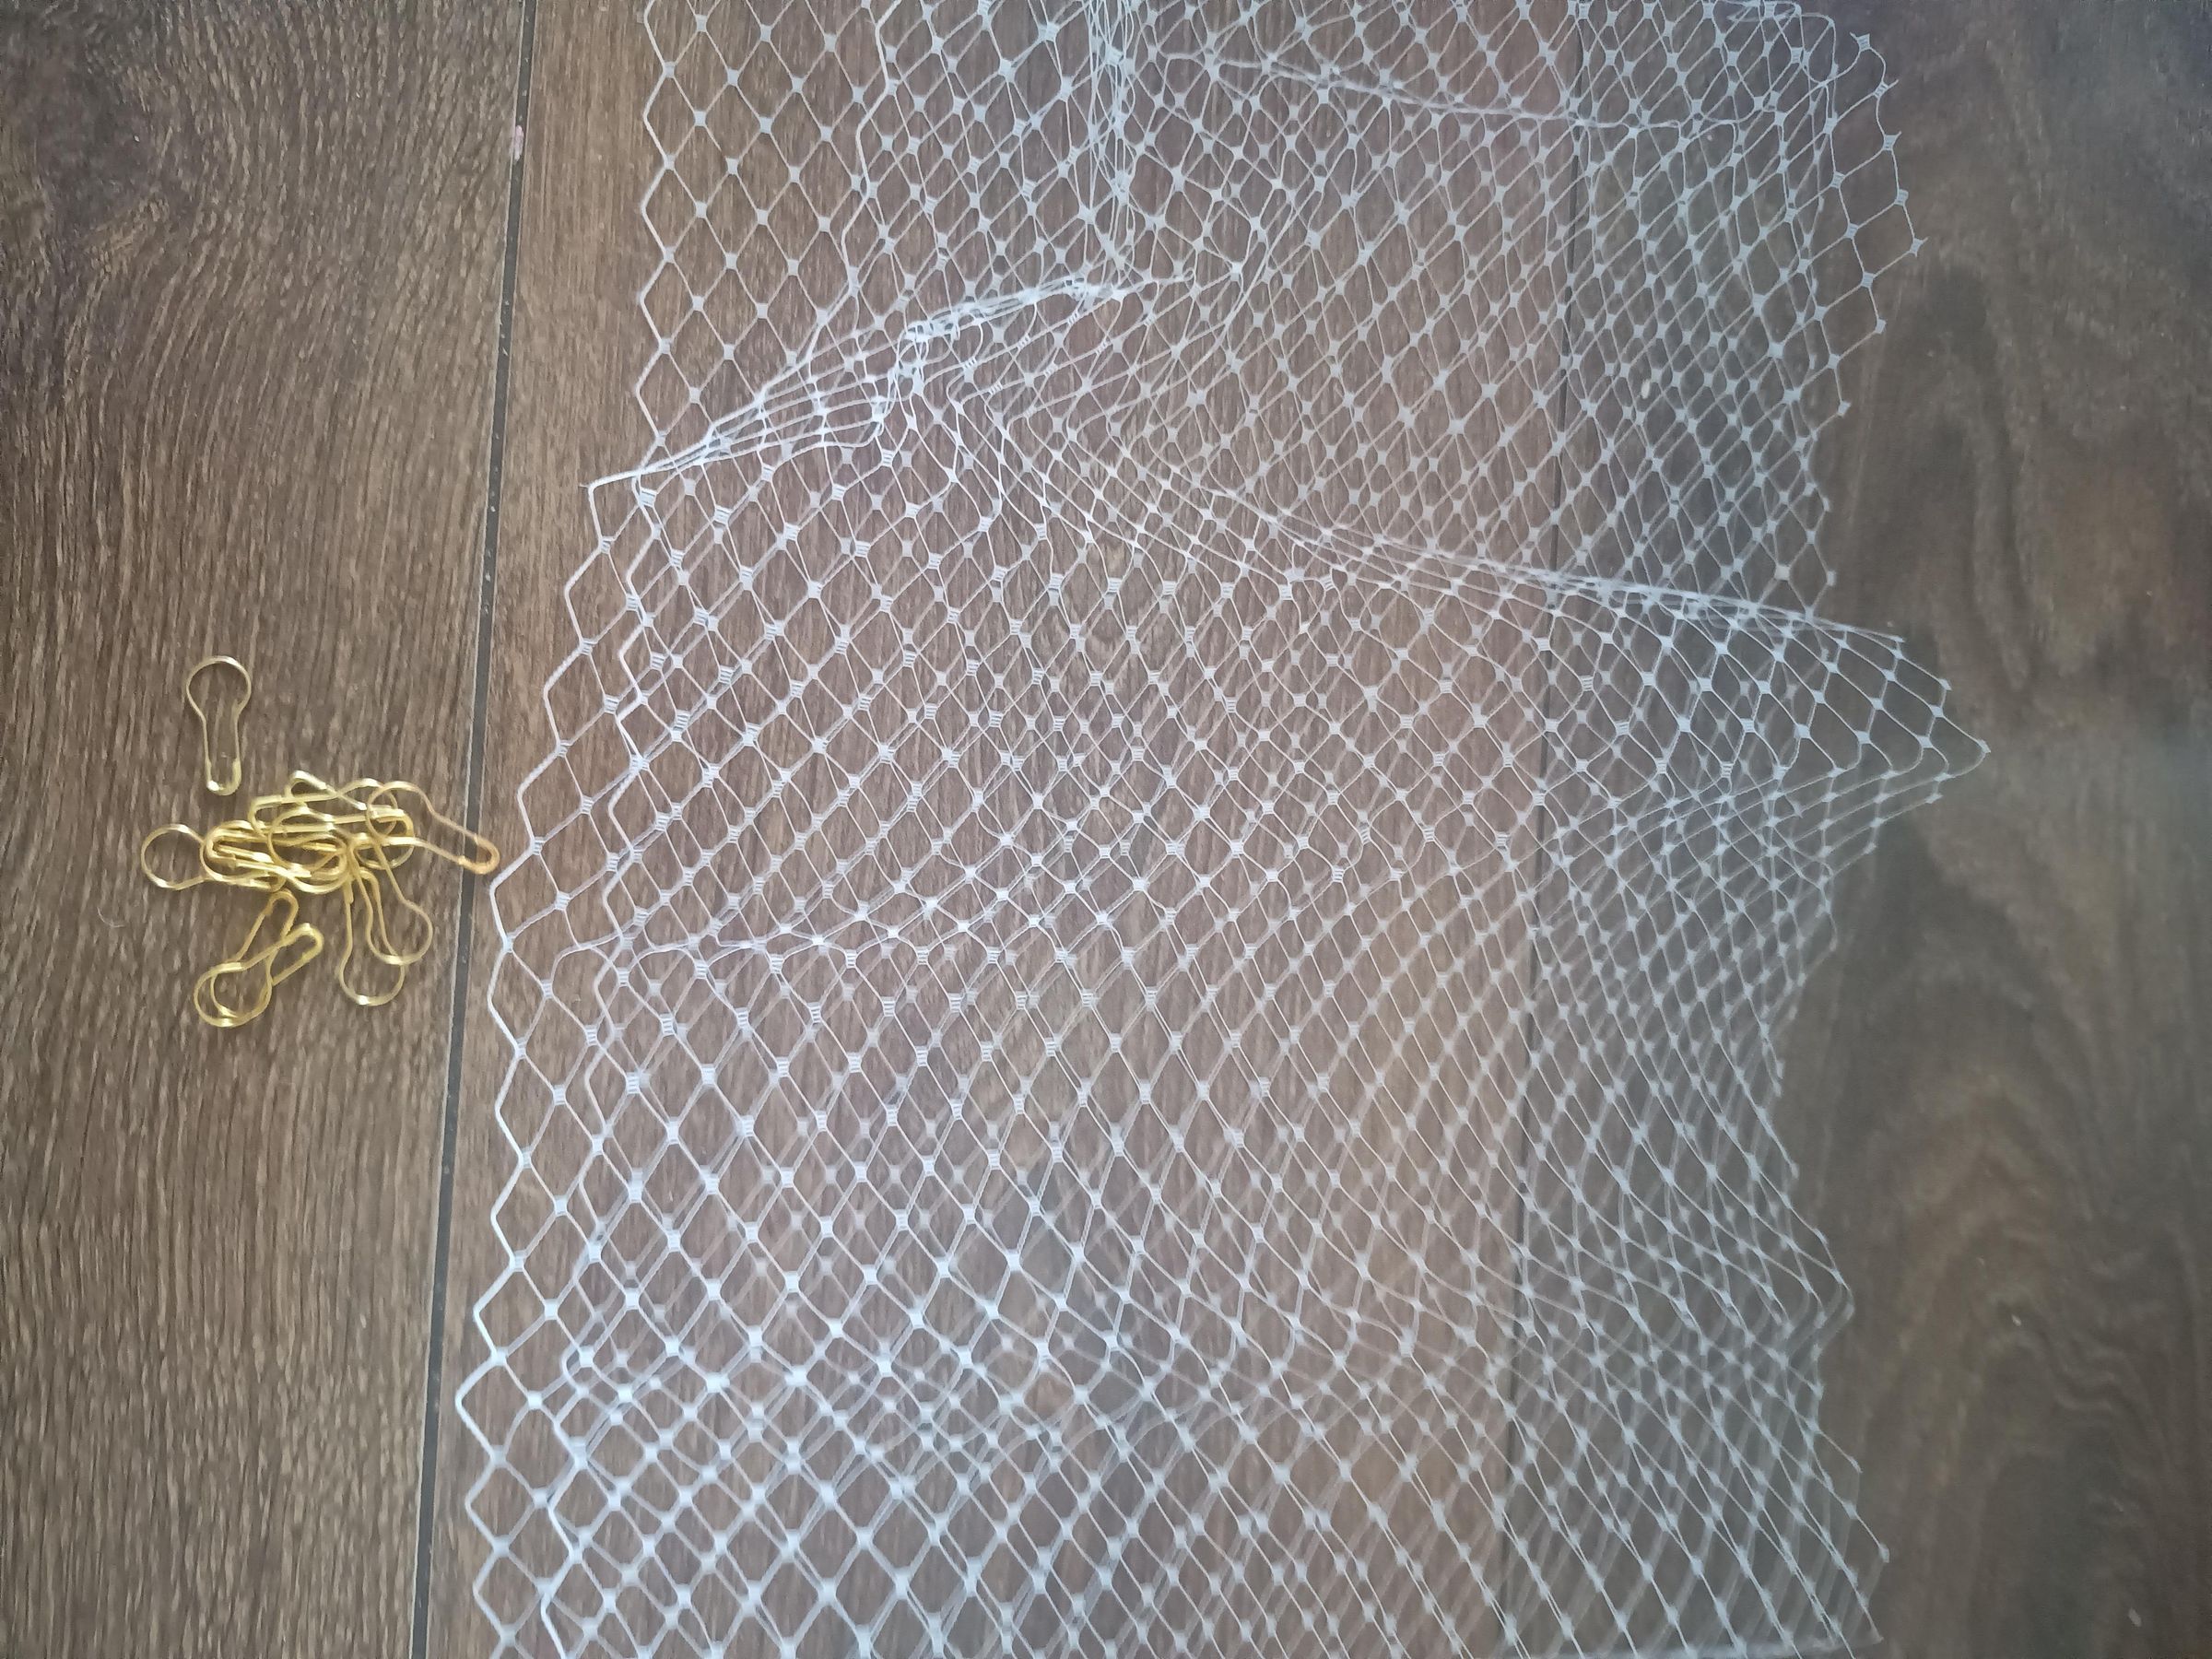
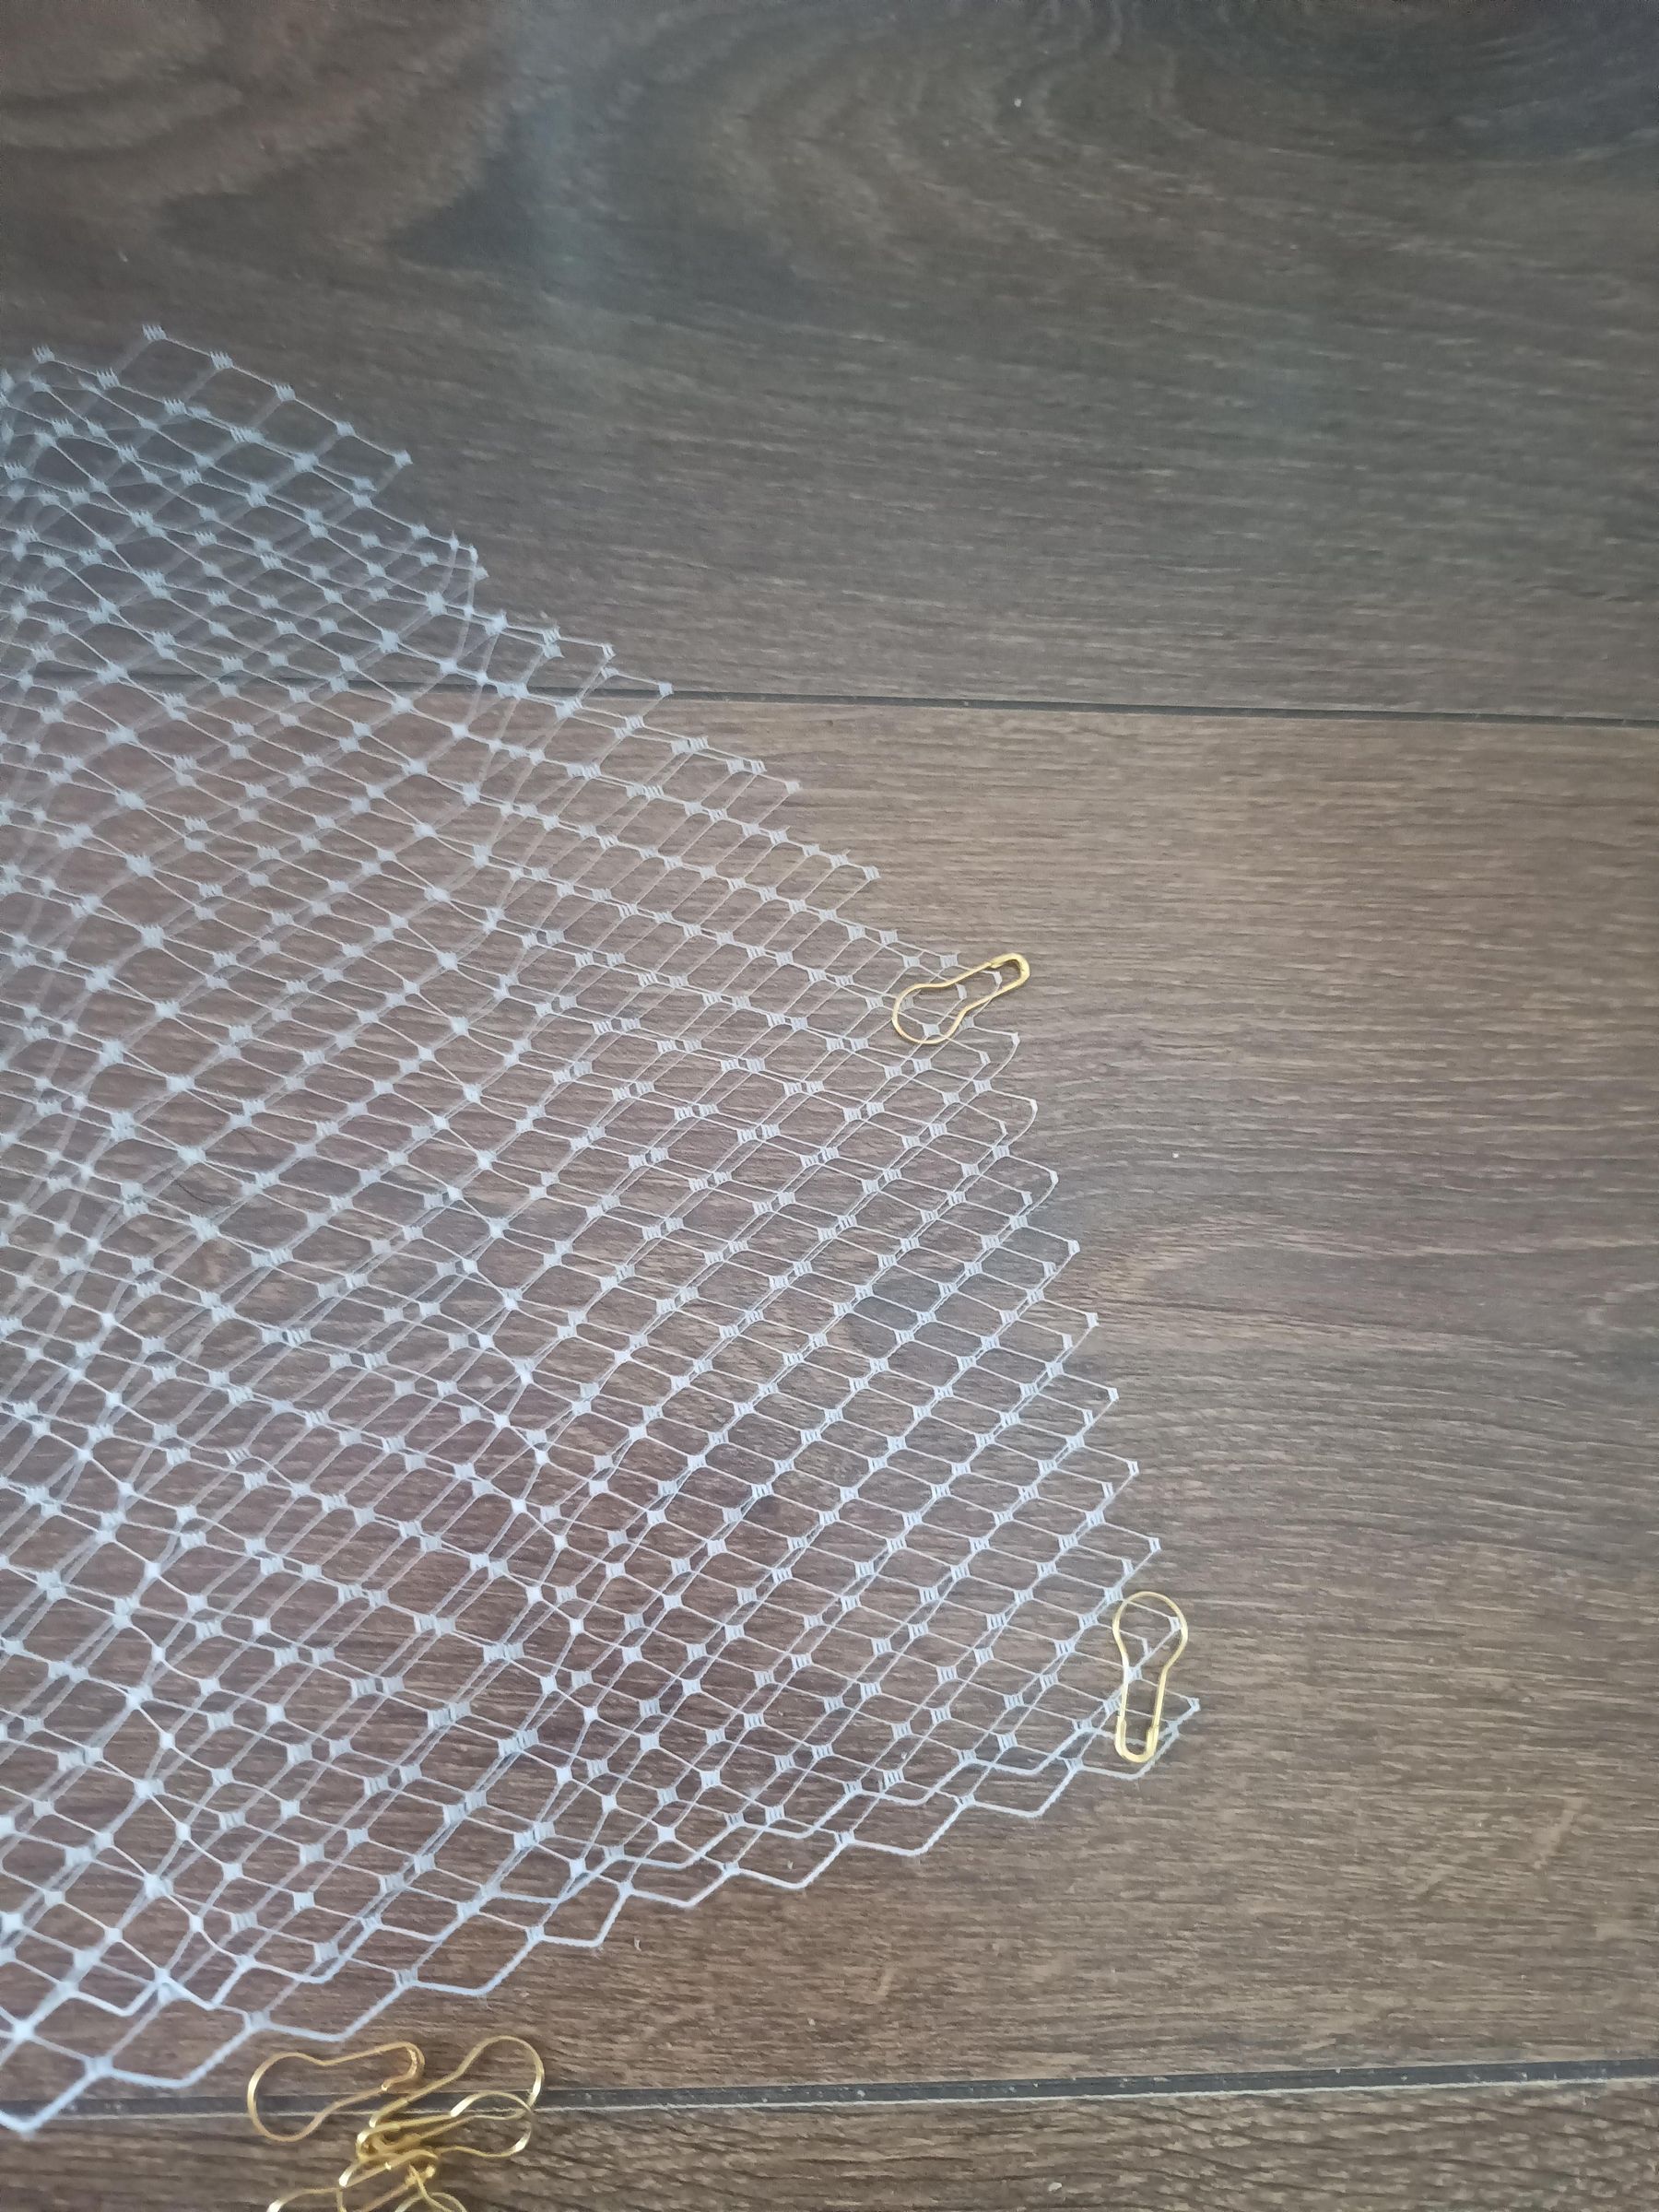
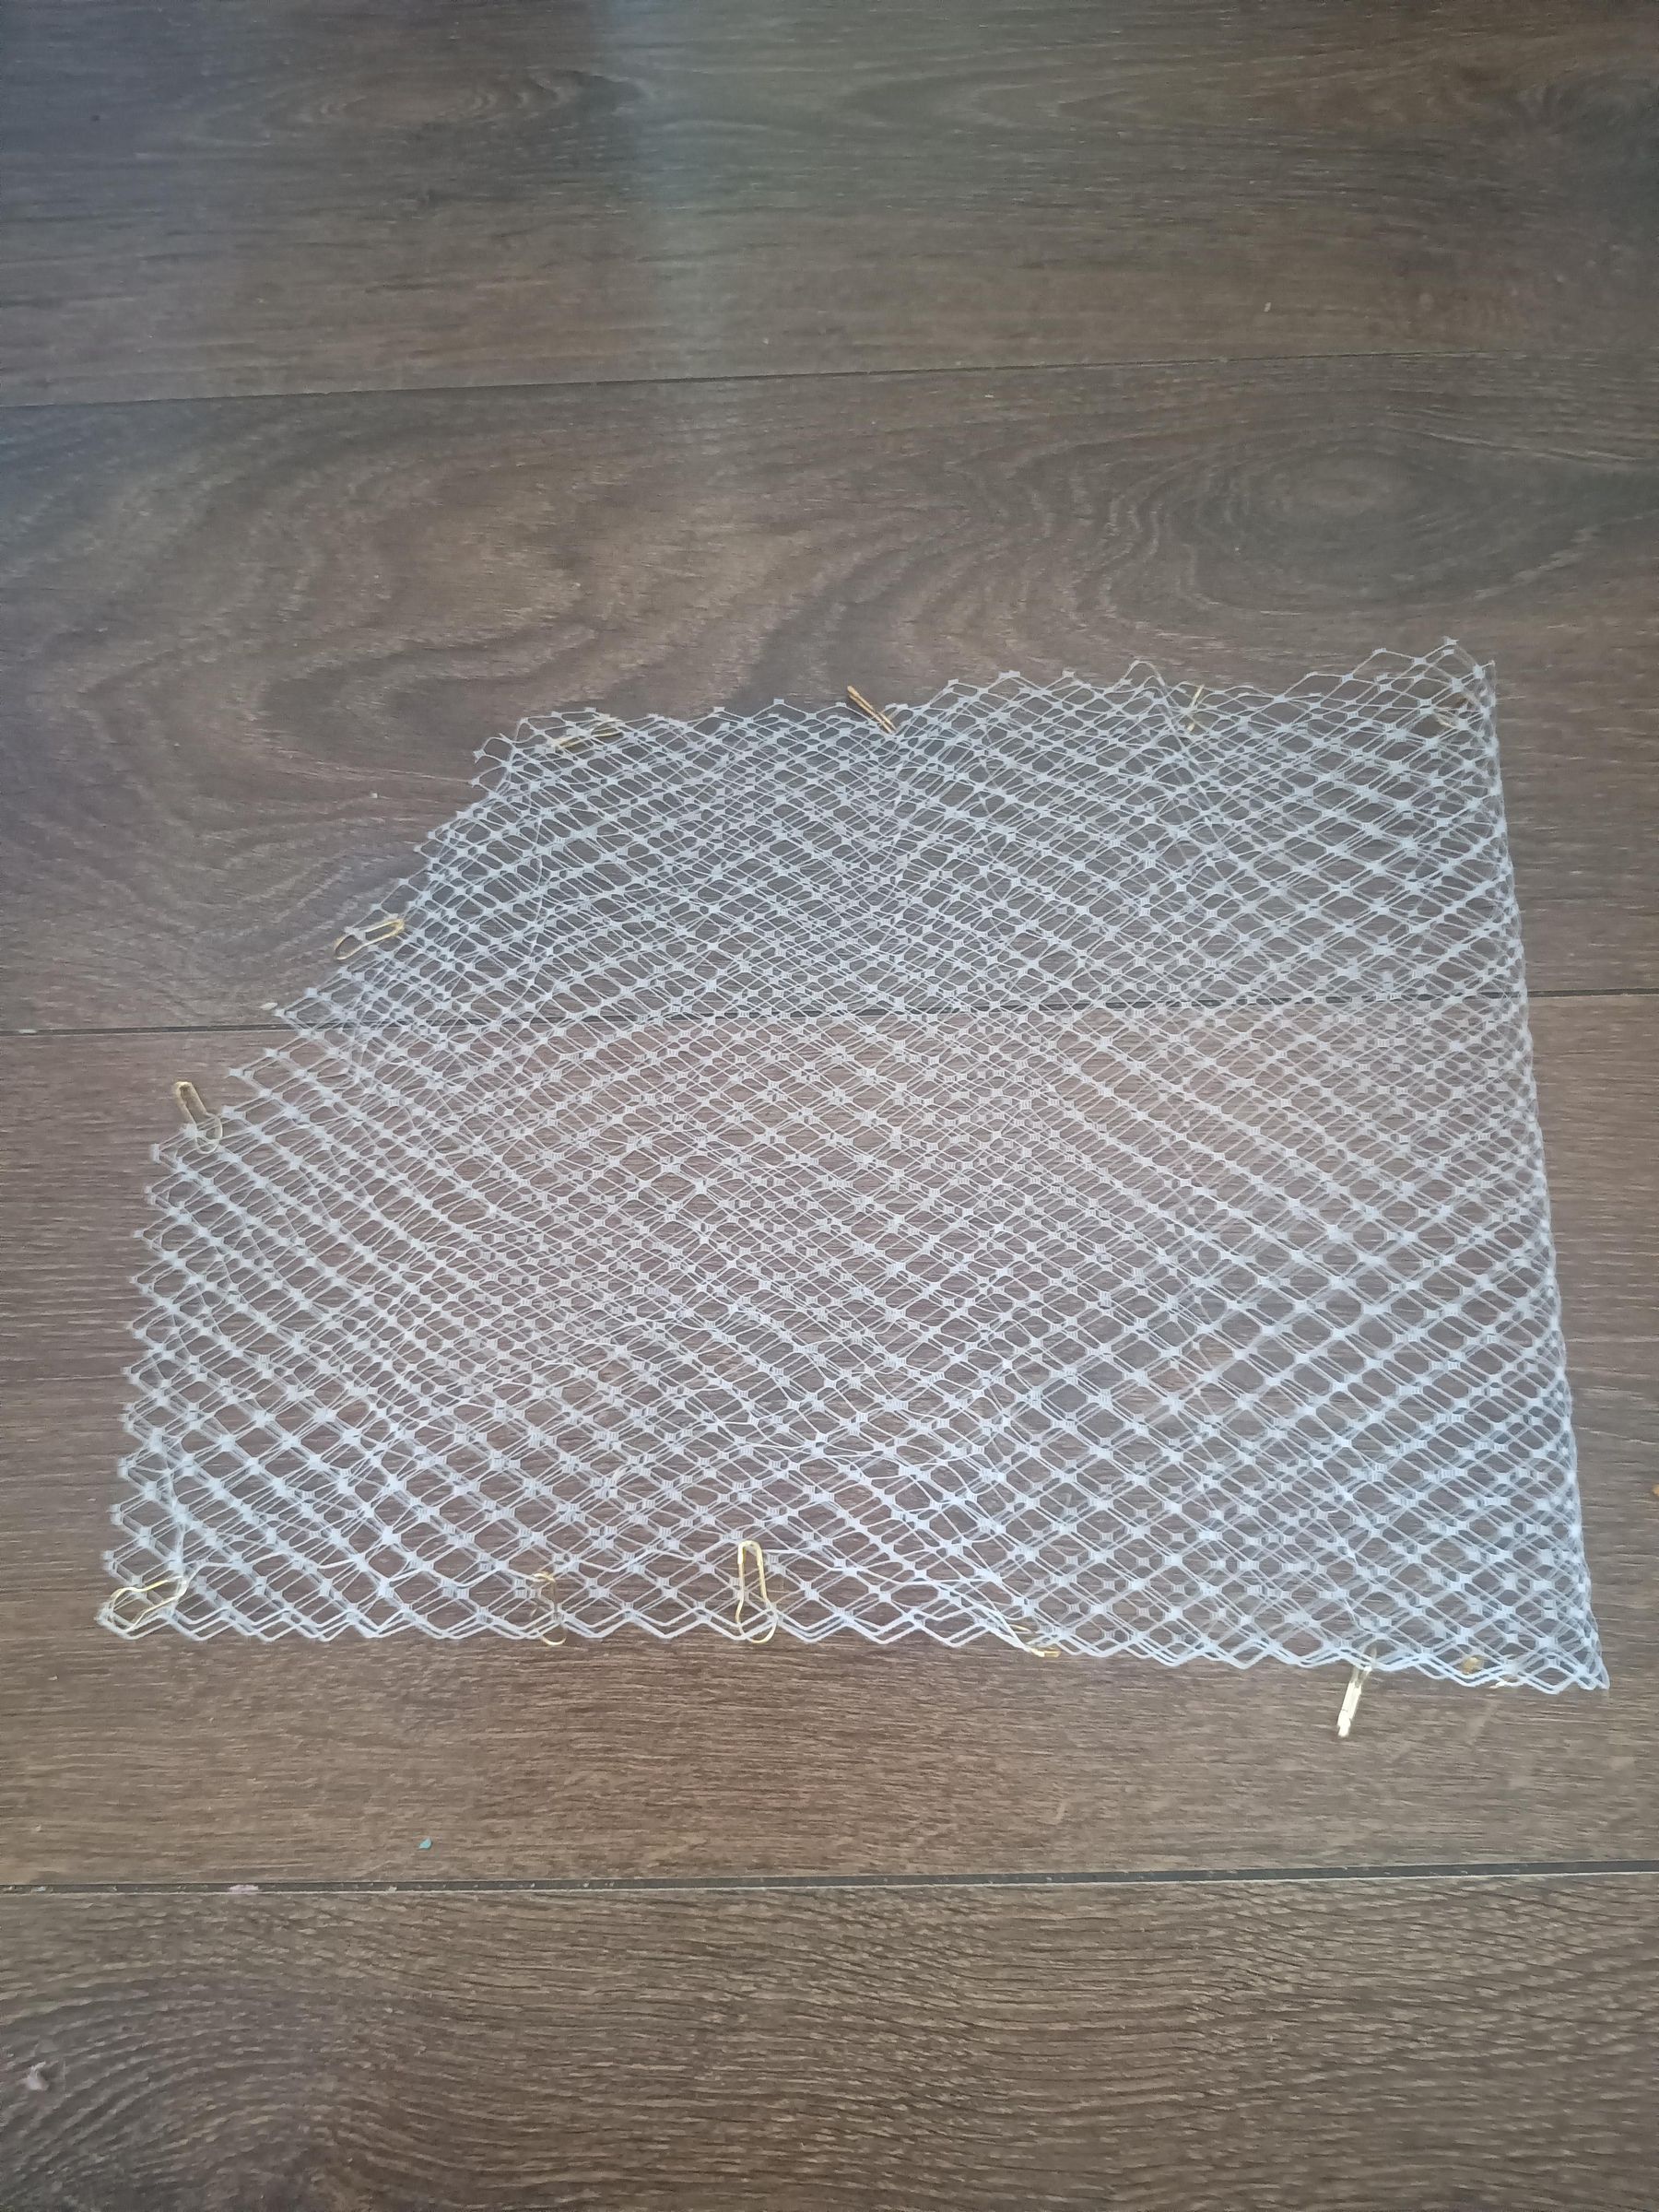
Now we can prep our veil. I made a couple, because it's not much more effort to do two than one.
First cut a 27x9" rectangle (I have made smaller successful veils in the past, so if your veiling fabric is smaller you can adjust - just make sure the end veil is symmetrical). If you cut through the centre of each joining tab of the netting then you can minimise waste for your next veil.
Then, looking at the back edge (i.e. the part that will be gathered), measure 4" from the corner in both directions and cut a triangle off (because the veiling is diamond shaped and not square, the line won't be completely straight if you're cutting to preserve whole diamonds). Do this on both back corners.
Then when you've done that, fold your veil in half so both cut off corner pieces meet. Now you want to loosely sew or pin the veil together (if you want your colour gradient to be symmetrical). If you're doing multiple veils, stack them and then sew/pin.
Dye
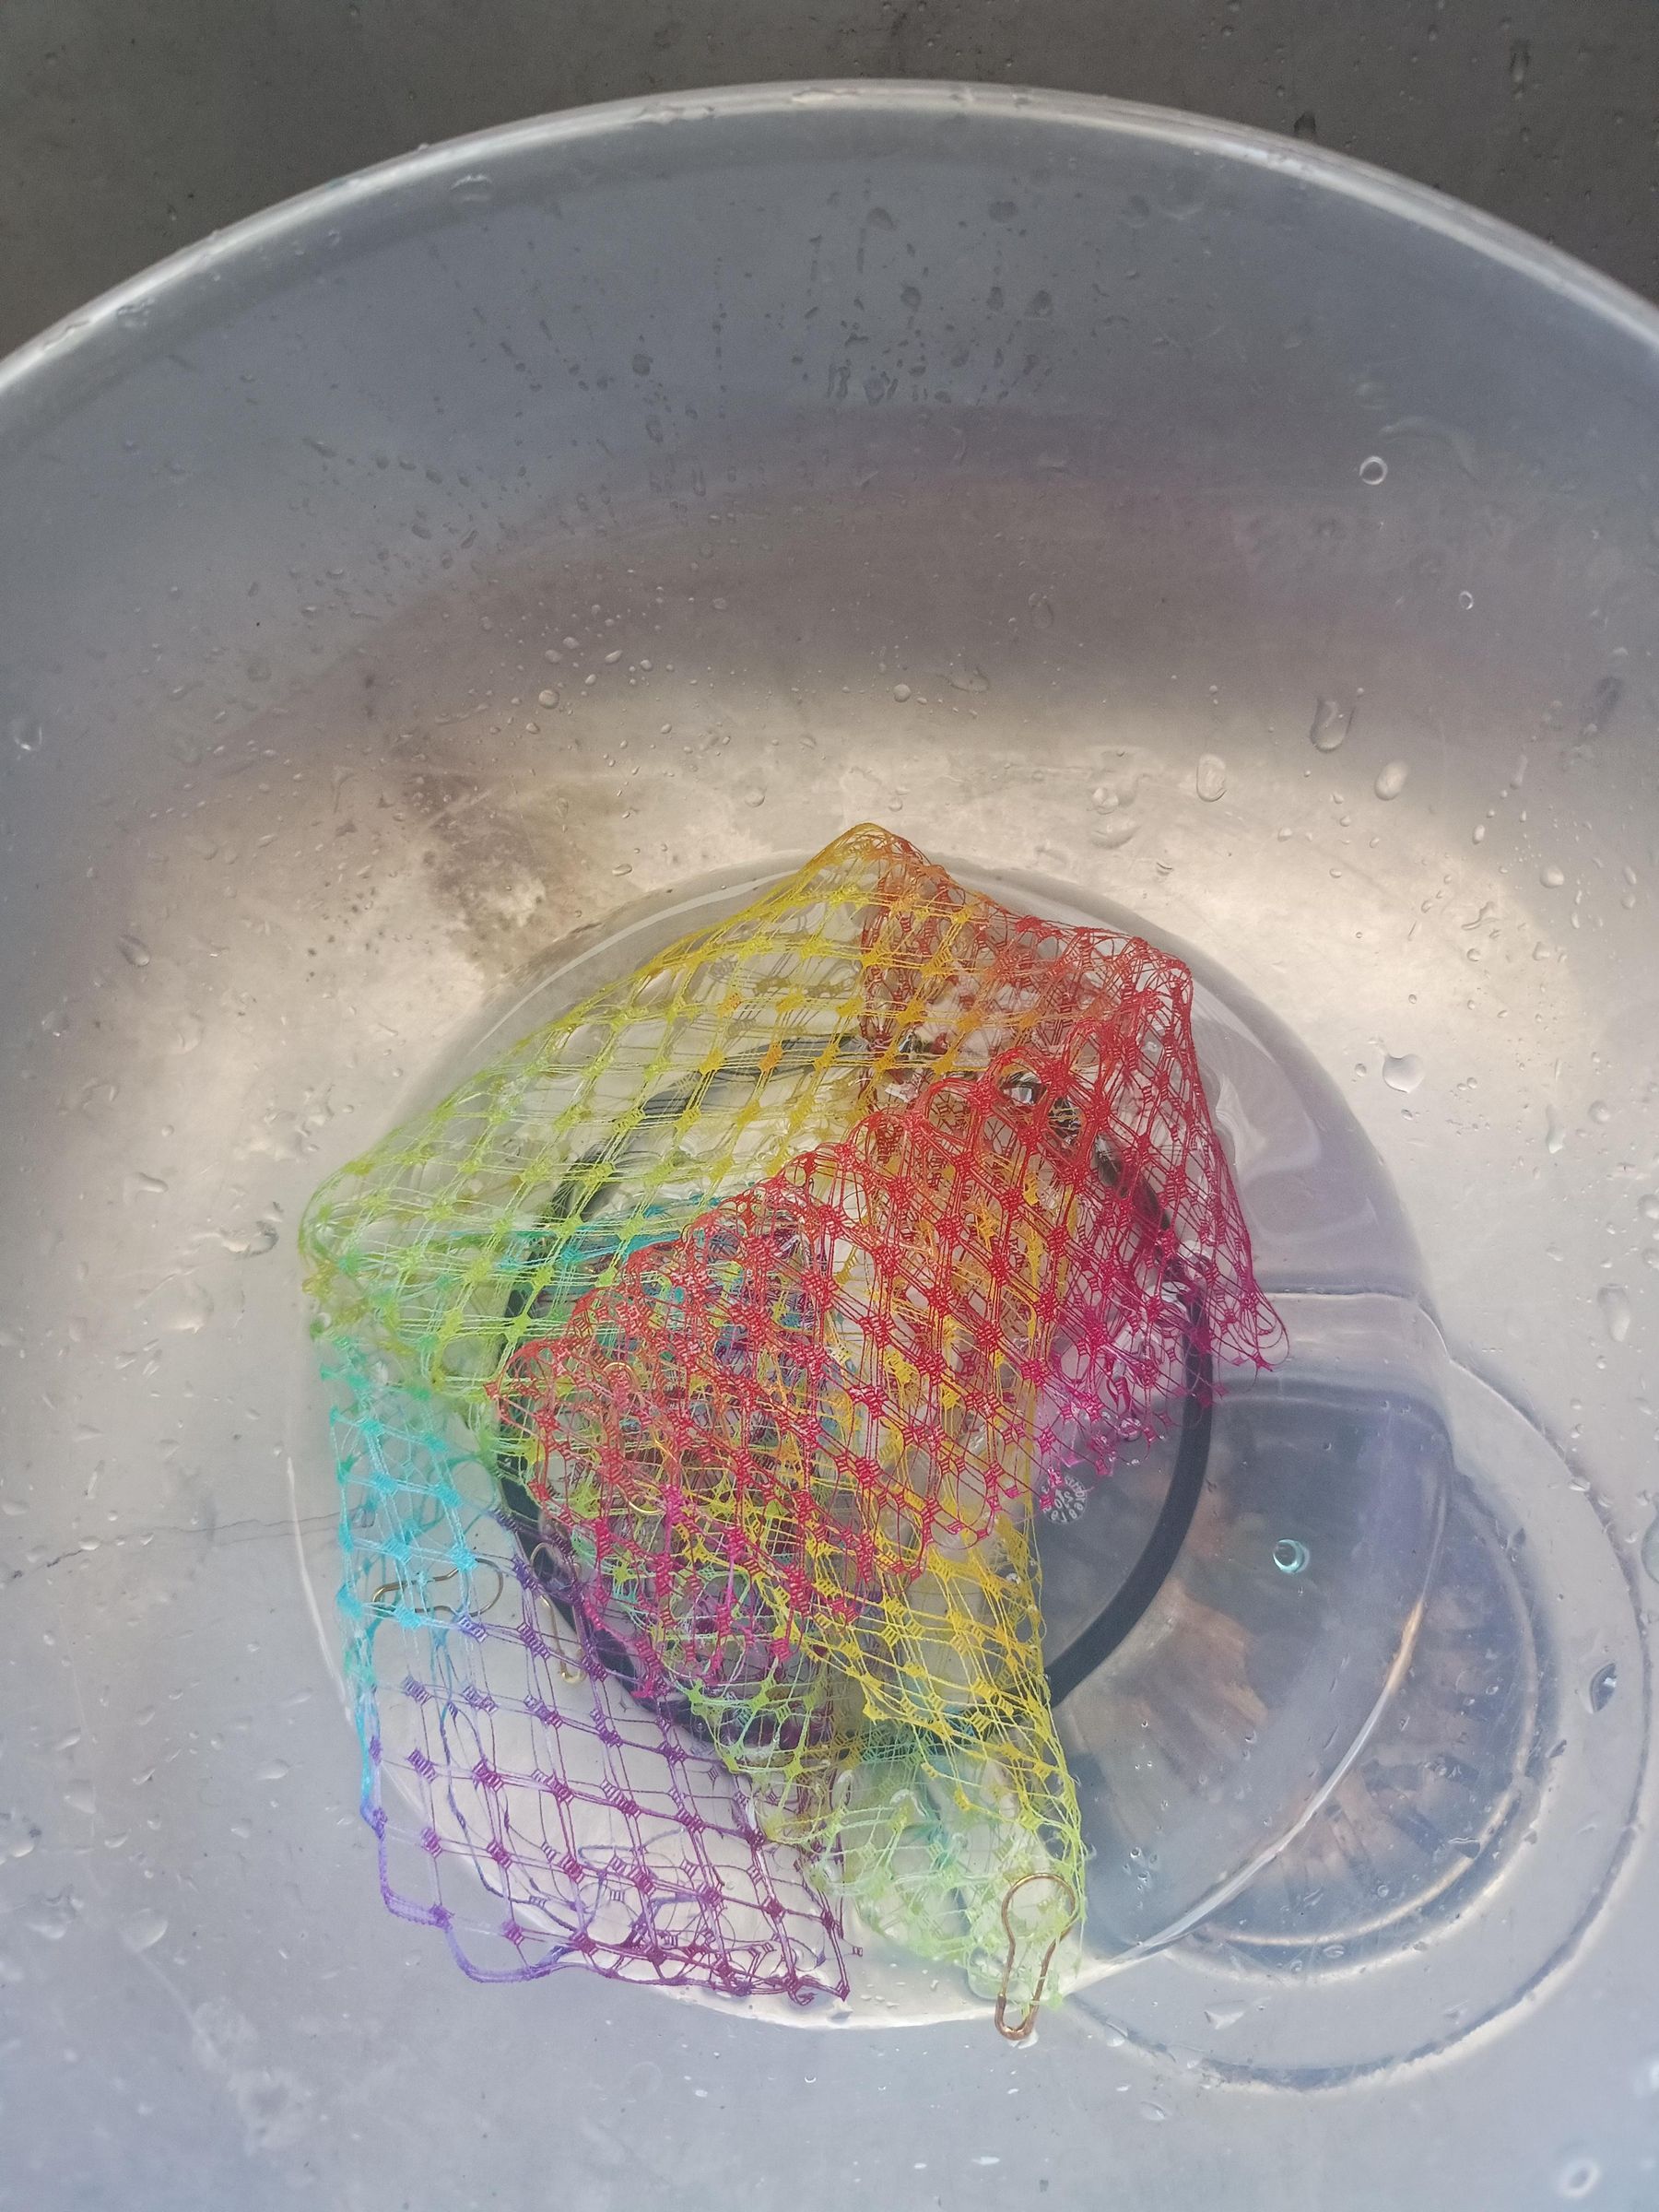
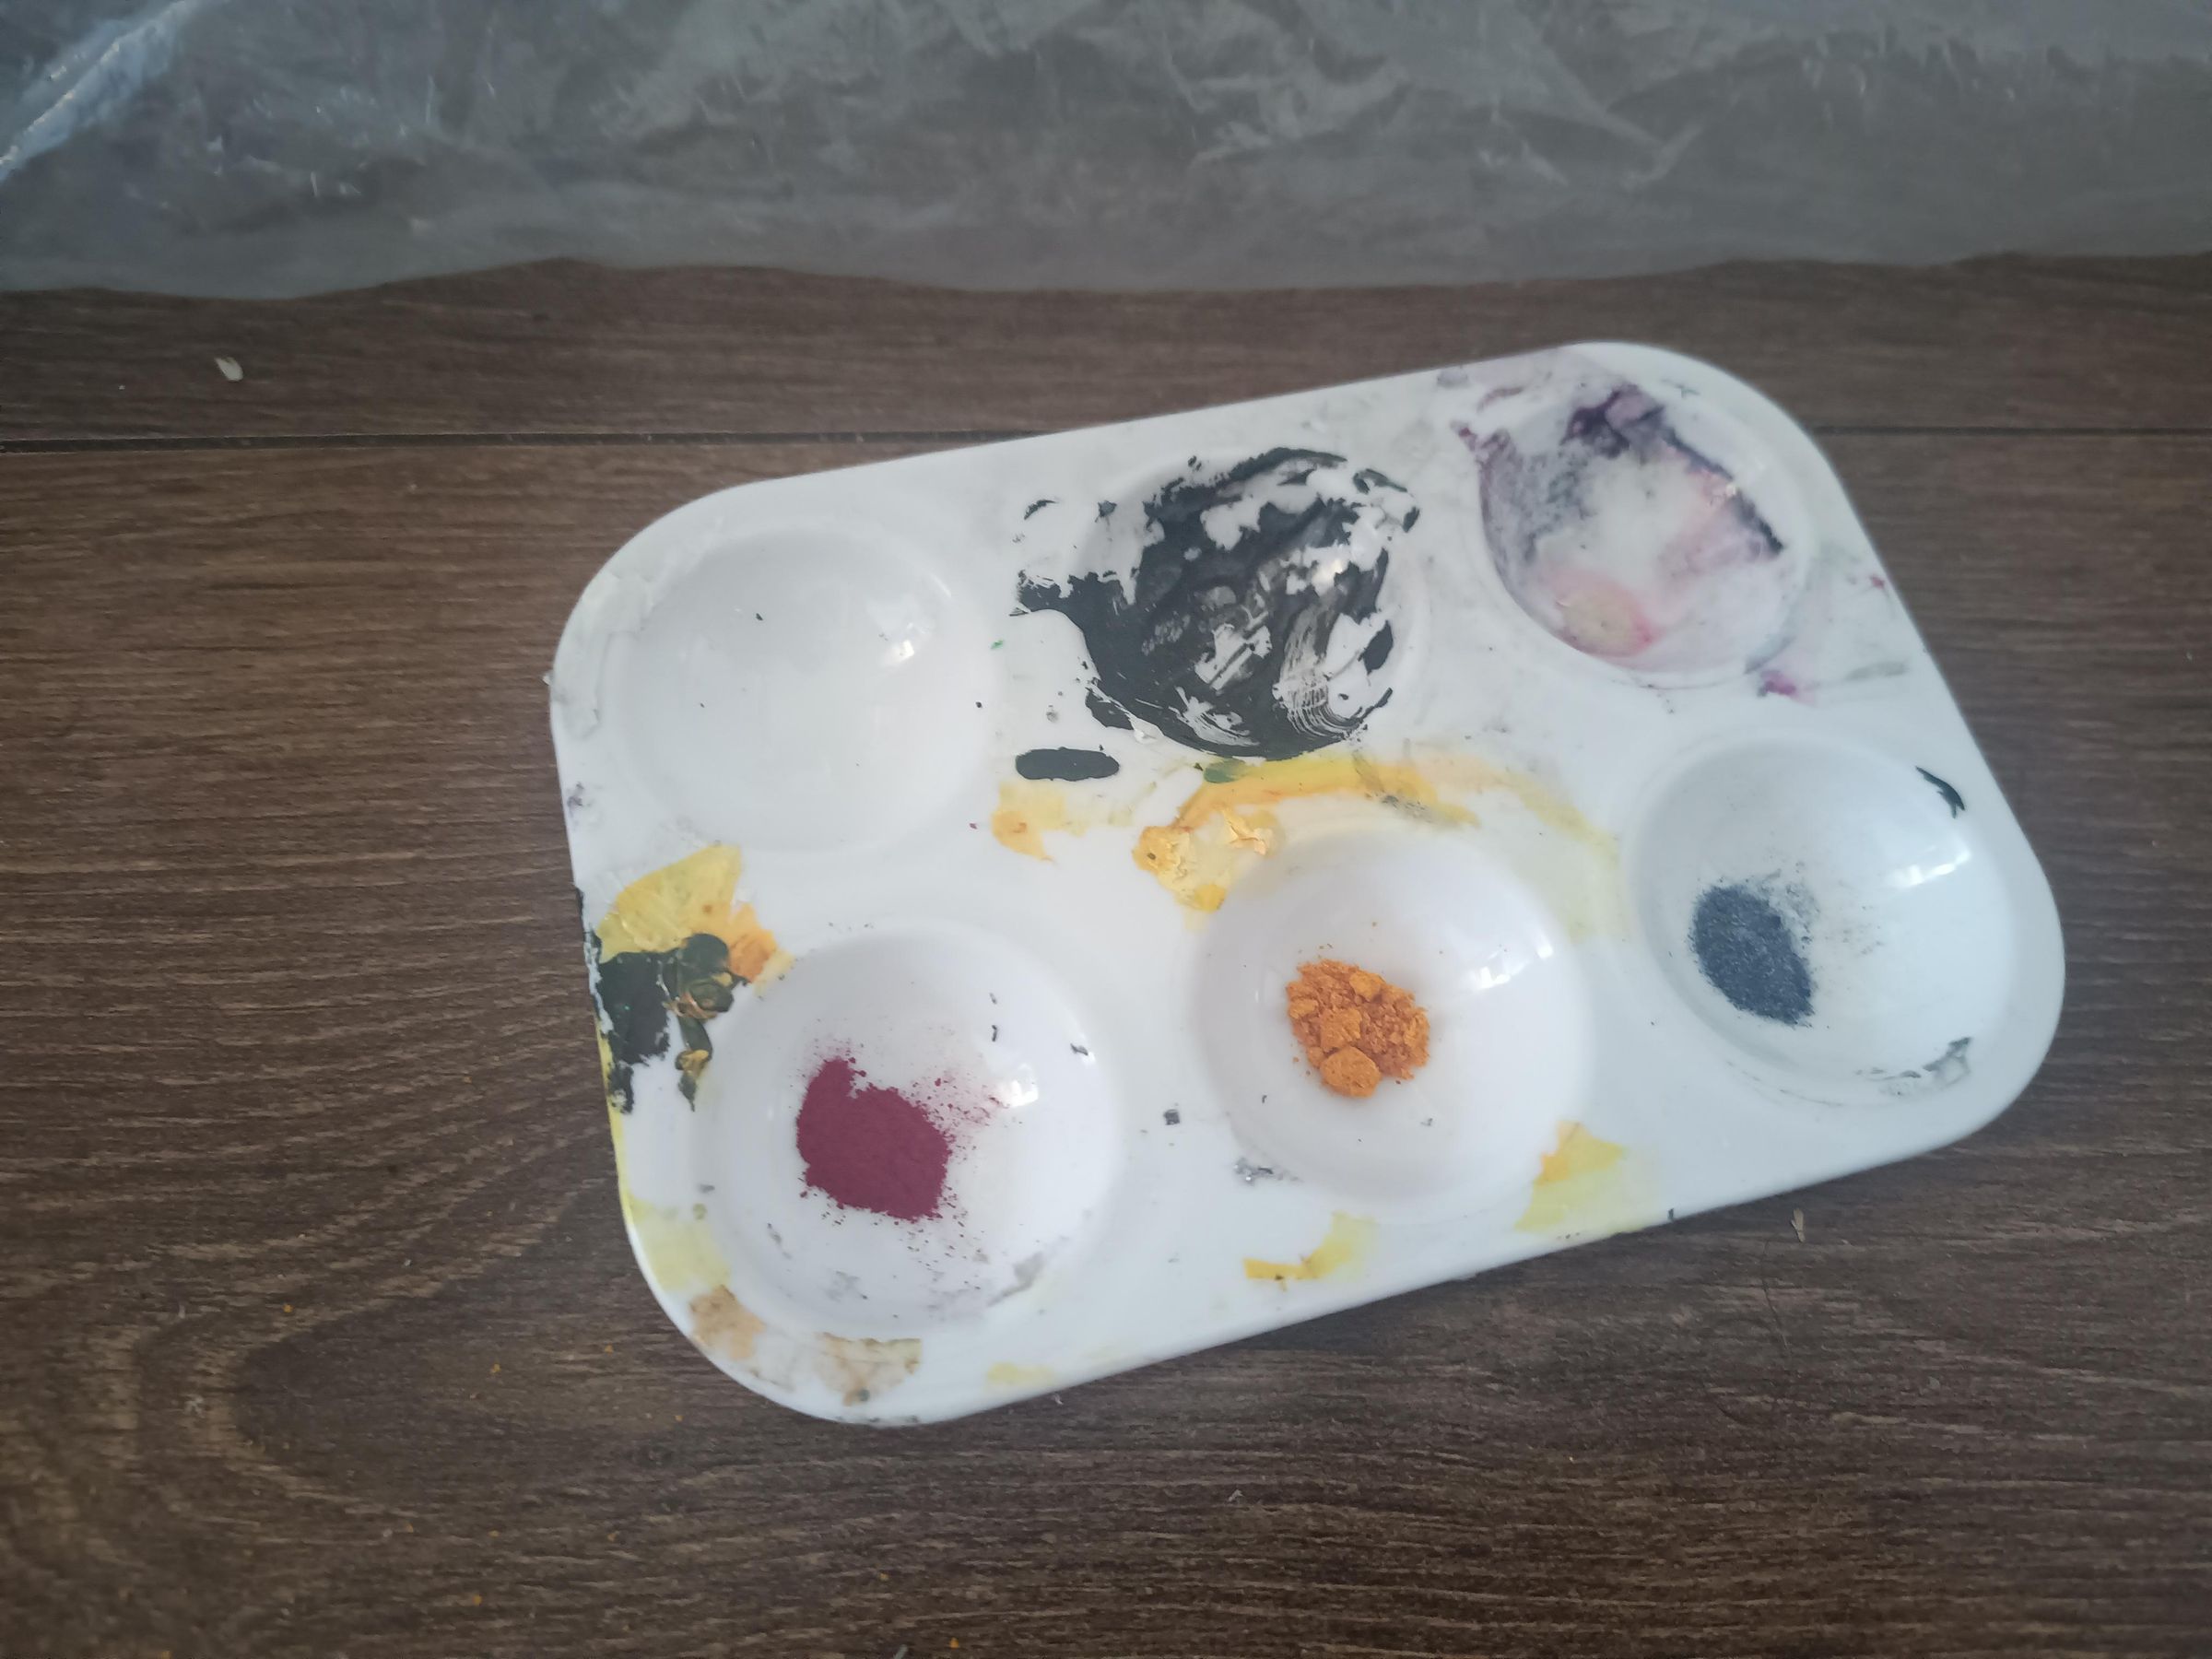
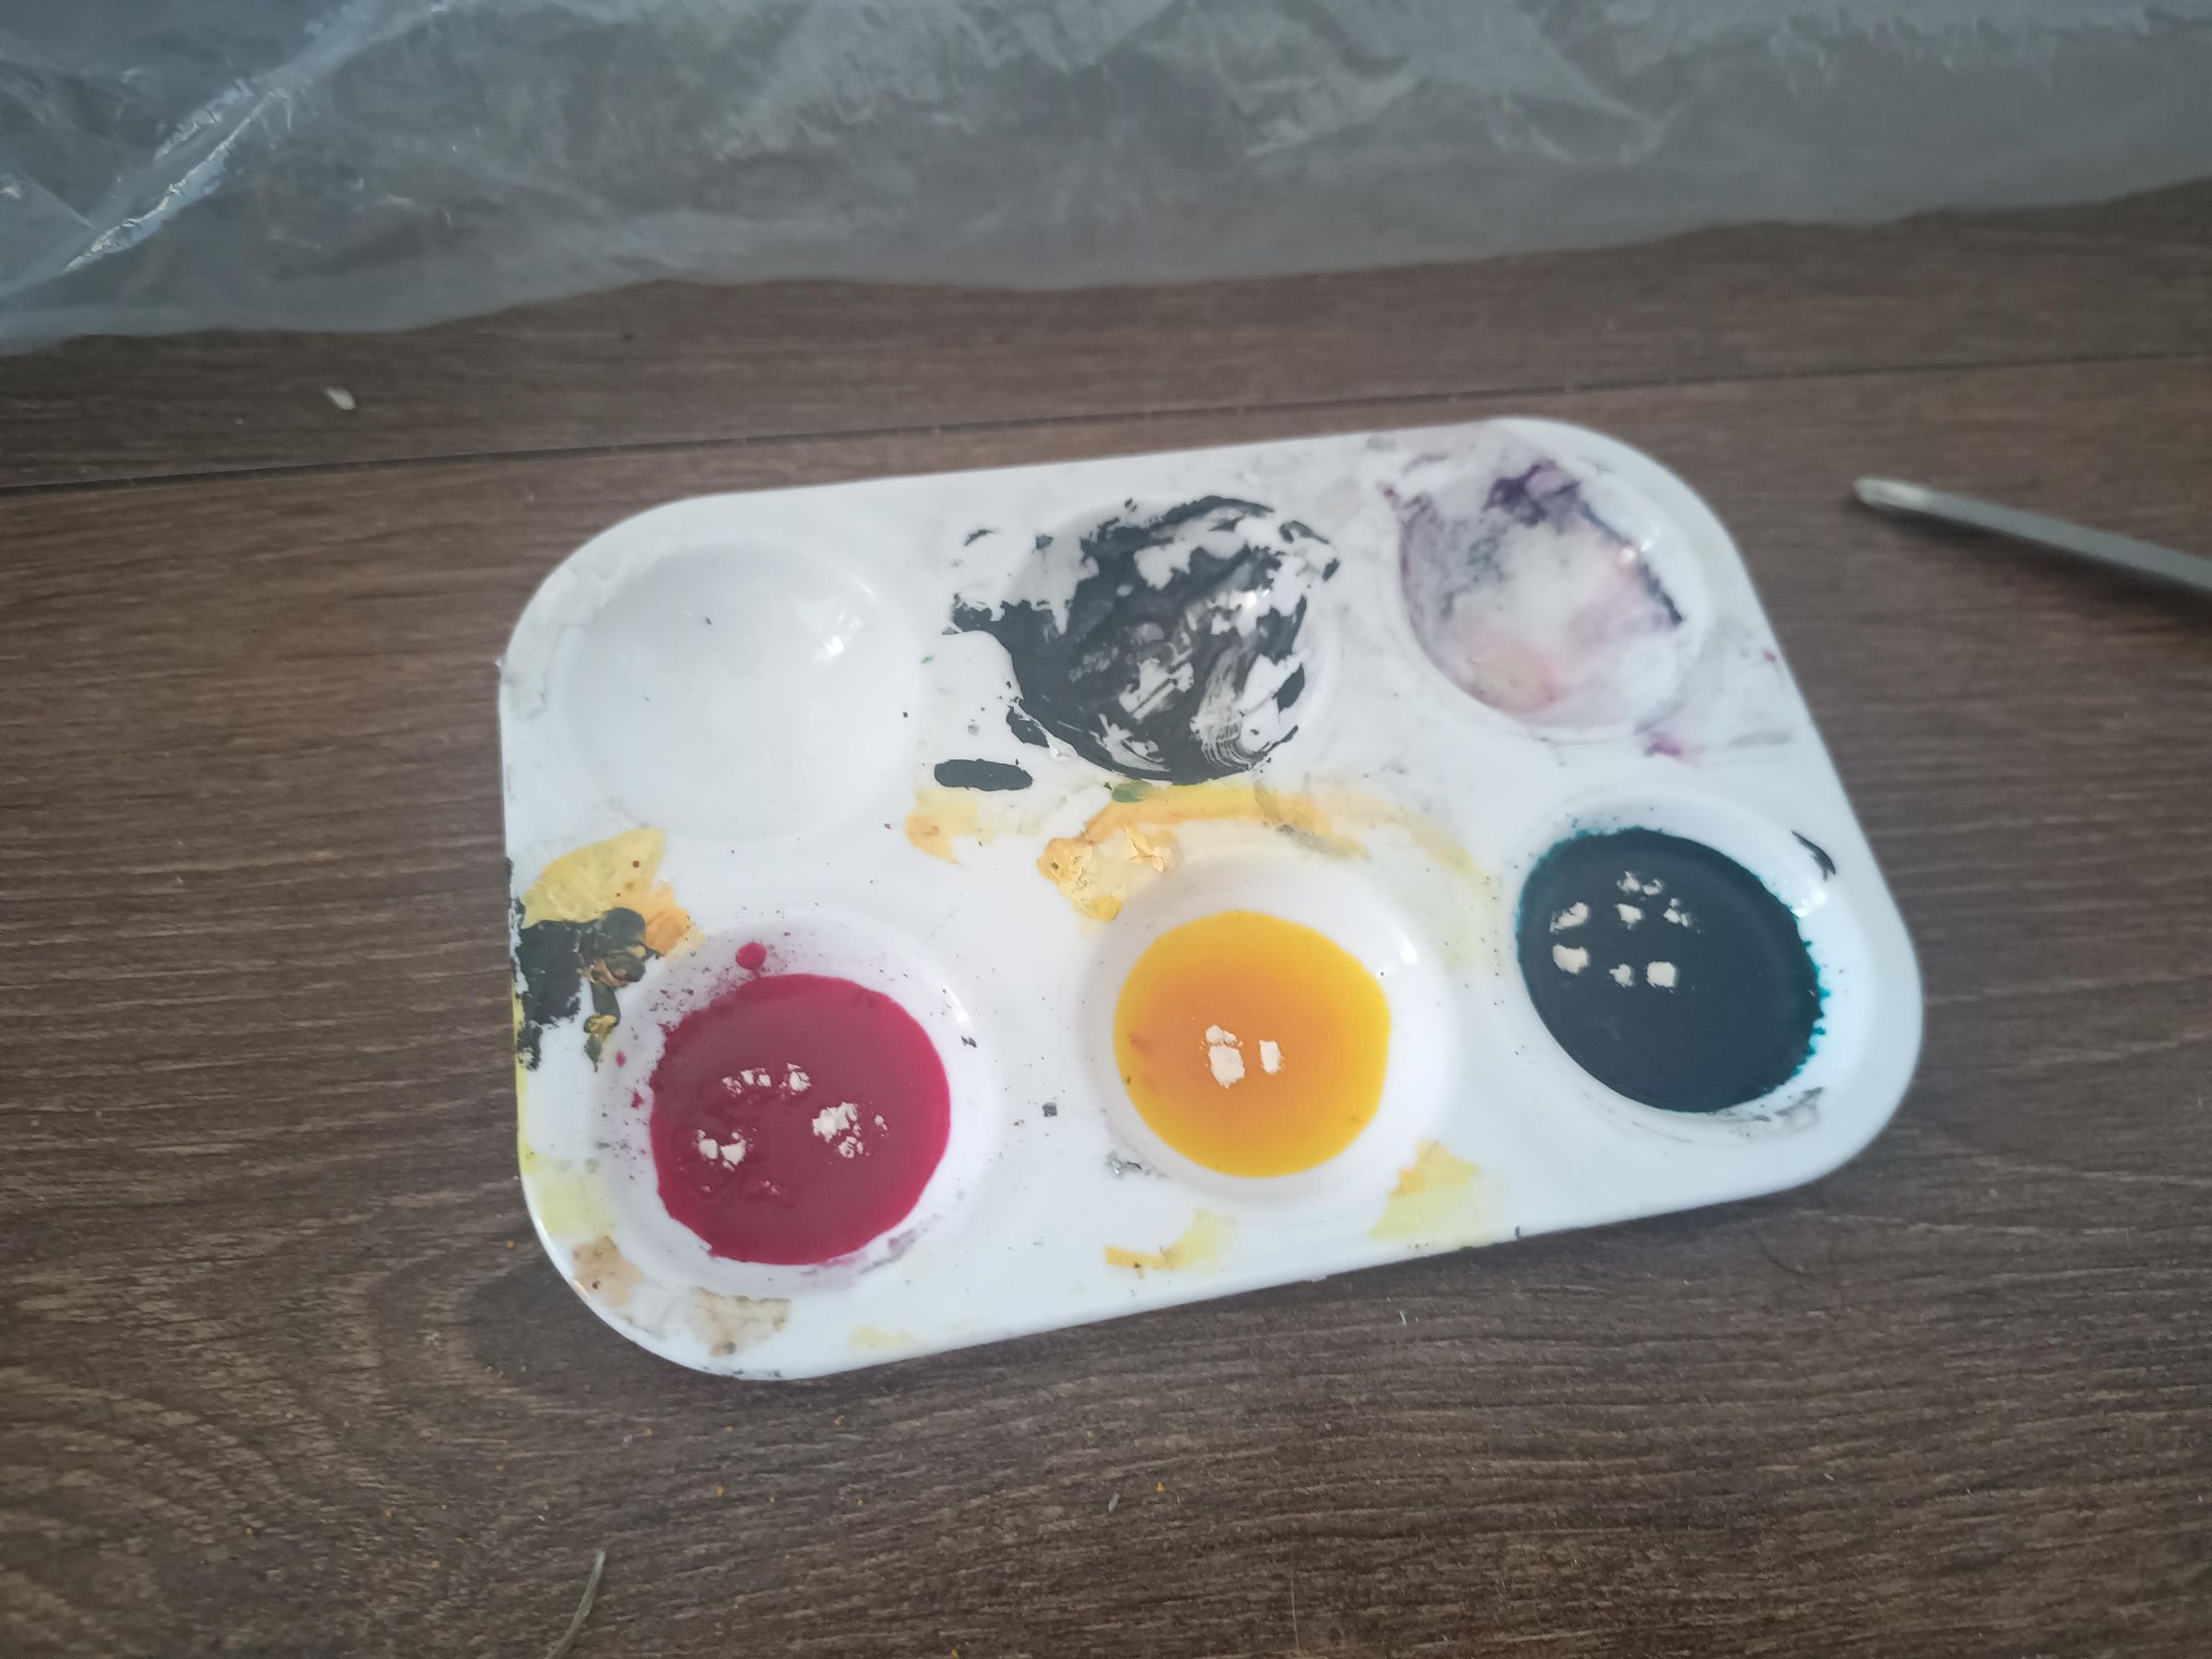
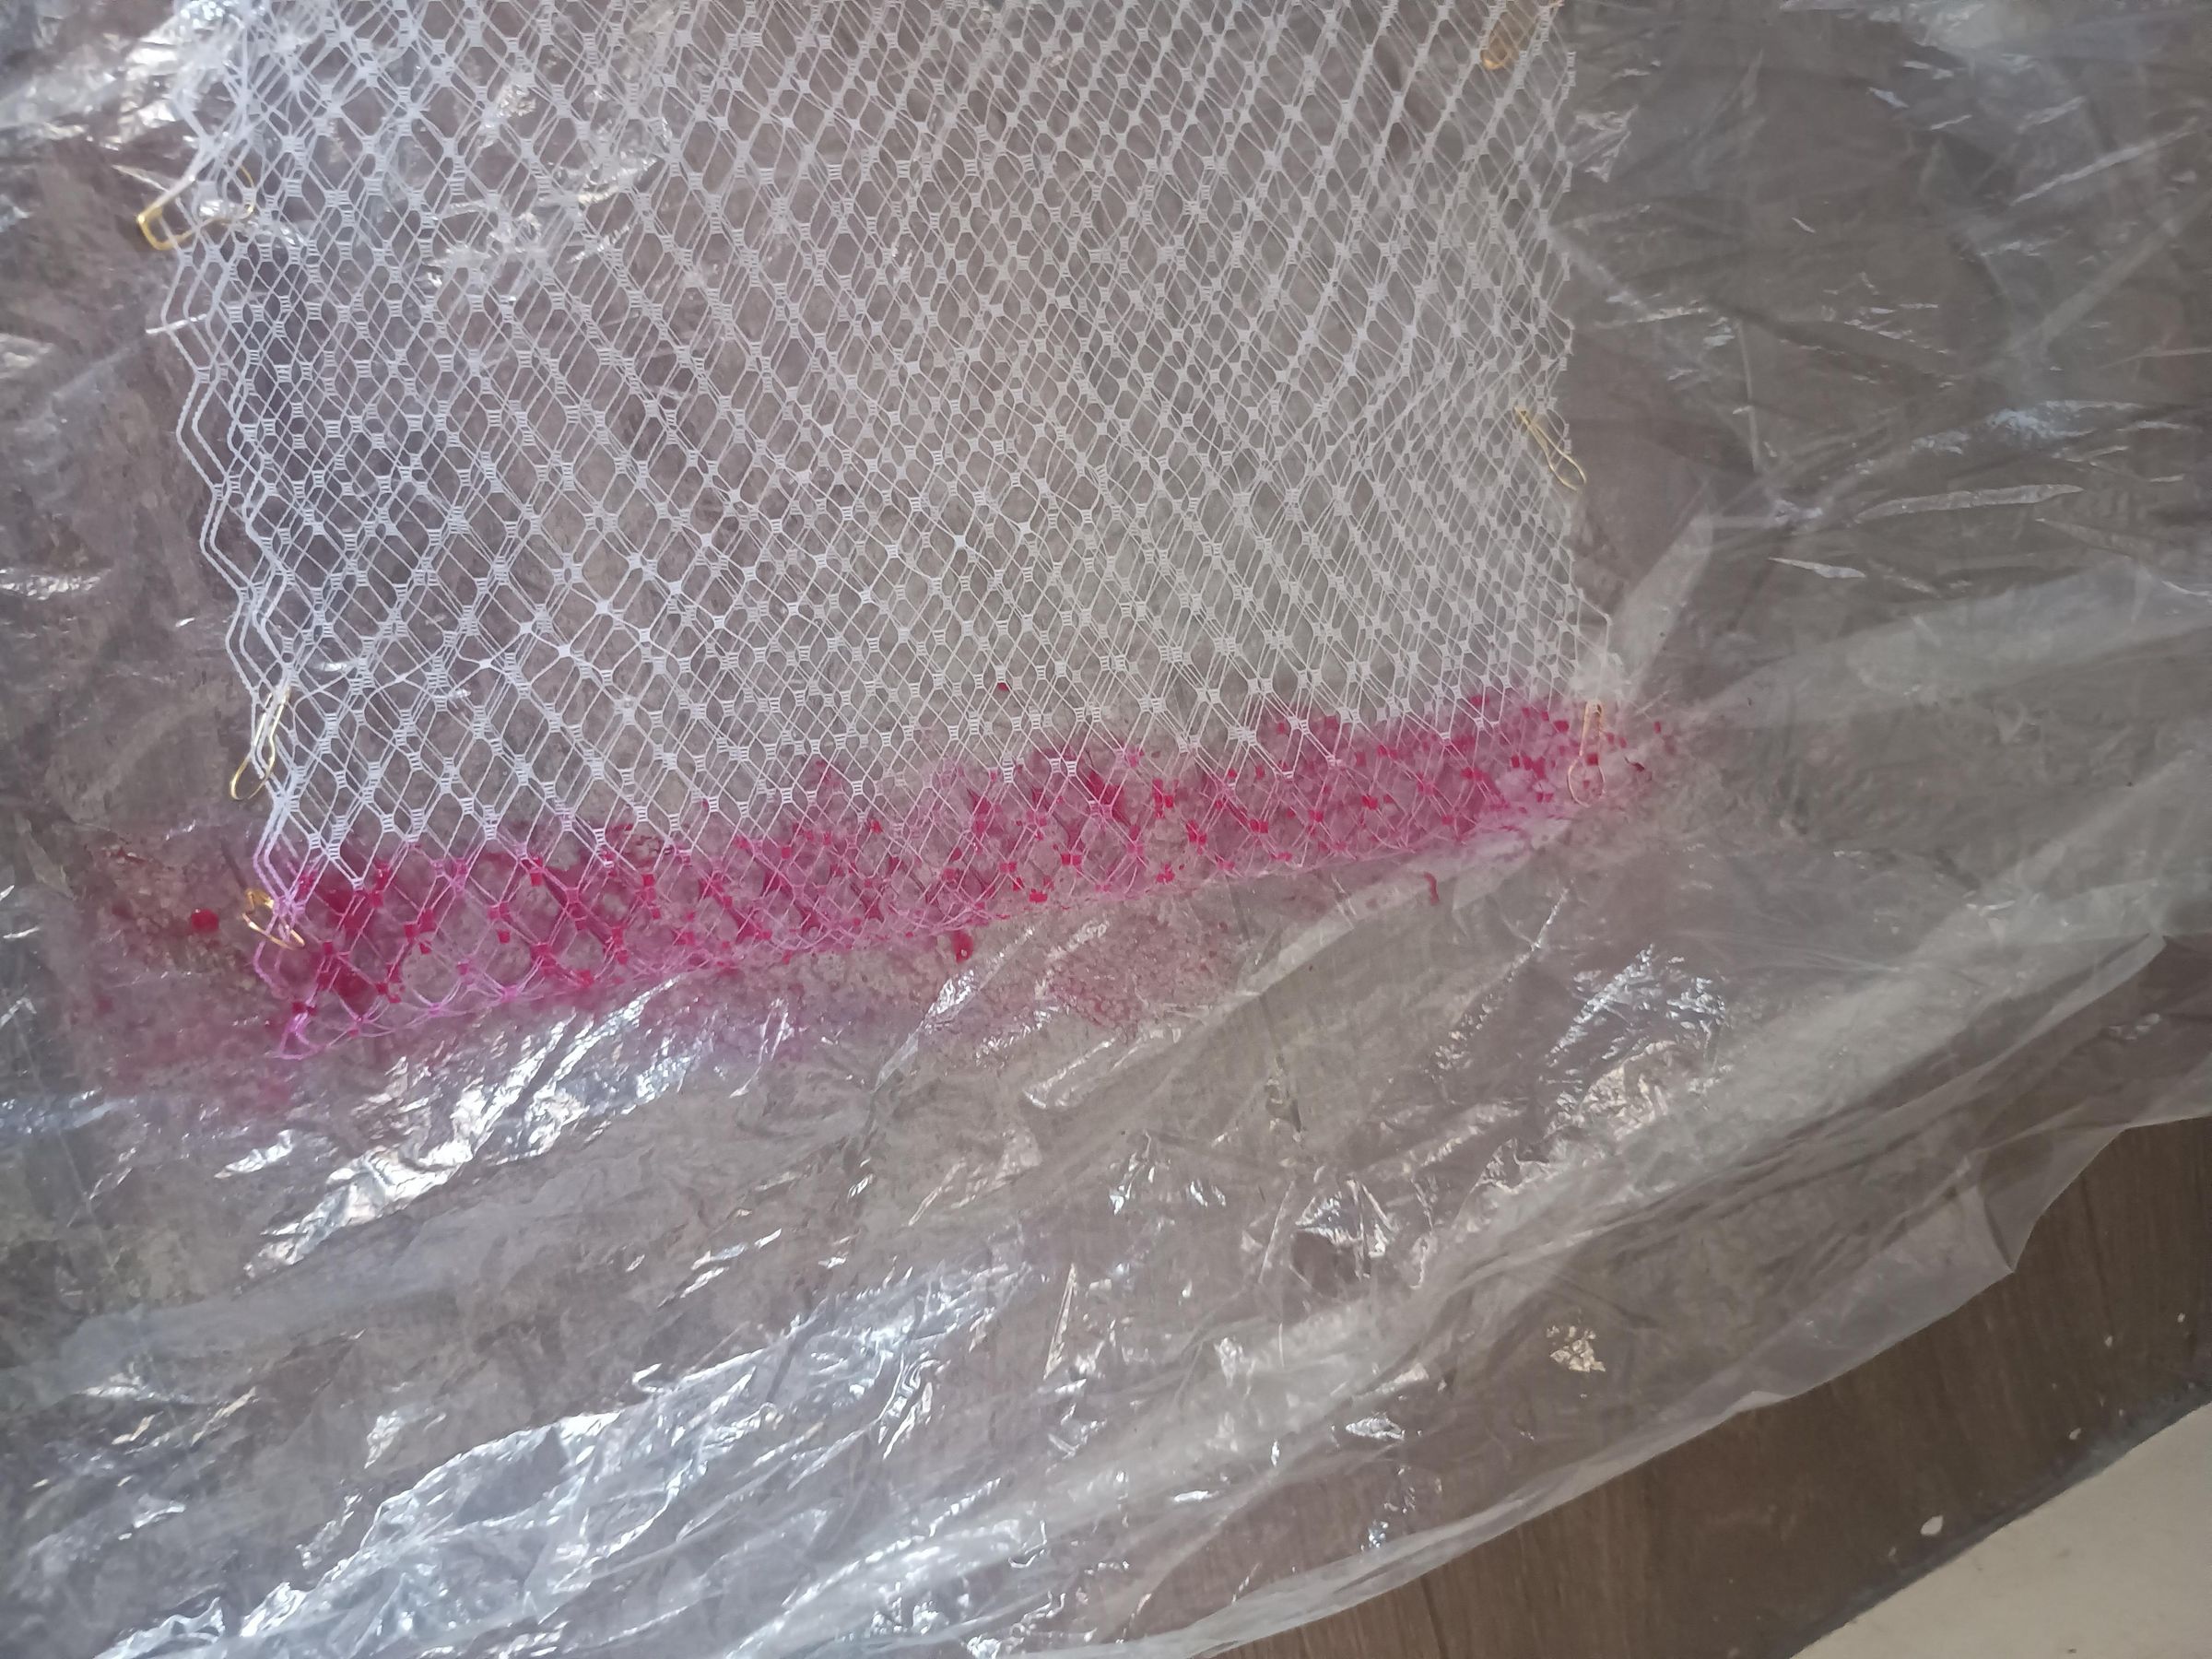
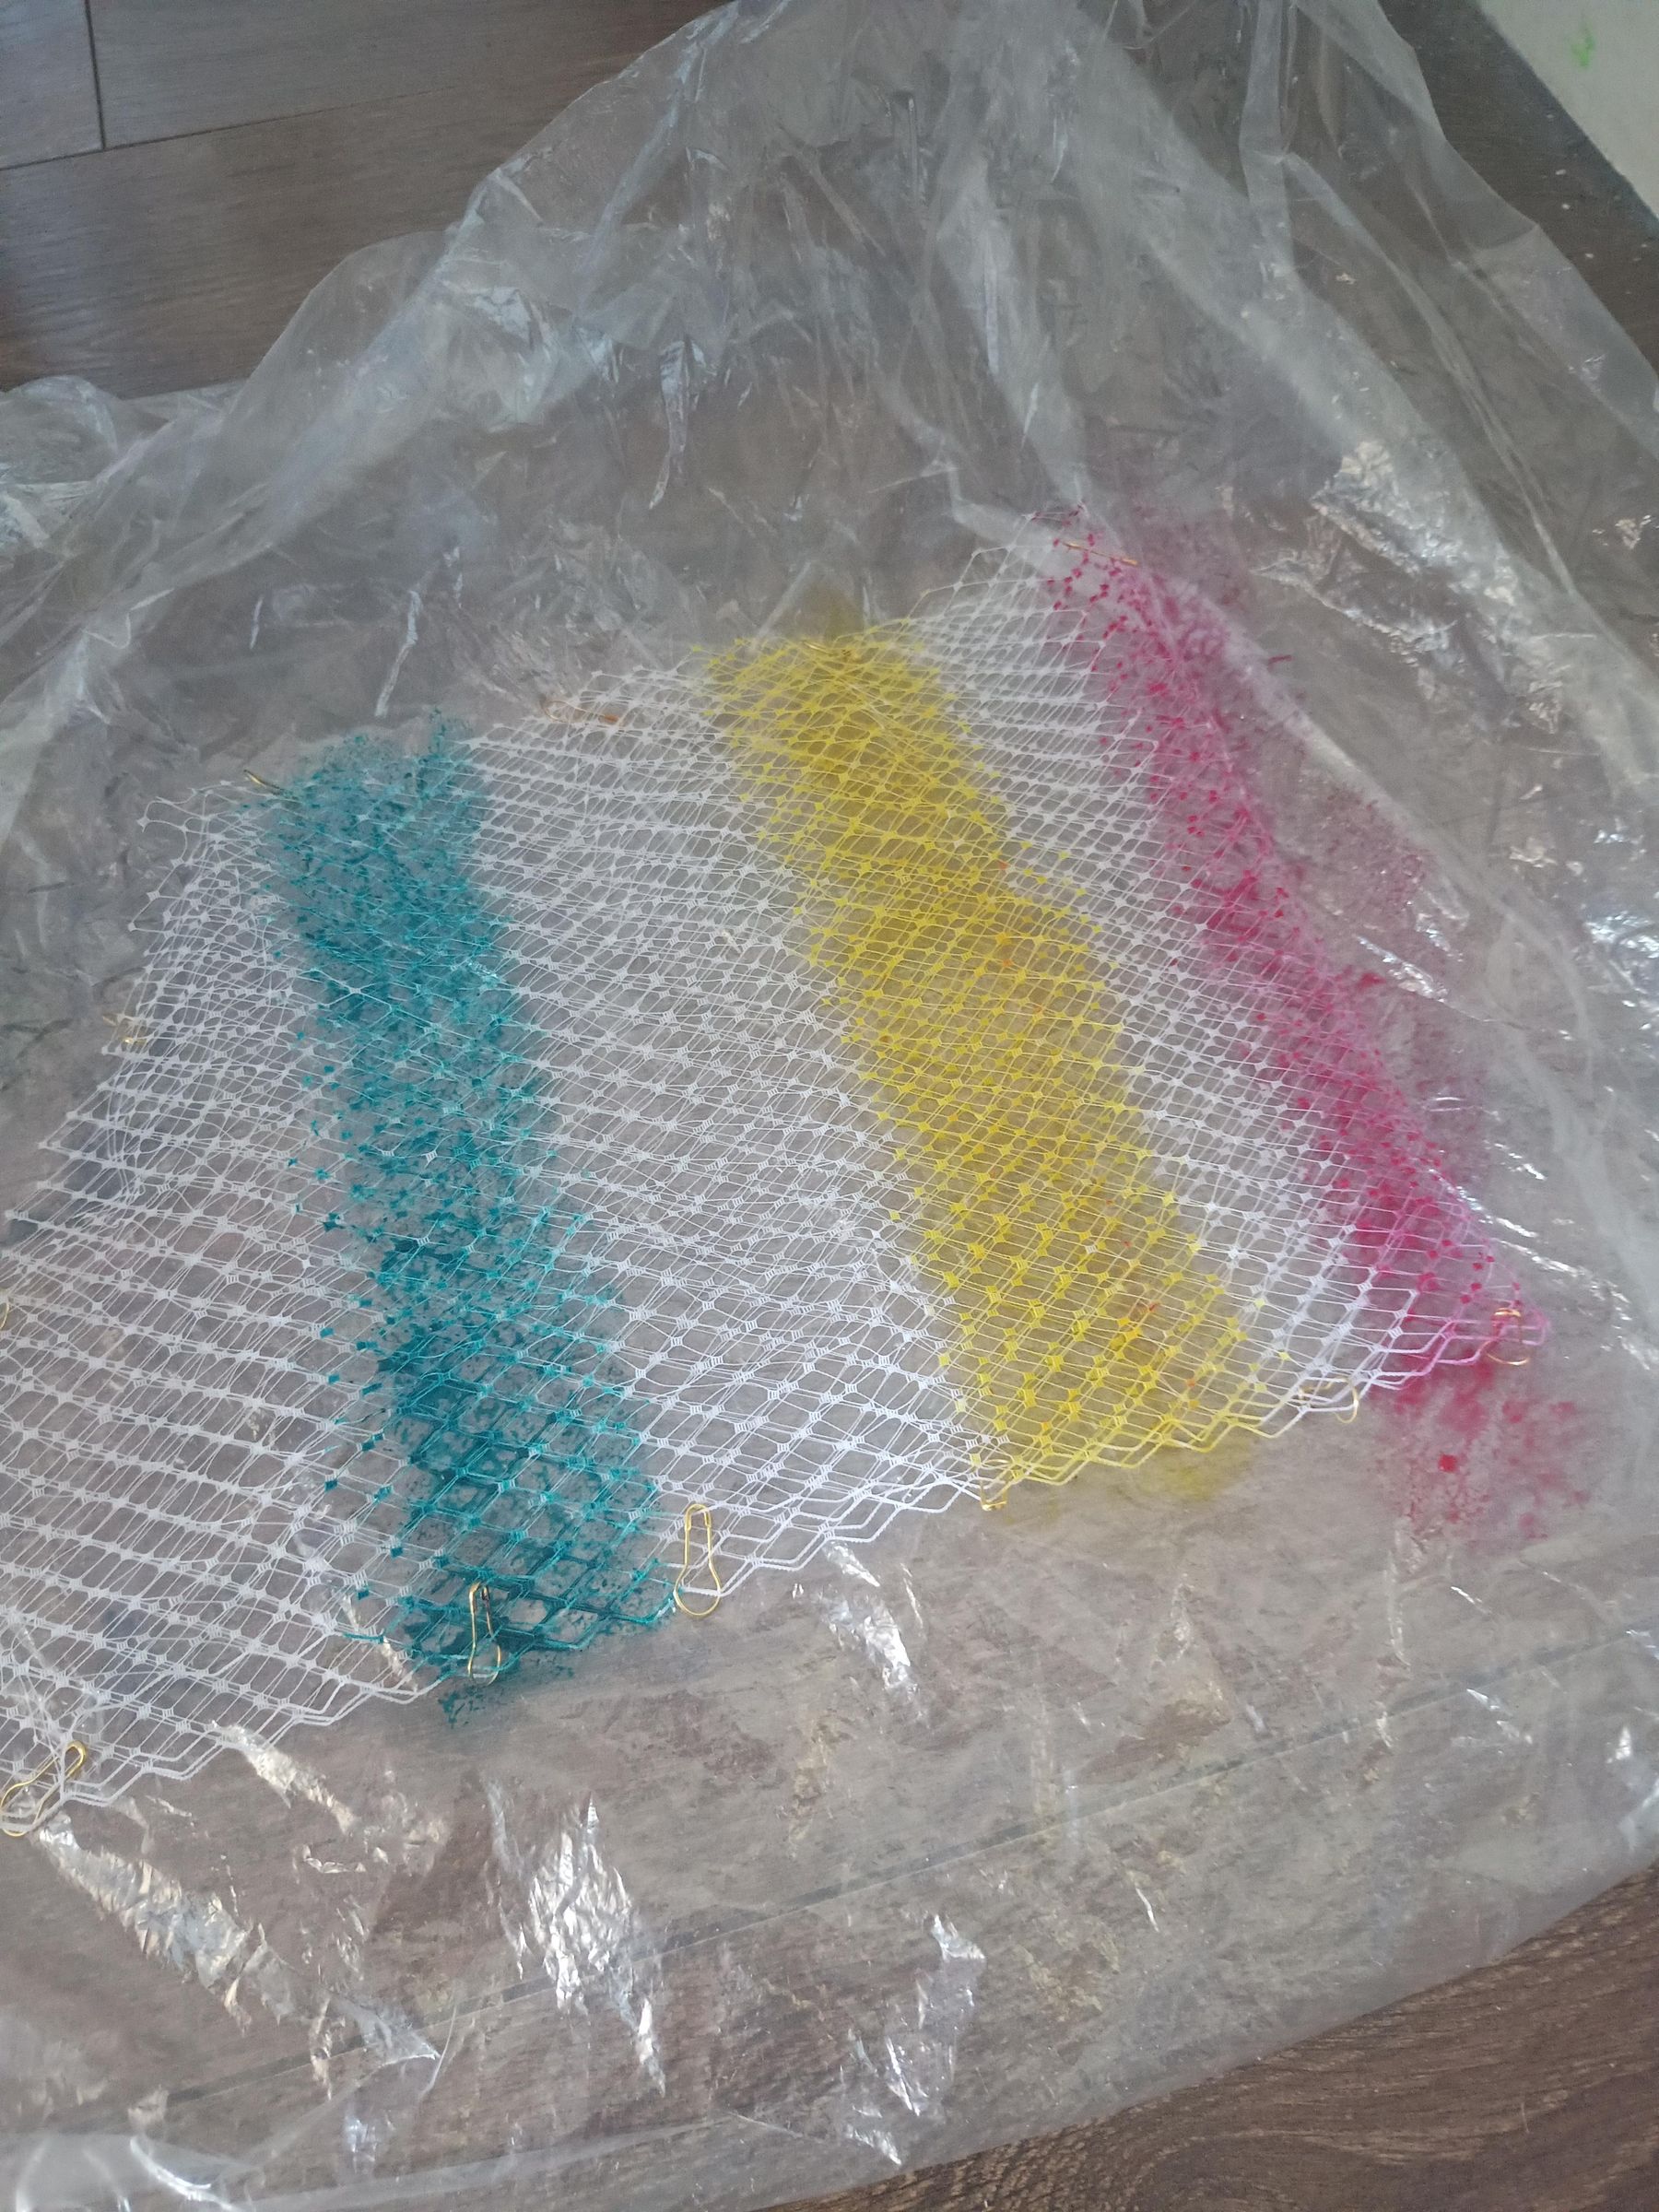
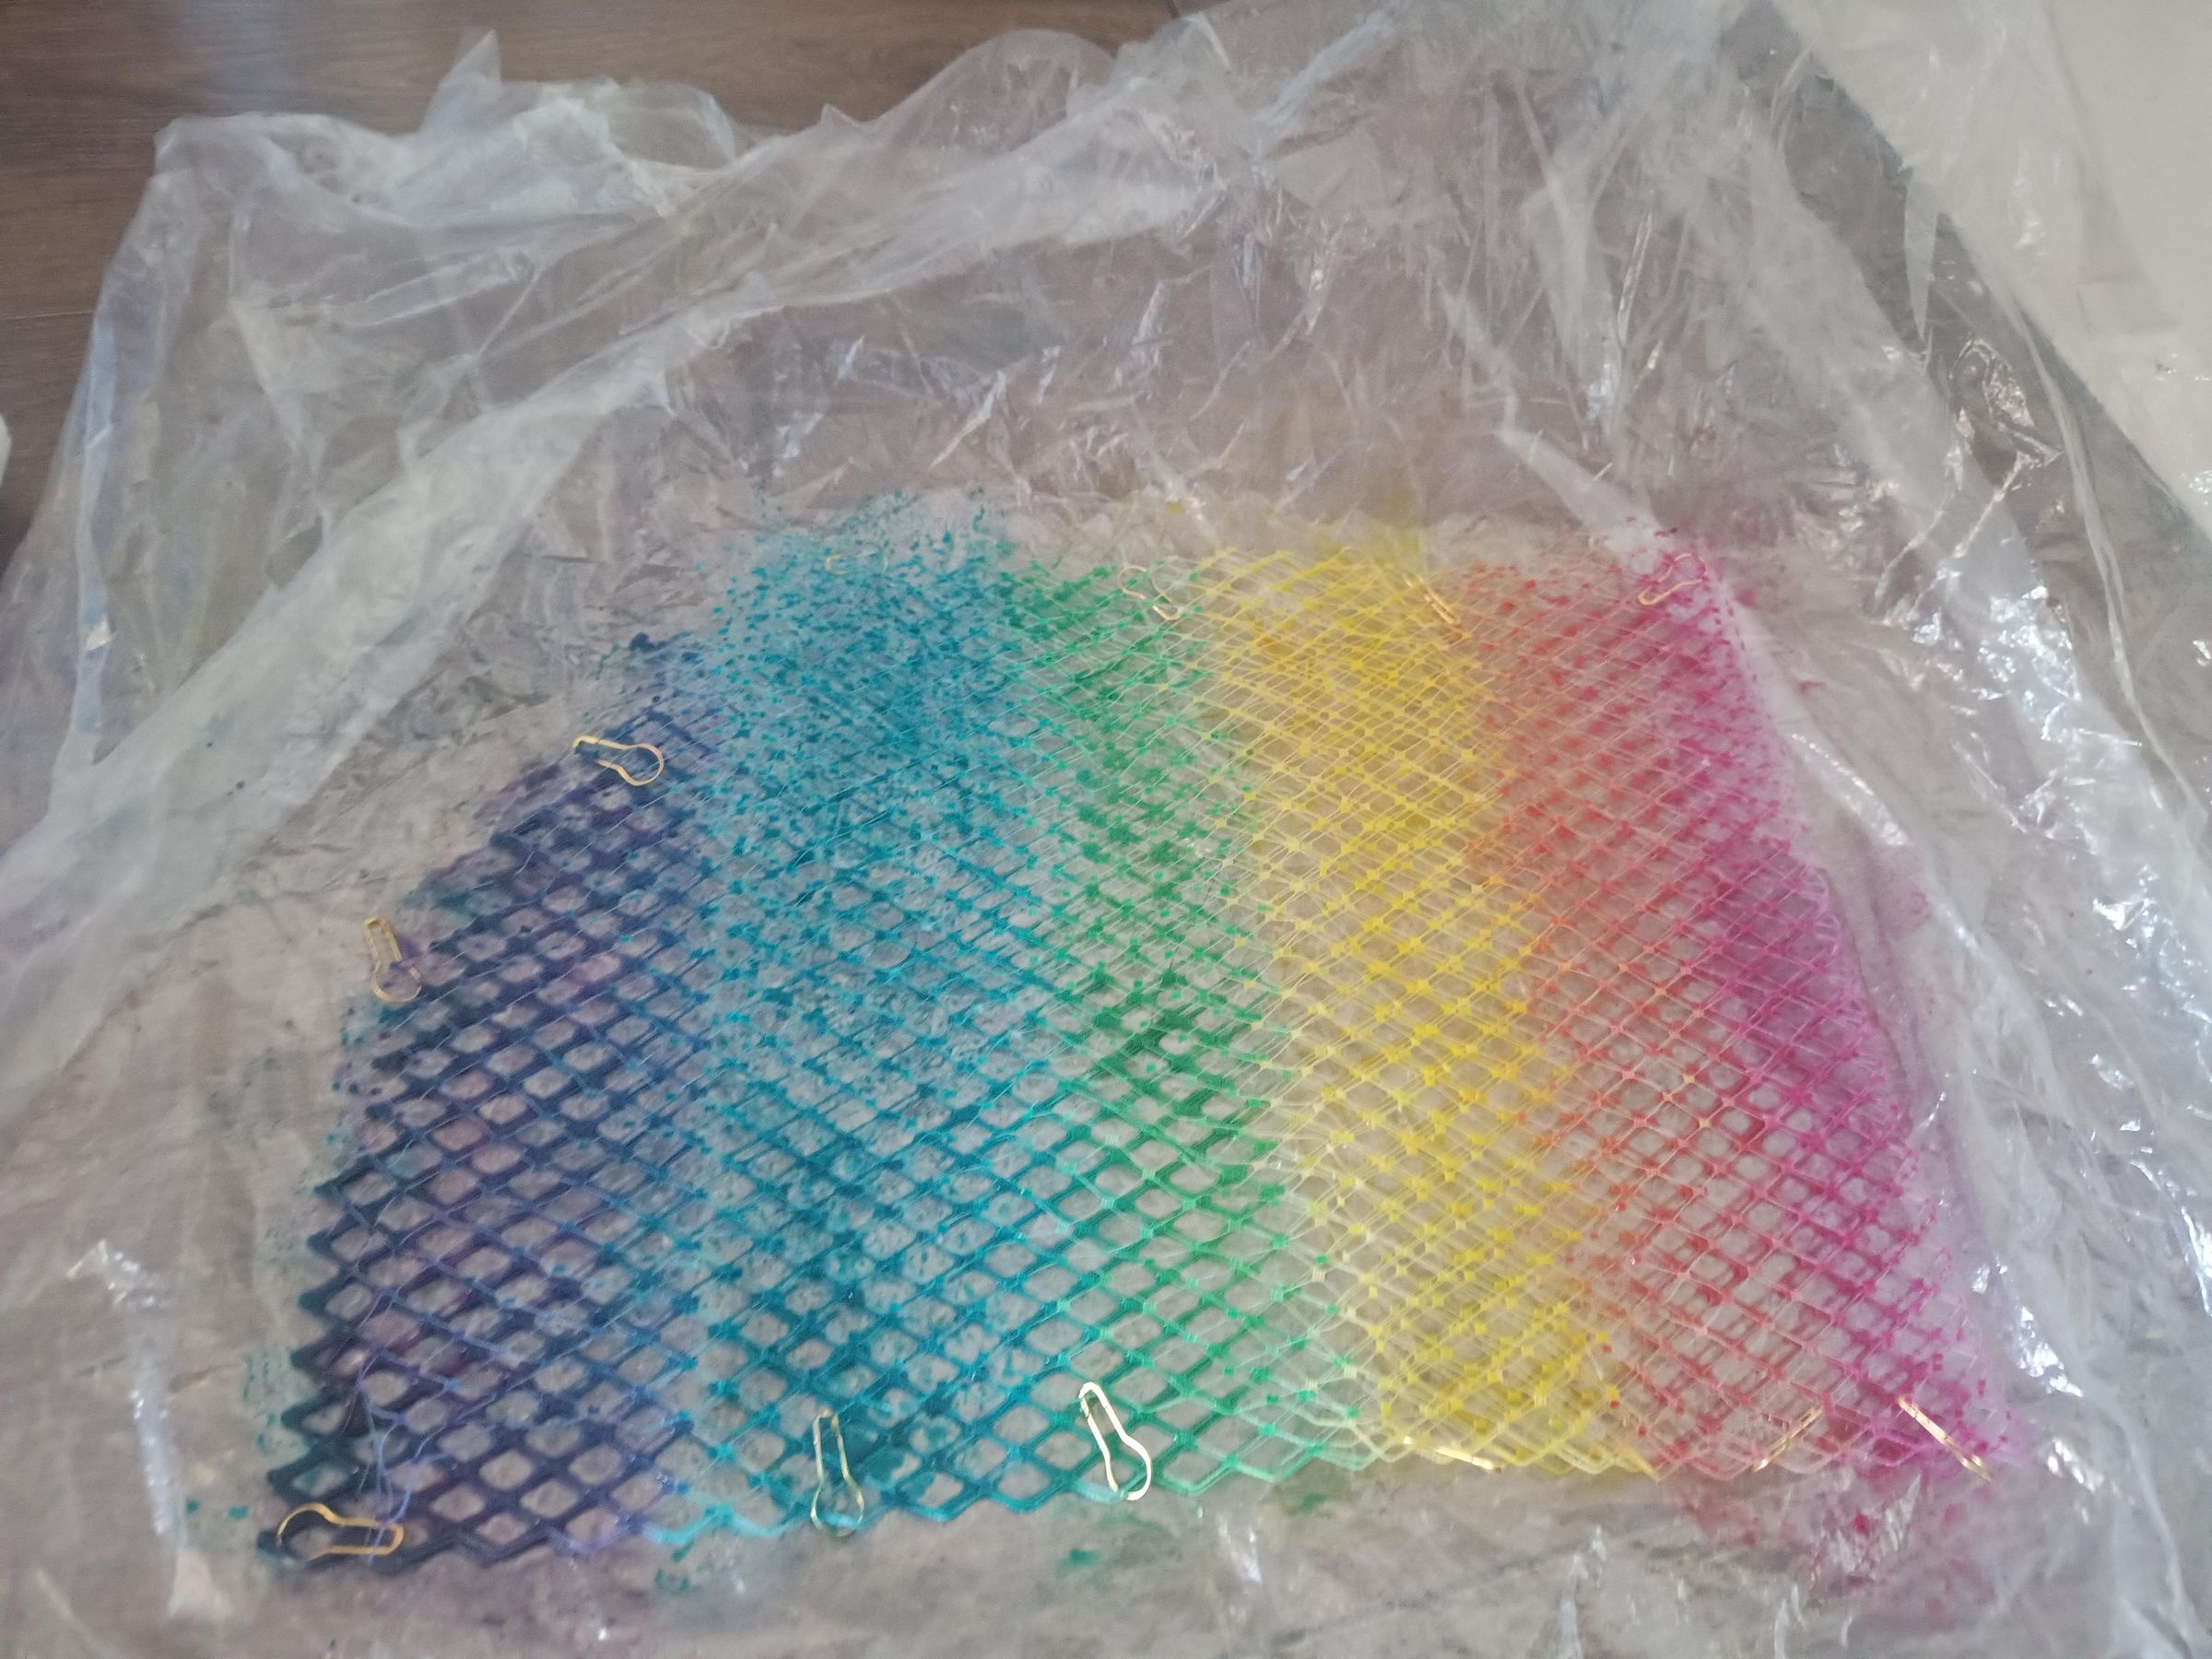
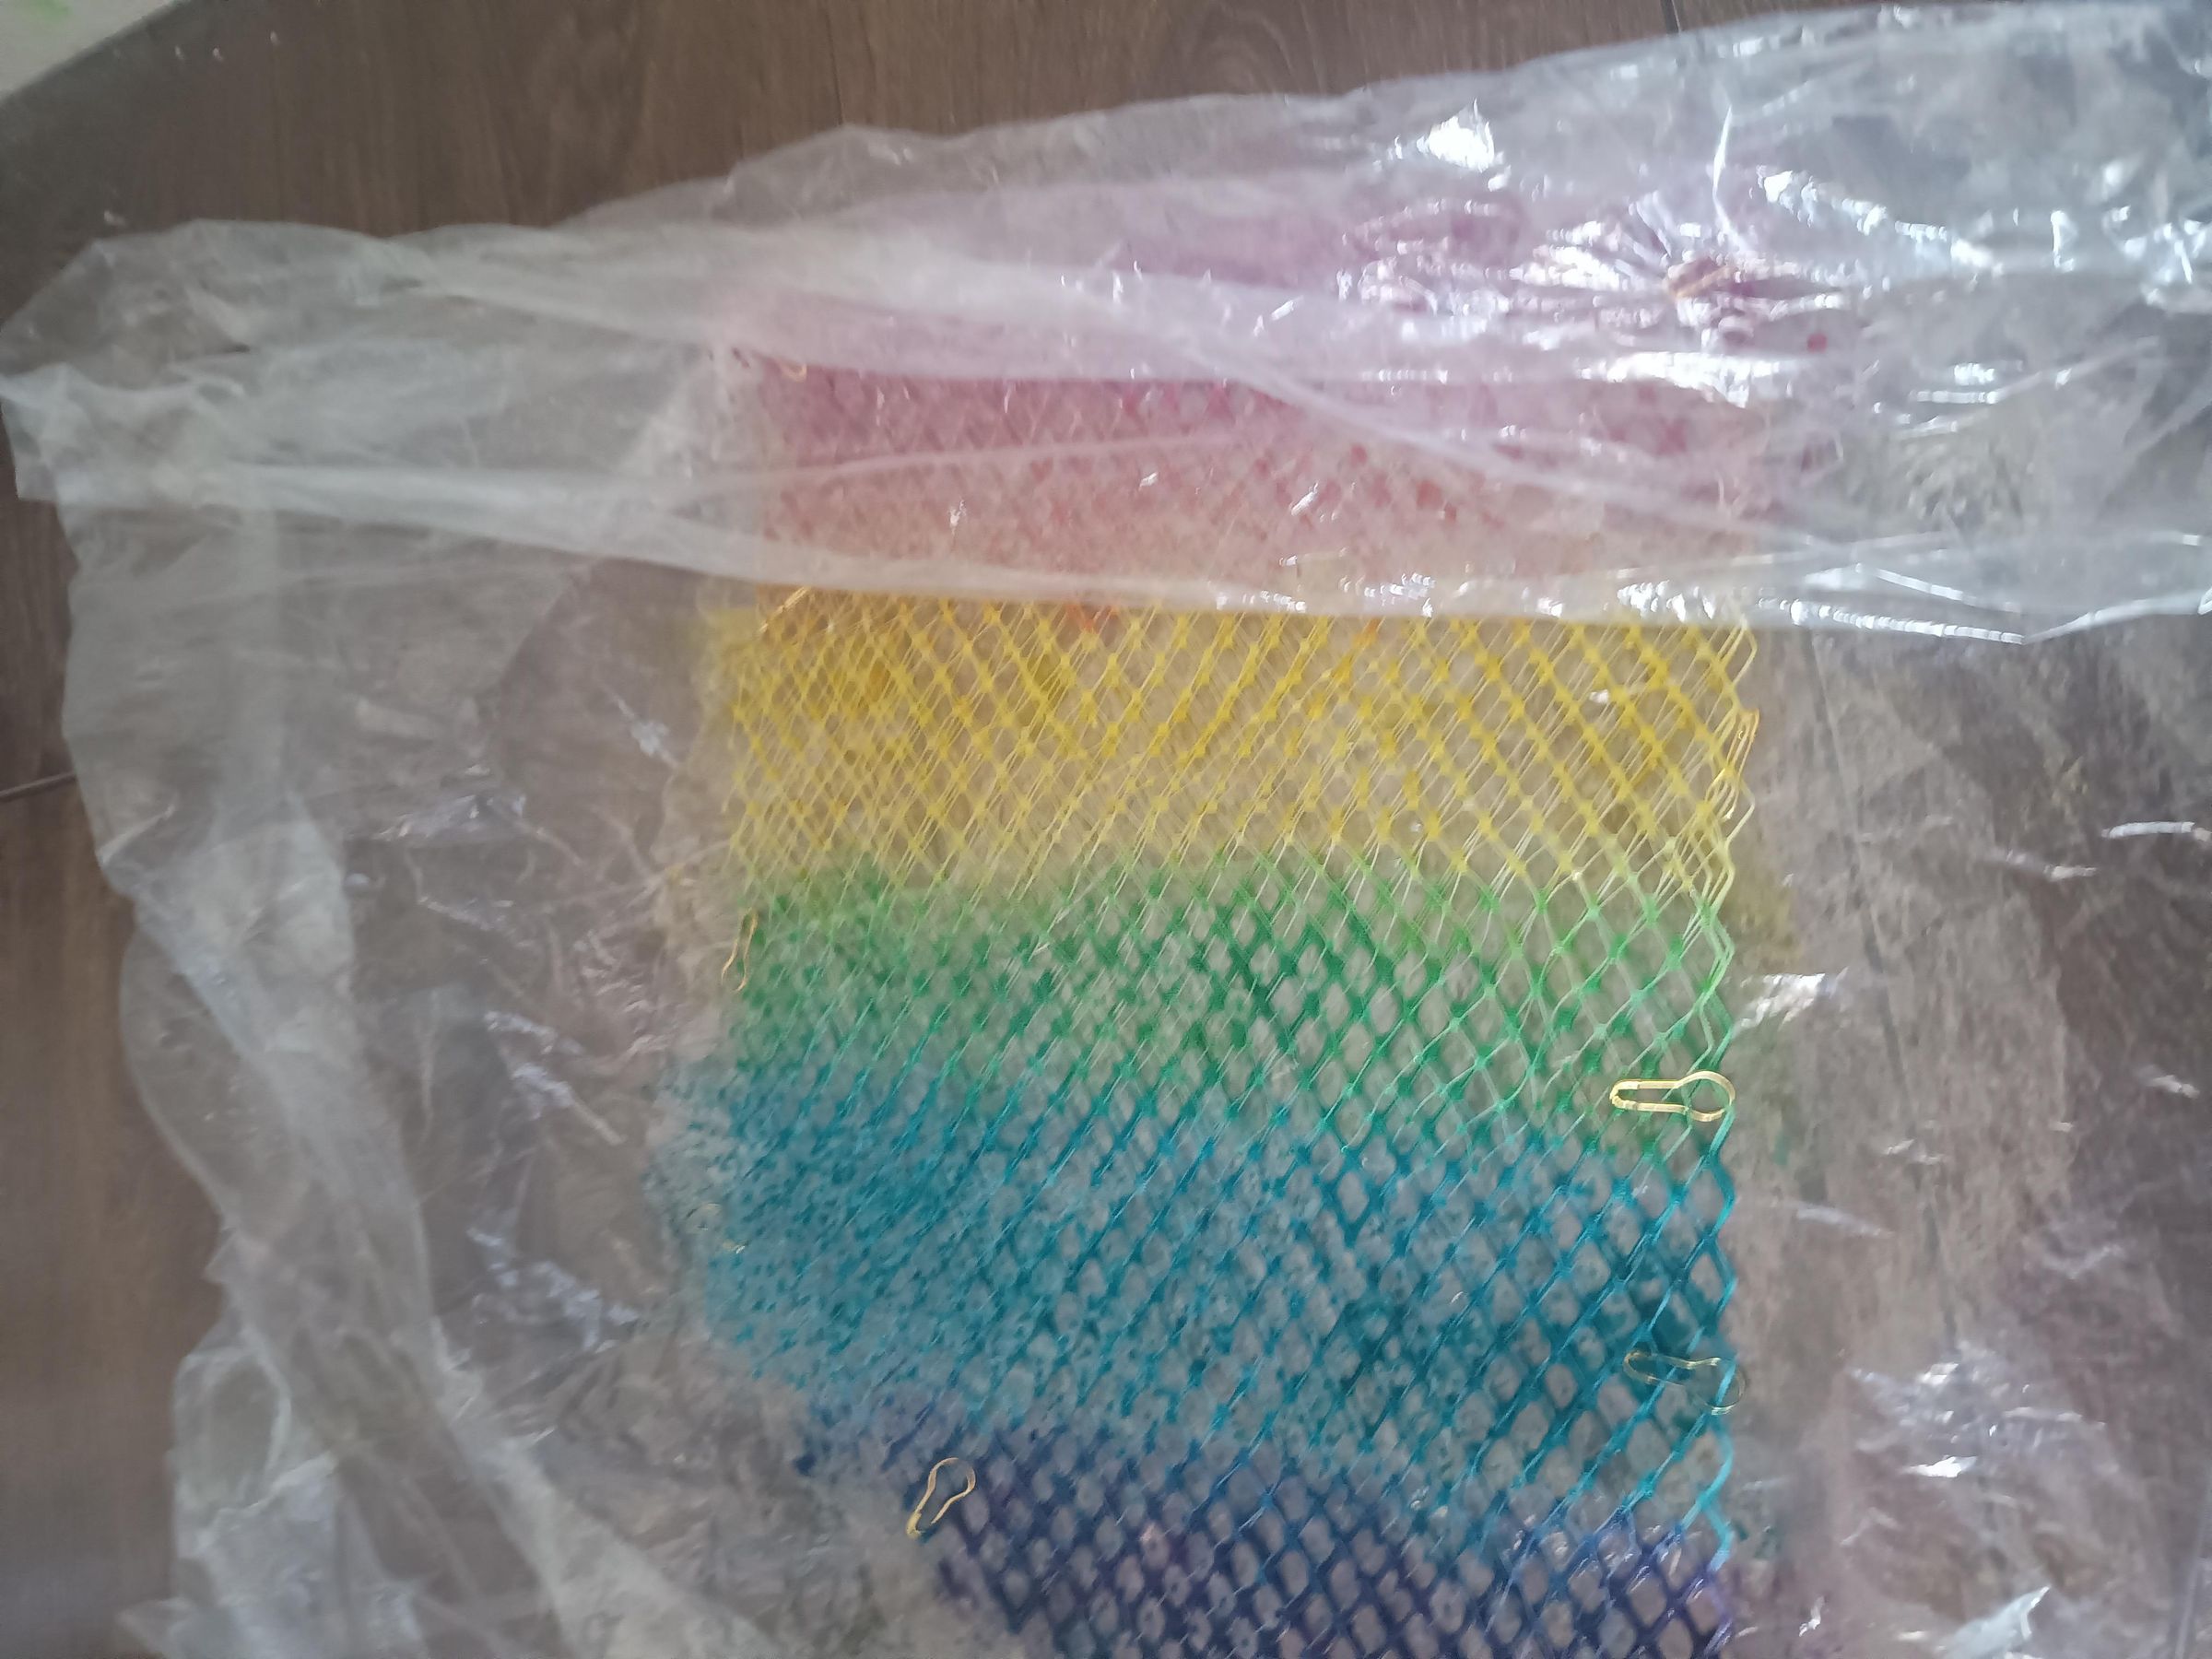
First you want to dissolve your citric acid in boiling water (I don't bother measuring ratios in this case, a spoonful of acid and maybe 100ml water will do). Next add a bit of dye to your mixing palette. We're going to mix pink, yellow and blue first. Mix the dye powder with some citric acid solution, then add a tiny bit of guar gum (even less than you think it needs).
The mixture should turn to a jellyish consistency. Use your sponge brushes to start painting the netting on top of your plastic sheet, starting with your primary colours and then blending to make the secondaries. The outer edges will be gathered, so make the purple part bigger.
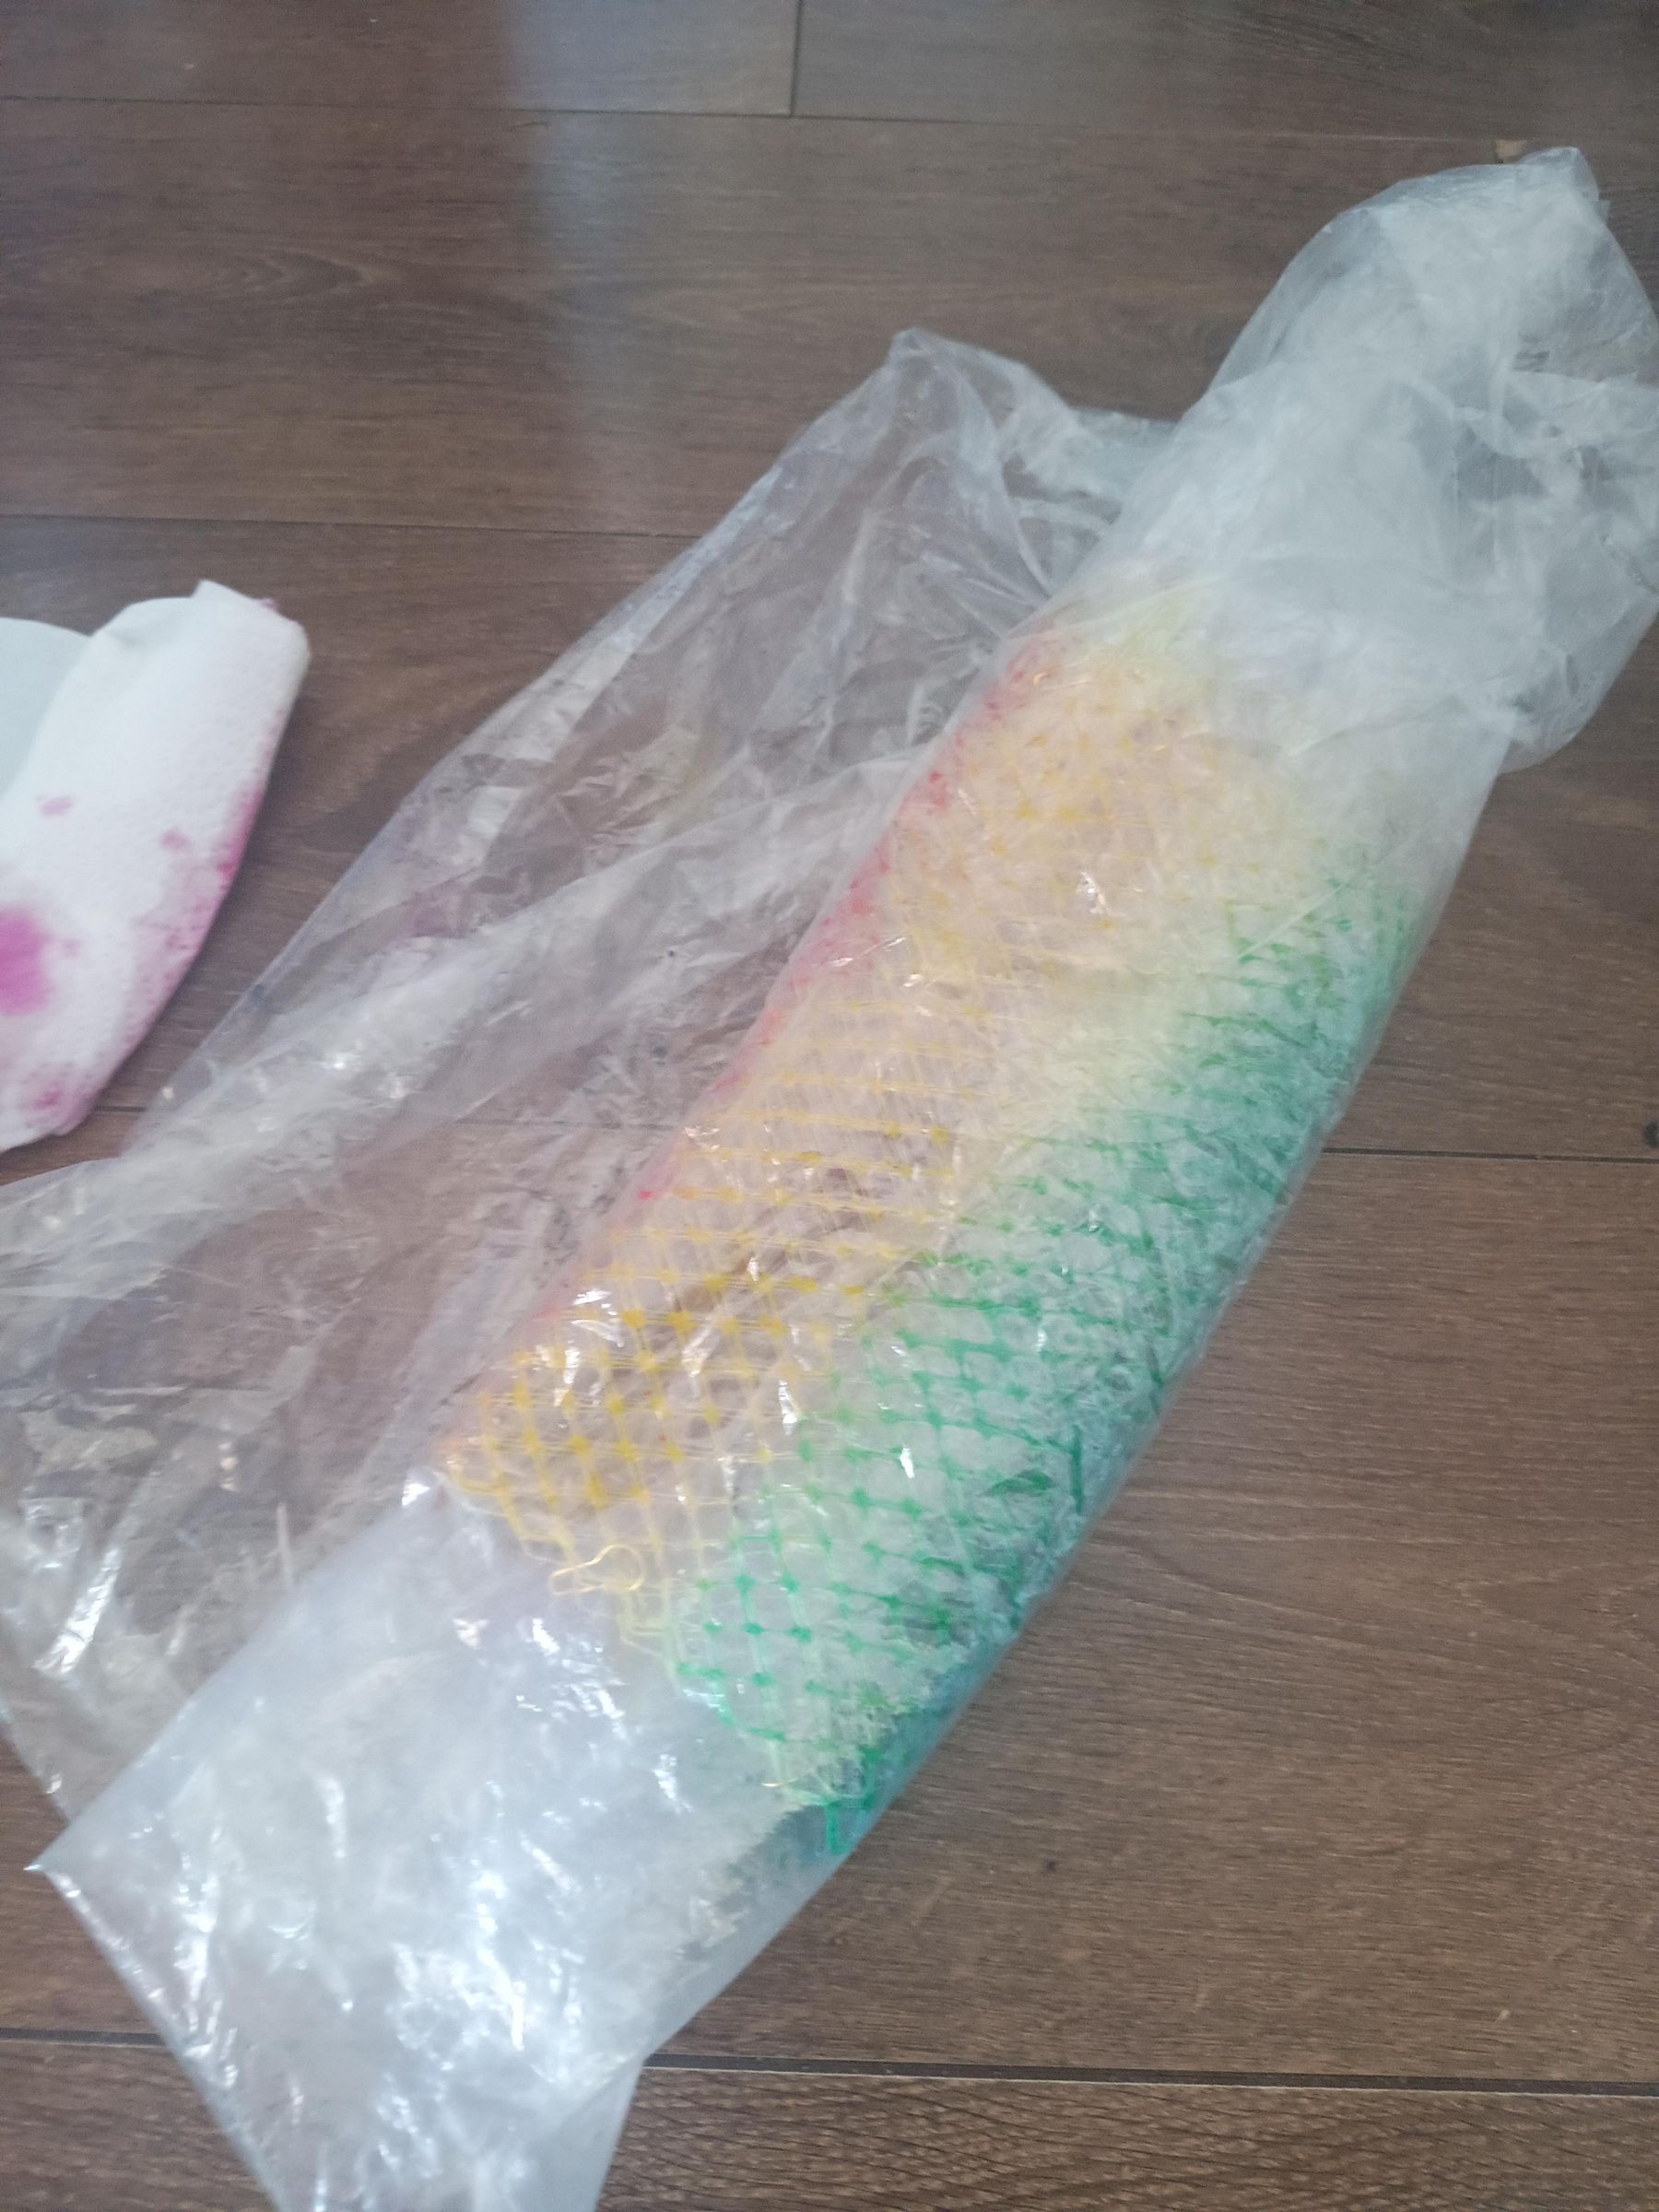
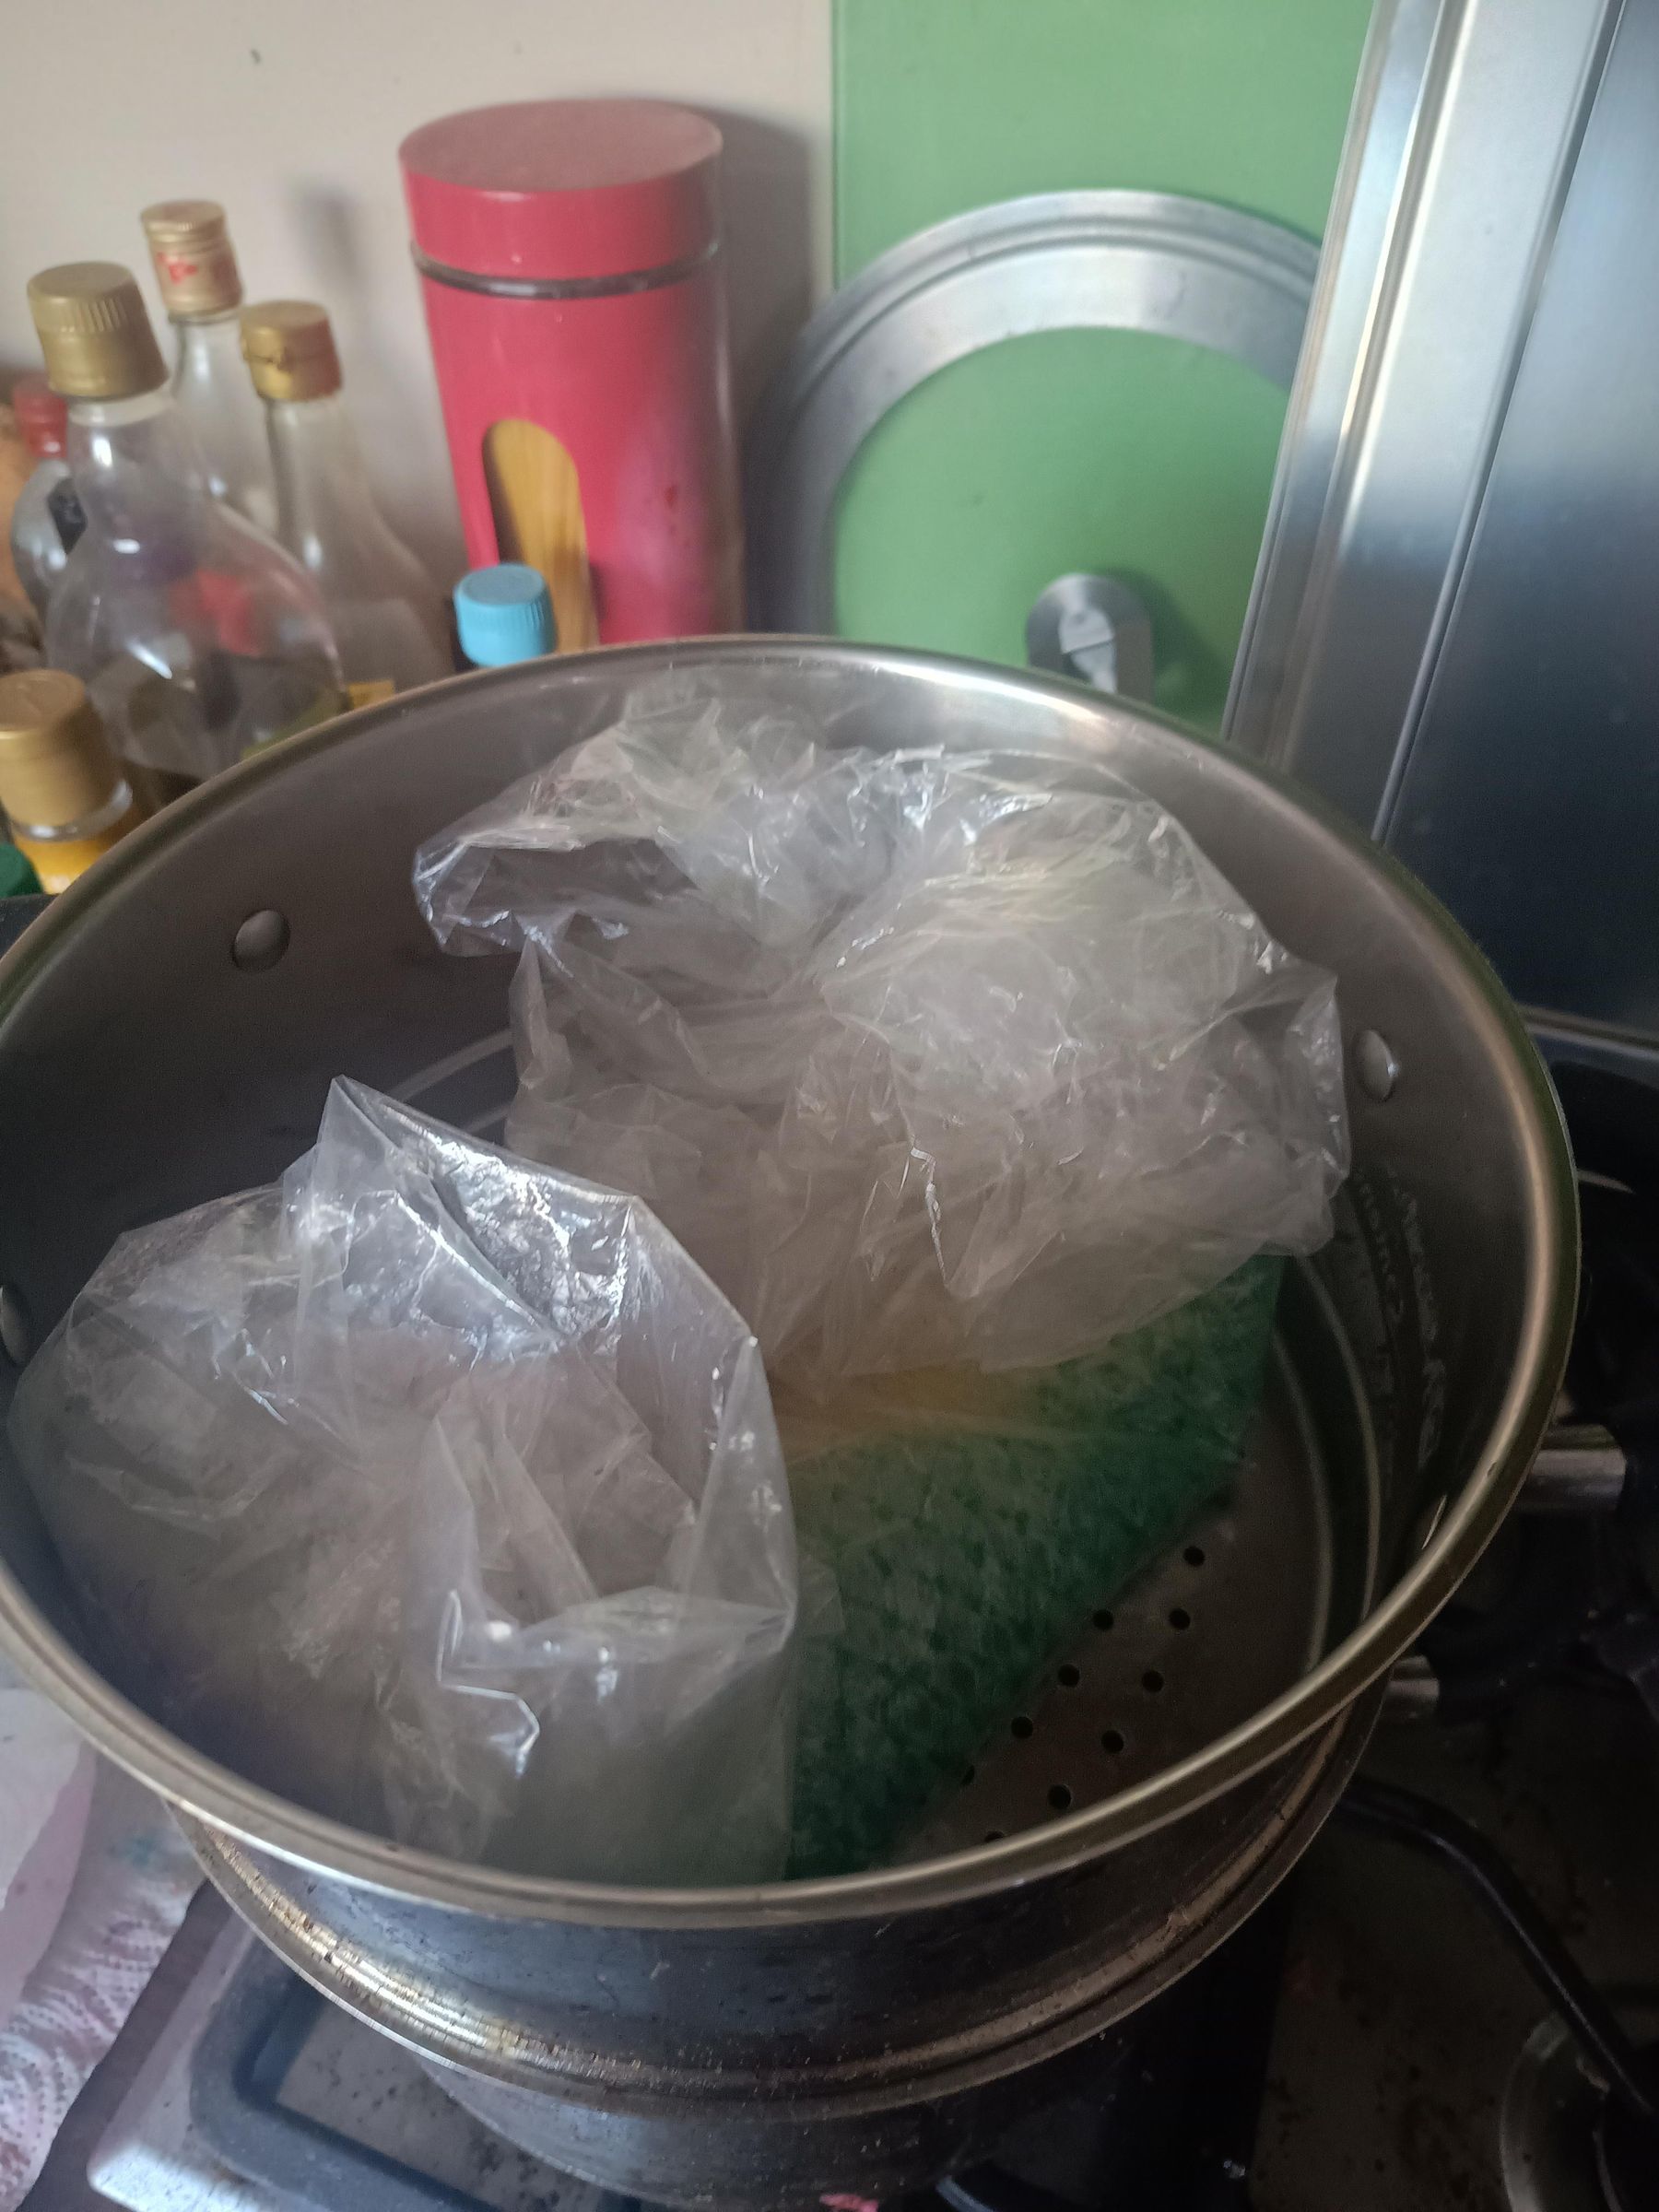
Once you're happy with your gradient, roll up the plastic sheet (sponge off any pooling dye first, so it doesn't spread overly into the adjacent colours). Steam your parcel for half an hour or so, then rinse and let dry.
Optional: Goth Gradient
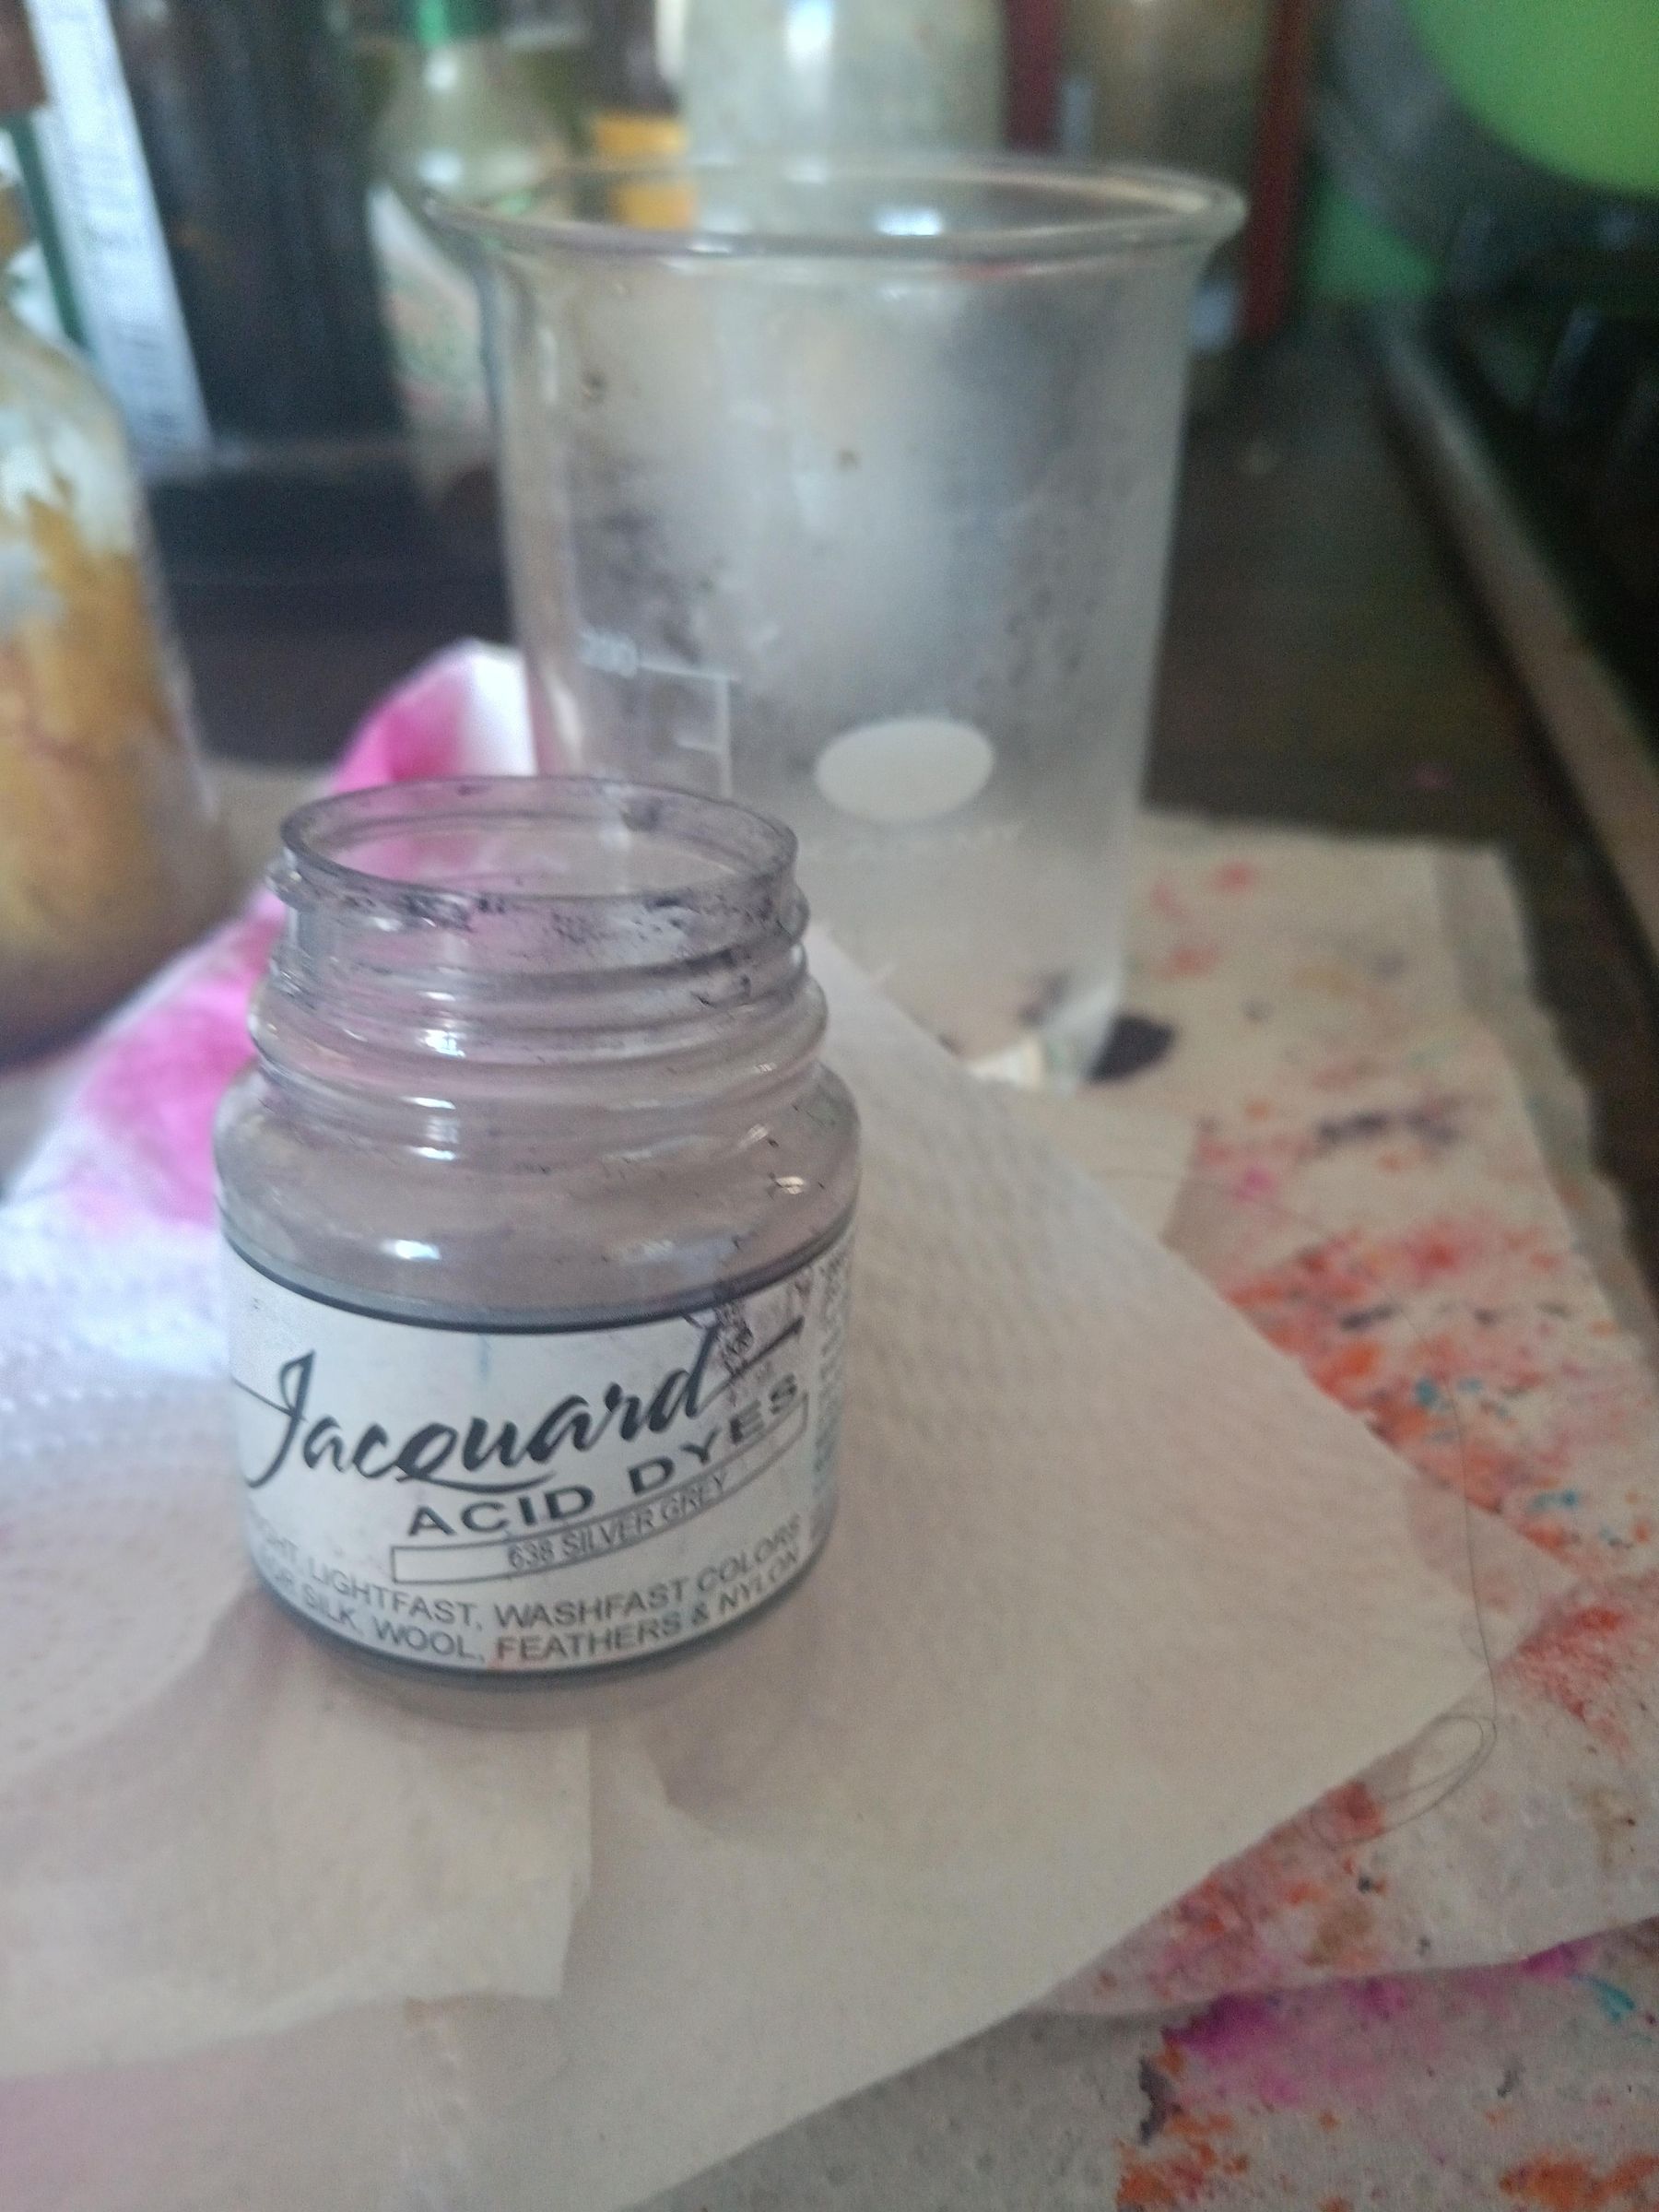
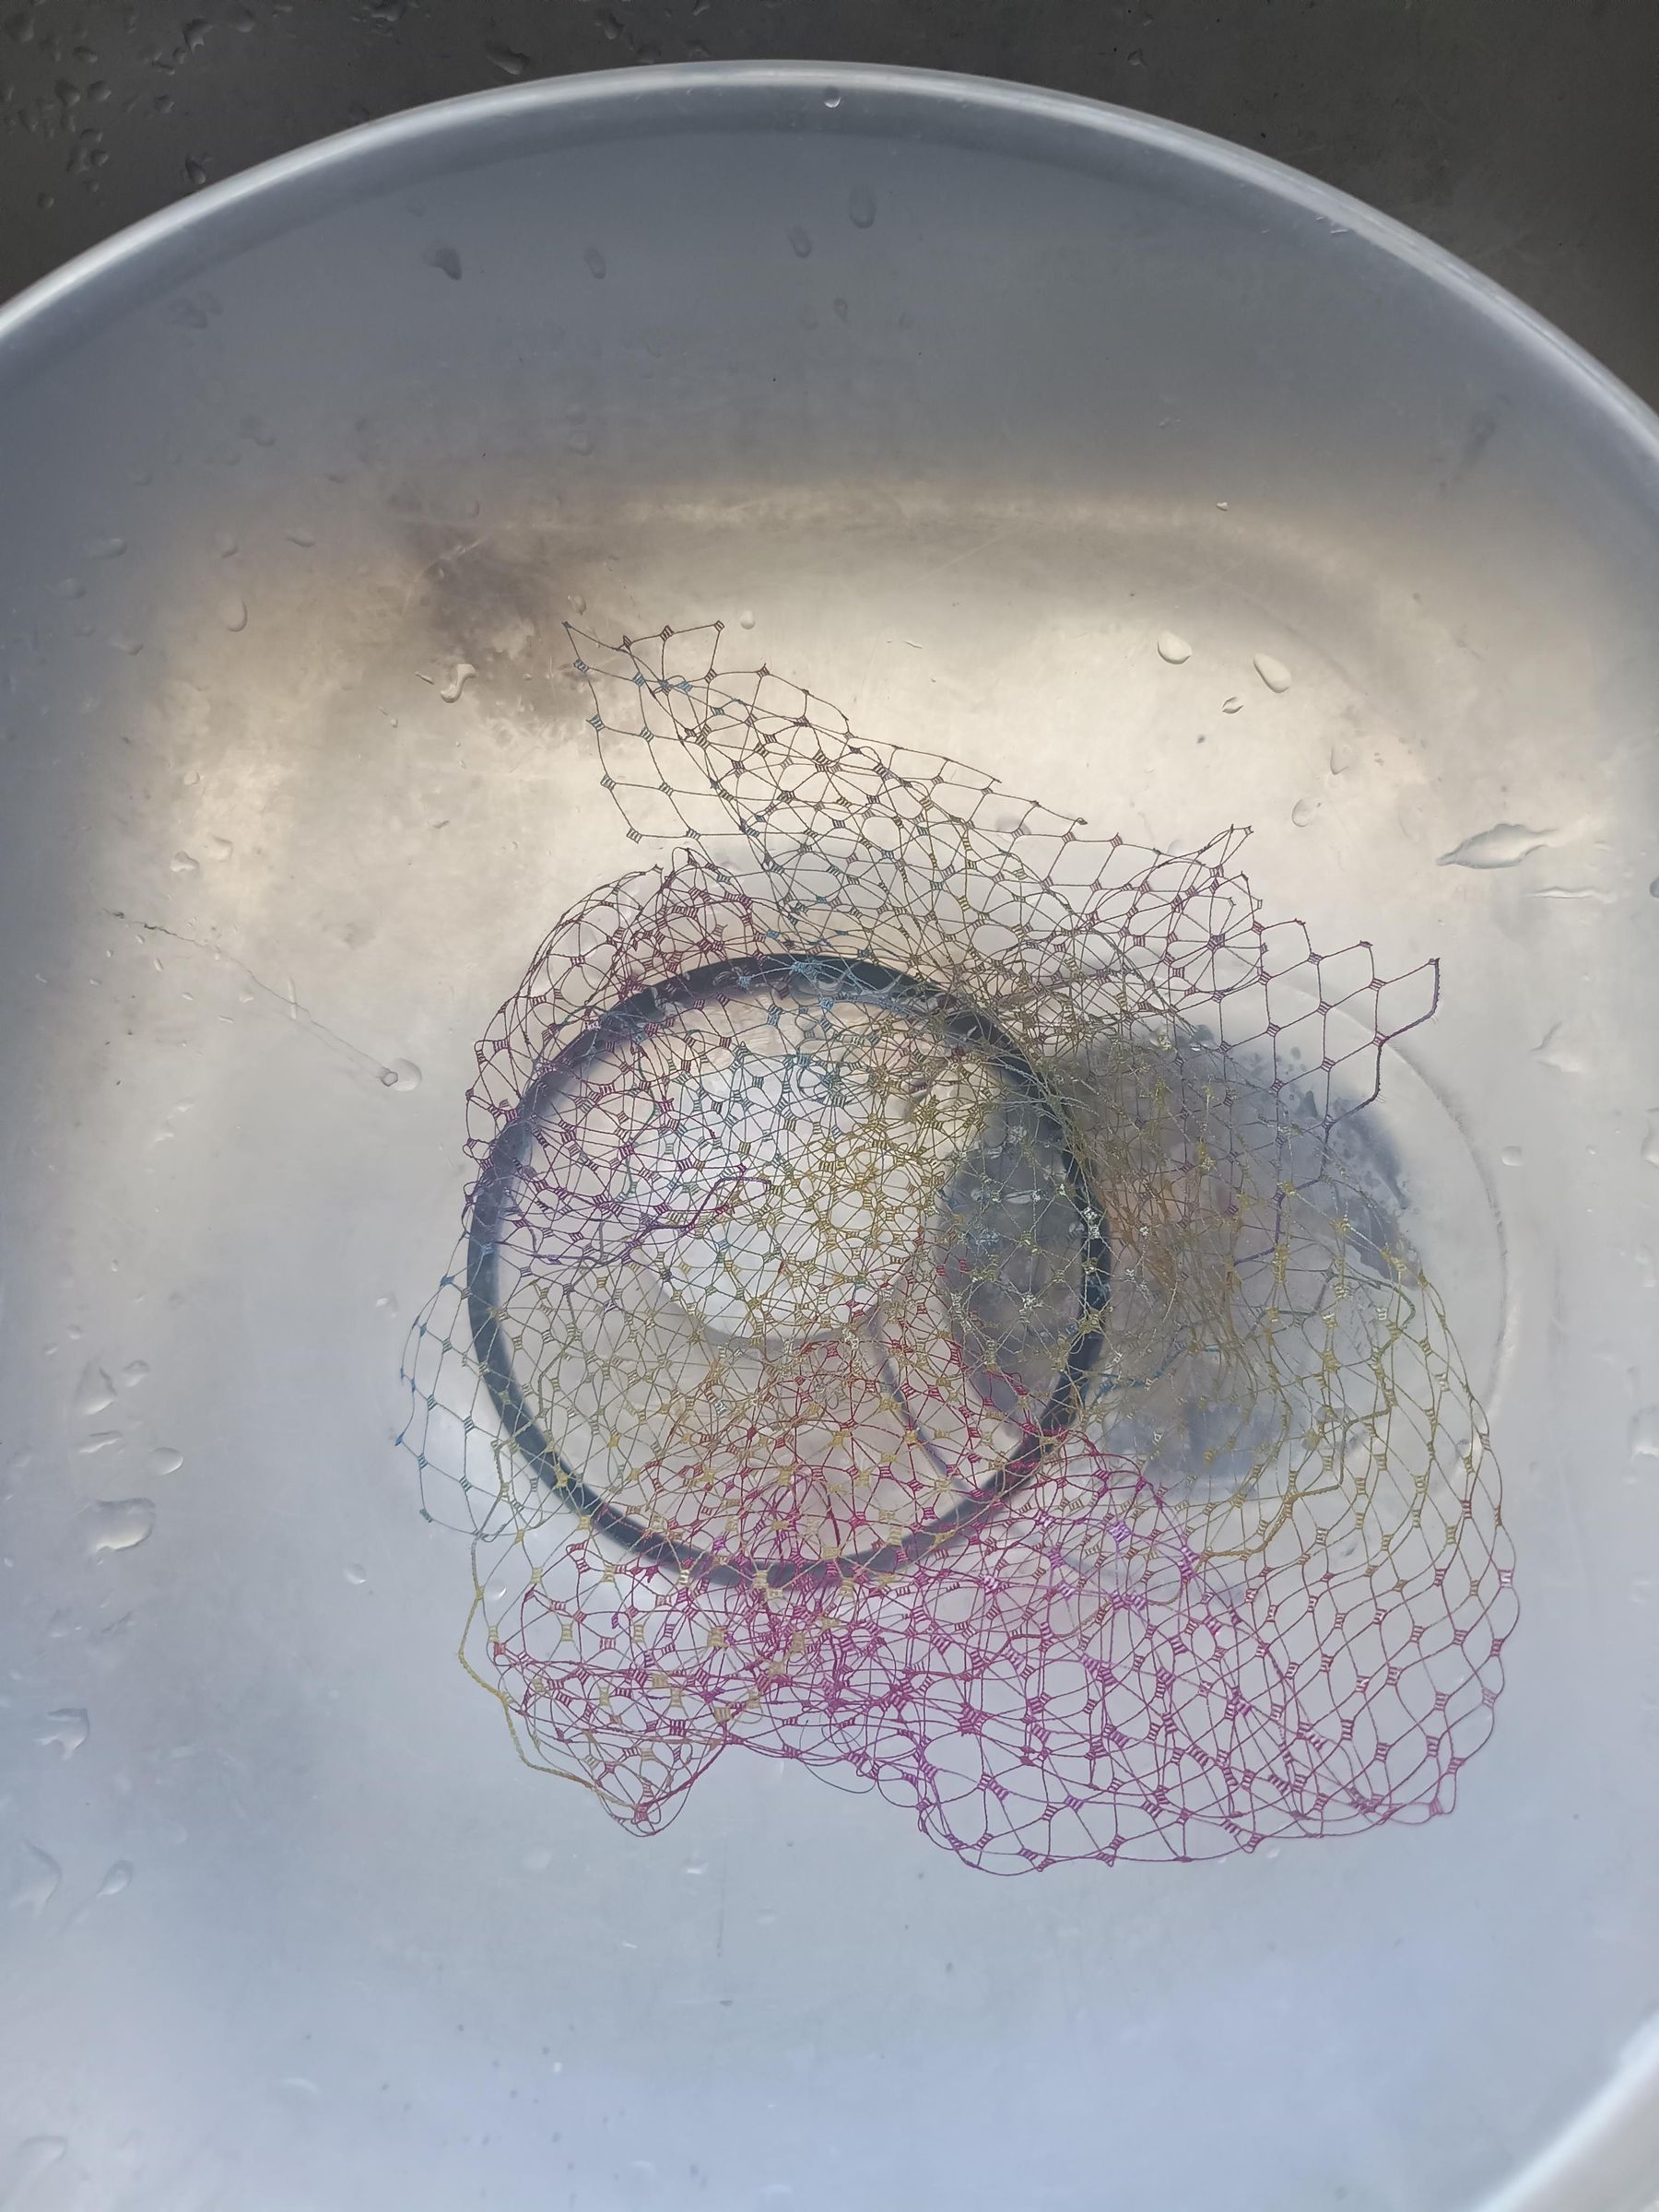
If you prefer more muted colours, you can simmer the gay veil in a pan with a smidge of silver grey and more citric acid. I chose to use the brighter veil for my finished piece though.
Sew Veil
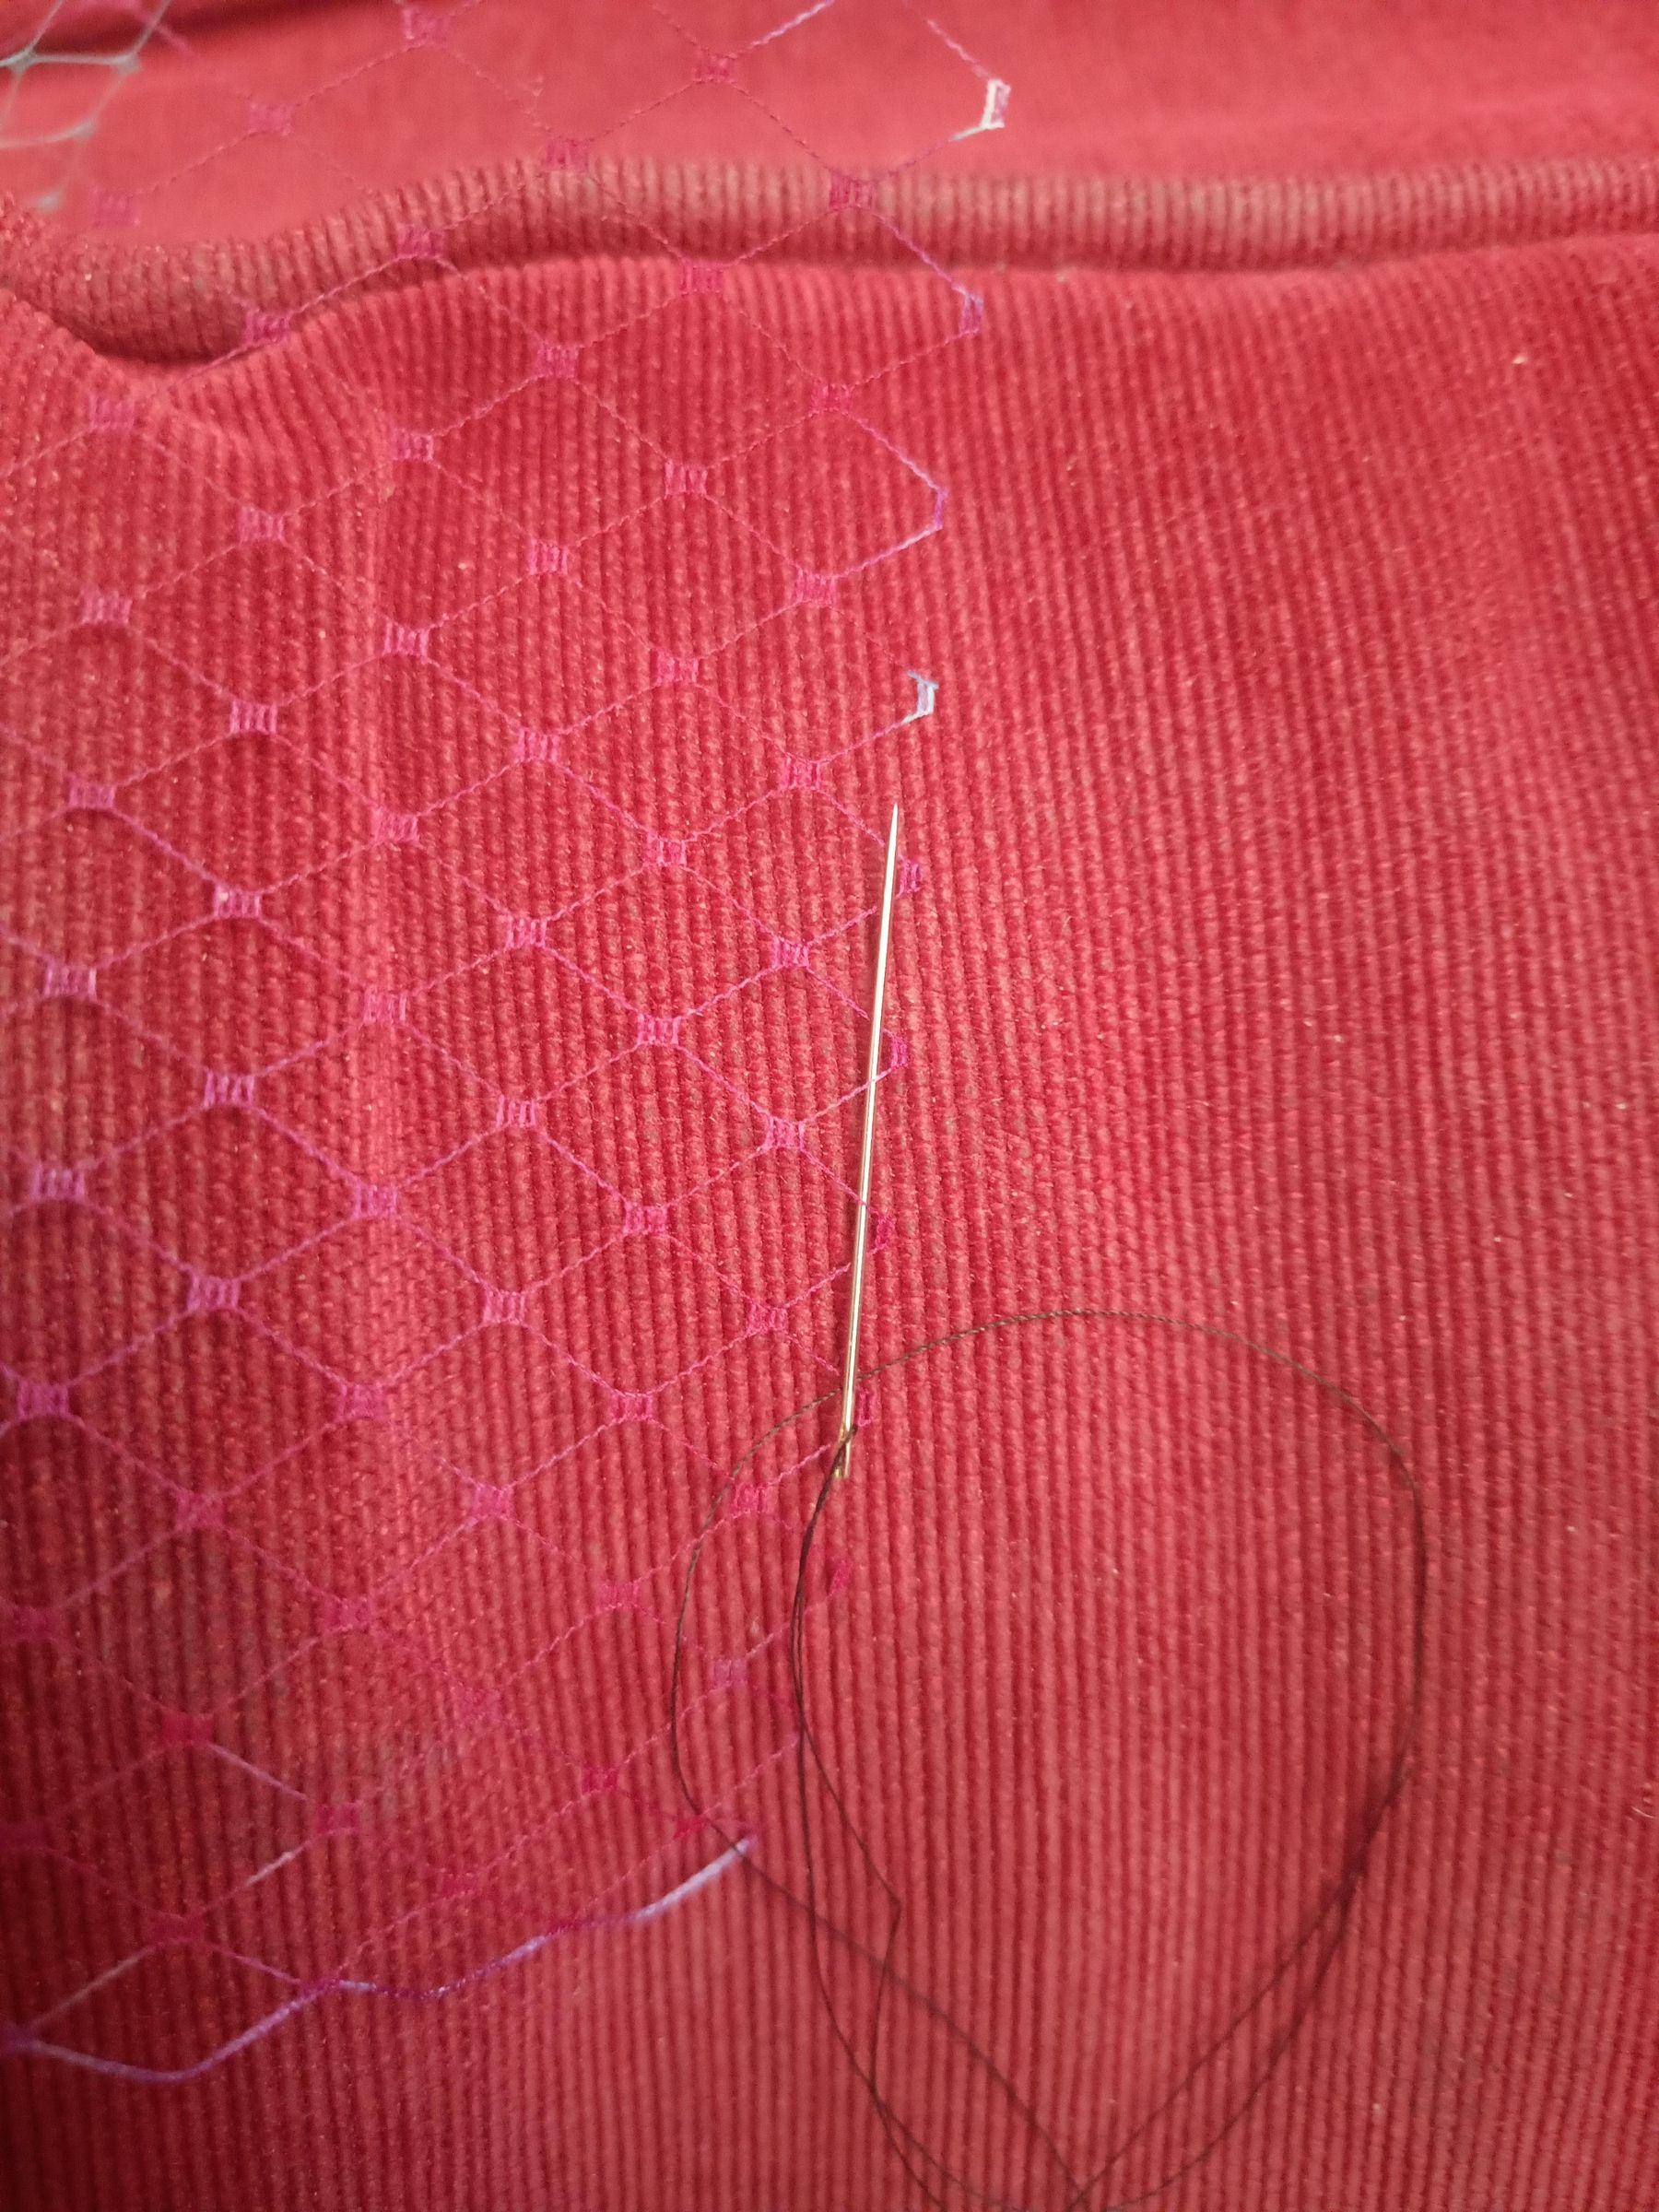
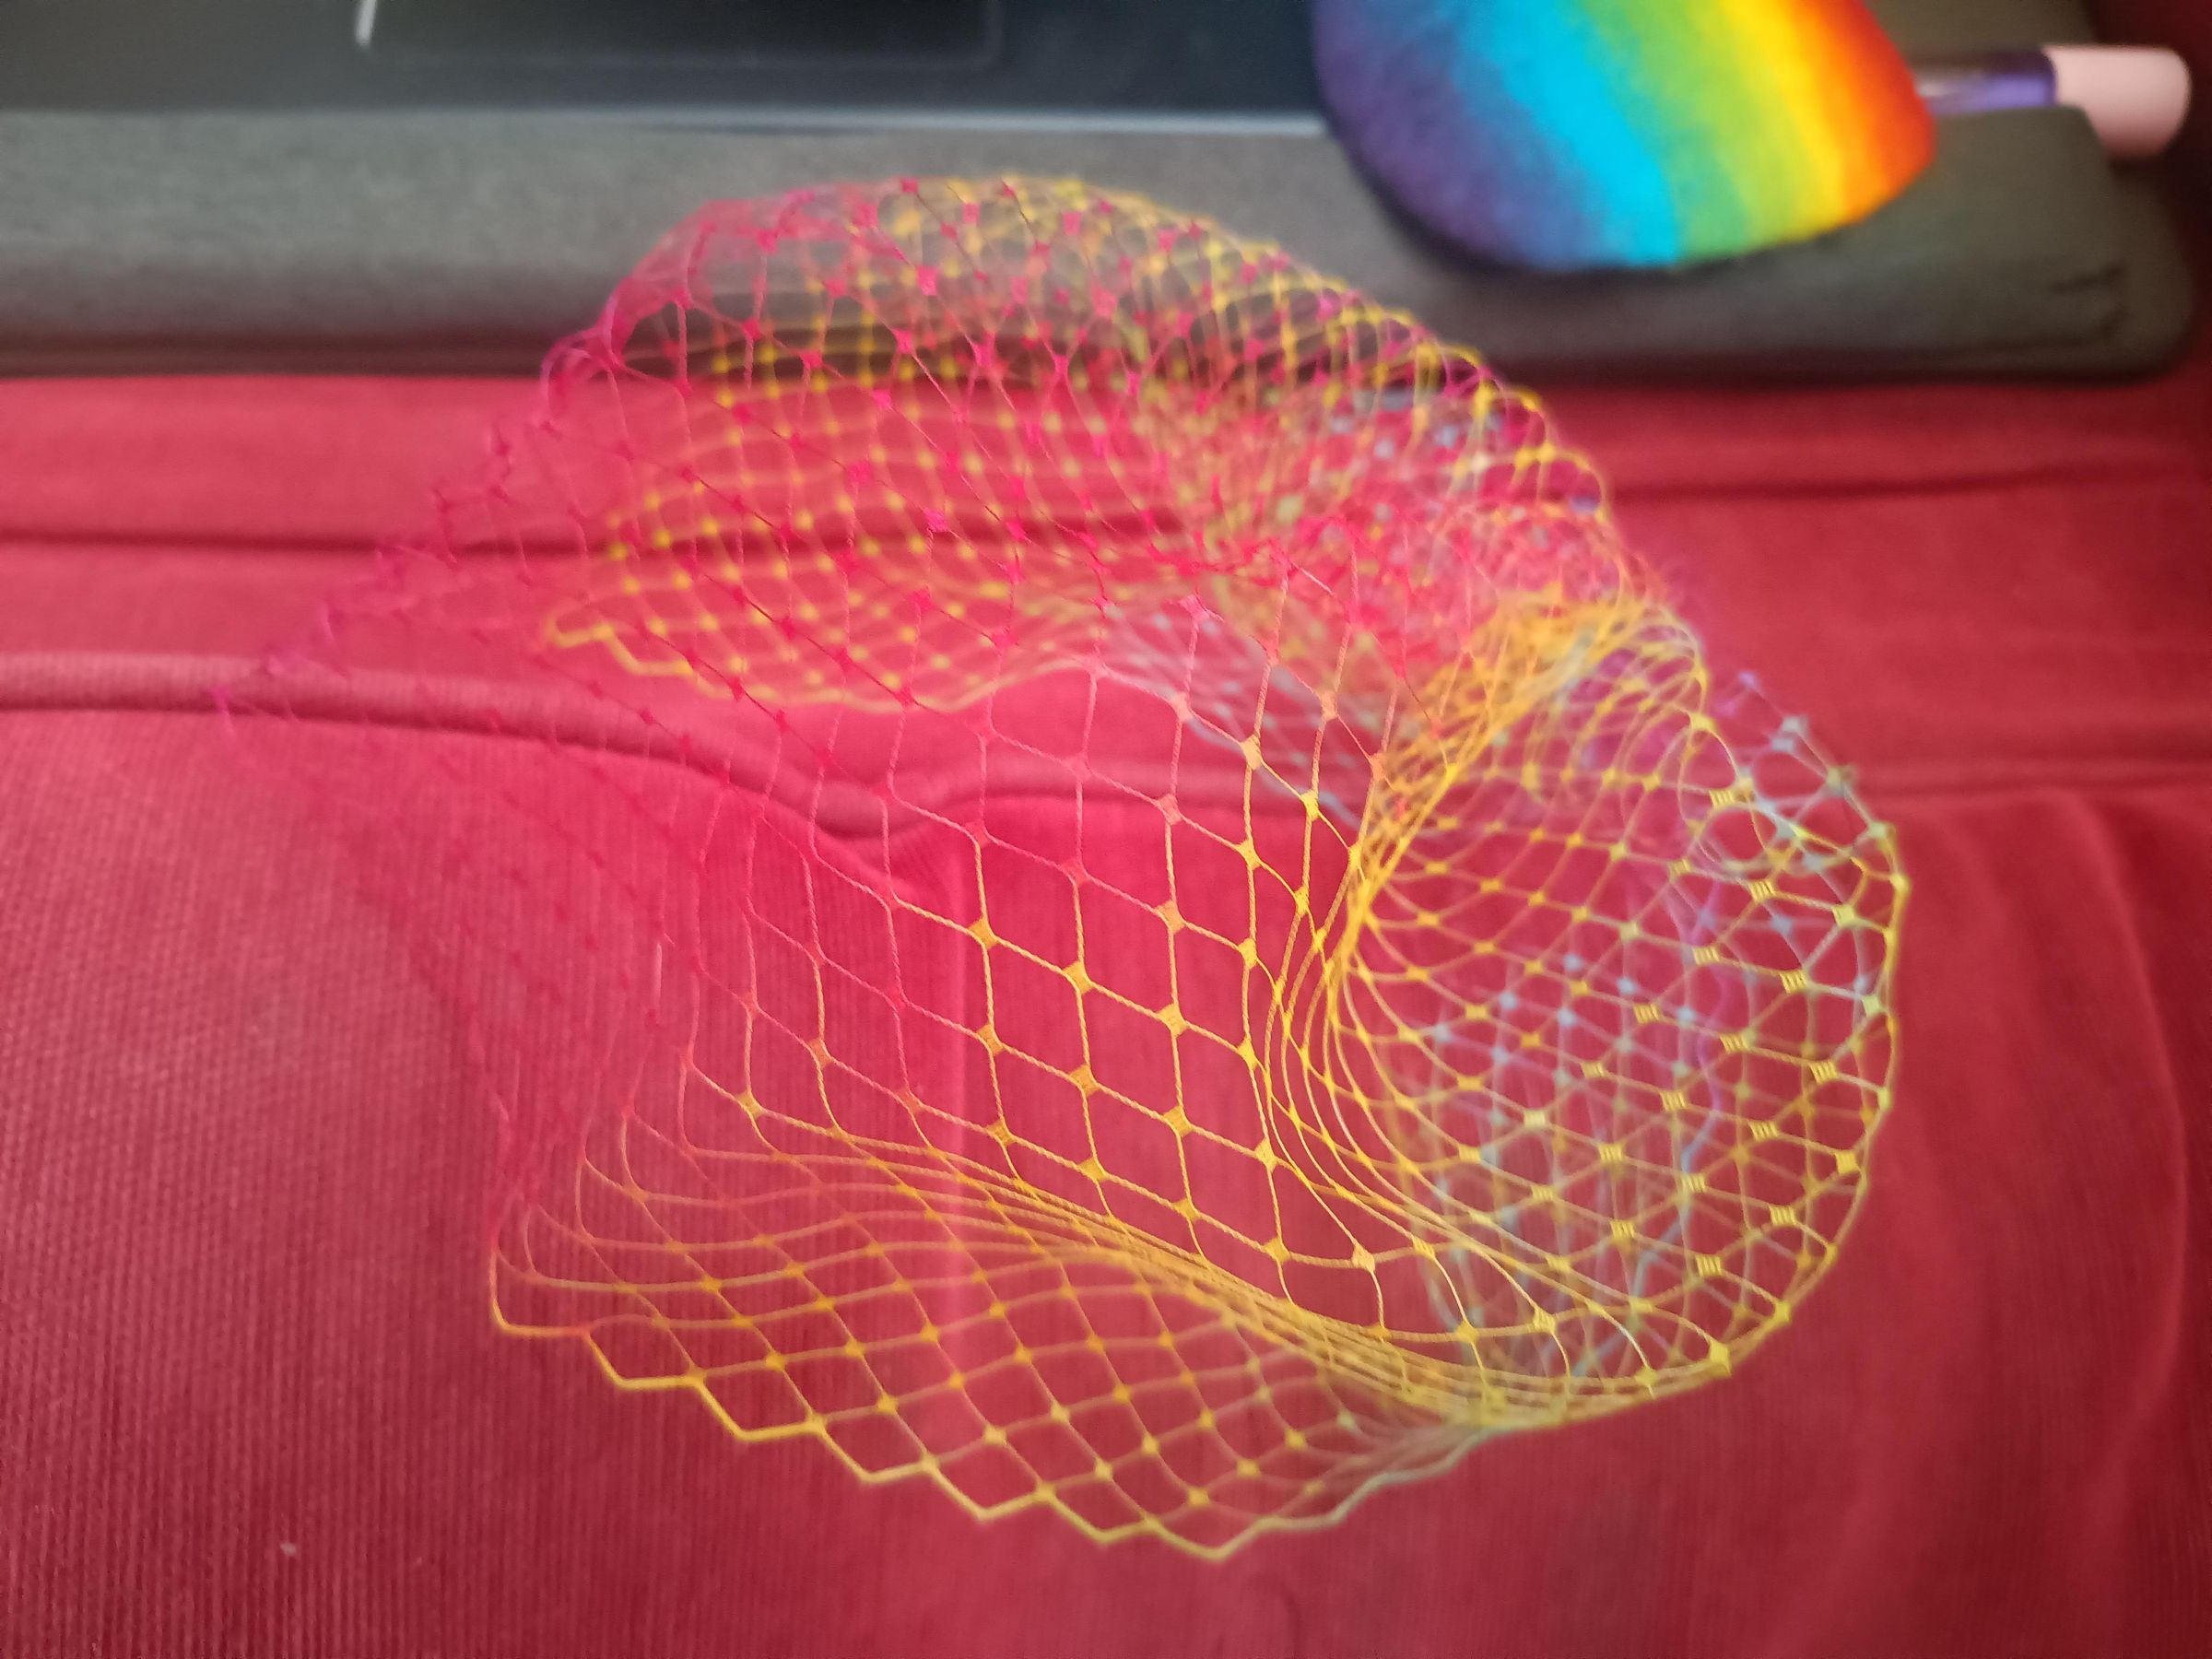
Gathering the veil is really easy. Just work a running stitch all around the edges apart from the longest one, and pull tight. Knot securely.
Finish Hat
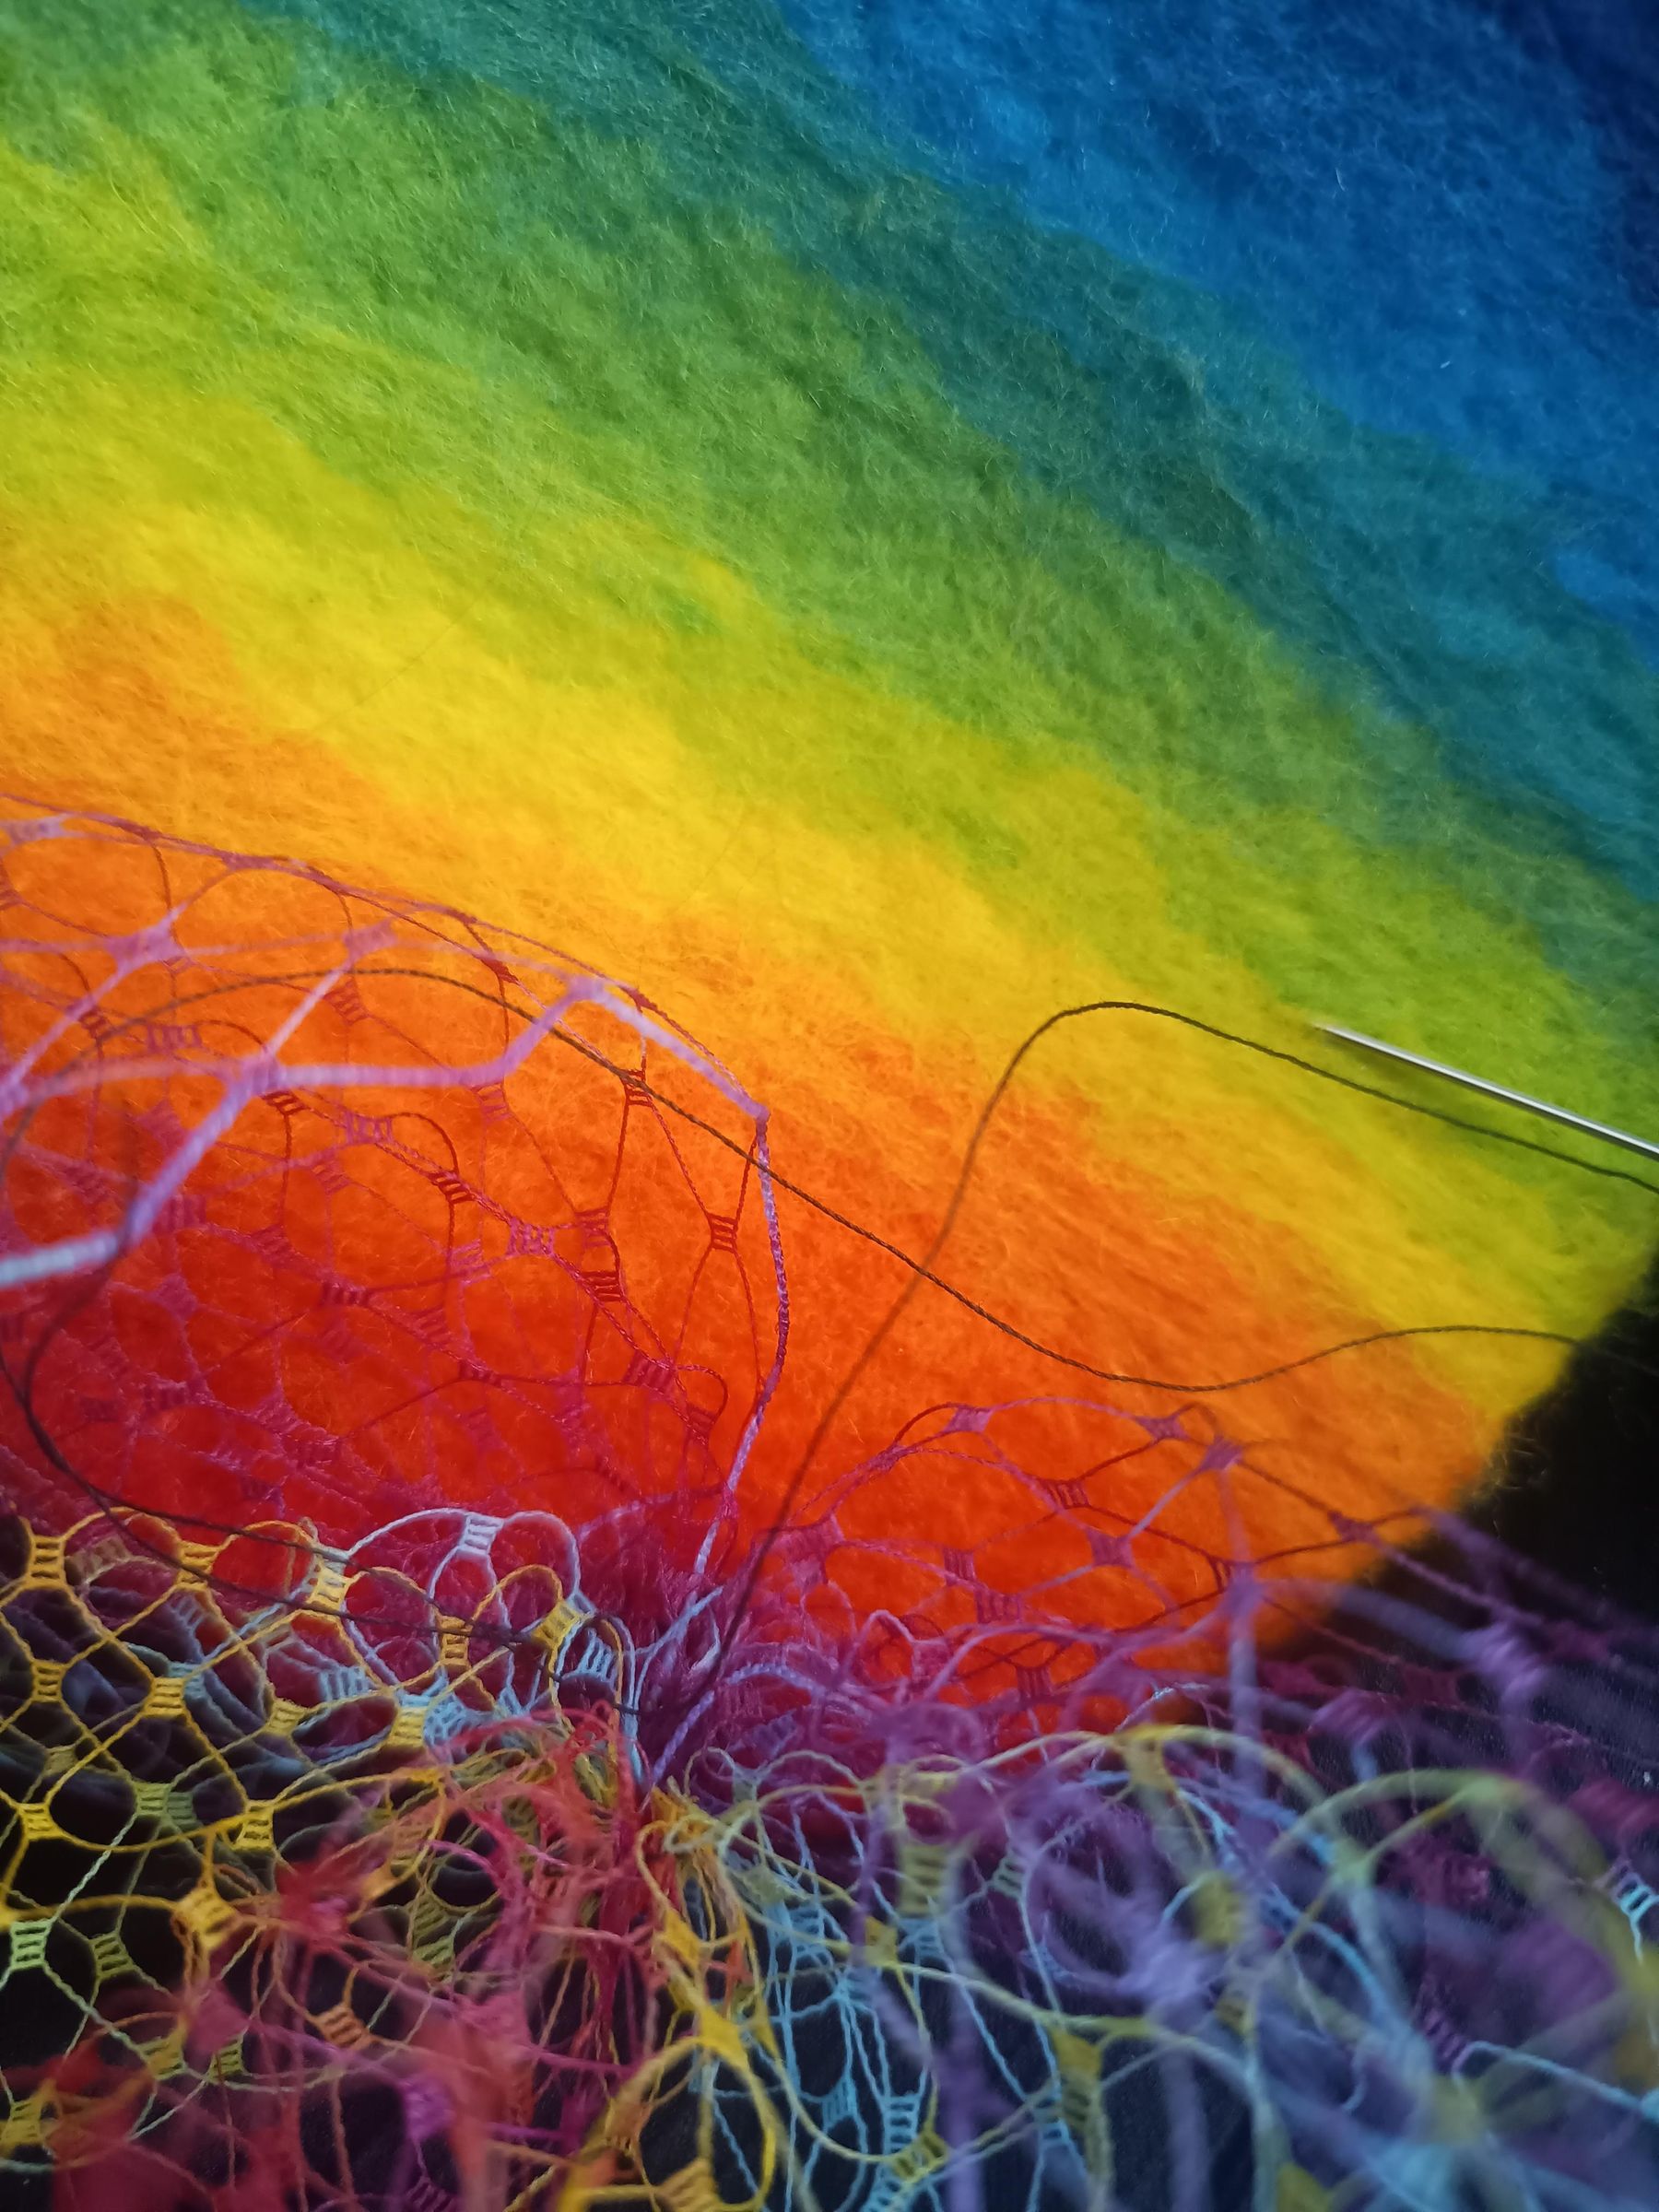
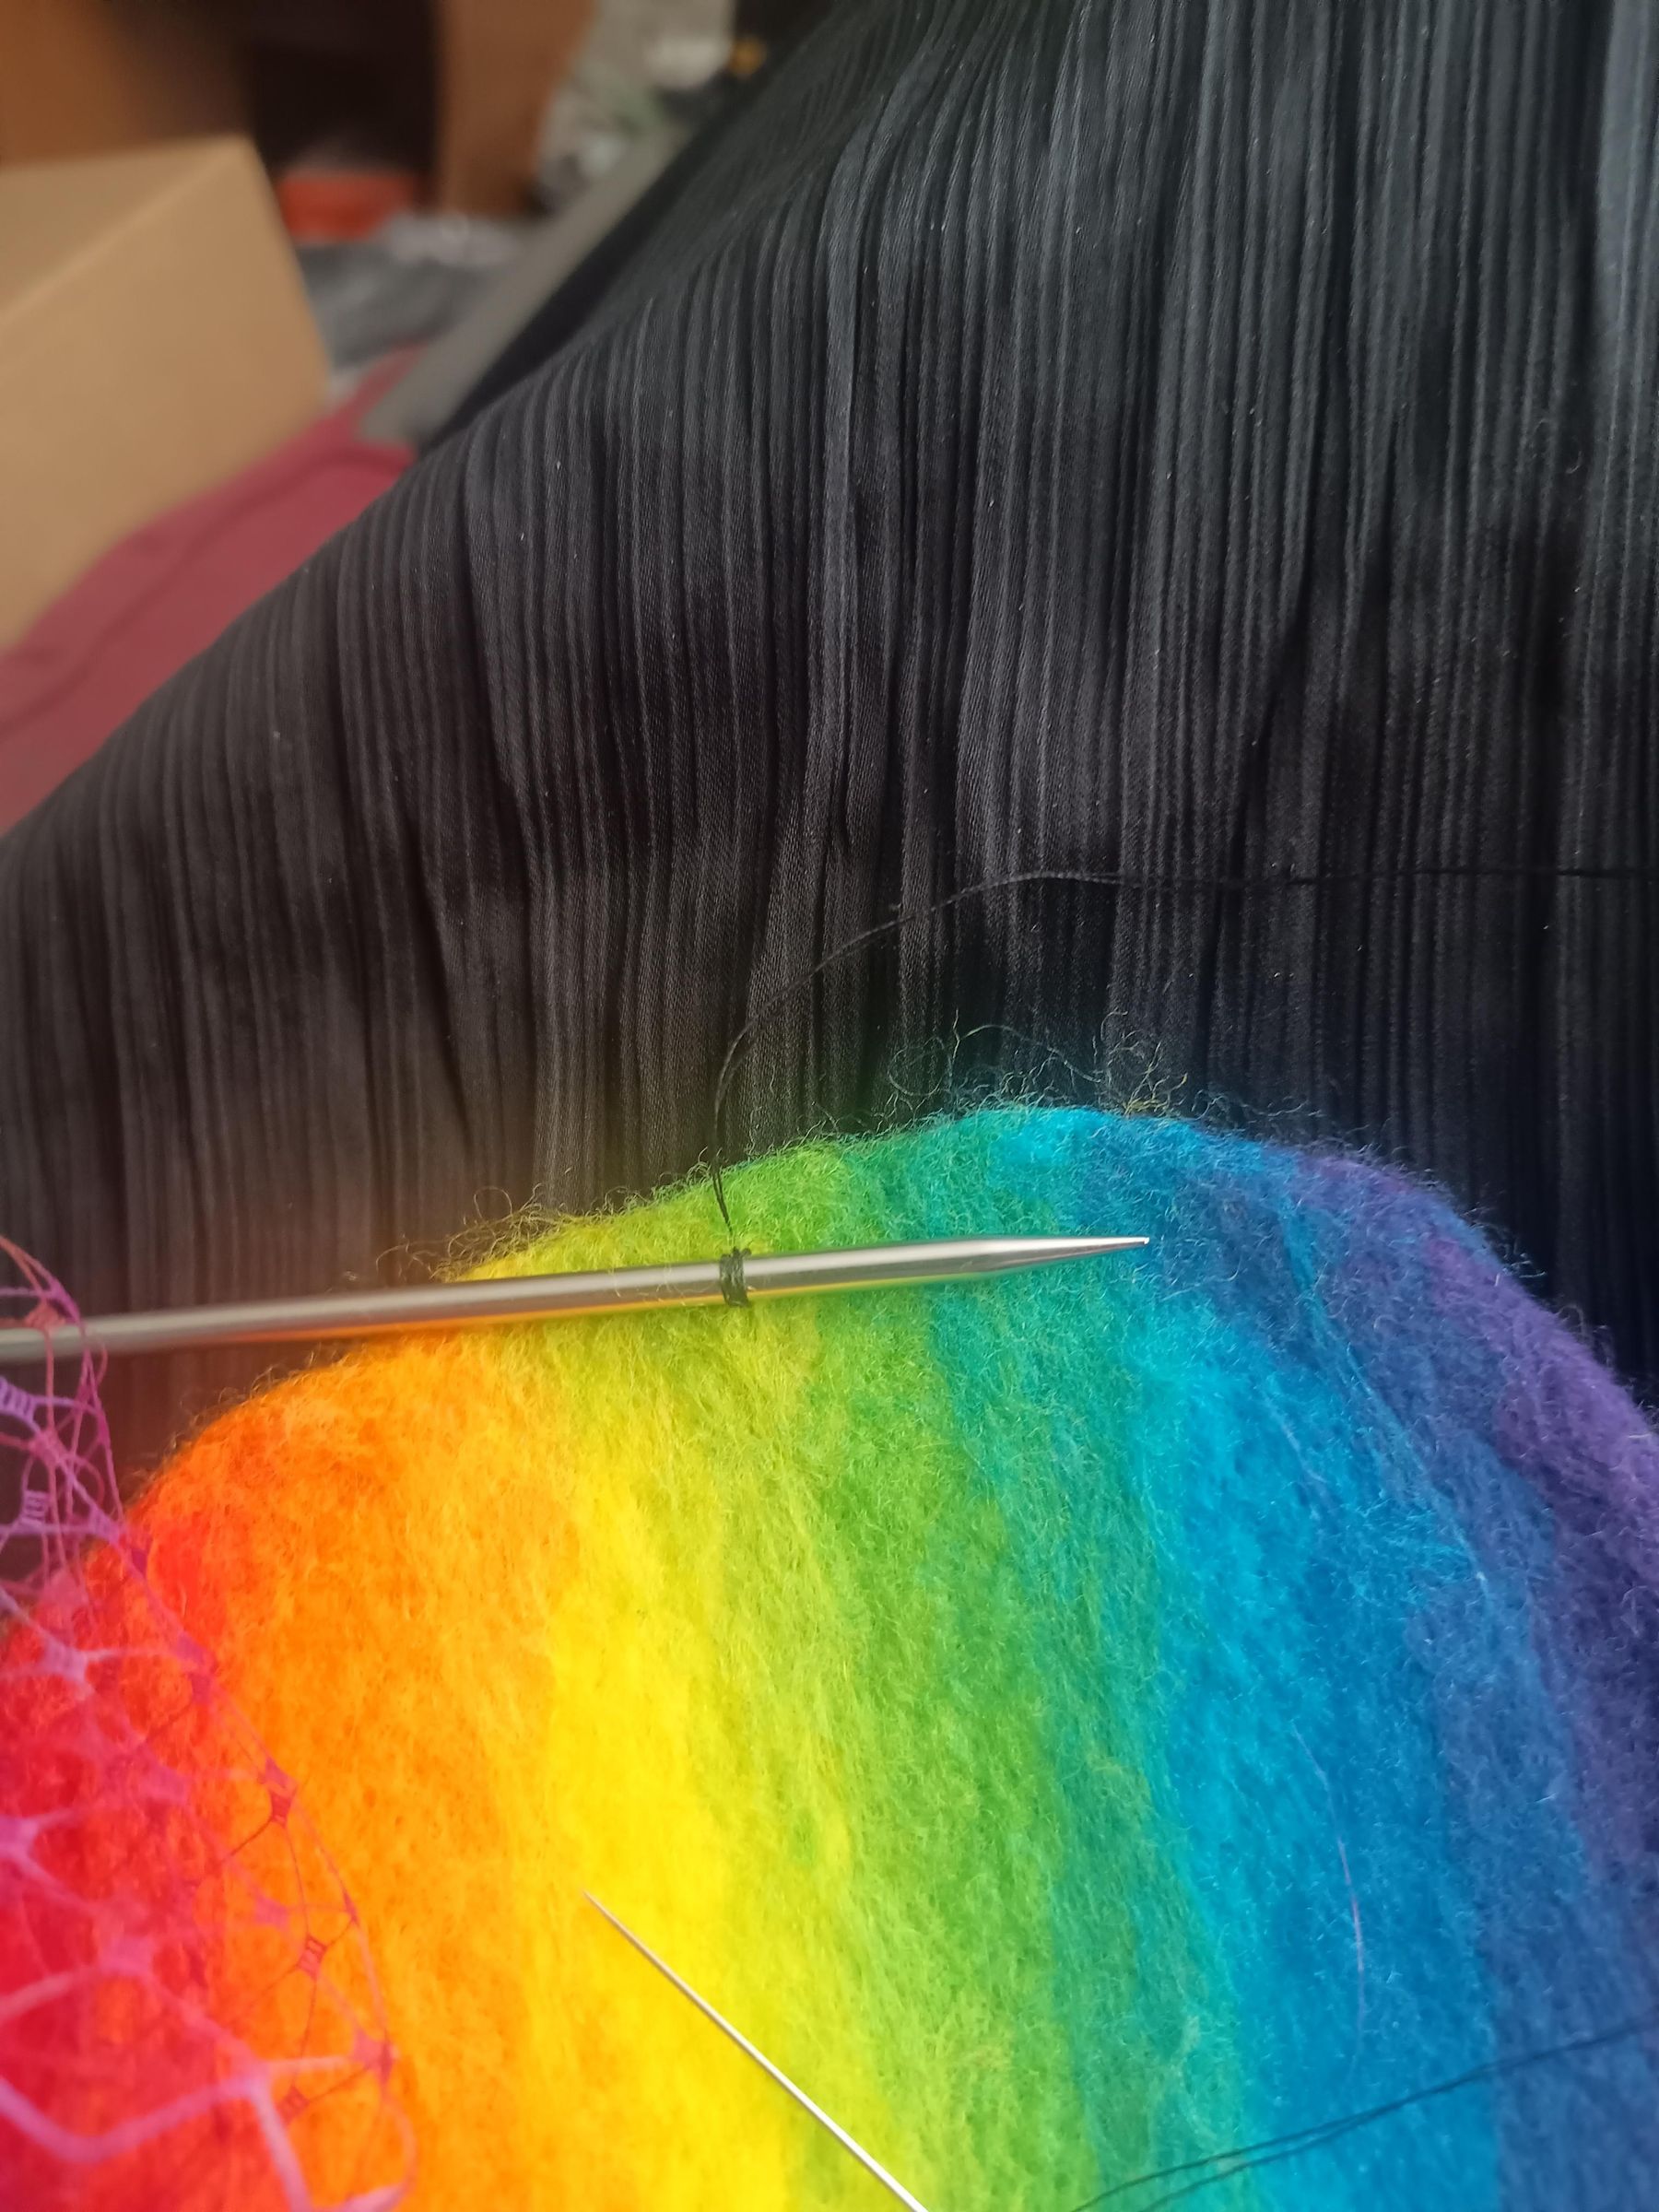
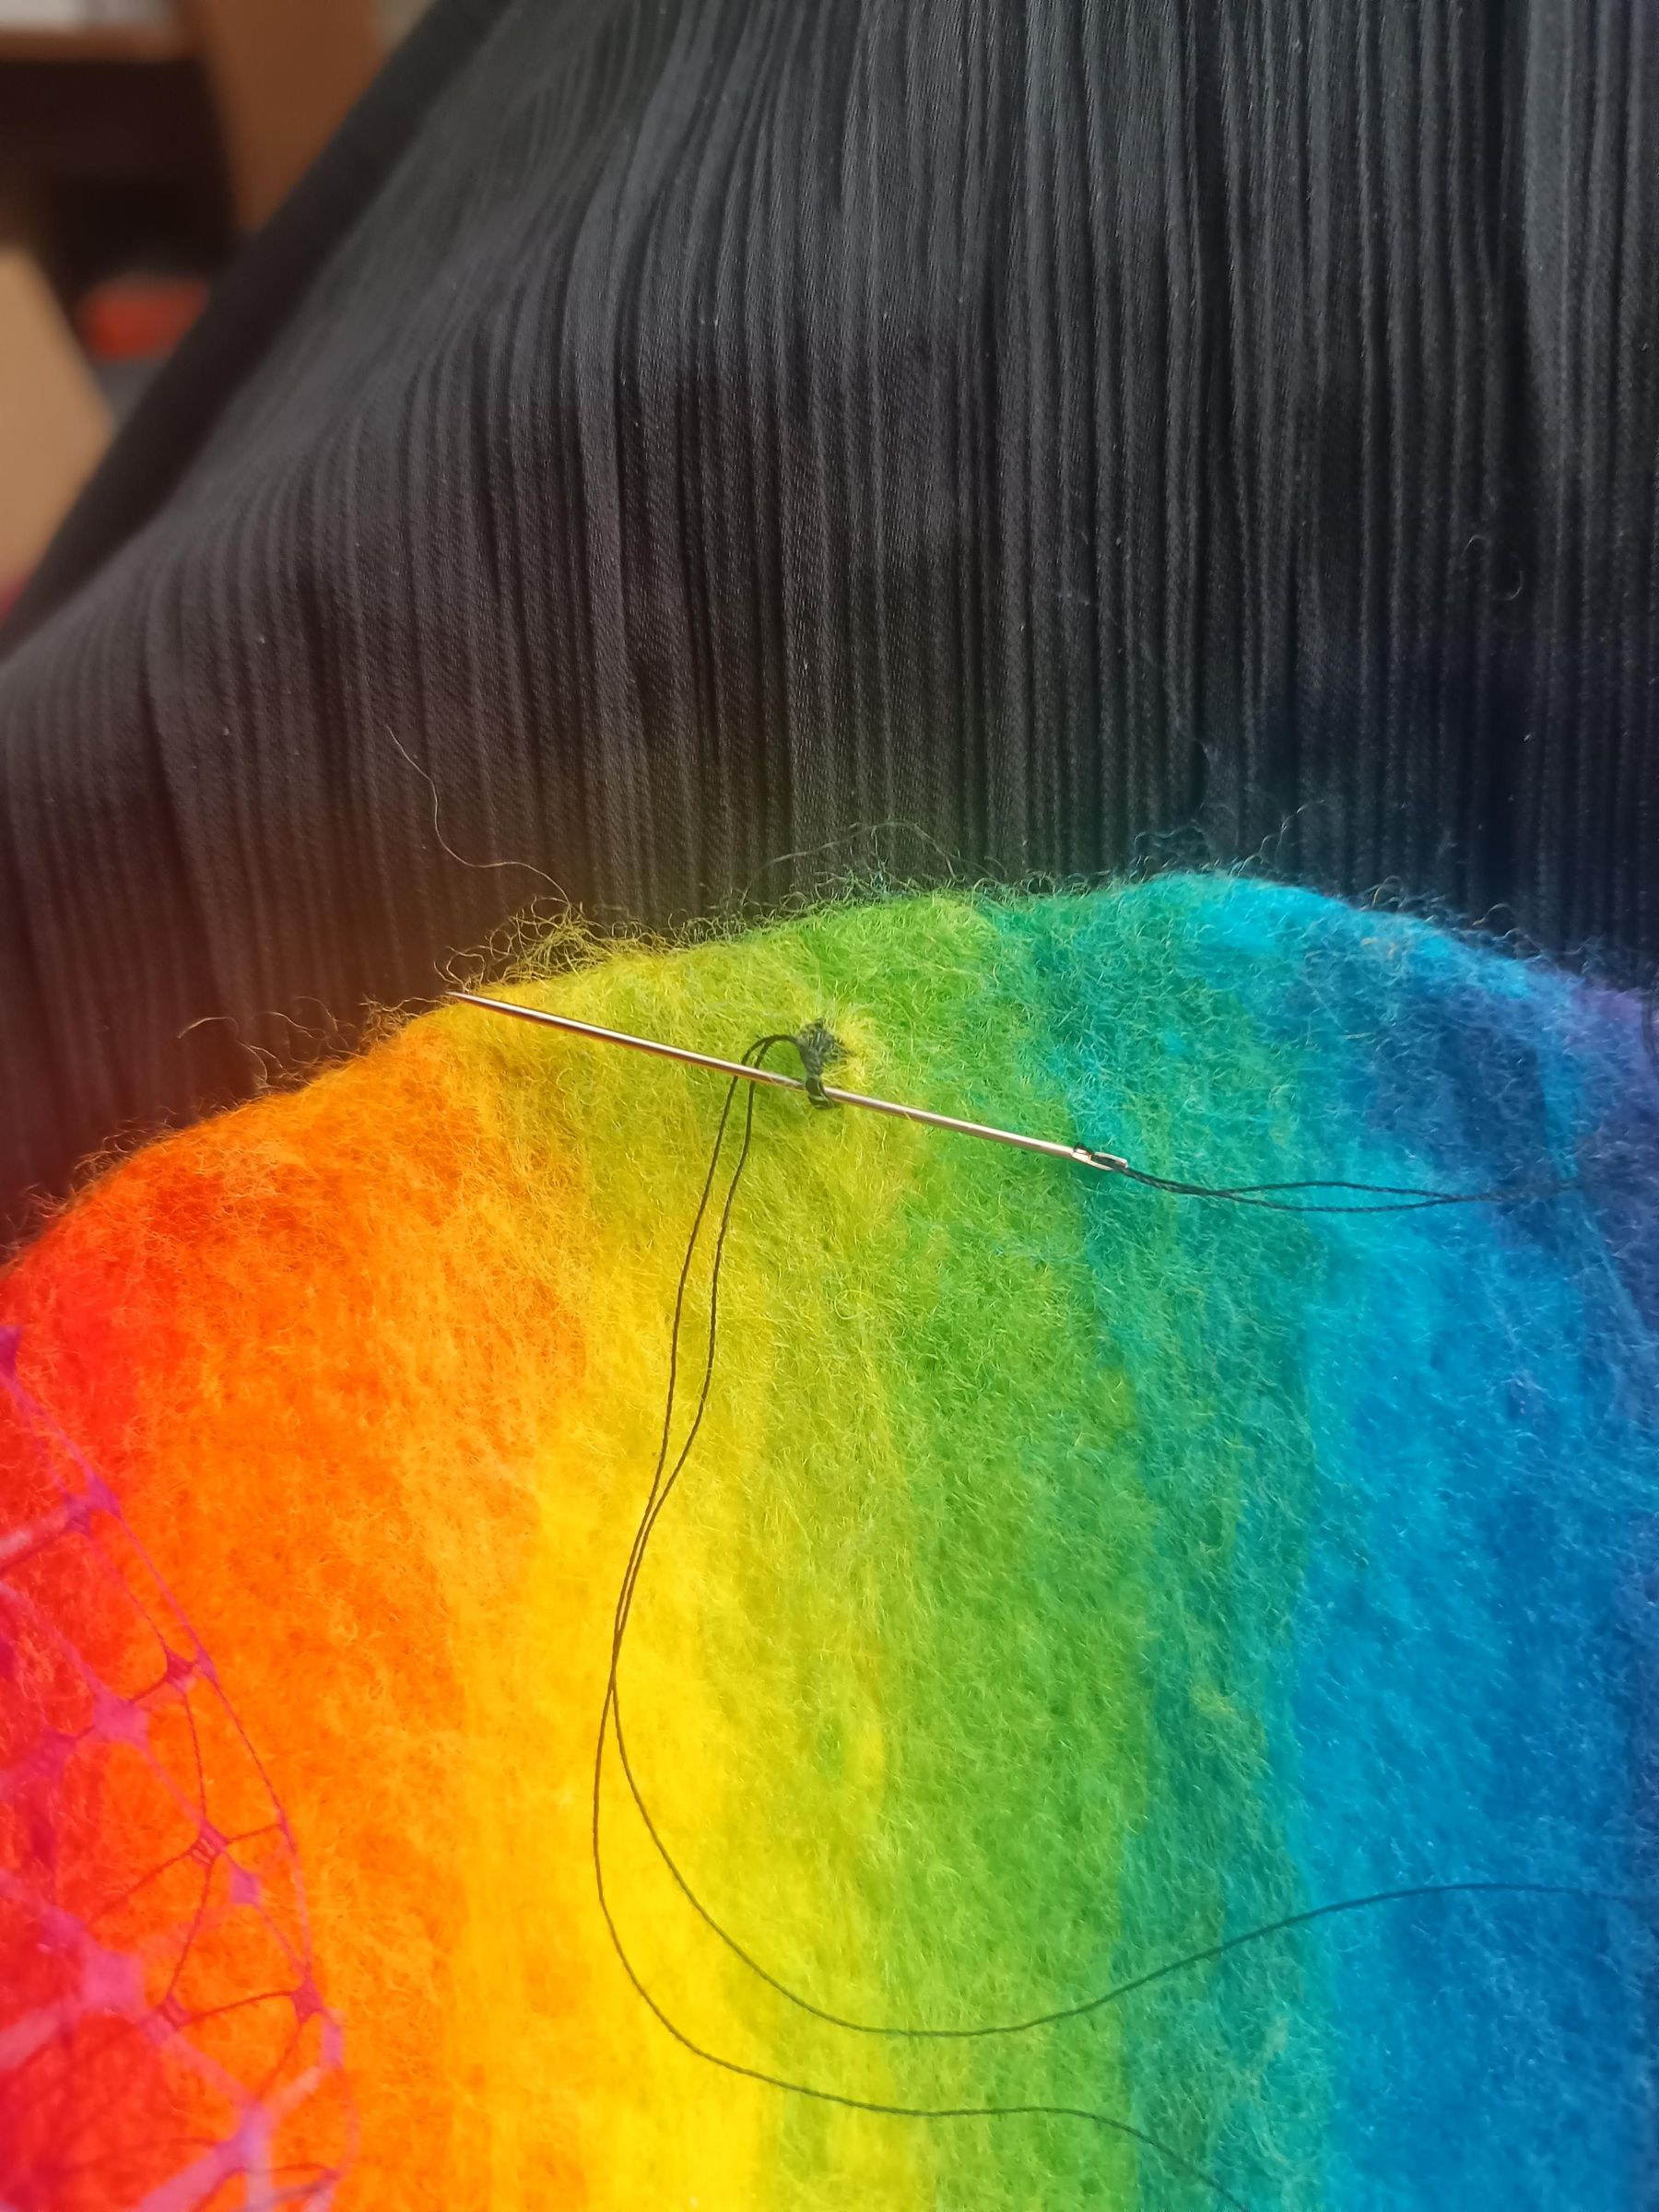
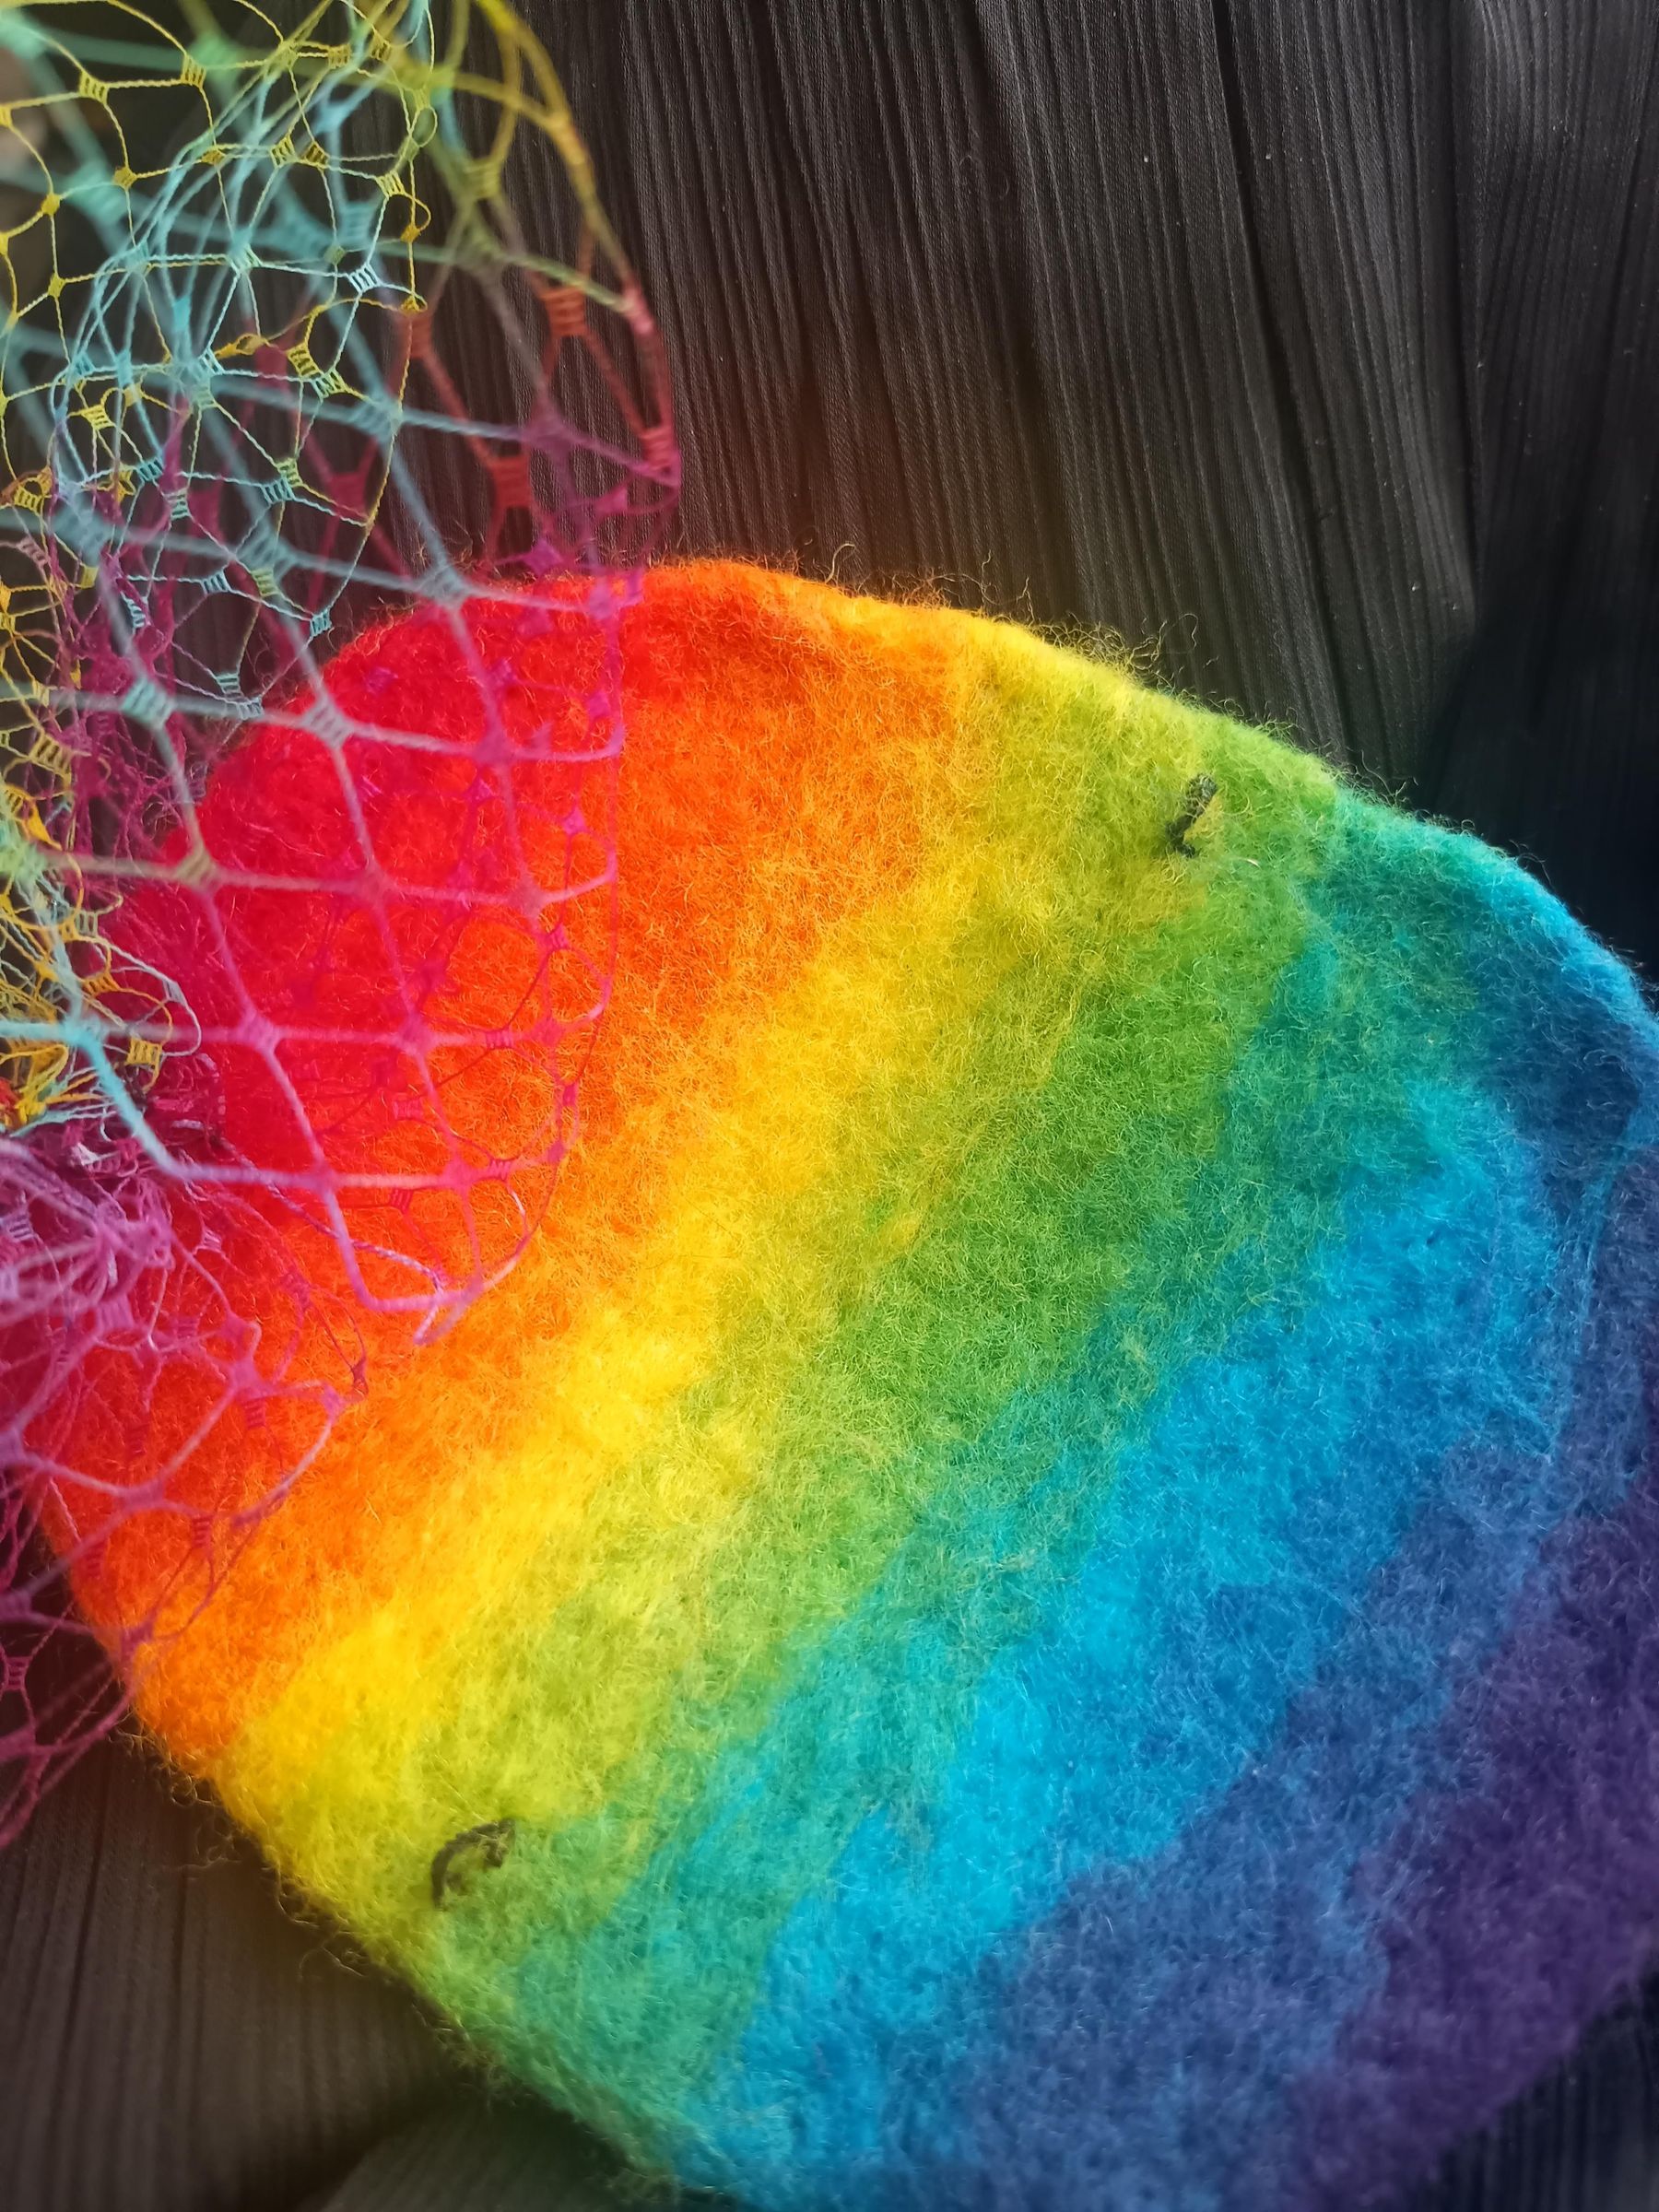
With a mirror handy to check your preferred positioning, sew the veil to the hat (or you can skip this, and just pin the veil and hat to your hair separately, if you want different styling options).
So you can attach your hat to your head, create some thread loops for kirby grips to slide through (alternatively, sew a comb to the hat). I secured the thread to the hat, and sewed around a knitting needle several times. Then I worked buttonhole stitch (basically just lots of half hitches around the thread) over the loops. I made these loops at two sides of the hat, plus I could pin through the veil at the front. If you're not sewing the veil to the hat, I'd recommend making three anchoring points.
Wear Hat!!