Rainbow Feathered Fan
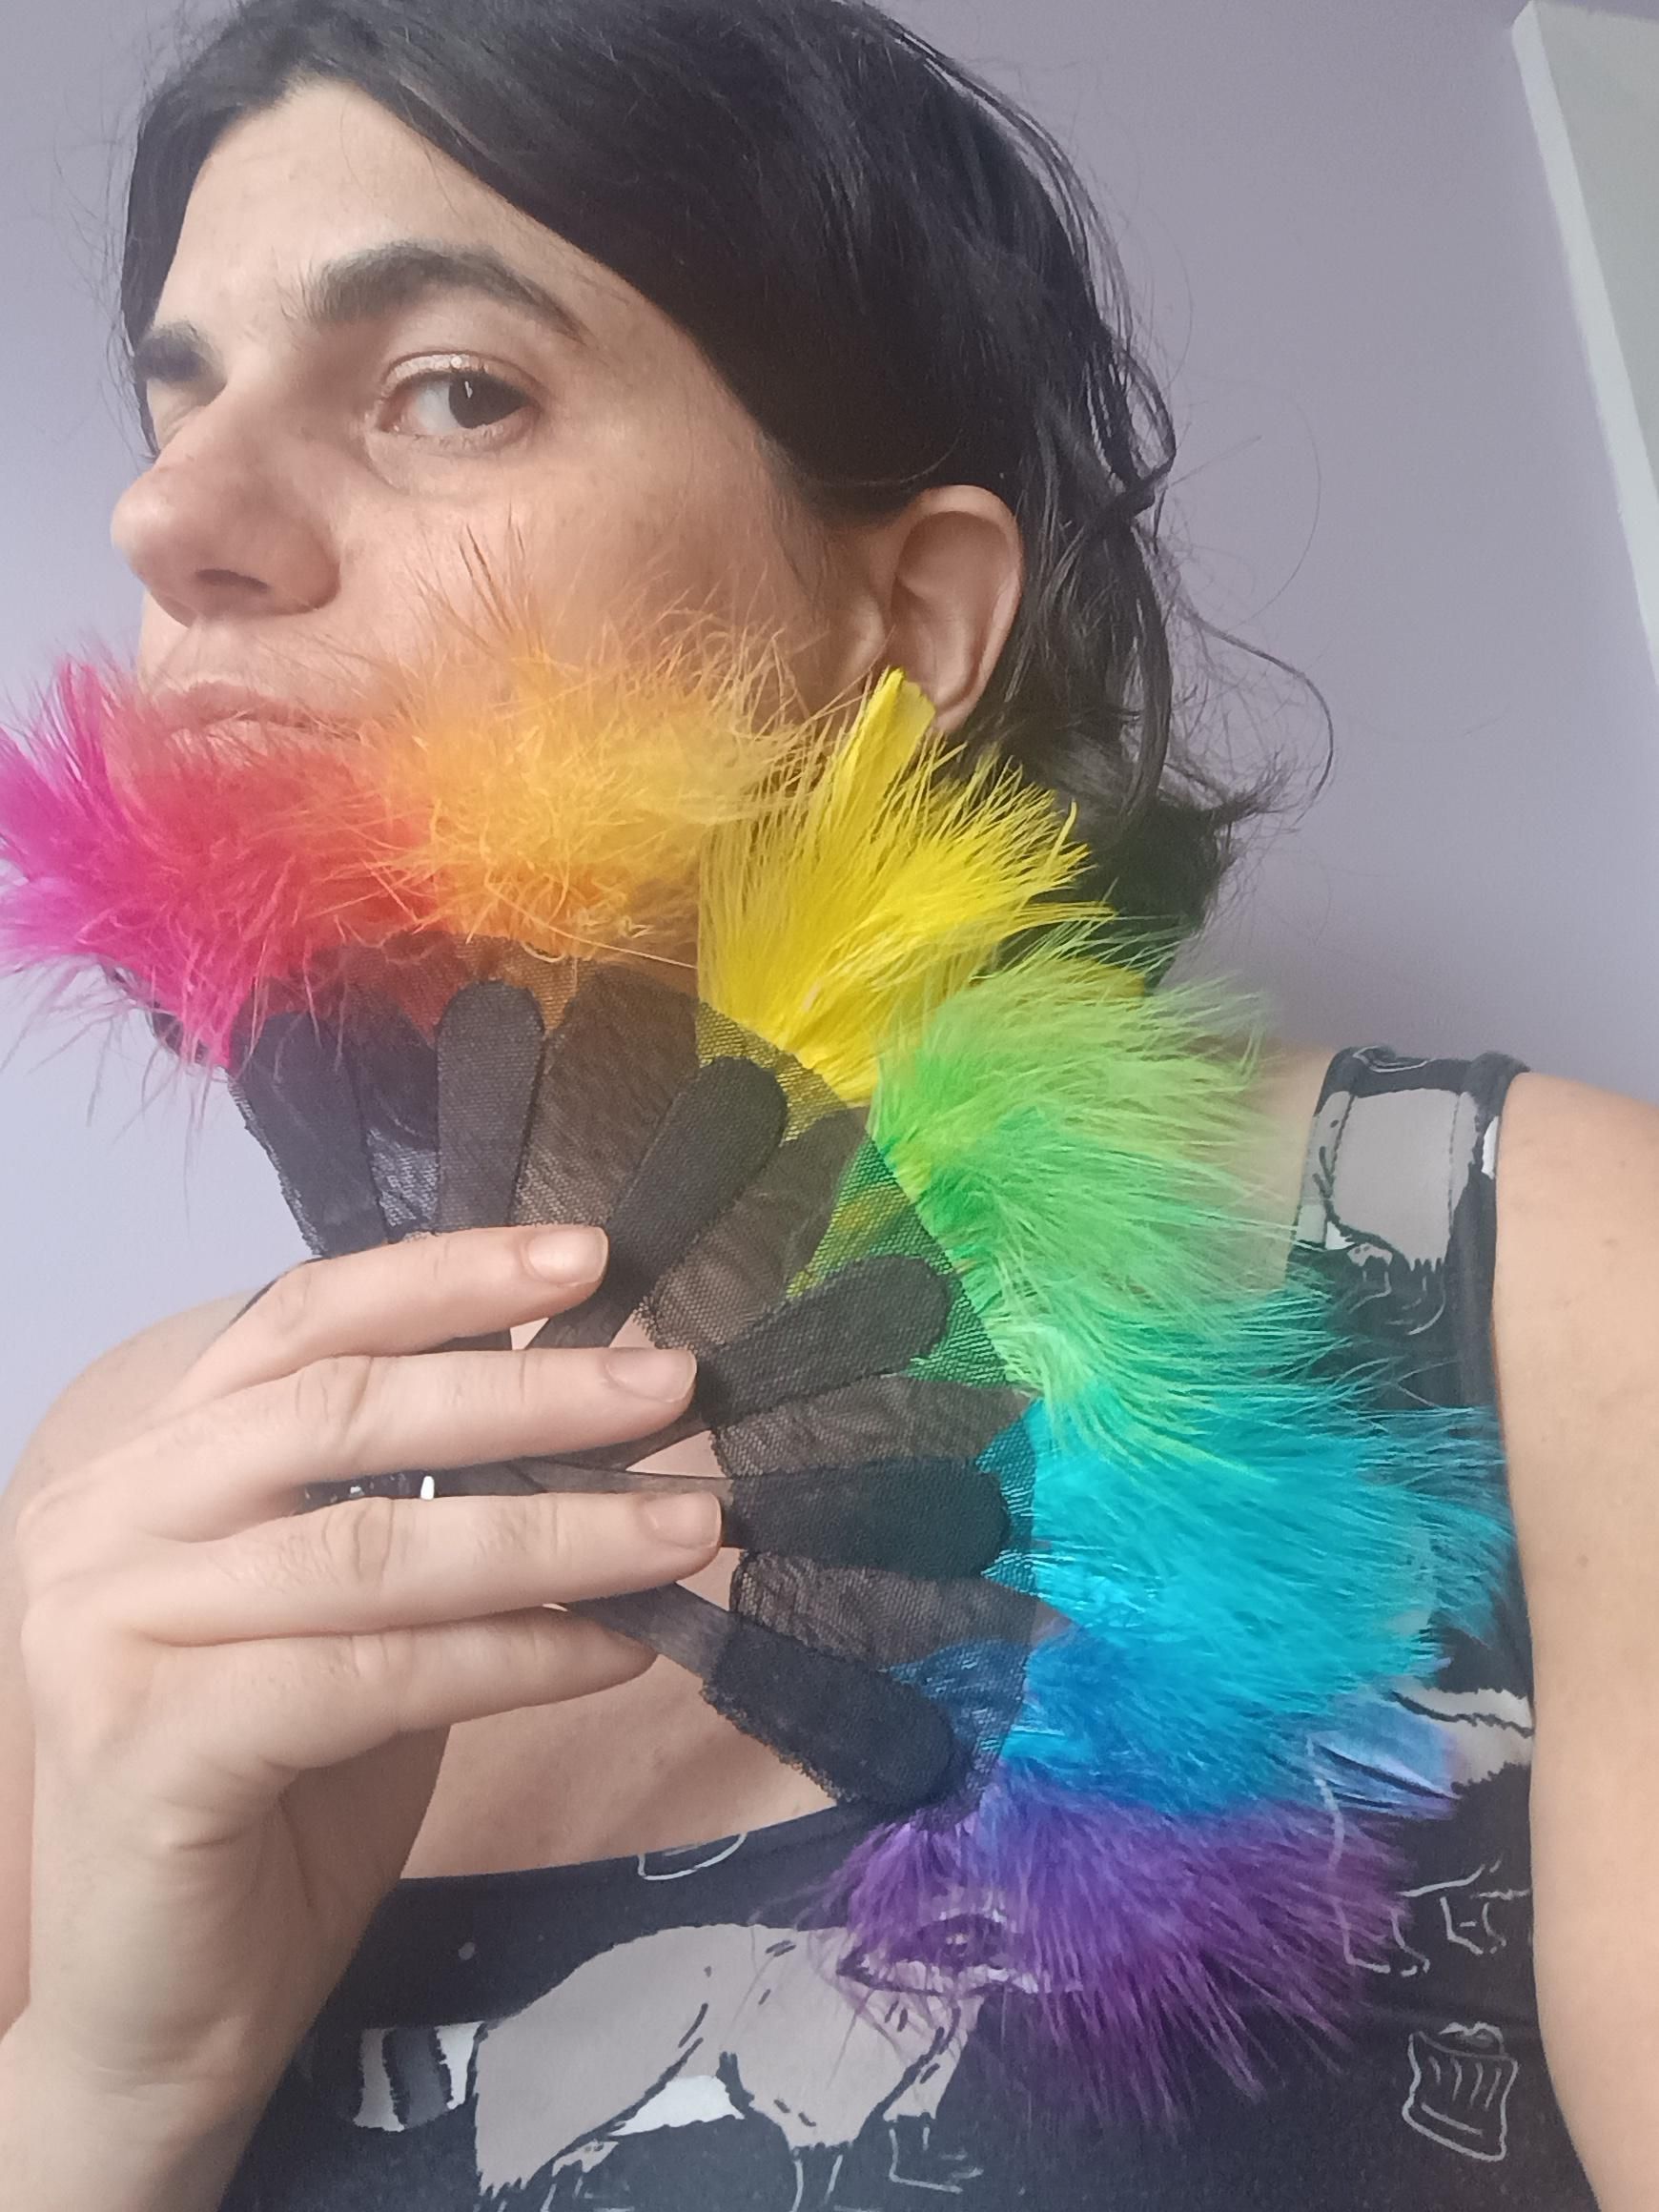
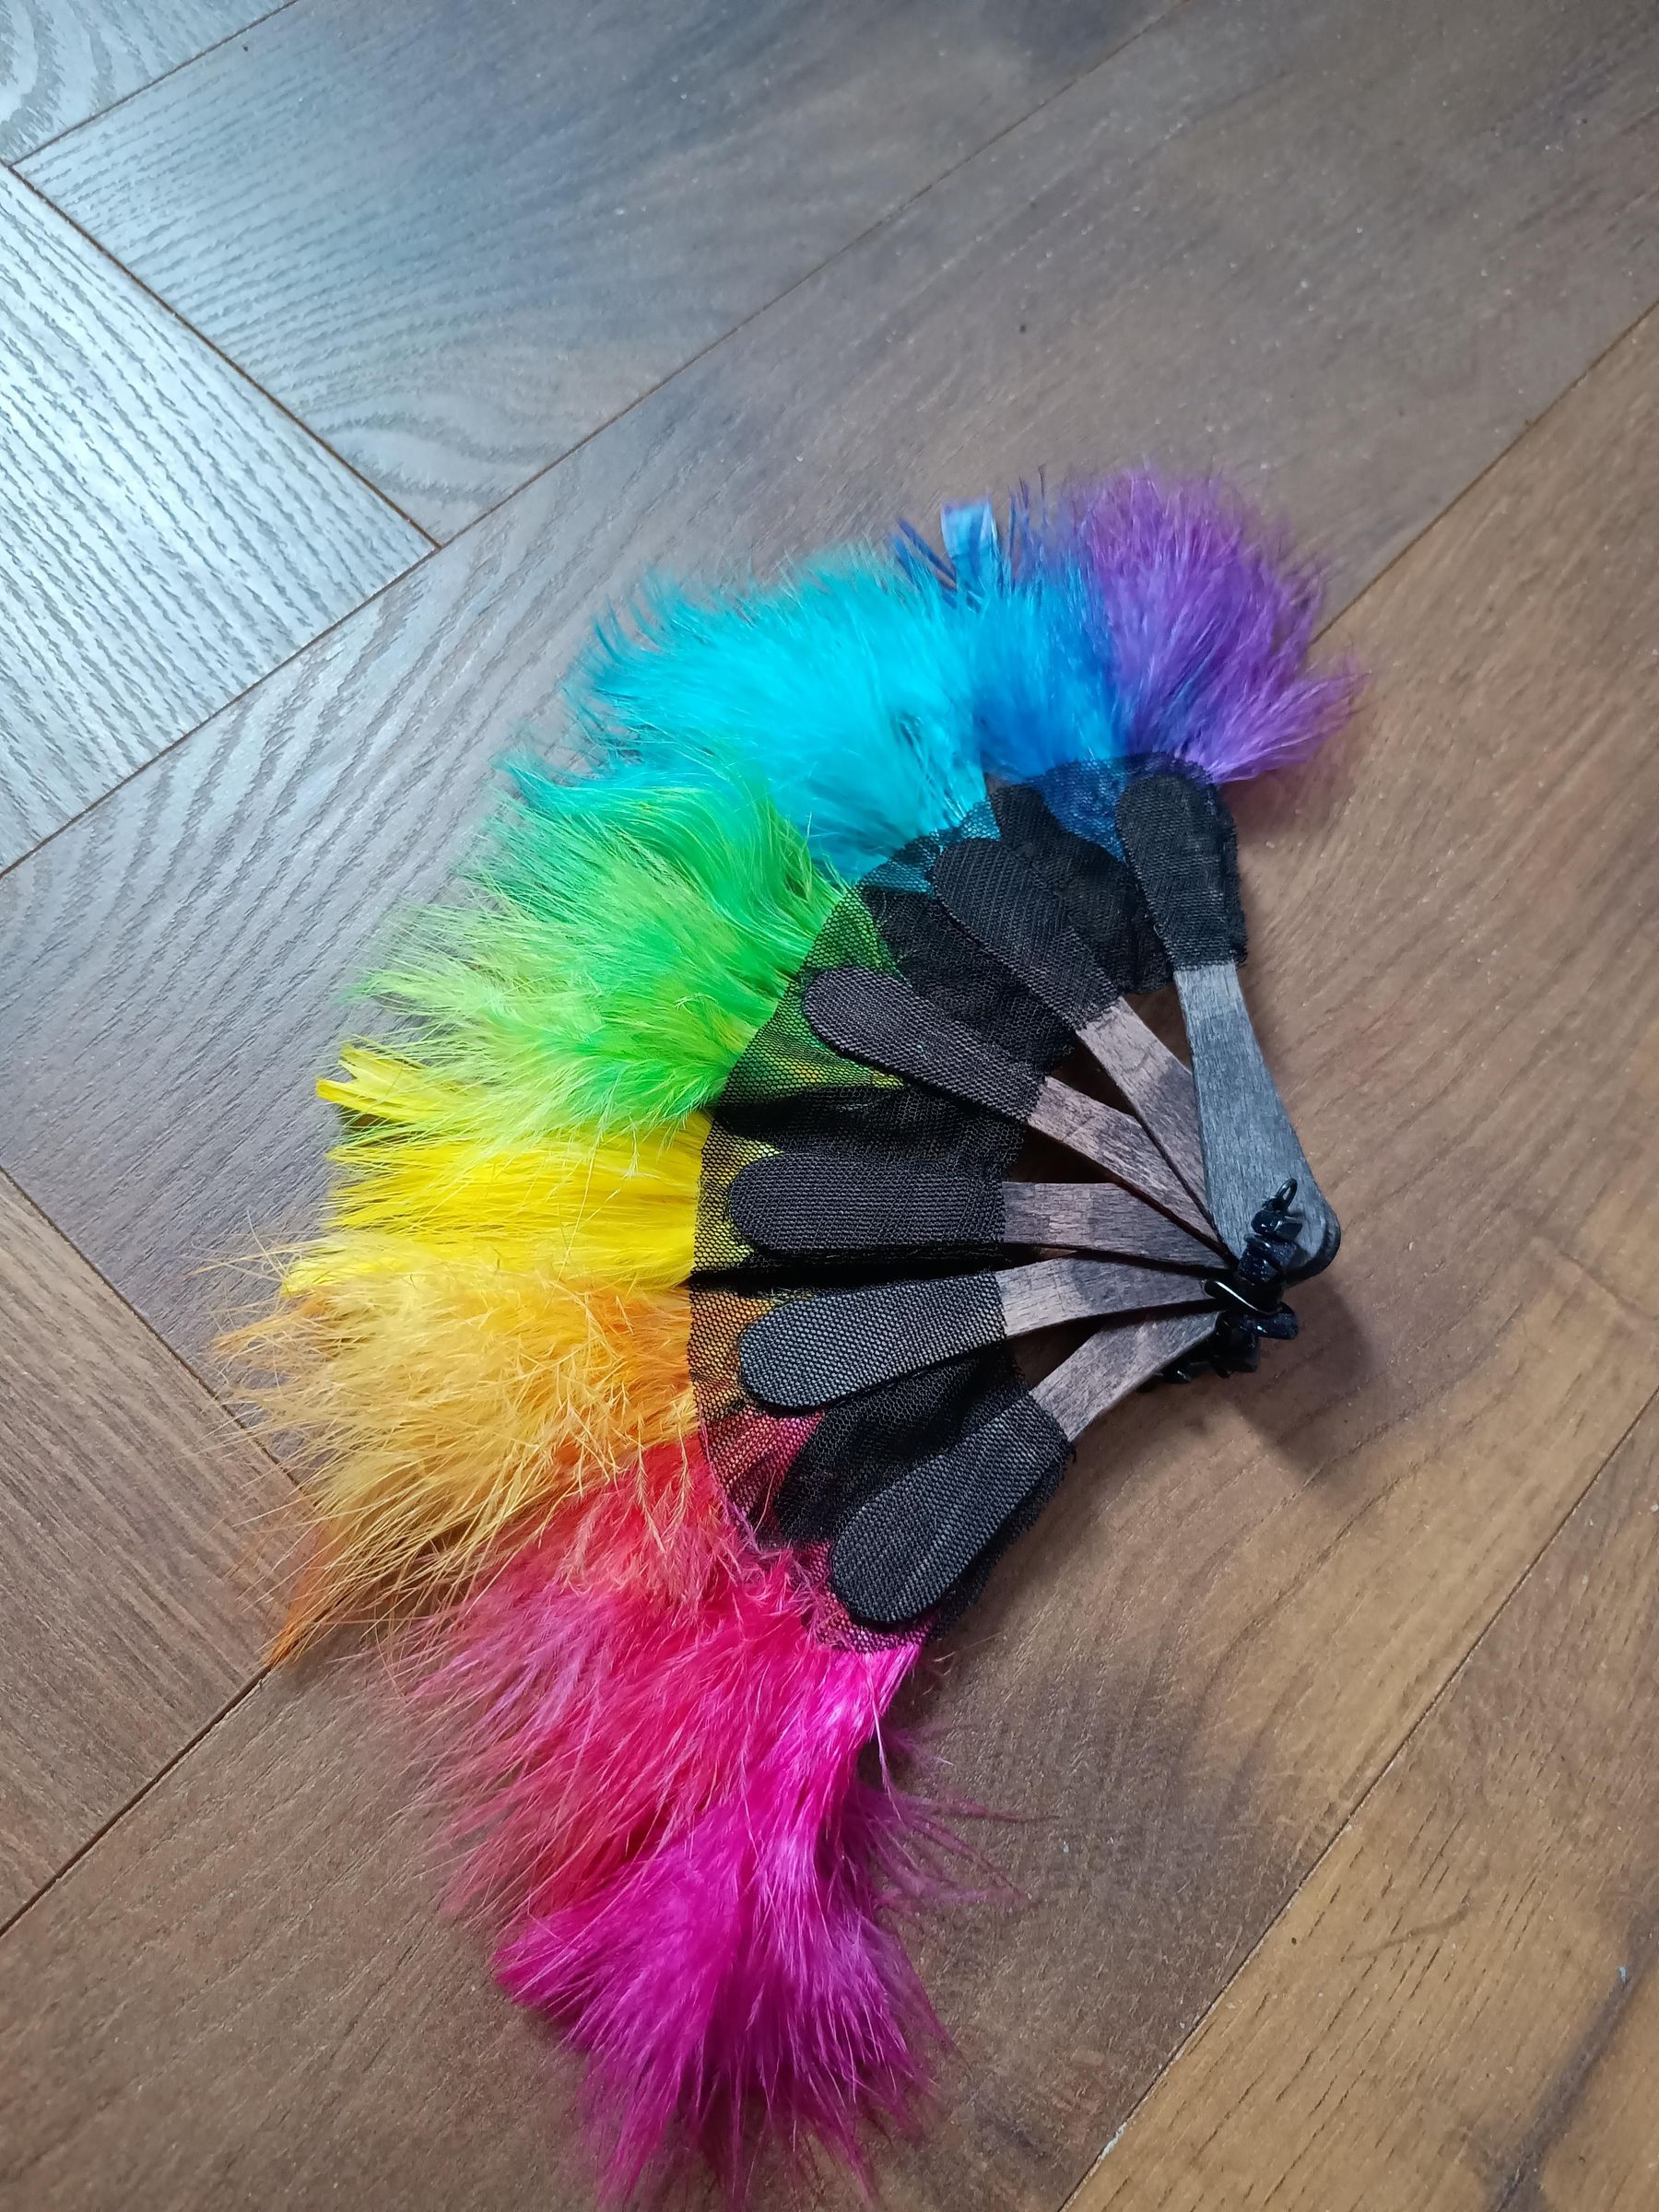
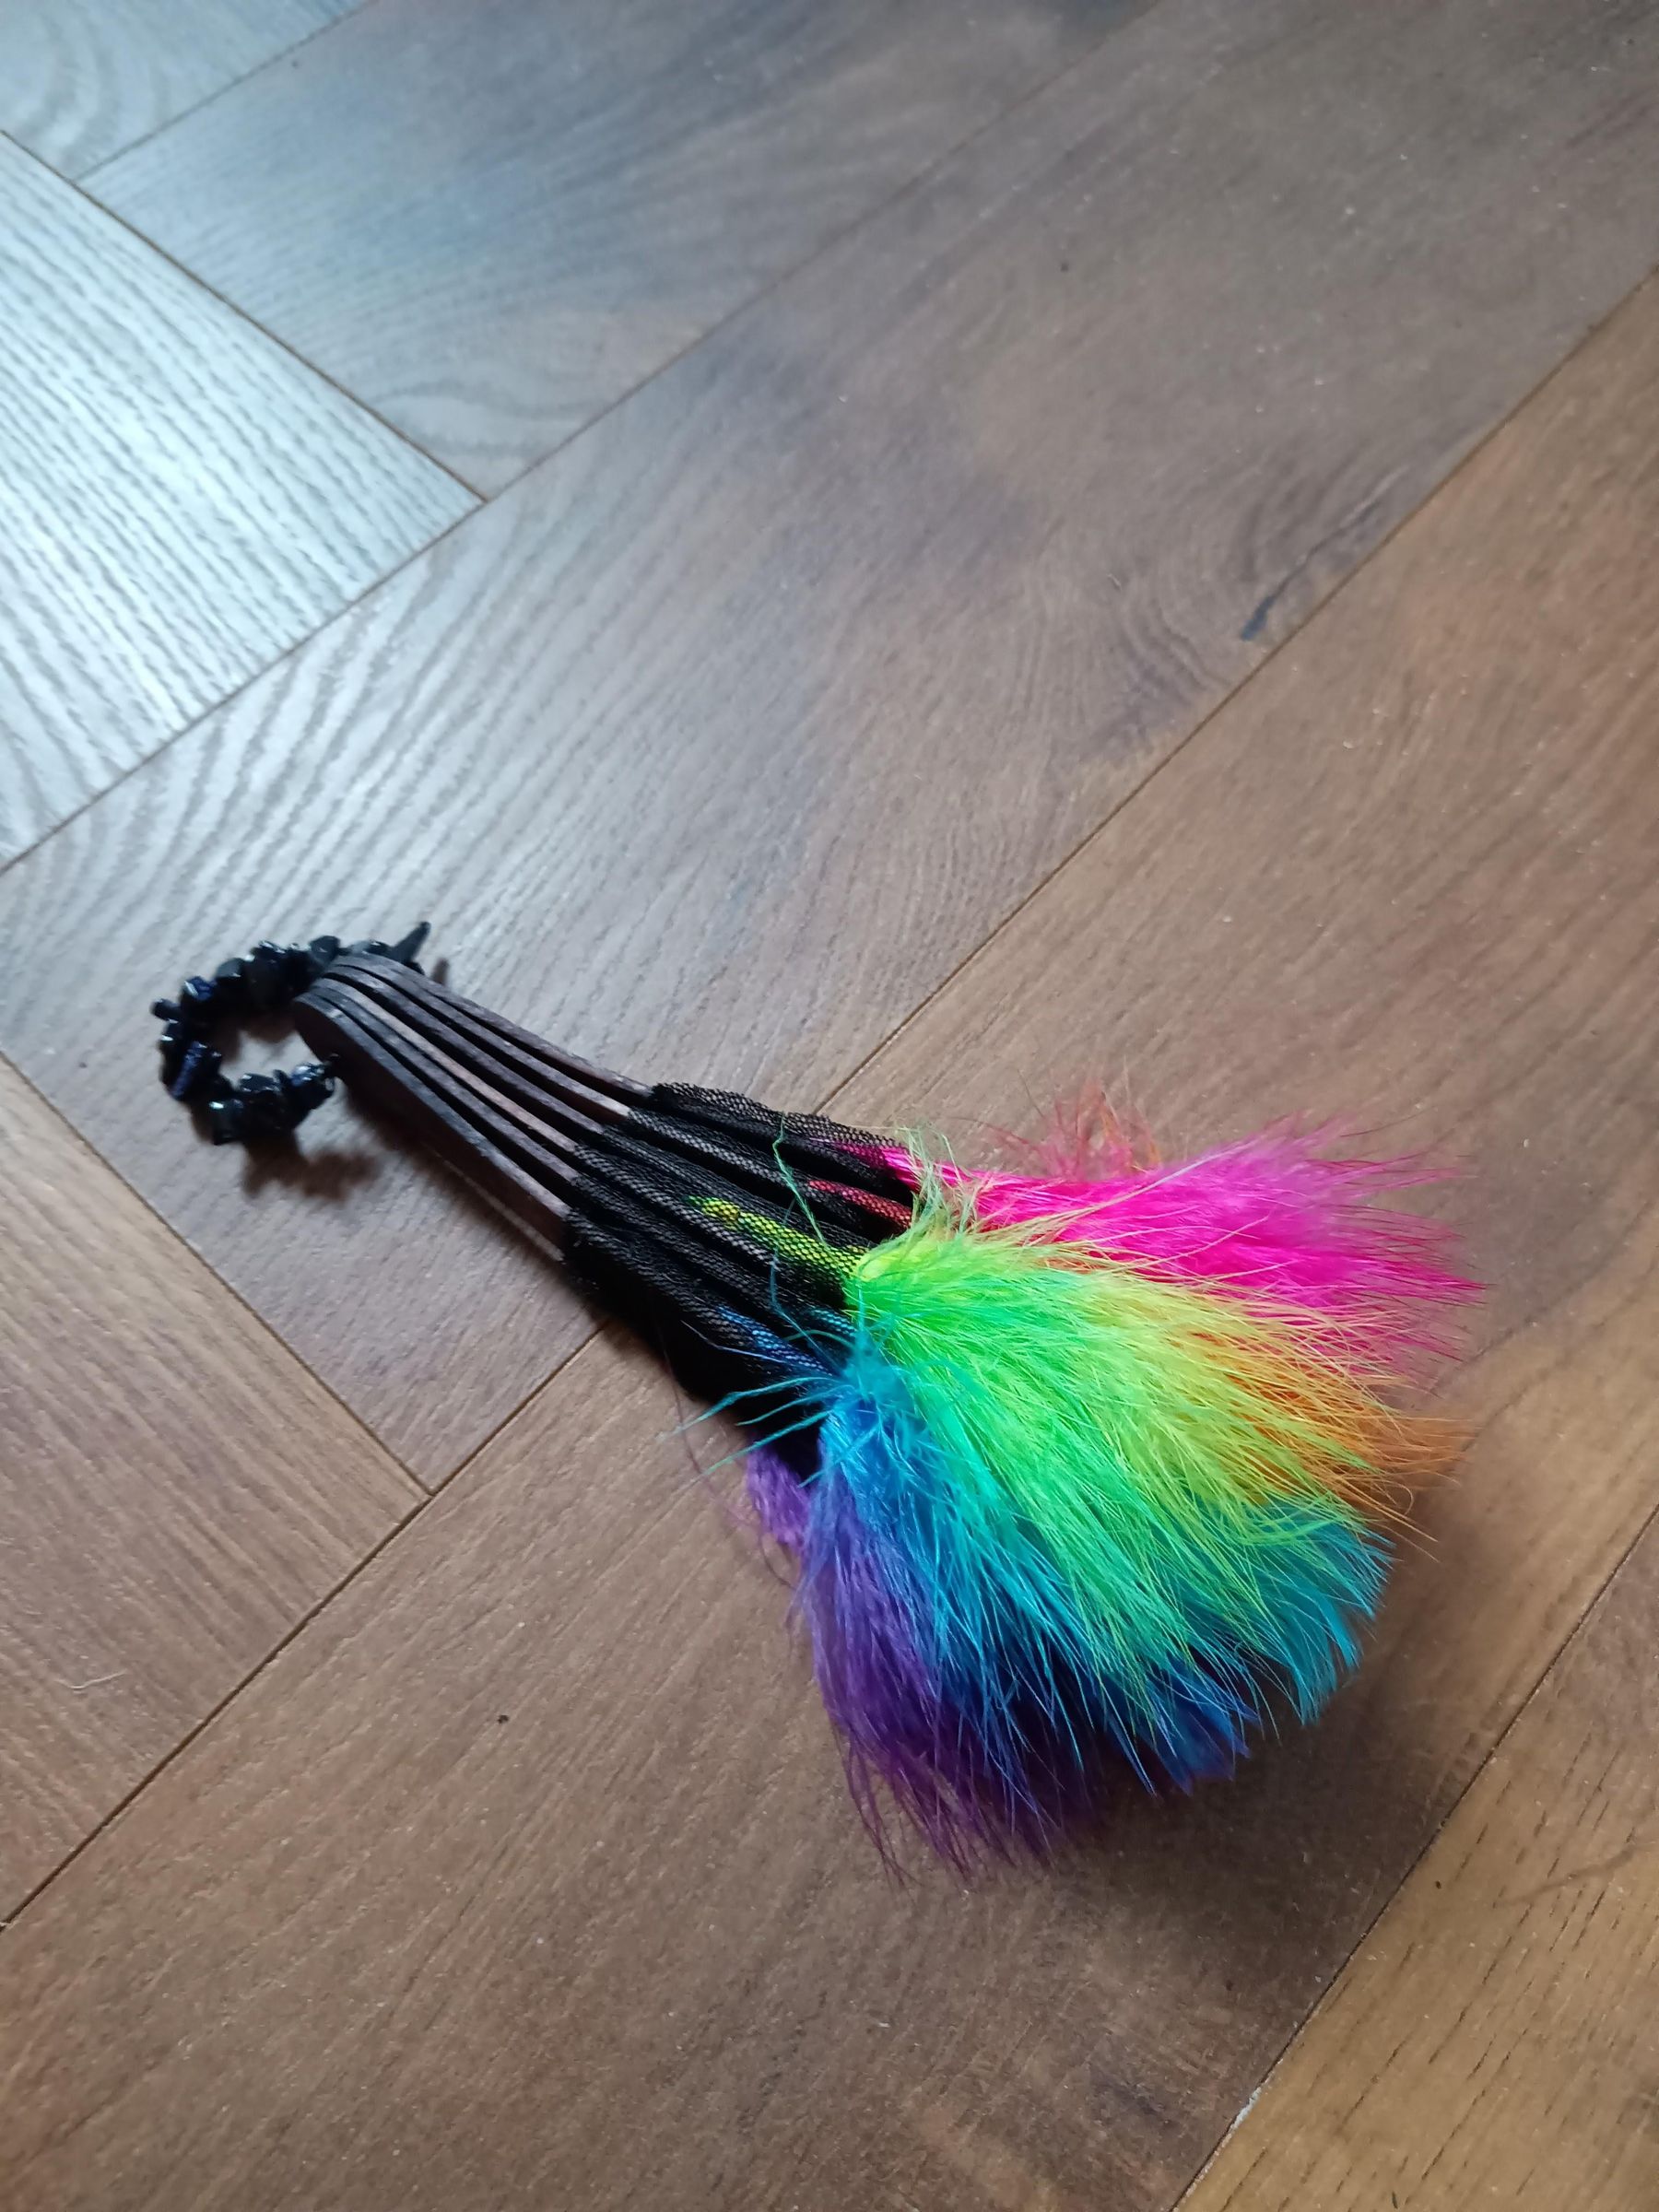
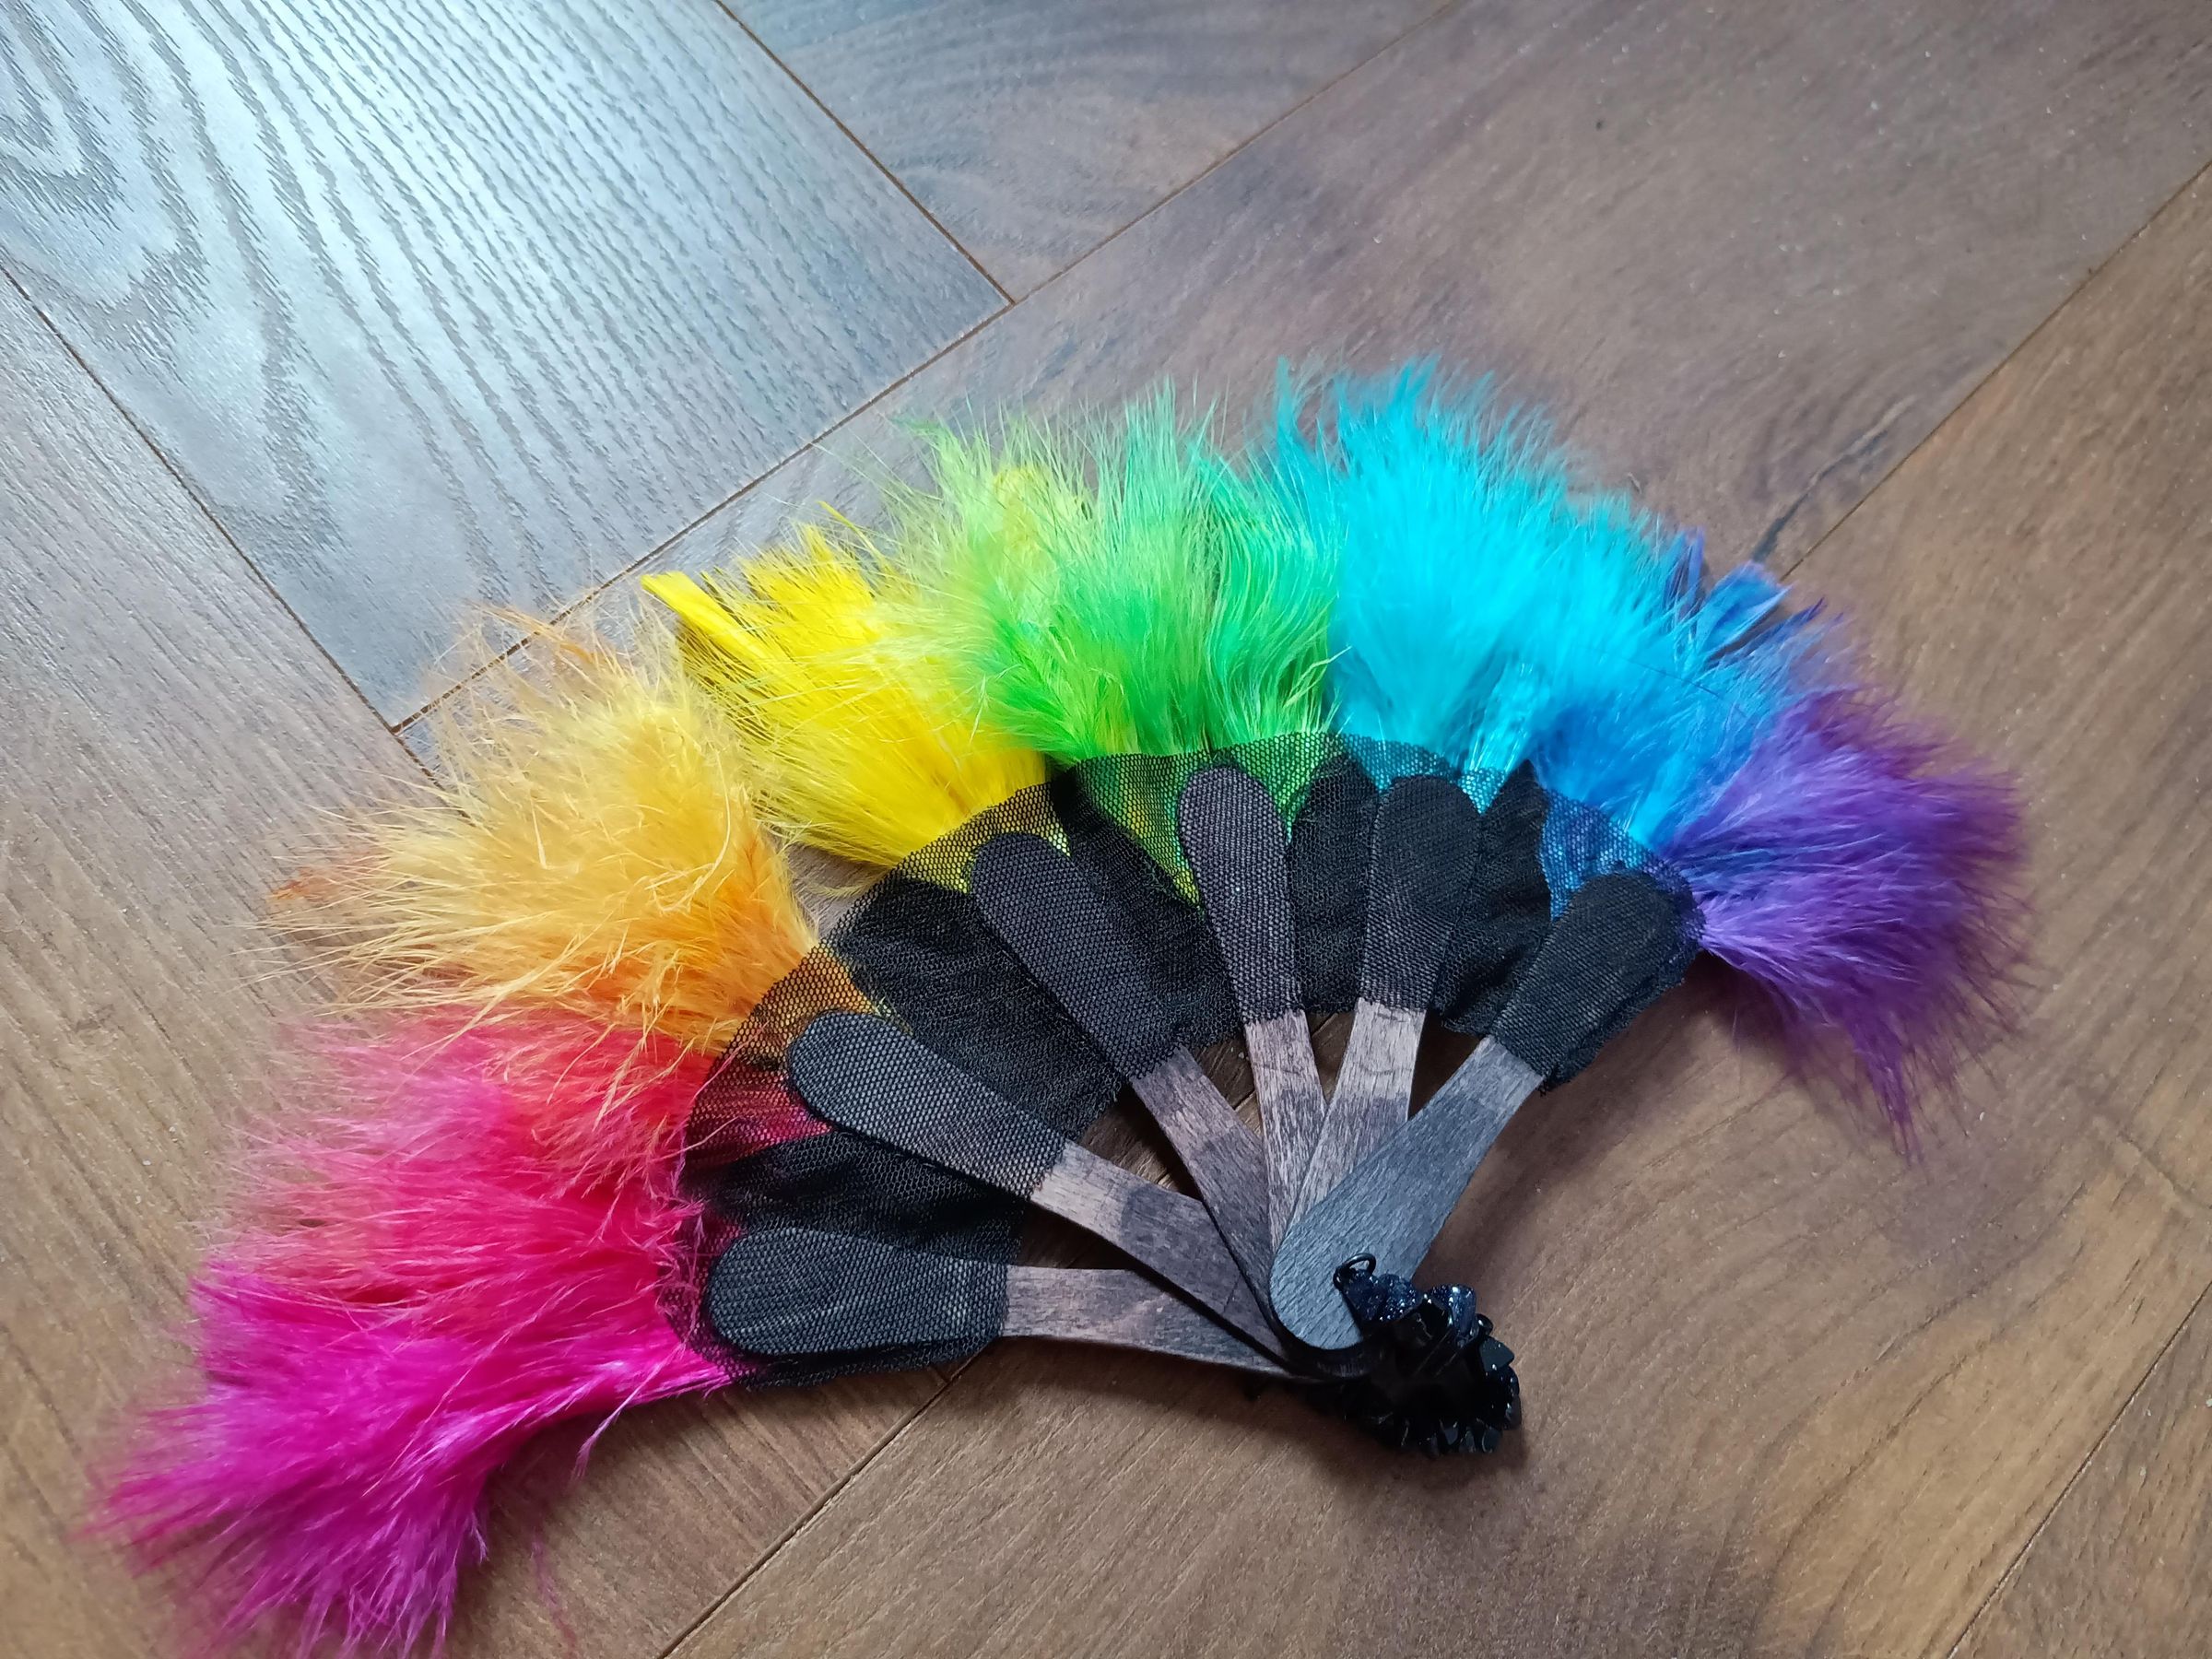
I made this fan out of mostly recycled materials, apart from the feathers, dyes and tools. Warning: dyeing feathers is extremely addictive!
Supplies
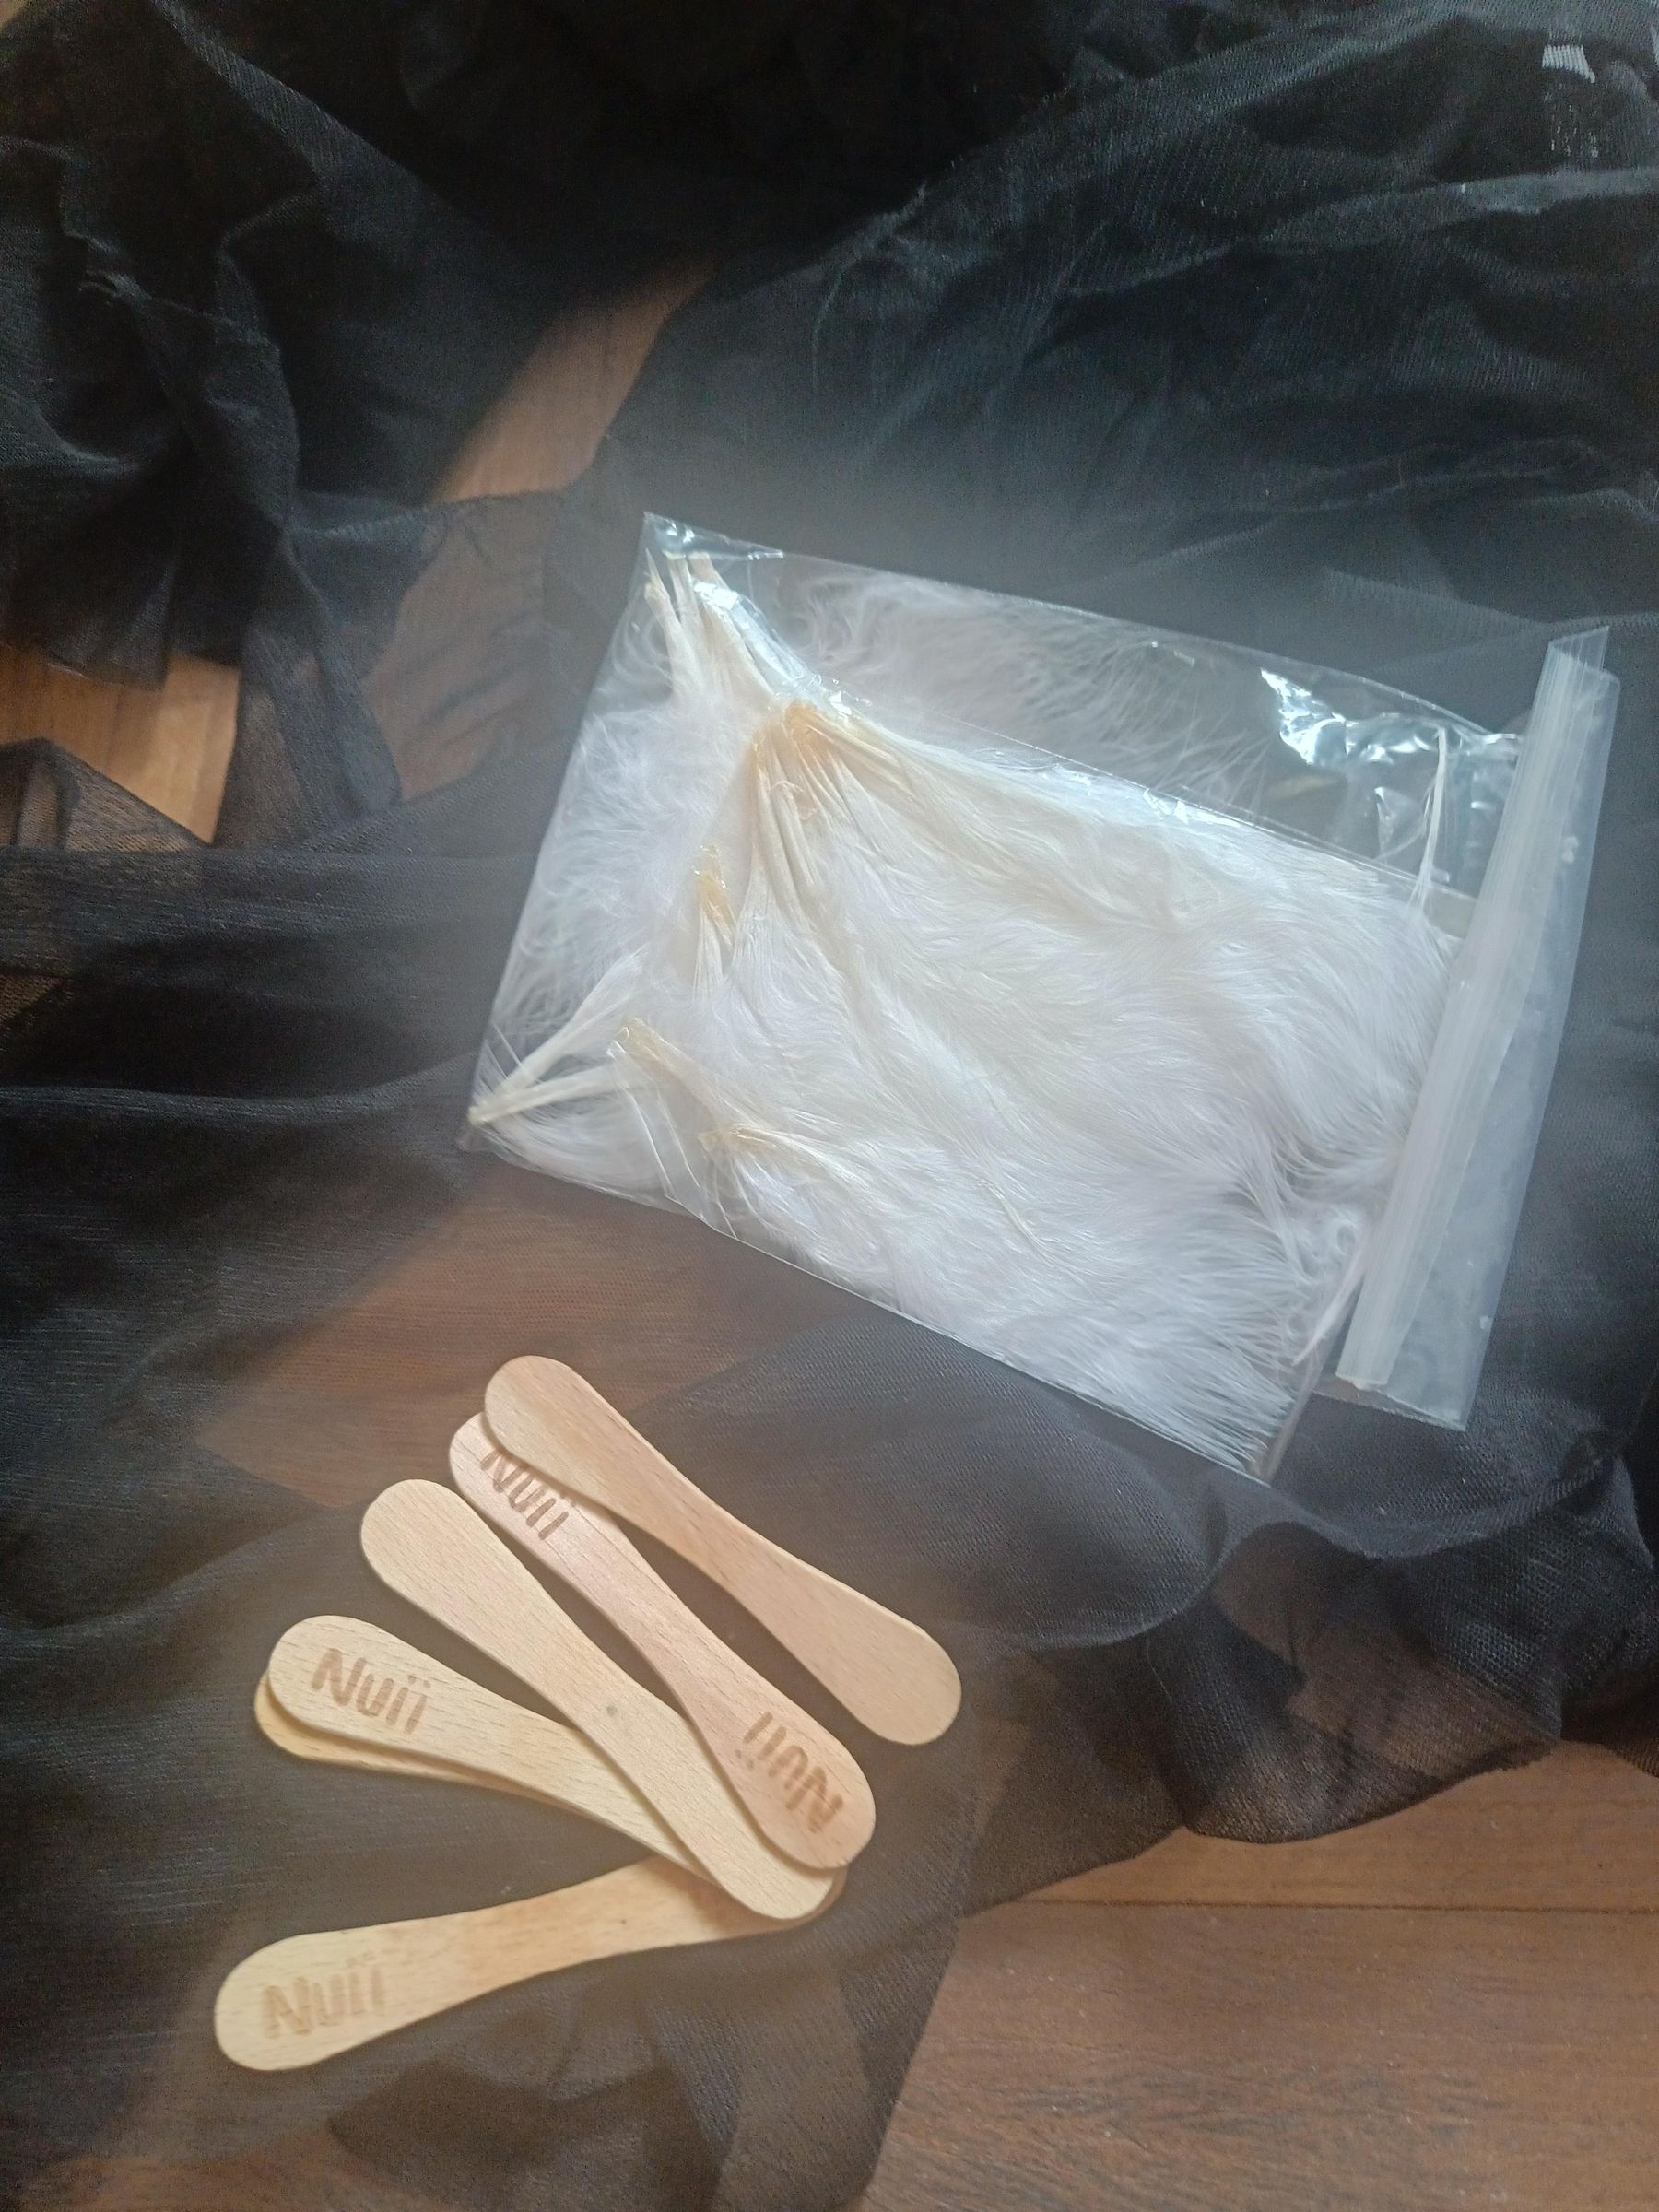
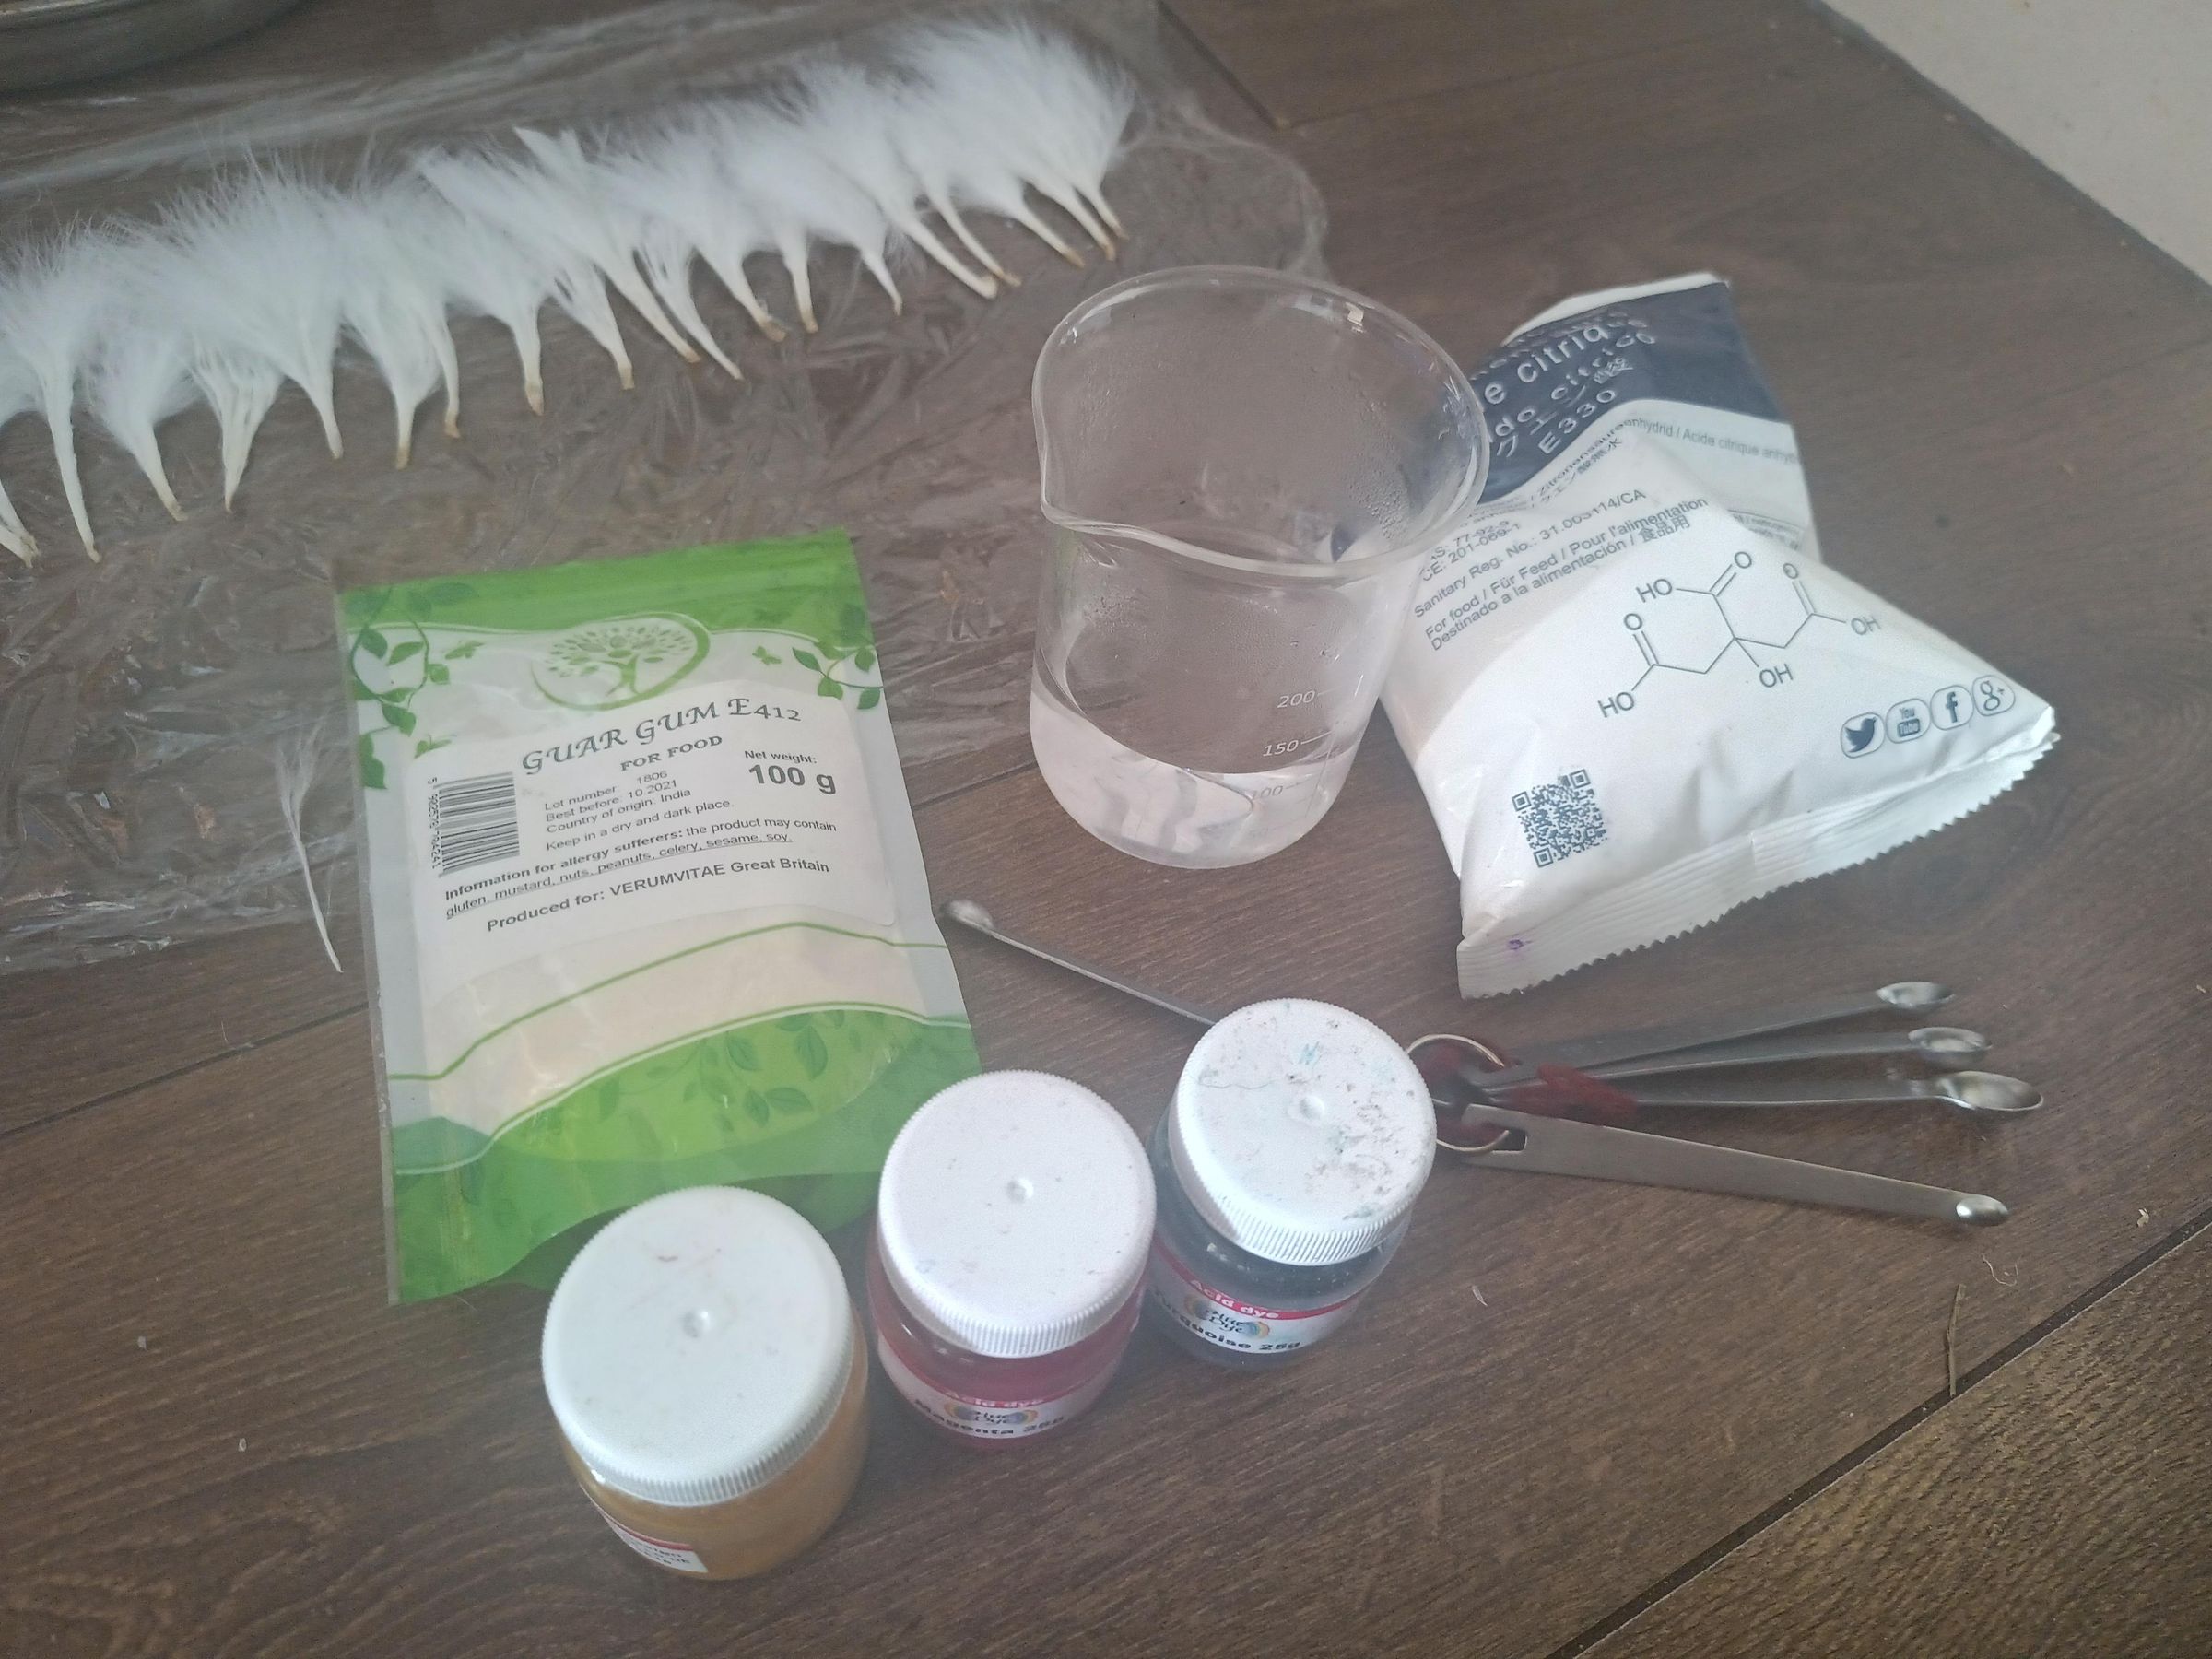
- old ice lolly sticks (hourglass type shape)
- wood stain
- linseed oil
- drill
- scrap mesh fabric (I had some left over from shortening a skirt)
- needle and thread
- marabou feathers
- magenta, yellow and turquoise acid dyes
- citric acid
- guar gum or other thickener
- cling film/saran wrap
- sponge daubers and paint palette
- steamer
- wire
- bail making pliers
- wire snips
- beads
Drill Sticks
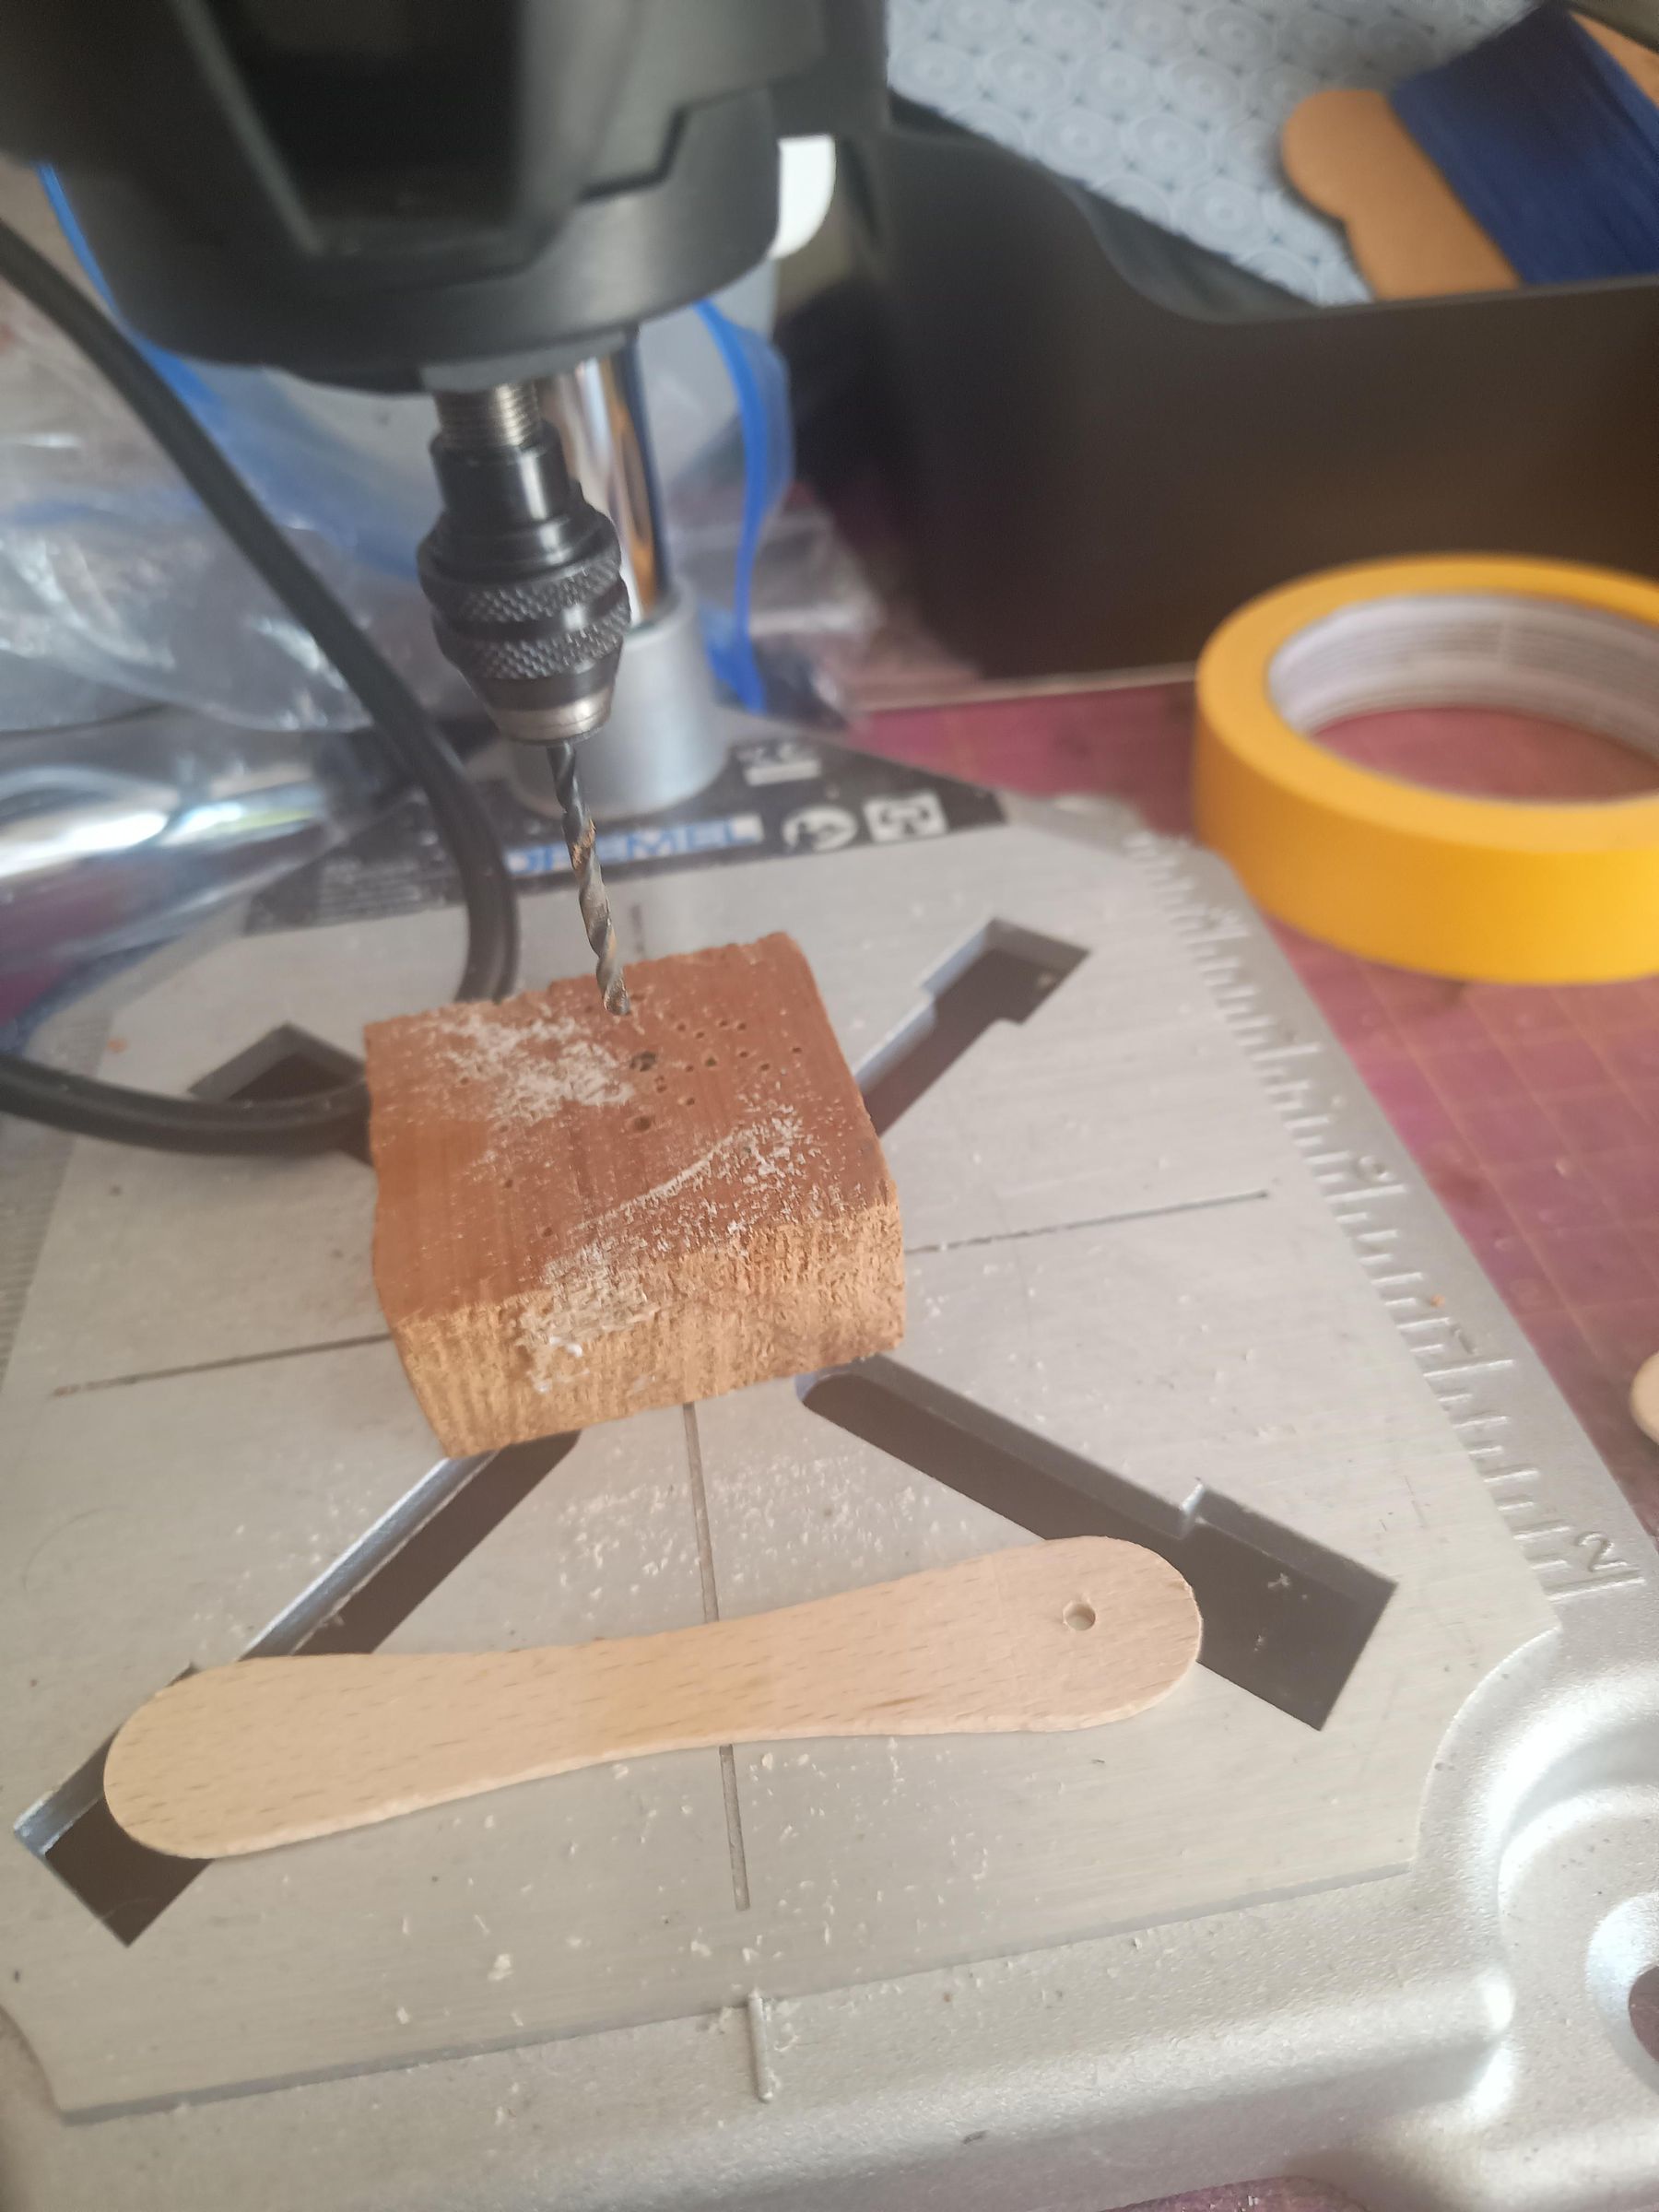
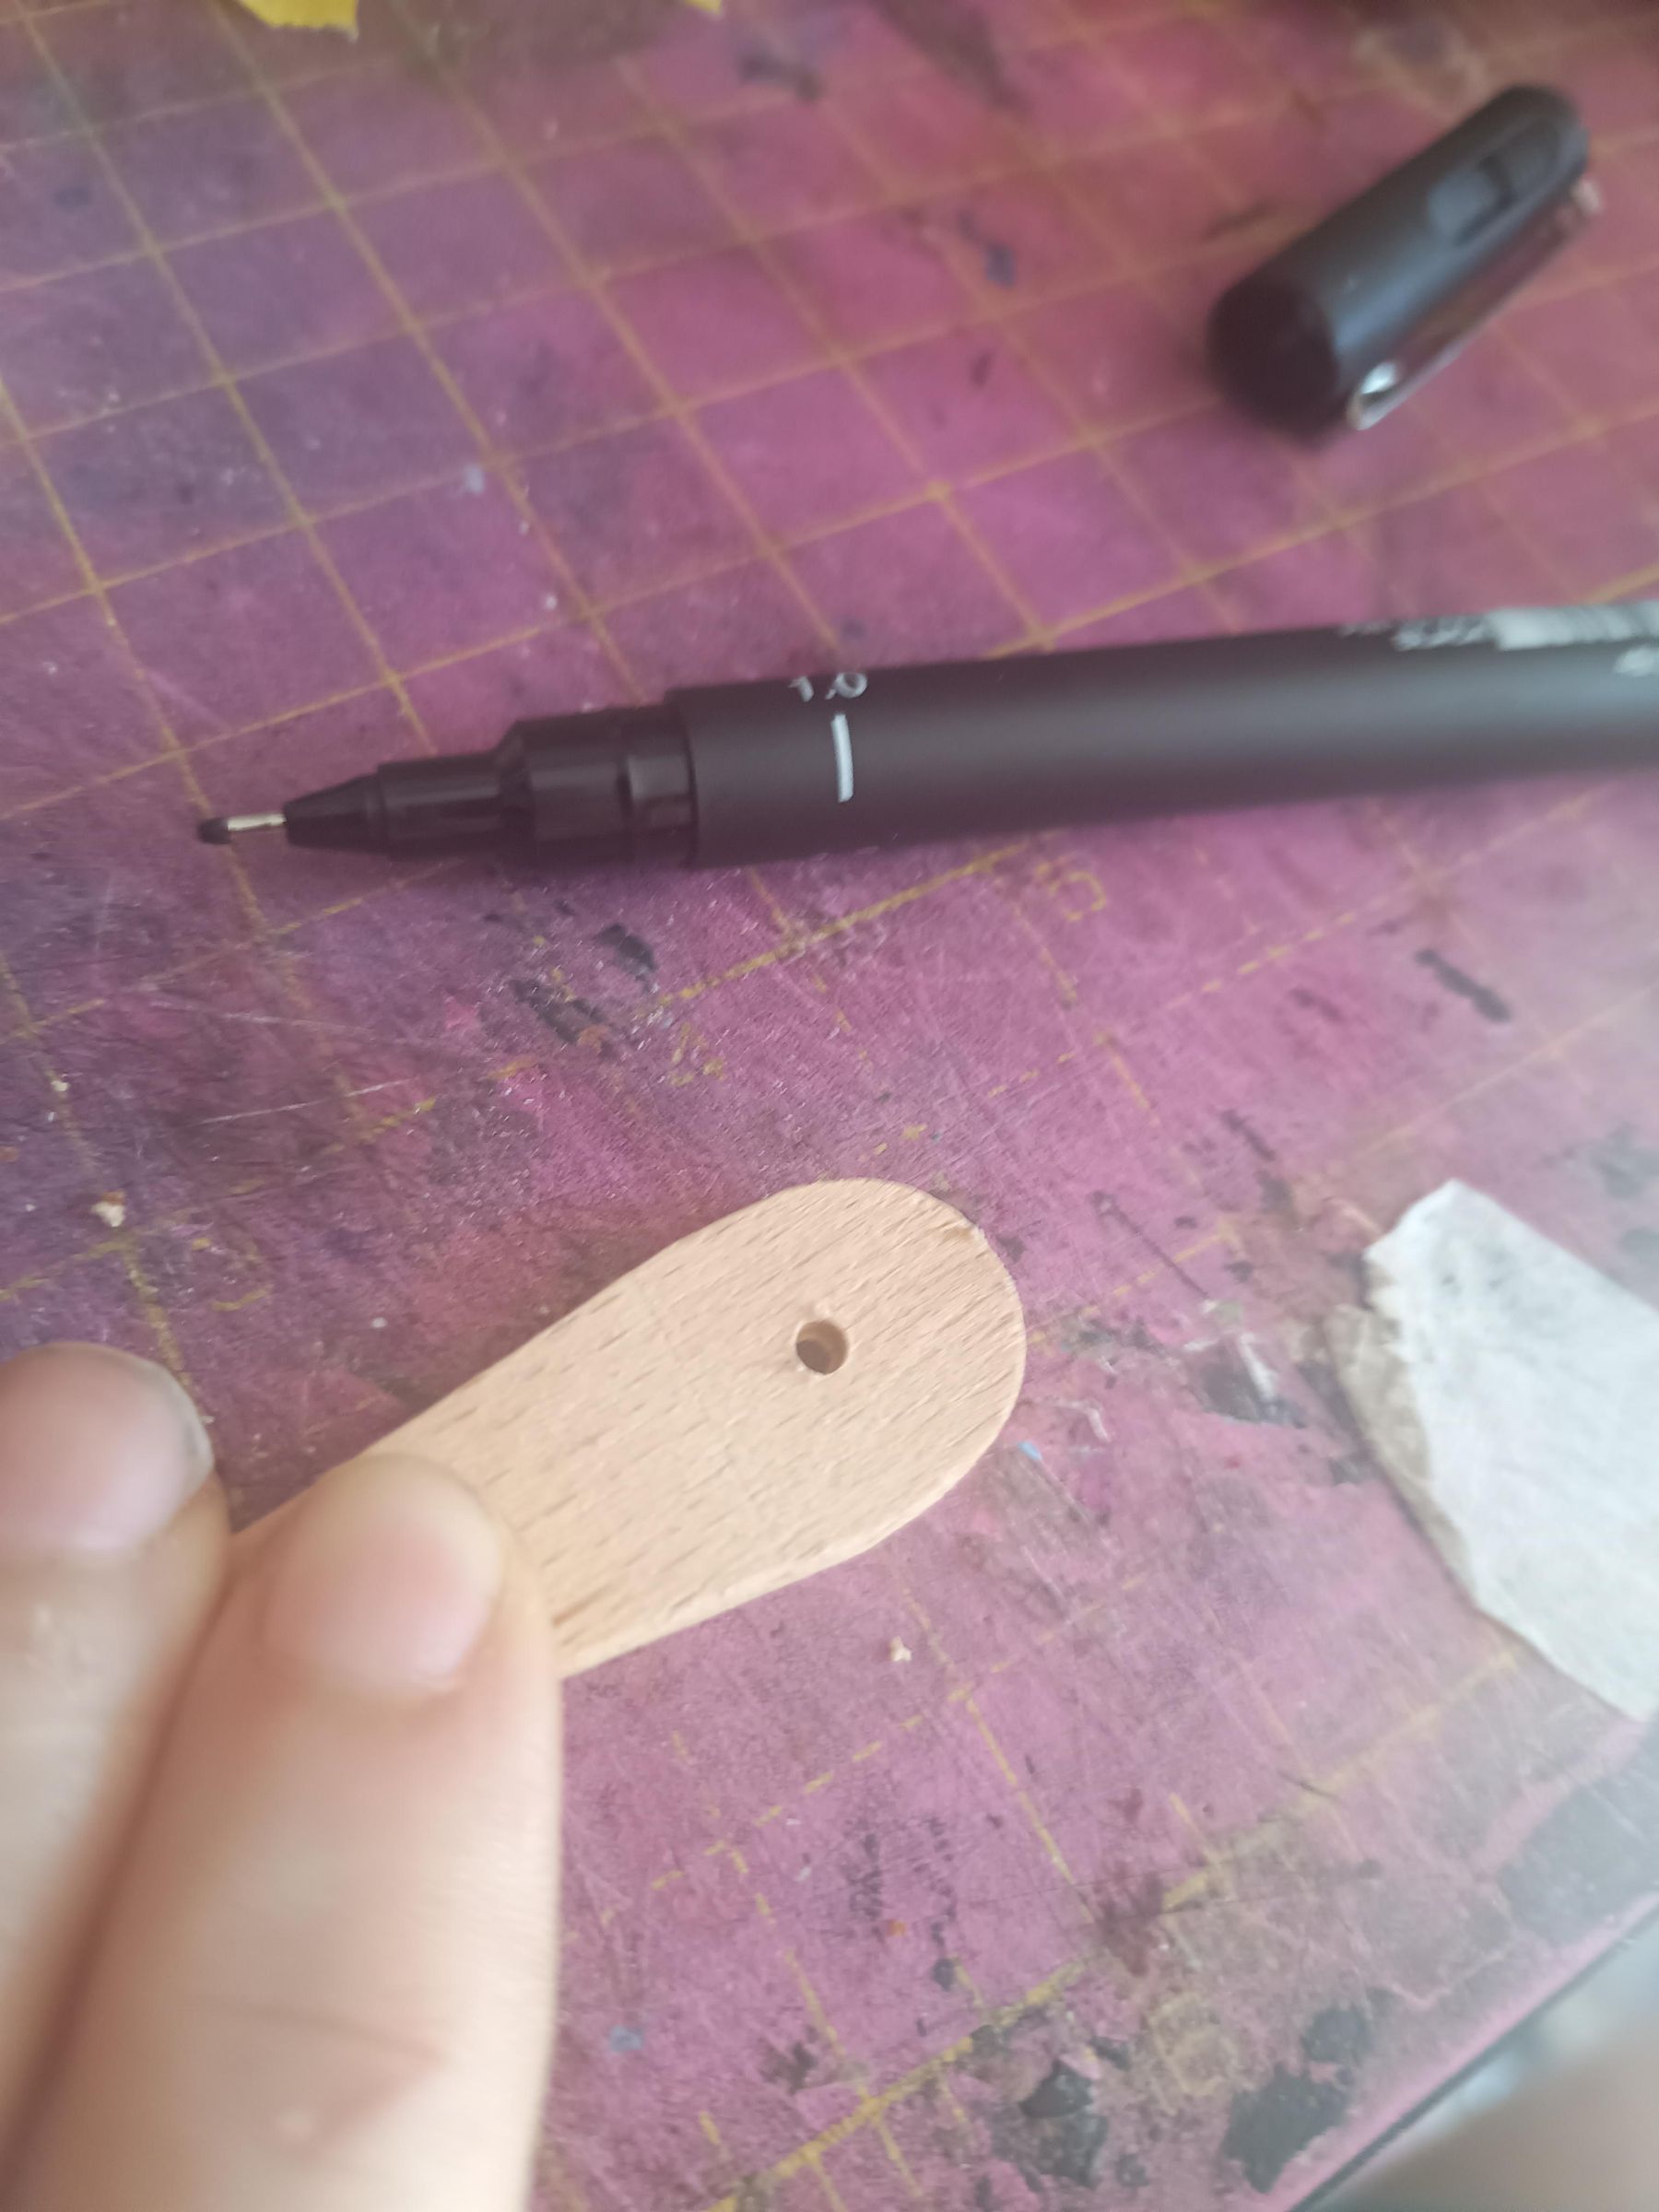
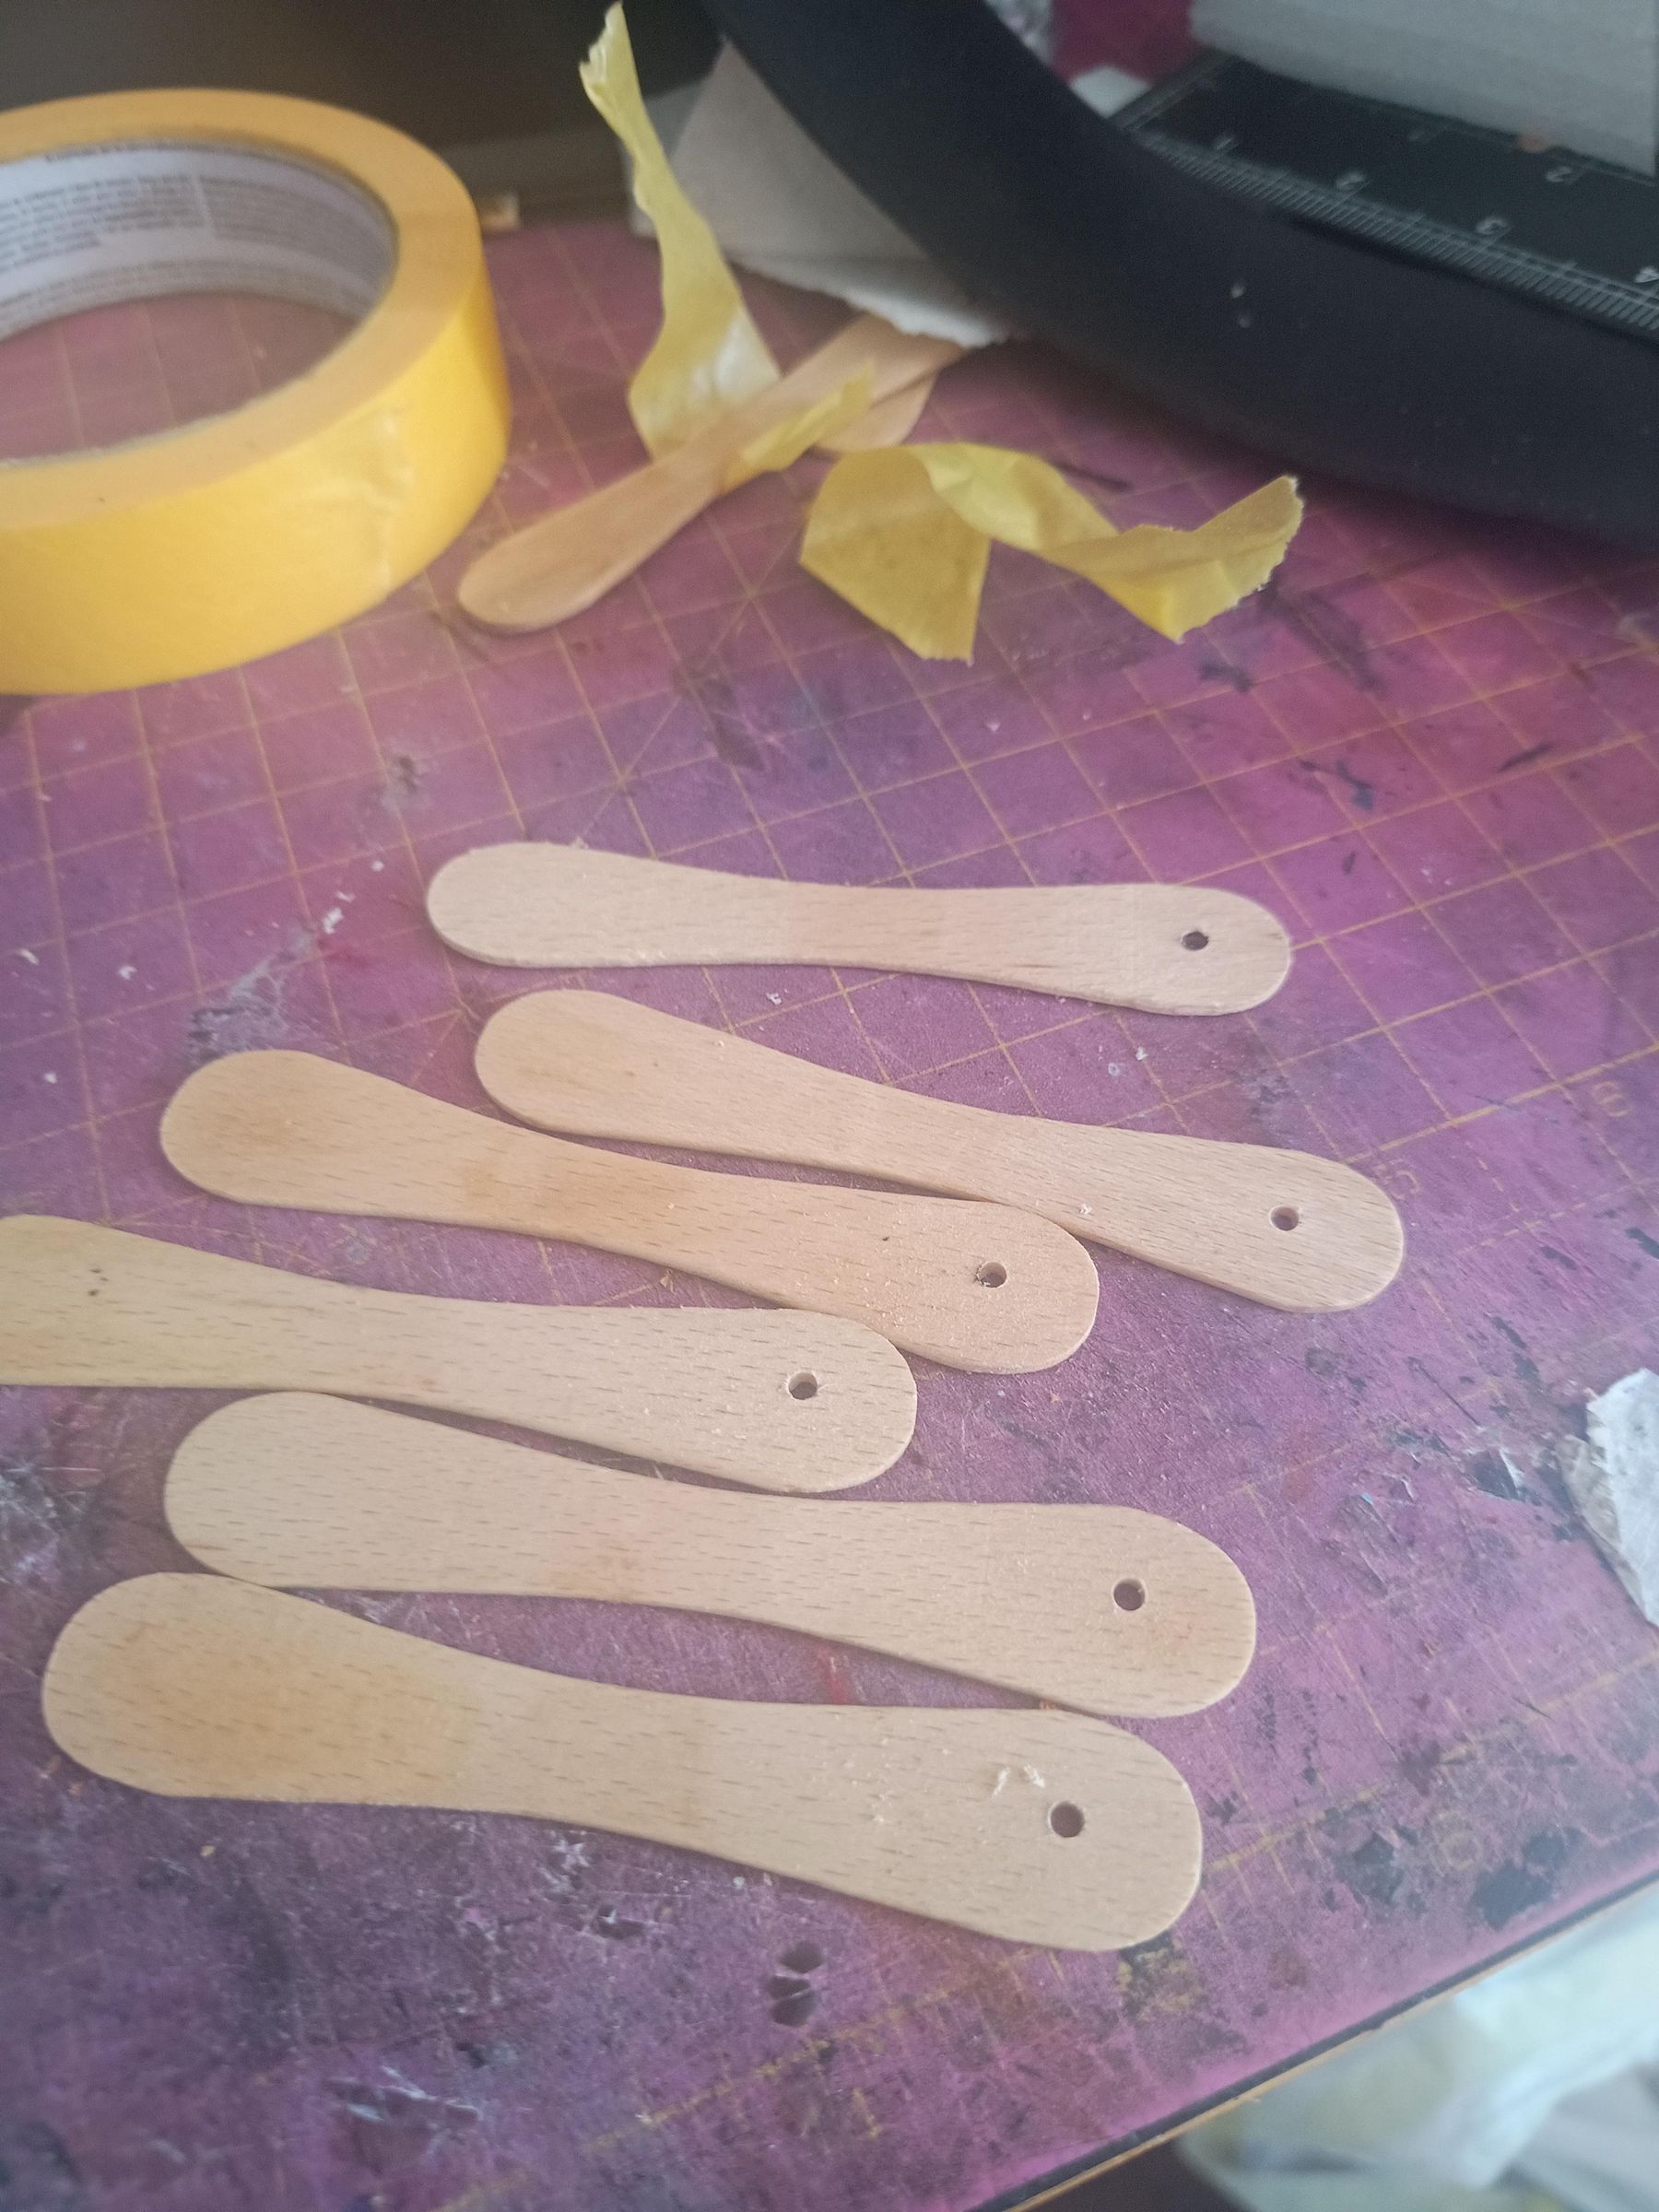
Drill a hole in one end of six ice lolly sticks. I drilled the first one, then used that as a template for the other five.
Colour Sticks
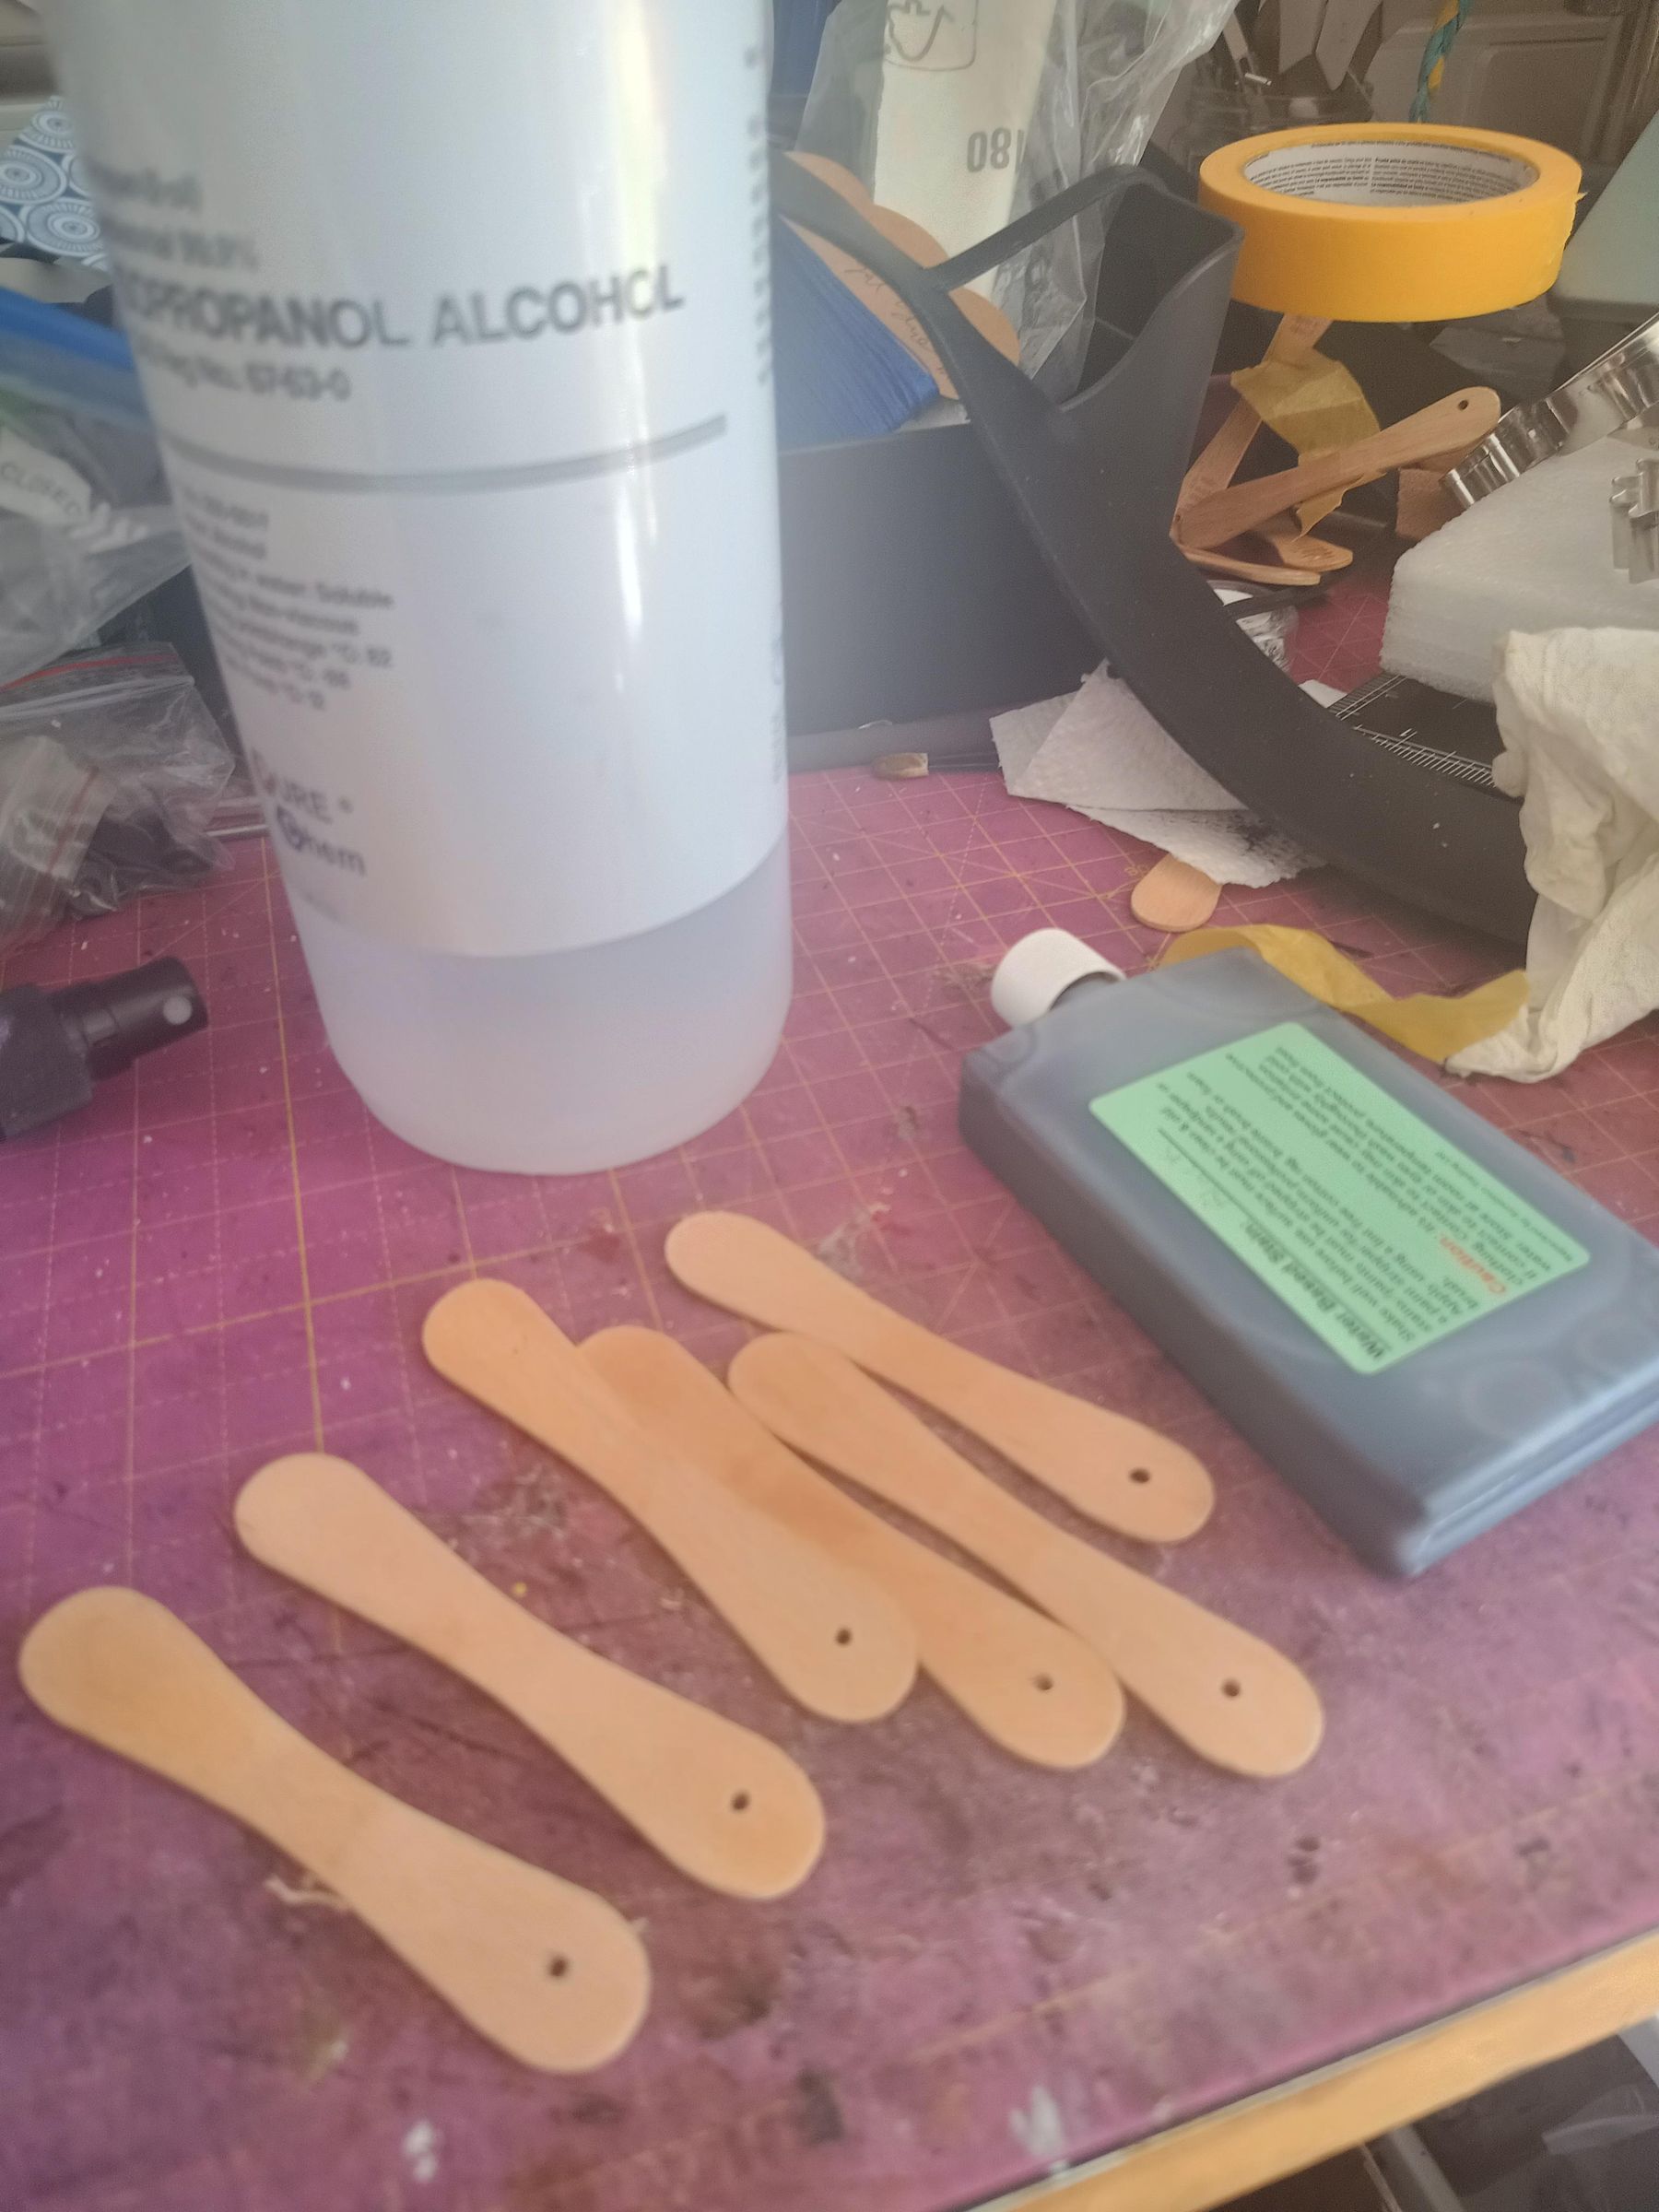
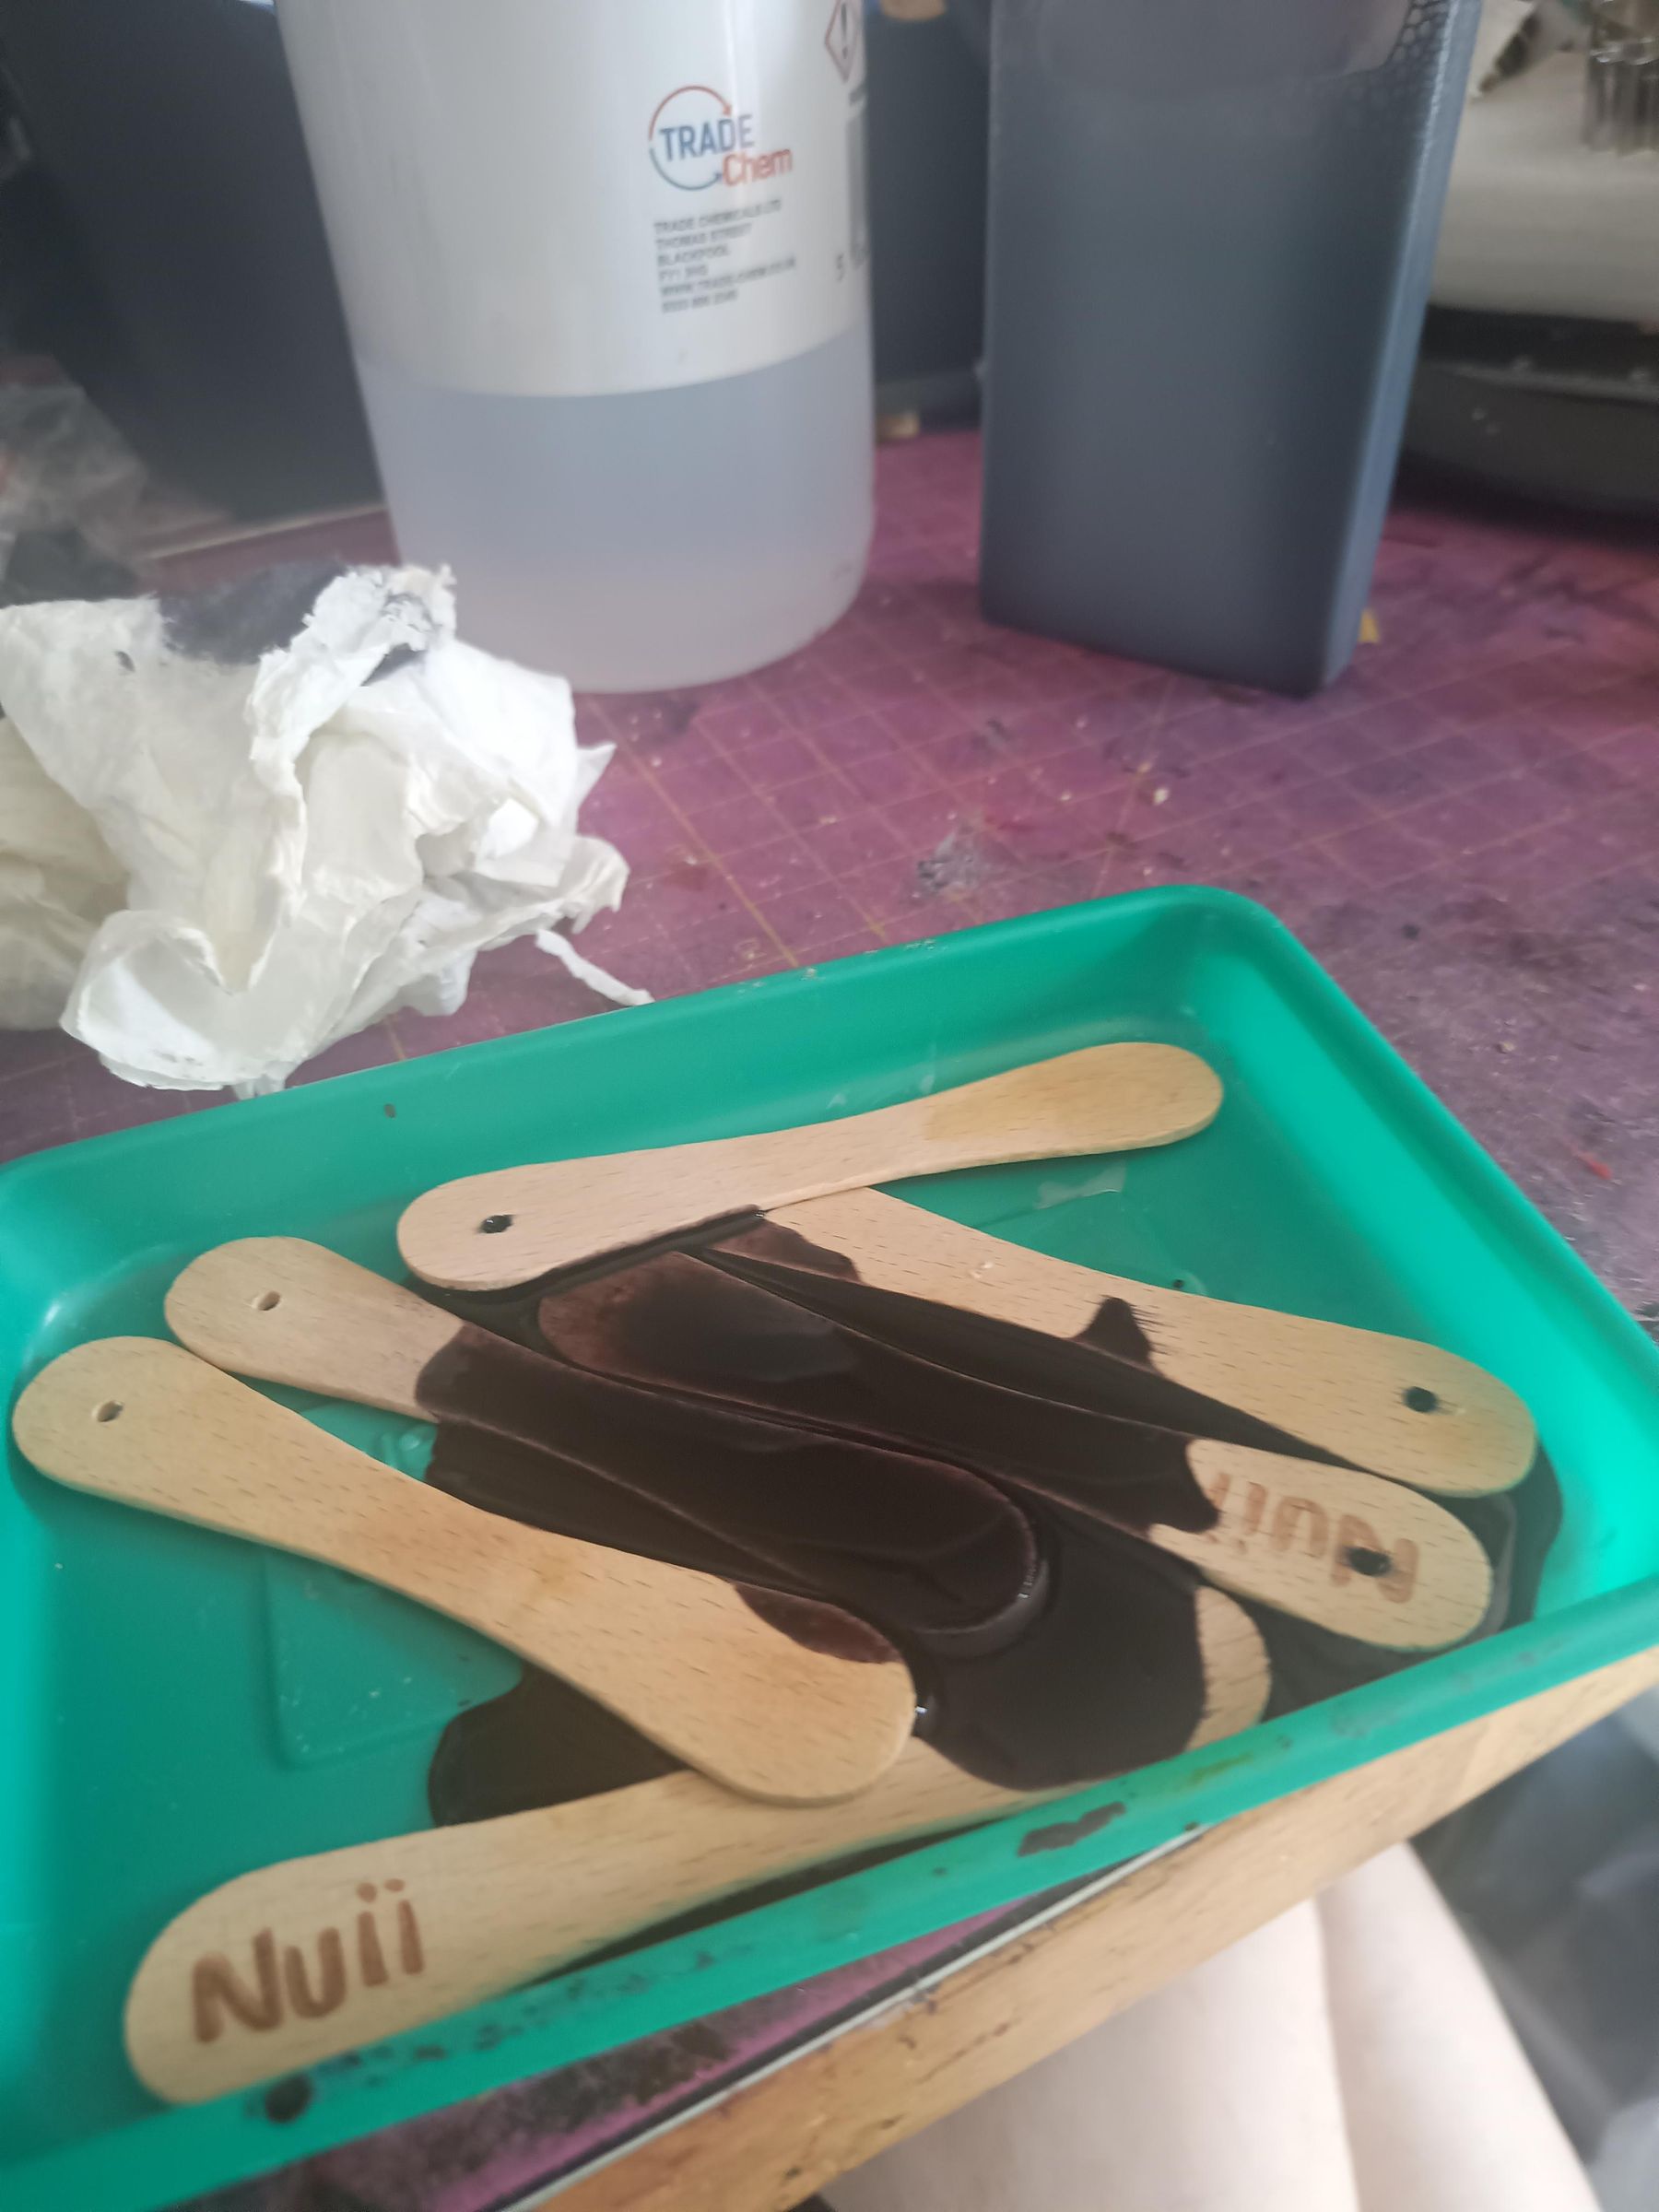
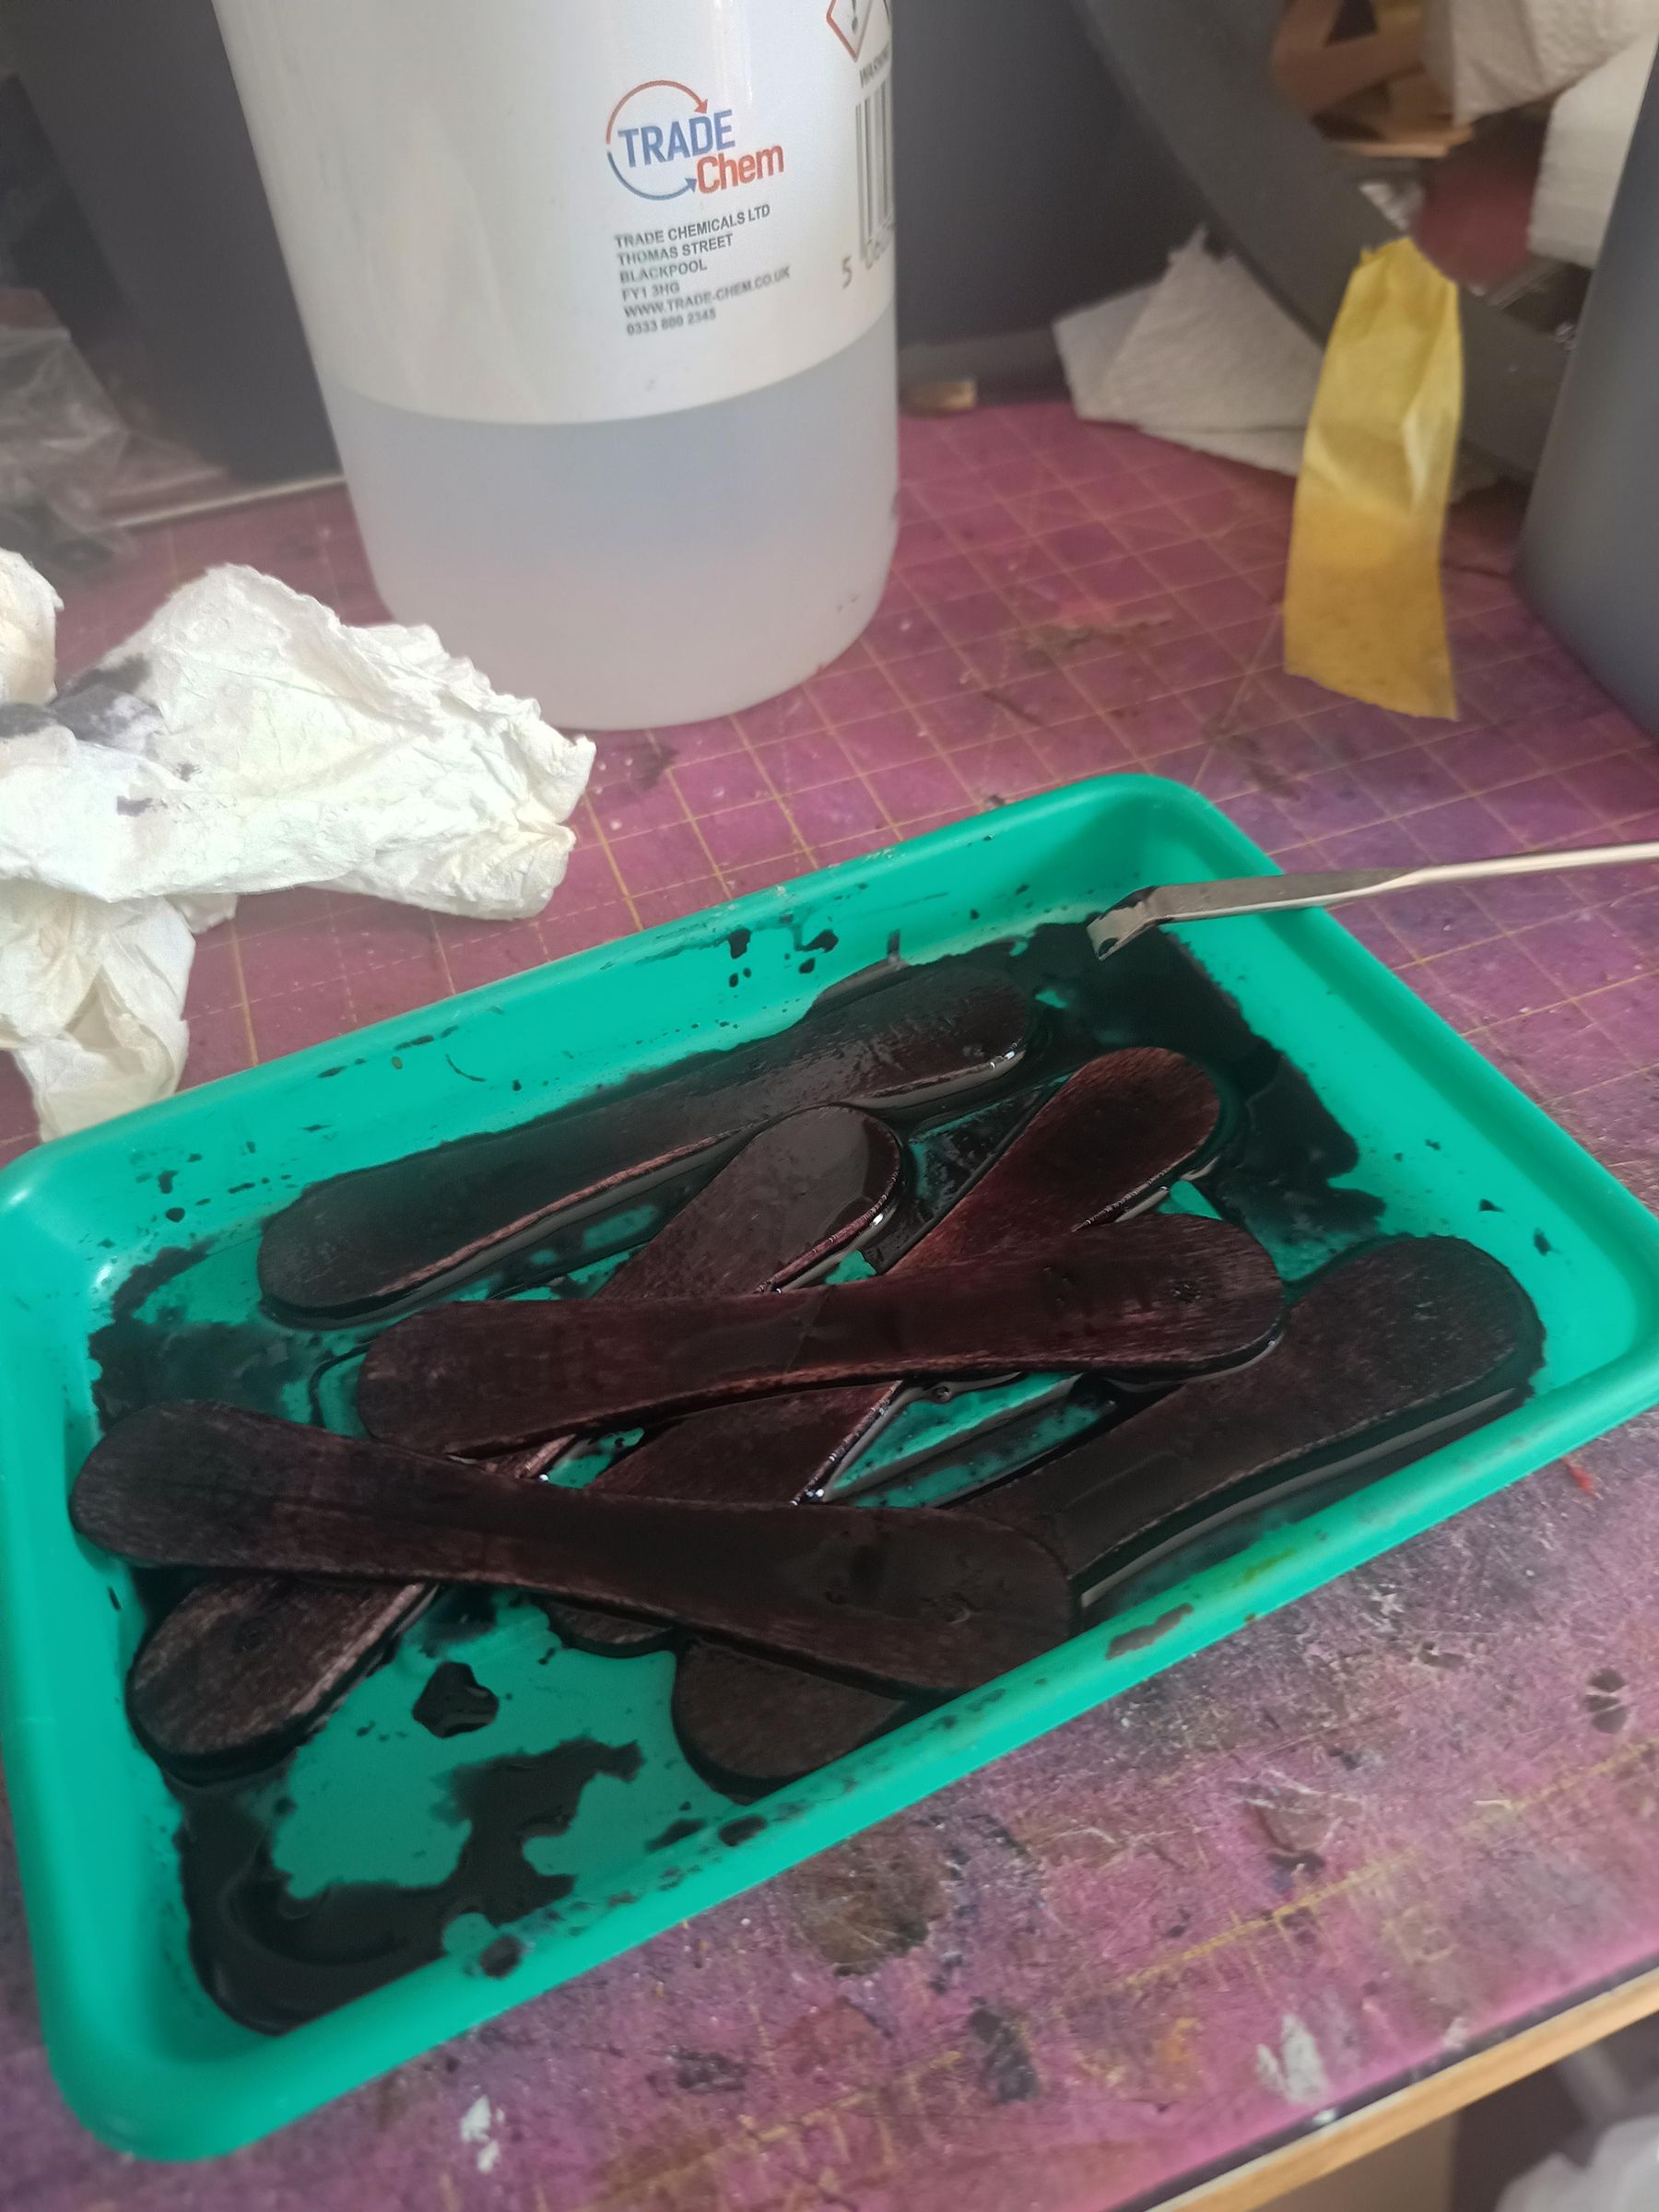
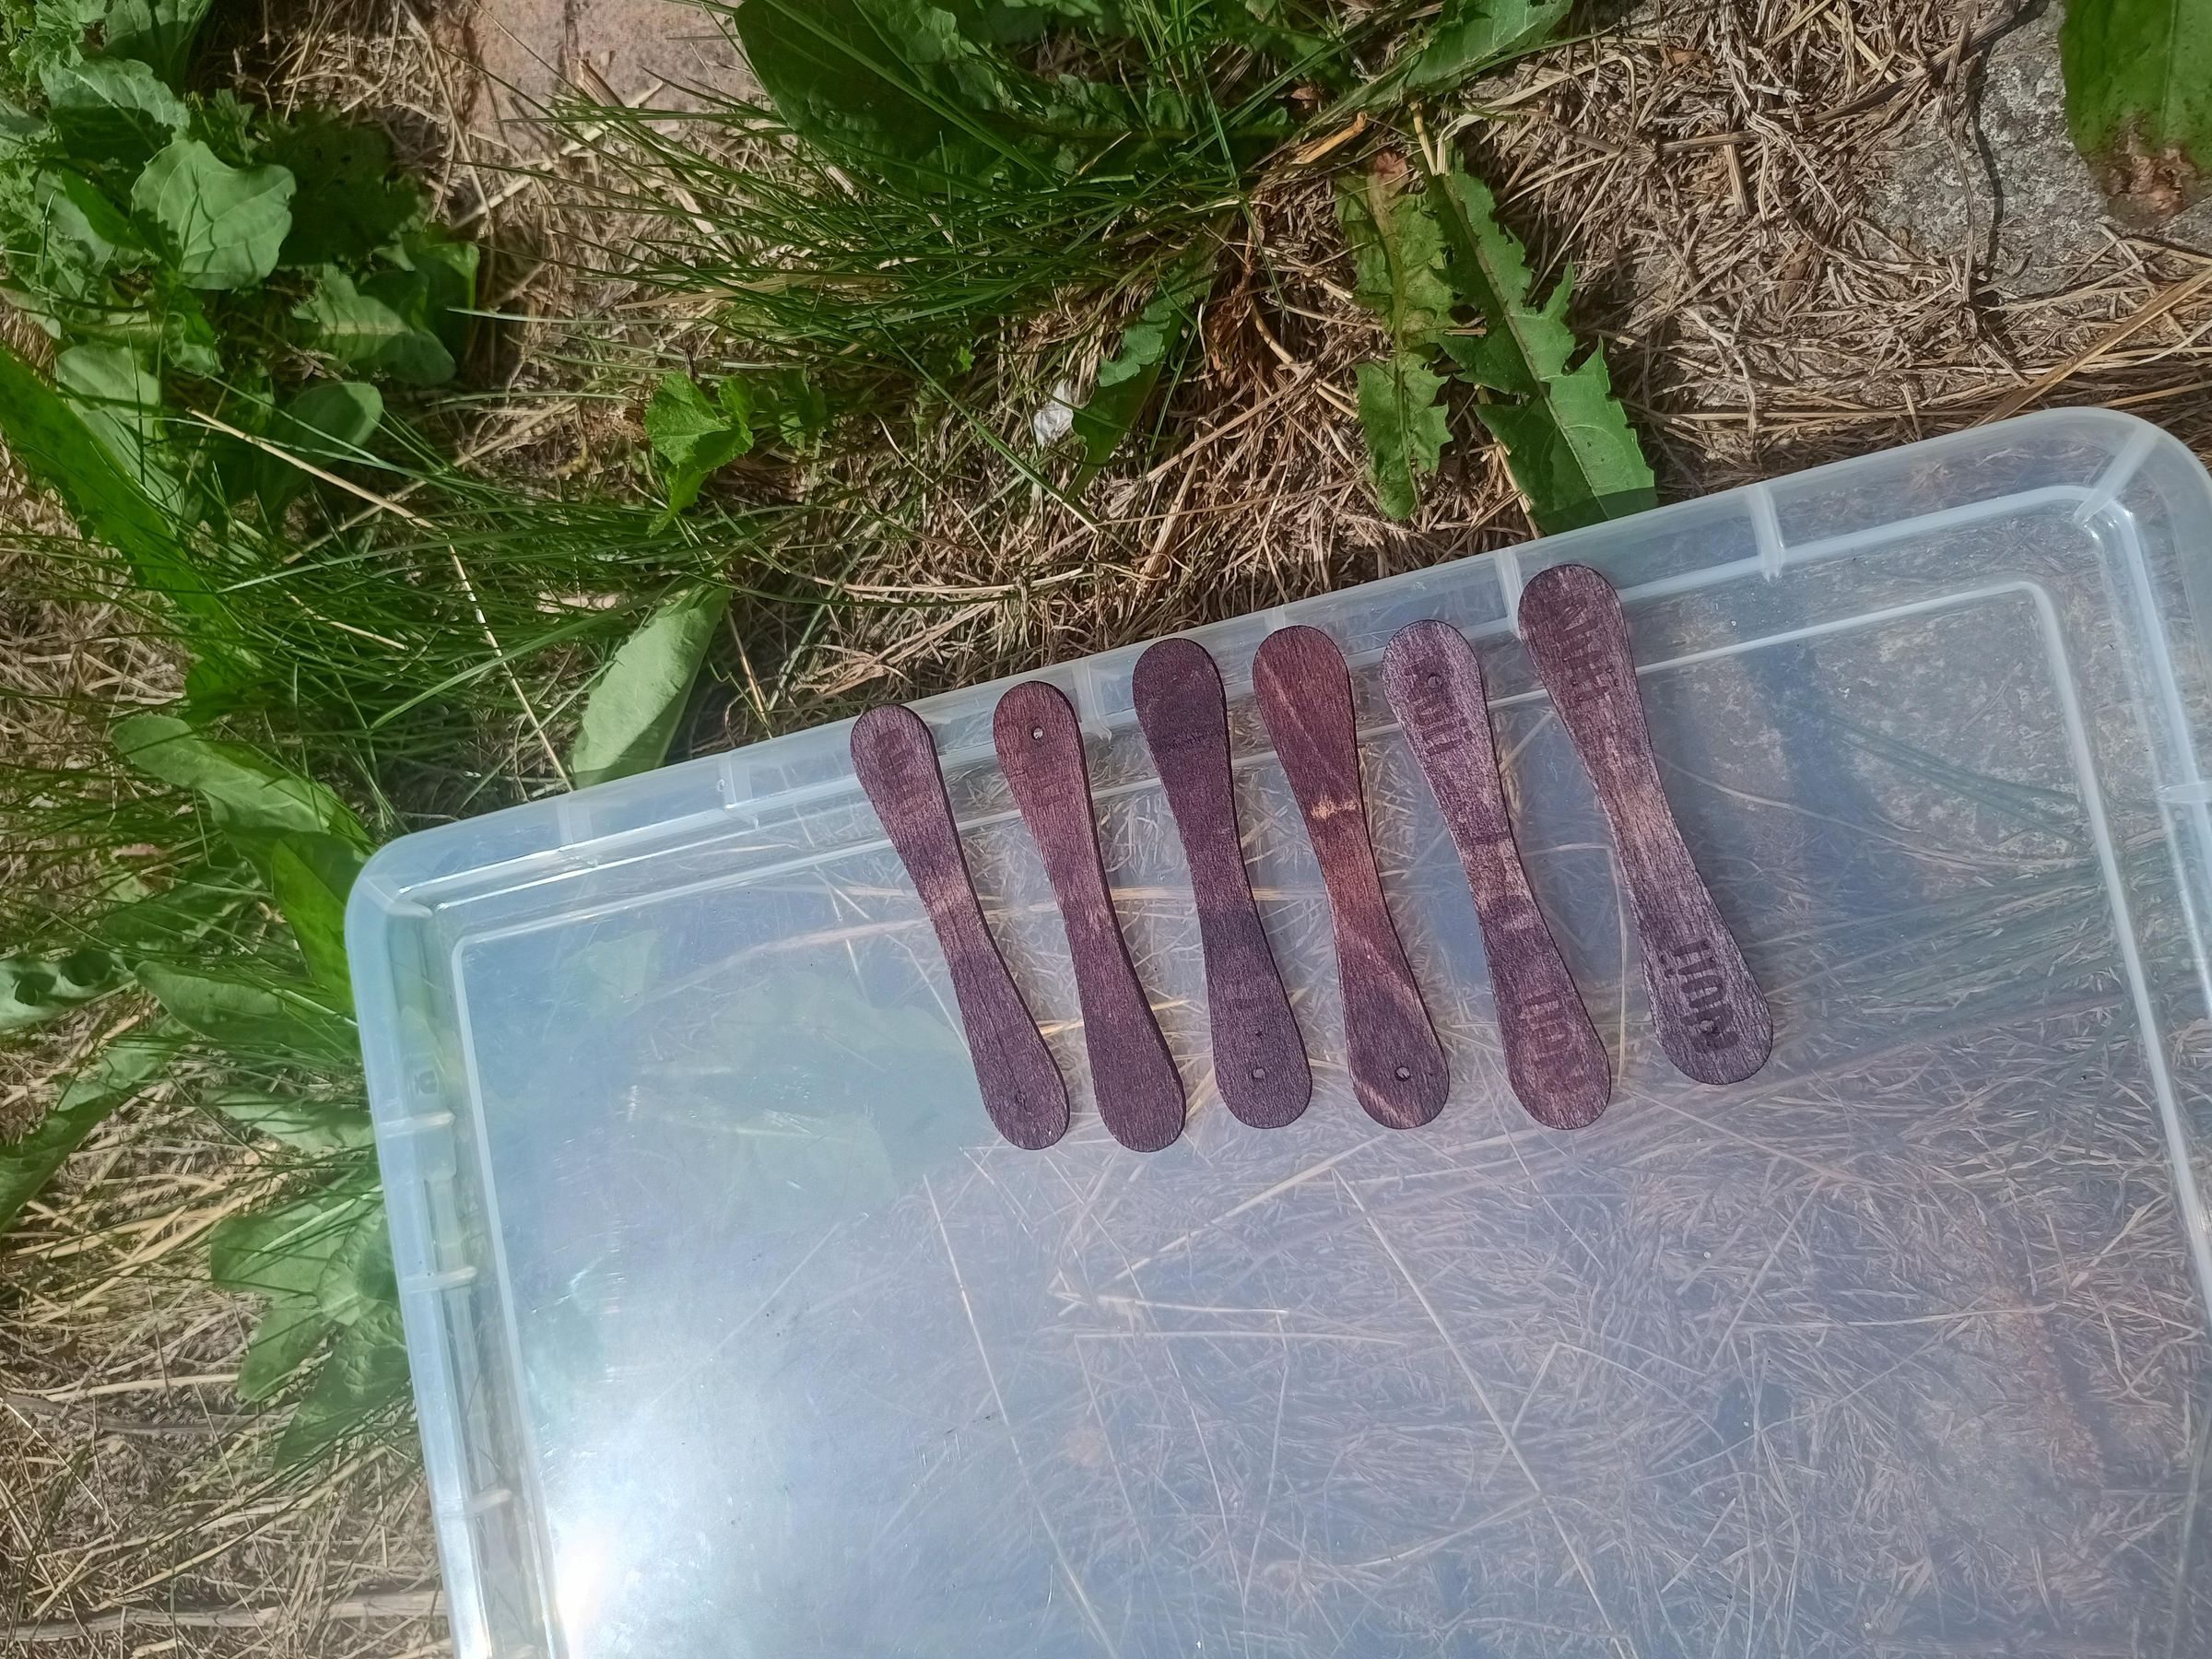
I stained all my sticks black (next time I'll paint them for a more striking colour, but I didn't have any varnish to prevent the paint from sticking to itself), and then left them to dry in the sun.
Oil
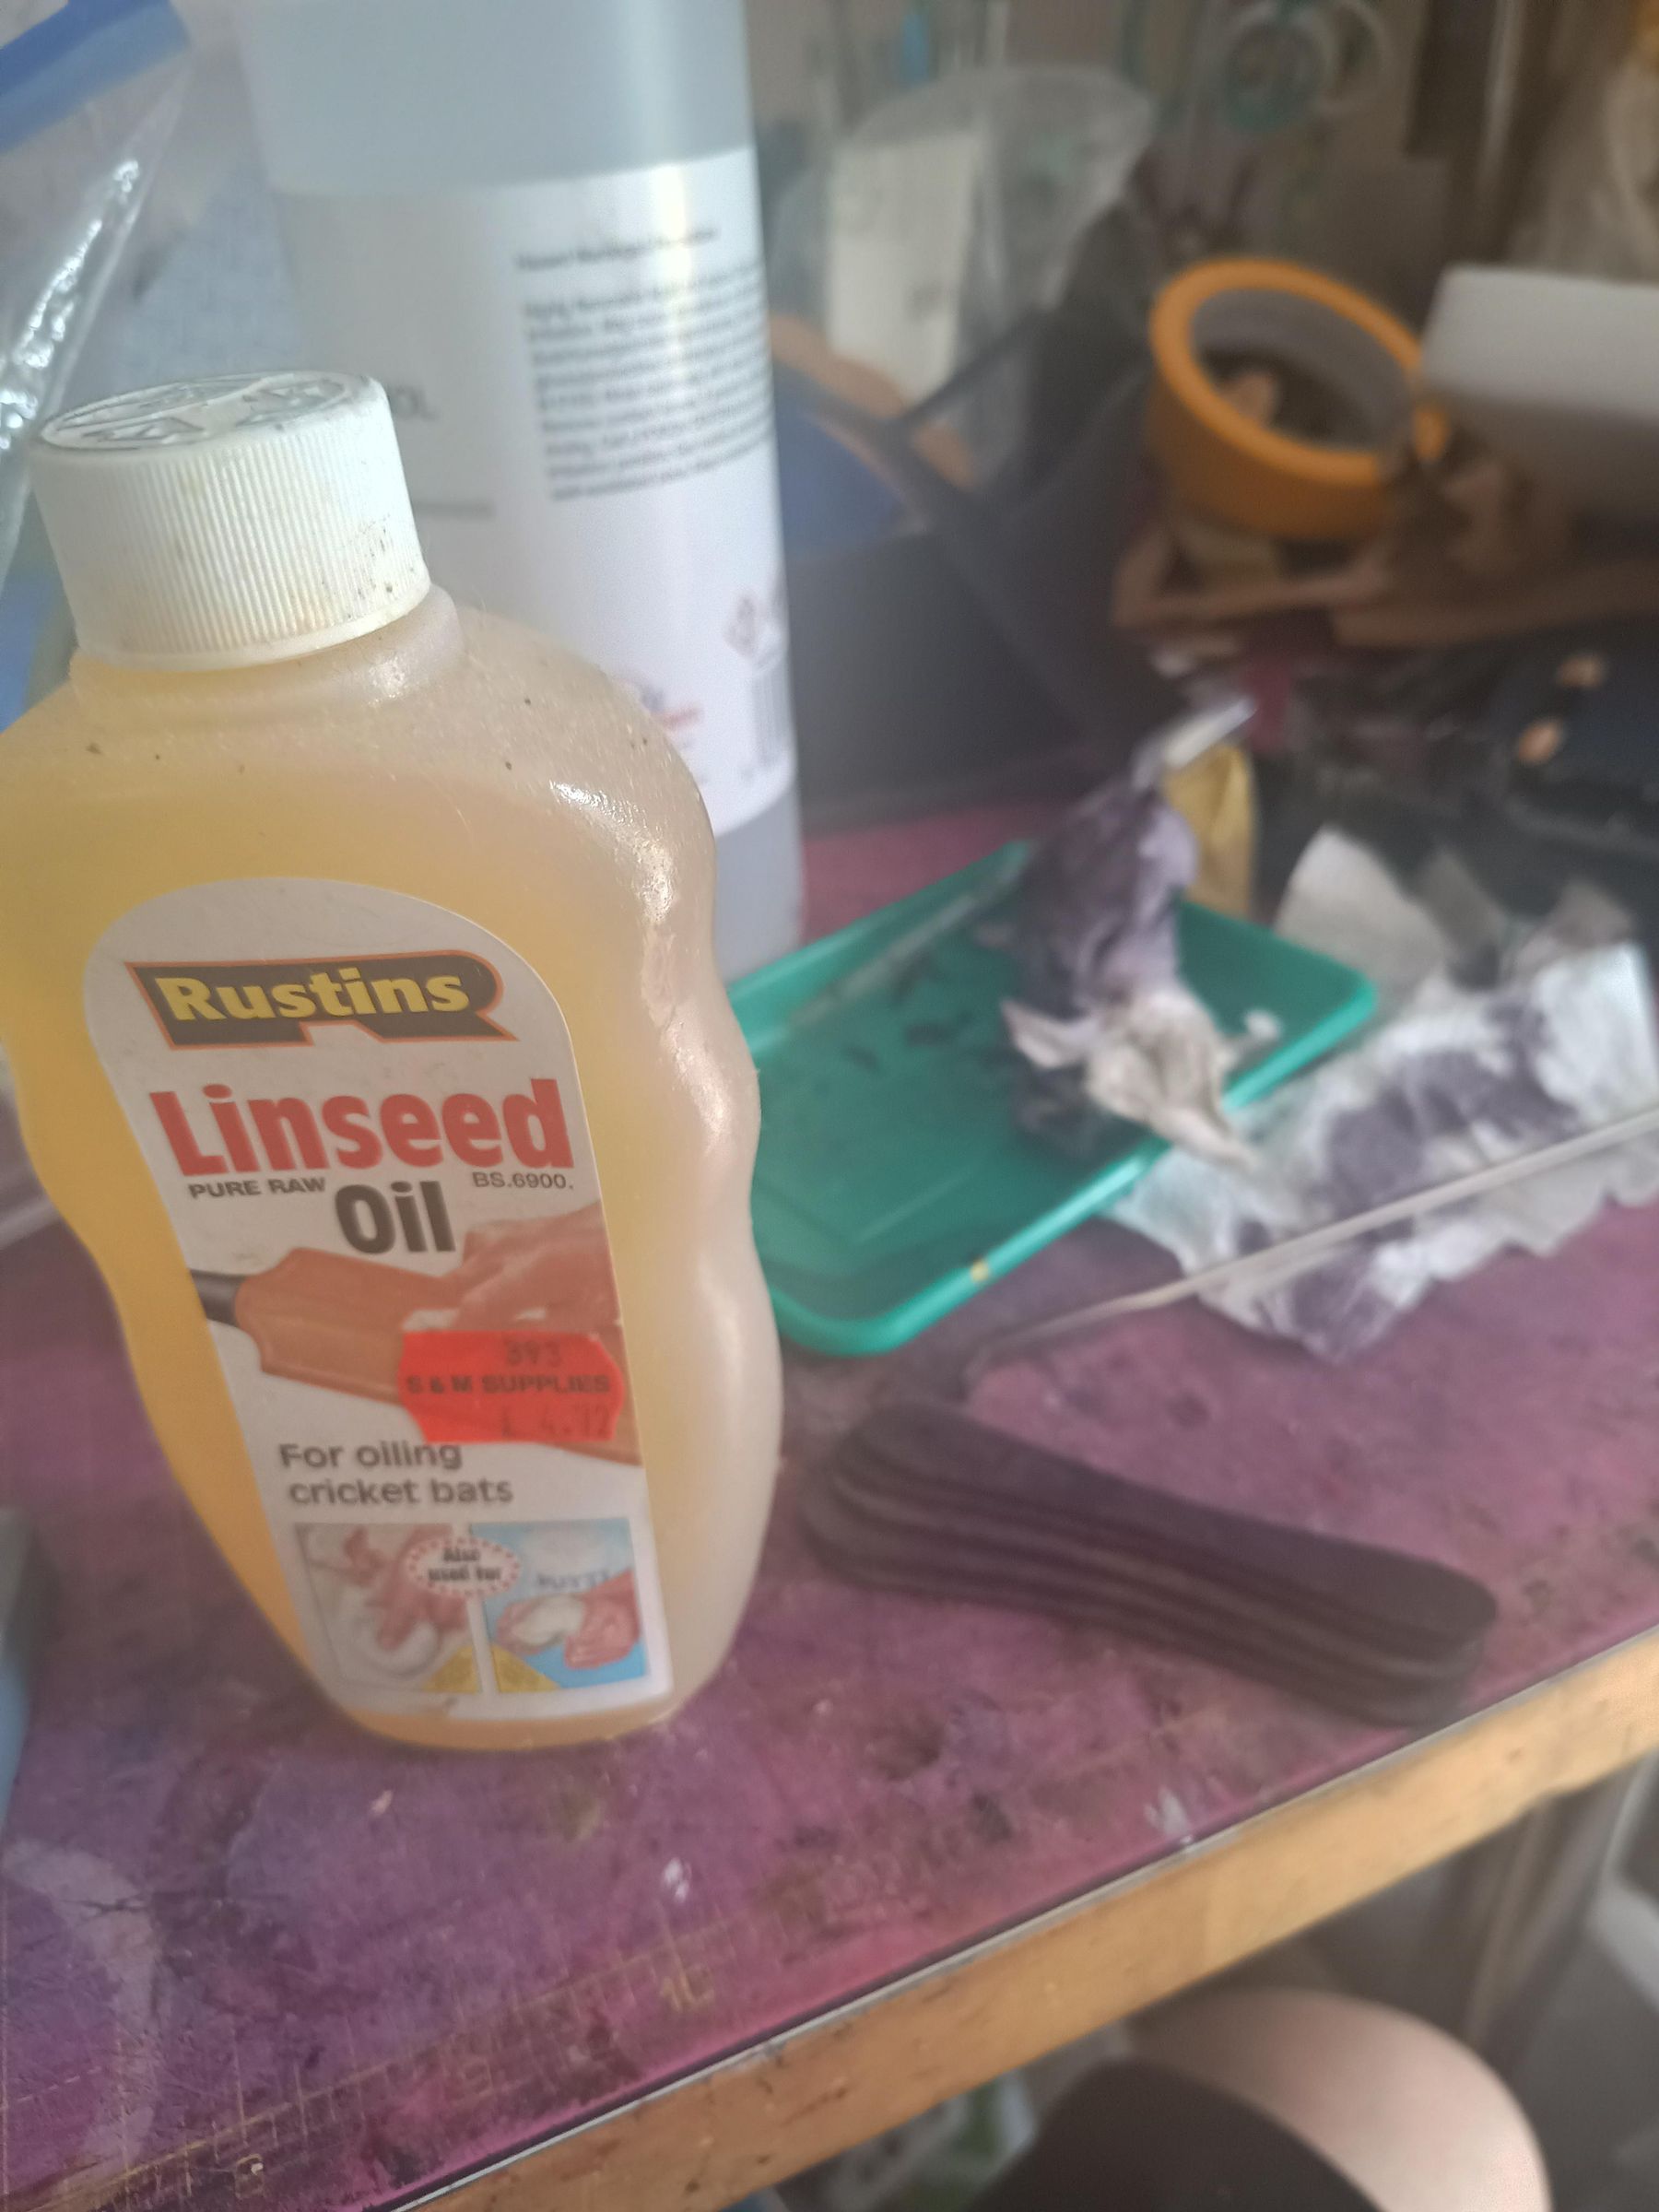
I used linseed oil on all the sticks (remember to dispose of the rag you use in a bin outside, it's very flammable!). then set them aside.
Dye Dye Dye Part 1
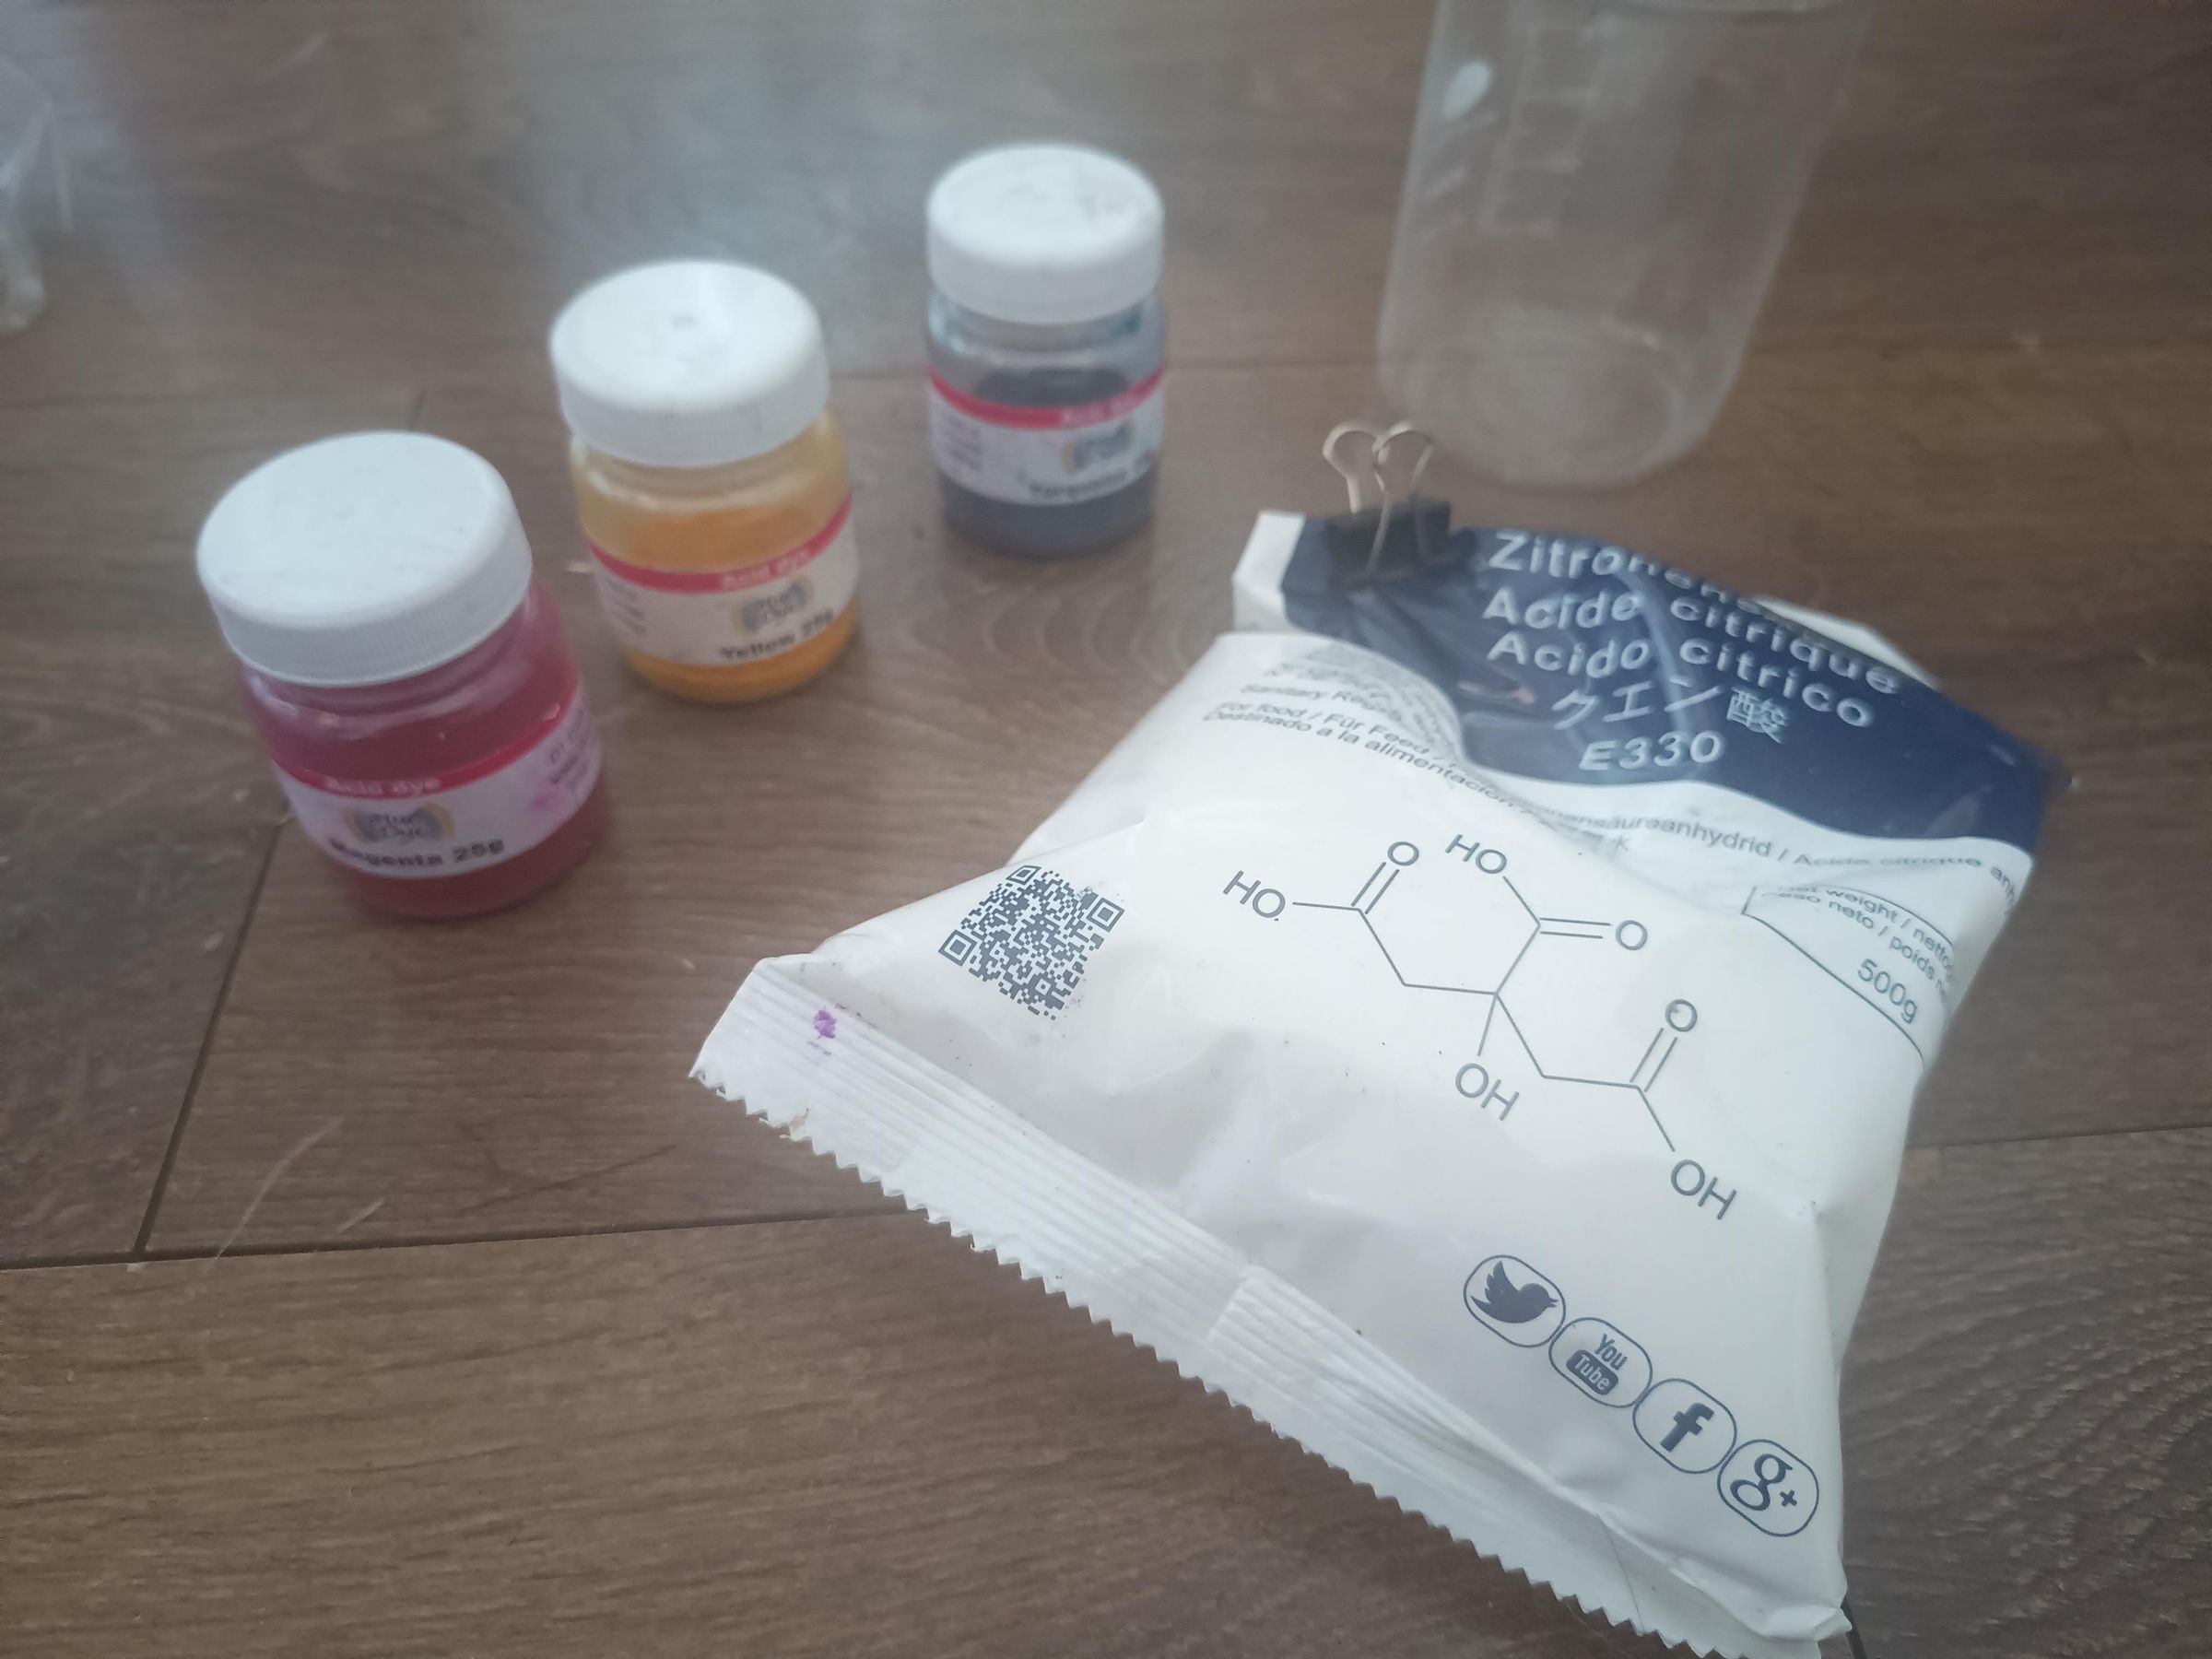
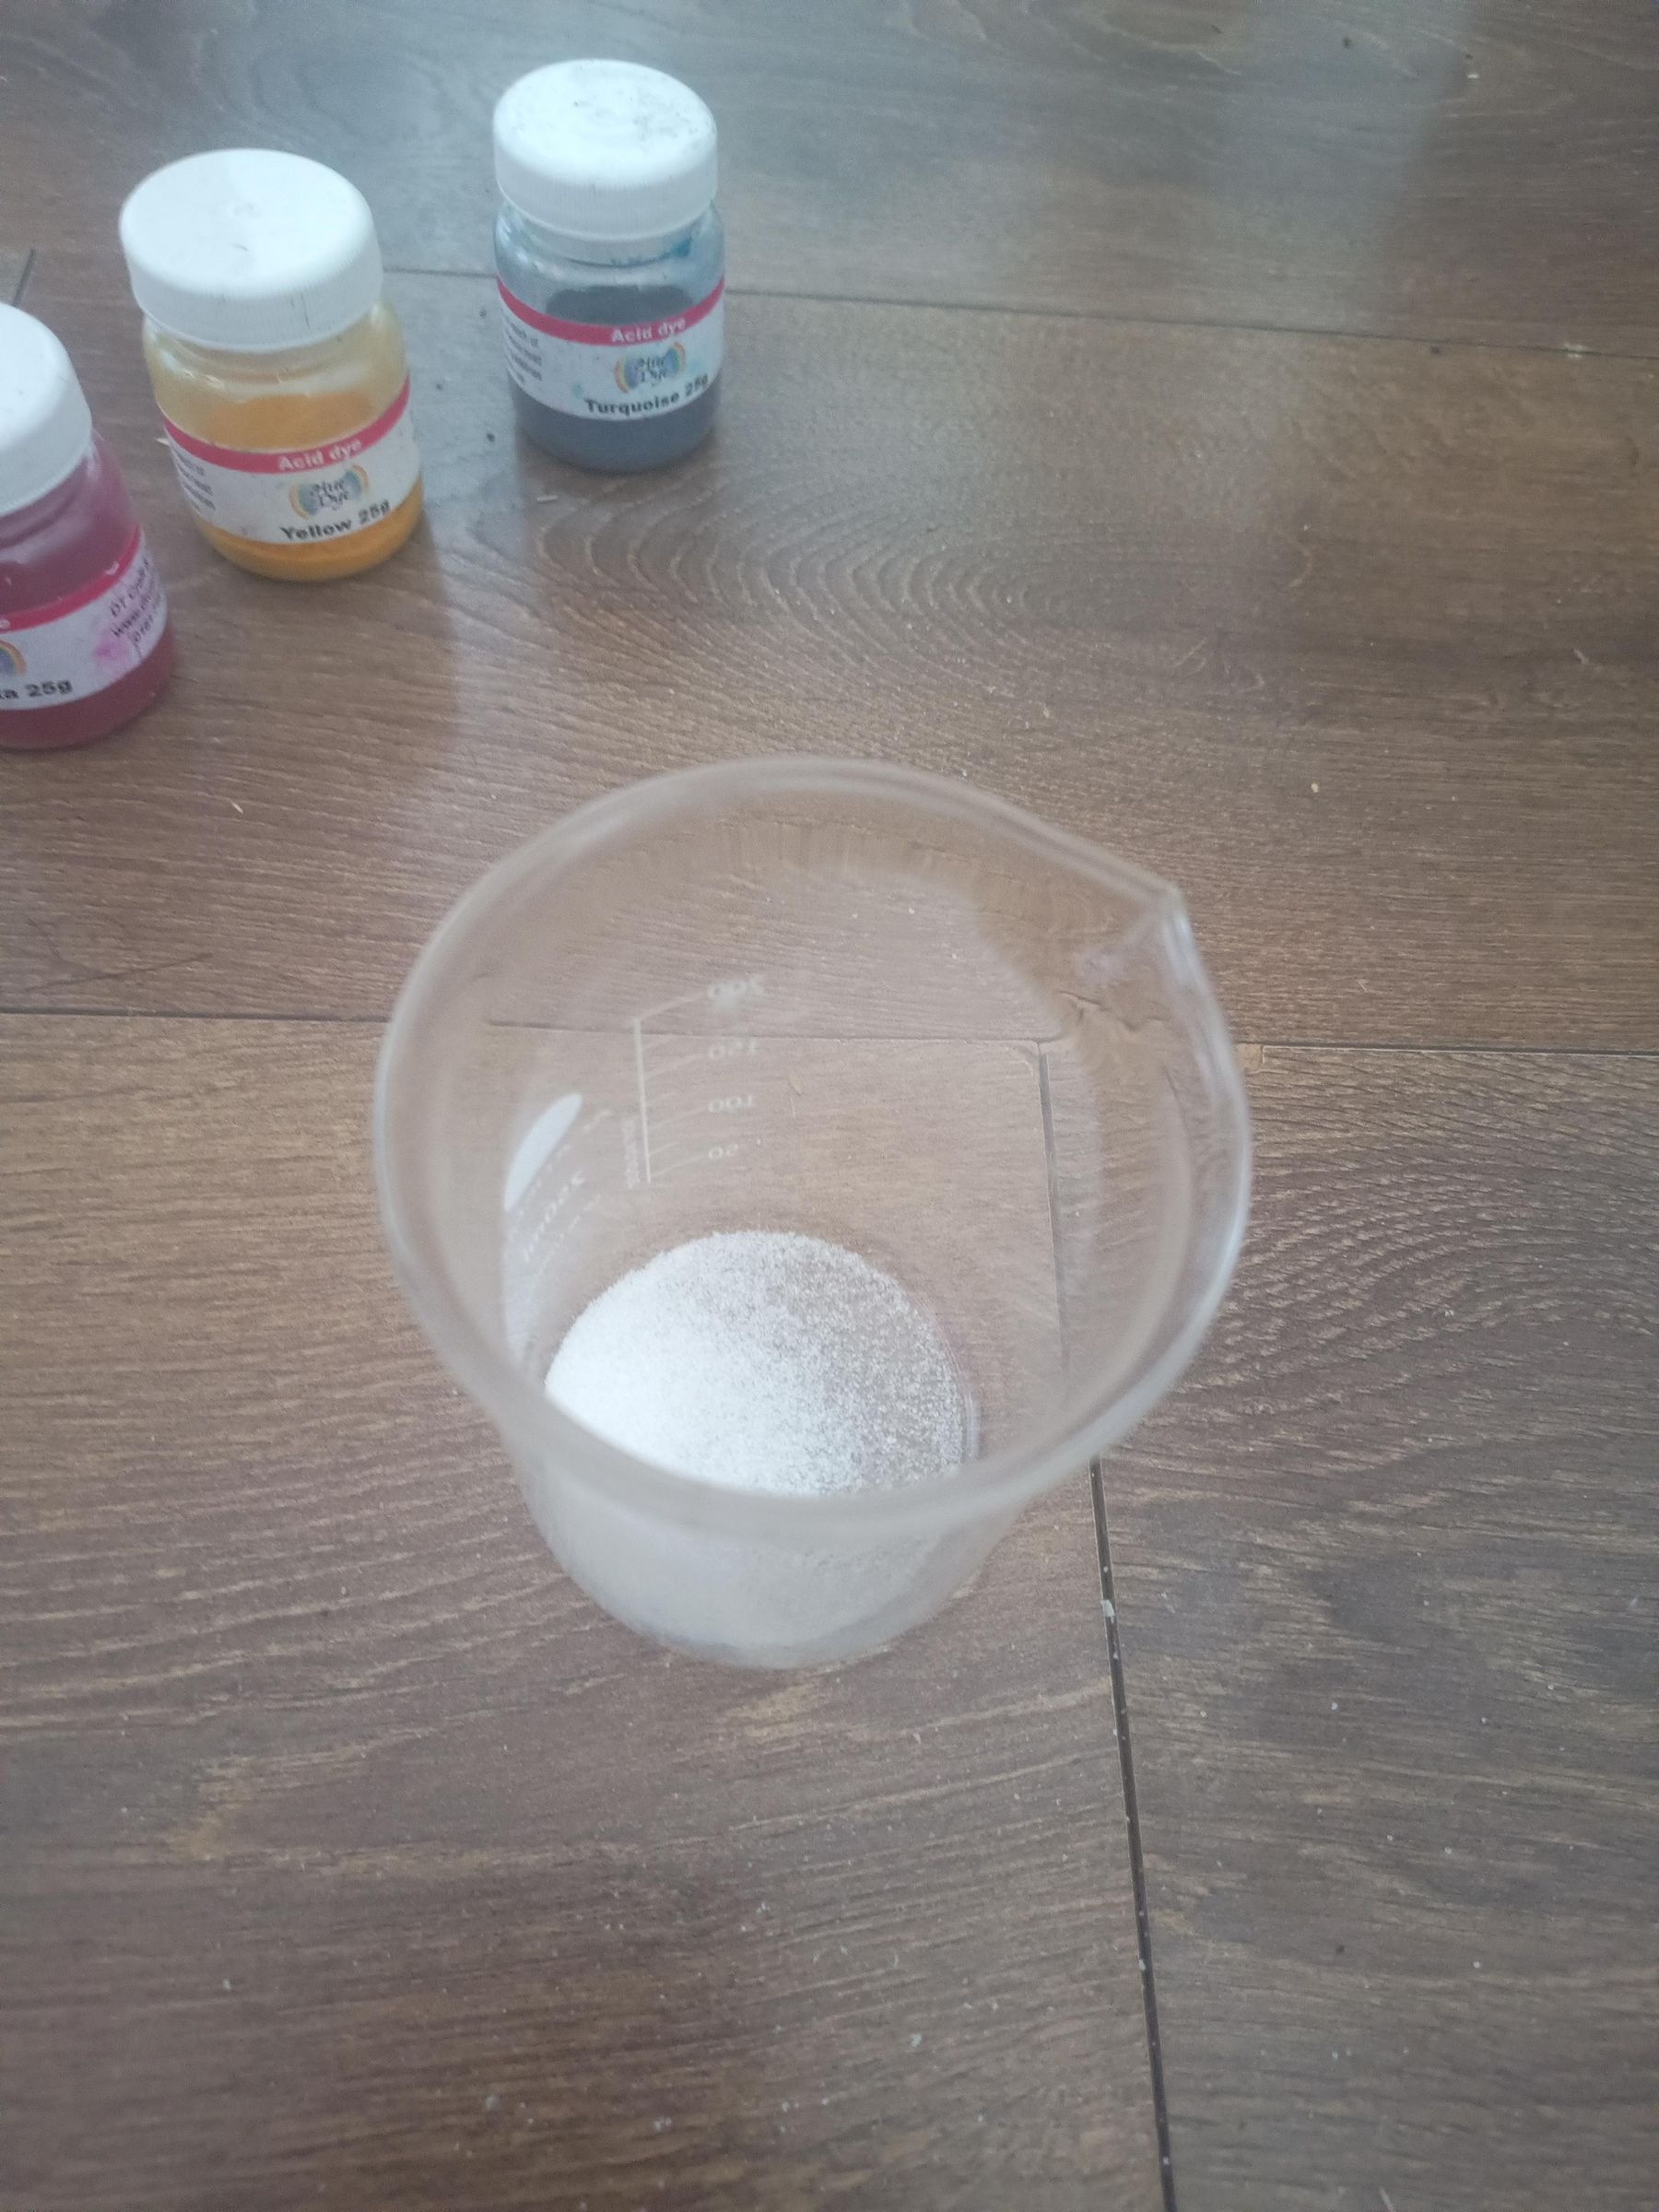
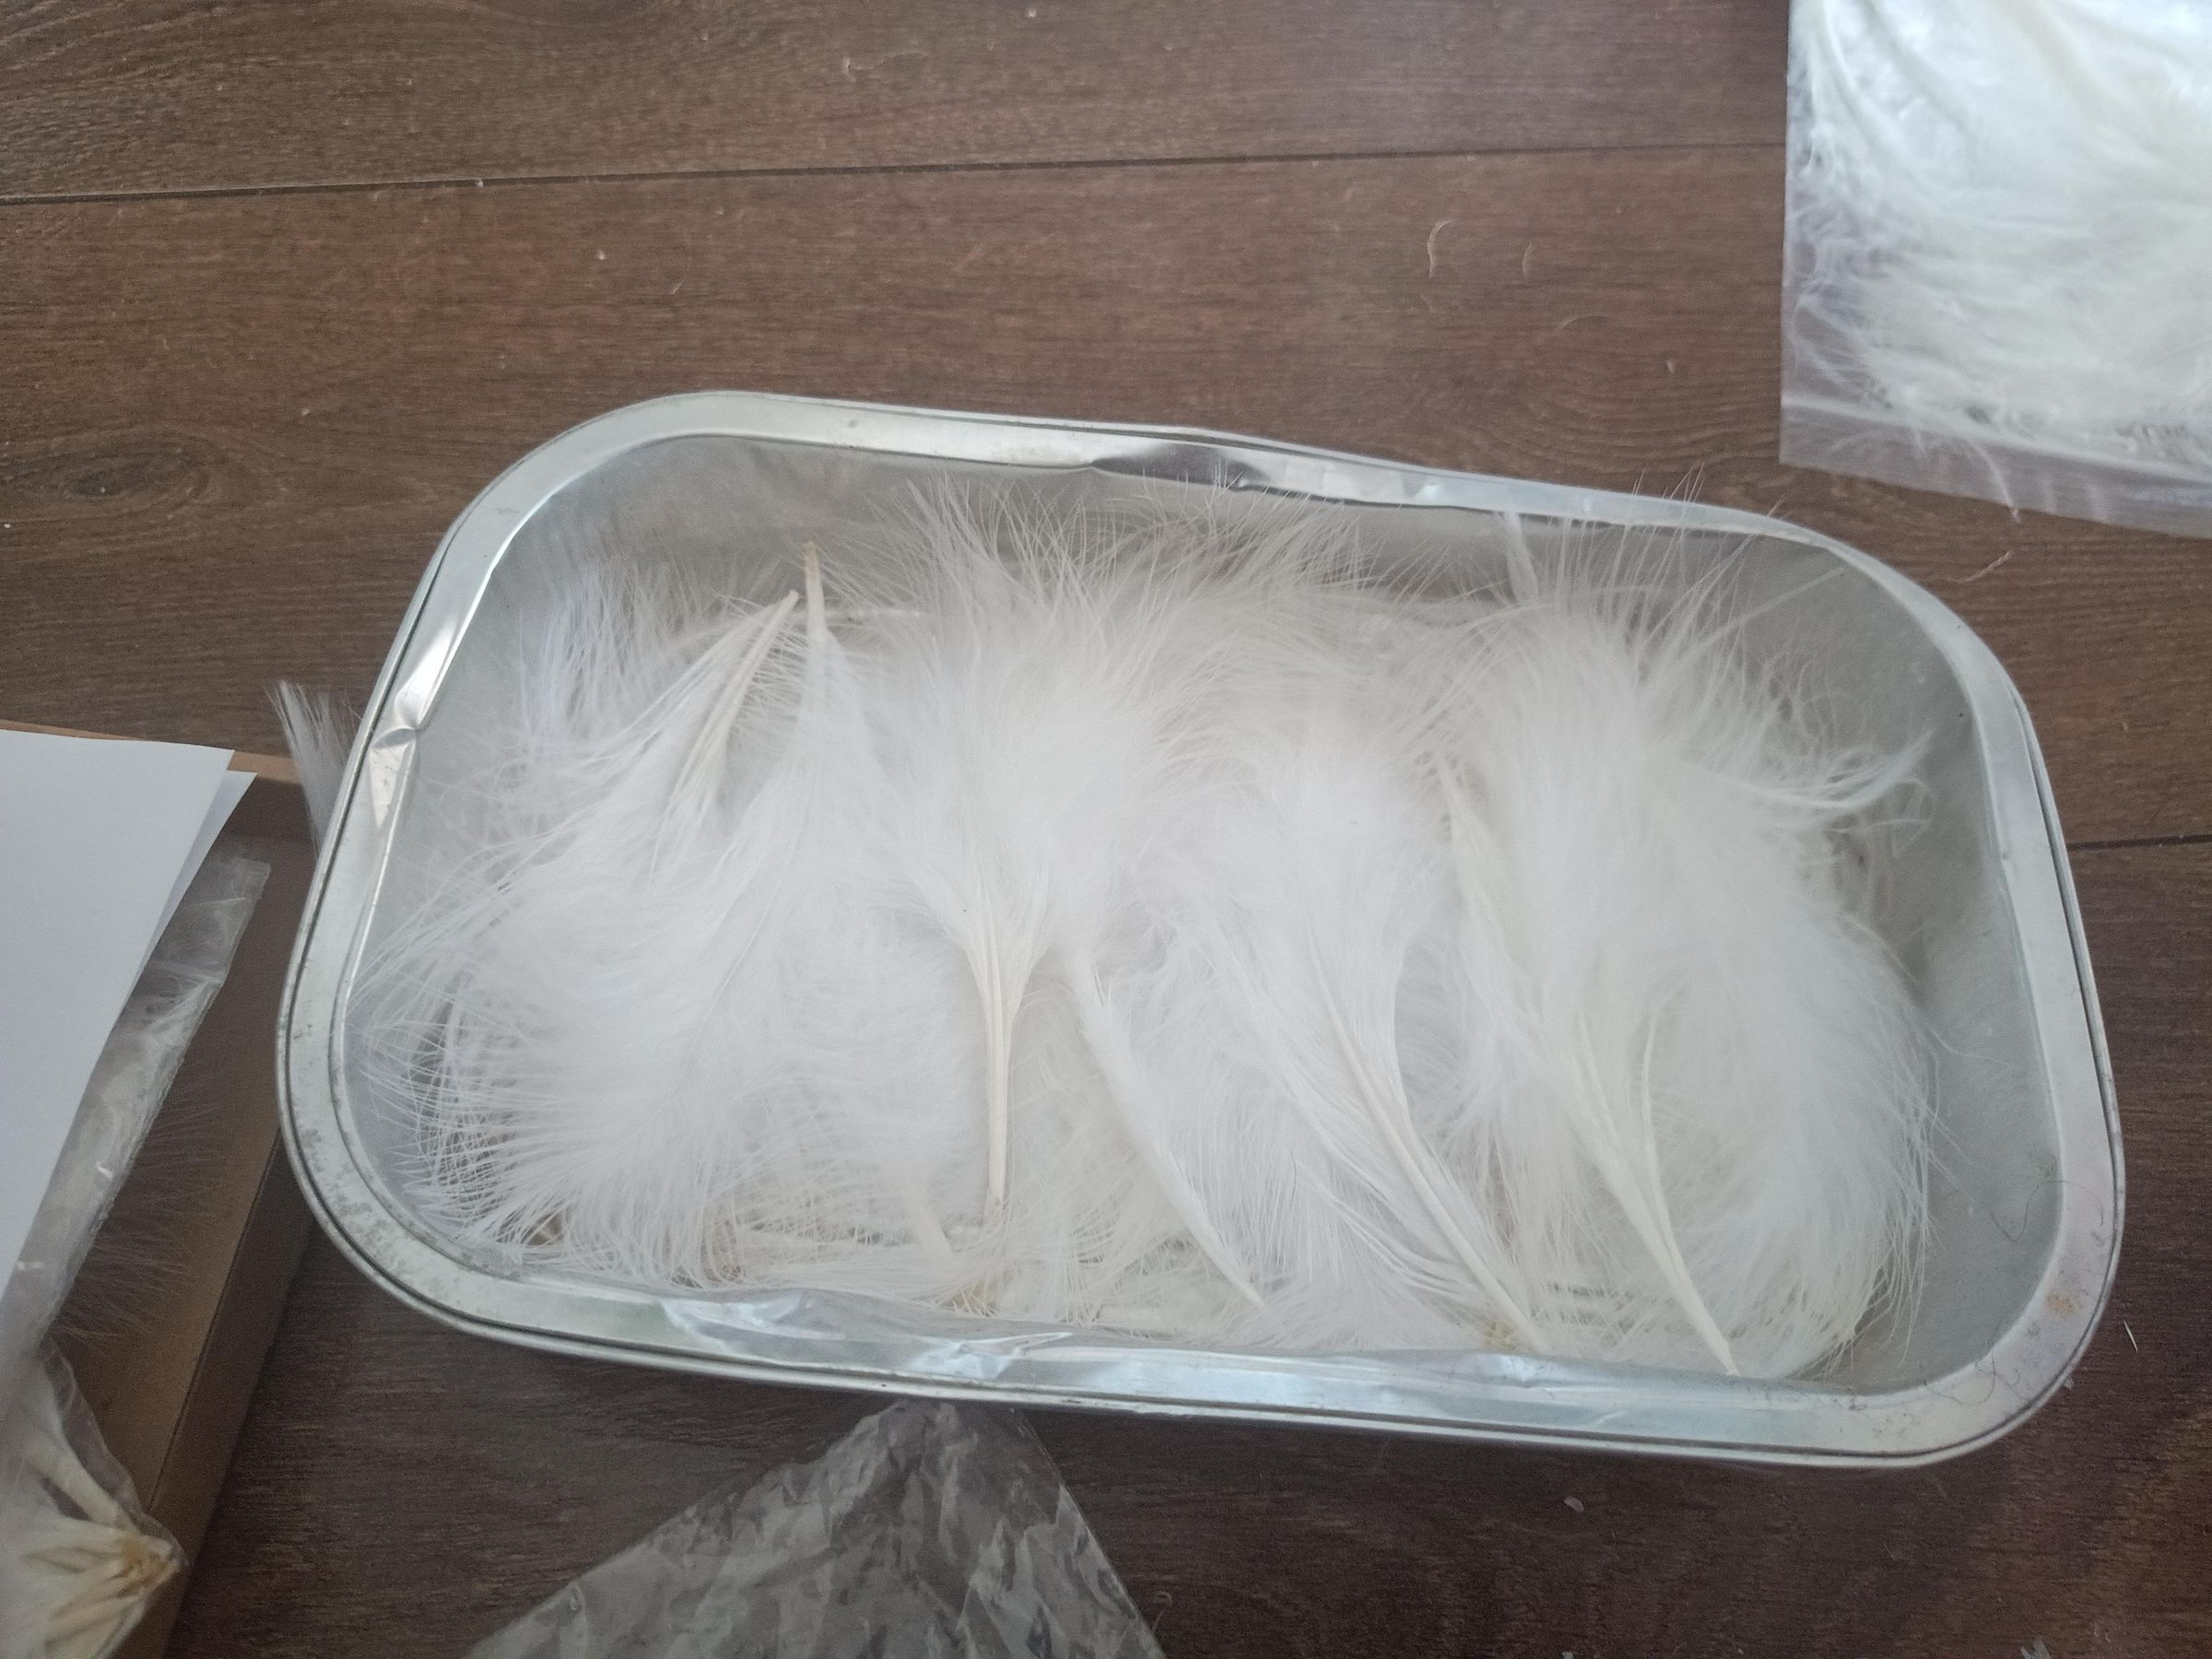
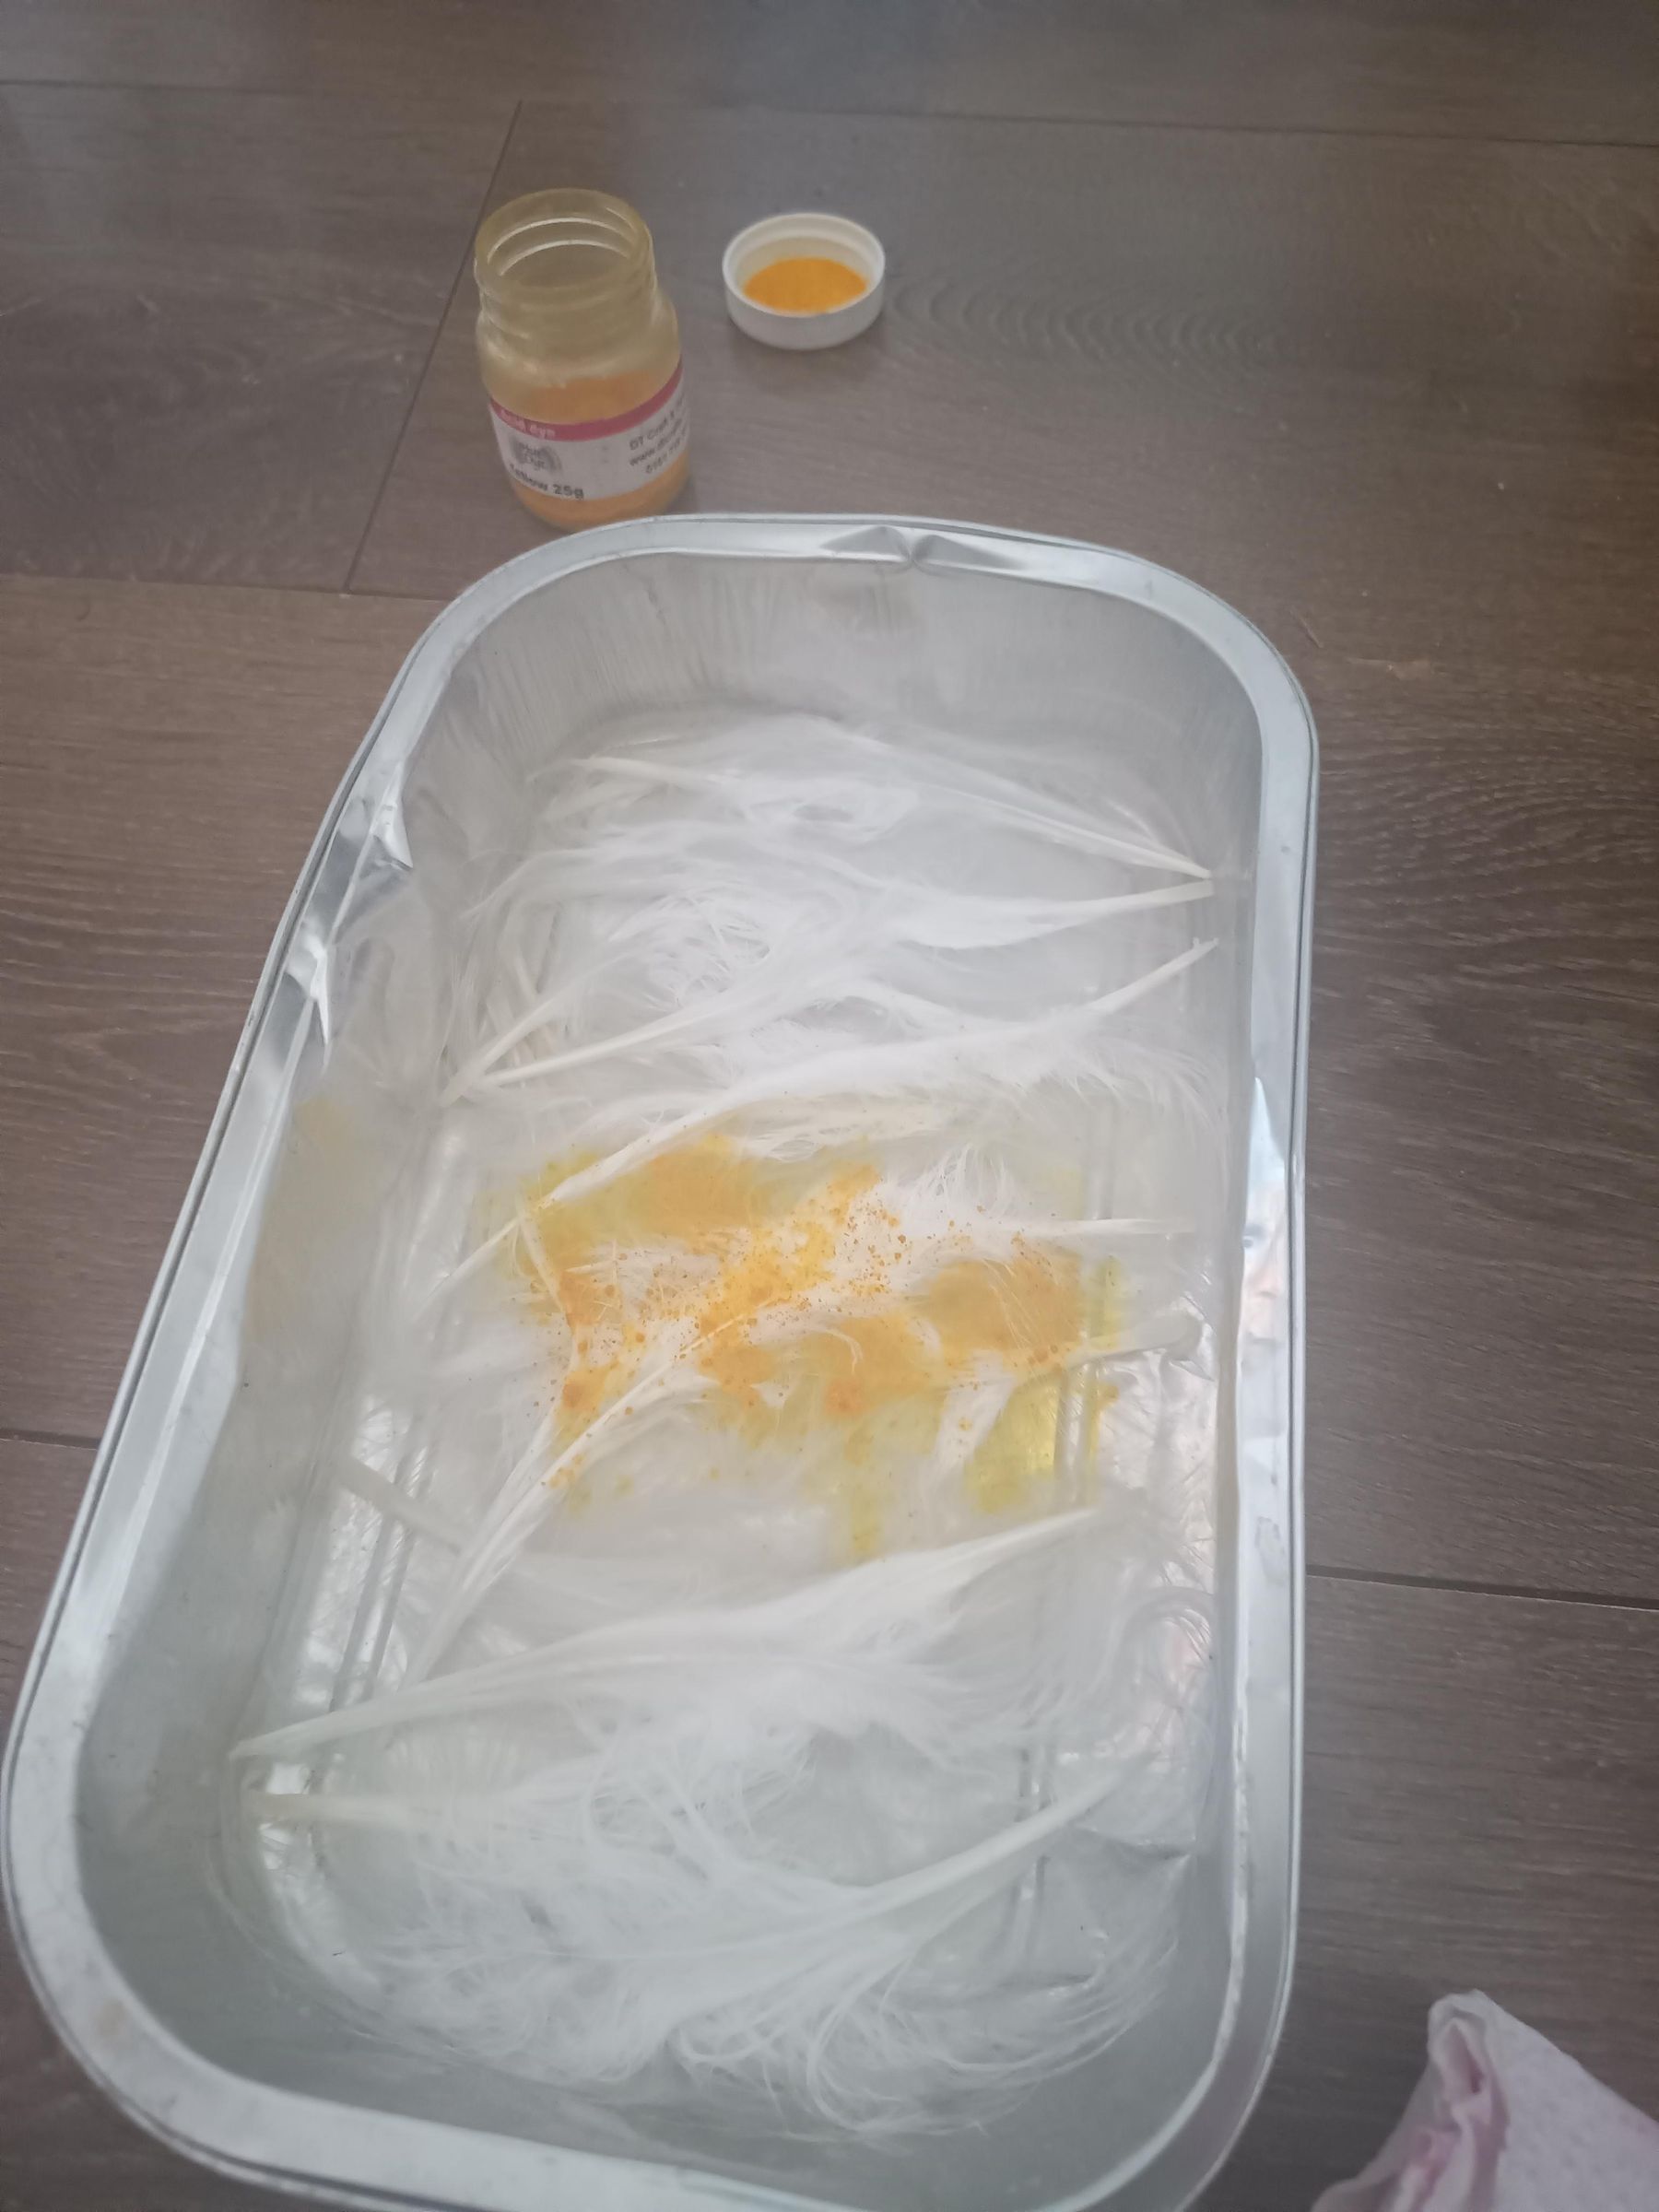
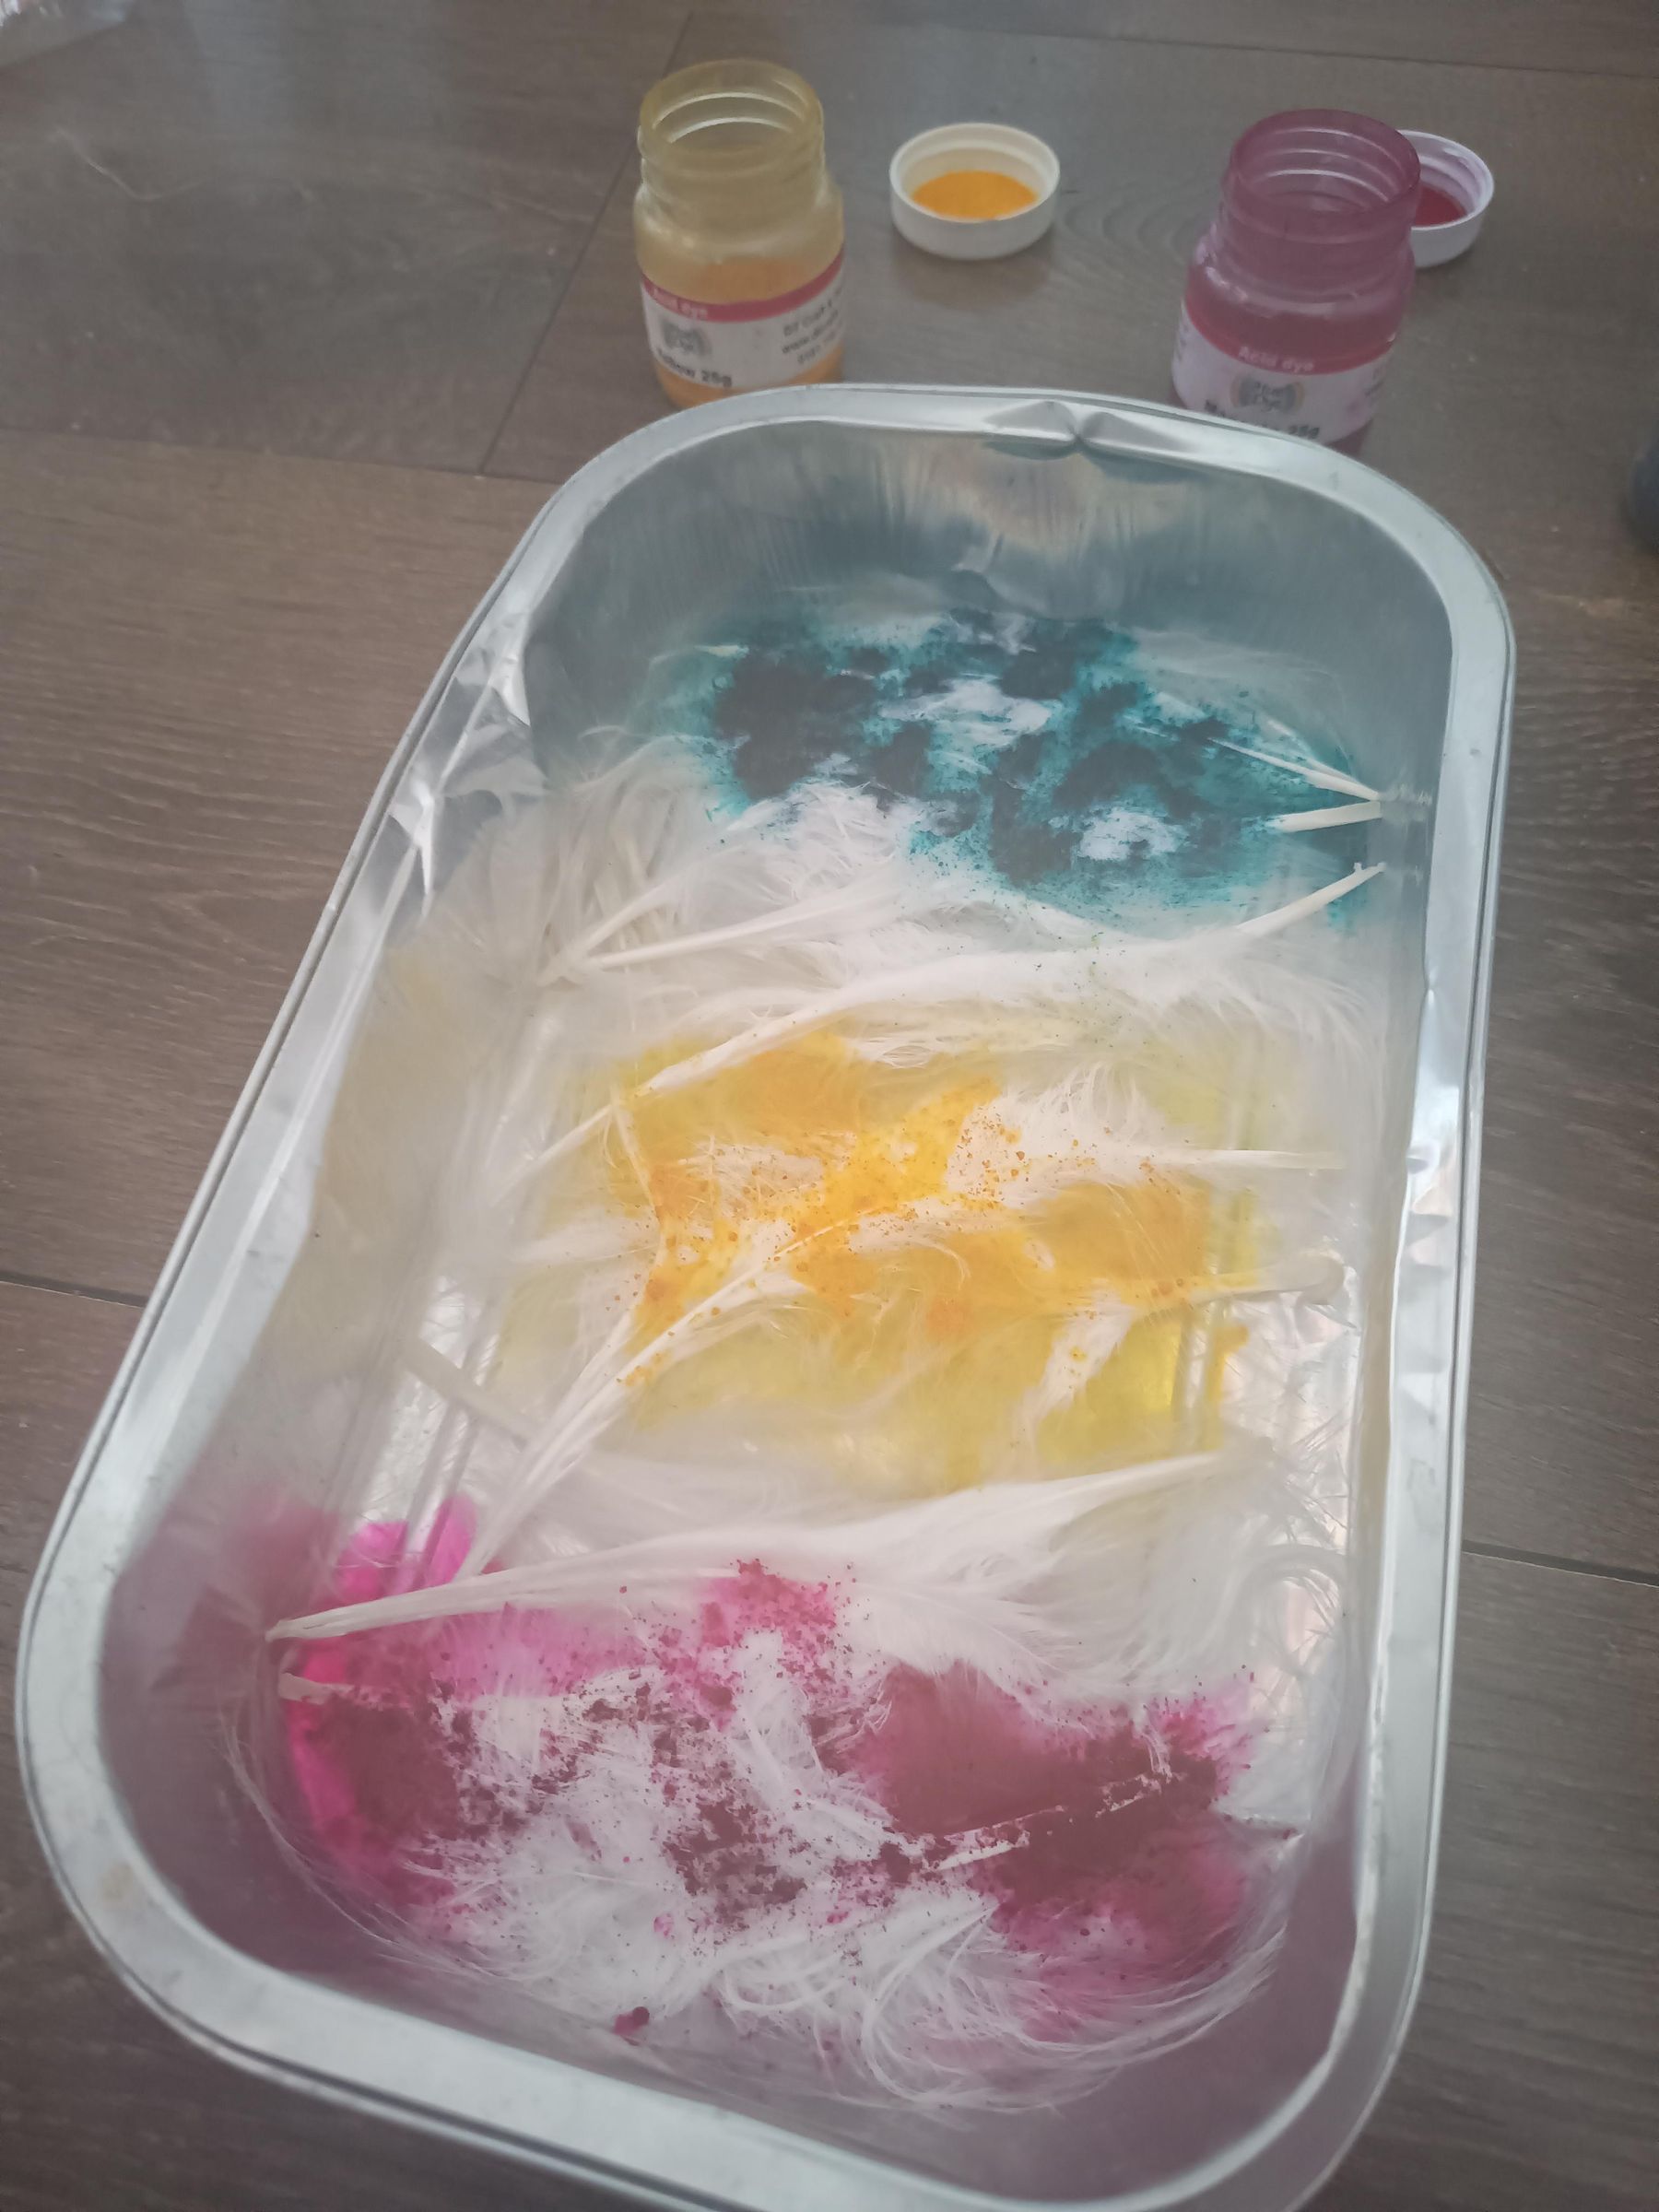
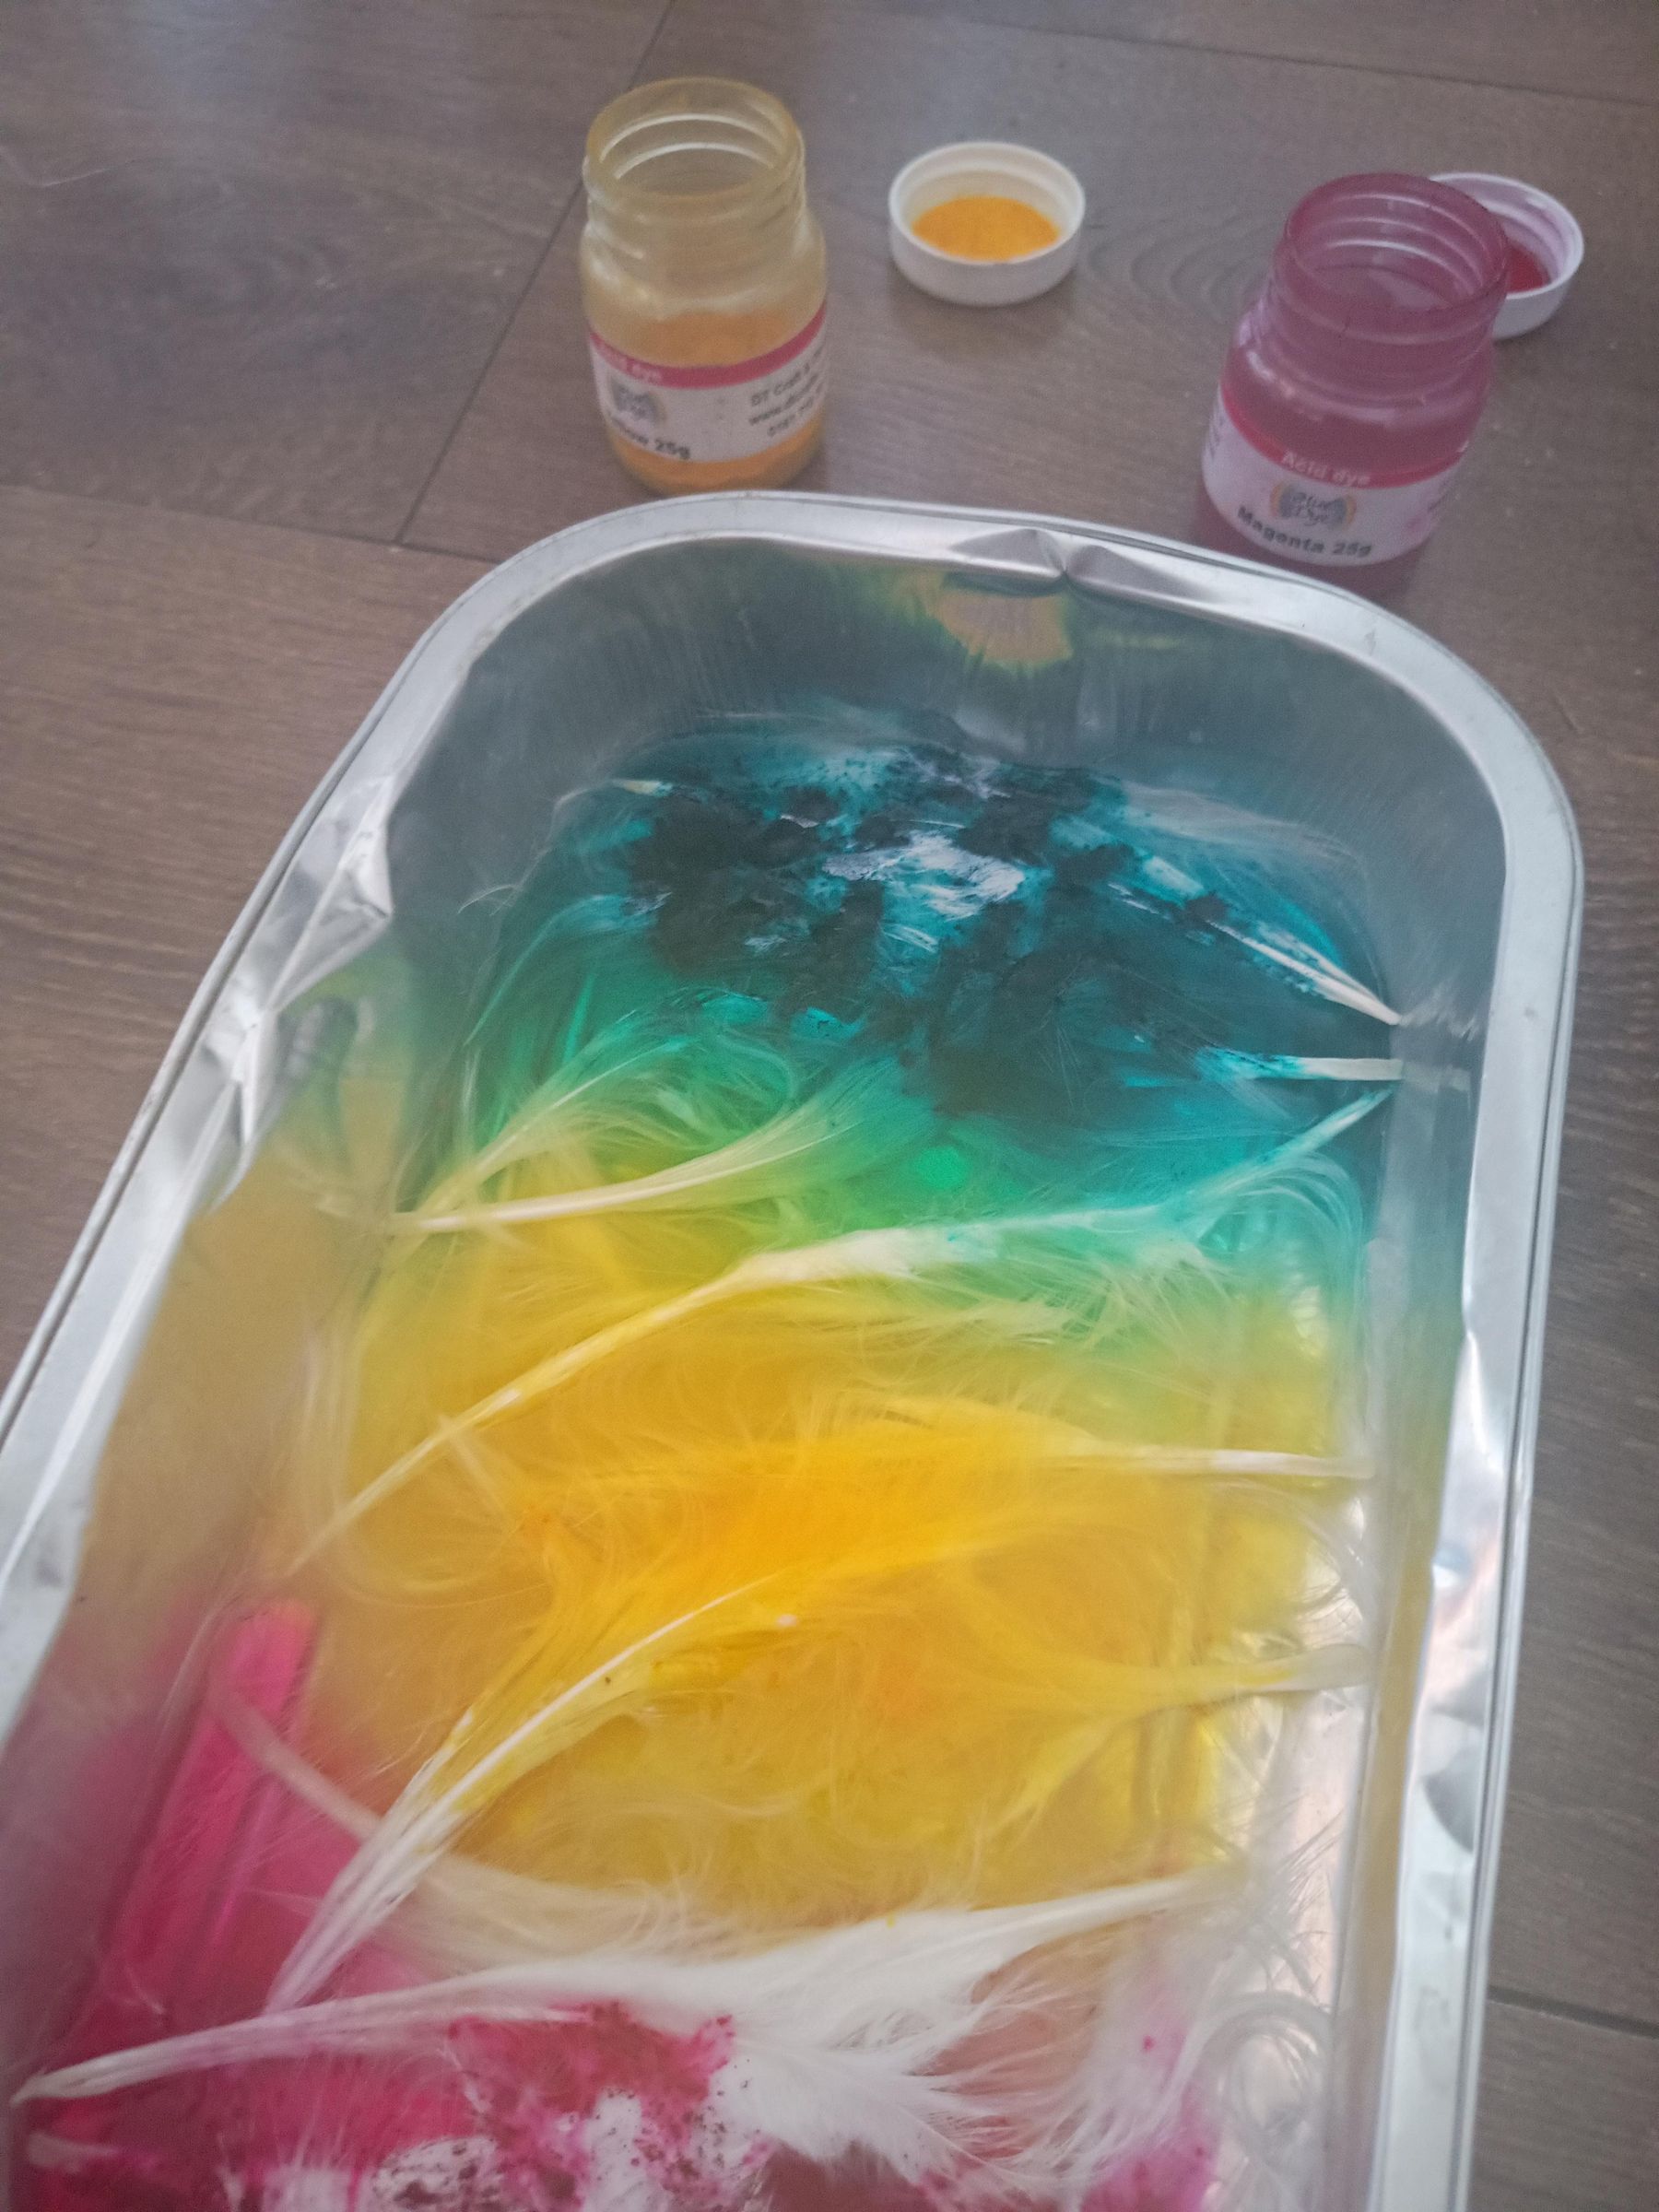
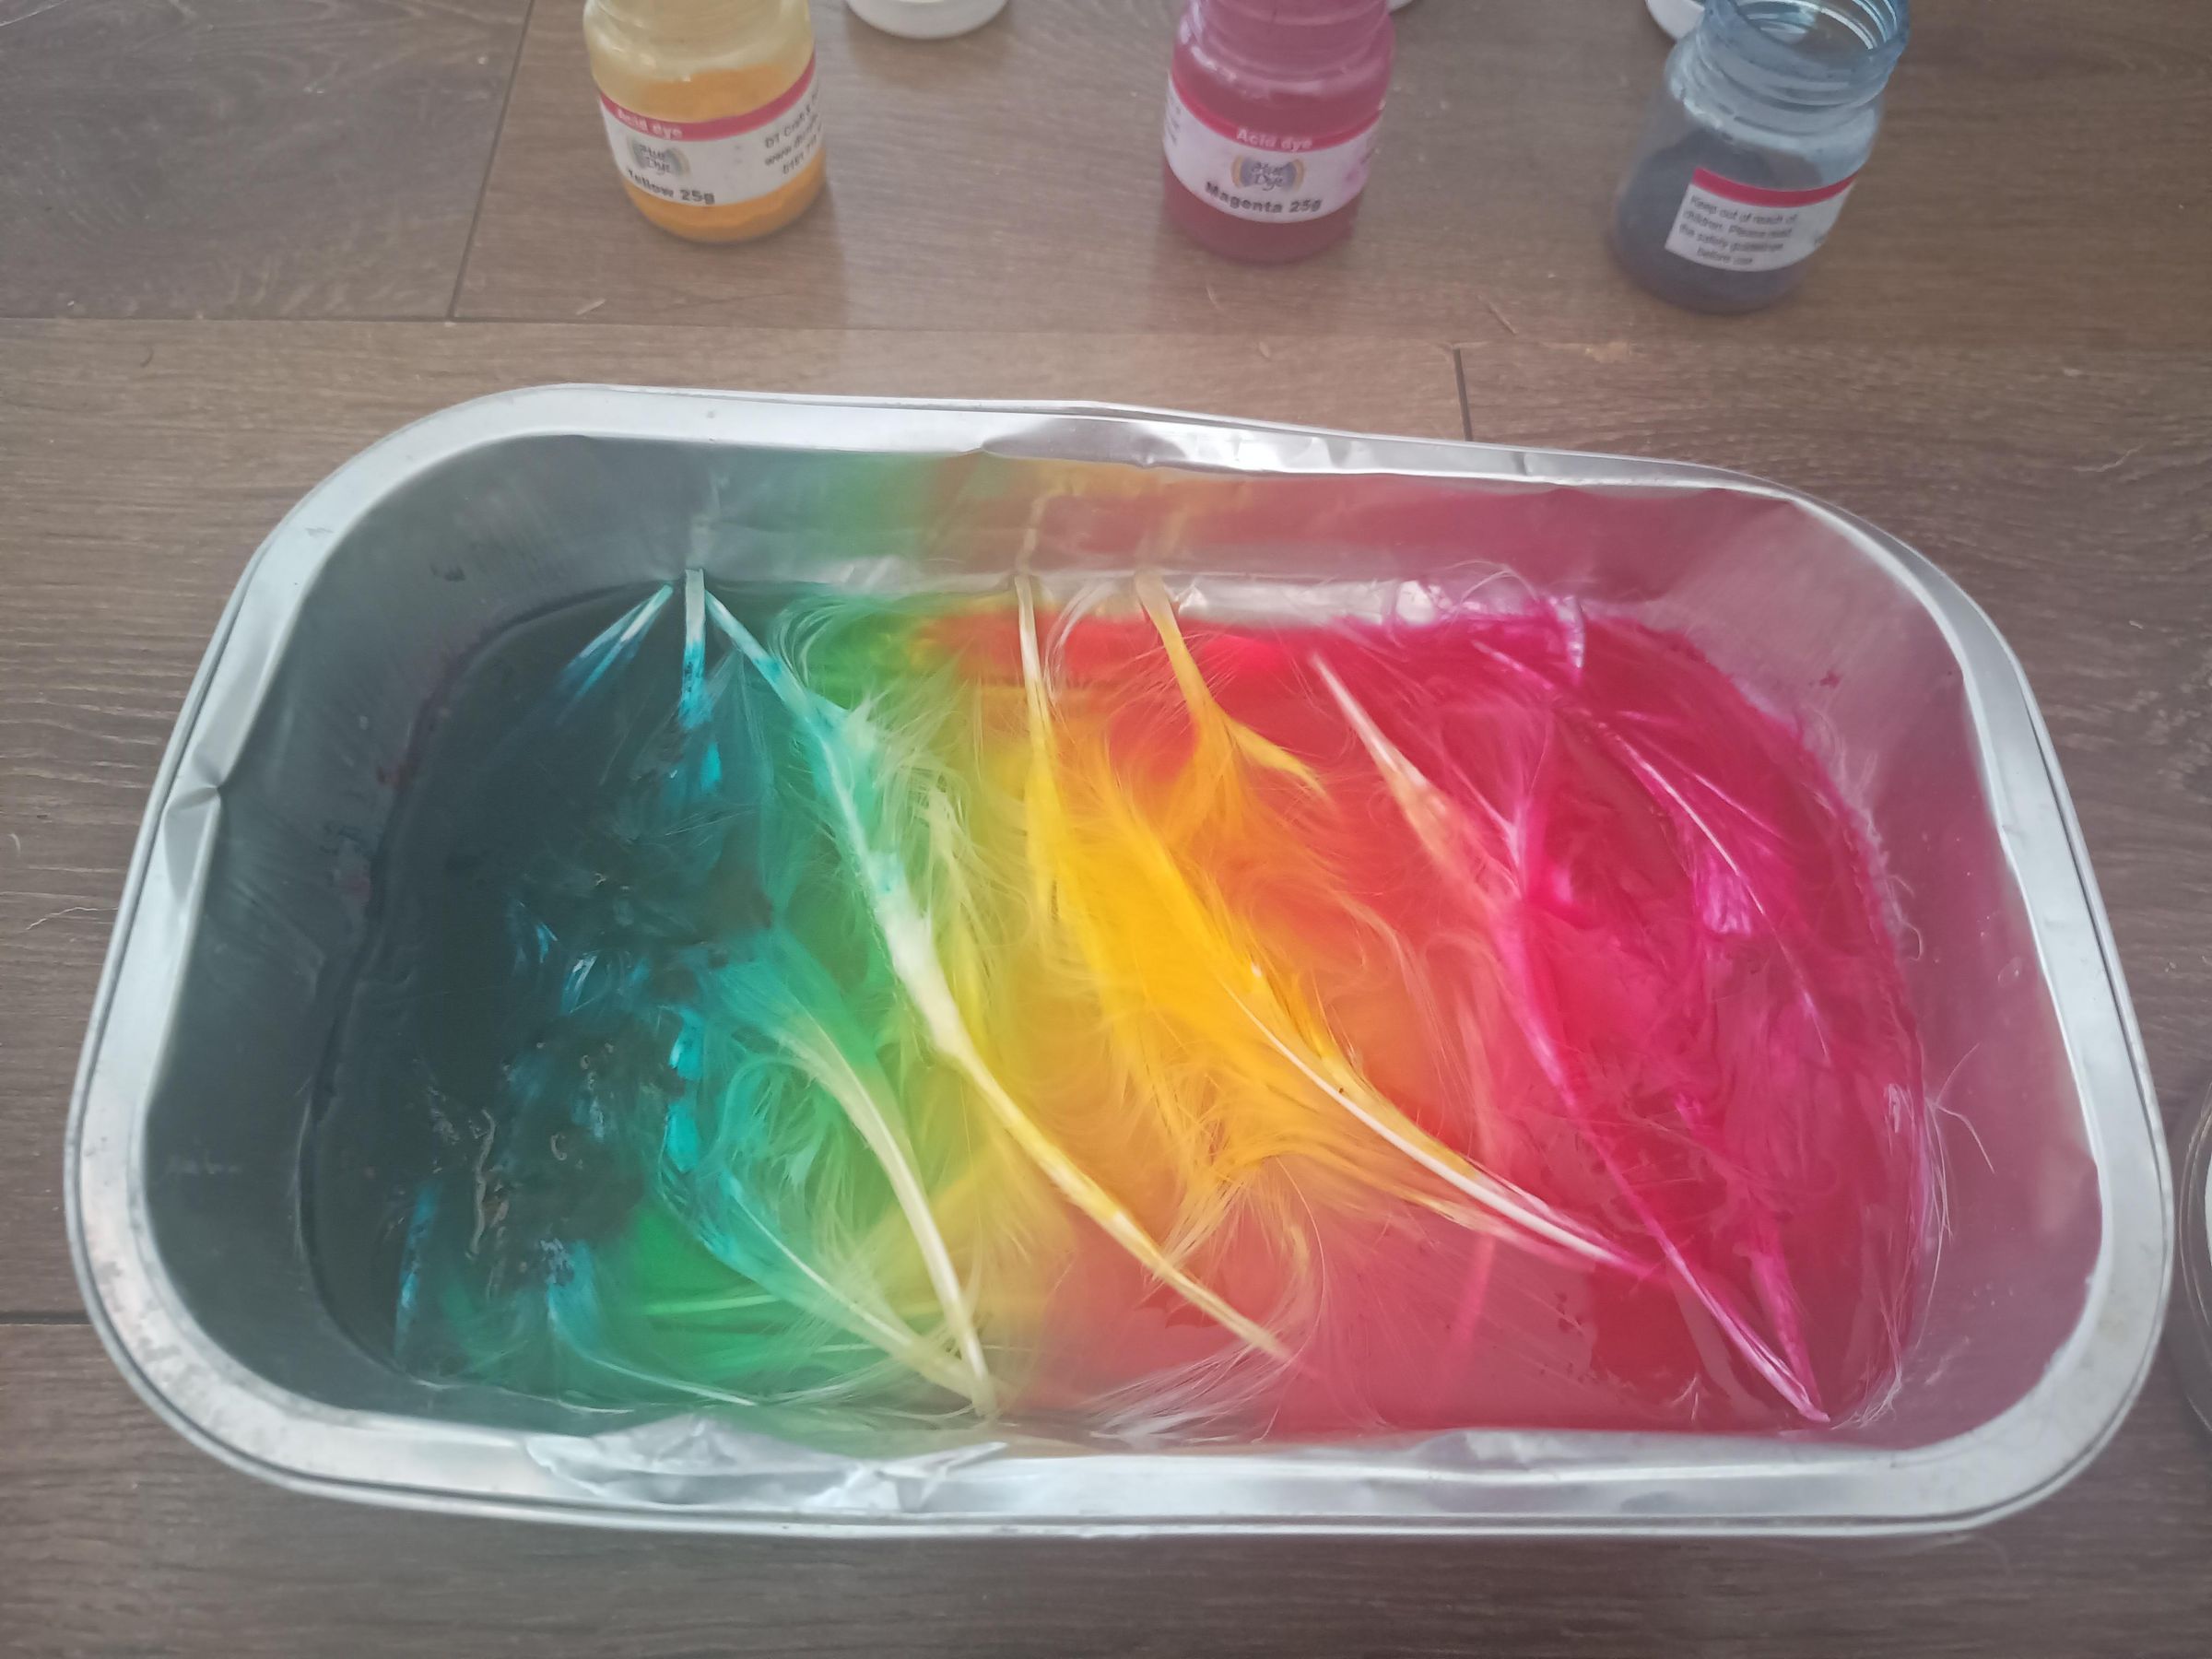
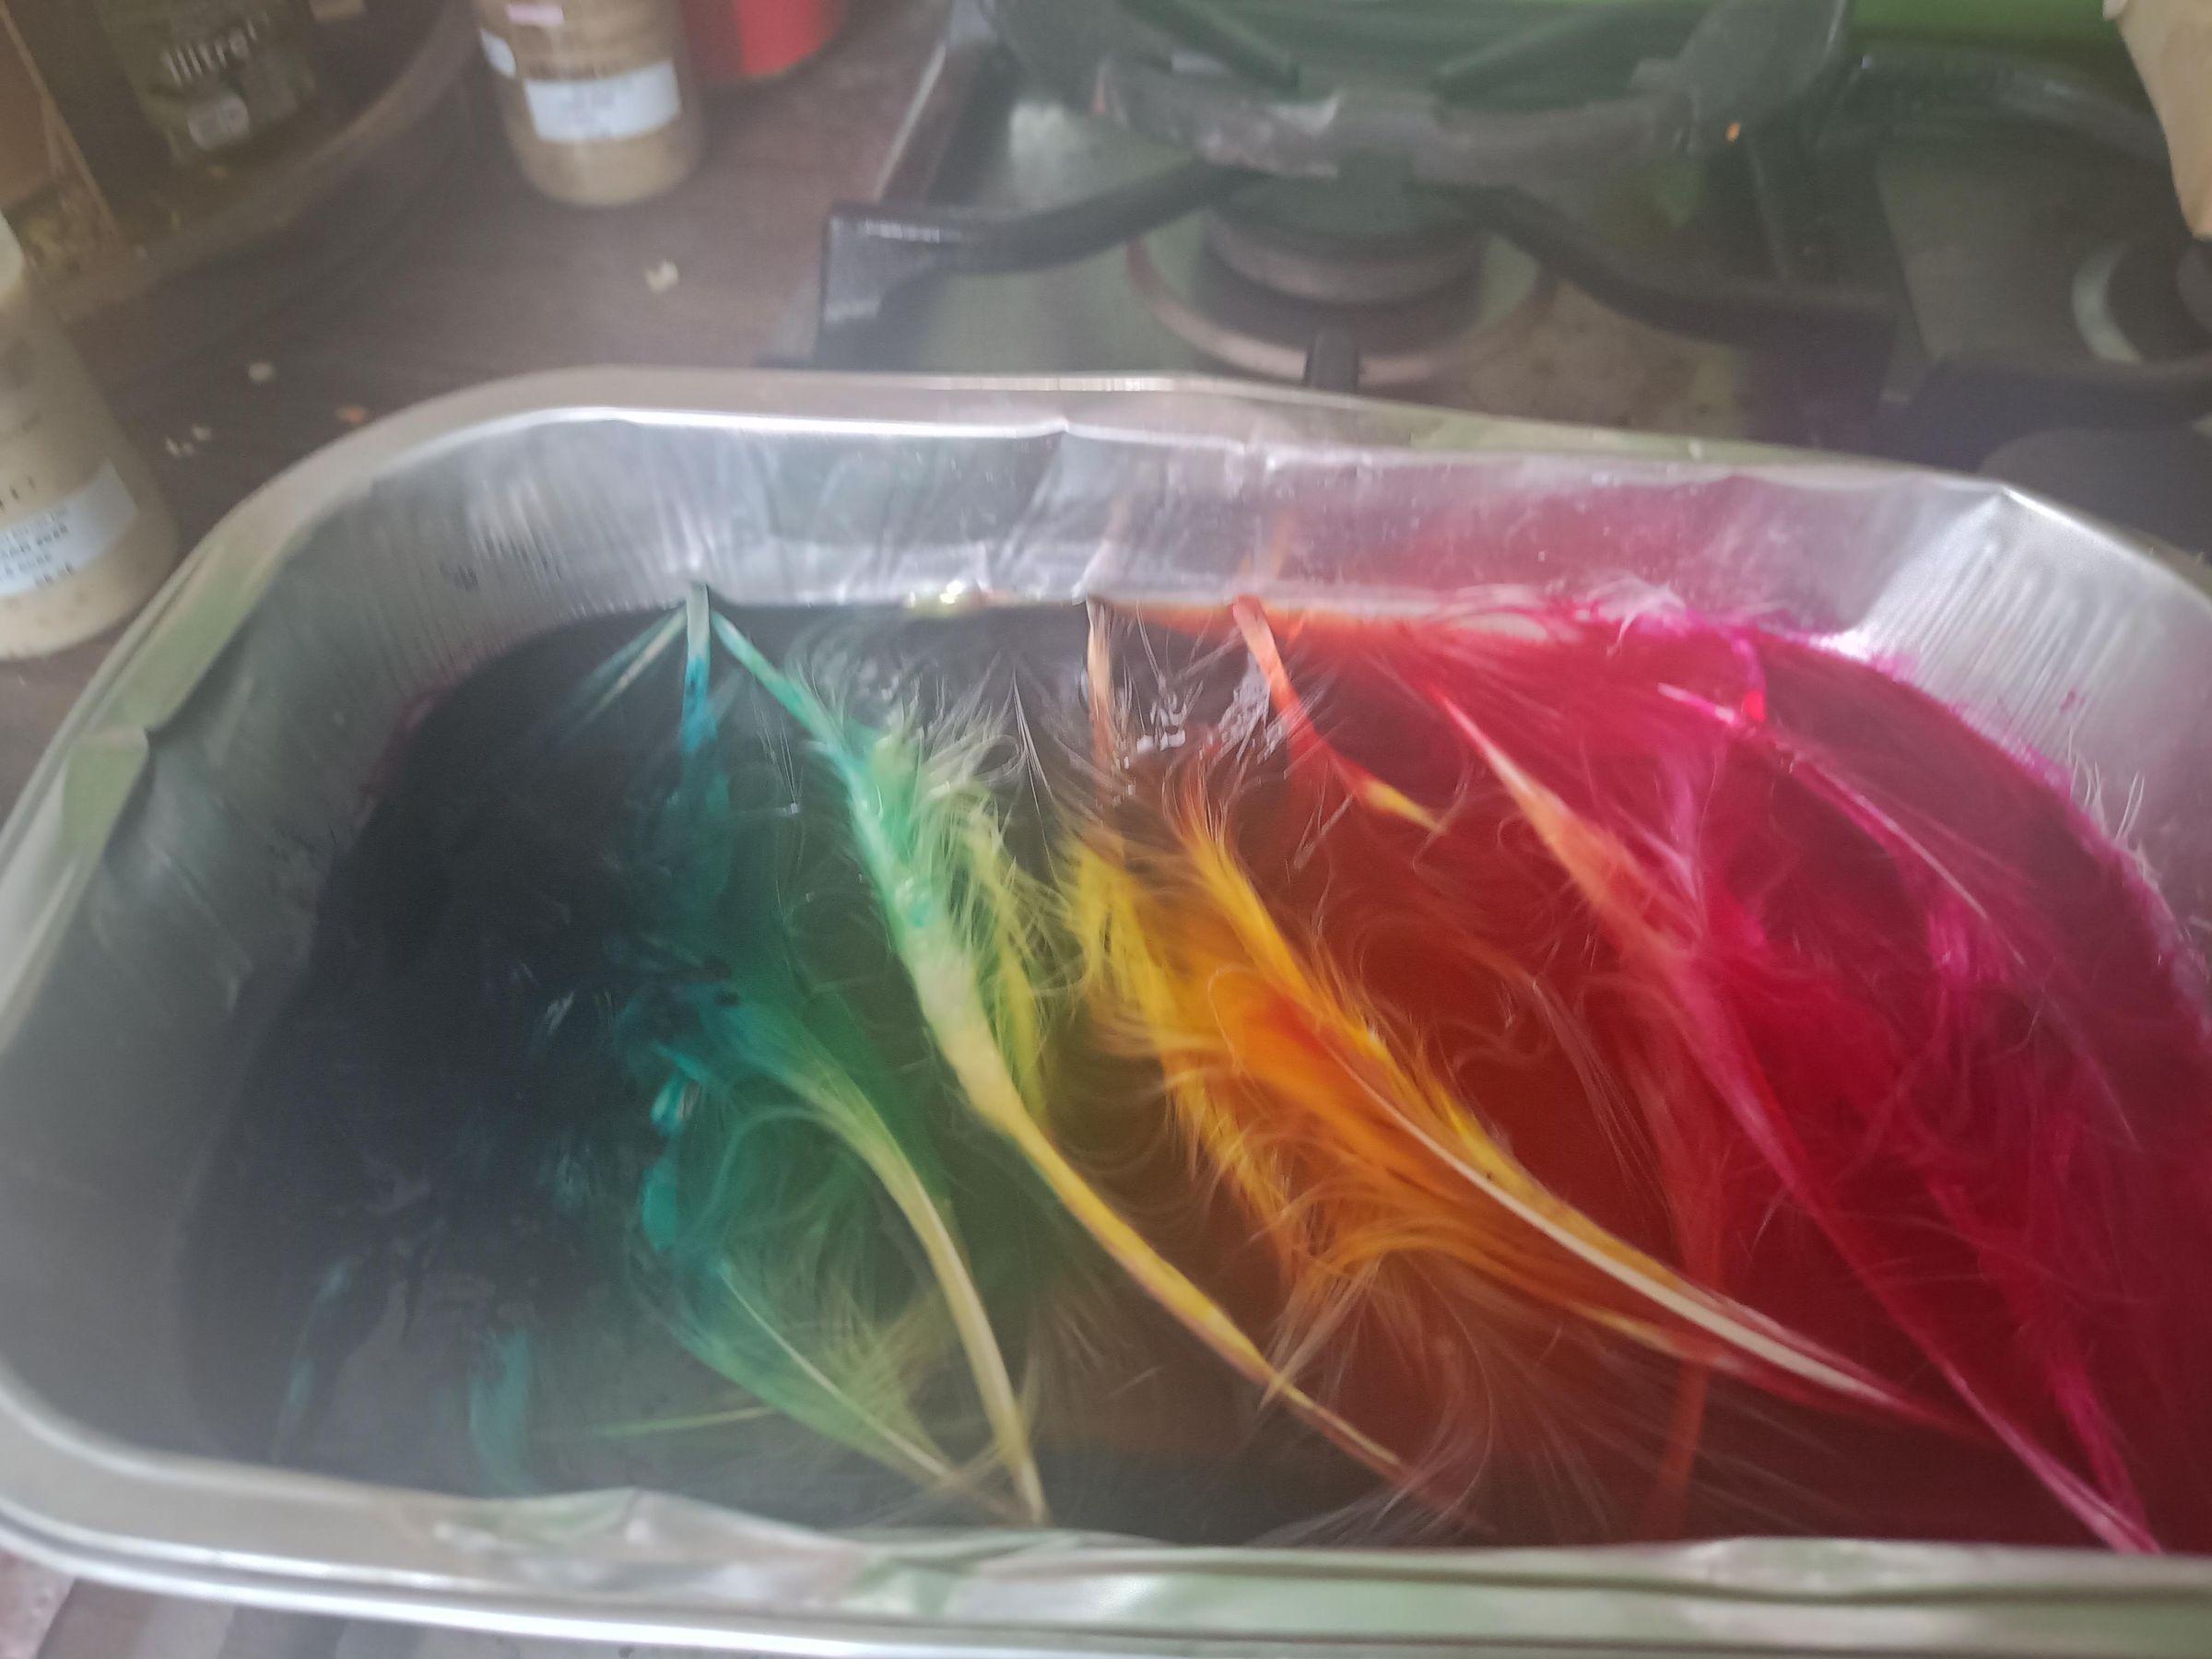
As per warning, feather dyeing is addictive! I ended up dyeing feathers in three ways, and then picked from the results. All three methods used the same three dyes, citric acid, and two methods also use guar gum.
First you want to dissolve your citric acid in a little boiling water (I made maybe 50ml, and eyeballed both the citric acid and the water).
Method 1: put a layer or two of feathers in a heatable tray. Soak in citric acid solution. Sprinkle the dye pigments over the feathers, and encourage the colours to blend. Steam for 20 minutes.
This method is the most chaotic, and you will have less control over the finished results. But it often creates rich and unexpected colour combinations.
Dye Dye Dye 2
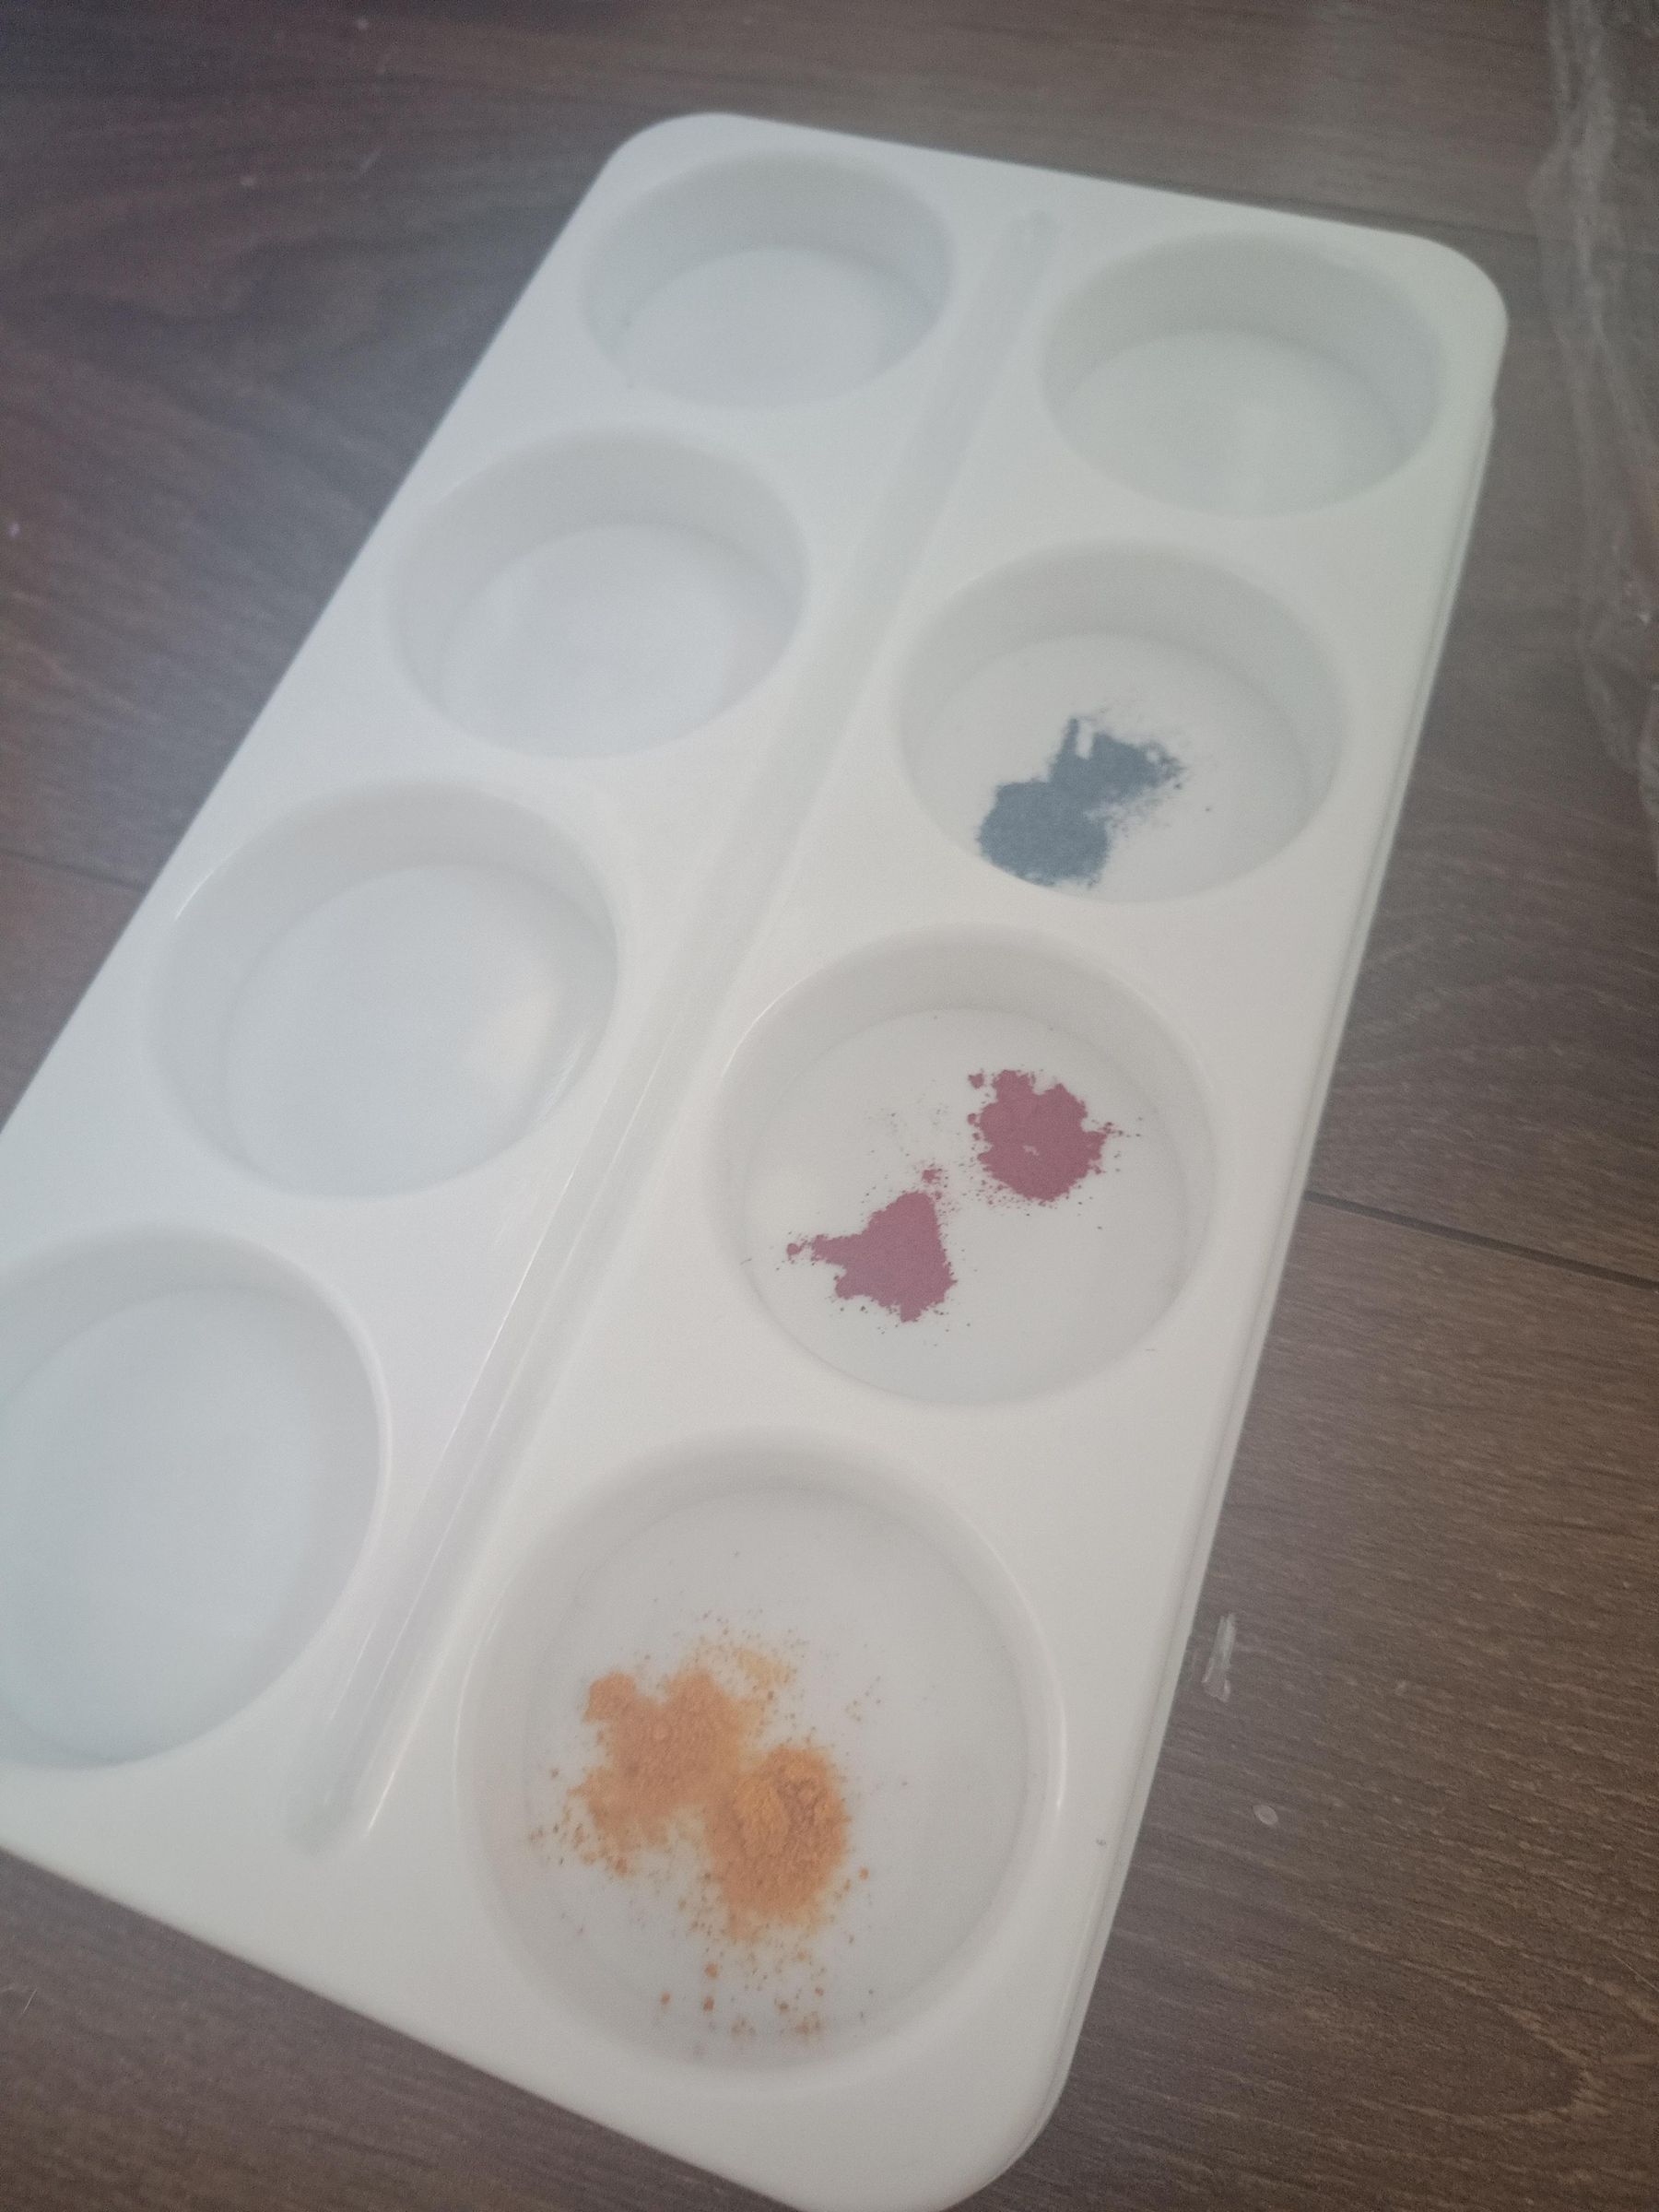
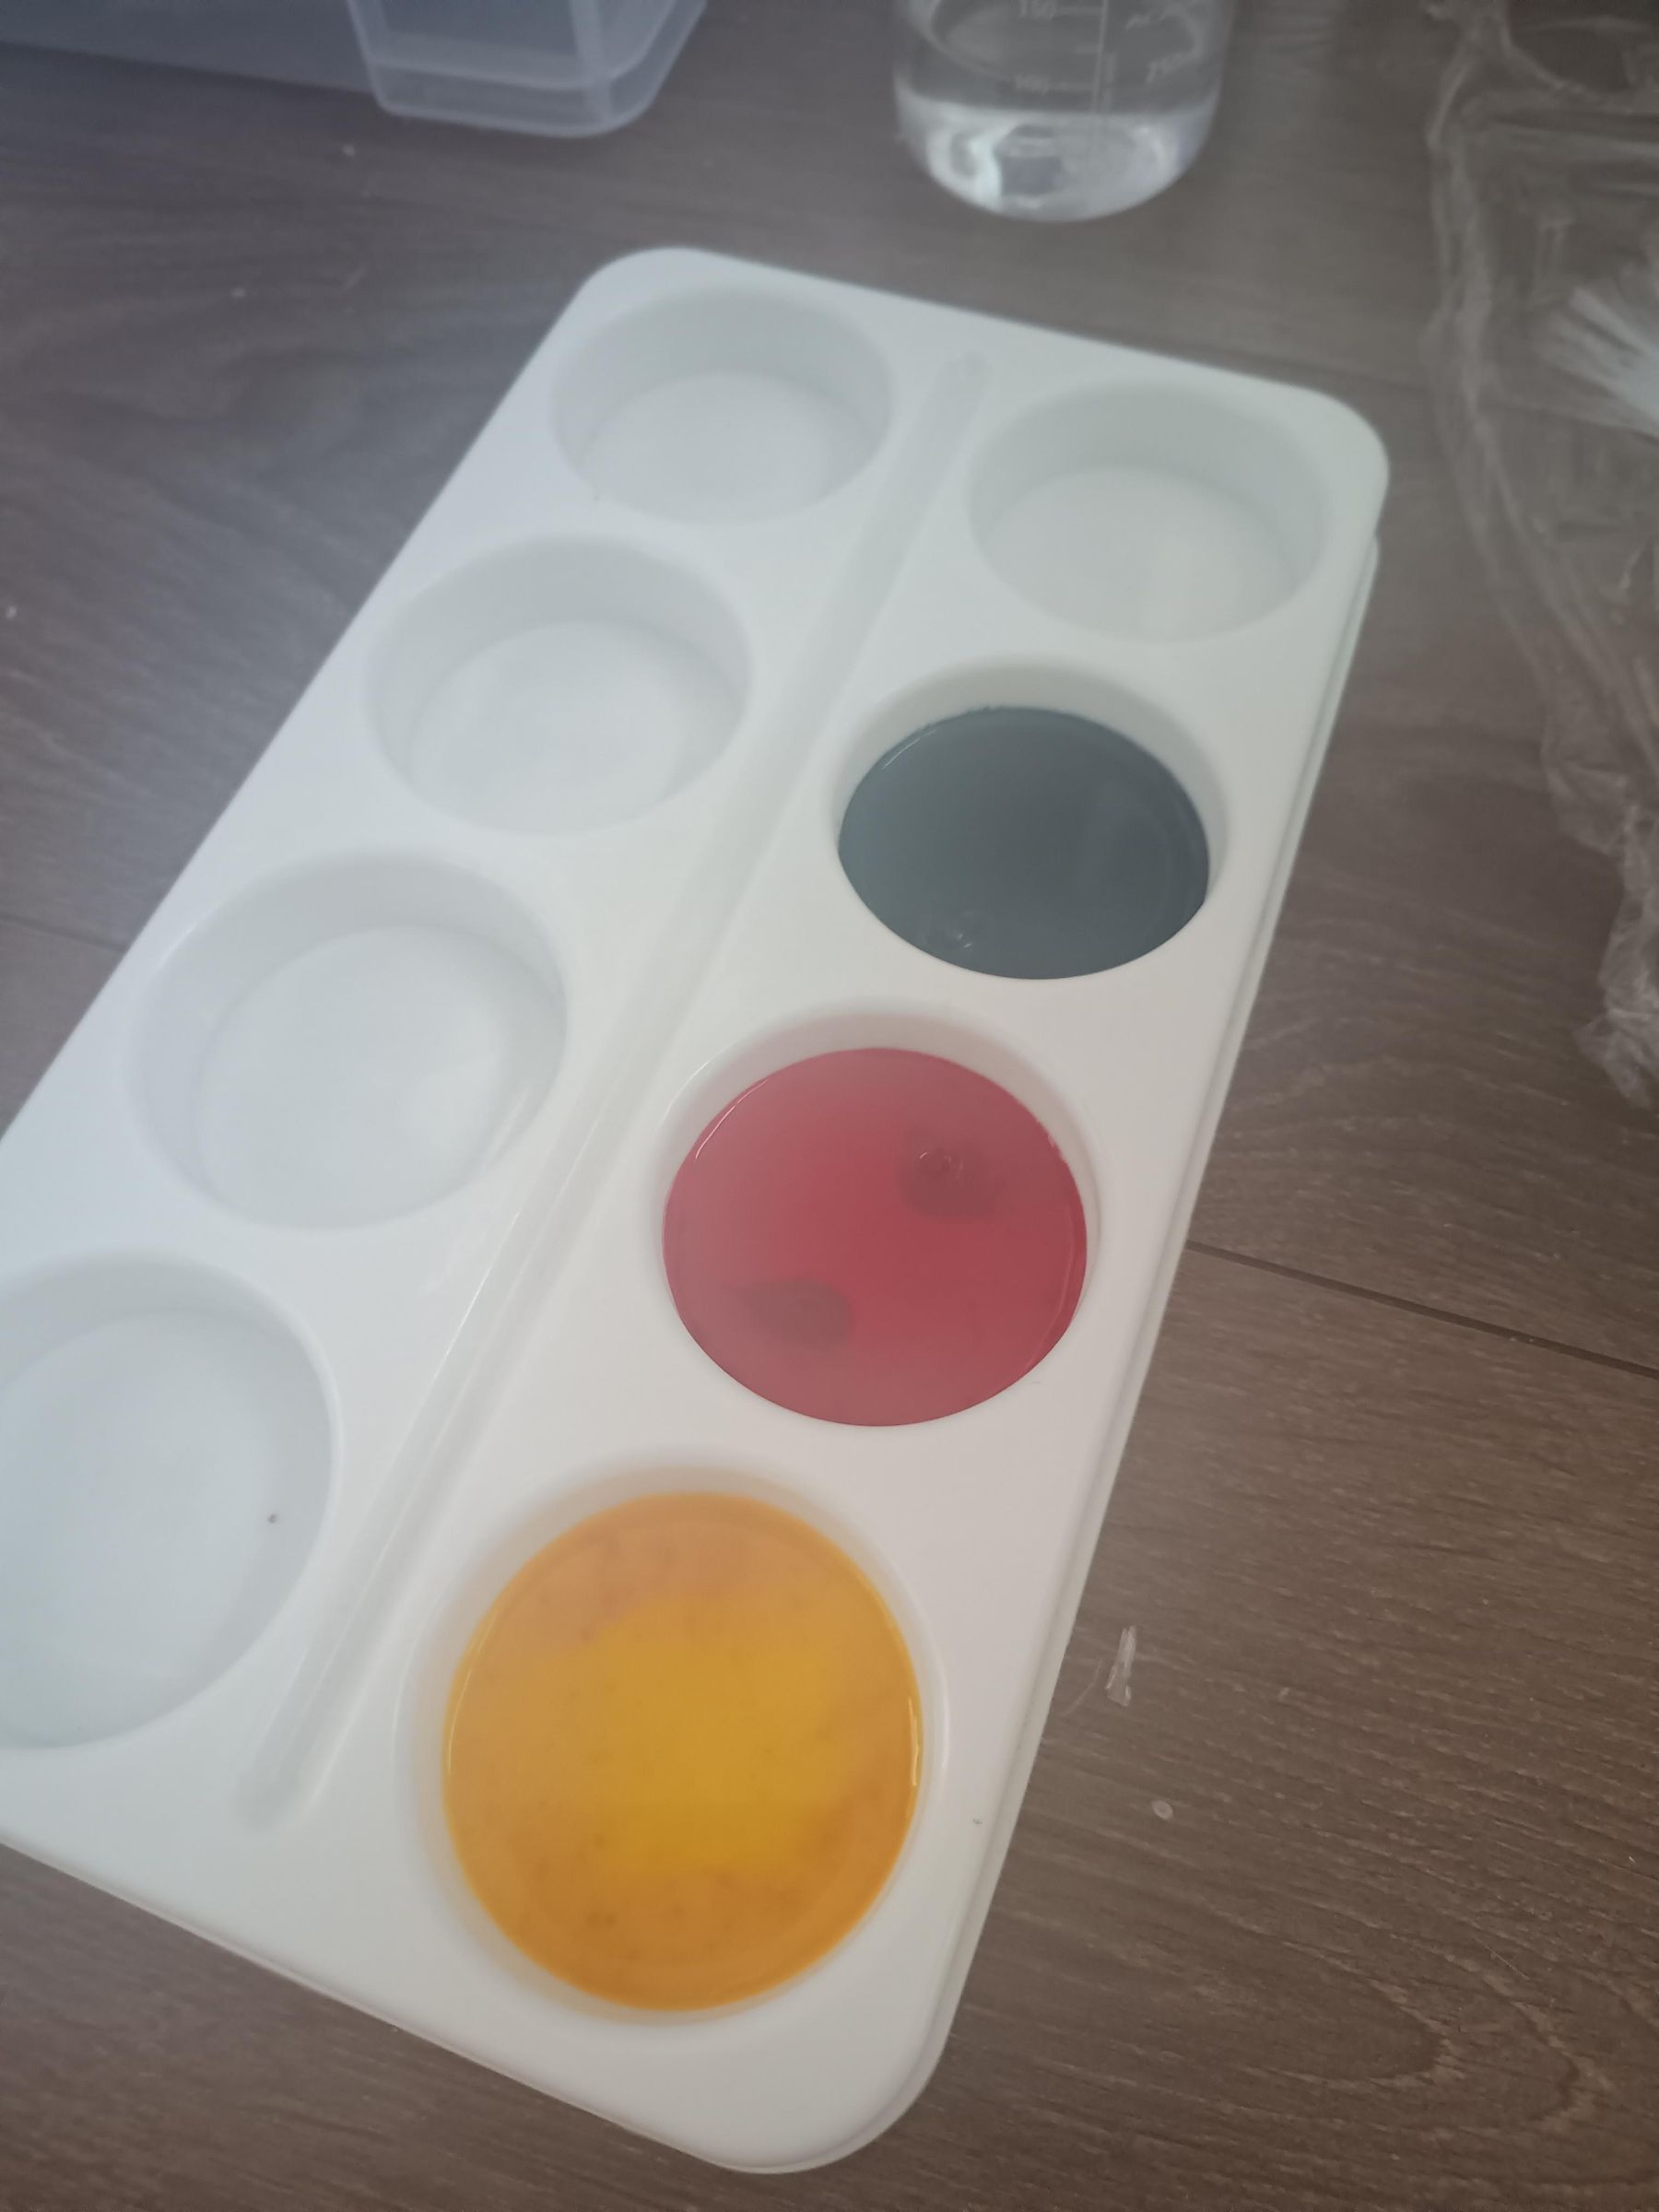
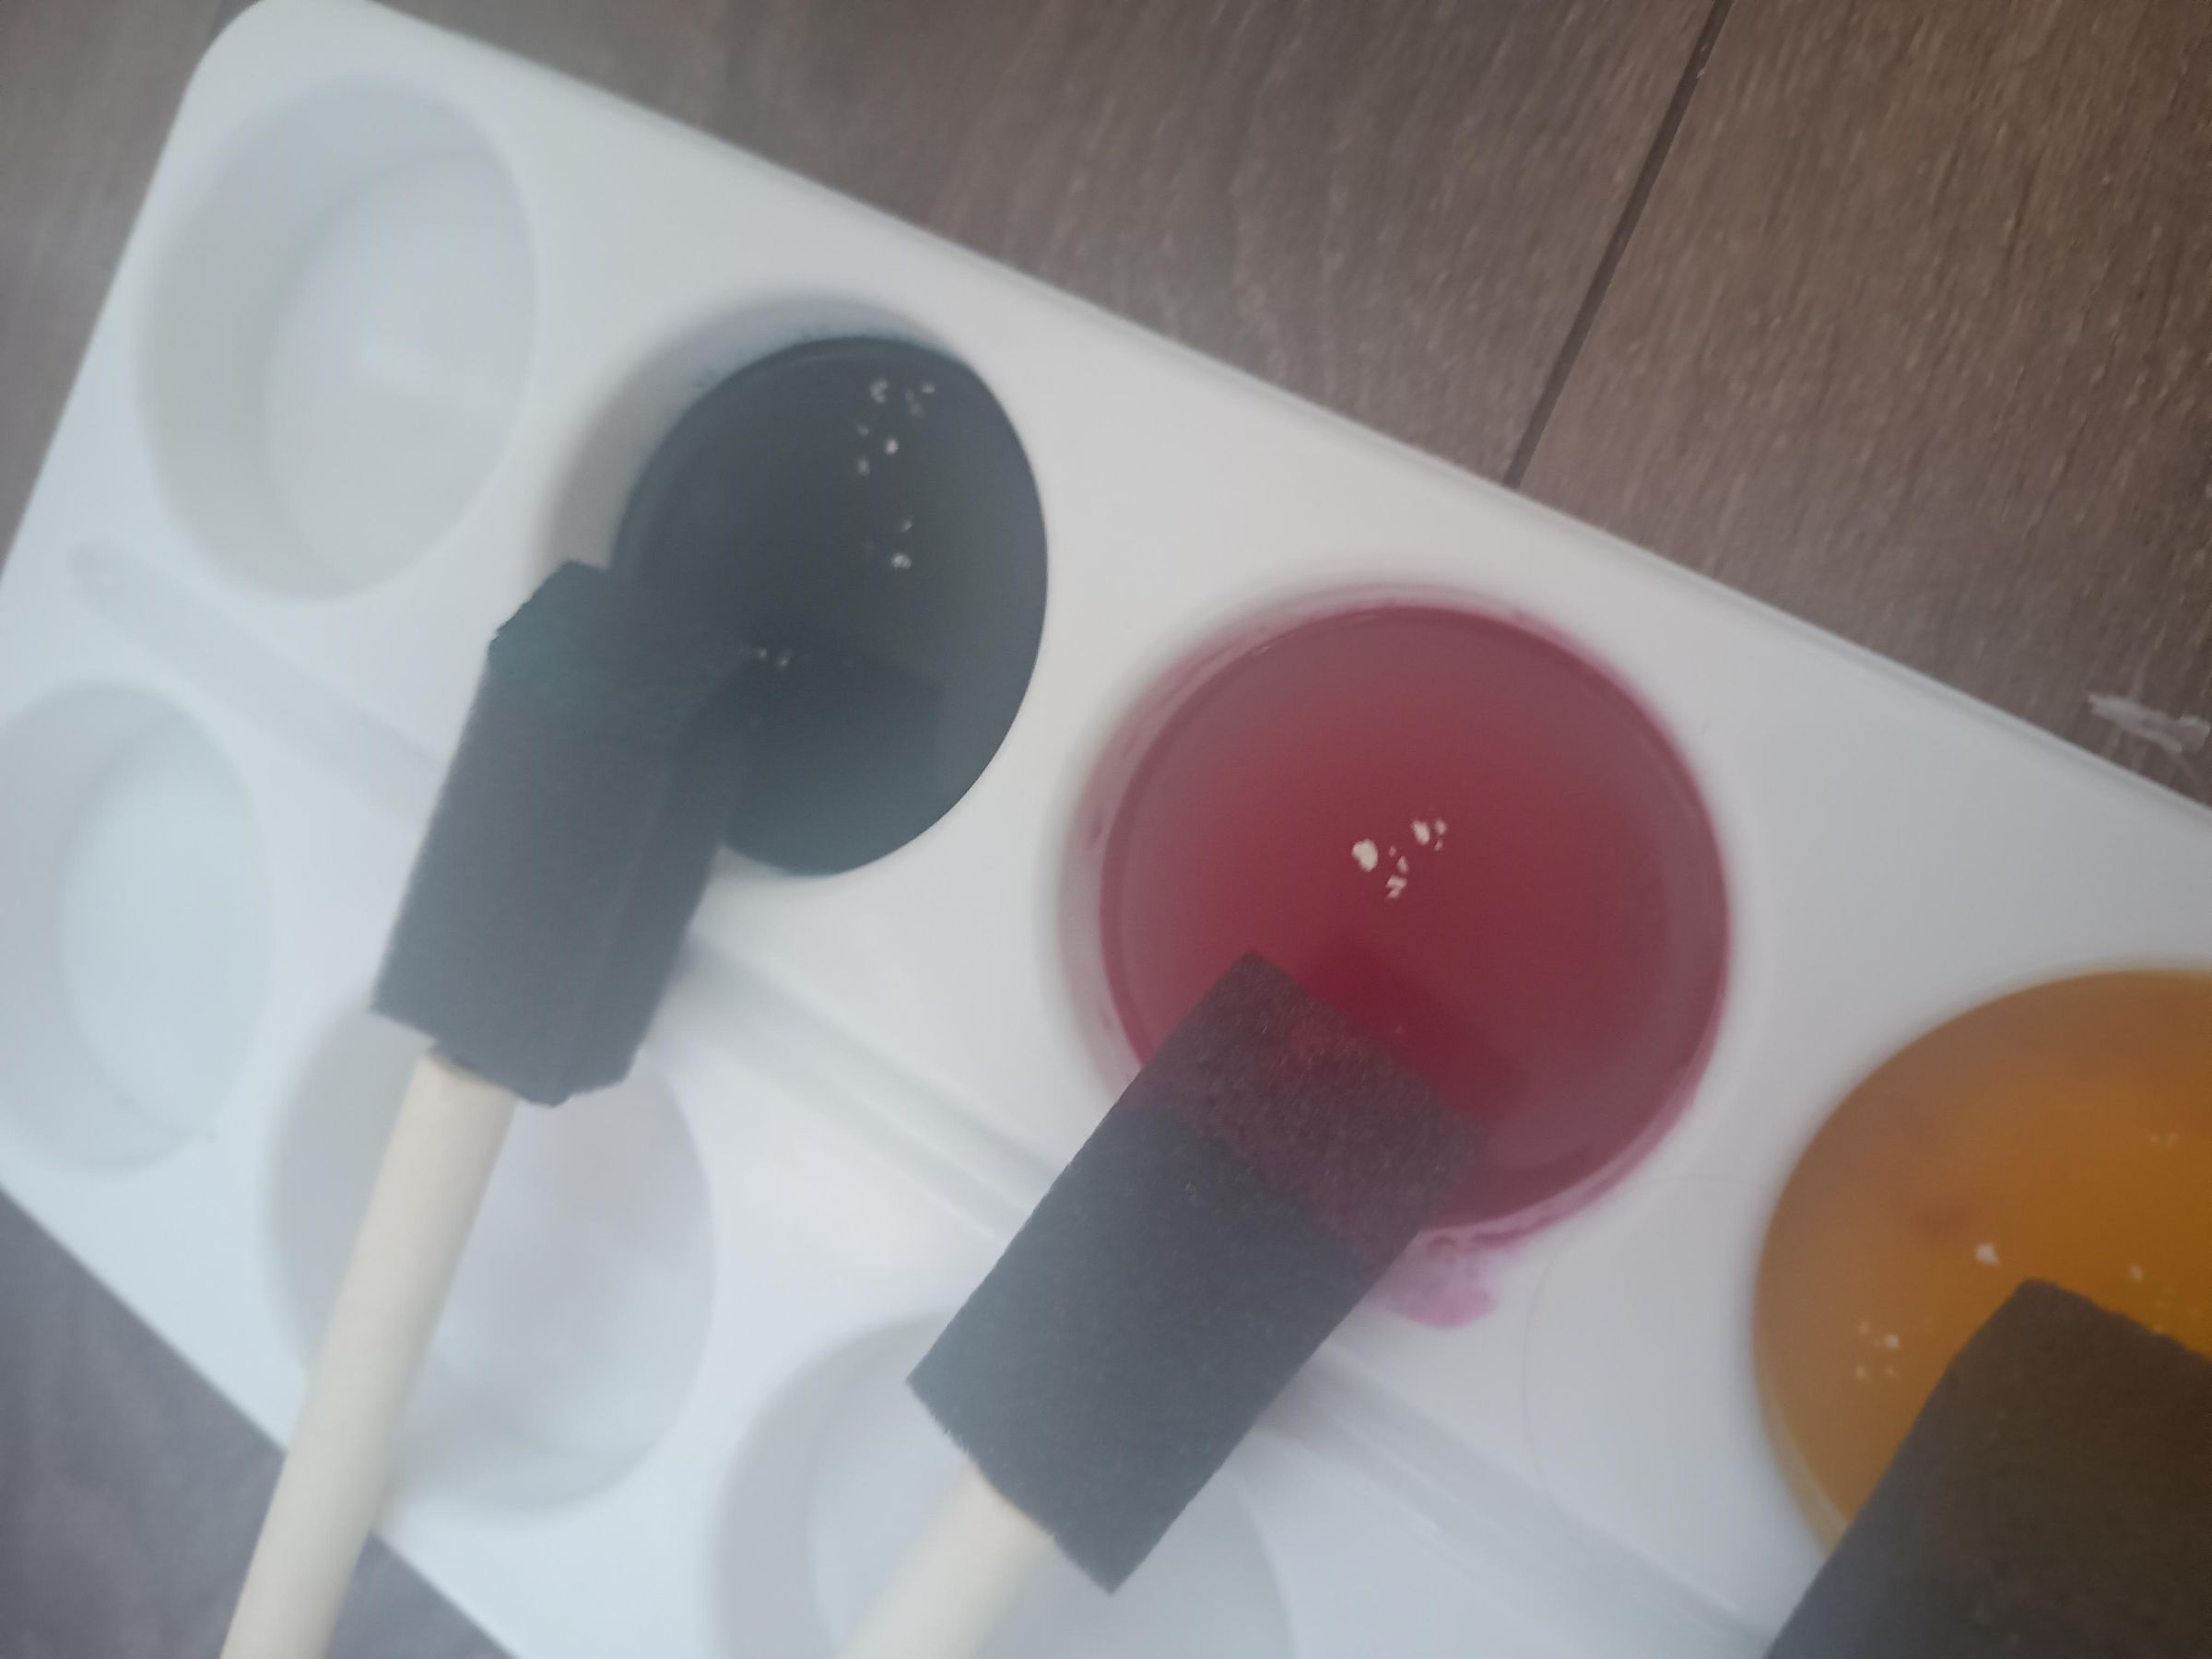
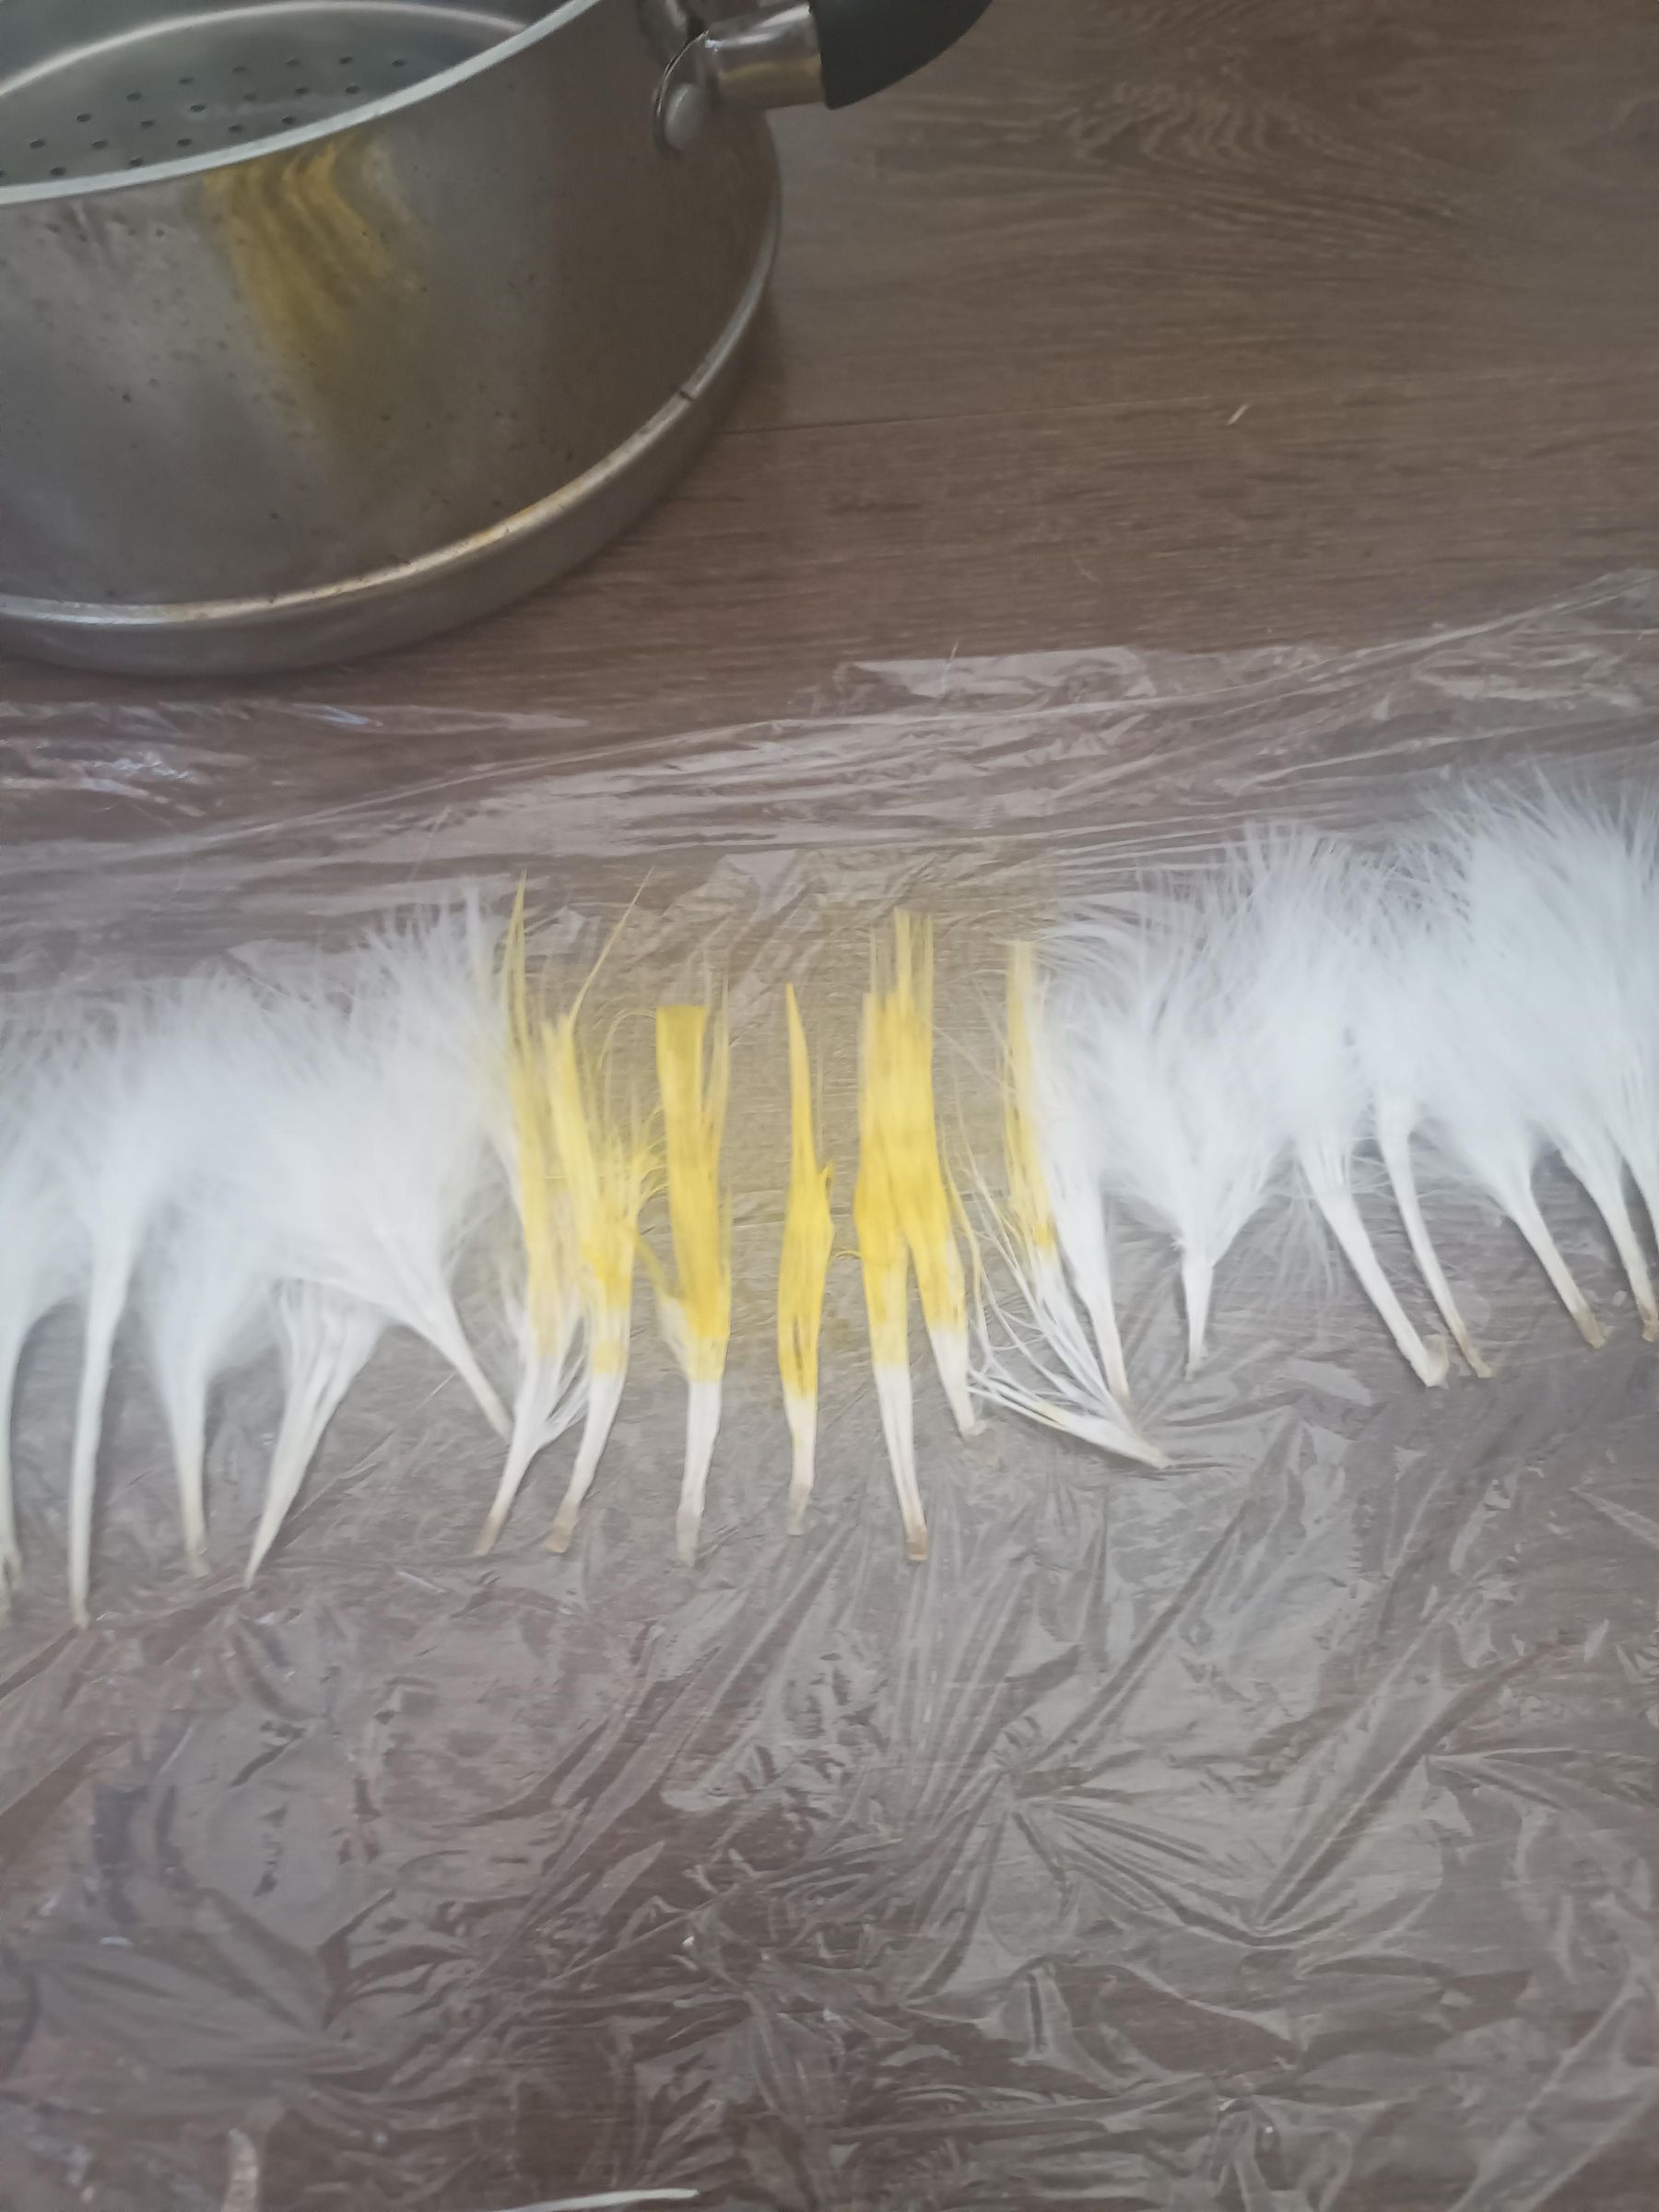
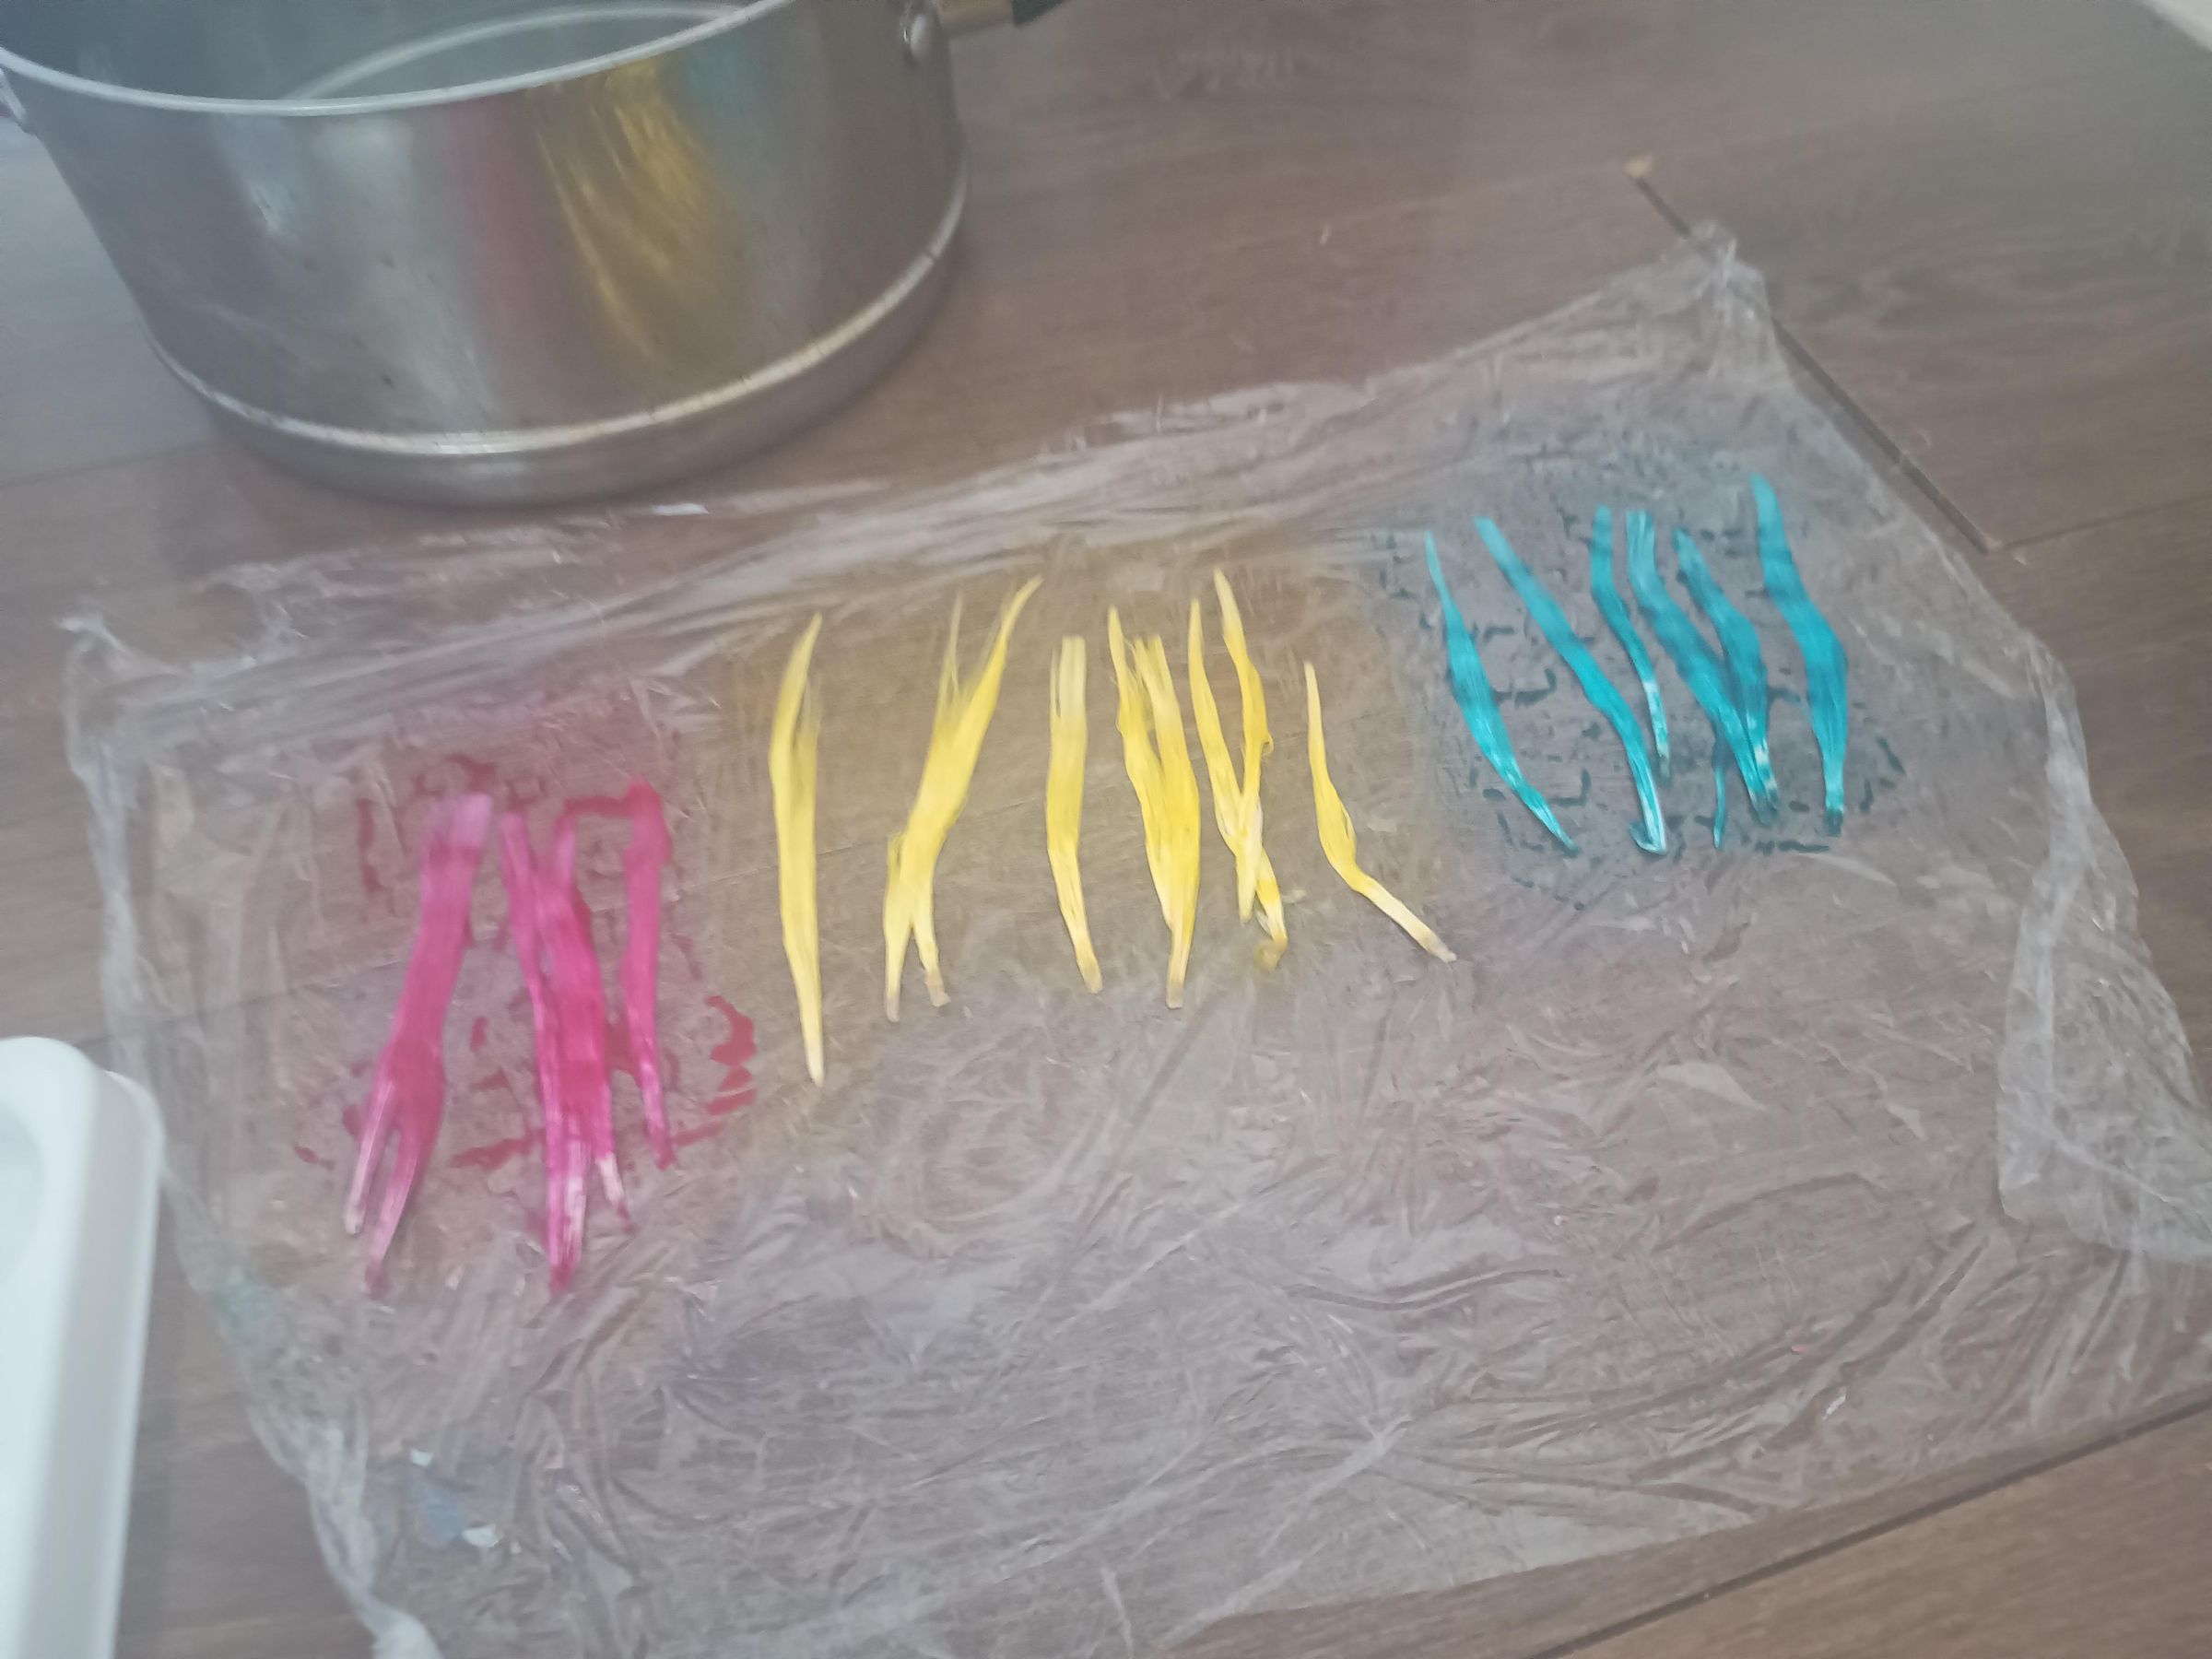
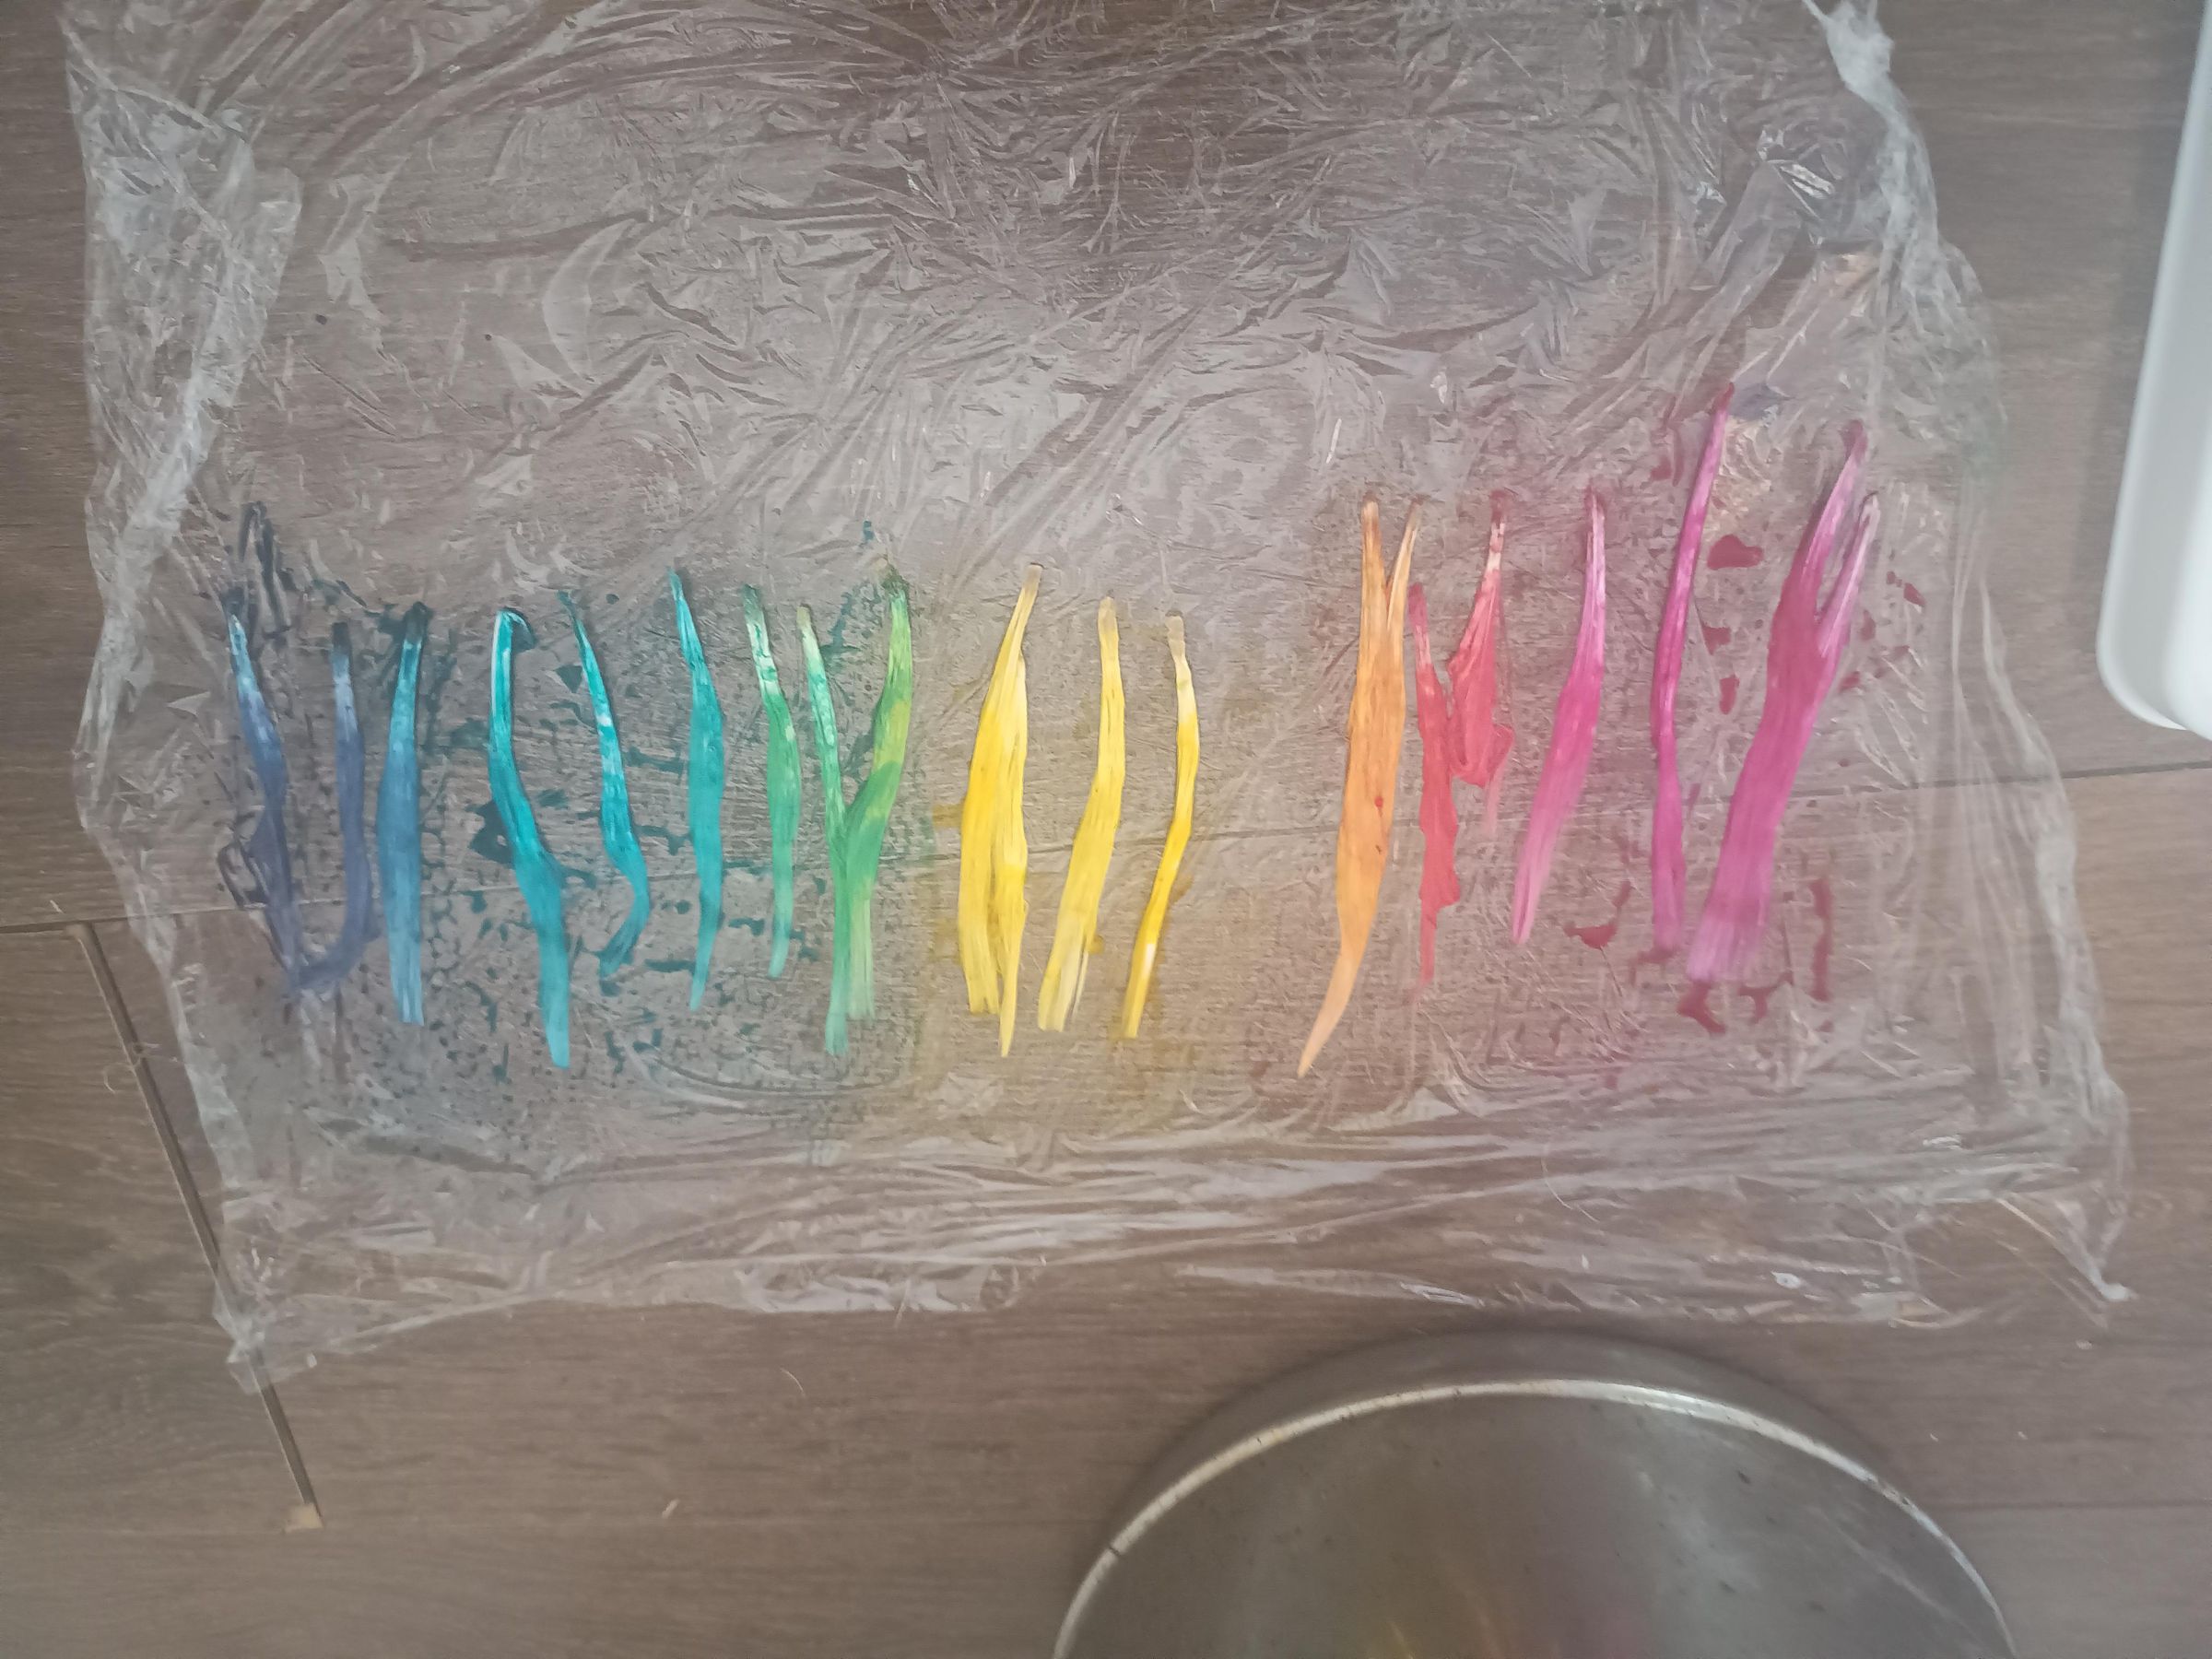
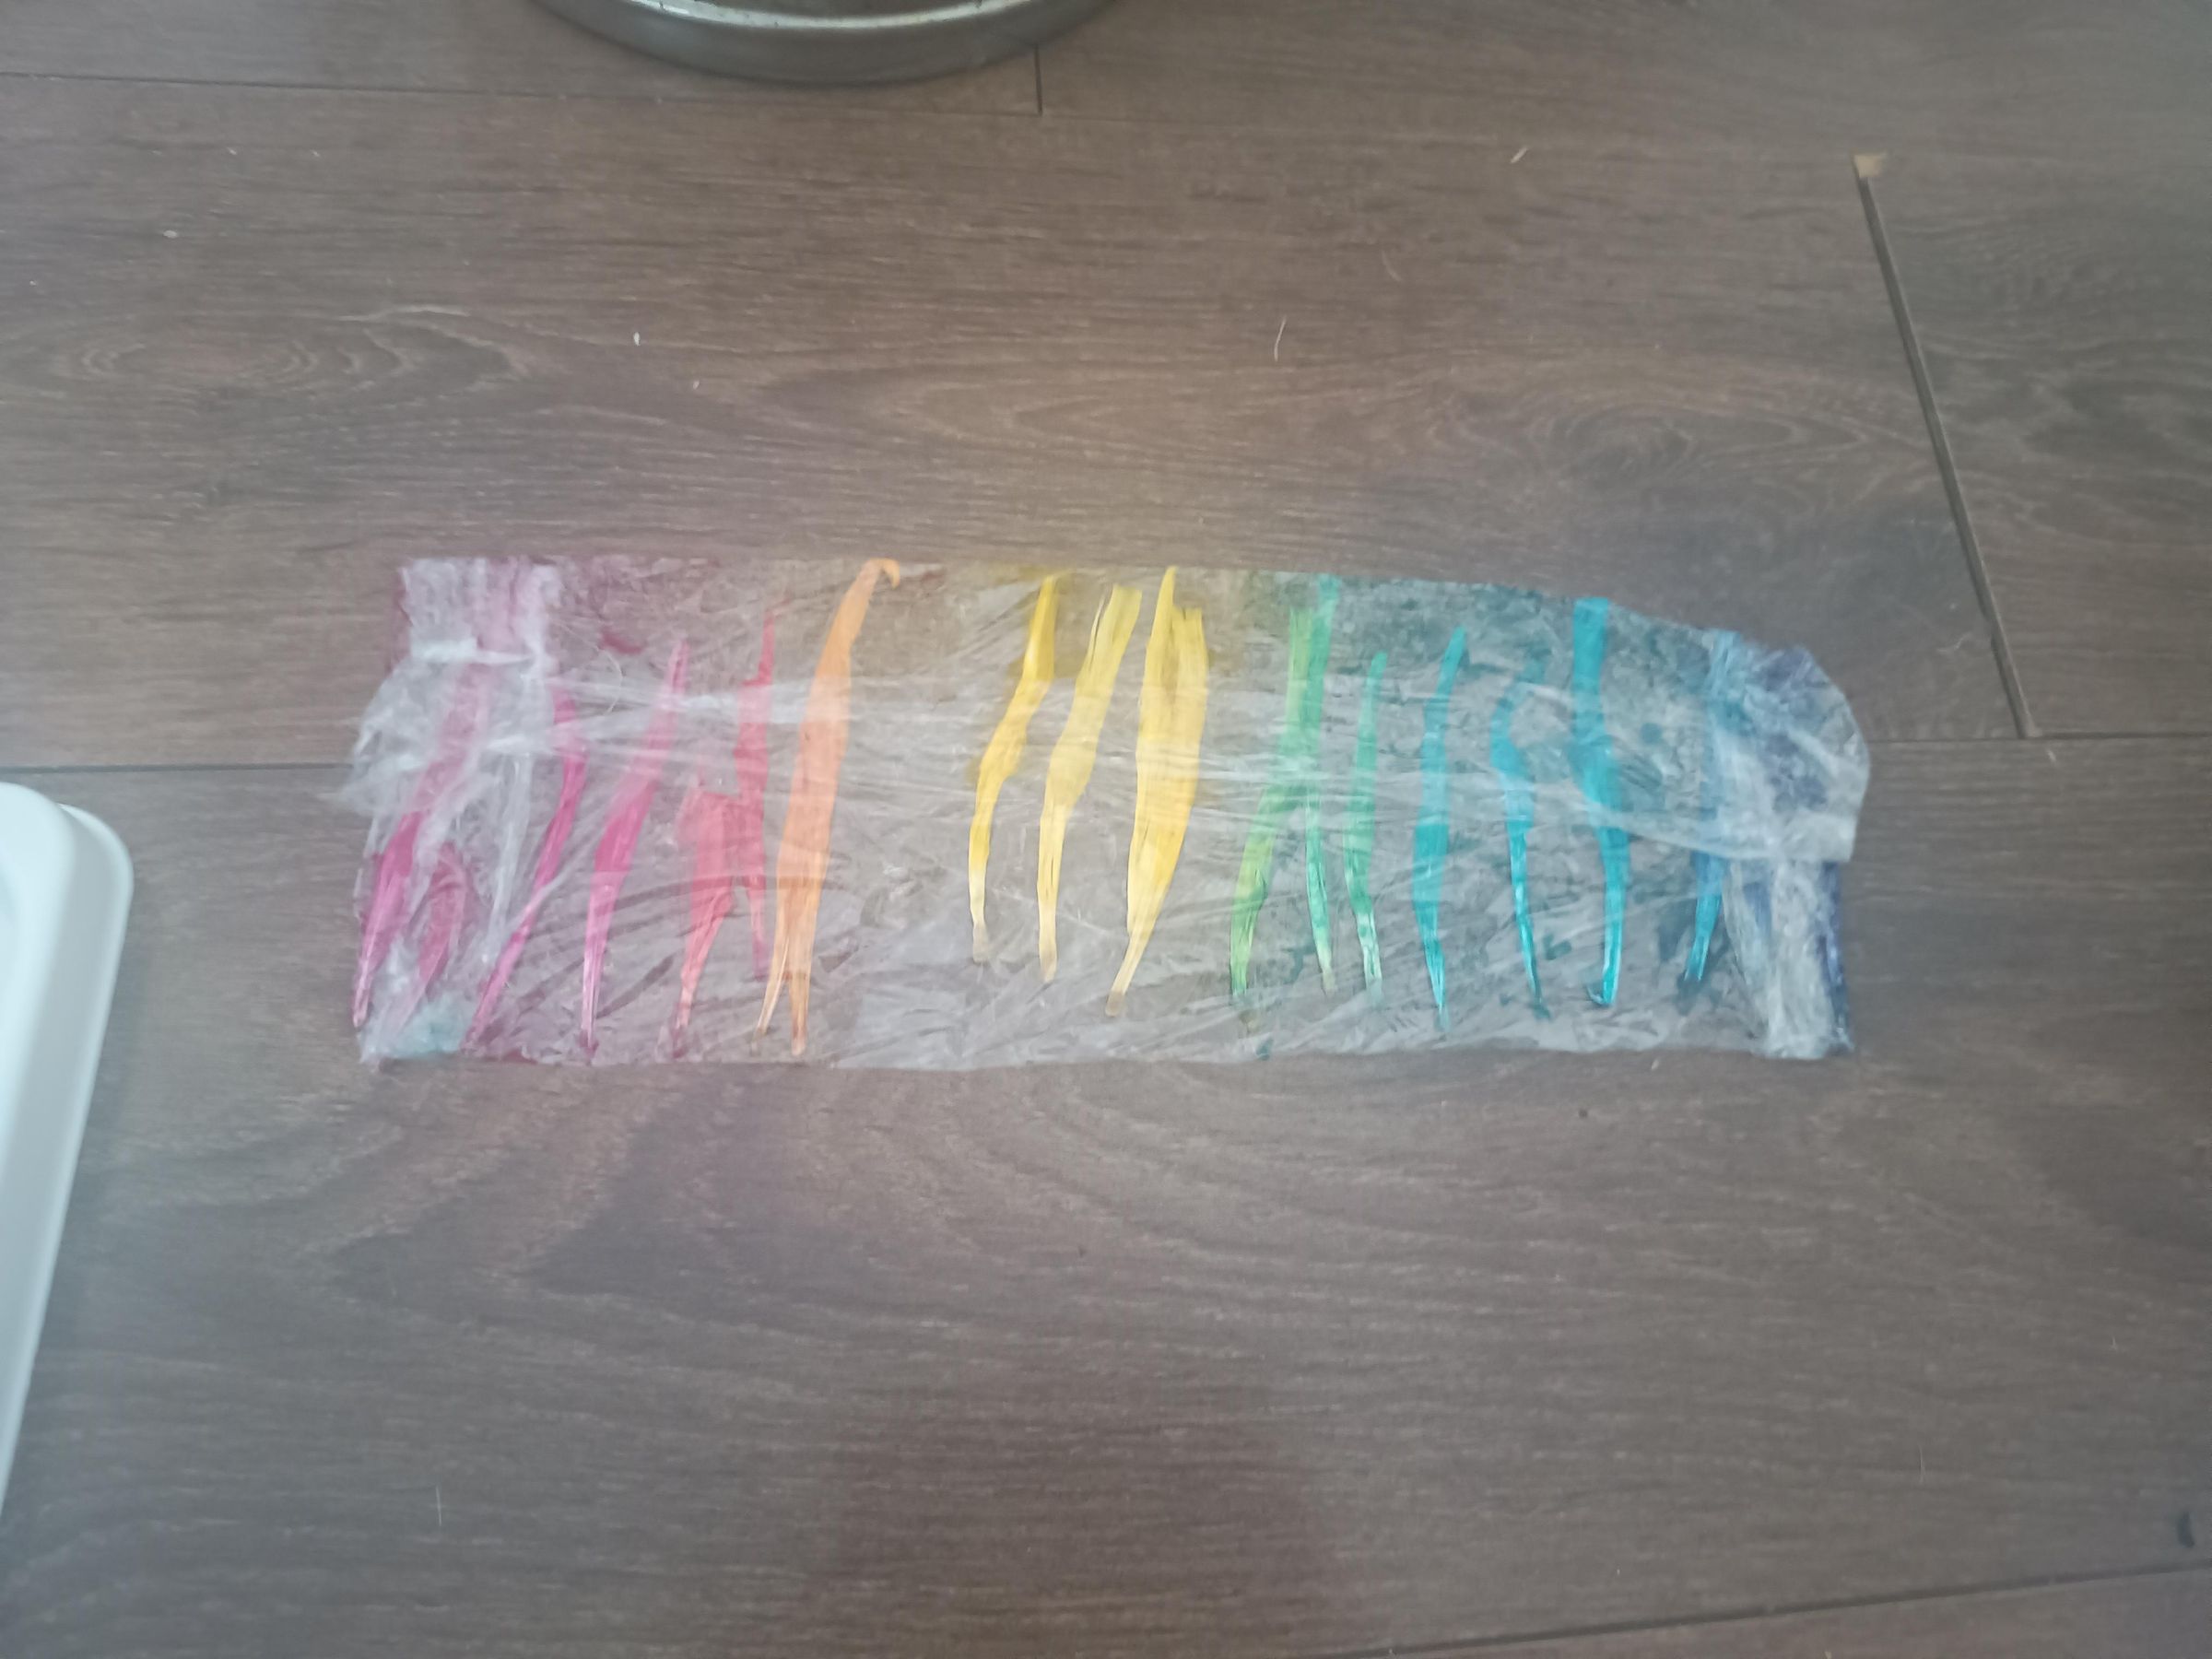
For this and the third method we're going to make up a dye paste in each colour. First you need a decent sprinkling of dye powder in each section of your paint palette. Then dissolve your dyes in the citric acid solution. Then we sprinkle in just a little bit of guar gum (a little goes a long way), mix, and leave it to go nice and gloopy for a bit. You can use your sponge daubers for both the mixing and the application.
I lined up a bunch of feathers on some cling film. For absolute best results it helps to soak the feathers first, but you can still get a decent effect without doing this (I didn't soak these ones).
Then I started with the yellow, and stippled the yellow goop onto the centre third of the feathers. It helps to turn them over and check they're dyed on the other side too. I repeated this with the pink and blue, as pictured.
Next comes the blending to make the secondary colours: this is pretty straightforward, you just need to overlap the colours on the feathers at the edge of each primary colour. This will give you your orange, green and purple.
Then we make a nice cling film parcel, and steam for 20 minutes.
Dye Dye Dye One Last Time
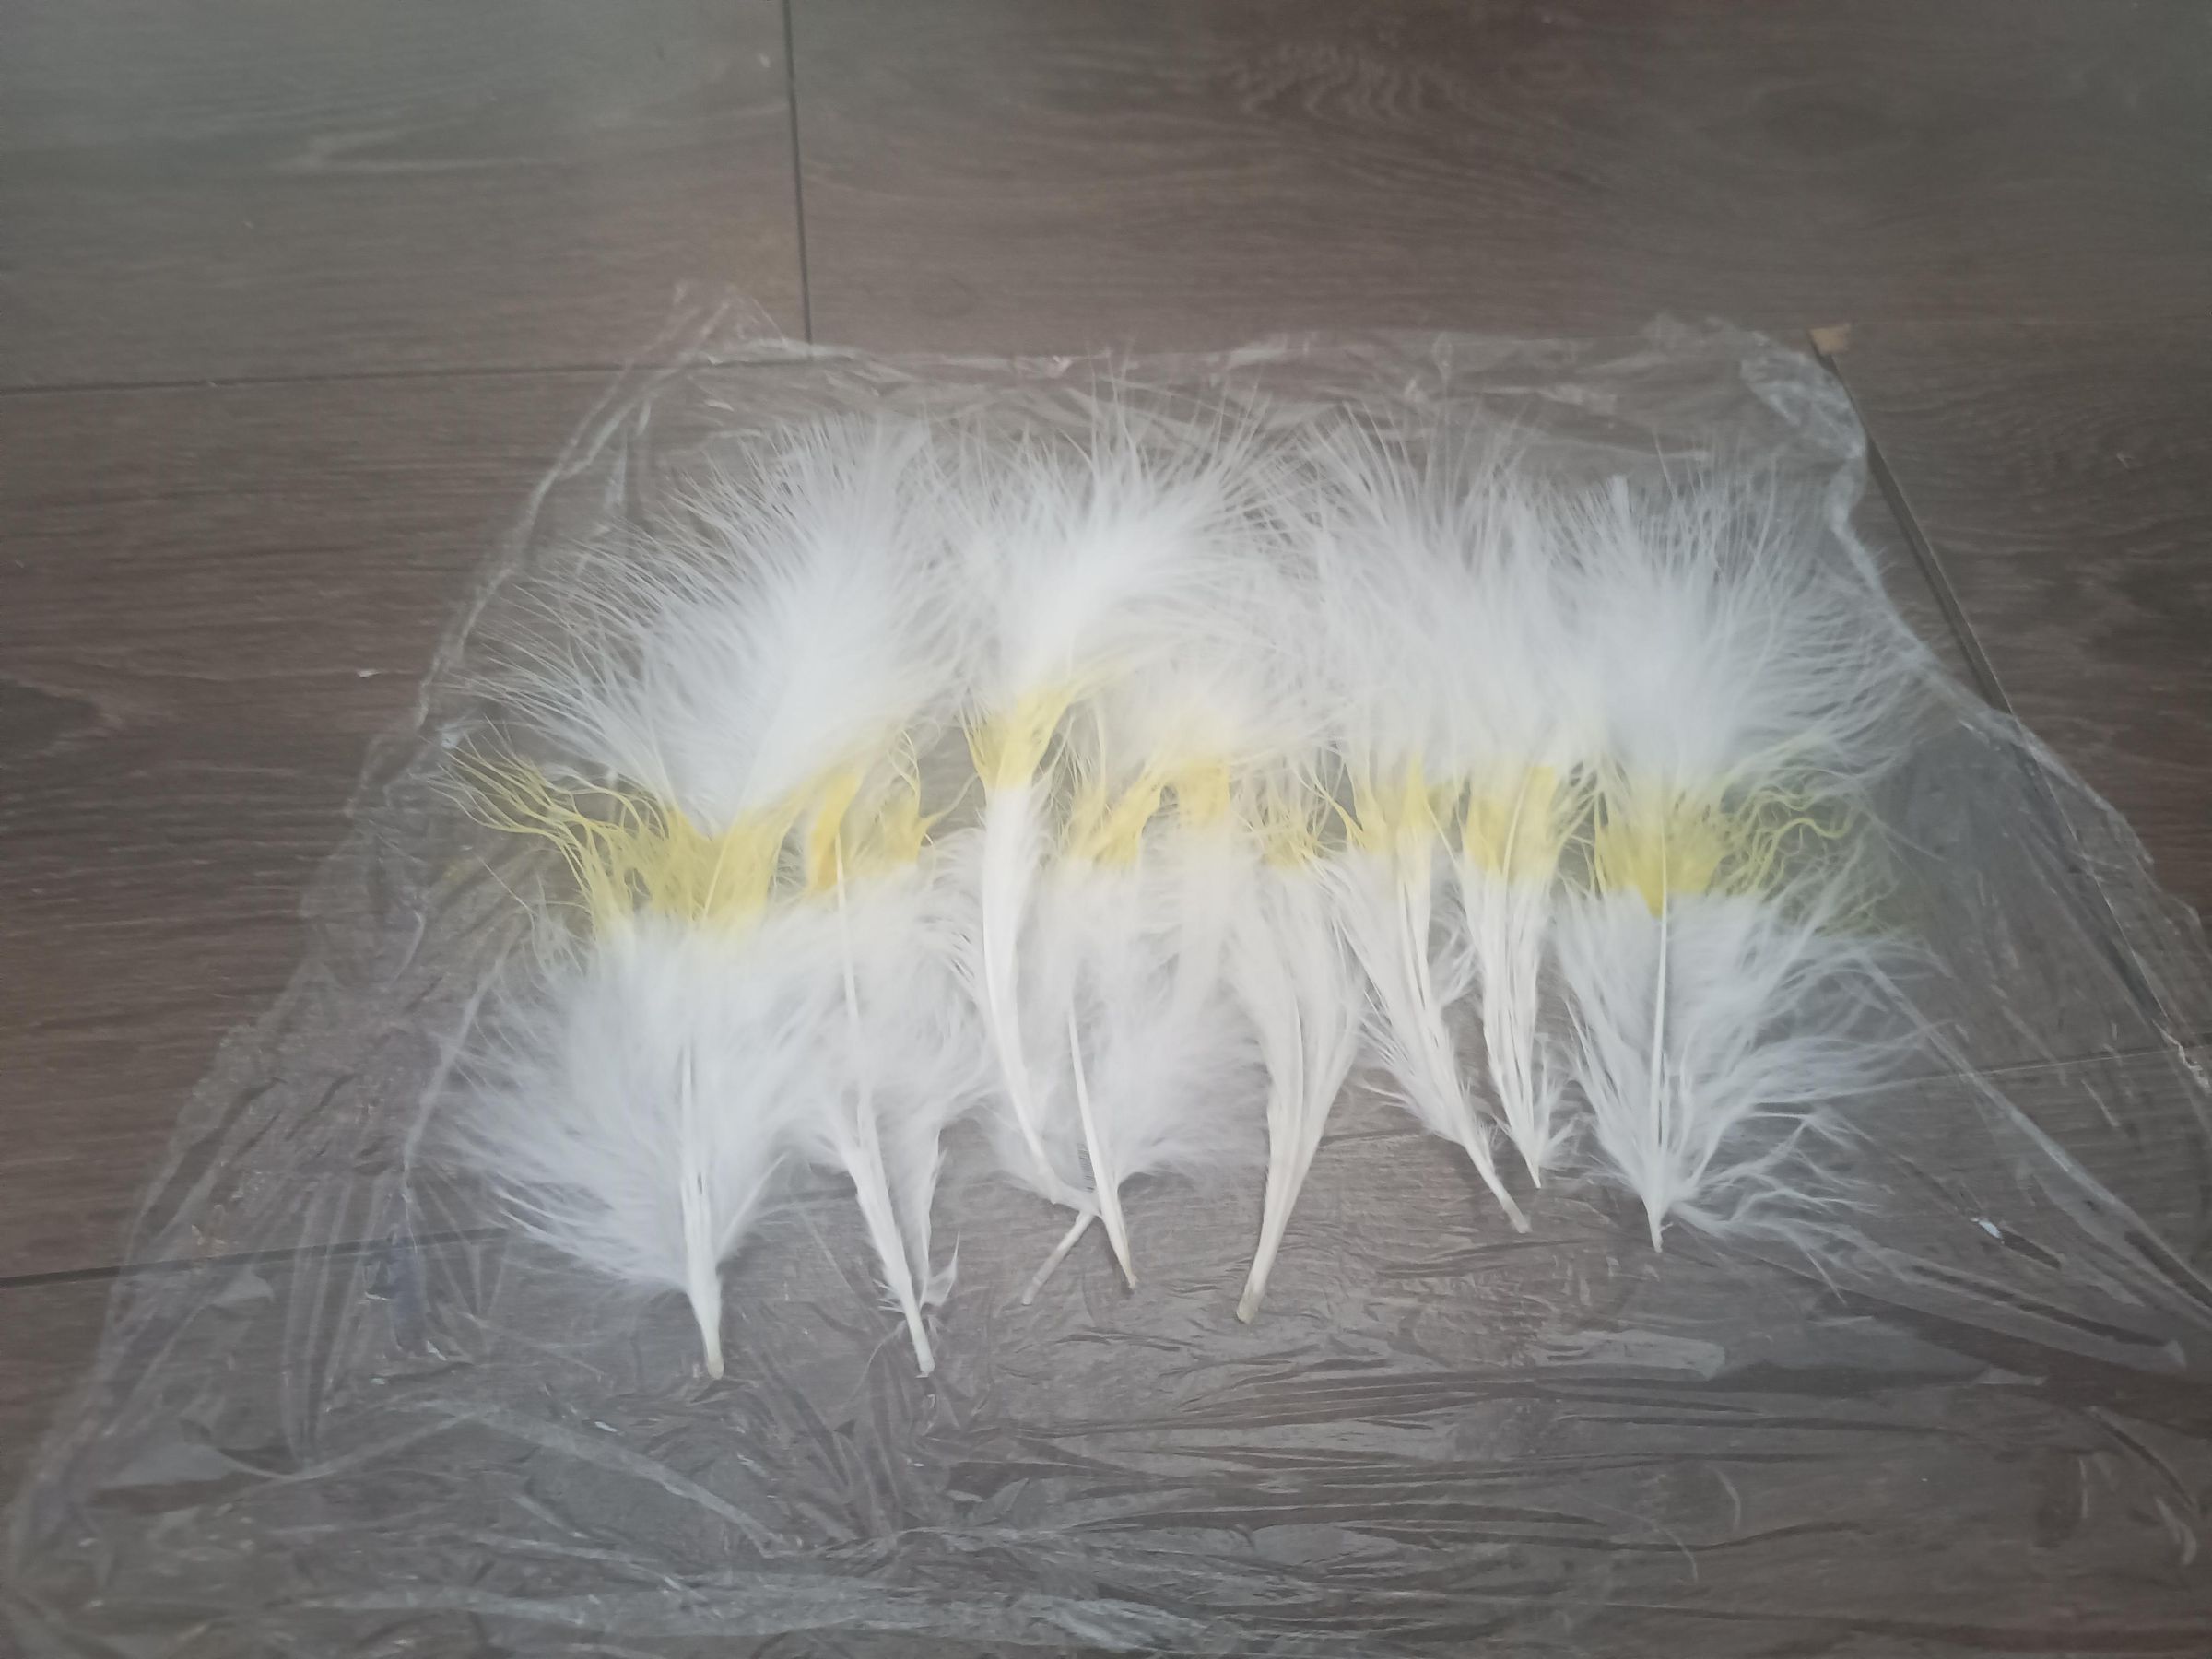
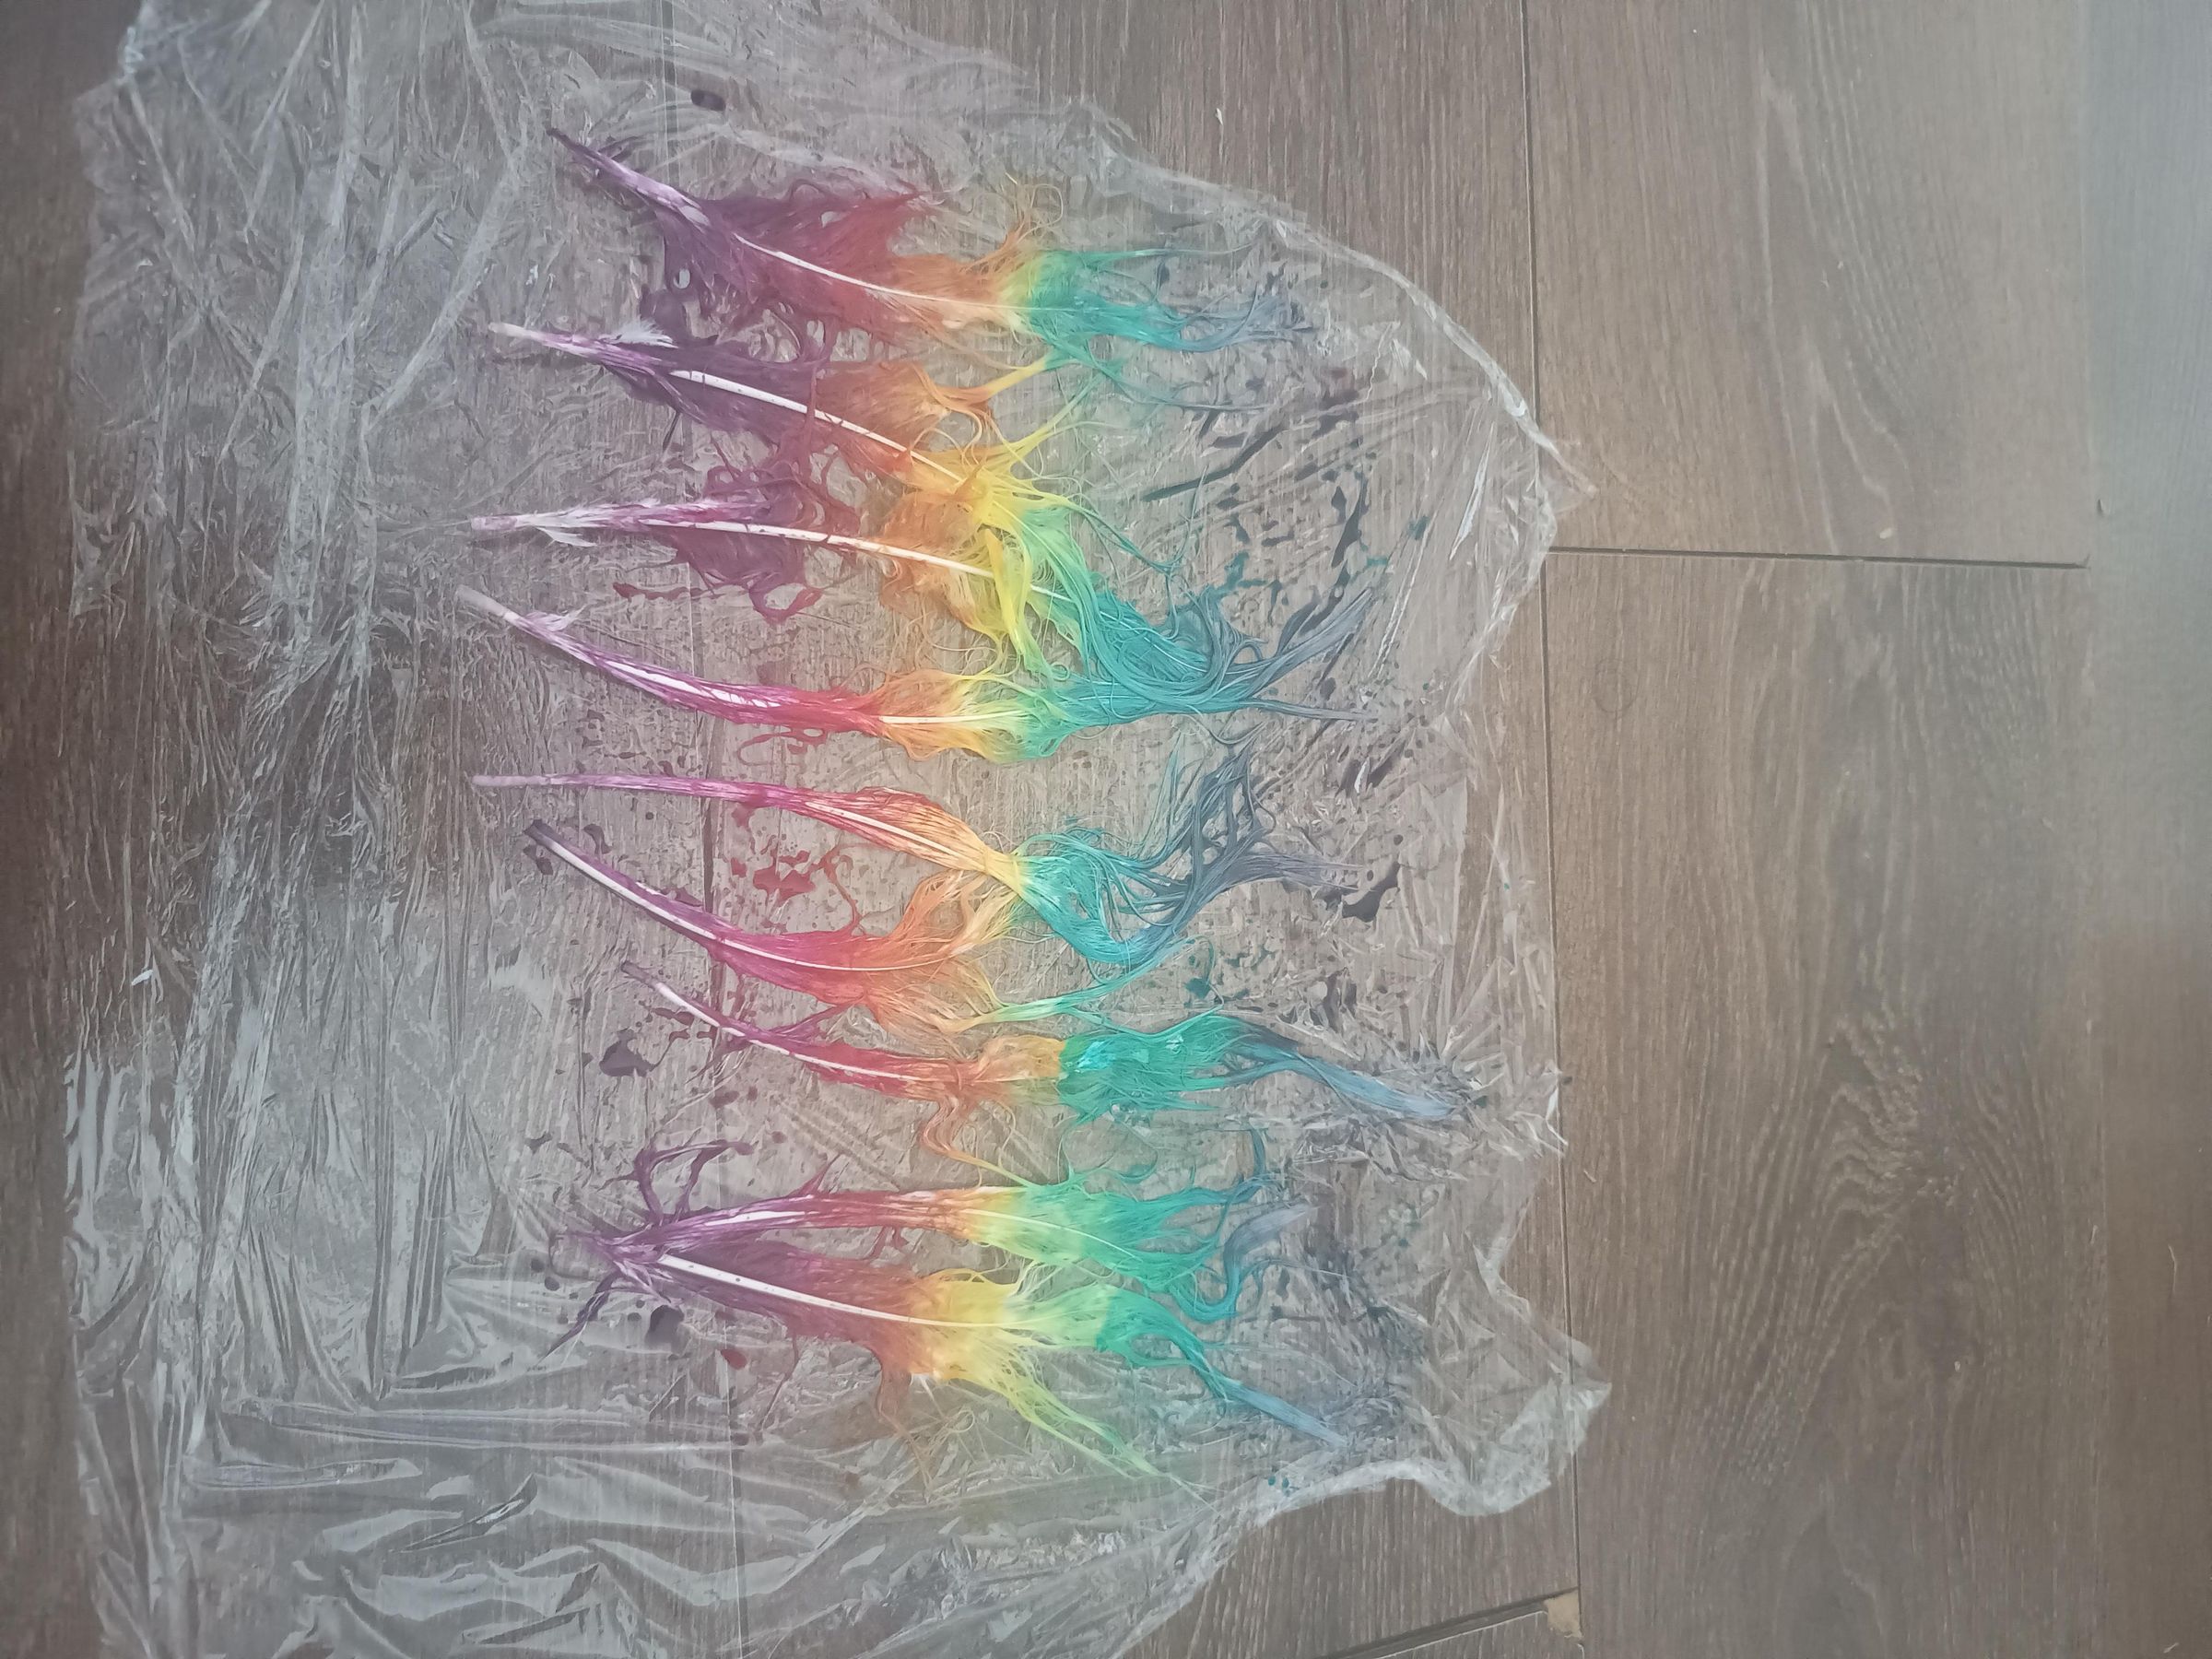
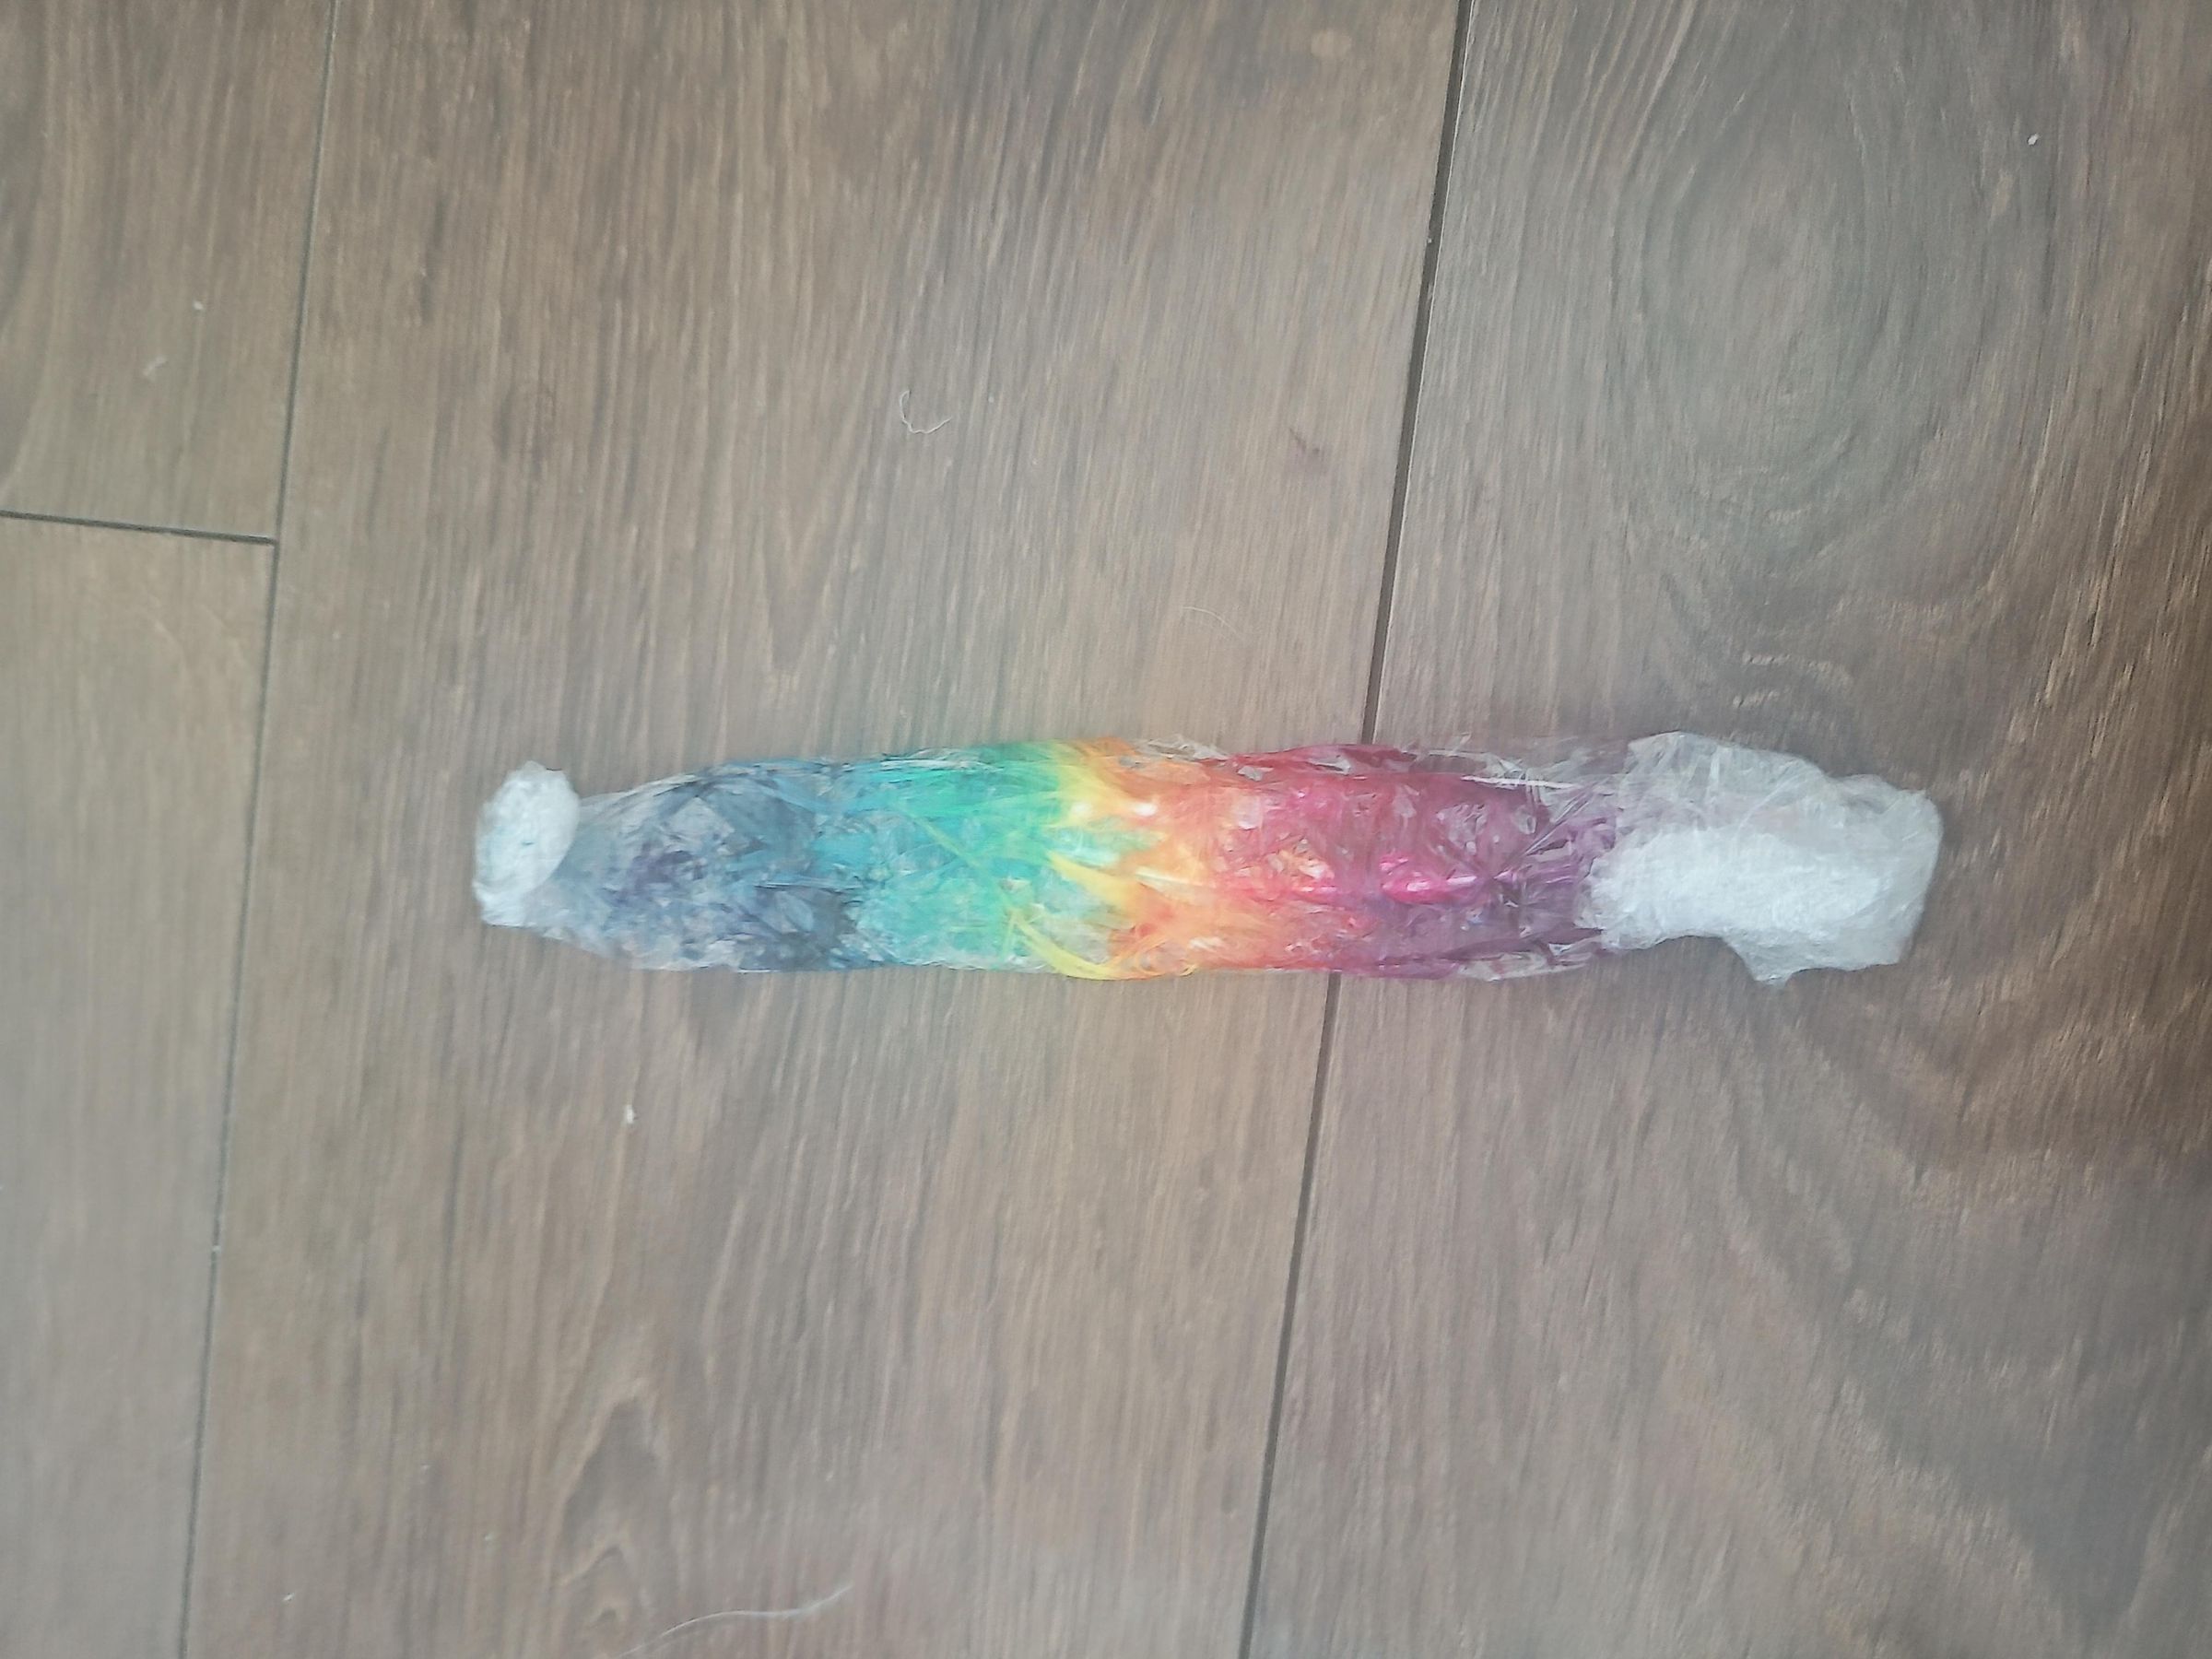
Final option! This method is basically the same as the previous one, except we stripe the colours along each feather.
So first I spread out my feathers on another piece of cling film and painted a horizontal band of yellow. Then repeated that with pink and blue, and did my blending. Note: this method is easier with a medium to large sized feather, just so you have plenty of room to blend without muddying the colours.
Then I turned my cling film into a lovely sausagey parcel, and steamed for 20 minutes.
Rinse and Dry
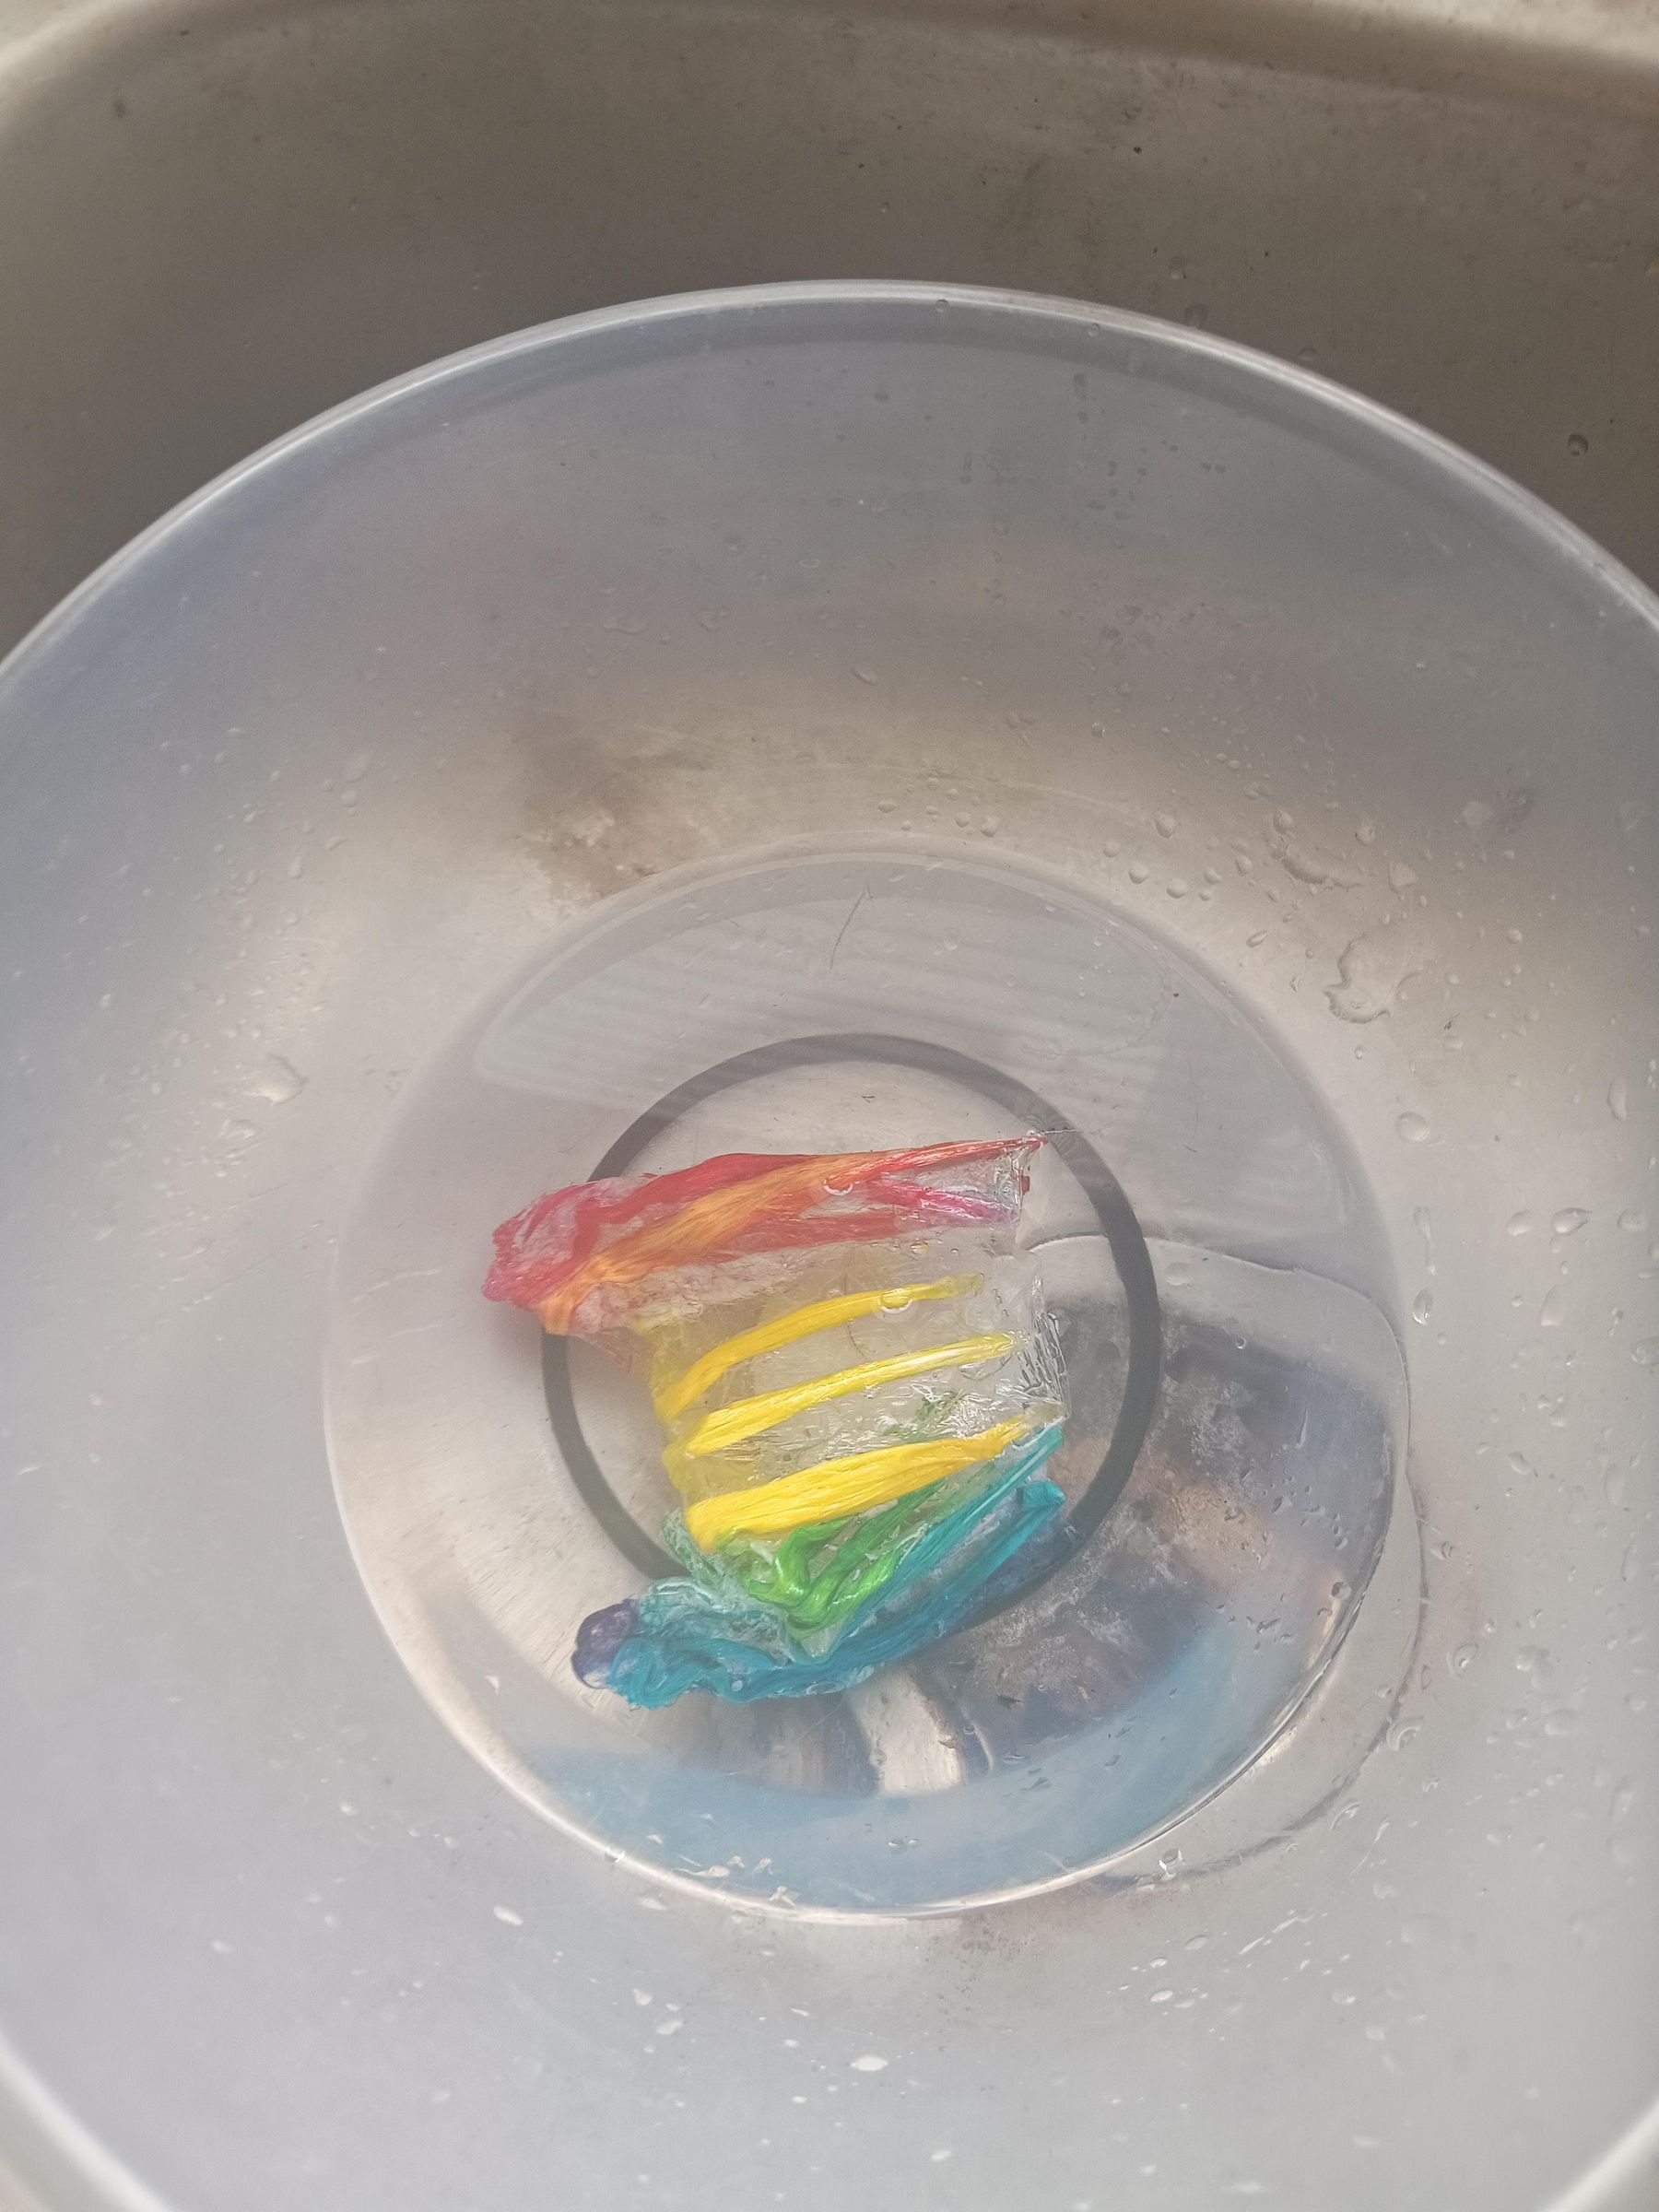
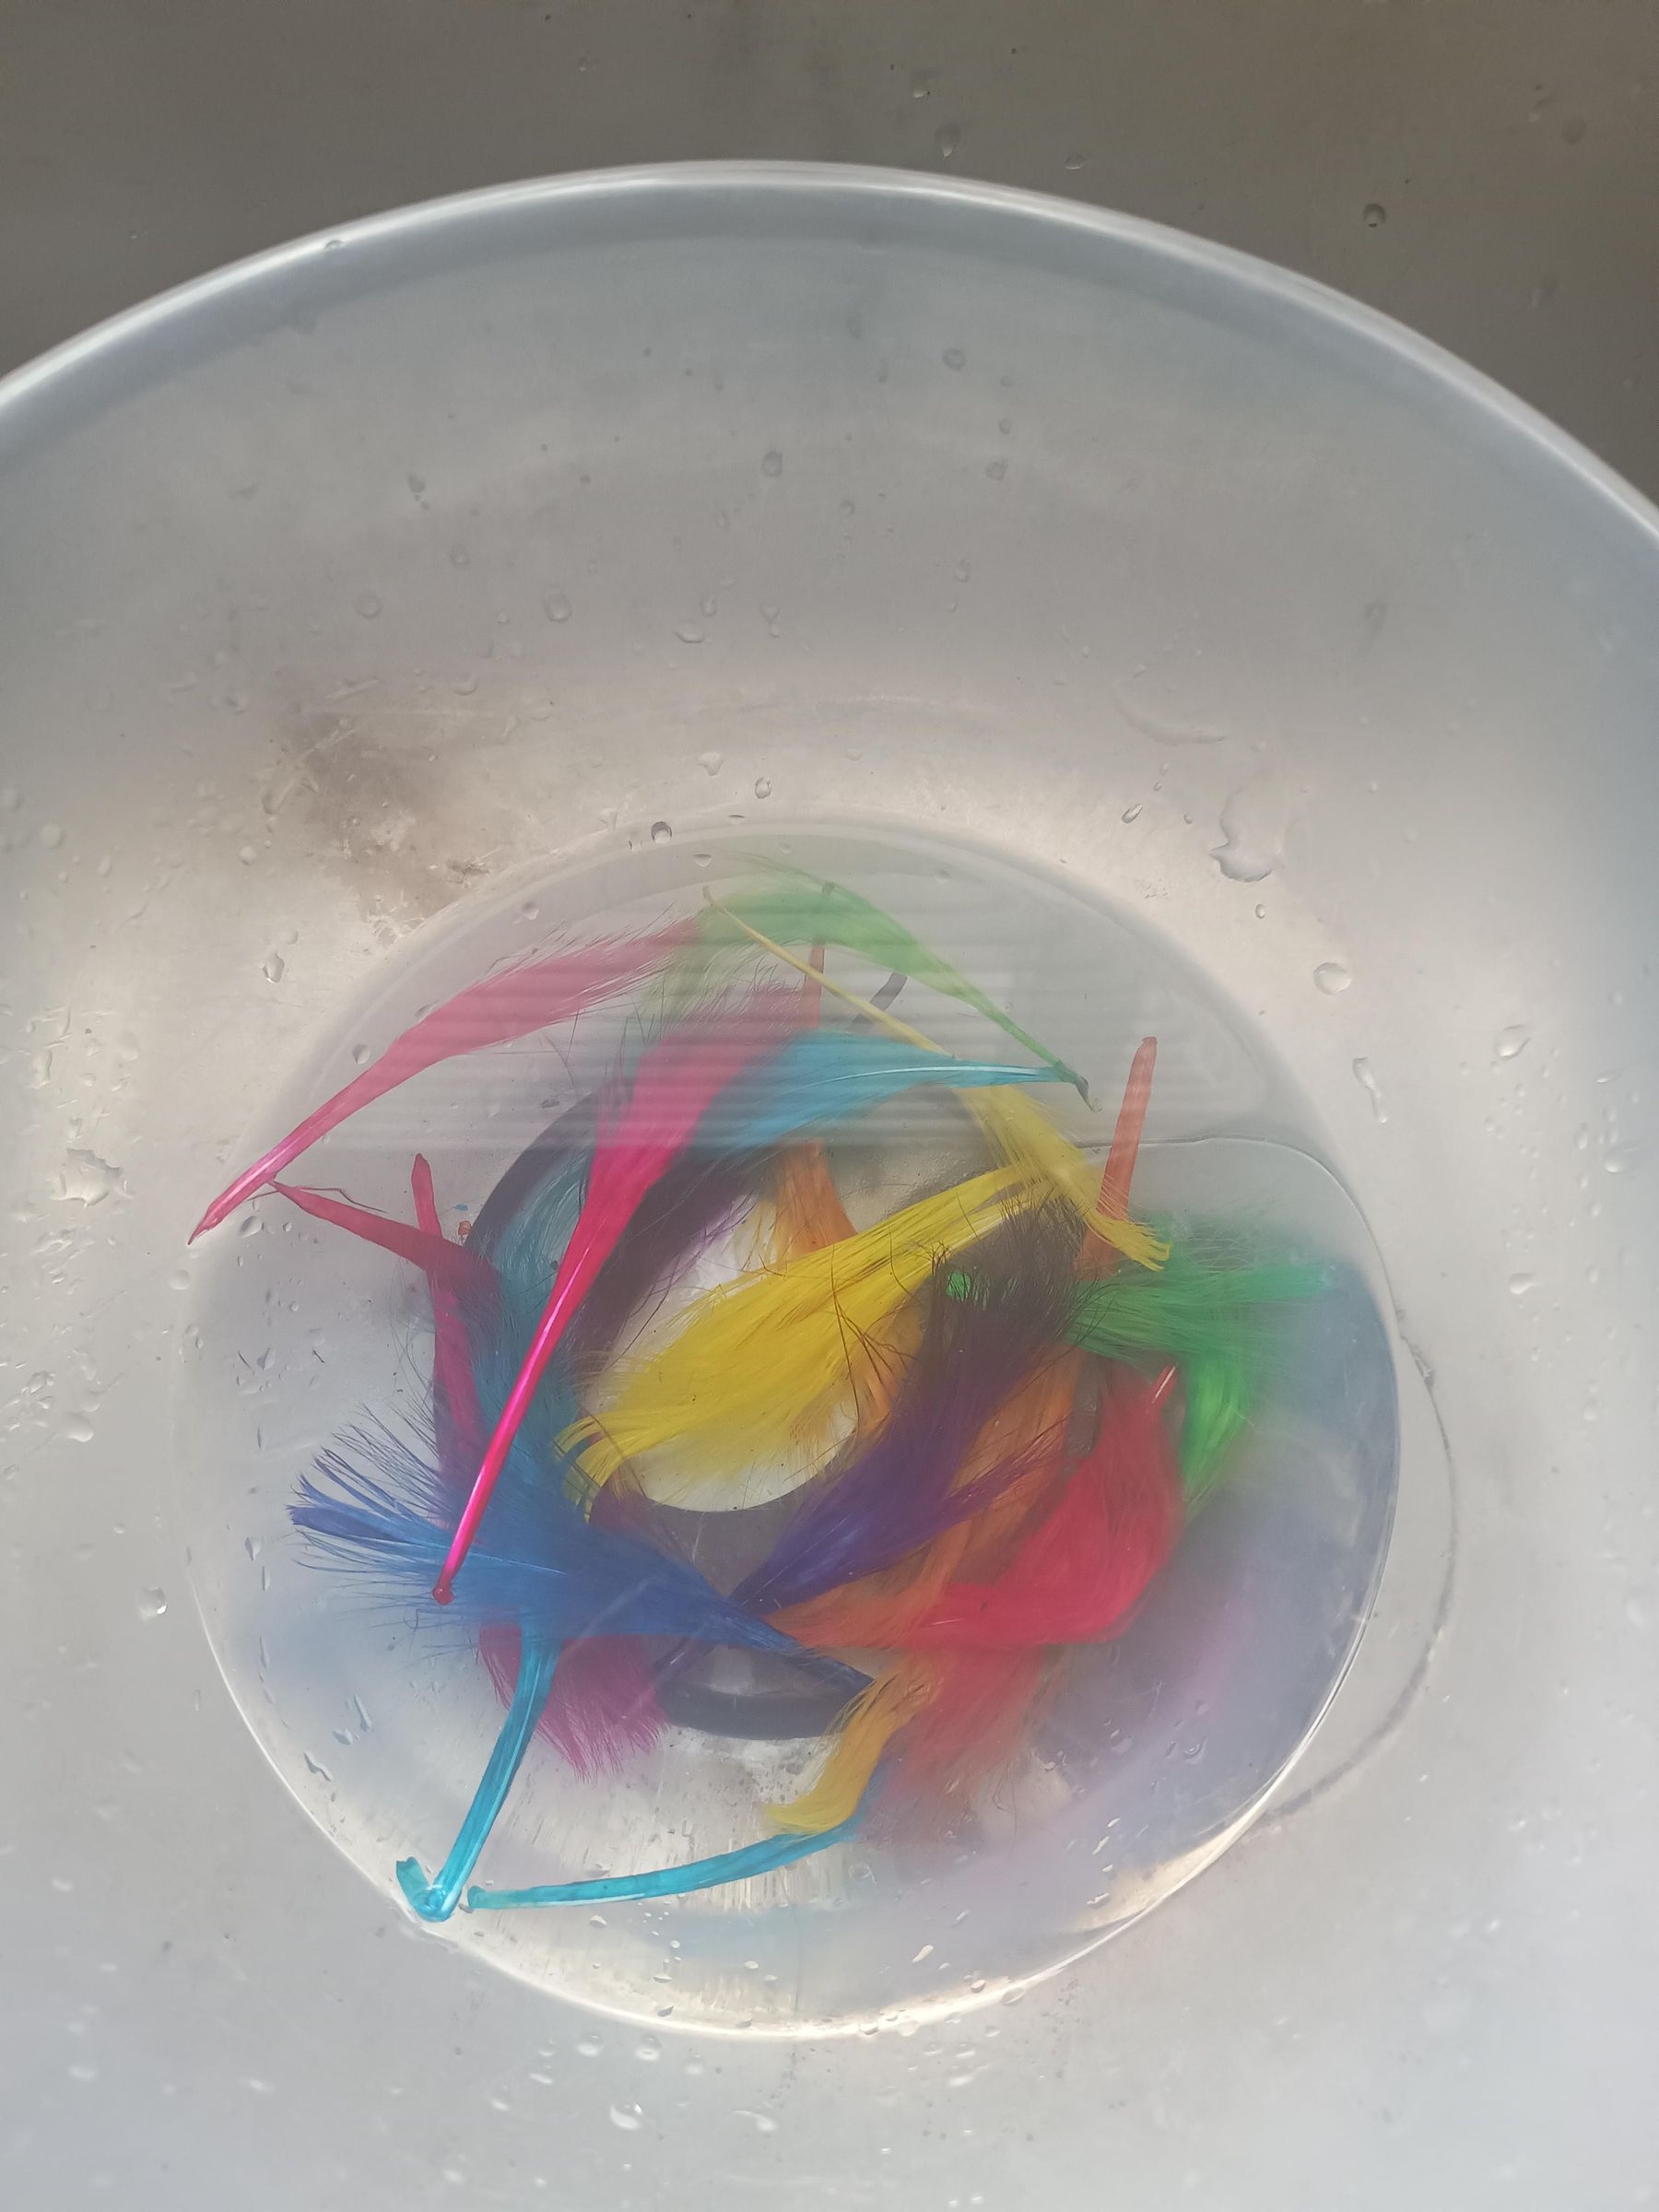
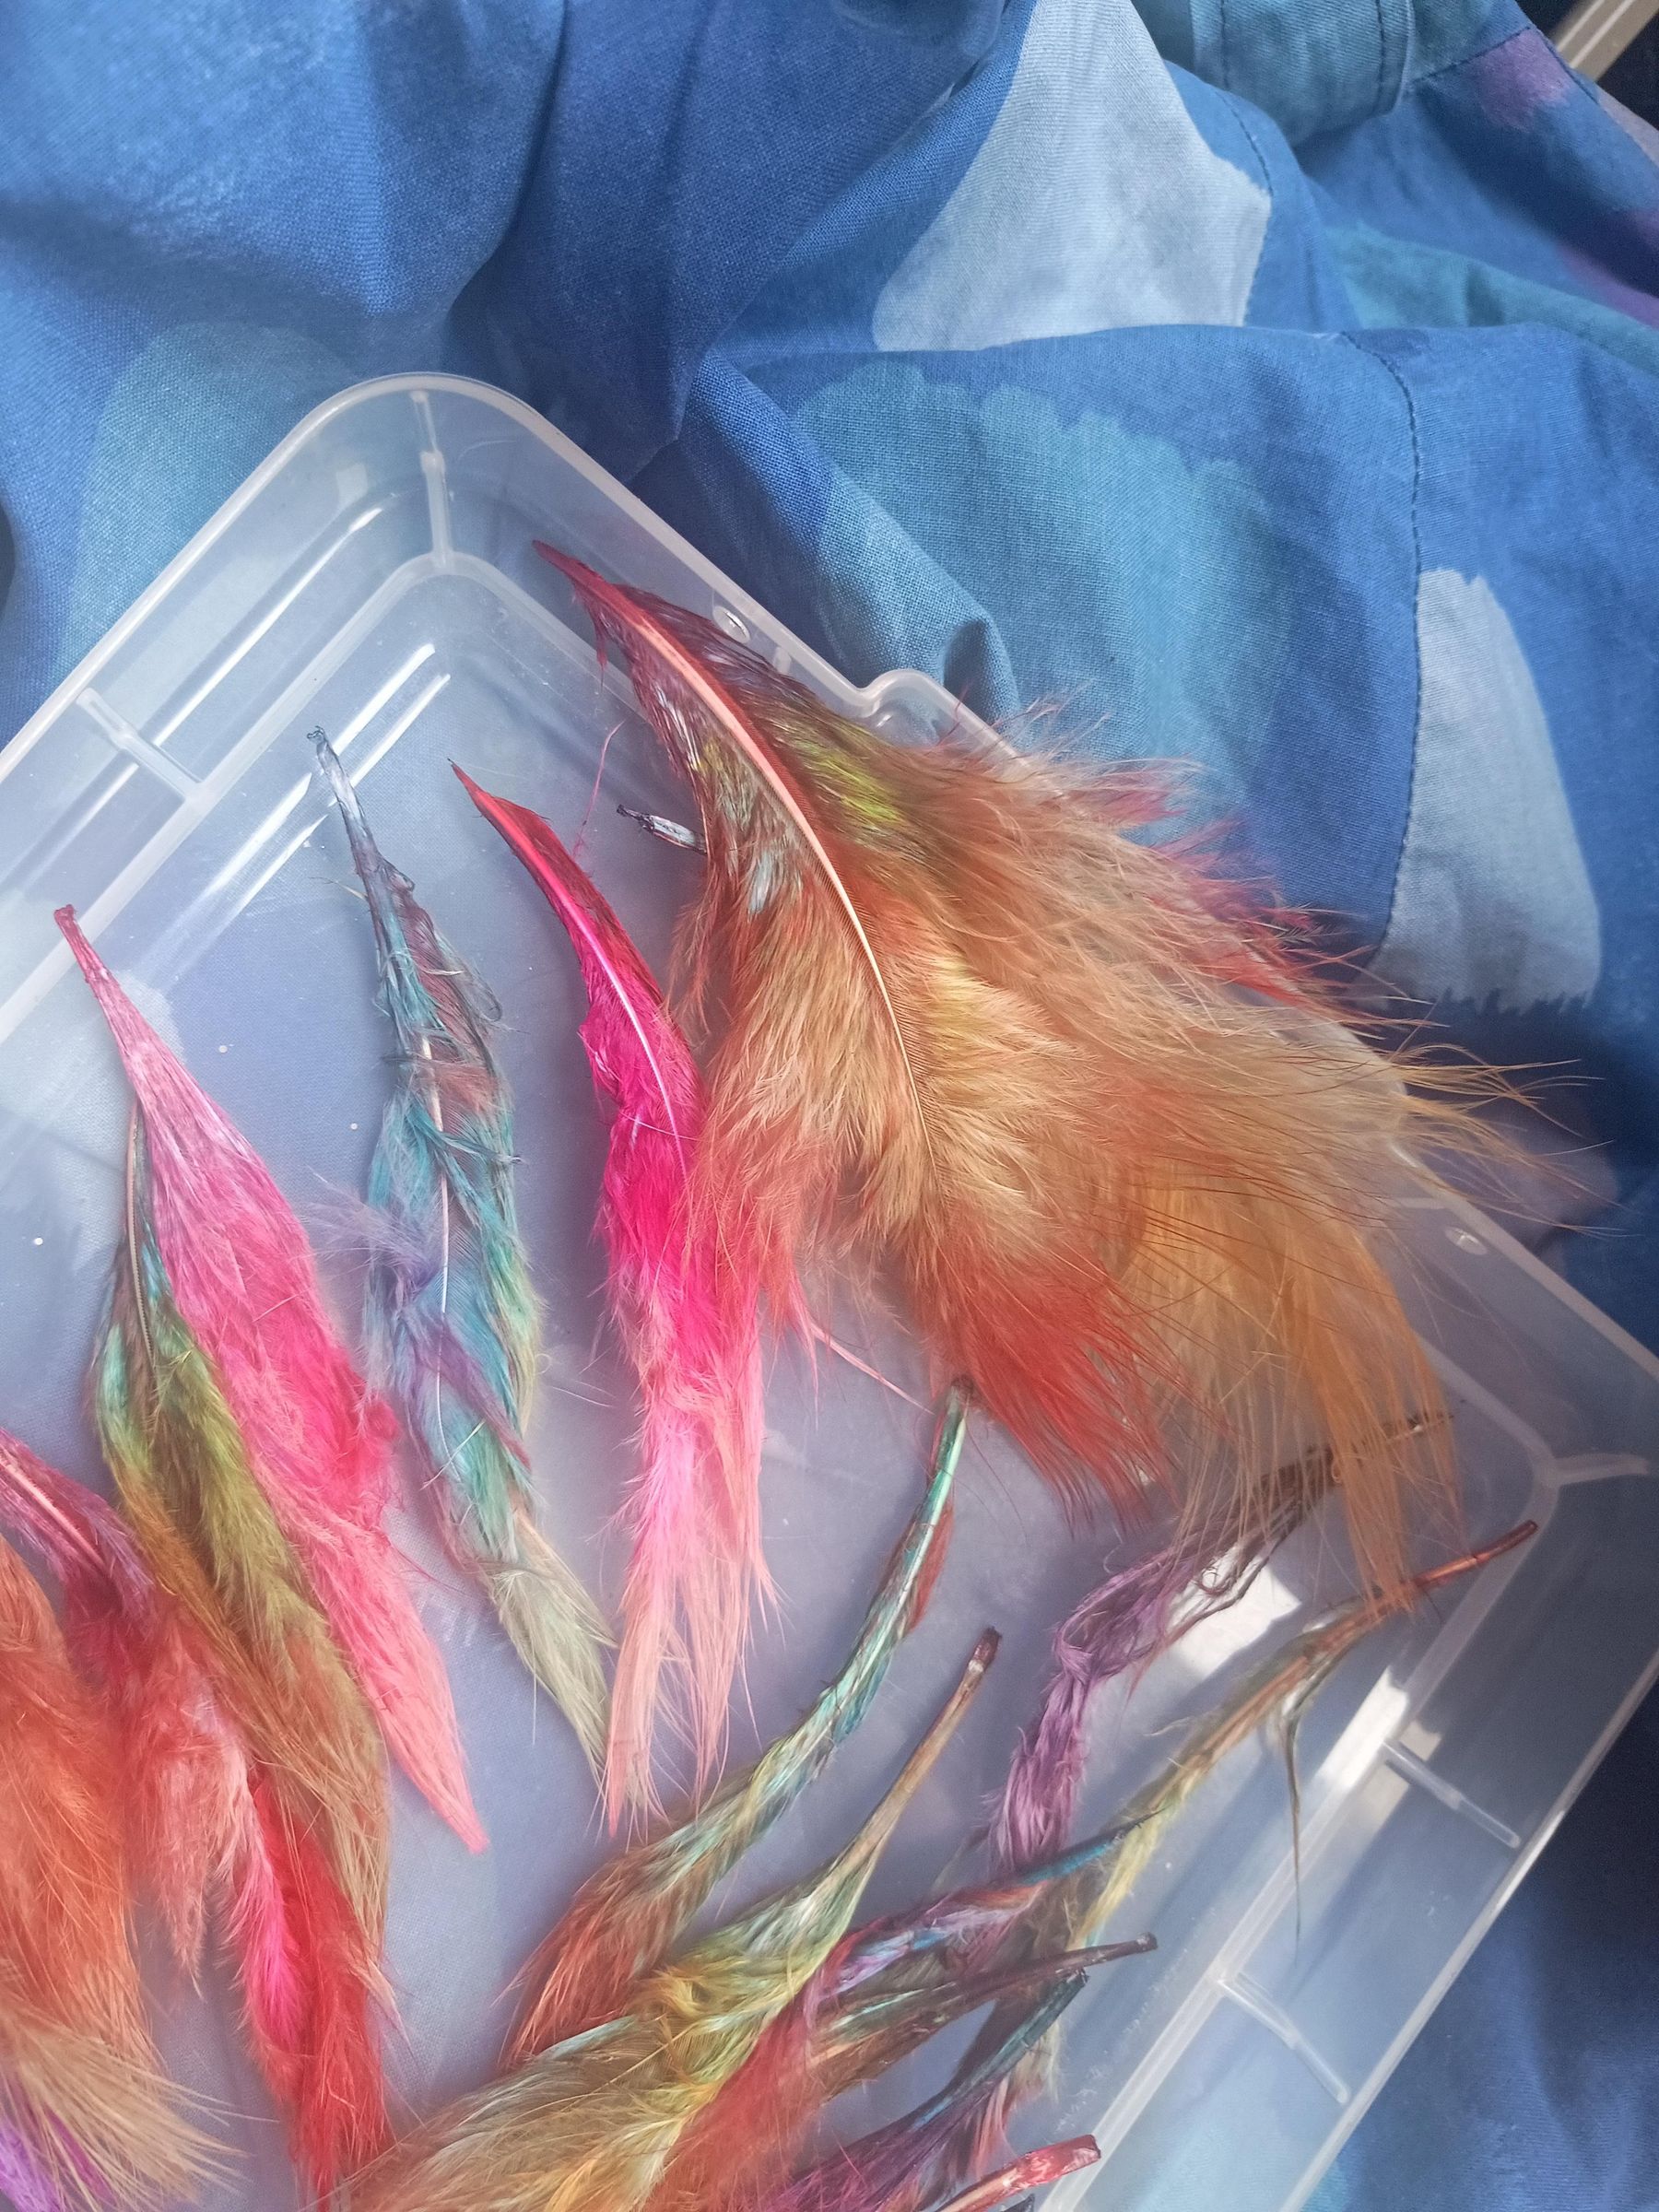
Whichever method you used, after they've been steamed for 20 minutes you can rinse them several times in water (I usually put the parcel in cold water for a few minutes until it's cooled enough to unwrap easily).
Then I separated each feather individually and laid them out to dry. They dry pretty quickly, I just left them overnight.
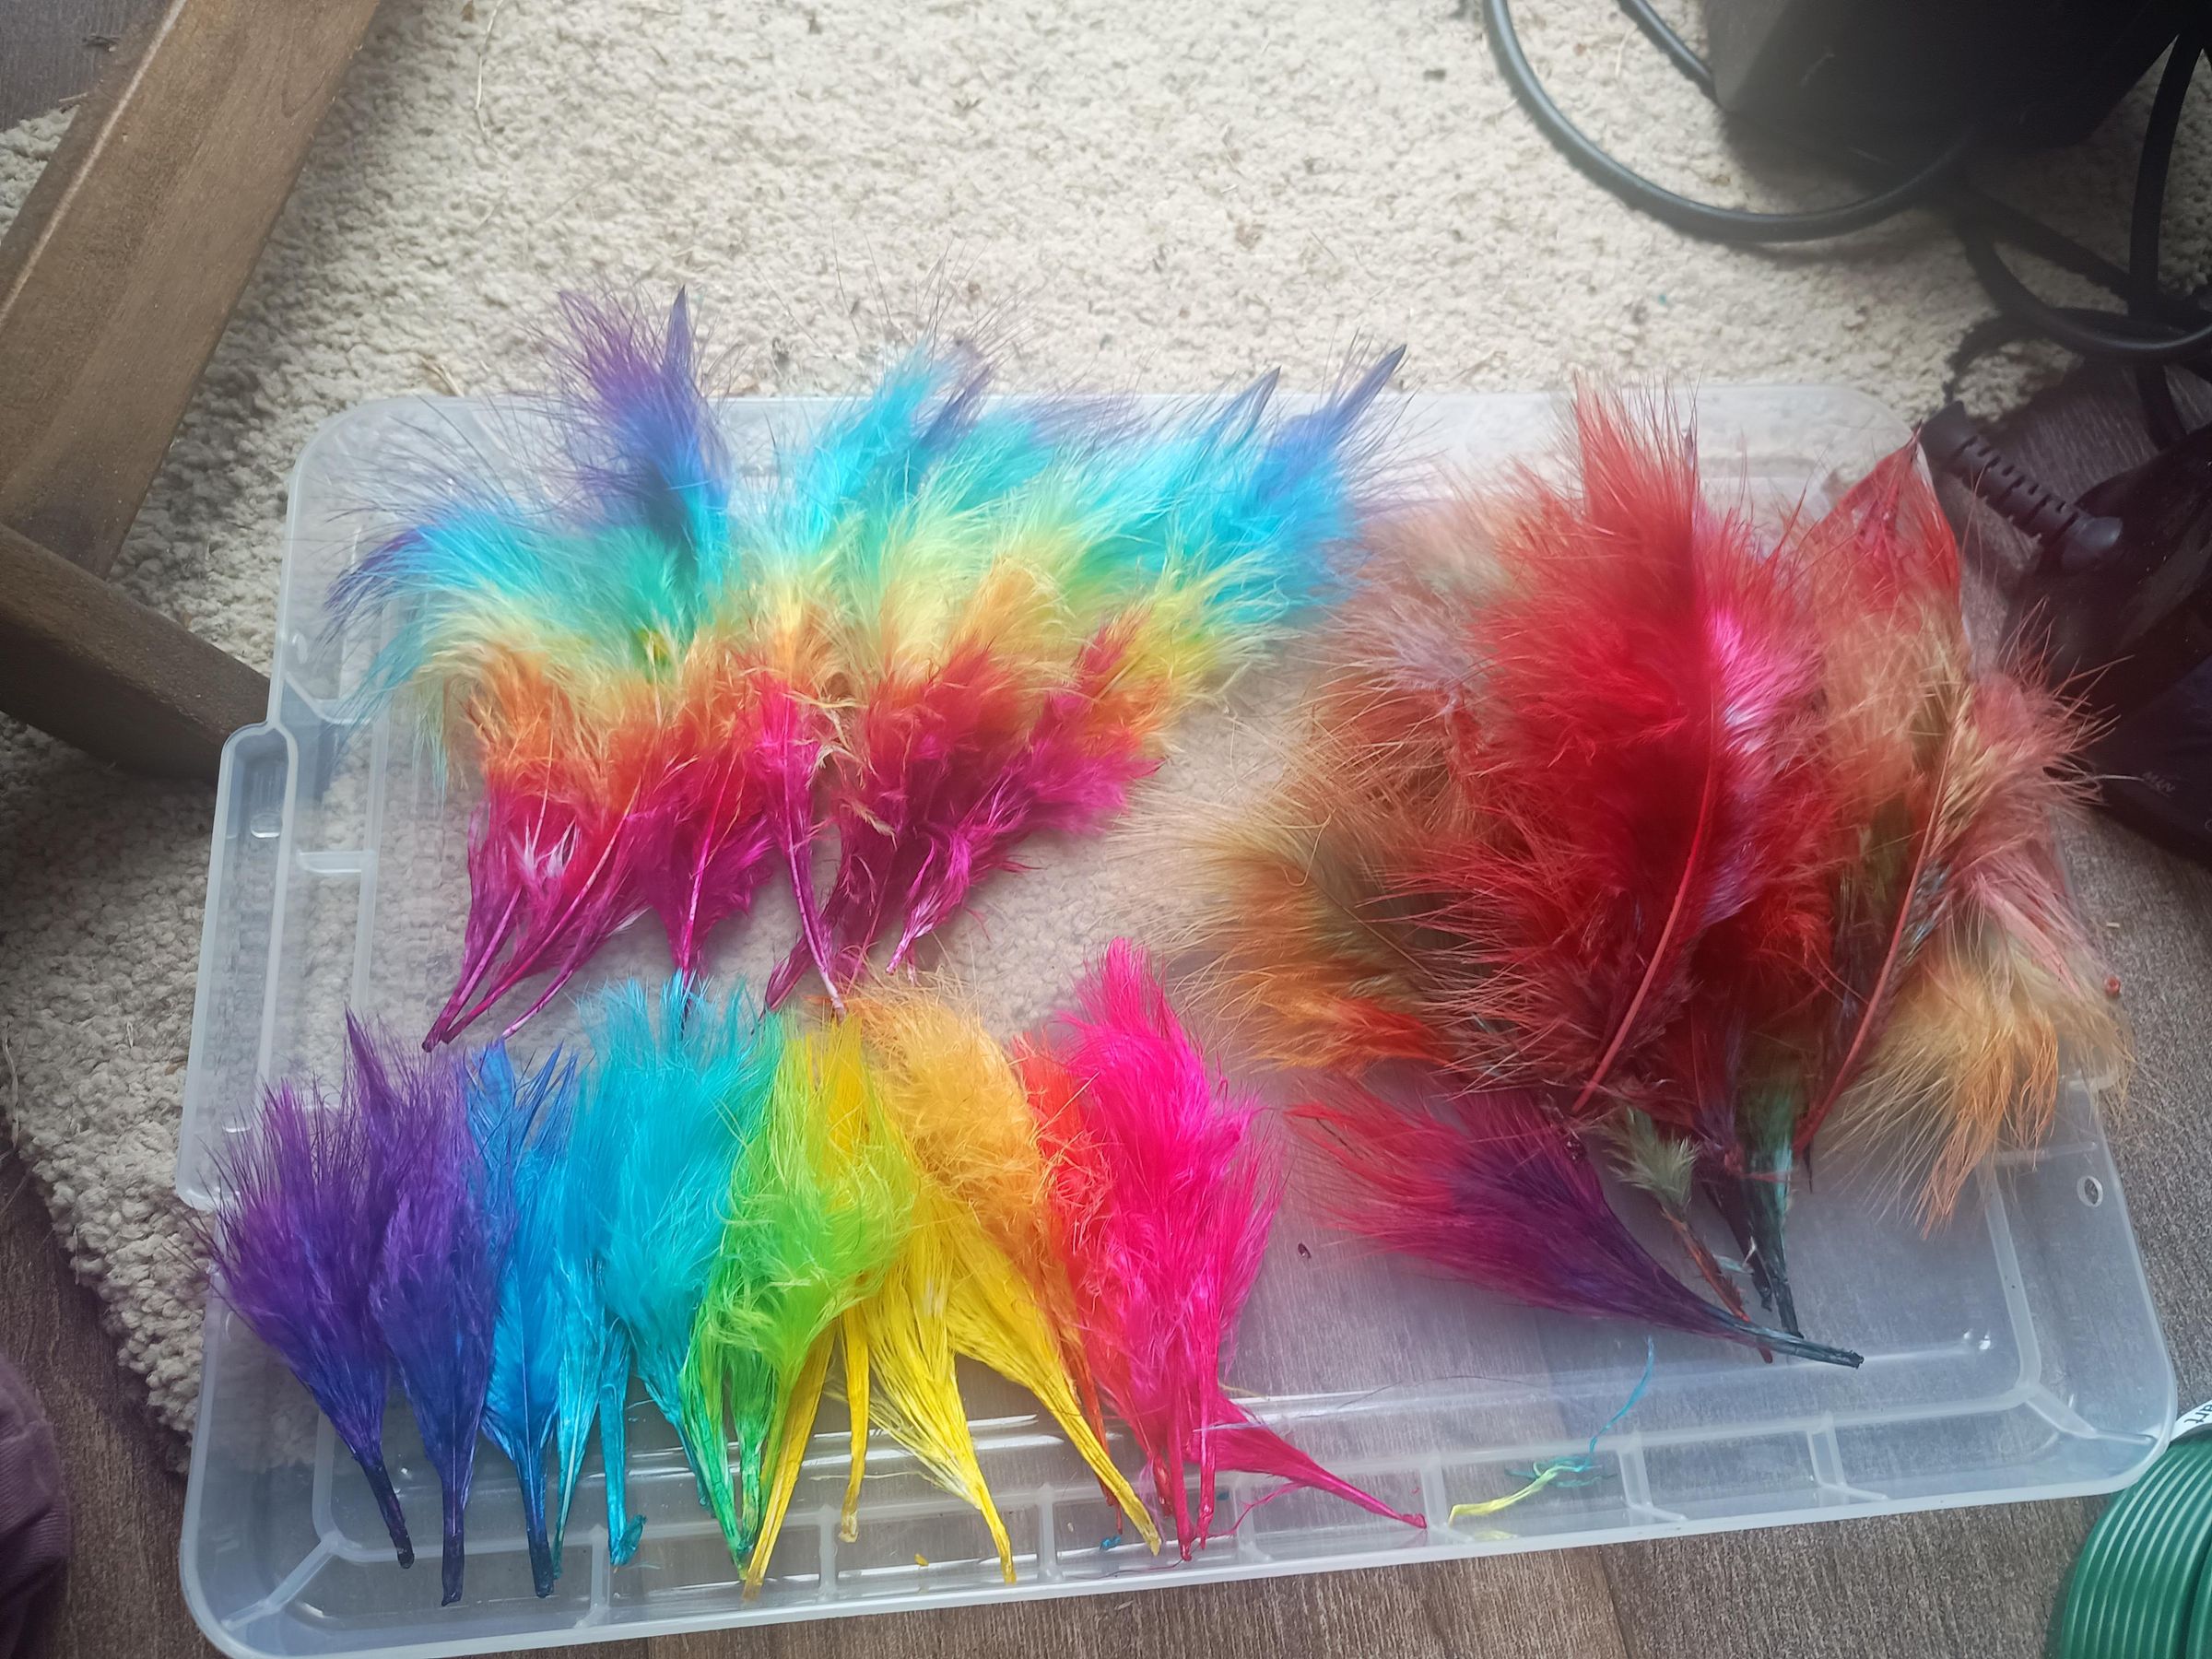
Next and very satisfying: fluffing them back up. I used my hands to tease the feathers back into shape, making them soft and fluffy again. As you can see, I got two nice rainbow gradients, and the first method gave me some interesting autumnal colours with less of a rainbow effect.
Make Pattern
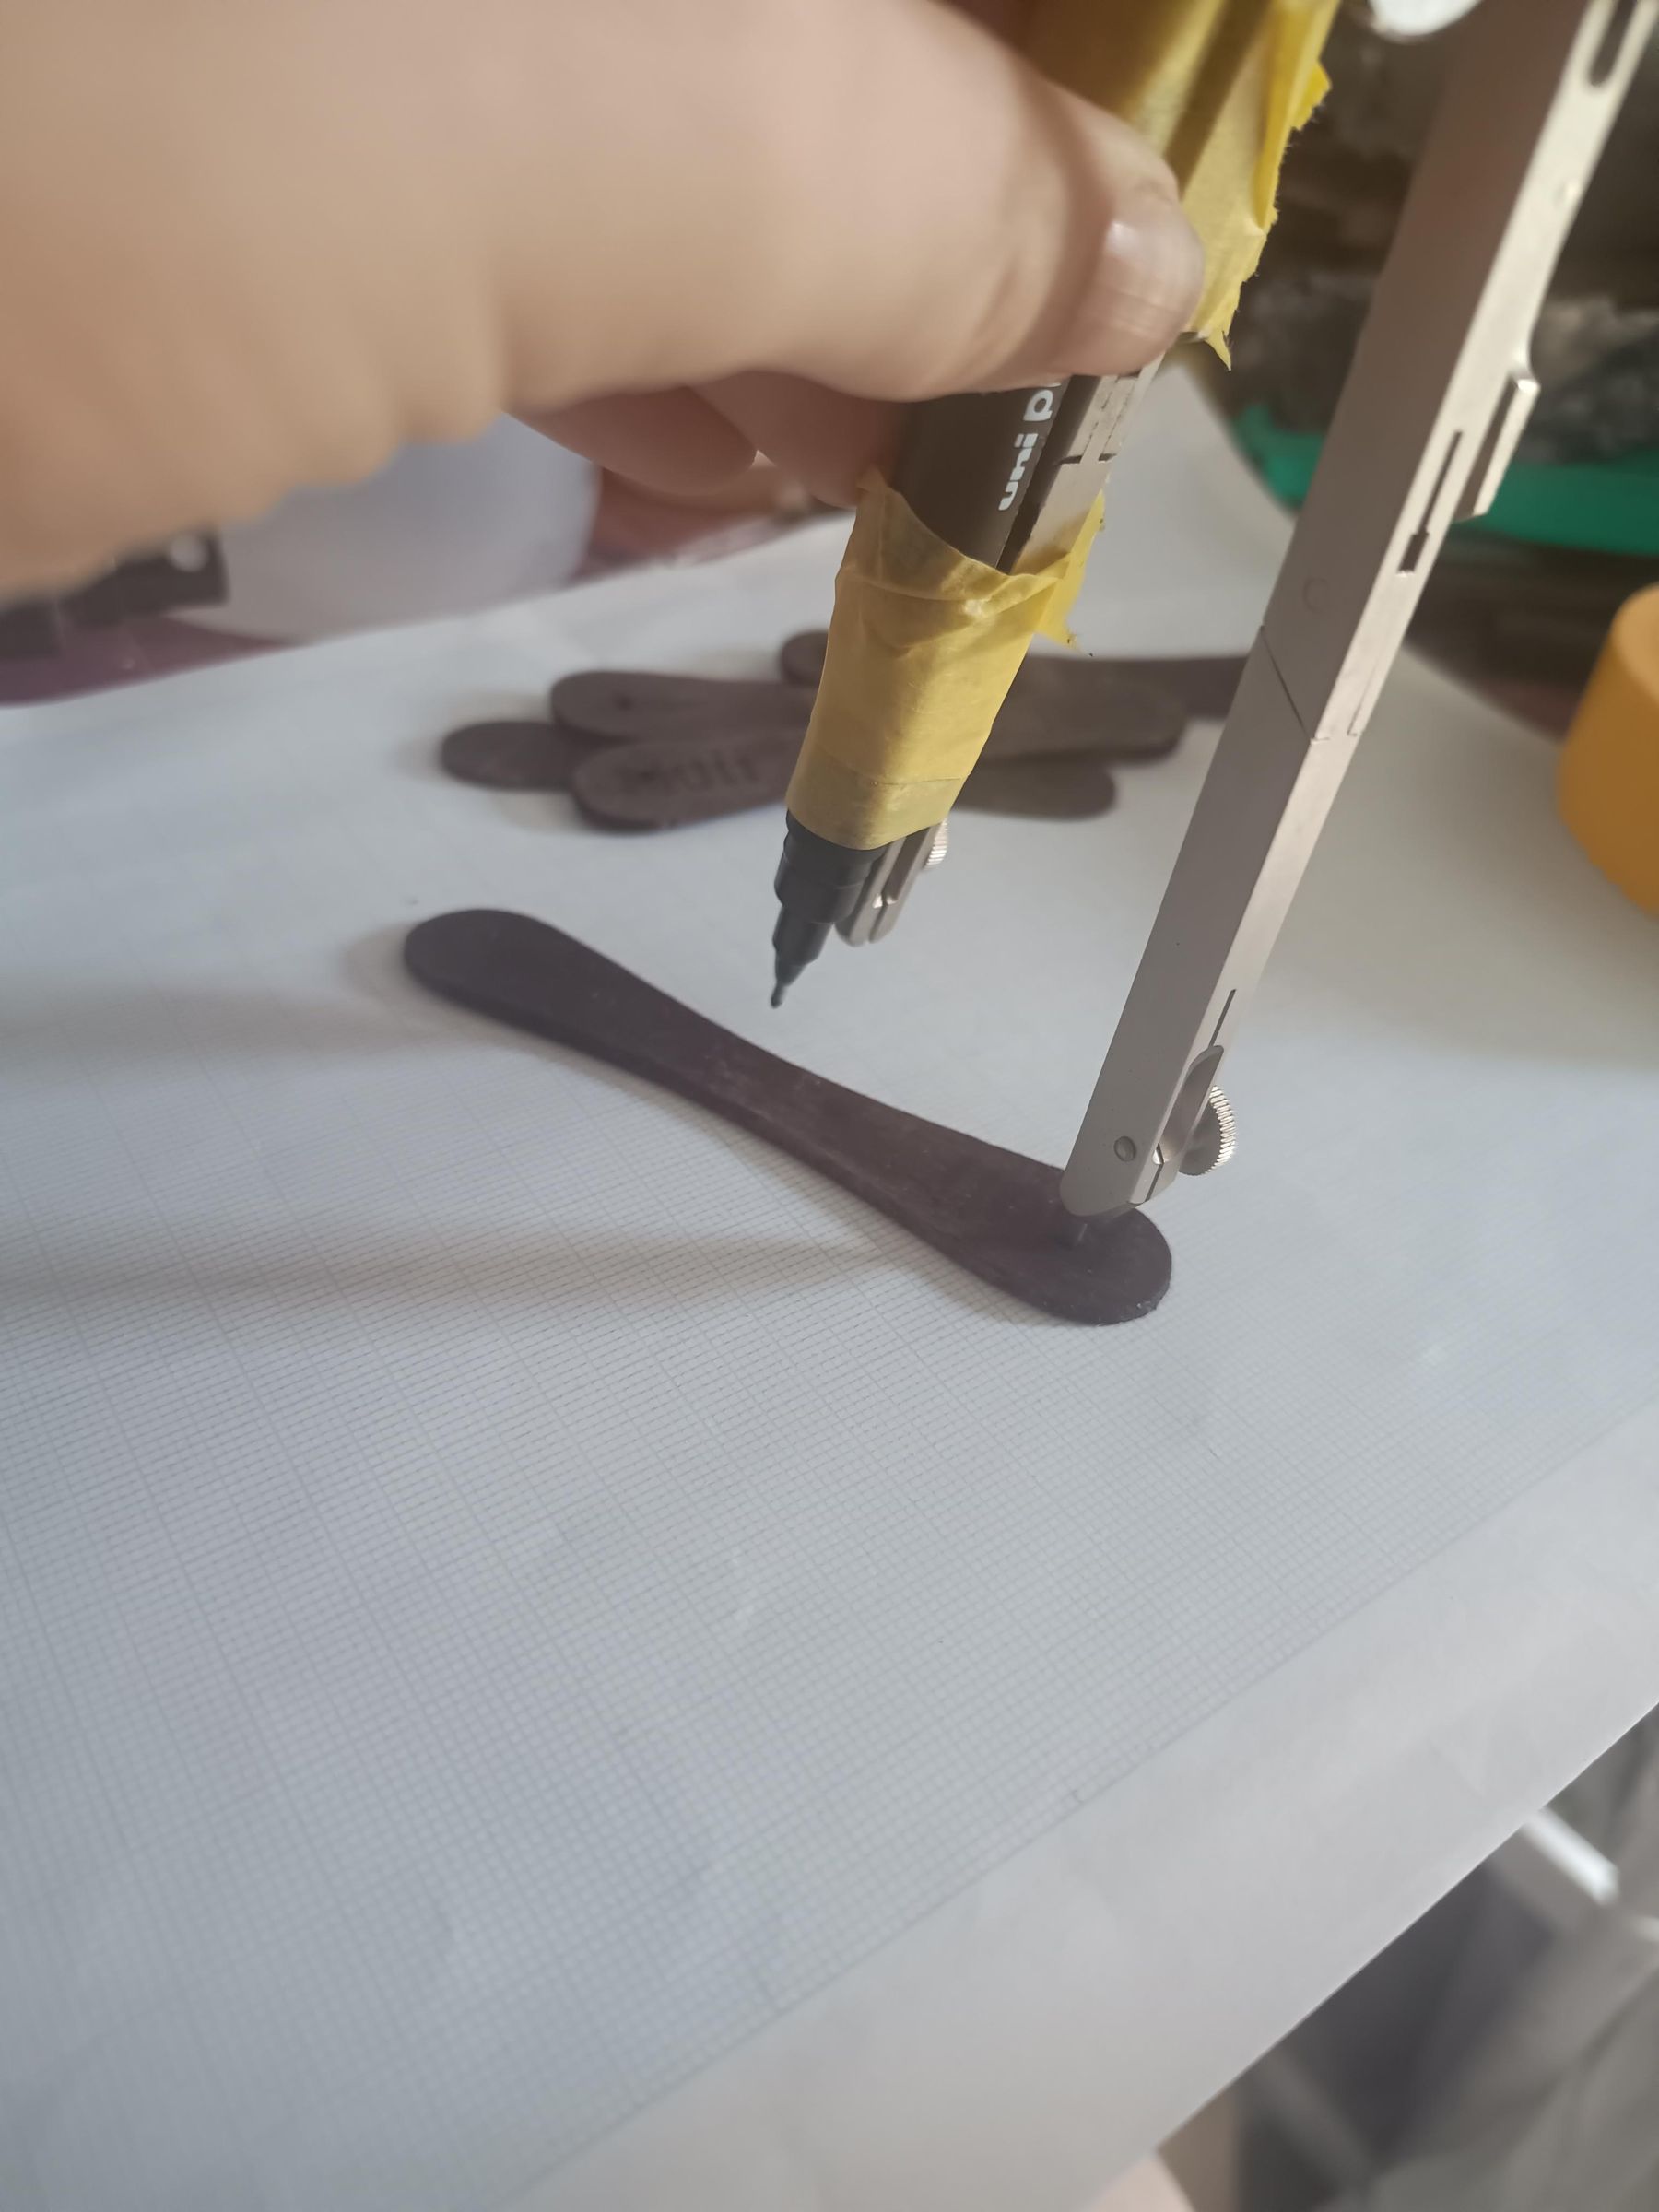
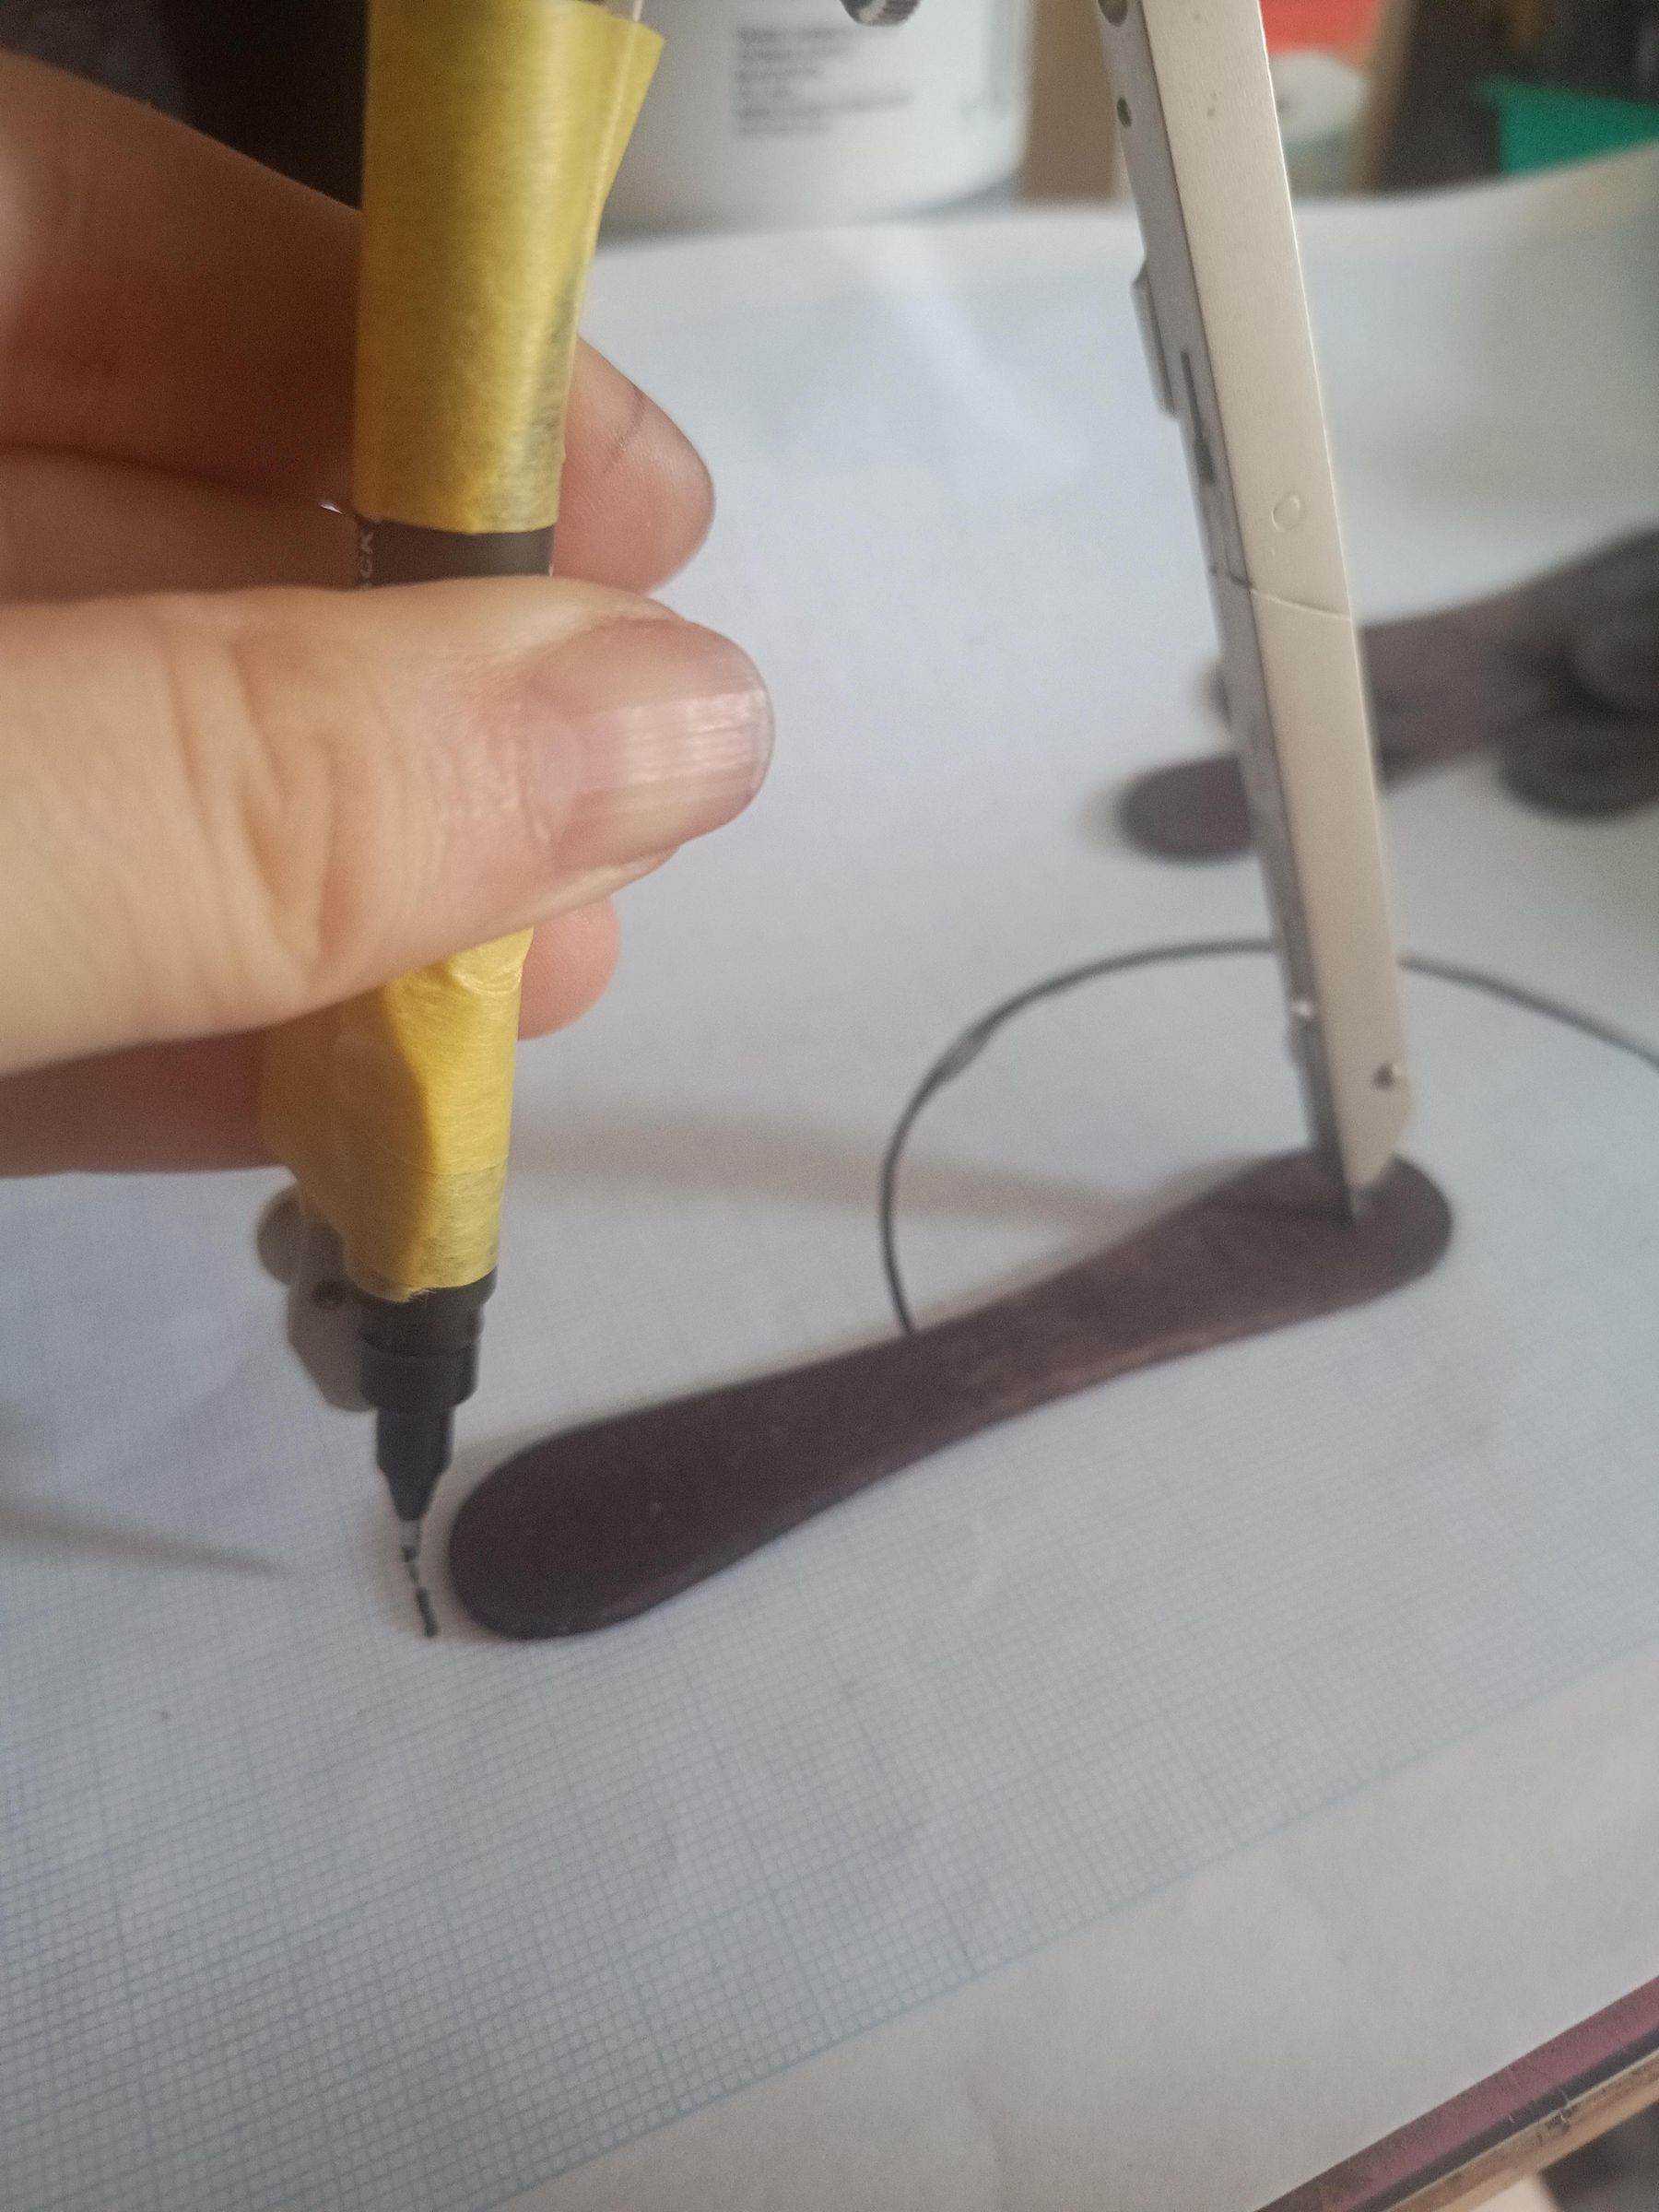
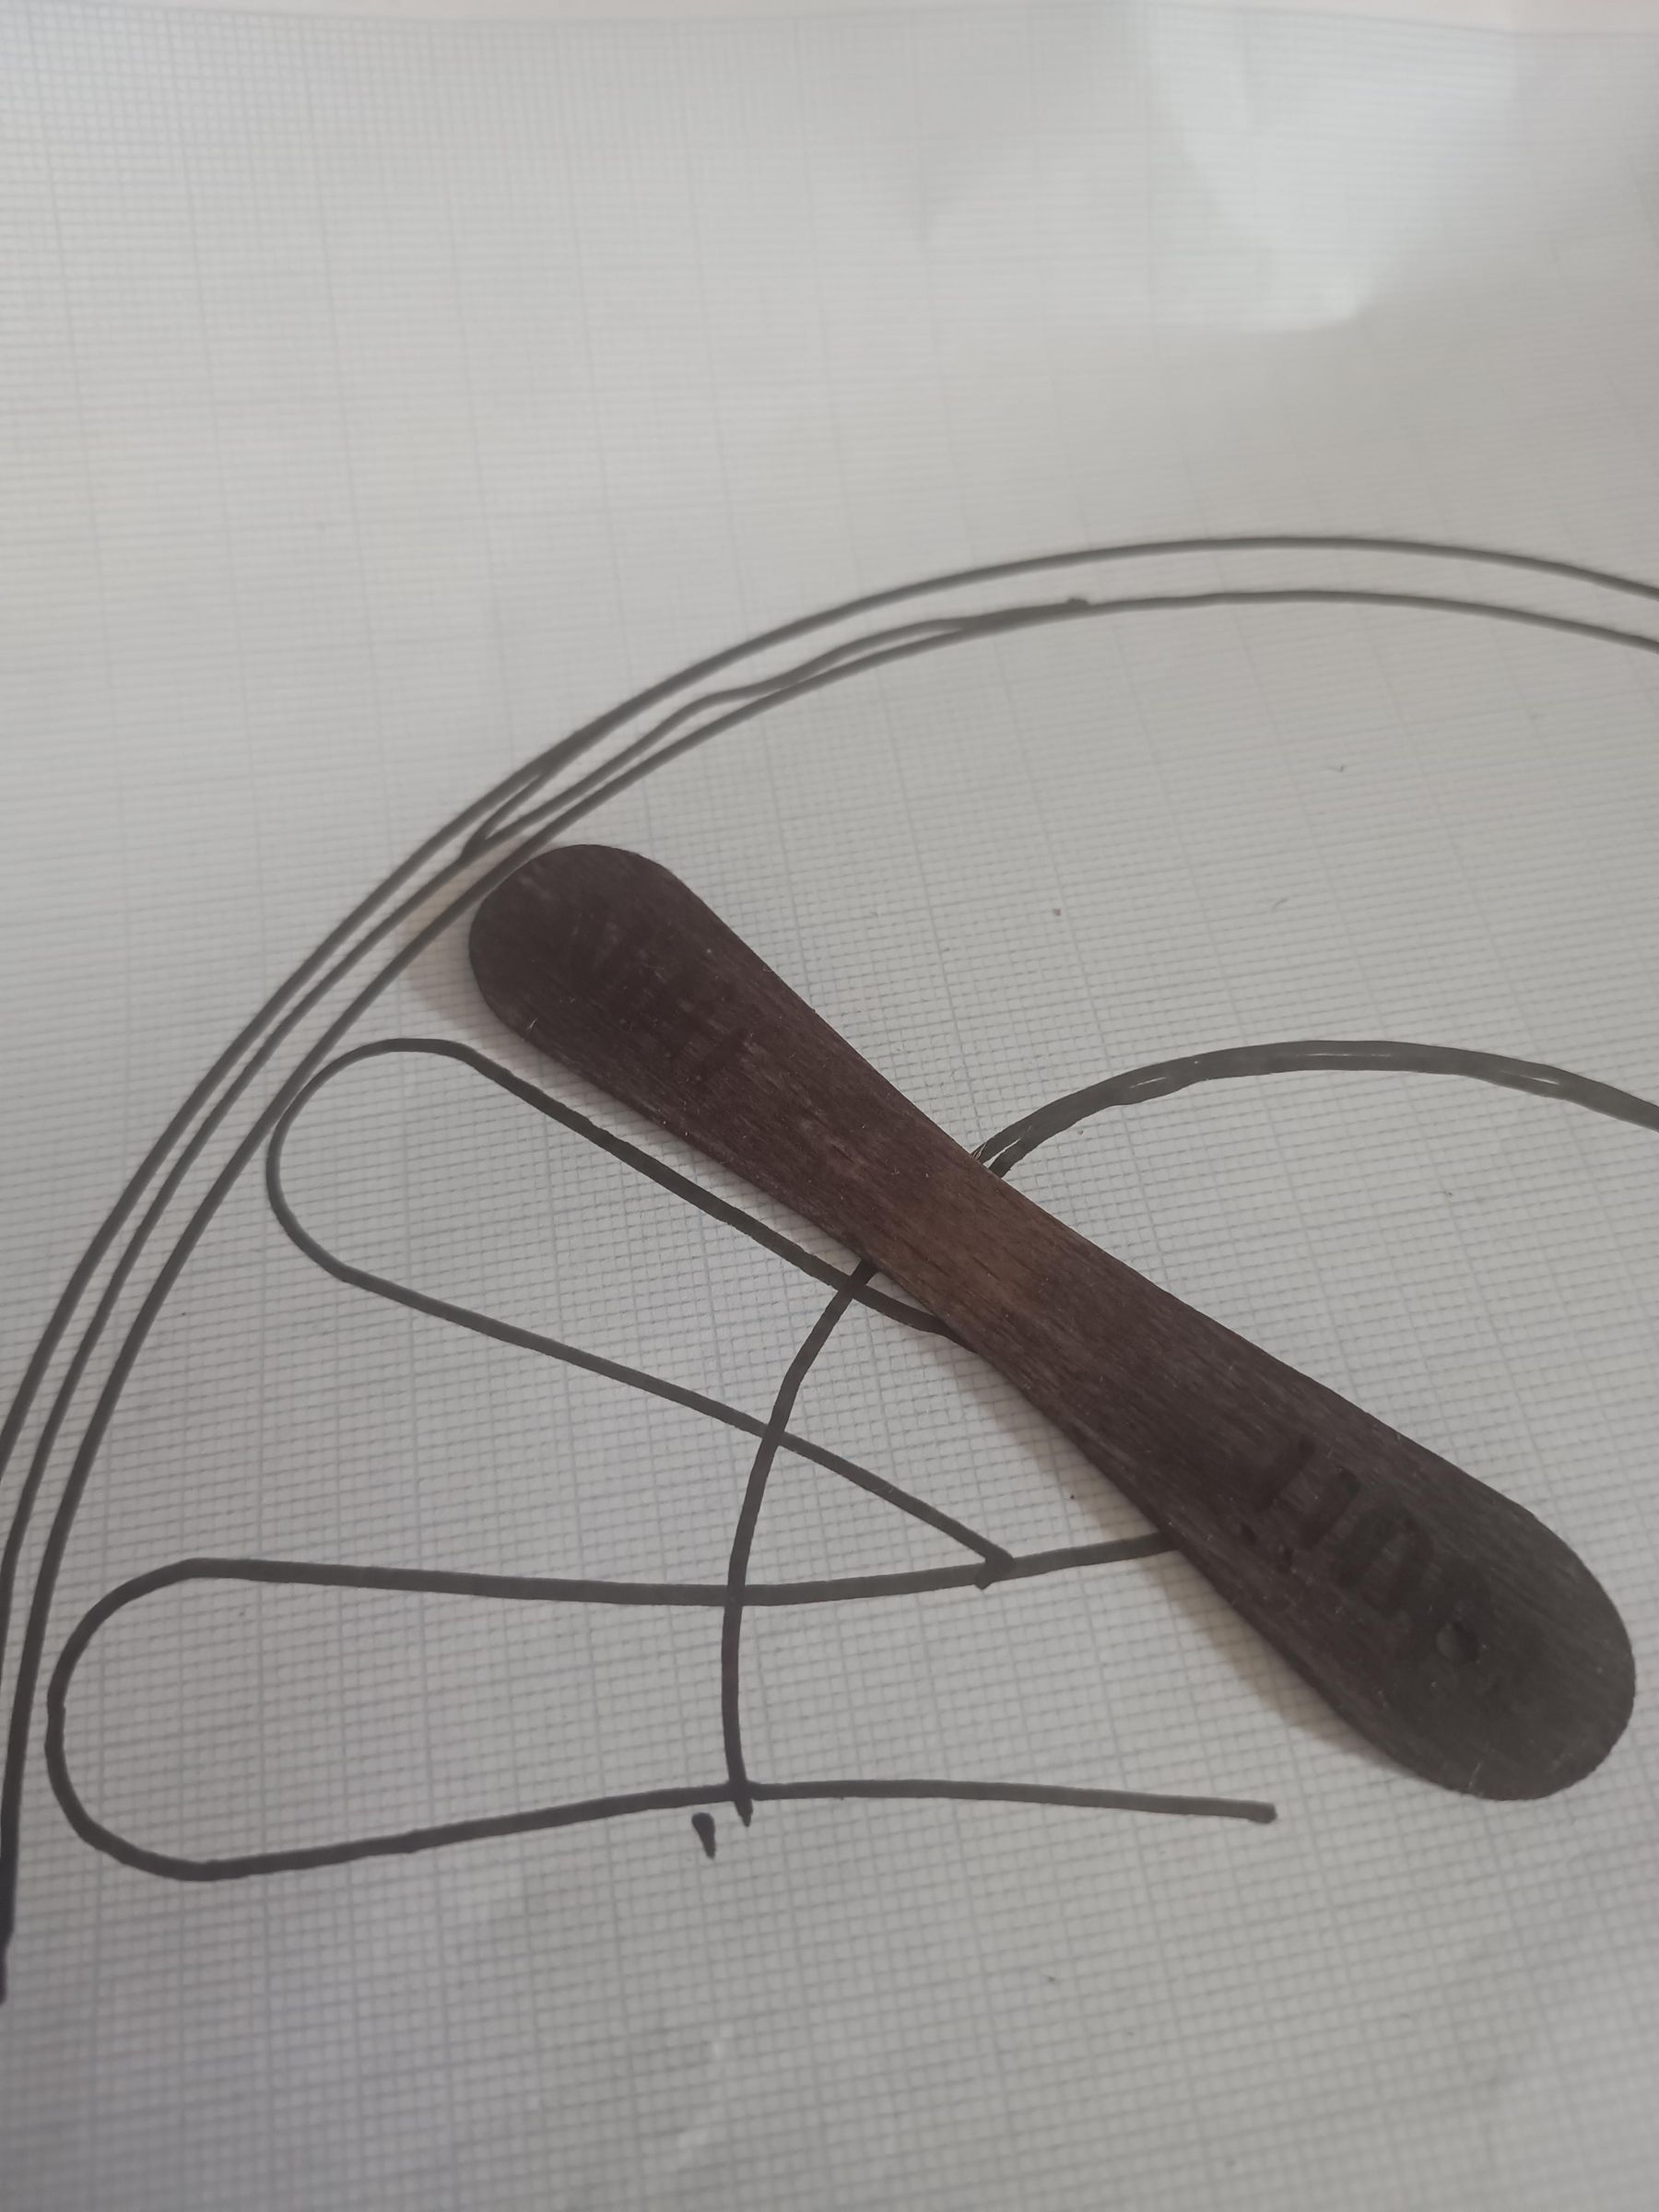
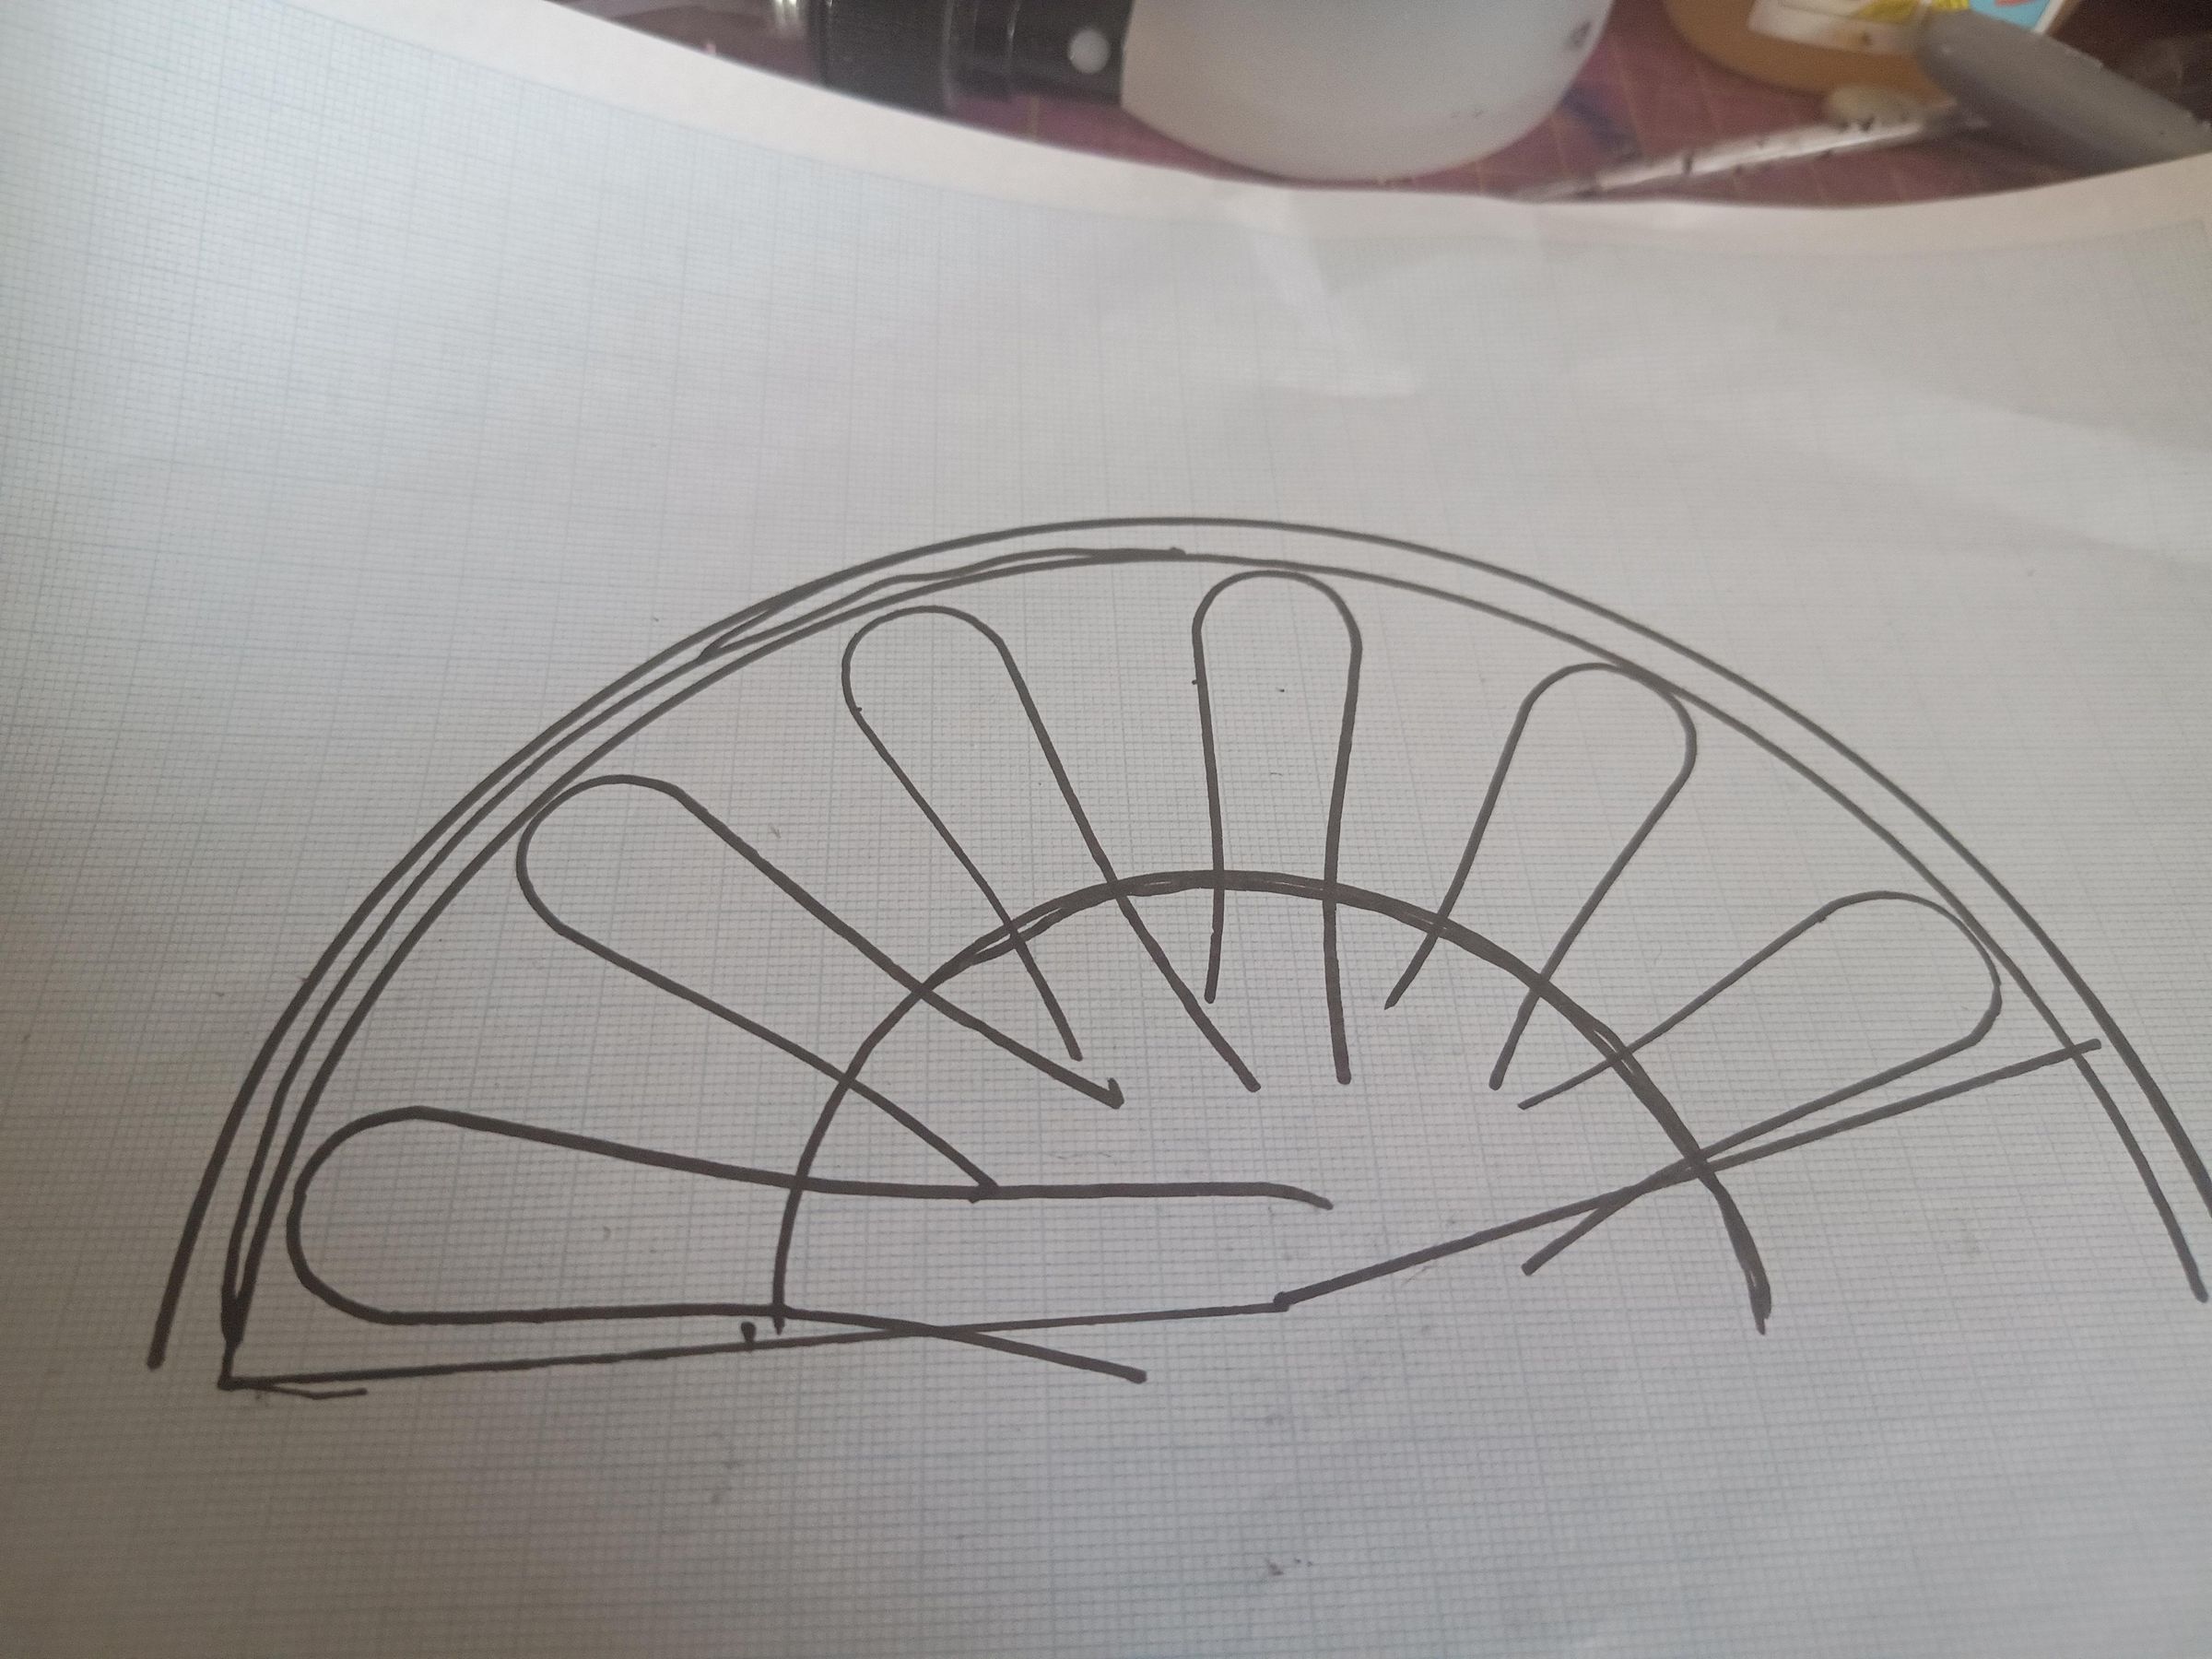
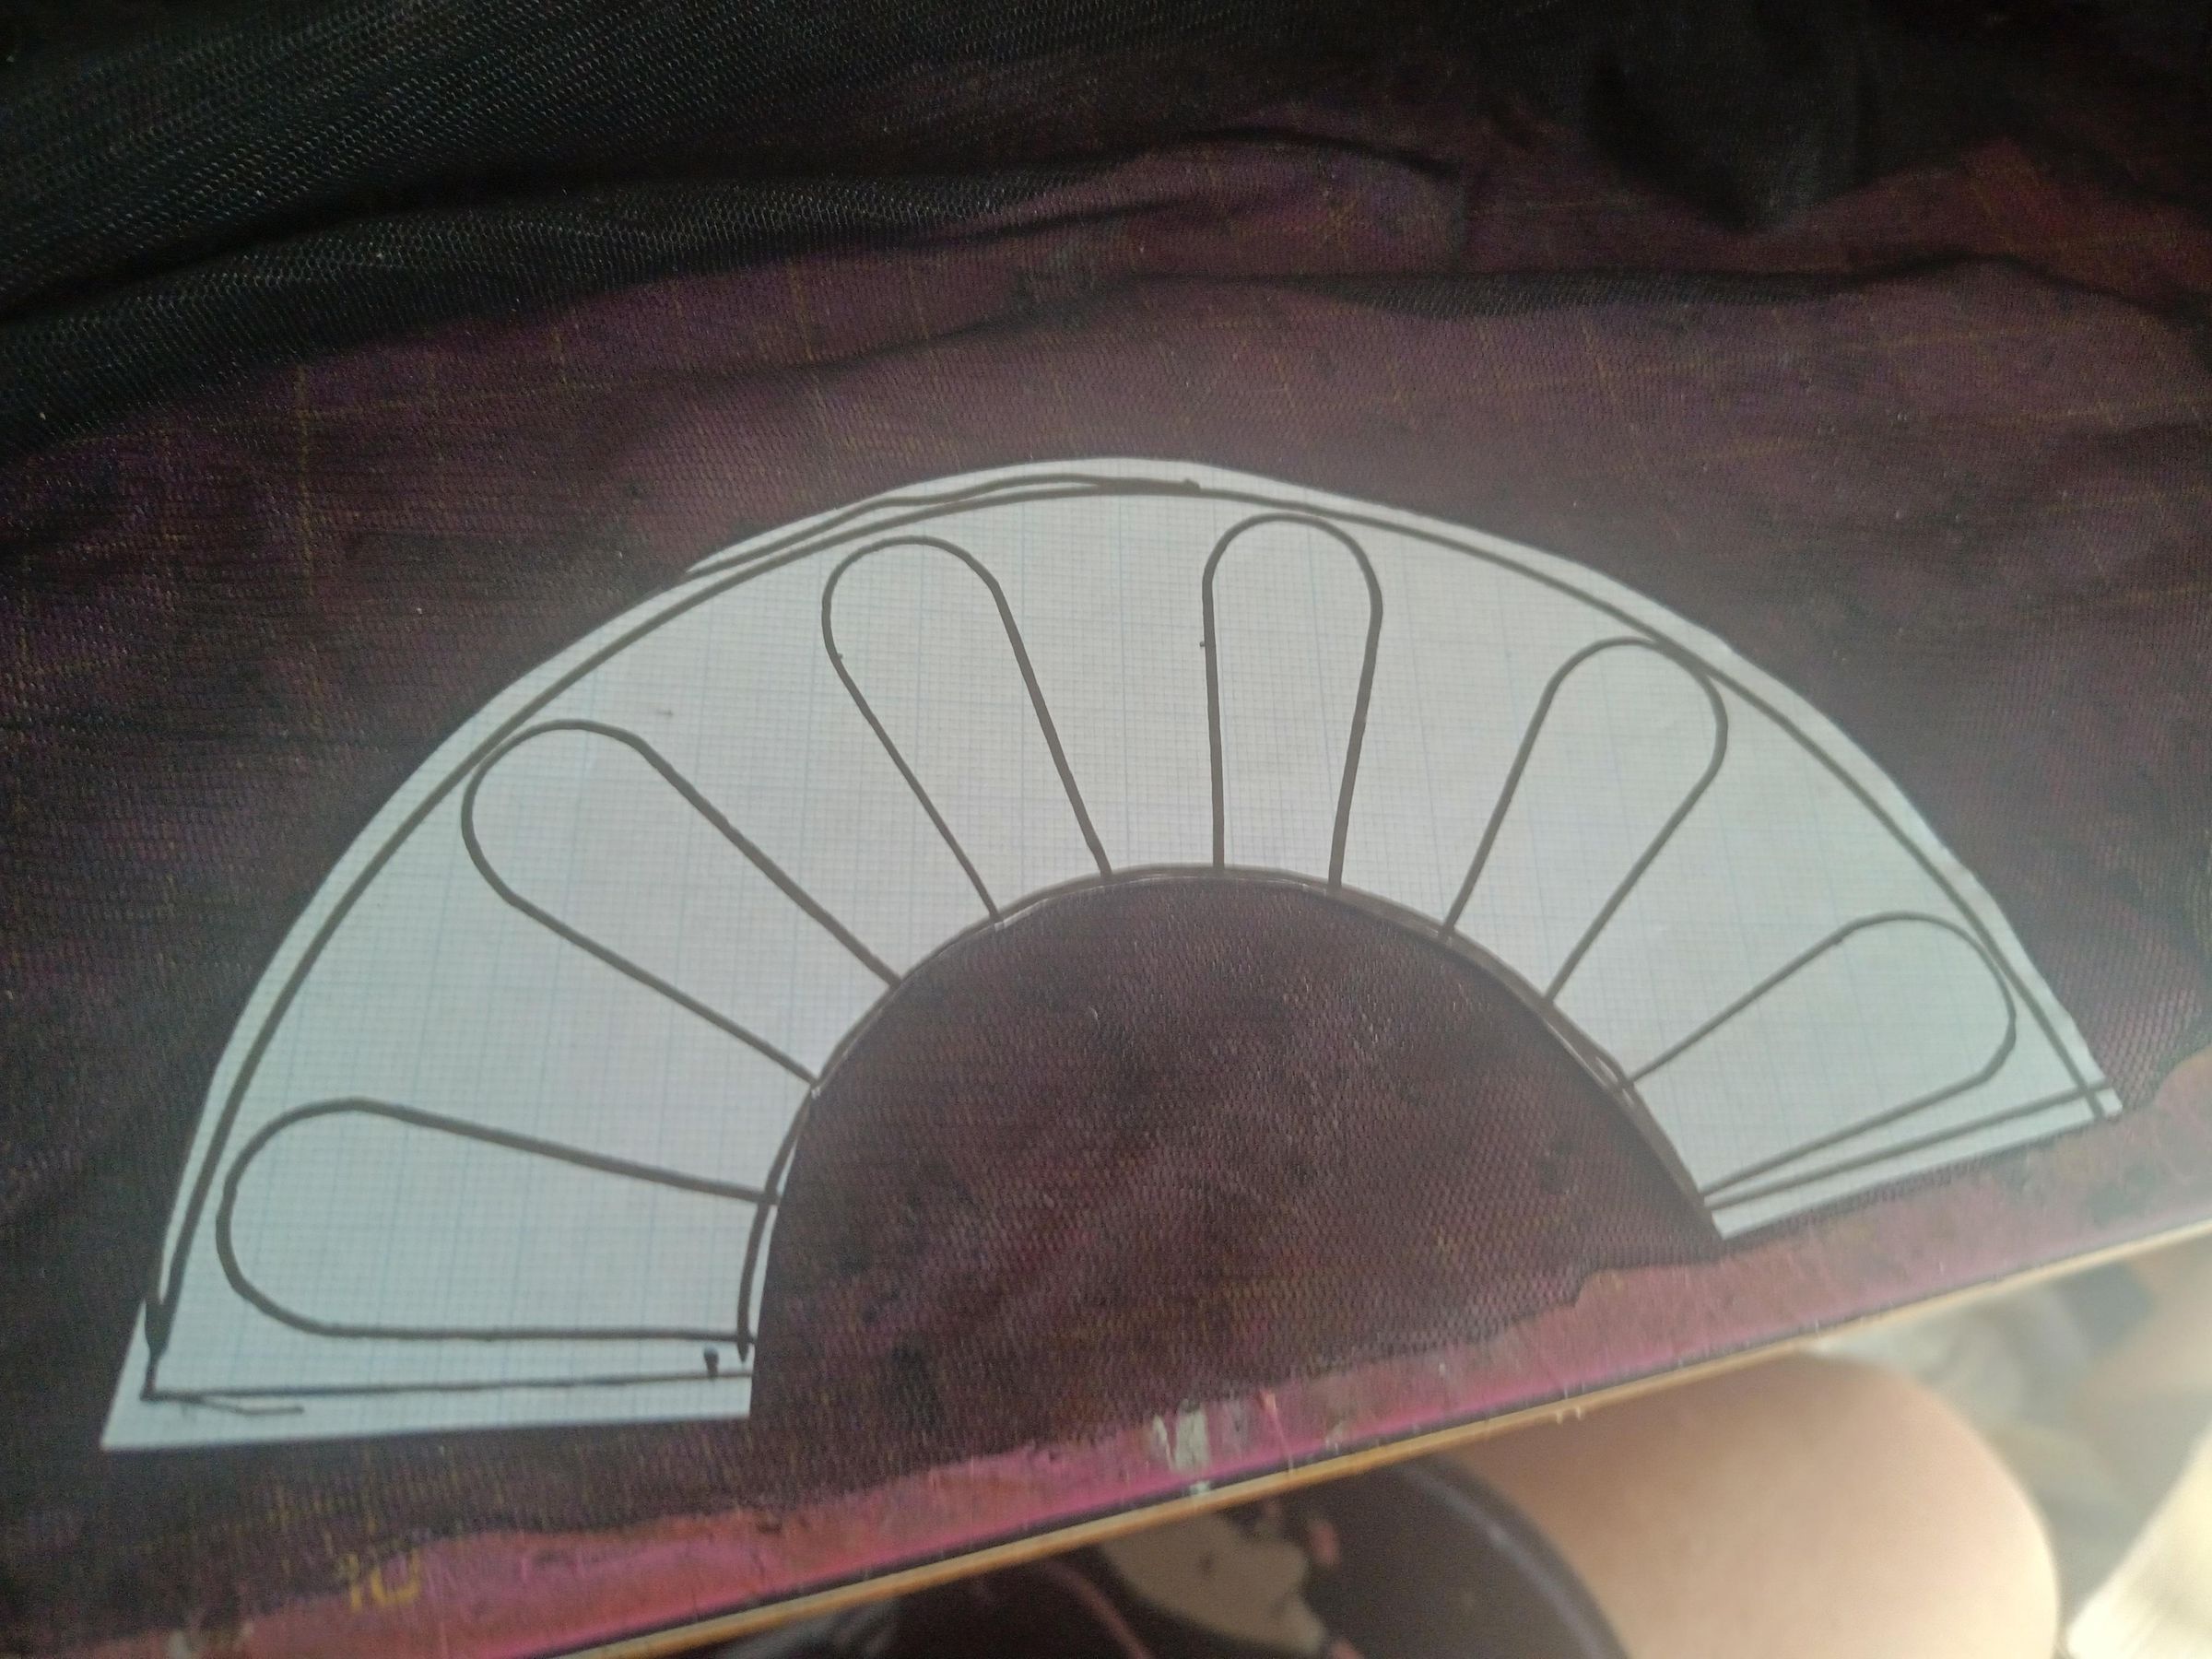
To make the pattern for the mesh fabric I used a set of compasses (with a pen taped to them because I didn't know where the special pencil leads had gone...) and some paper.
Using one of the lolly sticks I drew an outer and inner semicircle. Then I traced round the stick six times (I eyeballed the spacing, but you could work out the proper angles if you wanted), leaving a little over another stick's room between each stave.
Then I cut out the pattern.
Cut Mesh
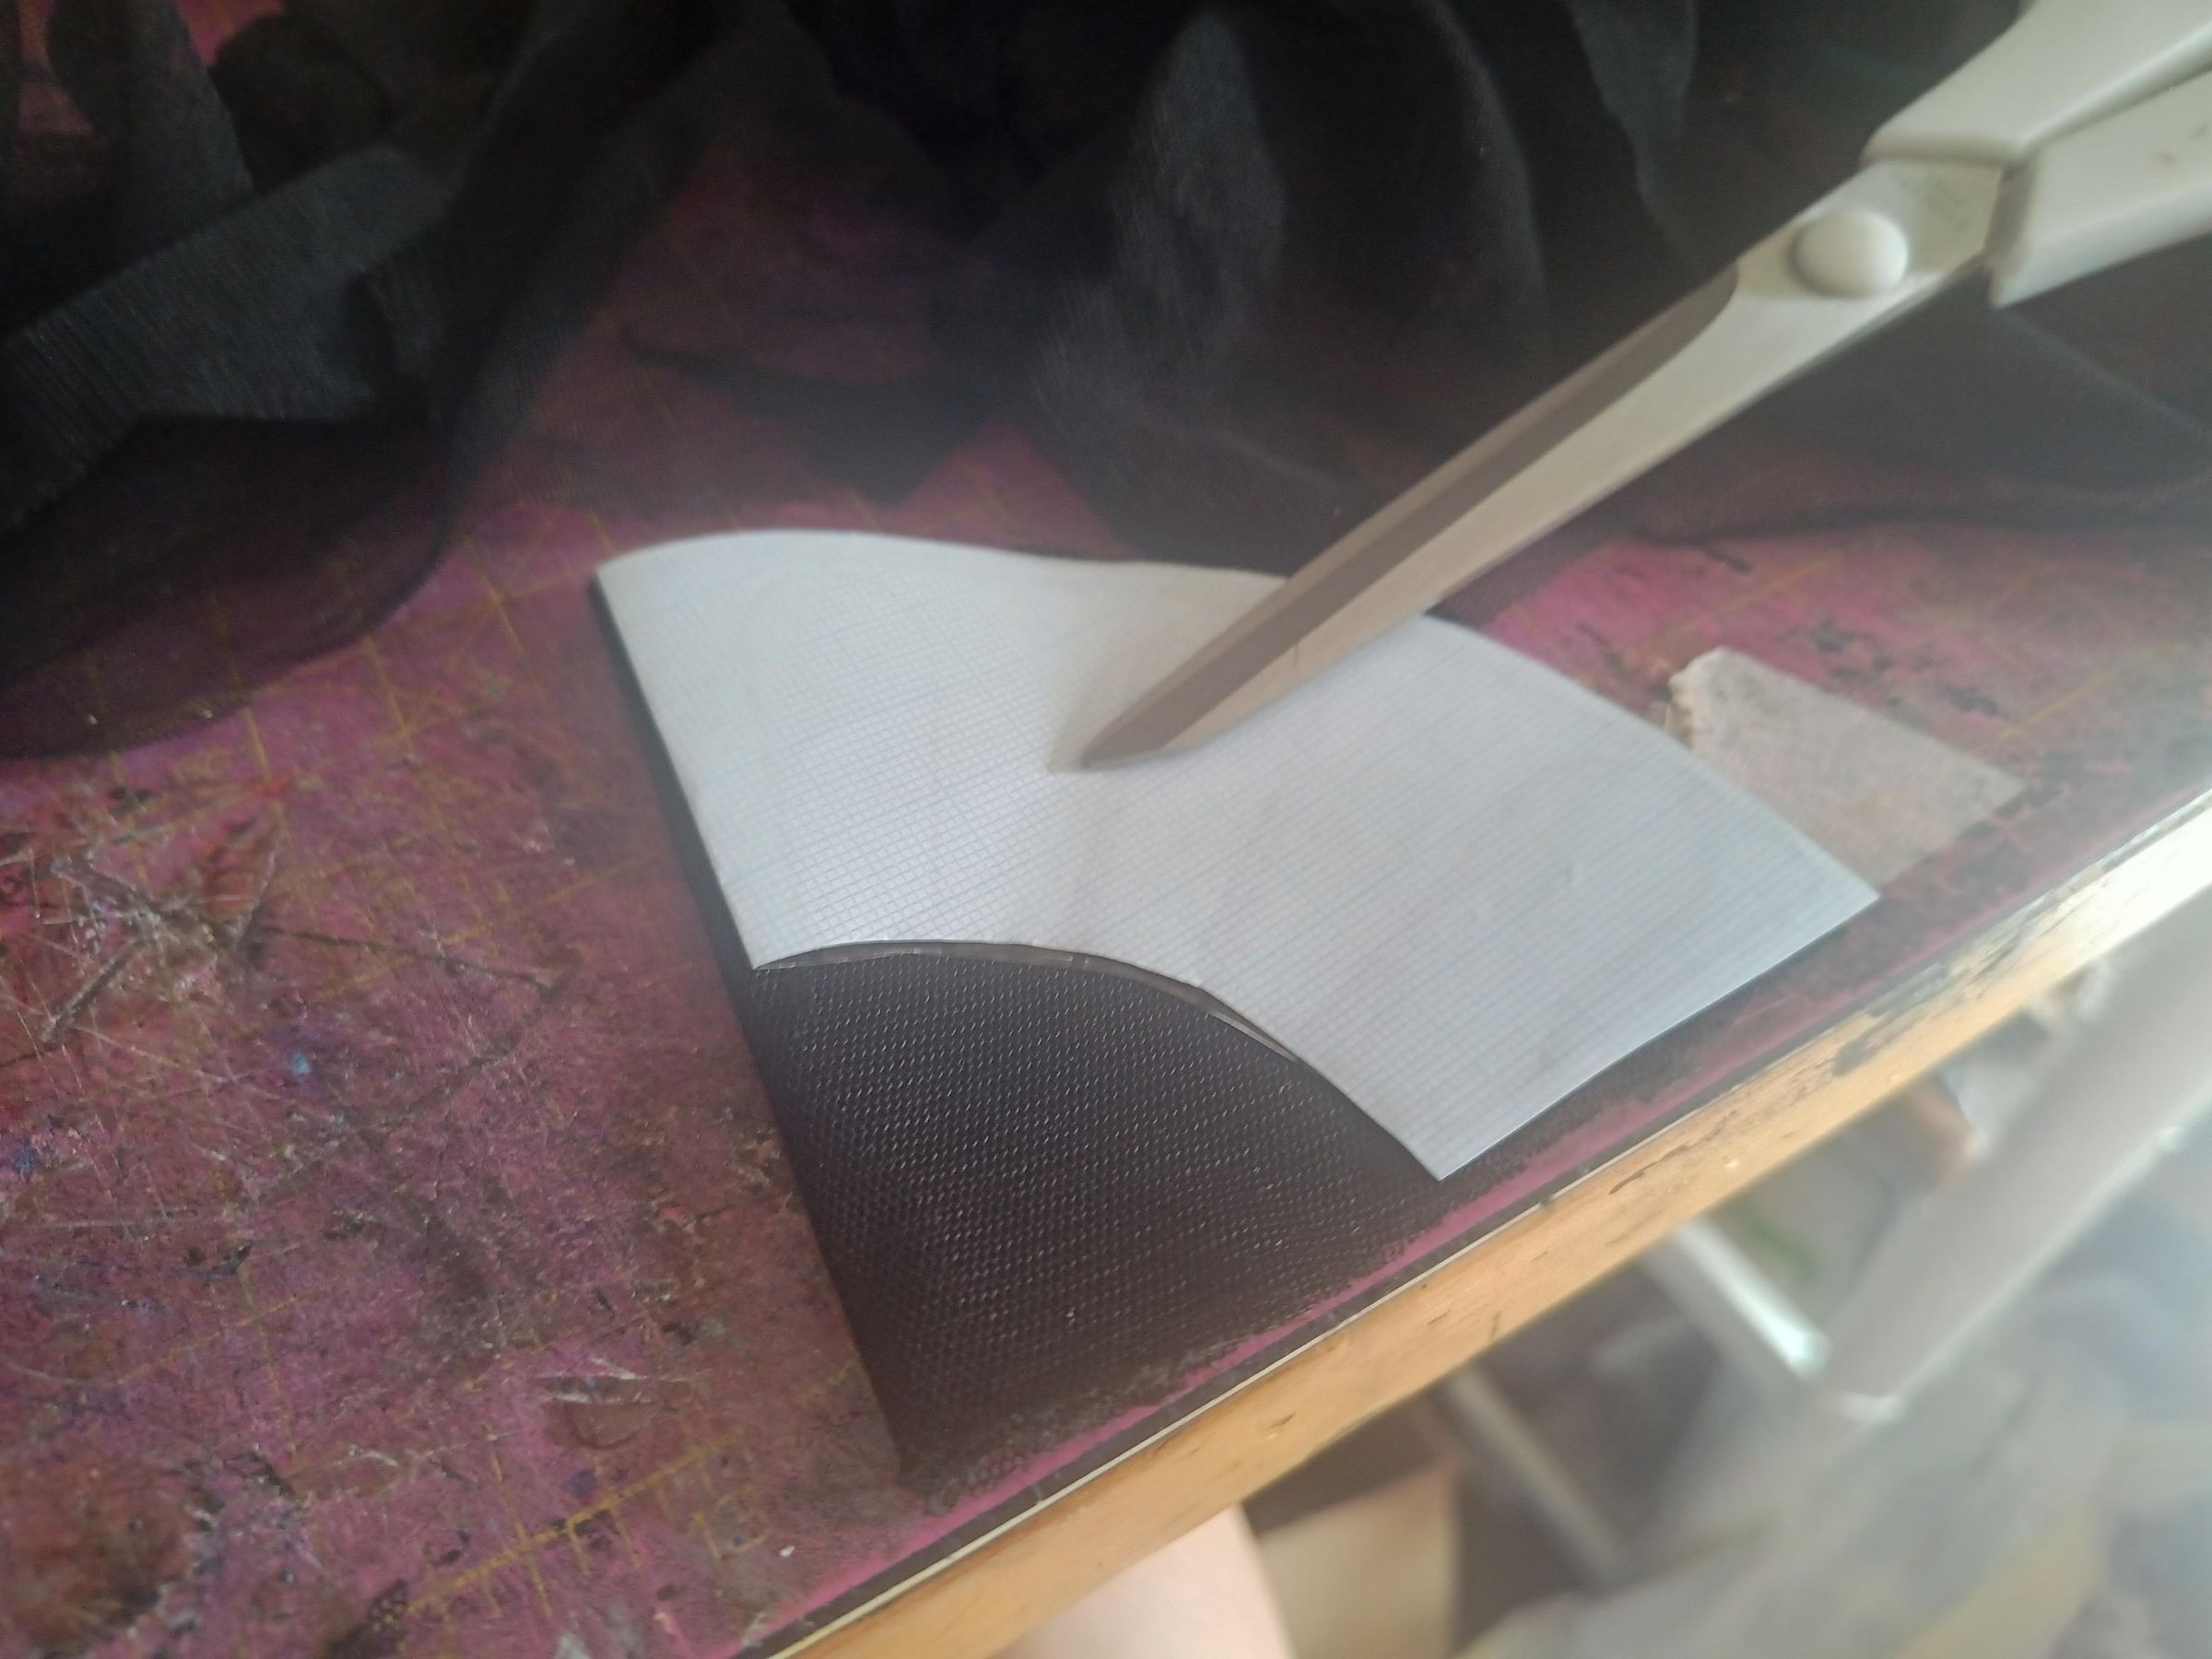
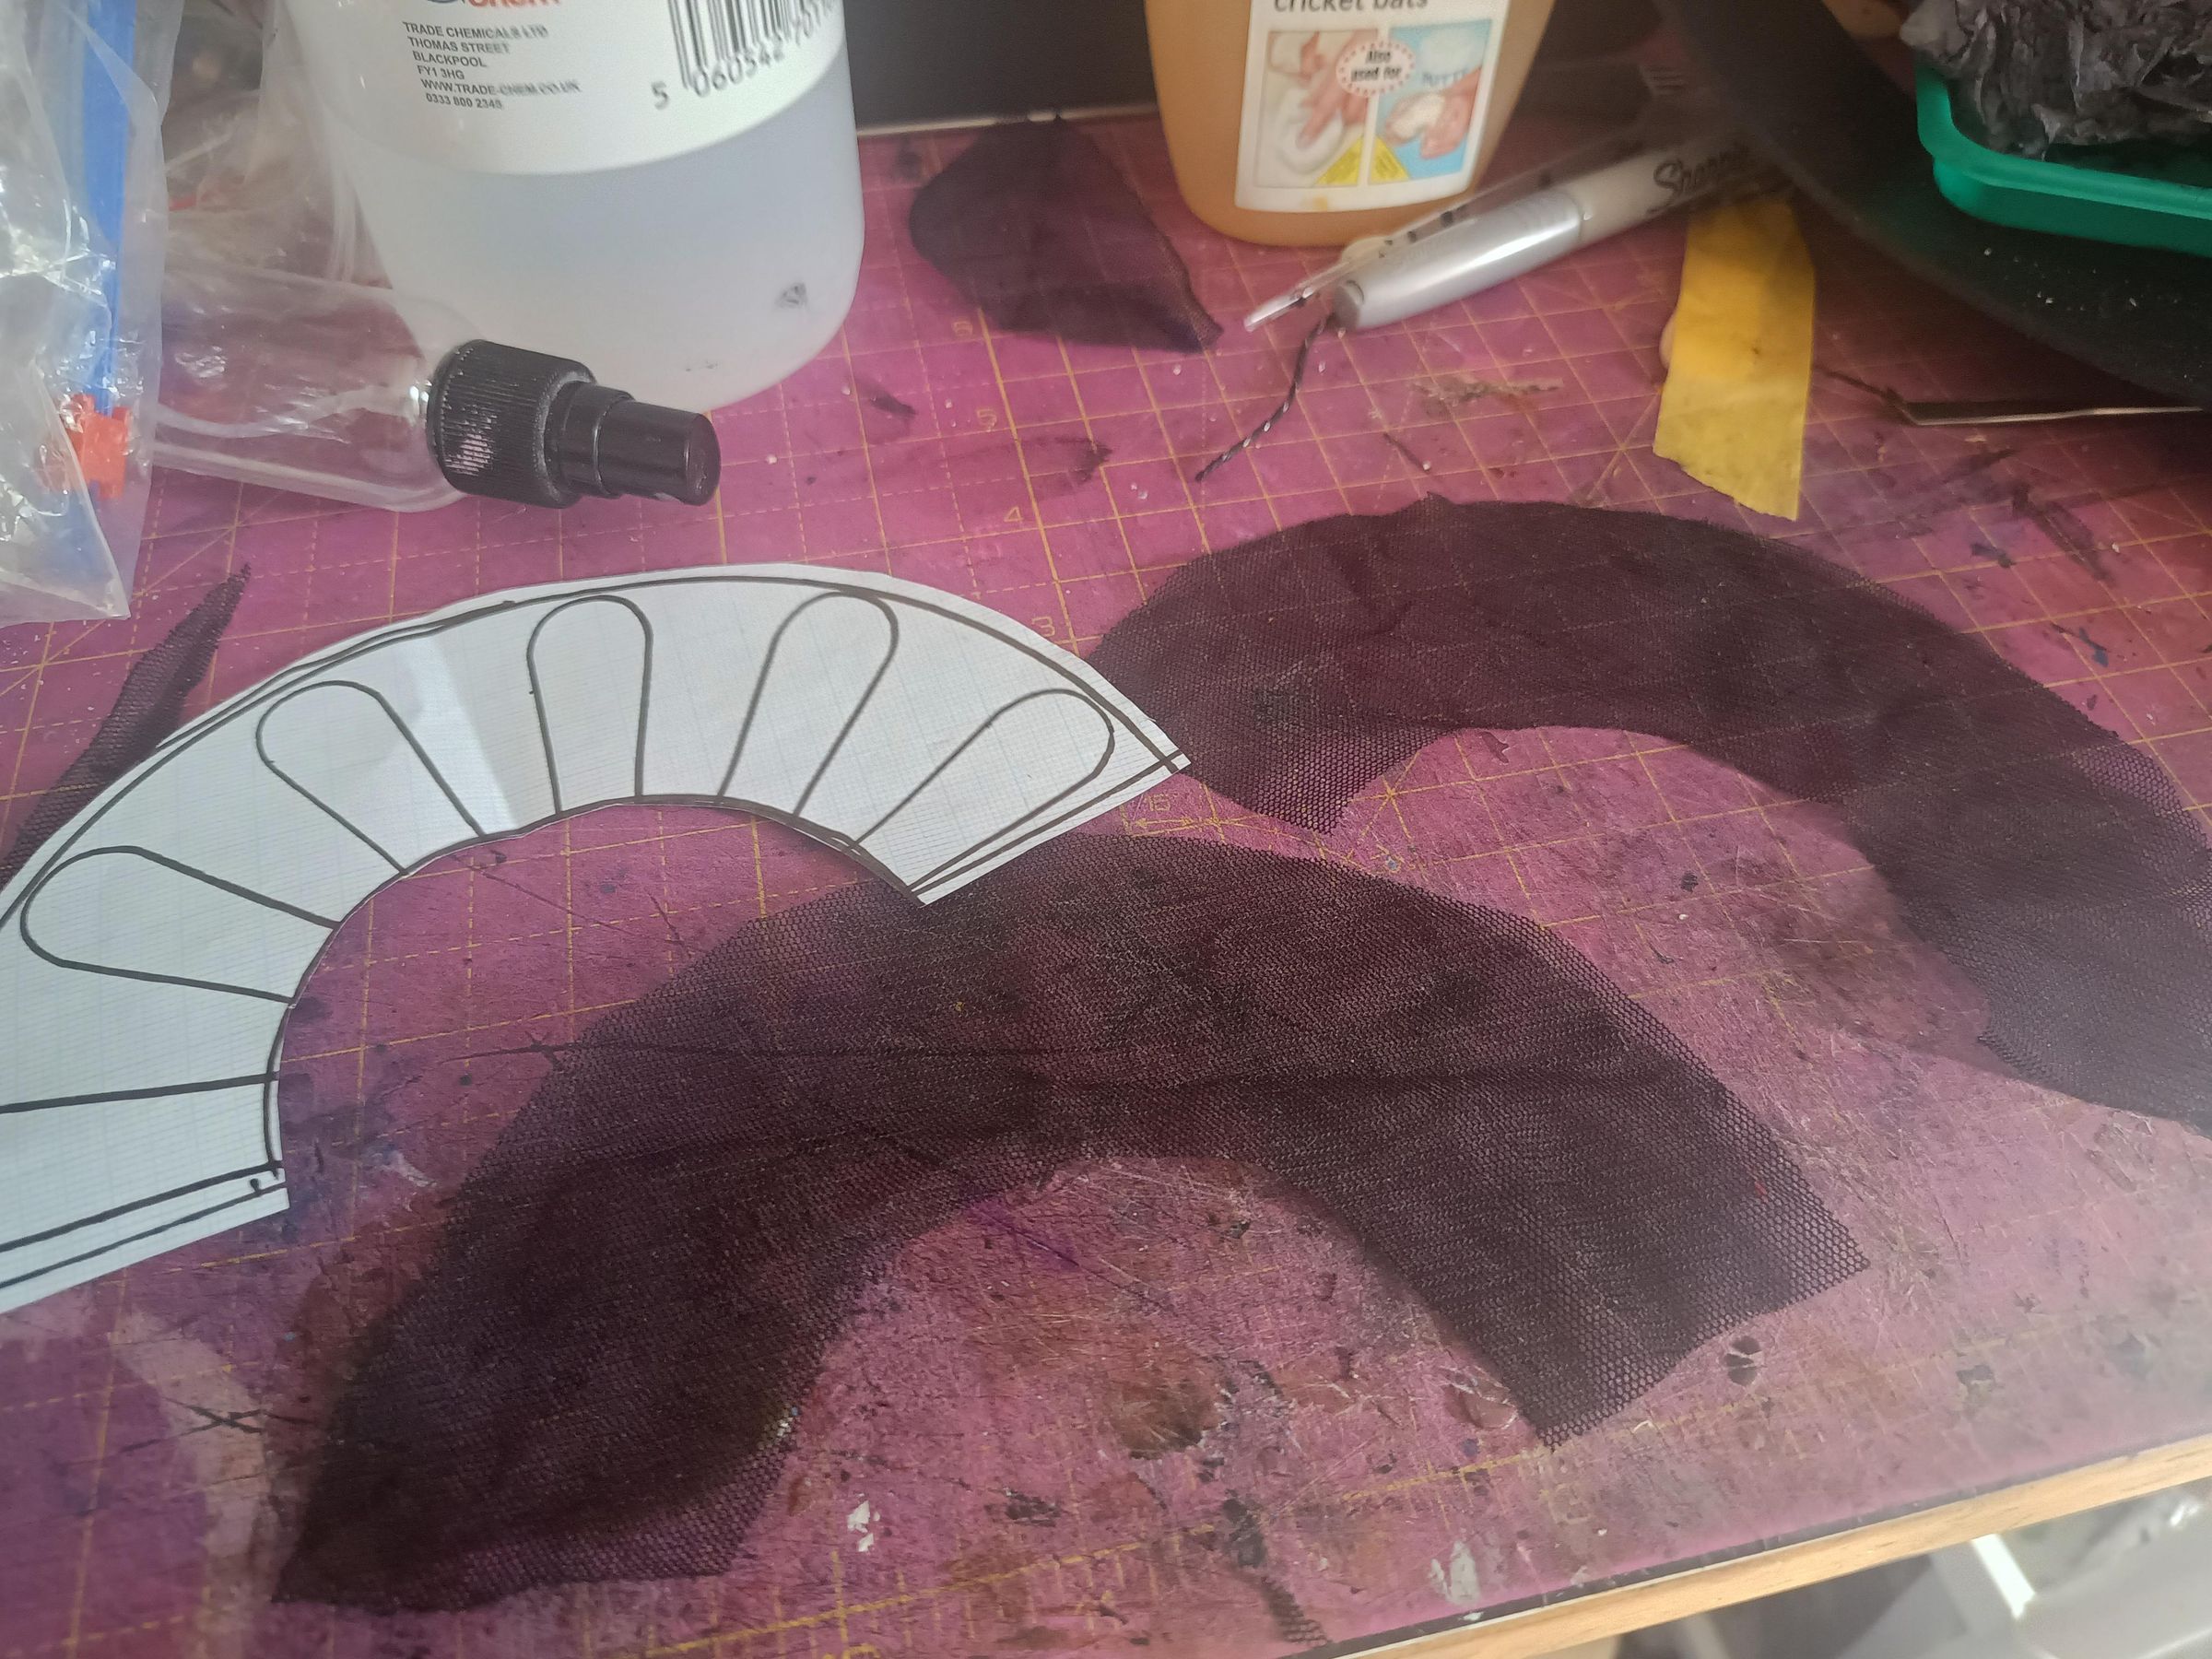
Next I used the pattern to cut out two identical pieces of mesh.
Pick Feathers
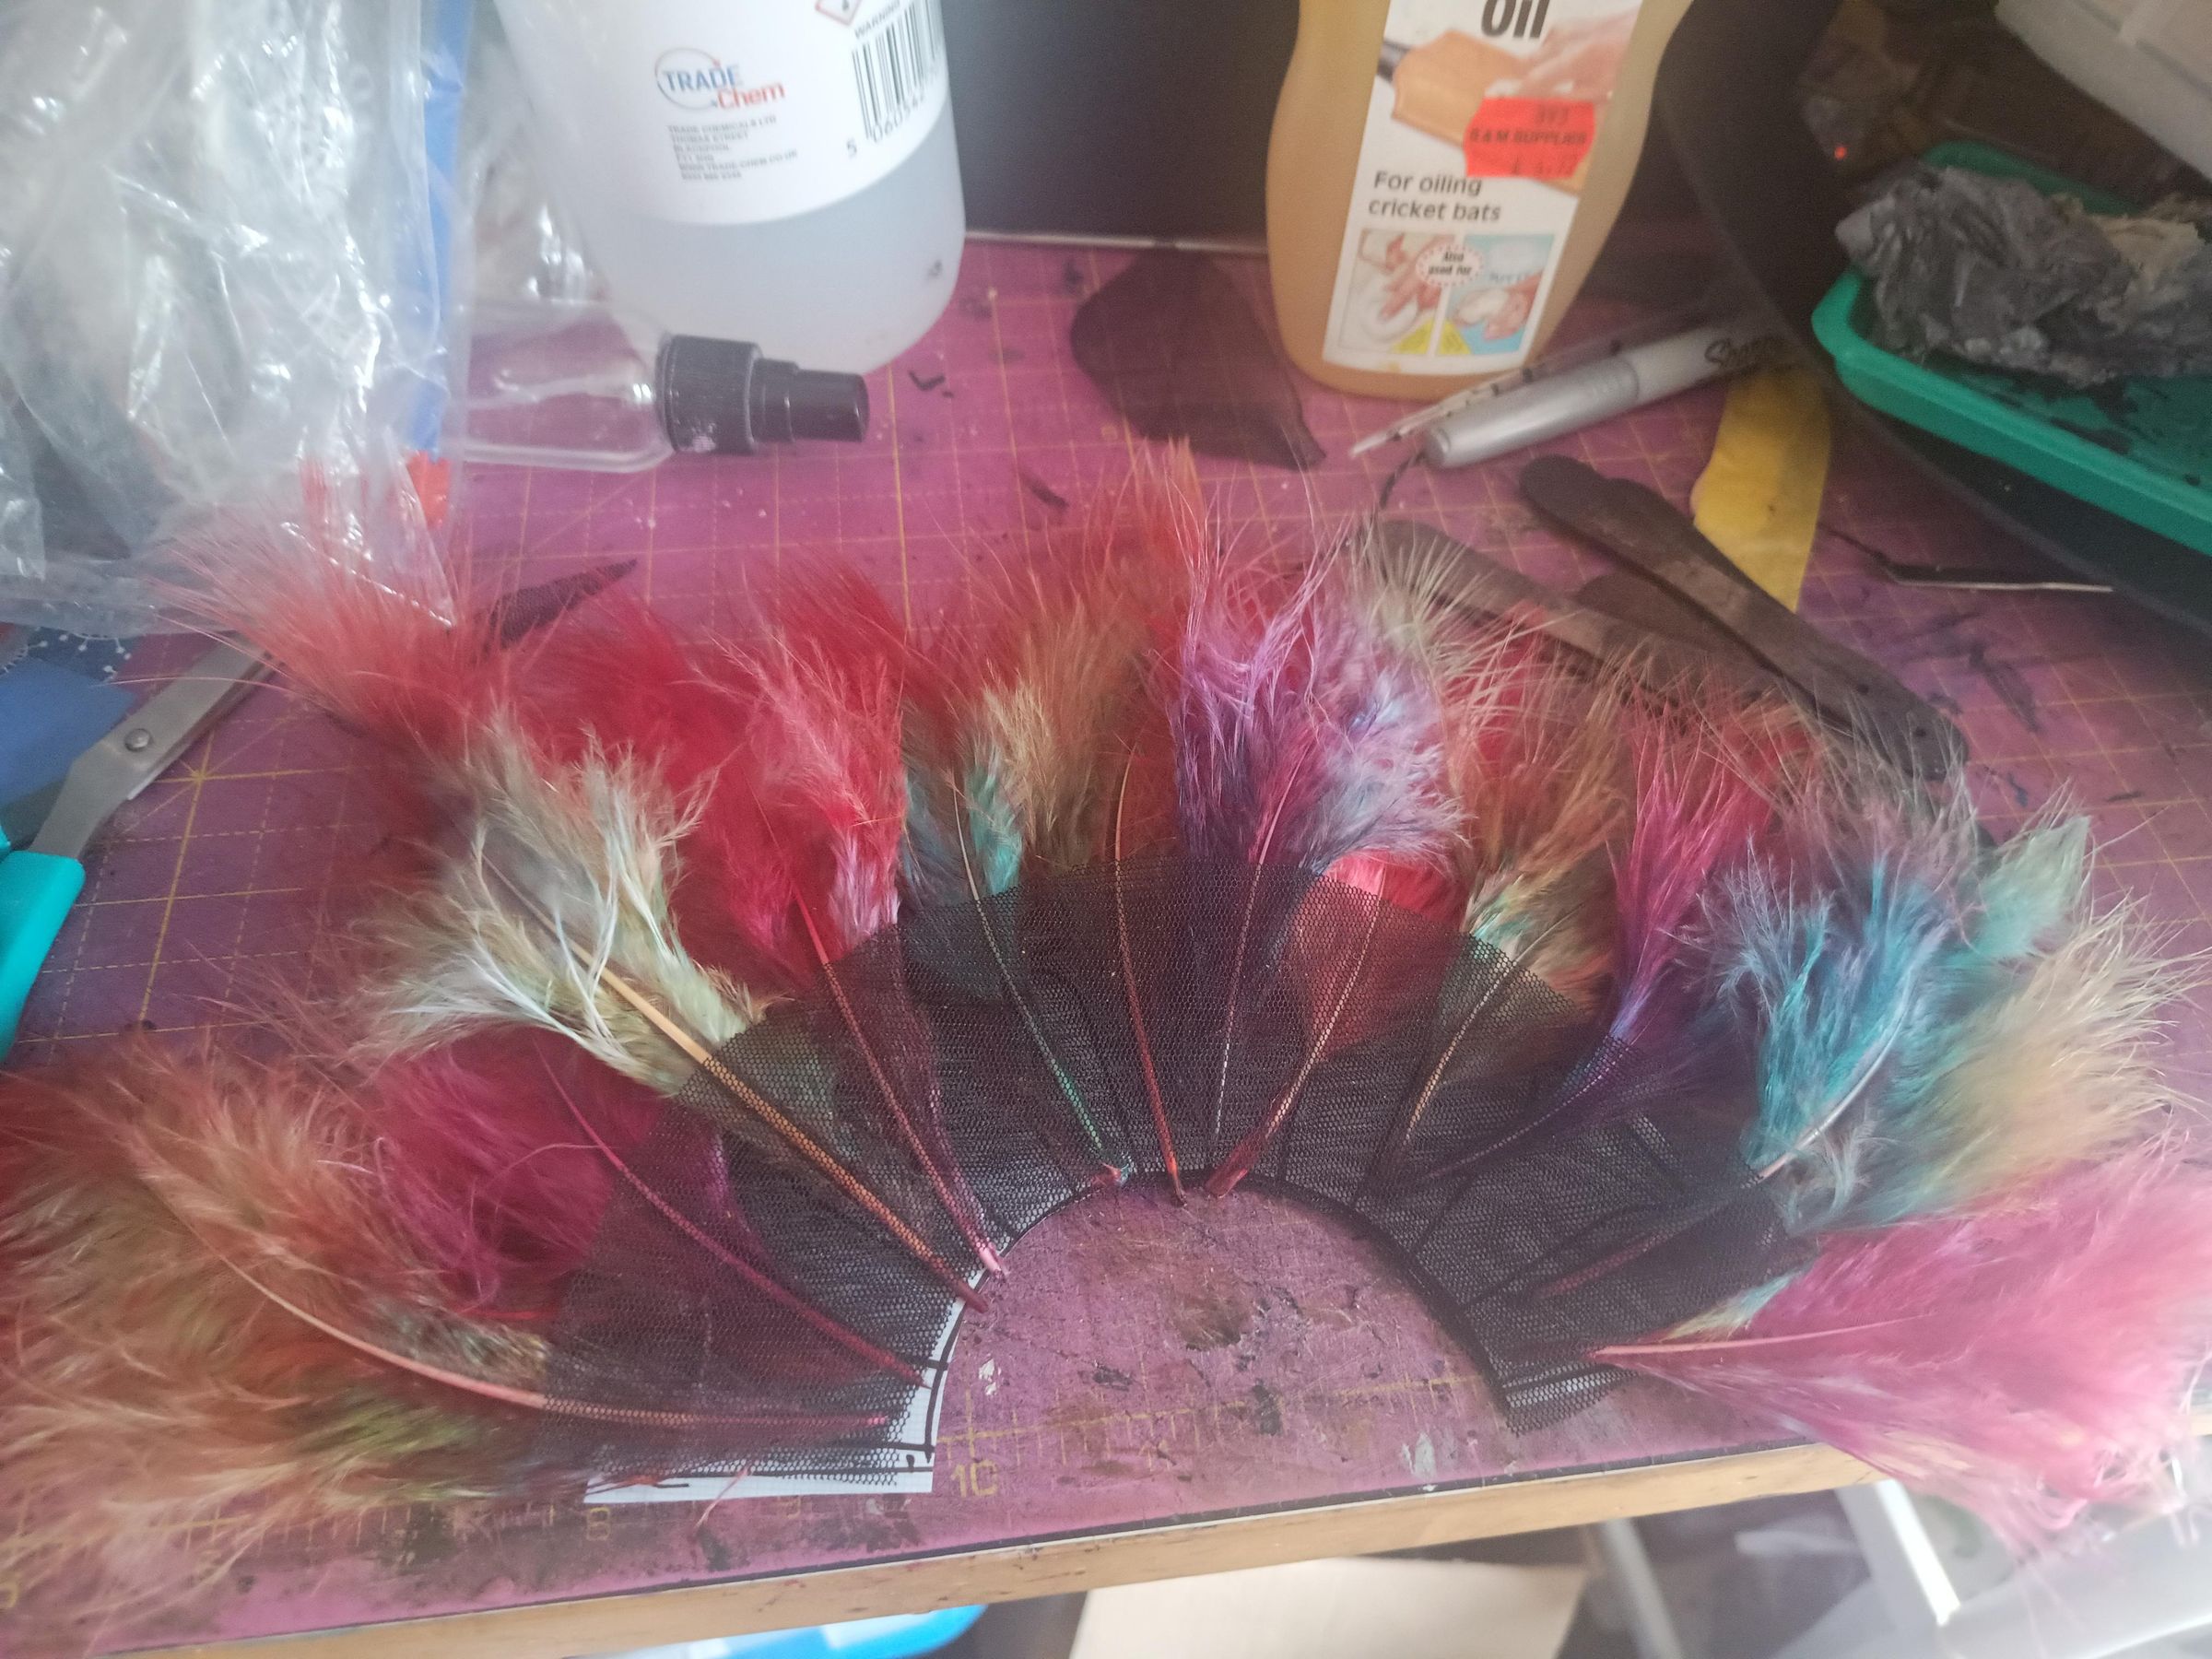
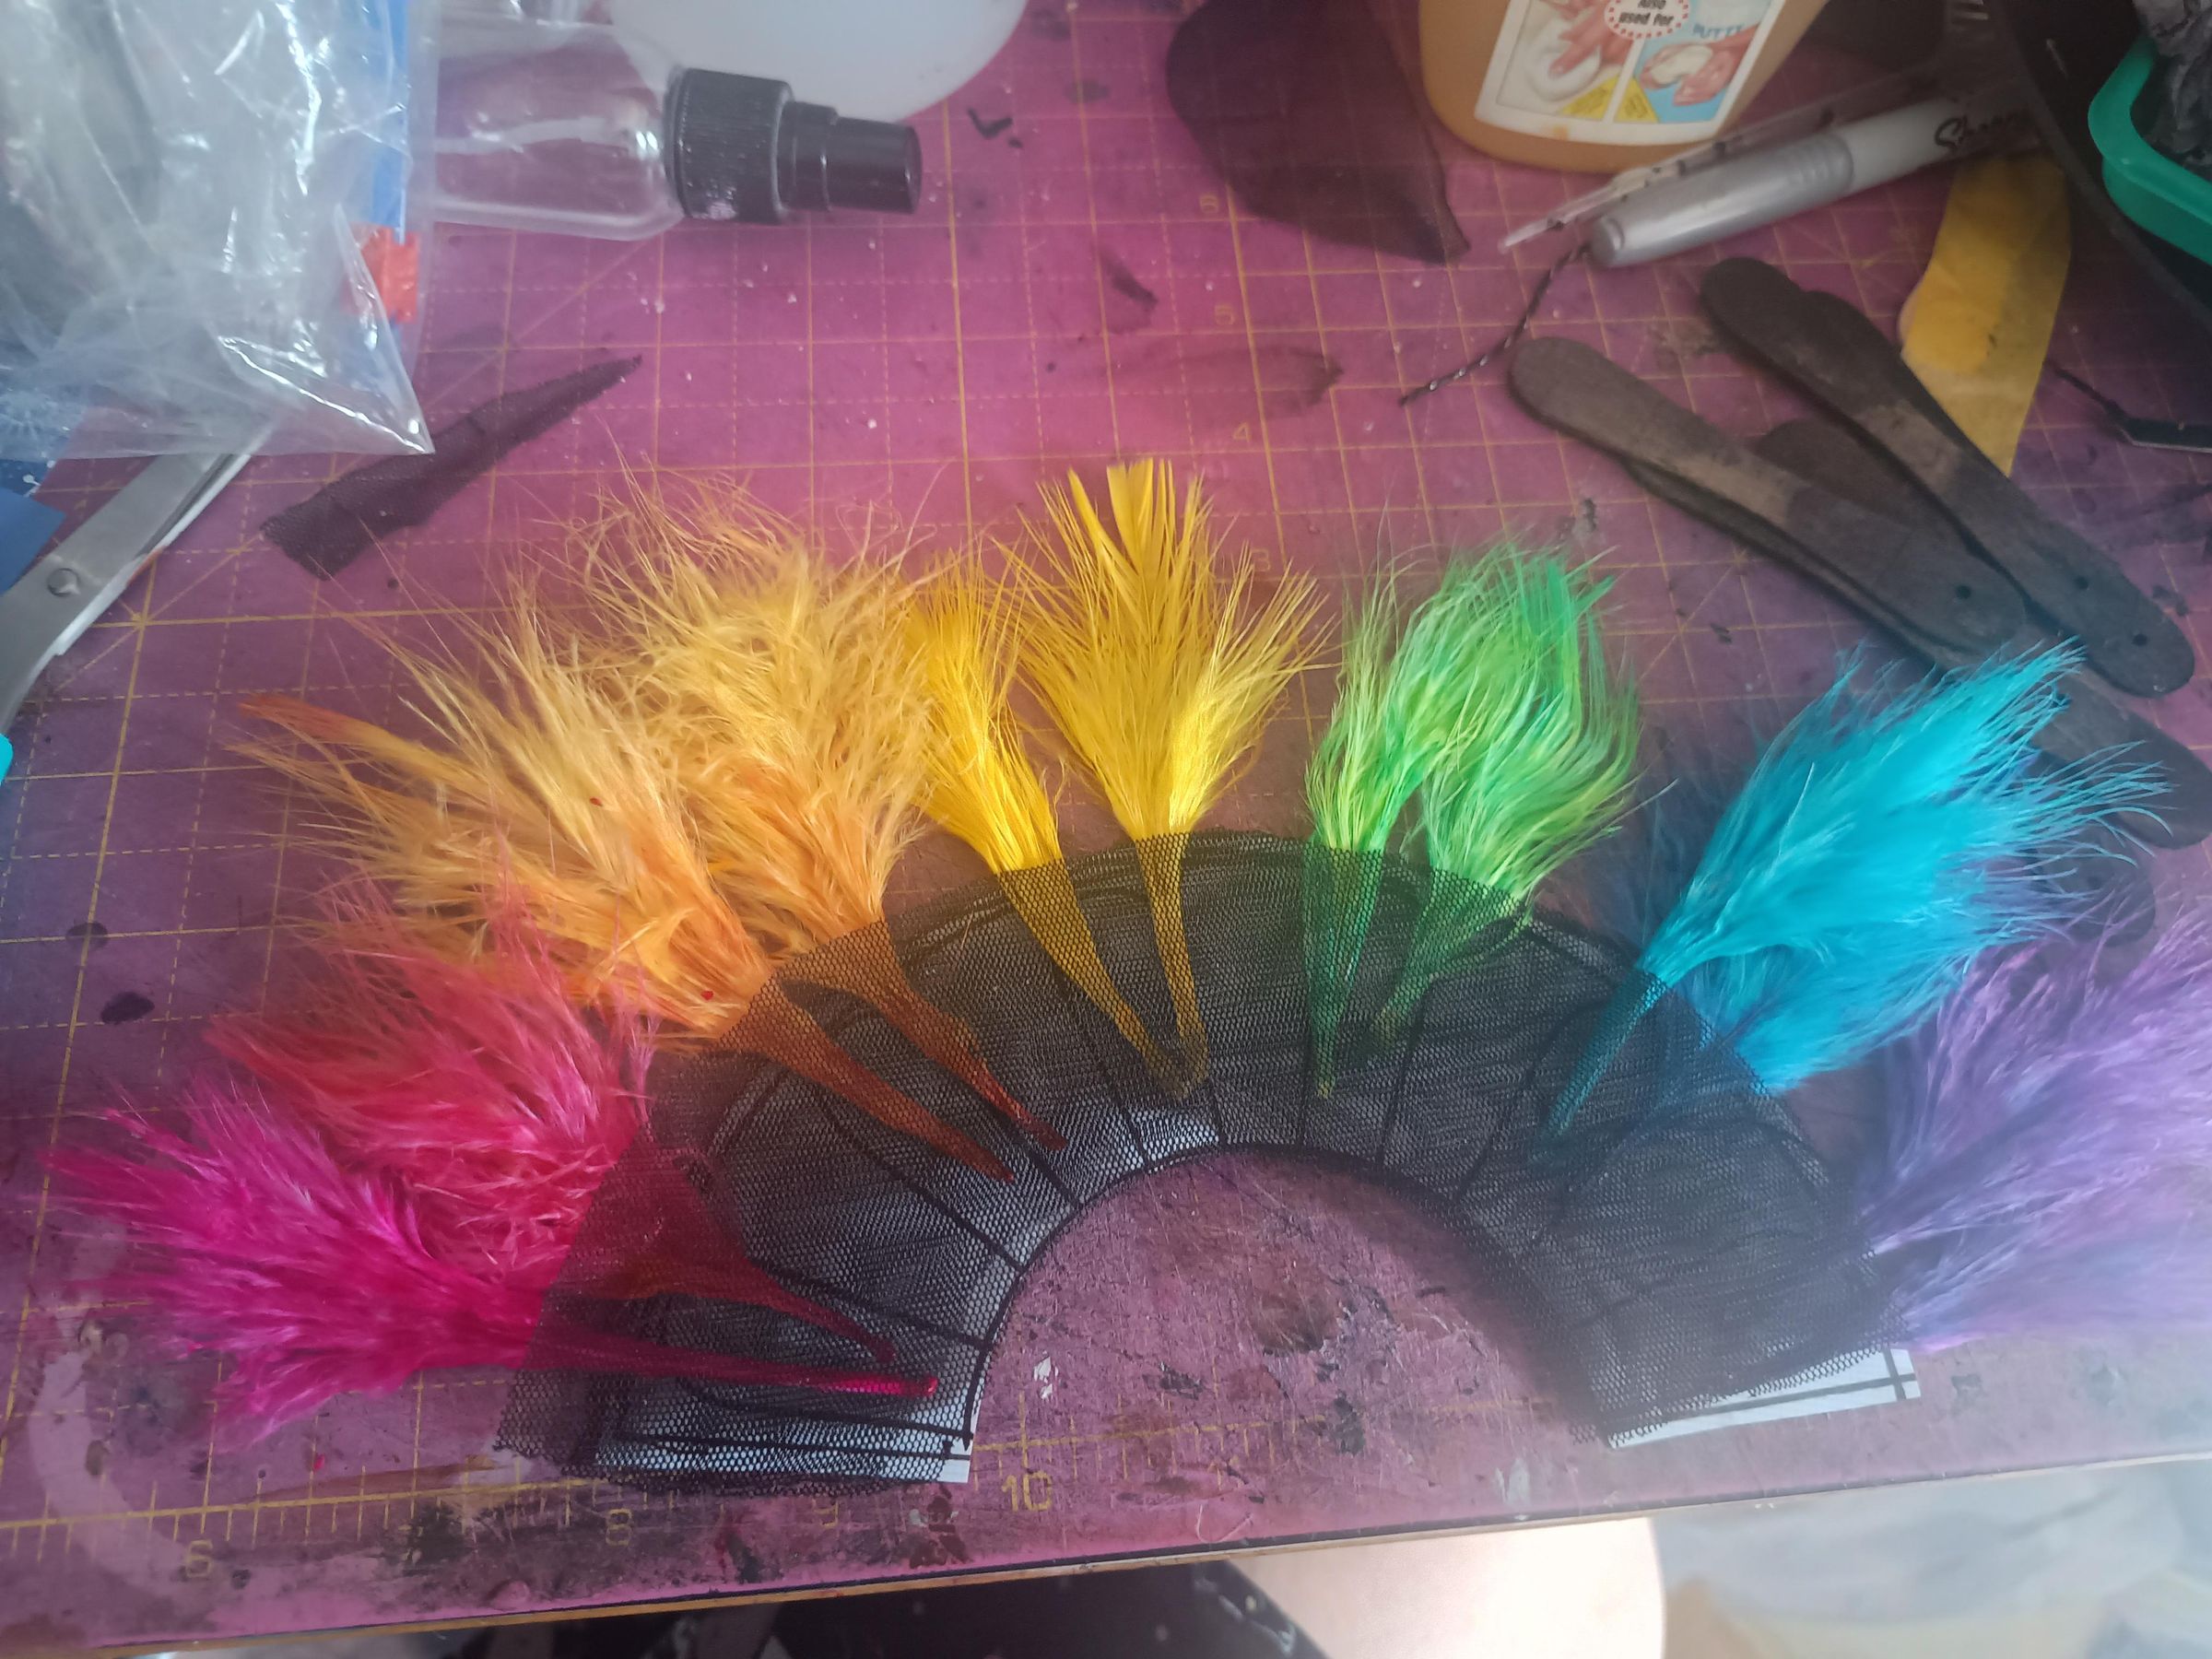
If you dyed multiple sets of feathers, now's a good time to lay them out and see which you prefer. I decided to go for a rainbow gradient, and ended up using three feathers per fan stave.
Do As I Say, Not As I Do
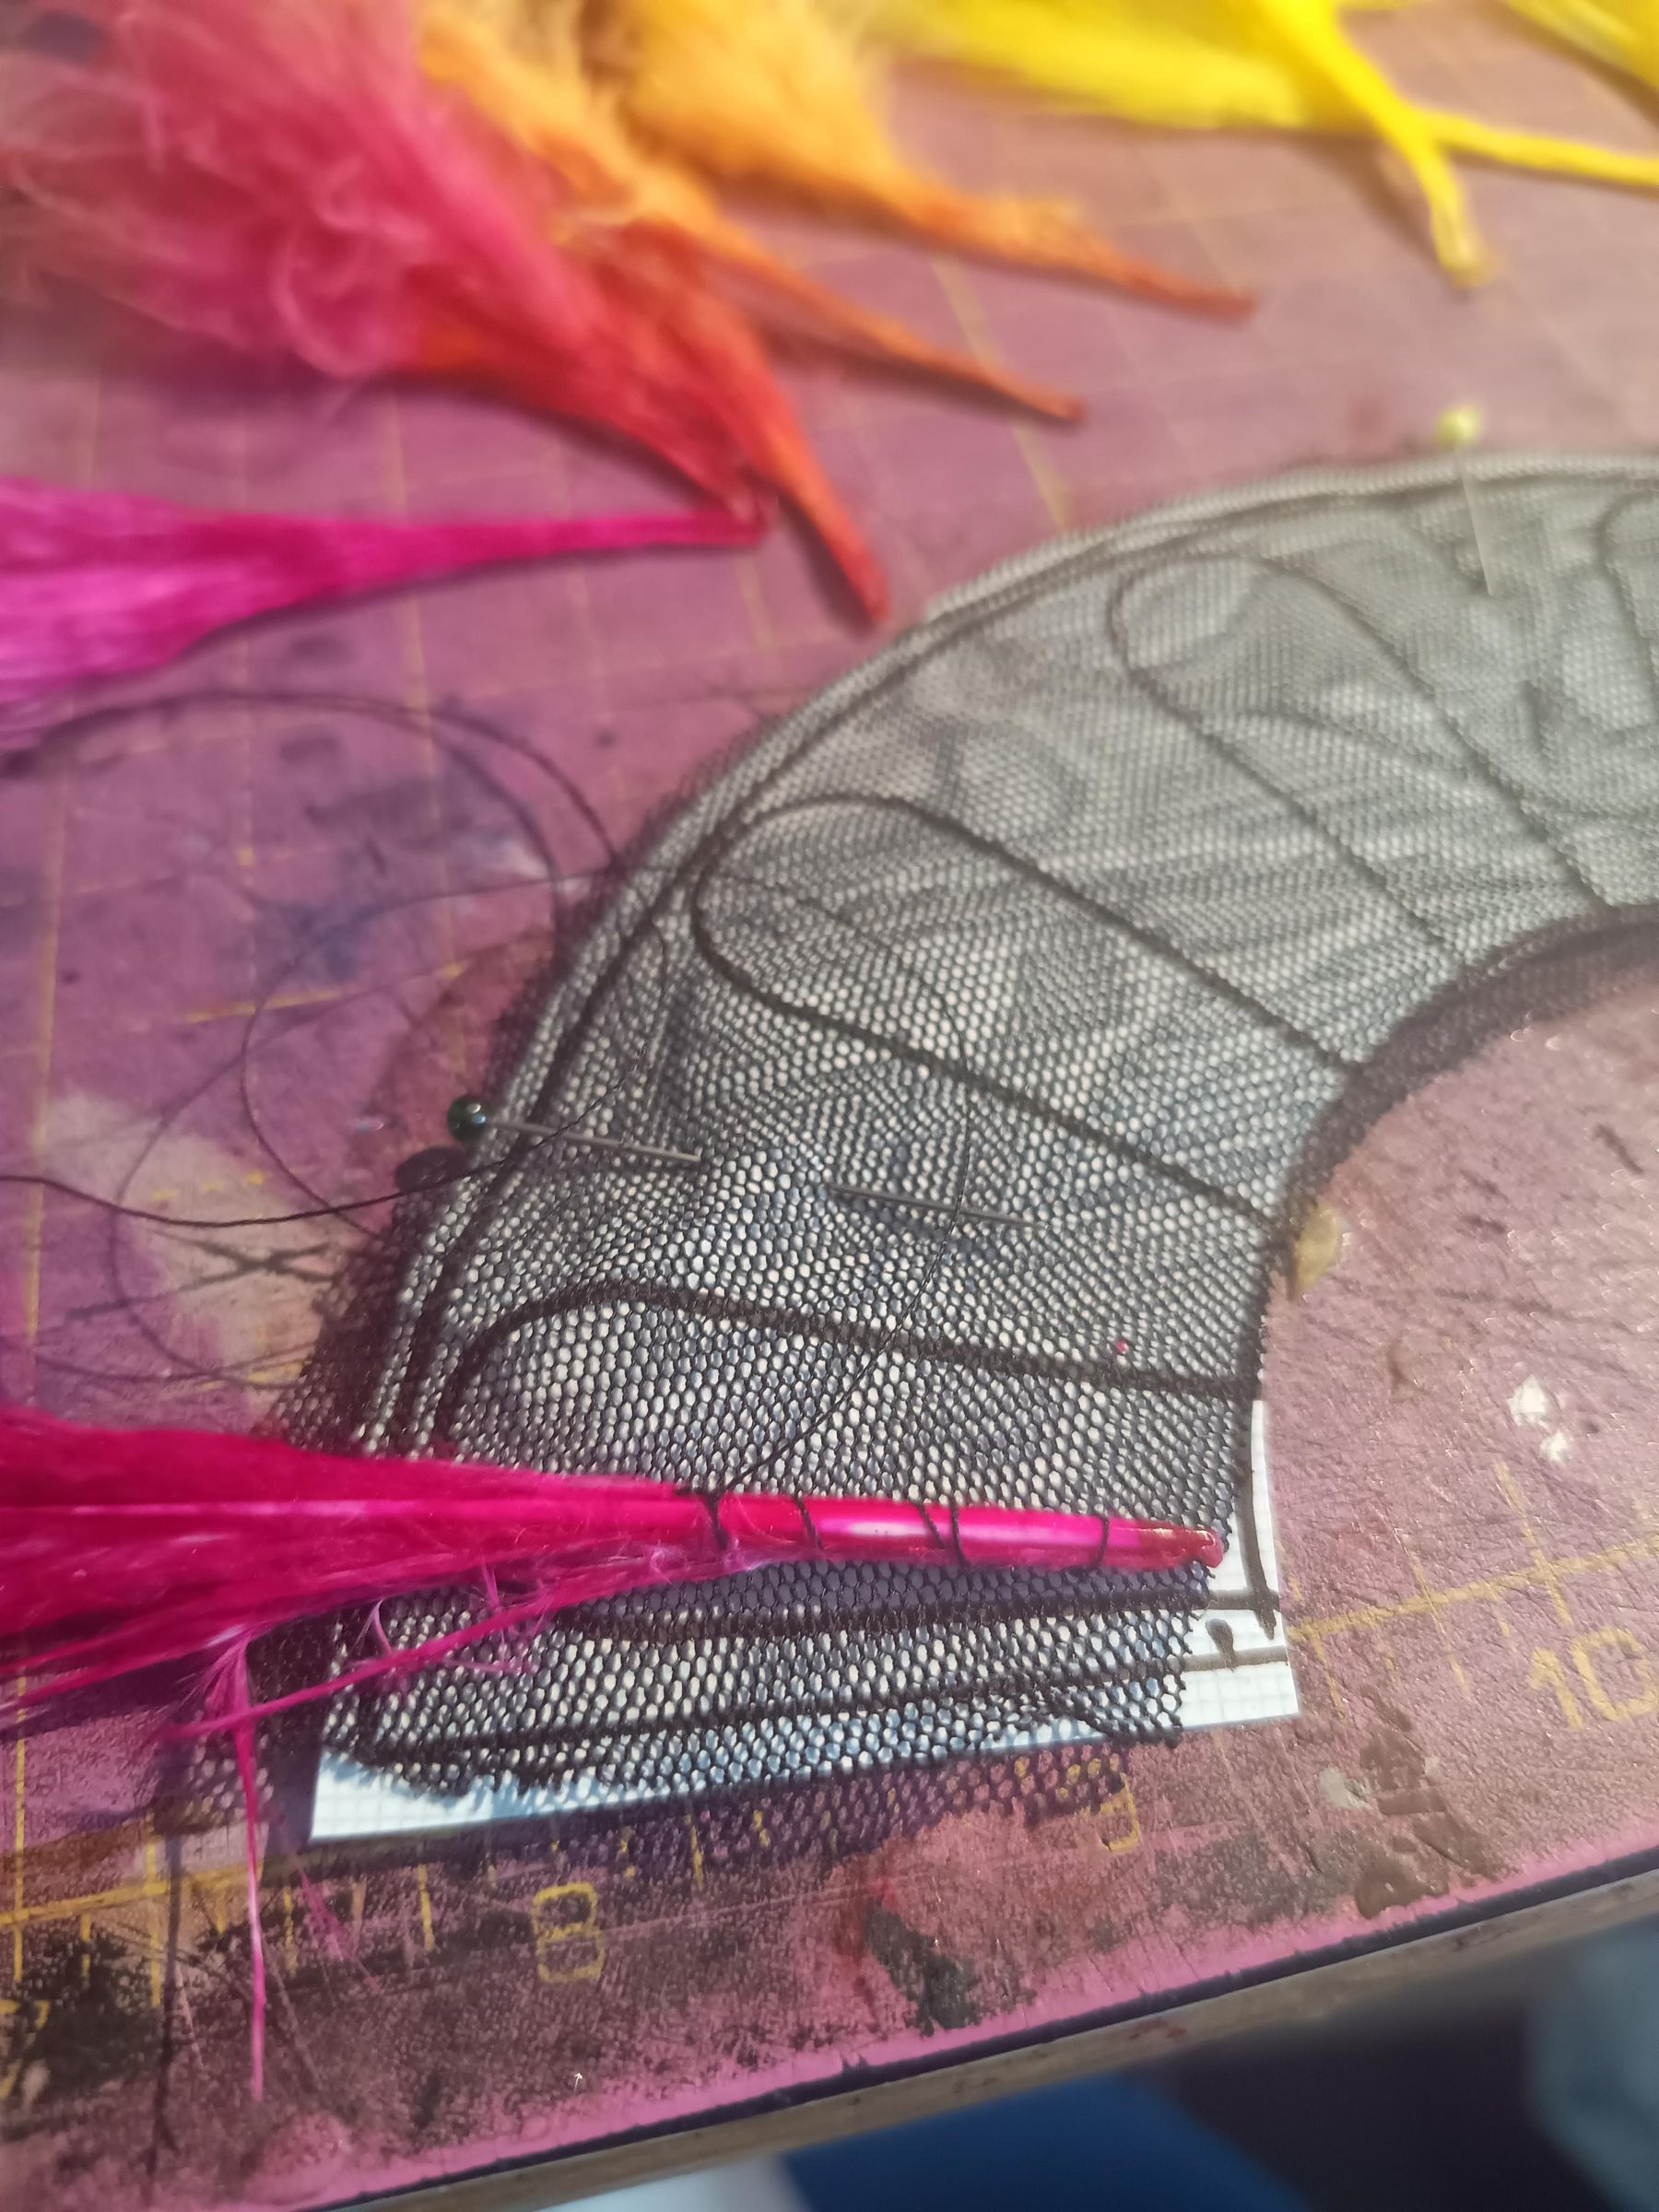
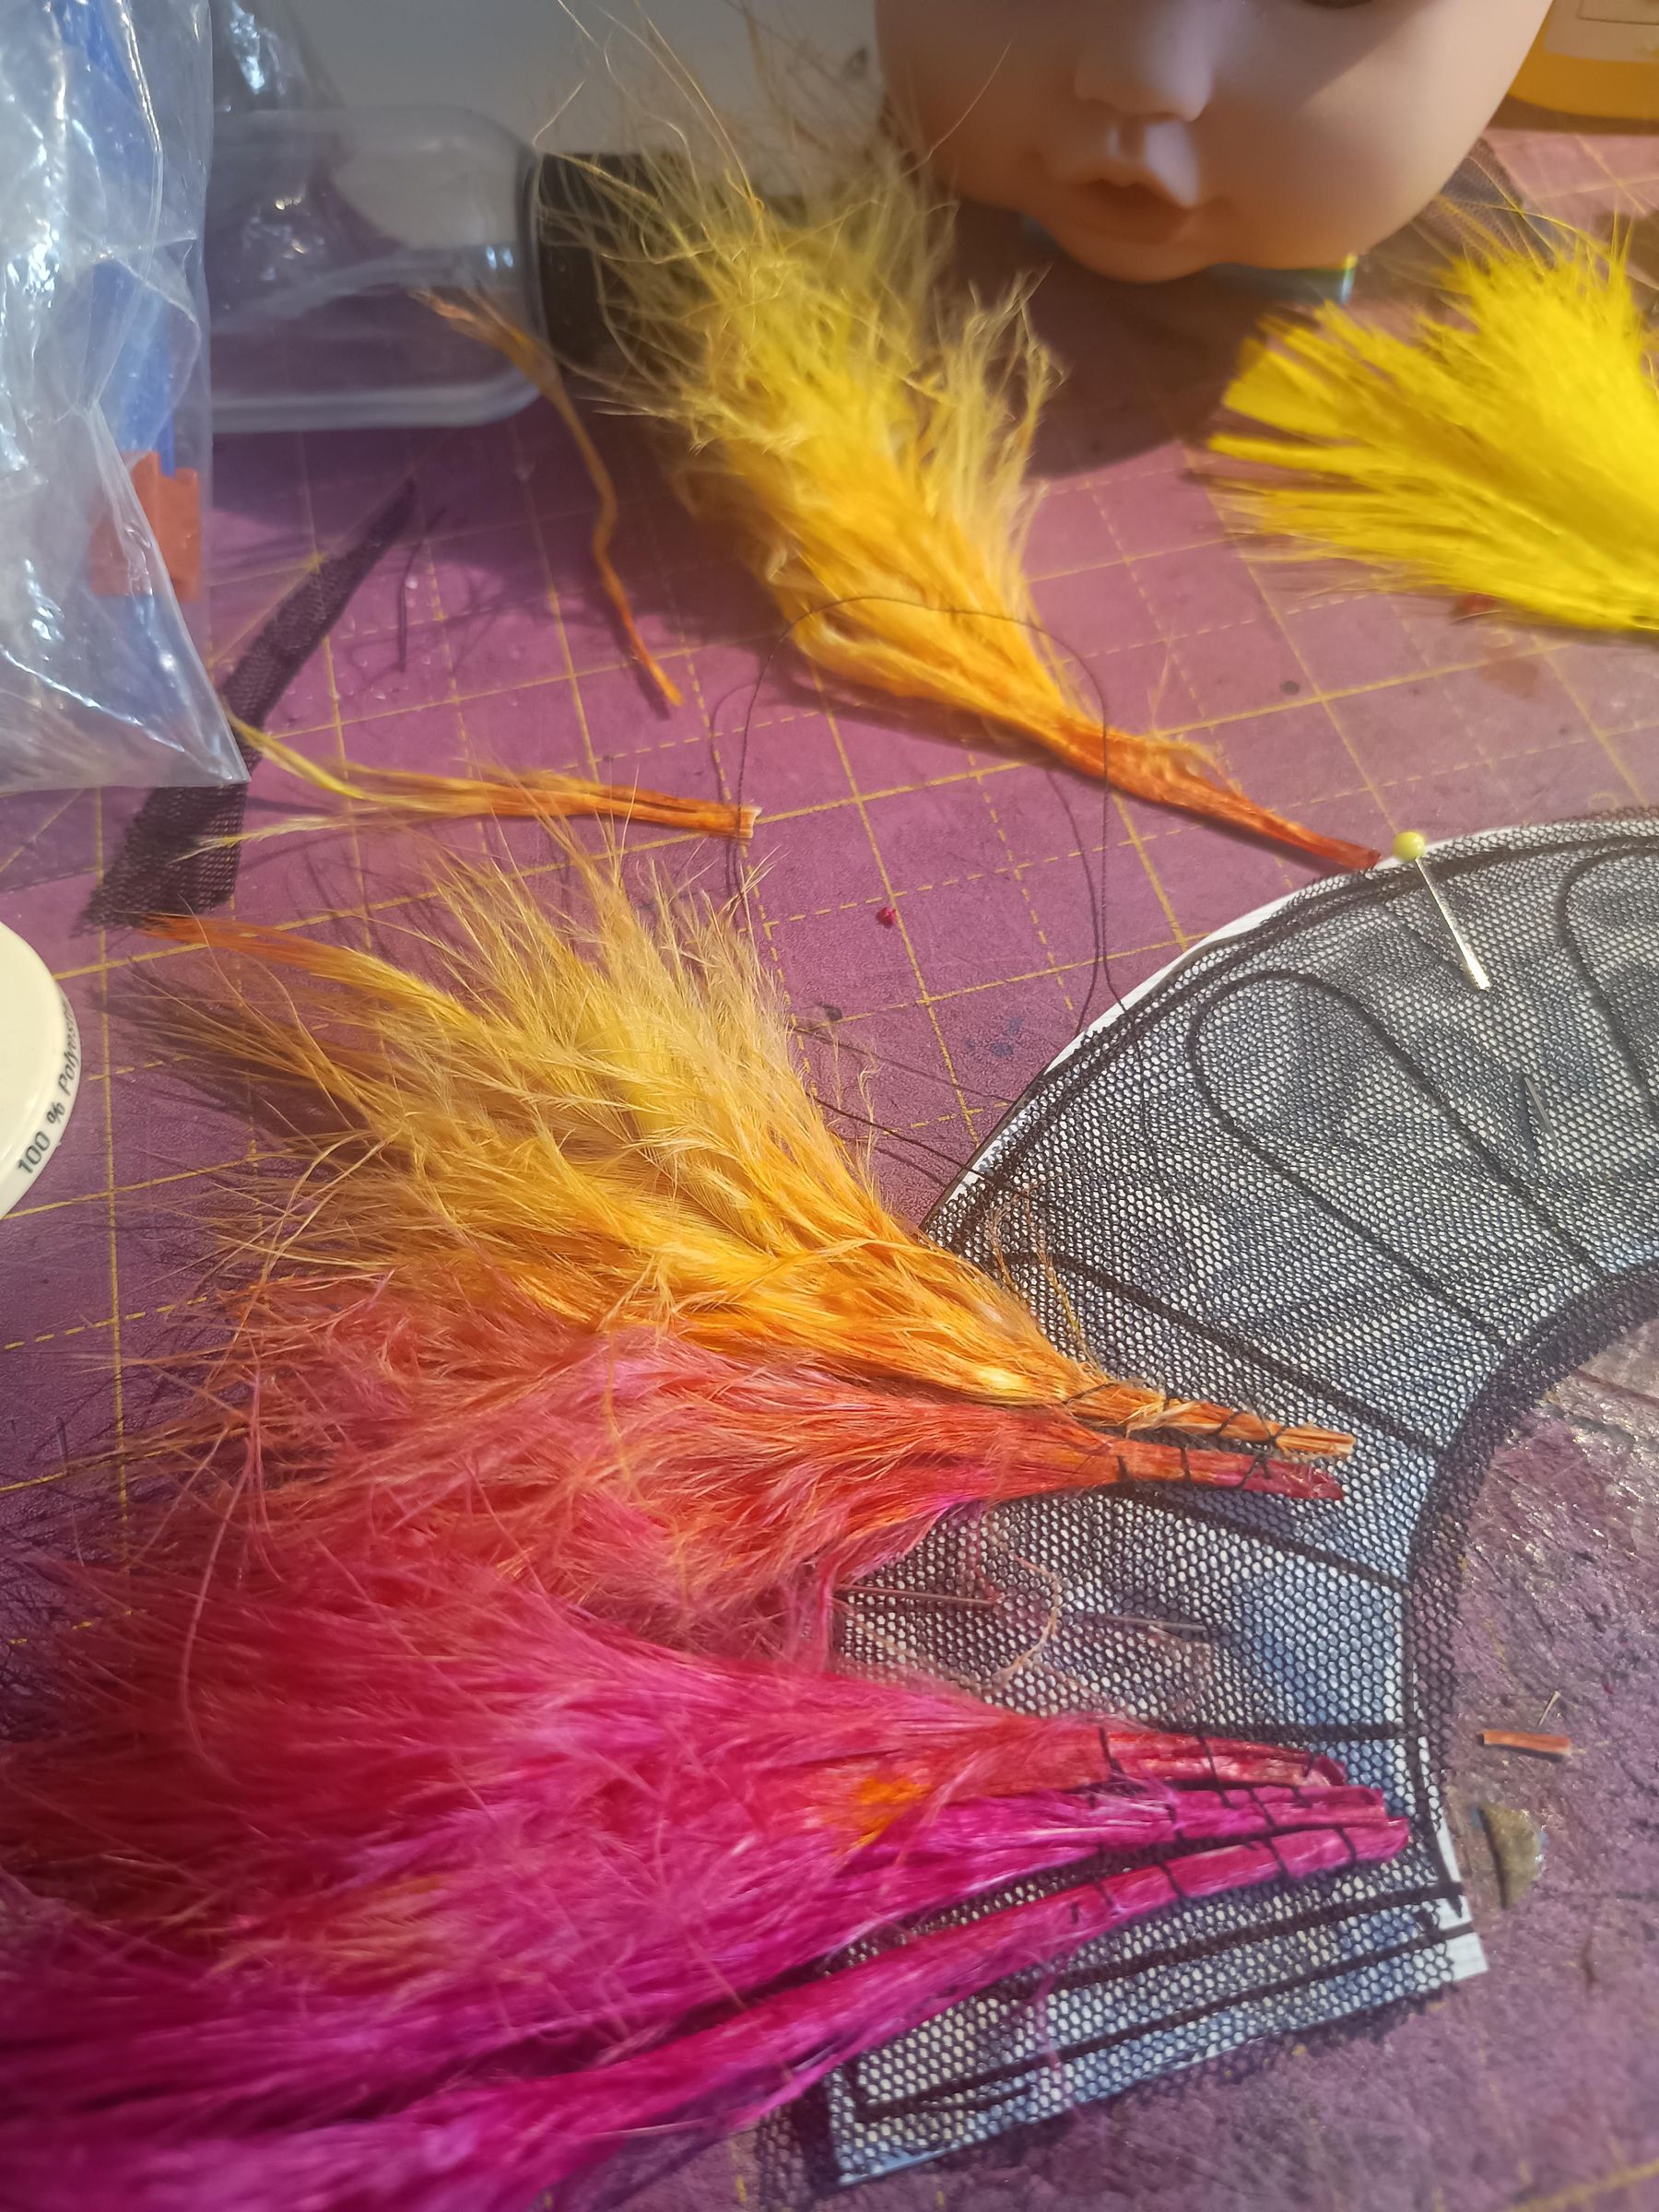
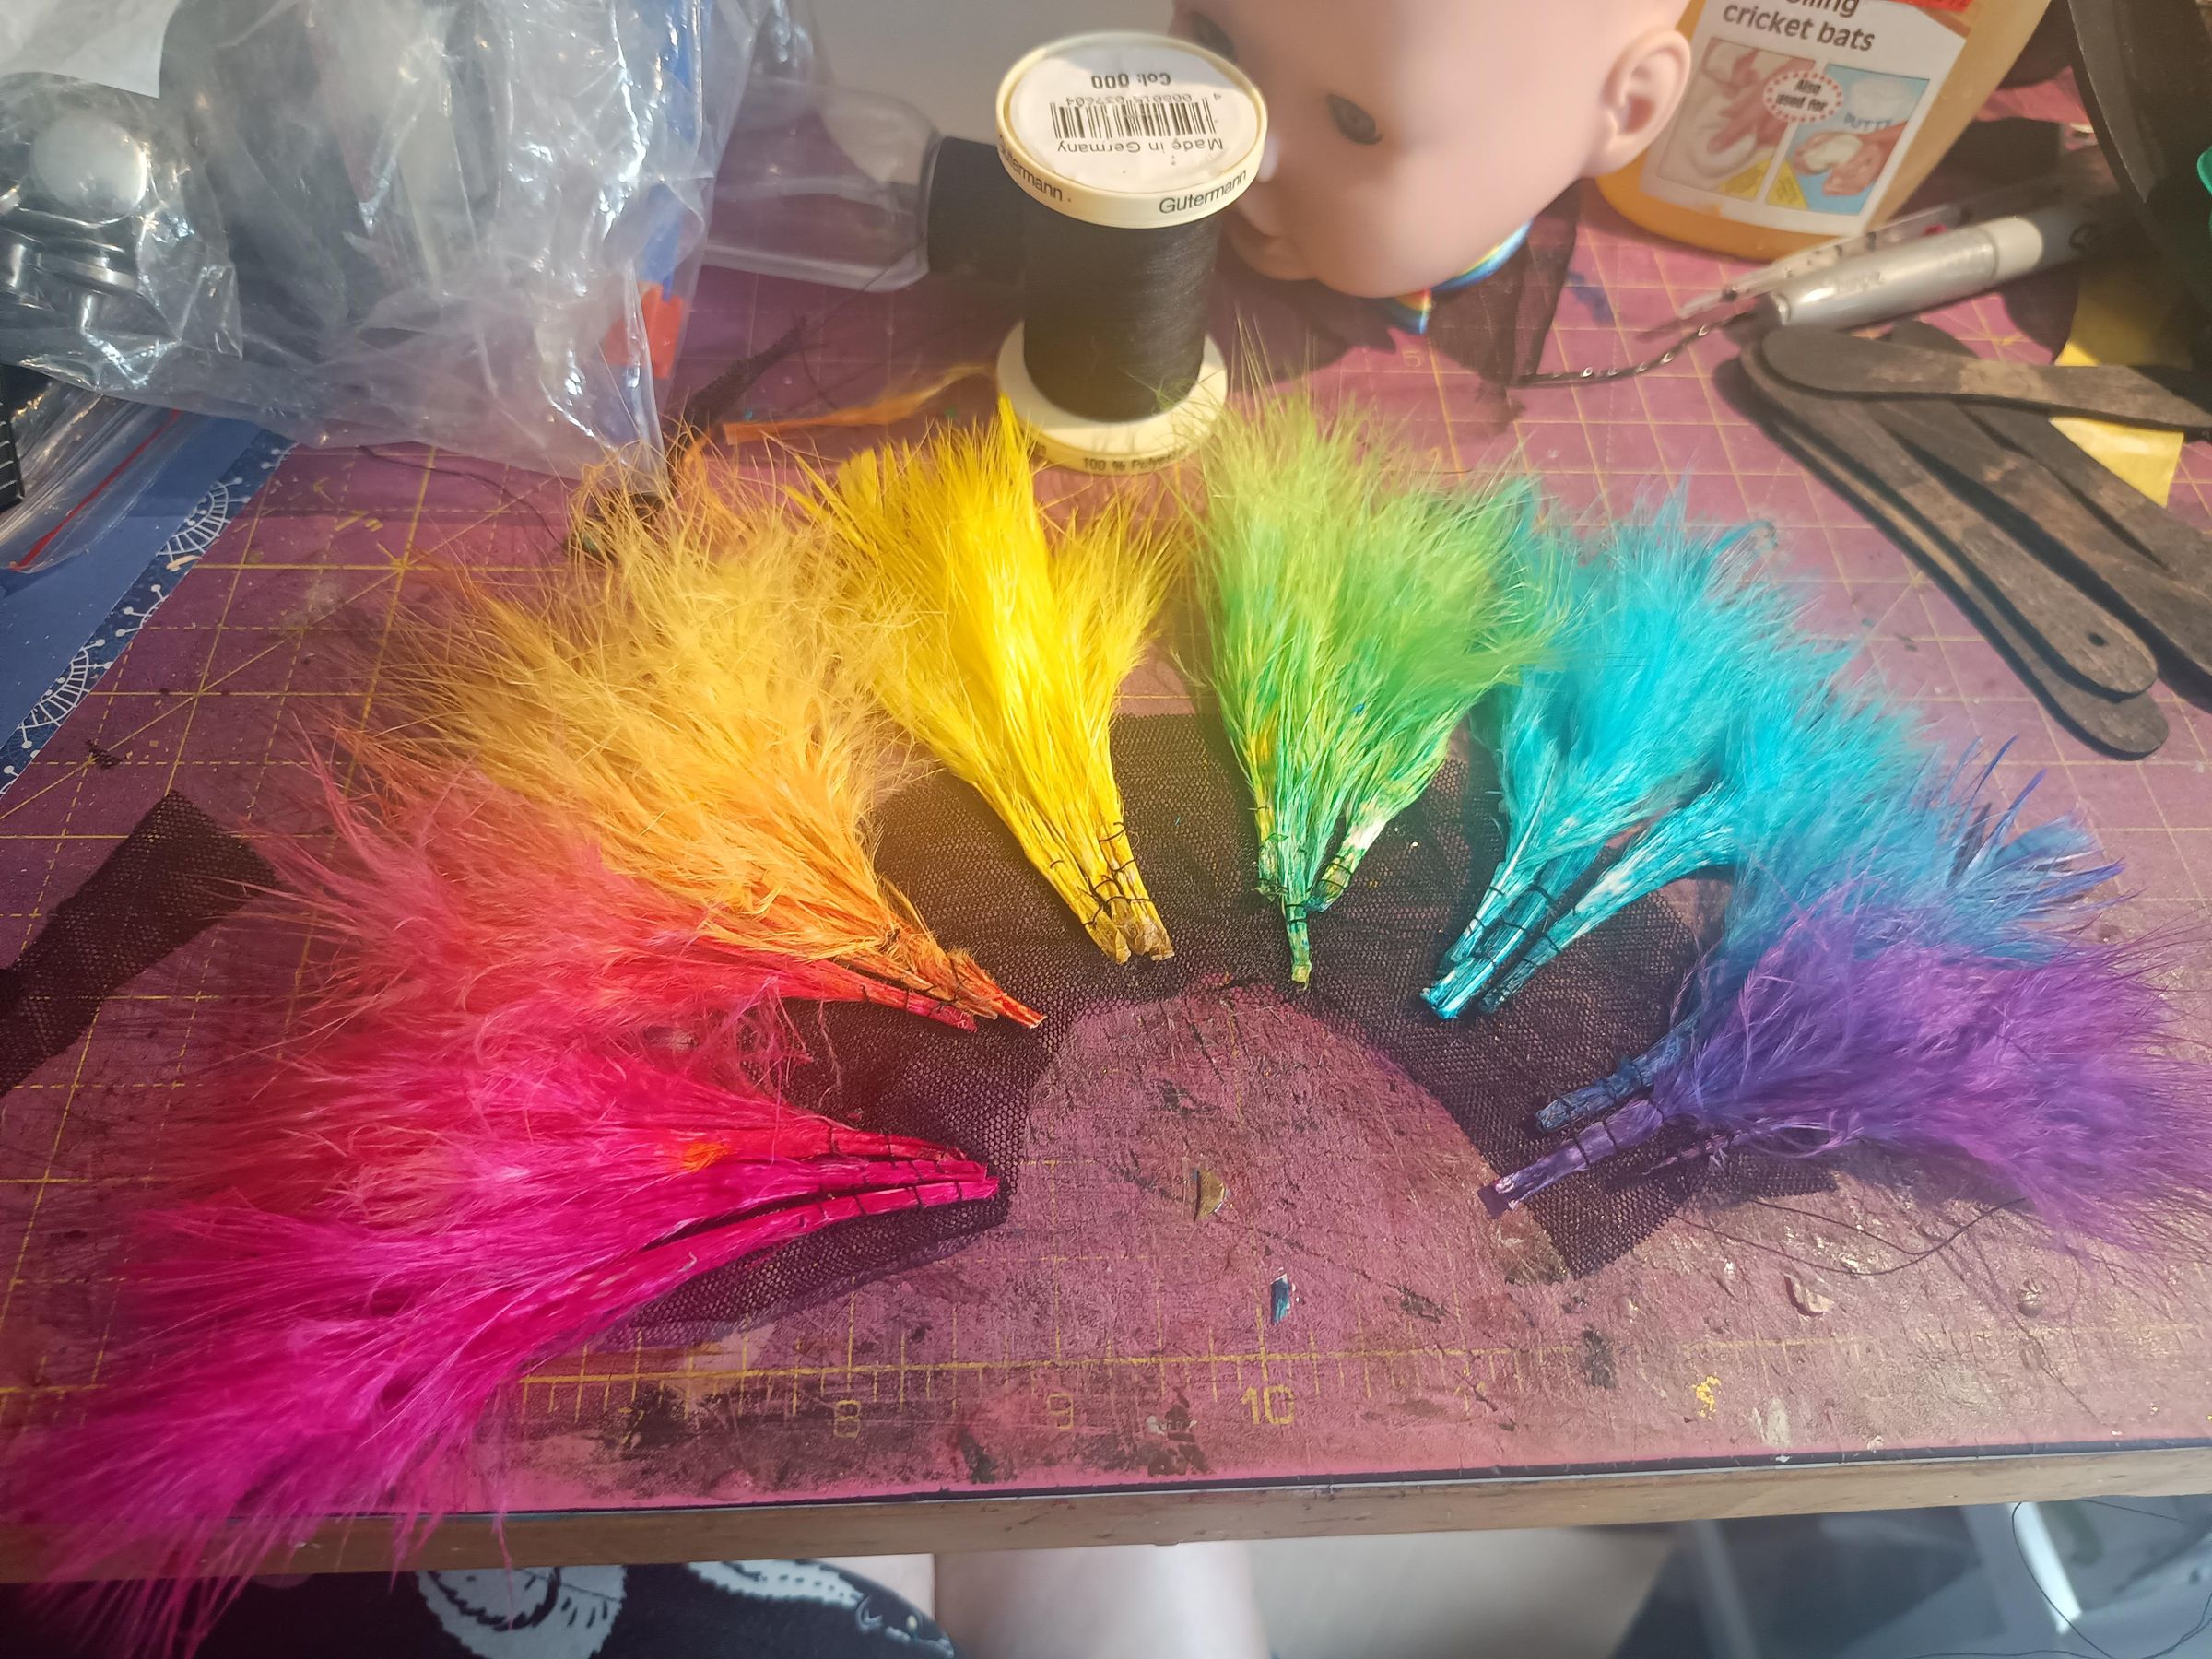
I have a bit of an aversion to using glue in my projects - I'm not the neatest of people, and glue is not always my friend. So I painstakingly sewed every single feather to one of the mesh pieces, lining them up to where the fan staves would go, lining the tops of the feathers up rather than the bottoms.
I do not in fact recommend that you do this.
What I will do next time (and I may well make a version 2 tutorial with an improved fan) is glue three feathers to each stave.
Wire!
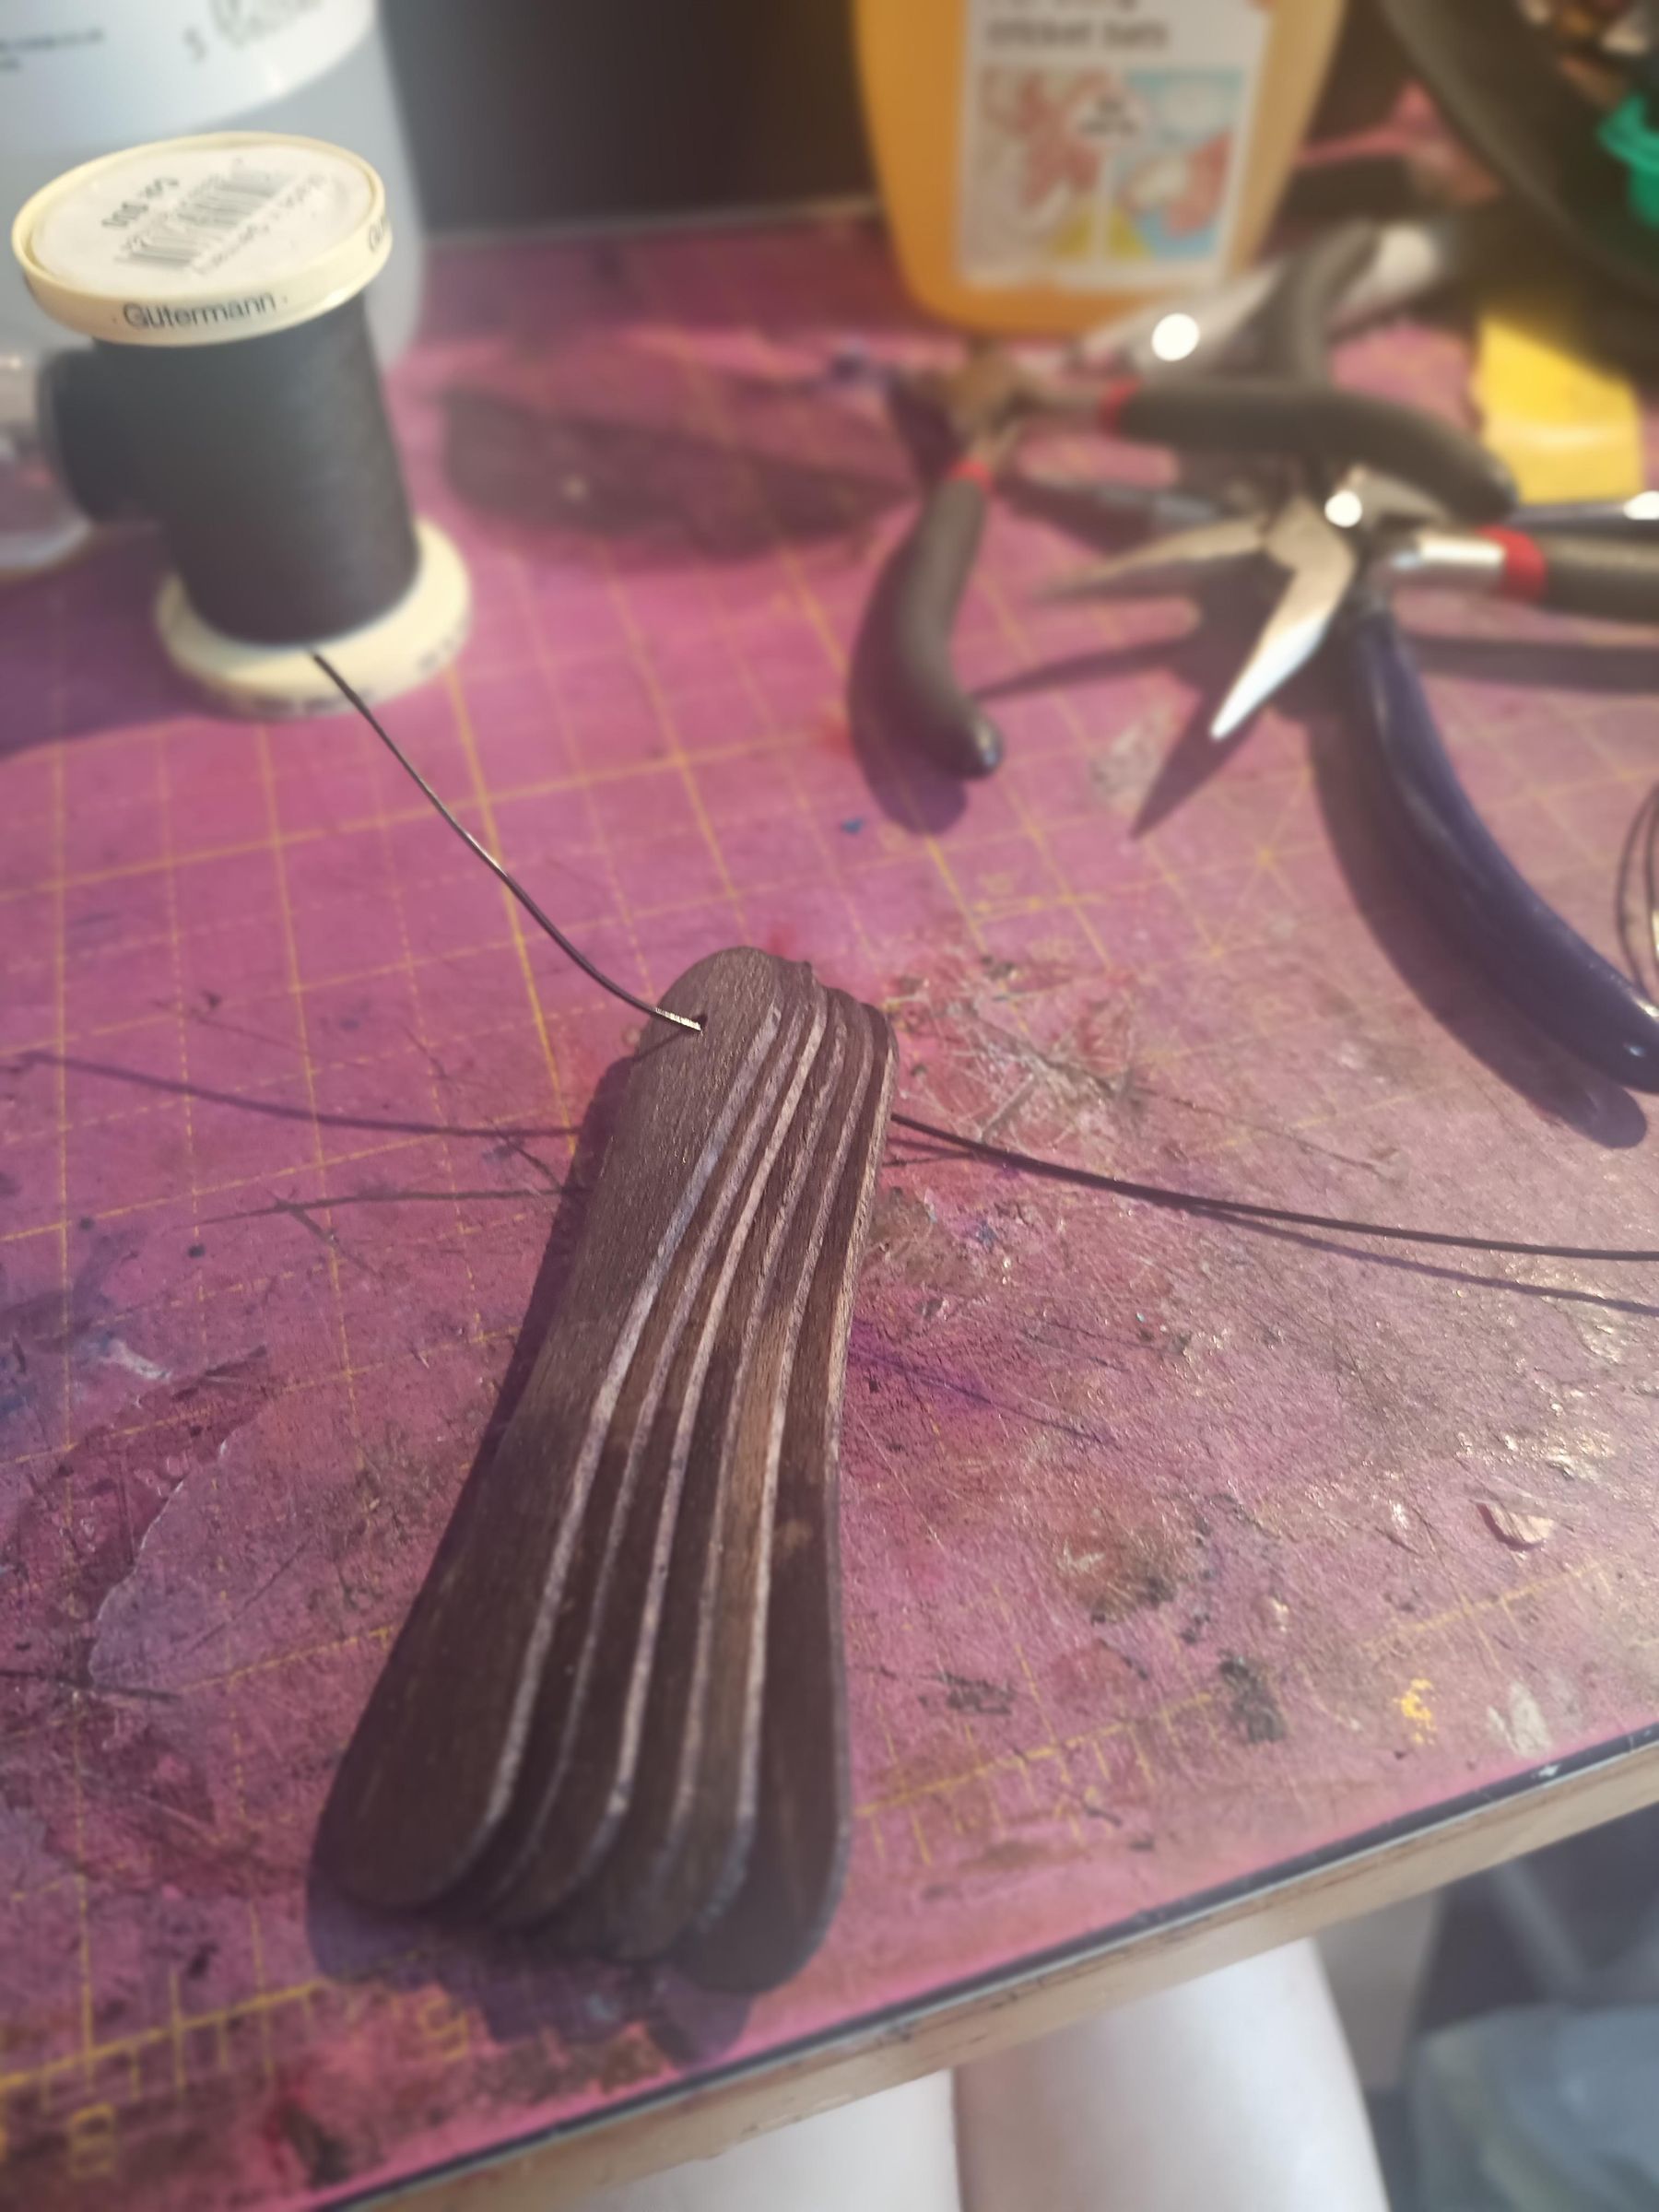
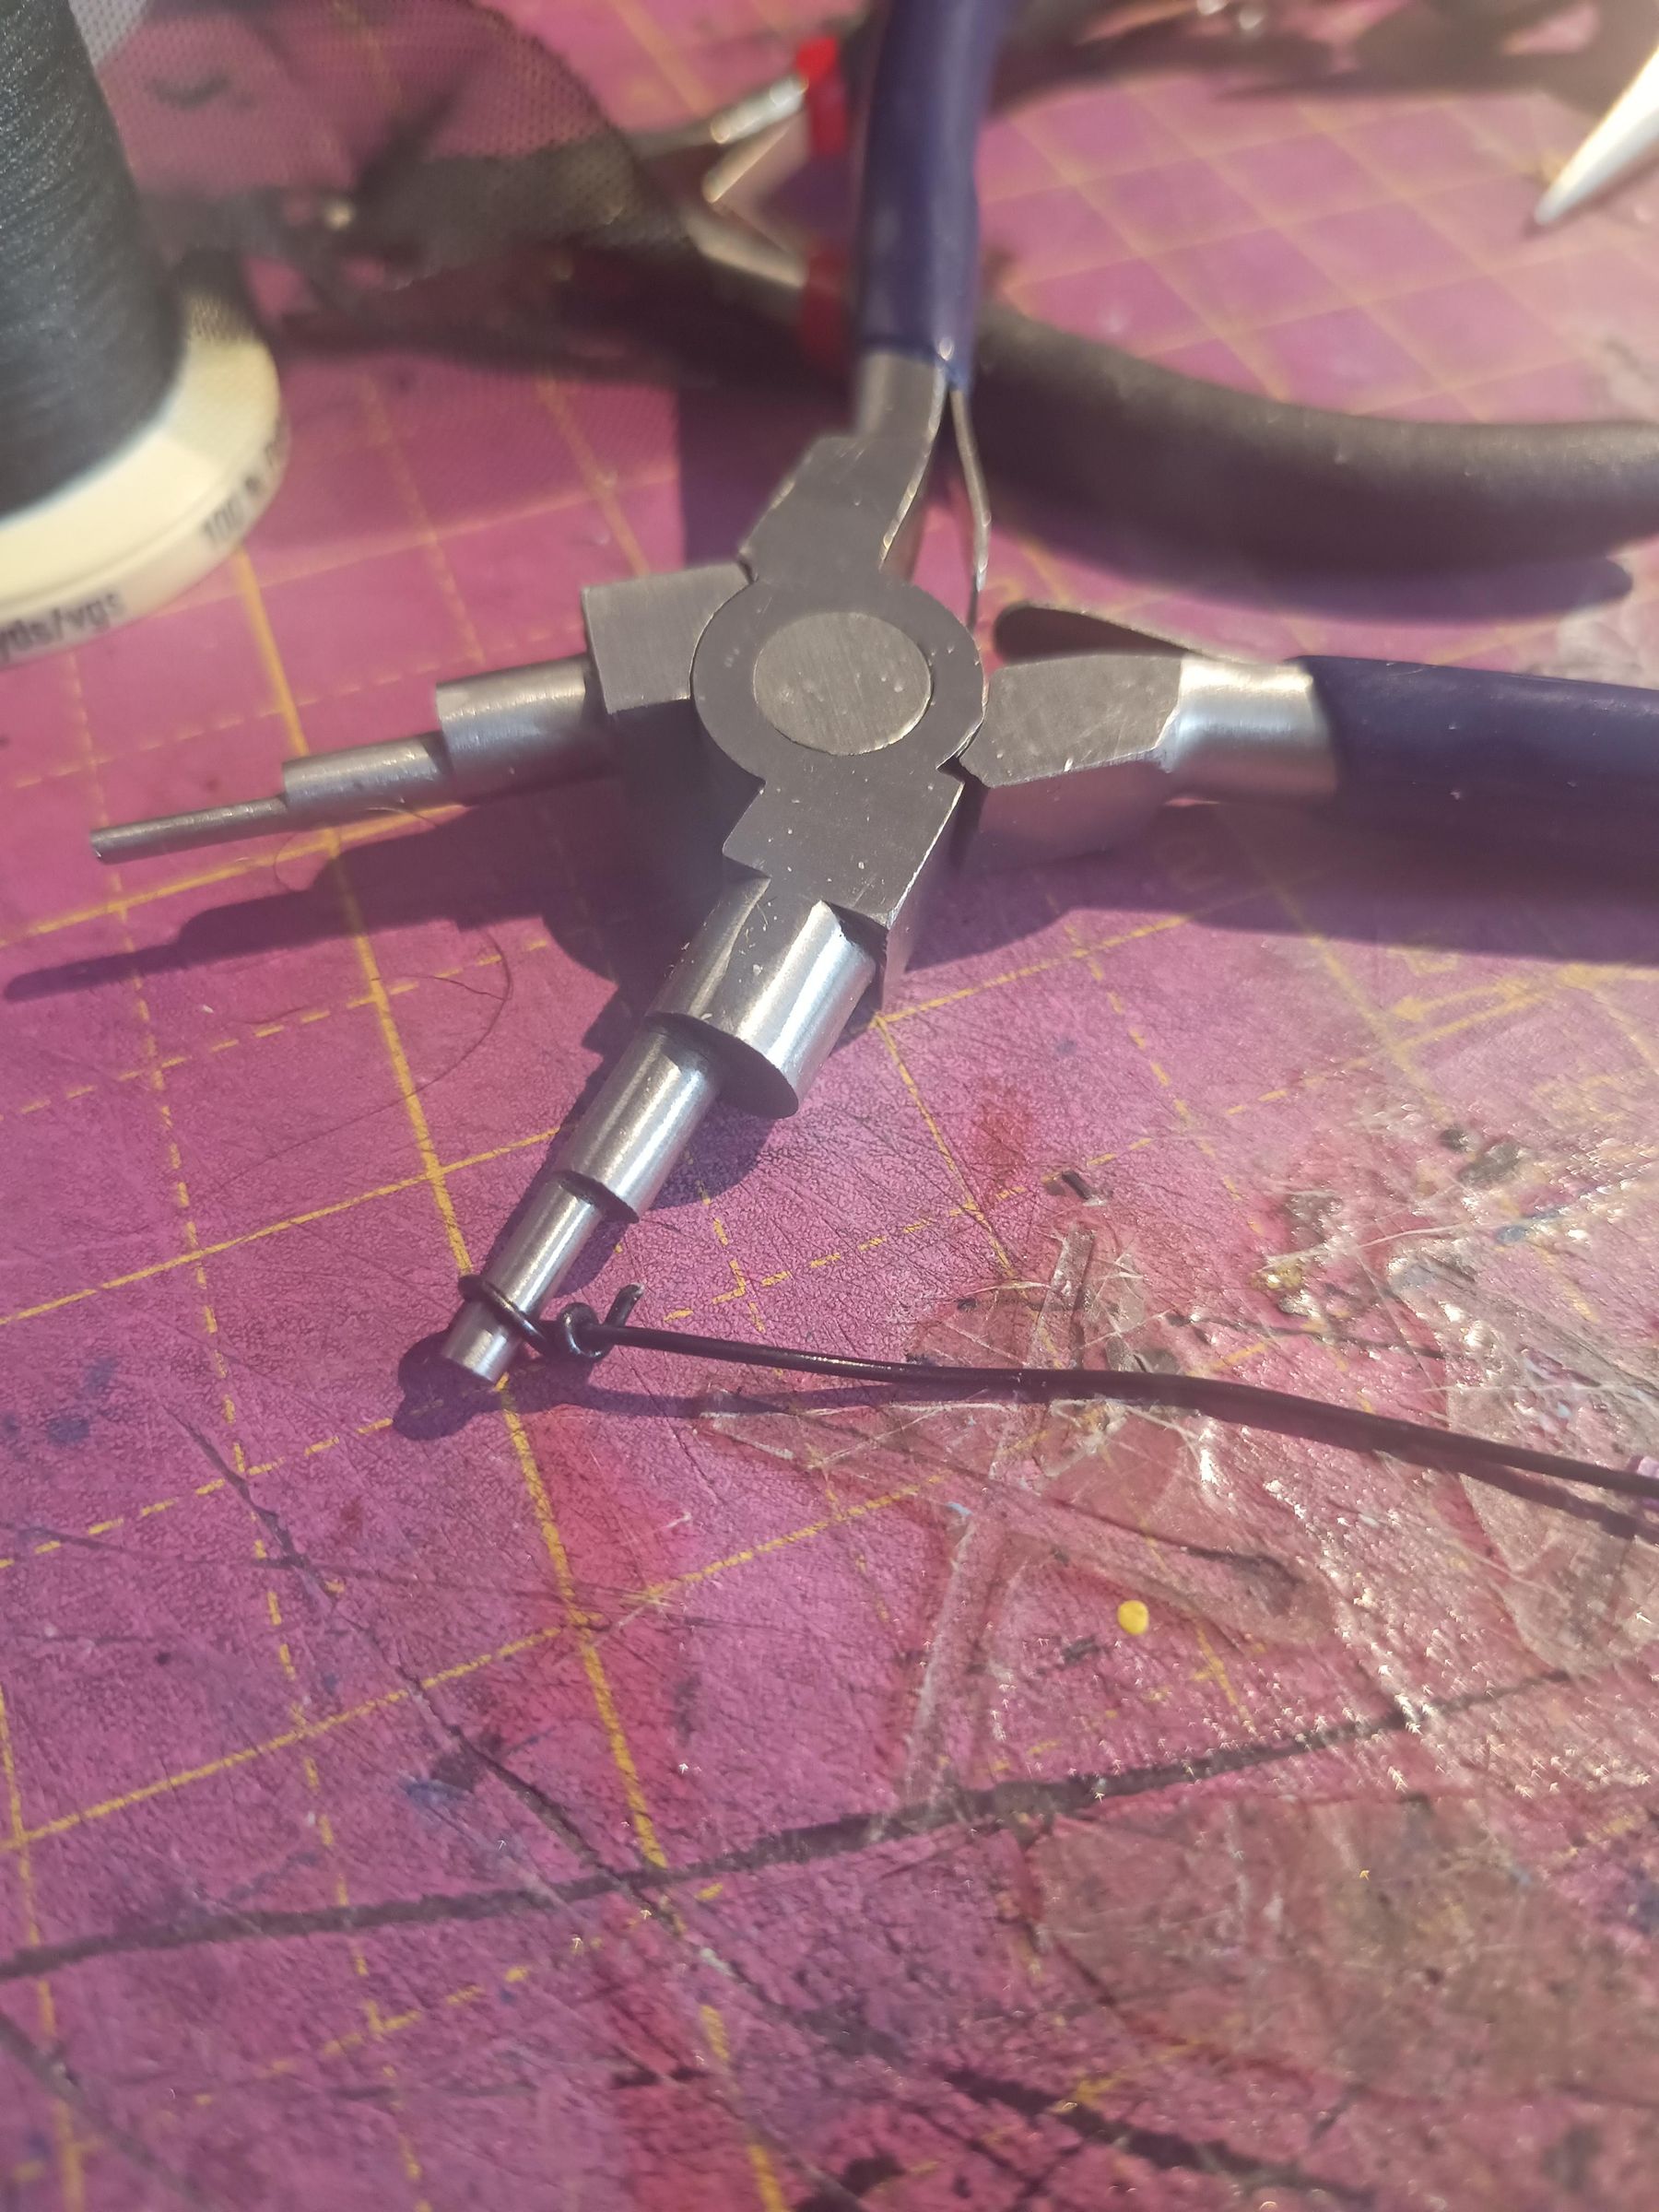
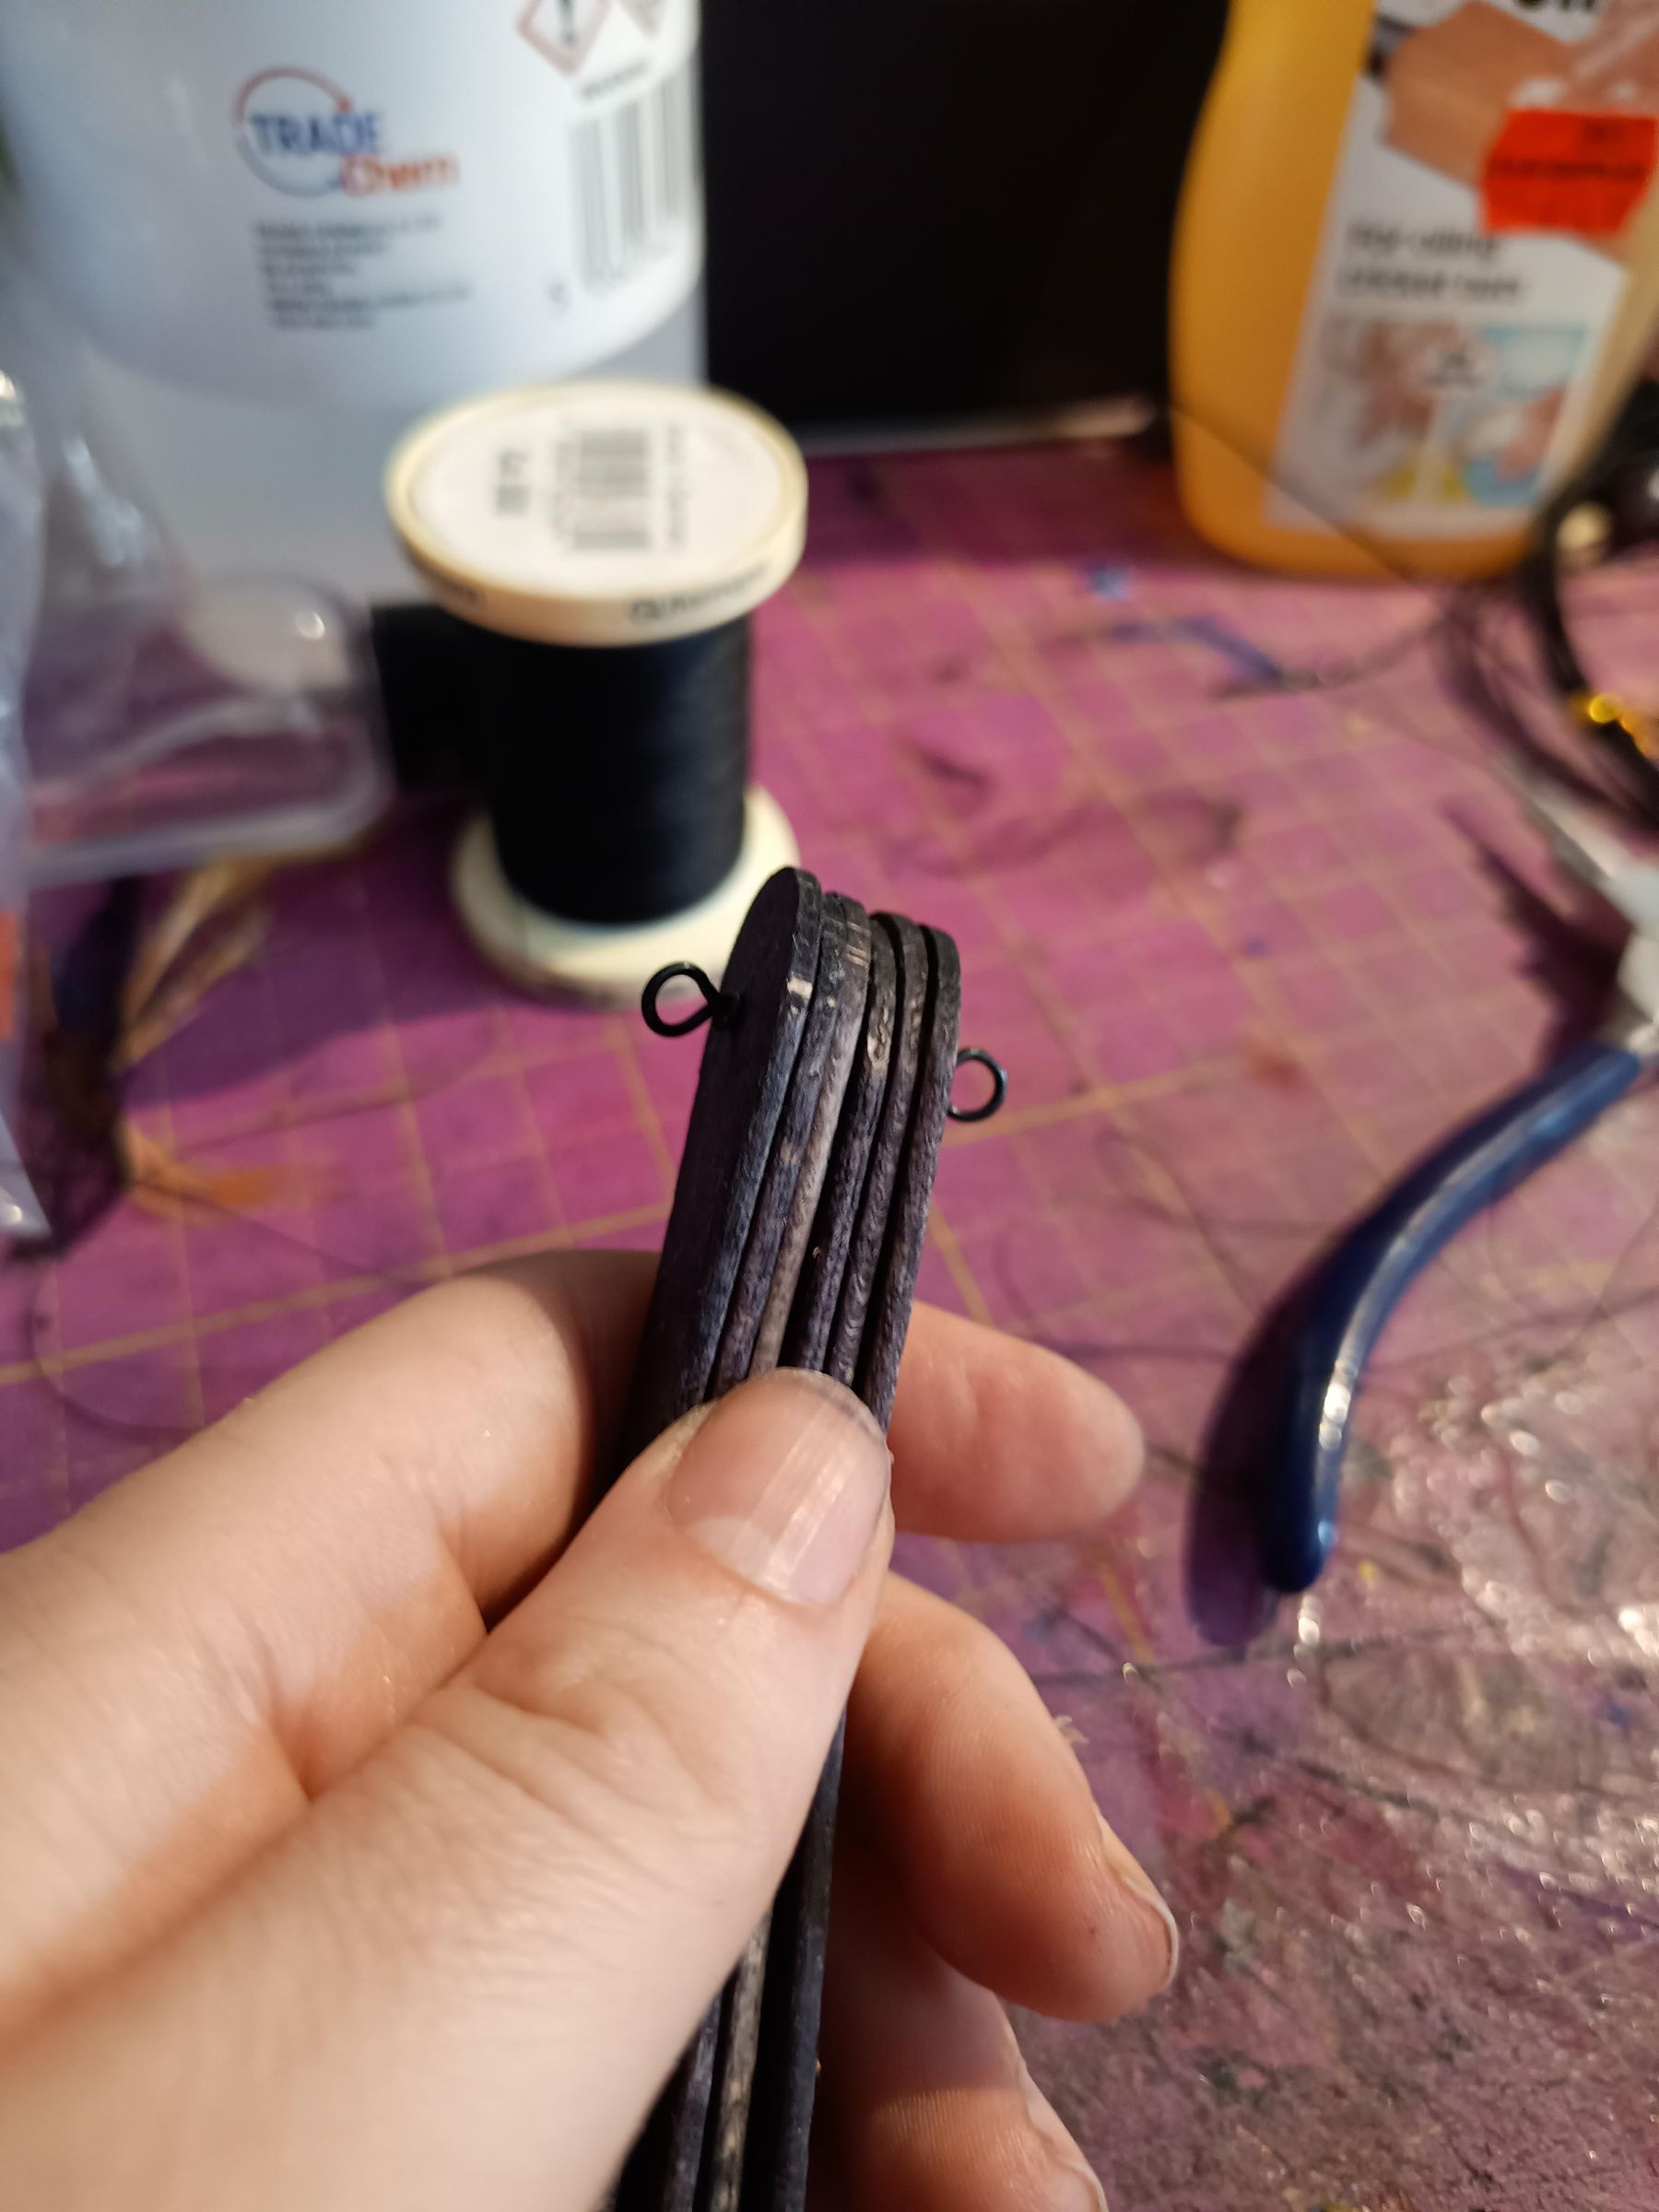
I threaded all six staves onto a piece of wire, and made a wrapped loop at one end. Then I snipped the wire off of the reel, and made a matching loop on the other side. The fan staves are now ready to attach to the fan!
Pin and Sew
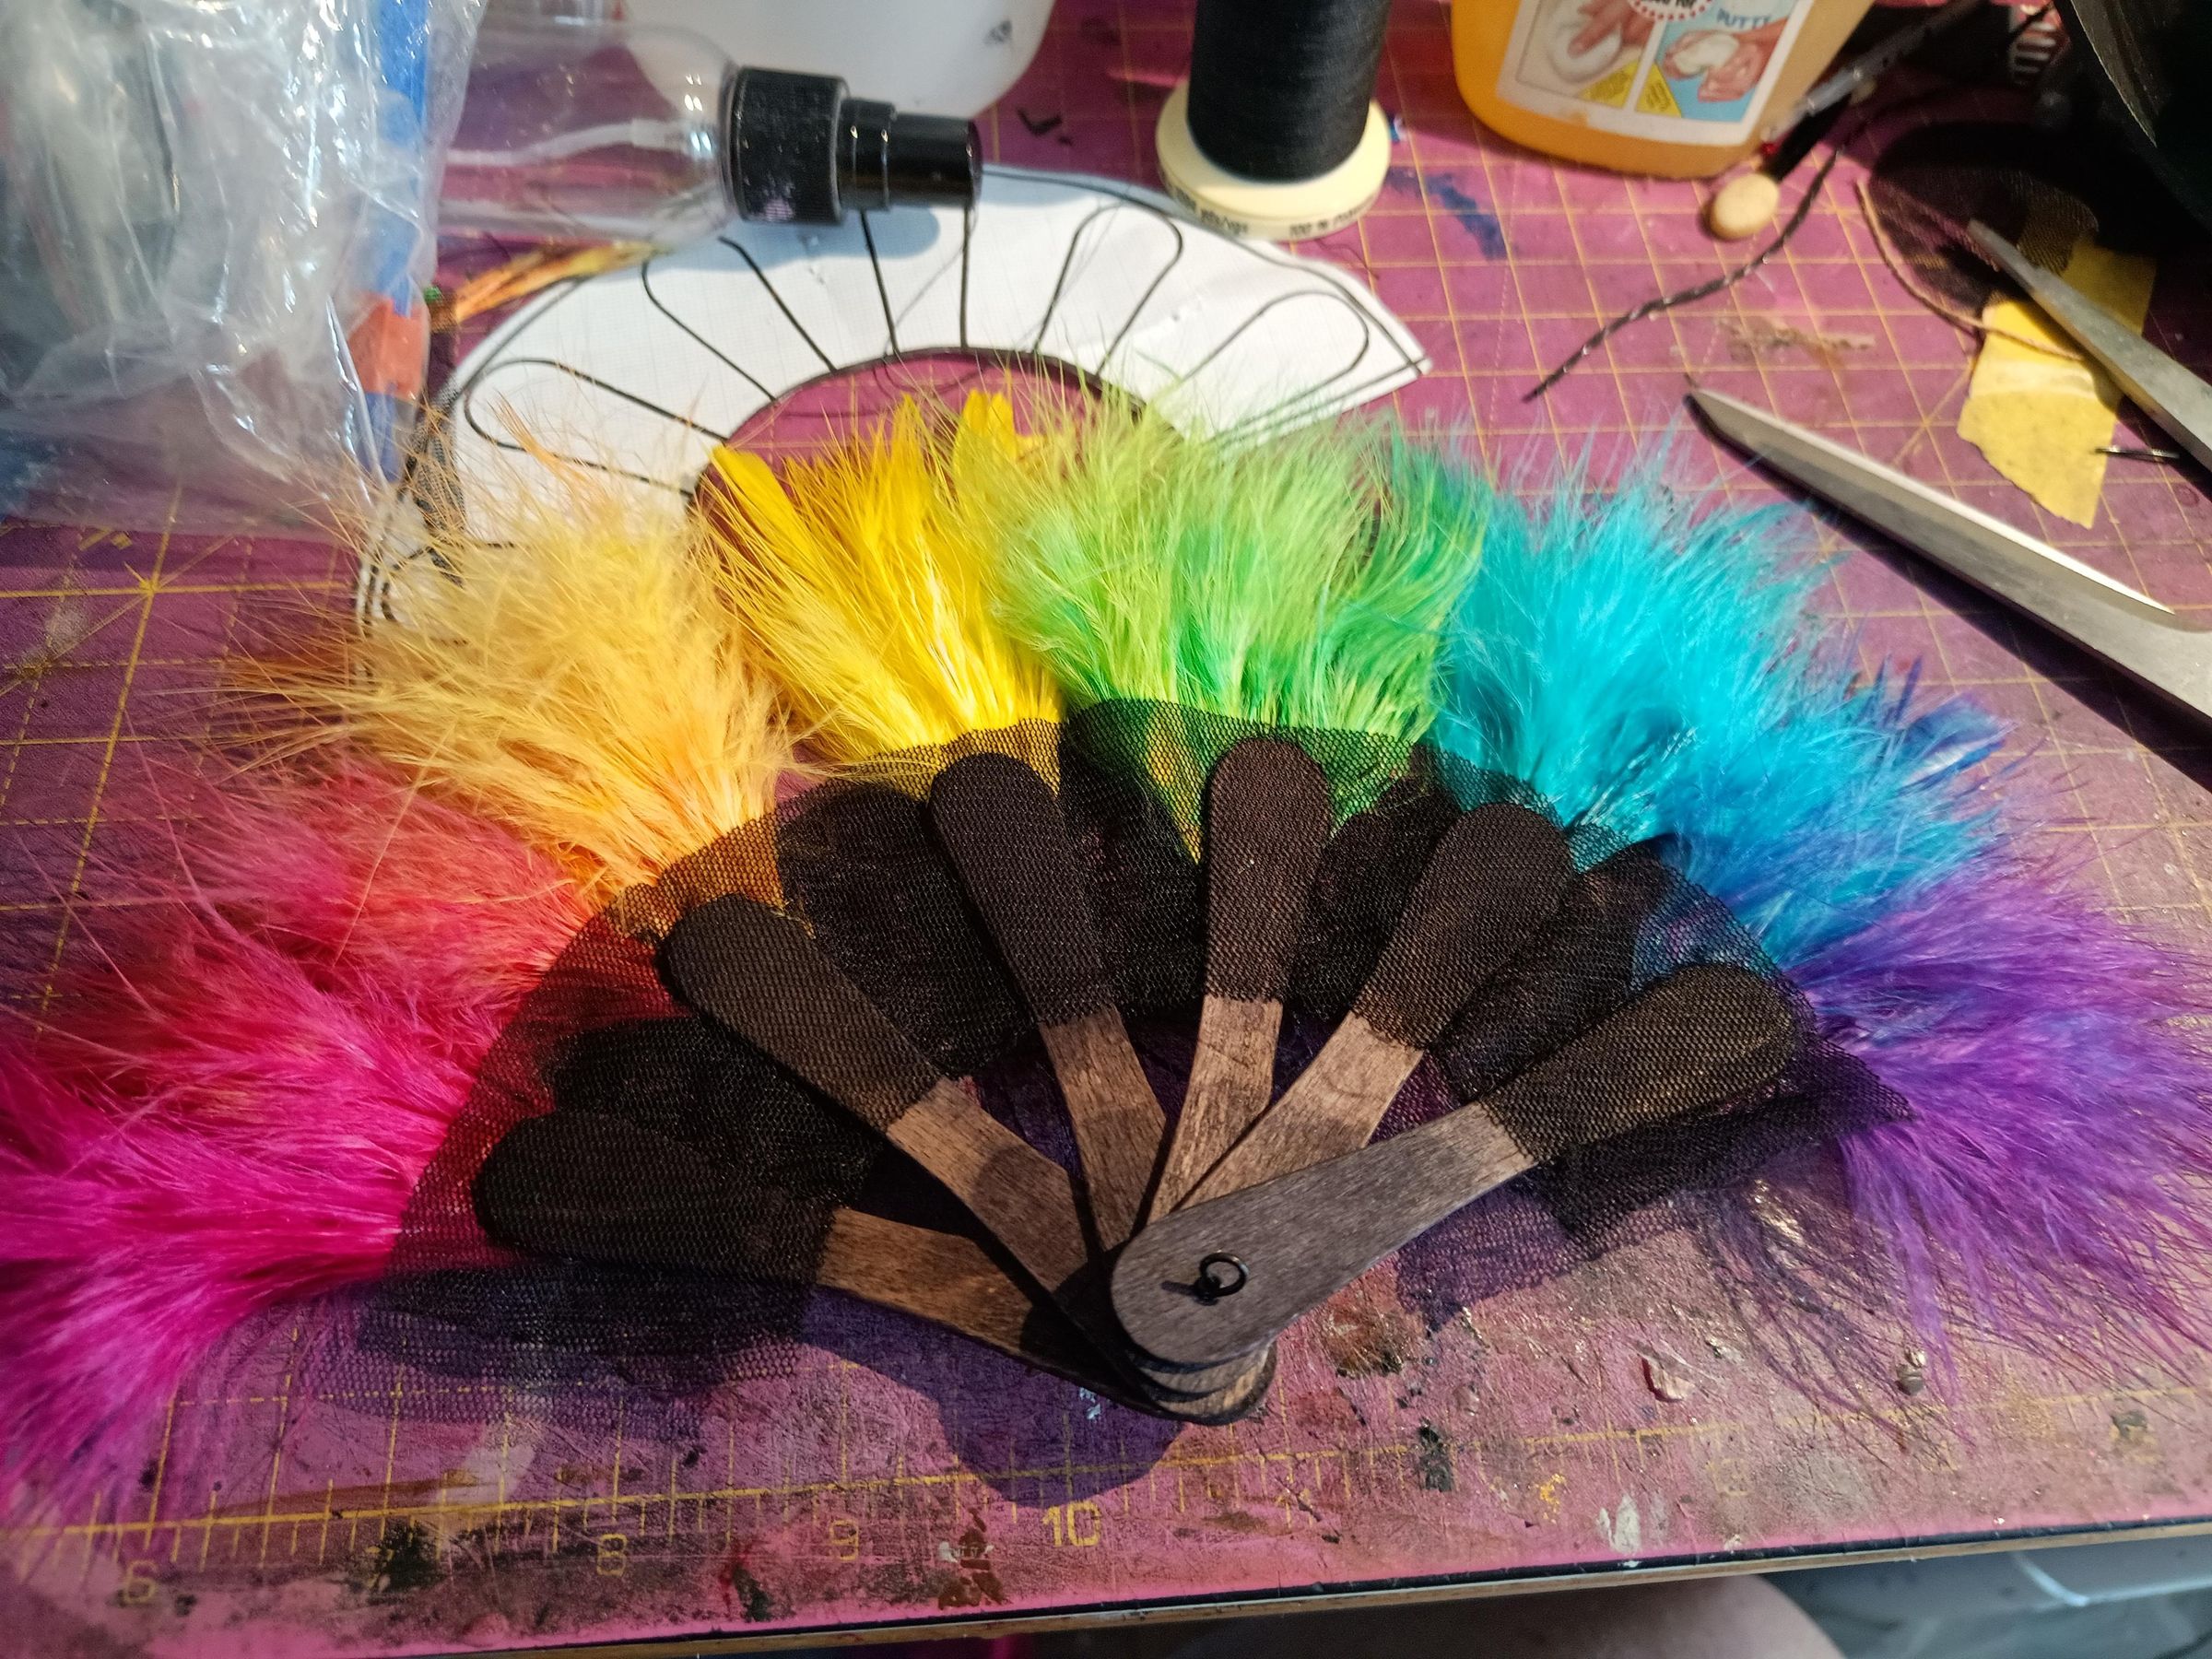
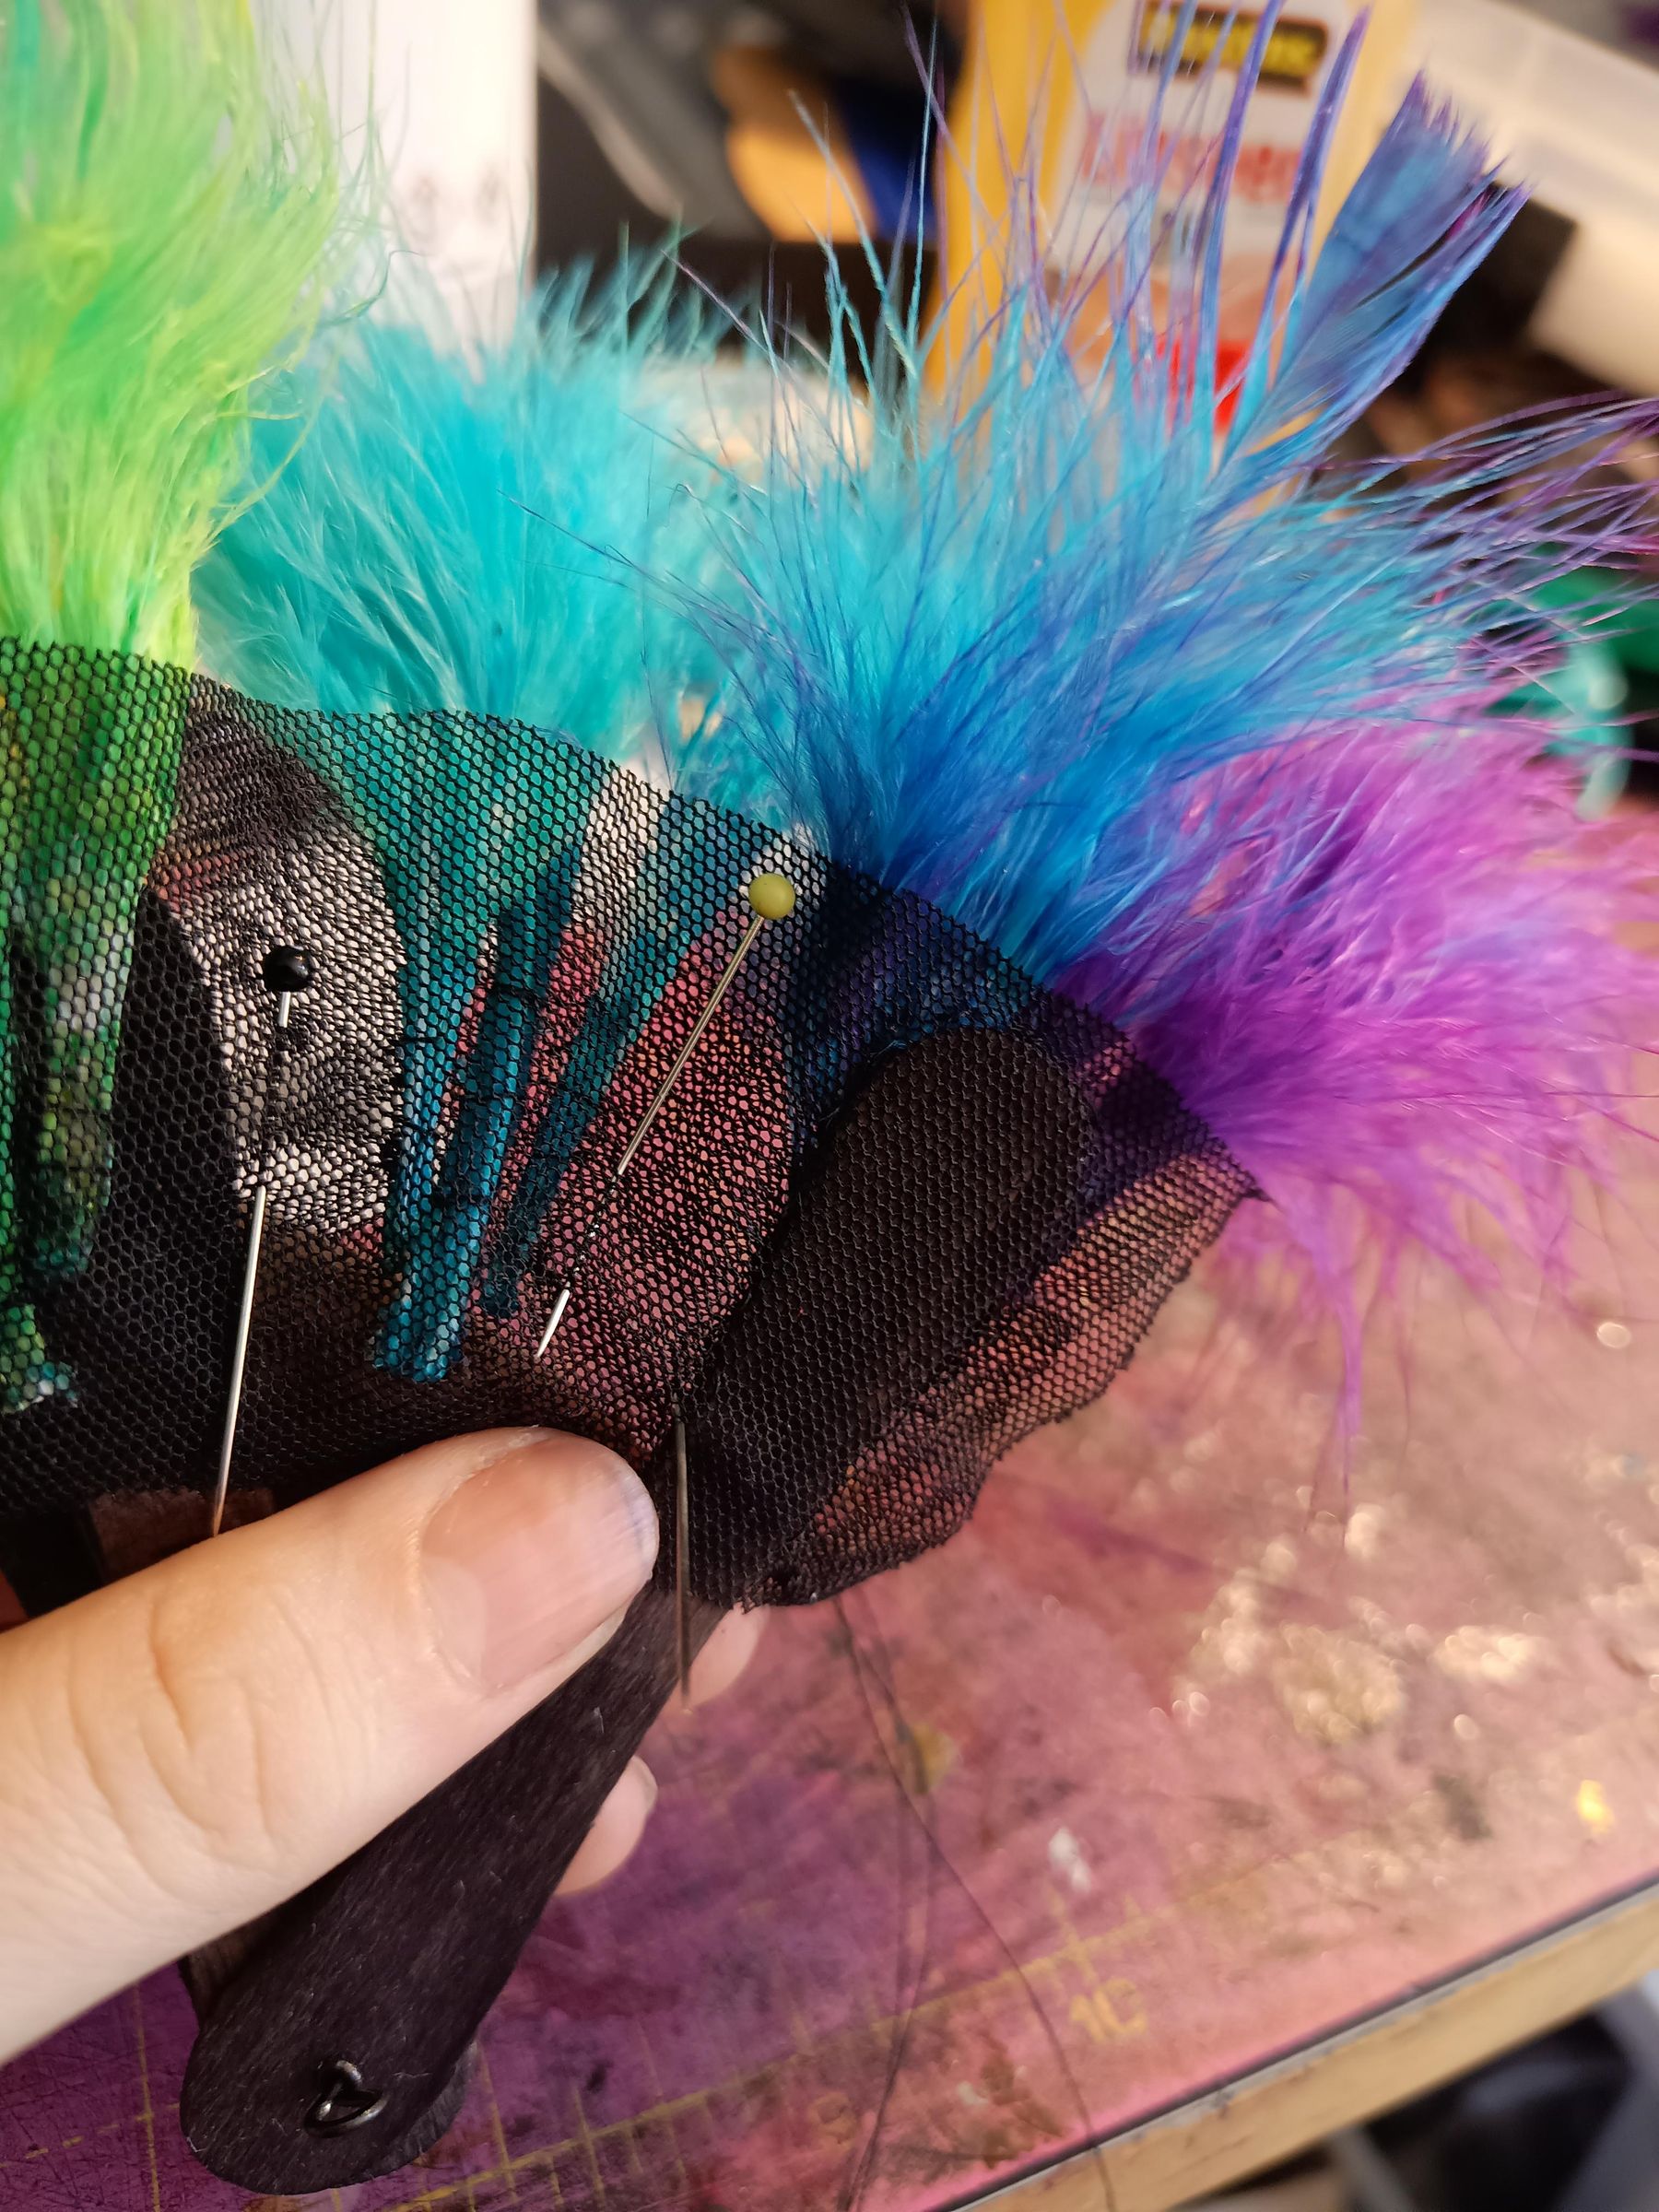
Next I made a sandwich of the two layers of mesh and the staves (I focused on one stave at a time, repinning as I went). I sewed around each stave to encase it.
Trim
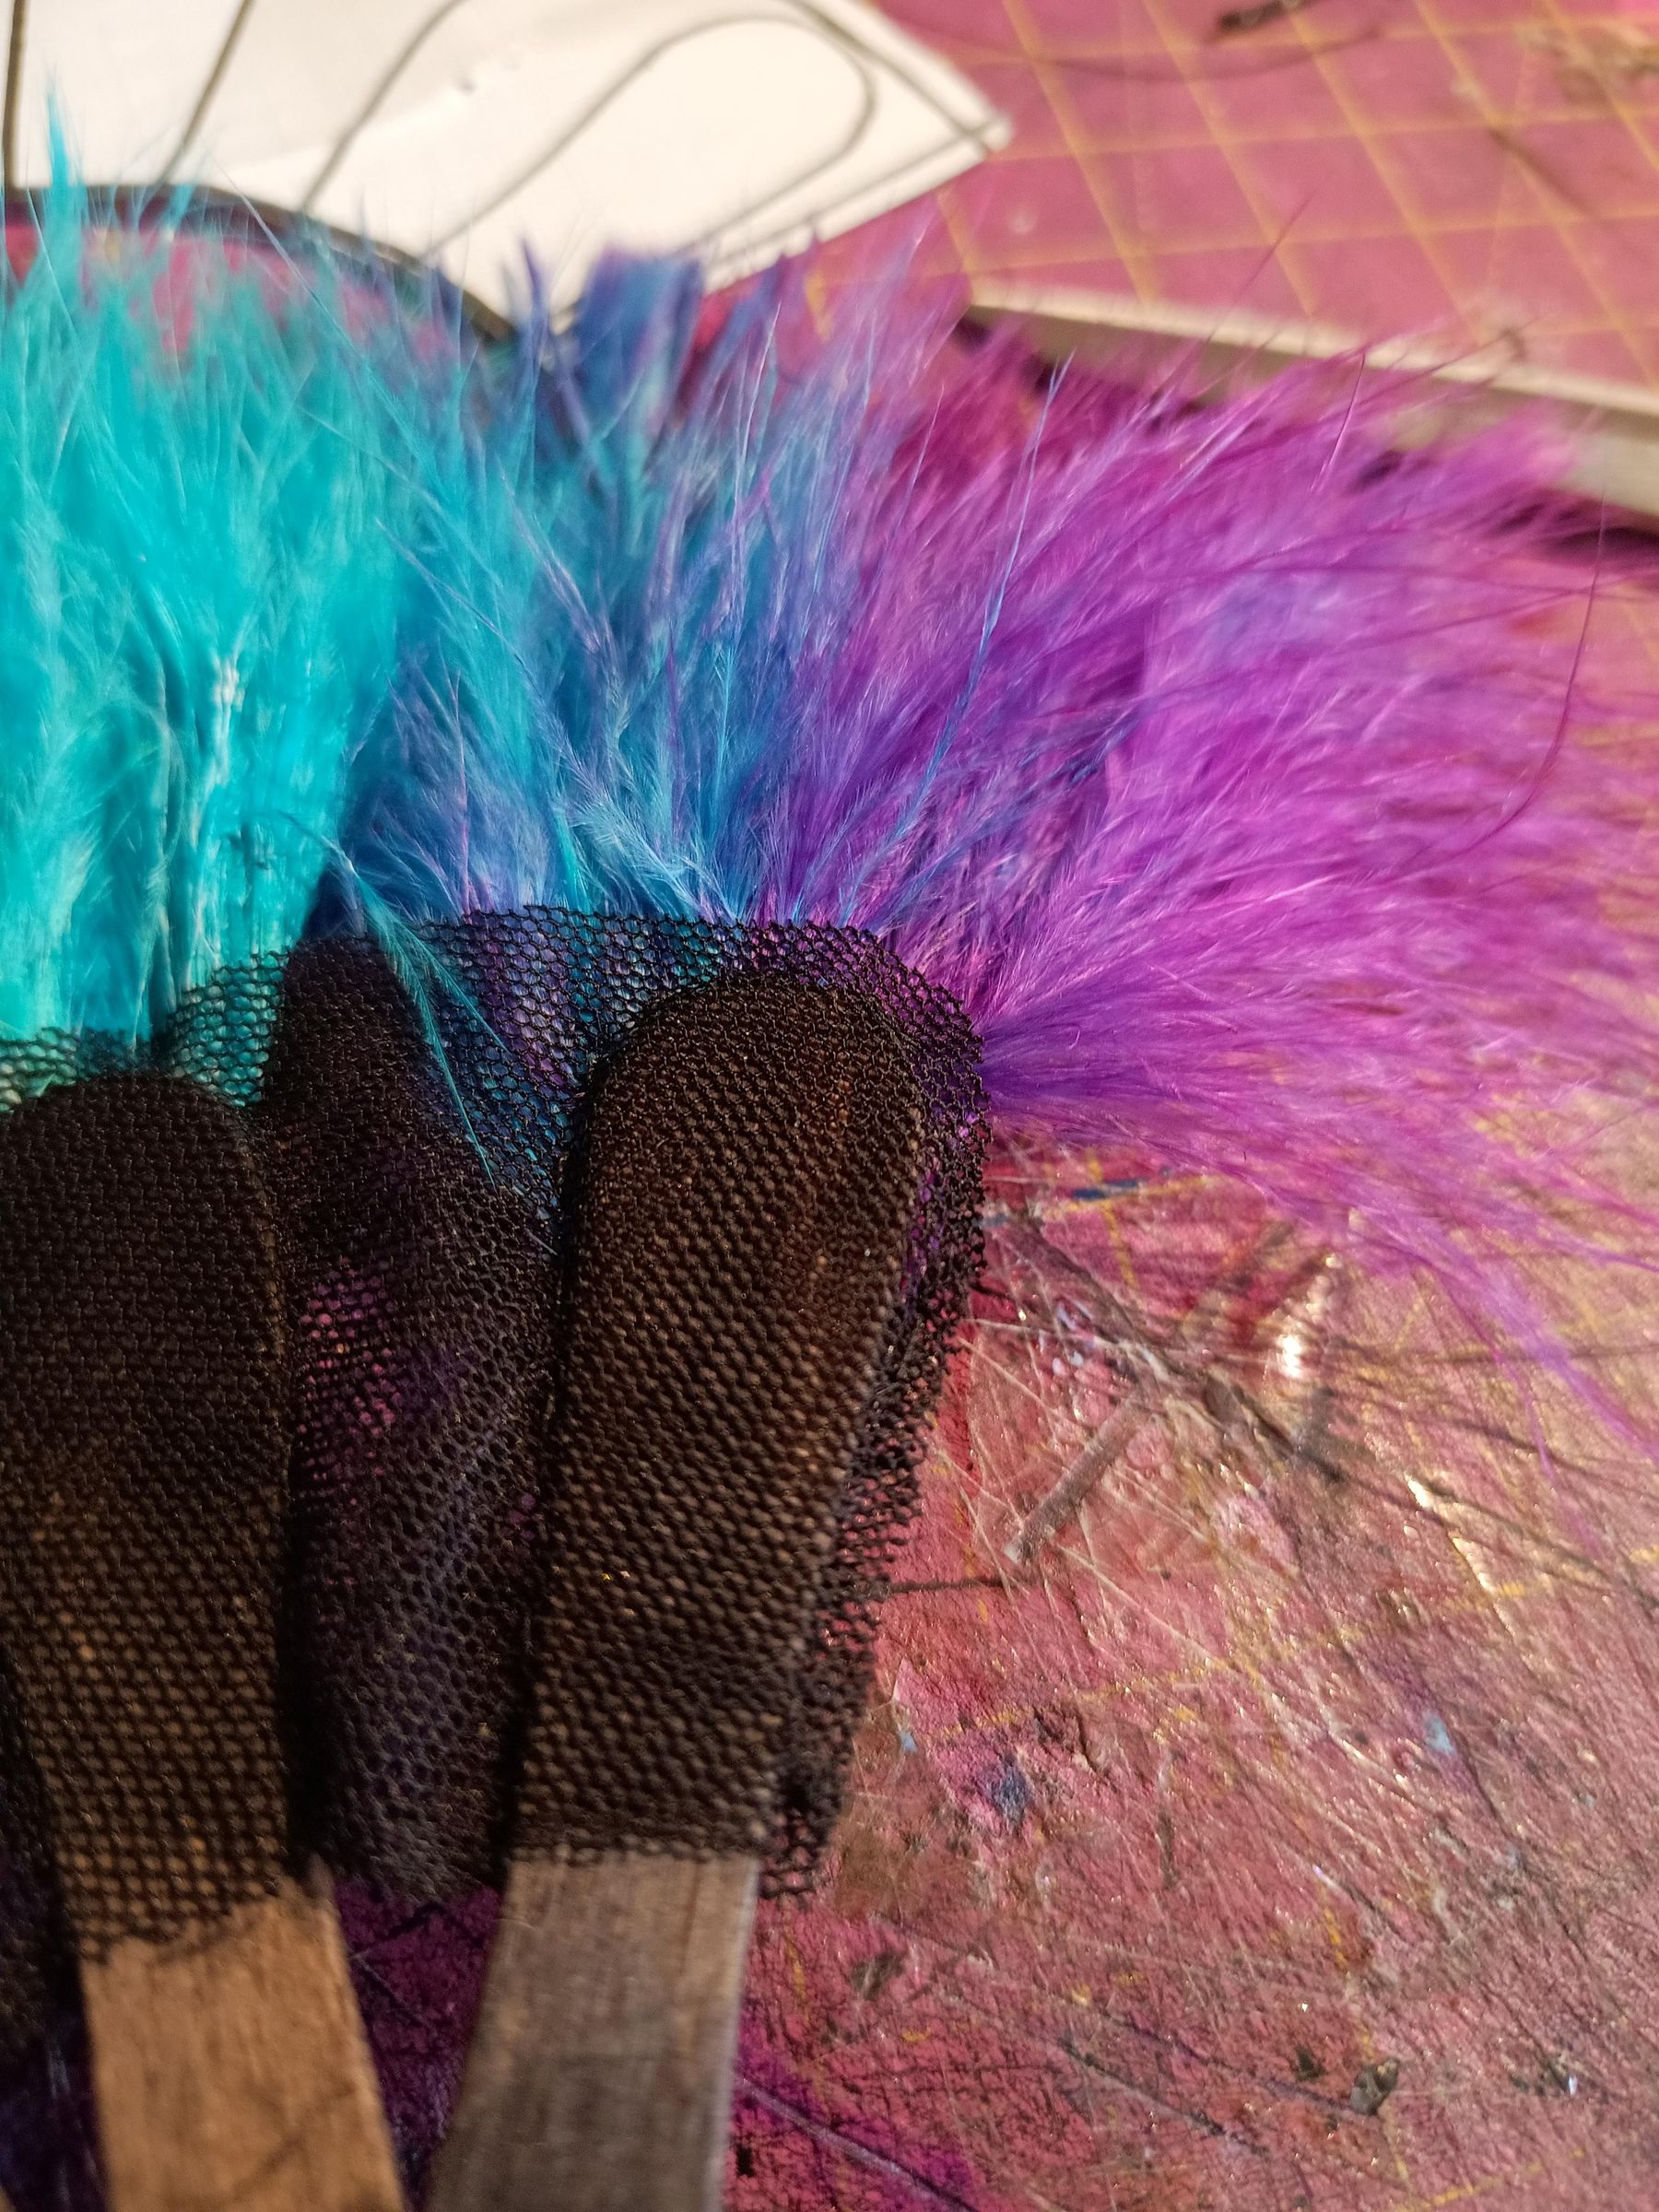
Next we very carefully trim the edges of the mesh fabric to neaten them up.
Bead
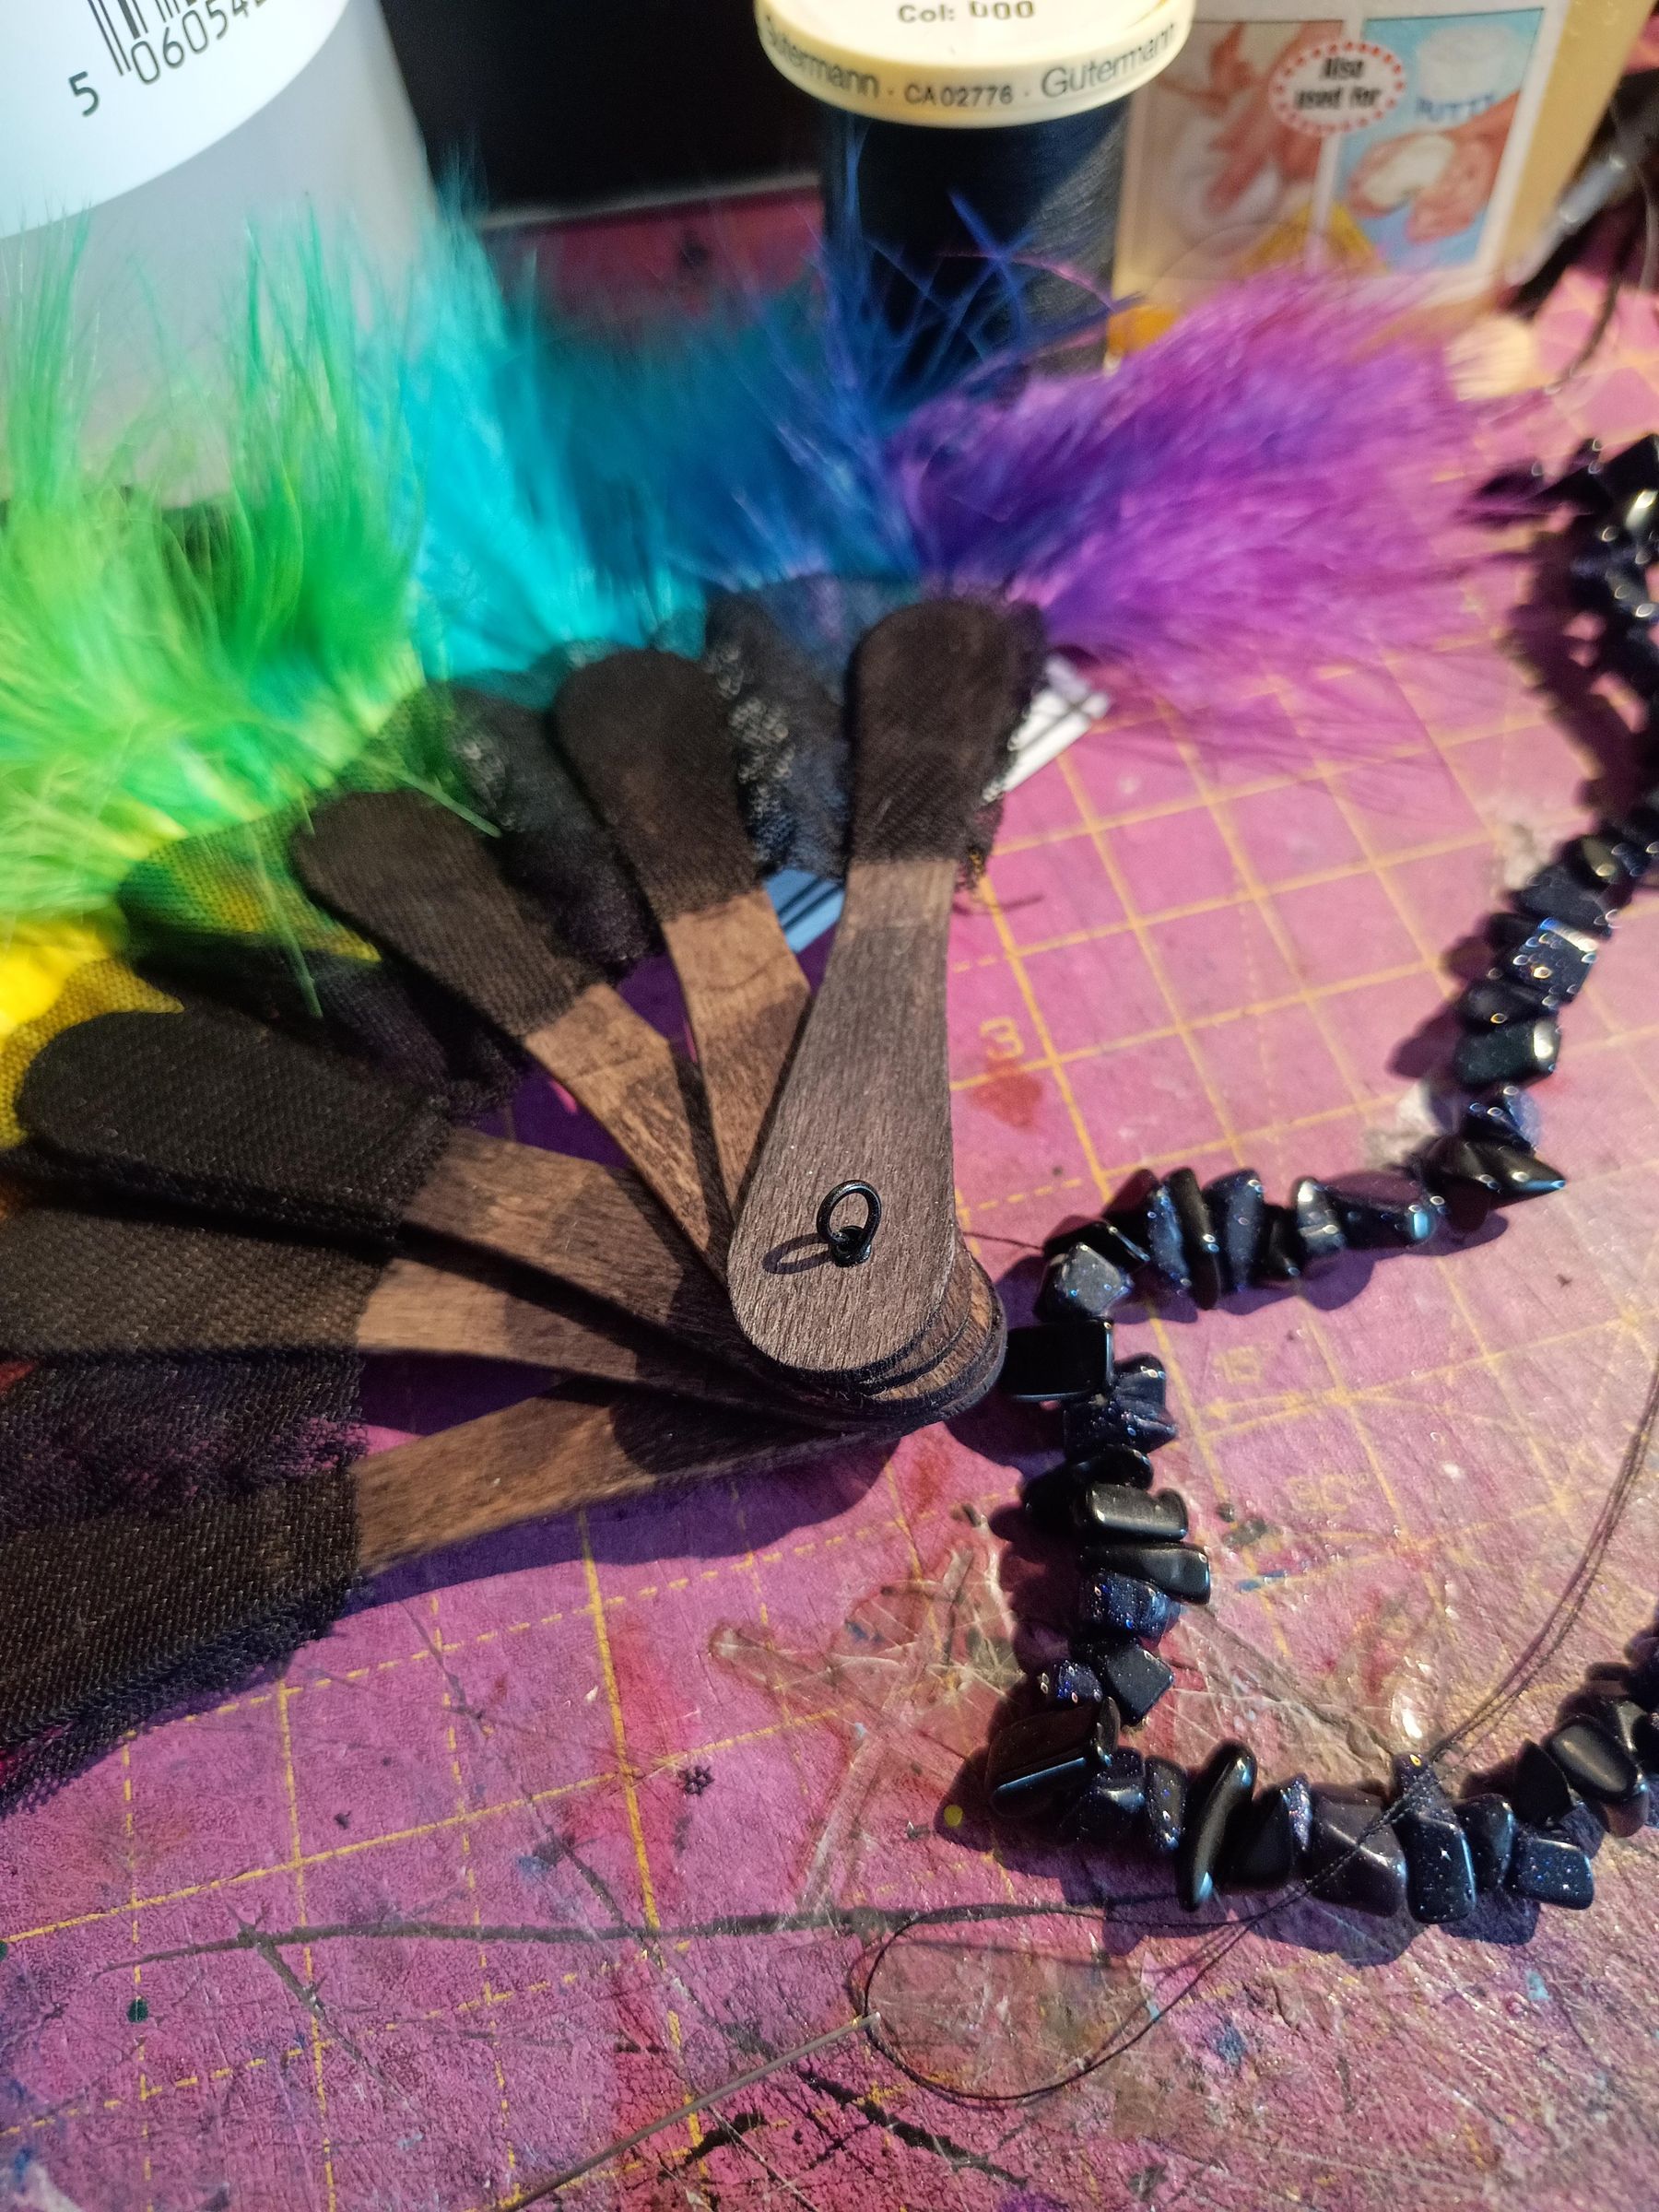
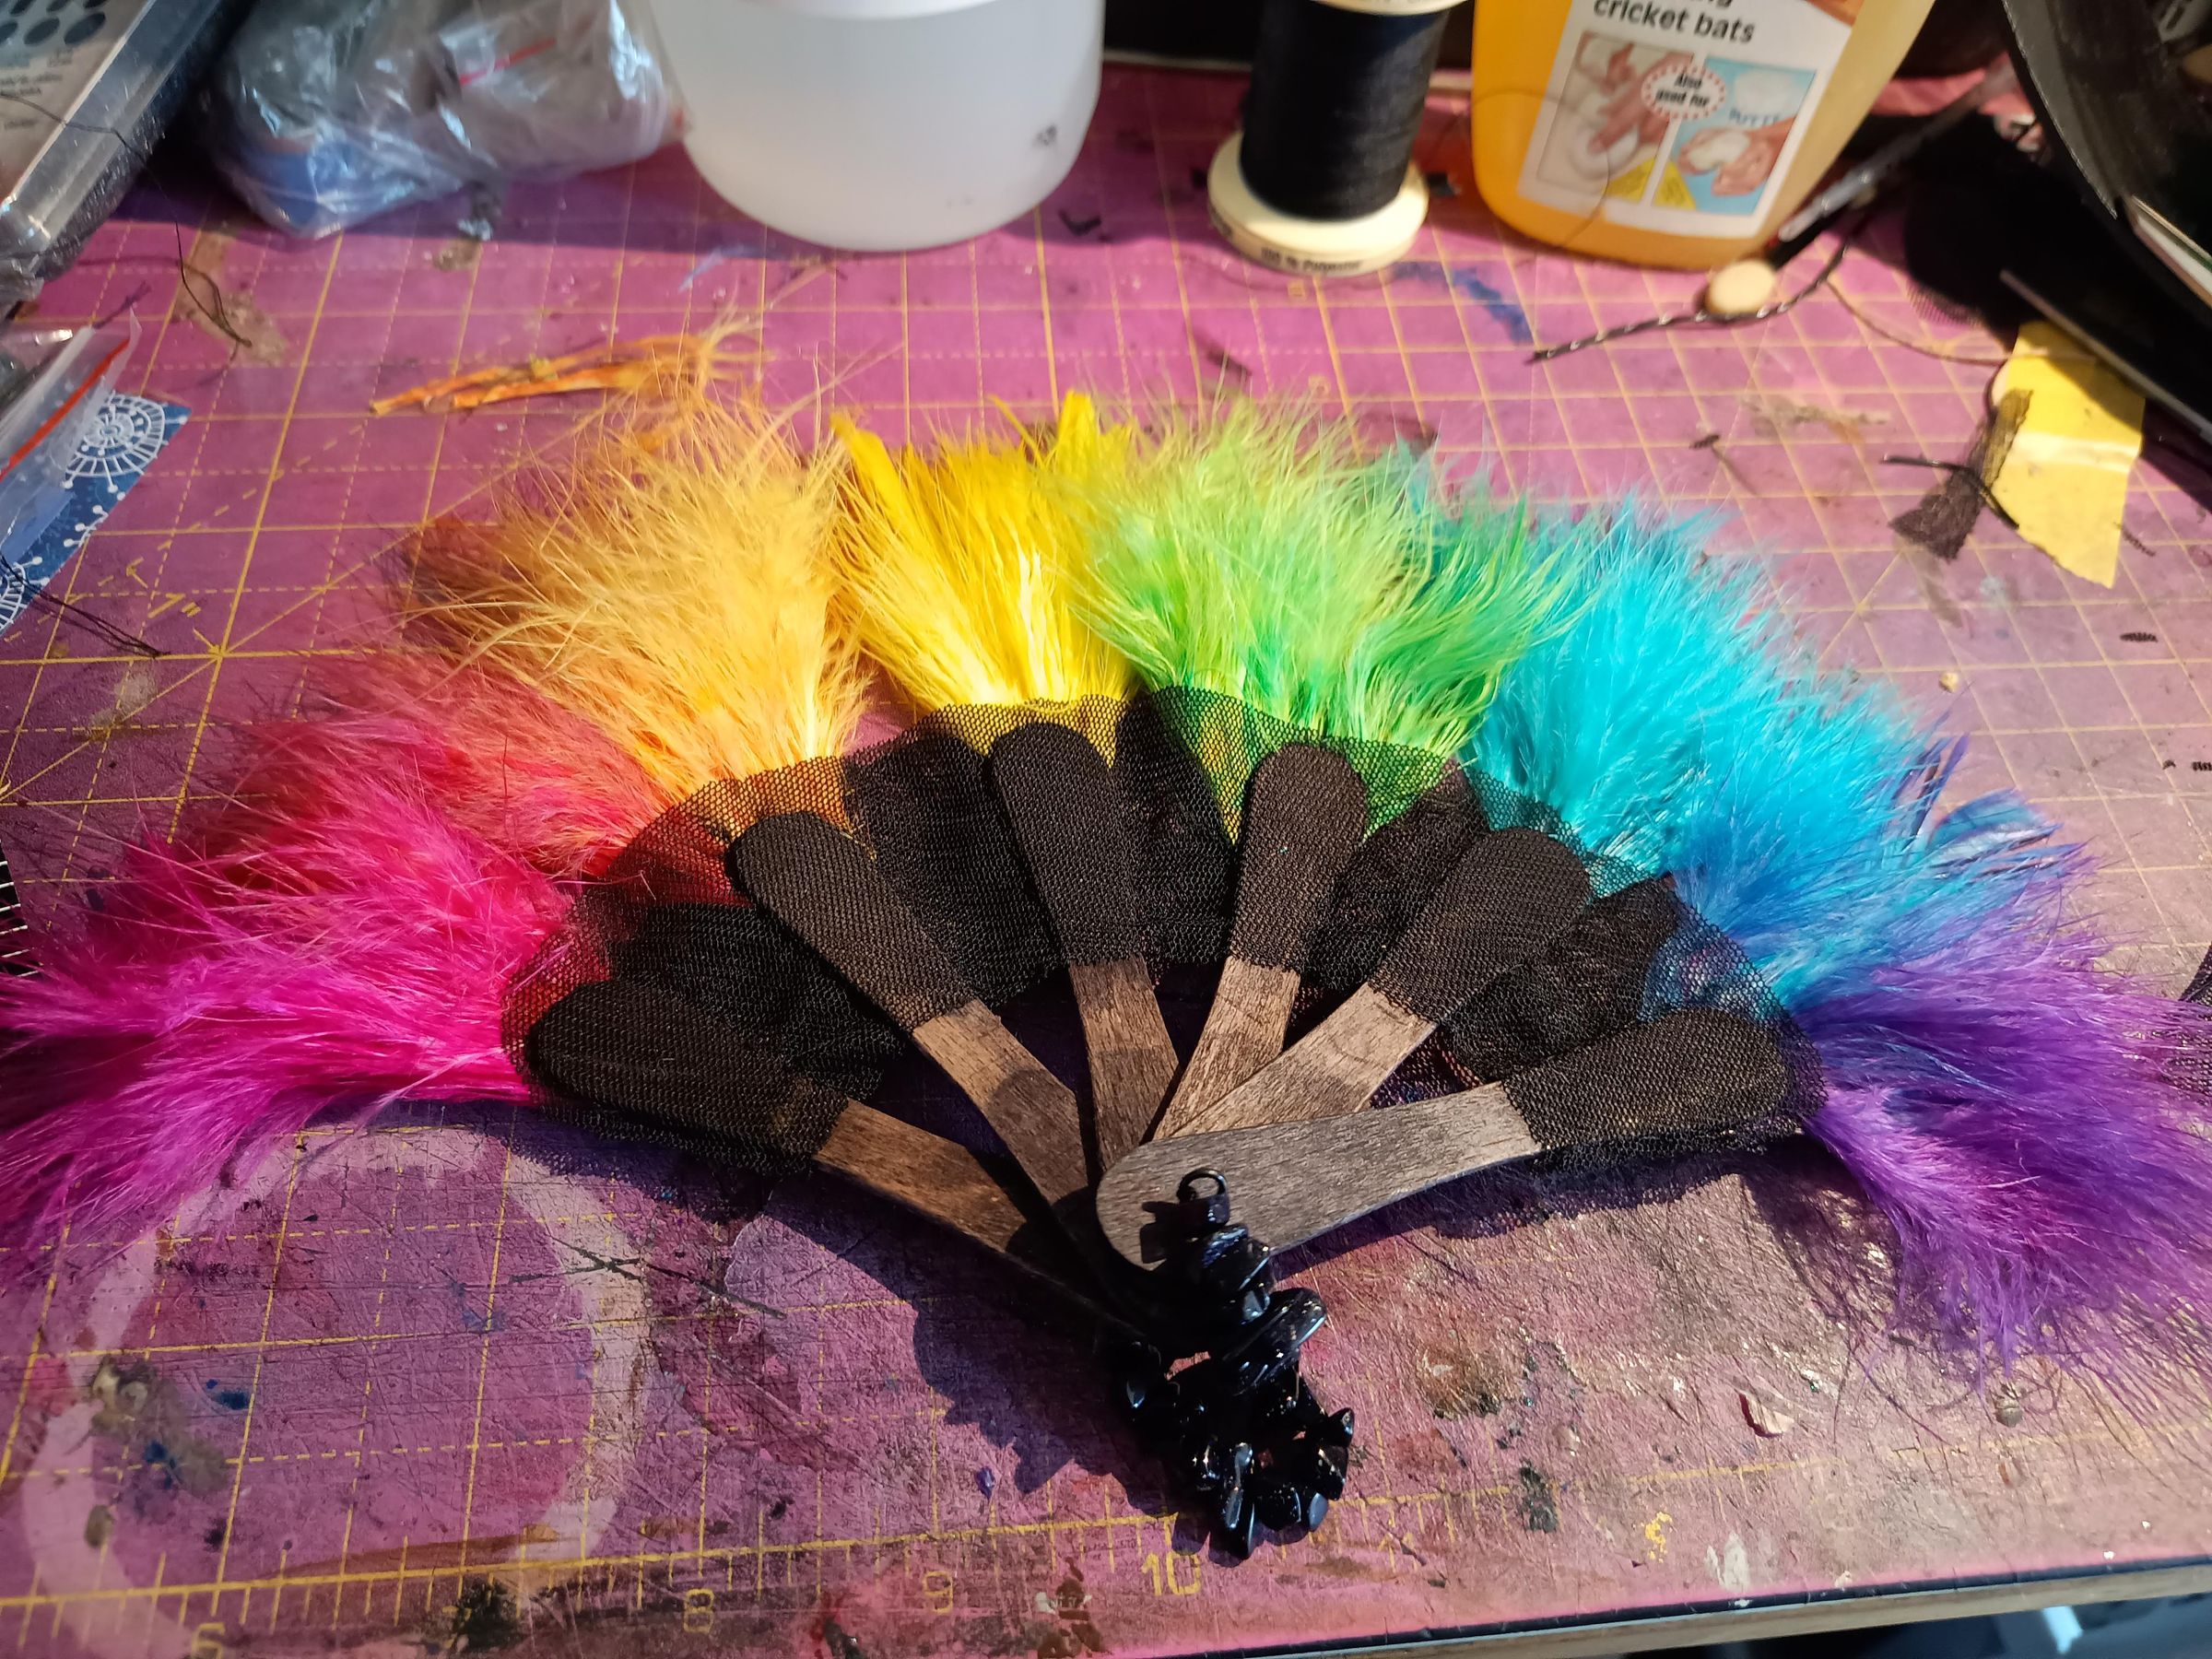
I created a hanging loop with some sparkly stone chip beads, attaching it to the wrapped loops at the ends of the staves, and running the thread back and forth to strengthen it.
Done!
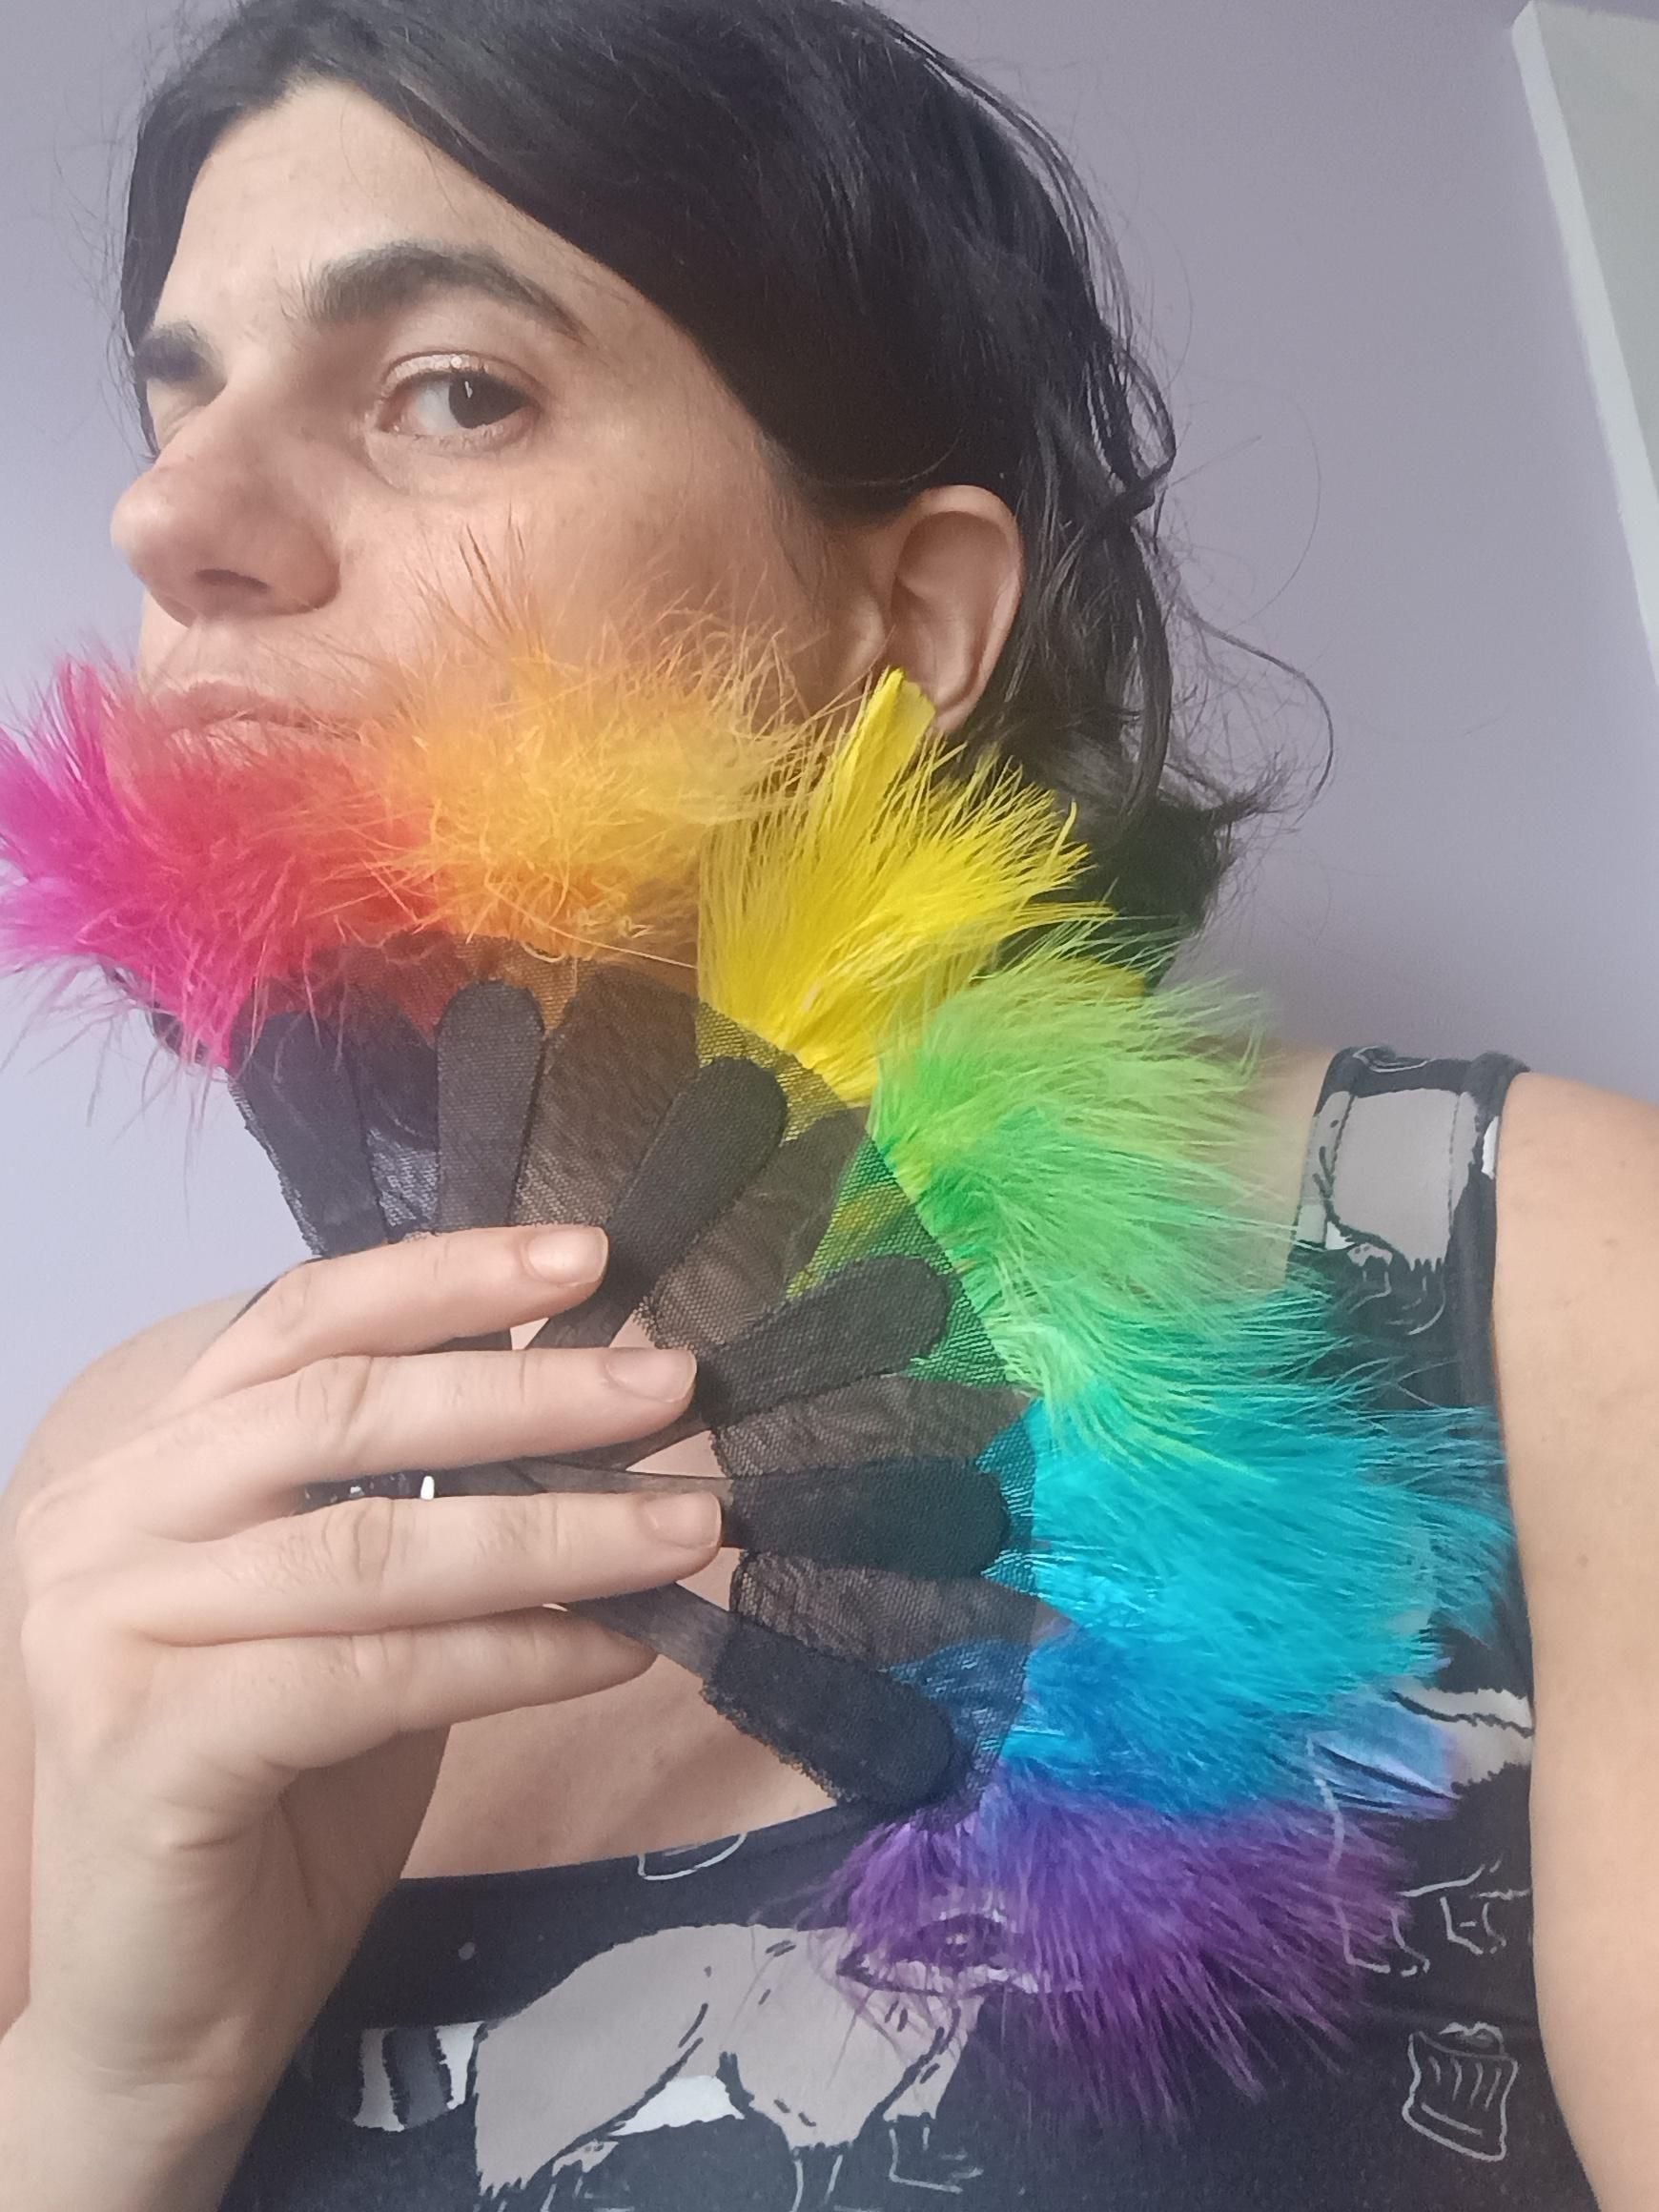
There are a few things I'll change if I make a second fan: I think I'd prefer a more solid colour for the staves, and I'm tempted to do rainbow on the reverse side that I'll stick the feathers to, and black on the front. Along with gluing the feathers onto the staves rather than sewing, this ought to make the reverse side of the fan look neater. I'll also consider a scalloped edge for the mesh fabric and try to do a neater job of cutting out.