Rainbow Pop Art Dog From Aluminum Cans
by Birdz of a Feather in Craft > Reuse
118 Views, 1 Favorites, 0 Comments
Rainbow Pop Art Dog From Aluminum Cans
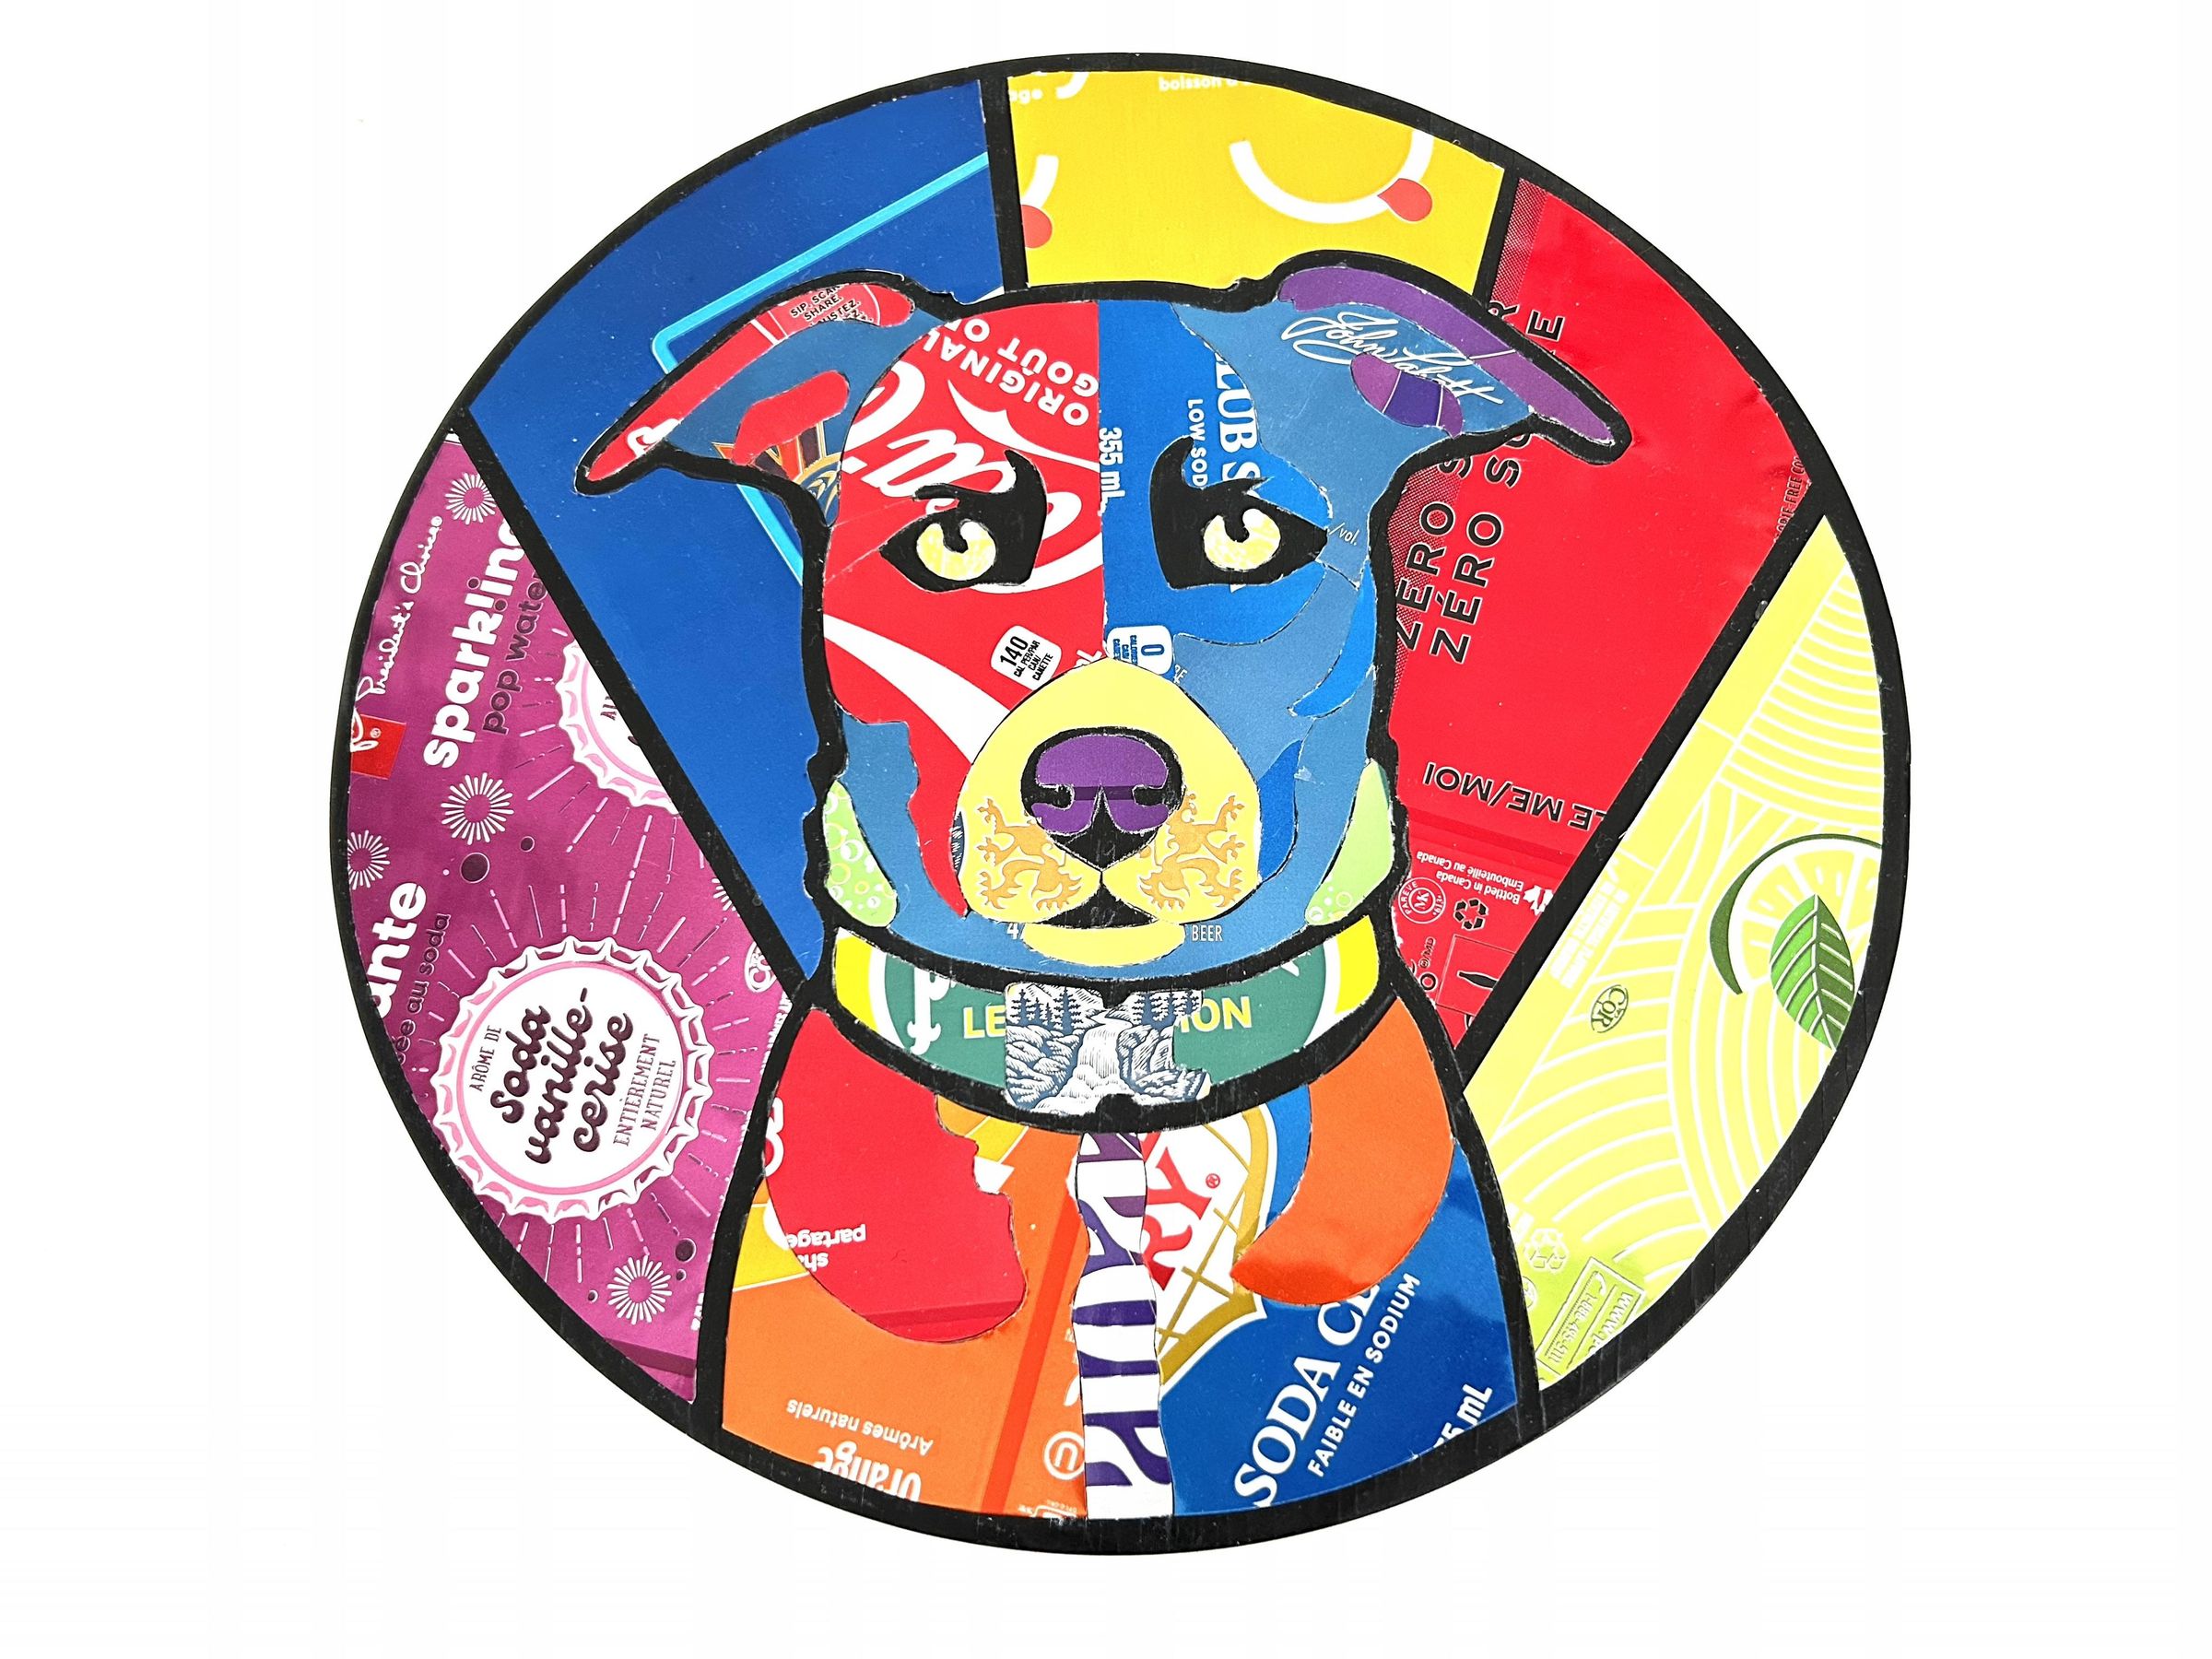
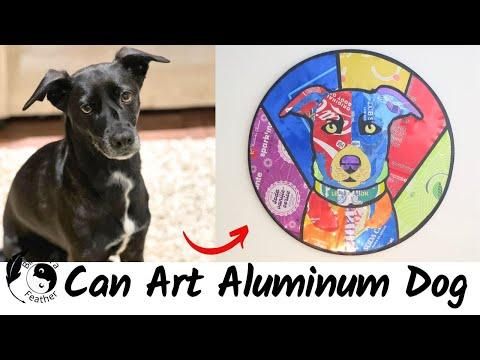
My sister’s birthday is approaching, and she’s notoriously hard to buy or craft for; but when it comes to her dog, she has a soft spot. This aluminum can pop art dog started with a handful of overlooked materials most people would pass right by.
If you’re an animal lover, or just someone who enjoys seeing ordinary materials transformed into something fun, I think you’ll enjoy this one.
Watch the video above and continue with the Instructable below.
Supplies
[If you’re looking for some of the things we used, we’ve got you covered (disclosure): The blue links in this post may be affiliate links. We earn a commission from qualifying purchases which we proudly donate to Alzheimer’s research. But don’t worry, you don’t pay a cent more! Thanks for helping to support our fundraiser!]
Can Art for a Cause
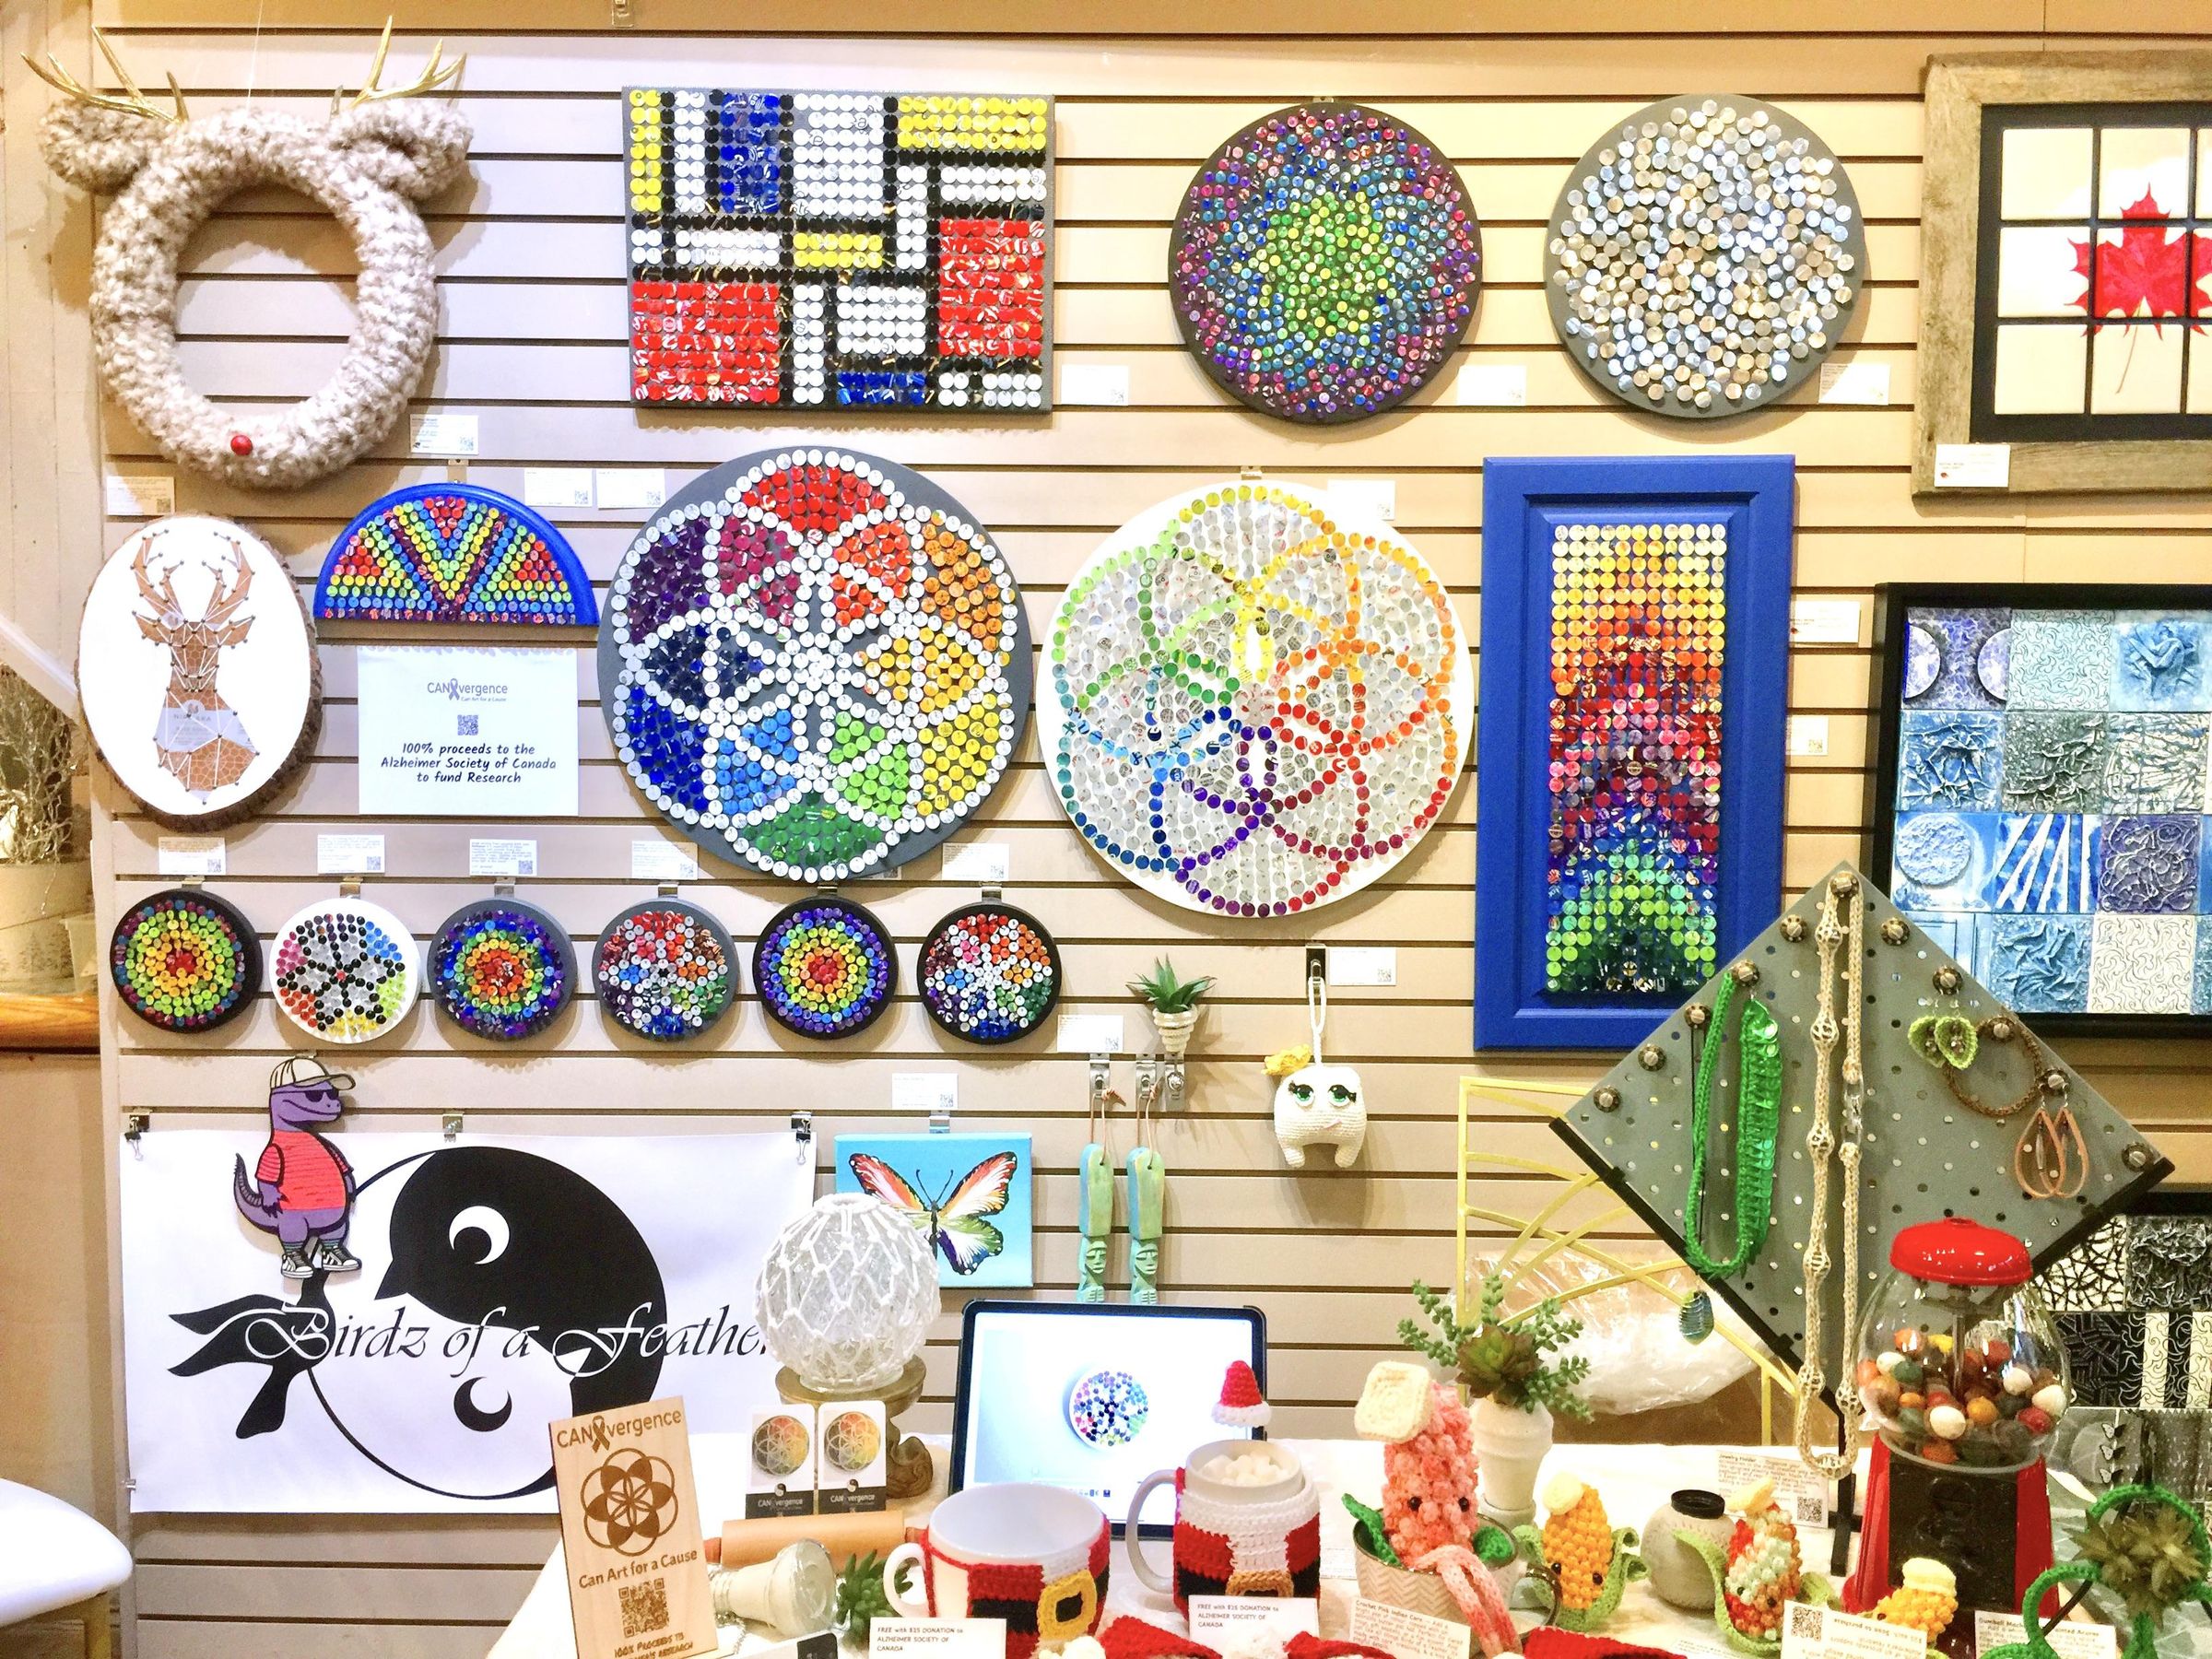
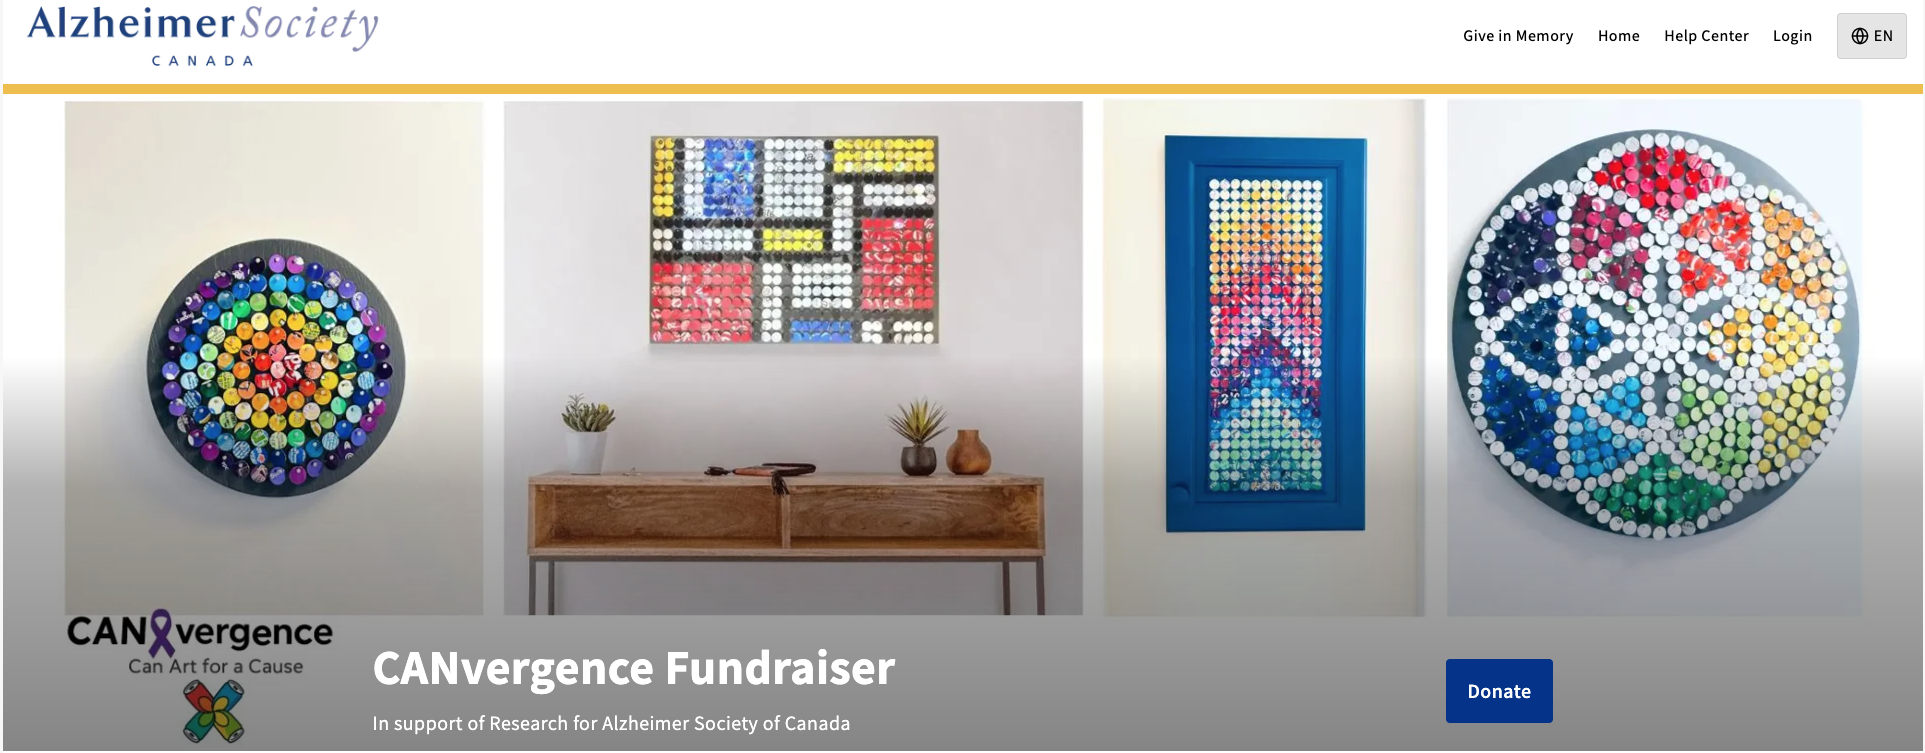
Before we get to the Instructables, I thought I would share a photo of our CANvergence® display at a local art gallery holiday market last November; it's bursting with rainbow colours.
If you missed our previous post, best upcycling projects of the year, you’ll see we had our best fundraising year yet! Over the last five years, since starting our fundraiser with our Crochet for Cure Crochet Pillow Cover, we’ve raised $18,225 for Alzheimer’s research. We’re looking forward to exceeding the $20K mark this year!
This pop art dog is a big part of that initiative. Not only do we make CANvergence® artwork to fundraise for Alzheimer's, but we we proudly donate 100% of all earnings from funnels like our blog, YouTube channel, and even winnings from Instructables contests, to the Alzheimer Society. Our efforts honour both our moms, a friend barely in her 50's lost to early-onset Alzheimer’s, and the caregivers who supported them.
On to the 'Ible:
Pop Art Dog Subject

My sister’s dog Britney is a dog with strong cat energy. She’s elusive, independent, and not easily impressed; come to think of it, not entirely unlike my sister herself!
I previously featured Britney in this adorable string art dog, but as far as I know, my sister has yet to hang it. Let’s see if we can impress them both with this pop art aluminum can dog – AND get it up on the wall!
Chose and Break Down Cans
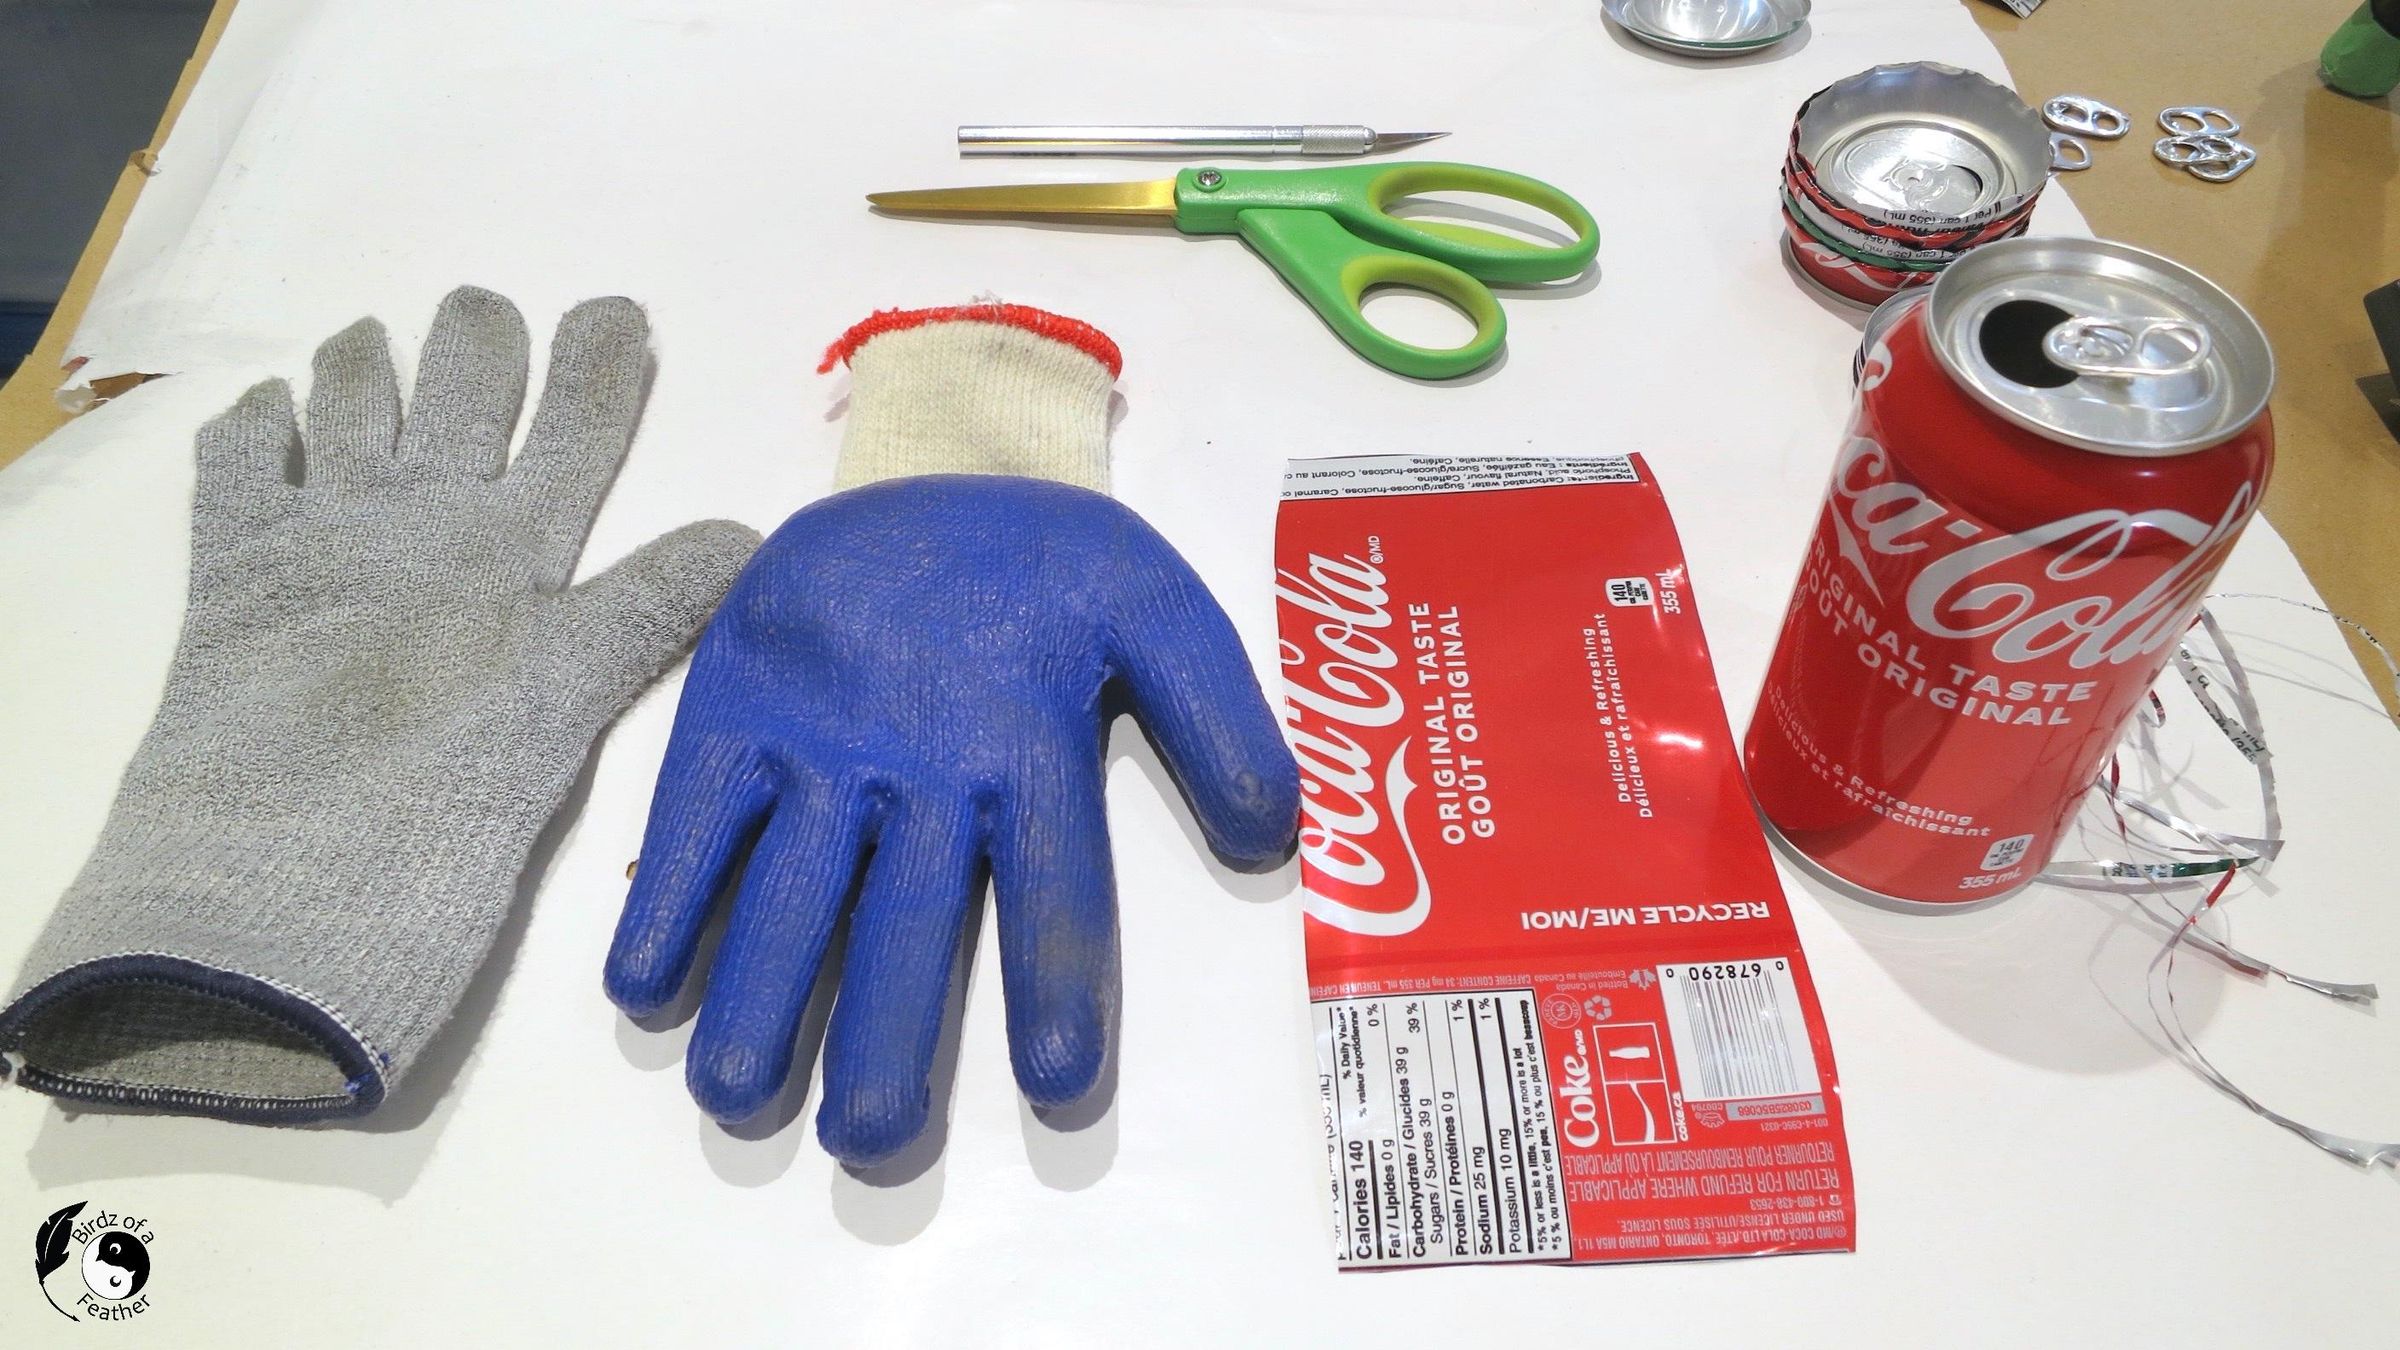
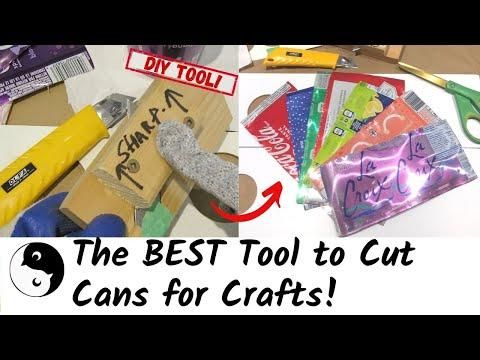
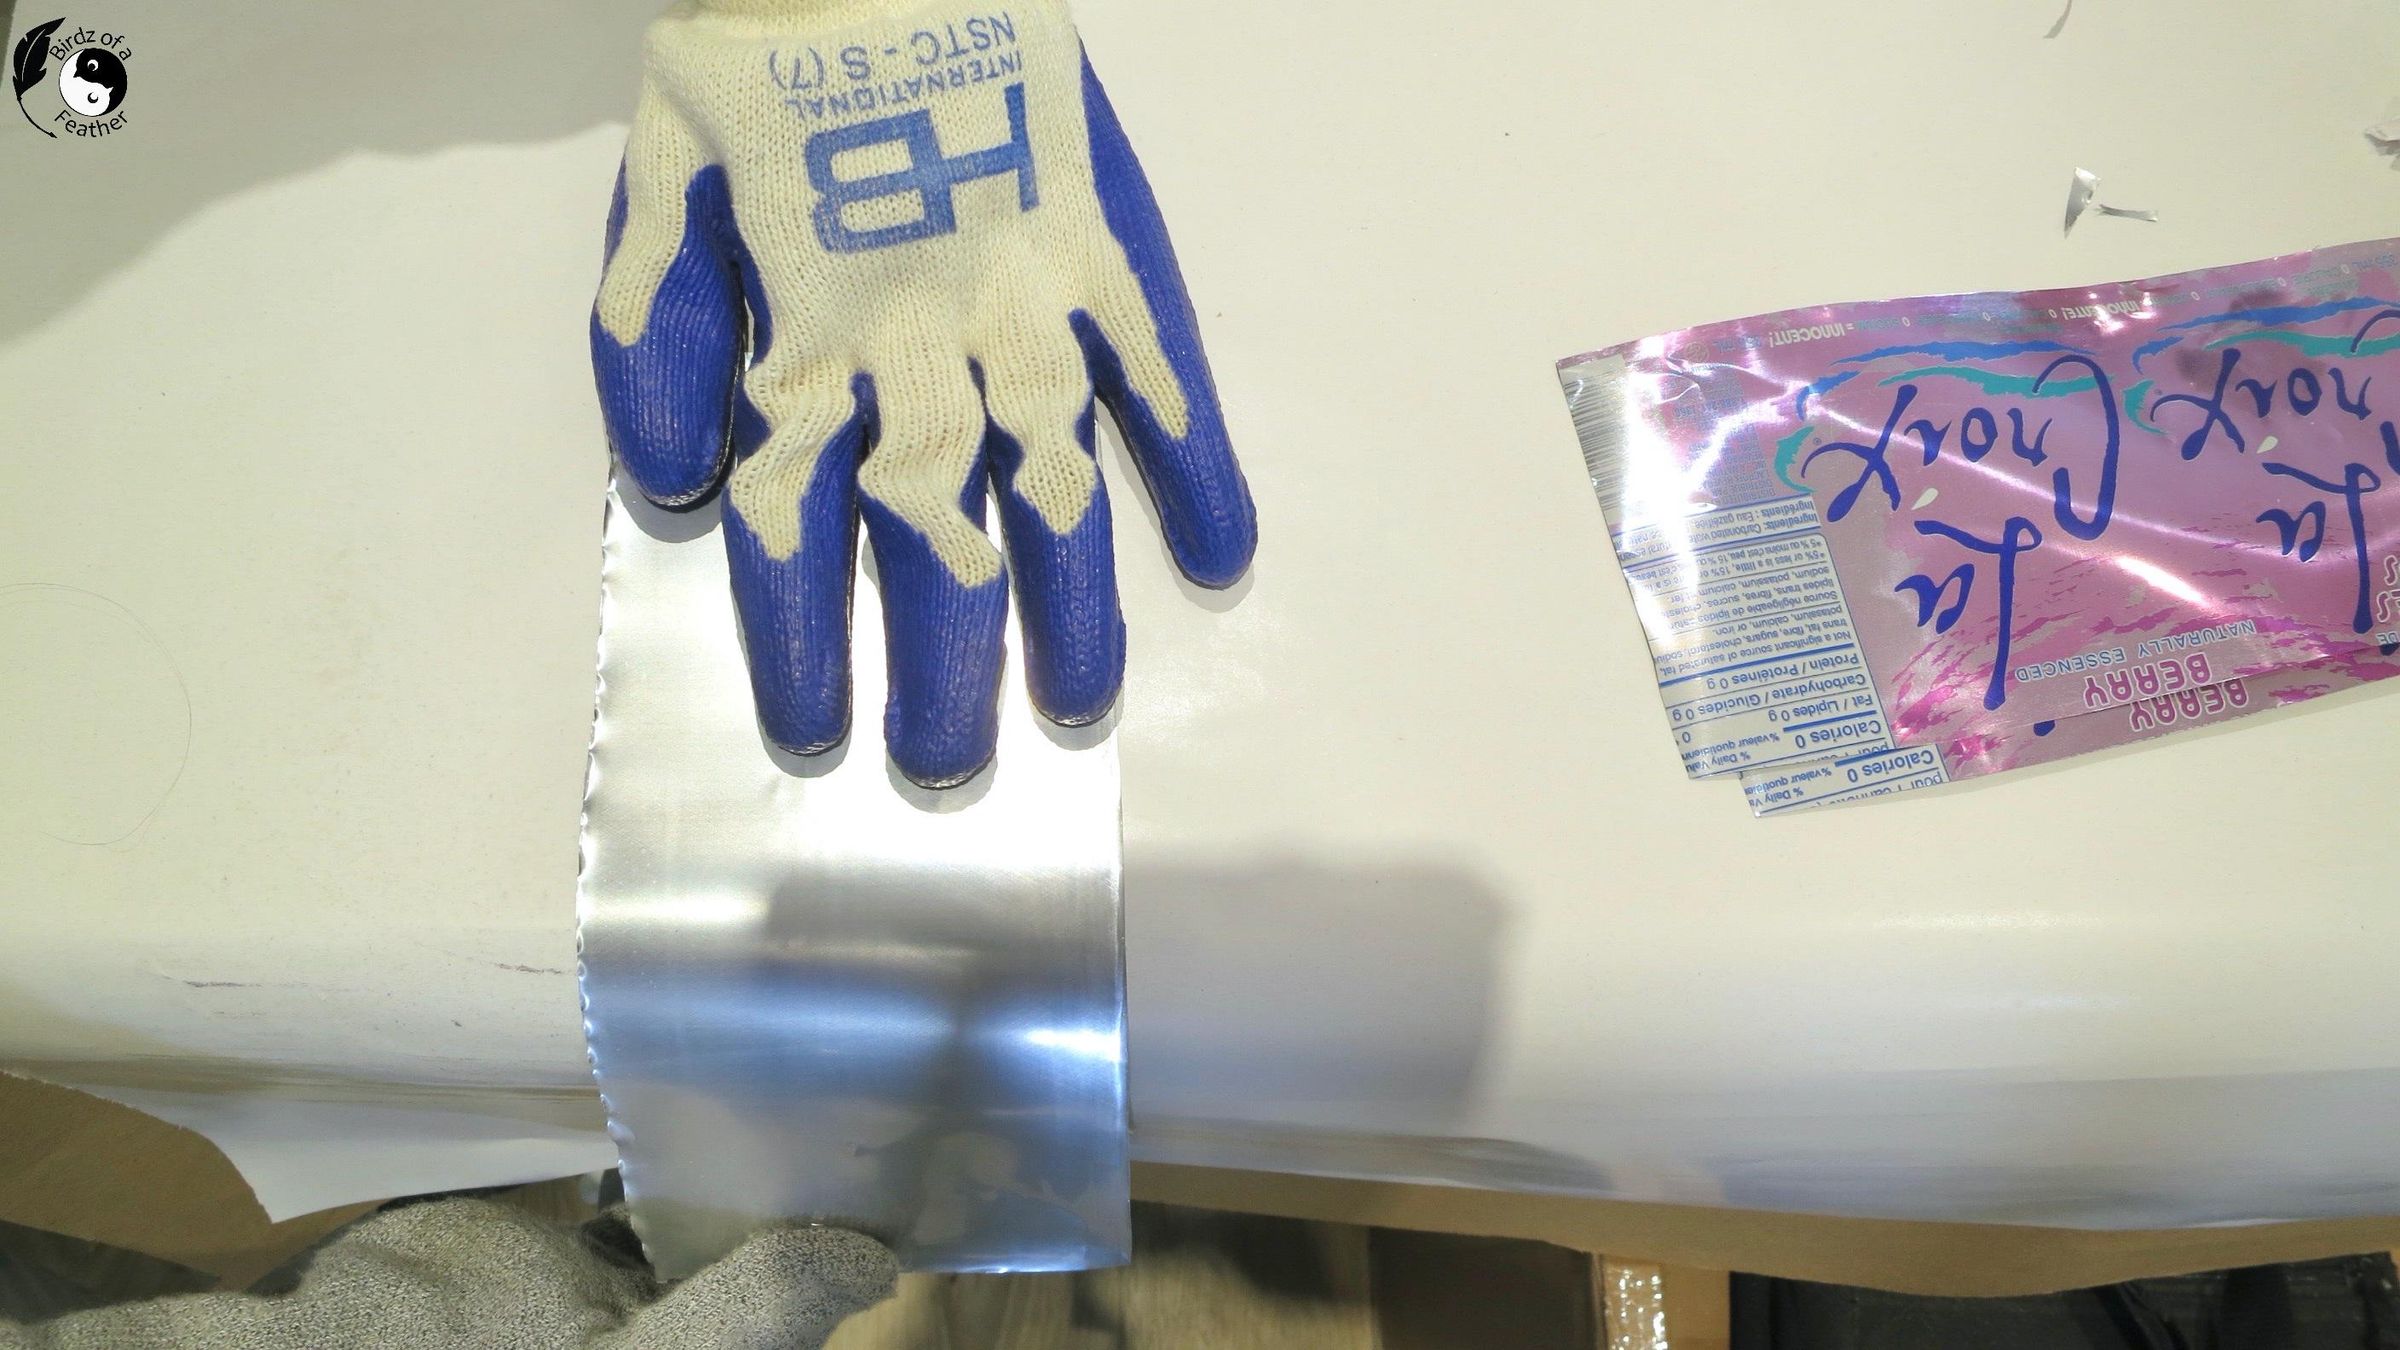
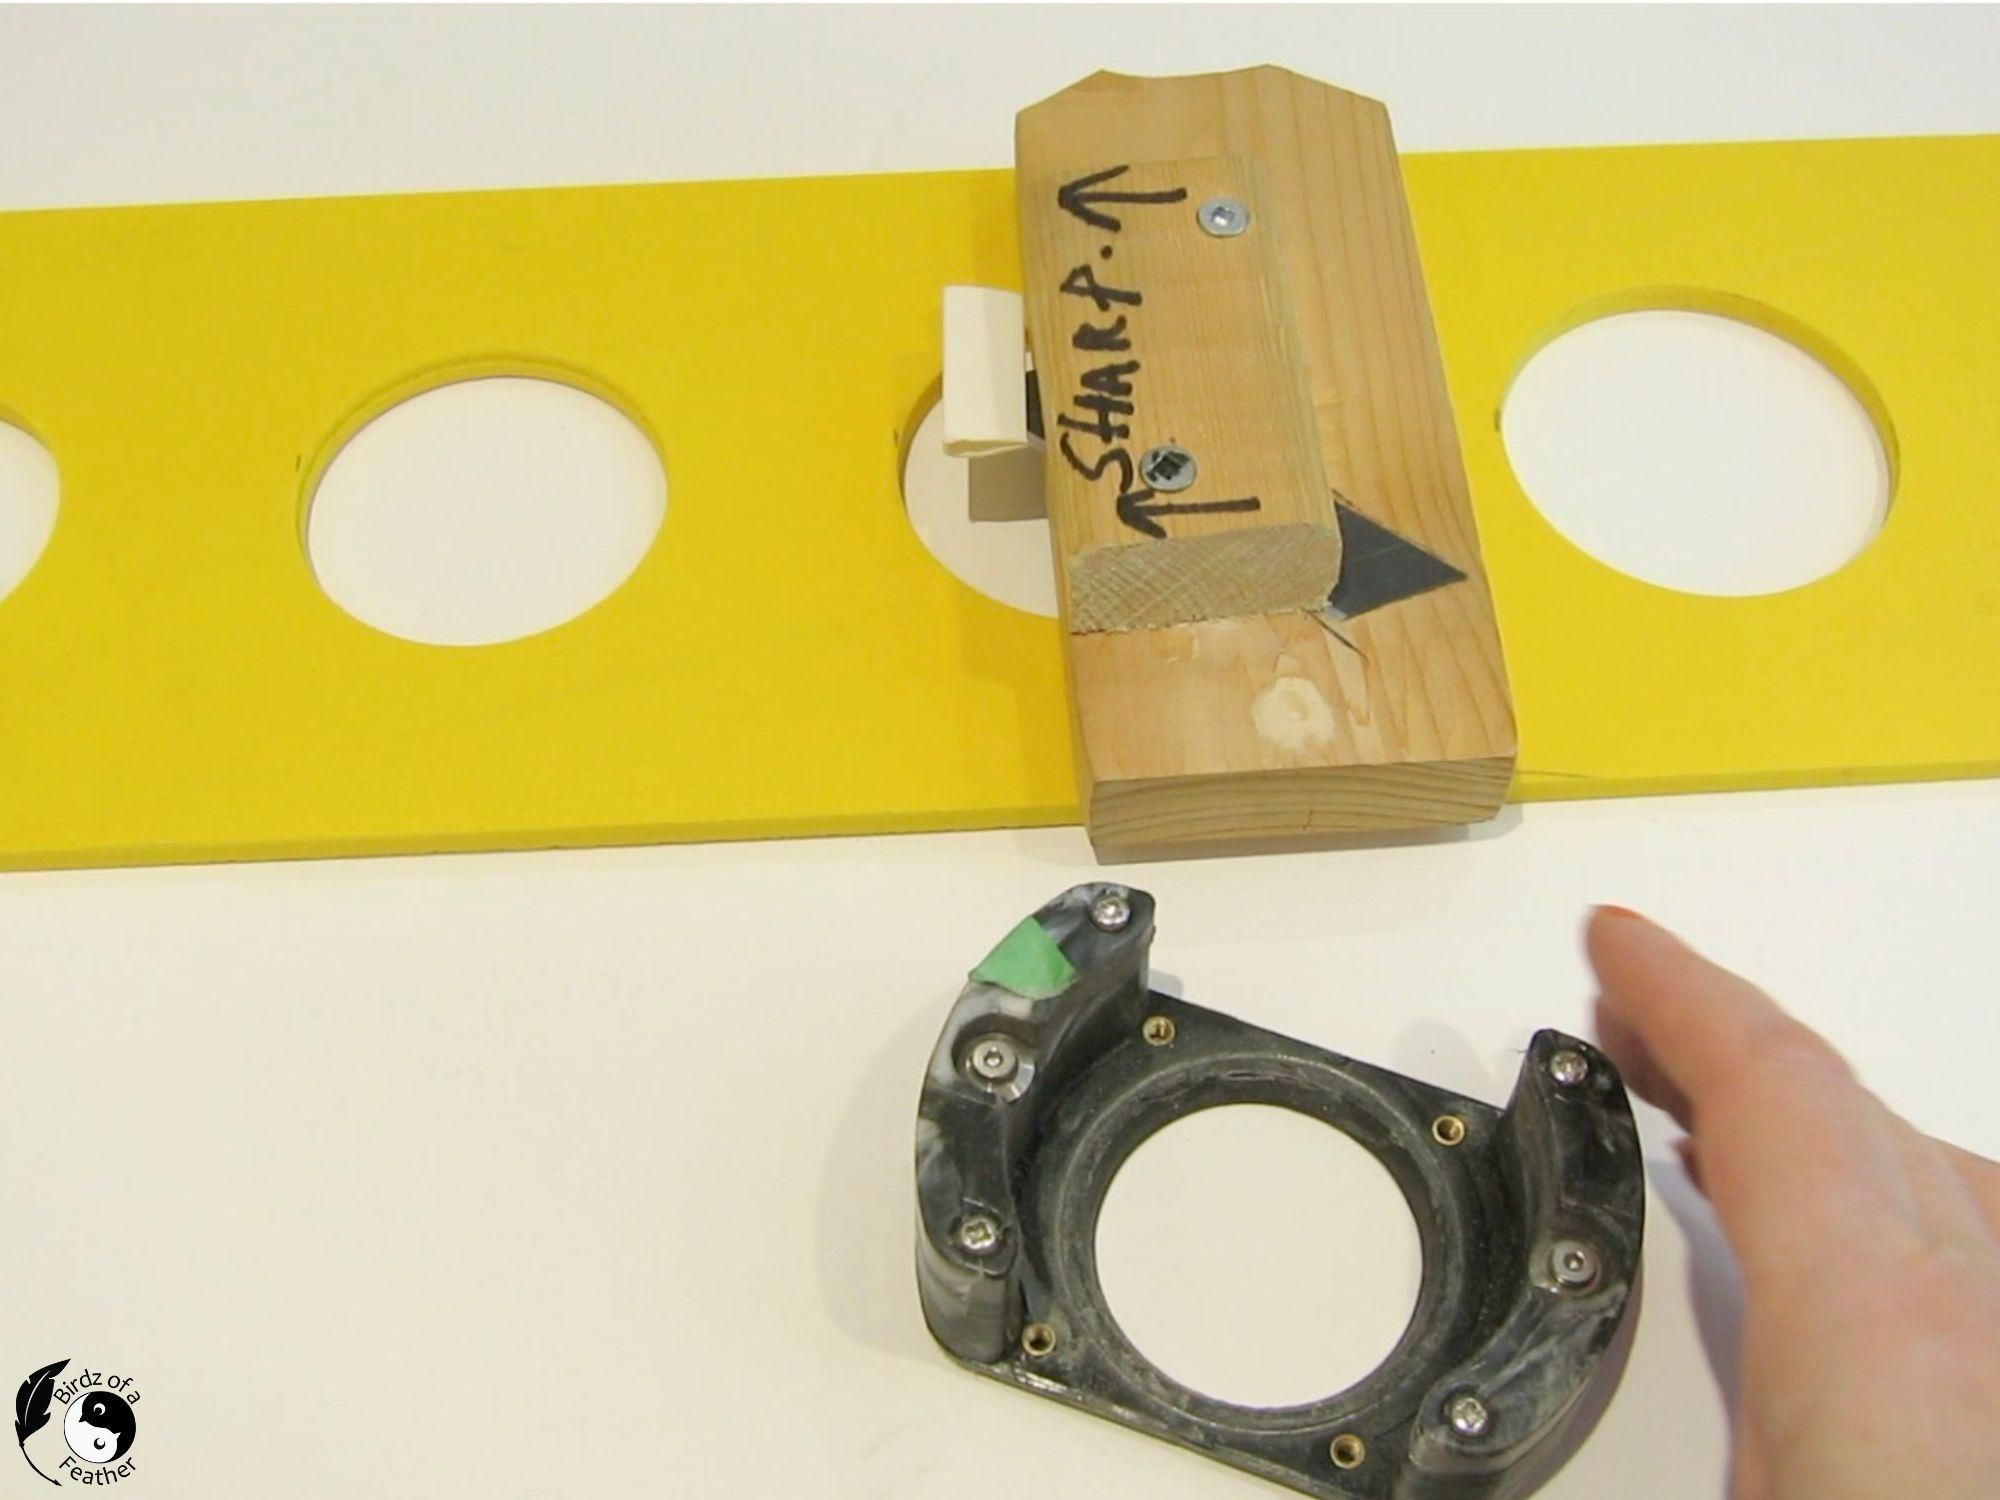
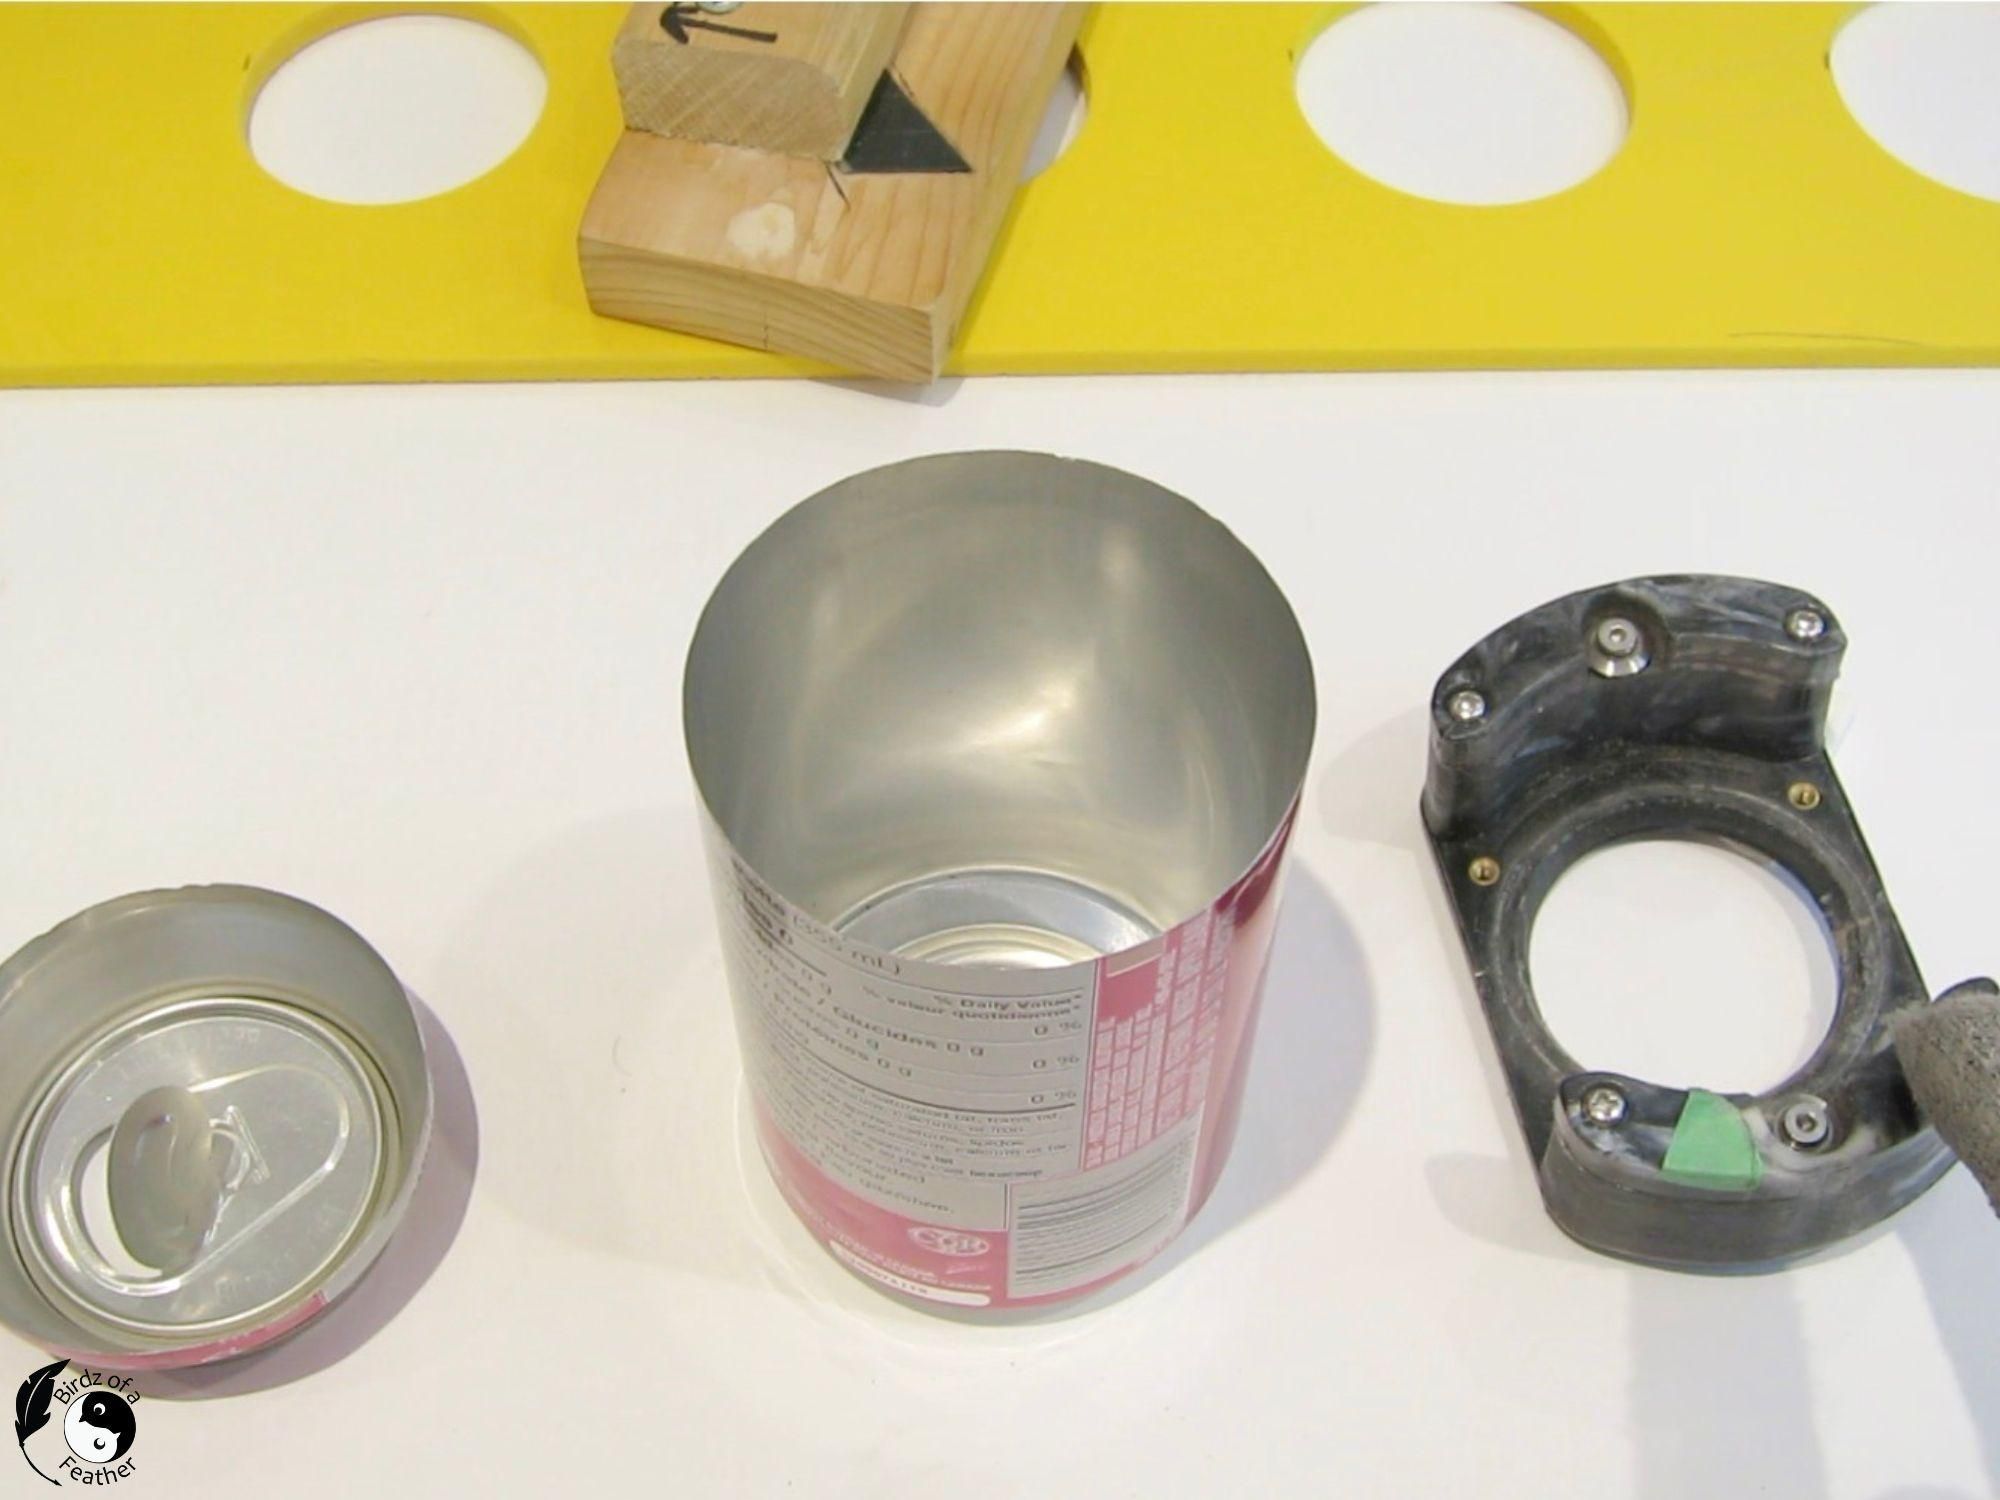
Start by collecting colourful drink cans. For this project, I’m taking inspiration from the rainbow: red, orange, yellow, green, blue and violet. Give them a good clean, then break them down. Watch the video above on how to break down aluminum cans for crafting. You’ll see that we even designed our own tool to speed up and simplify the process. If you'd like to make your own can cutting tool, see our post on how to cut tin cans. When you subscribe to our blog, you'll get access to download our free template to make your own!
Safety First
The edges of cut metal can be sharp so handle each piece carefully. I wear gloves when breaking down the cans. Plus, I also ALWAYS wear goggles to protect my eyes and highly suggest that you do too.
Flatten the Cans
The gloves also come in handy for flattening the cans. Once cut, I roll each can over the edge of a table to flatten them. The rubberized gloves gives me some grip as I roll, while the cut resistant glove protects my other hand from sharp edges. By the way, I like to save and use every part of the can! See how to make an eyeglass holder using the pull tabs.
Drawing the Pop Art Dog
Draw your Pop Art Dog
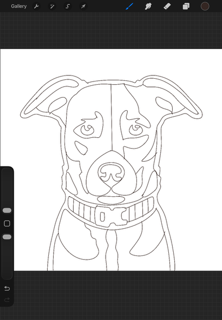
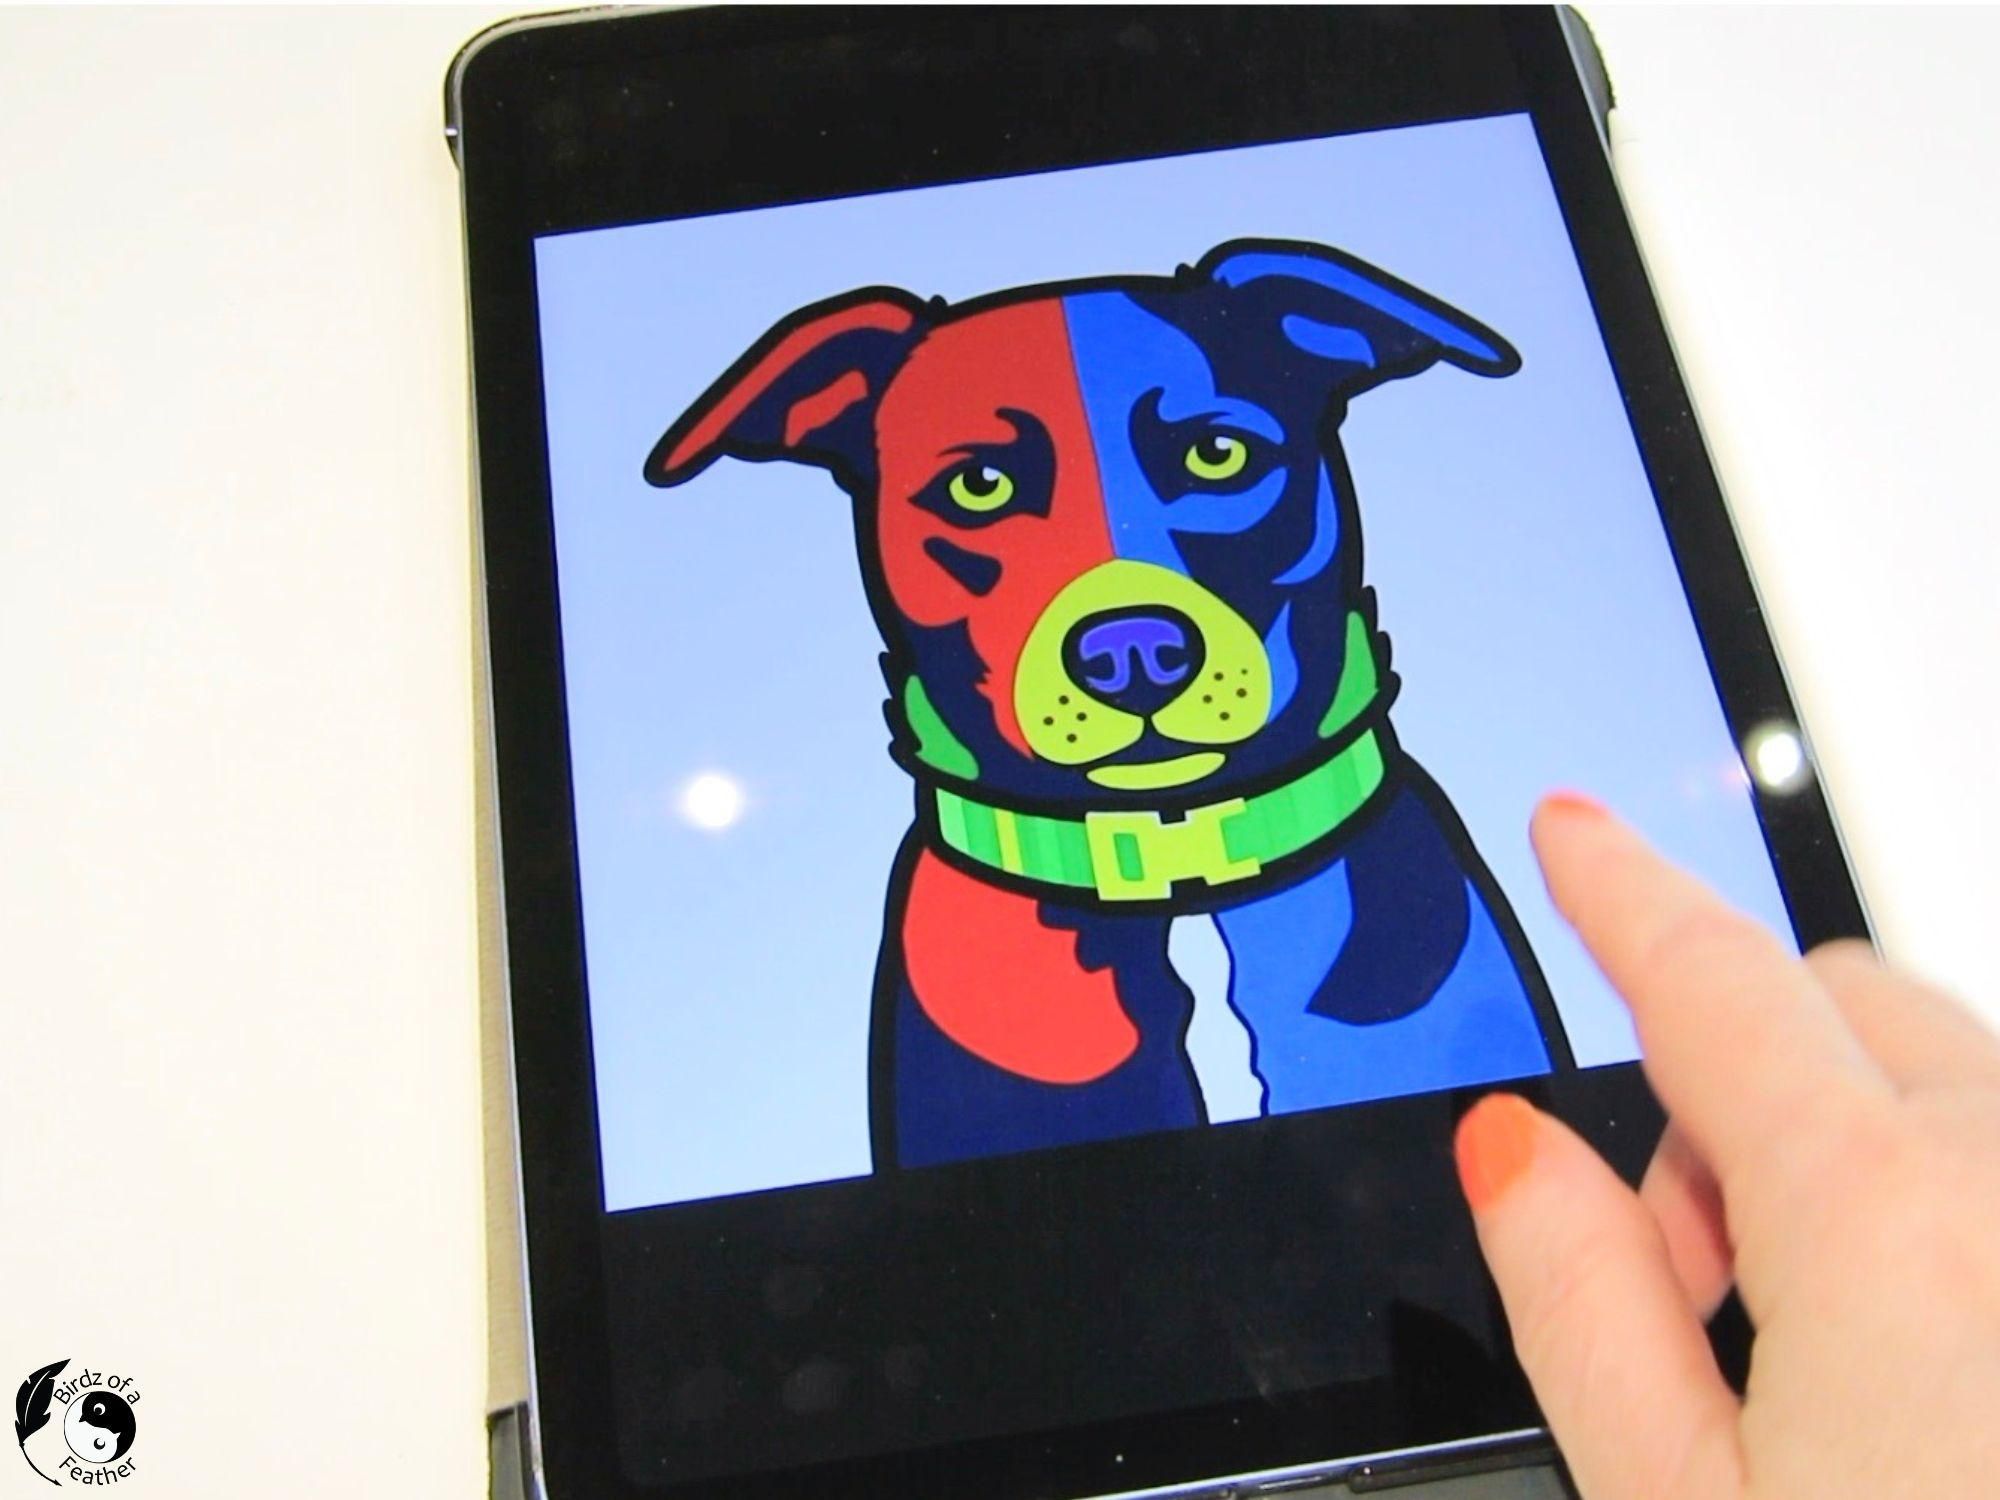
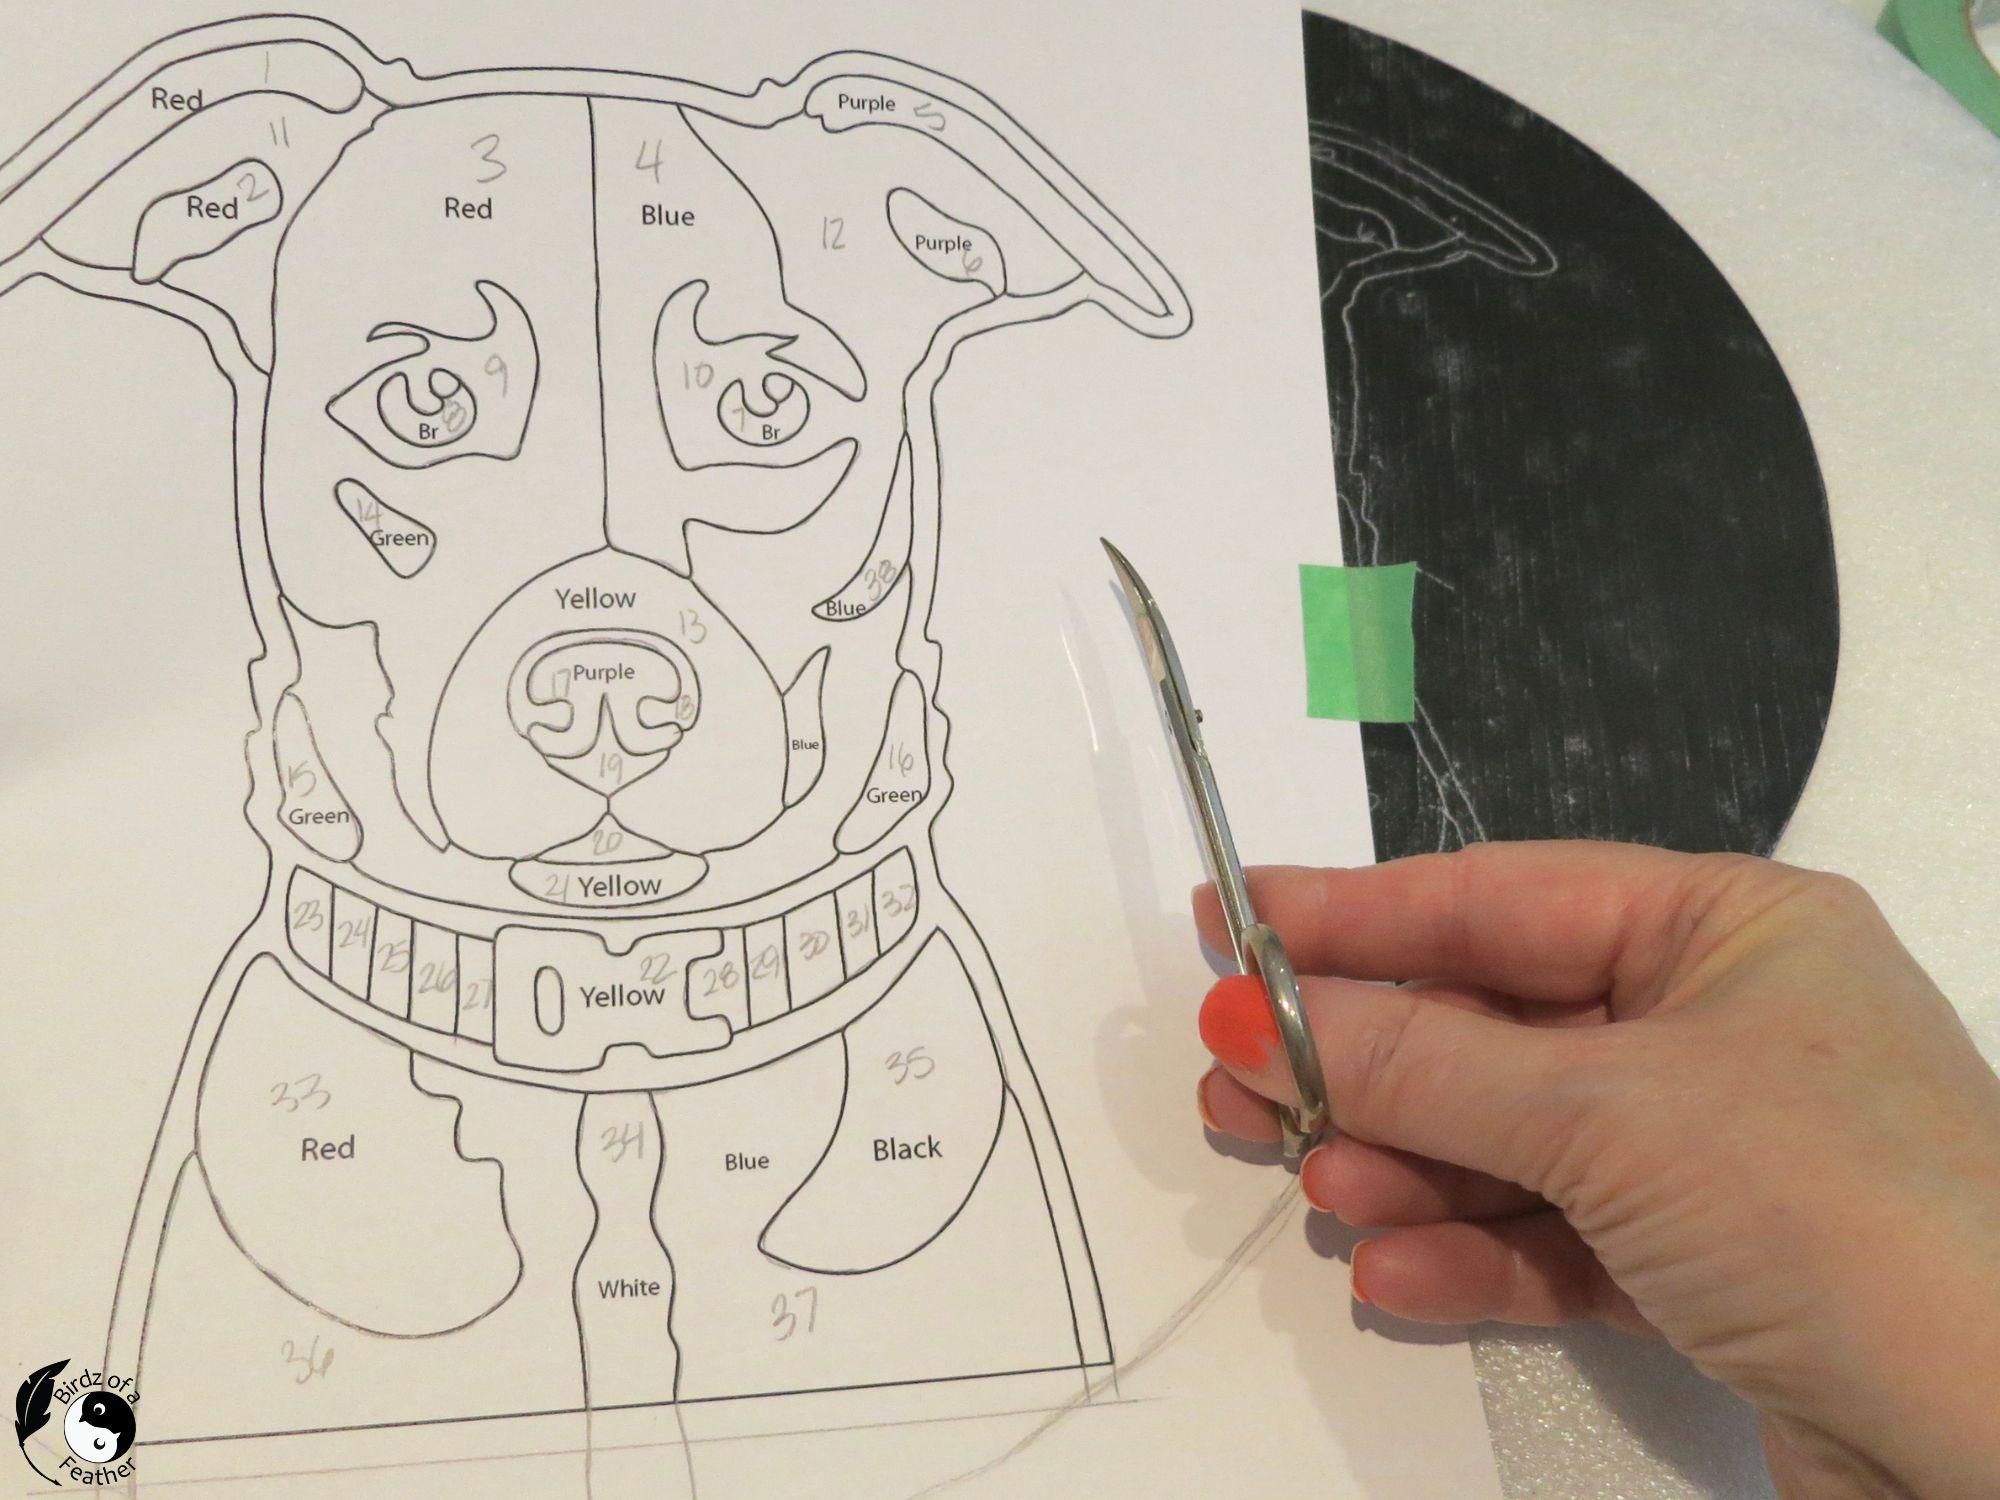
To draw your pop art pet portrait, it's best to take a close up head shot of your pet. Import the picture into a program like Procreate for the iPad; create another layer and then trace the outline. Further break down the areas within the outline to create a pop art feel, as you see in the first picture. You'll notice I left an outline around the dog; that's so the black background will show though in the finished portrait.
Once you have your drawing, it’s easy to make another layer and colour it so you have a guide when choosing the aluminum cans. Of course, it’s just a guide; I tend to deviate as the mood strikes!
This part is optional, but I bring just the line art drawing into Inkscape to centerline trace it and turn it into an SVG. More about vectorizing artwork in Inkscape in this tissue box cover post. Again, you only don’t have to do this part unless you want a digital version.
Having a digital SVG will allow me to test cutting this out on a Cricut machine one day – (or even on a laser cutter if I ever want to create this image with wood – see how to laser score).
However, I chose to go old school with this project; draw it, print out in black and white, hand cut with scissors. But not just any scissors. I’m using curved scissors to cut out both the paper pattern and the aluminum cans (see second picture).
Trace Pattern
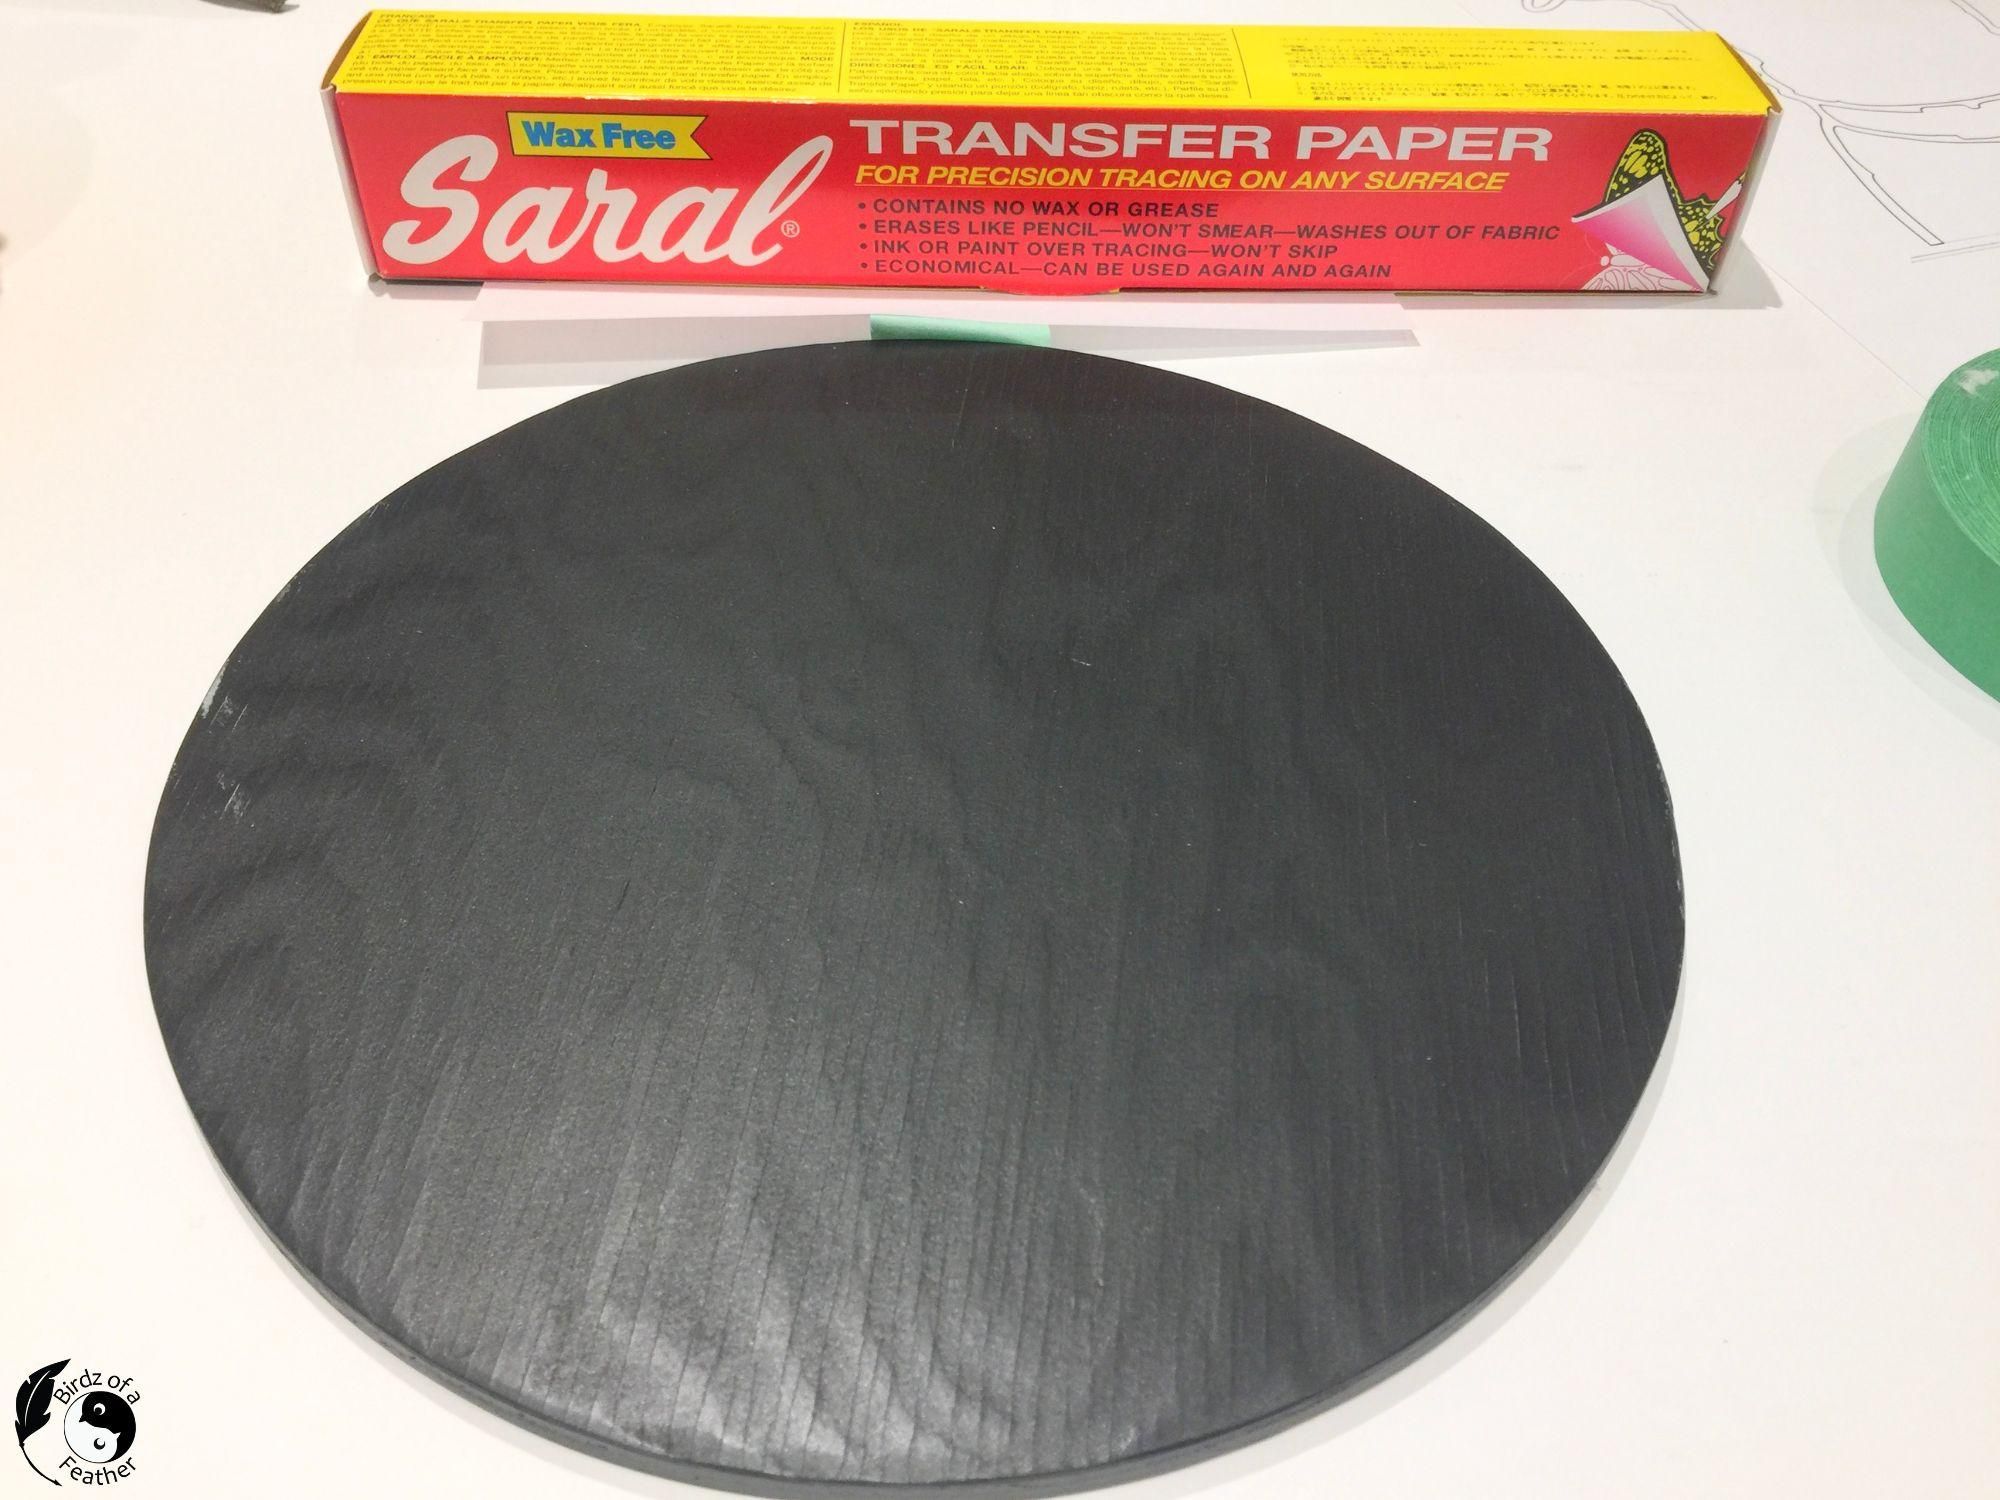
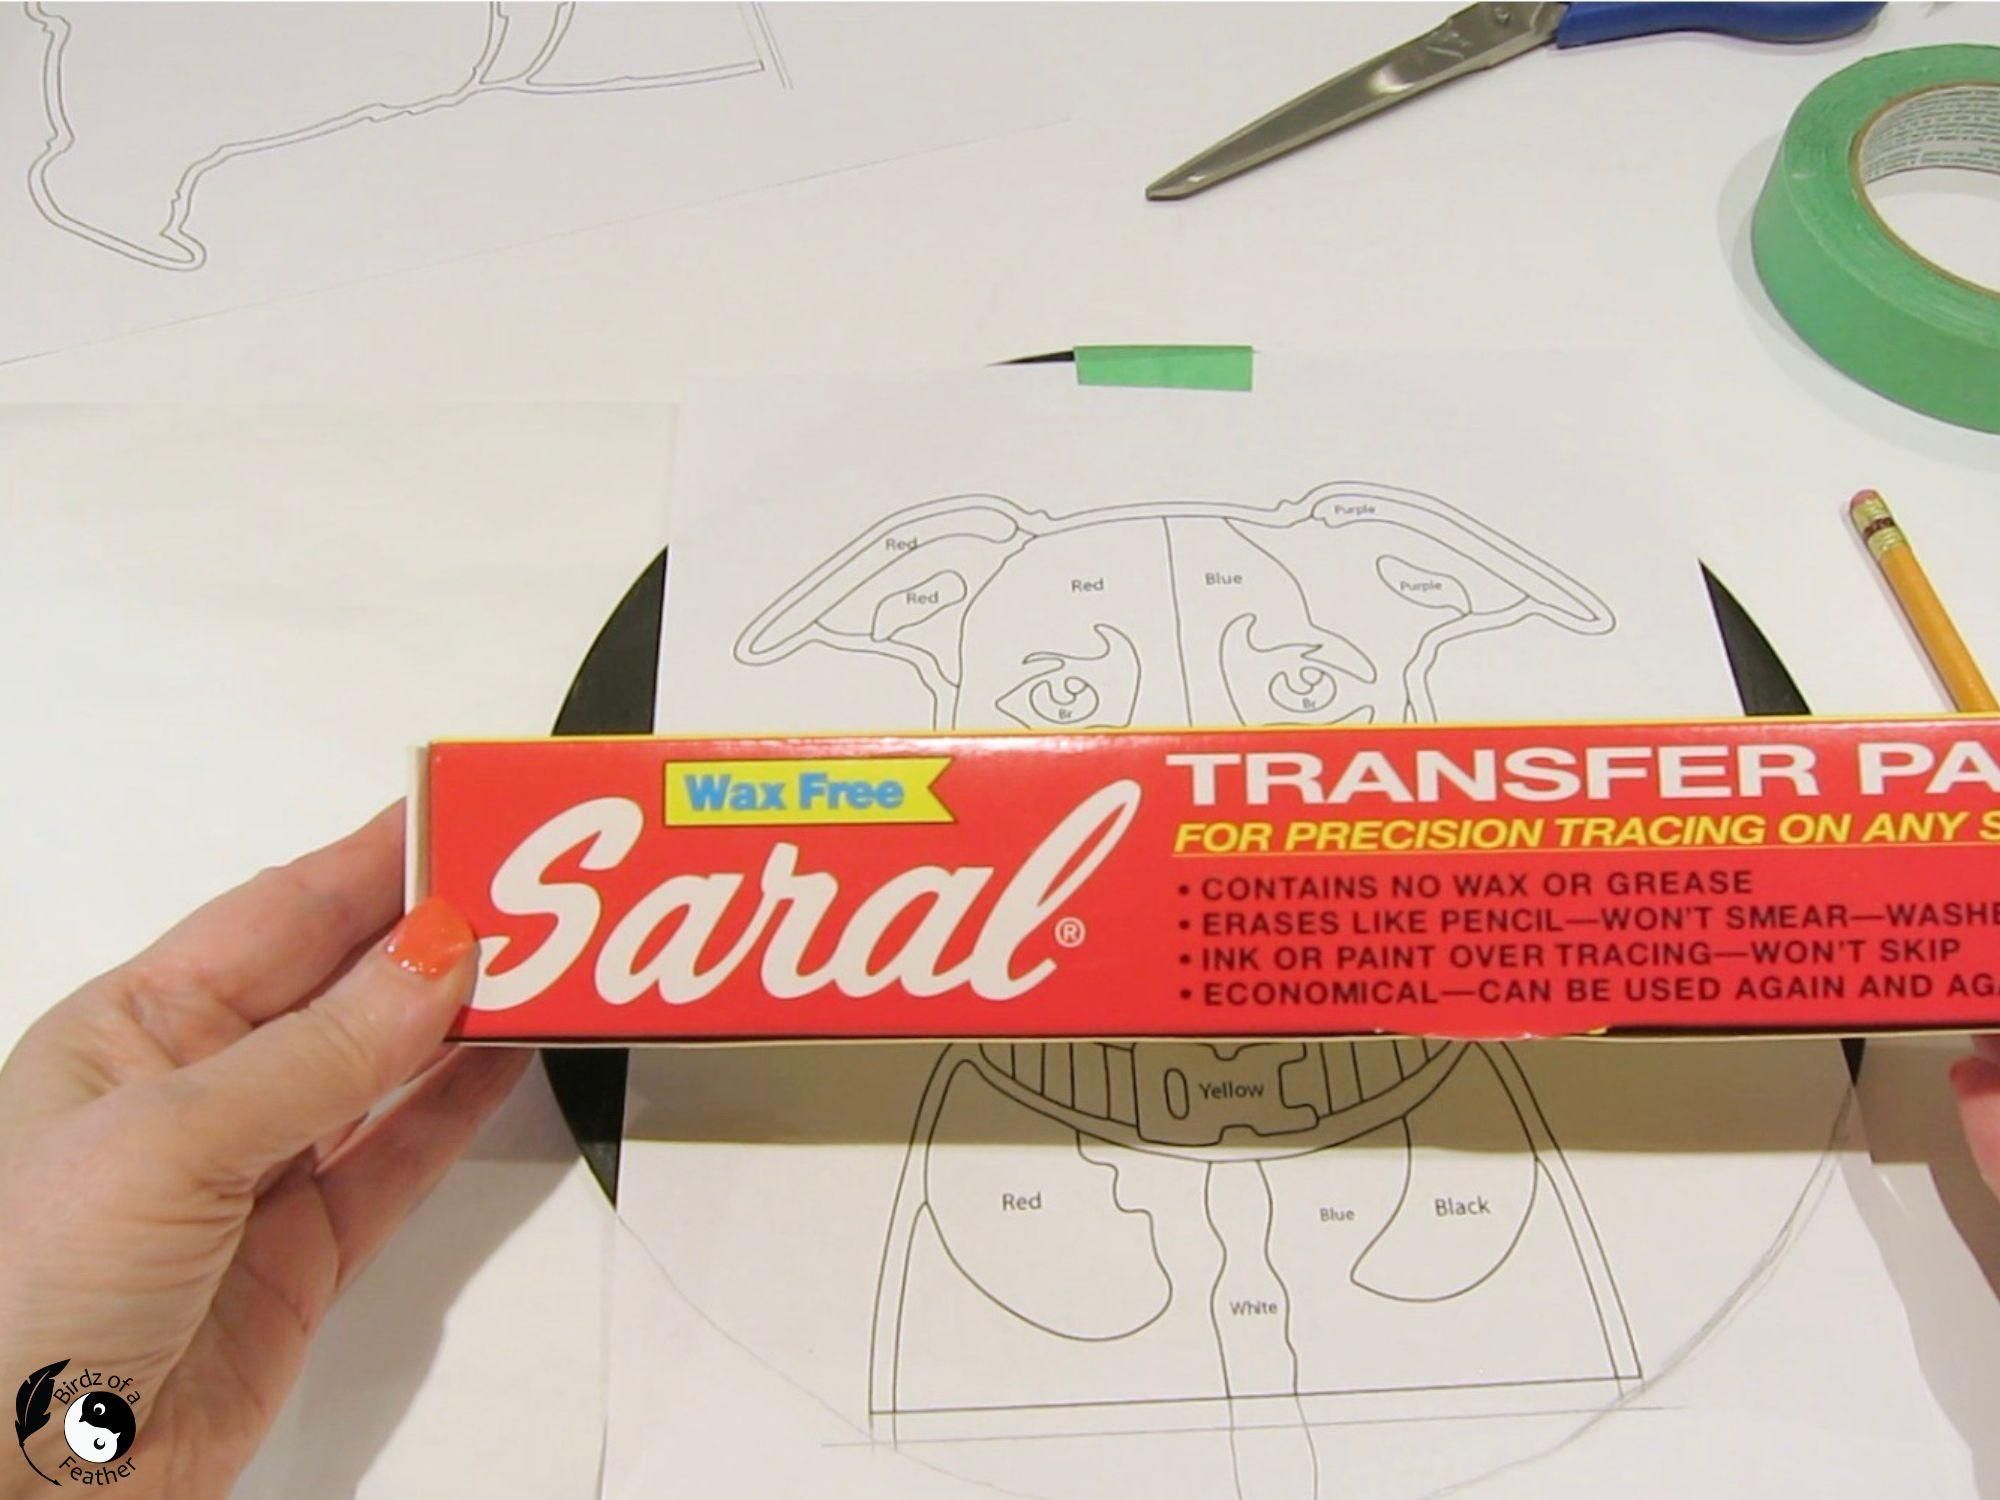
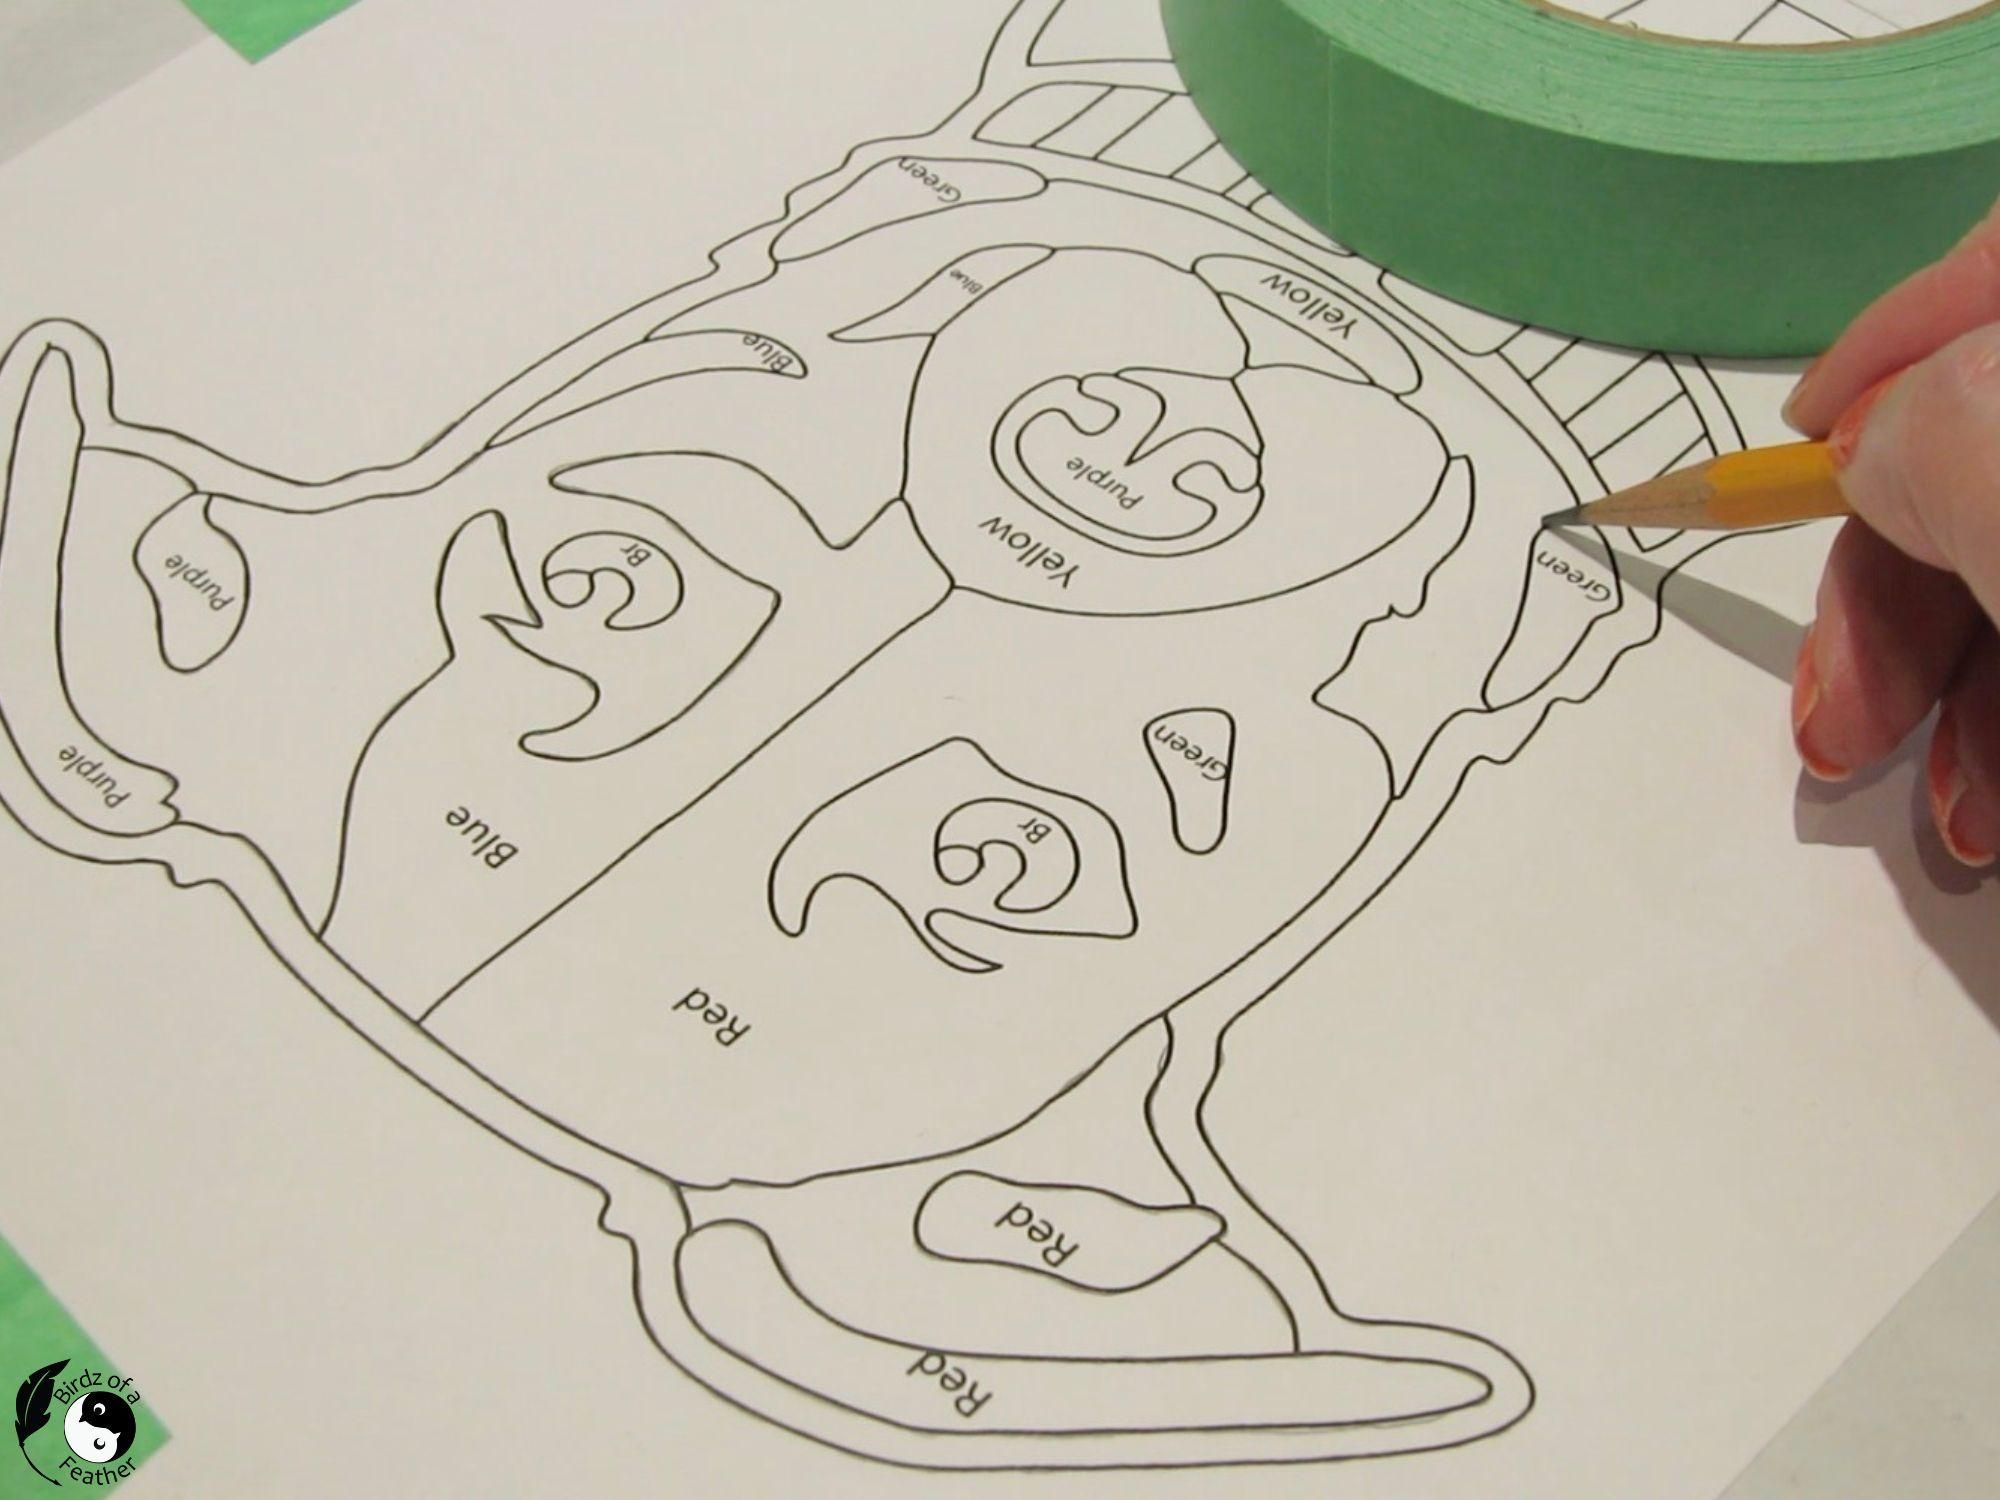
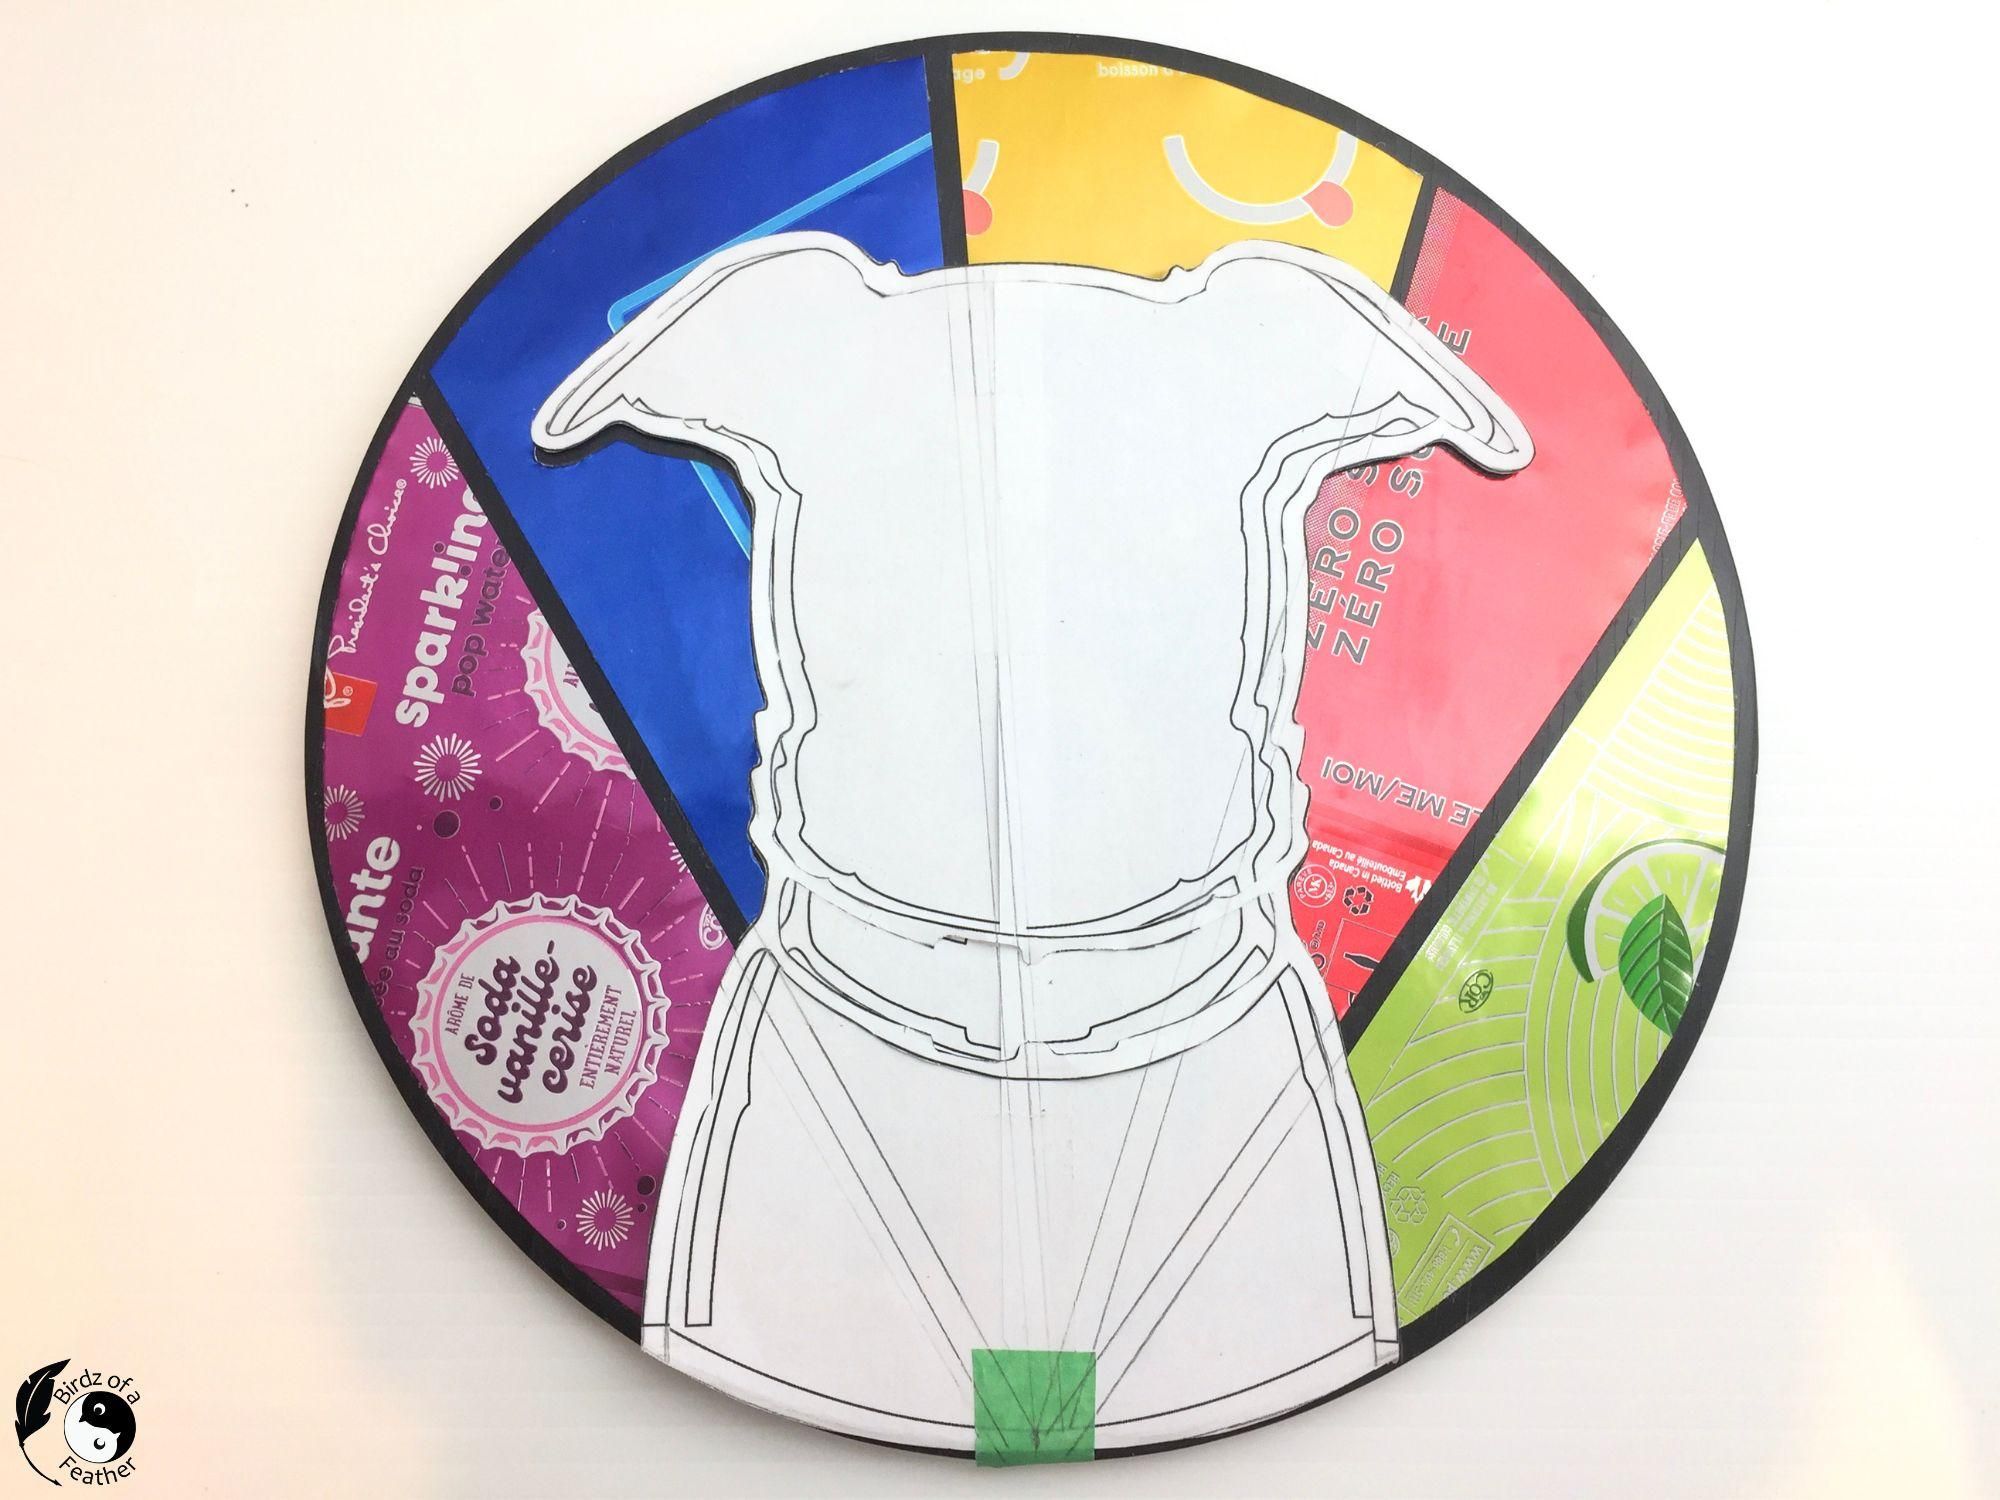
Before putting scissors to paper, trace the pattern onto your preferred substrate. I was going to use a square wooden artist panel (as shown on the video), but instead chose a wood round painted black.
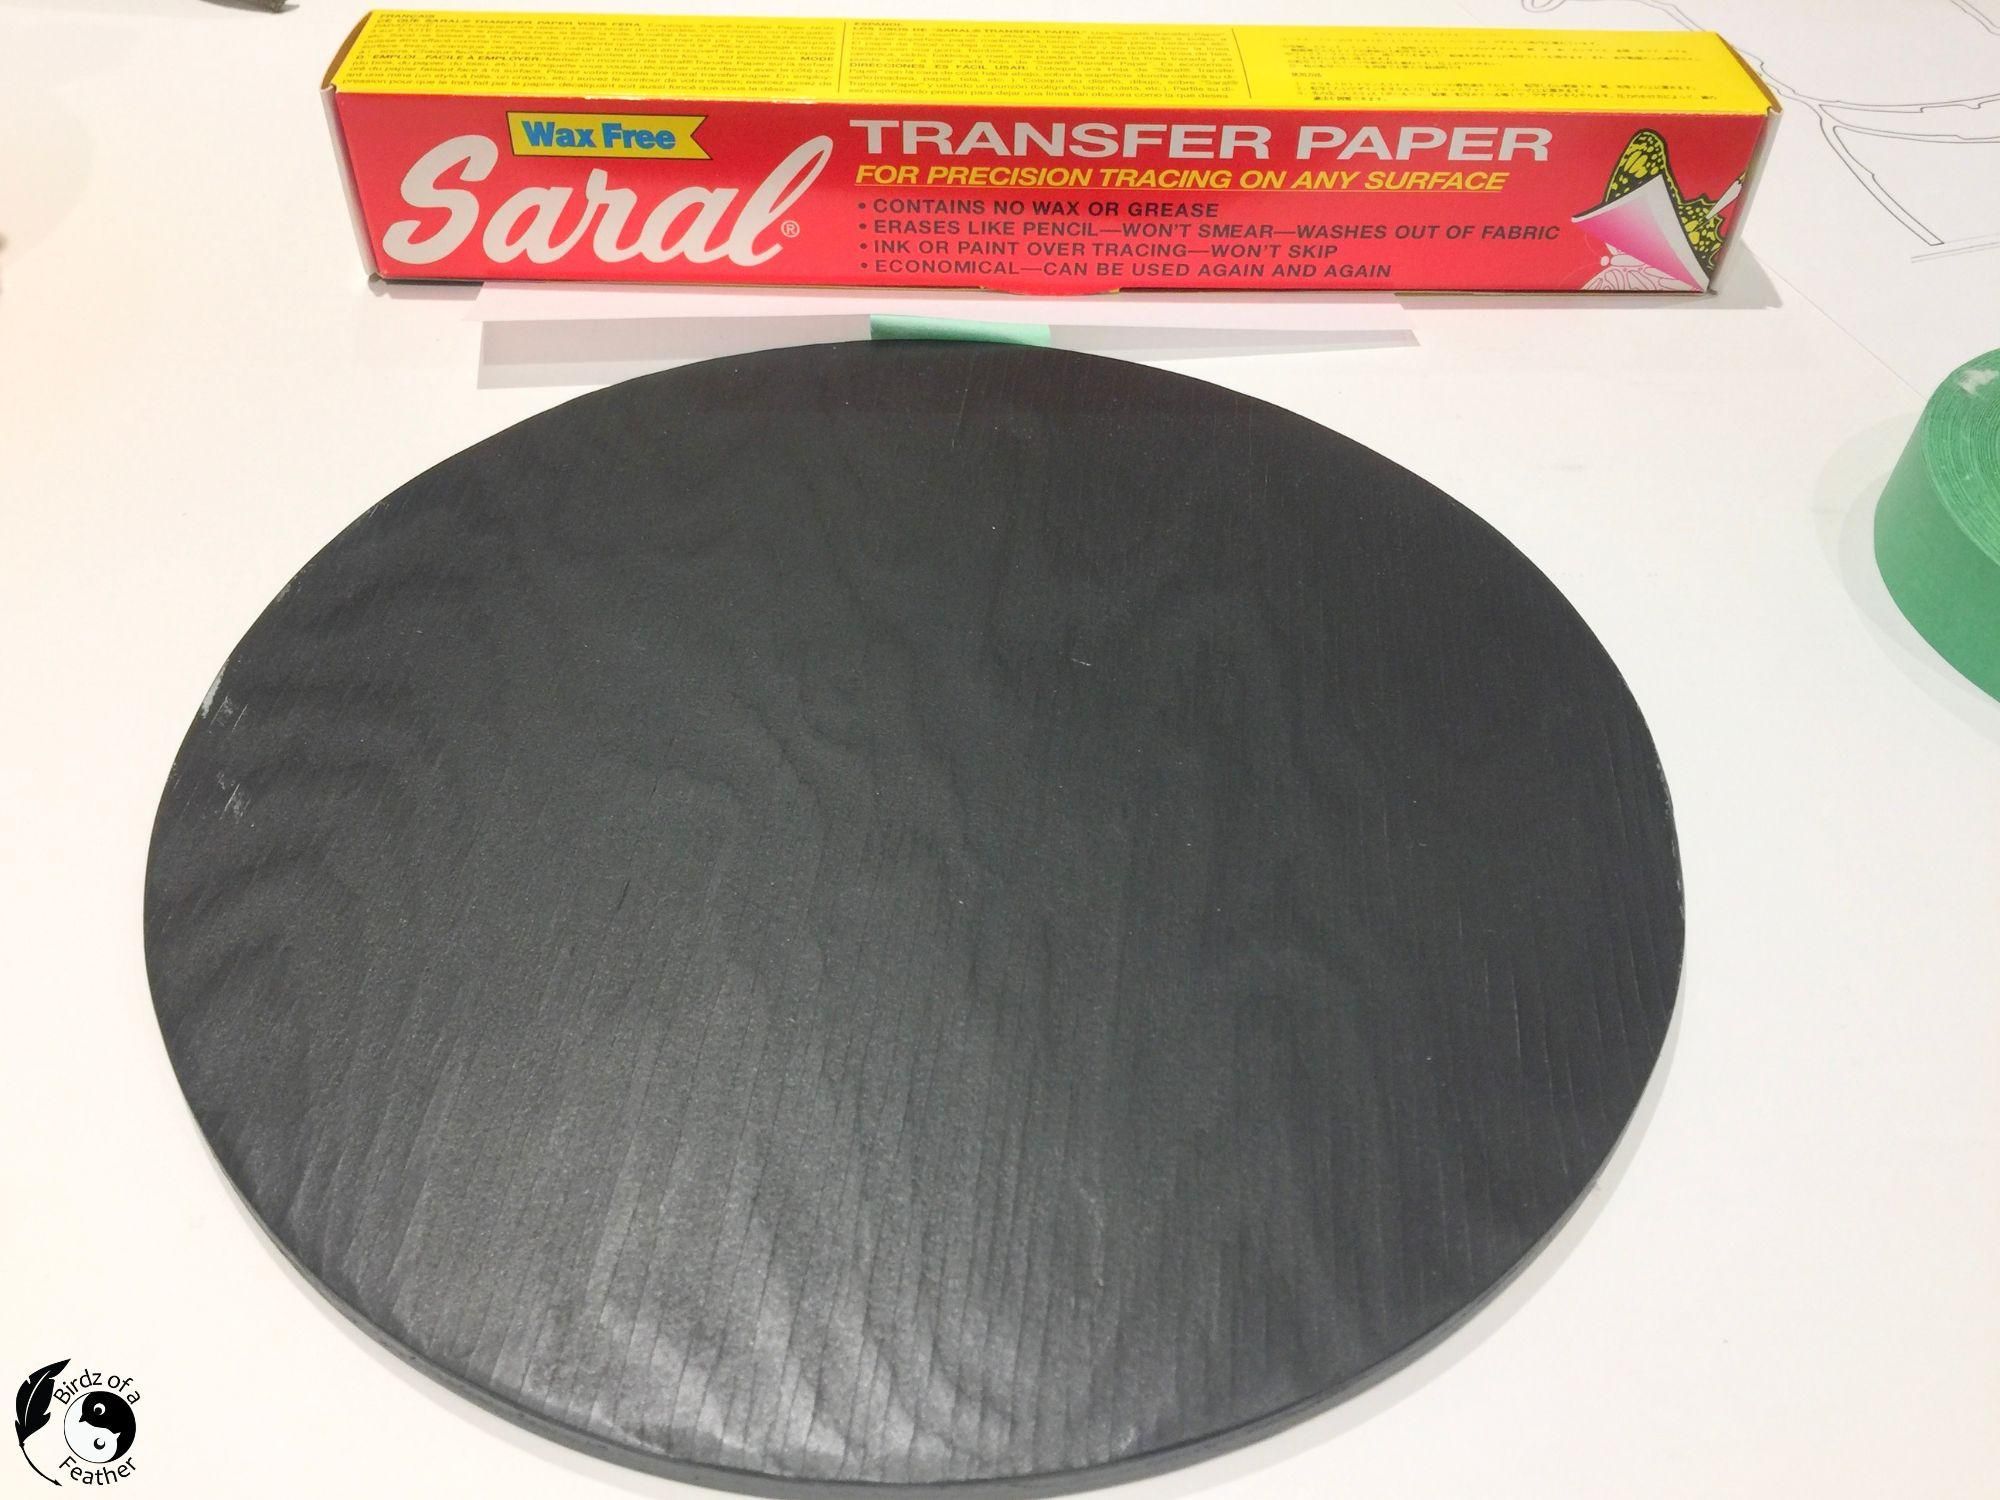
I’m using Saral transfer paper in white to transfer the pattern. It’s the secret sauce to how to hand paint furniture designs too!
Pop a piece between the paper and wood round, then trace with a pencil. I like to put it onto a Lazy Susan so I can easily turn the work as I trace.
I went ahead and numbered each piece on both the drawing and the backer board.
After tracing, Saral makes quite the powdery mess on the black paint, but you can lift it off, to some degree, with tape. The instructions on the box say it erases like pencil, but I couldn’t find a decent eraser. In the future, I’ll have to be more careful not to number the pieces that aren’t covered with aluminum because I can still faintly see them.
Cut Pattern From Aluminum
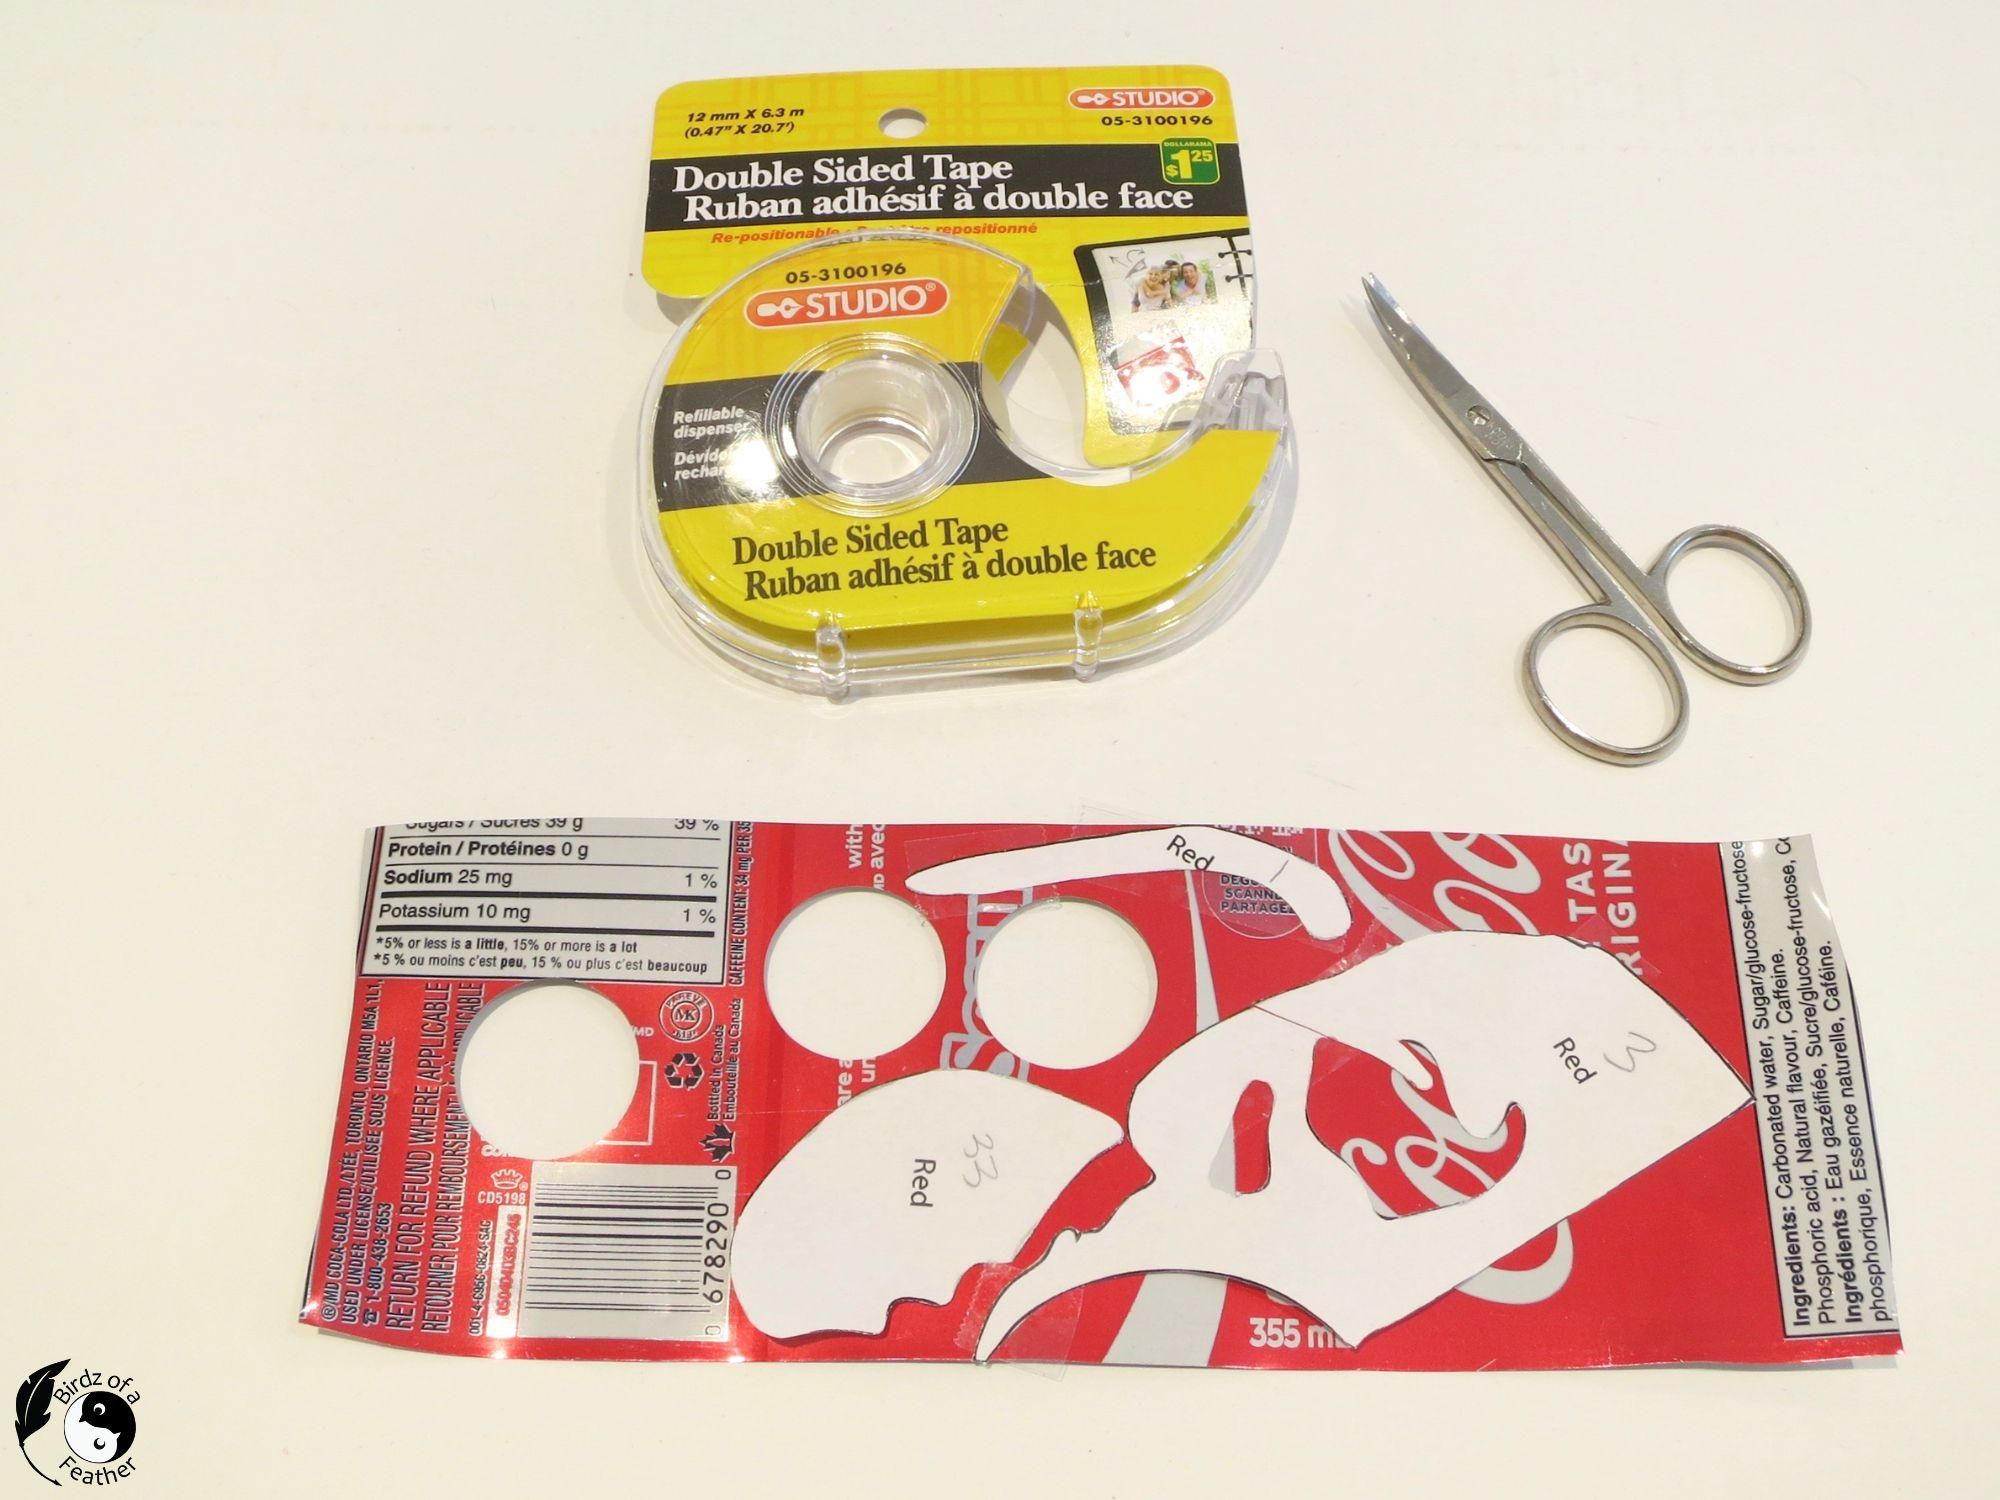
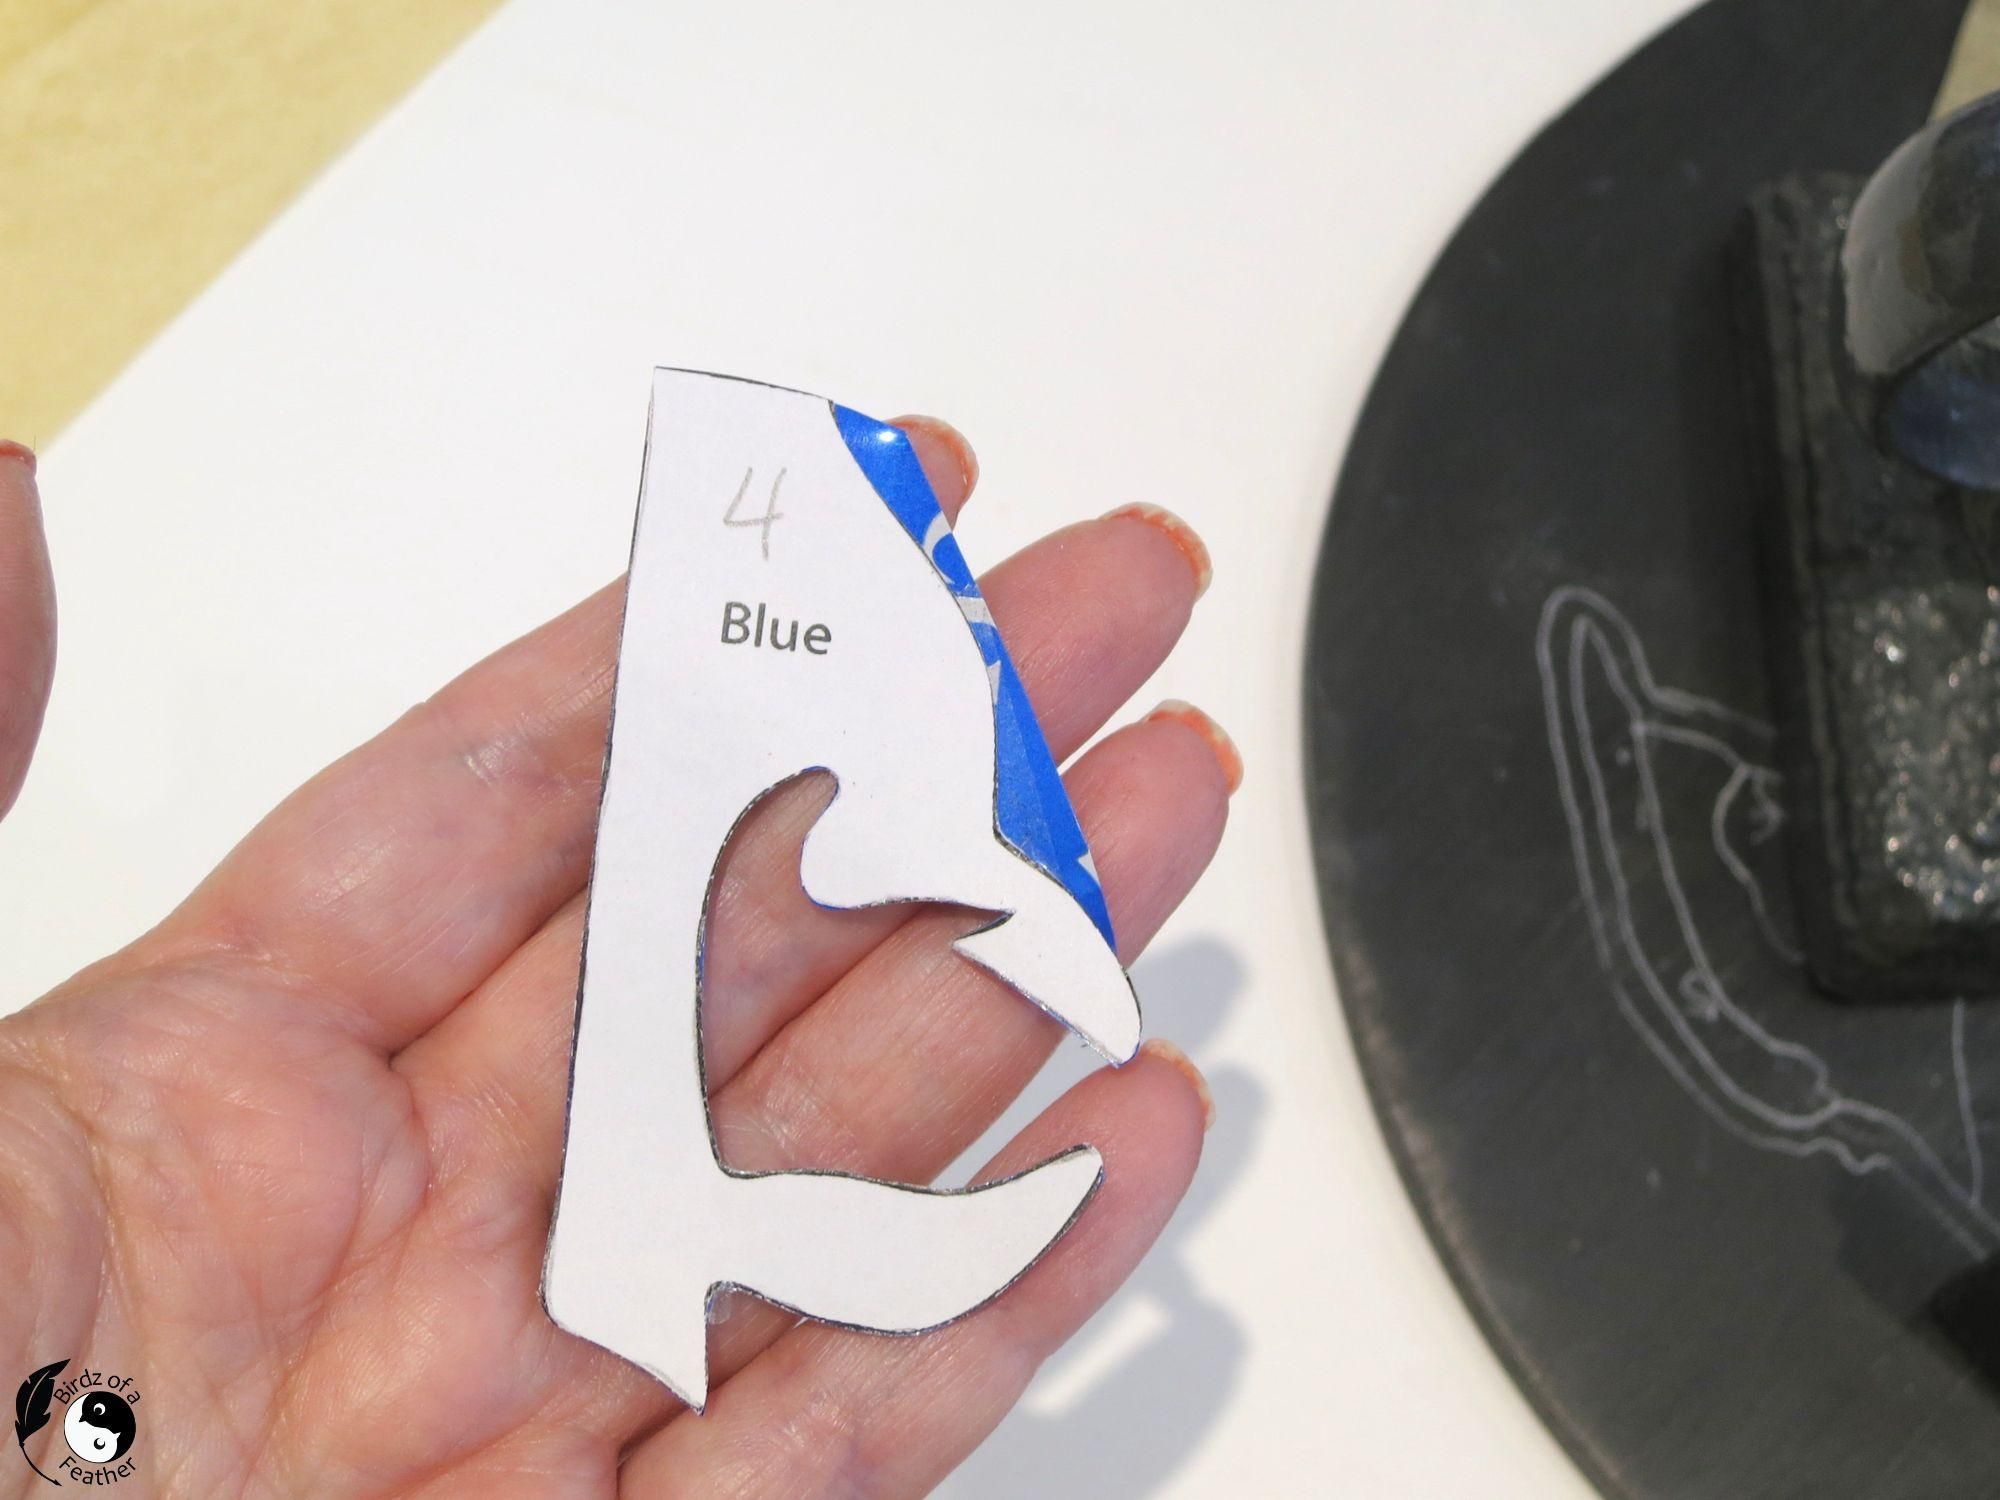
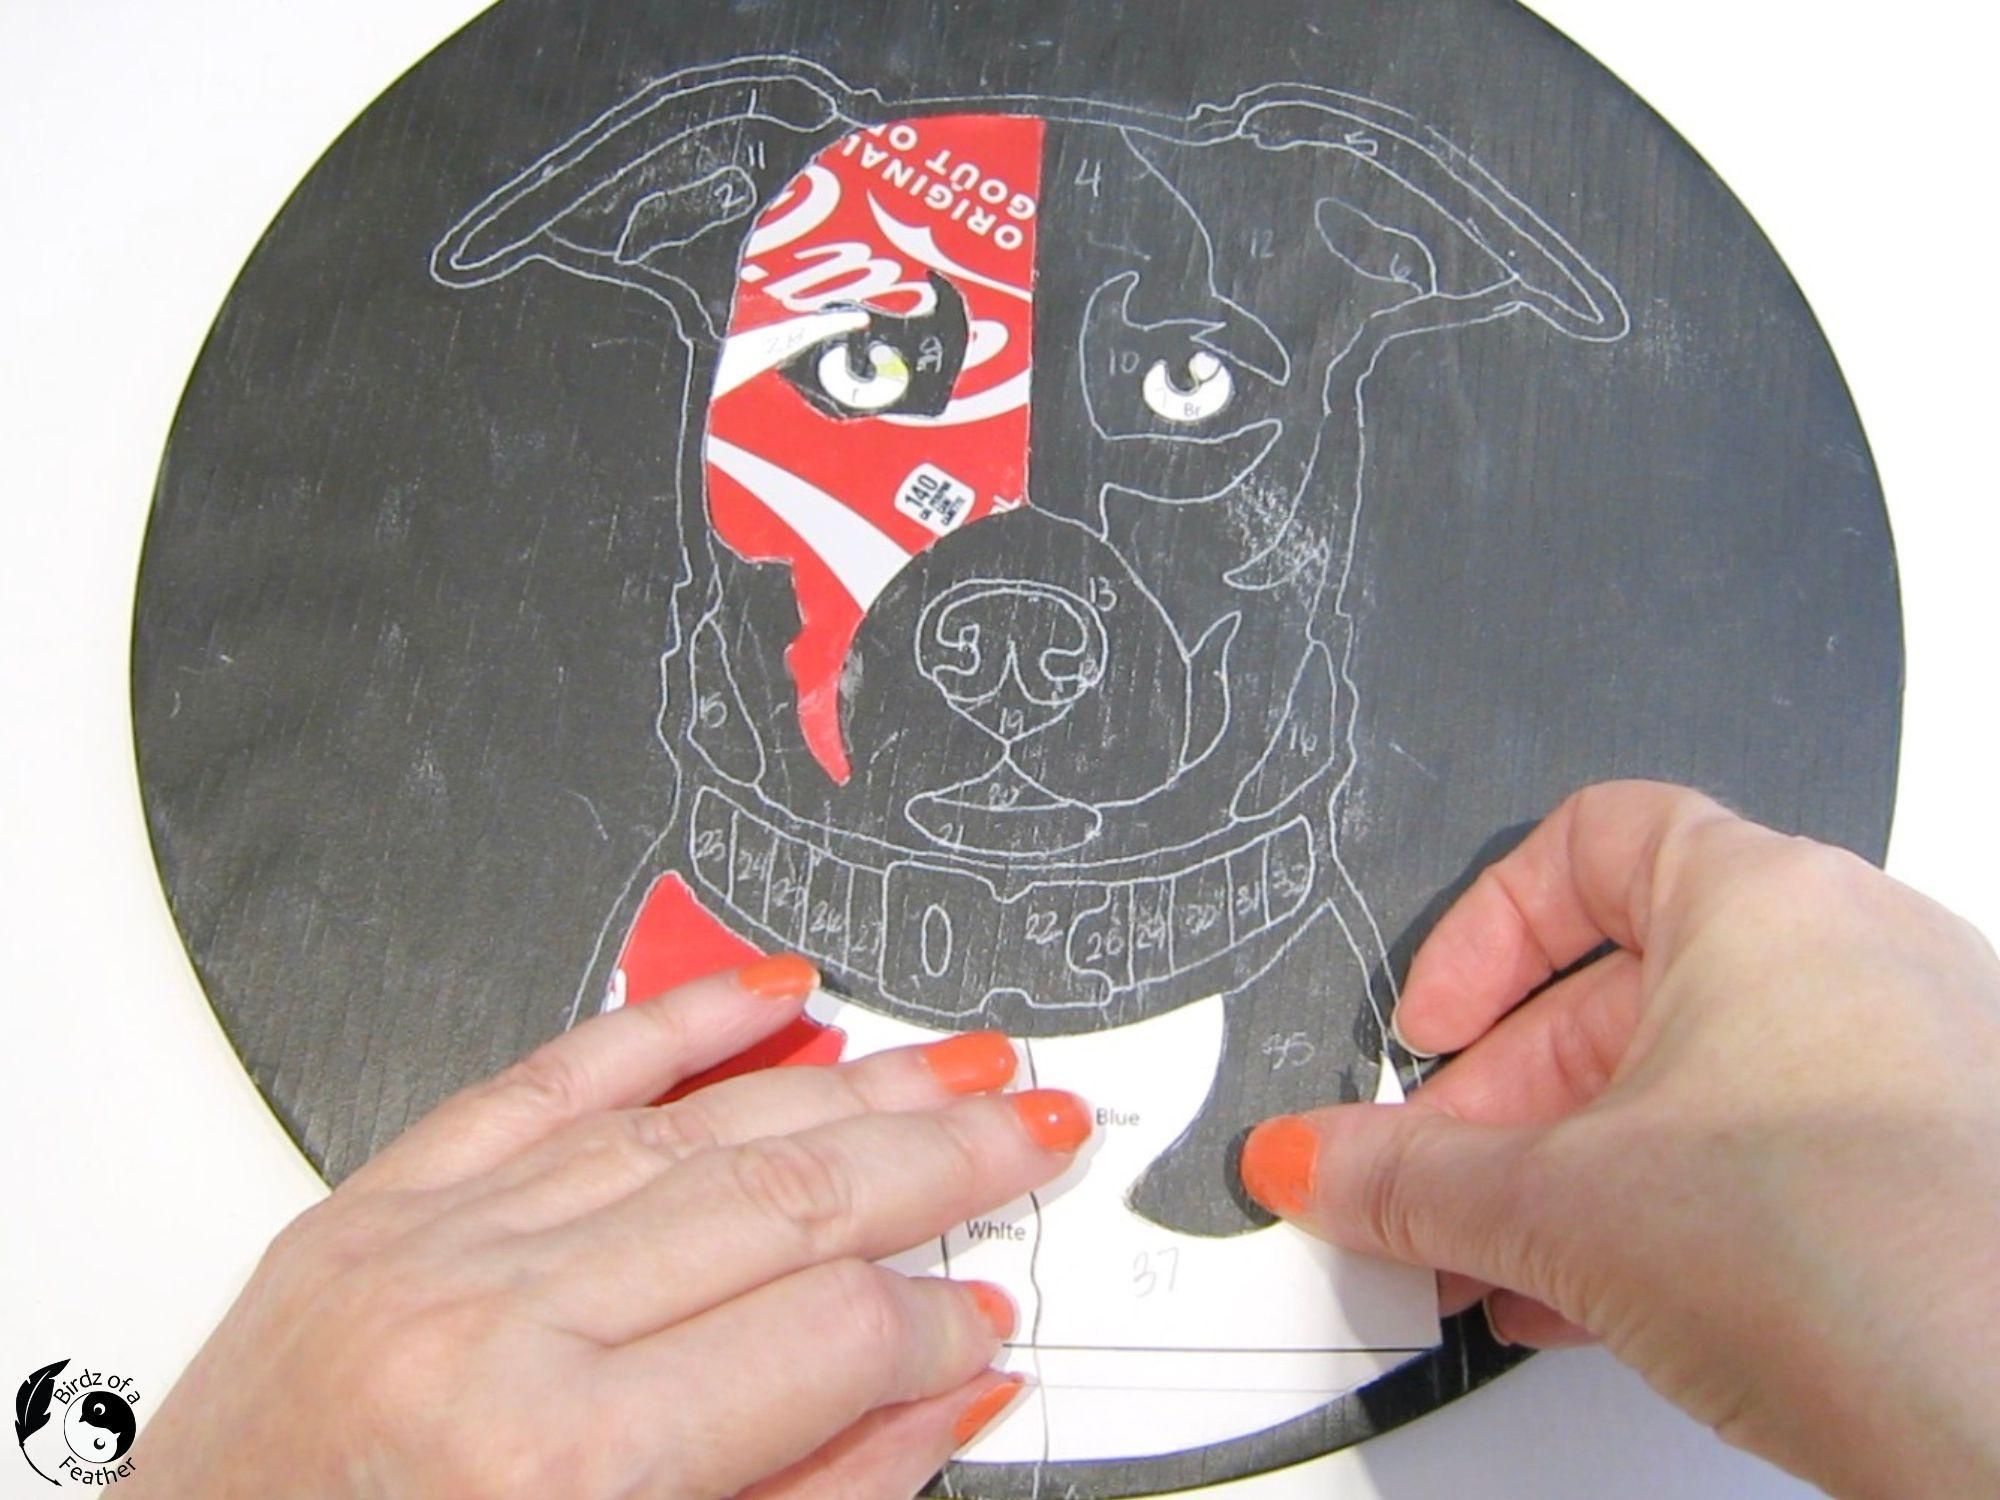
Use double sided tape to hold the paper pieces onto the metal.
As you can see in the second picture, you can get REALLY close with the curved scissors. It’s every bit as good as cutting by machine (which has its own challenges). It just takes a steady hand and some patience.
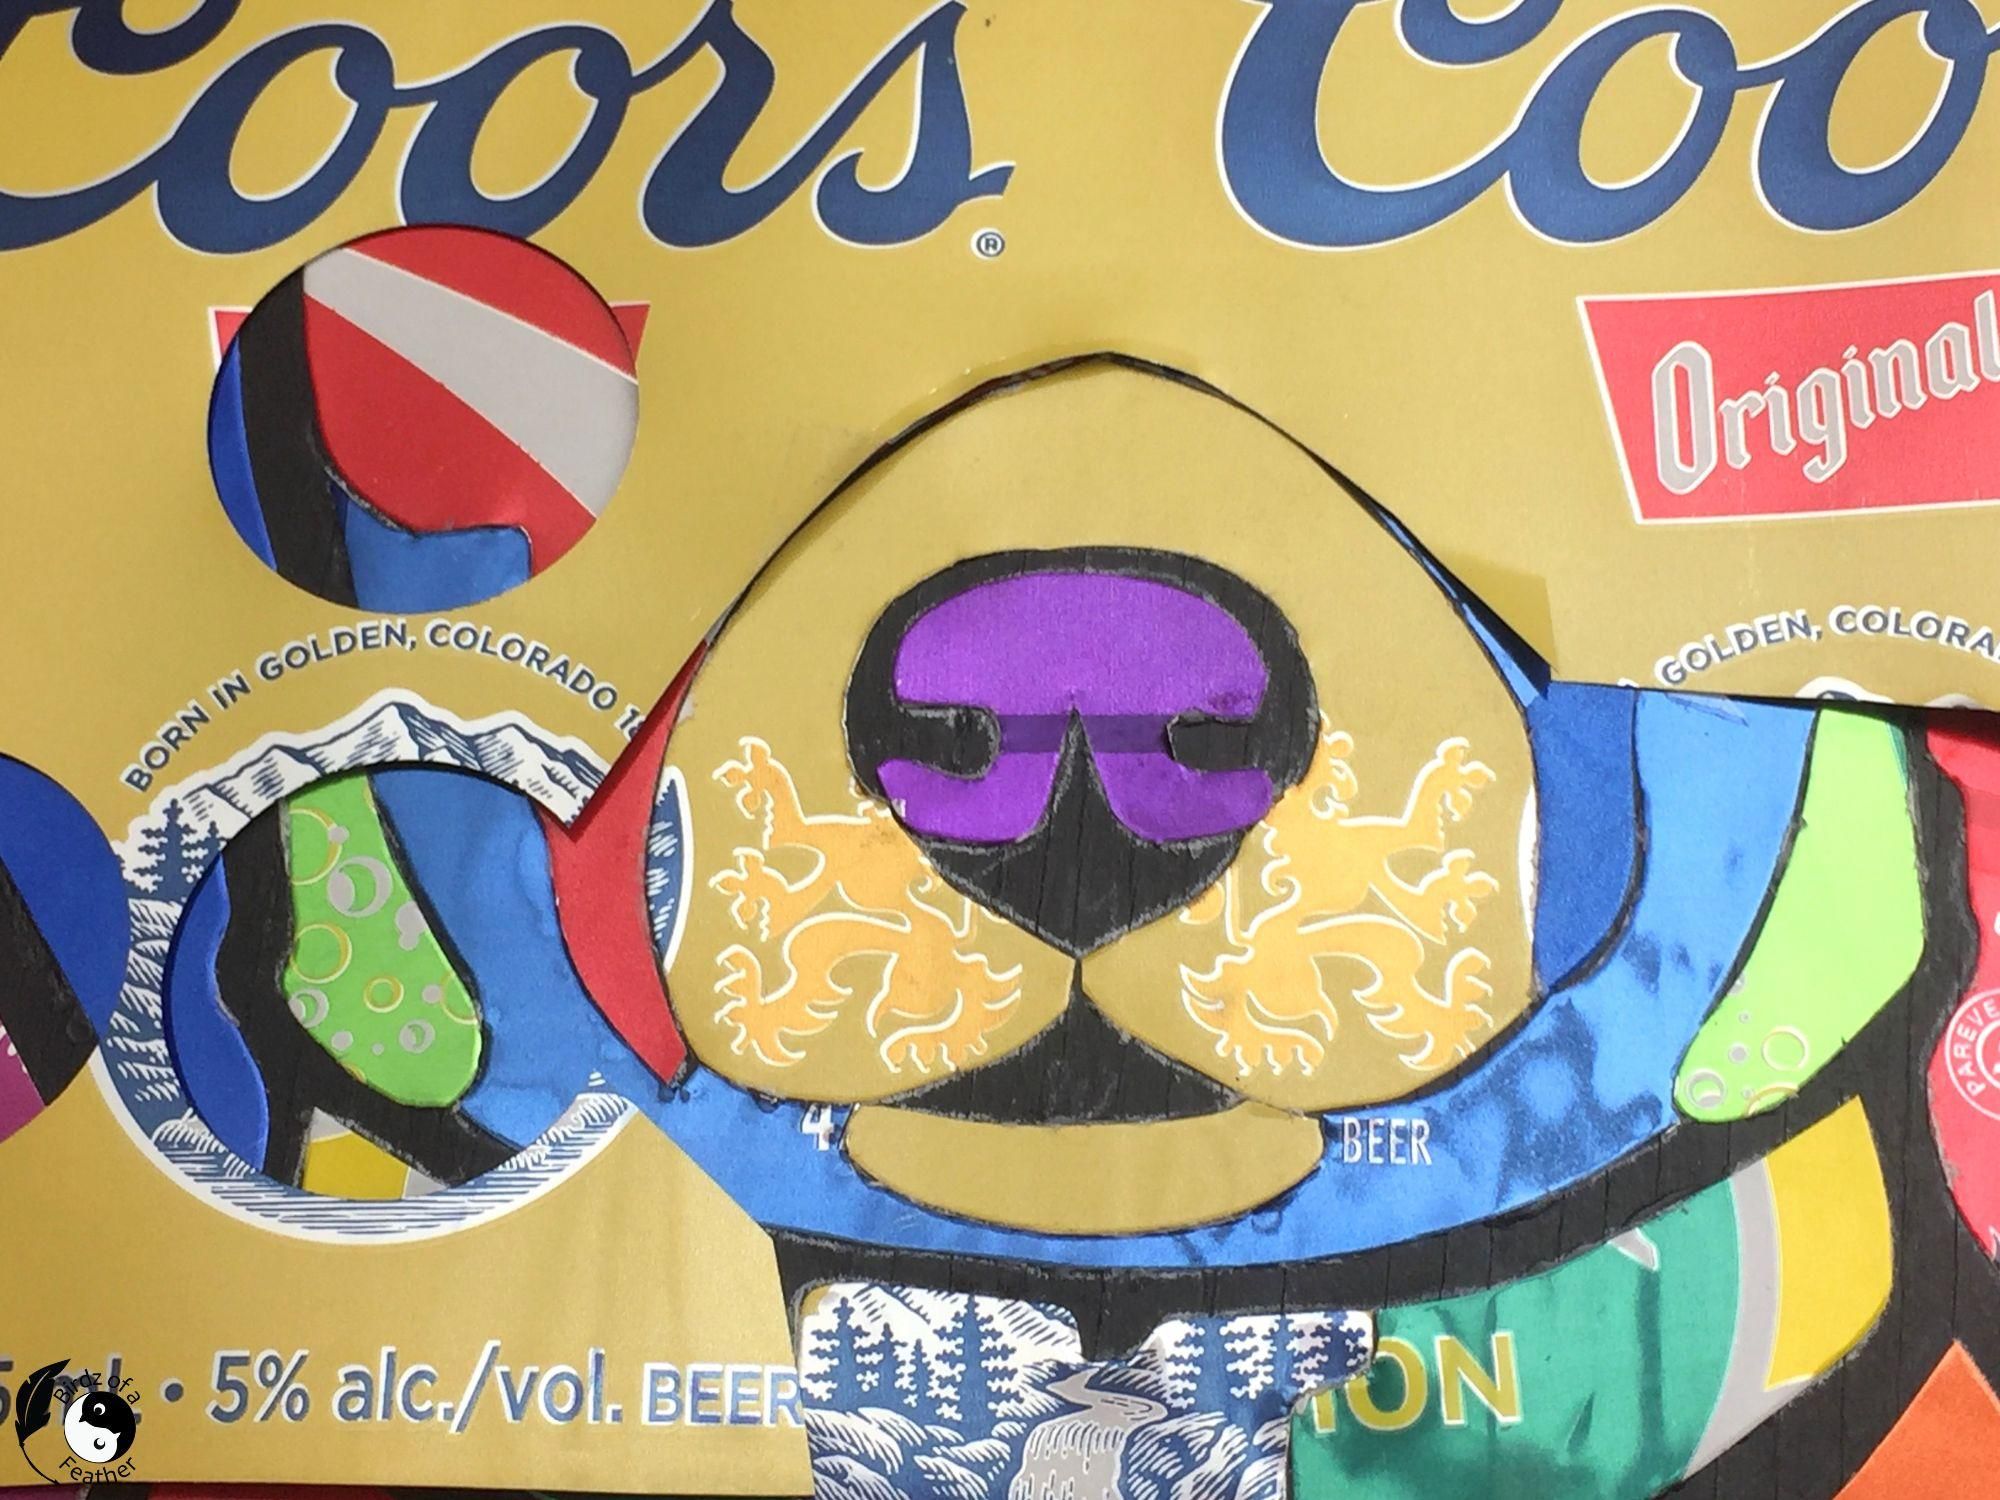
My favourite part of the process is choosing the parts of the aluminum cans to use. In the 3rd picture, I'm showing that the graphic on a Coors can is perfect for the ‘wiskers’ and also becomes the buckle of the dog collar.
Before gluing, dry fit your pieces to ensure a tight fit. Carefully trim if necessary.
Glue Down Aluminum Pieces
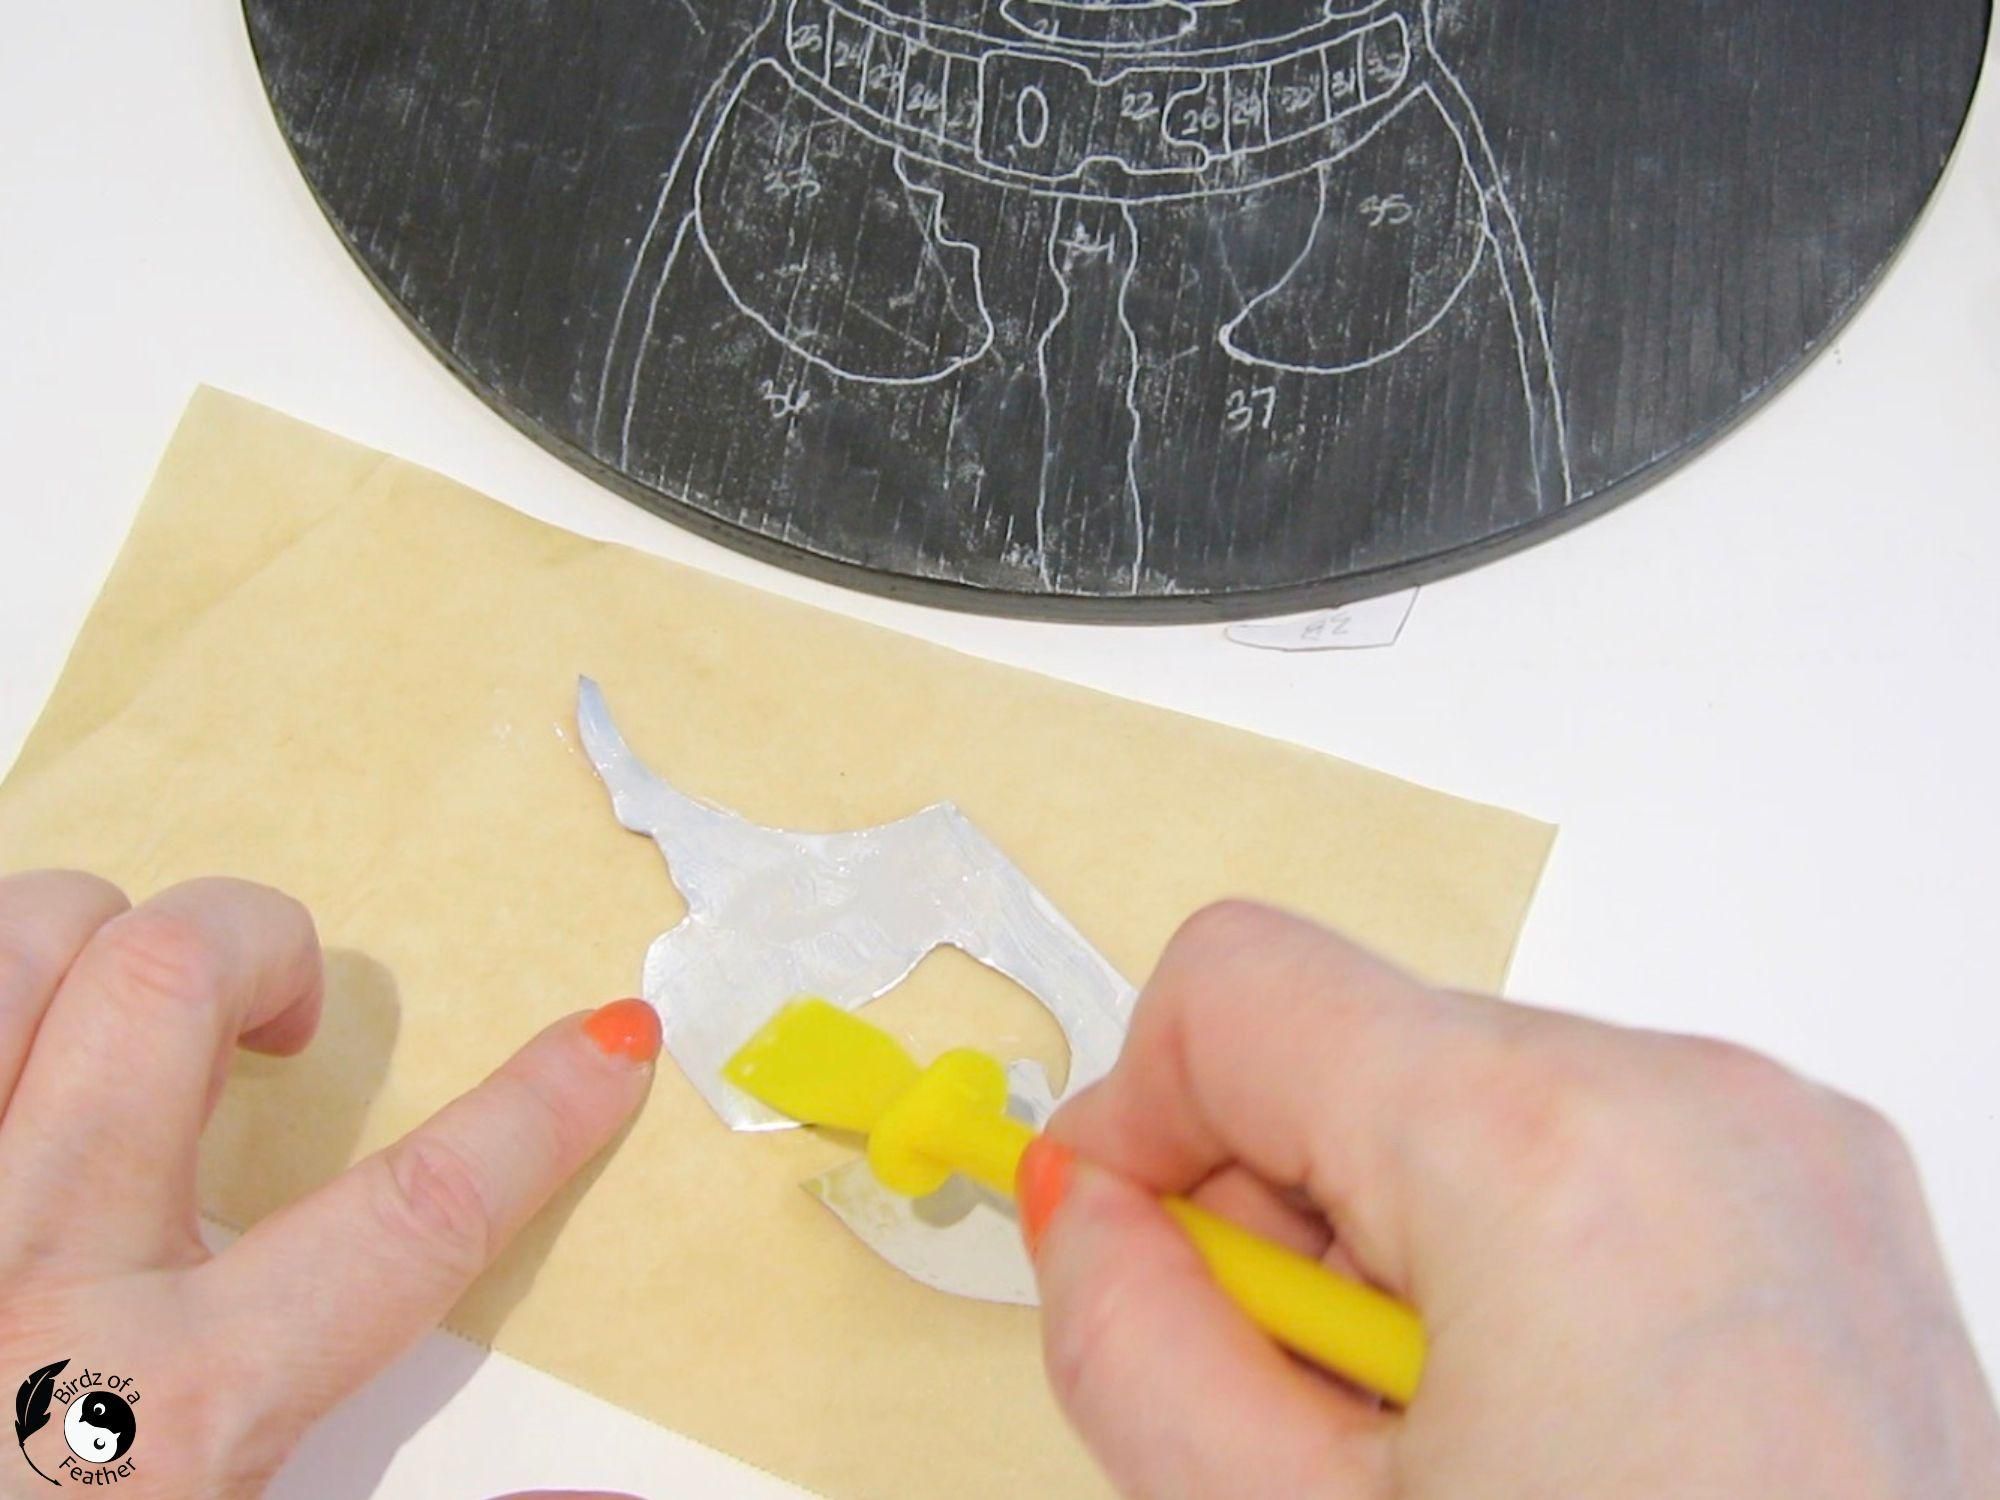
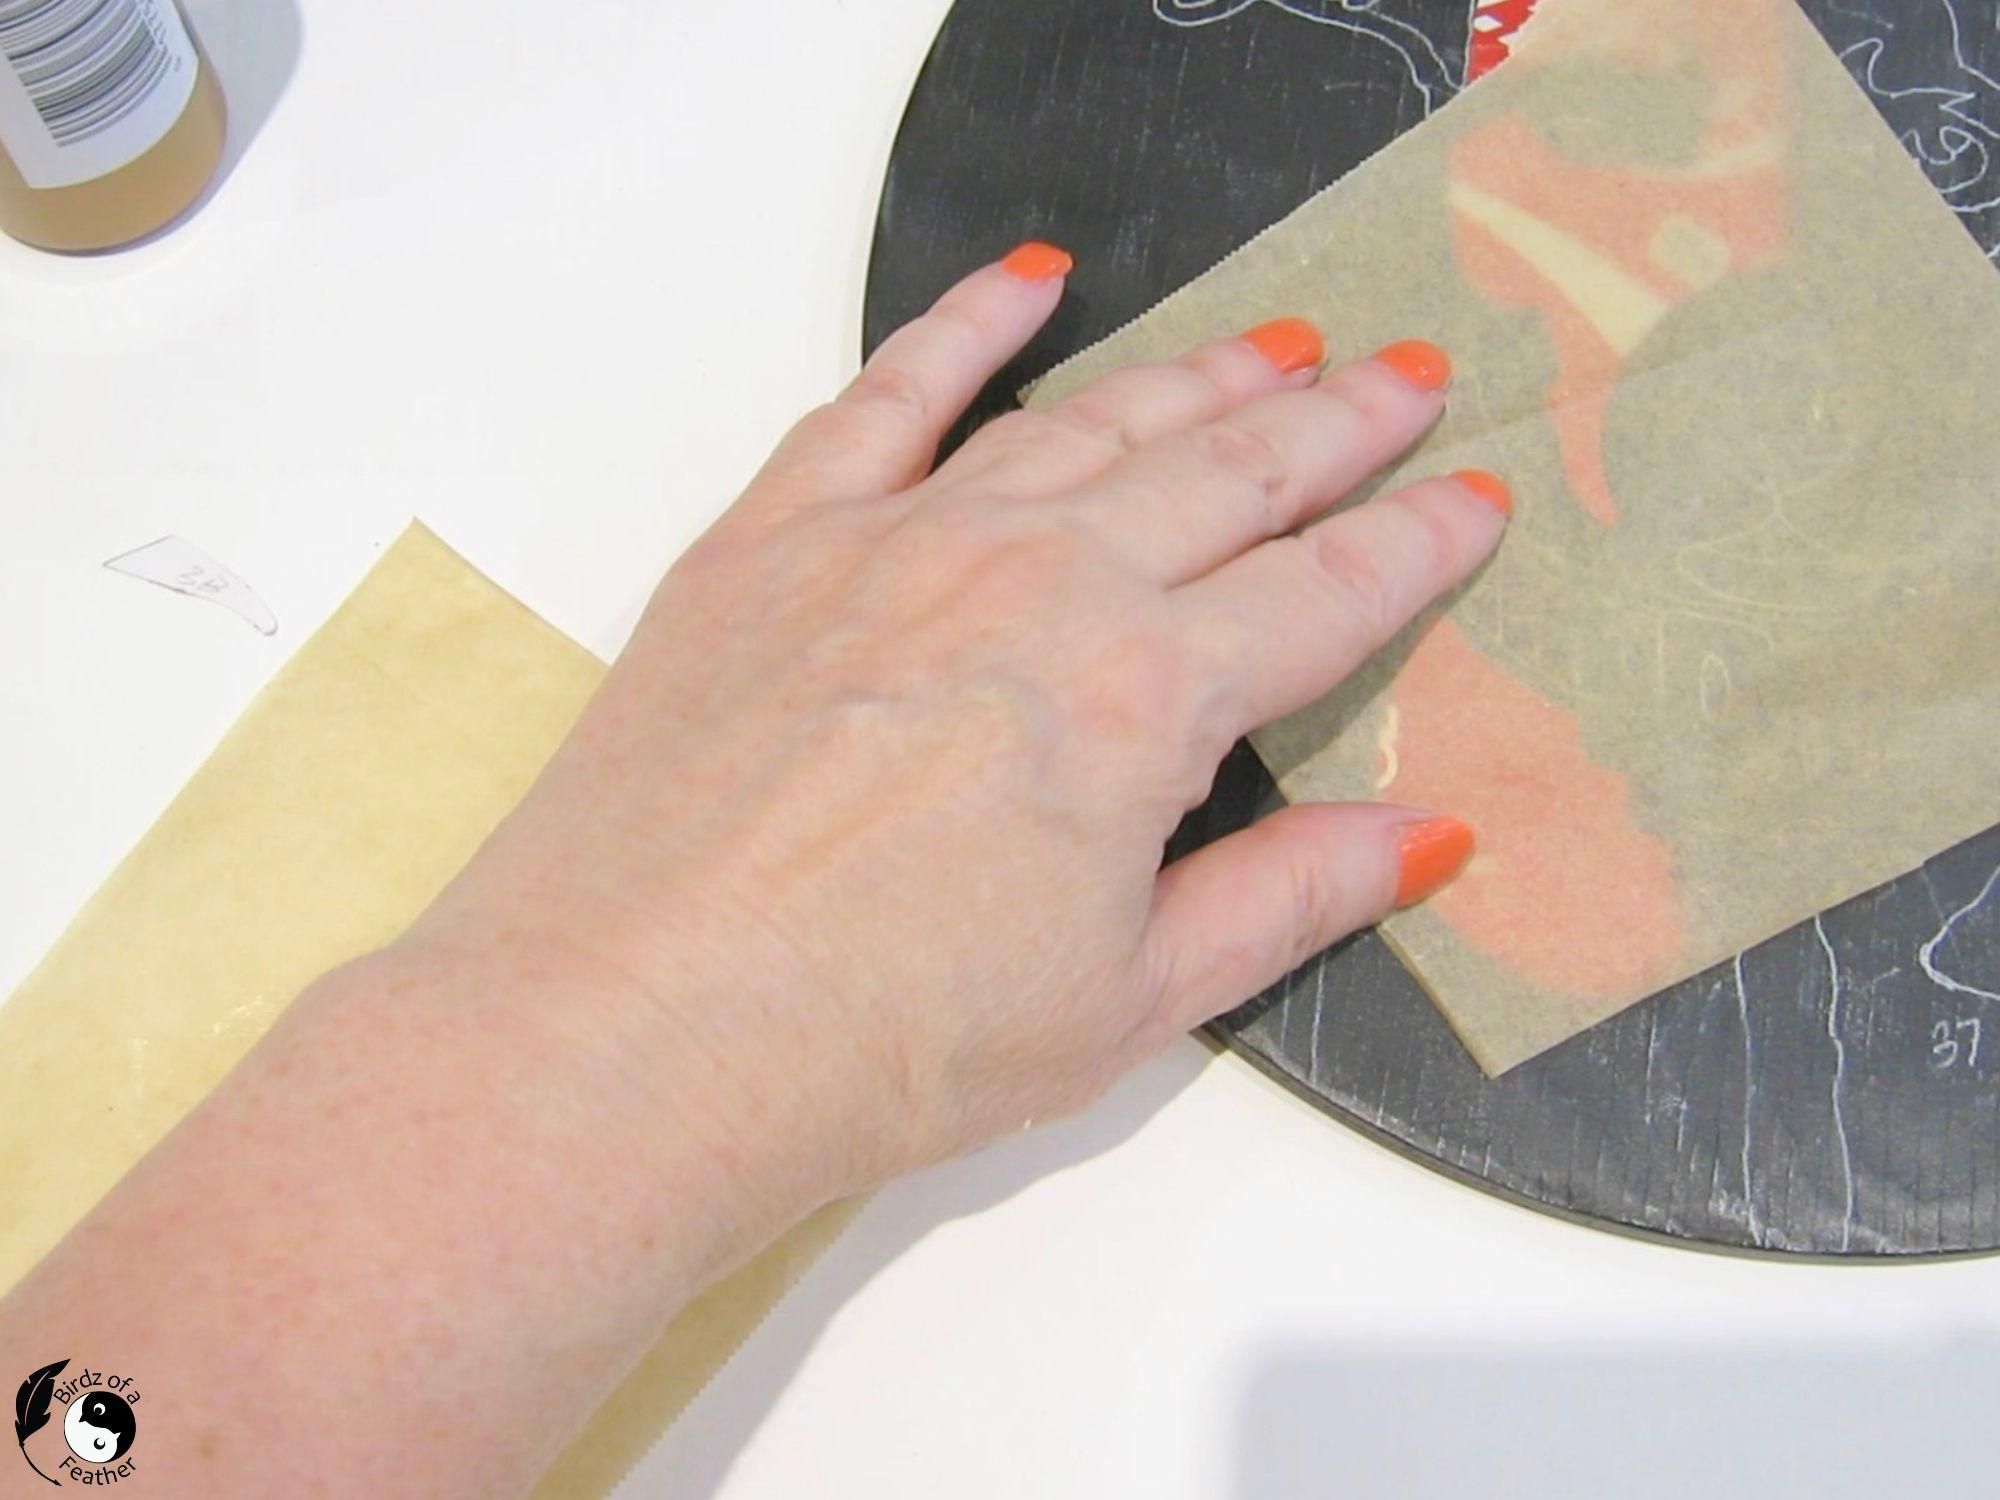
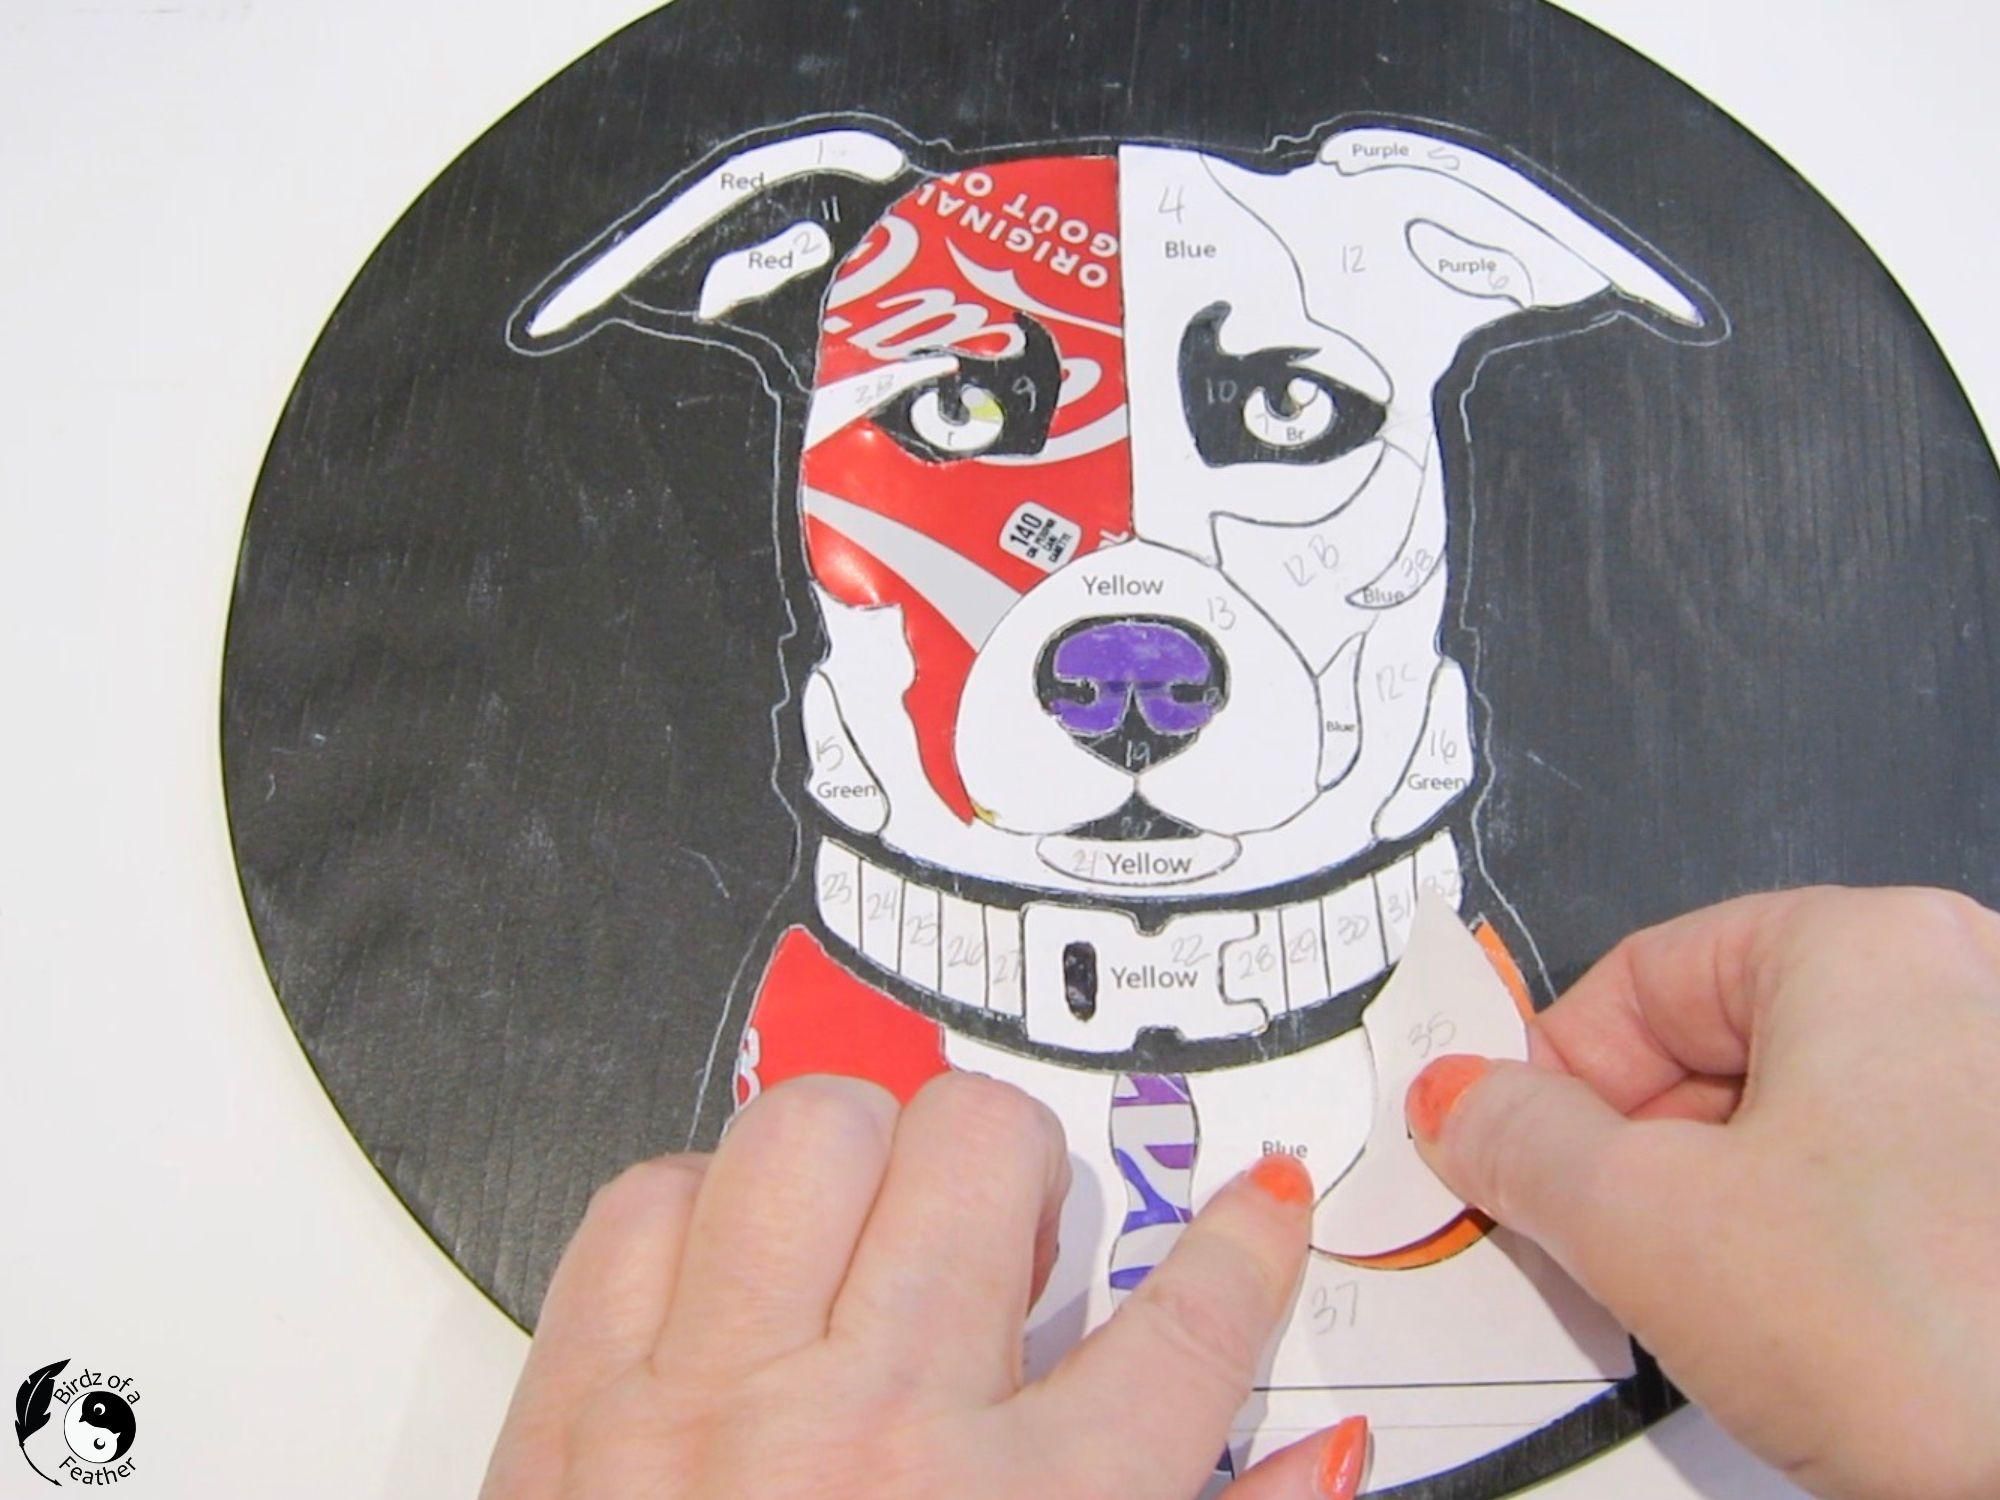
I’m using Aleene’s tacky glue and a glue spreader to spread it out on the back of the aluminum. A piece of parchment keeps your surface clean and allows you to get right to the edge with the glue.
I also use a clean piece of parchment to put over the pieces, then weigh them down with a vintage iron as they dry (as shown on the video). That keeps them perfectly flat; essential if your aluminum has a mind of its own and wants to bend the other way!
After gluing the first piece, I realized it was better to leave the paper pattern on to protect the surface of the metal from excess glue.
Finishing Touches
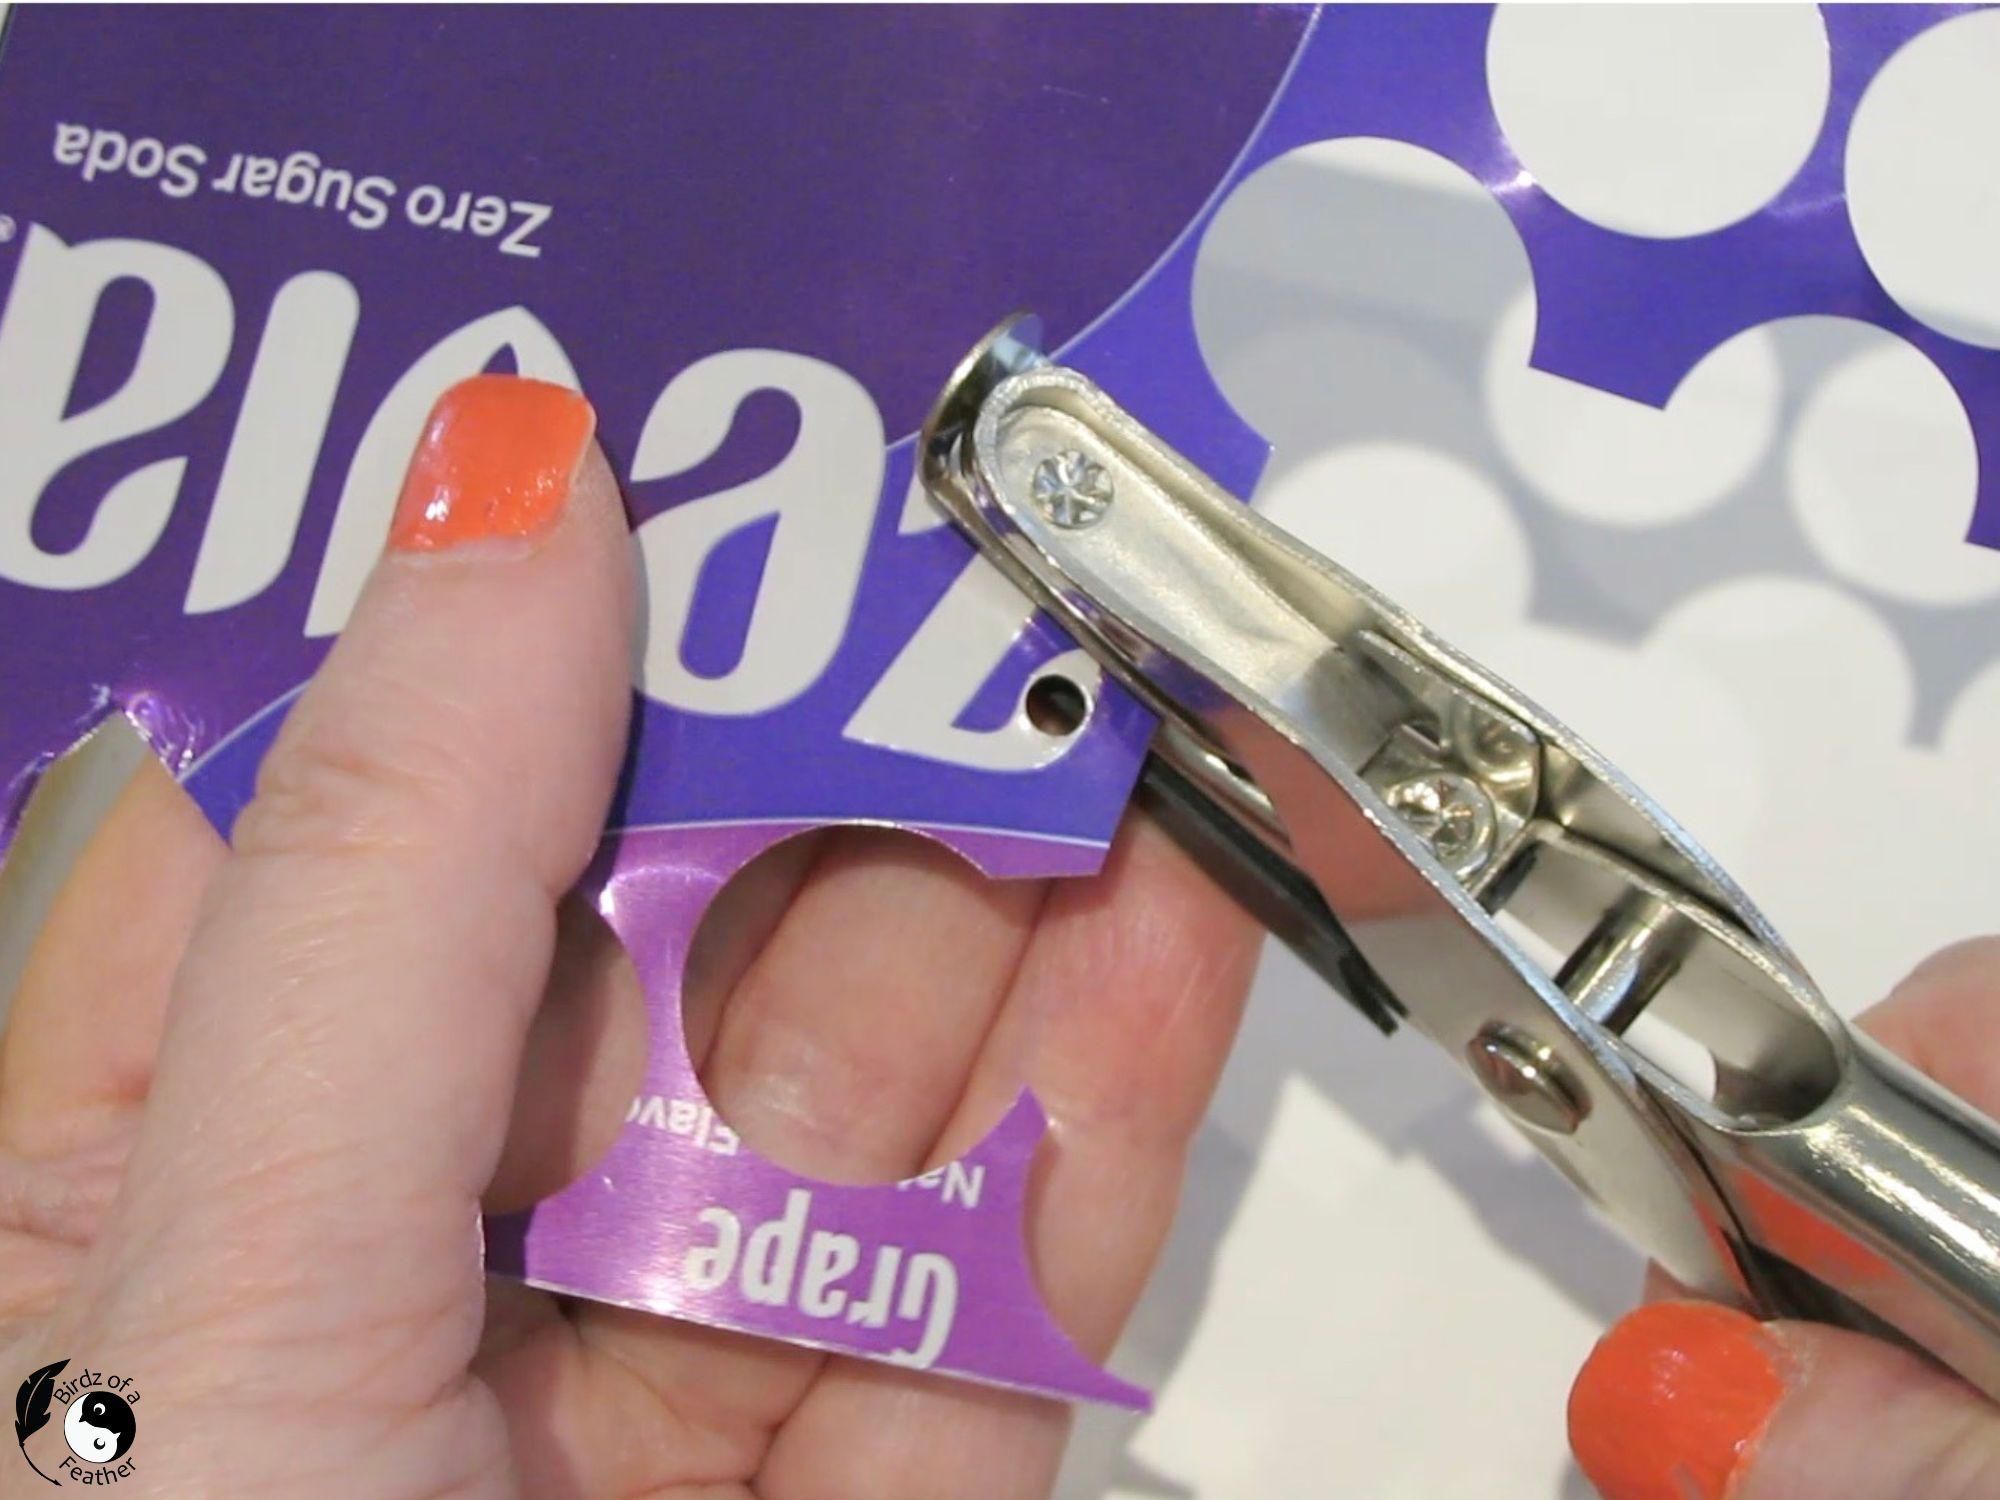
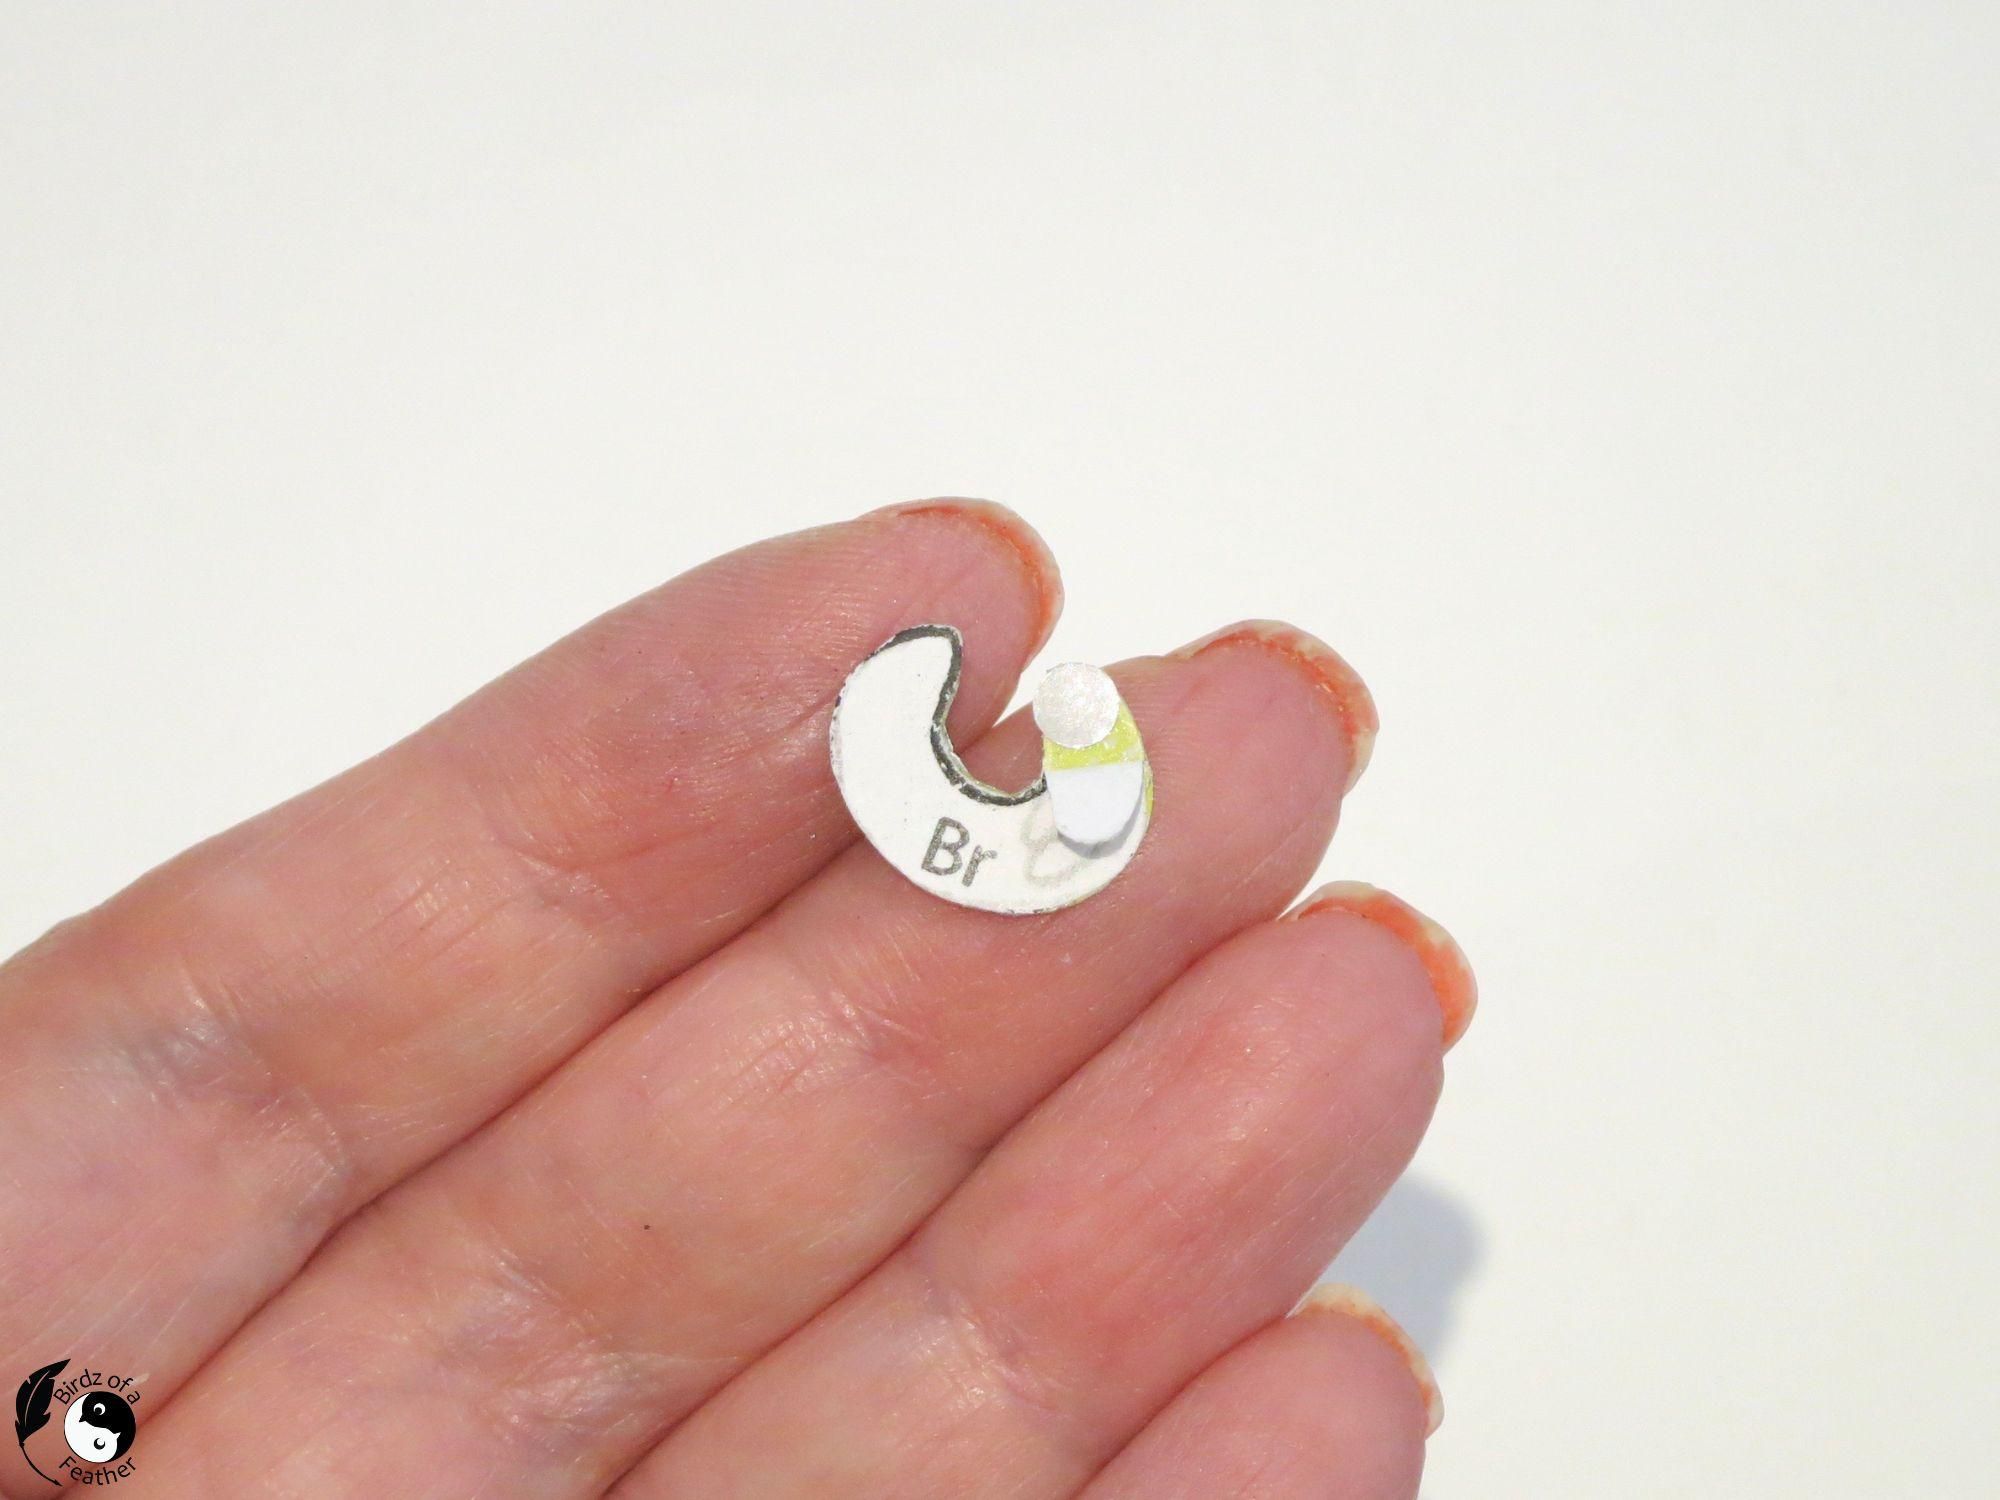
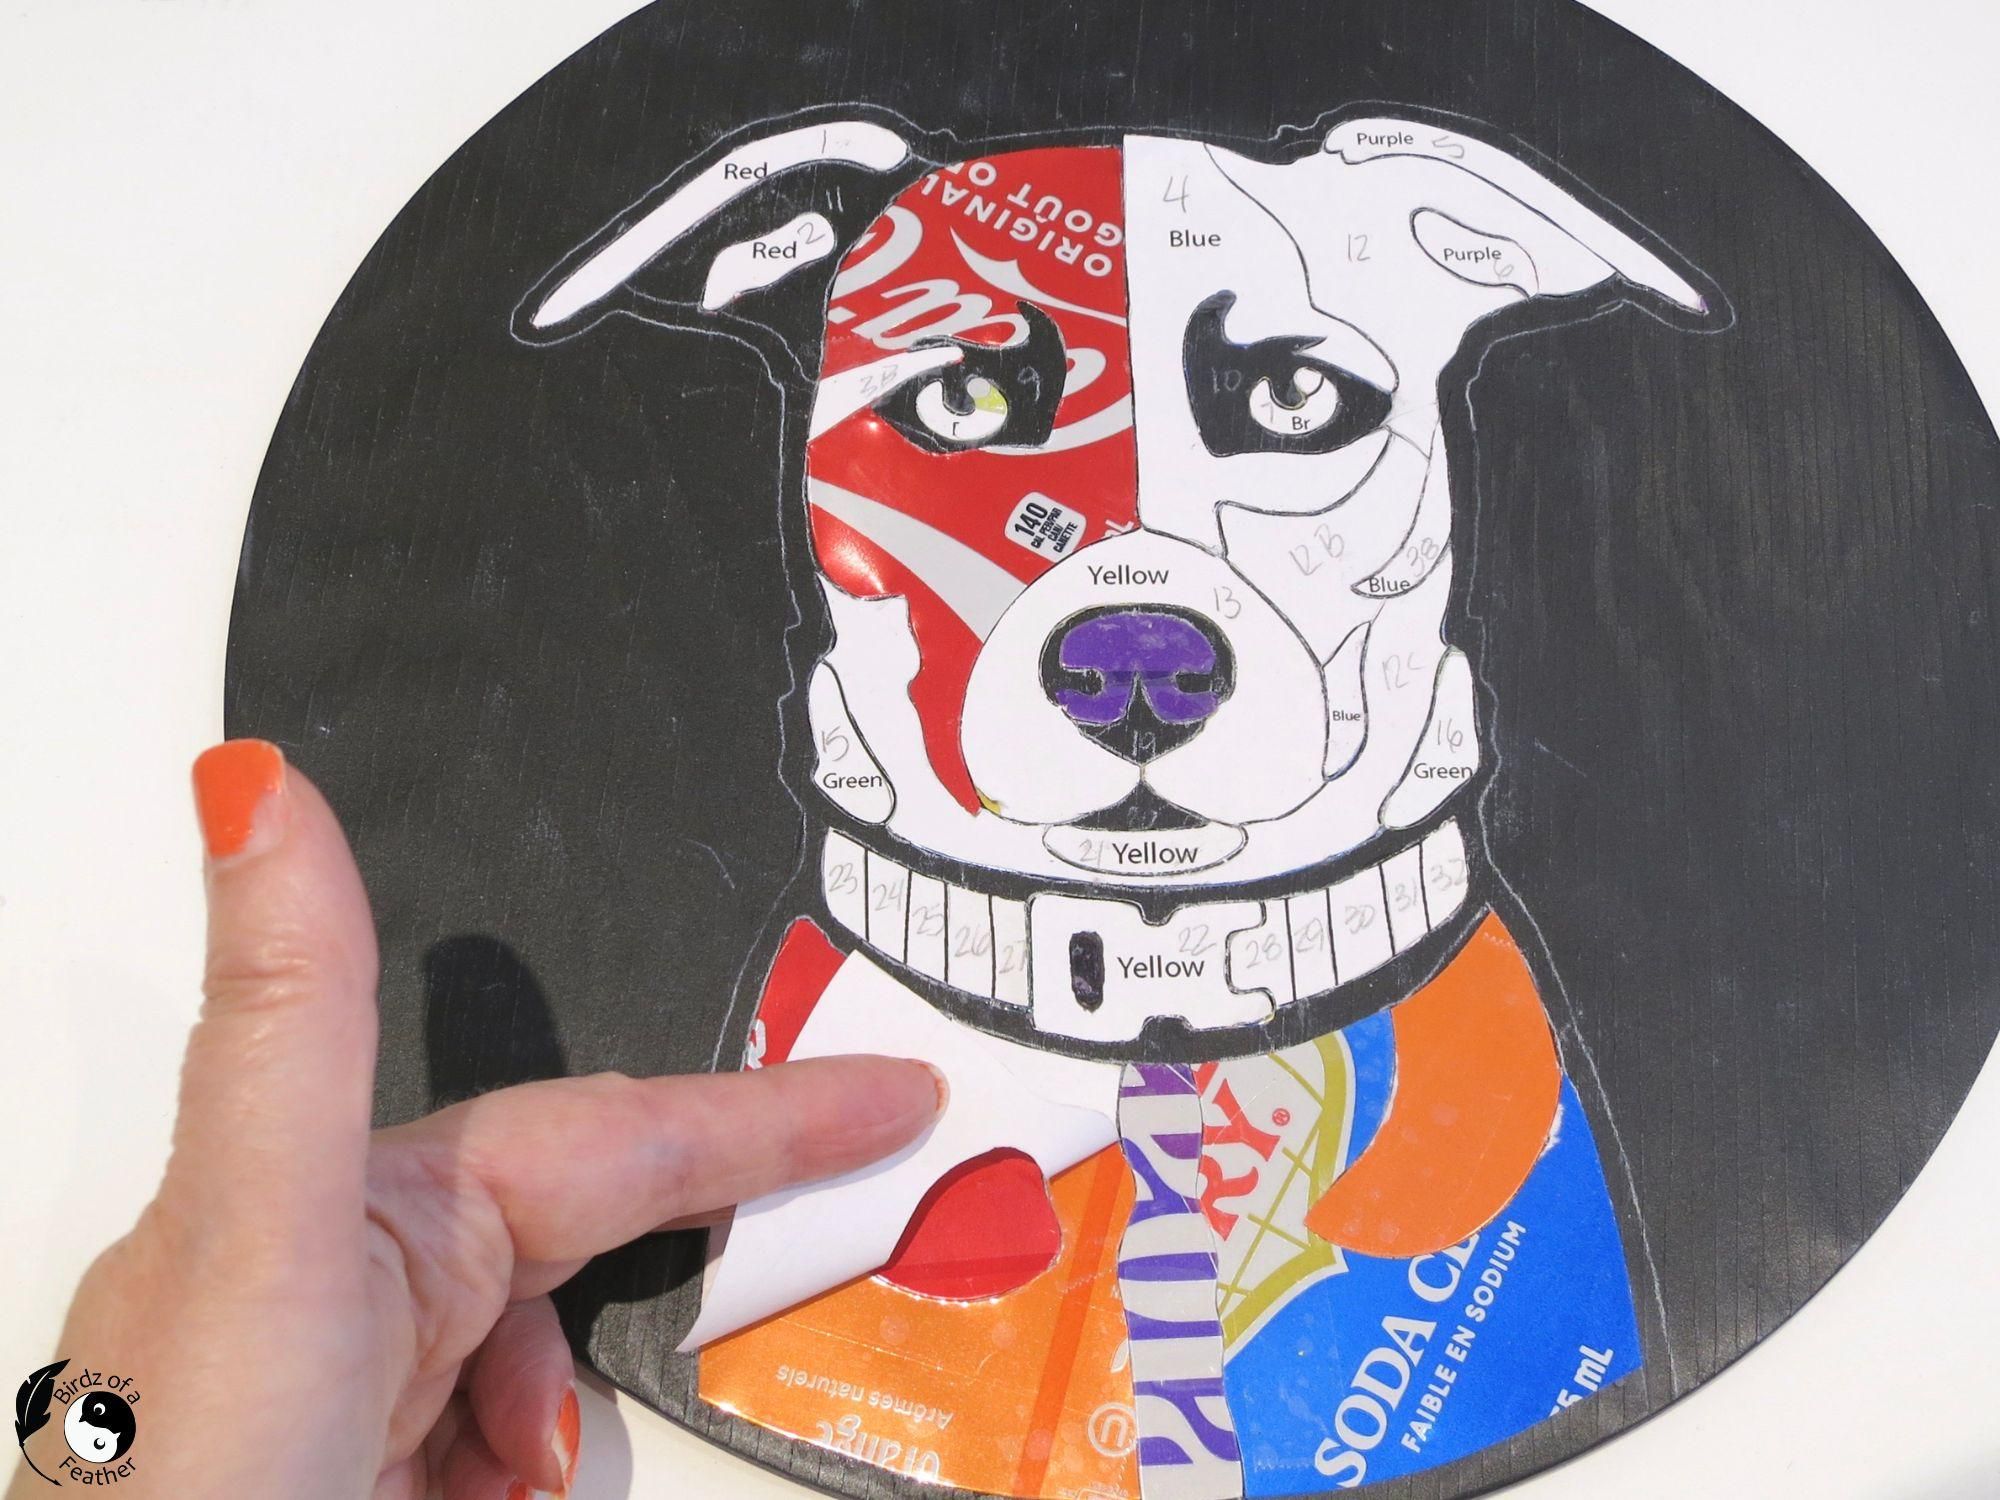
To make a highlight for each eye, I used a small paper punch to punch circles.
Then I glue each one on before gluing the eye in place.
There were only a few places where the paper stuck to the glue, but it was easily removed with a bit of scraping with a finger nail; so much for my manicure!
Don’t forget to lift up the double sided tape as you go too if it sticks to the can instead of the paper pattern!
For the background, I cut a pattern to punch it up with even more colour. Using the outline of the dog, I drew a pattern radiating out from the middle. Again, I left a gap so the black backer board would show through.
Lastly, attach a picture hanging hook to the back.
Reveal
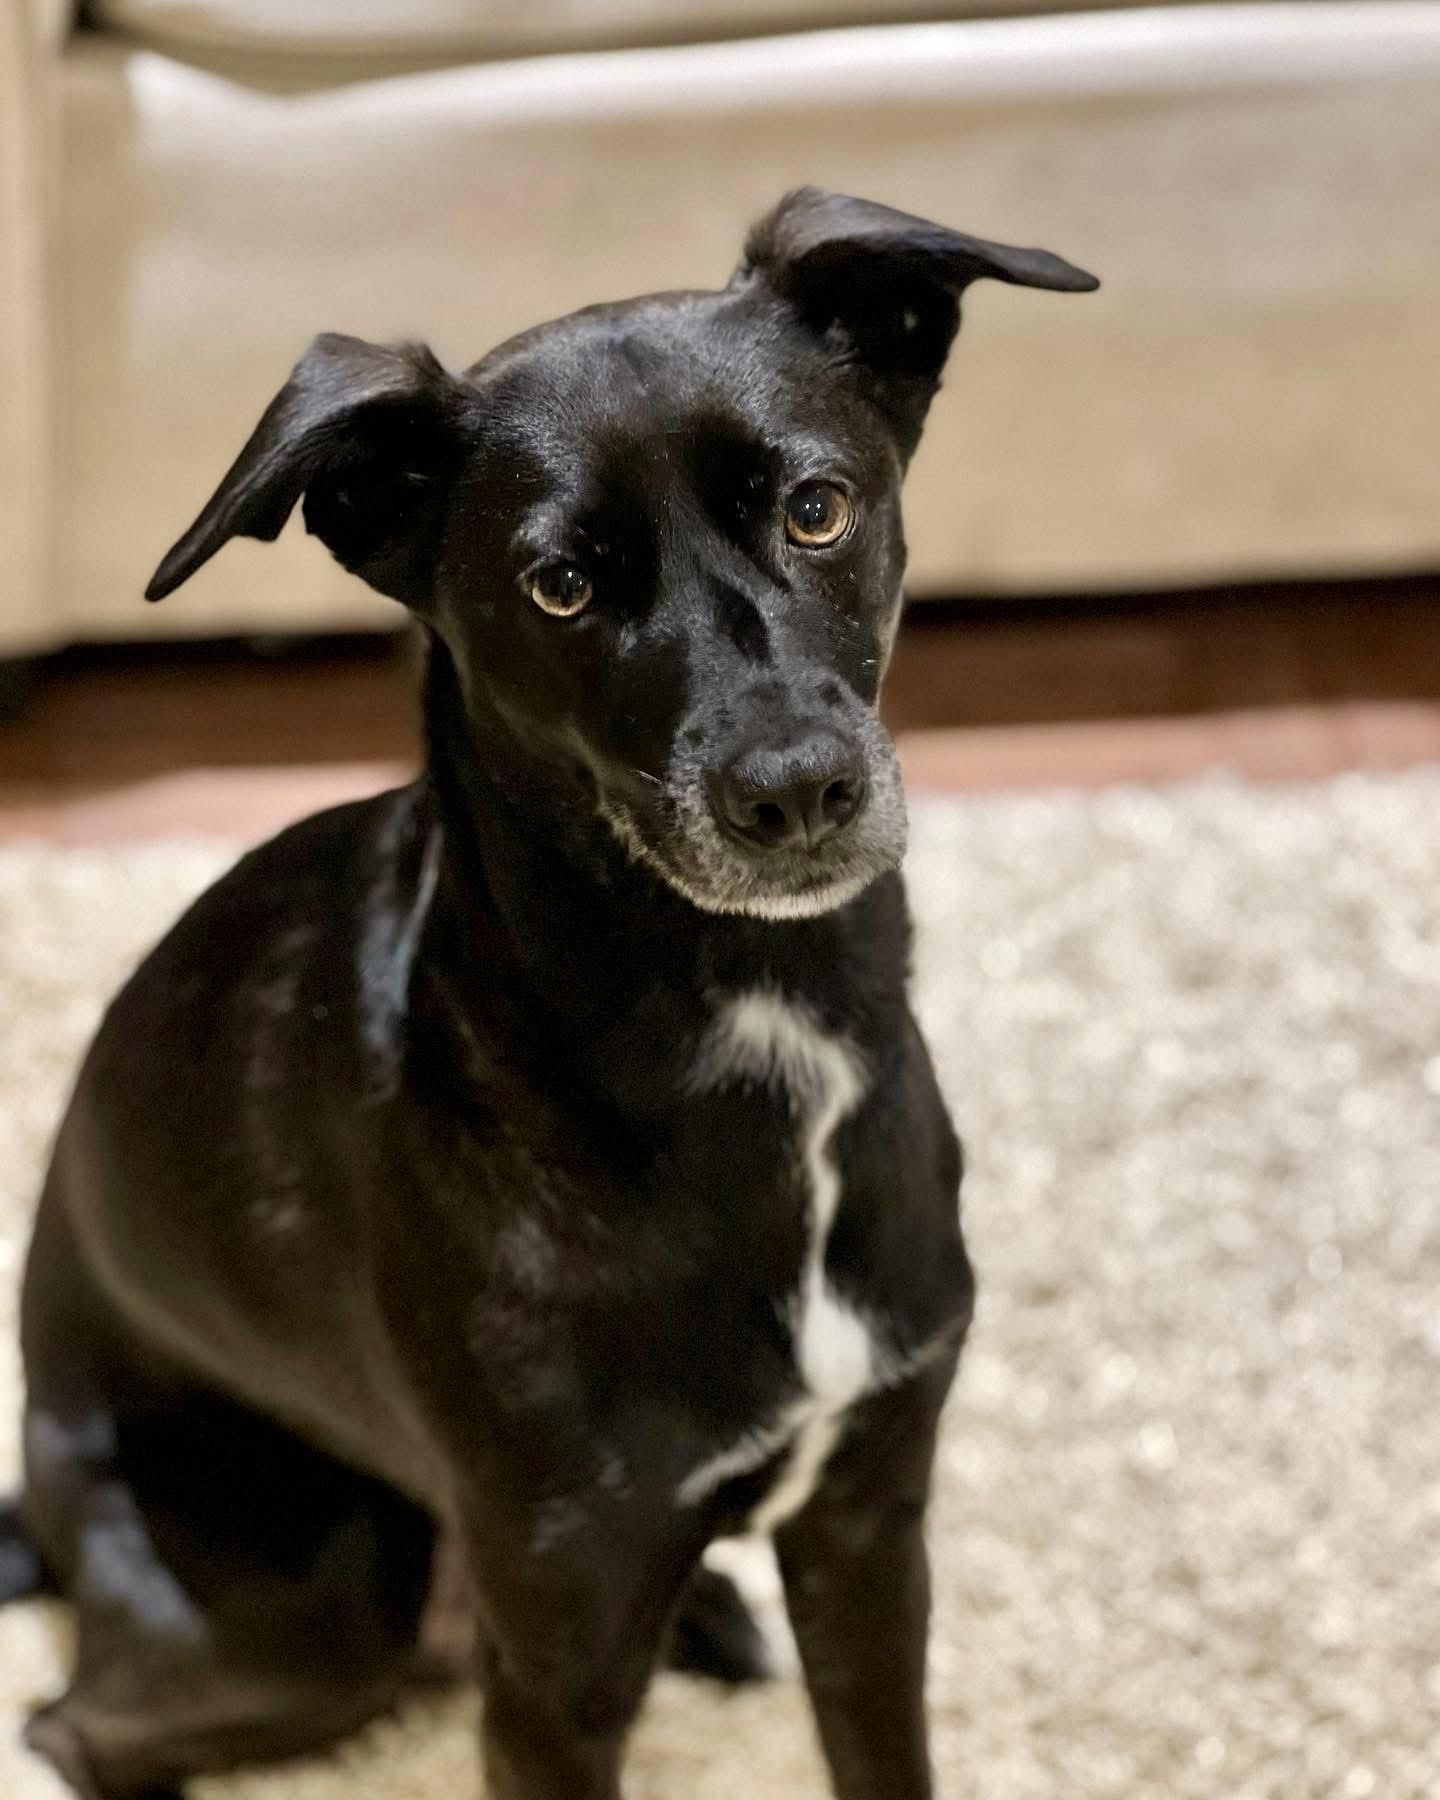
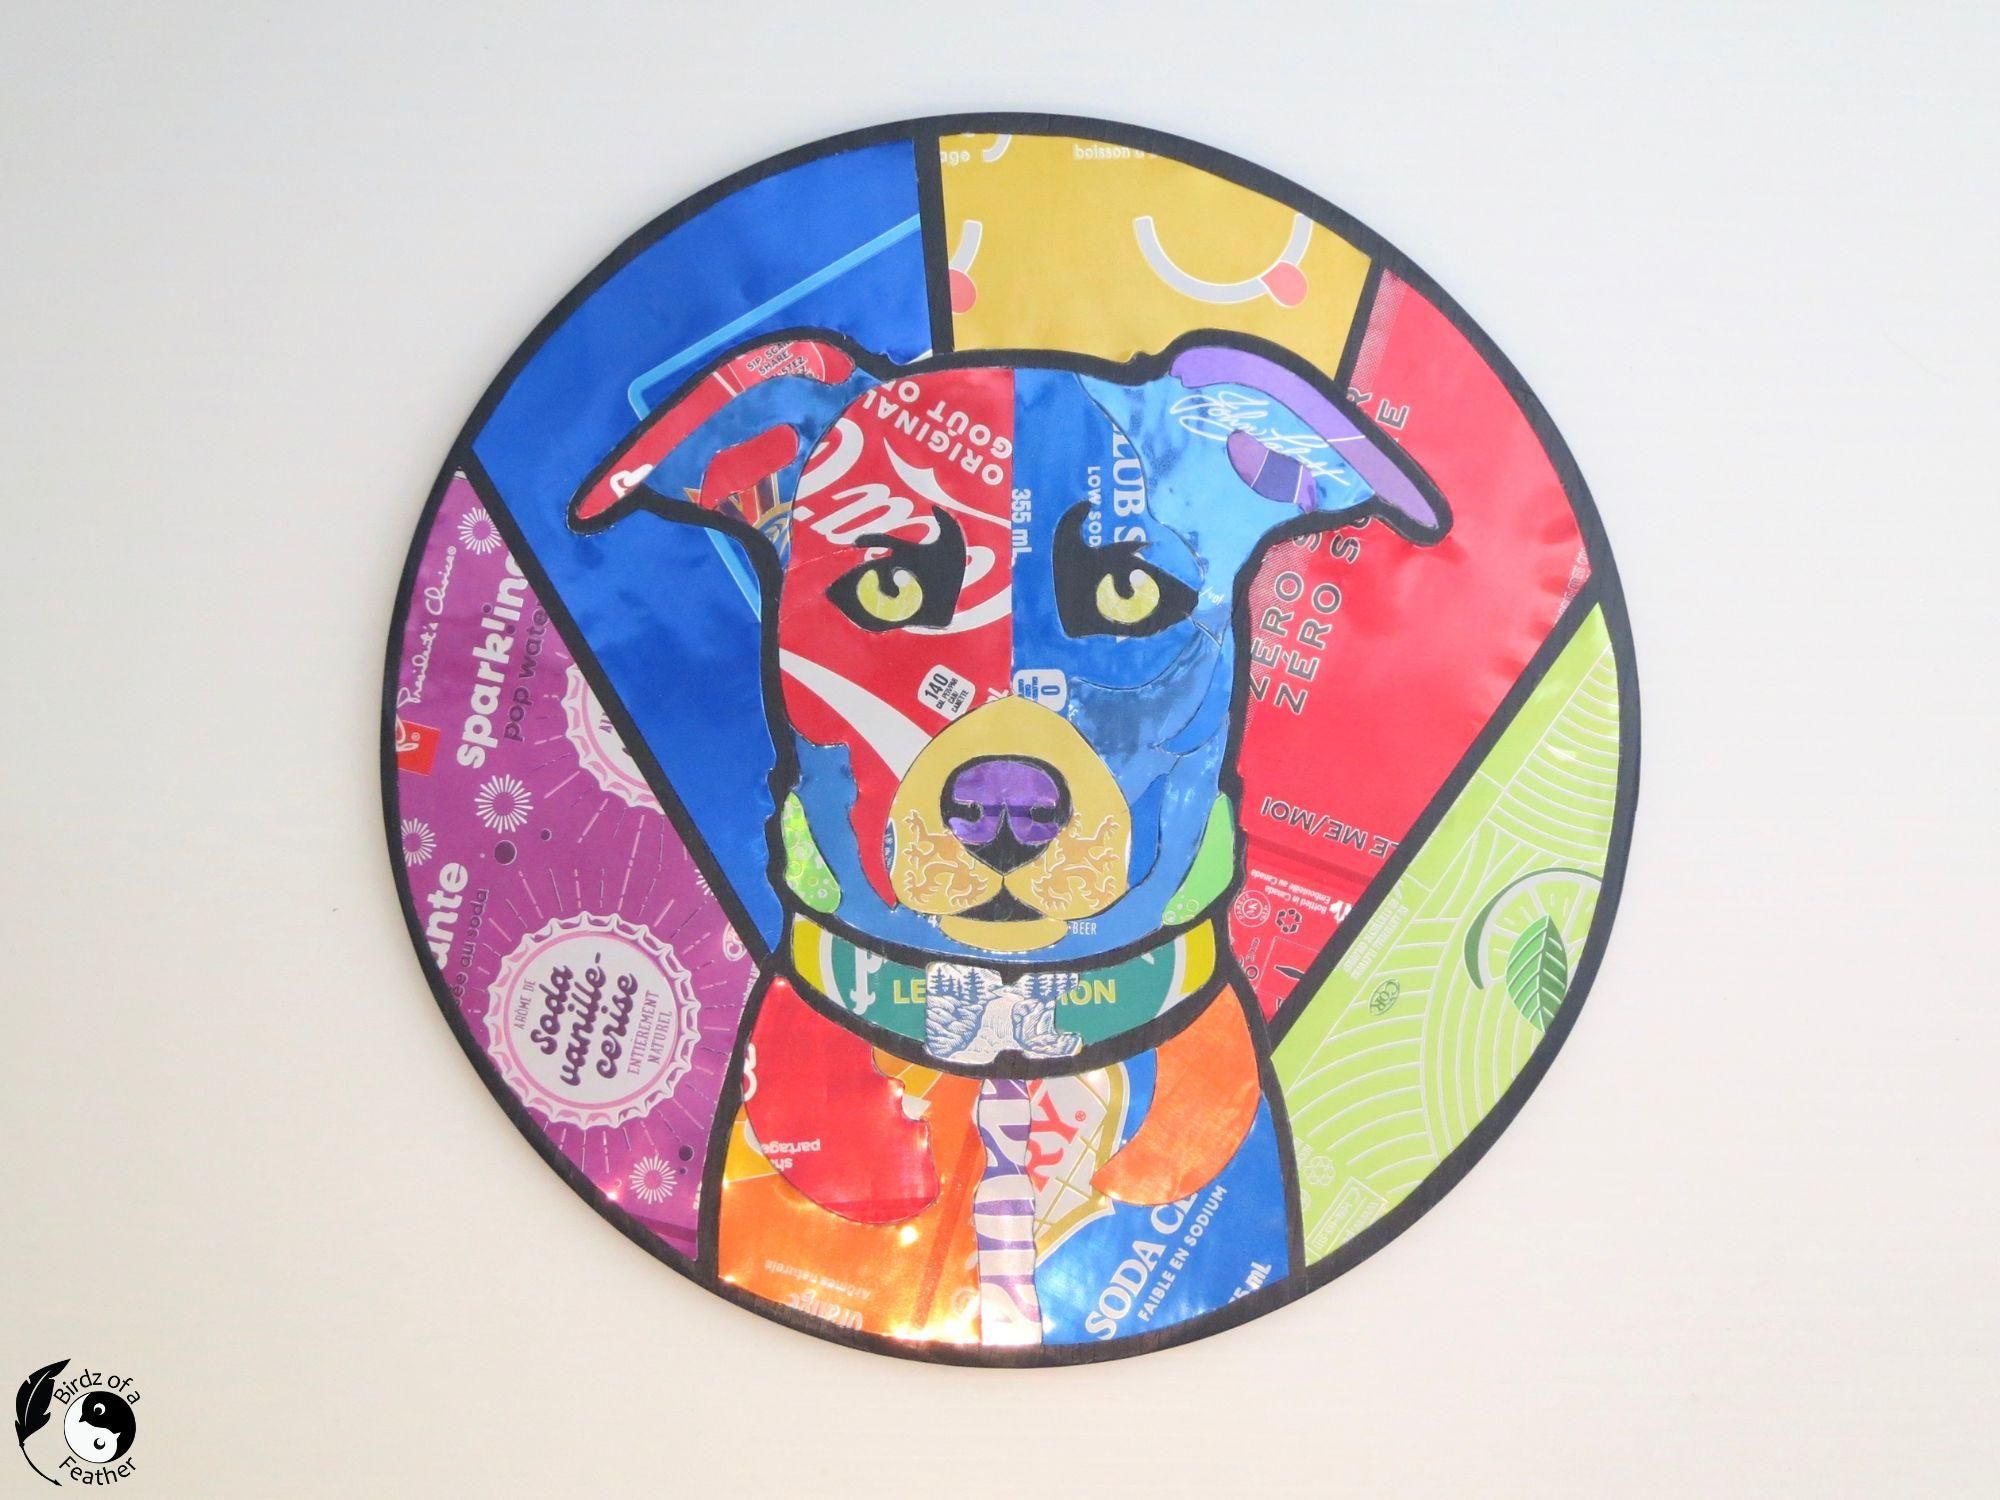
The first picture is a reminder of my inspiration, Britney.
What started life as a pile of aluminum cans saved from the blue bin, now has a whole lot of personality. Cut, flattened, and fashioned into pop art fun in all its rainbow glory.
I’m hoping my sister loves how I immortalized Britney in aluminum drink cans. What do YOU think of this one-of-a-kind gift?
Join Us in the Fight Against Alzheimer's
If you like to learn new skills AND support a great cause, subscribe to Birdz of a Feather! You can also follow us on Pinterest, Facebook, YouTube and Instagram. Every time you set eyes on a project on our blog or YouTube, you help us raise money for Alzheimers research.
If you'd like to go the extra mile and support what we do directly, we'd be so grateful if you considered making a donation to our Alzheimer fundraiser. Every contribution goes directly to the Alzheimer Society and helps advance research. Follow the link and click the blue donate button on the banner; you'll get an automatic electronic tax receipt with a minimum of $20.