Rainbow Tissue Holder
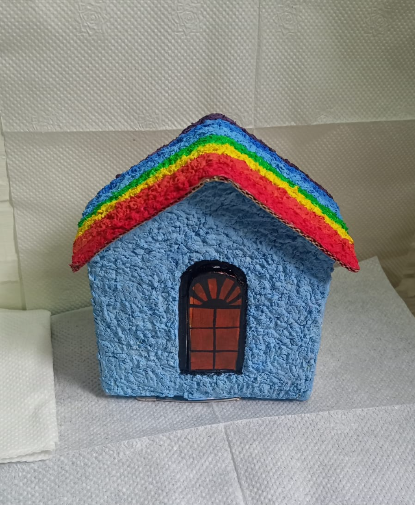
Welcome to this colorful and eco-friendly Instructables project! In this tutorial, we will be upcycling an ordinary cardboard sweet box into a vibrant, functional piece of home decor. By making a simple DIY paper pulp, we will transform flat cardboard into a heavily textured, stucco-style cottage topped with a brilliant rainbow roof. This Rainbow House Tissue Holder dispenses tissues right through its front door, making it a perfect, whimsical addition to a desk, nightstand, or classroom. Let's gather our supplies and get started!
Supplies
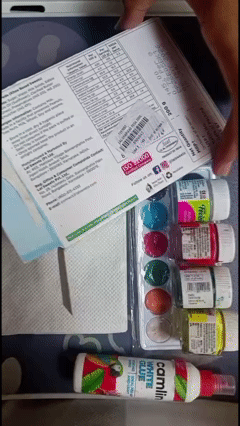
Small cardboard box (like a sweet or pastry box)
Extra scrap cardboard (for the roof)
Scrap paper (for the pulp texture)
Water and a small bowl
White craft glue
Tweezers
Craft paints (Red, orange, yellow, green, blue, dark blue/purple, brown, and black)
Paintbrushes
Scissors or a craft knife
Prep the Cardboard Base
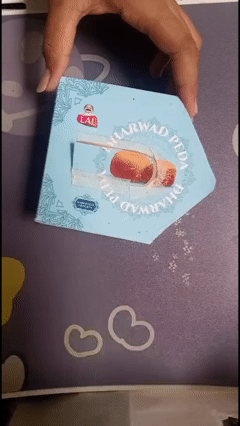
Take your small cardboard box and decide which side will act as the front of your house. Carefully cut an arched doorway or window into this front panel. You can leave one edge uncut so it functions as a hinged door, or remove the cutout completely. This opening will serve as the dispenser slot for your tissues.
Construct the Pitched Roof
Instead of cutting away the top flaps of the cardboard box, fold them upward. Bring the flaps together so they meet in the center, forming a steep, pitched triangular roof base for your house. Glue or tape these flaps securely in place so the roof structure is stable and ready to hold the heavy texture.
Create the Paper Pulp
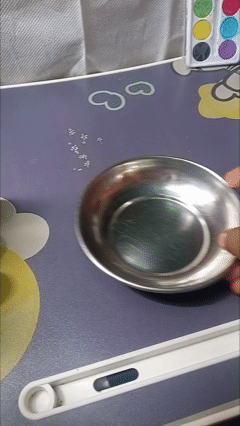
Take your scrap white paper and tear it into very small, confetti-like fragments, placing them into a small metal bowl. Pour water into the bowl until all the paper bits are completely submerged. Allow the paper to soak thoroughly, and then use your fingers to mash and break down the fibers until it forms a soft, moldable wet pulp. Squeeze out the excess dripping water before applying.
Apply the Textured Roof Stripes
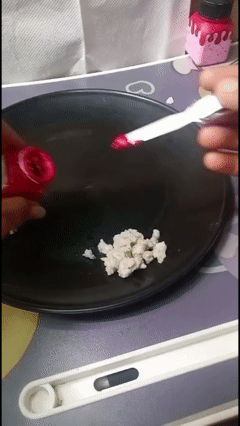
Squeeze a thick, generous line of white liquid glue along the very bottom edge of one side of the roof. Using your precision tweezers, pinch small amounts of the wet paper pulp and press them directly onto the glue line. Pack the pulp tightly together to create a raised, heavily textured stripe. Continue adding thick, parallel stripes of pulp all the way up to the peak of the roof, ensuring you have enough distinct rows to accommodate six rainbow colors.
Load and Dispense
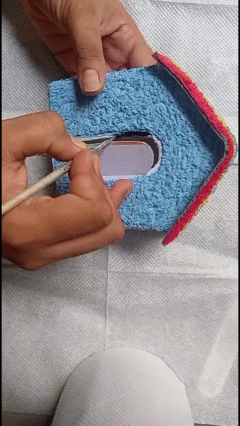
Open the bottom or back of your box (depending on how you constructed the roof) and place a stack of tissues inside. Pull the corner of the first tissue slightly out through the hinged, arched front doorway. Your functional, tactile rainbow cottage is now ready to dispense tissues and brighten up your space!