Reclaimed Lumber Scew Extractor
by mikeandmertle in Workshop > Tools
1128 Views, 13 Favorites, 0 Comments
Reclaimed Lumber Scew Extractor


I'm in the process of reclaiming some really nice hardwood timber for a friend and while most of of the old hardware unbolted cleanly a large screw broke off inside the wood. The previous times this happened it took a fair about of work to dig them out, and damaged a few chisels in the process.
I've tried using a holesaw, but mine are too short, so I decided to make one quickly.
Supplies


- Stainless Steel Tube
- Round Bar
- Flat Bar
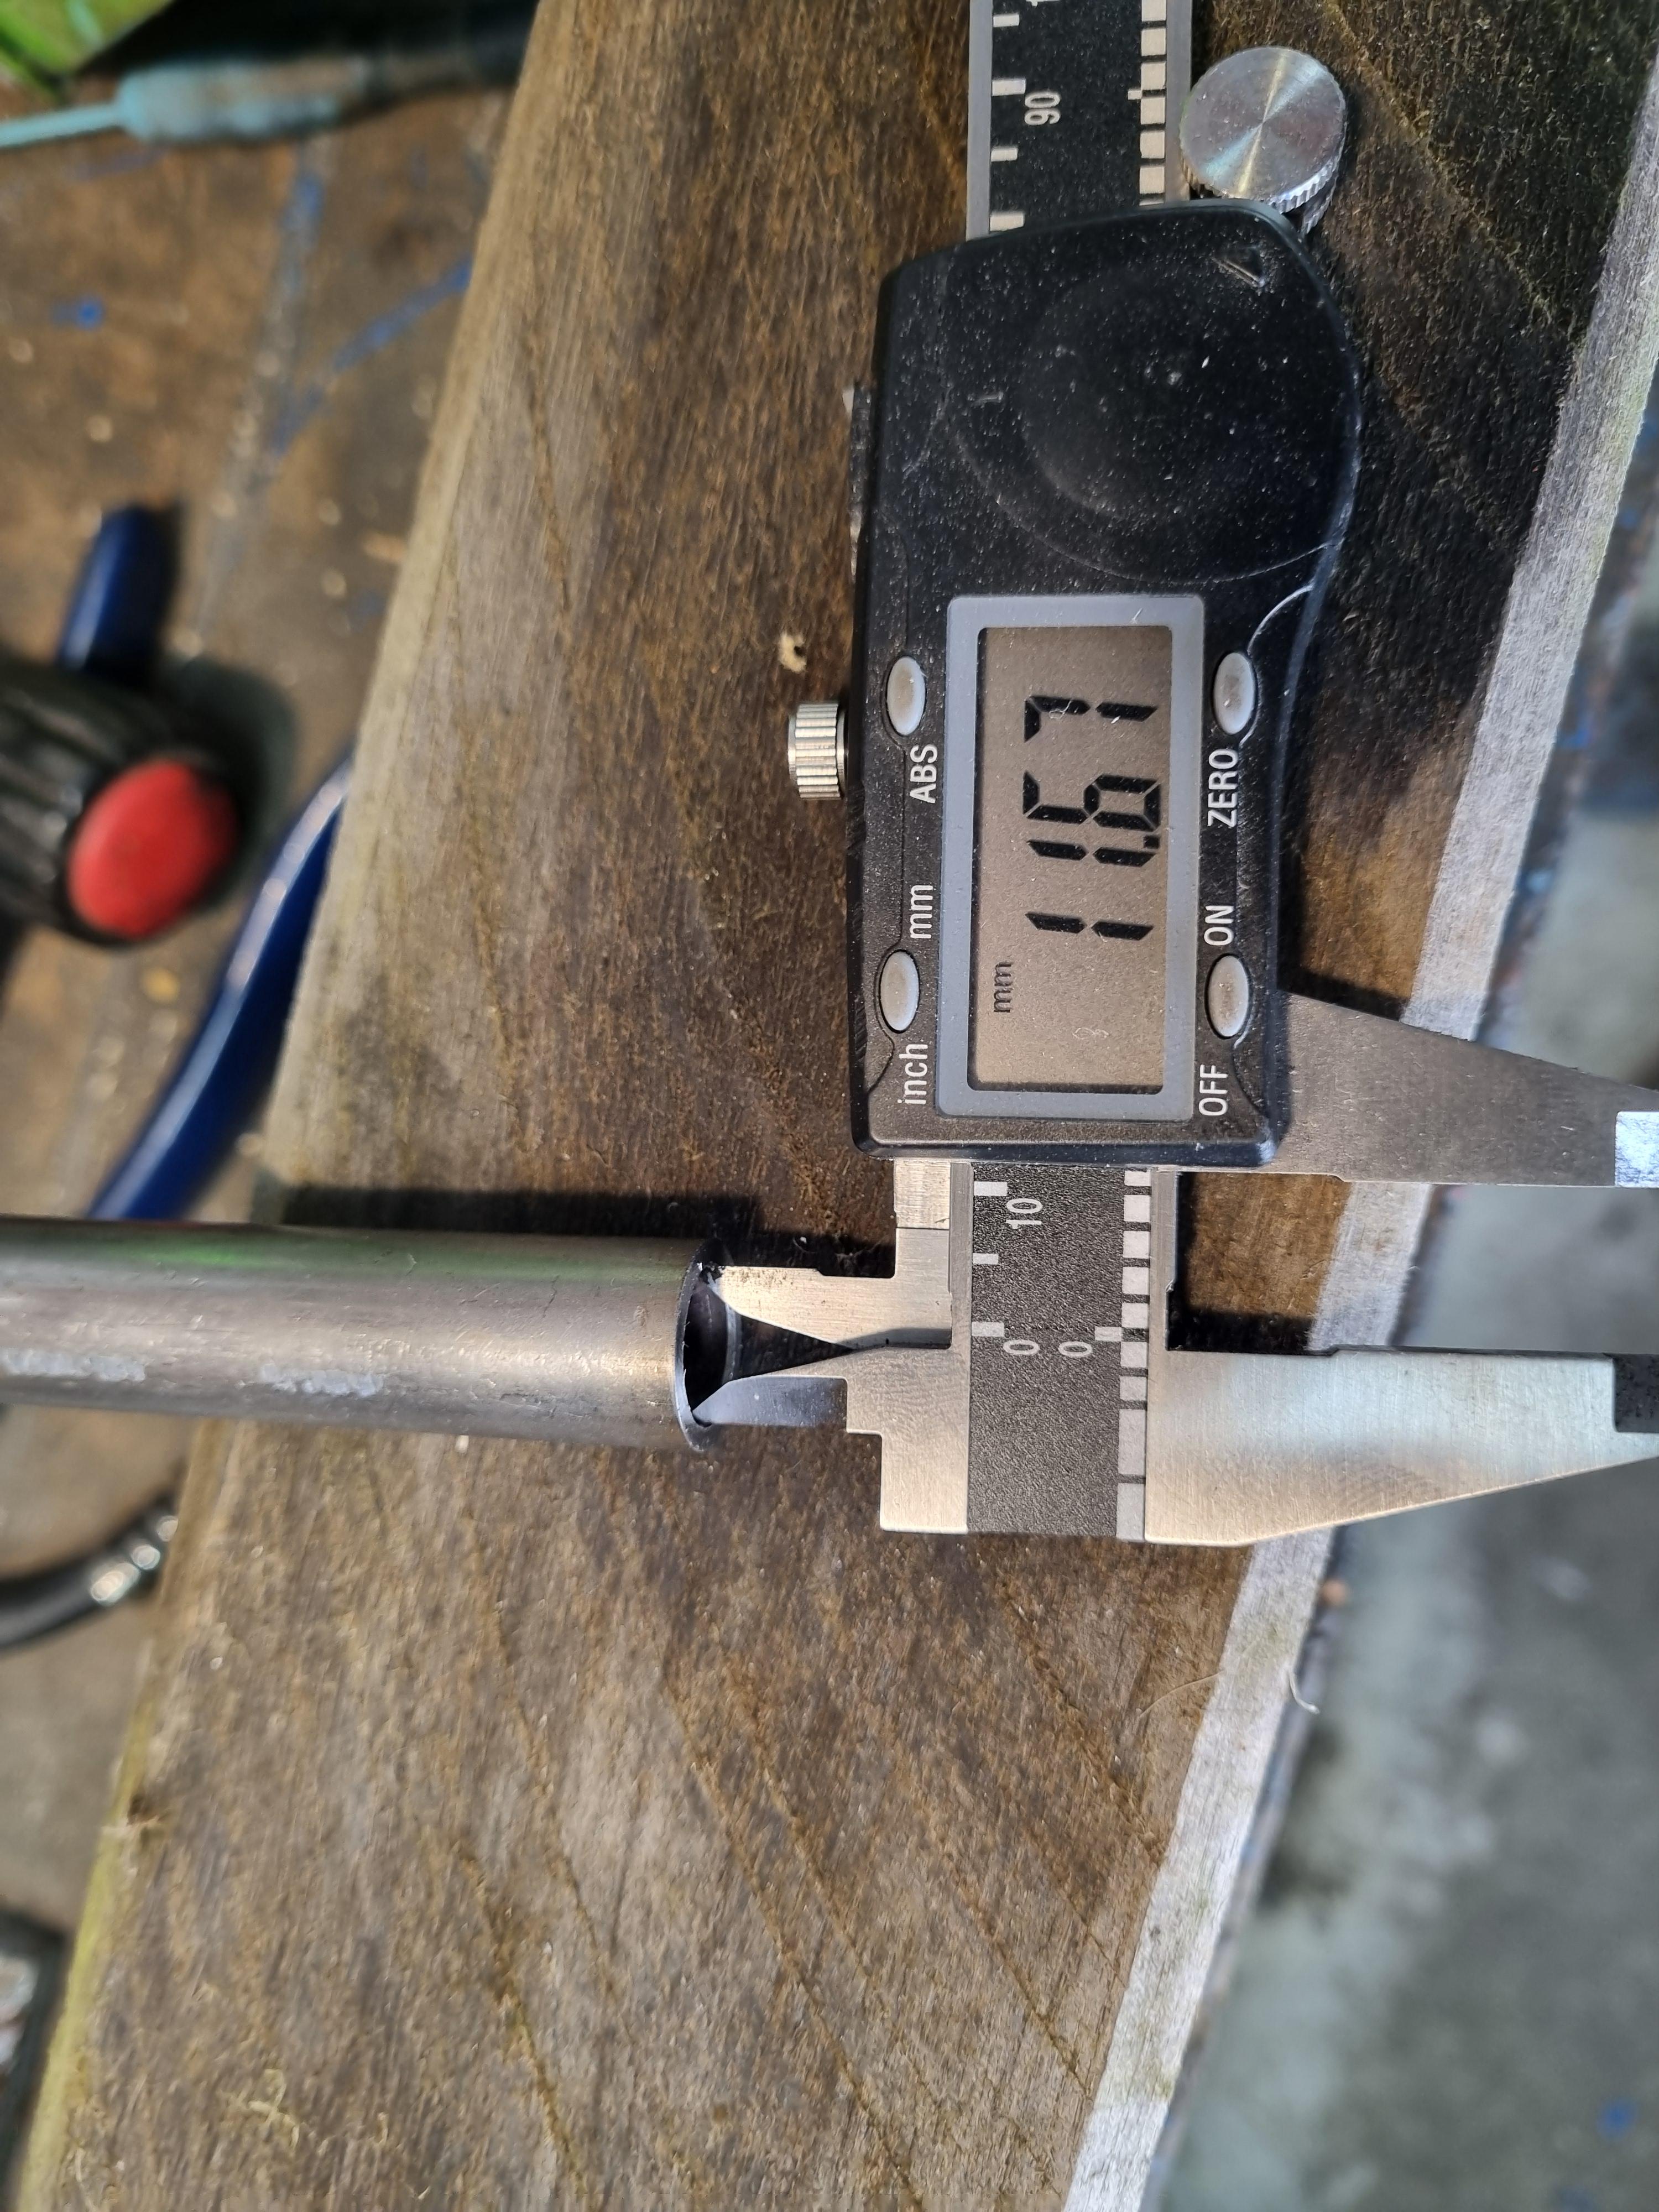
Trim the Tube


The tube needs to have an internal diameter greater than the diameter of the screw you are trying to extract. The first step is to cut this to length. I only had a short piece so I just needed to flaten the ends, you can do this with a saw or grinder, but I need to practice my machining skills so did this on the lathe.
I also cut a small chamfur on one end to make it easier to insert the shank later, you can do this with a drill bit or file it by hand.
The reason I used stainless steel is that it's reasonably hard and should keep its edge for a while, but I can still sharpen it with a file. The thicker wall of the tube was a bonus.
Cut the Teeth

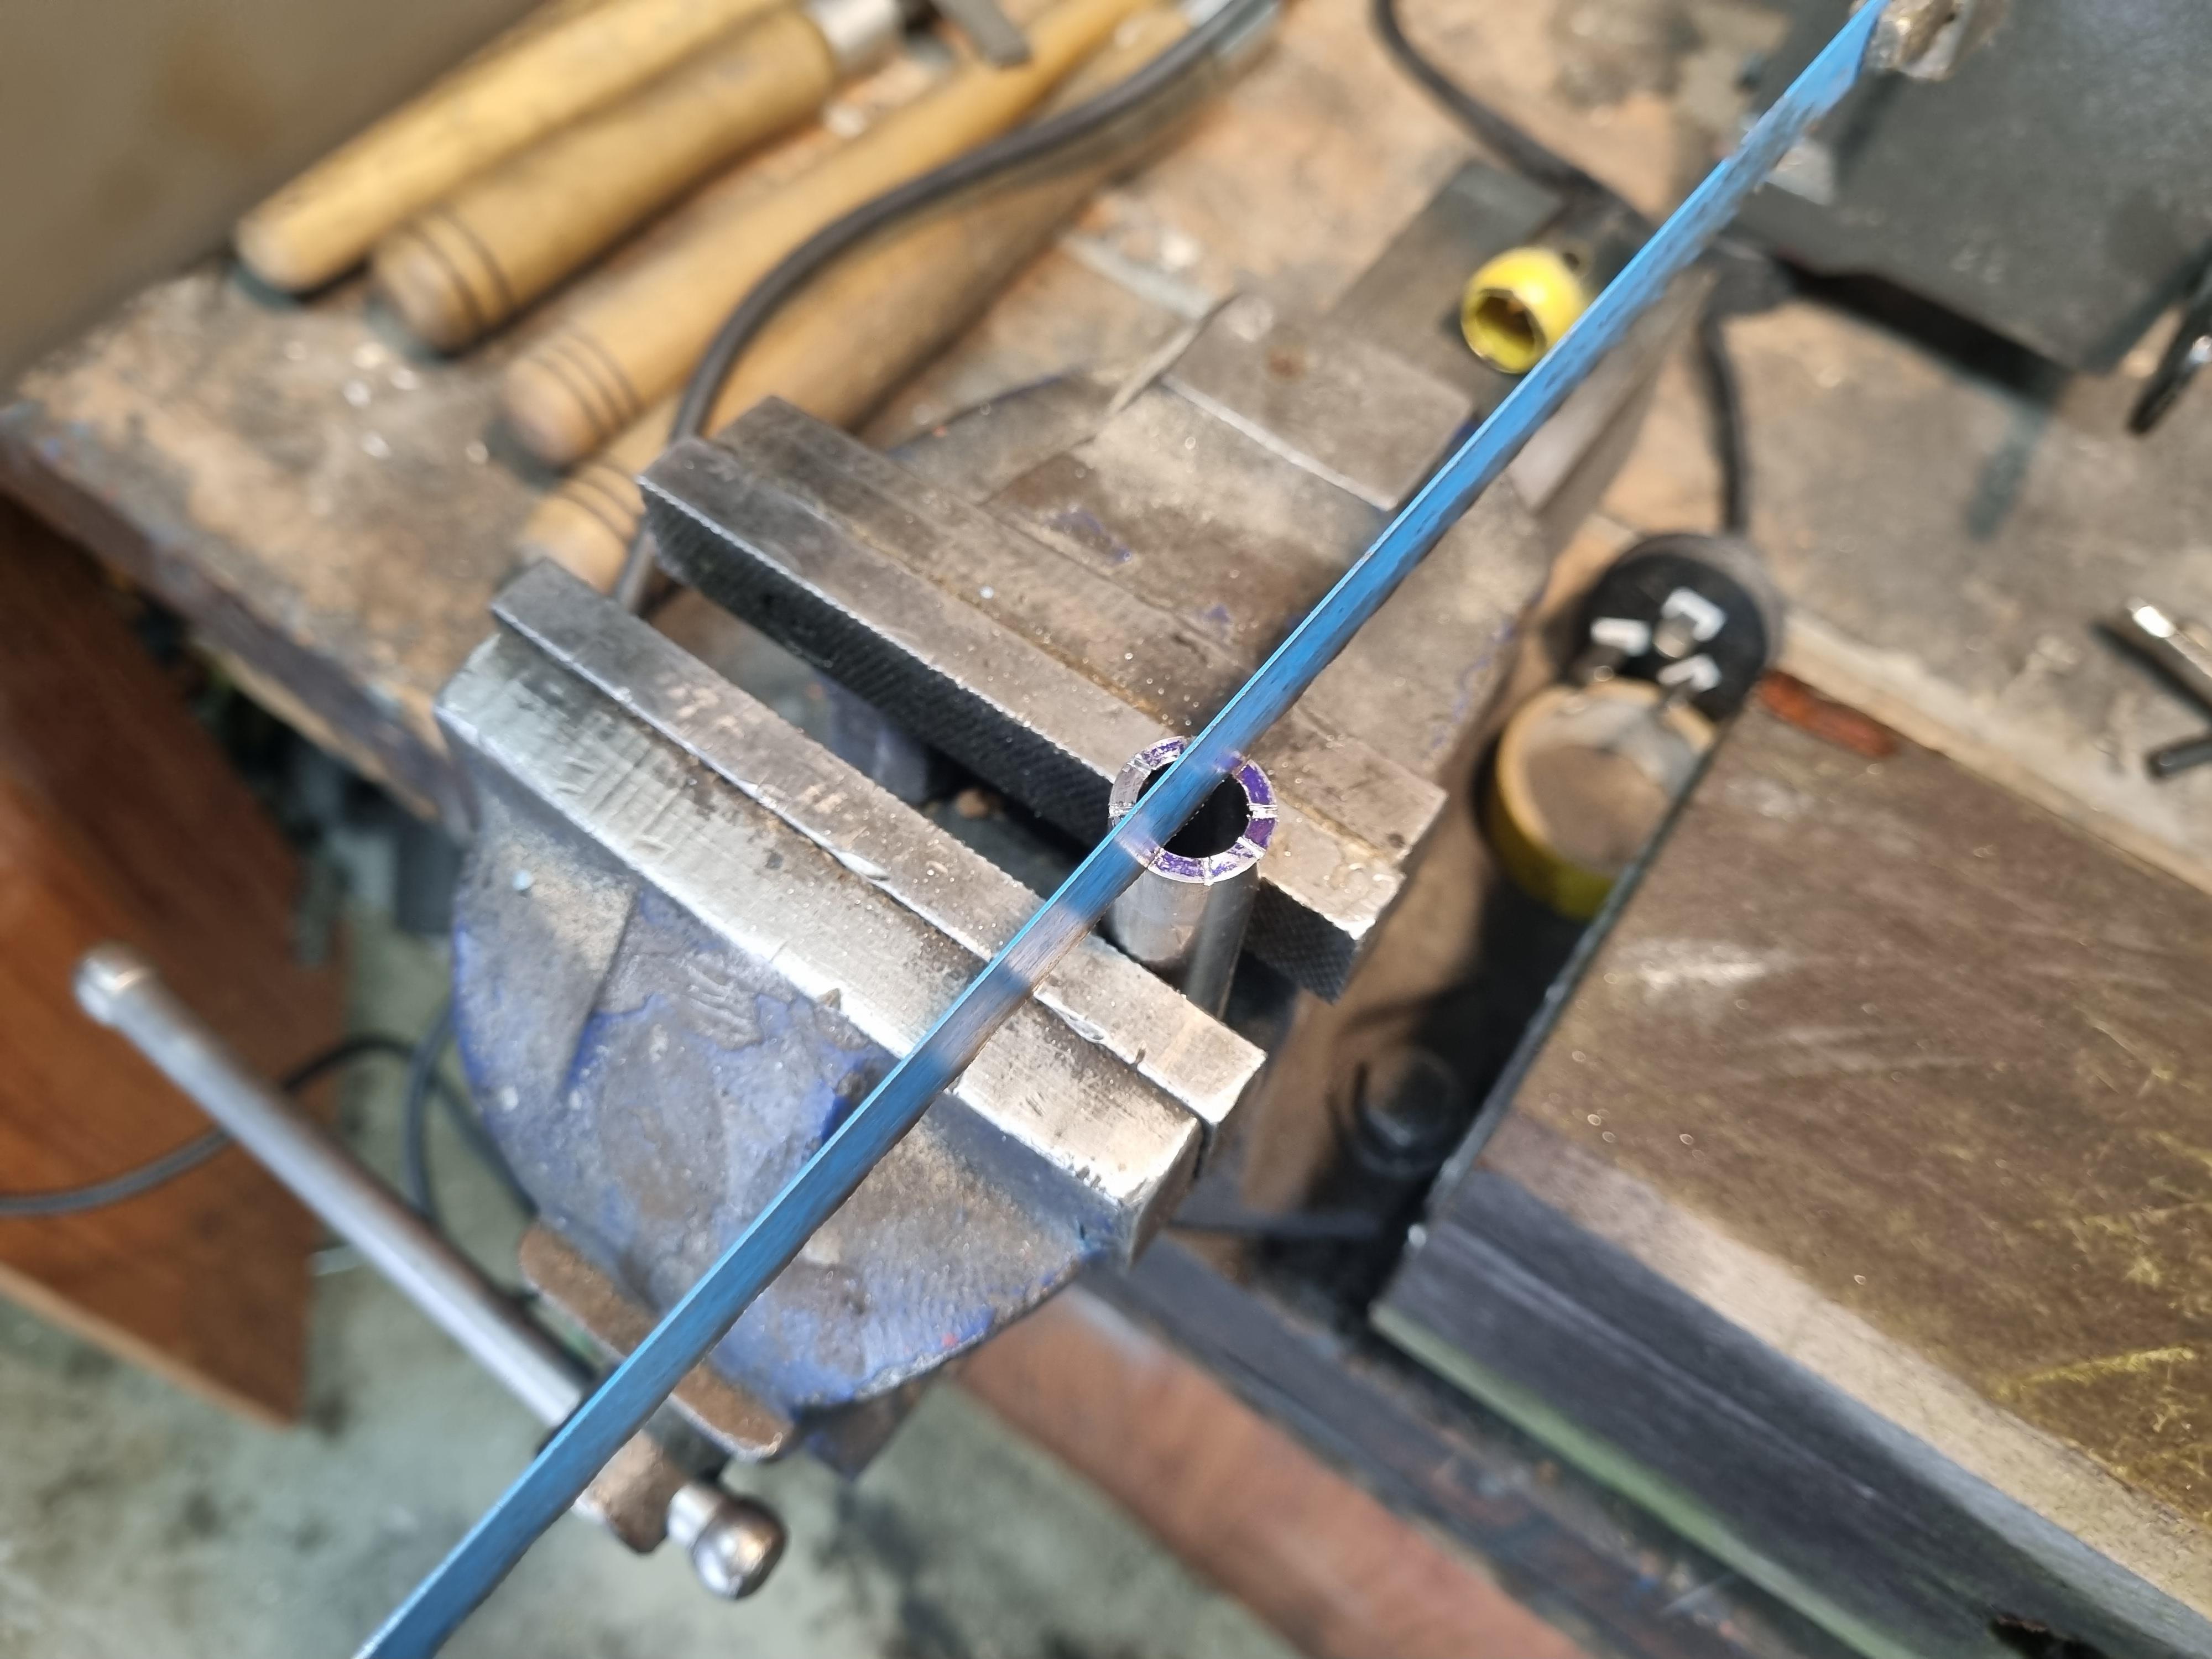


To cut the teeth, I used a centre finder to mark out the locations of where I wanted them to be. I then used a hacksaw to start the cut for each tooth to ensure I had the cut location correct. You can see I also used a small tube cutter to score a line around the tube at the depth I wanted the teeth to go to.
Lastly, I used a cut-off disc on a dremal to cut the teeth out. This was really fast and much easier than I was expecting. I copied the angle for the teeth off an old hole saw.
I was expecting to do some cleanup, but this wasn't needed.
Make the Bracket


I used an old piece of flat metal bar, and I wasn't particularly precise in measuring it, so I just cut a piece that was long enough to drill a hole through the middle and still have room for a clamp on each side.
The hole you drill should be just slightly larger than the outside diameter of the stainless steel tube.
Make the Shank


Measure the inside of the tube and then turn one end of the round bar down to slightly larger than that. It needs to be a tight fit. In the past before I had a lathe I would just carefully just a grinder for this sort of thing, it's a lot harder but you can do it.
I also cut a small bevel onto the end of the bar to help it fit into the tube in the next step.
Install the Shank


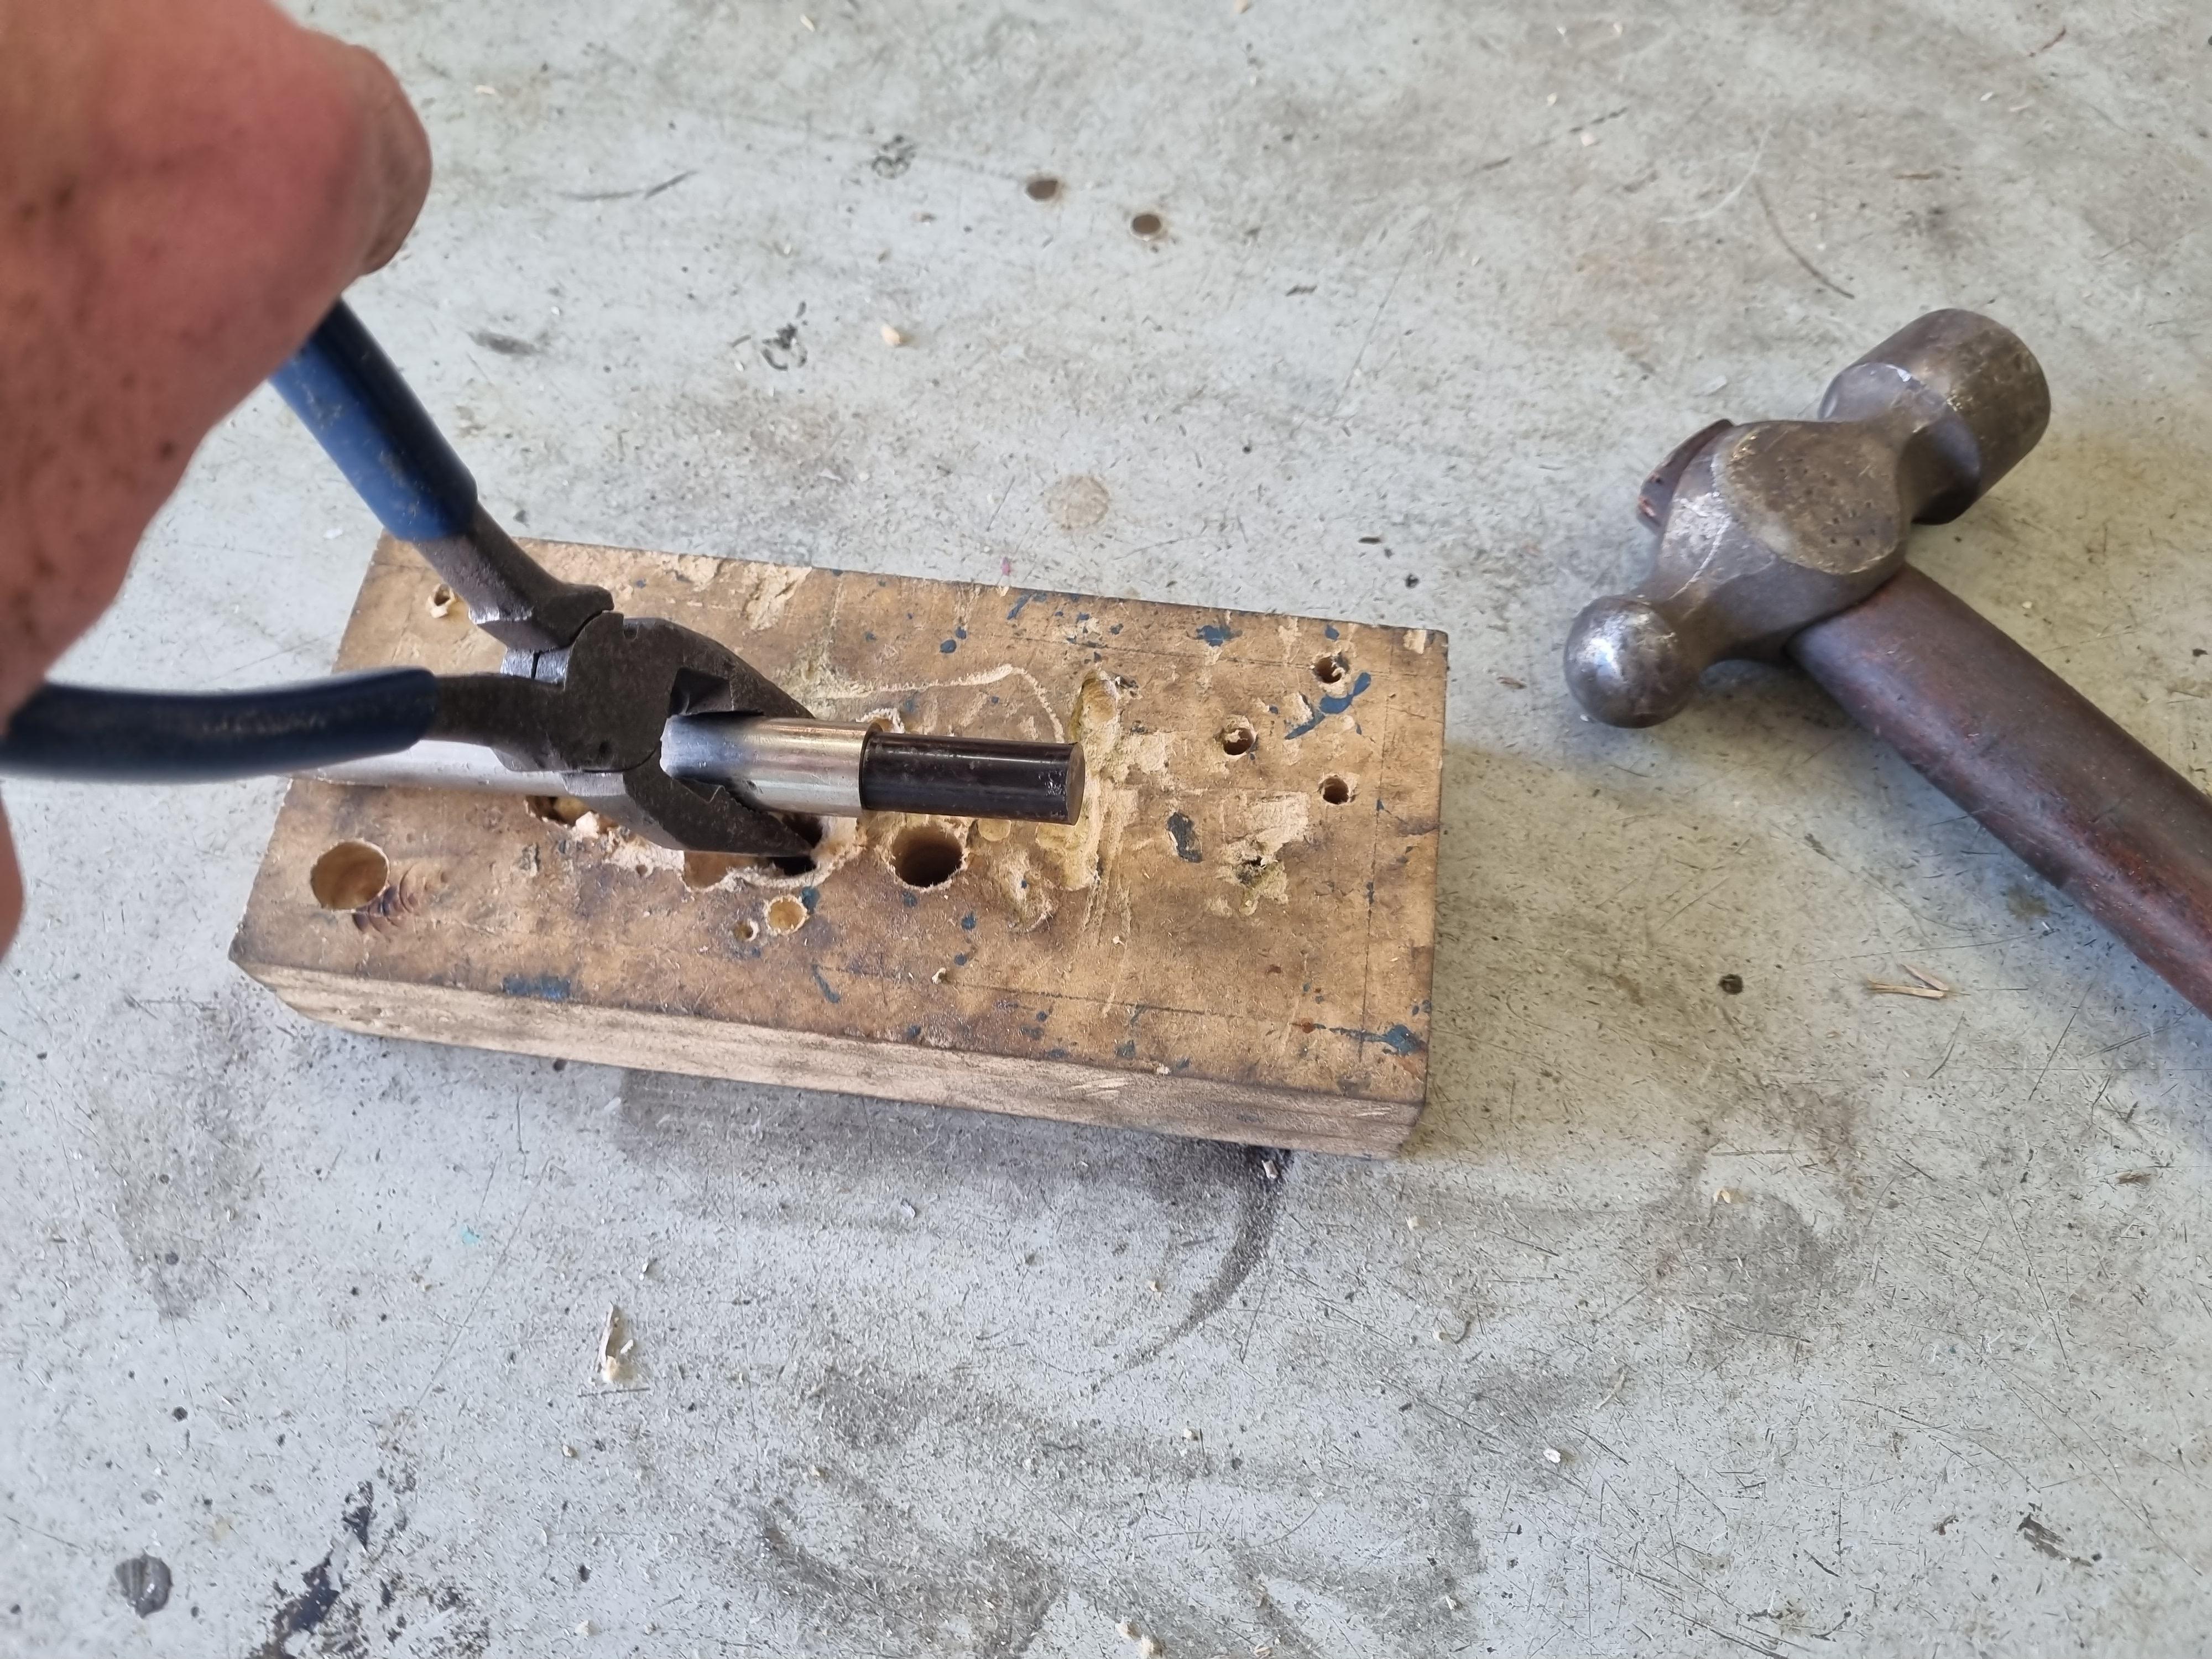
I placed the tube on a piece of wood and then heated it up with a small gas torch; this is to make the metal expand so the hole is slightly larger and the metal shank can be driven in more easily. When the metal cools back down and shrinks to its original size, it makes the fit much tighter.
In an ideal world, I'd have a hydraulic press to push this in smoothly, but I don't, so I just smashed it with a large hammer. This of course lightly deformed the end of the shank as expected.
Final Clean Up


I then chucked it back in the lathe and cleaned up the end of the shank to remove my hammer deformations. So the metal bar was a recycled piece it also had some paint that needed to be removed anyway.
This step can also be done with a grinder or file, just be careful to keep it round and centred.
Mount the Bracket


Now mount the bracket so the hole is centred on the broken screw and clamp it firmy into place.
Extract


Put the extraction tool into a drill and, using the bracket to align it, start to carefully drill it out. The teeth kept blocking up for me and I had to clean them out regularly; this was mainly due to the wood being wet.
Once you have got the extraction tool started you can remove the bracket as it's only need to keep things centred at the beginning
Lastly, the extraction tool will start to heat up a bit, so I dipped it in some wax to lubricate it. This made kept the heat down and it quickly cut out the screw.
Celebrate!

When you have bored deep enough, it will likely just break off and plug up the extractor. Alternately, you may need to lever it with a flathead screwdriver.
Since the extractor isn't heat treated you can safely heat it up with a torch to remove the plug. For me this made it just pop up due to air expanding behind the plug and the wax lubrication. If it doesn't pop up, just heat it a bit longer until the wood burns out enough to loosen, but I didn't need to.
This was a quick little project and it made removing the screw much much easier and I didn't damage any chissels.