Repair of UV for HVAC - Saved Over $350!
by RedDerek in Workshop > Home Improvement
95 Views, 0 Favorites, 0 Comments
Repair of UV for HVAC - Saved Over $350!
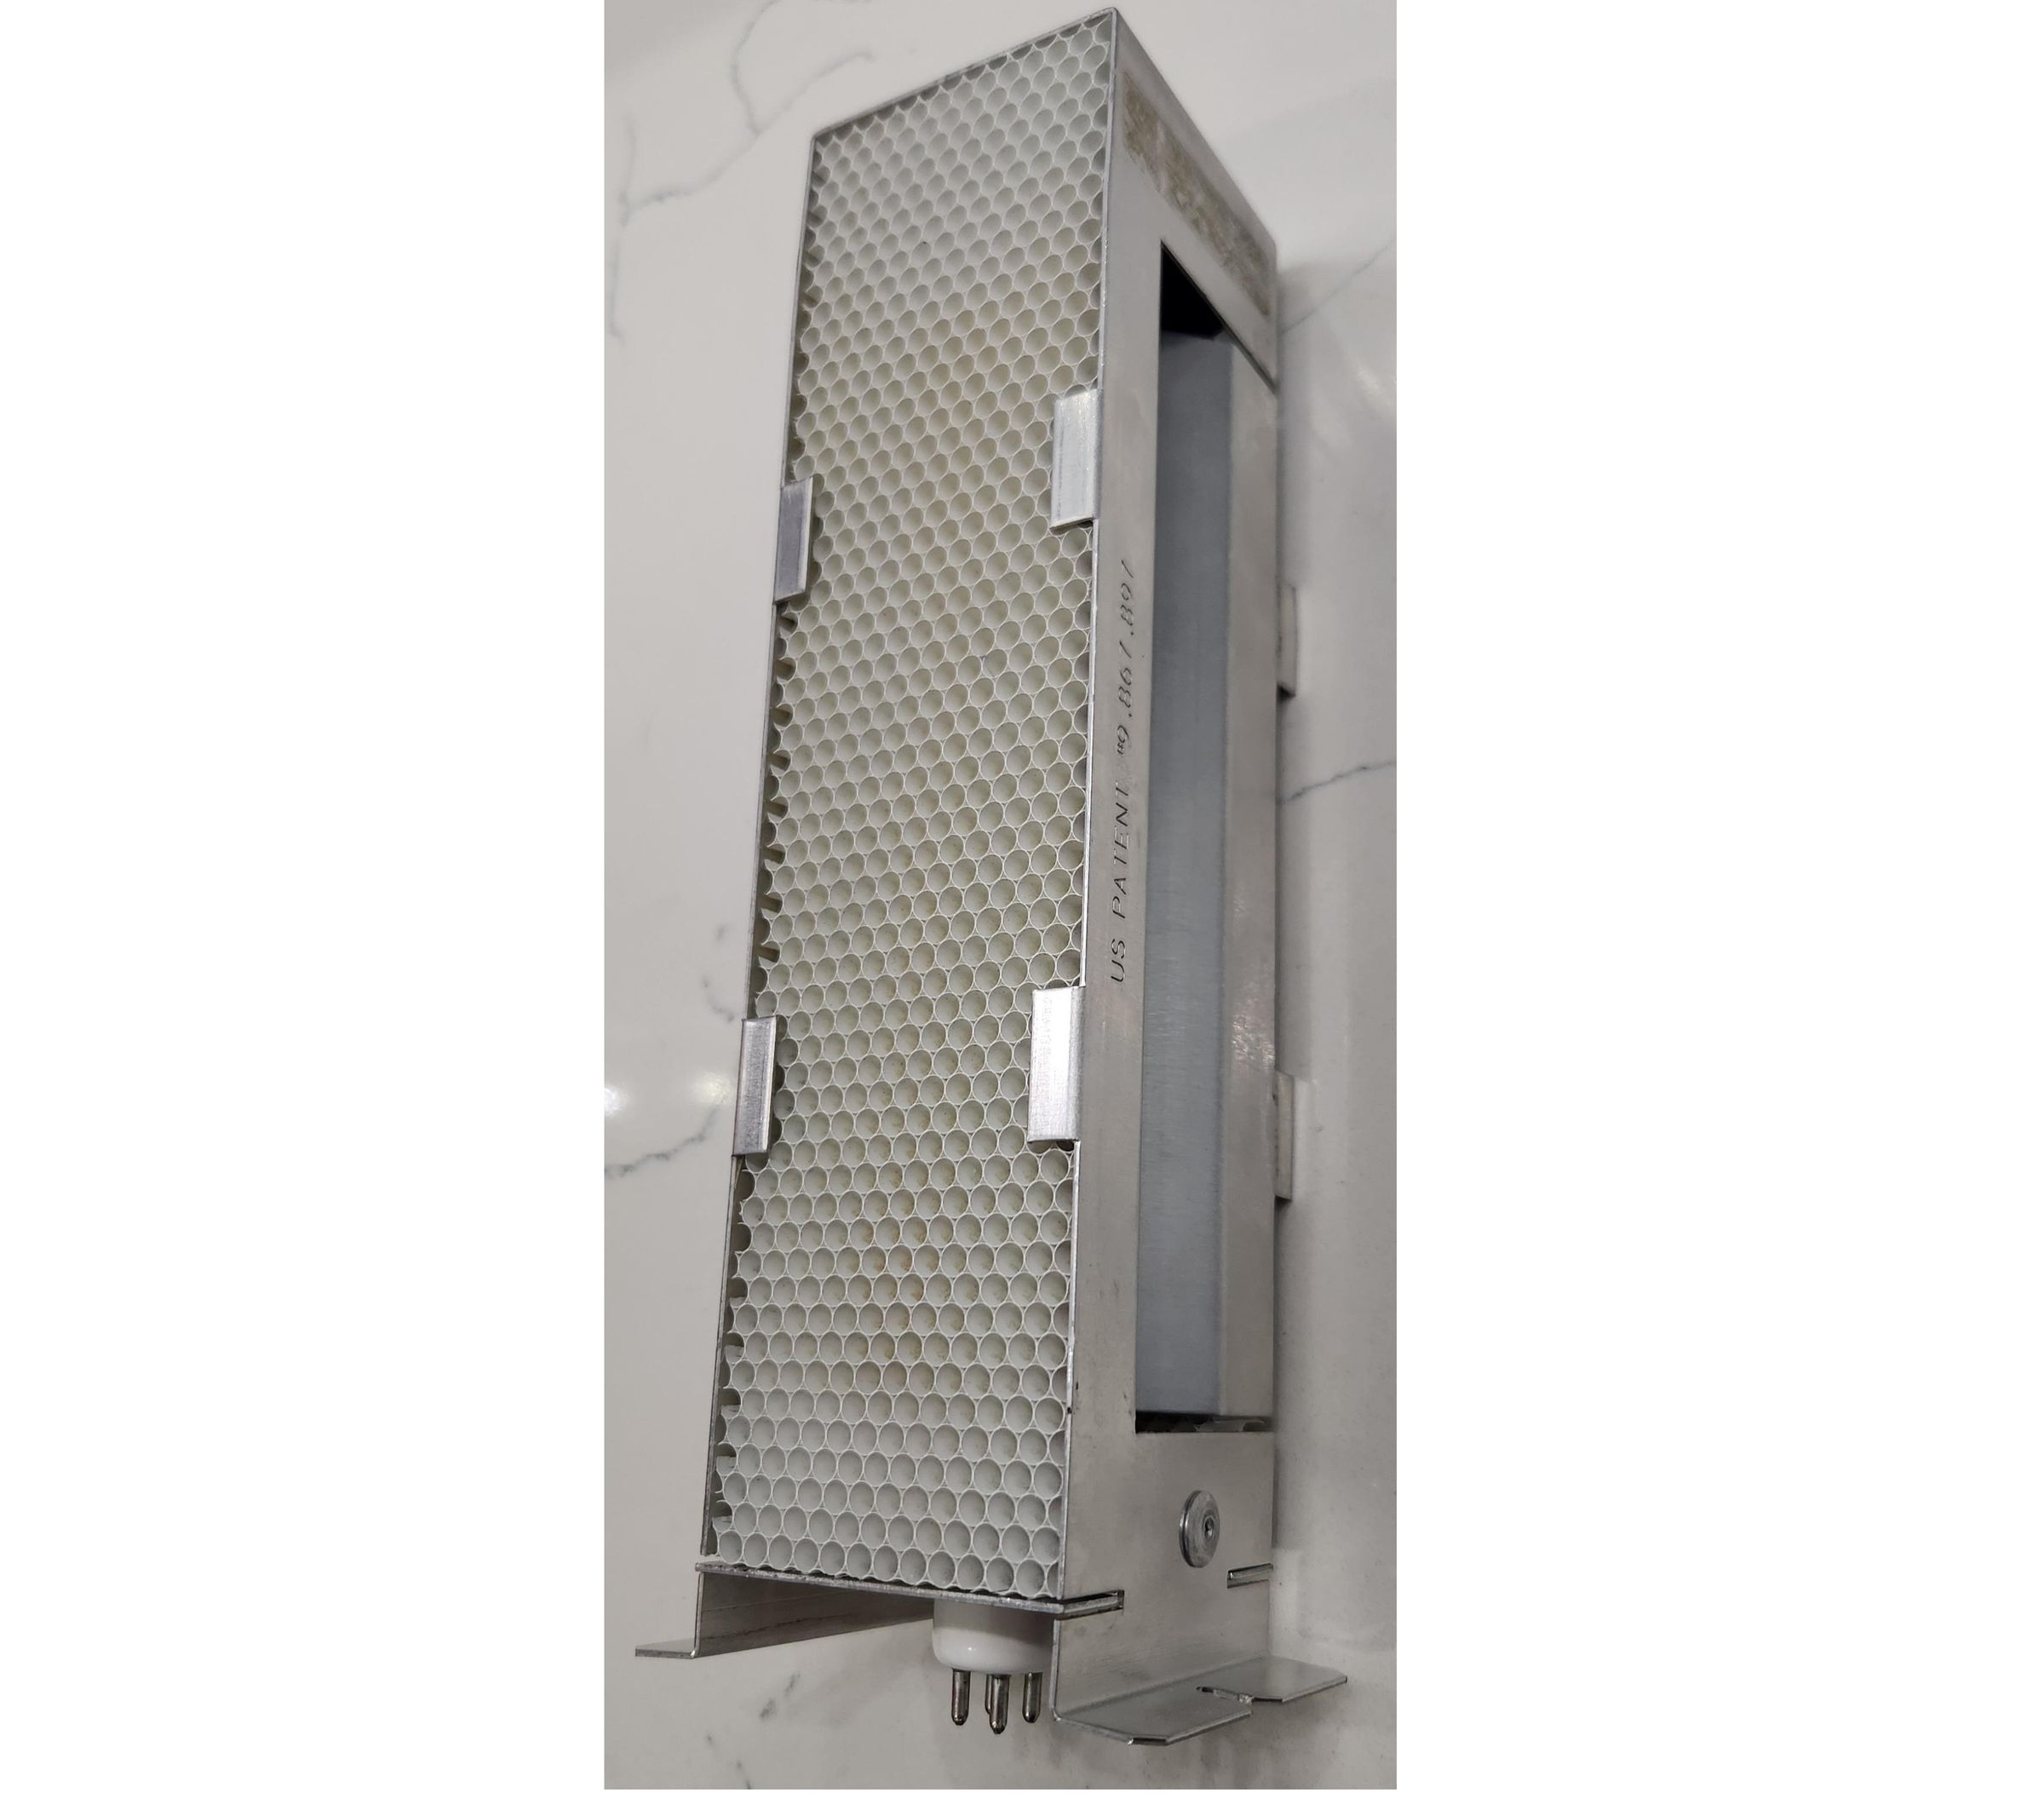
Had my HVAC recently serviced and the technician quoted $400 to replace the UV light that helps clean the air system. He was great as he pulled the unit, easy to find on the exhaust side of the blower system. A few screws later revealed the so-called $400 unit, shown.
Thus, the time to figure out how to make the old unit usable at a fraction of the cost.
Supplies
Pliers
double-back tape
gloves
Disassembly
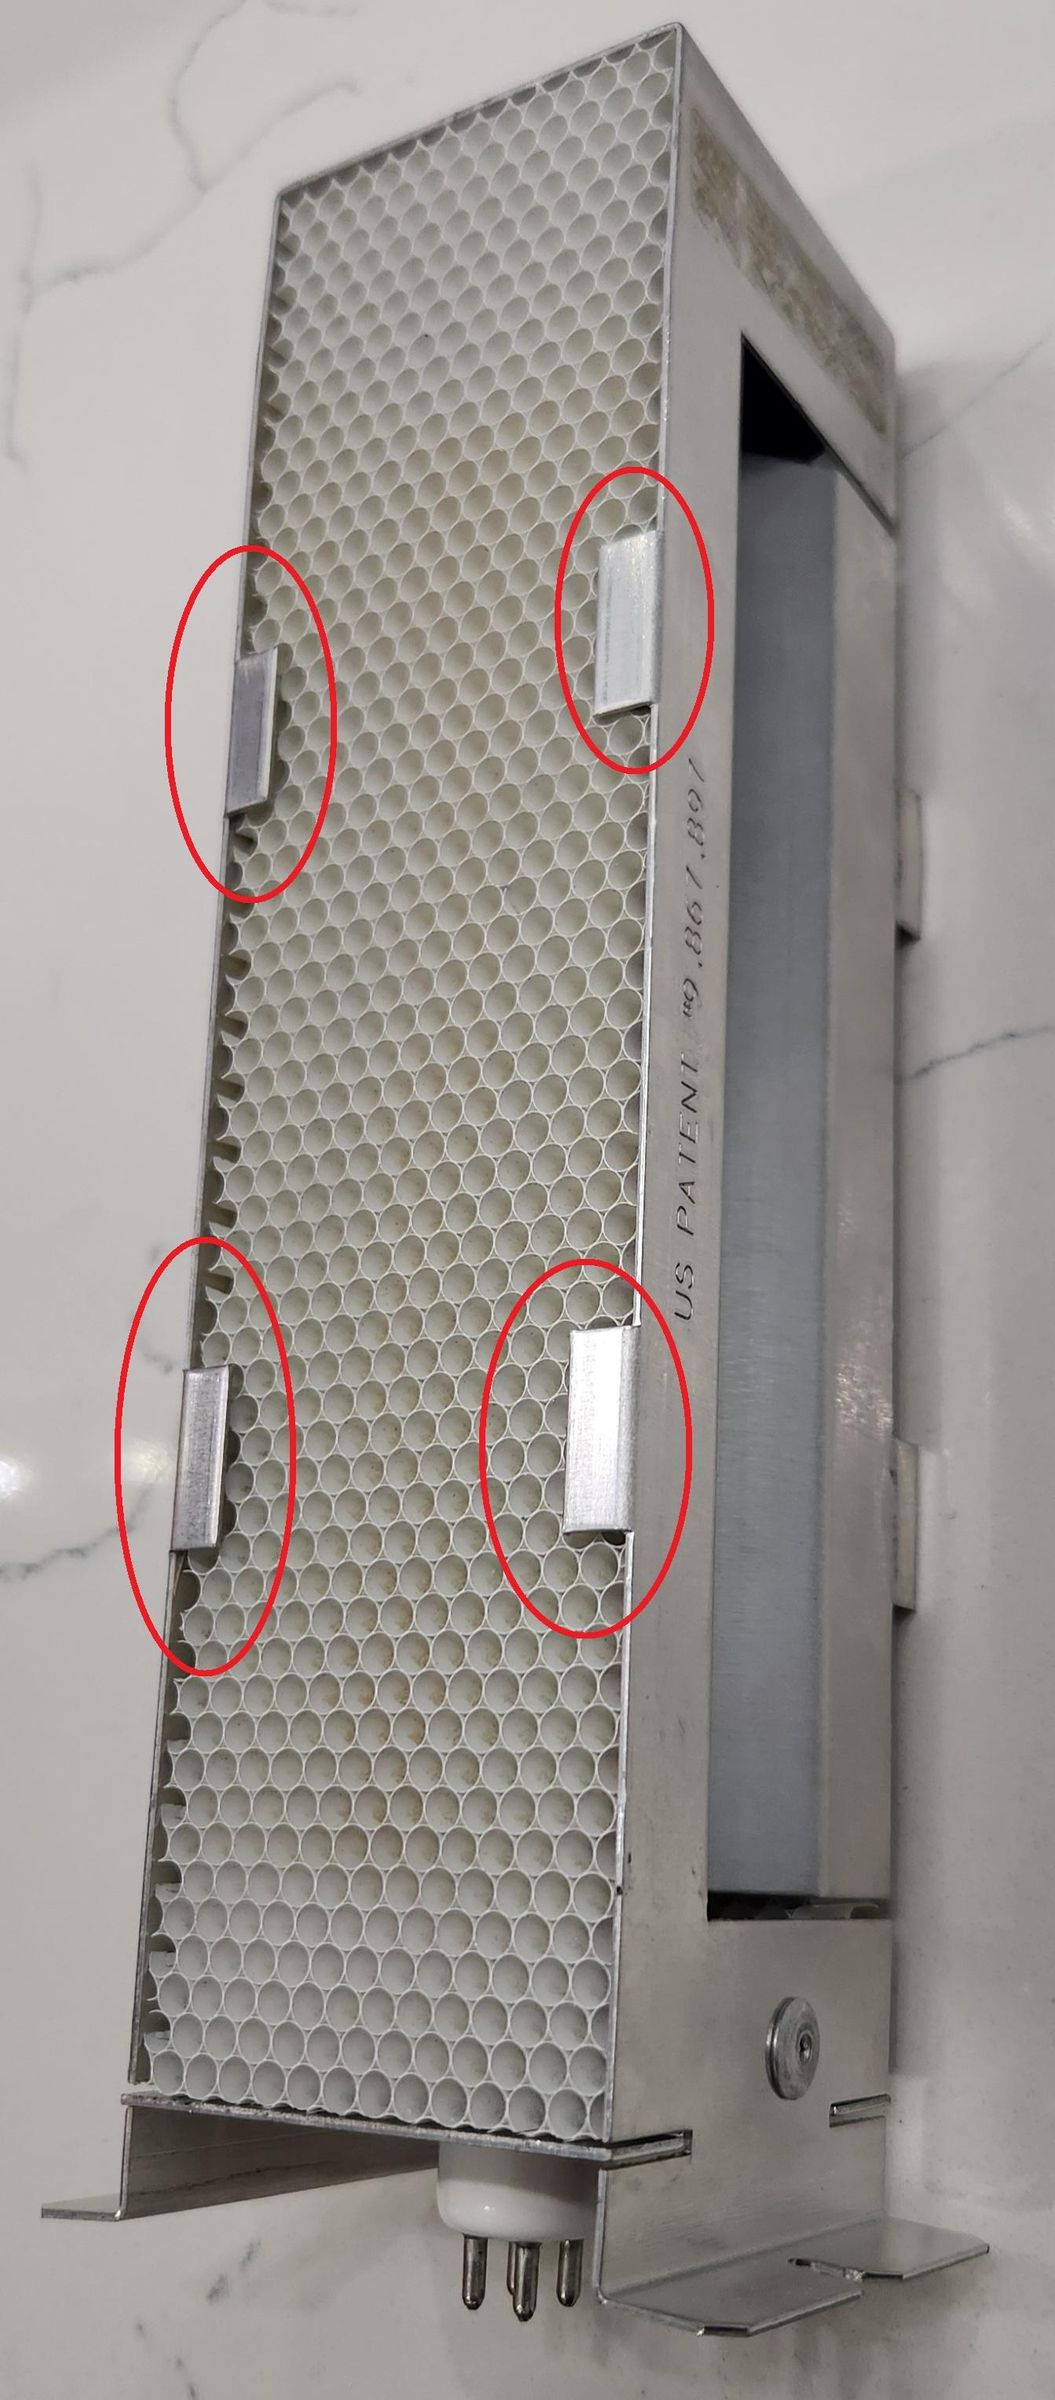
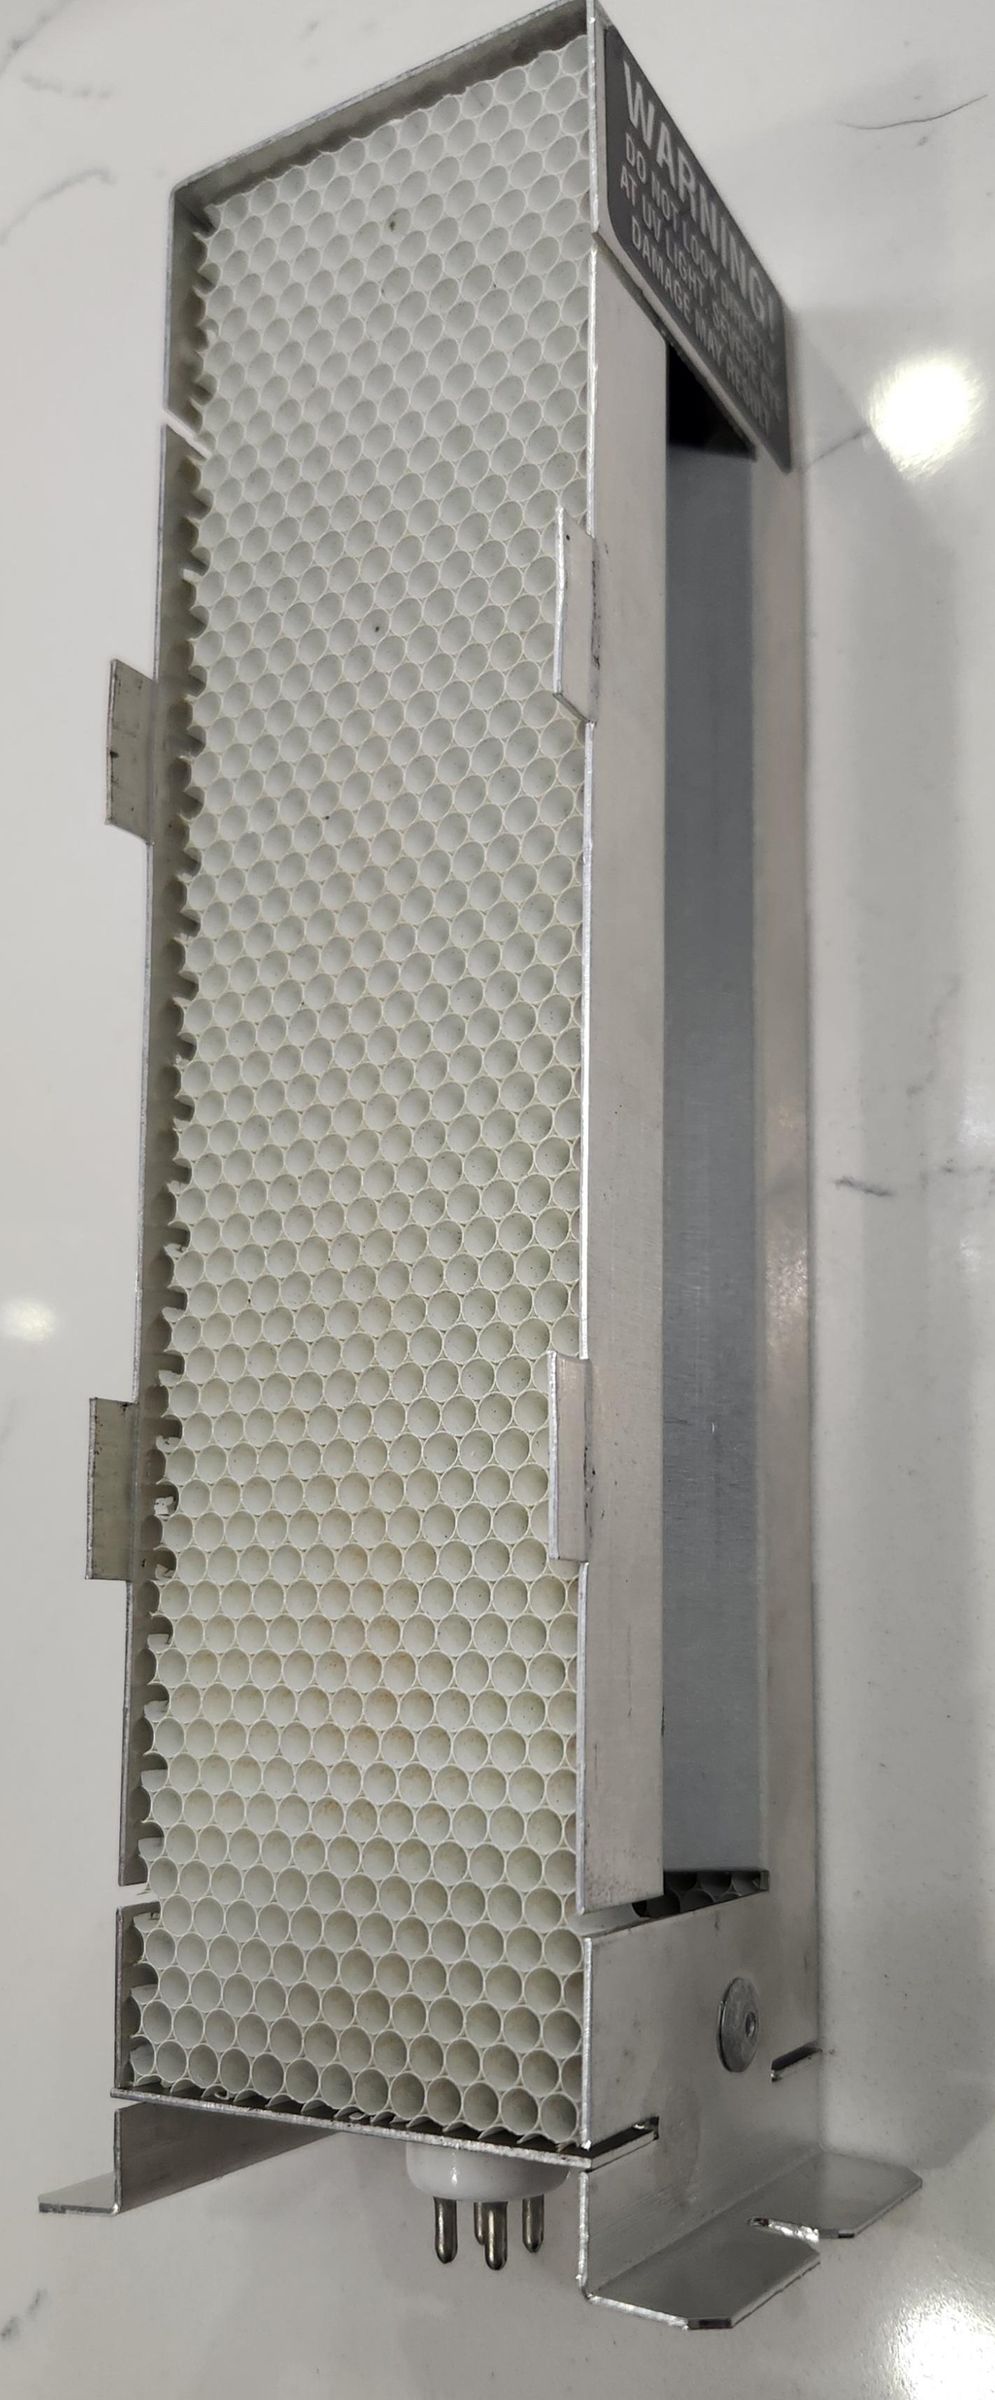
Using pliers, carefully un-fold the tabs (red circled items) holding the screen. Result will look like the second photo.
Remove Filter Element
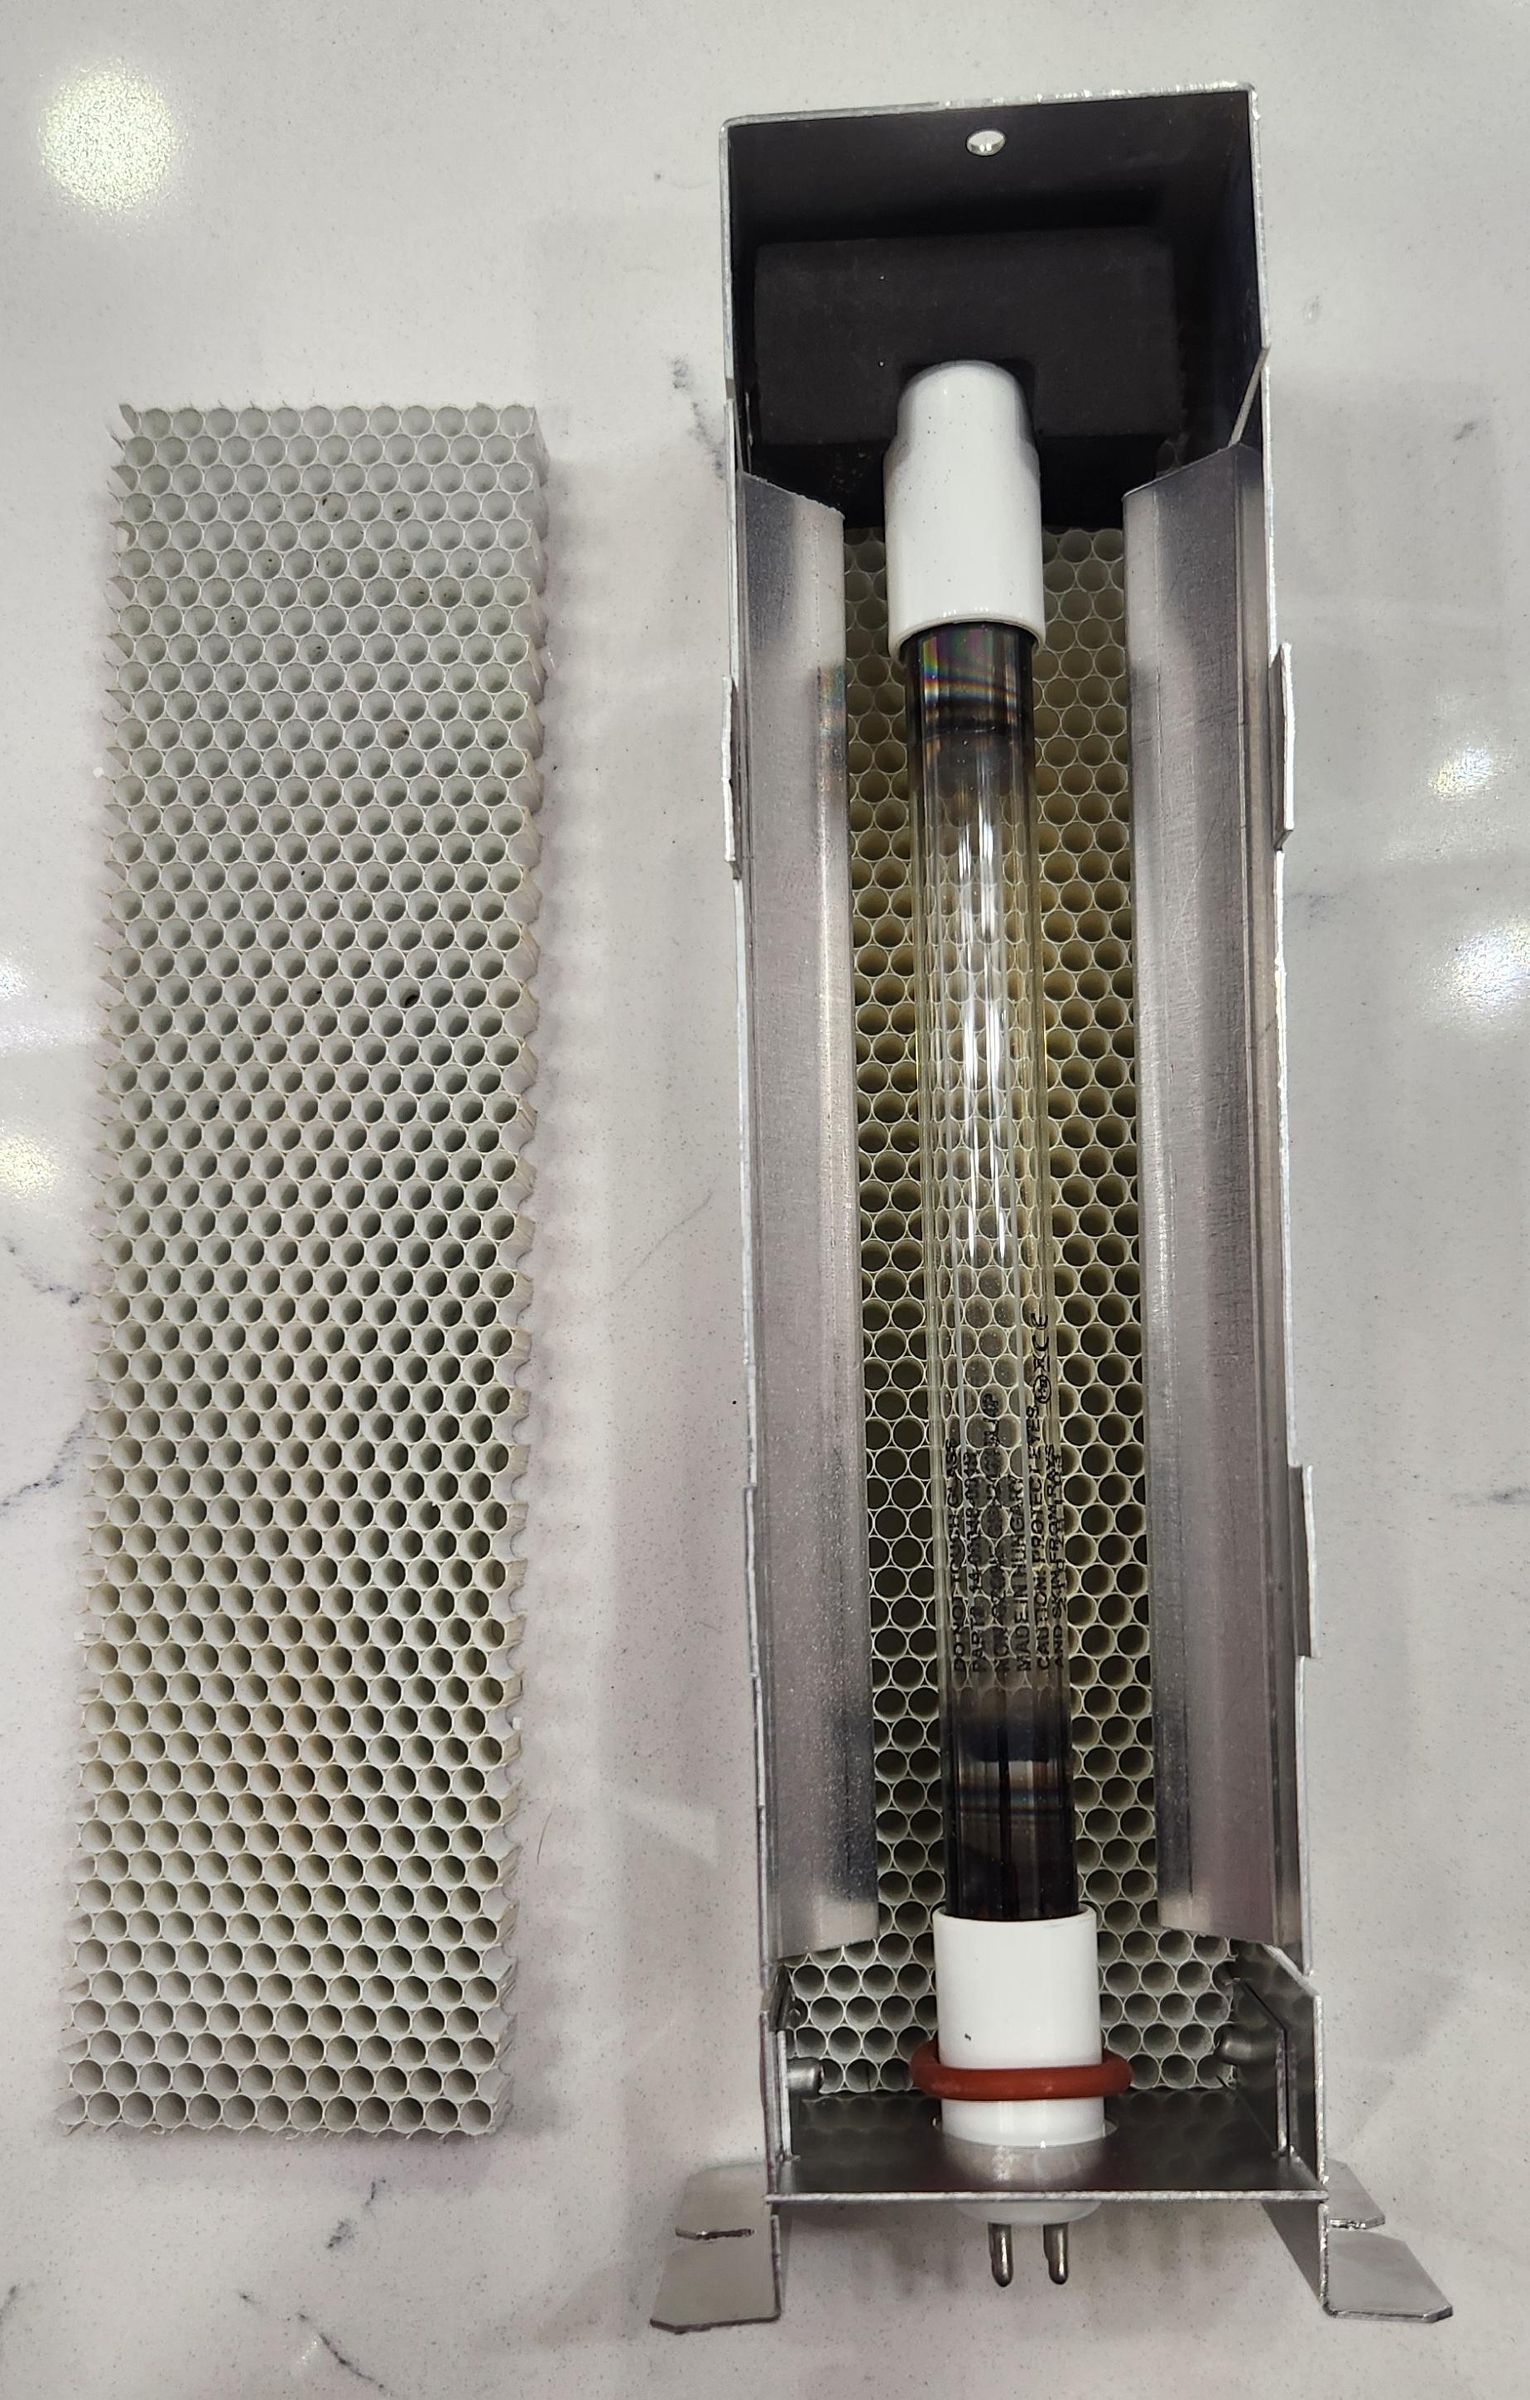
Though not really a filter, but it does limit the amount of dust getting to the bulb. Carefully extract the filter from the assembly.
Remove UV Lamp
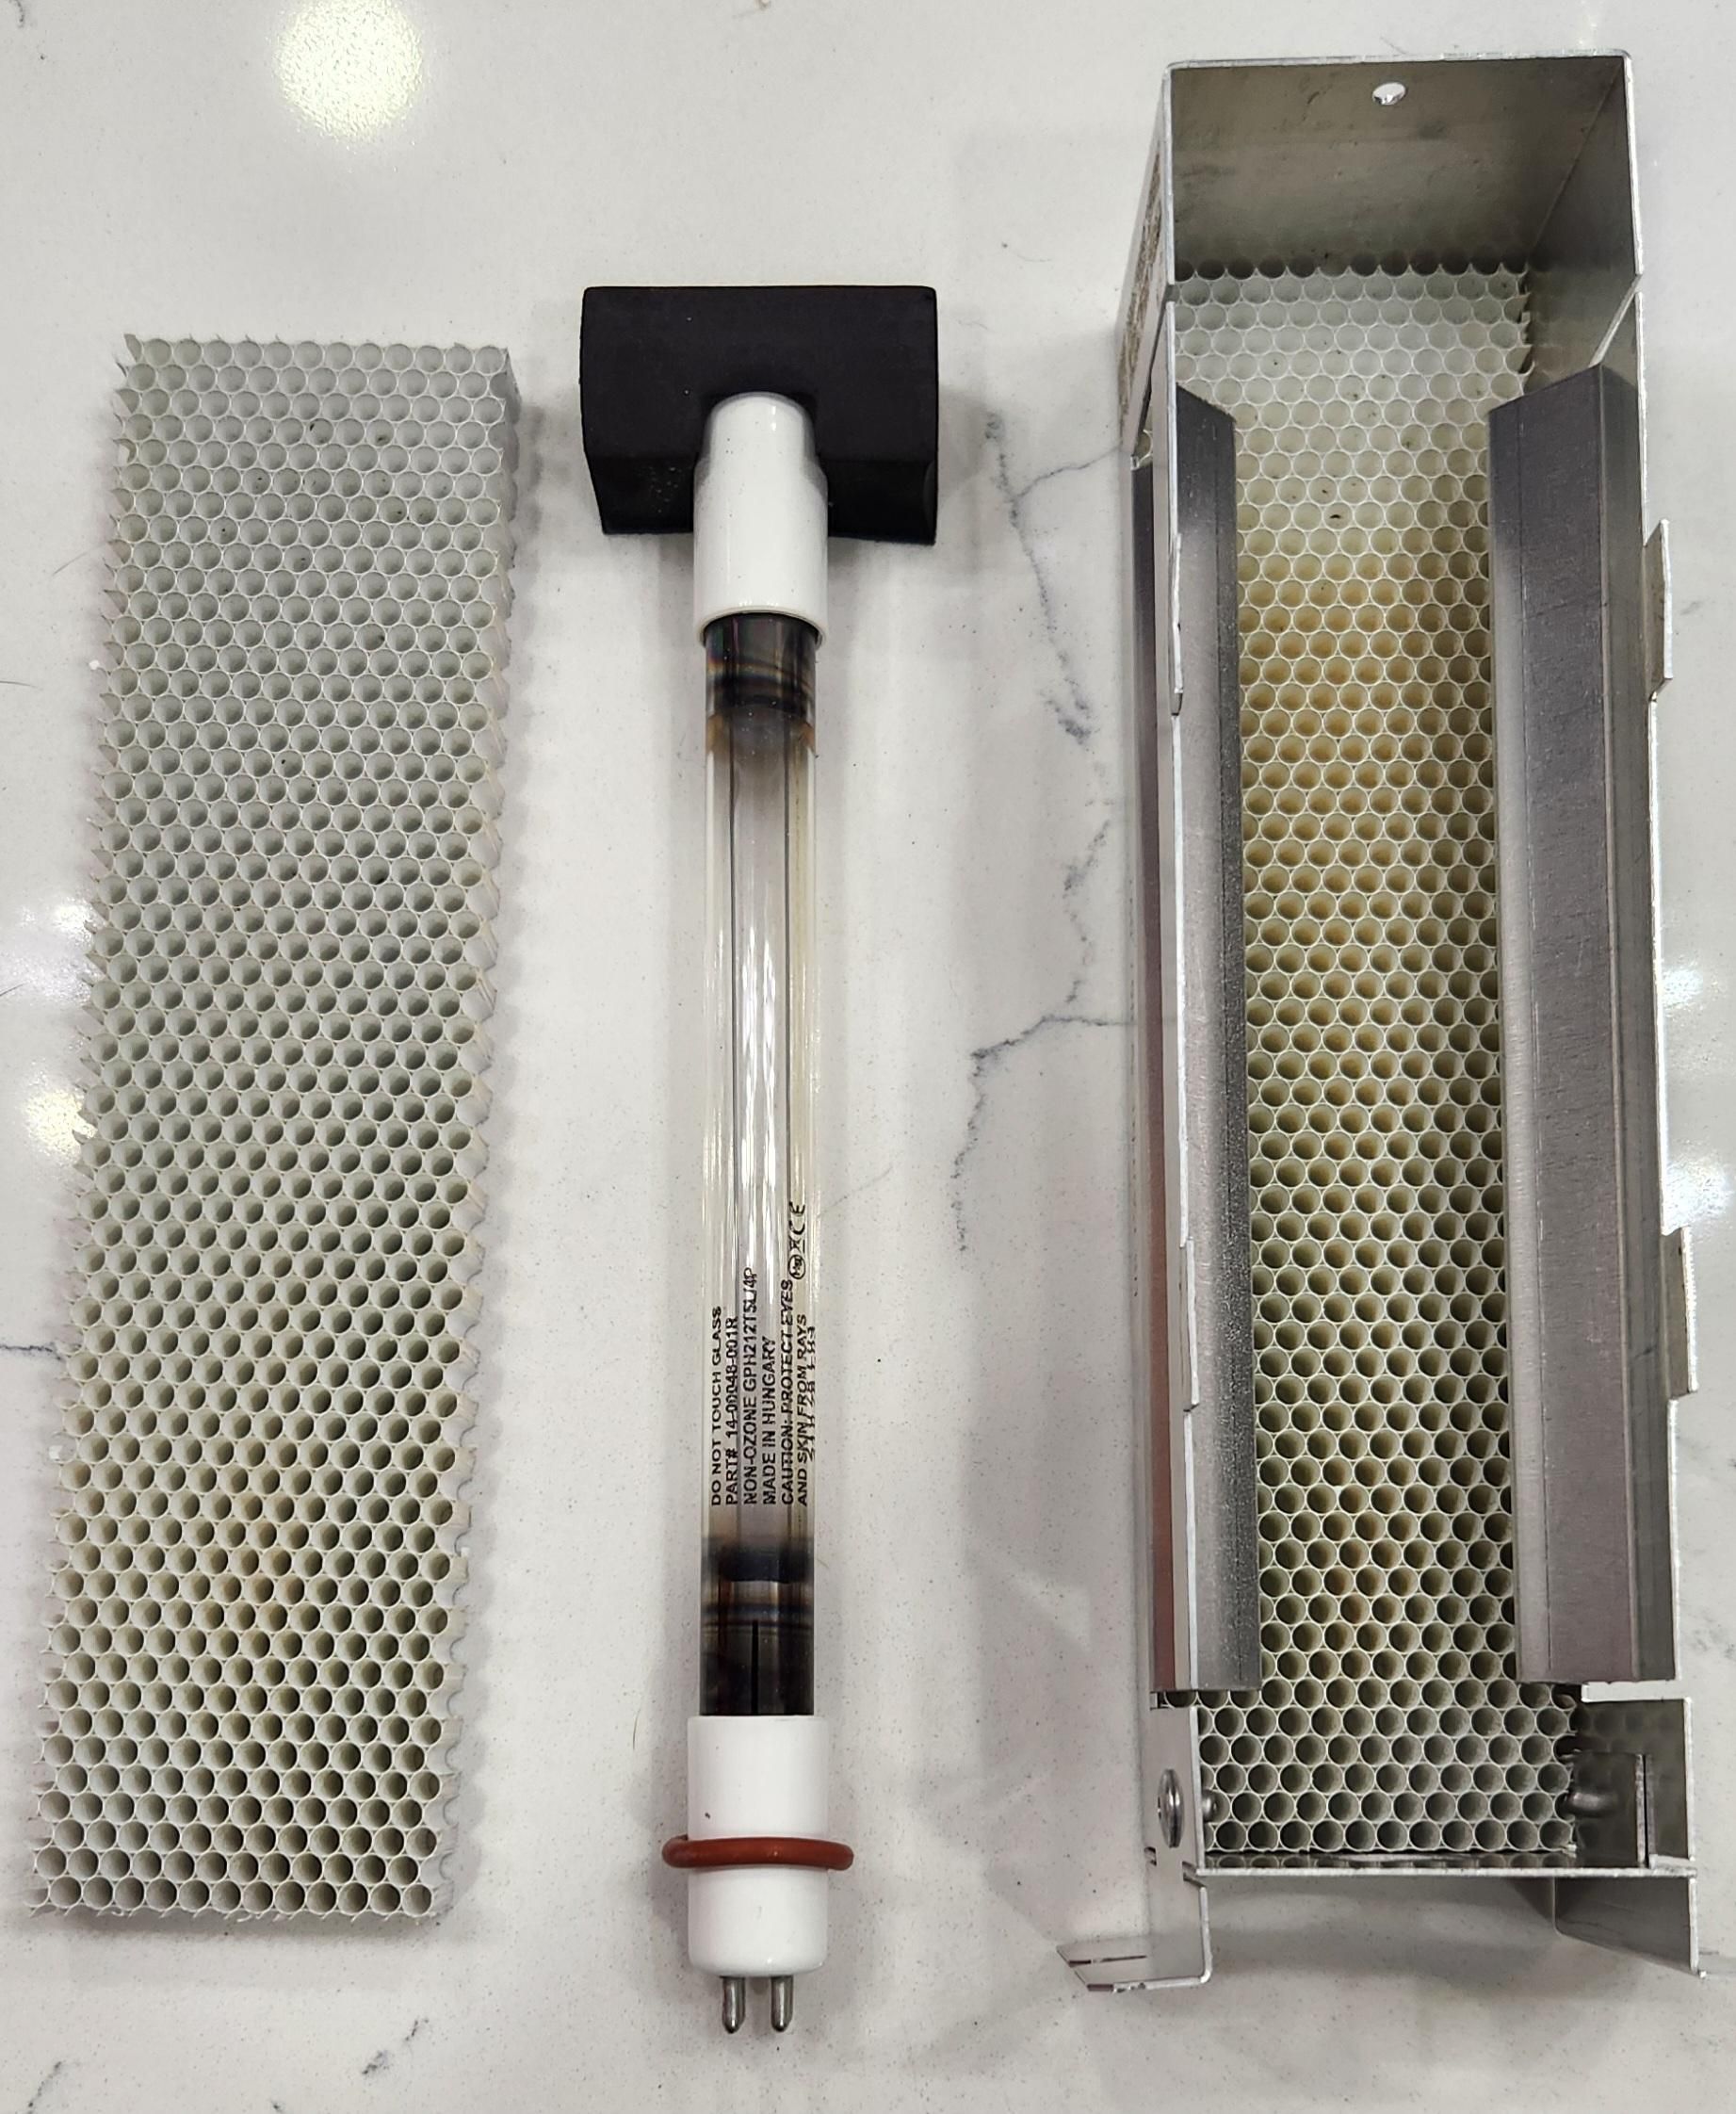
Next, remove the UV lamp. This image shows the filter, lamp (removed), and the frame.
Find UV Lamp Part Number and Buy It
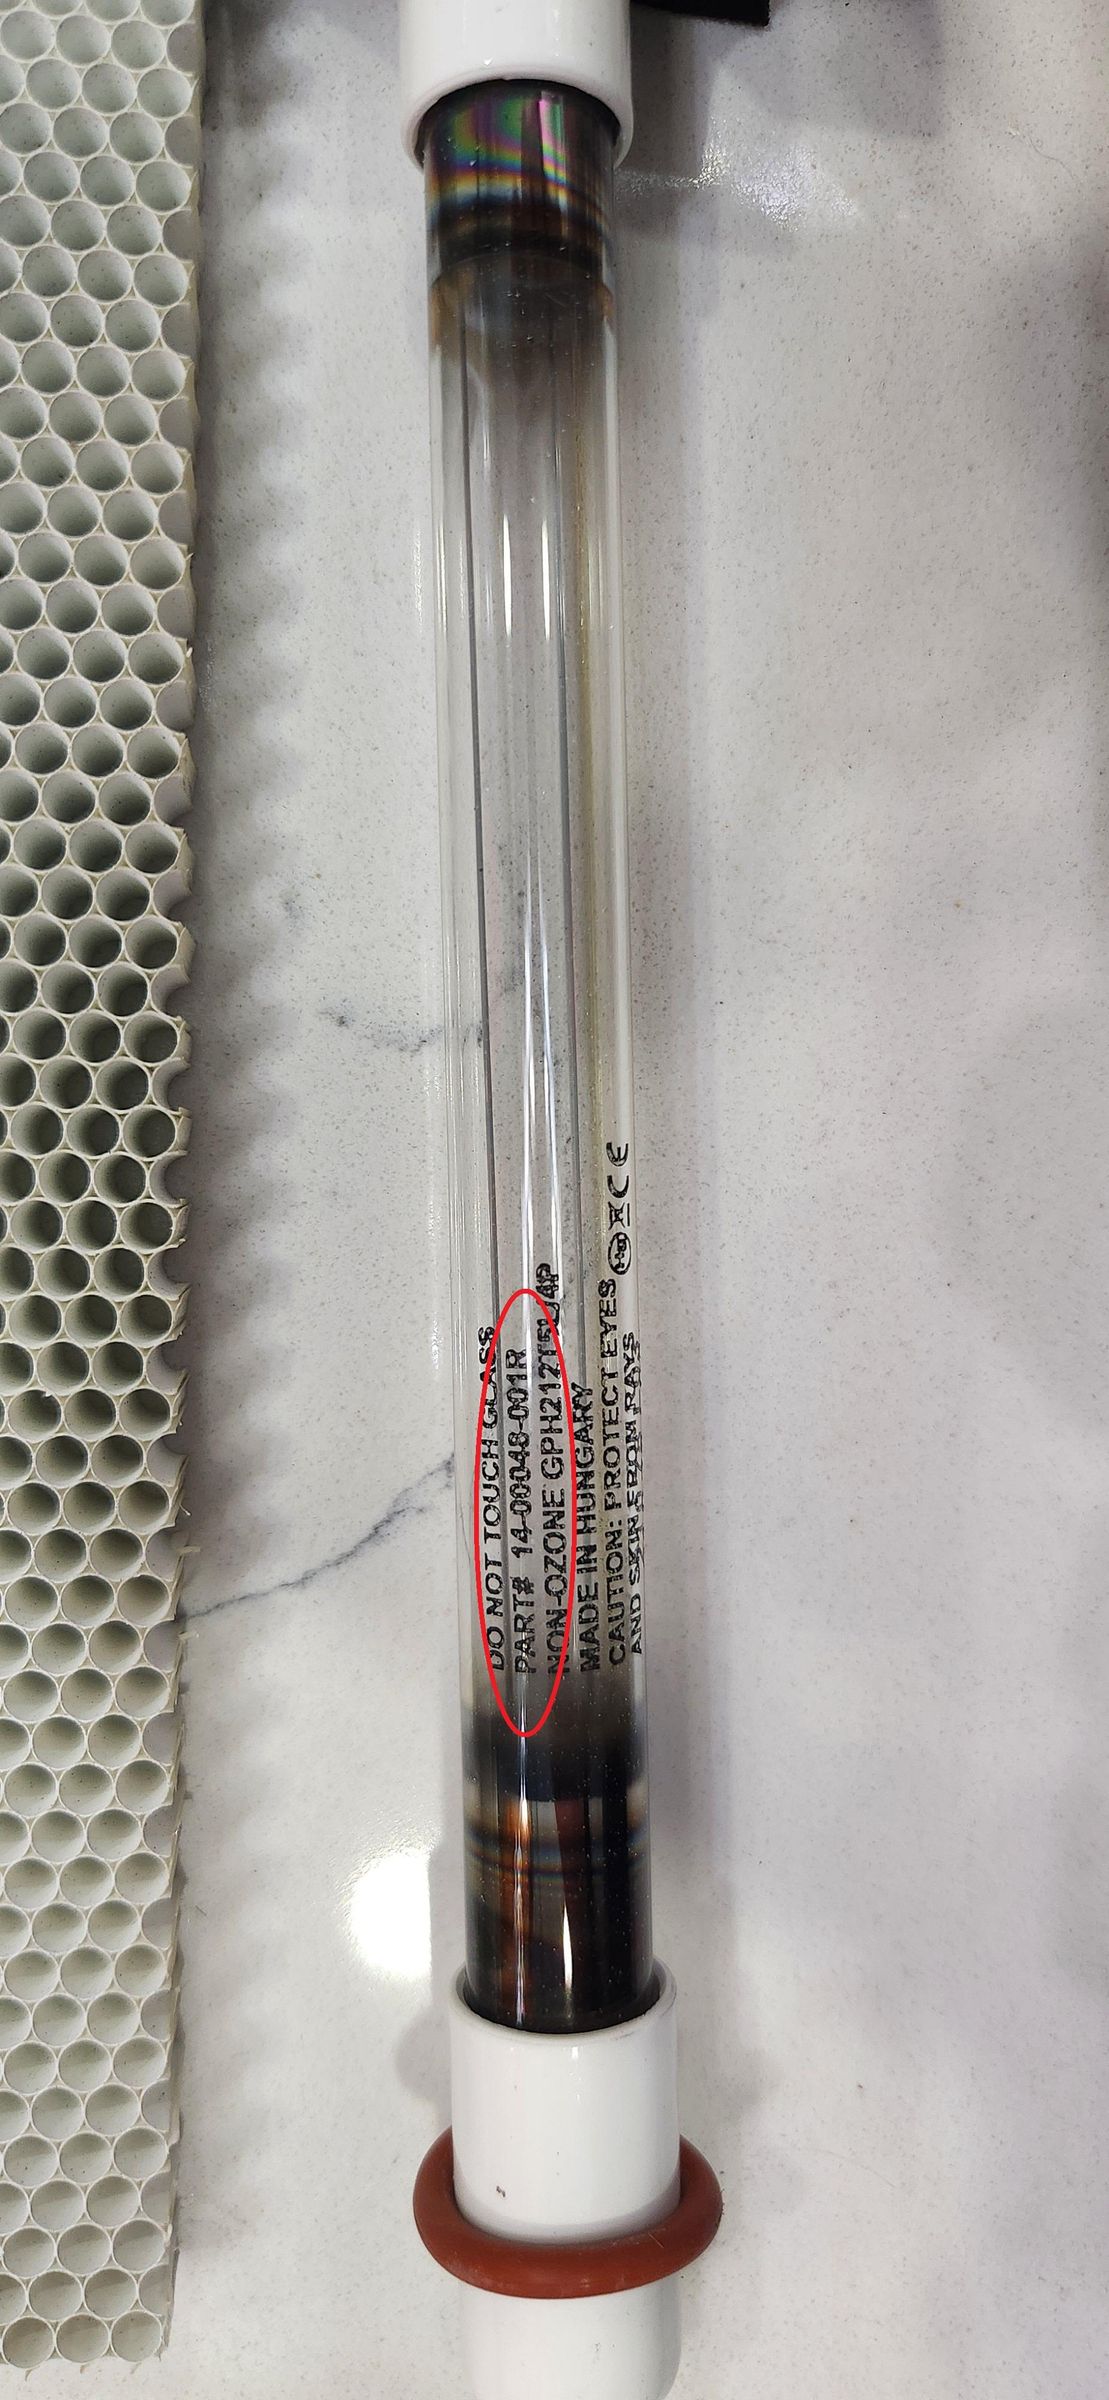
Look for the part number on the lamp. In this case it was 14-00048-001R. Then go find this lamp equivalent on Amazon.com. This one happen to be
/www.amazon.com/dp/B0BZ5D936L
This lamp is $25.00 and a 2-day delivery.
Dealing With the Foam Bumper
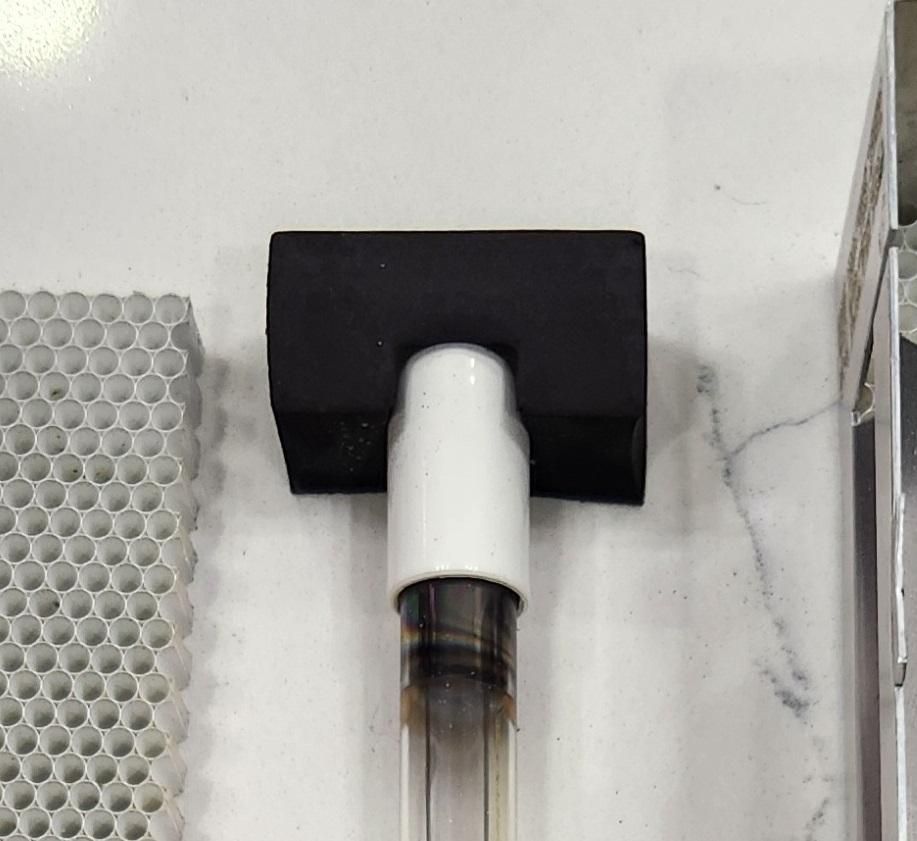
While waiting for the lamp to be delivered, carefully use a sharp knife, or Xacto, to cut the foam from the top of the lamp; for in this case, it had adhesive bonding the top of the lamp to the foam. Using a sharp knife limits the jagged edges when removing so that when re-assembling, use some double-back tape to bond the foam to the new lamp.
Reassembly
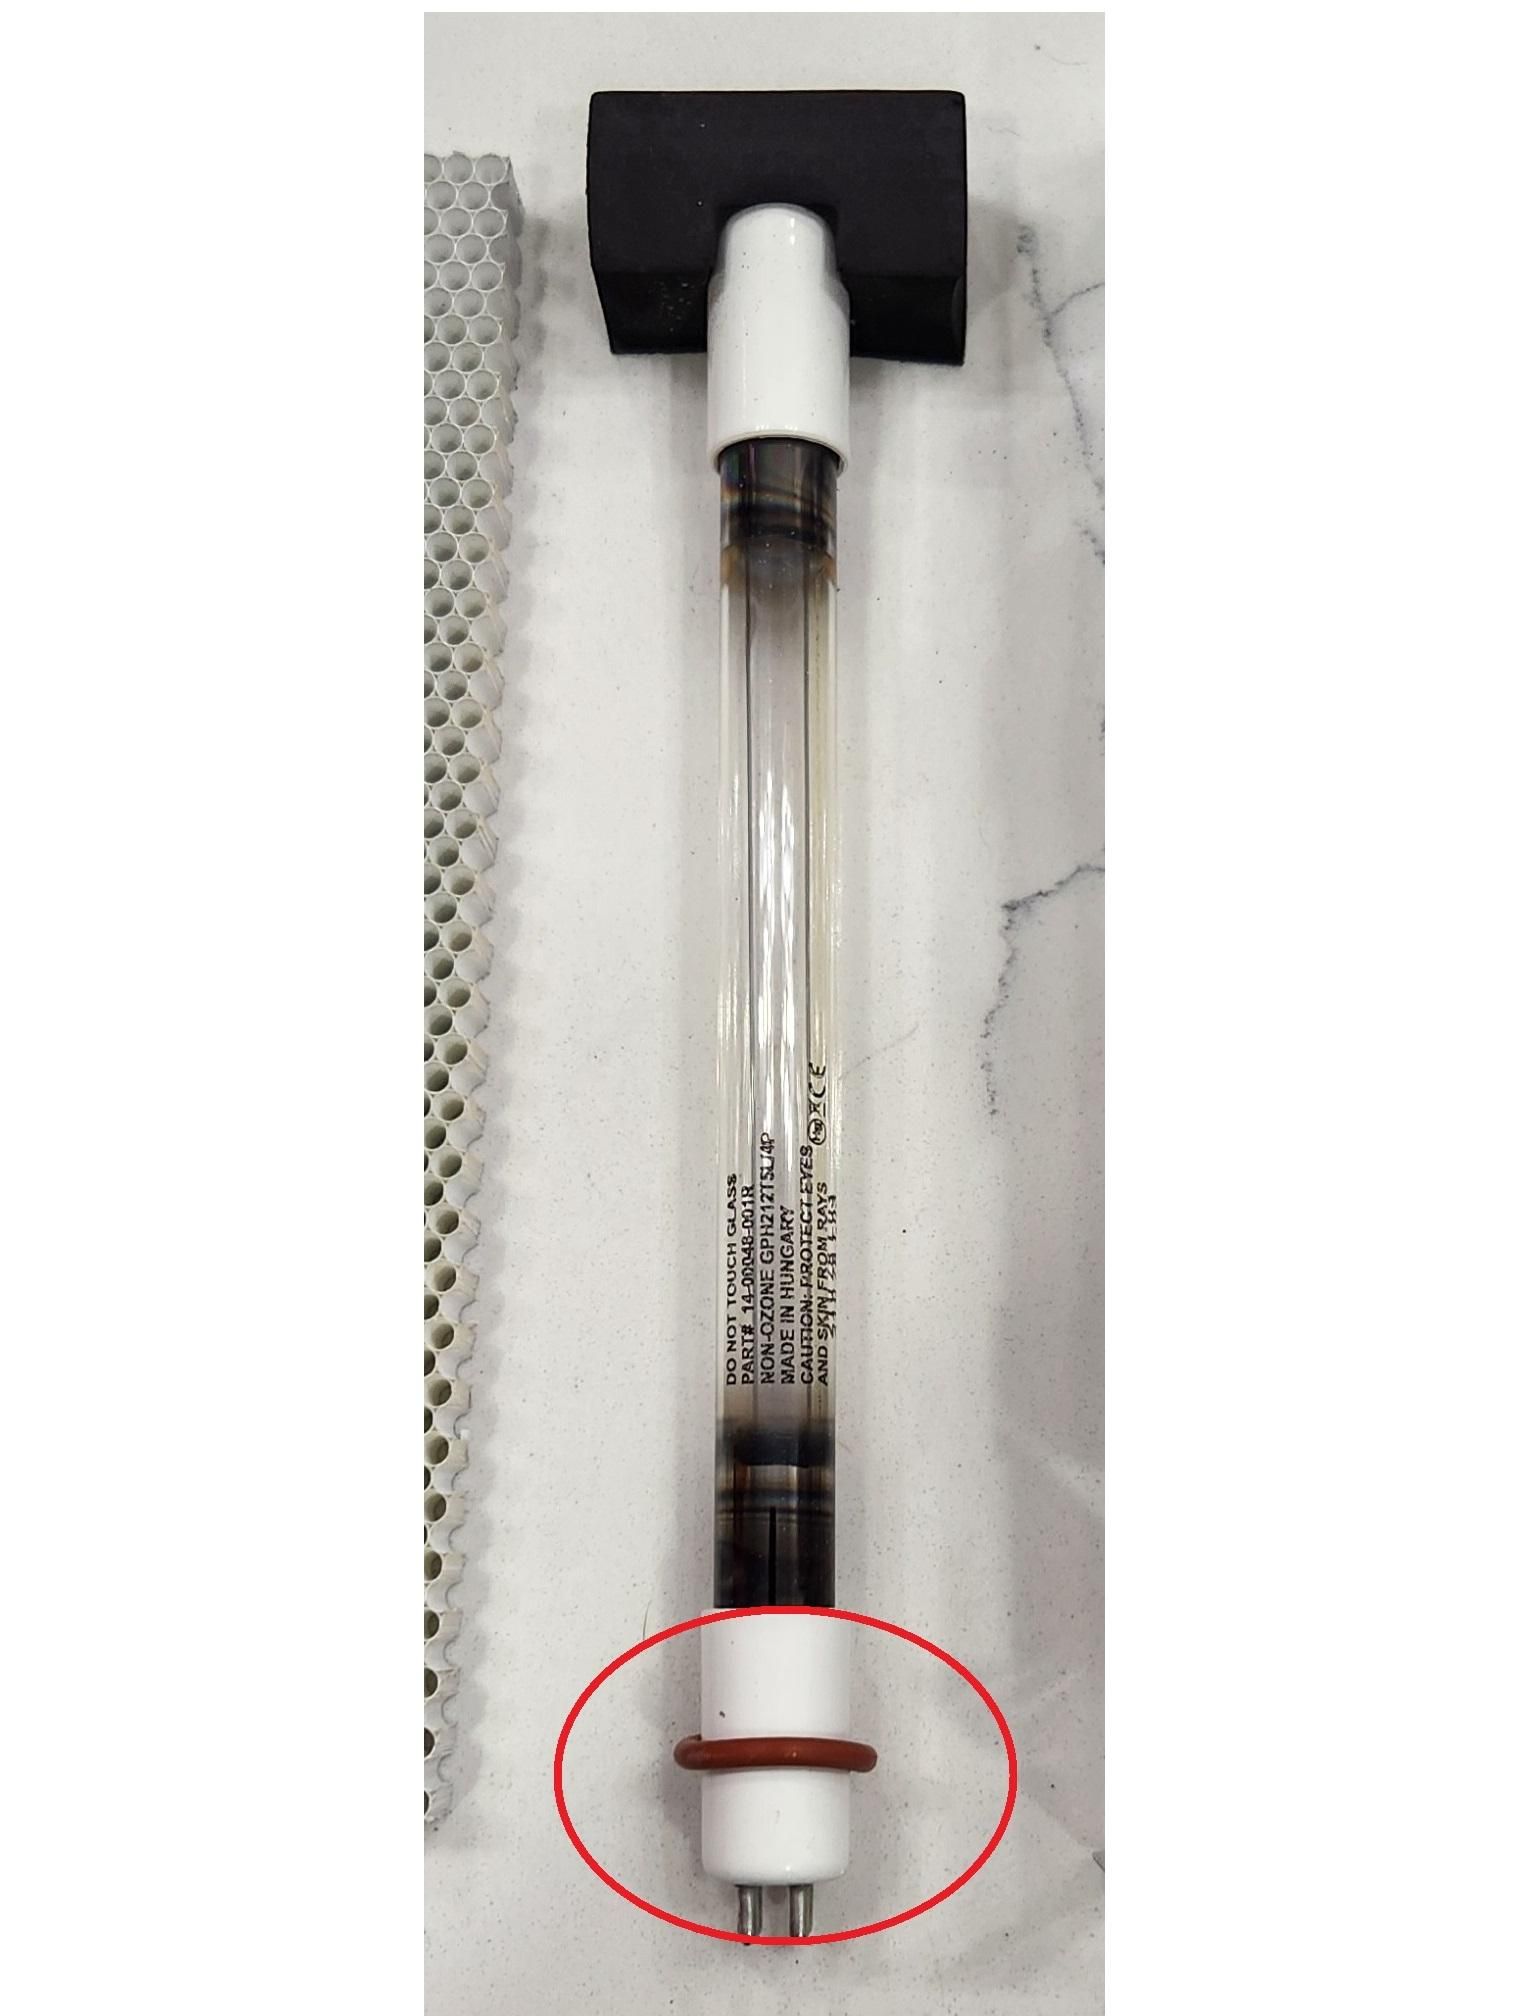
Use a clean pair of gloves when reassembling, DO NOT TOUCH the glass of the new UV lamp. However, do transfer the O-ring, if one is installed.
Put the assembly back in reverse order and bend the flaps back down to hold the filter in place.
Now put the assembly back into the HVAC system.
You now saved over $350 for a simple job anyone can perform.