Replace Disposable Batteries With a Li-ion Rechargeable Cell
by bluesyann in Circuits > Gadgets
405 Views, 1 Favorites, 0 Comments
Replace Disposable Batteries With a Li-ion Rechargeable Cell
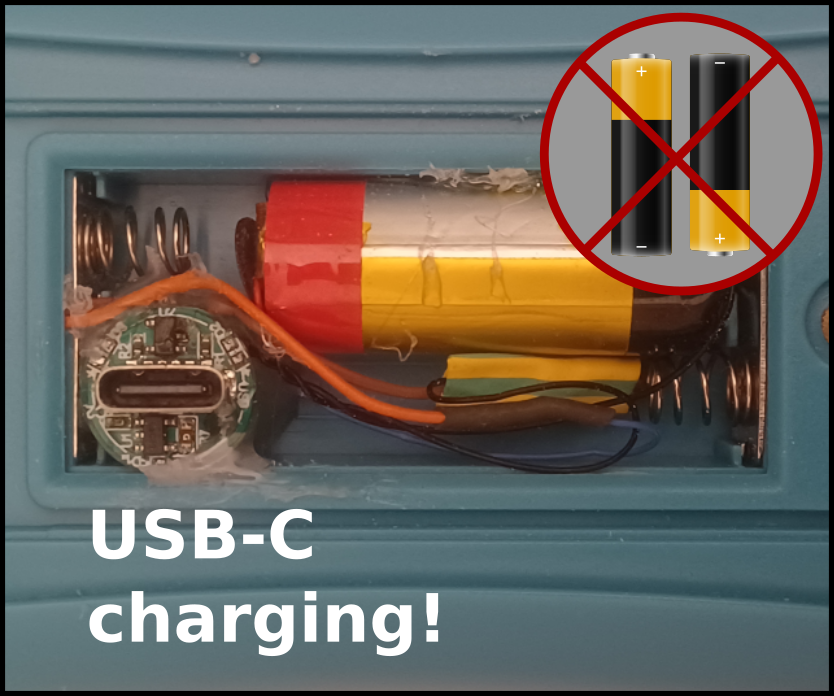
This guide explains a simple way to replace disposable AA/AAA batteries in portable devices with a rechargeable Li-ion cell. The most cost-effective solution is to repurpose a cheap rechargeable vape, which can be found for less than €10 new or even obtained for free from friends or discarded items.
Note: This modification is best suited for devices originally powered by AA batteries. For AAA battery compartments, you may need to slightly modify the enclosure to ensure a proper fit.
⚠️ Important Safety Warning:
Li-ion cells can be dangerous if mishandled. Avoid short circuits and mechanical stress. Only attempt this modification if you are experienced with electronics and understand the risks involved.
Supplies
- Soldering iron
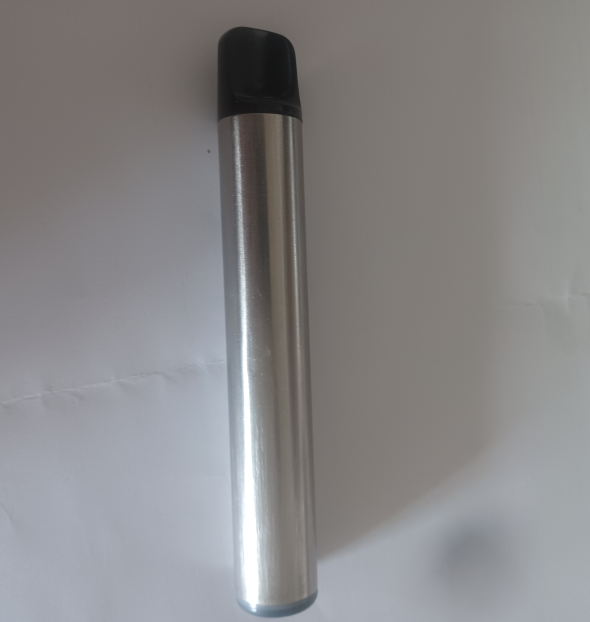
- Cheap rechargeable vape pen
- Hot glue gun
- Drill and files (for creating a USB port opening)
Disassemble the Vape
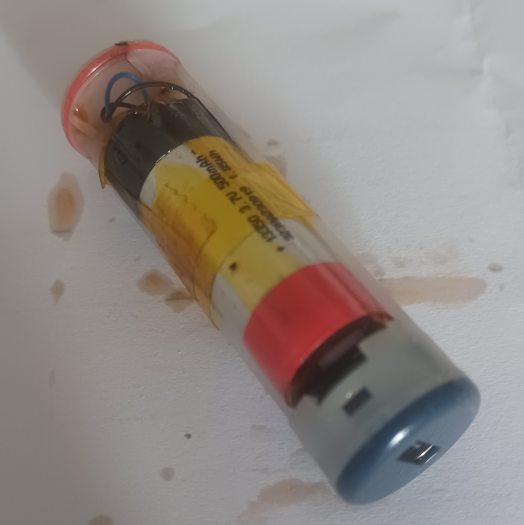
Remove the fluid pod from the vape.
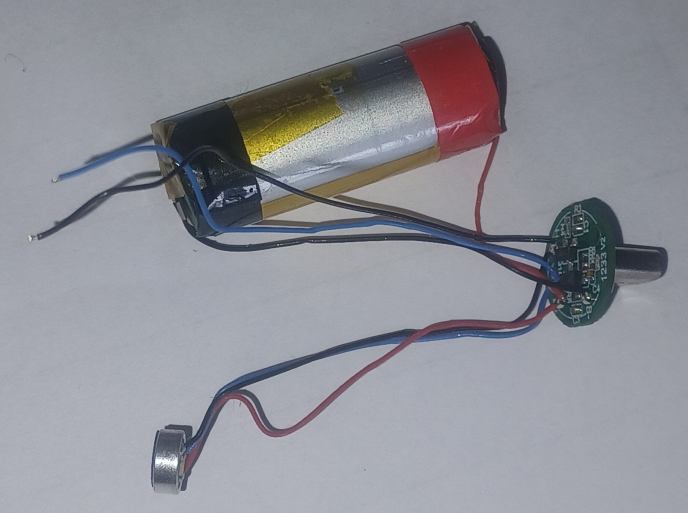
Use a stick to push out the internal electronics from the tube. The assembly typically includes:
- A Li-ion cell
- A USB-C charging port soldered to a PCB (with charging controller, sensor, and power management)
- A pressure sensor (for detecting drag)
Modify the Wiring
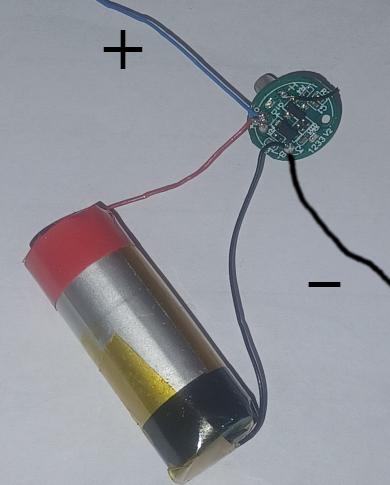
Use your soldering iron to remove the pressure sensor and the wires leading to the pod.
You will connect your device directly to the battery wires.
Verify and Adjust Voltage

The Li-ion cell outputs about 4V when fully charged and has a internal resistance of 0.6 Ohm.
If your device uses two AAA batteries in series (3V total), you’ll need to reduce the voltage. The simplest method is to add an infrared LED in series, which provides a ~1V drop. A standard LED will handle currents in the 20 mA range, which is enough for most AA-battery-powered. If your device drains higher currents, then you should use a power LED or go for a proper voltage regulator or DC/DC converter.
⚠️ Important: Never use a resistor to lower voltage, as the drop varies with current. An LED ensures a stable voltage drop.
Tip: If your device uses AAA batteries in parallel (1.5V total), use a blue LED for a ~2.5V drop. If you're not sure of your device’s battery configuration, measure the voltage at the PCB while the batteries are installed.
If your device requires an higher voltage than what the Li-ion cell can provide, you will need a DC/DC converter (e.g. boost).
Connect to Your Device’s PCB
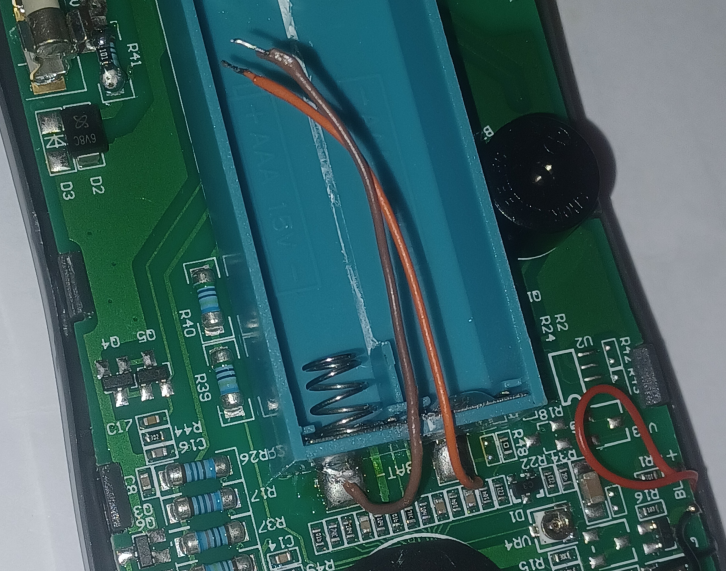
Avoid soldering directly to the battery springs, as this may melt the plastic housing.
Instead, open your device and solder the wires directly to the PCB.
Install the Battery in the Case
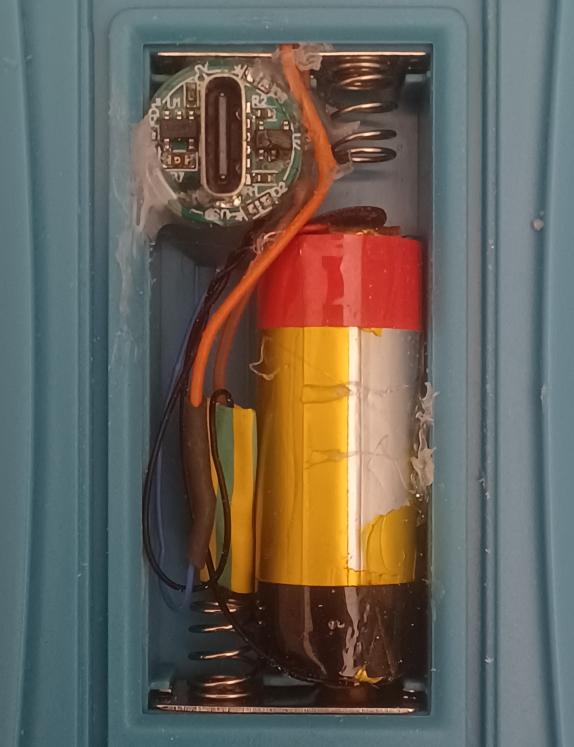
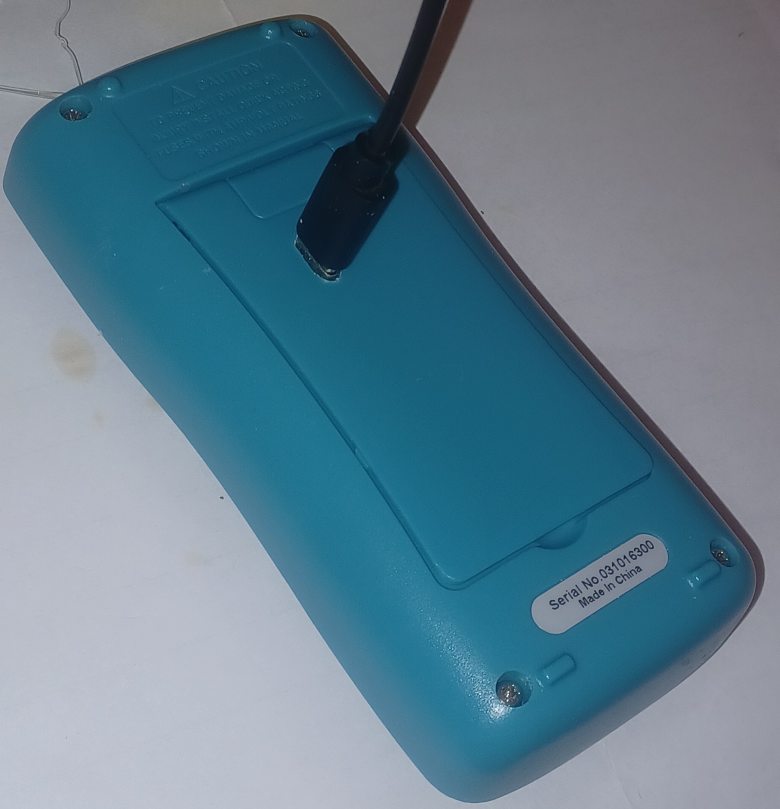
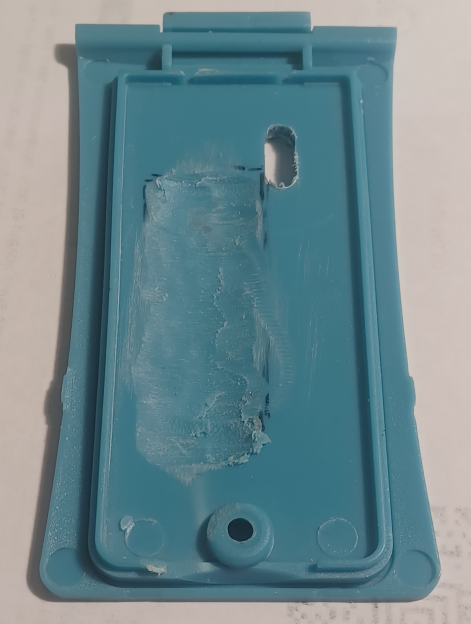
Fit the modified battery assembly into the battery compartment.
Secure the battery with a small amount of hot glue—avoid excessive glue to prevent overheating.
Drill a hole in the case lid to accommodate the USB-C port. For AAA compartments (like in this example), you may need to file down the lid slightly to ensure it closes properly.
That’s it! Your device should now be powered by a rechargeable Li-ion cell, eliminating the need for disposable batteries.