Repurposed Rubber Bands - Make Bracelets
by MyWlakeTech in Craft > Jewelry
1770 Views, 5 Favorites, 0 Comments
Repurposed Rubber Bands - Make Bracelets
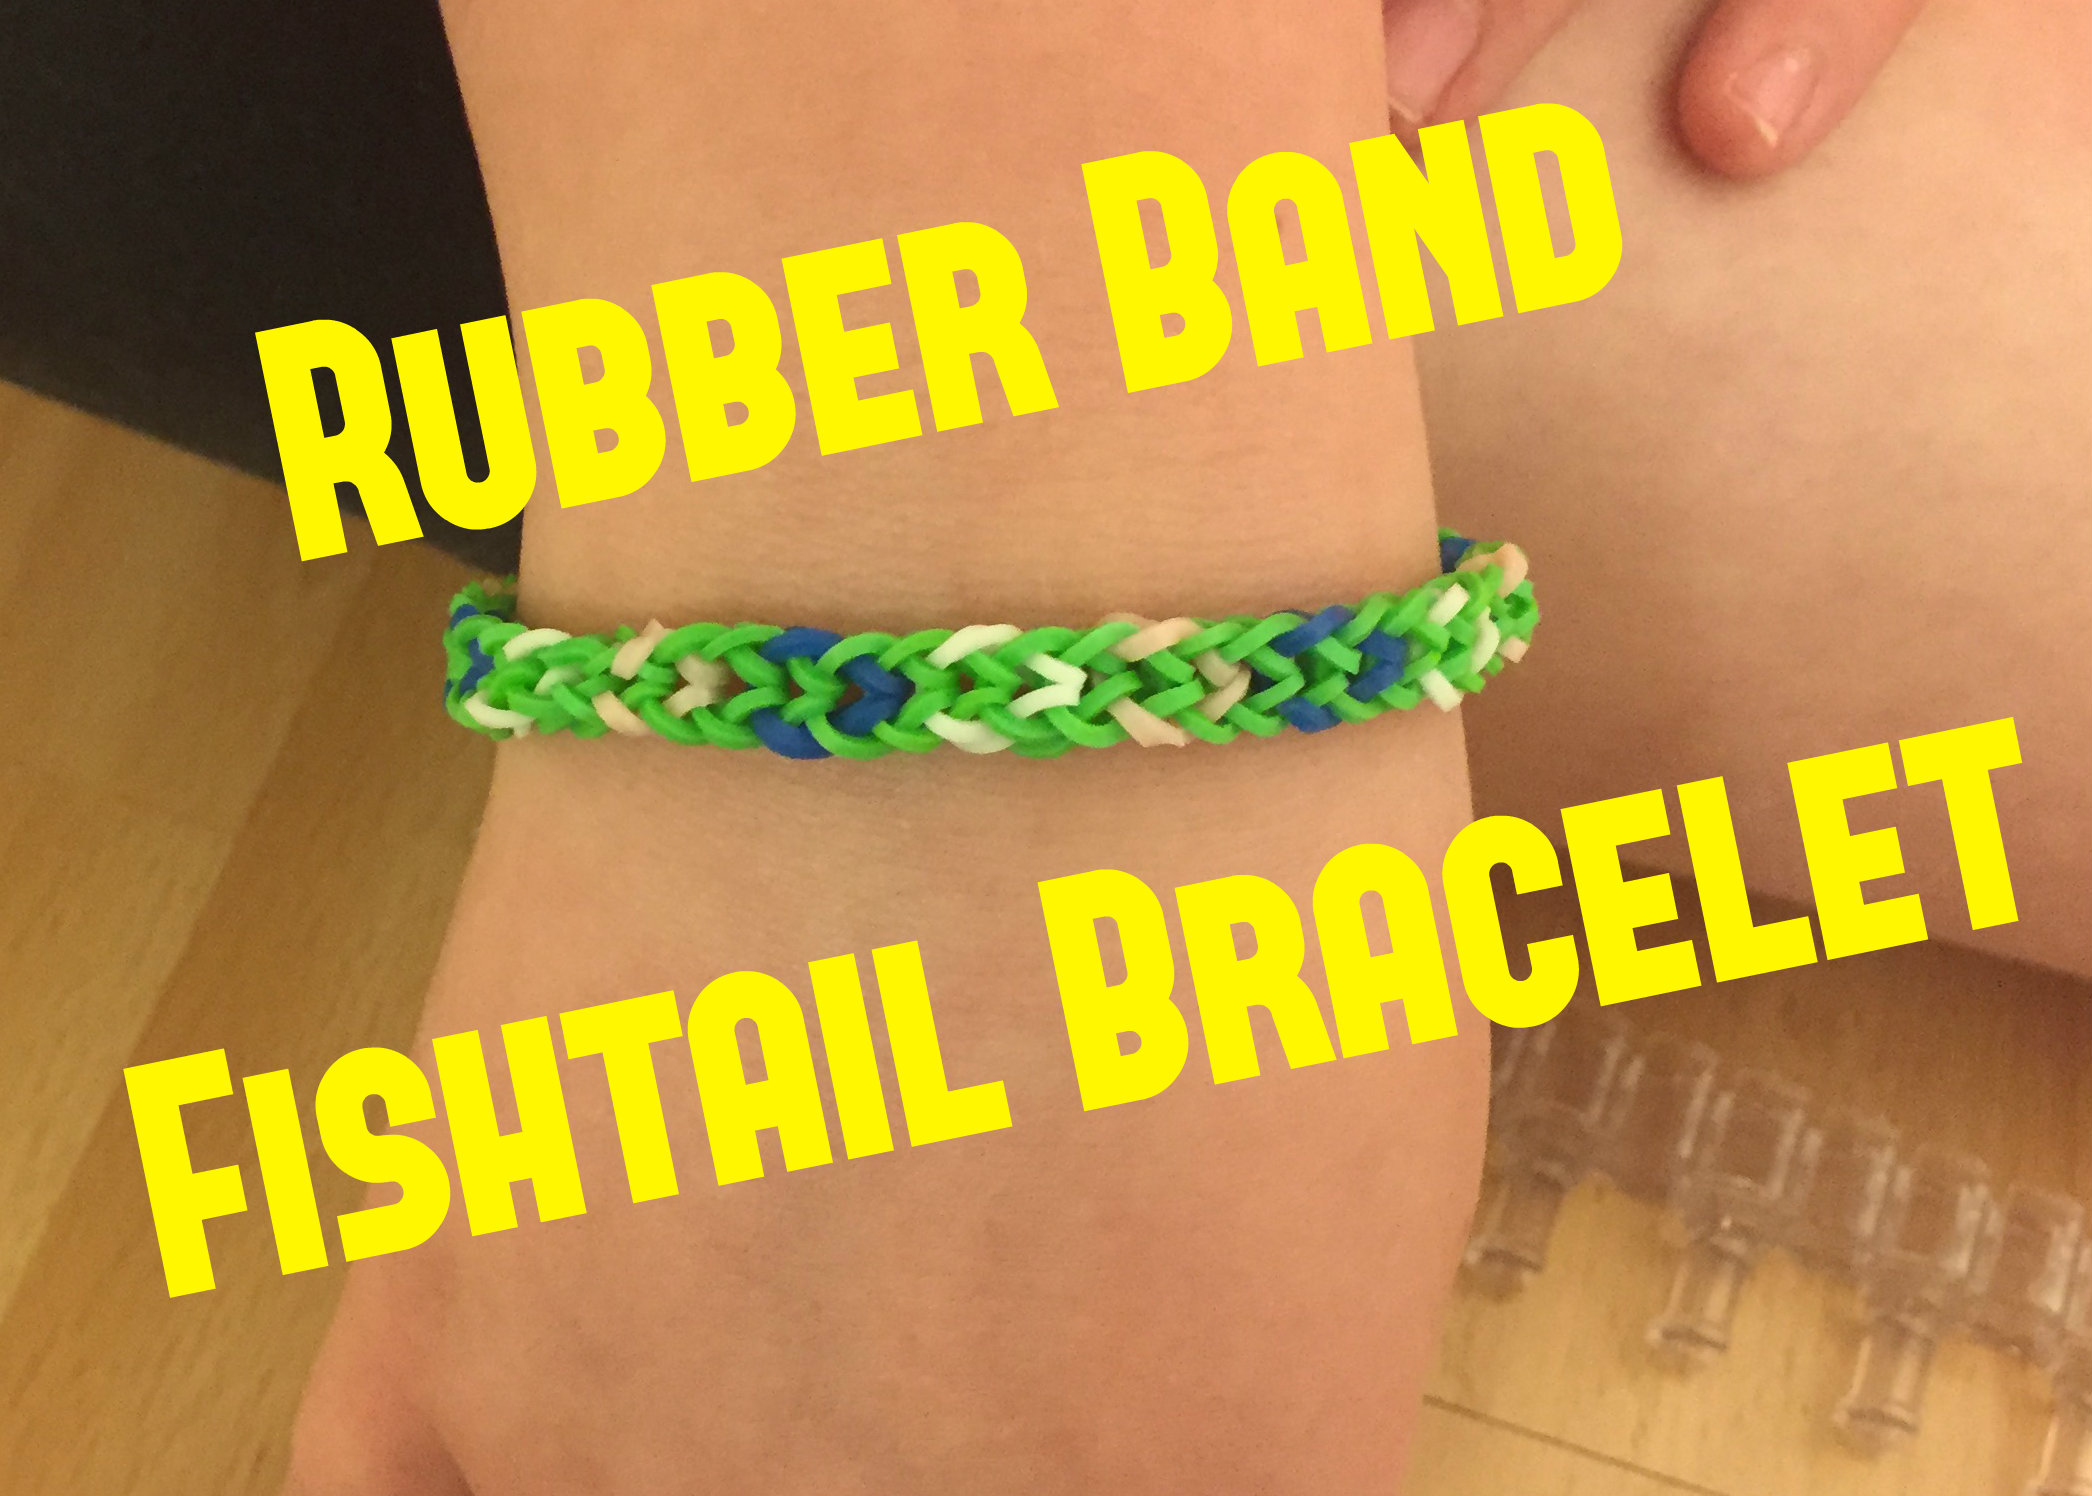
In this instructable, you will learn how to repurpose rubber bands make an inverted fishtail bracelet. It is an awesome DIY bracelet that is comfortable to wear. You can also customize the colors to match your many outfits. It will be way less expensive than the bracelets that are sold in stores, plus way cuter!
"A rubber band (also known as an elastic or gum band) is a loop of rubber, usually ring shaped, and commonly used to hold multiple objects together. The rubber band was patented in England on March 17, 1845, by Stephen Perry. Most rubber bands are manufactured out of natural rubber, and are sold in a variety of sizes."
Imagine that you are walking down the street and you see a girl with a super cute, and unique bracelet. You ask her where she got it, and she replies “I made it myself!”
YADI! Yet Another DIS Instructable. Please follow us at MyWlakeTech. Feel free to comment on how these 6th graders can improve their Making and Instructabl skills.
Supplies

Supplies to make a rainbow loom inverted fishtail:
- Rainbow loom rubber bands (any color and a lot of rubber bands)
- C or S clip You can get these on various websites online, or in some toy stores.
Tools
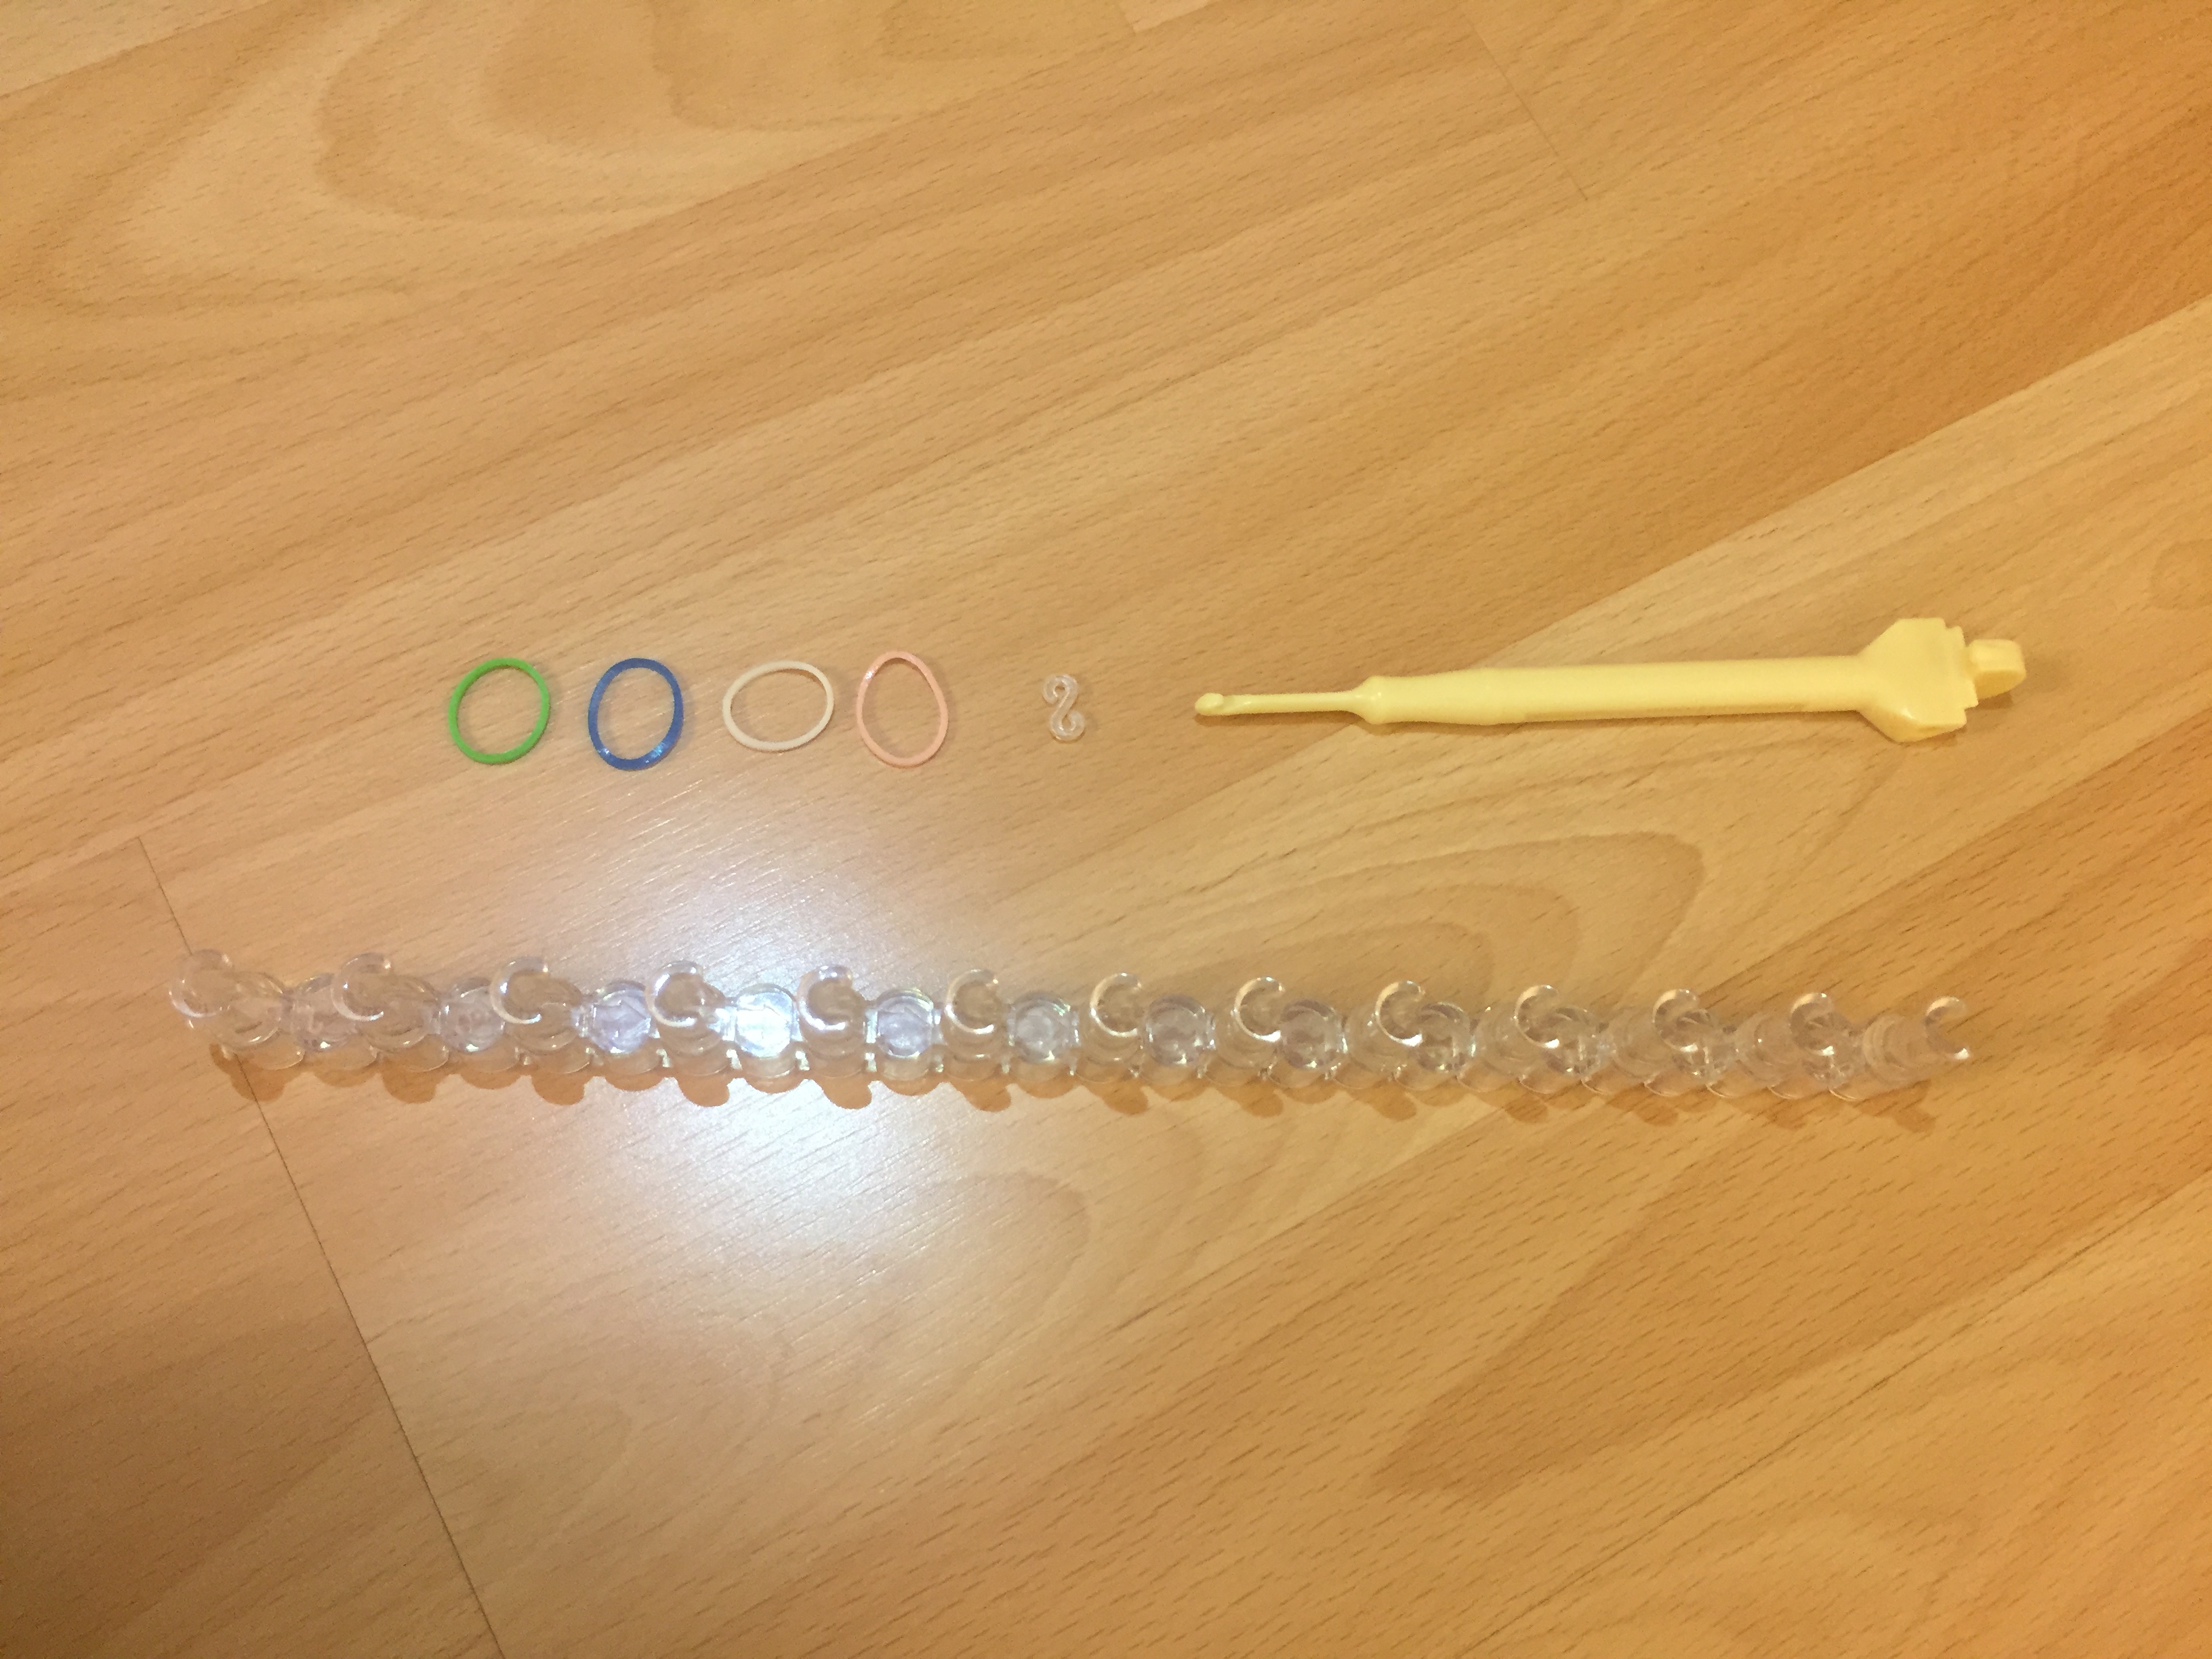
Tools to make a rainbow loom inverted fishtail:
- Rainbow loom (or anything with two pegs)
- Rainbow loom hook (or finger)
First Rubber Band
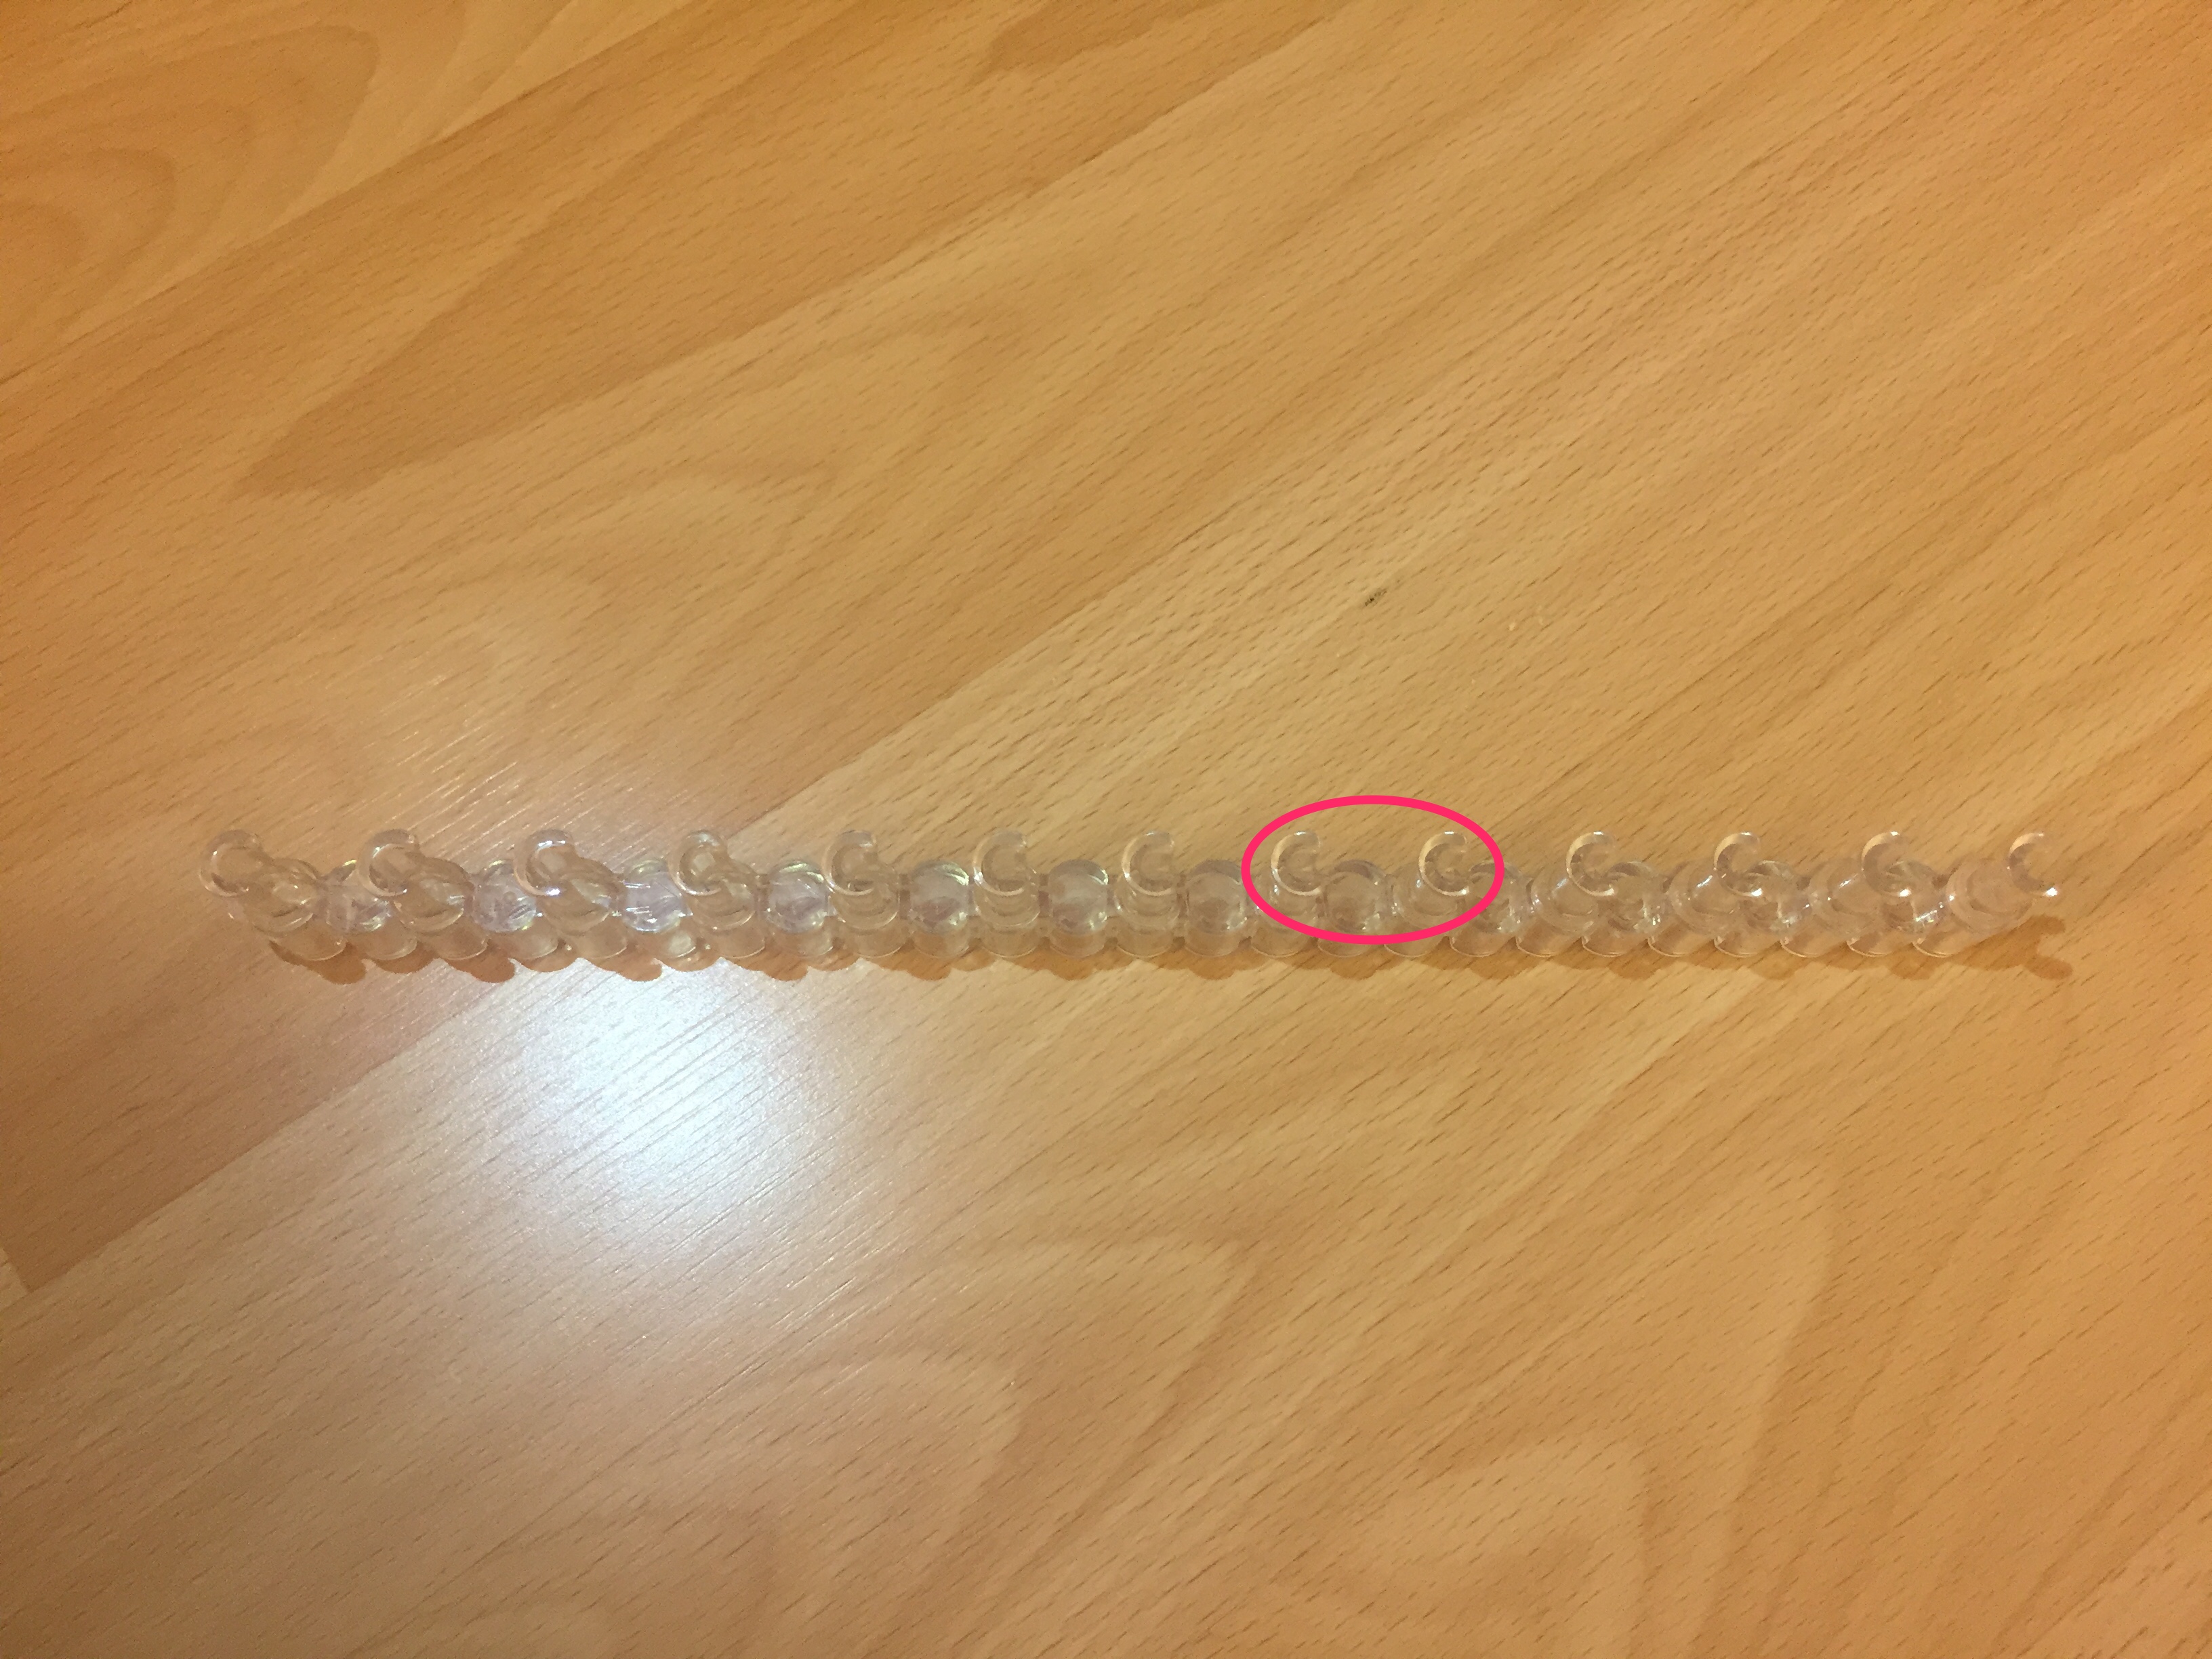
Find two pegs next to each other on your loom to make your bracelet on.
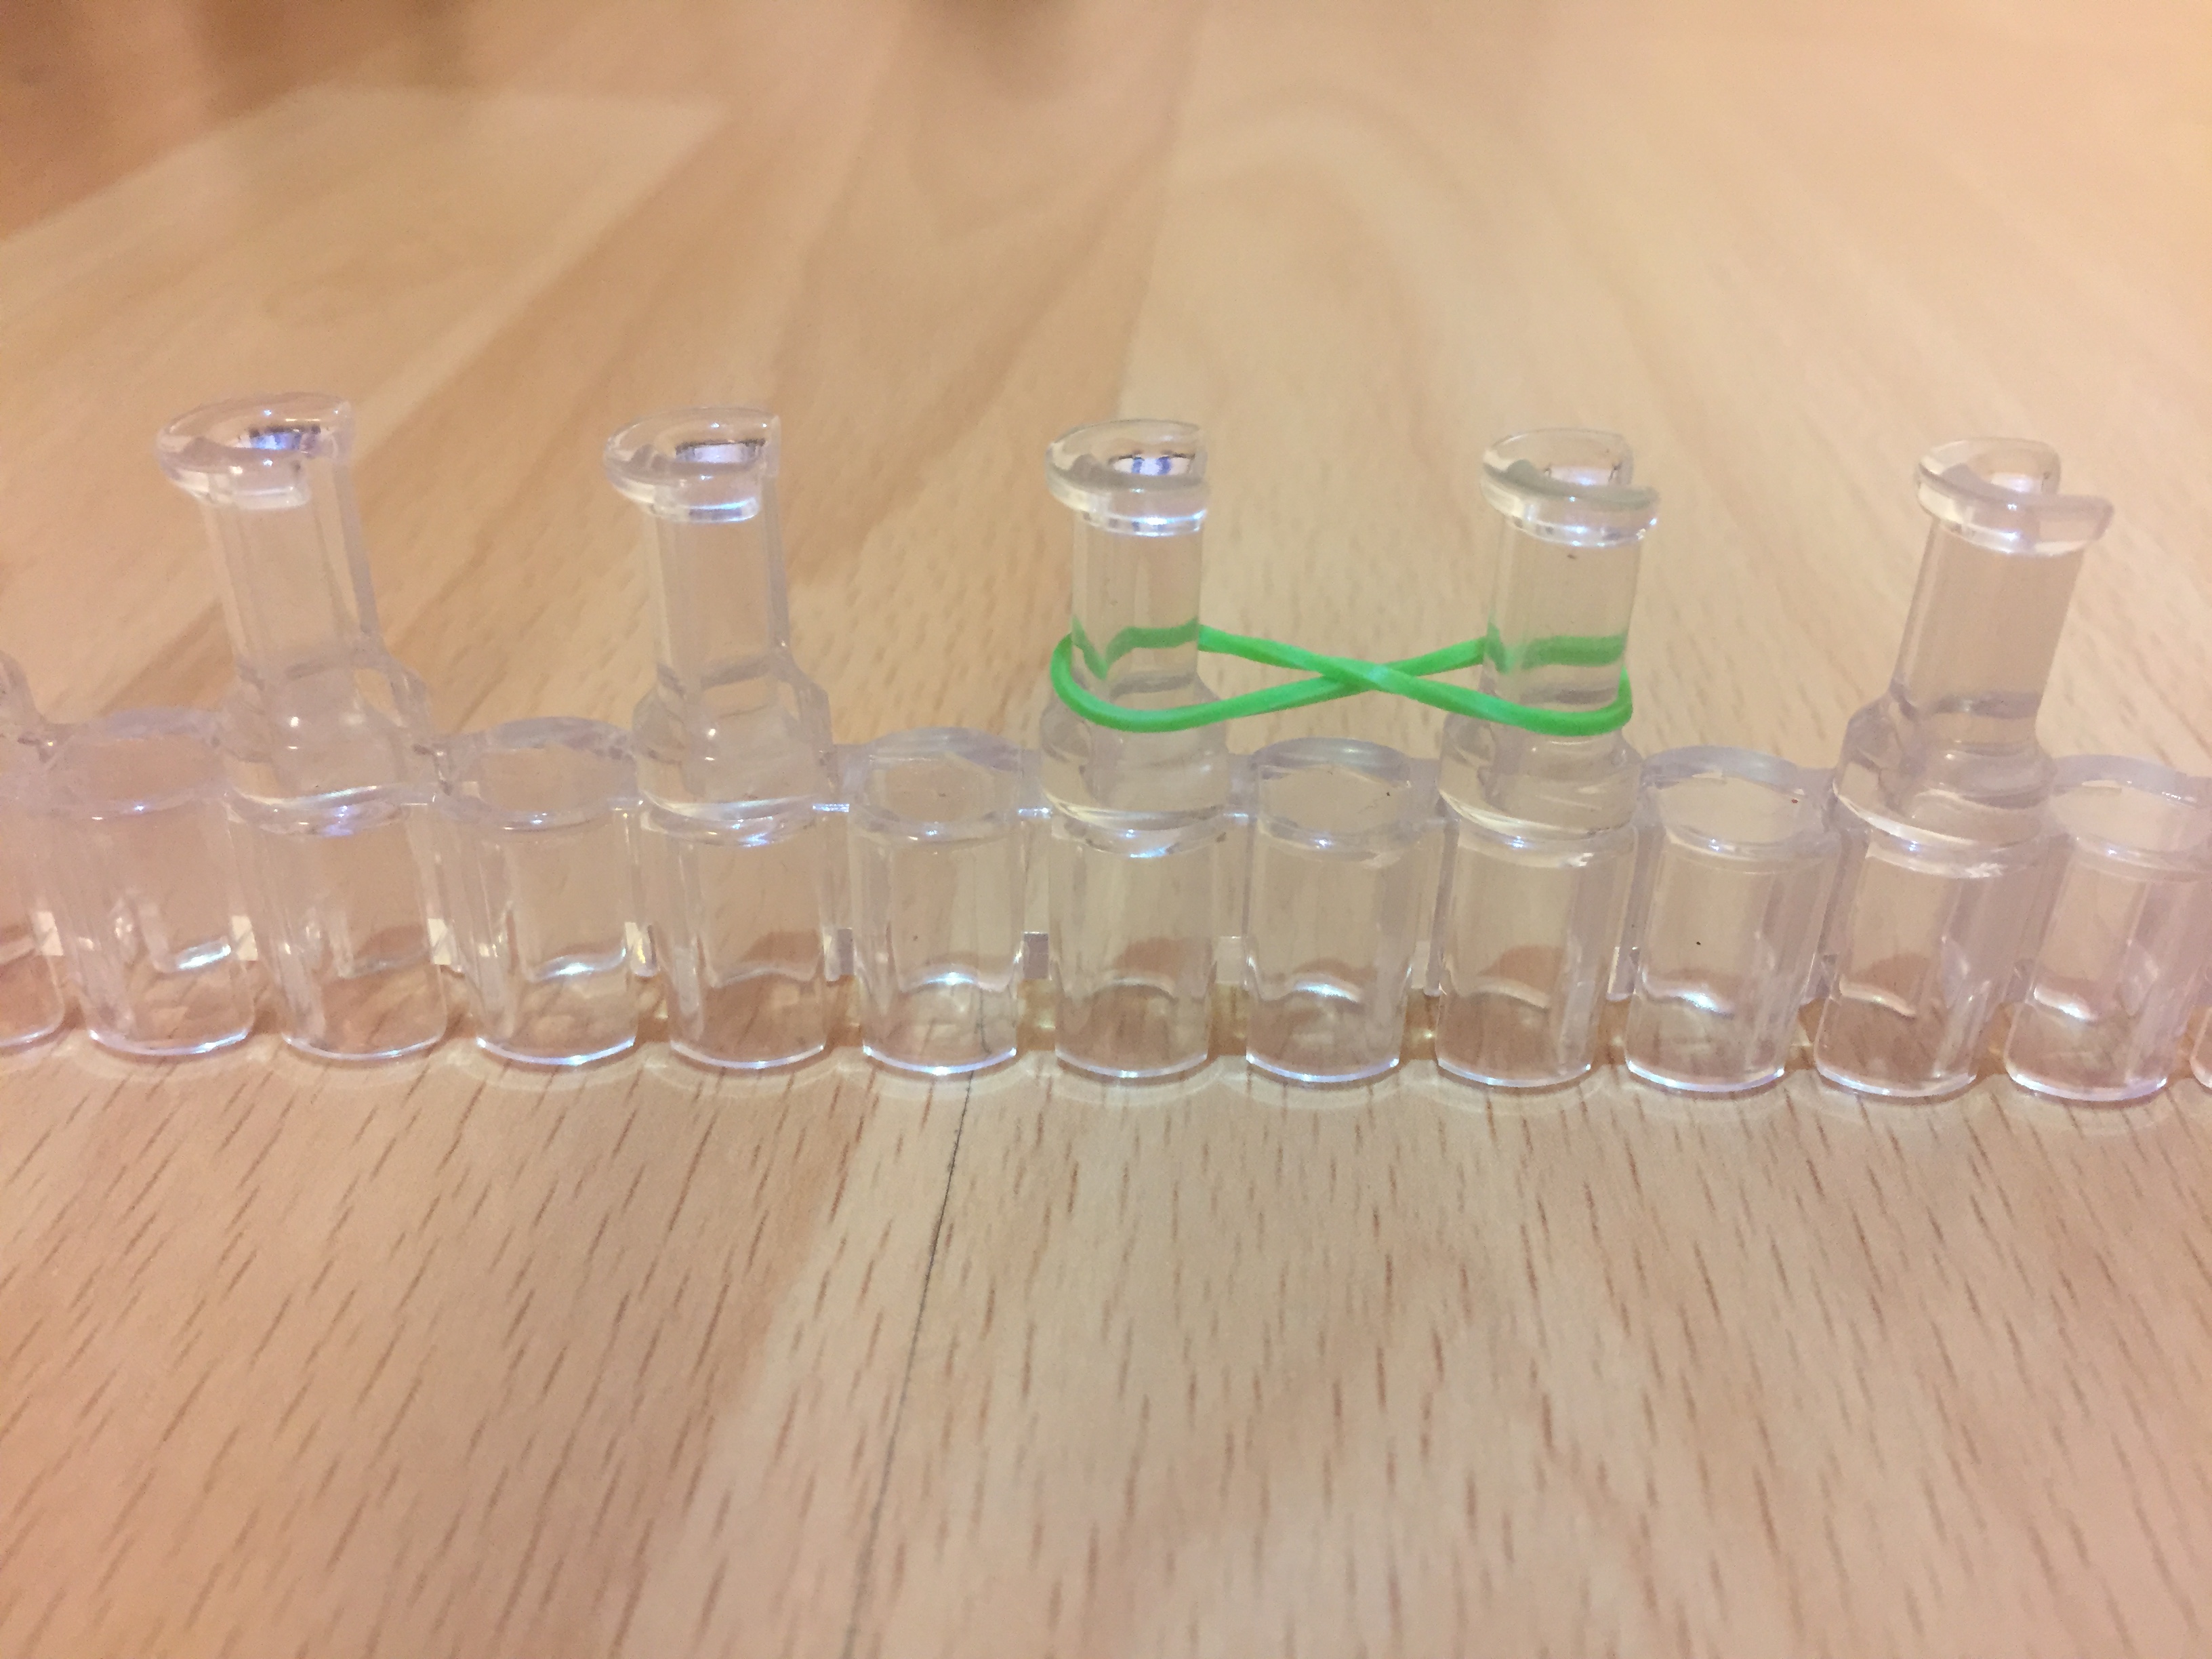
Put your first rubber band on, stretched between the two pegs in the shape of an infinity sign
Oval Rubber Bands
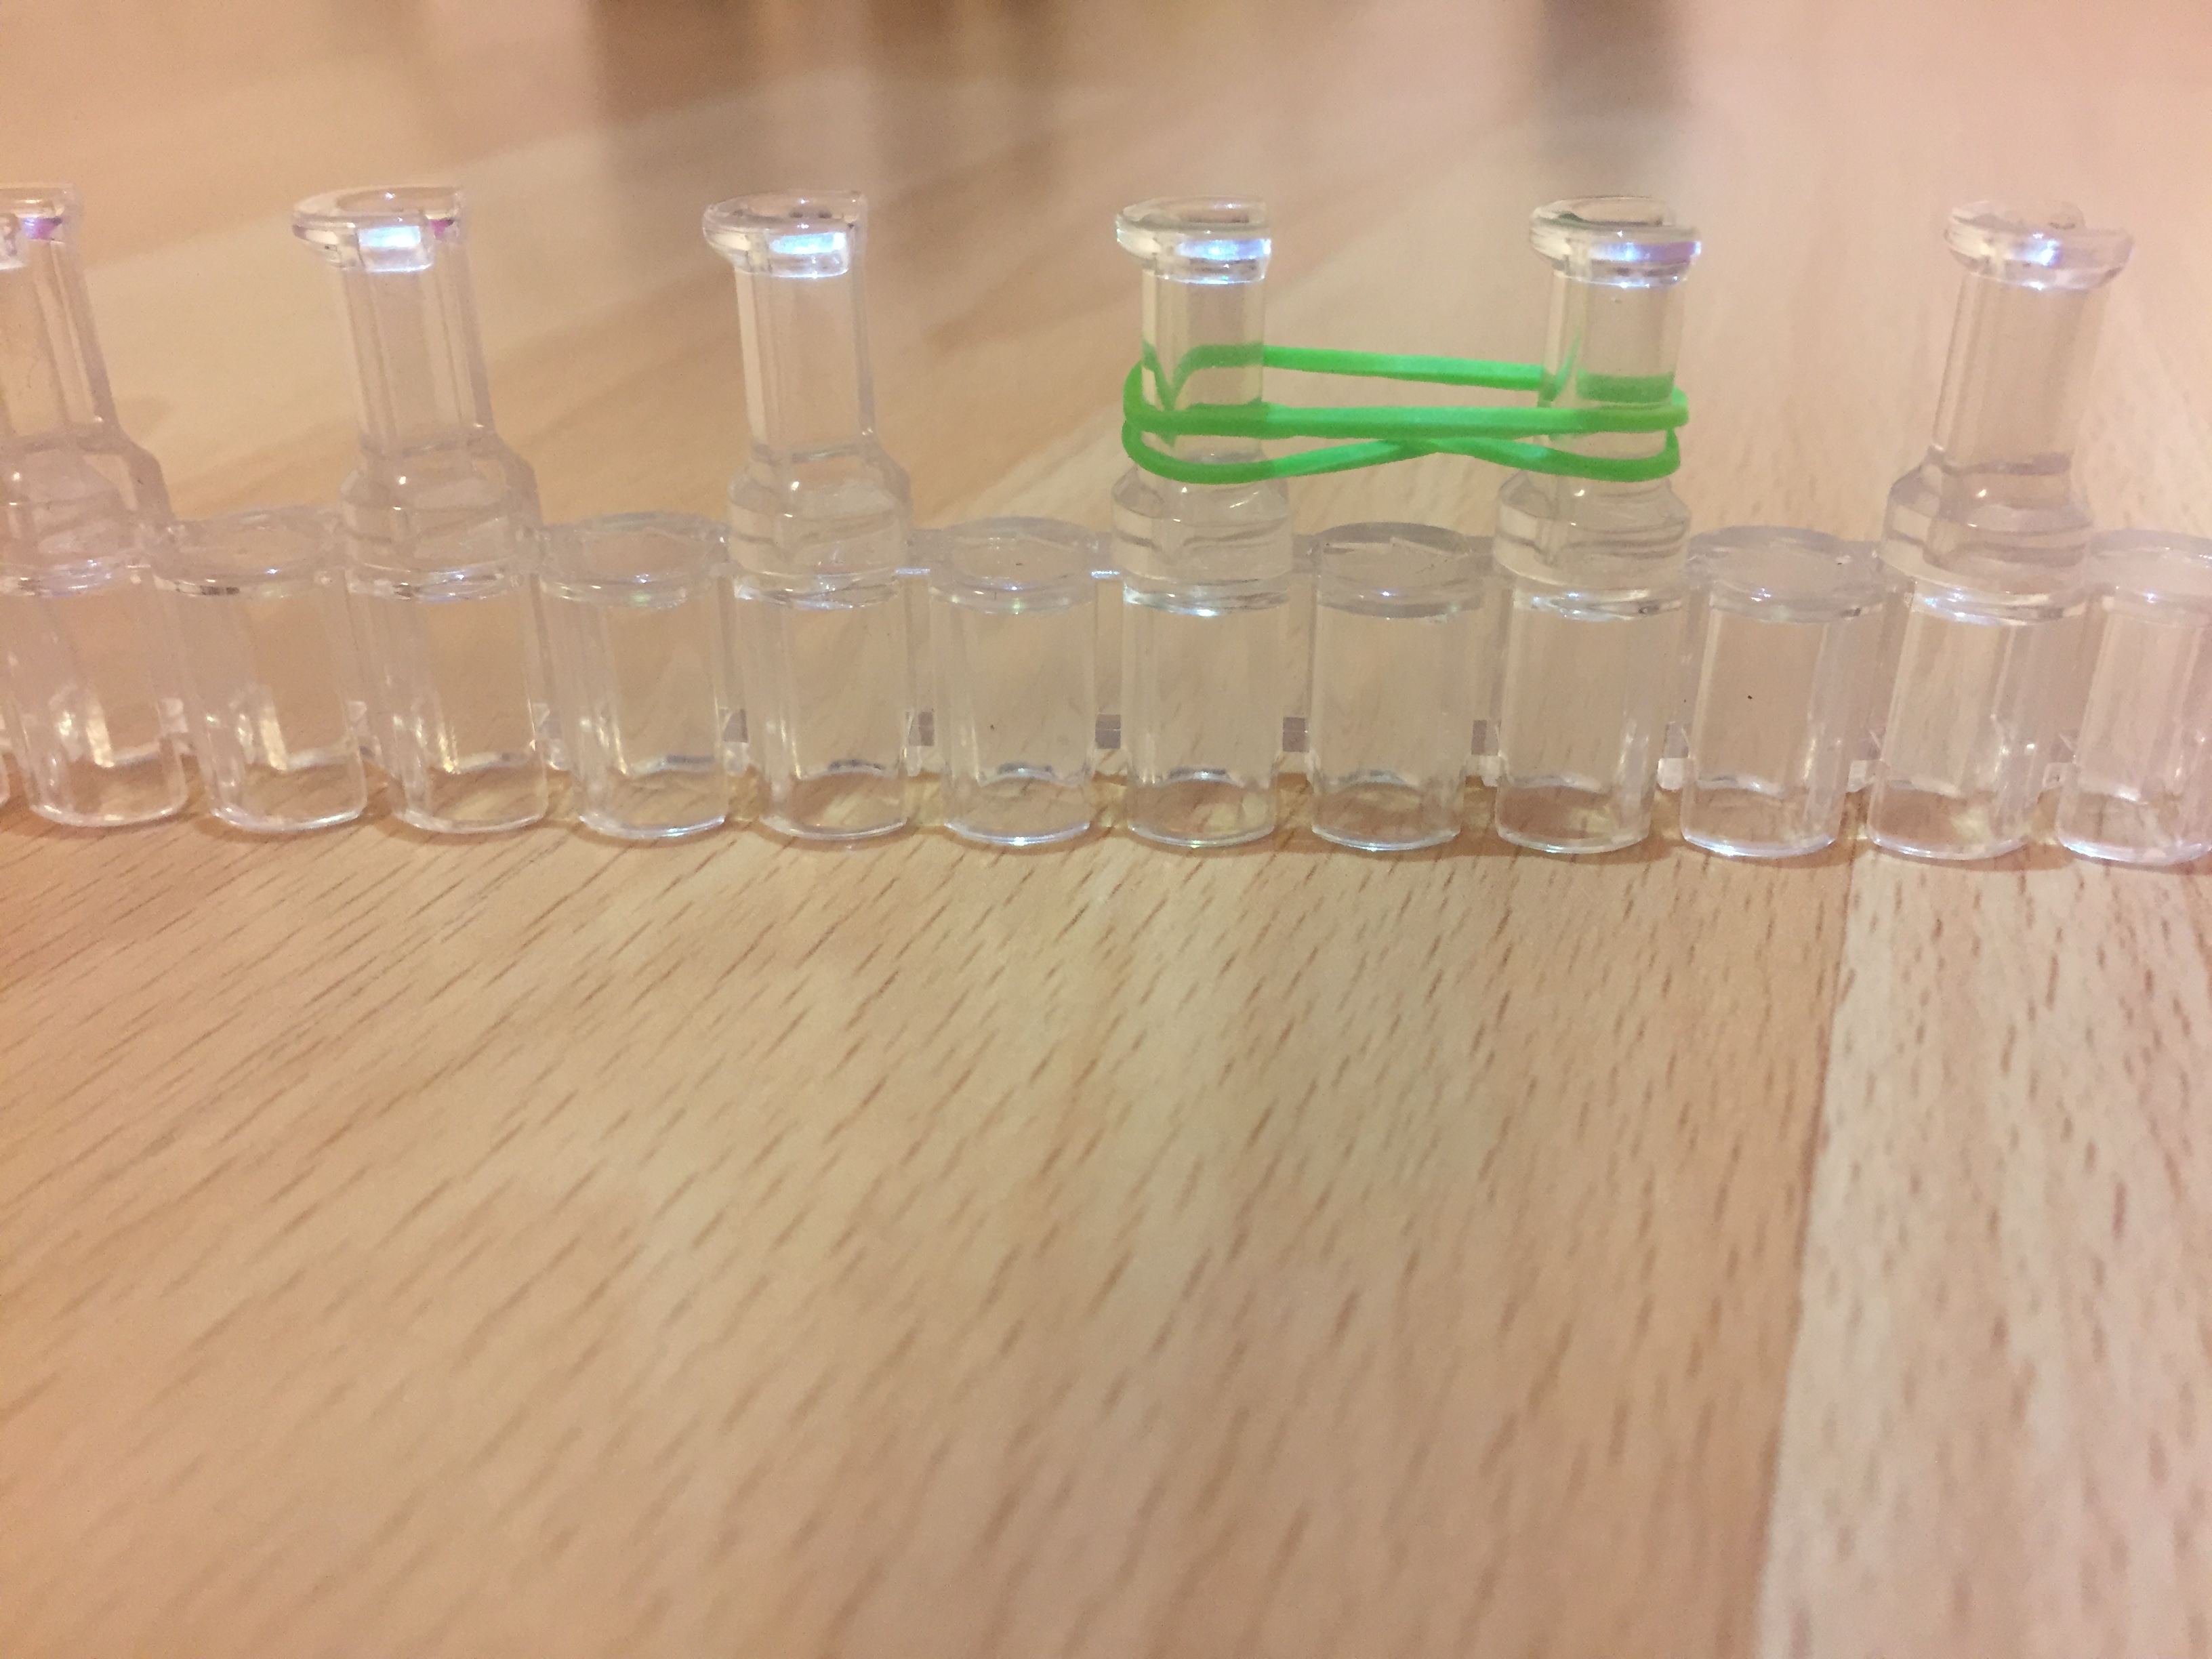
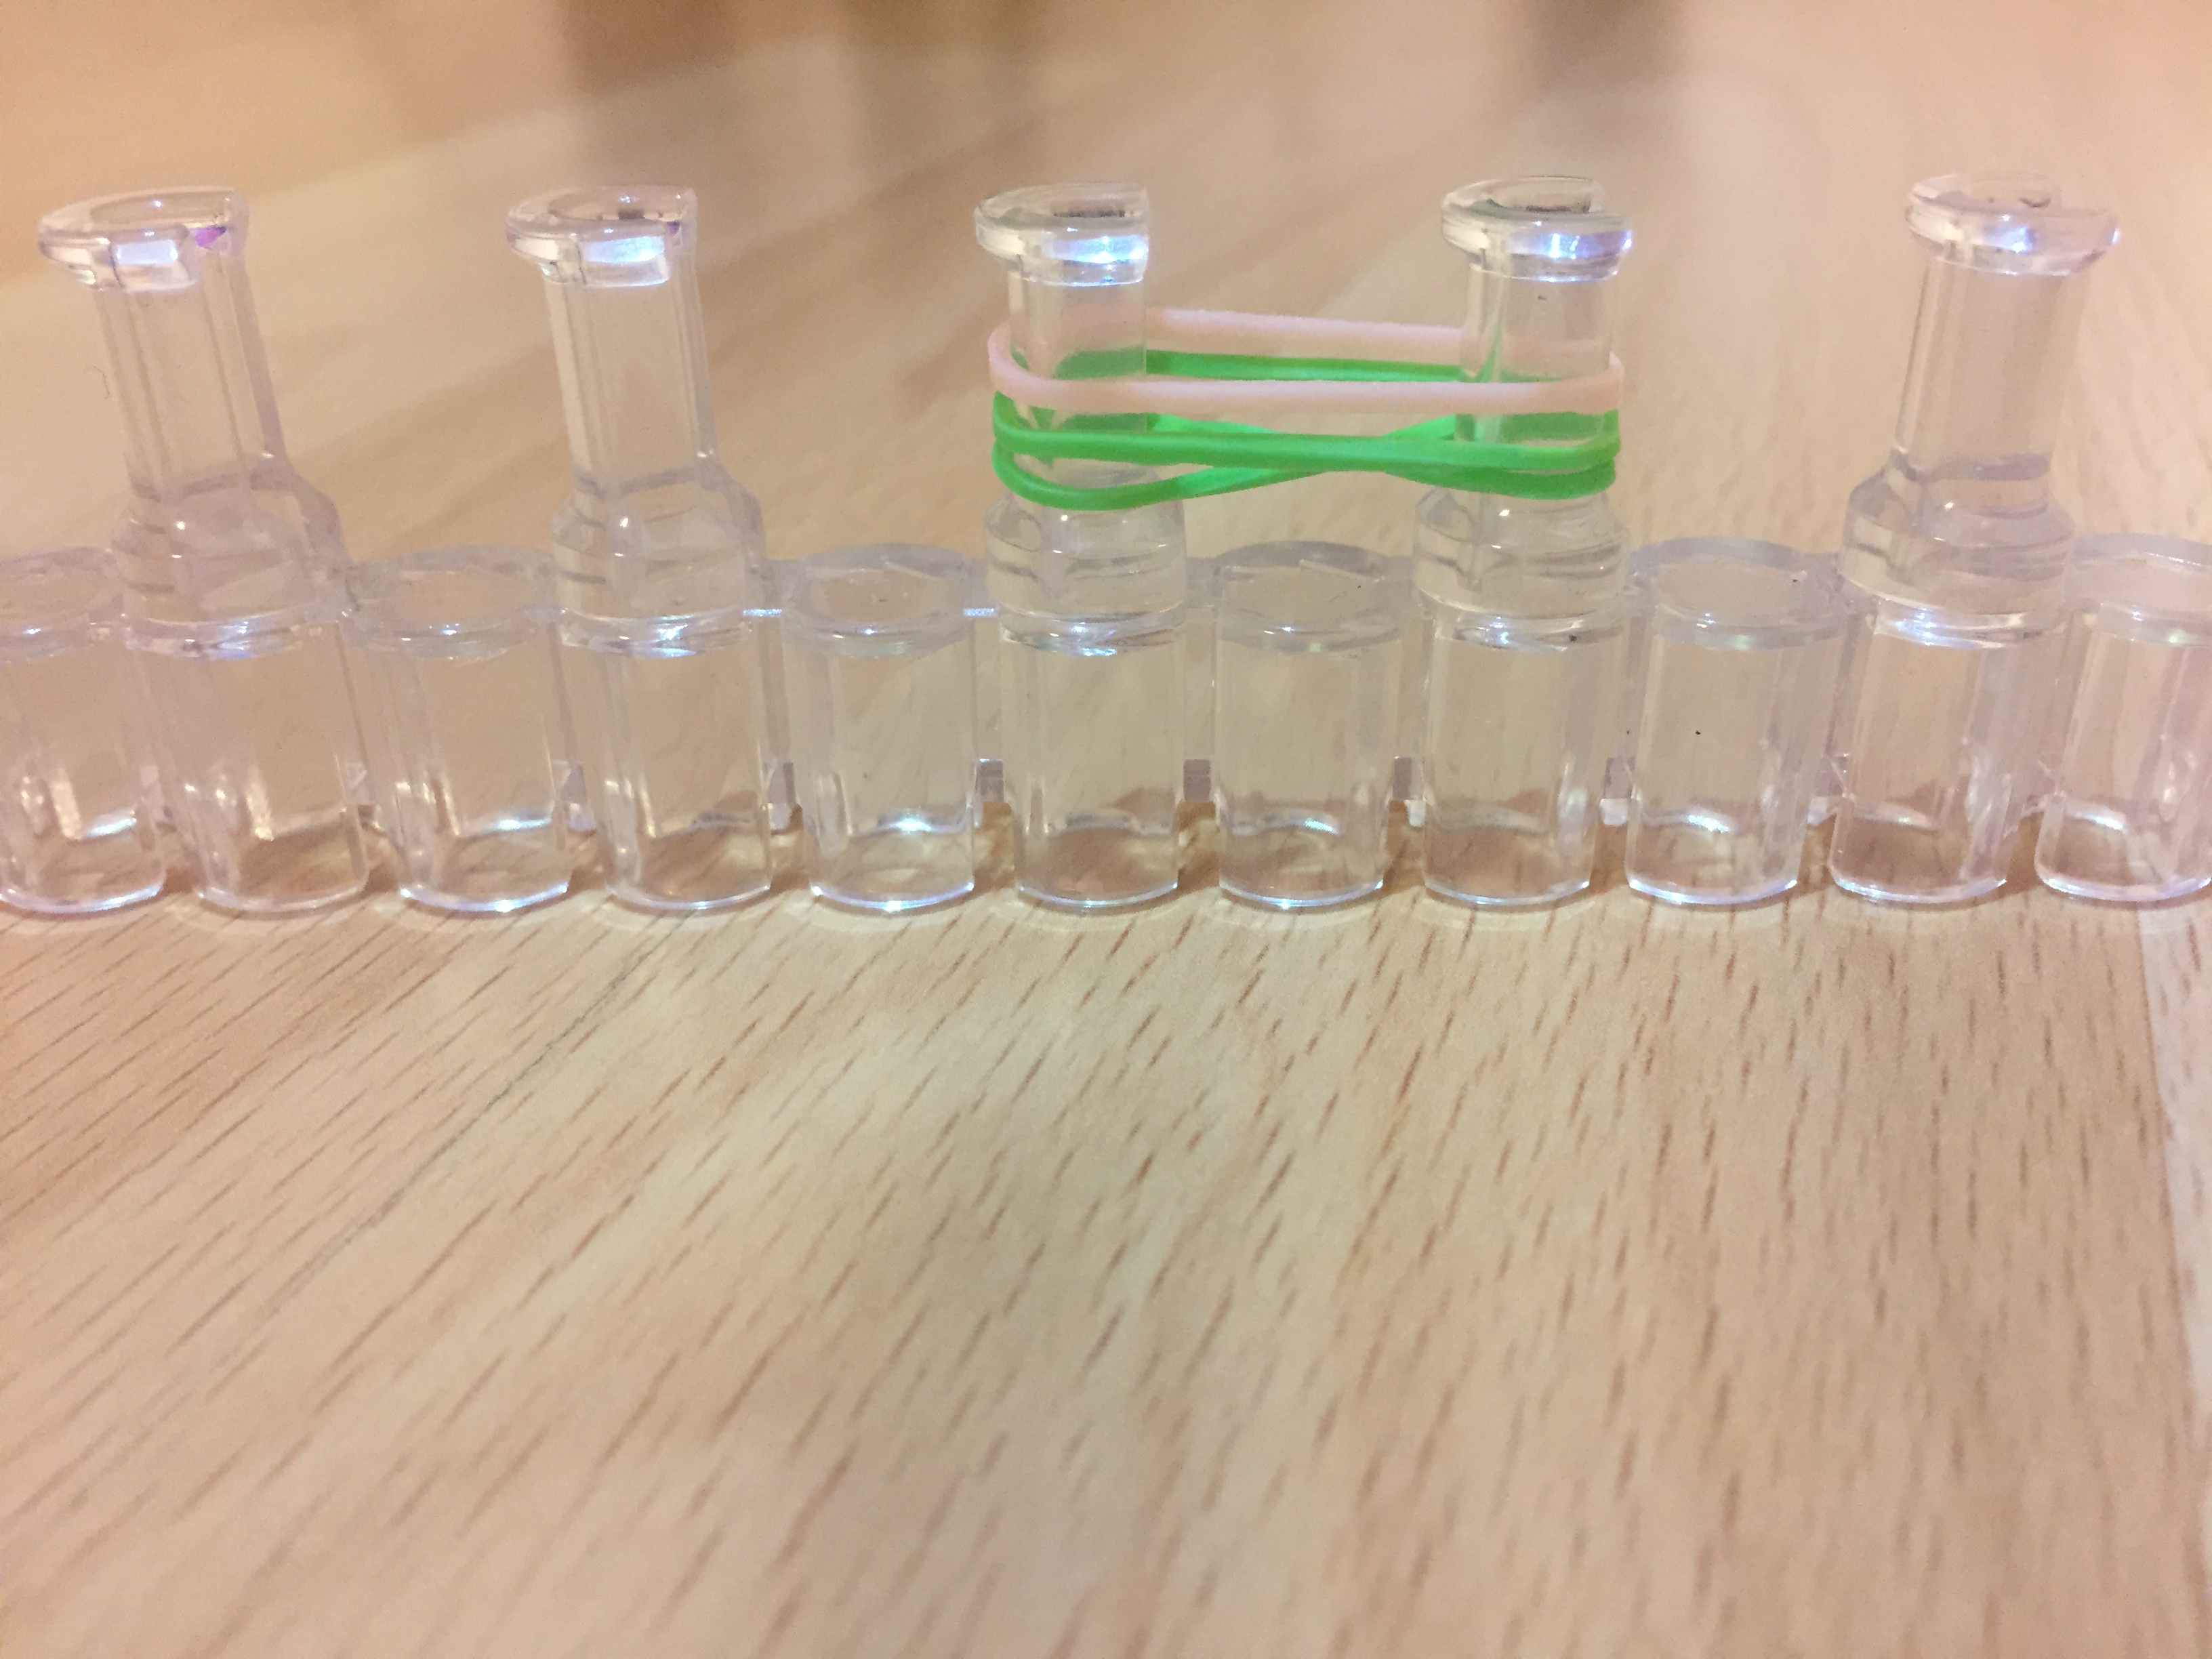
Put two more rubber bands on, this time in the shape of an oval.
Pull Infinity Band
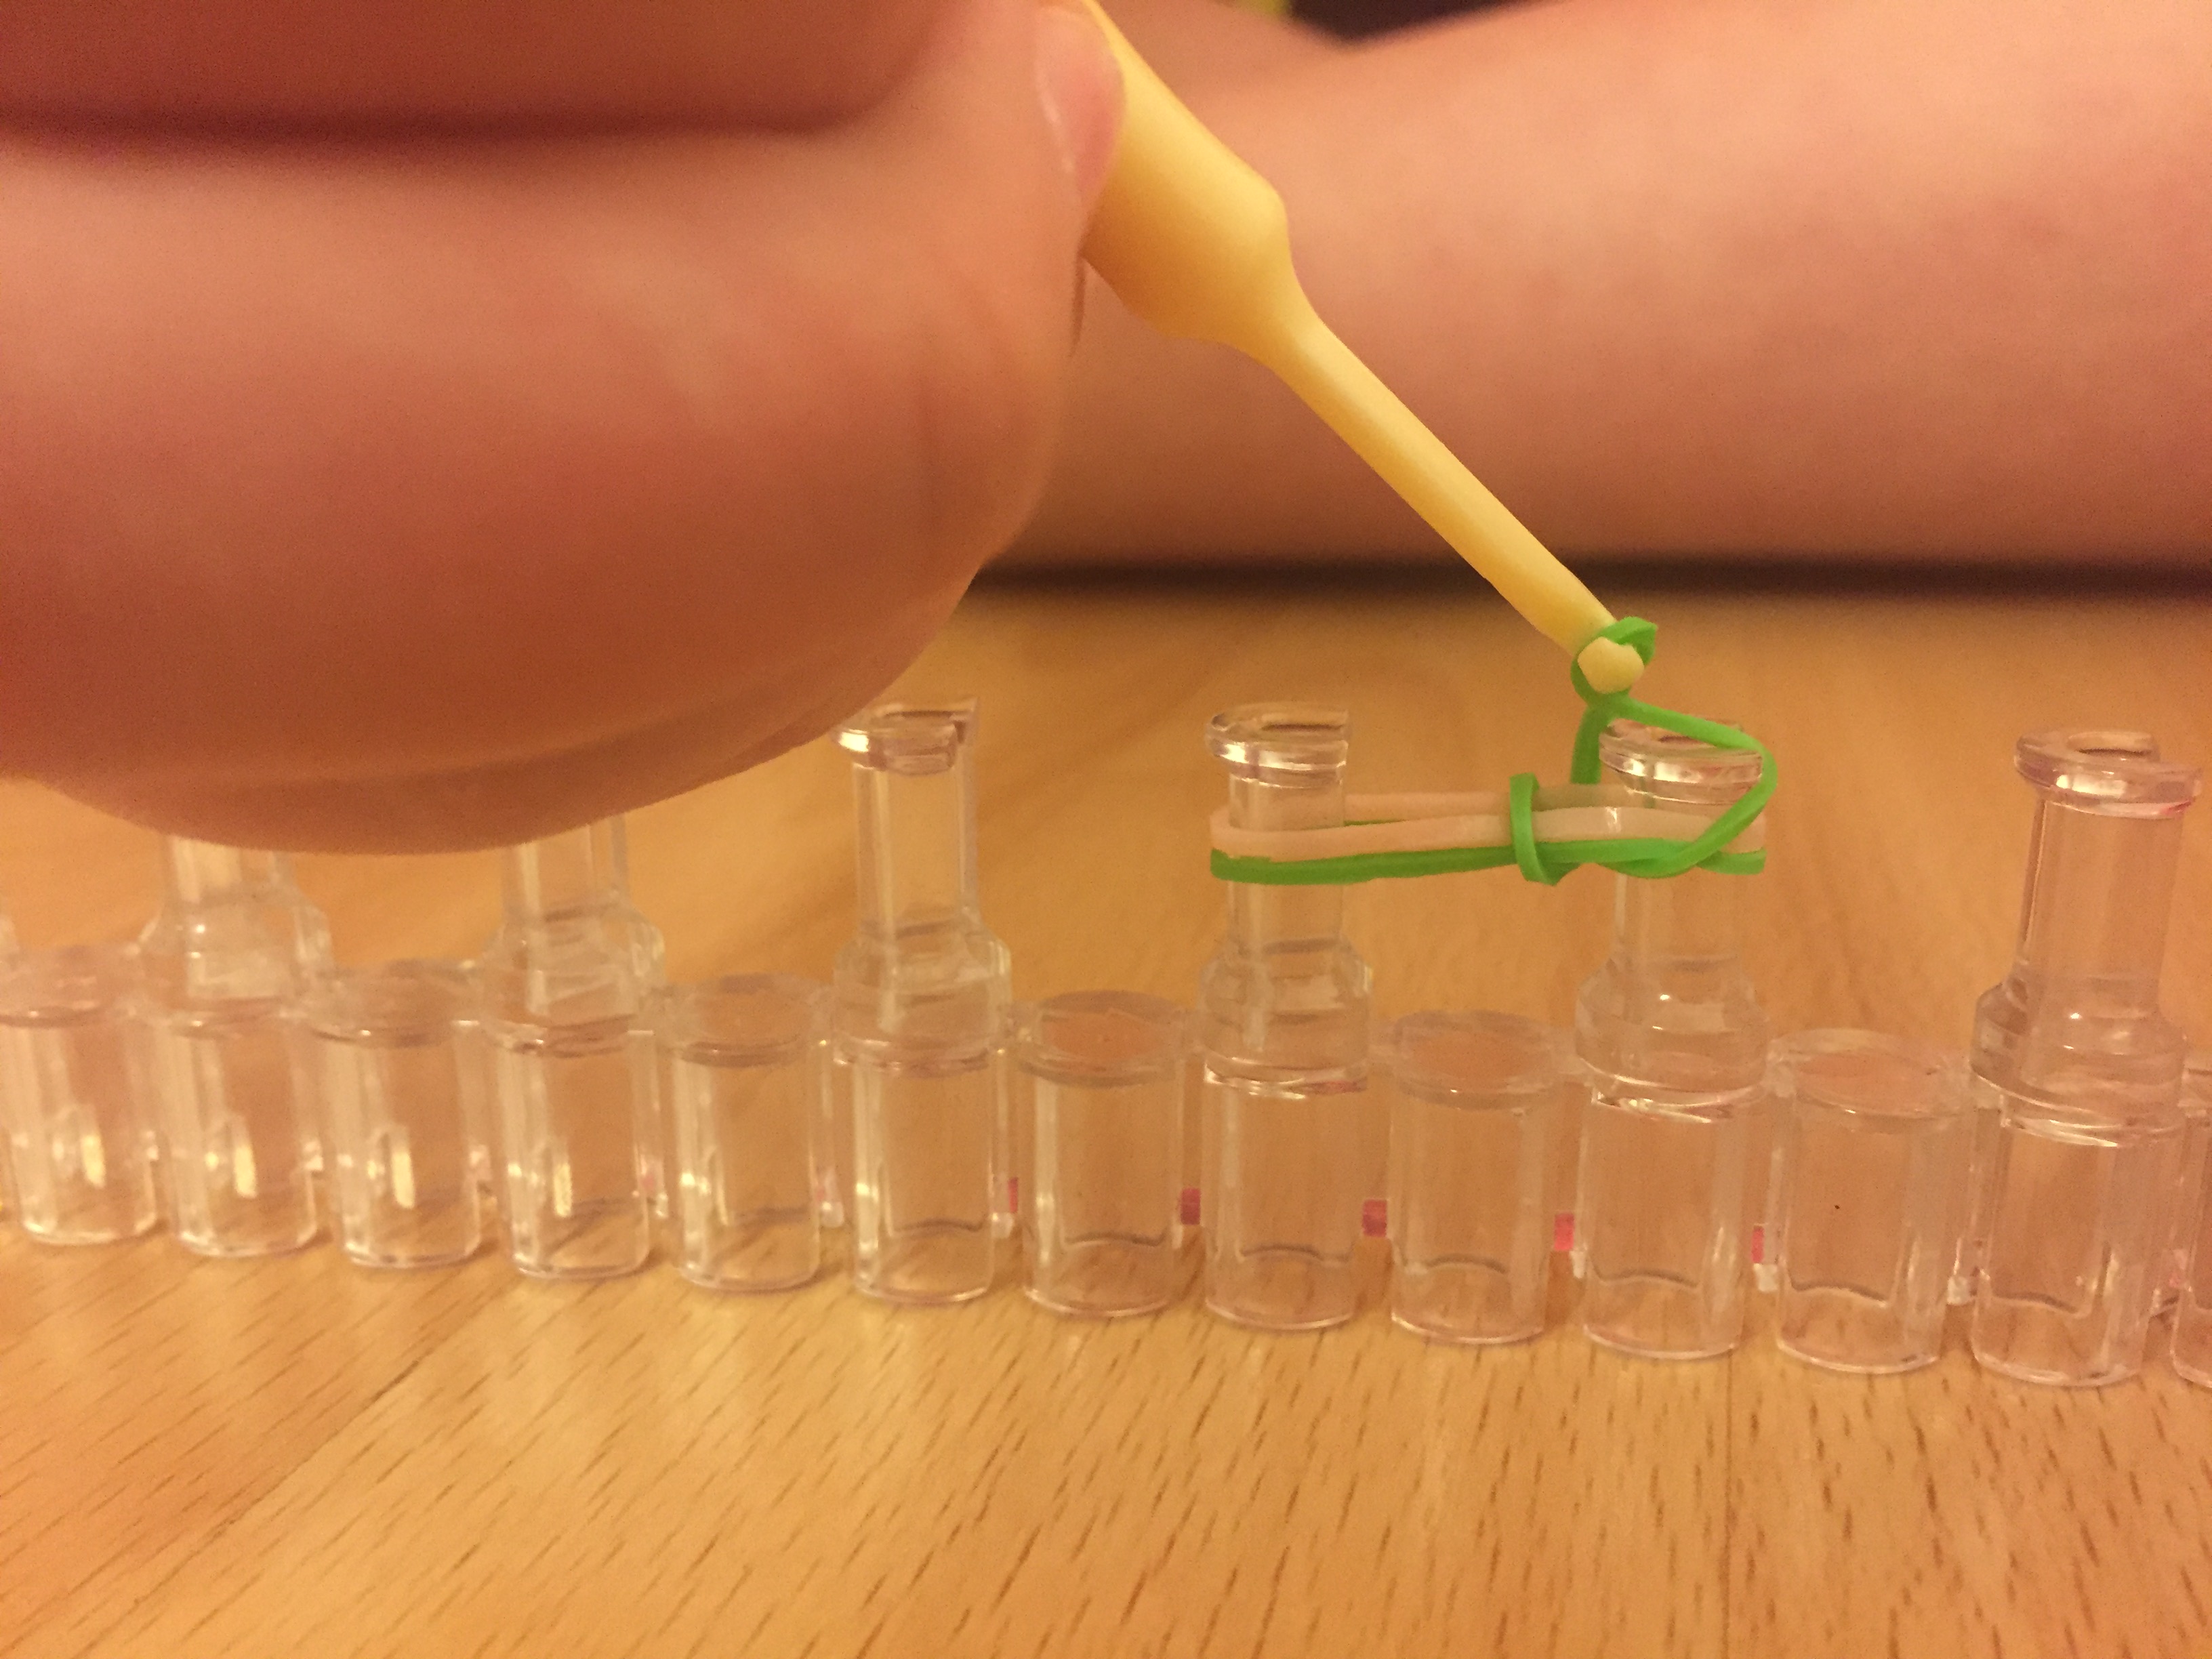
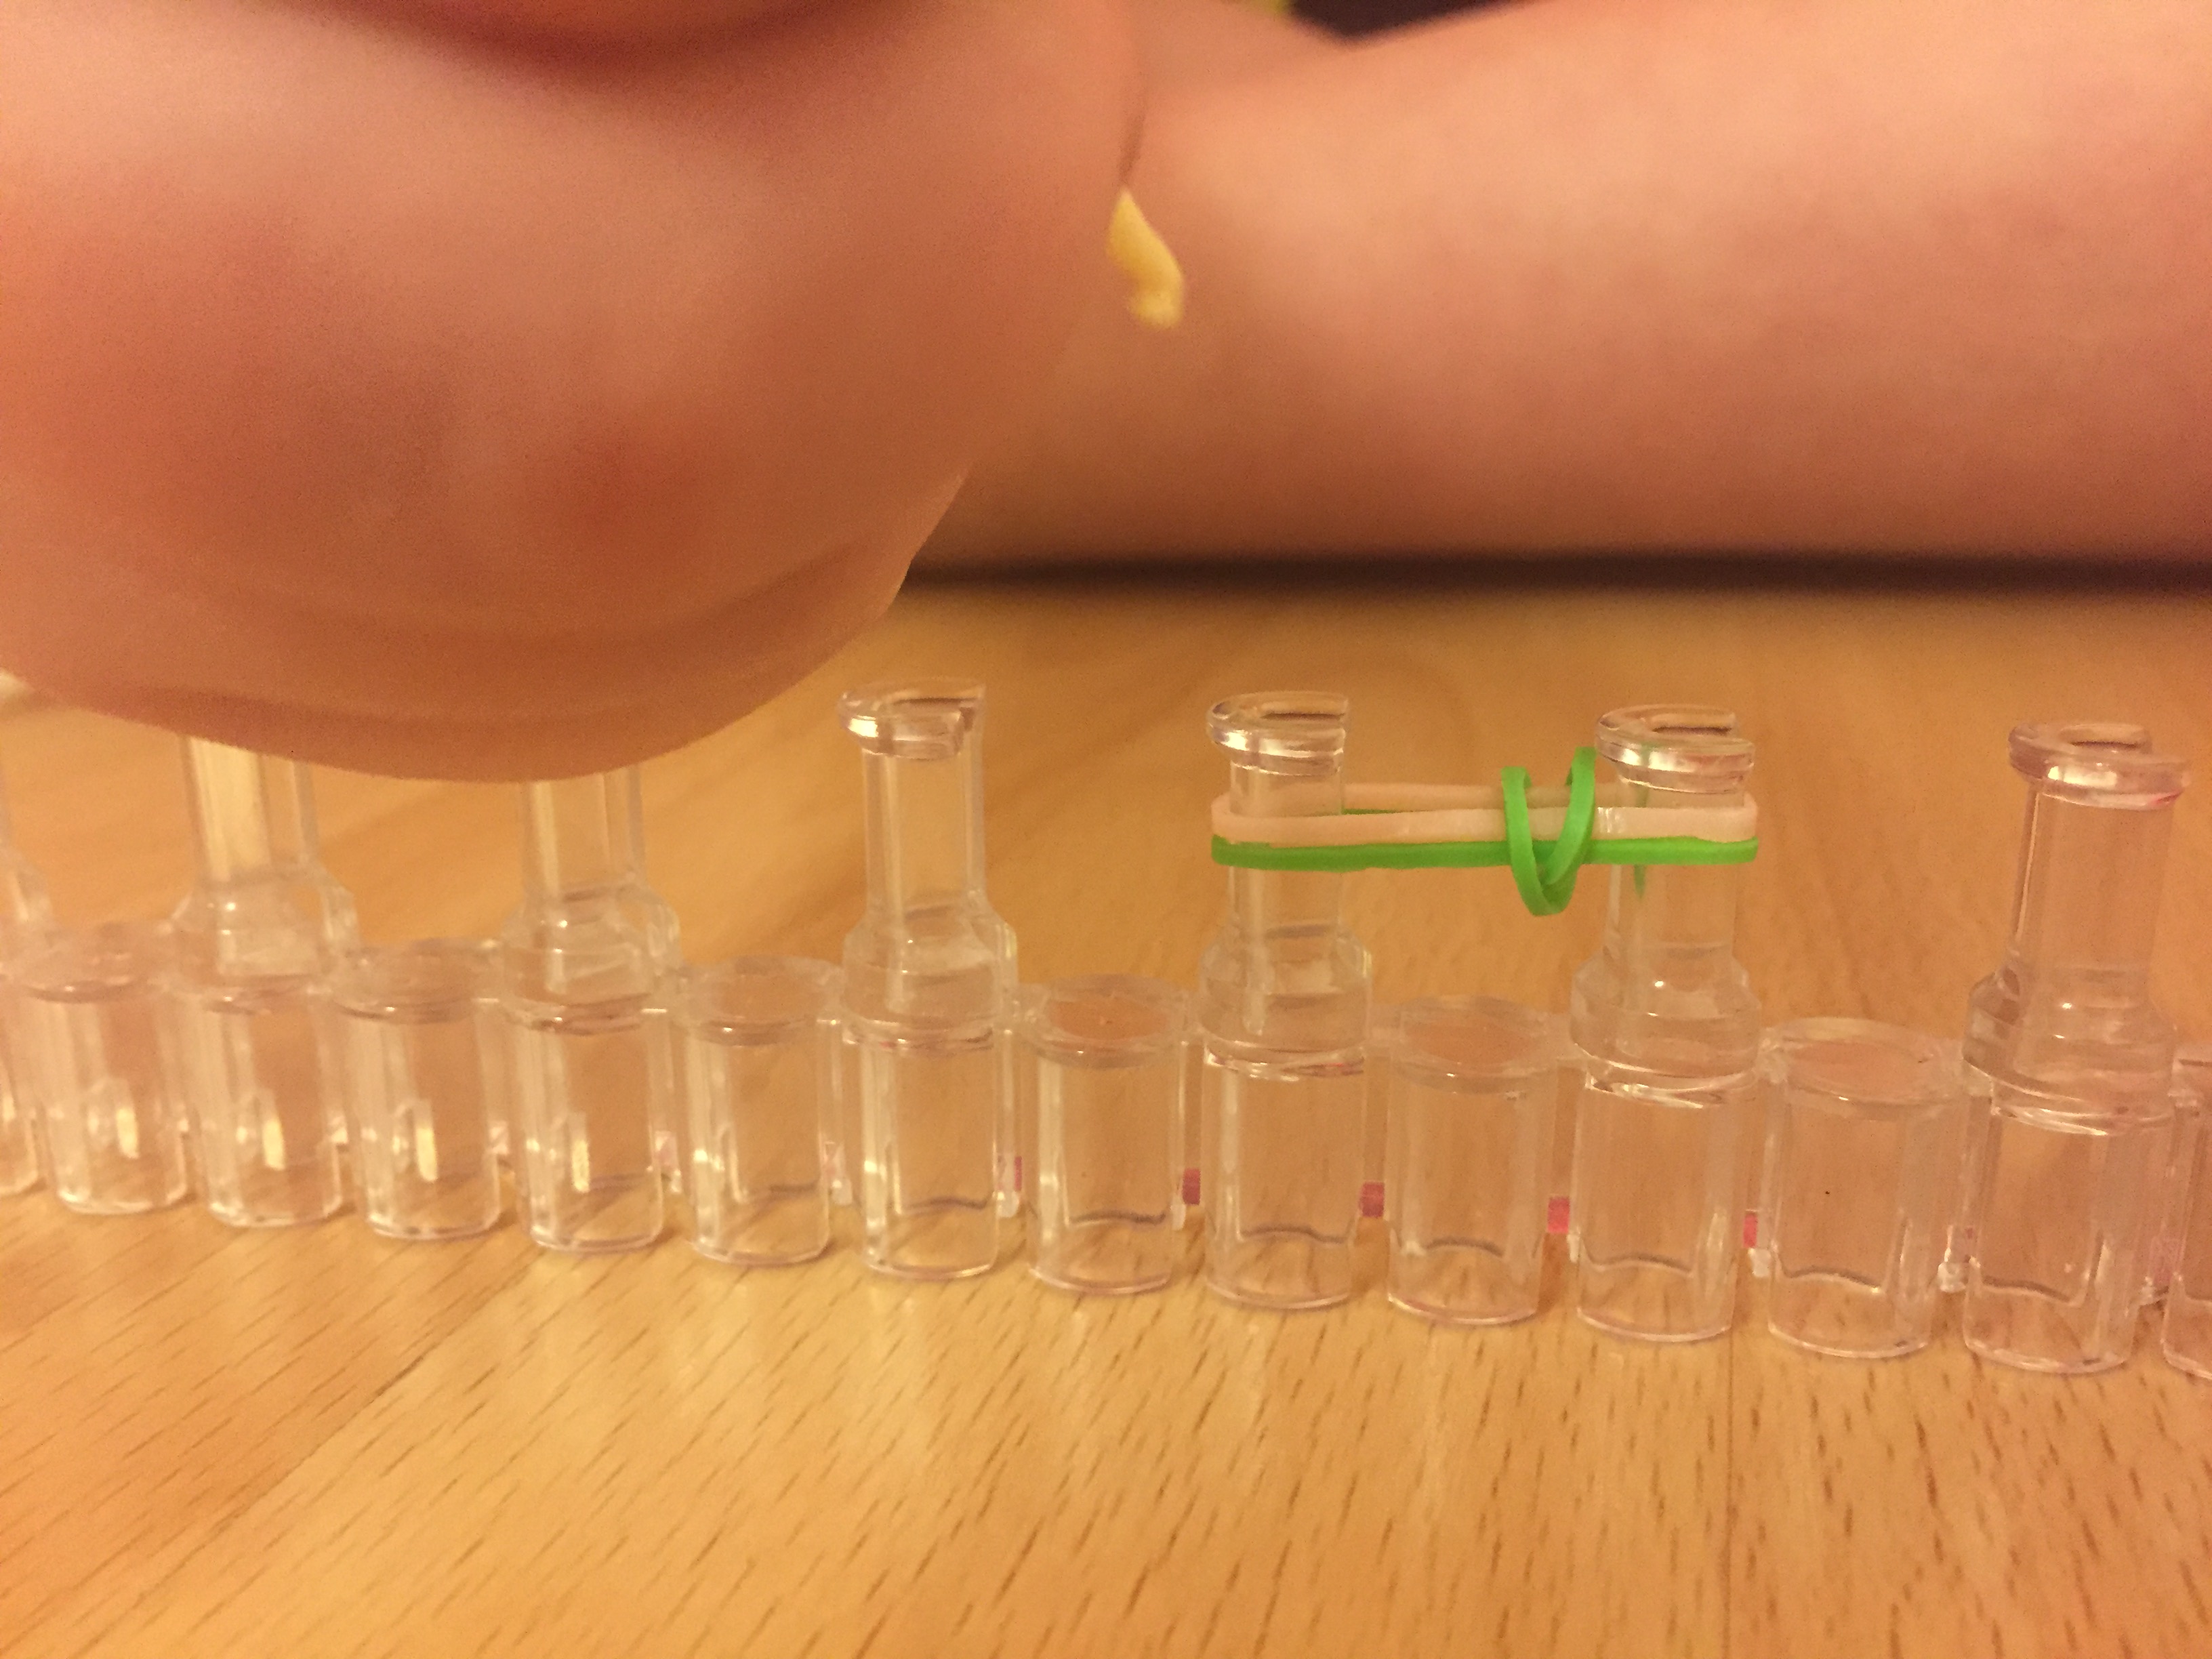
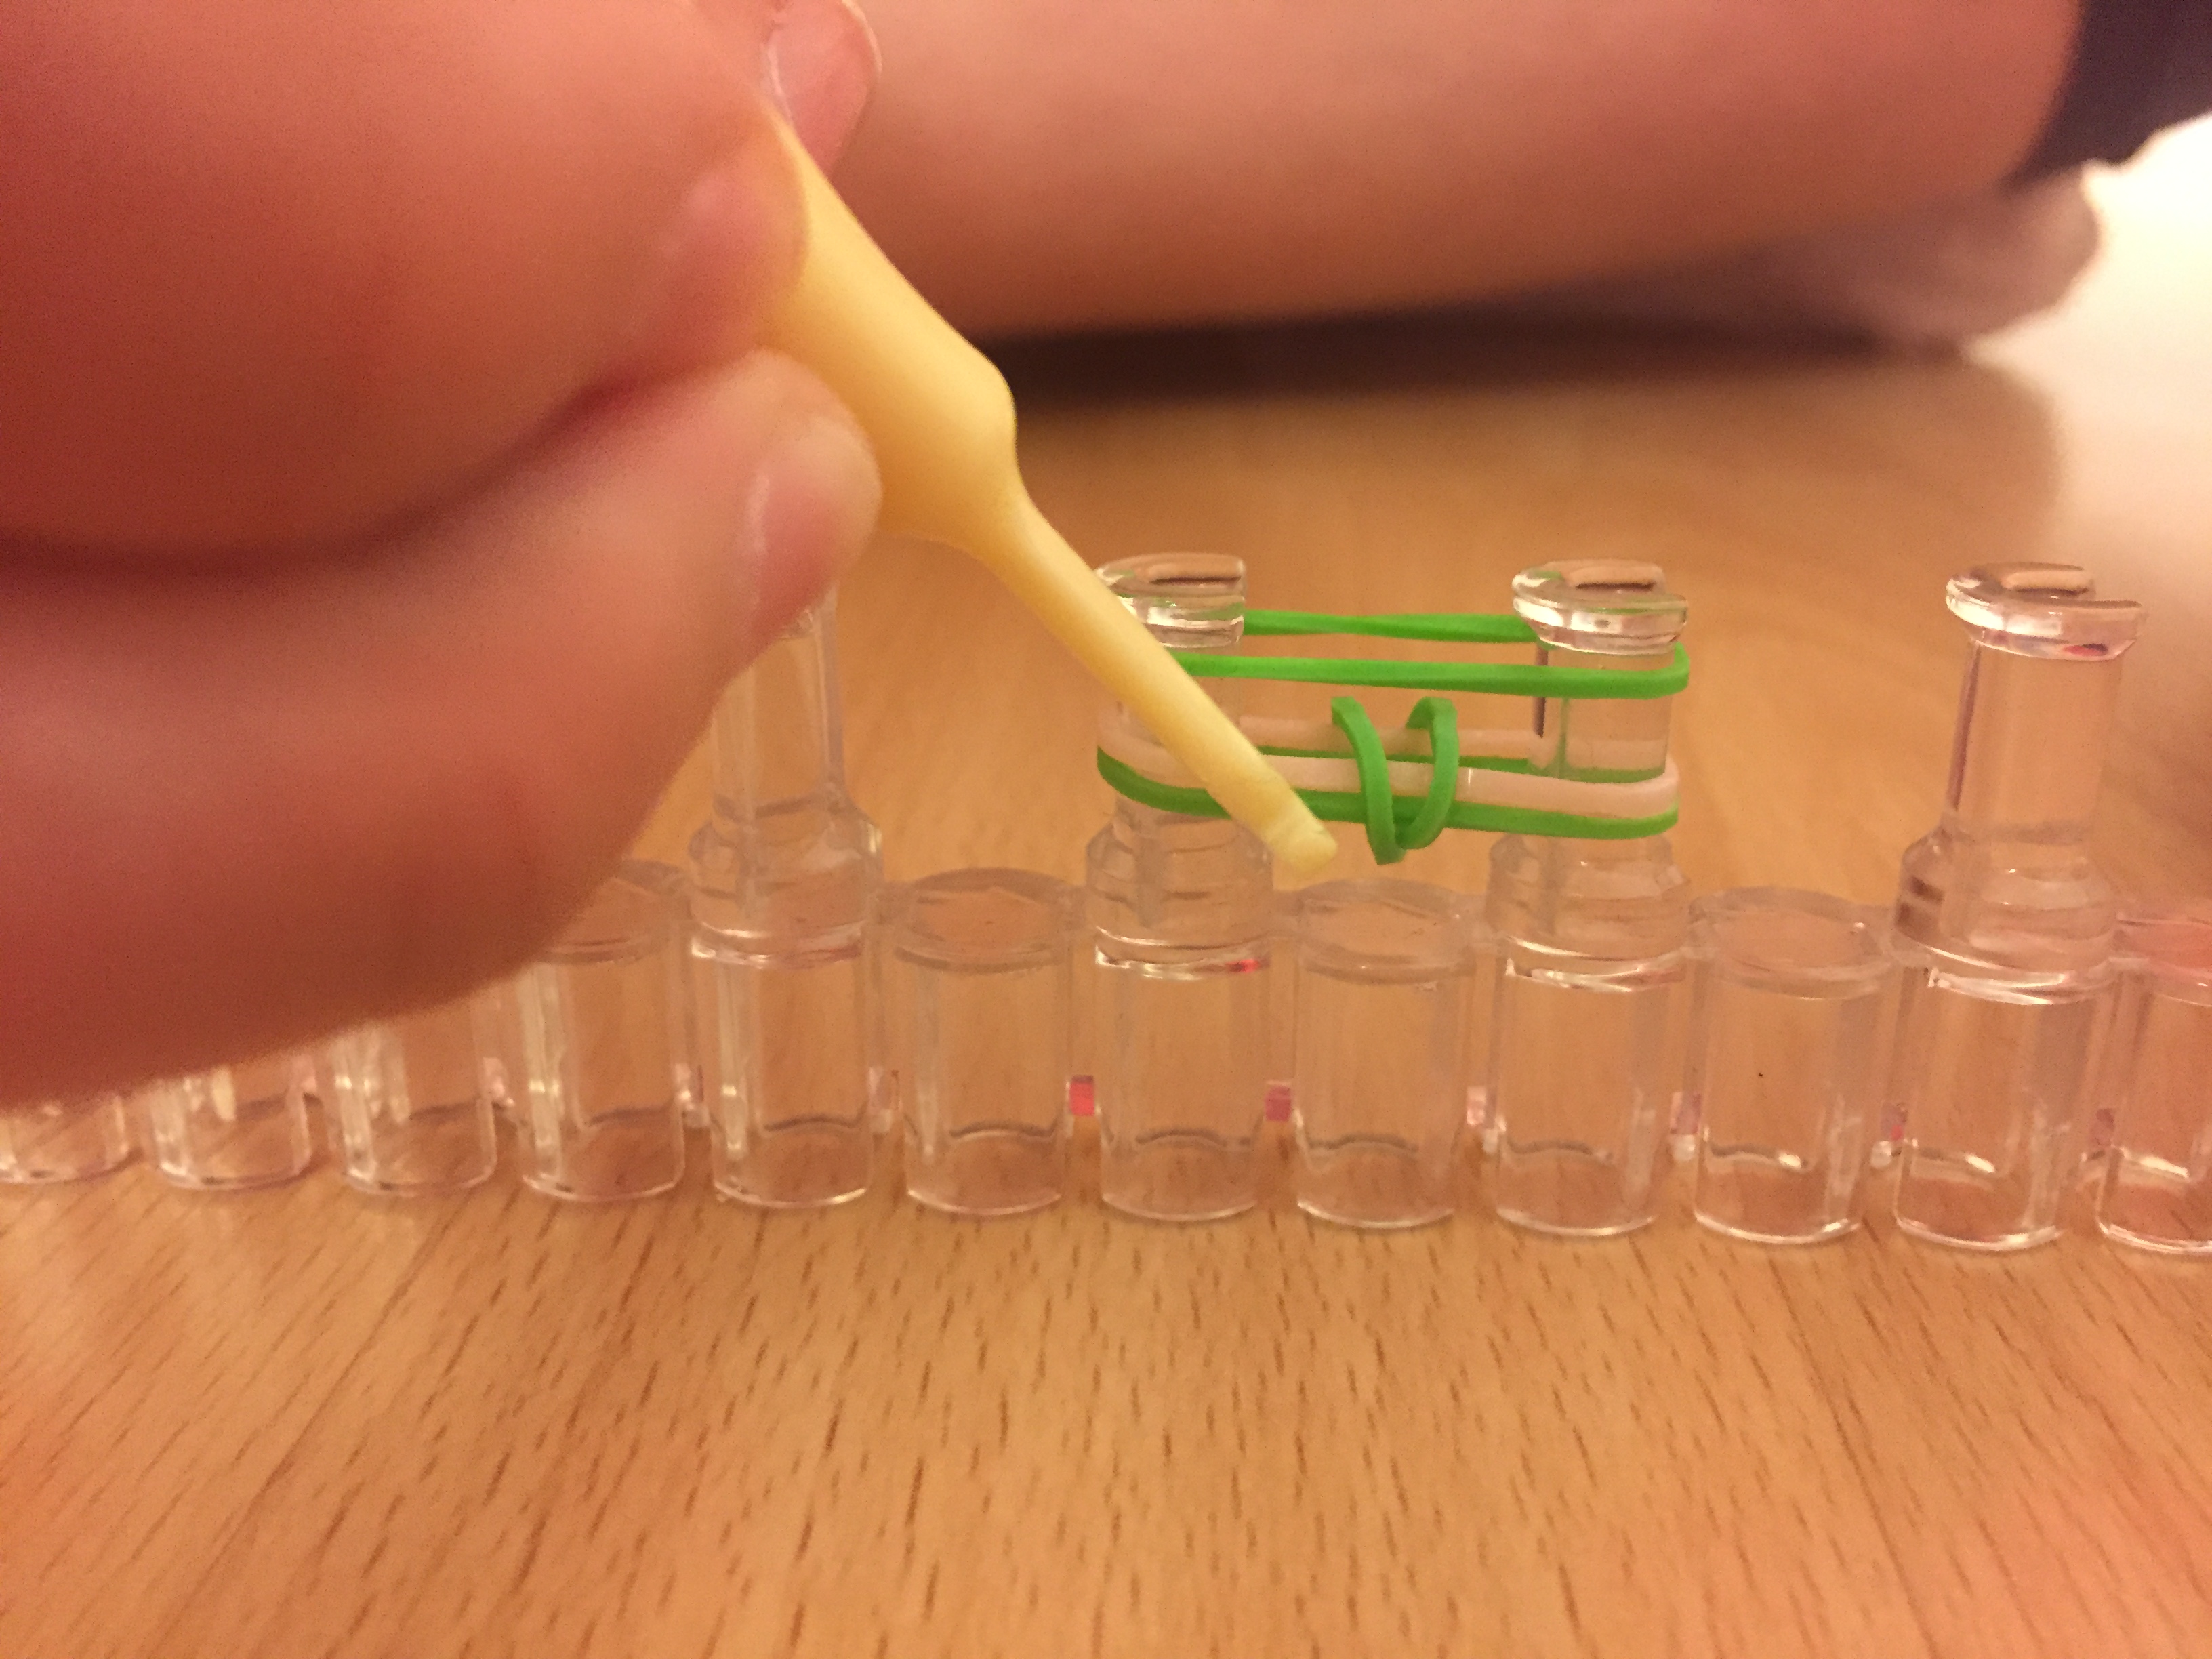

Pull the rubber band that is in the shape of an infinity sign up from the bottom, around the outside of the peg on top the your top rubber band. Then repeat to the other side. After both sides are on top, add a rubber band above it. Repeat this step three or four times.
Repeat Process
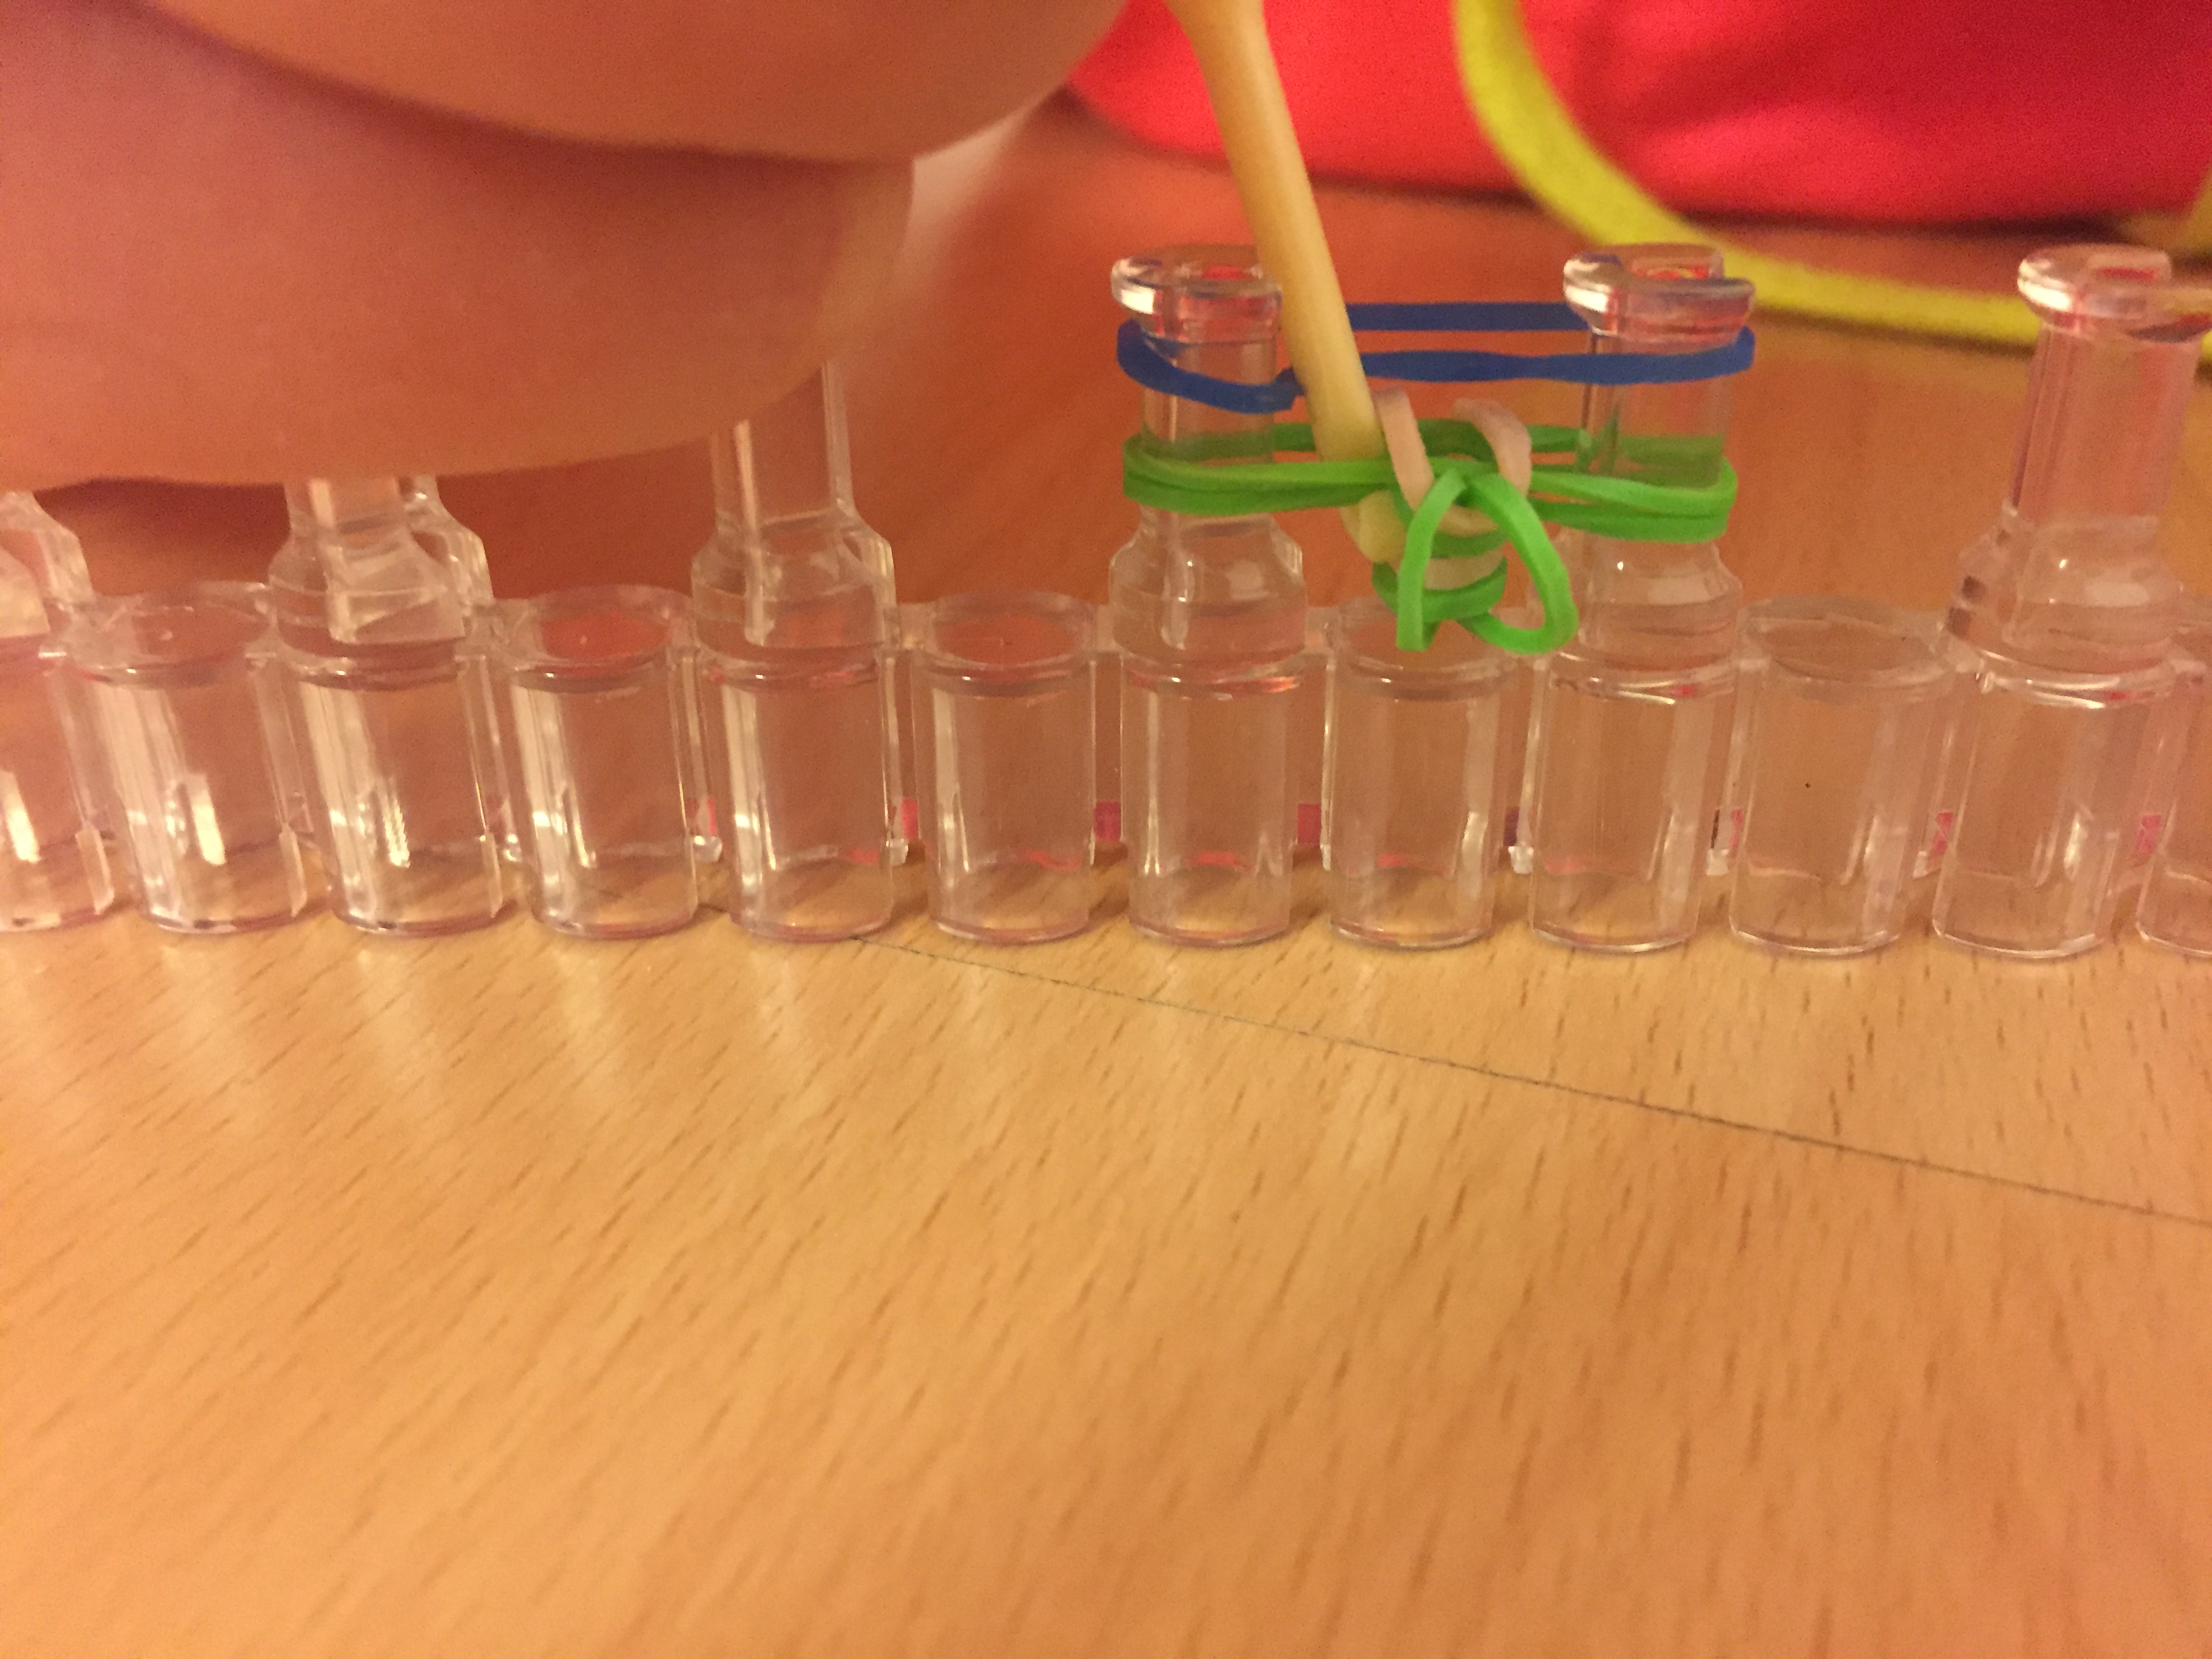
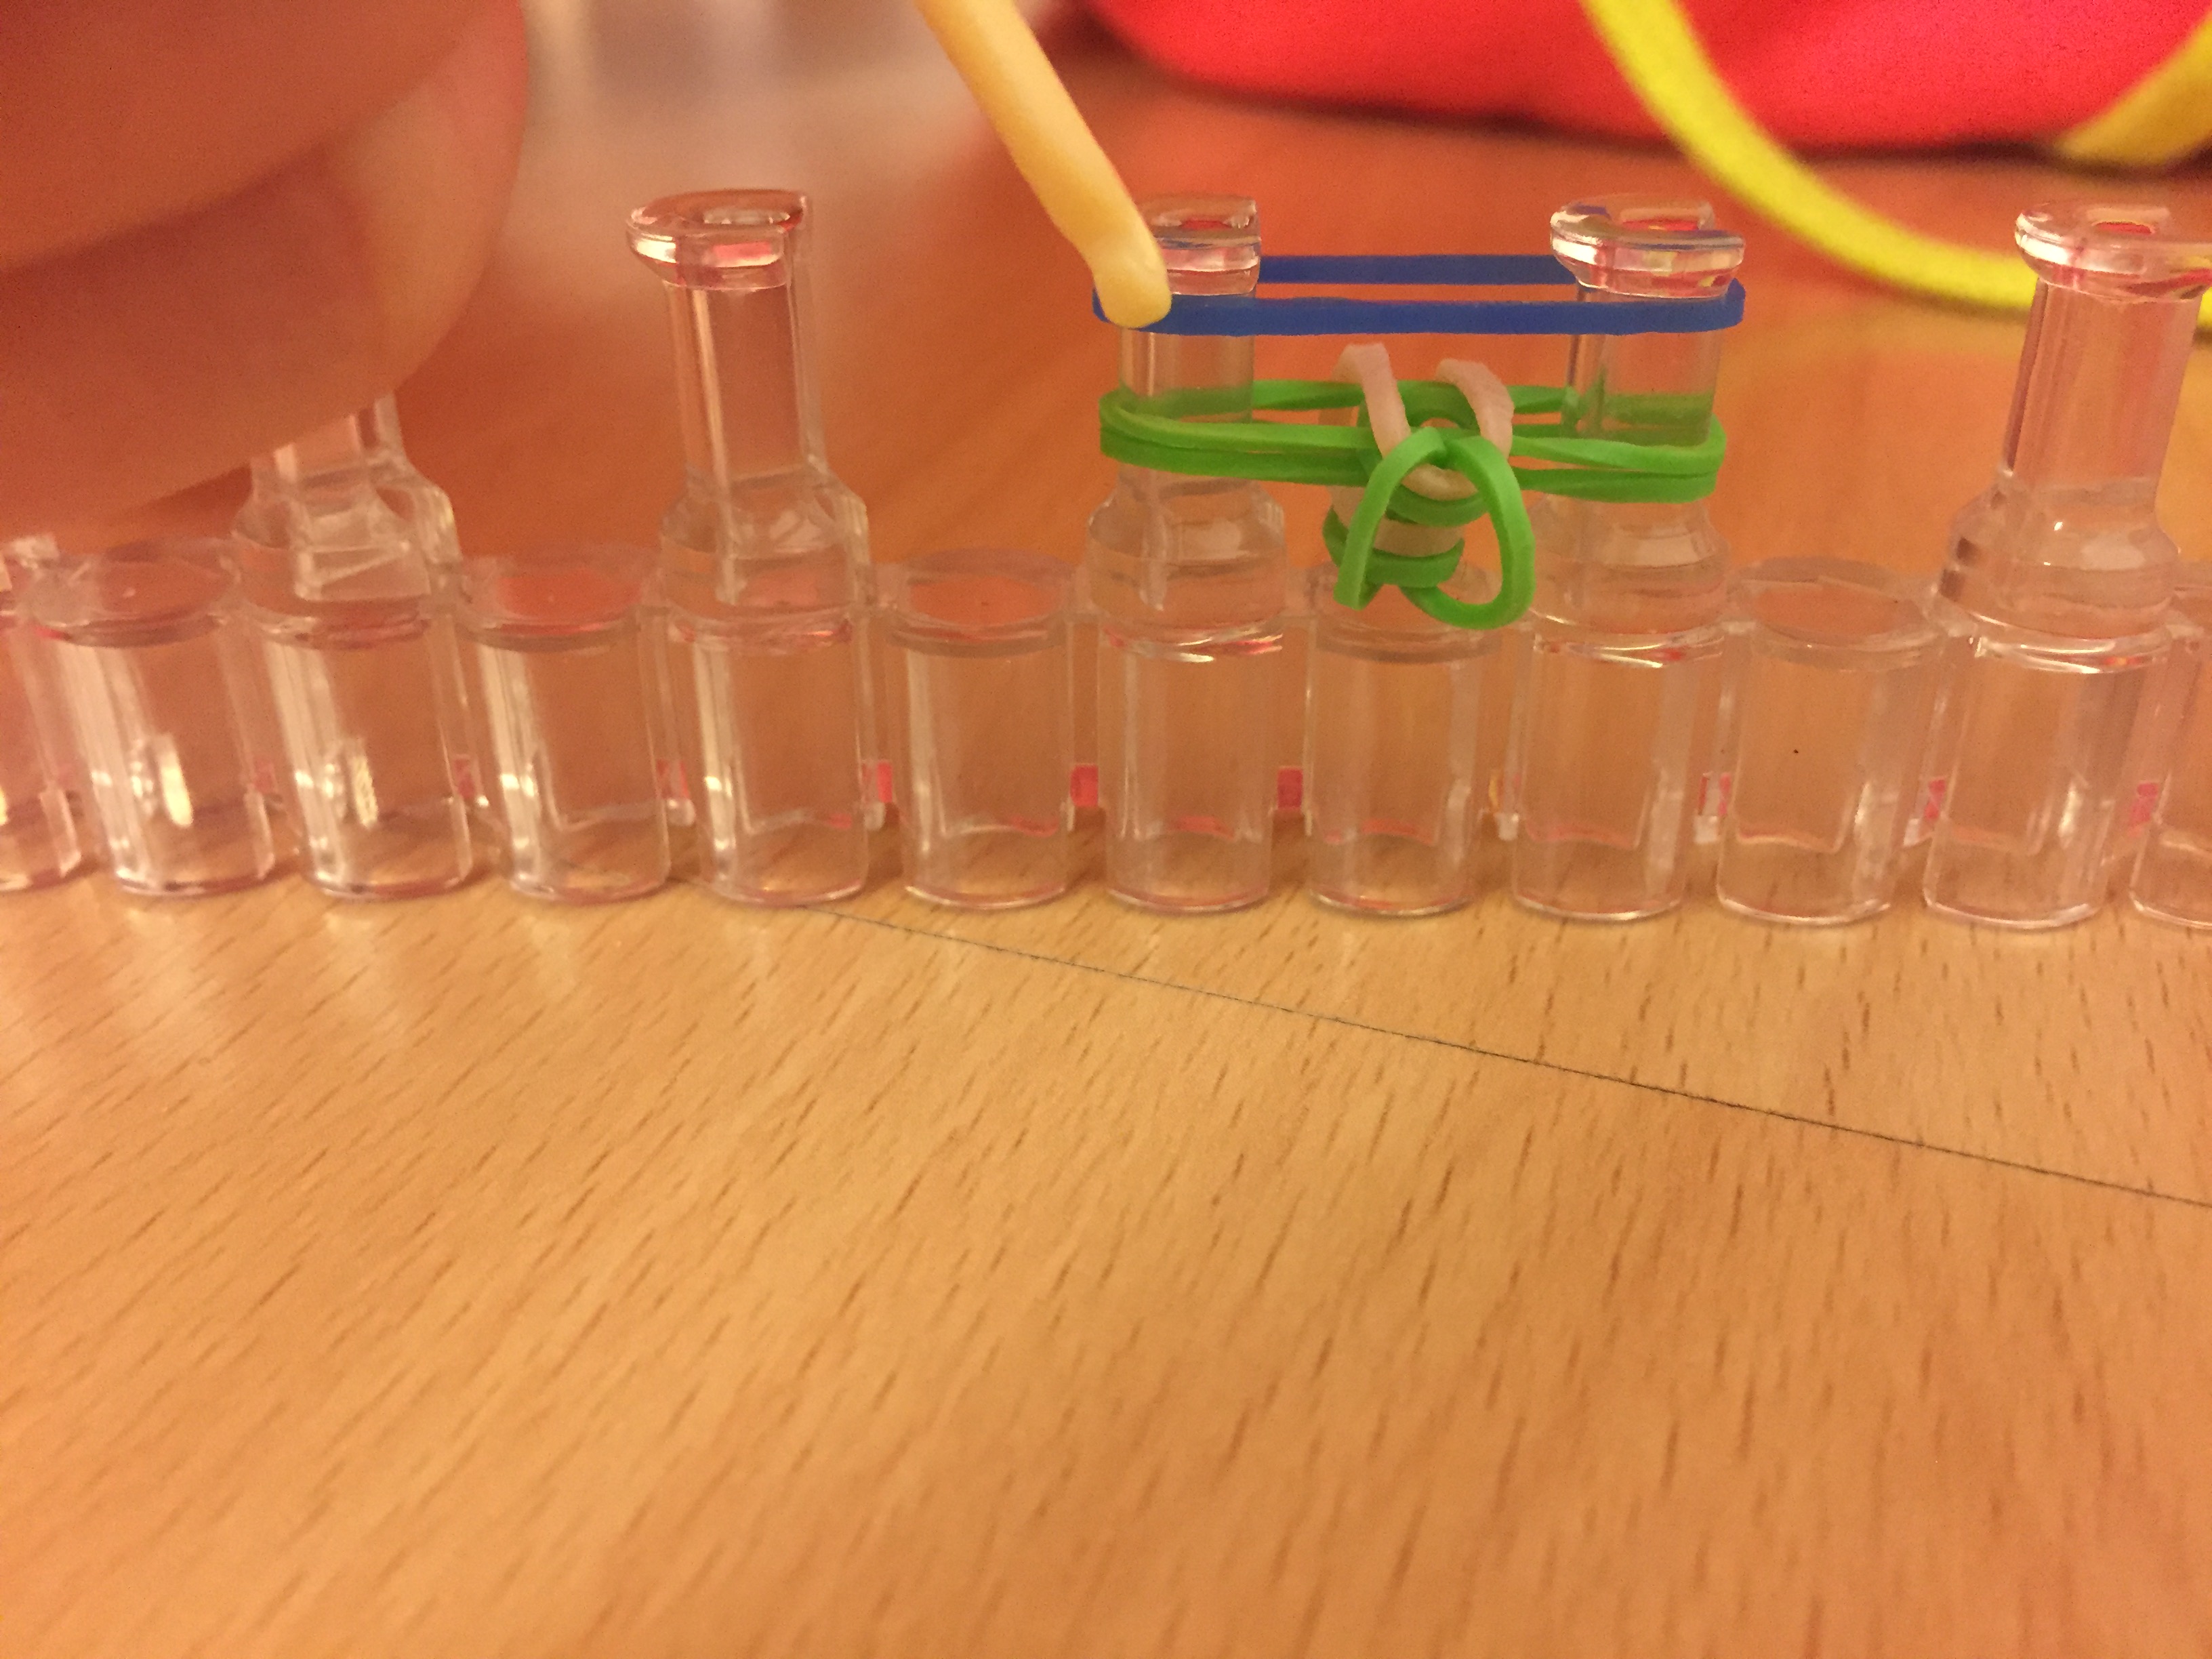
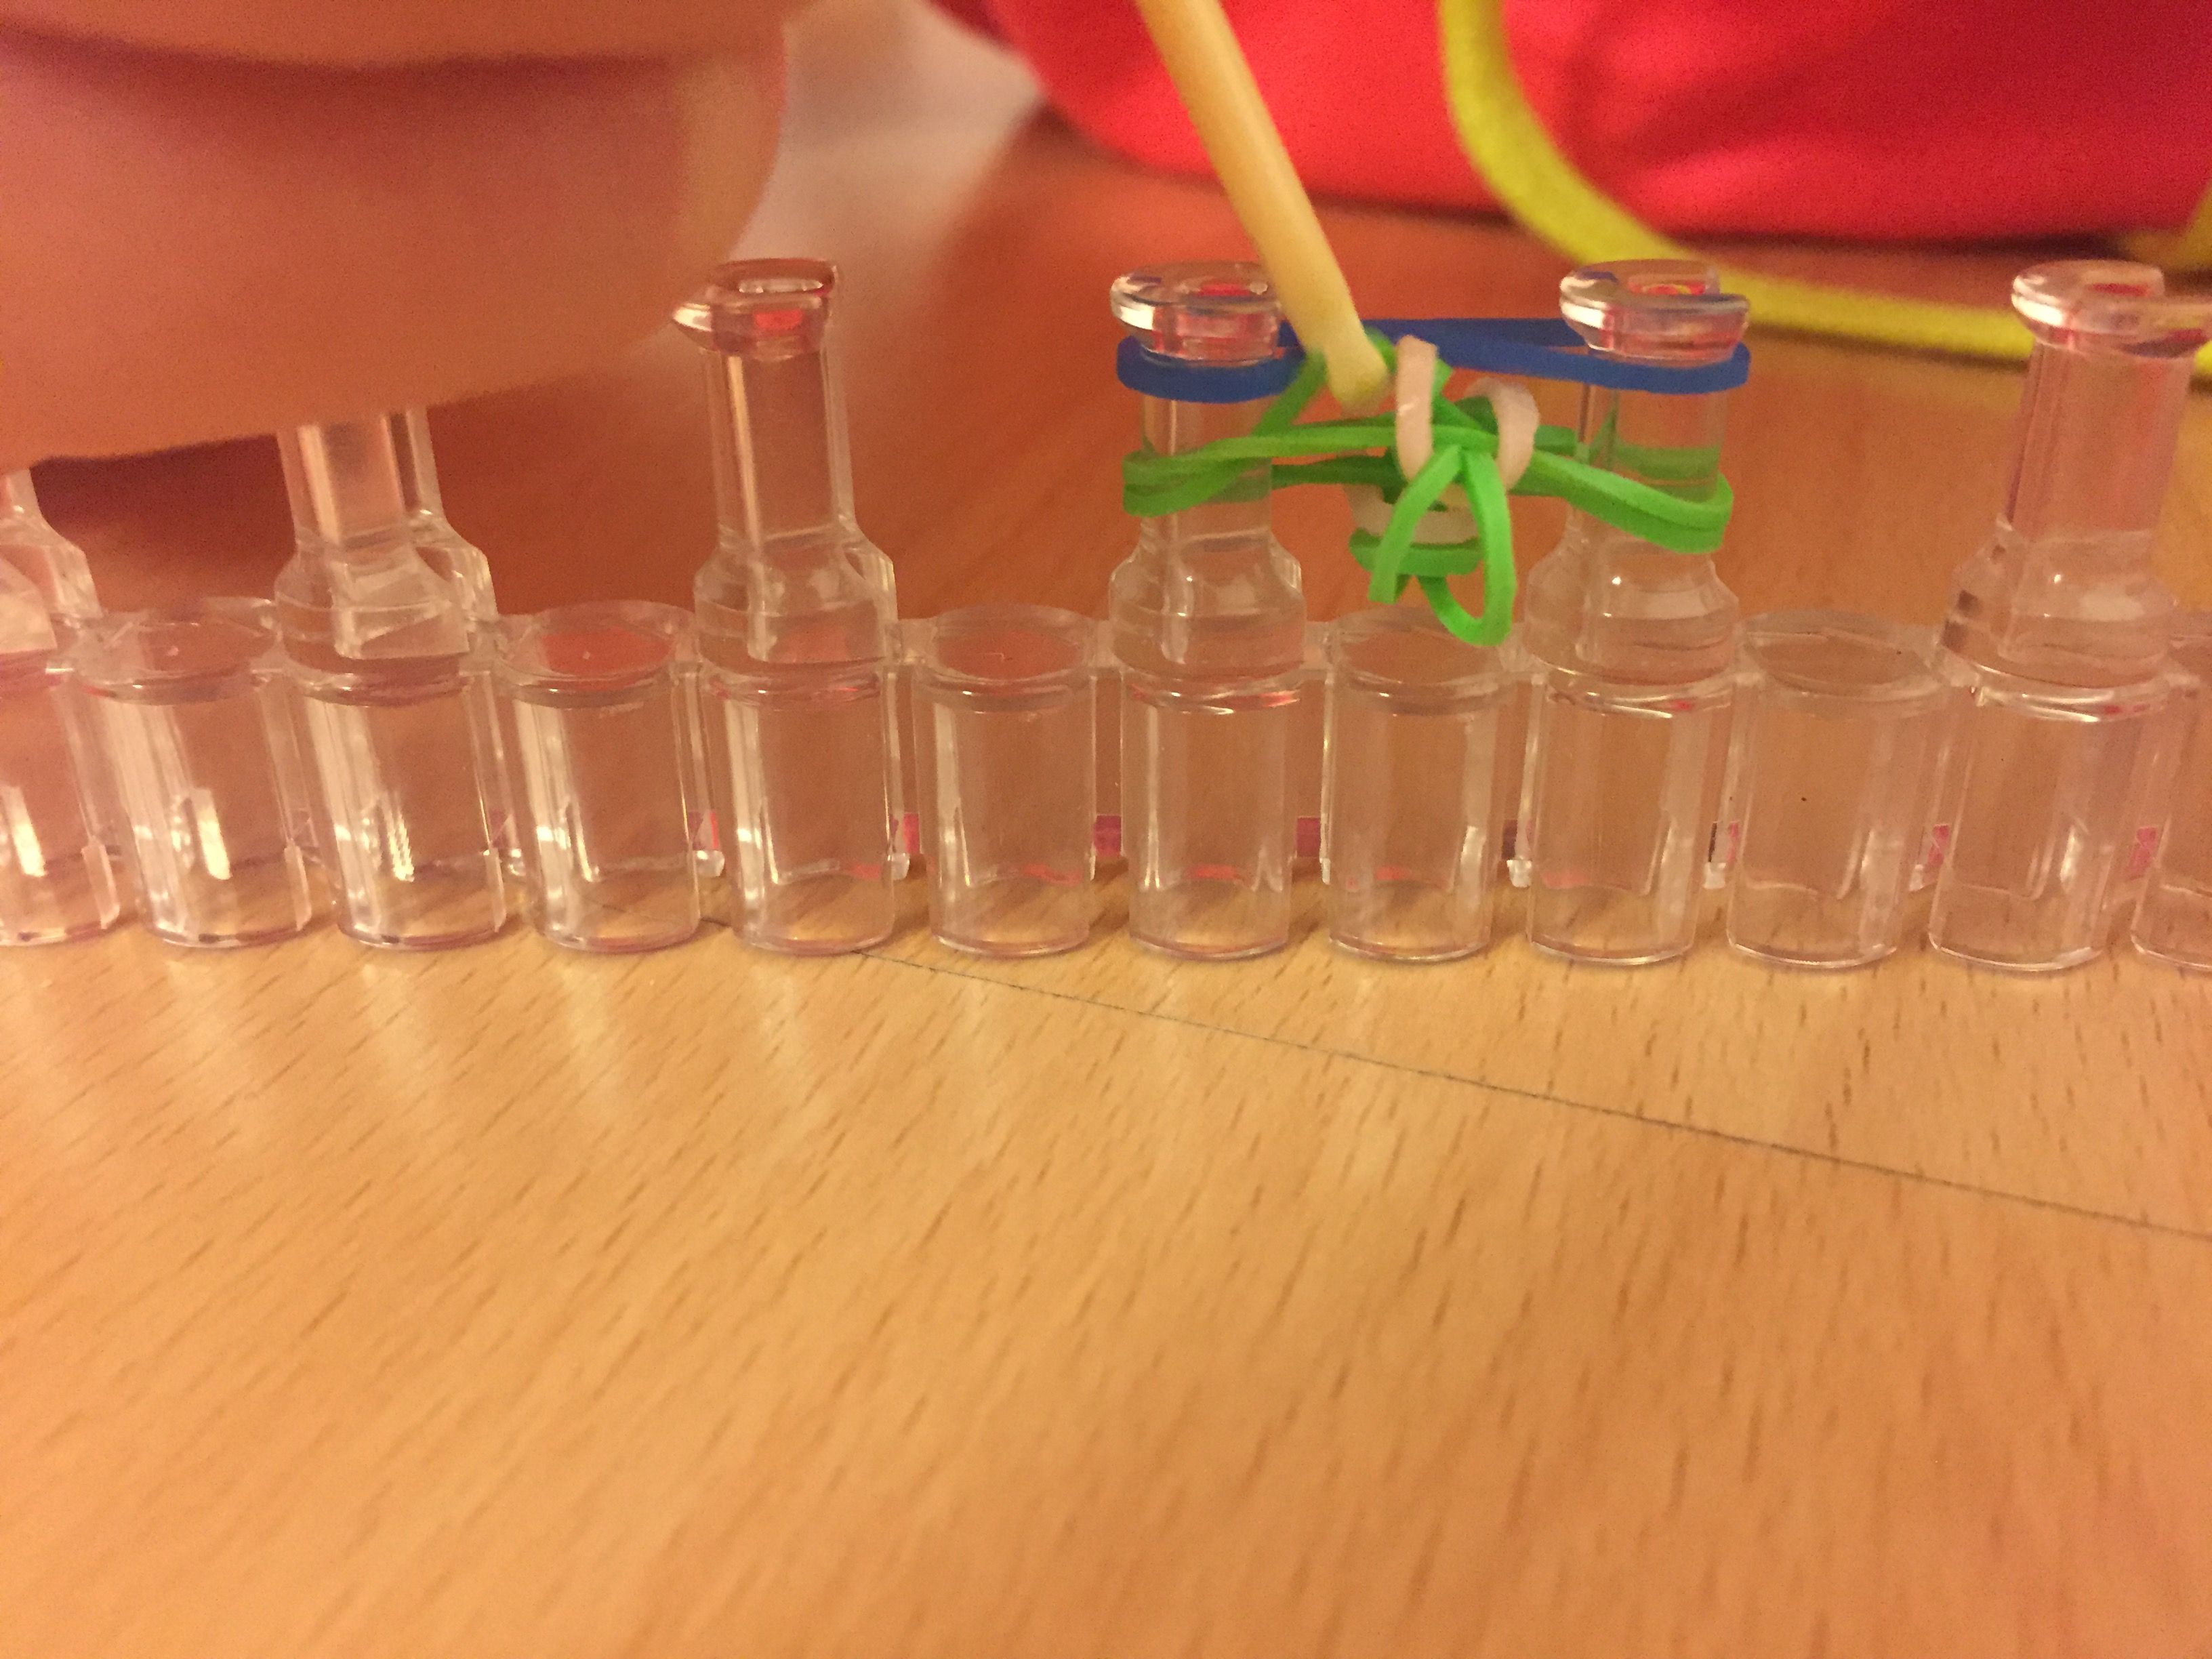
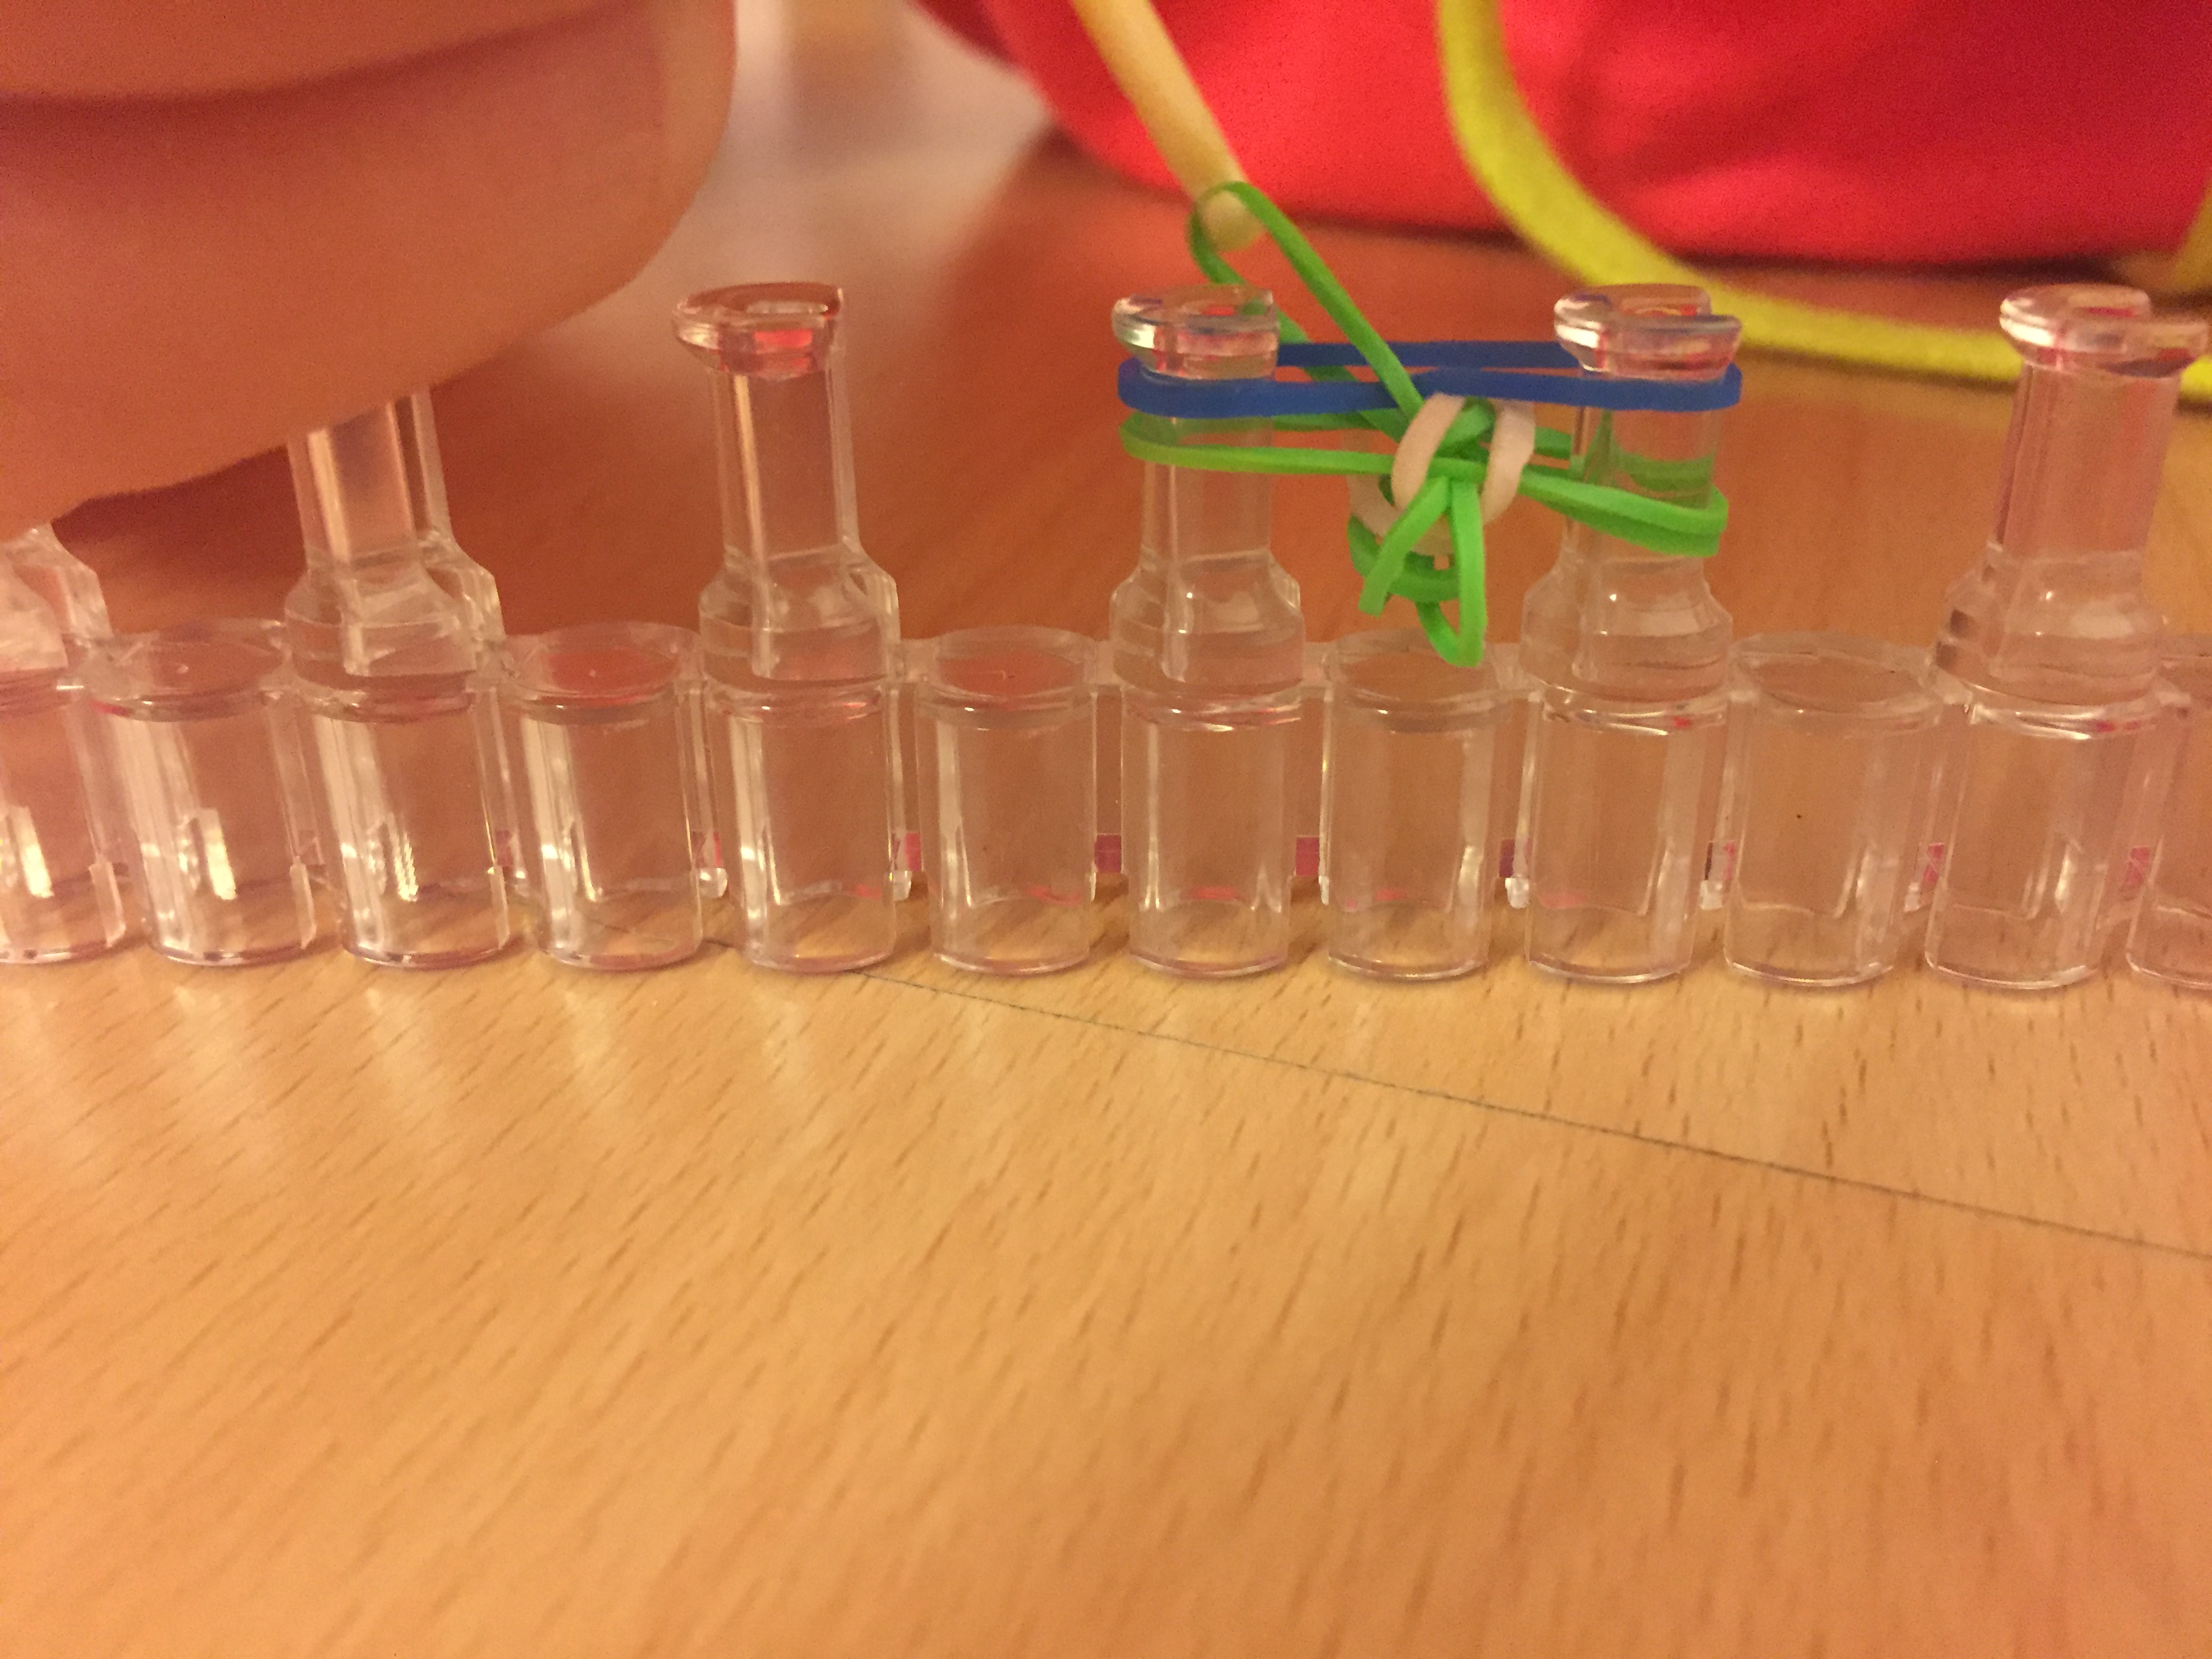
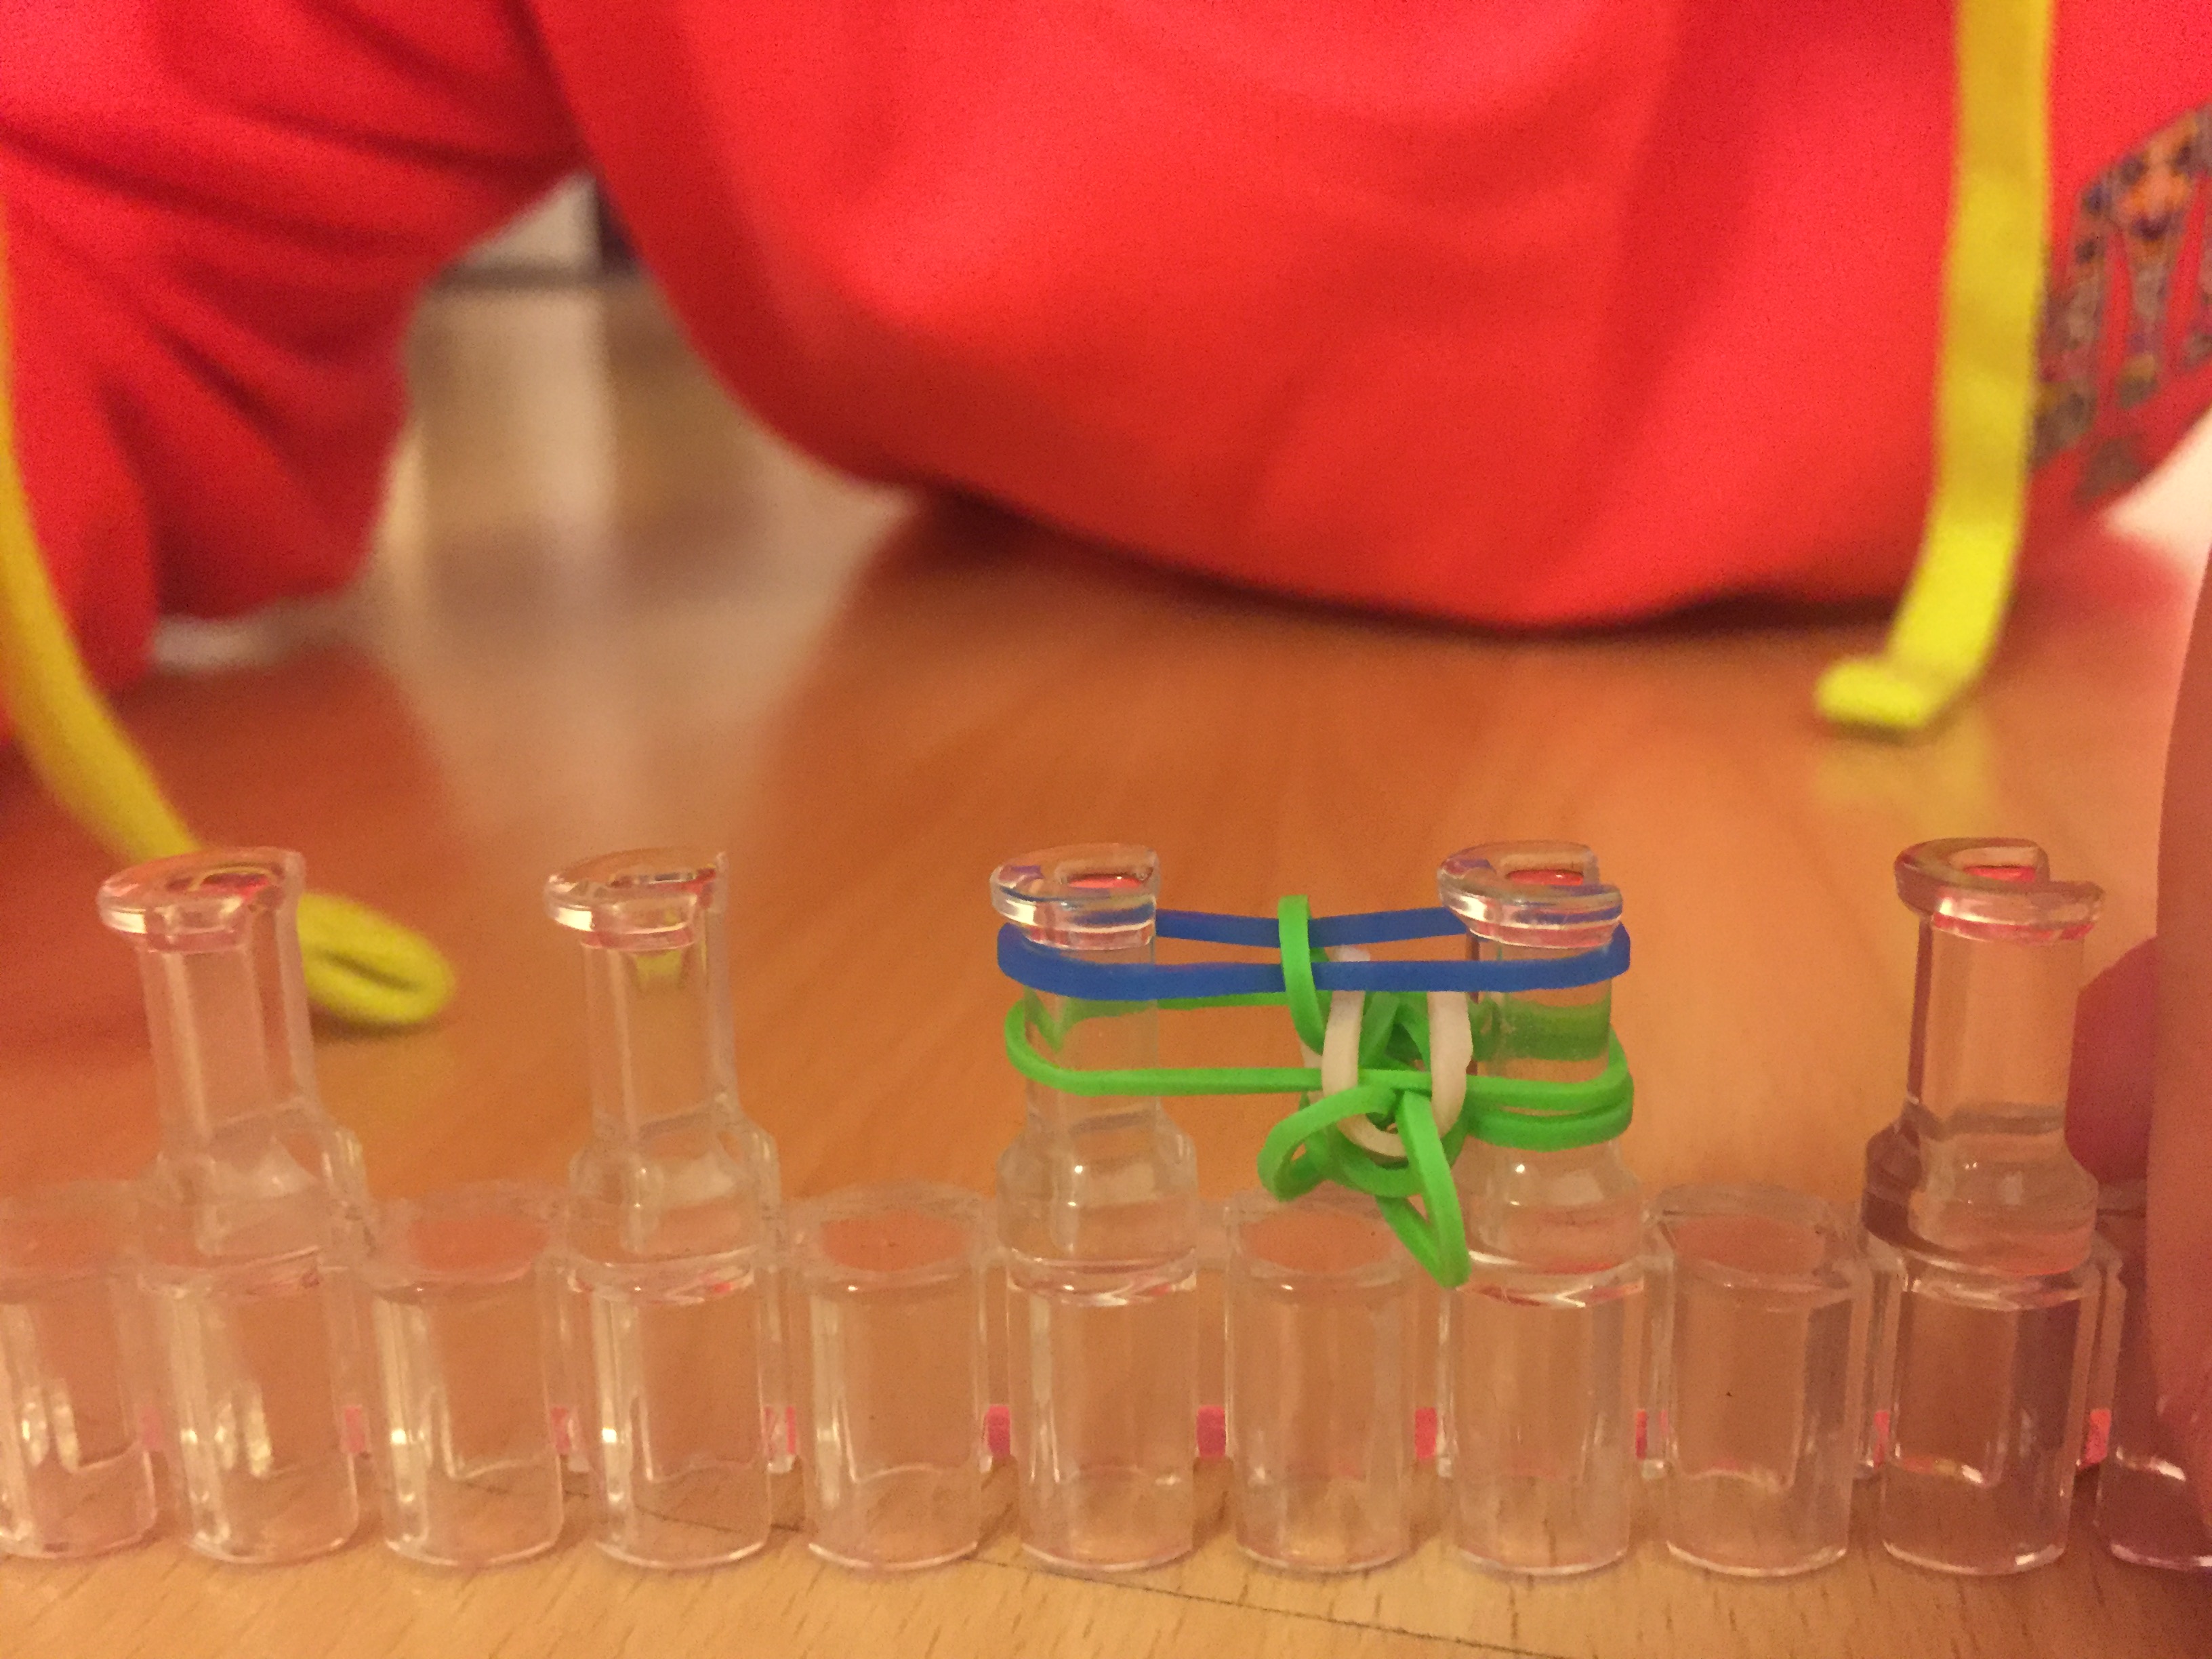
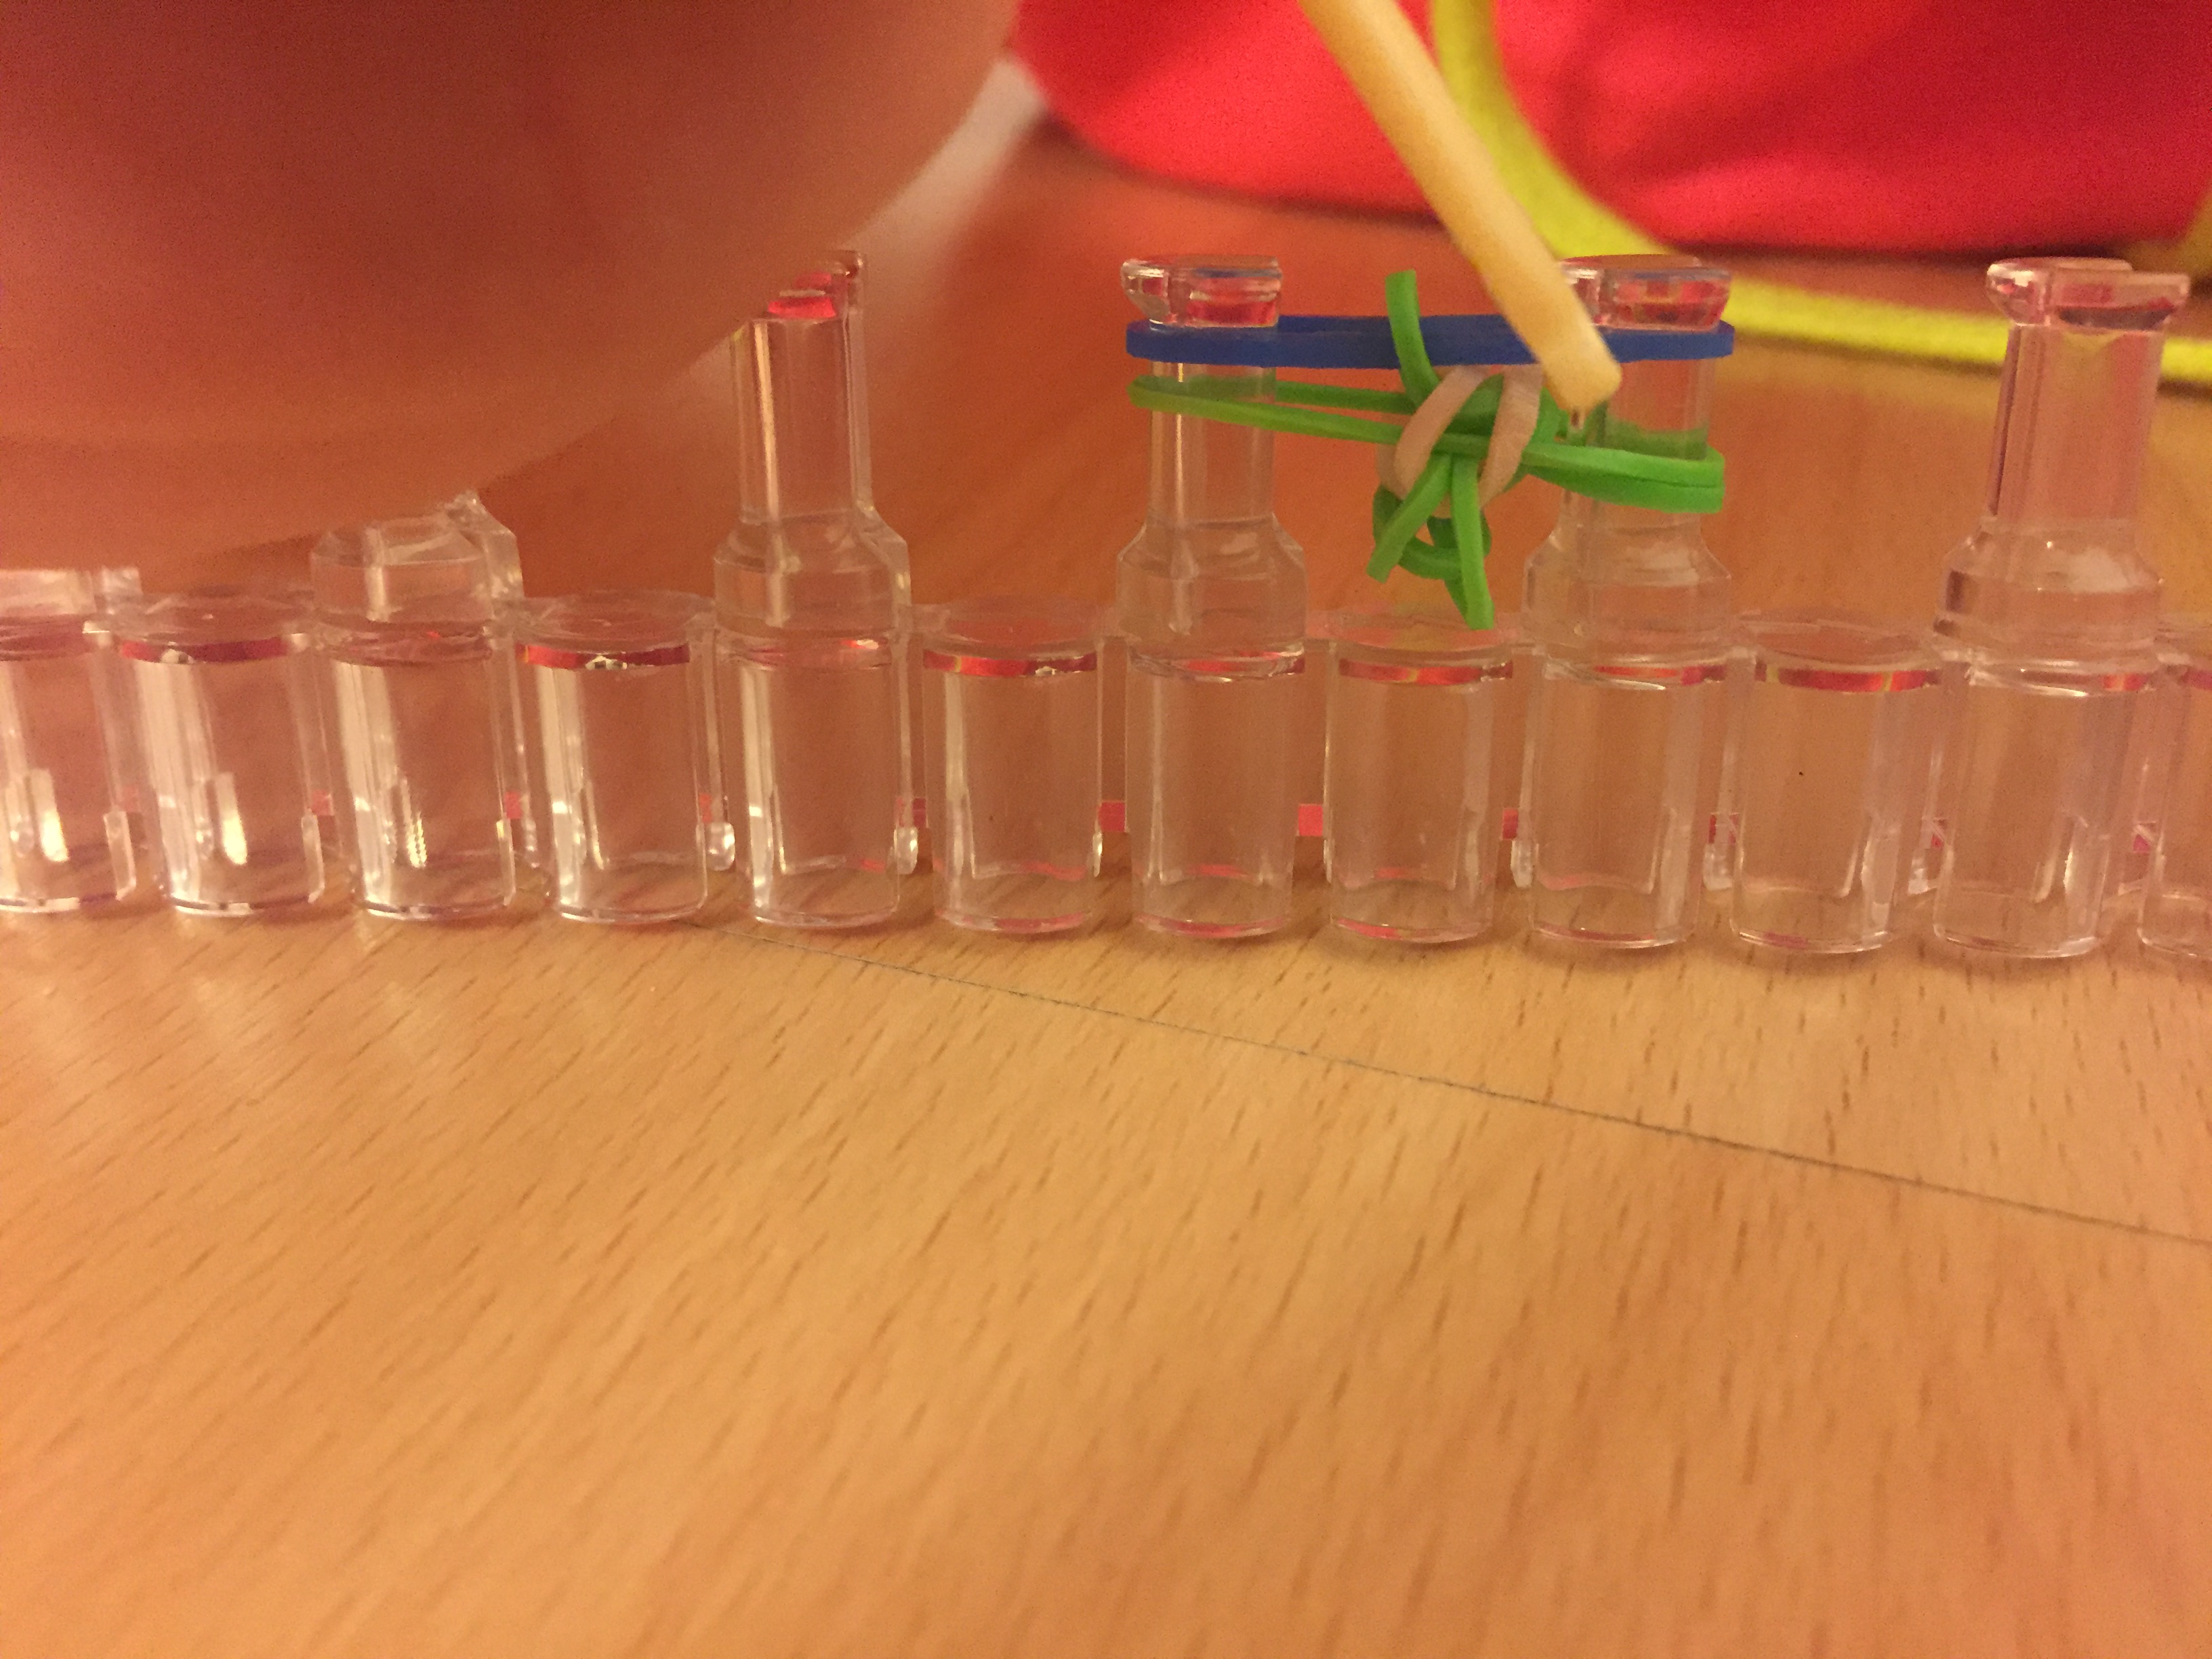
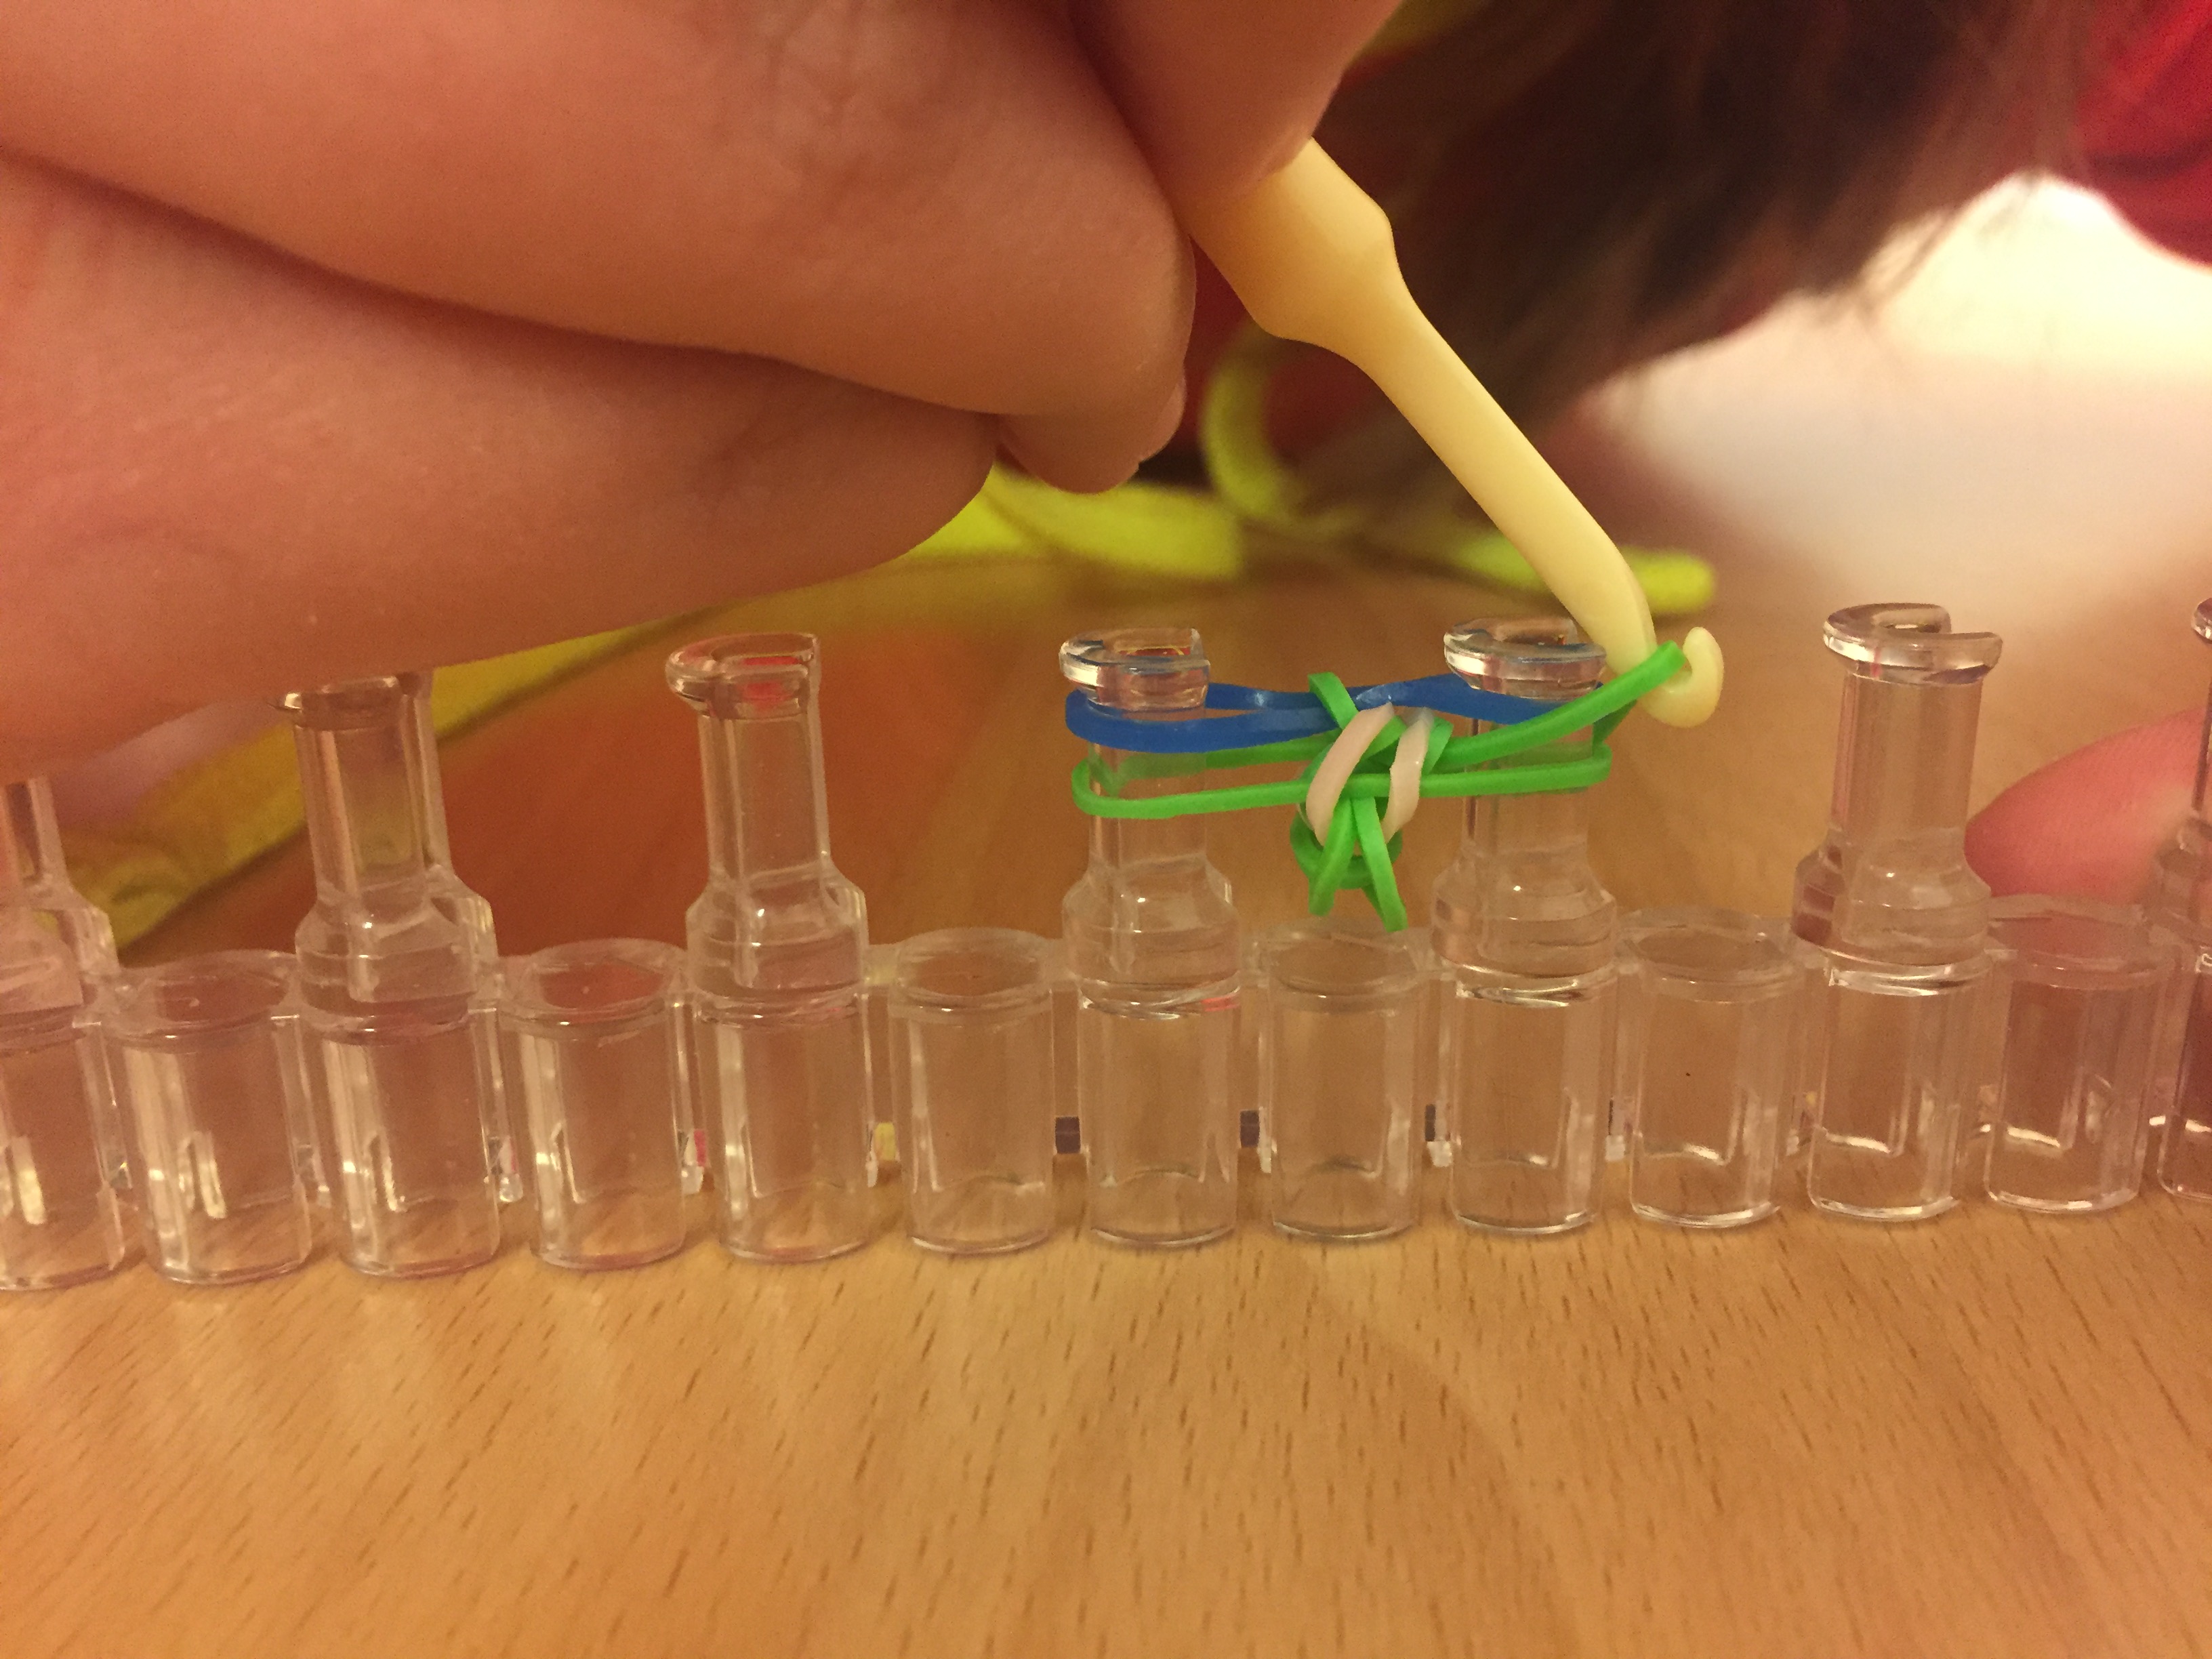
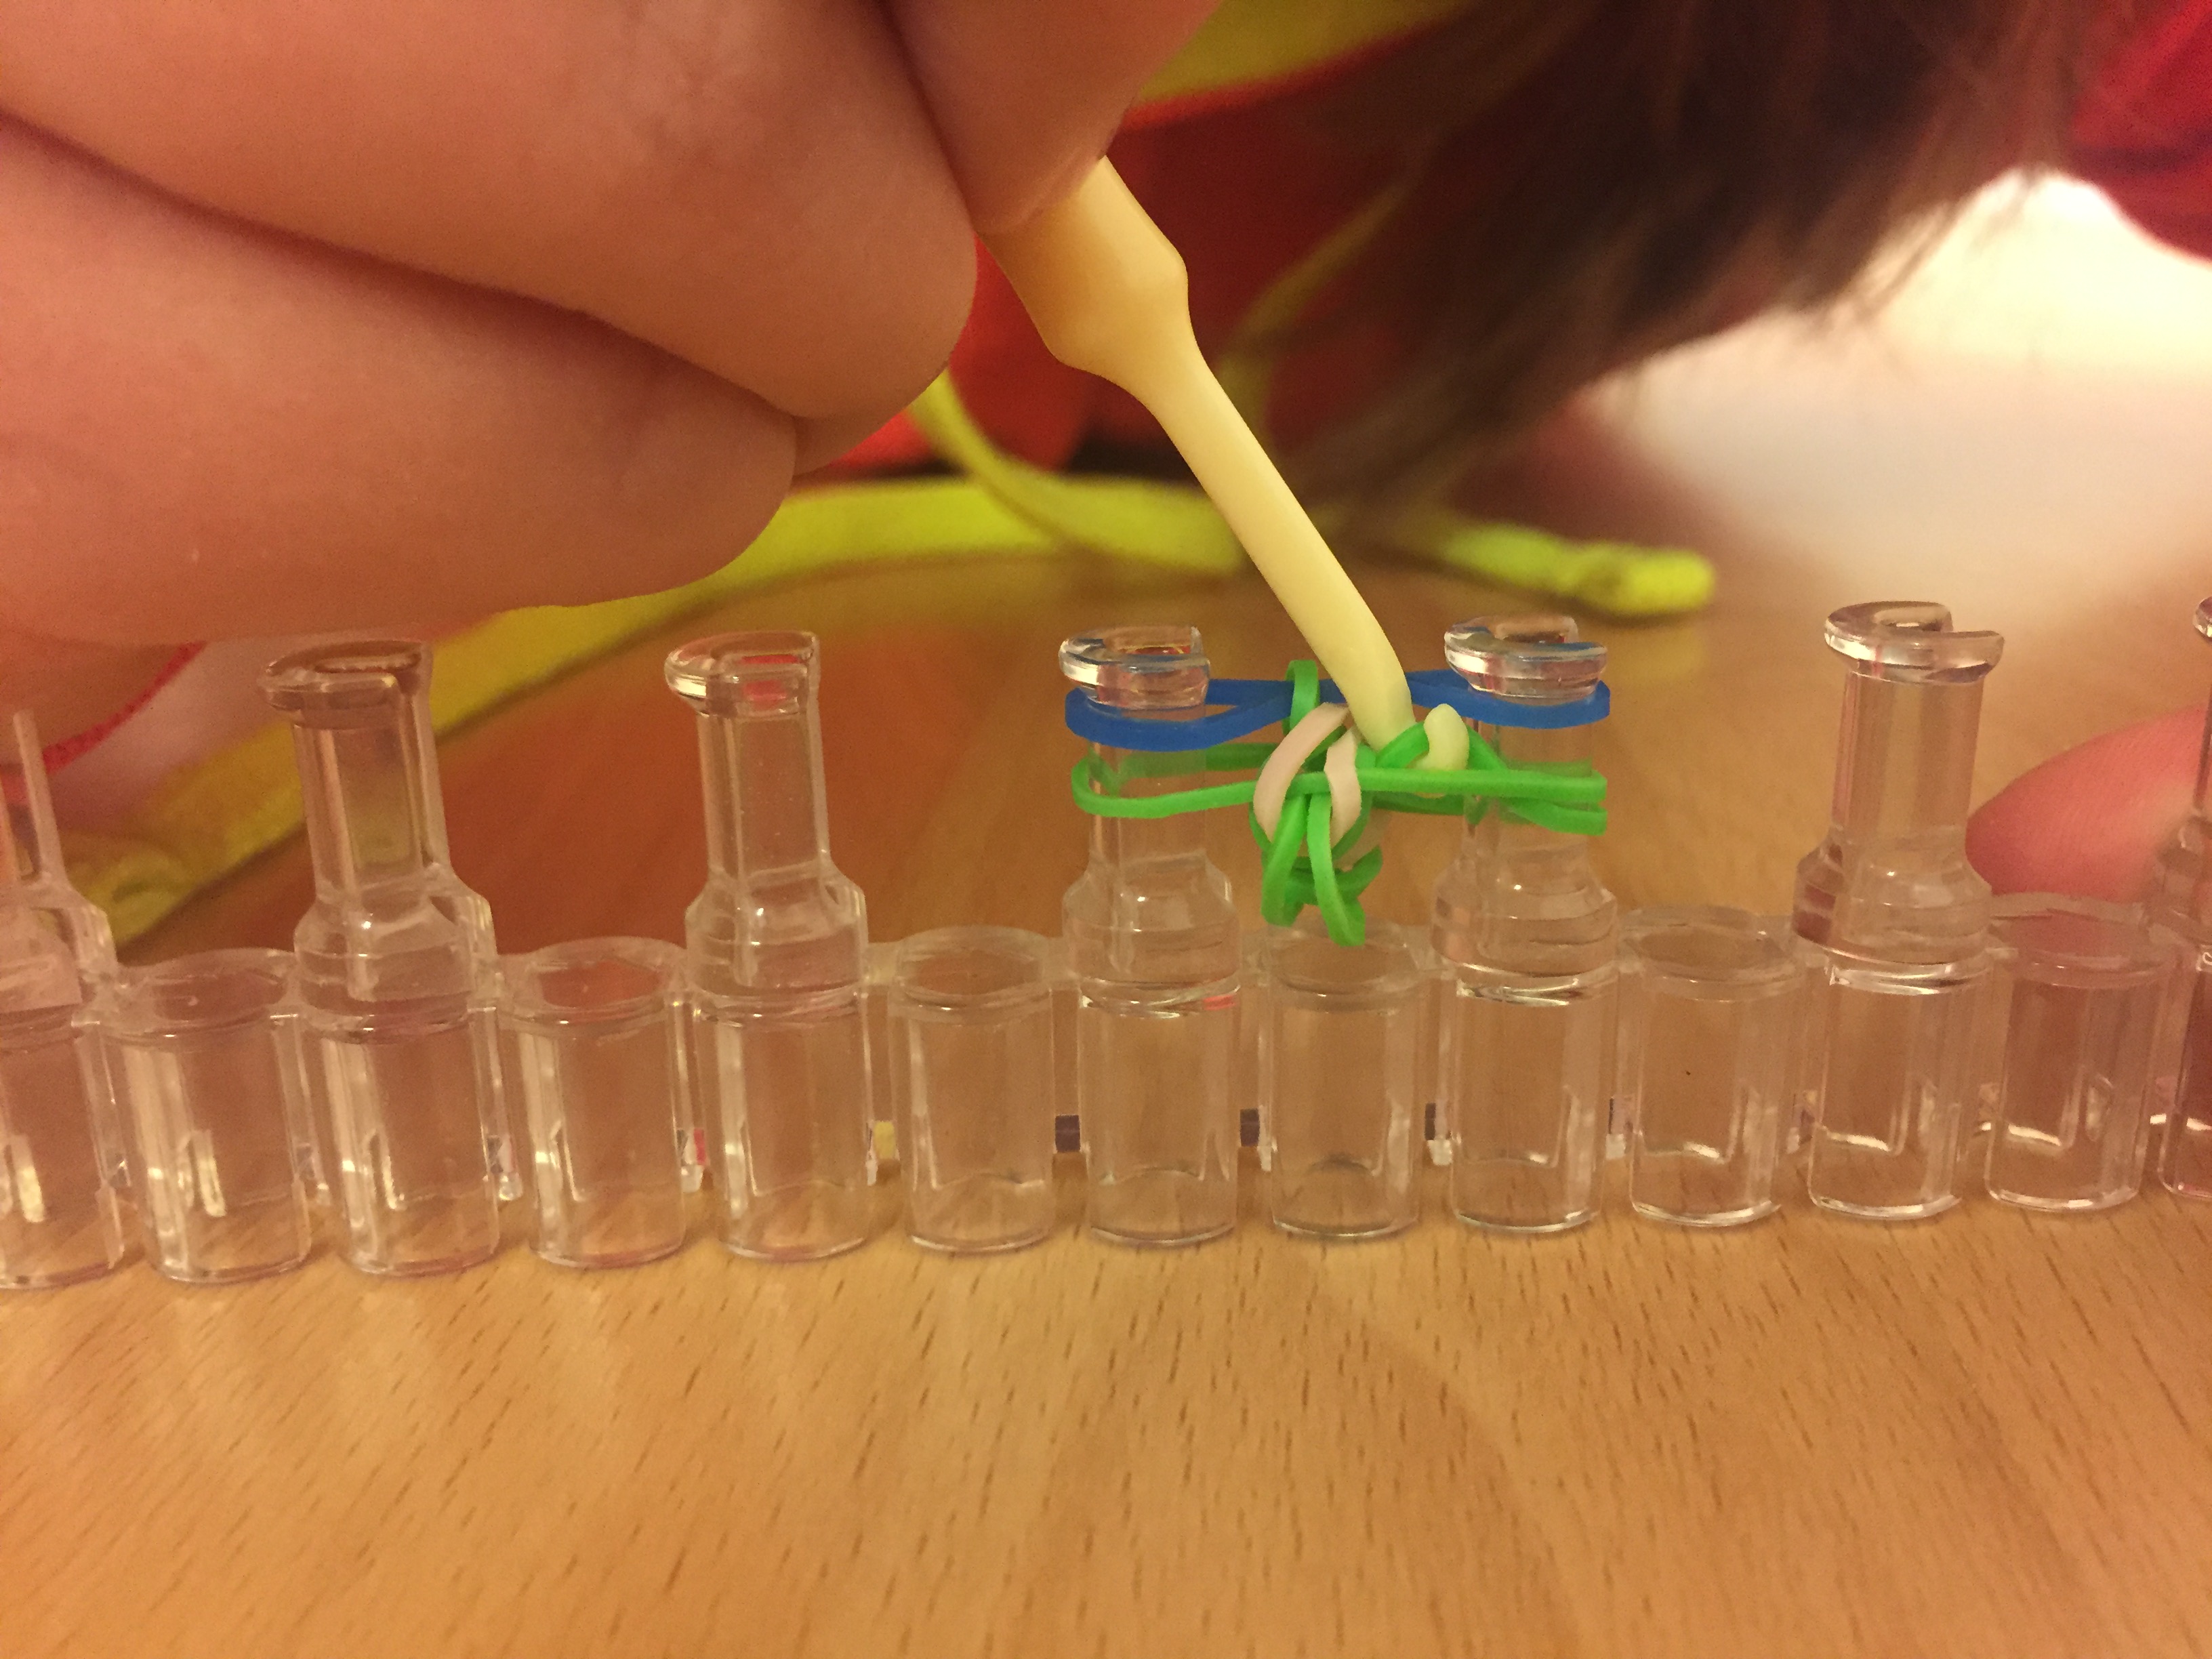
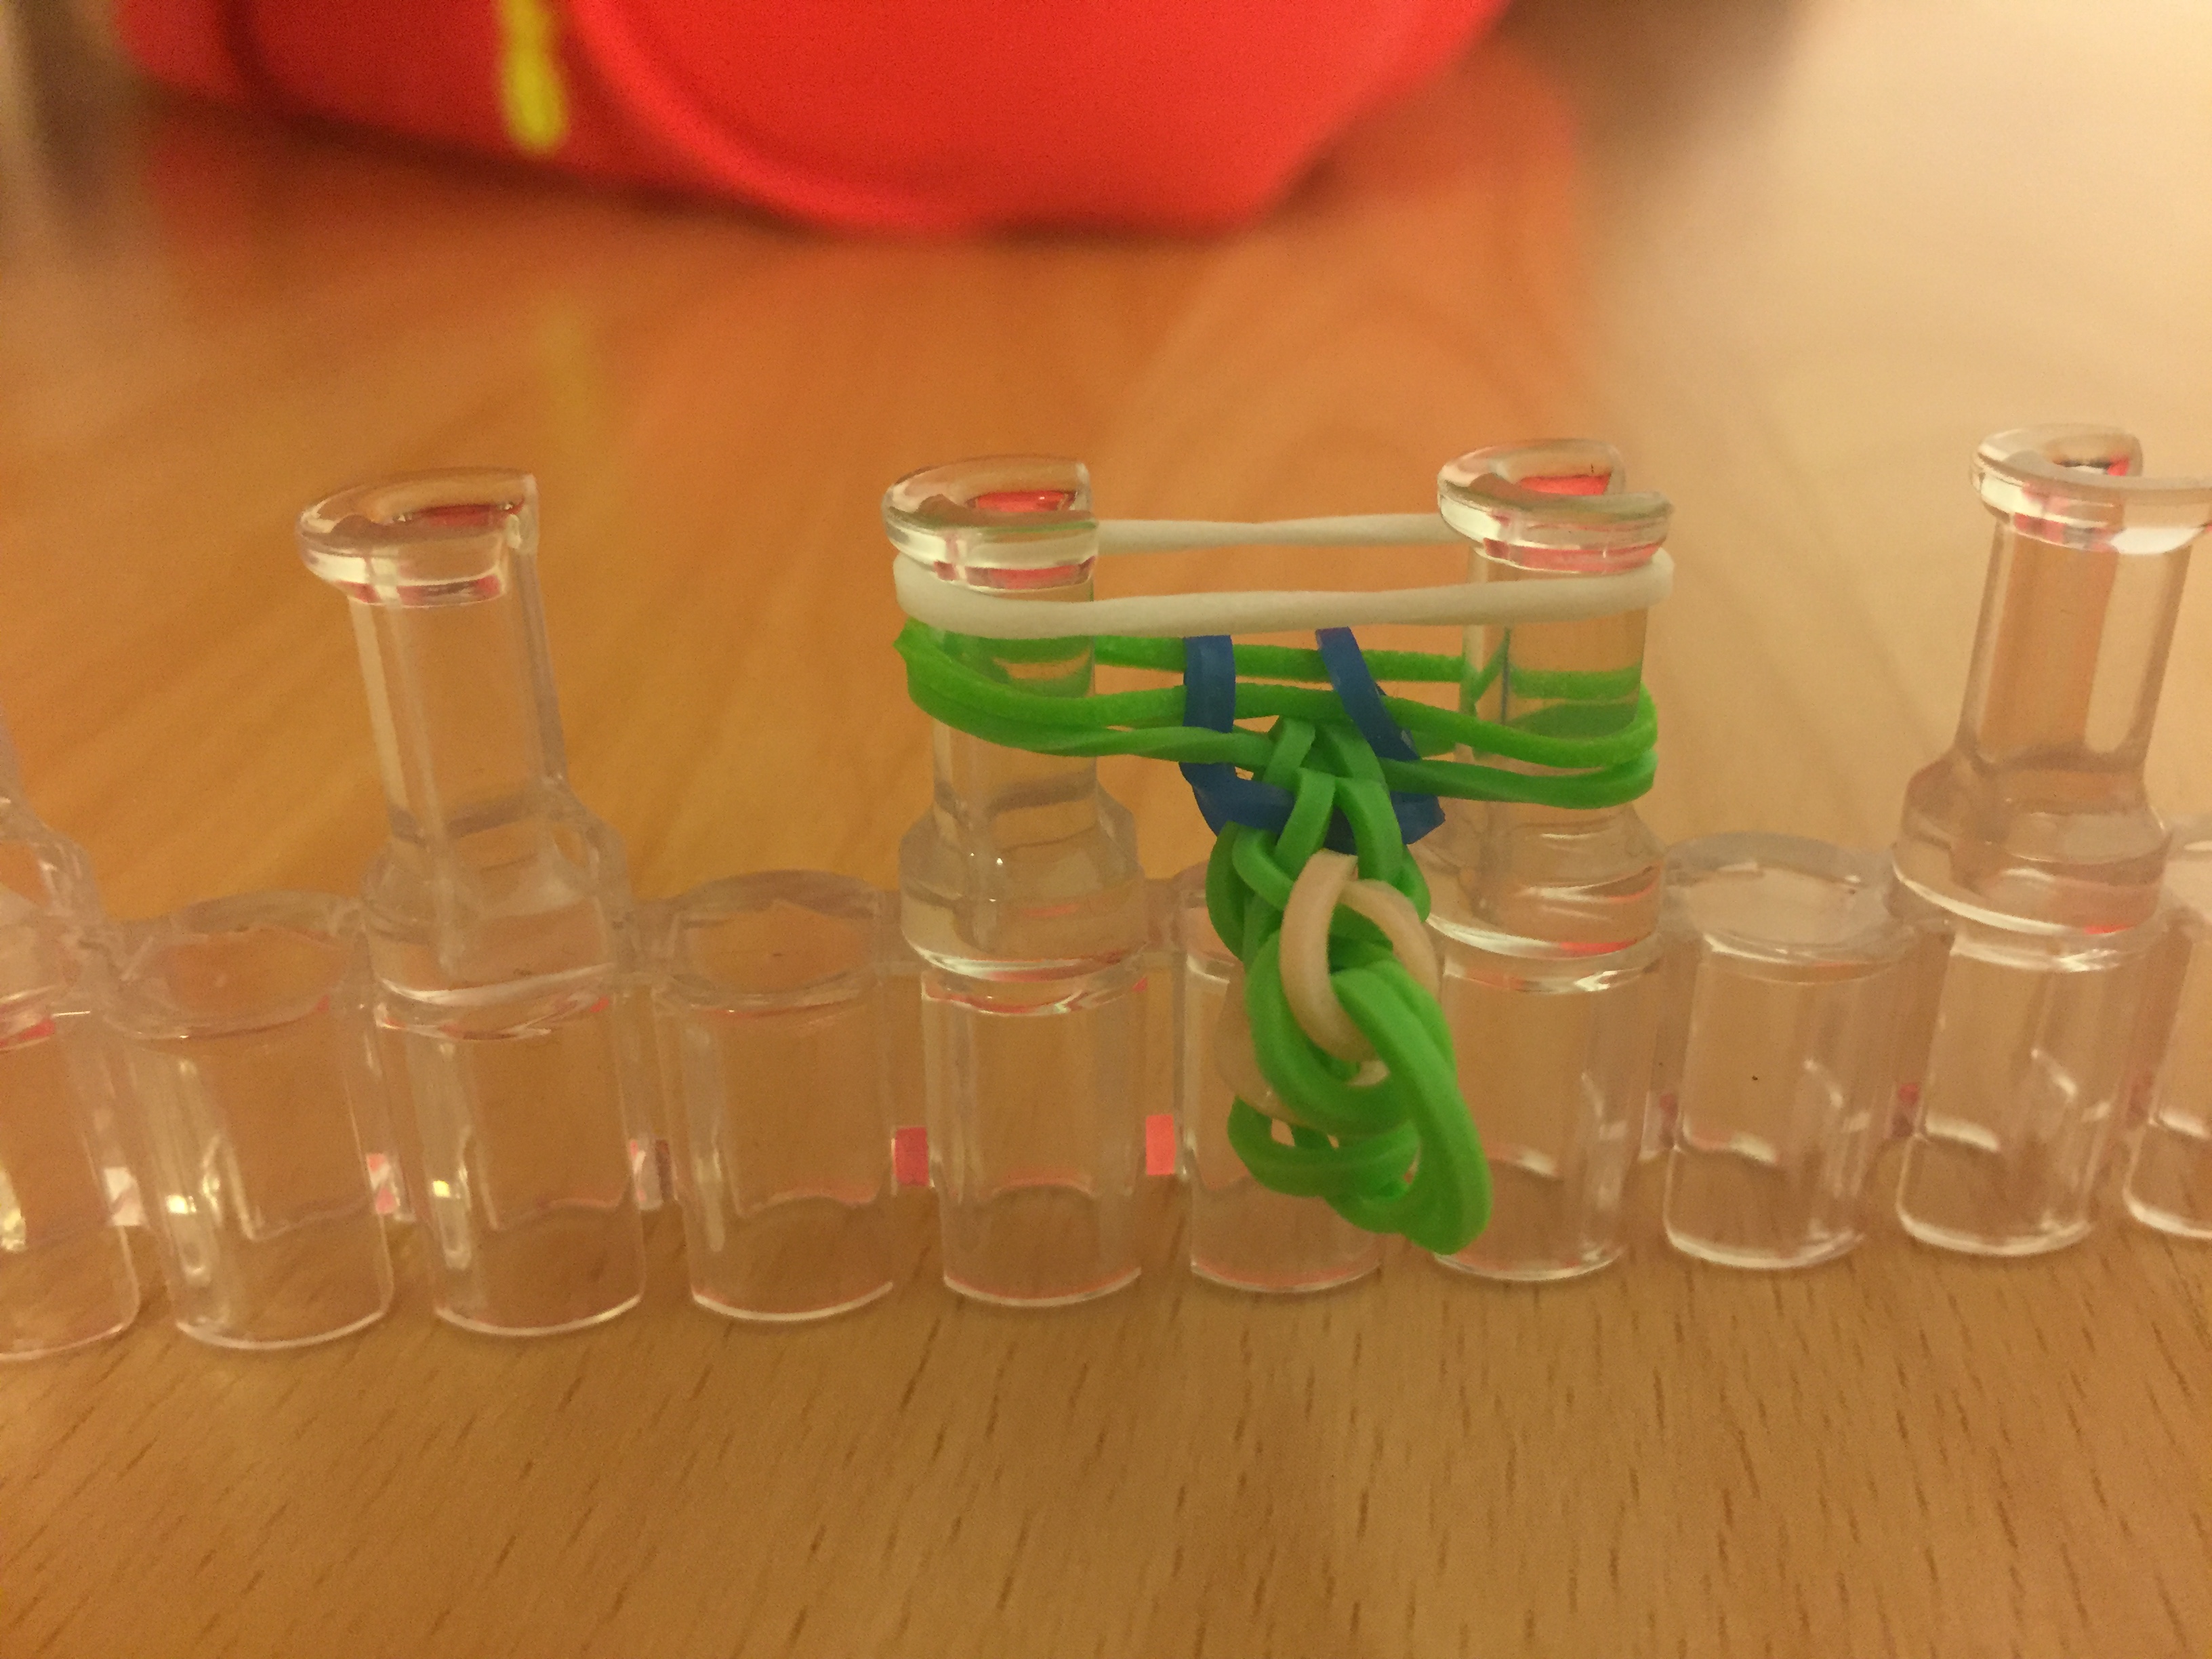
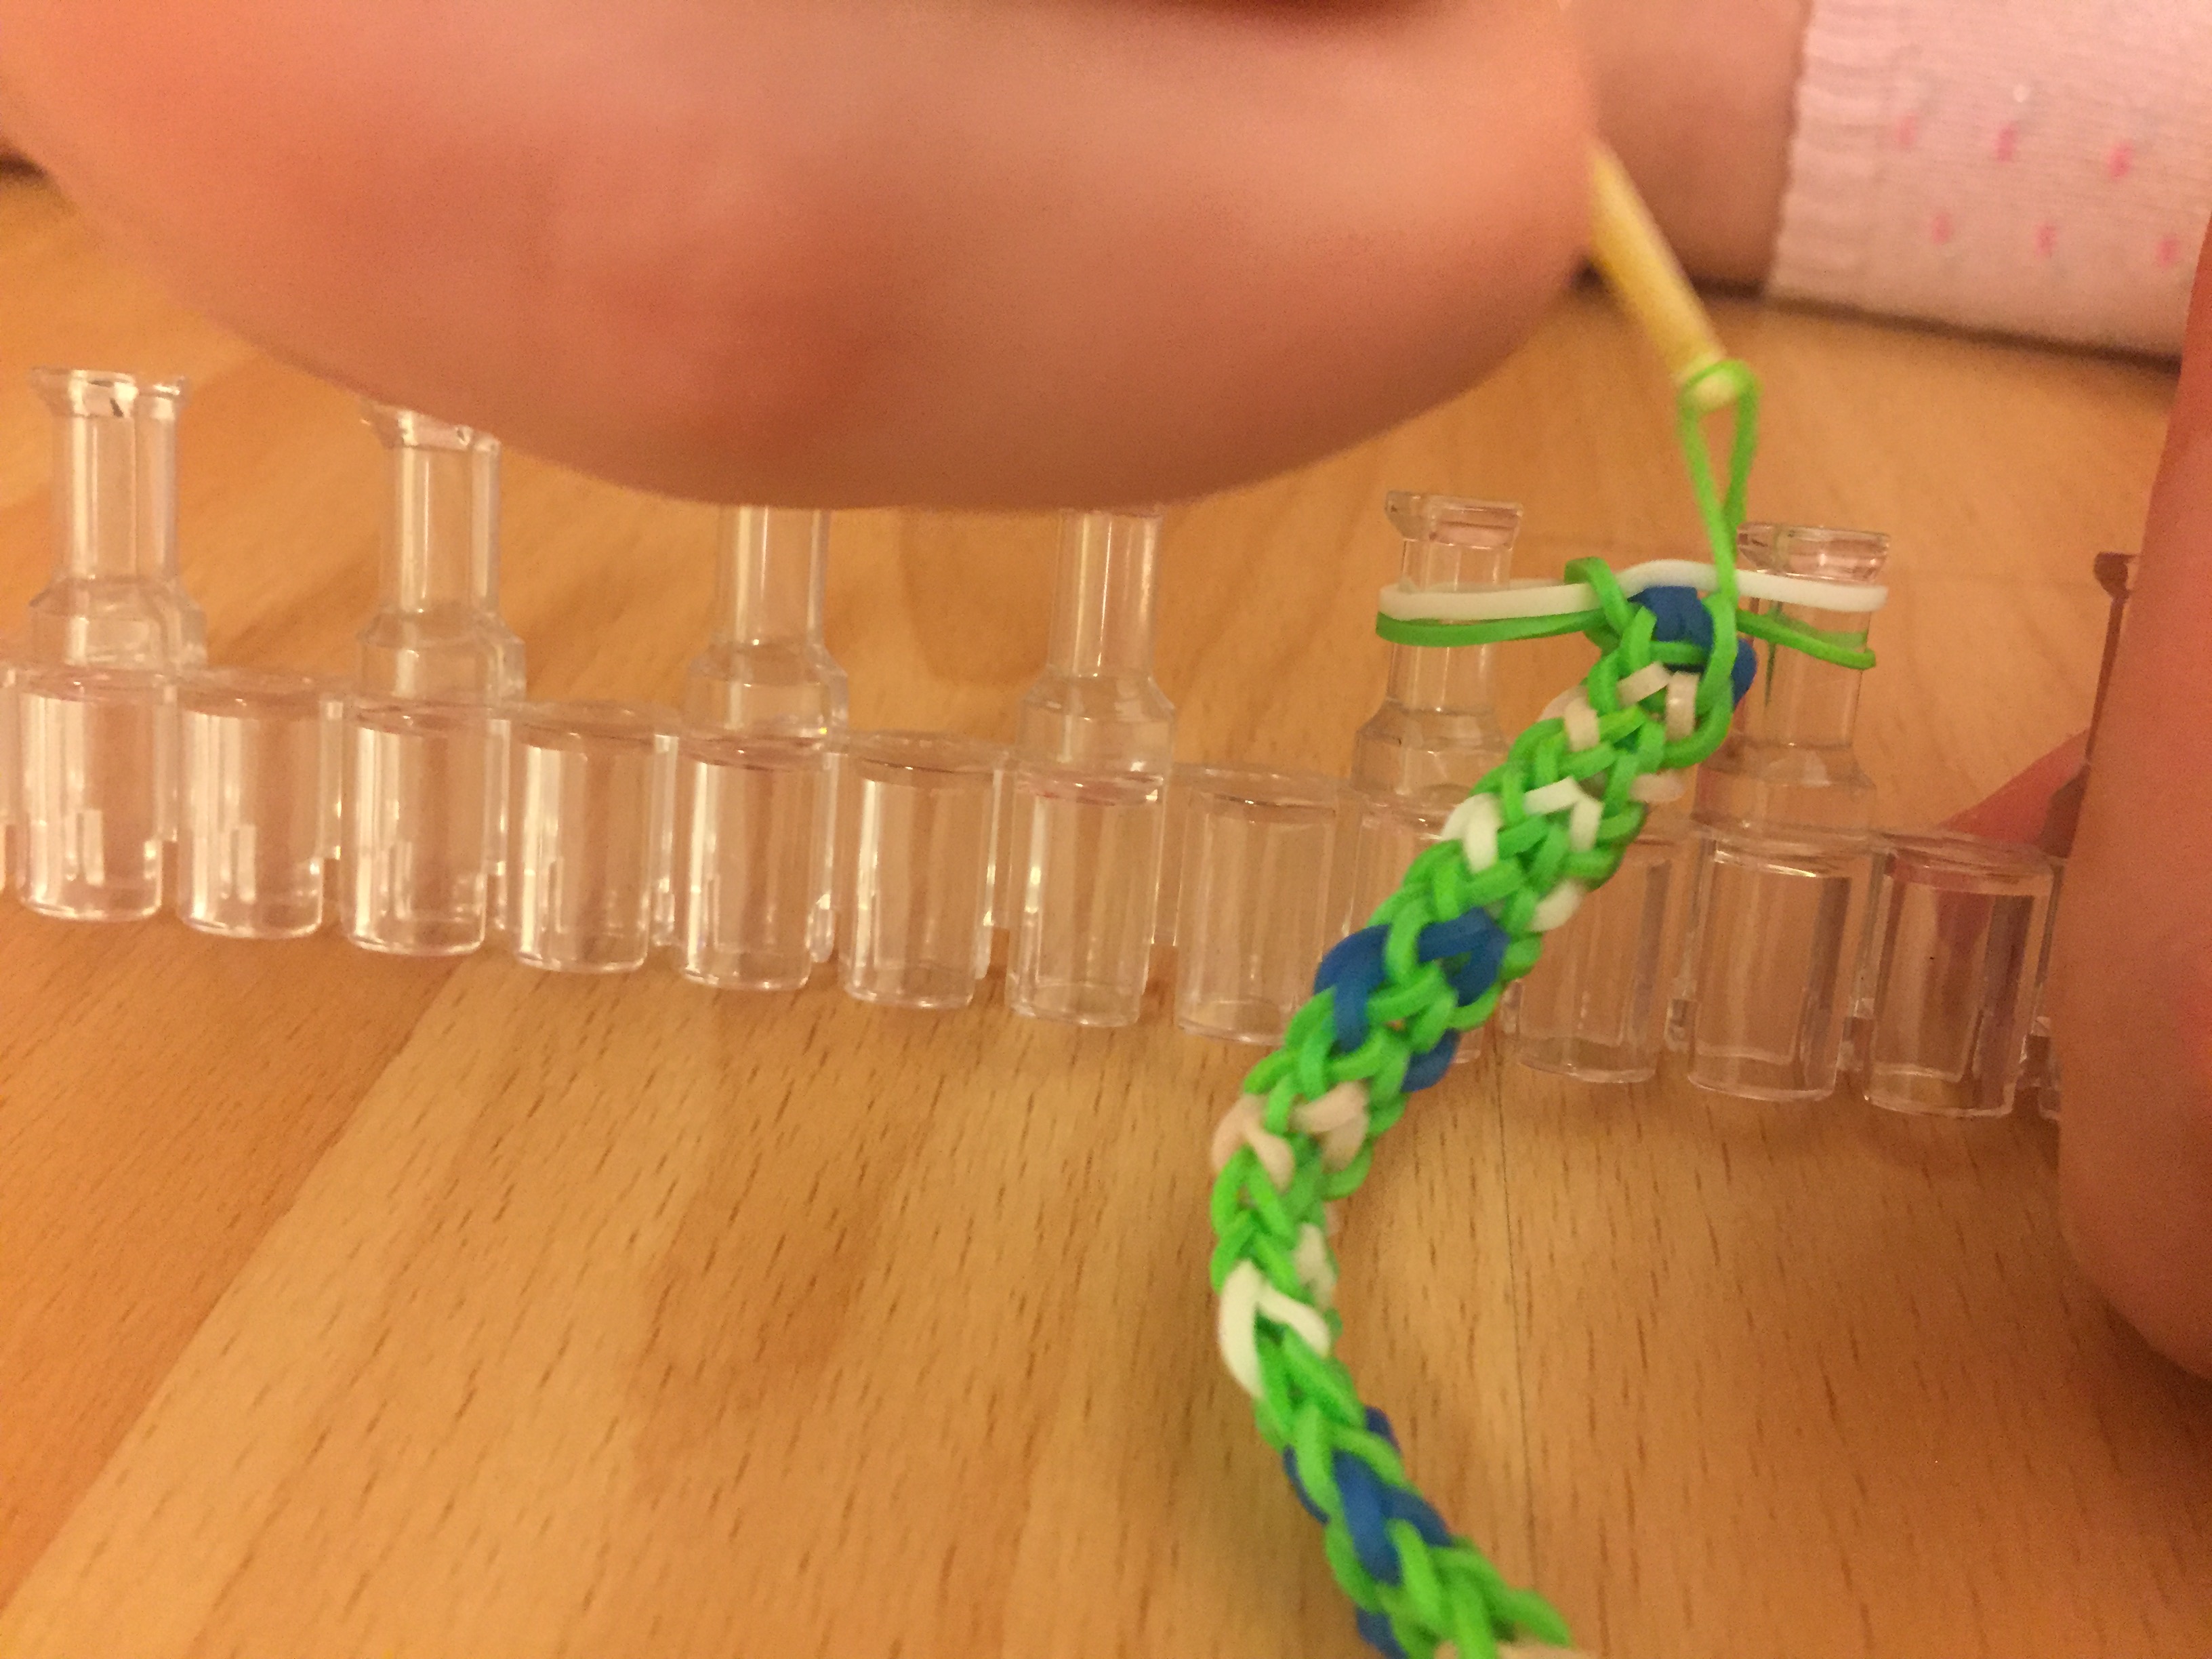
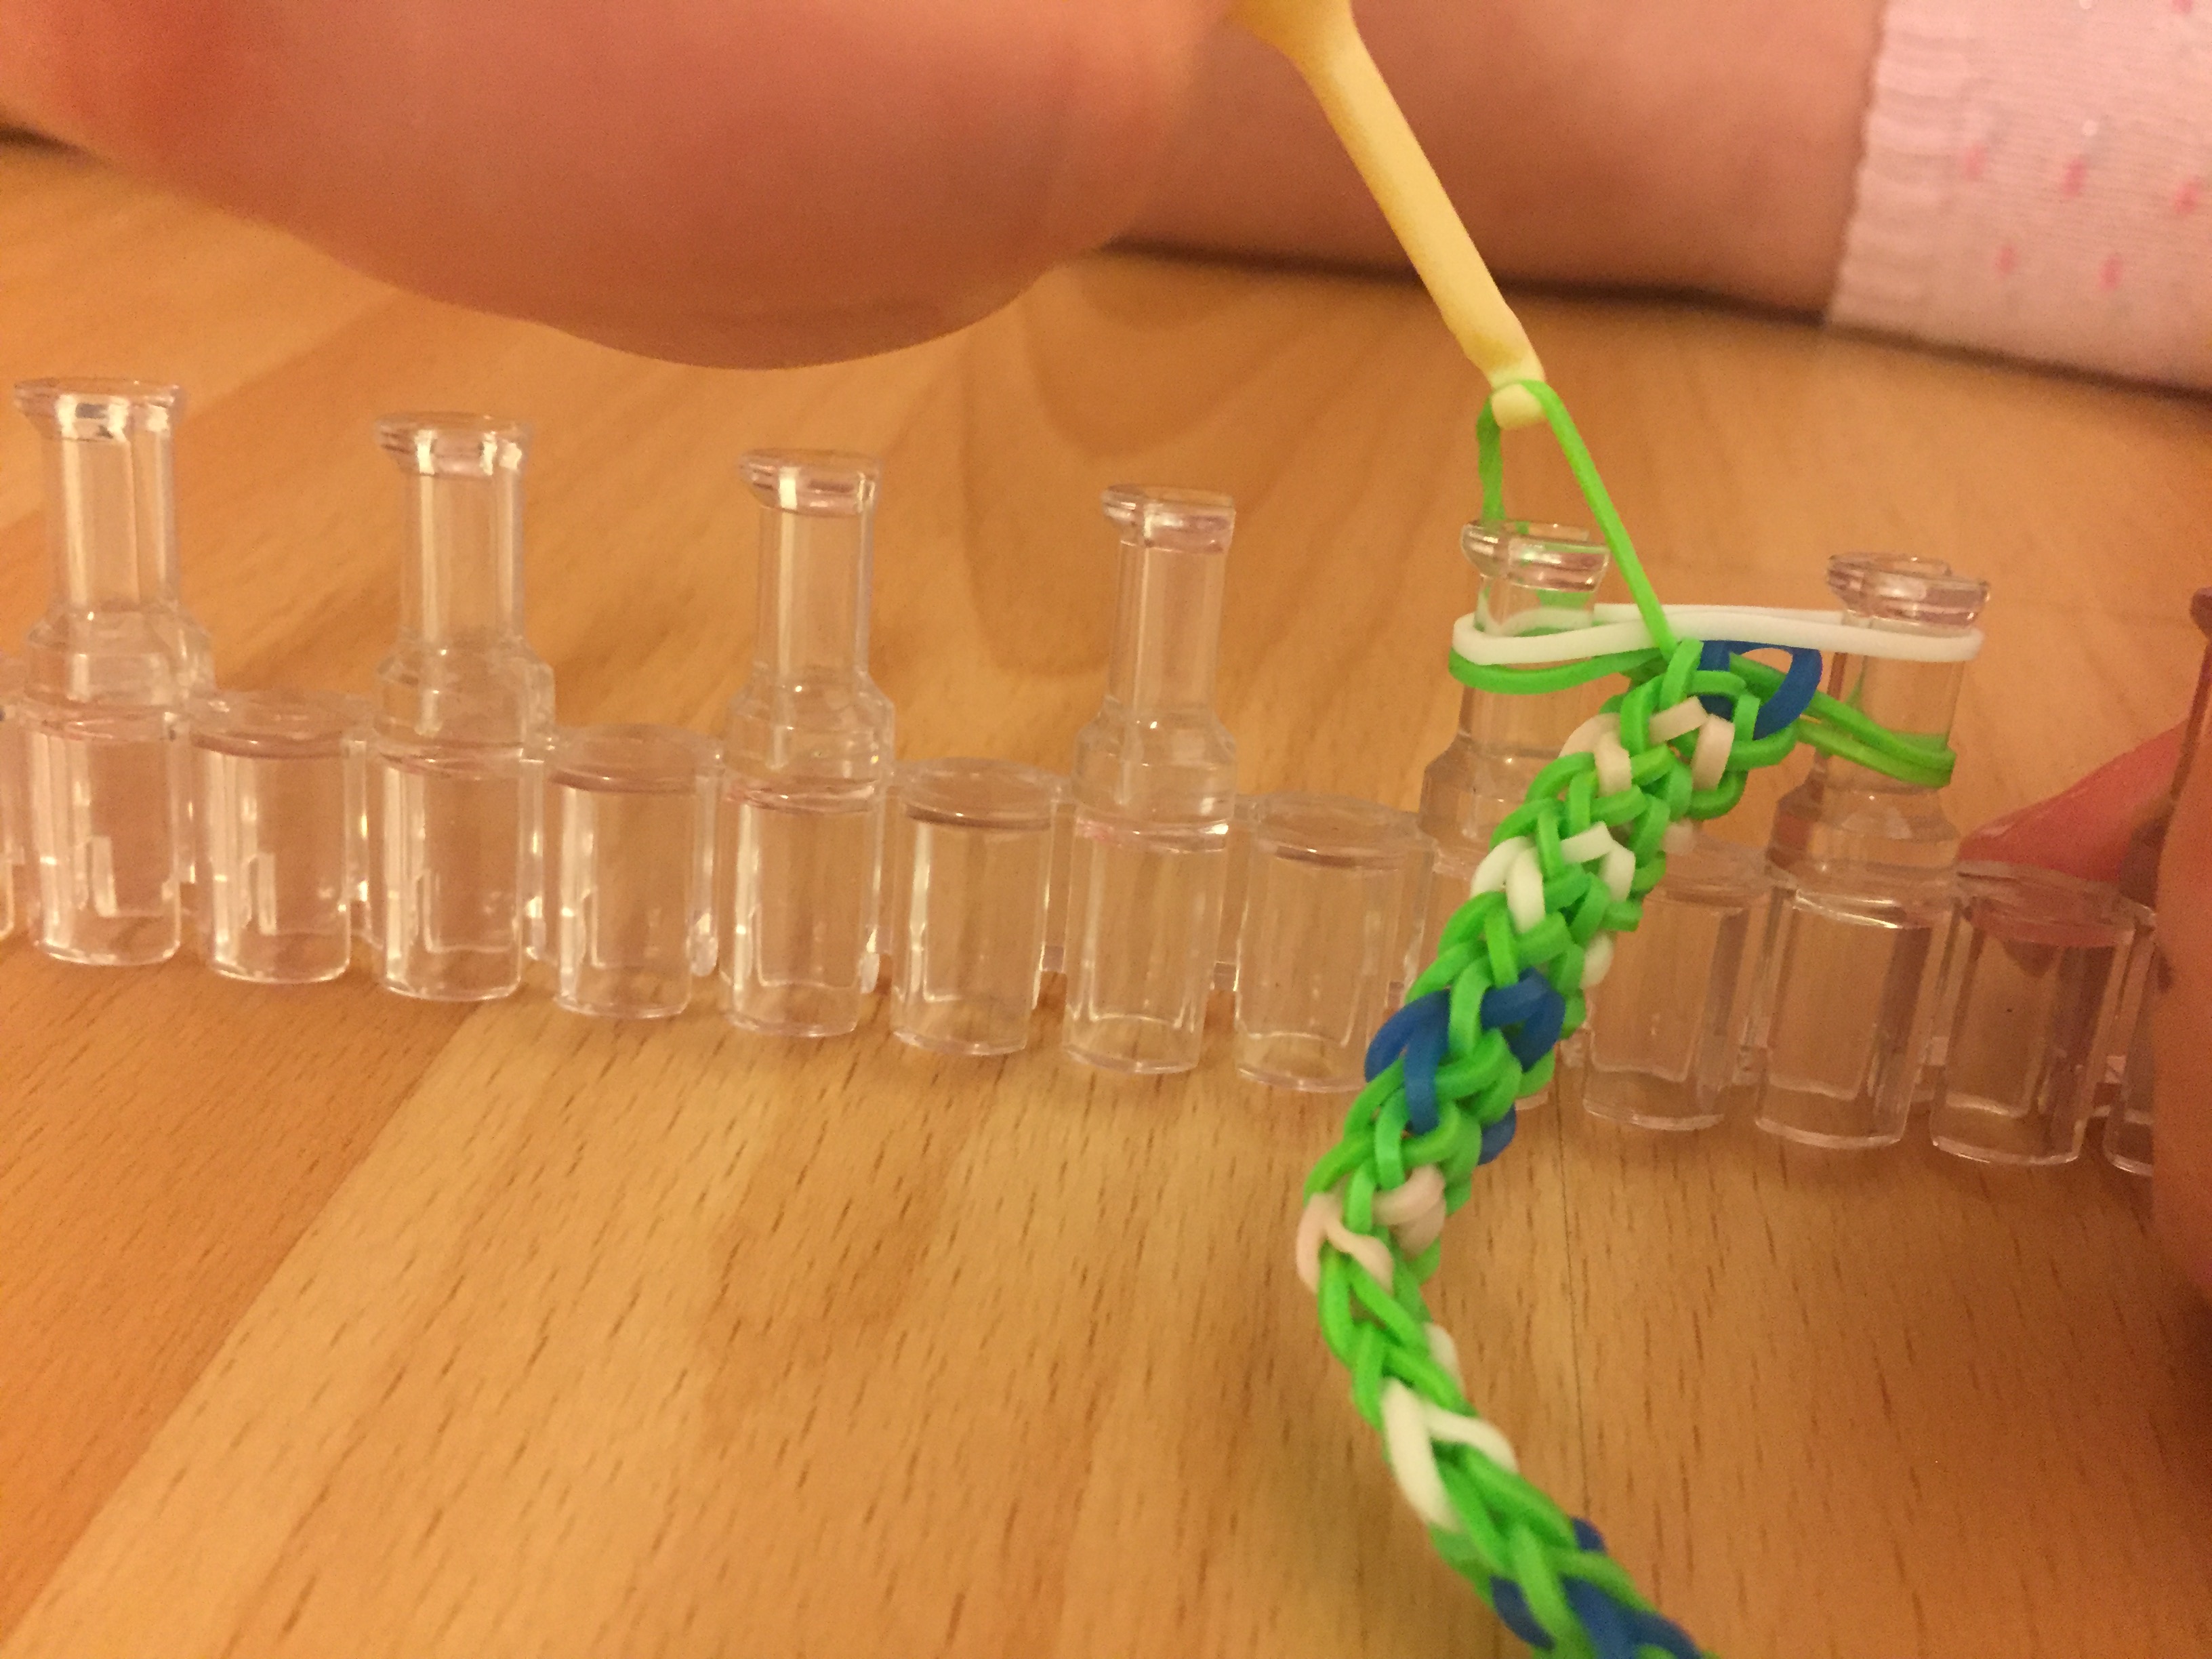
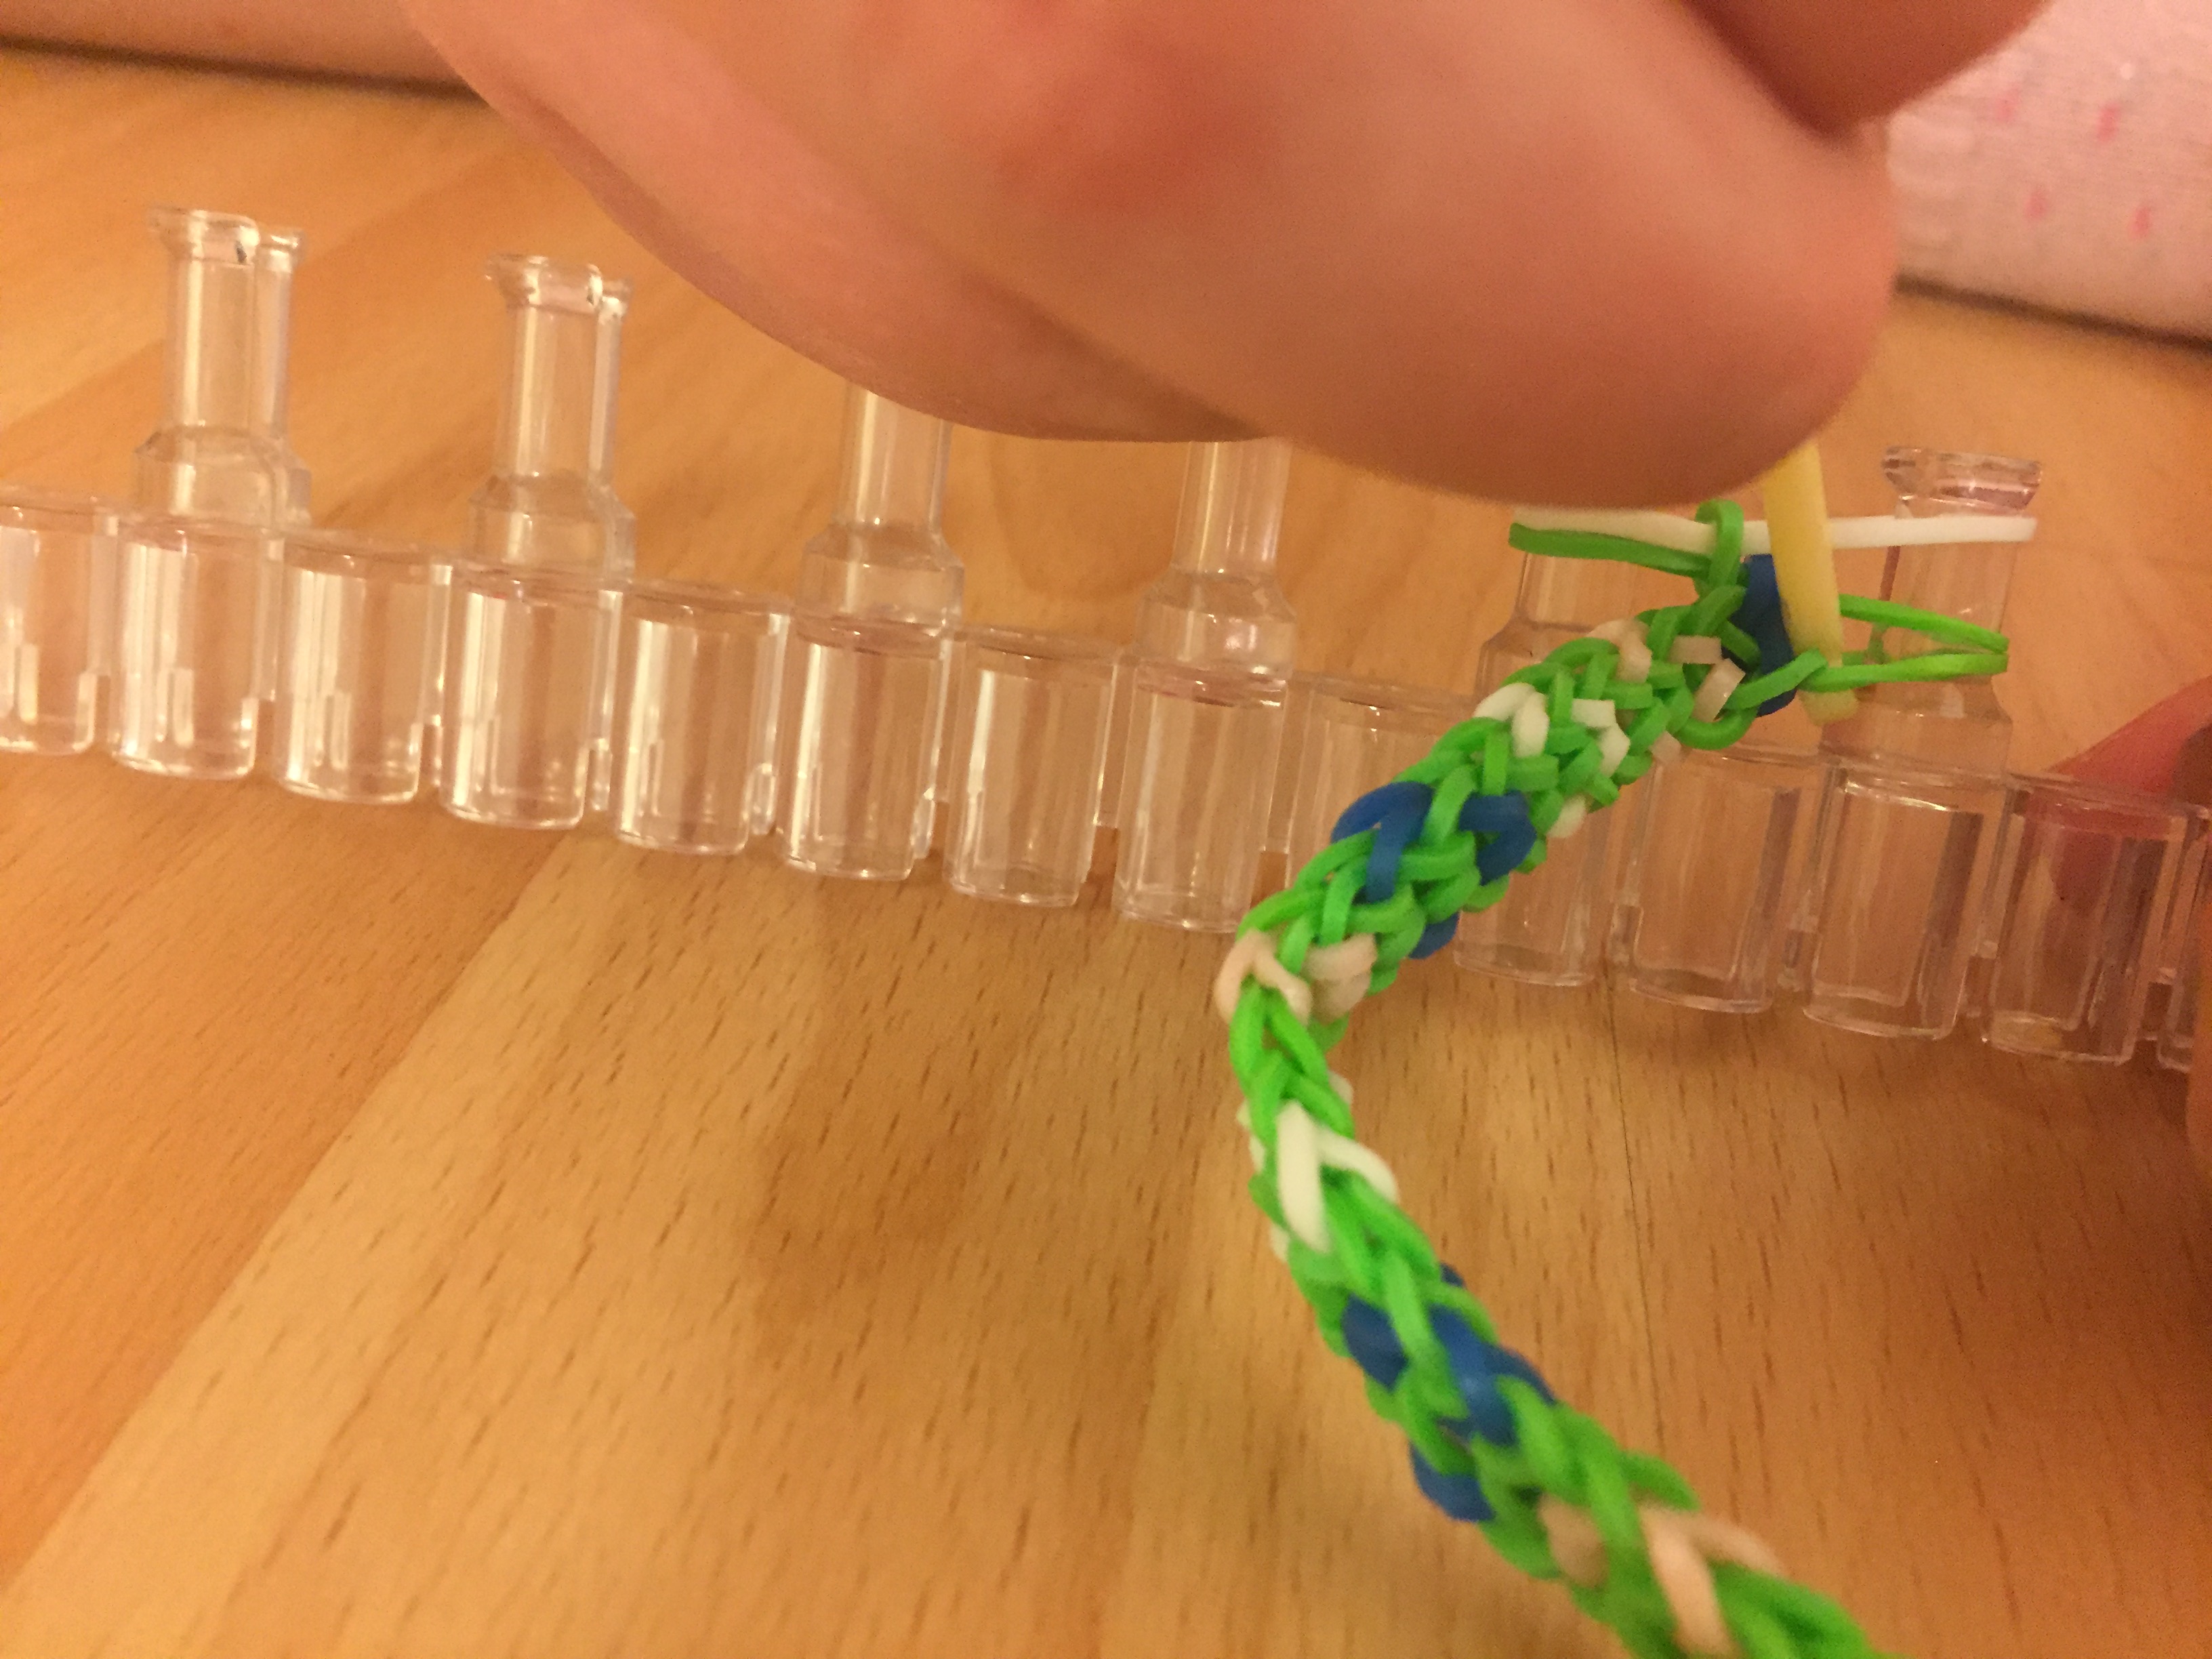
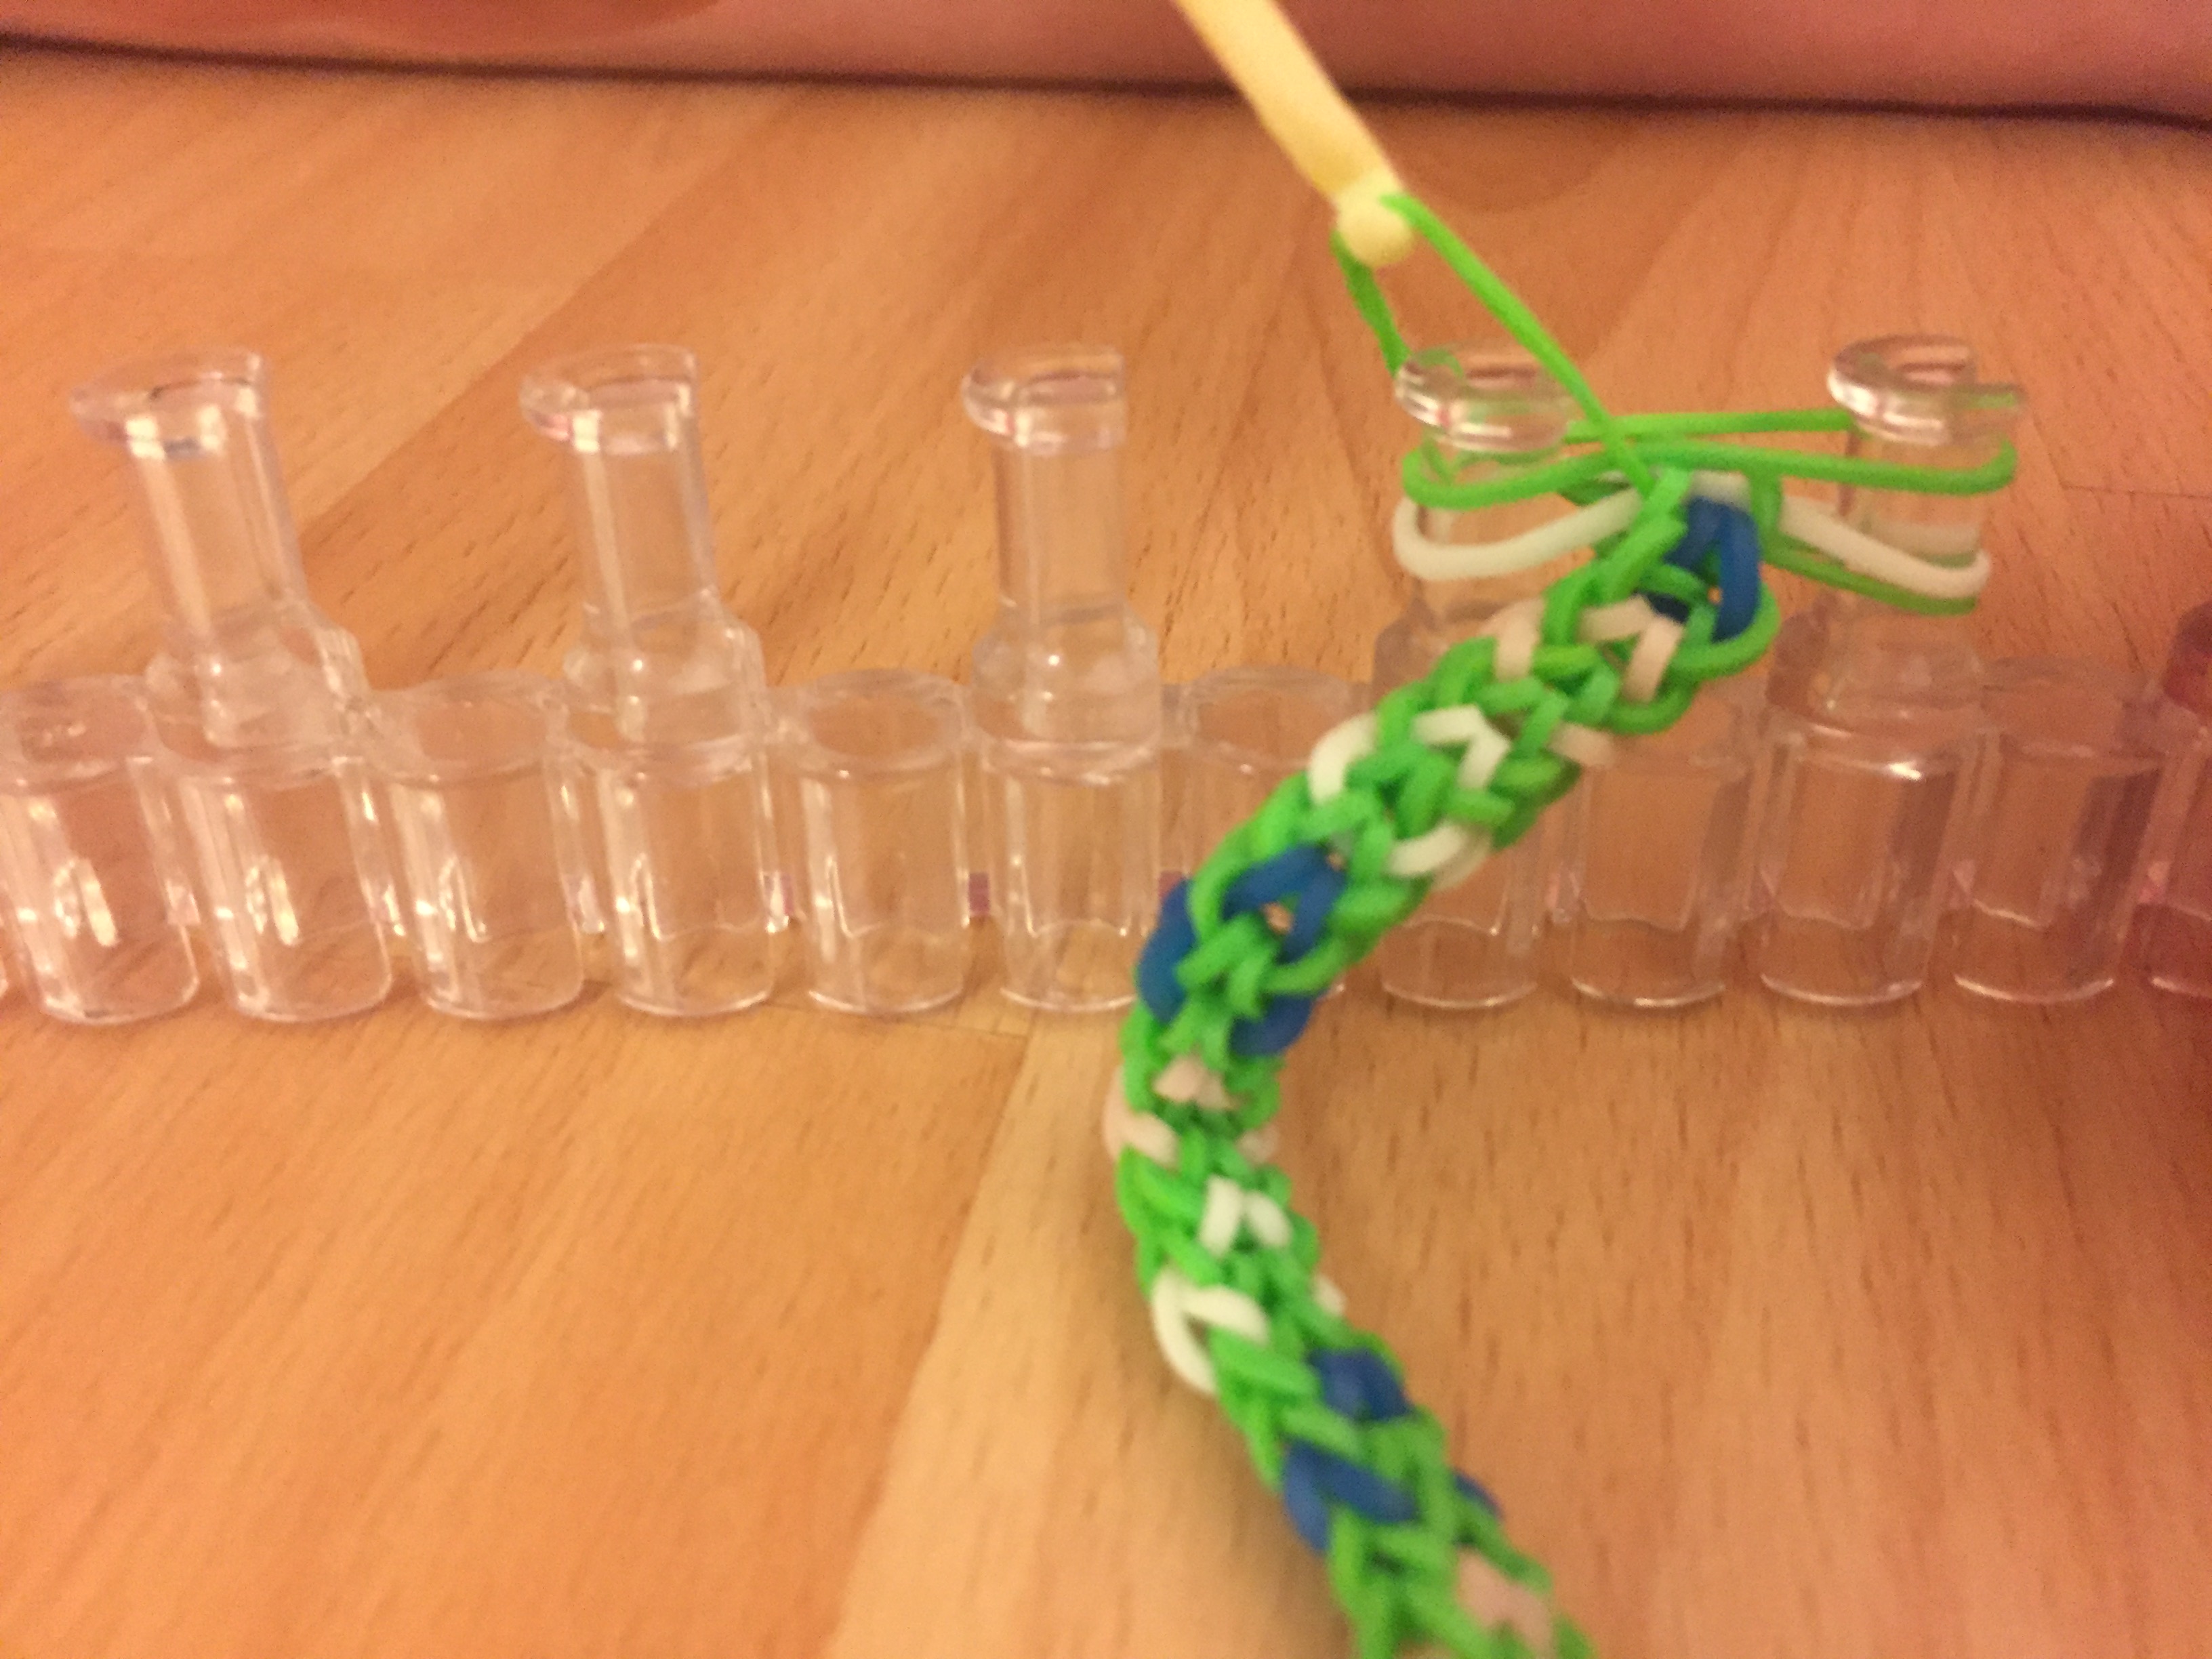
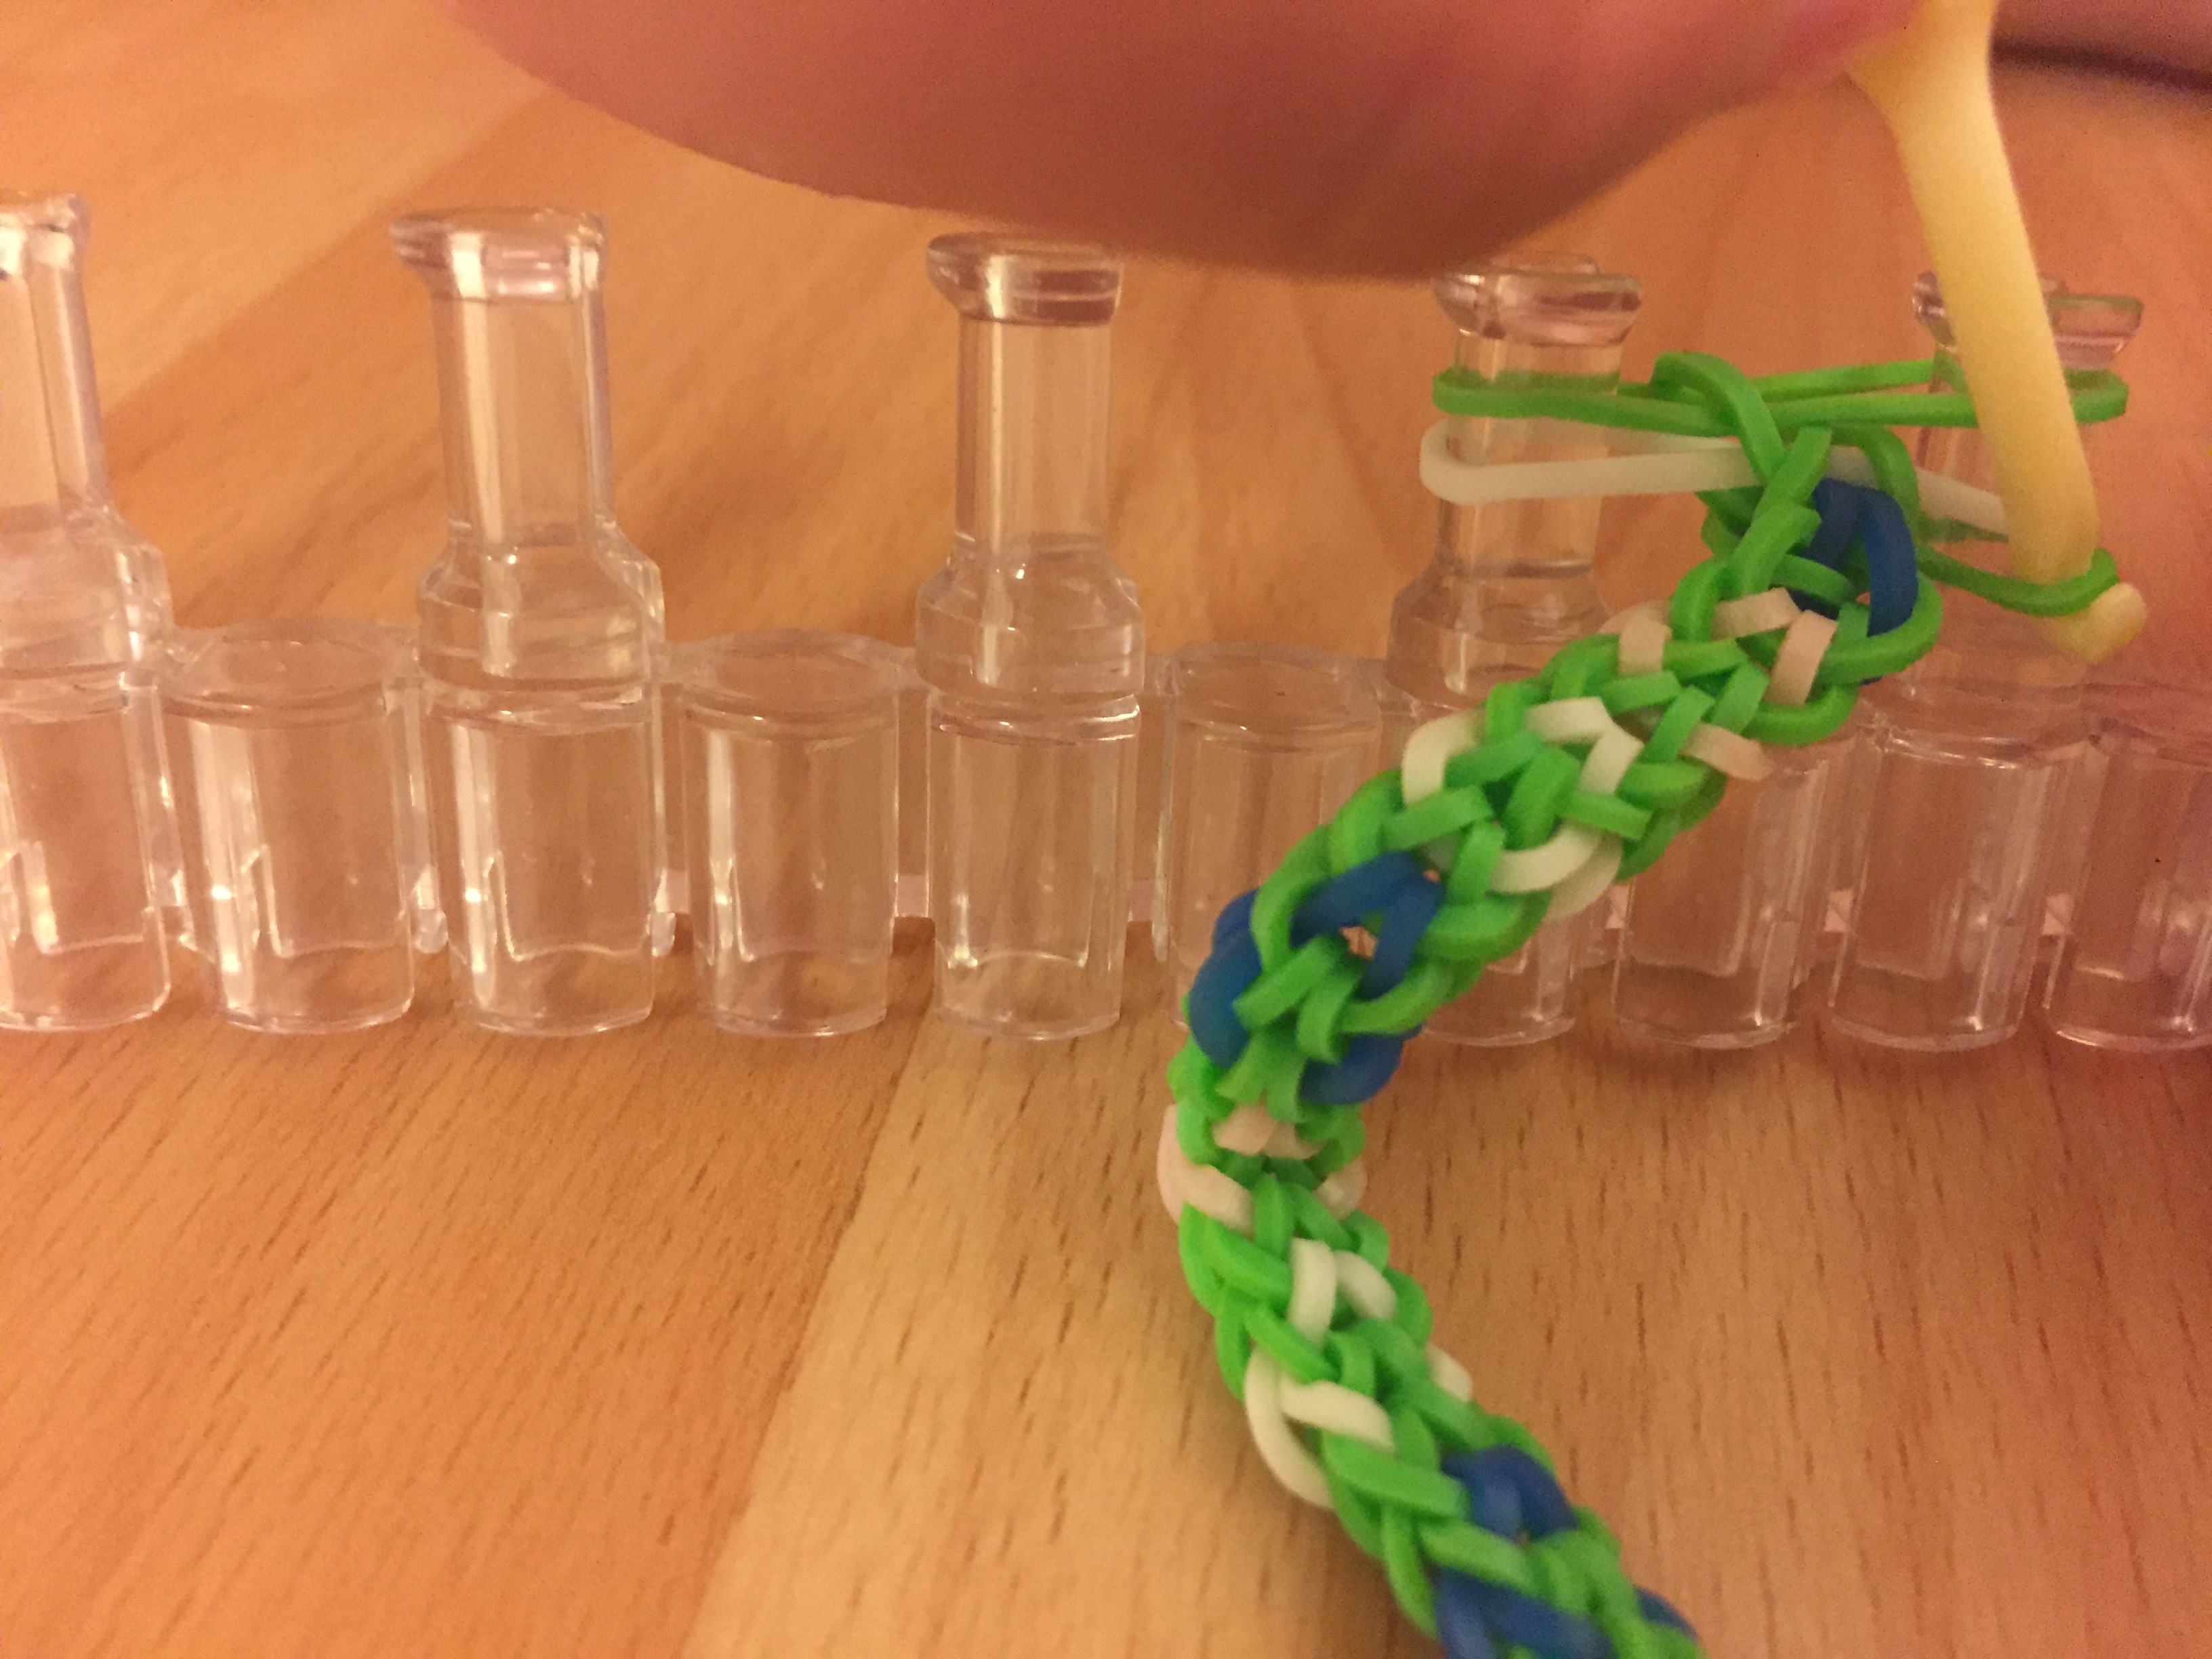
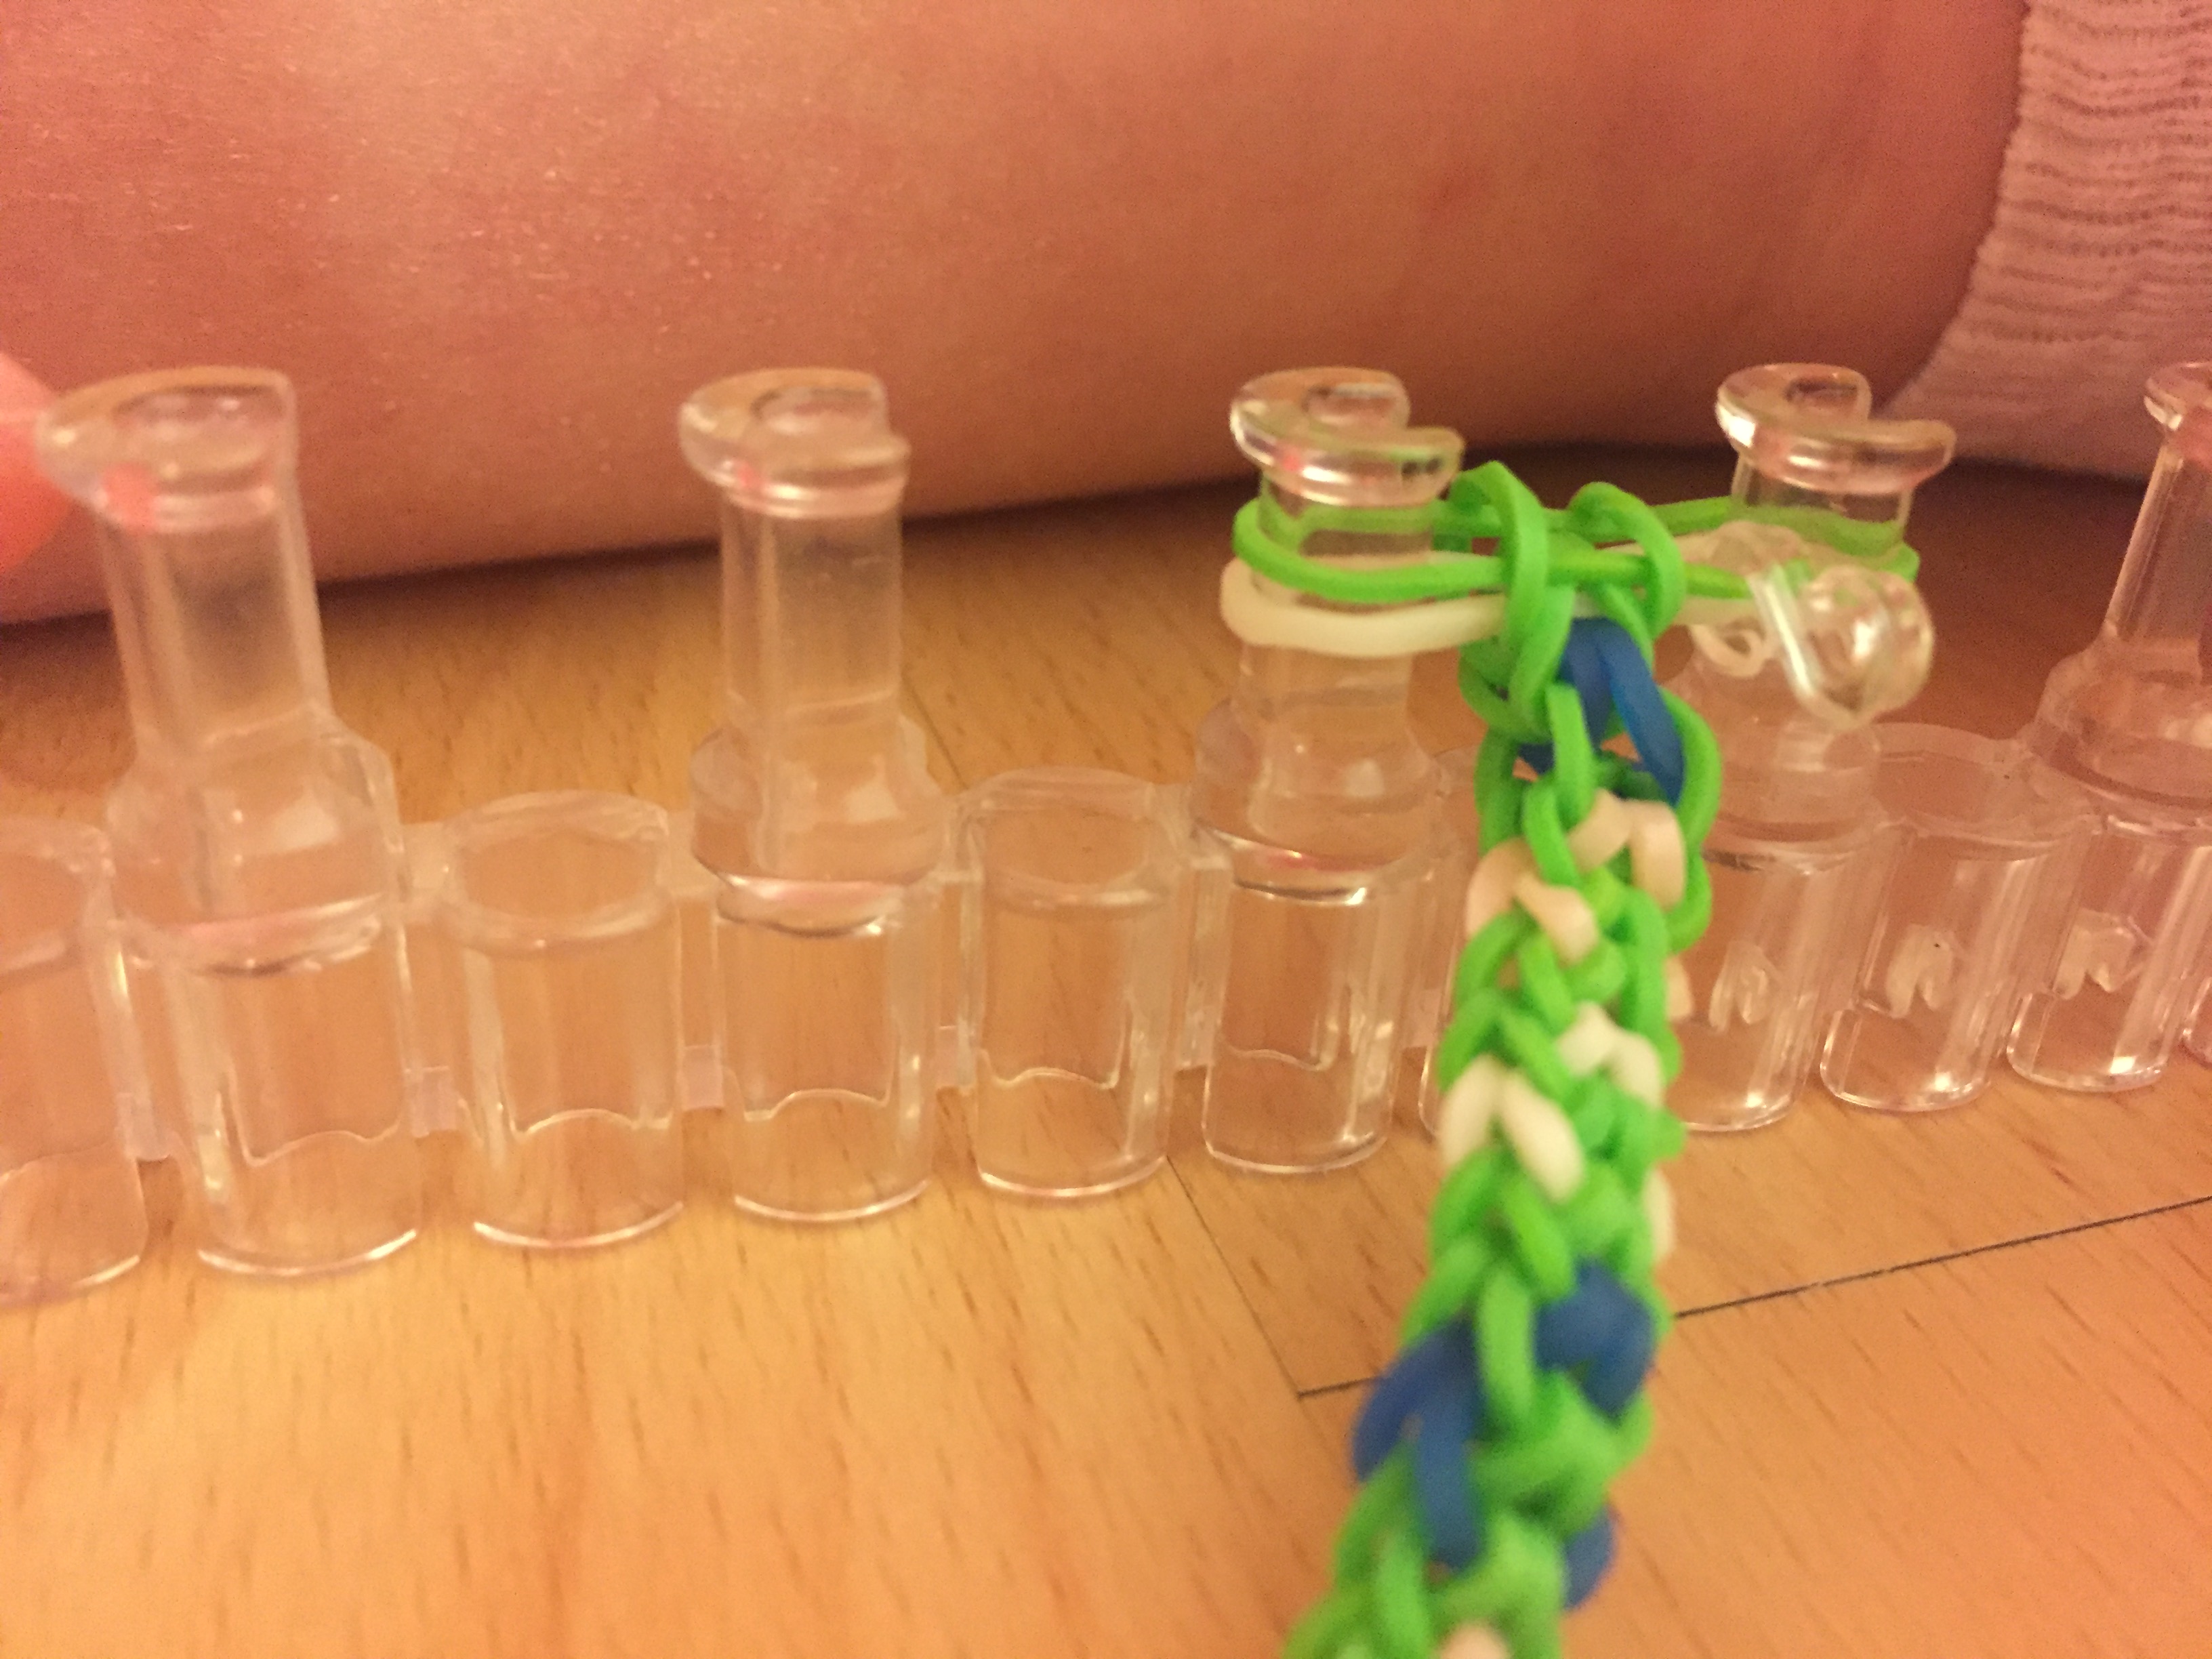
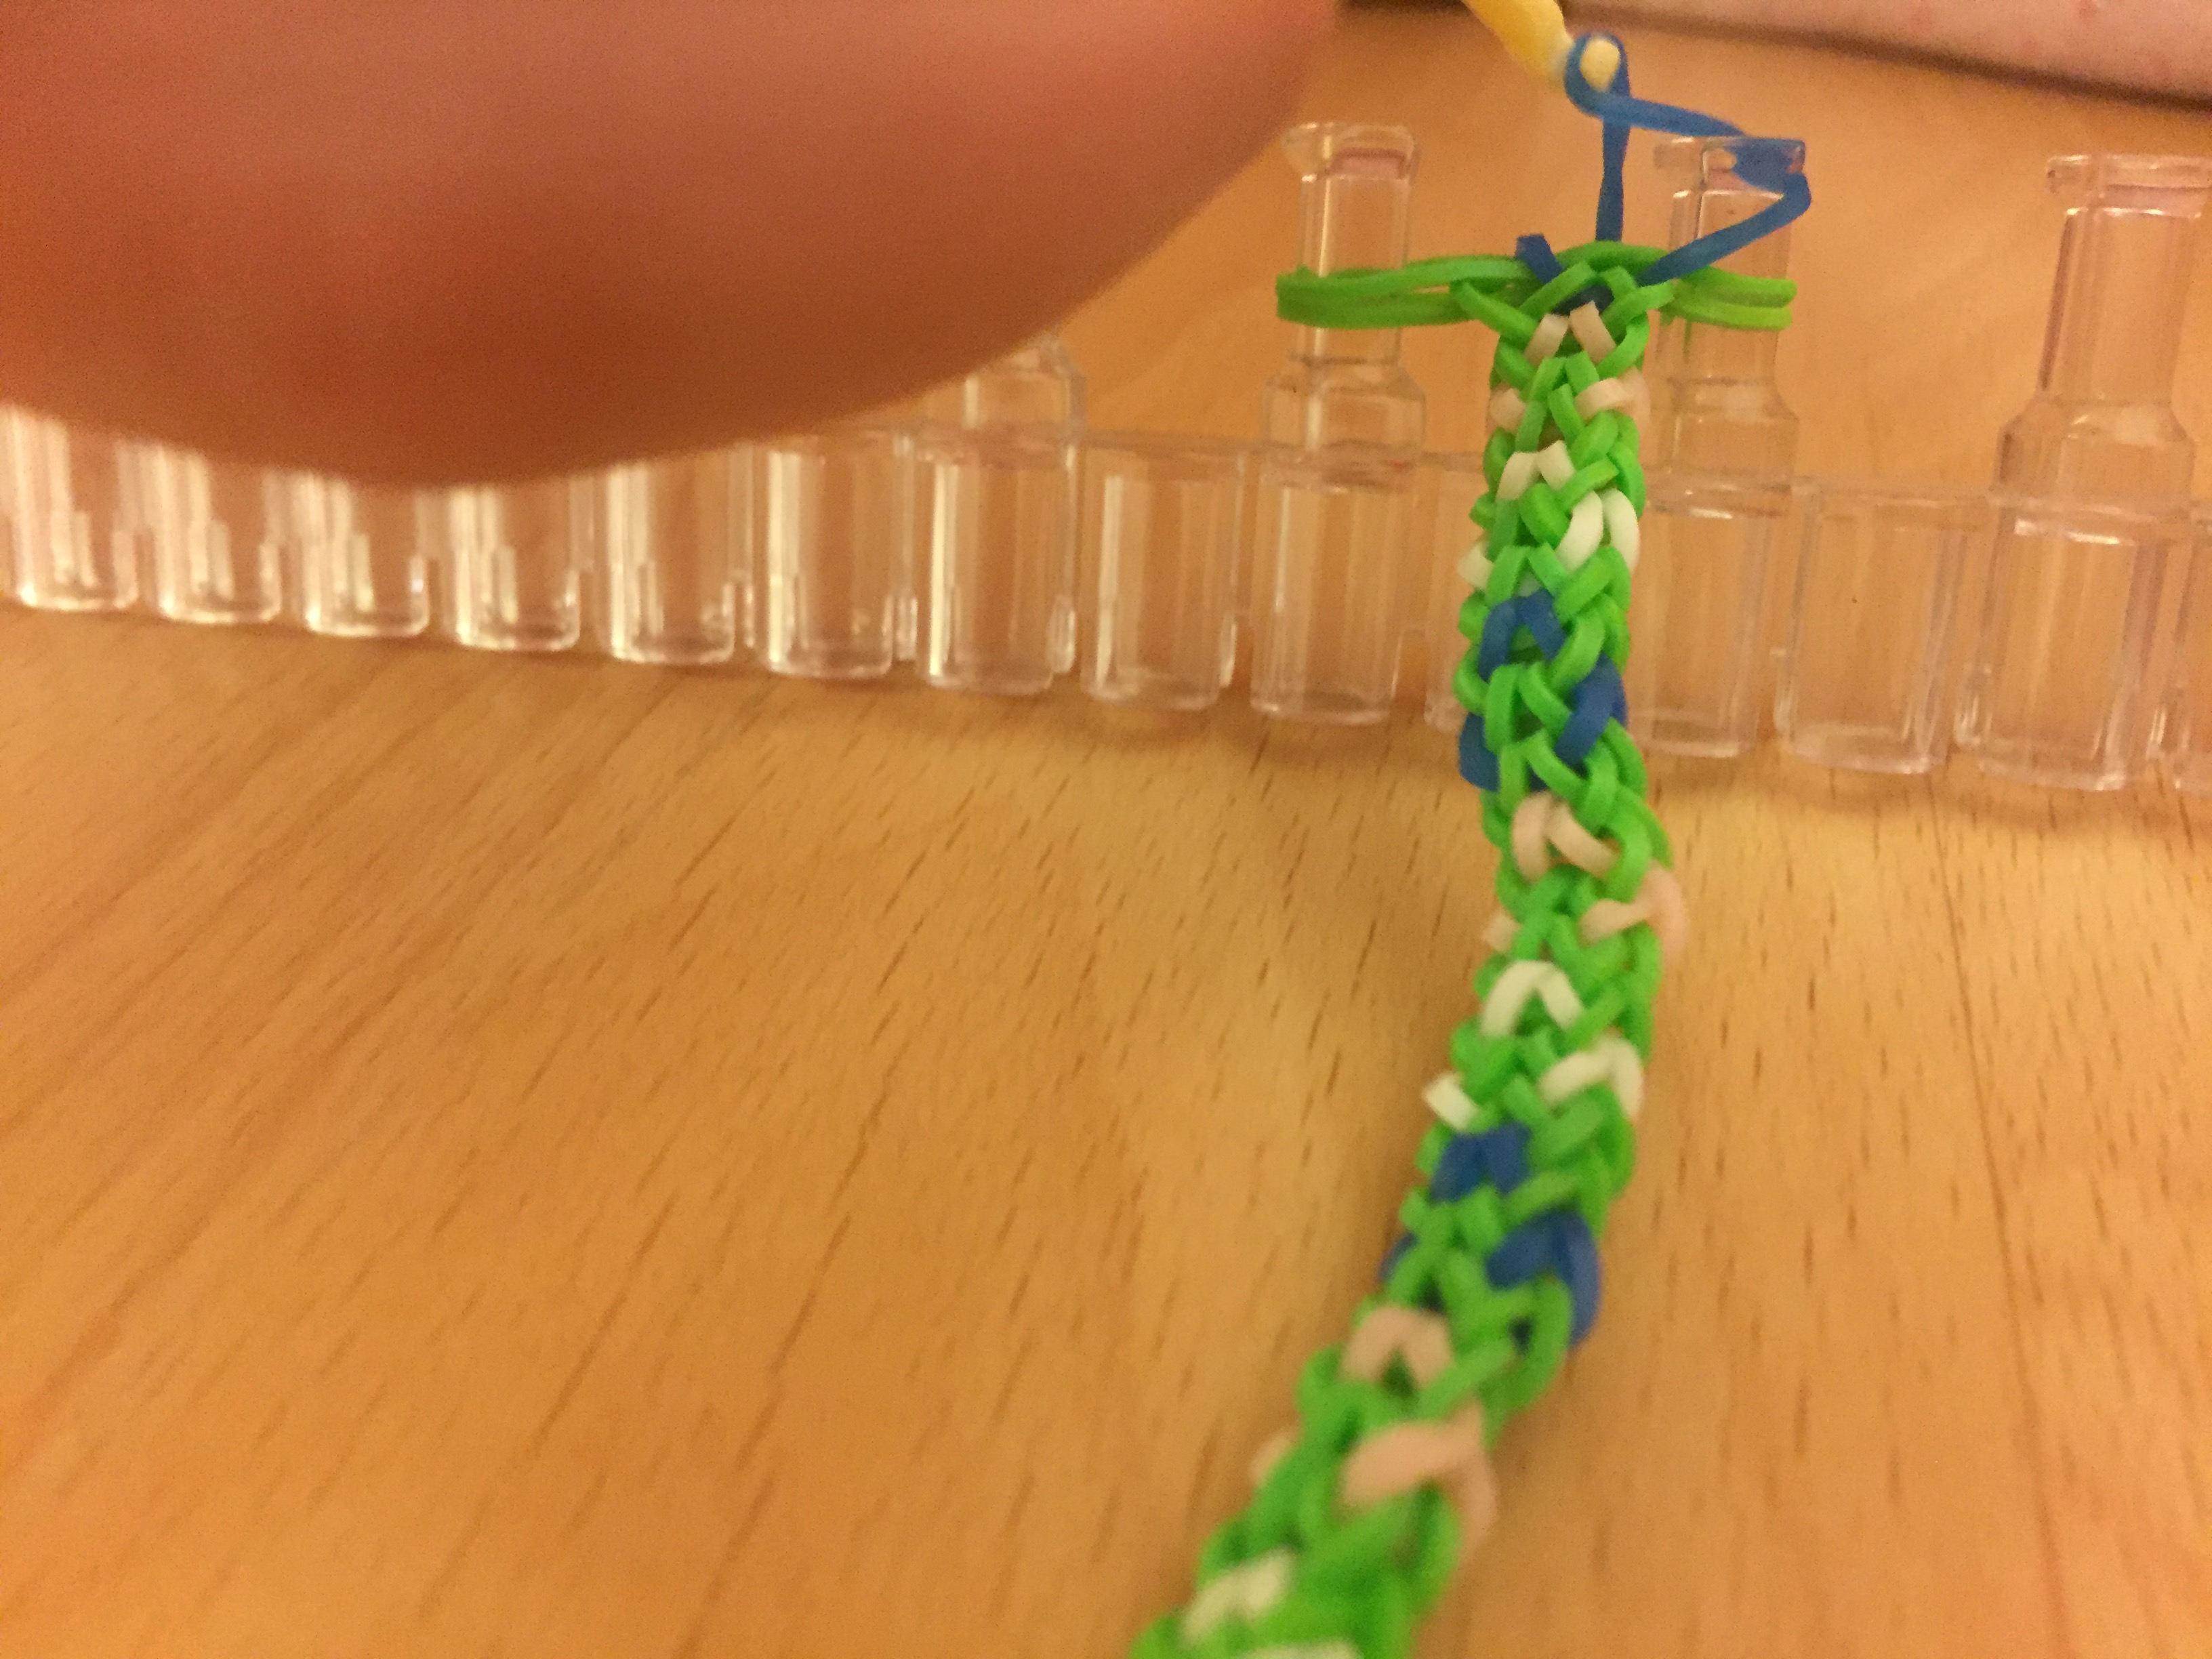
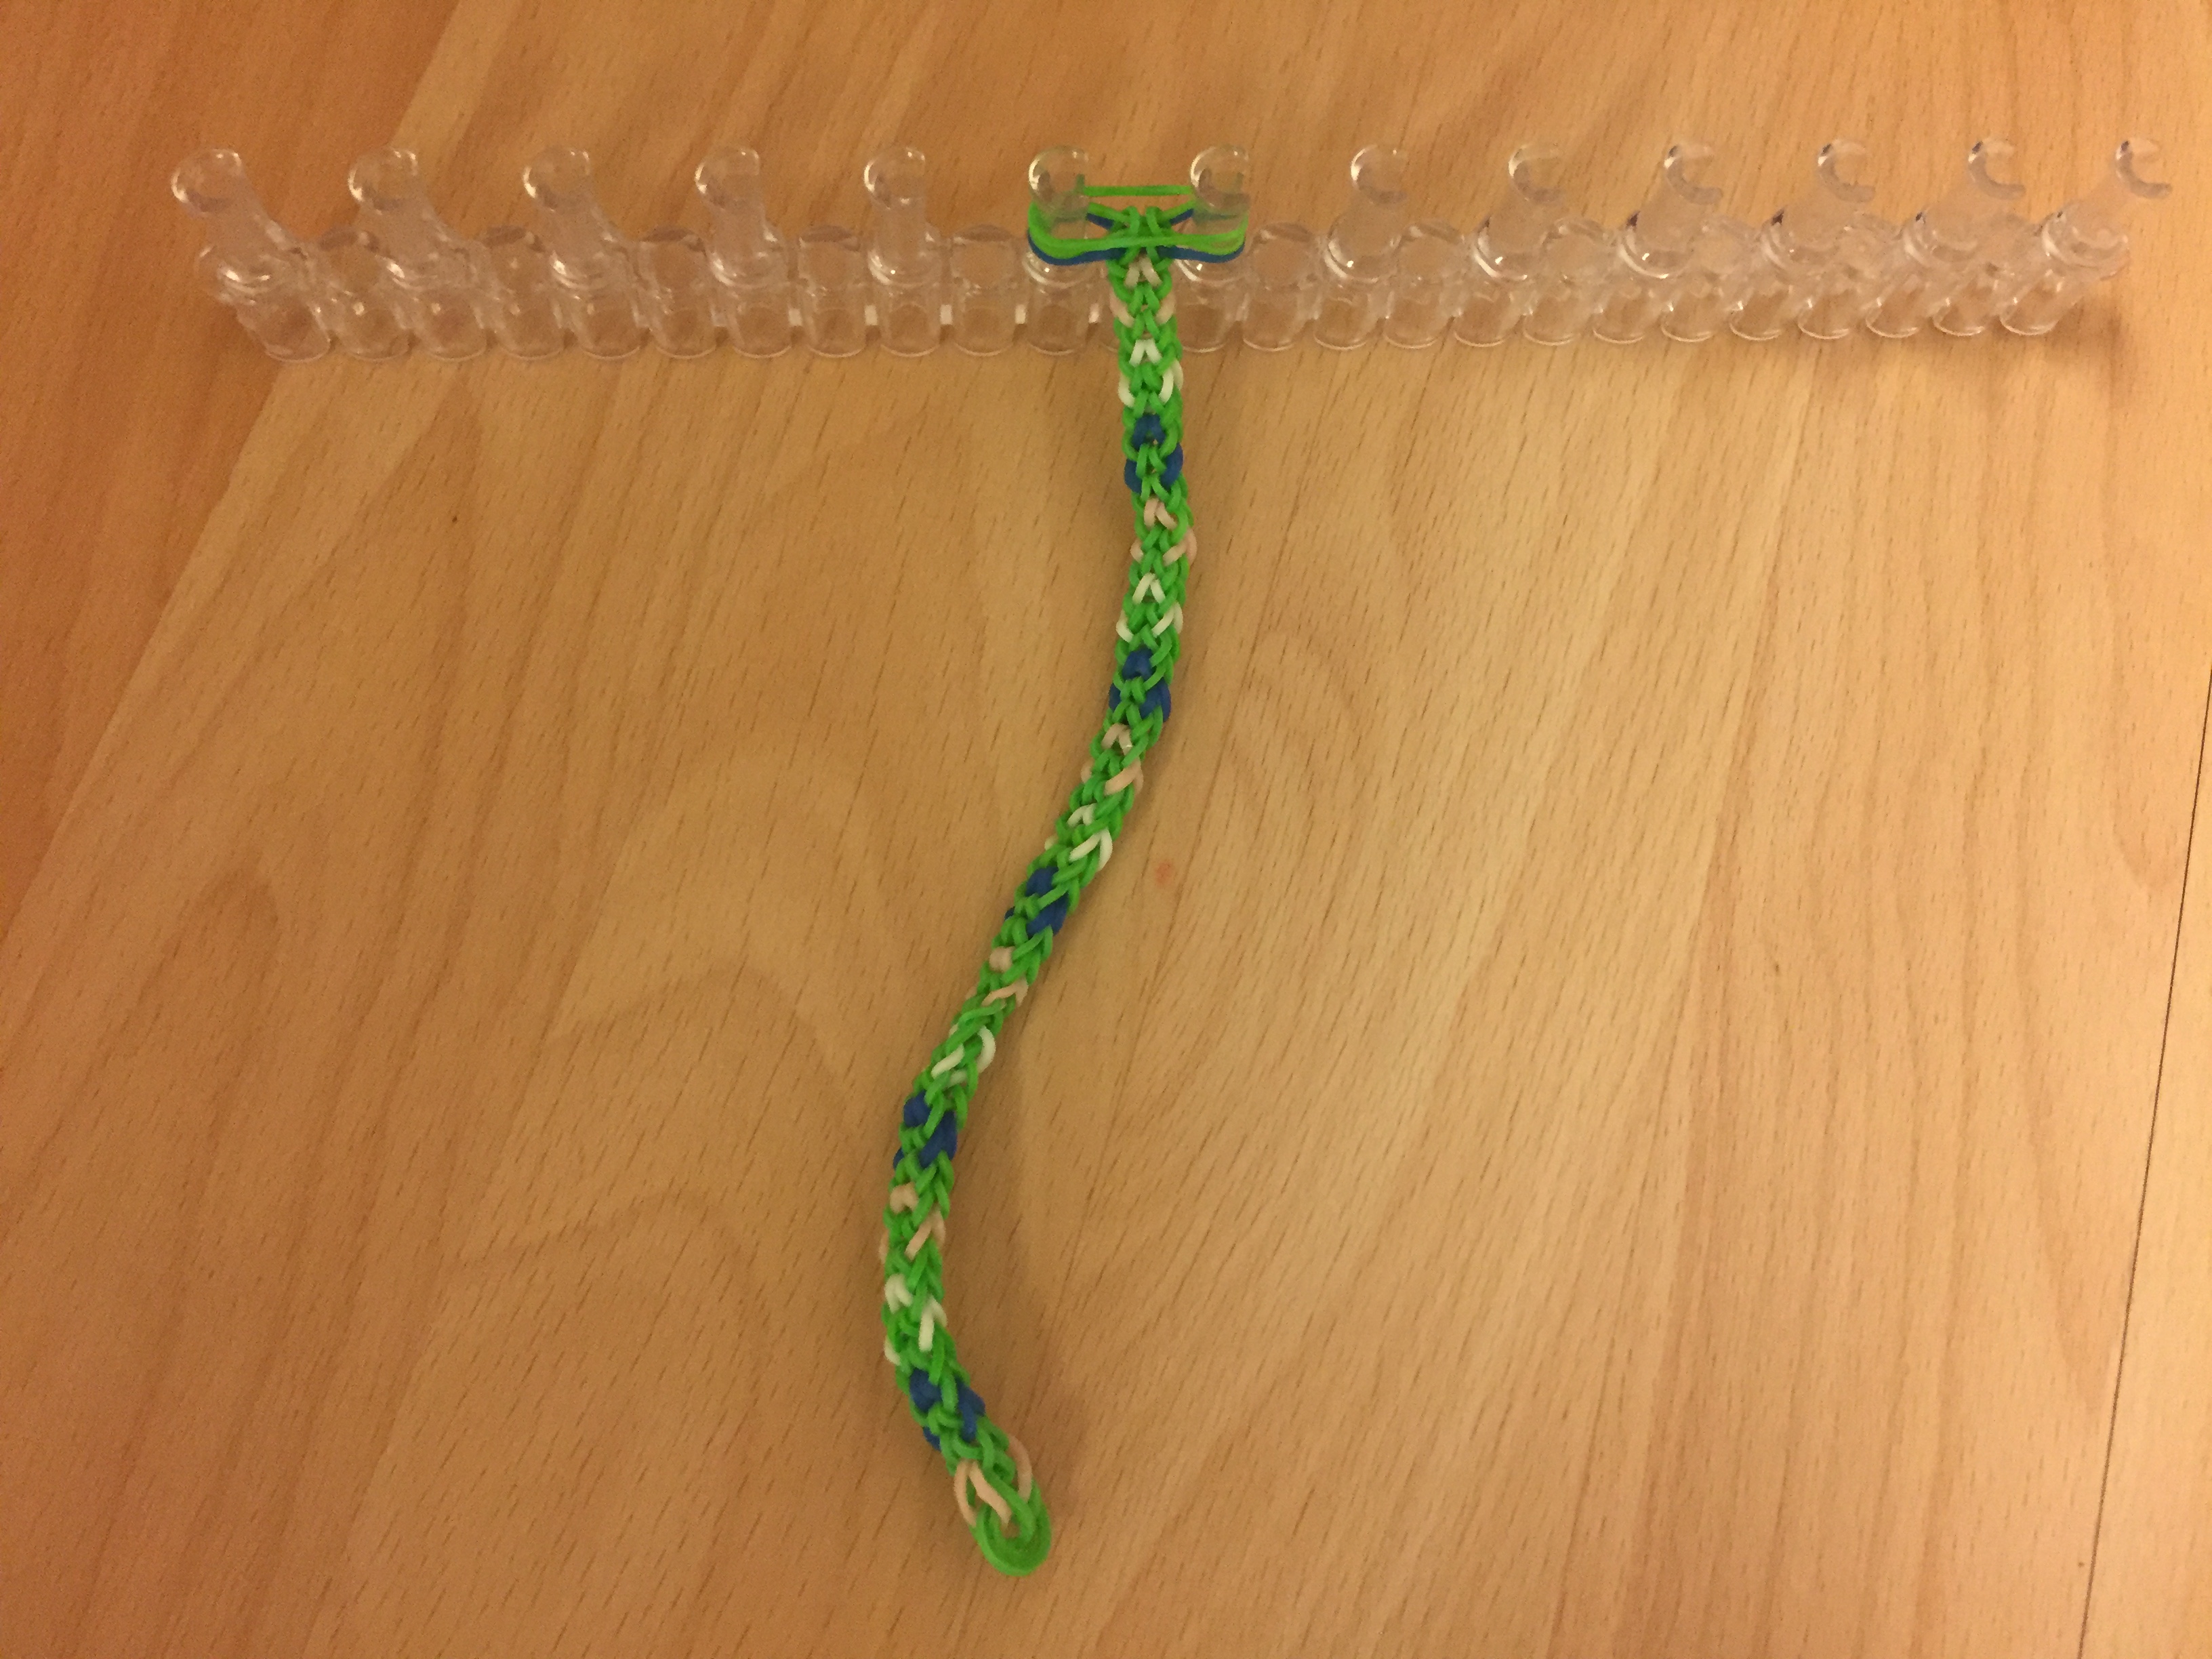
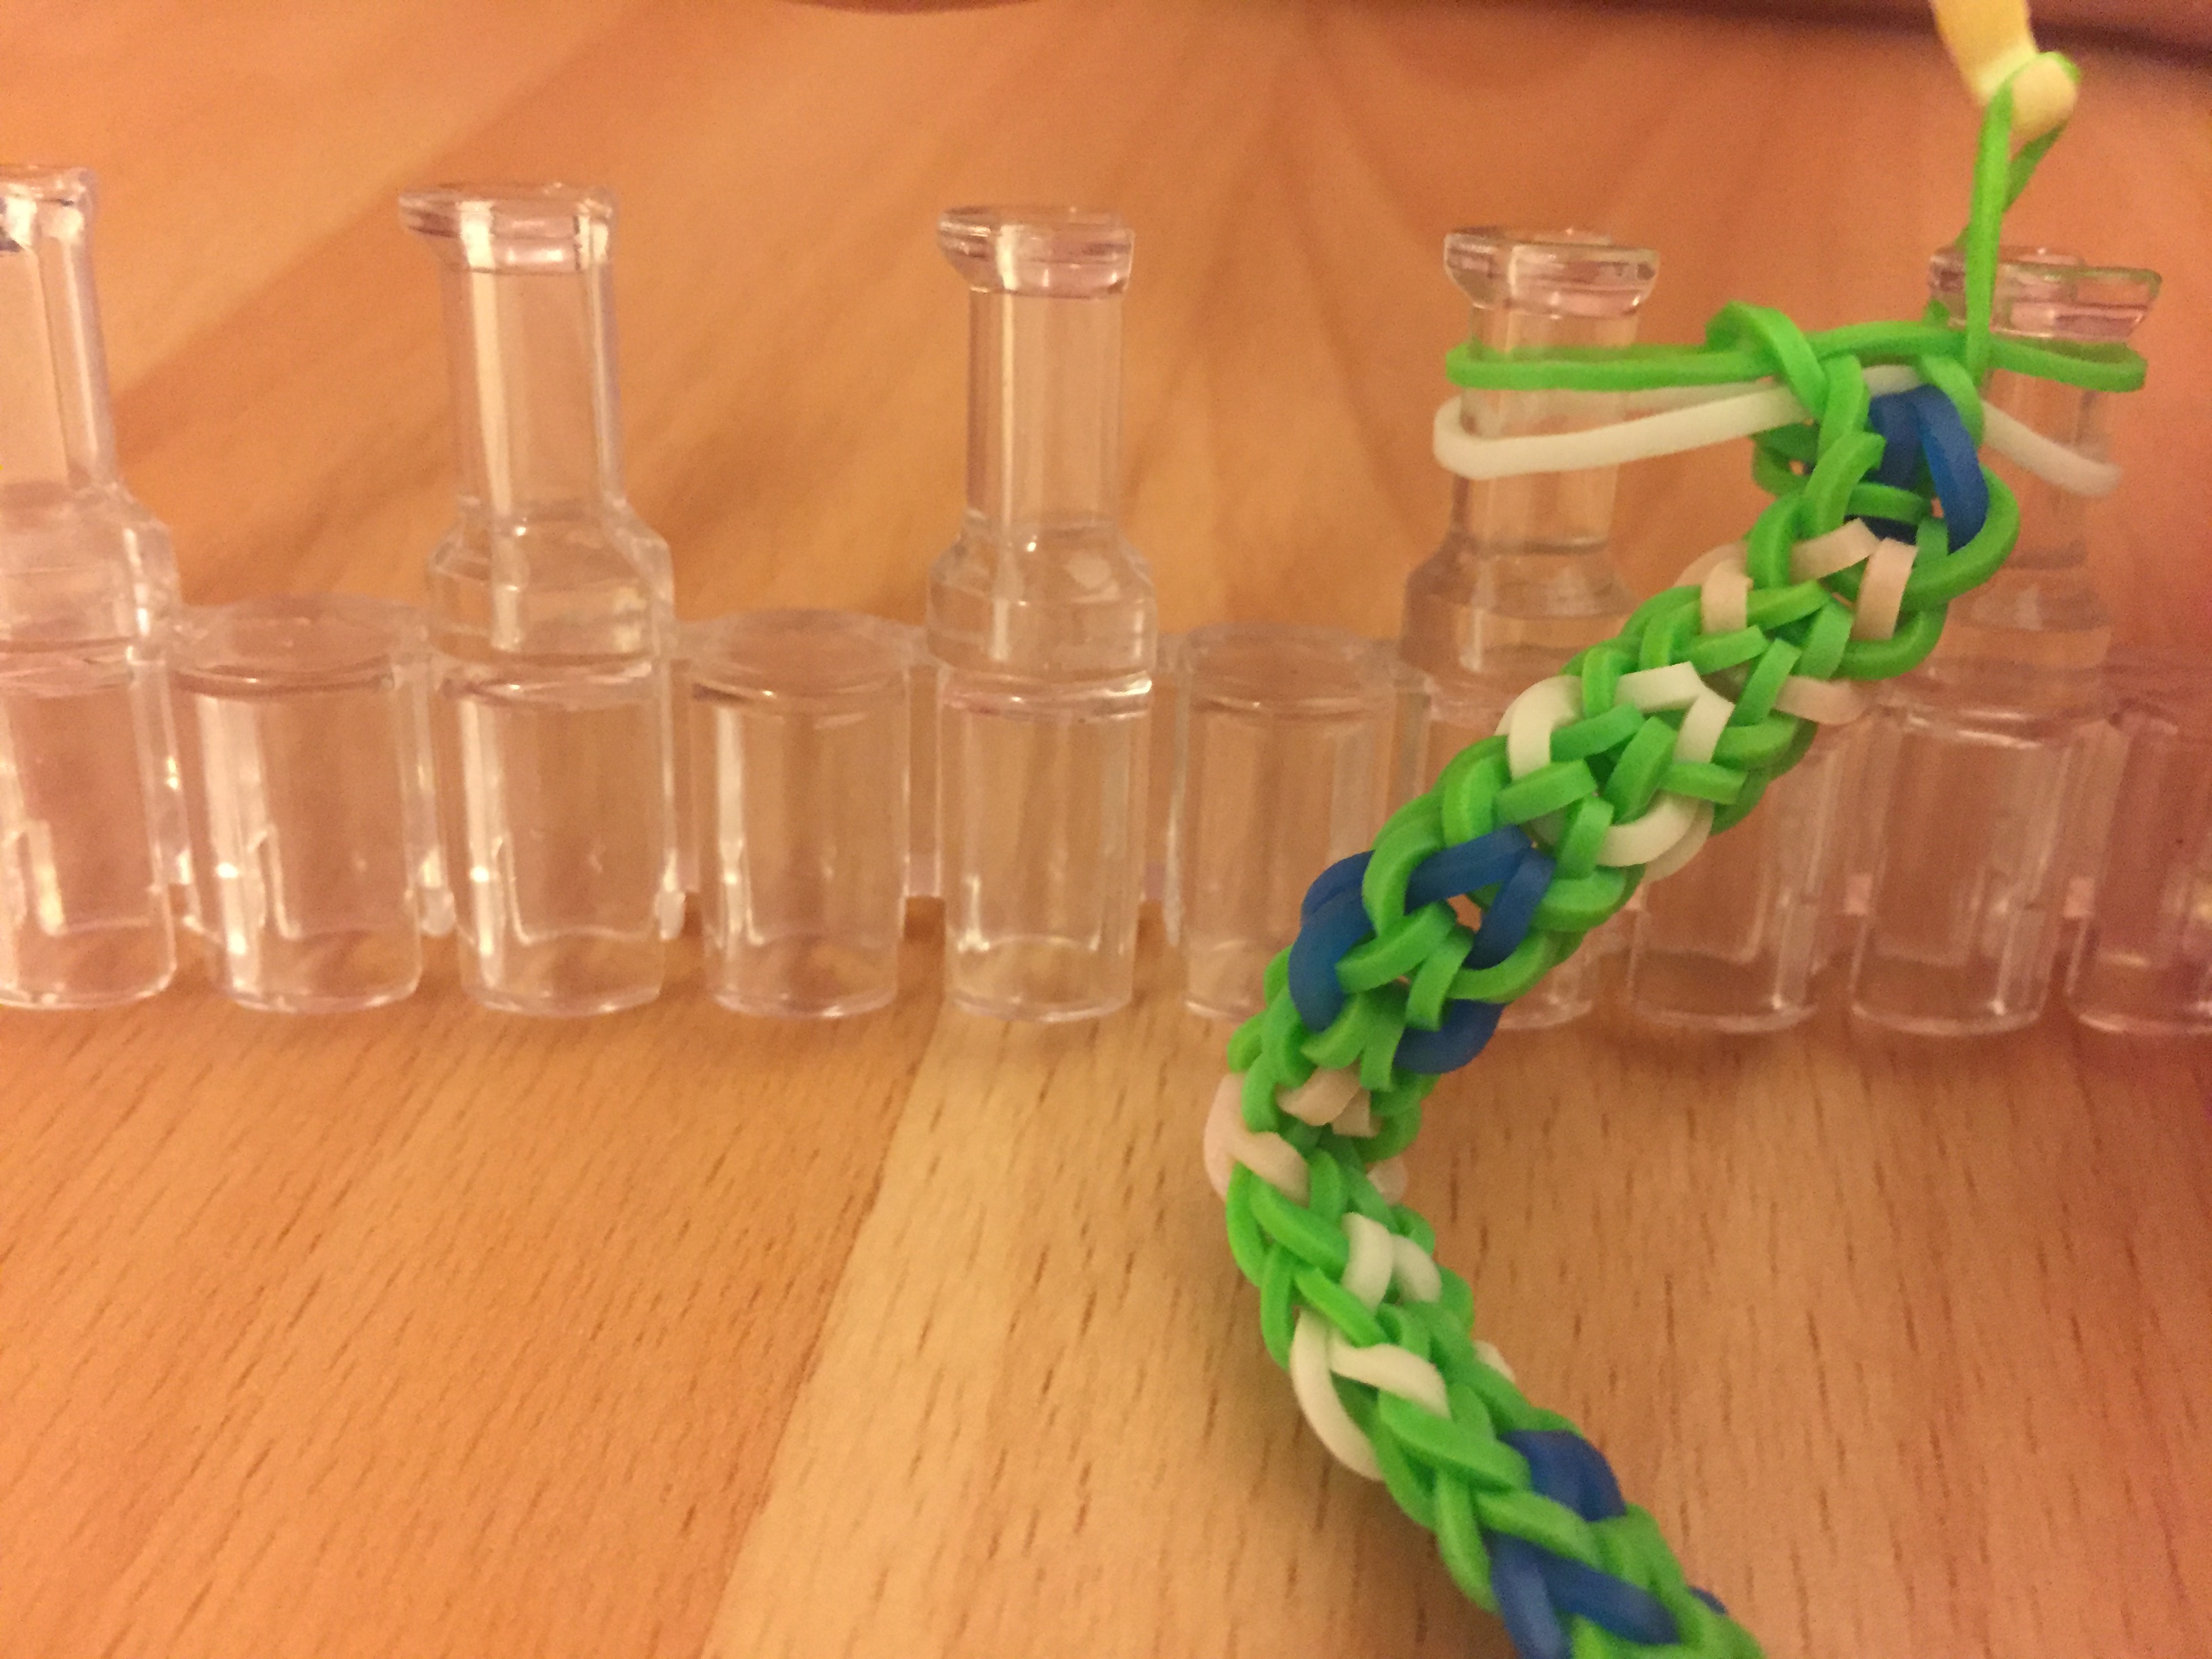
Now, pull the bottom rubber band behind the second rubber band and around the third rubber band and on top of the top rubber band. Then repeat on the other side. After both sides are on top, add a rubber band above it. Repeat this step until the bracelet is long enough to fit around your wrist.
Repeat the Fourth Step Three or Four Times.
Add Fastener
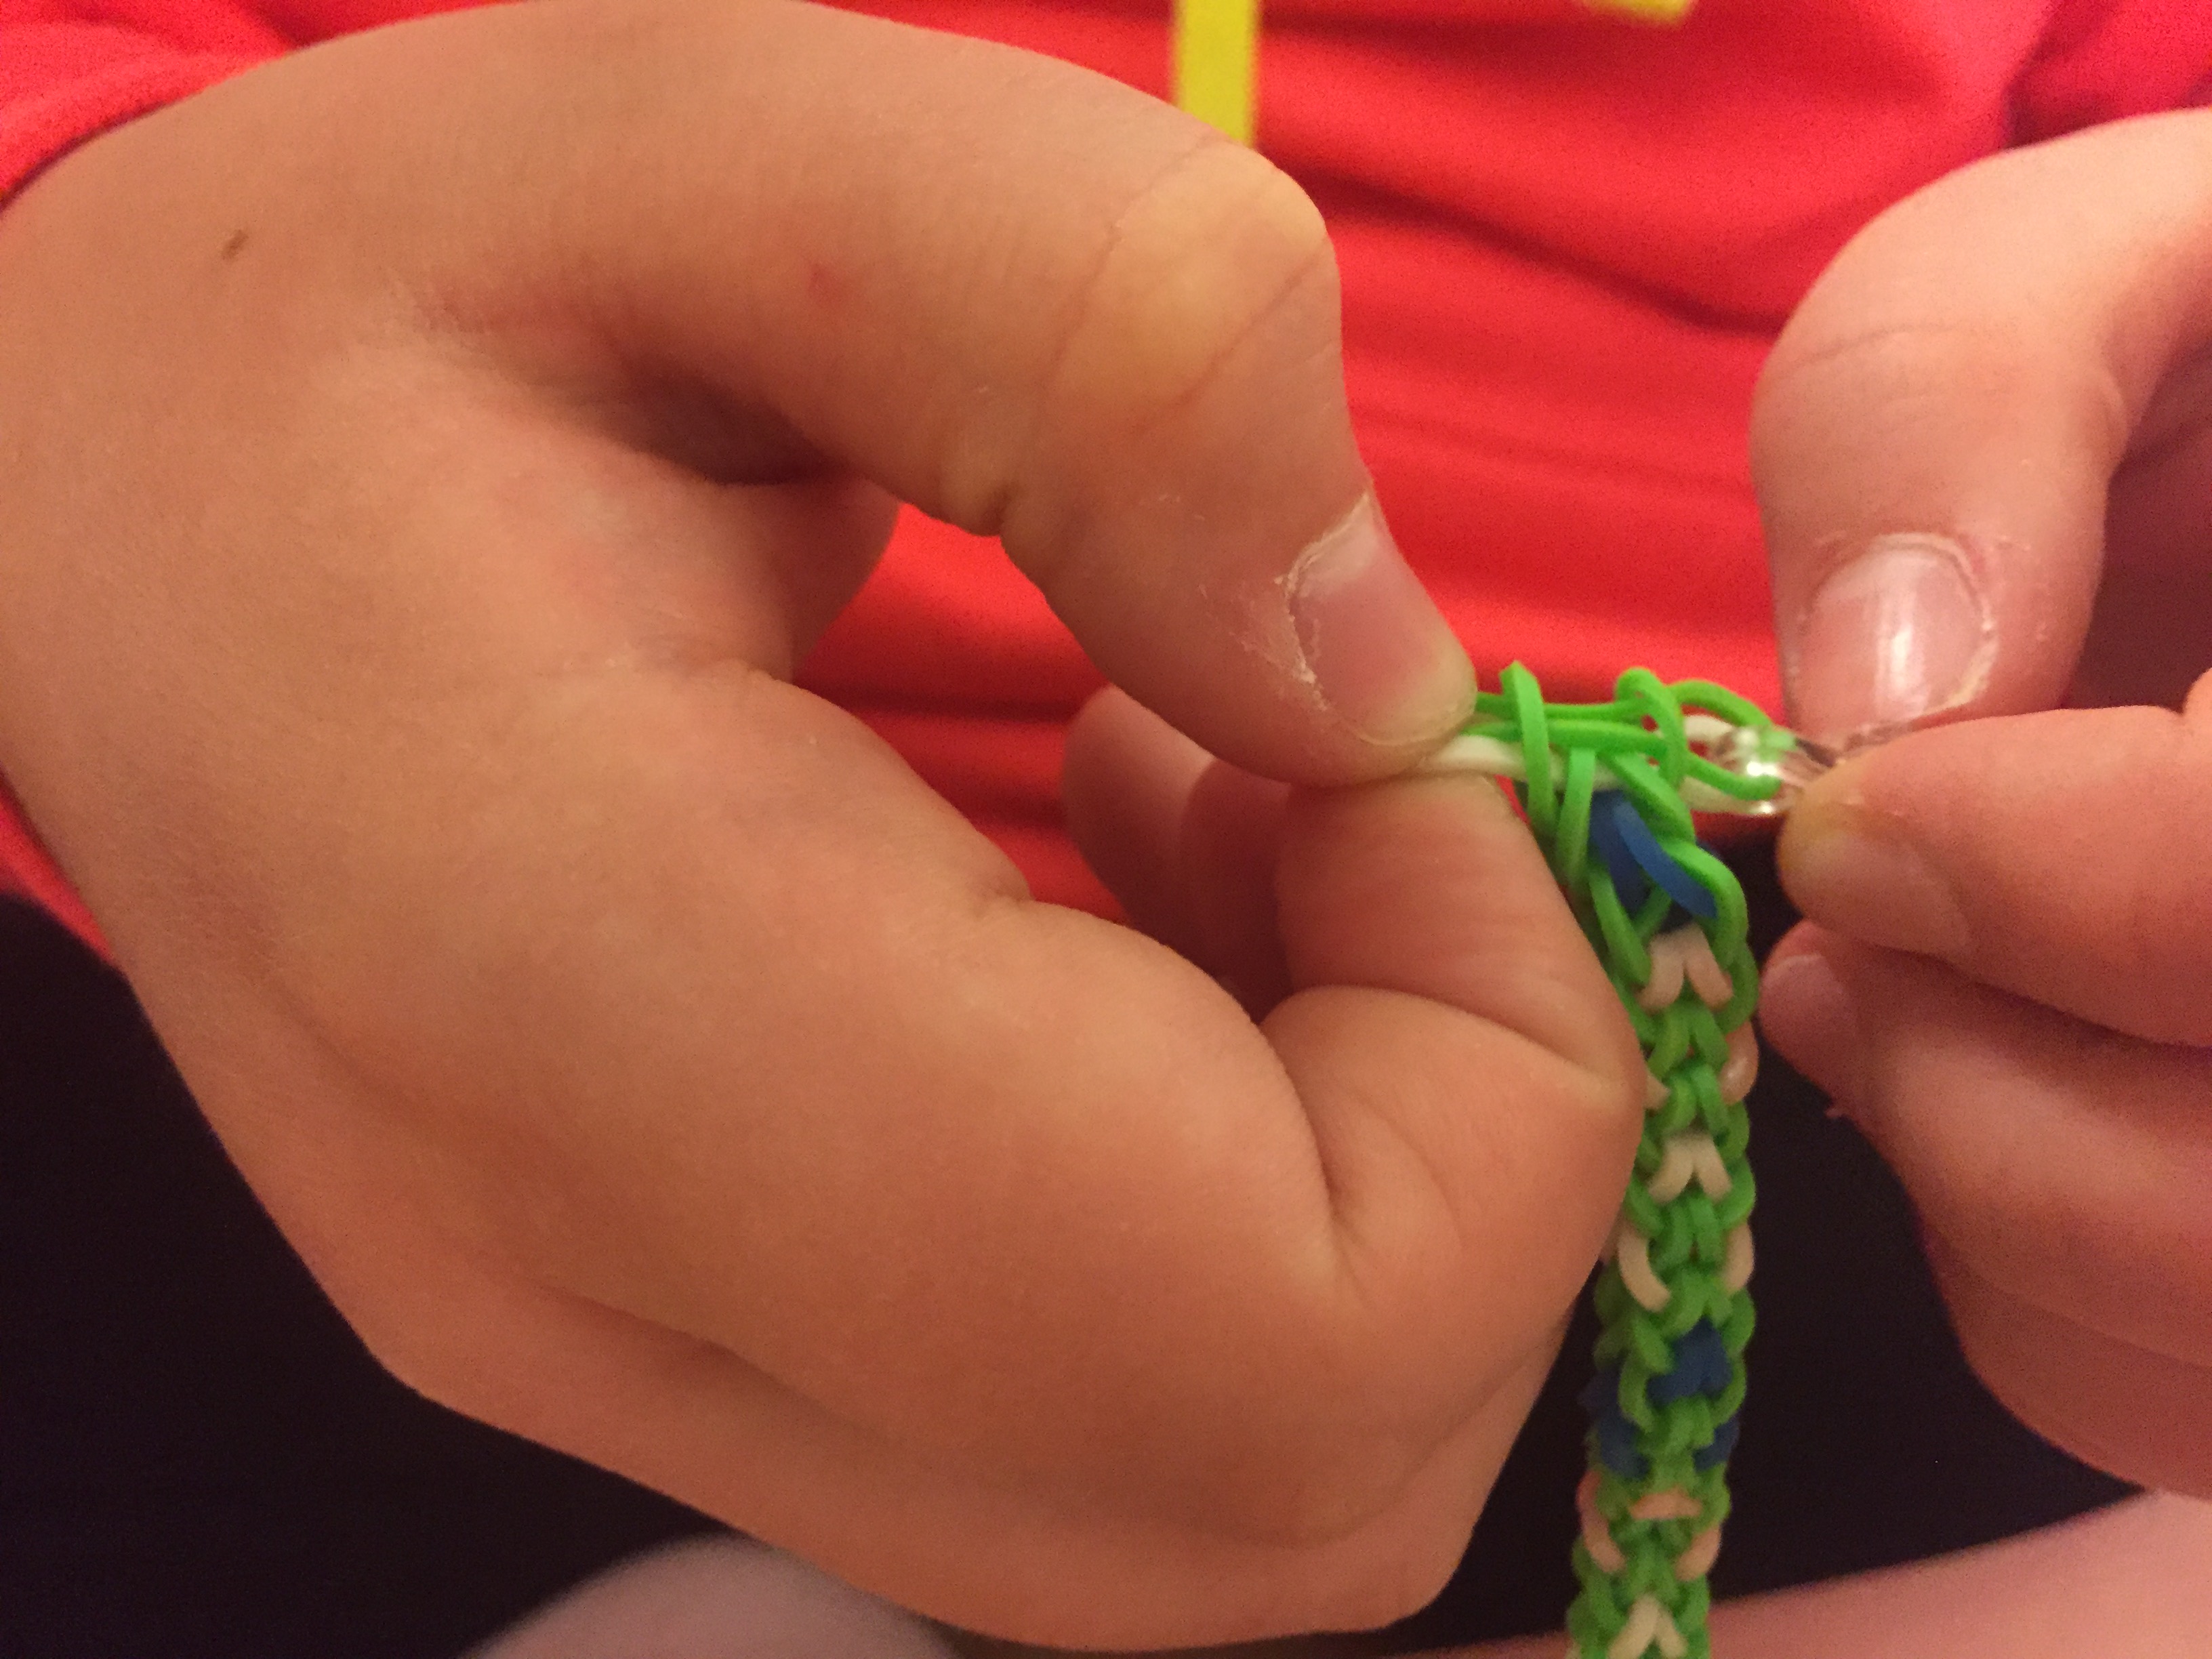
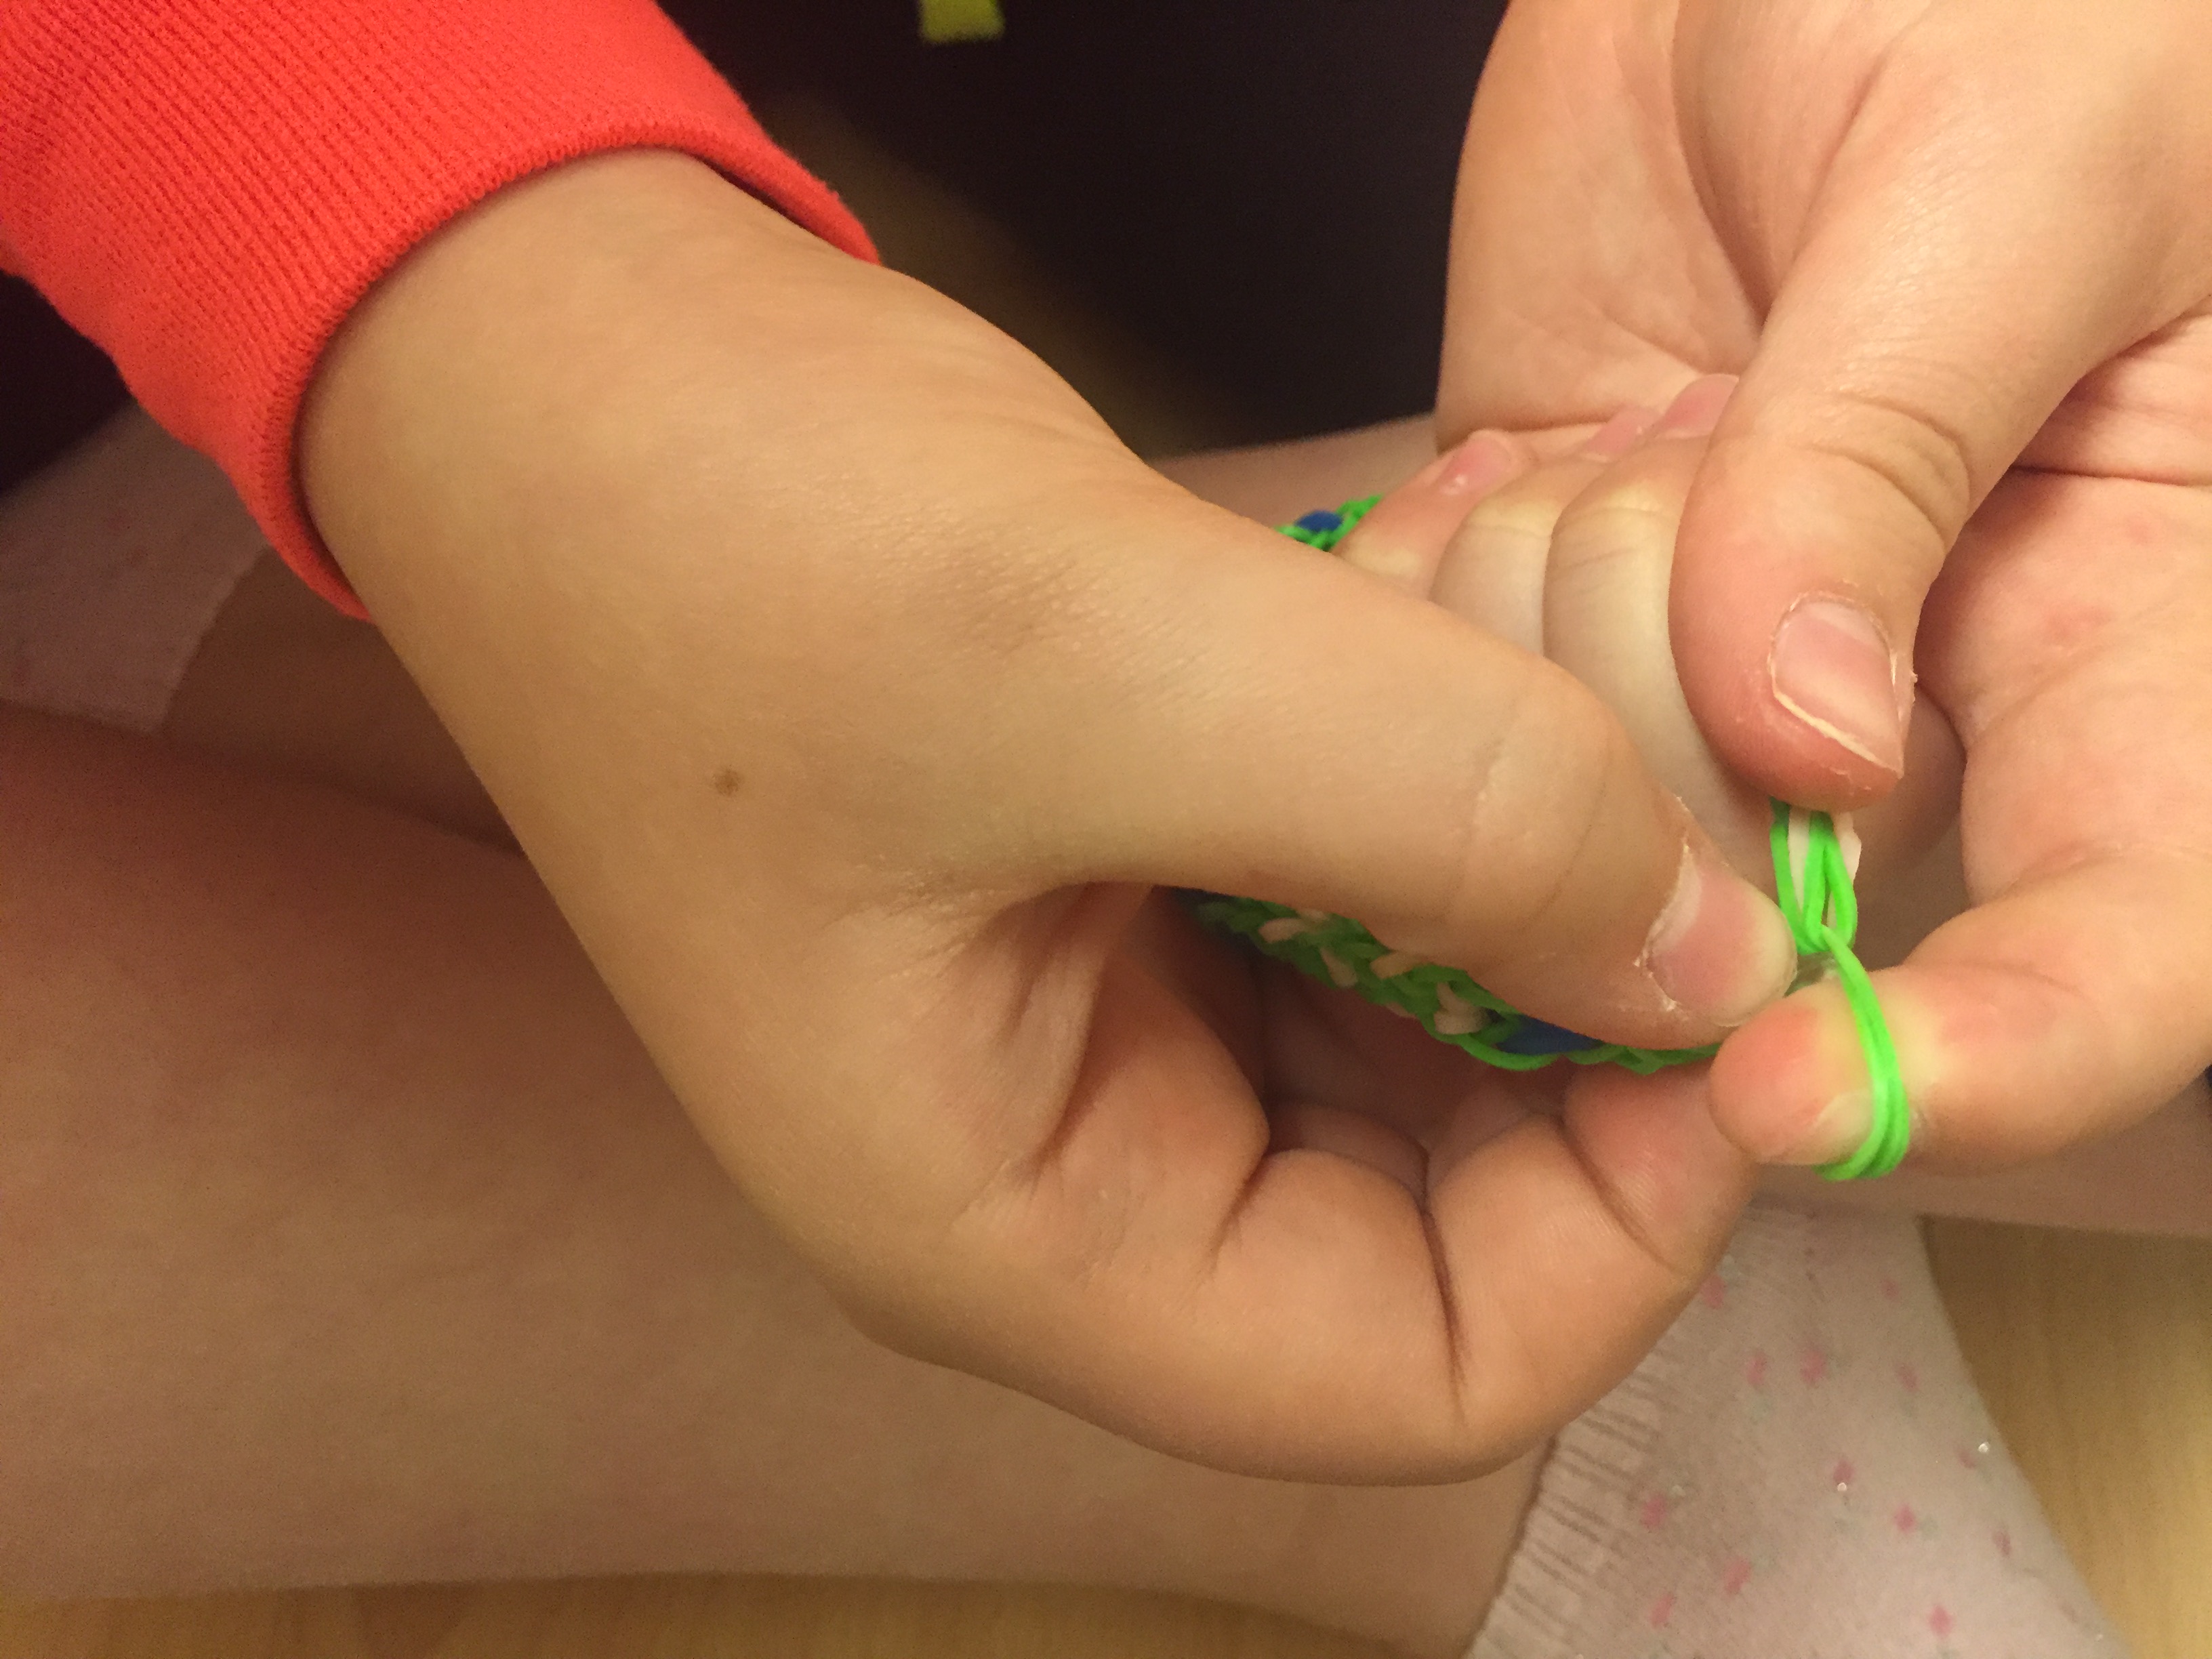
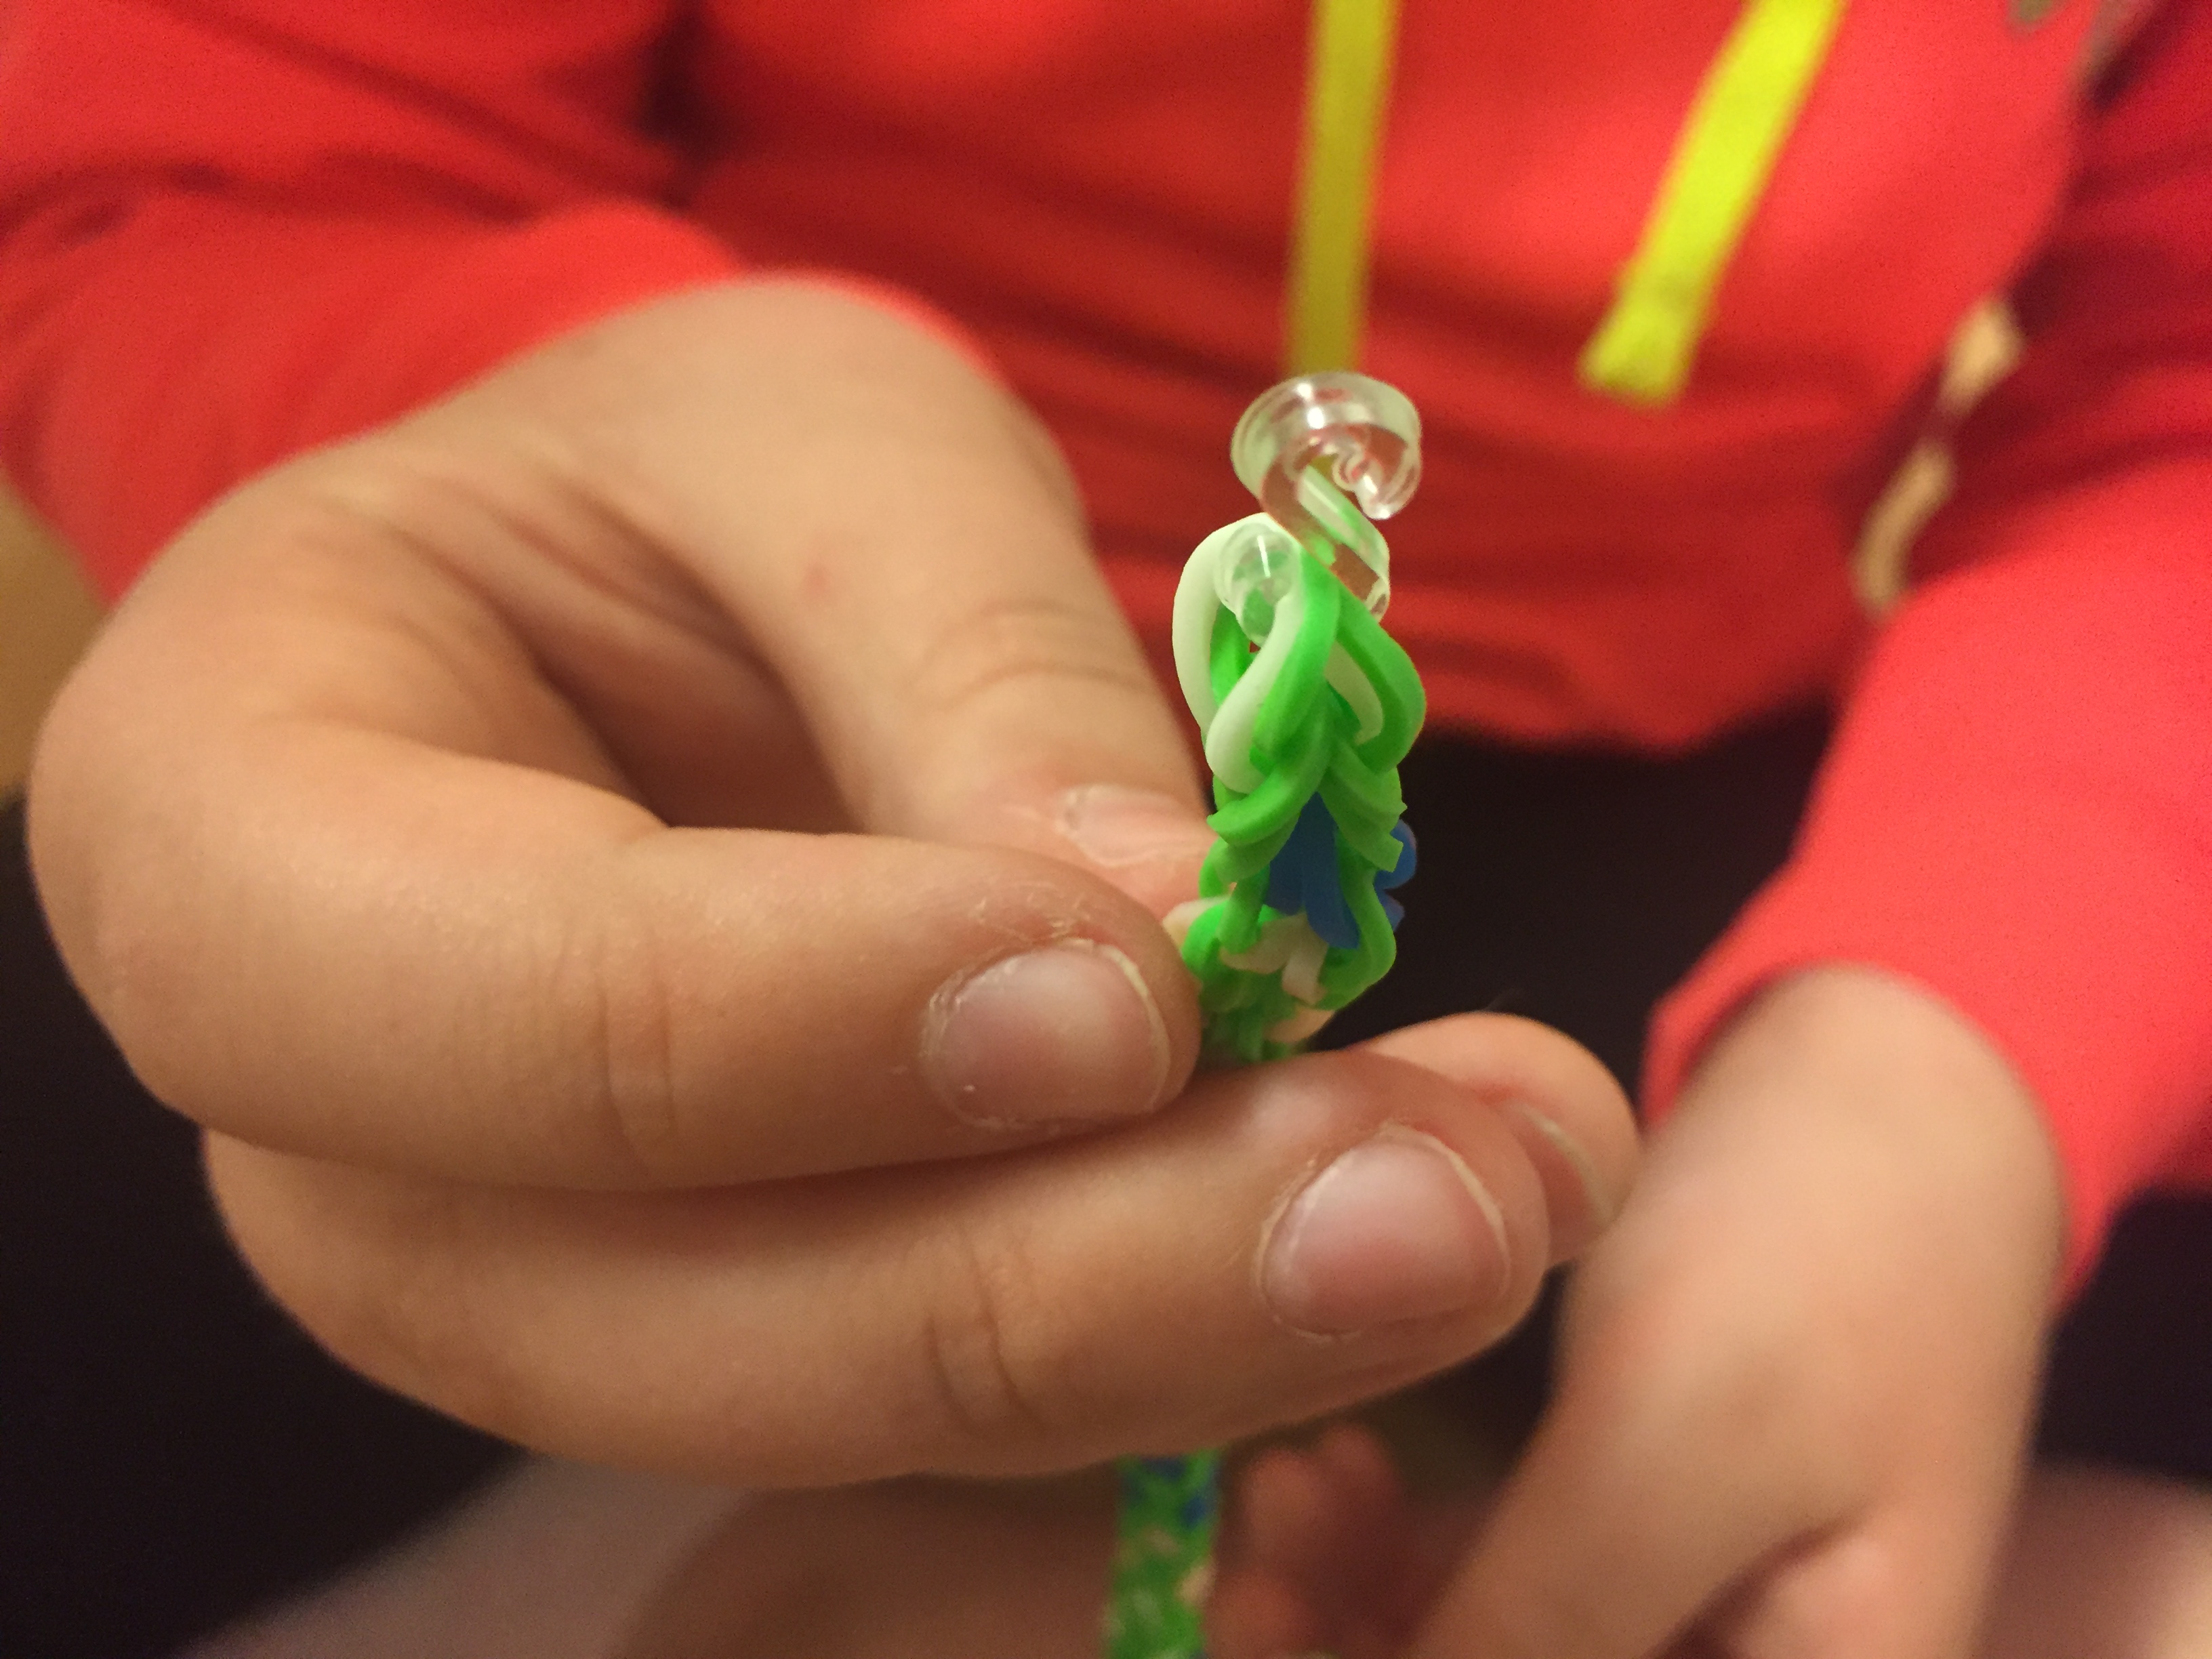
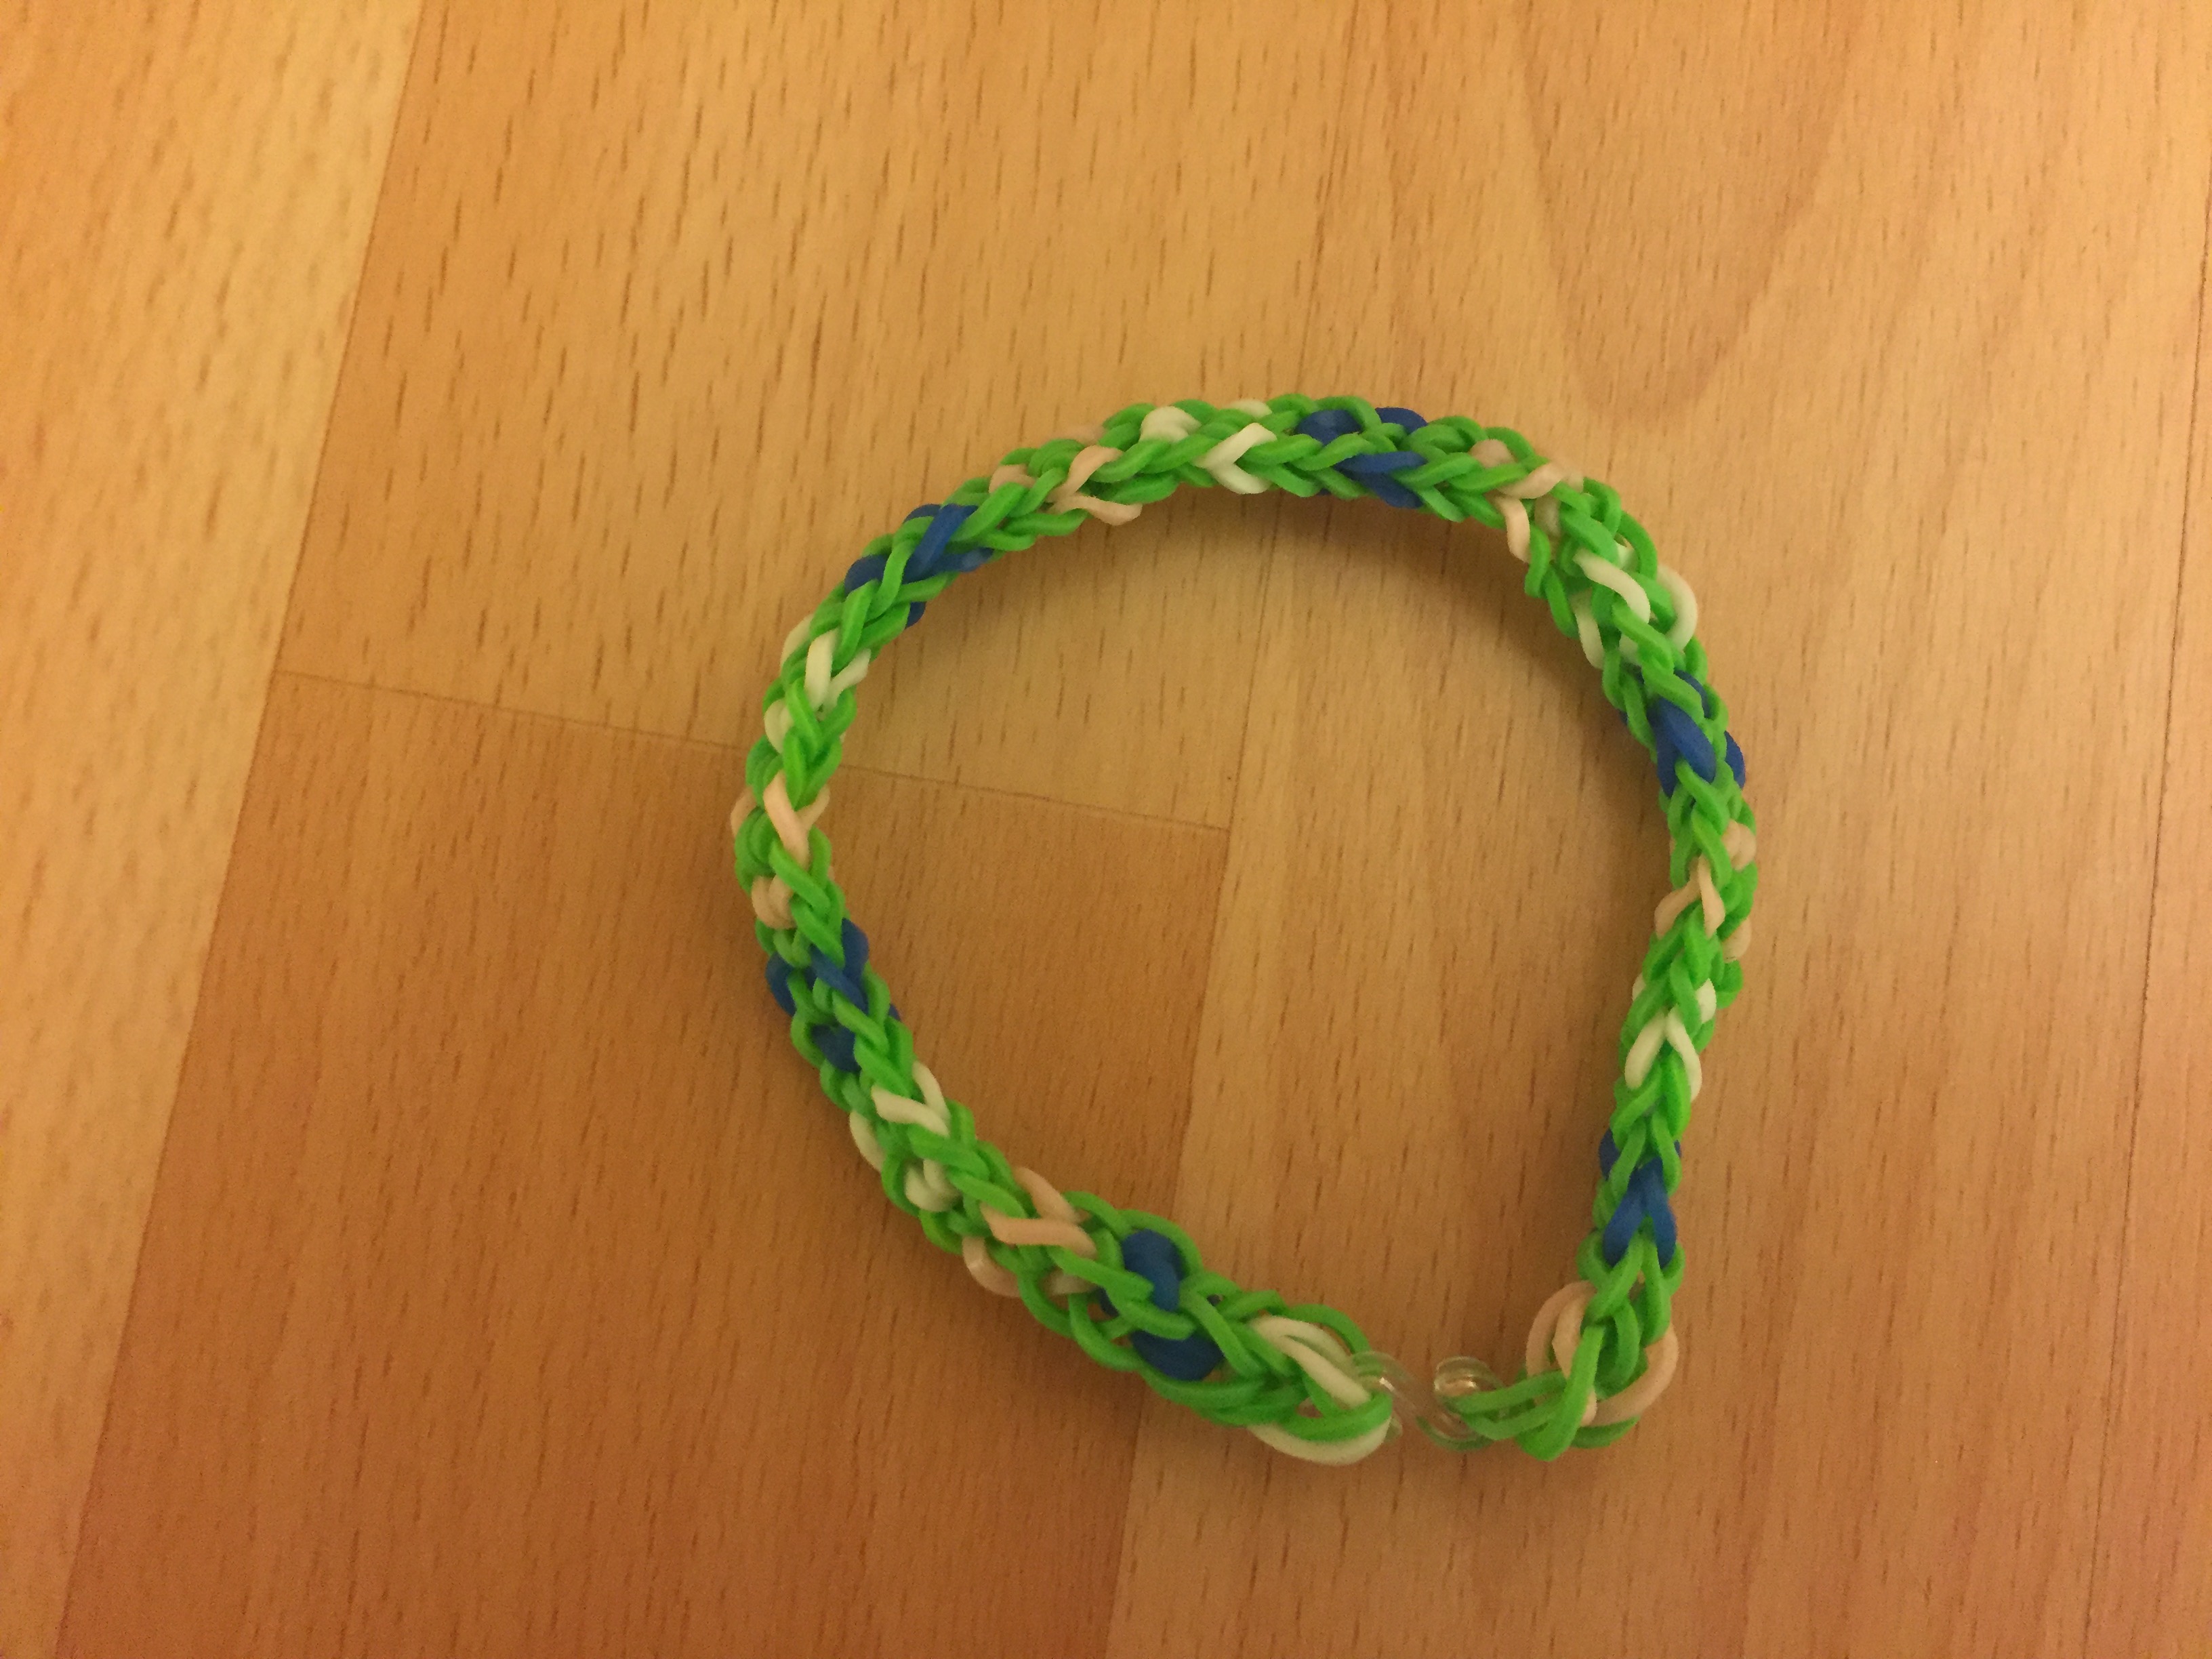
Hold the bracelet by the two ends of the rubber bands. Then, put one side of the rubber bands that you are holding through one side of the S clip. Then, put the other side of the bracelet that you are holding through the same side of the S clip. Lastly, put the end of the bracelet that you made first through the other end of the S clip so that the bracelet is connected, and in the shape of an circle.
Finish and Summary


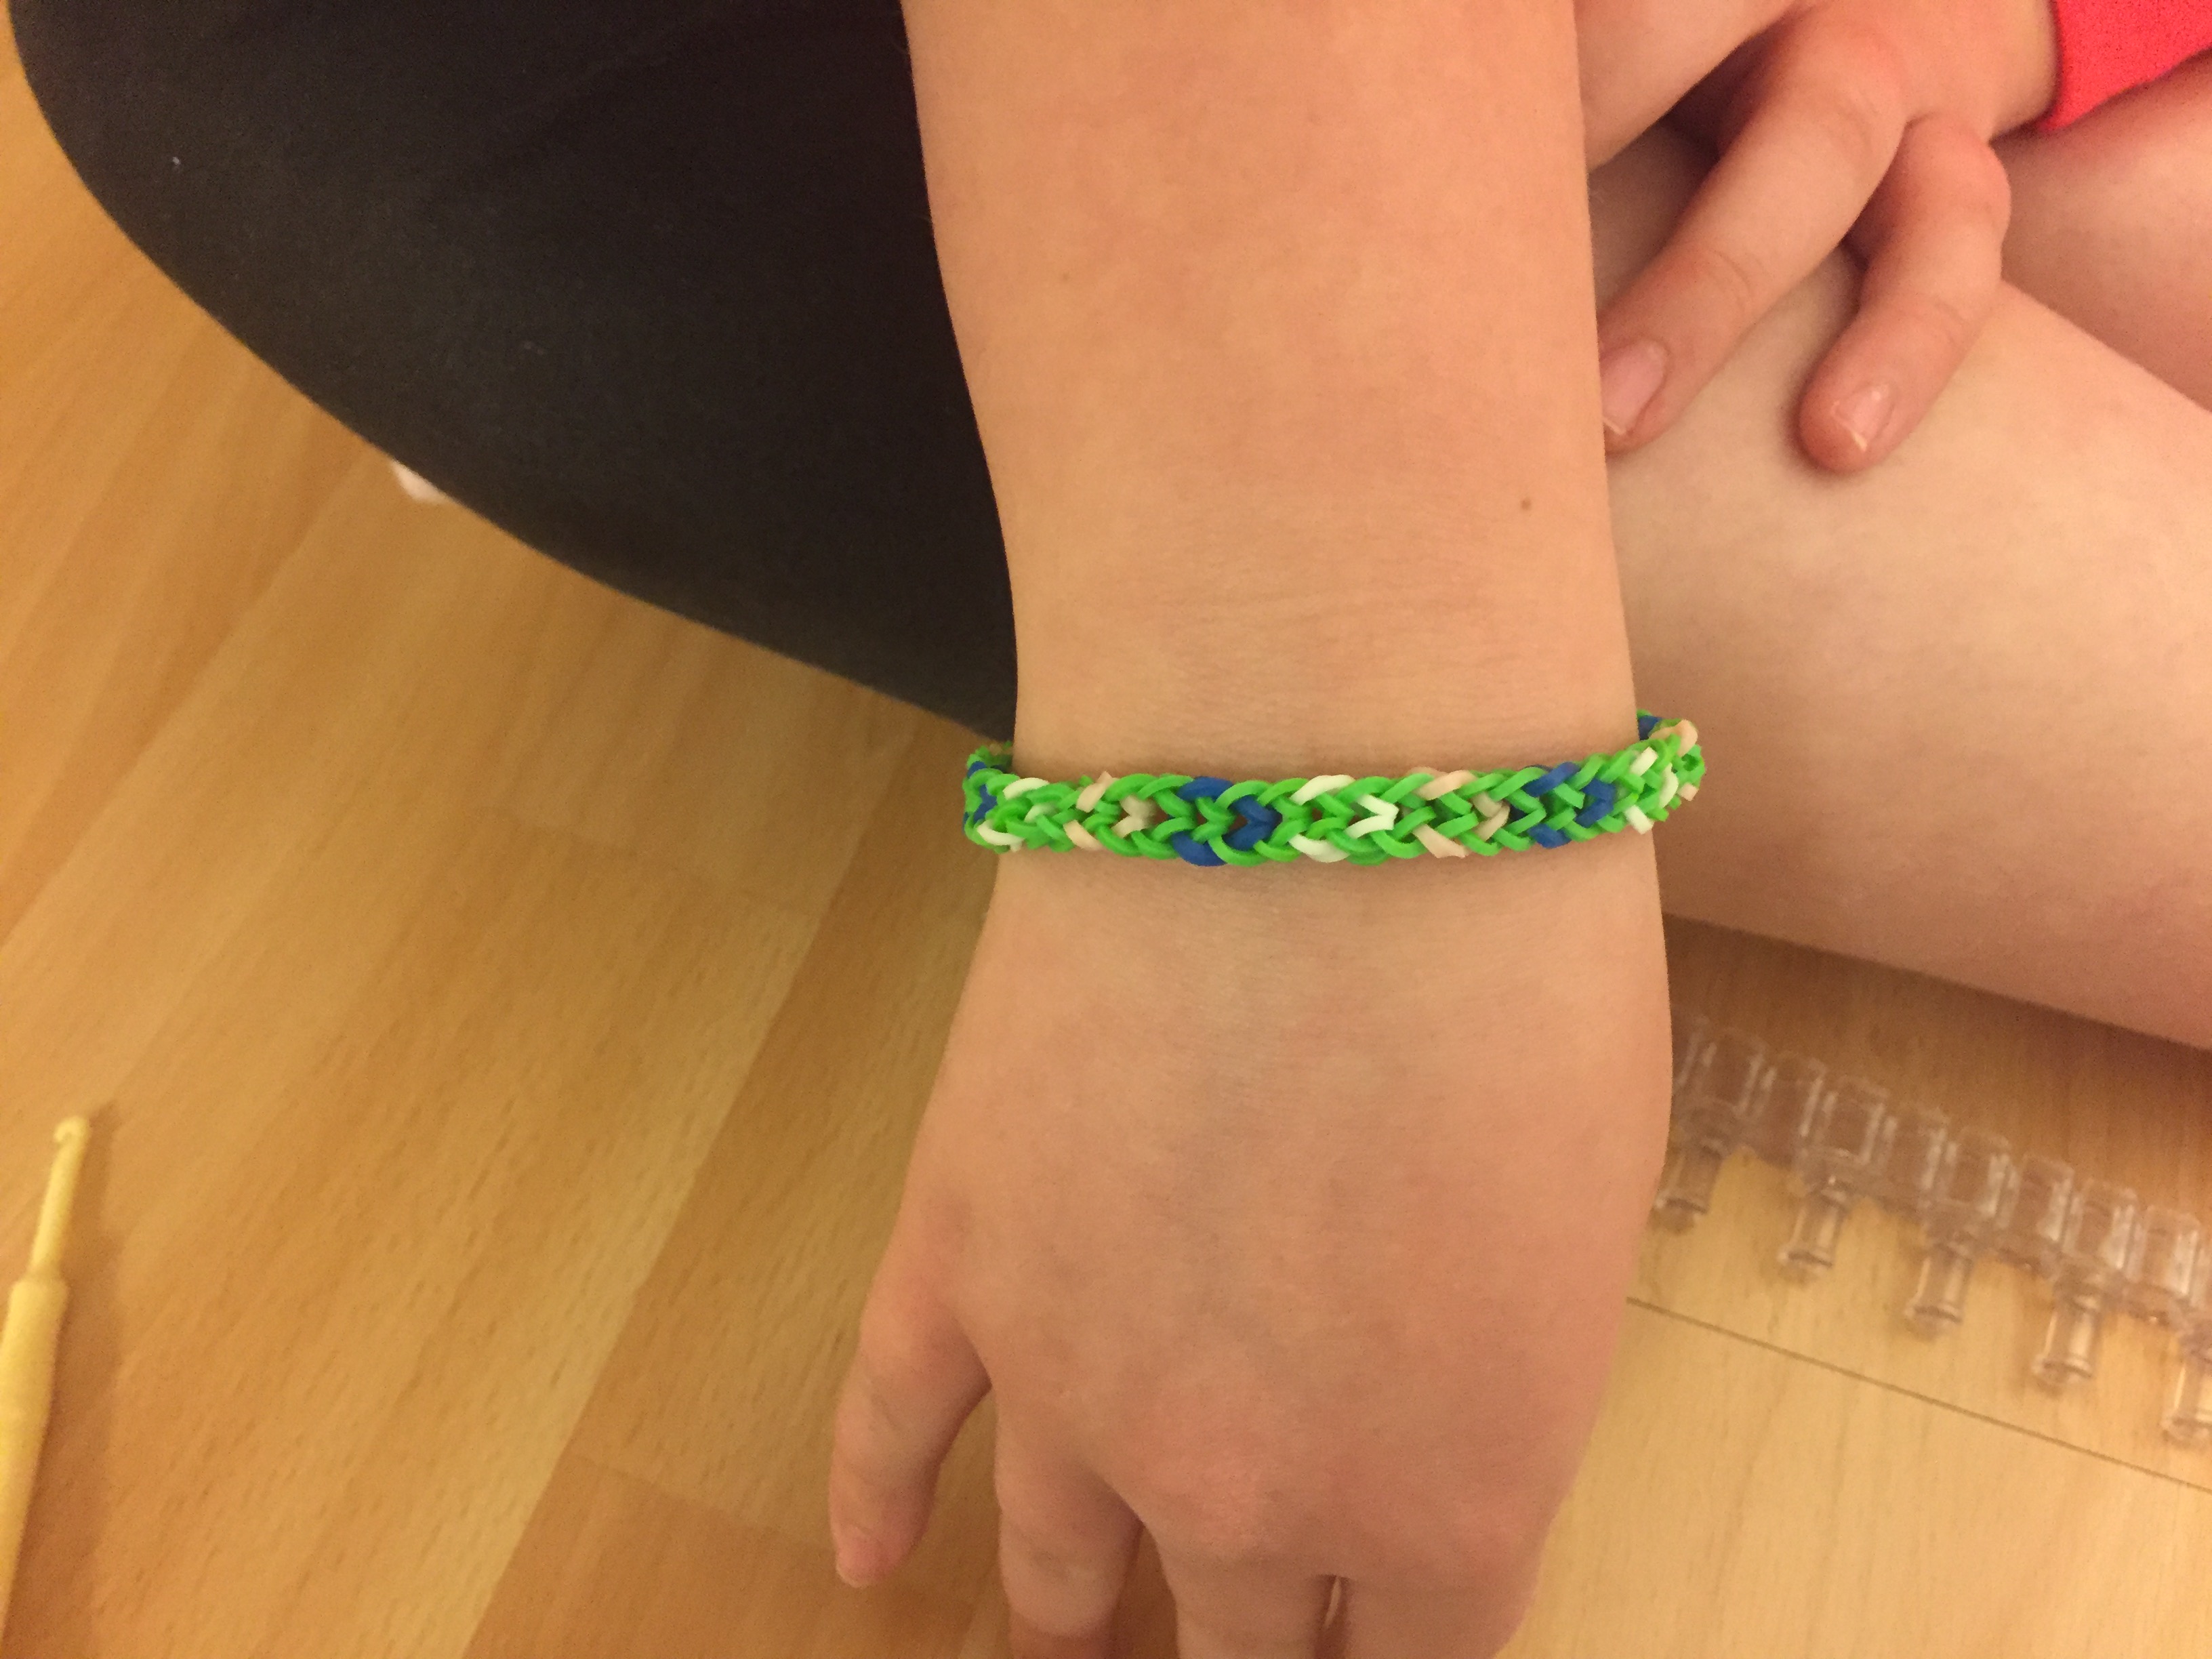
That’s how you make an inverted fishtail. For other versions of the inverted fishtail you can use different colors. You should pay special attention to when you have to change where the hook goes through the three bands. You should also pay special attention to when you are taking your bracelet off the loom. During the process of making this bracelet, we learned that it is easier to move the rubber band with the hook facing away from you, and then putting the hook in through the other bands to get a hold of it. We didn’t really have any challenges along the way, so you shouldn’t have many either. This is a more advanced bracelet, so if you have never worked with rainbow loom, you might want to start with an easier bracelet. Hope you have fun!
YADI!
Made by DIS Demons
De349454 and Ca349473