Restore an Old Record Player
by joeri666 in Workshop > Woodworking
25761 Views, 97 Favorites, 0 Comments
Restore an Old Record Player
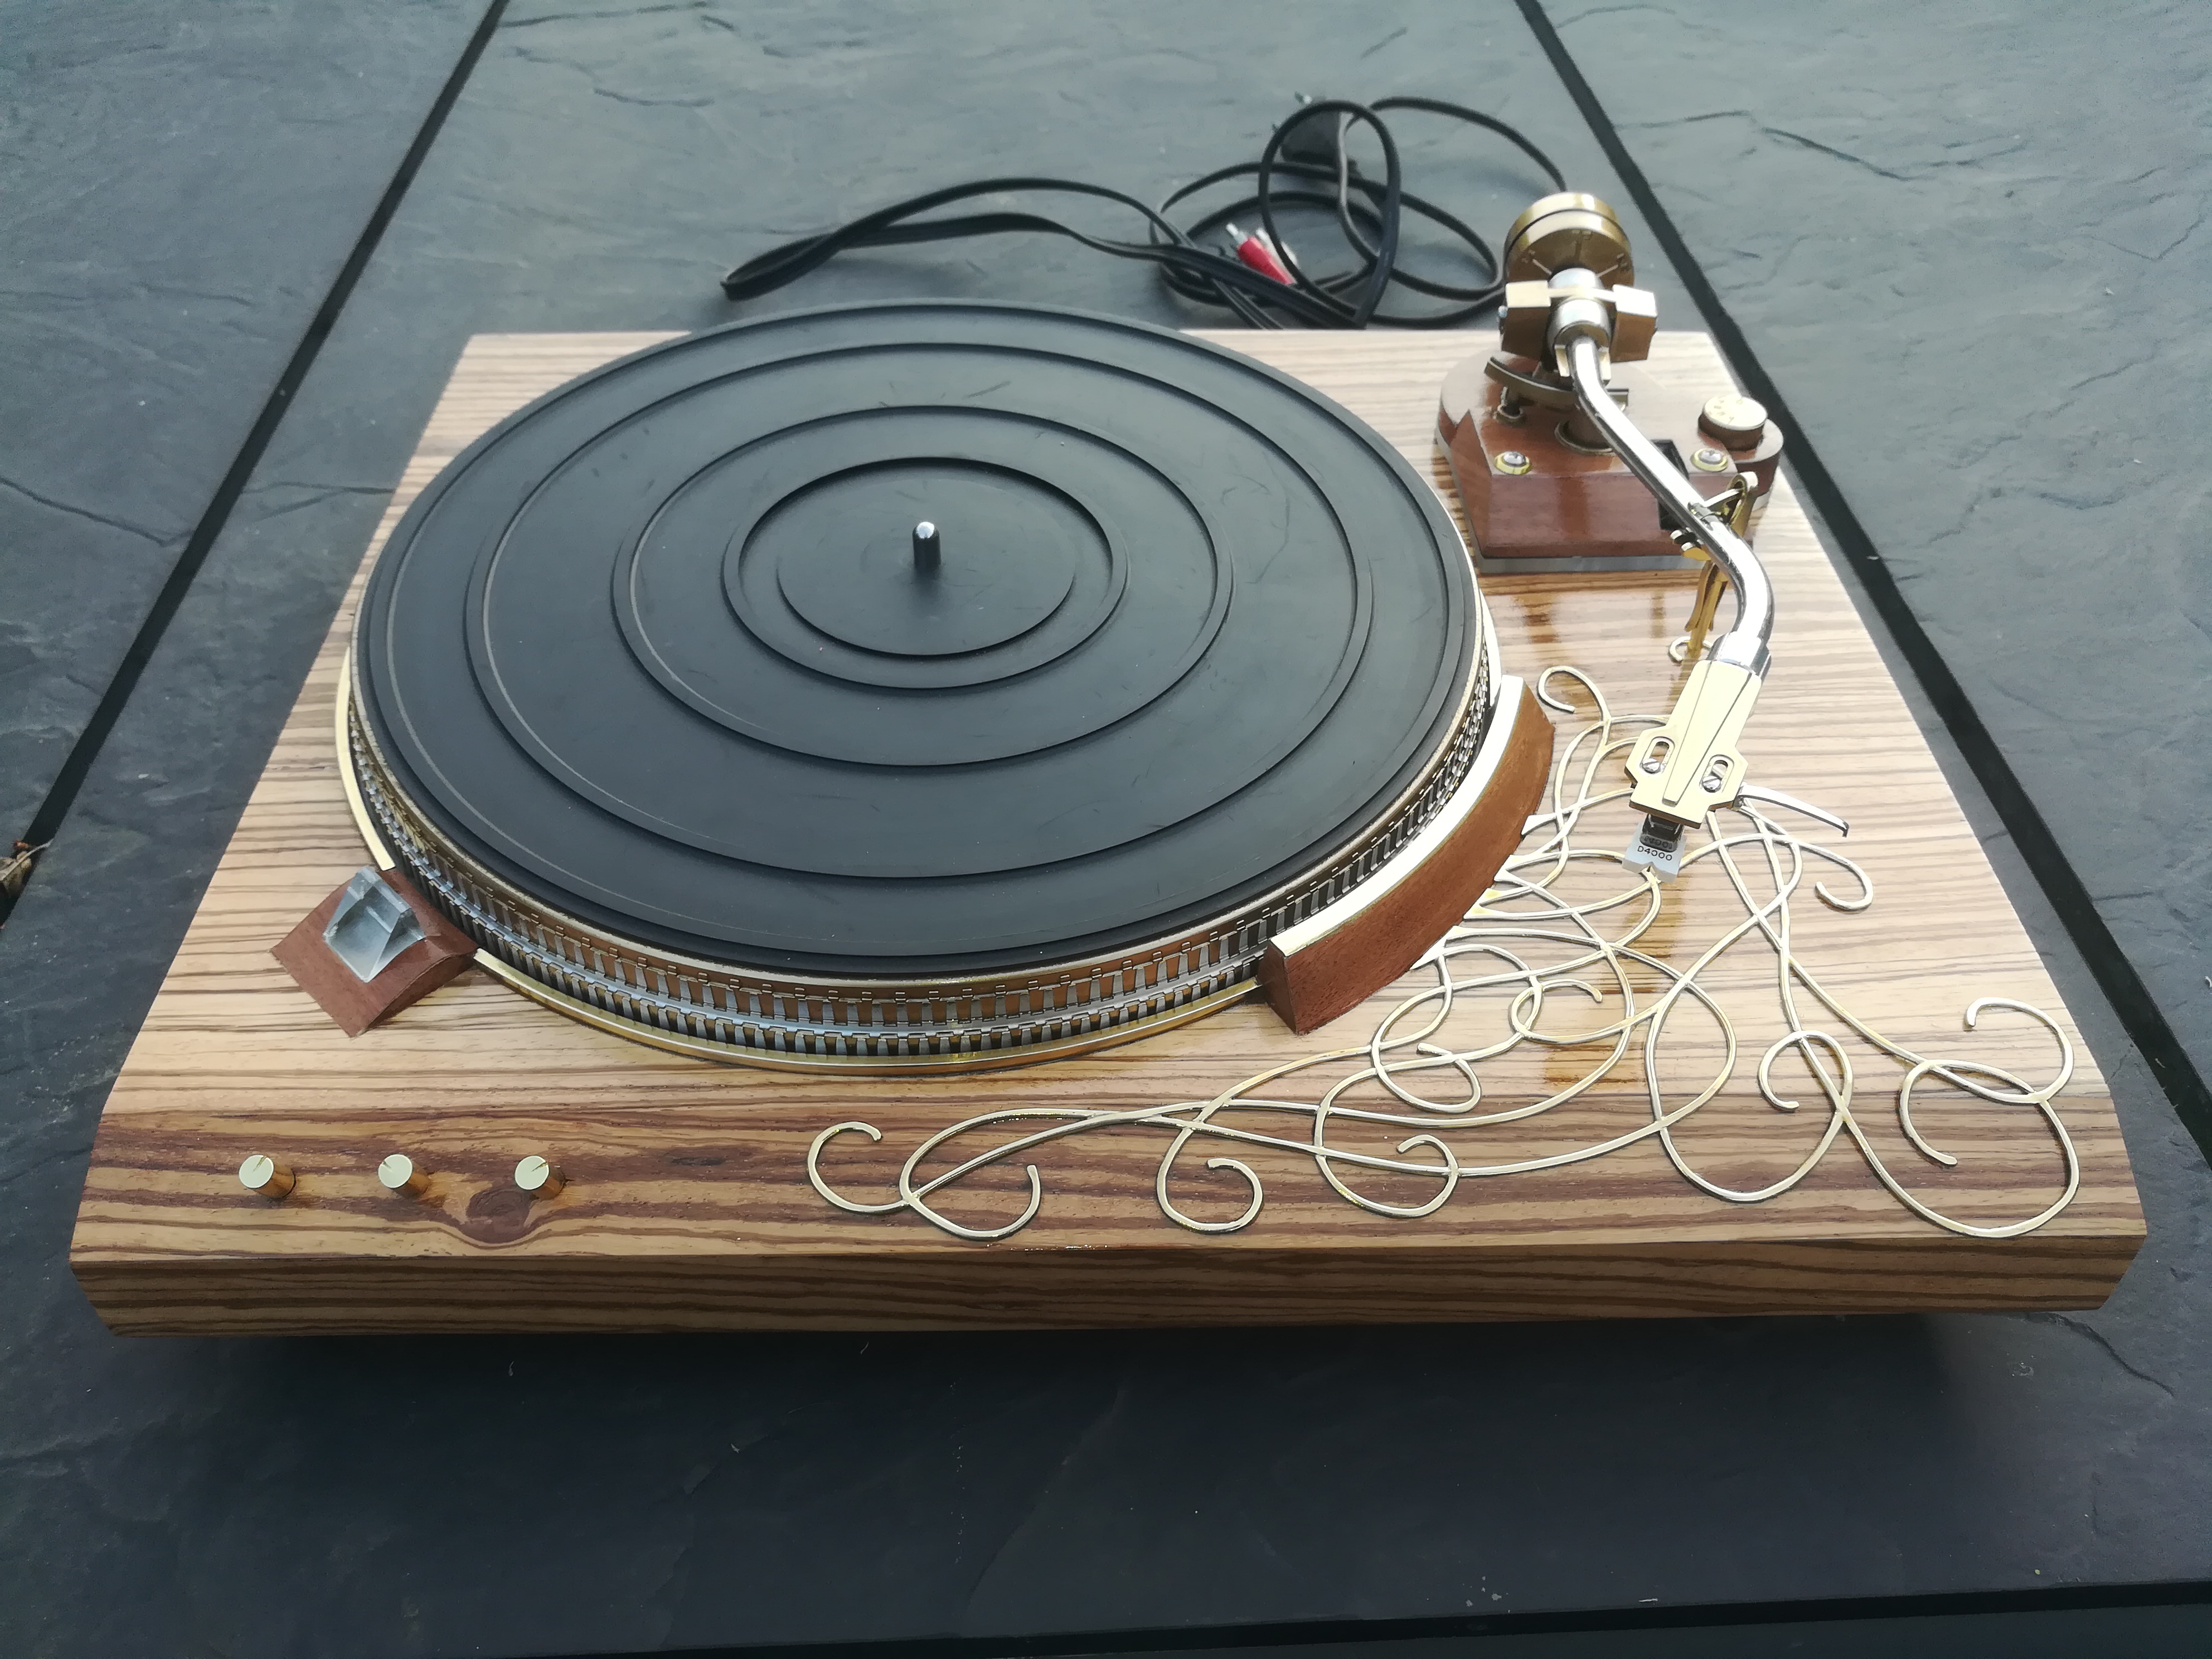
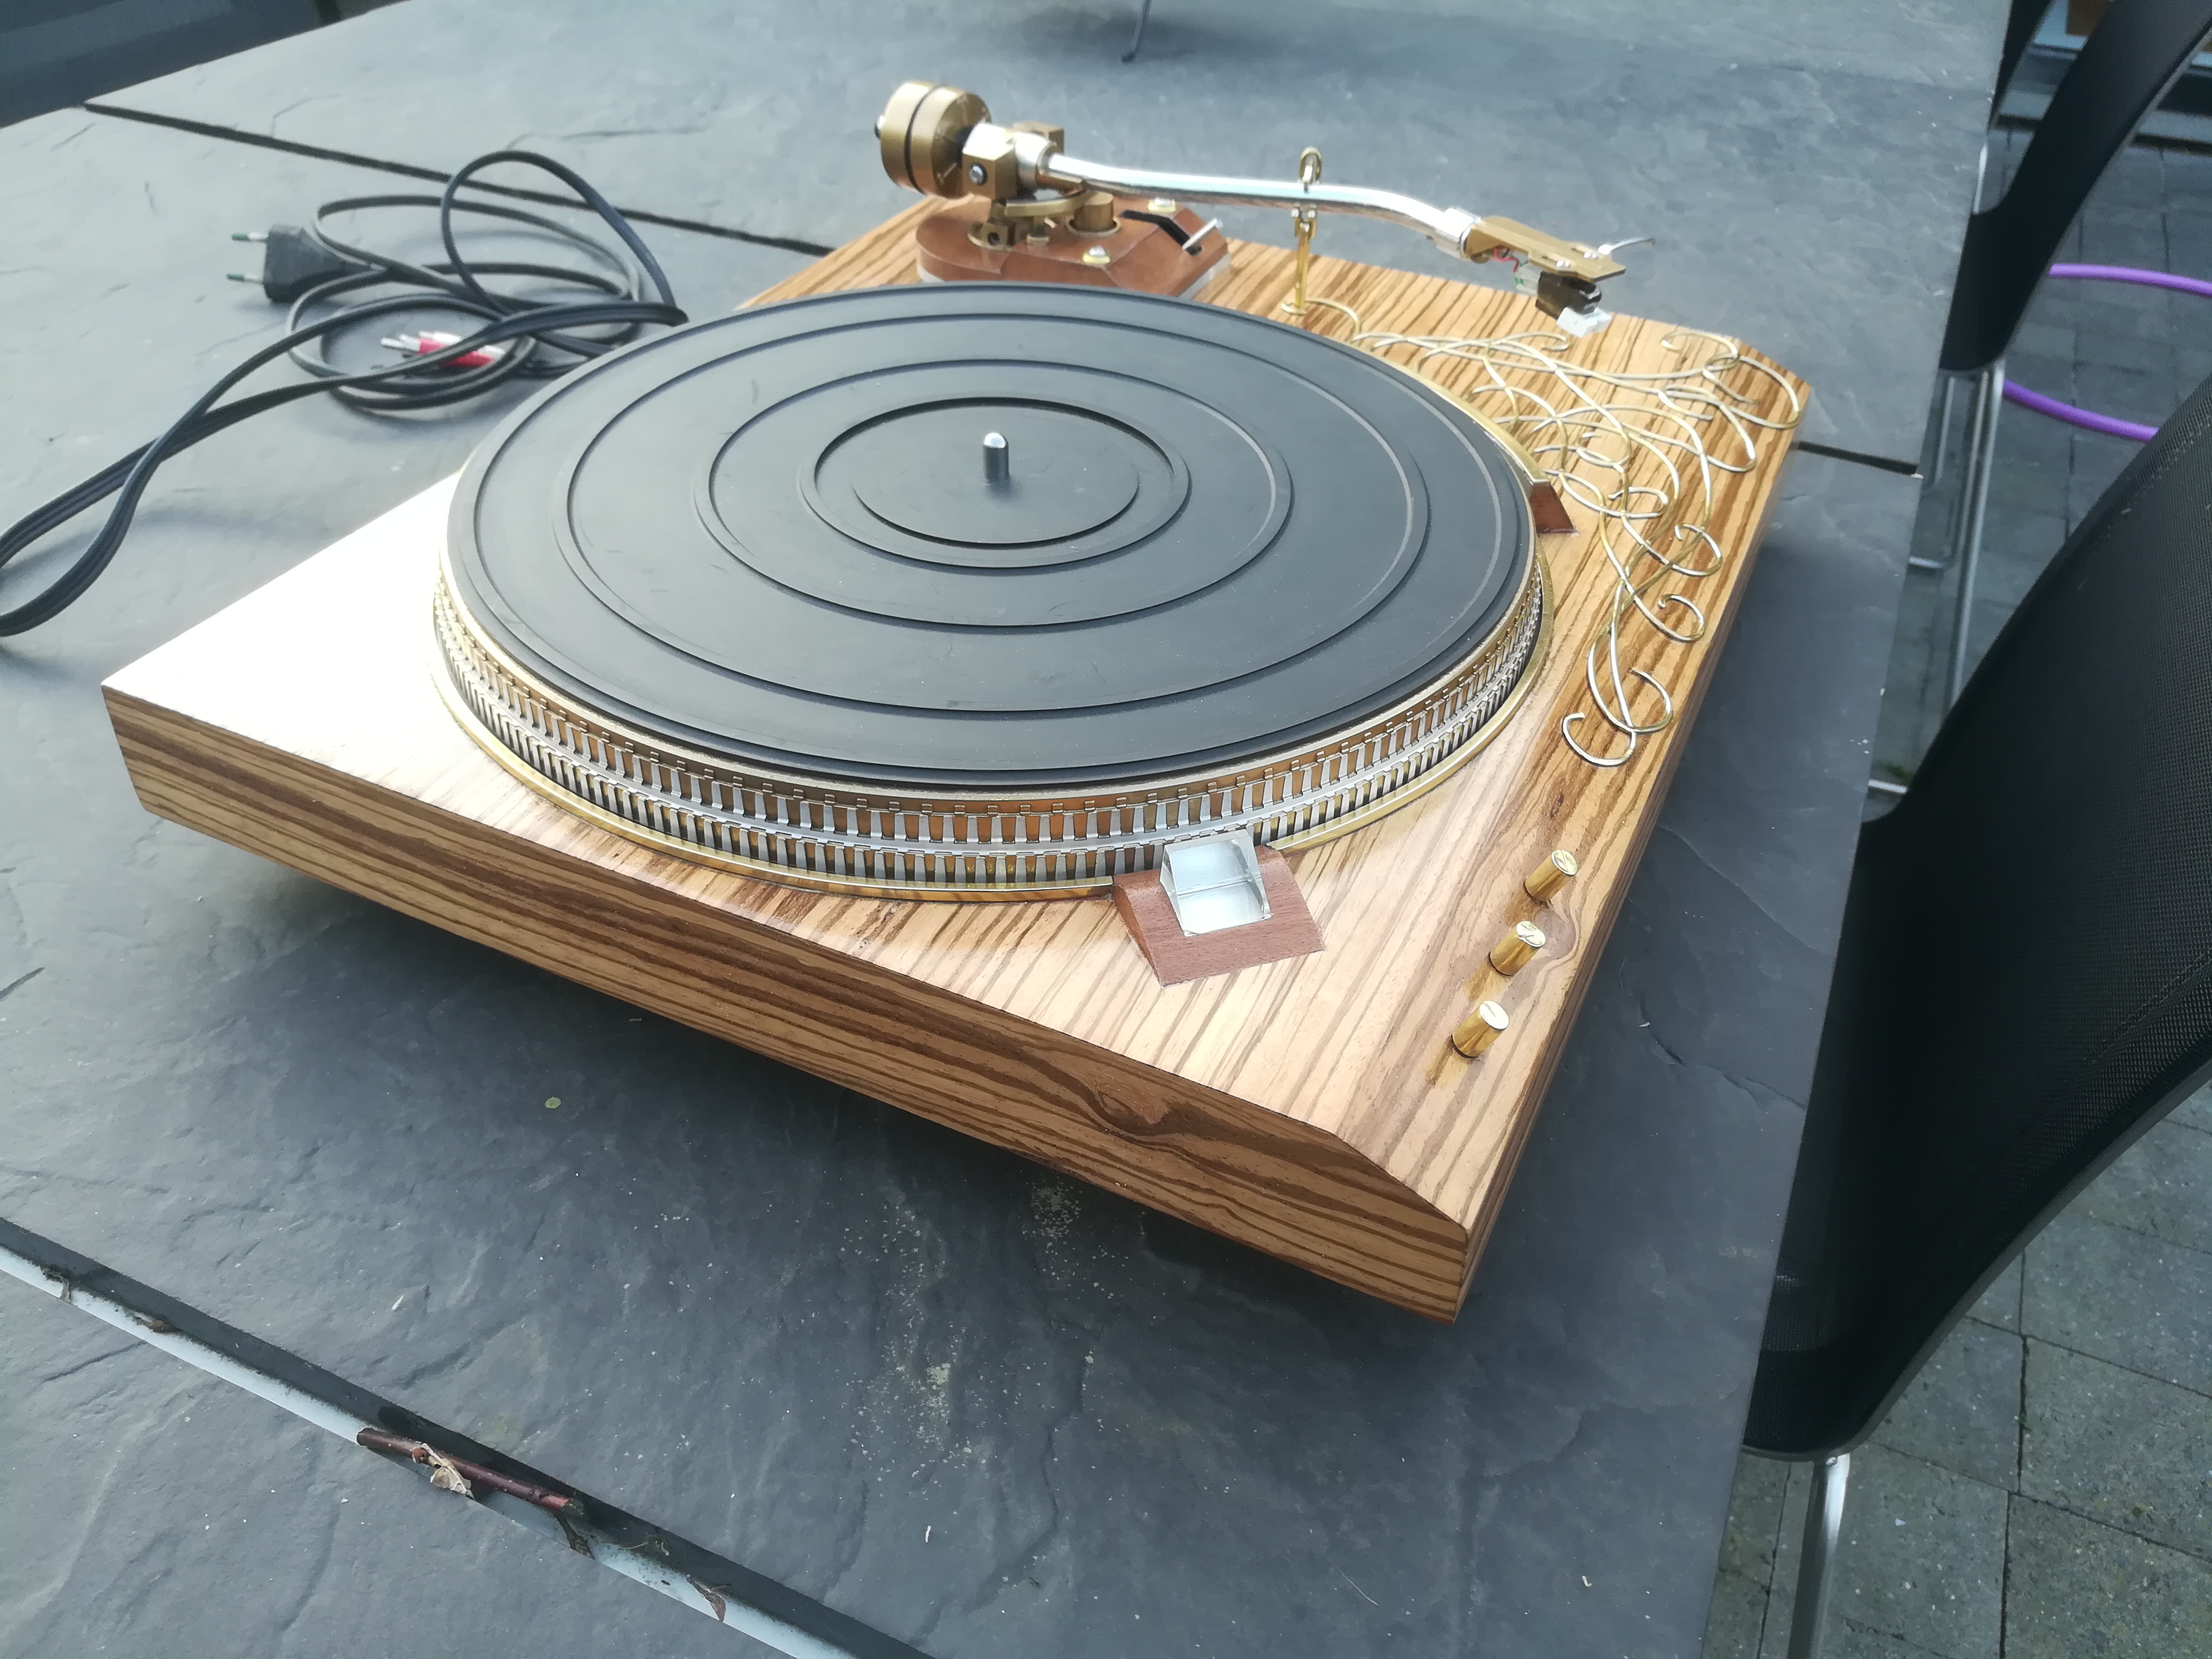
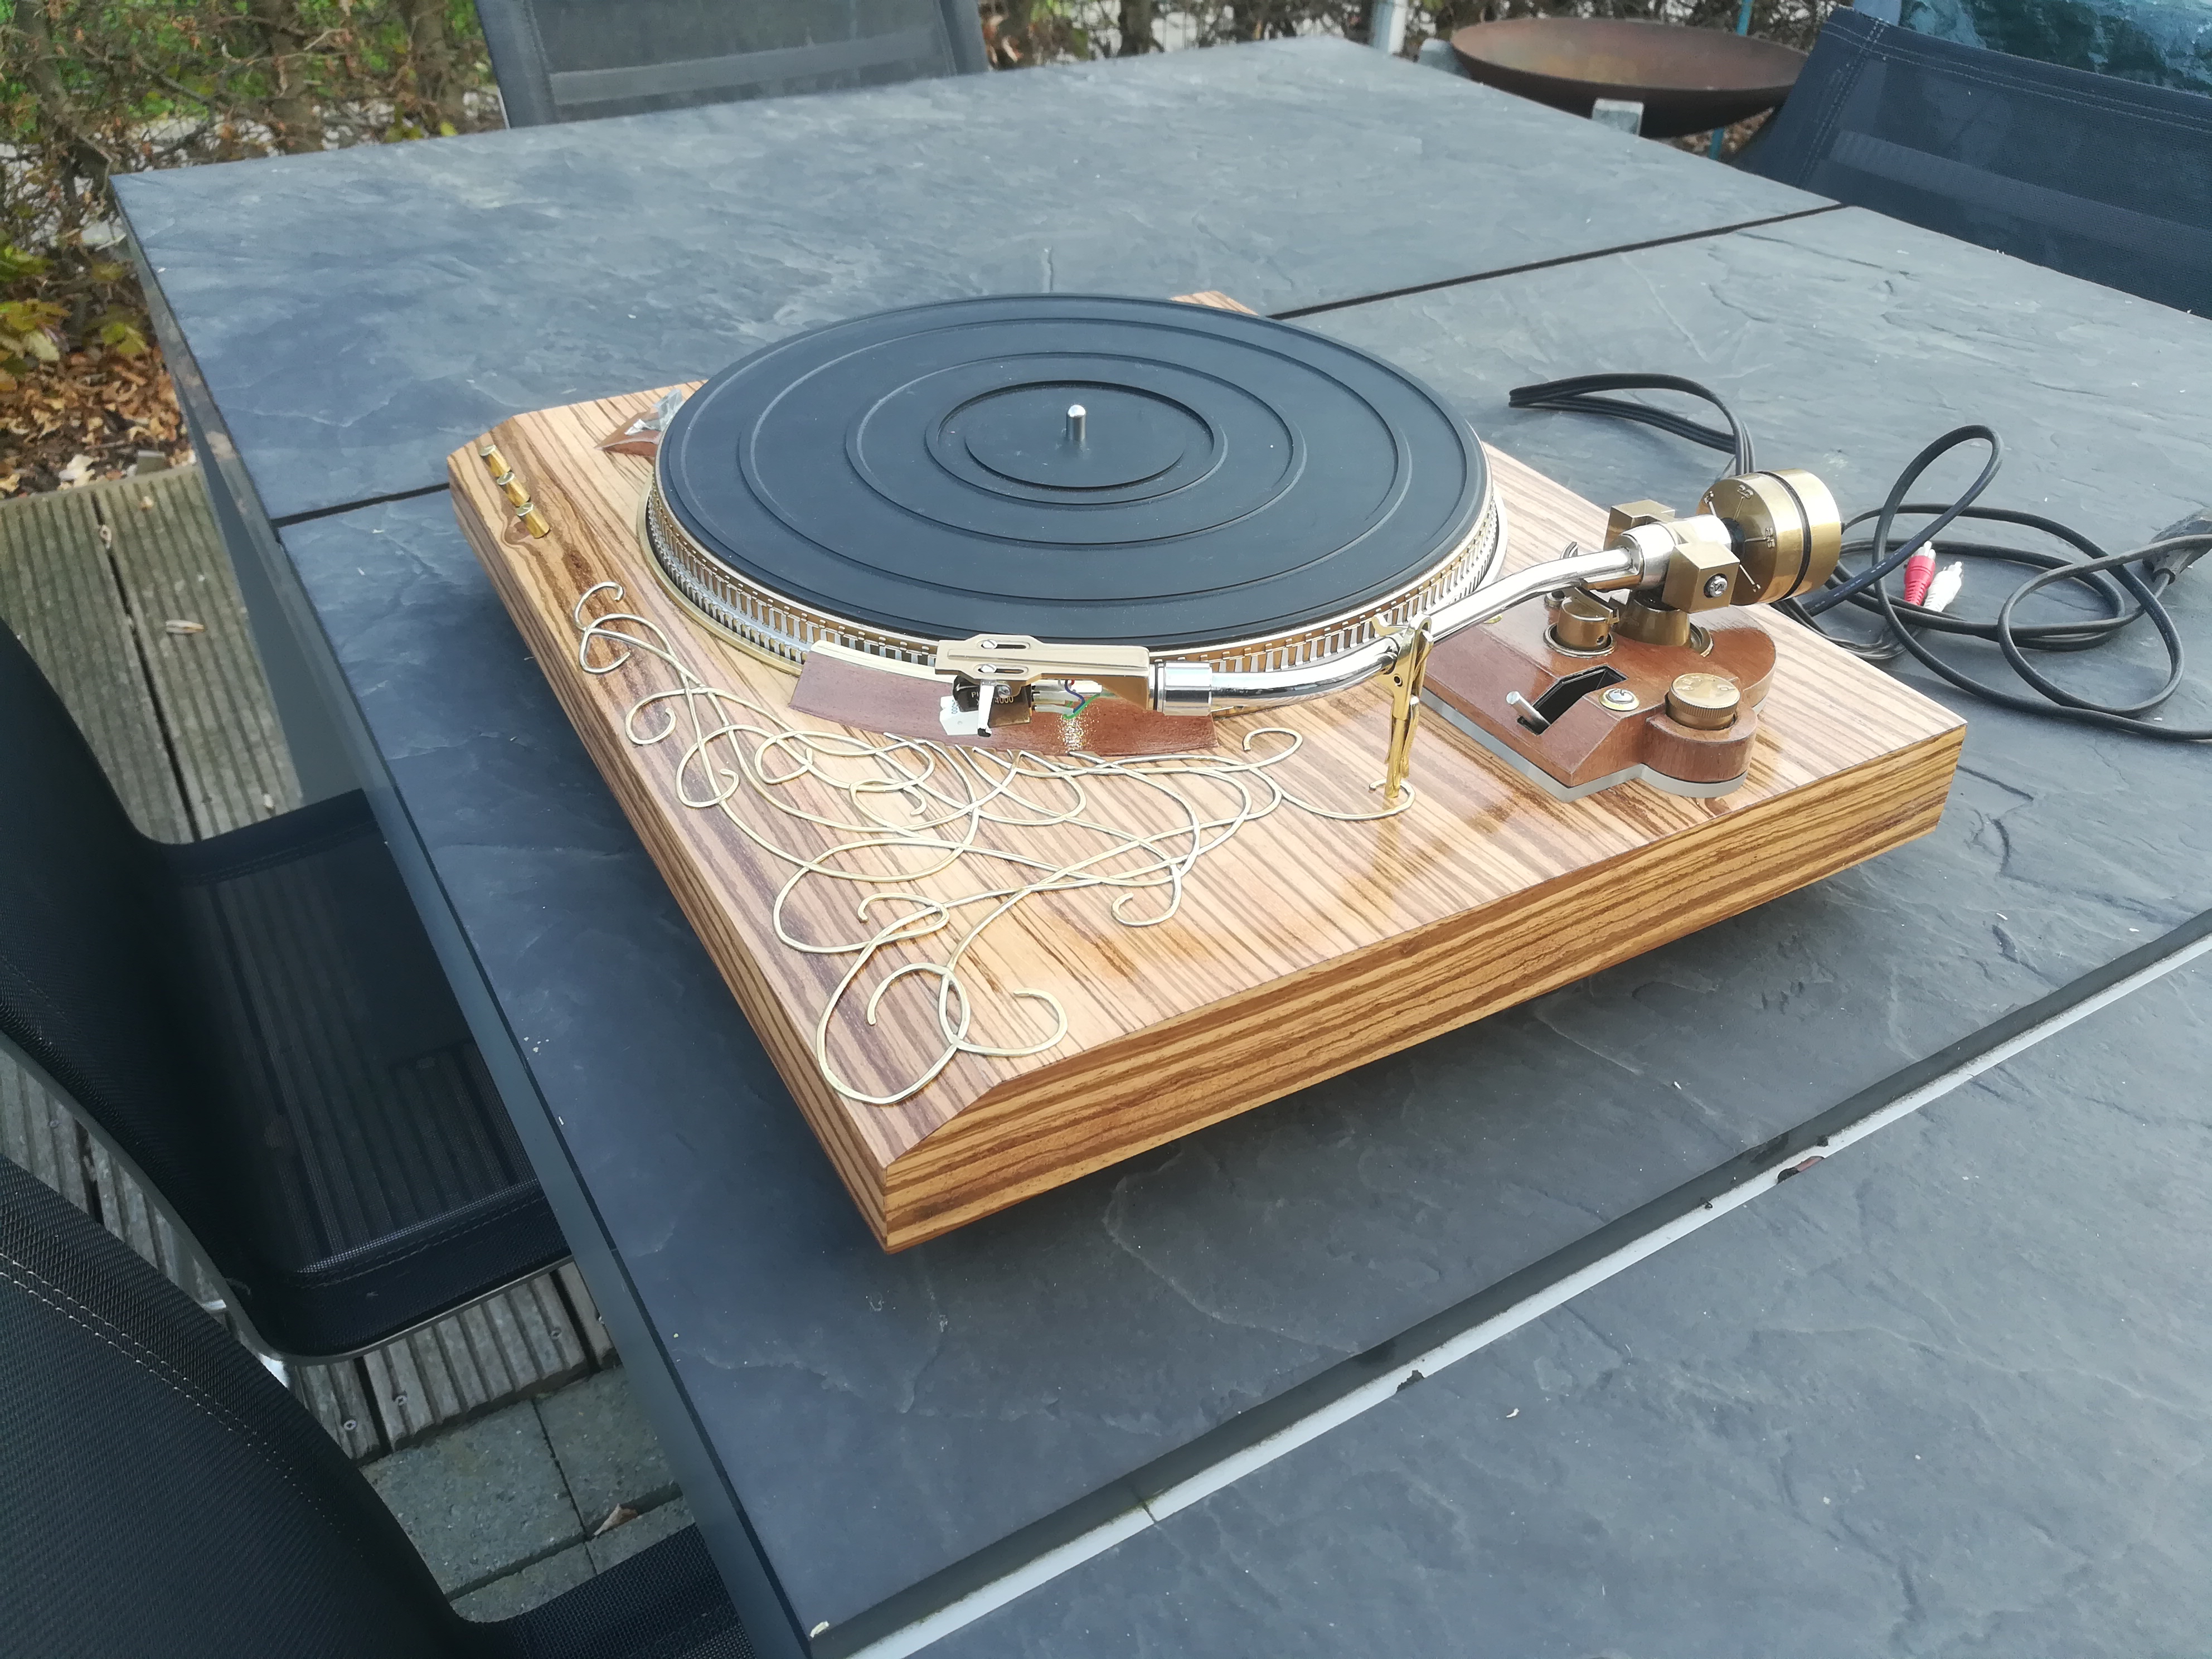
When we were cleaning up the attic of our grandmother, I found this old record player. It was in very poor condition, but when I plugged it in, it started to turn. The reason why I wanted to test it is because it had a direct drive motor and apparently this type of drive will last for a long time. Unfortunately, it had been in the attic for about 20 years without shielding and everything was oxidized. Ready for the scrap yard for many people.
But this record player belonged to my grandfather and I wanted to do something with it. So luckily there were a few other record players and I came up with the idea of just rebuilding it. Using the parts of the other players, with the case and engine of the original record player. I also wanted the player to give a more older look and wondered if it would be possible to cover the case with wood veneer. After a few tests this appeared to work. So the big work could start.
Take the Record Players Apart.
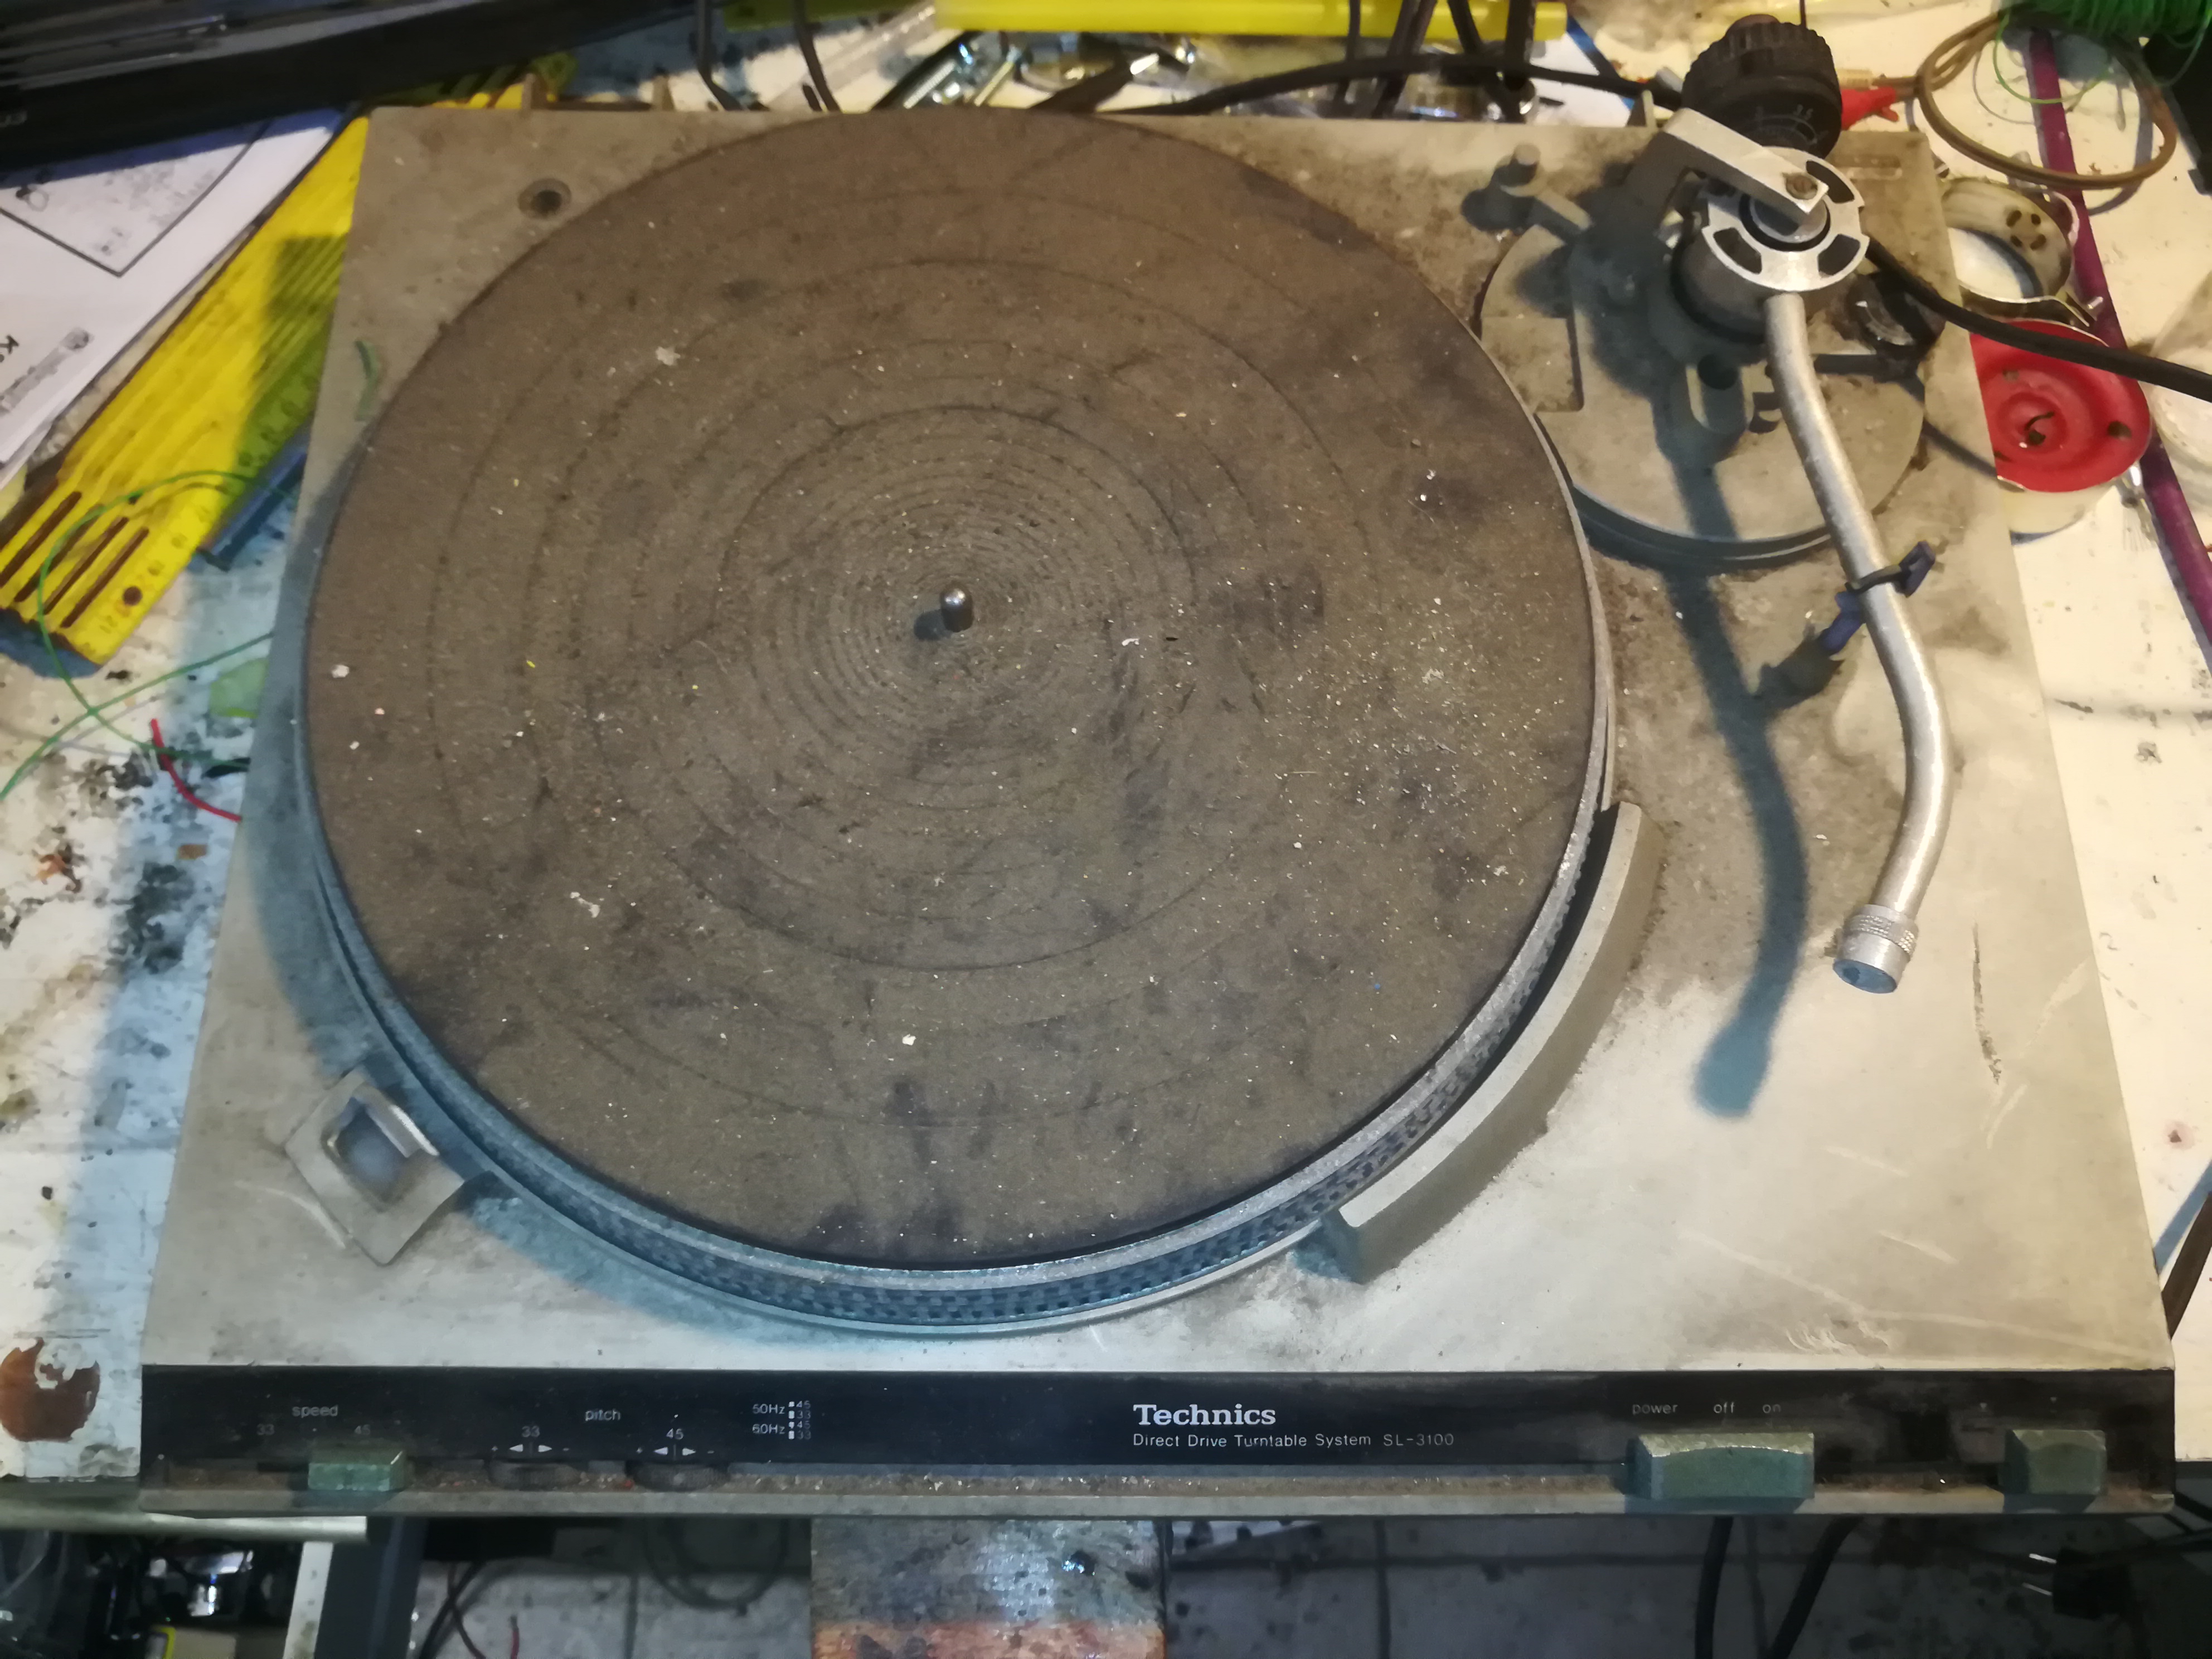
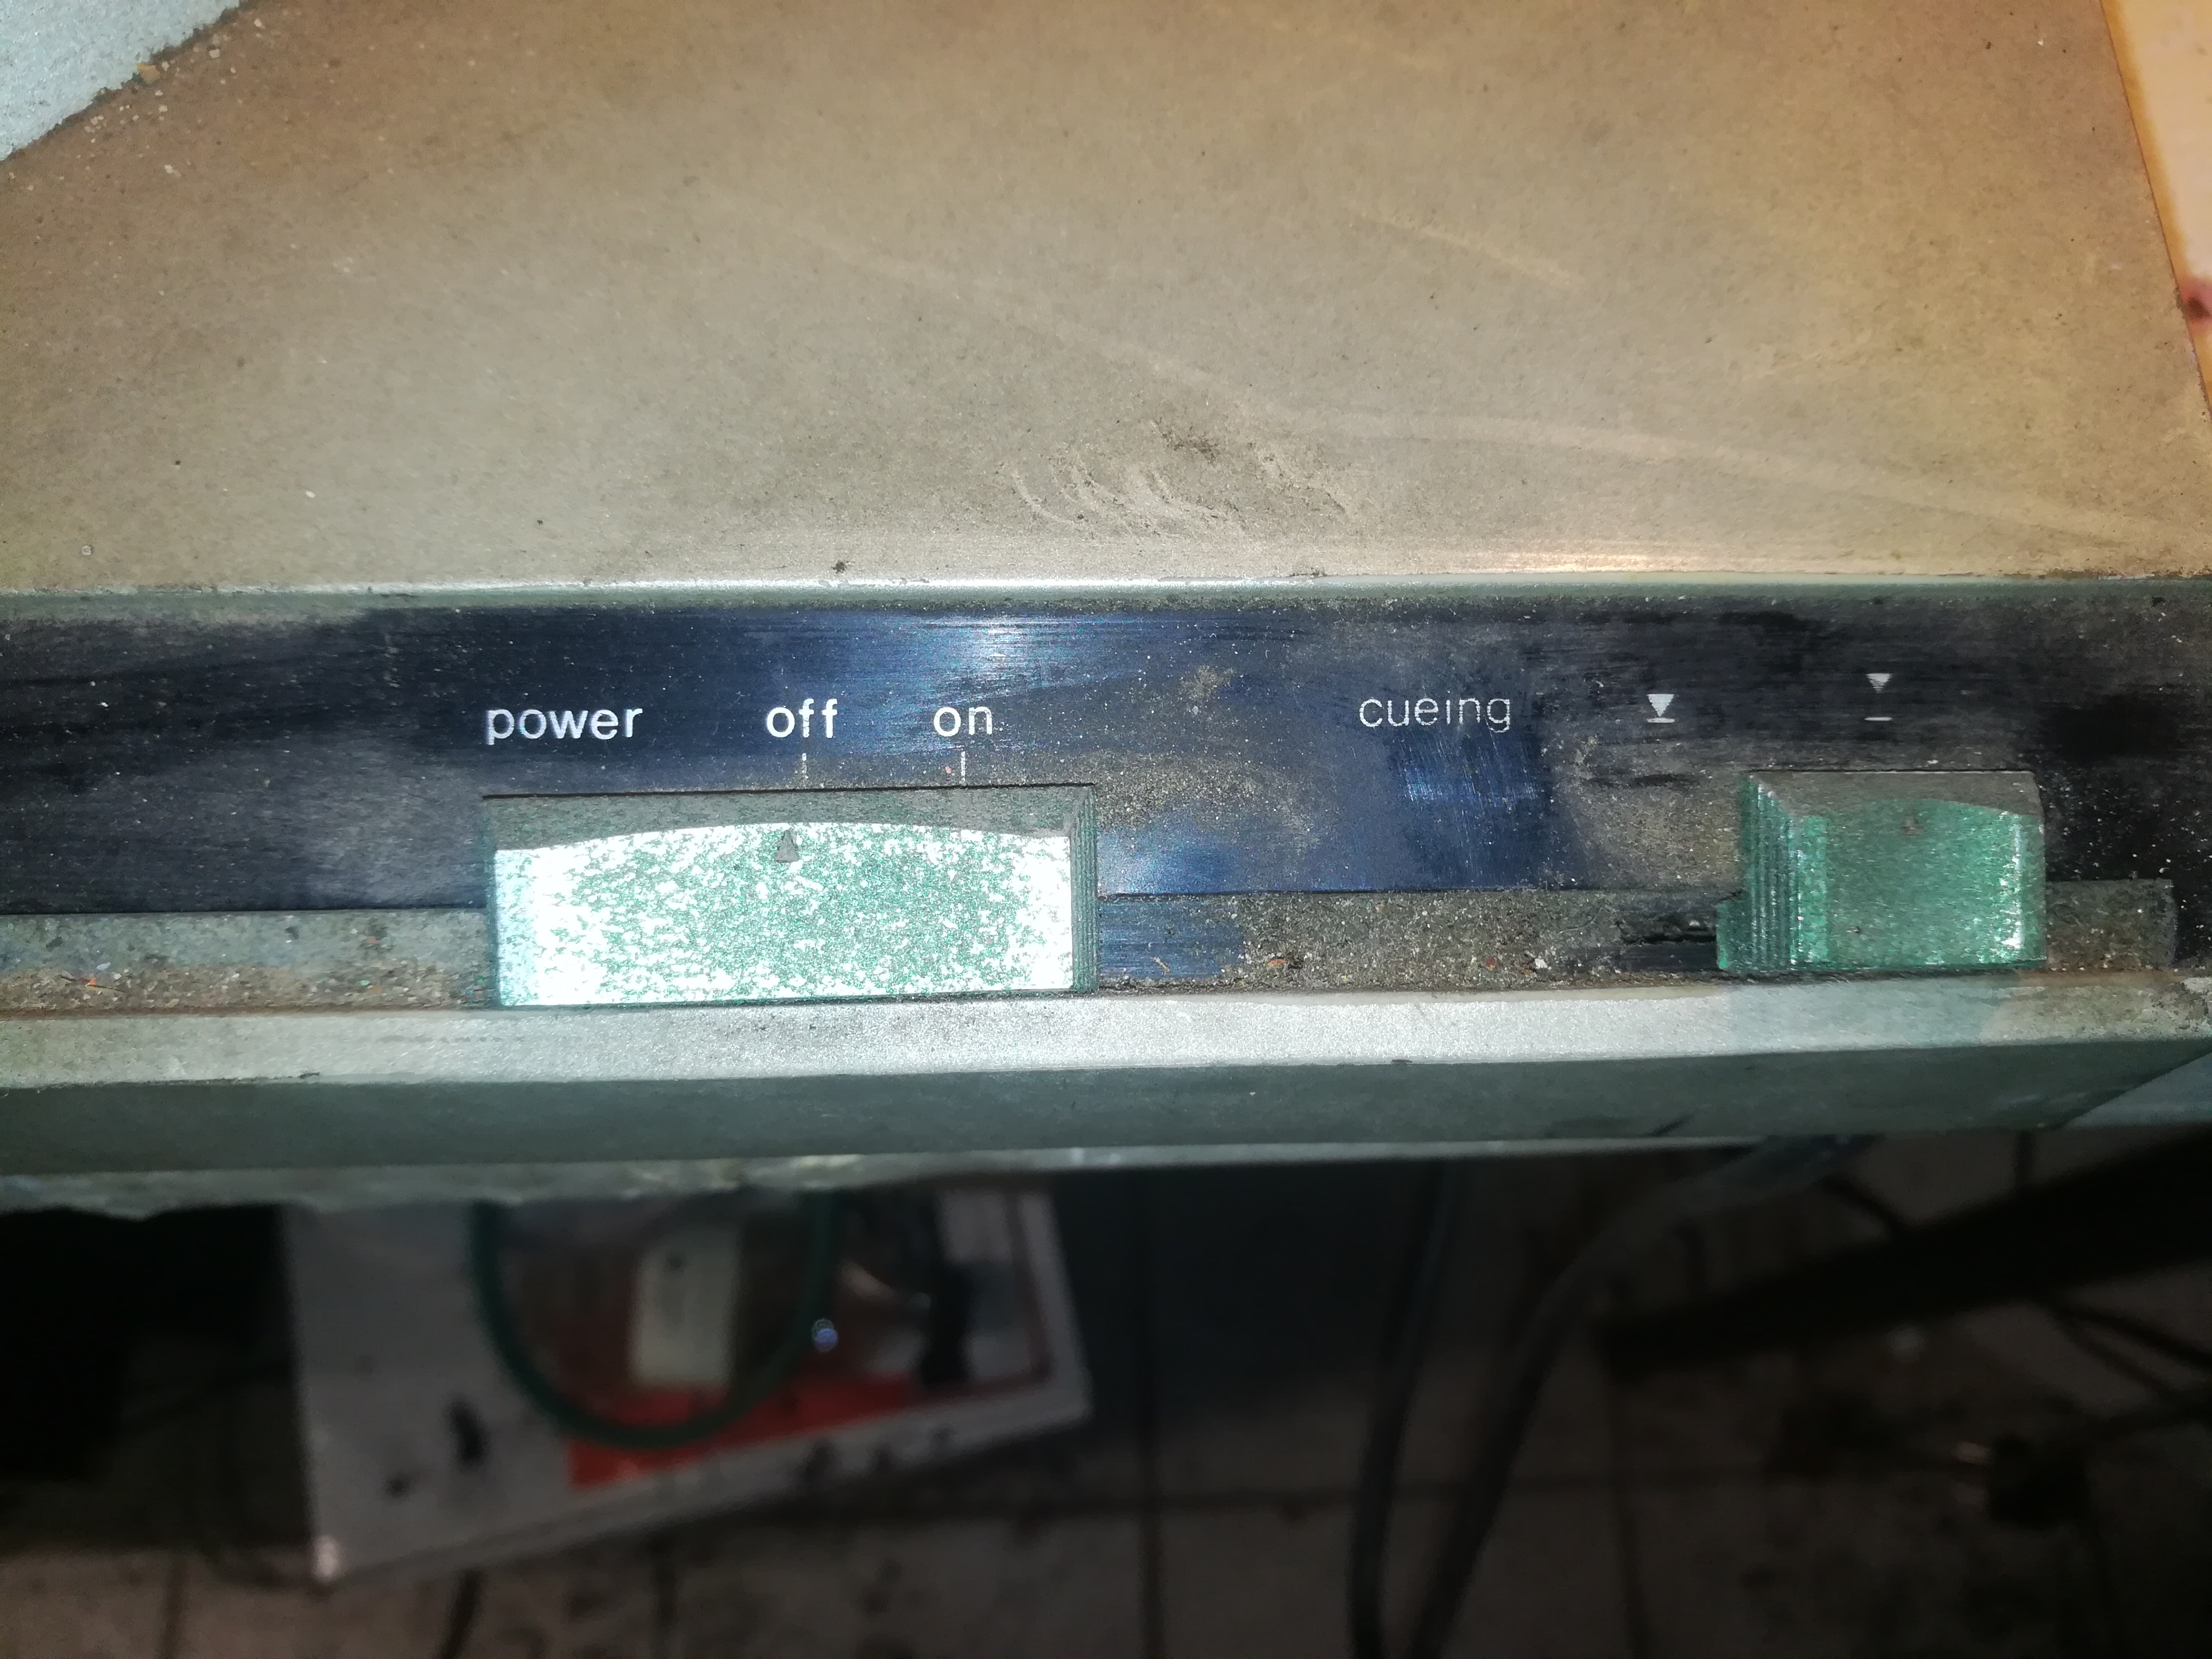
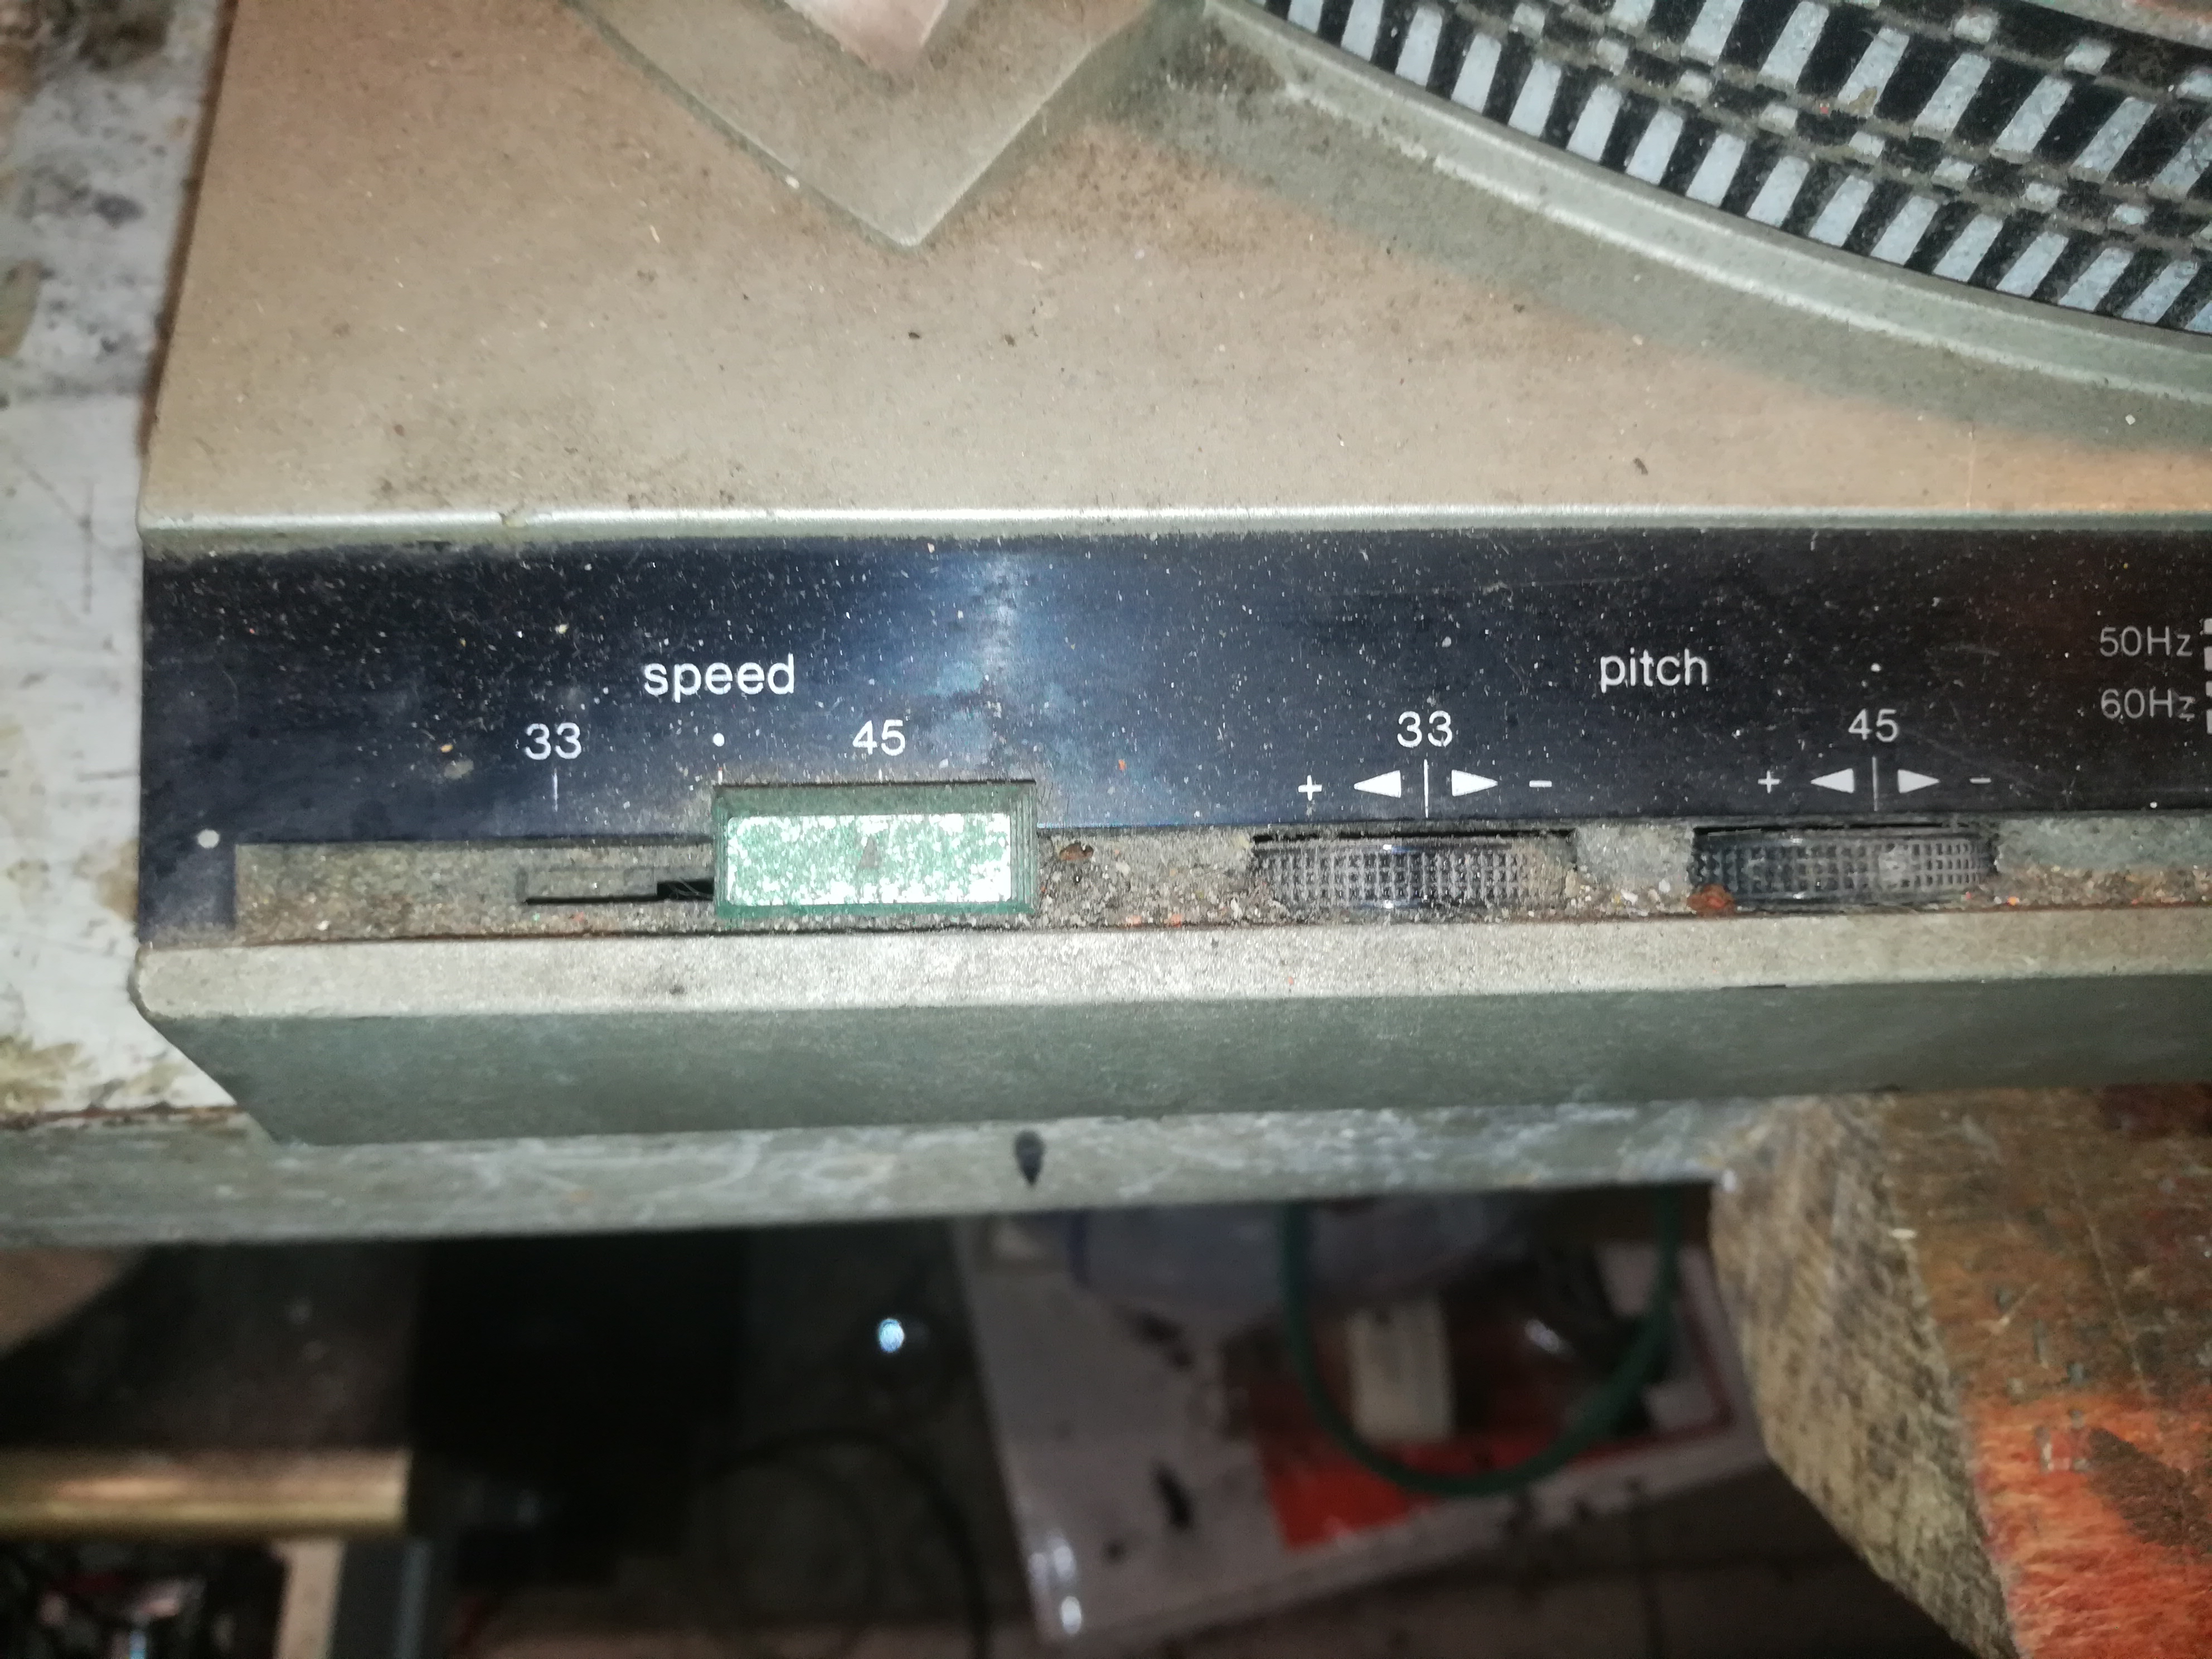
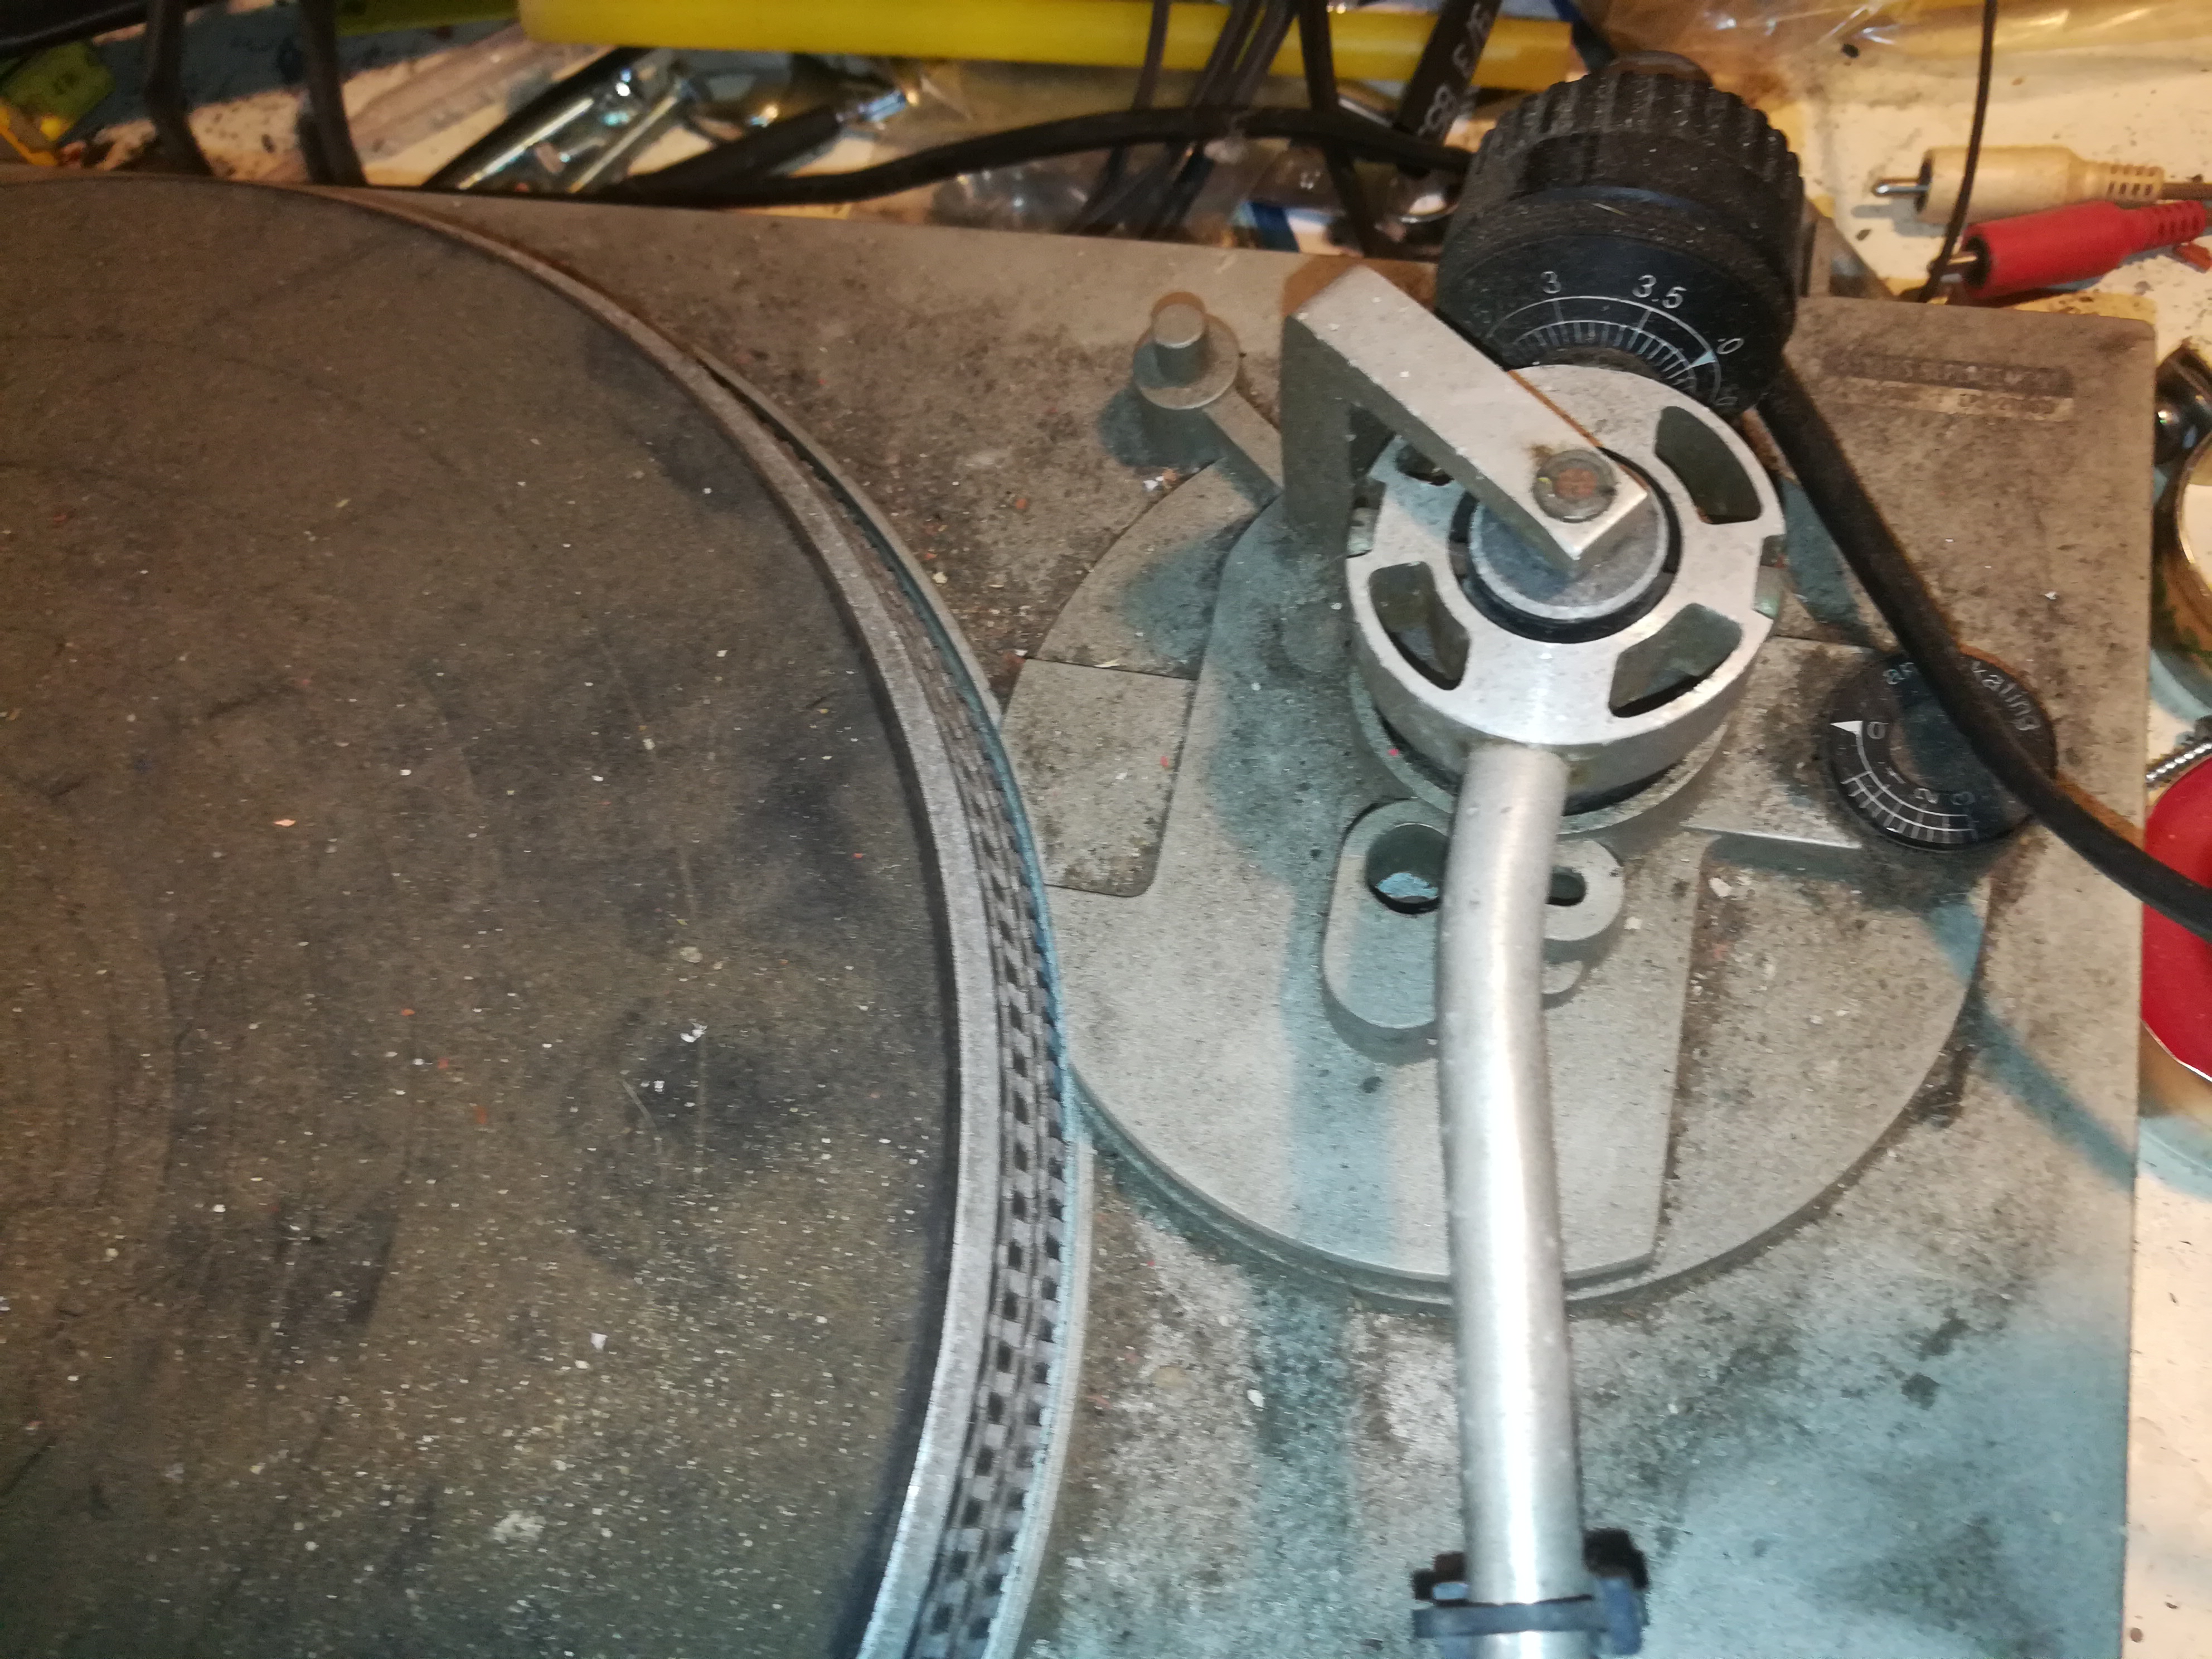
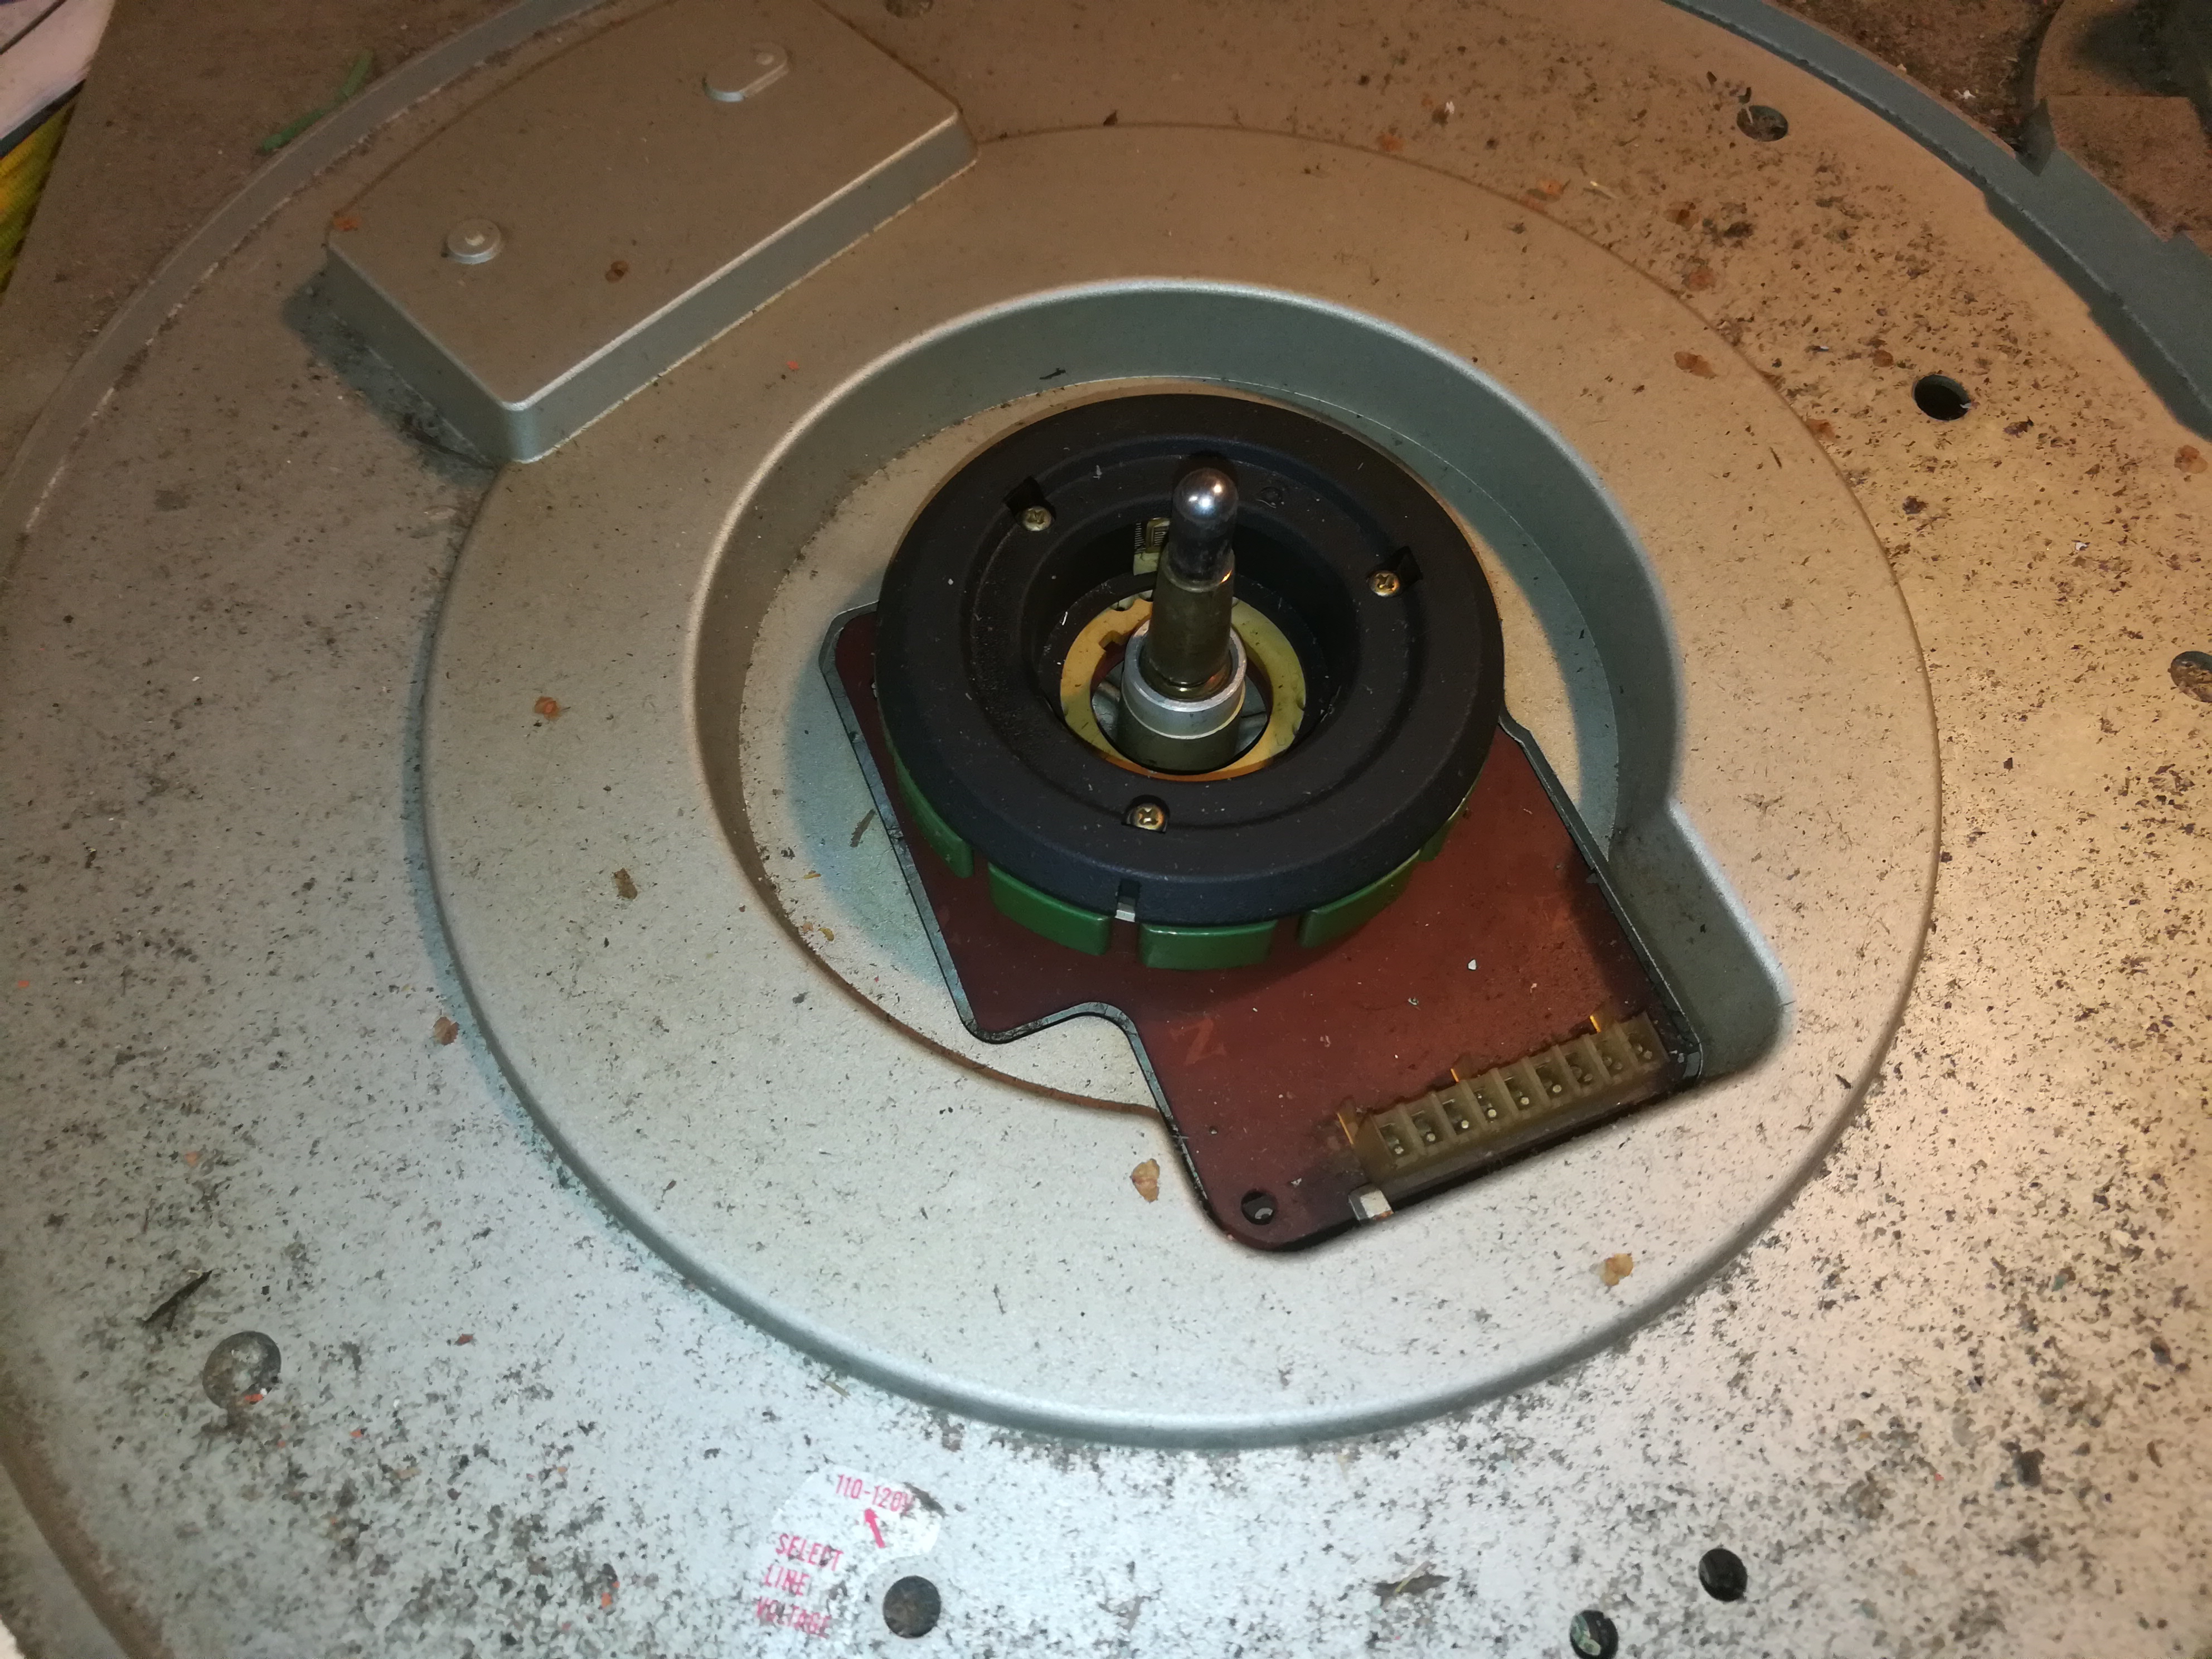
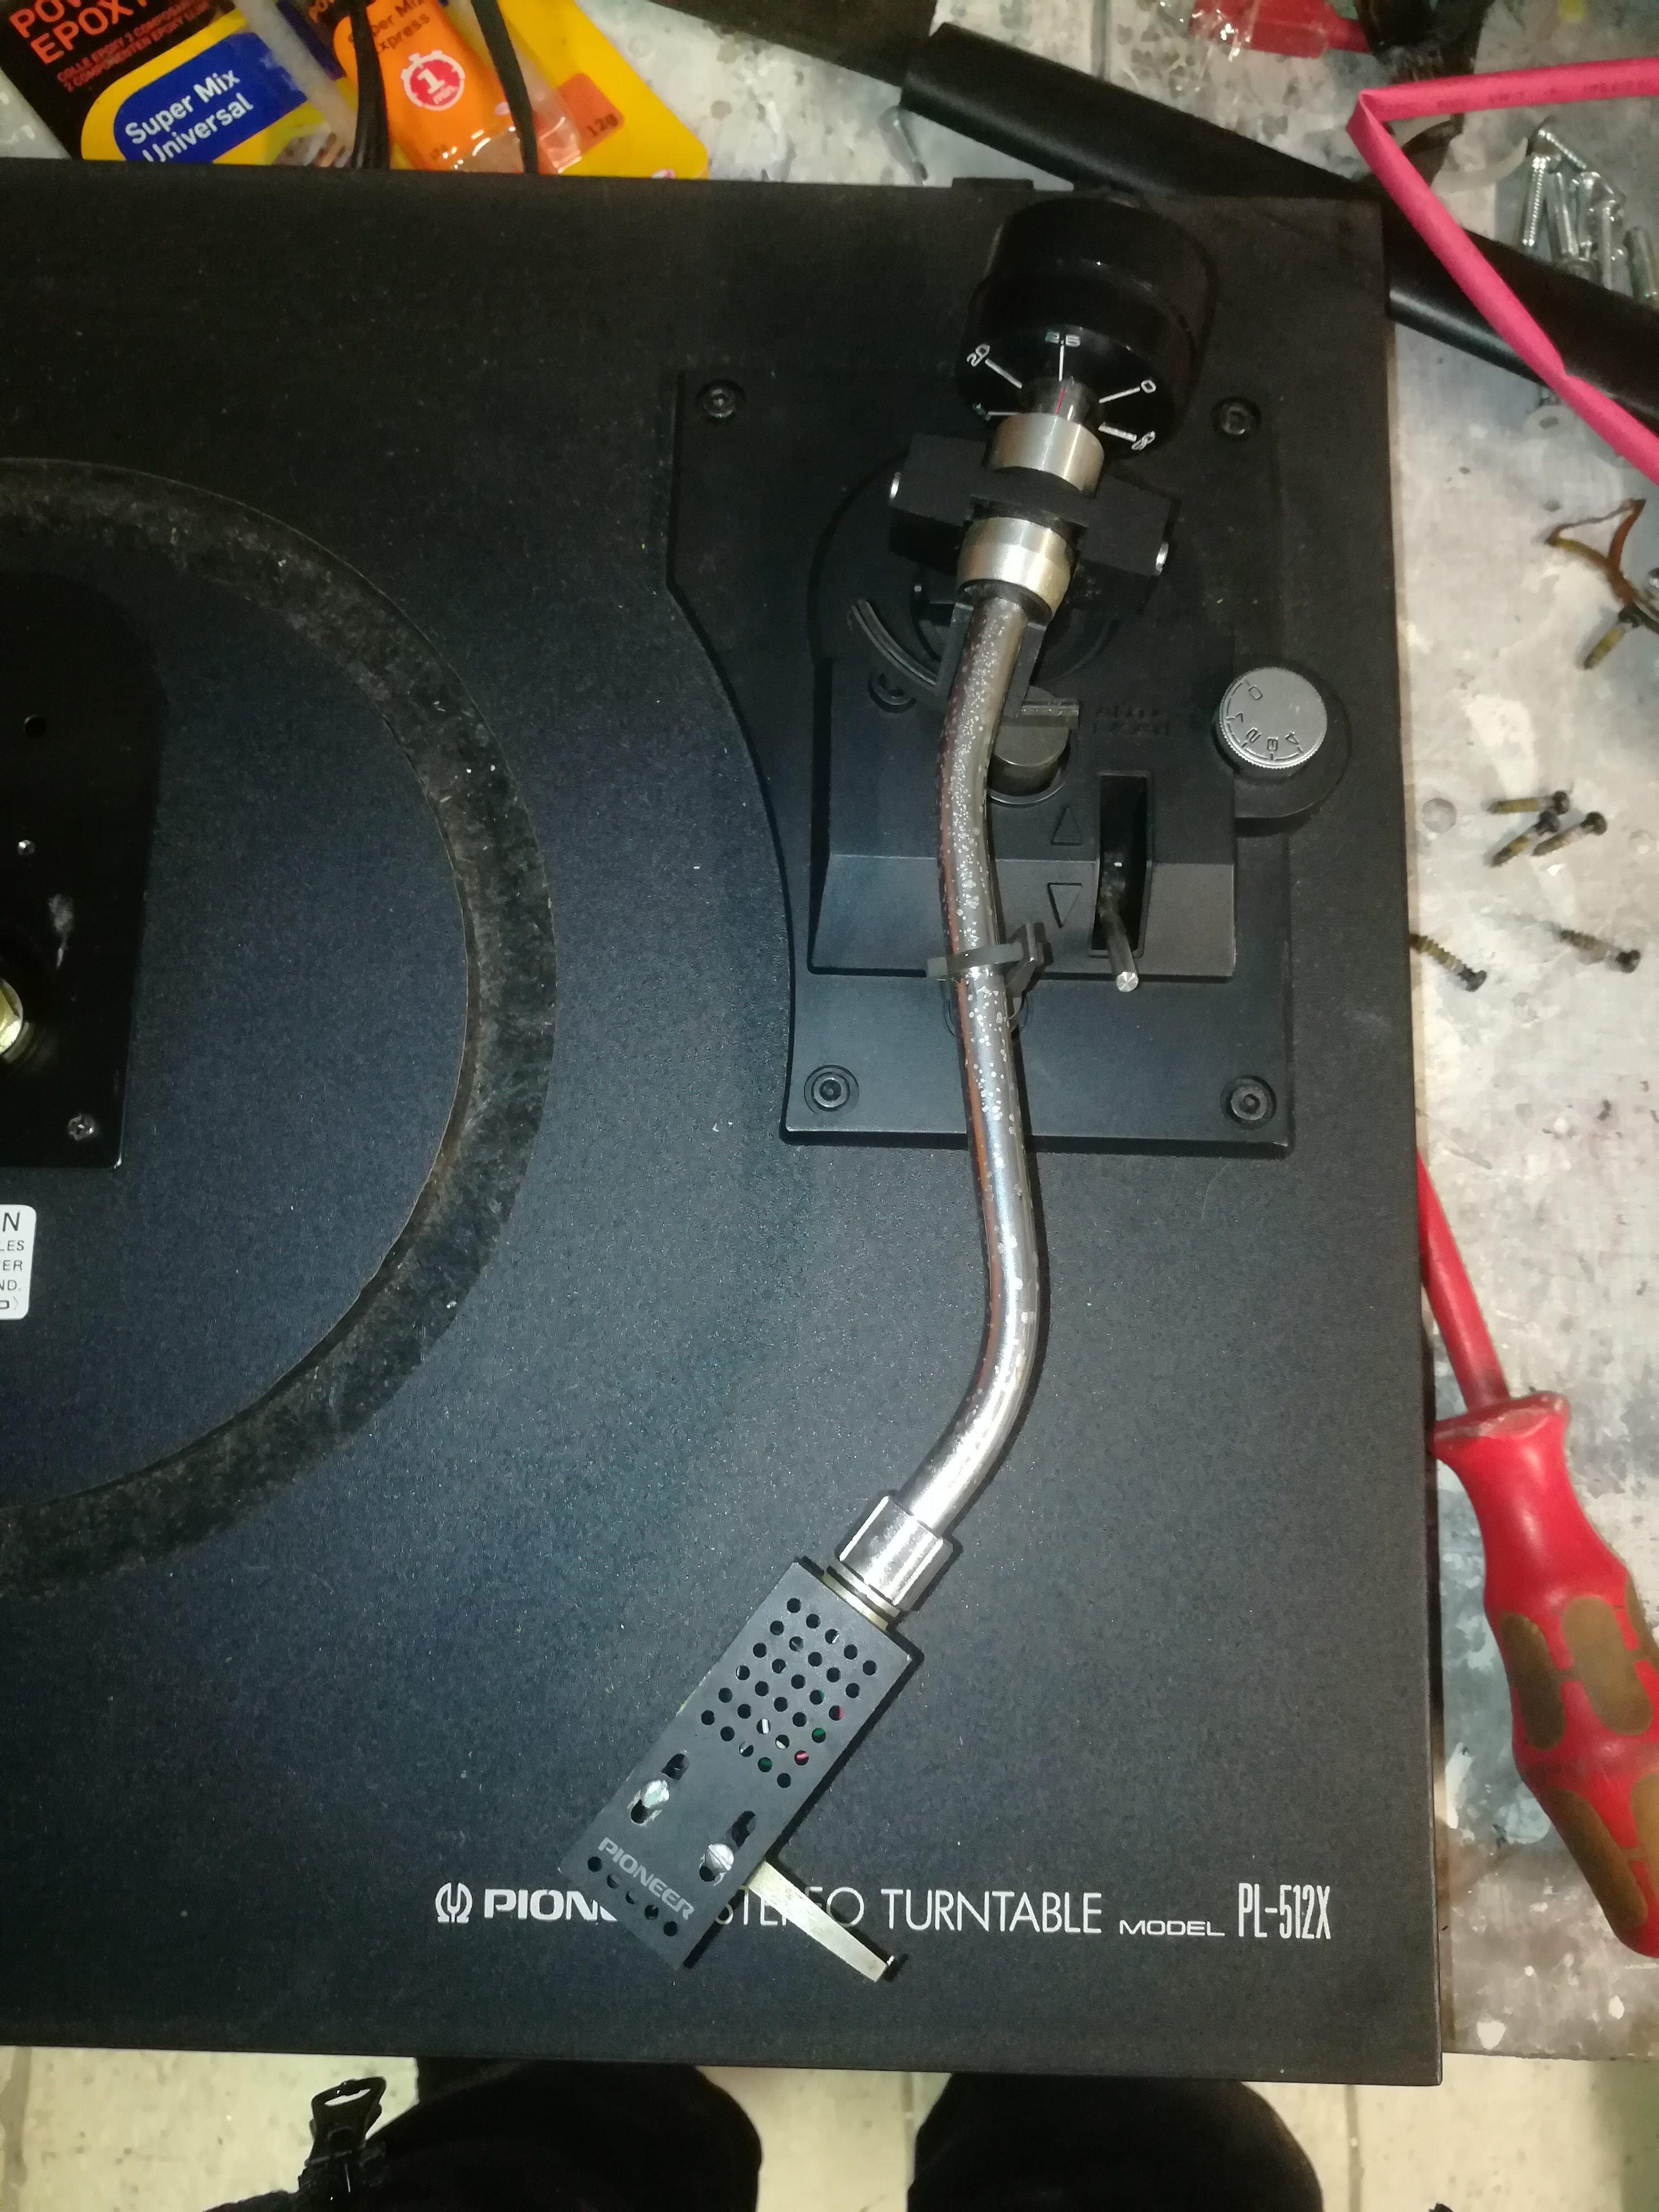
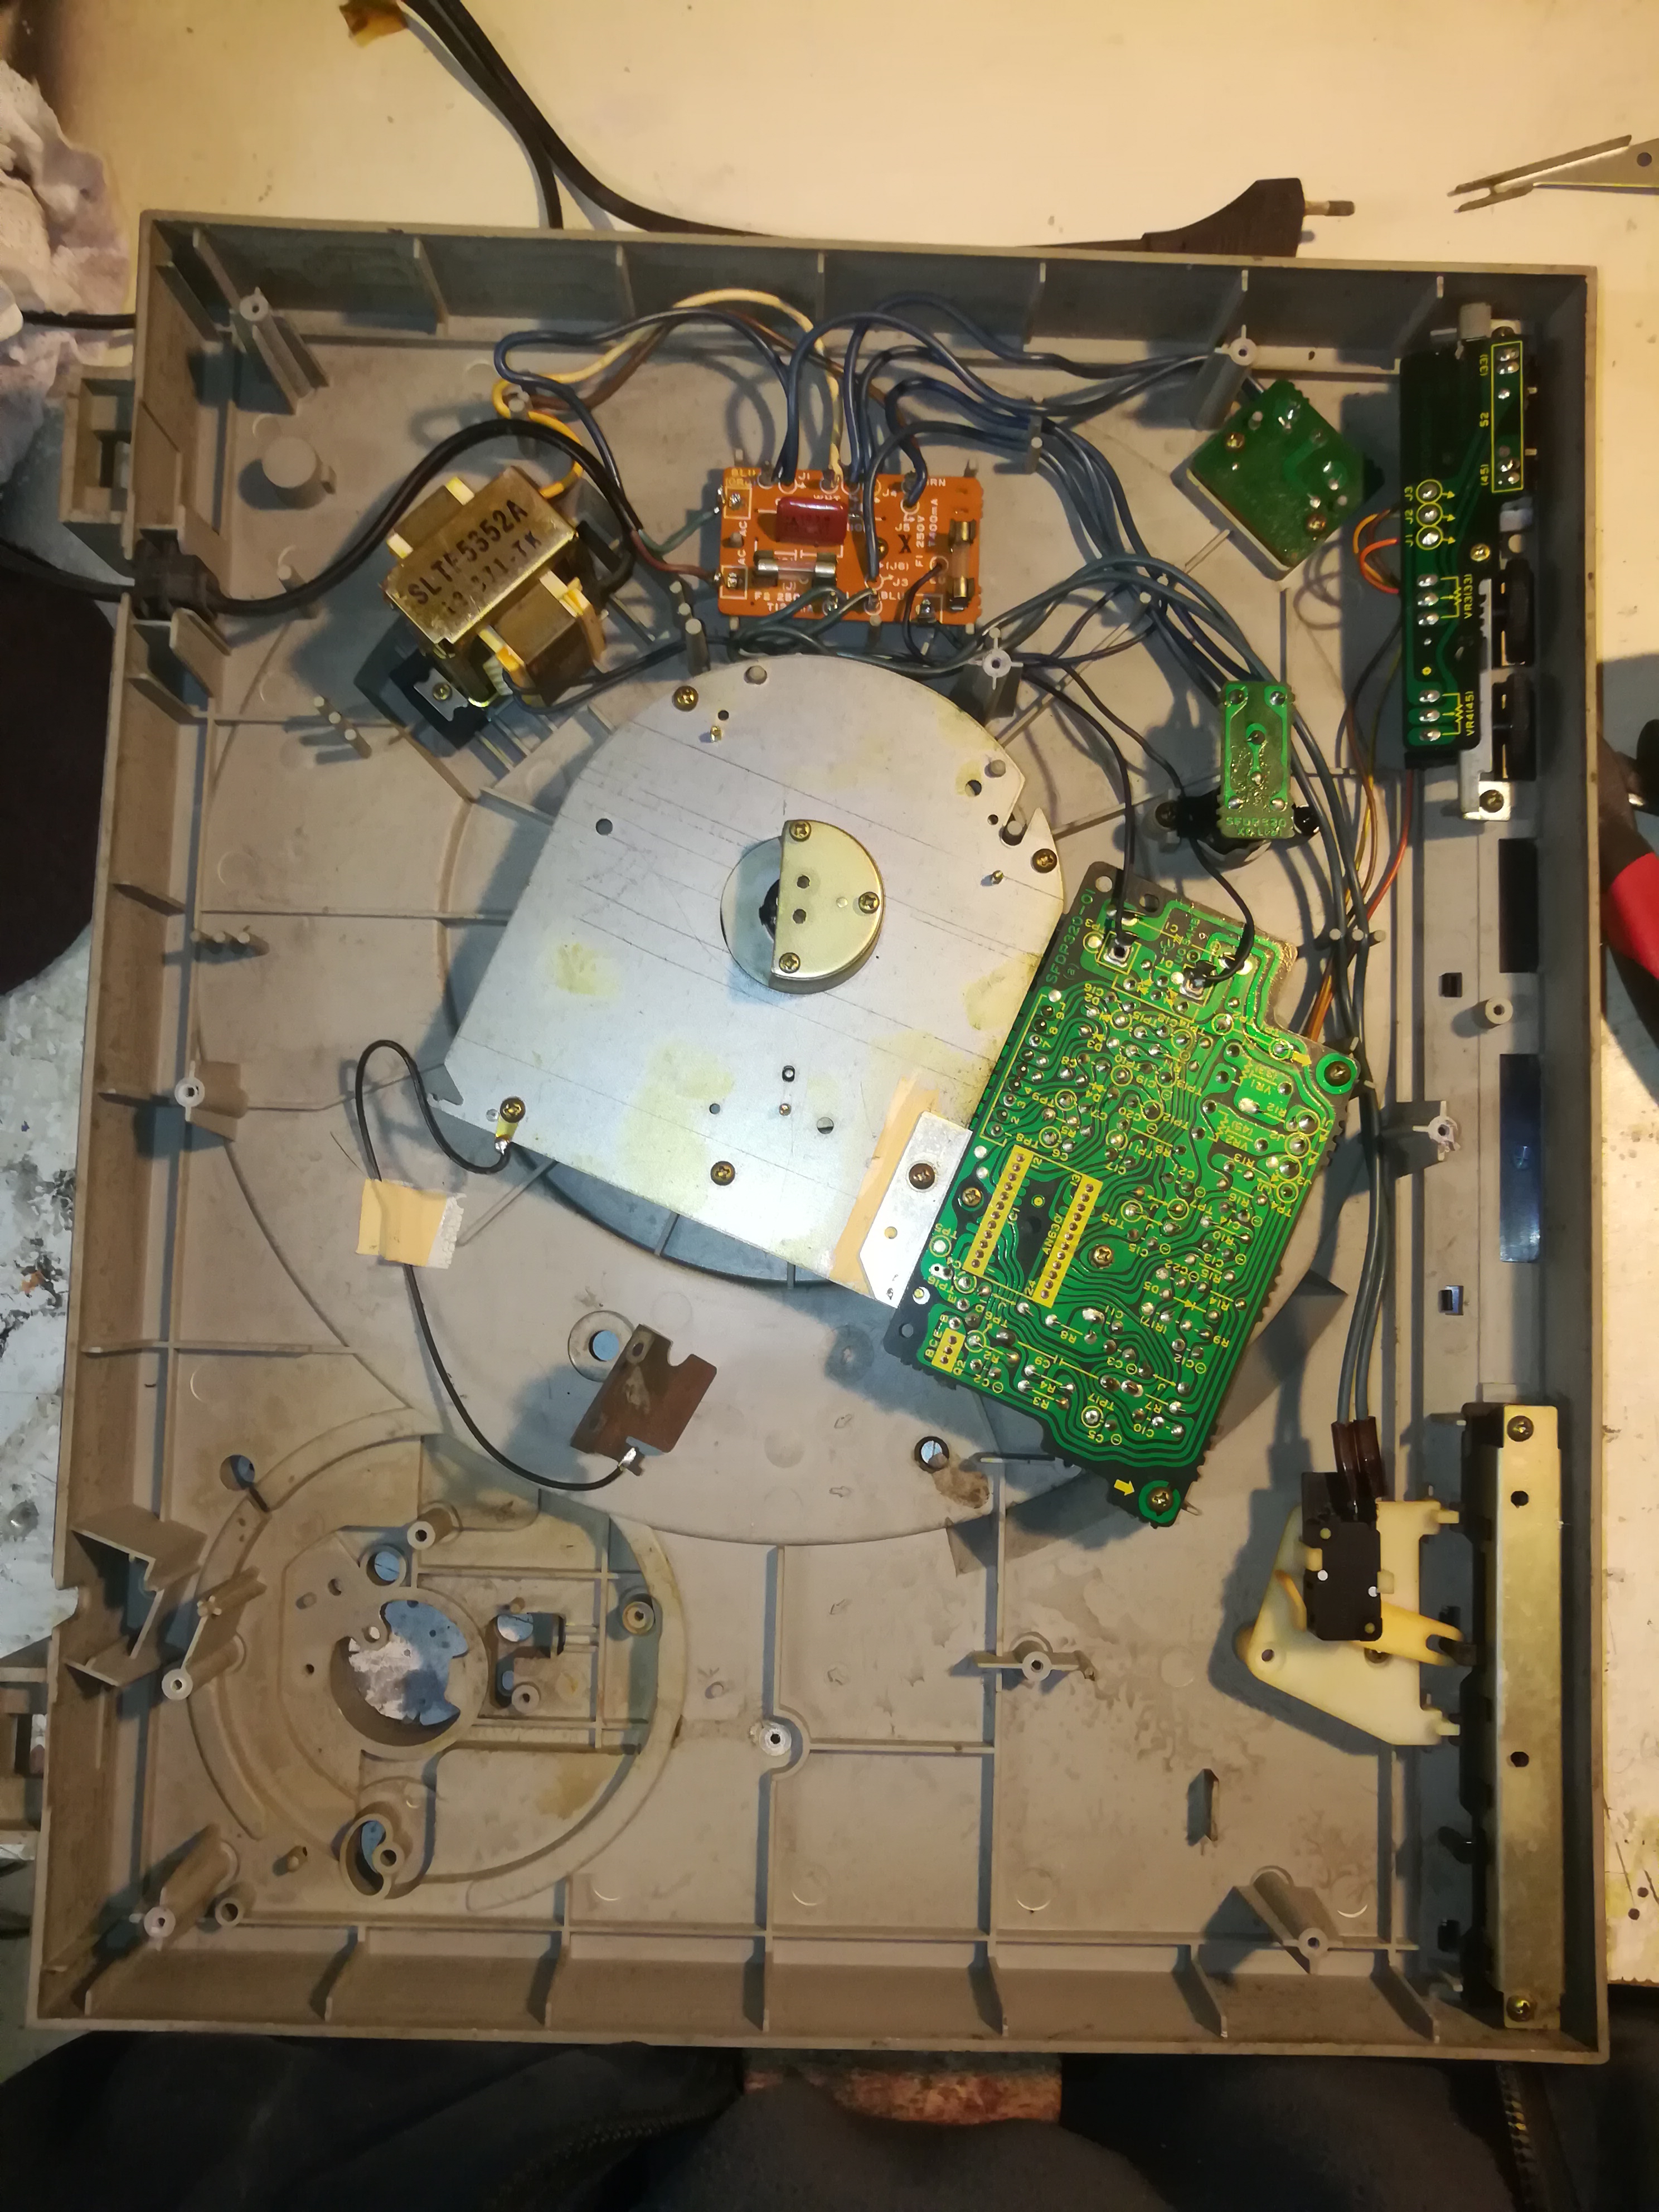
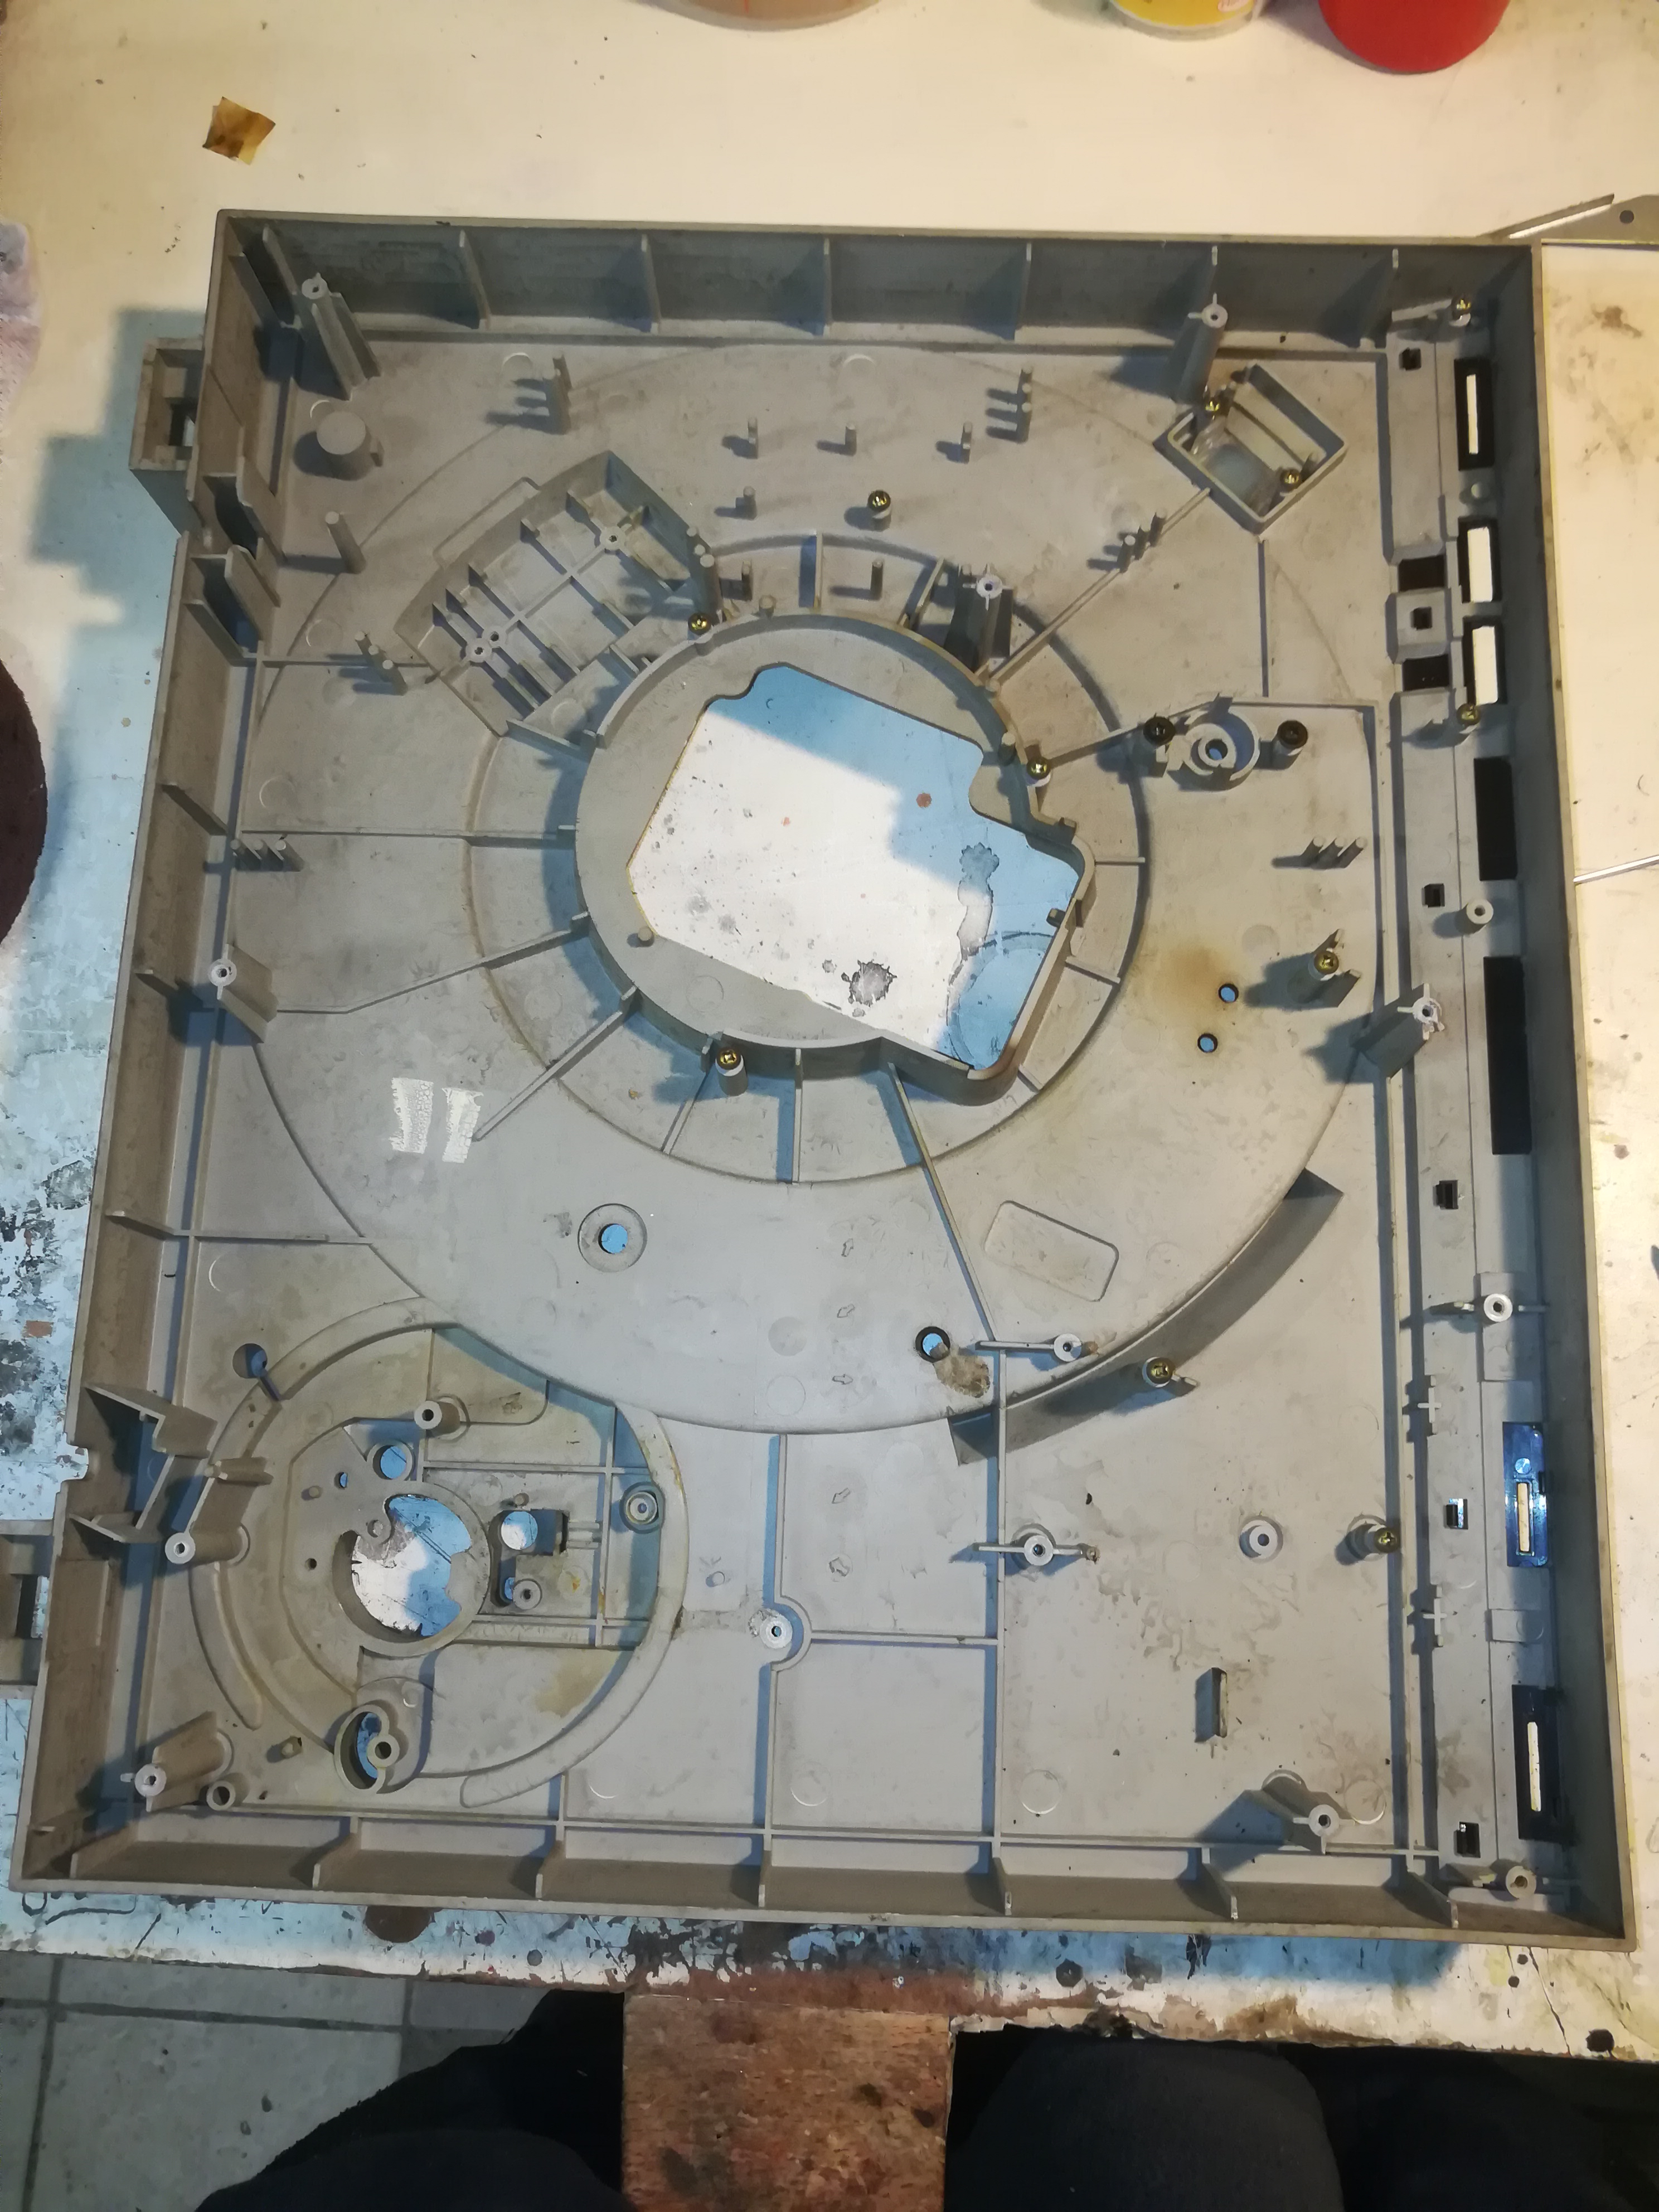
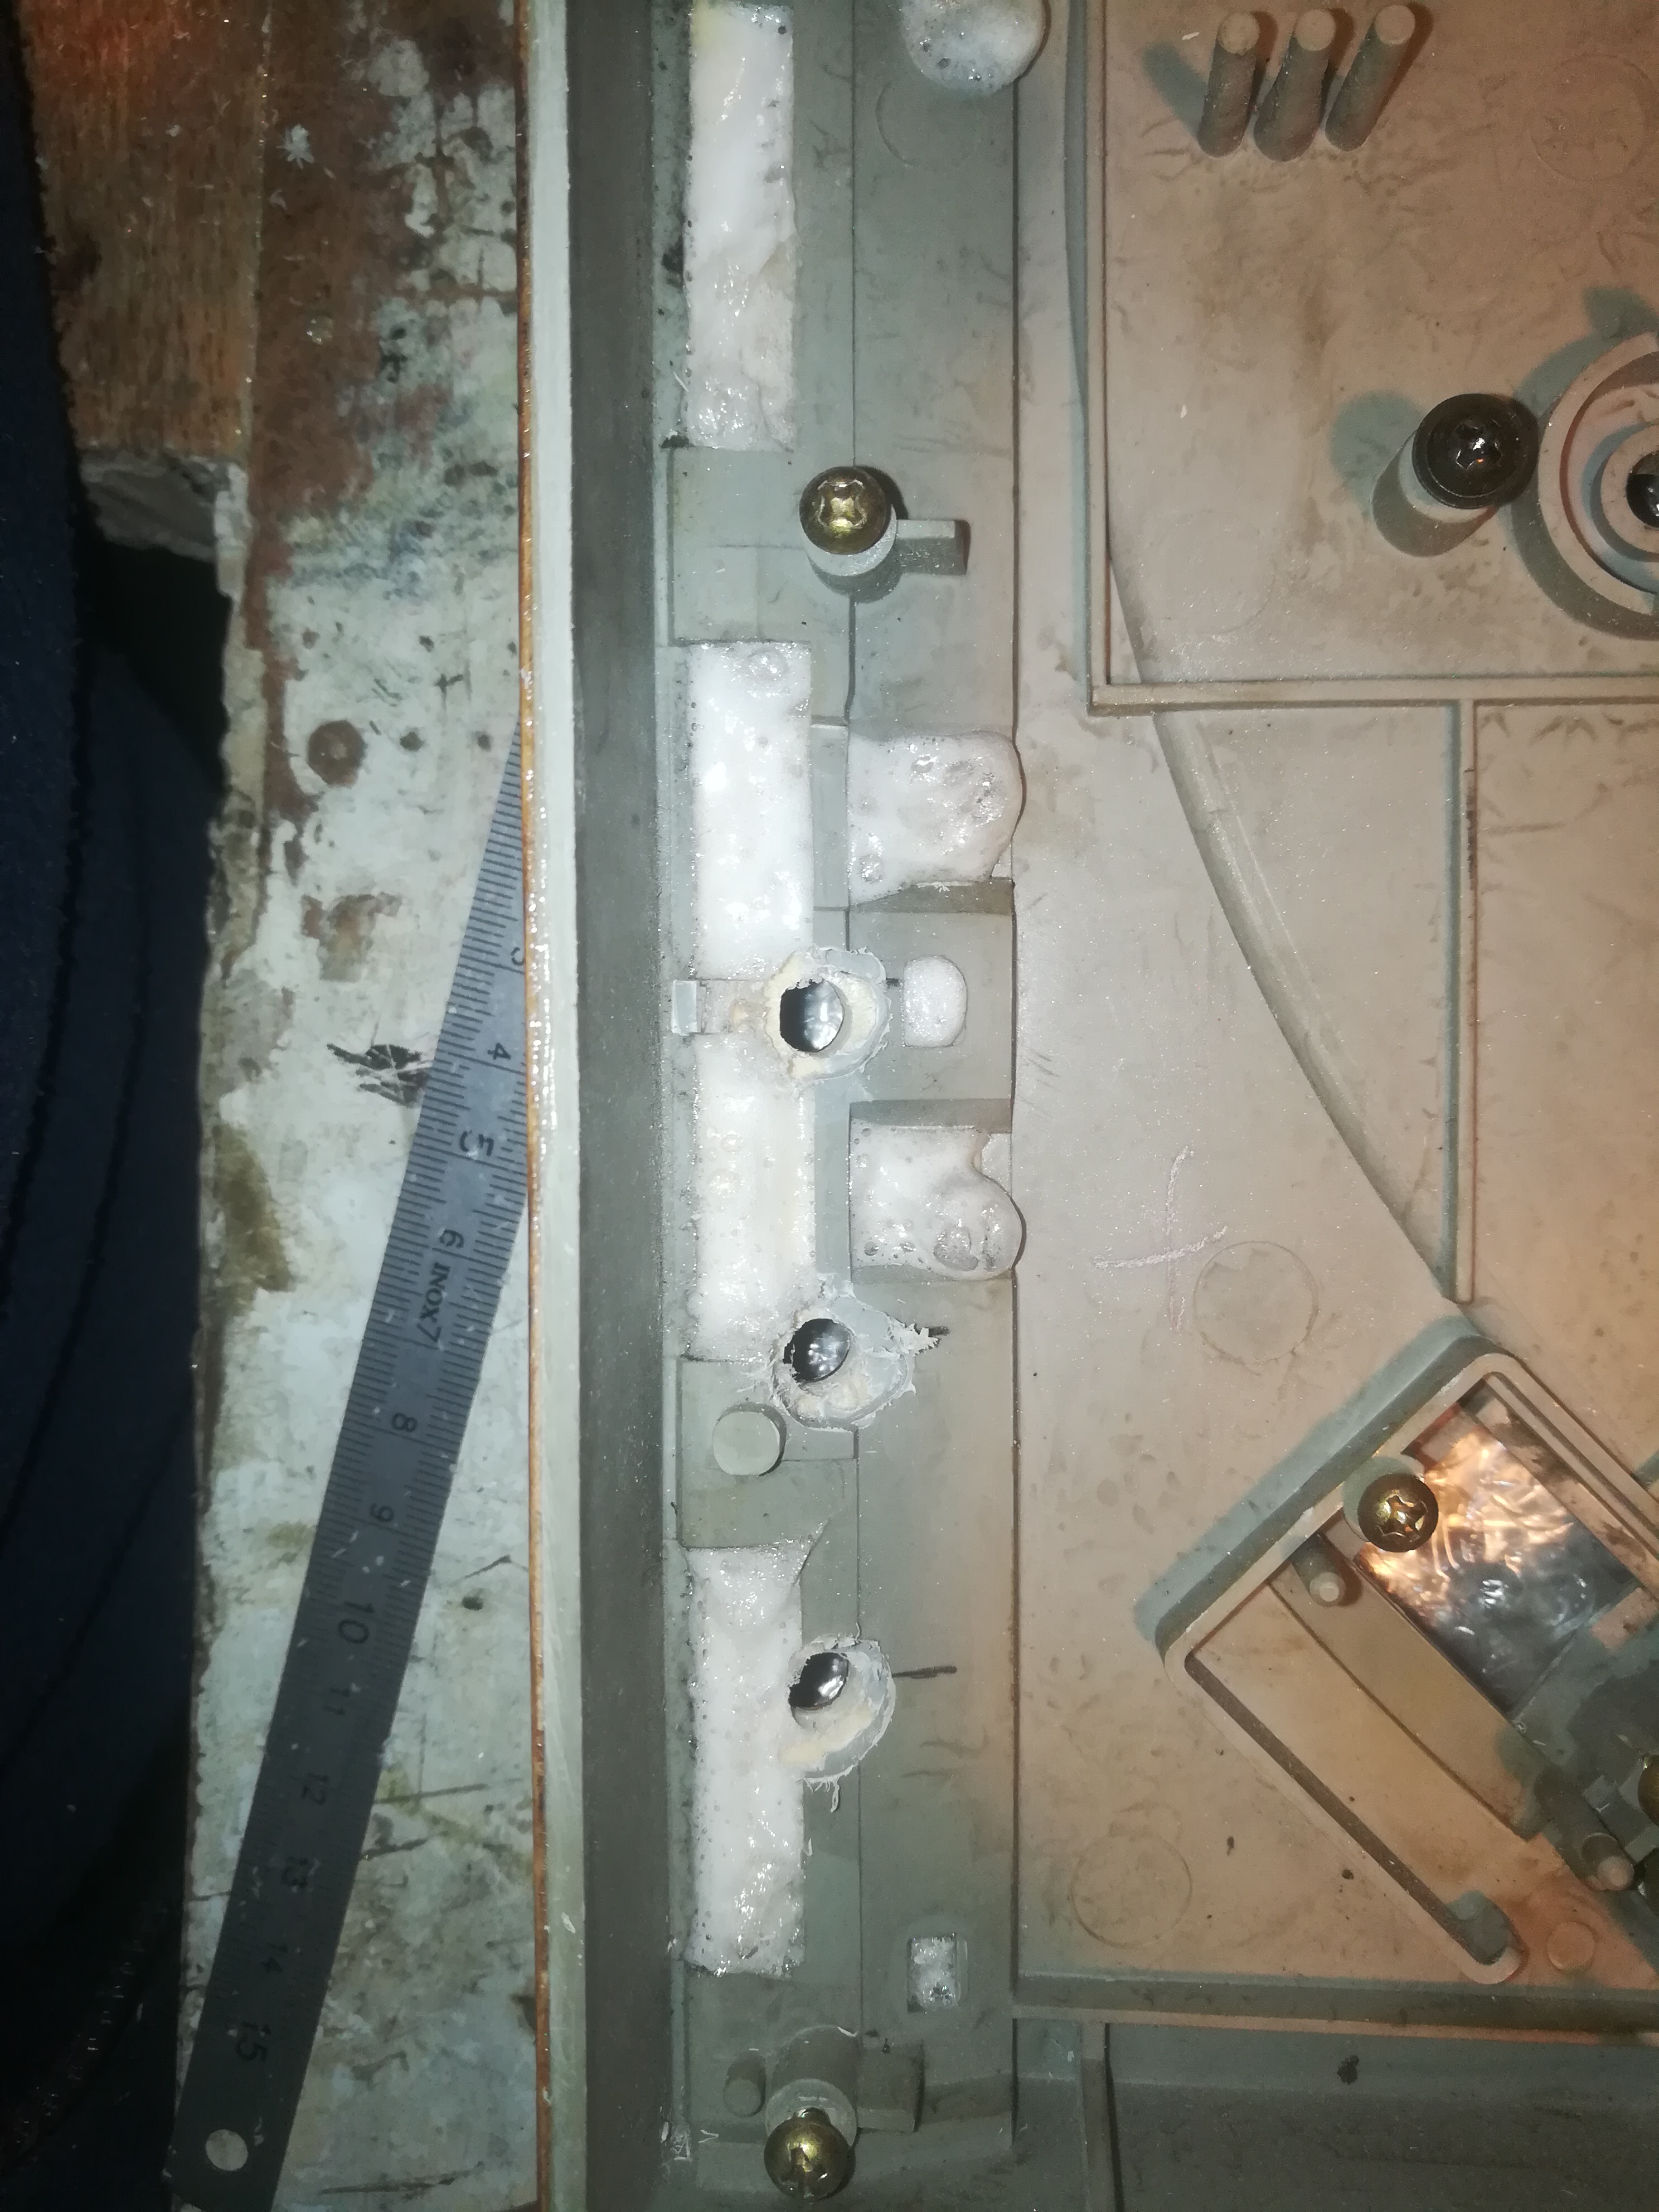
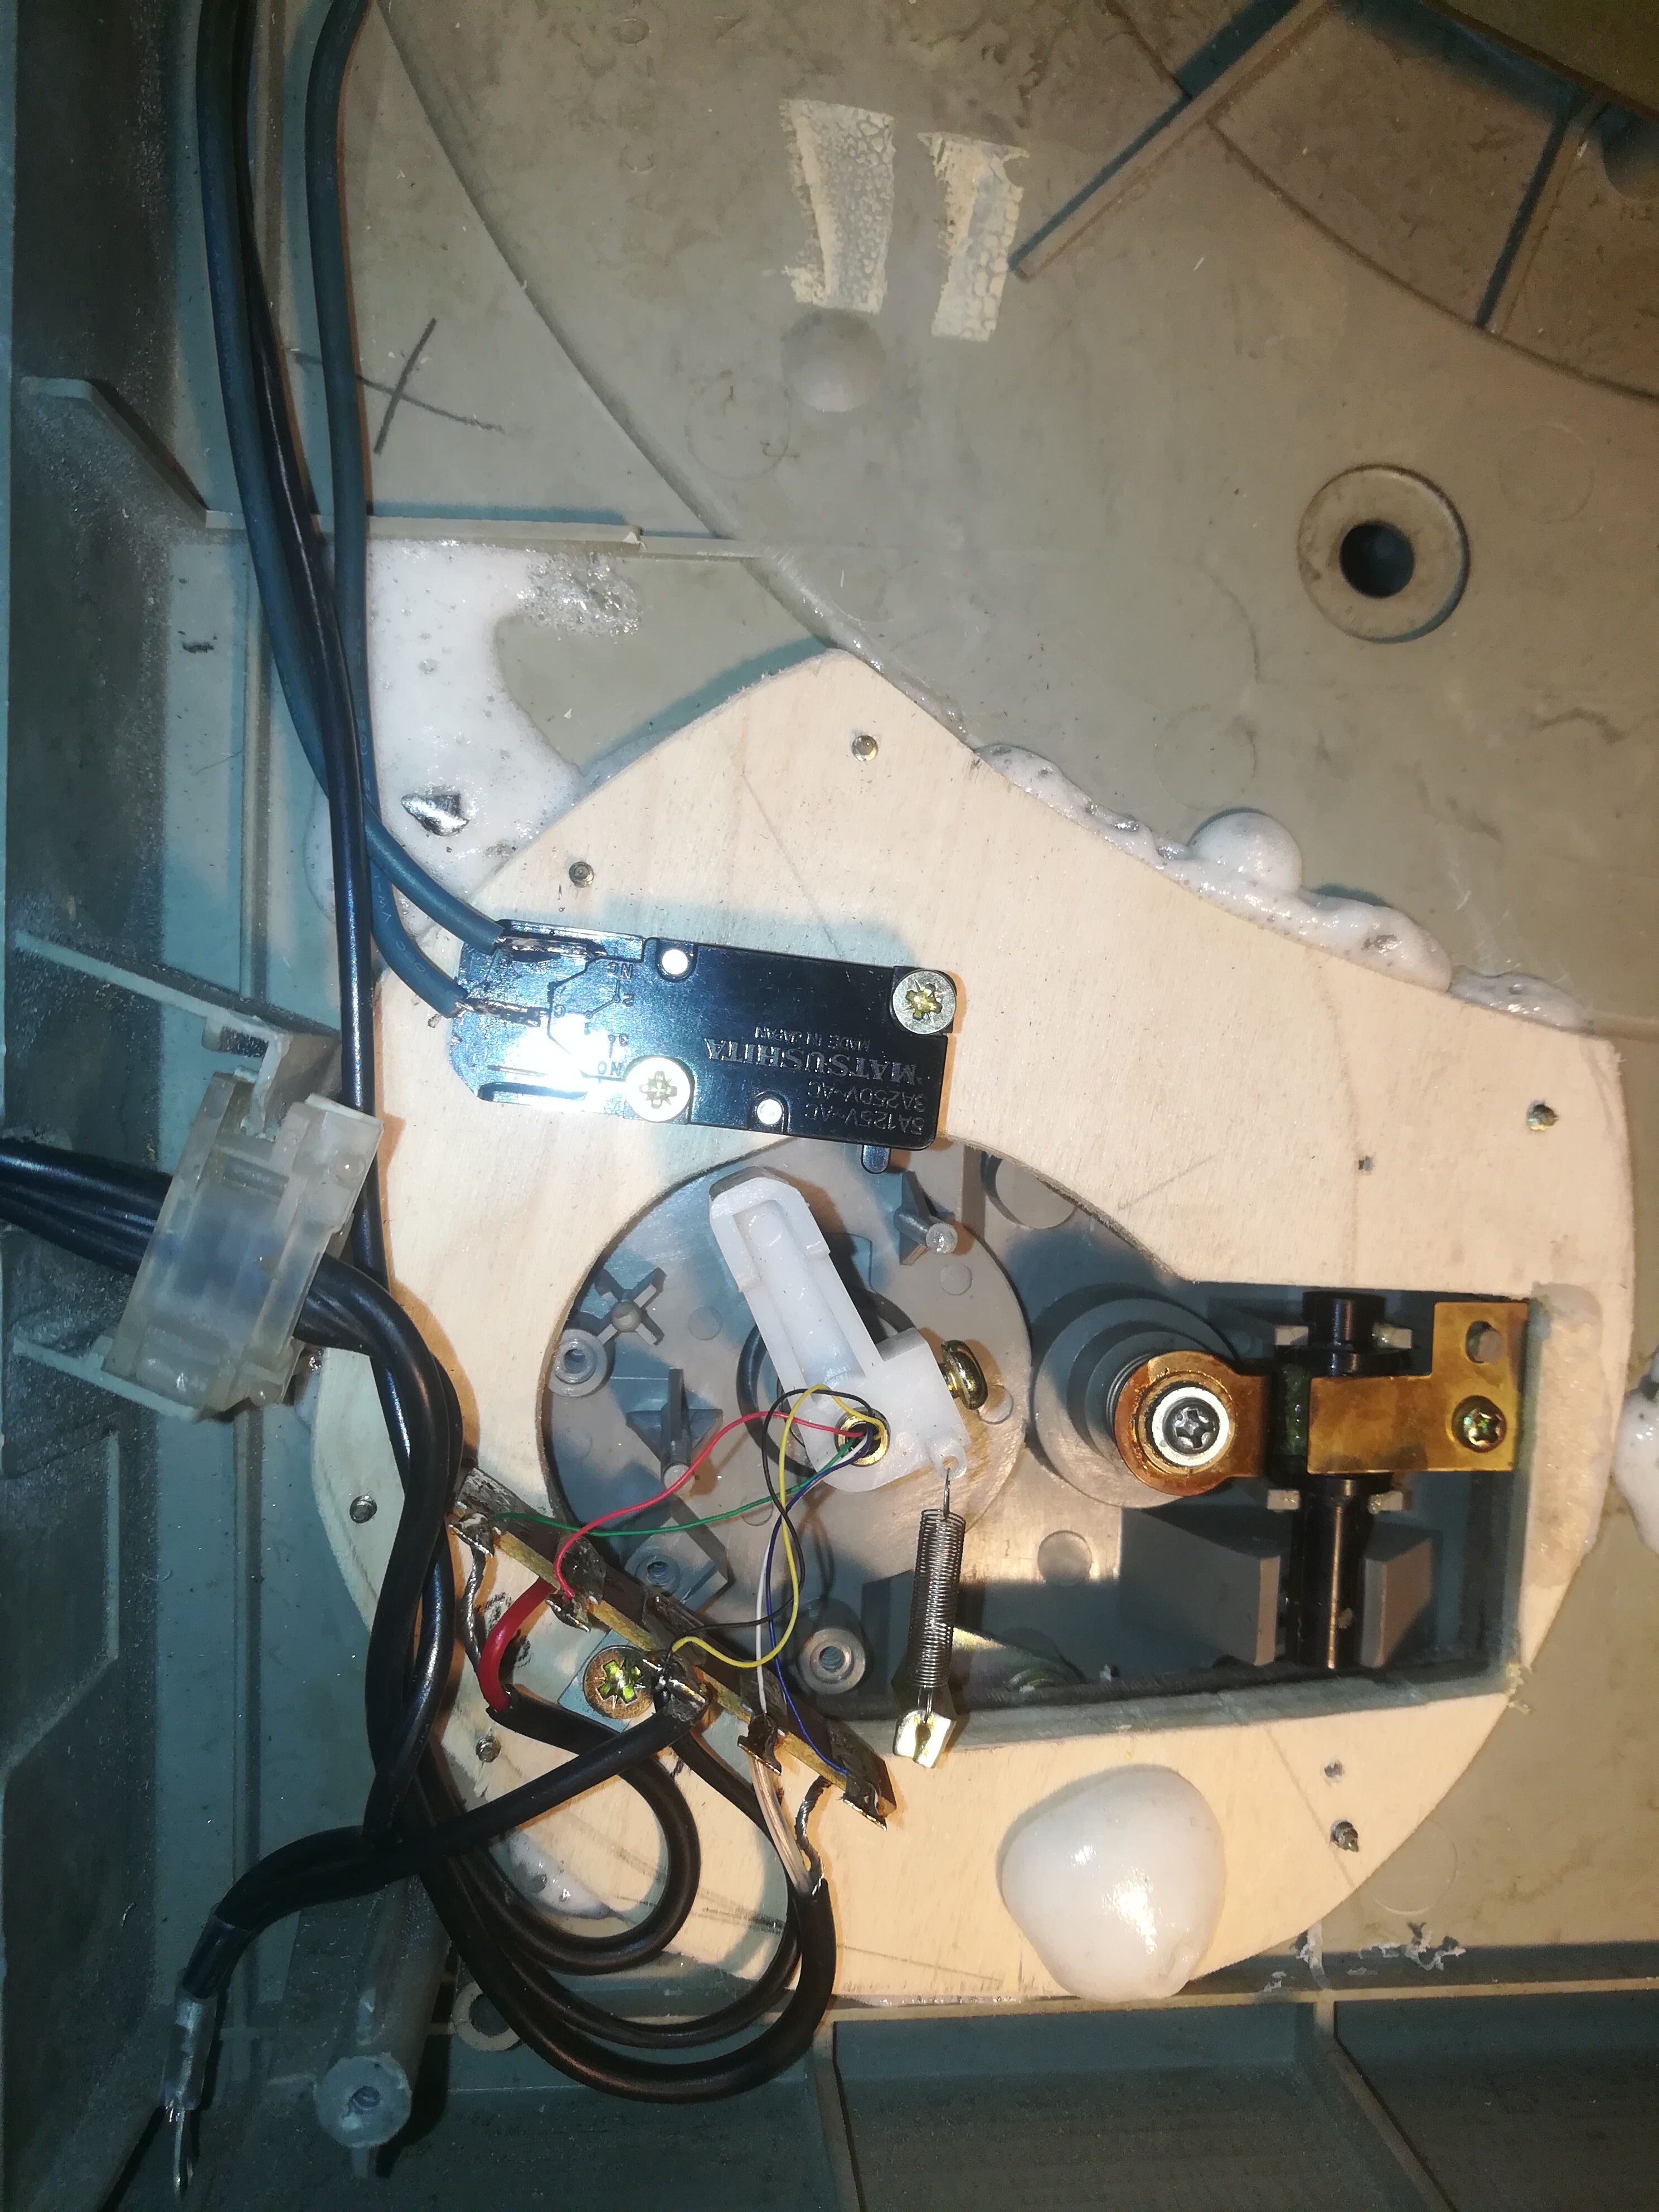
In the first 5 pictures you can see the bad condition the player was in. When i took it apart, it quickly became clear that the arm could no longer be used. The bearings were completely broken, so I had to take 1 from another player (picture 6). I took pictures of the wiring so i could put it back together (picture 7,8) and took everthing out that i didn't need.
Making the New Hole for the Pick-up Arm.
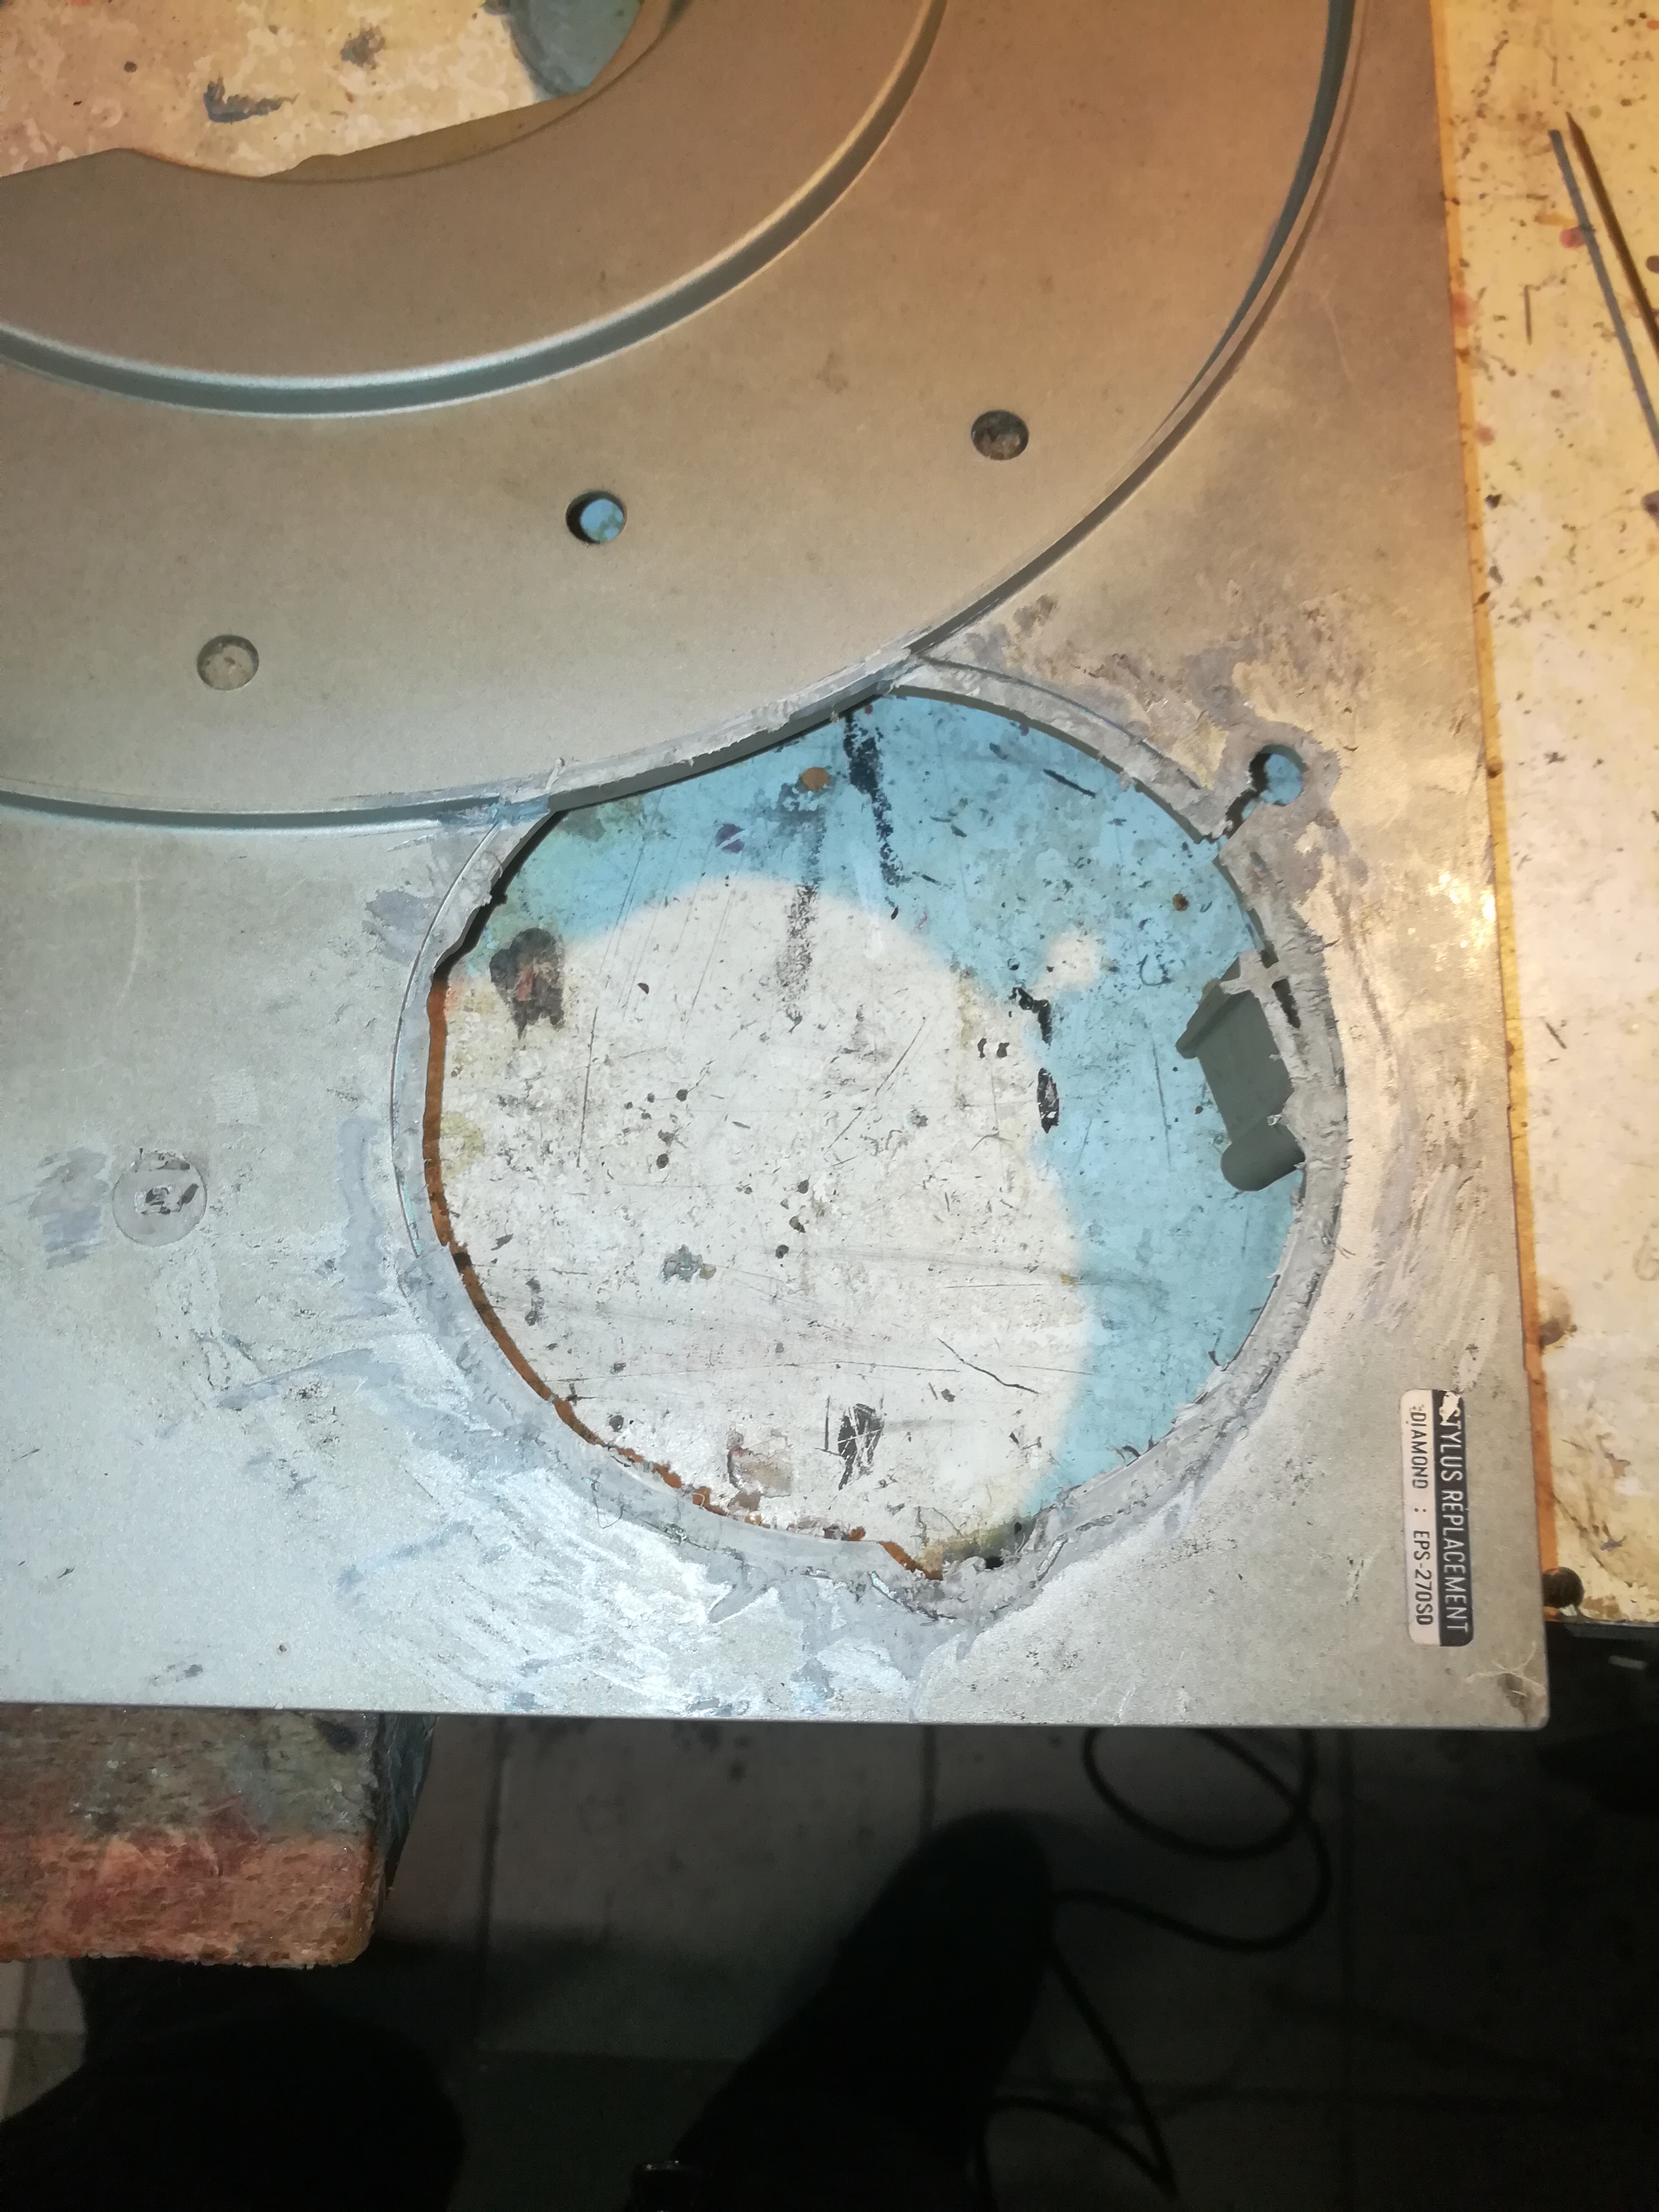
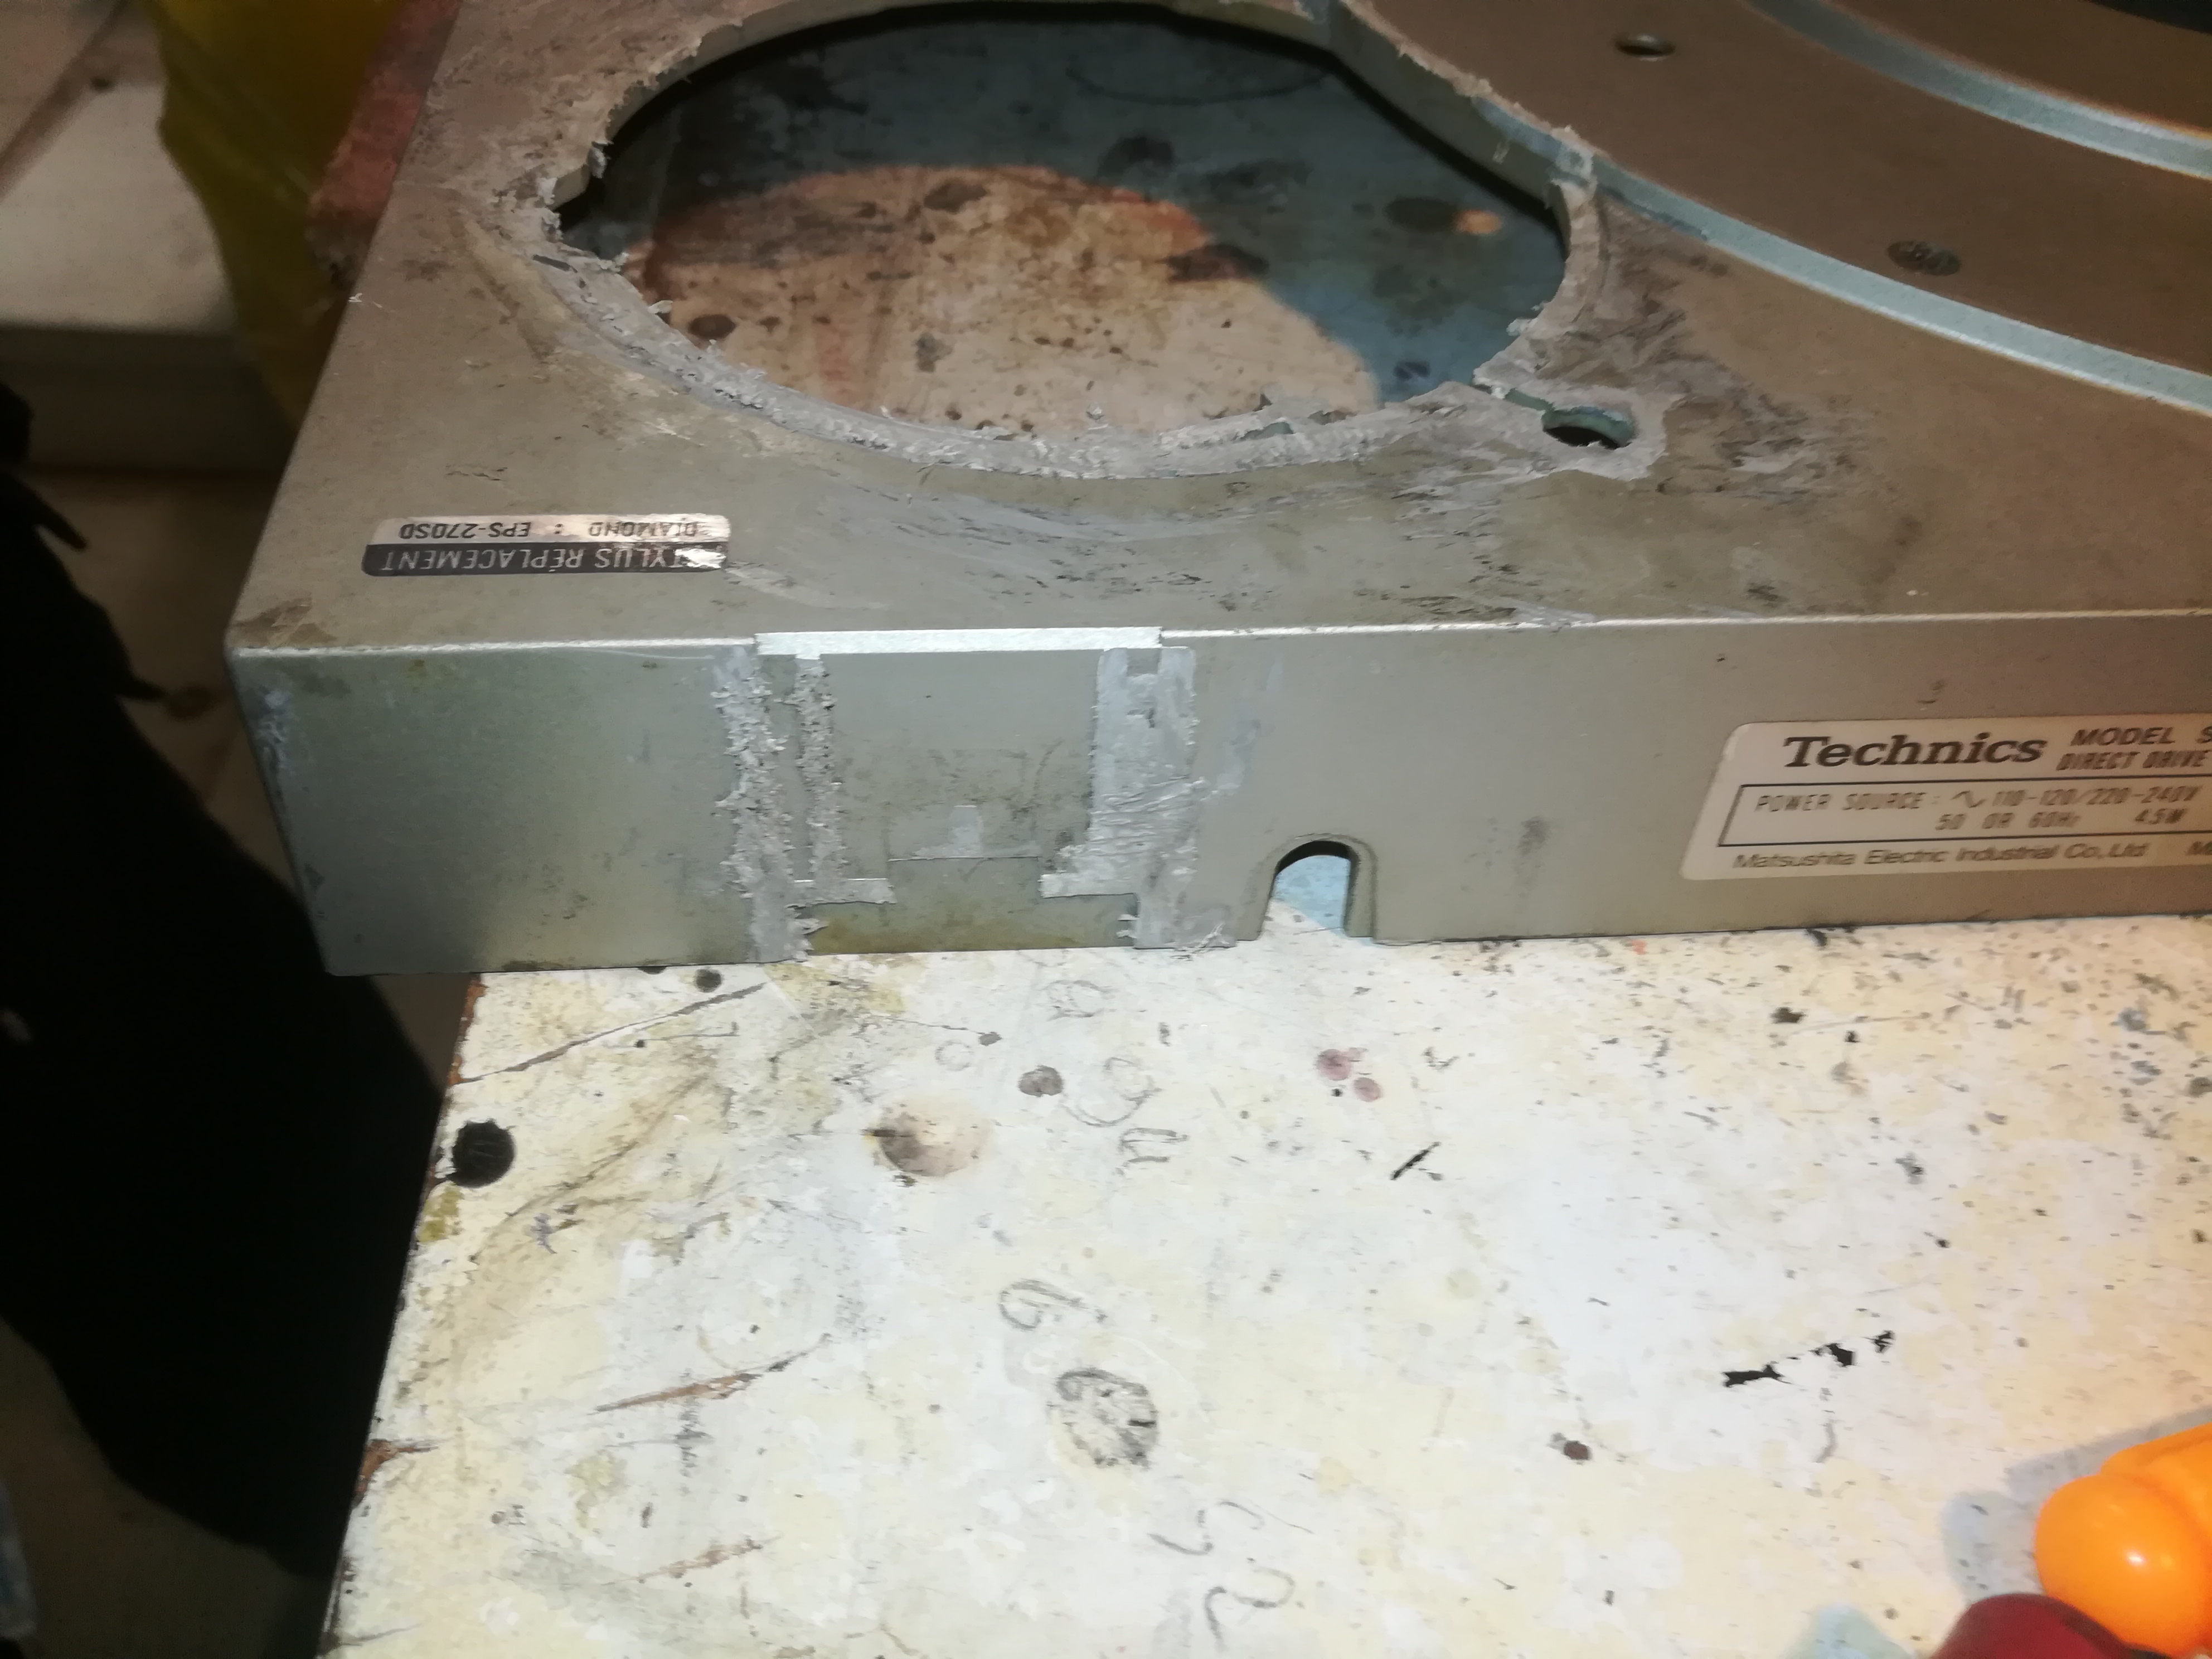
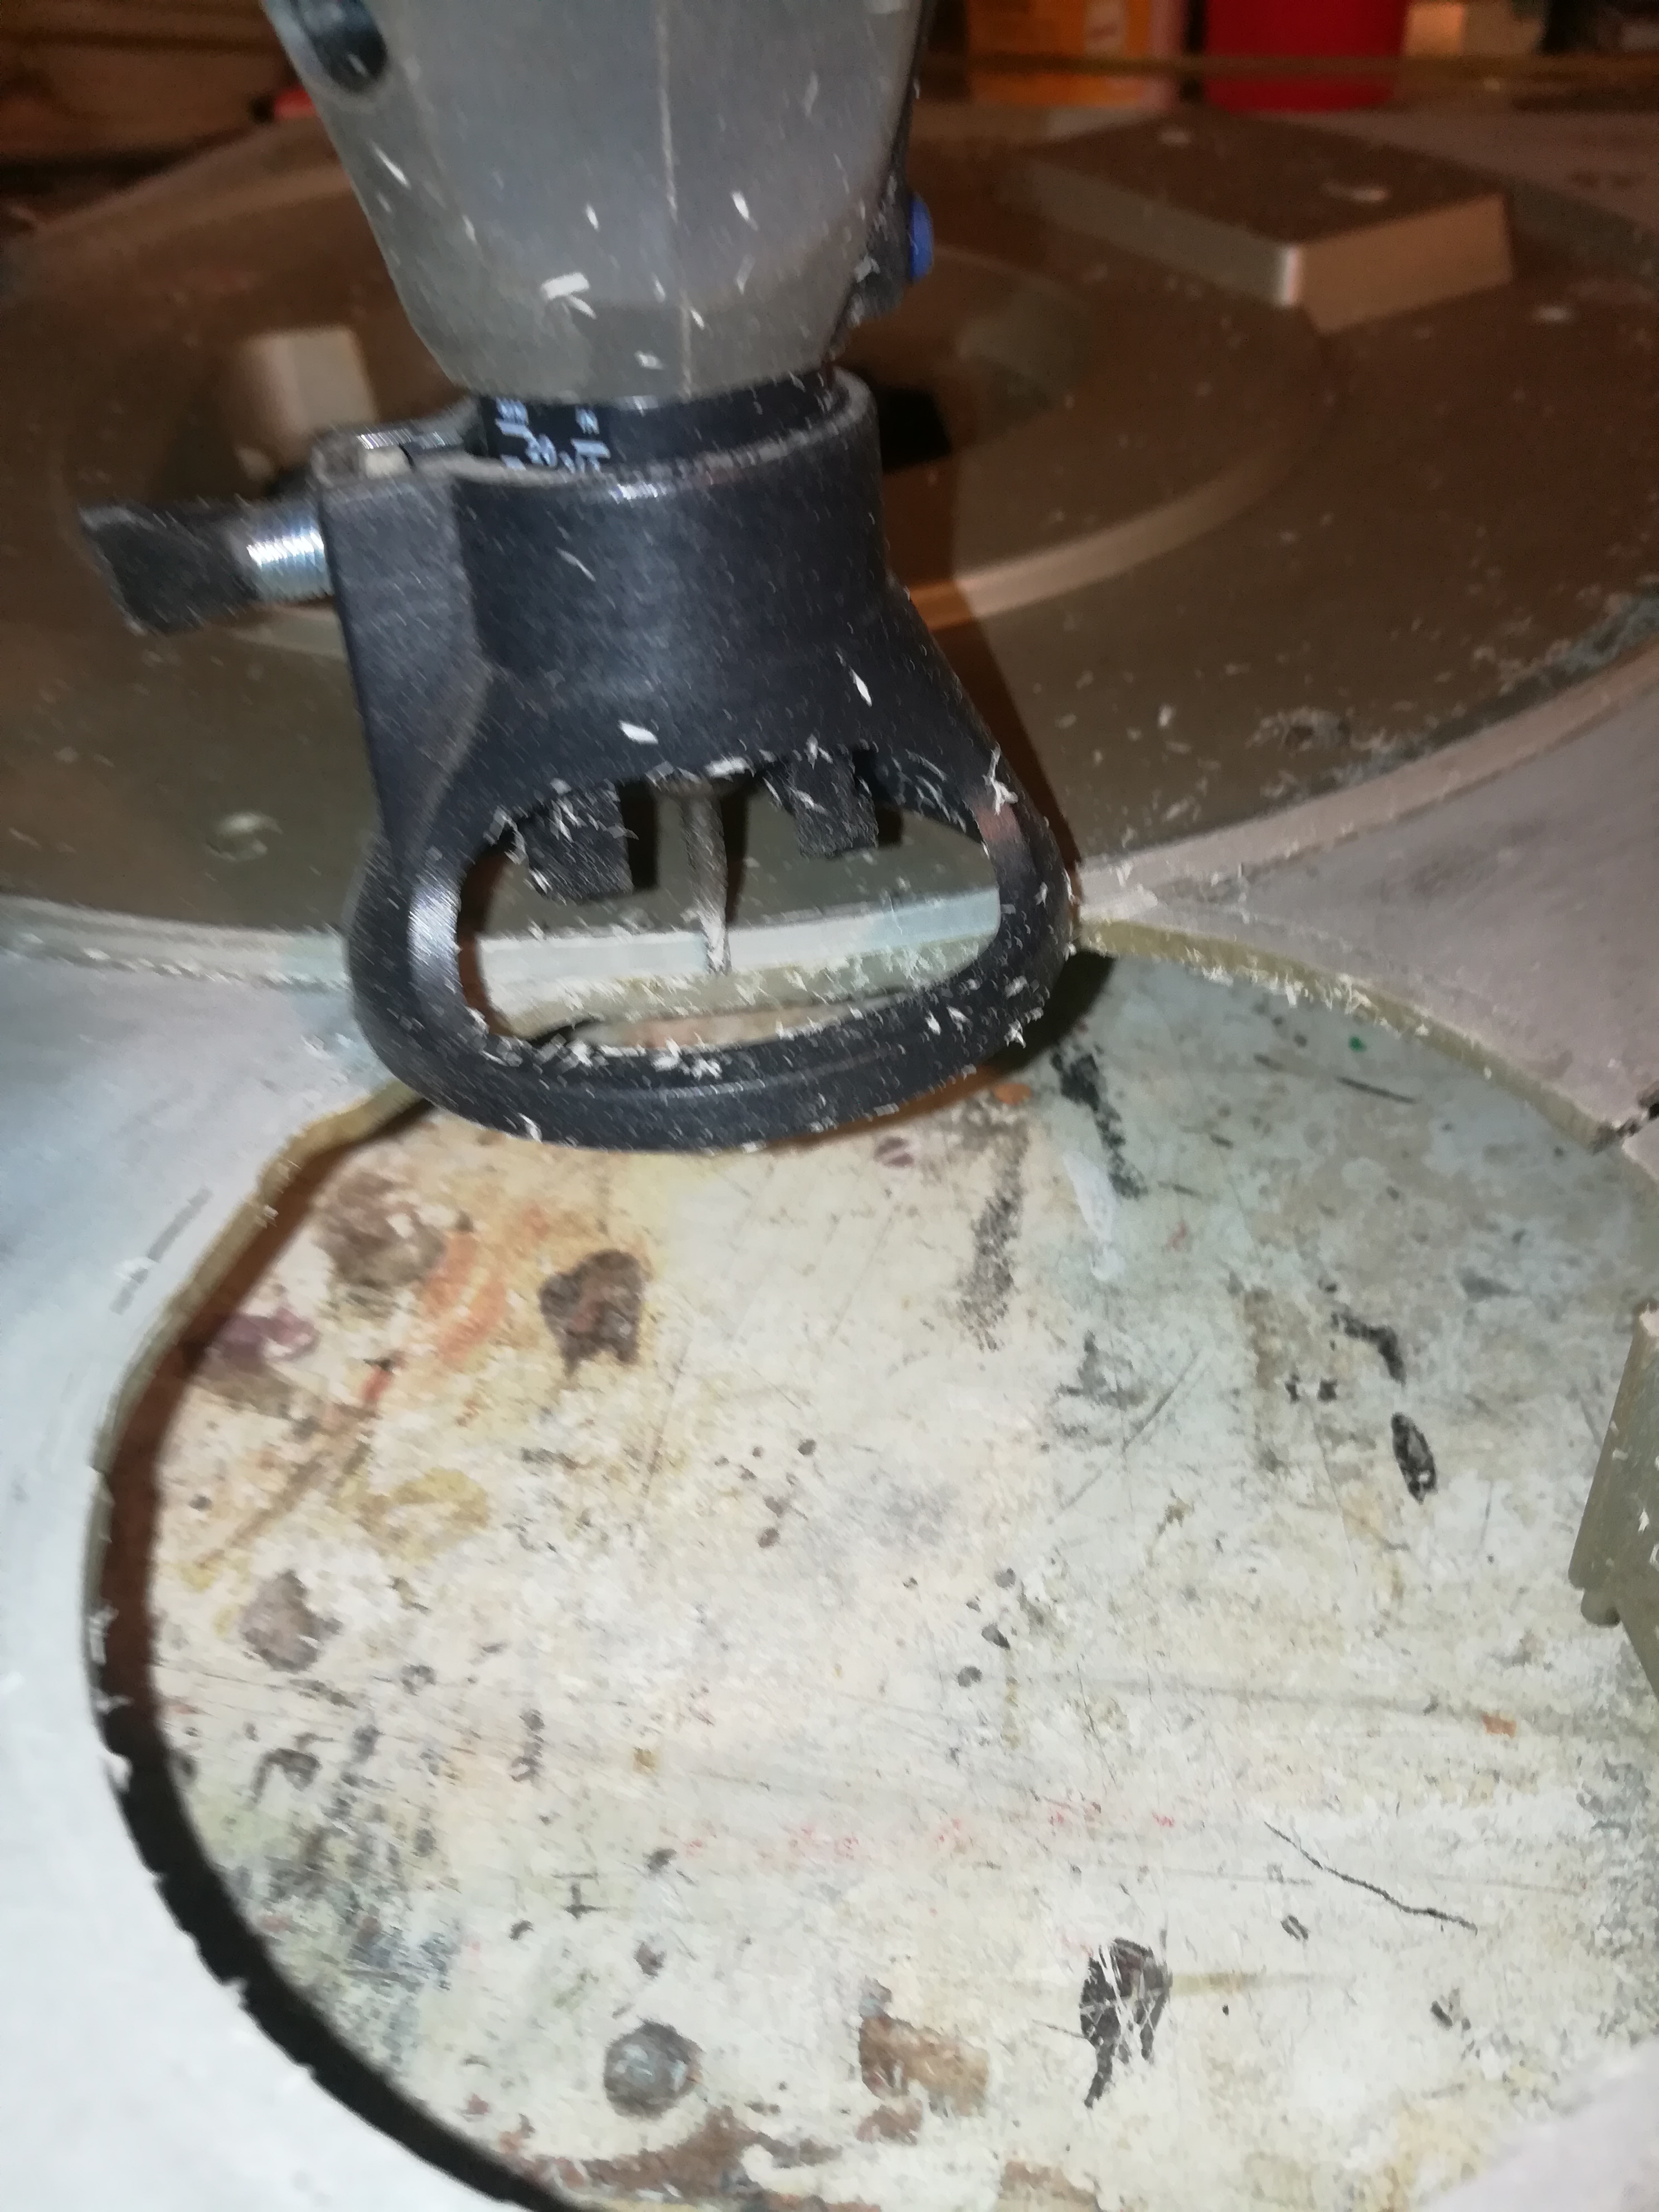
Because the pick-up arm was no longer usable, the old one had to be removed. Later I will fill this gap again and make an adjusted hole for the other arm.
Necessary materials:
-Dremel and mill
-Oscillating Multi-Tool
-sand paper 120
- Ruler
------------------------------------------------------------------------------------------------------------------------------------------------------
IMPORTANT !! First Measure the middle of the arm, so if you install the new one you know where to put it.
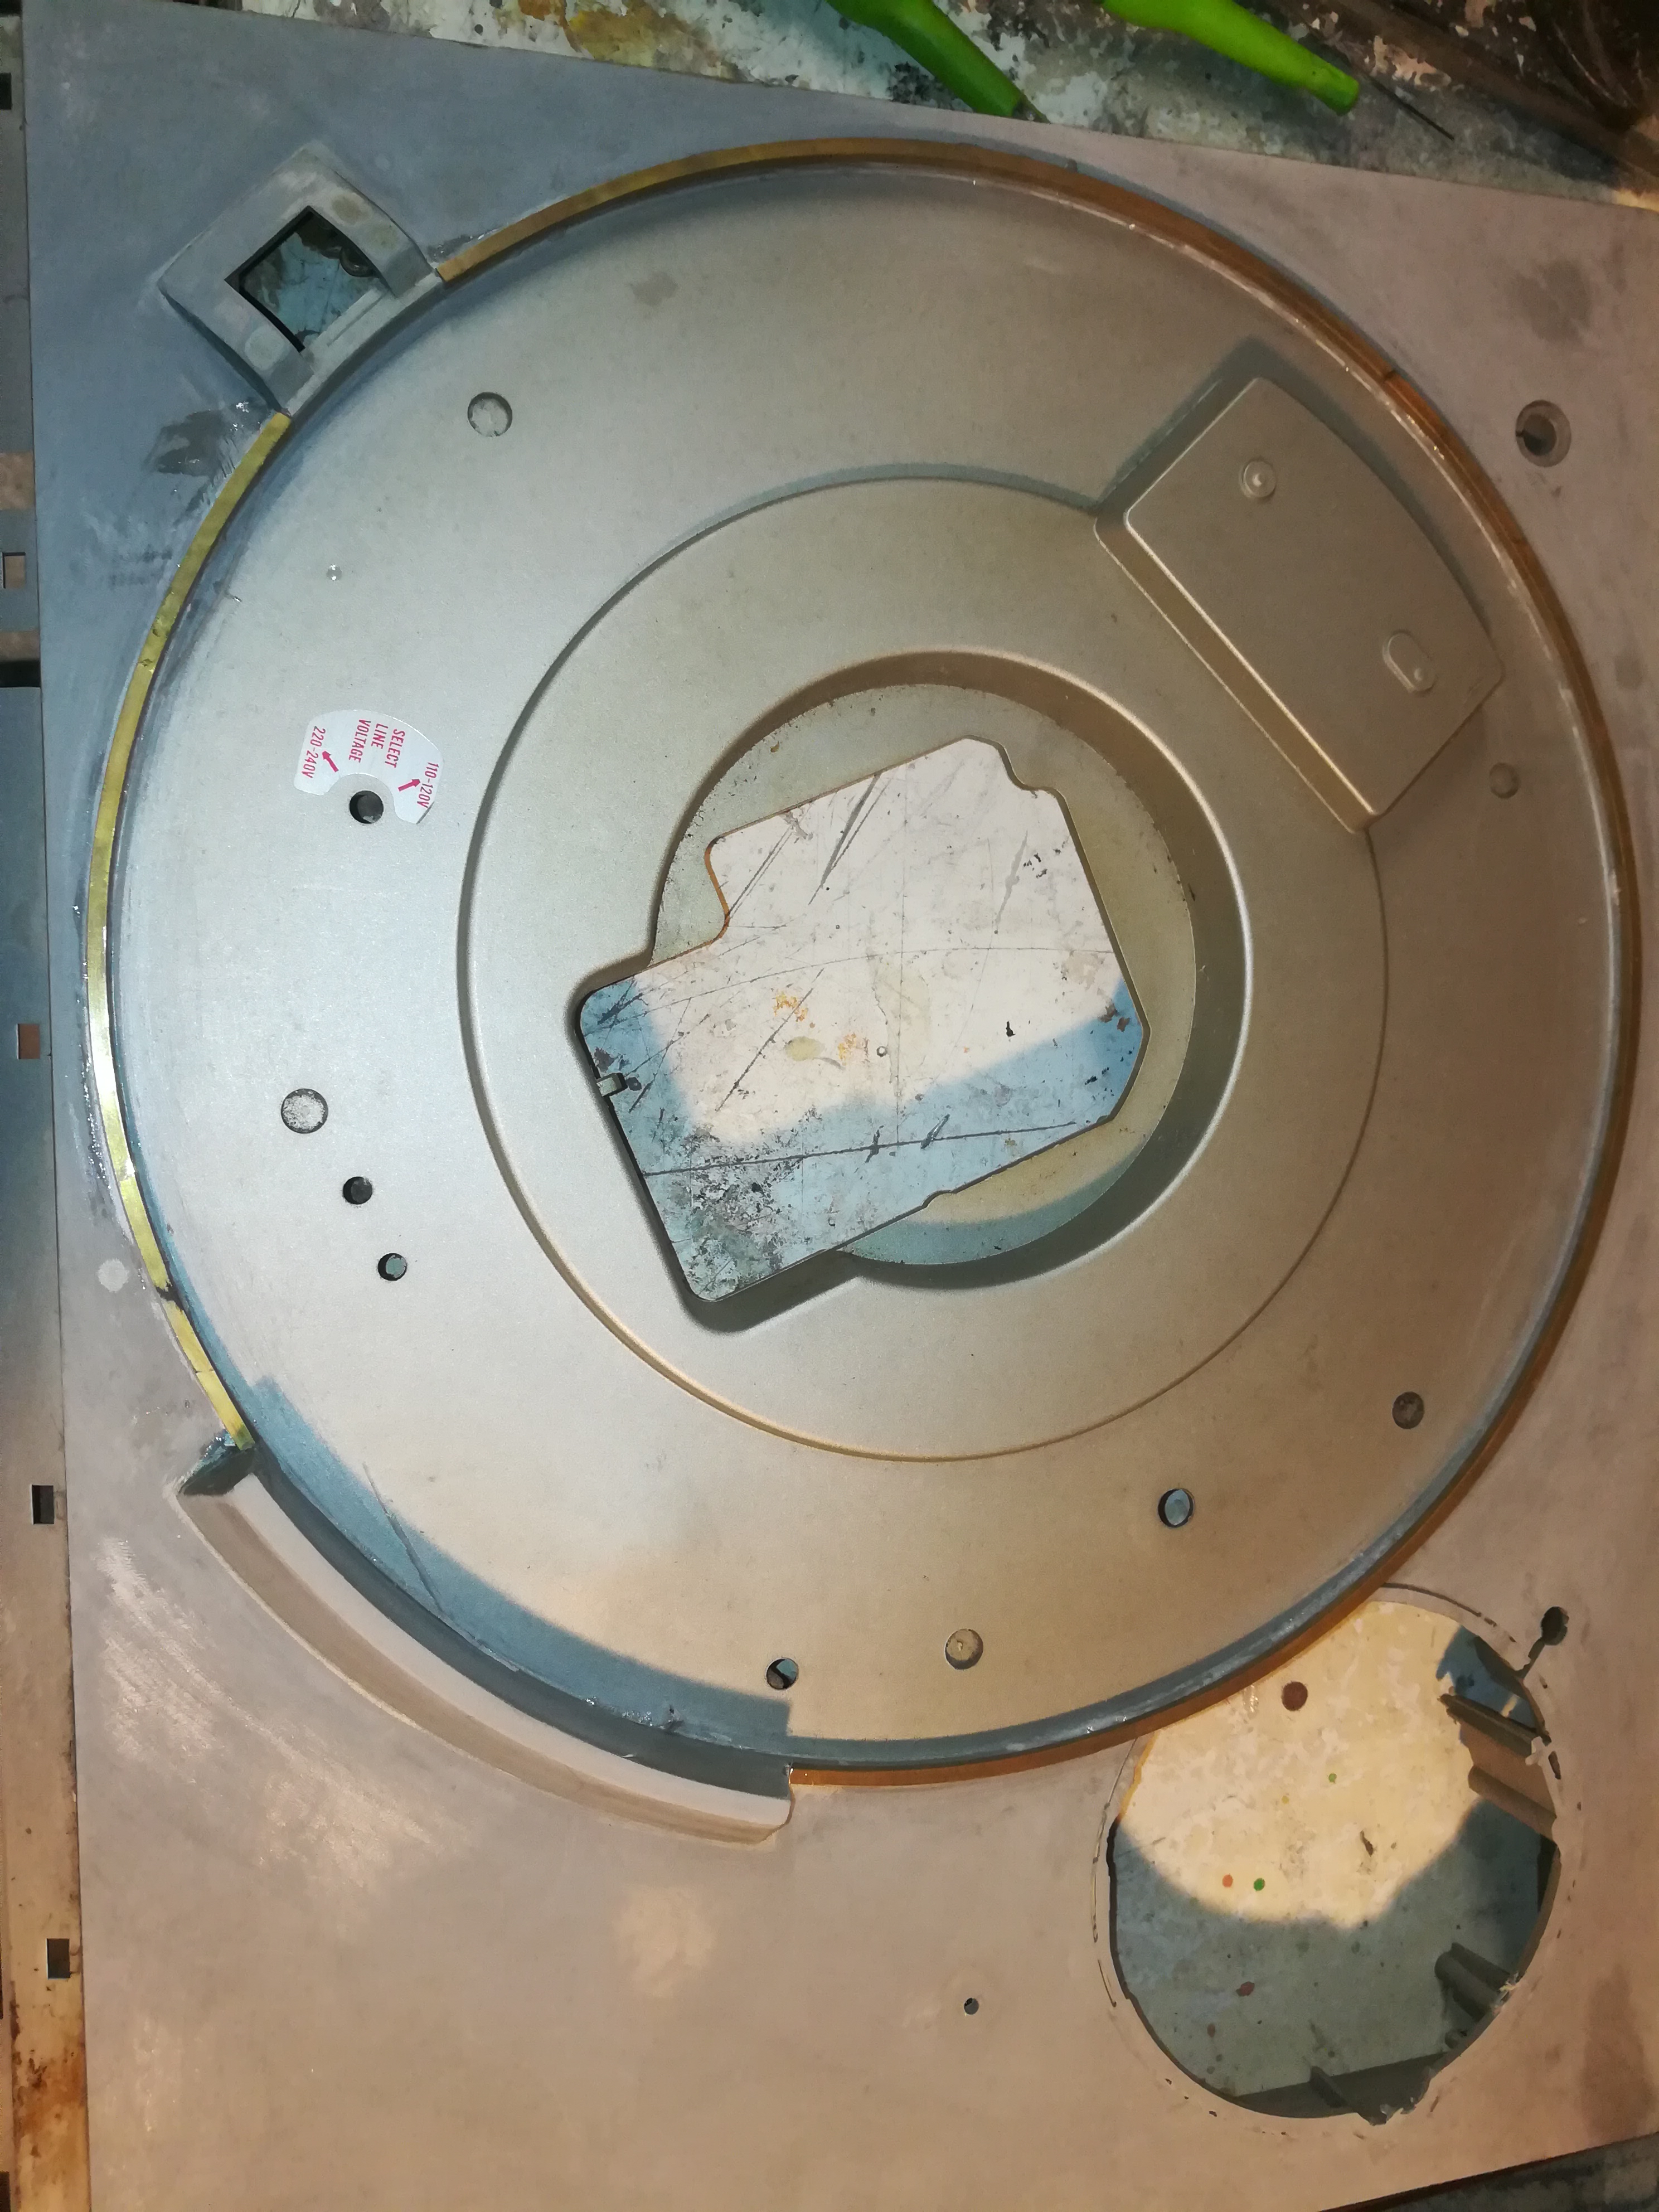
Begin on the sides of the elevation and hold your Oscillating Multi-Tool flat against the top of the case and go around to saw it of. If it is not level than take some sand paper and make sure that the top is flat (picture 1).
On the back there were hooks for the acrylic case and and decided to remove them too (picture 2).
My player had a little brim around the disk, so i had to cut away the excess material with a dremel. (picture 3).
Making the Brass Brim
I wanted to use brass parts in the design for a more appealing looks.
Necessary materials:
- 3x3 mm brass u-profile
- Gas burner
- Wooden planks
- 6x Tensioning Screw
- PU-glue
- Hand jigsaw for metal
------------------------------------------------------------------------------------------------------------------------------------------------------
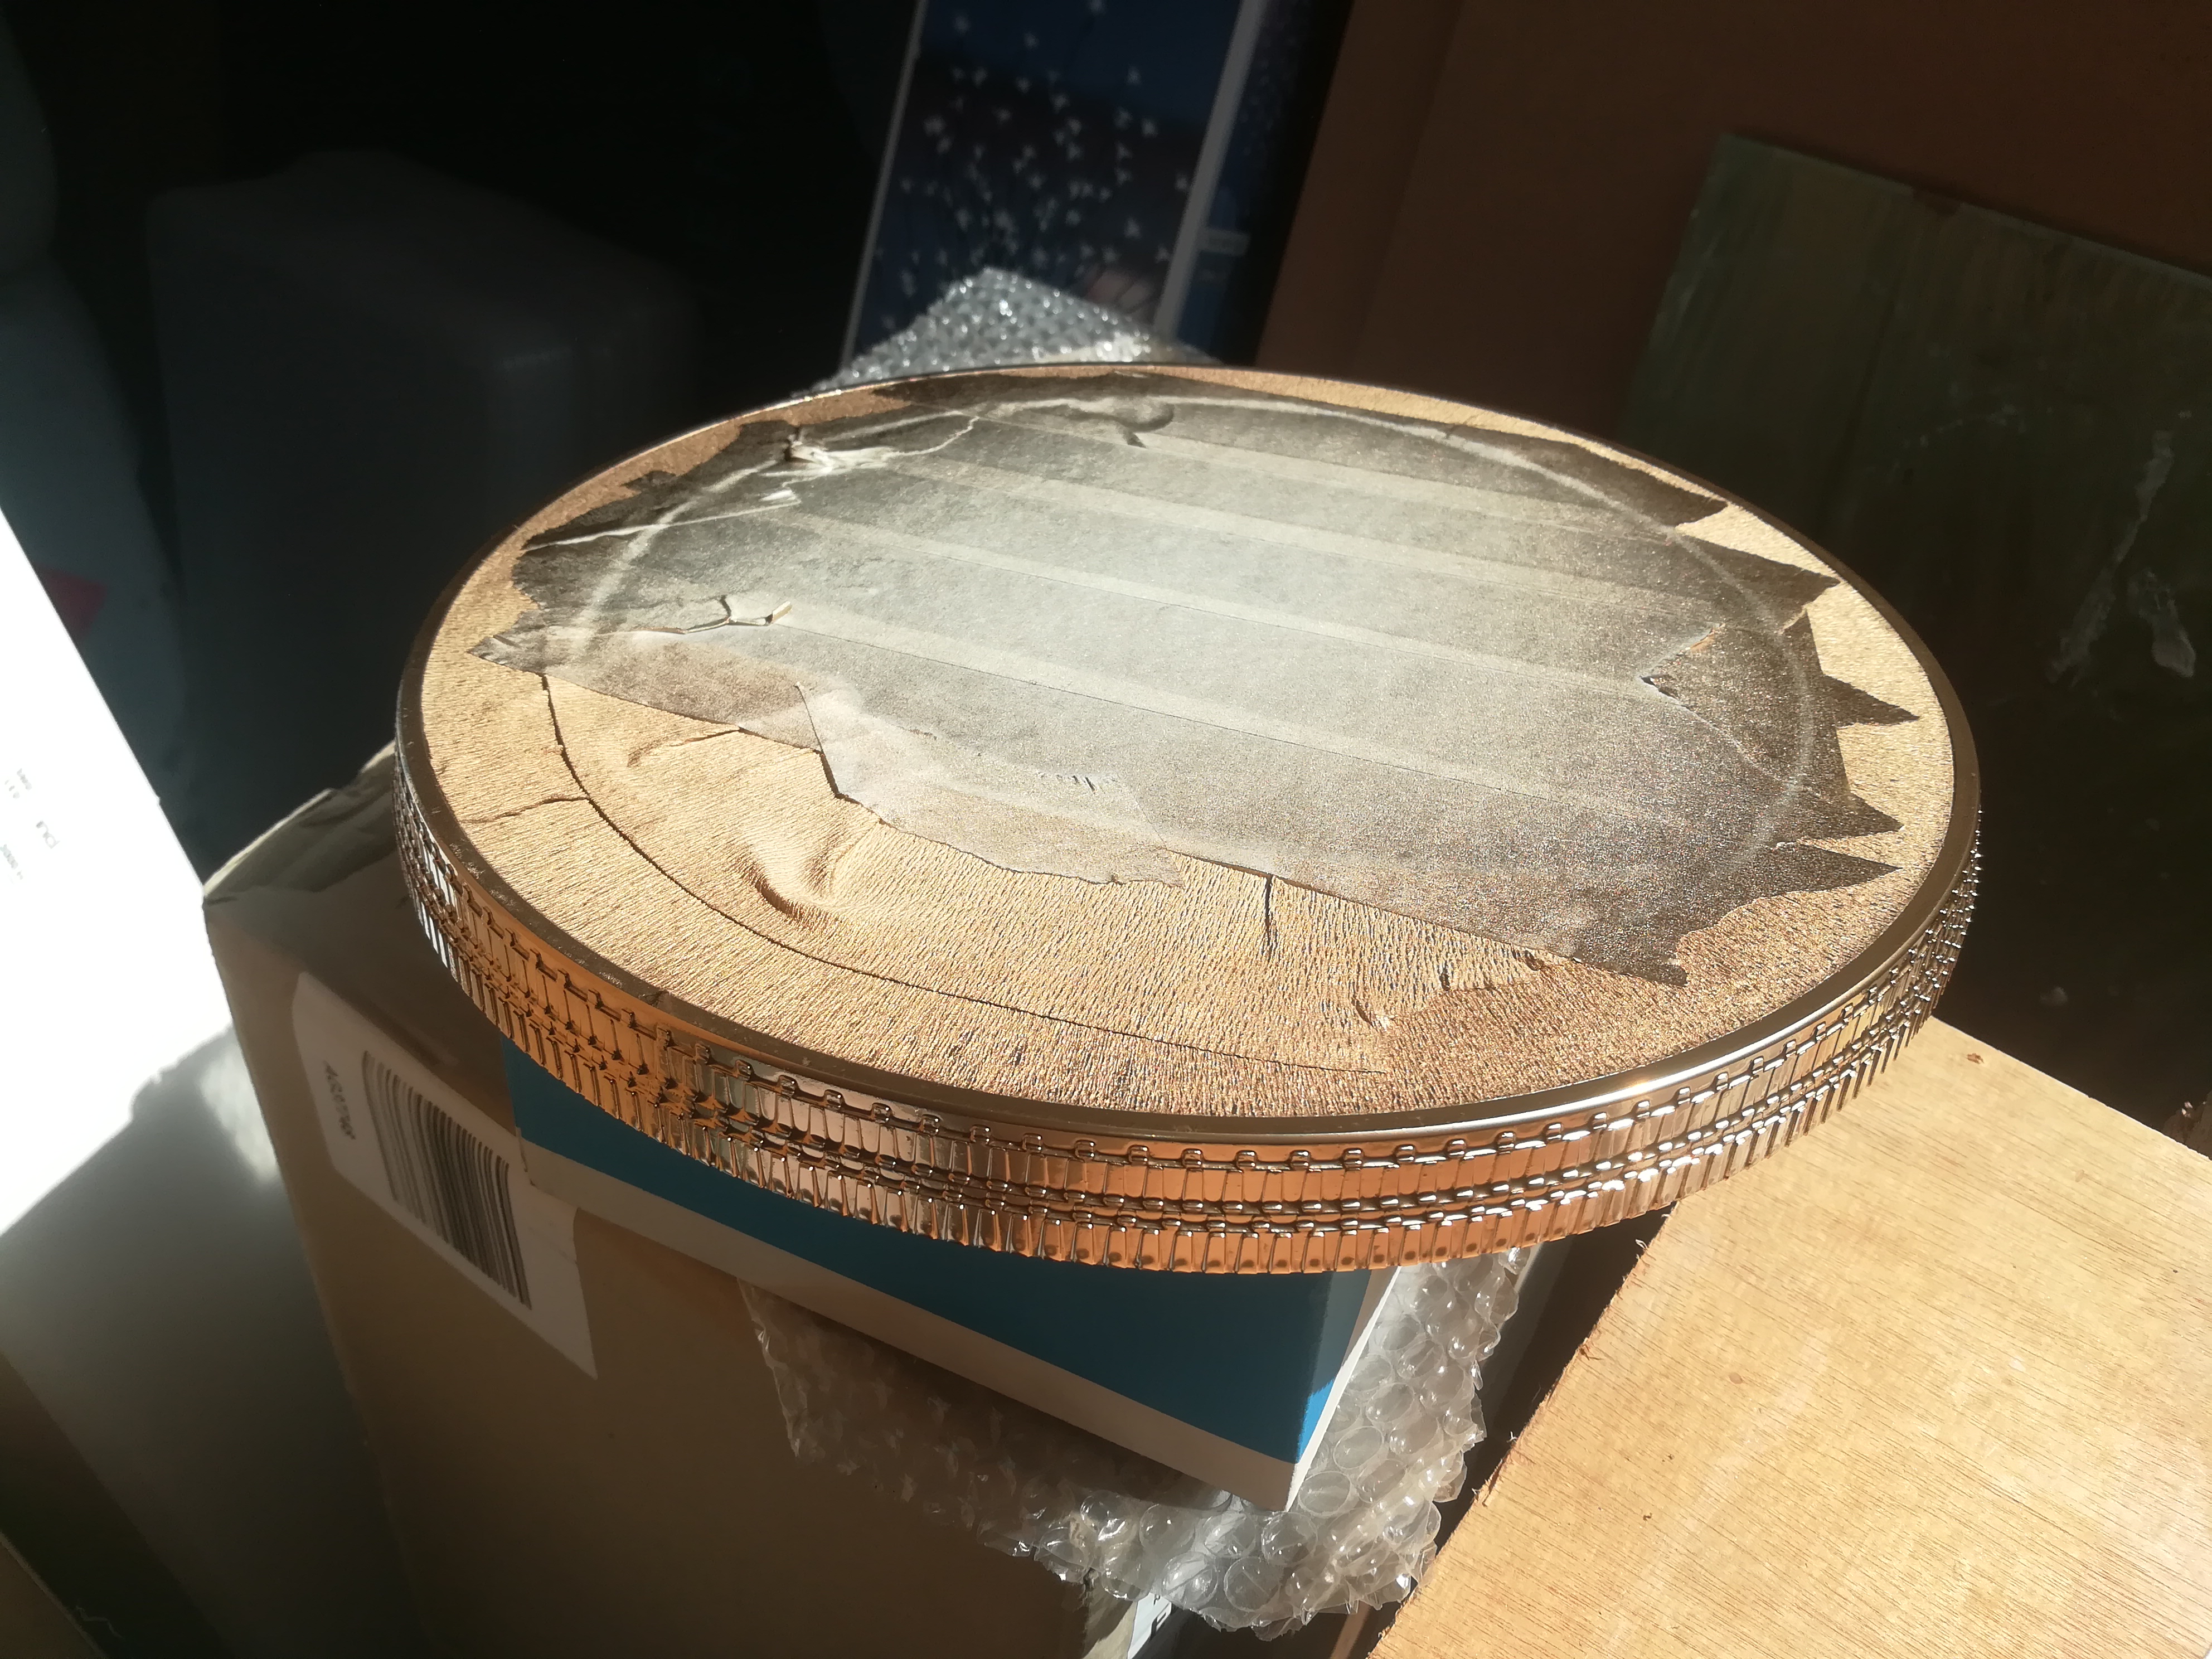
The brim alround the disc had the right size for the U-profile to fit over.
Take the brass U-profile and glow it with the gas burner to soften it. It will allow you to bend it easier.
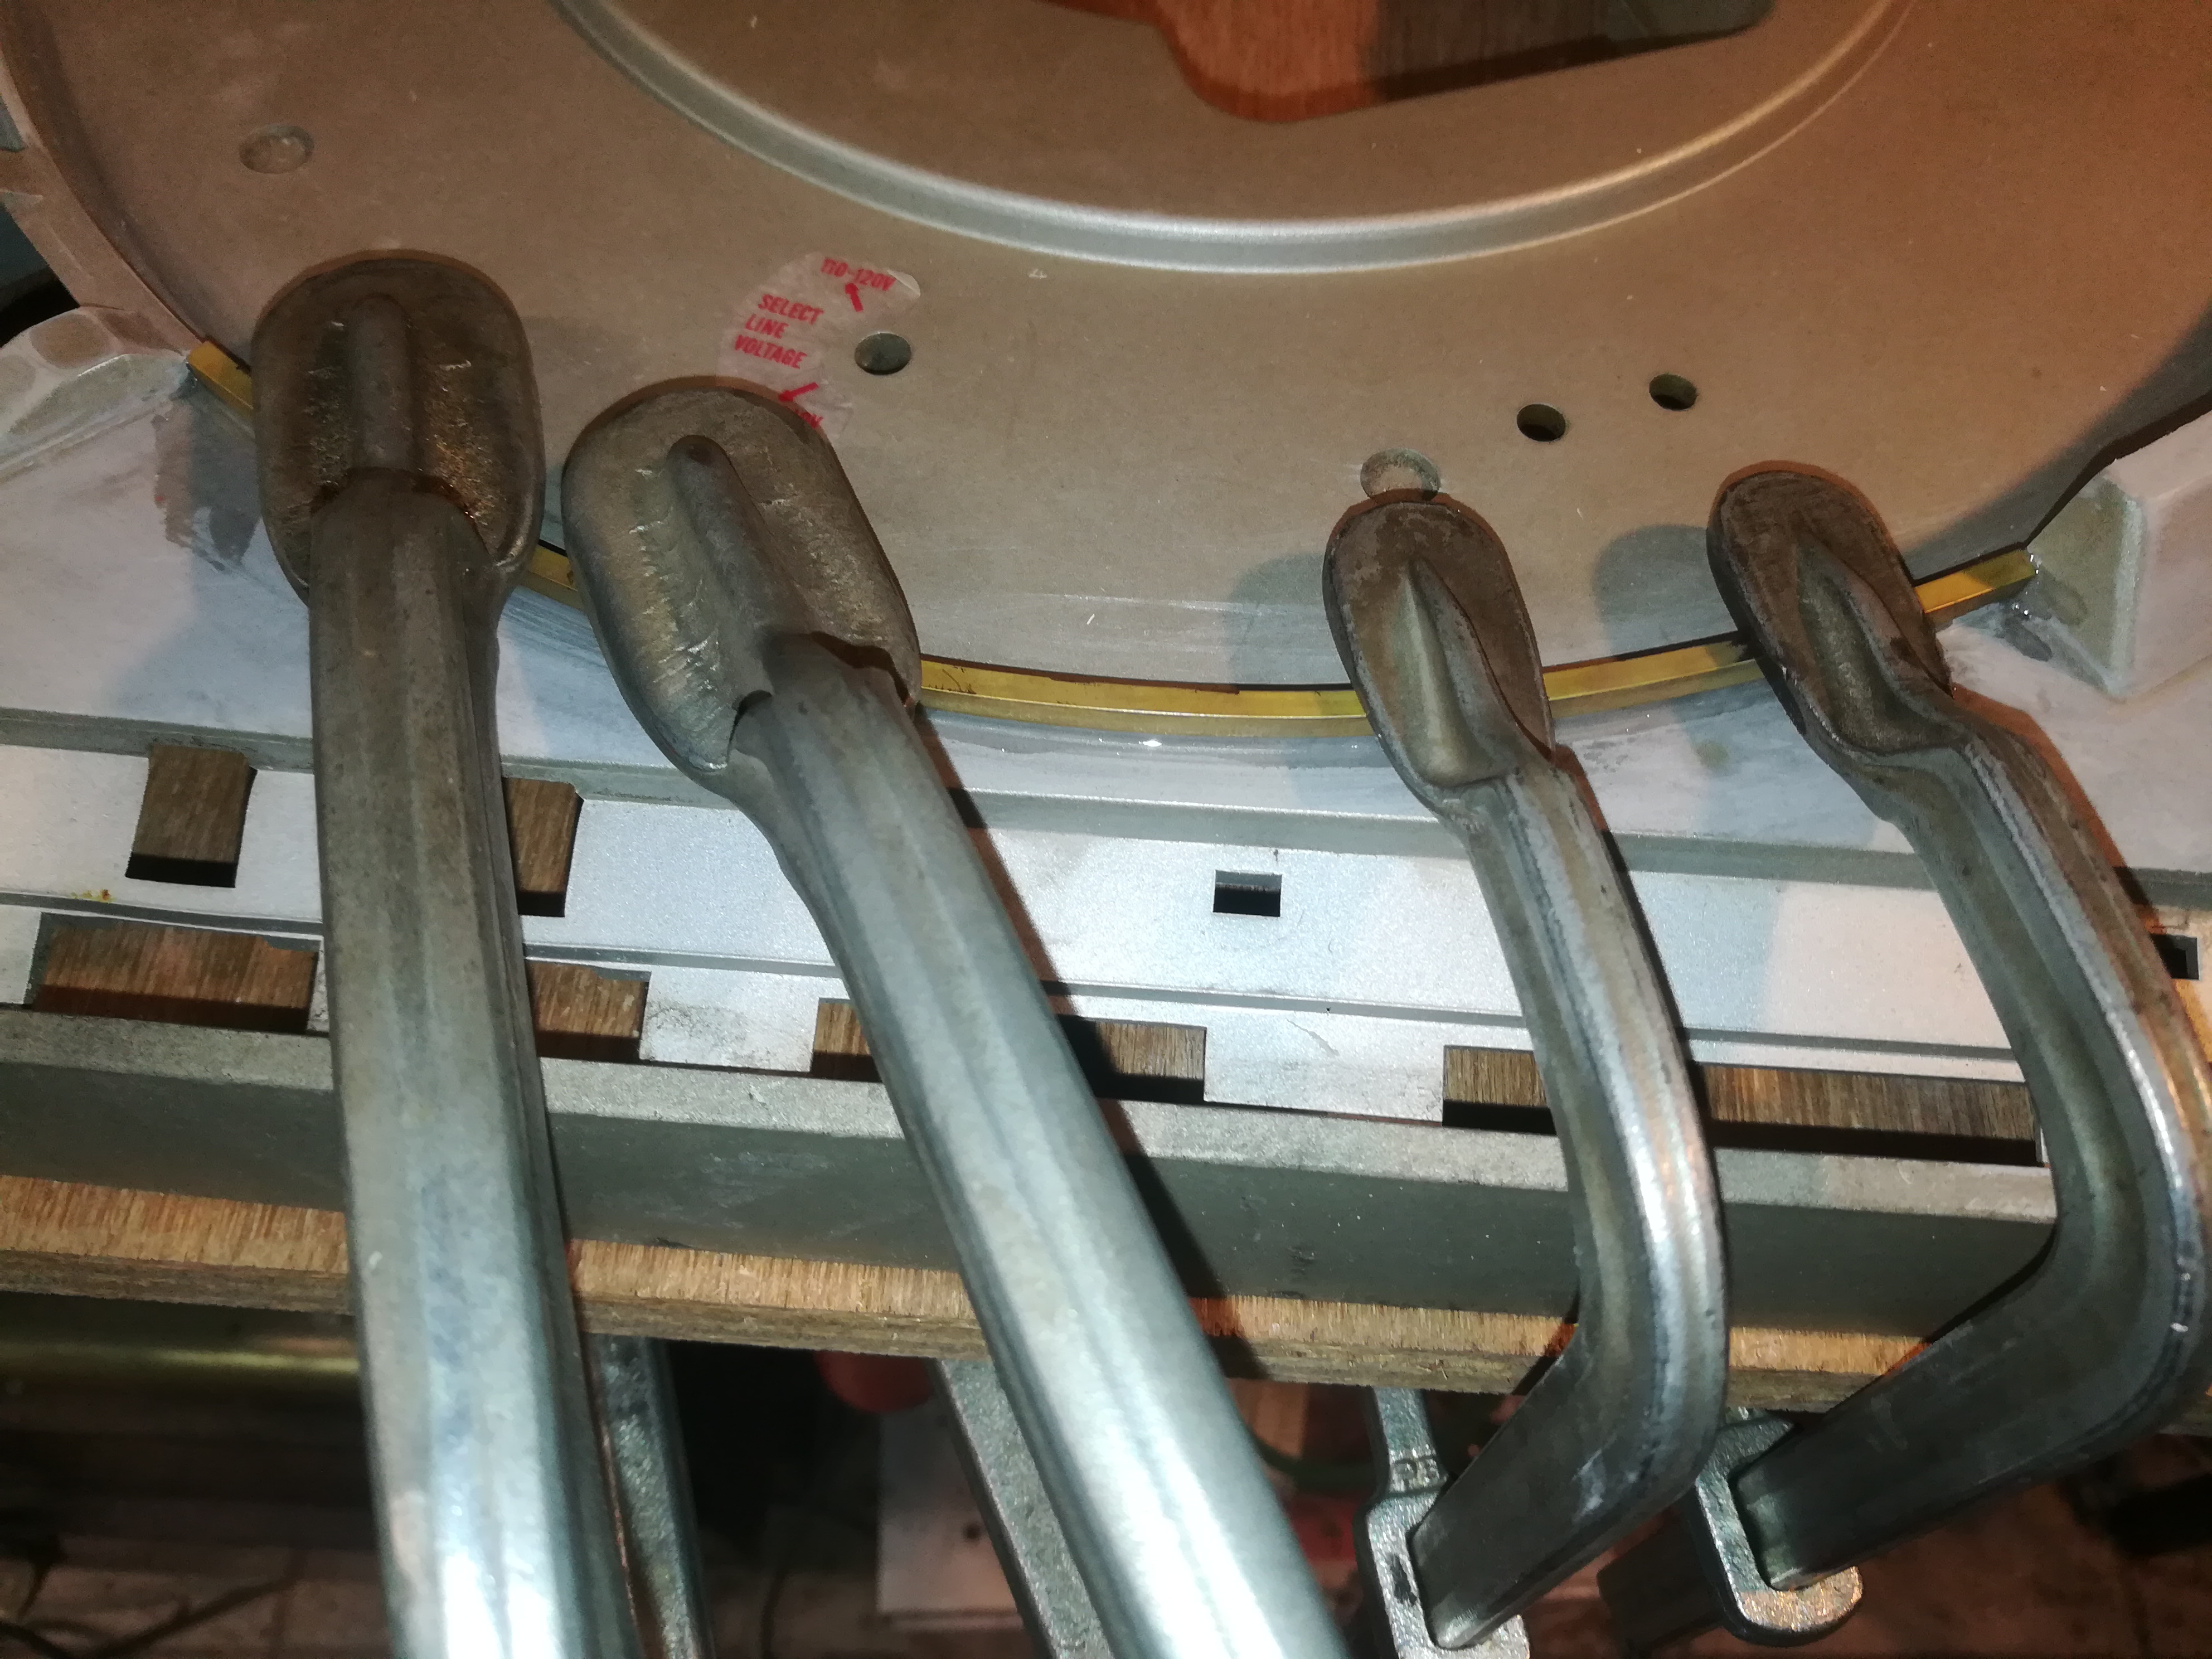
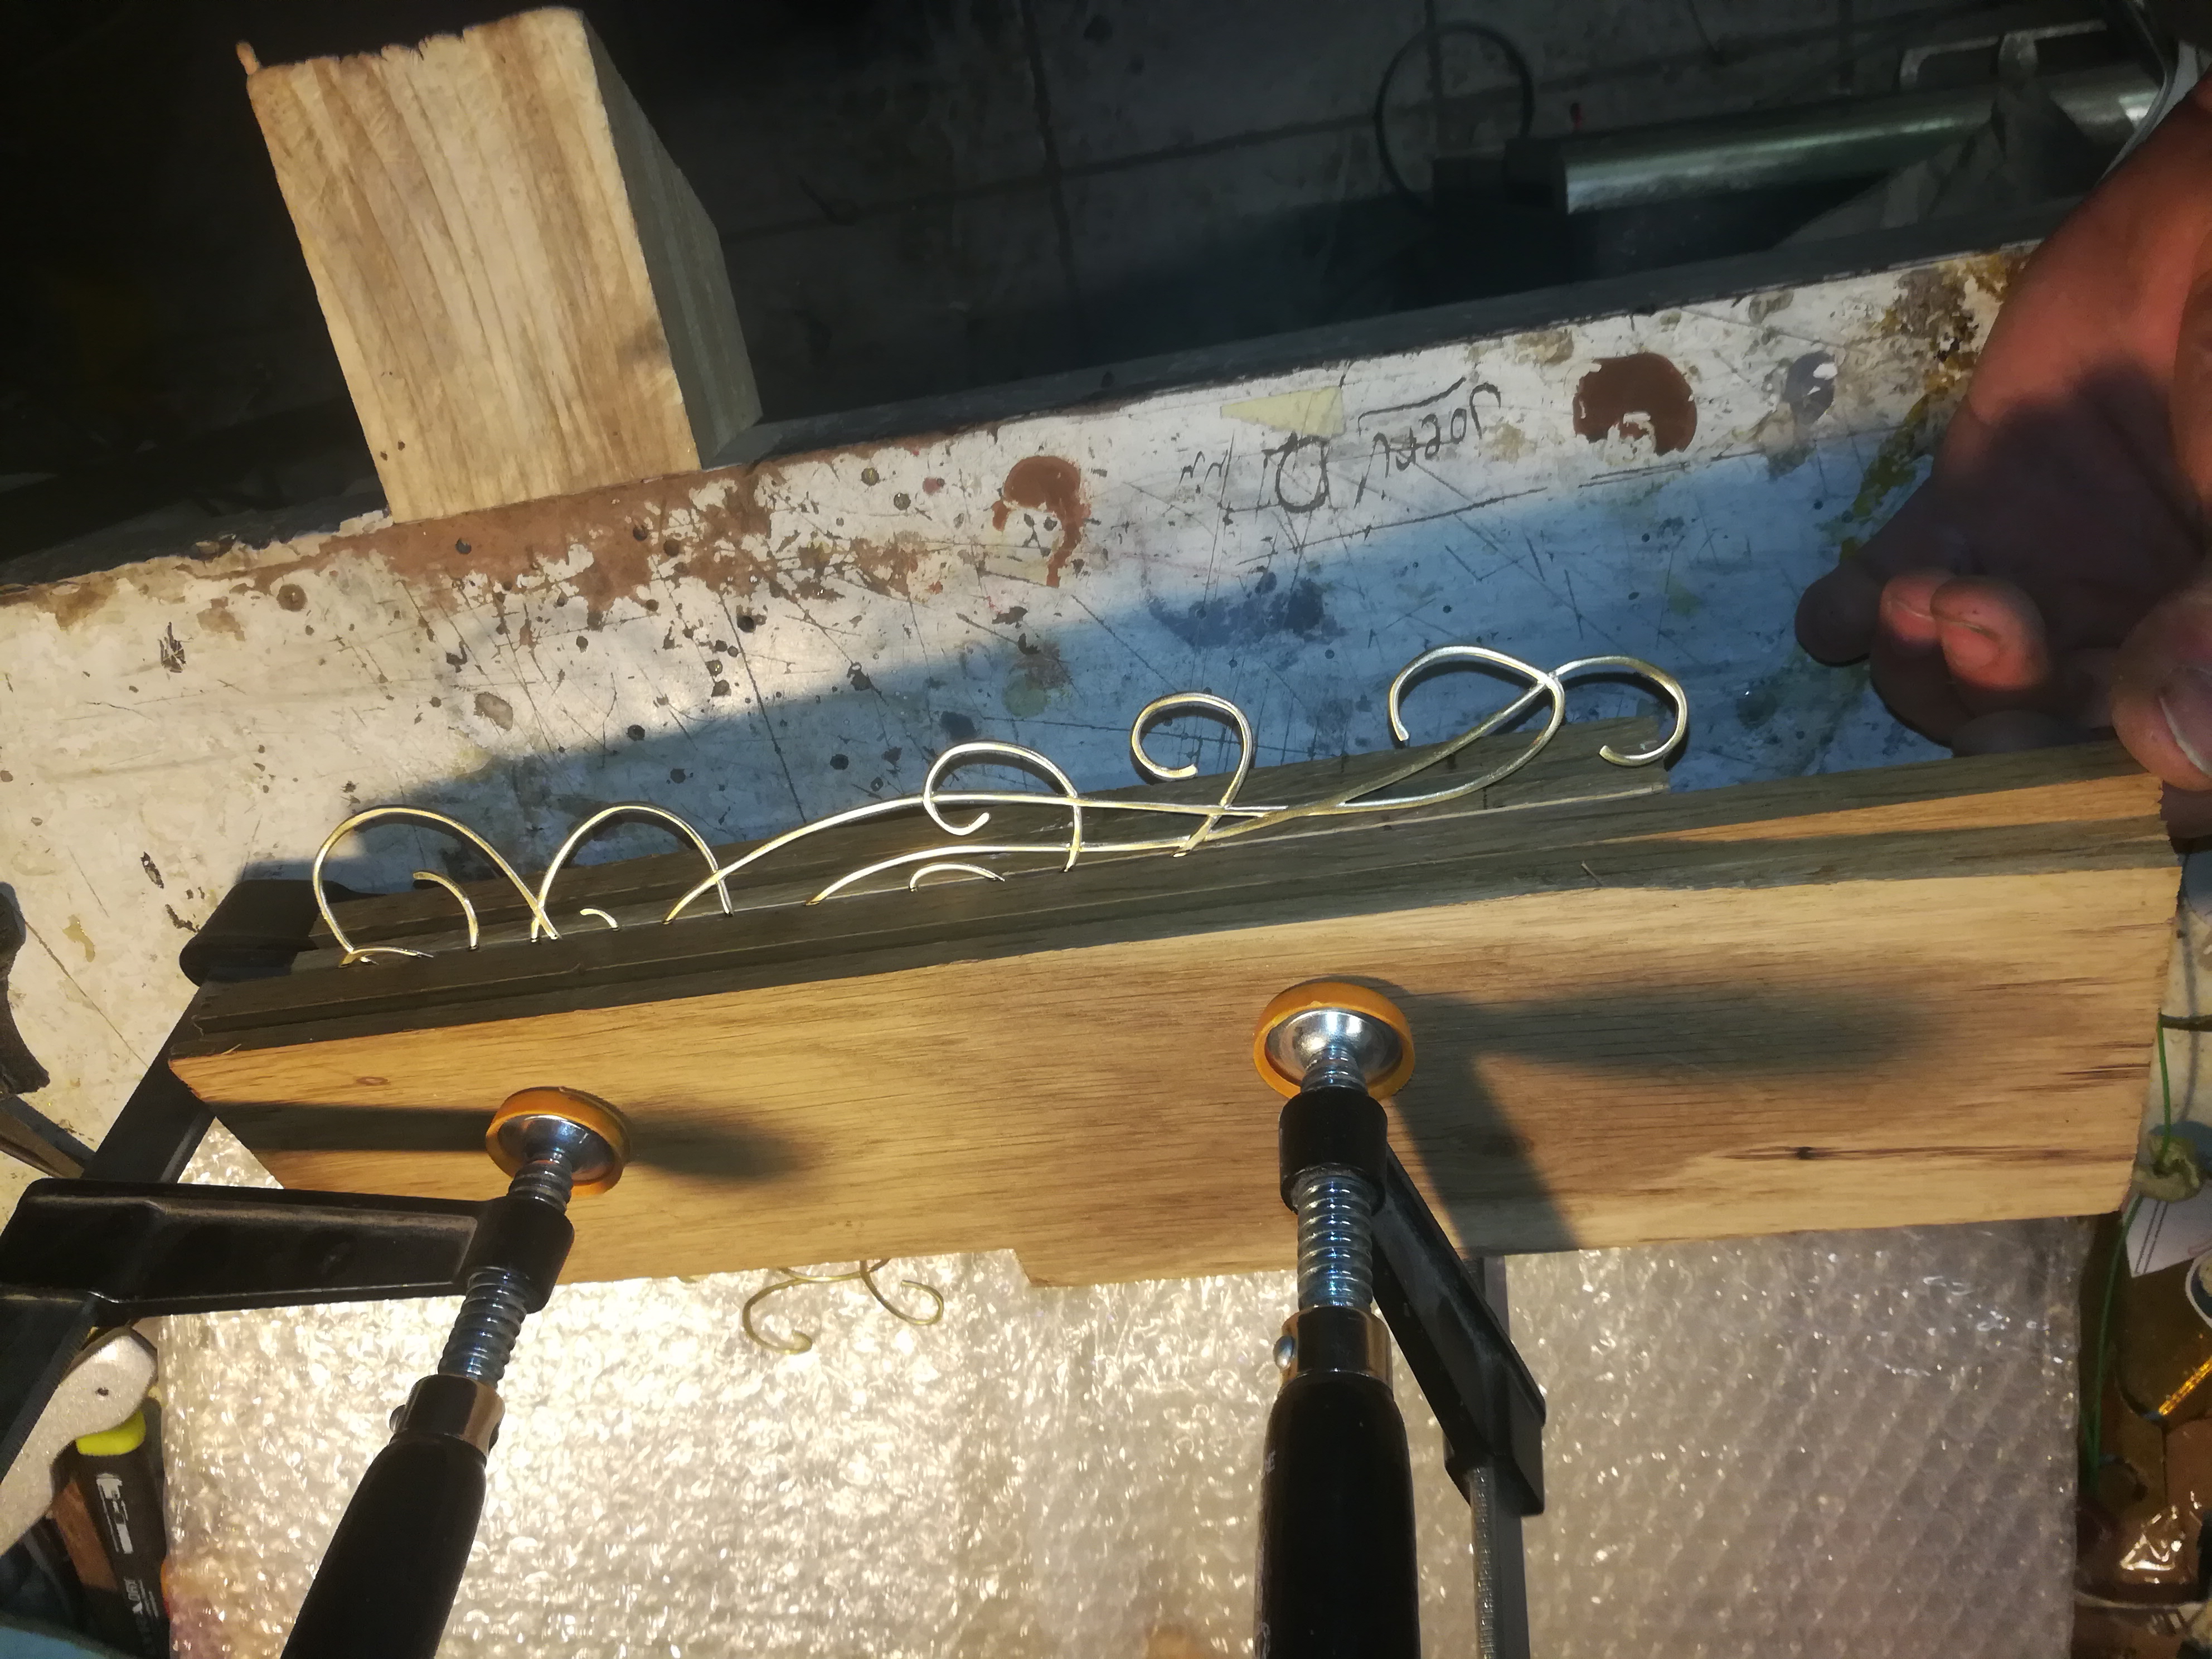
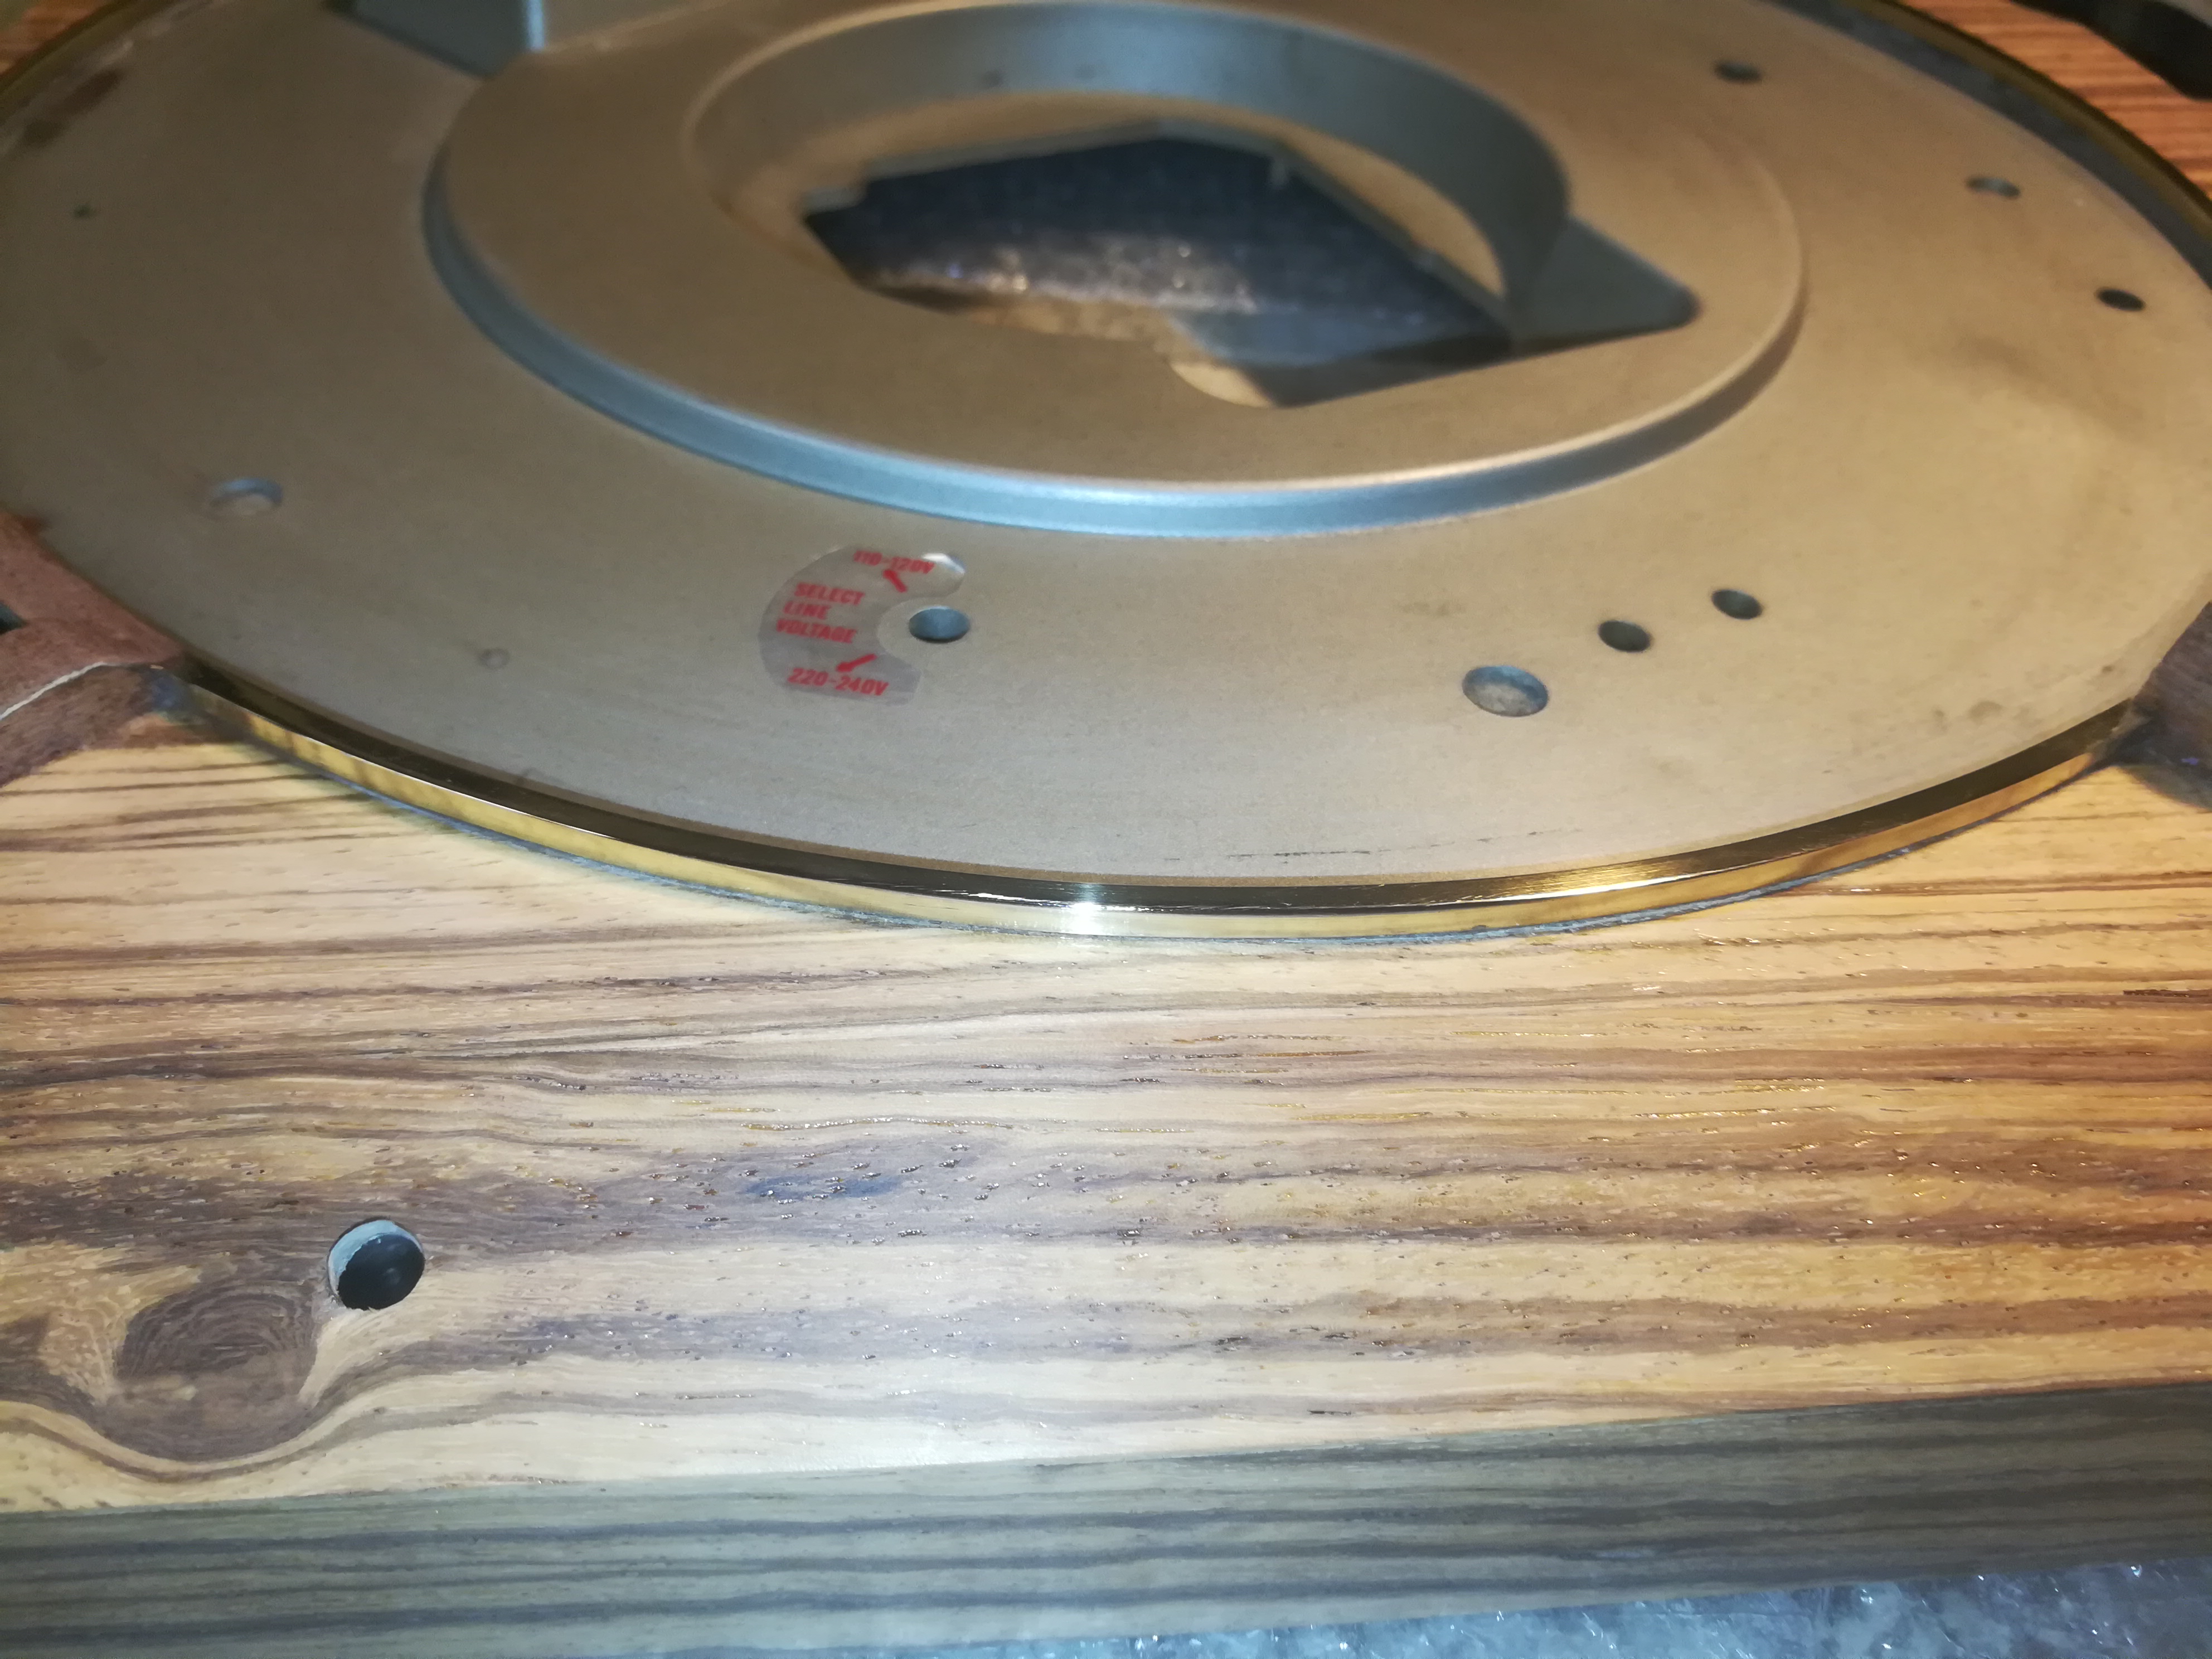
Measure the lengths you need and cut off the pieces and try to bent it in shape over the brim with no glue ( picture 1). When it has the right round shape, put the glue in the insides of the U-profile and put it over the brim. It will not stay in place so take some wooden planks and press it together with the tensioning screws (picture 2). Do the whole length or the profile will have different hights. Leave it over night to make sure that the glue is hardend.
Take off the screws and your ready for the next step (picture 3).
Glue the Sides With Veneer Wood
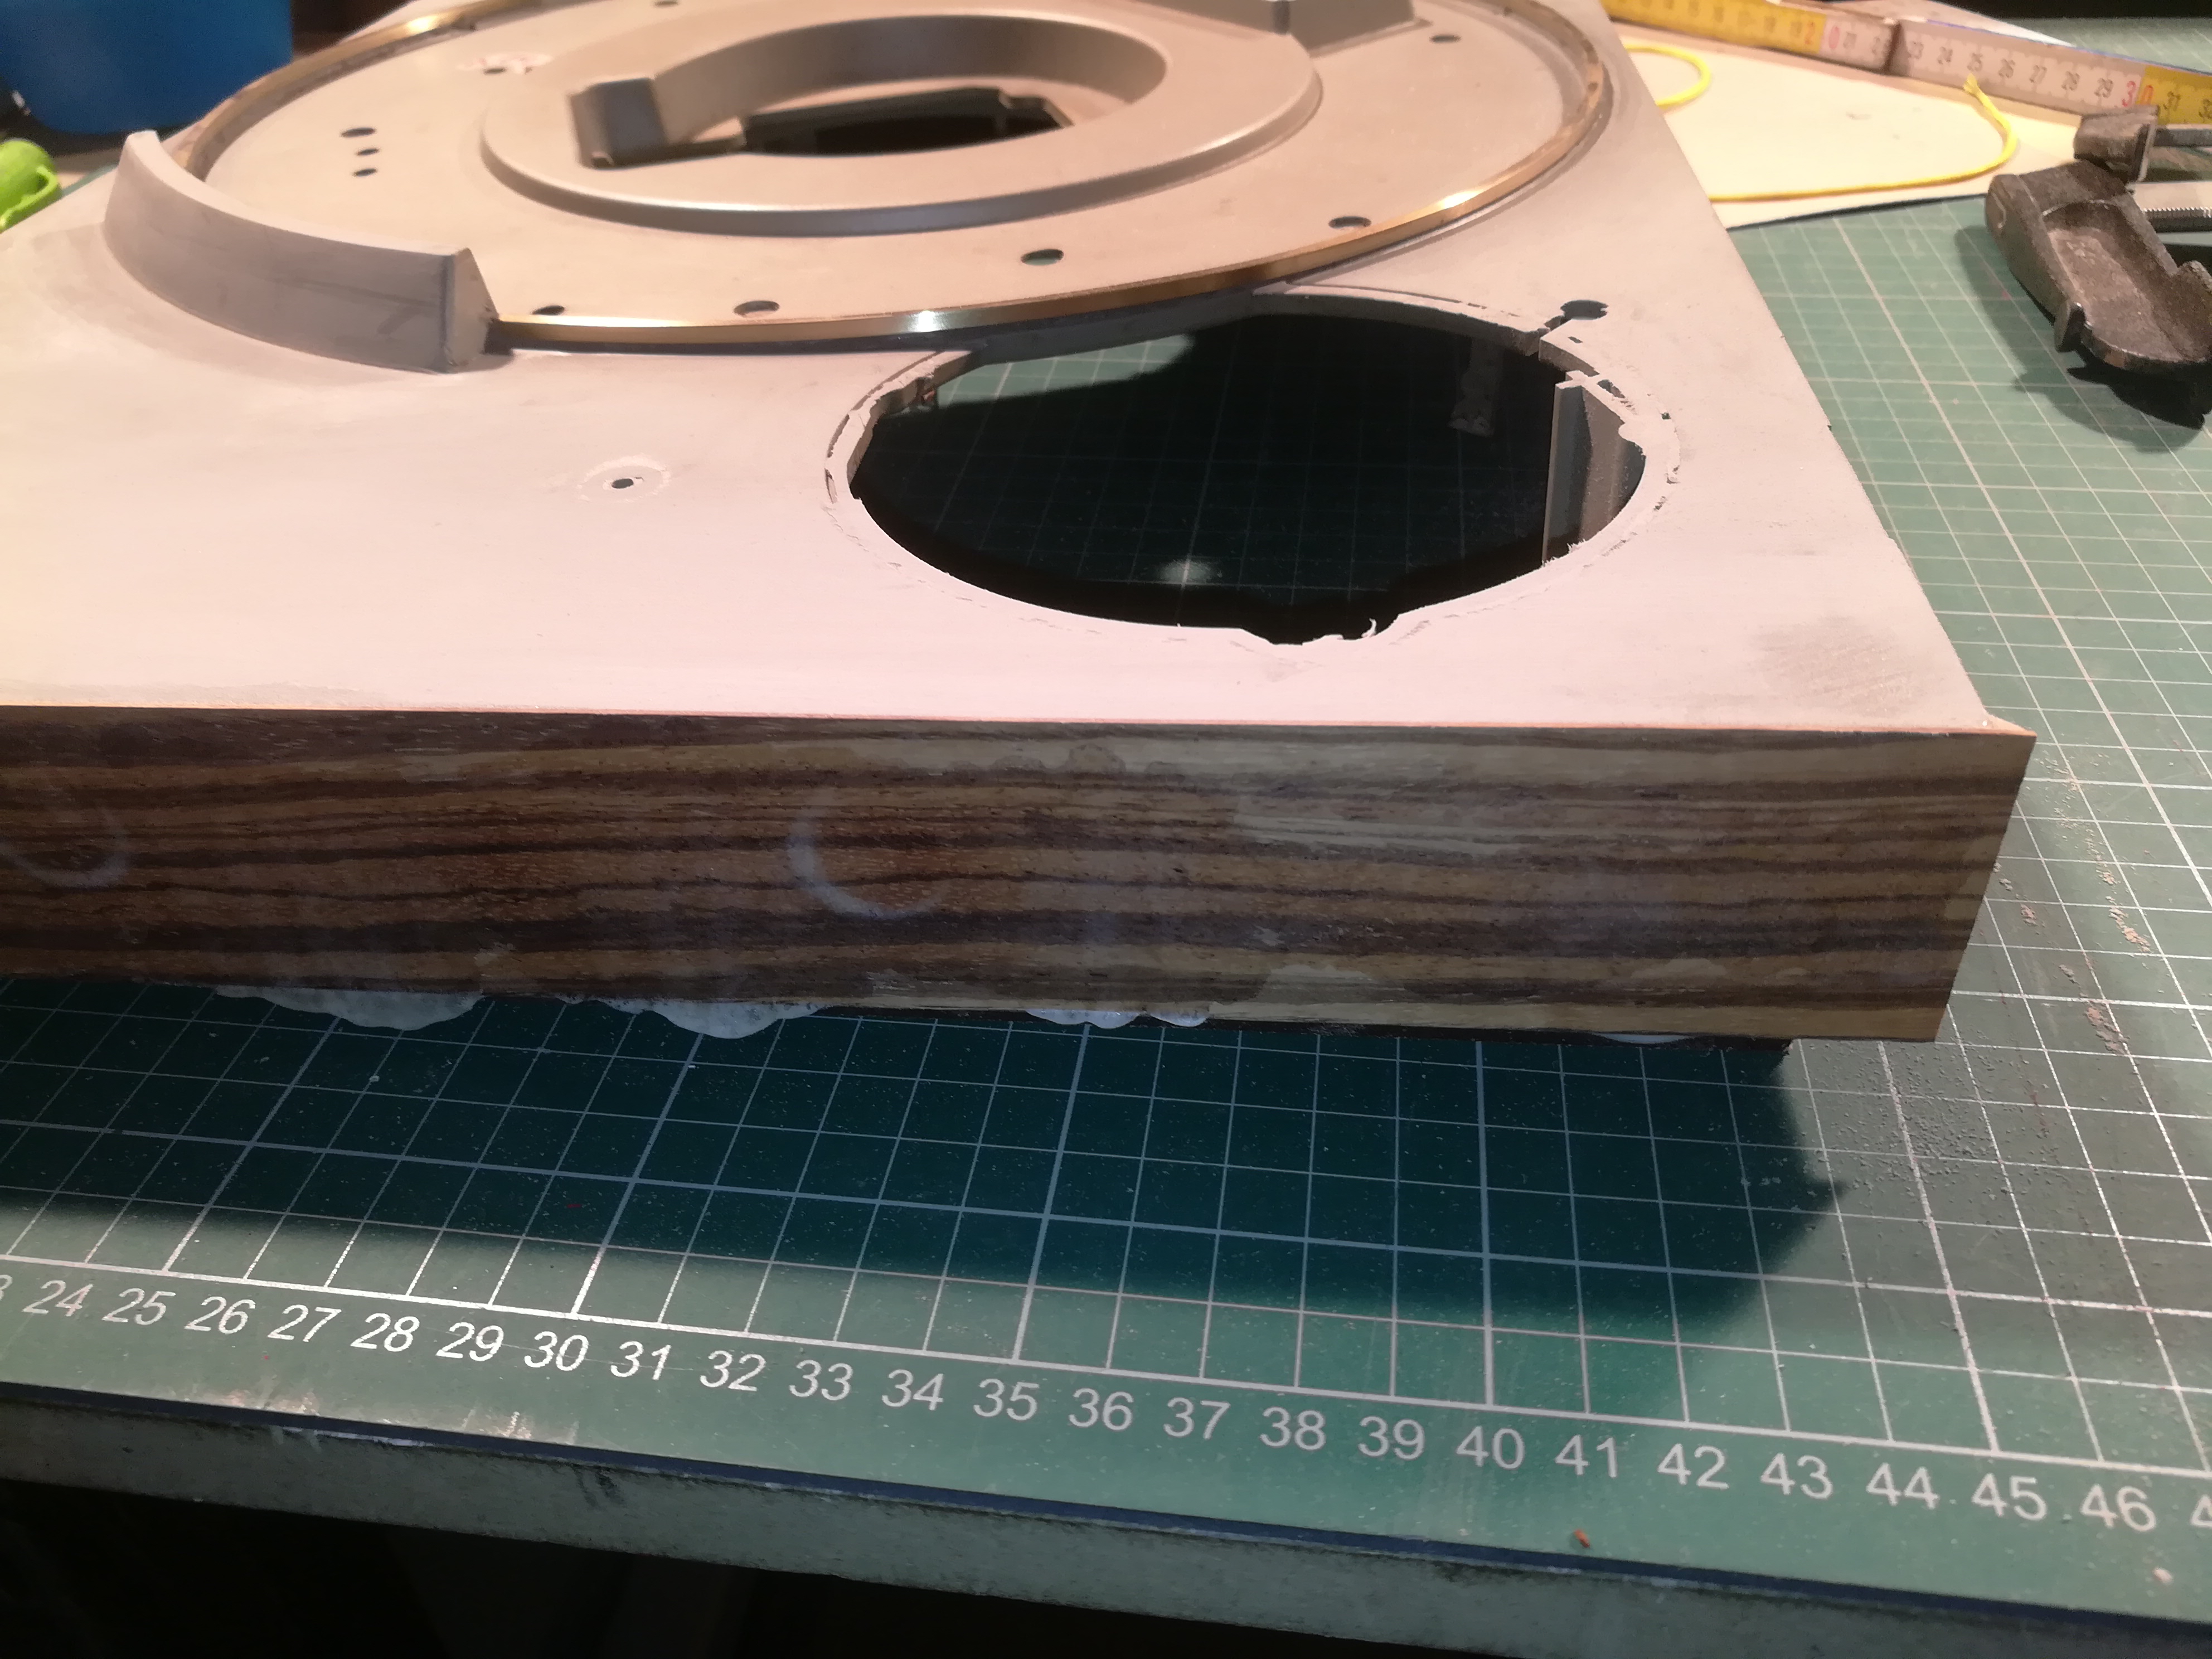
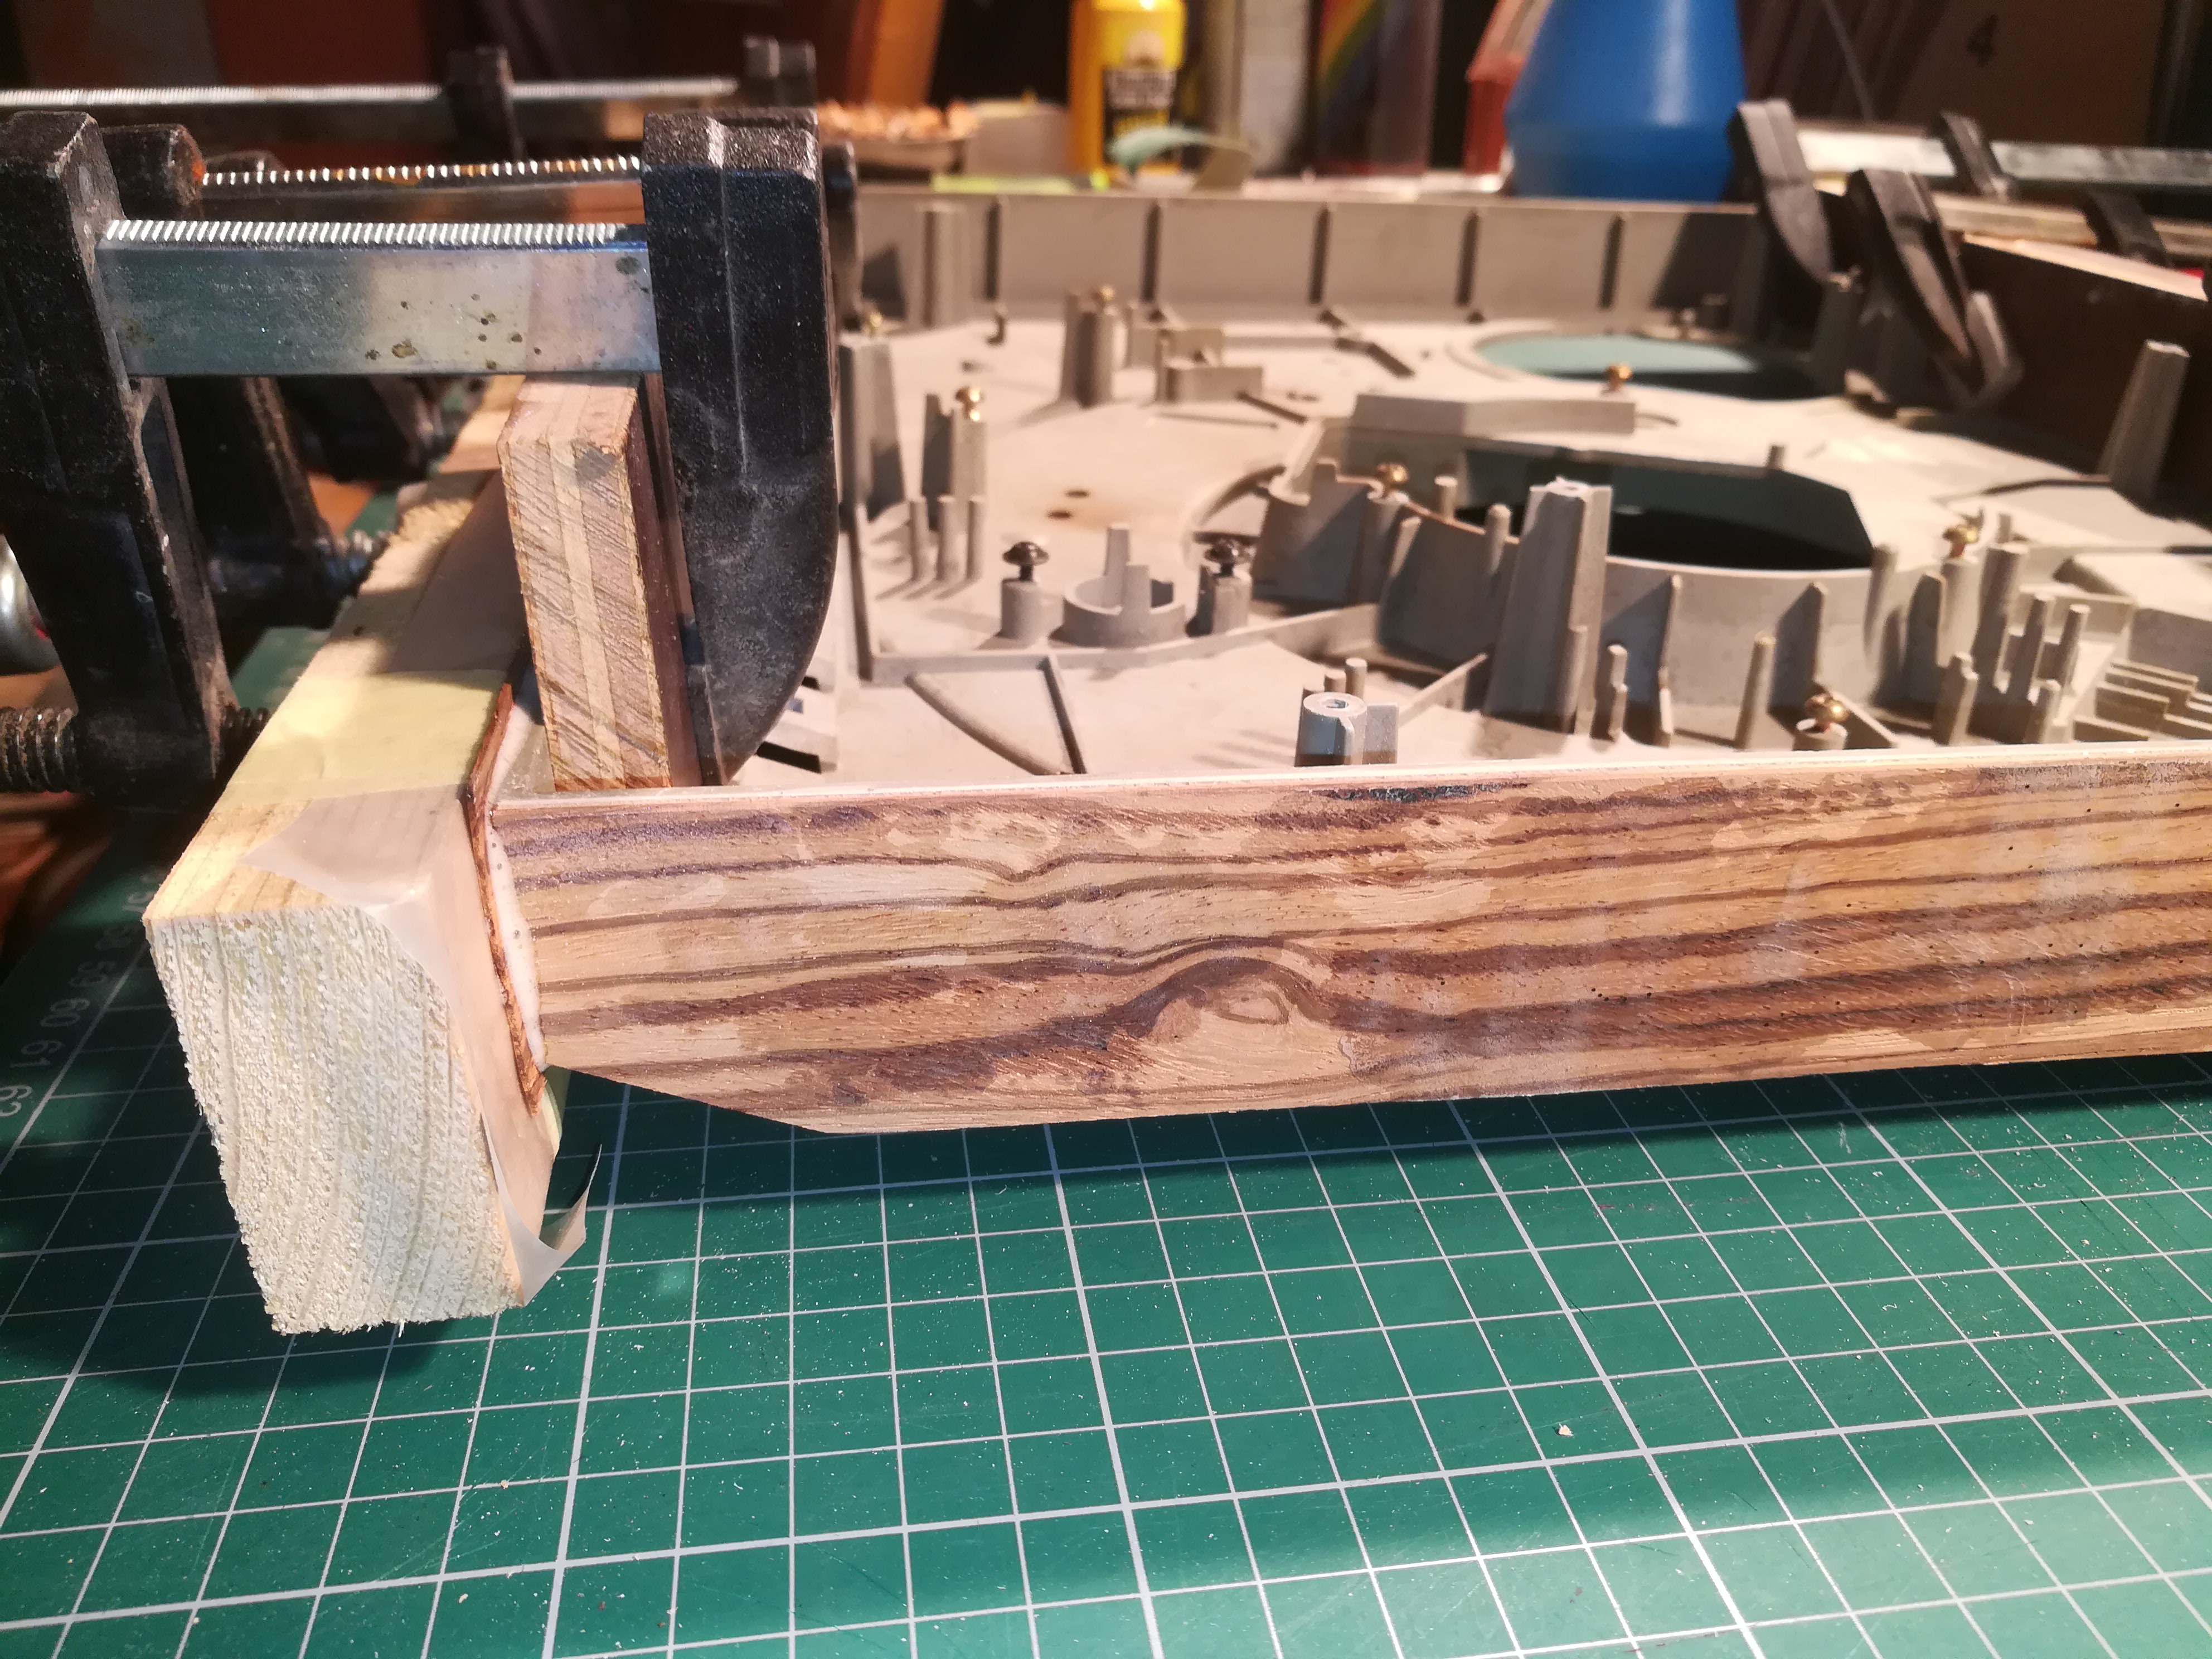
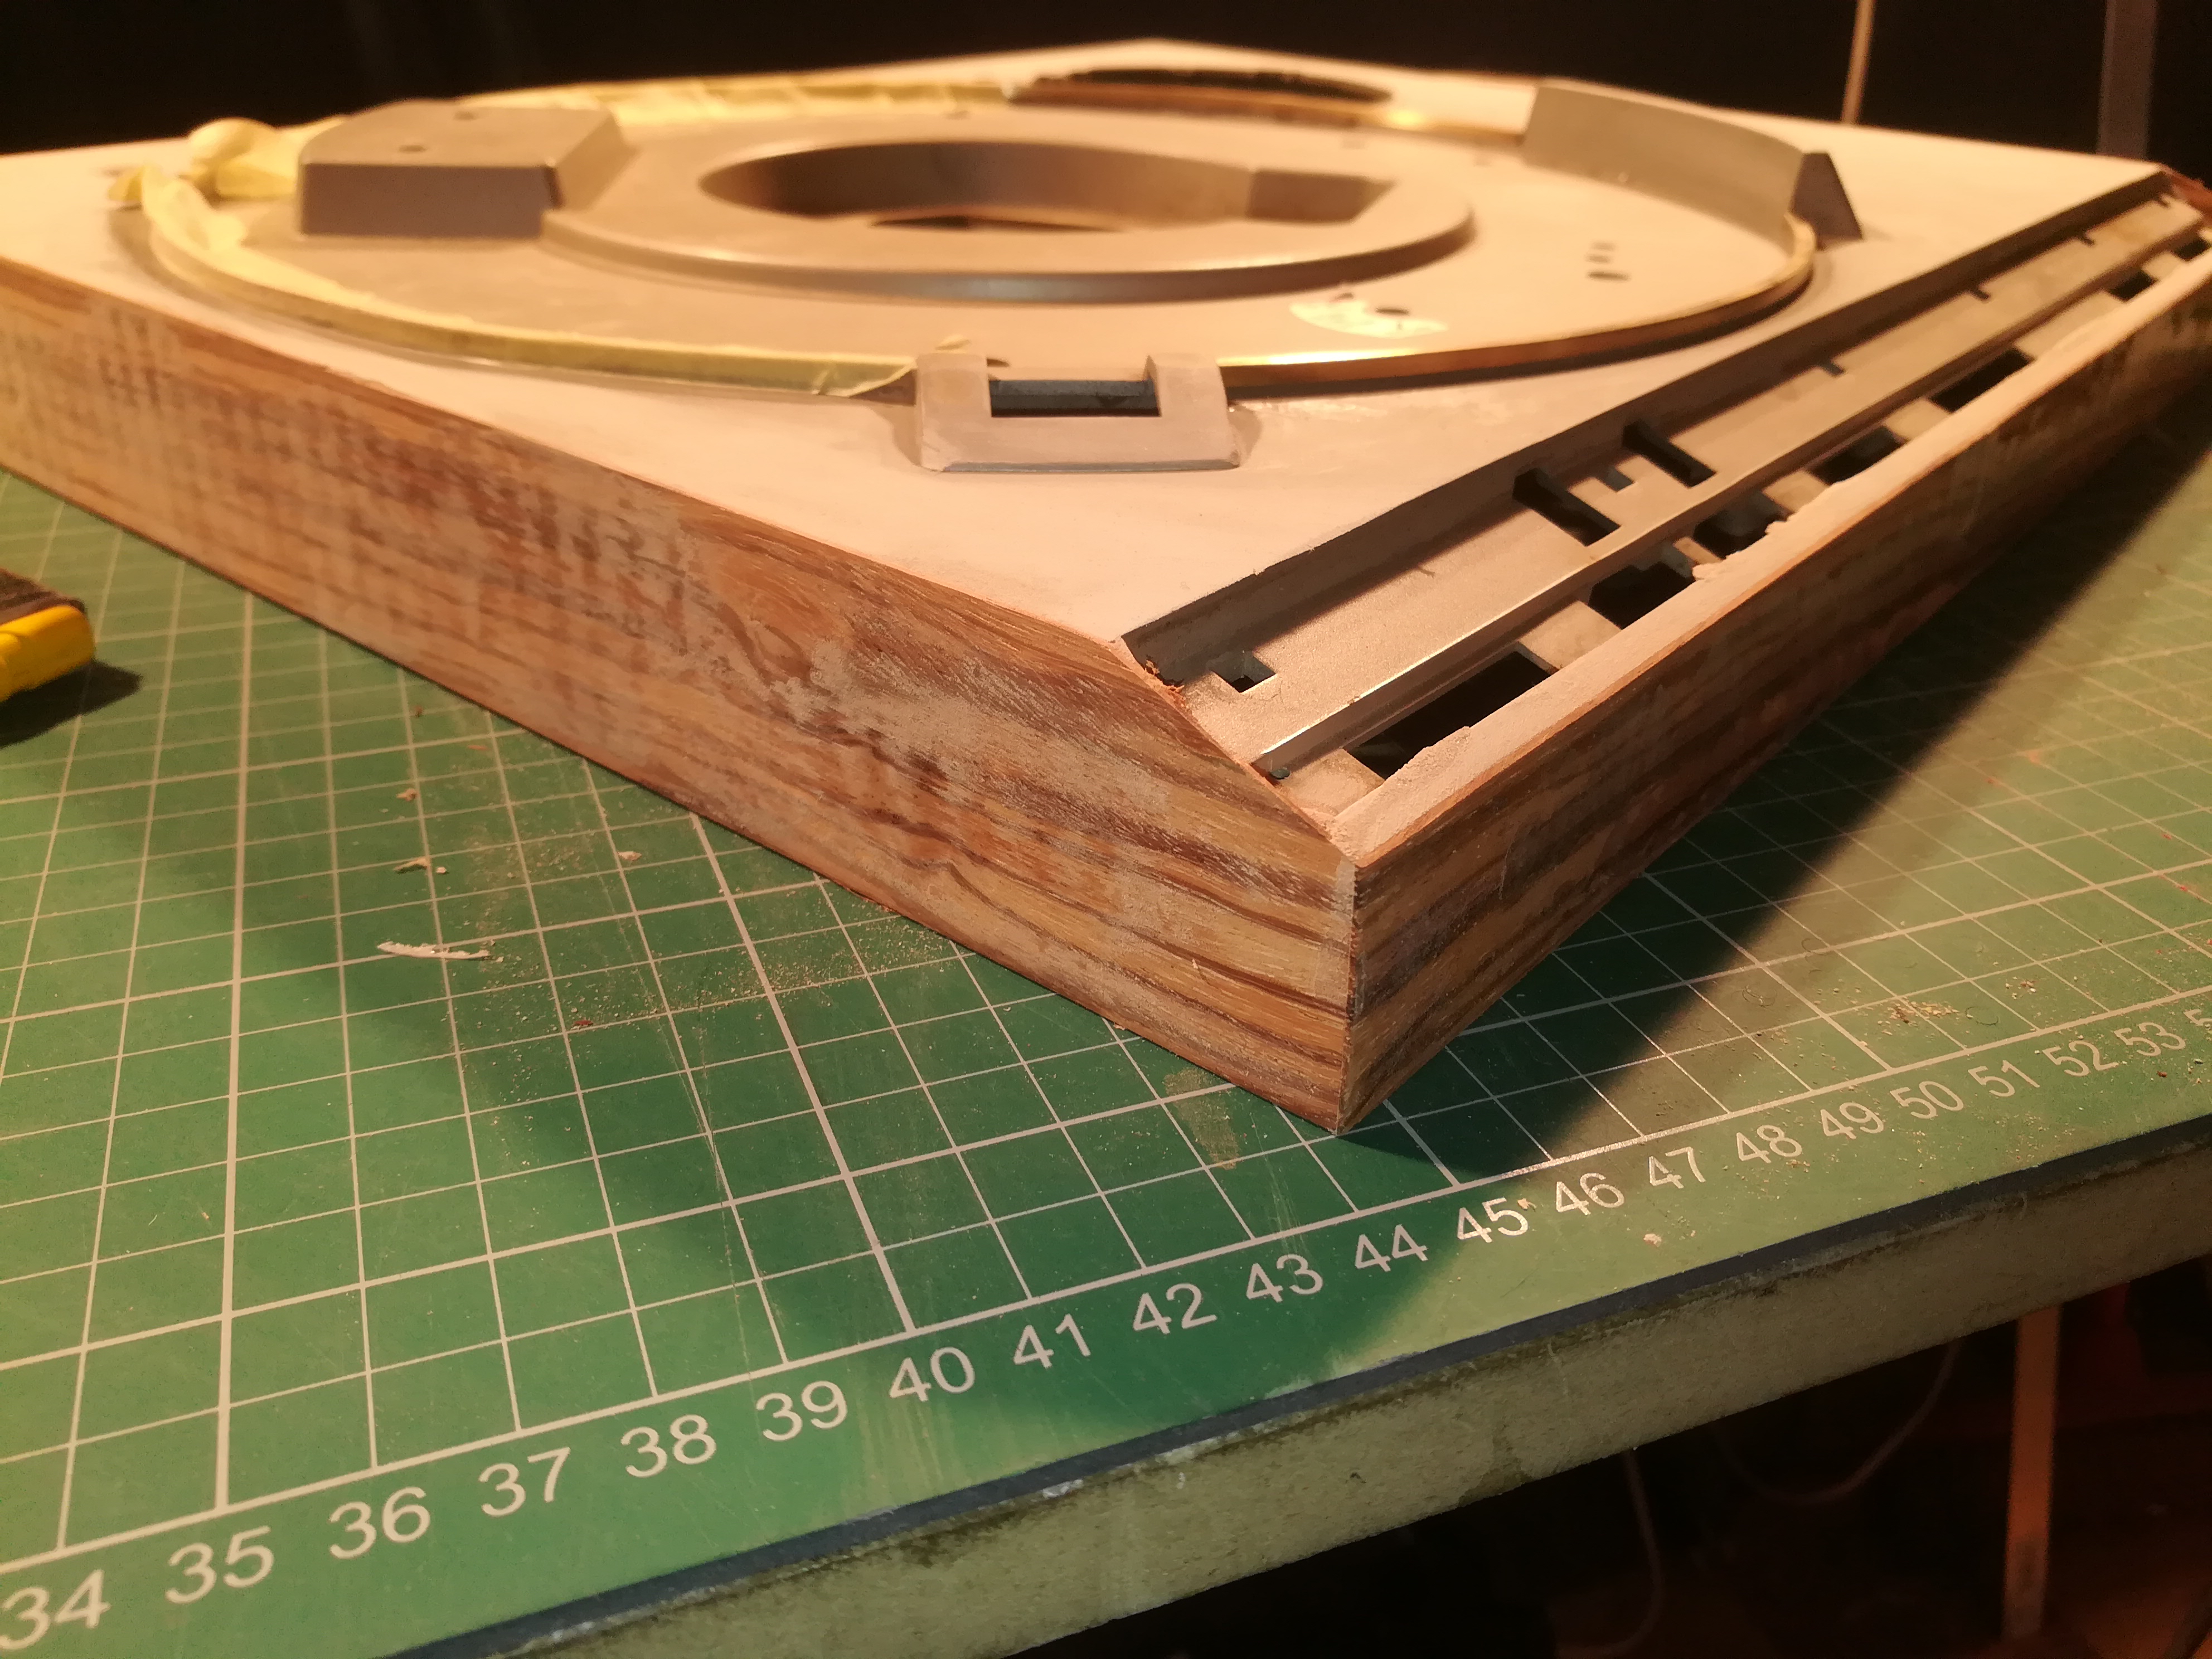
Now it's time to glue the wood veneer on the case. Any veneer will do and if you want it in one piece then make sure that the piece is big enough.
Necessary materials:
- Wood veneer
- PU-glue
- Tensioning Screws
- Wooden planks
- Piece of plastic
- Paper tape
- Cutting board
- Box cutter
- Sanding paper 120 - 320
- Ruler
- Degreaser
------------------------------------------------------------------------------------------------------------------------------------------------------
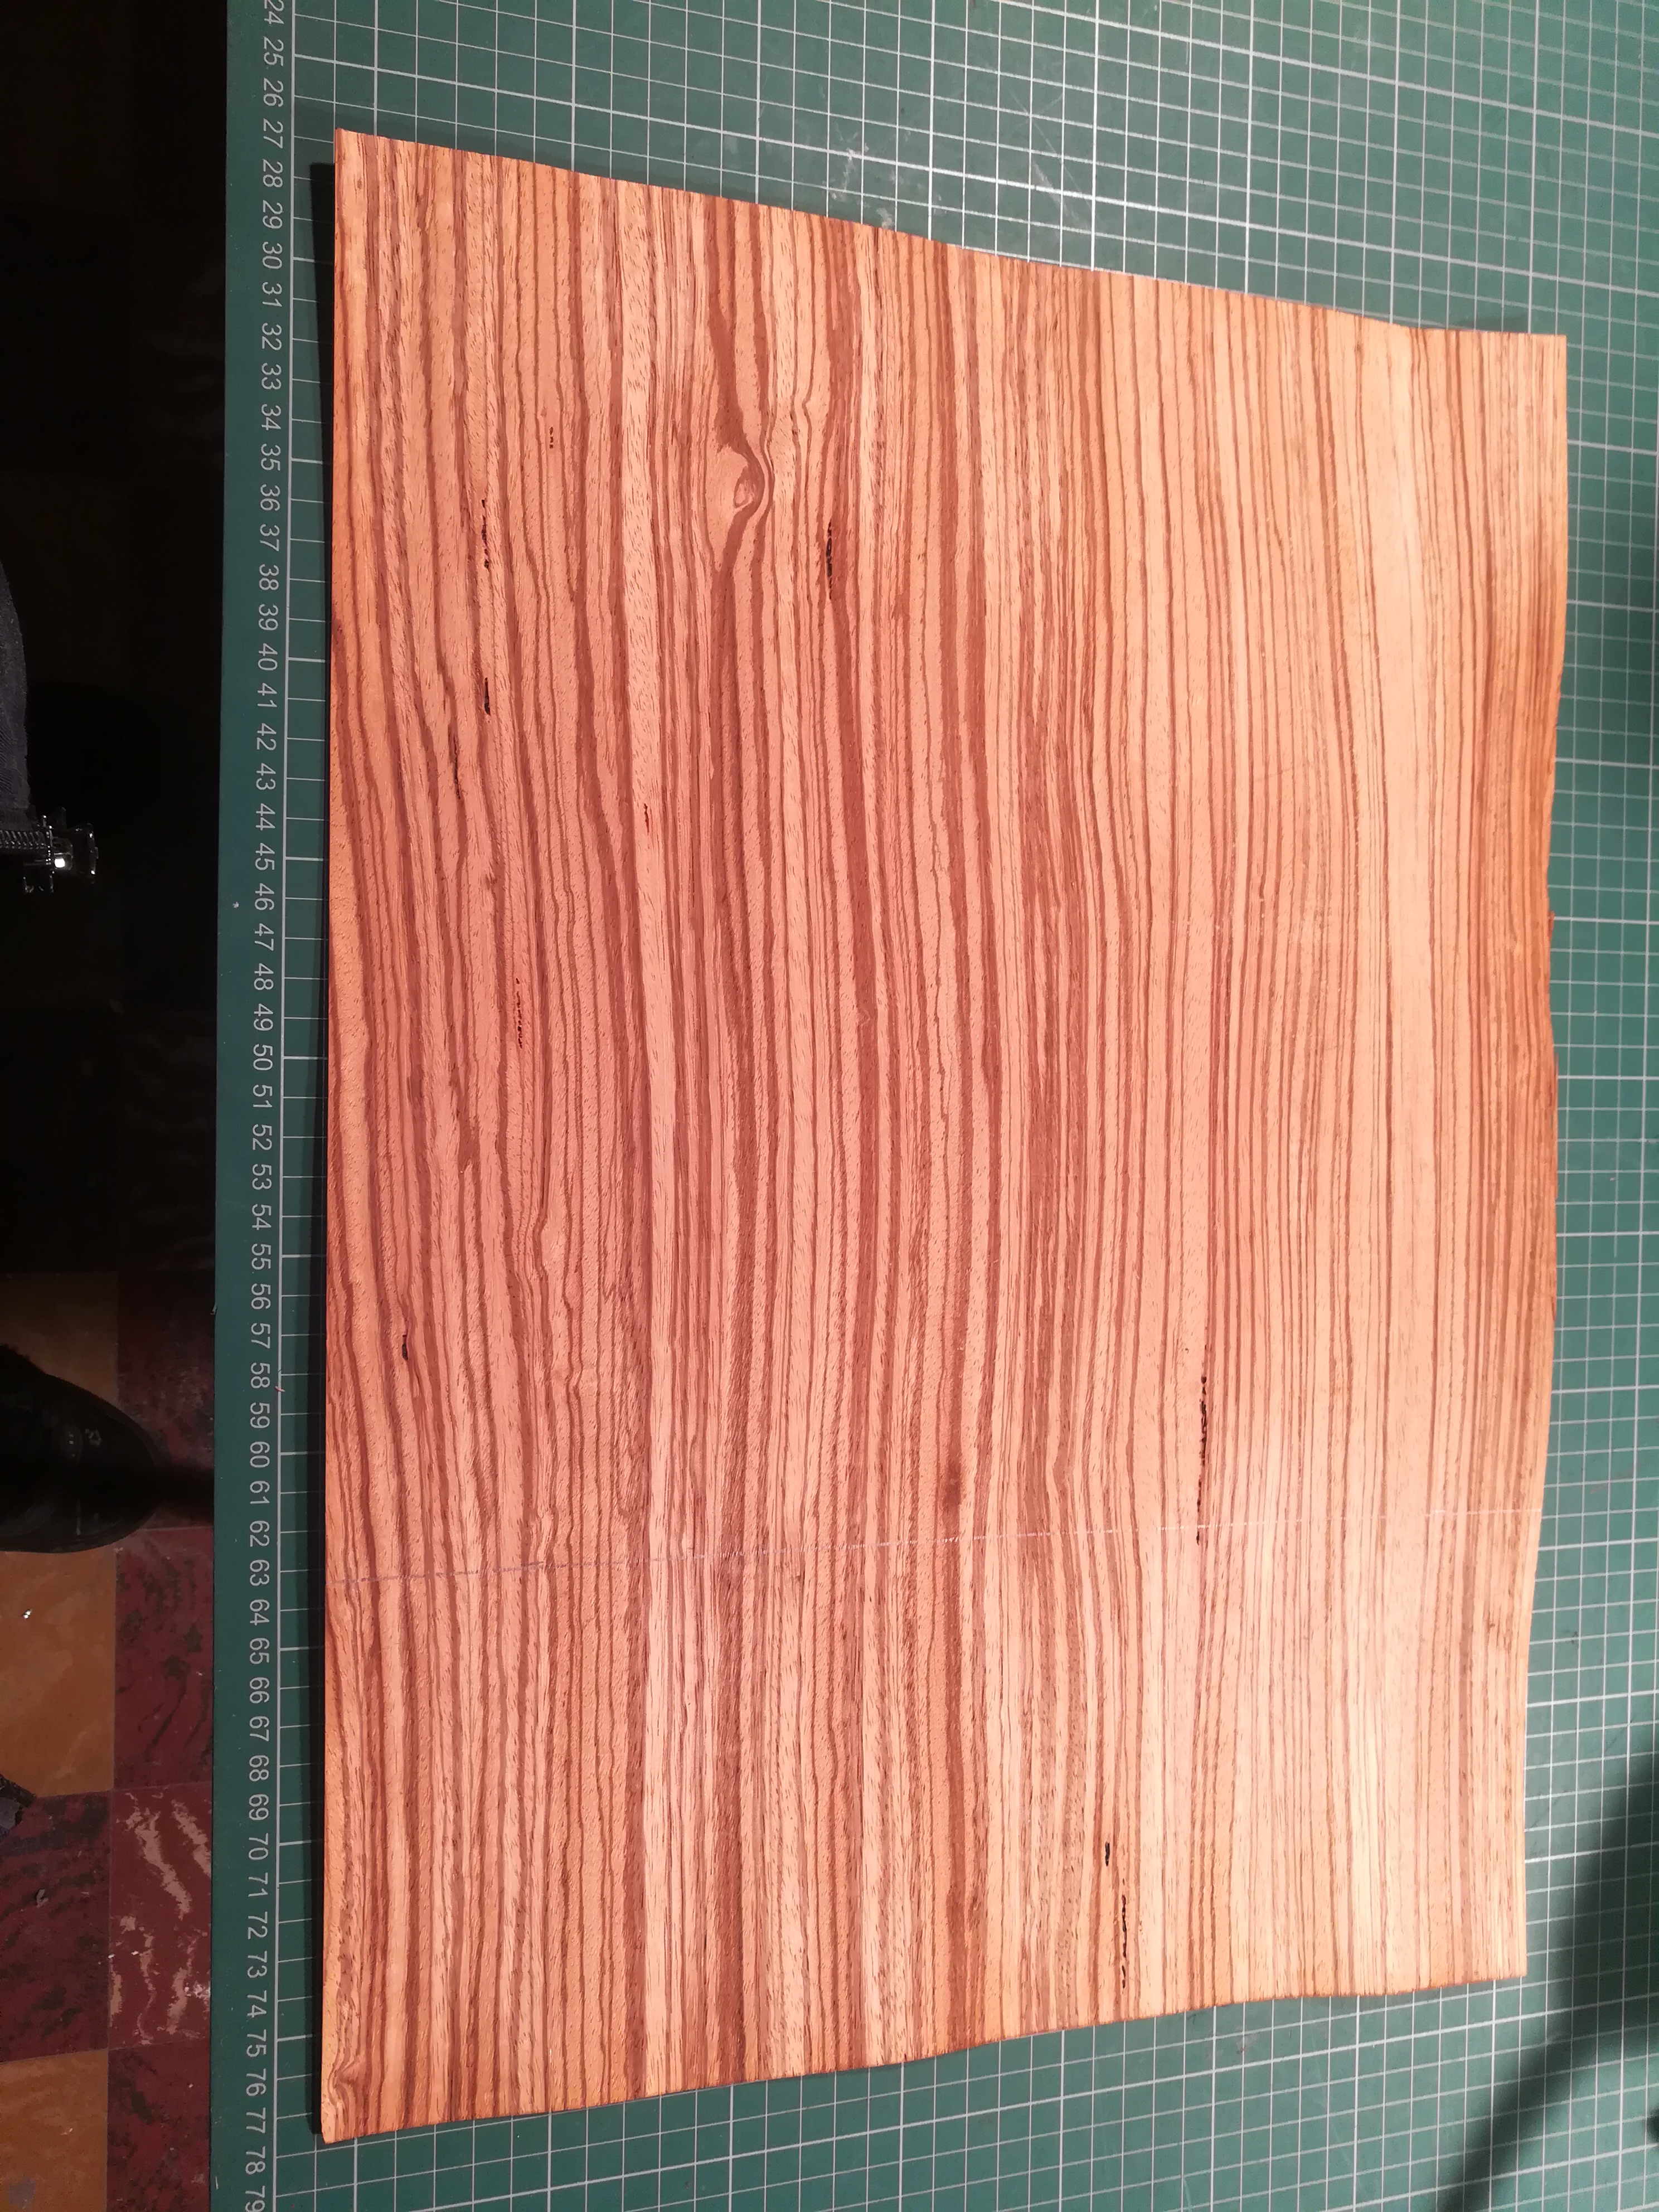
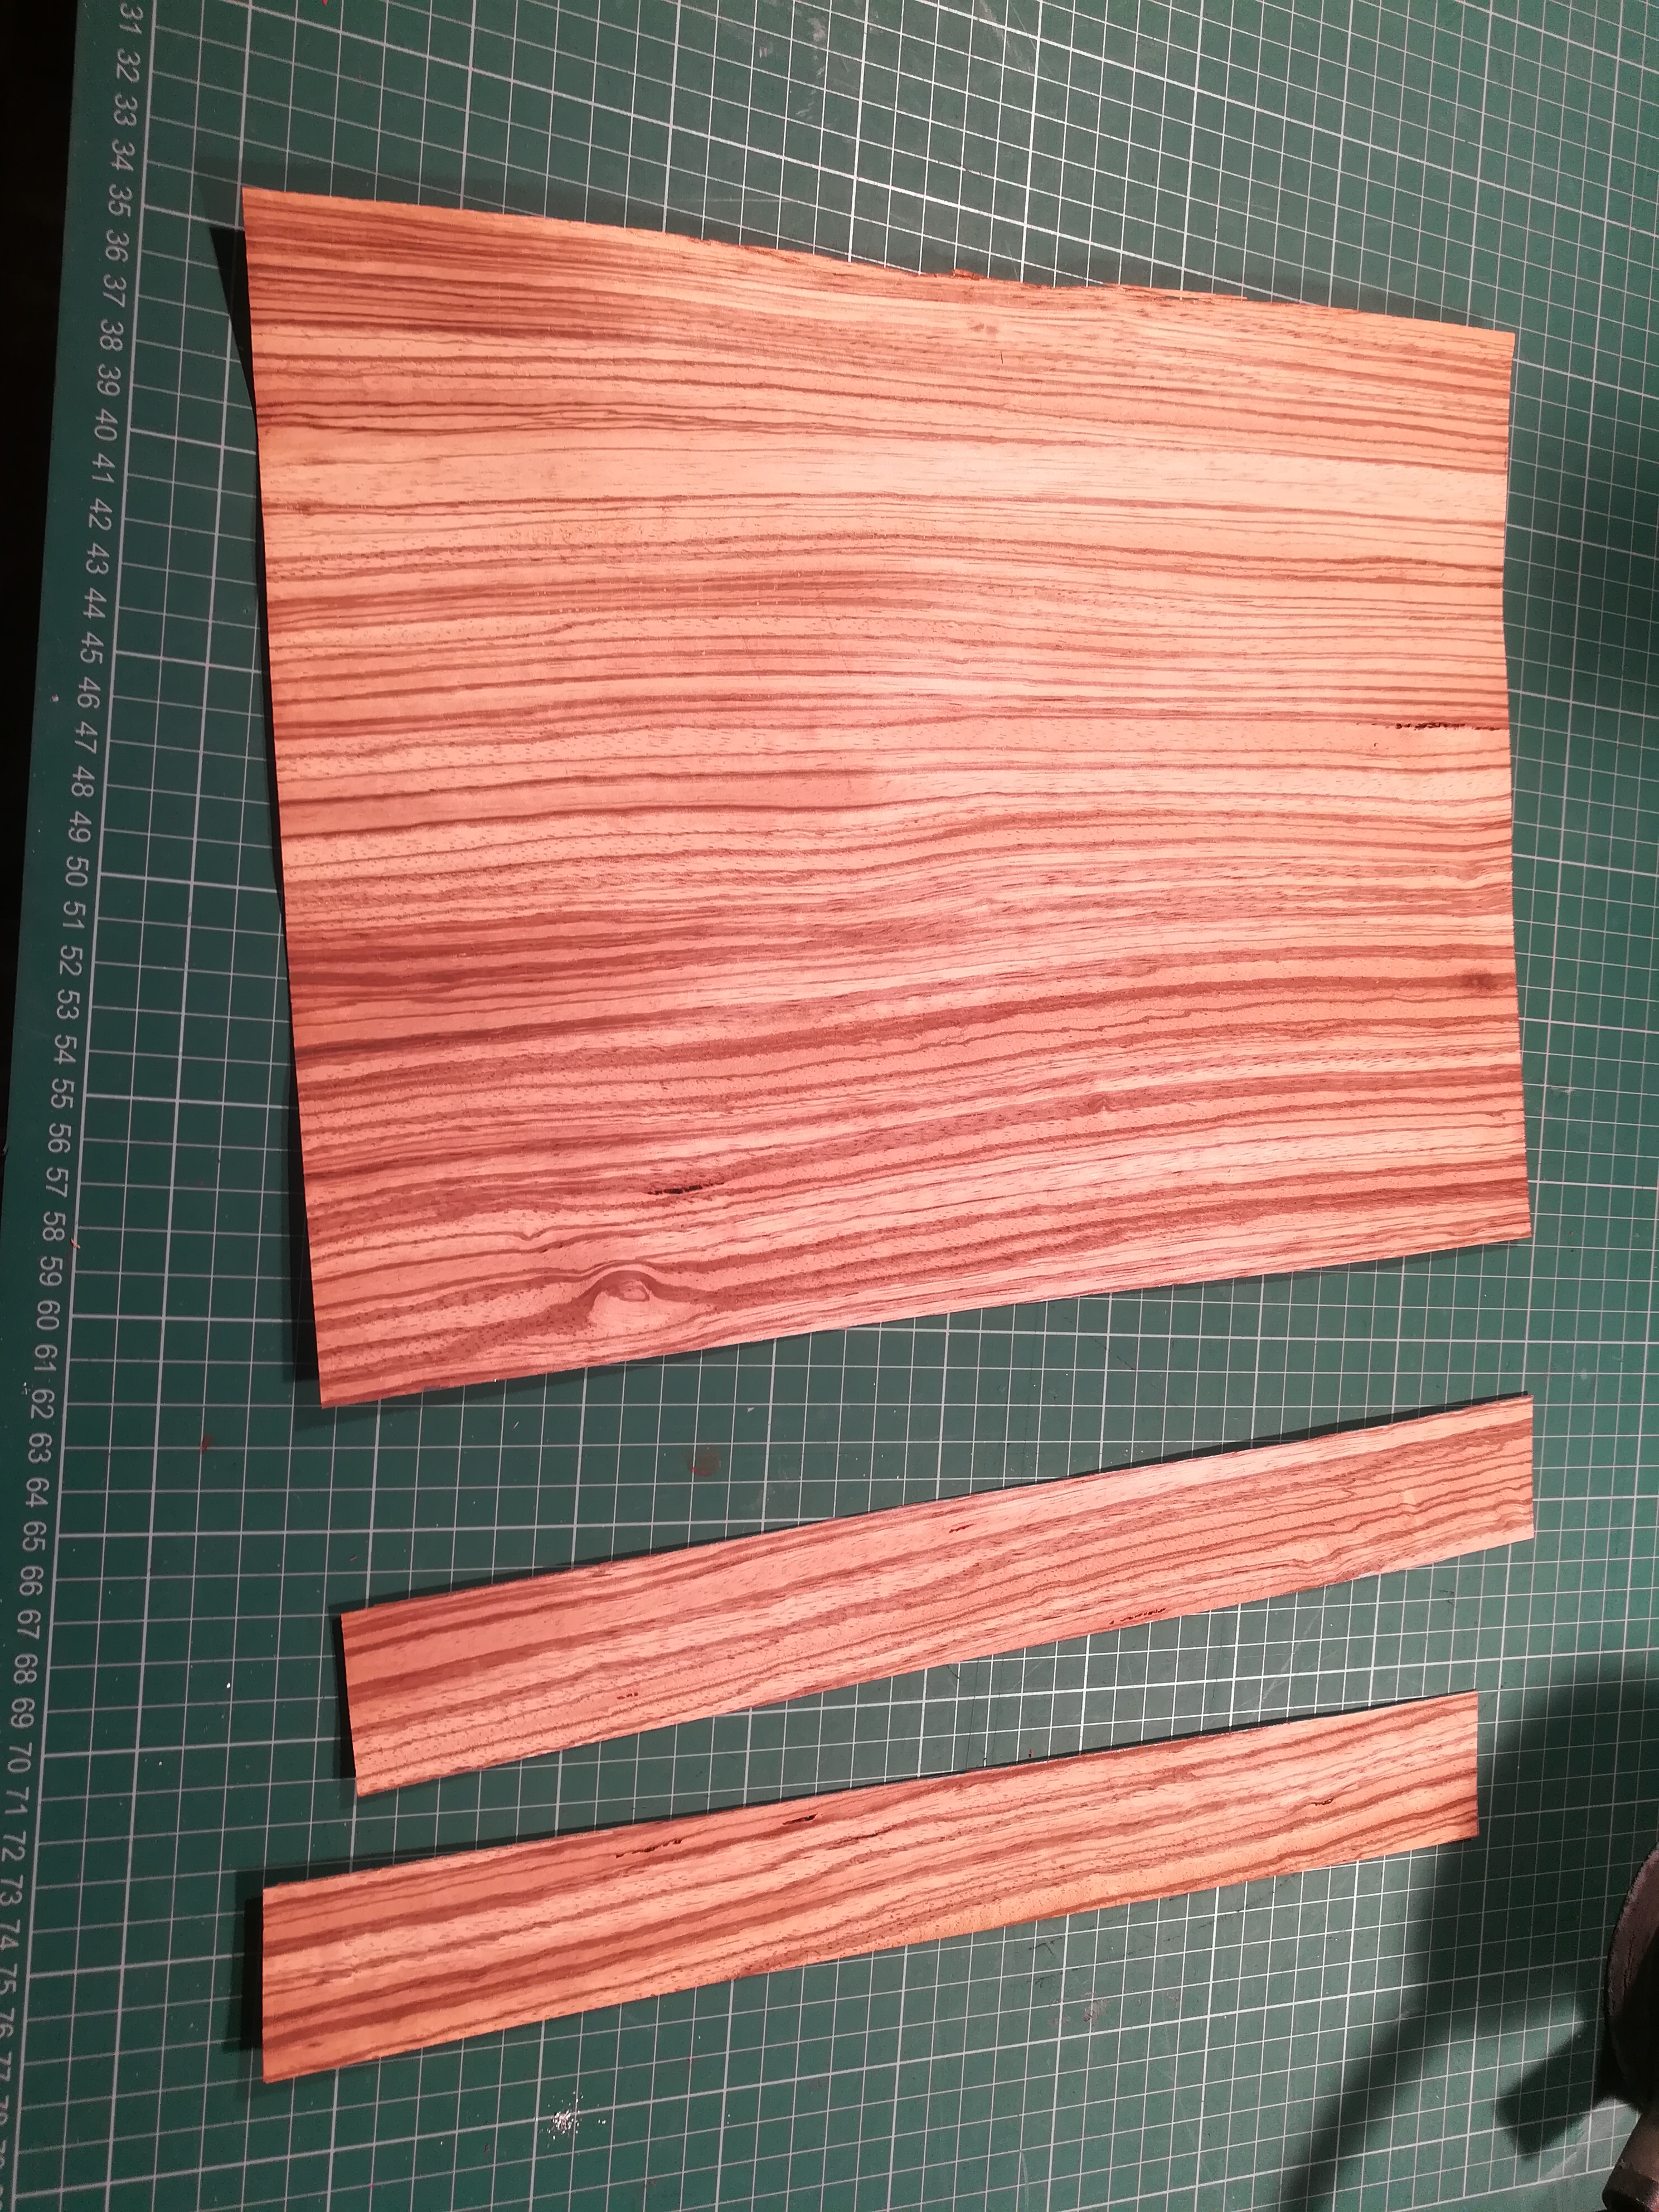
Measure the front, back and the 2 sides and draw the shapes a little bigger on the wood veneer (picture 1).
Take the box cutter and cut out the pieces (picture 2). It is important that the pressure is equal everywhere, so saw off some wooden planks for the inside of the case. Sand the surface of the edges that has to be glued with sandpaper 120 and degrease them. Now make a wooden plank for the outsides of the case and wrap them in the plastic and sucure it with the tape. The glue will go through some veneers and the plastic ensures that you get everything won't stick together.
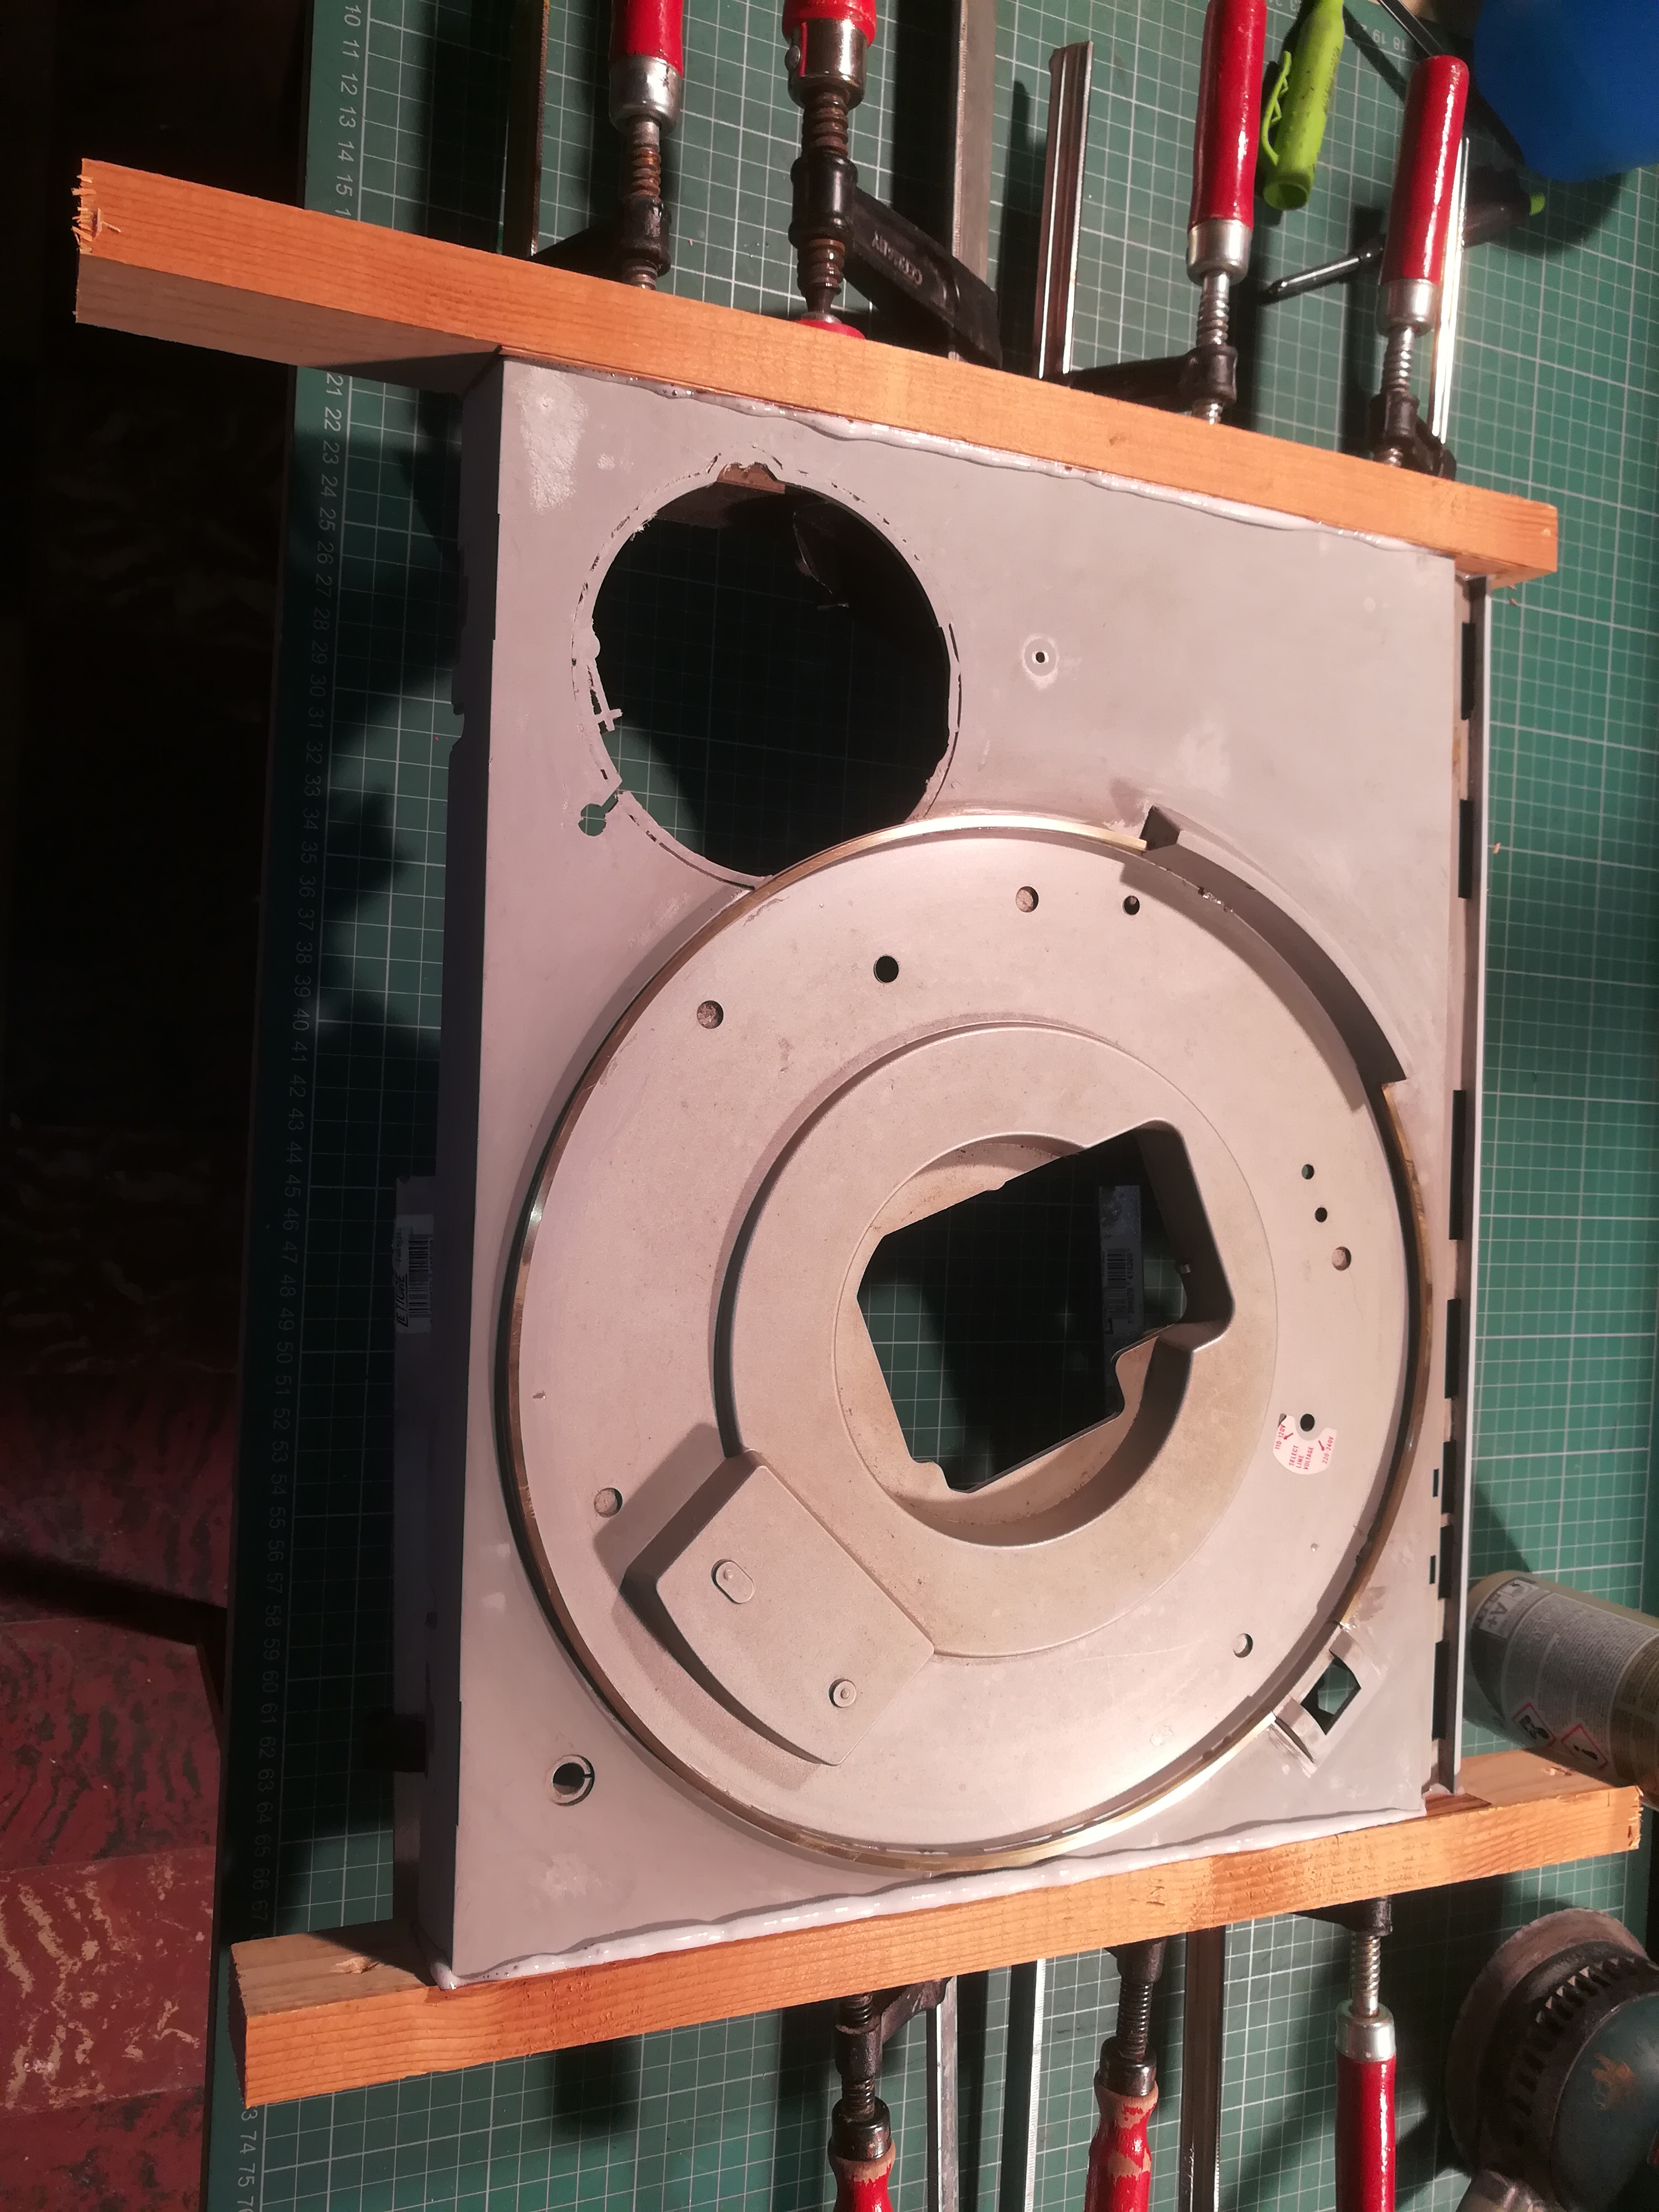
Distribute the PU glue evenly over the surface and spray a little water over it. Put the planks in place and apply pressure with the tensioning screws. I did the sides first (picture 3). The PU-glue will fill up the spaces that don't come together nicely like the corners.
Let it rest overnight and take off the screws. Take the 120 sanding paper and sand off the parts that stick out the case (picture 4).
Do the same with the front and back (picture 5). If you sand the corners you will see that they fit nicely together (picture 6). Sand everything with sanding paper 320
Glue the Wood Veneer on the Small Parts
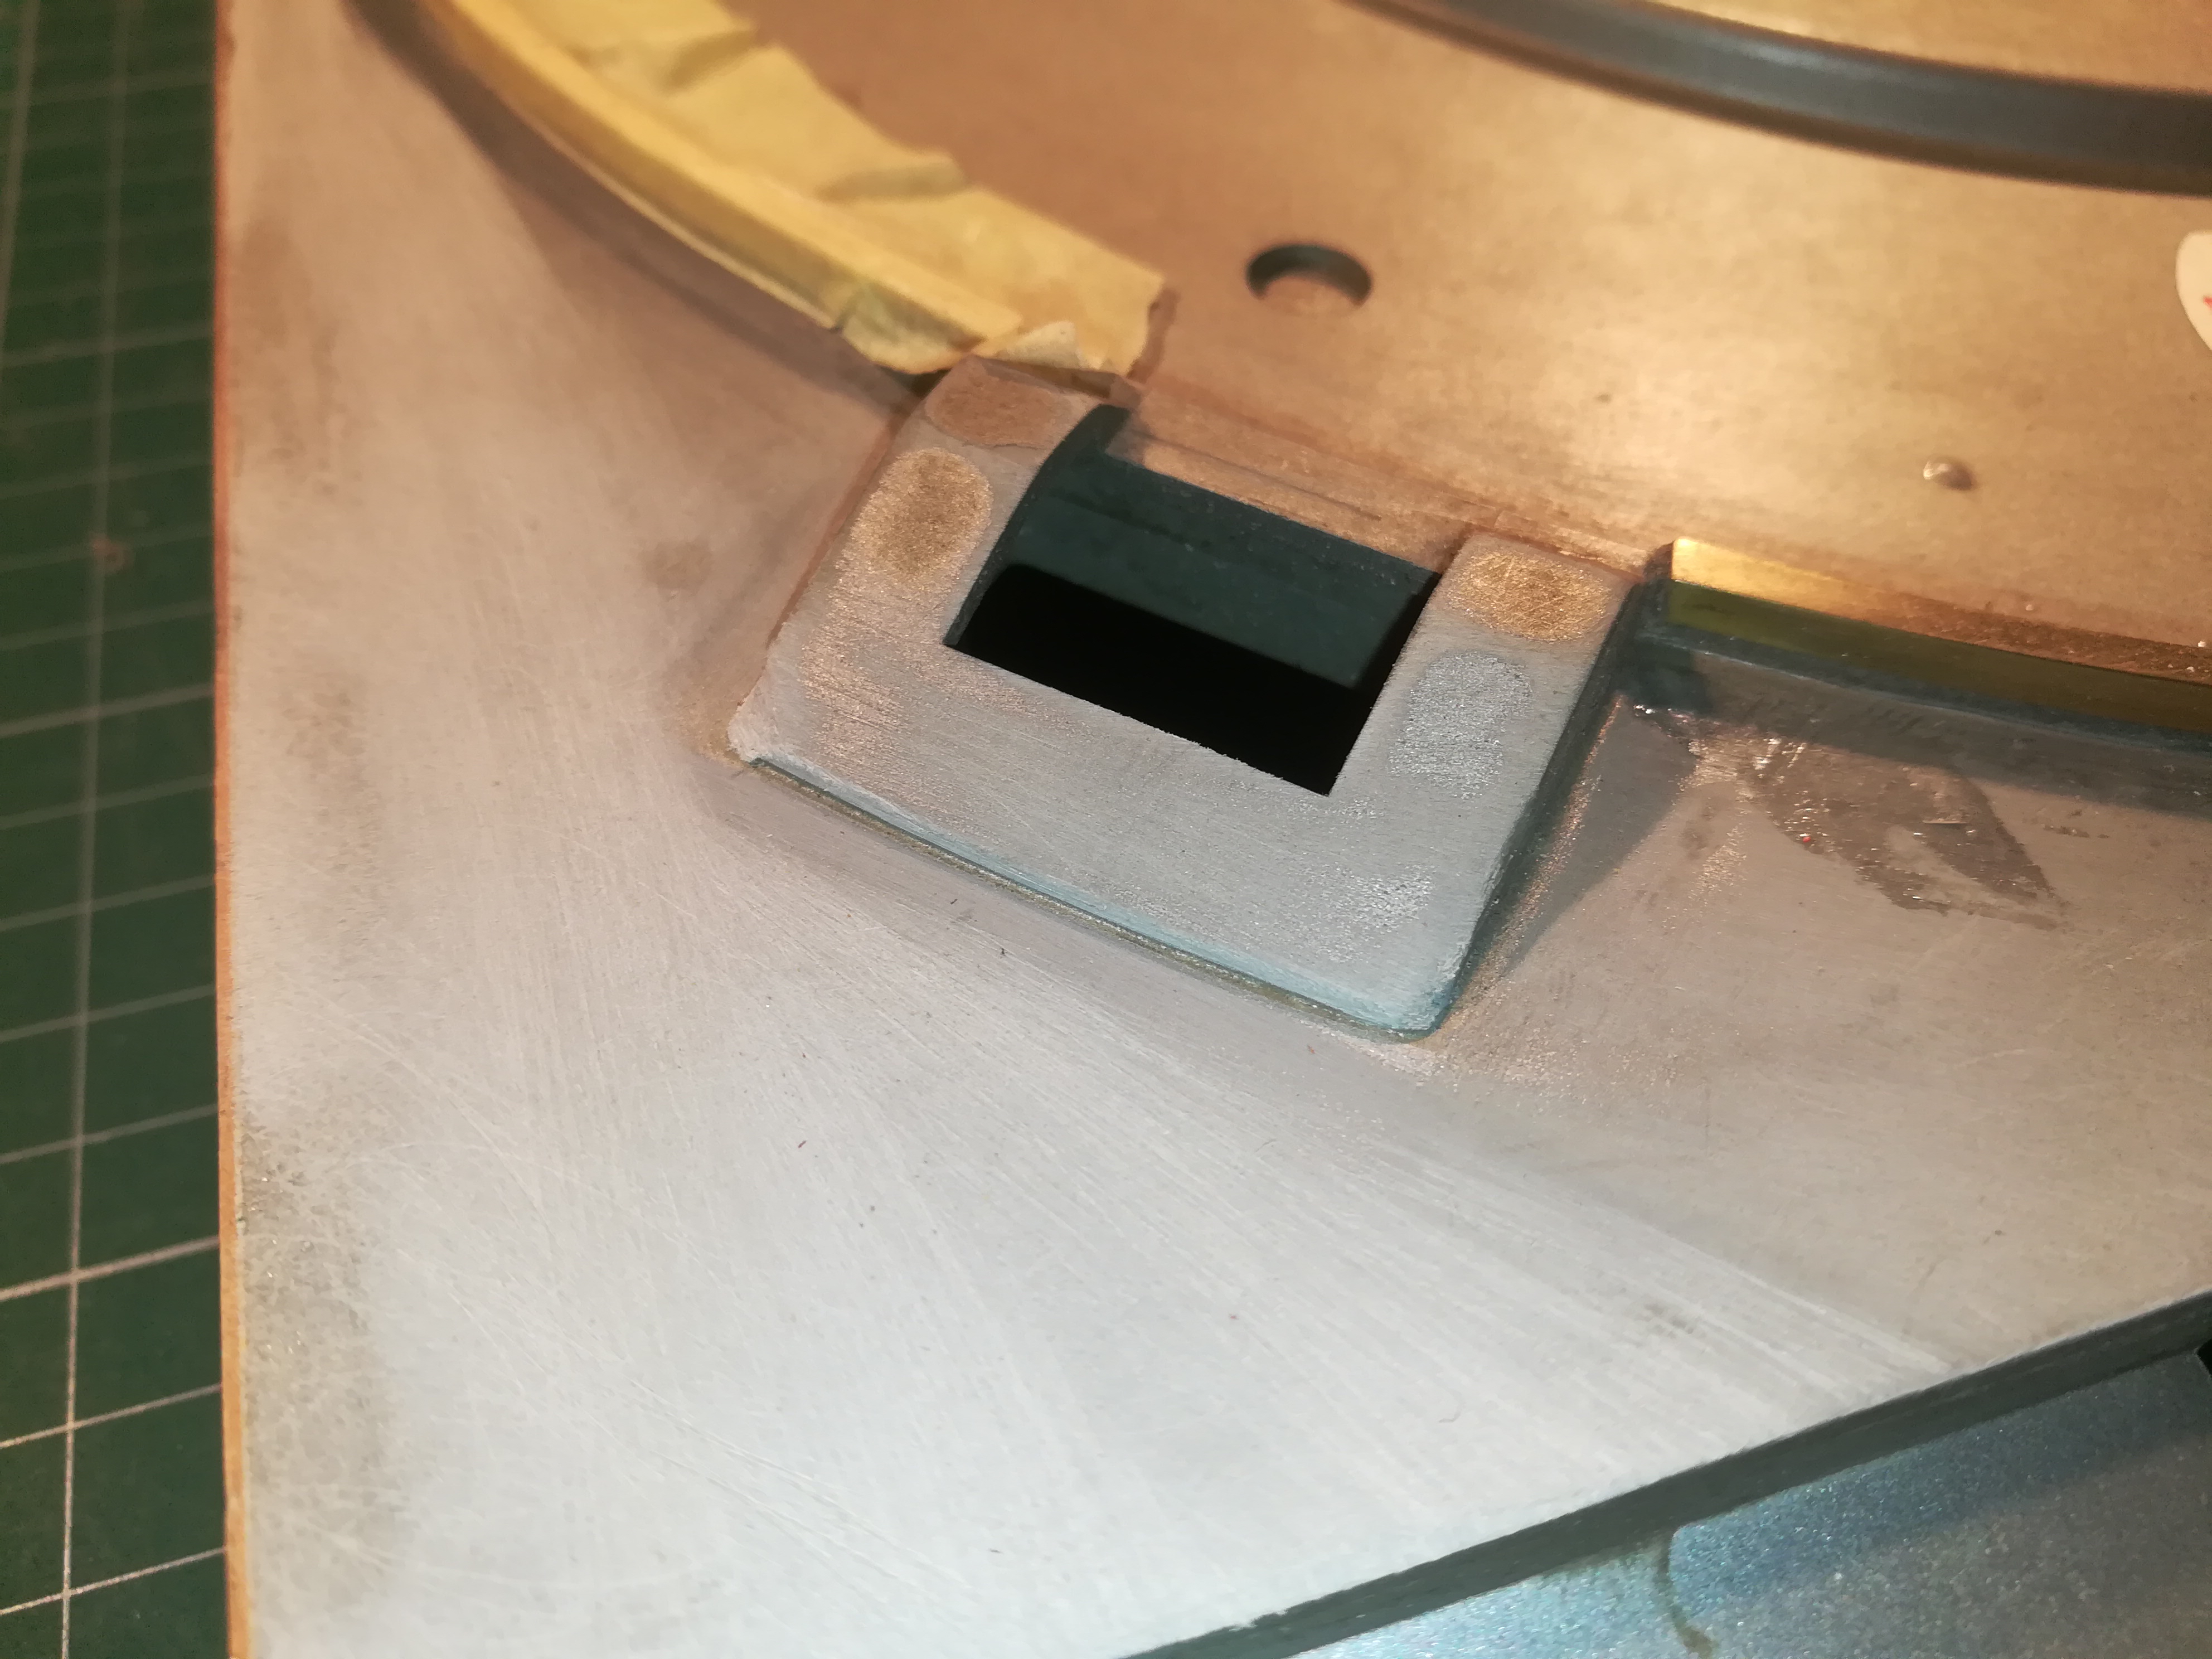

The smaller parts will be glued in a darker color wood veneer.
Necessary materials:
- Wood veneer
- Two component glue
- Thin cardboard
- Cutting board
- Scalpel
- Sanding paper 120-320
- Degreaser
- Paper tape
------------------------------------------------------------------------------------------------------------------------------------------------------
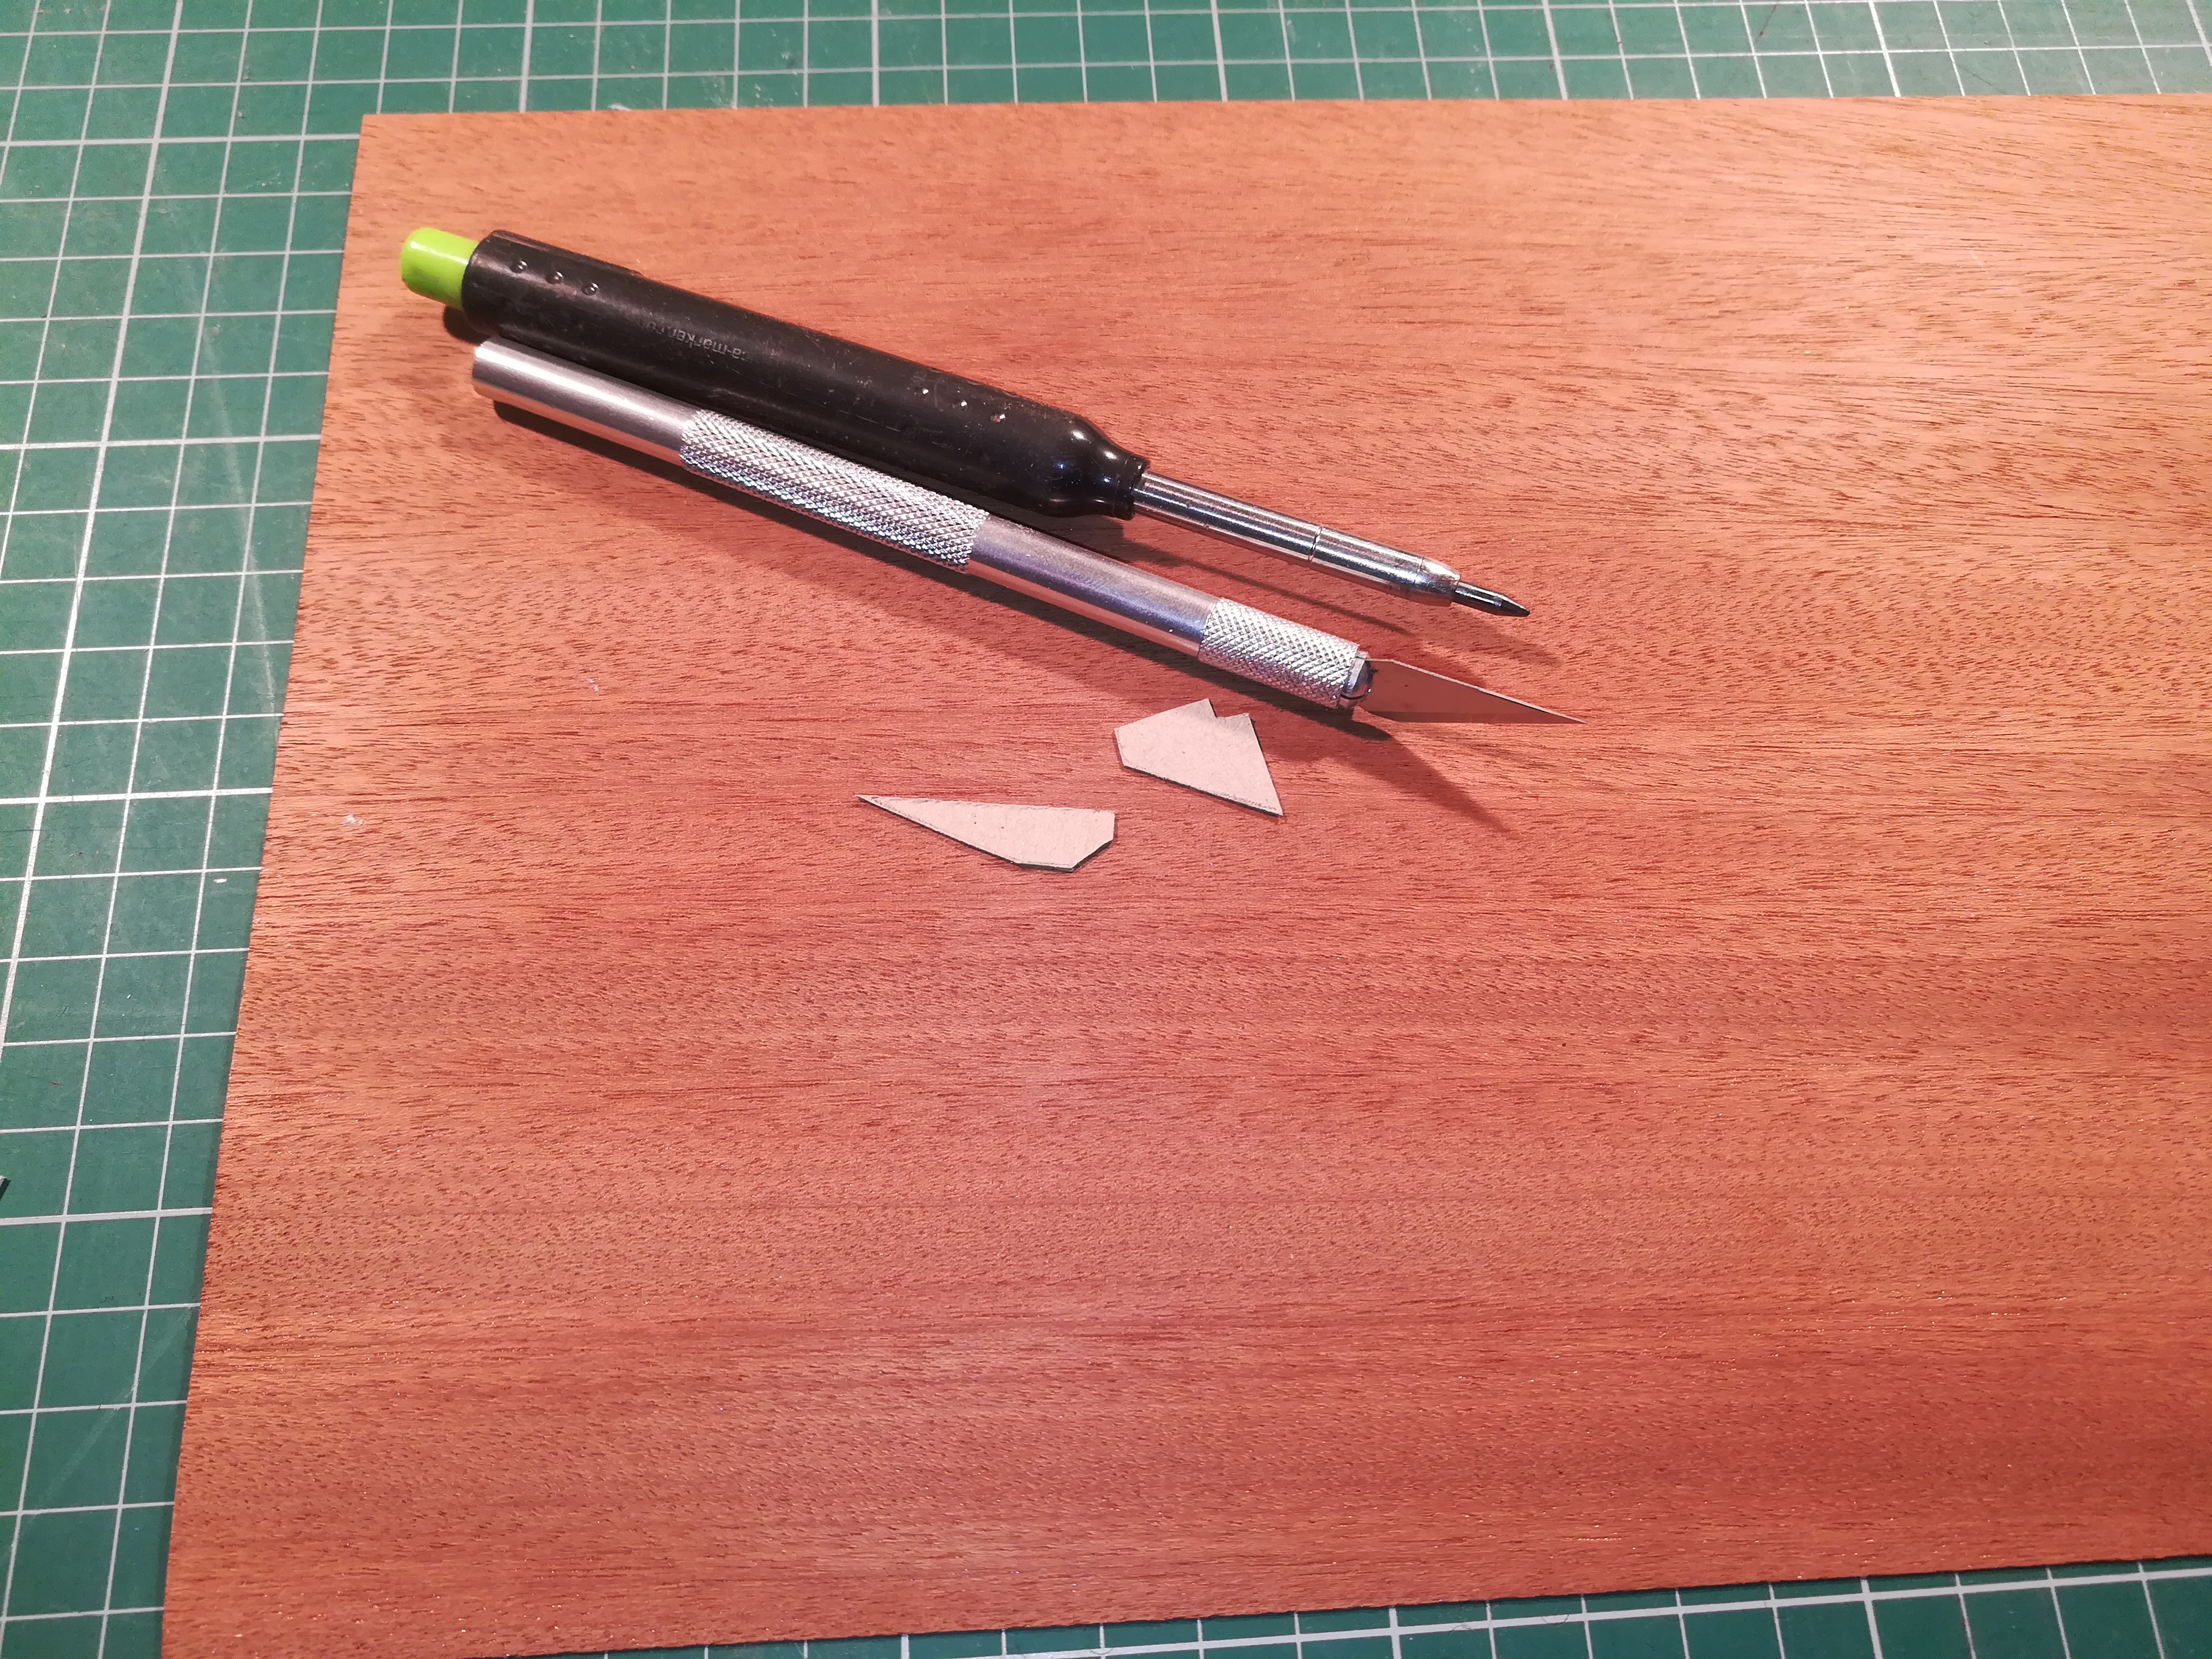
Begin sanding the surface with sandpaper 120 and degrease (picture 1-2). Take a small piece of paper tape and stick it on the sides of the small parts. Then take a scalpel and cut out the shape. Carefully peel of the tape and stick it on the thin cardboard and cut it out with the scalpel (picture 3). Now you have the shapes, you can draw it on the veneer and cut it out with a scalpel (picture 4).
Becauce the parts are small i will glue them with two component glue so i can work faster.
Glue the sides first and keep it under pressure with your hands, the glue hardens in a few min. Sand the pieces that are to large untill they fit nicely. Now cut out the top and front sides (picture 4-5) and glue them (picture 7-8). Again sand them to the right size and finish with 320 (picture 9-10).
Make the Case Flat
To glue the veneer on the top sides I needed to level some shapes in the case first. It dind't had to be perfect because the PU-glue will fill up the small gaps.
Necessary materials:
- Plywood
- PU-glue
- Sanding paper 120-320
- Degreaser
- Electric jigsaw
- Drill
- Bore 4 mm
- Screws 4x20
- Tensioning Screws
- Countersink
------------------------------------------------------------------------------------------------------------------------------------------------------
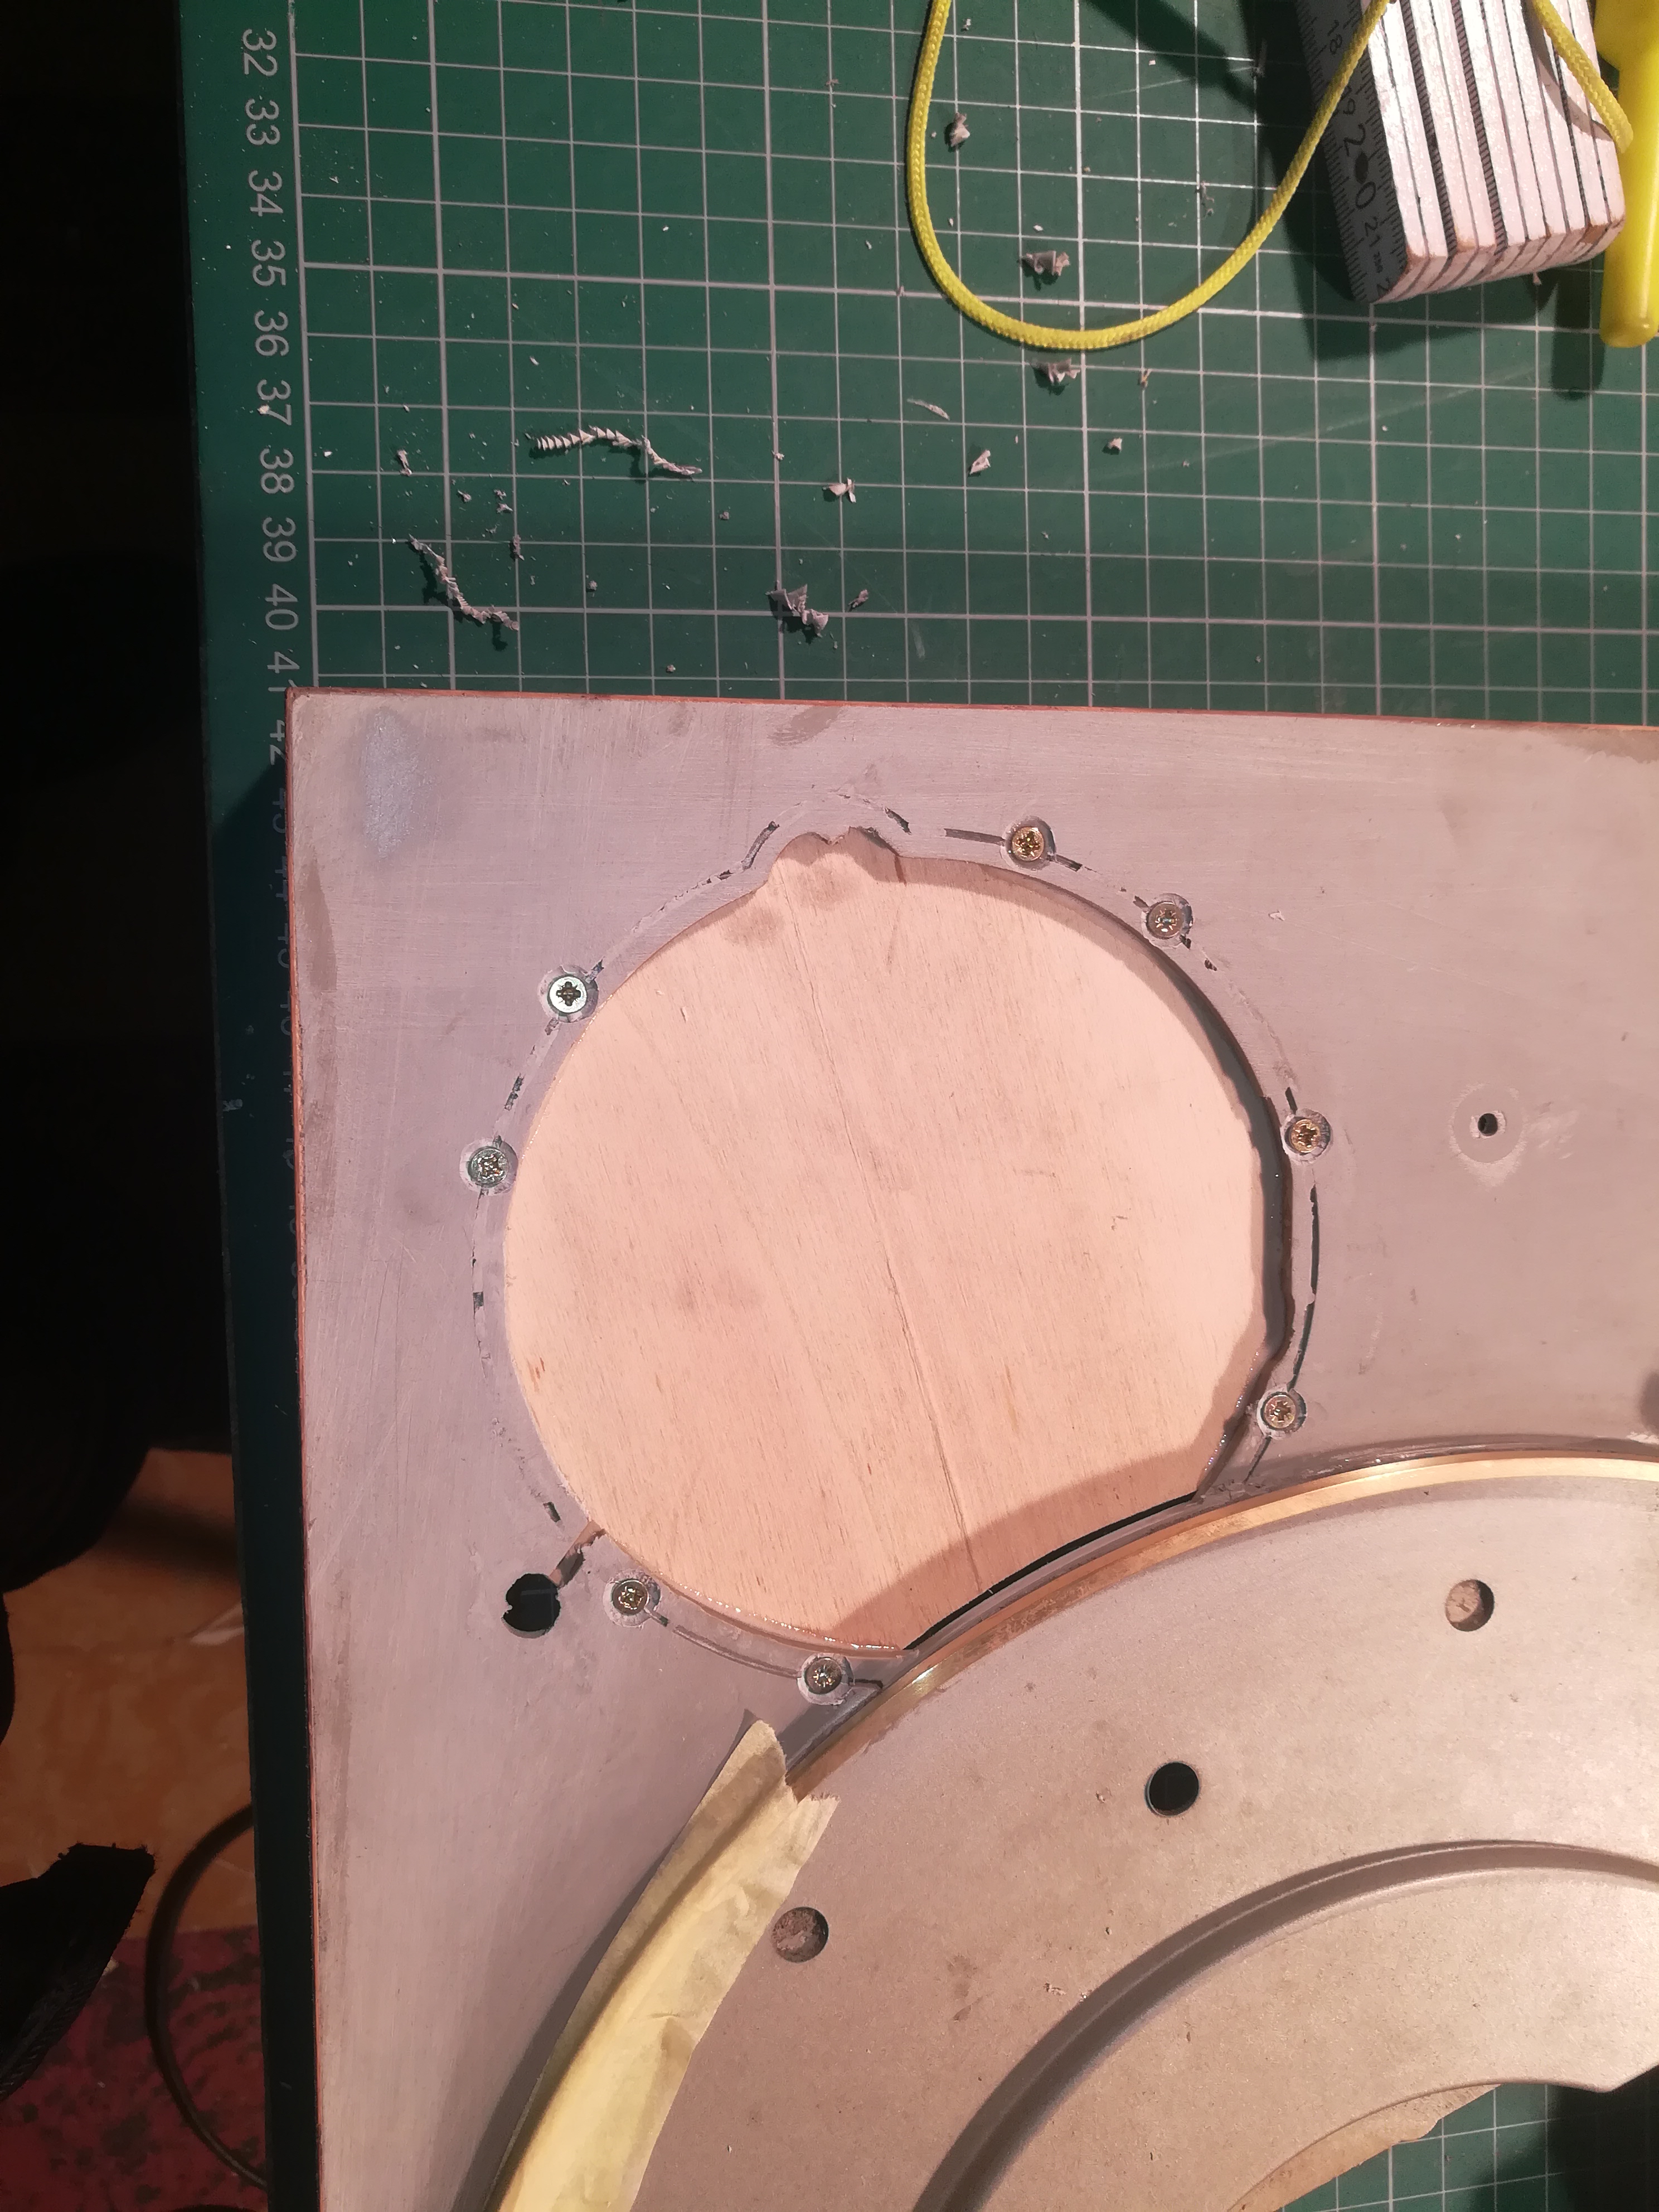
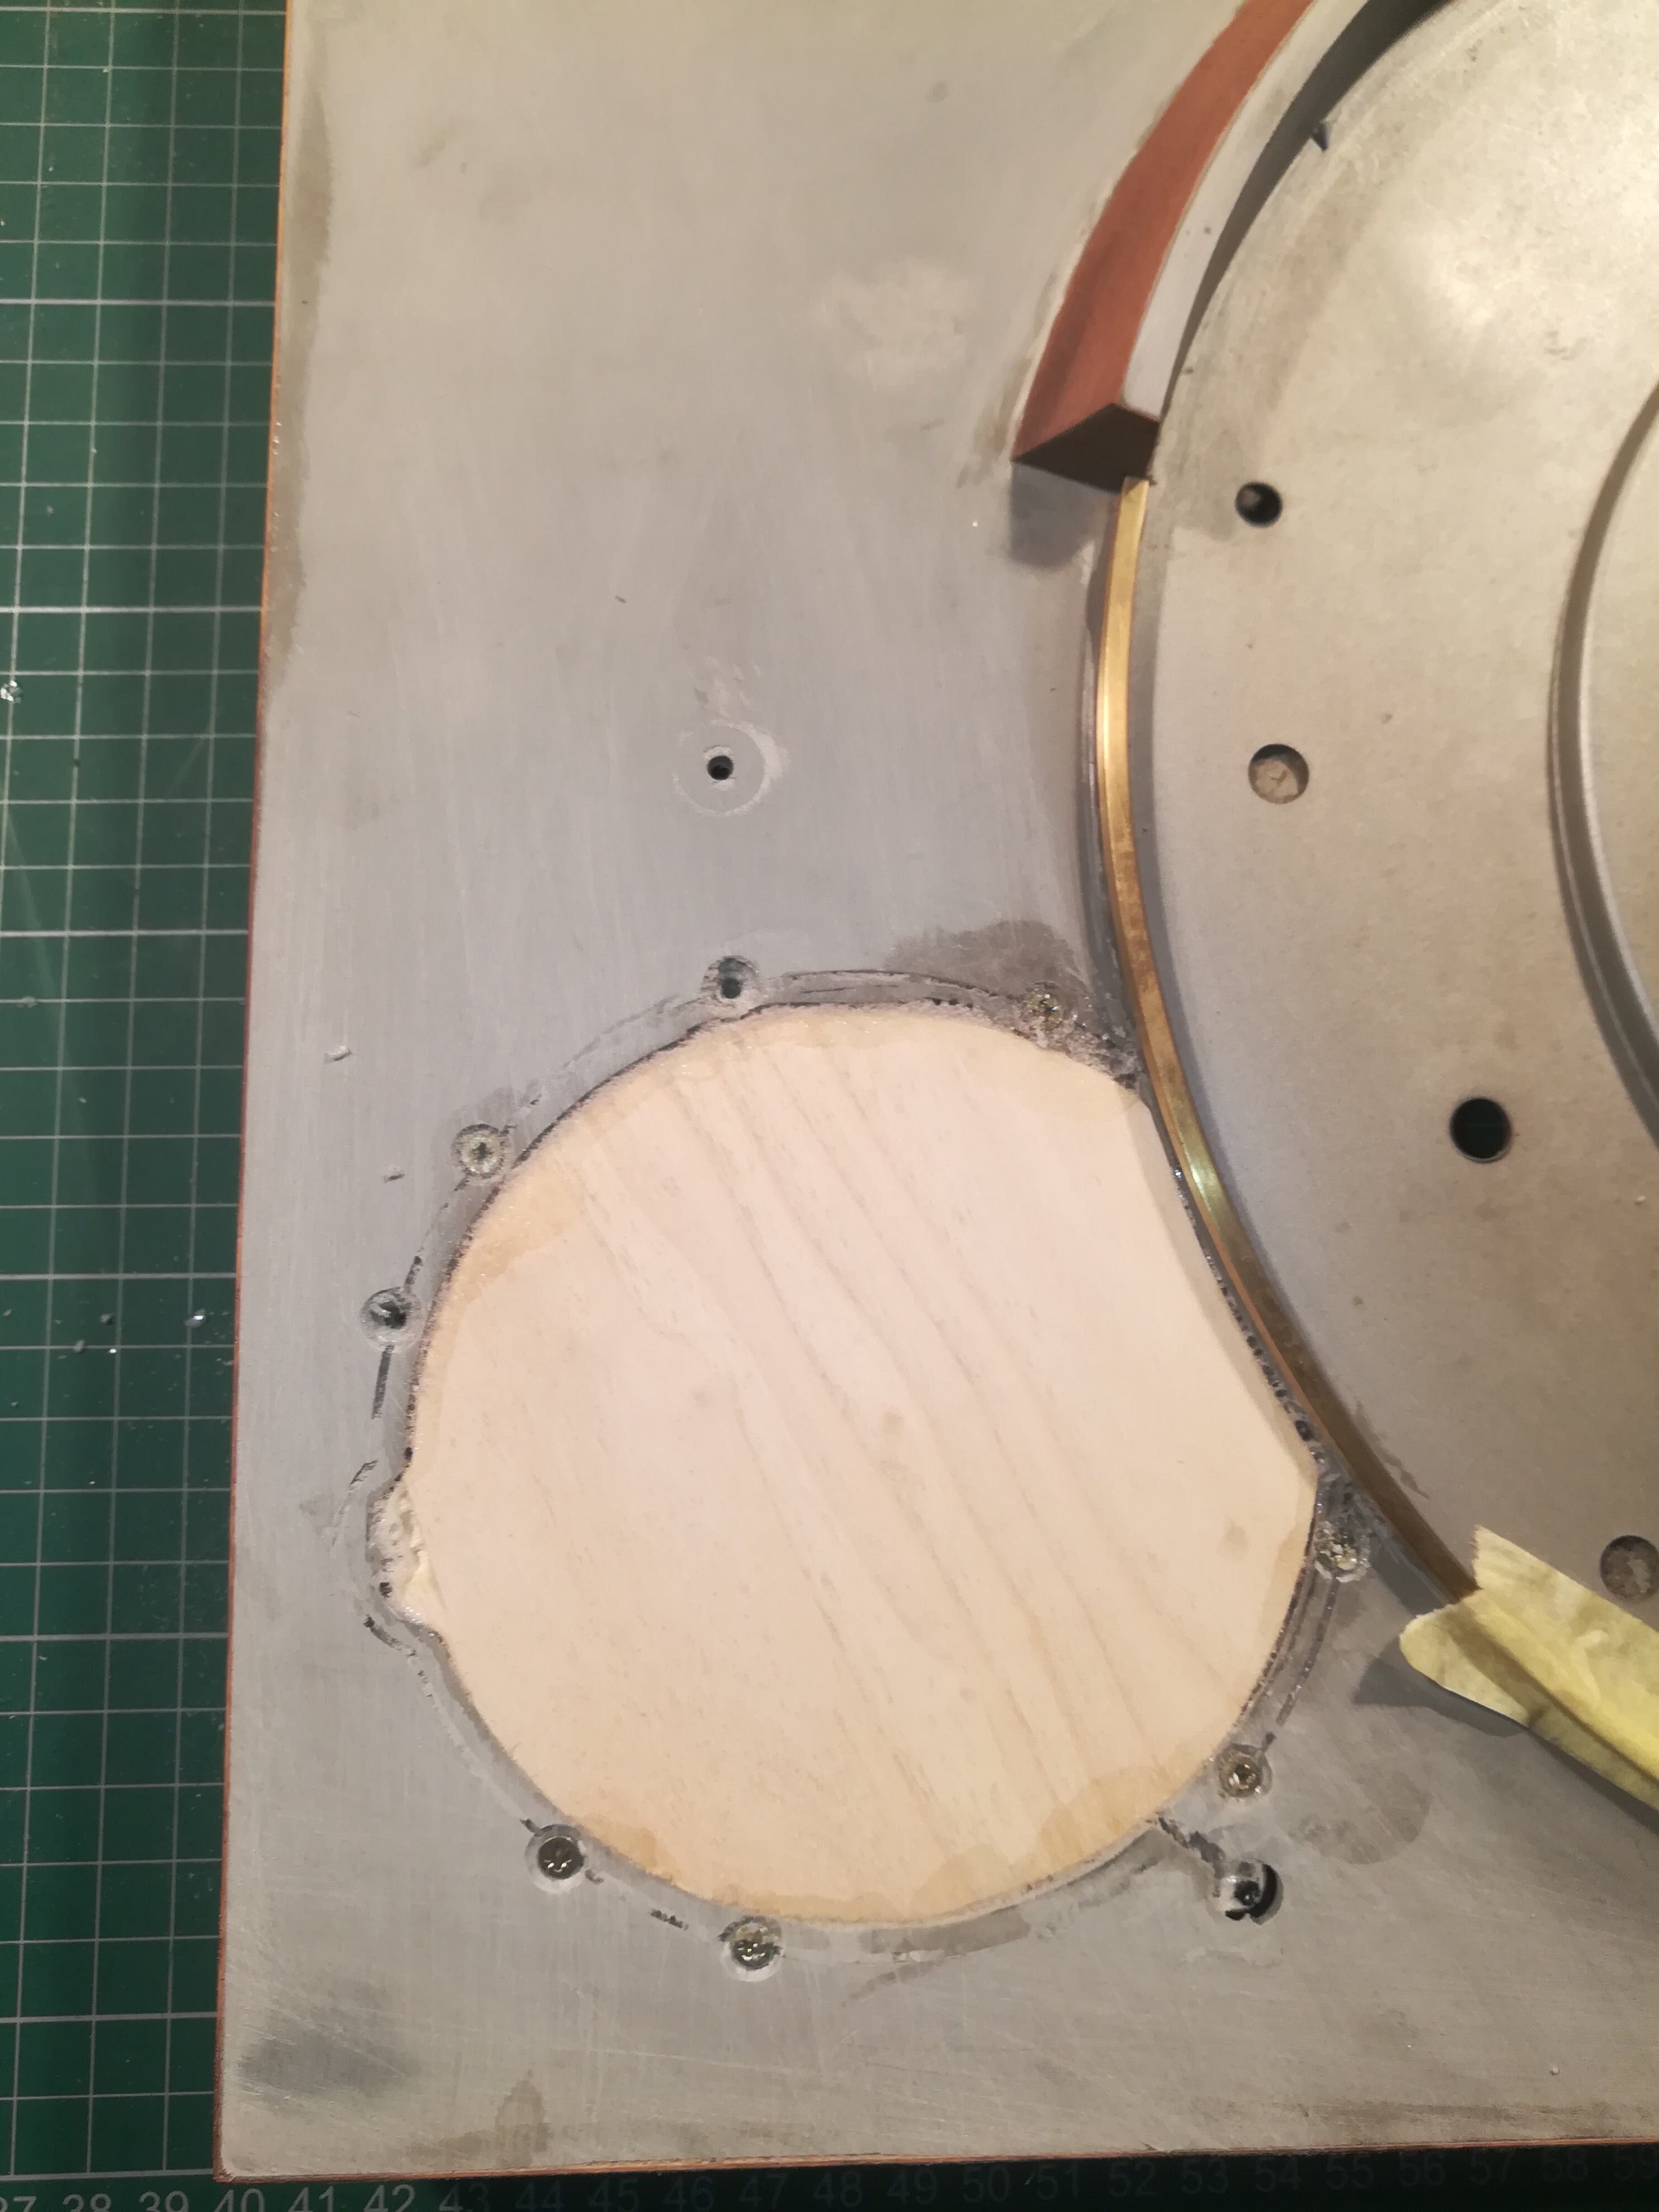
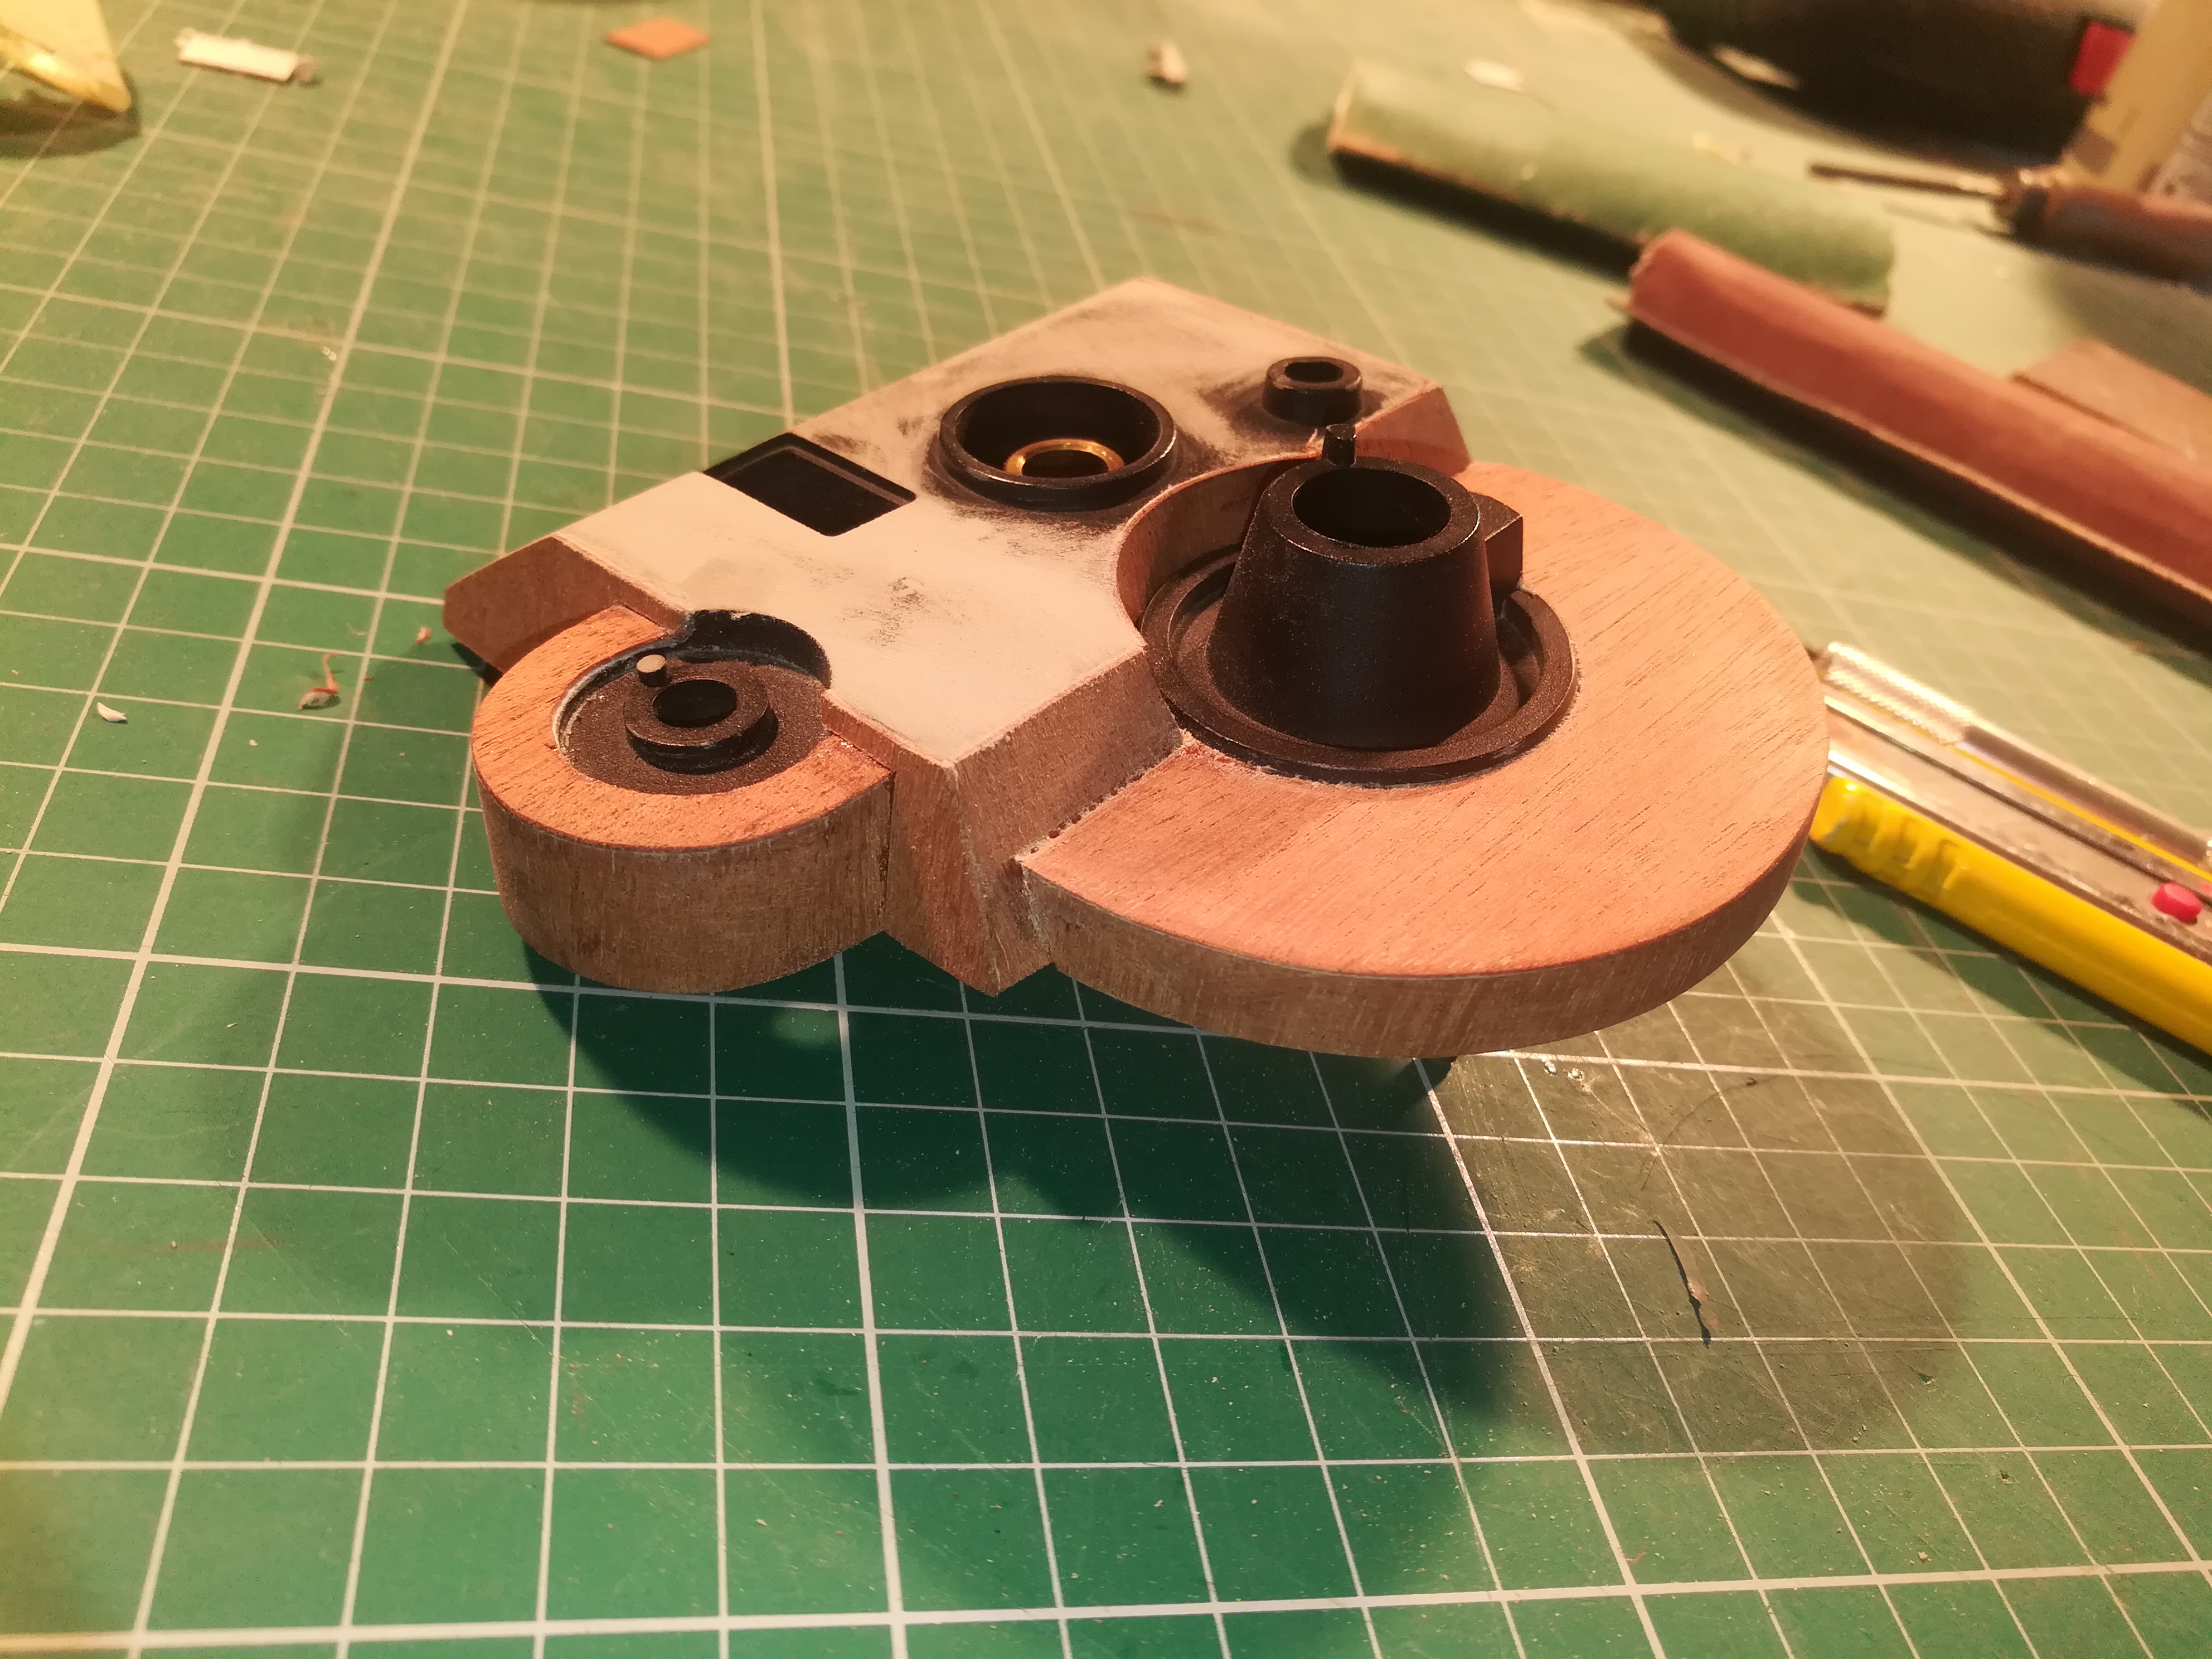
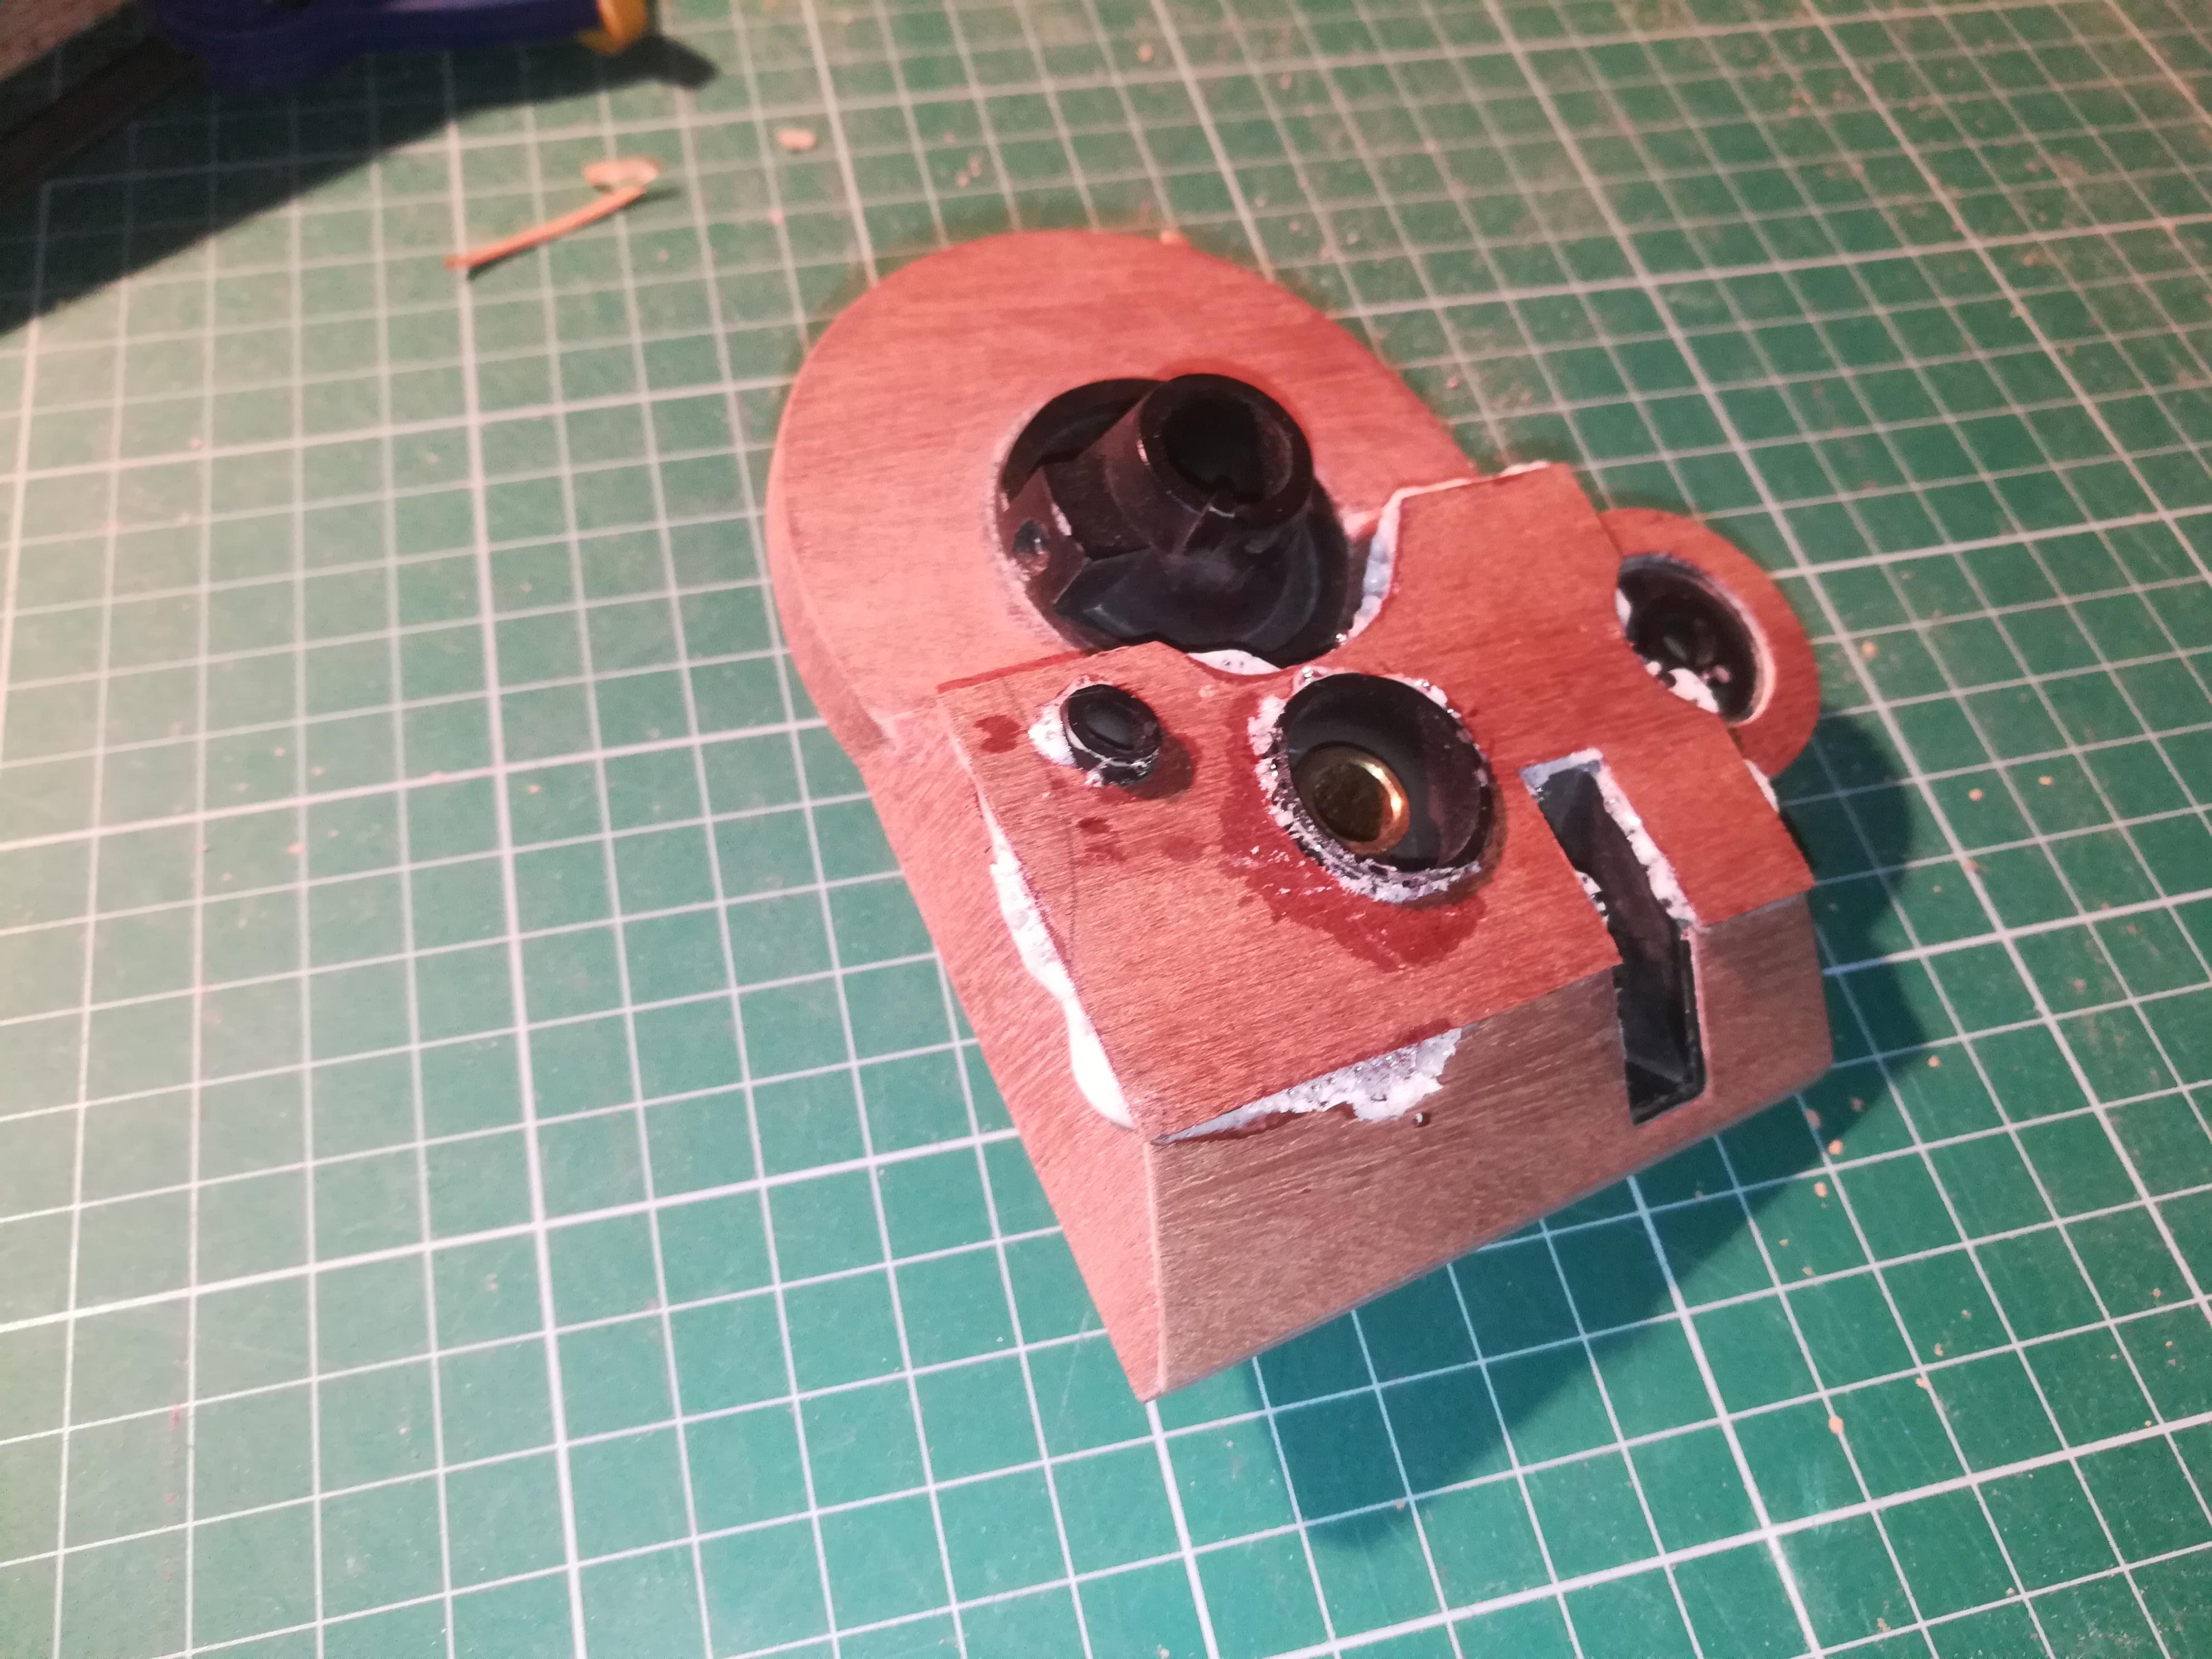
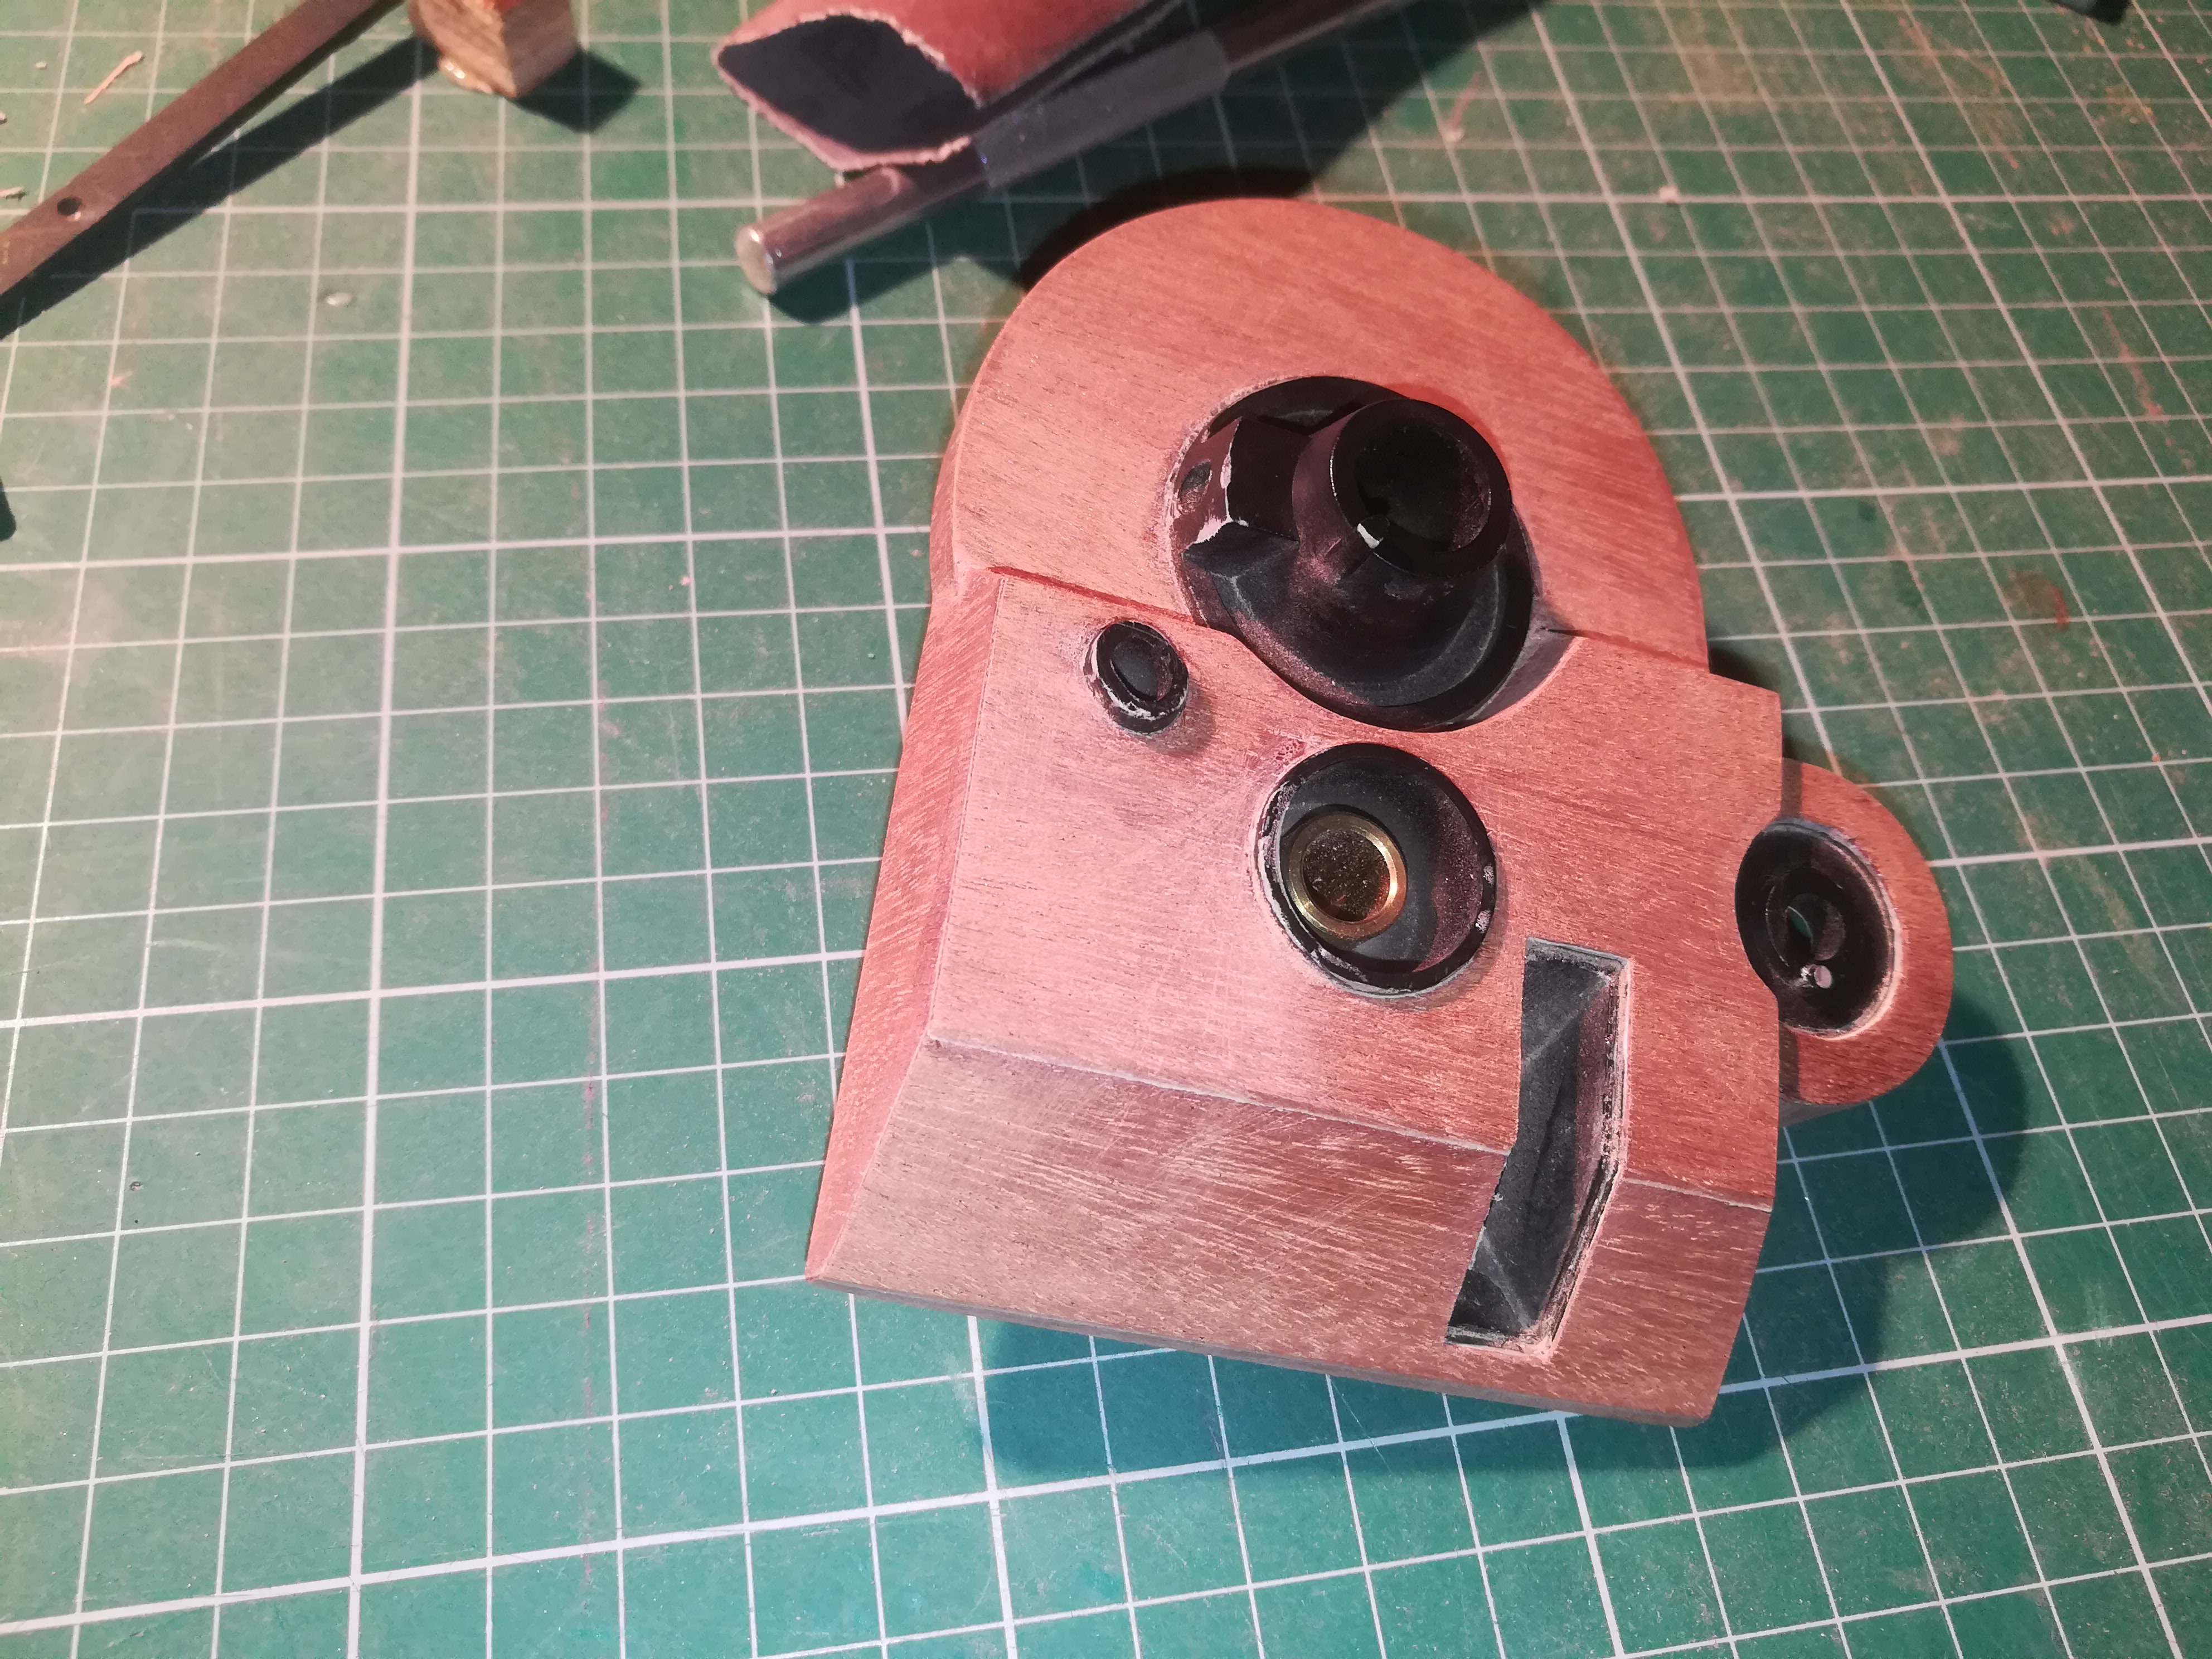
In my case i had a hole from the old arm and a piece on the front to fill up. Luckily I had some plywood with the right thickness lying around.
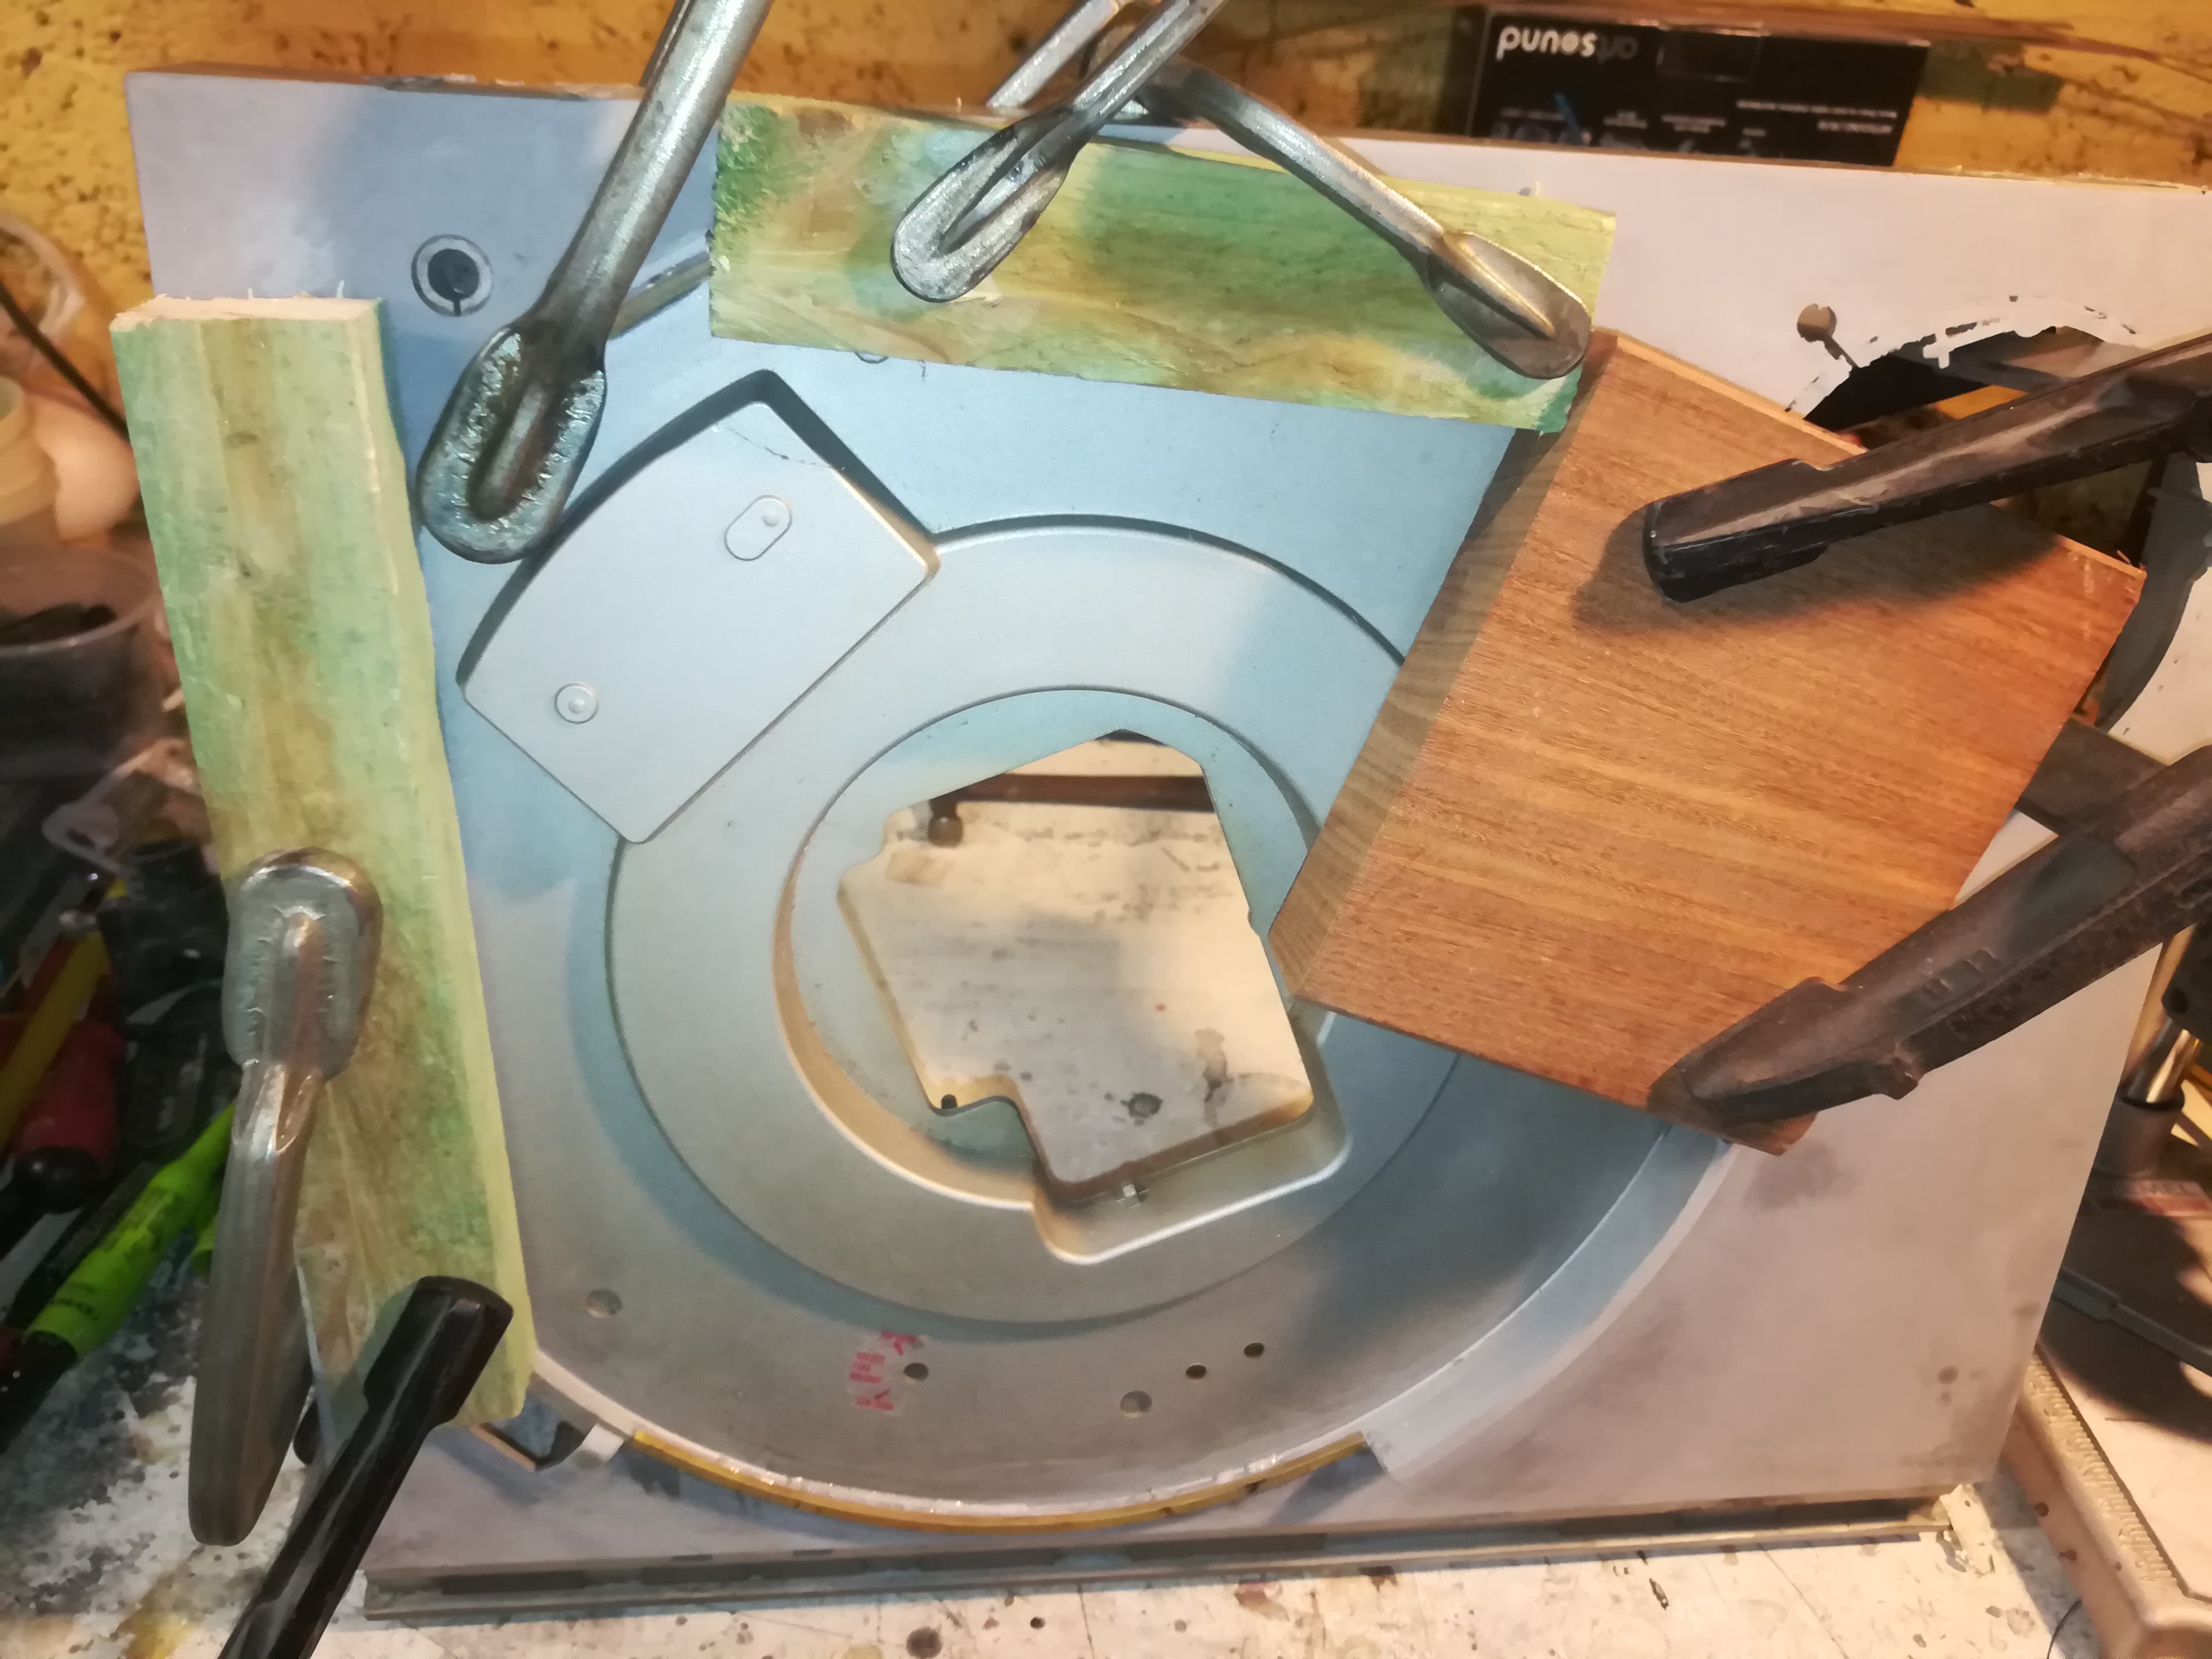
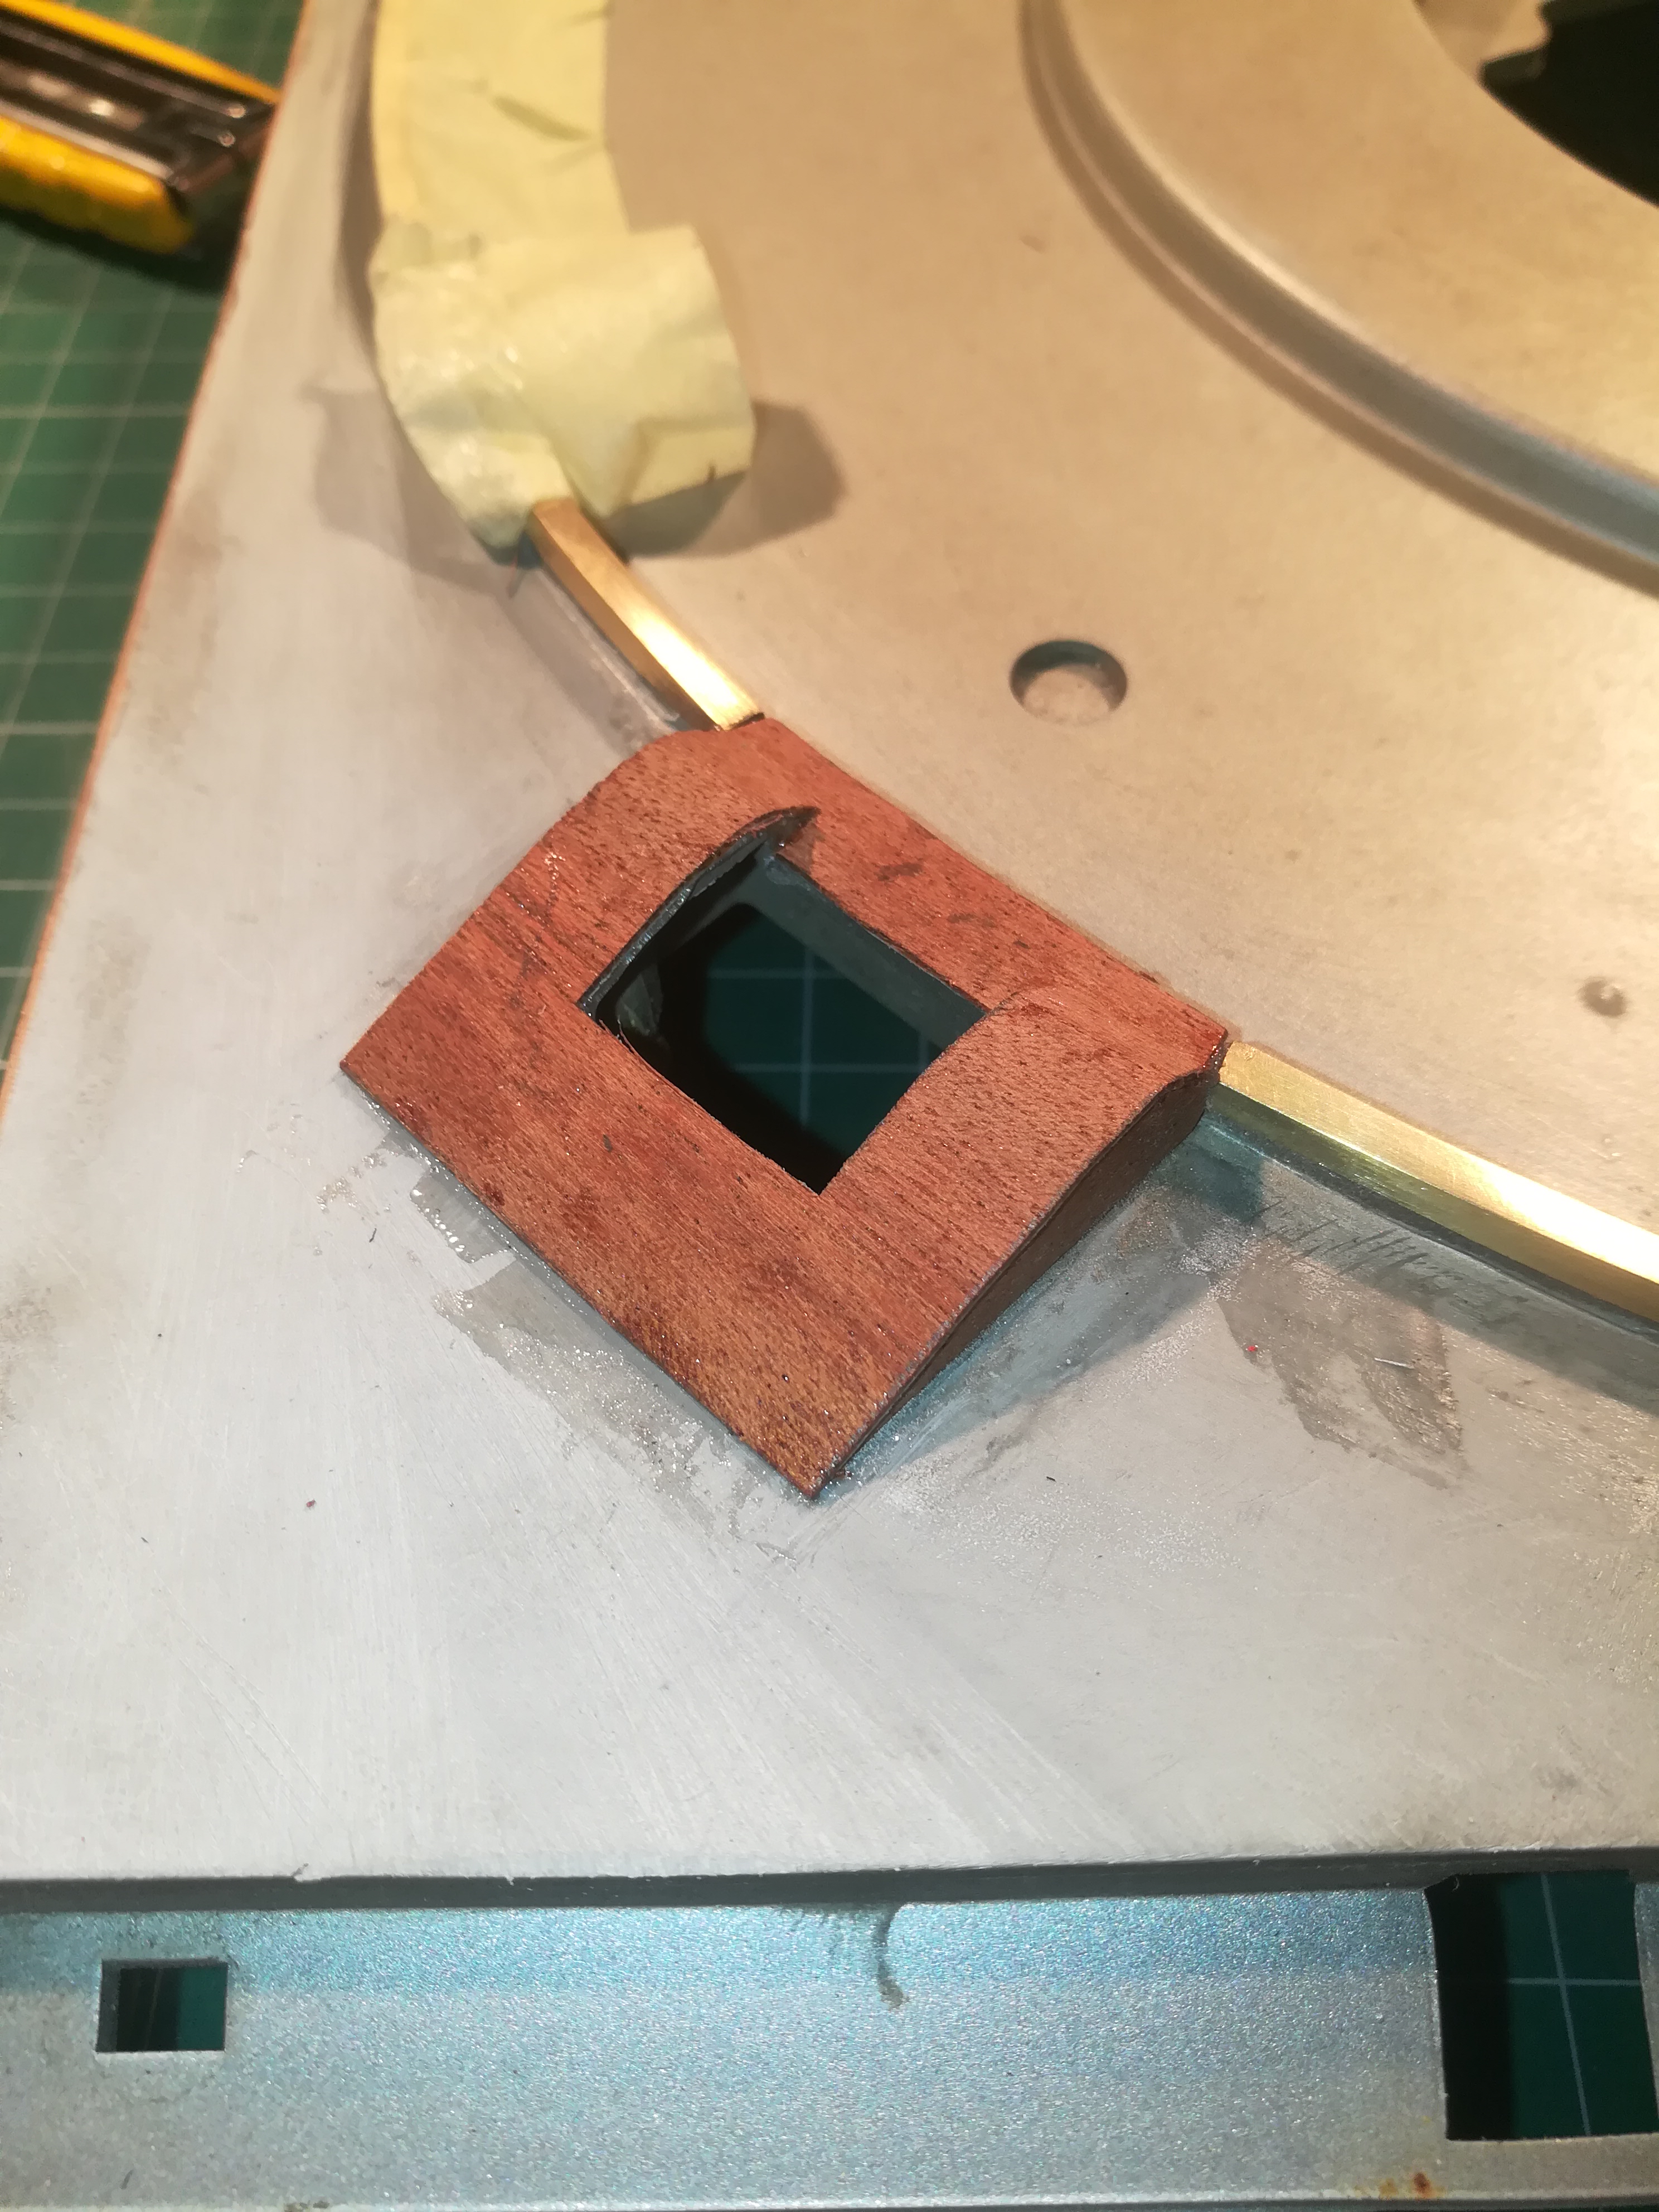
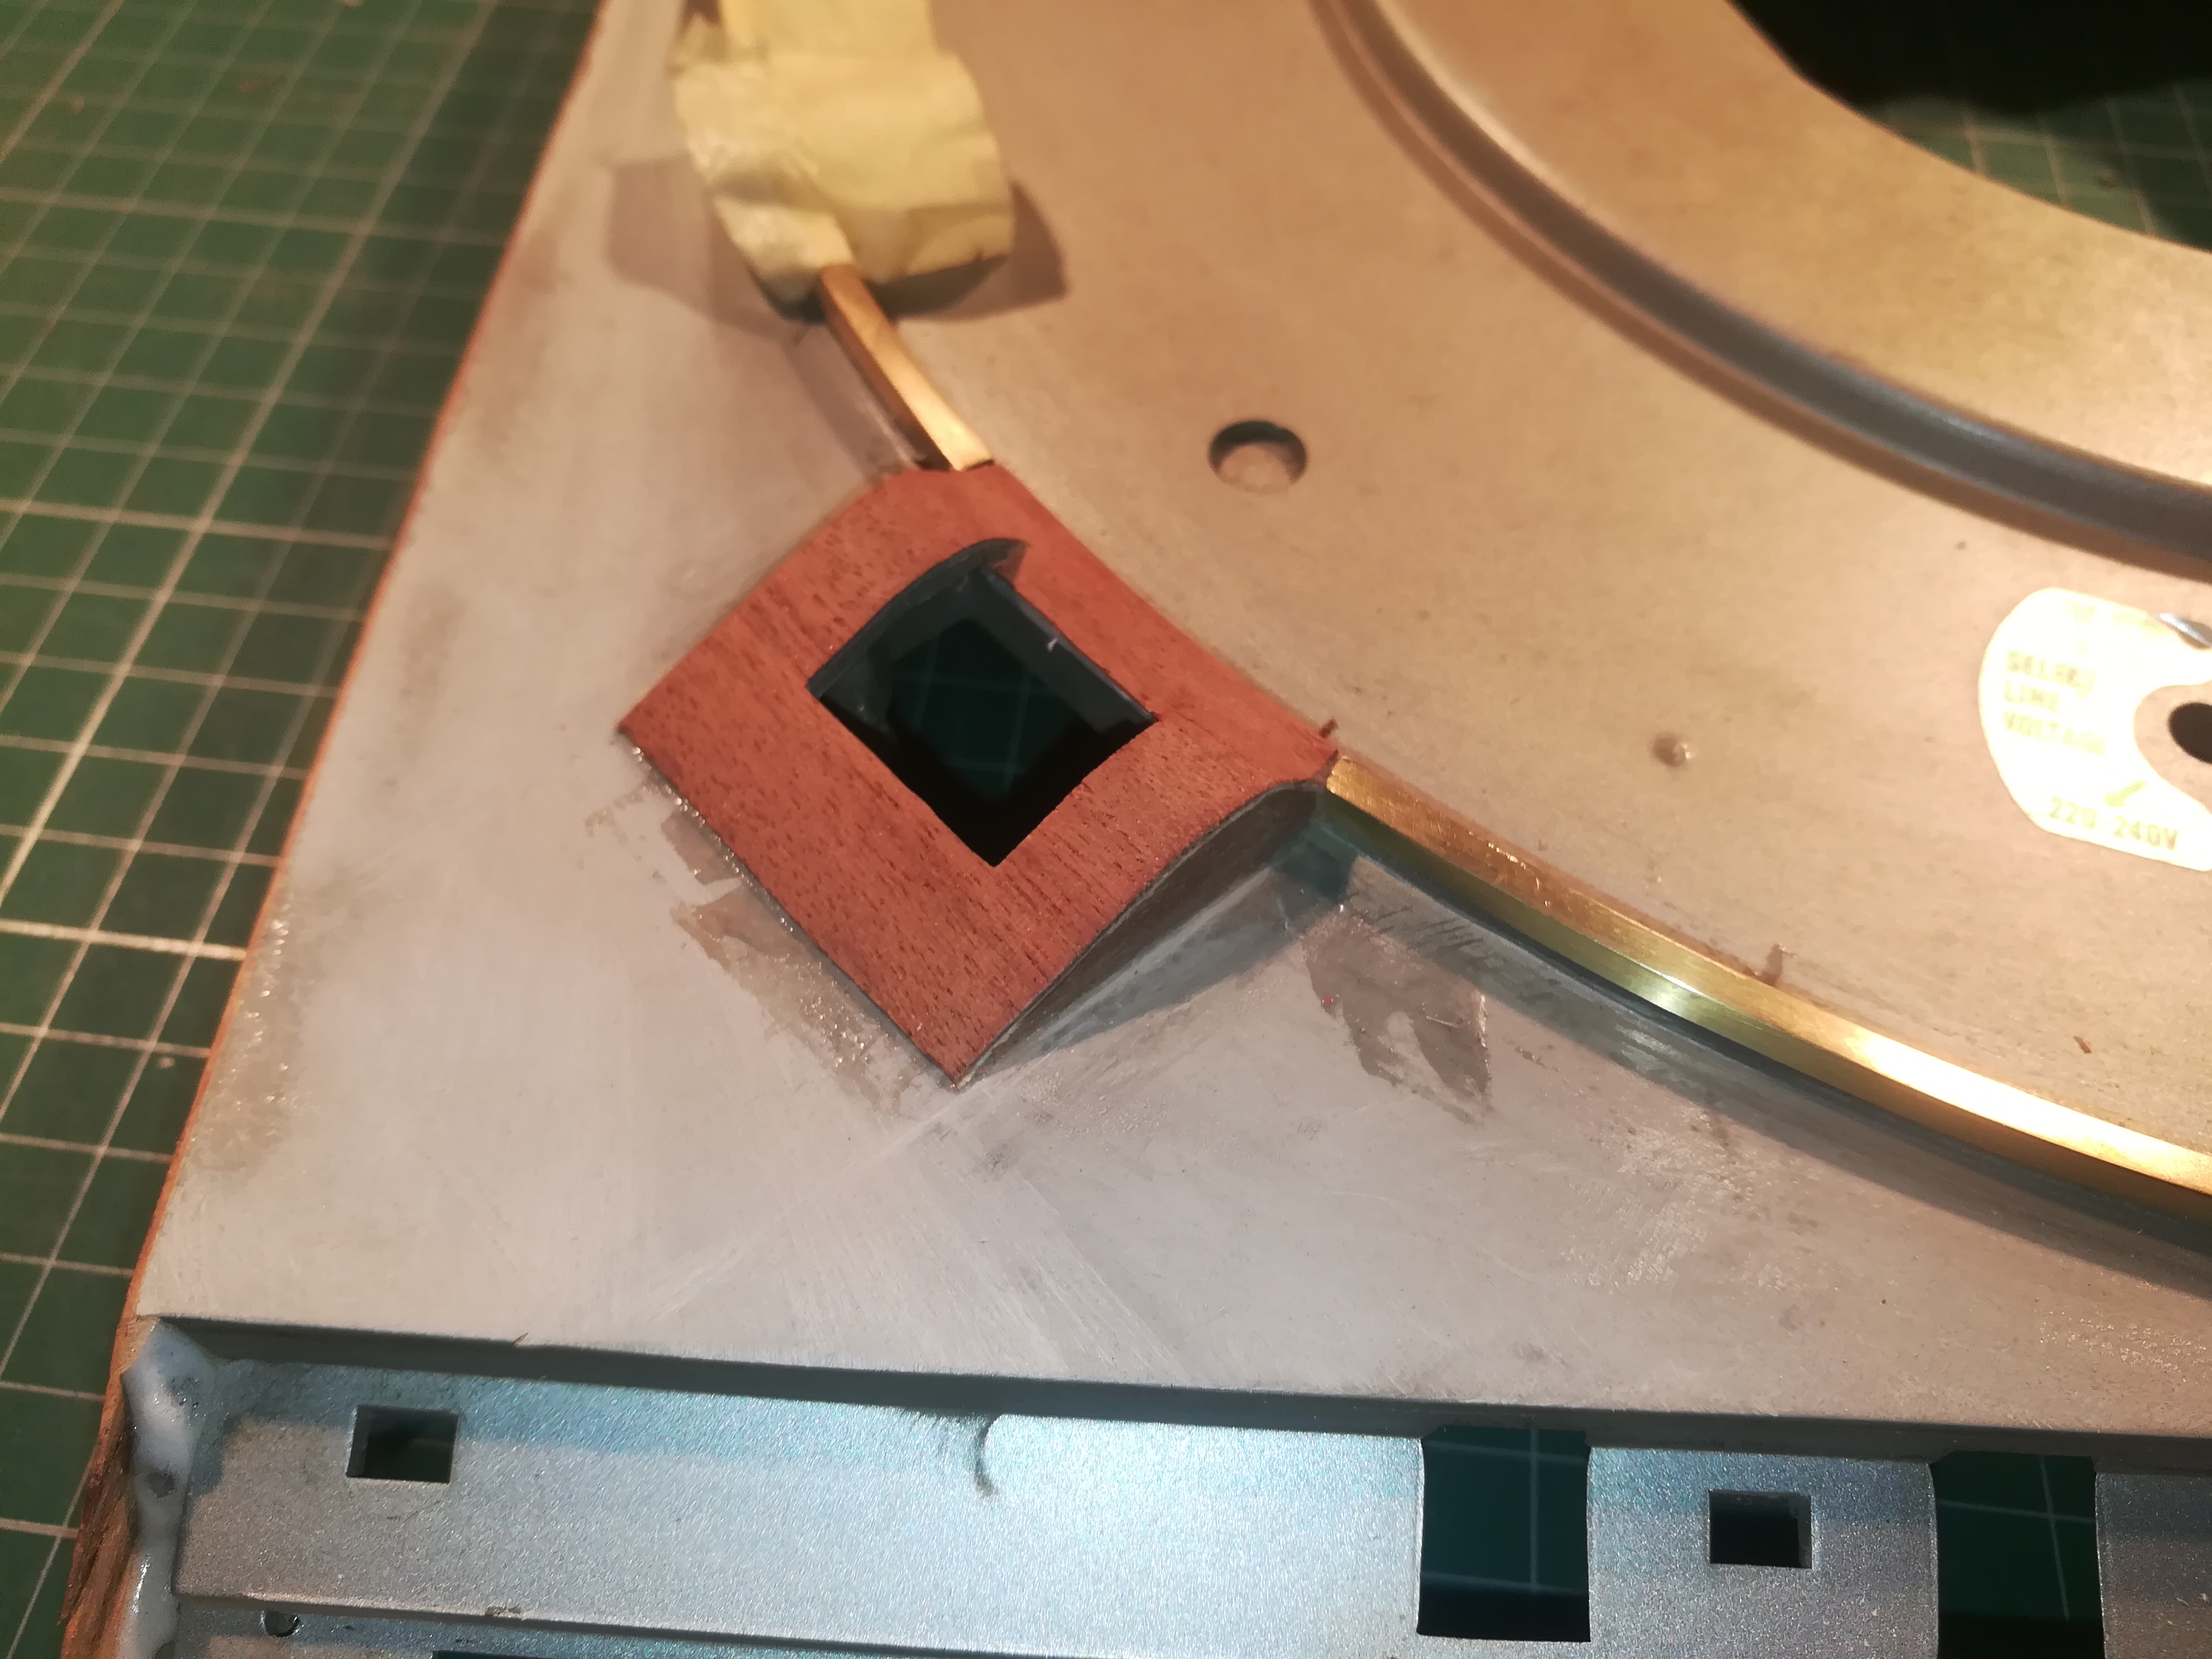
Draw out a shape of the hole that is bigger and cut it out with a jigsaw. Drill some holes and use the screws to secure everything in place, countersink the holes to ensure the head of the screw is level with the case (picture 1). Now draw the insides of the hole on the plywood and saw it out. If everything fits you can glue in the piece and put pressure on it with tensioning screws (picture 2). Let it rest for a night and remove the clamps. Sand the plywood if it comes above the case.
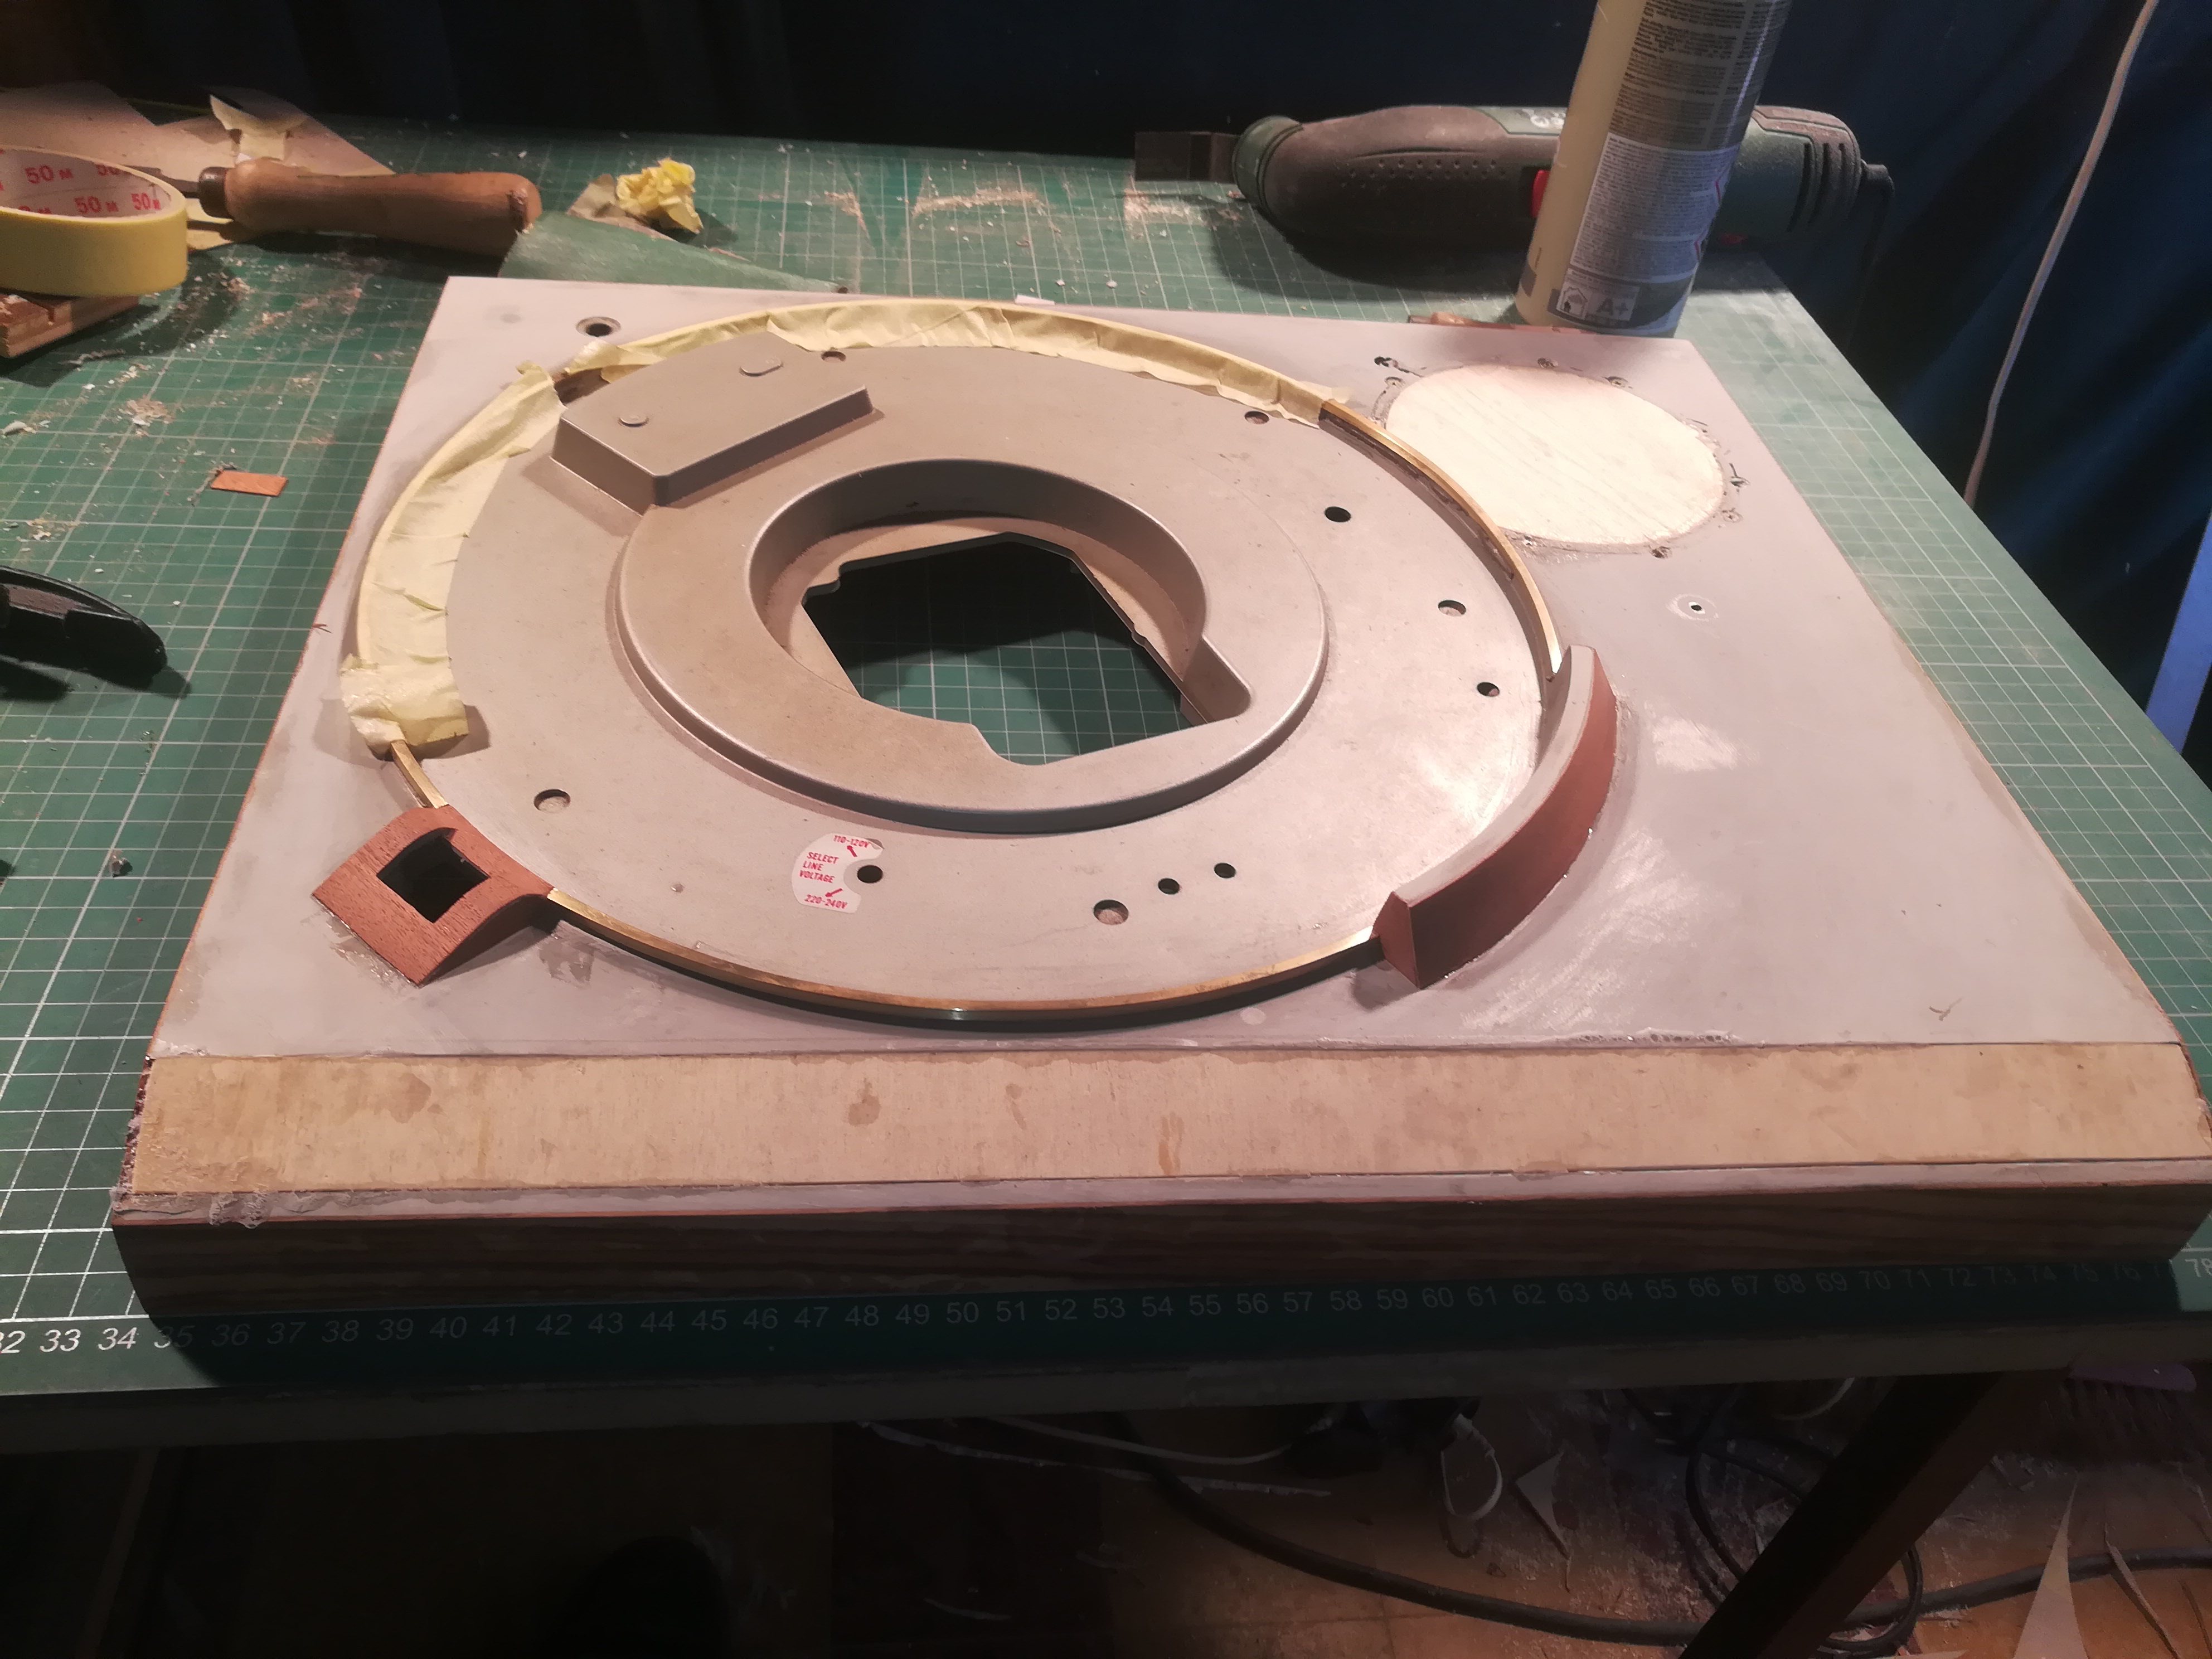
Now measurer the piece in the front and draw it on the plywood. Again cut out the piece with the jigsaw and look if everything fits. Degrease everything and put the glue on the case. Then put in the piece of plywood and apply pressure with tensioning Screws. Let it rest overnight before remove the tensioning Screws and sand with sandpaper 120 where needed (picture 3).
Now it's ready for the wood veneer.
Glue the Veneer on Top.
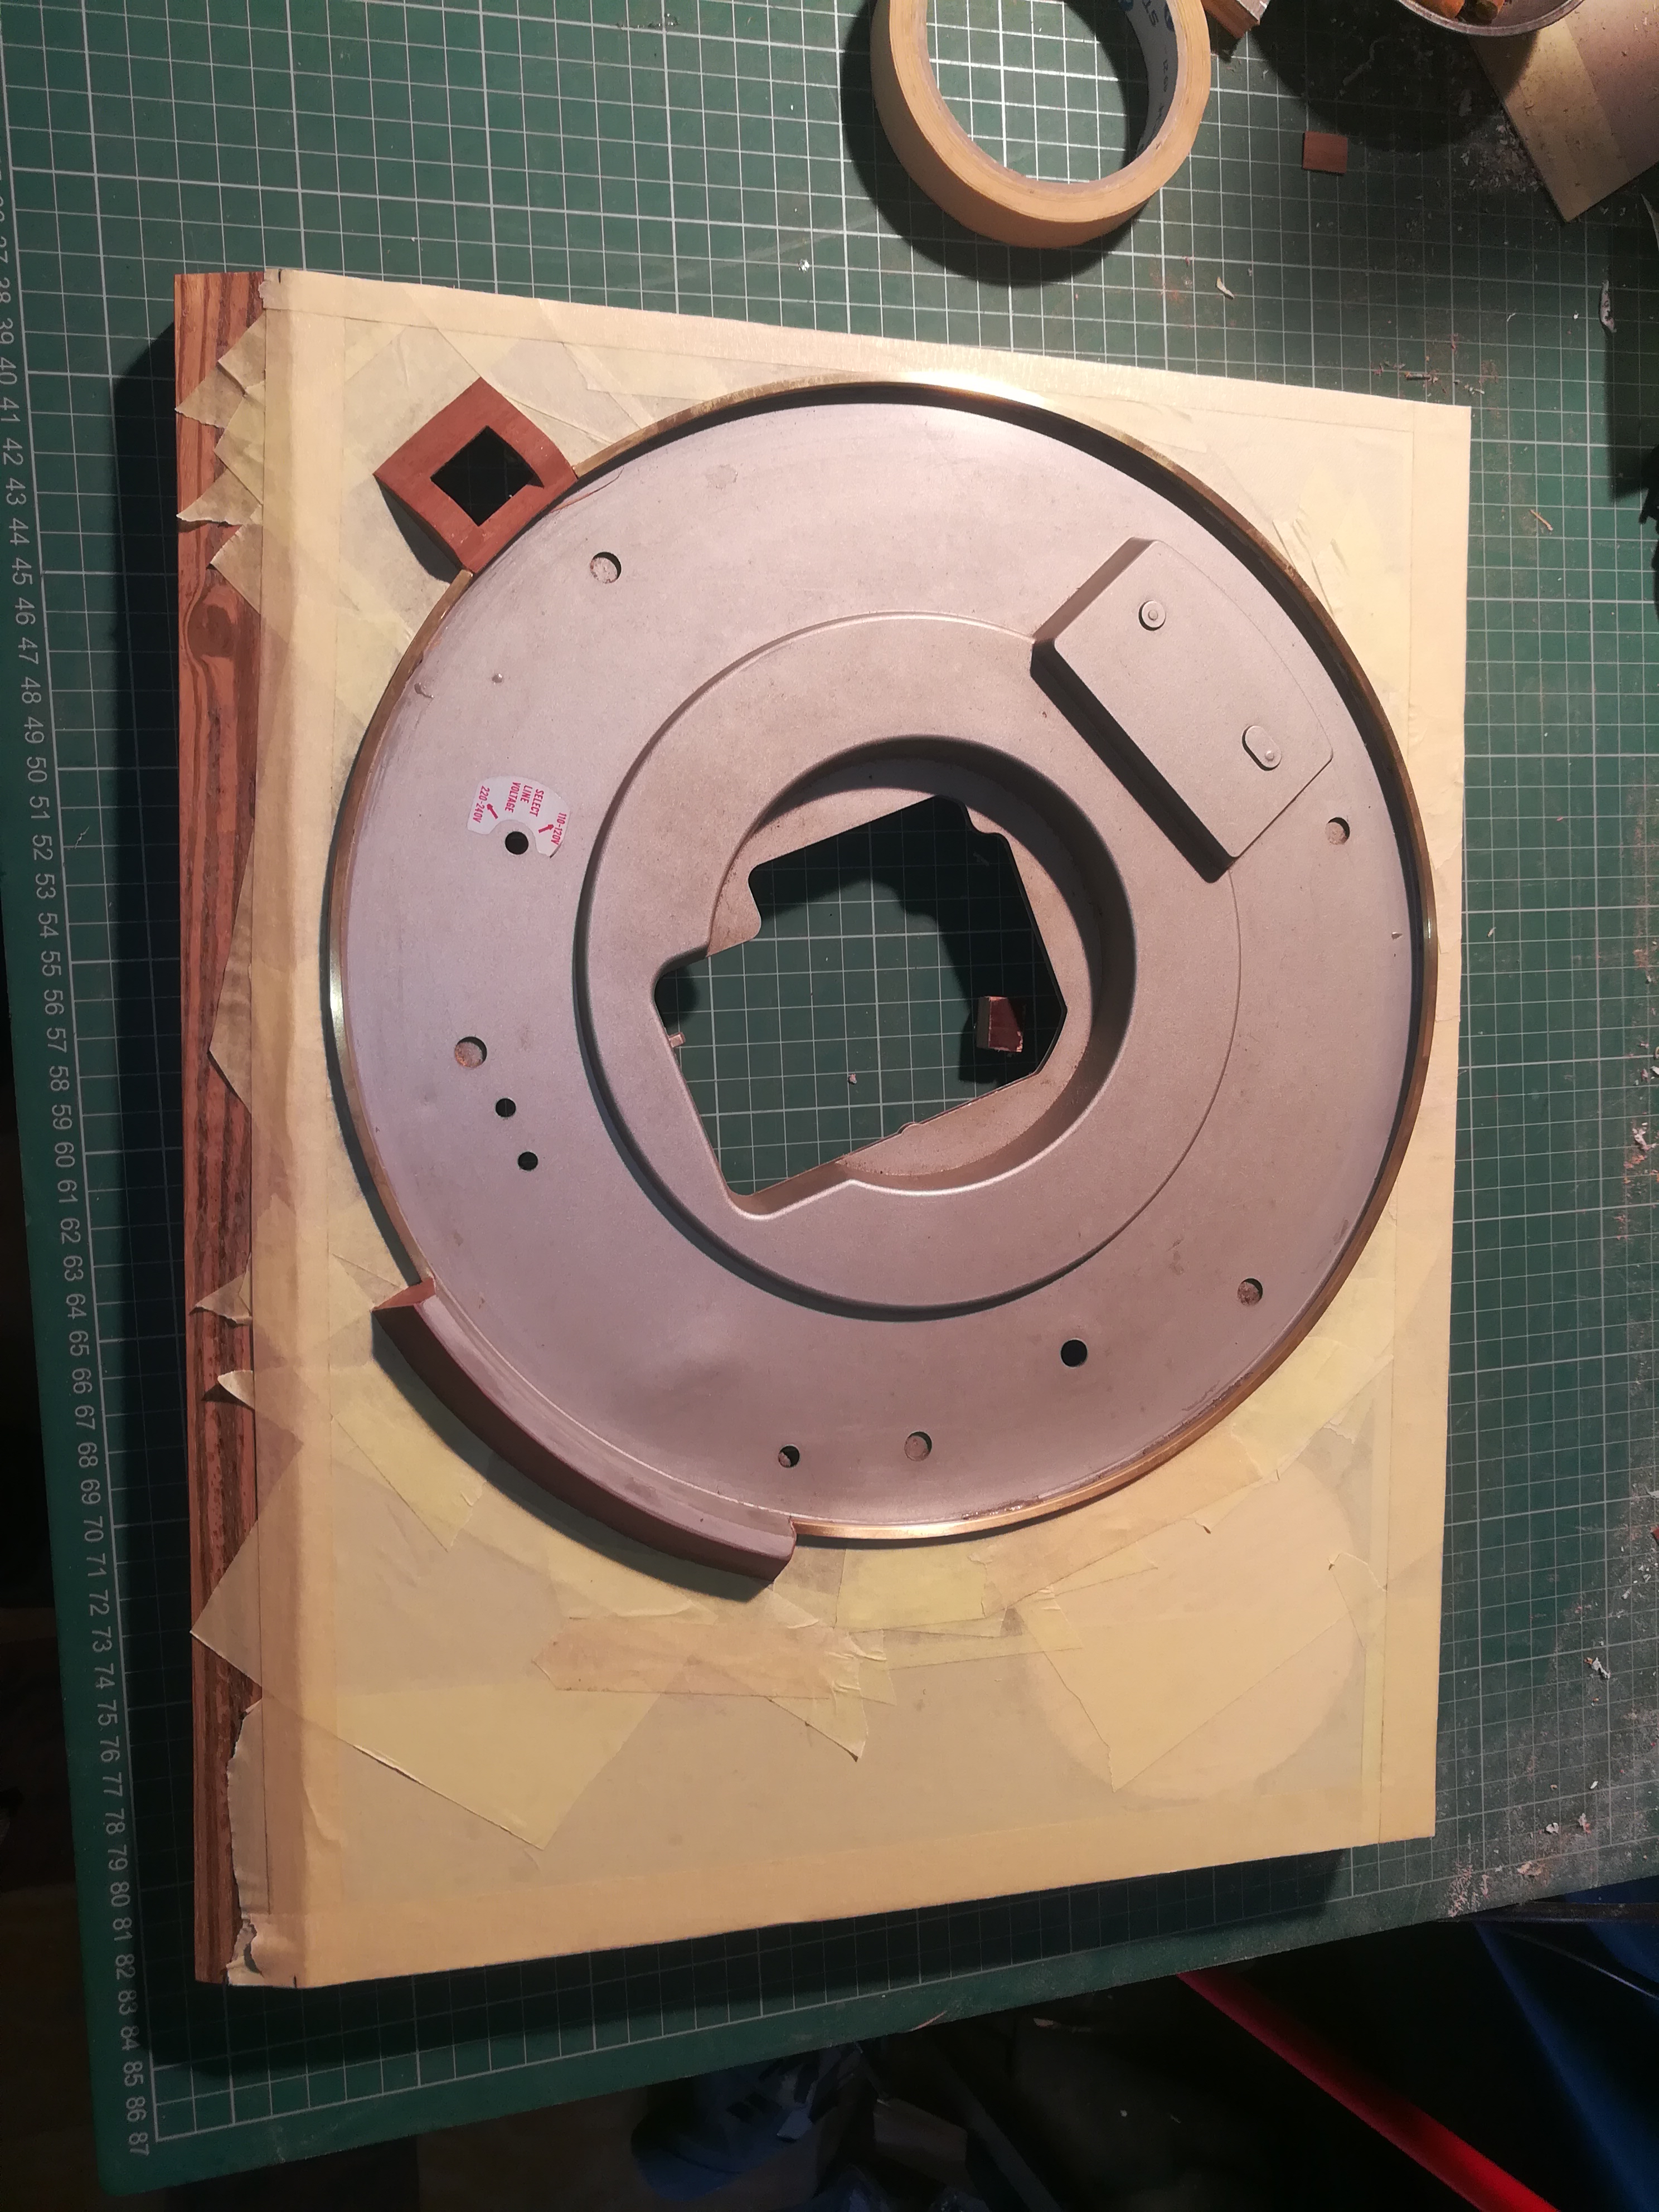

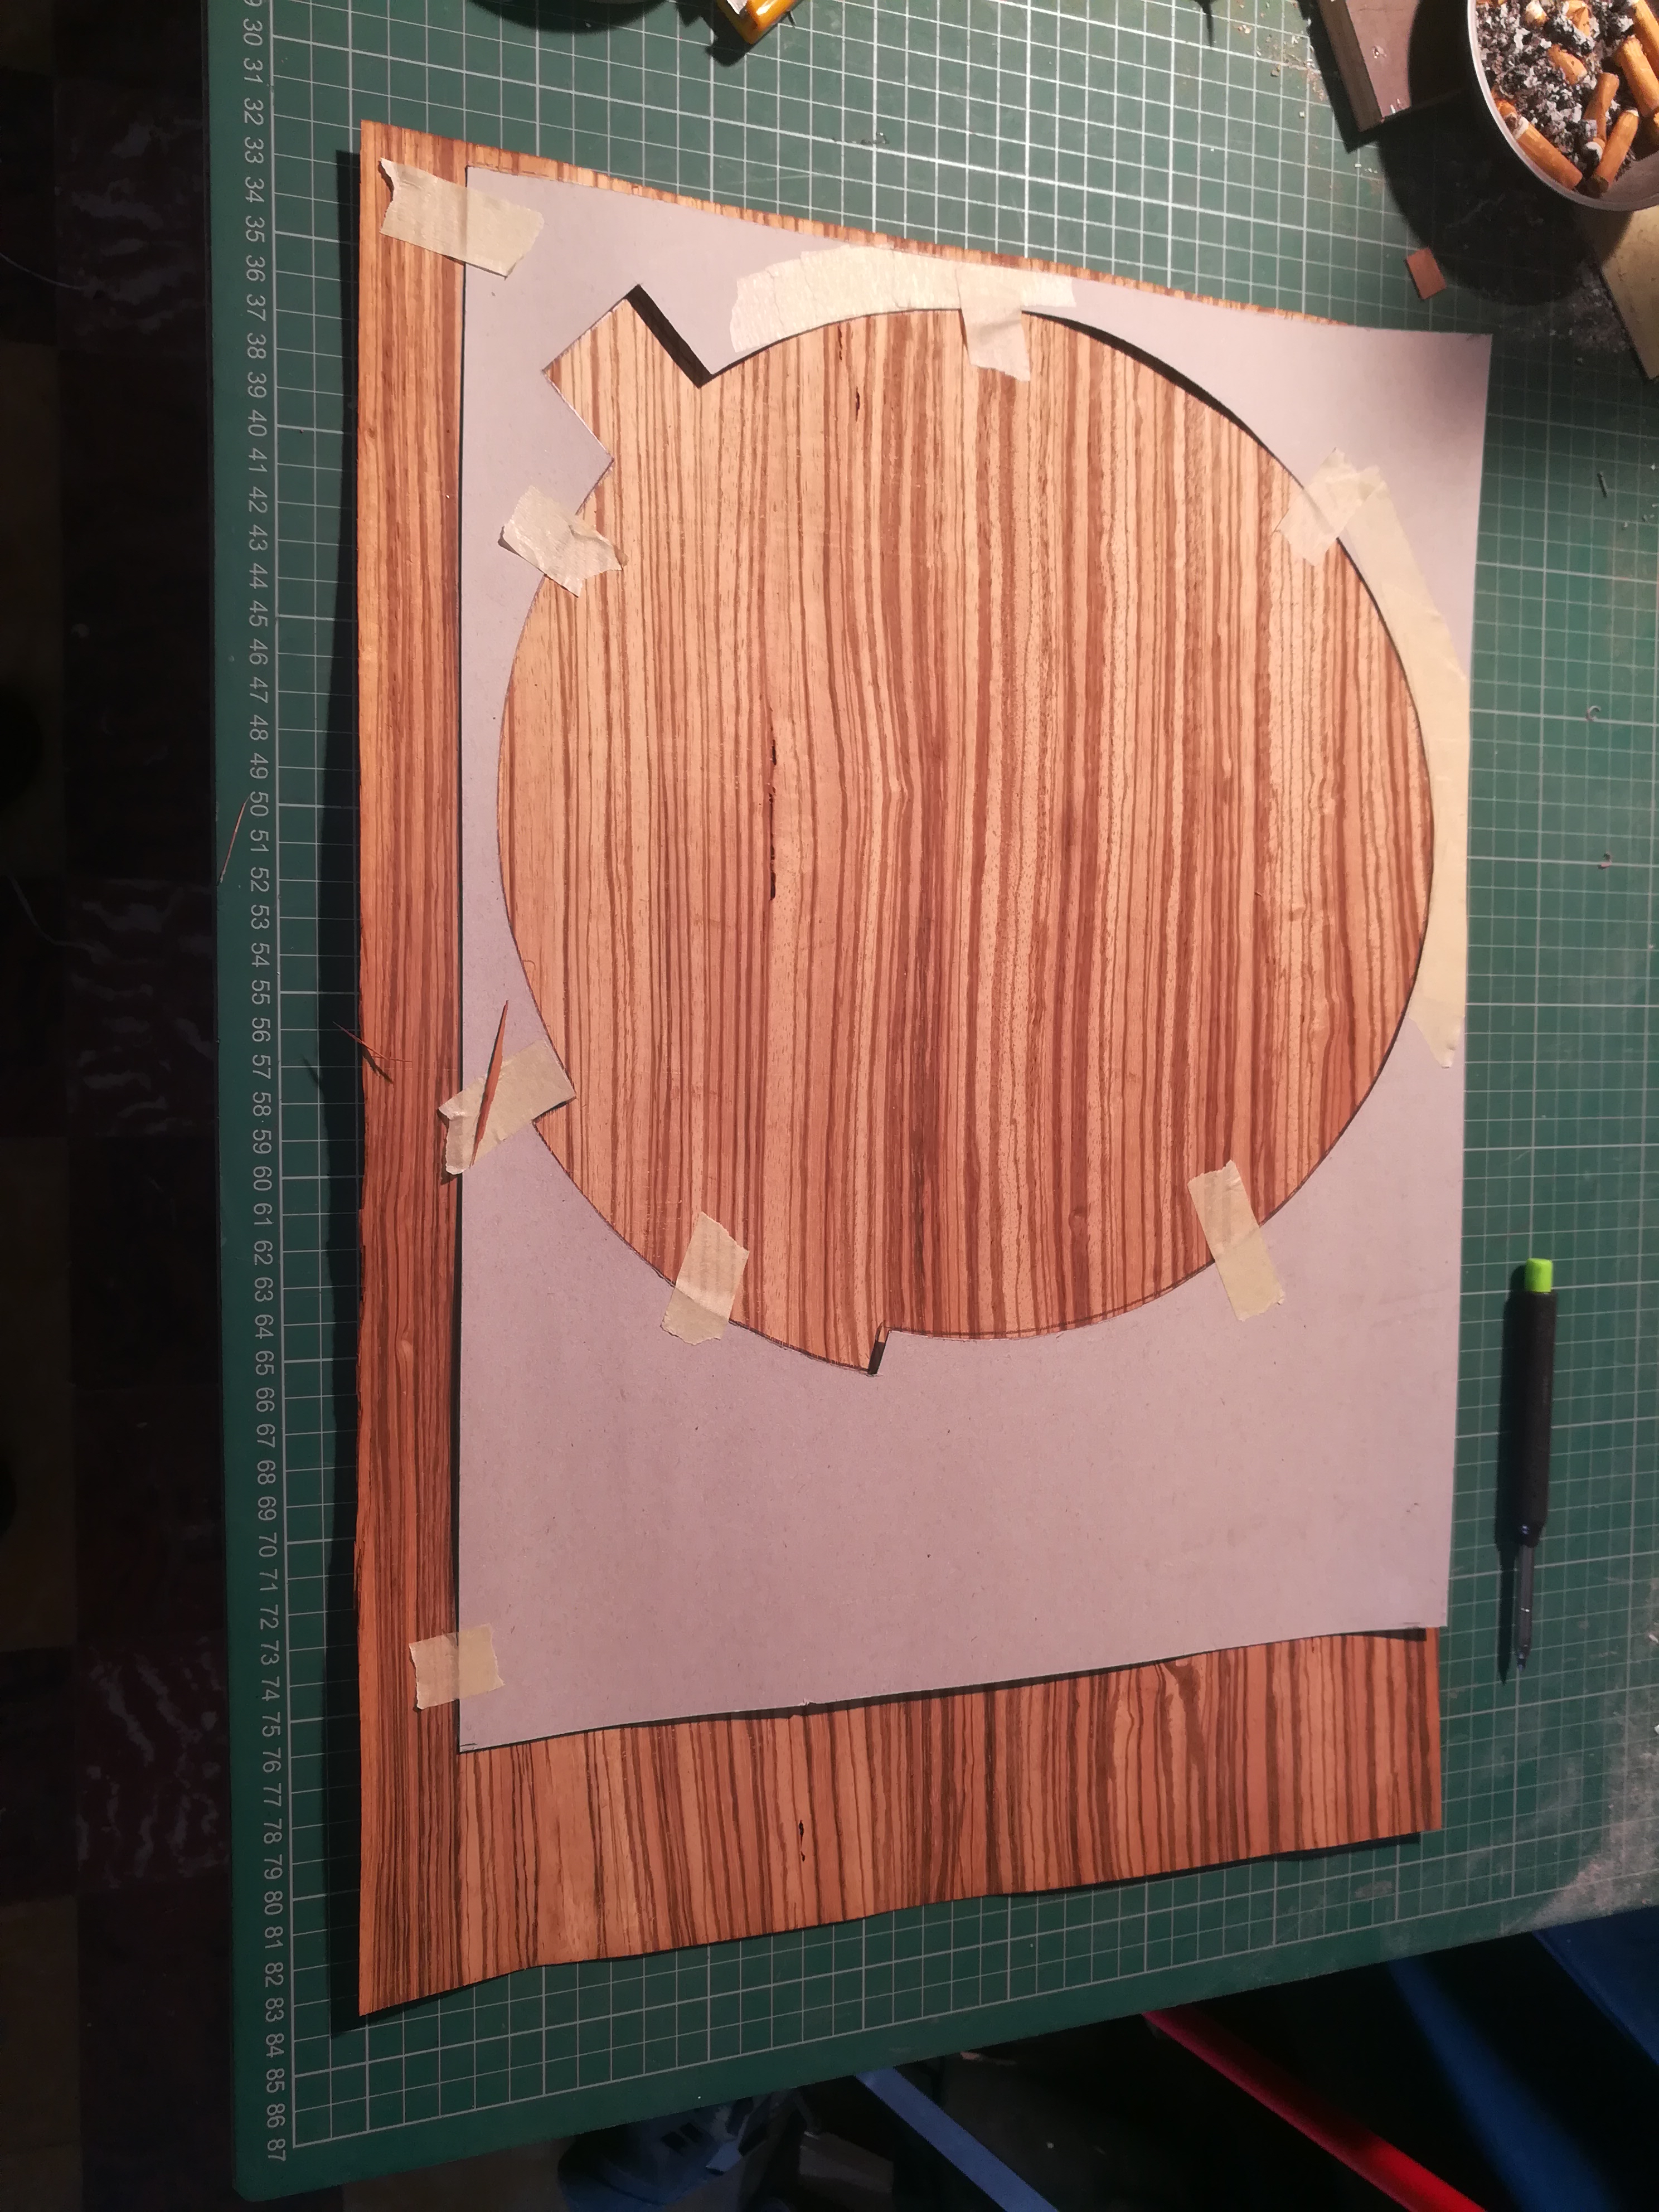
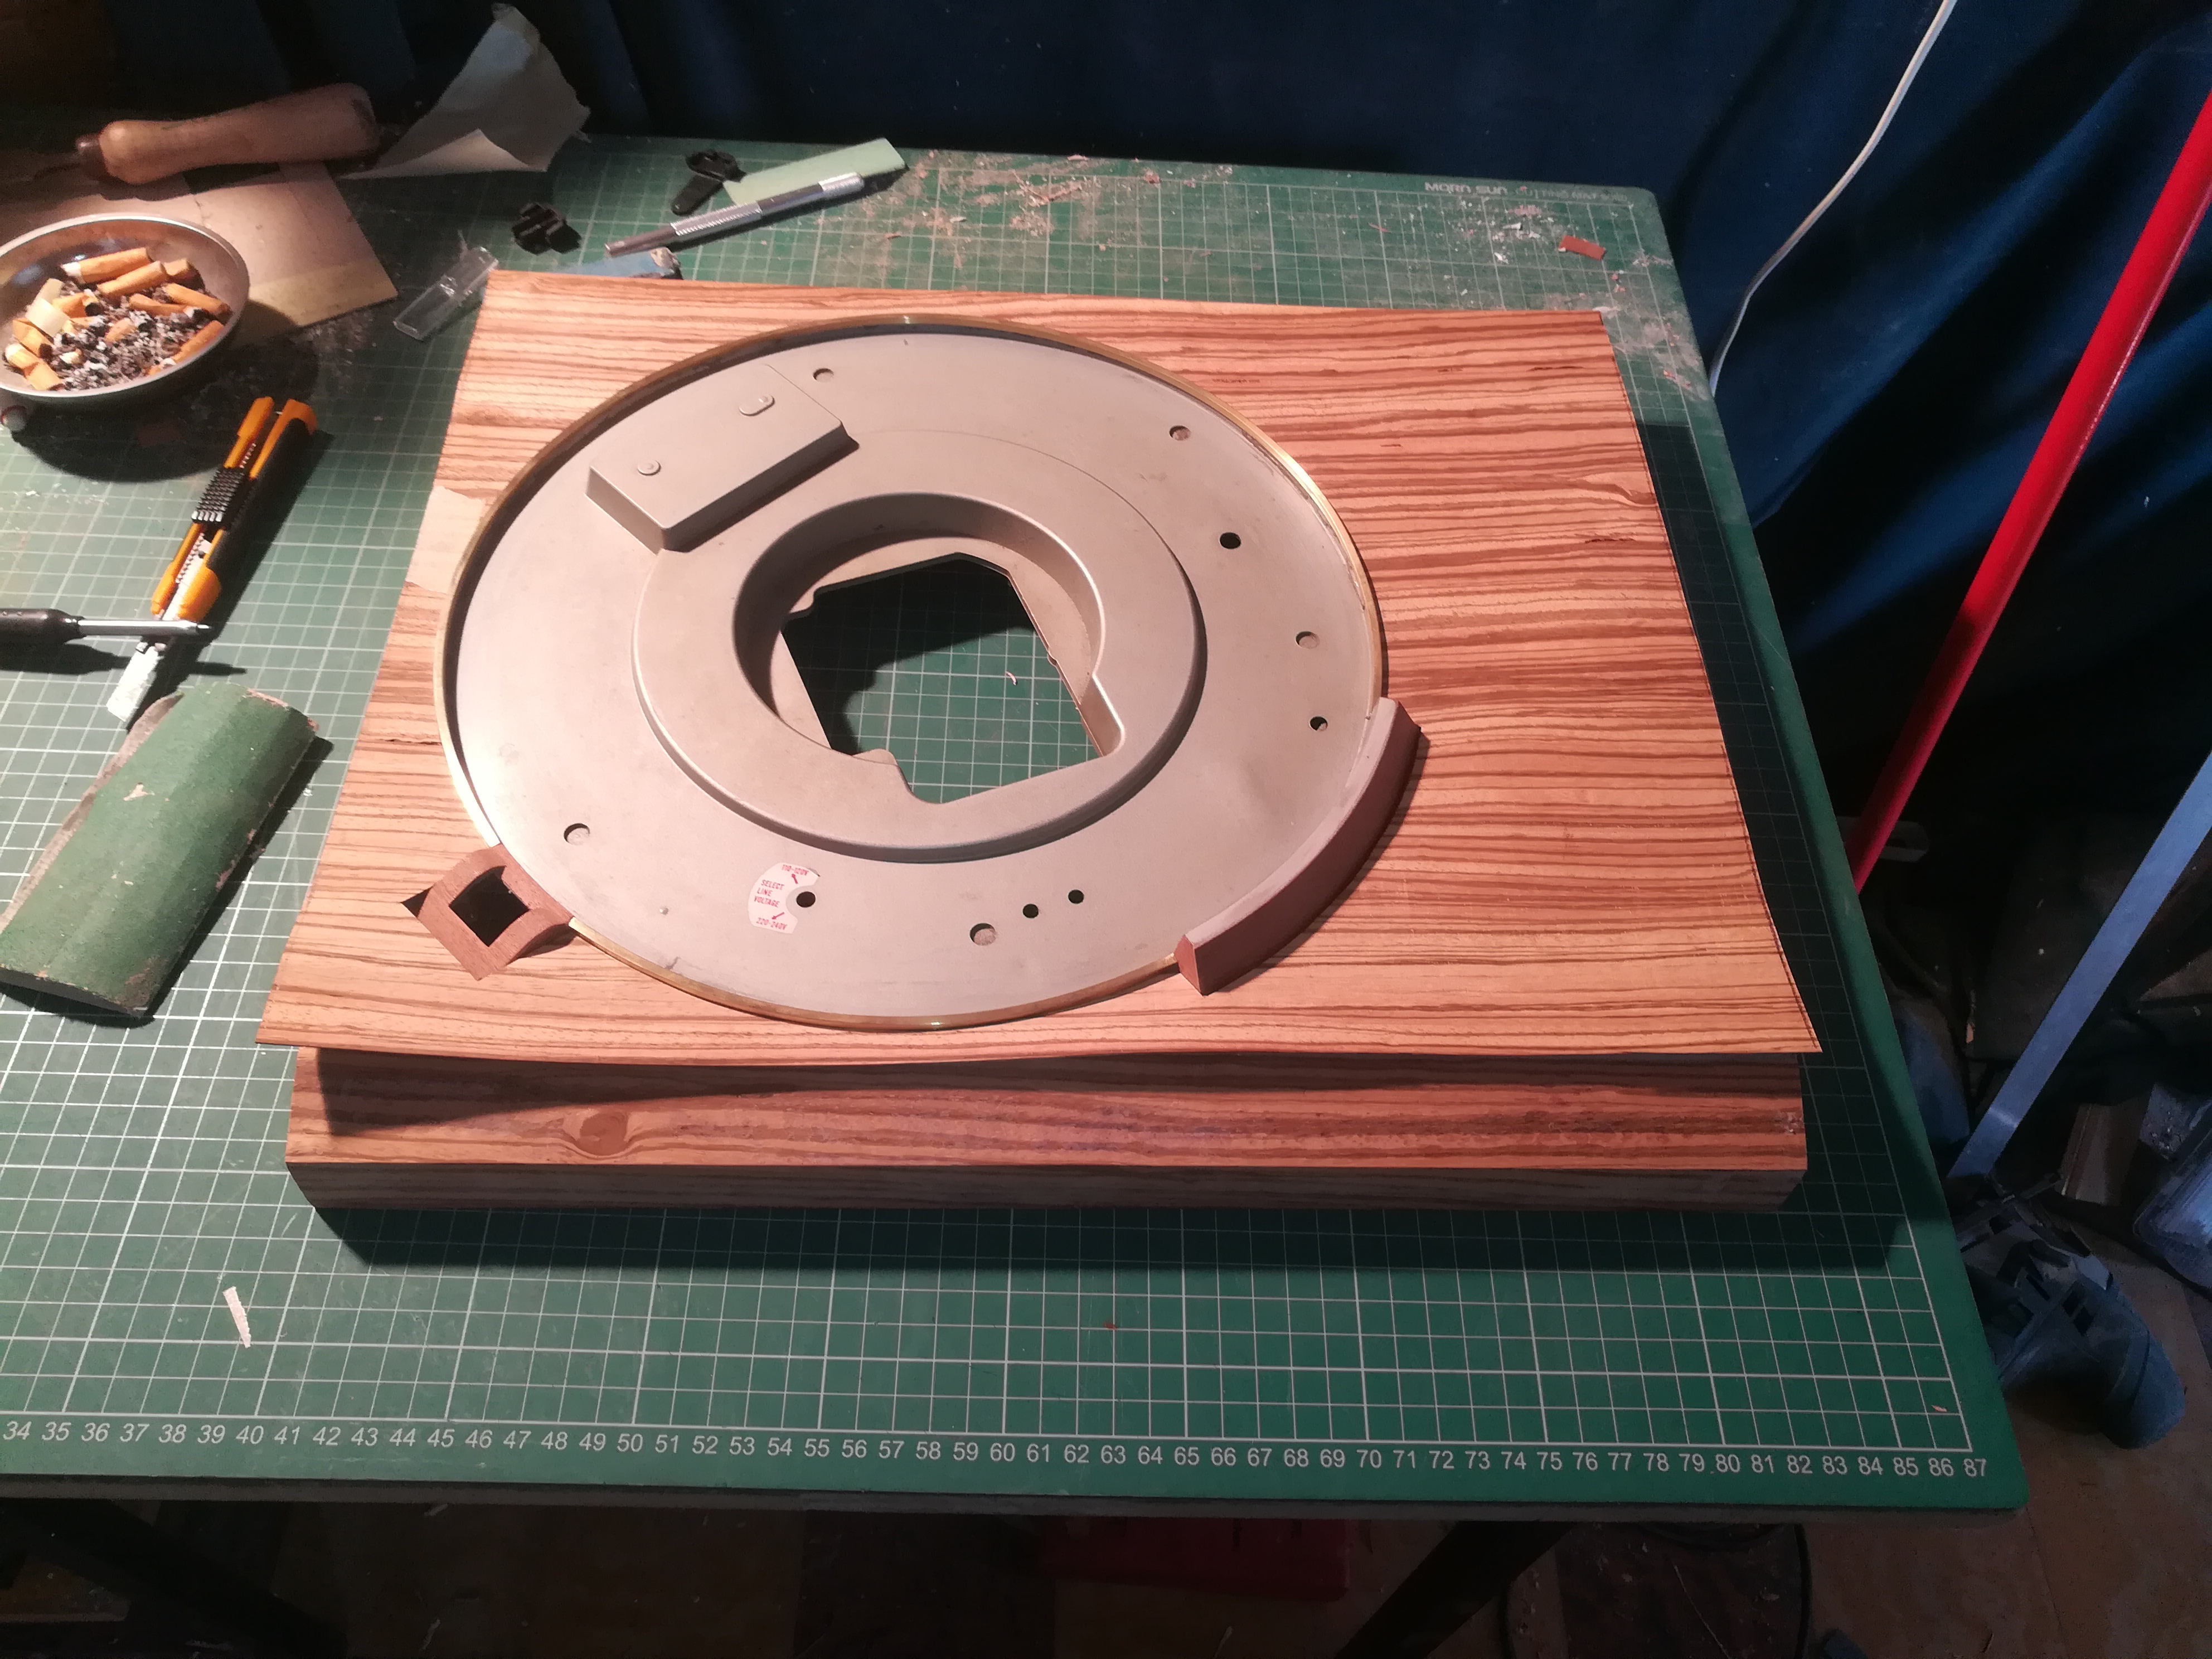
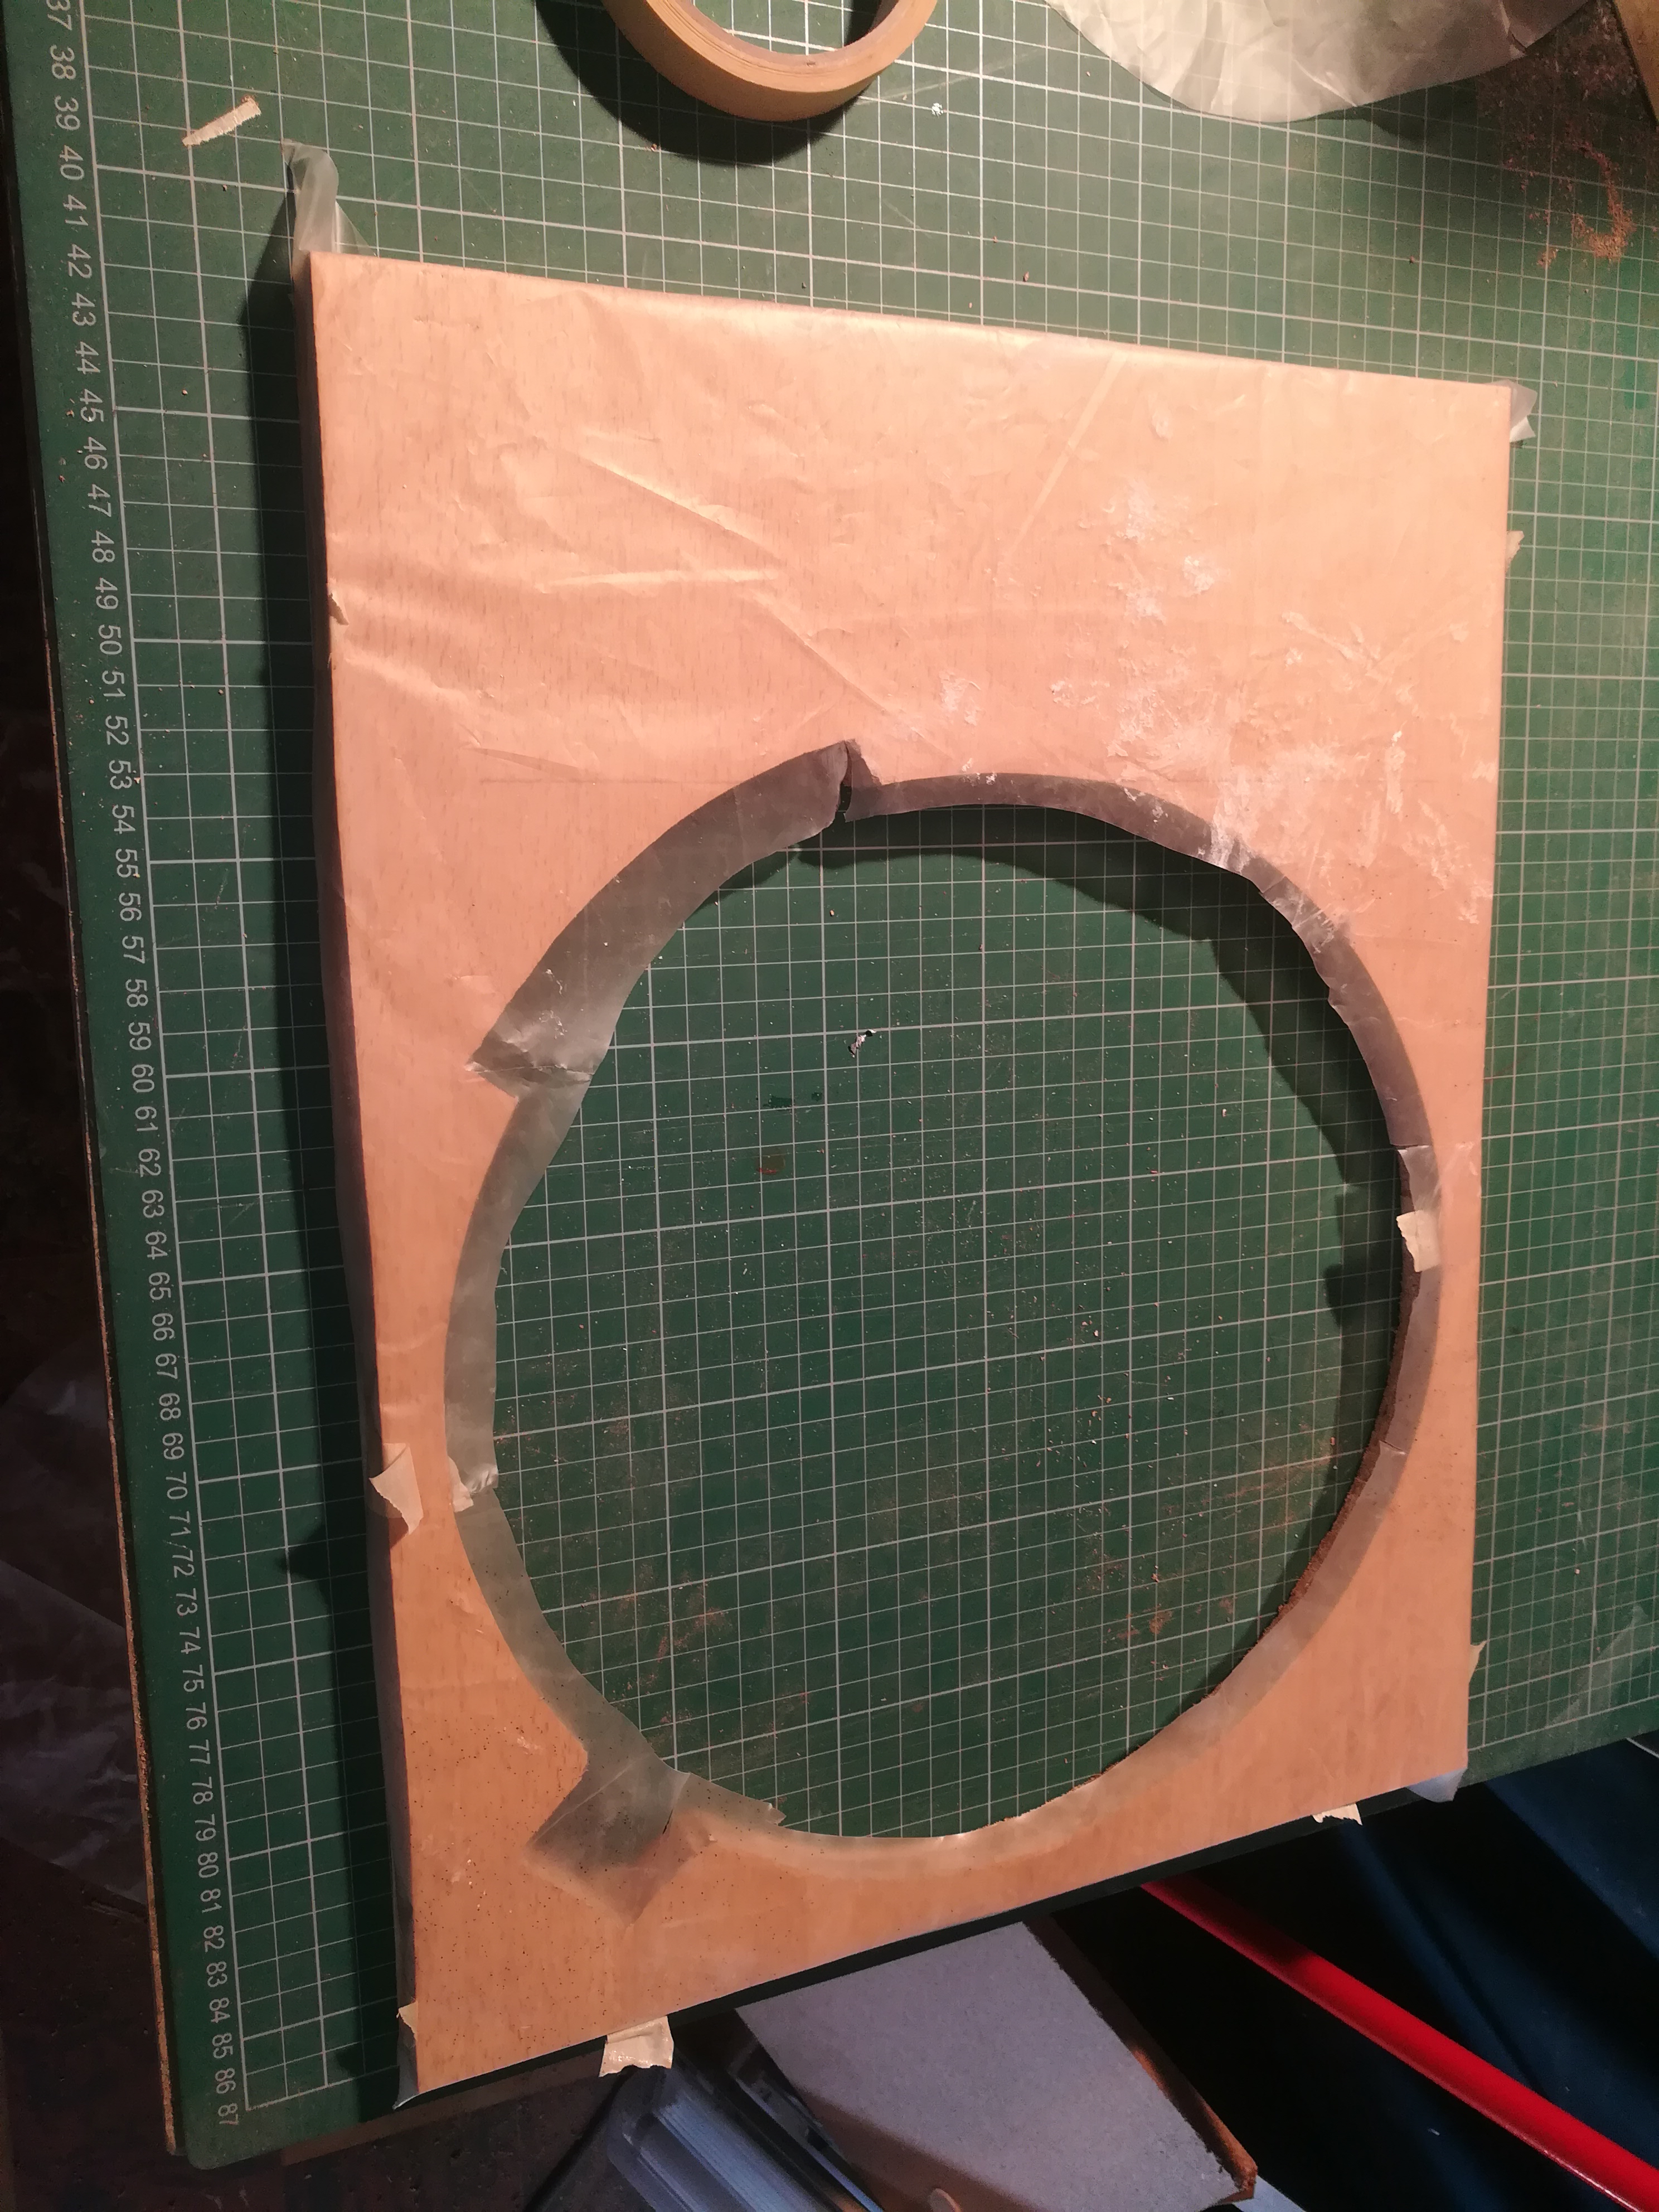
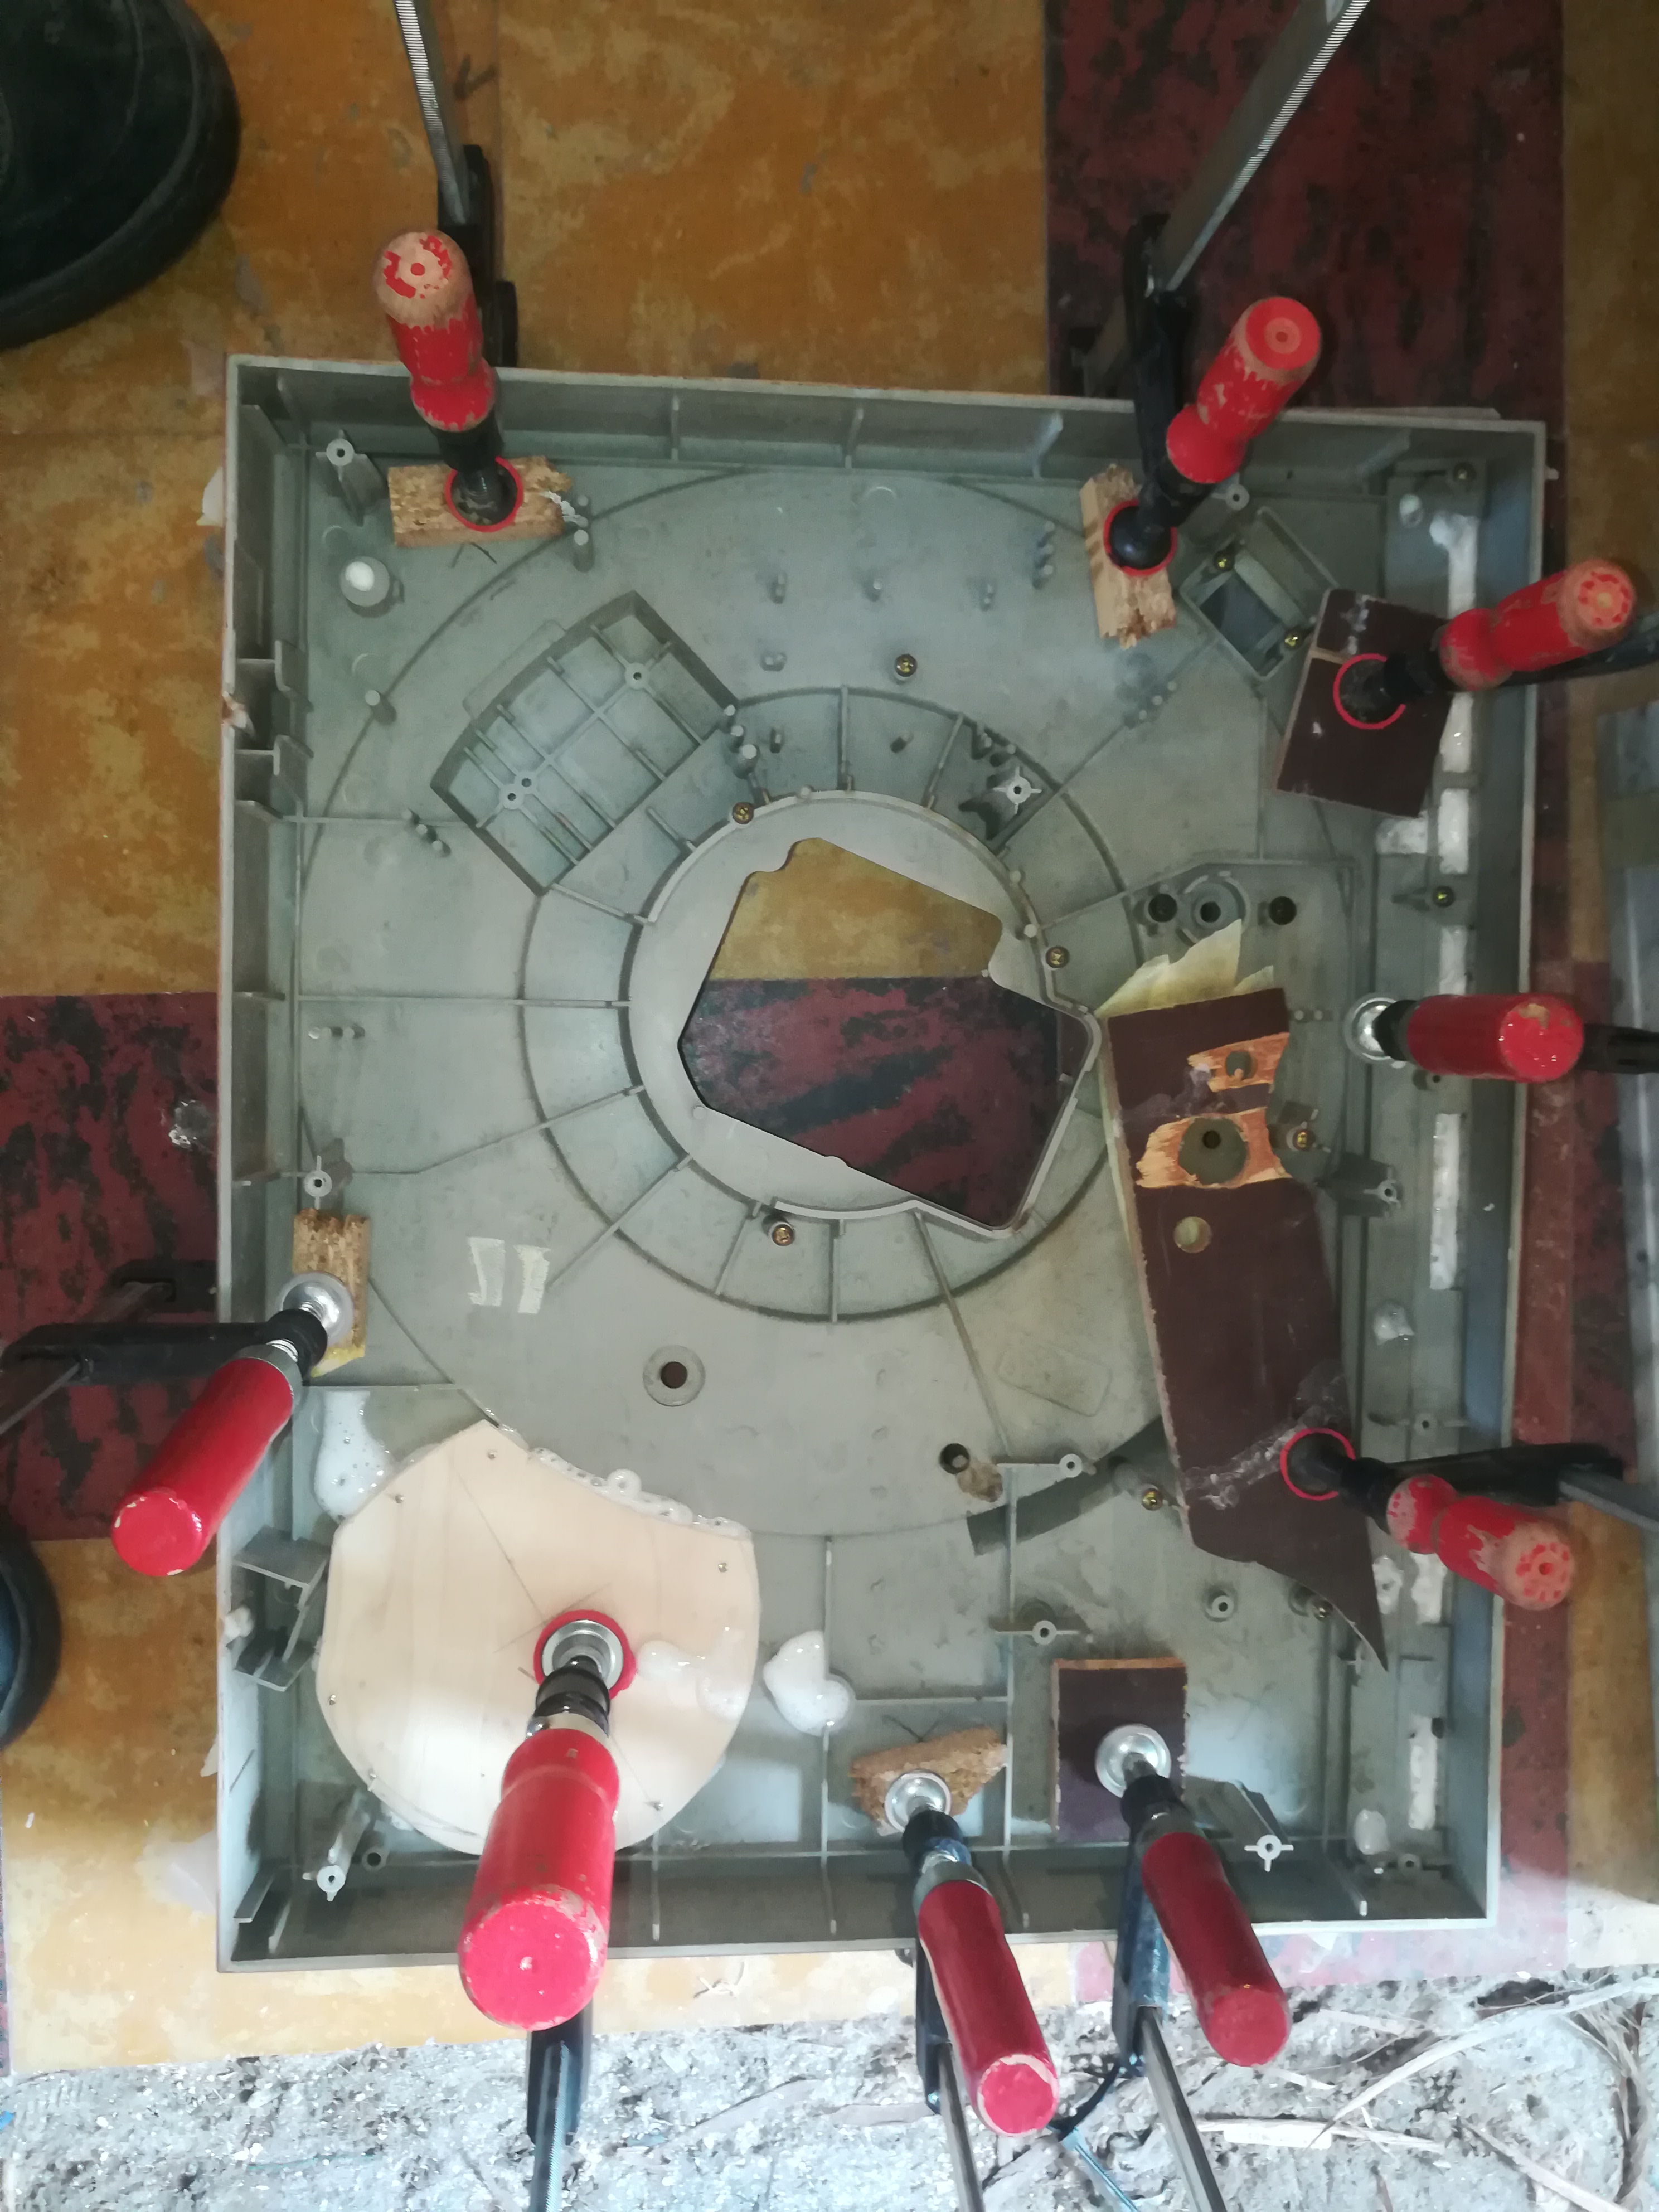
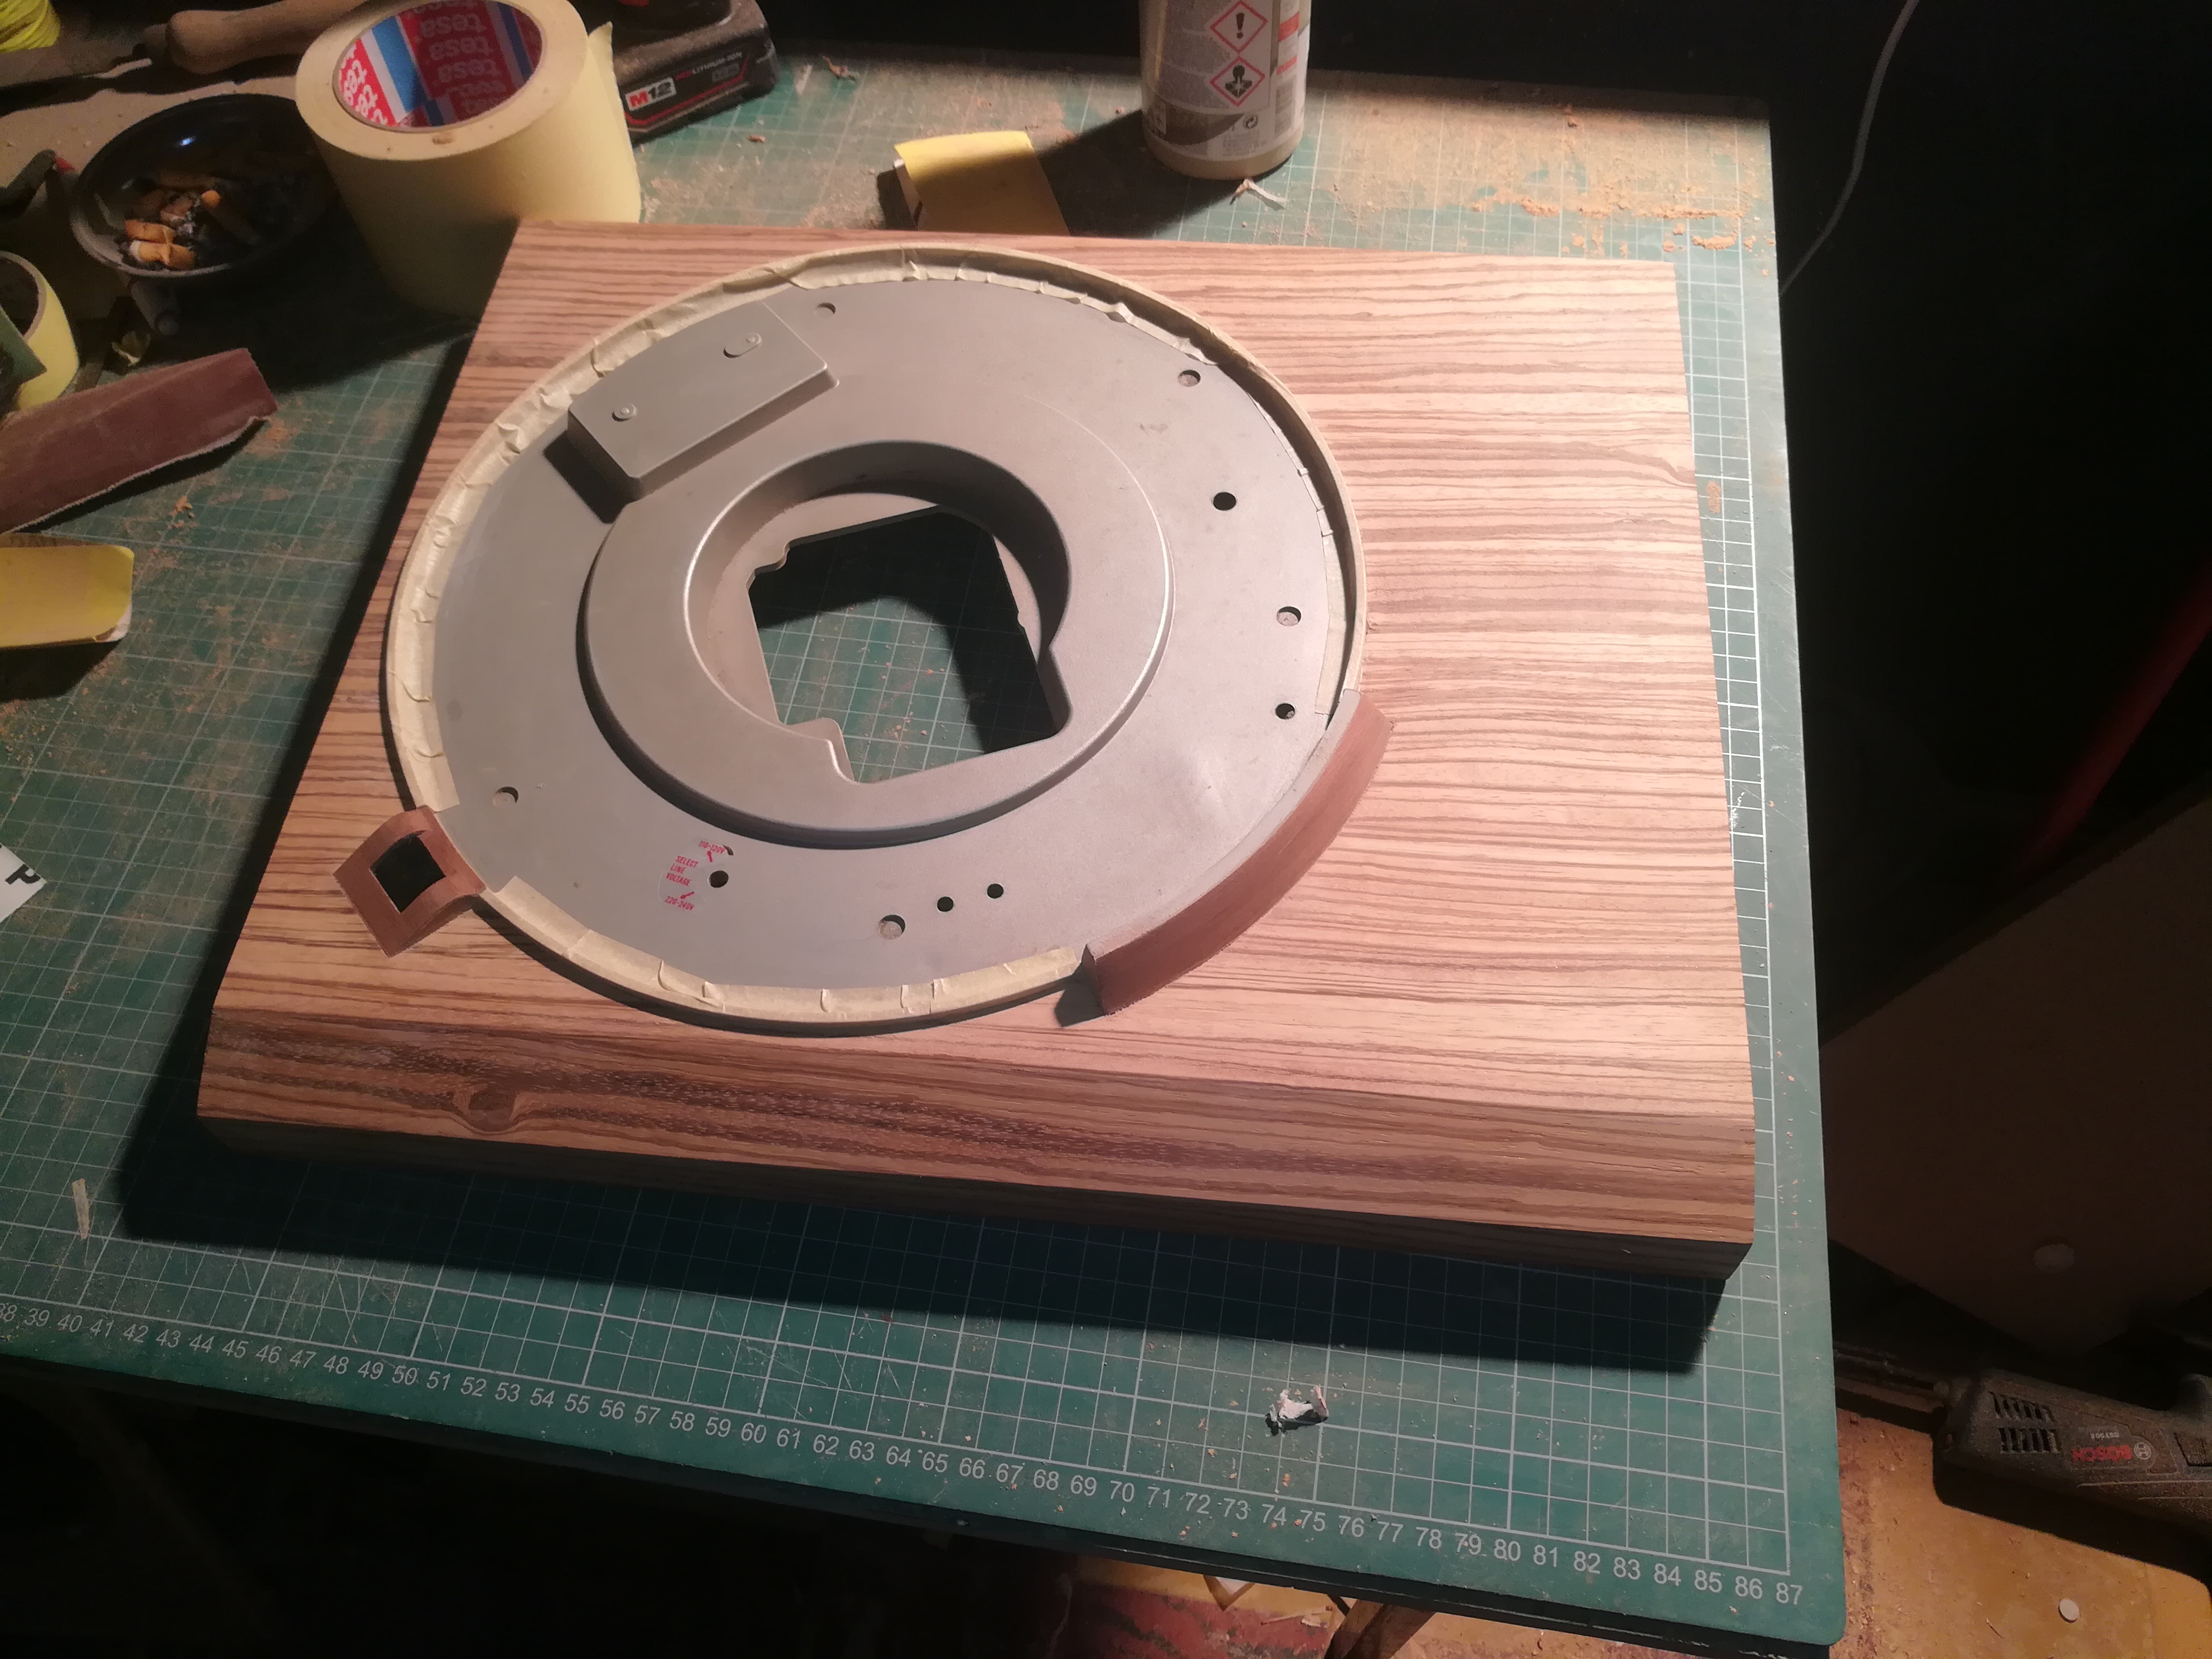
This will be the biggest piece and you need to cut out a difficult shape.
Necessary materials:
- PU-glue
- Sanding paper 120-320
- Degreaser
- Tensioning Screws
- Paper tape
- Scalpel
- Plywood (big enough to cover the case)
- Electric jigsaw
- Piece of plastic
- Thin cardboard
------------------------------------------------------------------------------------------------------------------------------------------------------
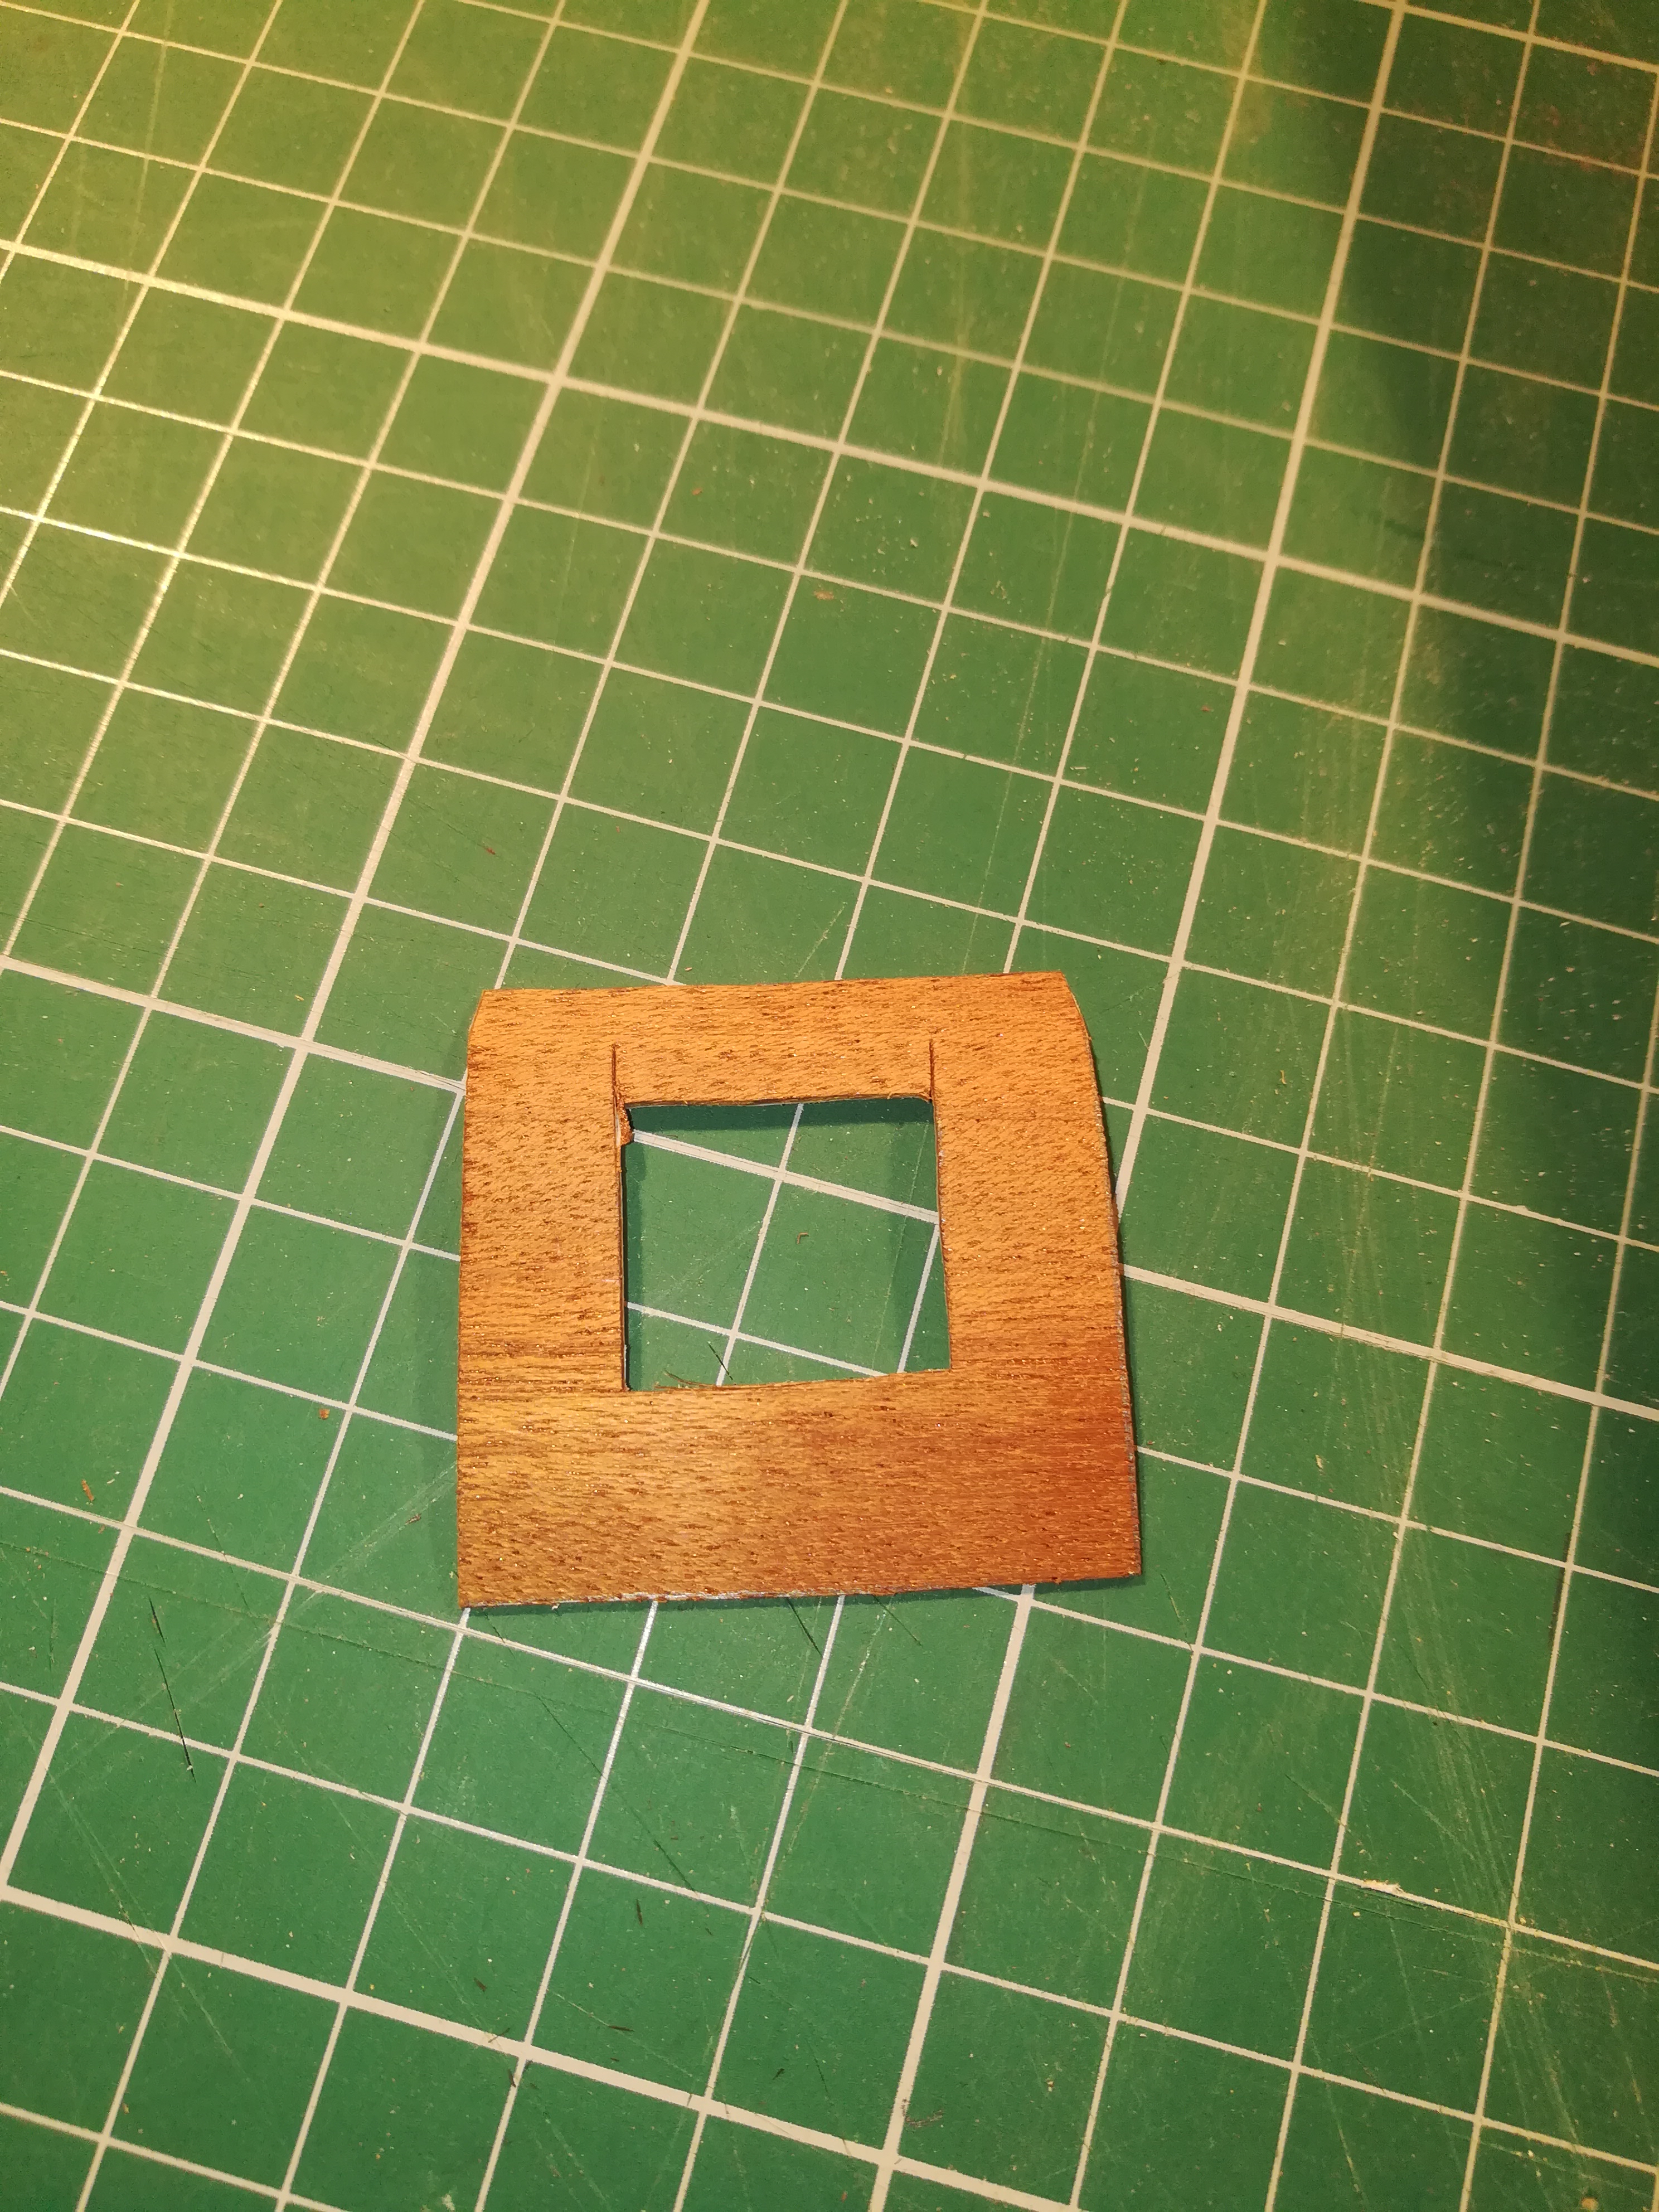
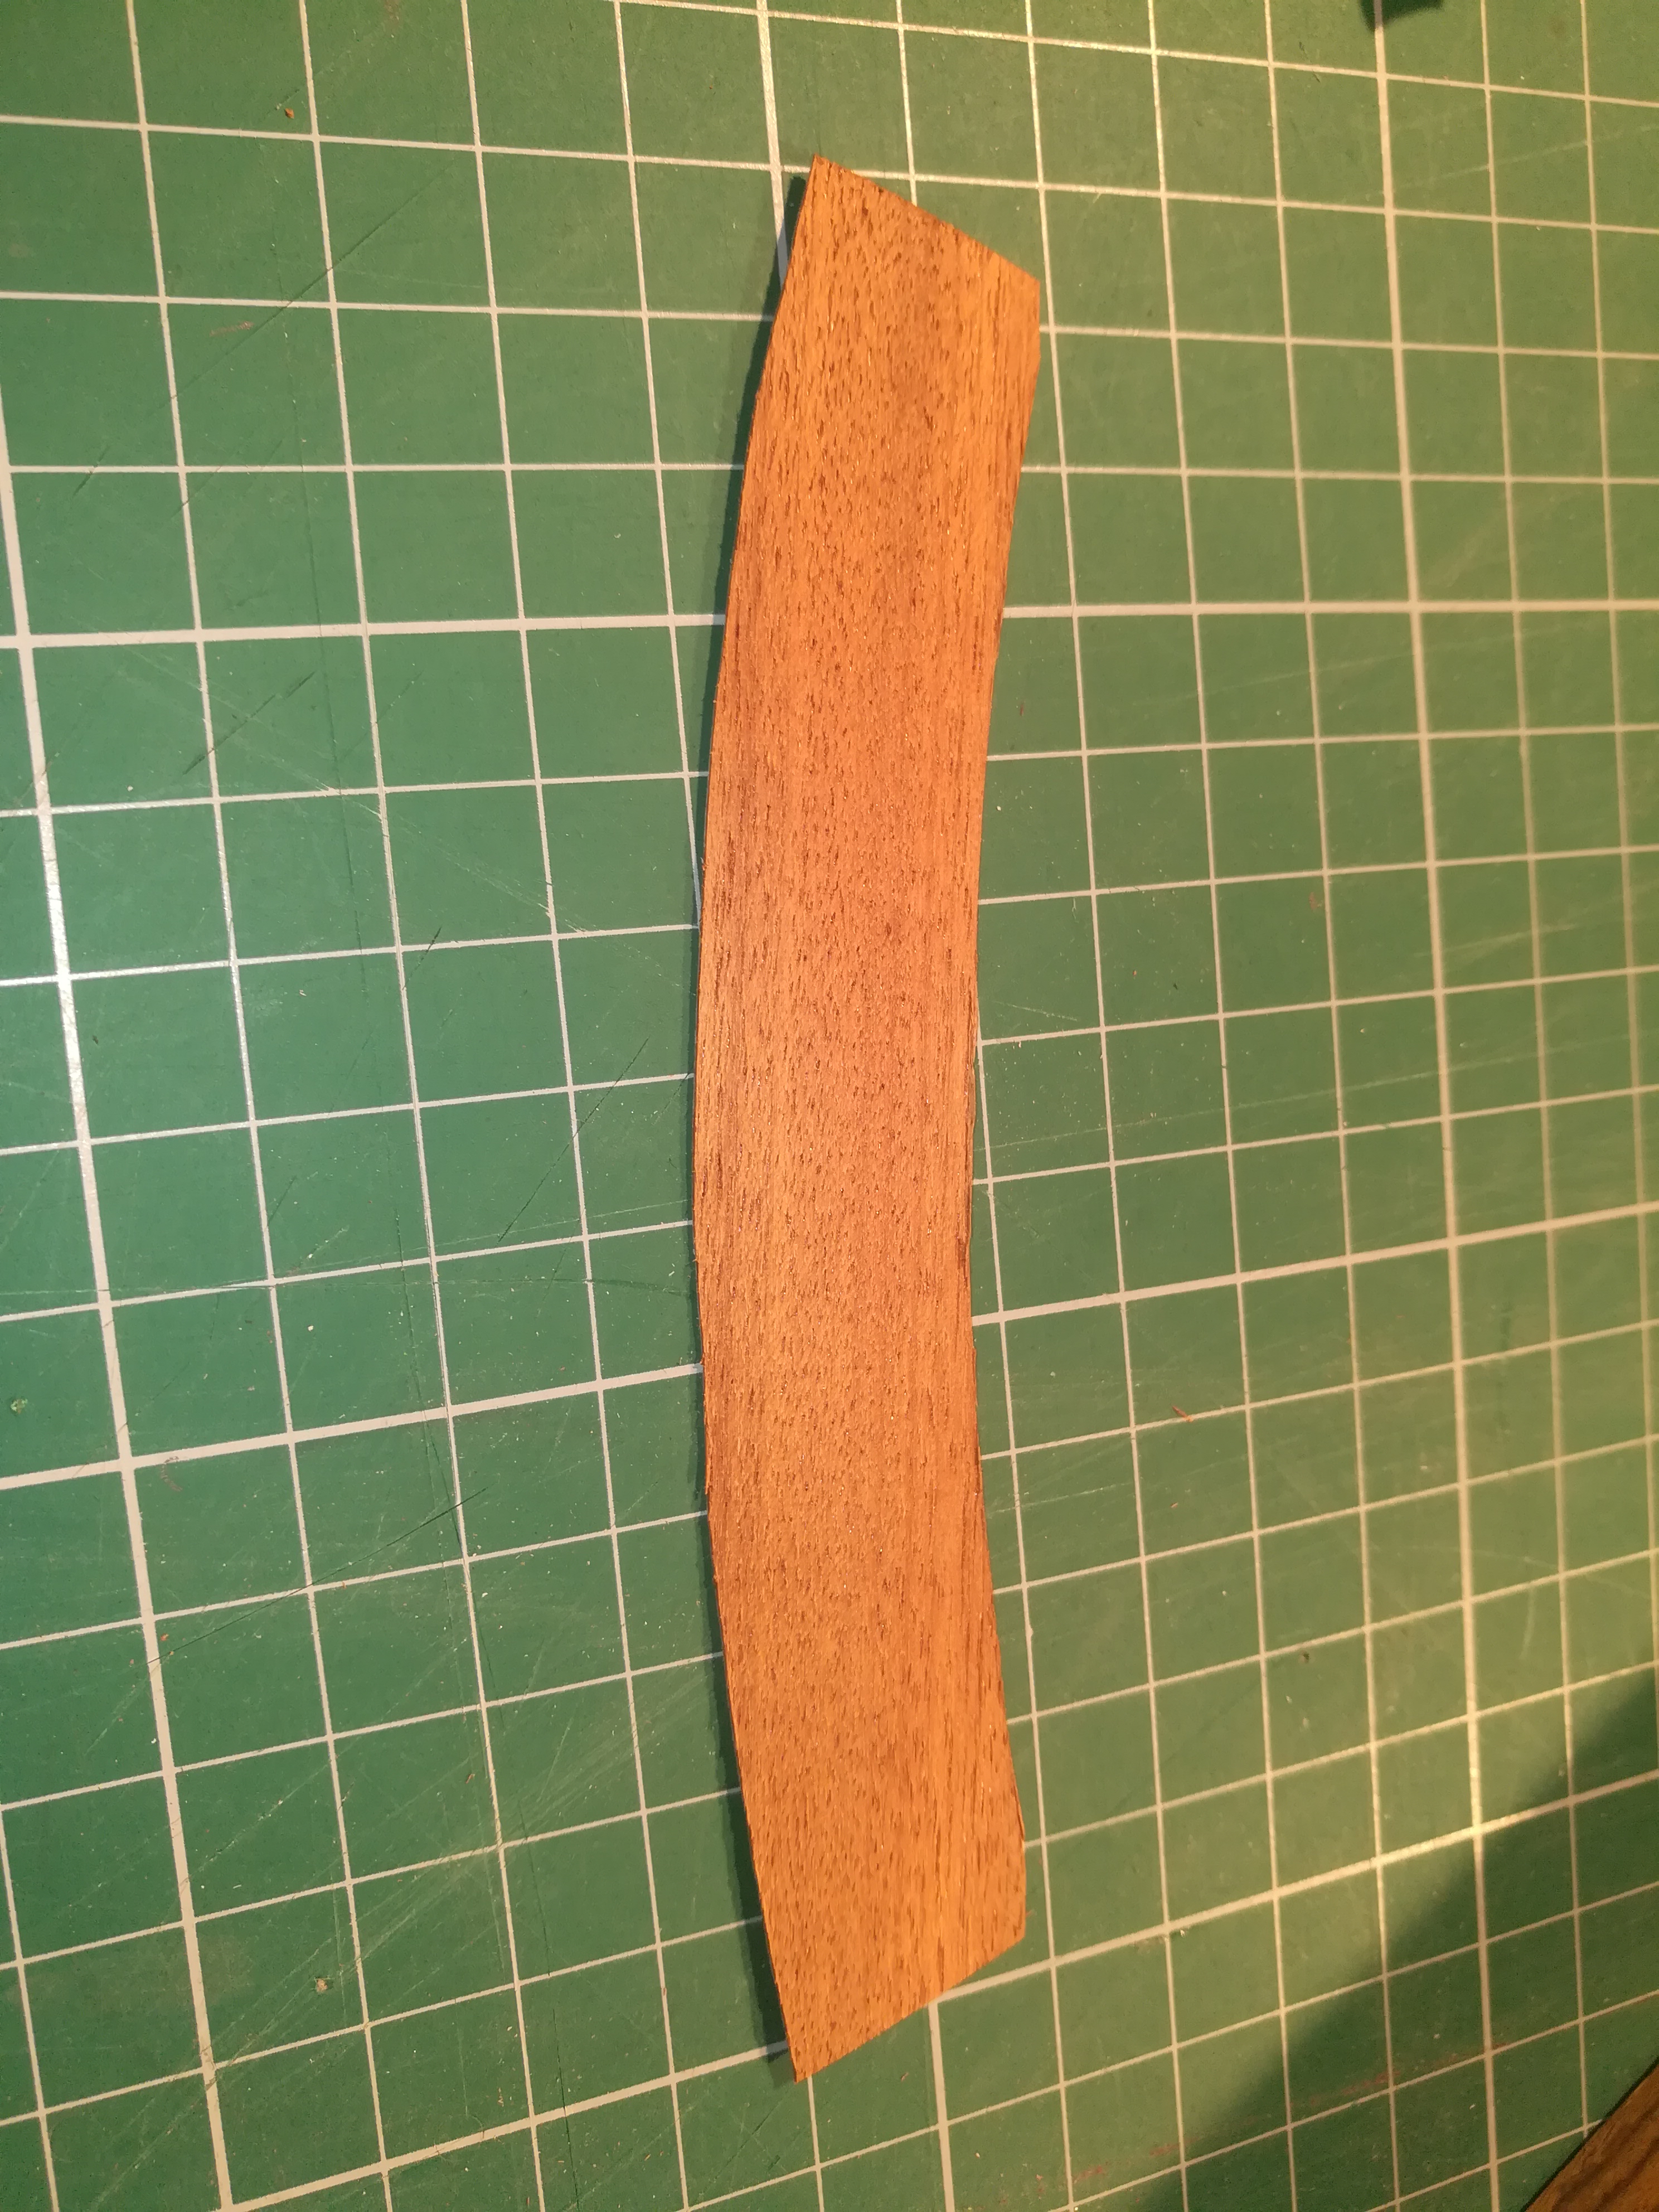
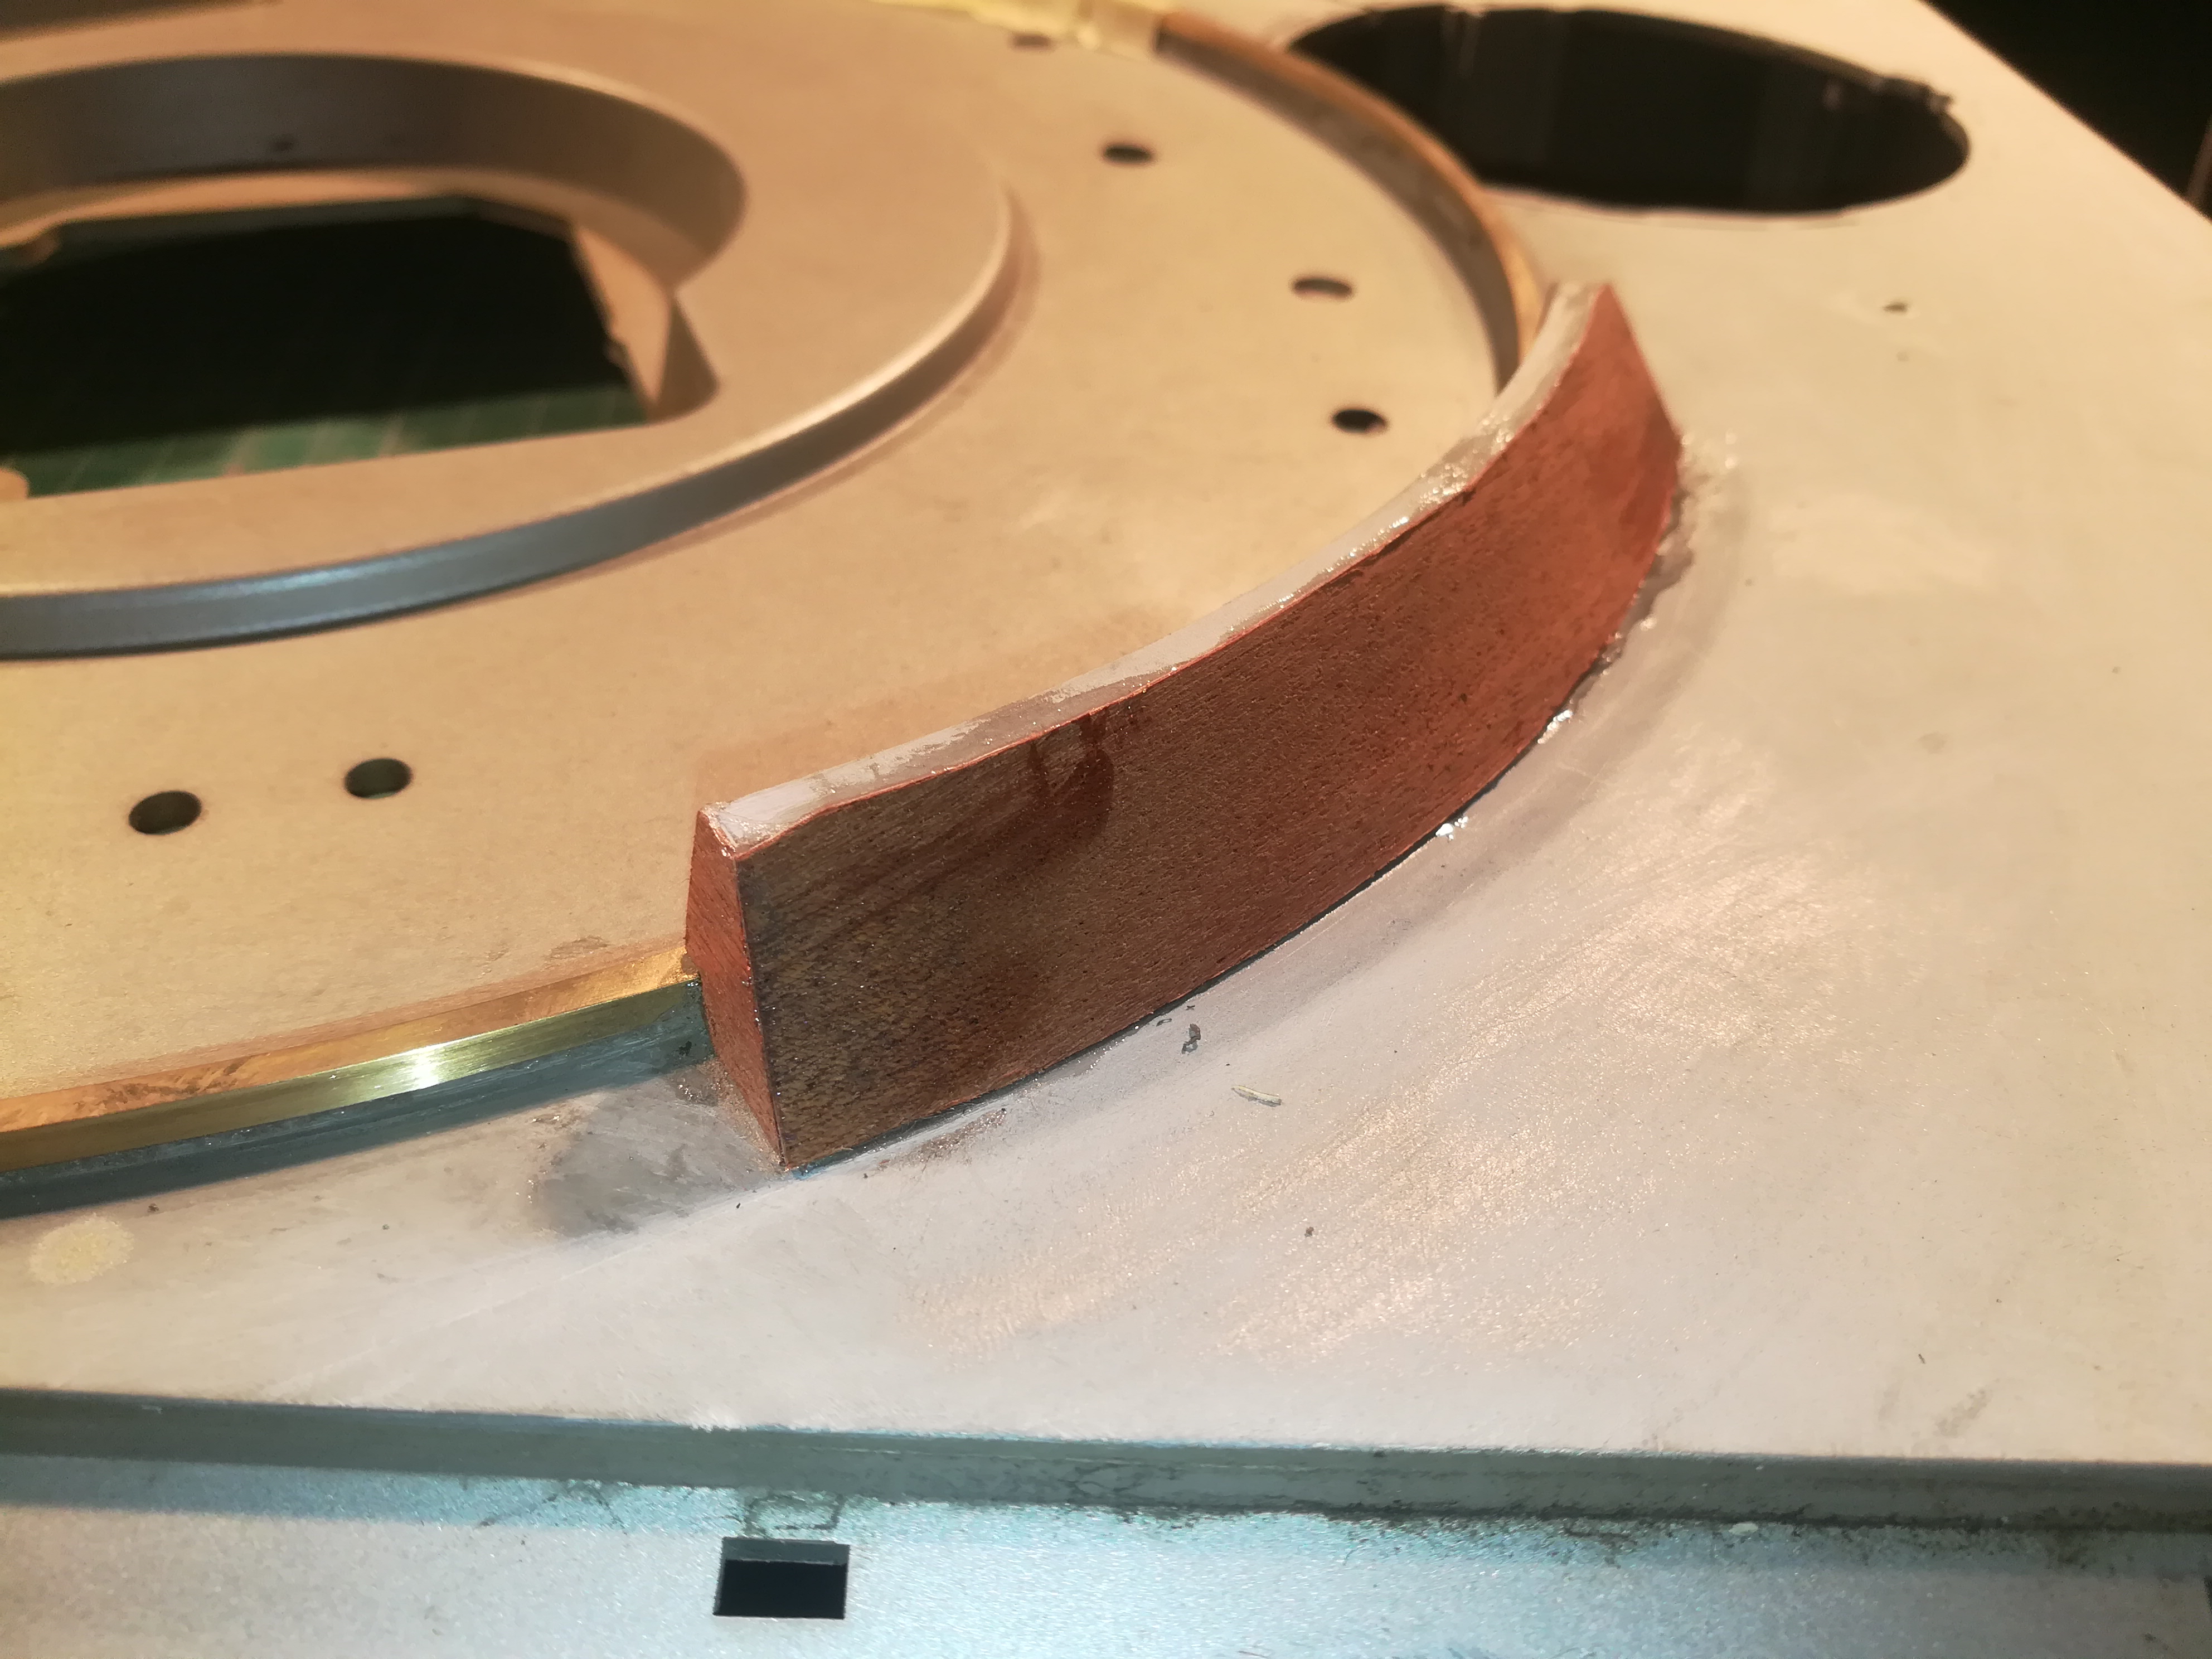
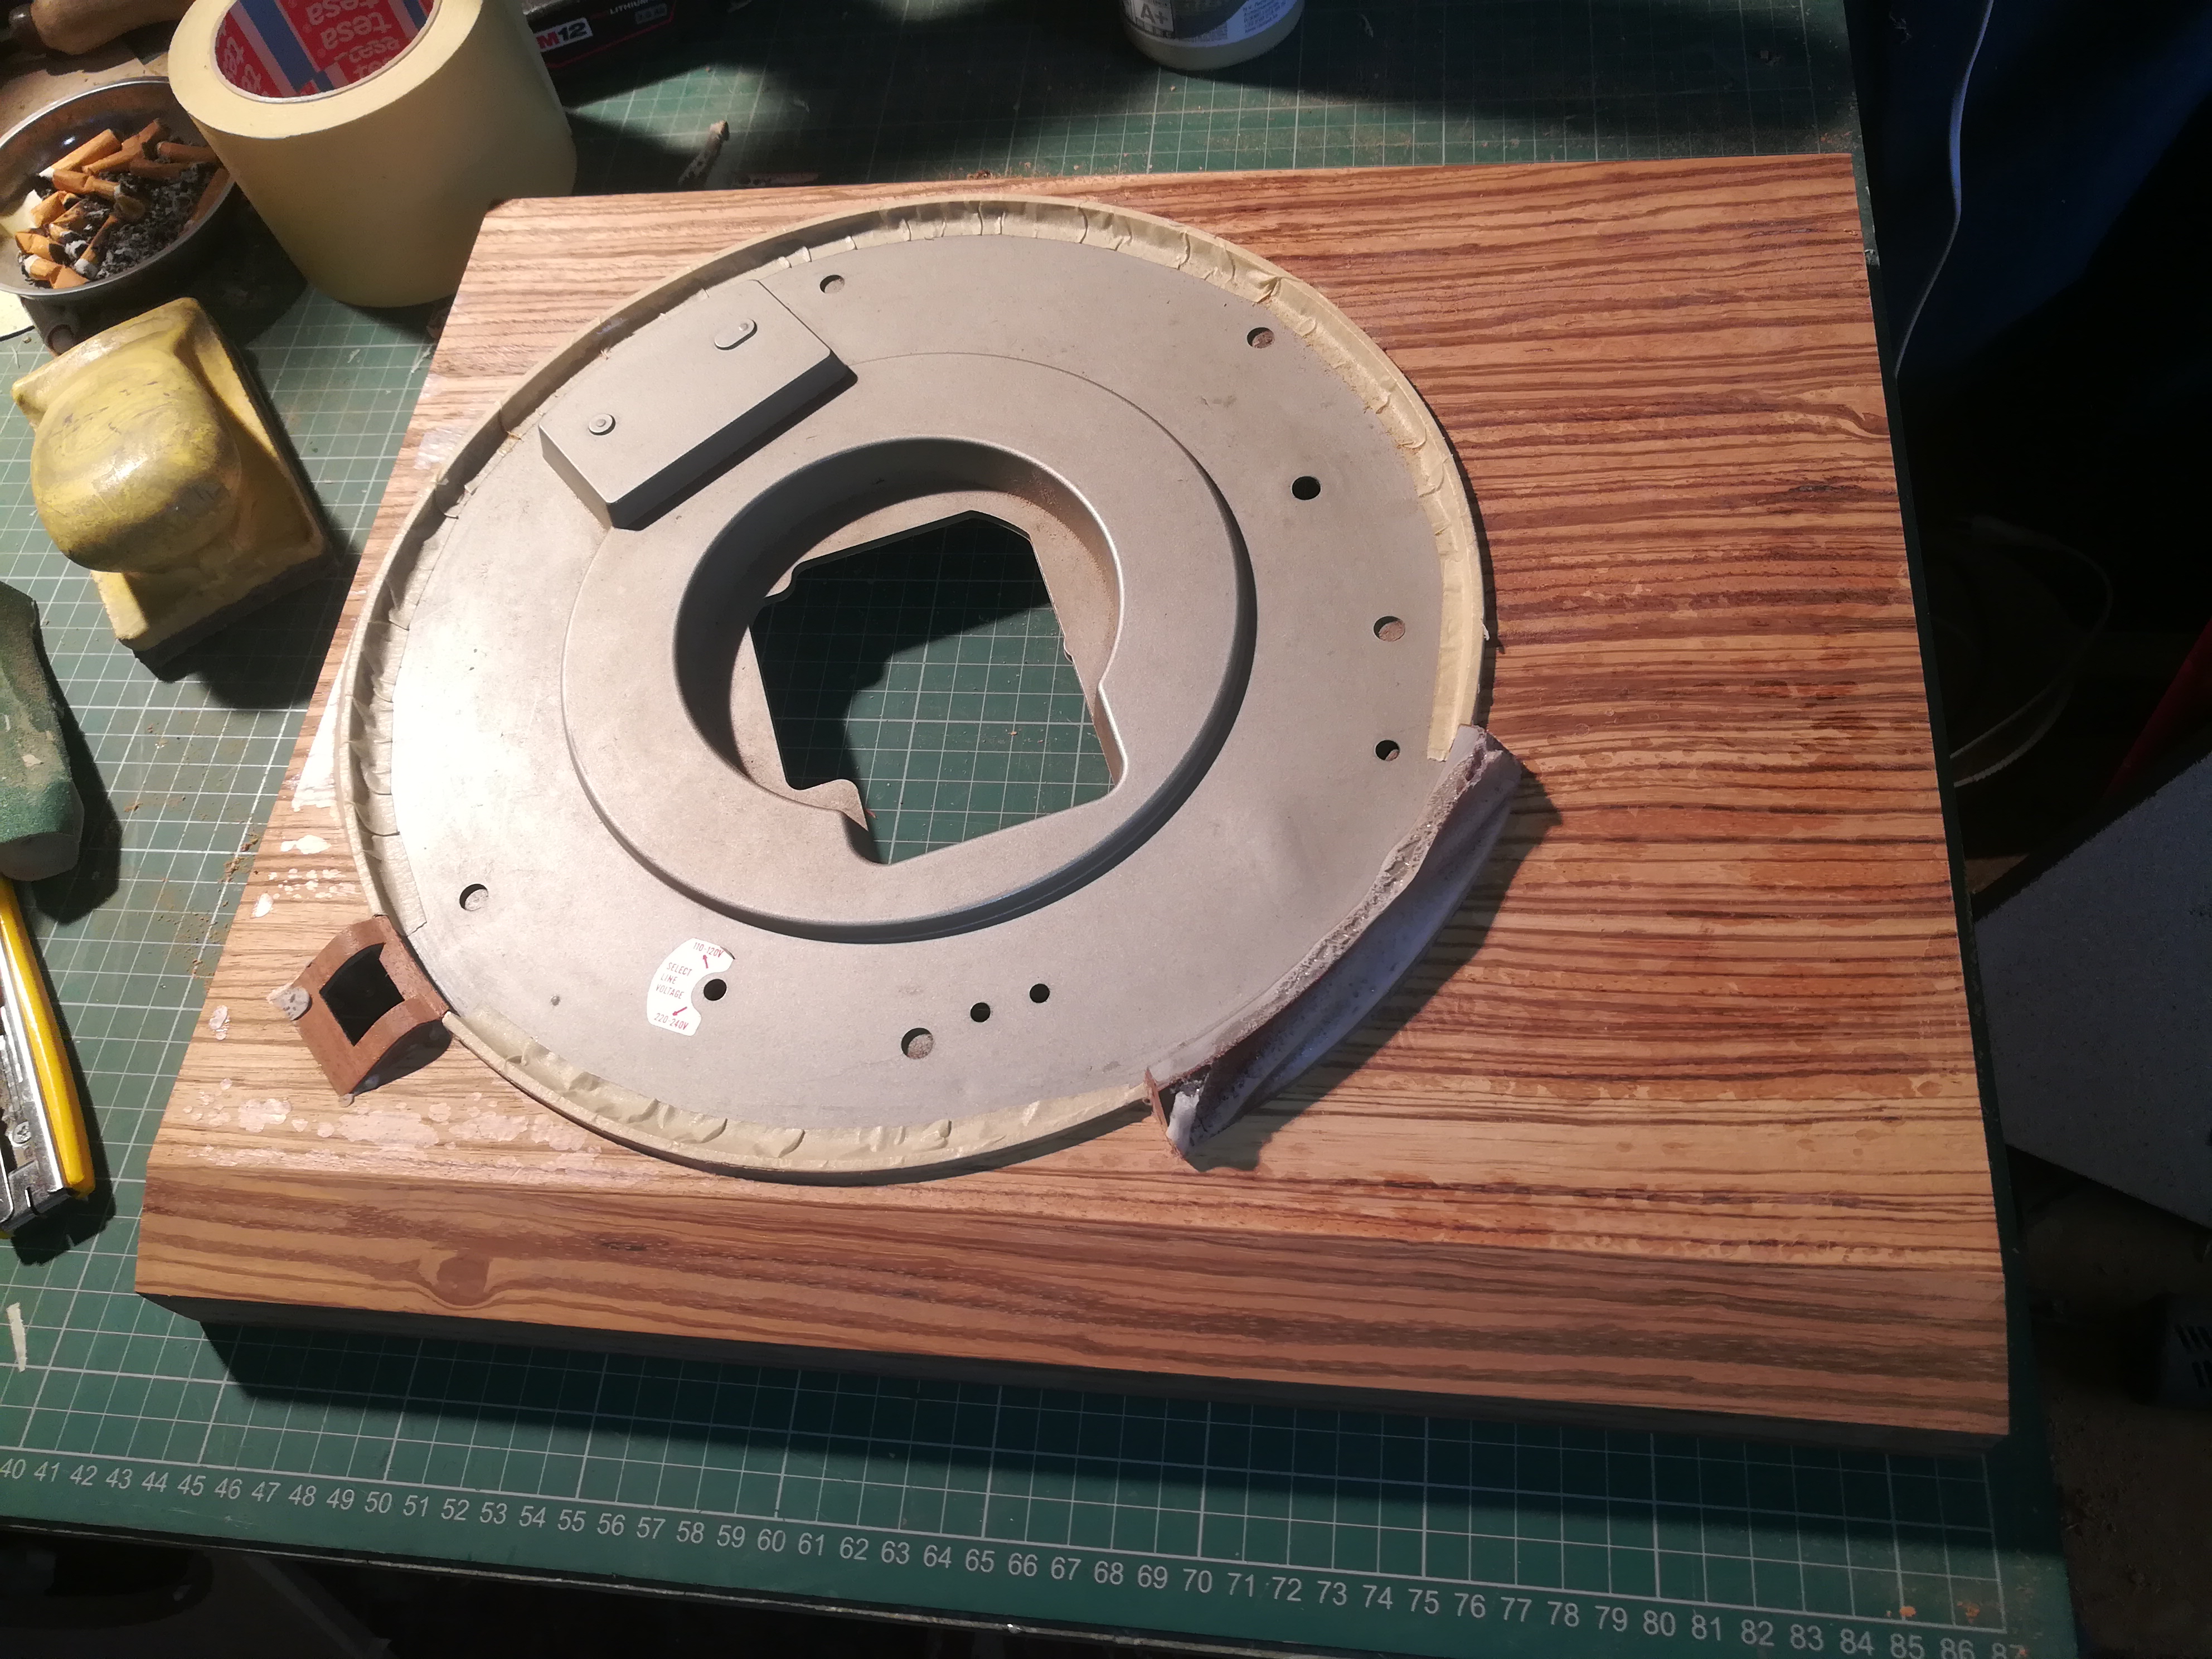
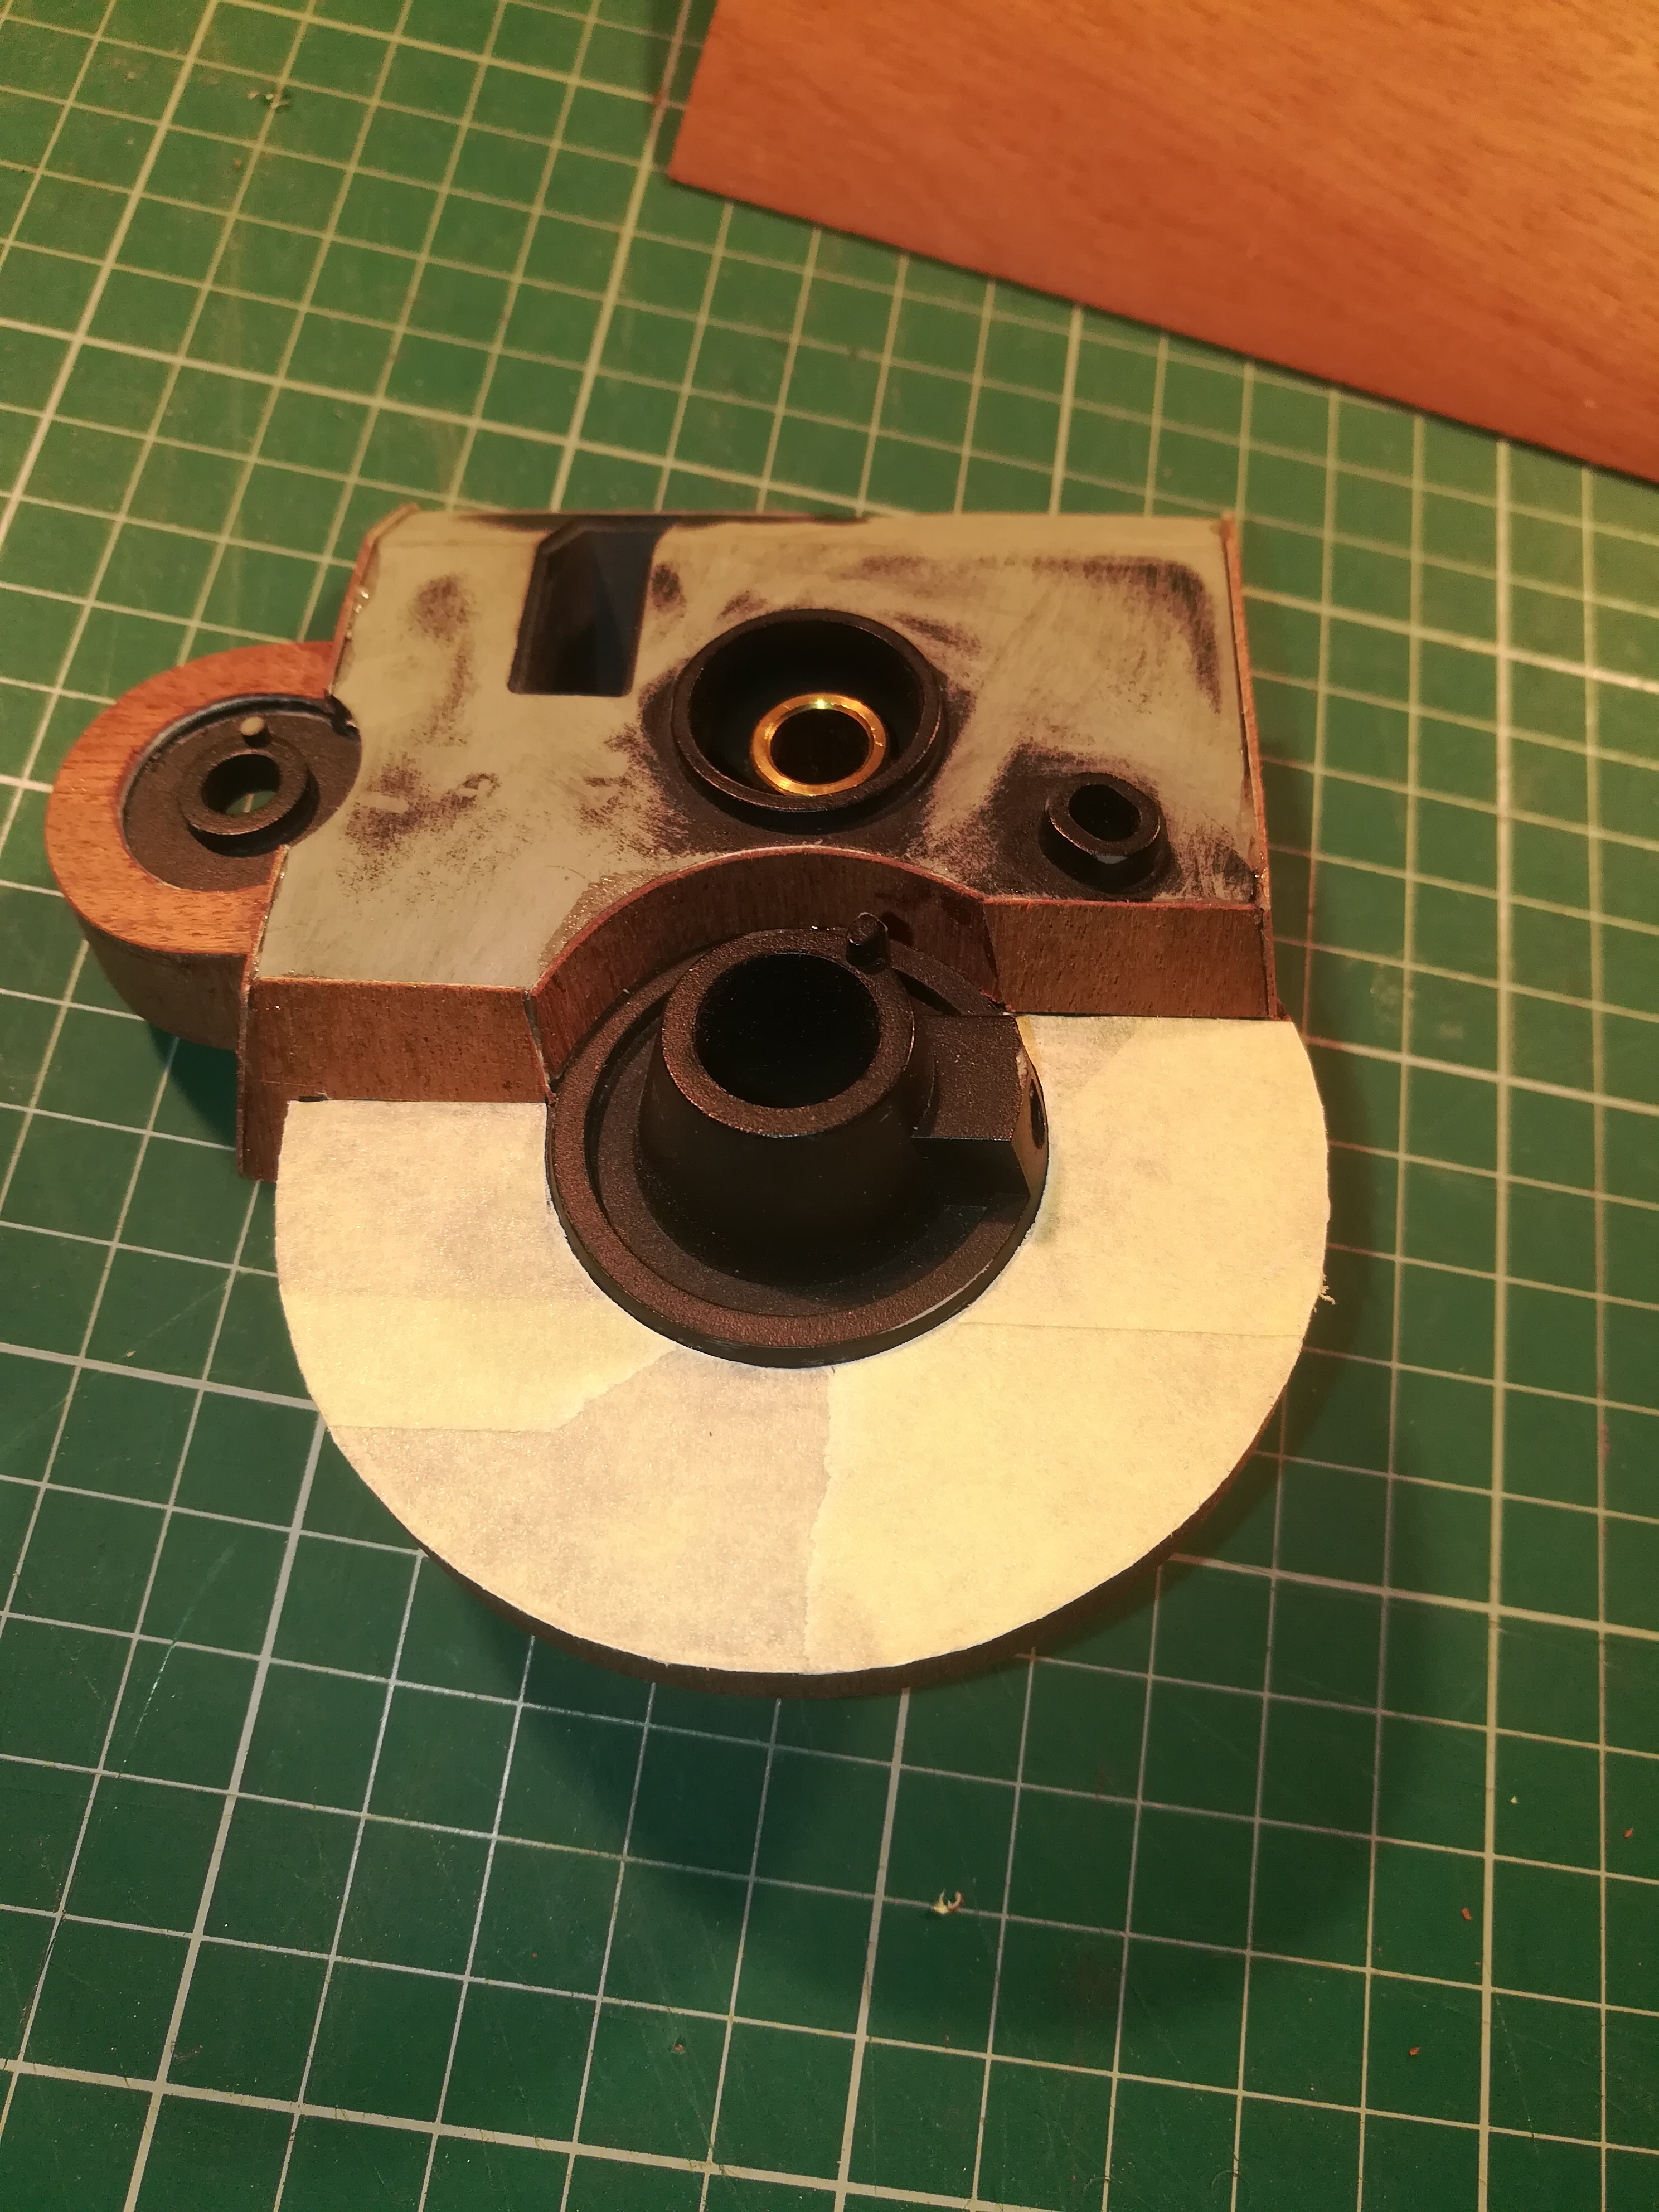
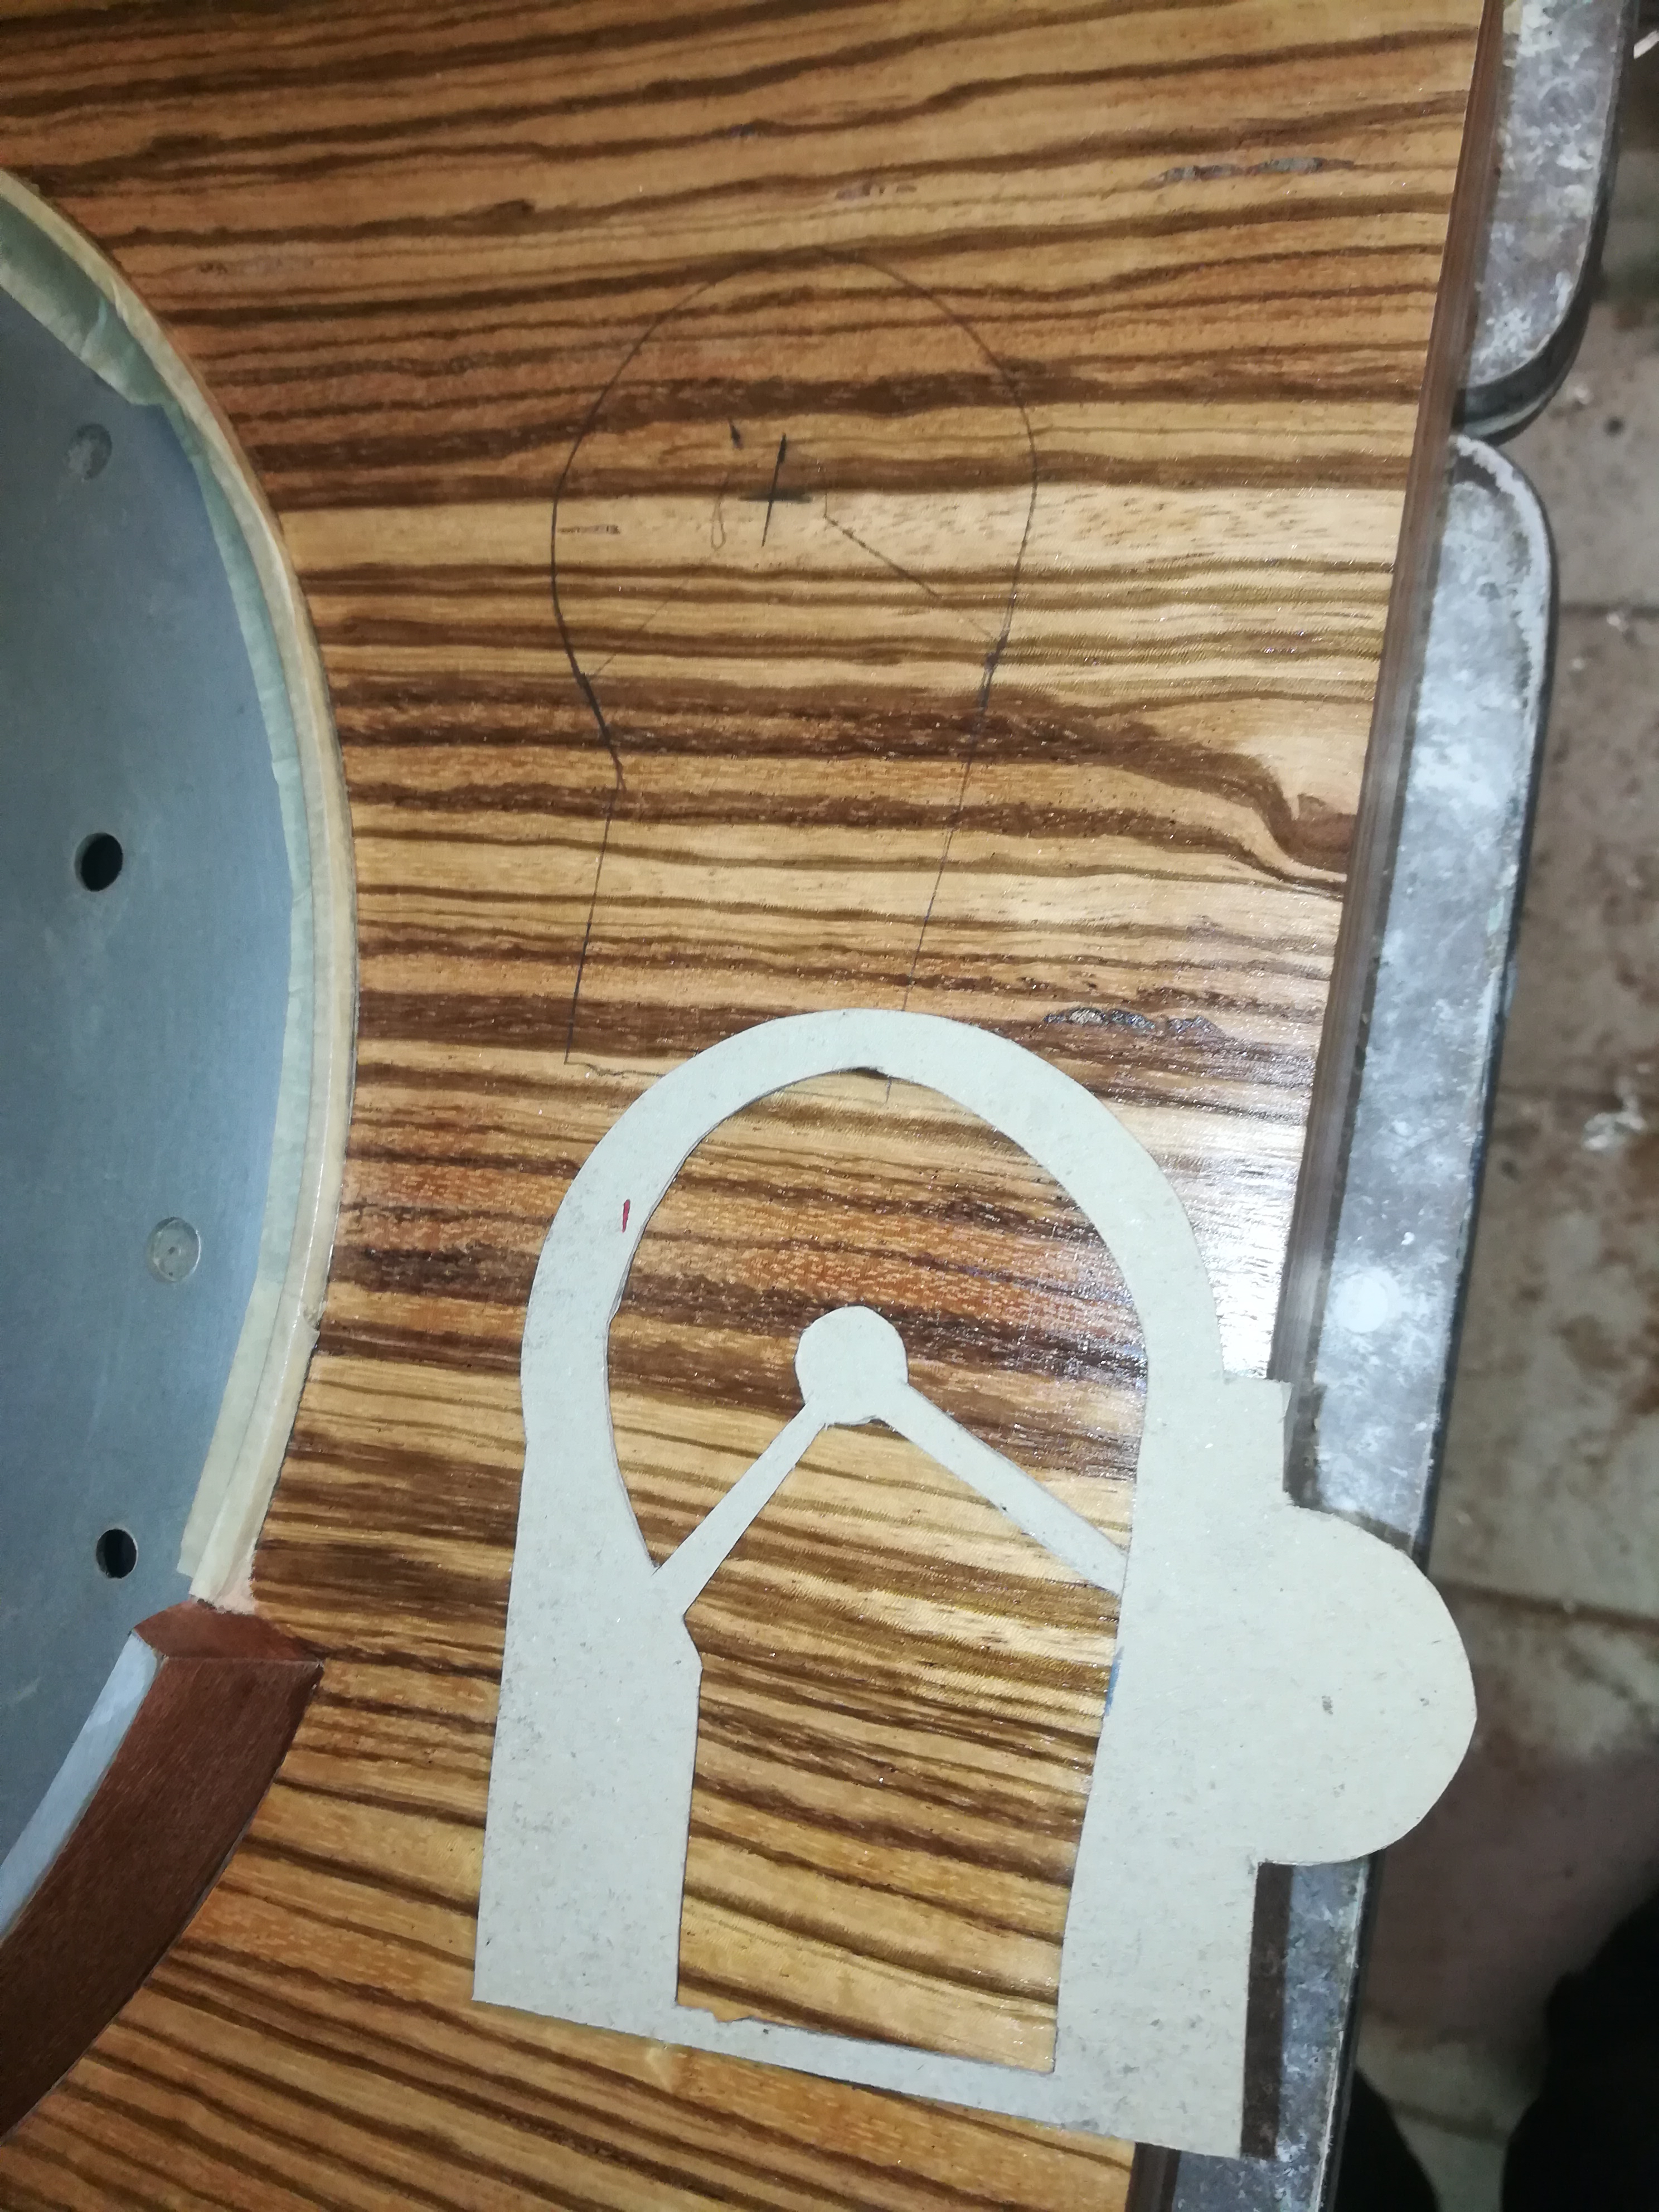
Cover the whole top size of the case with paper tape and cut out the shape (picture 1). Gently peel off the tape and stick it on a piece of thin cardboard. Then cut out the shape (picture 2). Trace the cardboard shape on the wood veneer. (picture 3). Carefully cut out the shape with a scalpel and try to be as precise as possible. Its better to small than to big, you can sand parts away that do not fit (picture 4).
Now draw the cardboard shape on the plywood piece a little bit bigger in mirror image and saw out the shape with a jigsaw. Wrap the piece in plastic and secure it with paper tape (picture 5).
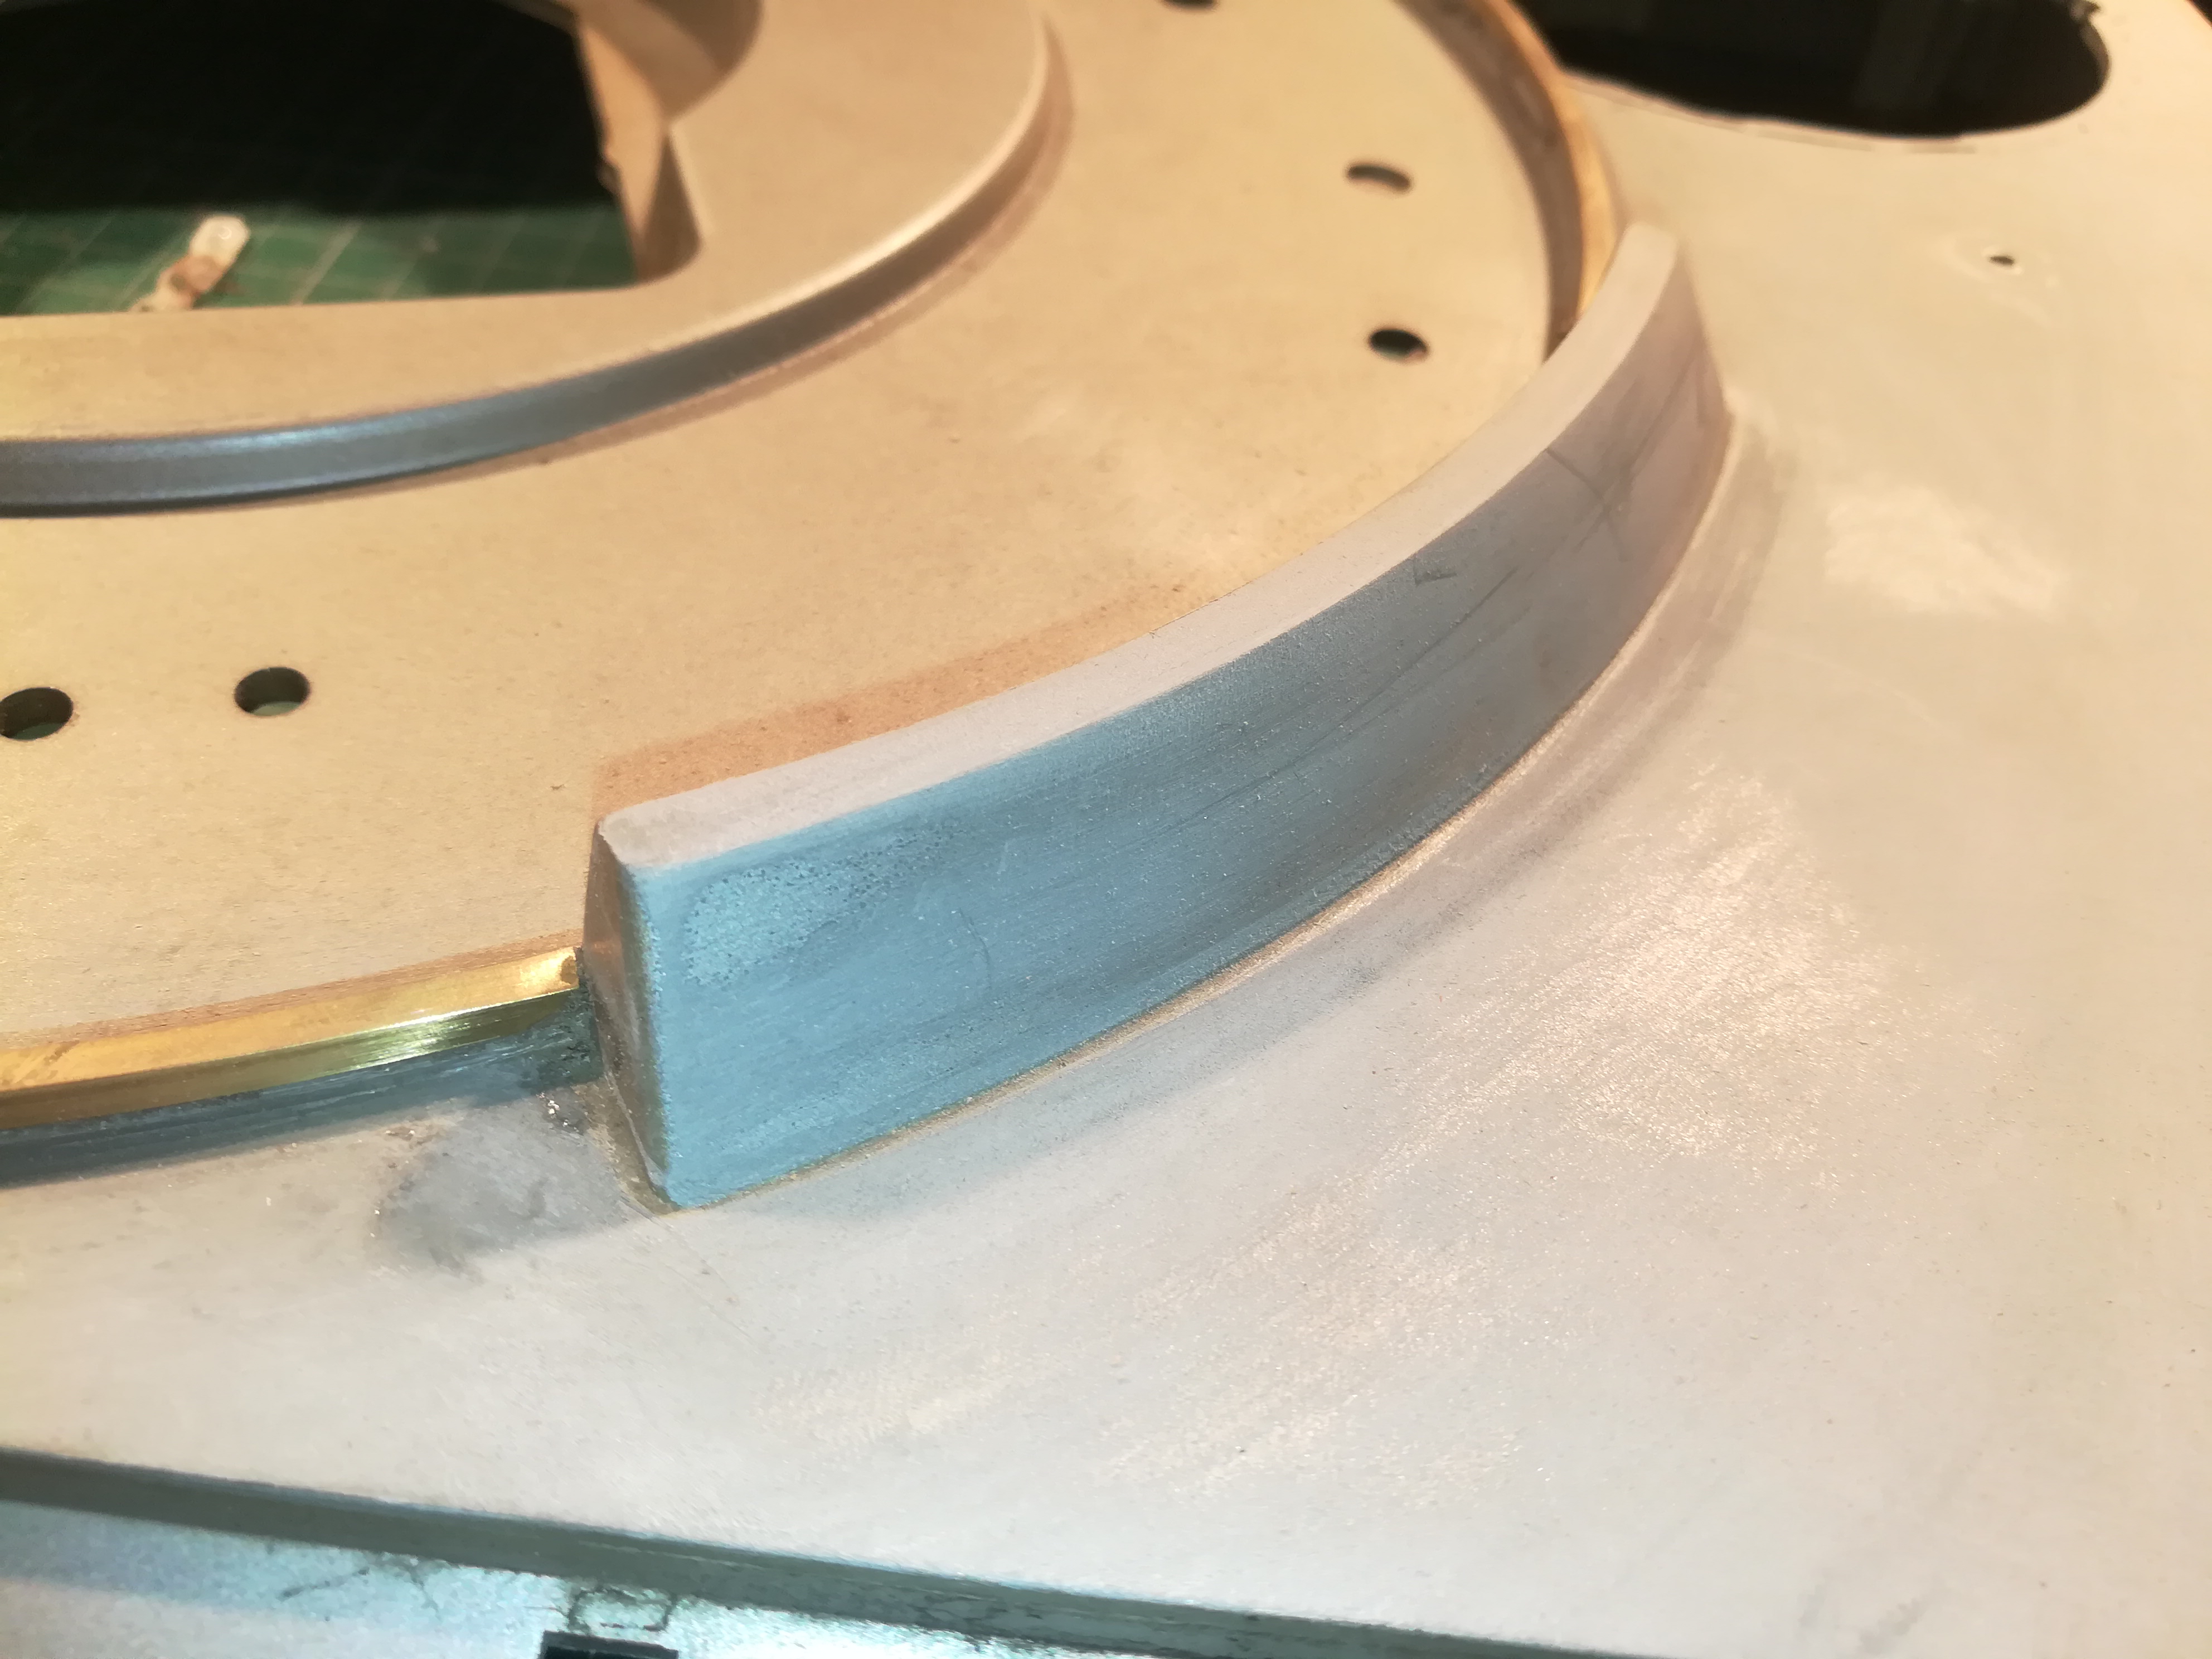
Cover the brass brim with tape, so that it's not damaged during the sanding.
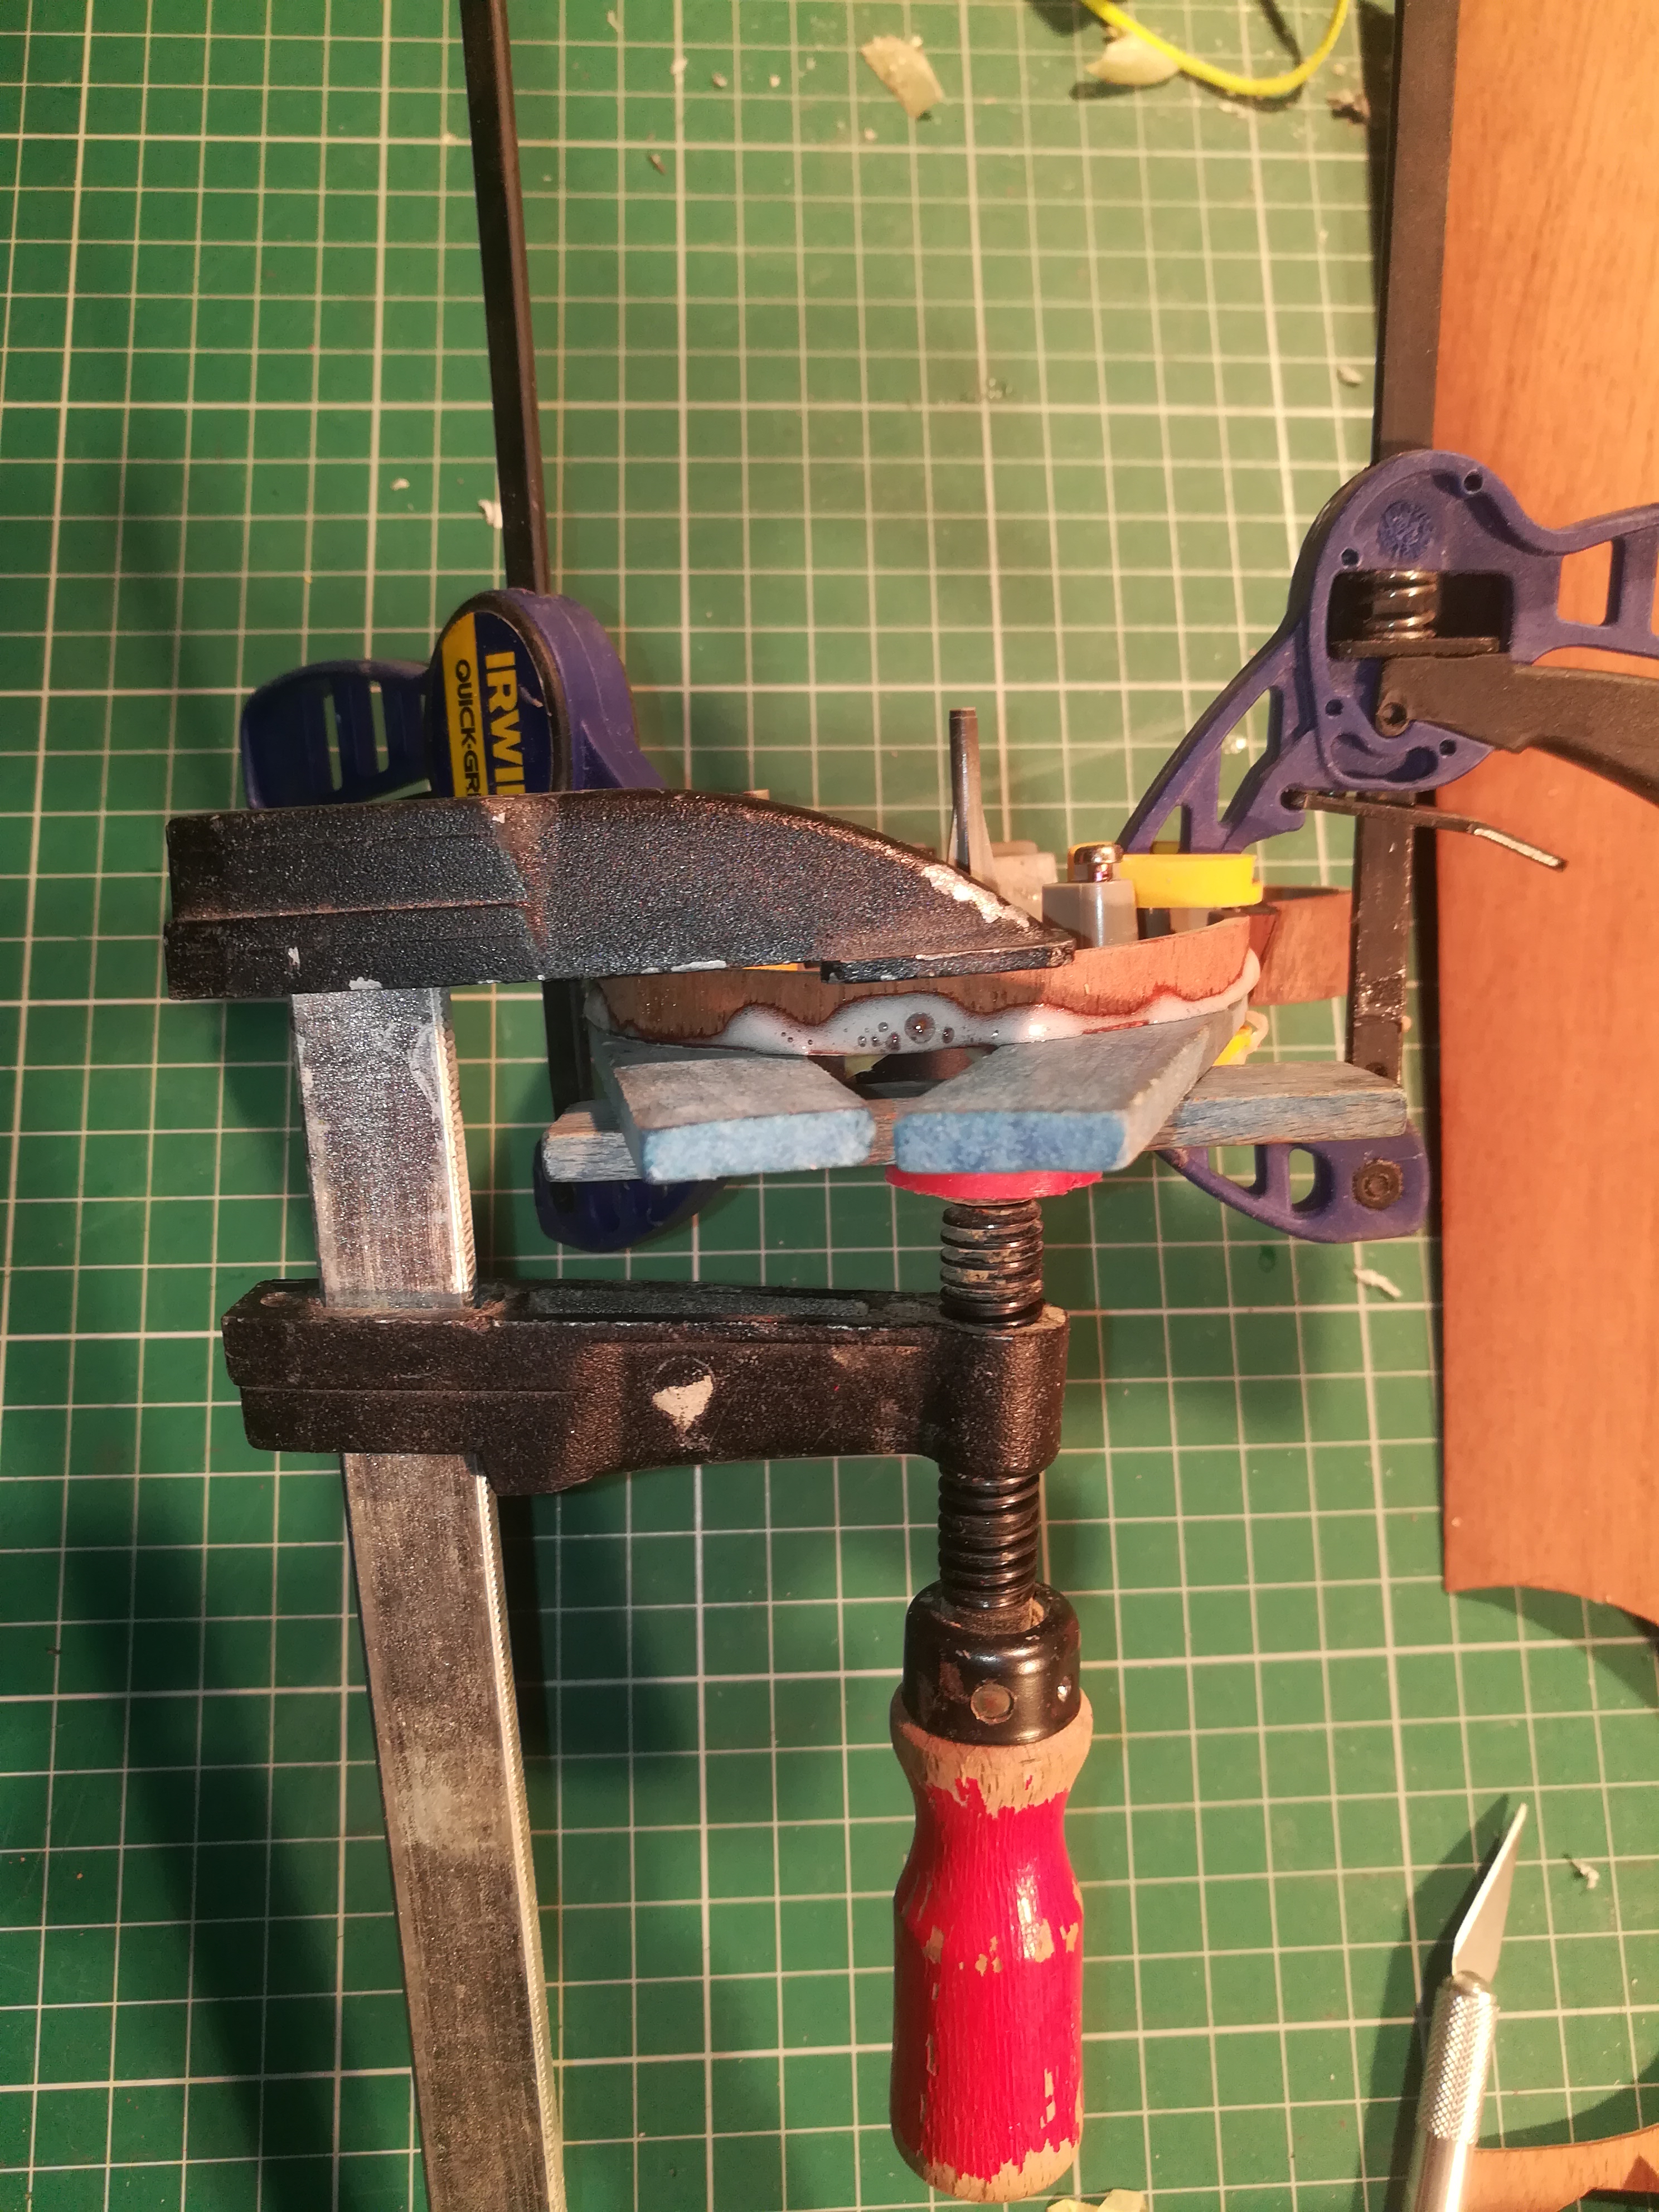
Sand the top side of the case with sandpaper 120 and degrease it. Distribute the PU glue evenly over the surface and spray a little water over it. Then put your veneer in place and put the plywood on top. Now take your tensioning Screws and secure the plywood evenly (picture 6). Let it rest for a night and remove the clamps.
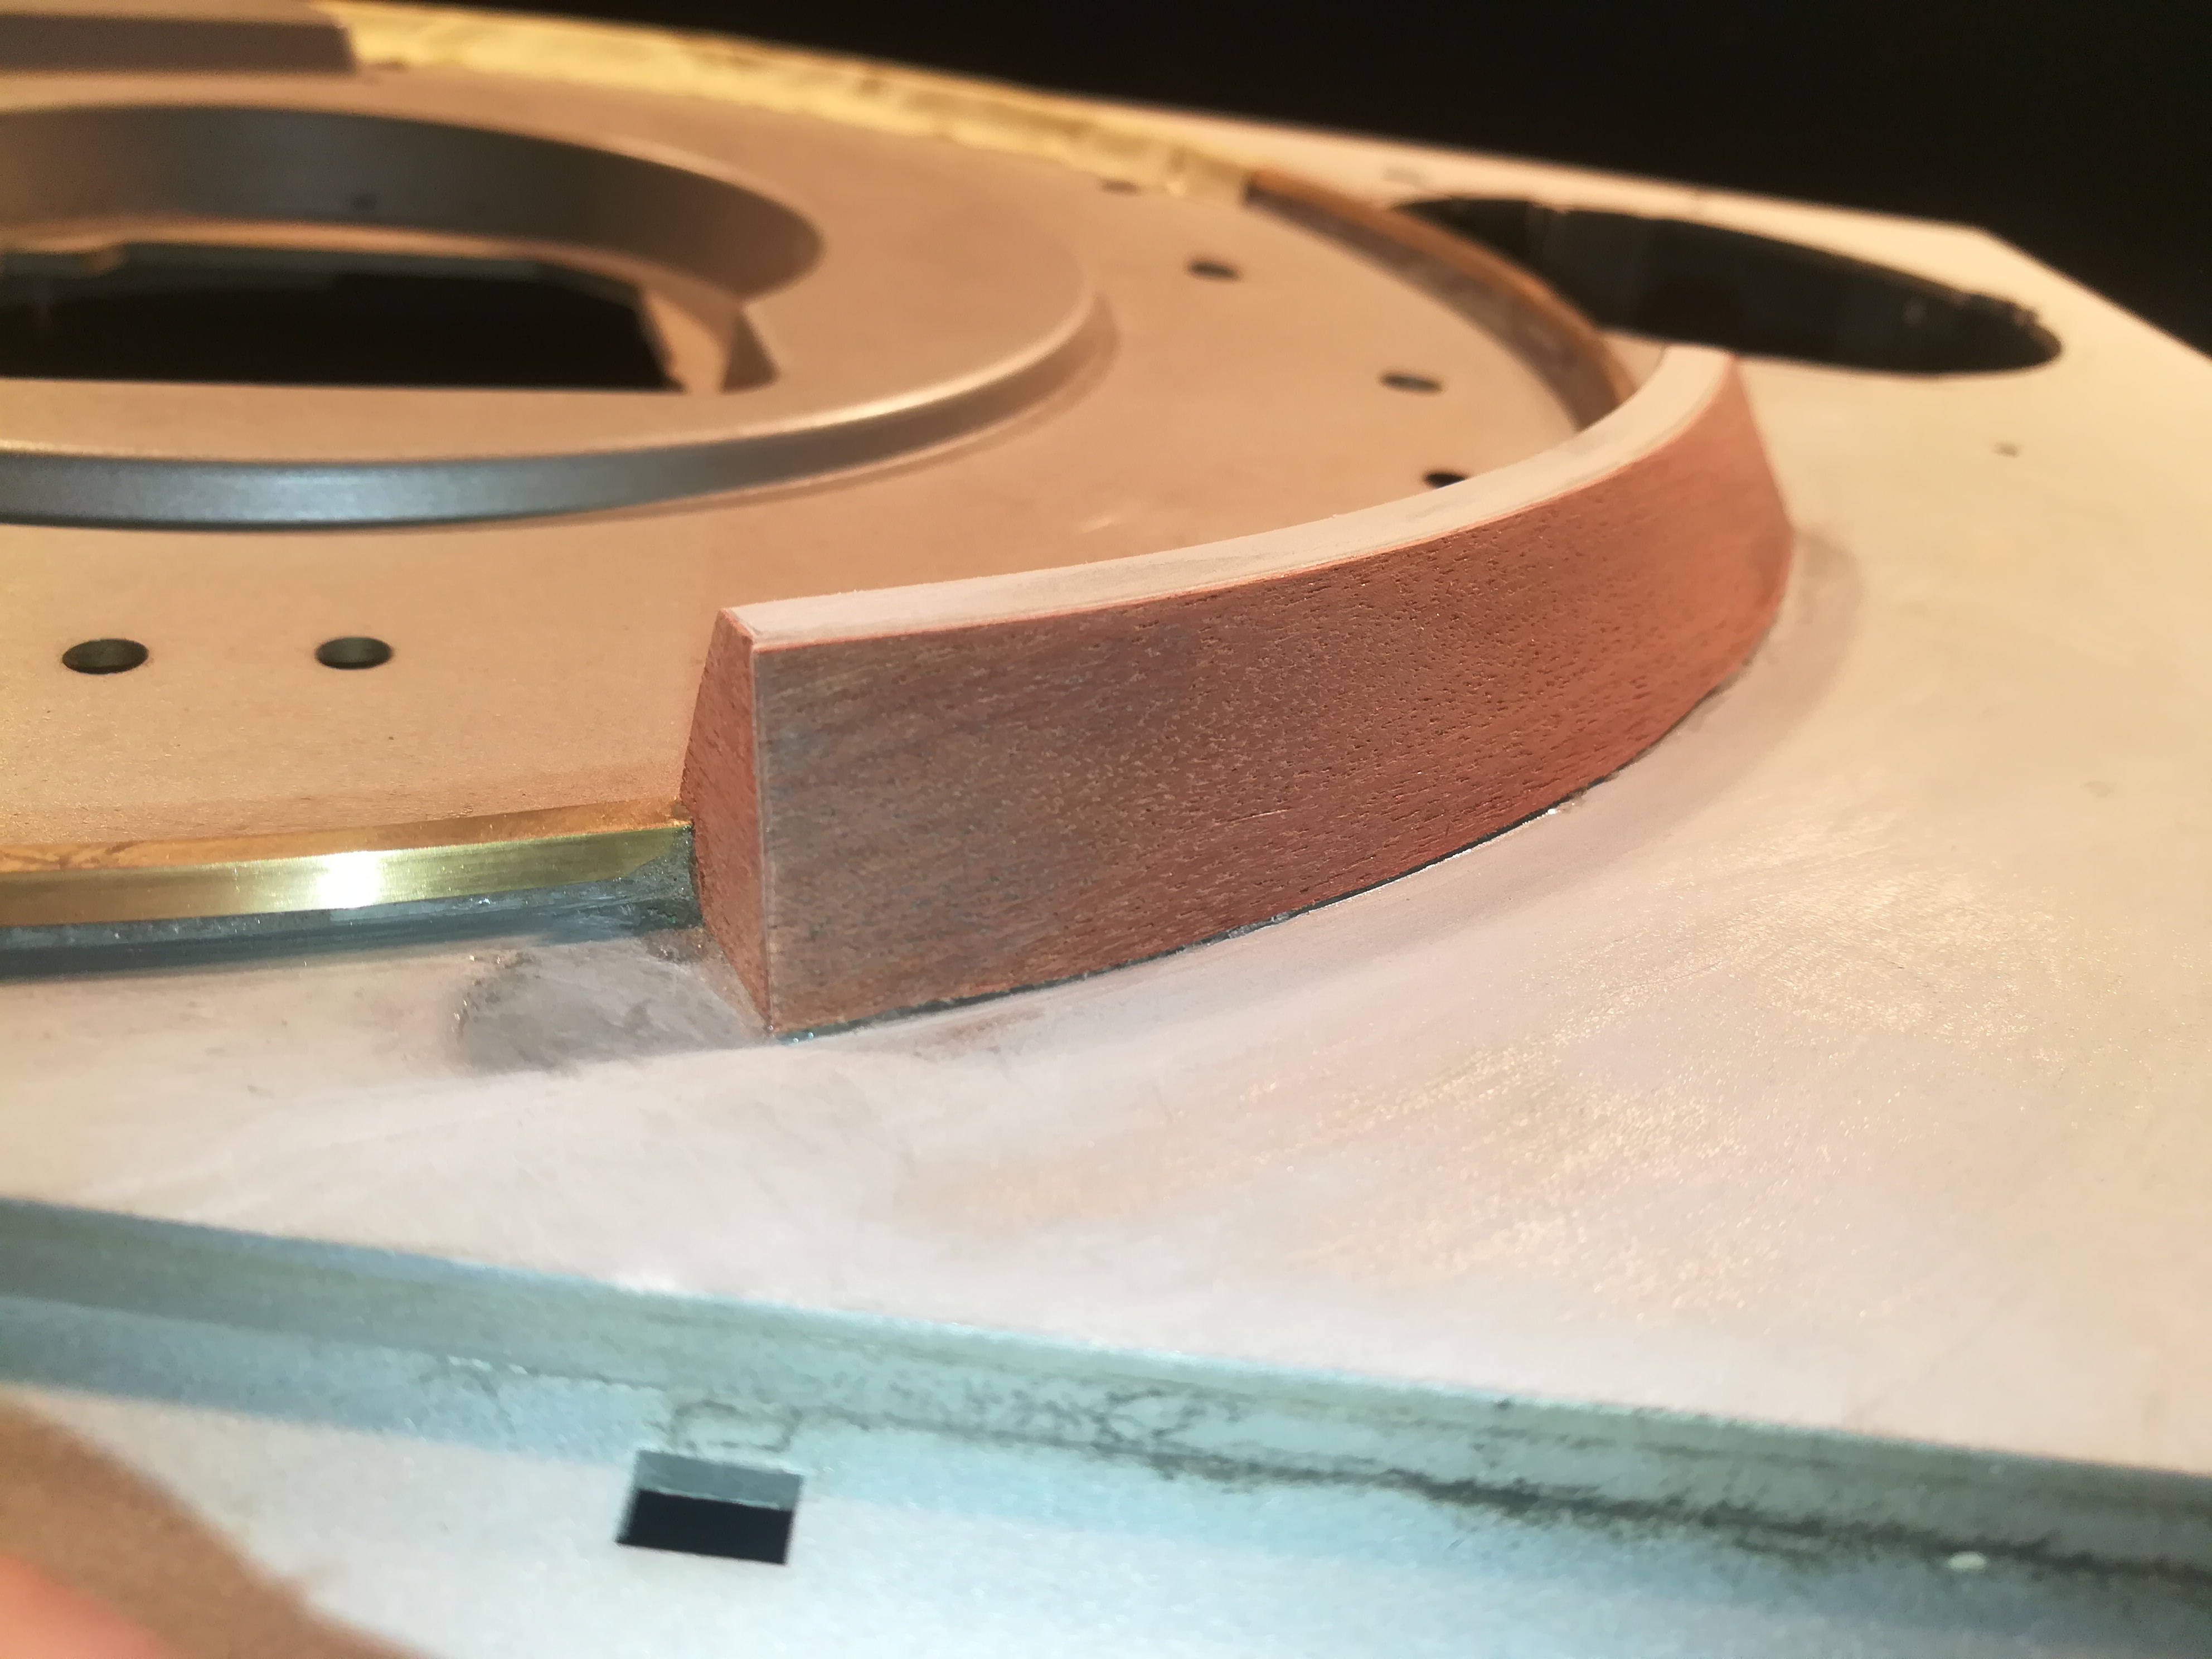
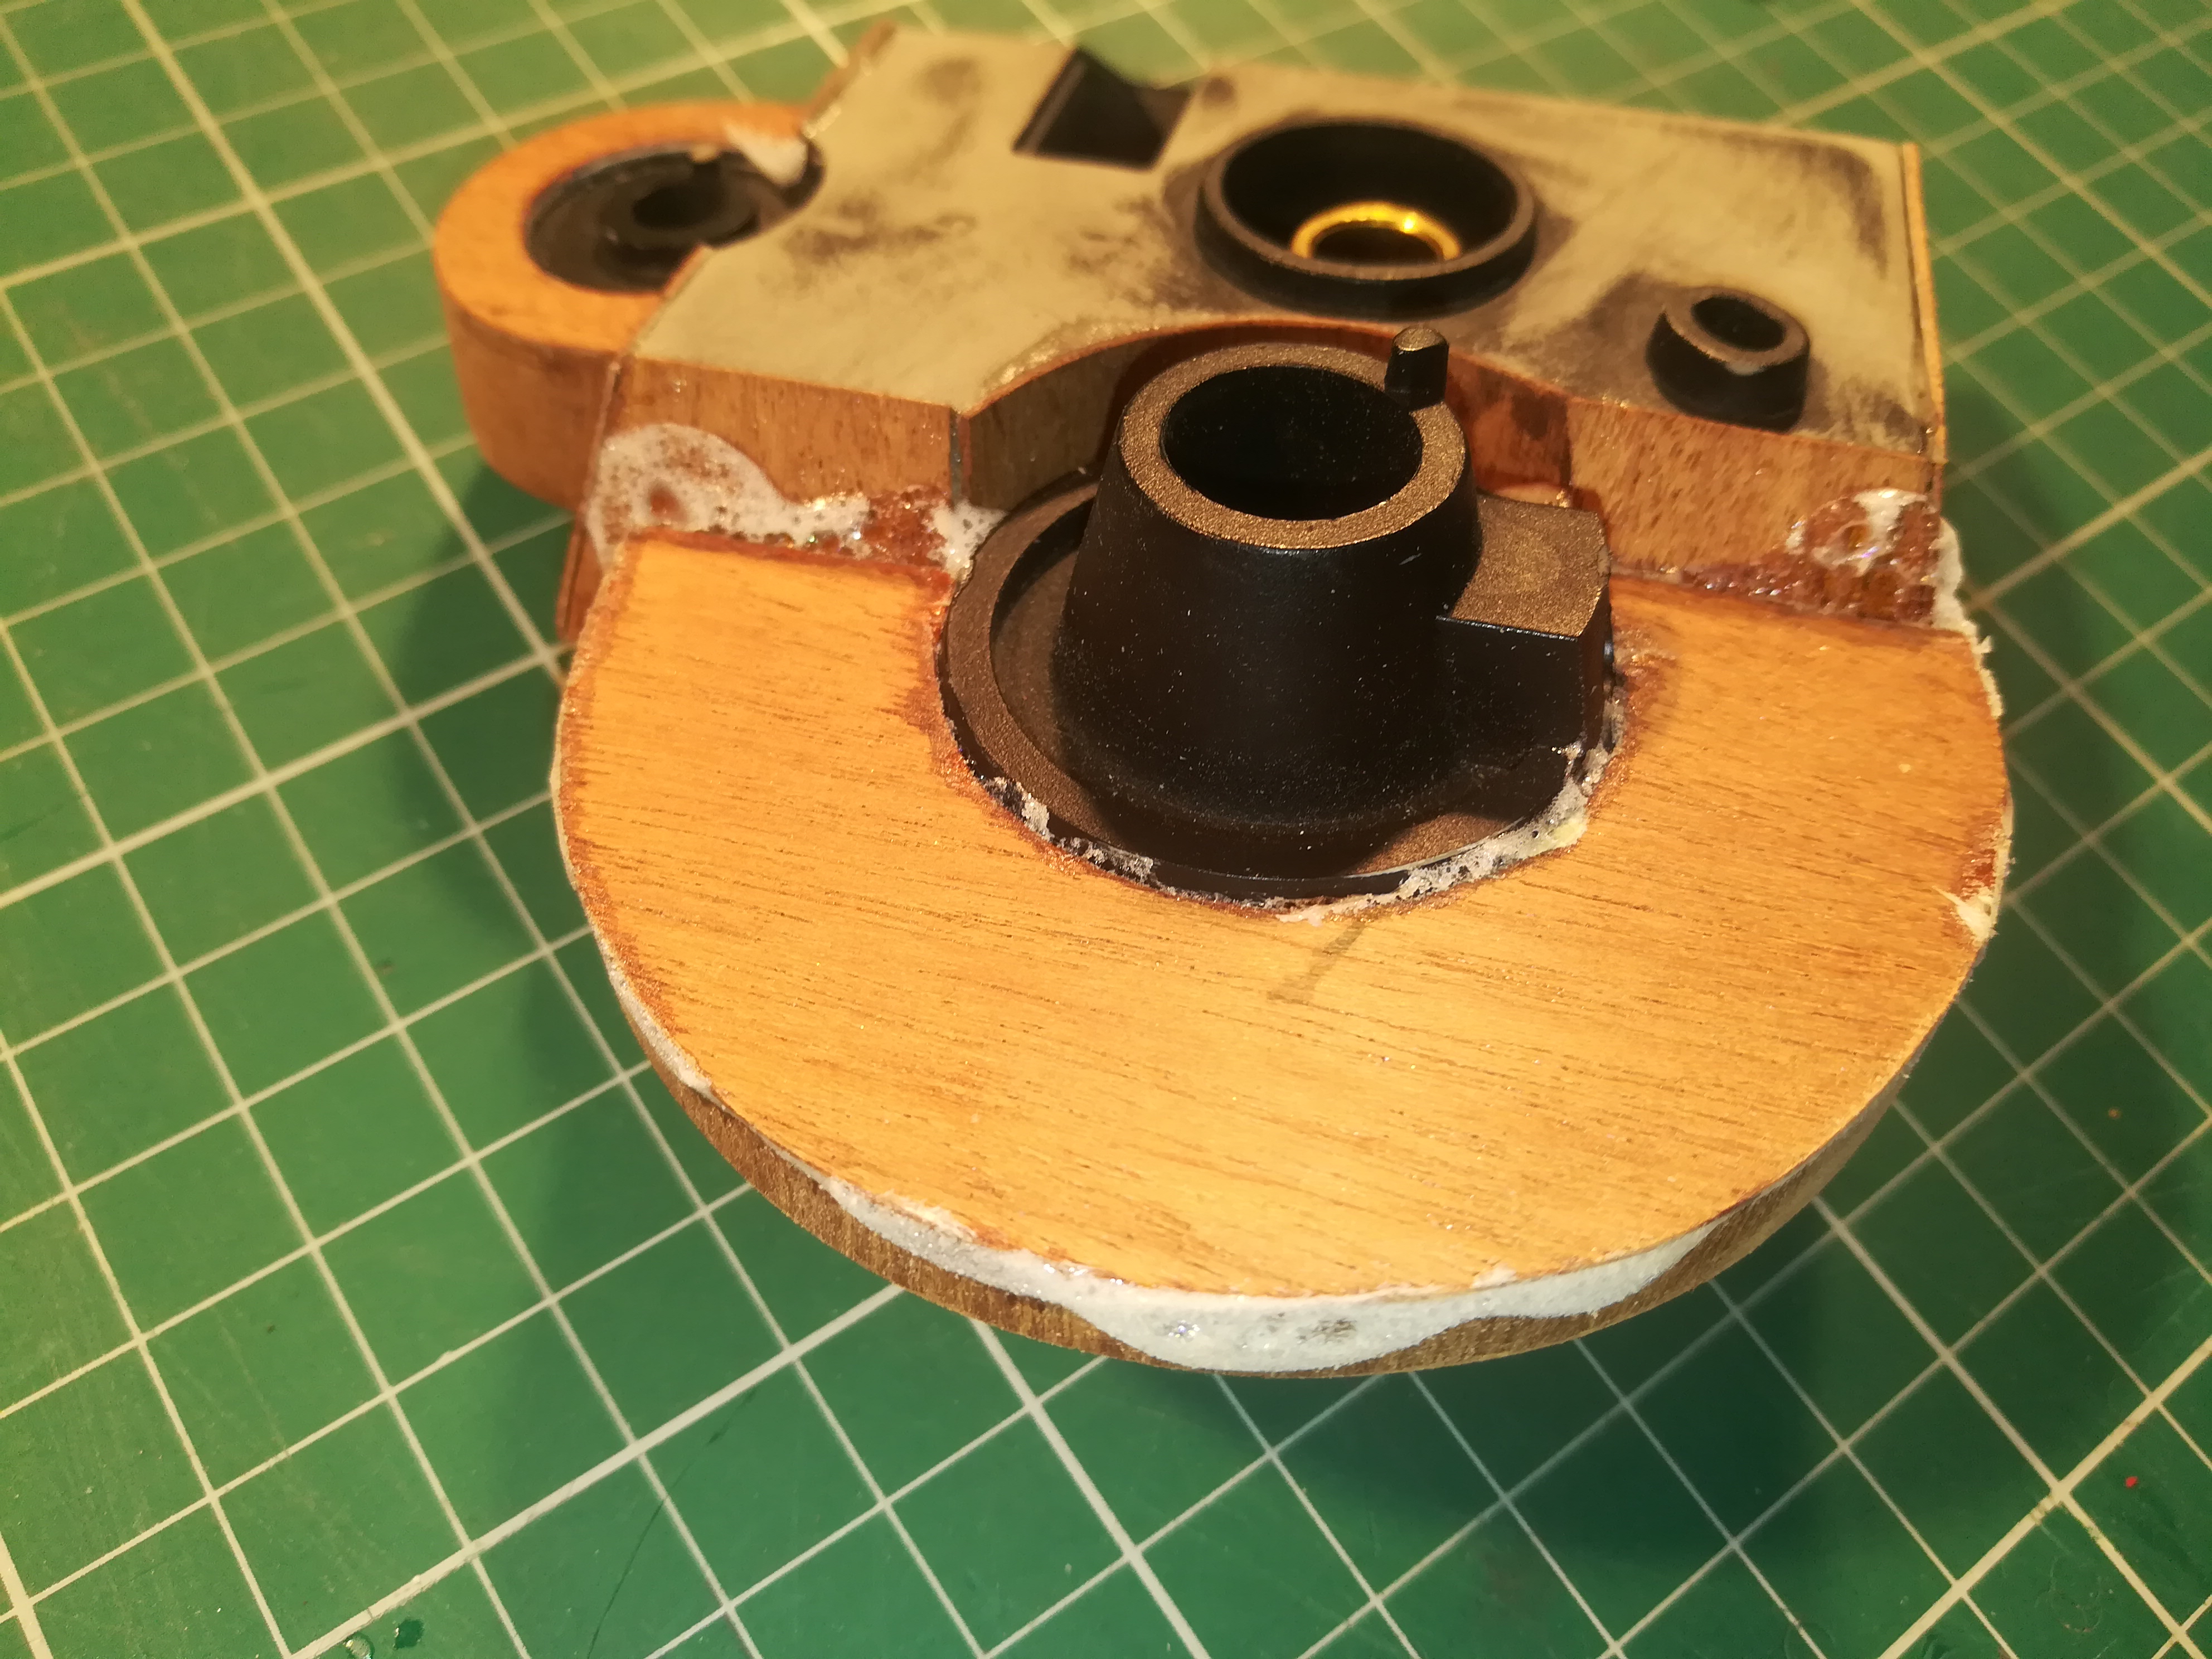
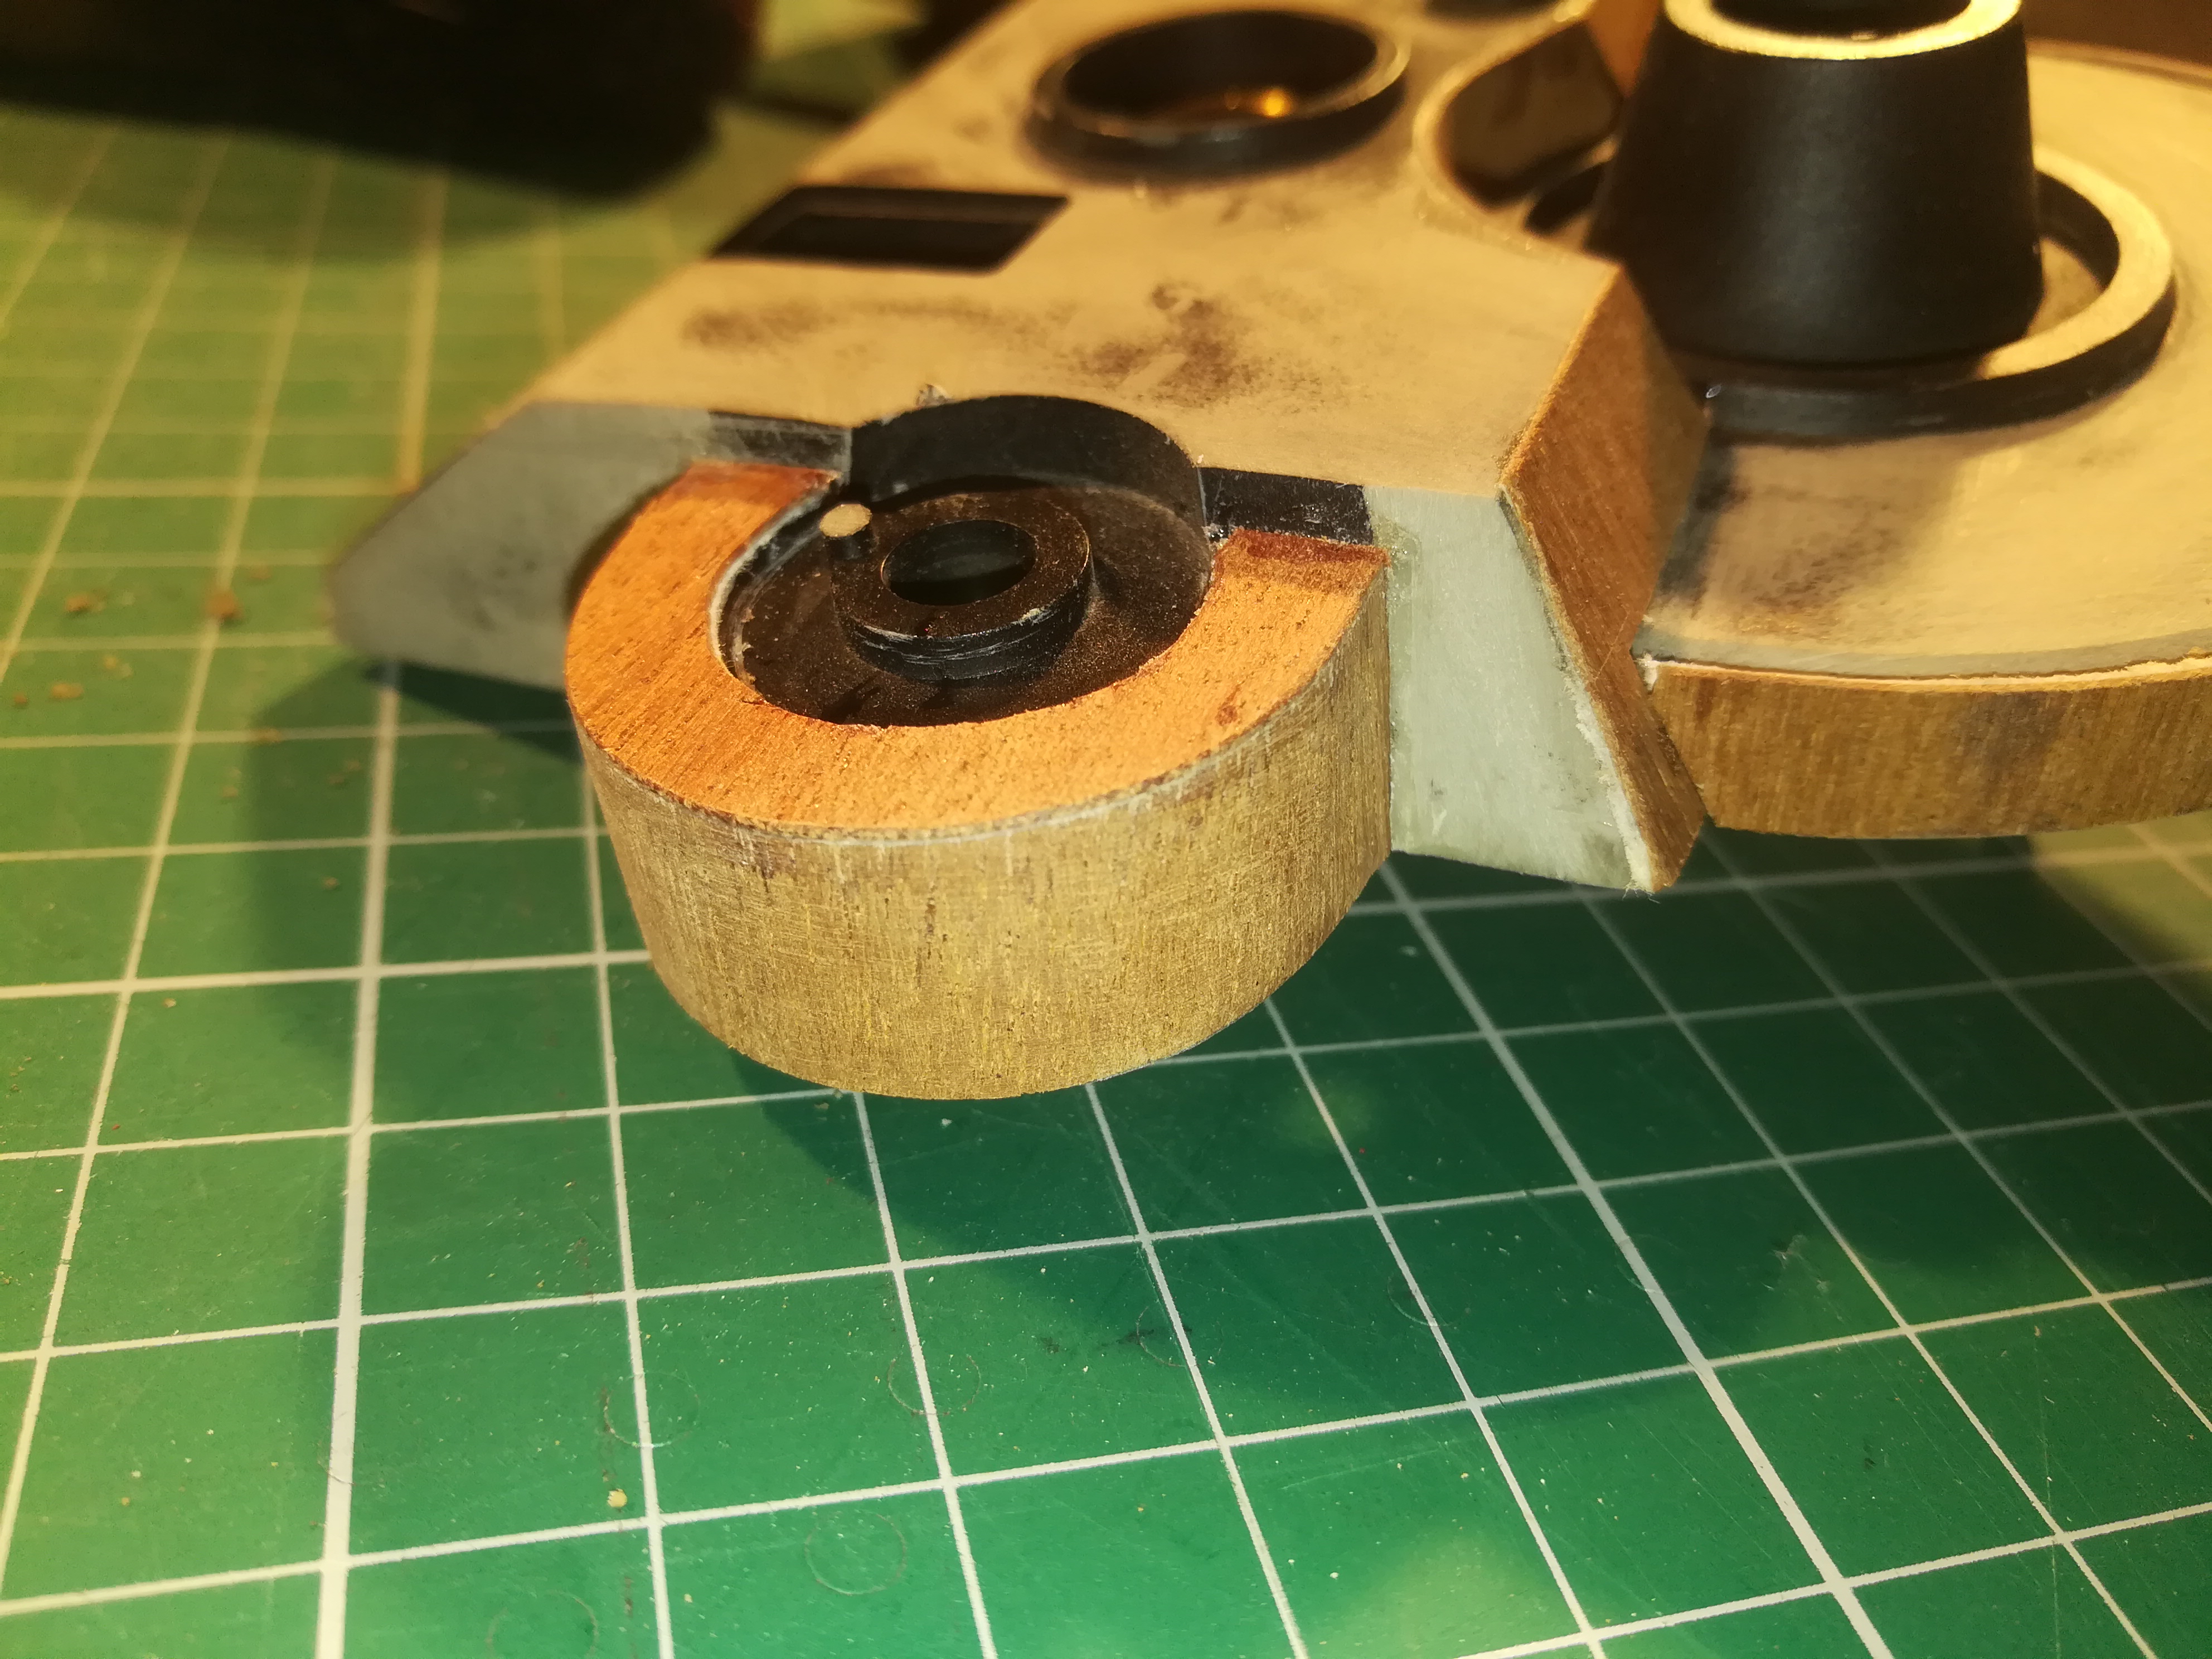
Sand away the parts that come outside the case with sandpaper 120 ( picture 7) and finish the whole case with 320 (picture 8).
Leave the tape on the brim for the next step.
Varnish the Case
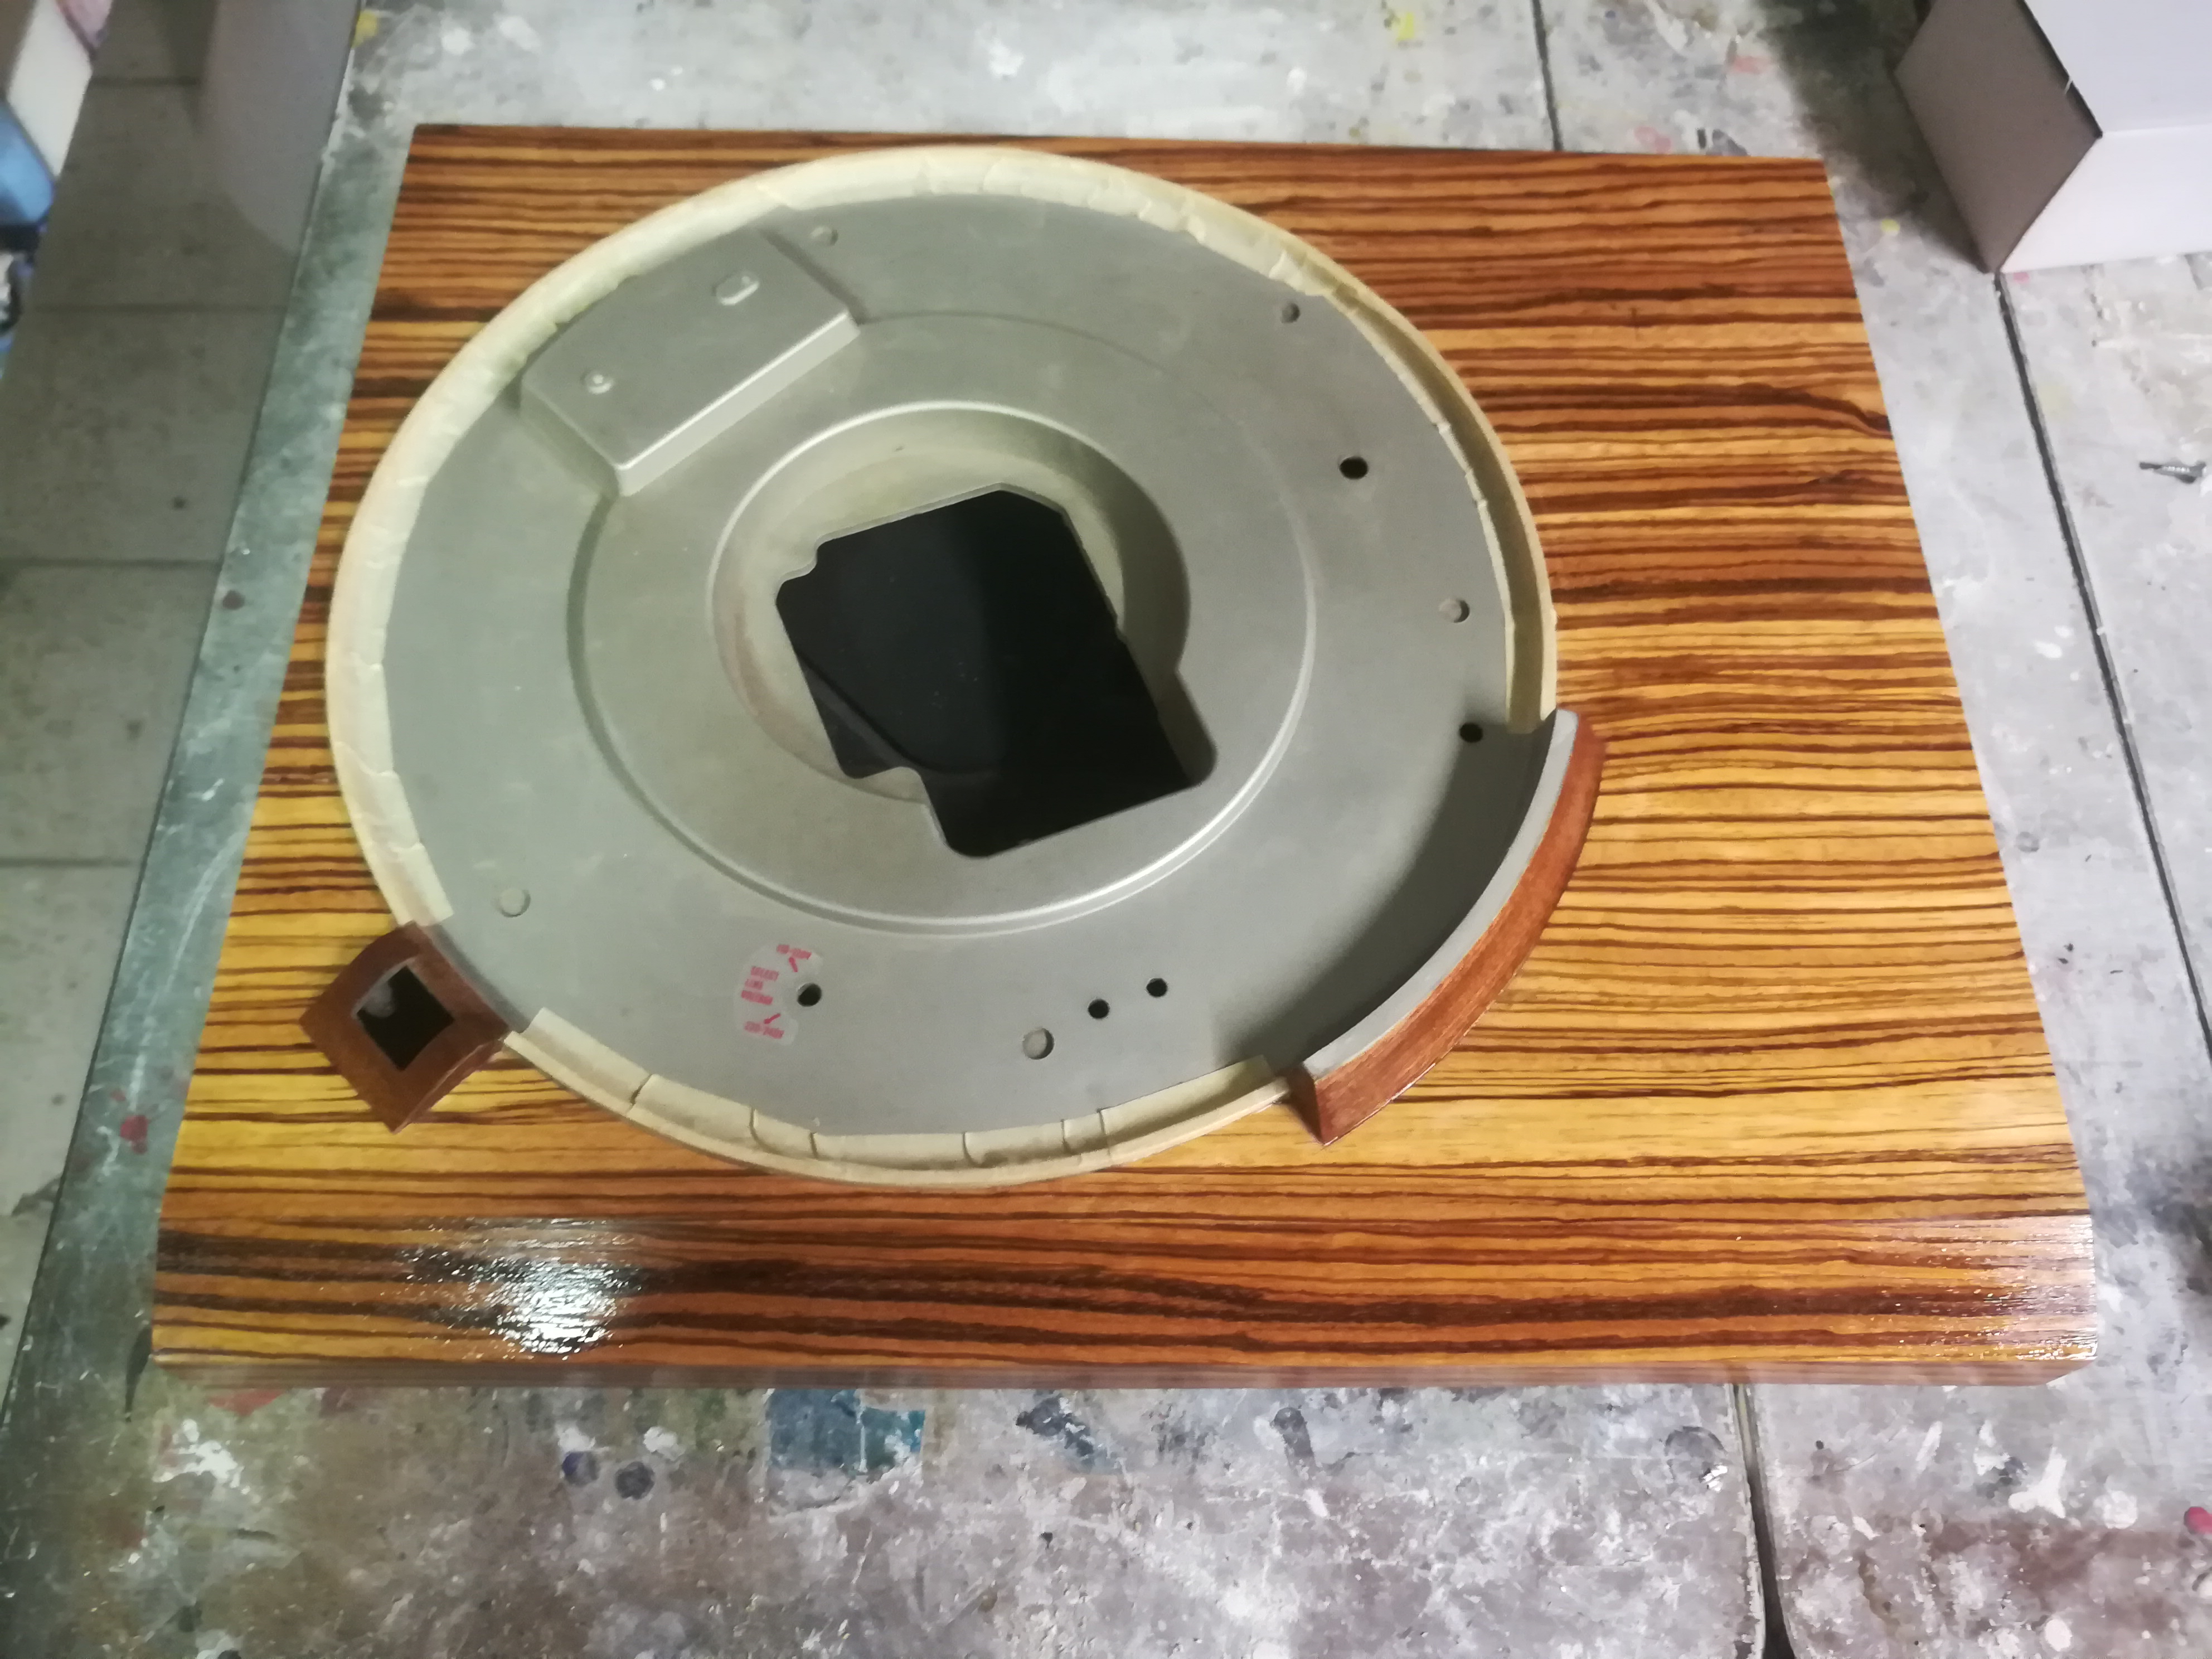
To protect the wood i put on a first layer of high gloss varnish.
Necessary materials:
- High gloss varnish (water base)
- Brush
- Paper tape
- sandpaper 220
------------------------------------------------------------------------------------------------------------------------------------------------------
Brush a first layer of varnish on the case and lay it thick (picture 1). Sand everything with sandpaper 220 and apply a second layer.
Now we need to attent to some other things first.
Modify the Pick-up Arm
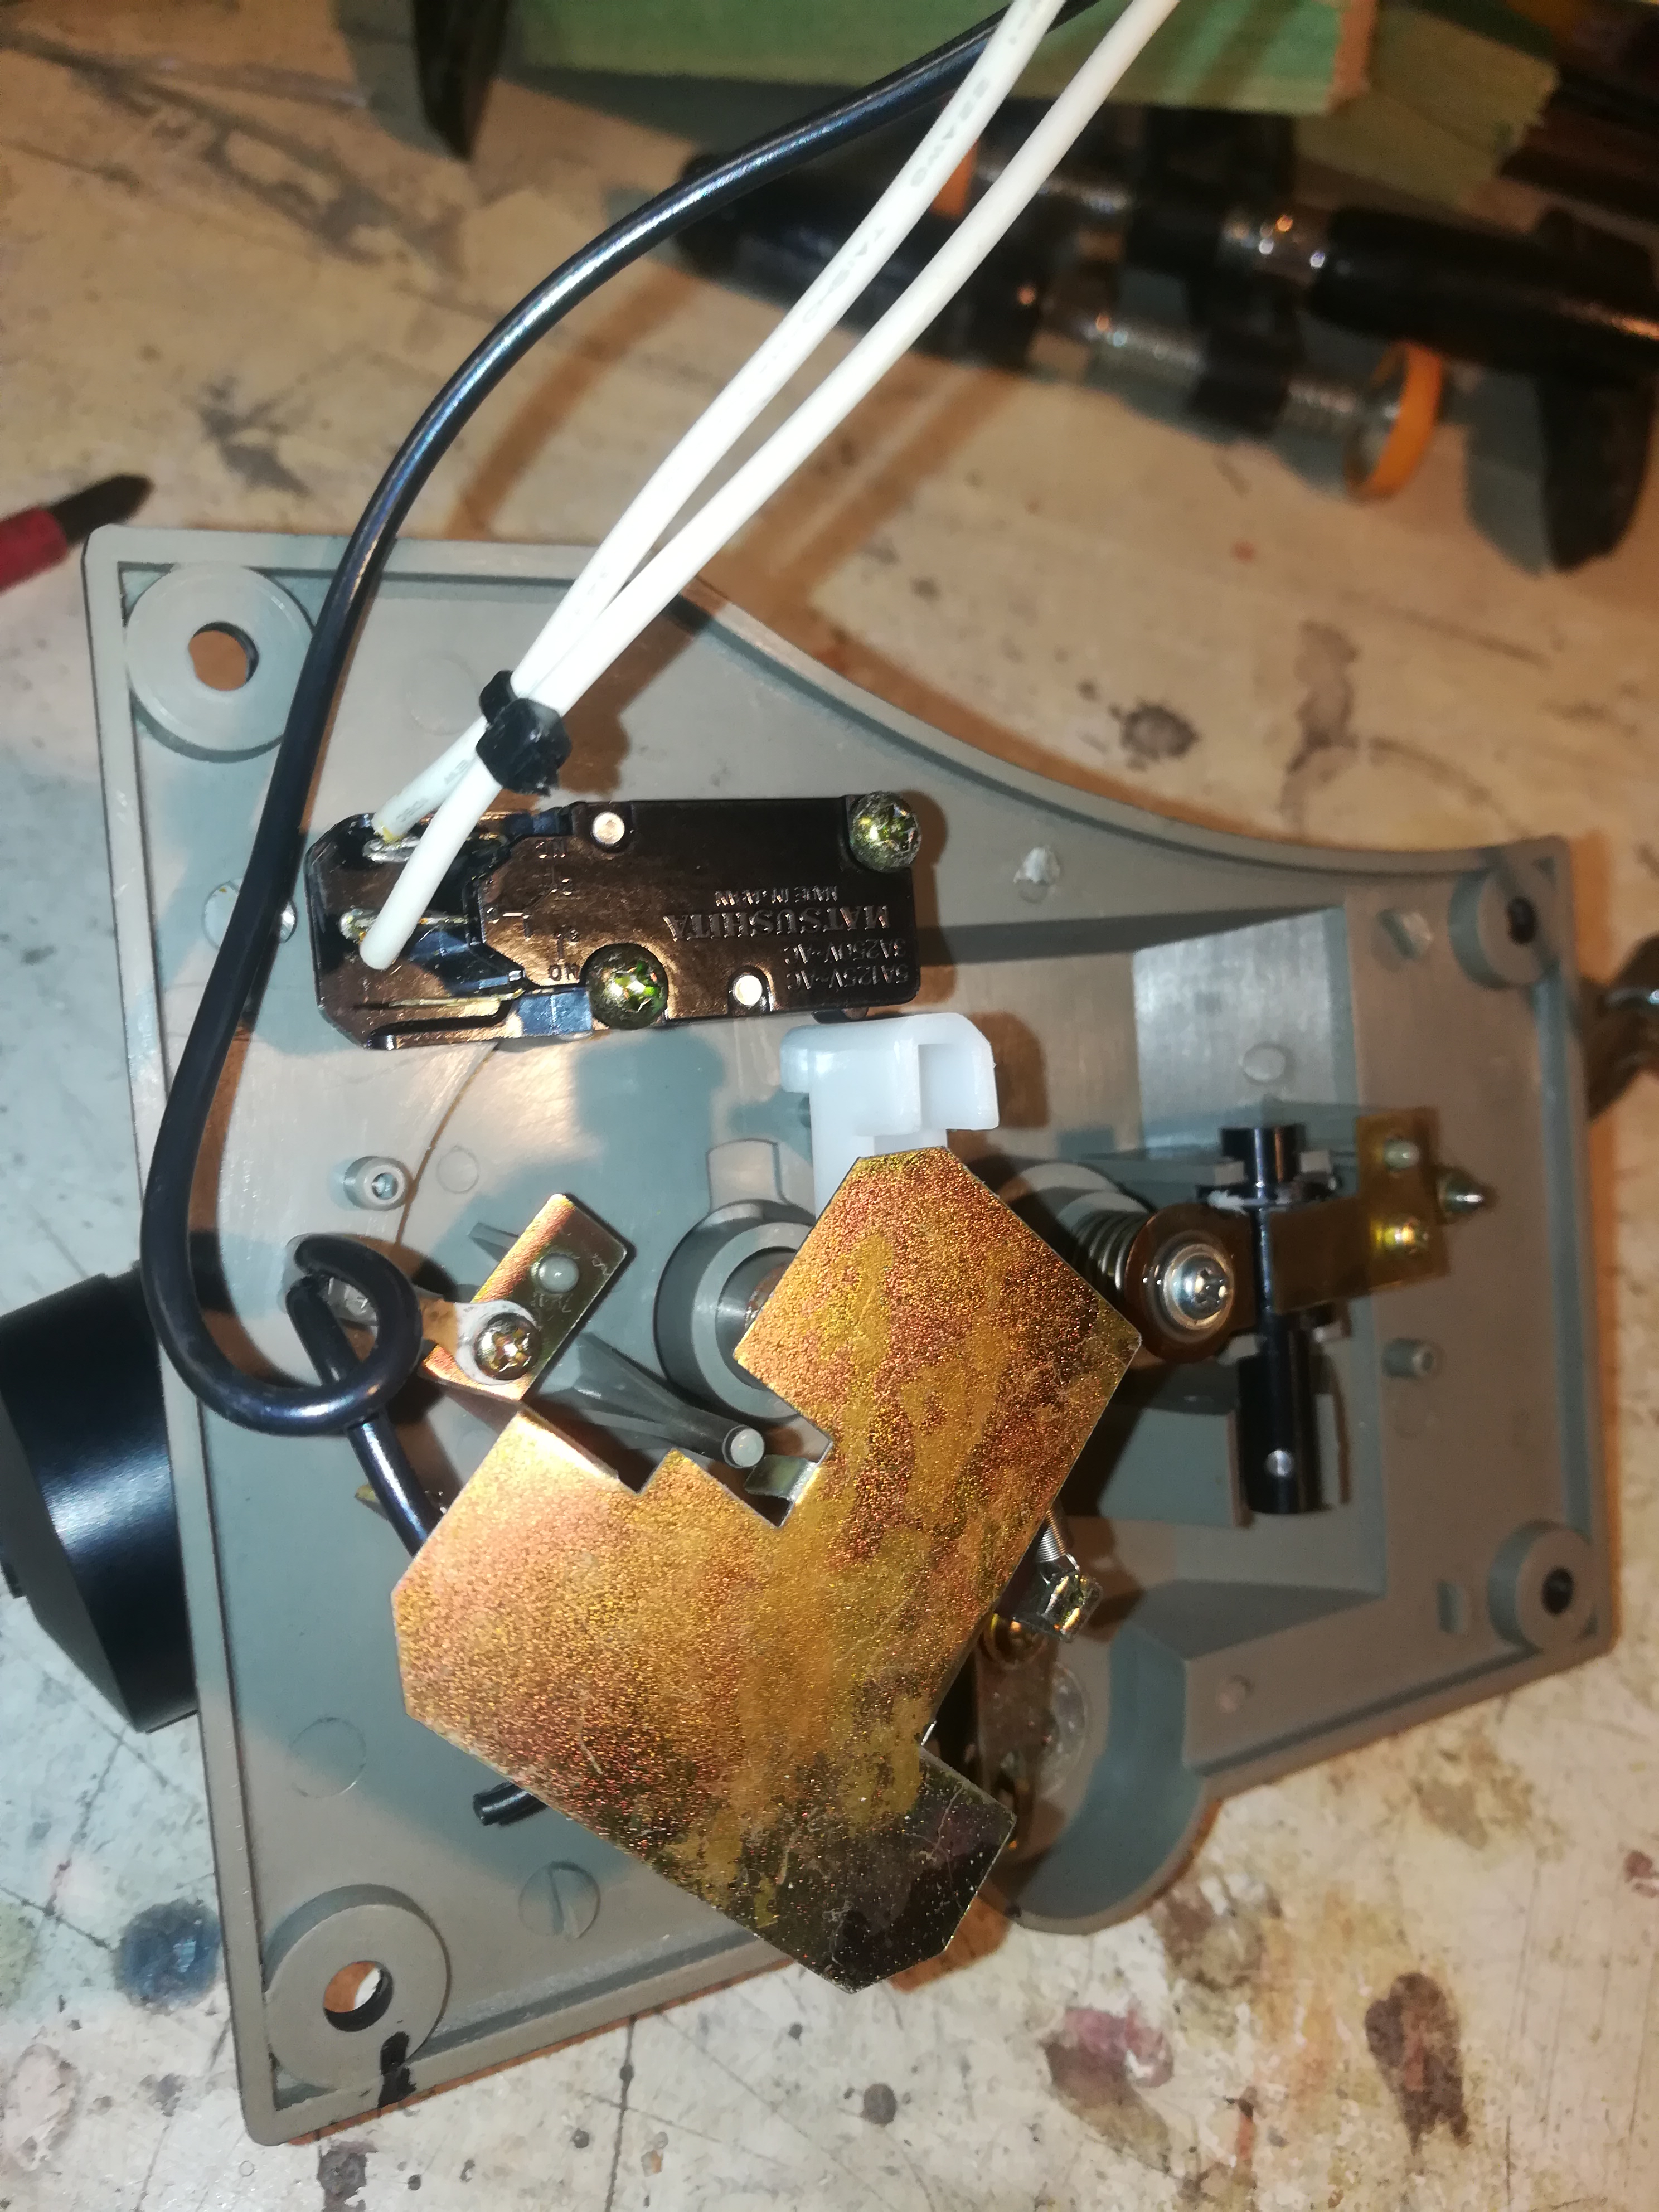
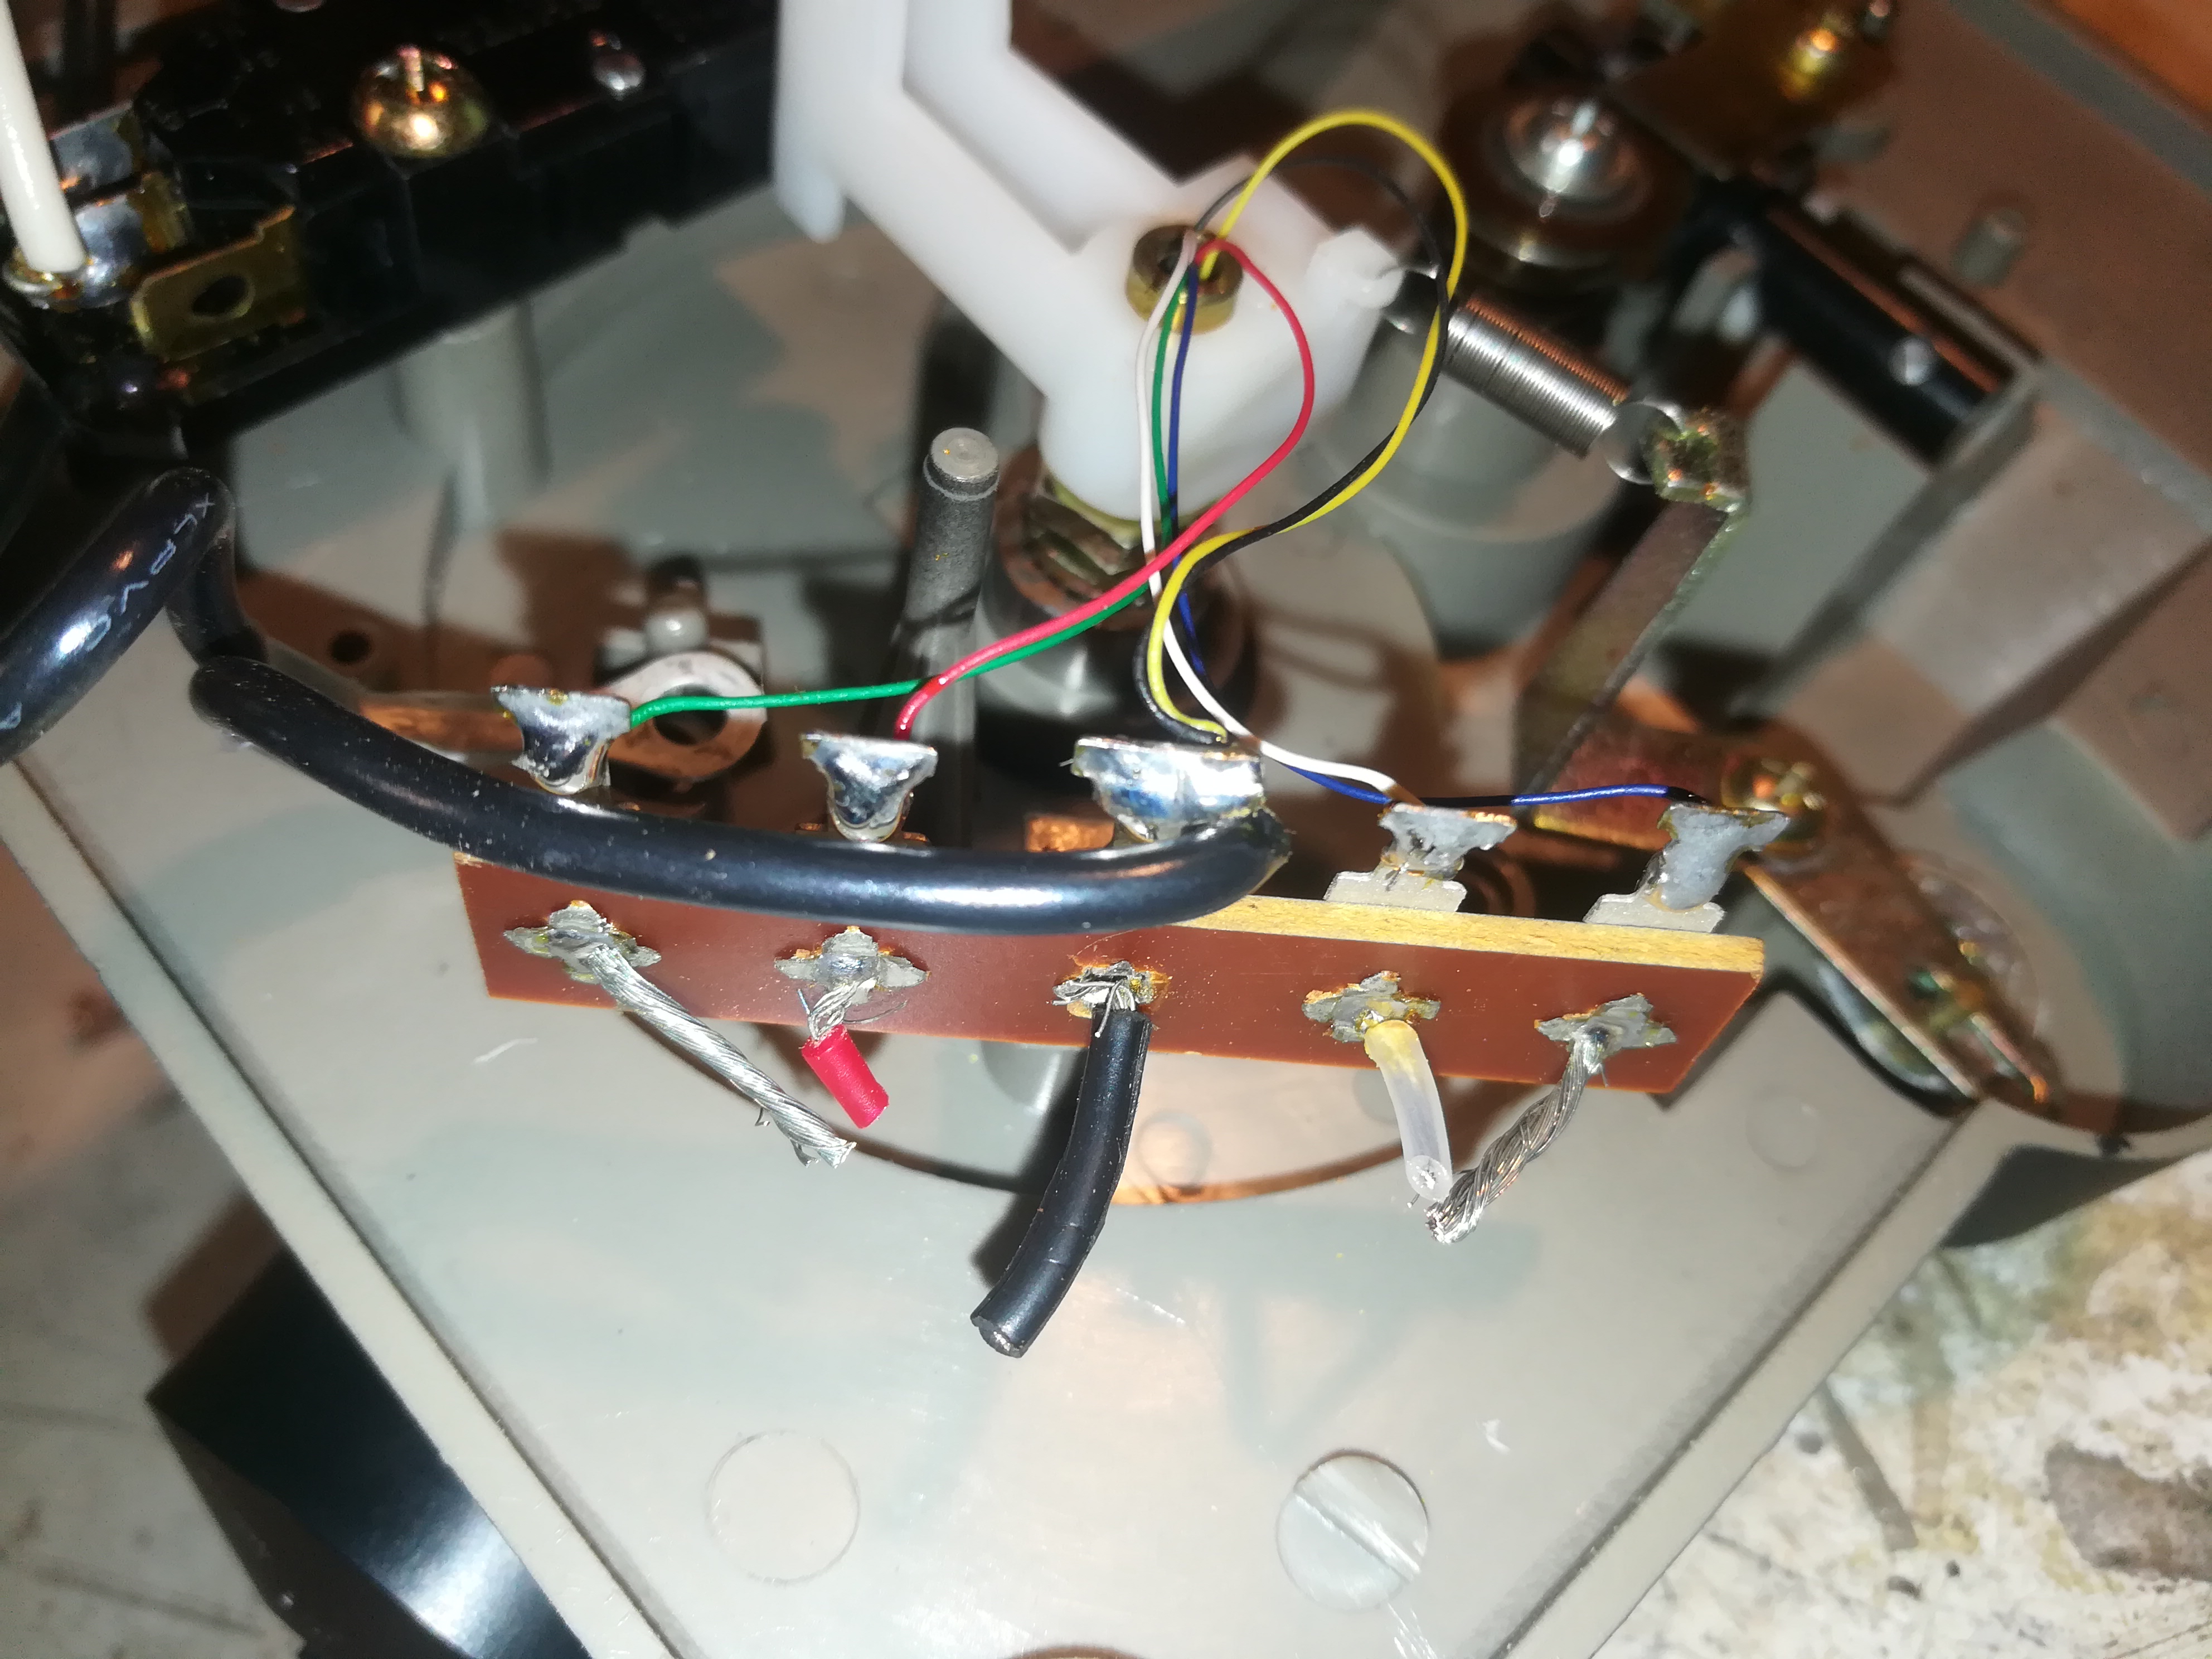
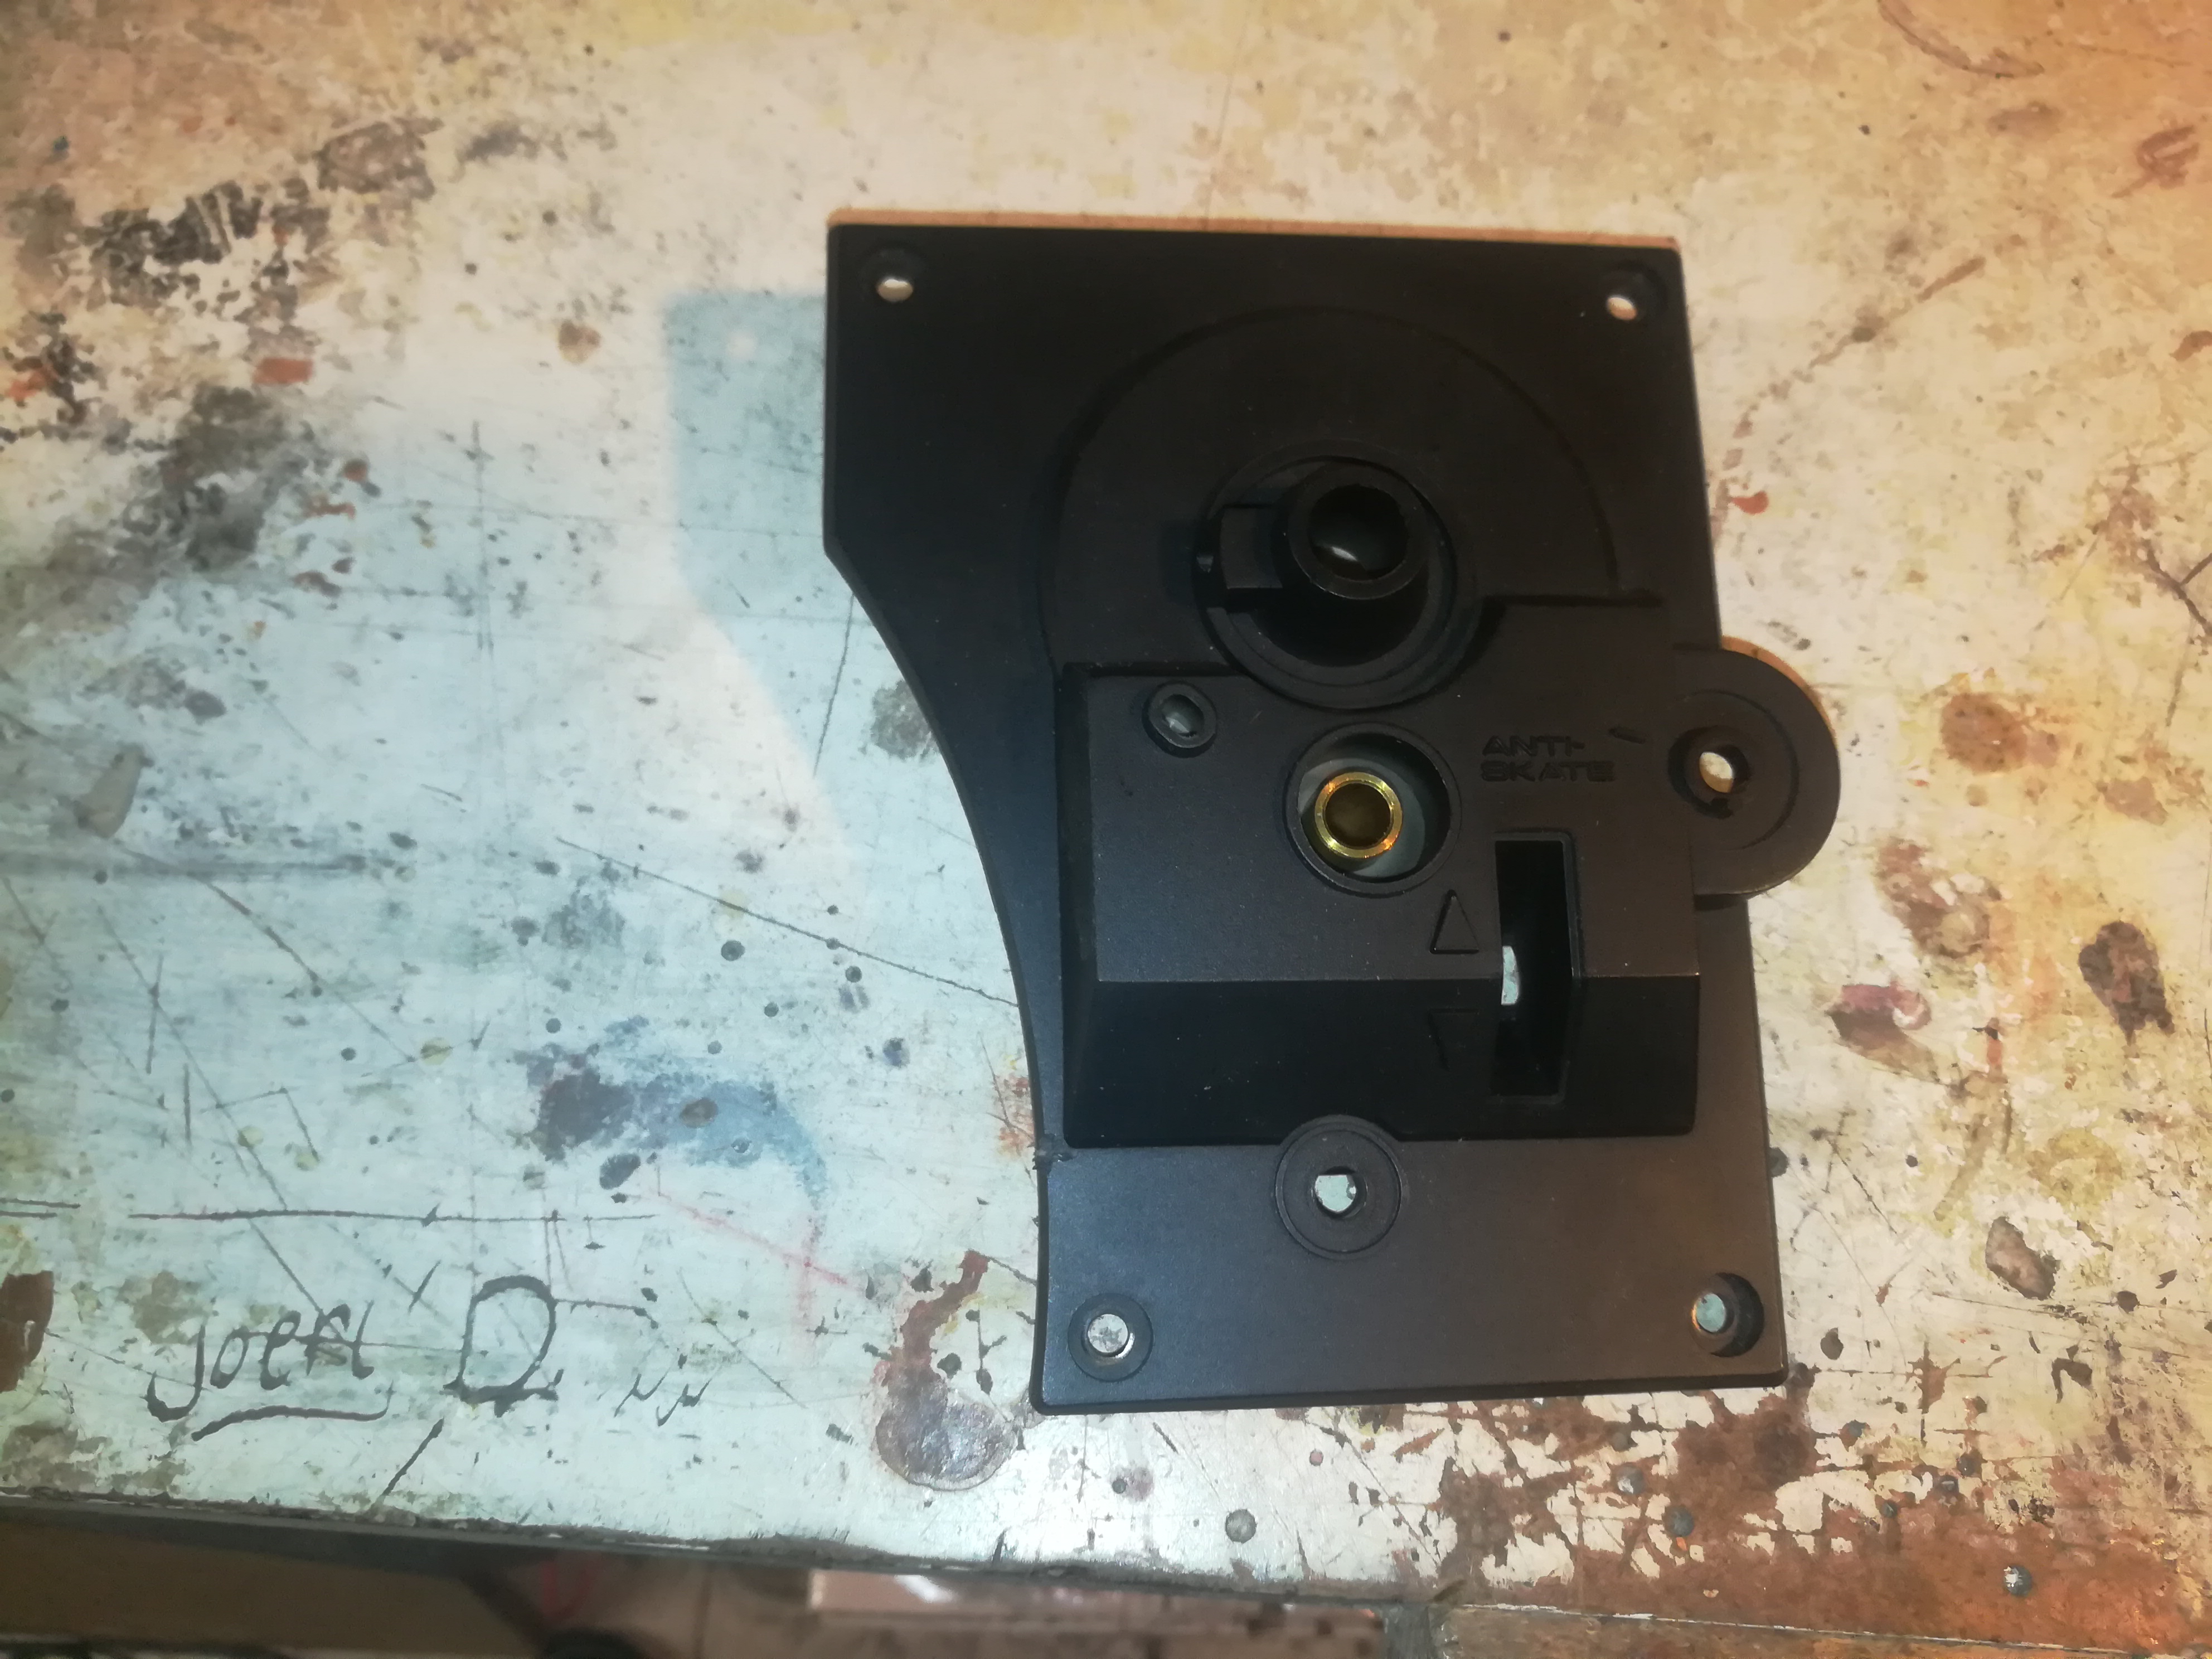
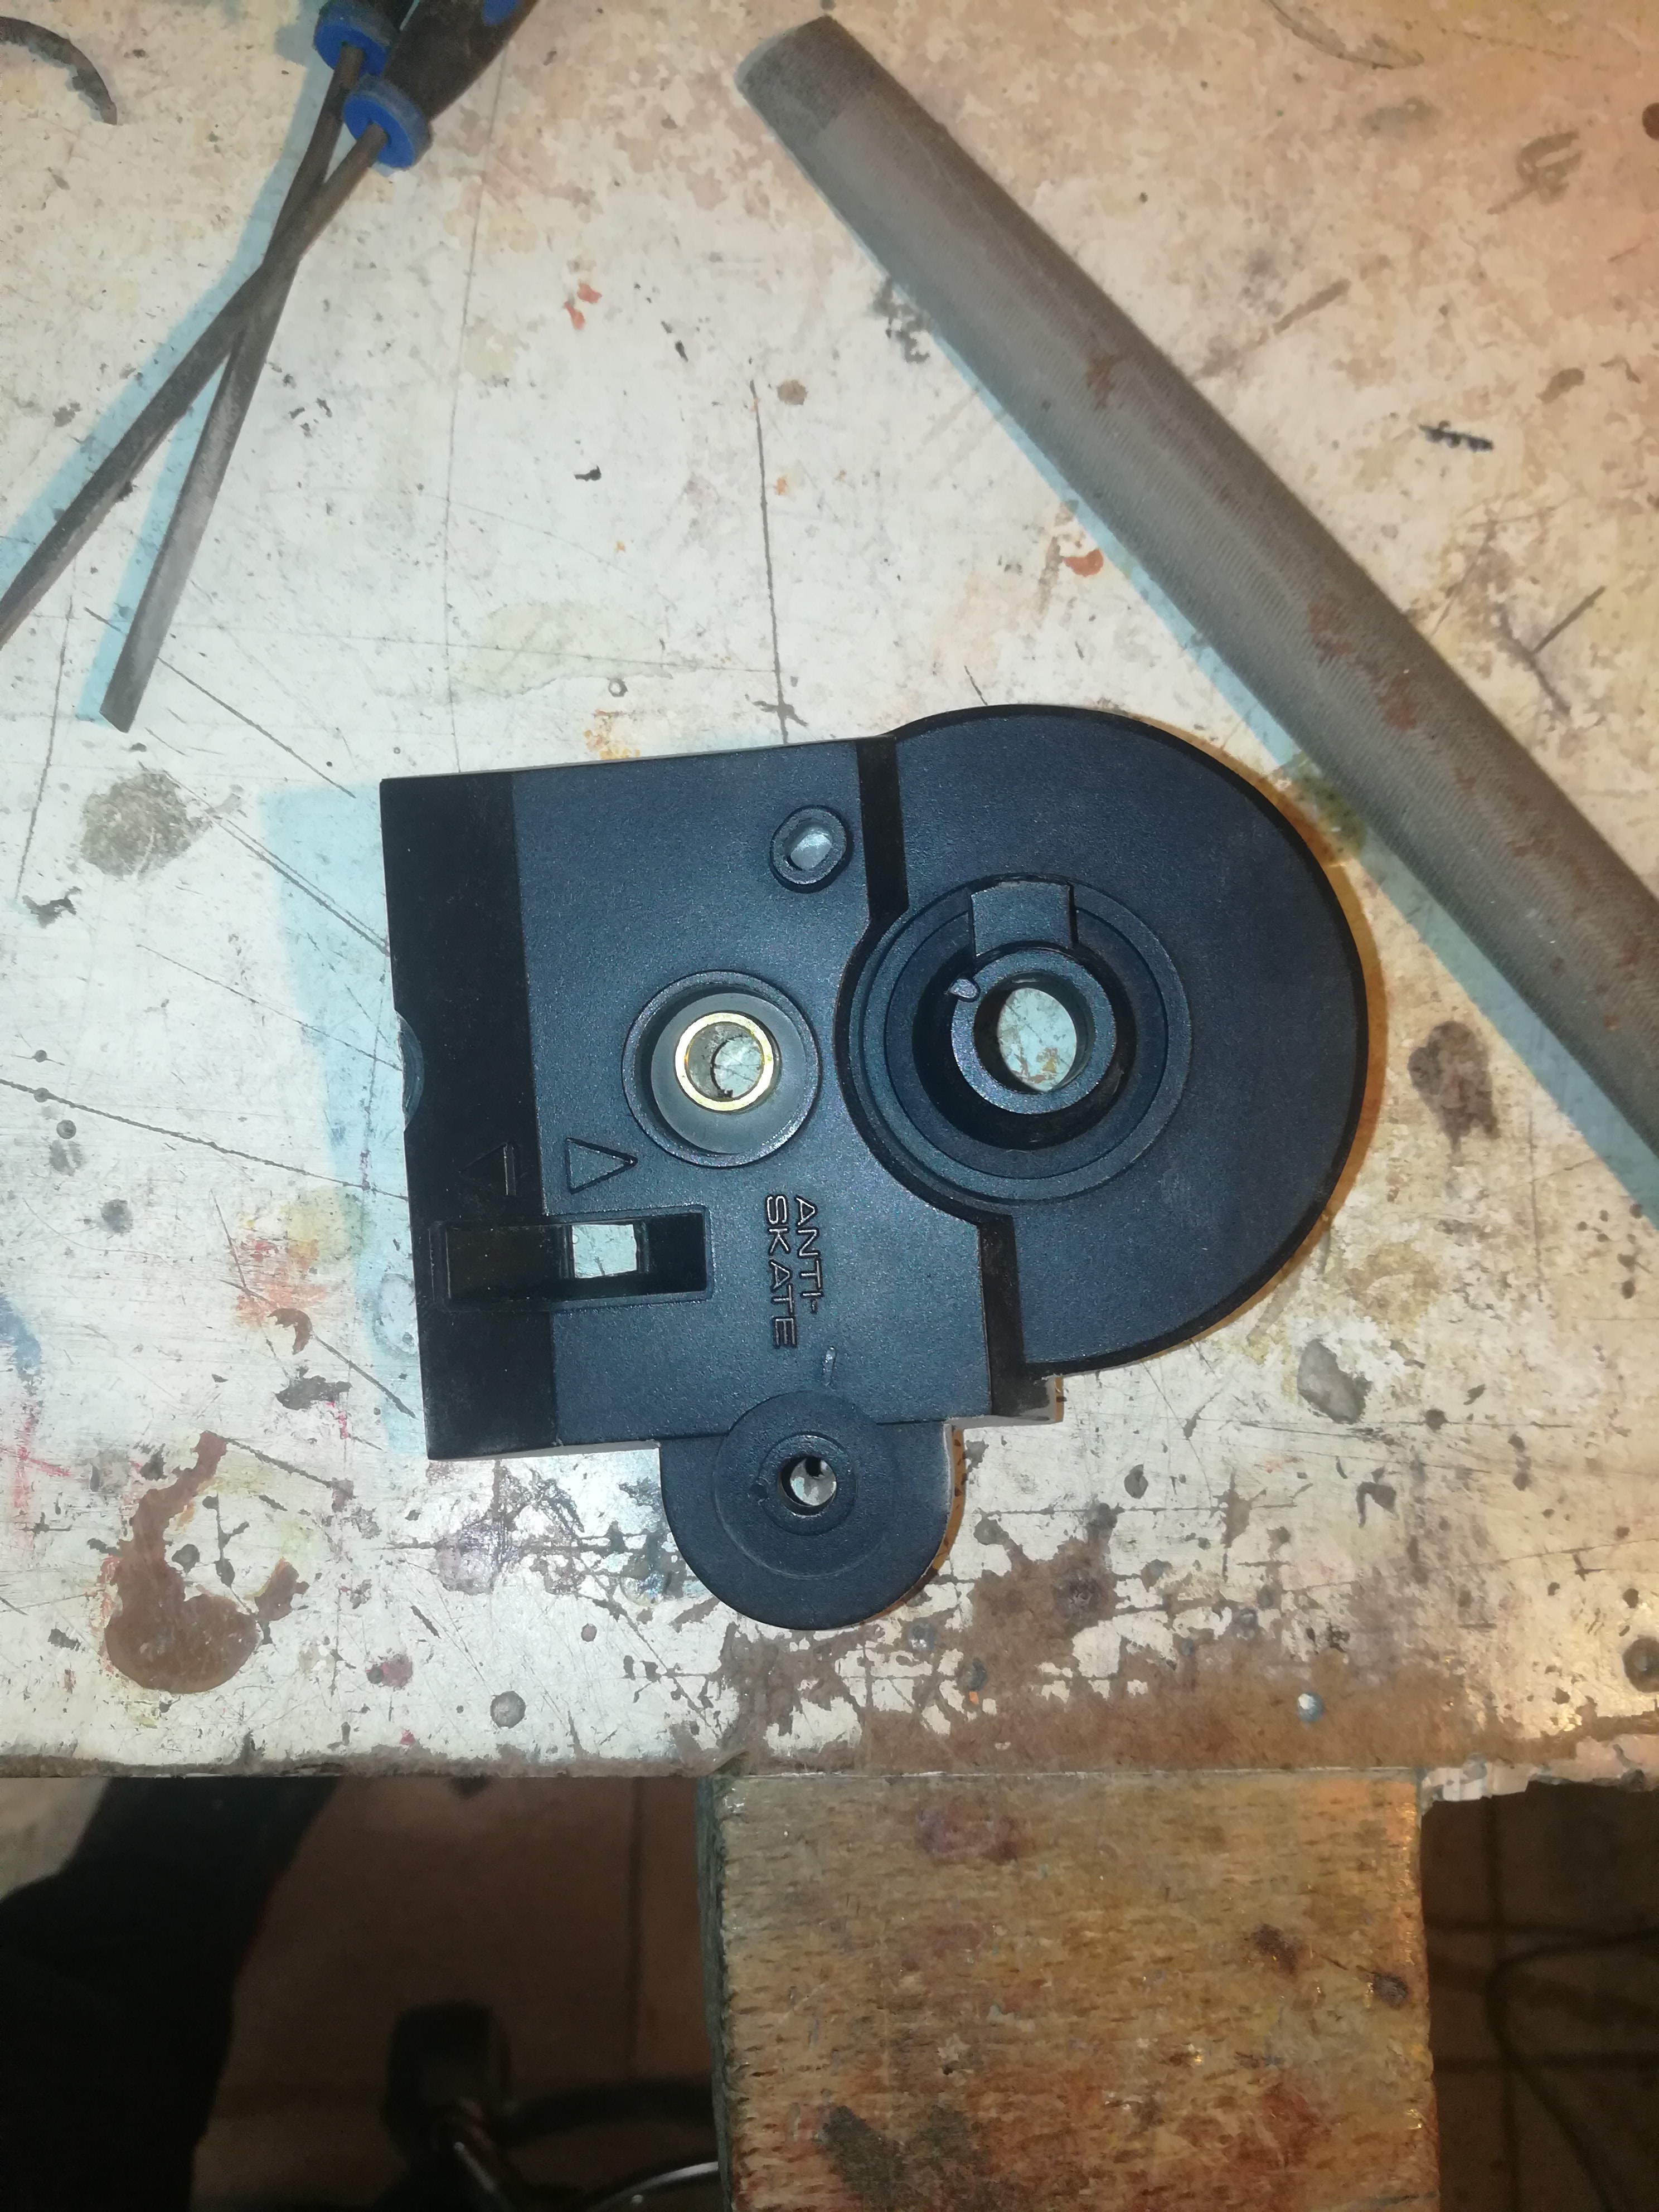
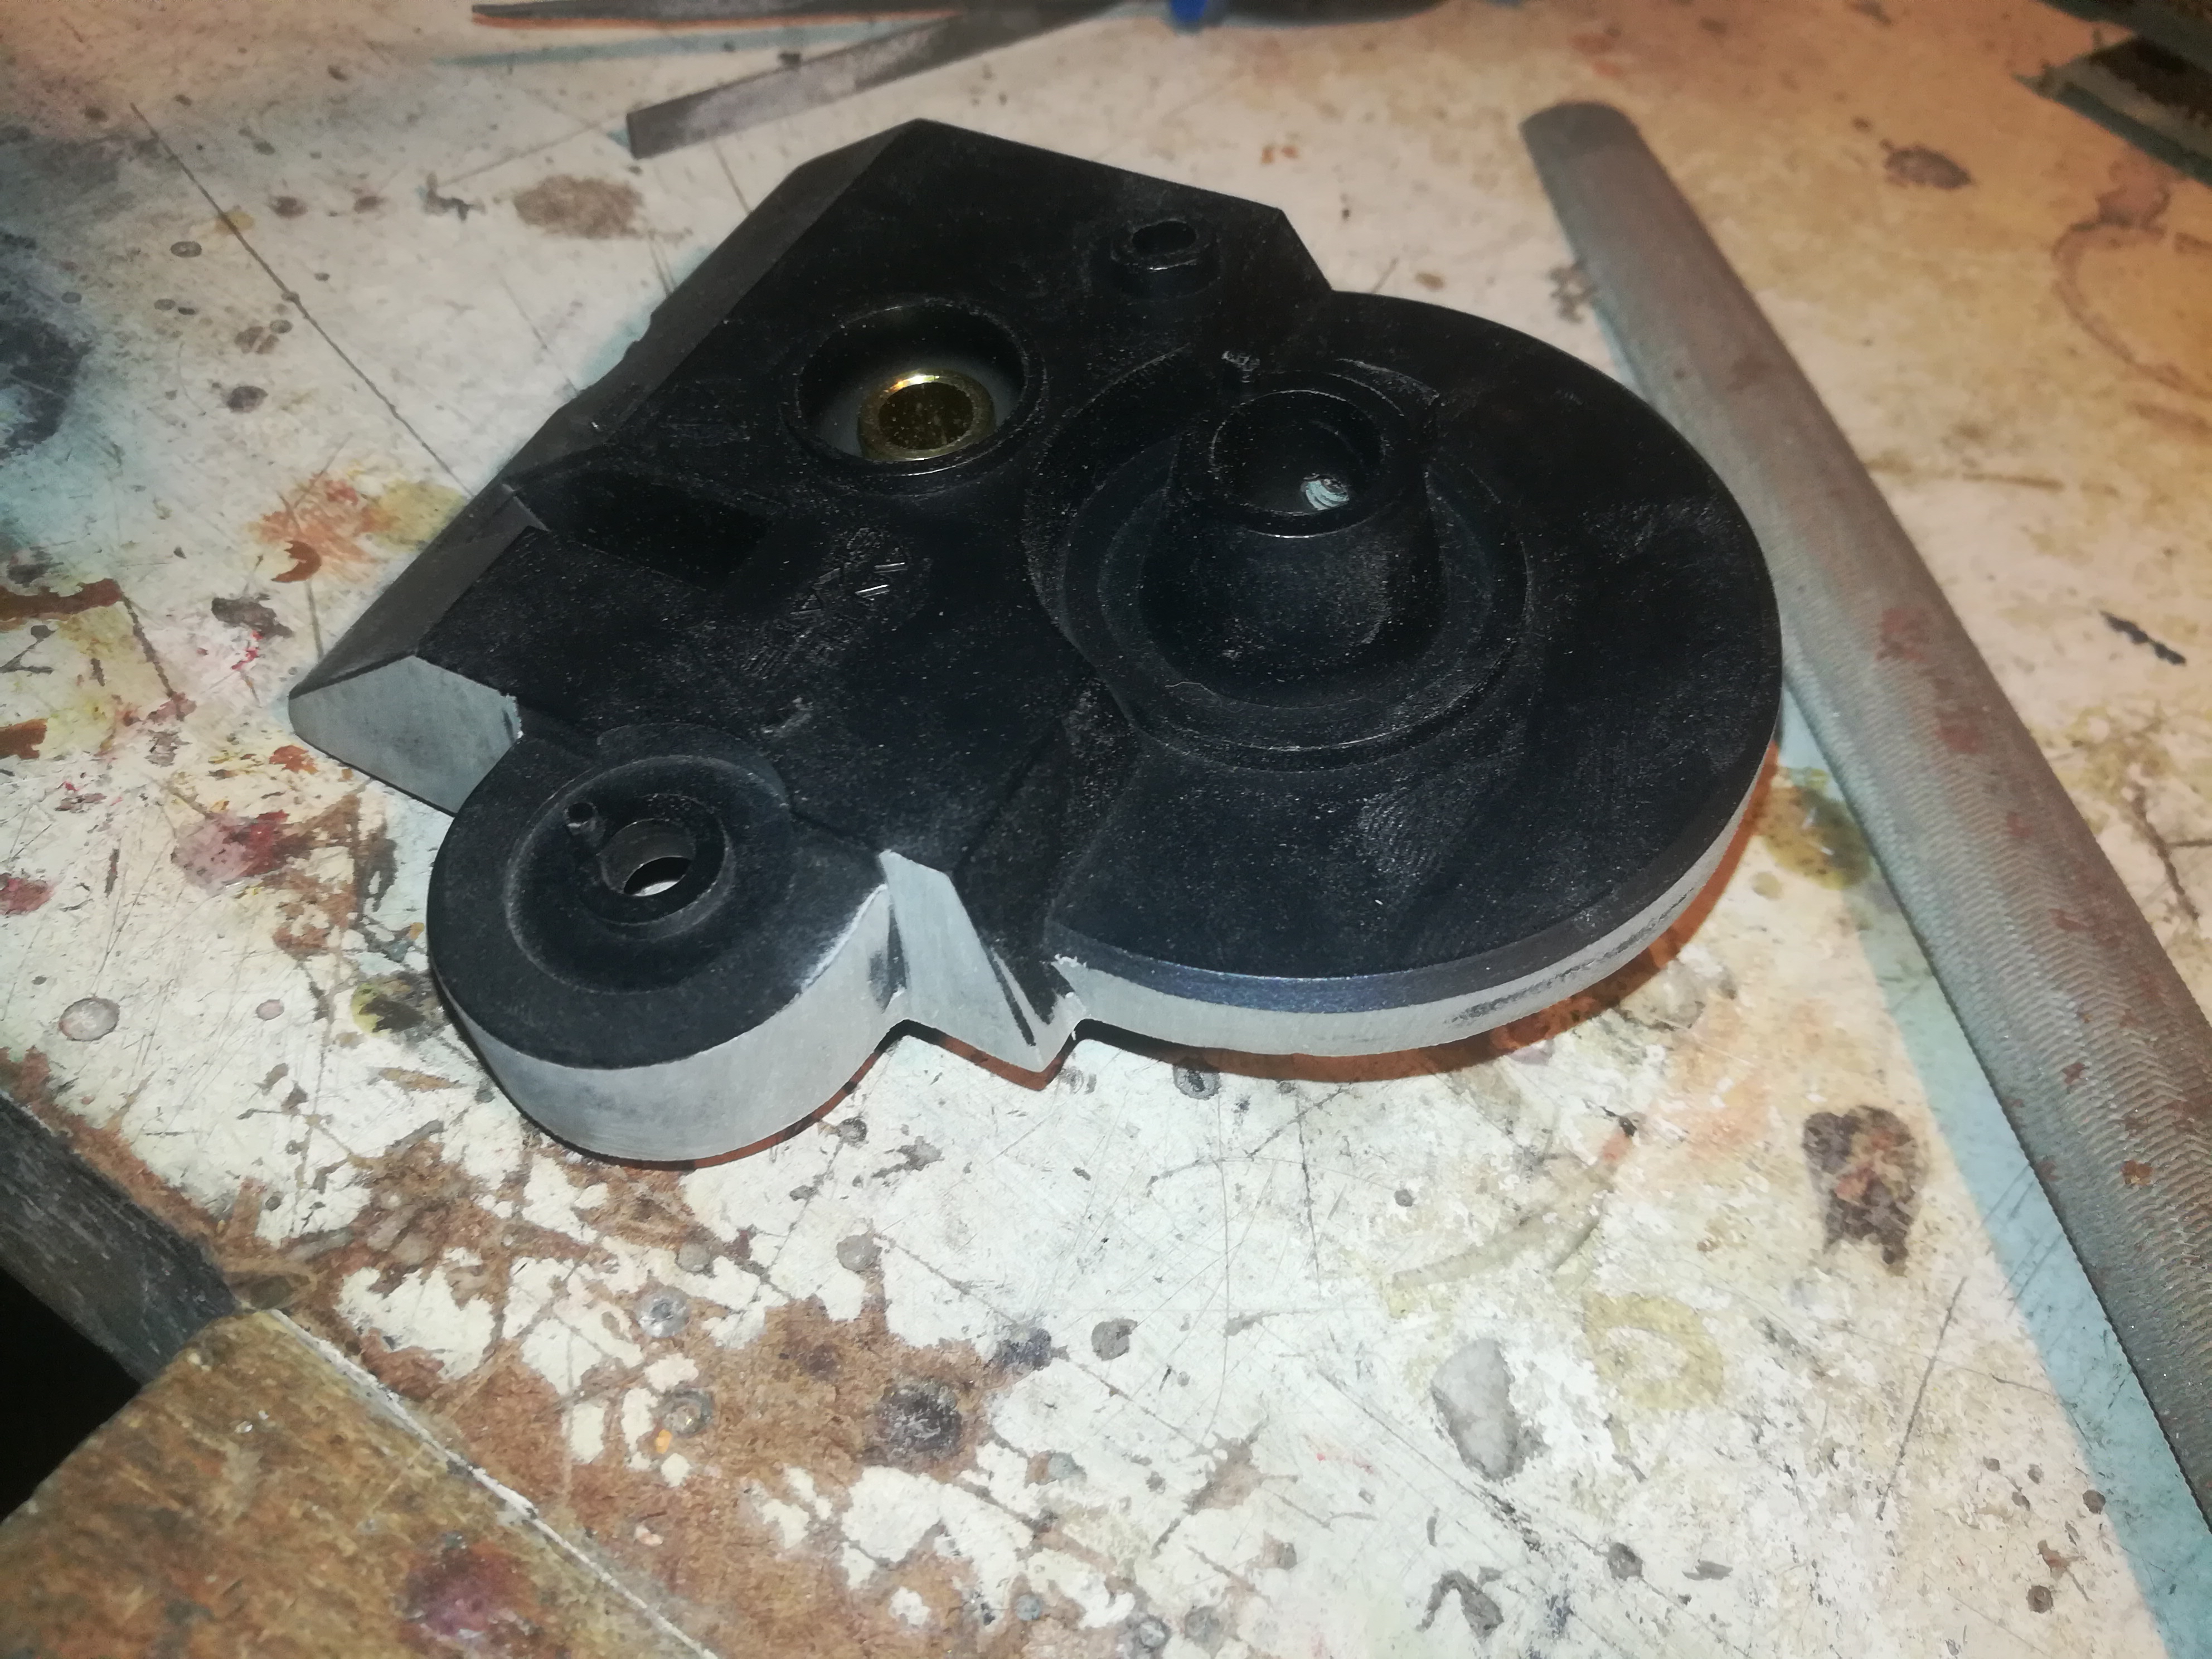
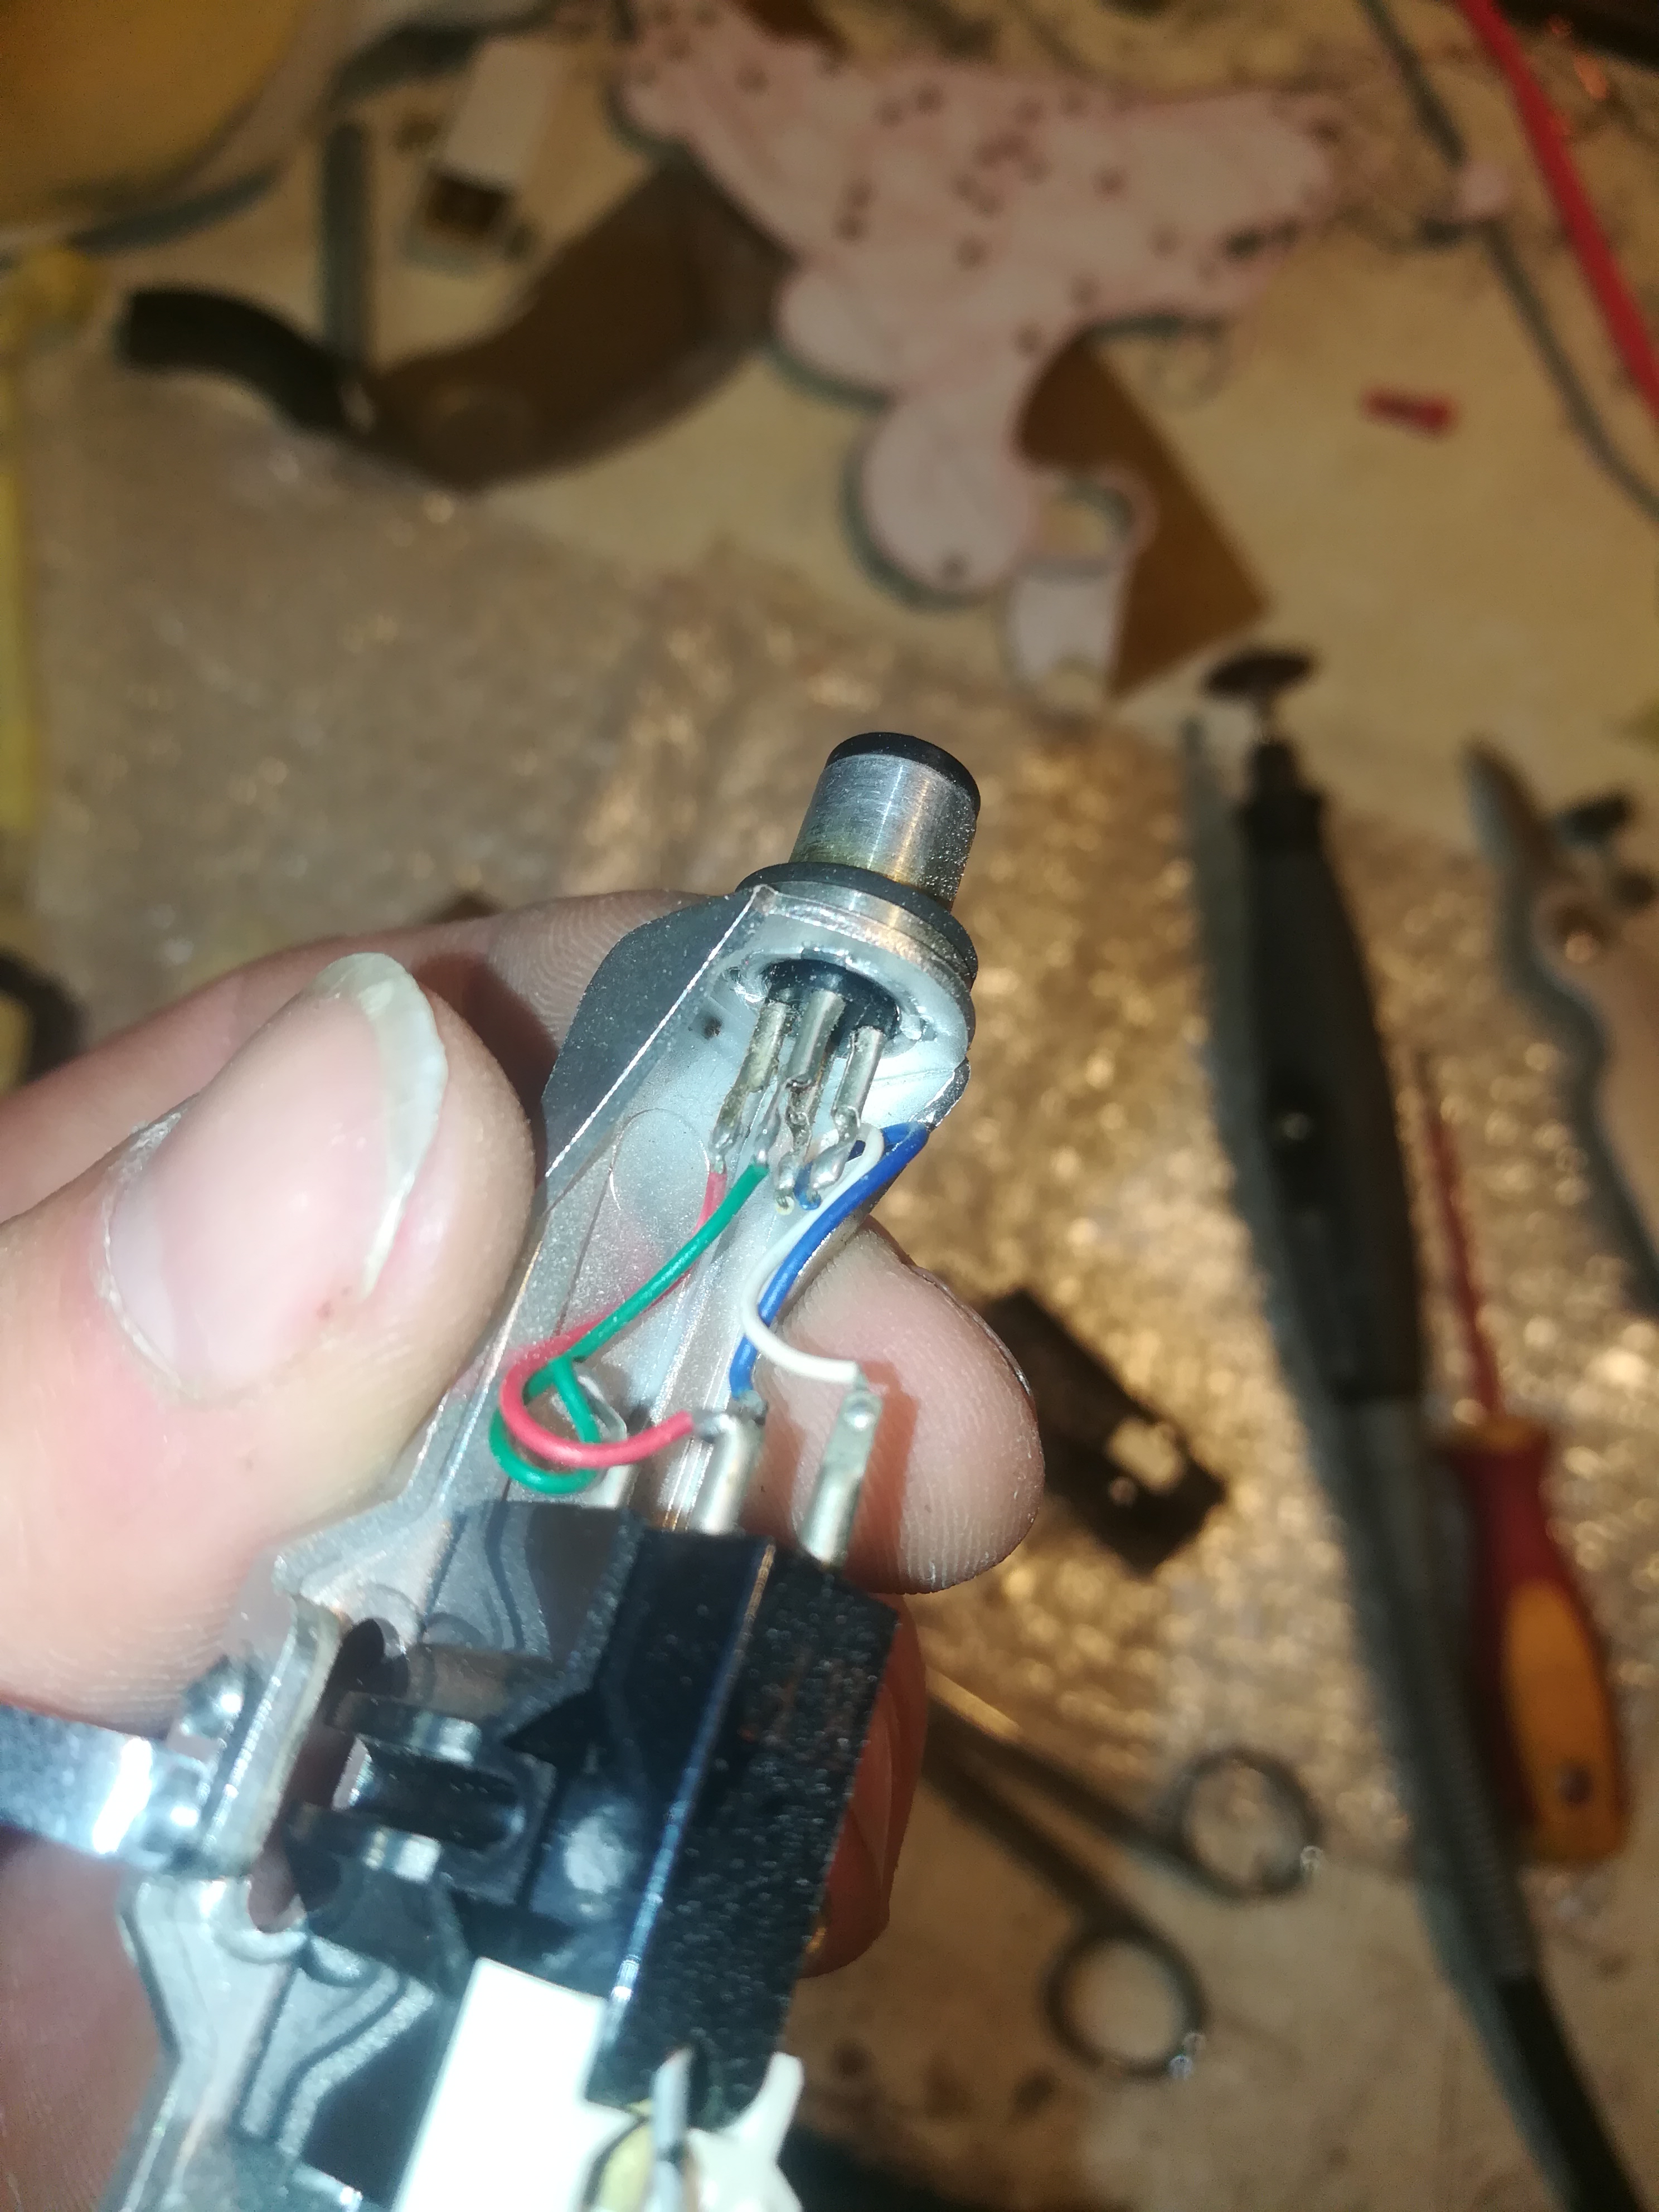
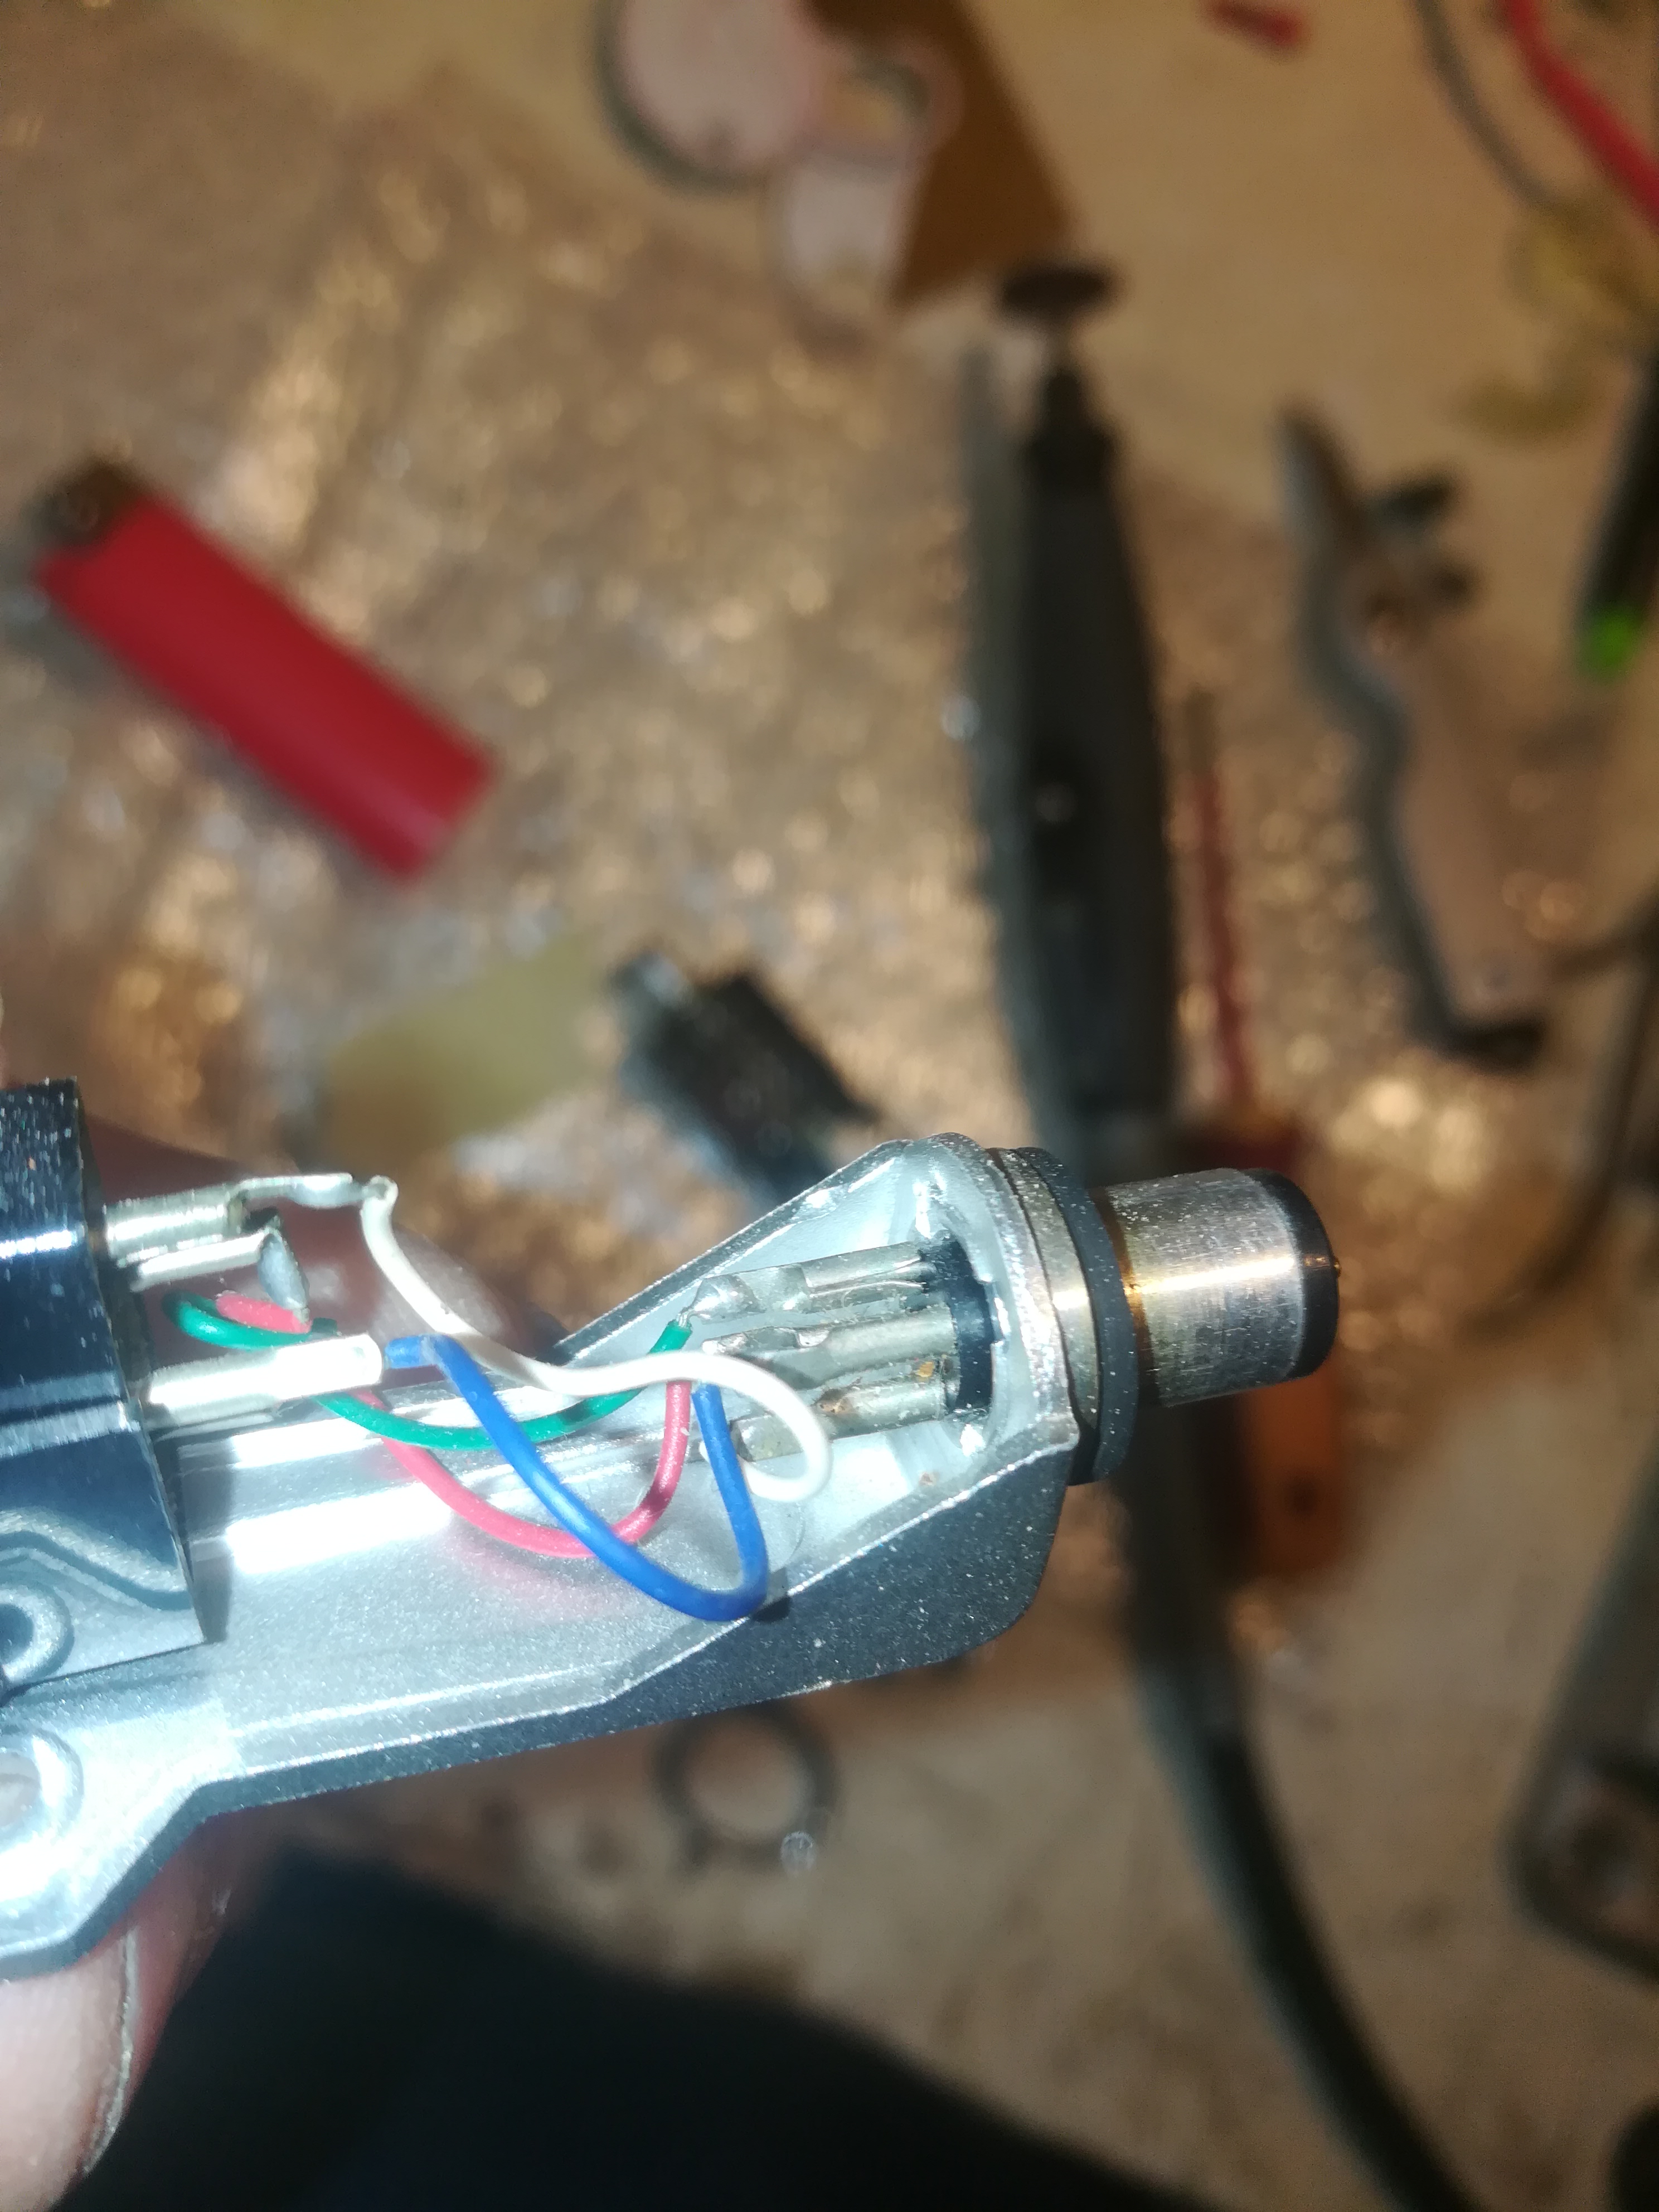
Now I will begin to modify the pick-up arm. I took some pictures for reference on how it was put together and wiring (picture 1-2).
Necessary materials:
- Oscillating Multi-Tool
- Wood veneer
- Two component glue
- Cutting board
- Scalpel
- Sanding paper 120-320
- Degreaser
- Paper tape
- Drill
- Bore 5mm
- High gloss varnish (water base)
------------------------------------------------------------------------------------------------------------------------------------------------------
The third picture shows the complete shape but it was to big to fit, so i needed to reduce it a bit. Take the oscillating Multi-Tool and saw off the parts that are sticking out (picture 4). Now sand the parts that will be coverd with wood veneer and degrease it (picture 5).
Put tape on the parts like before and cut out the shape (picture 6). Peel off the tape and put it on the veneer and cut it out. Apply glue on the parts you made and lay the veneer on it. On the bigger parts i used PU-glue , on the small parts two component glue. Put pressure on it where you can (picture 7). Sand of the parts that are too big and do the next part (picture 8) until the whole piece is coverd (picture 9-12).
Finish the piece with sandpaper 320.
Drill 2 holes to secure the piece in place and apply the first layer of varnish.
Make the Pick-up Arm Hole in the Case
Now we have our shape of the pick-up arm, we can make the hole in the case and increase the height because the arm does not get high enough.
Necessary materials:
- Paper tape
- Scalpel
- Thin cardboard
- ruler
- Hand jigsaw for wood
- Drill
- bore 4mm
- Acryl plate 6mm
------------------------------------------------------------------------------------------------------------------------------------------------------
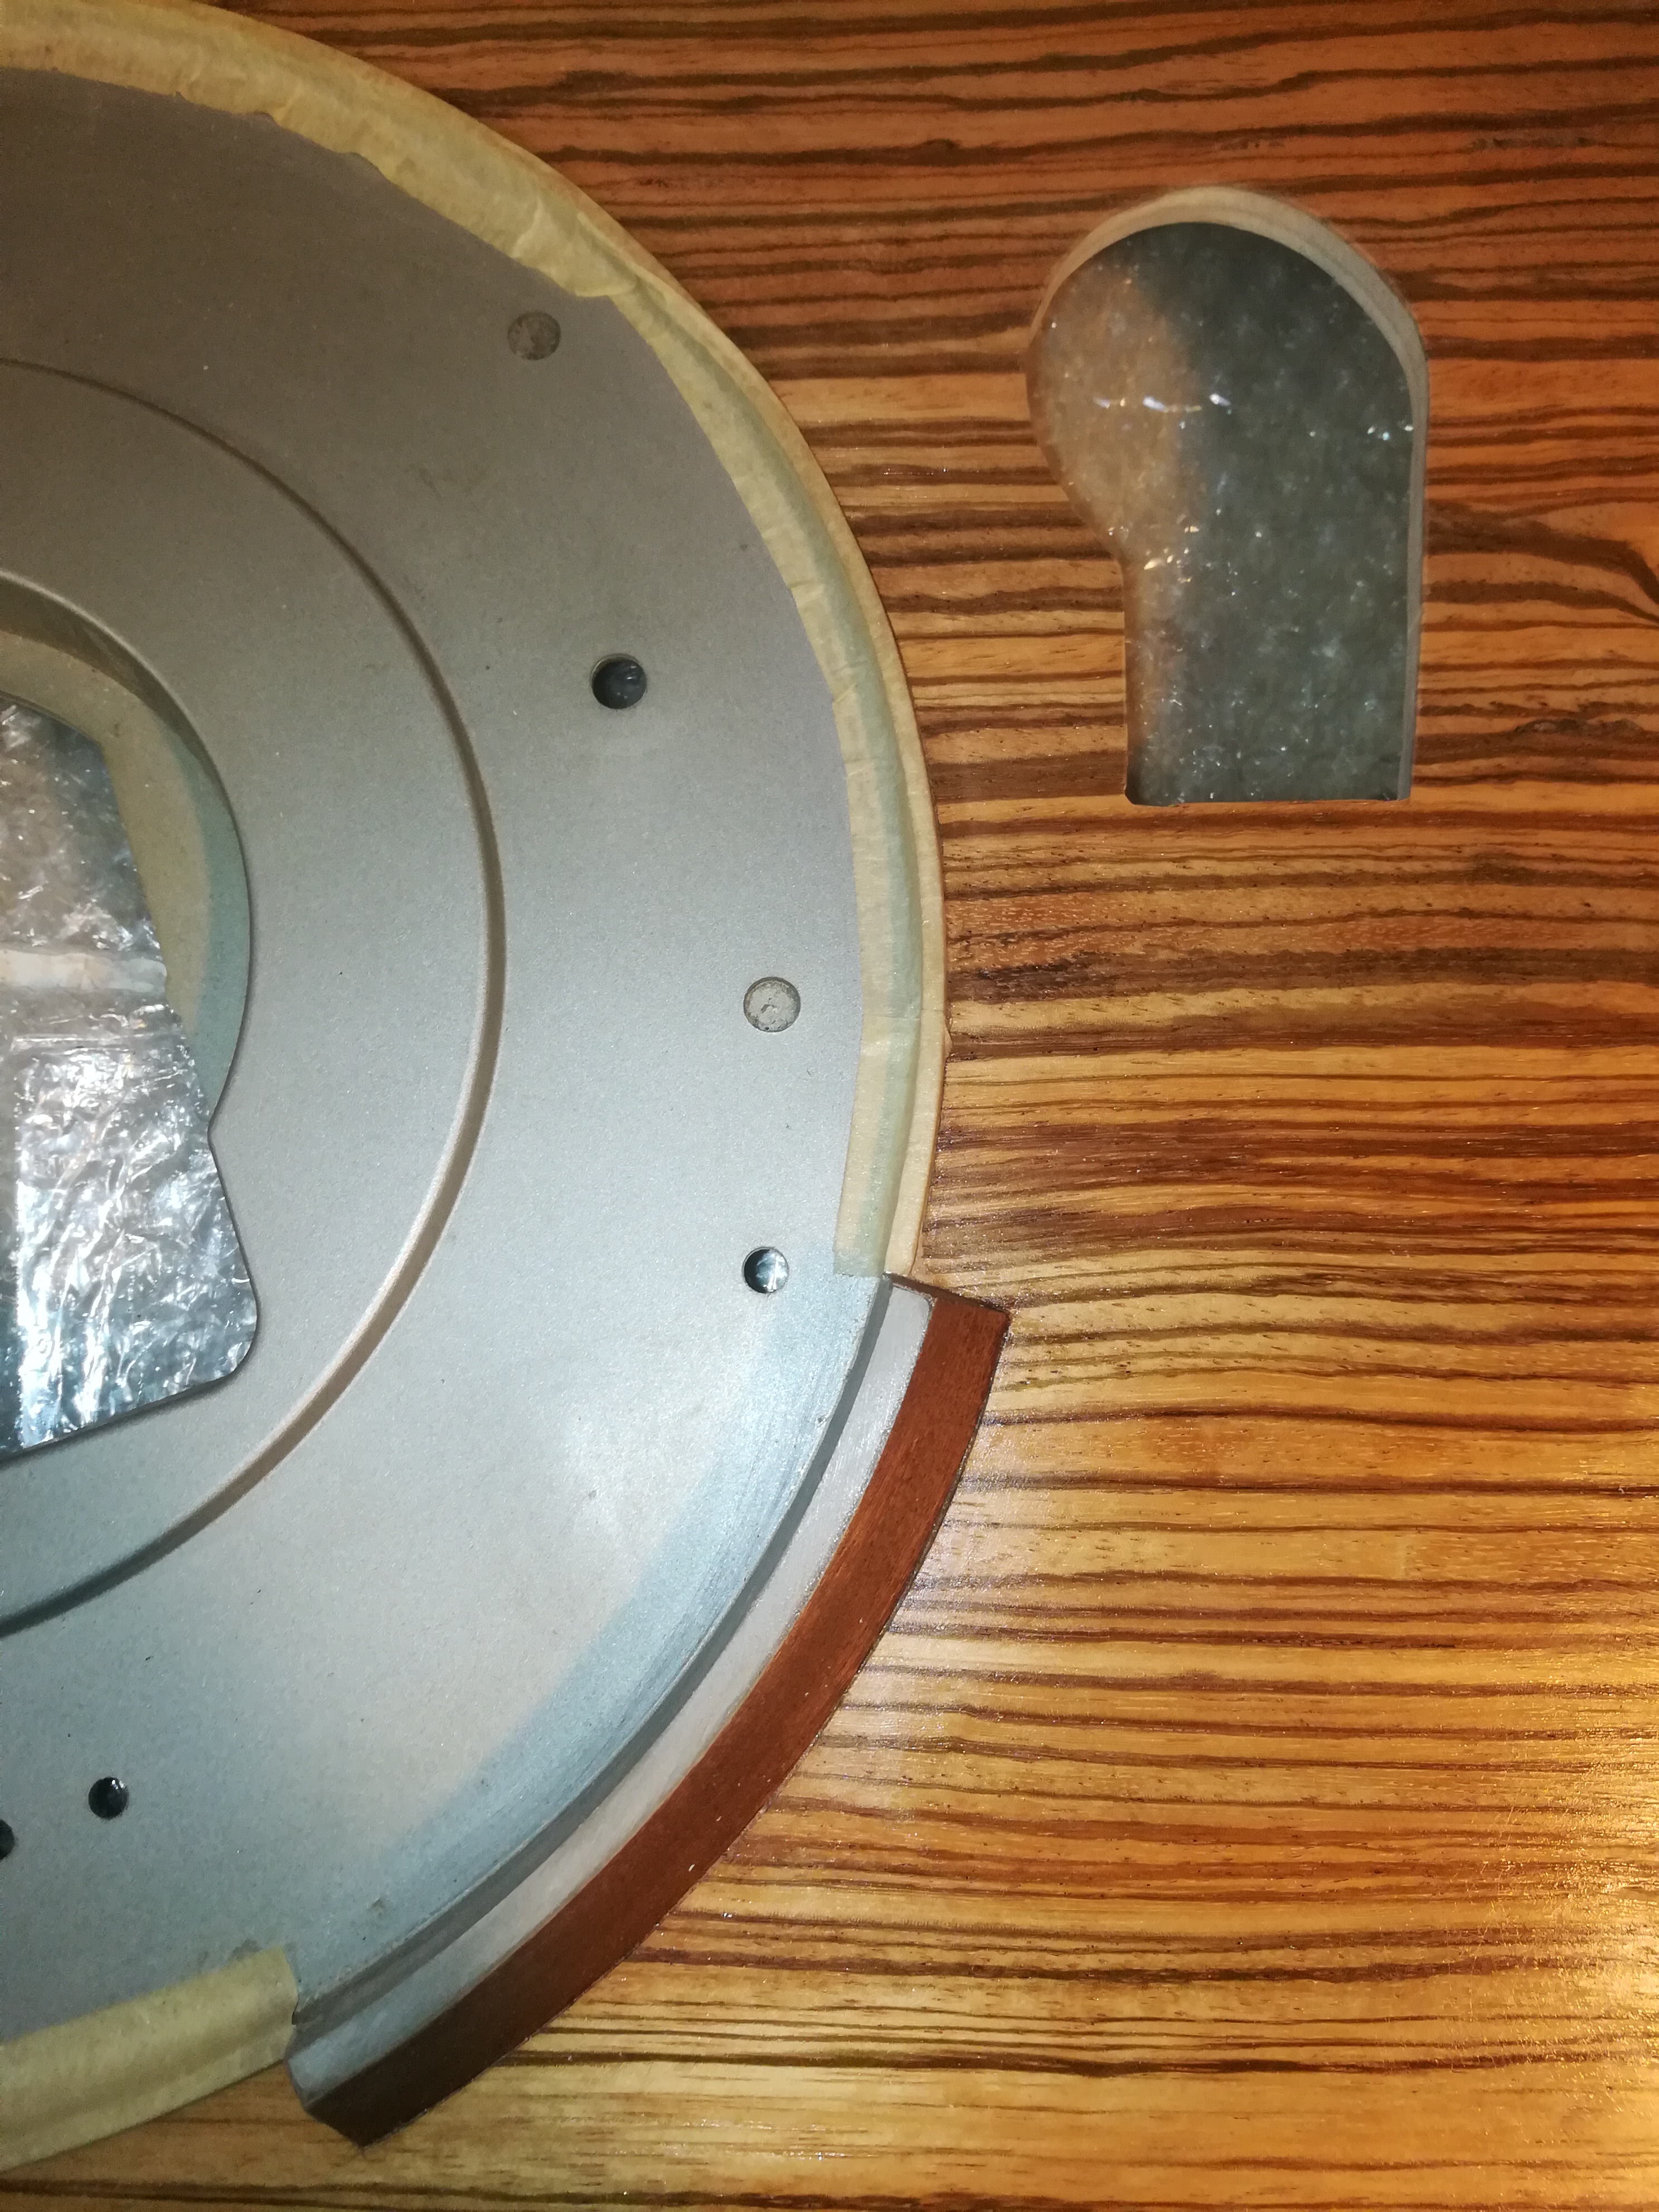
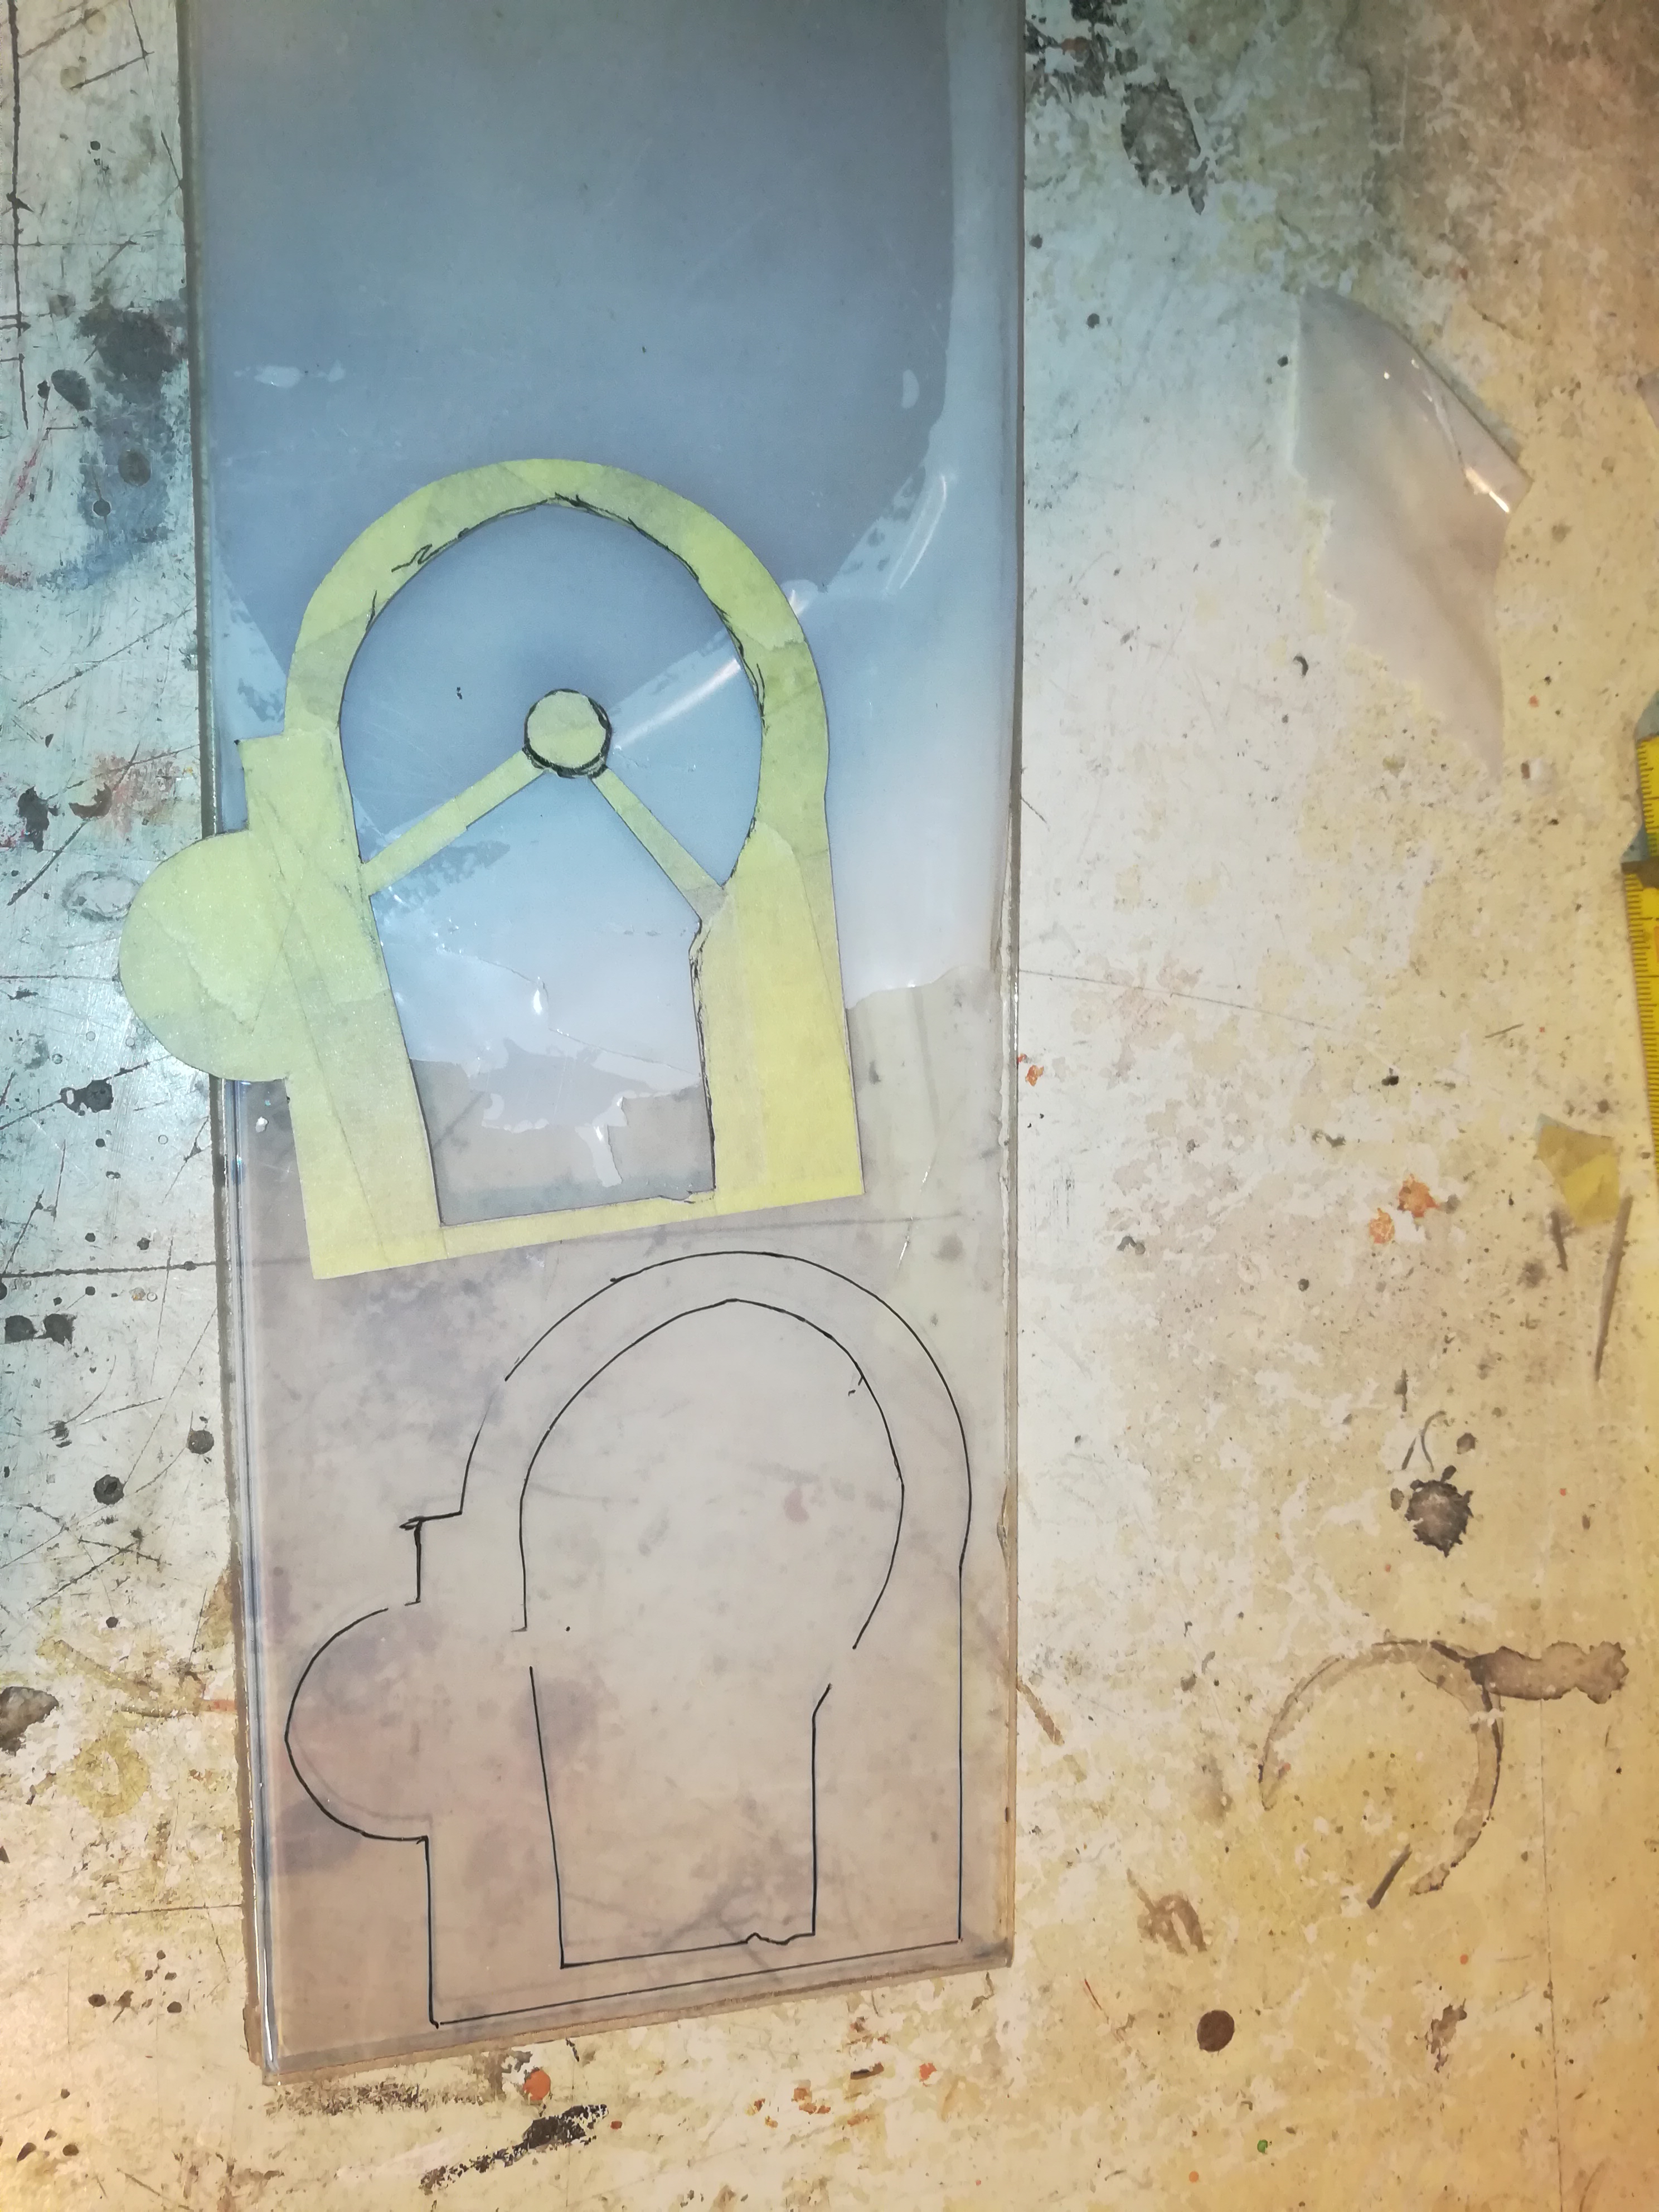
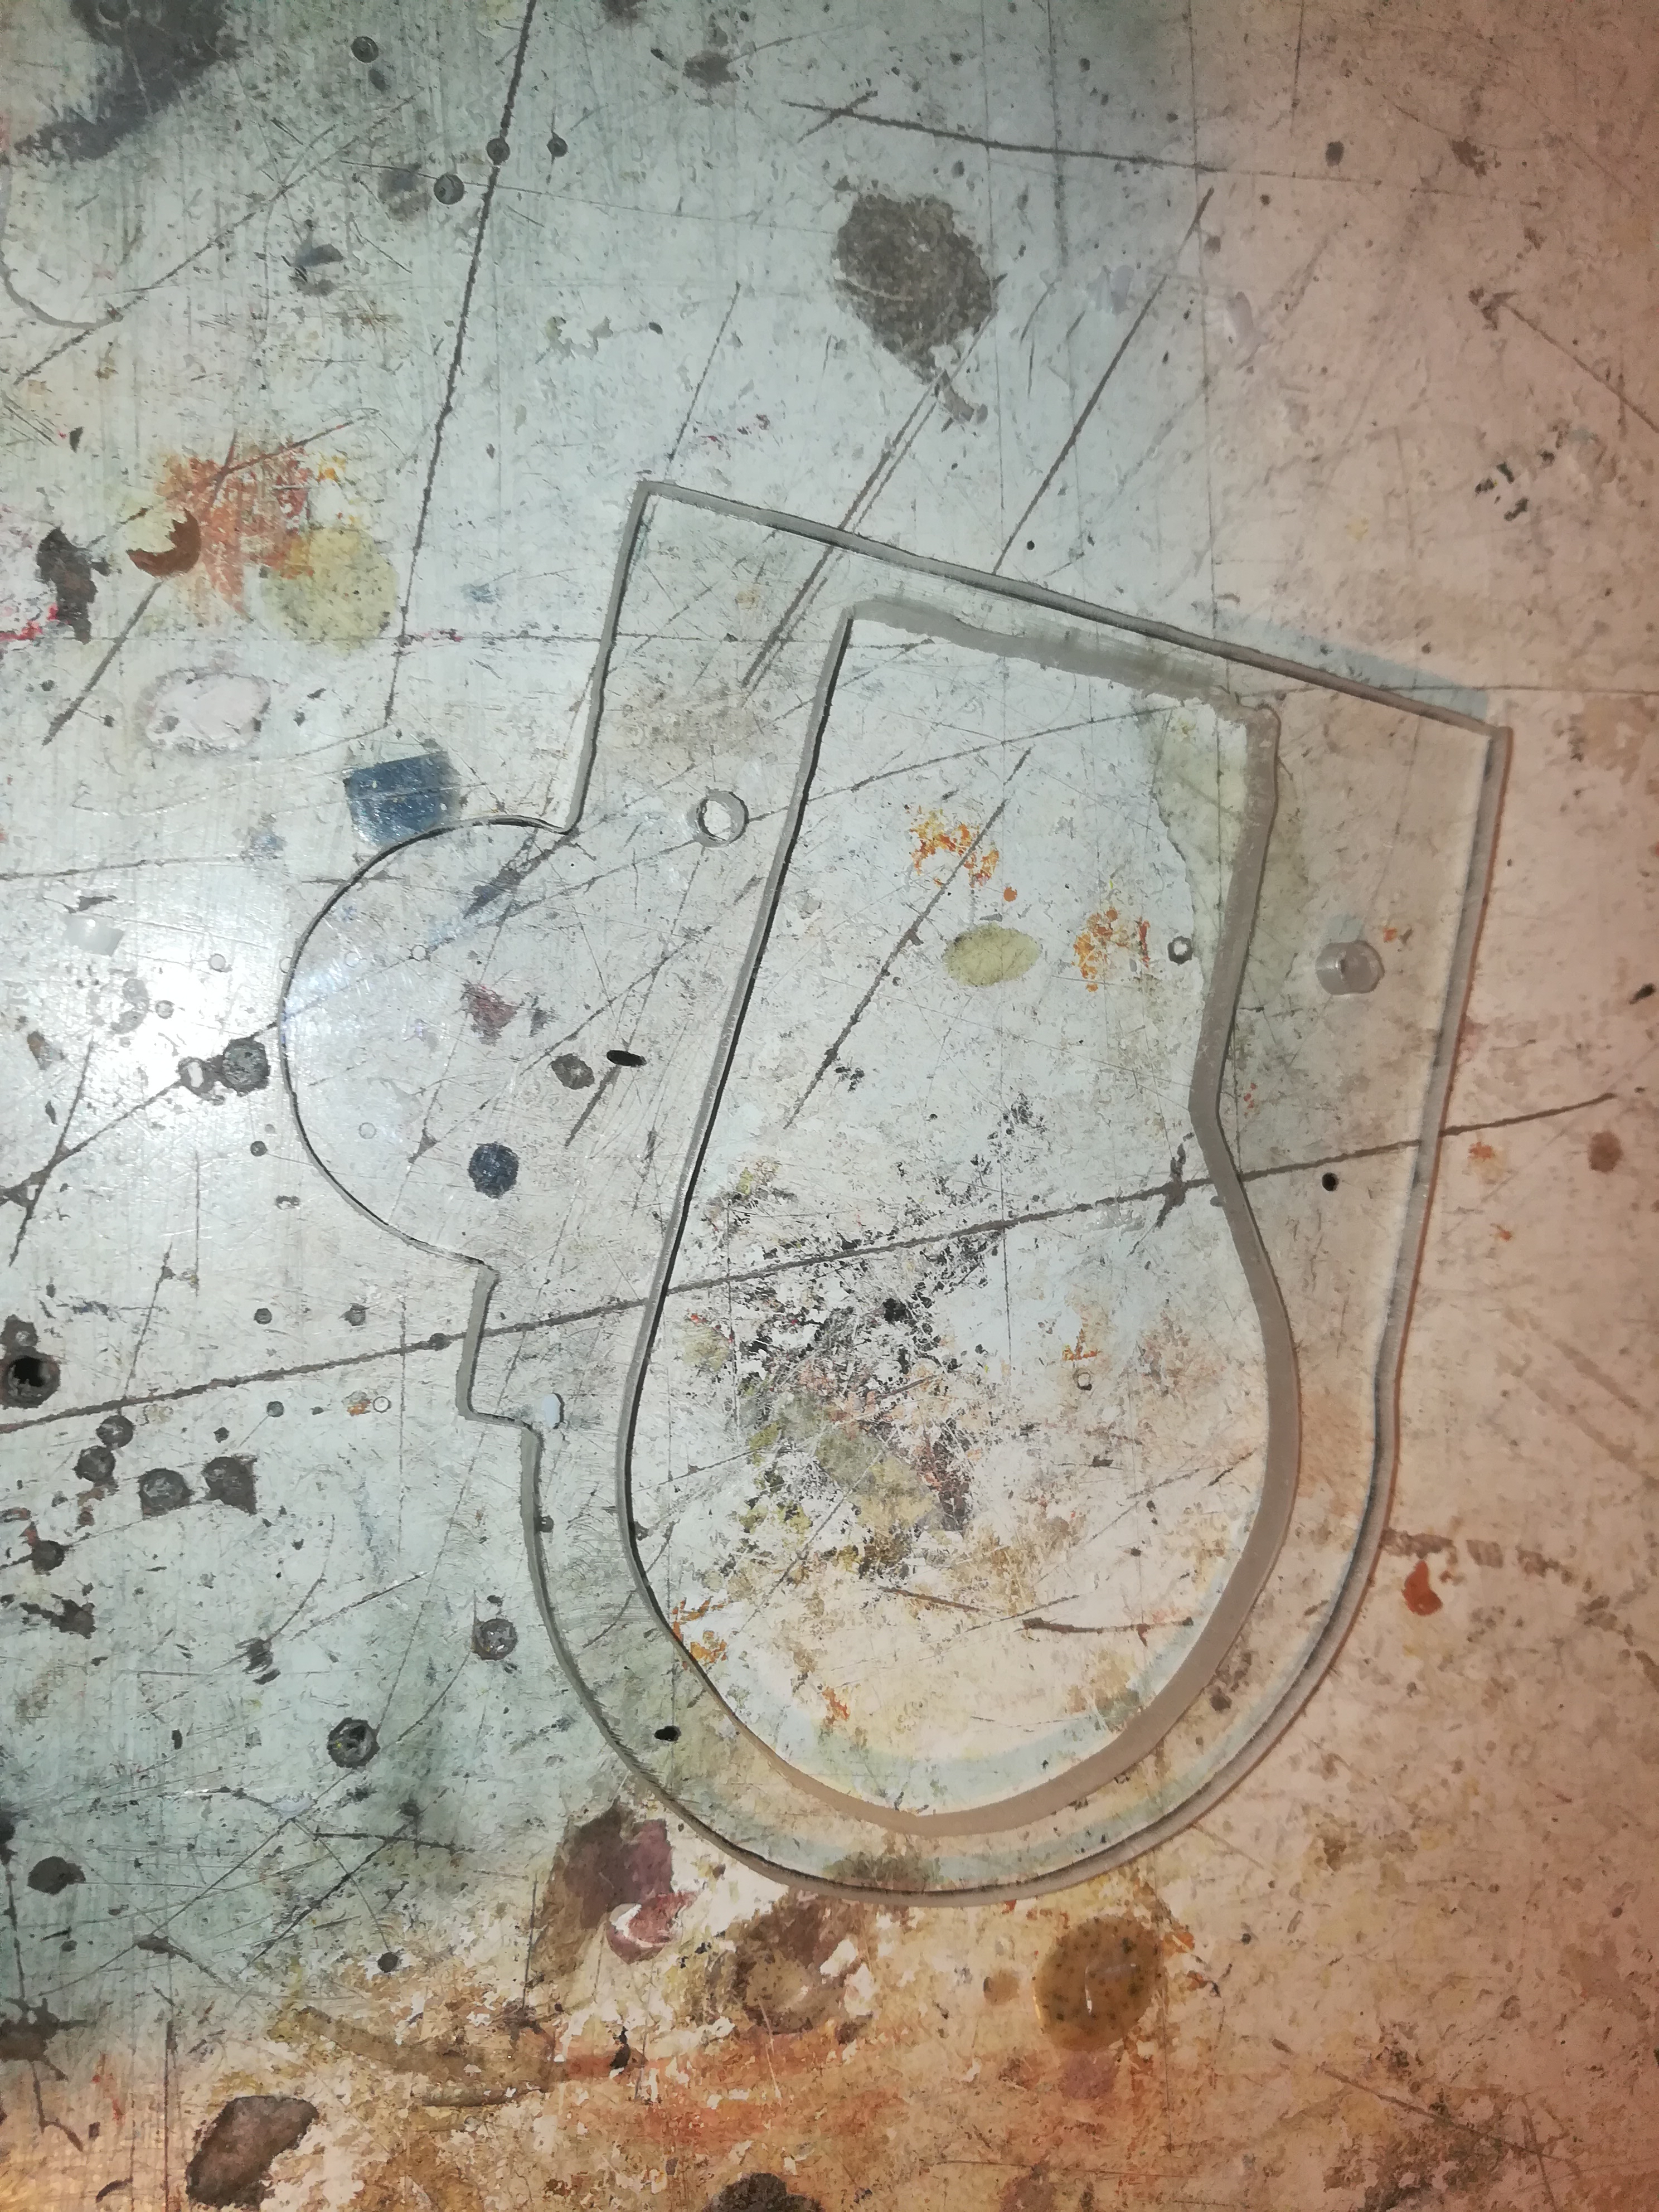
Use paper tape for creating the outer shape and stick it on thin cardboard. Make sure you know where the center of the pick-up arm is located. Measure out the location where the arm will be on the case, then lay over the cardboard shape and trace the inner hole onto the case (picture 1). Drill a hole in the case and cut it out with a jigsaw (picture 2).
Now do the same with the acryl plate (picture 2-3).
Install Speed Controle Switch
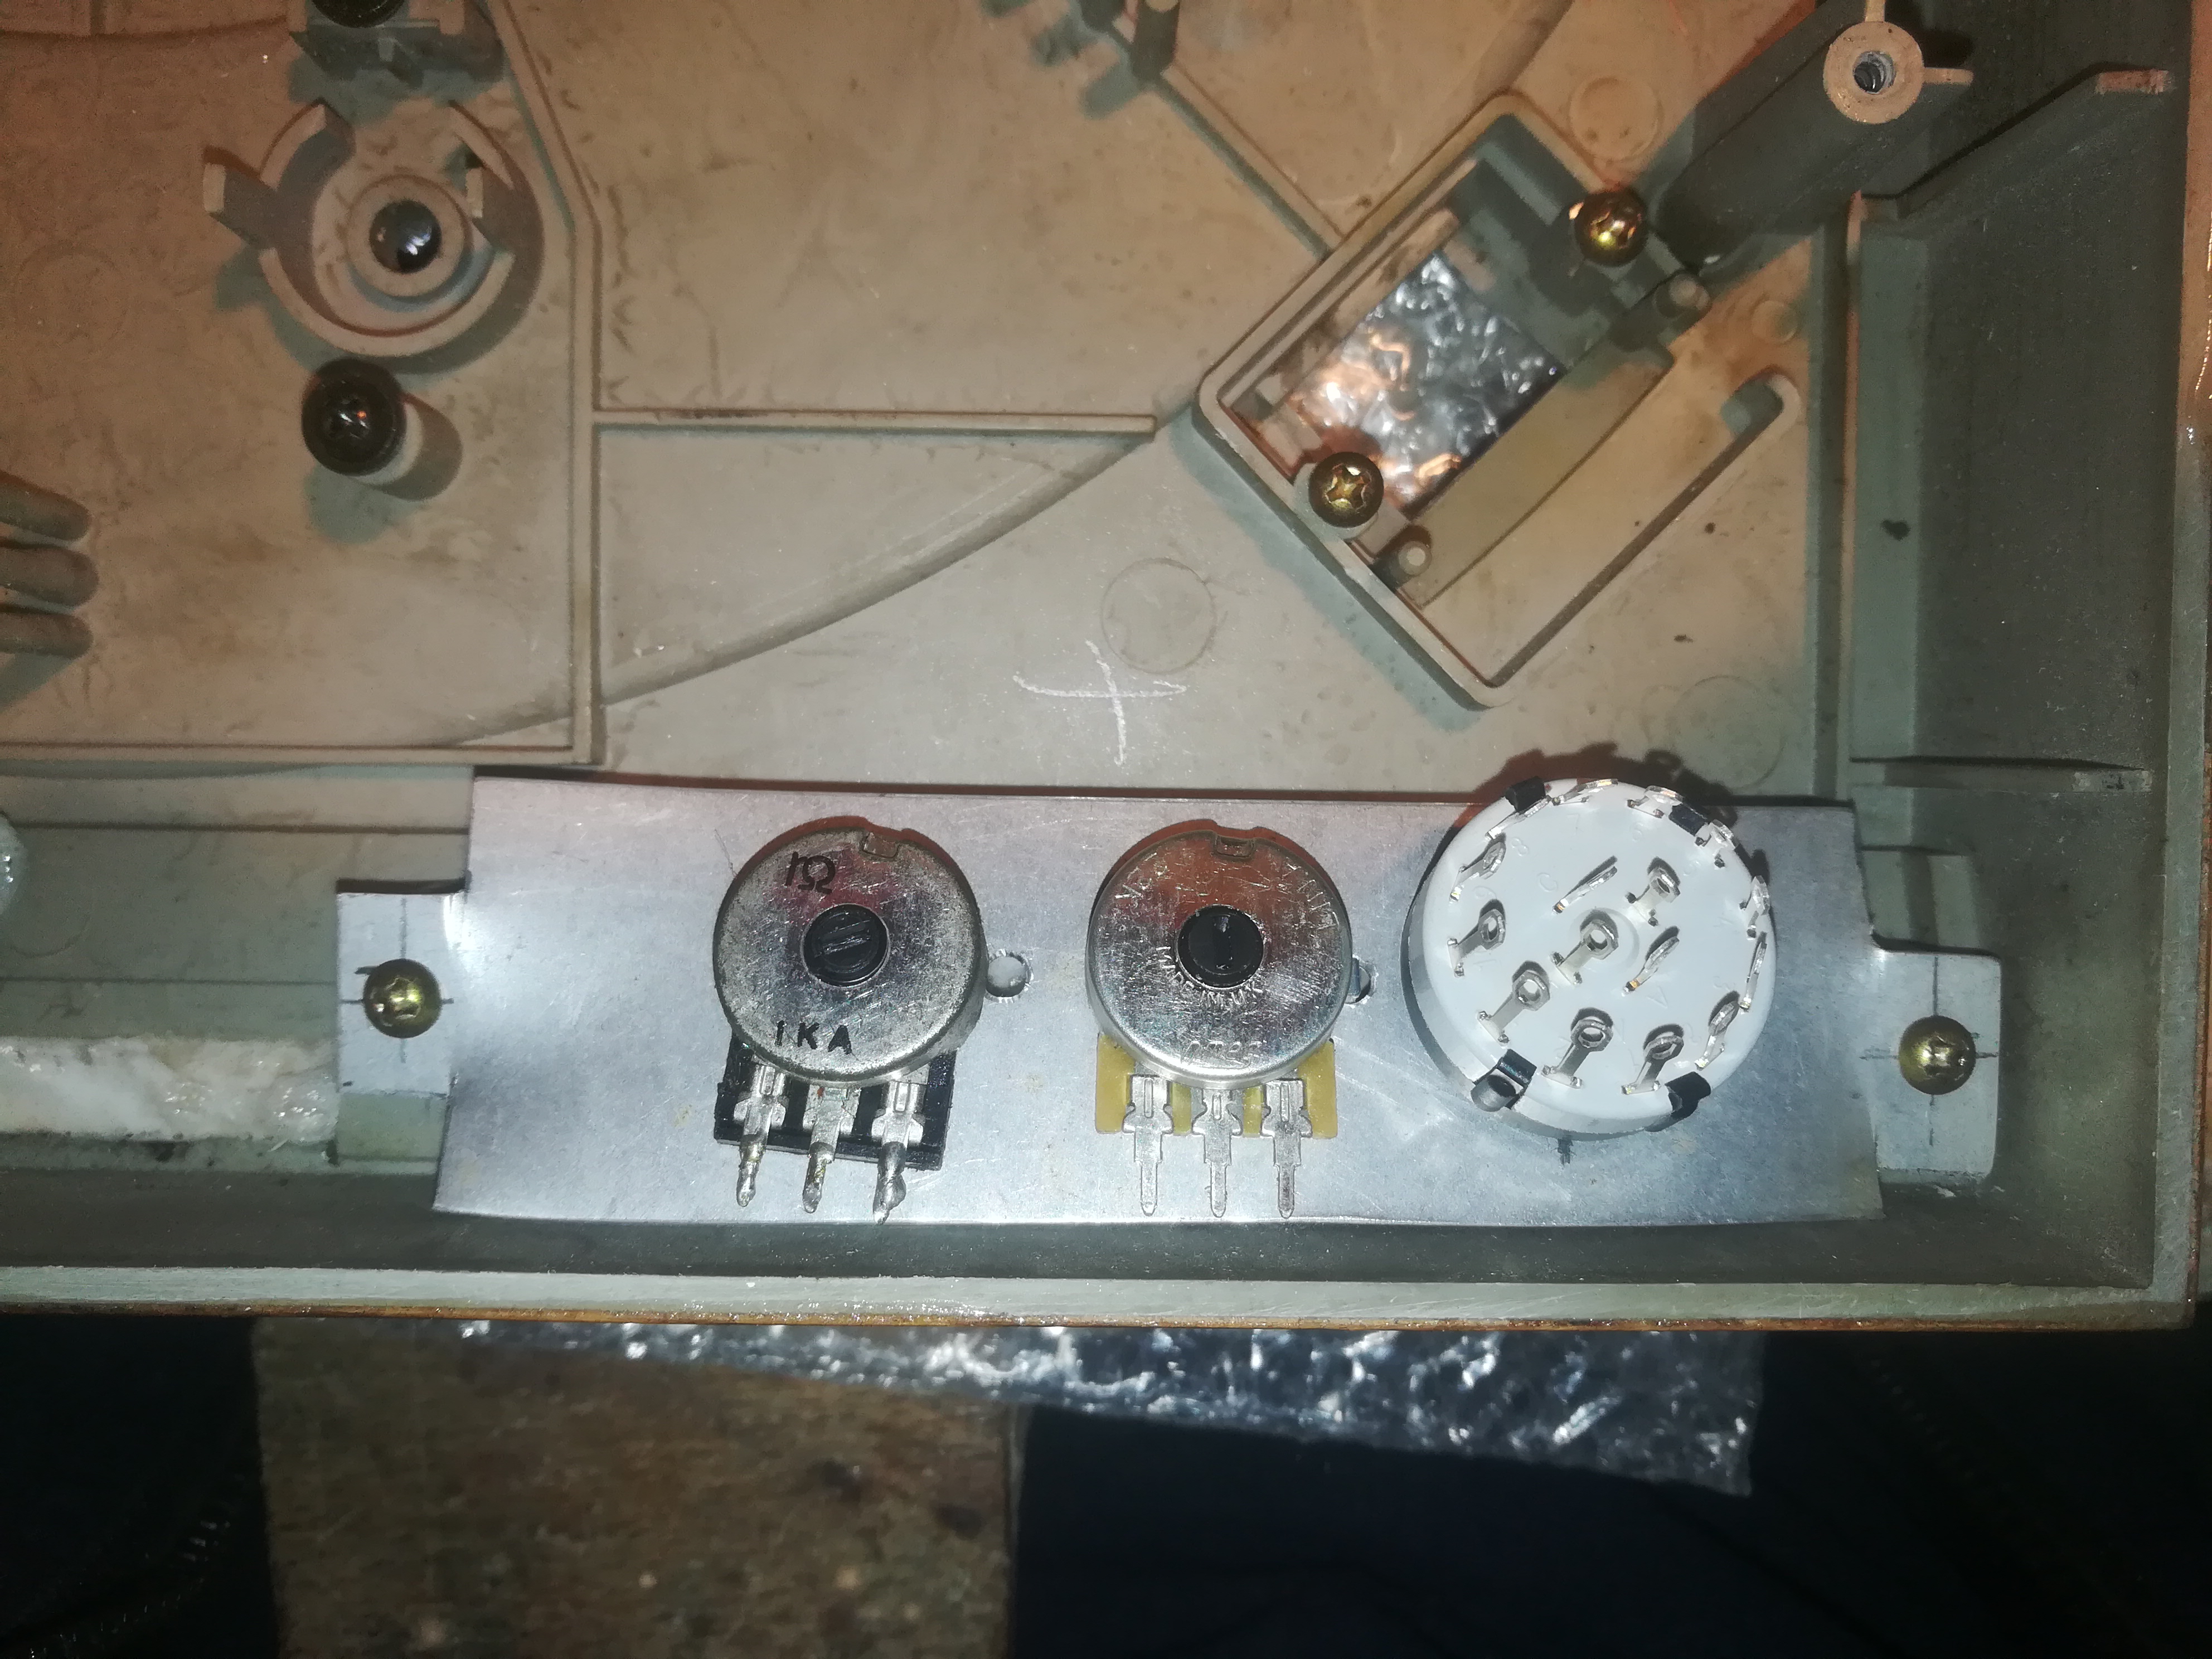
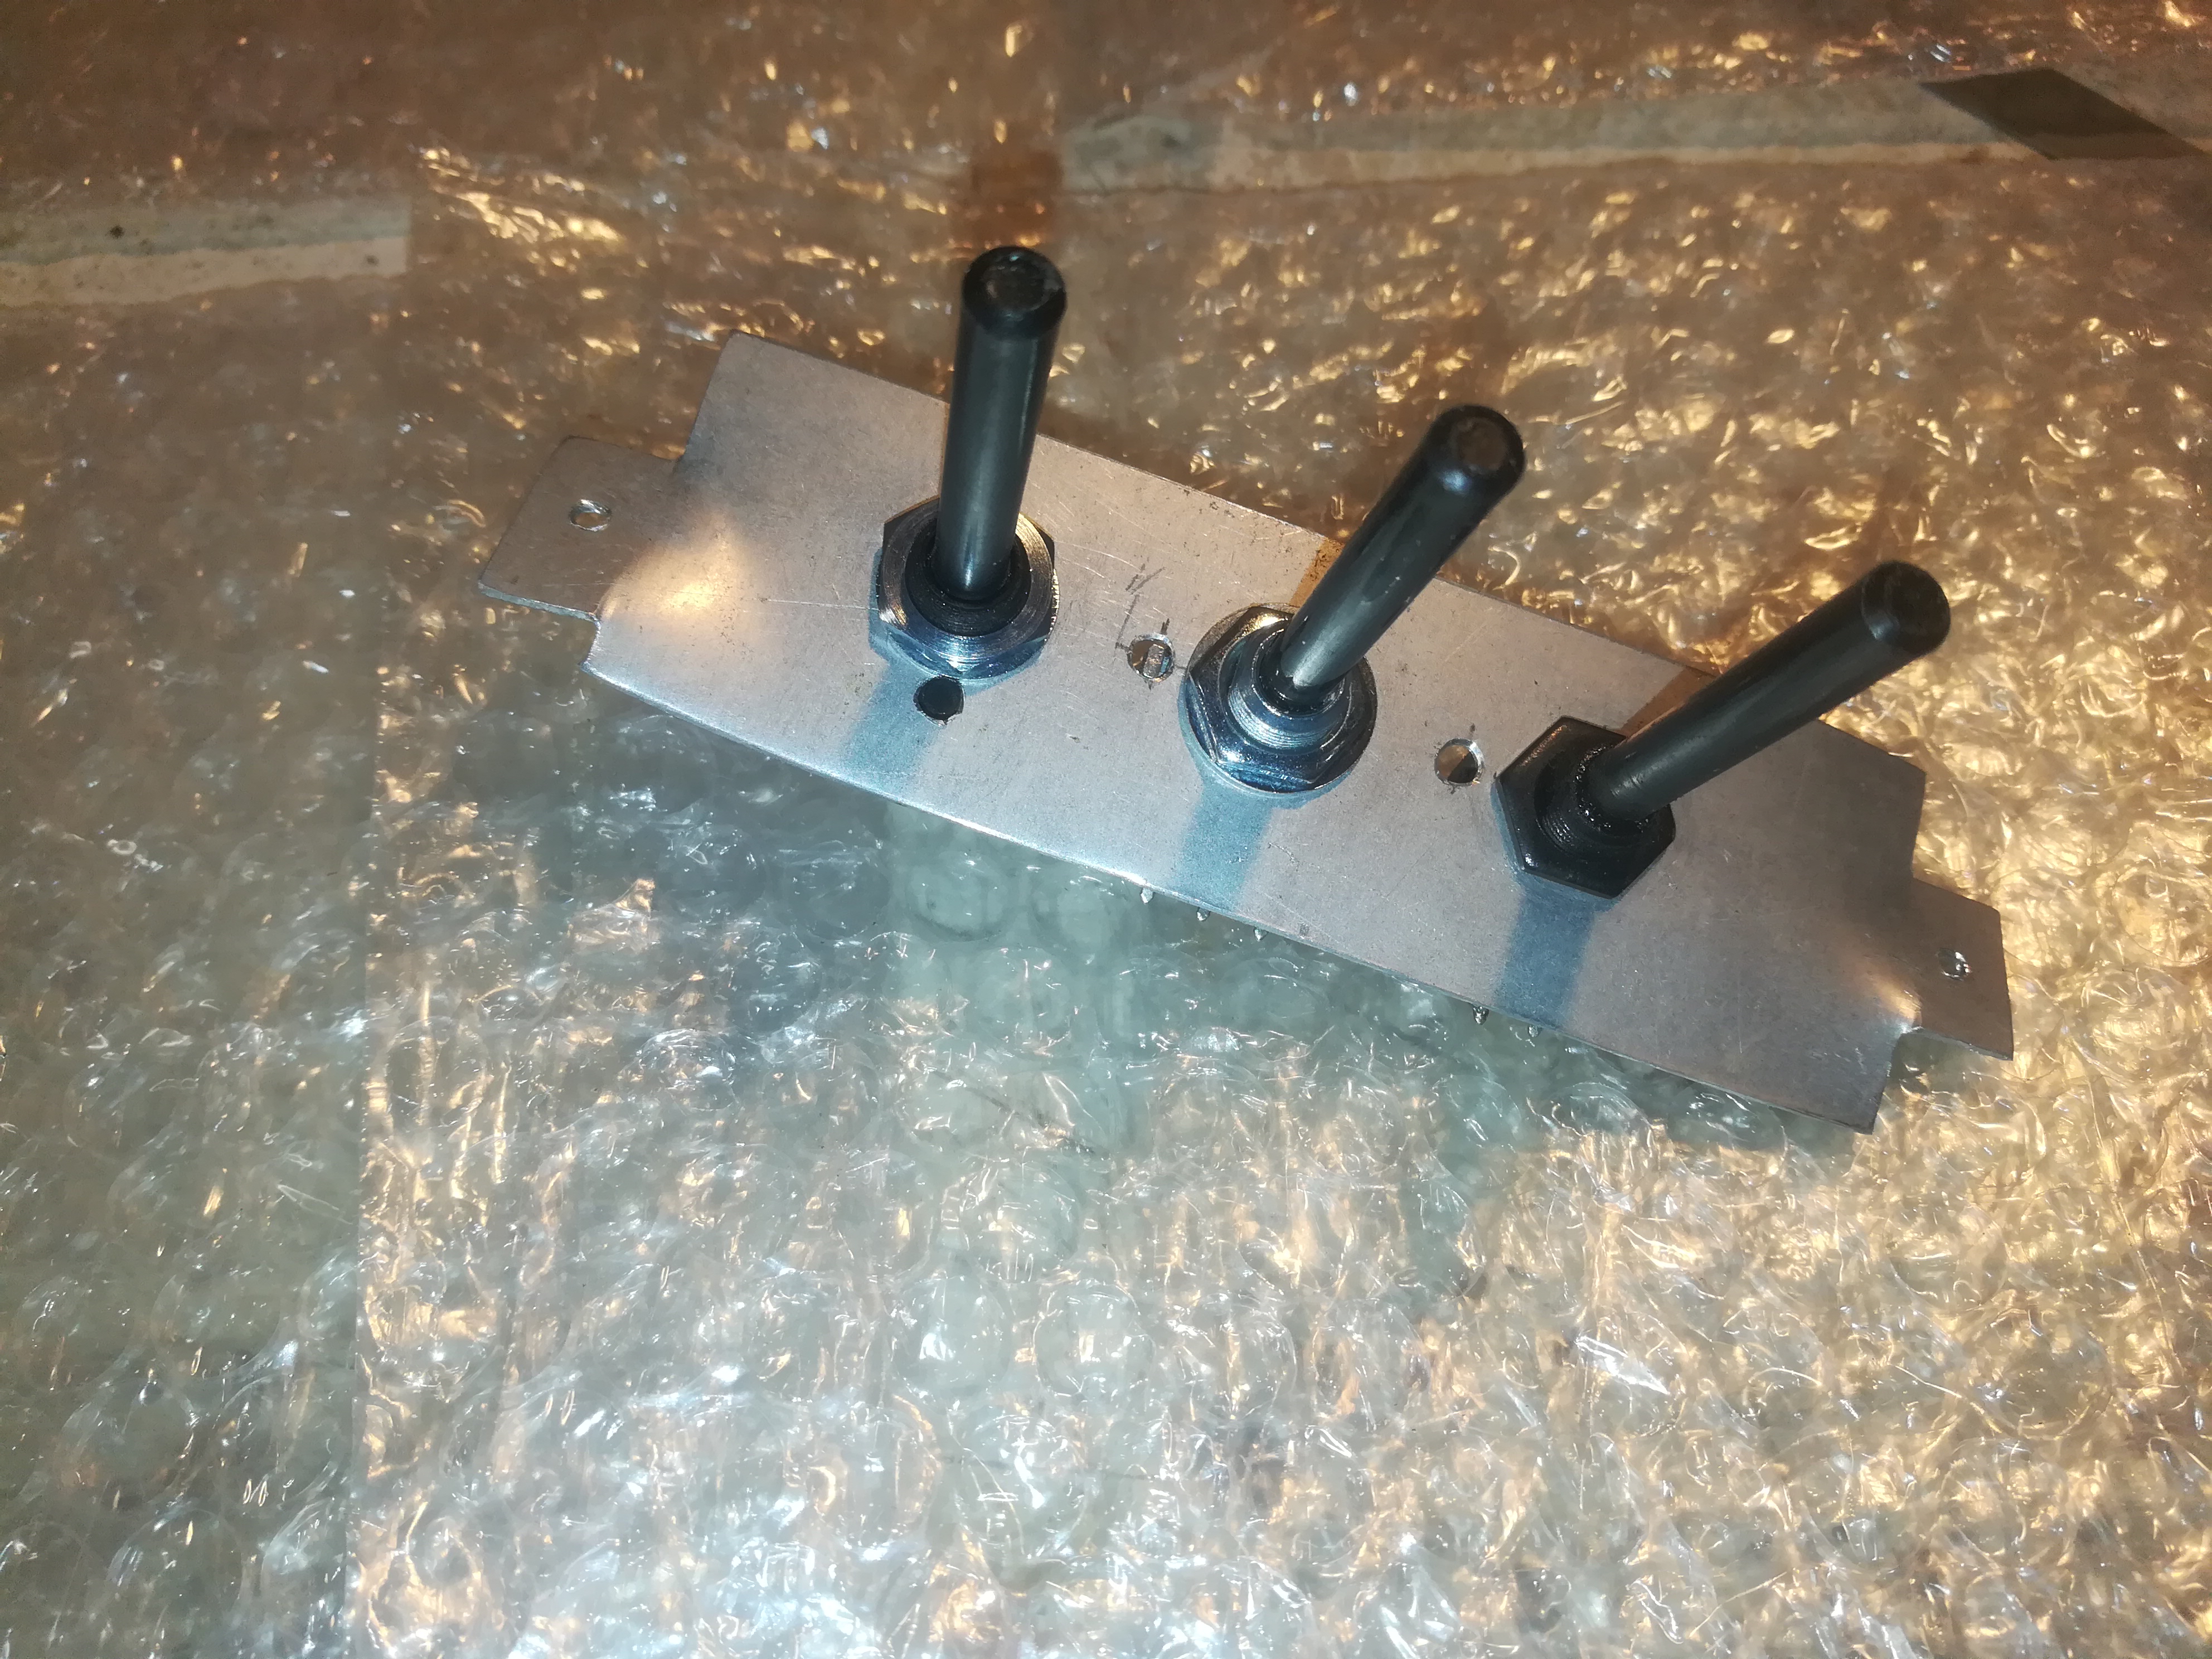
The speed contol switch was broken and the potentiometers where worn out, so I bought new ones.
Necessary materials:
- Drill
- Bore 6.5-8 mm
- Aluminum plate
- 2 potentiometers 22K
- 3 position switch
------------------------------------------------------------------------------------------------------------------------------------------------------
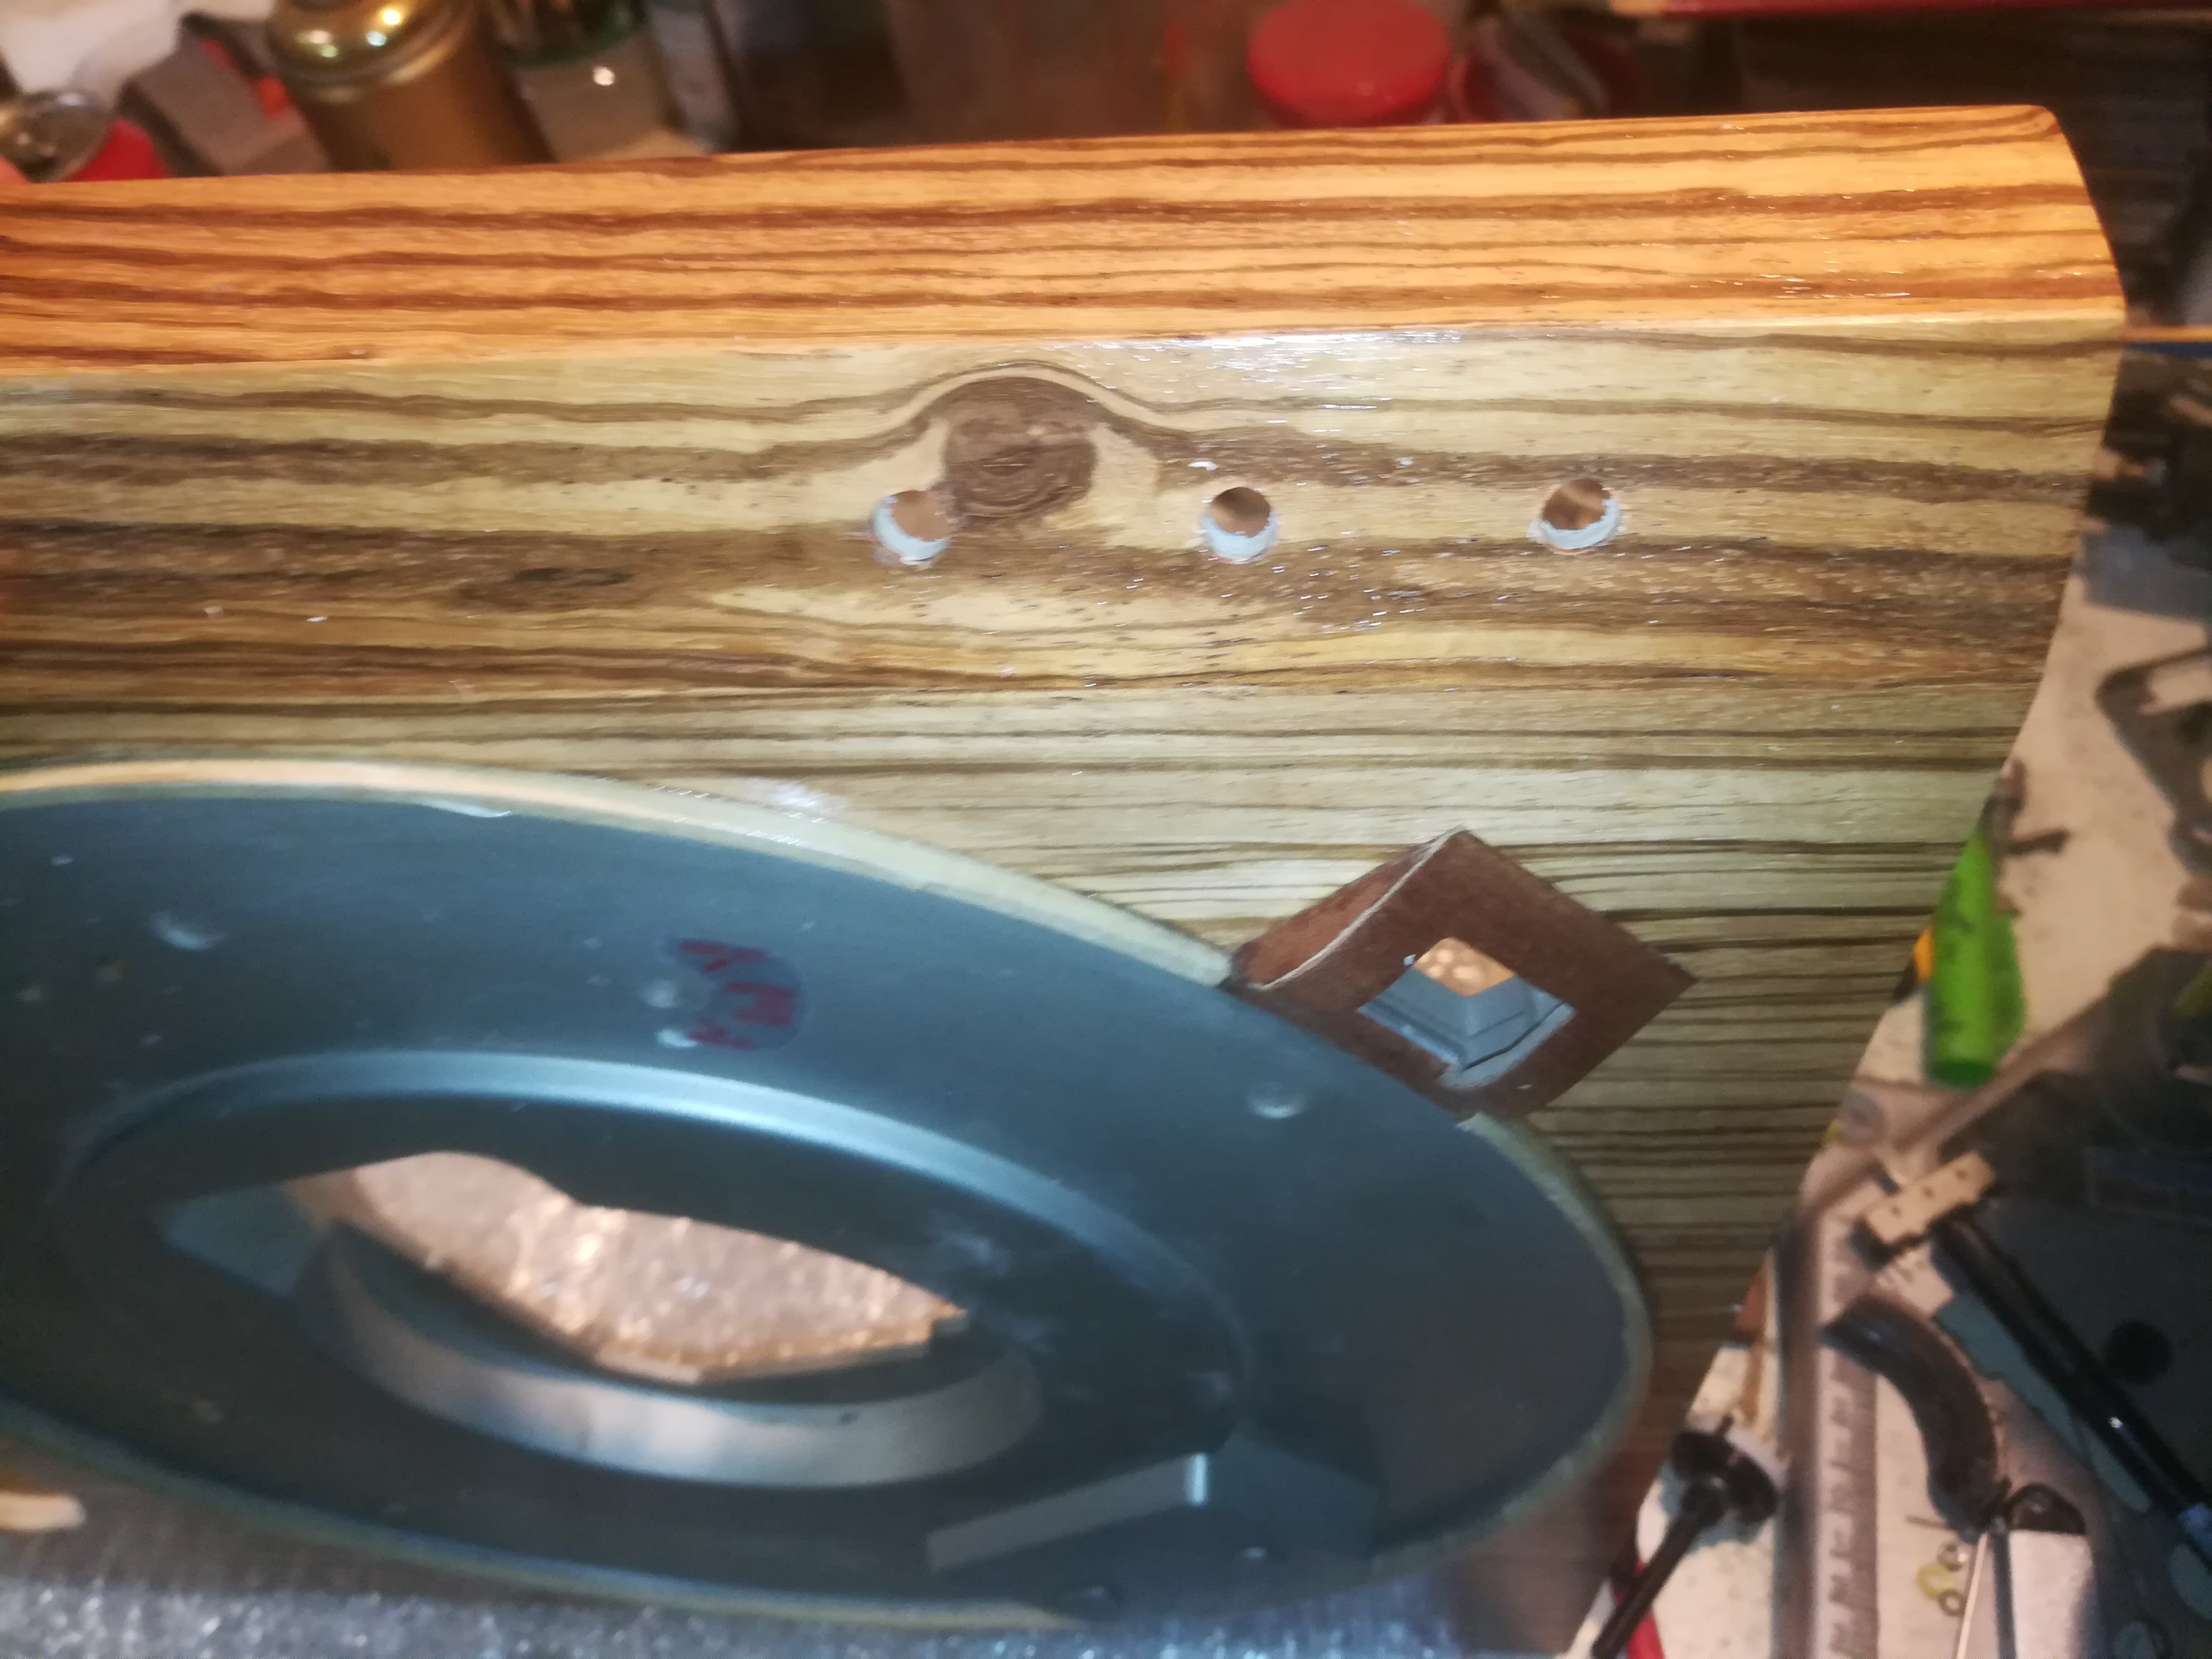
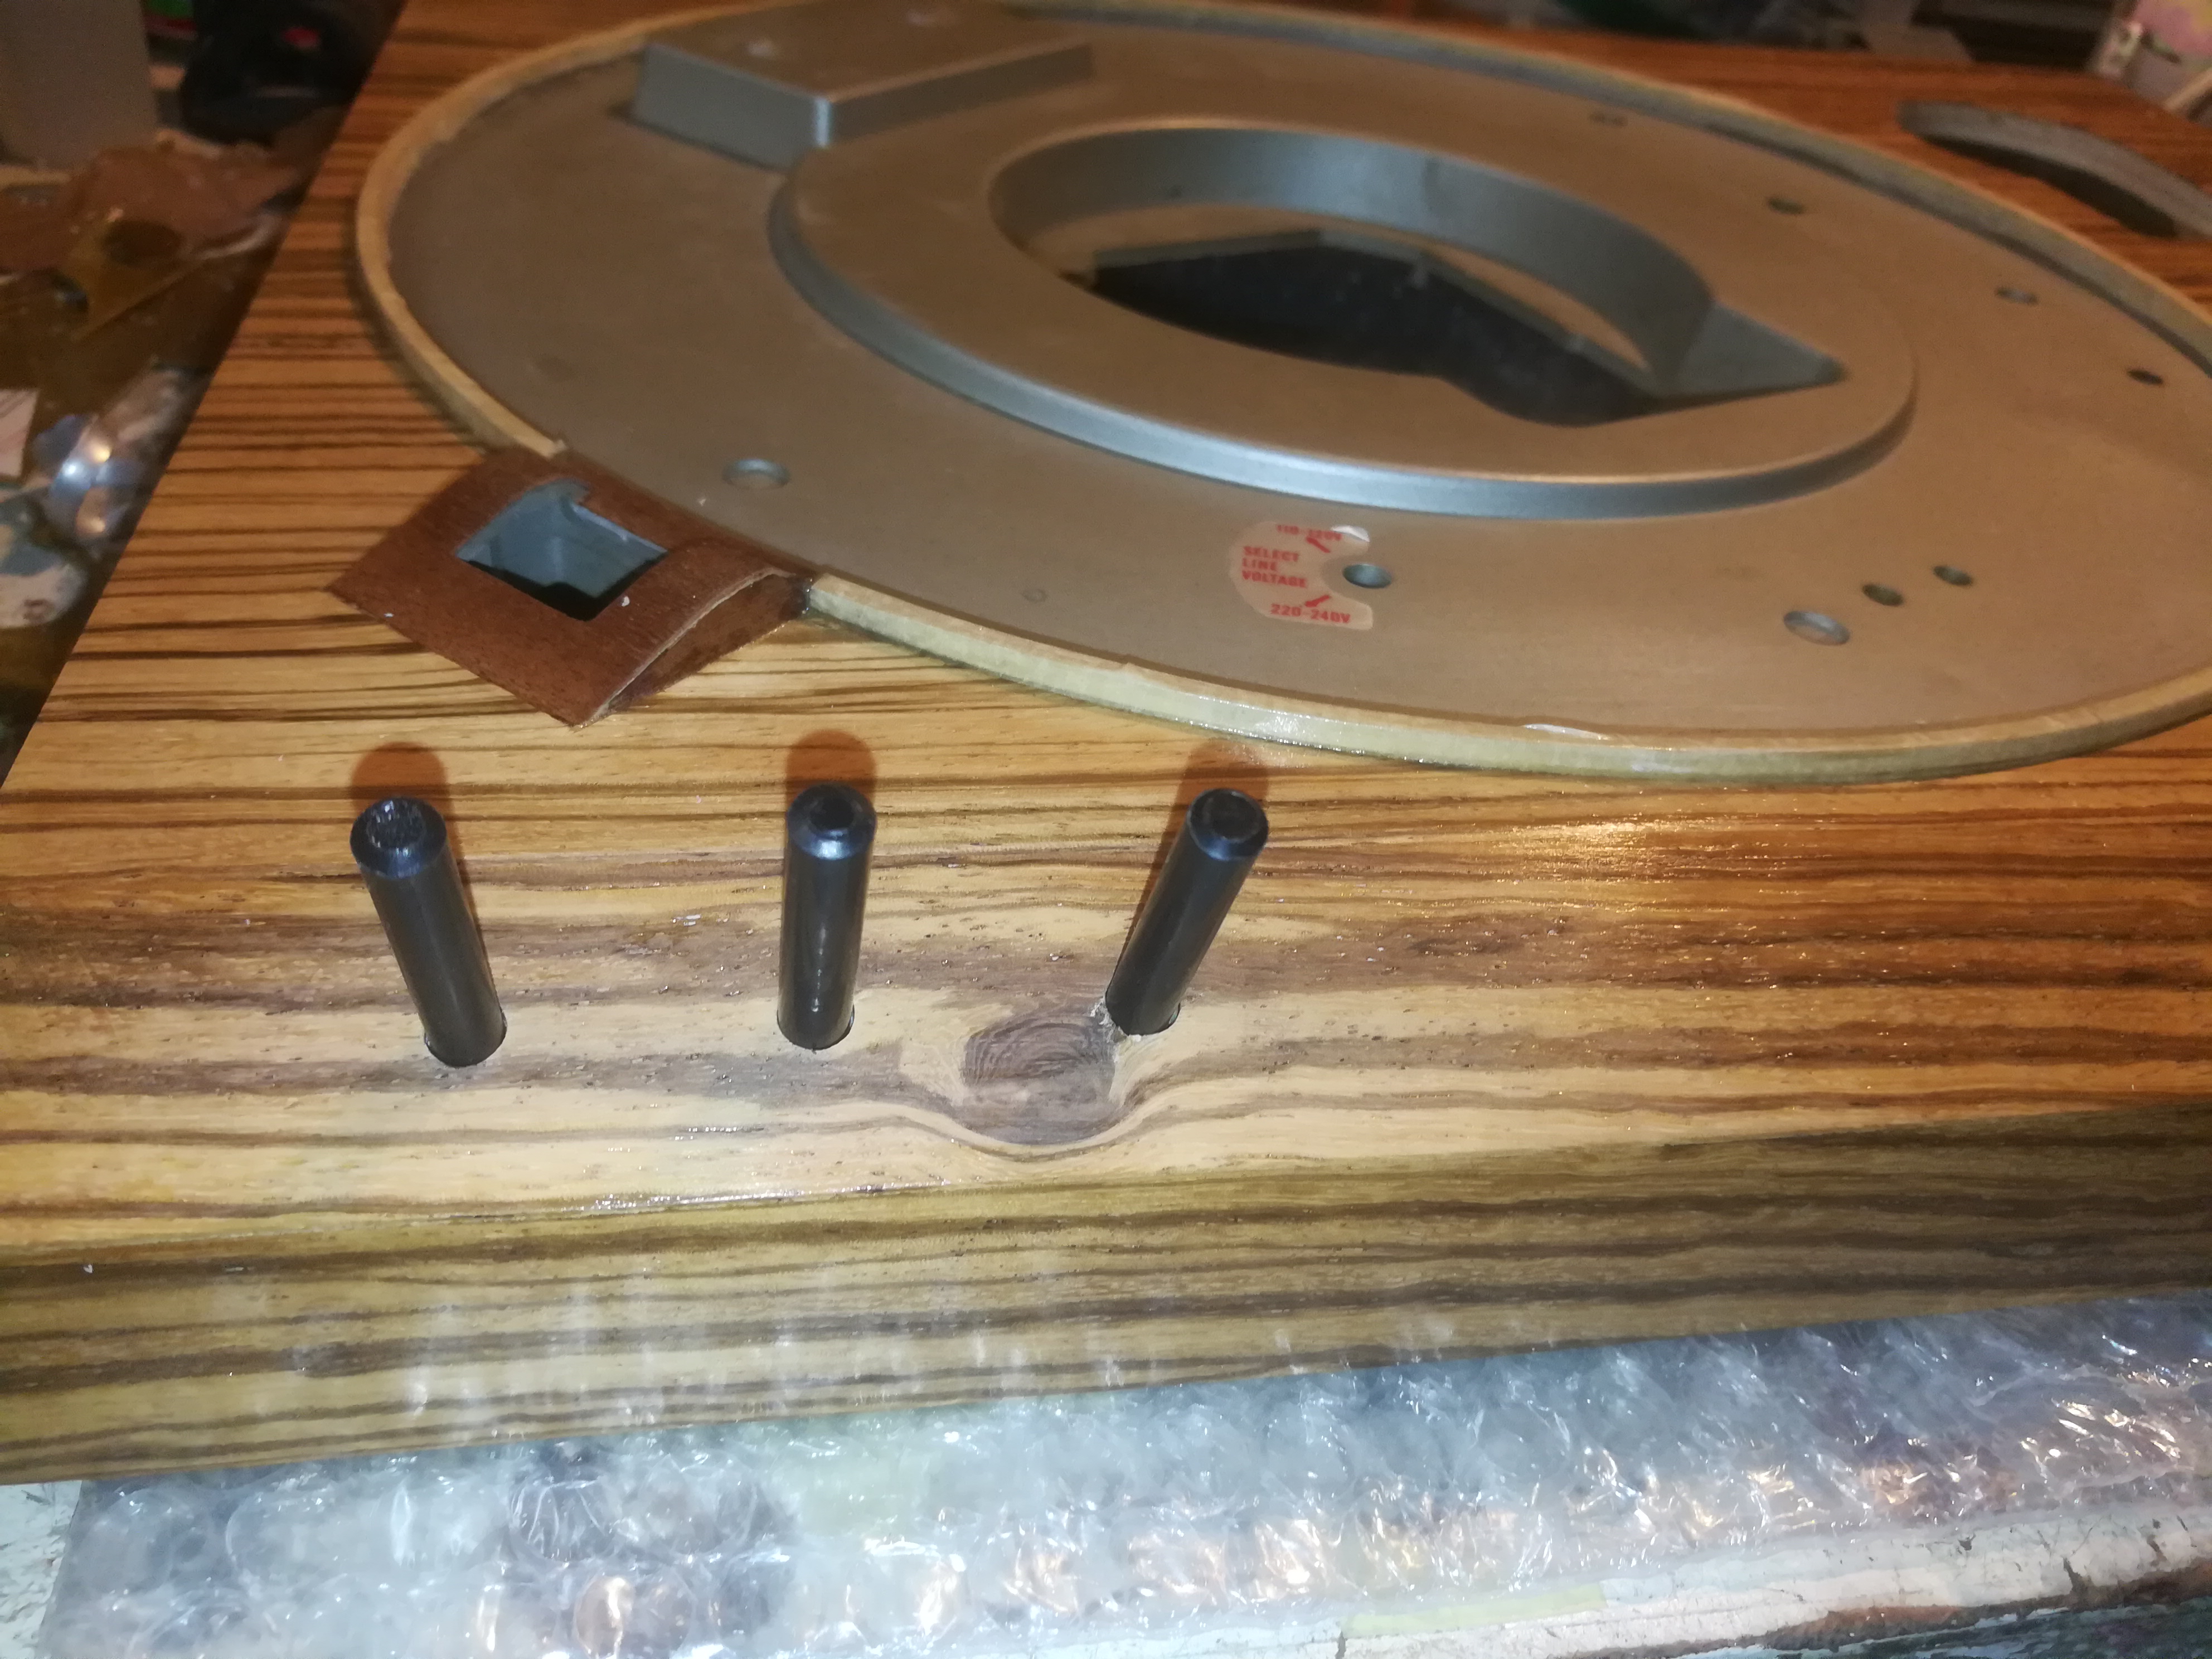
I have adjusted a piece of aluminum at the mounting location of the old speed control to be able to attach the new one (picture 1-2). Now I have my distance between the switches and can drill the 6.5 mm holes in the case (picture 3). Be carefull that you don't create splinters because veneer is very brittle (picture 4). Test if the potentiometers and switch fit the holes (picture 5).
For now put this aside and we will install this later.
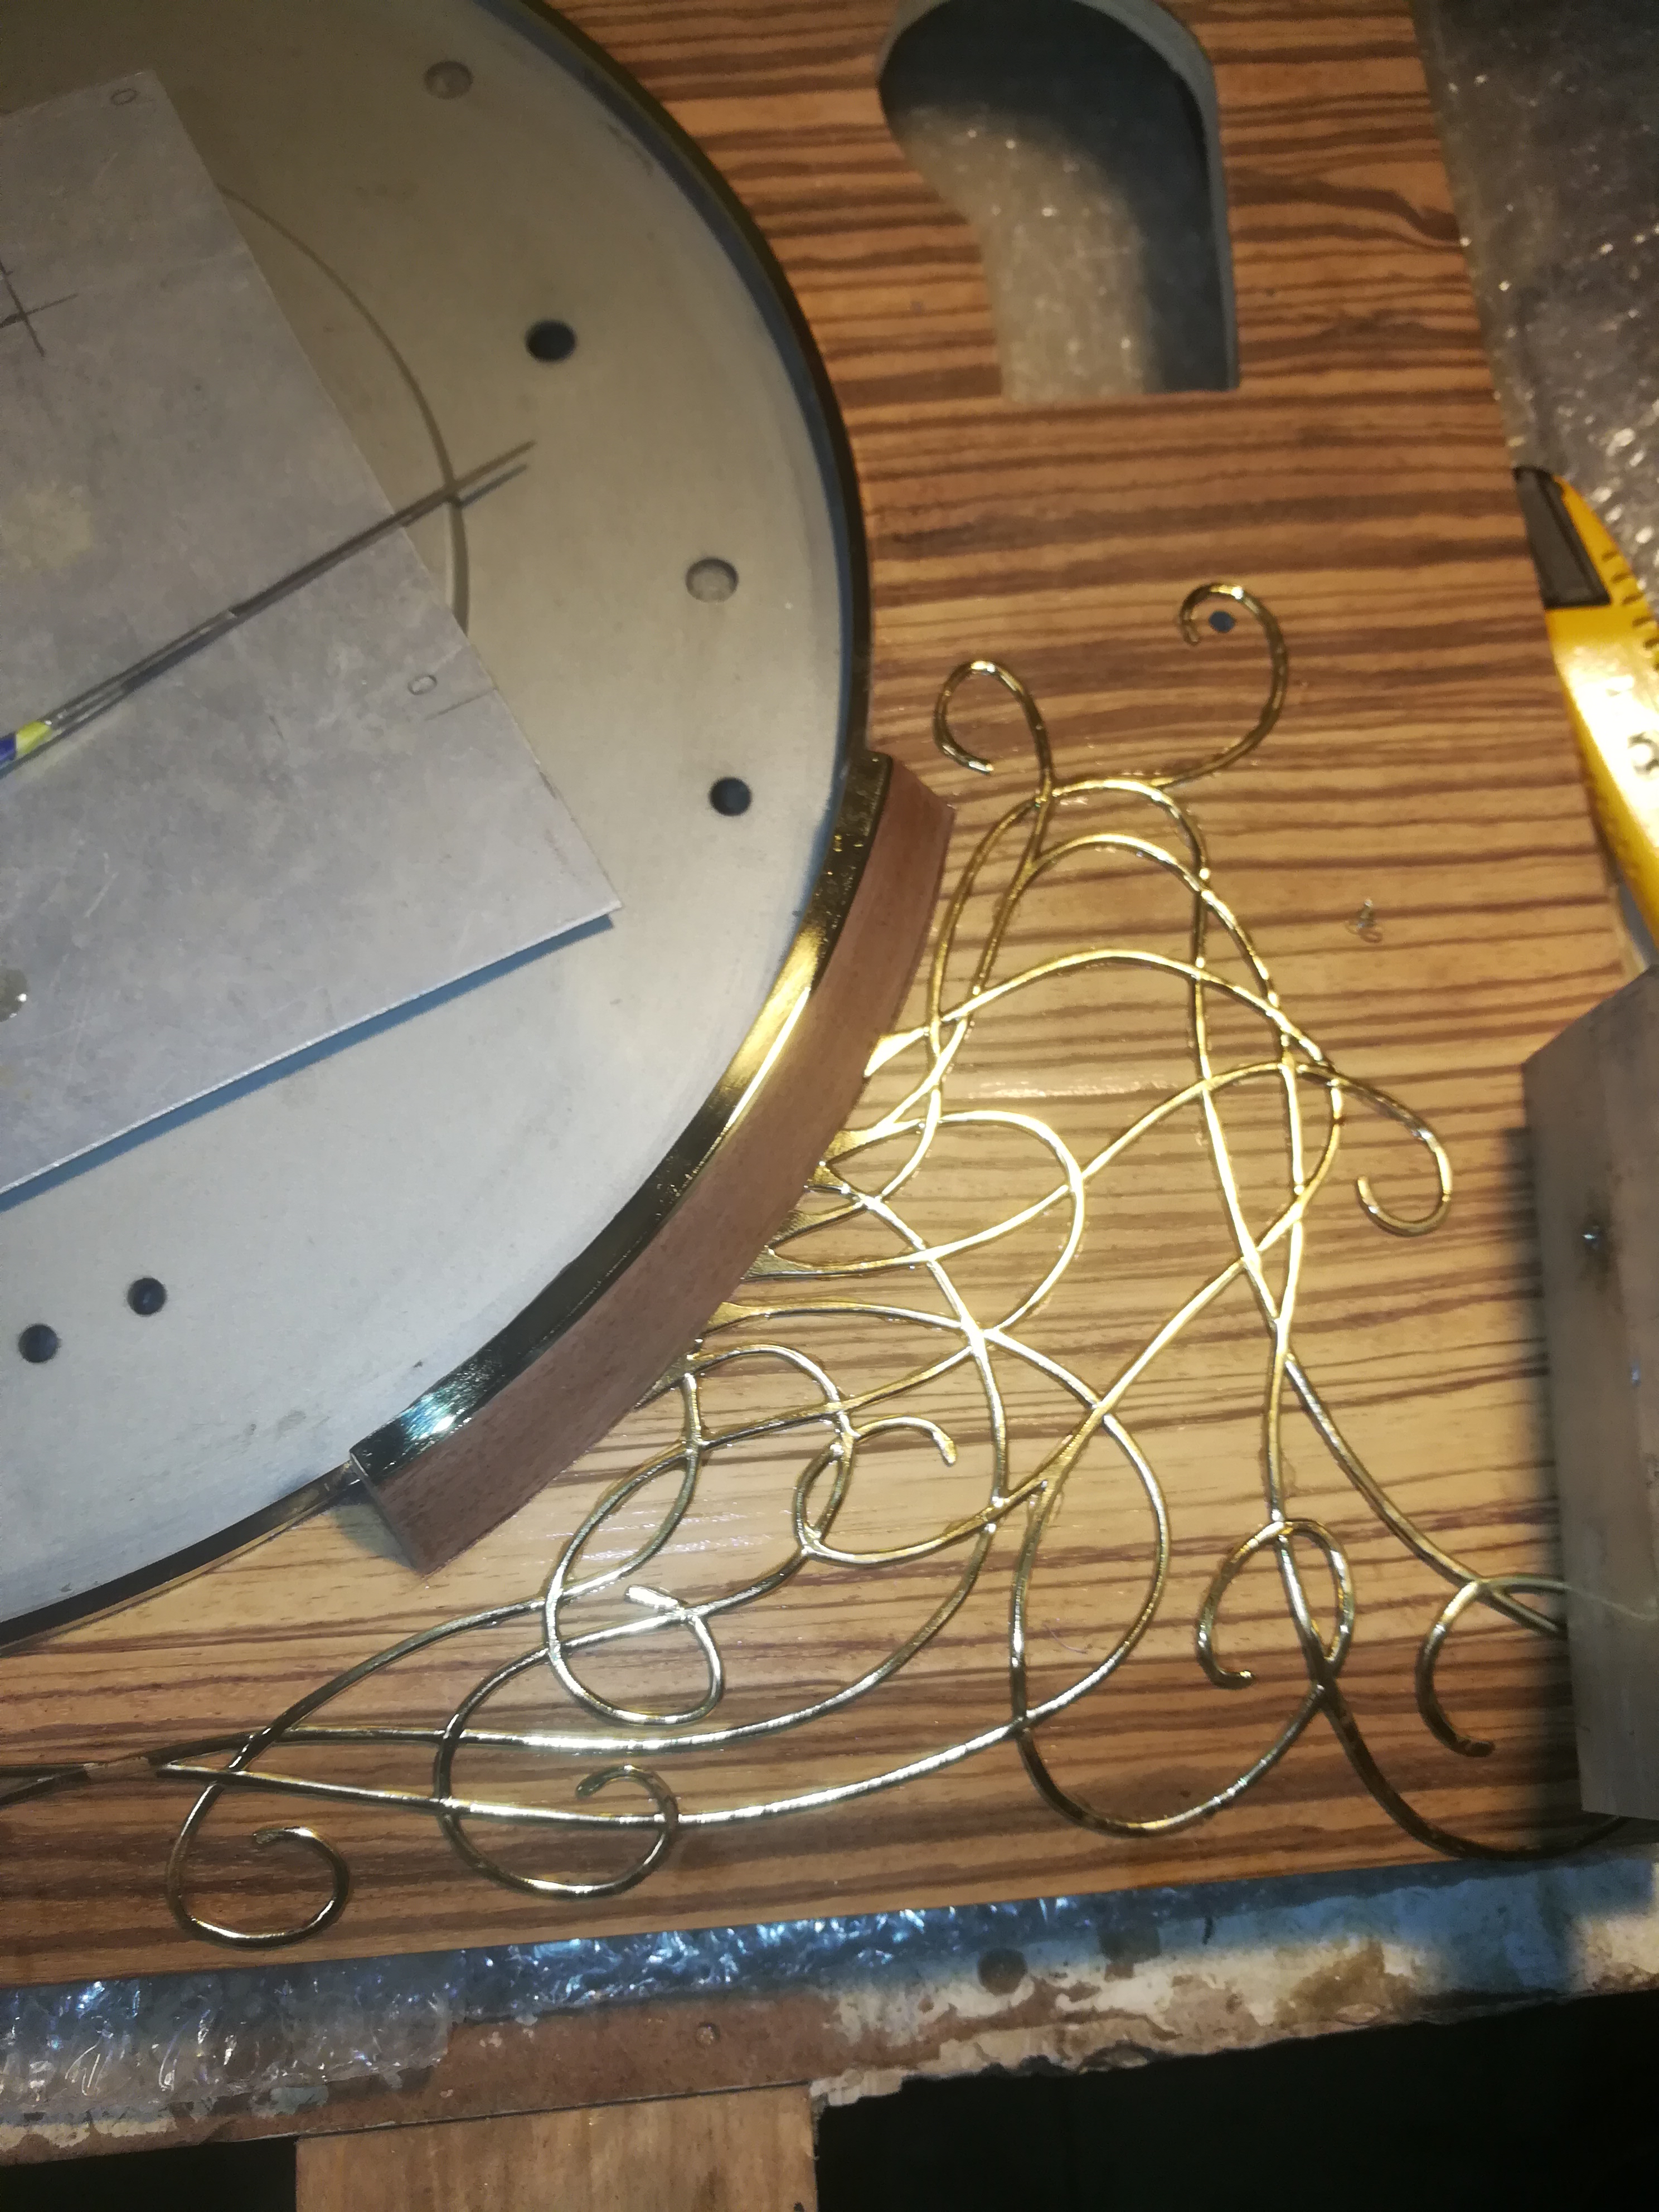
Making the Brass Decorations
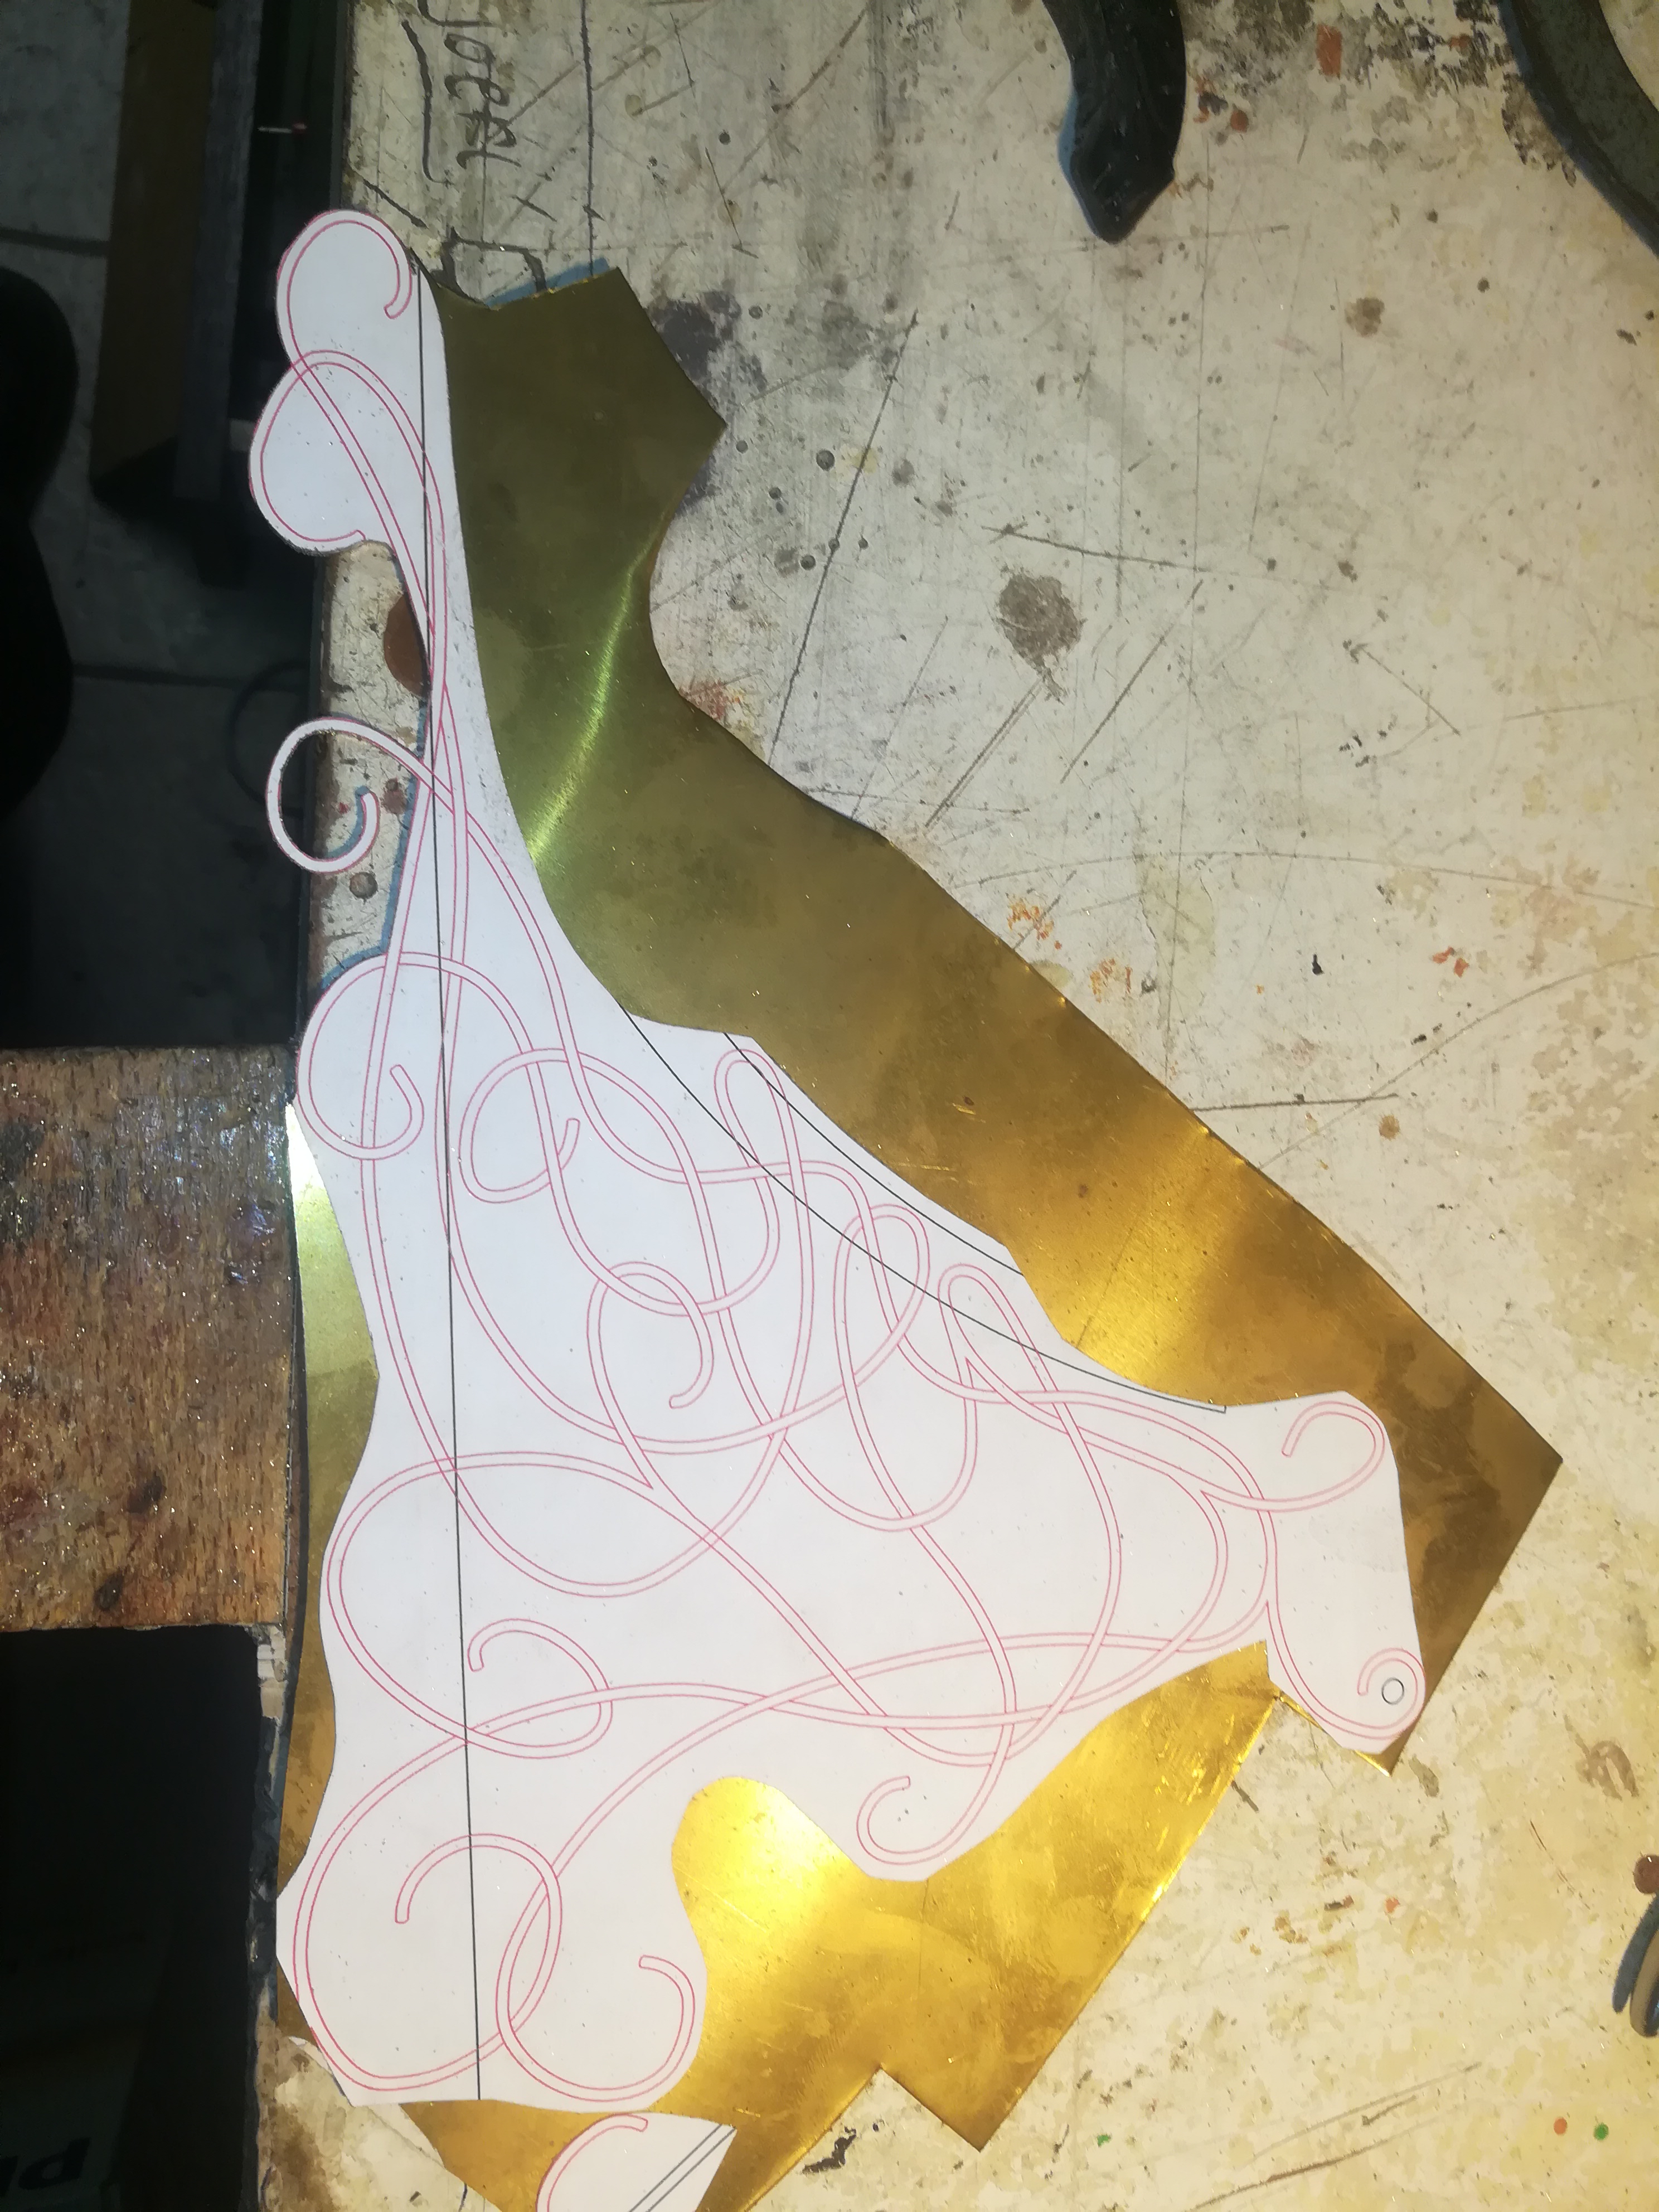
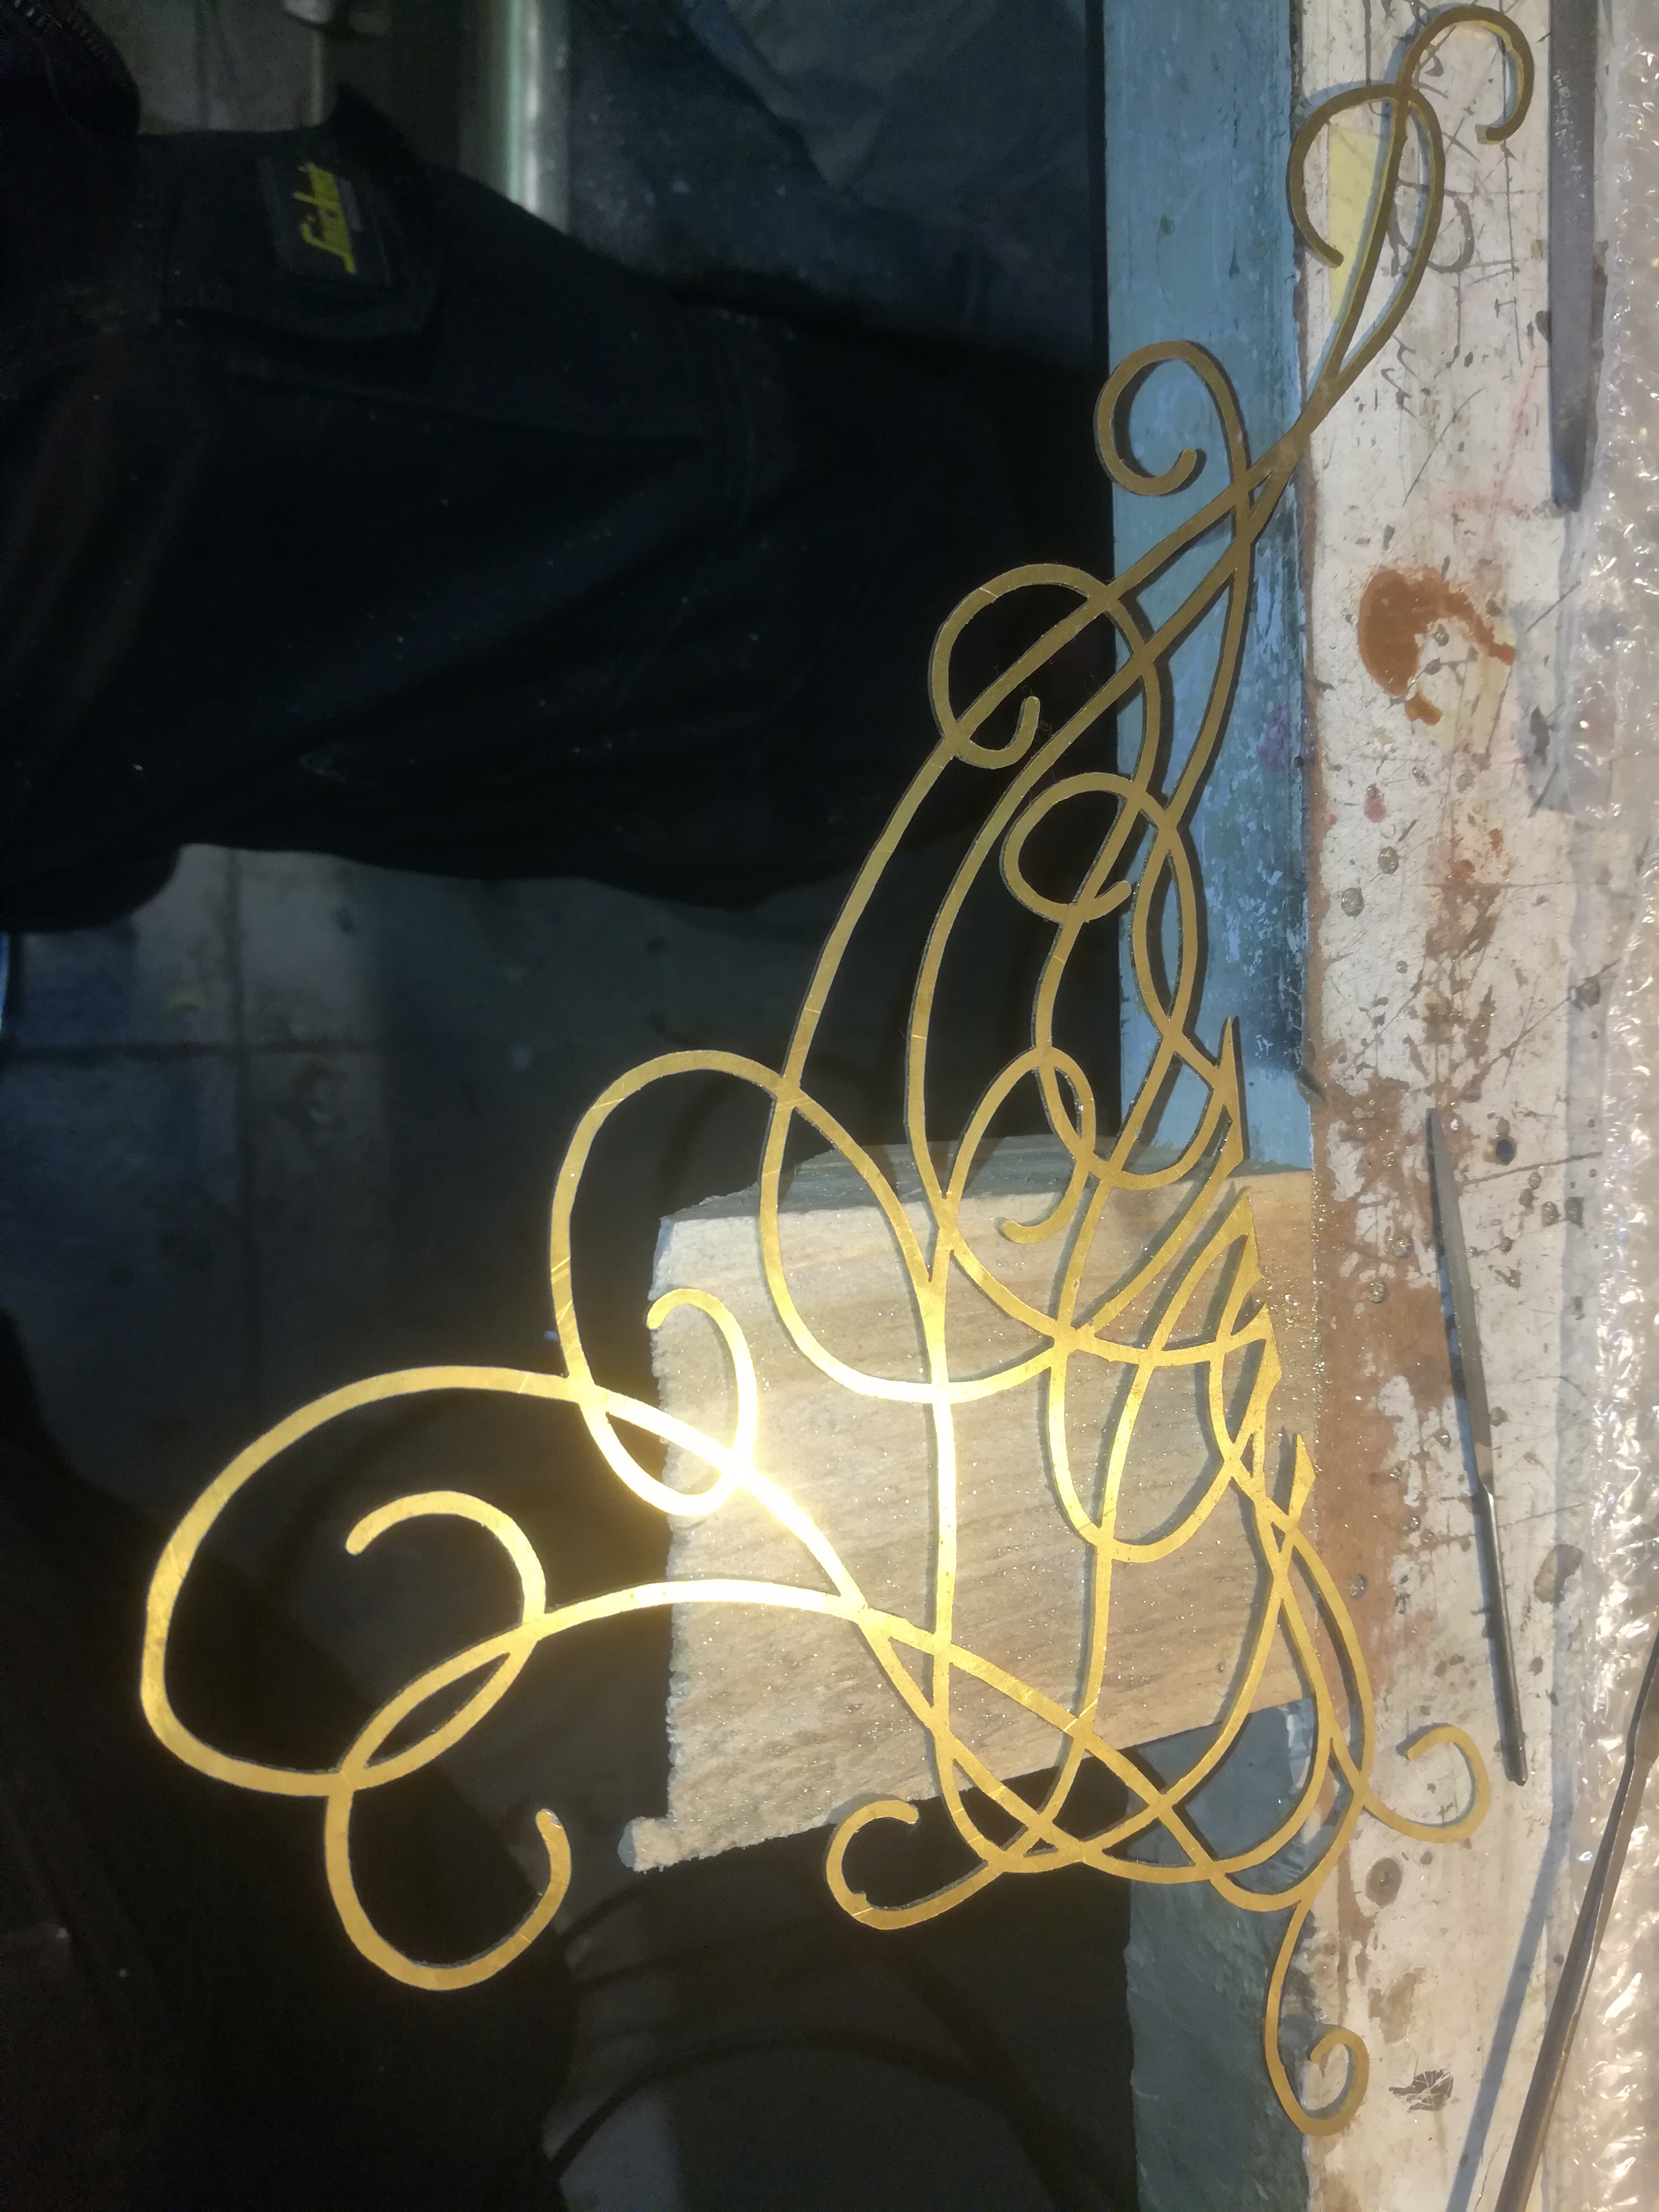
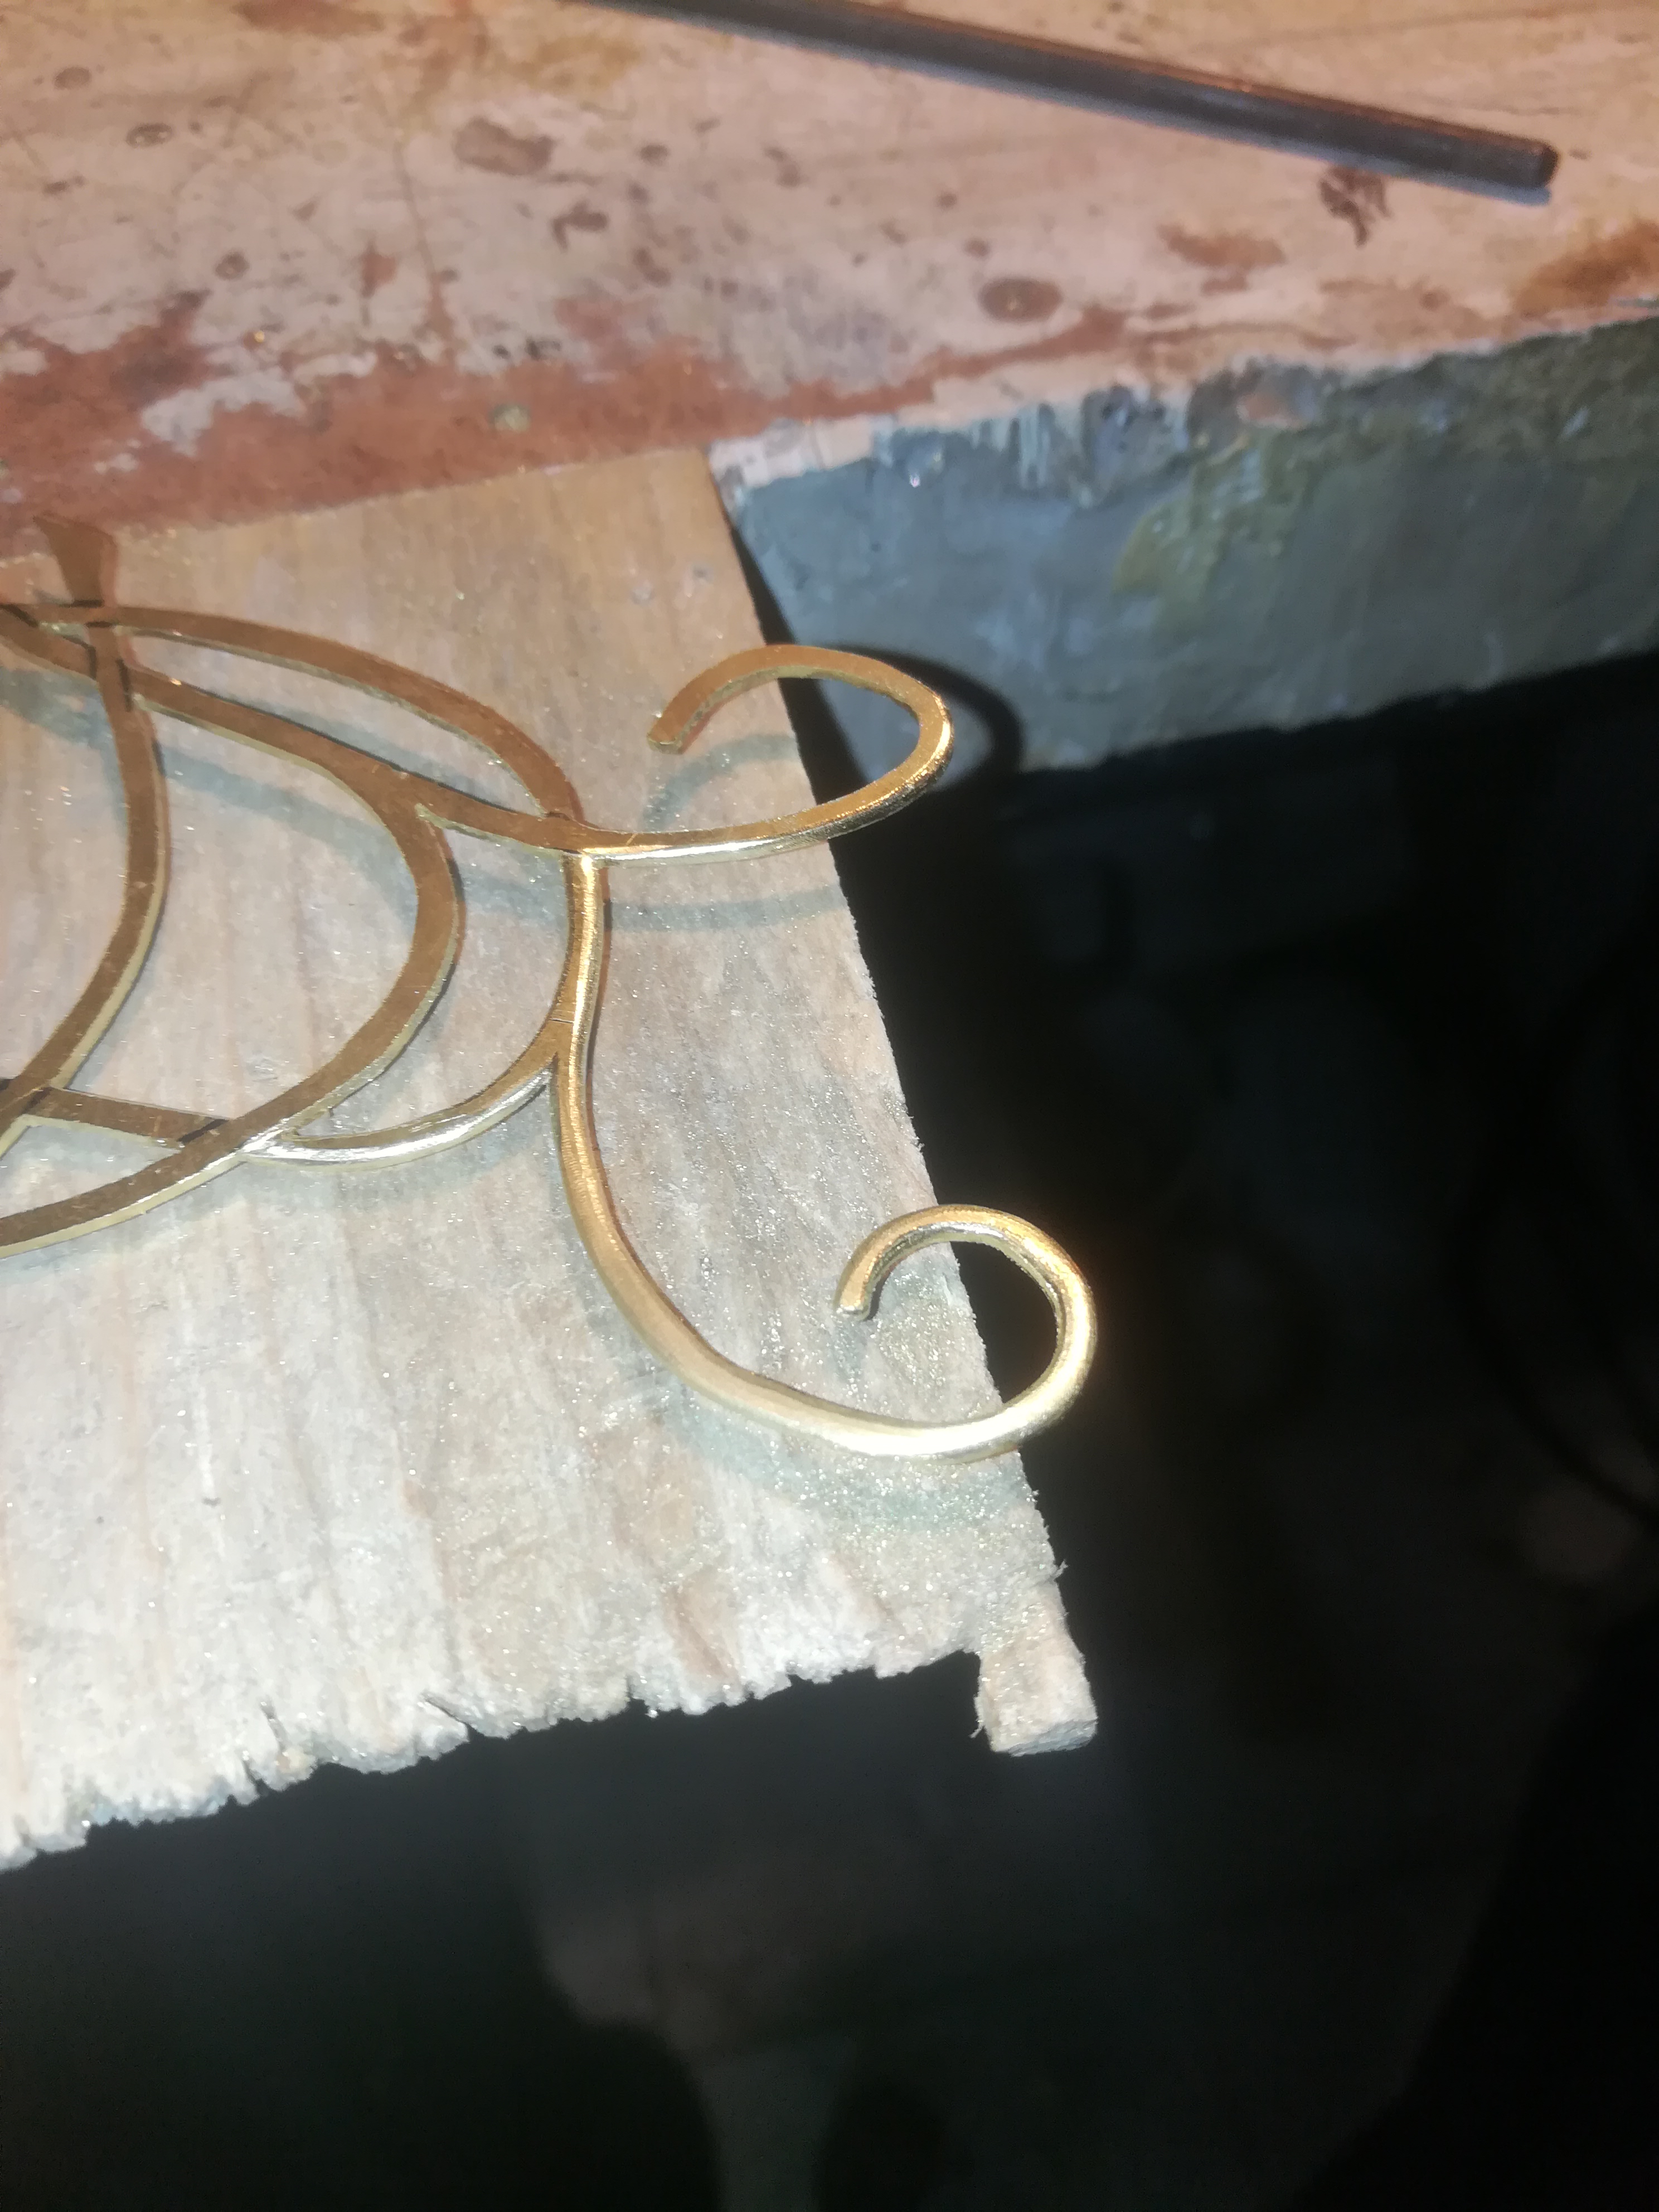
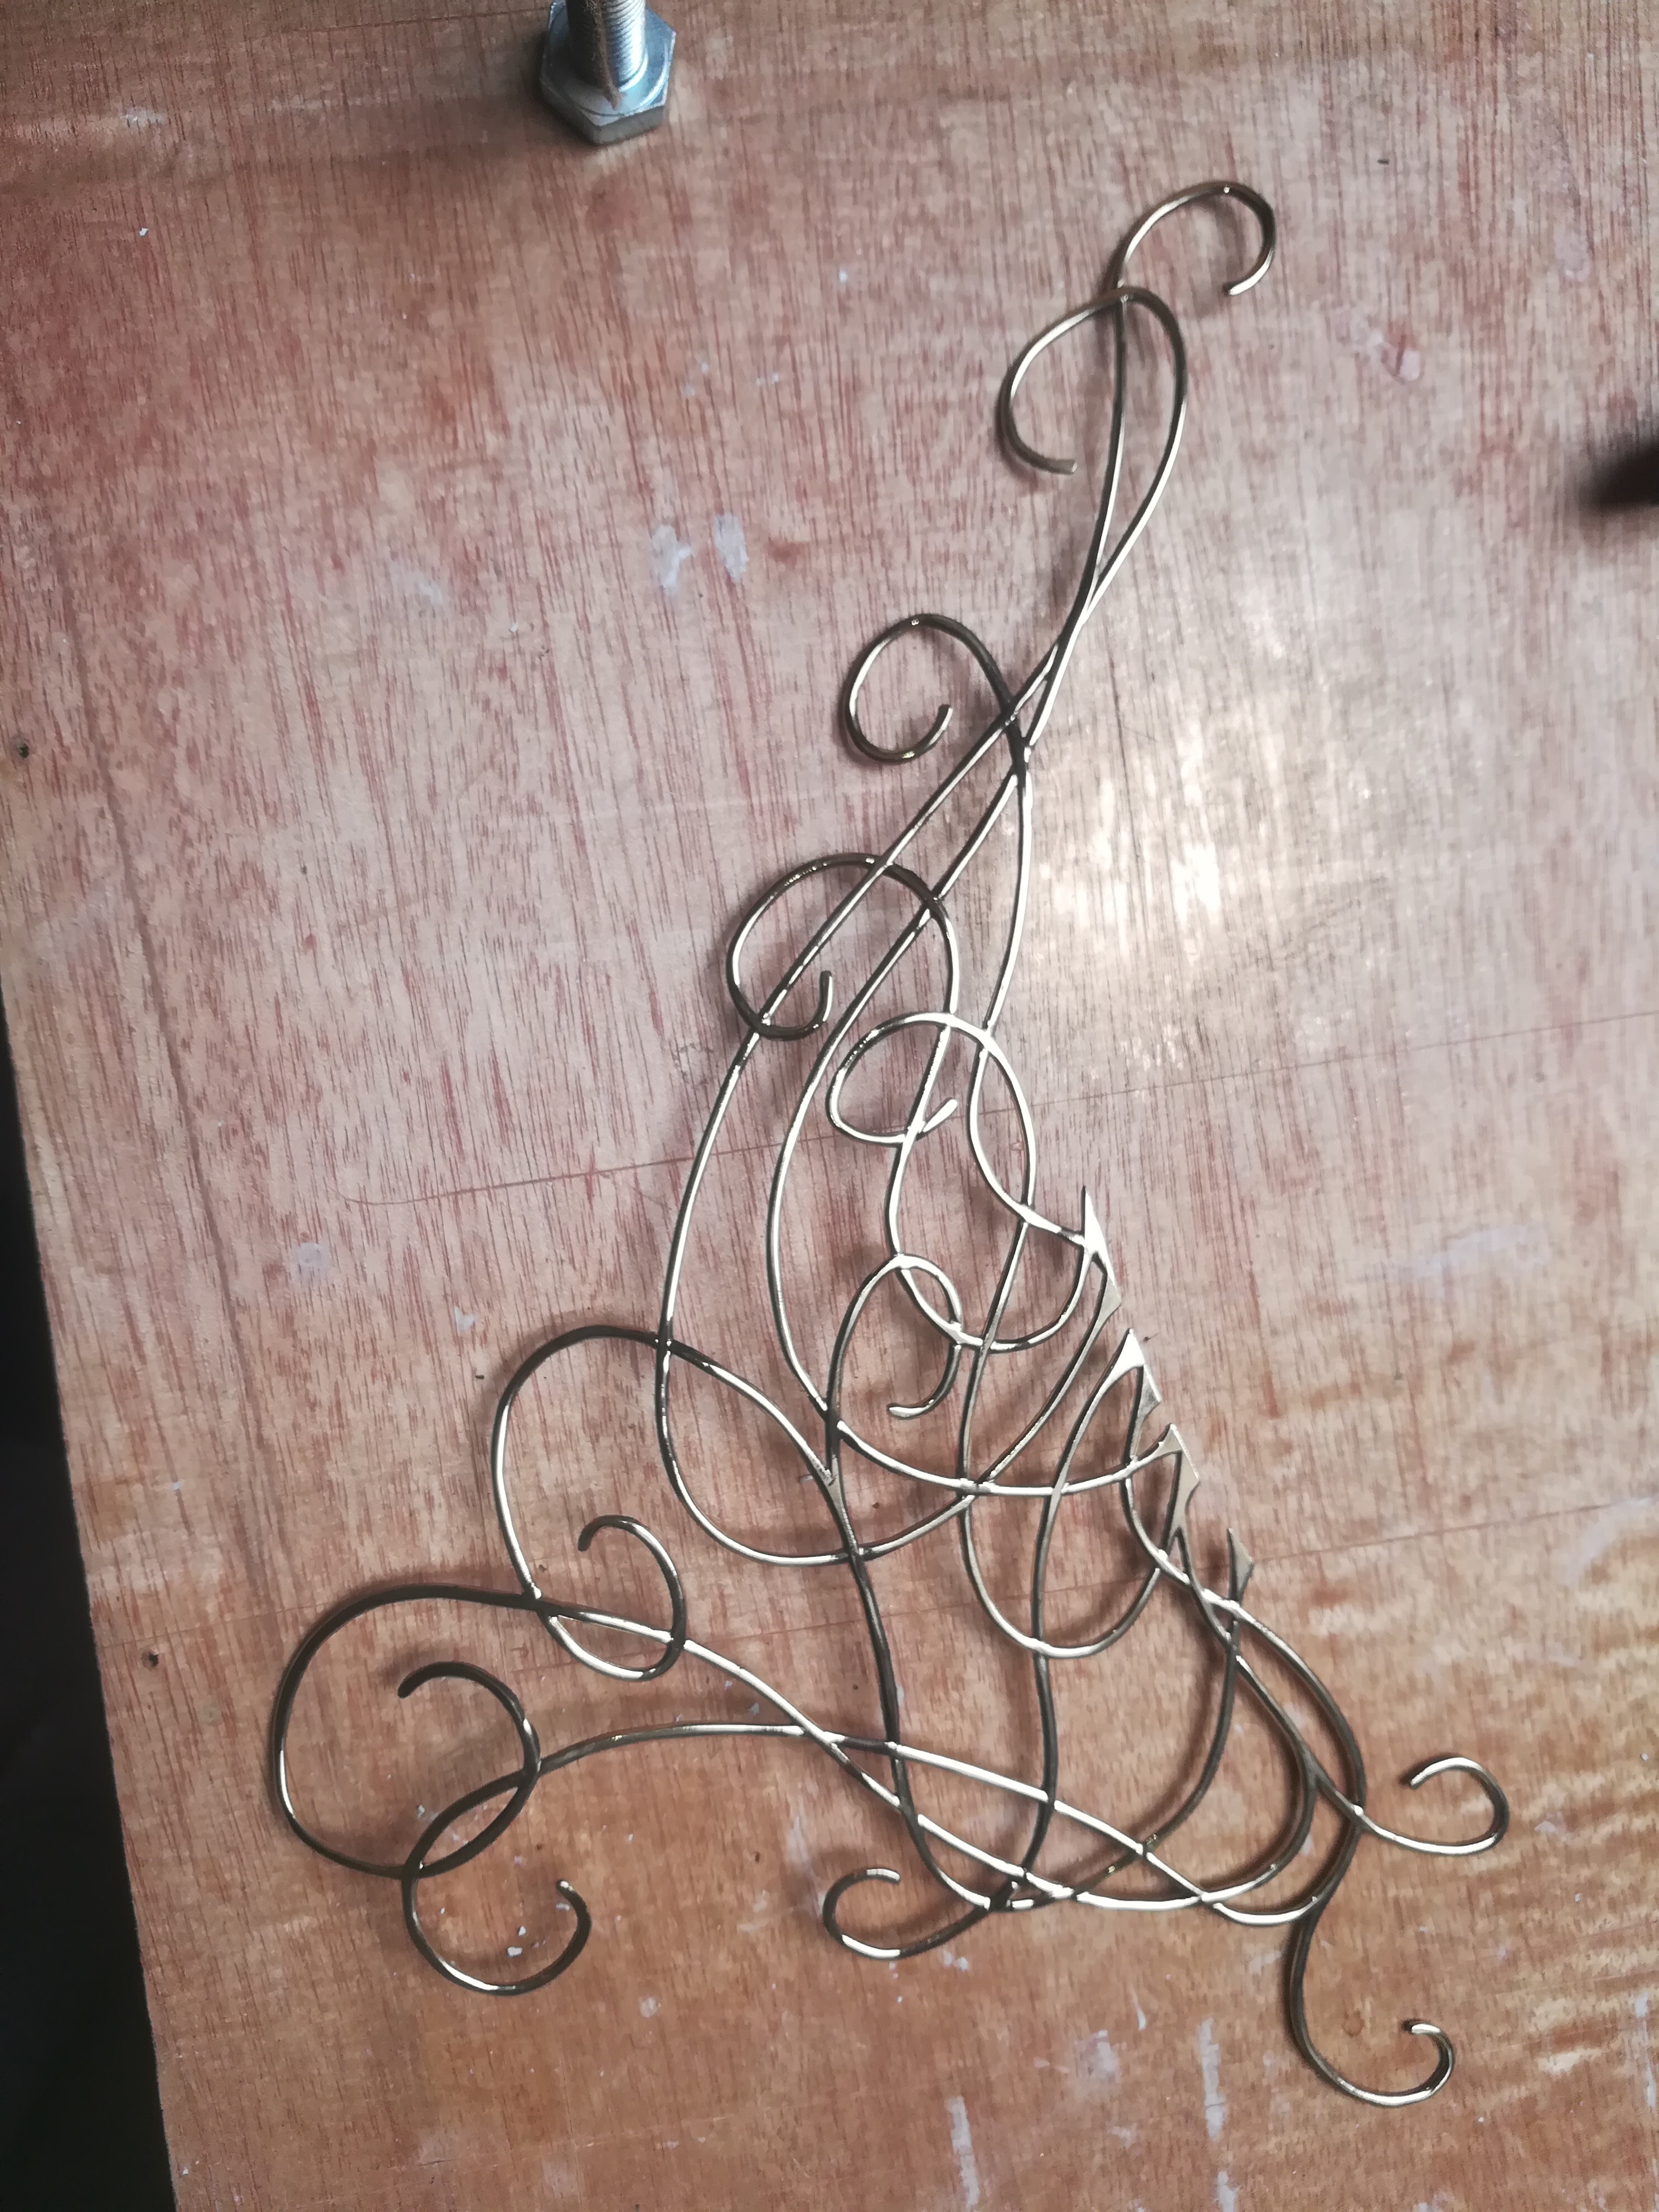
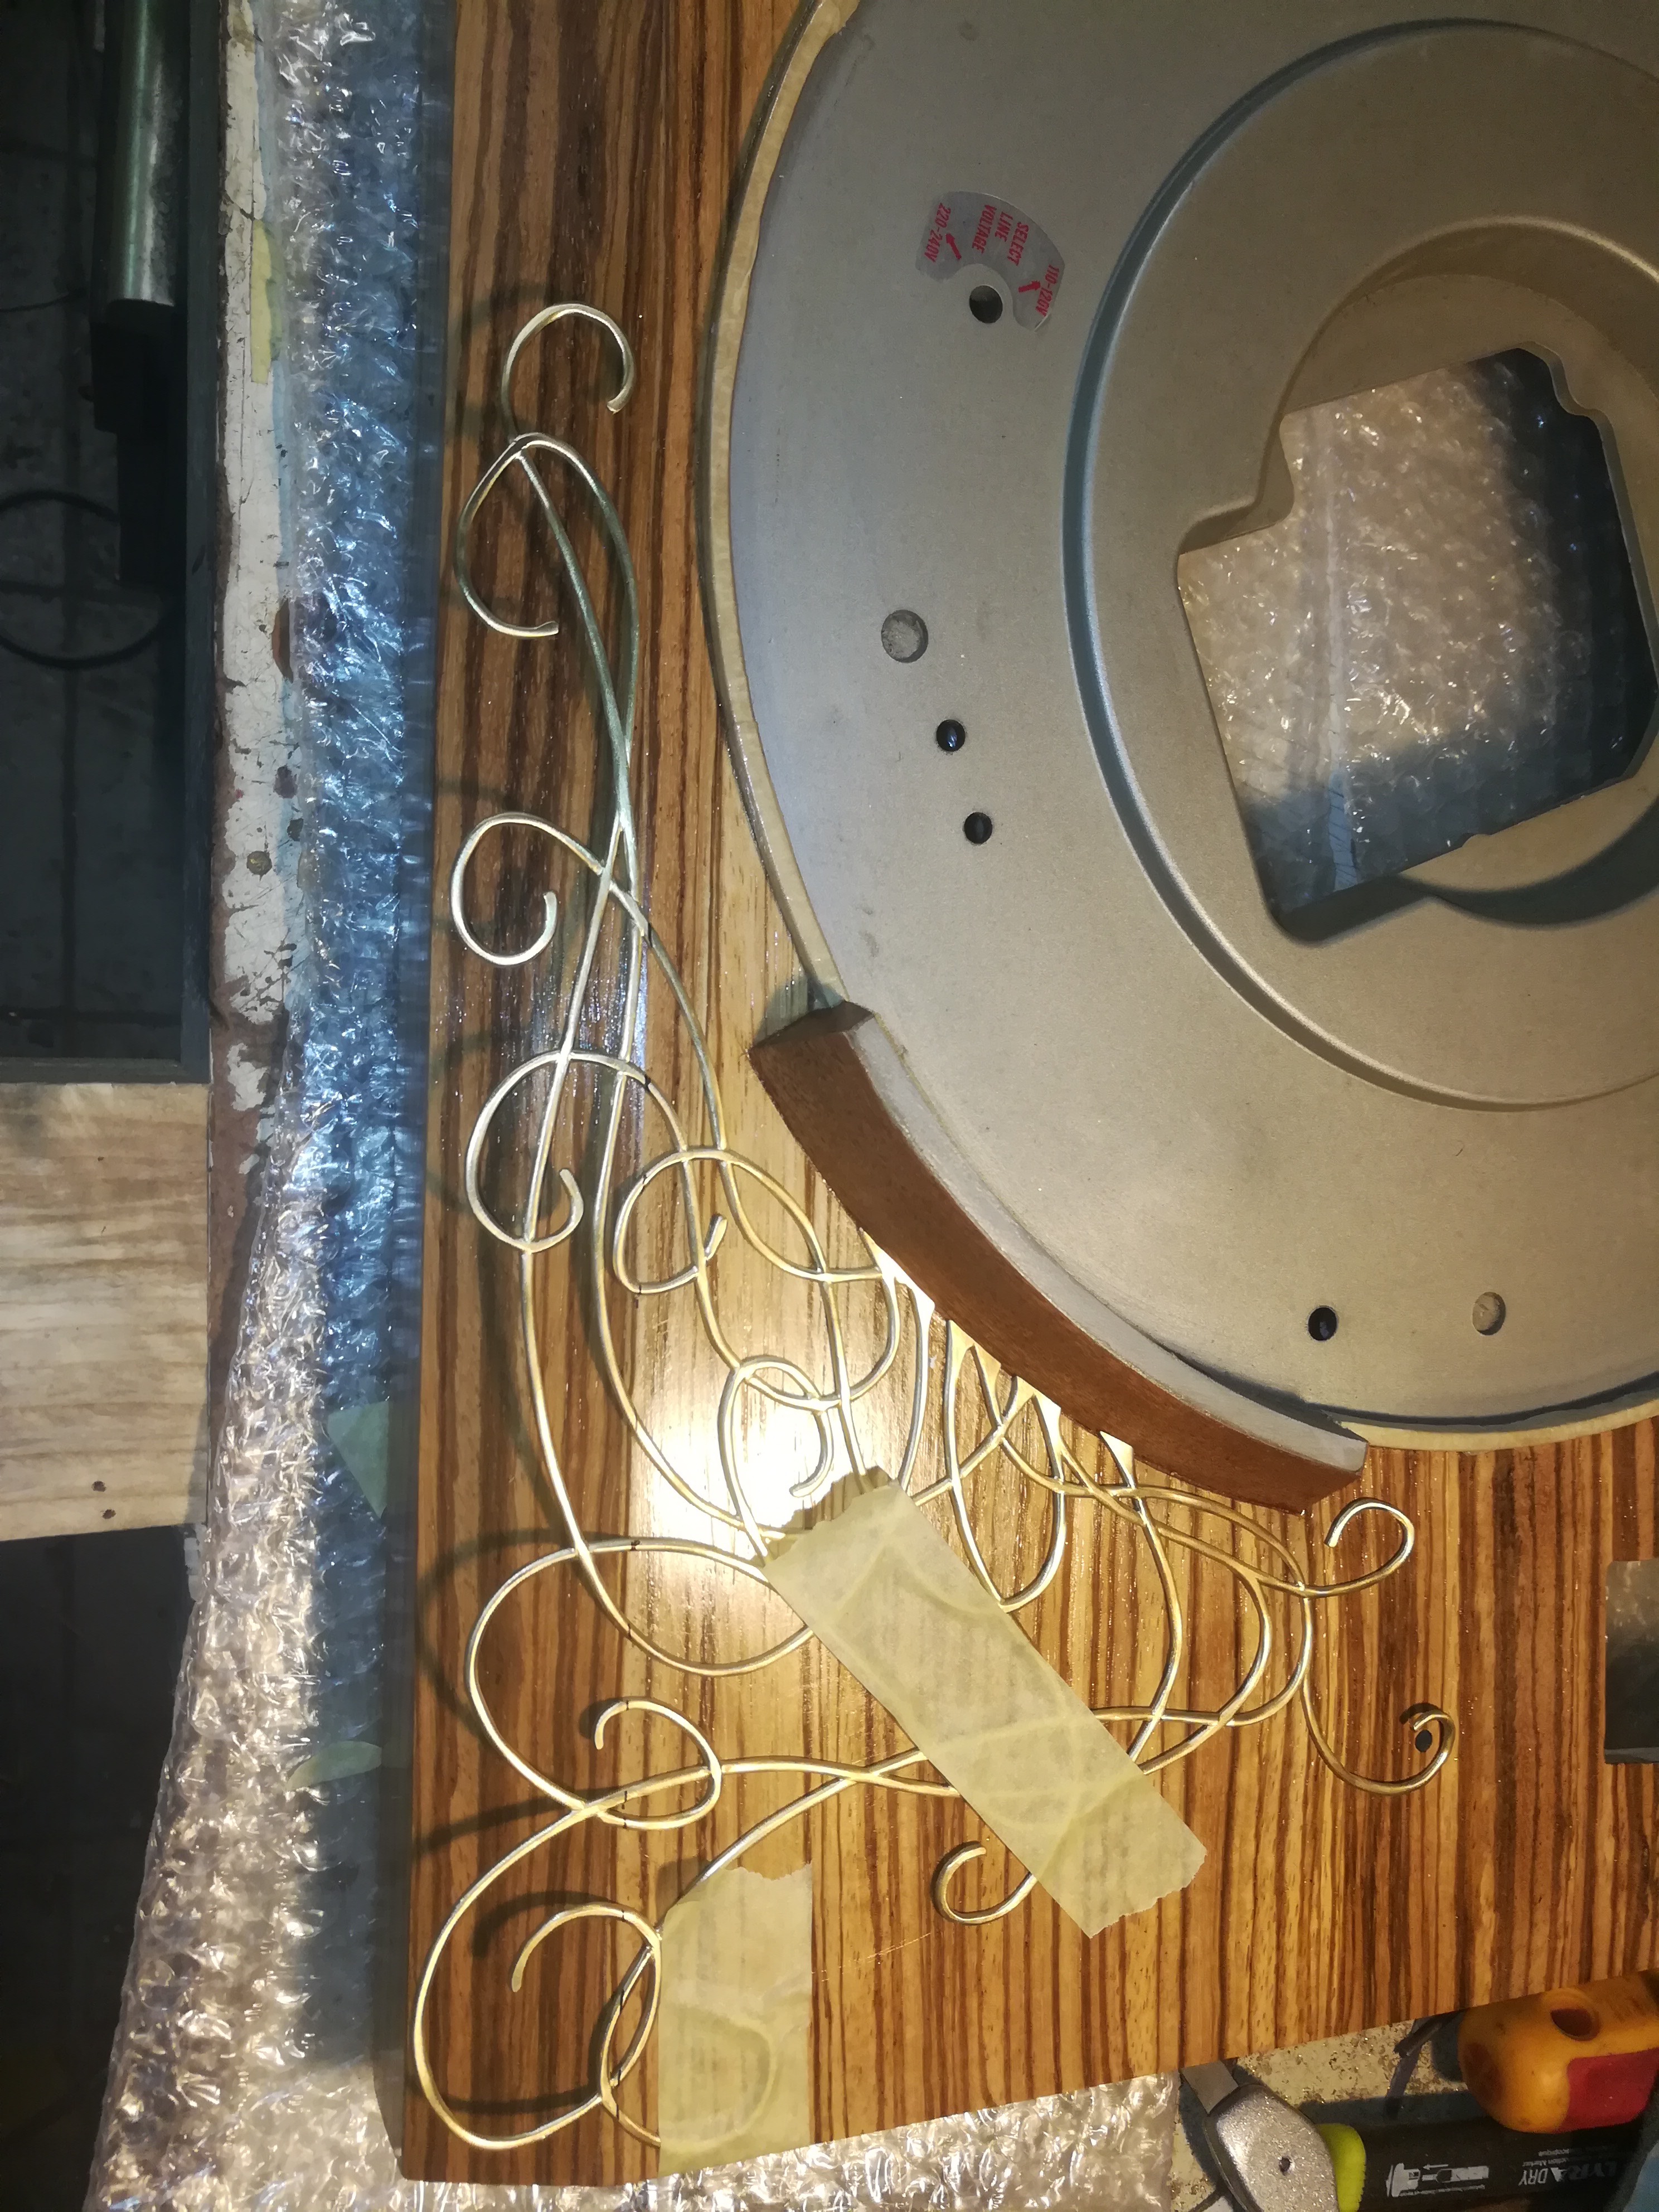
I love brass parts and wood together, so i want a few extra decorations on the case. This is a lot of work...
Necessary materials:
- Hand jigsaw for metal
- Different small files
- 2 mm brass plate
- Double sided tape
- Drill
- Bore 1 mm
- polishing discs and polish pasta
- Varnish spray can high gloss
- Degreaser
- Sandpaper 320-500
------------------------------------------------------------------------------------------------------------------------------------------------------
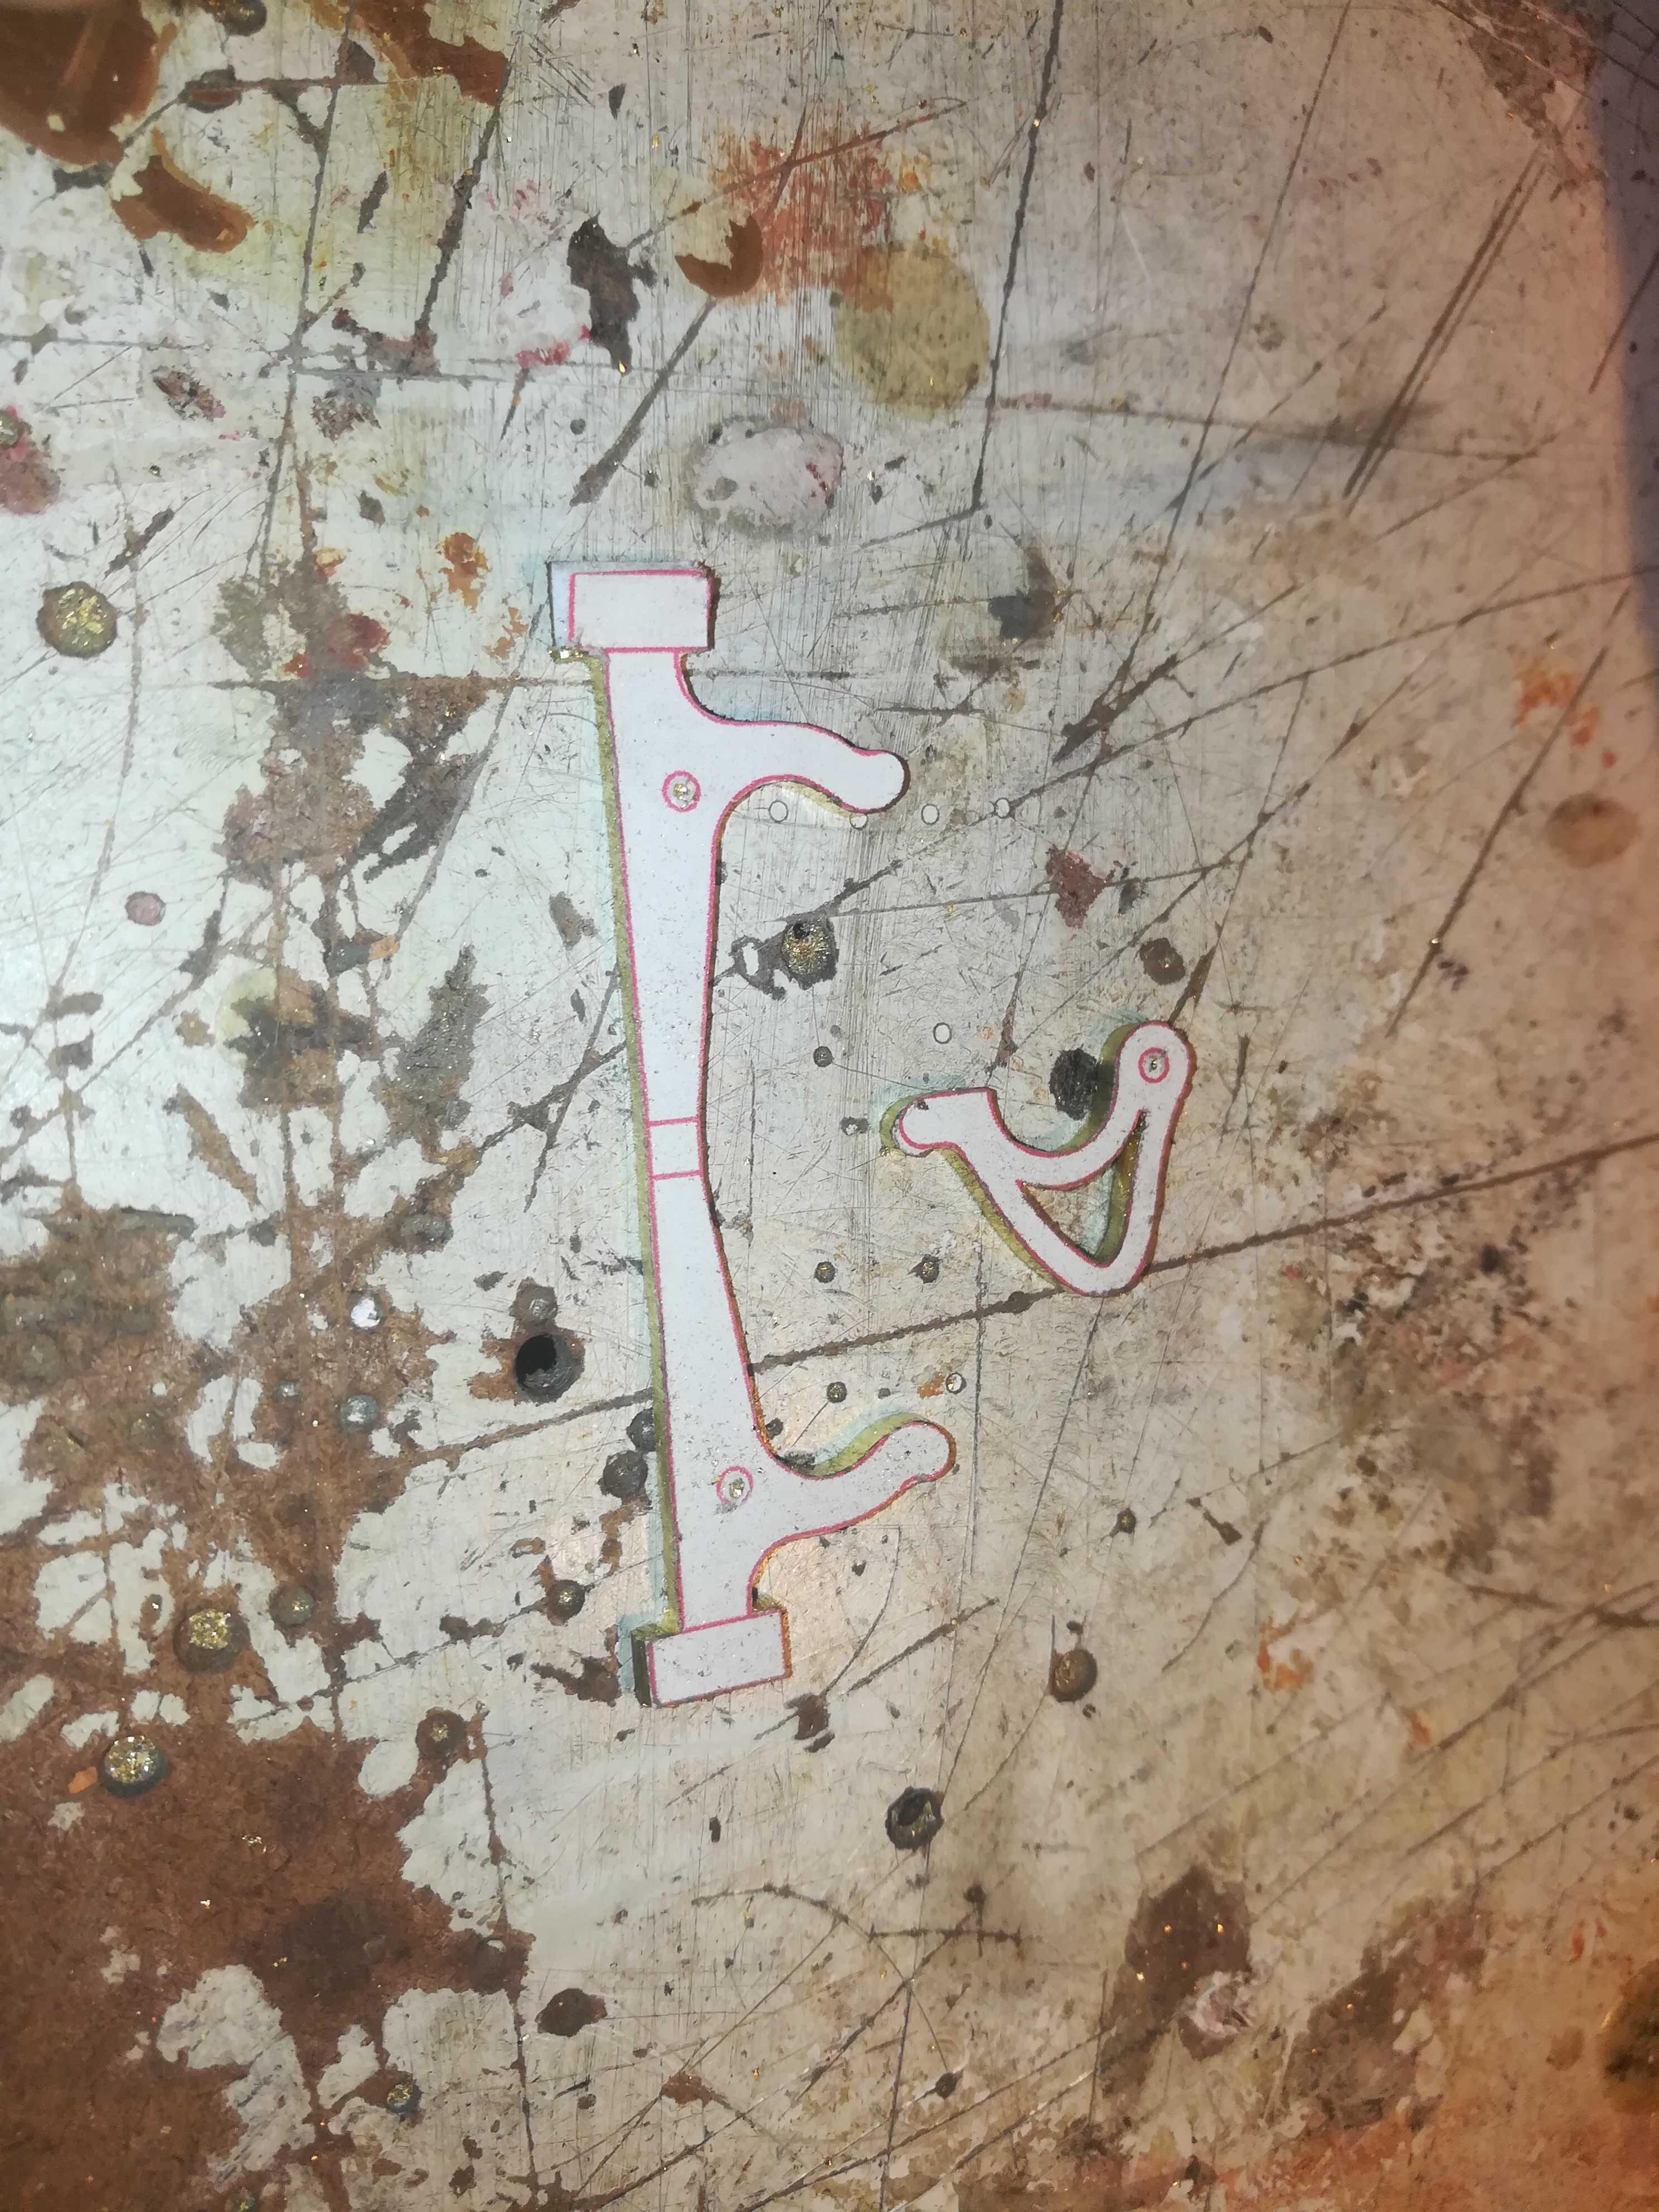
First make a rough sketch of what you want and then draw it on the computer. Print it on a plain paper and apply double sided tape on the backside (picture 1). Cut out the drawing and stick it on the brass plate. Saw out the outer shapes first and then work your way to the center. Drill holes where you can't get with your saw. Then loosen the blade of the saw, then run it through the hole and reconnect. This will help you cut out the inner shapes. If everything is sawn out, sand it with sandpaper 320 (picture 2).
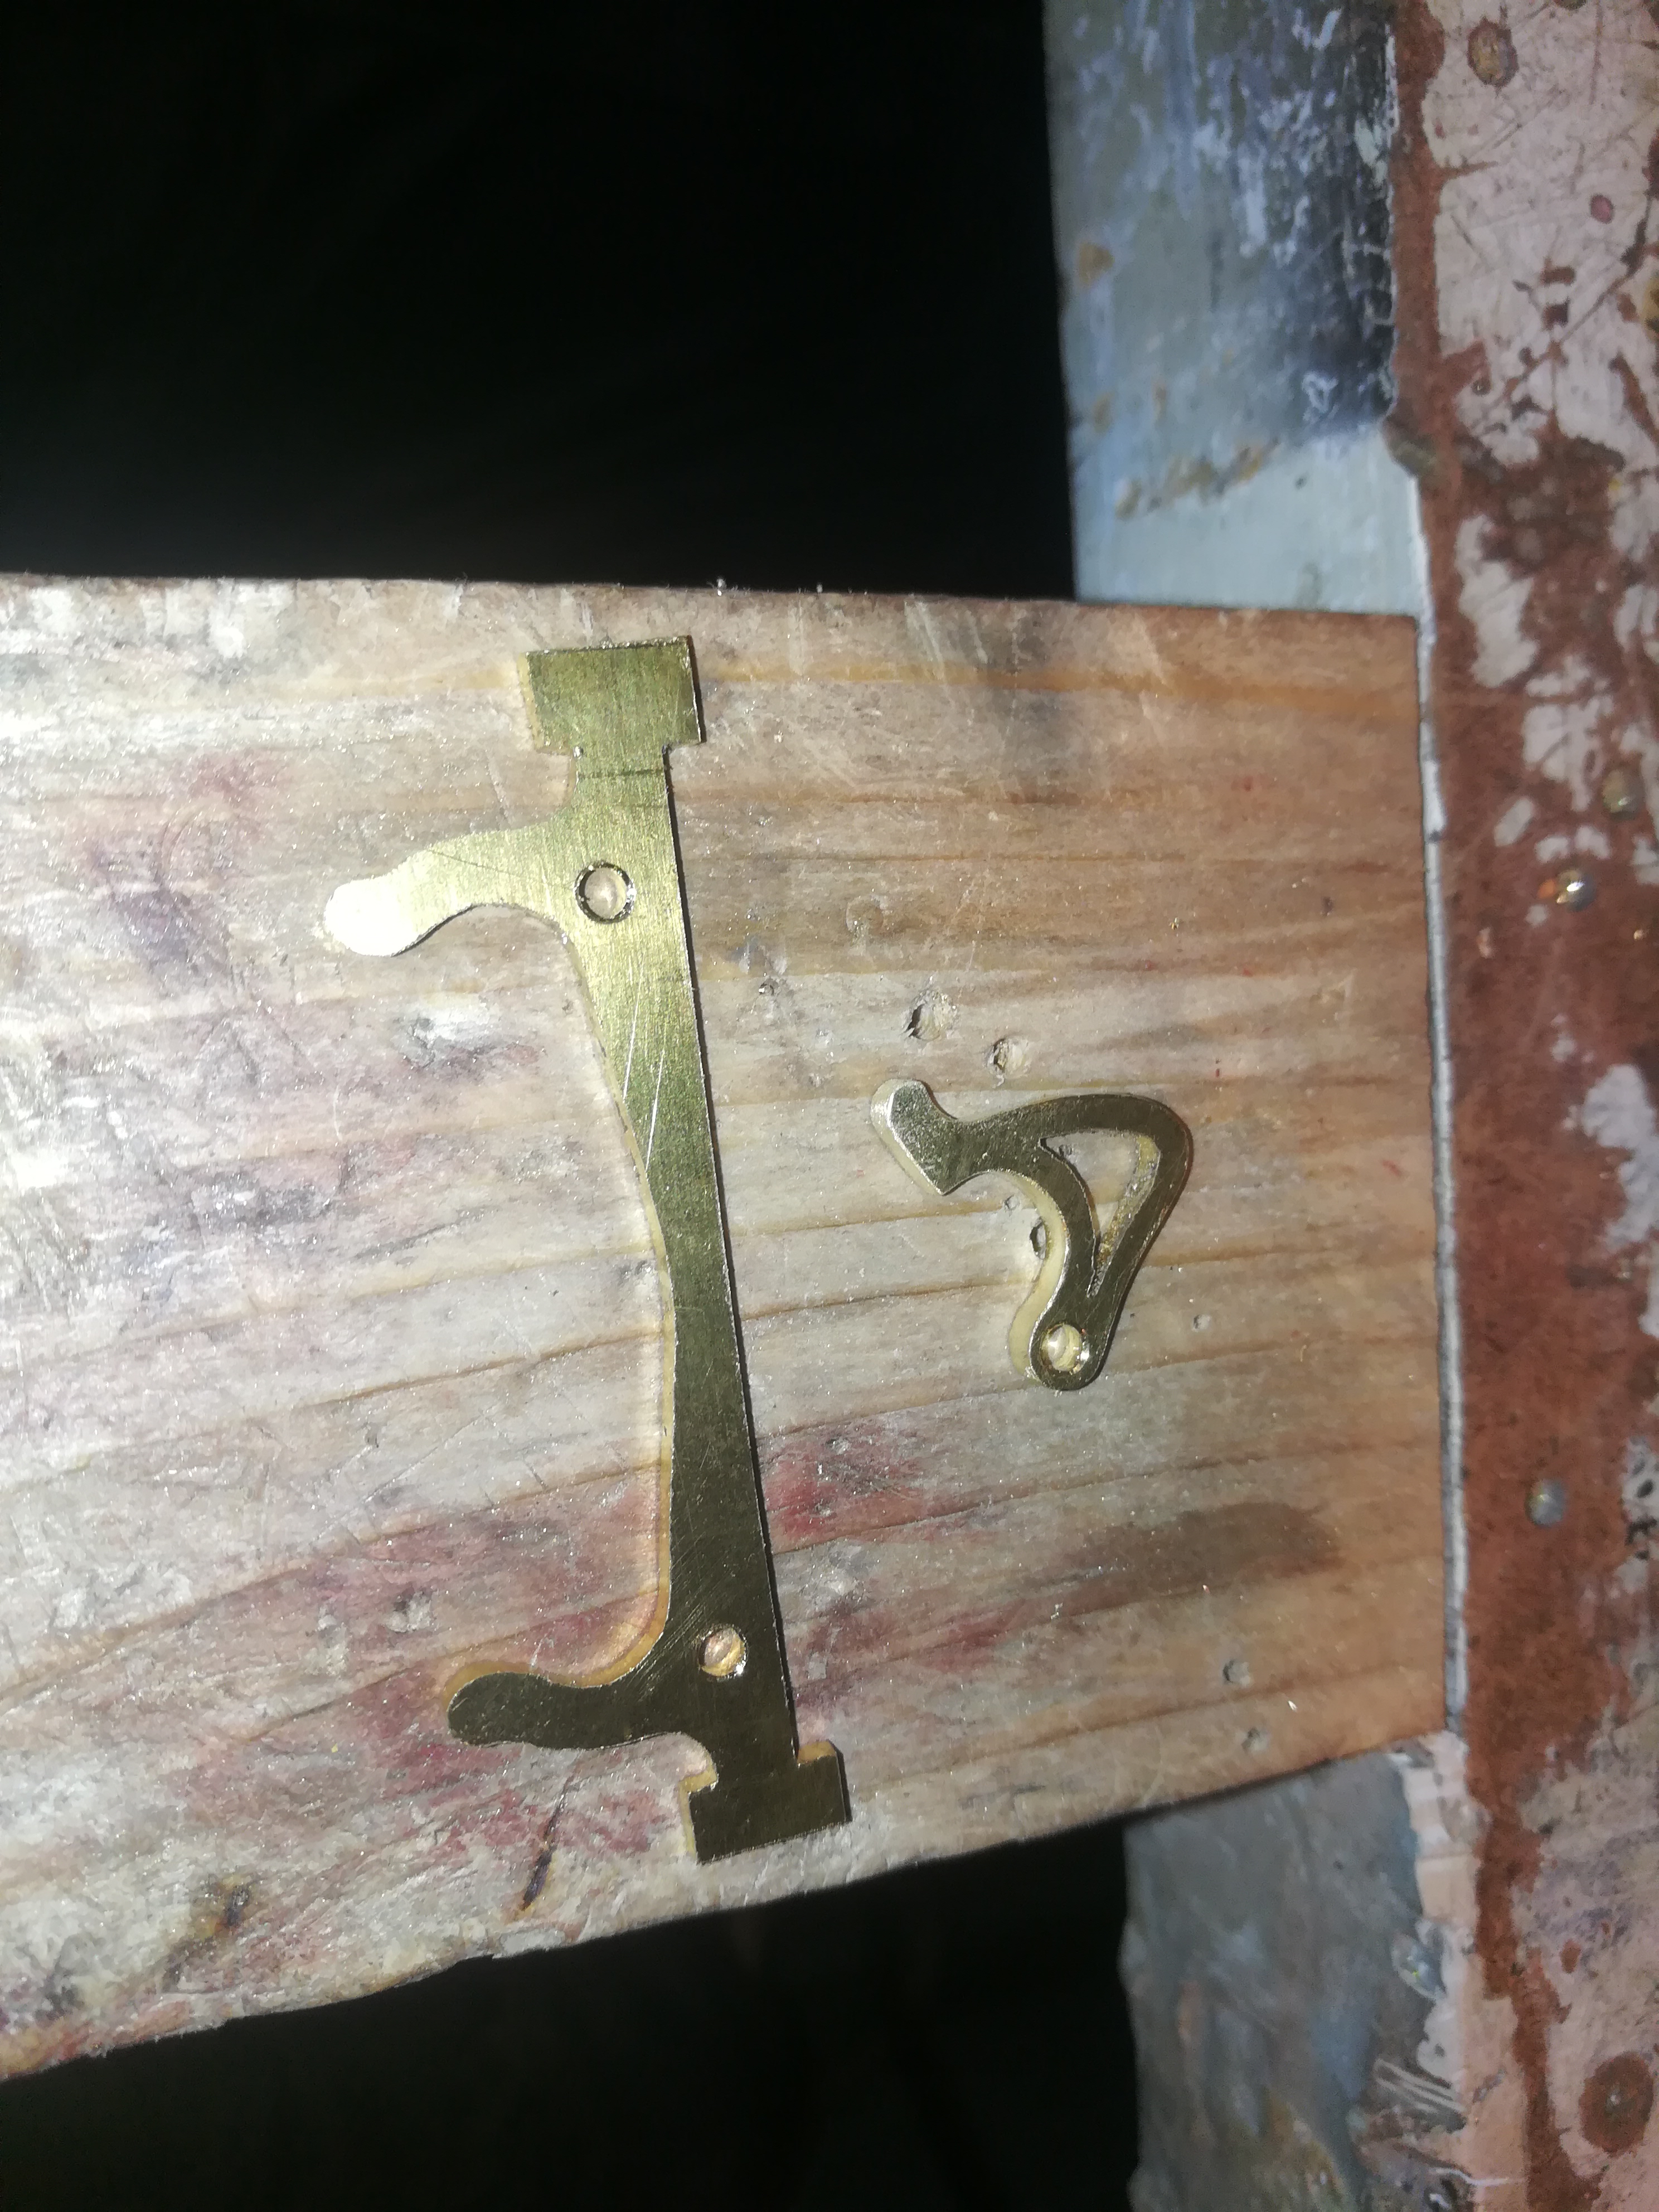
Begin to file the bows in a curve and create the illusion that the bows go over and under (picture 3). If you are ready with this sand everything with sandpaper 320 and work your way up to 500.
Because the decorative piece comes over the sloping side, you have to fold the piece a bit before polishing (picture 5-6). Make sure if you lay it on the case, that there are no gaps in between without putting pressure.
Now can you begin to polish. Be carefull it is a shape that can easily be pulled along by the brush and the piece folds making it difficult to get it back in the right shape. It happened to me and I didn't get it 100% correct anymore (picture 4).
Immediately after polishing the piece must be degreased and sprayed with varnish. Otherwise you will see fingerprints after a day.
Finish the Case

Everthing you do now, must be done in the same day so you can varnish it all in one go.
Necessary materials:
- Hand jigsaw for metal
- Different small files
- 2 mm brass plate
- Drill
- Bore 4 mm
- polishing discs and polish pasta
- Degreaser
- varnish high gloss water base
- spray gun
- Sandpaper 220-320-500
- Paper tape
- Two component glue
------------------------------------------------------------------------------------------------------------------------------------------------------
First fit the pick-up arm on the case so you can determine where the holder for the arm must come. Drill a hole of 4 mm through the plate.
Apply tape to the brass brim and sand the varnished veneer with sandpaper 220. after this remove the tapefrom the brim and apply tape around the brim this time (picture 1). Now polish the brass brim with the polisching tools. afterwords remove the tap immediately (picture 2).
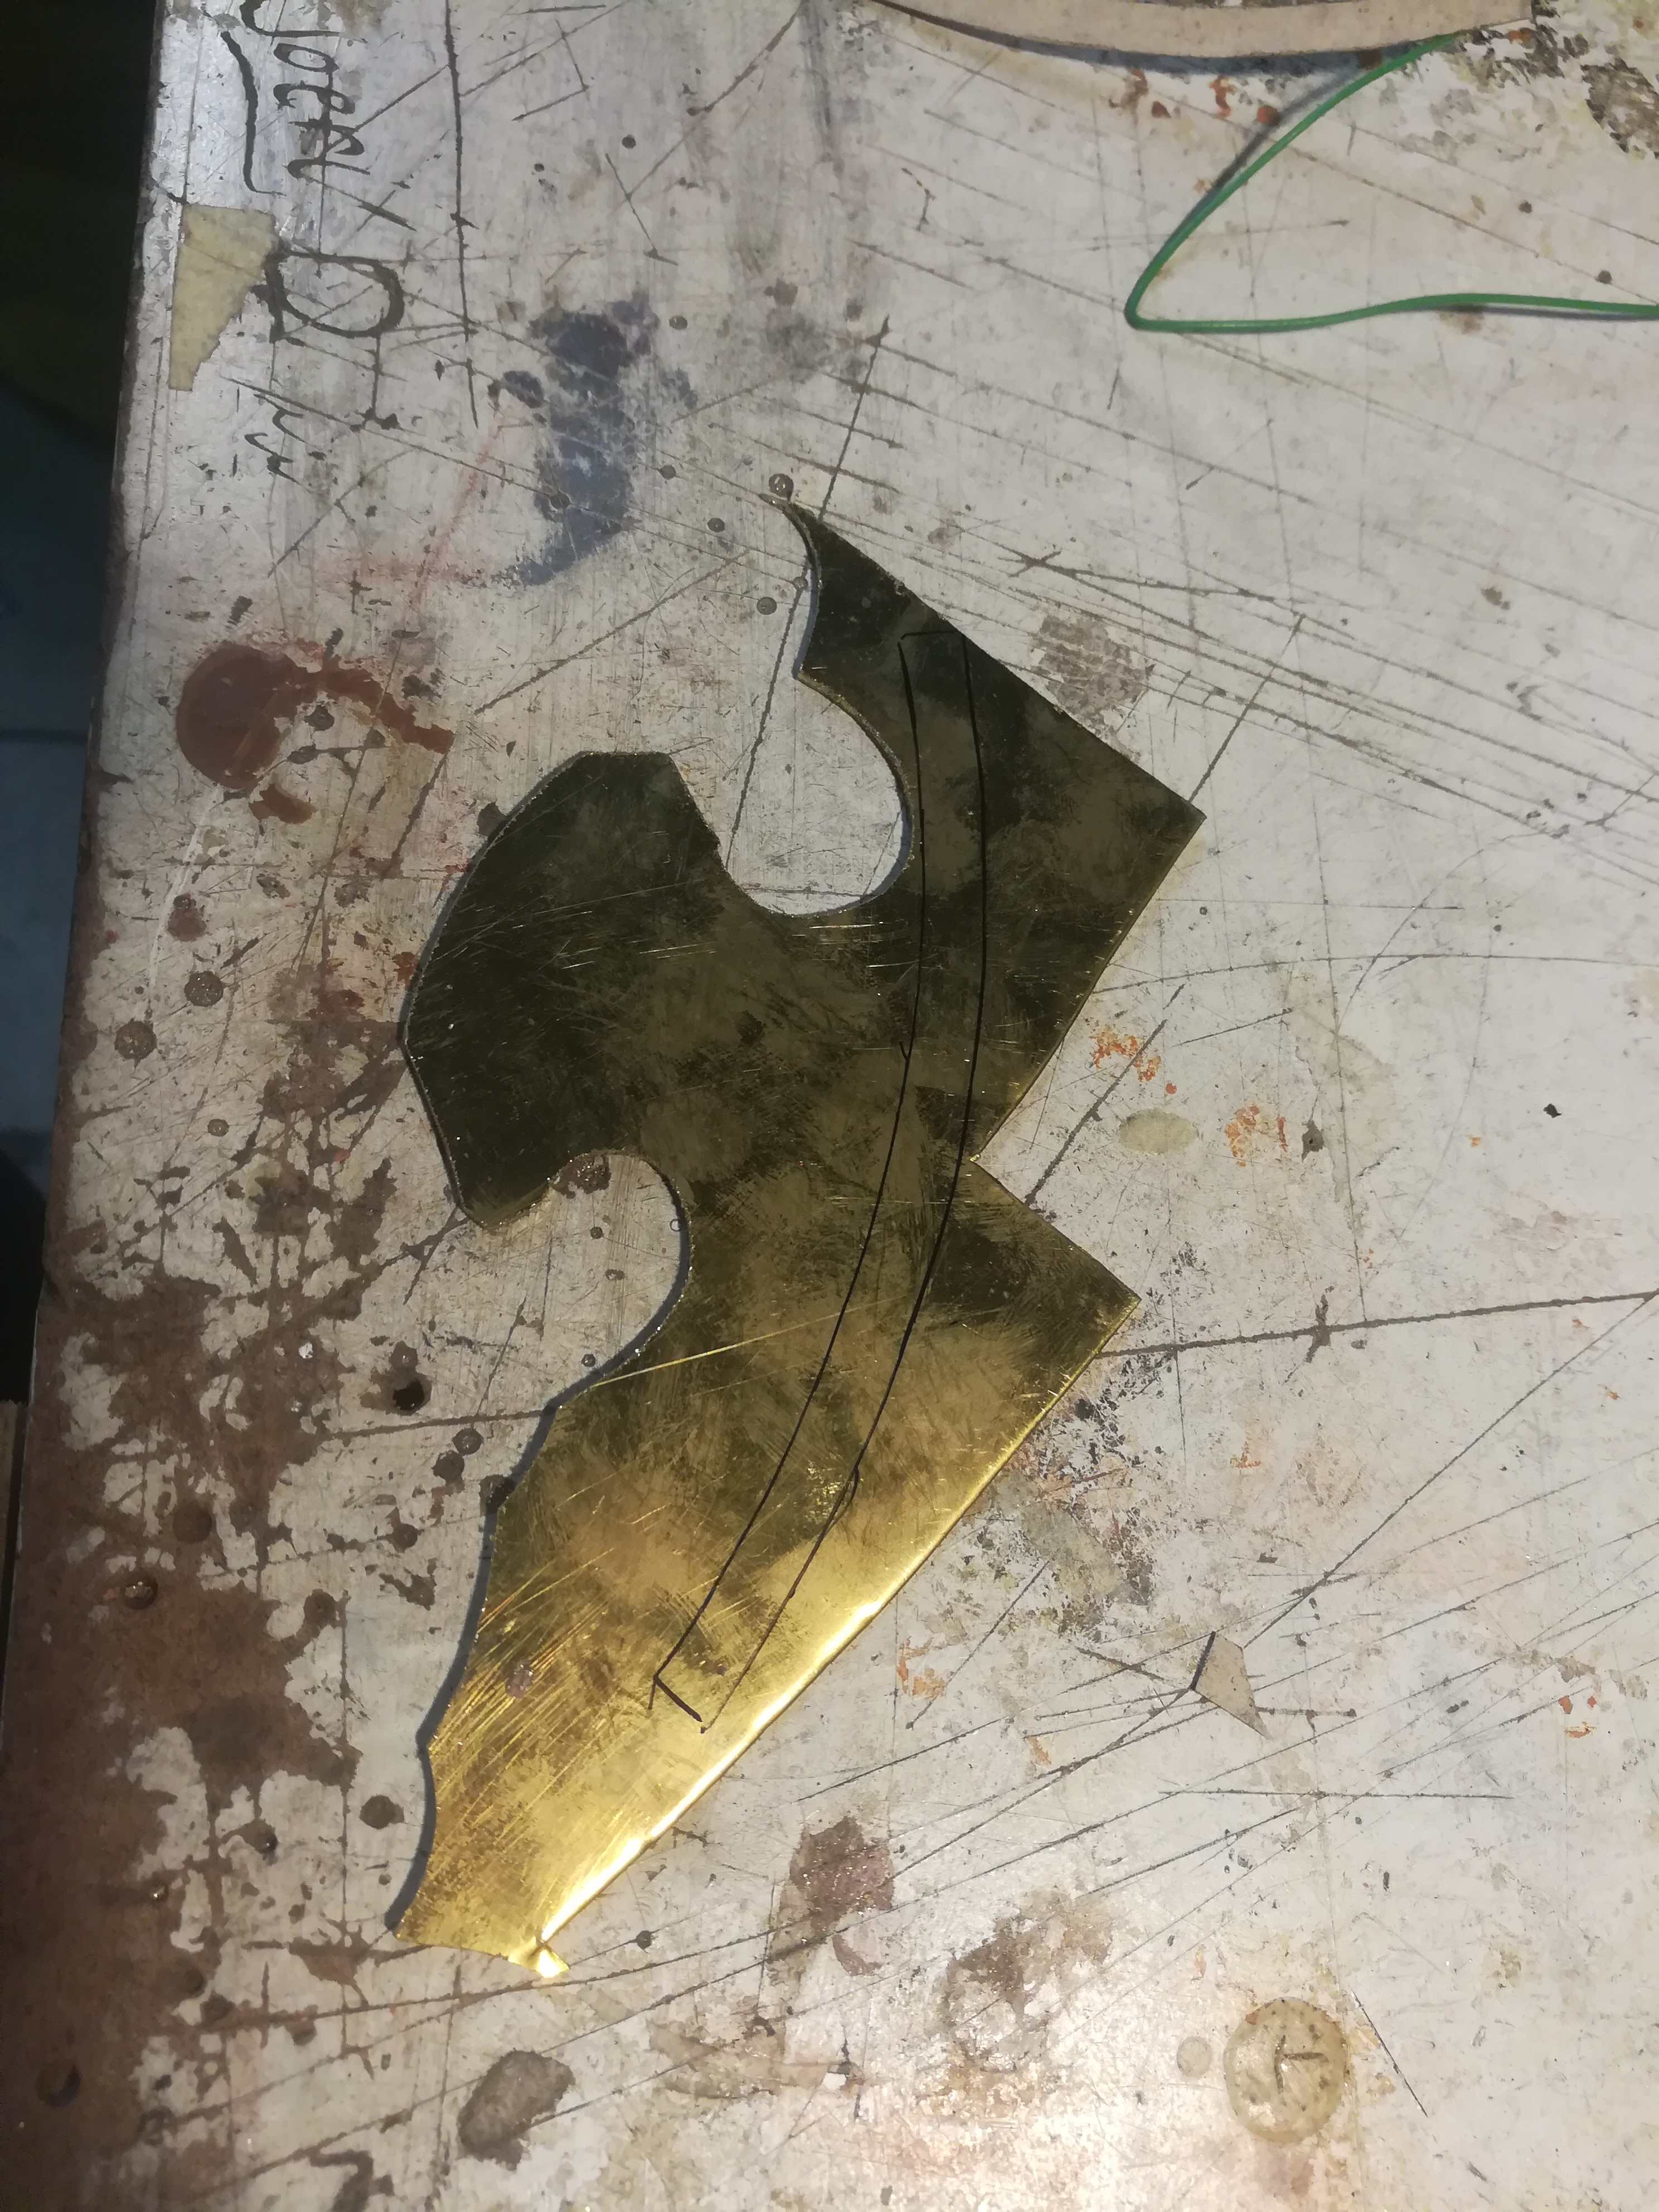
There was a little brass plate that still needed to be made so cut this out (picture 3) and polish it. Then glue it in place.
The next part wil be to glue the decoration in place. Make sure you know where it needs to come because two component glue dries fast (picture 4).
Dilute the varnish a little with water and pour it in the spray gun. The first layer must be thin and after 2 minutes spray a secound layer. The secound layer can be thick so that every hole and space is full. The decoration will also be stronger.
Finish the Pick-up Arm and Disk
Most parts are black on the arm and disk so i wanted a golden colour on them.
Necessary materials:
- Spray can gold
- varnish high gloss water base
- spray gun
- Paper tape
- Lathe
------------------------------------------------------------------------------------------------------------------------------------------------------
Disassemble the needle and see where the wires should be connected (picture 1-2). Put tape on the contacts.
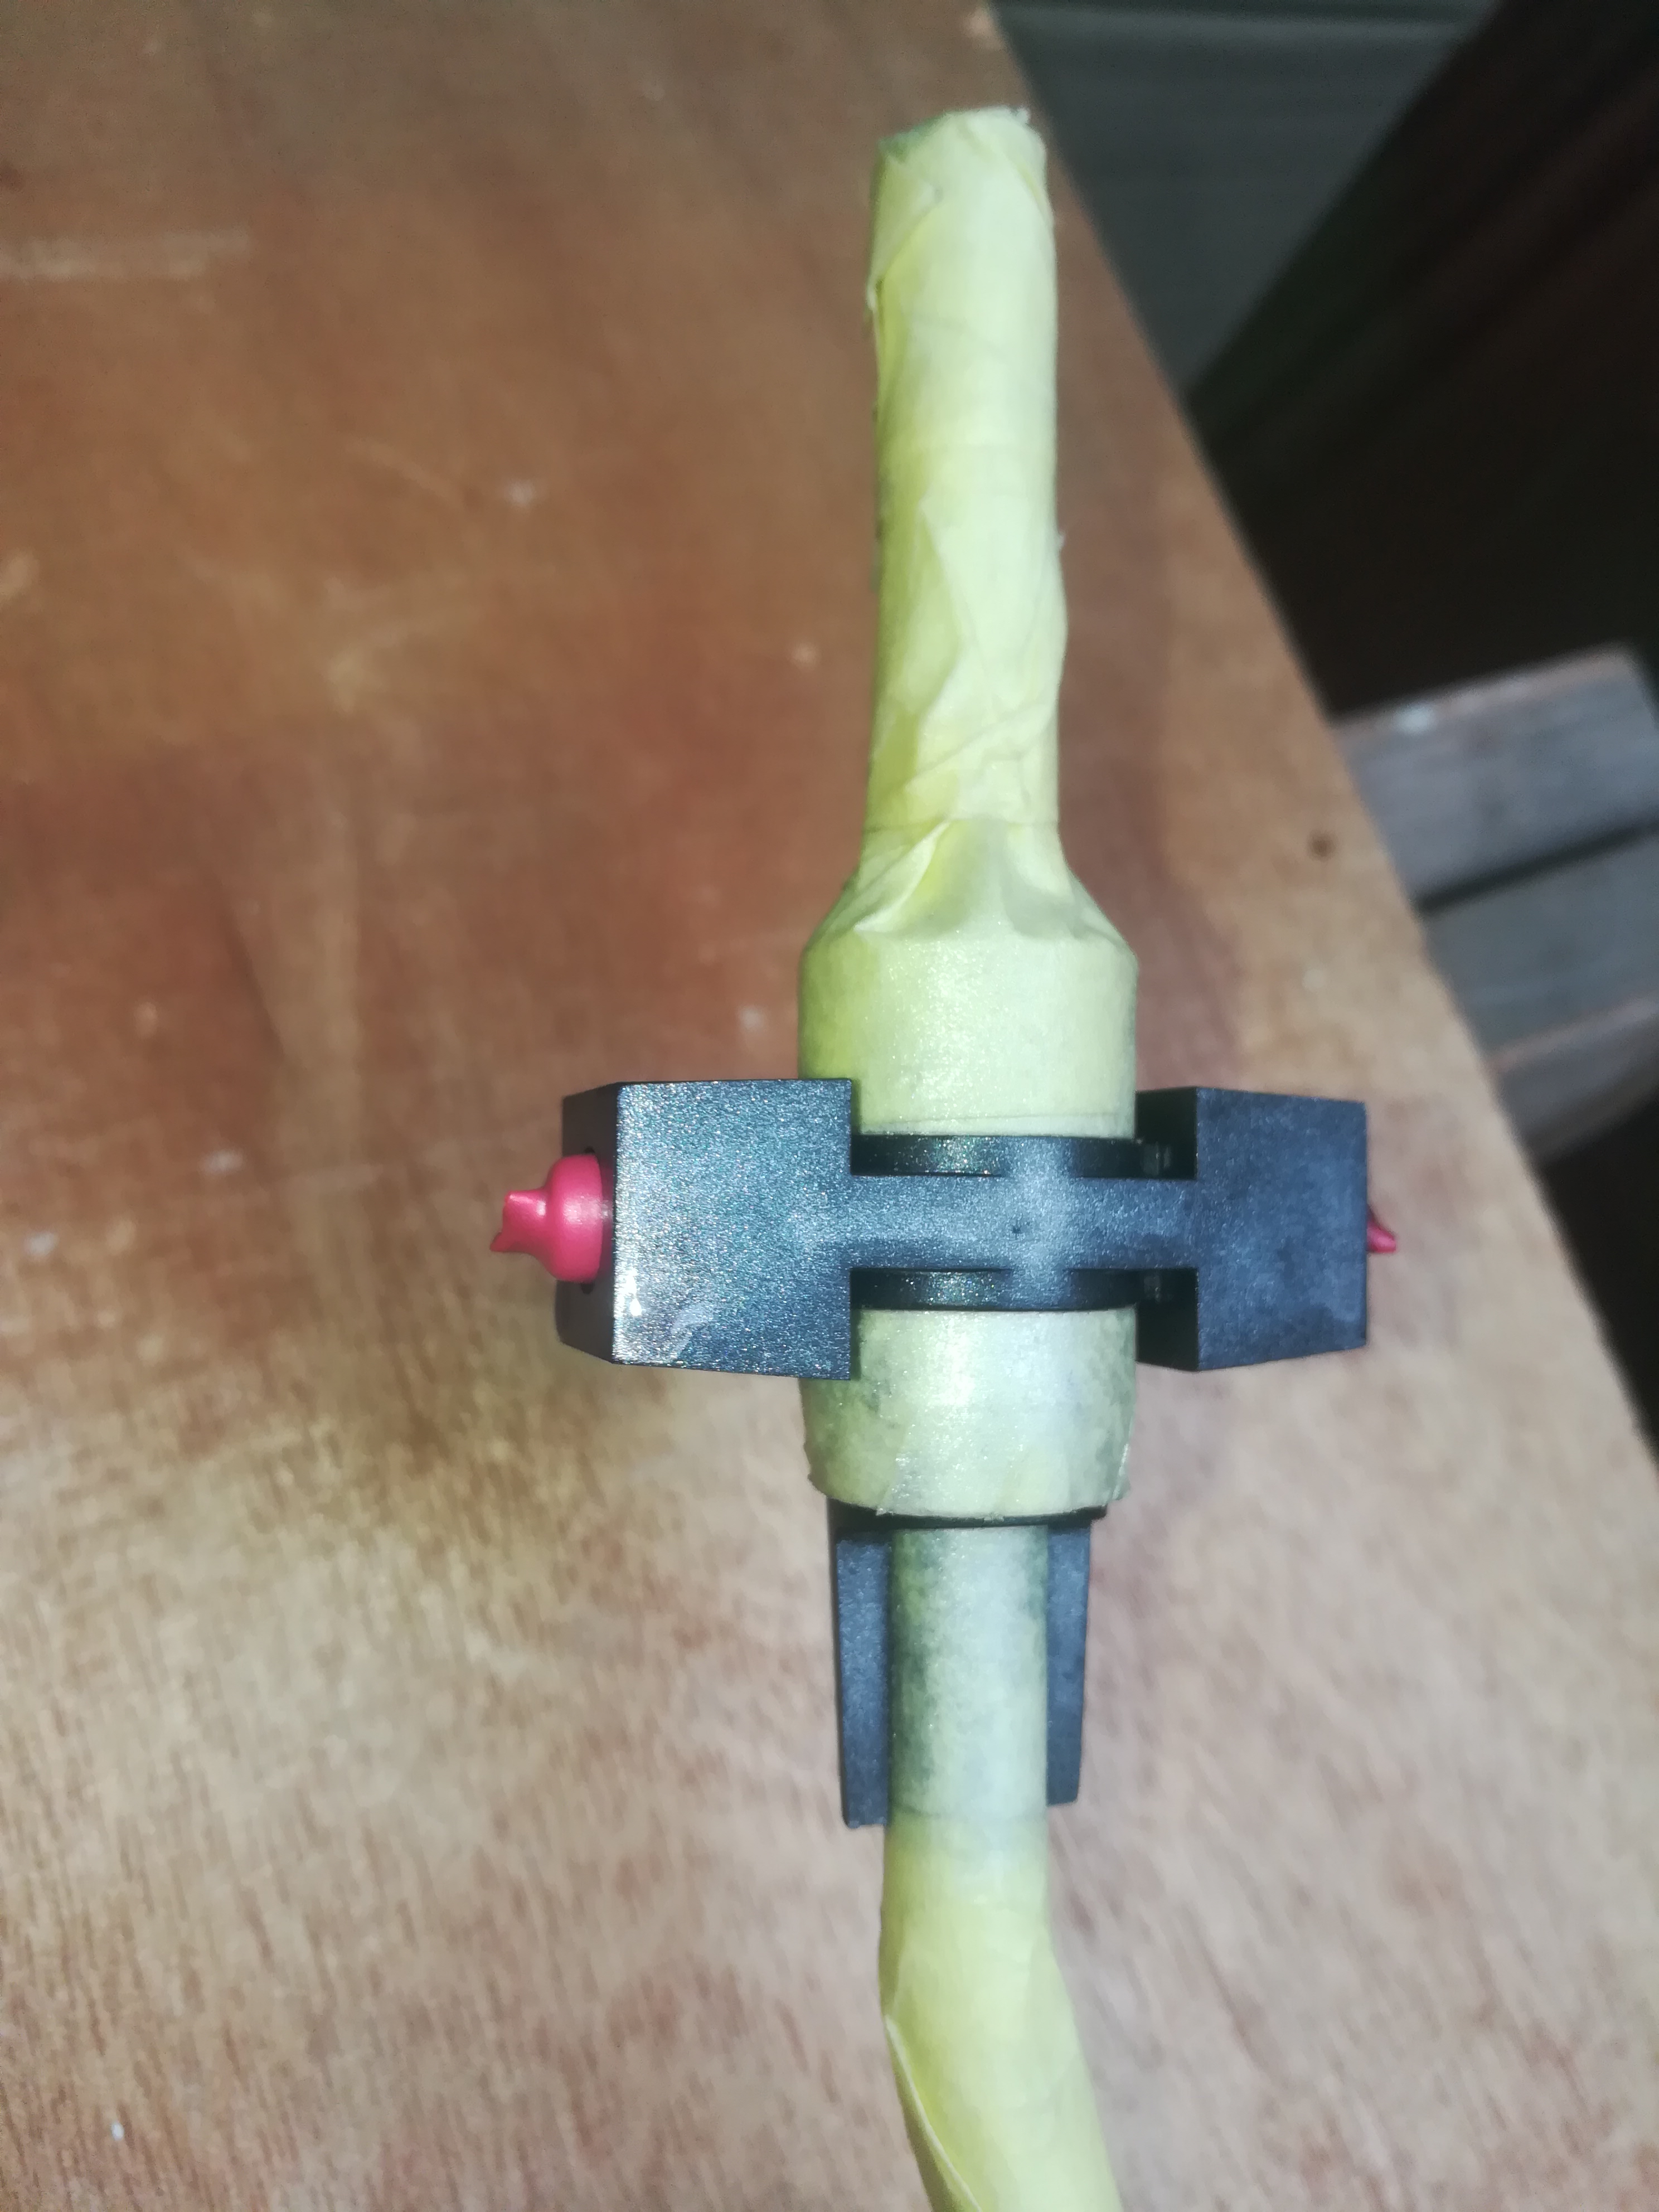
Sand the pickup base with sandpaper 220 and tape of the parts that need to become gold. Do the same with the pick-up arm and disk (picture 3-4).
Then spray the parts with a plastic primer and then with the gold spray can. Dilute the varnish a little with water and pour it in the spray gun. Again first a thin layer and then a thick layer. Spray everything excepted the disk (picture 3-7).
The disk has stripes on the sides for speed controle and if it the same colour you wil not see it. Put it on a lathe and and turn off a thin layer so that the aluminum comes through. After this you can varnish the disk.
Make the Button and Pick-up Arm Holder


This are the last brass parts that need to be made.
Necessary materials:
- Hand jigsaw for metal
- Different small files
- 2 mm brass plate
- Double sided tape
- Drill
- Bore 1 mm
- polishing discs and polish pasta
- Varnish spray can high gloss
- Degreaser
- Sandpaper 320-500
- Brass tube 3-4-5-7 mm
- Silver solder
- Gas burner
- Iron rod with sharp point
- Tweezers
- borax
- fireproef stone
- Small tube cutter
- M4 bolt 40mm long
- Two component glue
- Fixed drilling machine
------------------------------------------------------------------------------------------------------------------------------------------------------
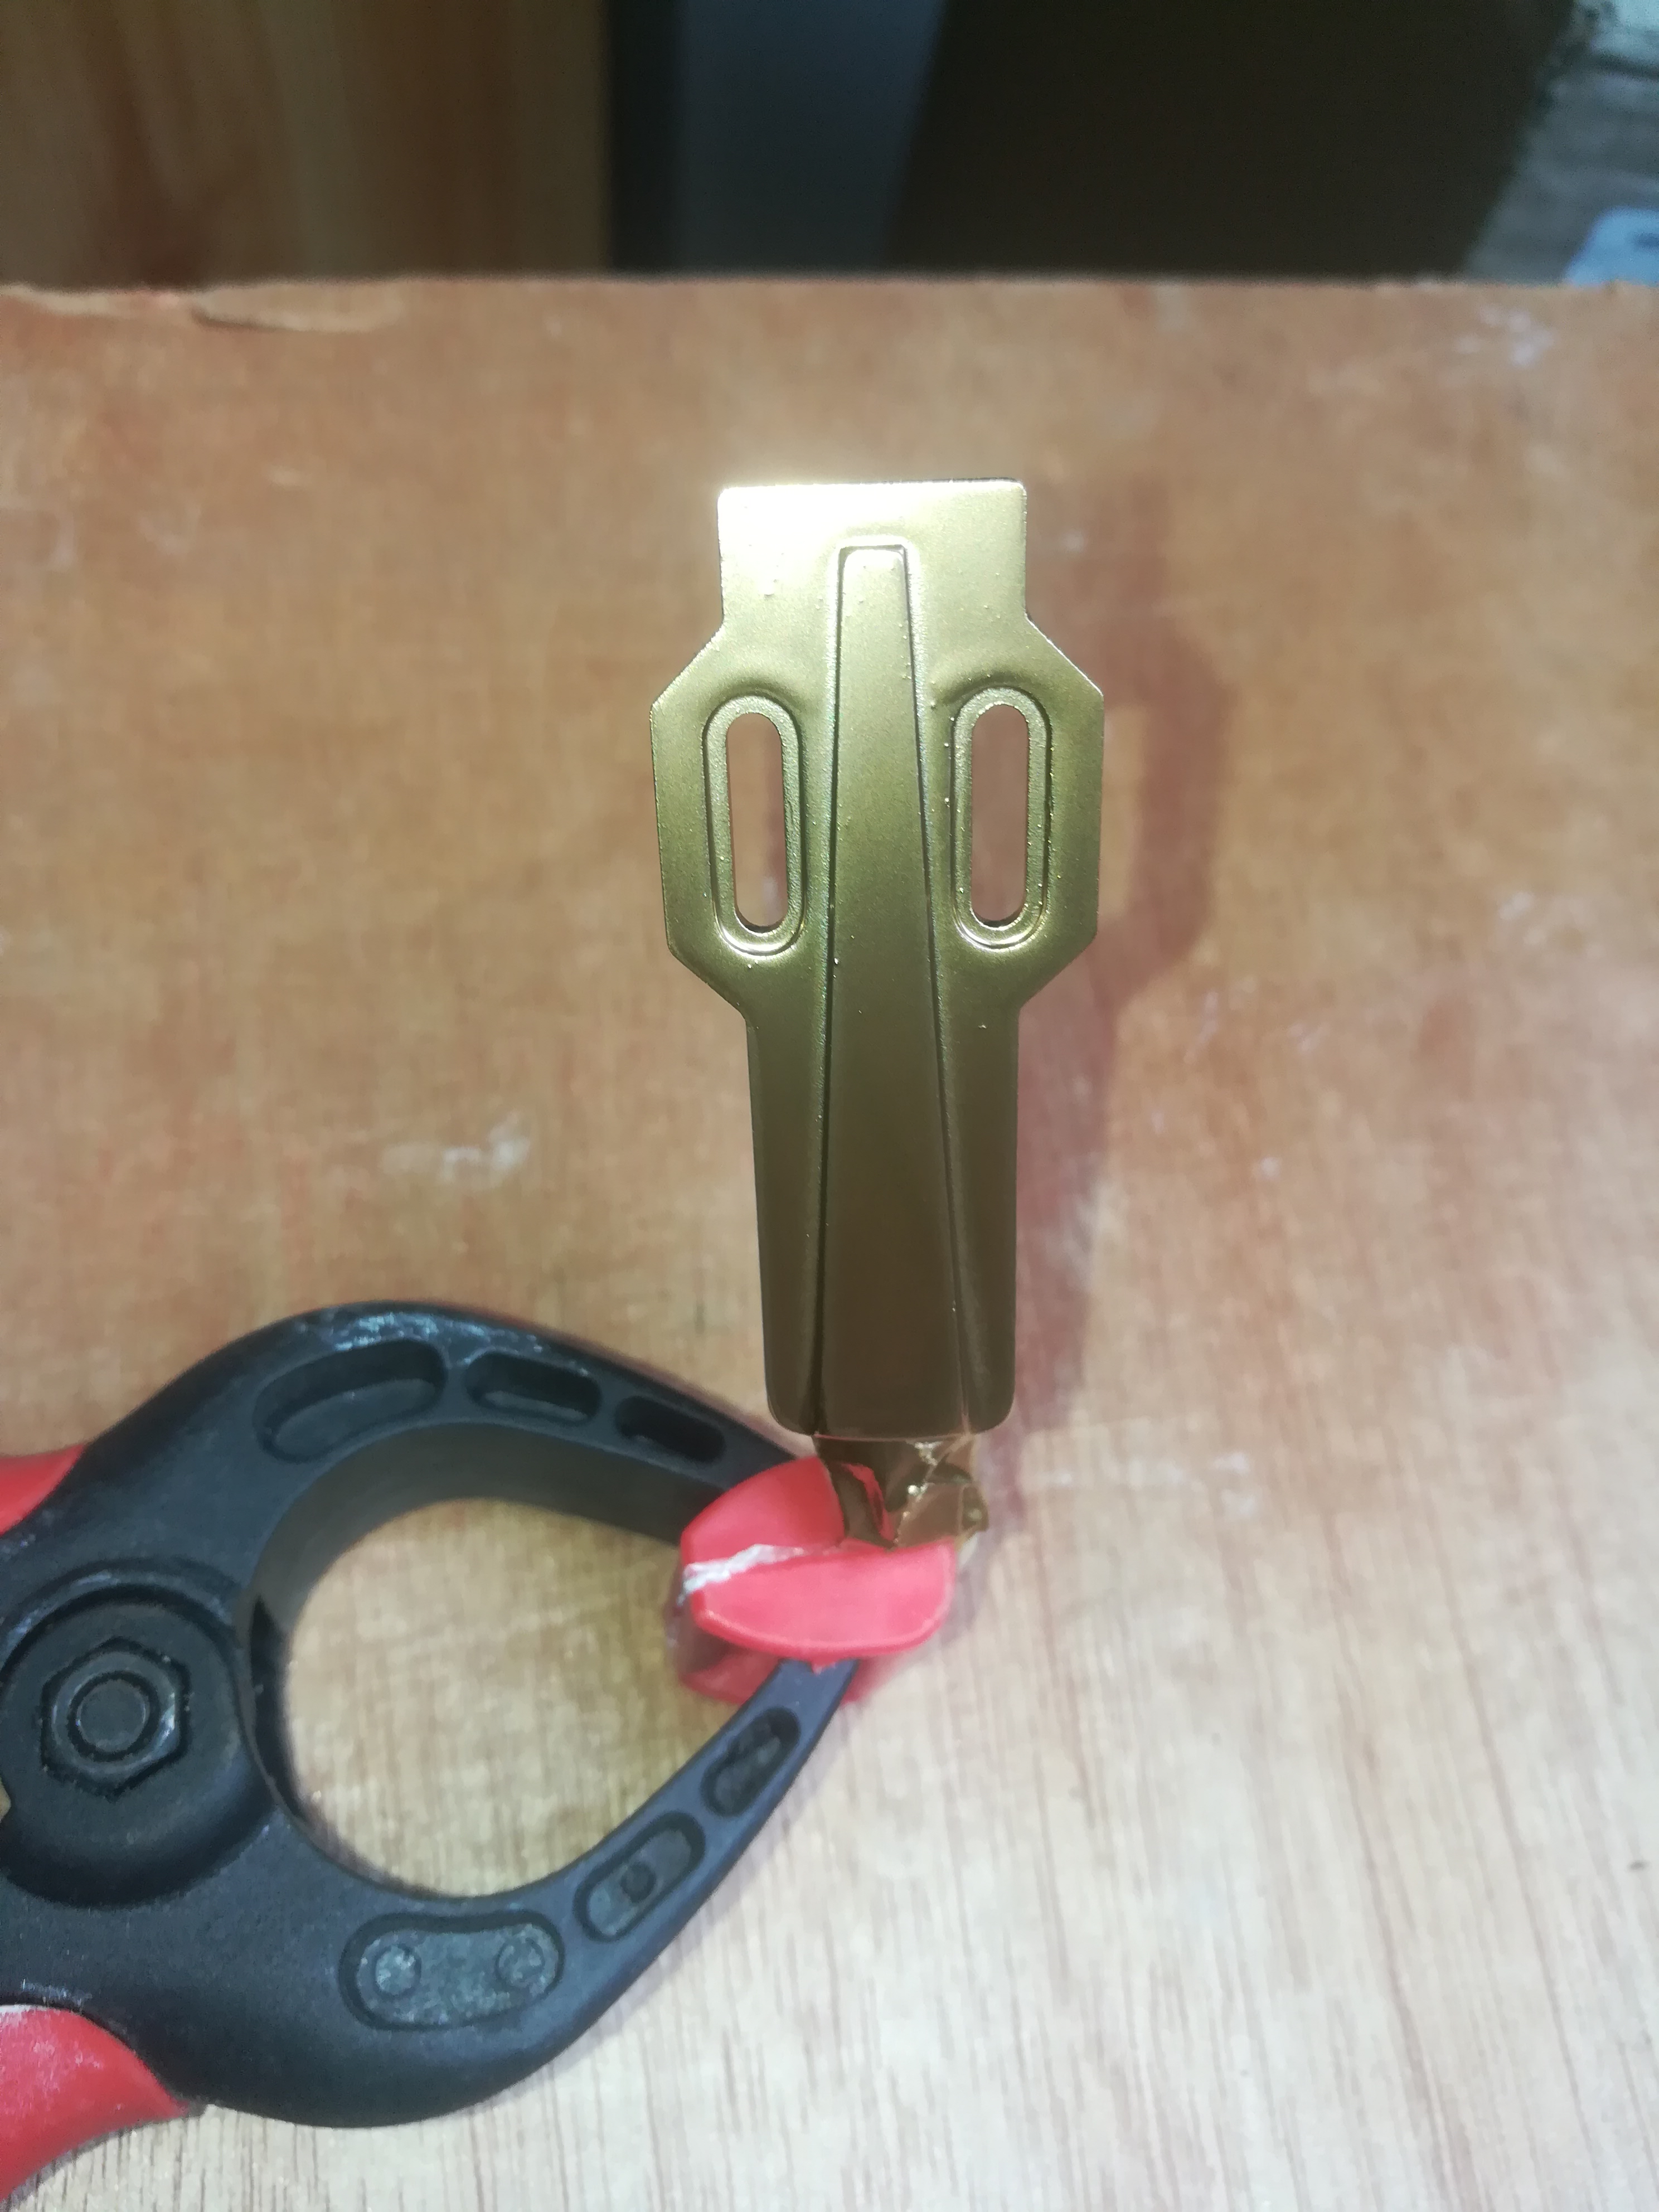
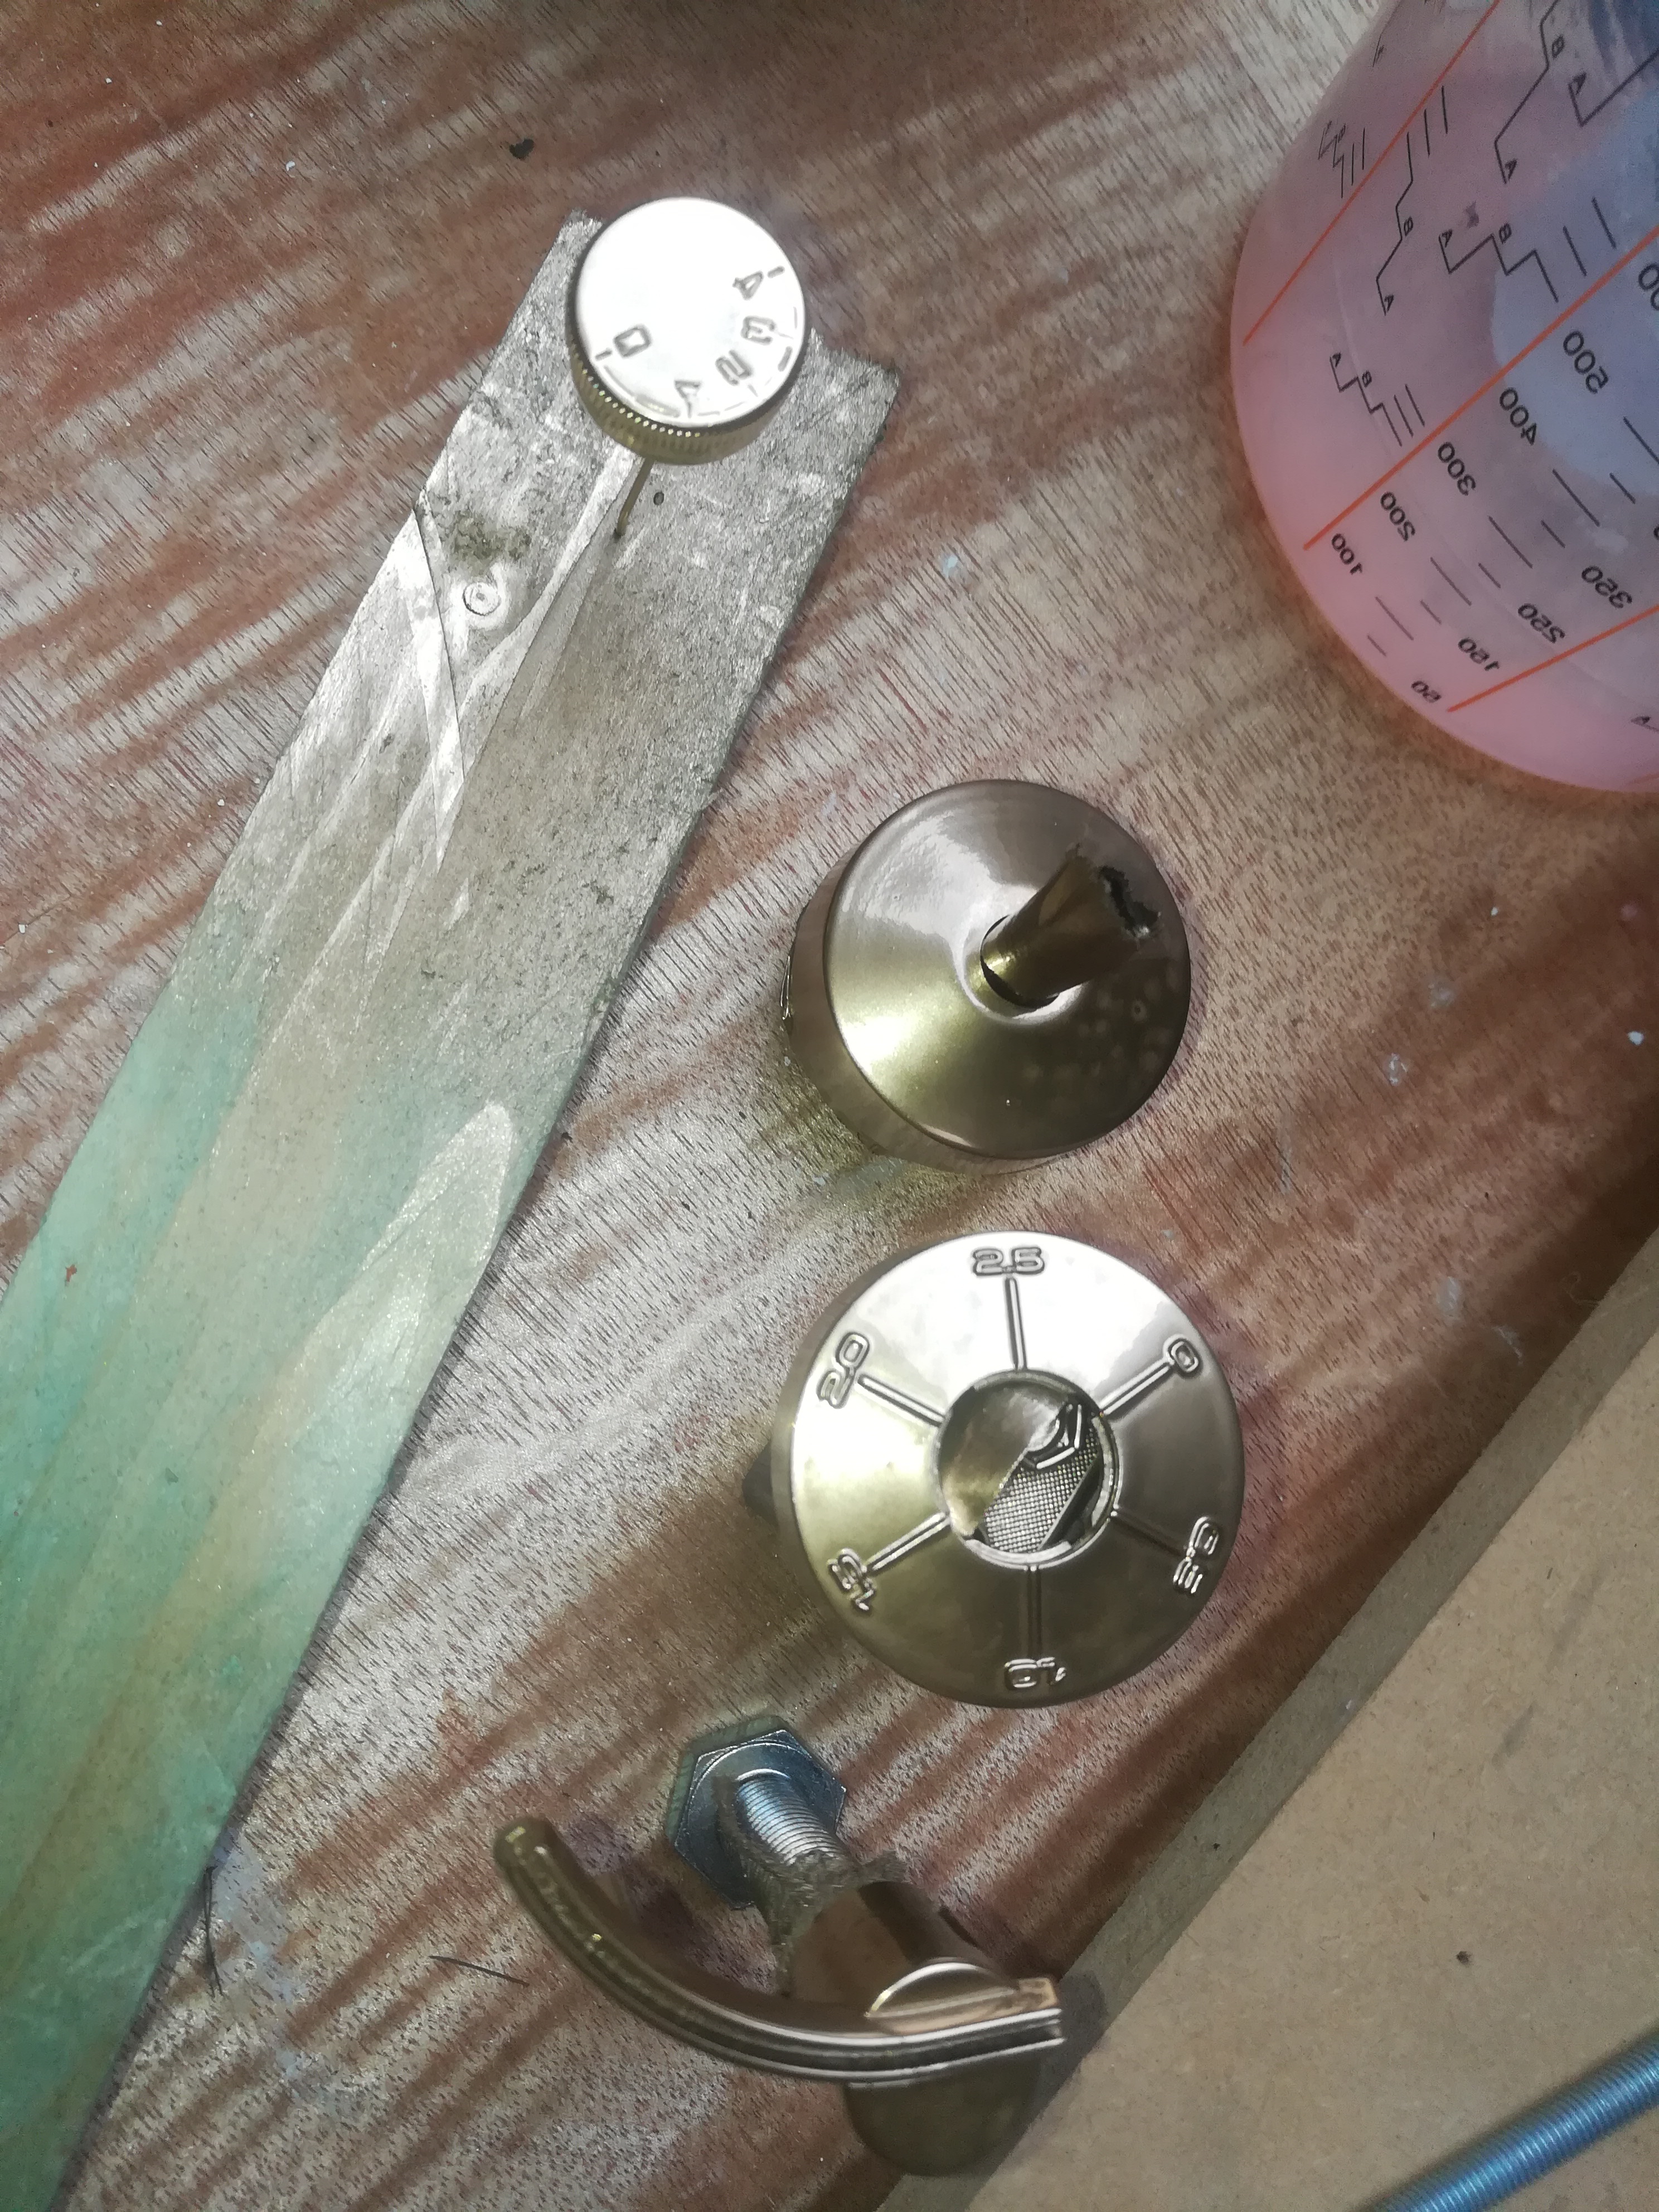
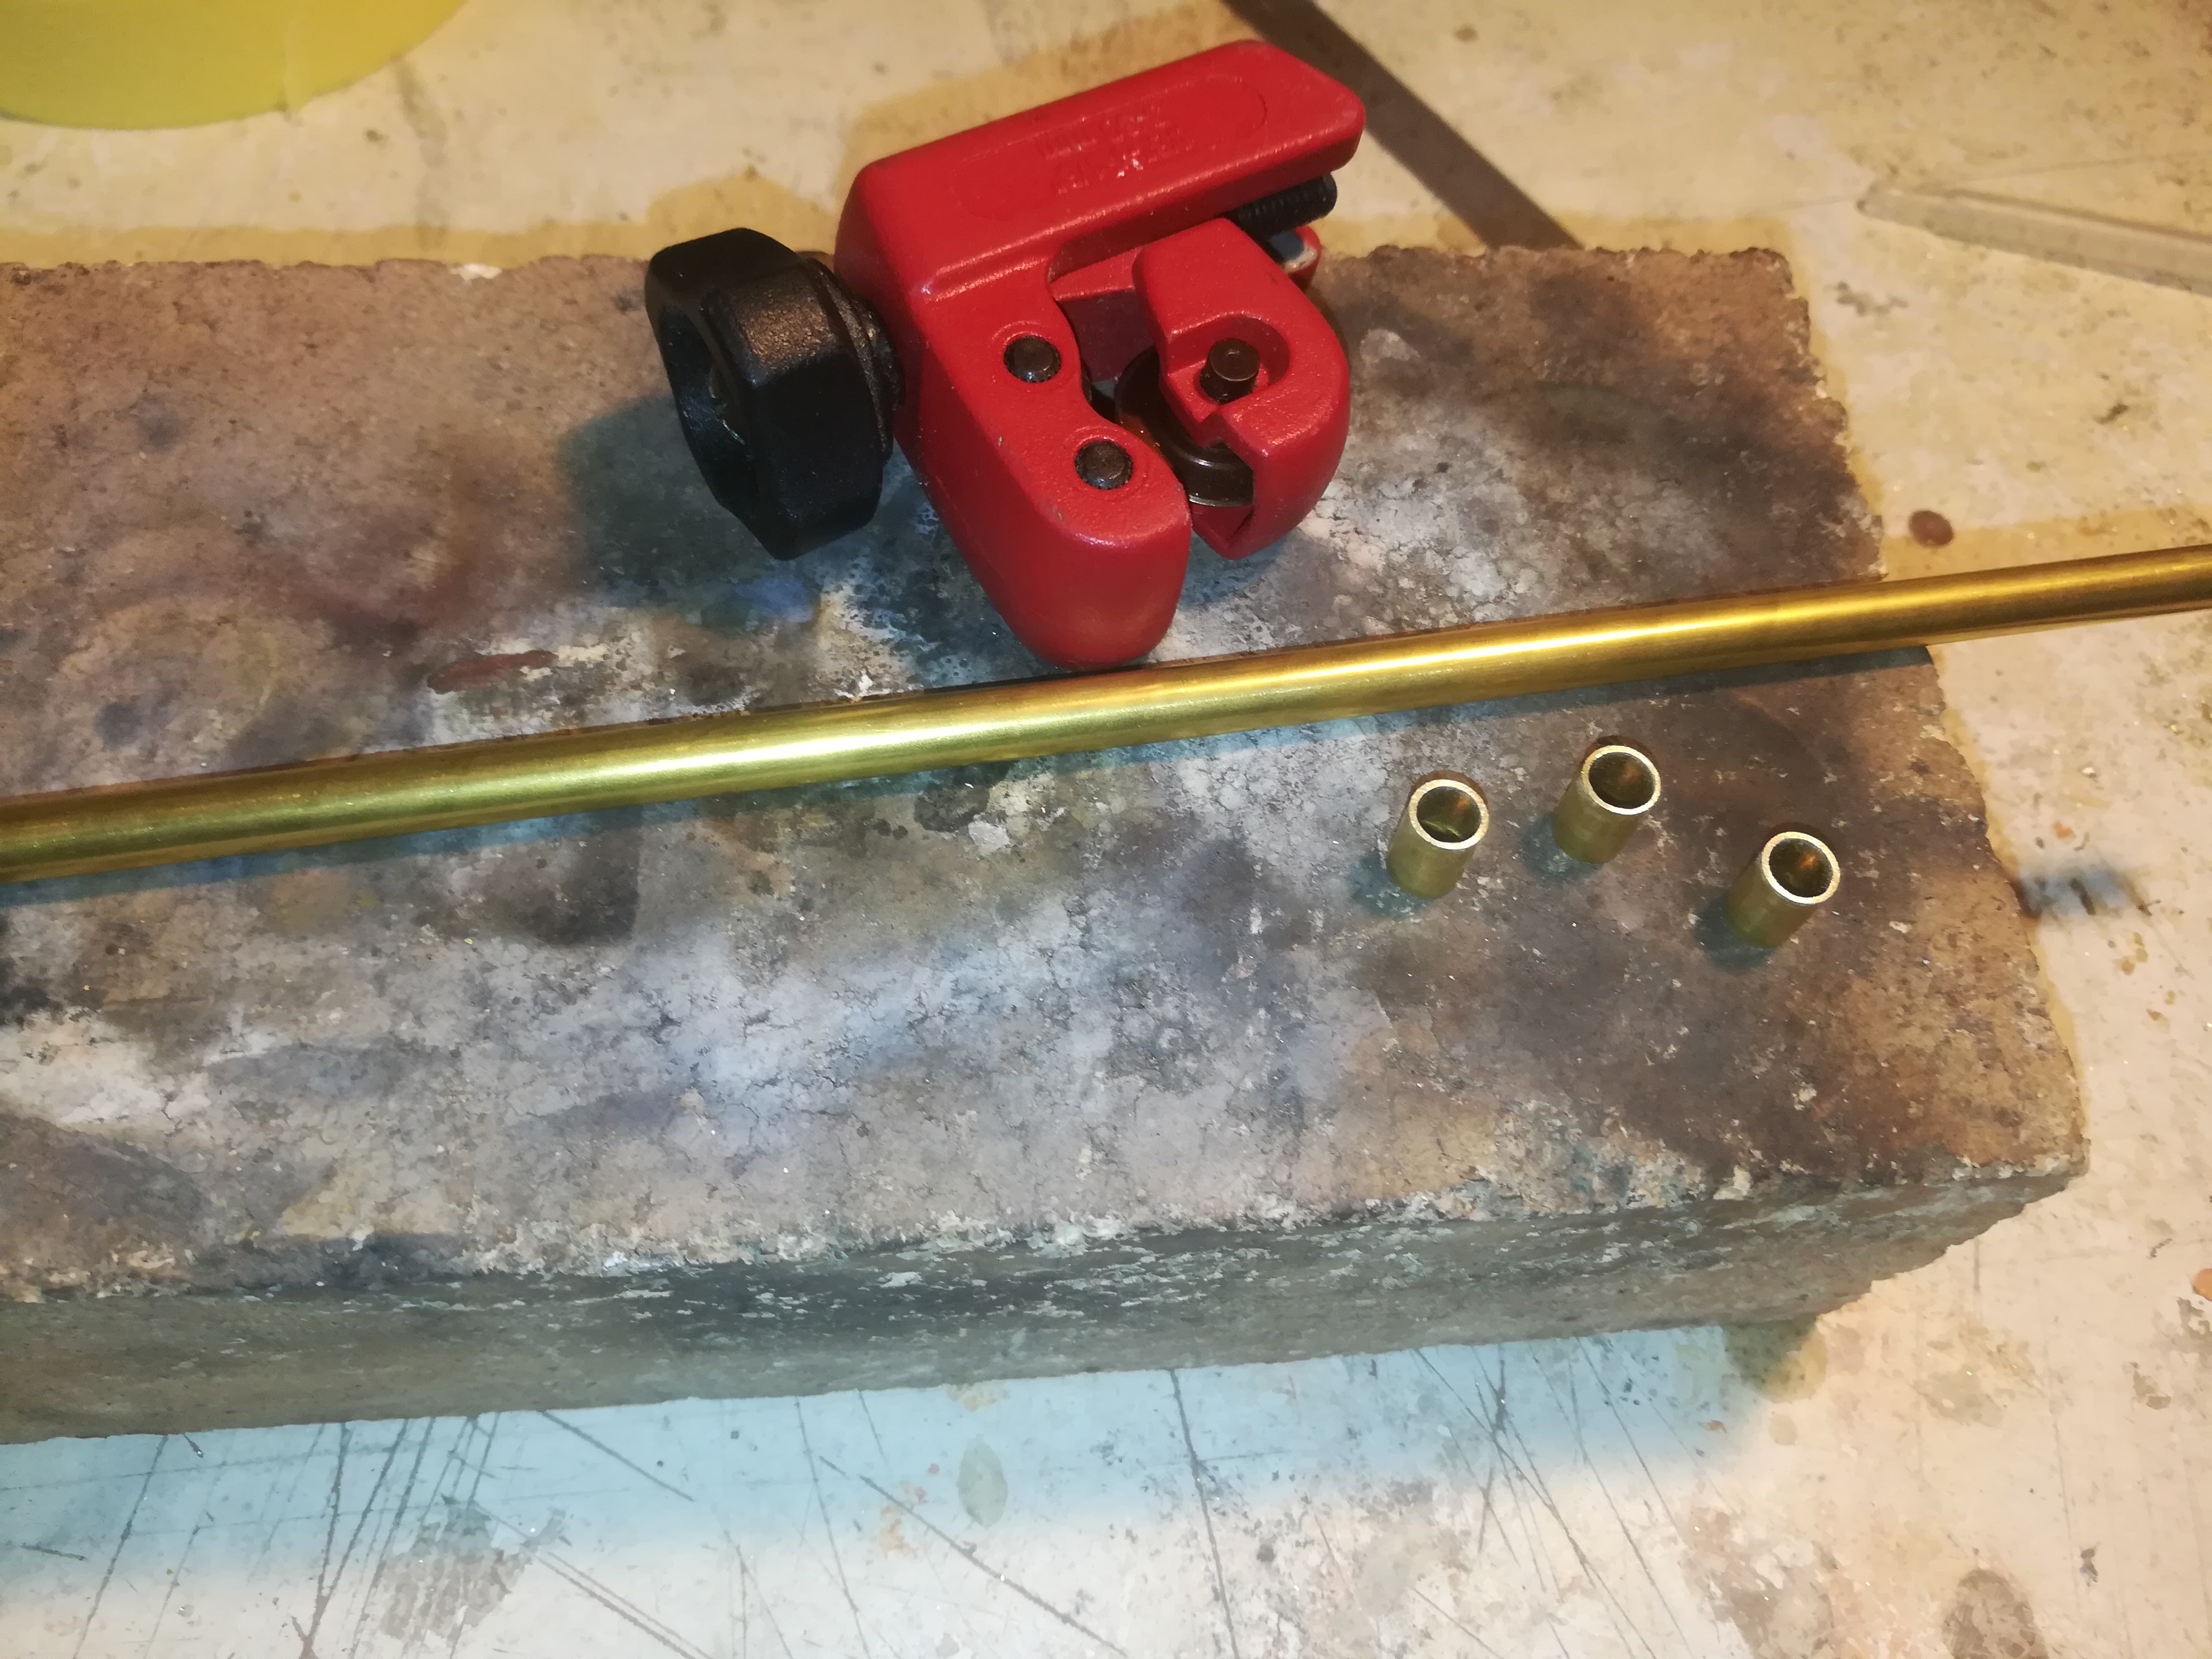
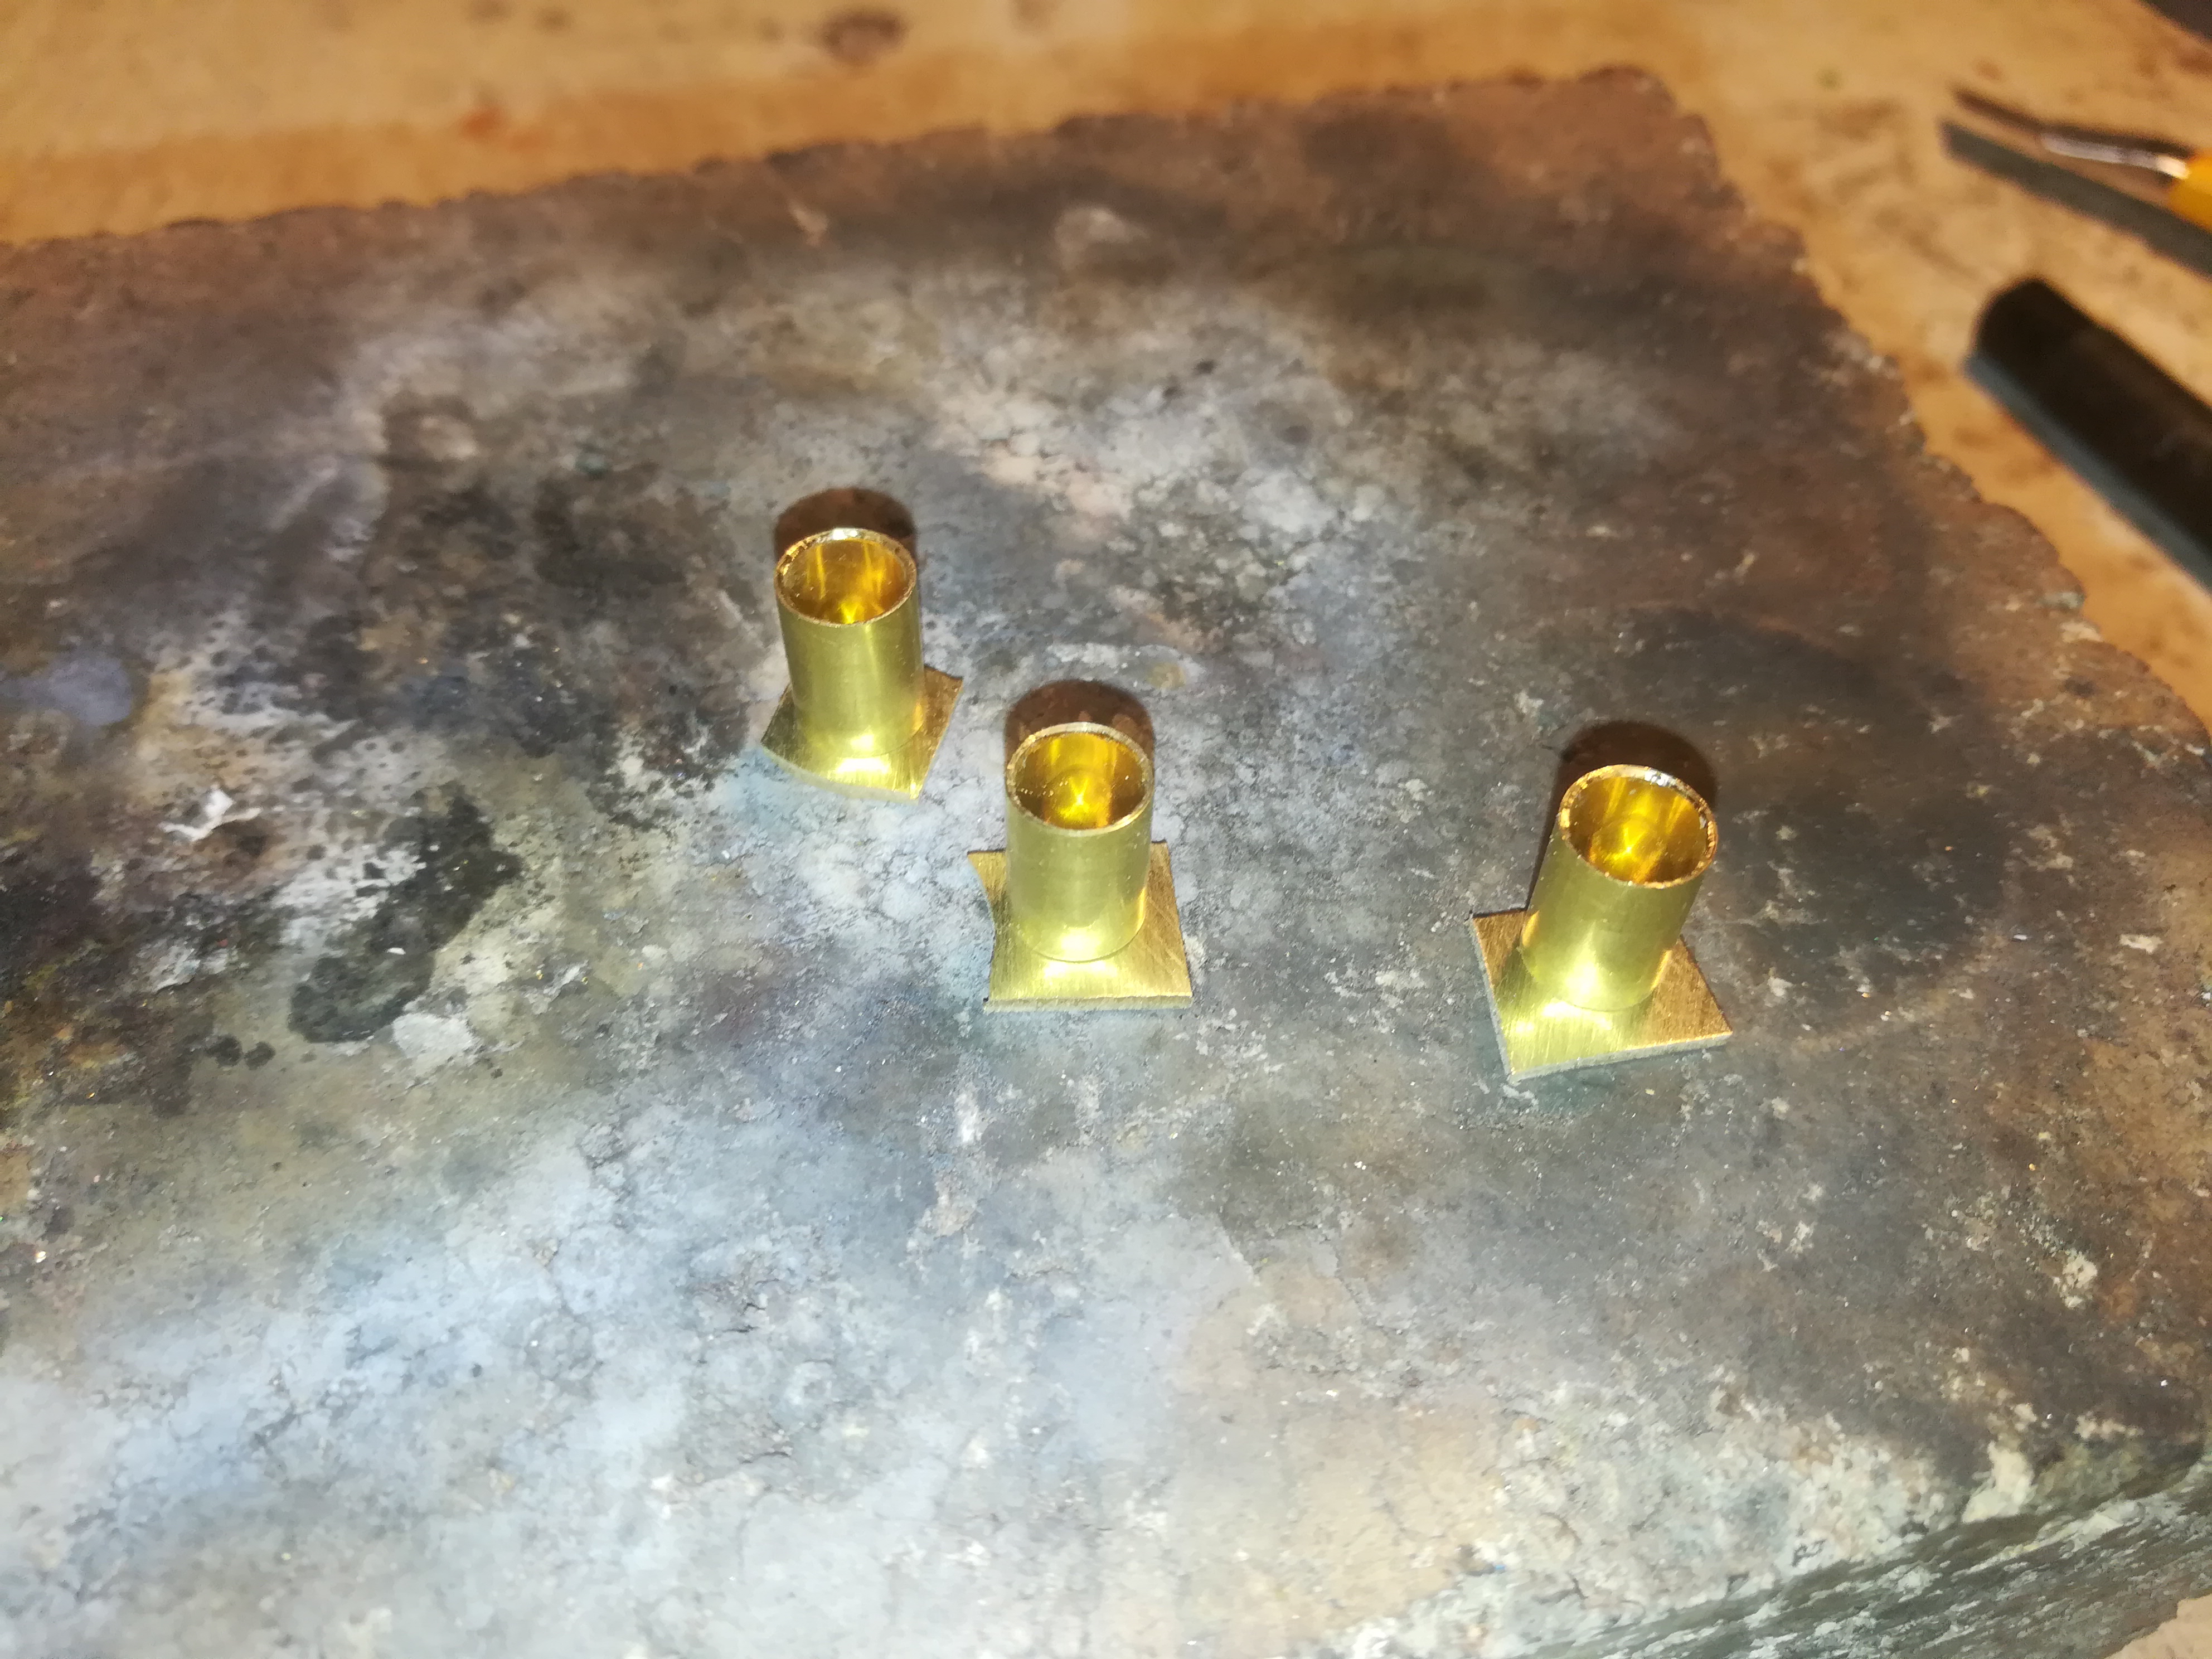
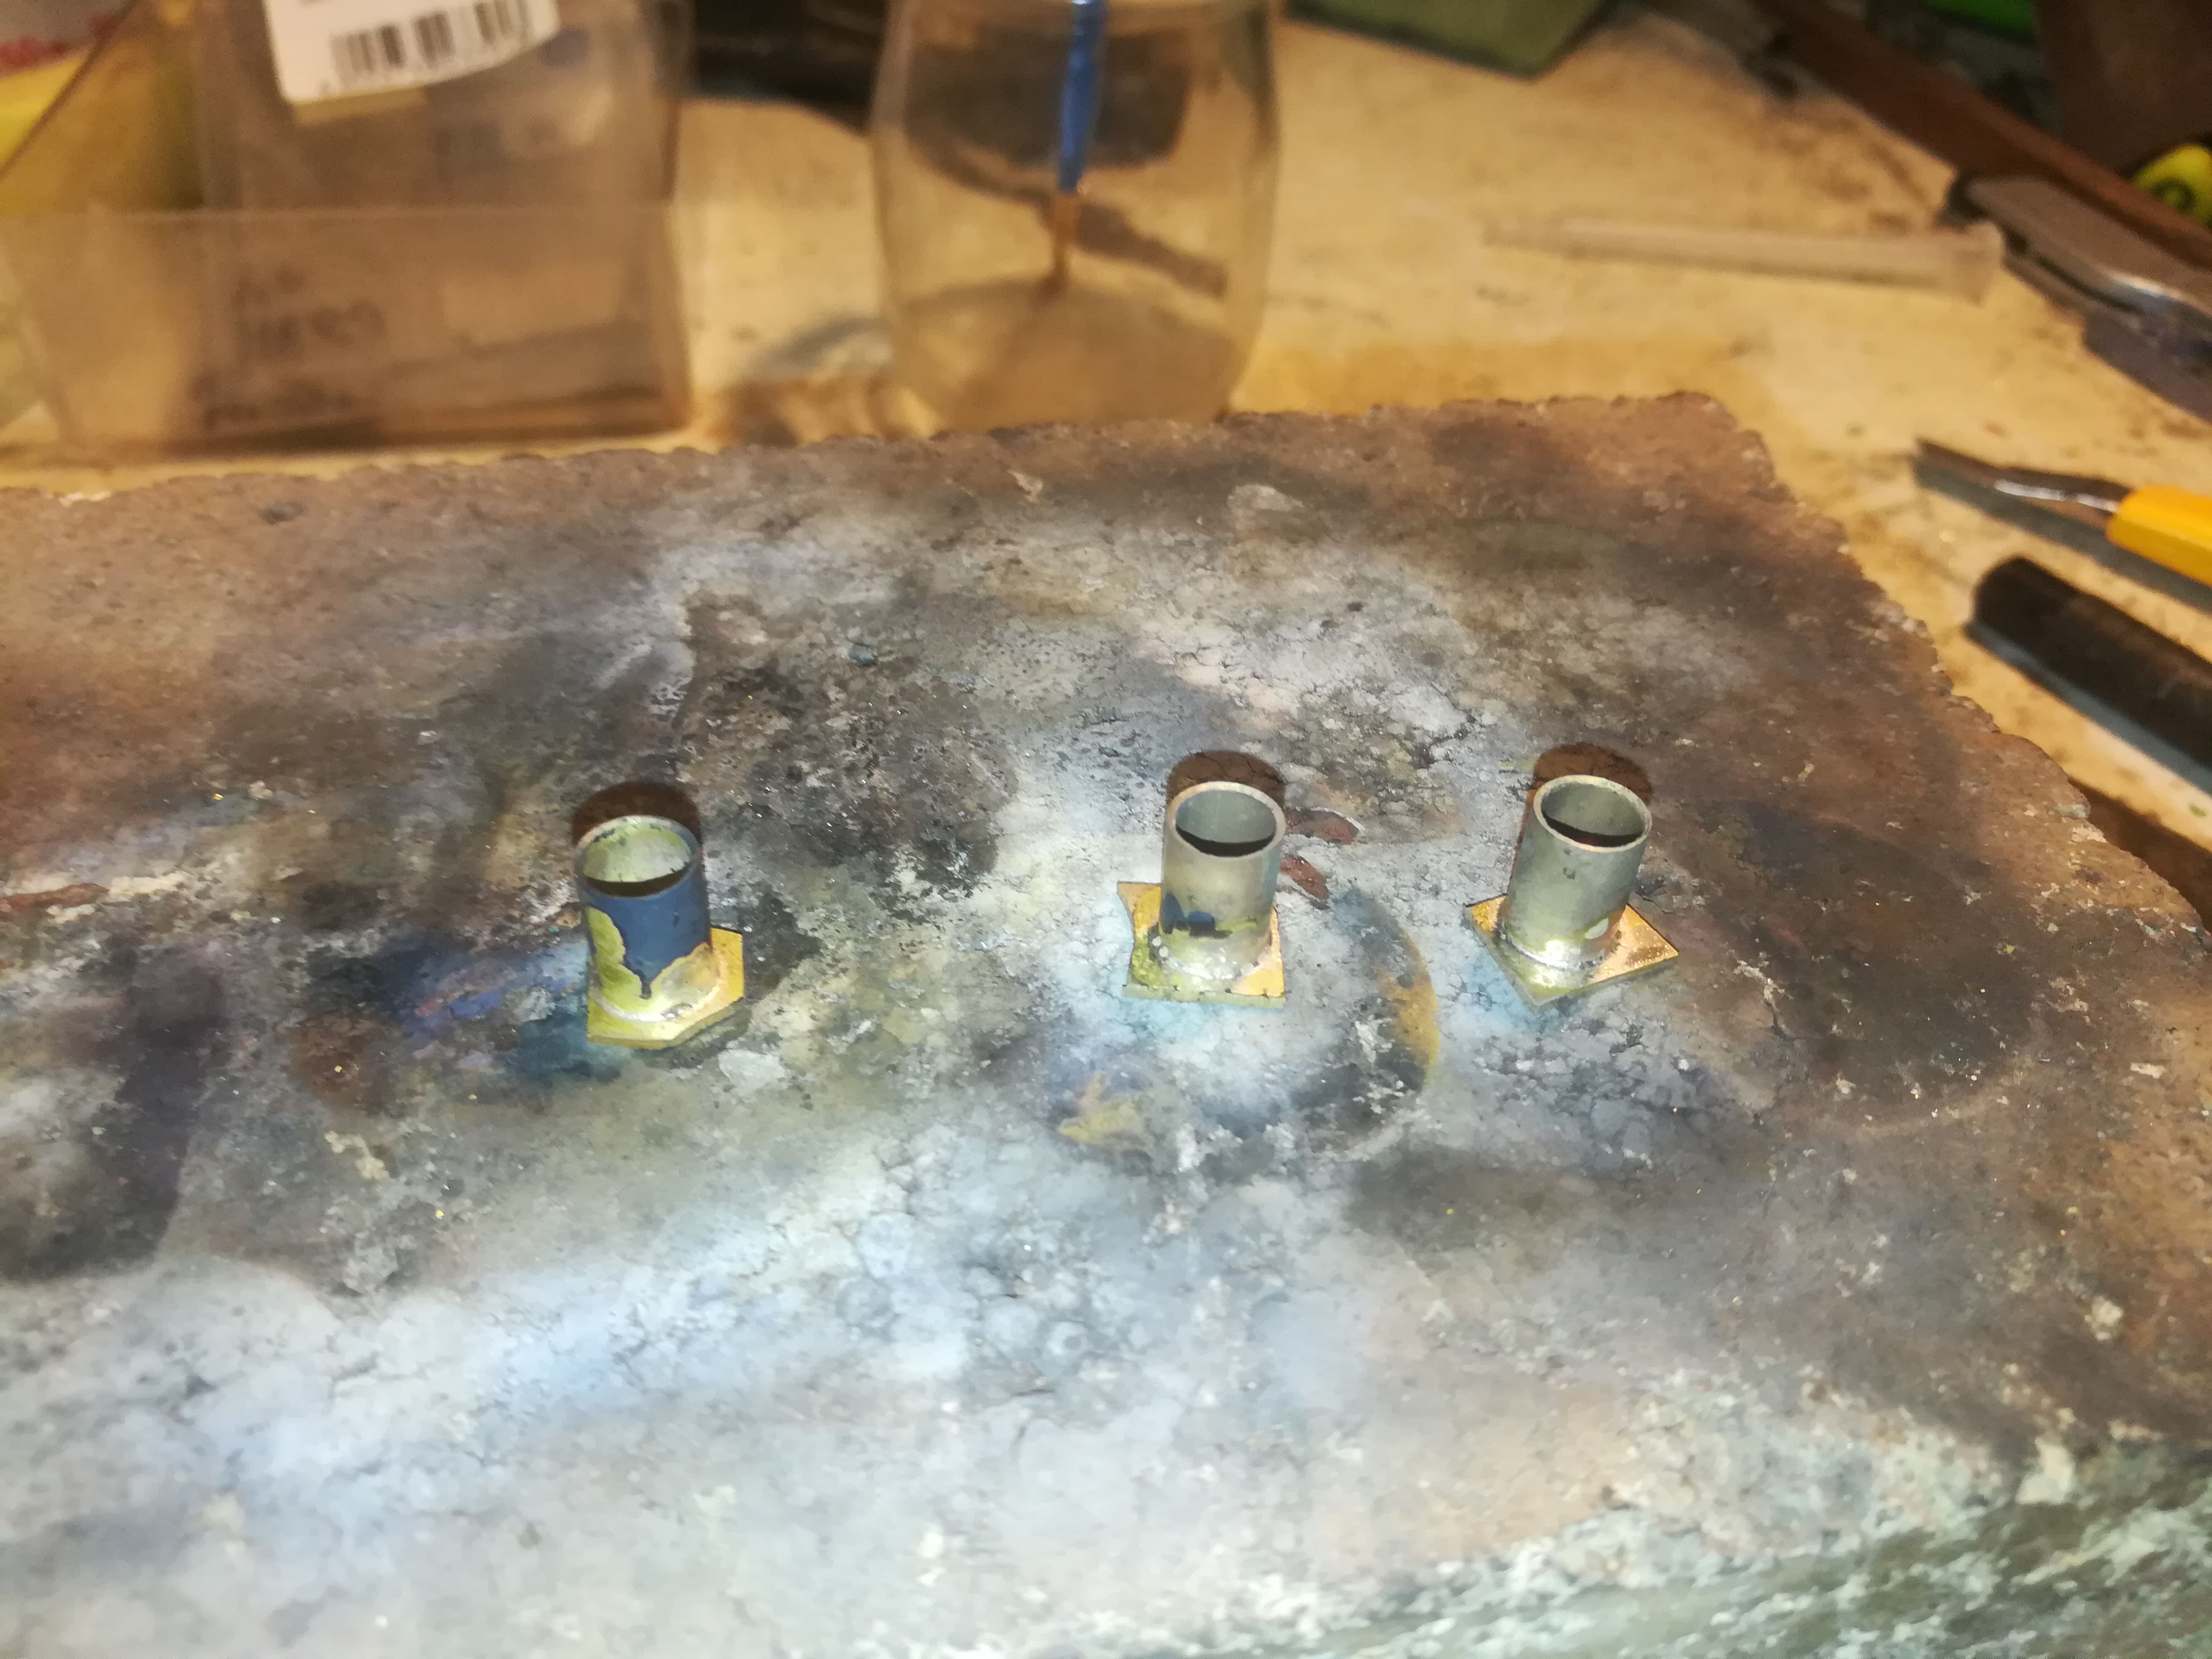
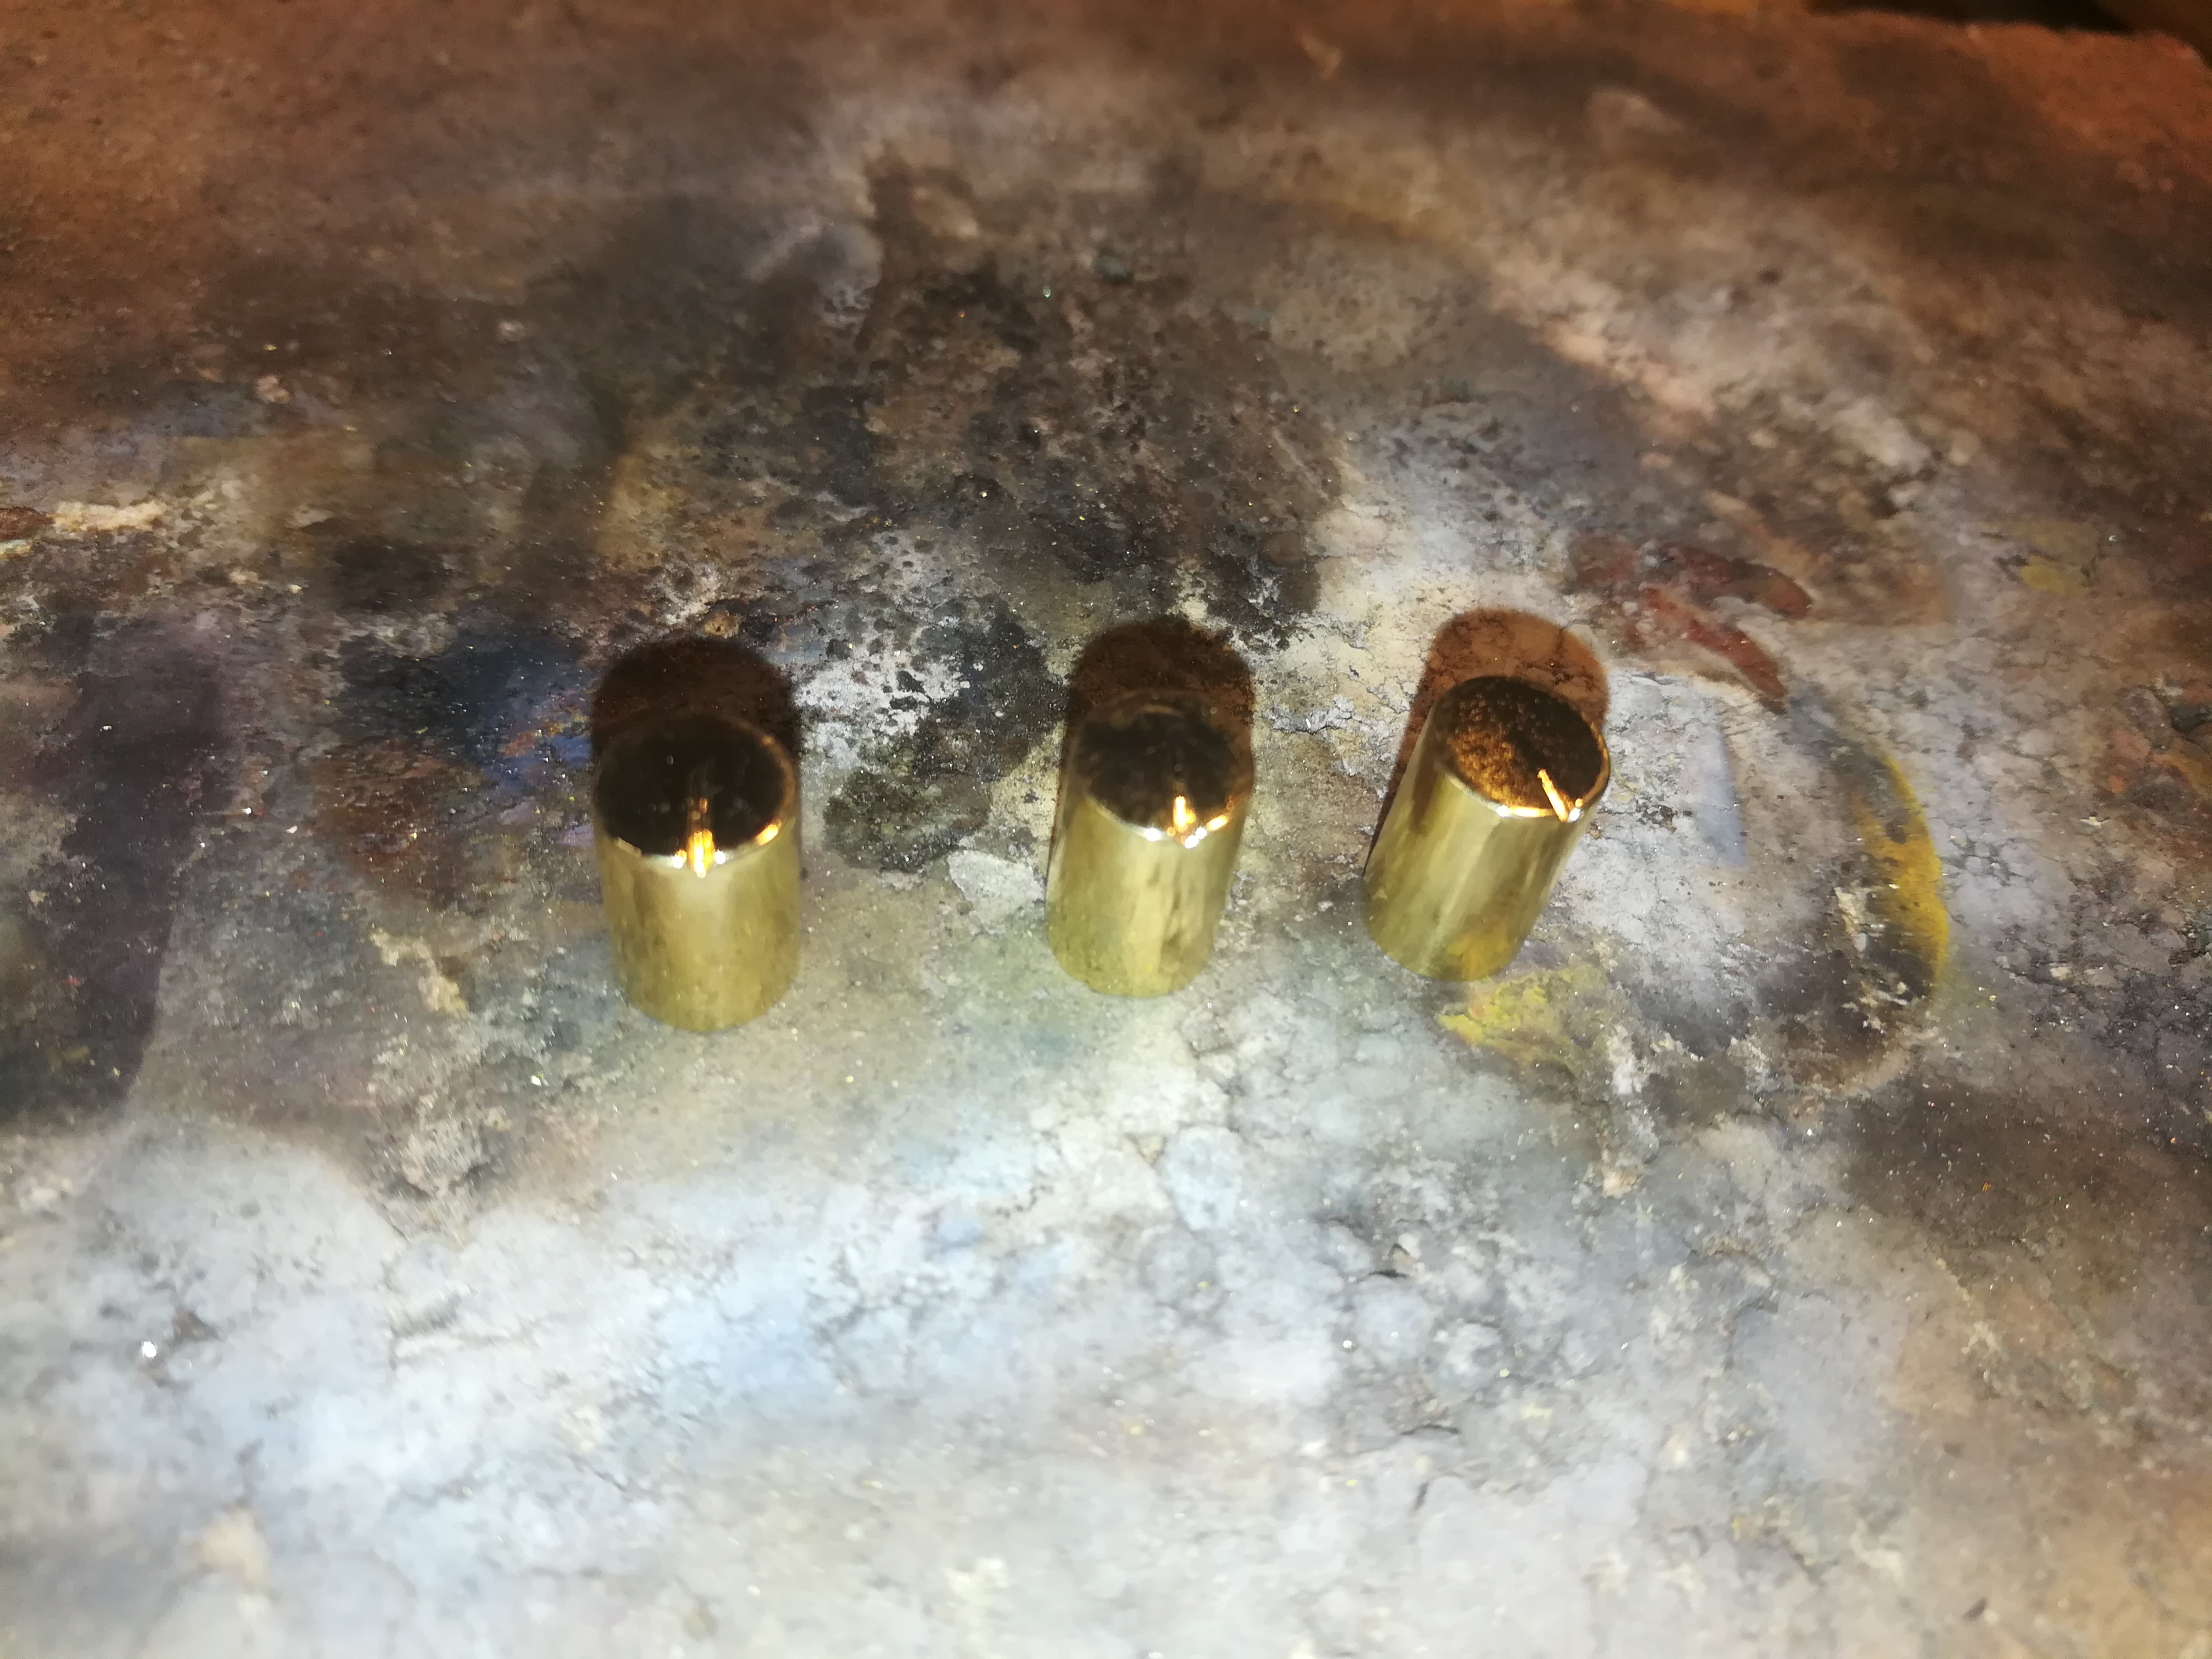
Take the 7 mm tube and cut off 3 times 15 mm pieces (picture 1). Saw off 3 small pieces from the 2 mm brass plate and put them under the tubes (picture 2). Brush with a pencil some diluted borax on the place where the parts need to be soldered and heat up the parts. You will see that those places will become white, now take with the tweezers some silver solder and dip it in the borax. Put it in the place where the two parts come together, two on each part. Now heat up the parts evenly with the gas burner and hold in your other hand the iron rod with sharp point (you wil use this to push the silver in the right direction). (picture 3) File off the excess pieces to make the buttons round, take a small file and file a line from side to center. Now sand and polish the parts and varnish them.
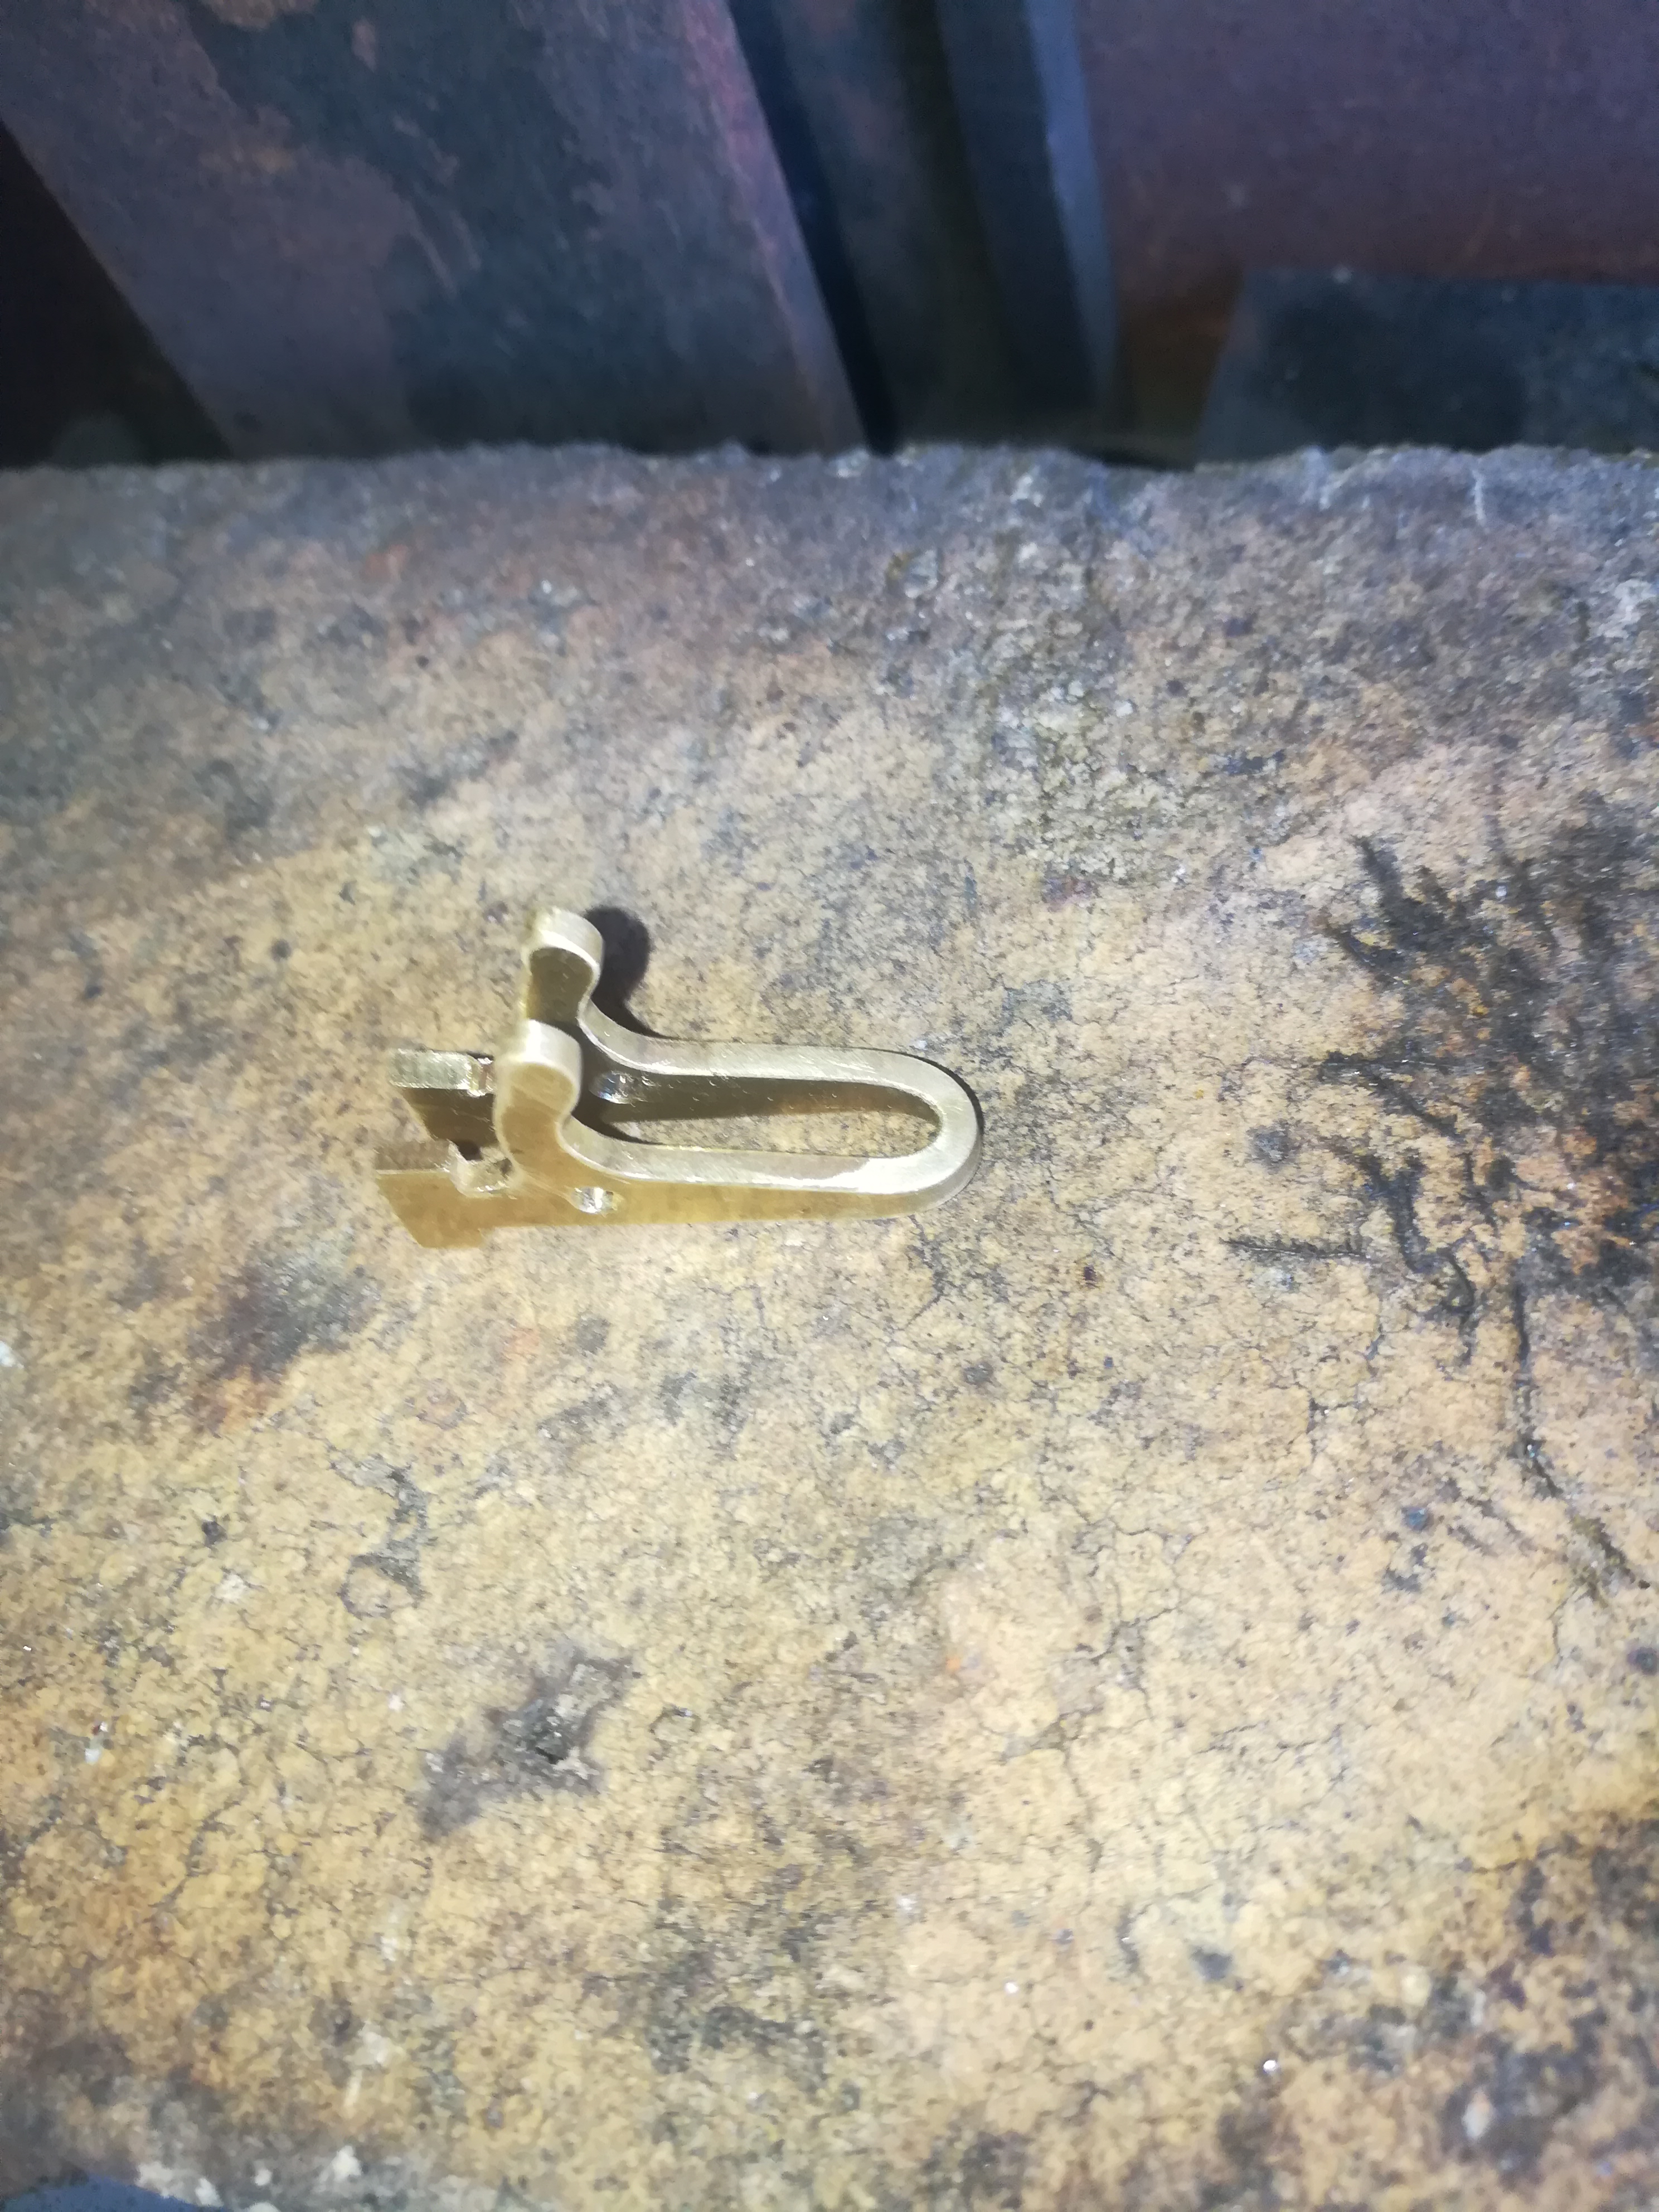
For the holder i made a drawing on the computer and printed it out. Put the double sided tape on the back and stick it on the brass plate. Saw out the parts and drill a hole in the center part so you can saw it to (picture 5).
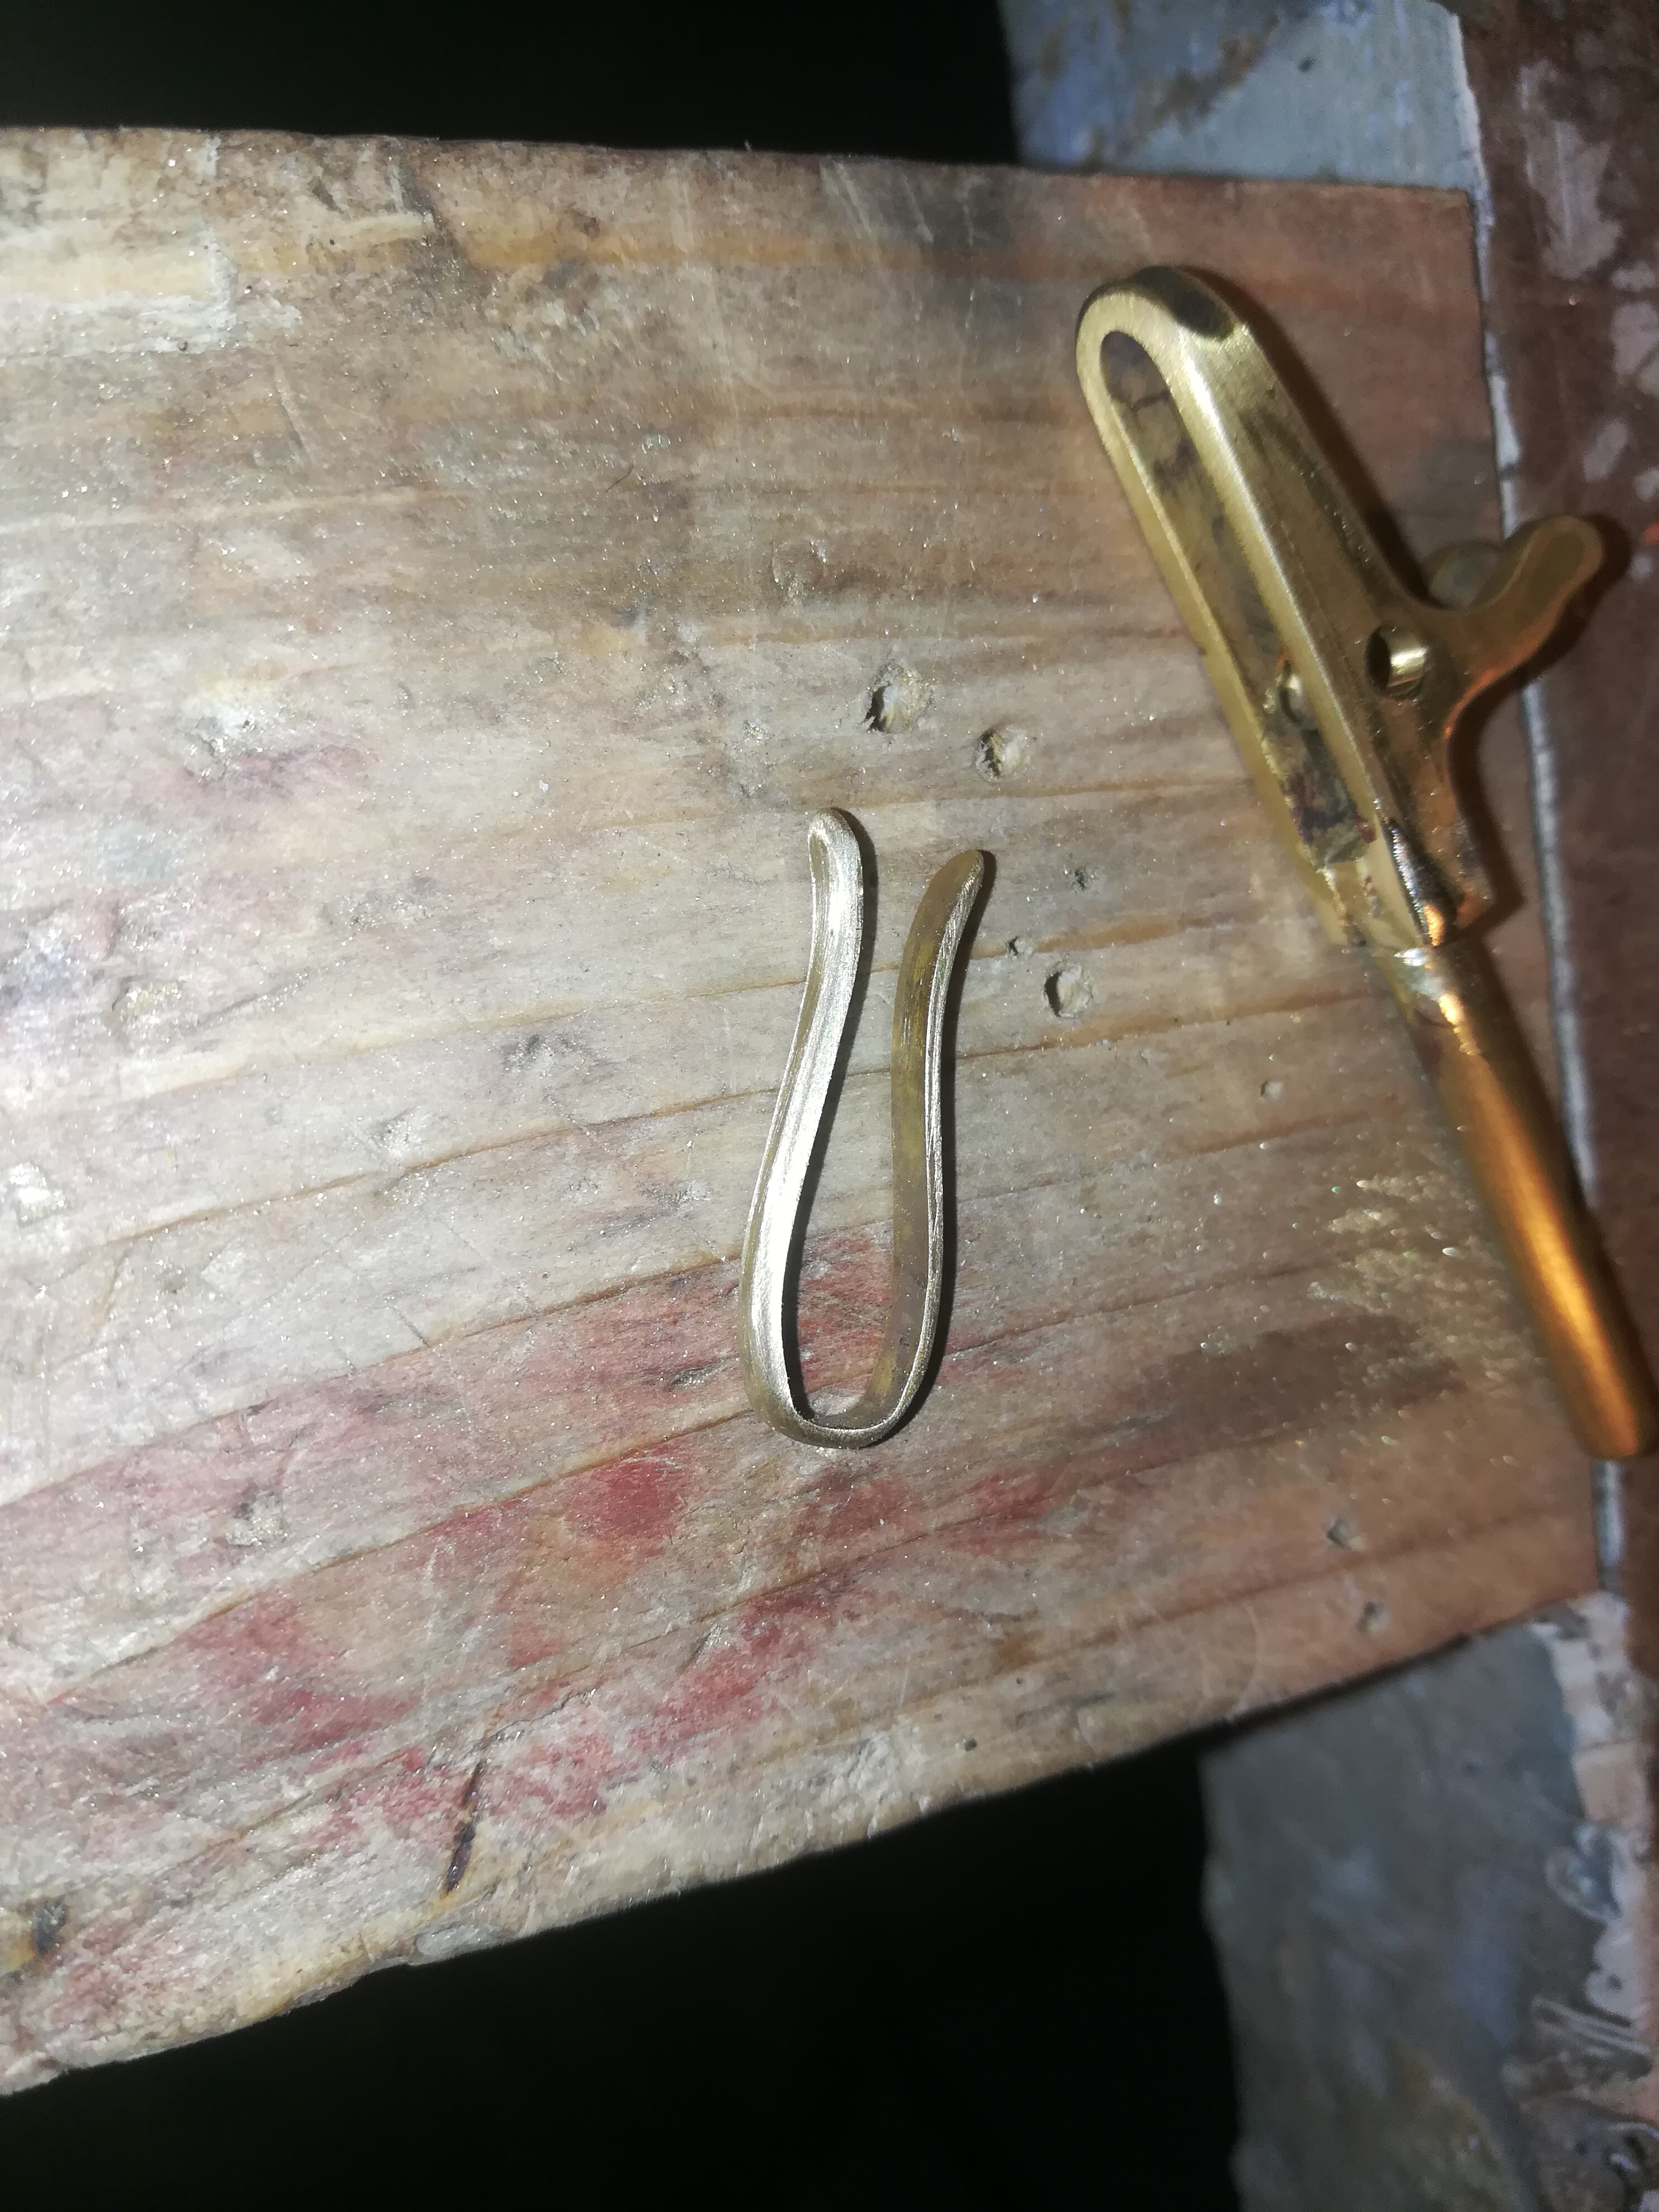
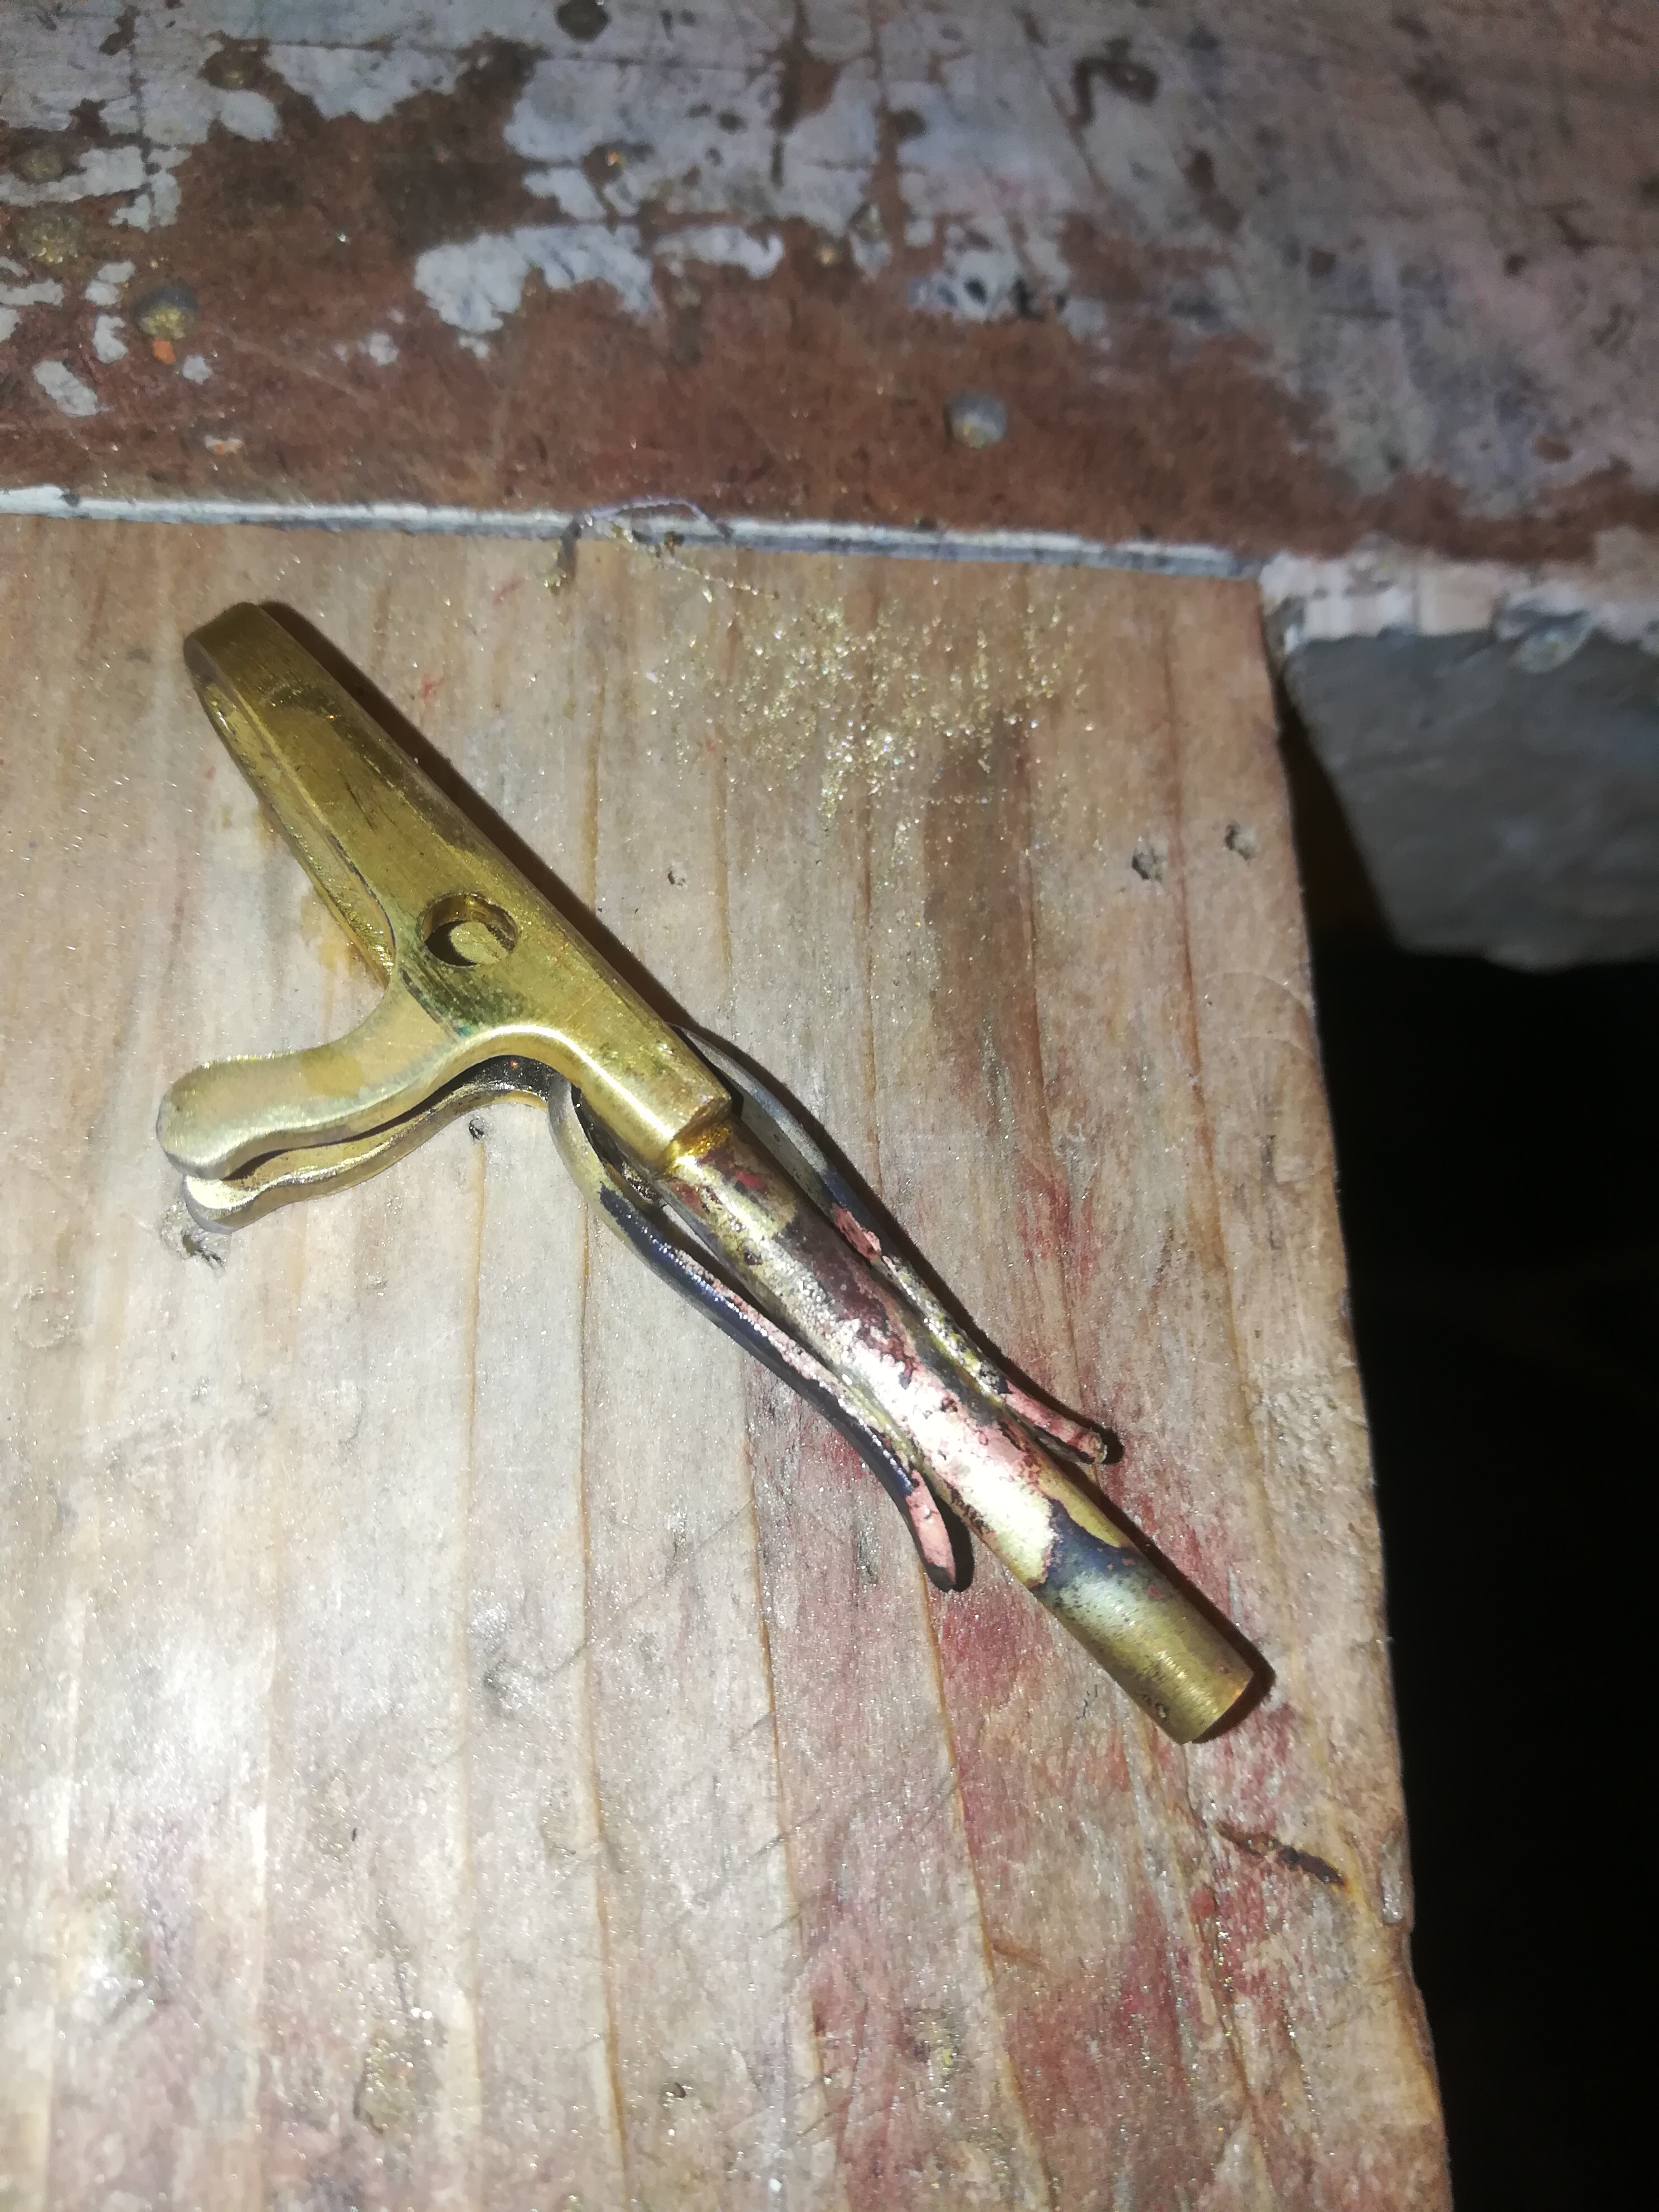
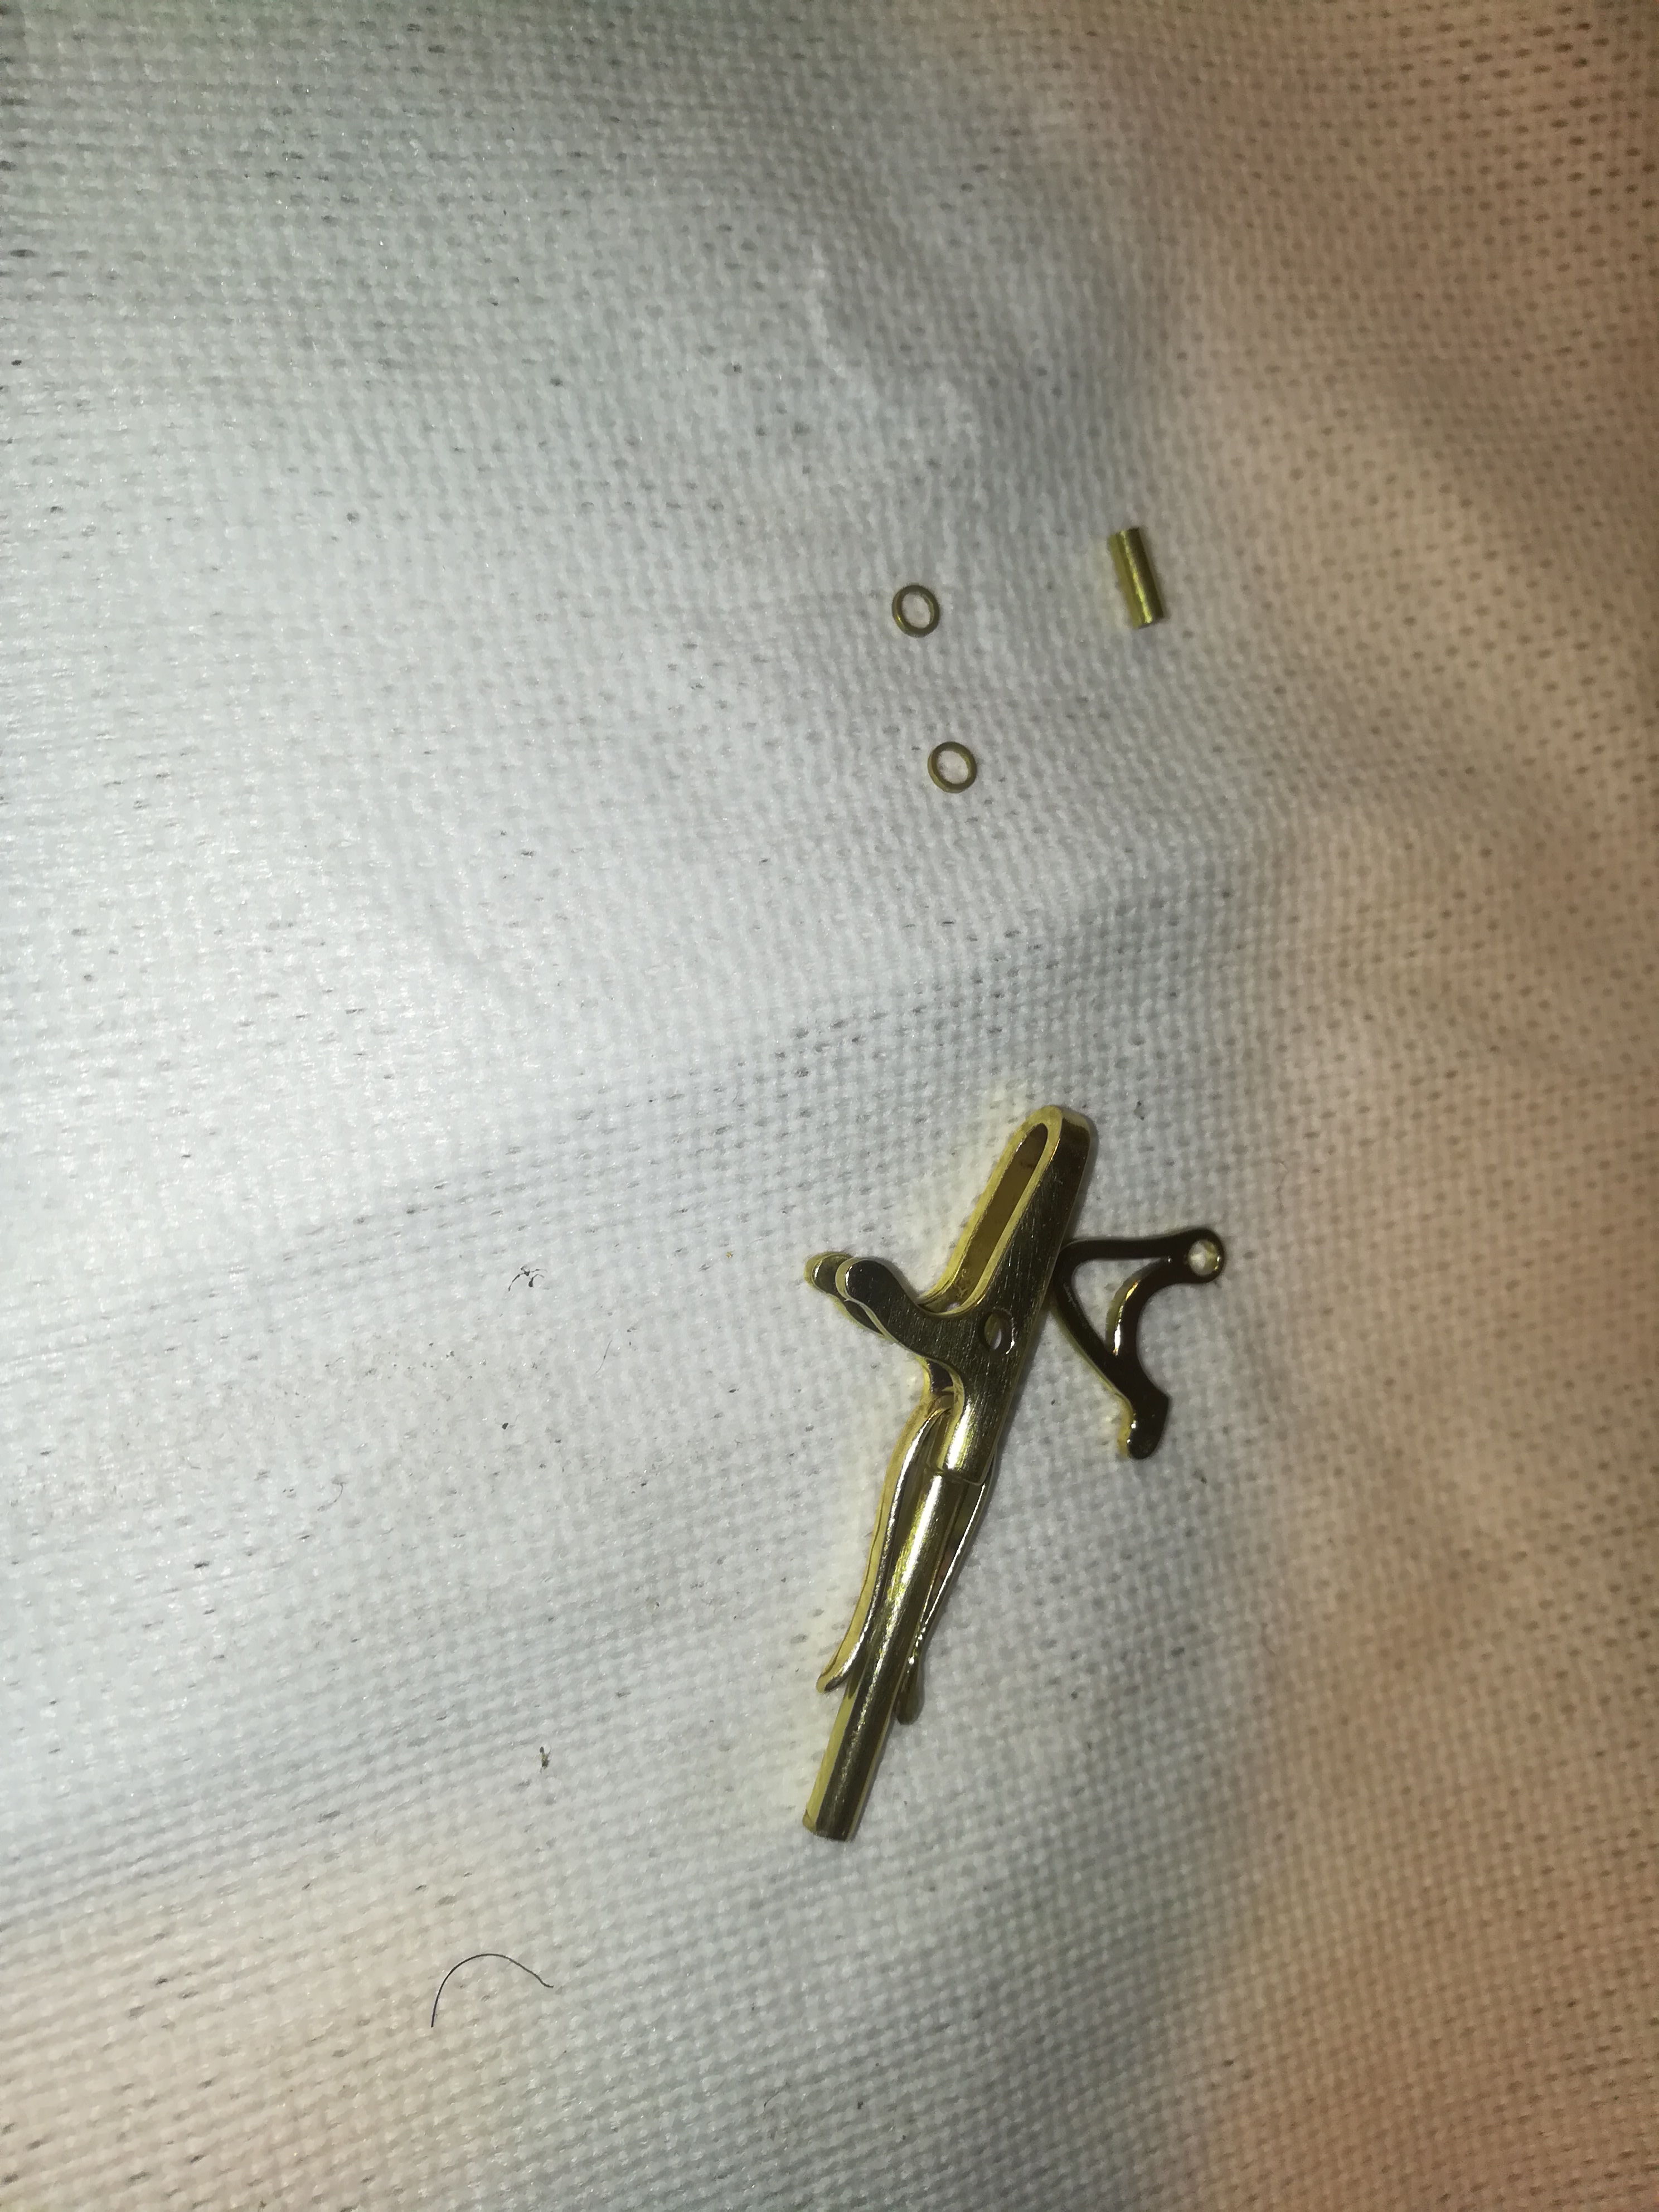
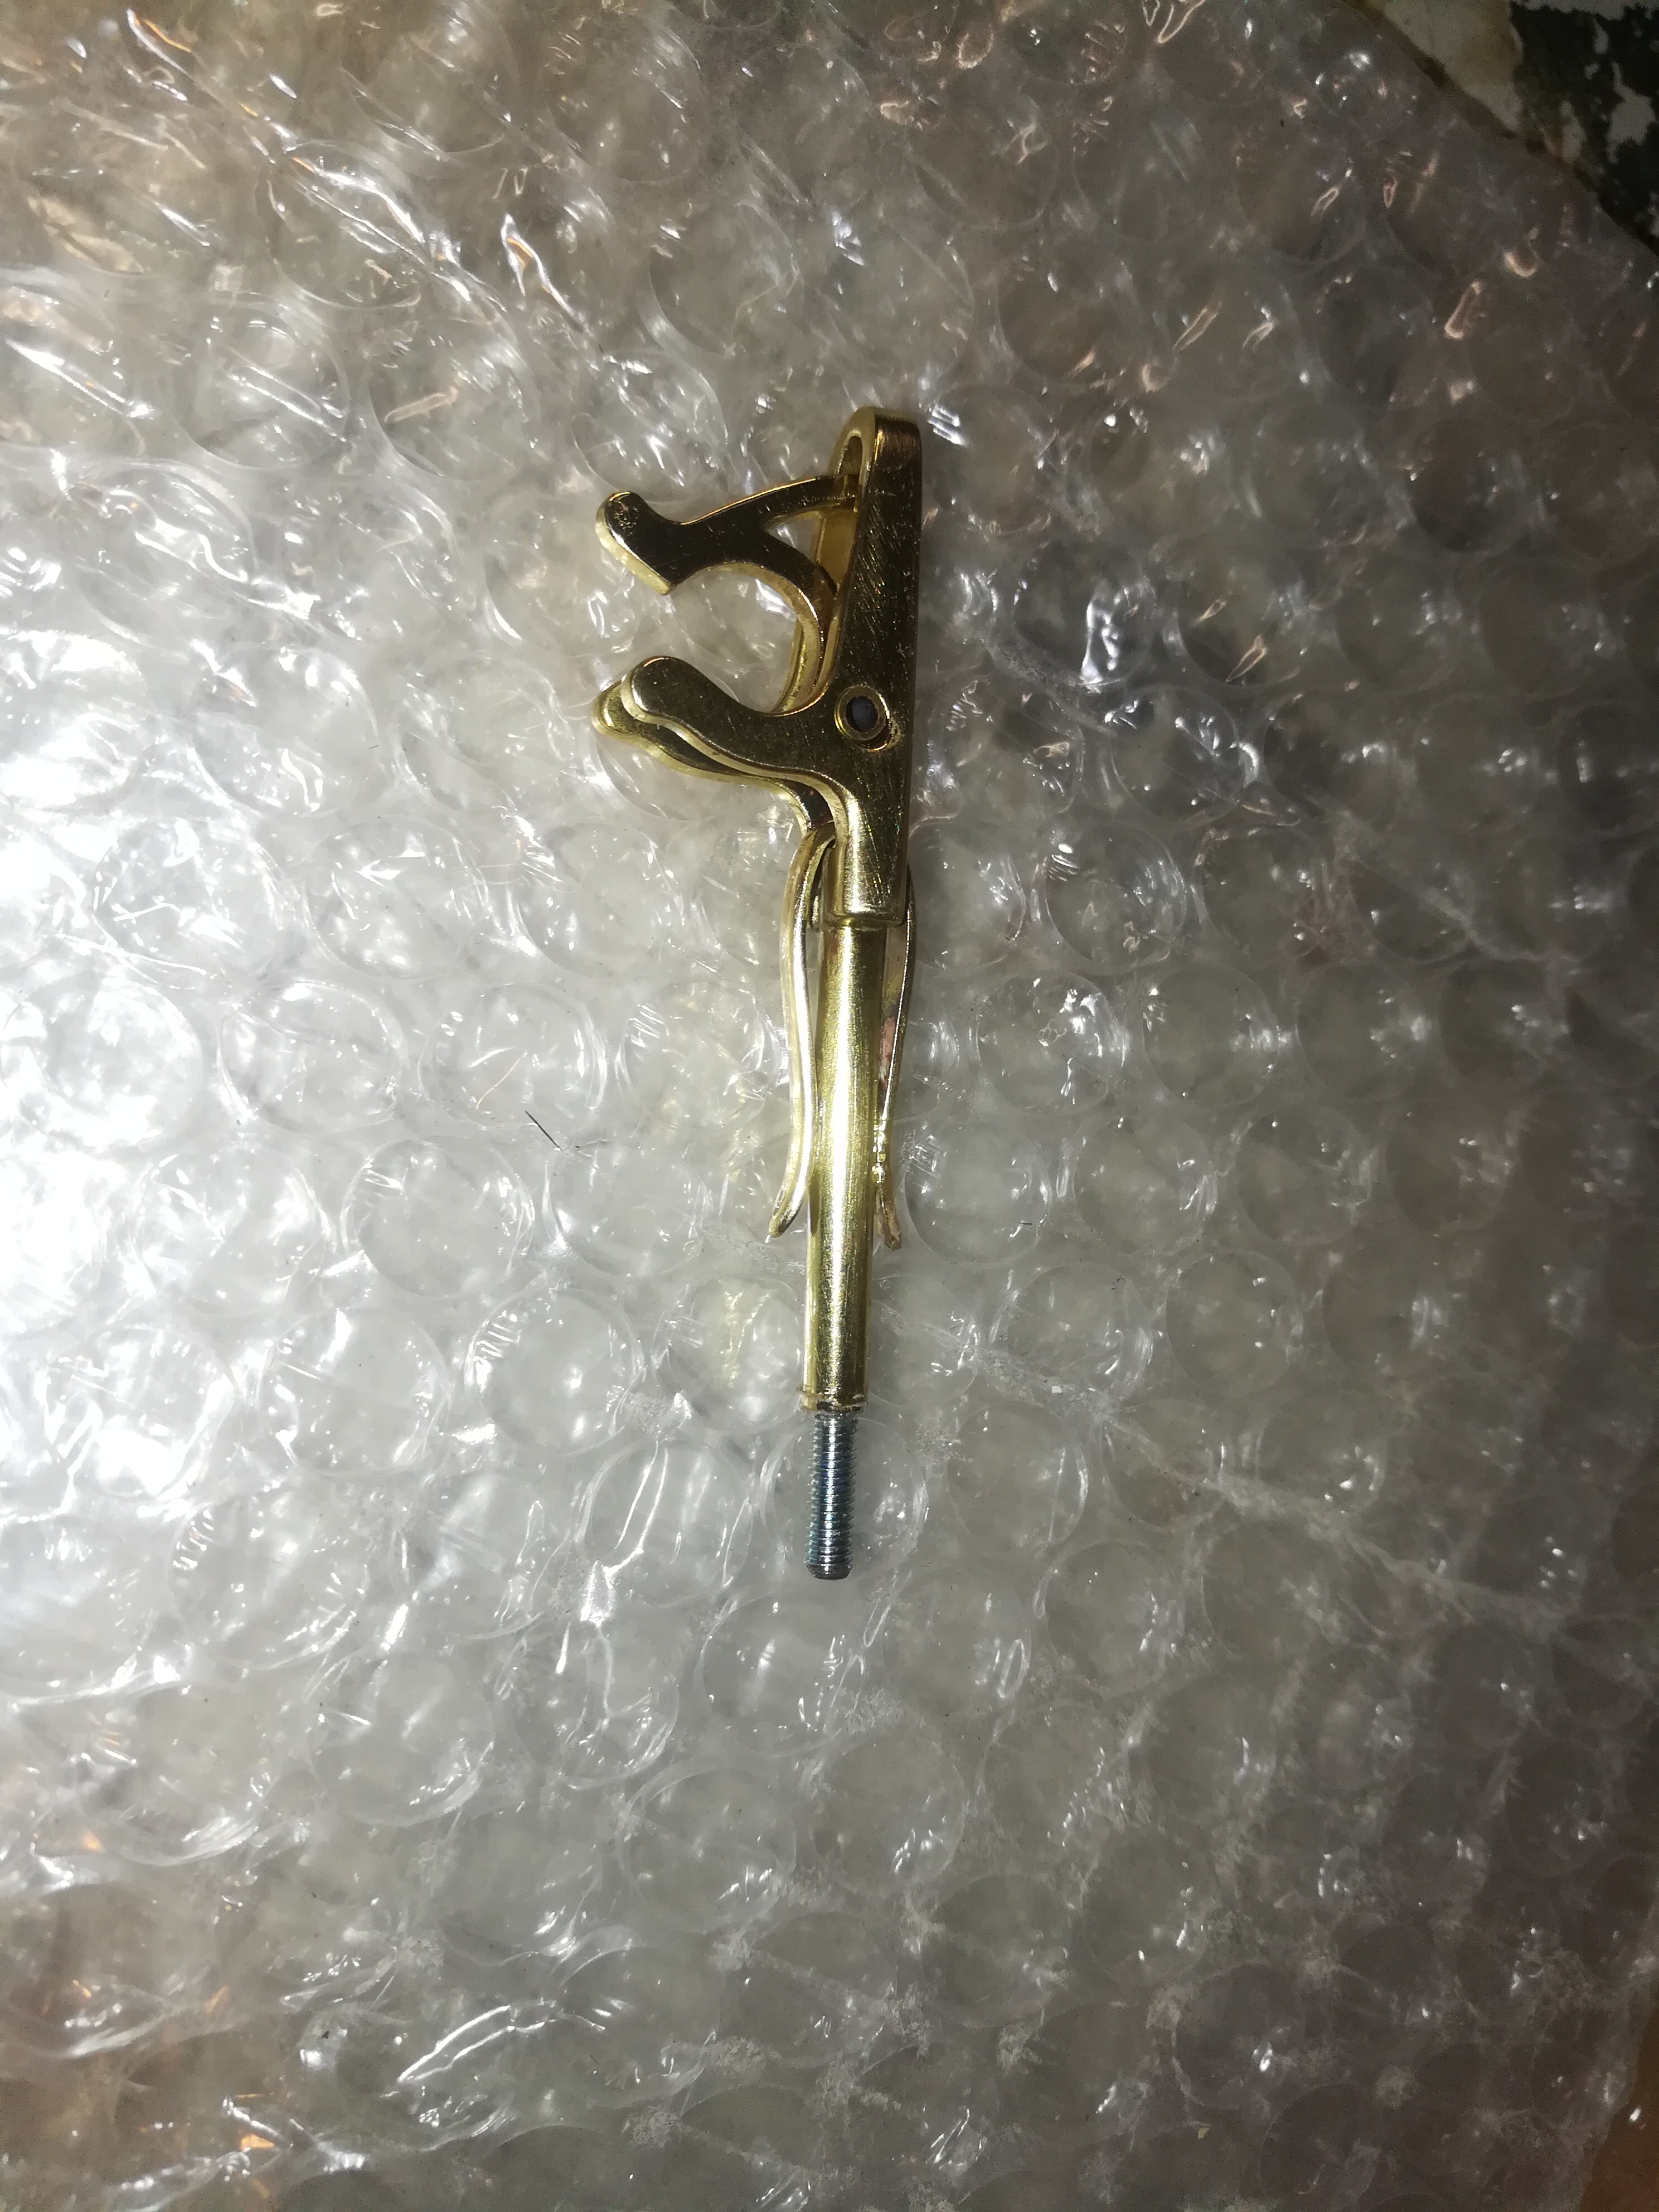
I drilled the holes first but that was a mistake (picture 6), the hook is no problem but you will need to bend the part (picture 7) and it is difficult to line up the holes. Now cut off a 40 mm long piece from a 5 mm tube and put it between the first part and solder it (picture 8). Drill a 3 mm hole trough the whole part with a fixed drilling machine. Now saw out a 5x50mm piece out the brass plate and file it round. Bend it like on picture 9. Put it over the tube and solder it in place (picture 10). Sand and polish the parts, then varnish them (picture 11). Now put the parts together, i have two small 4mm tubes sawn off to make sure that the hook stays in the middle (picture 12). Cut off the head of the M4 bold and glue it in the tube (picture 13).
Put Everything Together
All the parts are ready and we can begin with the final assembly.
Necessary materials:
- Soldering iron
- tin
- Electrical wire
- Spray can black
- Hole saw
- Piece of oak
- M6 bolts 30mm 4x
- M6 nut 4x
- Saw
- Two component glue
- Countersink
------------------------------------------------------------------------------------------------------------------------------------------------------
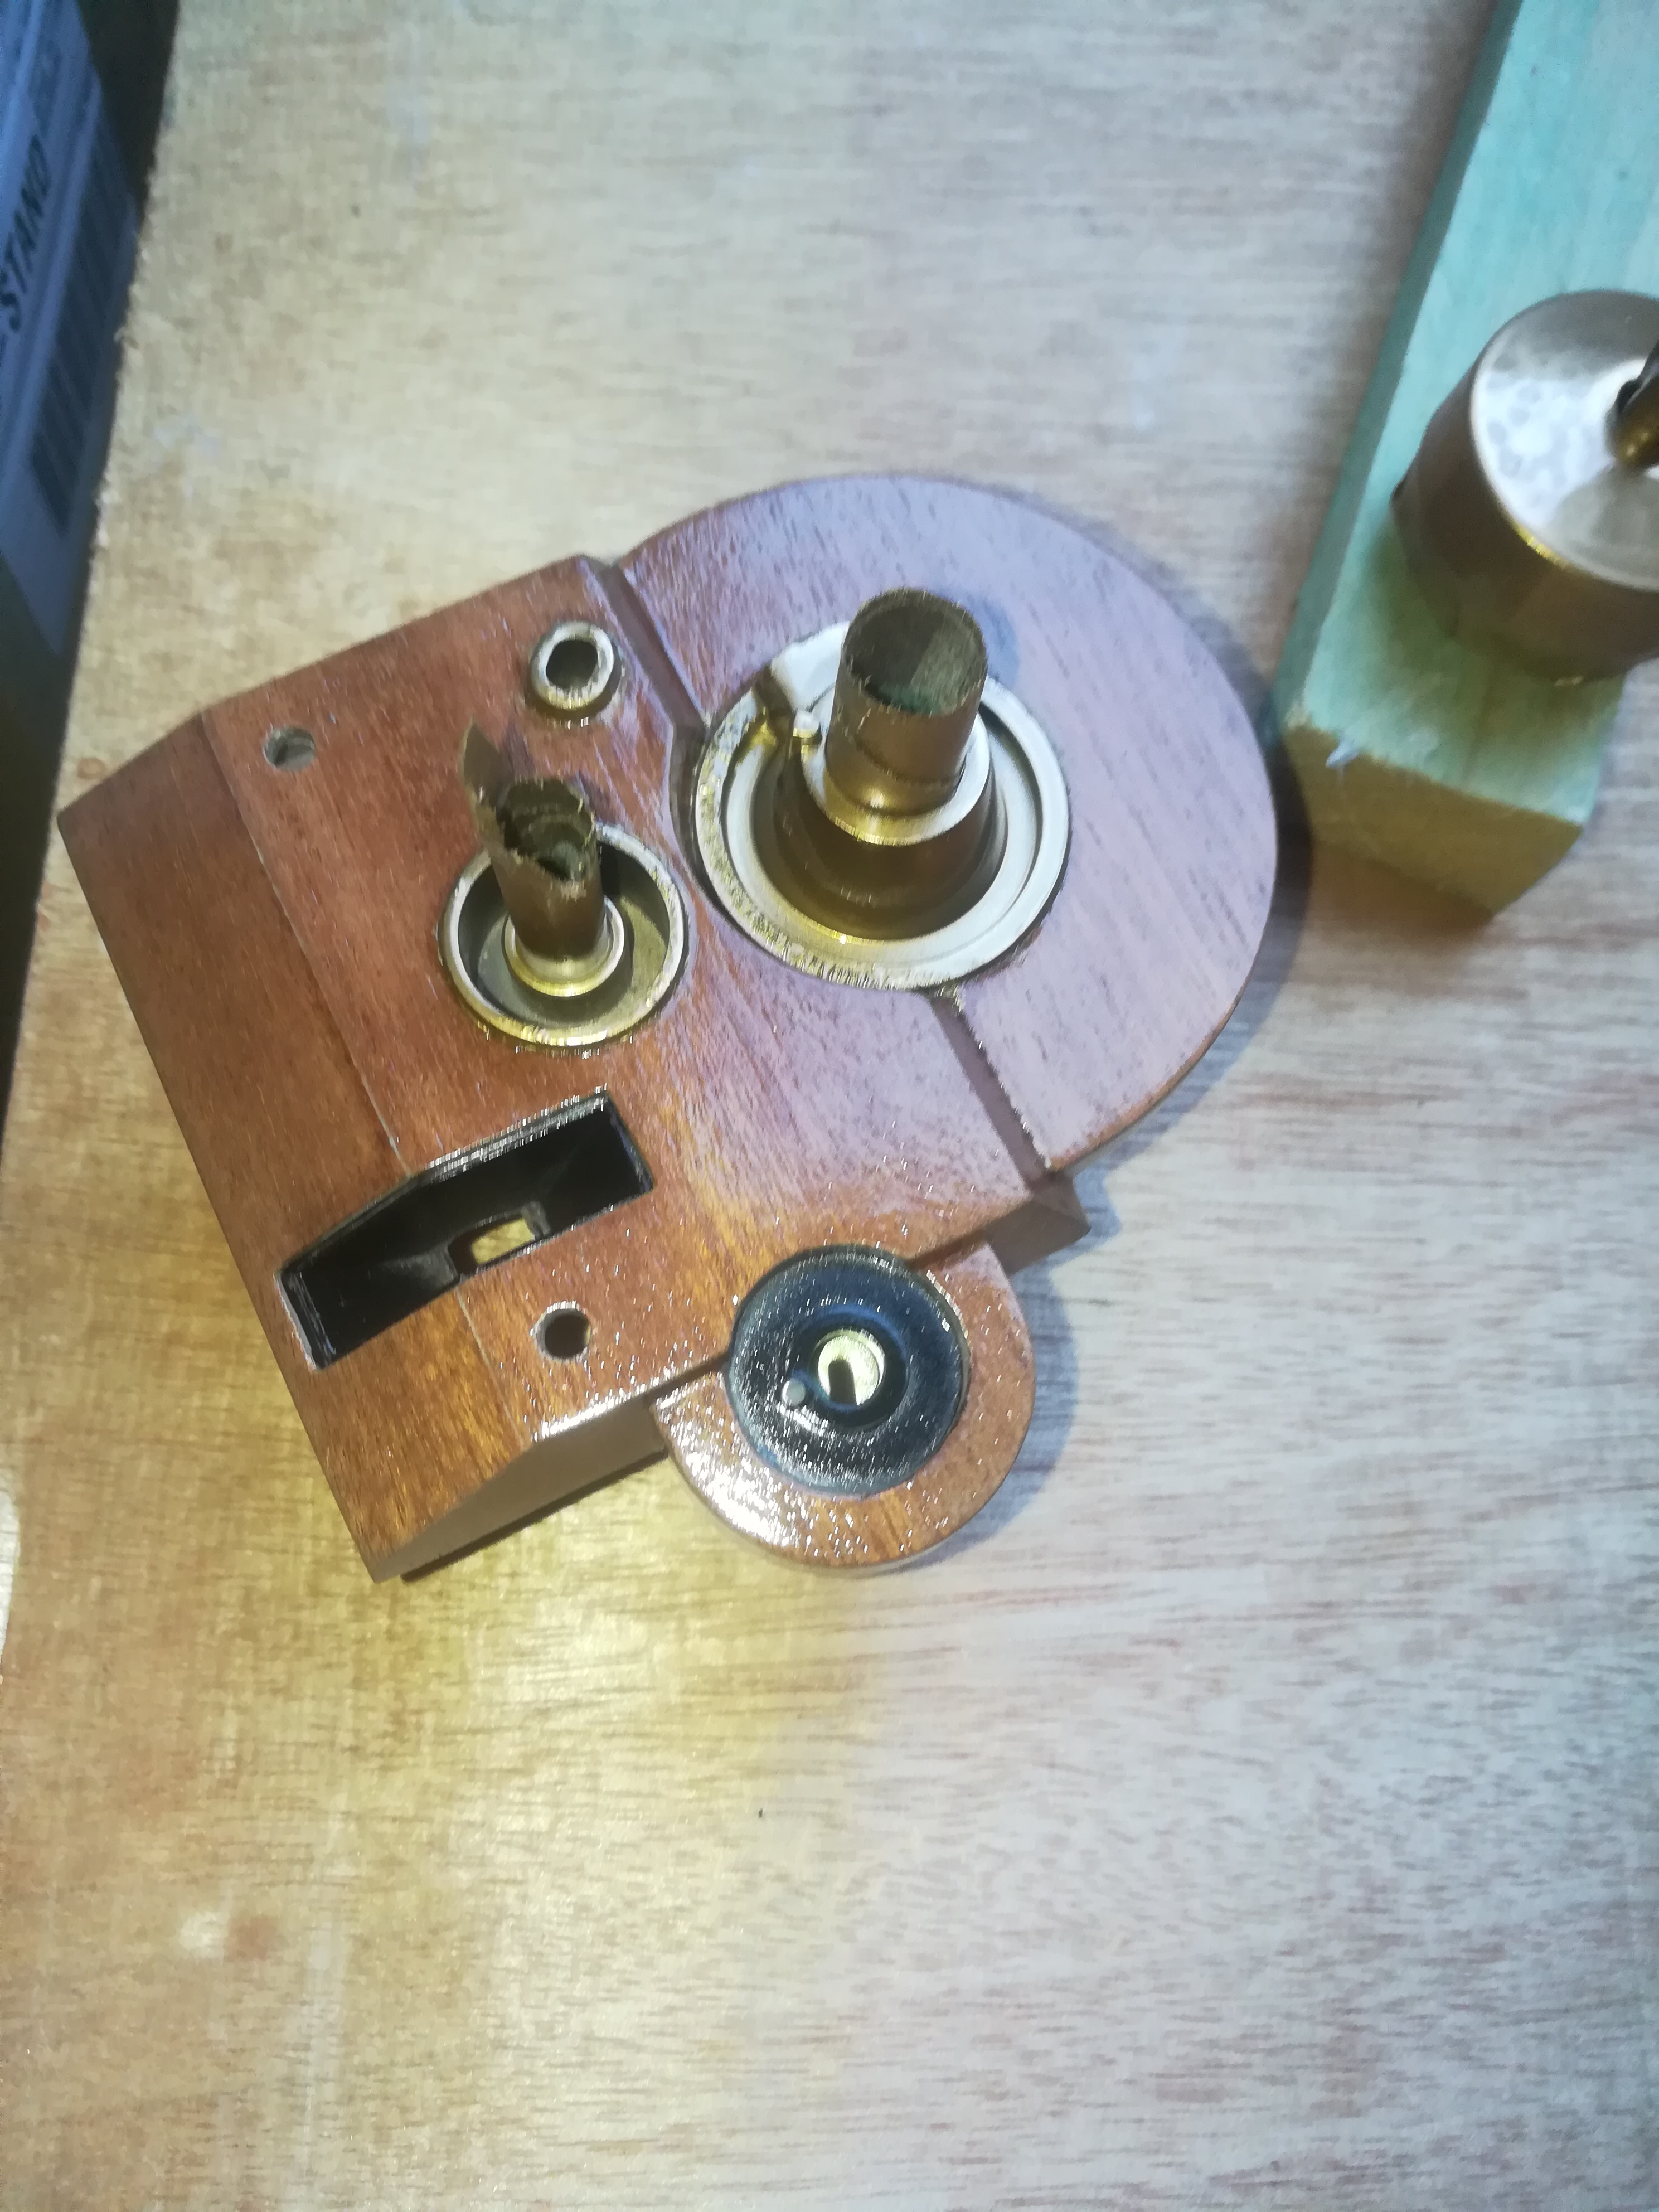
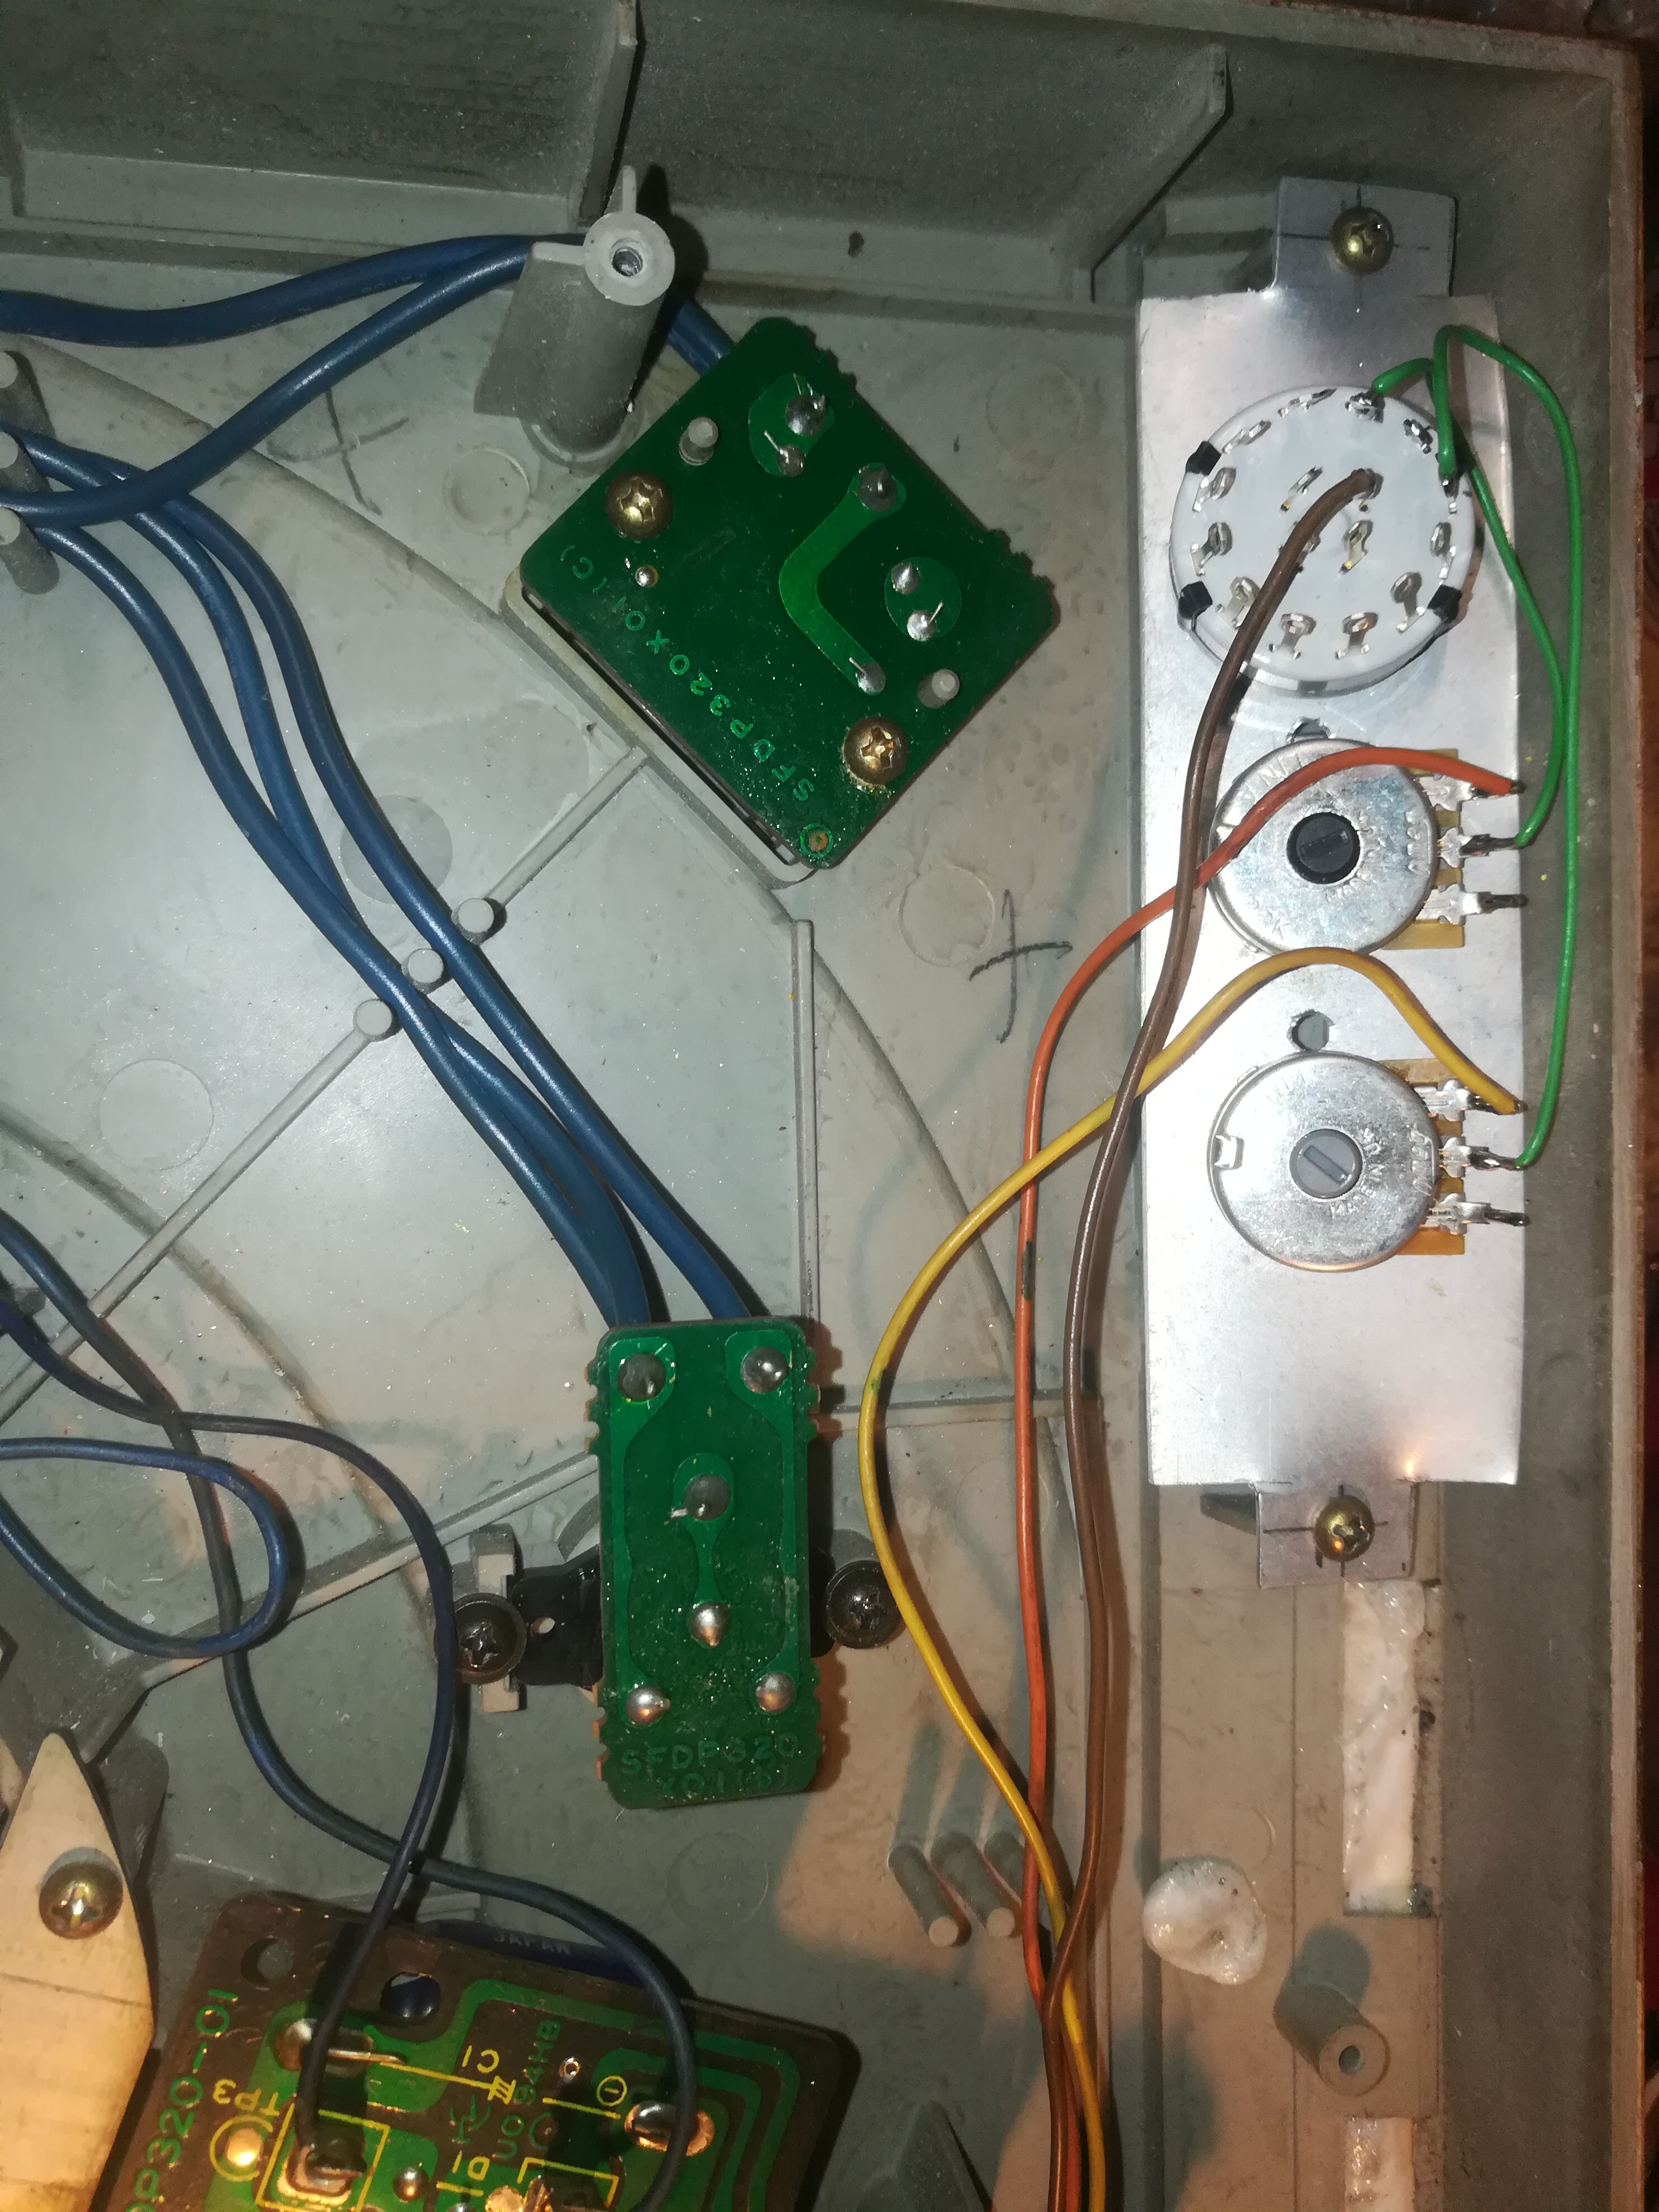
Put in the new speed contole switch and potentiometers and solder the wires (picture 1). Install the new pickup arm and solder the audio wires. Put in the on off switch (picture 2). Bolt the pick-up arm holder from the inside.
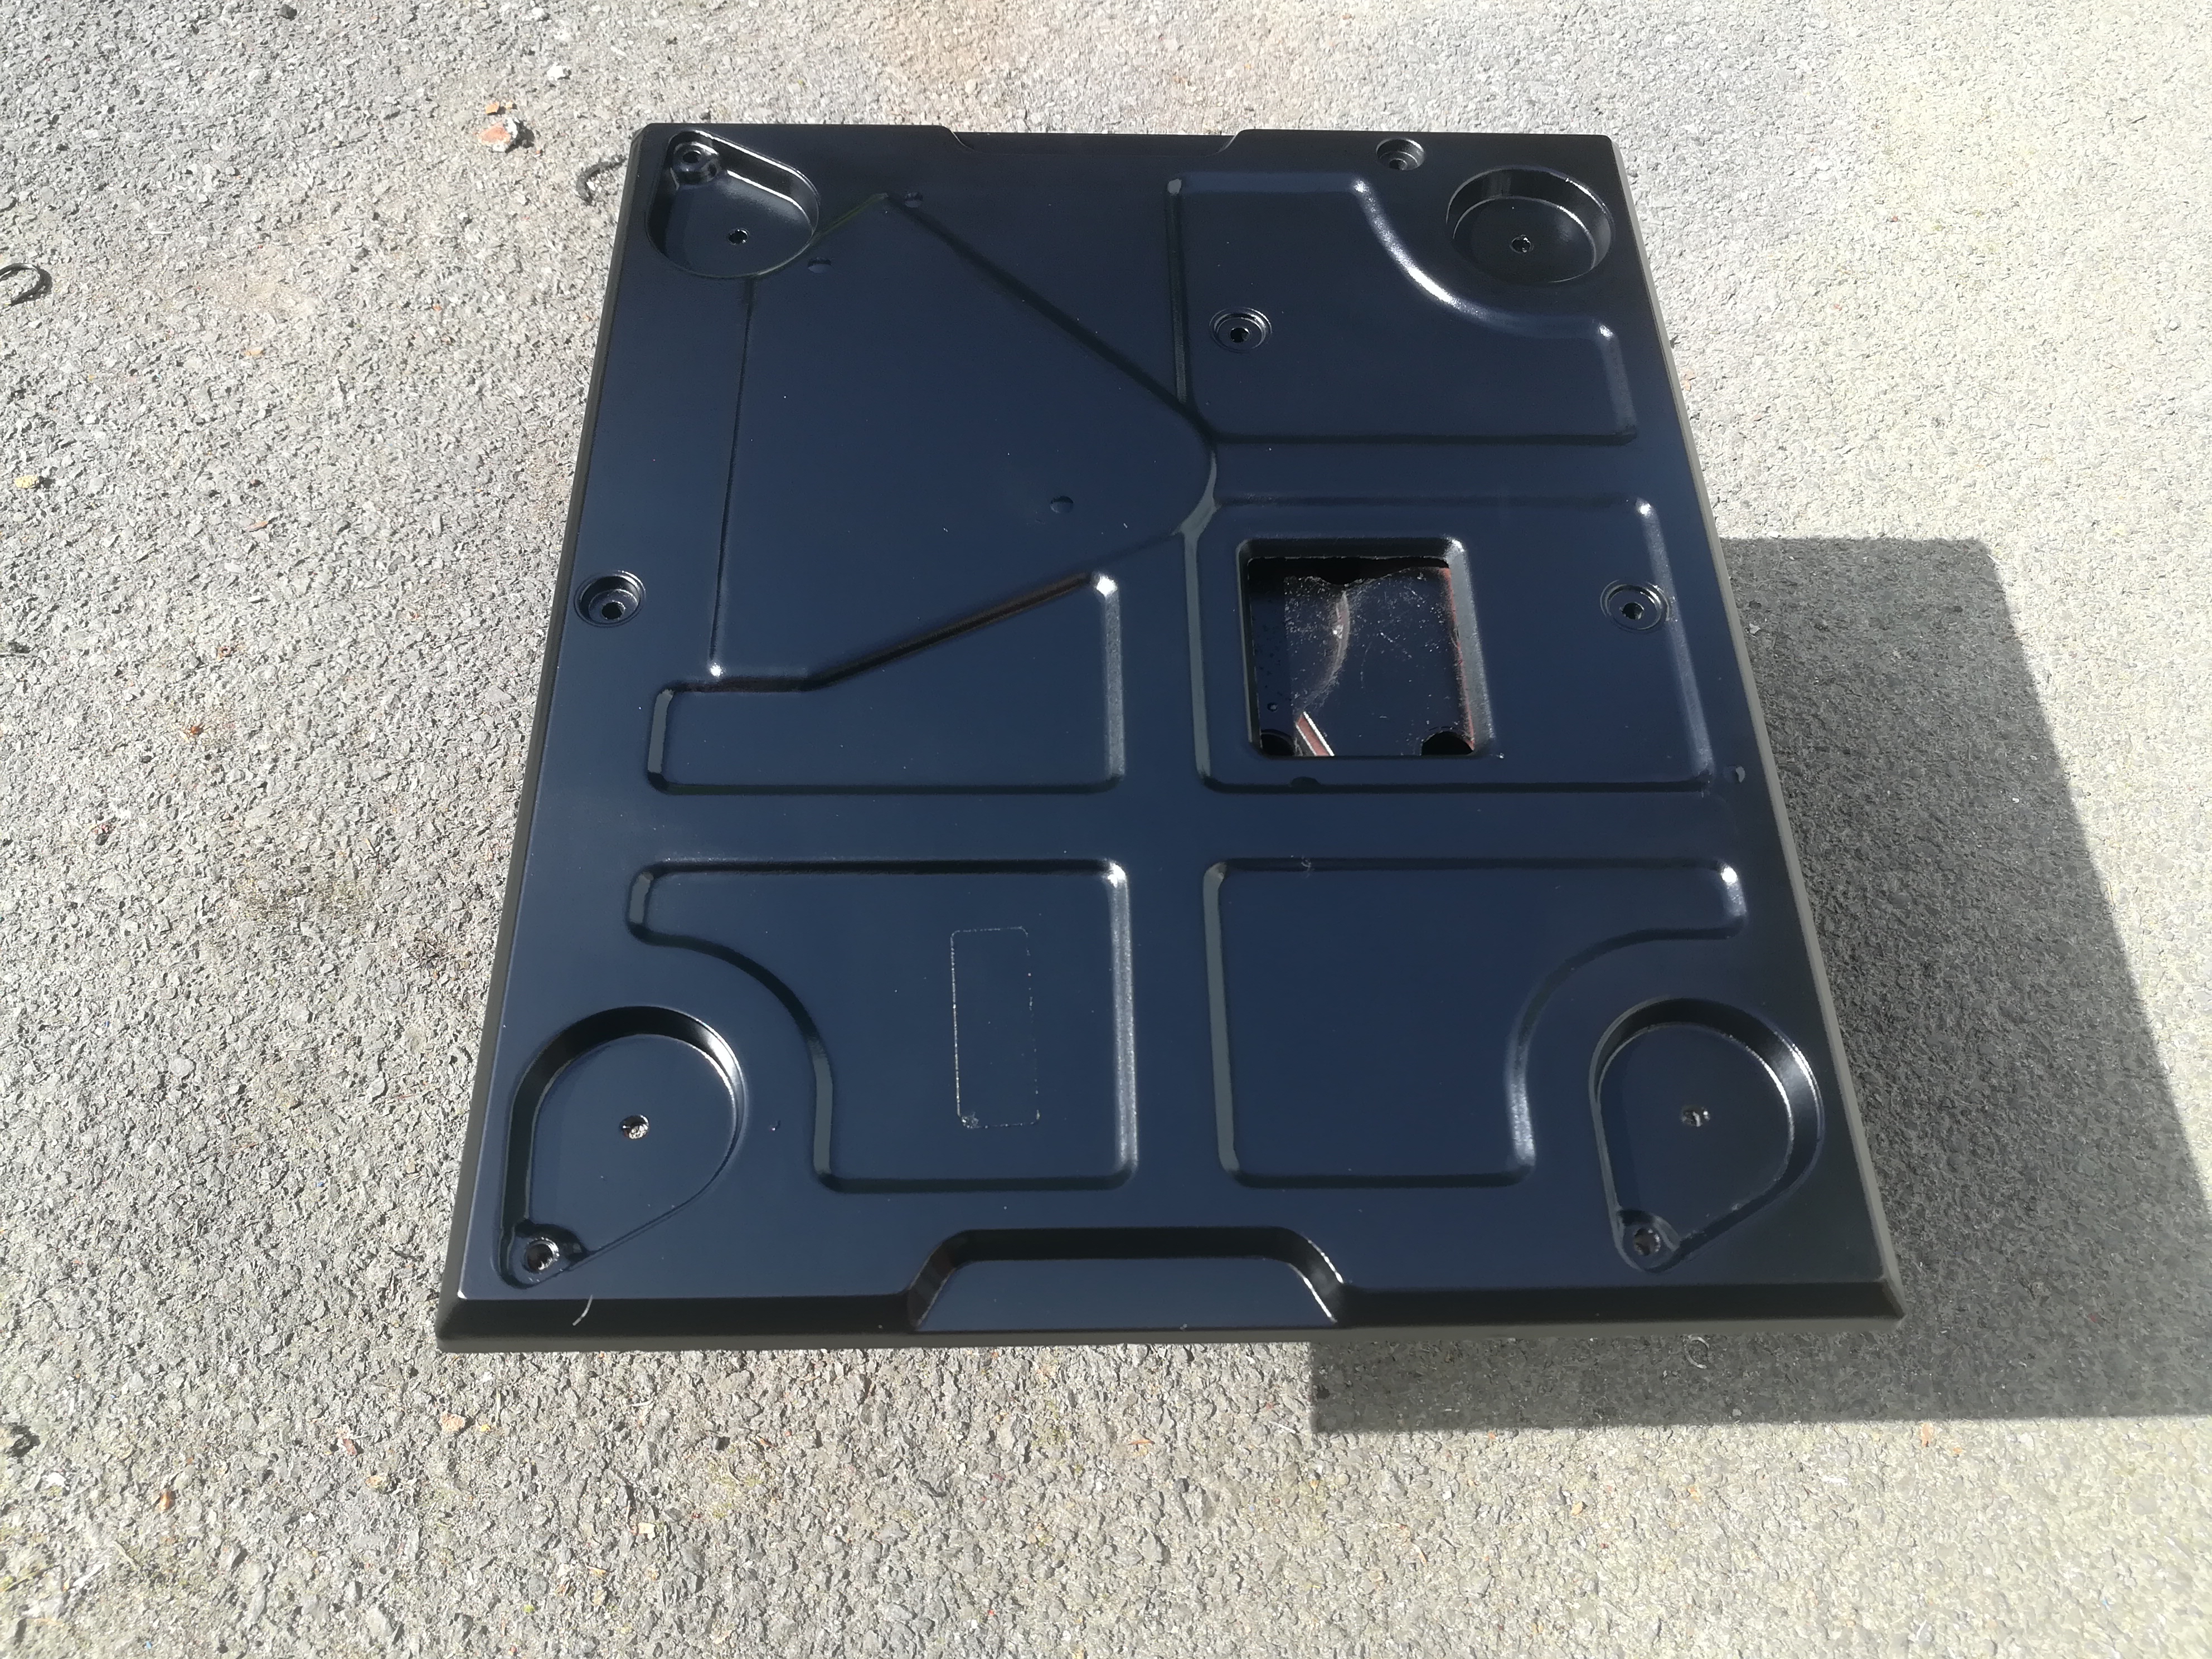
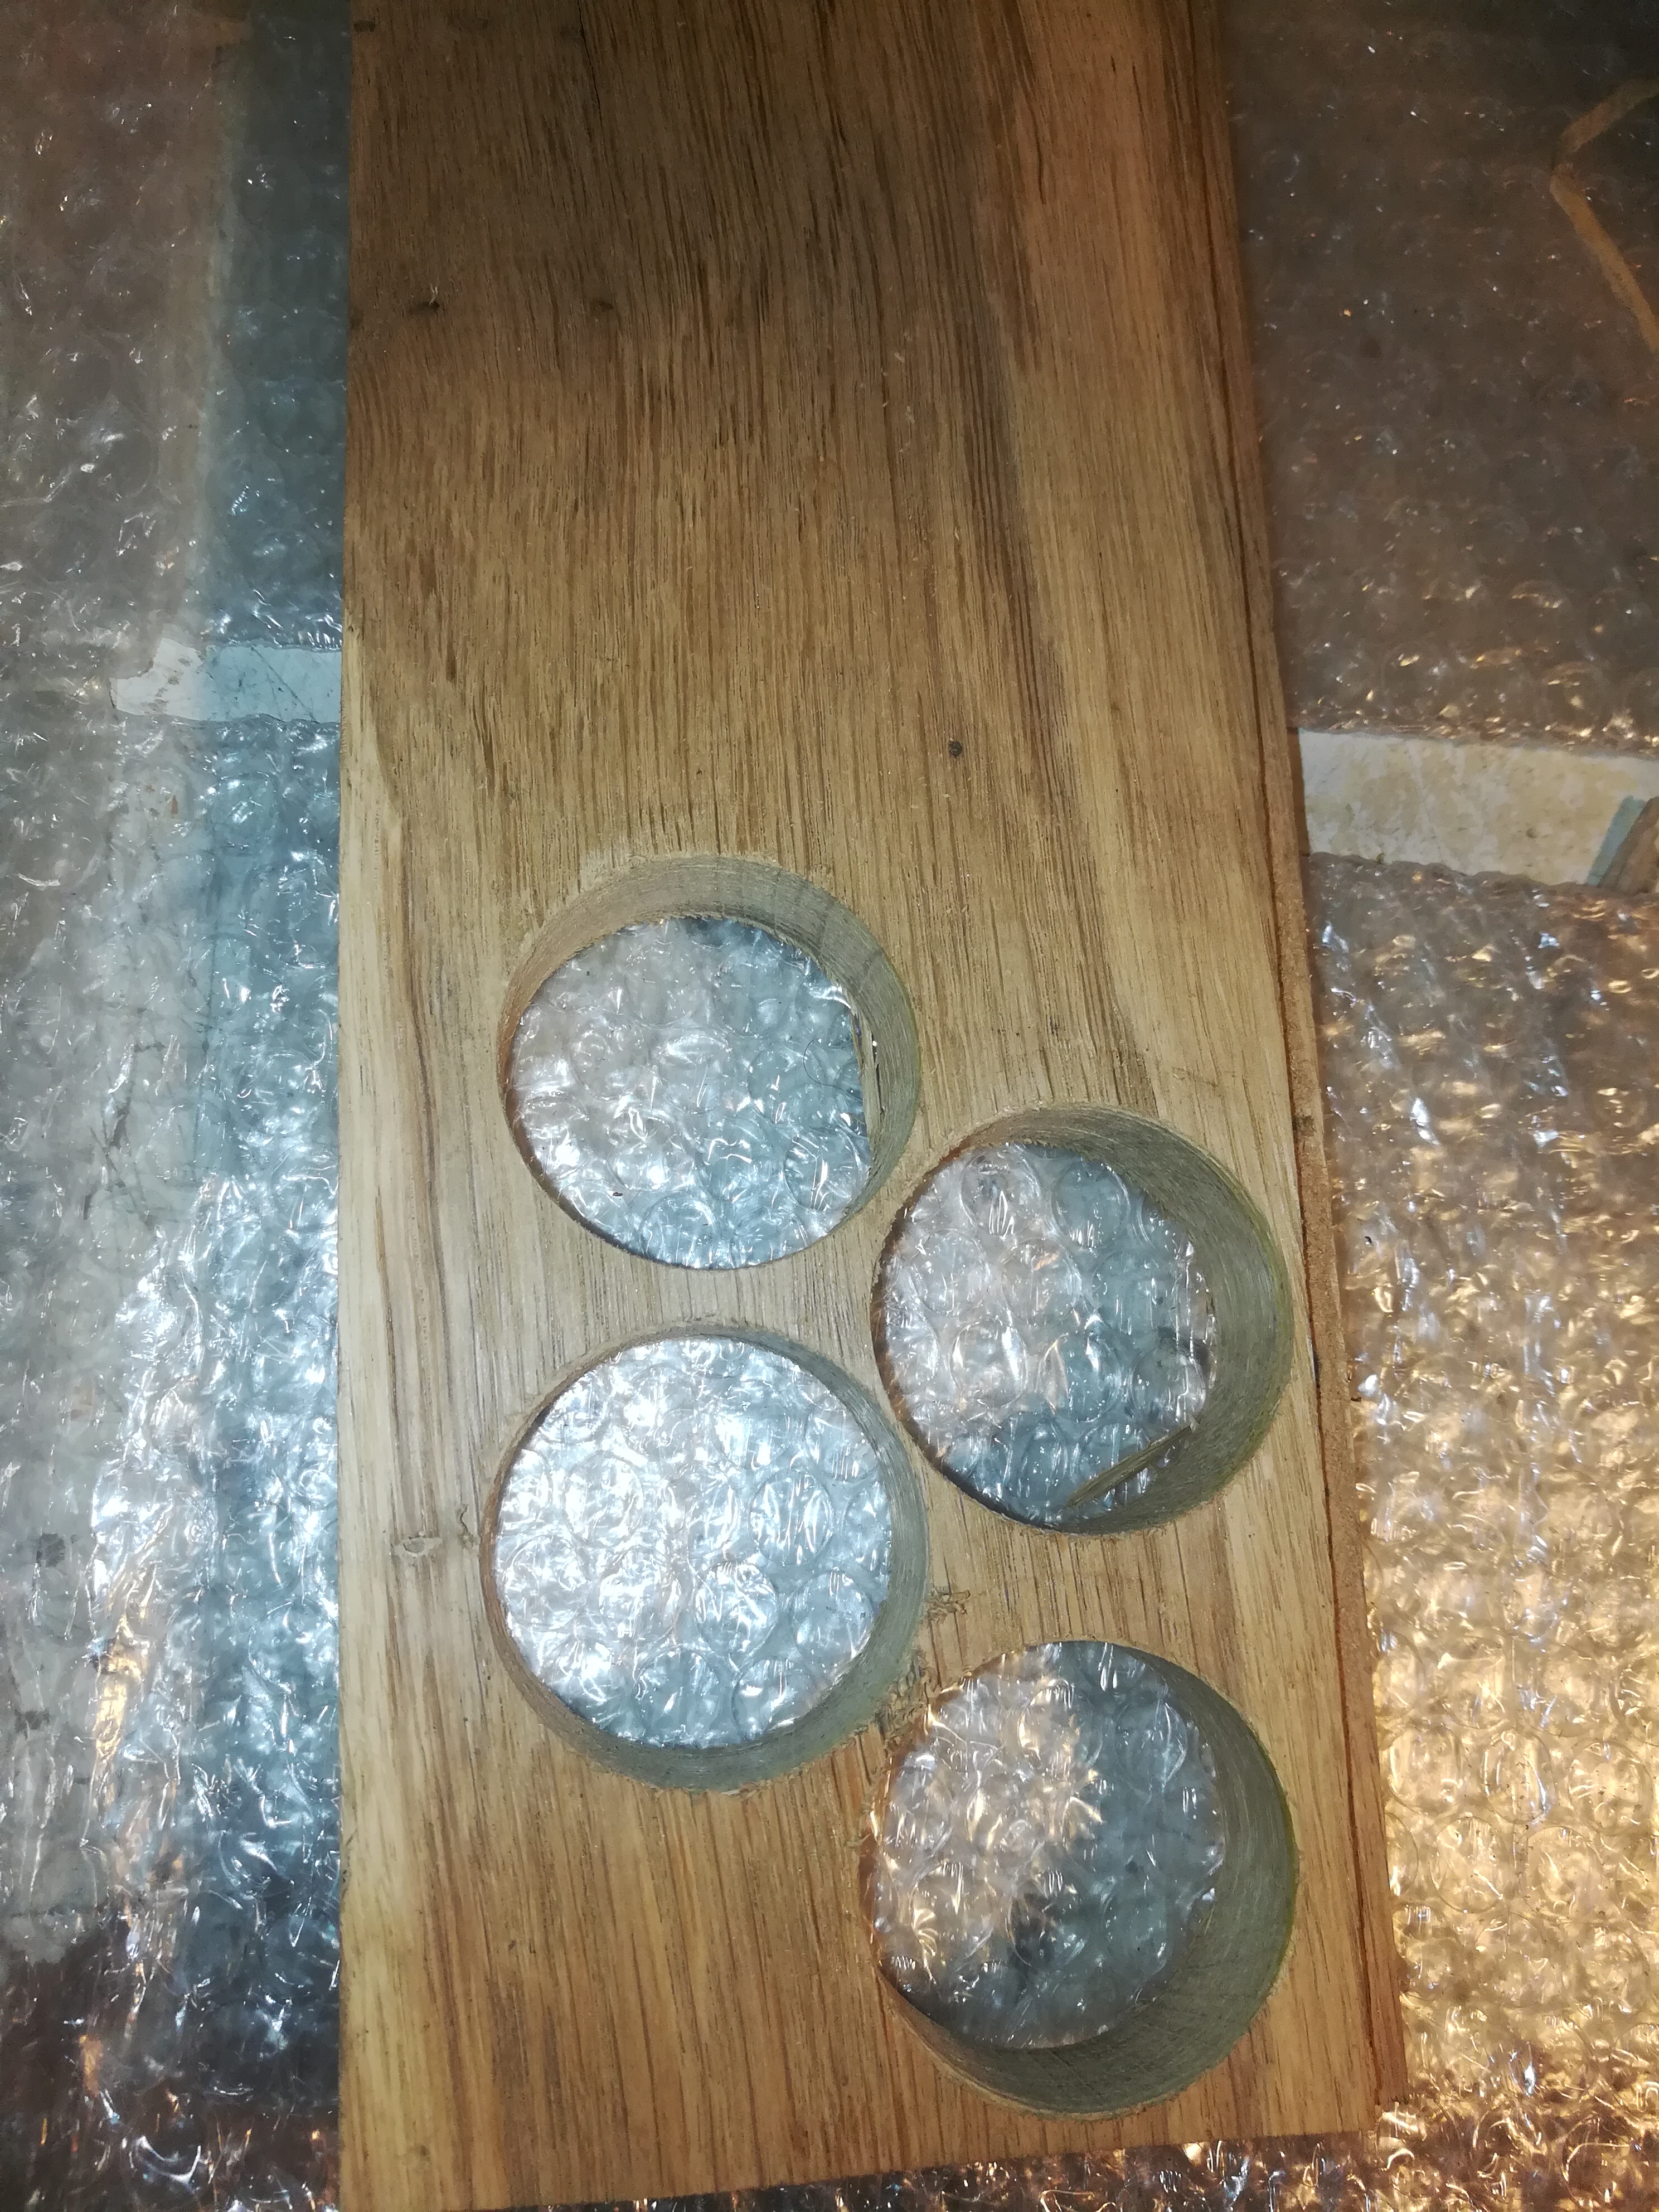
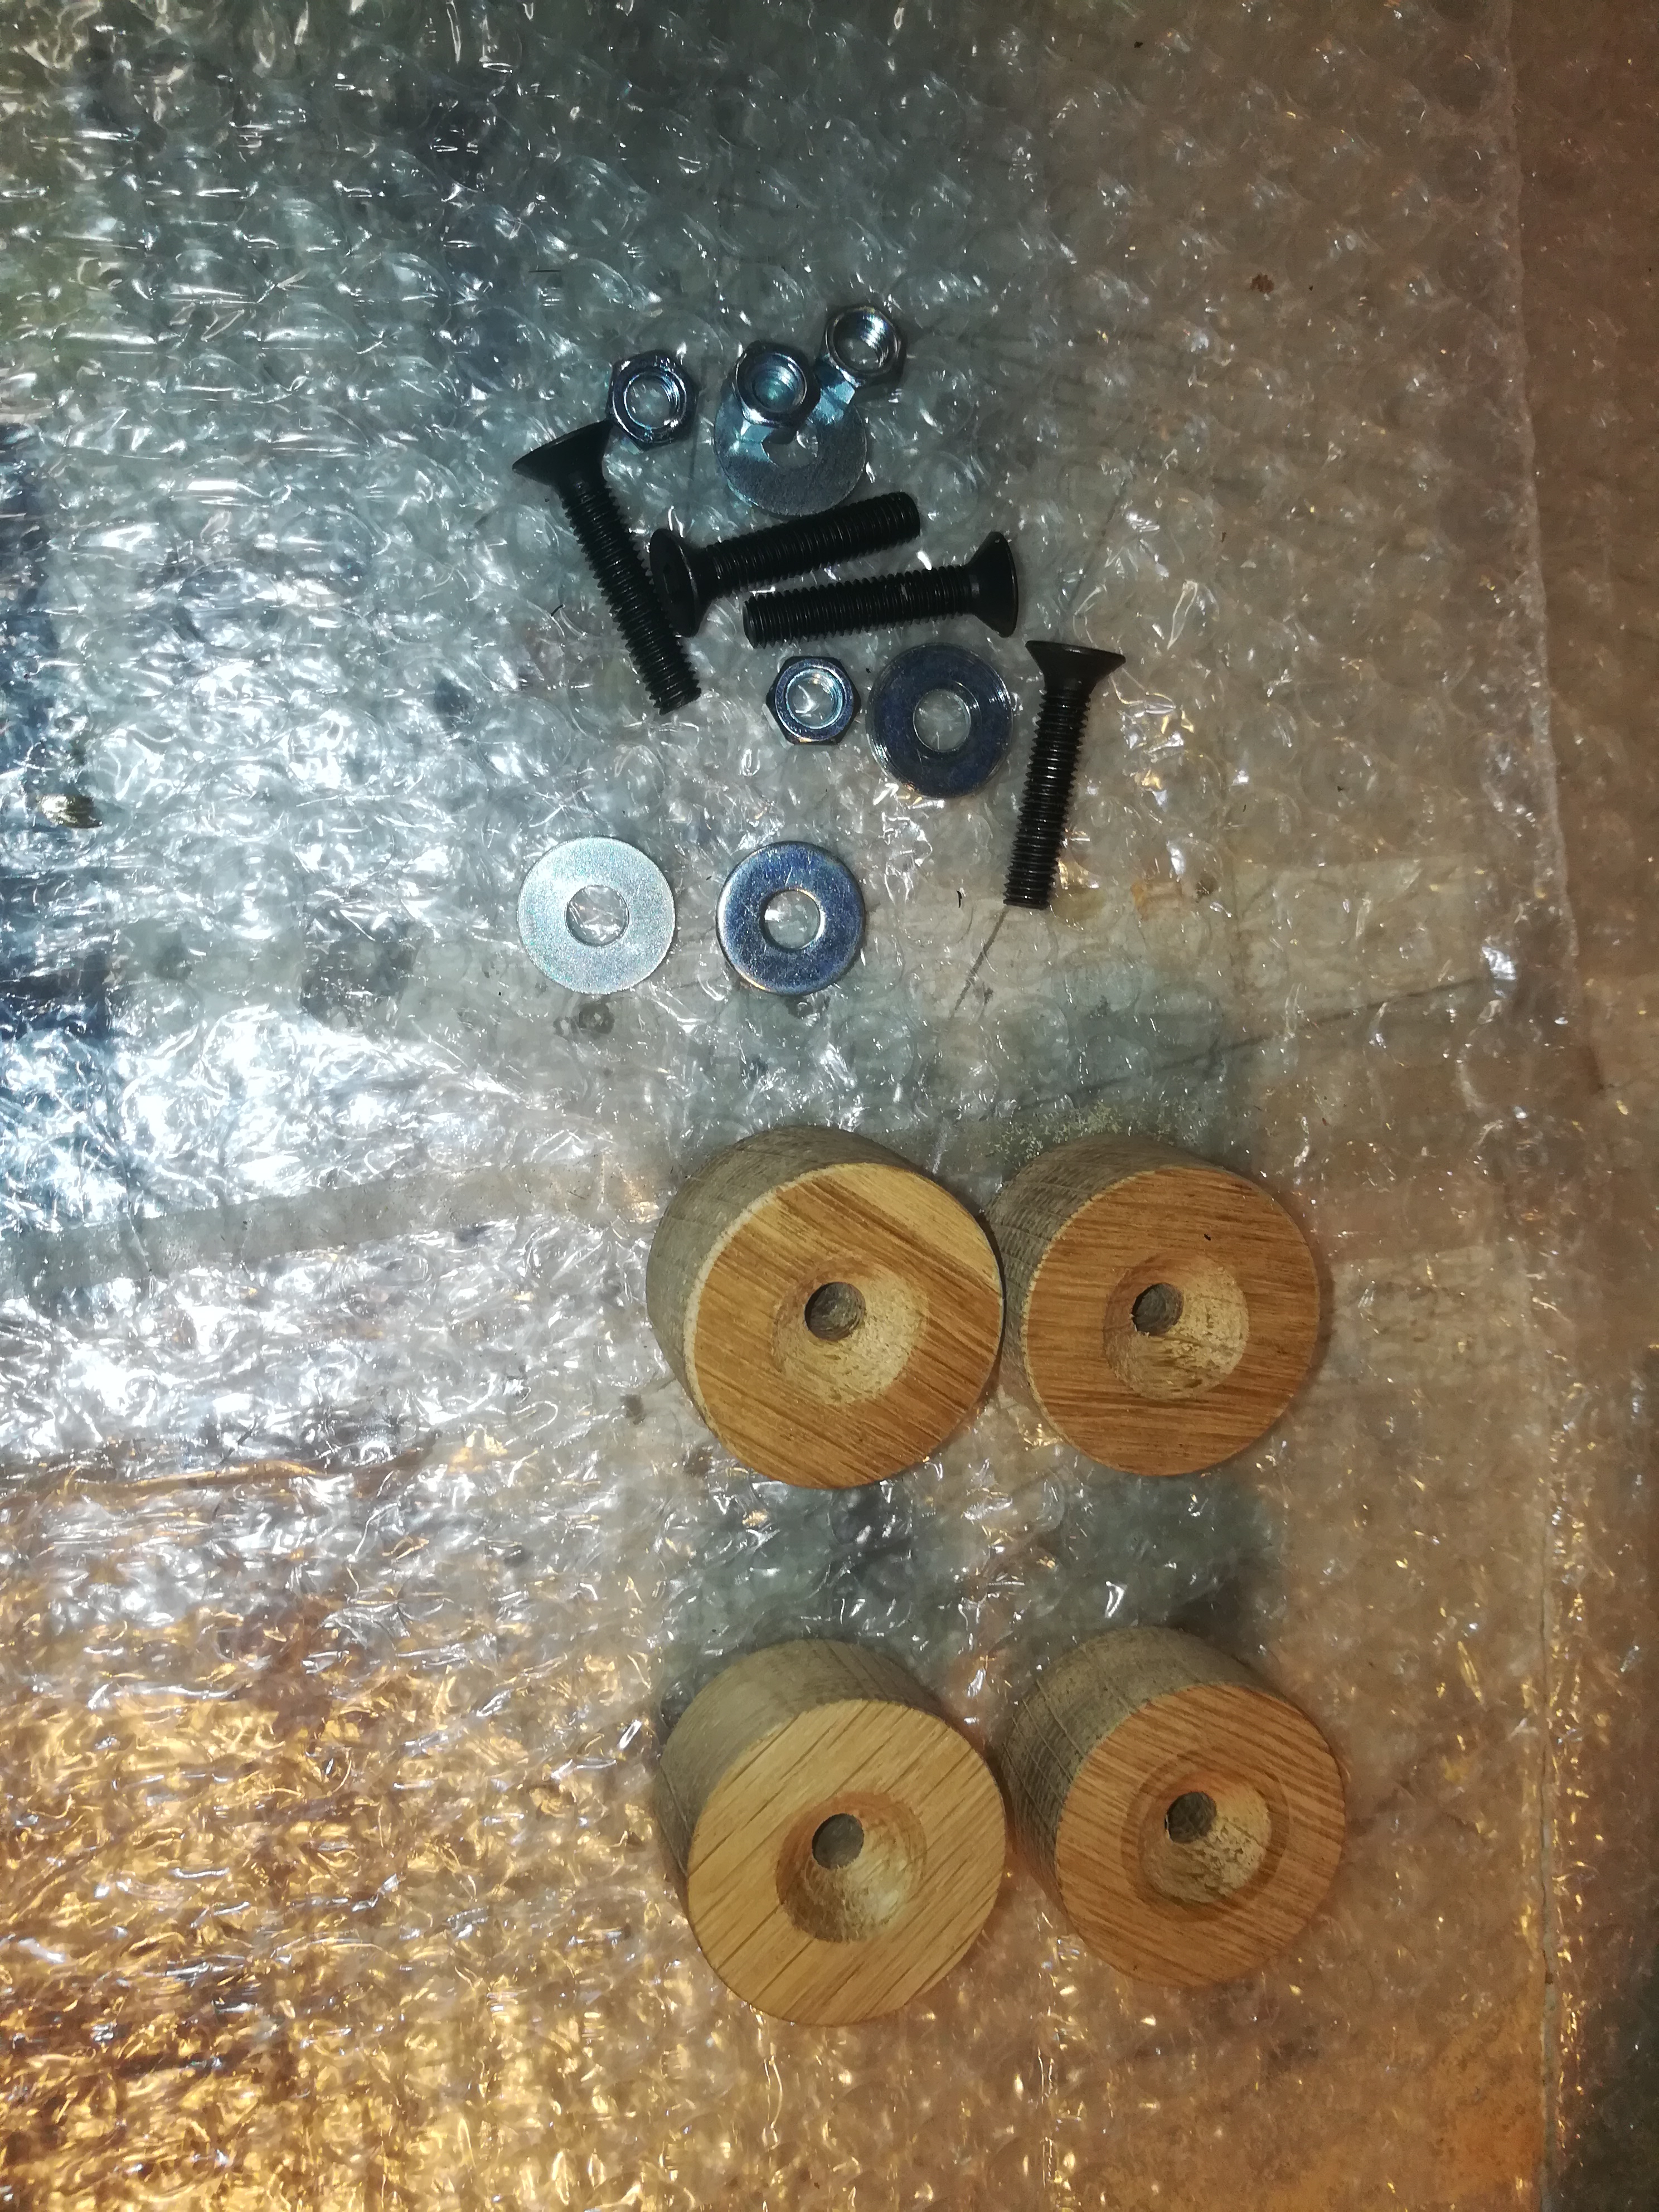
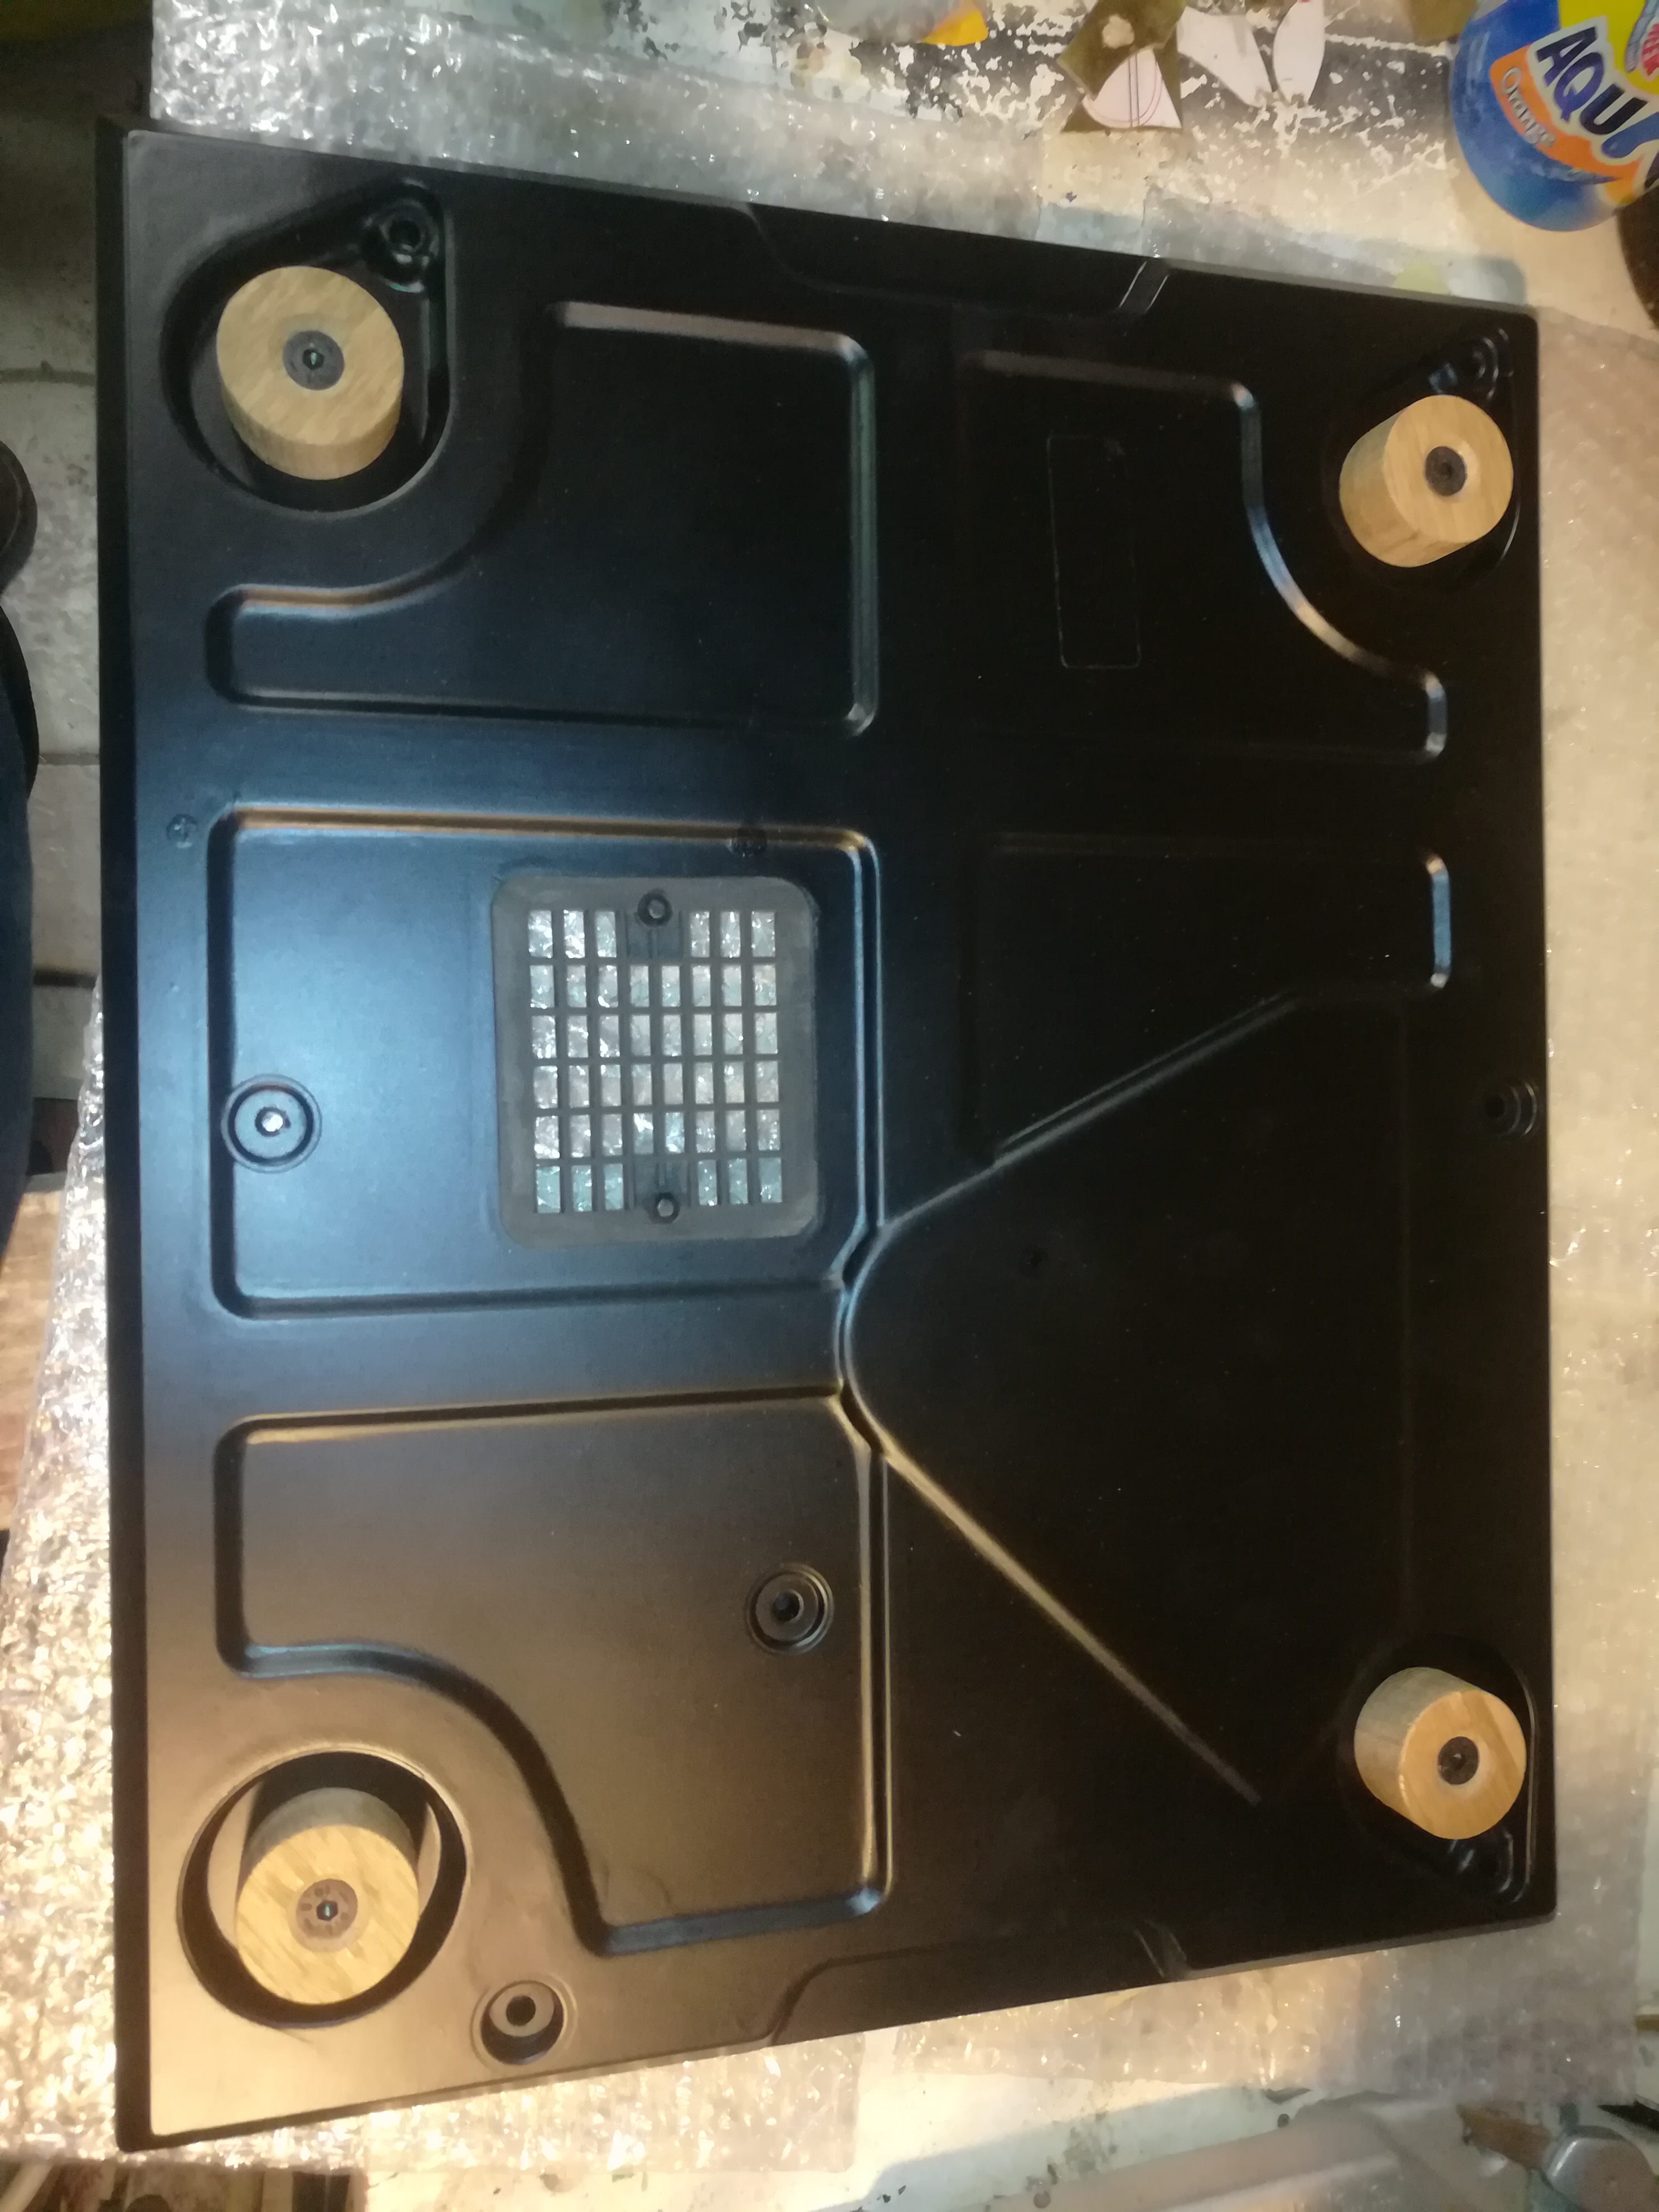
Clean up the bottom plate and spray it black (picture 2). Now take the oak piece and saw out 4 holes with a hole saw (picture 4). Countersink the holes (picture 5). Varnish the parts two times and then bolt them on the bottom plate (picture 6). Screw the bottom plate on the upper case.
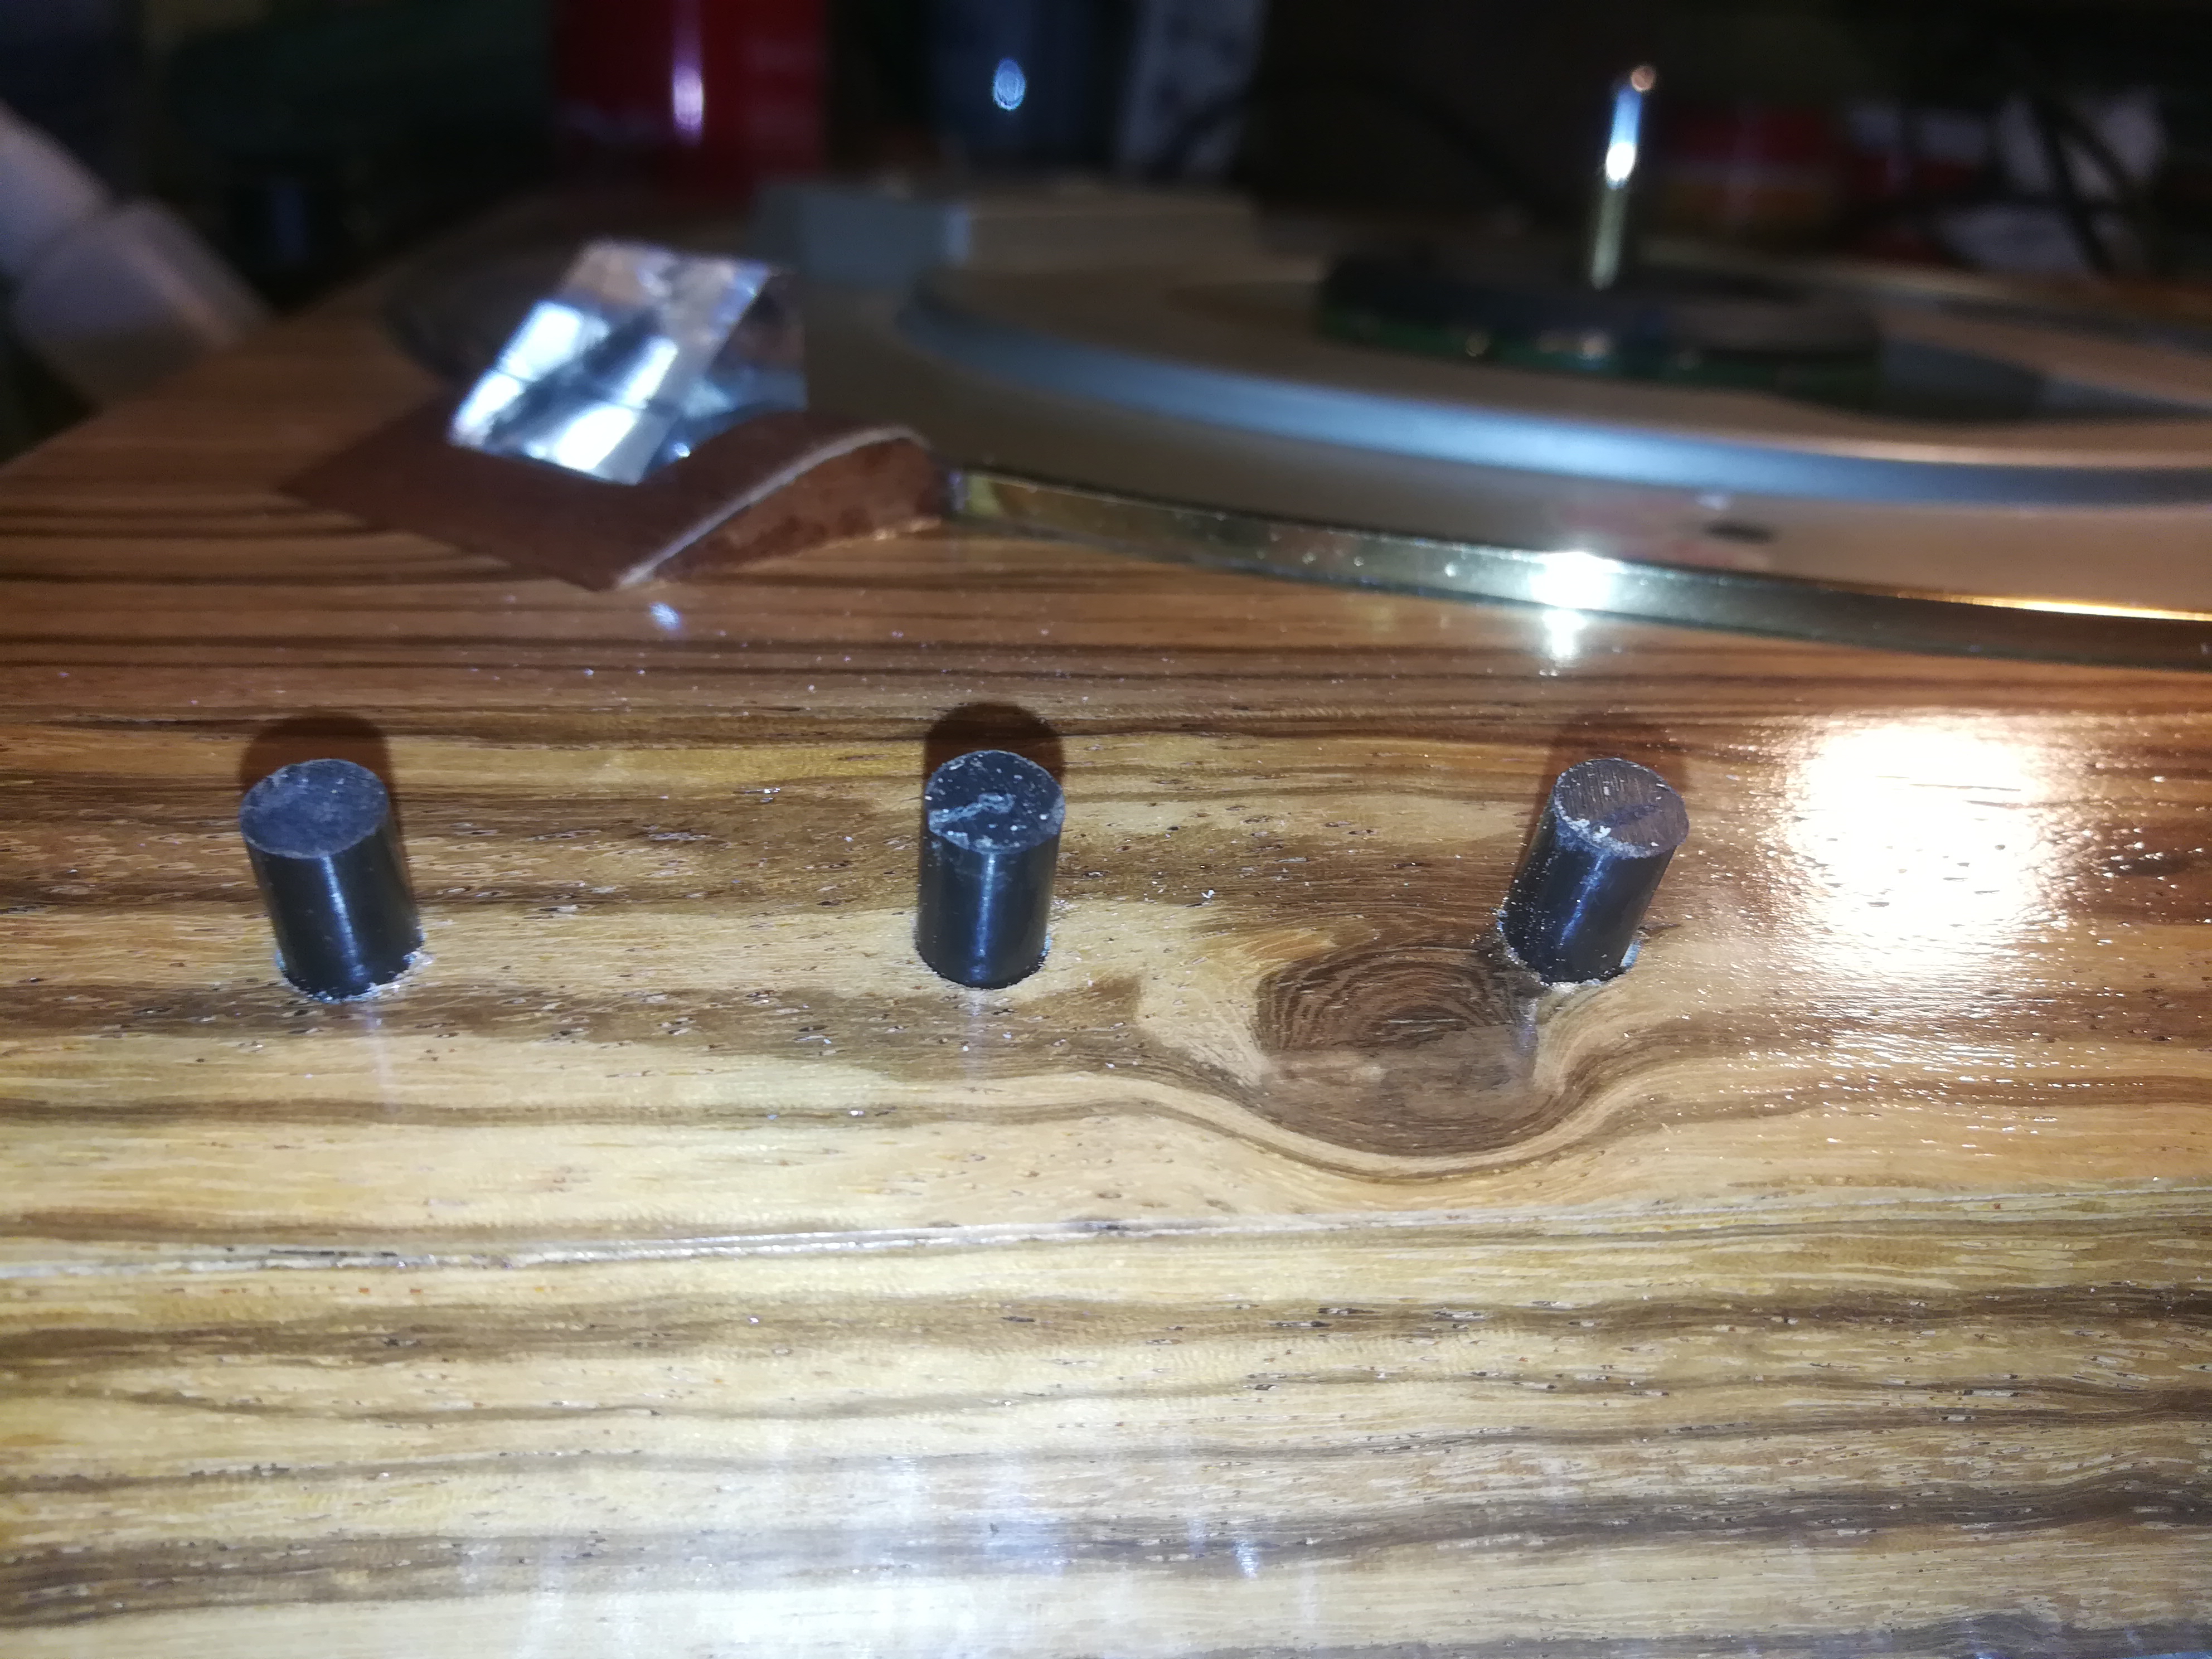
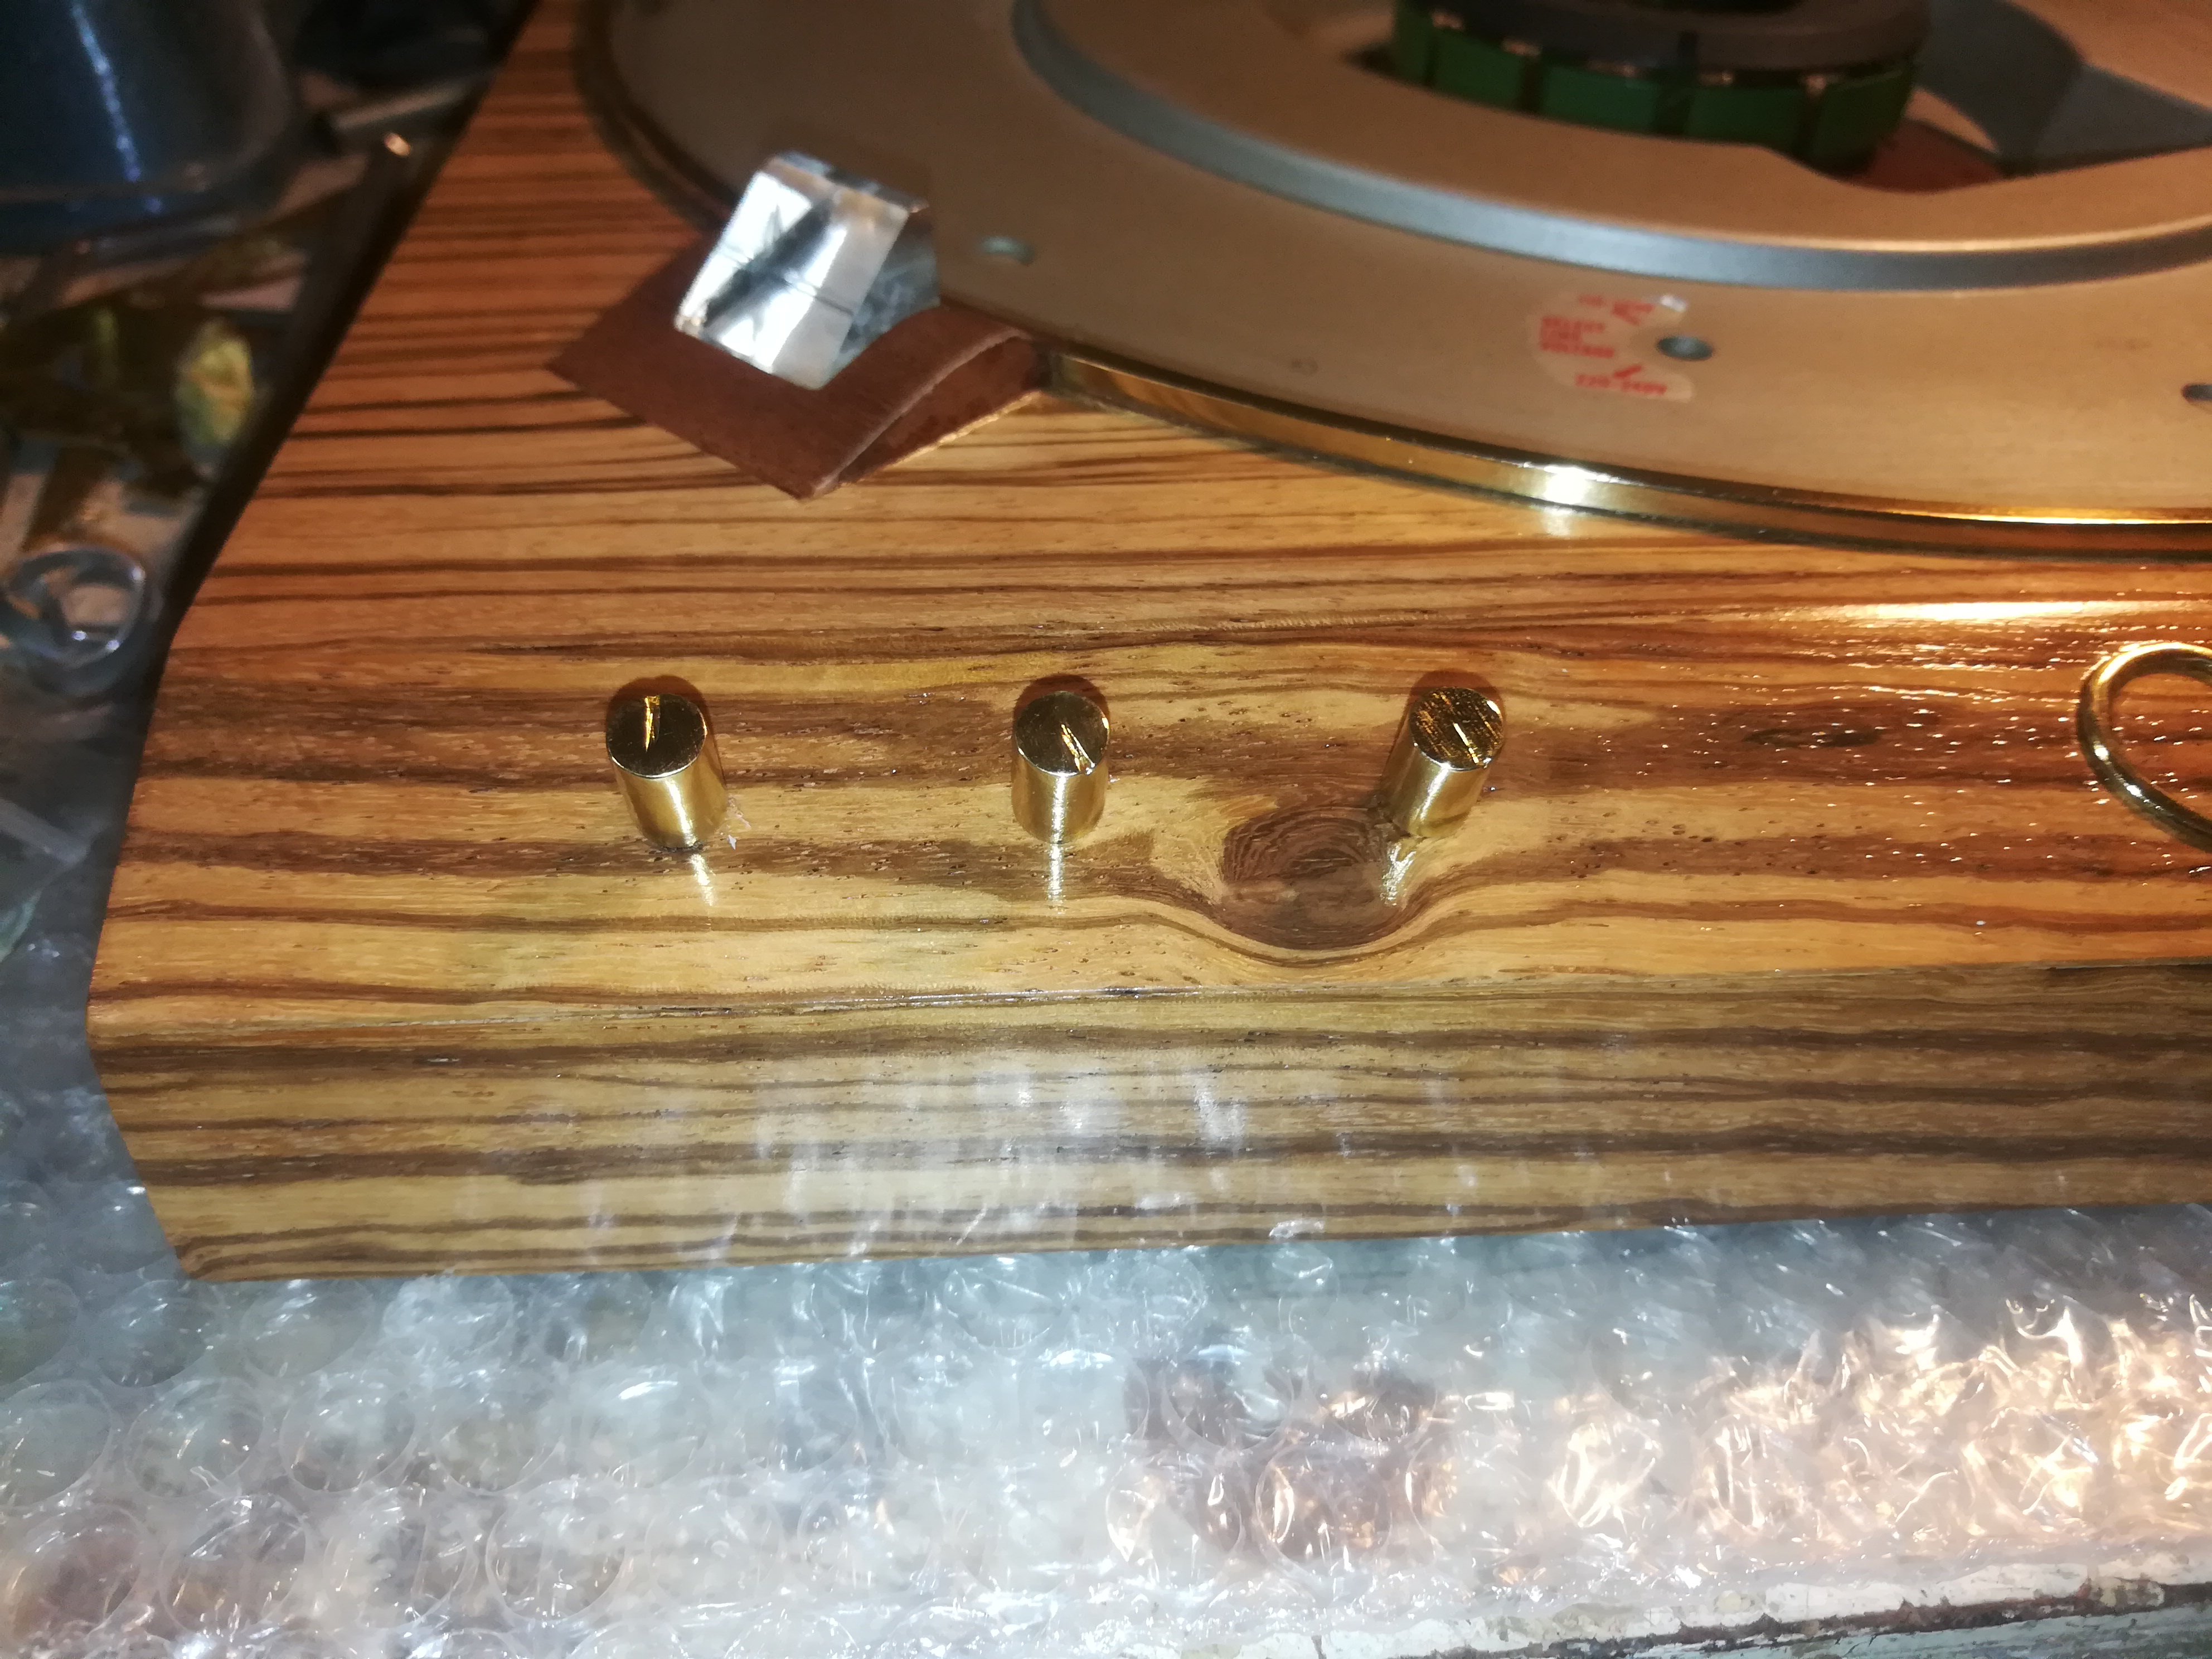
Flip the record player and saw off the axles from the speed control (picture 7). Glue the brass buttons on the axles with Two component glue (picture 8).
Install the disk and needle and it is time to test if it is alive.
It Works
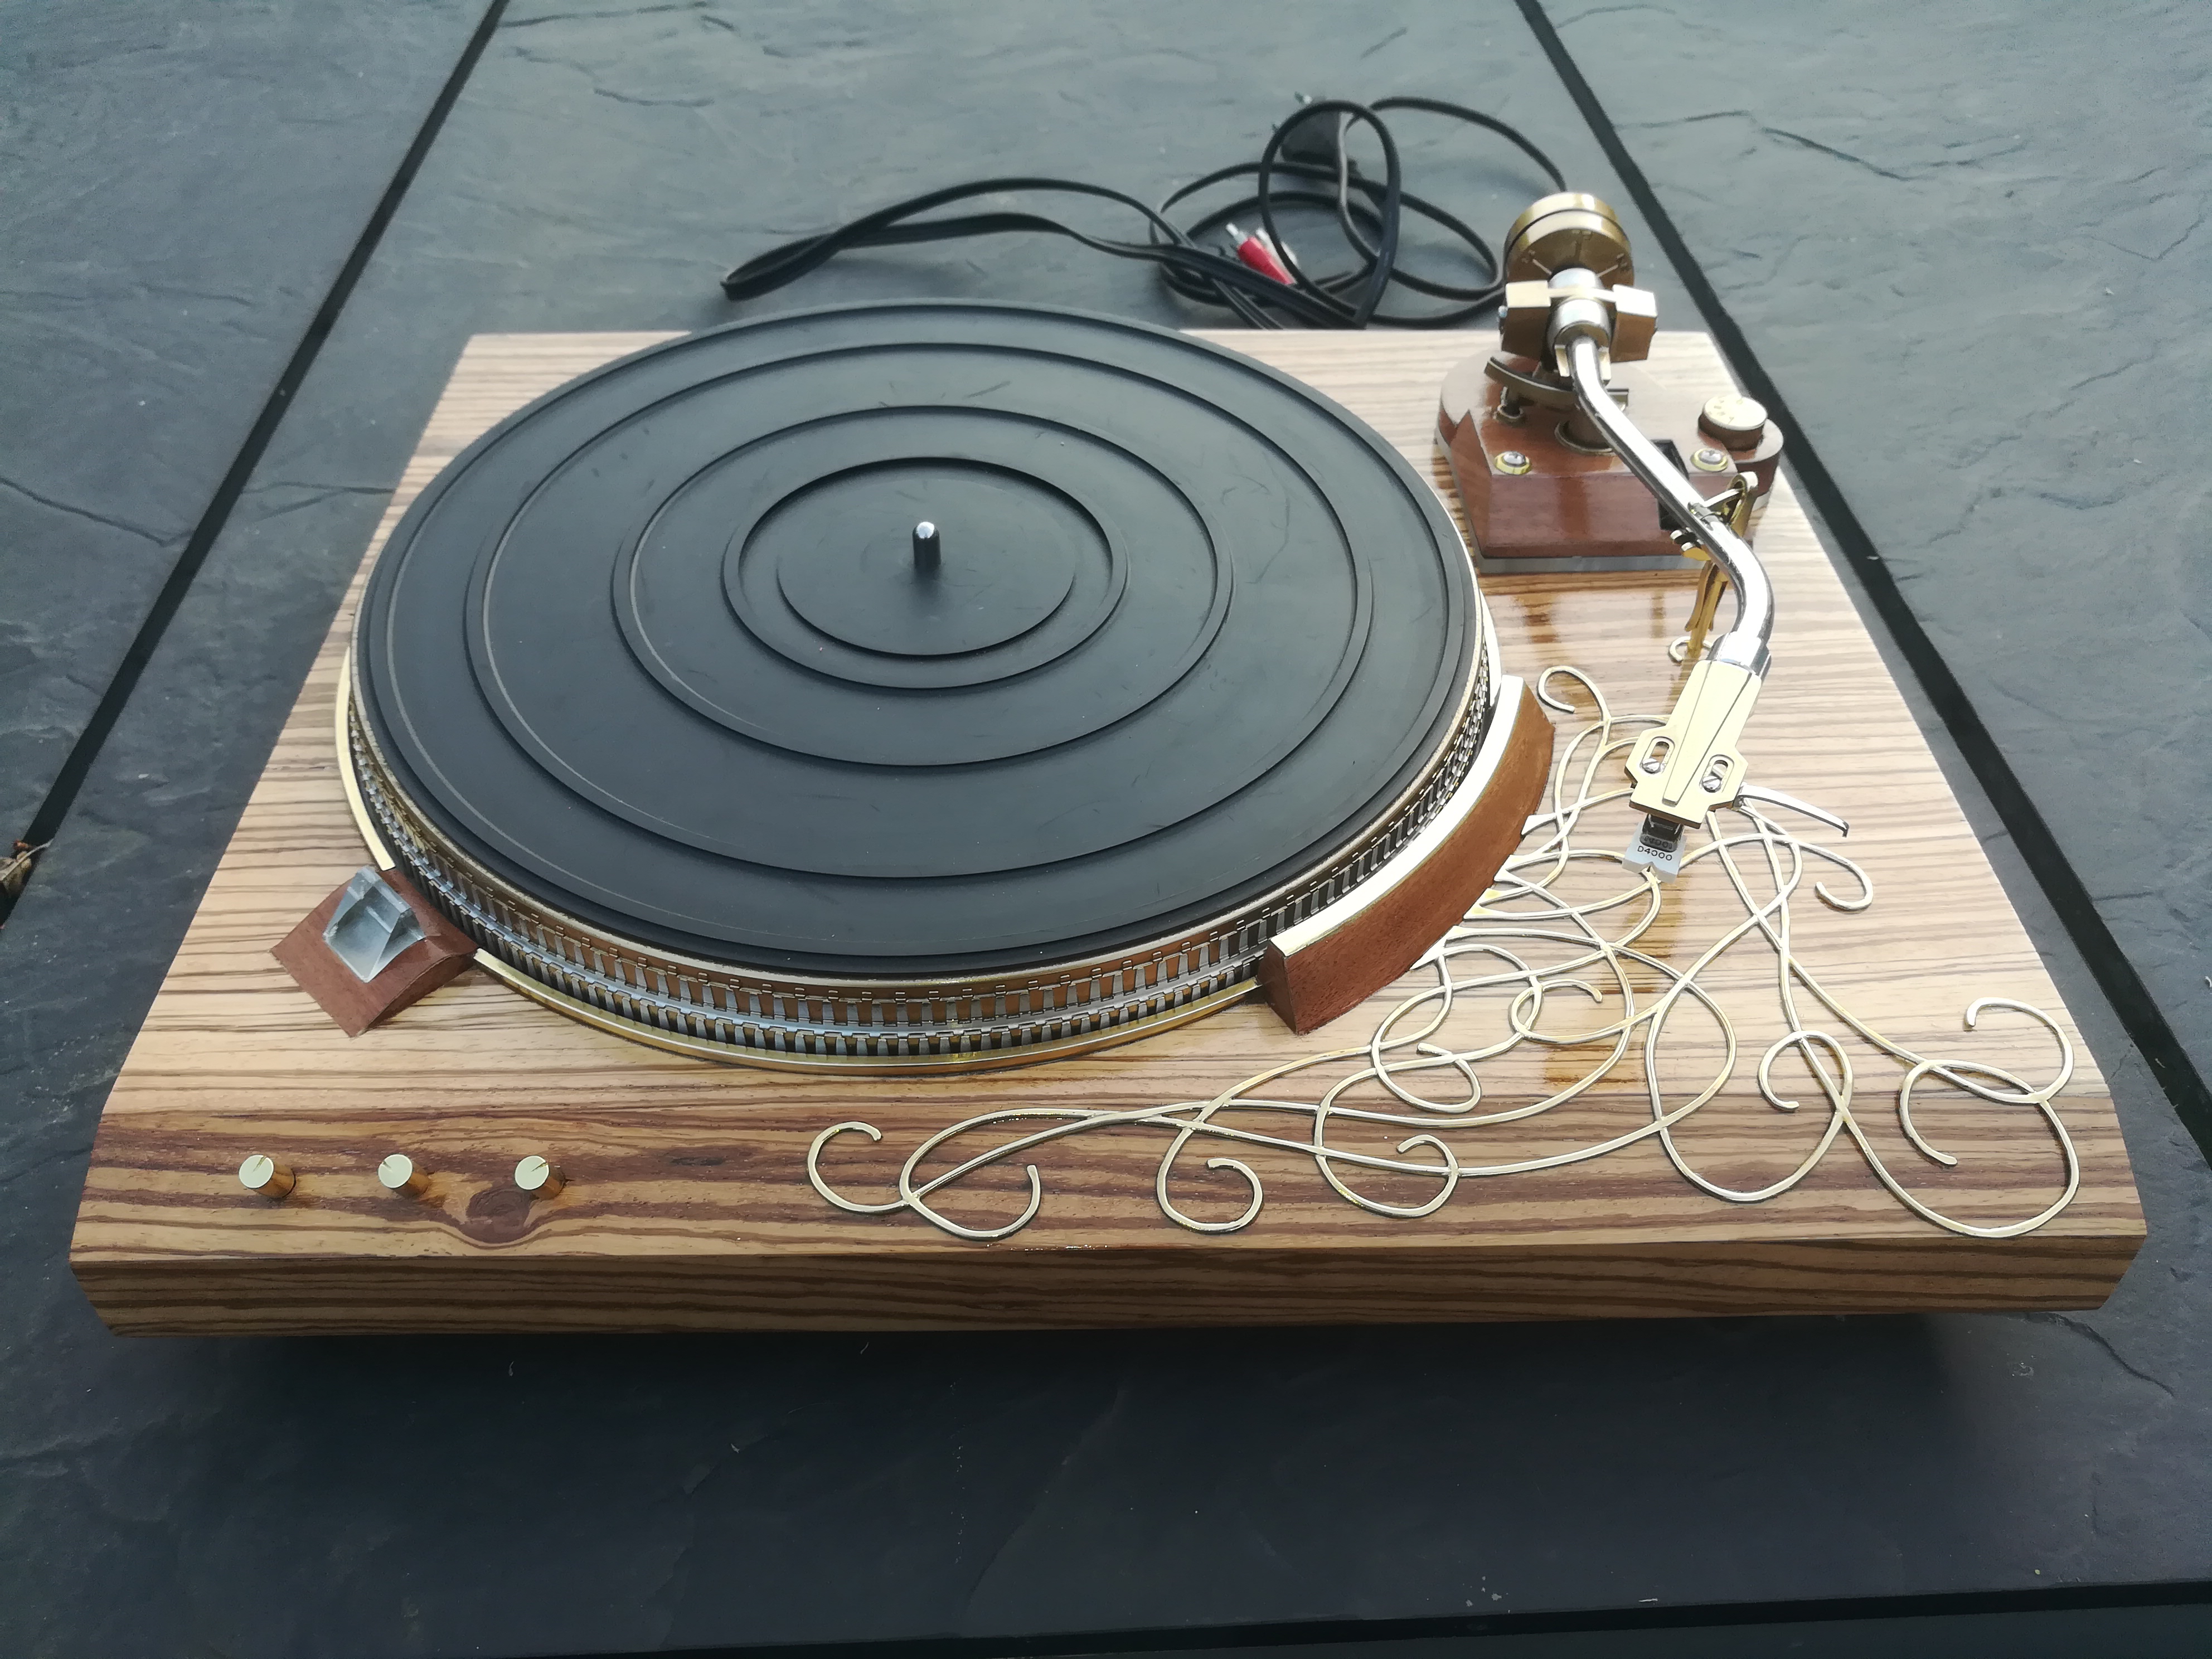
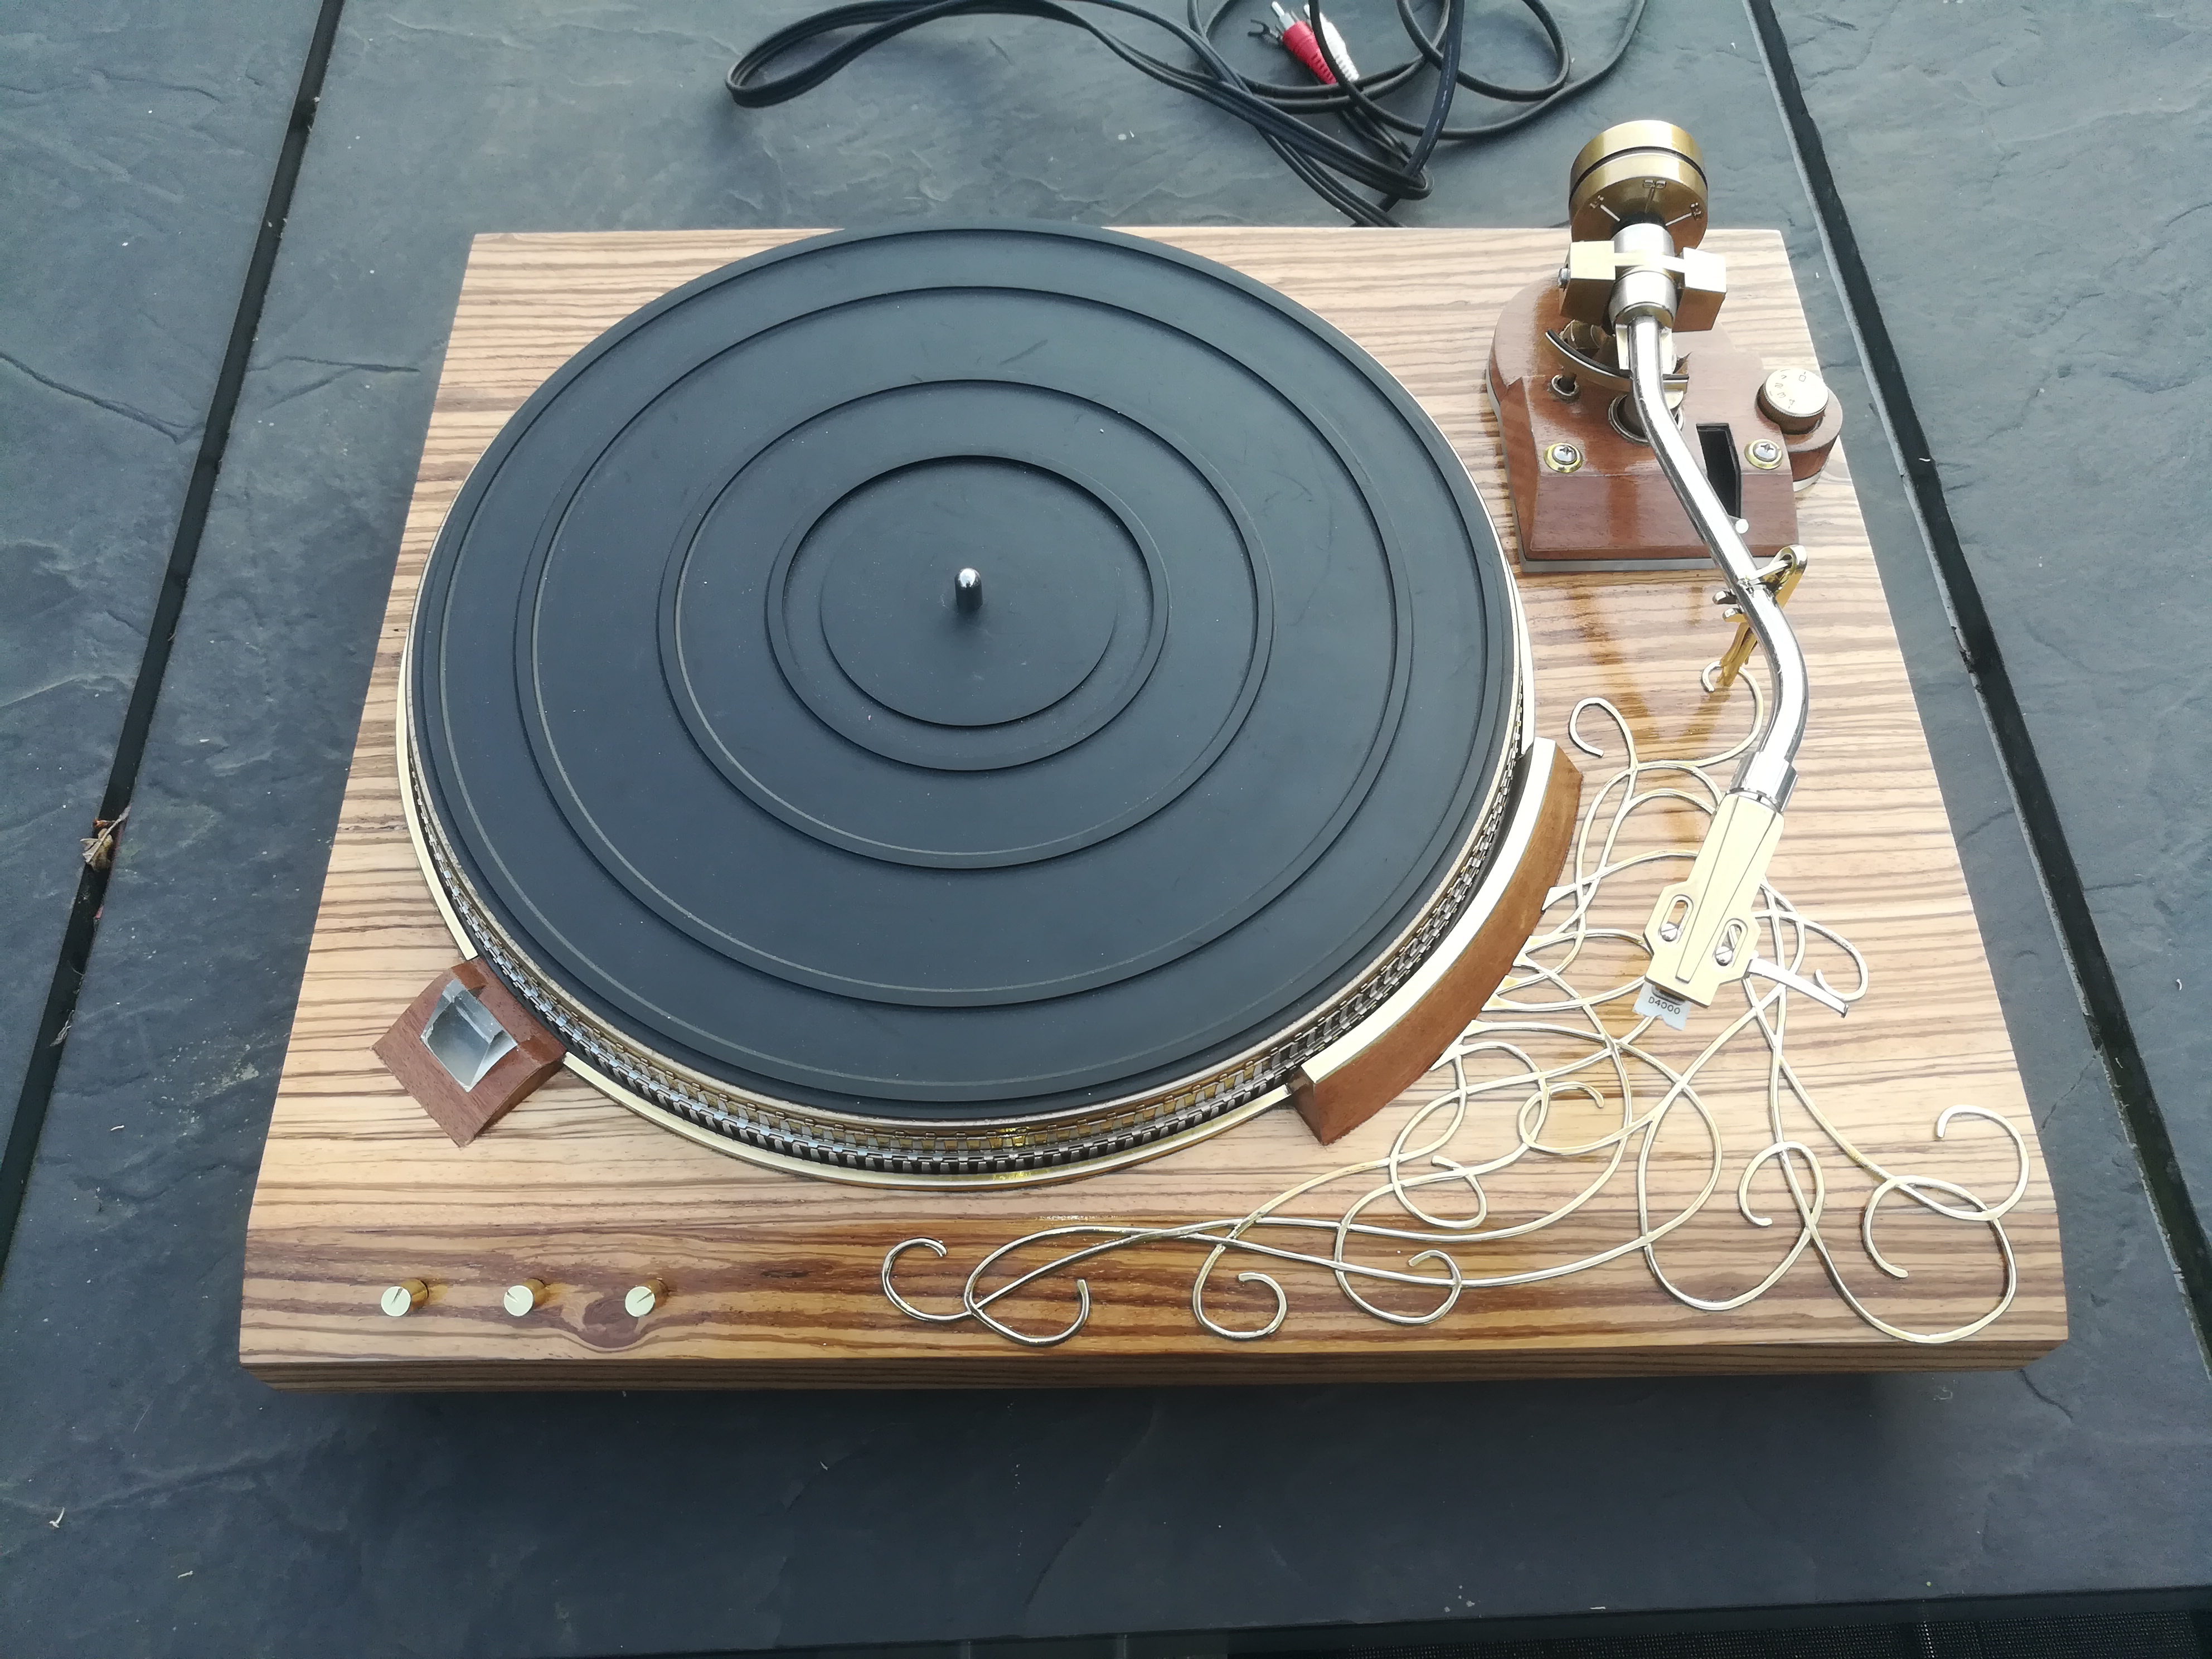
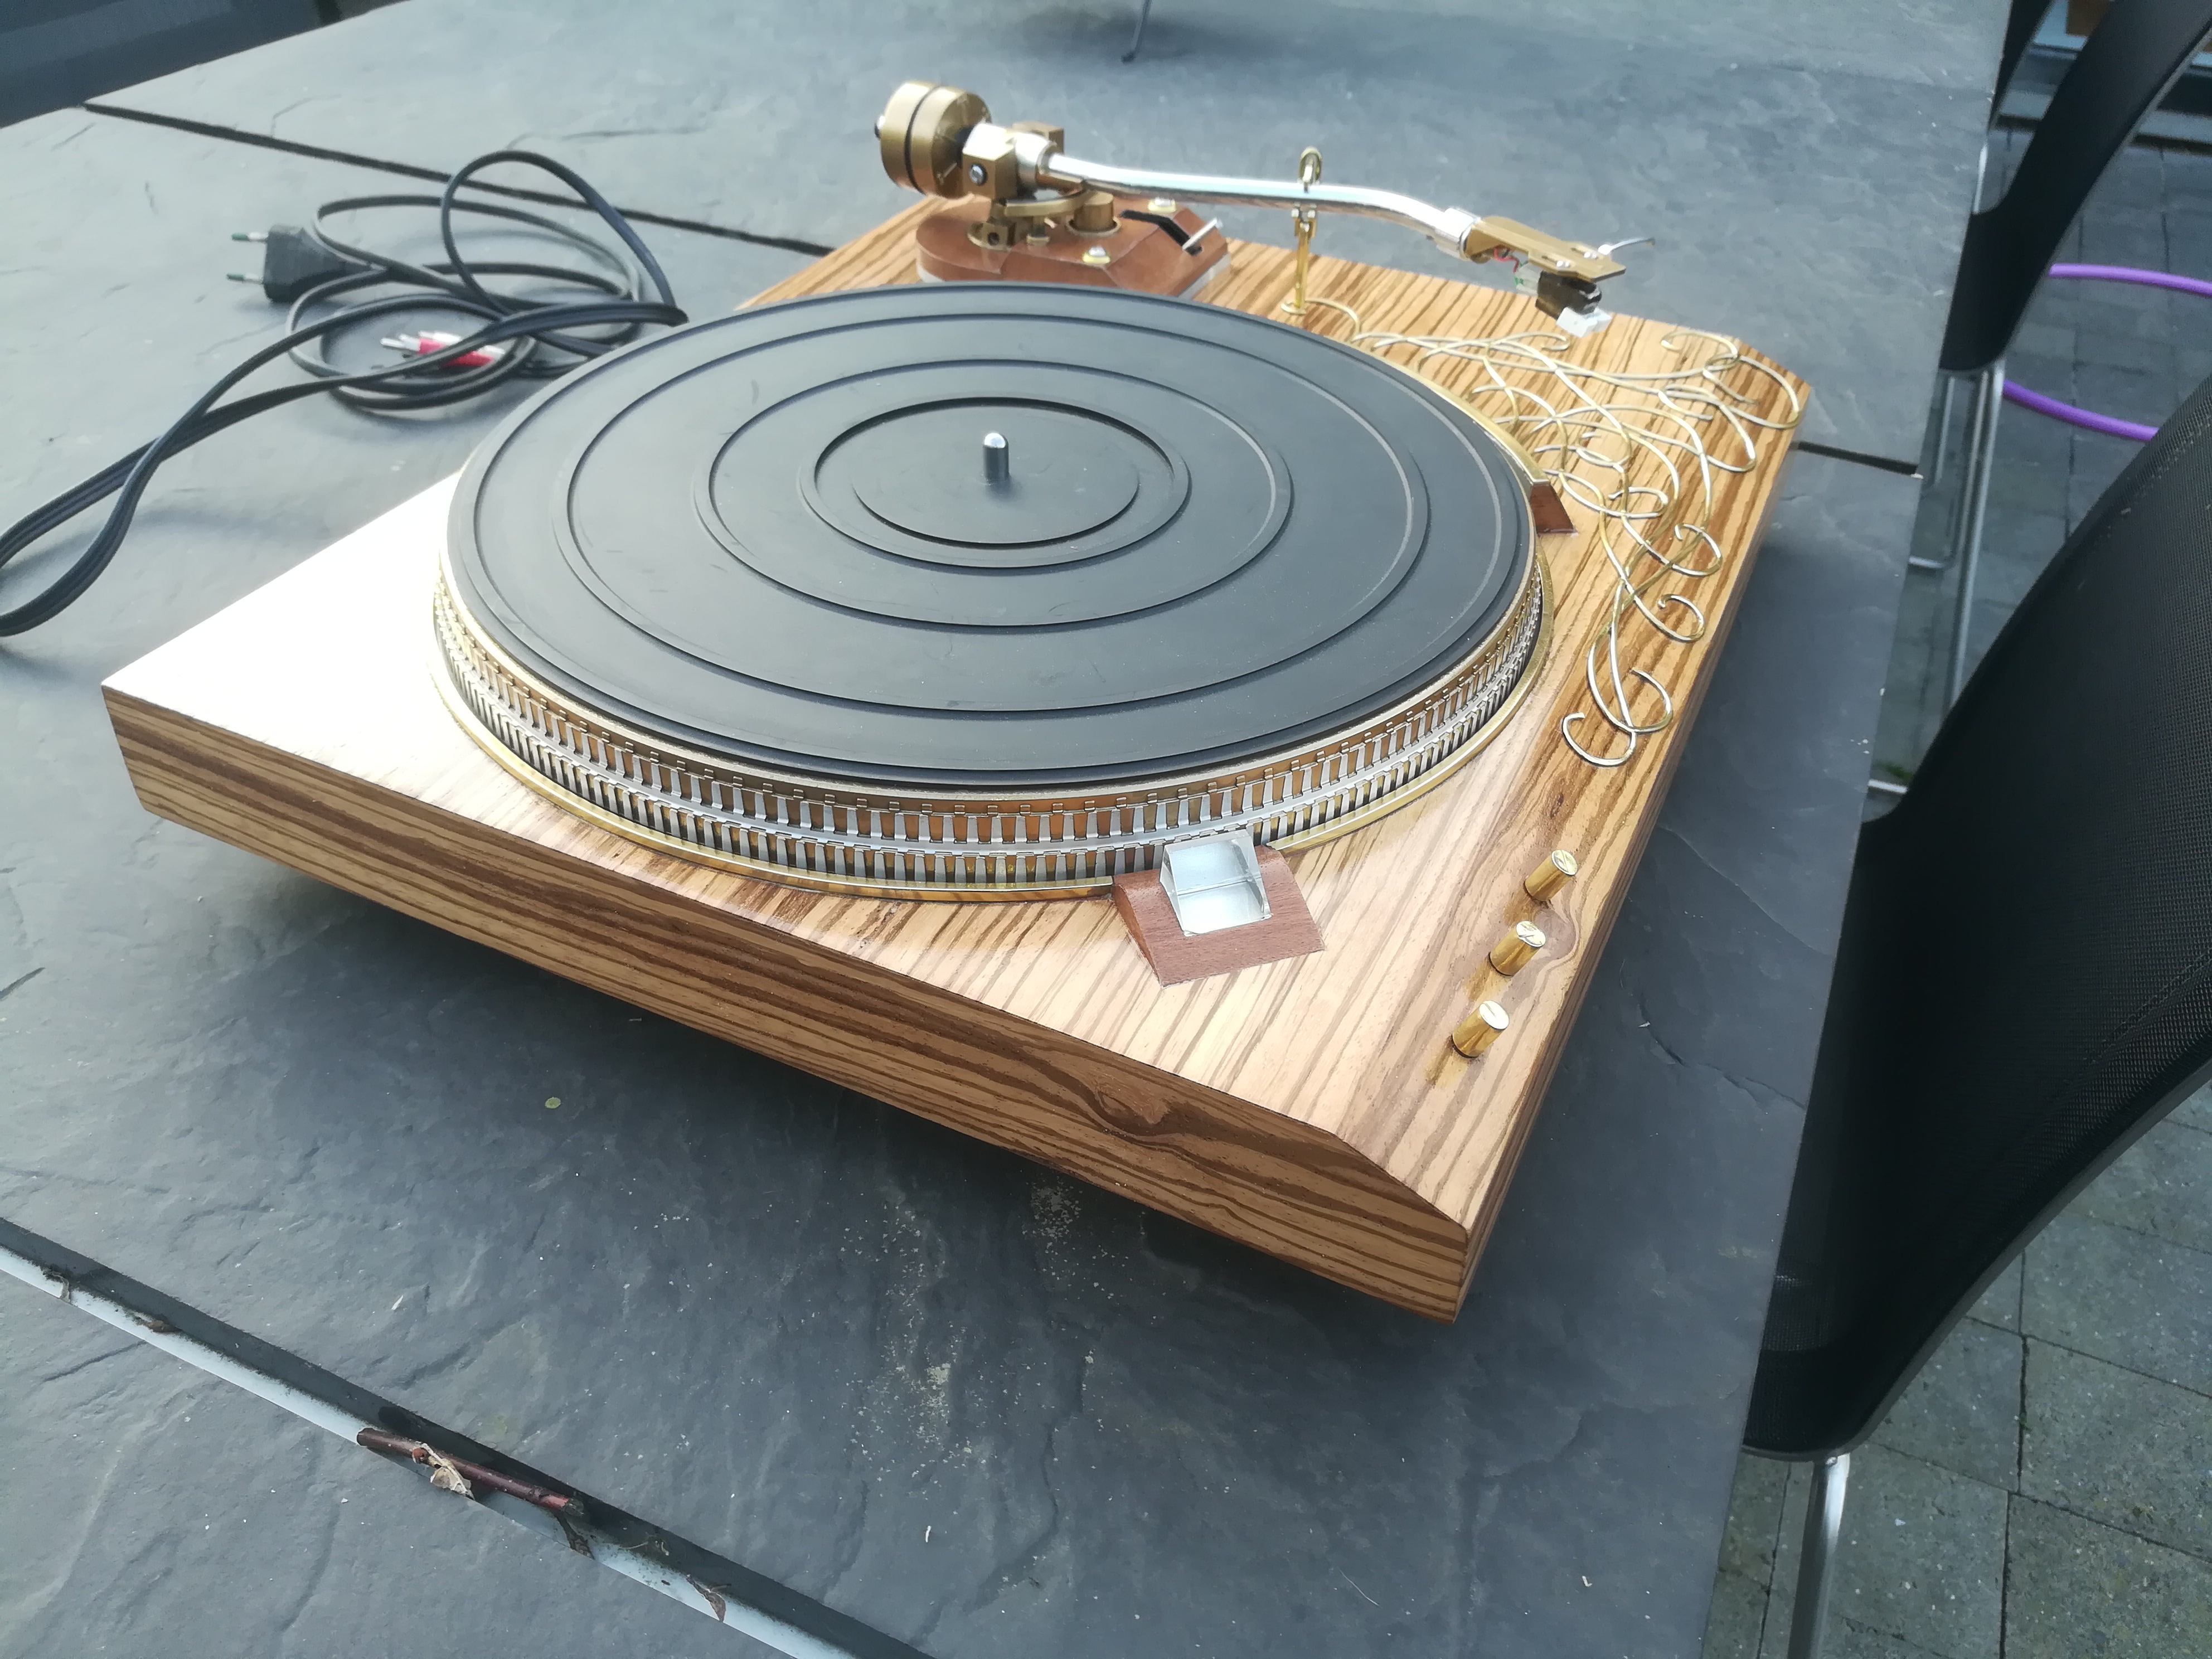
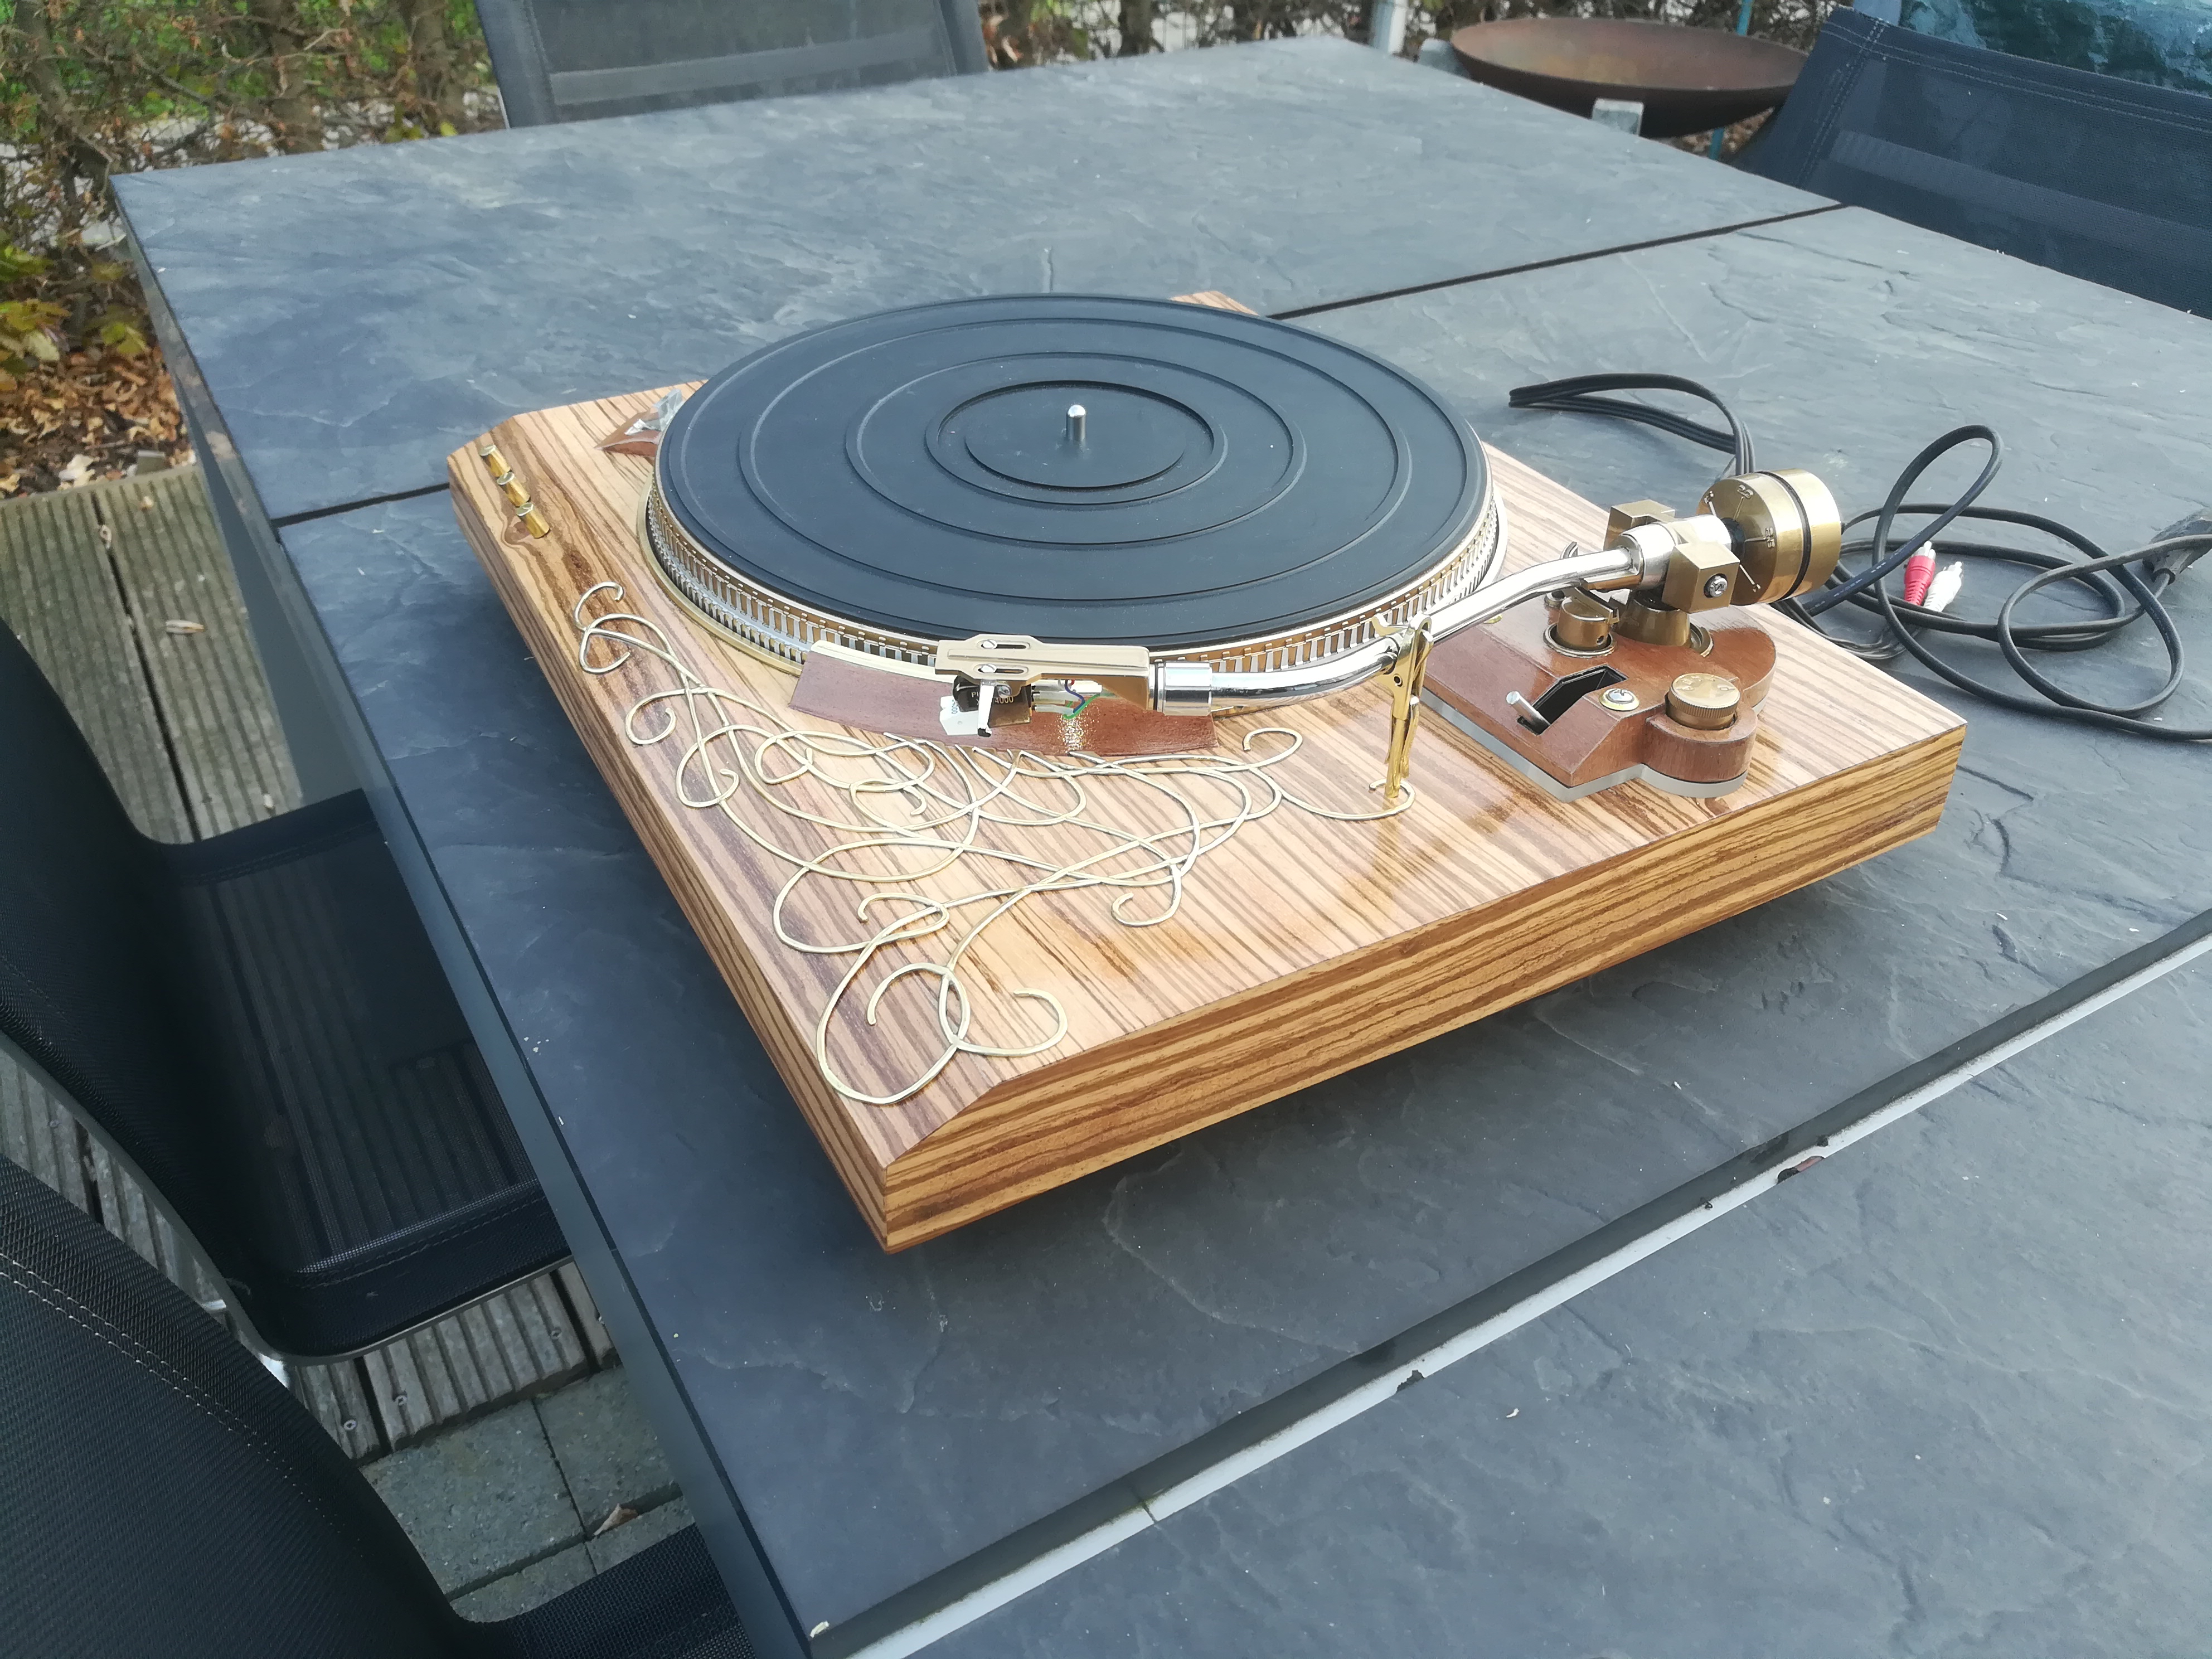
After i put everything together and some fine tuning it plays very well.
I am quite happy with the final result, I have never seen such a player and according to my father (self proclaimed expert) he plays as it should.
Now it would surprise me that someone would build exactly the same record player, but if you have another one you know it is possible to pimp them. I hope this explanation will help you if you want to try something similar.
Thanks for reading and have fun.