Rhino Vase 3D Printed
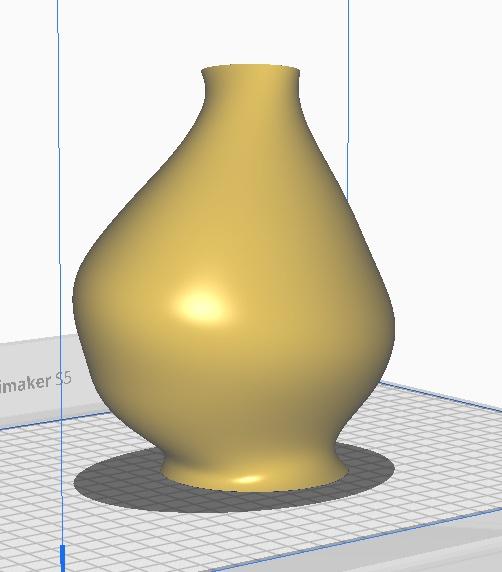
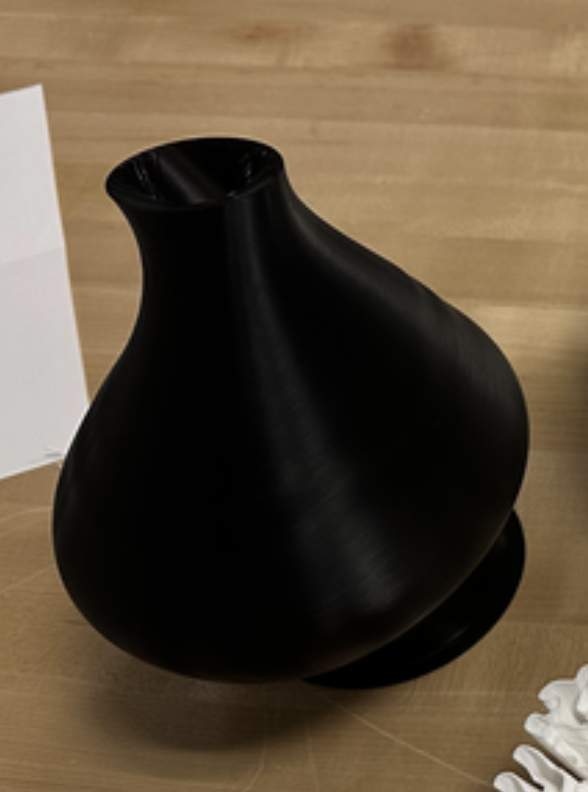
I looked through the example files of the meshes and lofted vases in rhino using grasshopper commands. I could adjust the preexisting nodes and modules, but I struggled to create my own or adjust the preset templates enough to create a lampshade. I went to linkedin learning and studied the basics of rhino. I then found a tutorial that took me step by step in creating a vase. Unfortunately the grasshopper coding is still too abstract to me to be able to make my own without a step by step tutorial. I couldn't figure out where to input the codes that were given in the 'Numeric representations of surfaces' google doc. But I wanted to refine my skills in rhino and I do feel more comfortable using rhino after creating this vase.
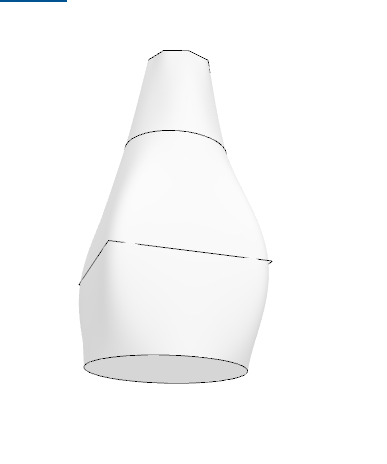
a created the vase using circles that are lifted in space and then lofted, I then capped the ends and then used the shell function to hallow it out from the top.
I added some personality by skewing where each circle existed in space moving them off the central axis and also angling them. the end result is fun and looks similar to some fiber art sculptures and ceramic pieces I've created. I hope that it is balanced enough to stand upright after it's printed.
I did ask for support while it prints because the angle on one side is quite severe under its big belly. but lets see how it turns out.
Supplies
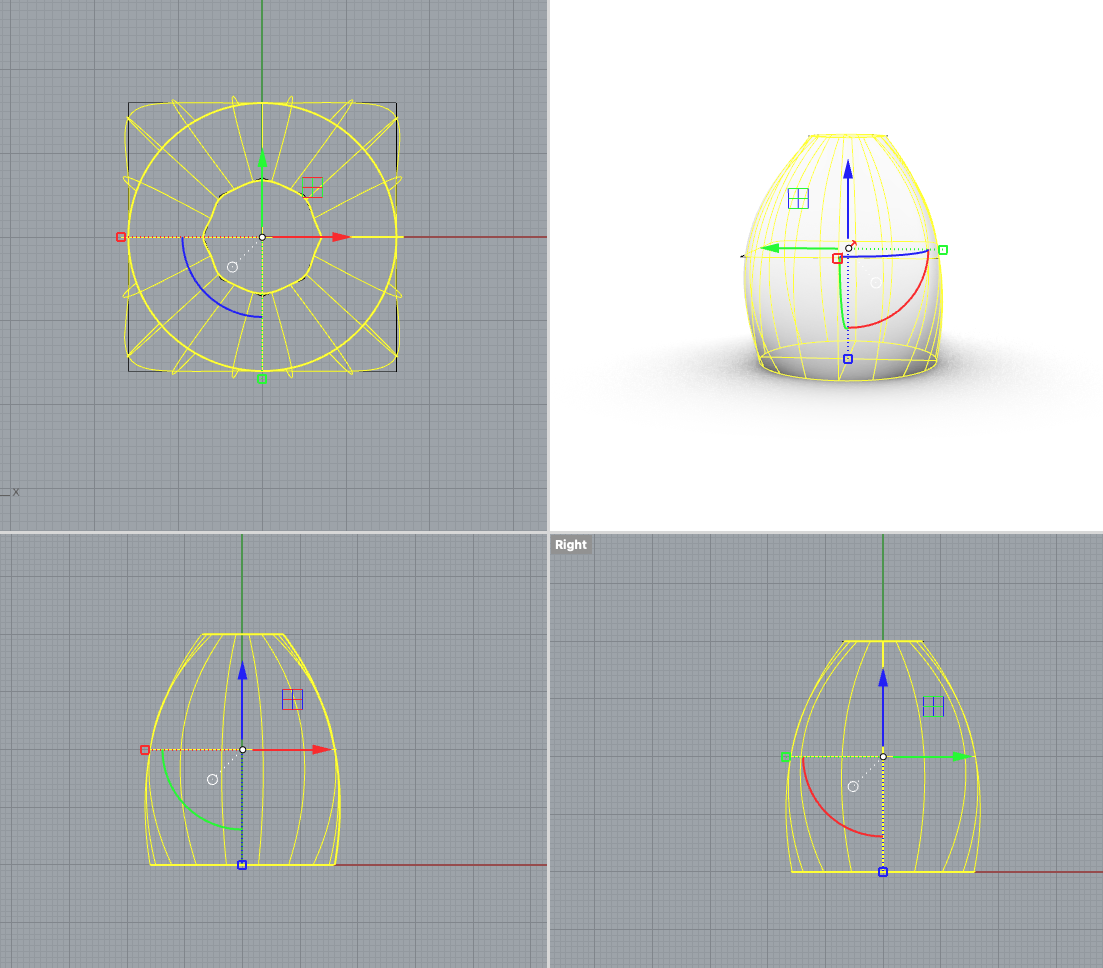
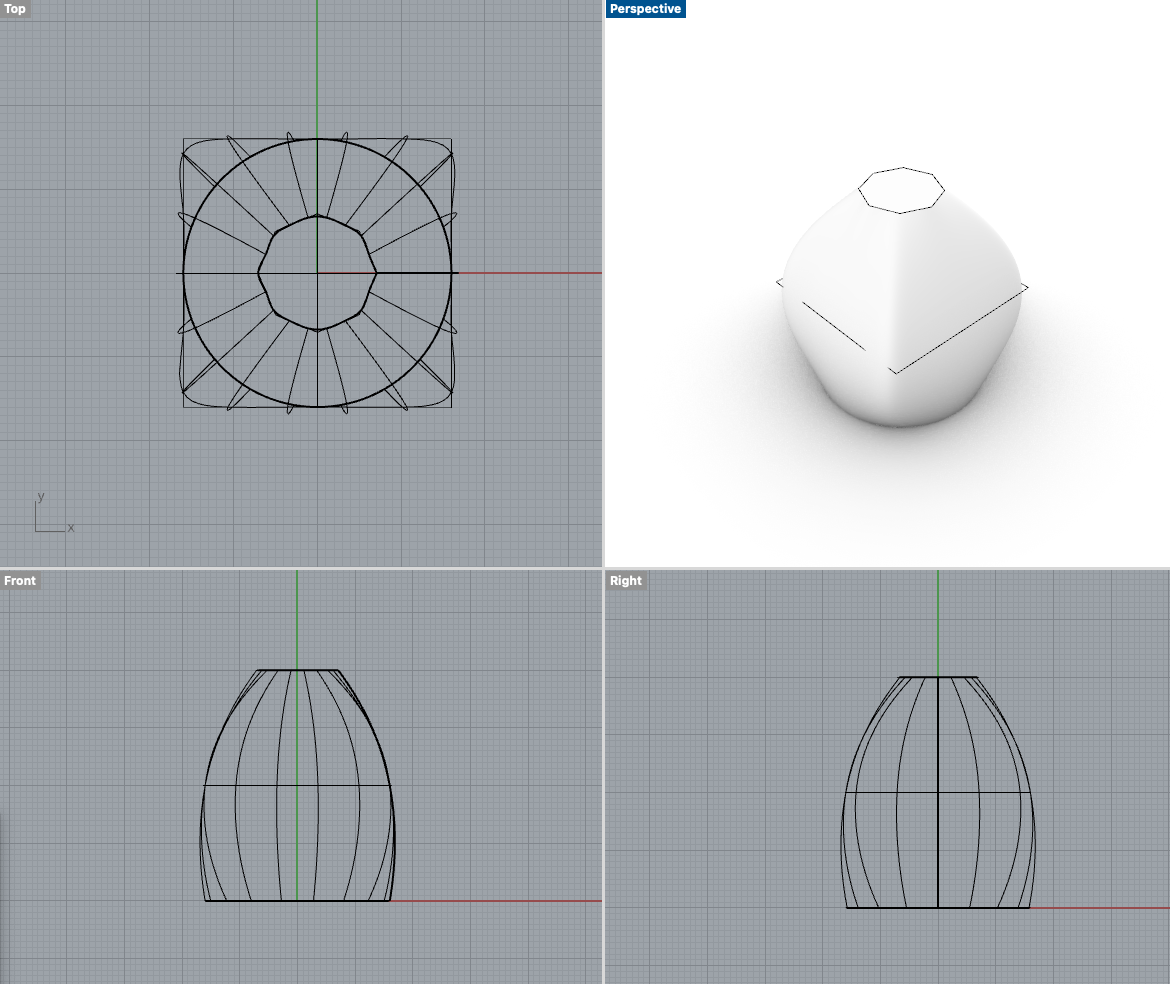
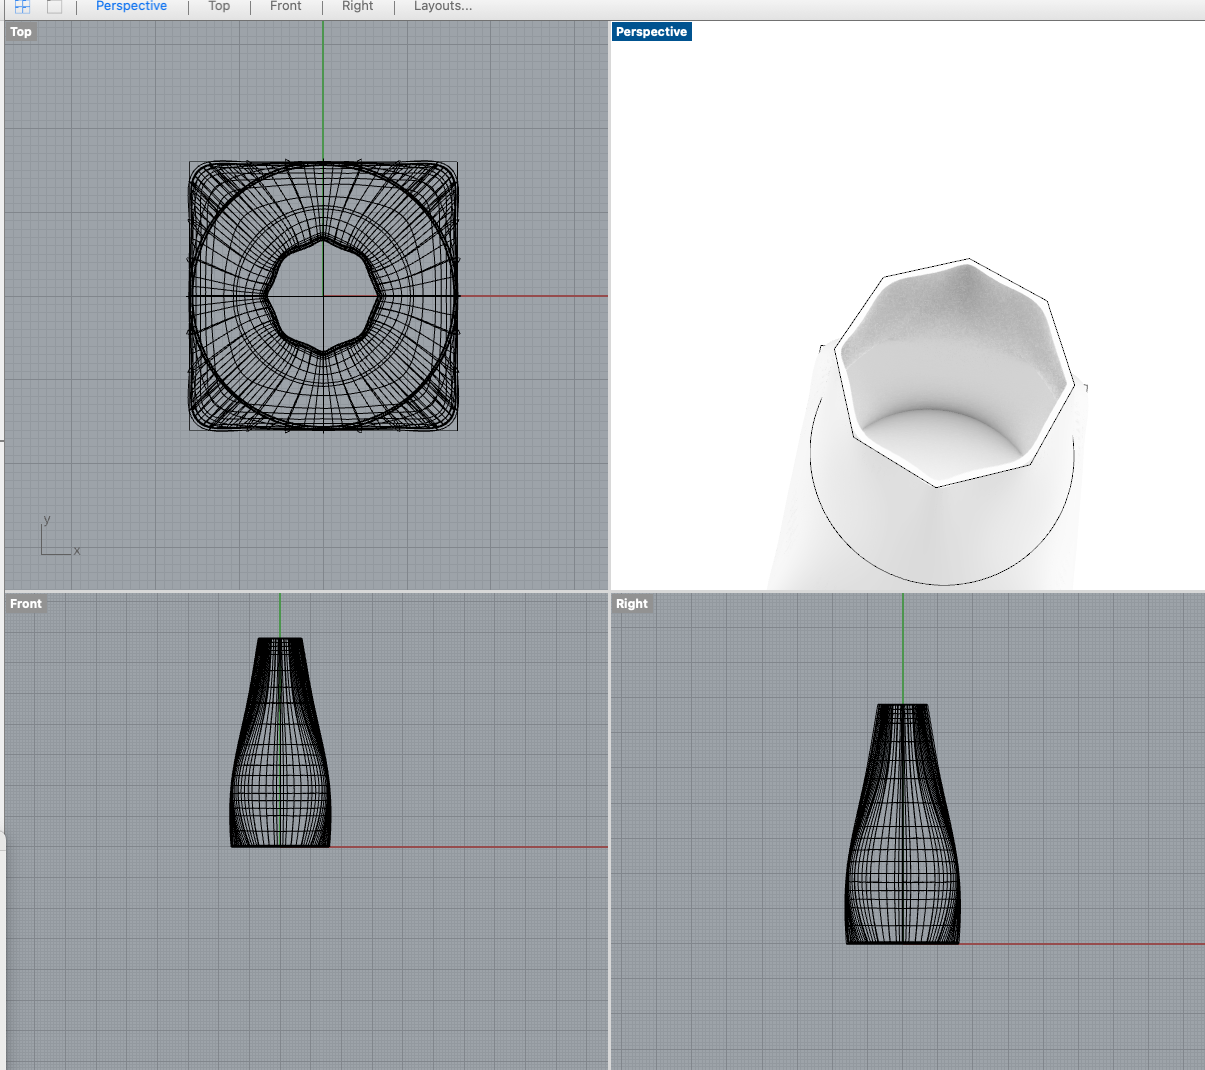
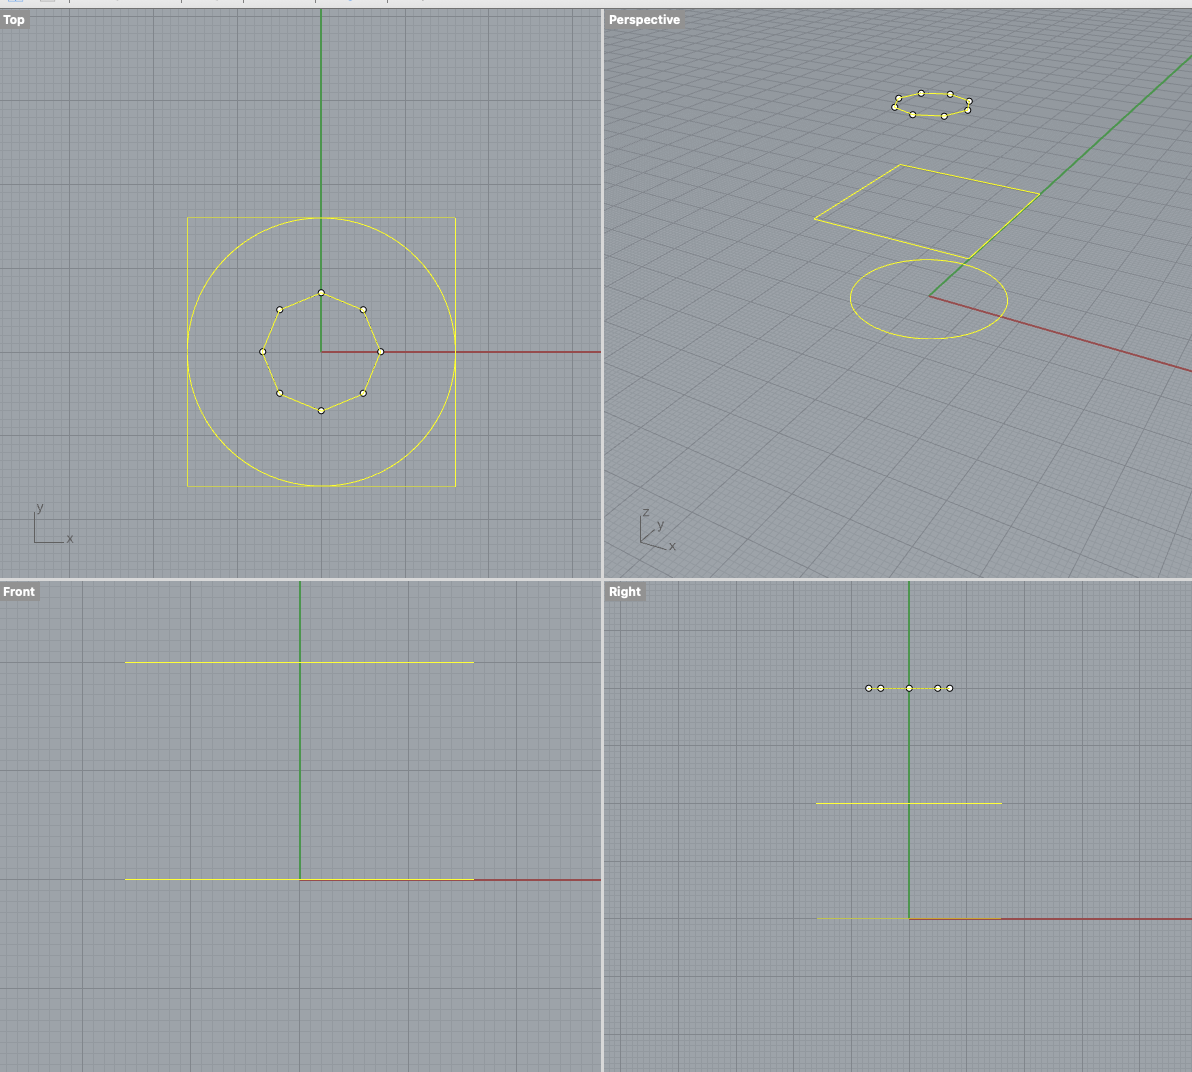
I started by creating a more basic shape
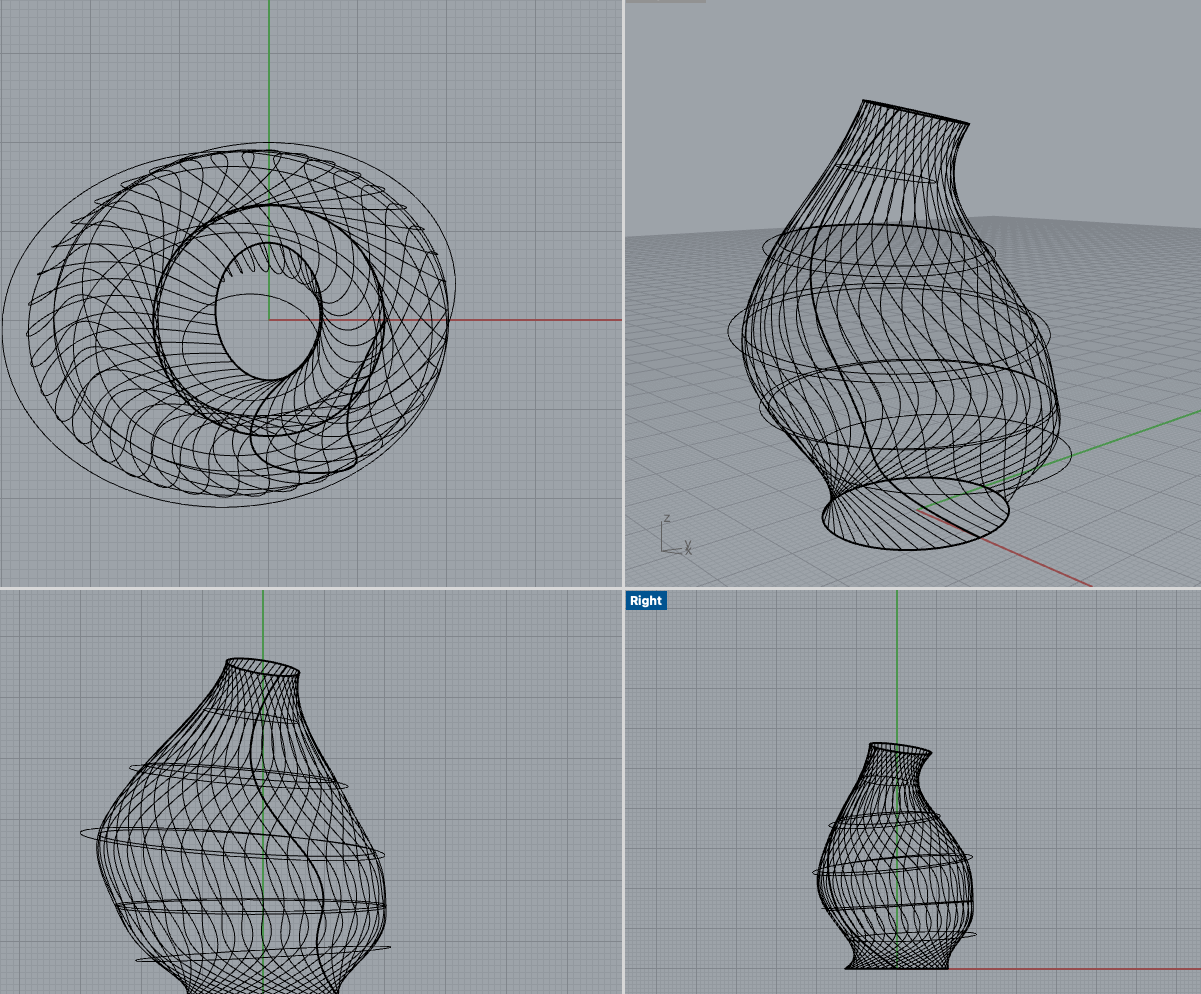
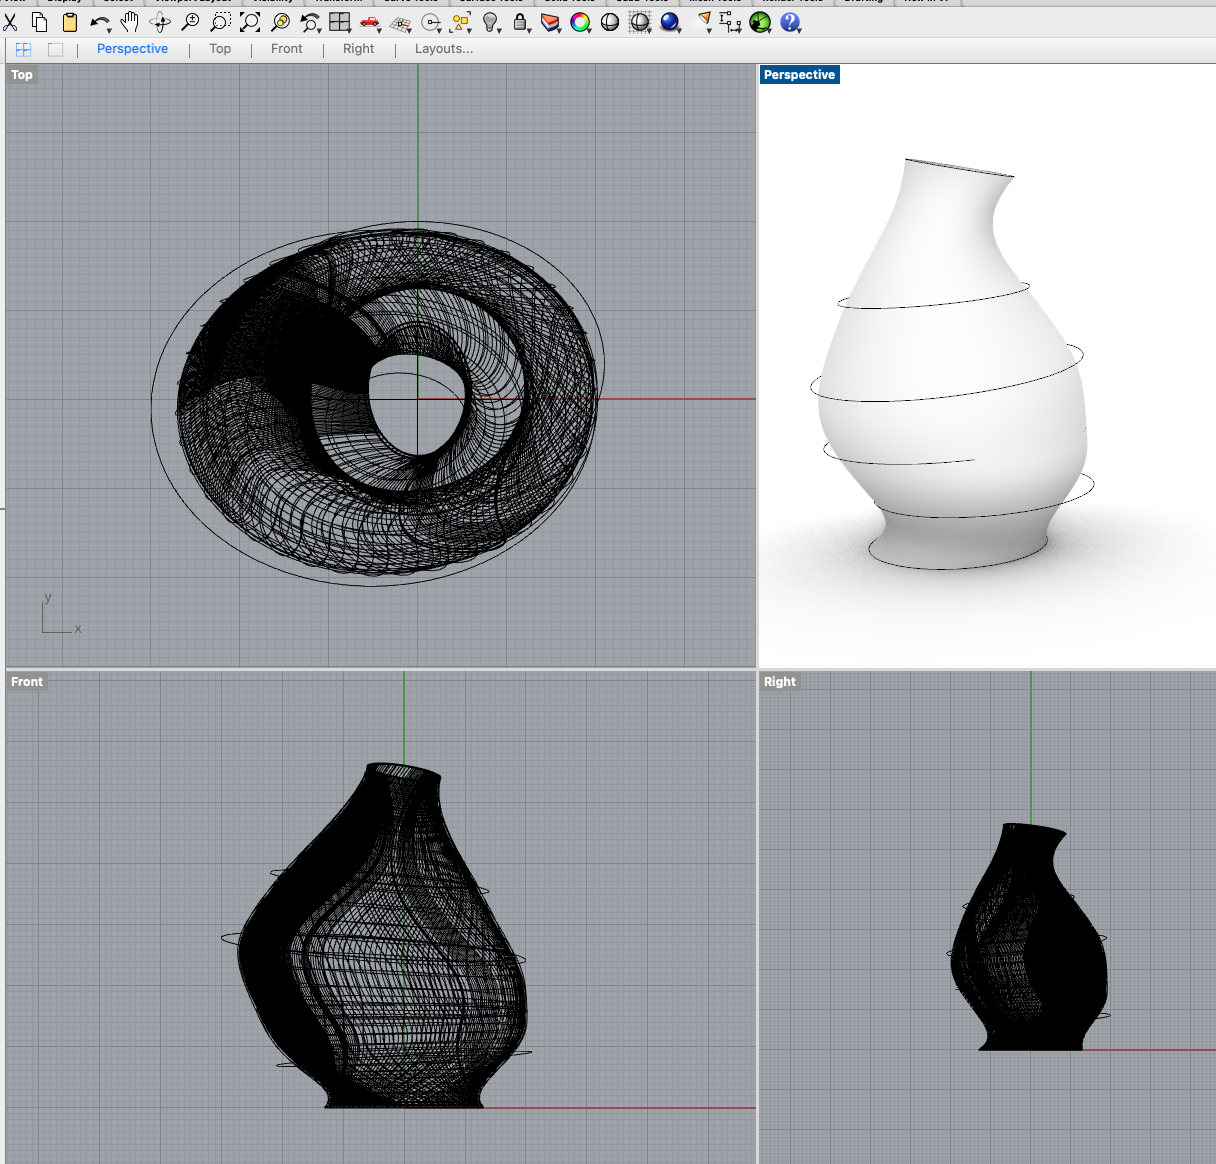
this more undulating shape is what i was happier with, and fun to mess with the circumference, angles, and placement. I love how the wire structure looks too, wonder if I could ever print this as a cage? How could I do that?
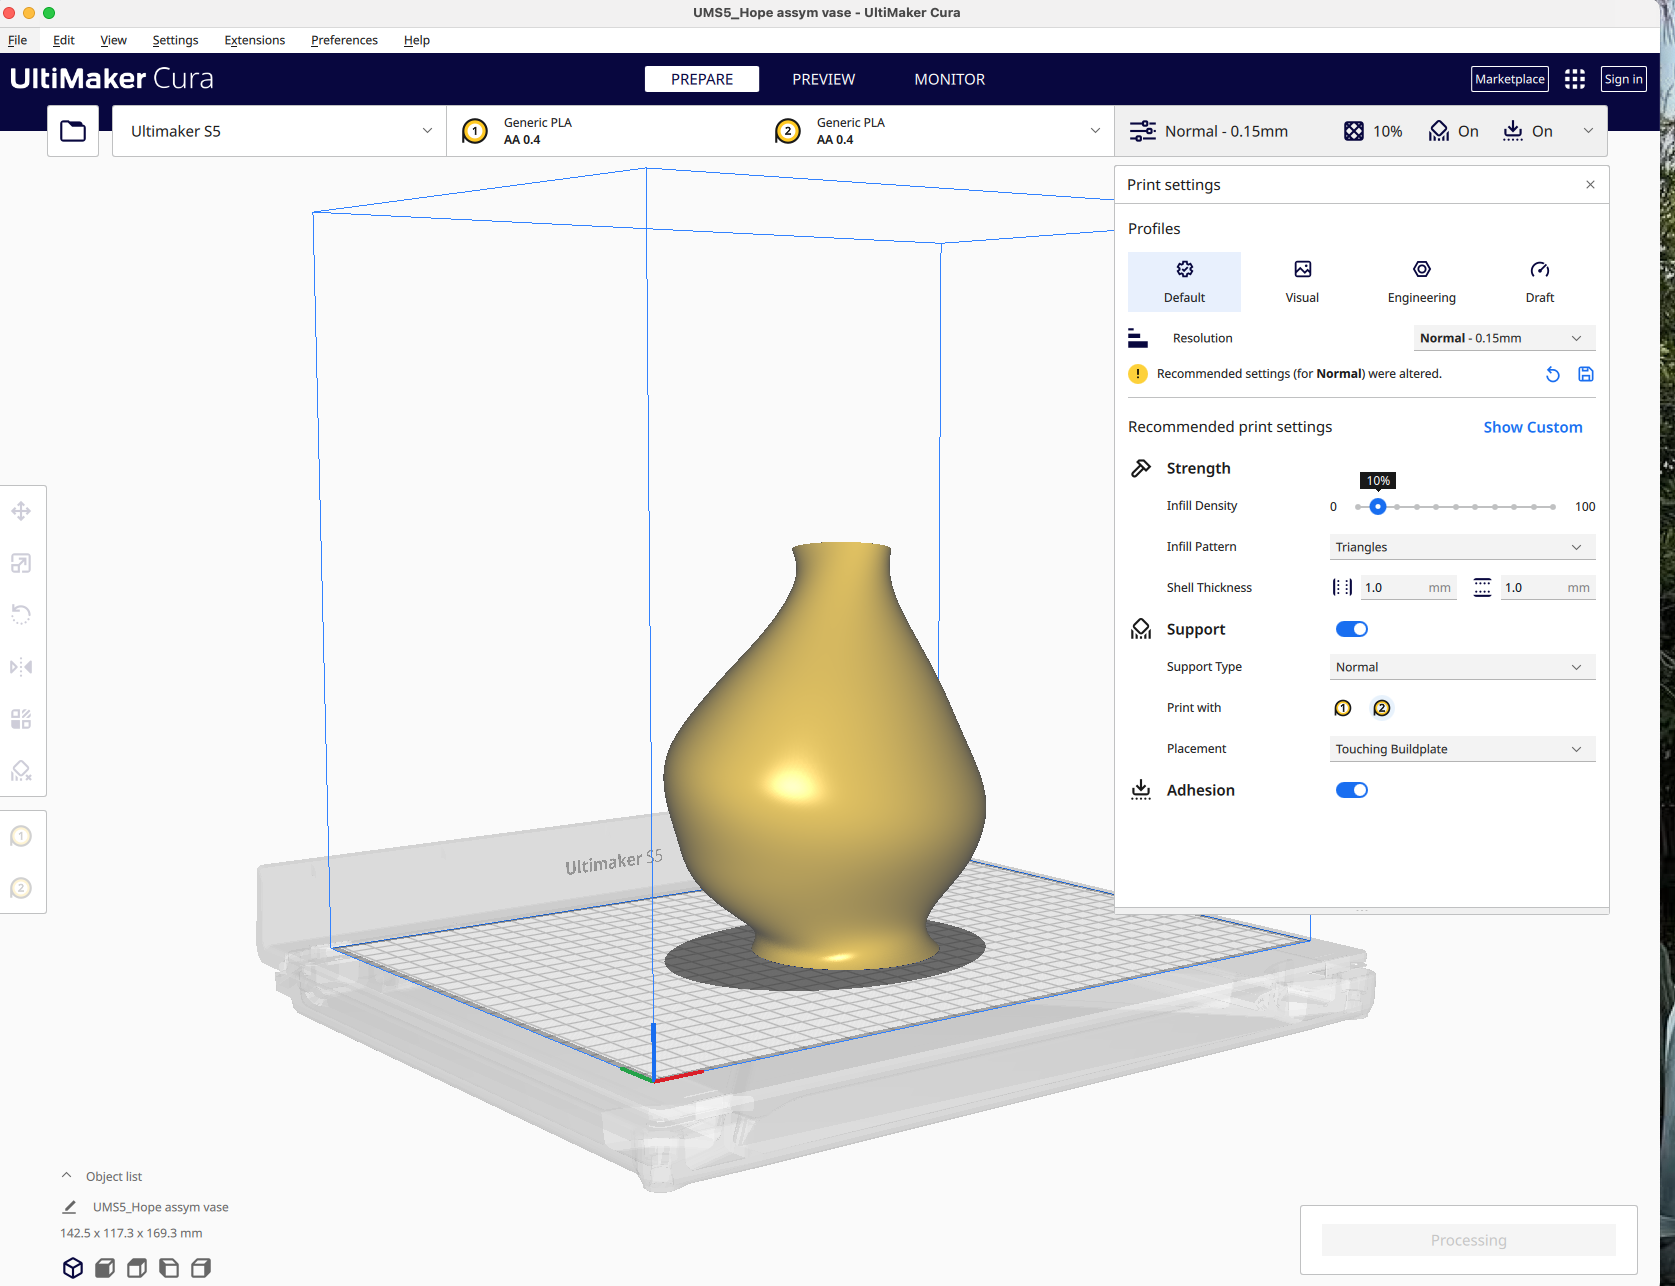
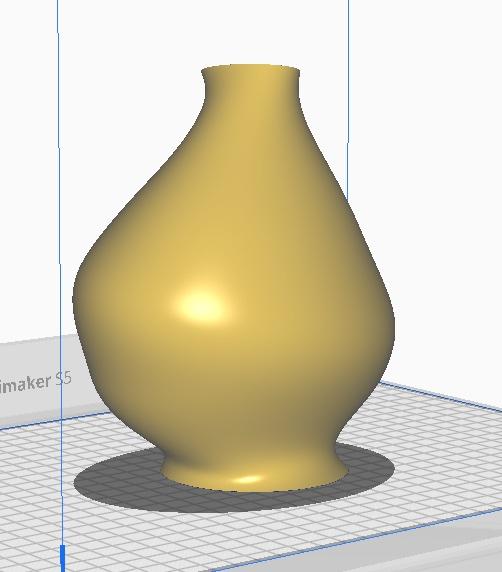
I put this into cura and adjusted it. mostly i needed to scale it down to about 30% even though I had measured in the rhino cad while I was making it. I don't understand why it uploaded into cura looking like 3 ft tall?
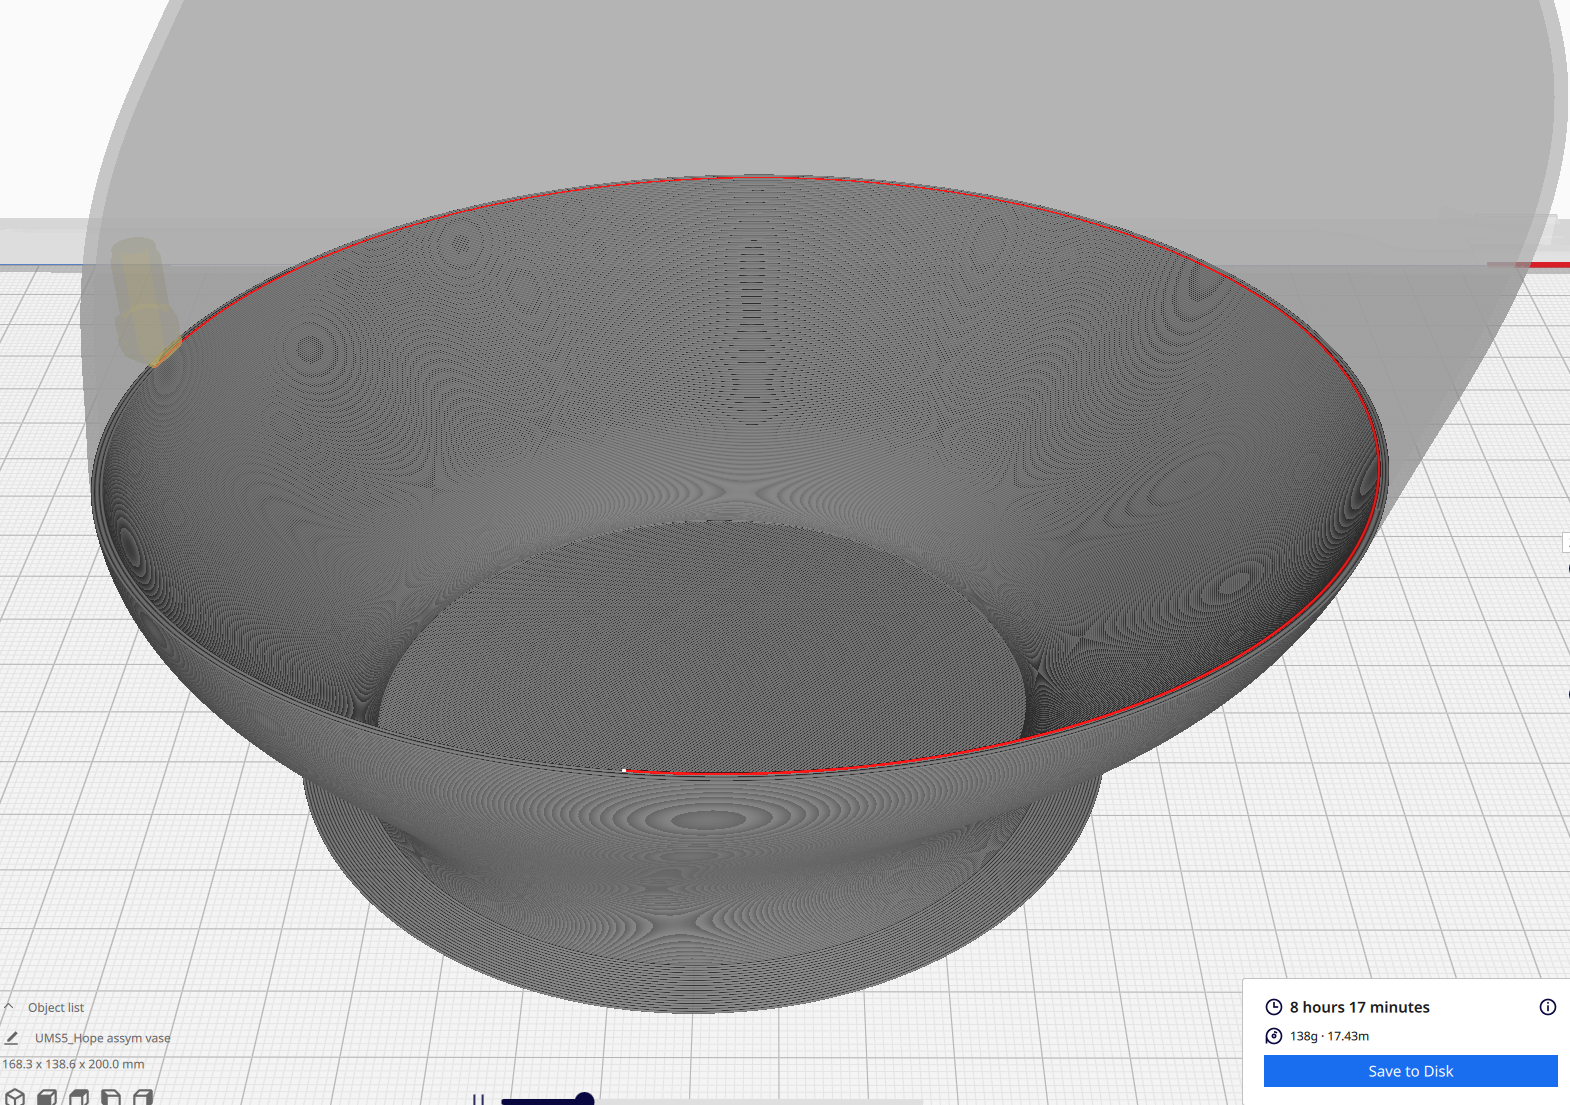
I previewed it, I made the walls 2m thick, and asked for support, though I wasn't sure what I could choose as the support material because pva was not supported? I spent a lot of time in cura looking at each and every setting, but still not sure exactly what all the settings mean. I did see some experimental settings that I think would effect surface textures, and I would love to have the time to try those out.
with the settings i chose, it will take about 8 hours to print.
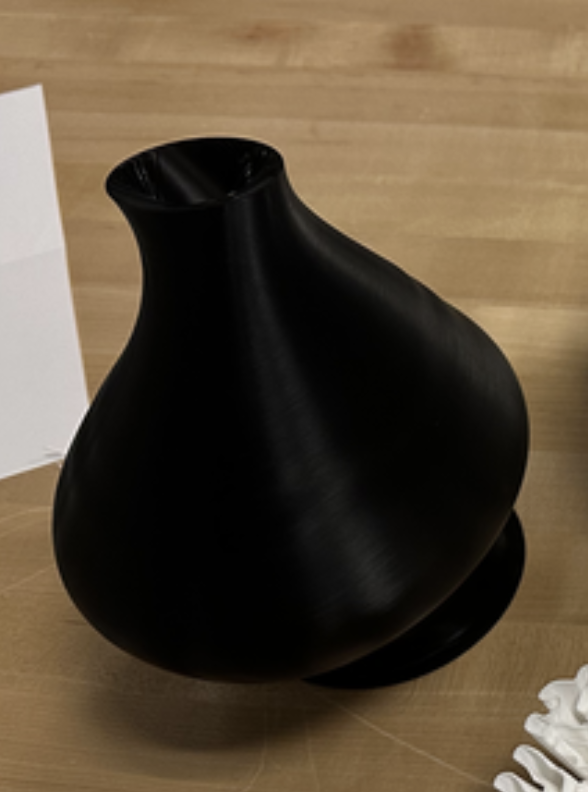
I'm happy it was printed in black. And it stands and although it was a severe curve and printed without reinforcement. It was still able to work out. I'm learning that 3d printing is a lot like analog art making. there is a lot of trial by error and learning by doing. Even with the computer helping to create, there's still a lot of unknowns and reactions to material to get the final physical product.