Print a Robot Pincer, From Software Installation - Ordering a Print.
by MoTinkerGNome in Workshop > 3D Printing
6610 Views, 88 Favorites, 0 Comments
Print a Robot Pincer, From Software Installation - Ordering a Print.
So you want to get into making cool stuff with 3D printing but you don’t know how to start? Then hopefully this little tutorial will help you get going. If you just came for the STL files feel free, the link is below.
Although I have used "TinkerCAD" in the past, I wanted something that had a bit more horsepower and the ability to import open source files from other designers/collaborators. So continuing on with free software as I can afford free I am going to touch on the design process for the above pincer hand. To limit scope creep of this tutorial, I am only going to go through designing and printing the pincer. Implementation will come in another instructable after I hammer out the rest of the robotic chassis. I can't decide if I want rotation with my grip or just grip as this is going on a small tracked chassis. I will post dimensions and measurements of the final peace in the last step.
I am going to document my design process from installing software through ordering, to show everything involved with getting a 3D print. The reasons for moving away from "TinkerCAD" are two fold. I want the ability to easily manipulate STL files offline, and import other open source designs to stream line the design process. I could have done all this in "TinkerCAD", however the design process went so much faster by importing properly designed gear teeth.
Throughout this tutorial I am going to assume that the user has a basic understanding of computers and installing software. I used the defaults as there does not appear to be any funky customization required to get this going. My personal laptop is an older Core 2 Duo that "123D Design" works on just not as fluidly as a new fancy computer. So if it will run on this almost 10 year old laptop I really cannot complain.
The best part is that the applications used are free. It does not get more affordable than free. Currently the only cost involved is about $13 for ordering the parts from Shapeways. I am eventually going to turn this into a robotic arm for a small rover bot, however I have not fully built the chassis for that as the build is going to probably take place after the holidays.
If you dont want to go through the joy of following along with this tutorial and just need a pincer hand for a robot. You can skip ahead to download/print from the Autodesk model repository.
I am entering this into 2 contests with the hopes of winning a 3D printer
The first is the Formlabs sponsored contest. Where if I won a Formlabs 3D printer I would use it to teach 3D Design to the school children at our little country parish school. My hopes are to eventually start a FAB LAB in Freeburg Missouri to reenforce STEM to the rural mainly agrarian children and would be makers but the equipment and tools are expensive and I am just in the planning stages.
The Second is the Dremel sponsored 3D design contest. Where if I win a 3d printer it would be used for the same purposes. I like making stuff if I win a prize cool if not then the joy of making is reward in of itself. Have a good one.
Download and Install MeshMixer
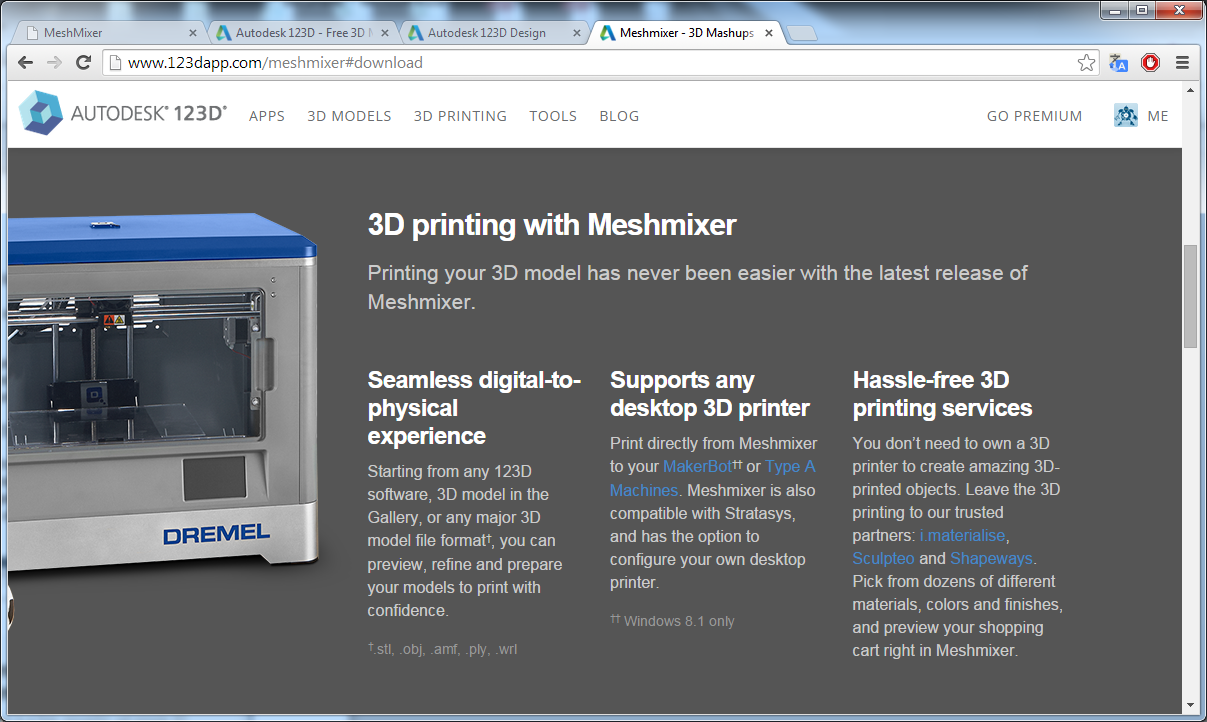
Download and install "MeshMixer" it is a prerequisite for "123D Design". If you skip this step "123D Design" will offer to download it for you, however best practices include installing prerequisites before they are needed.
I have experienced issues trying to install "123D Make" without "MeshMixer" installed first but that could be due to group policy issues on the loaner laptop I was using.
MeshMixer Download link
I just used the default settings as there were no other apps/toolbars hidden in the install process.
Download and Install 123D Design
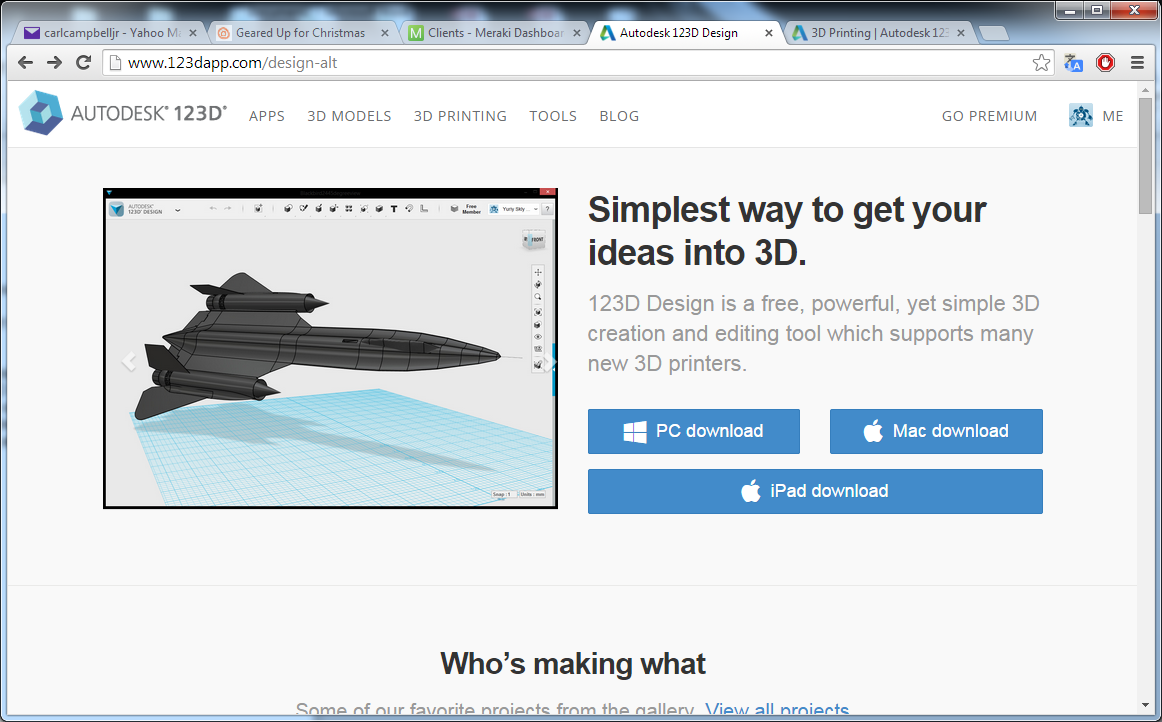
The reason I picked "MeshMixer" and "123D Design" aside from being part of the Autodesk who own and support Instructables, so I tend to have a bit of brand loyalty. But wait there is more, "123D Design" is also free and interfaces with Shapeways for printing. As I do not have a 3D printer of my own, I have to order everything through Shapeways.
Start Sketching Out What You Want.

Sketch out what you want to make. I have always done a quick ugly sketch to figure out how I want something to work. This helps me to begin the process of figuring out how I want it to work. As I am trying to come up with a mechanical gripper I knew I kind of wanted it to work like a brake bicycle brake caliper. I also liked the way that my multi tool works with two gears to increase the force of the pliers.
A Few Basic Skills, to Help With Using 123D Design.

If you are familiar at all with building things with "TinkerCAD" or other applications this will be a piece of cake. If not play around with the tutorials 123D app tutorials. At the very least I suggest looking at the quick overview of what things do in the application to get a basic feel of how to put what your vision is into reality.
I will cover some of the basics required to get my robot grip parts printed, If you just came for the pincer skip first step and download the STL and get to printing. If you want to see how I designed it keep on reading.
I watched the 6 video's that they had posted to help with getting over the learning curve. I am not a power user I just documented my first time making a file and how I figured out how to use the application.
First Use and Setting Up the Workspace

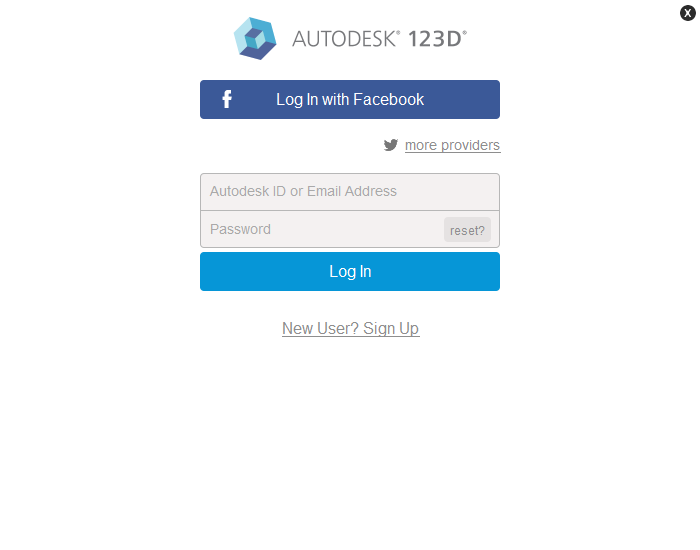
When you sign in the first time things look pretty sparse. To access the premium parts library, you will first need to sign in. Dont worry if you are just a free user, you can use 10 parts every month and this project will only use 2.
Click the sign in button on the upper right hand and either enter your Email and password associated with your Autodesk account or click new user and register for an account.
Gear Up


Once you are signed in you can select components you want from the premium libraries.
I wanted start with the drive gears to build the pincer on.
Click on the little blue arrow section along the right edge of the application window to expand the component library. Then select Gear from the drop down menu.
I chose a 40 degree pressure angle 24 tooth spur for higher torque. I am assuming that Shapeways has some pretty exact tolerances. (And this assumption proved true)
If you are printing this yourself on an extrusion machine and are worried about shrinkage and differences between the two jaws. Select a 10 or 20 degree pressure angle to compensate for minor variance in printing.
To download the gears, all you have to do is click on the gear then drag and drop it to the work space. You may get a warning that you are using one of your free downloads. I would not worry as we only need 2 of the gears for this project and the count resets next month.
Re-size the Gears

I like the 5mm thickness of the gears as that is about the thickness of a Lego plate. I wanted them to be about half the diameter so the next step is to shrink them down.
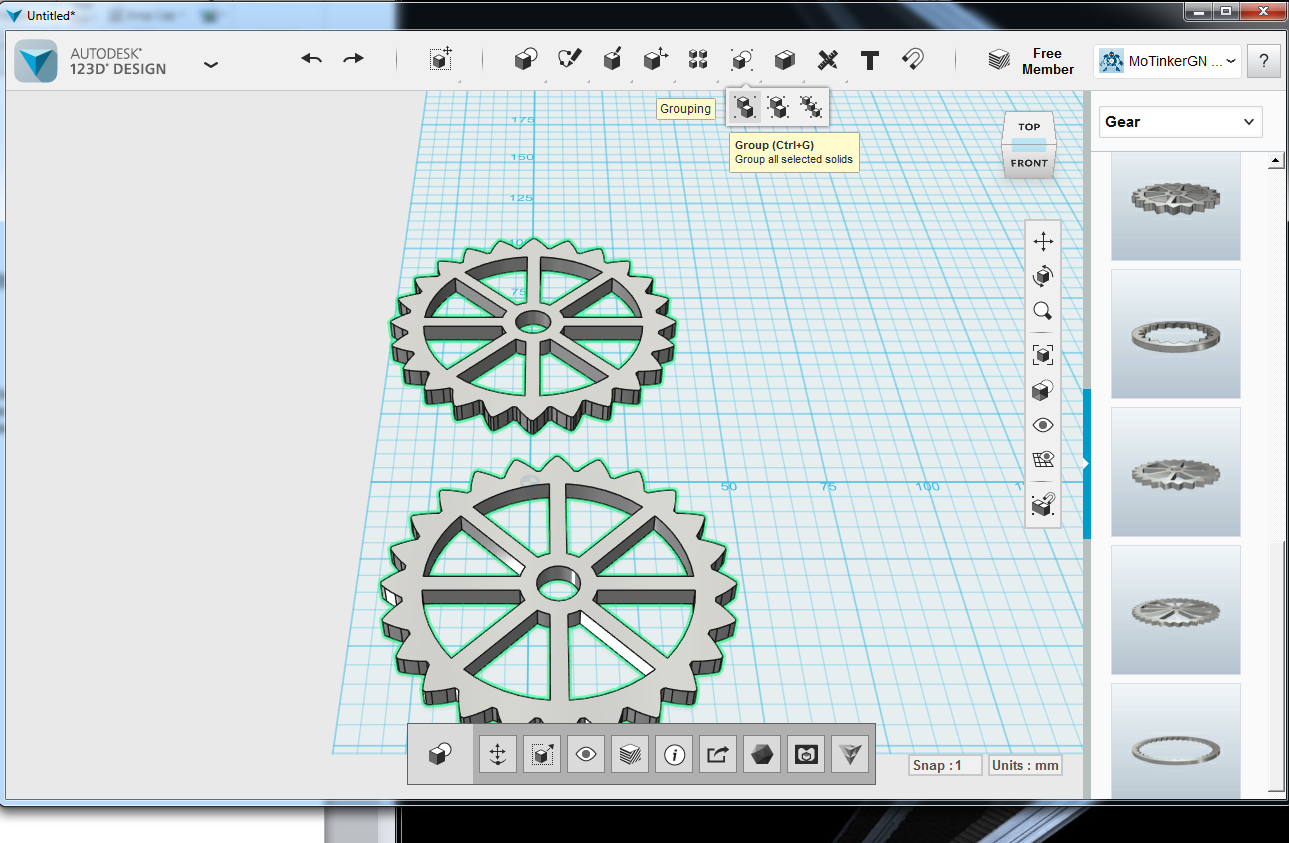
The first step is going to group them together. I clicked on the top front edge of the positioning cube to change my viewing angle. Then I dragged a selection box around the 2 gears. And pressed CTRL+G to group them together. Or you can click on the icons as indicated in the picture.
Once you group the 2 gears you can re-size them both at the same time. Click on one of them and select Scale (indicated in the picture third option from the right in the bottom toolbar)
Select Non Uniform, then for the X and Y values change them from 1 to .5 leaving Z as a 1. This will shrink them in length and width but will retain the 5mm thickness.
Press Enter on your keyboard to save your changes.
Check the Mesh.


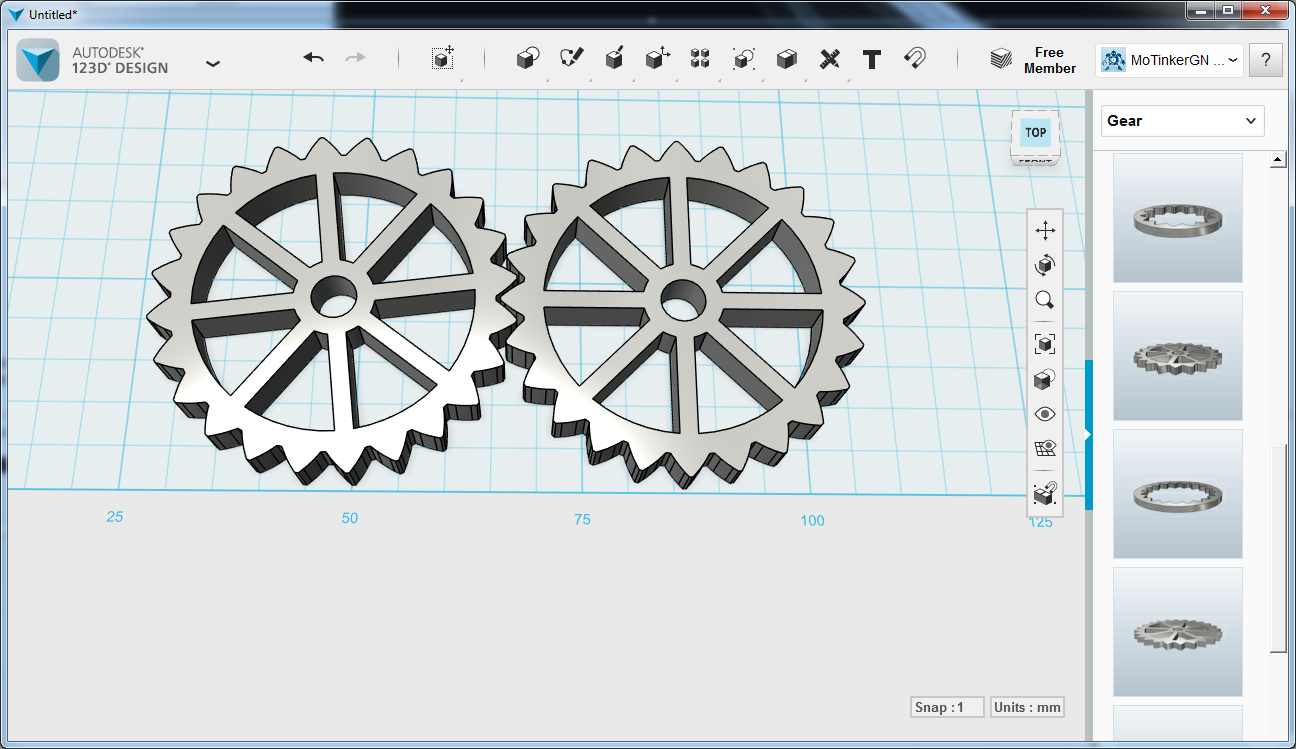
To ensure that the gears will mesh together correctly after we add the fingers we need to ungroup them. Drag a box around them again and select ungroup, Shift+CTRL+G, or through the boxes indicated above. .
I lined the gears up and now I am going to select one press Ctrl+T (or indicated in the picture for the graphical location) for the Transform tool. Click on the rotation circle in the 3 o'clock position. I found that the 7.5 degrees adequately meshed the gears, so I typed that into the box and press enter. You will see that the gear has rotated and you can now drag them into a meshed position to start drawing the pincer fingers.
Free Form Solid Drawing.

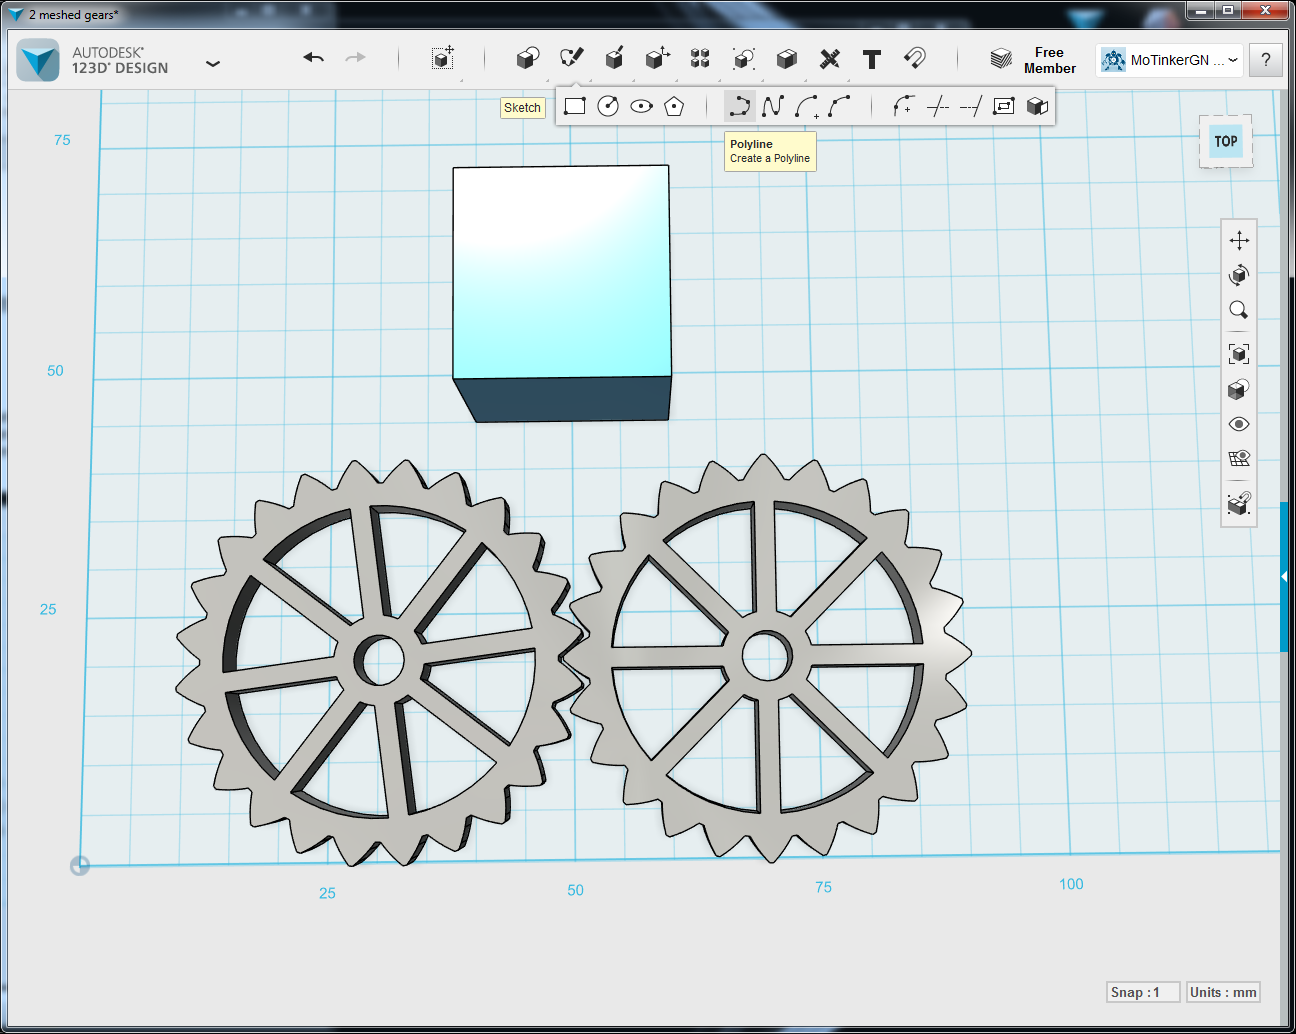

Click on sketch (icon with a pencil next to the primitives). Then Click poly line. This will allow you to draw a shape with either straight lines or curves. I am going to use straight lines to get a shape similar to the ugly sketch I drew earlier.
I used the box as a visual reference, then clicked for the points to create the pincer shape. I used the same process to mark out triangles of voided space to use less material.
One cool thing is that when you are lining out your design you may see = markings appear. These indicate that the lines are parallel.
Also of note. When you extrude the pincer the solid does should not extrude the center triangle. If it does then you will need to hollow it out or not in the skeletonizing step.
Extrude the Pincers.


If you note, I deleted the box as it was only there to give a basic point of reference where I wanted the grips to be aligned. Now I am going to want to extrude these 2D shapes into a 3D shape with a triangular void.
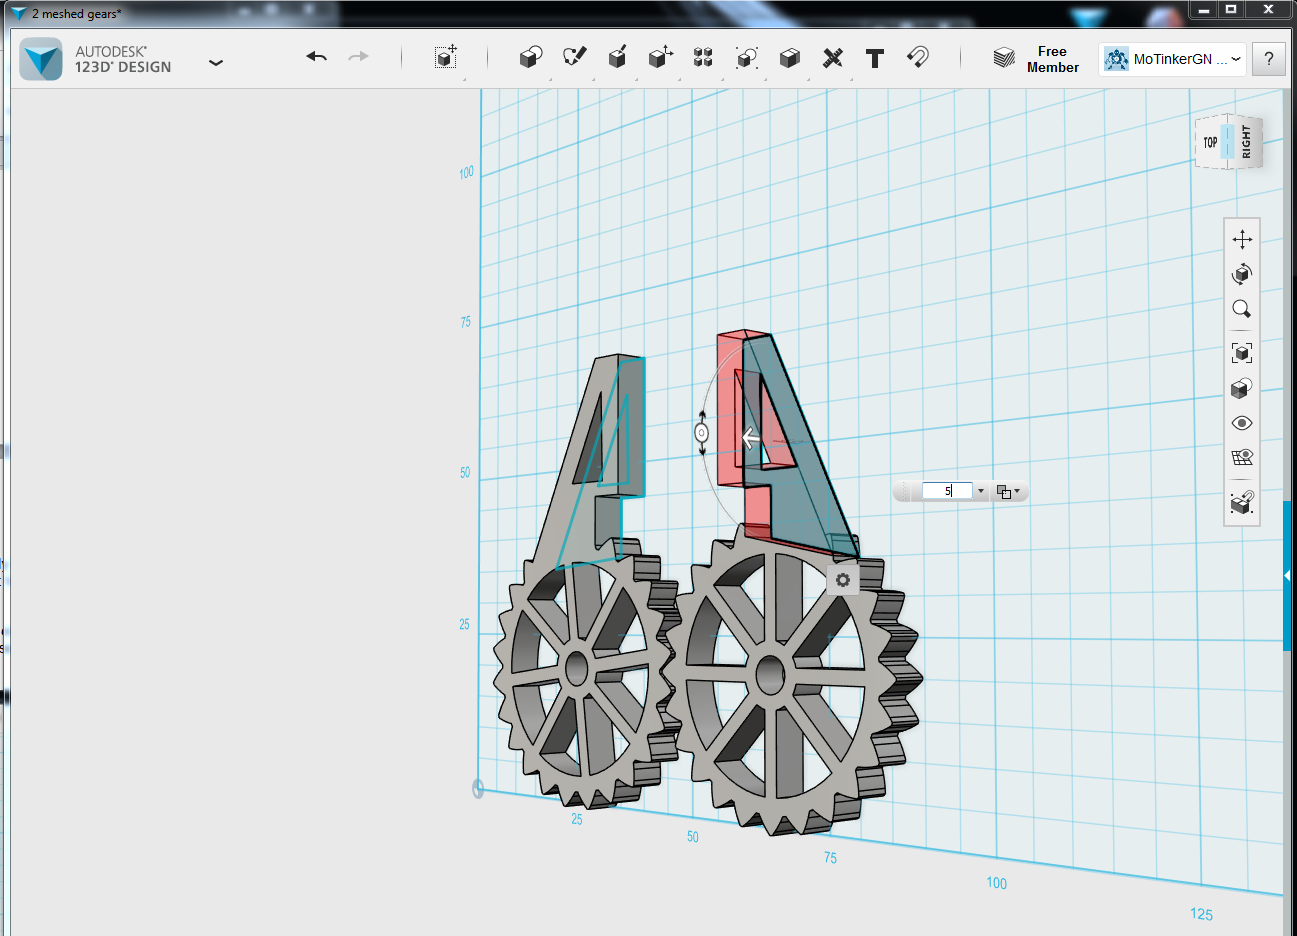
Click on one of the pincer arms to select it. Then click on construct then extrude you will see a menu box with a number in MM press 5 on your keyboard and you will see an extruded 3D grip appear. Do this again for the other side.
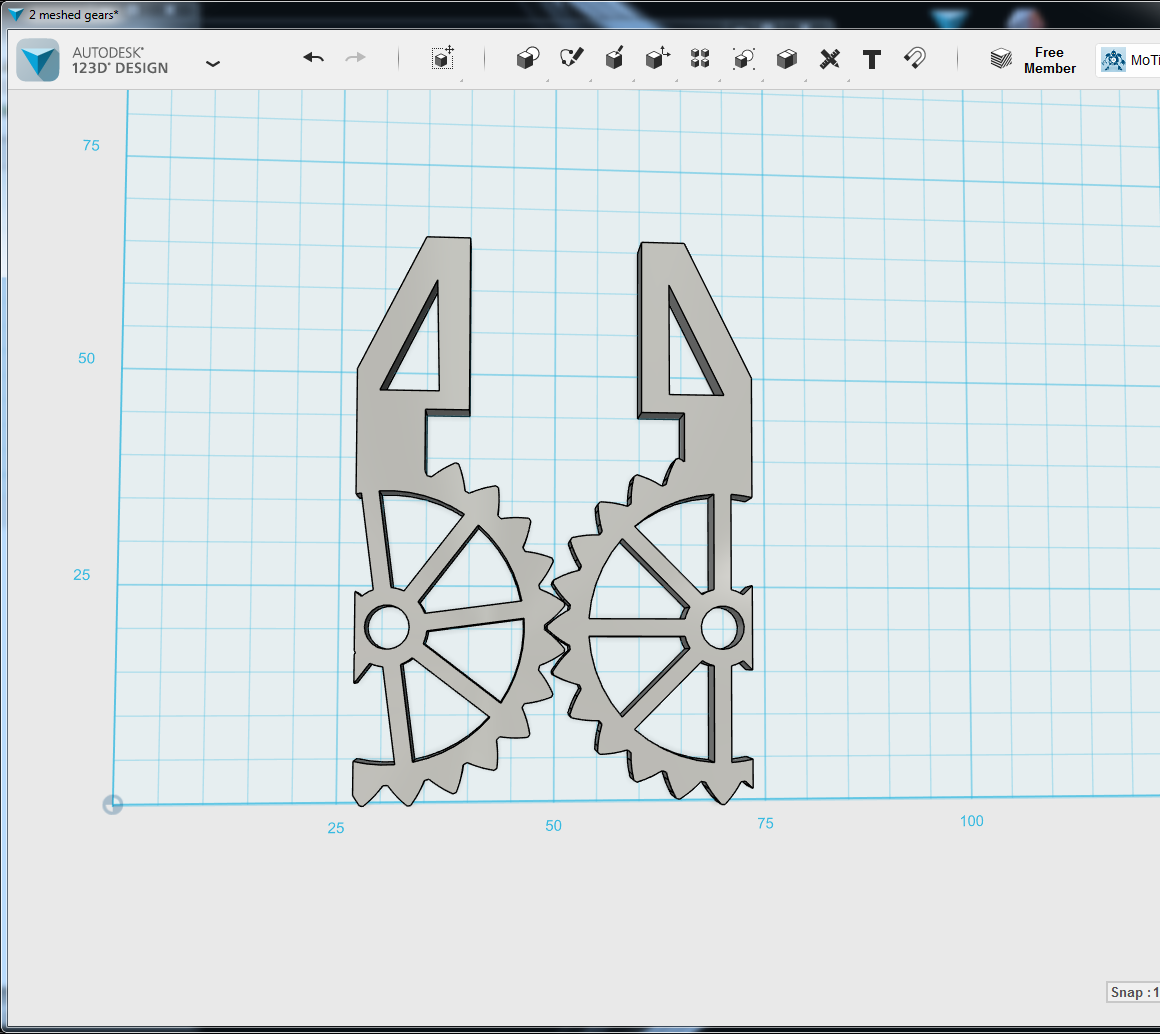
The extrusions should combine automatically if they don't select them like when you grouped the gears to re-size them. Click combine, then merge, then click the components you want to merge. At this point we have 2 gear driven robot pincer grips. If you drill one to accept a pushrod then you can use them to mount to a servo.
I then dragged the pincers away to delete the free form sketch to prevent any confusion when printing the parts.
They are basically functionally complete at this point, however I am not quite done with them. Shapeways charges by volume of material. If printing with an extrusion printer more white space would equal less extruded filament, and quicker print times.
Now it is time to start skeletonizing the pincer hand.
Remove Some Superfluous Material


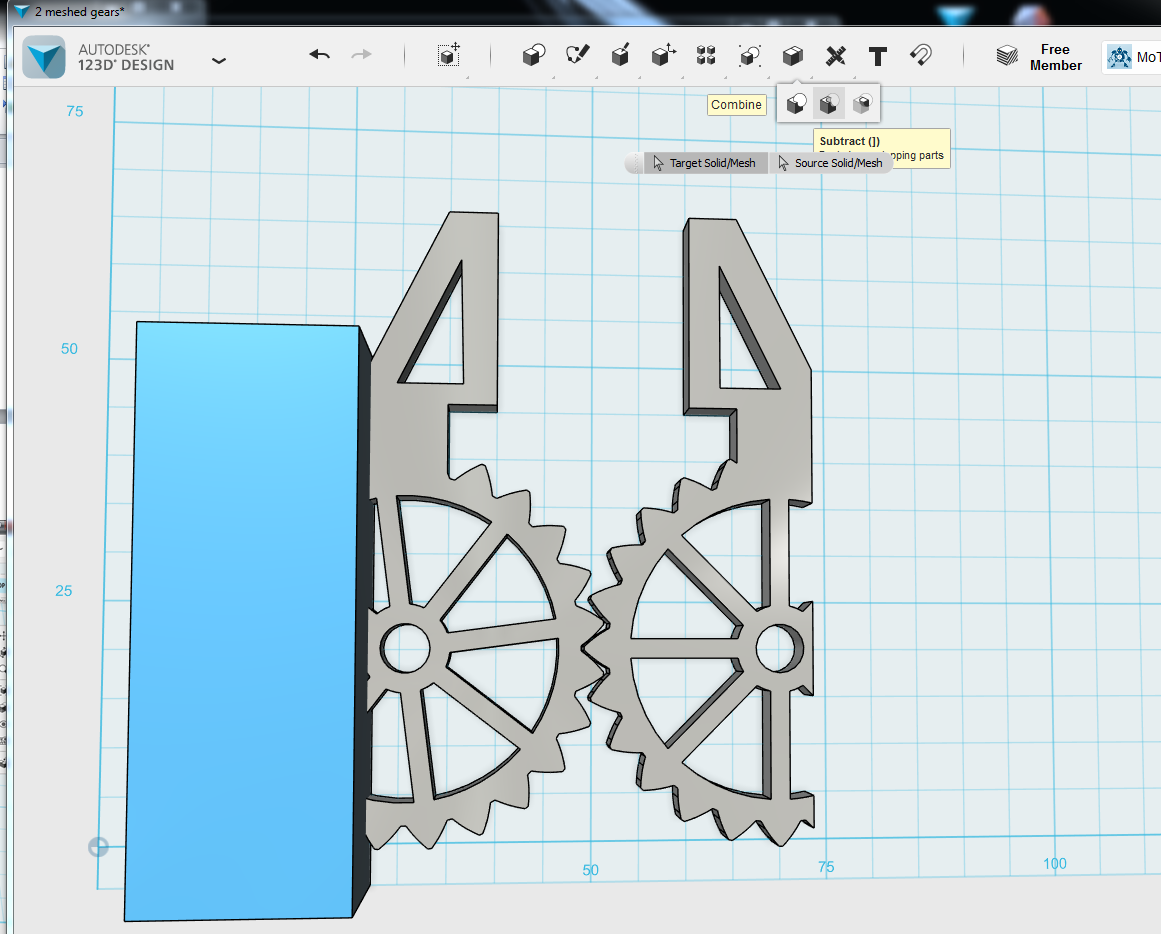
As you see in the pictures we can remove a pretty good section where the grip arm merged with the grips.
Saved a copy of the project and now time to get to cutting.
I reasoned that I only need about 90 degrees of rotation. I used a box like an eraser to whittle off the right side close to the pivot hole.
Add a primitive box then extruded it on one face to make a big rectangle. Line it up how you want to put it then click on combine, then subtract. Then click the pincer, then the rectangle. When you press enter it will remove whatever the rectangle was covering.
Support the Gears


I added 2 box primitives. Extruded them to 50mm long then, extruded the top face -15mm and the side face -17mm resulting in a 5x3x50mm box. To reinforce the sides we just cut down. Combine the freshly extruded boxes to either side.
More Trimming


I don’t really need that much material in the pincer area, so lets cut out a square.
After making 2 5x5x5mm boxes I subtracted them from the model above where the gears mesh. I then whittled down the corners from the side supports. And the extra bit at the bottom this is pretty much all artistic license so if you want to skeletonize your parts feel free to do so in a manner of your choosing.
Save and Publish Your Work

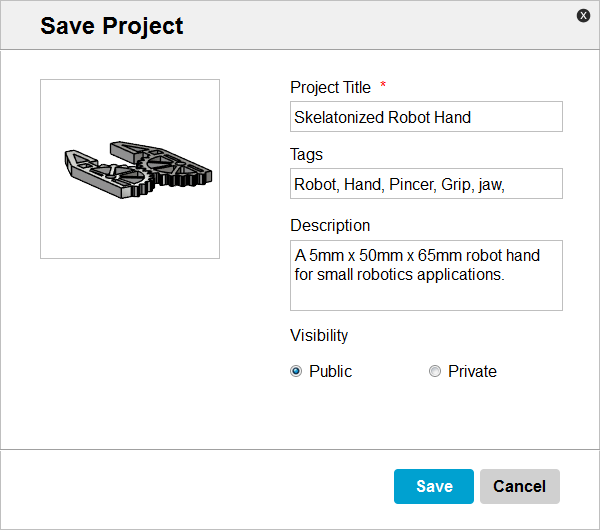
After you save the model, you can either print it using a desktop 3D printer, or use one of the 3D printing services. I do not own a desktop printer, so I am going to send this job to Shapeways for printing. Eventually I hope to have a printer of my own, but in the meantime the services are inexpensive for the parts I need.
The waiting is just the hardest part. Is this a successful tutorial or did I just walk you through how i made a keychain?
Sending the Part to the Printer


After you open the model on 123Dapp.com, Click Edit/Download, Order a 3D print, and confirm the model size. This works out to about 5mm thick by 50mm wide by 60 mm long. Select the printing service of your choice. I have worked with Shapeways in the past and like the quality of their work so I am going to use them again.
Order Up

Select the material you want, place your order, then hurry up and wait. If you have fat stacks of cash you can have these made silver, gold, or even platinum. However my R&D budget is that of a Dad on a tight budget, so I picked white strong and flexible plastic. The print worked out to about $8.50 before shipping, and $13.49 delivered USPS to Mid Missouri.
Today is the 24th of November. So now I wait I'll update this on the 4-6th of December after my pincer jaws arrive.
The Unveiling.
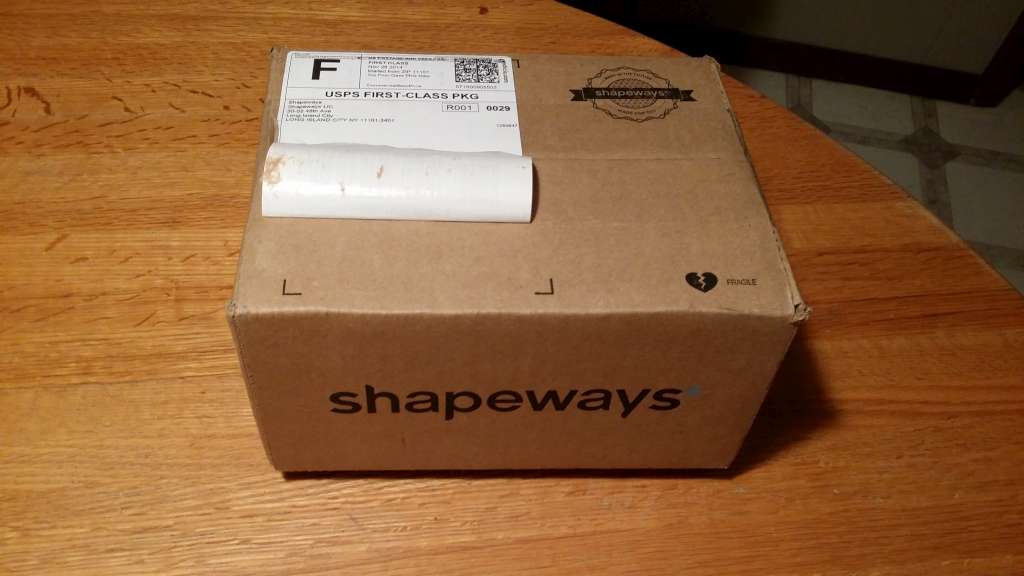
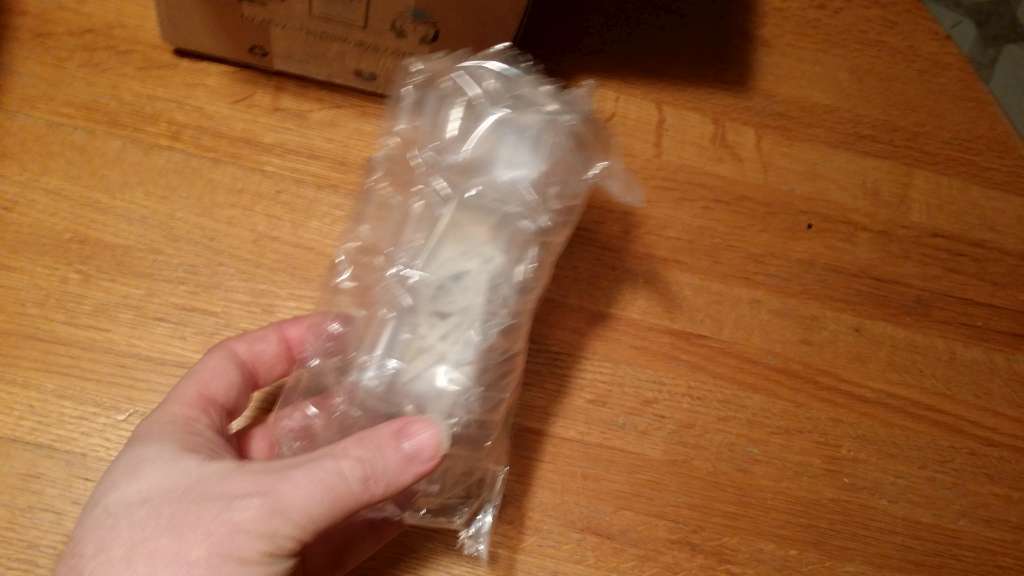
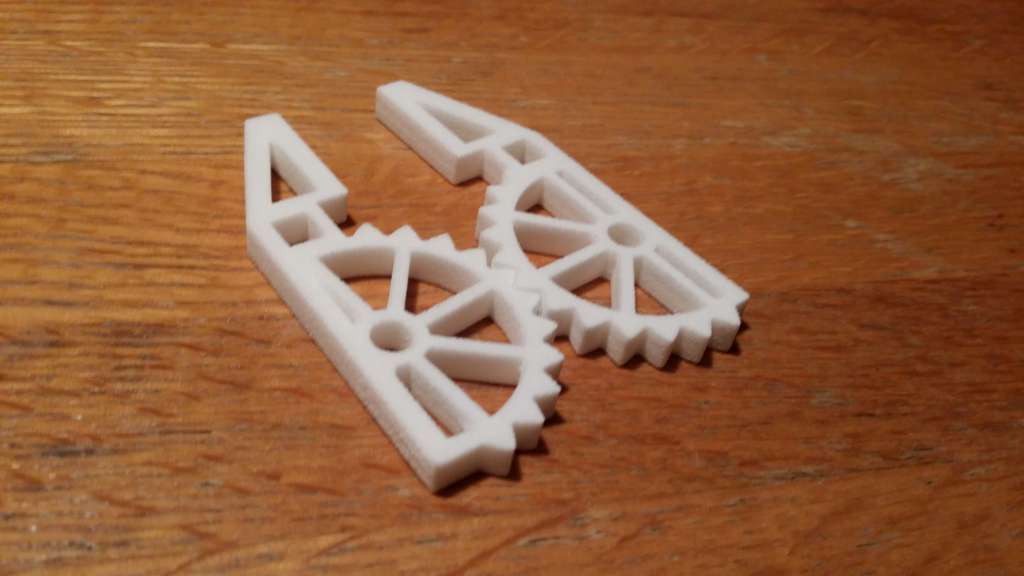
I am honestly surprised. I placed my order on Monday November 24th 2014 (Thanksgiving Week in the US) After waiting all of 3 business days my print was in the mailbox on December 1st 2014. Lets unbox it and find out how thing went.
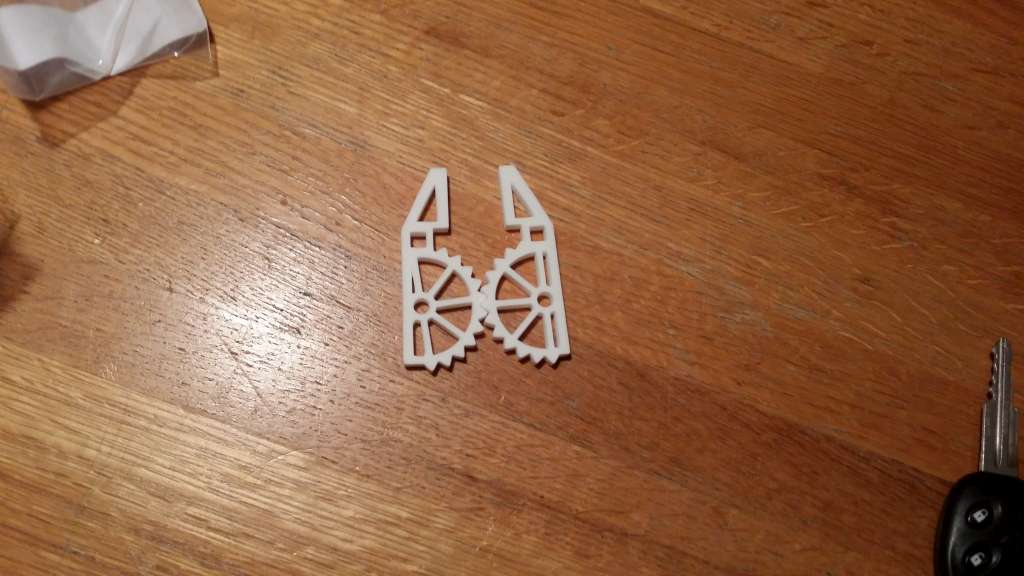
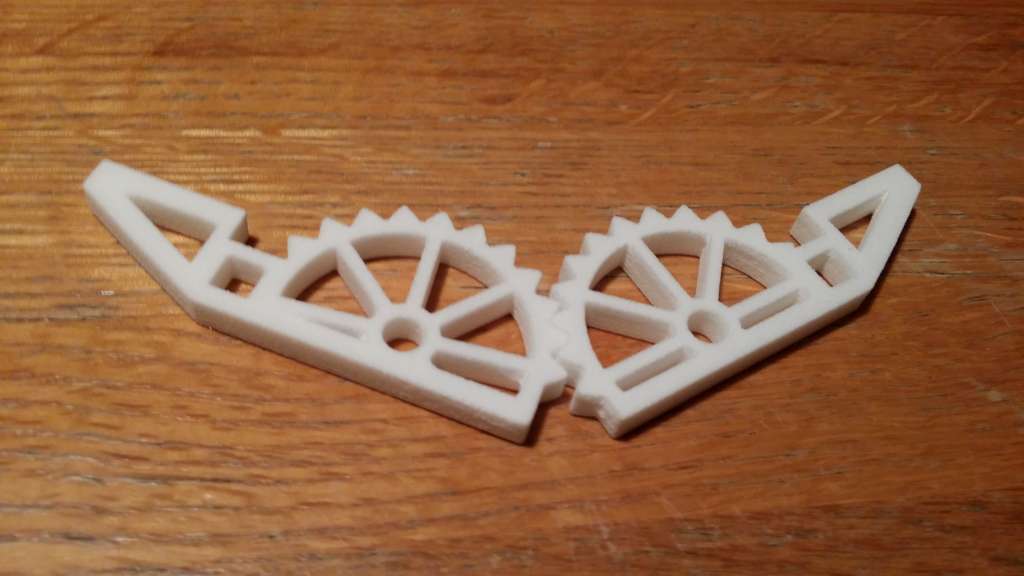
In the bubble wrap there is a little cocoon holding my new pincers, after unwrapping them I manually aligned each tooth to check how they mesh. If you looked at the link about gears, you will see that they came out perfect. I can hold them and effortlessly manipulate one to move the other.
At this point the tutorial is complete as far as making a product however to use these gear driven pincers some measurements would probably be helpful. Lets go down to the workshop and break out the calipers.
The Measurements of the Final Product
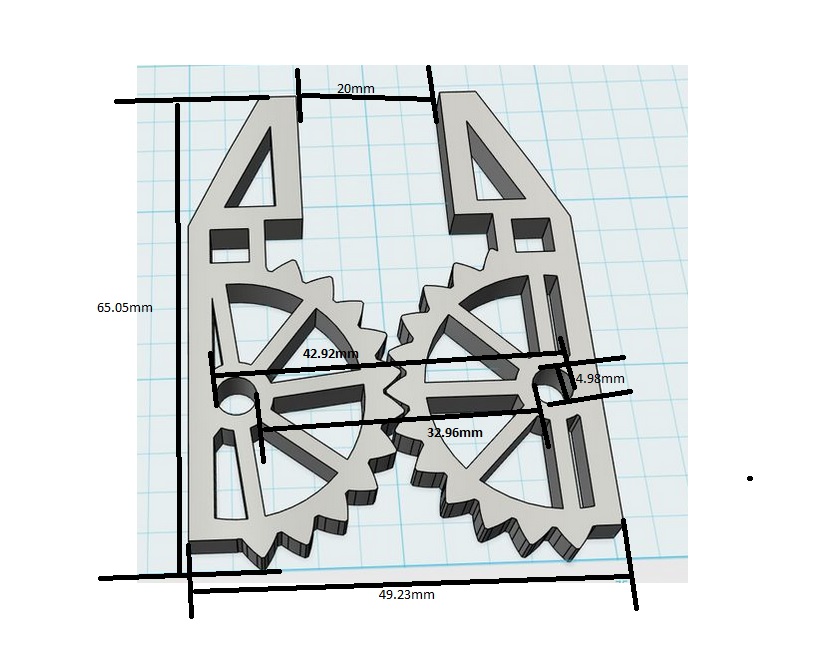
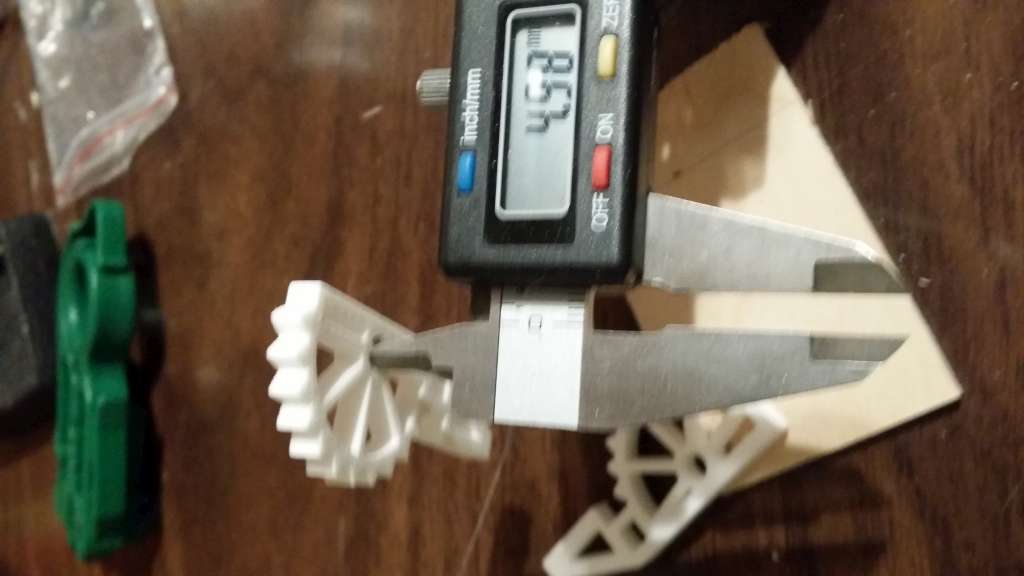
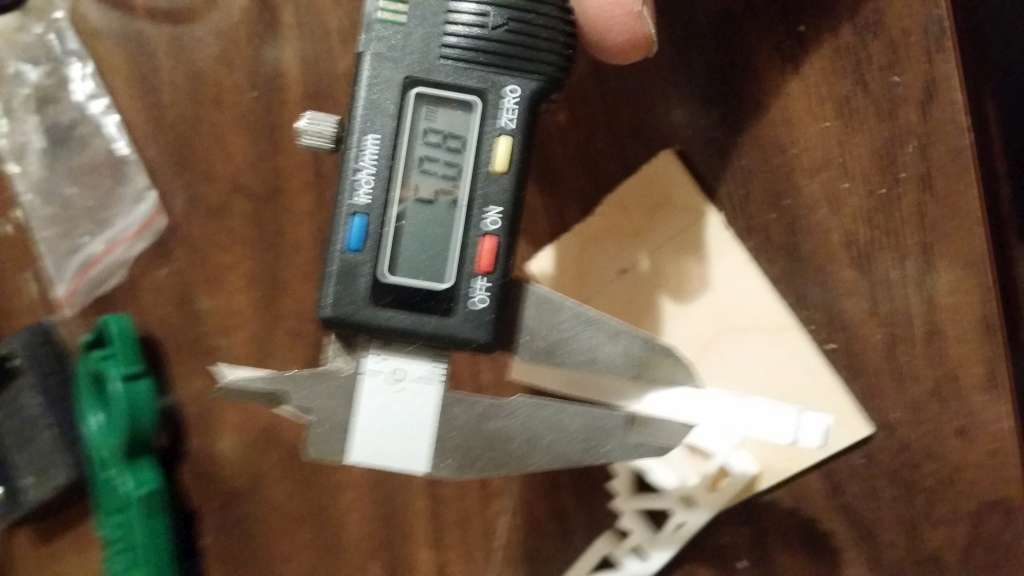
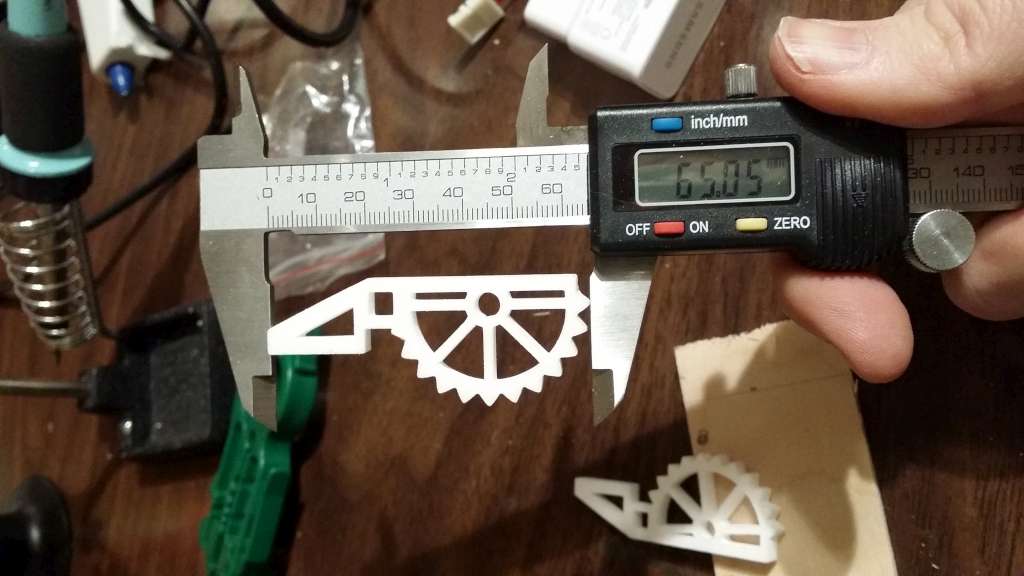
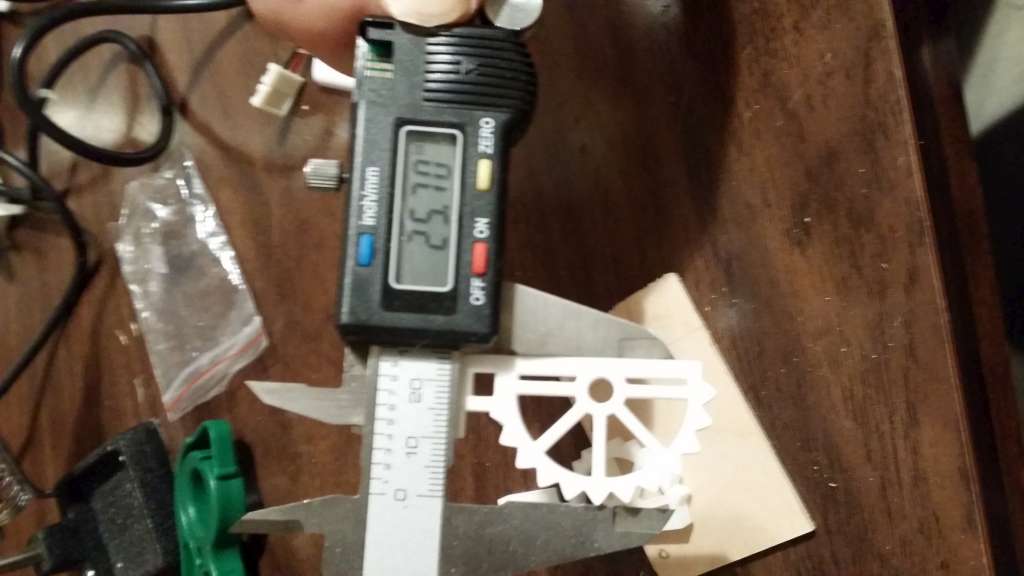
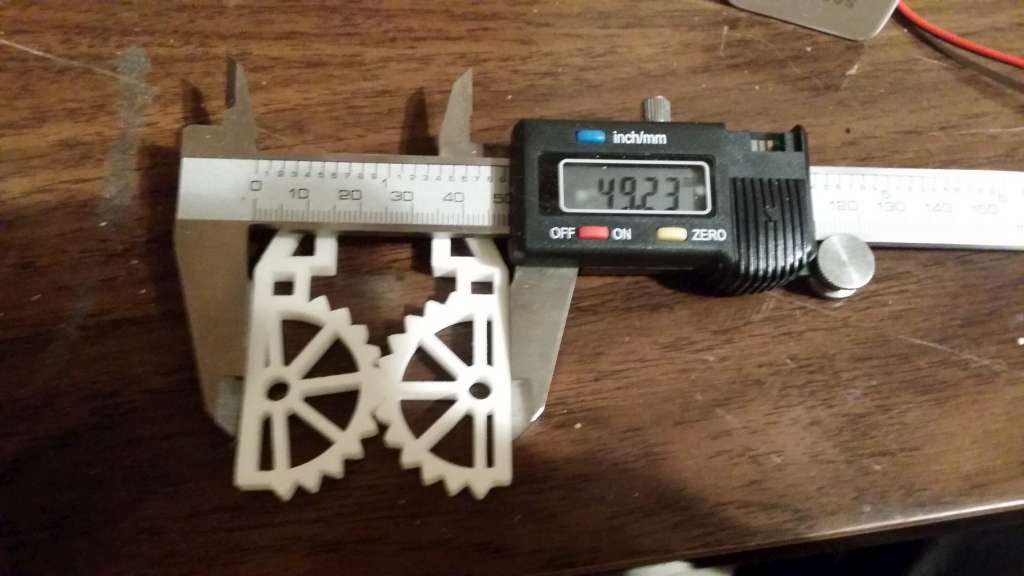
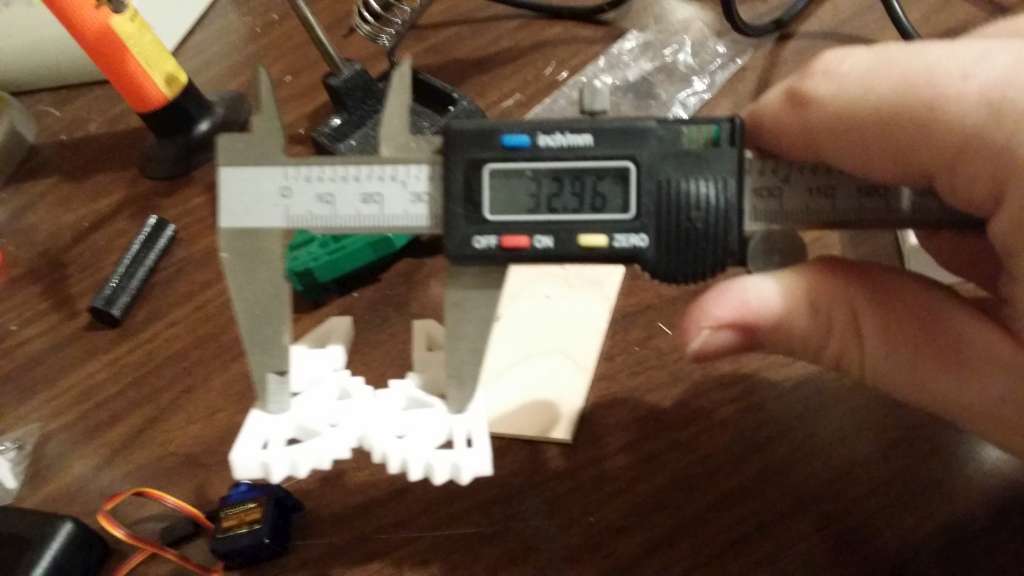
I am going to let the pictures do the talking here.
If you have any questions please ask them in the comments, I'll get back to you post haste.