Room Acoustics Correction by DIY Parametric Equalizer
2687 Views, 36 Favorites, 0 Comments
Room Acoustics Correction by DIY Parametric Equalizer


No matter how faithfully your speakers reproduce sound, the resonance of your room can ruin it. "Room EQ" is a powerful technique for compensating for this, as it adjusts a parametric equalizer based on measurements to bring the frequency response at the listening point closer to flat.
In this guide, I will explain how to create an affordable (under $50) yet powerful parametric equalizer and how to use it for Room EQ correction. While this process can be done using software alone, using this physical device ensures consistent results across all devices, including smartphones. You can assemble this device without any soldering.
Update Jan 28, 2025 : Summary of the parameters is shown in SETTINGS mode. The buffer occupancy during playback is shown in real-time.
Supplies


USB audio device with interactive parametric equalizer
- Microcontroller
- Raspberry Pi pico, pico 2 or compatibles
- Maximum channels of parametric equalizer depends on the generation of the microprocessor (RP2040 or RP2350)
- pico (RP2040) : 4ch
- pico 2 (RP2350)(recommended) : 8ch
- DAC board
- DAC (Digital to Analog conversion) board compatible with Raspberry Pi pico
- You can use any I2S based DAC chip that works without MCLK (master clock)
- LCD display module
- The software is compatible to Waveshare Pico LCD 2 LCD display module
You can make the device without either soldering or compiling software if you use:
- Raspberry Pi Pico / Pico 2 with pre-soldered pin-headers (around $14)
- Waveshare Pico Audio DAC board ($13)
- Waveshare Pico LCD 2 LCD display module ($14)
For Room EQ correction
- PC (Windows or Mac)
- REW (Room EQ Wizard) software (free)
- Microphone for measurement
- Calibrated microphone for acoustics measurement (such as Behringer ECM8000) is recommended
- You can confirm the effect of room acoustics (frequency response change depends on the position of microphone) by any microphones
Assemble USB Audio Device With Parametric EQ


Hardware
- If you use Waveshare Pico Audio and Waveshare Pico LCD 2, just stack each other.
- If you use other DAC board, connect
- DIN (data input) pin to pin 34 (GPIO 28)
- BCK (bit clock) pin to pin 32 (GPIO 27)
- LRCK (word clock) pin to pin 31 (GPIO26)
- Power (GND, 5V and/or 3.3V)
- If you use other LCD display module, codes for UI should be modified thoroughly.
- If you use VCC-GND YD-RP2040 board (compatibles of Raspberry-Pi Pico), bridge pin 39 and 40 (Vin and Vout) because Waveshare boards are powered from Pin39 (but pin 39 of YD-RP2040 can not supply power)
Software
- If you use Waveshare Pico Audio and Waveshare Pico LCD 2, you can flash the code by:
- Download precompiled binary file (.uf2) from my github repository.
- Connect USB of Raspberry Pi Pico to your PC while press and hold BOOTSEL button.
- Drag and drop the file to the icon of mounted device (named RPI-RP2 or RP2350)
- The source code of this parametric equalizer is made public at my github repository.
Please read the description at github for detailed info.
Case
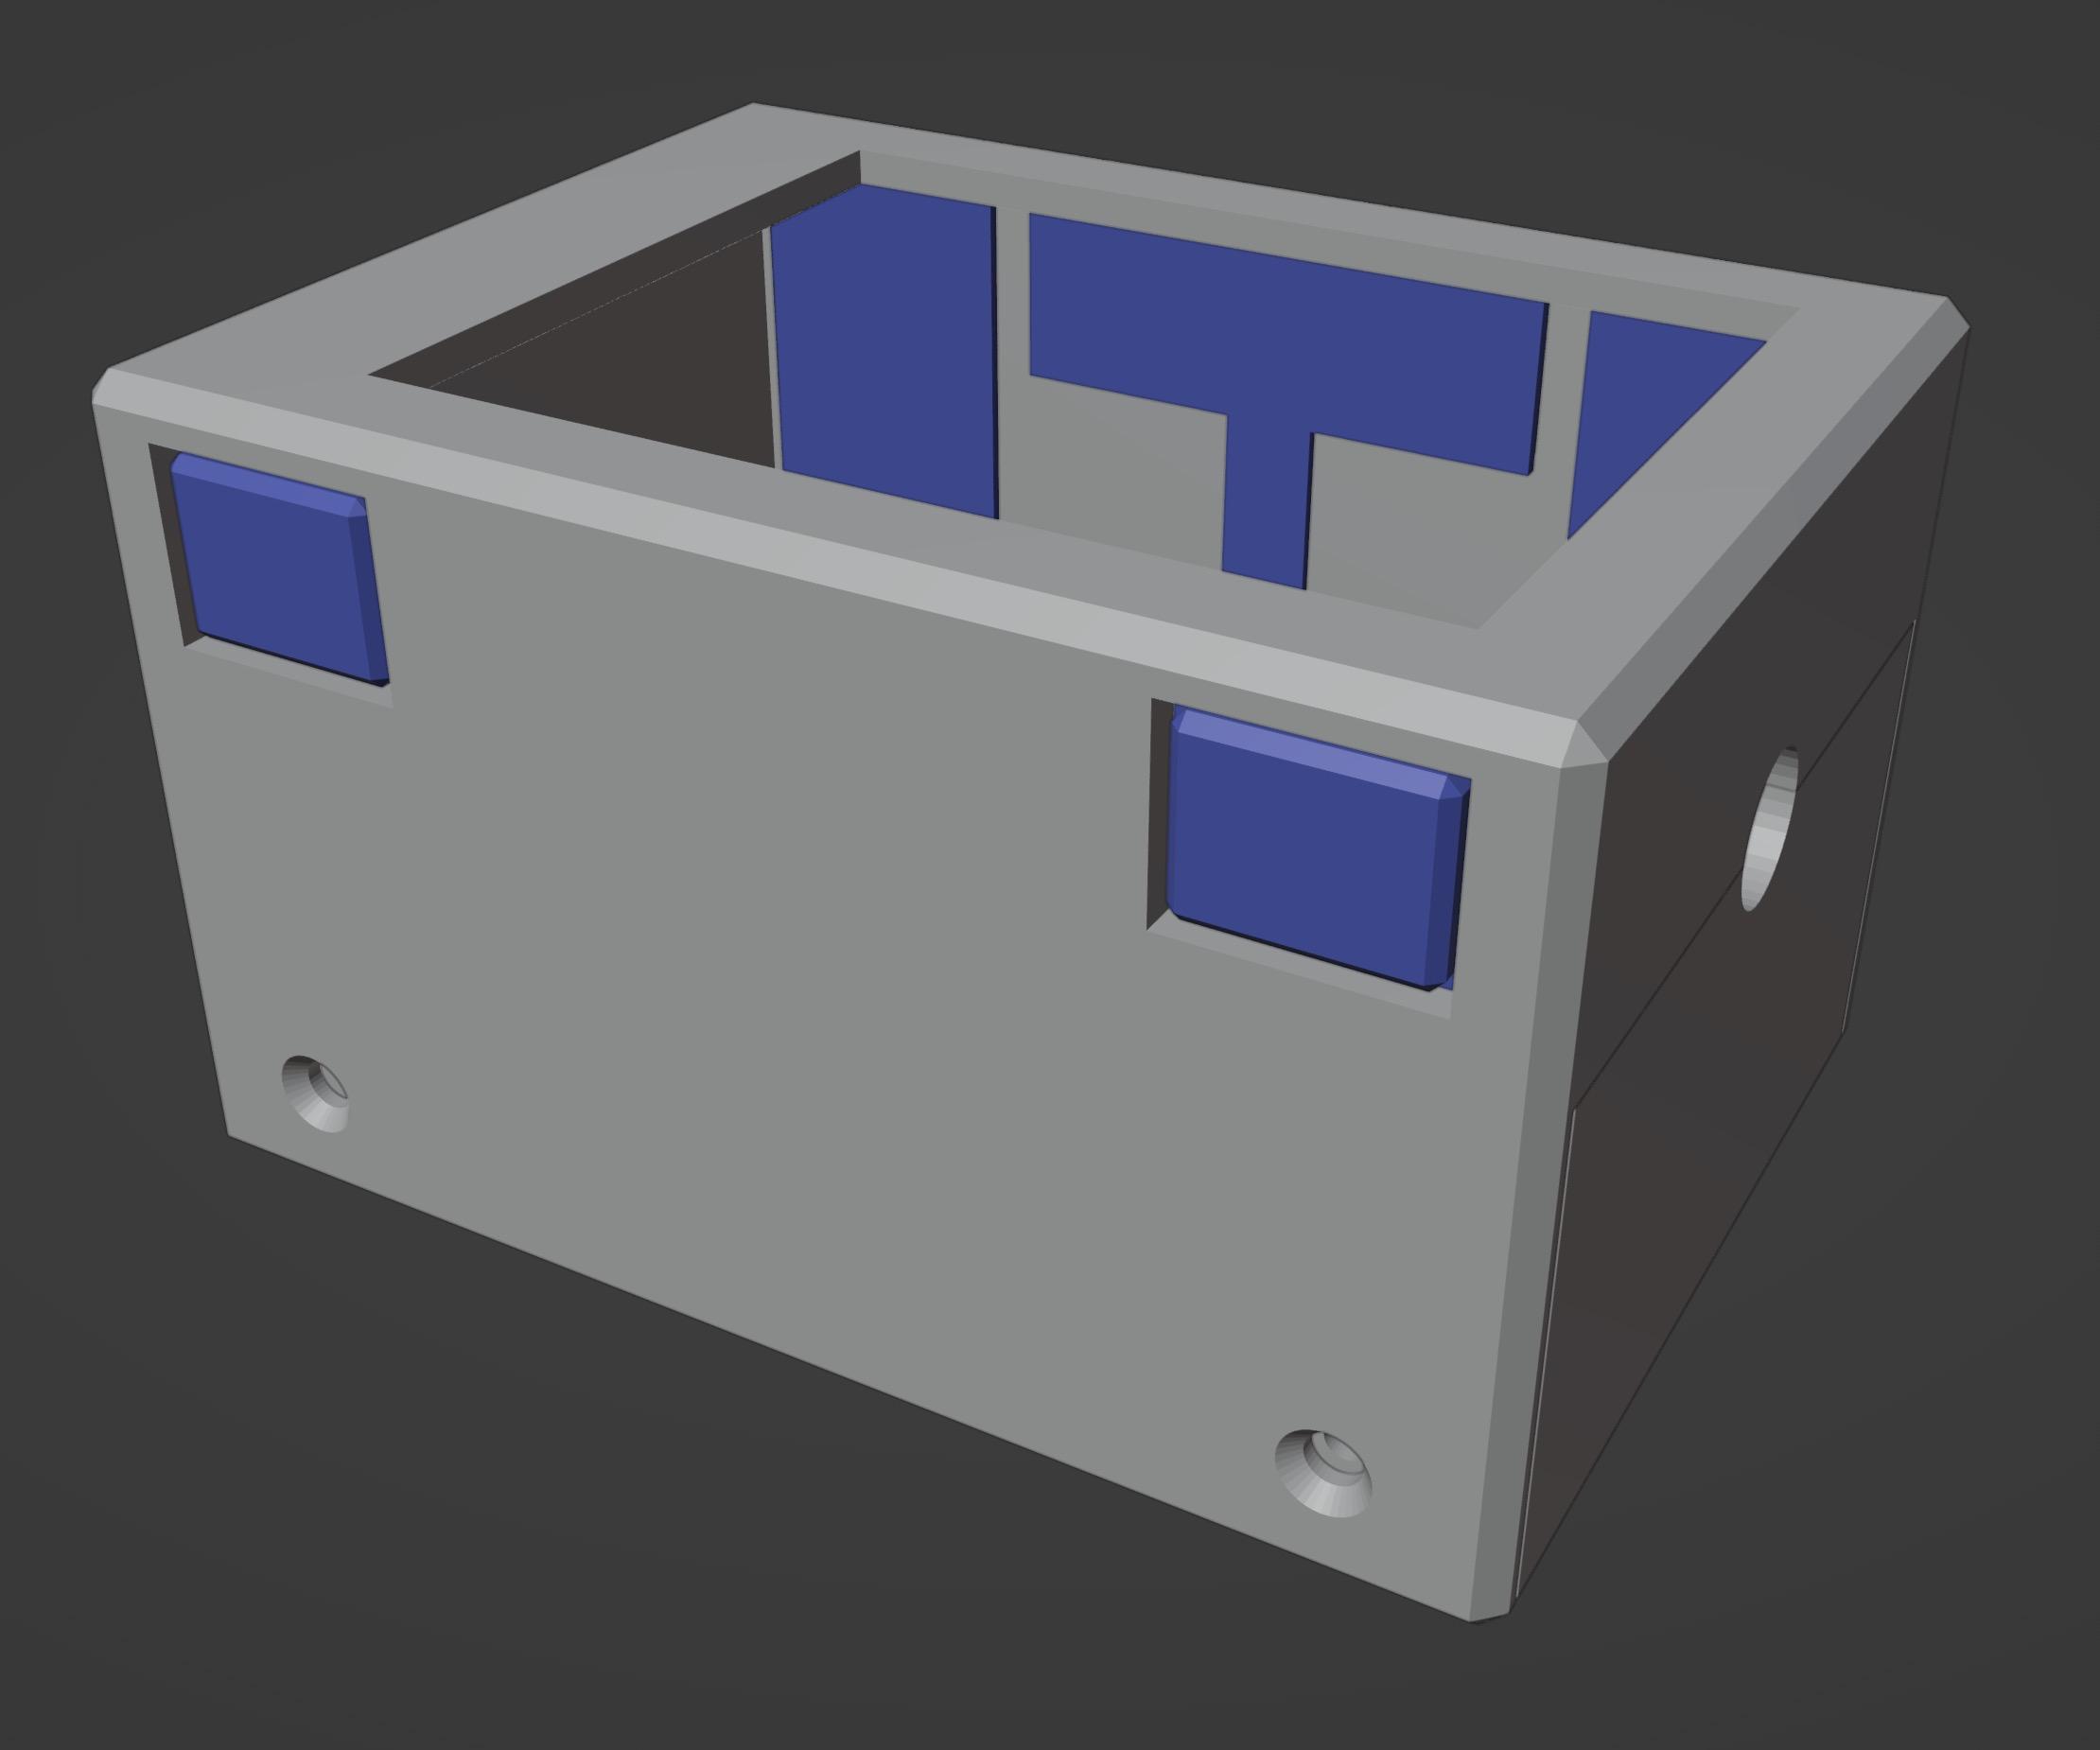
- I prepared the 3D model of the case.
- Print two copies of button.stl.
- Use four 2mm tapping screws to fix the back panel.
Test your device
- play back your favorite music from your PCs or smartphones.
Check Your Room Acoustics

How to measure
- Install REW (Room EQ Wizard) software to your PC.
- Launch REW.
- Click "Preferences" icon (top-right)
- Select your speaker and microphone.
- Click "Measure" icon (top-left)
- Click "Check levels" button to adjust the level. Please start from very low volume settings.
- Click "Start" button to measure.
- Change the distance from the speaker to the microphone and compare the frequency responses (click "all SPL" button at top).
- Click "Actions" button at top-right, then select "1/6 smoothing" and click "Apply smoothing" button in "Actions for ALL SPL" window.
- If the level of multiple measurement differs, click "SPL & Phase" button in the main window, then the name of the small window changes to "Actions for SPL and Phase". Then in the window, you can adjust the level of the graphs by "SPL offset (dB)" part.
You'll see
- The frequency response curve changes significantly depending on the position of the microphone.
- Typically, you will observe dips at low frequencies when the microphone is positioned farther from the speaker, a result of room resonance (standing waves).
- In the image above, the red curve represents the frequency response measured with a microphone placed very close to the speaker, while the green curve shows the response measured at the listening position.
Room EQ Correction


Calculate EQ parameters
- Select frequency response to be corrected (measured at listening position).
- You can calculate and use the average of multiple measurement results.
- Blue curve in the picture above shows the measured frequency response.
- Click "EQ" icon at the top of the main window.
- "Equaliser settings"
- At right part of the "EQ for measurement.." window, select "Configurable PEQ" model and click gear icon at right
- In "Configurable equaliser" small window, select number of filters (4 for RP2040, 8 for RP2350)
- Set parameters as shown in the image above. Select "BW octaves" for Q/BW format section.
- "Target settings"
- Adjust "Target Settings". I use "Bass limited speaker" for target type.
- Target level can be automatically adjusted by clicking "Calculate target level from response" text.
- Black curve in the picture above shows the target response.
- "Filter Tasks"
- Set parameters in the "Filter Tasks" part.
- Turn on (check) "Allow narrow filters below 200 Hz"
- Turn on (check) "Vary max Q above 200 Hz"
- Run optimization
- Click the text "Match response to target"
- You will see the optimized result. (red curve in the picture above)
Set the EQ parameters to the USB audio device
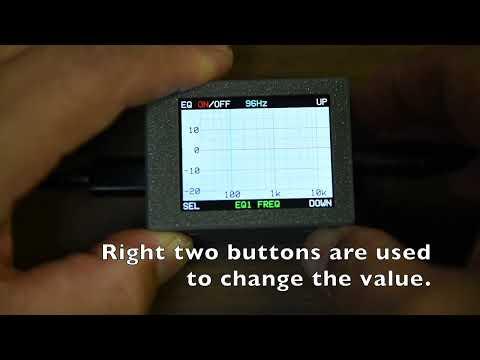
Please take a look at the video above.
- You can select a parameter to adjust using the bottom-left button.
- You can increase or decrease the selected parameter using the top-right and bottom-right buttons.
- All values can be adjusted in stepwise increments. Ignore small difference and select closer value.
- At "SETTINGS" mode, you can save the parameters to the flash memory. Press "SAVE" (top-right) button, and the device reboots automatically after storing parameters.
Enjoy!

Check the result
- Measure the frequency response again using REW to verify the results.
- The image above shows an example of an actual compensation result. Blue : EQ-off, red : EQ-on.
- You see that actually measured result matches the predicted one very well.
Enjoy!
- You can play back your music or videos with the equalizer applied, not only from PCs but also from smartphones.