Rooting a Poco X3 Pro (Vayu) Running CrDroid 12.11 (A-only Partition Scheme) (Android 16)
by Ahiyan Mahmud Haq in Circuits > Mobile
164 Views, 0 Favorites, 0 Comments
Rooting a Poco X3 Pro (Vayu) Running CrDroid 12.11 (A-only Partition Scheme) (Android 16)

.png)
Firstly, I must state that:
- I am NOT responsible for the damages that you may cause to your device by following this tutorial.
- Installing root or super user privileges incorrectly may result in the “bricking” of even the most foolproof Android devices.
- Installing root introduces security vulnerabilities which allow malware to become a "rootkit;" gains super user/administrator privileges; effectively giving FULL system control to the malware allowing it to destroy important data easily. It also disables built-in restrictions which prevent it from being sandboxed.
- A rooted Android device does not pass Play Integrity; the Google Play Store cannot be used to install applications and Google Play Services are not going to work.
- Using root is usually highly technical and not user-friendly.
- Applications that you had installed before rooting may not work when rooted (e.g., certain fitness apps like Kospet Fit)
The devices that ONLY this tutorial applies to:
- Android-powered smartphones which have A/B partitions (check your device partitioning).
- The ROM is accessible by the user.
This tutorial assumes:
- You have properly backed up your smartphone before installing. If you have not backed up your smartphone, do it now.
- You have logged out of your Google account on the ROM of the smartphone before installing. This disables Factory Reset Protection (FRP). In some cases, data may be destroyed during install. If you have not; log out now.
- You have properly set up the Android Debug Bridge (ADB) or SDK platform tools on the host personal computer by downloading from the right source.
Supplies
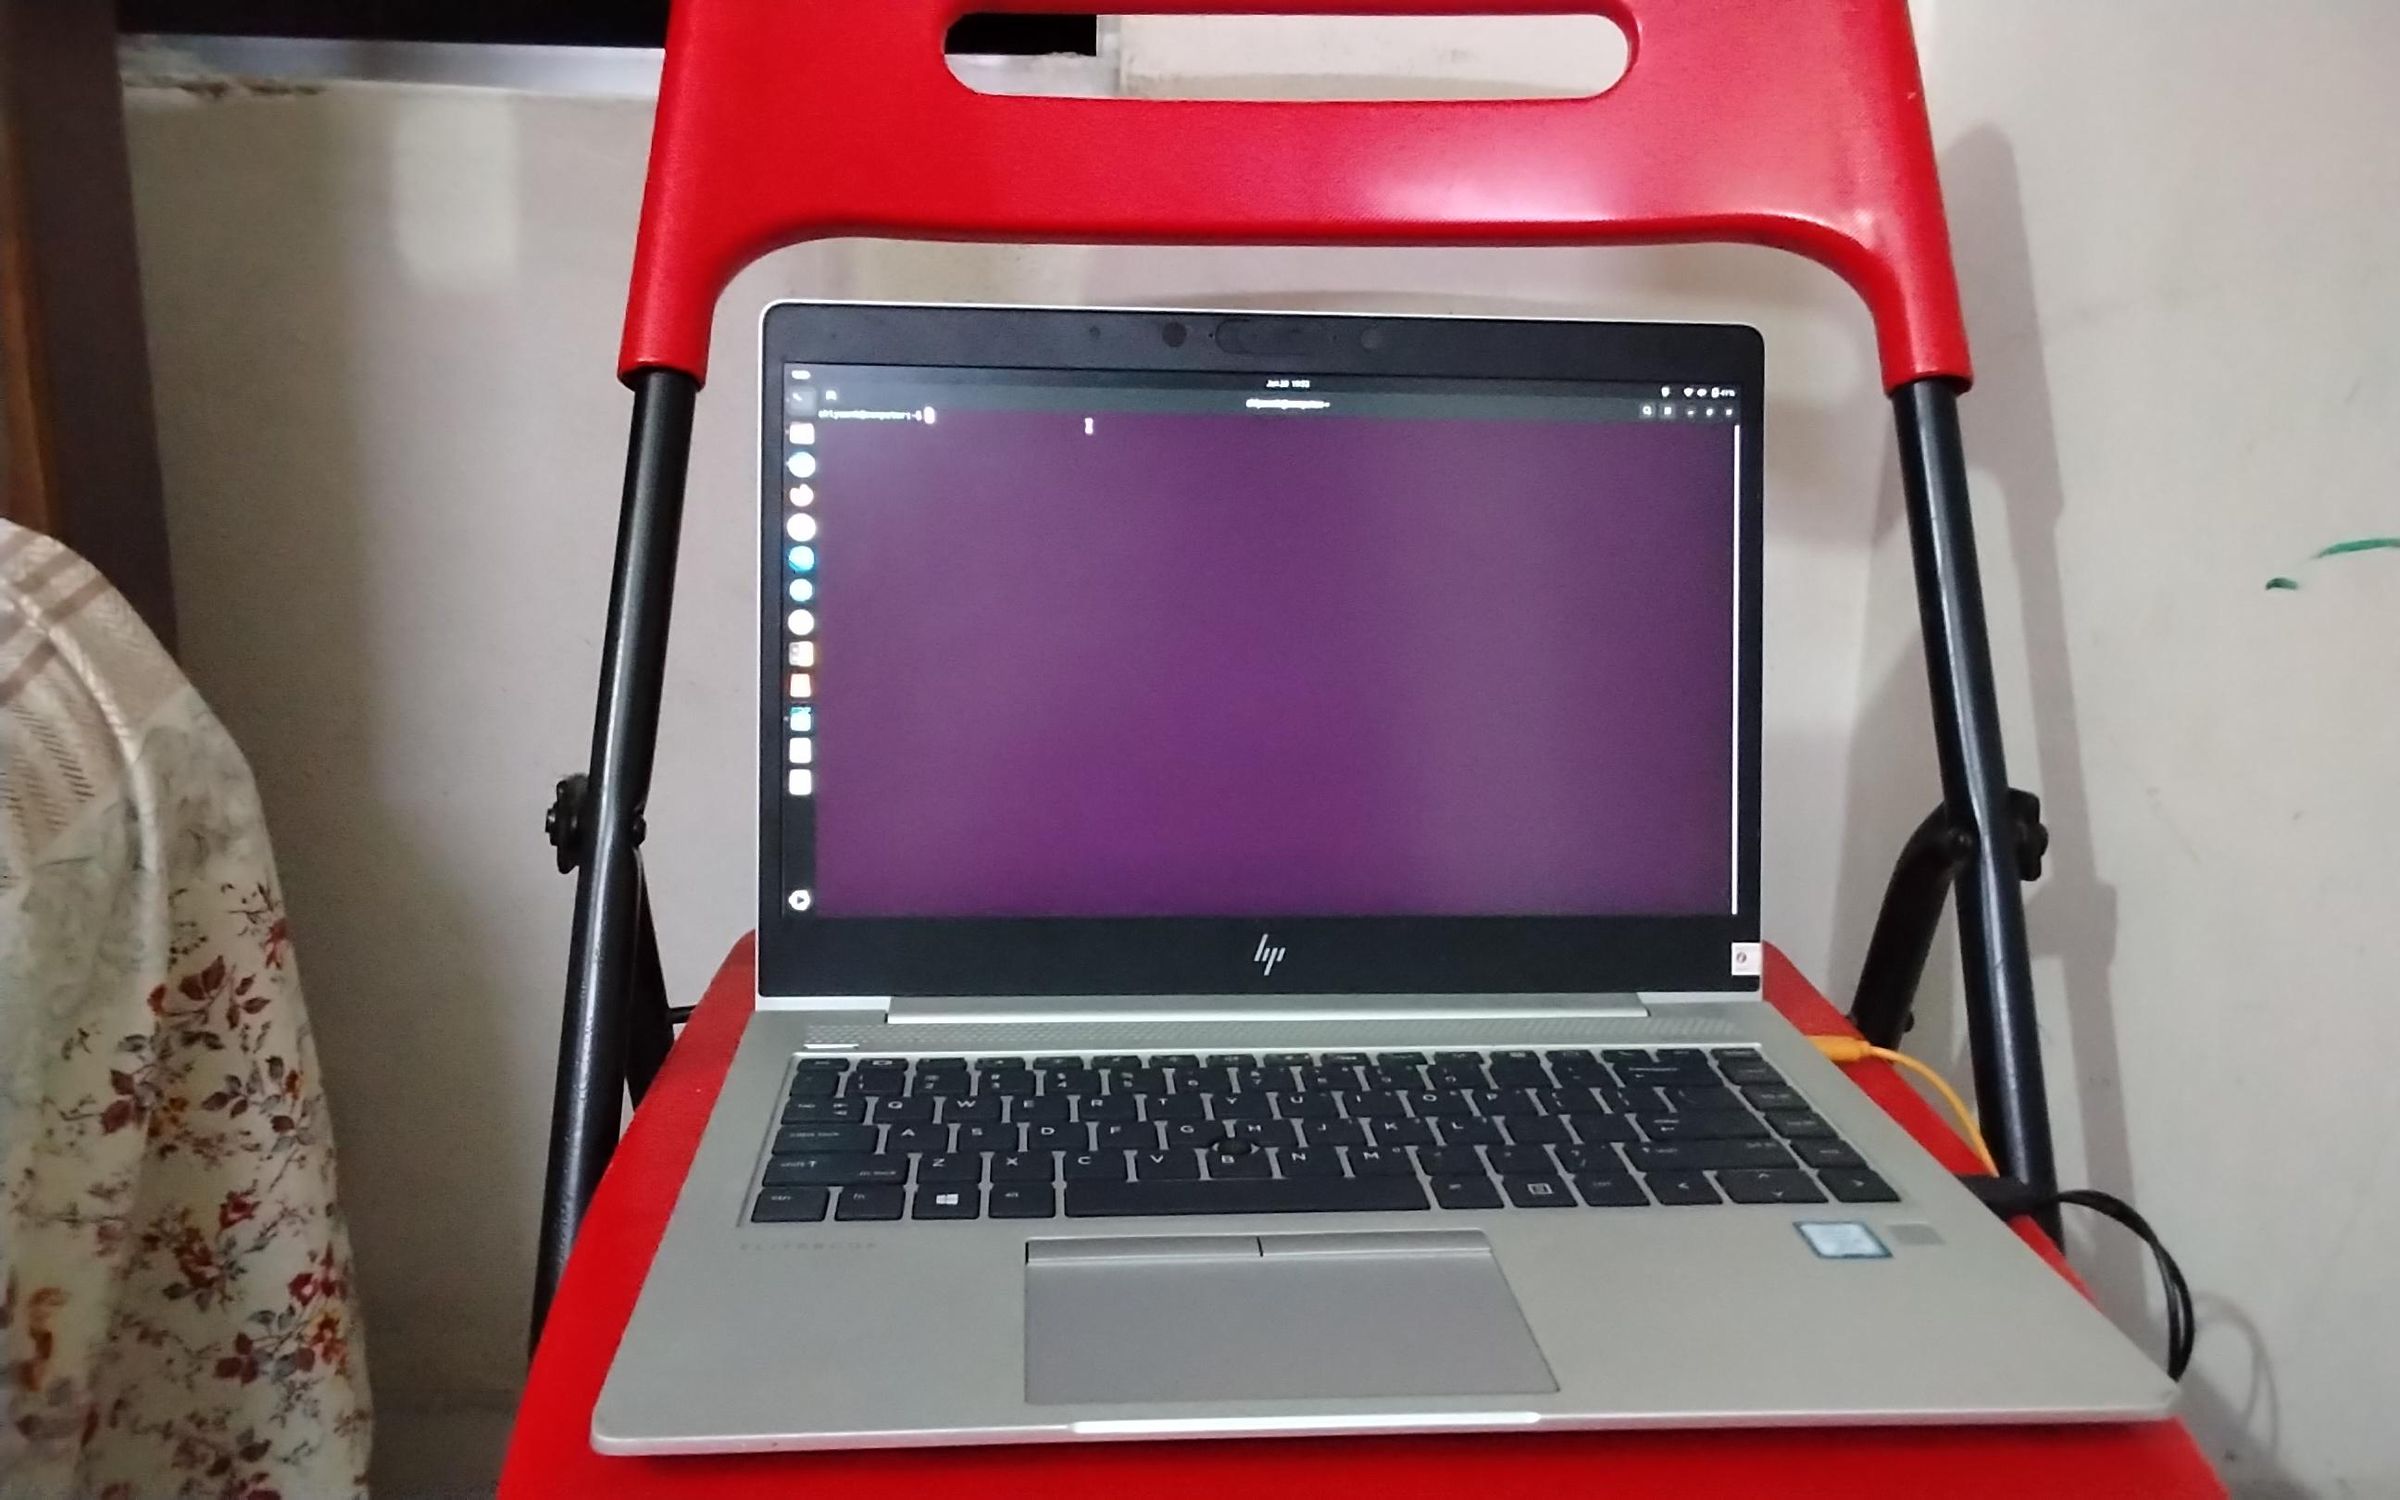
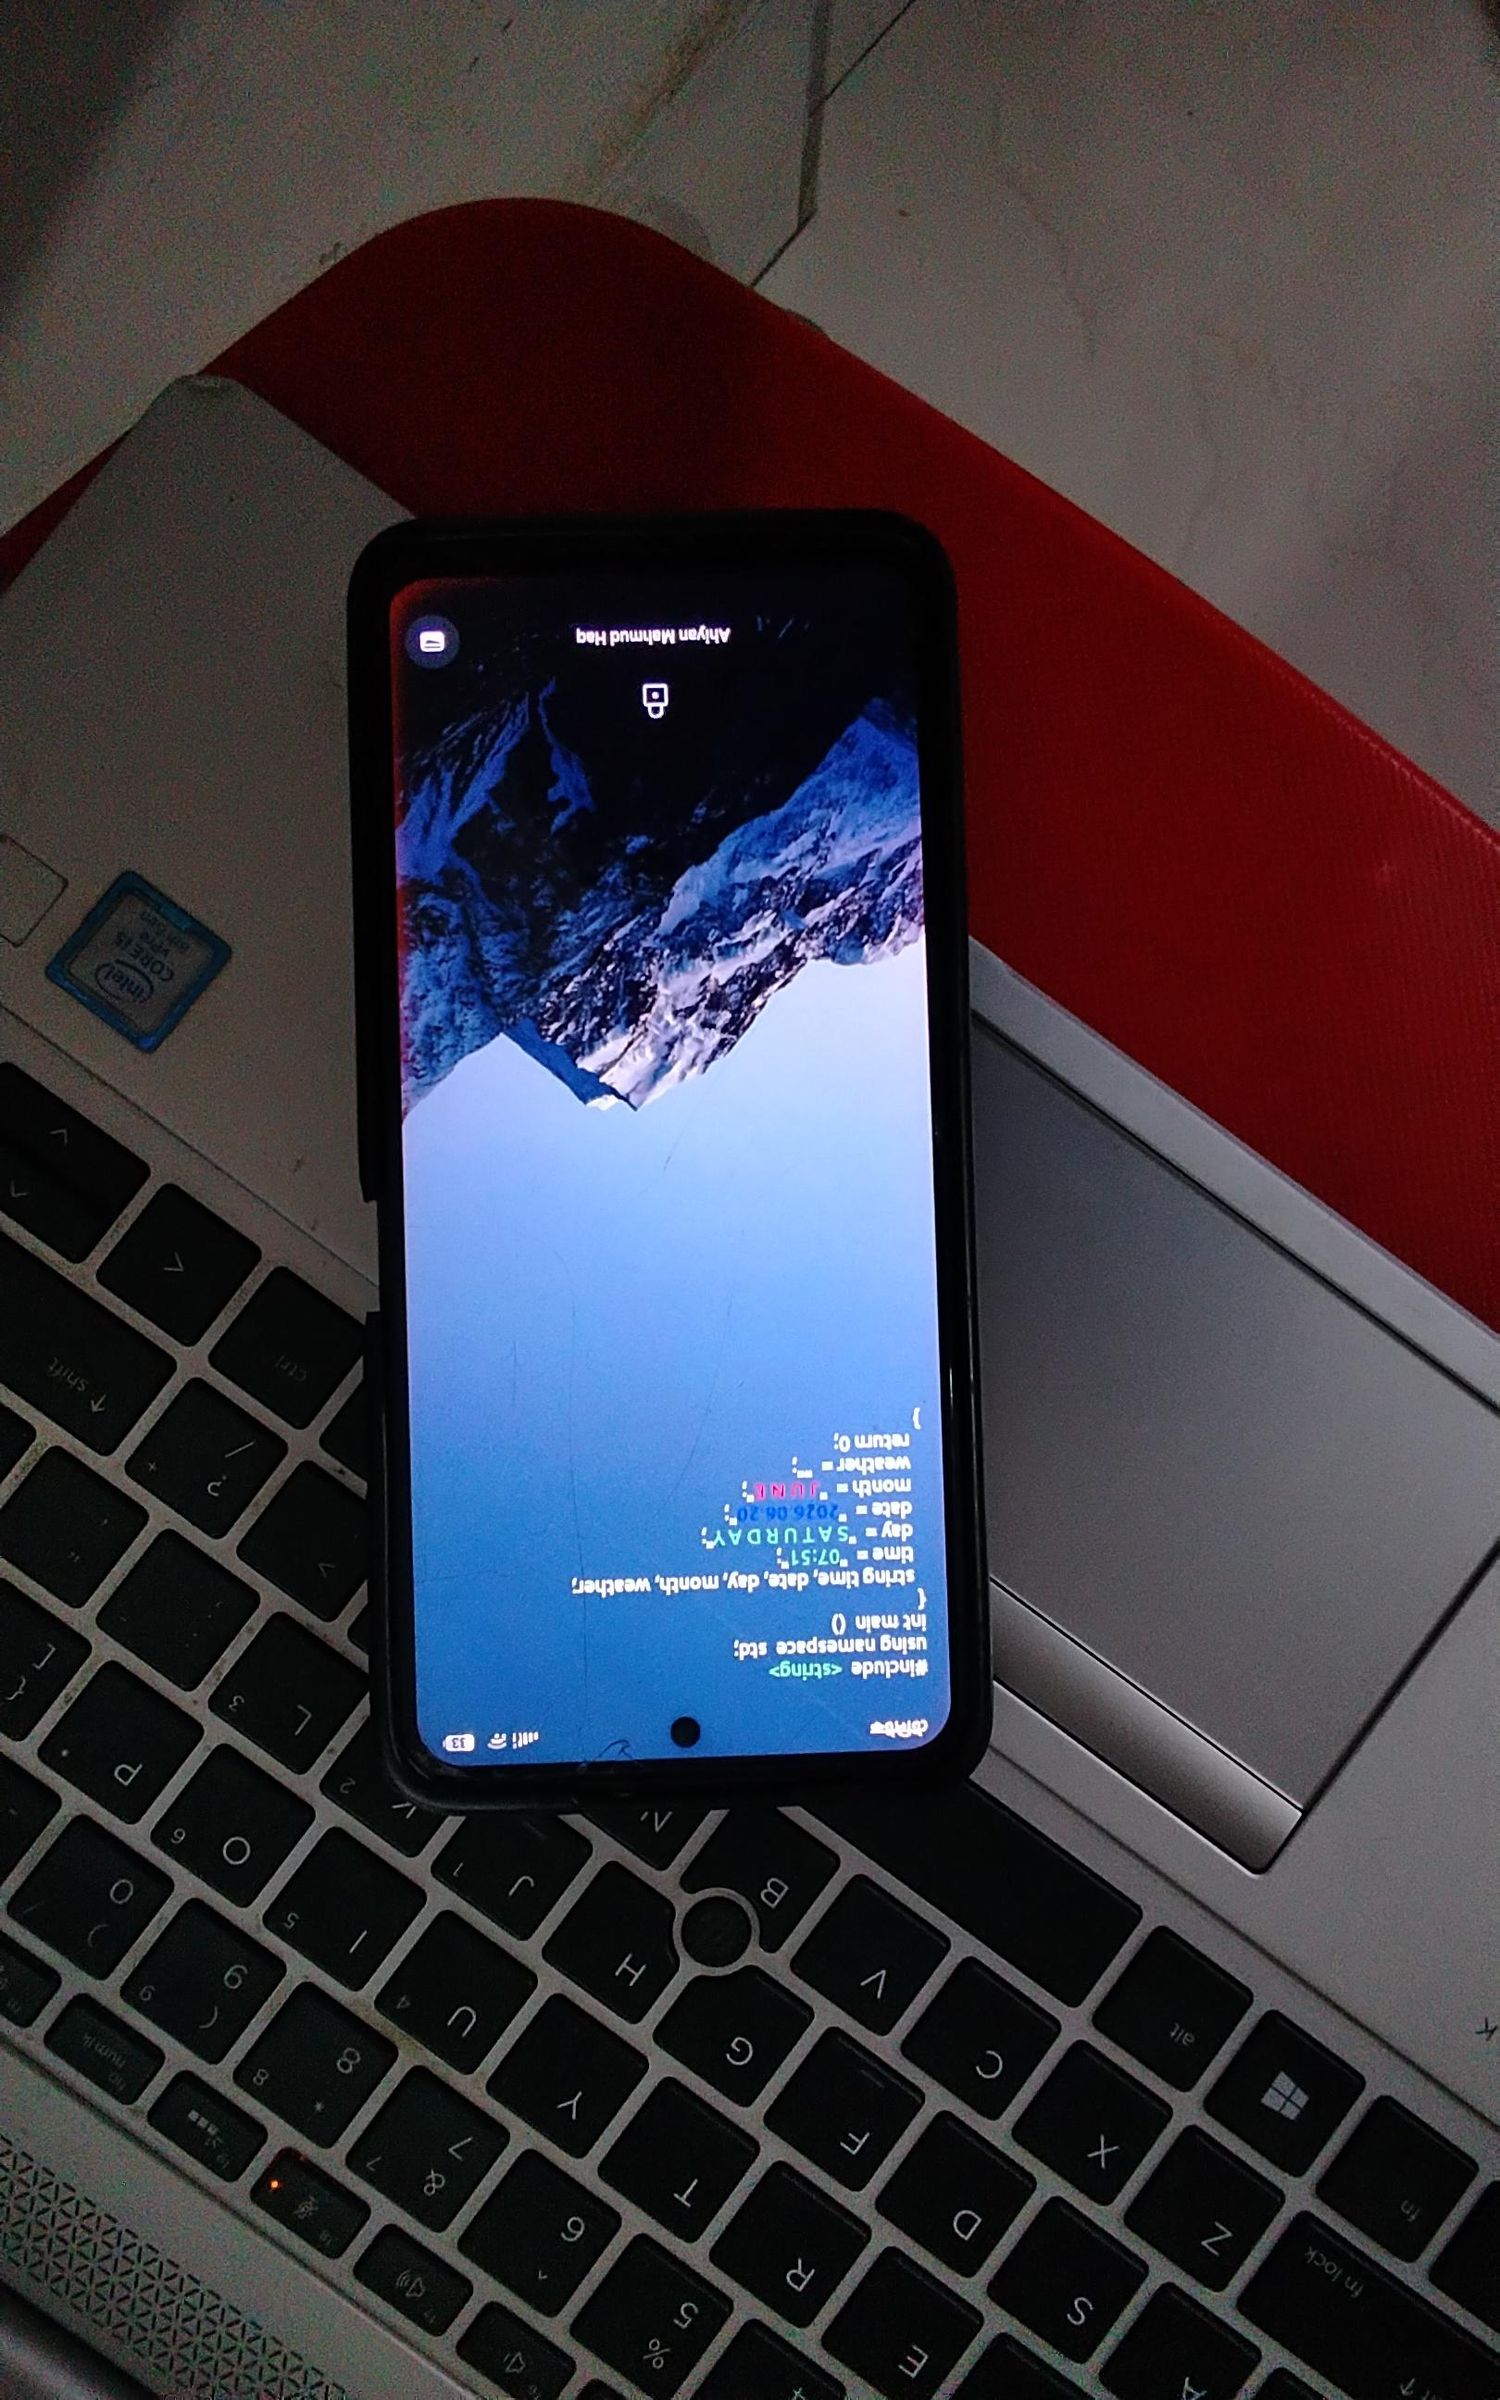
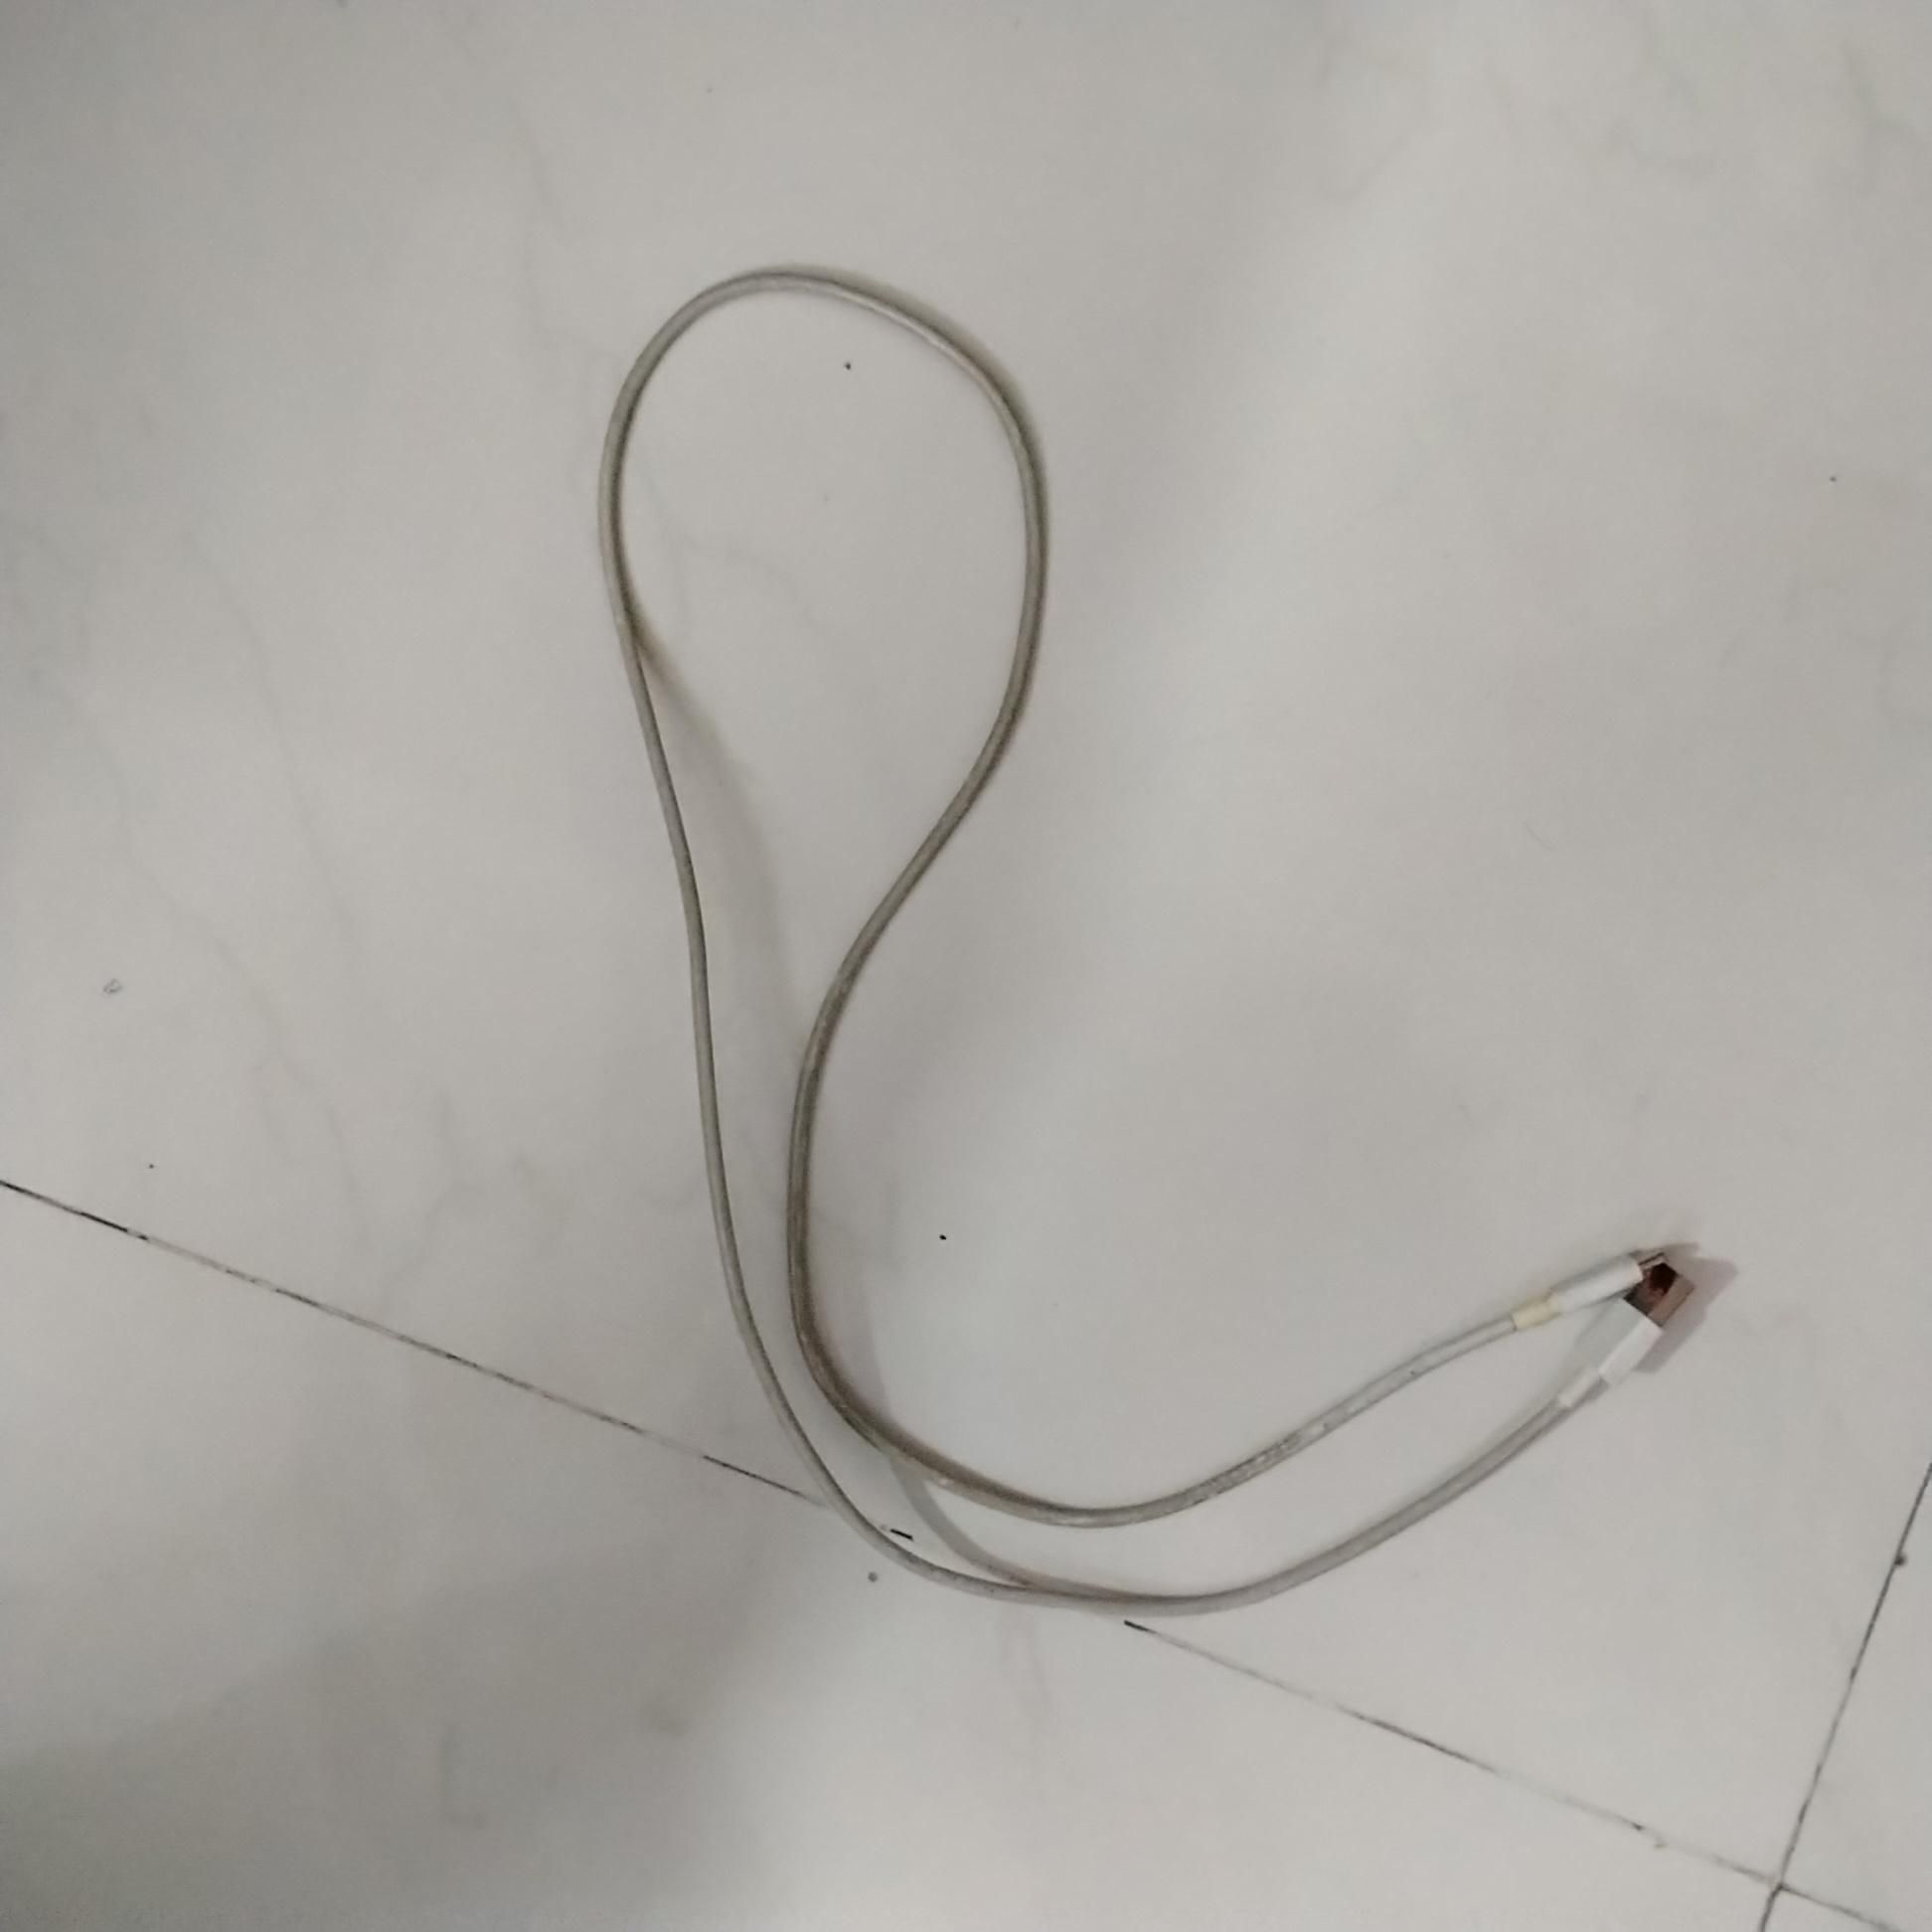
In order to install root on any ROM using the Magisk flashing/sideloading method (direct install method), we must have:
- A personal computer with Android Debug Bridge (ADB) installed and configured (environment variables set) properly.
- The phone intended by the user to have root installed. The phone must NOT contain ANY important data of any owner or user. Make sure that it does not have ANYTHING important belonging to anyone.
- The cable that came with the phone when it was purchased (often referred to as the stock/OEM cable) or any reliable data transfer cable.
Installing the Magisk Android Package File

Step 1: Before installing root via Magisk (also known as the "The Magic Mask for Android") we must download the Android Package (APK) (on the personal computer) from ONLY the official GitHub repository (releases) as instructed by the app's owner "top" John Wu and as a message from inside the app. There are several malicious websites which are very likely to inject malware into your device (e.g., magisk.dev, magisk.com, etcetera); DO NOT INSTALL FROM THOSE WEBSITES! The link to the releases repository is given below:
https://github.com/topjohnwu/Magisk/releases
I recommend installing the latest stable release to ensure proper functionality. Installing the beta versions and others are intended ONLY for developers.
After the APK has installed, verify its signature (SHA256 checksum on the side of the file name in GitHub) to make sure that it has not been tampered by a hacker. This step cannot be skipped to ensure security.
To verify its signature, we need to use a terminal to compare the signature/checksum using a terminal utility that makes a checksum of that file (magisk.apk). This can be done on personal computers which have a terminal. The operating system-specific ways to confirm signatures is given below:
On Windows (Powershell application):
Step 1: Open Windows Powershell.
Step 2: Use the built-in utility 'certutil' to confirm the signature by using the following command (the command below is used as a template):
Step 3: Check if the checksums match. If they do, the APK file has not been tampered. If they do, then immediately delete the APK file to ensure security.
On MacOS:
Step 1: Open the Terminal application.
Step 2: Use the built in utility shasum to verify the checksum (without the magisk.apk file):
Step 3: Then drag and drop the magisk.apk file from the Finder application and run the command.
Step 4: Check if the checksums match. If they do, the APK file has not been tampered. If they do, then immediately delete the APK file to ensure security.
On GNU/Linux:
Step 1: Open your terminal application.
Step 2: Use the built-in utility shasum to verify the checksum (the below command is used as a template):
Step 3: Check if the checksums match. If they do, the APK file has not been tampered. If they do, then immediately delete the APK file to ensure security.
After this, transfer the APK to your smartphone by enabling file transfer by authorization (may vary depending on Android version).
Then, install the application by navigating to the transferred Magisk APK file (magisk.apk) and installing it in your file manager app.
Install Magisk by Using OrangeFox Recovery to Flash/Sideload Magisk
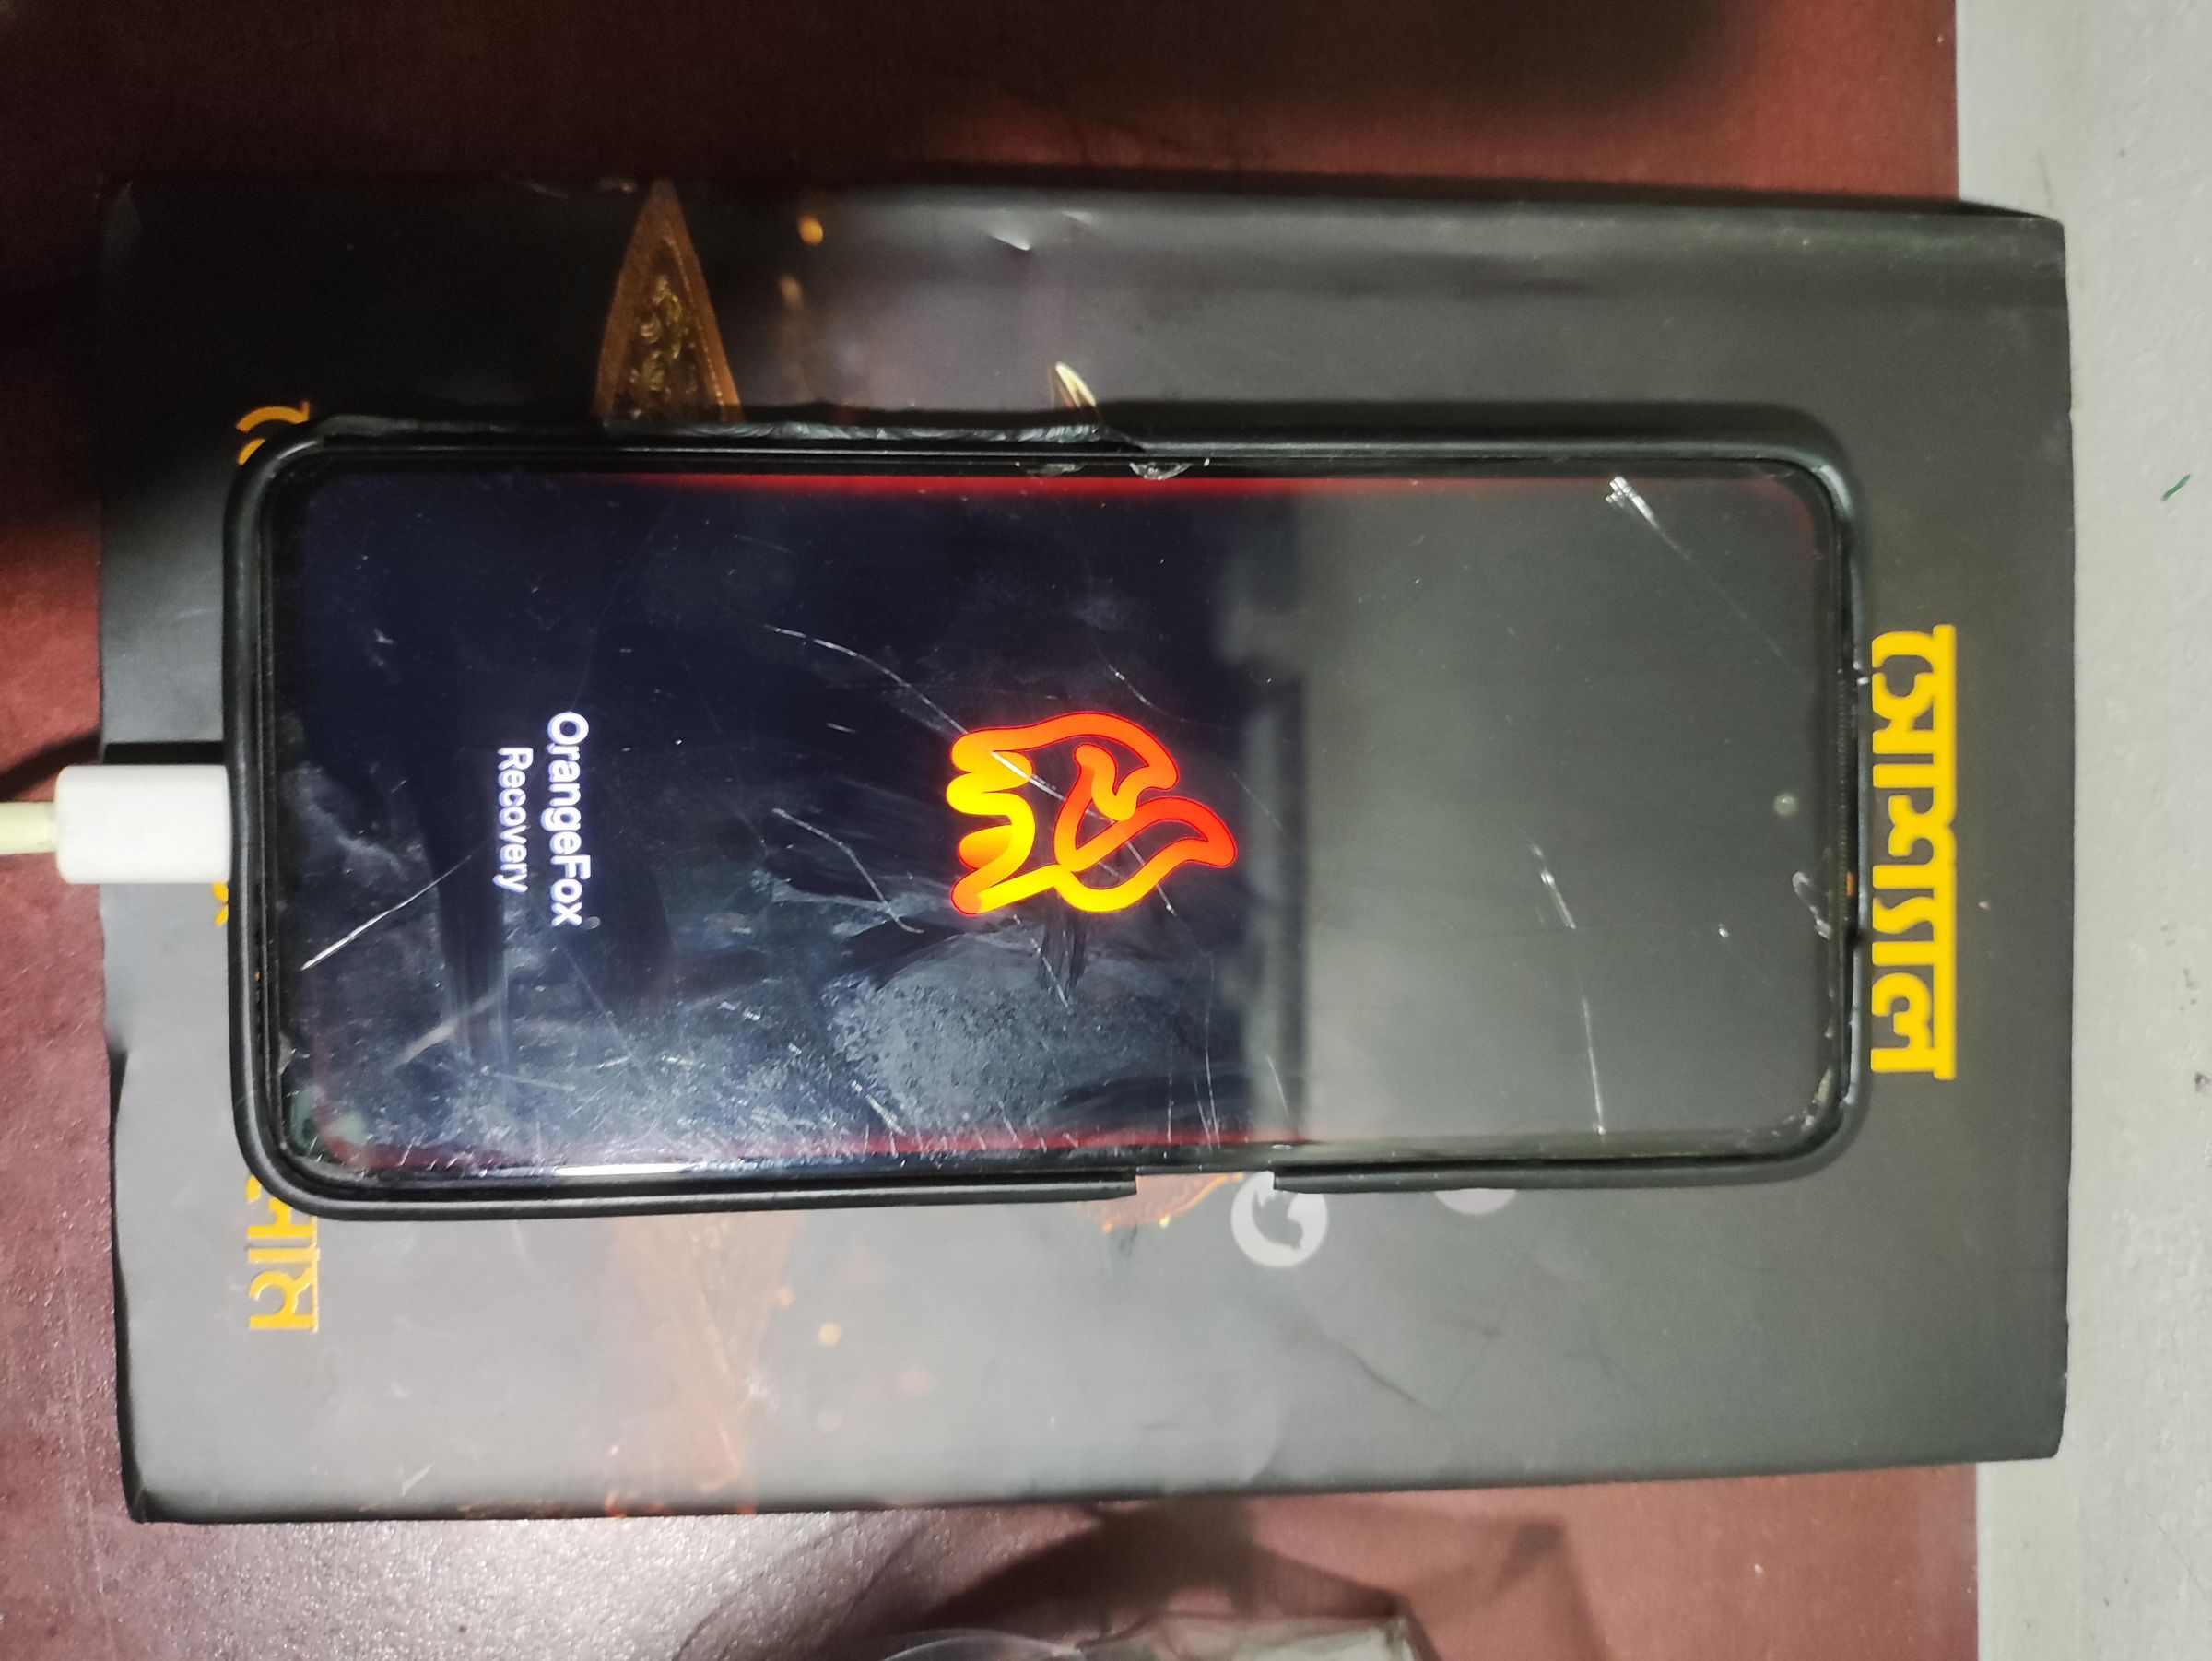
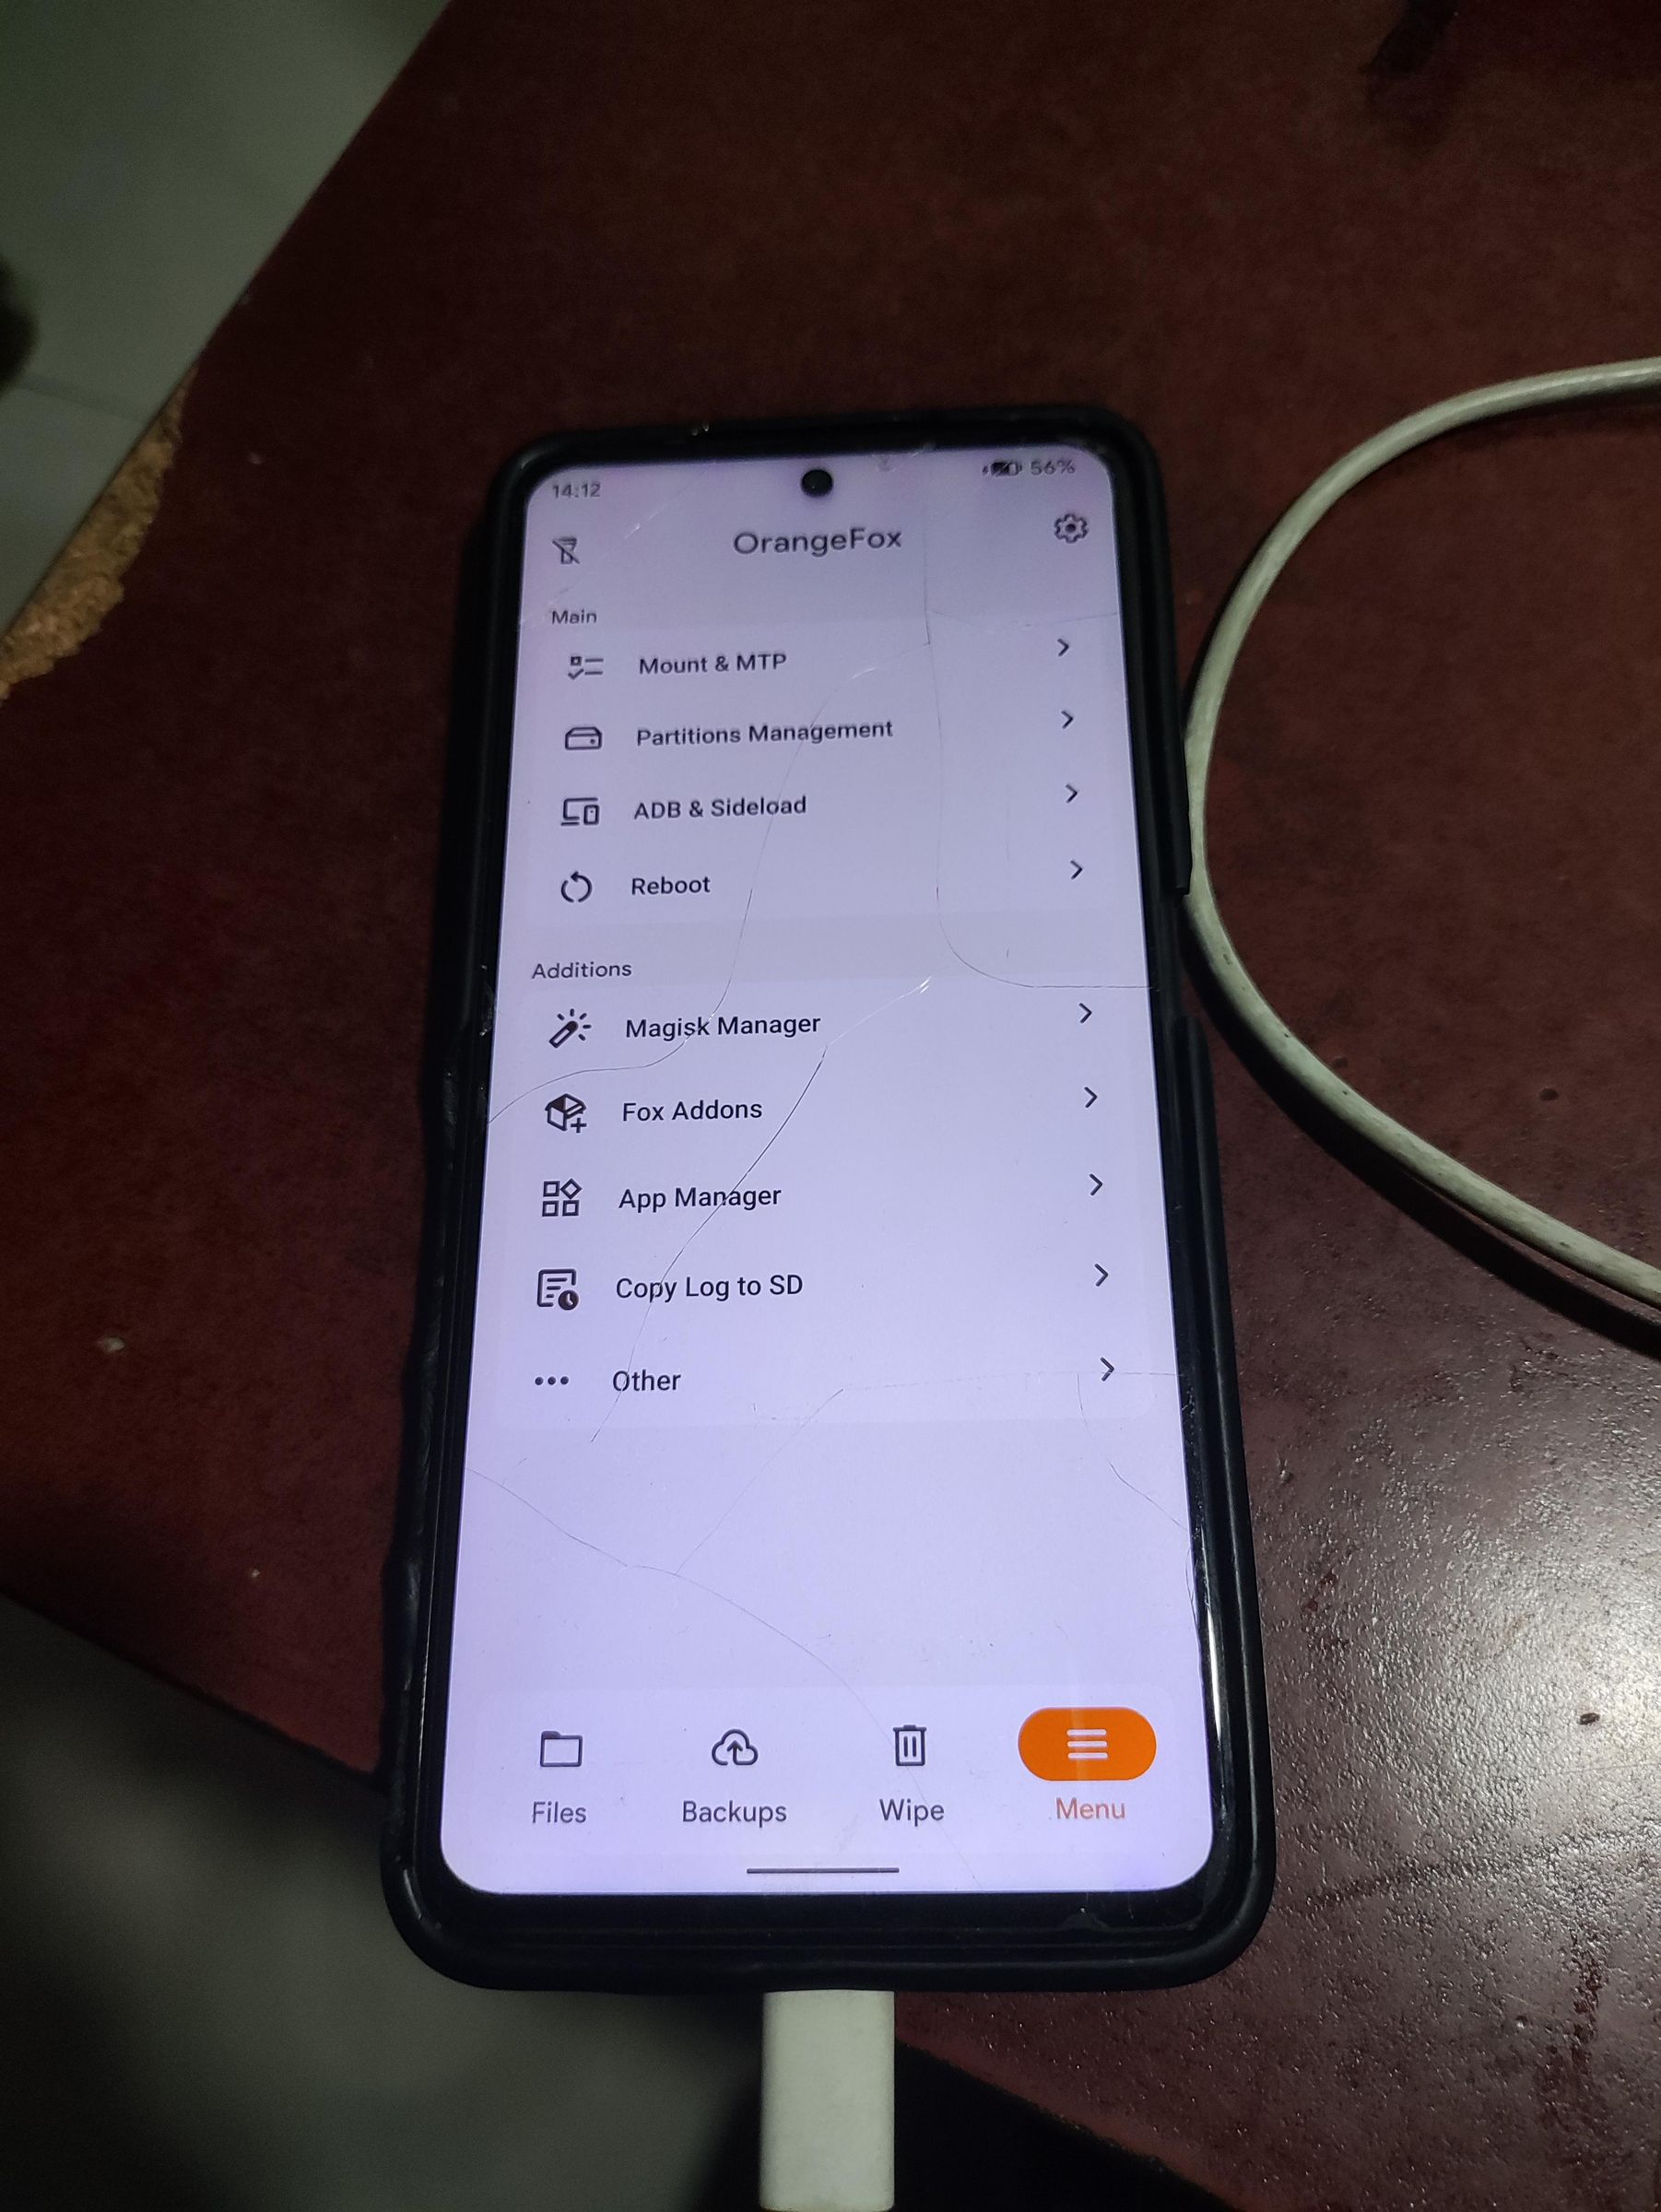
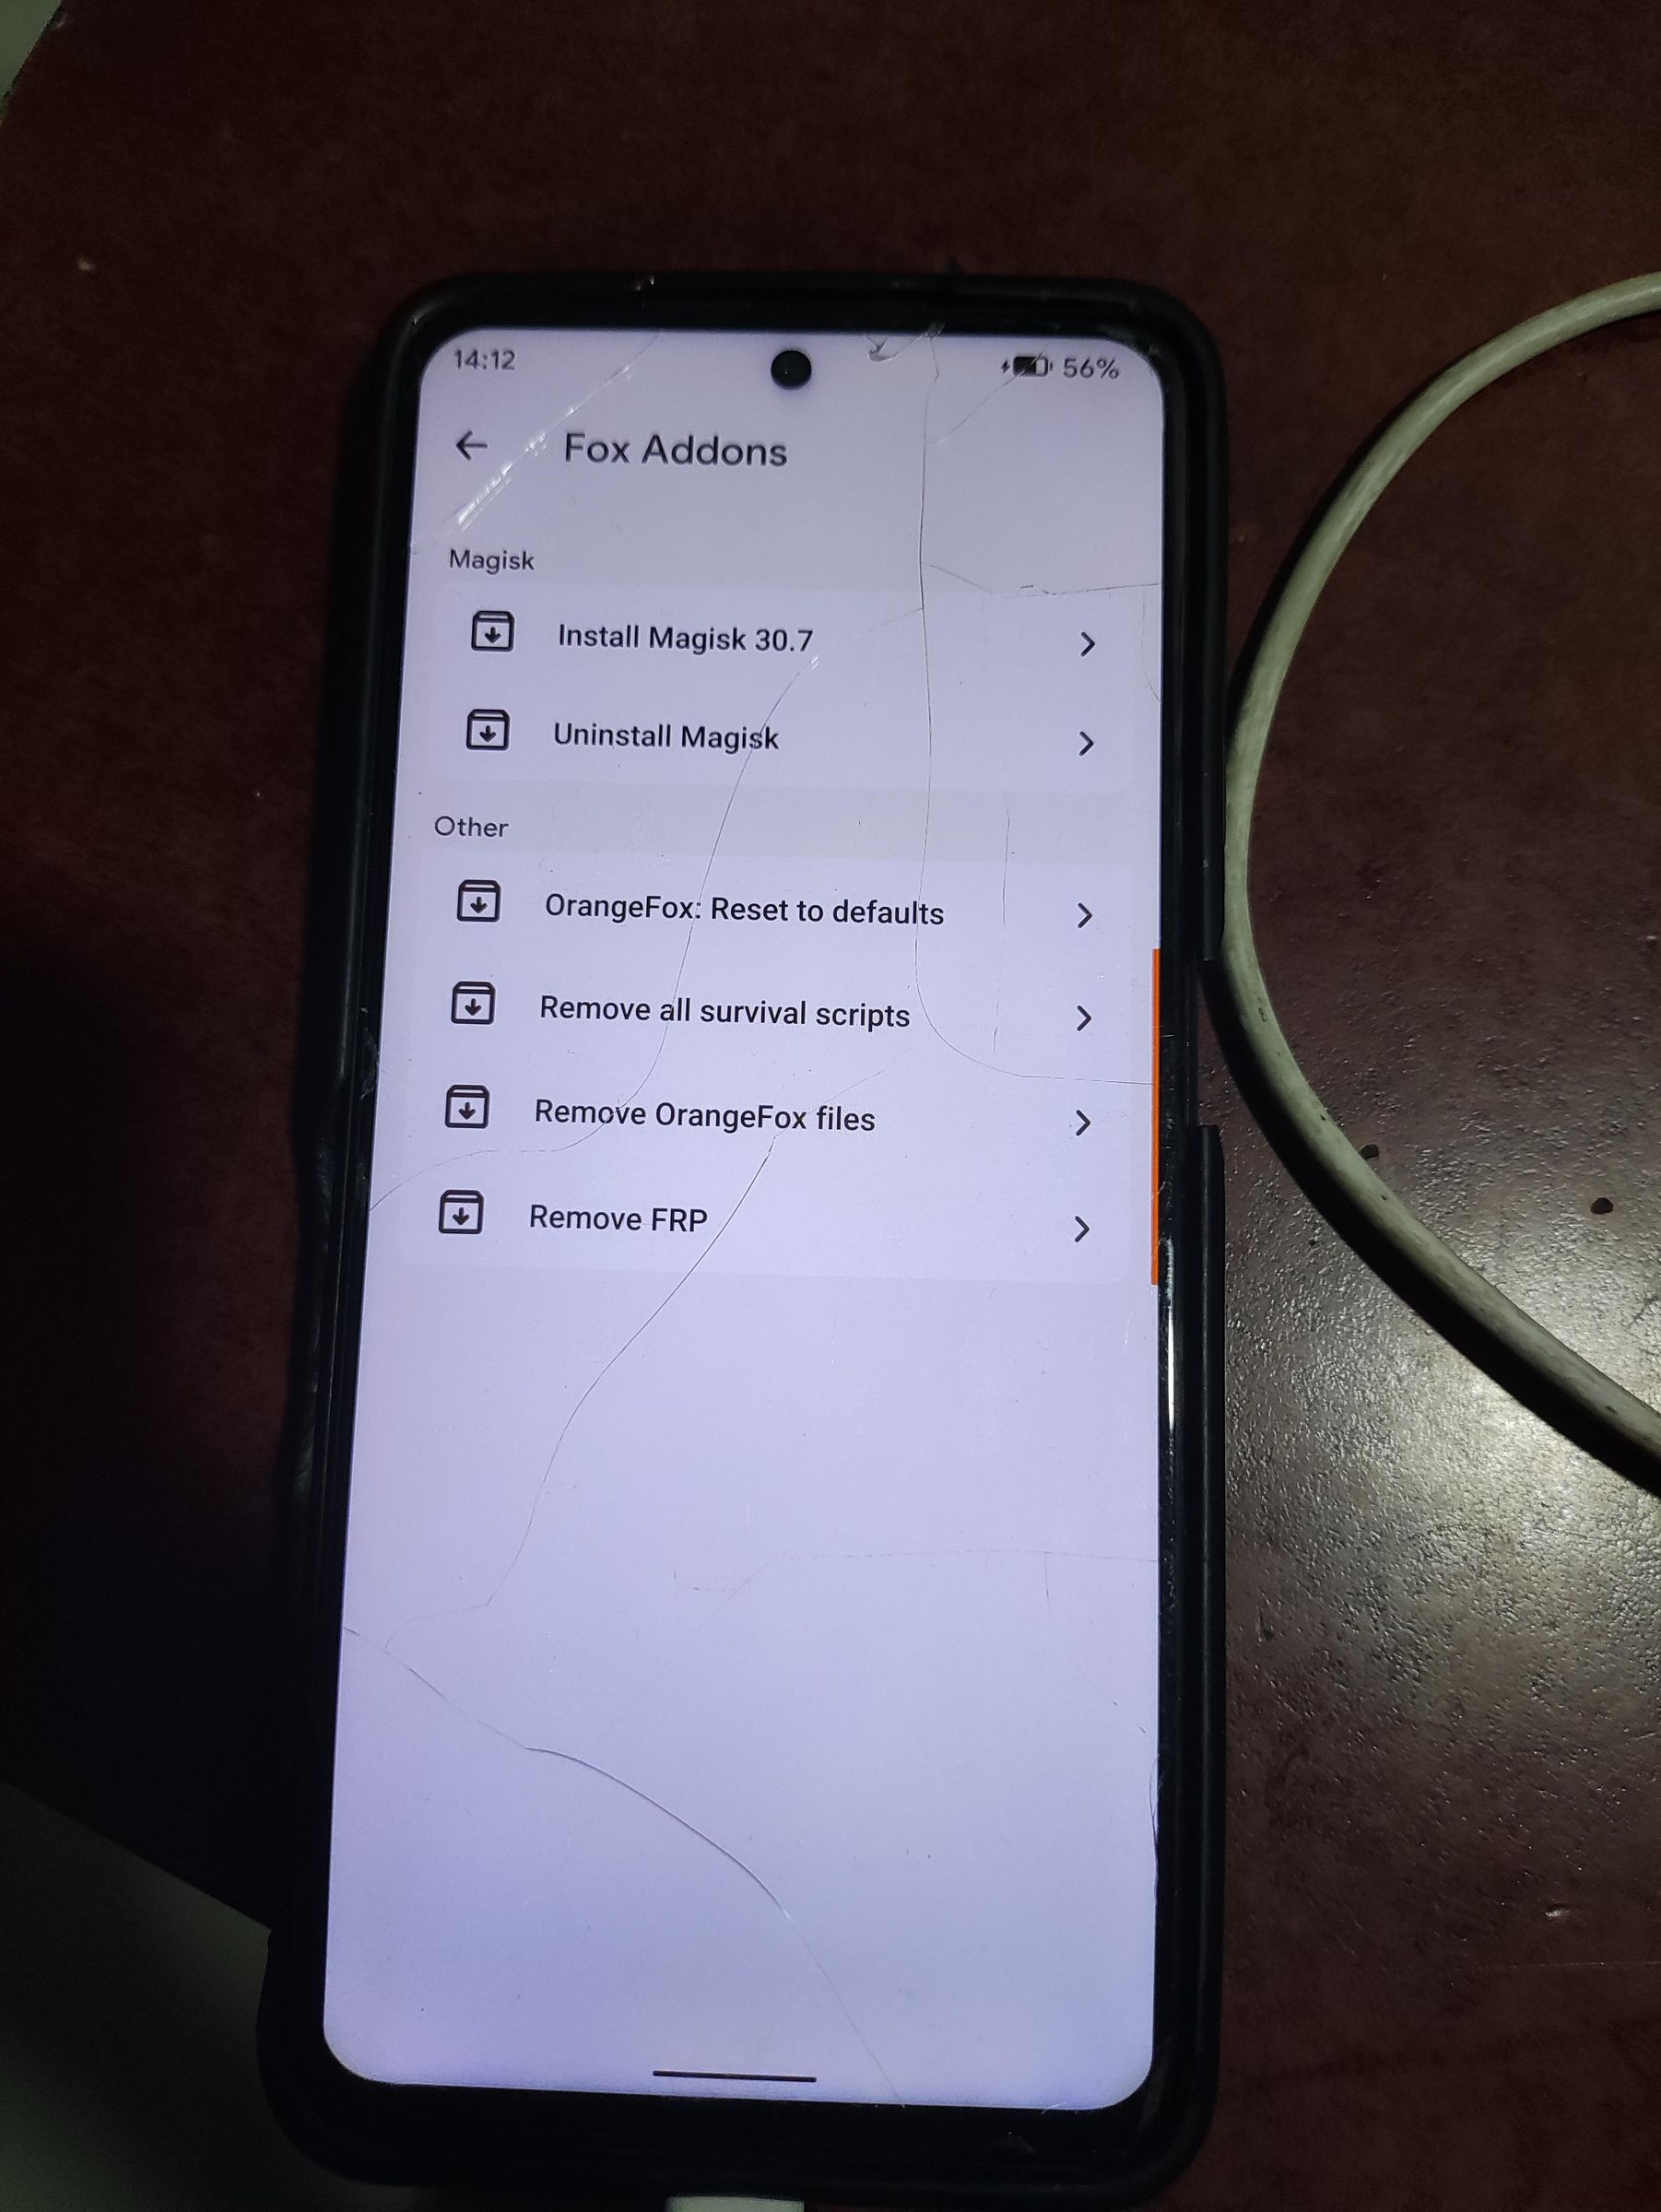
Step 2: If you do not have the OrangeFox custom recovery installed on your smartphone, then install it or temporarily boot into that recovery and then flash/sideload the Magisk zip file. Never flash the Magisk source code to the device as it is only intended for developers who work on releases of the app.
Installing OrangeFox recovery:
Step 1: Installing recoveries via impersonator websites may introduce malware into your smartphone. The malware may potentially brick your device. The link to the official OrangeFox website is https://orangefox.tech/. You can find their official download link in that website. Trying to find the download link has risks of malware.
Step 2: In their download website, navigate to the builds for your specific device and install the stable build. Installing builds for other devices, even if nearly identical or installing beta builds are risky as they may brick your device and are only intended for developers.
Step 3: After installing the image file, rename the file to something simple and easy to remember like 'recovery.img' OR 'orangefox.img' to minimize the risk of mixing it up with other files.
Step 4: Enter fastboot mode on your phone by using the specific input for your device.
Step 5: Since this step differs slightly depending on the host PC's OS, there are 2 given ways to flash magisk to
your smartphone (1 for Windows and 1 for Debian-based GNU/Linux distributions):
On Windows: Firstly, open the 'Terminal' application on Windows and then change your directory using the 'cd' command to the ADB/SDK platform tools directory which must include the OrangeFox recovery image. After that, run the following command to check if the device is recognized:
If the device is recognized, run the following command:
If the installation is OKAY, then reboot to recovery using the following command:
Then, decrypt or unlock your user data partition by entering your password that you use to access the ROM. After that navigate to Magisk Manager and then flash the included Magisk.zip file/Magisk. It should output something meaning that the installation was successful like OKAY, OK or 'Installation successful.'
Then, you can reboot to the system by using the Guided User Interface (GUI) of OrangeFox recovery.
Finish Installation of Magisk
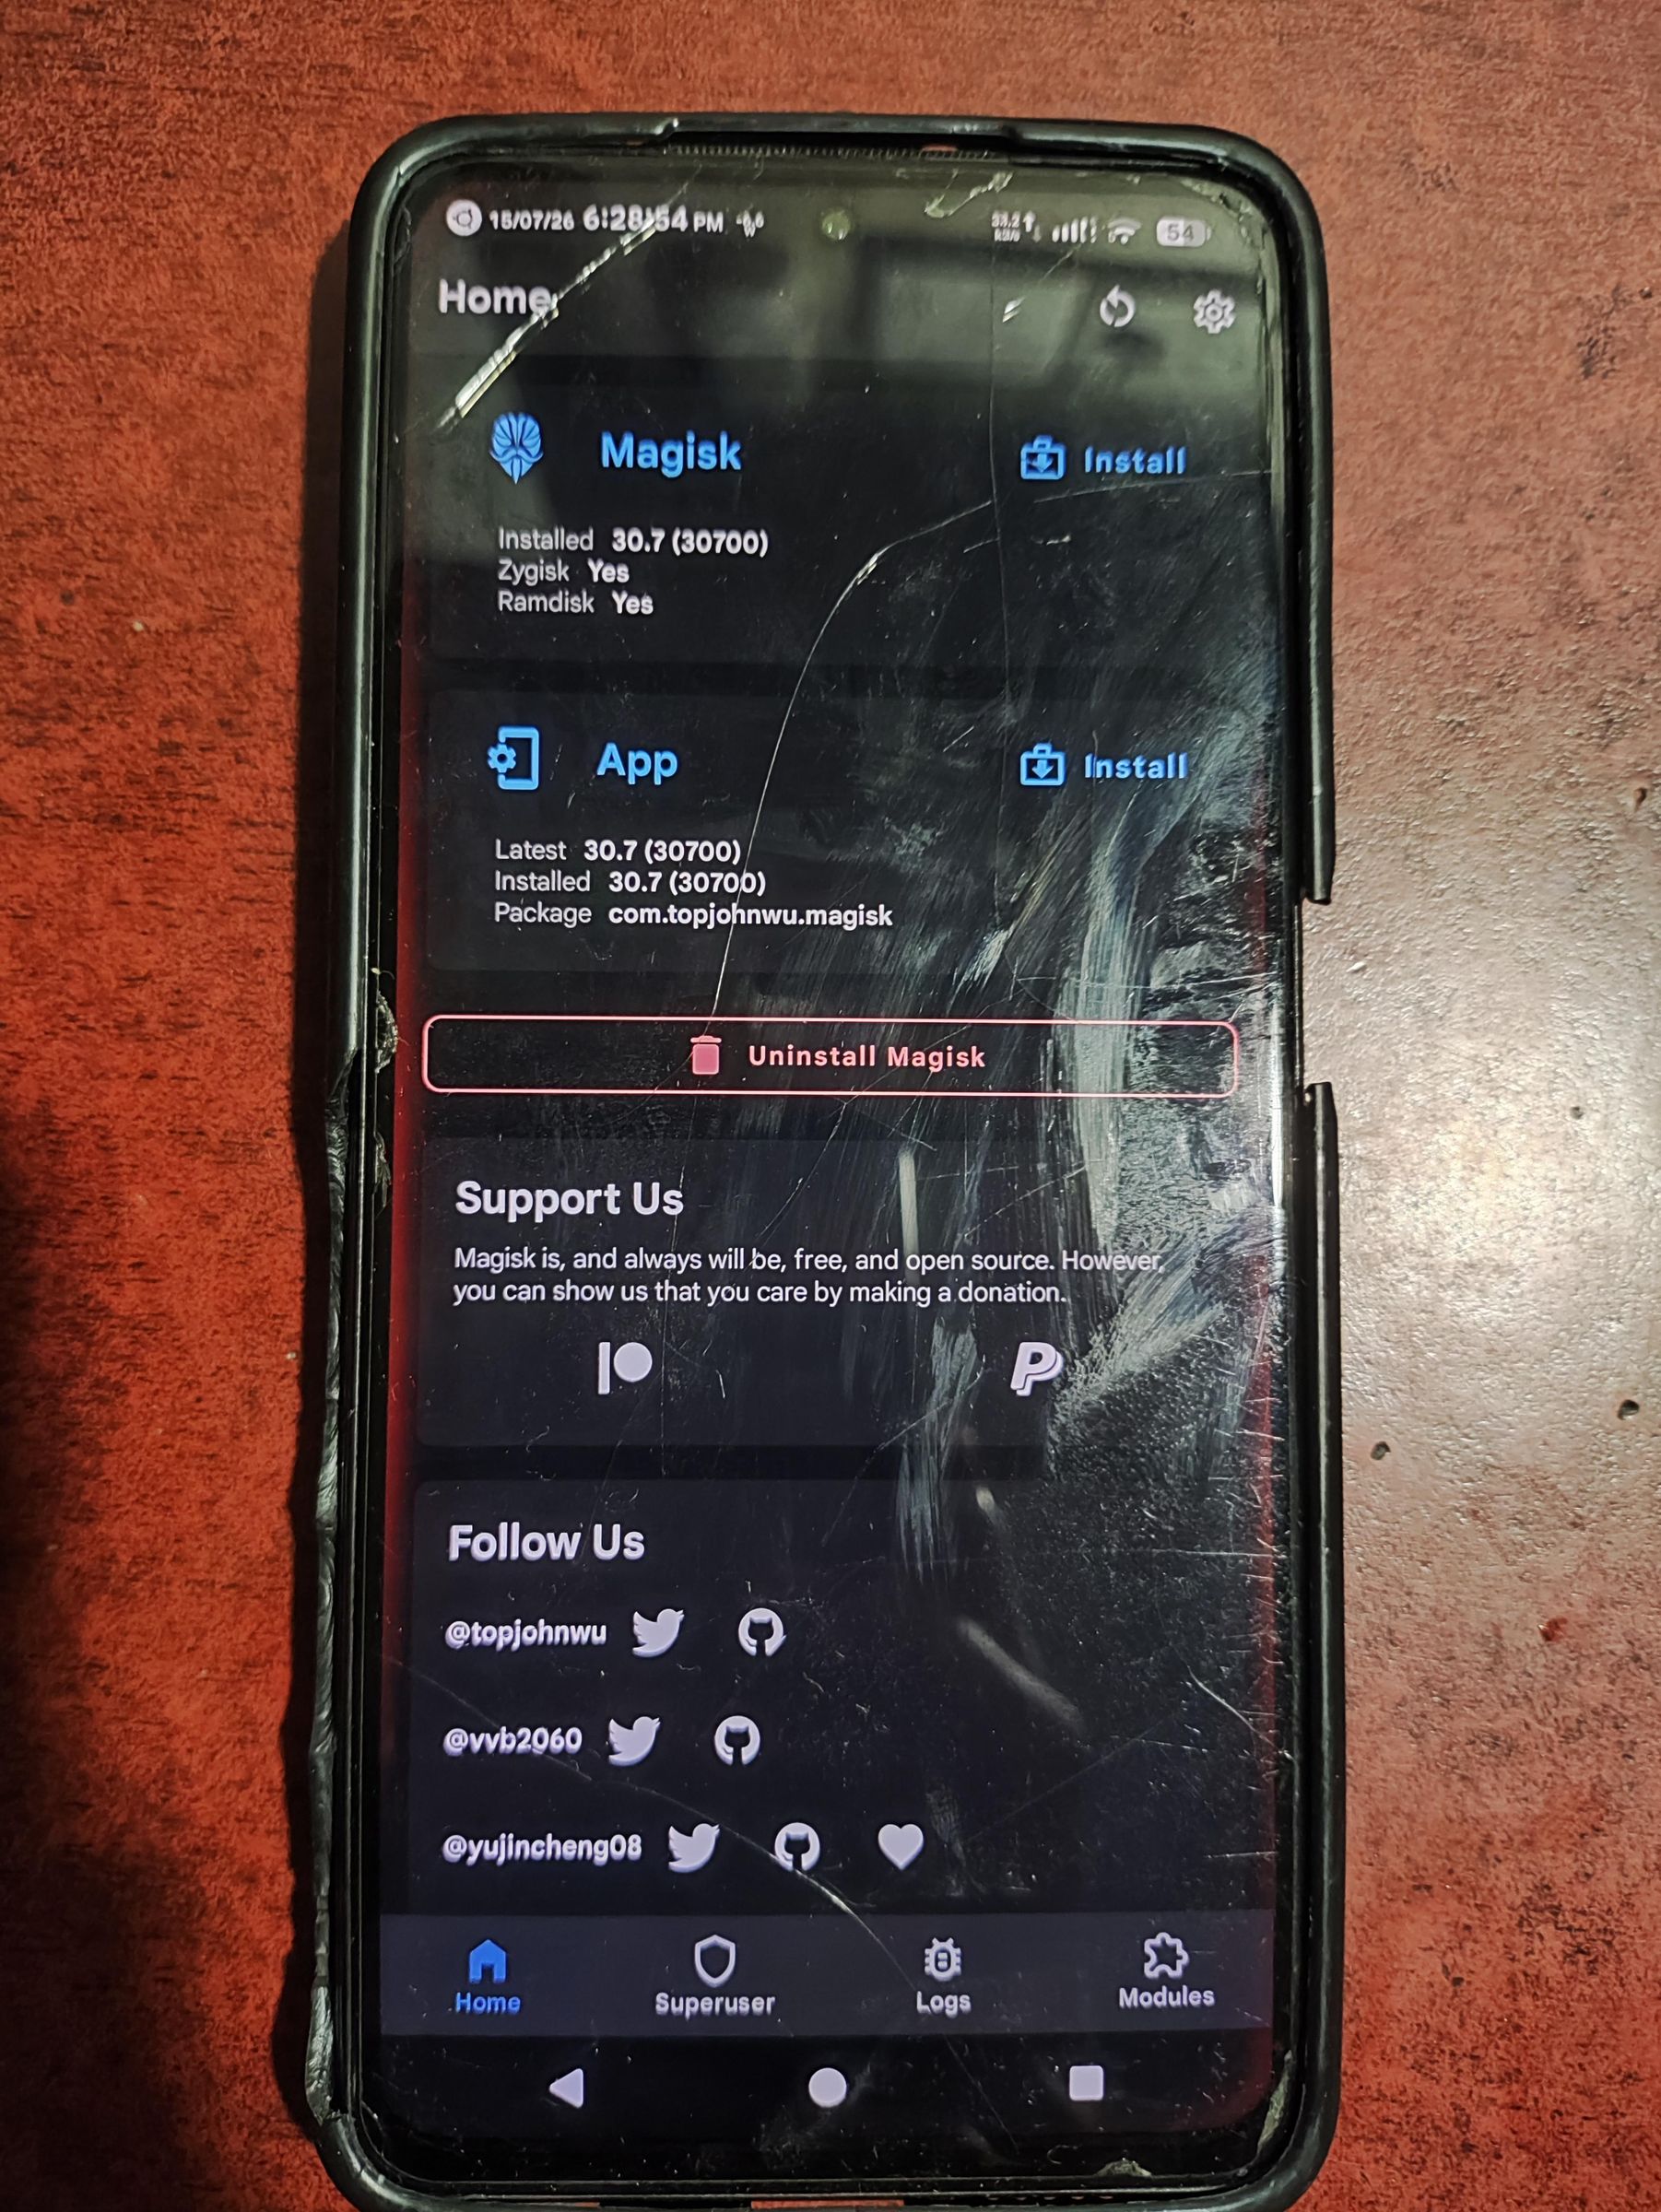
Go to the Magisk app and see finish installation via direct install and wait for automatic reboot and see if rooting worked.
Enjoy Root/Superuser Privileges!
Finally, you can enjoy modern root management and do some cool stuff like make full backups of your Internal Shared Storage using an app called Restoid and increase battery life by using a powerful app called Acc (backend) and pairing it with Advanced Charging Controller (AccA) (frontend) which can significantly increase battery life by manually controlling the power management of the device. Installing modules like ReMalwack can legally block digital advertisements in the device.