Roth Metal Flake
.jpg)
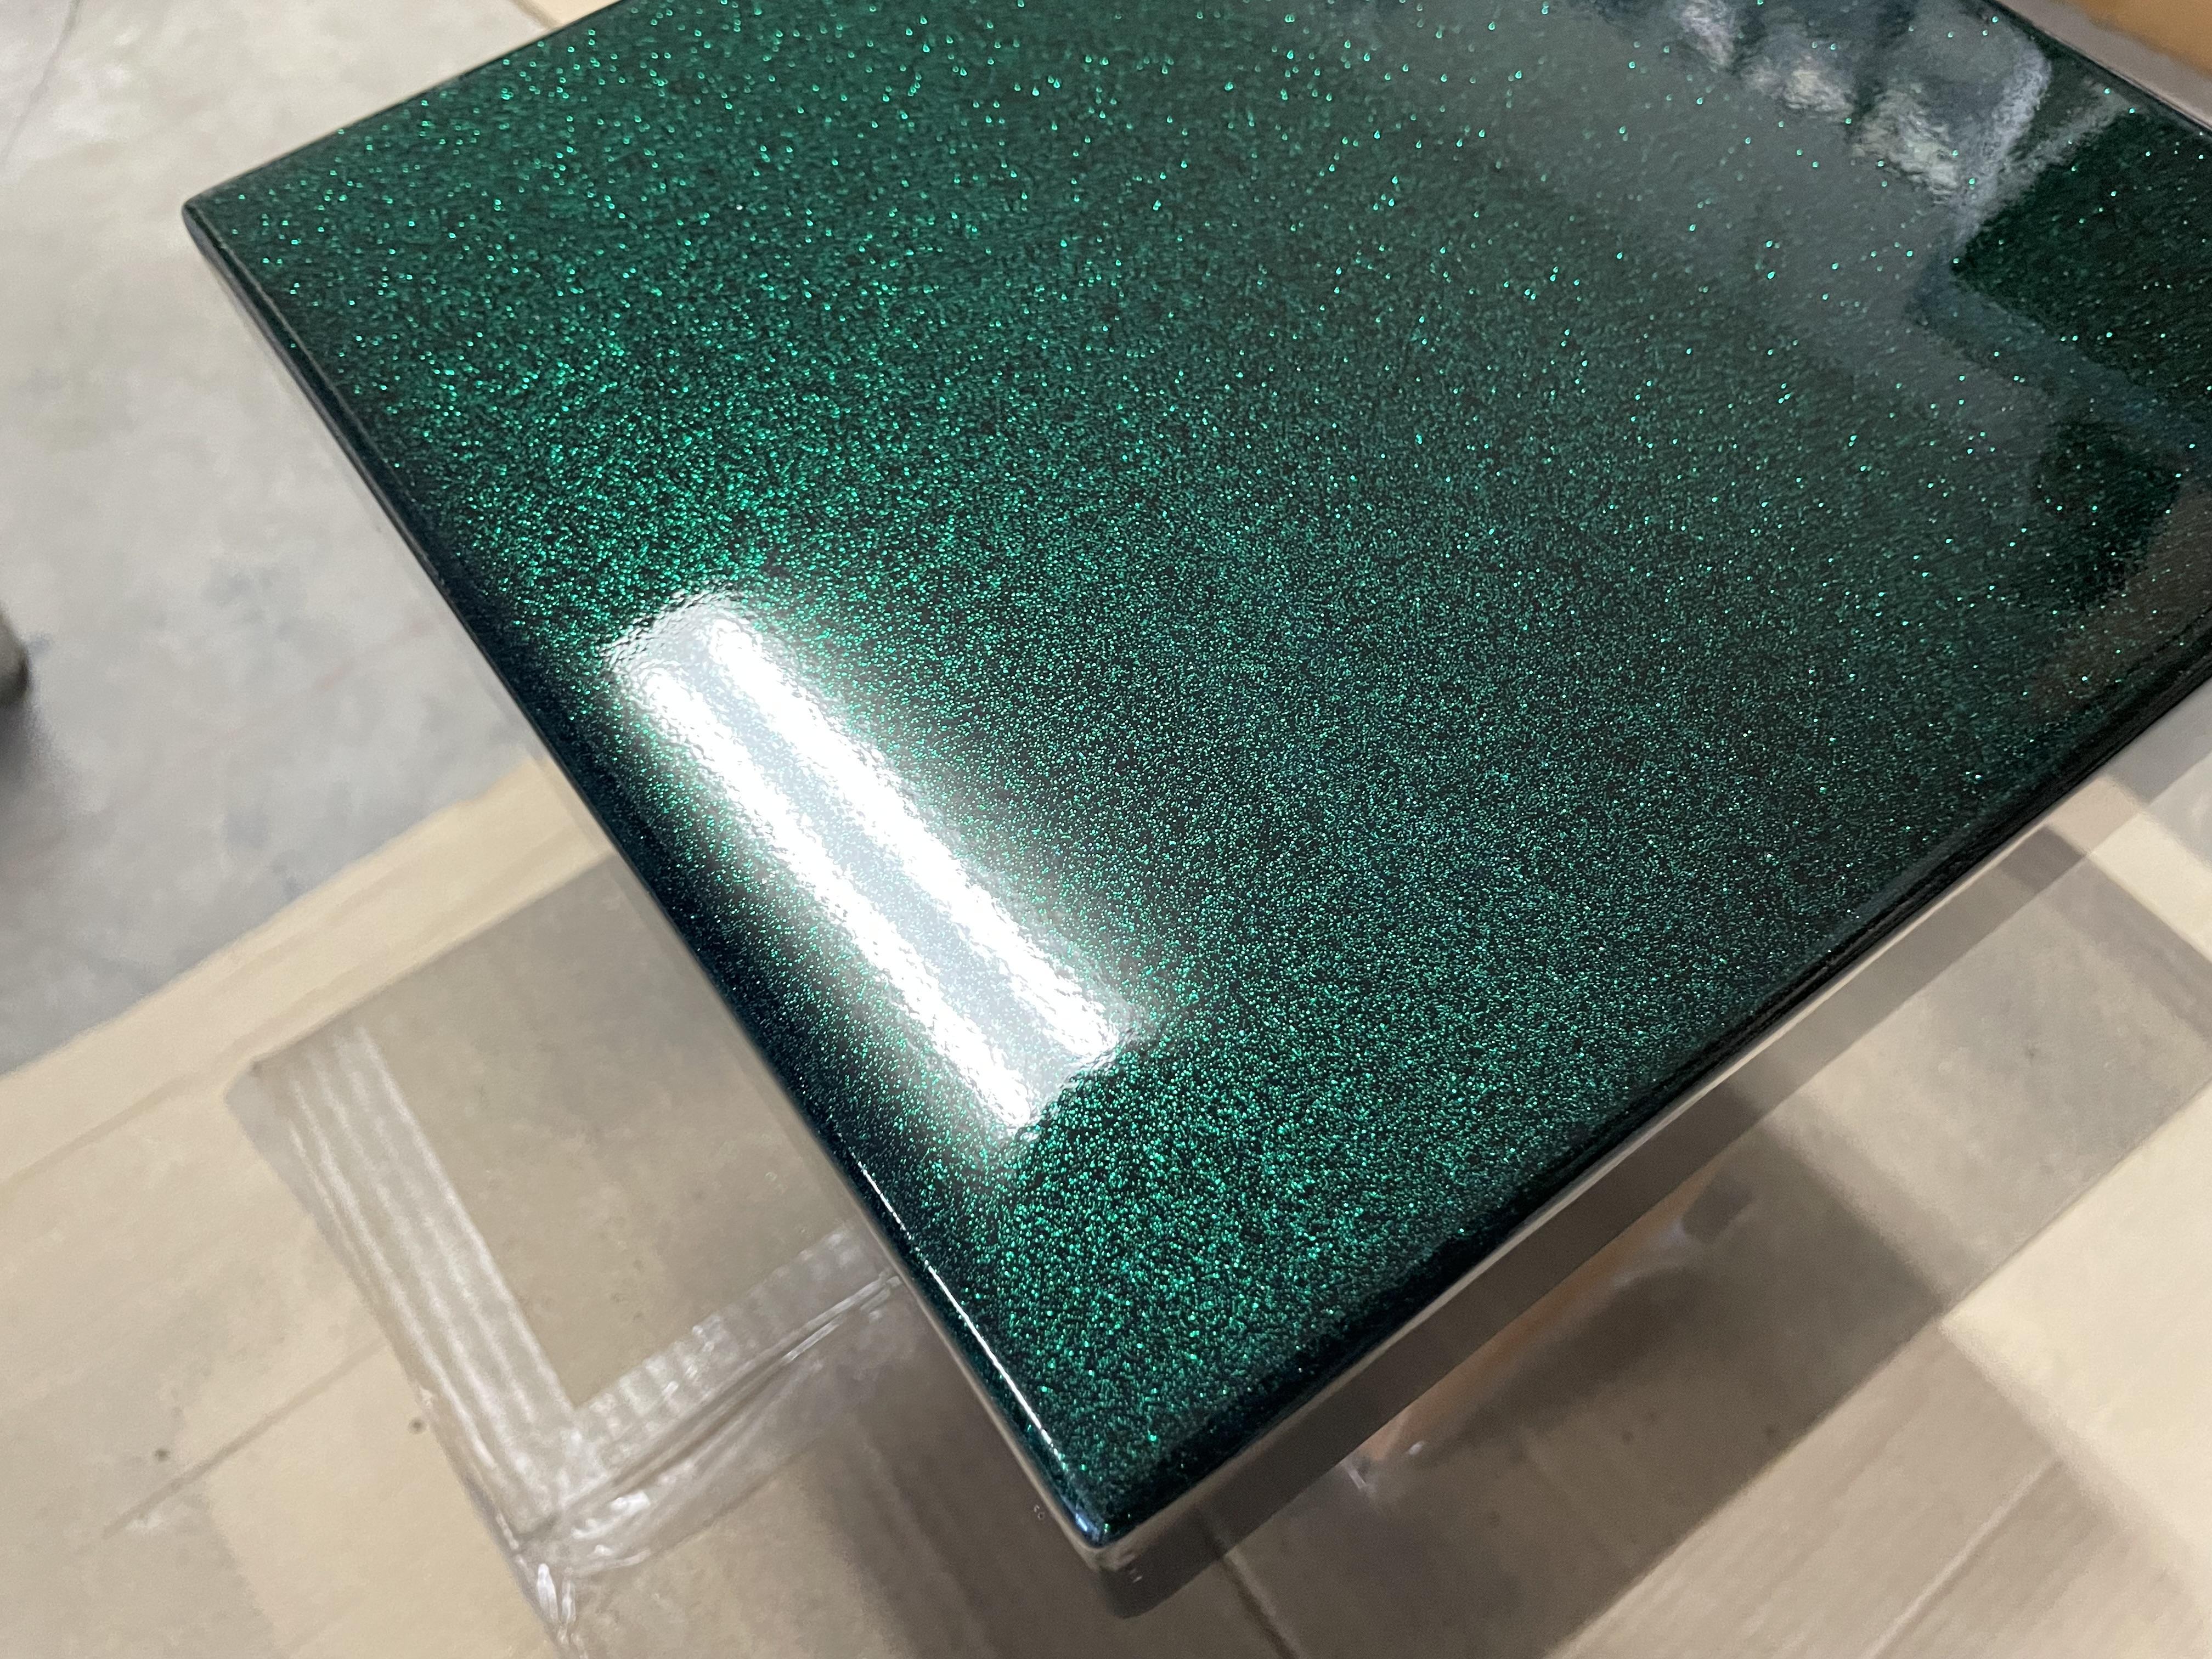
This Instructable shows the process that I took to paint metal flake with the Roth Rattle Bomb paints. I didn't realize that you could get metal flake in a spray can, so when I saw it online I wanted to try it out. I decided to paint an old work table and some other metal parts that I had lying around.
Supplies
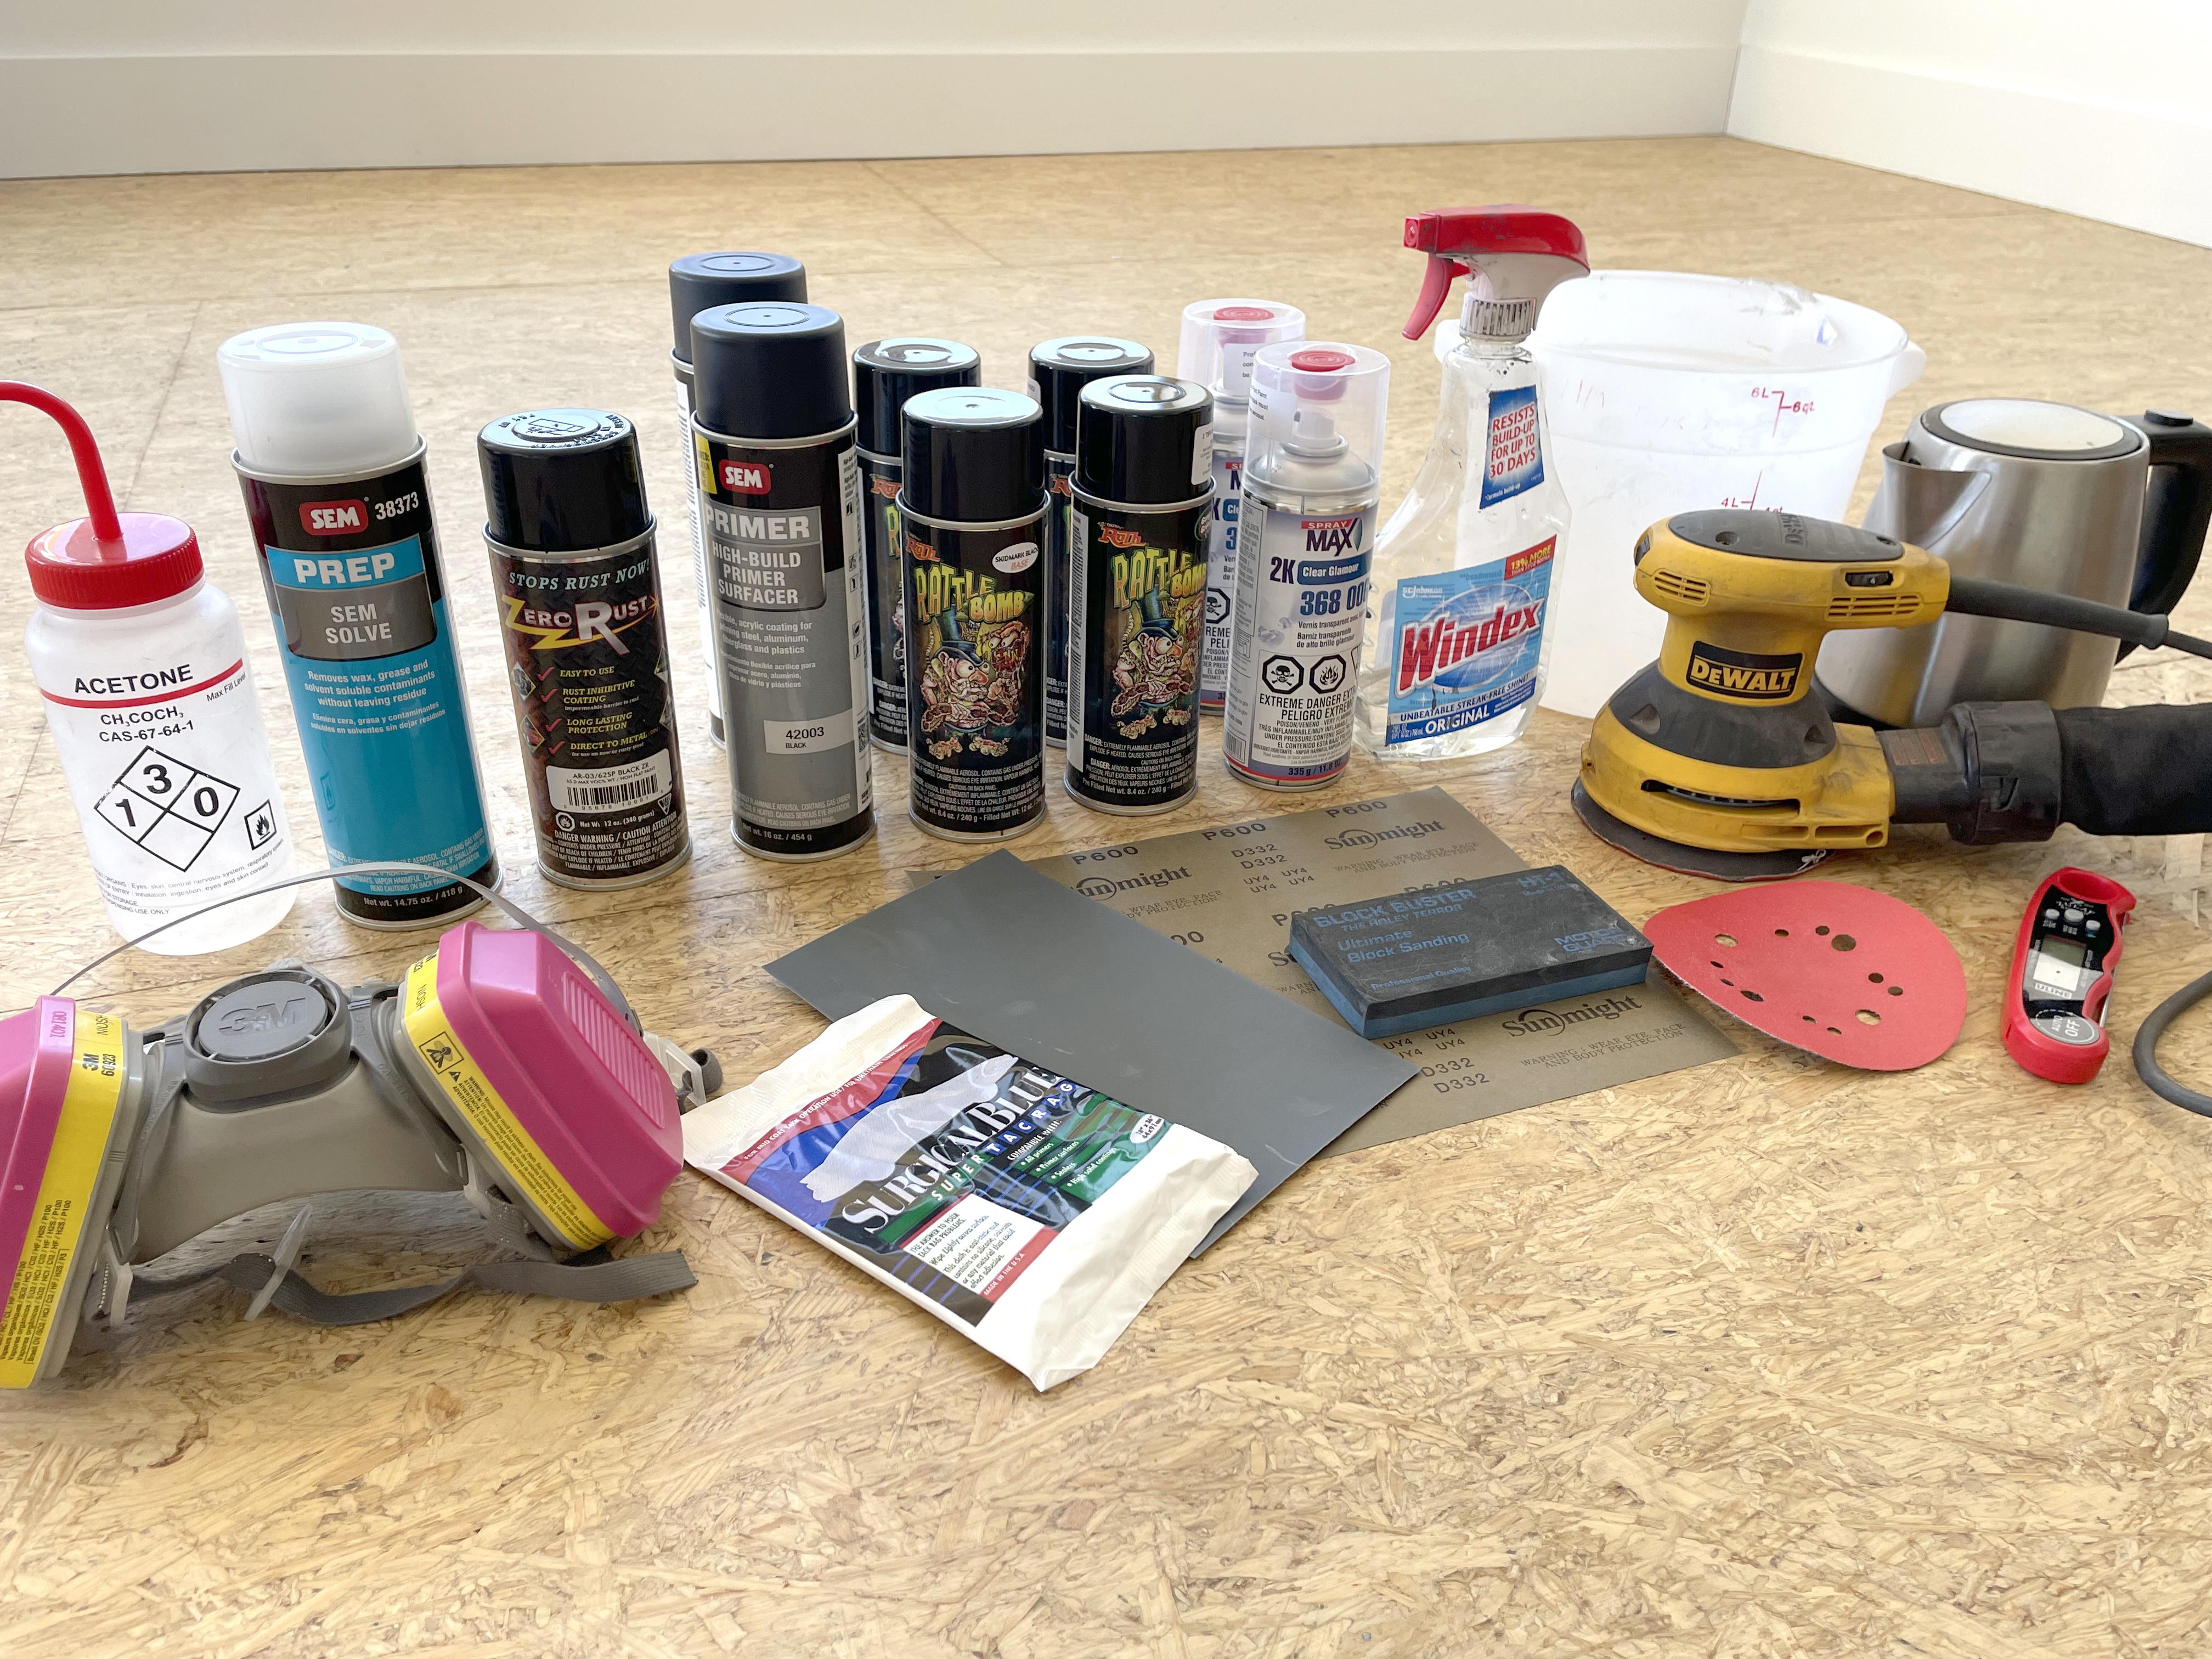
These are the materials that I used. However, you may or may not need all of them depending on what you're painting. I originally started with their $50 Rattle Bomb kit, but it quickly snowballed in cost because I underestimated how much paint I would need and there were other supplies that I needed, but had not factored in. You can find these products from your local auto body supply store or online.
- Acetone
- Zero Rust Primer
- SEM High Build Primer
- SEM Prep Cleaner
- Rattle Bomb Base Paint
- Rattle Bomb Flake Paint
- Spray Max 2K Clear Coat
- Spray Bottle
- Bucket for Water
- Sander
- 80 Grit Sandpaper (something coarse)
- 3M Respirator
- Wet Sanding Block
- 800 Grit Sandpaper (suitable for wet sanding)
- Tack Cloth
Preping Metal
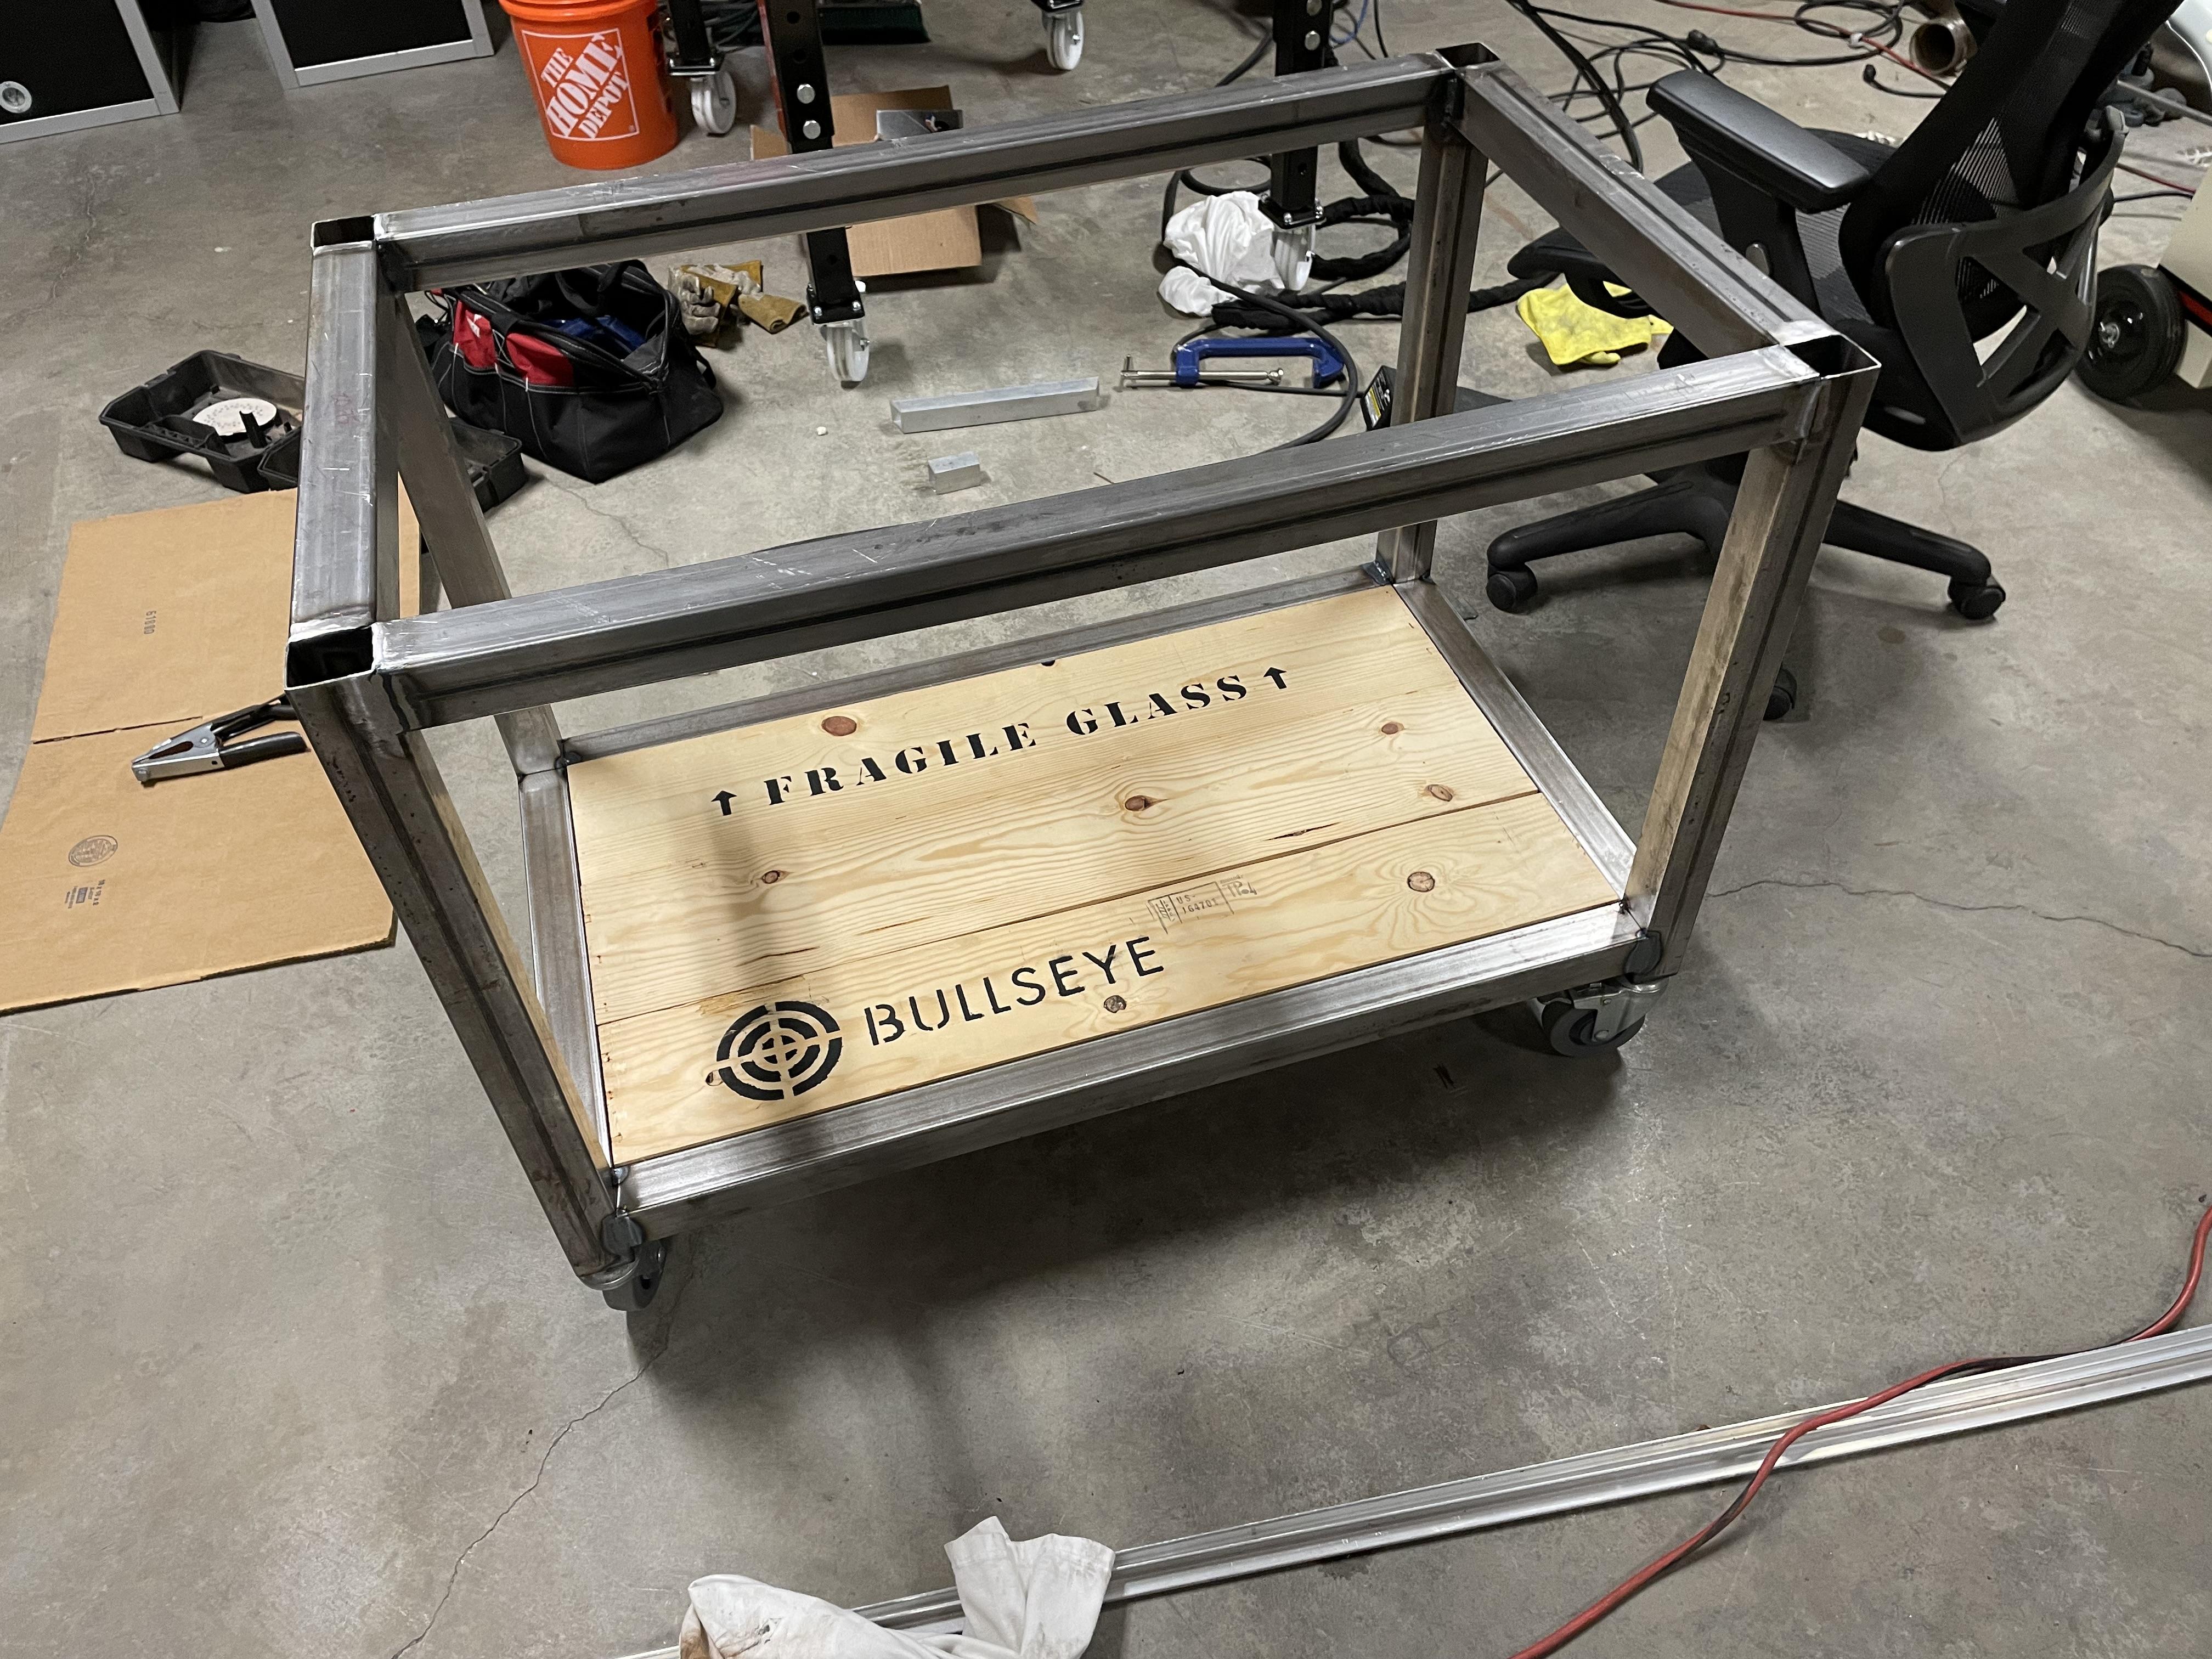
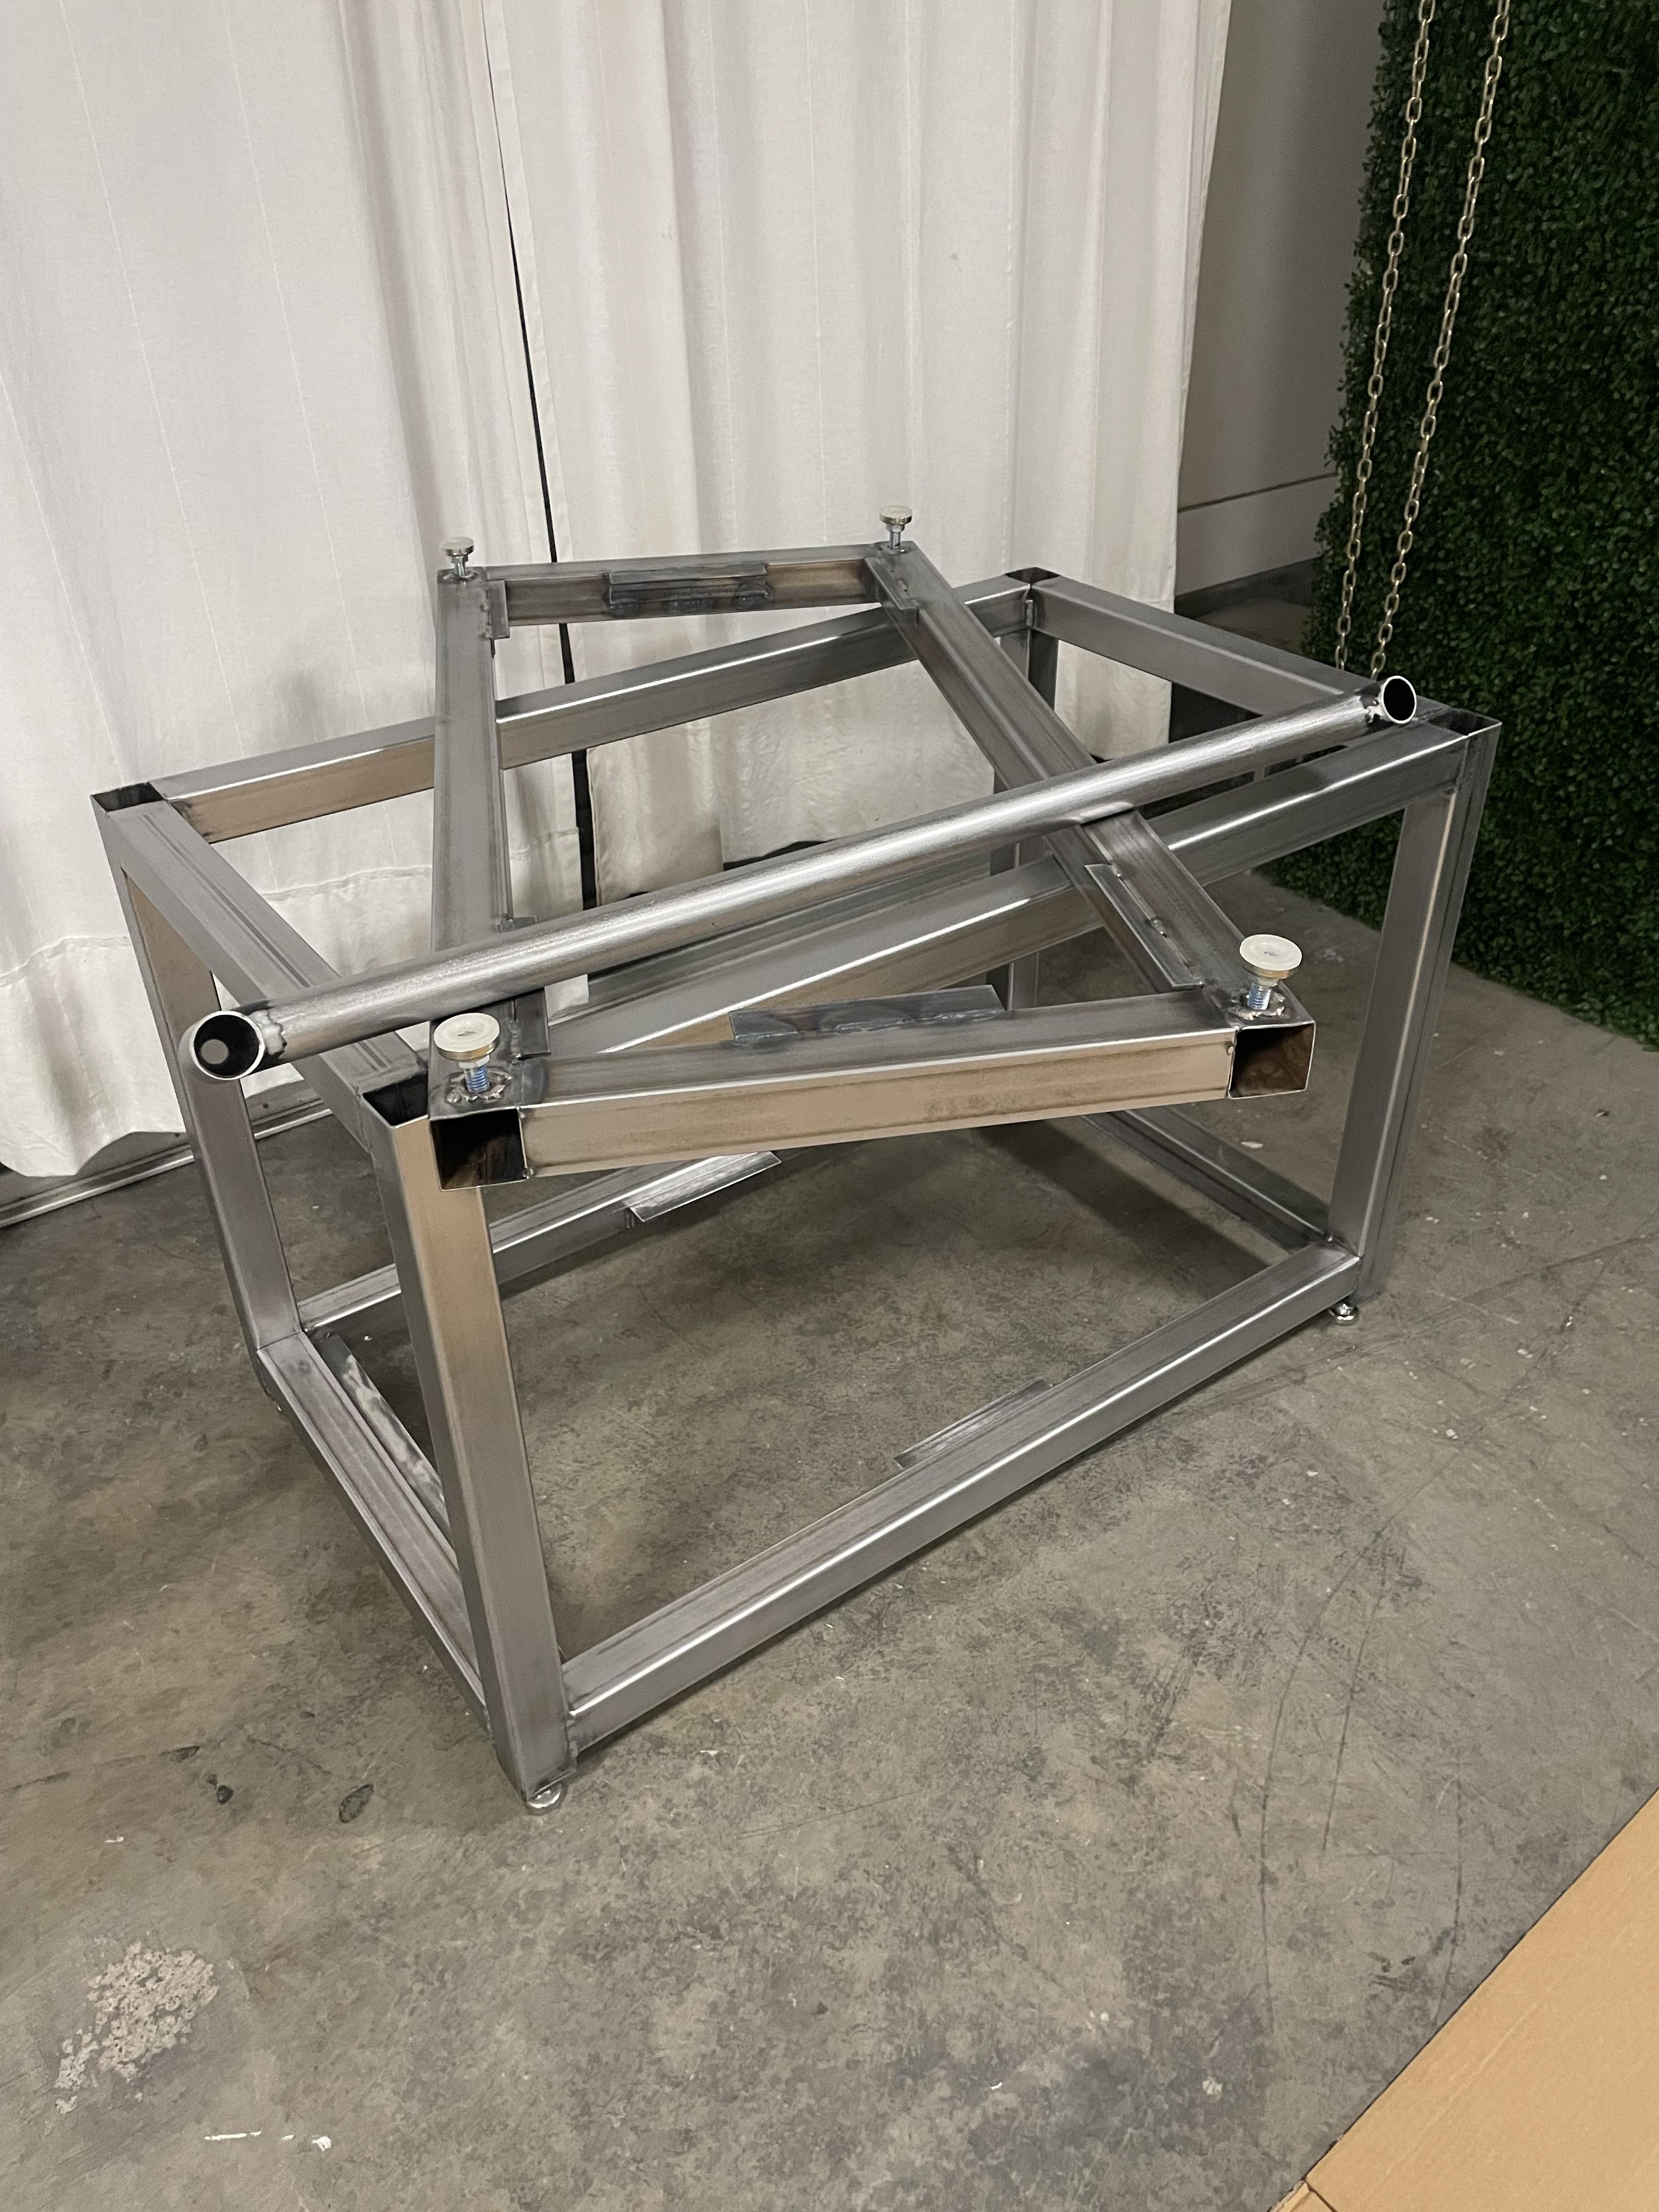
The table frame had a little surface rust, so the first thing that I had to do was remove it. I used a sander and 80 grit pad to sand every surface. This took a while and there's really no trick to it. Even after sanding, there was some brown coloring in some spots. It was really minor and probably wouldn't have been a problem, but being paranoid thought that I should address it with, "Zero Rust Primer".
Before spraying the primer, I cleaned the metal with Acetone. After wiping it down numerous times and once the rag came back clean, I then used SEM Prep spray with a new rag. This removed any left over oils and provides a completely clean surface to begin priming.
Priming
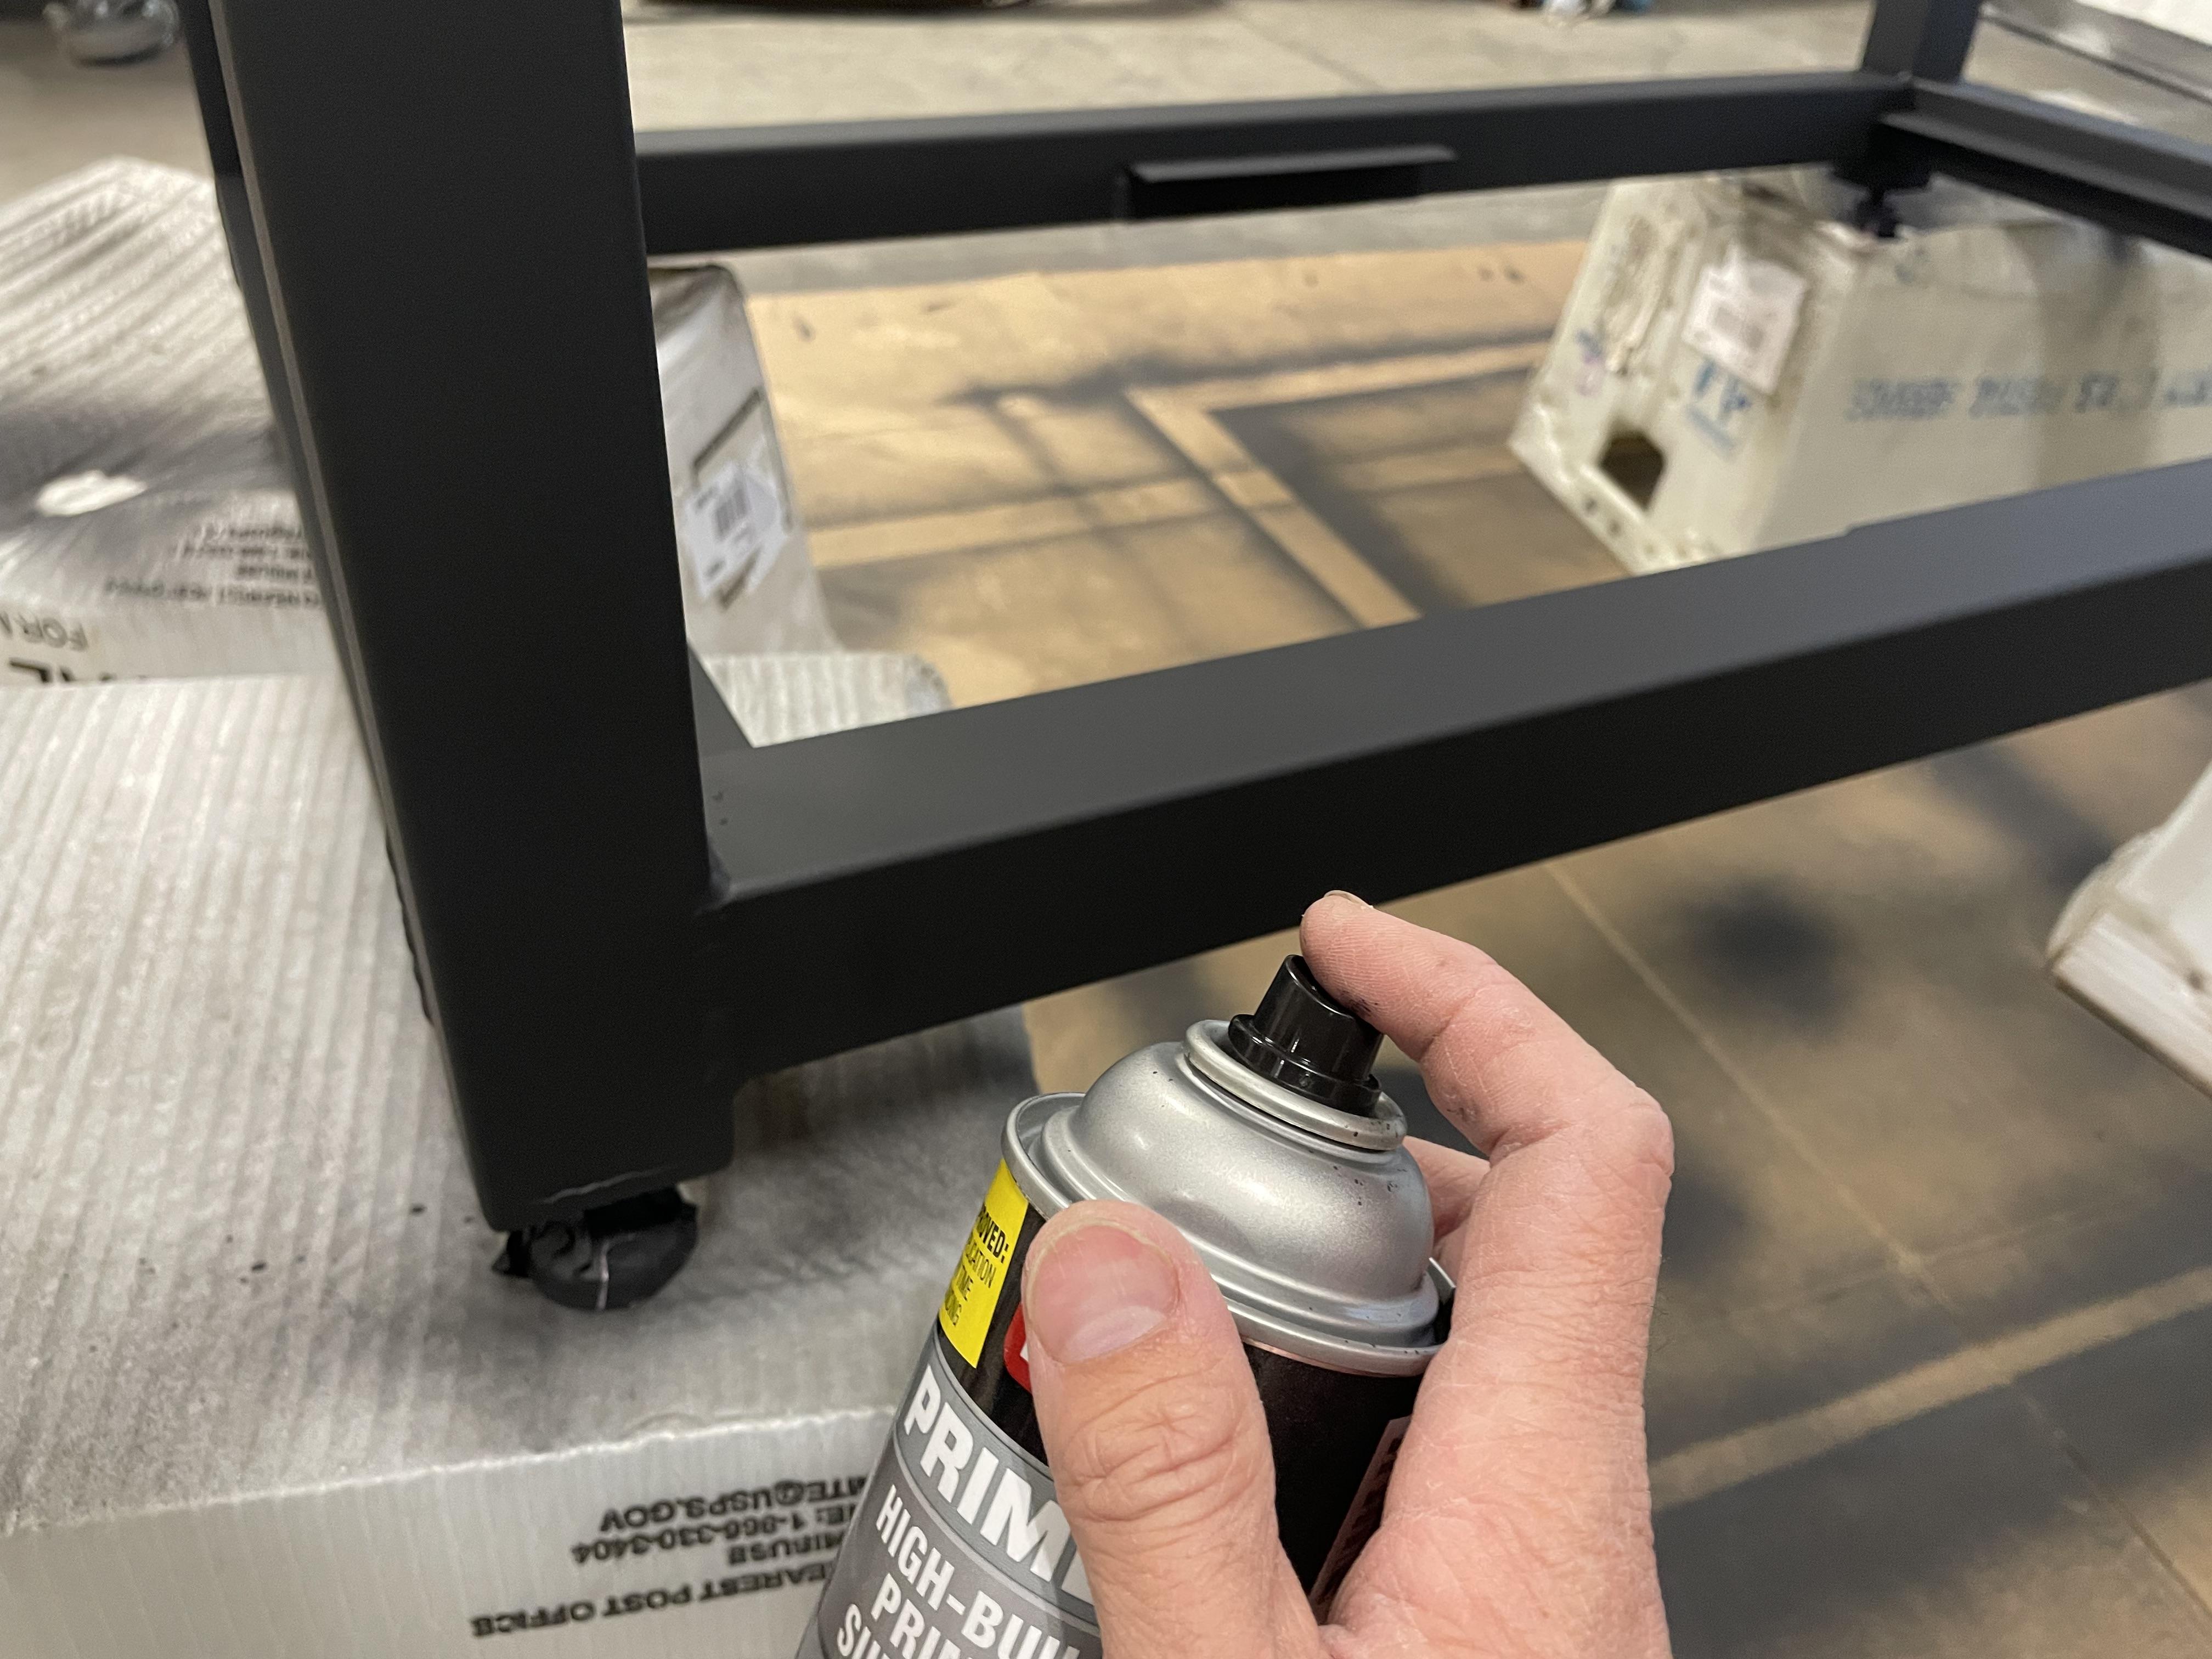

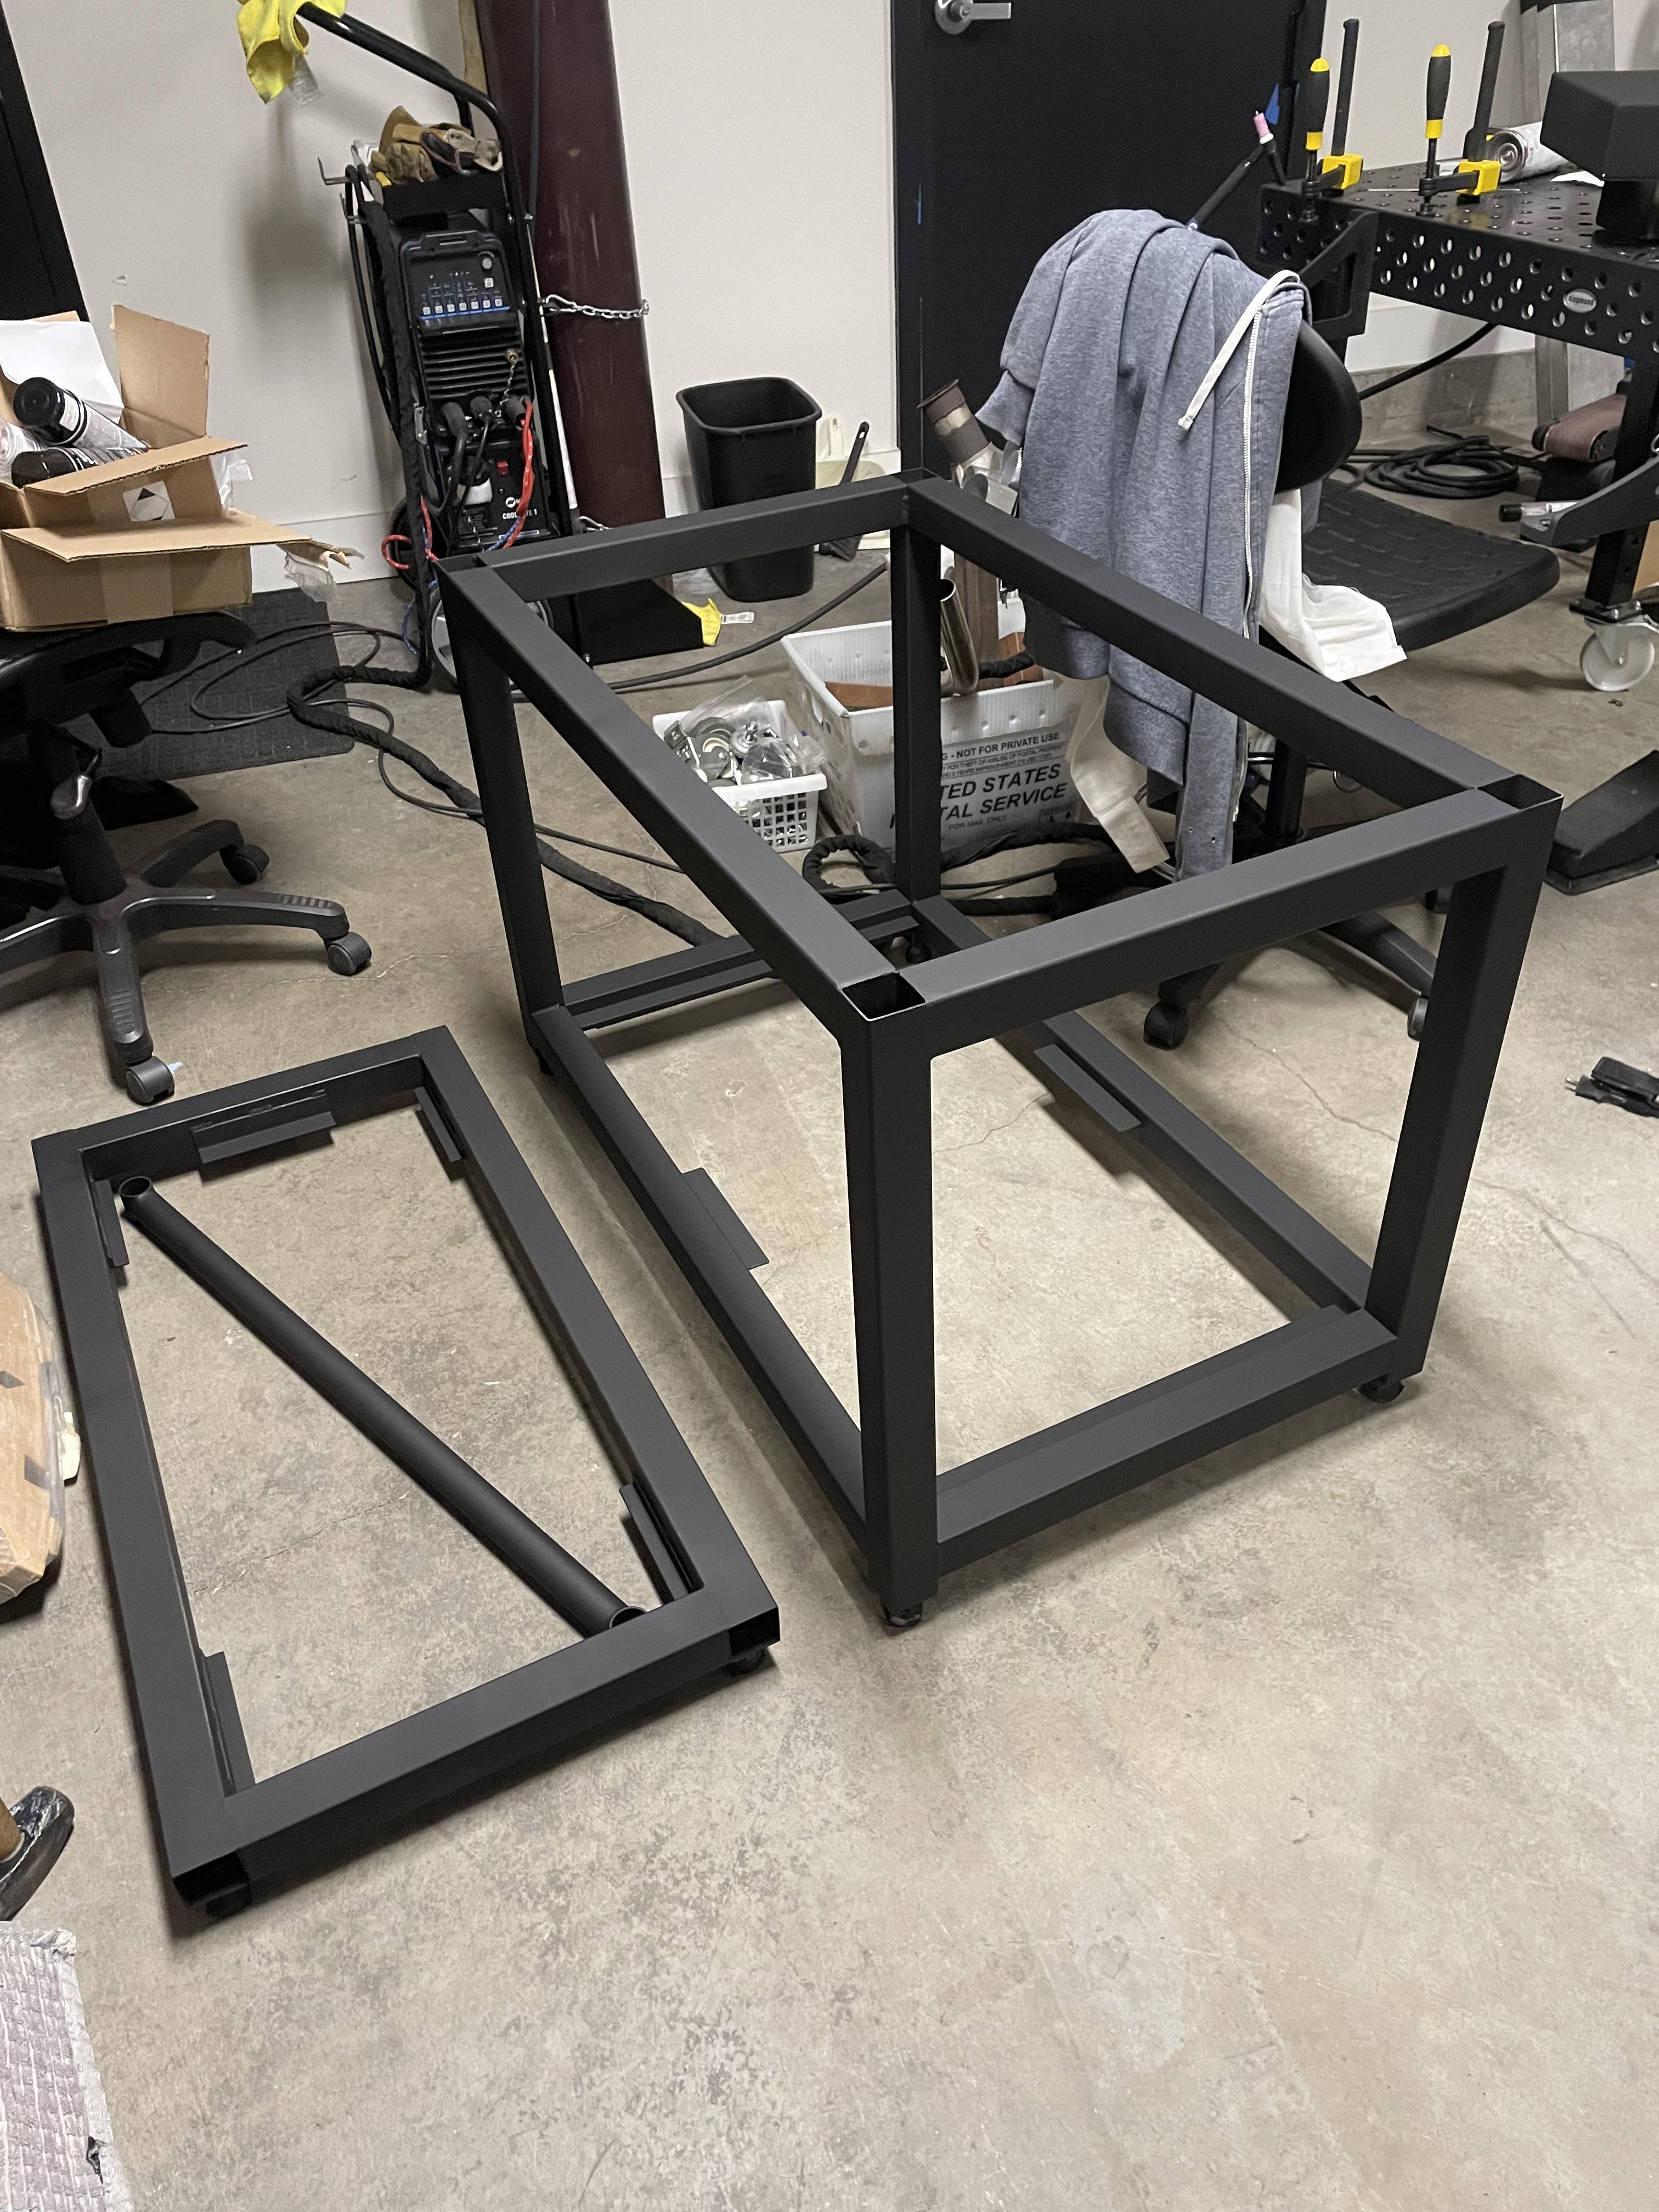
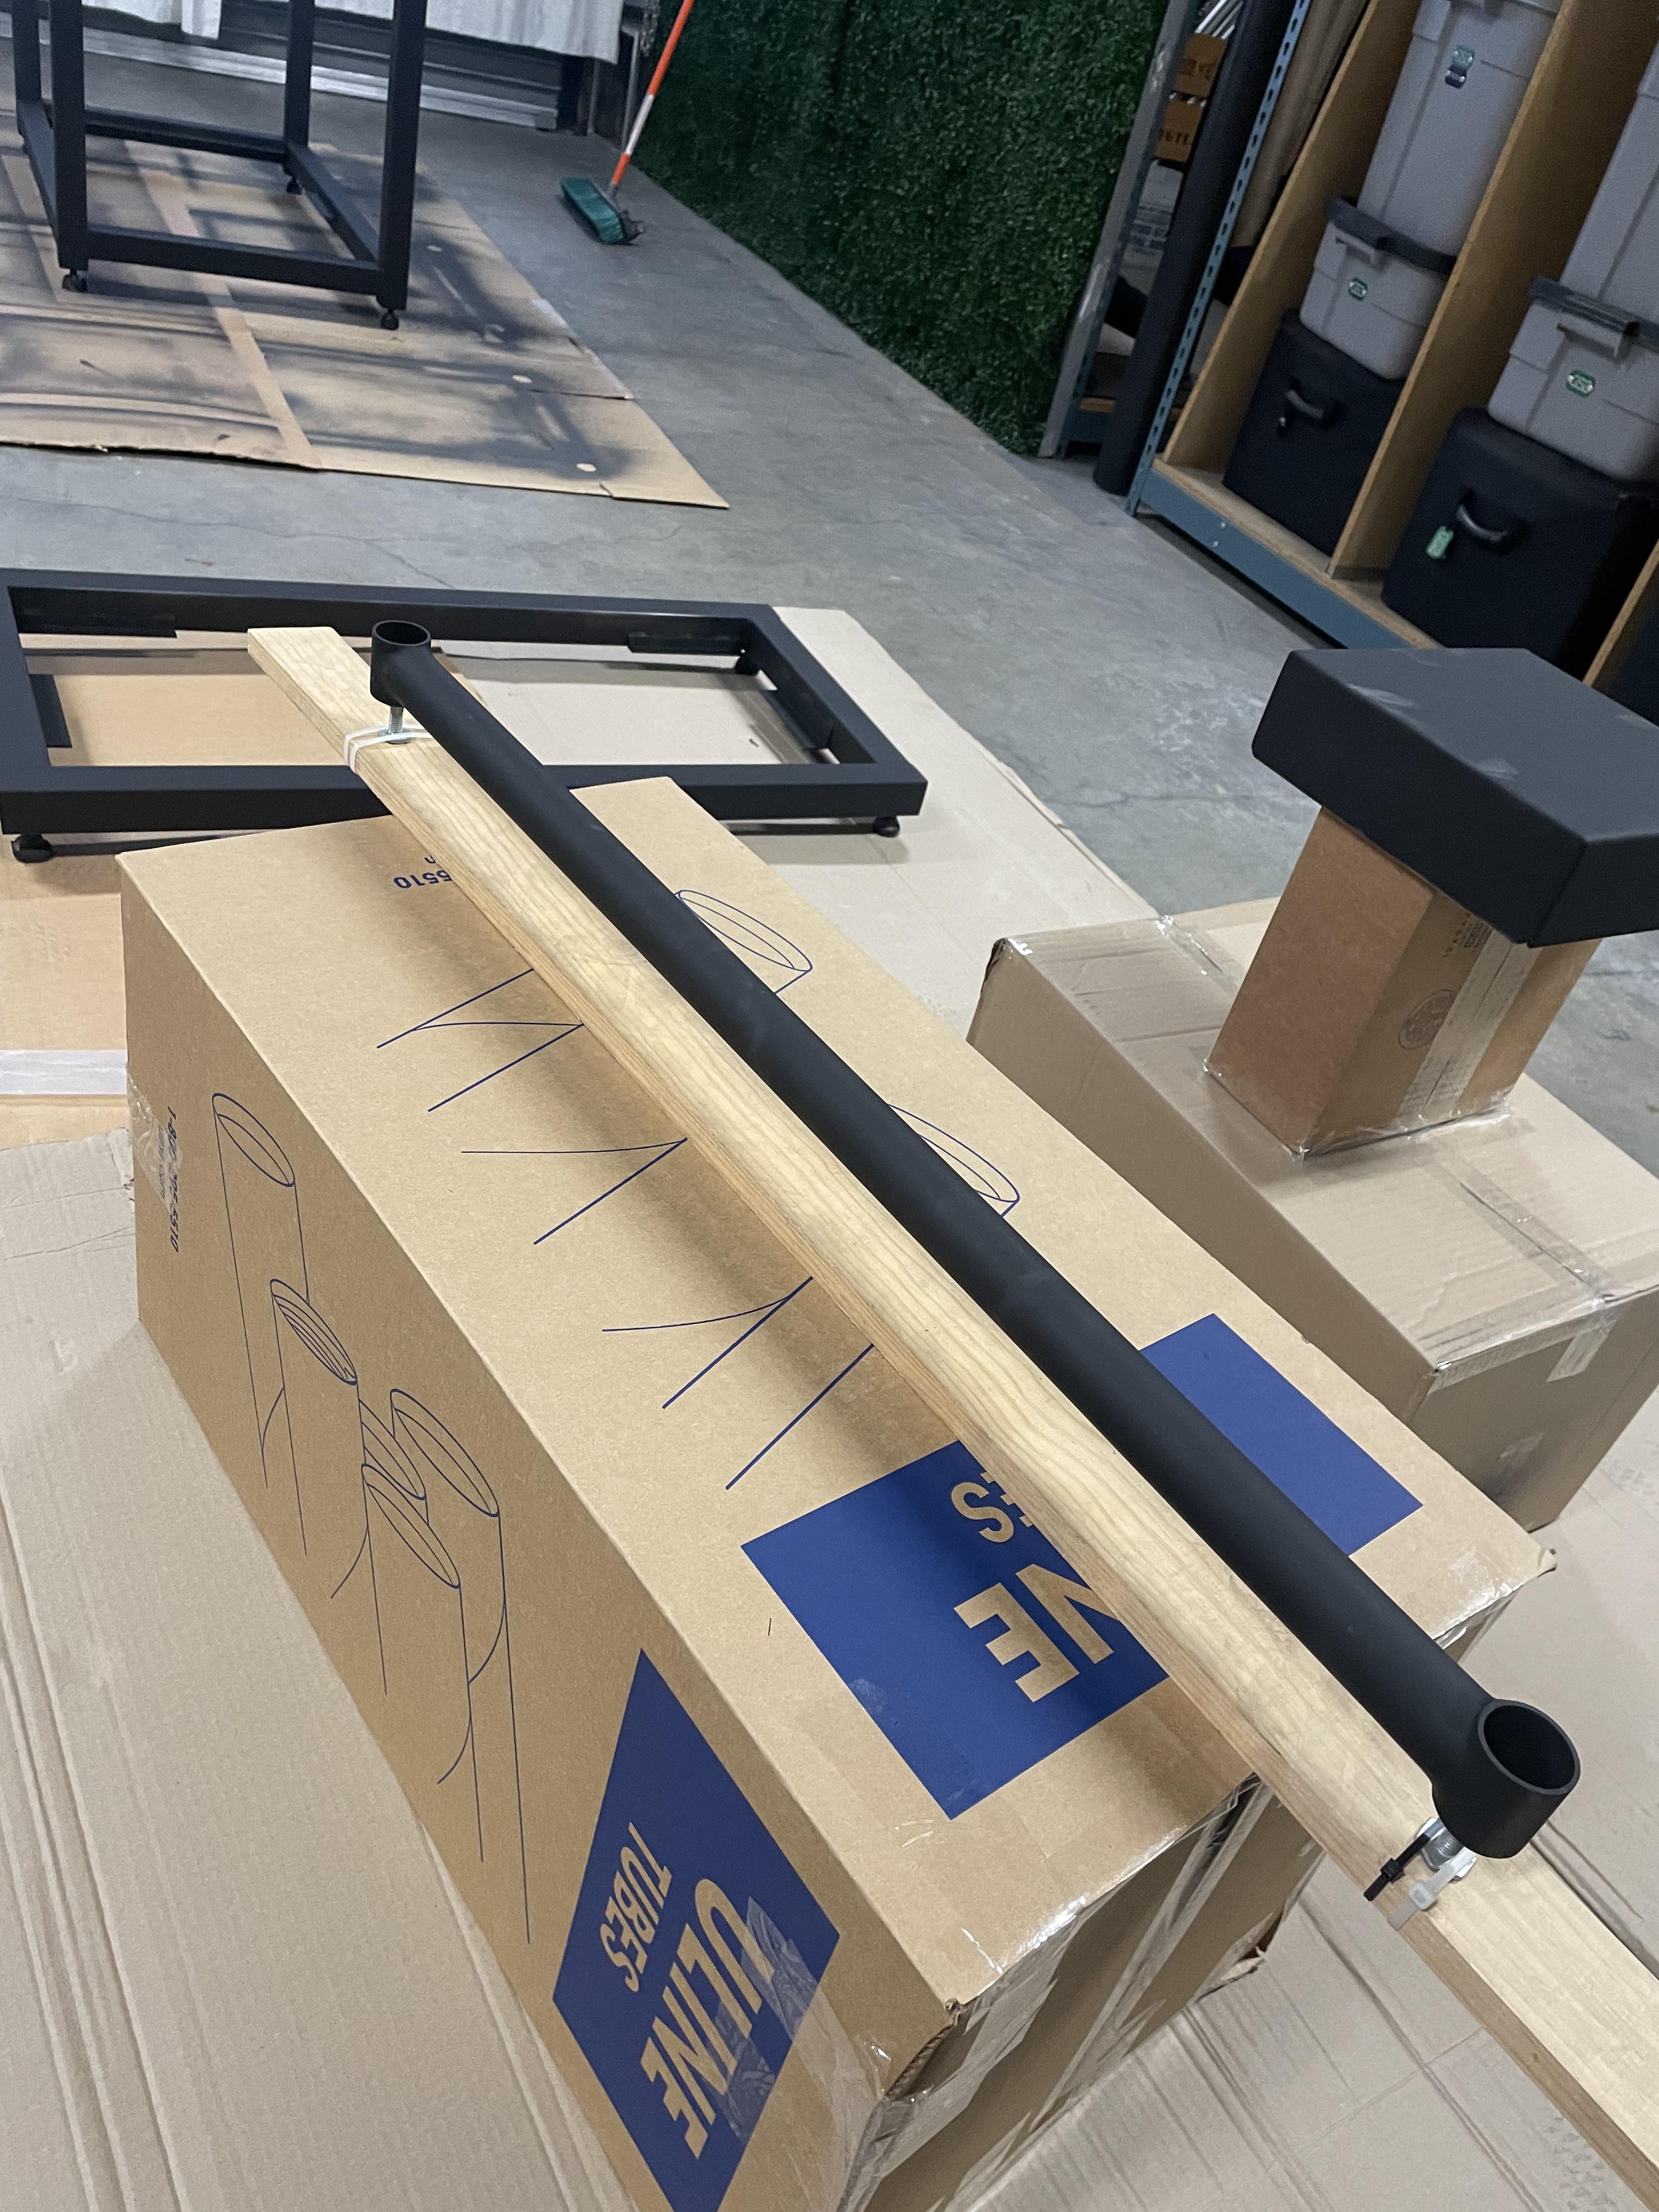
The spray cans work best when they're aimed at a 90 degree angle. If you try to spray down or up, then they tend to sputter and splatter paint. I found some boxes to lift them up so that I had a better angle to paint.
I first did a coat of the Zero Rust Primer. After that I followed up with 2 coats of the high build primer. The high build primer is used to fill in any light scratches in the material. The primer comes in white, black, and gray, so you should choose the primer that's closest to the color paint you'll be using. I waited 20 minutes between coats. Not sure if this is necessary, but it's what I did.
Wet Sanding
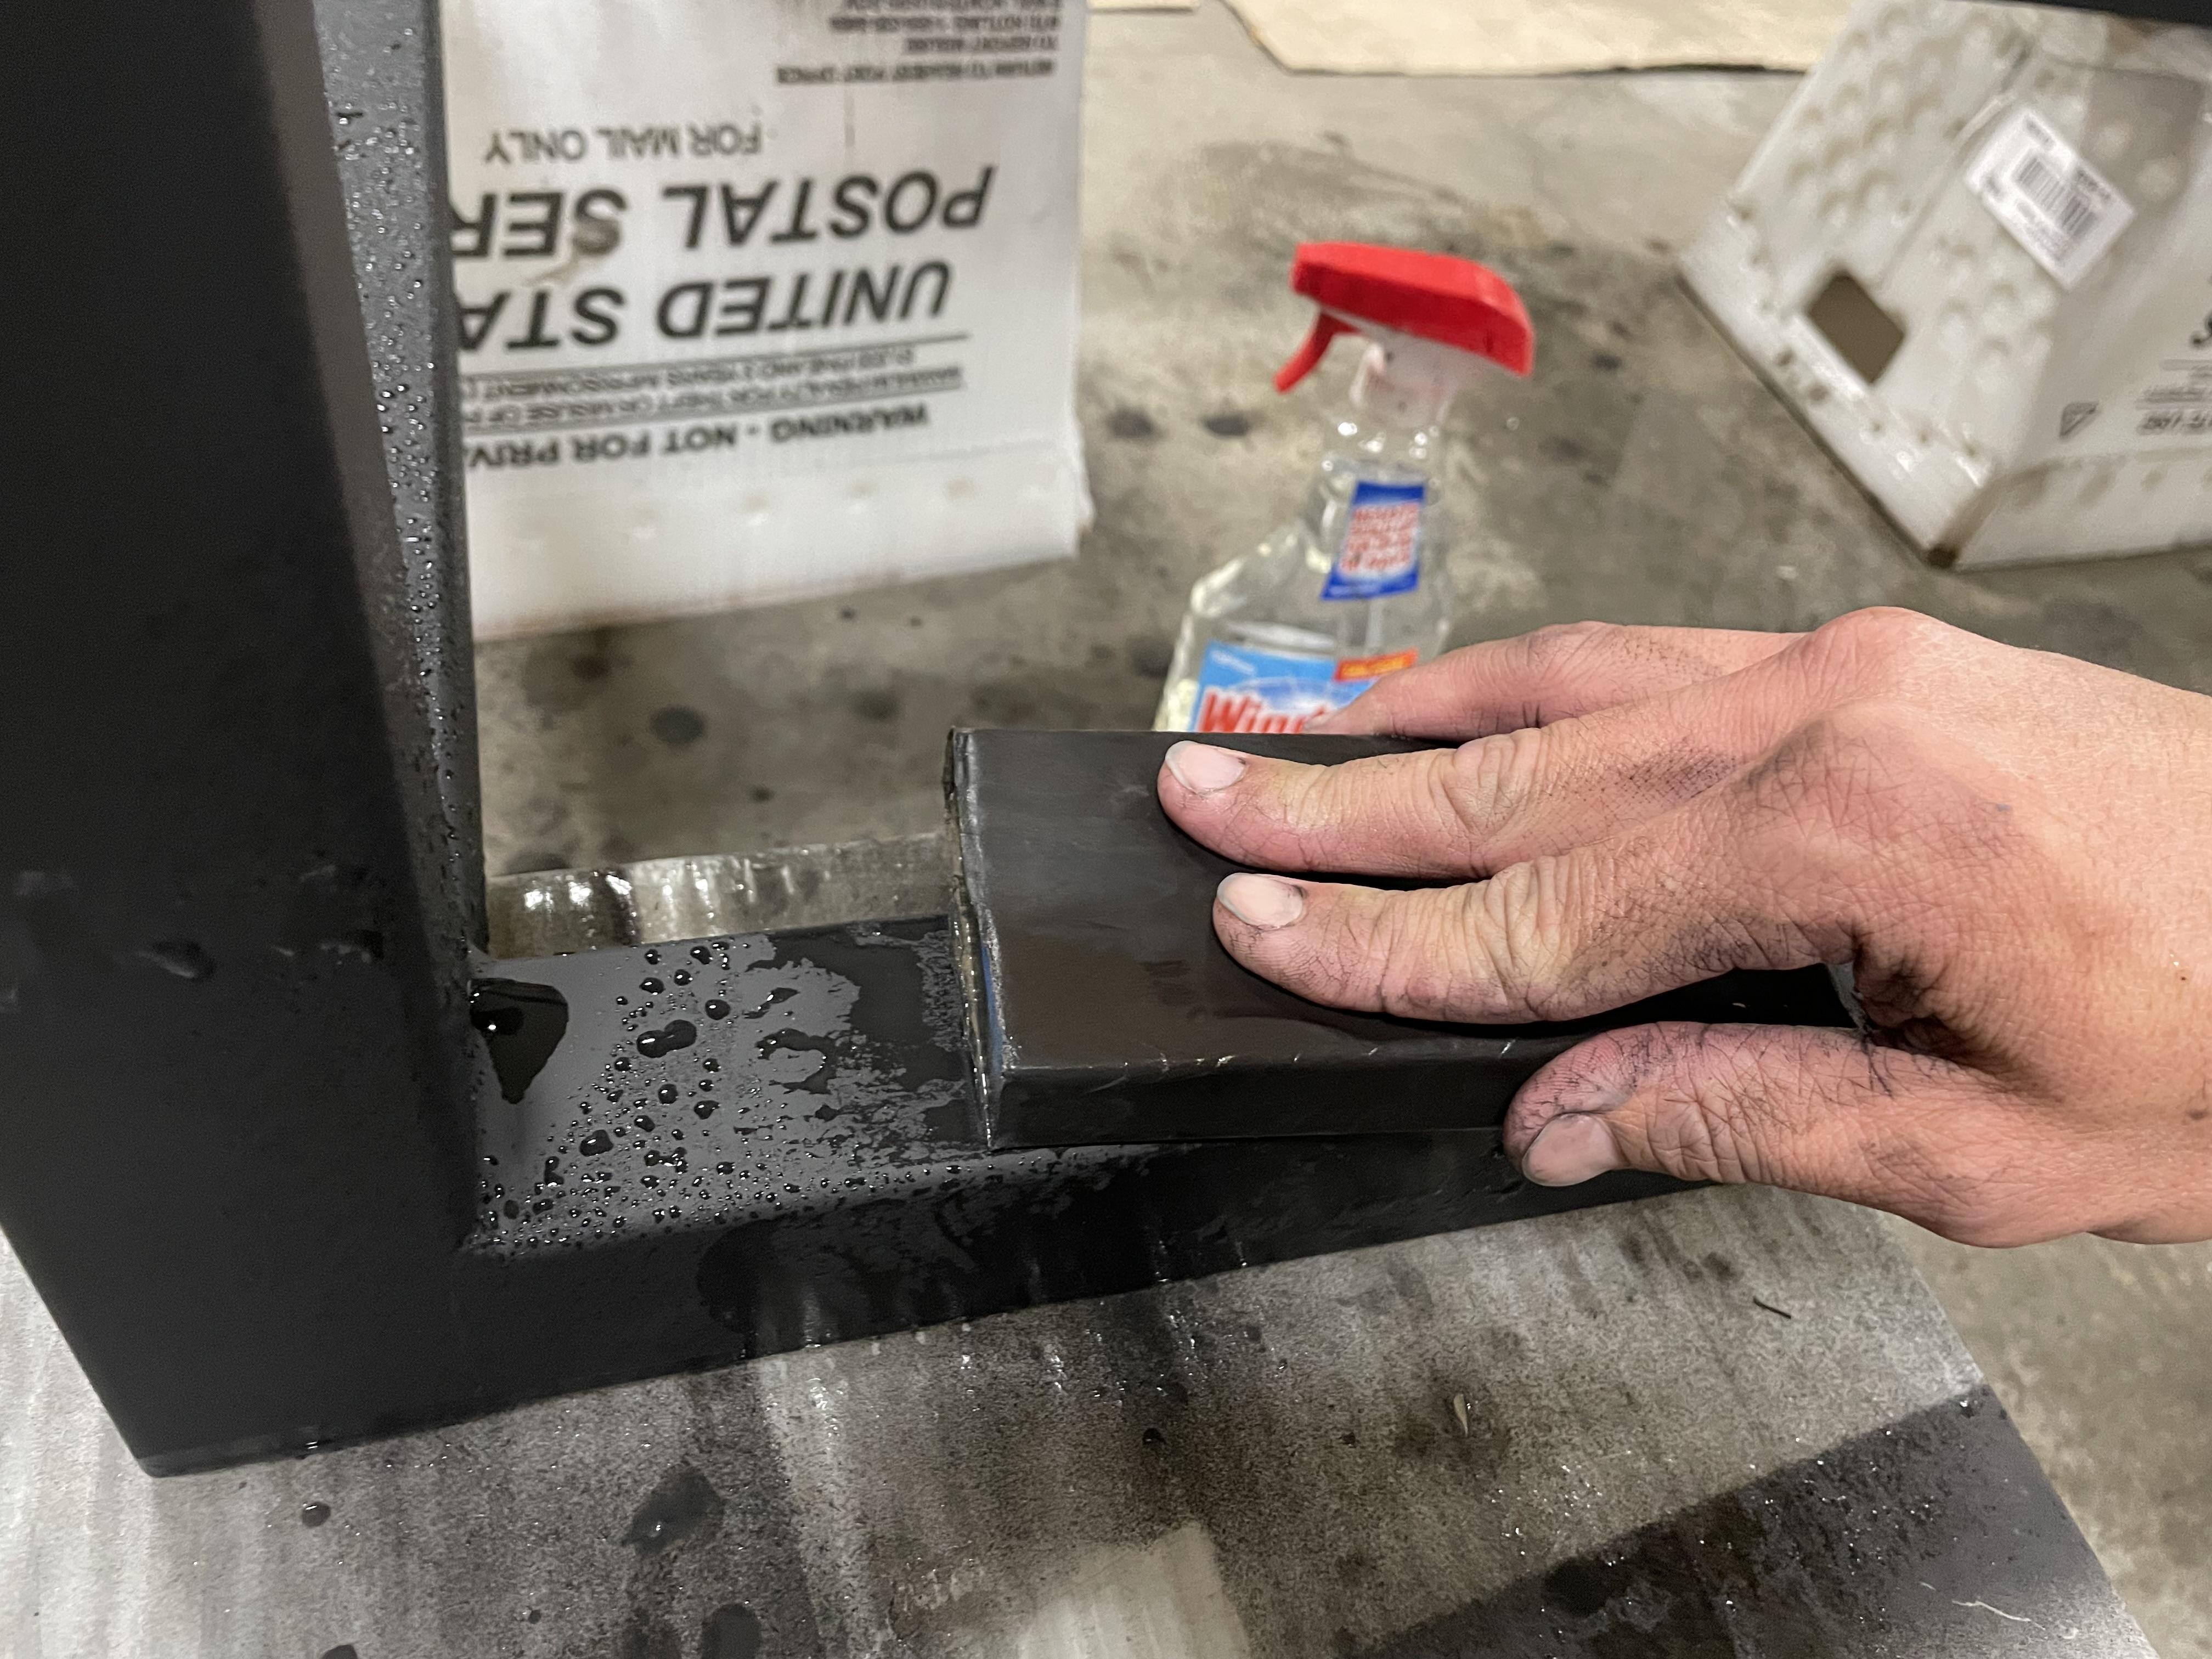
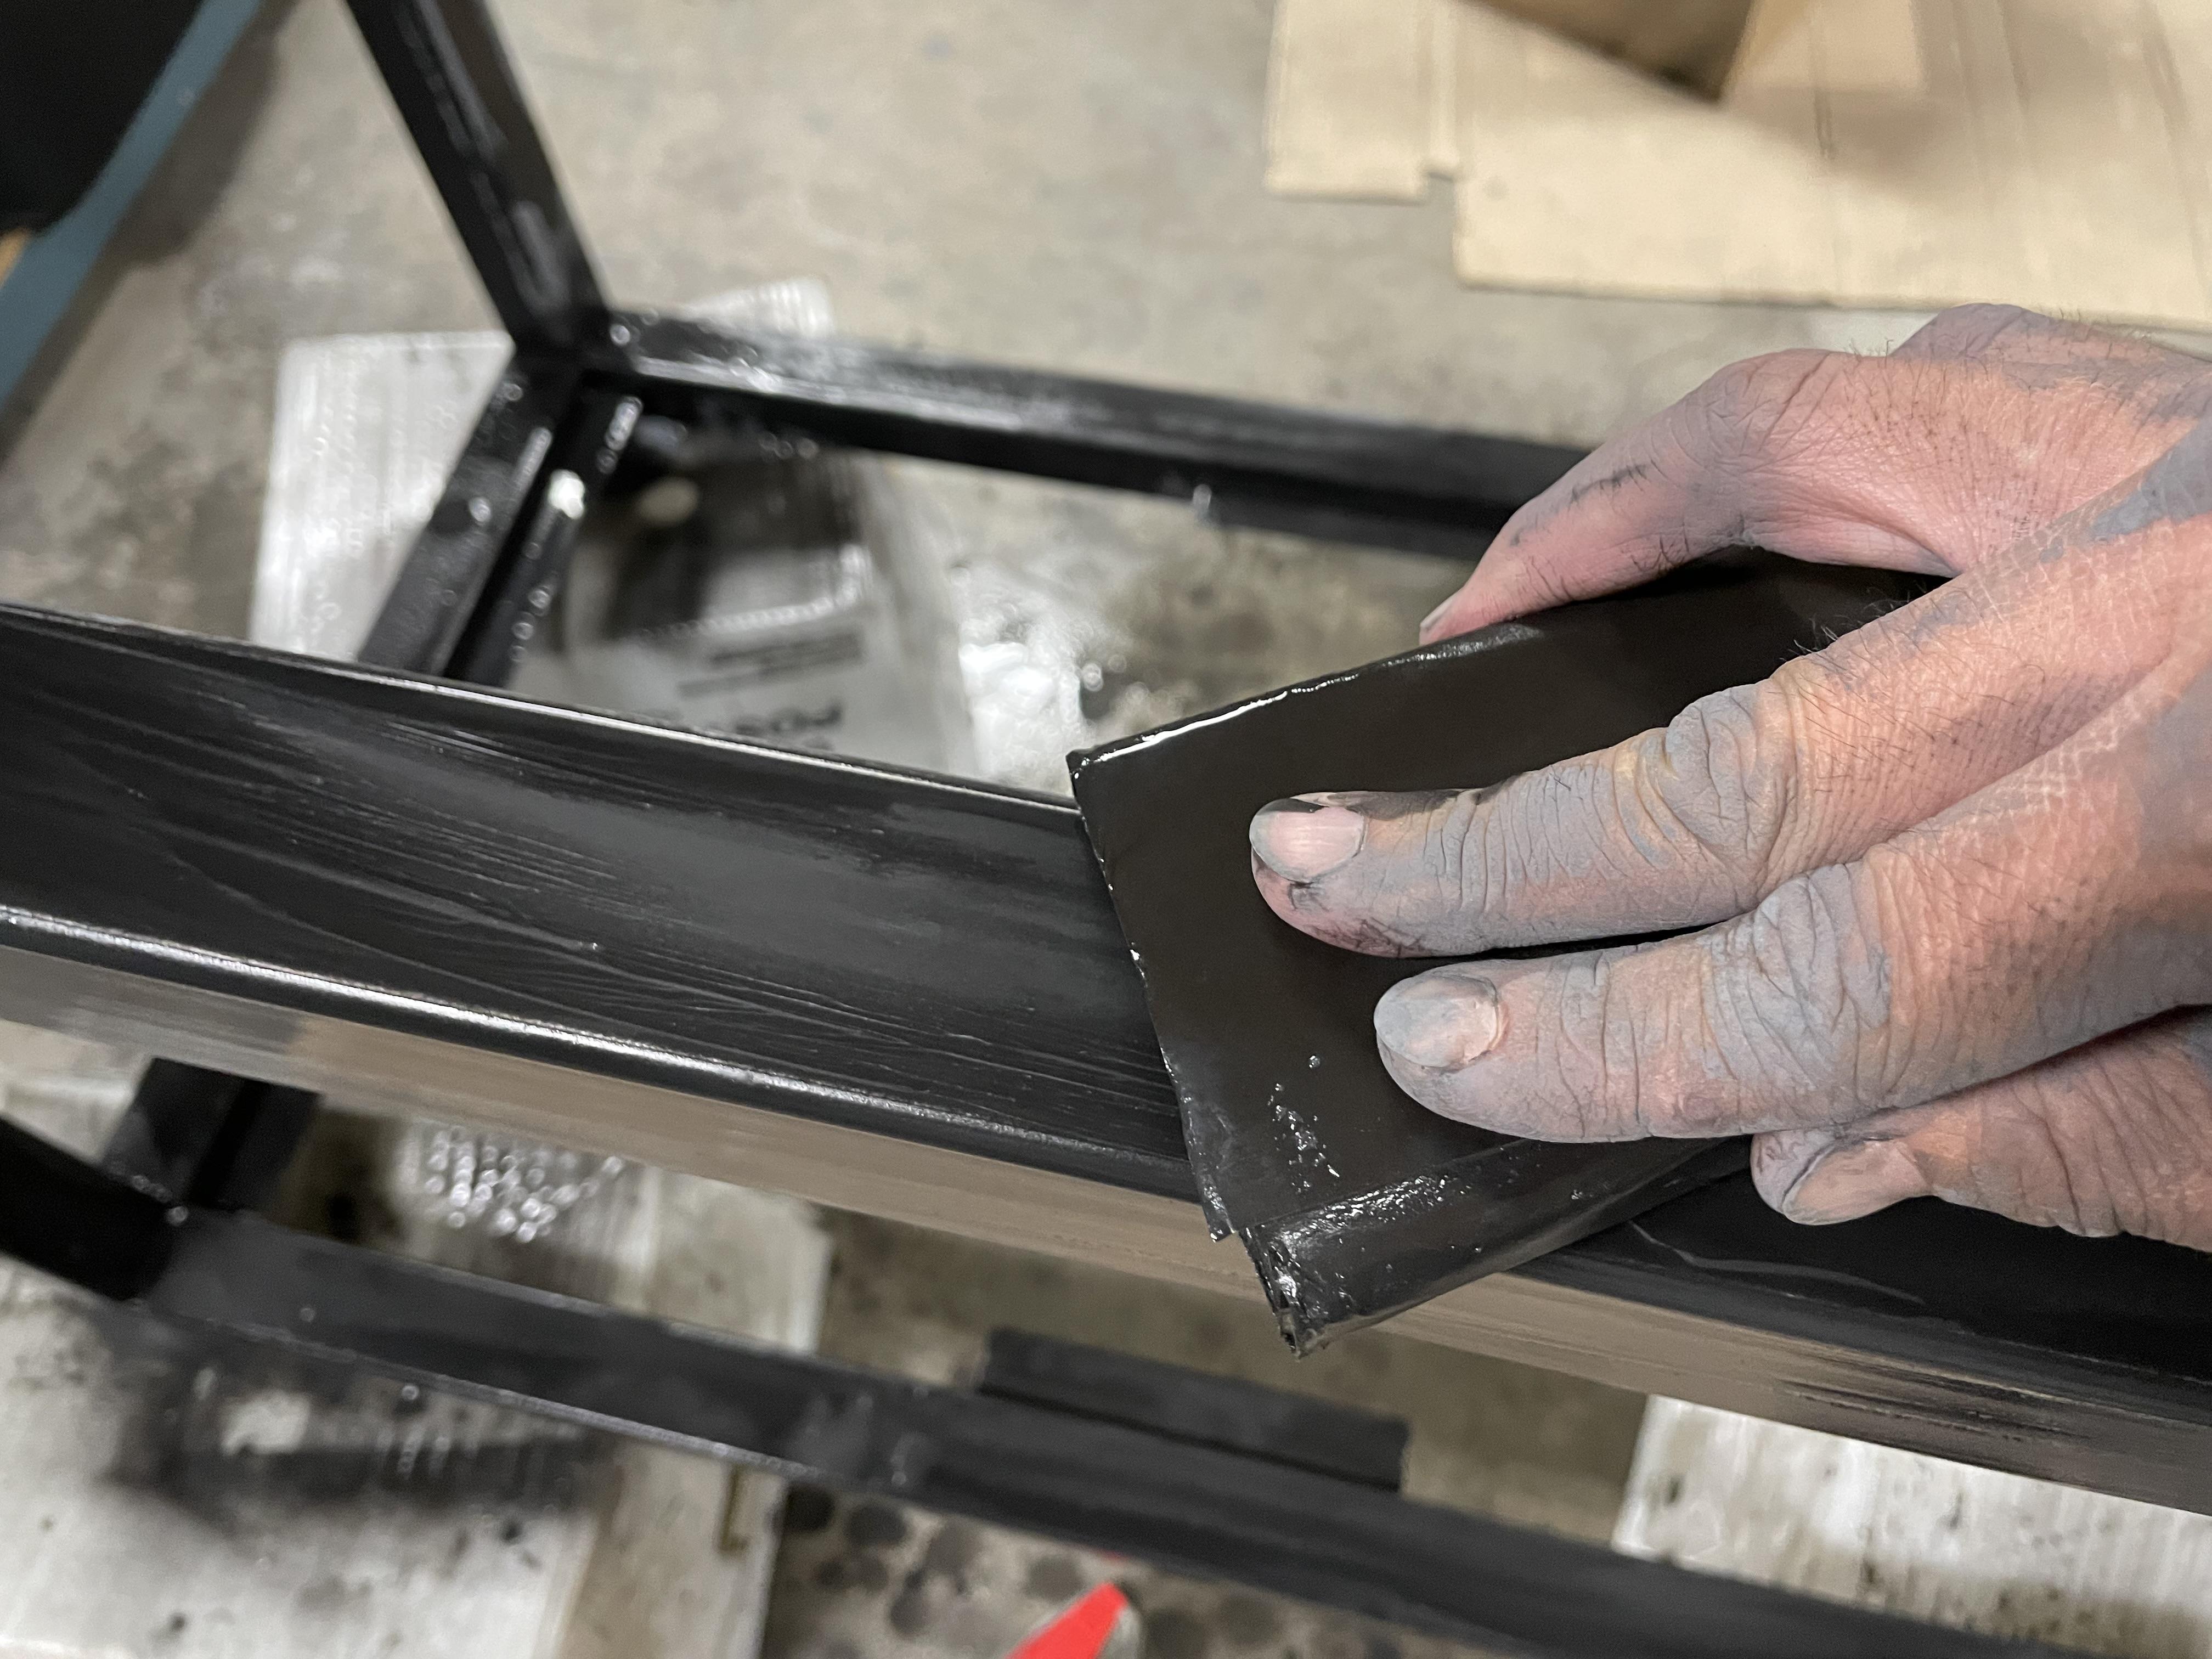
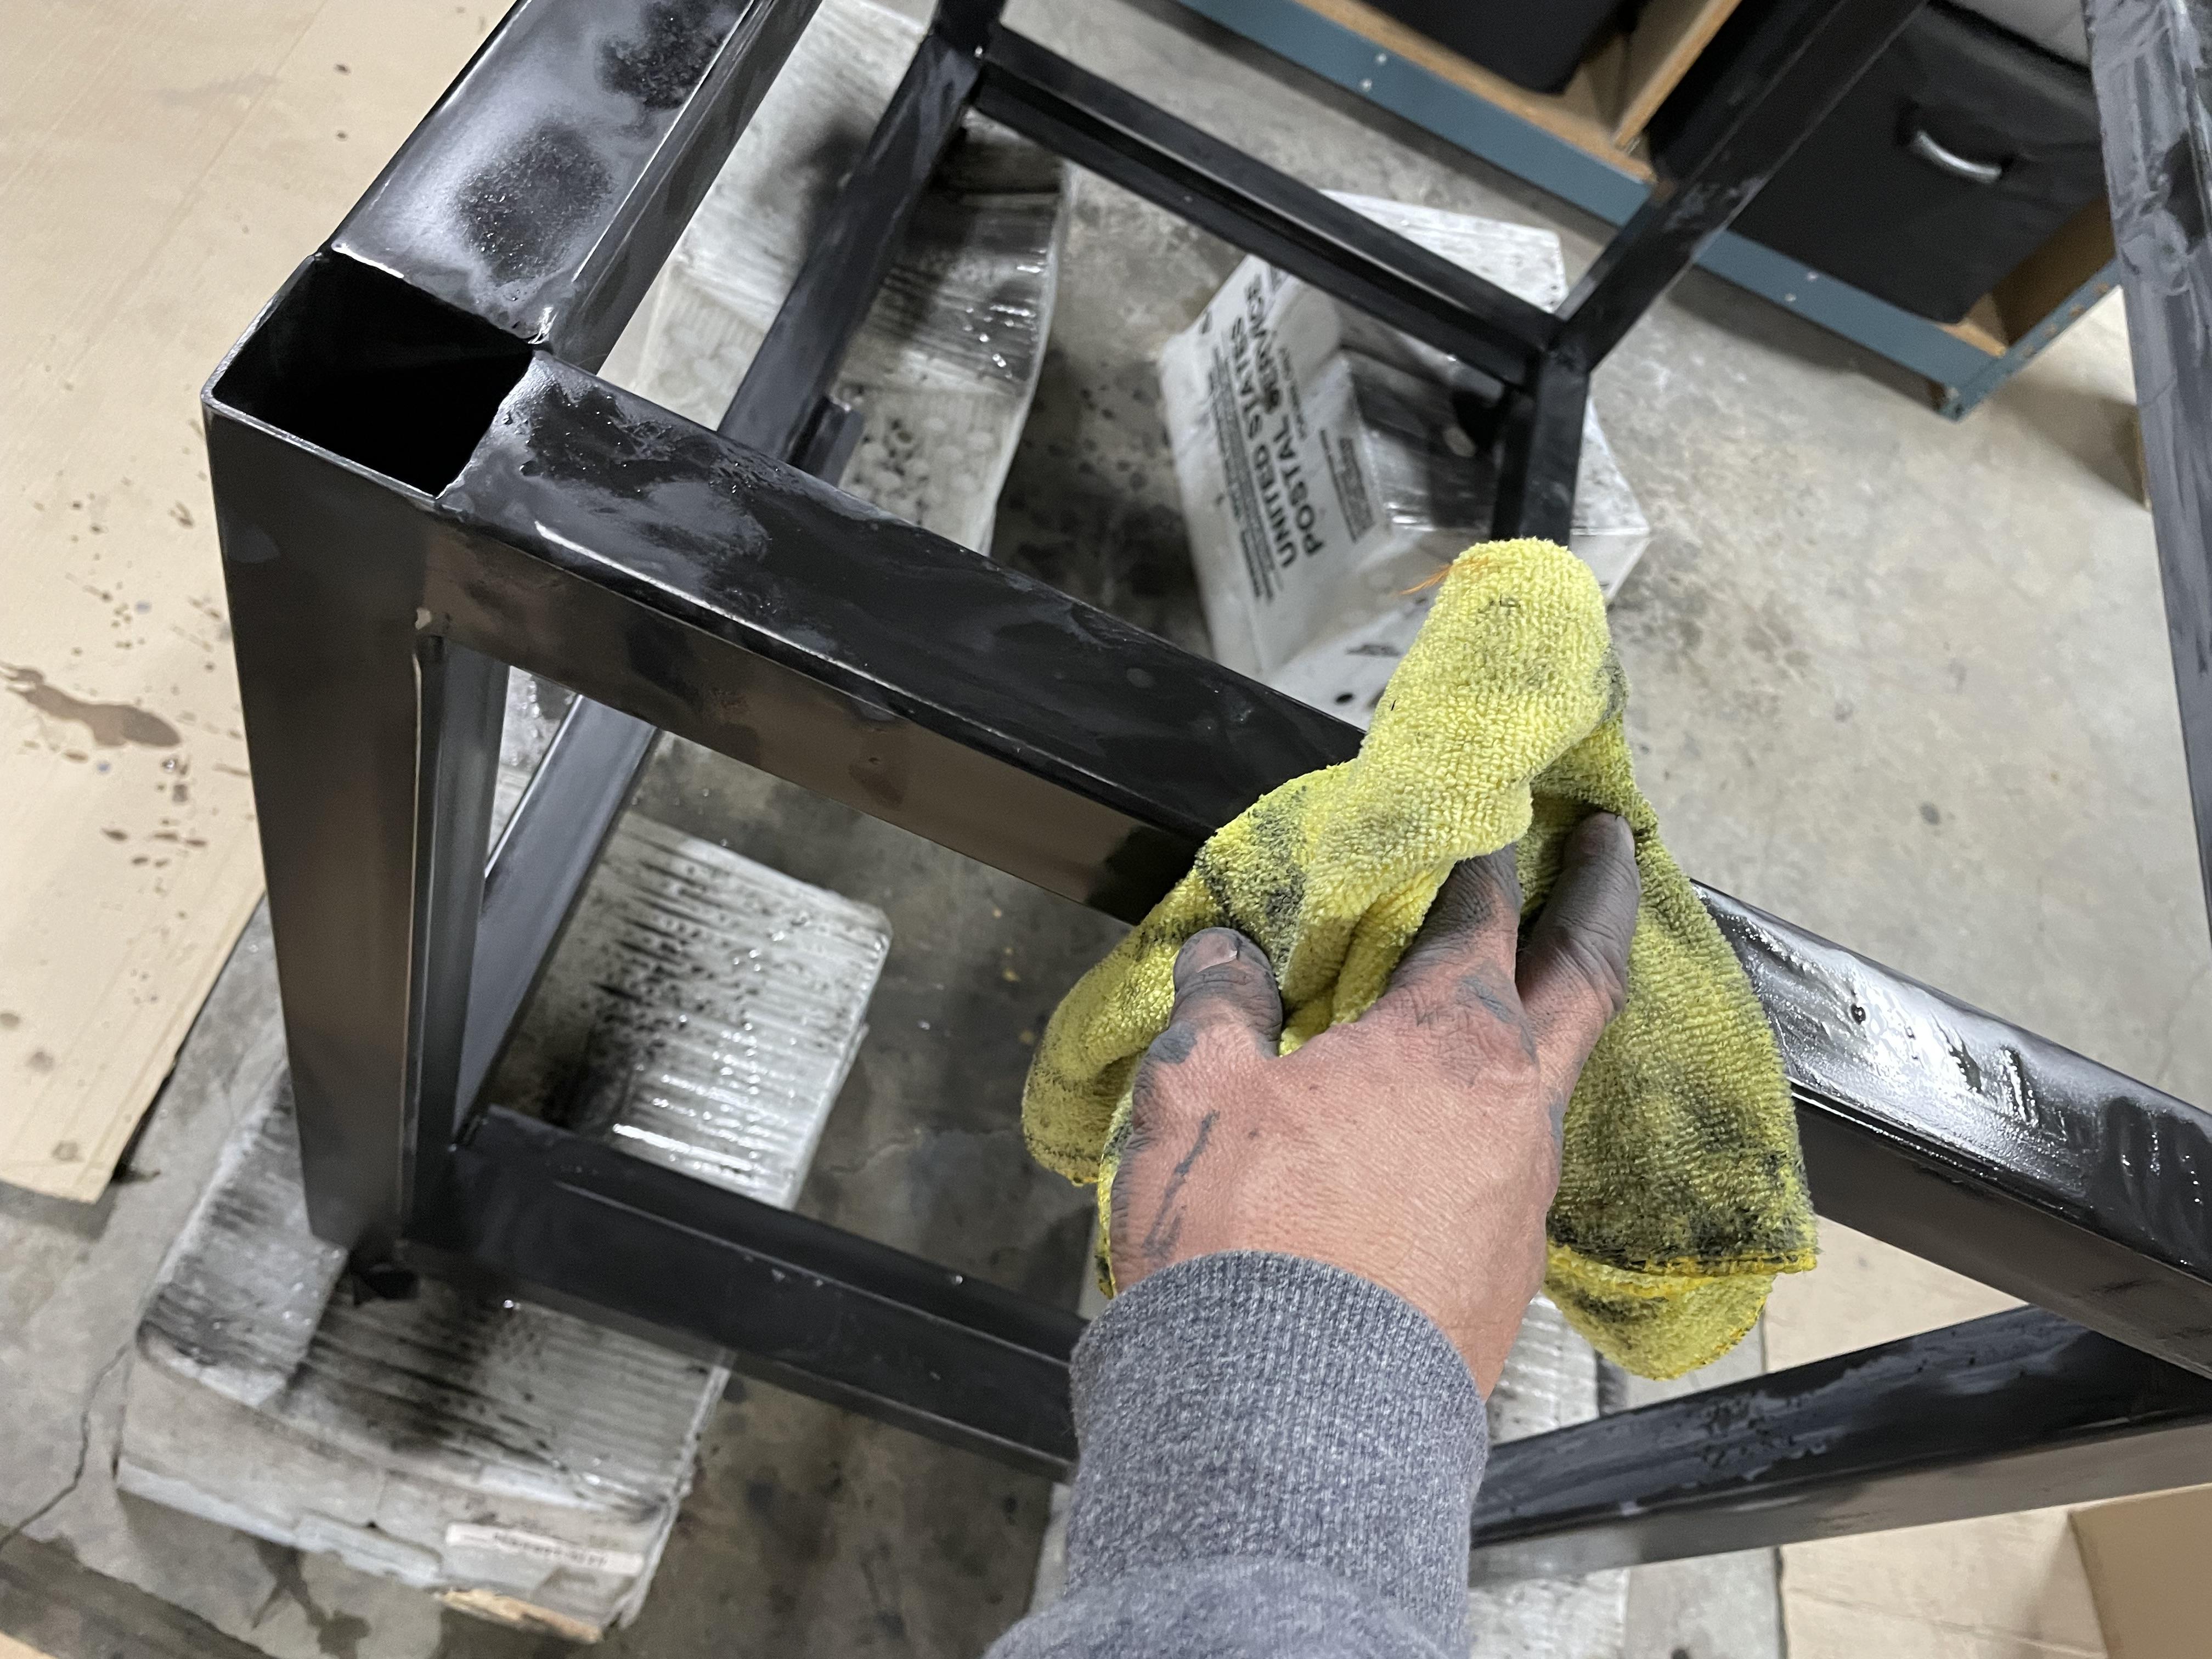

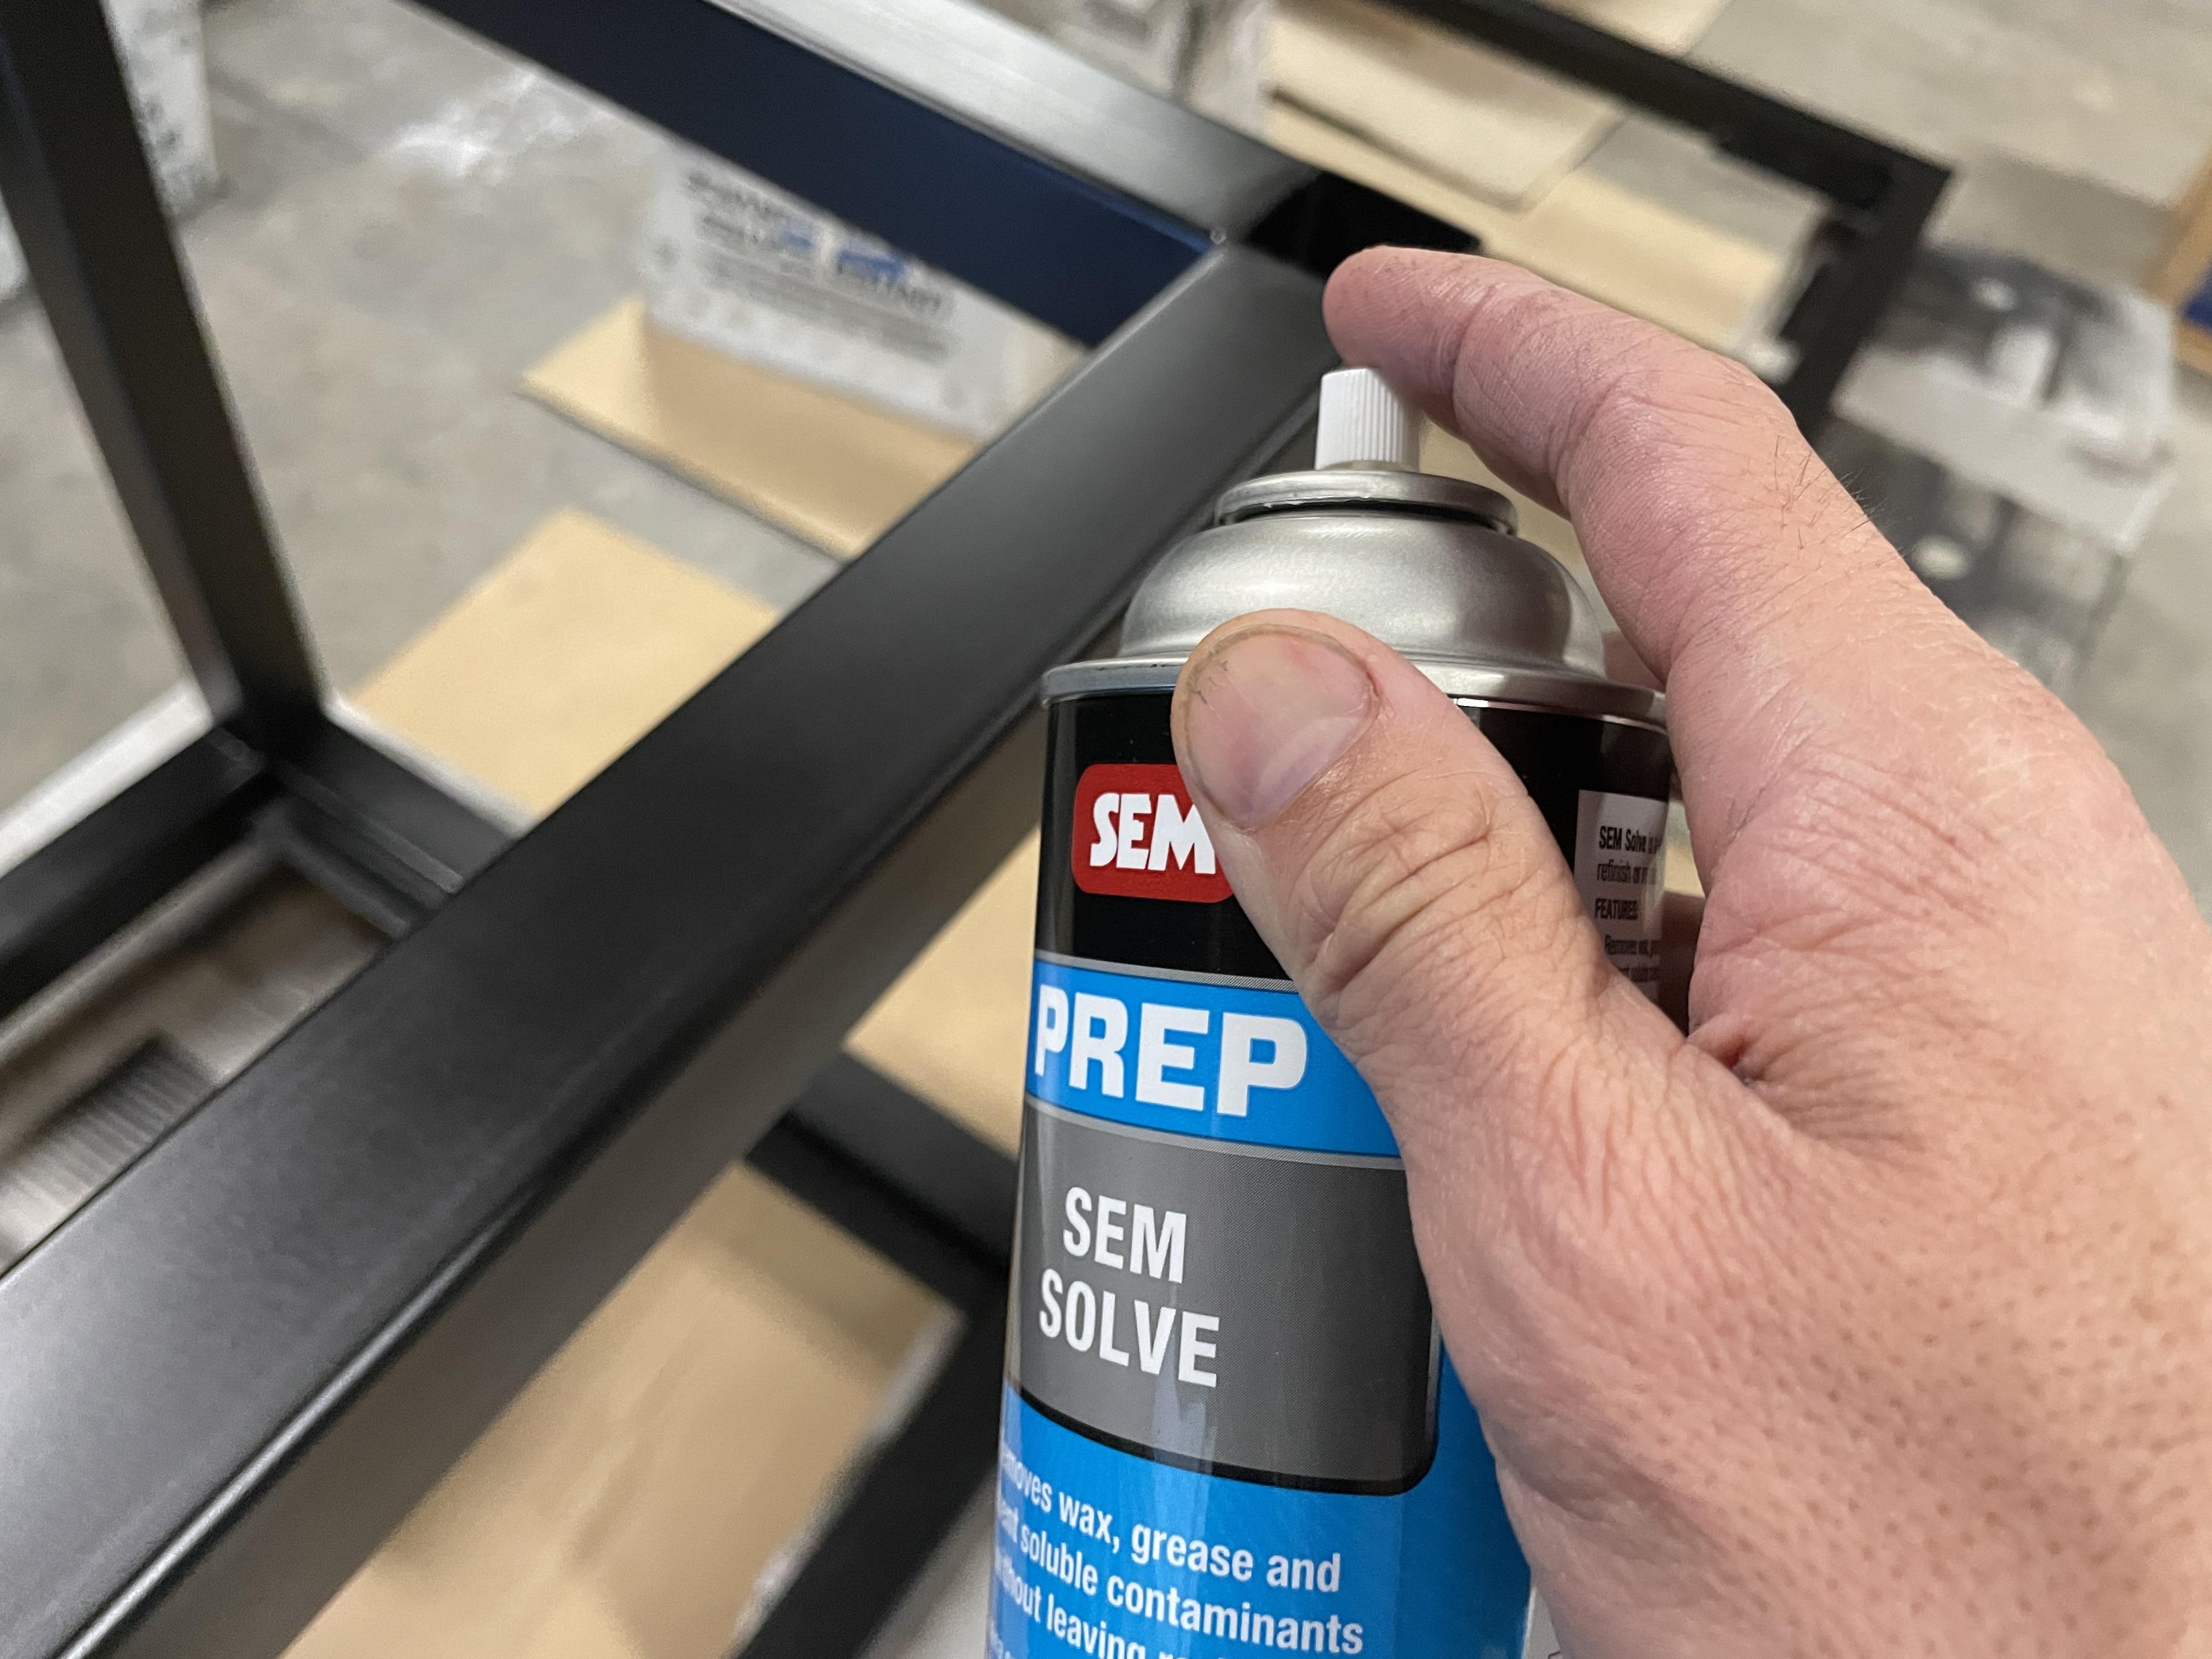
The high build primer takes 1 hour to dry. Once it dries you'll then need to wet sand. I believe that you only need to sand to 400, but I chose to sand to 800 so that I was less likely to burn through the light coat of primer that I had applied. I use an old Windex spray bottle filled with water to spray the sand paper and part down while sanding. You can also use a bucket to dunk the sand paper in. You'll be able to feel that the surface is smooth with your fingers. Afterwards you'll wipe it down with a wet rag to get the majority of sanded paint off. Then use the SEM Prep spray for the final cleaning before paint.
Prep for Painting
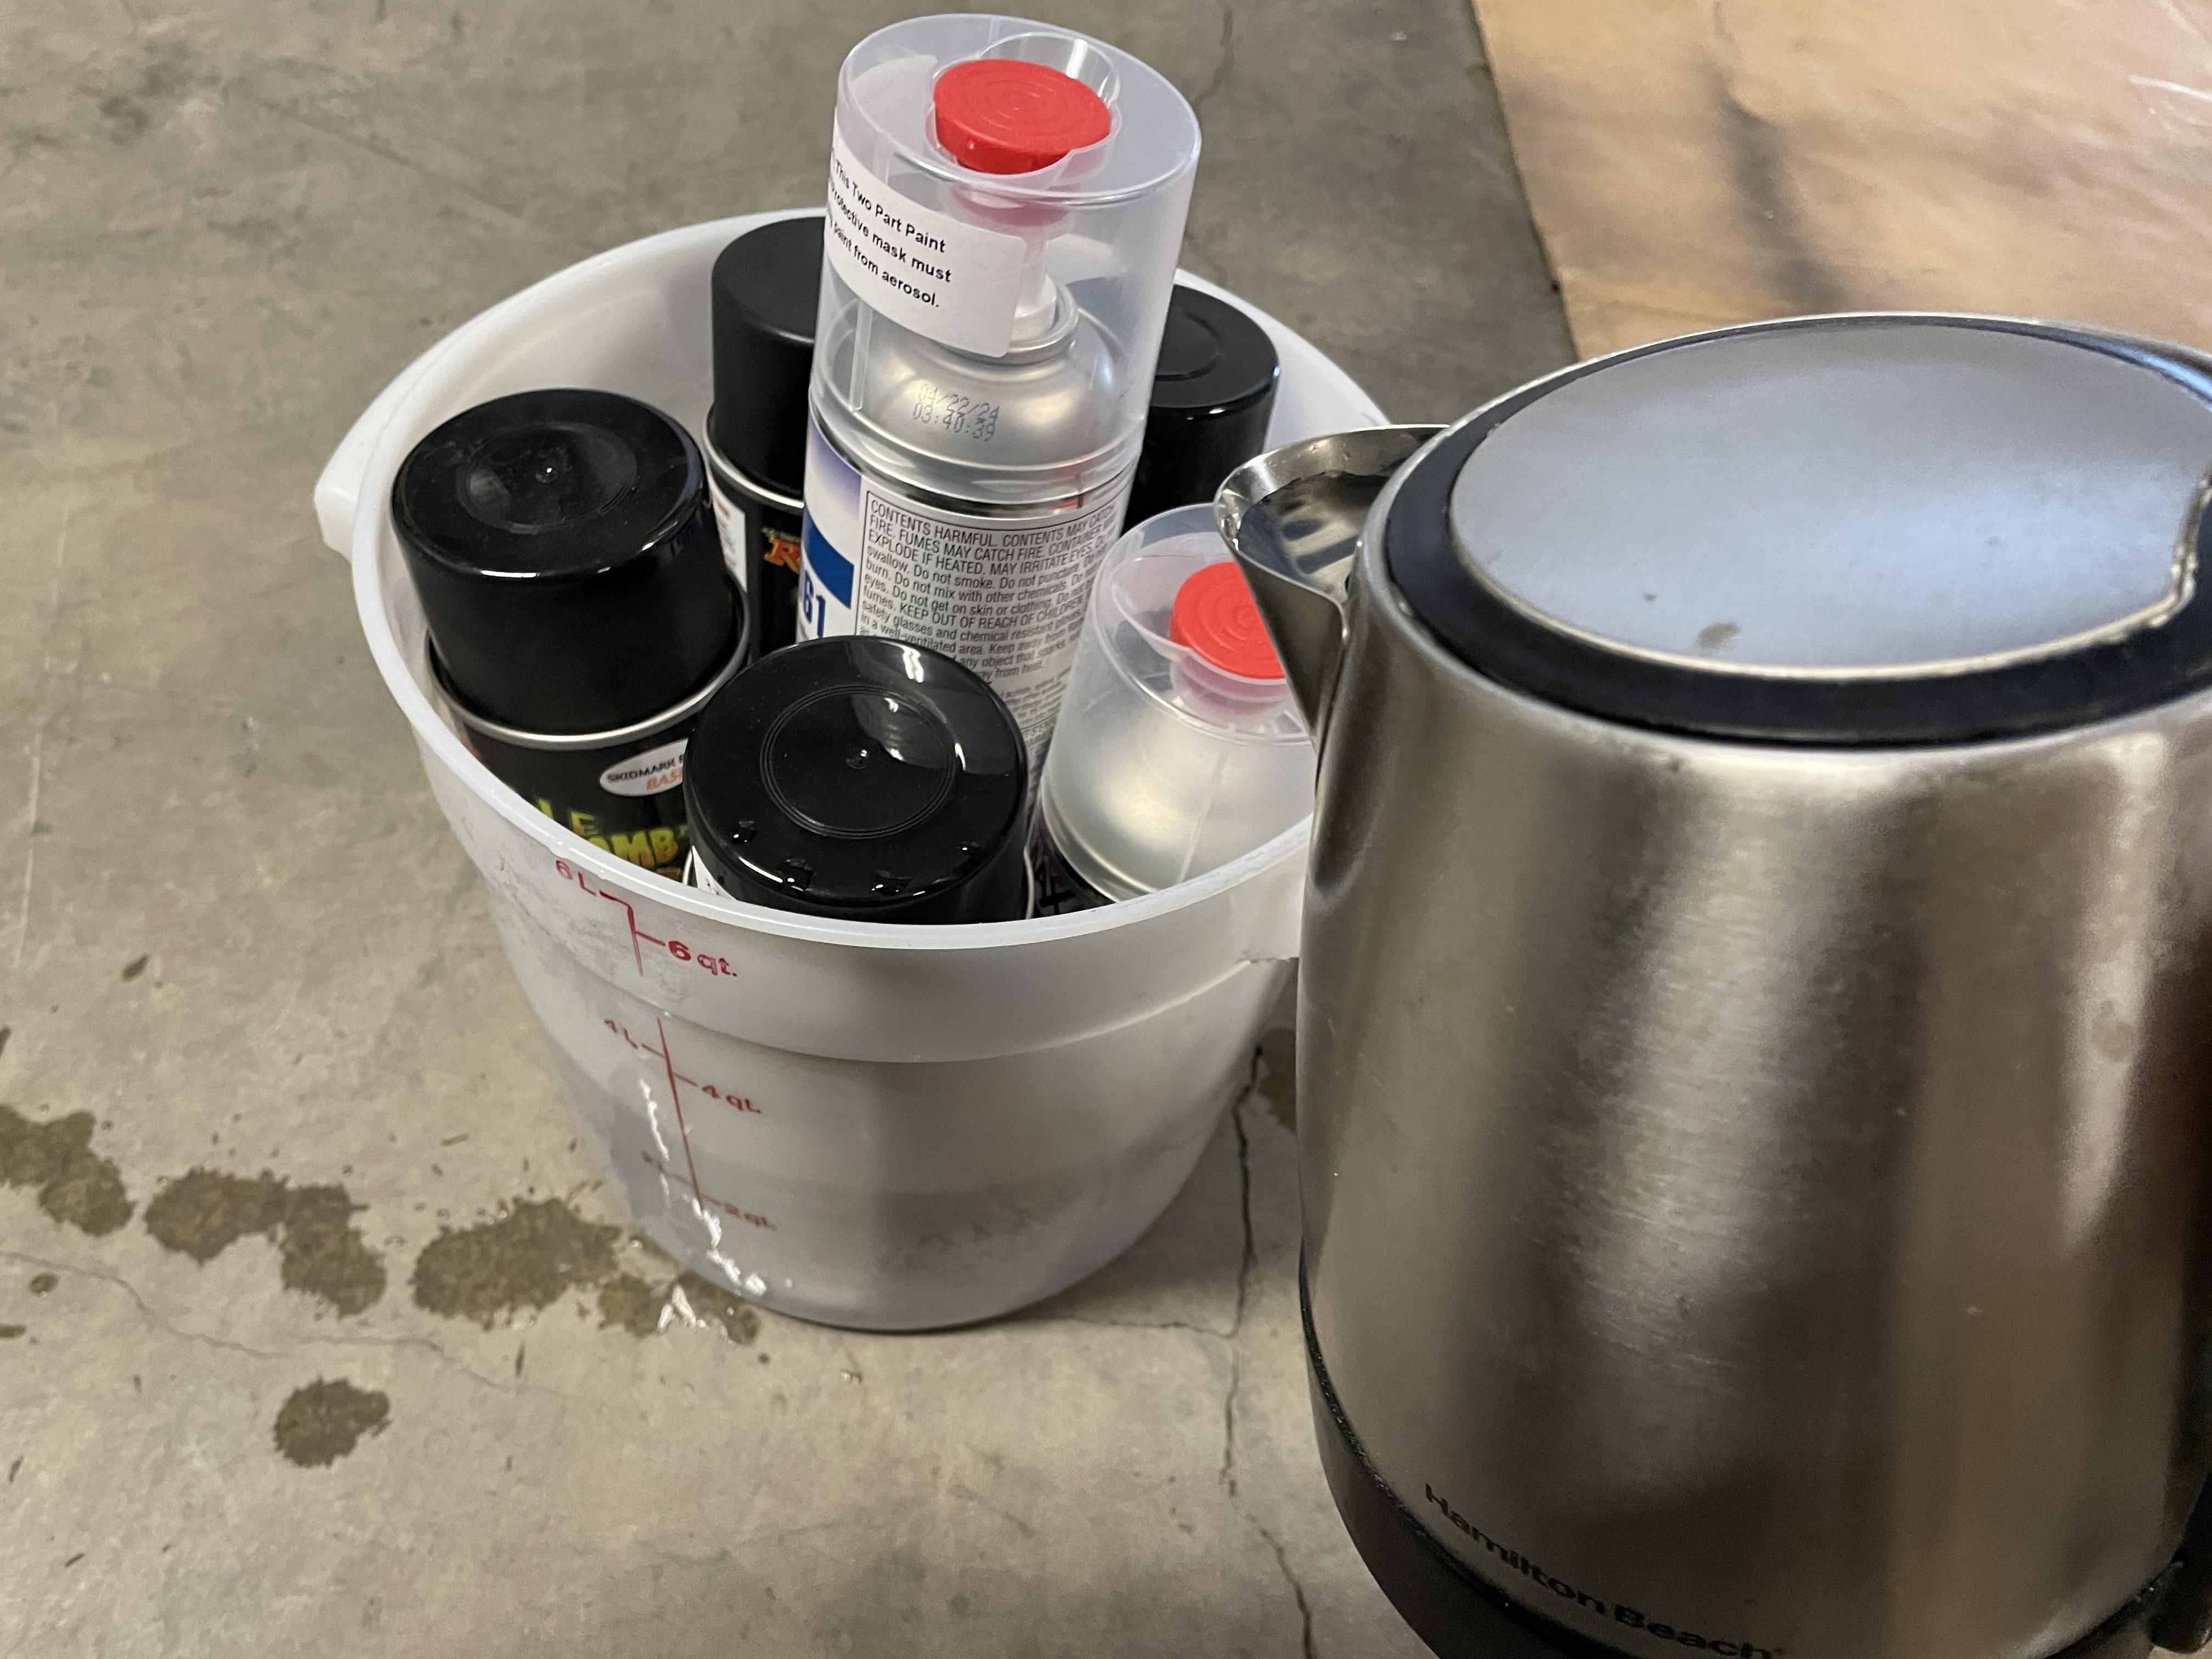
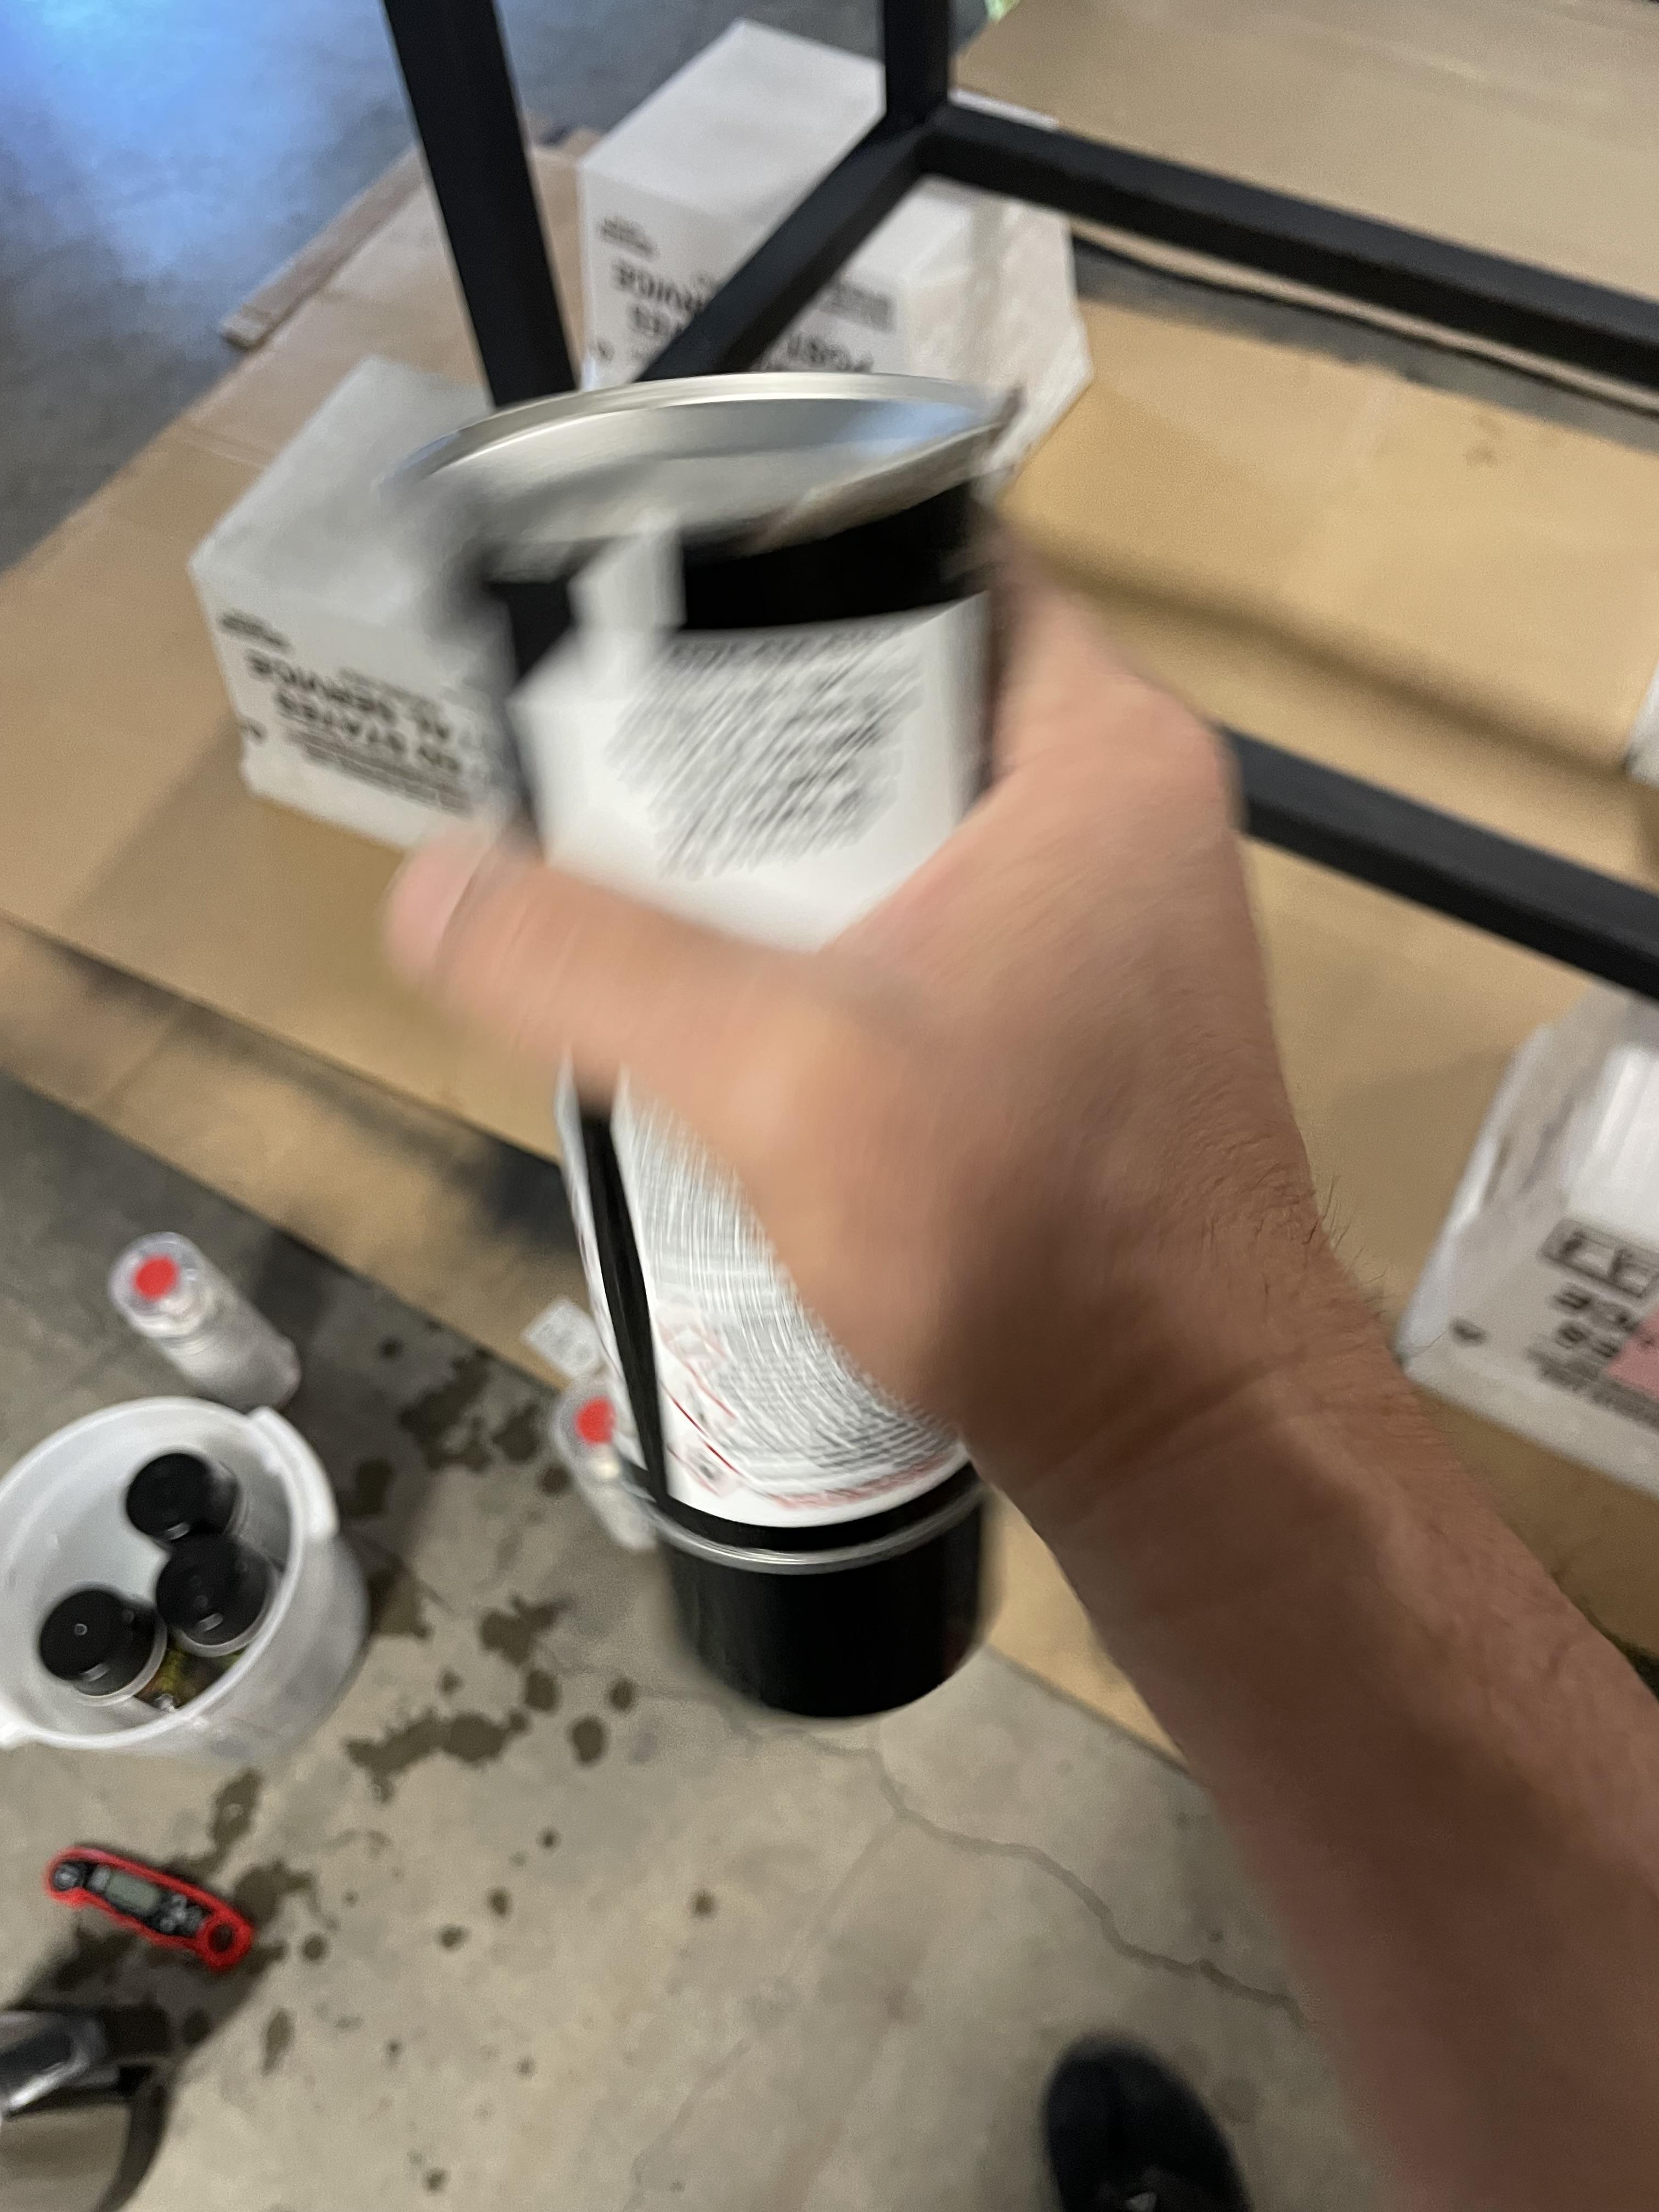

- I experienced poor spray pattern with the primers. I did a little research and learned that if you heat up the spray cans, then the paint will flow more consistently. I filled a bucket with boiling water and let the cans heat up. This made a night and day difference on how the paint came out and I also ended up using less paint.
- Following the instructions on the can I shook paint for 2 minutes before using them.
- Lastly, I wiped down the surface with a tack cloth to pick up any dust or dirt before spraying the first coat. You can also wet the floor so that no dust kicks up, but it's a bit overkill for what I'm doing. Also, not sure if the flake will cover up a lot of imperfections as well.
Painting Metal Flake
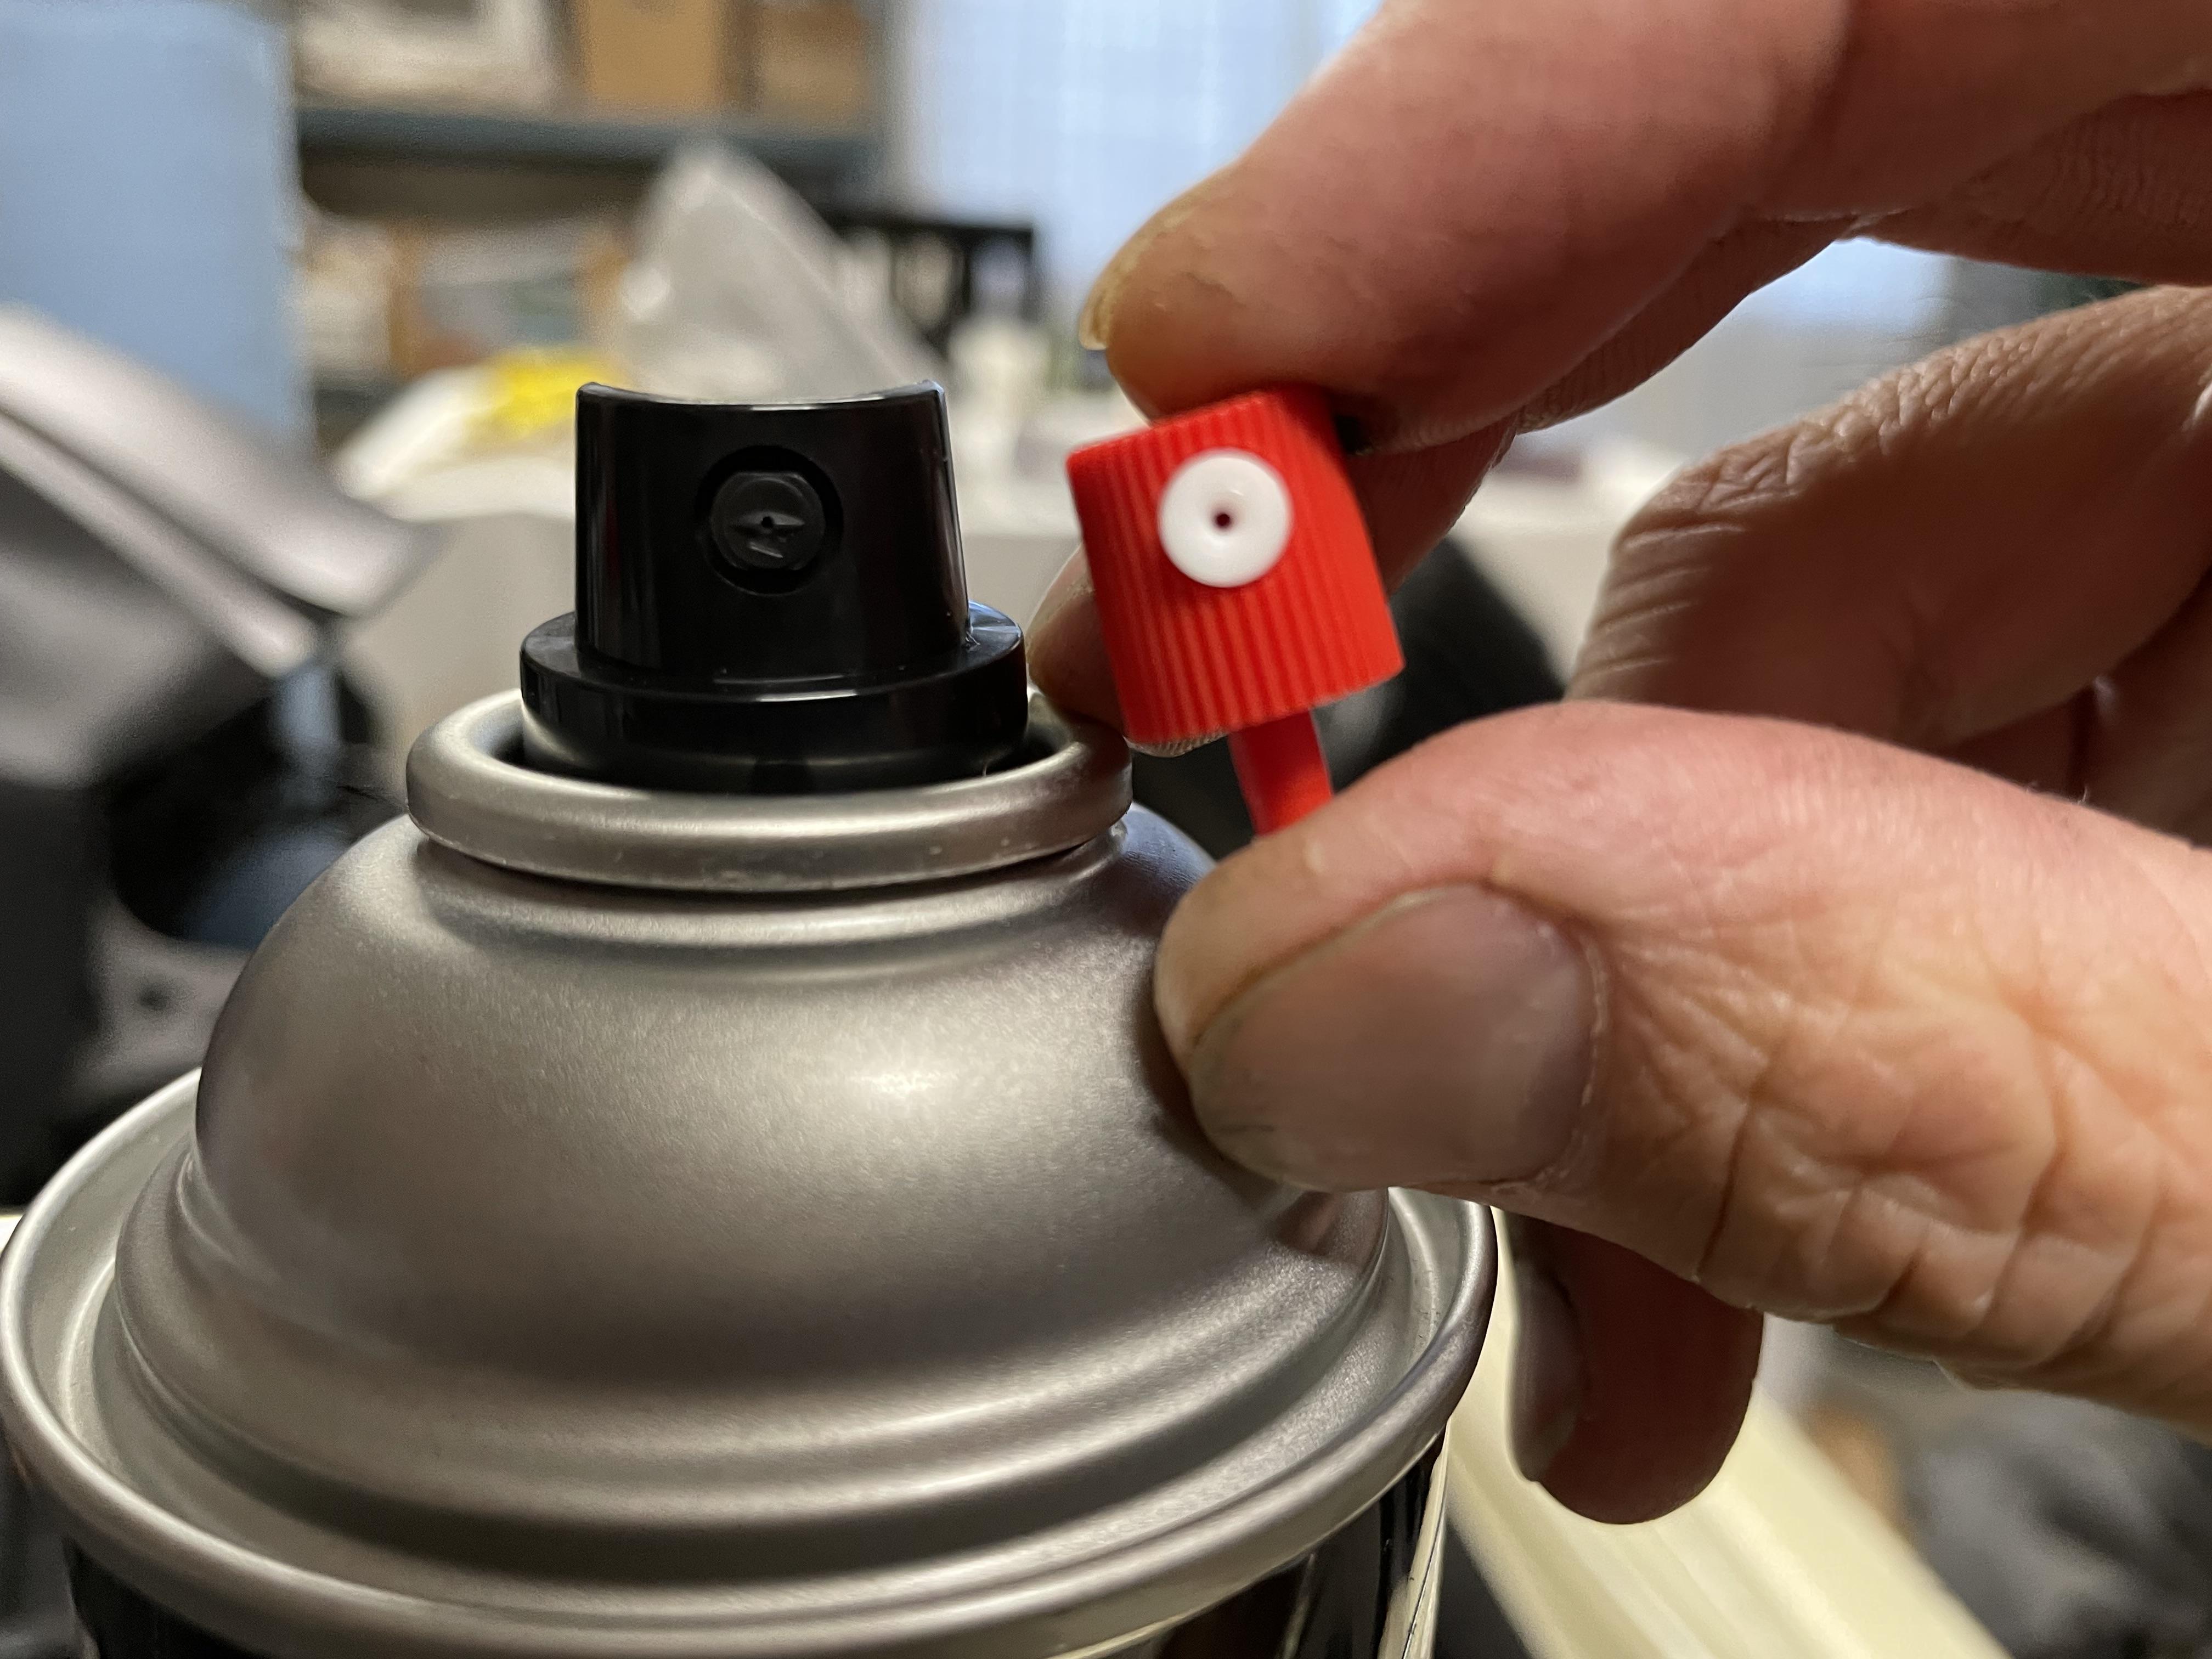
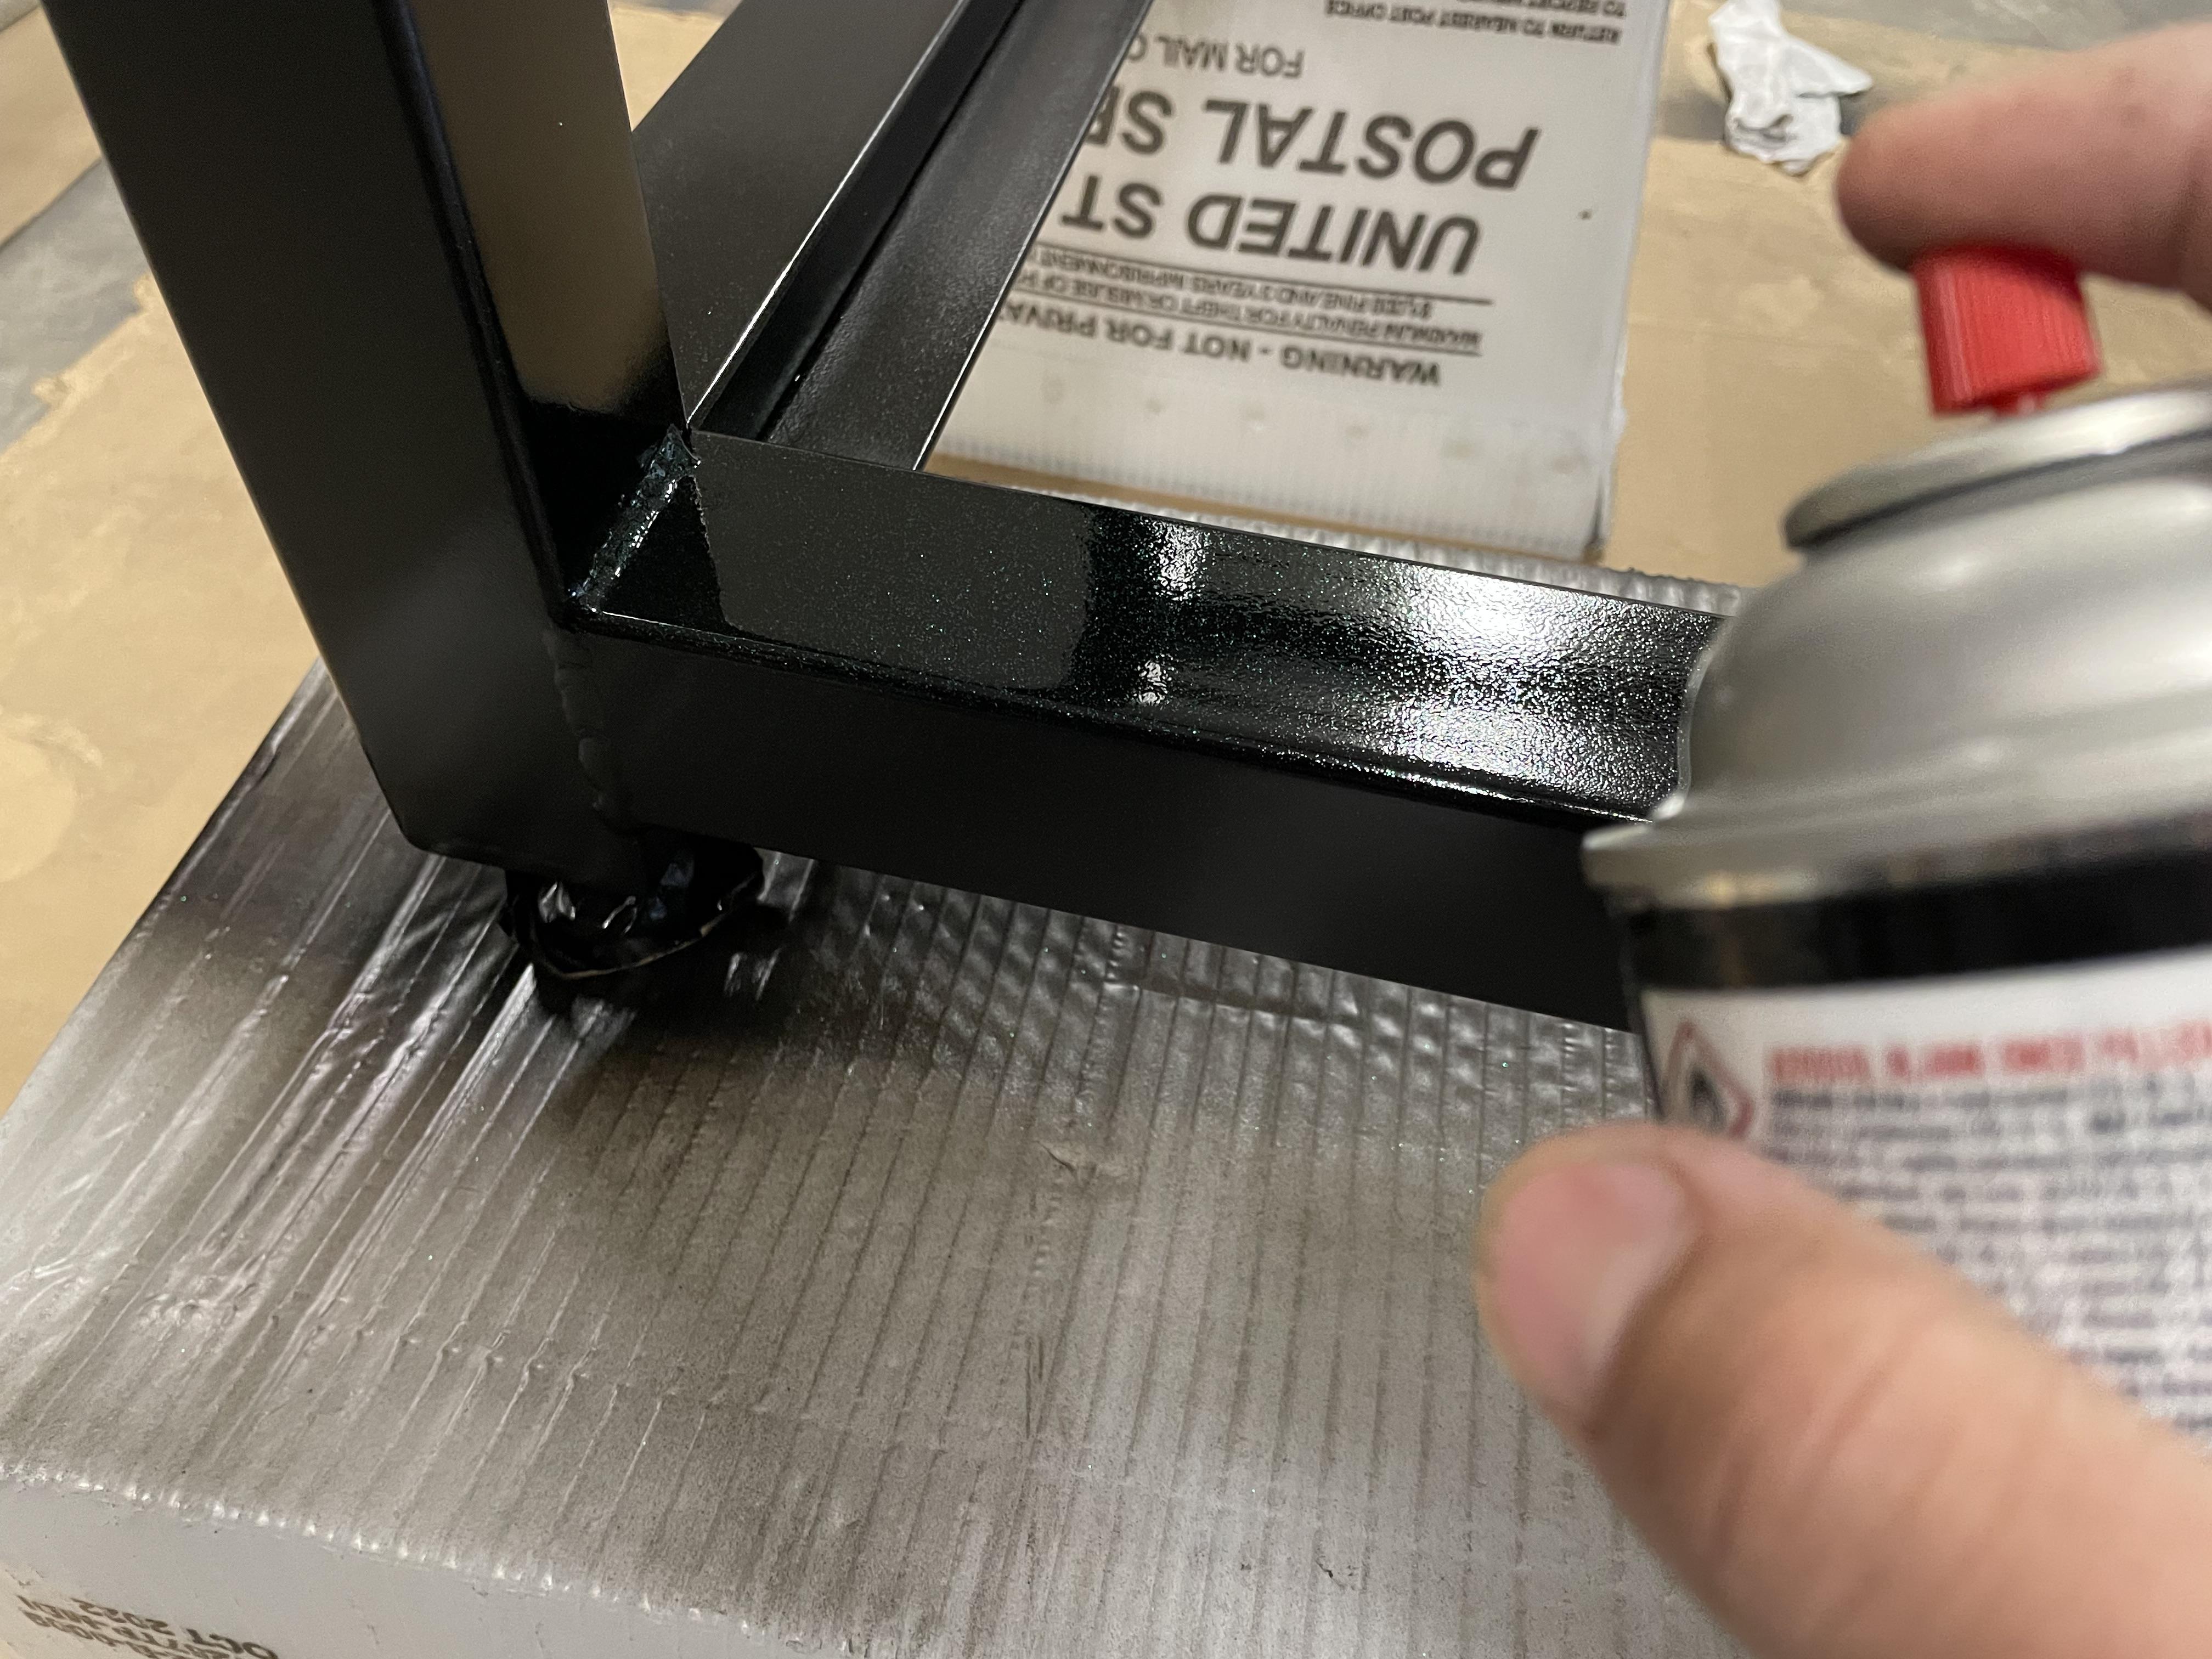
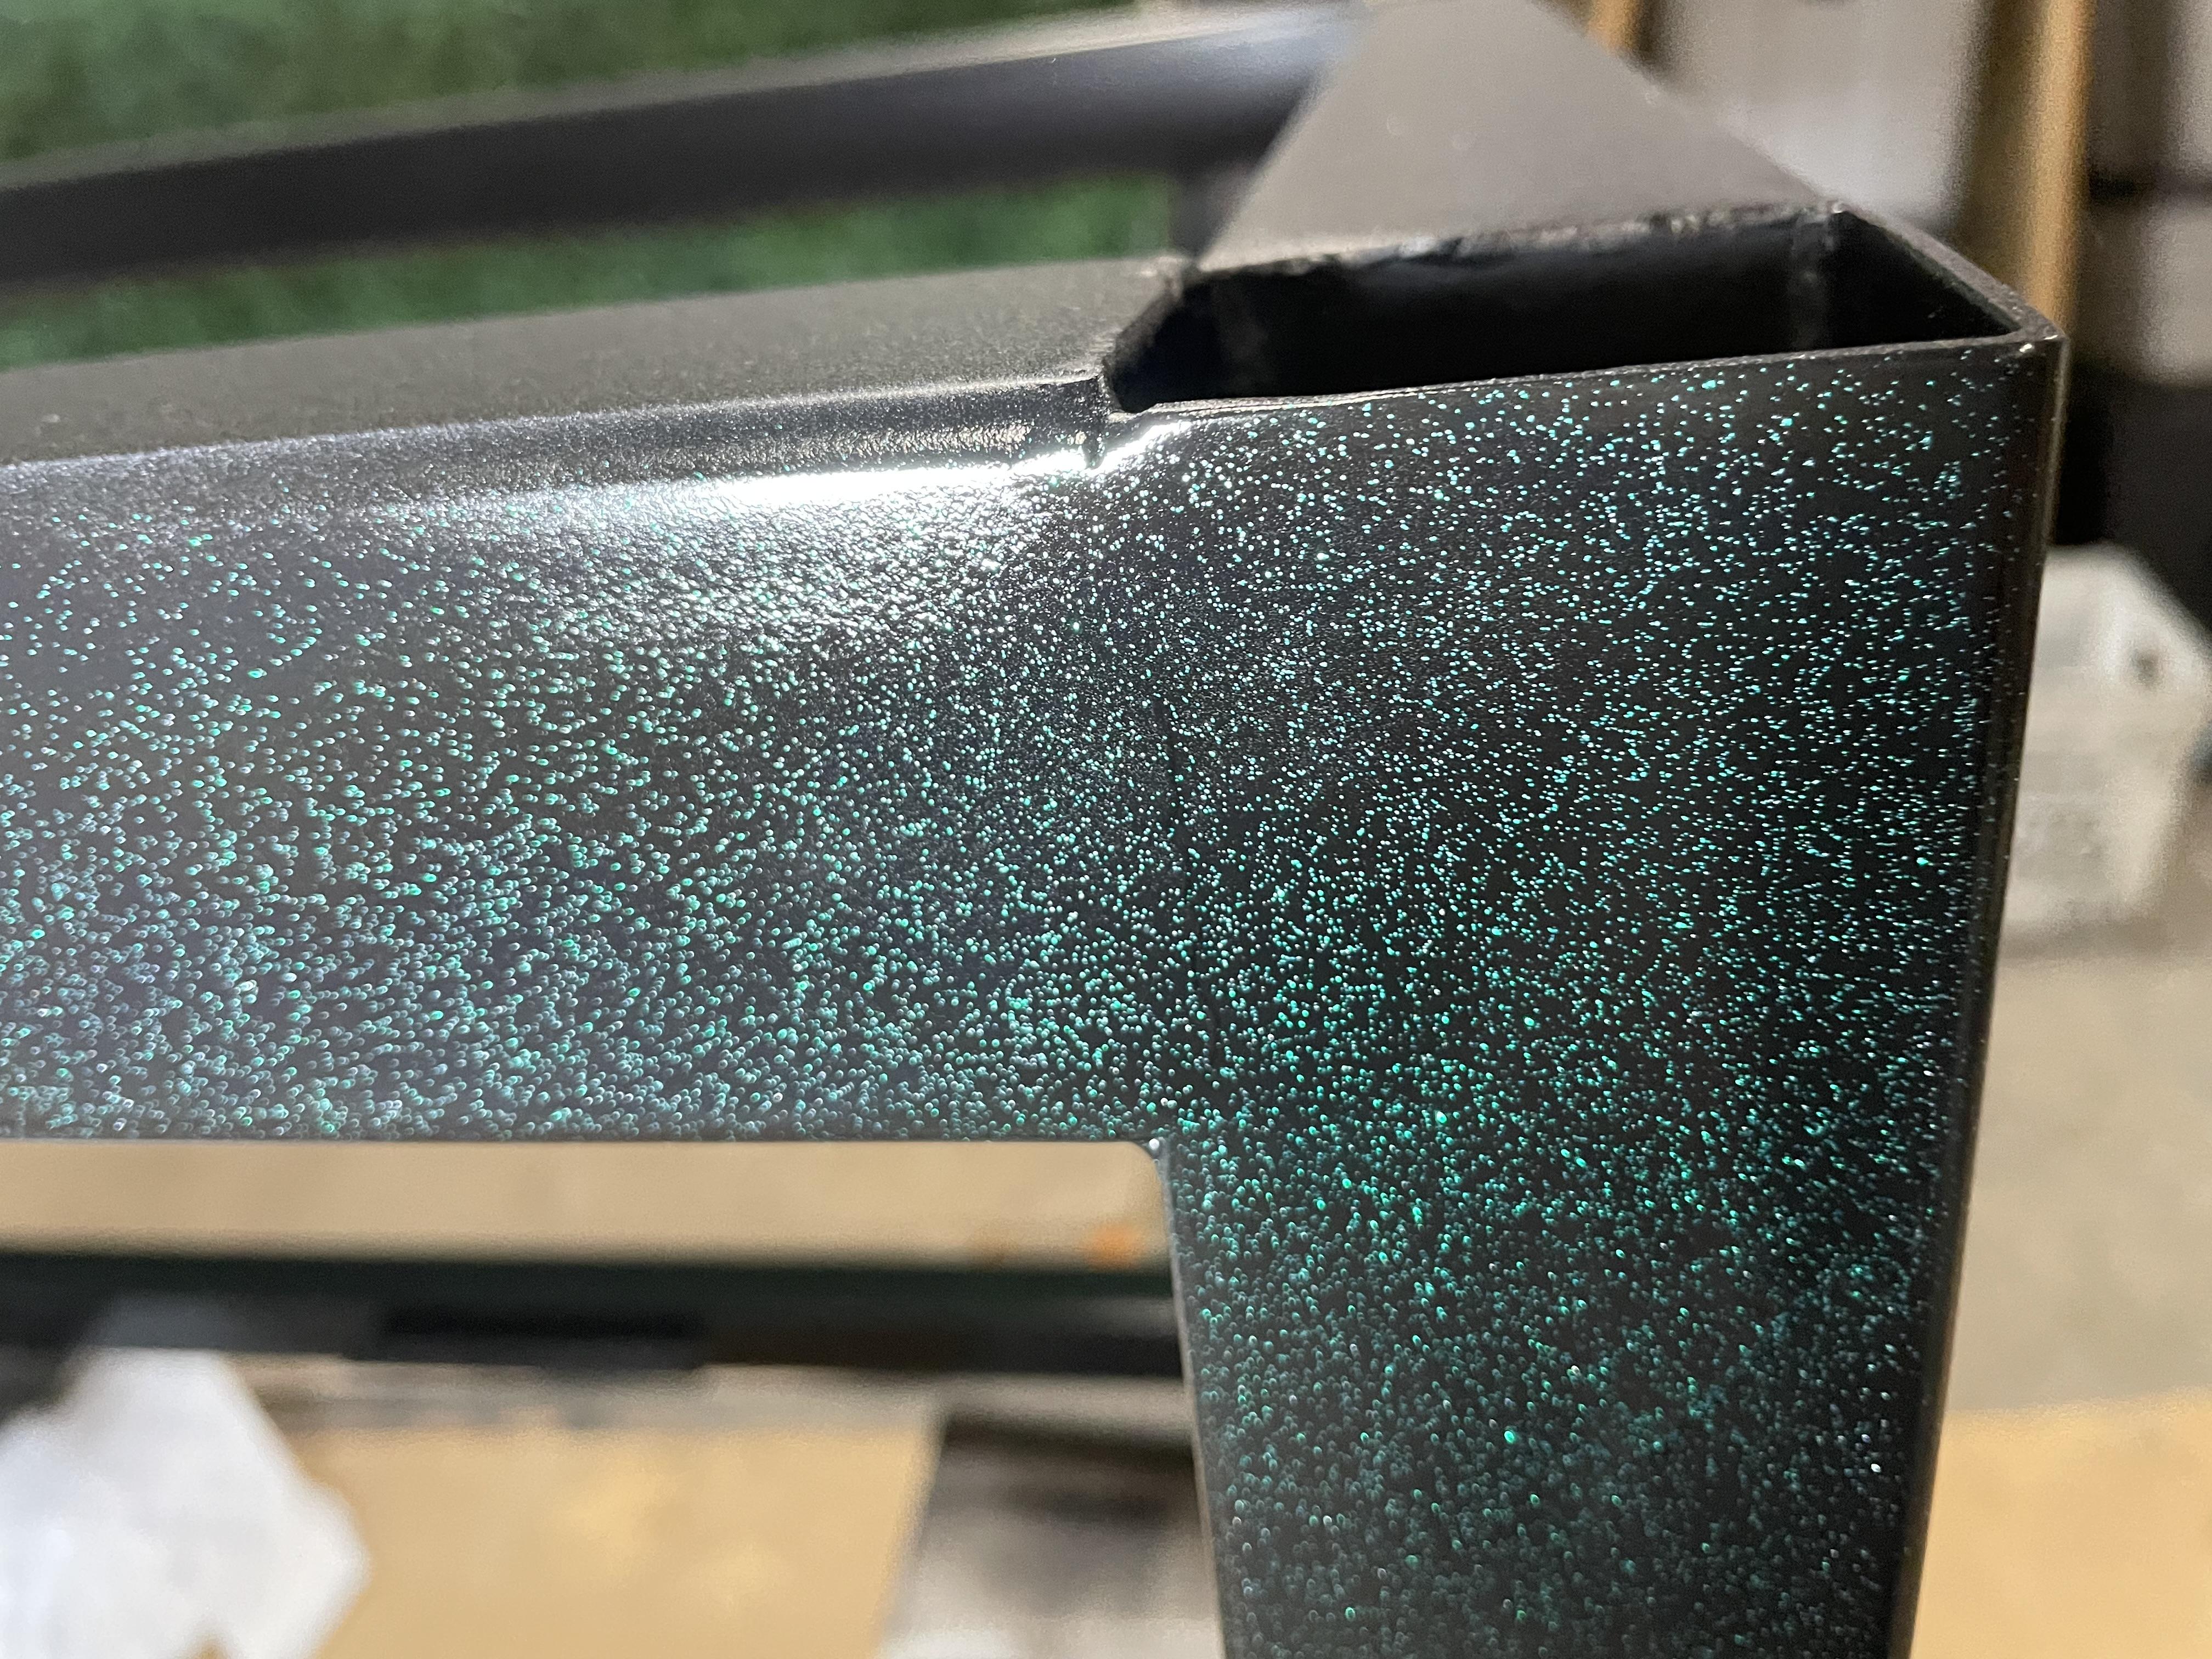
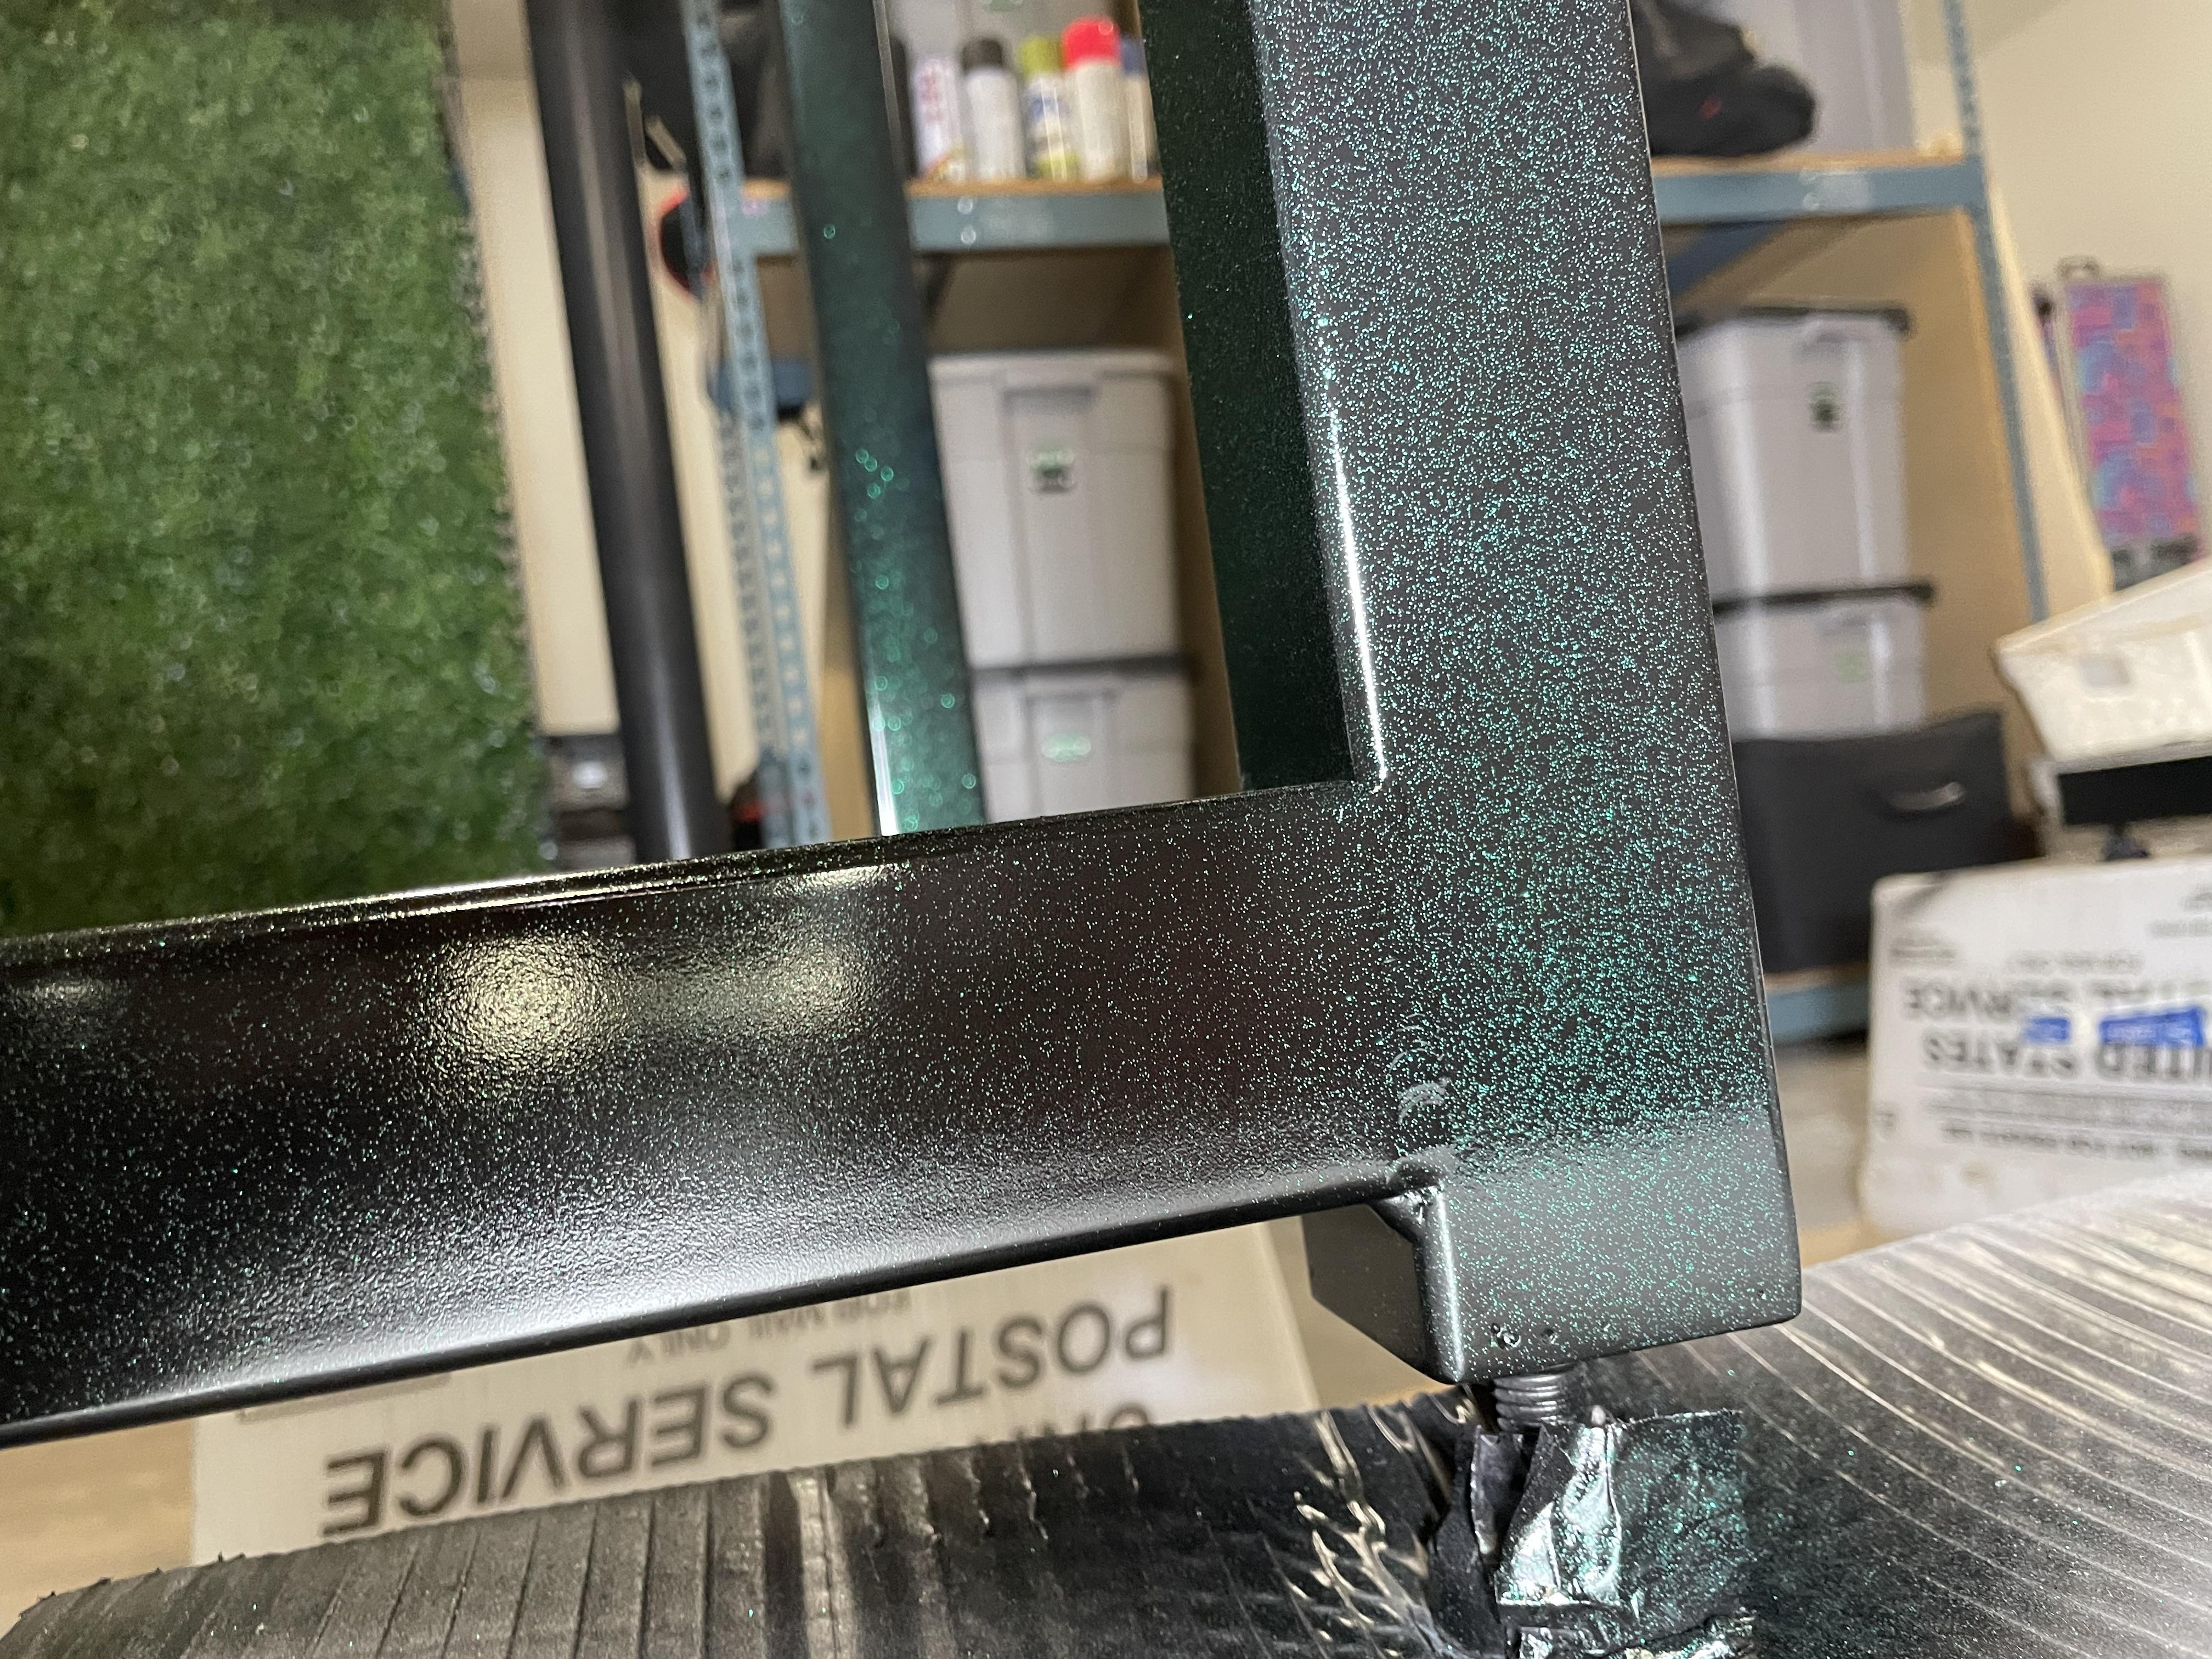
- The can of metal flake comes with 2 tips. Roth recommends using the red tip because it has a larger hole and more flake can go through it. The black tip has a wide fan and the red is a high powered focused spray. The red tip is definitely the way to go. It sprays a ton of paint at once, so you need to make sure that you move fast and start/stop your stoke past the item that you're painting. This will prevent paint building up to thick and running.
- You can see the first coat and second coat. They recommend 3 coats, but unfortunately I only had enough for 2 coats. Each coat fills in the flake so that it's more dense and you'll see less of the black paint behind it. So if you want a brighter, more vibrant look, then add more coats.
Painting Clear
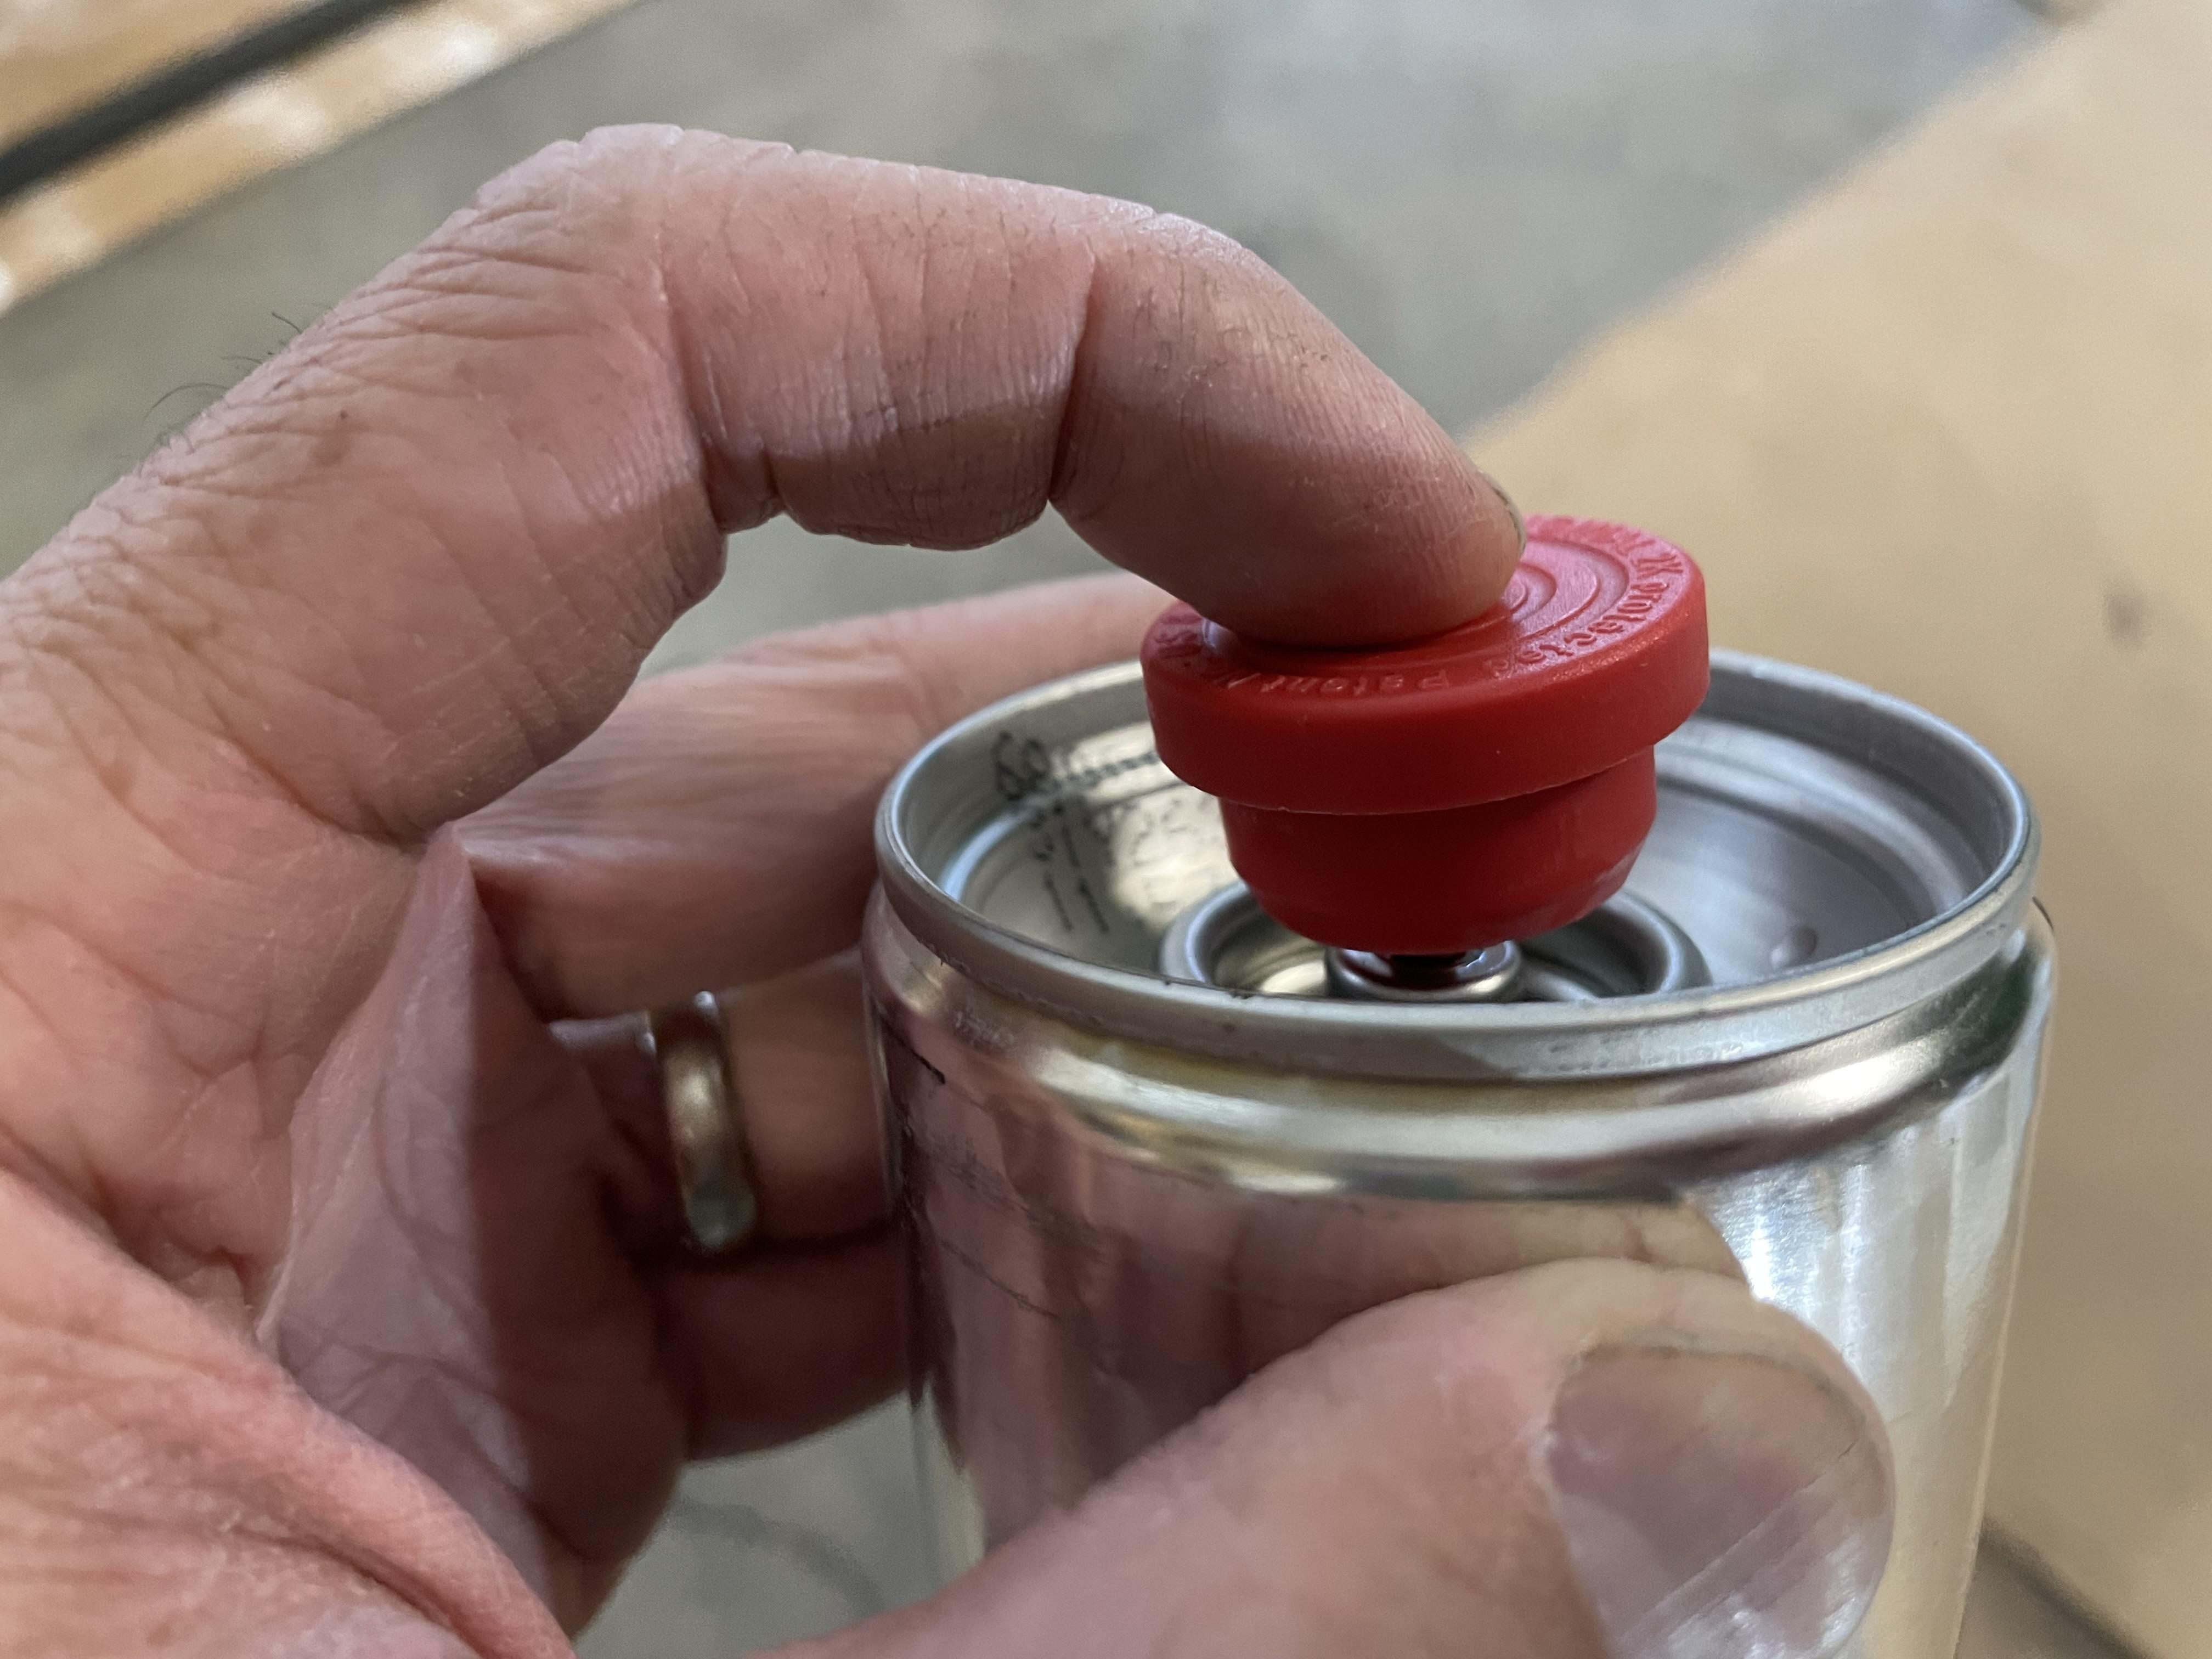
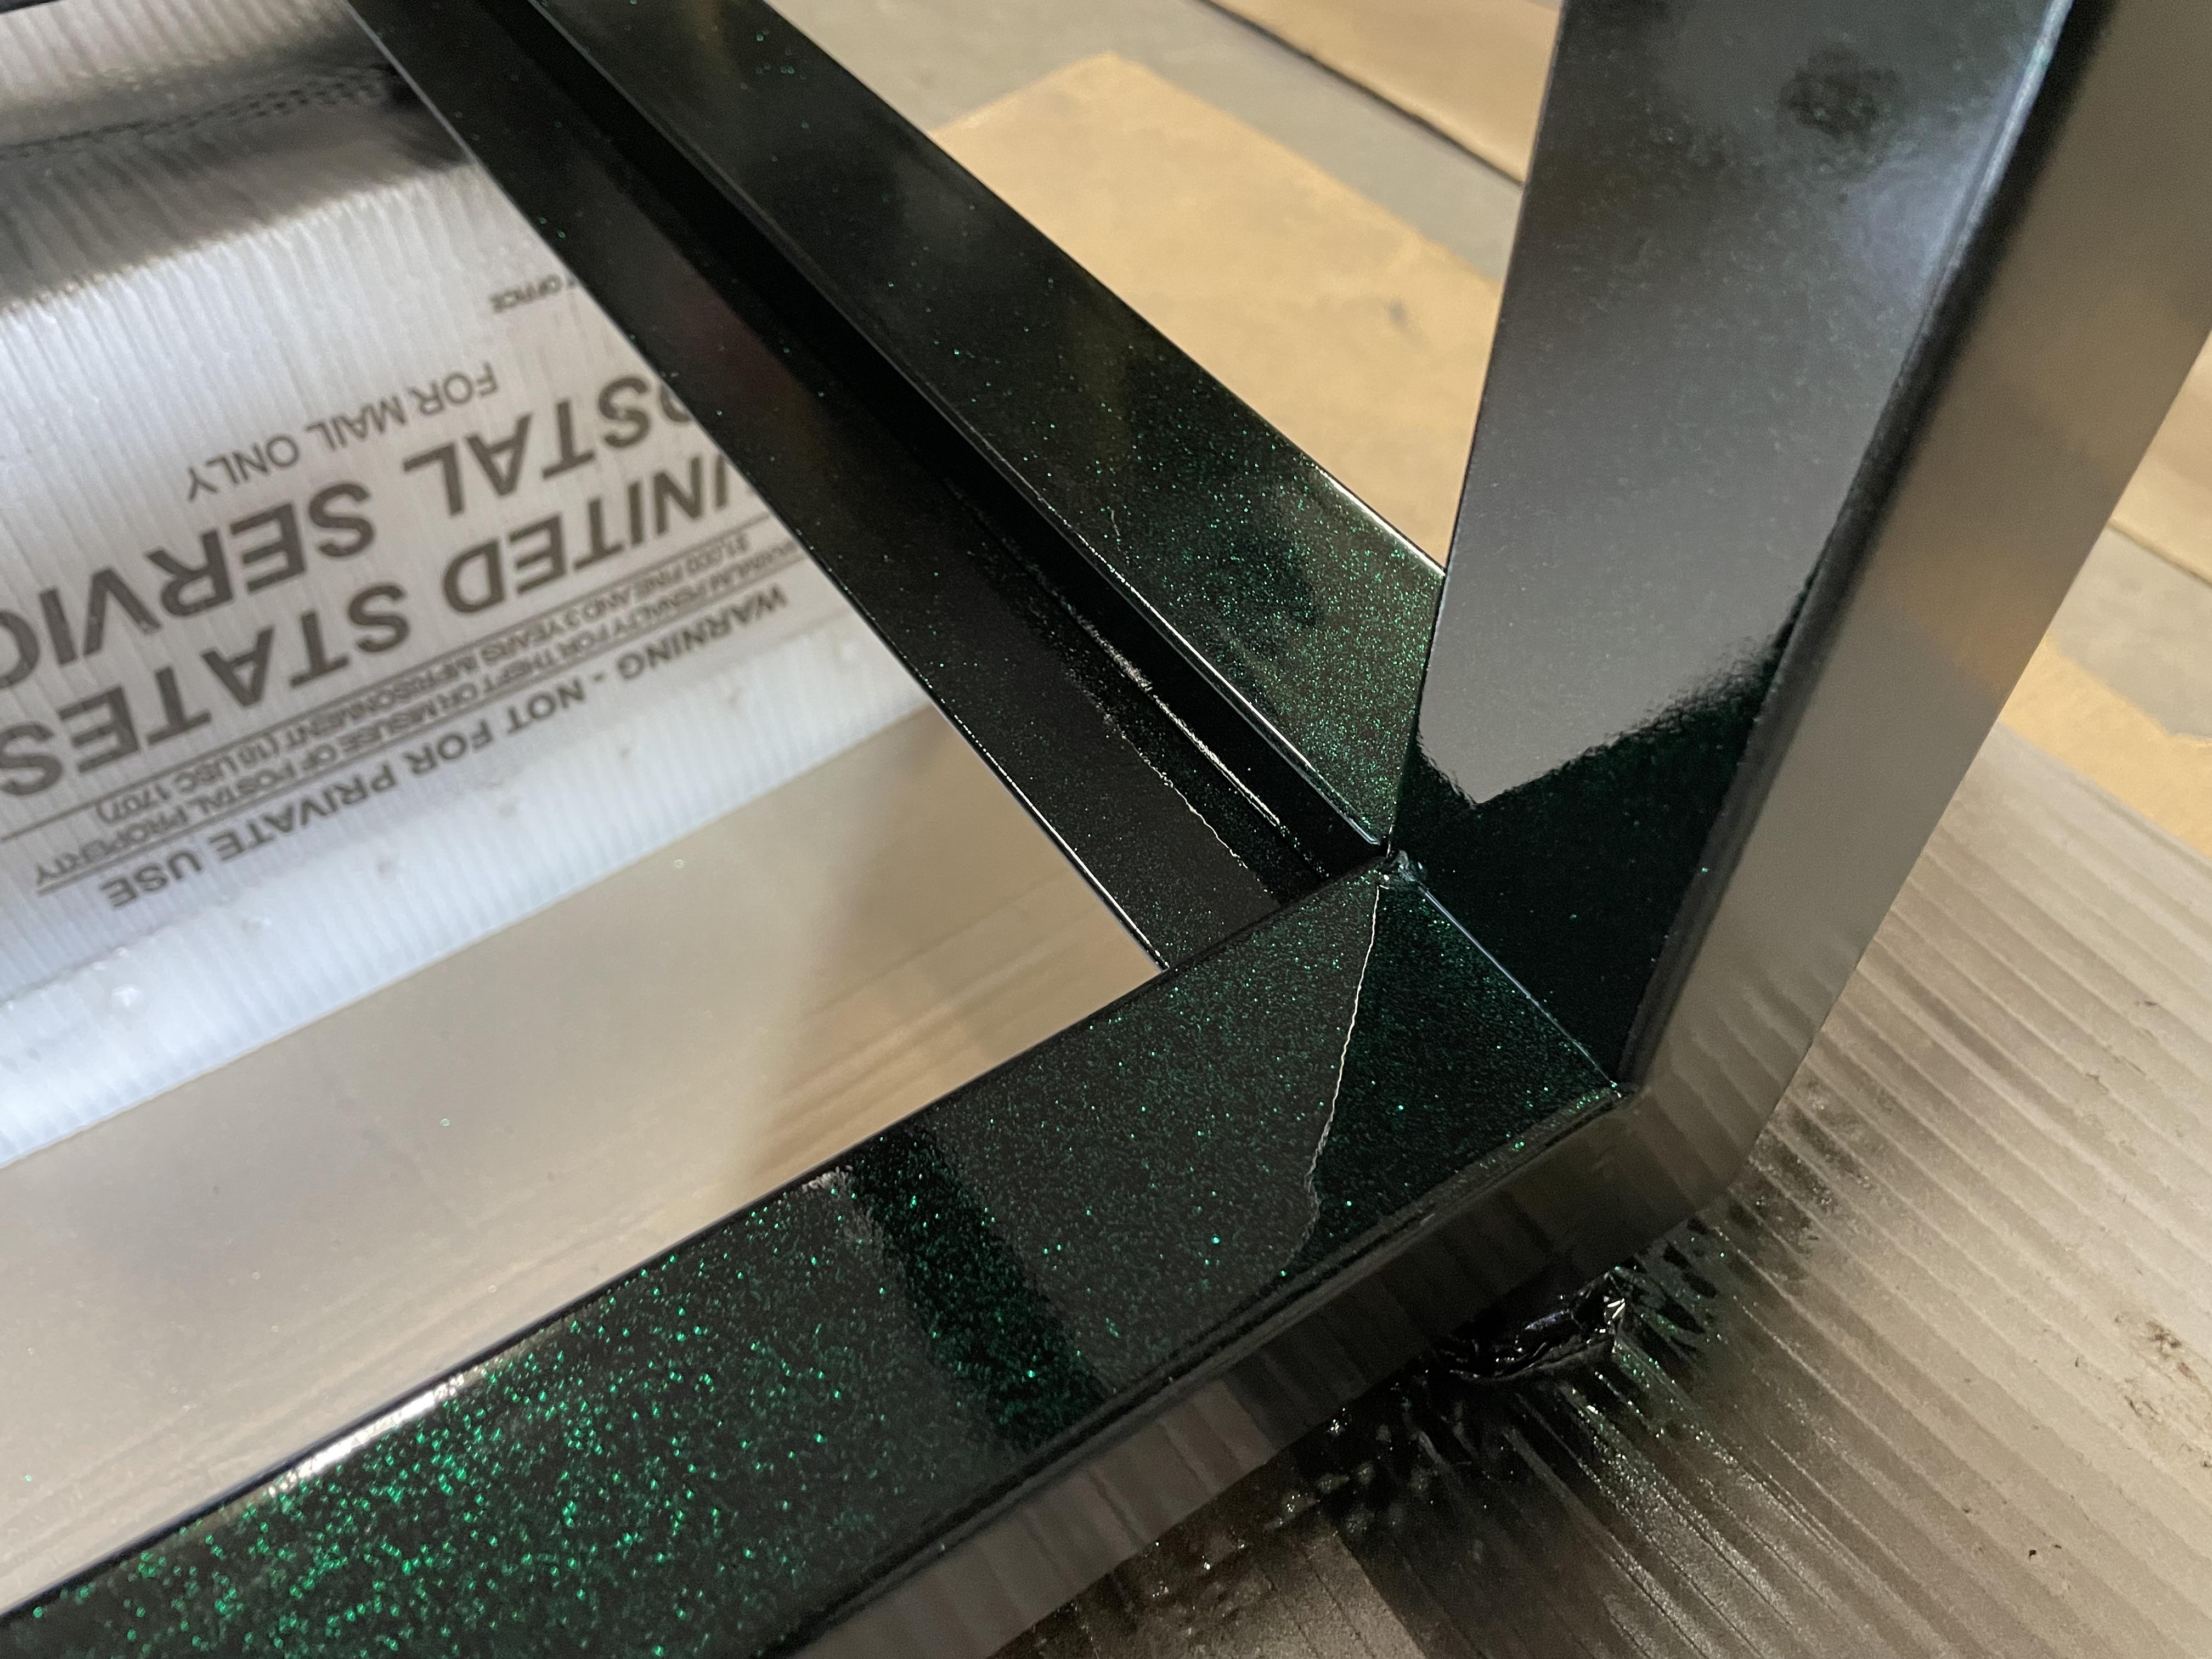
- I used SprayMax 2K Clear. The 2K means that it's a 2 part system composed of the clear resin and an activator. The way that it works is that there's a button on the bottom of the can that you push in, it releases the activator, then you shake the can for 2 minutes. The 2K clear will give you a much better gloss than a 1k (1 part) clear and will be much more durable. It's similar to the clear used by professional auto painters. An important note is that the 2K is extremely toxic so you MUST USE A RESPIRATOR (not a dust mask).
- I originally did 2 coats, but it wasn't enough to cover everything, so I came back the next day with another can. When spraying, you want to get full coverage on the part and find the sweet spot where it's glossy, but won't drip. If you lay it on too dry, then you'll get orange peel. Since the metal flake leaves a rough texture, you'll need to bury it in with clear so that the surface is smooth.
- Some more notes about the 2K clear. Once you mix the activator you only have 48 hours to use it. The flash time between coats is 5 minutes (wait time between coats), dust dry in 20 minutes (dry enough that dust won't stick to it), dry to the touch in 4 hours, and fully dry by 24 hours. I've been told to let it dry even longer, so I'll just leave it for a few more days before attaching the wheels and table top. It's important that your space isn't dusty or else it will land in your clear. So I'd suggest sweeping wetting down the floor prior to painting so that dust isn't kicked up as you move around.
- After it dries you can wet sand it and buff it with polishing compound if you want the surface to be completely flat. I'm not going to do that, but I'm sure there's videos on YouTube that explain it if that's what you want to do.
Final Thoughts
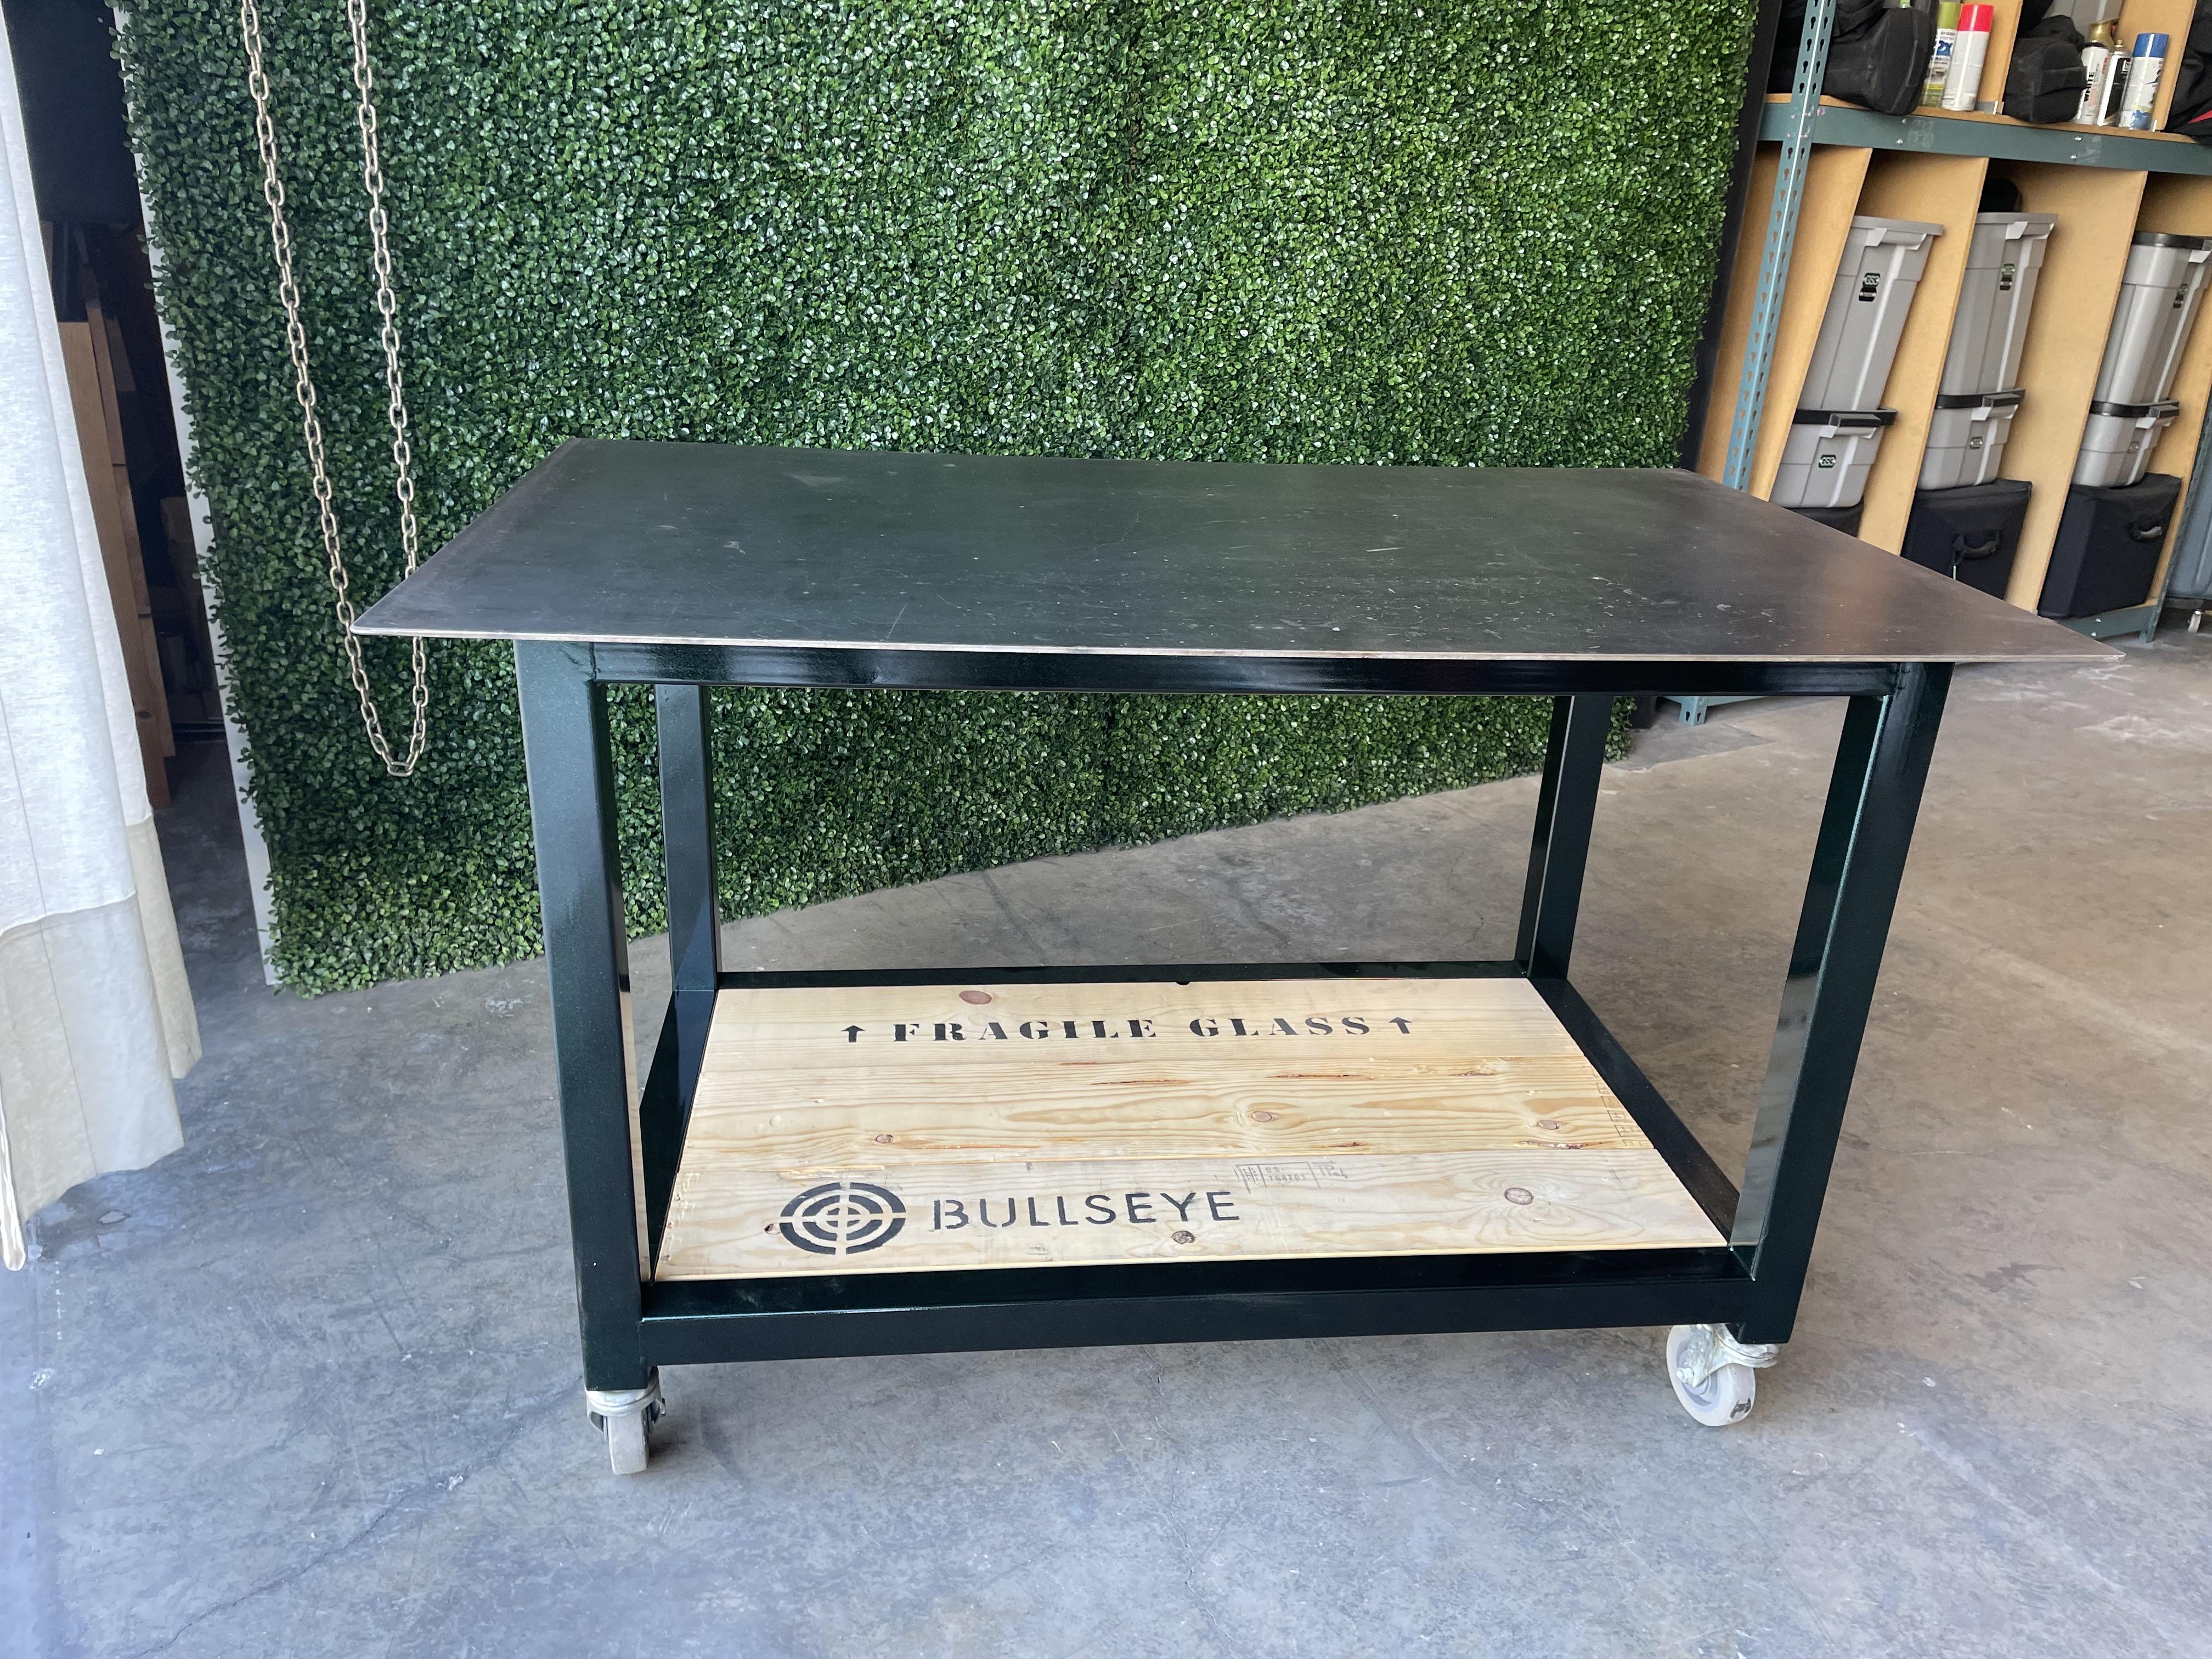
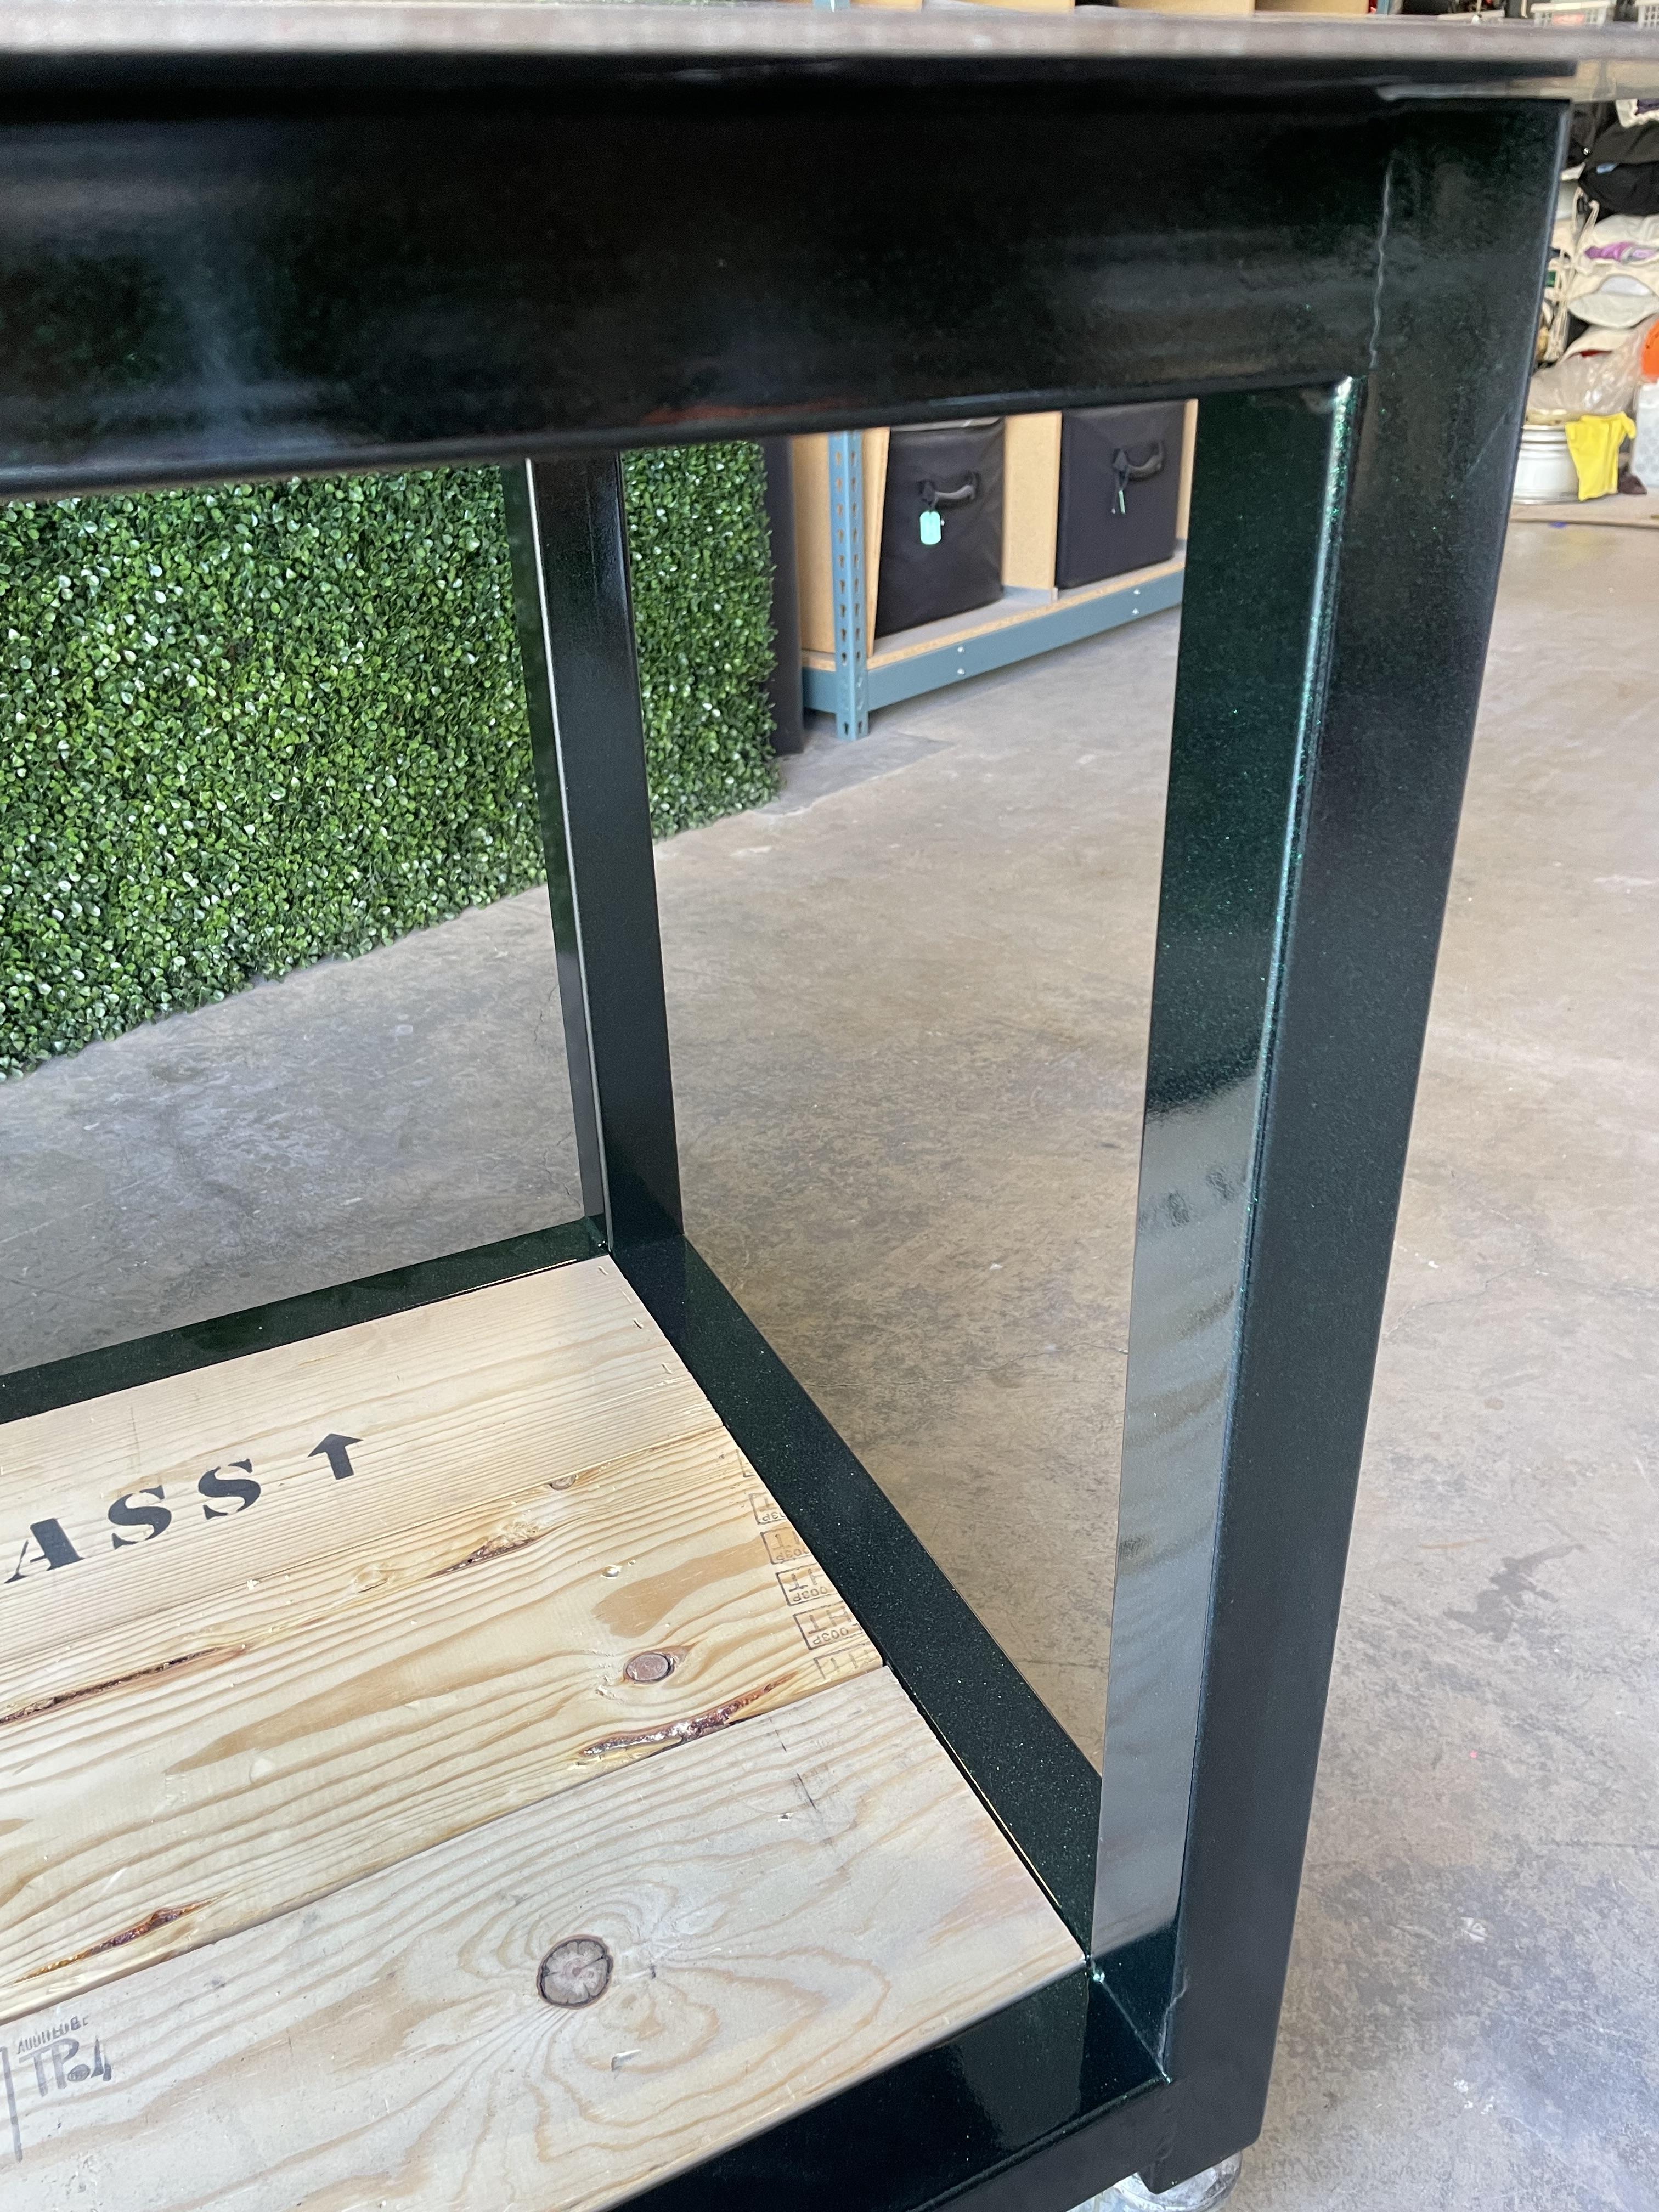

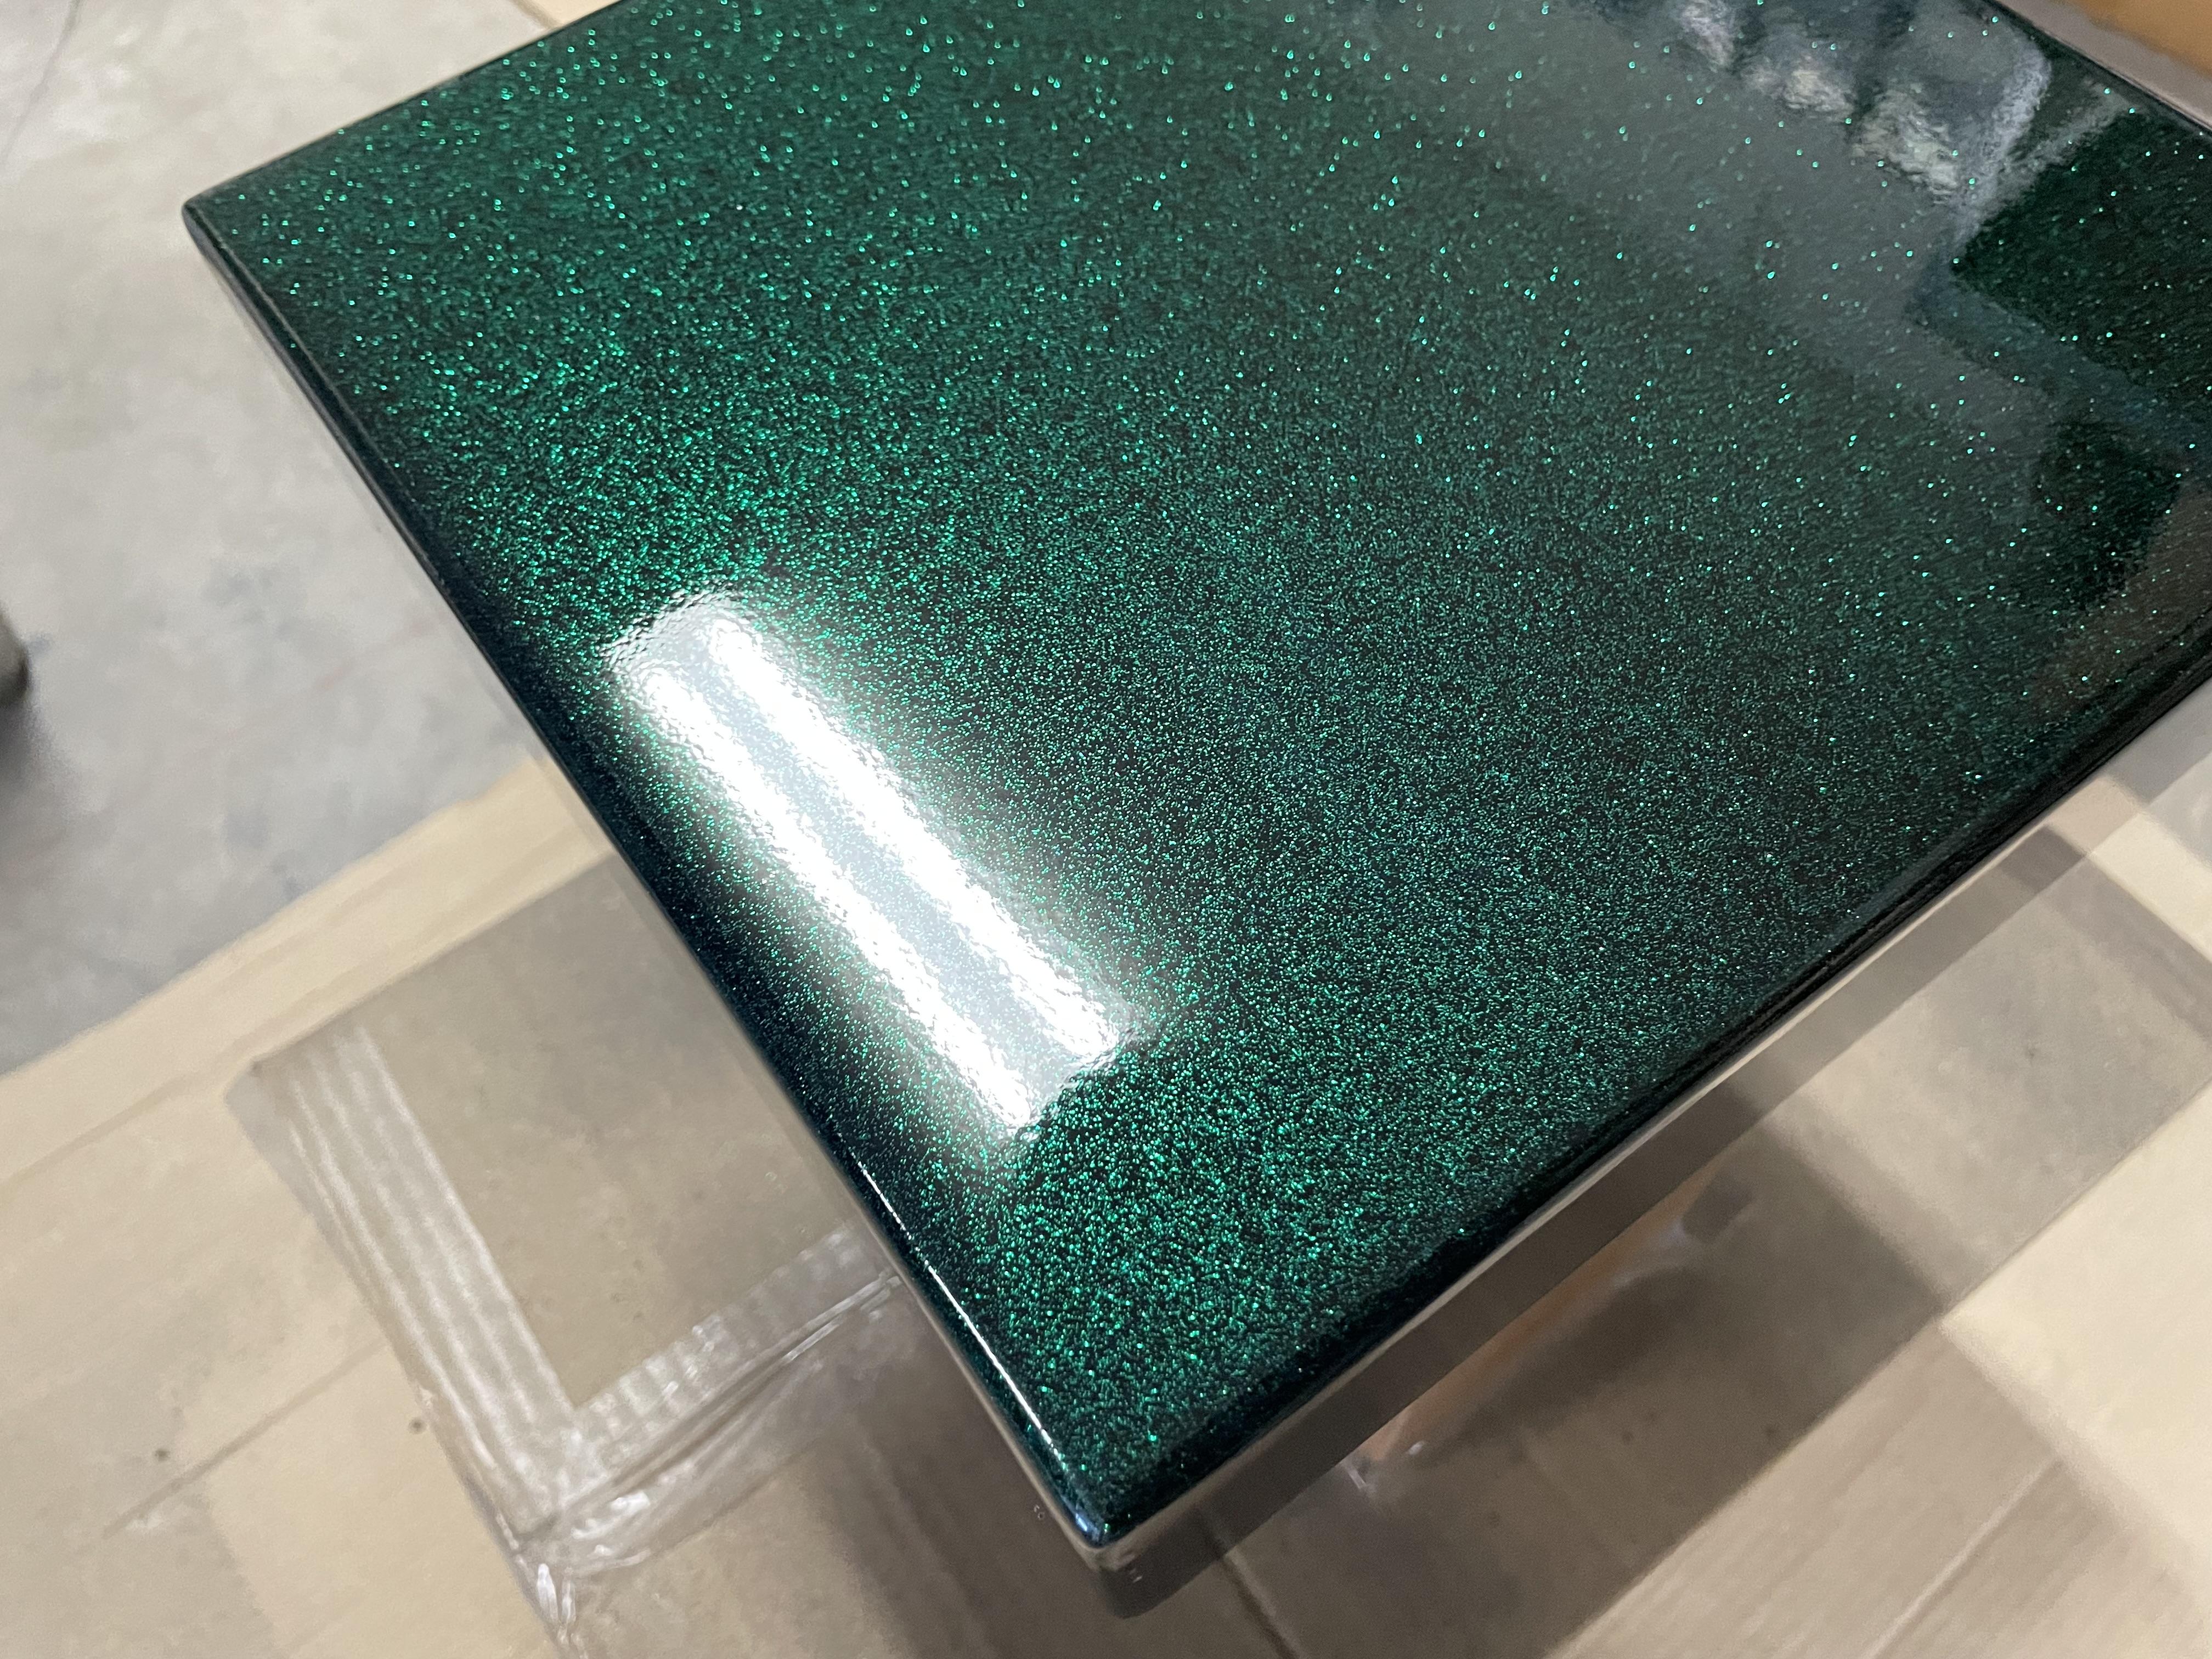
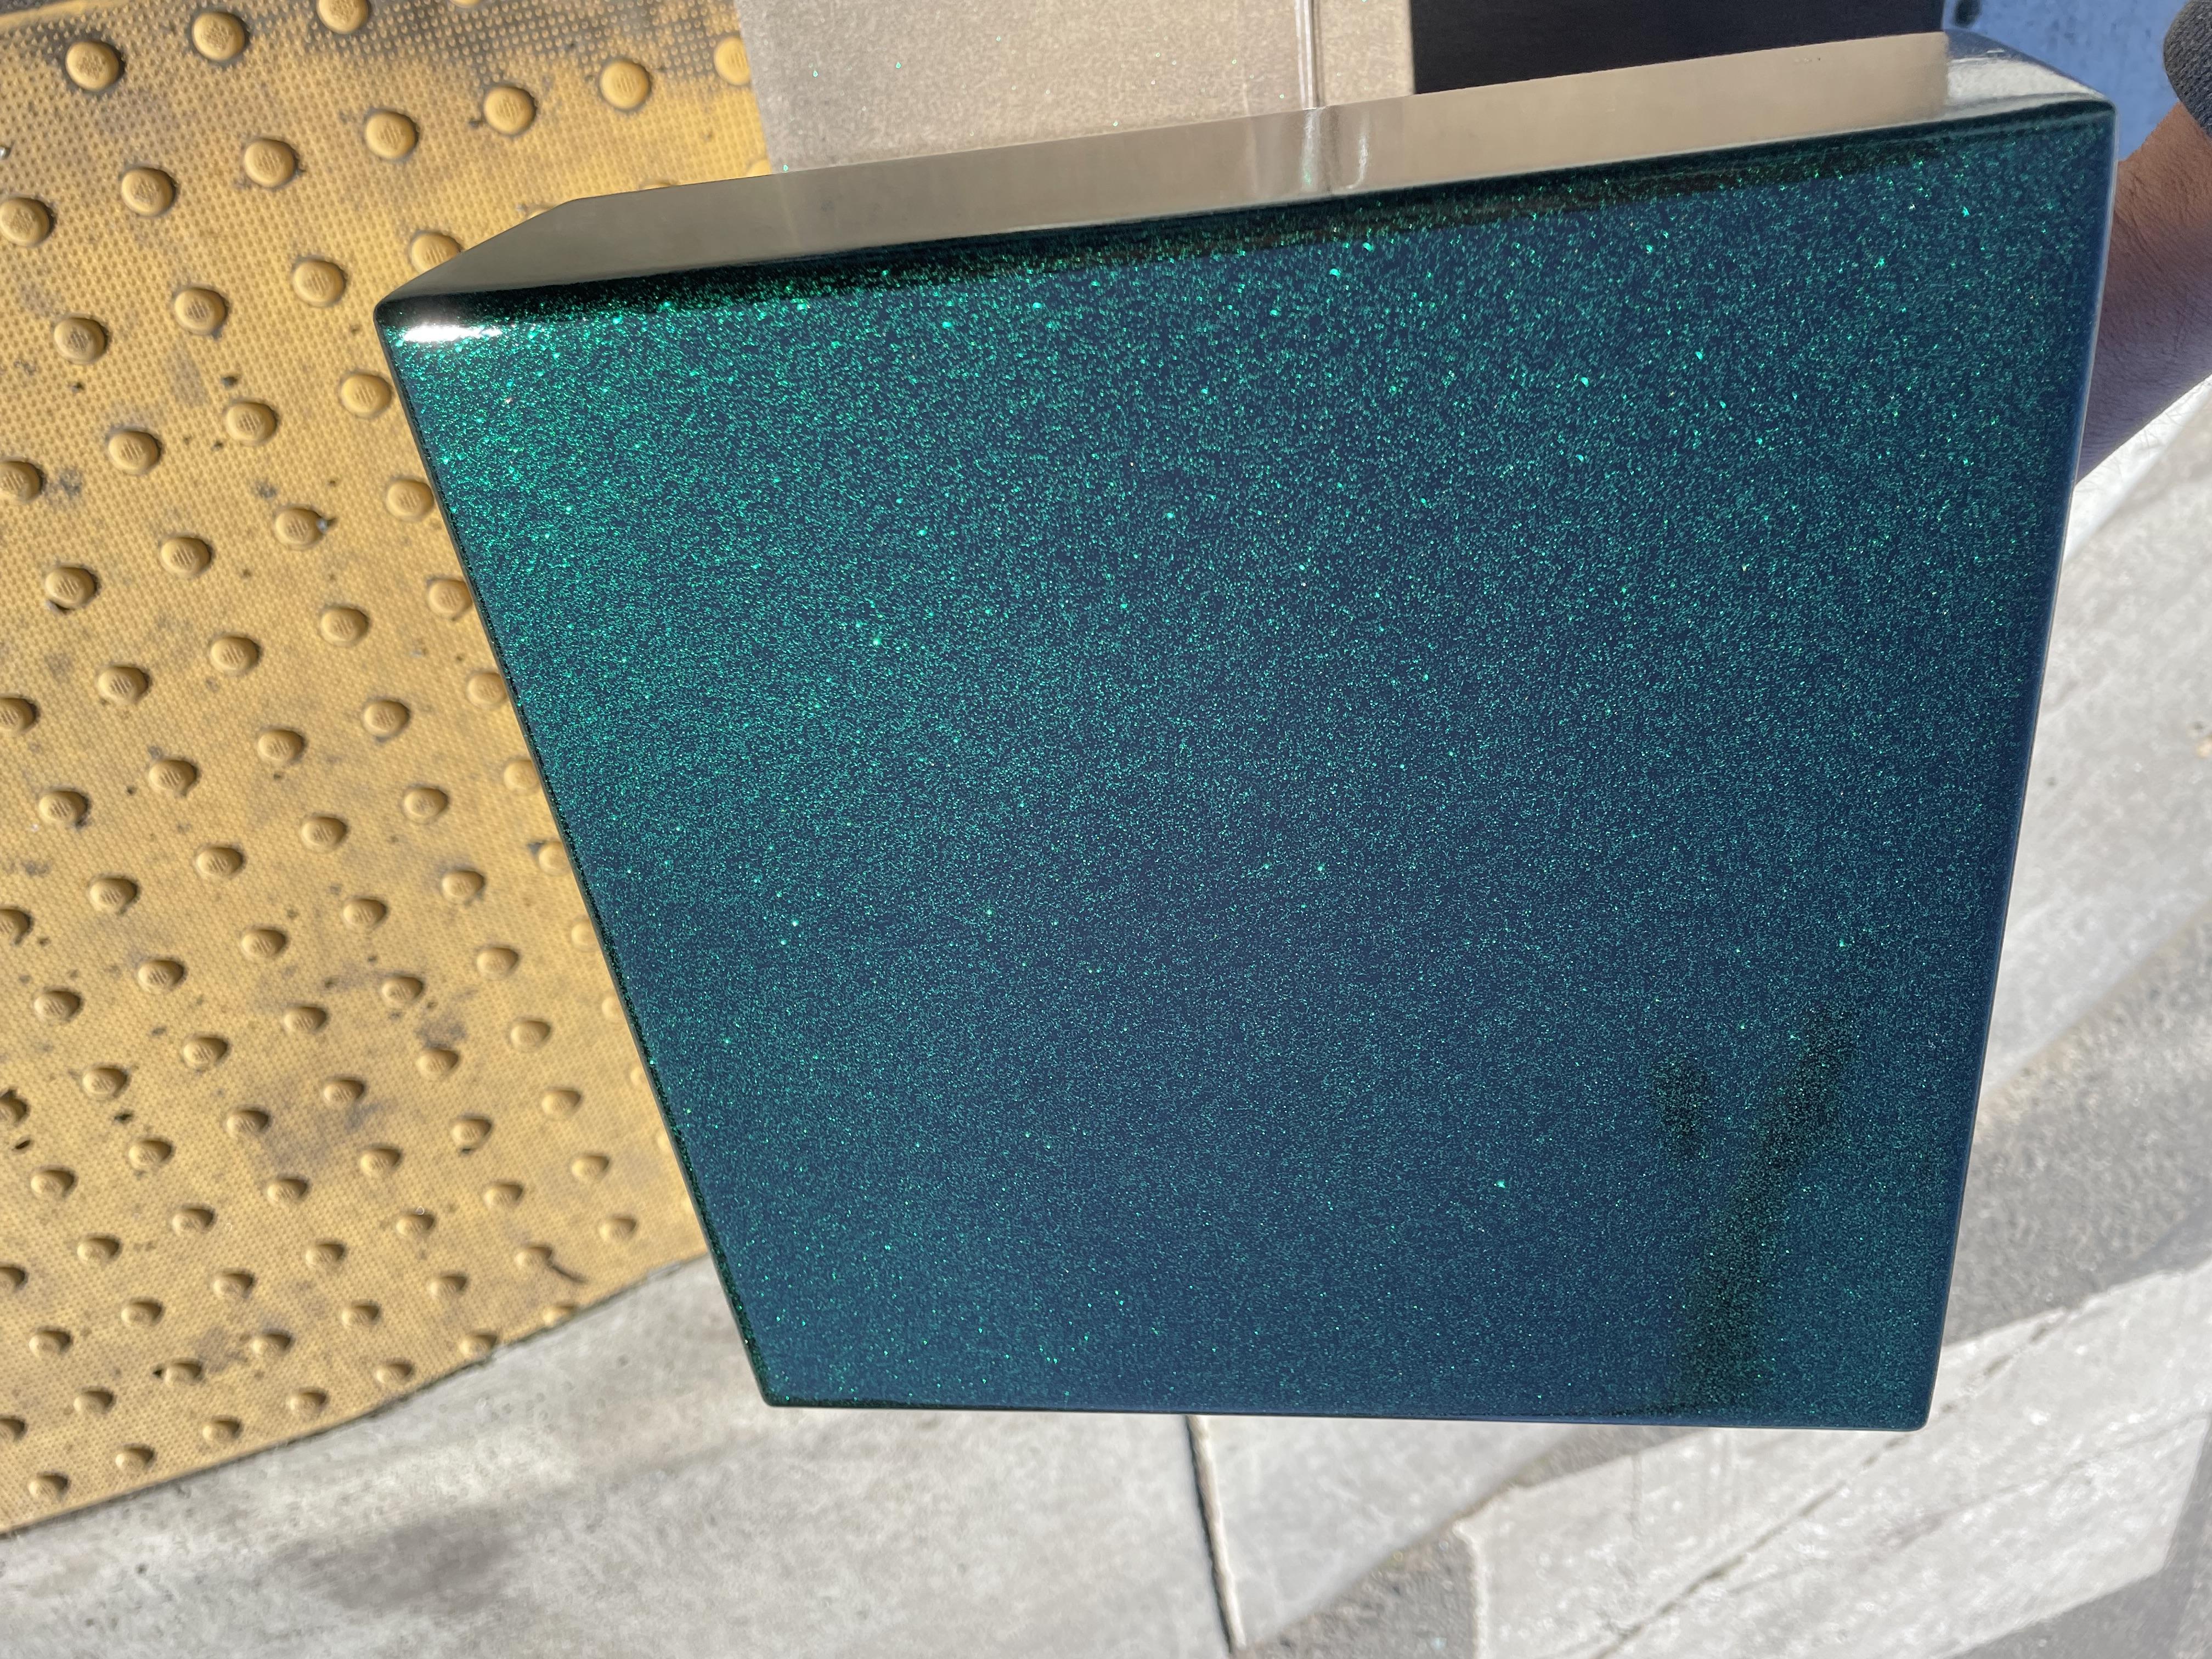
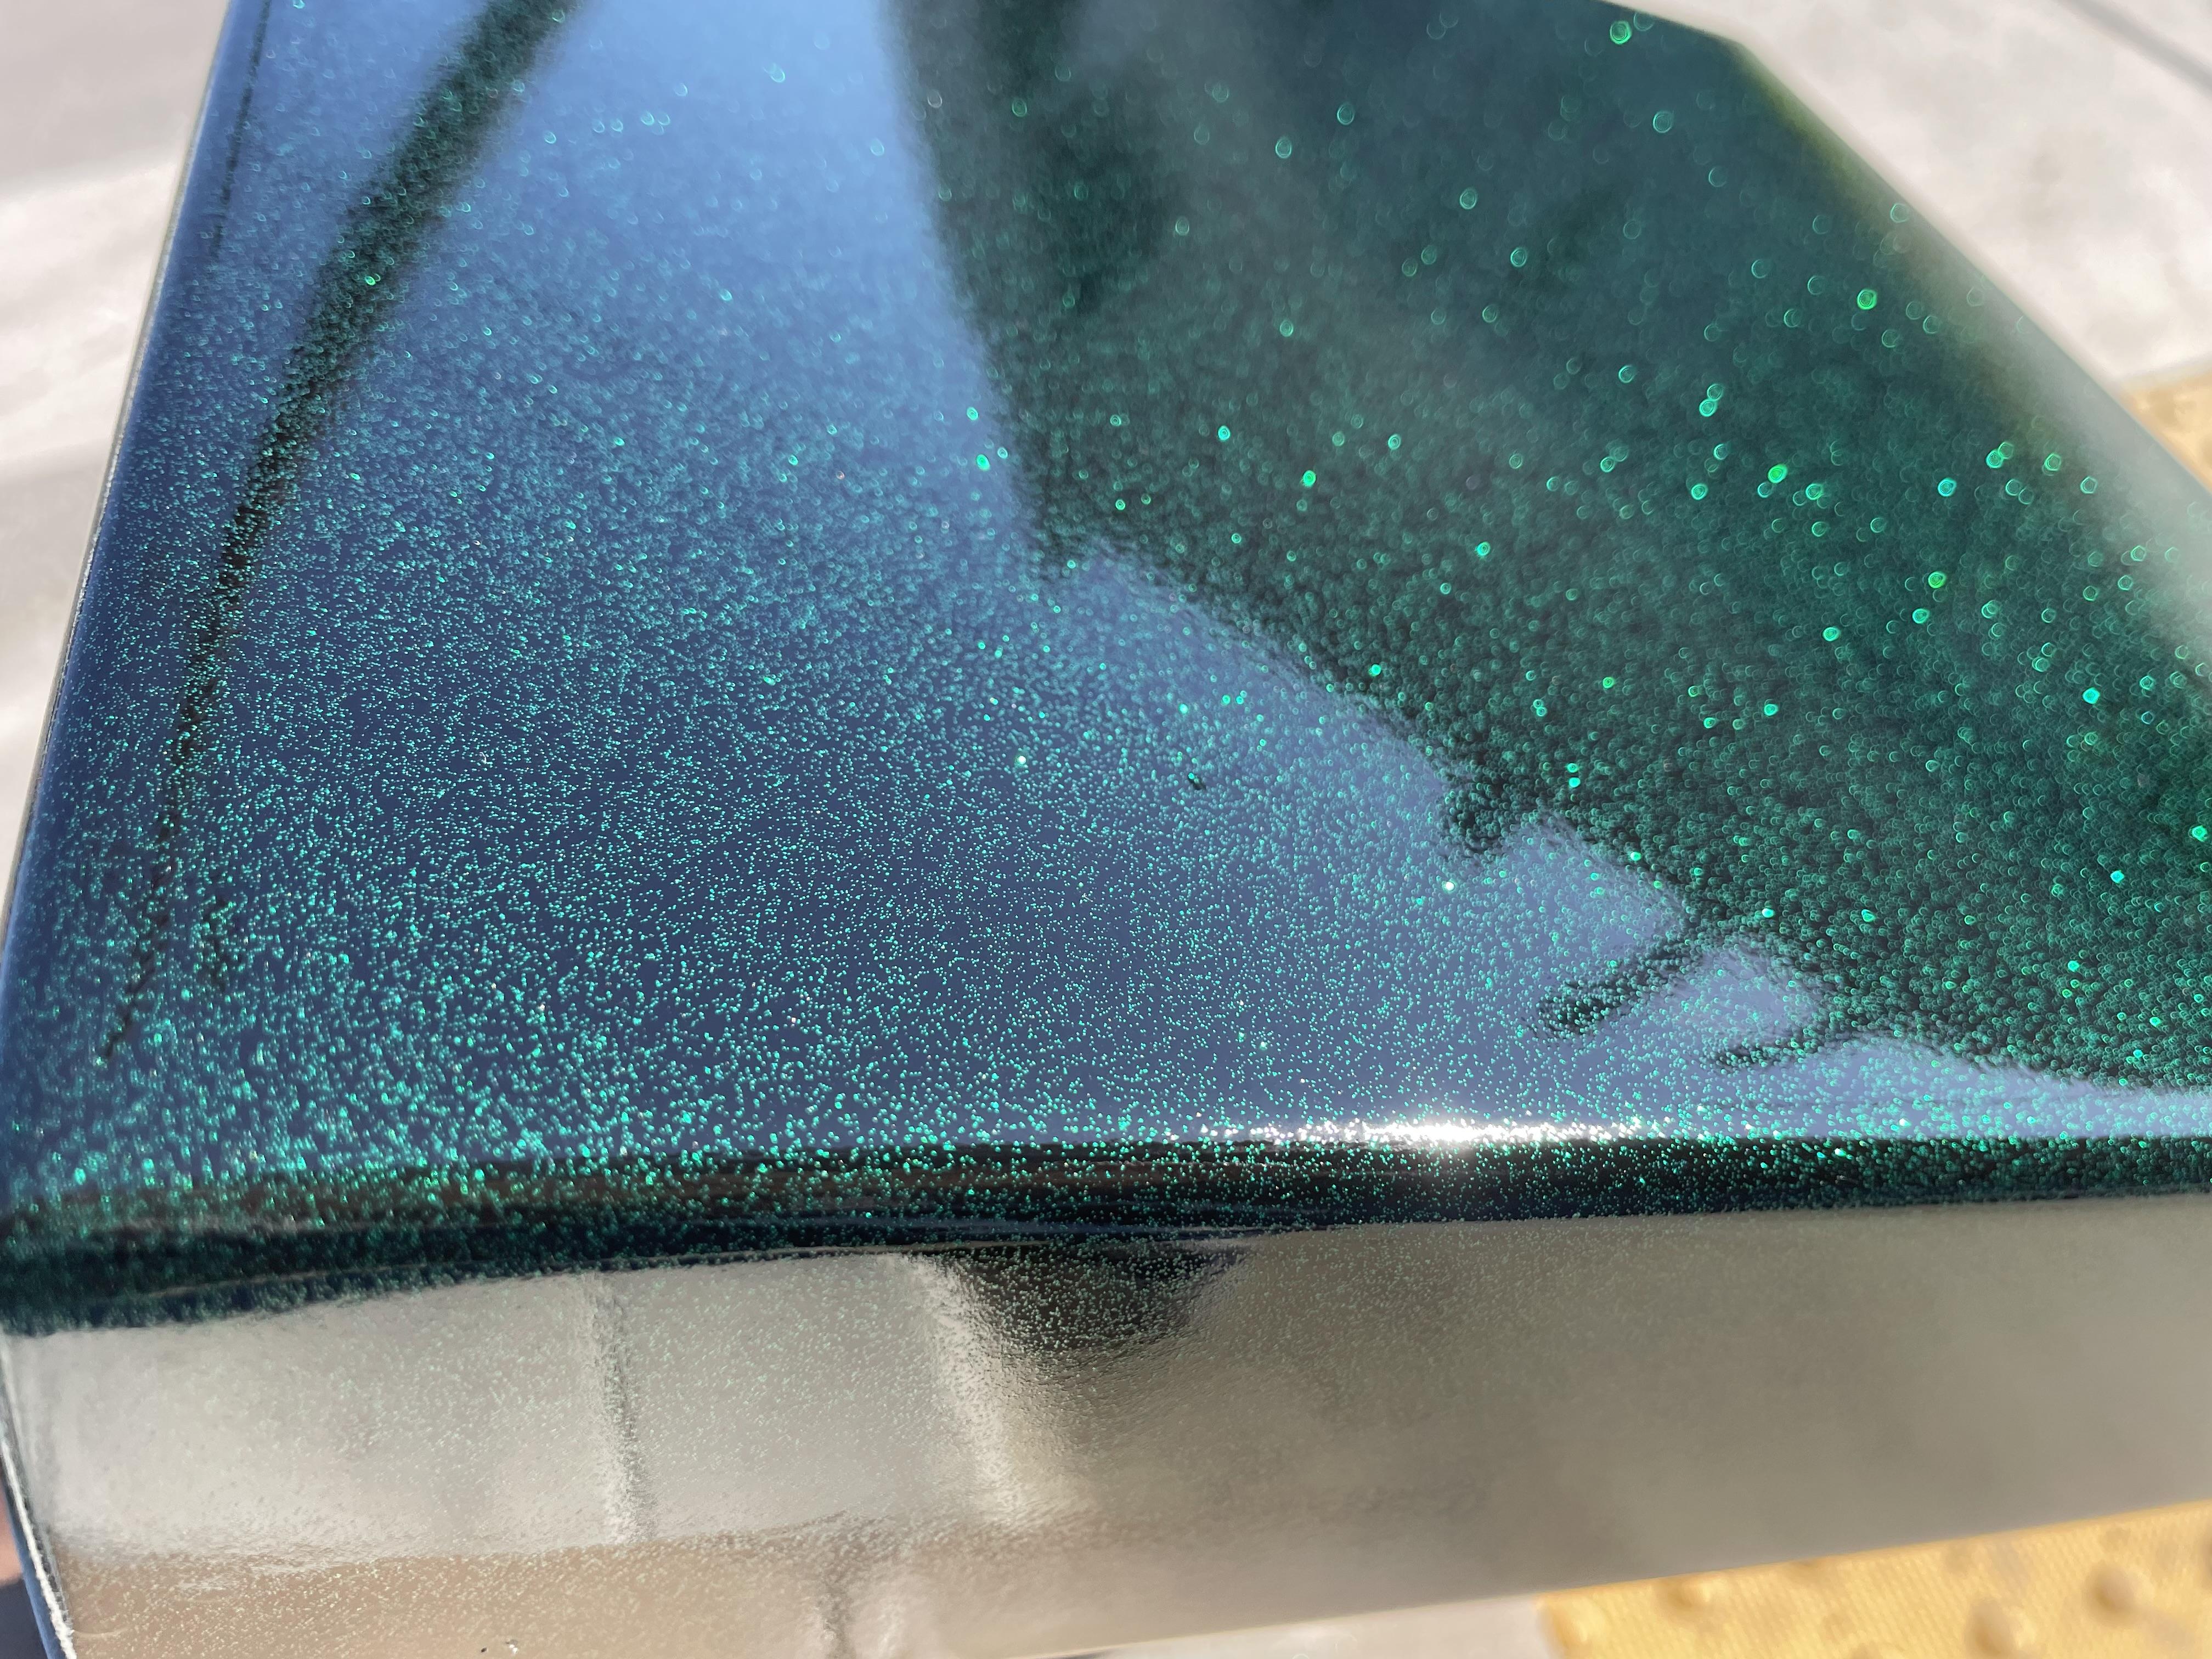
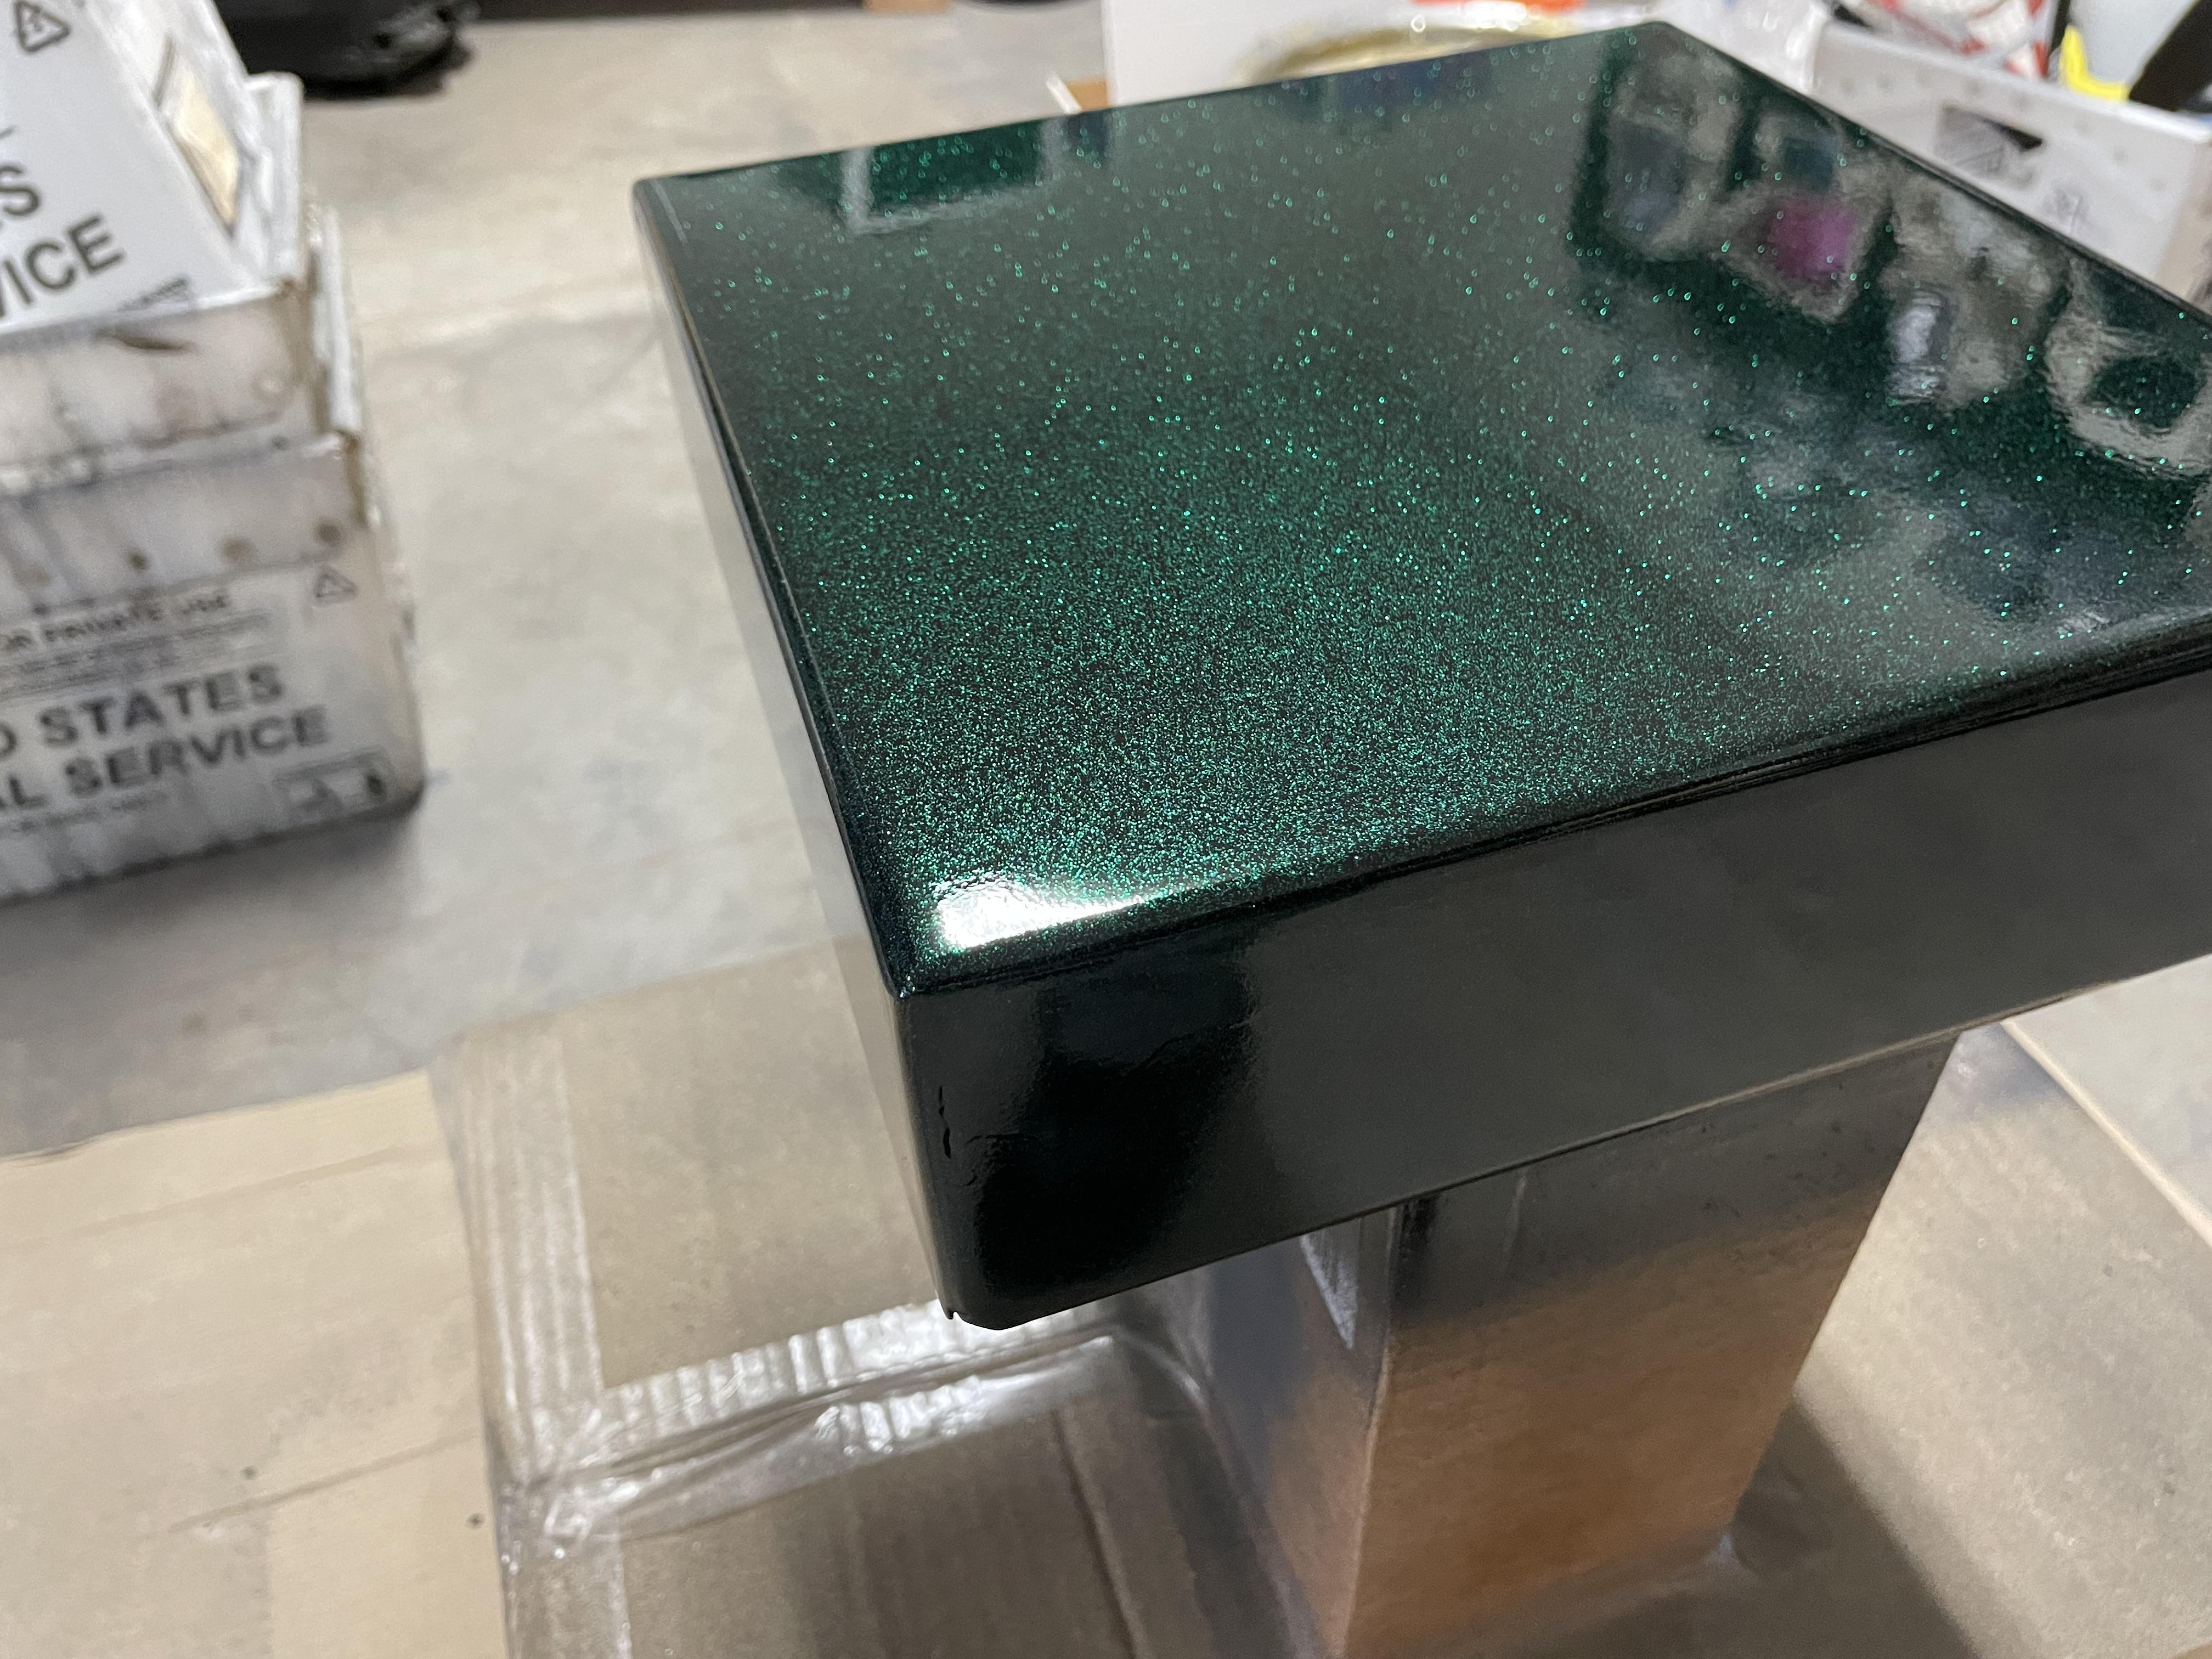
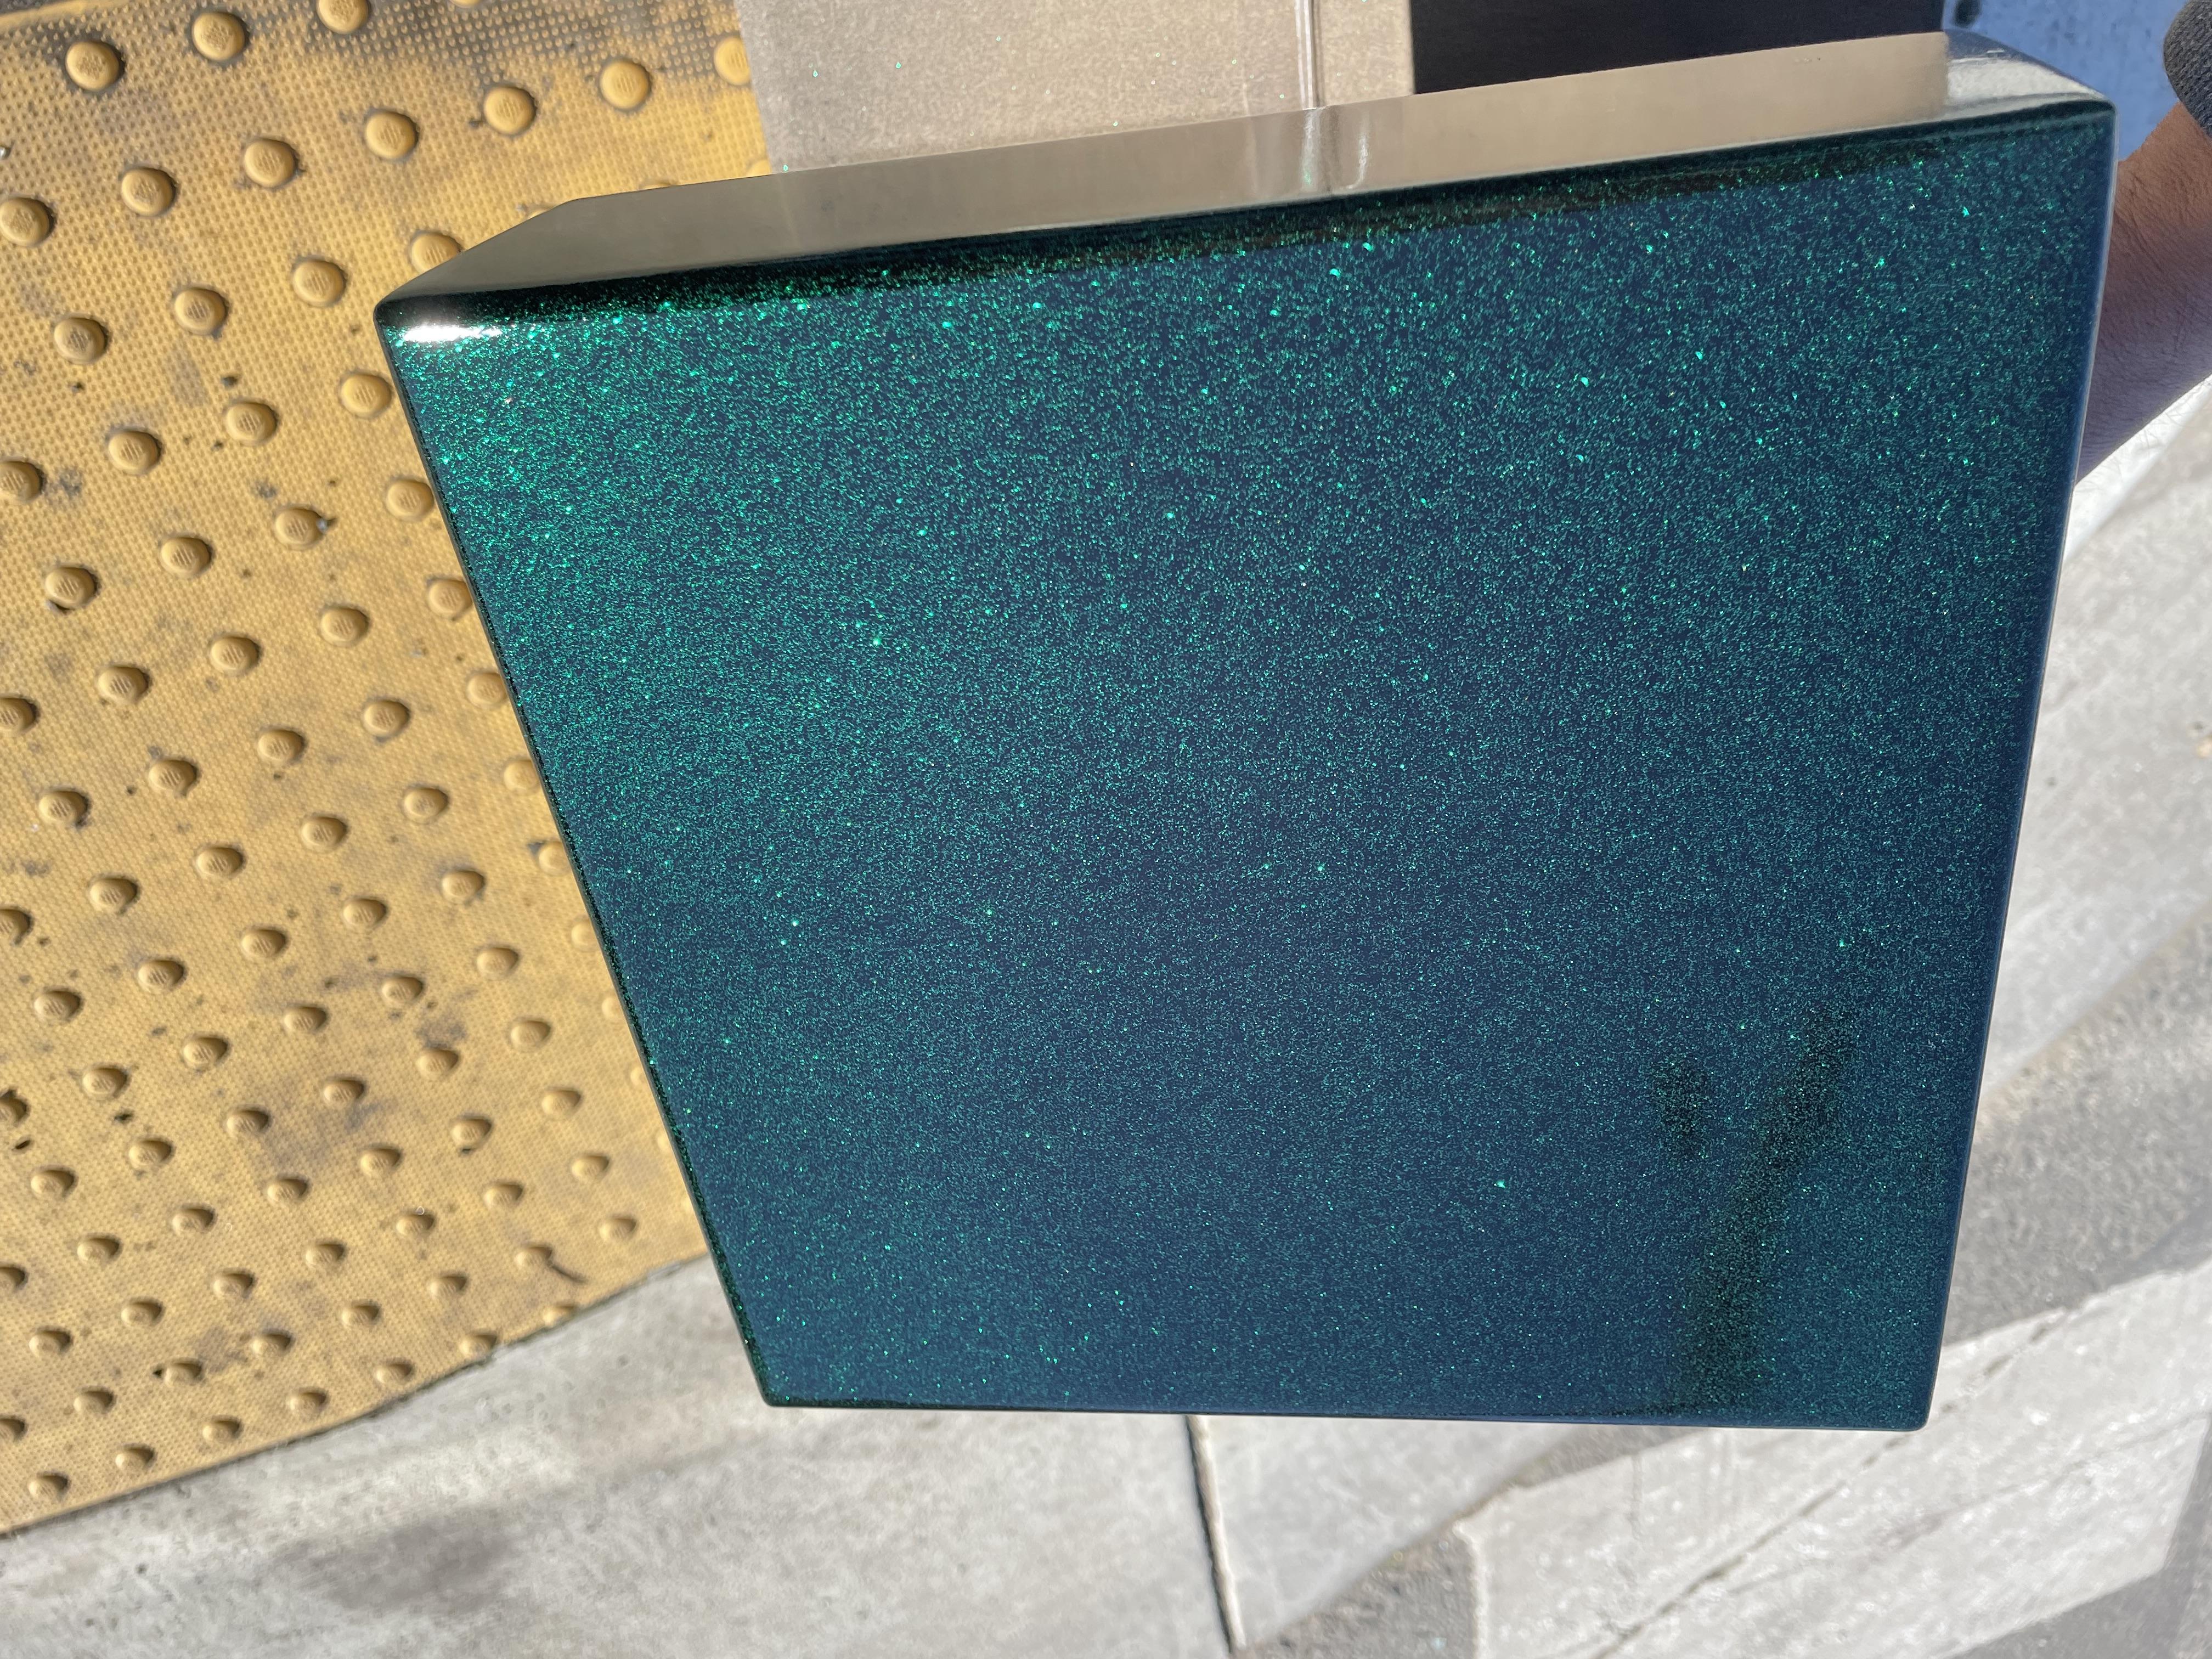
- Overall I'm really happy with the finished product. The color is really deep, but still vibrant and it'd go really well with gold leaf. I think that the Roth Rattle Bomb products would be great for smaller projects. I could see this working well on bike frames, valve covers, motorcycle parts, etc...
- I didn't realize that there's a color shift with flake. In the shade it'll look black, but if it's in the sun and at the right angle it'll pop. Also, I only had enough paint for 2 coats of flake and they recommend 3 coats, so I'm sure that that contributed to it coming out darker than expected. If I wanted it to come out brighter I could have used a silver base coat instead of the black or used a brighter flake. The samples on their website are pretty accurate and they have a lot of samples on their Instagram as well. I'd just suggest considering the lighting where your piece will live, before choosing a color.
- For each can of paint you're supposed to lay down 3 coats. It can add up quickly in supplies, so keep this in mind when considering if this is right for your project.