Roulette Wheel
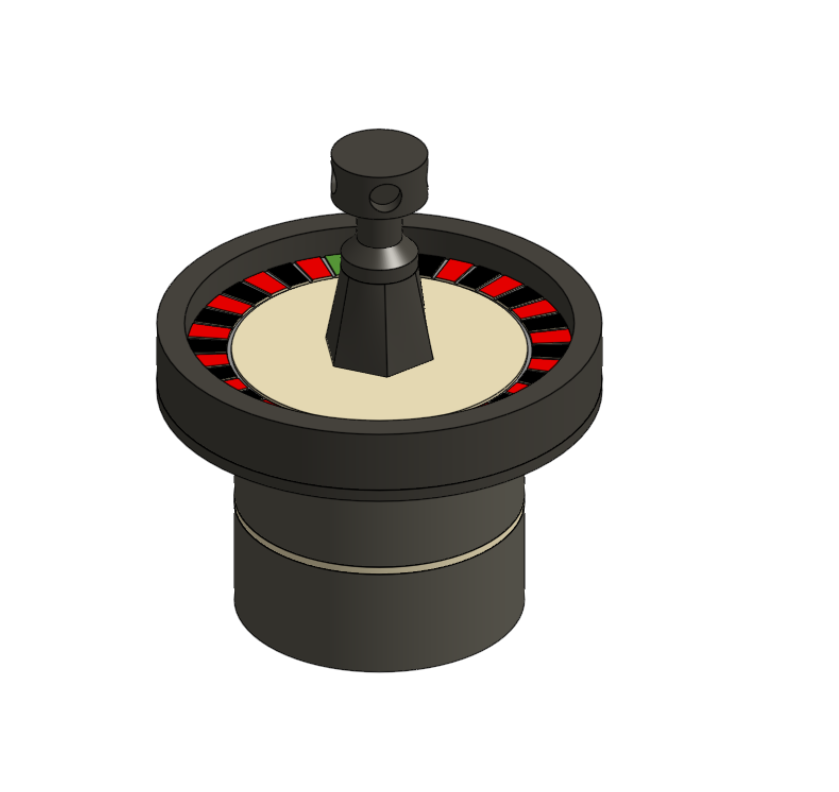
Very simple Roulette Wheel. Extra Materials (1/2 Inch hex Shaft 6.5 Inches long, 2 ThunderHex 1.125 OD bearings, 1/2 Inch Shaft collar). Optional materials Posca Pens.
Supplies
Posca Pens, Hot glue or Super Glue.
Printing 3D Parts
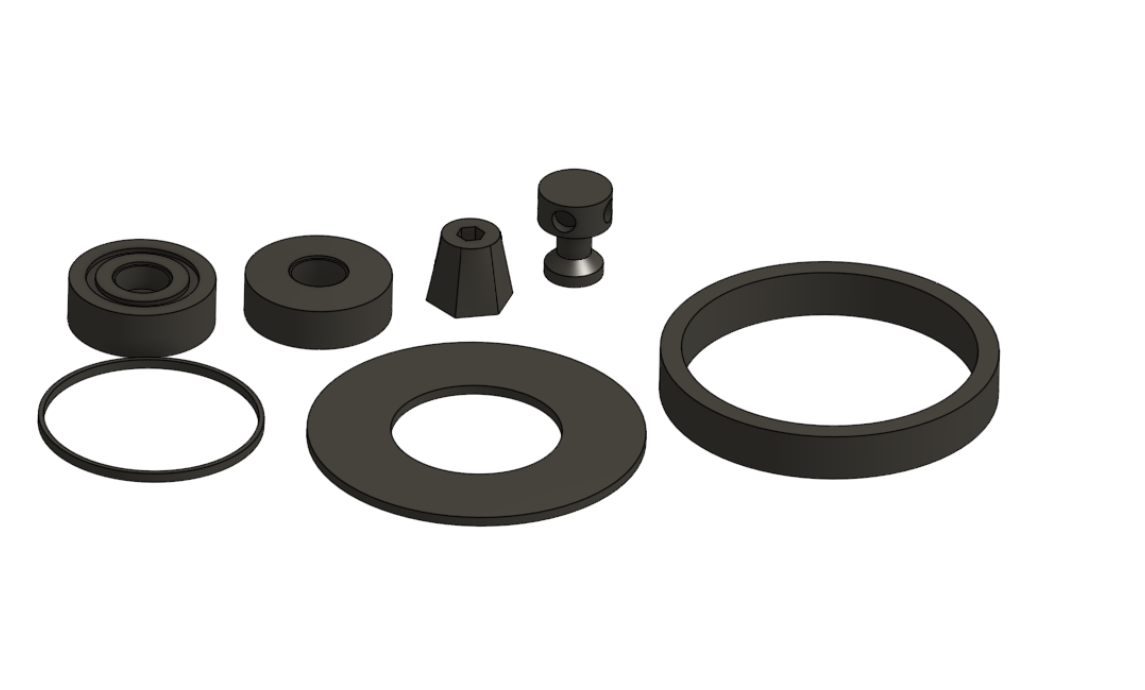
Print all of these parts with whatever filament you have. I used a black PLA on a Prusa 3D printer.
Carve the Wood Parts
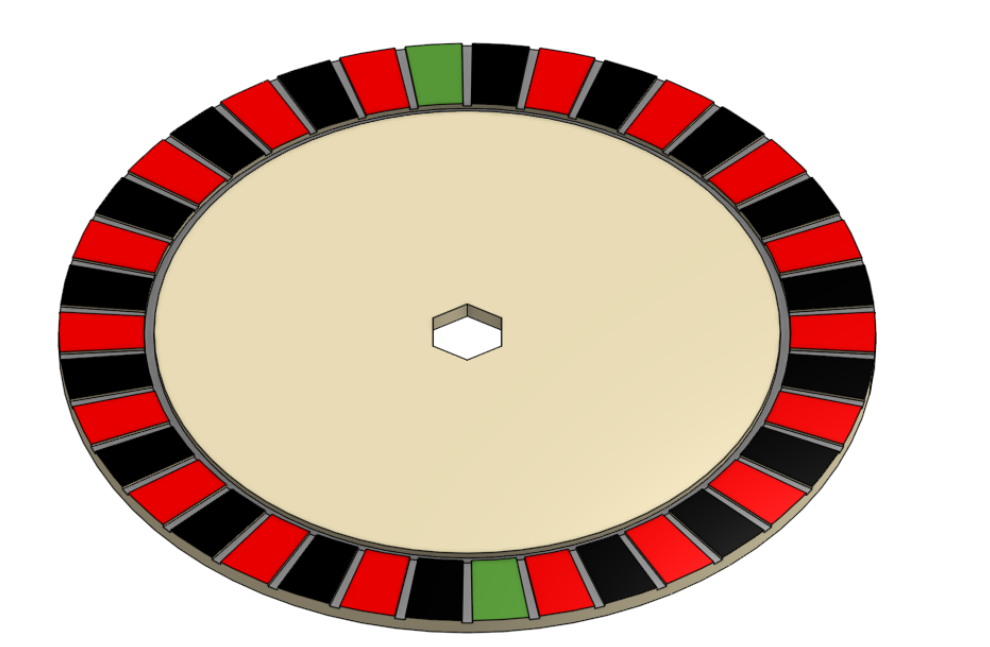
For this wood part, I used a laser cutter to etch and cut out the circle
Downloads
Starting the Assembly
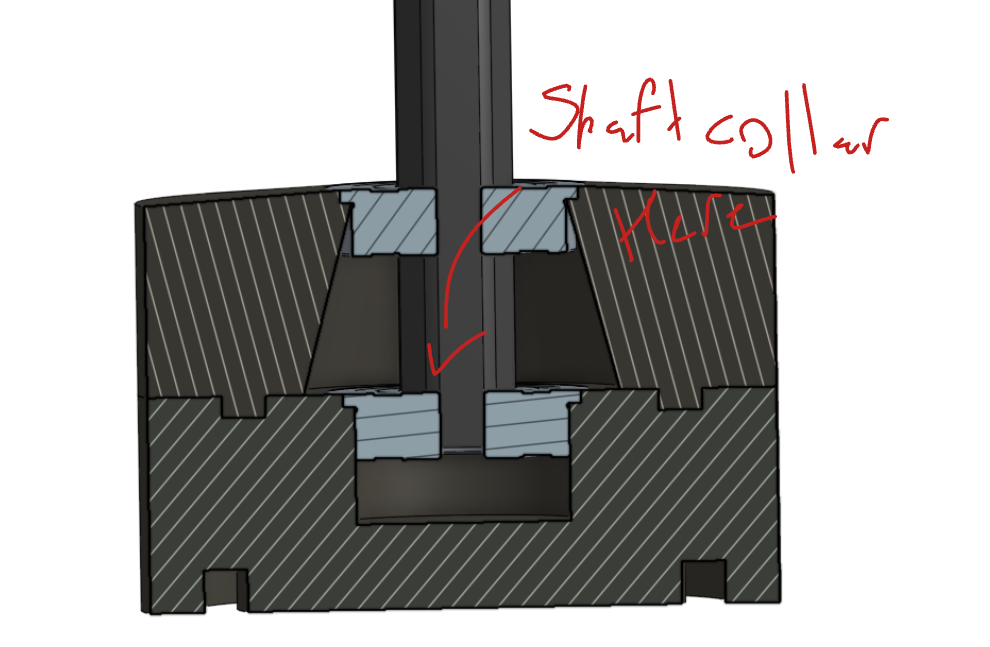
Add the bearings, shaft, and shaft collar to the 2 base pieces
Gluing the Top
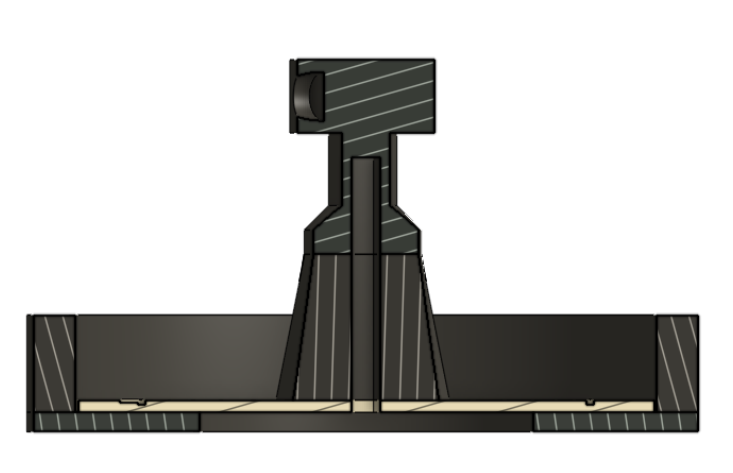
Glue the 2 topper pieces together (you might want to score them) MAKE SURE THE HEXES LINE UP. I recommend doing this on a hex shaft so they stay in place. Then glue your wood piece to the topper. Glue the remaining 2 3D prints together lining up the edges and then glue them to the underside of the wood piece making sure the walls are pointed upwards.
Putting It All Together
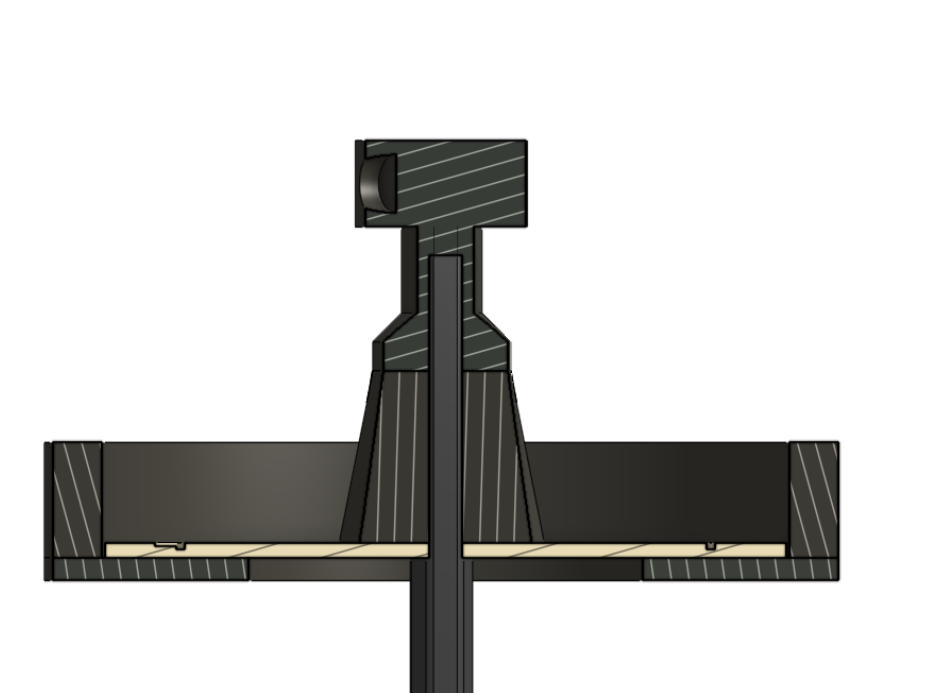
Finally, Slide on the top to the hex shaft, and boom! you got a fully functional roulette wheel.