Rubber Band Powered Air Conditioner
by Poetry And Prophecy in Workshop > Home Improvement
41 Views, 1 Favorites, 0 Comments
Rubber Band Powered Air Conditioner
I made an air conditioner powered by rubber bands and frozen water. It costs less than ten dollars to make, even less if you salvage the parts from household items or a dumpster. ( Please sanitize anything you get from a dumpster.)
Supplies
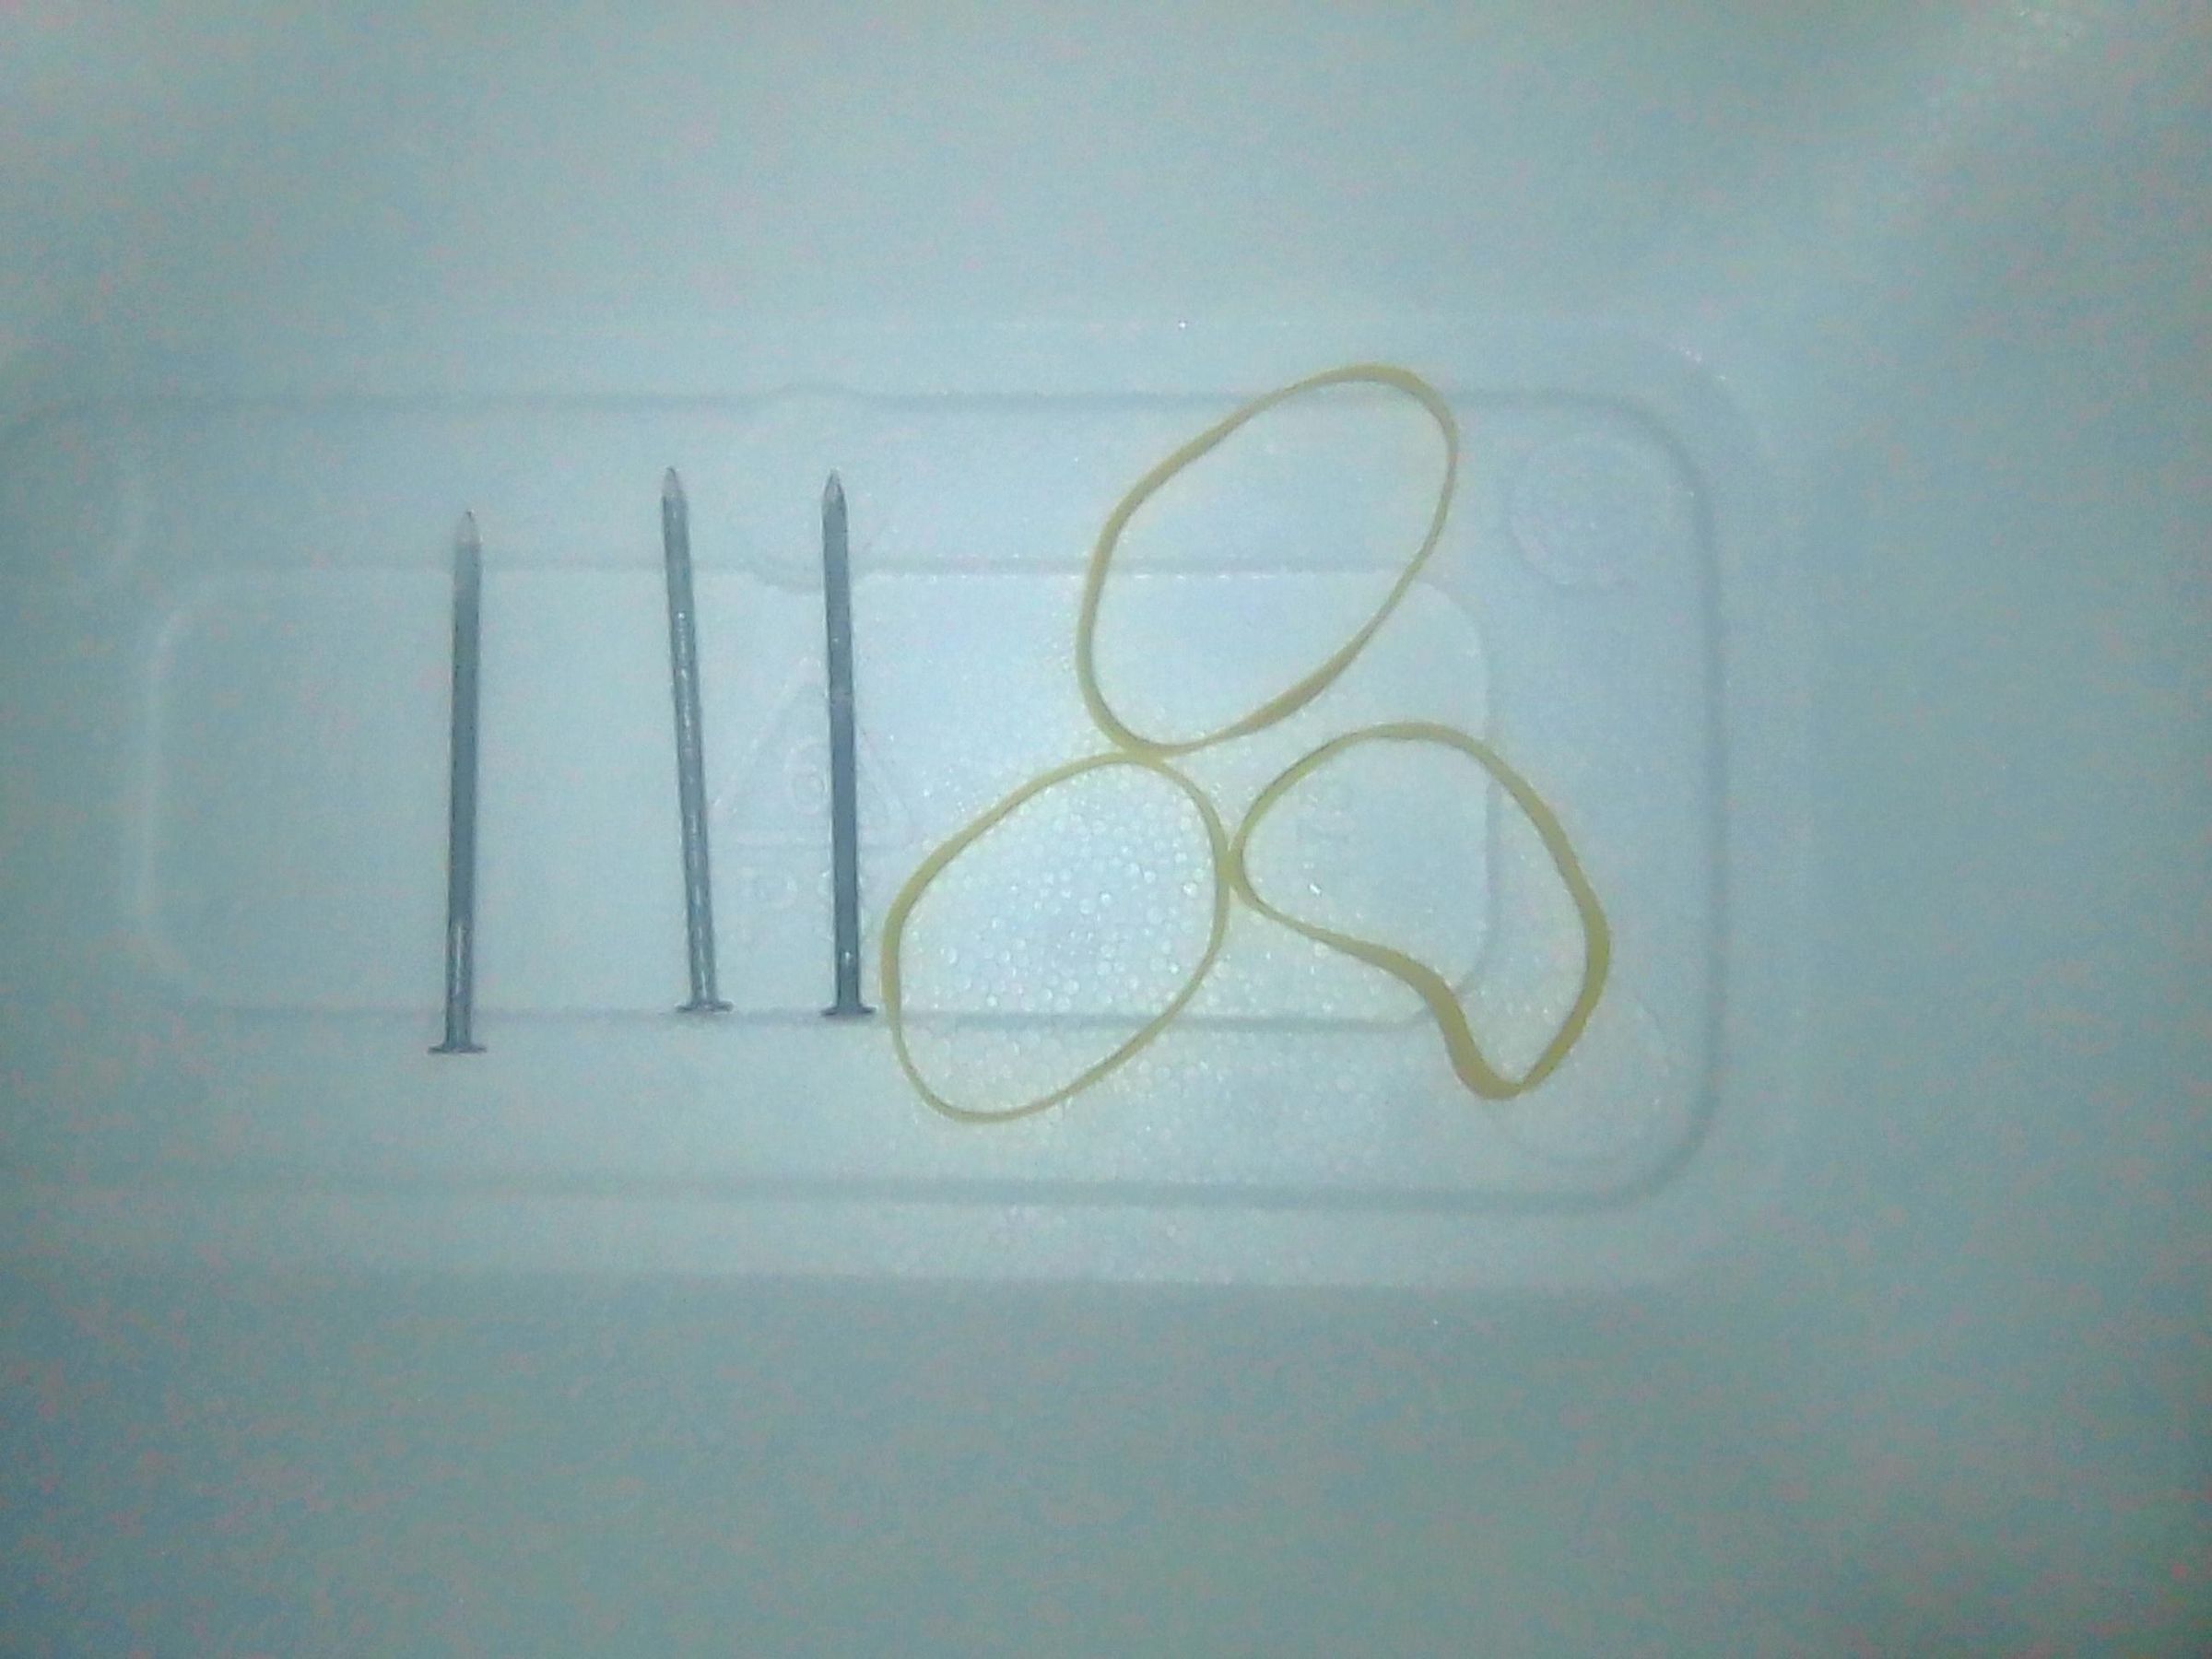
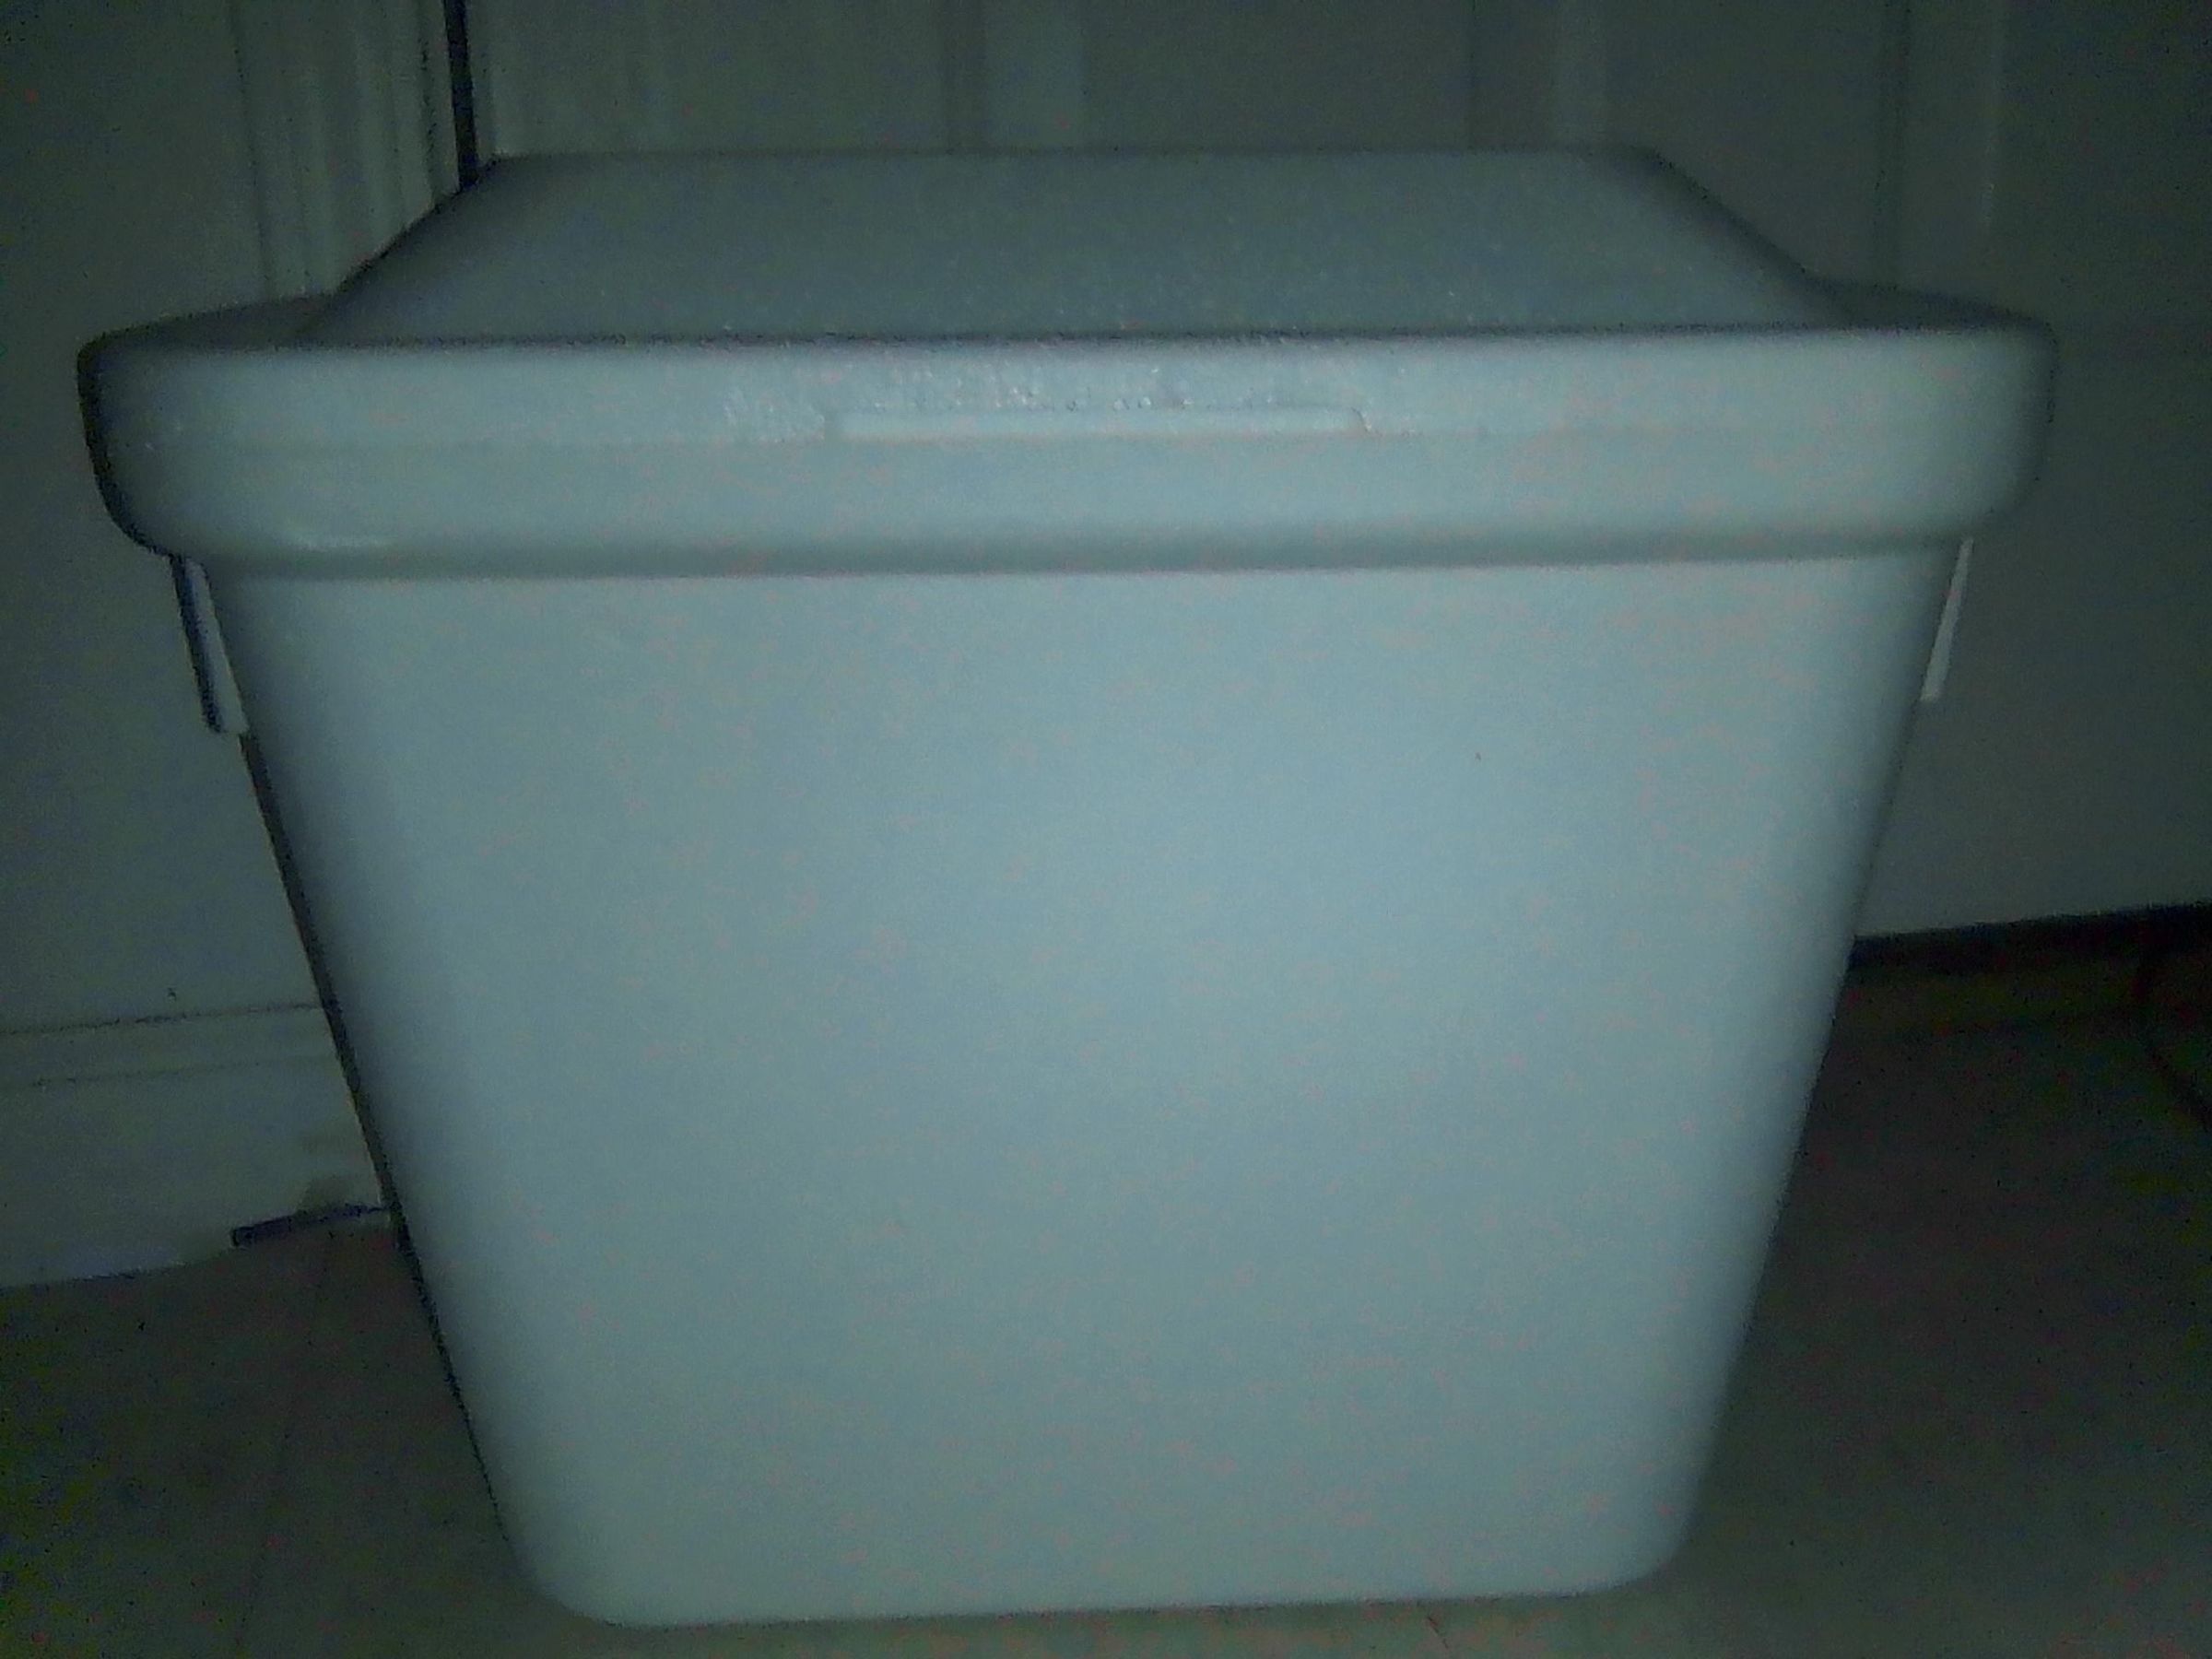
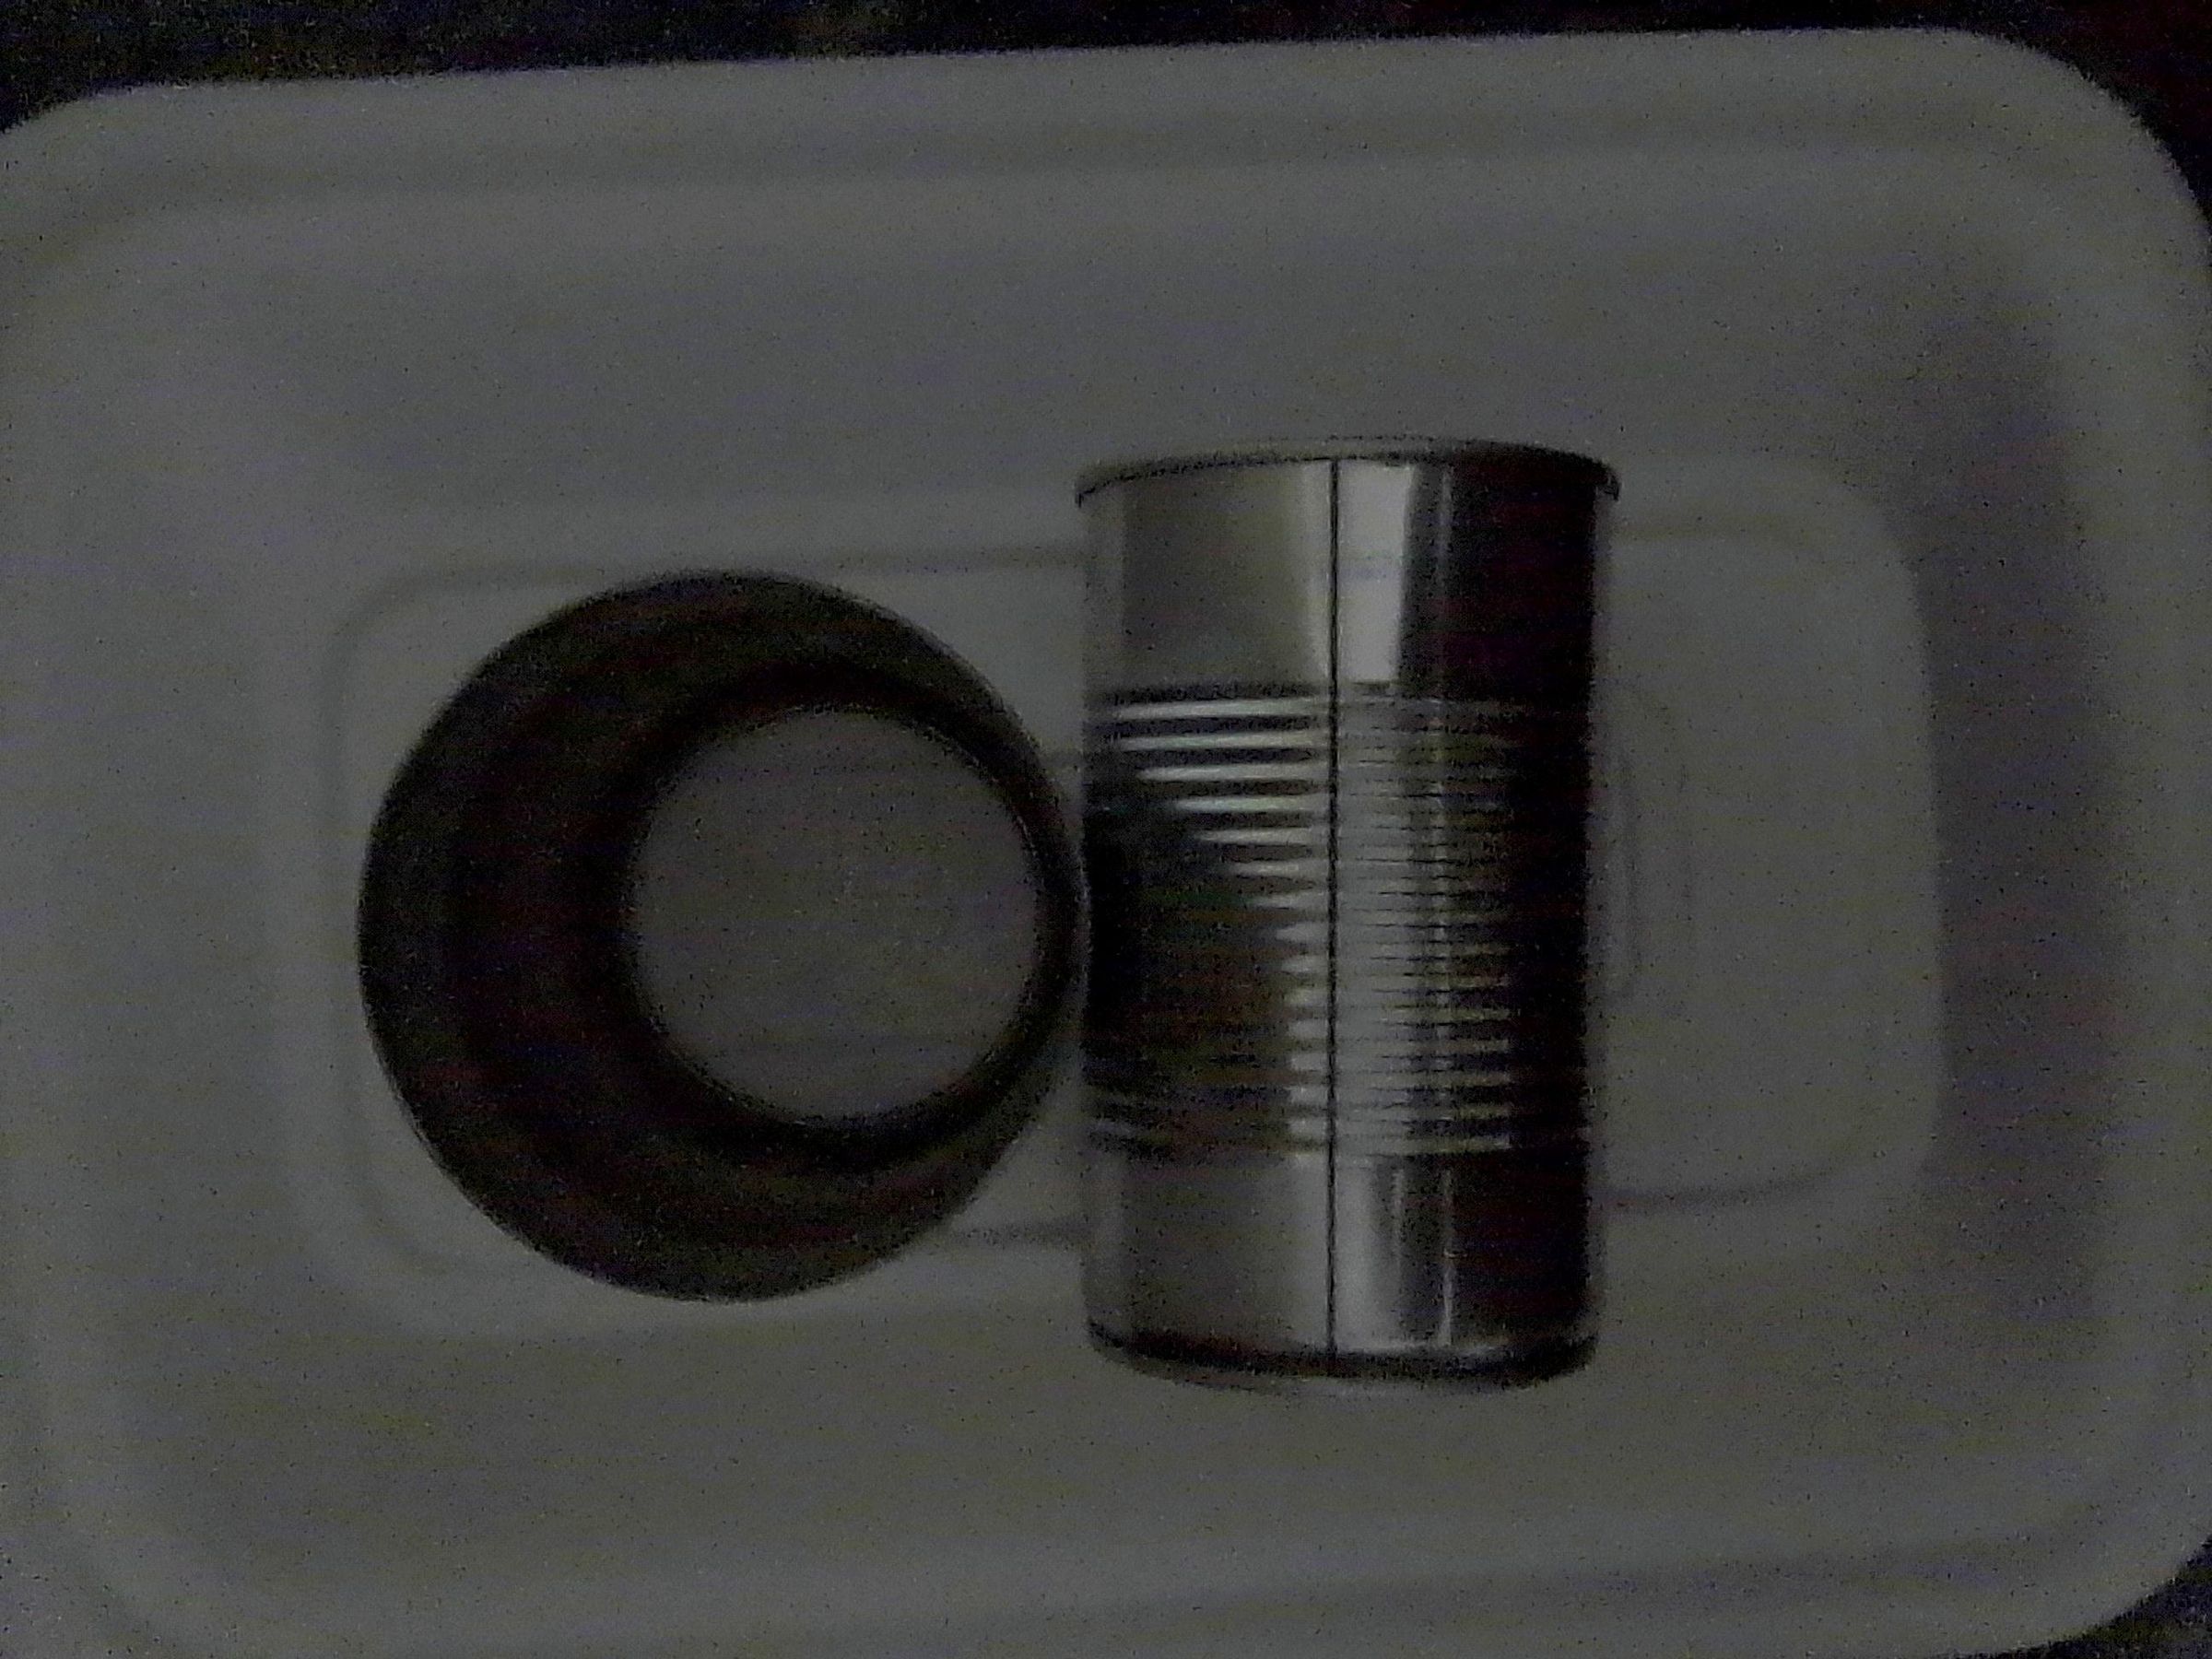
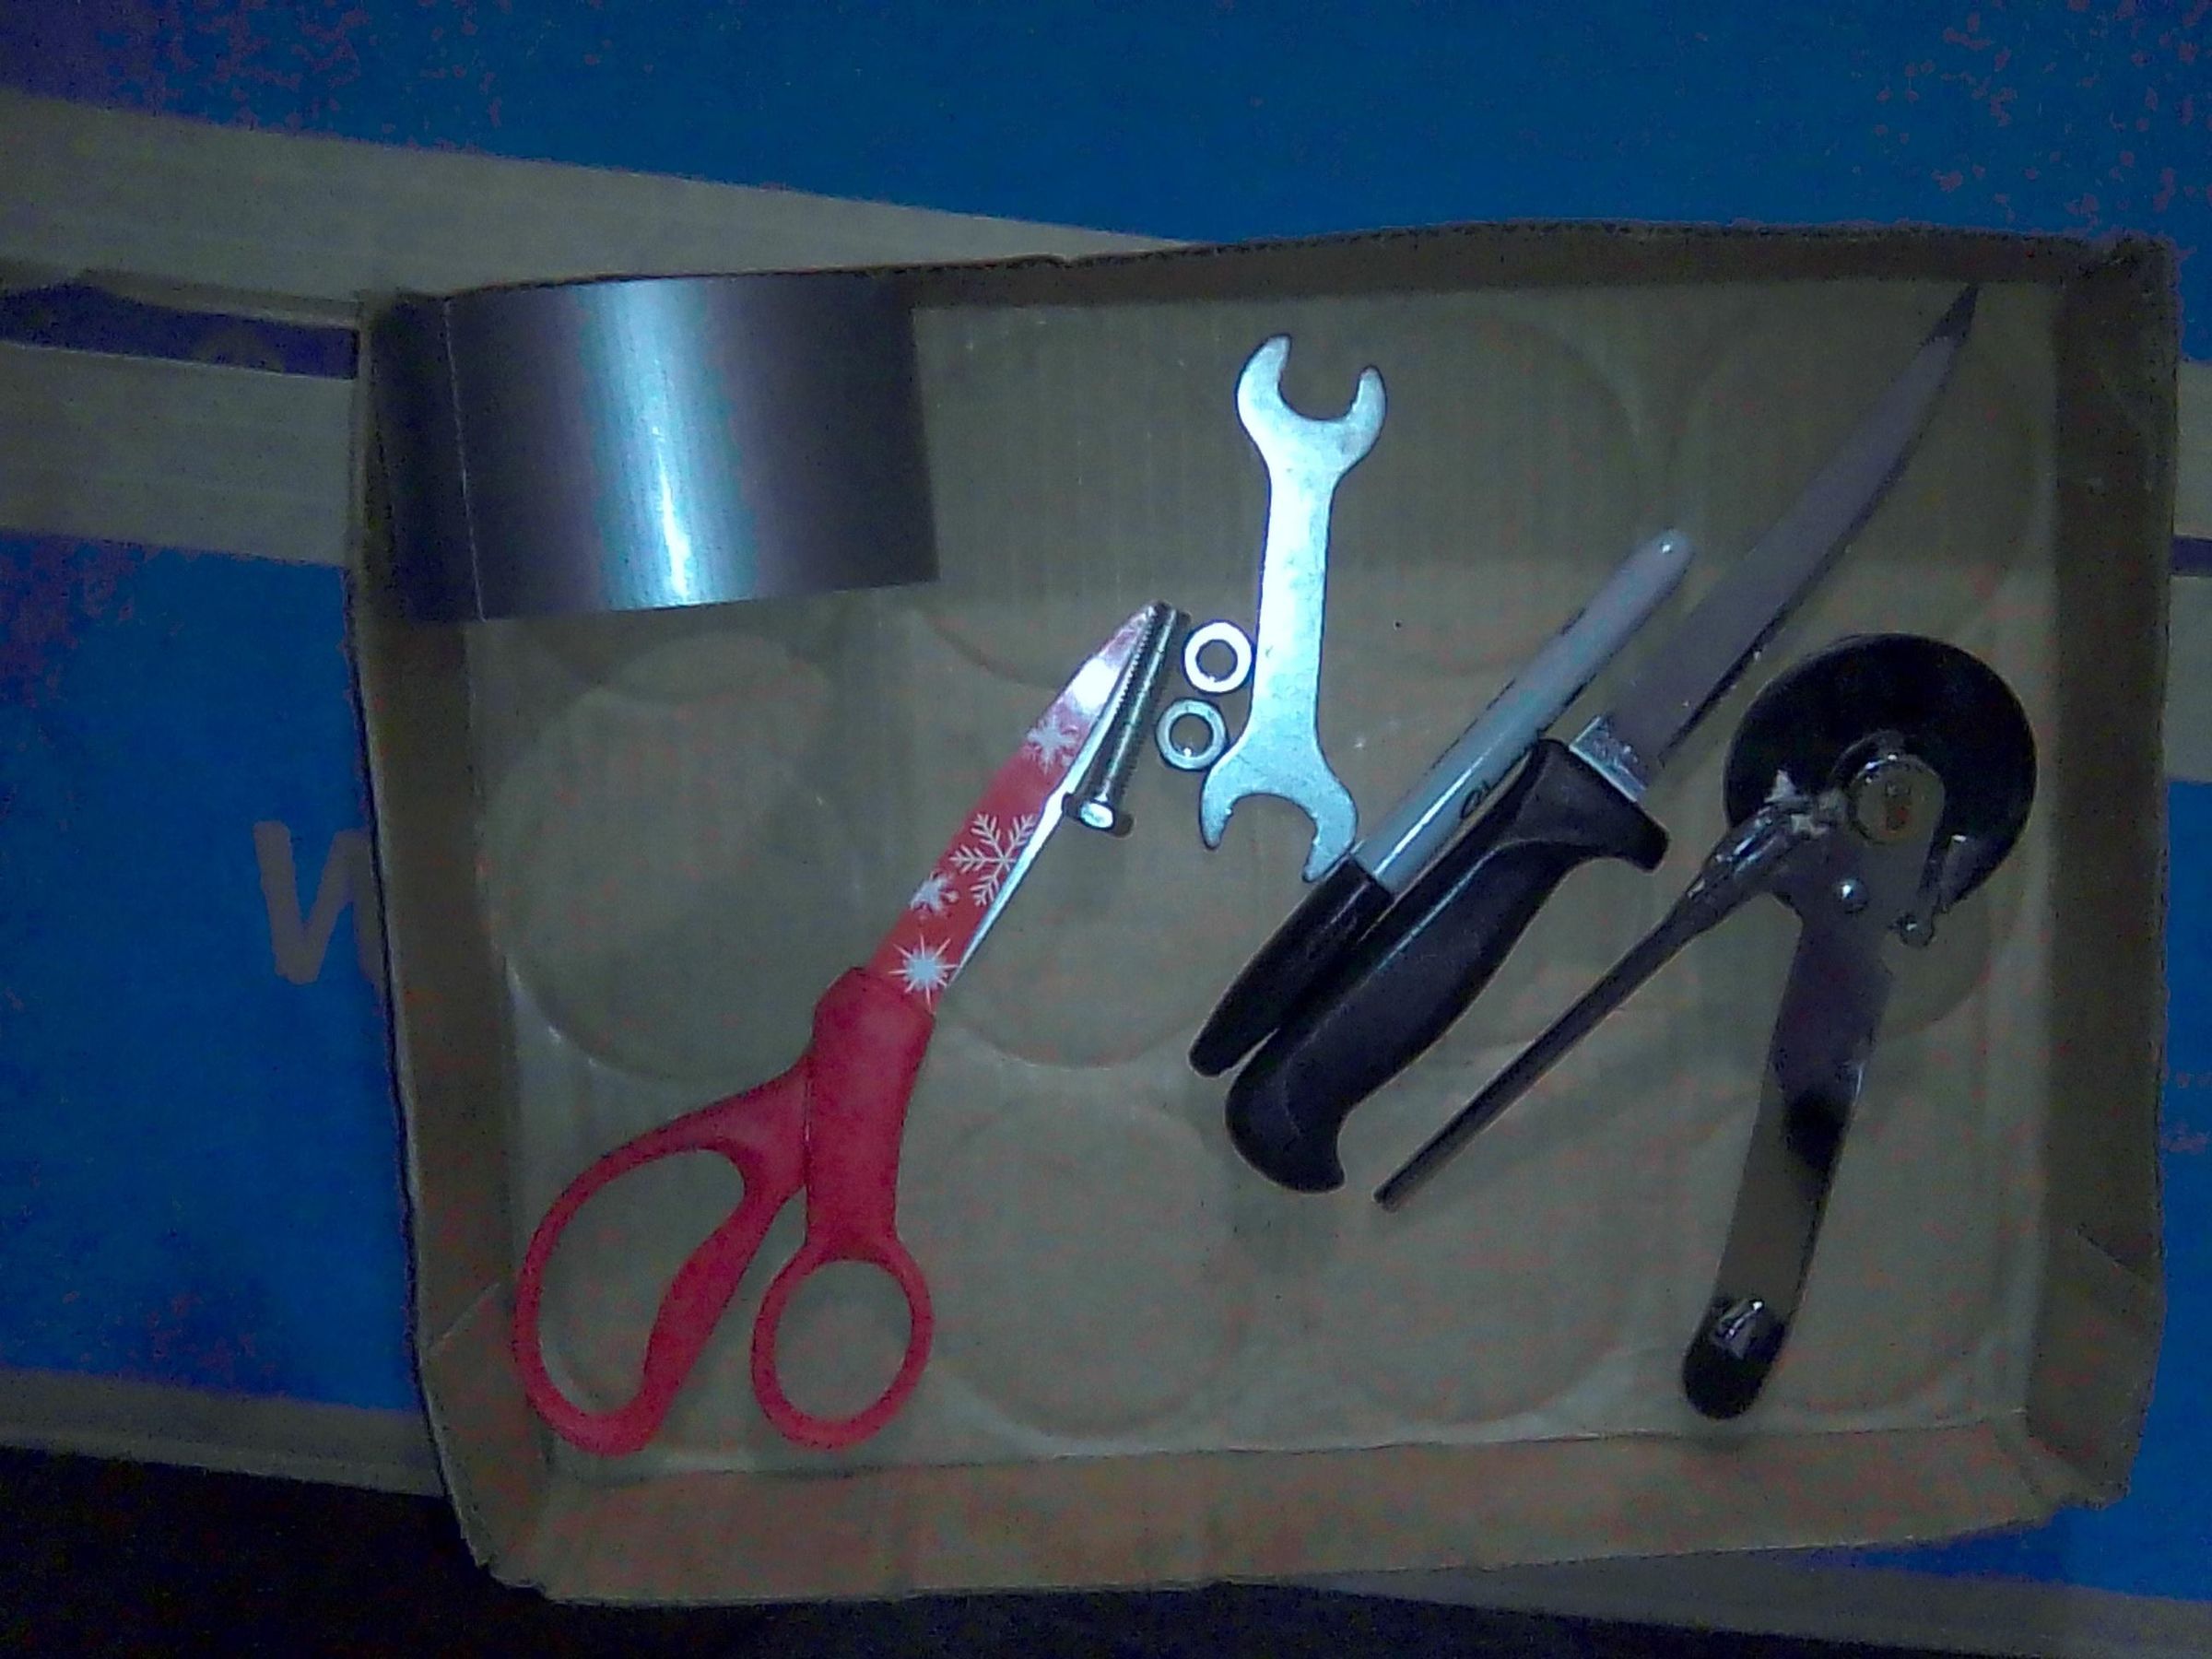
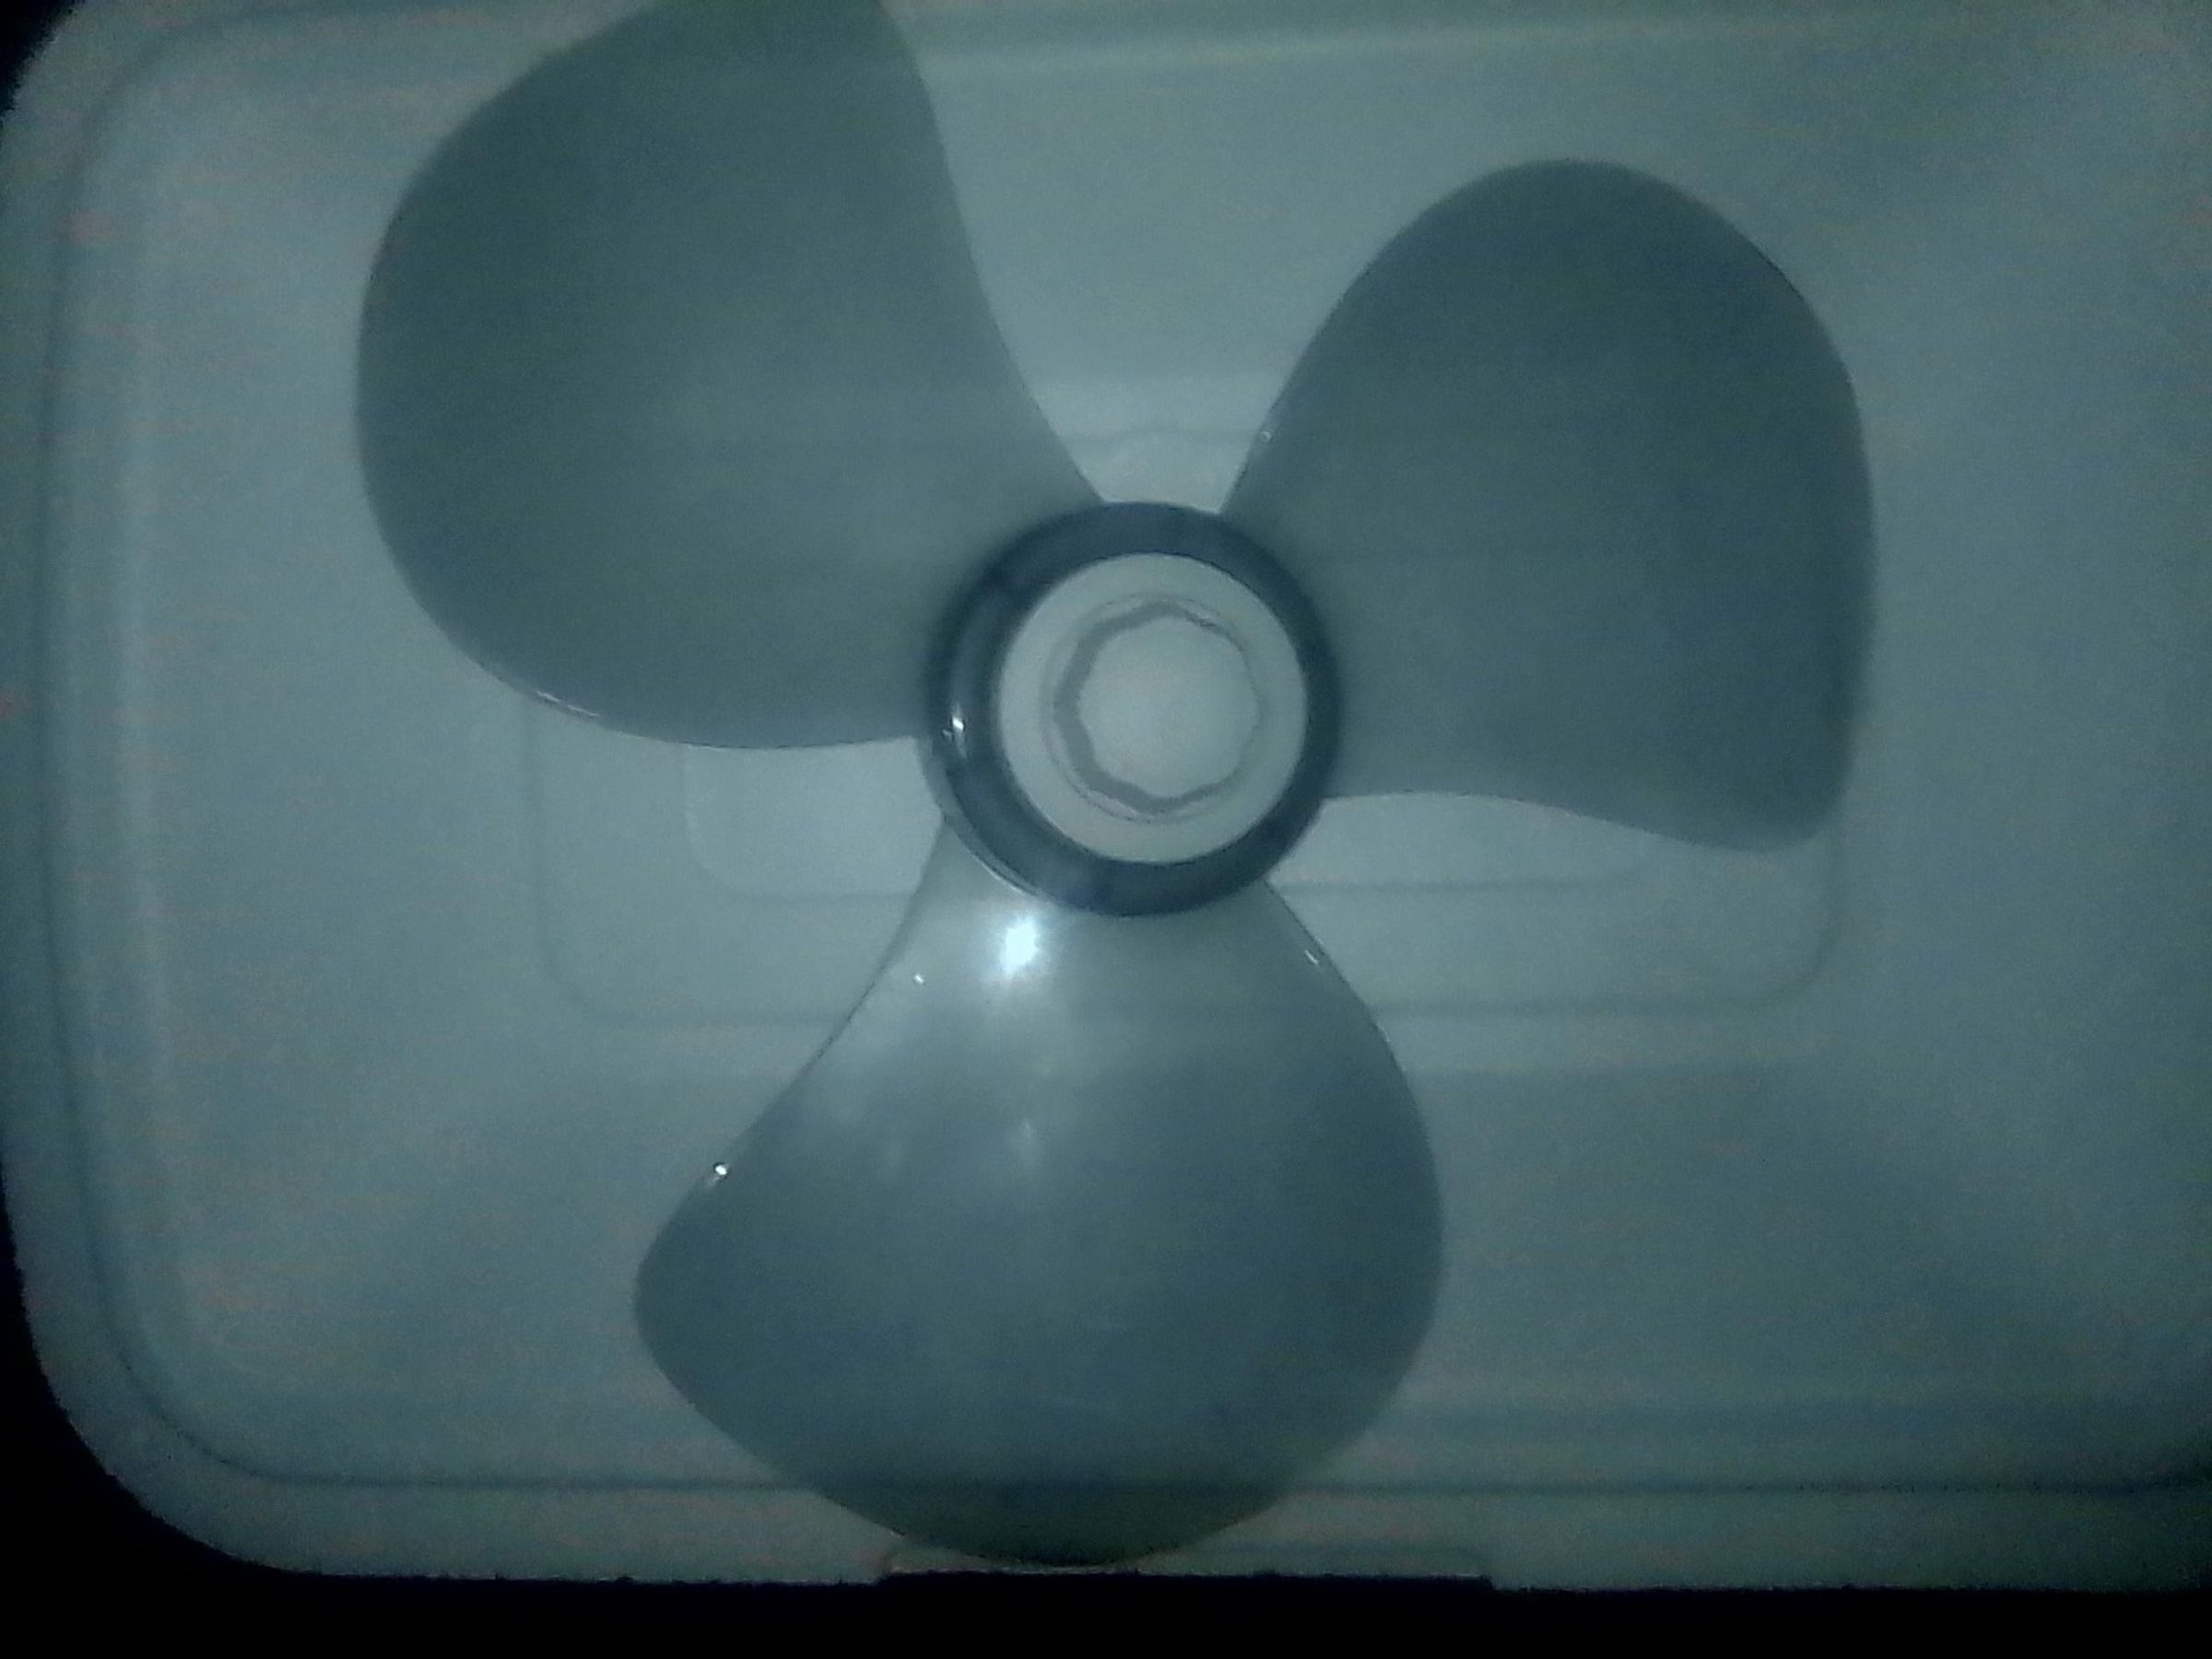
foam cooler, two cans, can opener, knife, fan blade (detached from a fan machine), marker, one bolt with two fitting nuts that will attach to fan blade (where the fan blade used to attach to the entire fan machine), wrench that fits nuts, scissors, duck tape, three large nails, three sturdy rubber bands (about three inches long), cardboard box big enough to fit cooler inside (or you could build a wooden box for this), frozen water (ice or frozen bottles of water), two small hex wrenches (they are shaped like the letter L), about 4 thin strips of duck tape three or four inches long
Prepare Foam Cooler
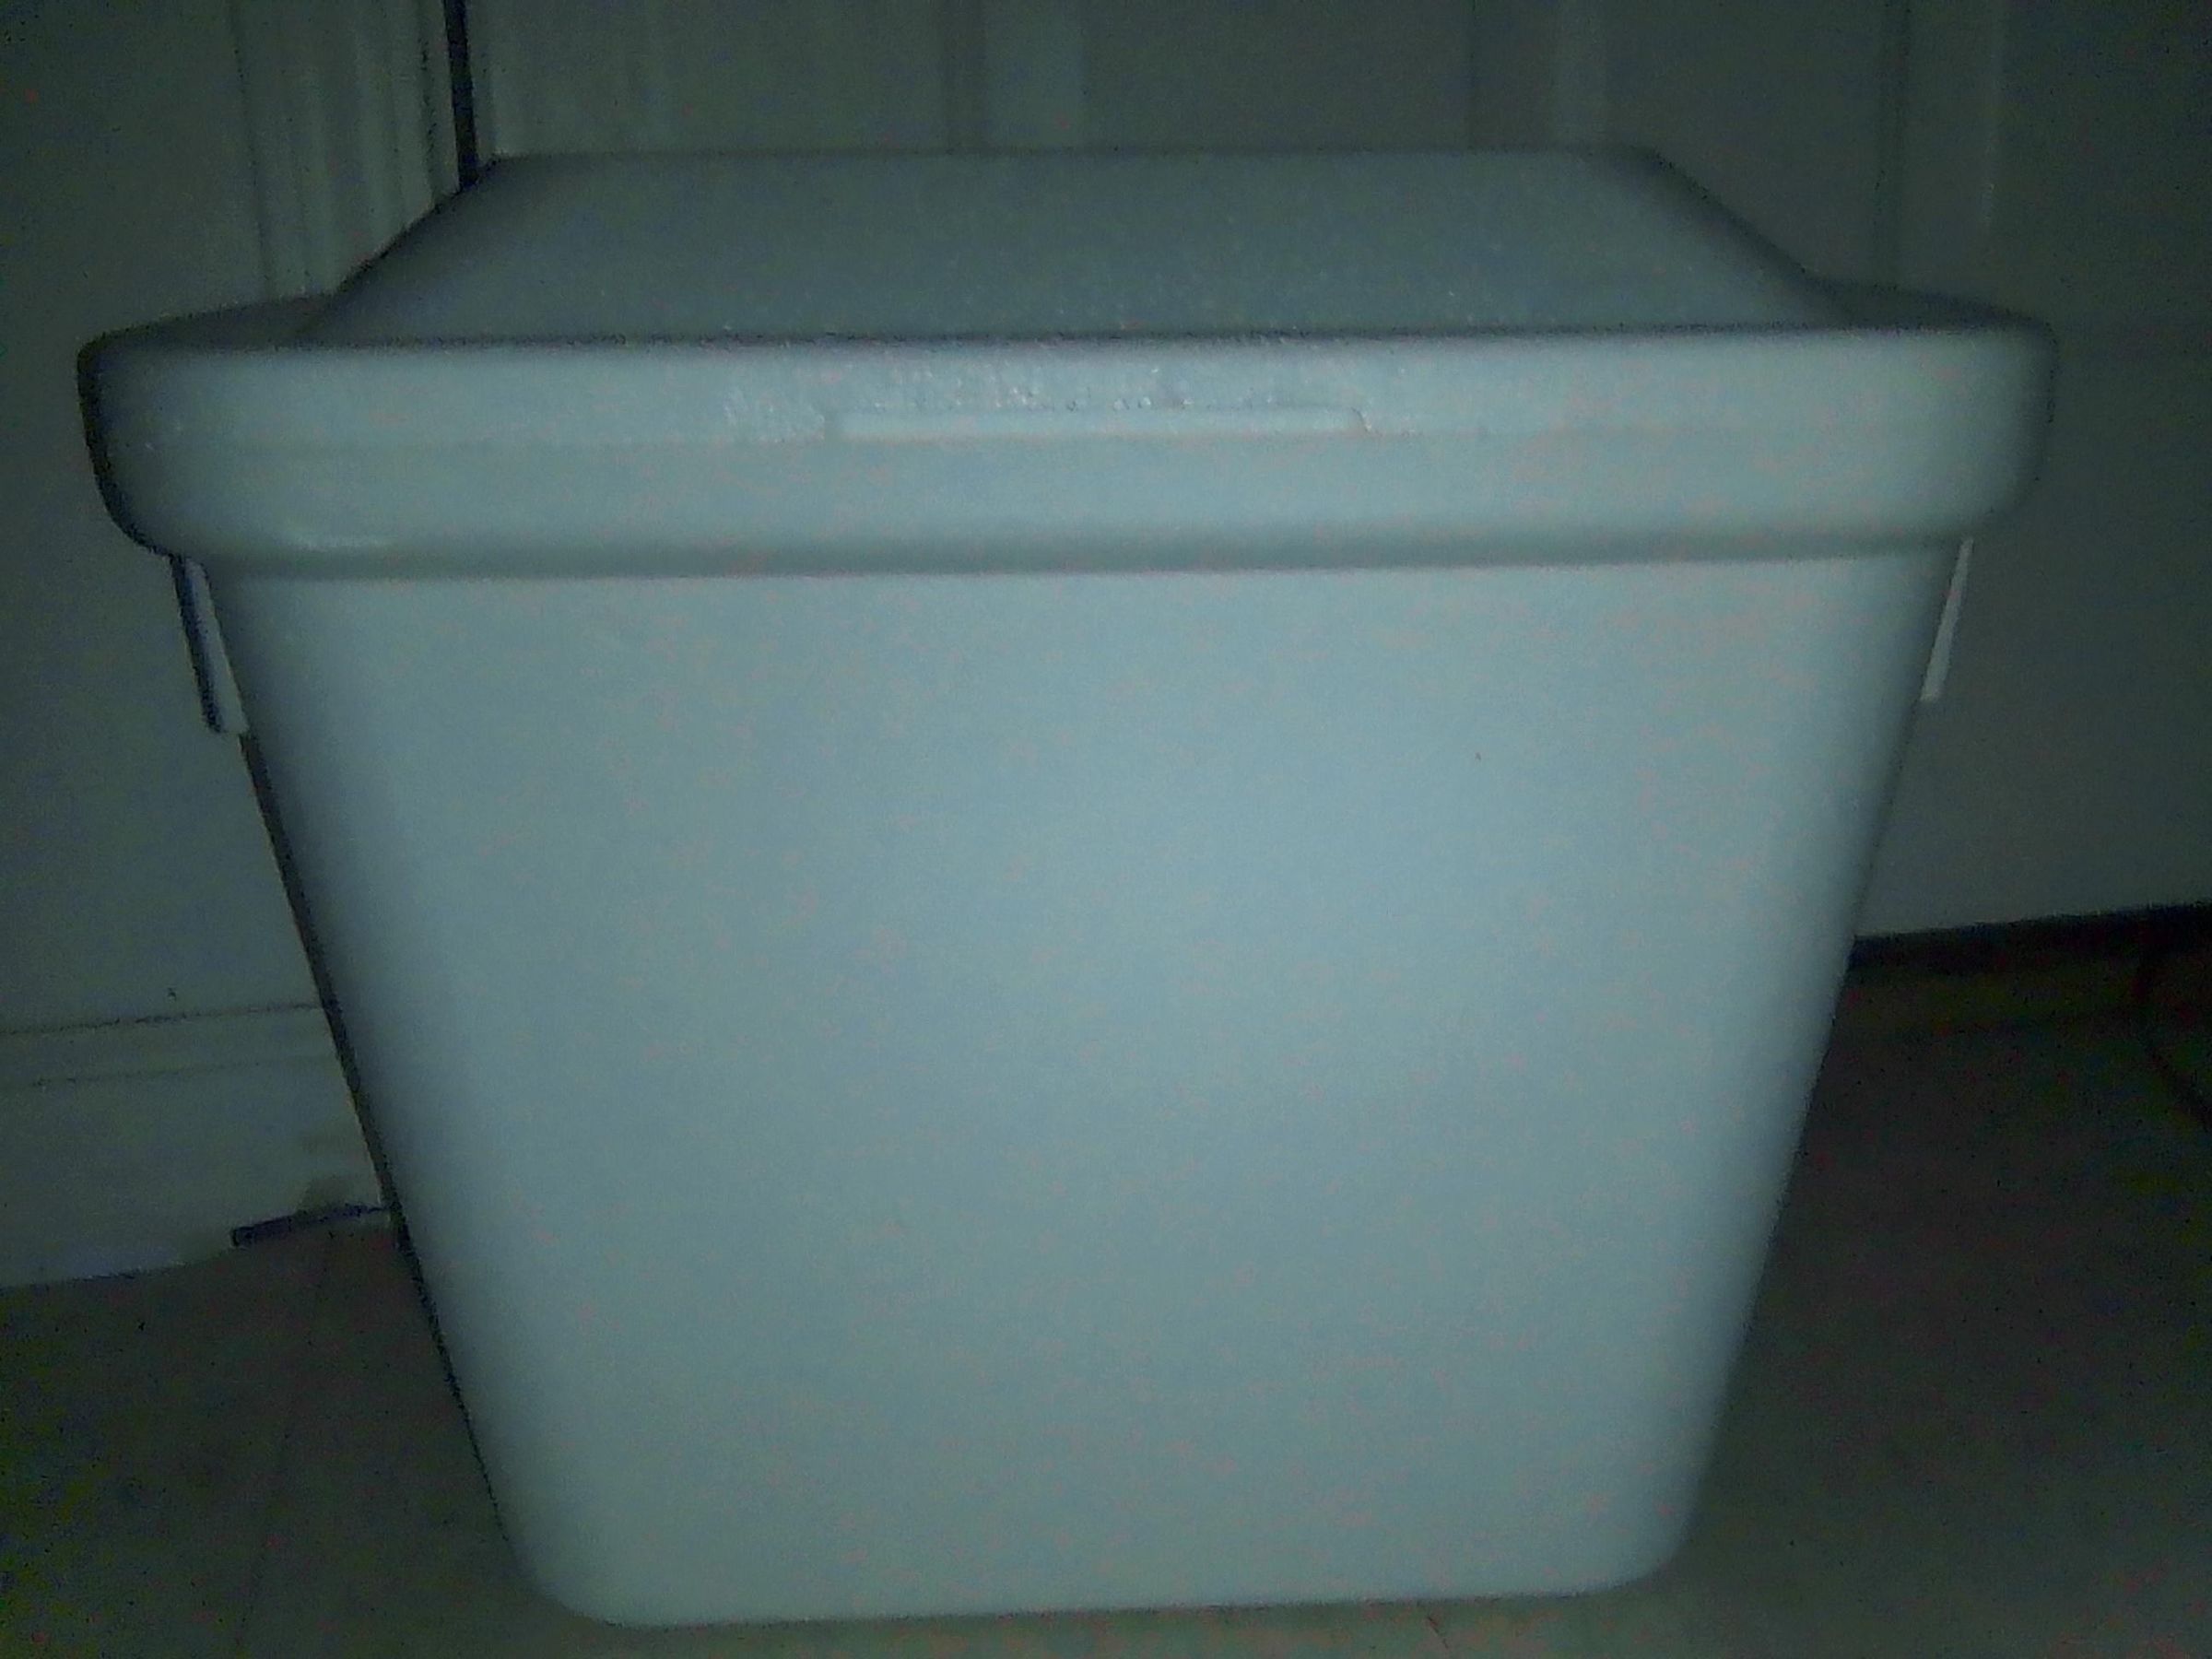
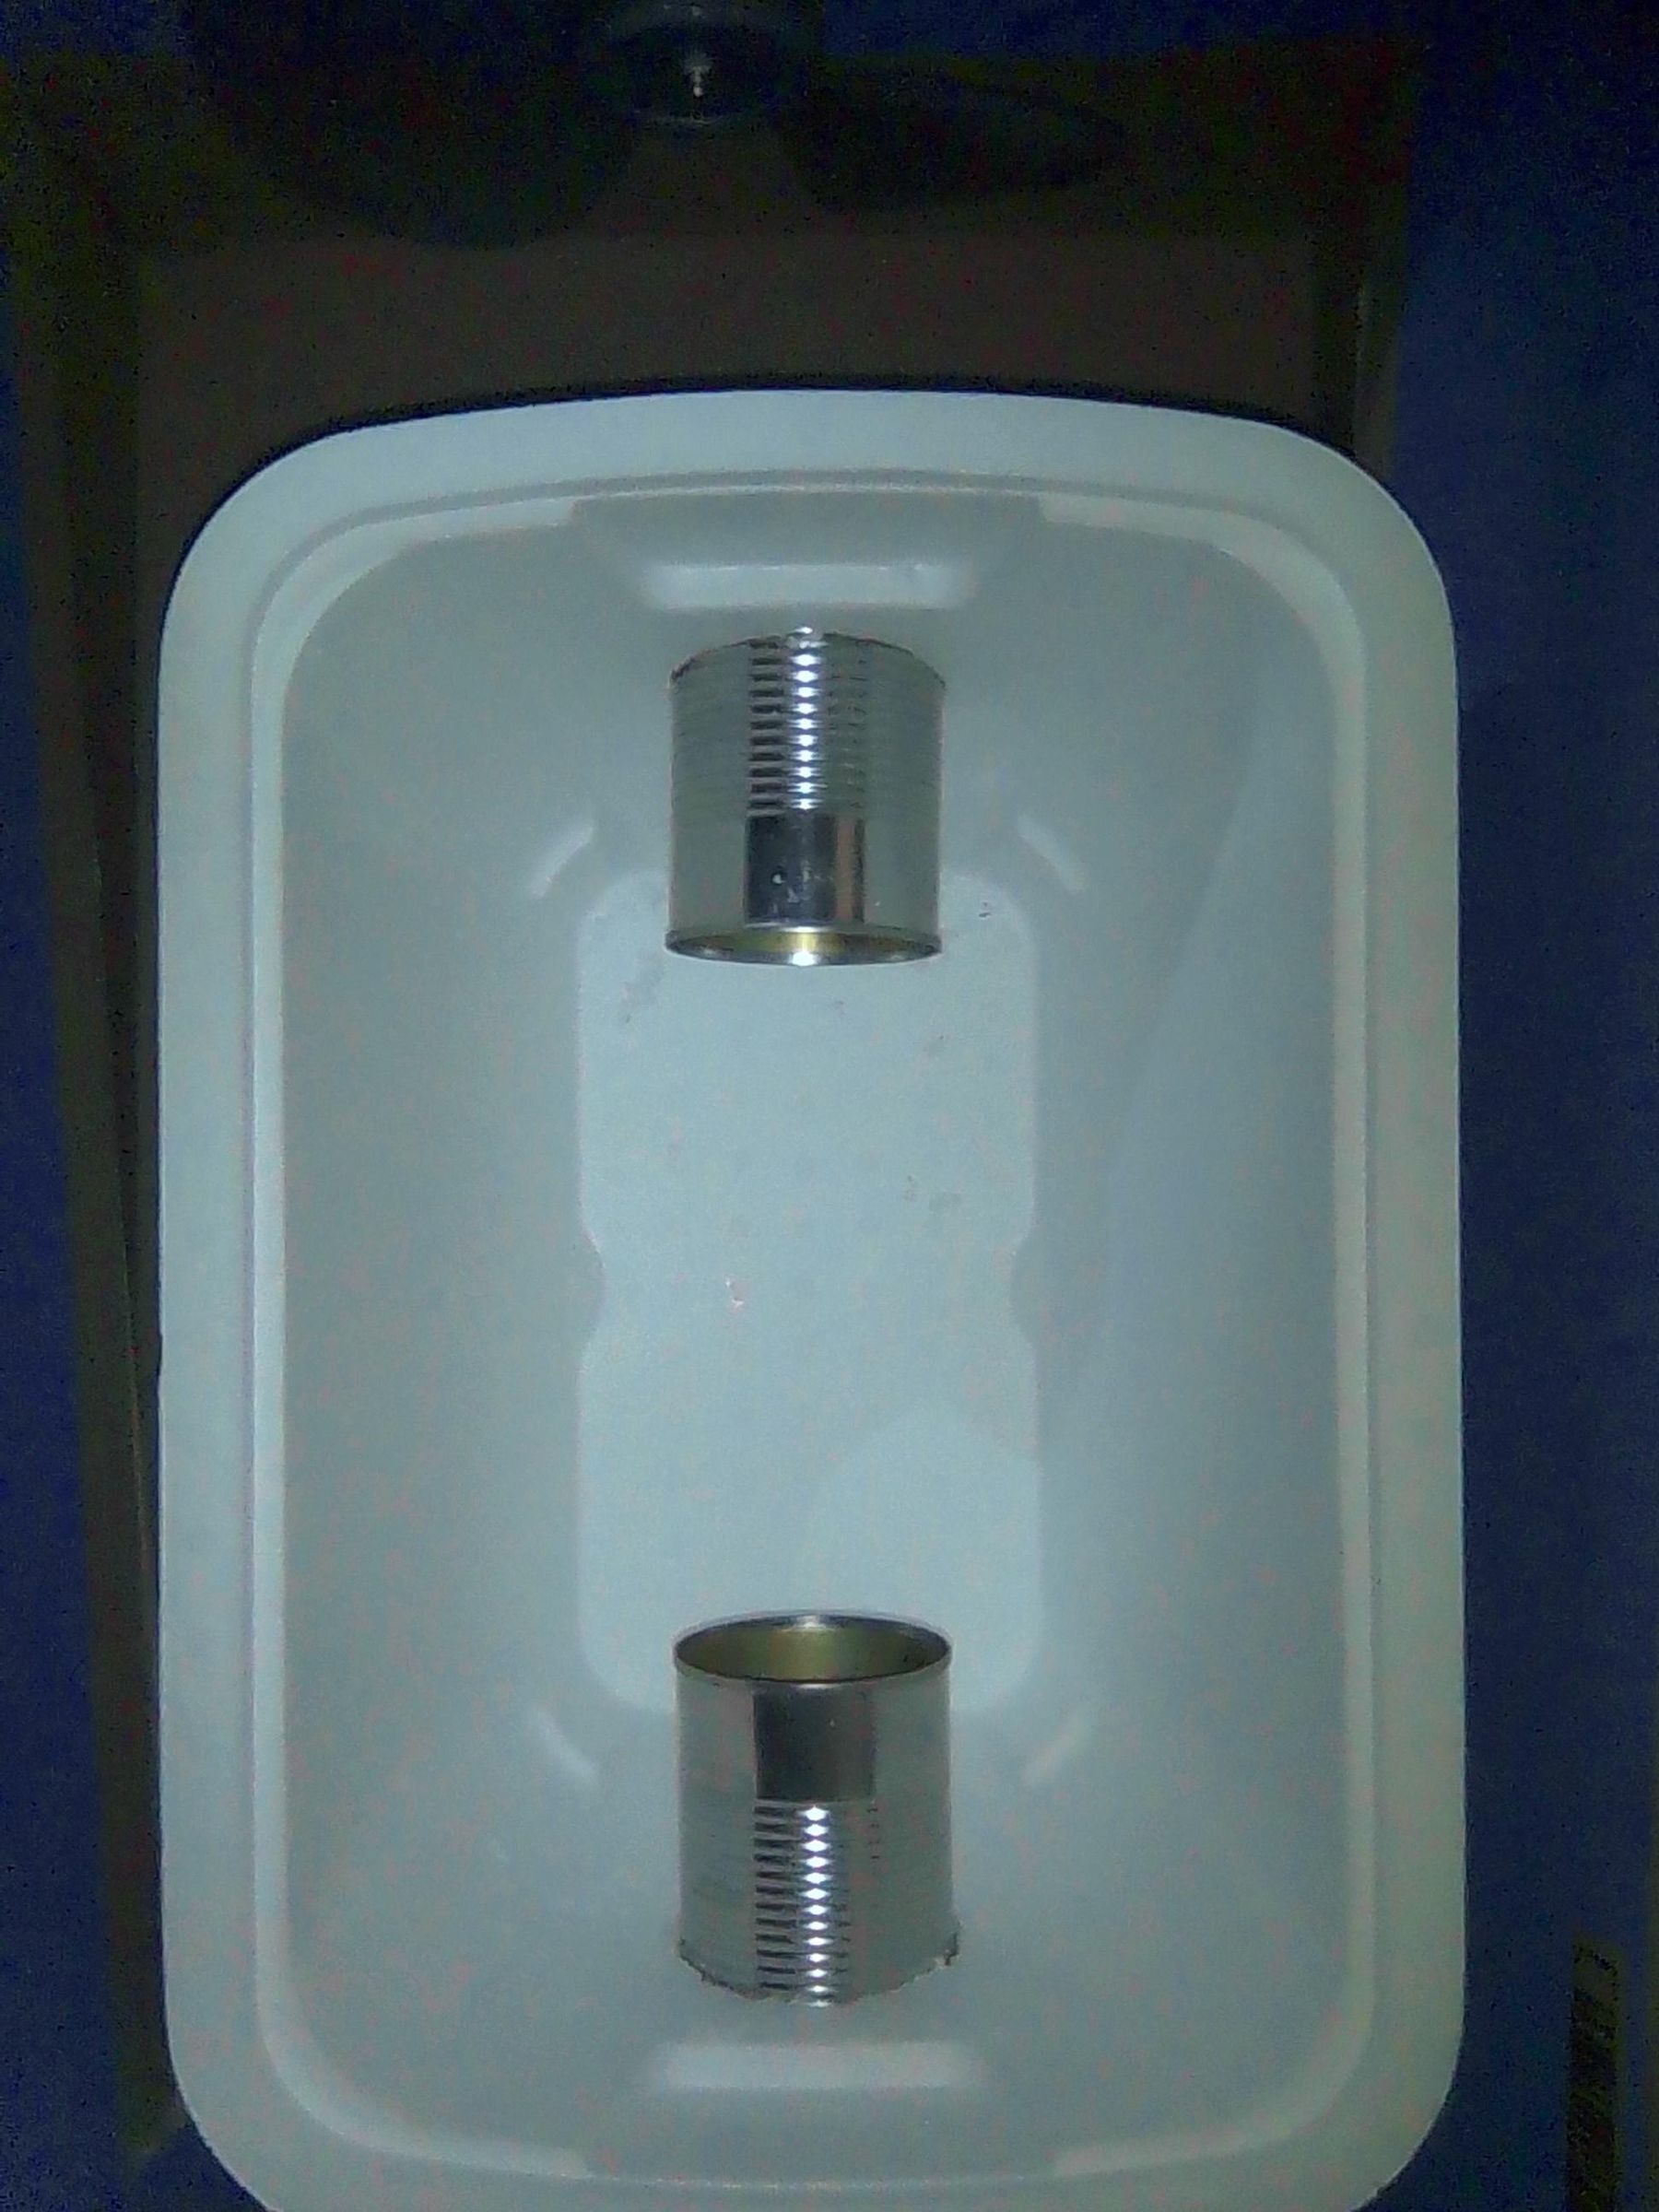
1. Empty and wash two cans.
2. Cut can lids off both ends of two clean cans with can opener.
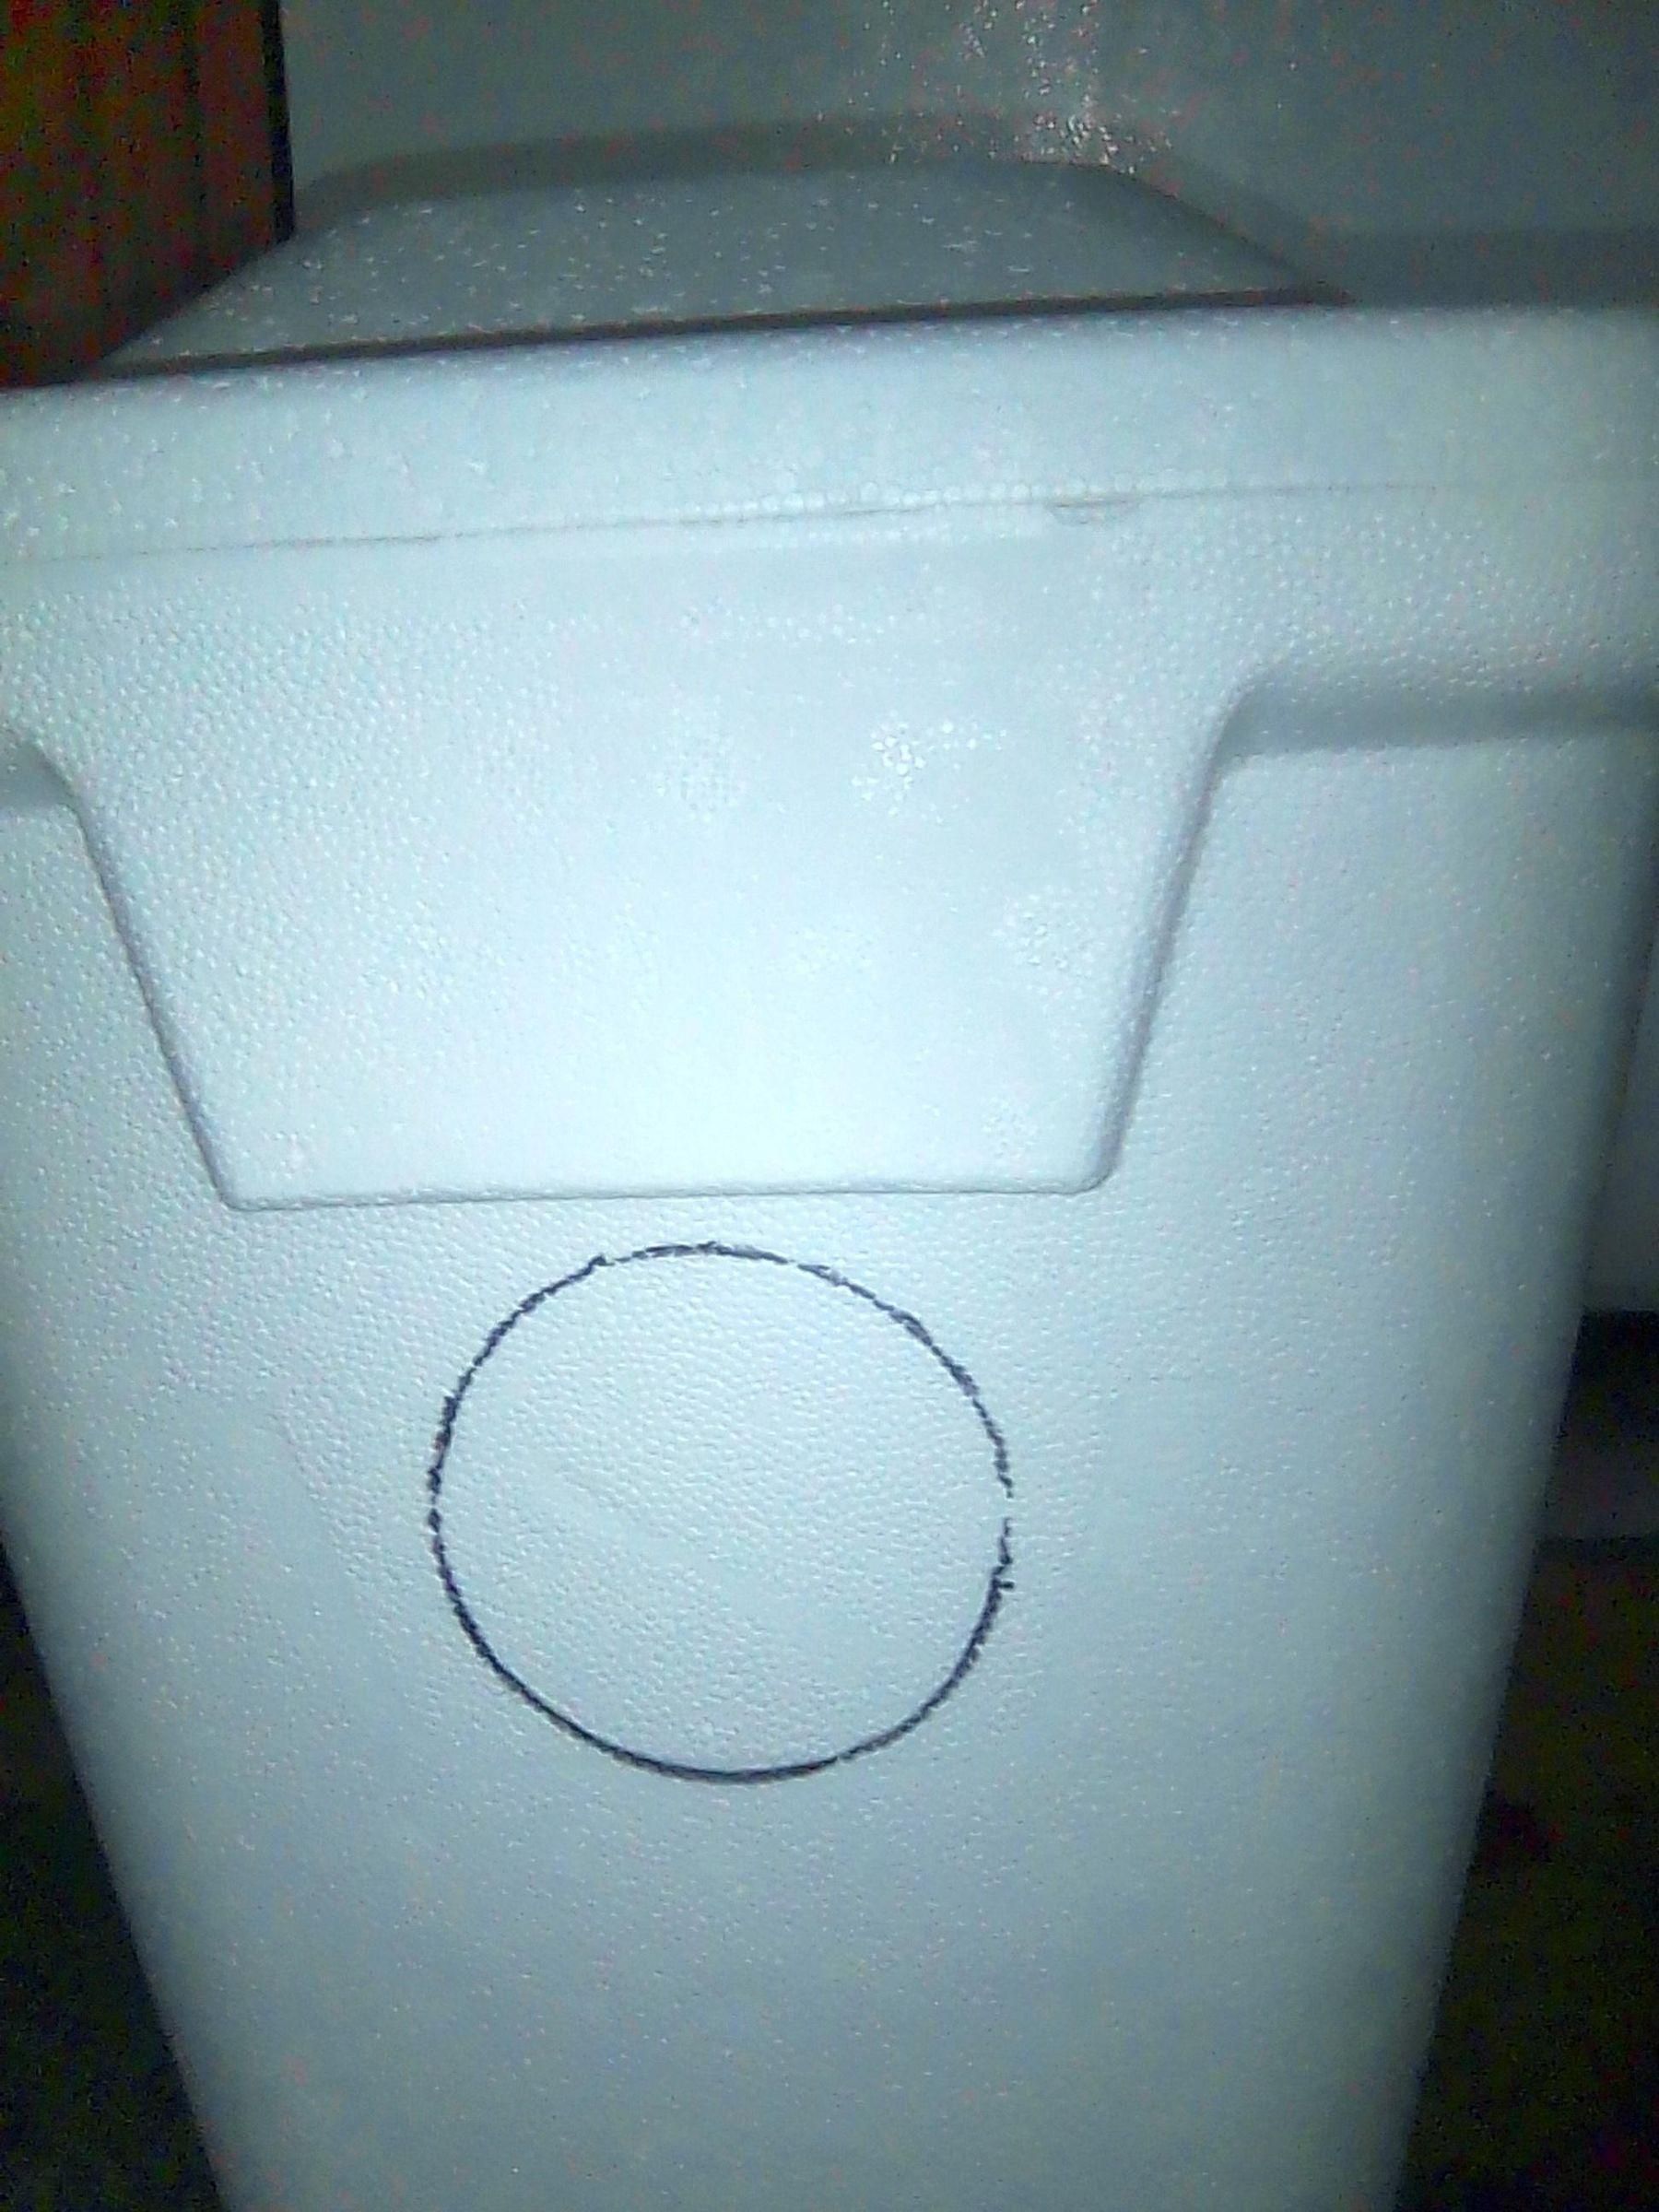
3. Trace one circle with can lid at both ends of foam cooler (total of two circles) near the top of cooler. Circles must be in exact opposite ends of cooler to allow air flow.
4. Using a knife, carefully carve out circles.
5. Discard foam circles. You should now have a cooler with two equal sized holes in opposite ends of cooler. You should be able to see from one hole straight through the other hole.
6. Insert the two clean and cut cans into the two holes of cooler. You can have equal or uneven amounts of cans poking out of outside of cooler. This isn't a beauty contest. As long as the cans fit snug in the holes to allow air flow.
Prepare Box
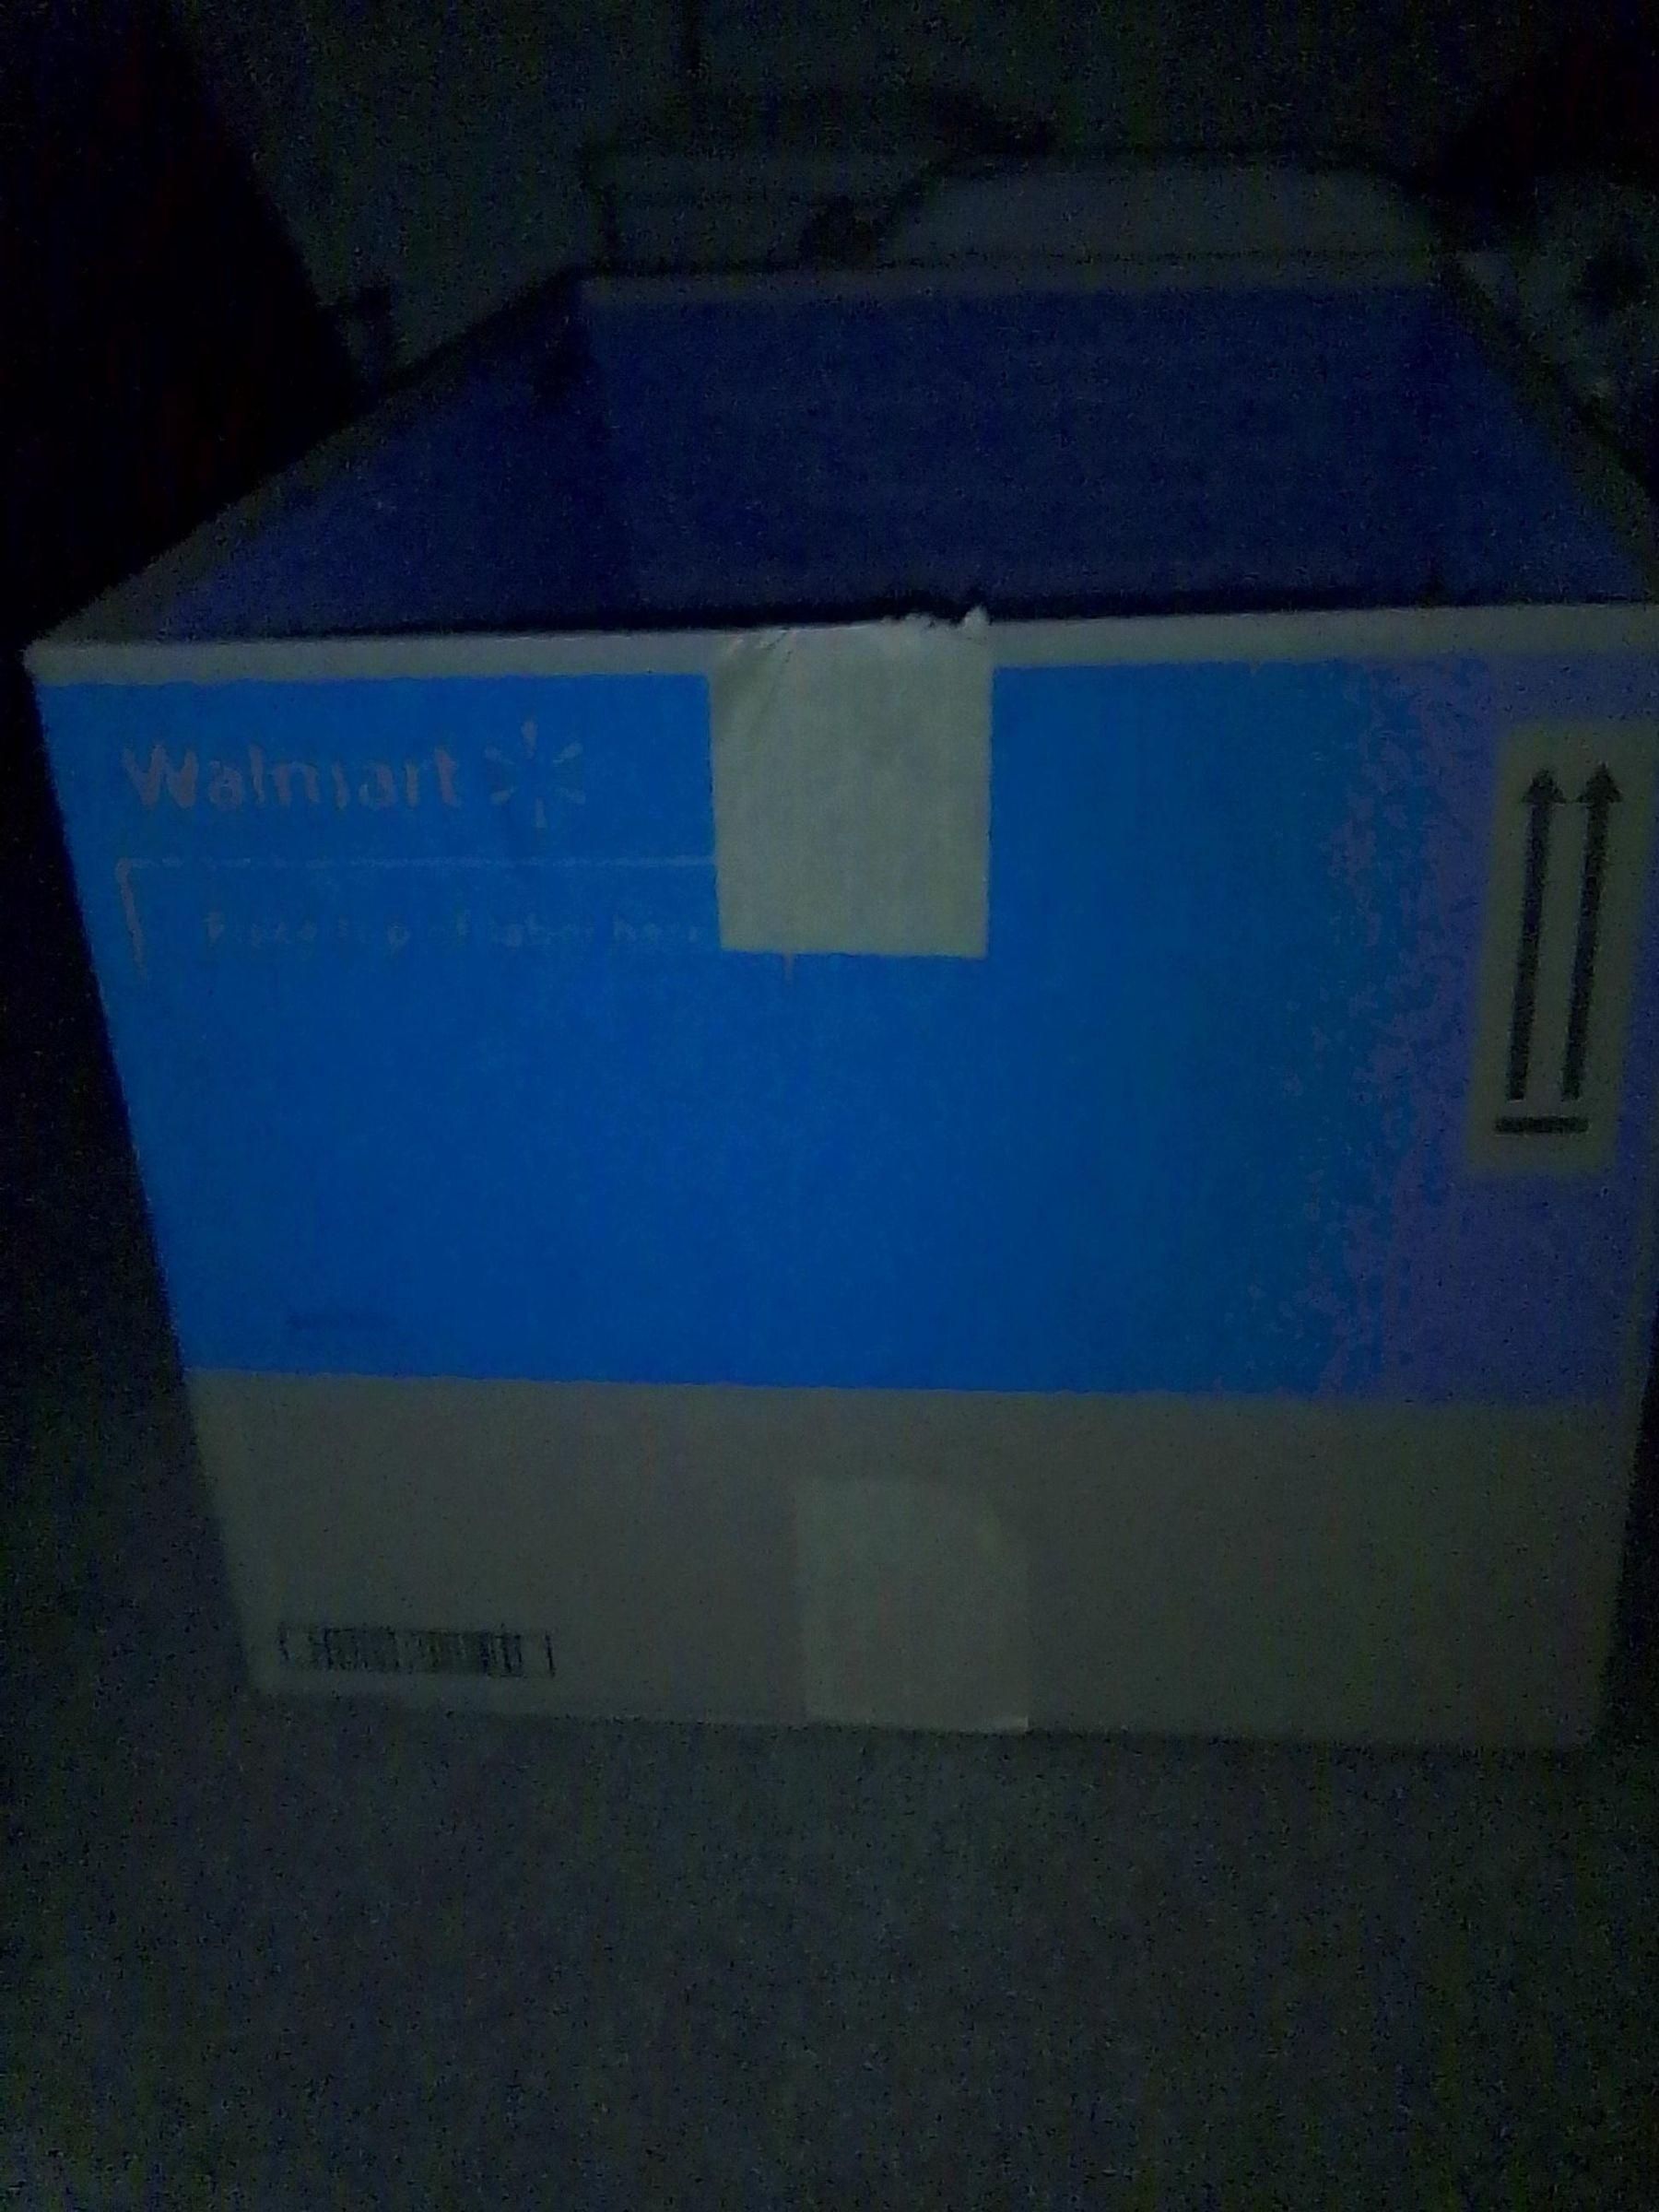
1. Tuck in all flaps of cardboard box, taping them down, or cut them off. (Keeping the flaps taped down will make box sturdier.)
2. Box will be rectangular to fit rectangular cooler inside. Completely remove one end of short side of box (One of the four upright panels of box.) You should have three remaining upright sides and bottom of box to support fan and cooler.
3. Make sure cooler fits inside cardboard box ok. (or wooden box if you built a wooden box instead of using cardboard. I used cardboard because that is all I had. And I am showing poor people how to make the best of things cheaply.)
4. Get out your marker.
5. Find where one the cans jammed inside the cooler is centered with the side of the box. Mark that spot.
6. Remove the cooler.
7. Poke a nail through the marked spot, or stab a hole there with a knife. Remove nail or knife so you can use this hole to mount your fan blades.
Prepare Fan Blade
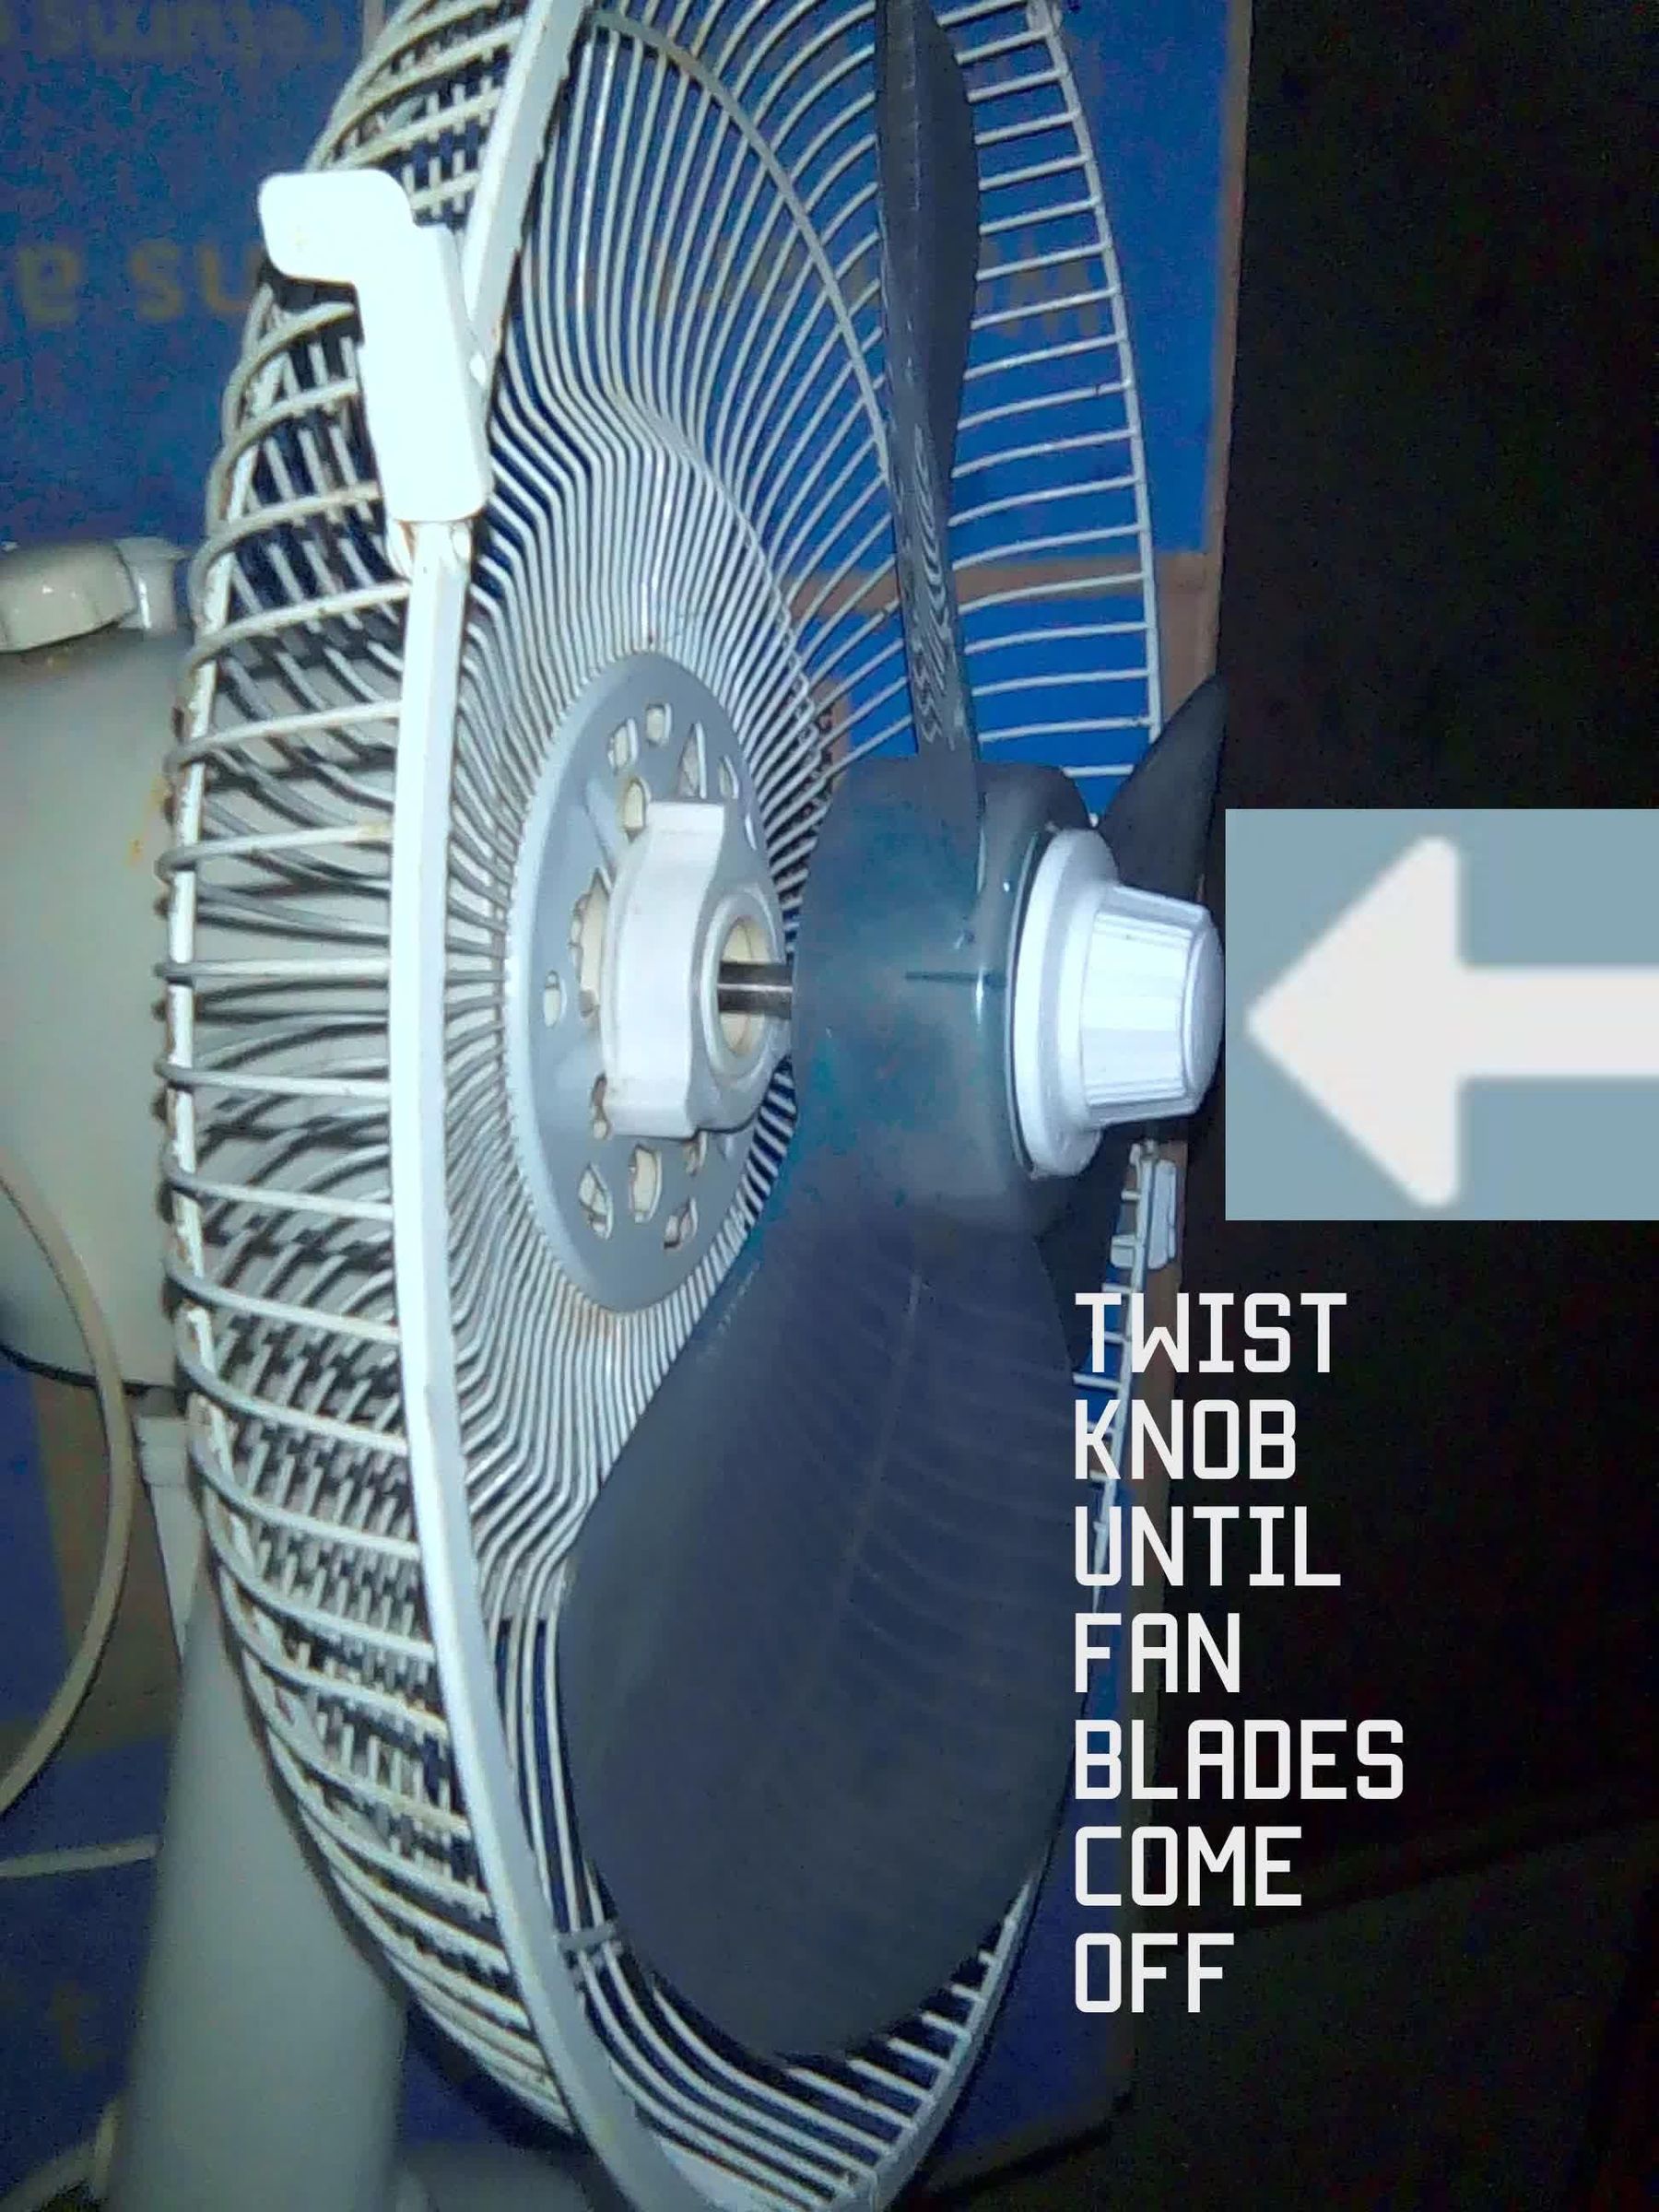
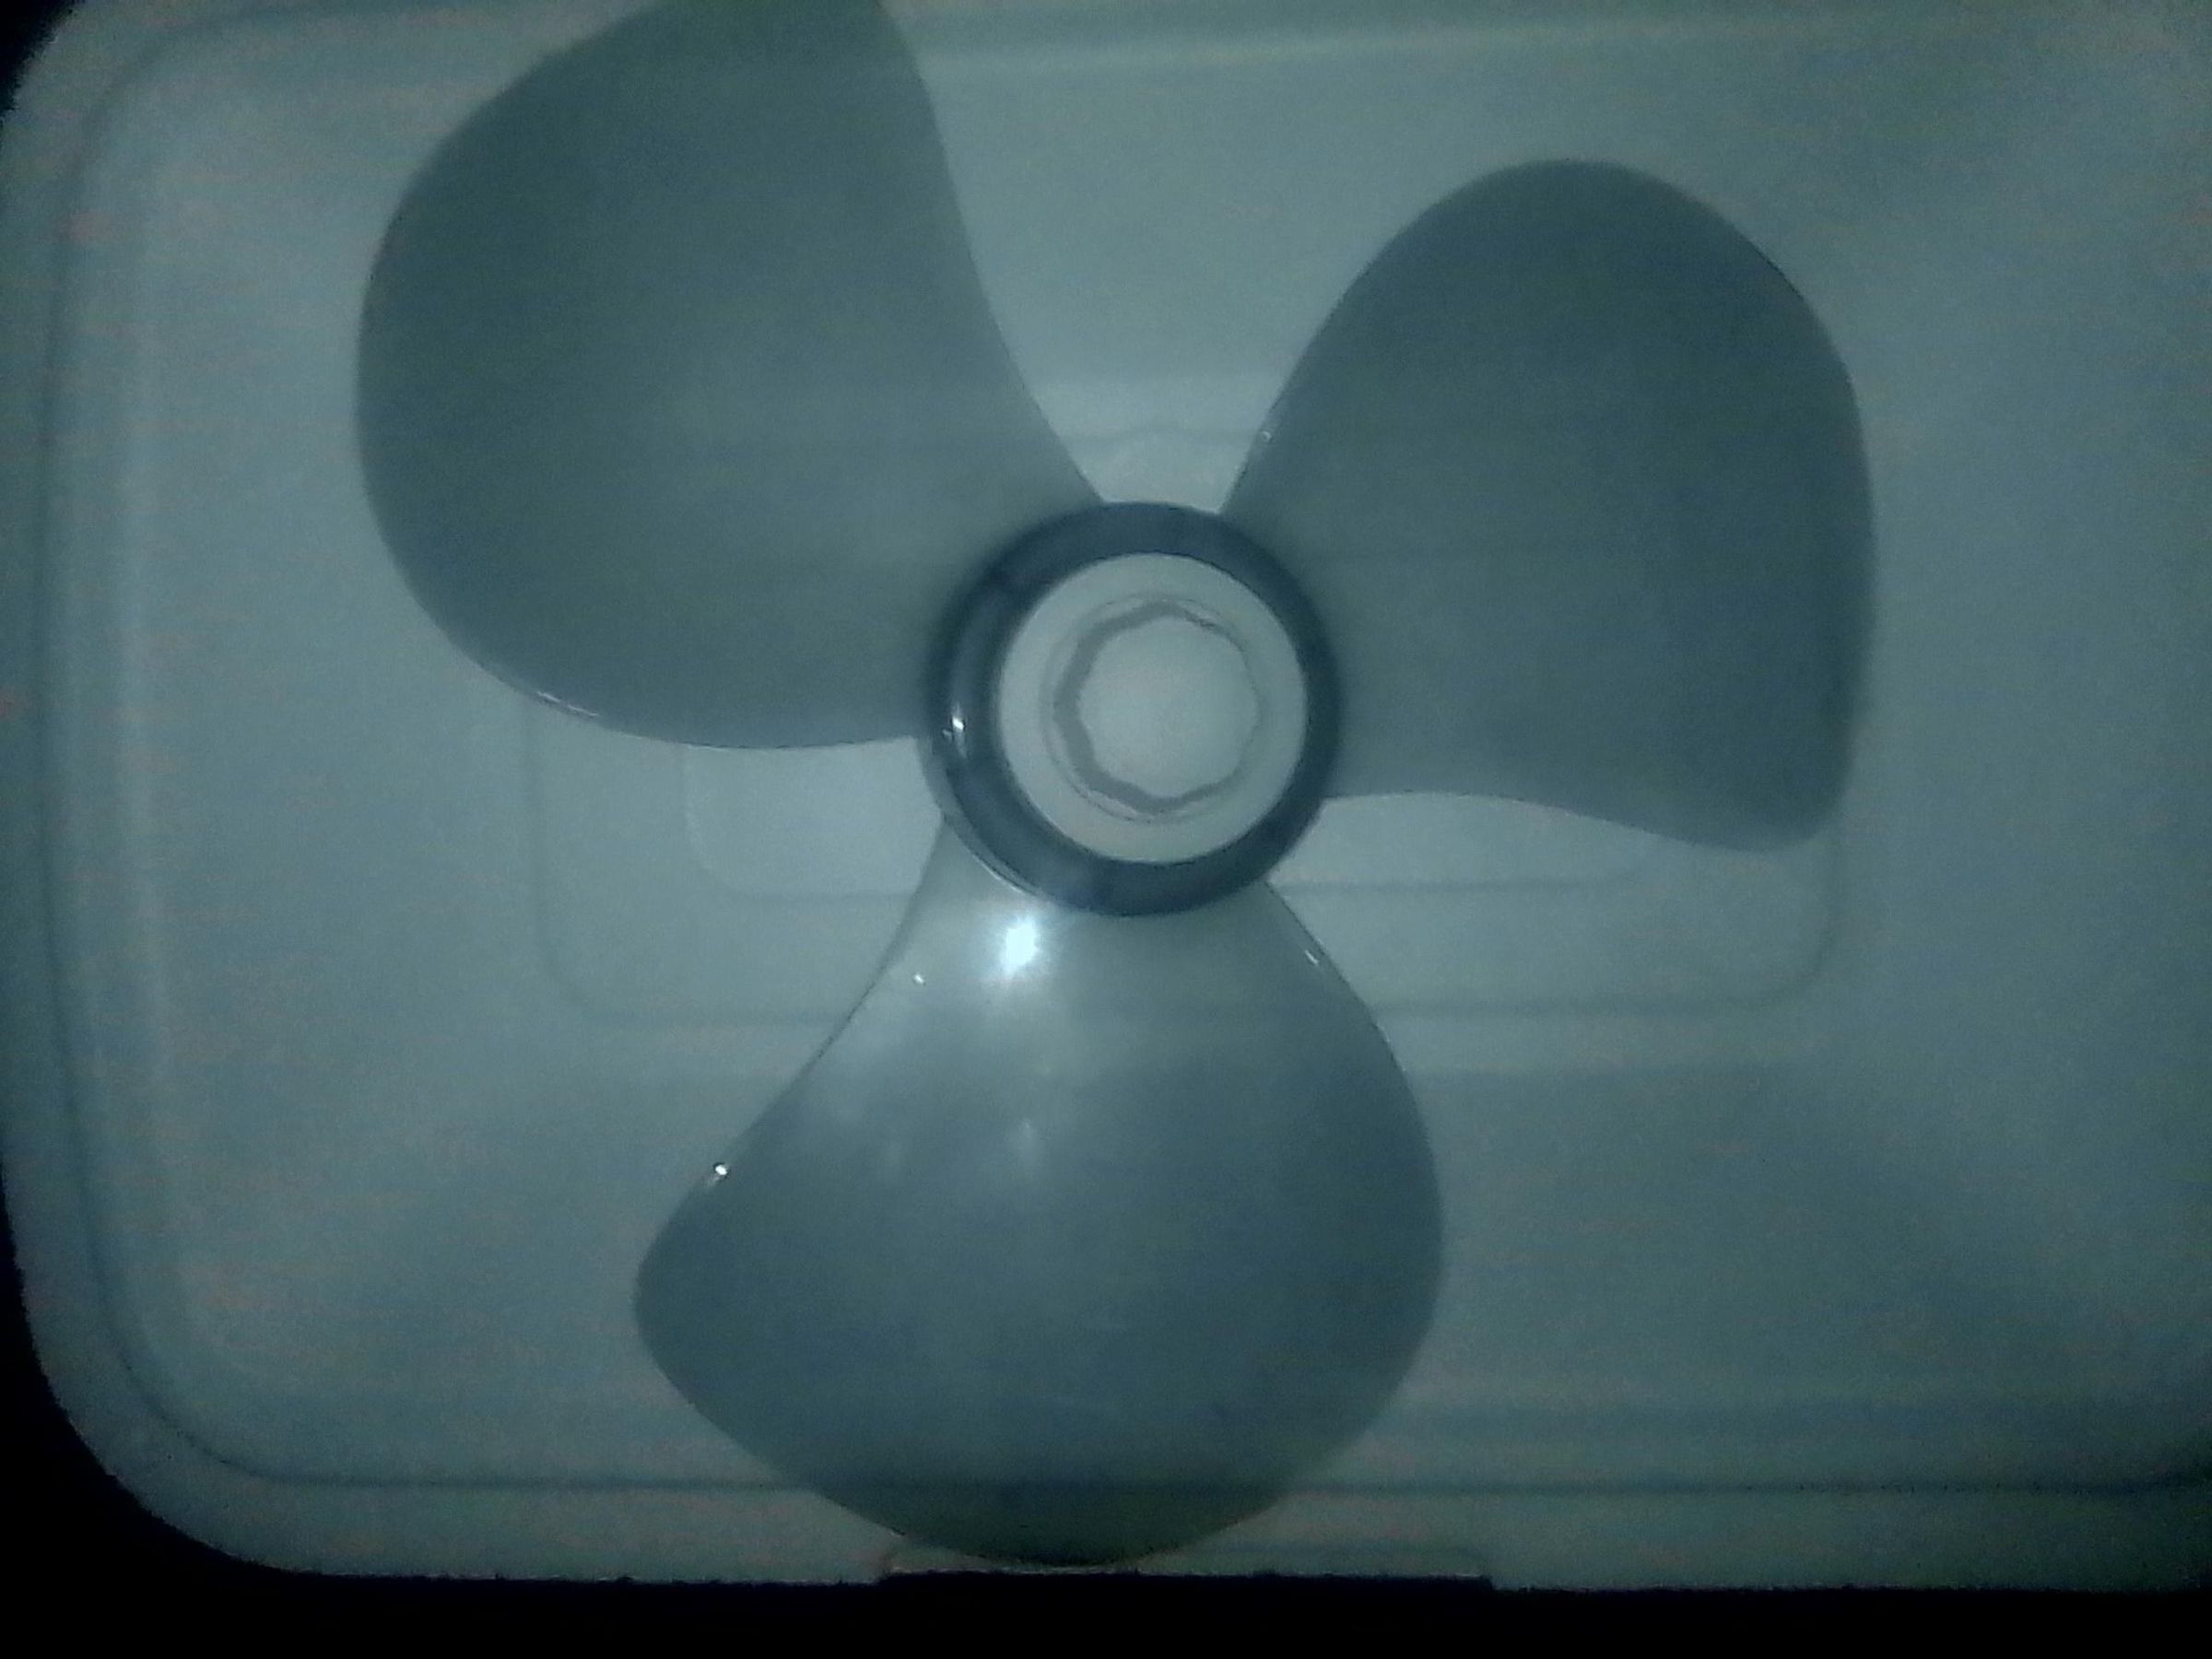
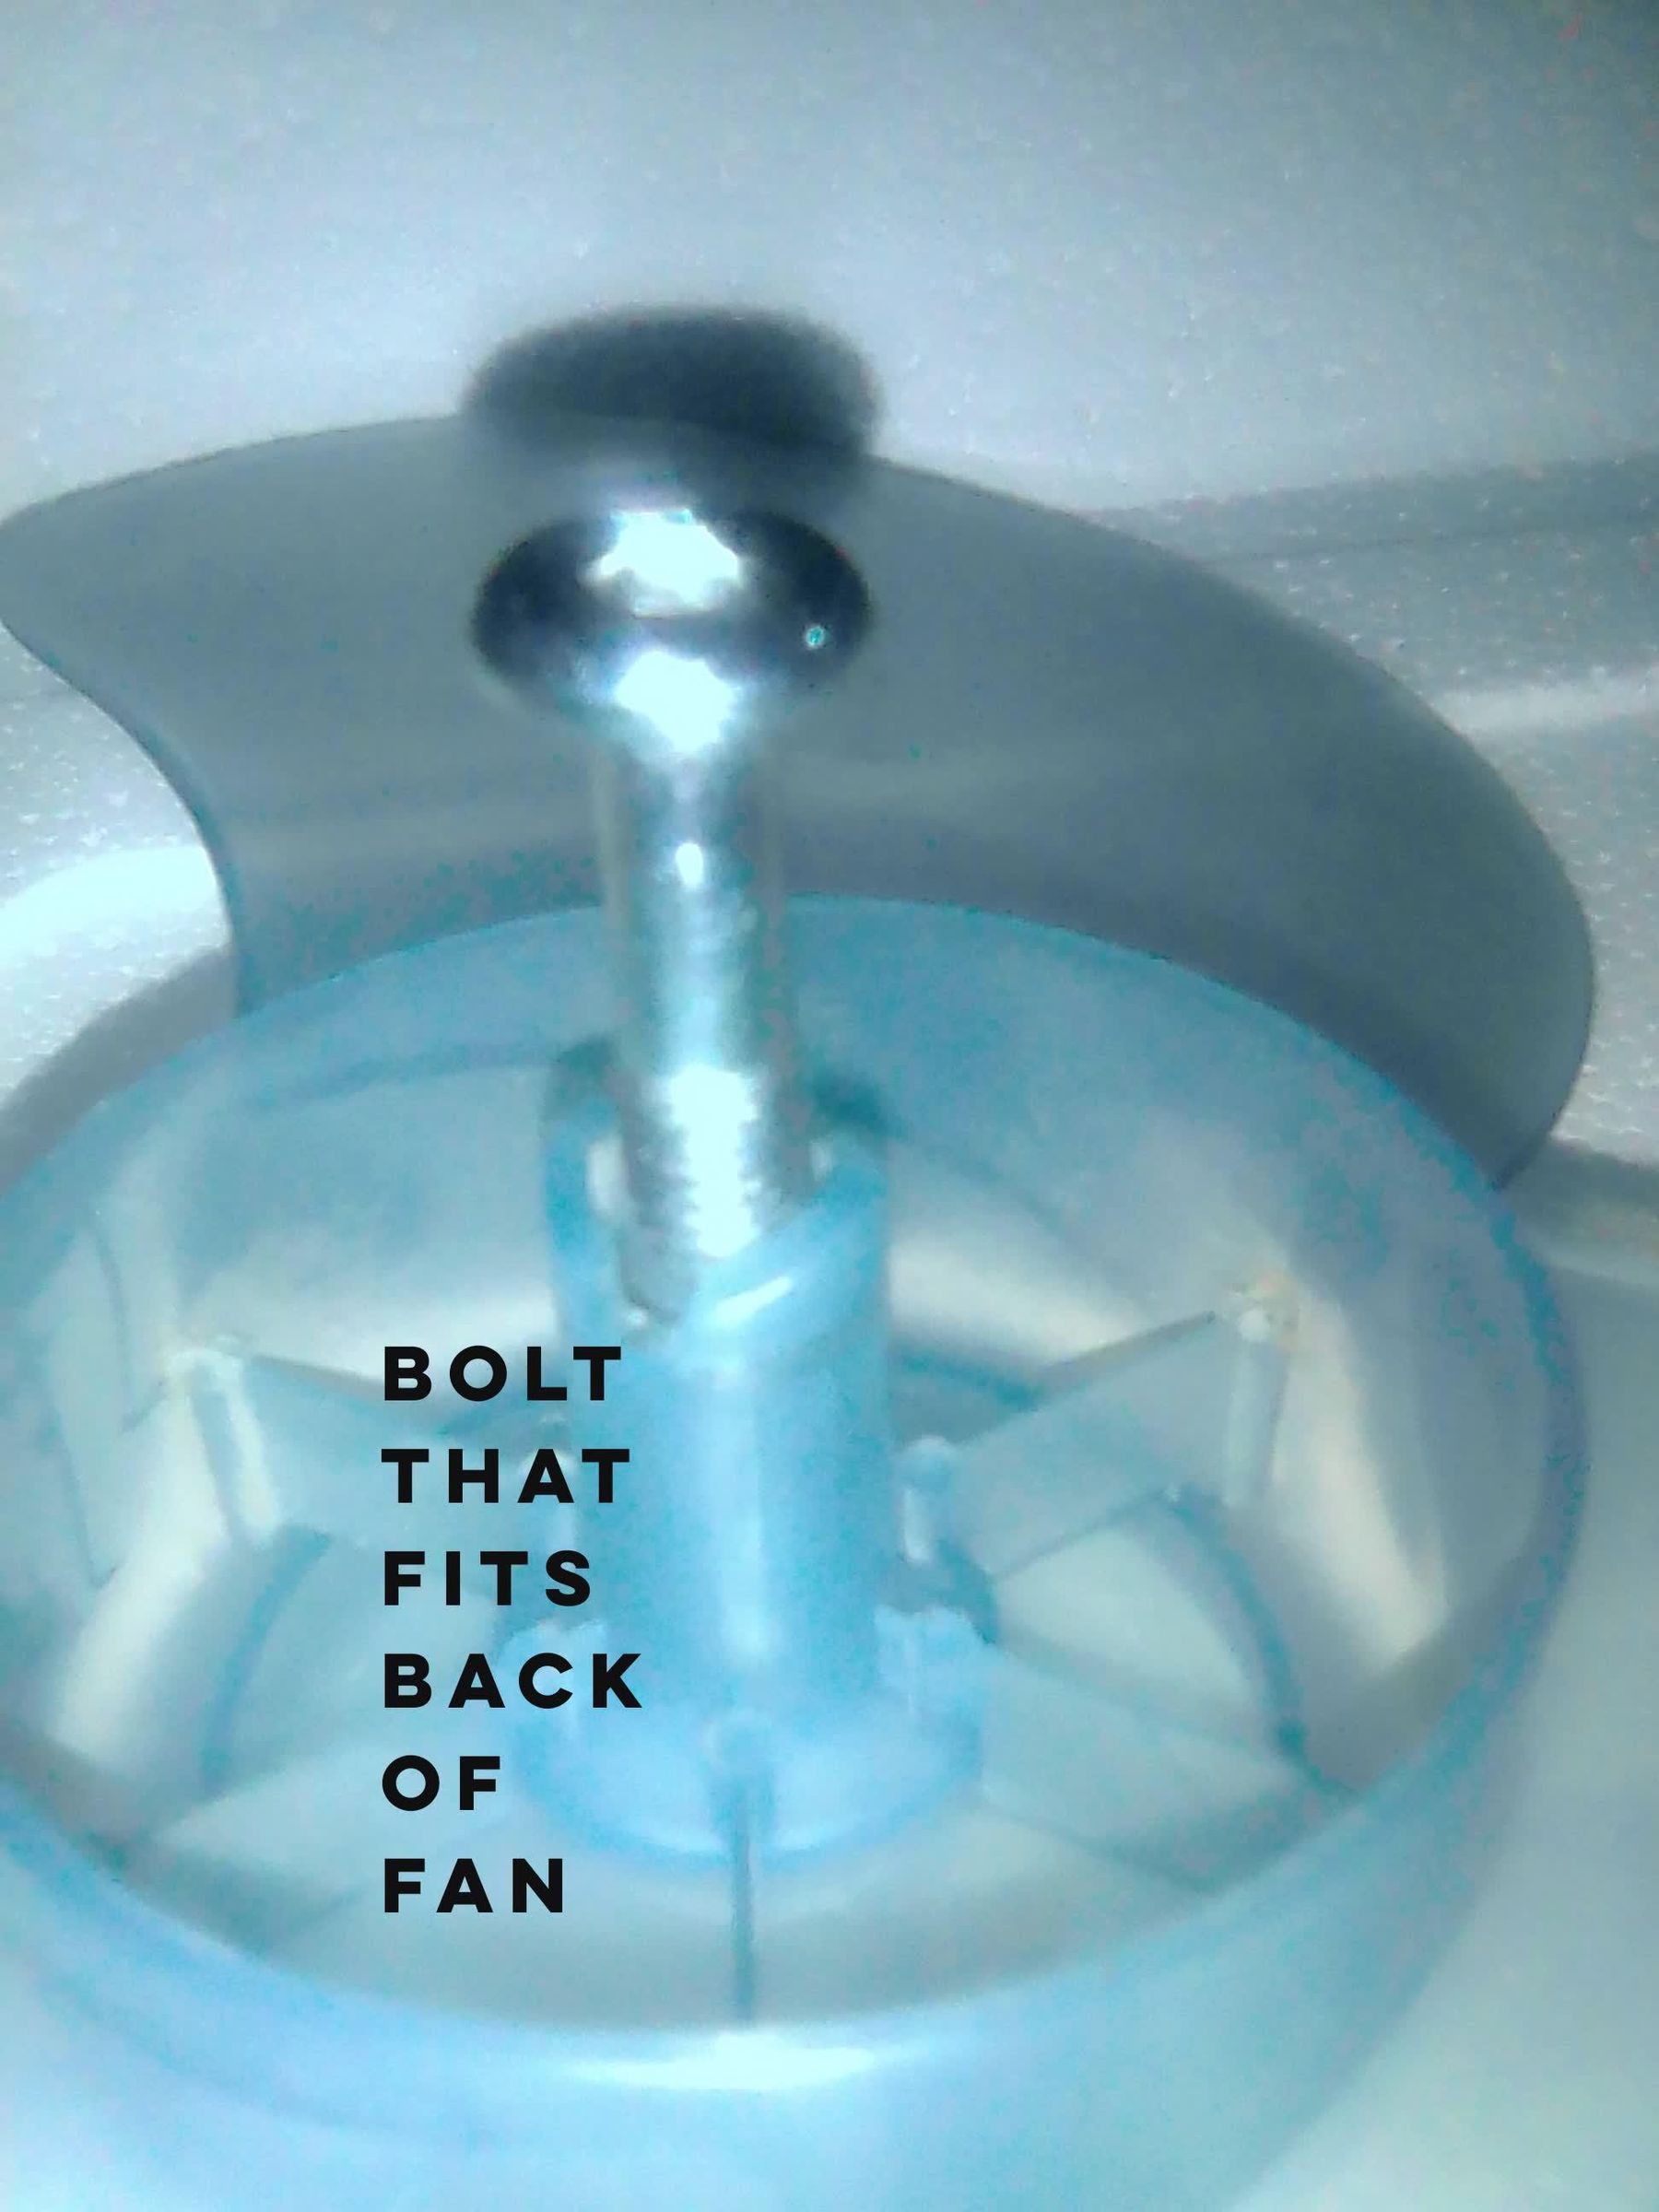
1. Remove fan blades from a fan machine. (Fan blades twist off pretty easily by grabbing and twisting at the center part where all of the fan blades meet).
2. Turn fan blades upside down where you can see the hole in the back of the fan blades where it was just attached to the fan machine.
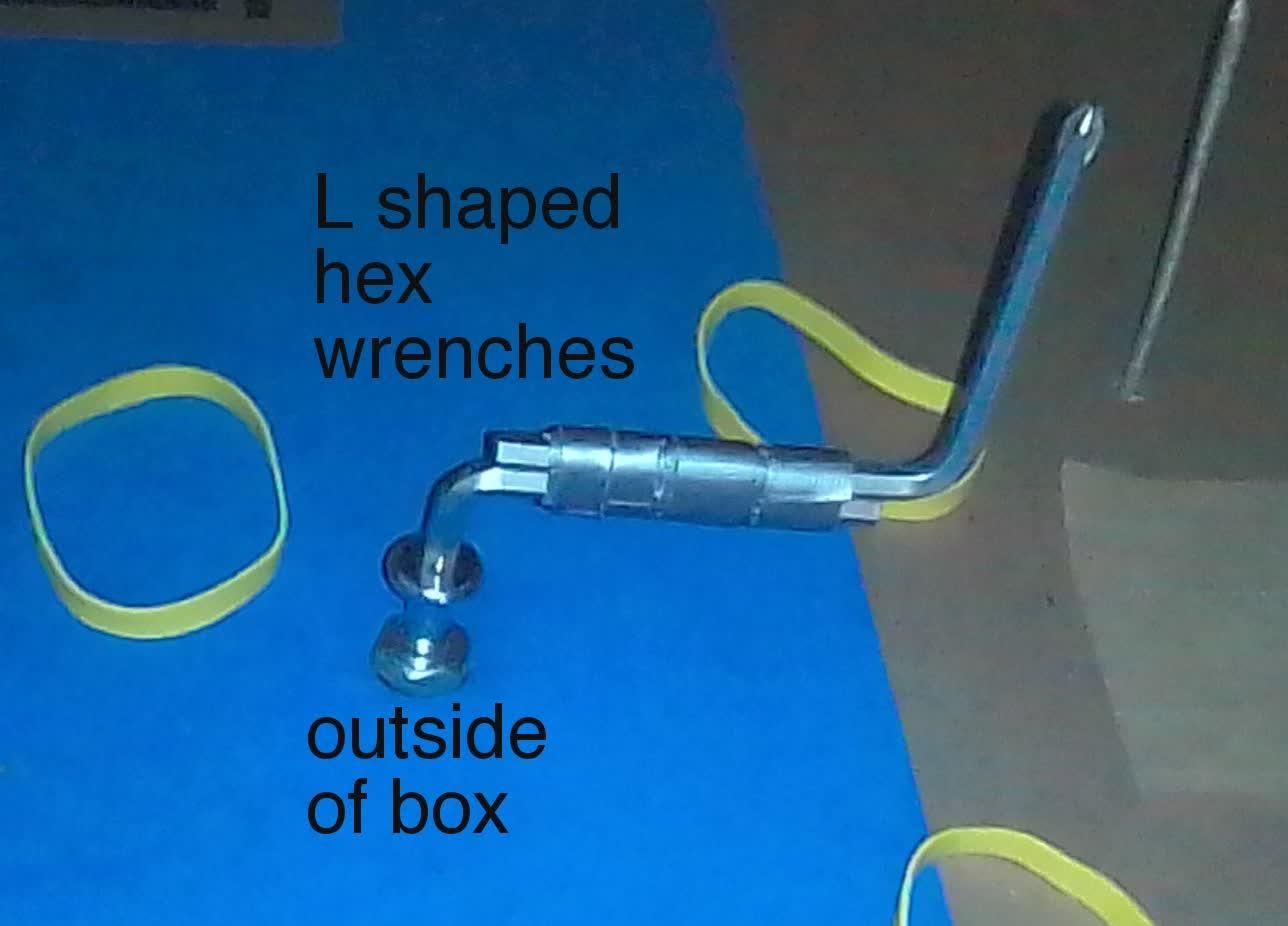
3. Find a bolt that will fit that hole. Find two nuts that will fit that bolt. Find at least one hex wrench that will fit the bolt. (you will need a total of two hex wrenches to tape to one another to make a crank to start the fan to turning.)
Nuts and Bolt
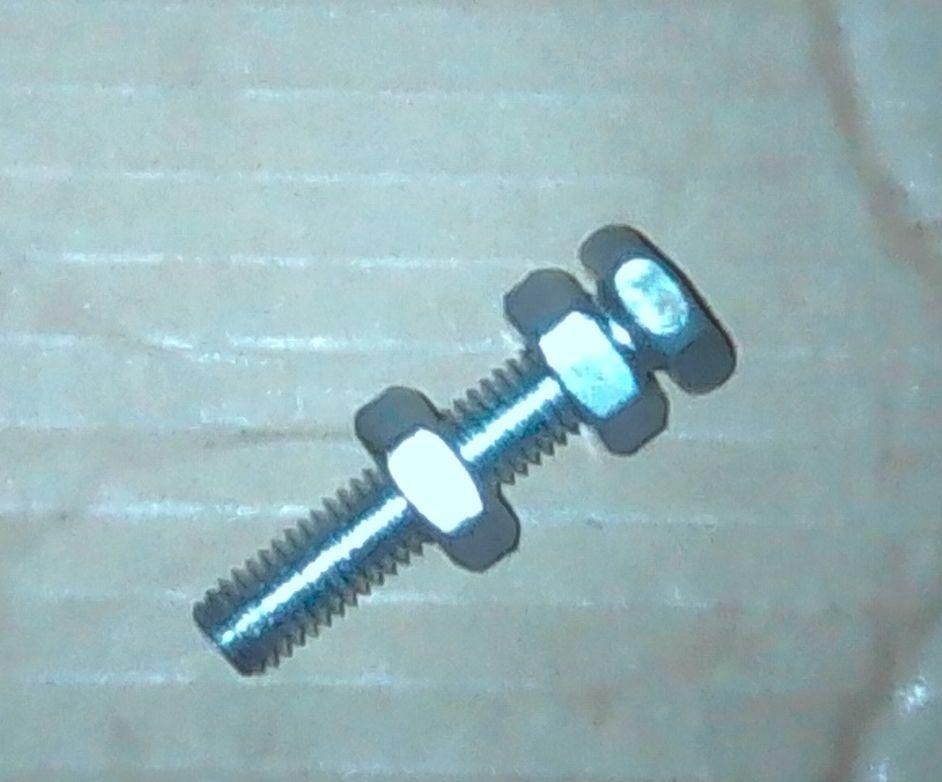
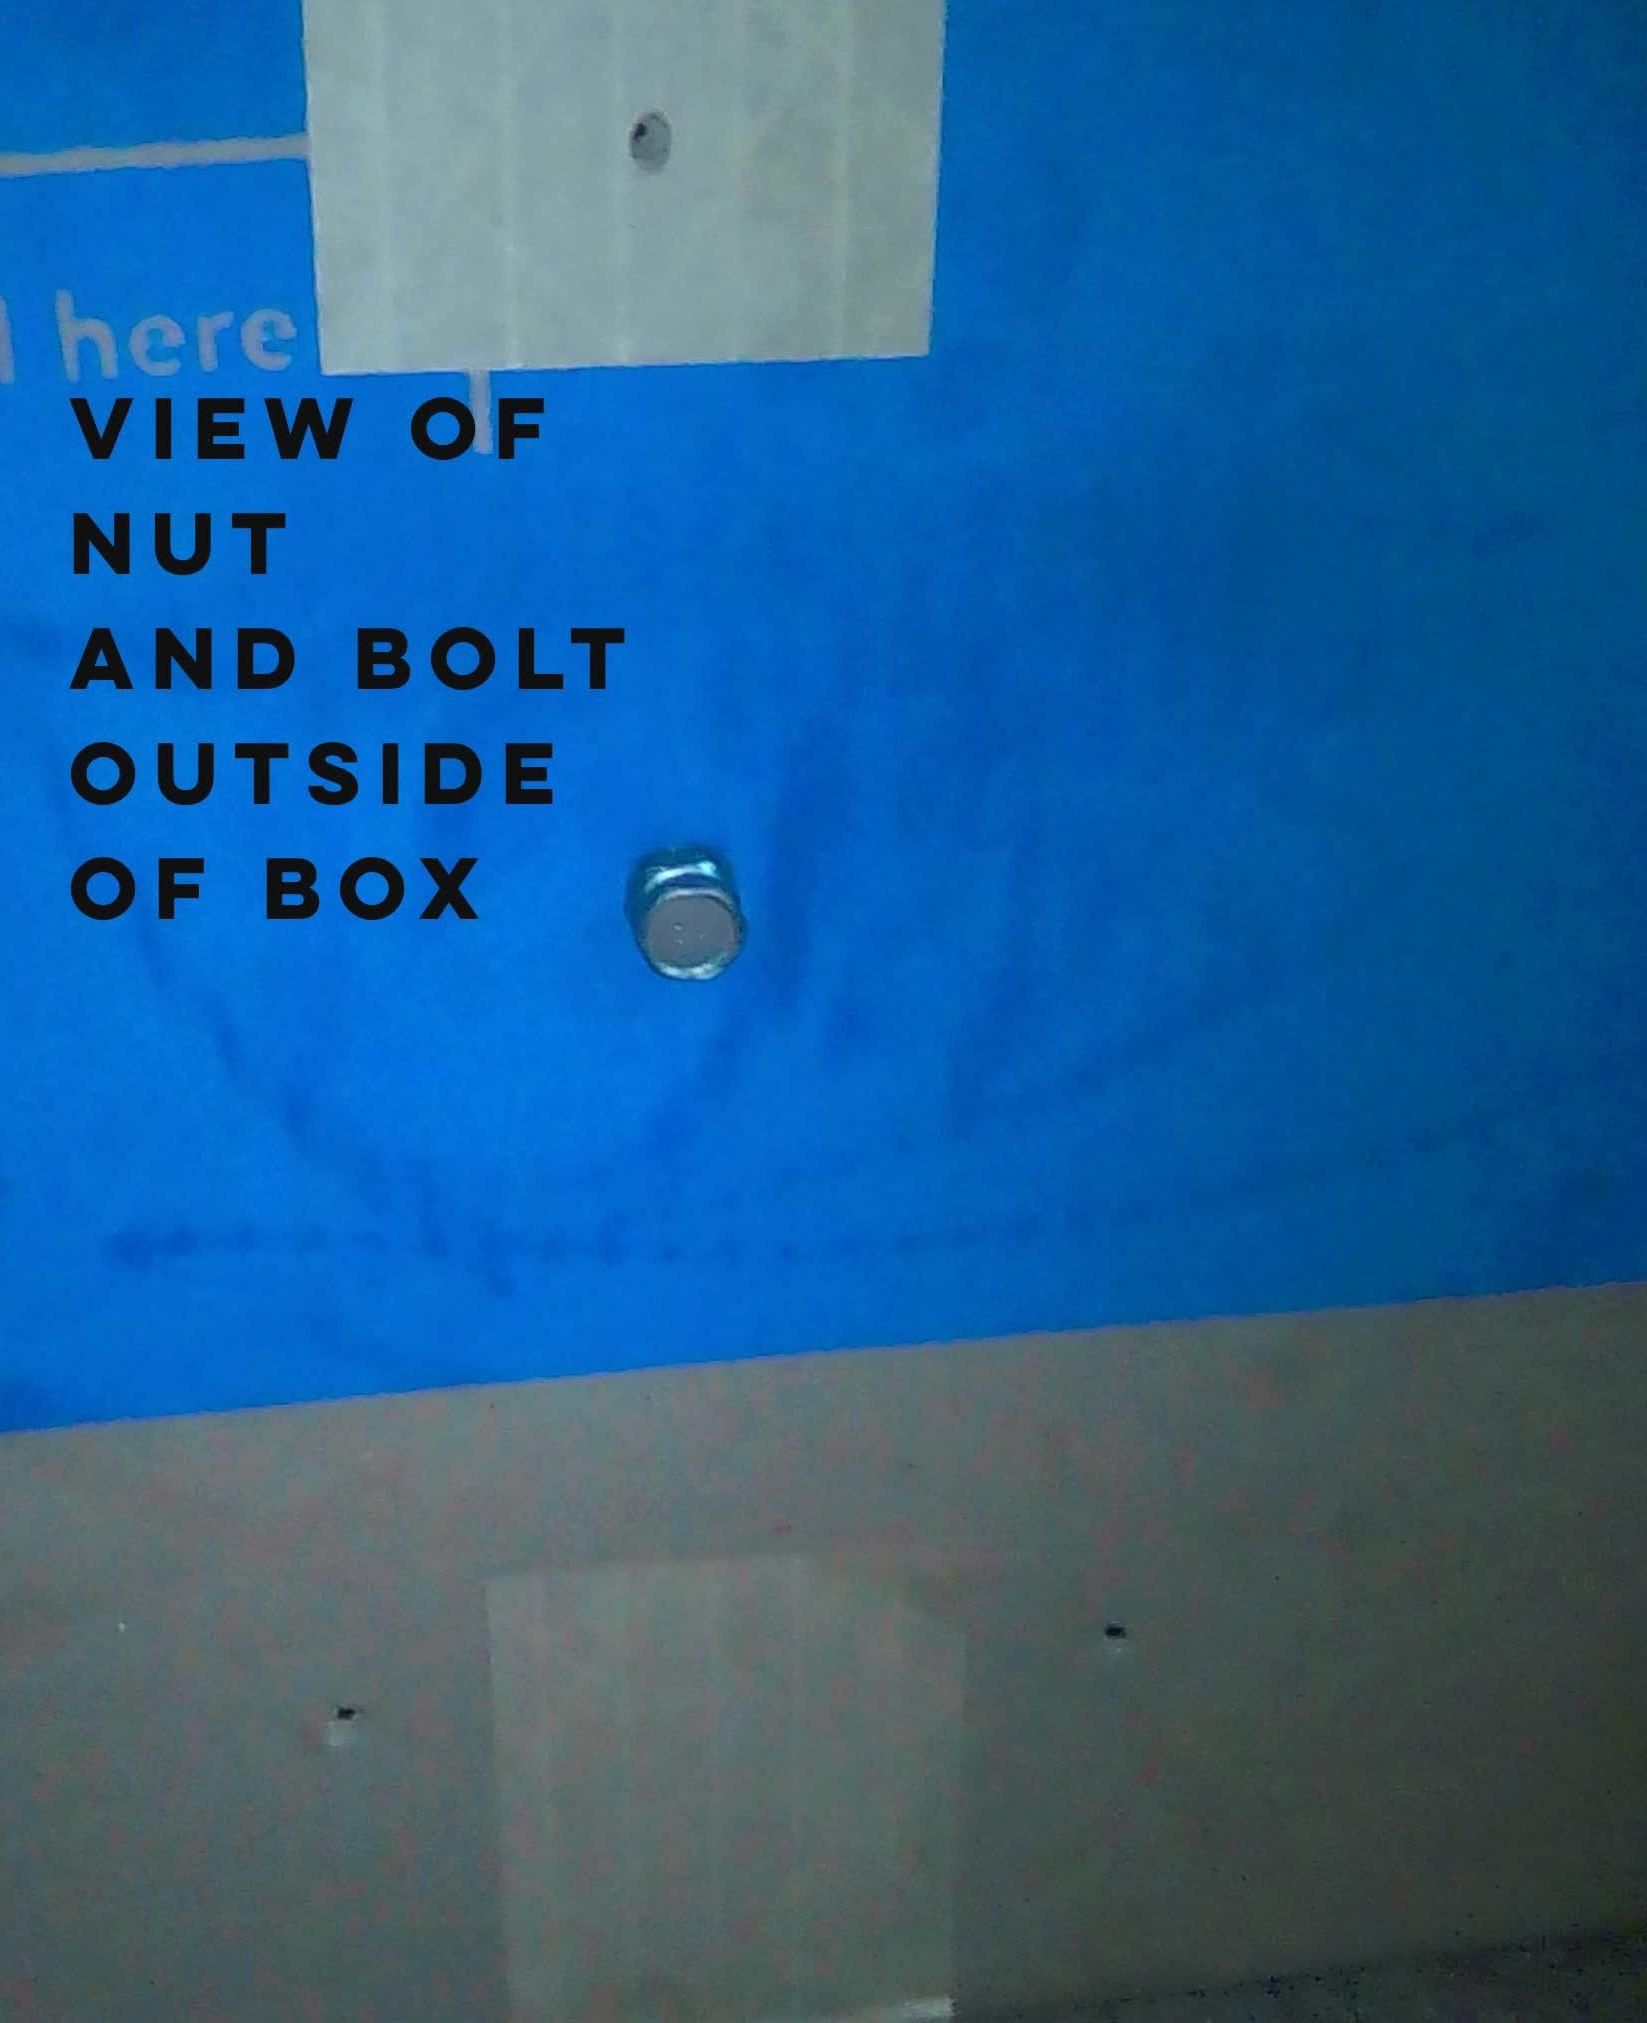
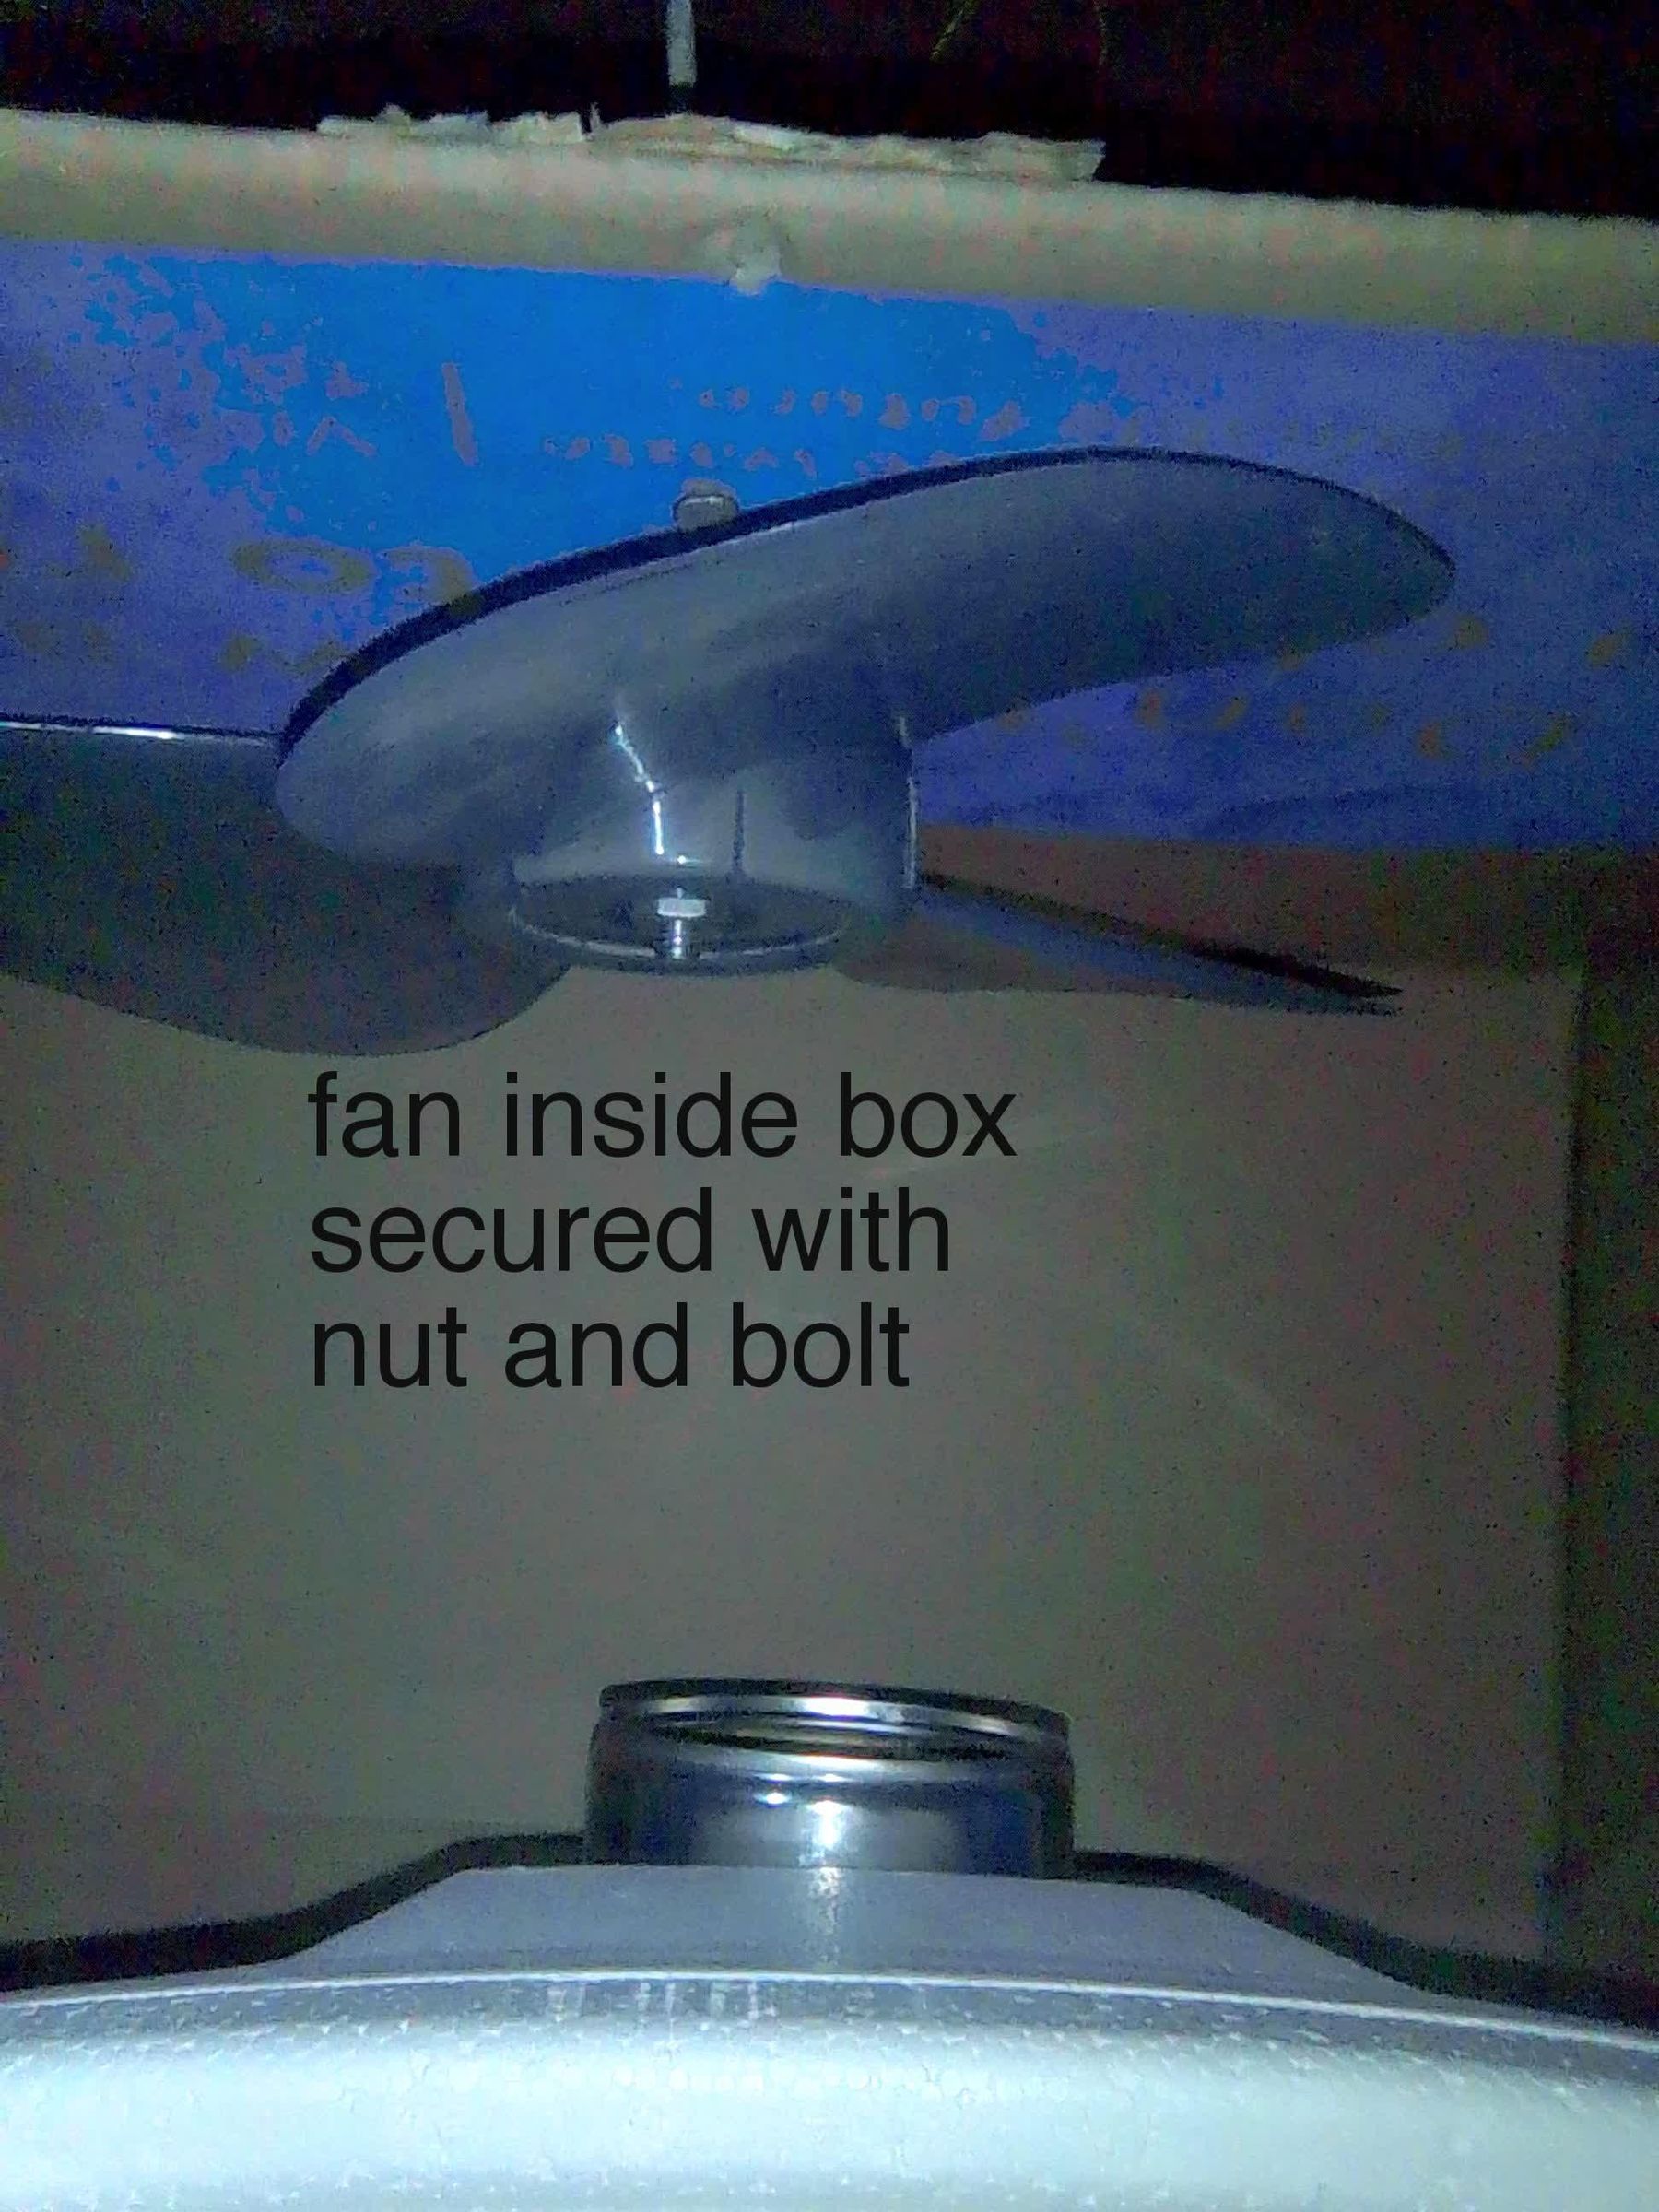
1. Put a nut on the end of the bolt. Push that bolt through the hole of the box (from the outside of the box to the inside of the box) the hole you just made for mounting the fan blades onto the box, that was centered to where one of the cans were aiming.
2. Make sure the bolt is all the way through, with only the end with the nut visible on the outside of the box. The nut should be touching or very close to touching the box.
3. Now you can twist the fan blades onto the bolt that is sticking out on the inside of the box. Secure fan on inside of box with second bolt. See picture. (When fan is operating, it will blow air inside the box, and into one of the cans that are sticking out of the side of the cooler
Make Mechanism to Turn Fan on With Rubber Bands
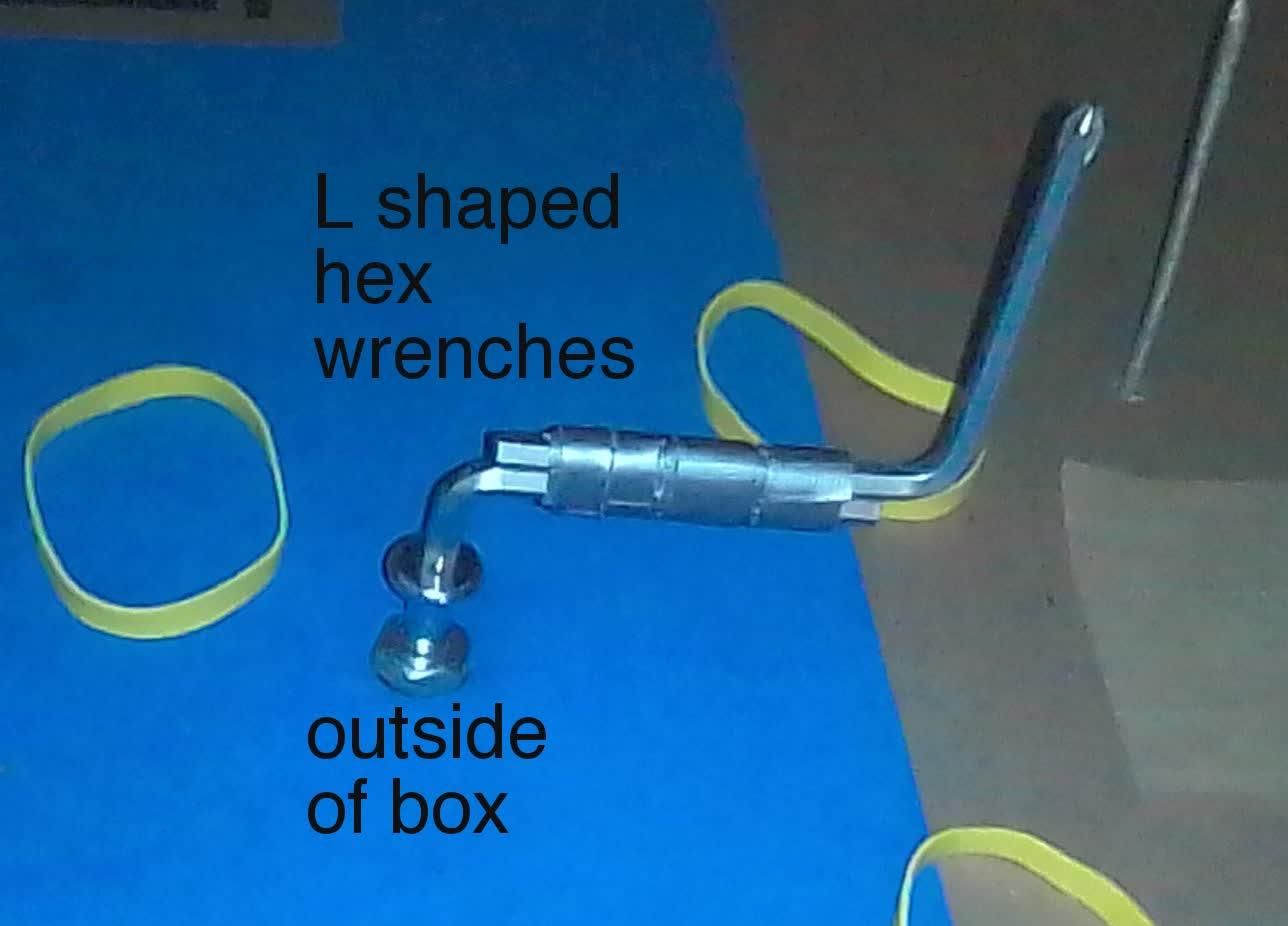
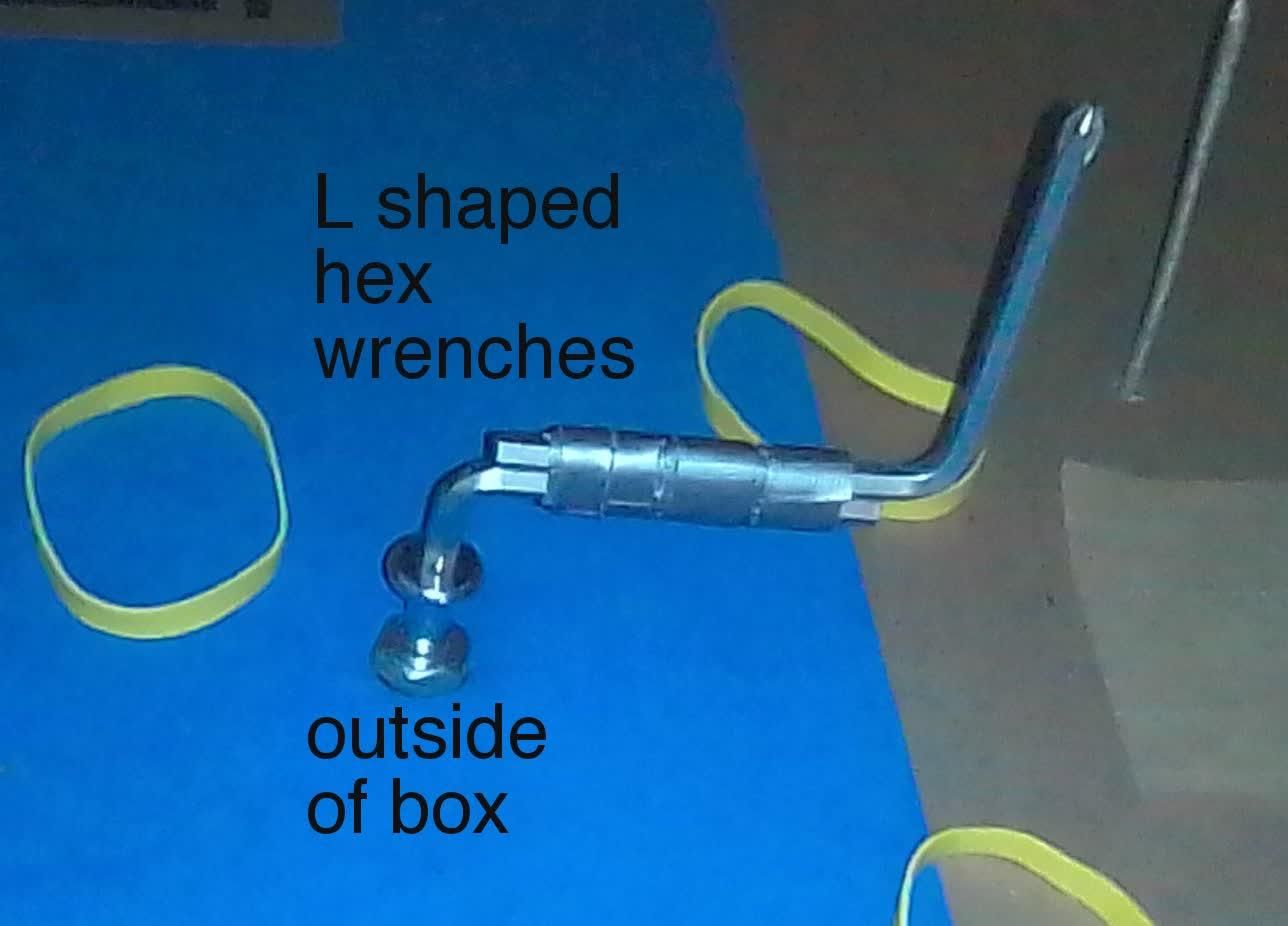
1. Tape the two L shaped hex wrenches together, as shown in the picture.
2. Then fit one of the hex wrenches into the bolt that is on the outside of the box. (You can superglue the hex wrench to the bolt, for permanent use.)
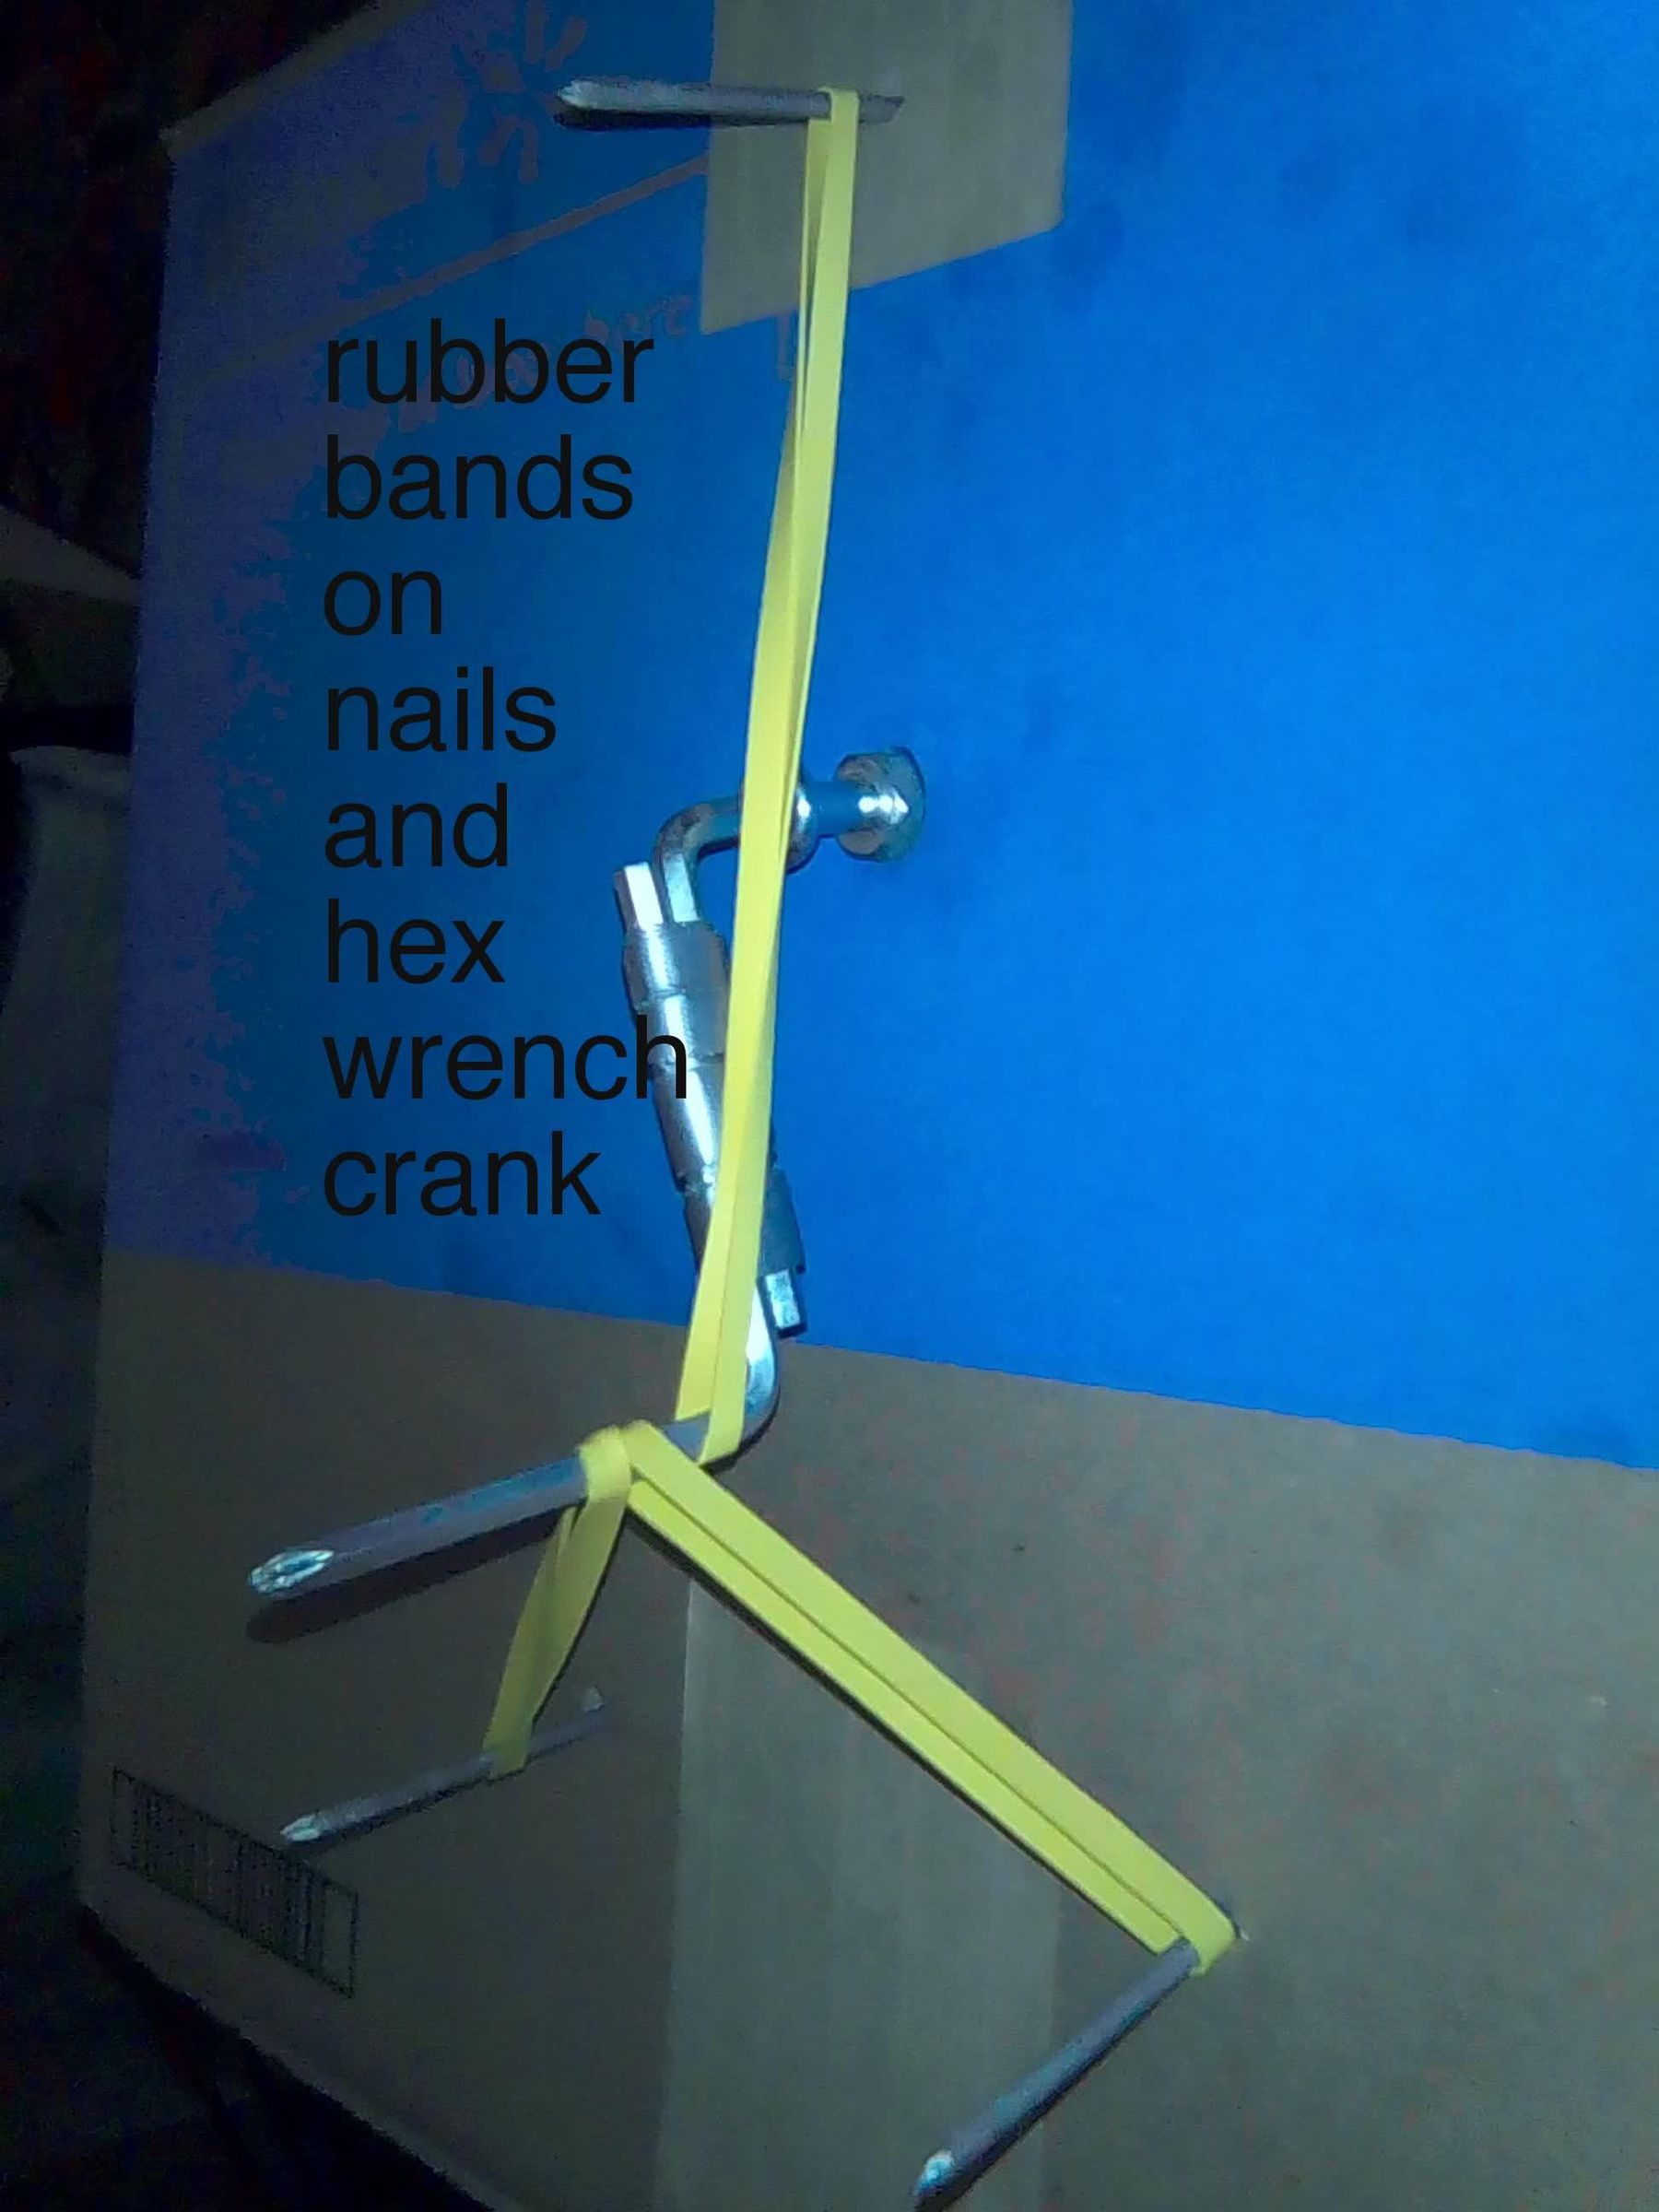
3. Next you will permanently fix three large nails into the box, in a triangle distance from one another, about three to four inches apart (see picture). This works better using a wooden box. I used the cardboard box for demonstration. I have to use what materials I already have, or find in the dumpster. So I apologize for not being able to make it fancy.
4. By looking at the picture of the three nails and where I placed the three rubber bands, please attach the rubber bands accordingly. If everything is secure, you should be able to turn the crank you made with the L shaped hex wrenches. By turning the crank, the rubber bands will twist one way. If all is built right, the rubber bands will automatically bounce the crank back and forth, continuosly turning the fan blade left to right, left to right, and so on.
Set Up Air Conditioning
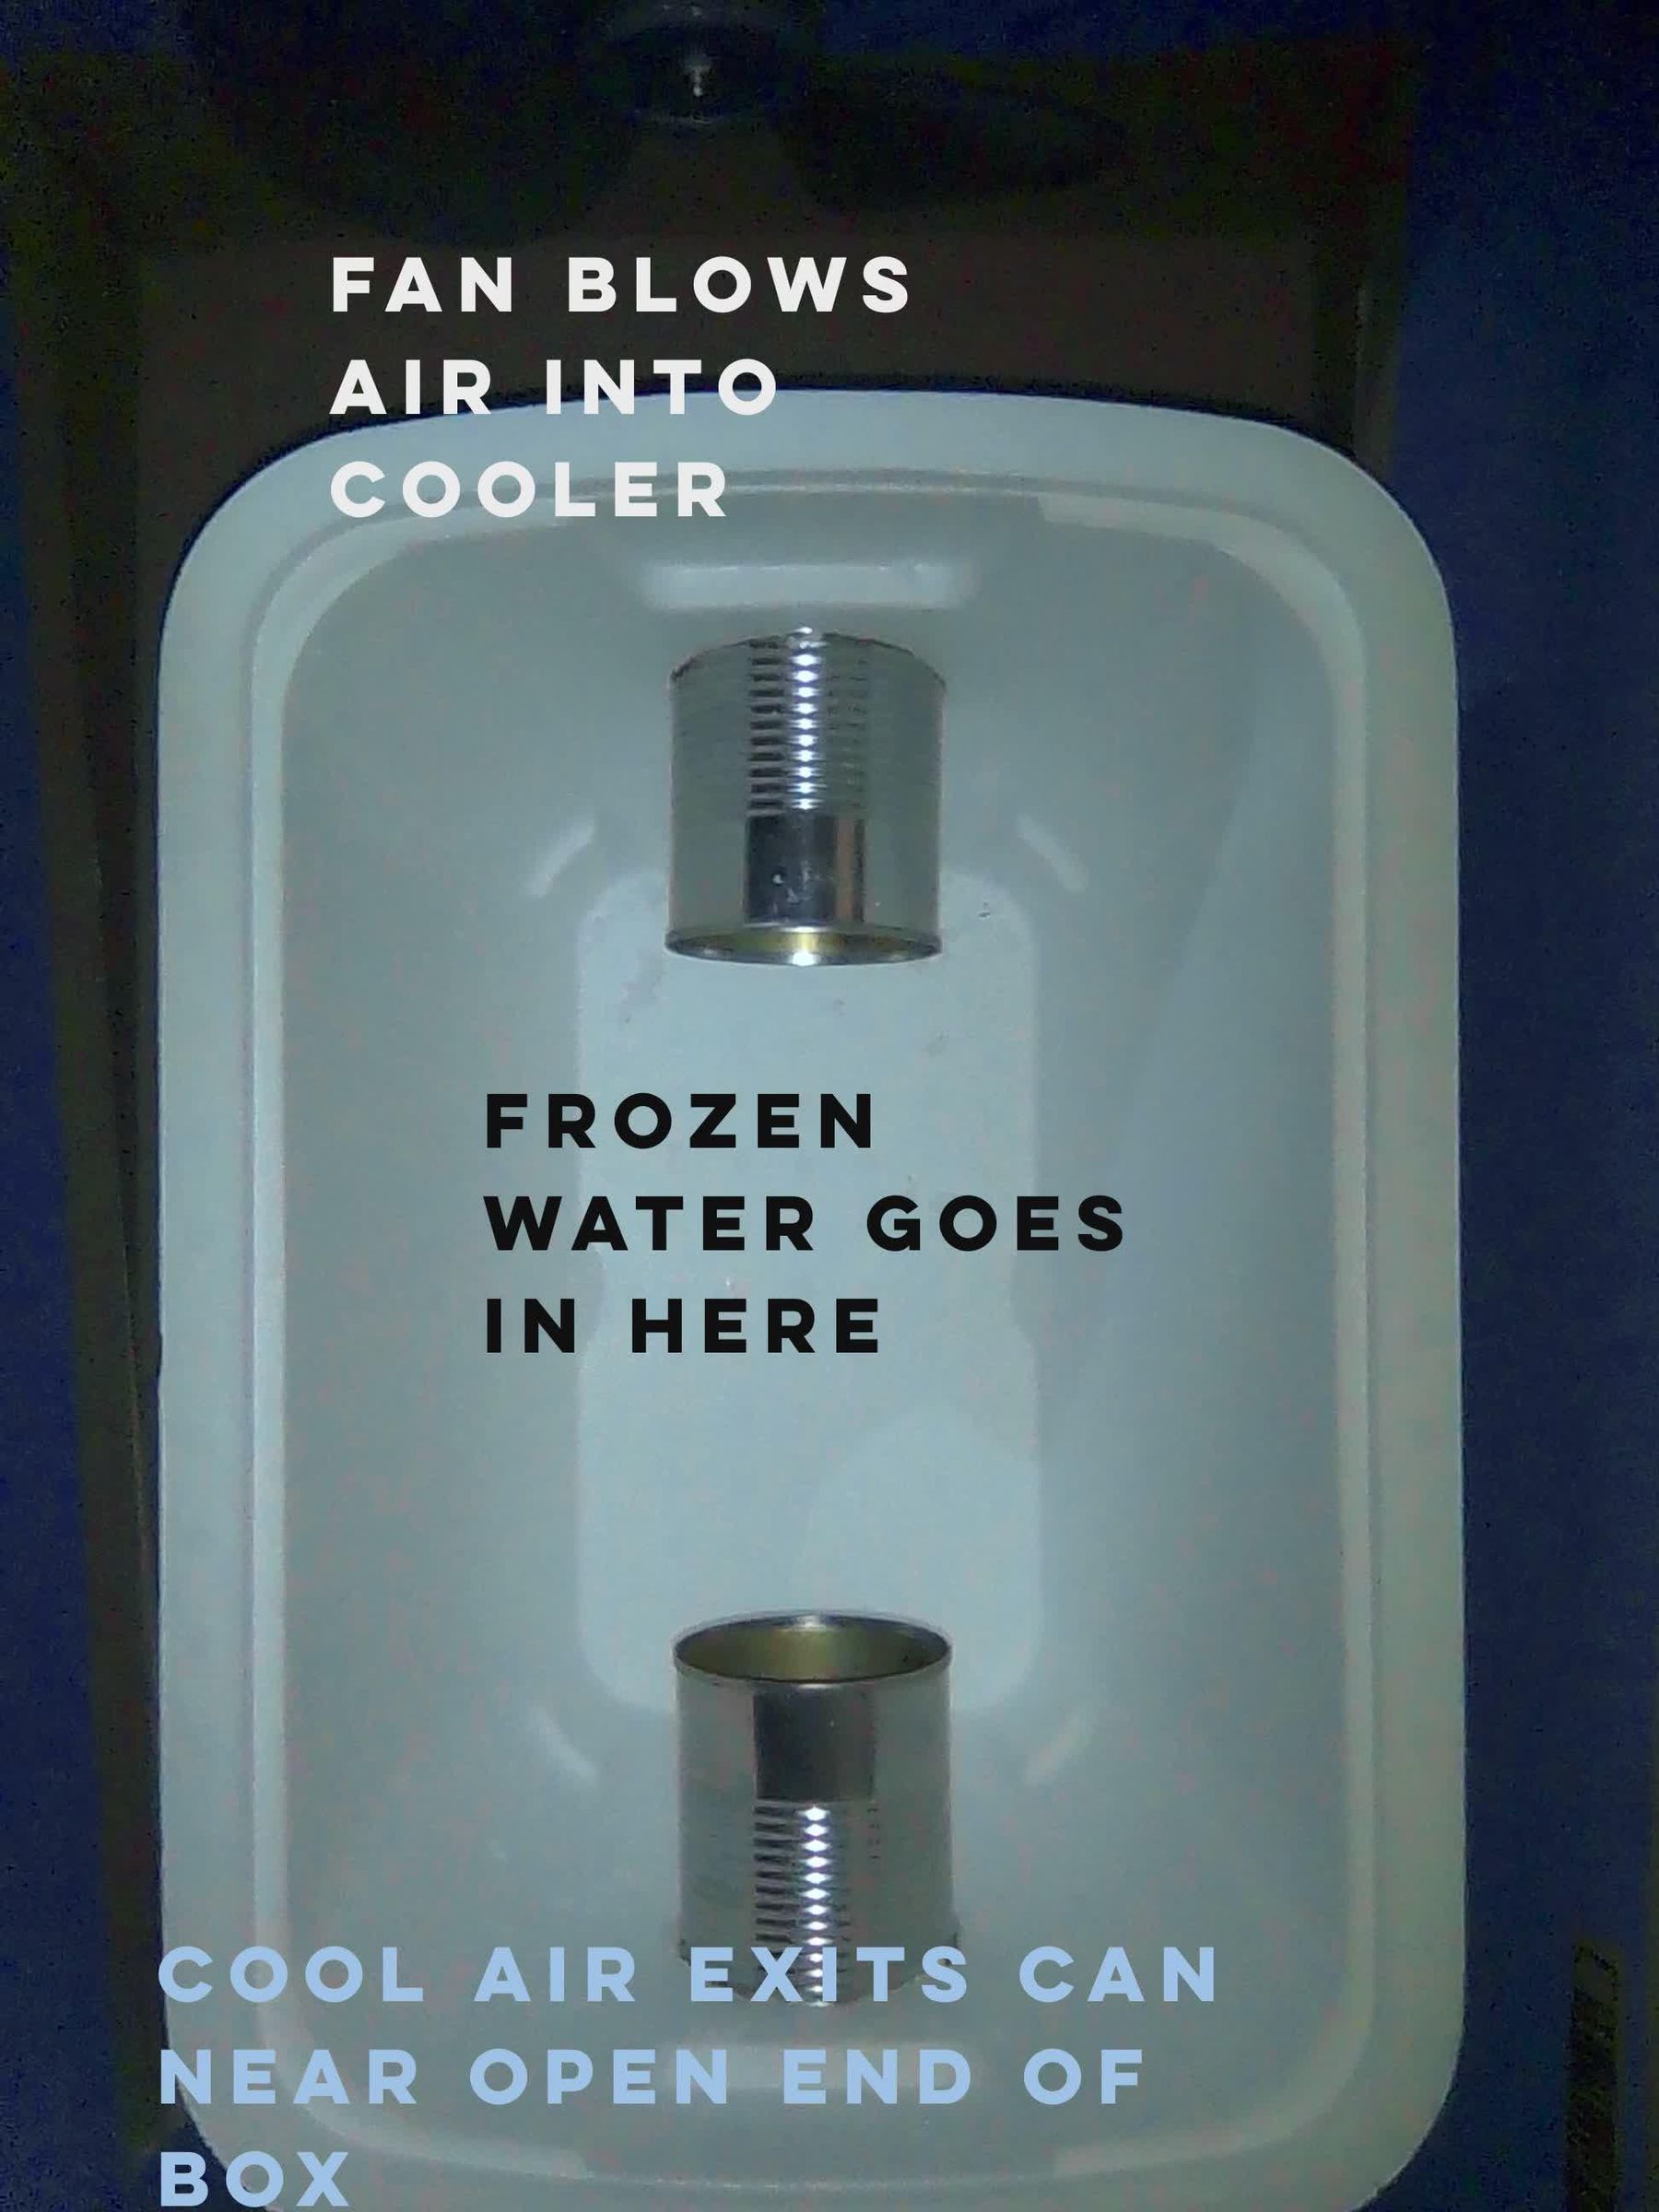
1. Put your cooler back inside the cardboard box, with one can lined up with the fan blades and the other can pointing out of the one cut out end of the cardboard box. (see picture)
2. Put some ice or frozen water bottles in your foam cooler.
3. Put the foam lid back on the cooler.
4. Turn the crank and let the rubber bands do their magic, moving the fan blades to create a wind that blows through the icy cooler. Now you have an air conditioner that doesn't run on electricity.
You can simplify it by using a battery powered fan, and skip all of the fan blades and rubber bands steps. I just wanted to show you that air conditioning can be made cheap and simple, without motors. The only thing involving motors that is absolutely necessary to make cold air in this project, is making ice or frozen water bottles. Maybe someday I can think of a way to make frozen water without a freezer.