SMART HOME AUTOMATION USING ESP32 WITH GOOGLE ASSISTANCE
by prajaktagumphalwar in Circuits > Electronics
845 Views, 0 Favorites, 0 Comments
SMART HOME AUTOMATION USING ESP32 WITH GOOGLE ASSISTANCE
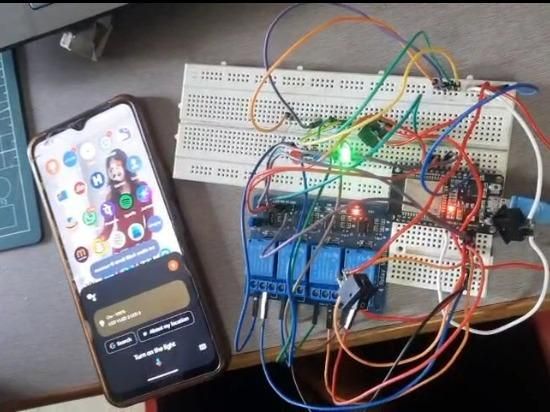
In today's world the home automation is essential part of modern living .This project is demonstrate how to build the smart home system using Esp32 microcontroller that allow you to control the electrical device such as light using voice command through google assistance. The system uses WIFI connectivity to link esp32 with online platform like Sinric pro . which act as bridge between the microcontroller and voice assistance. By using this setup the user can turn on or off from anywhere using their smartphone or simply by speaking commands.
Supplies
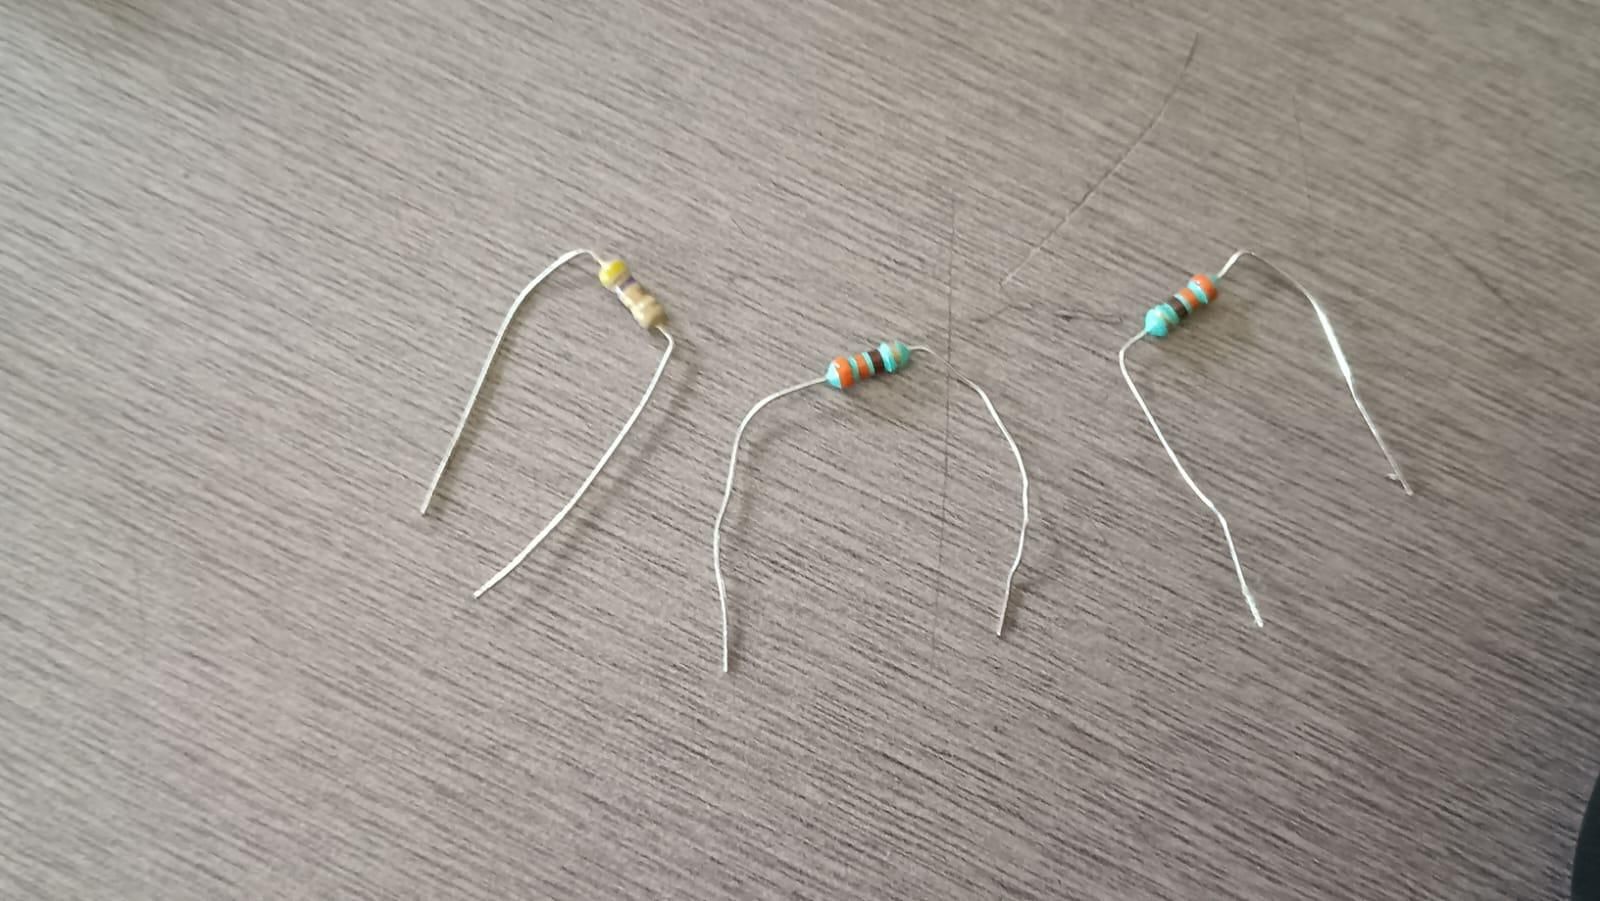
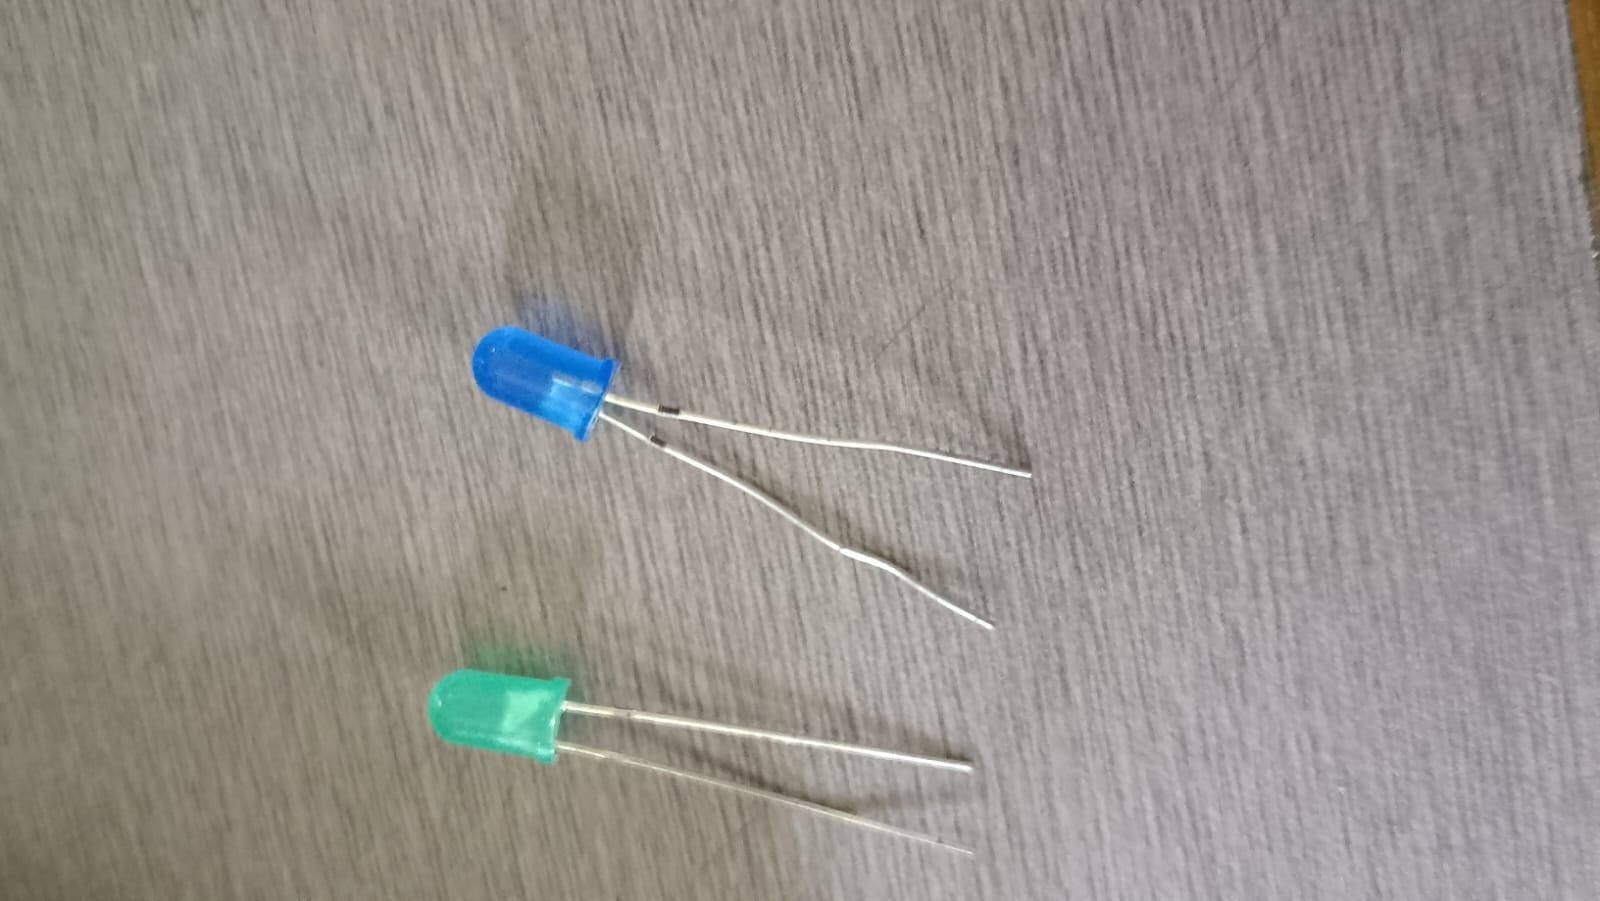


HARDWARE COMPONENT :
- ESP32 Dev Module (ESP32 Devkit1).
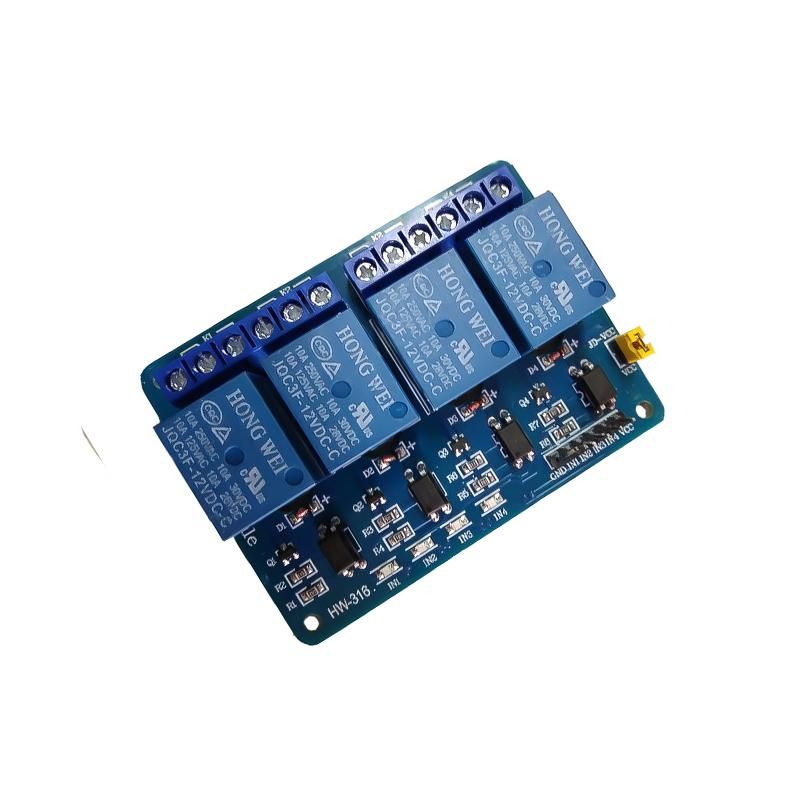
- Relay module(2- channel /4 -channel as per requirement)
- LED (for testing )
- Resistor(220ohm for LED)
- Breadboard
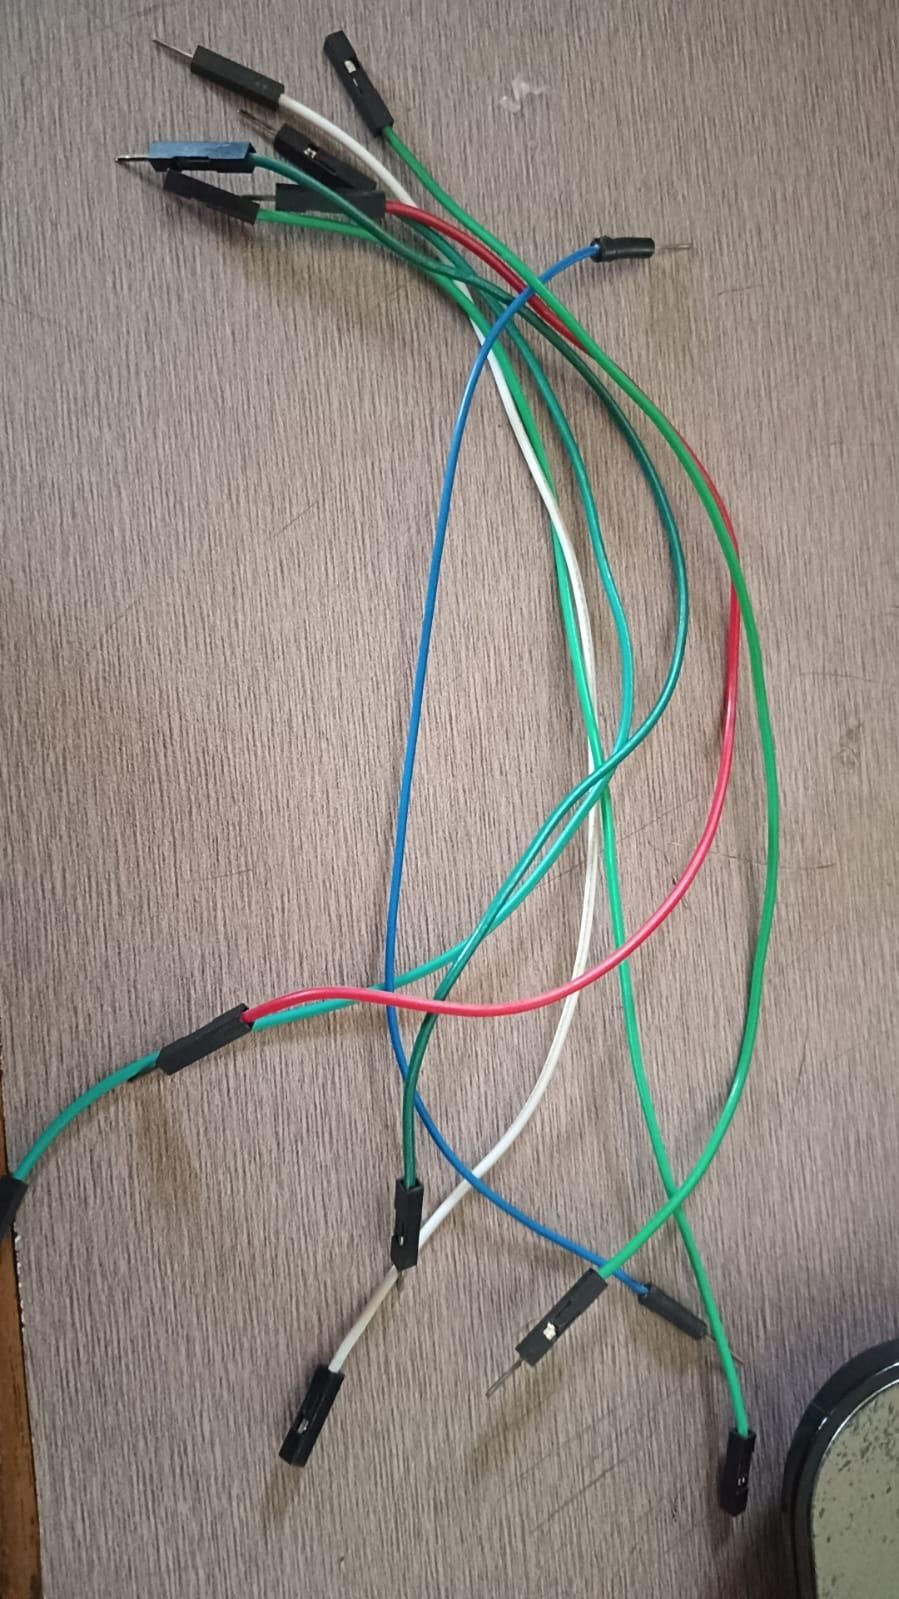
- Jumper wire
- USB cable (for programming)
- power supply 5v
SOFTWARE COMPONENT:
- Arduino IDE (for coding and uploading program)
- sinric pro account(for connecting ESP32 with voice assistance)
- Google home app(for google assistance control)
Step 1
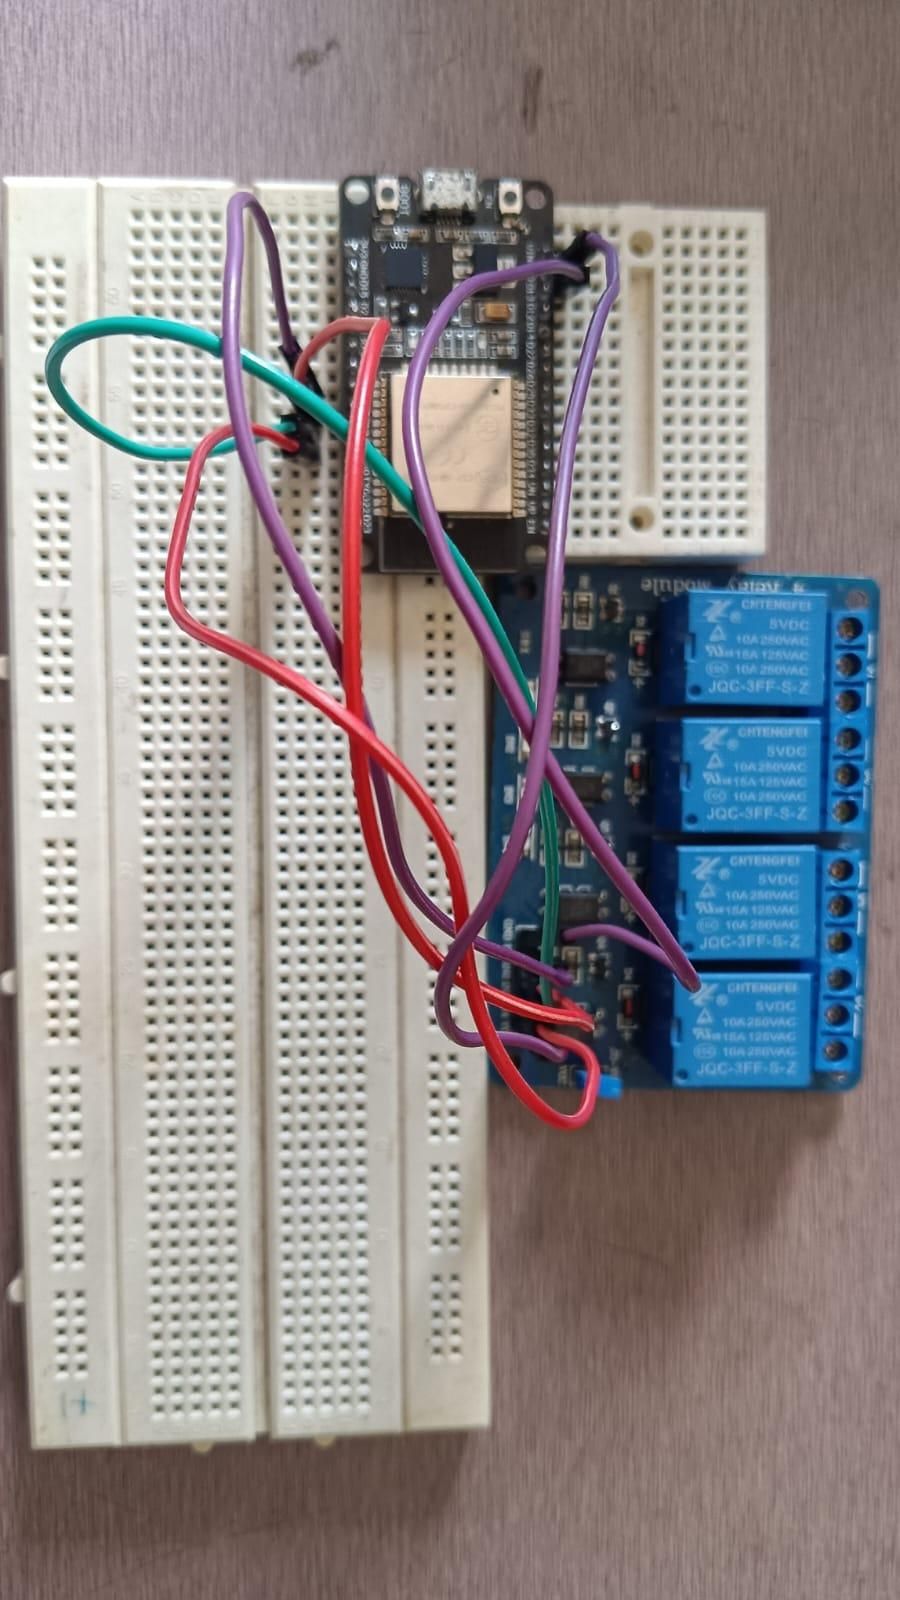
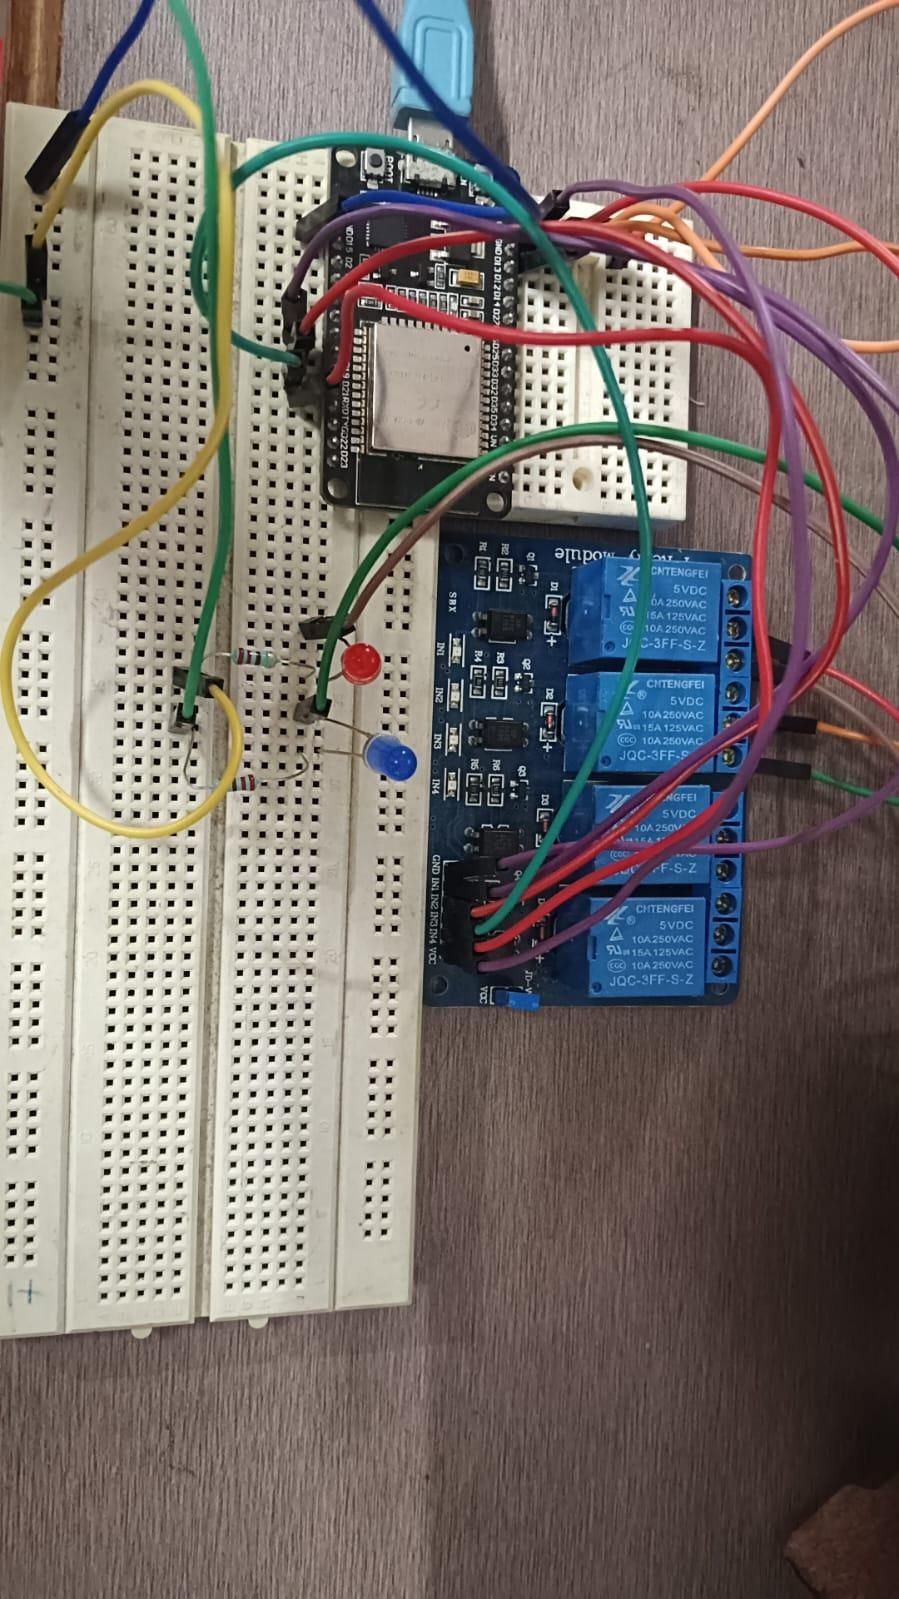
Hardware Setup
- Connection ESP32 to relay module
- GPIO 5 - IN1
- GPIO 18 - IN2
- GPIO 19 - IN3
- GPIO 21- IN4
- 5v - VCC
- GND - GND
- Vin -COM
- VIN-COM
A) LED connection to Relay module
- LED 1(+) - NC(Normally Closed)
- LED 2(+) - NC(Normally Closed)
B)LED connection to ESP32
- LED 1 (-) -GND
- LED 2(-) - GND
Step2
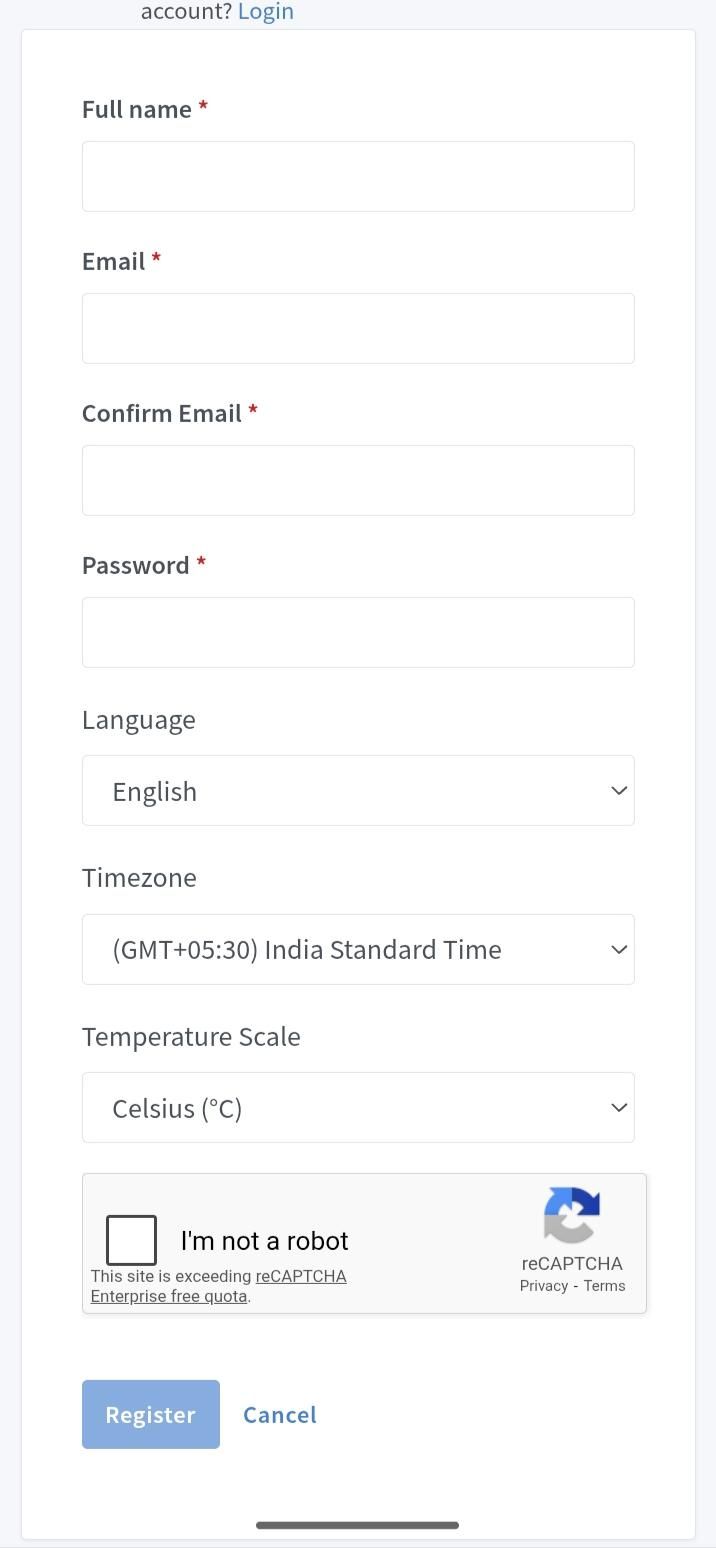
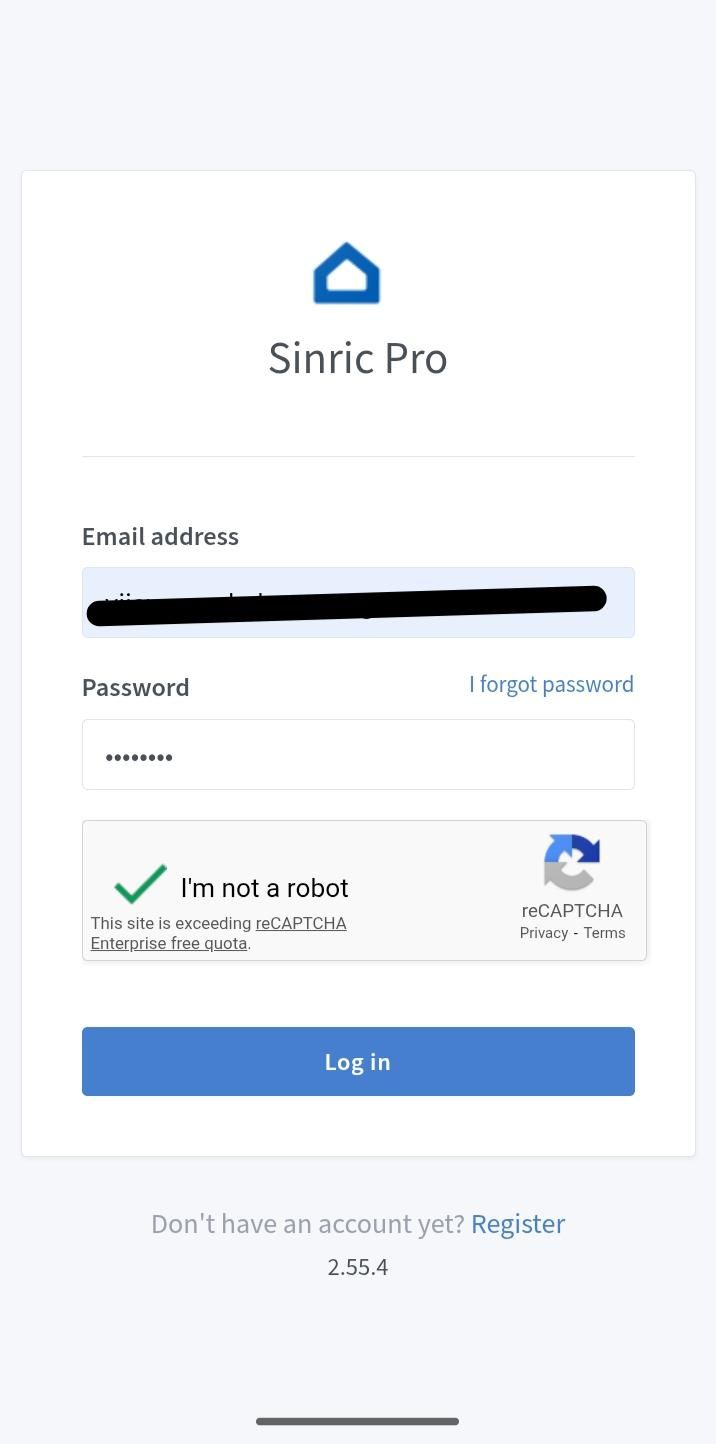
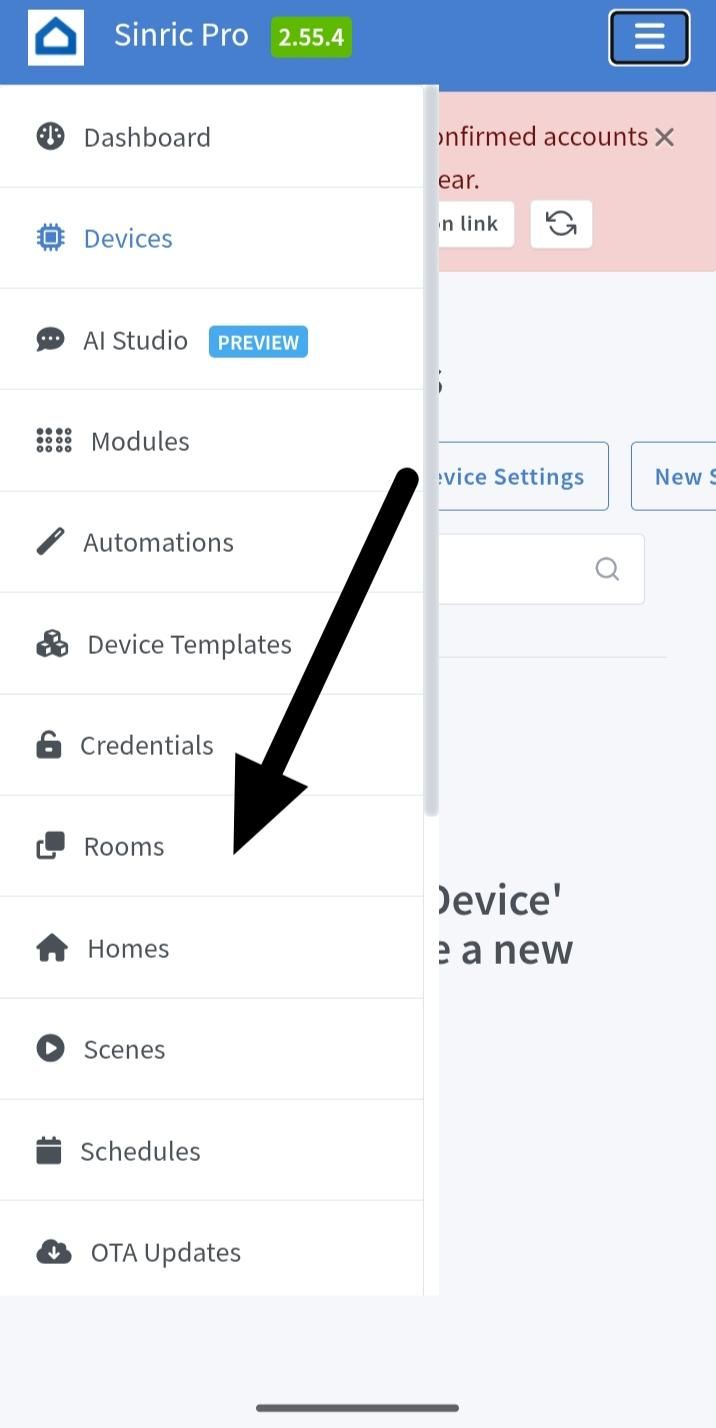
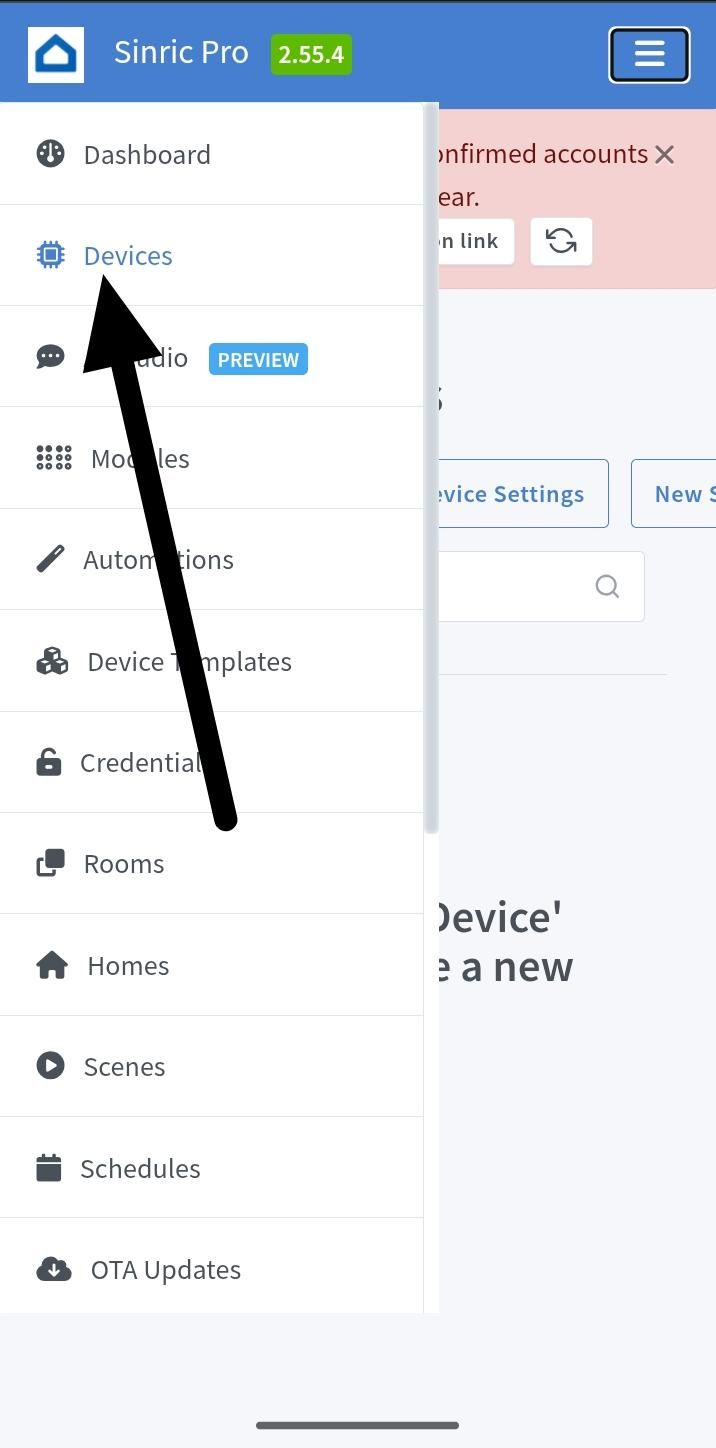
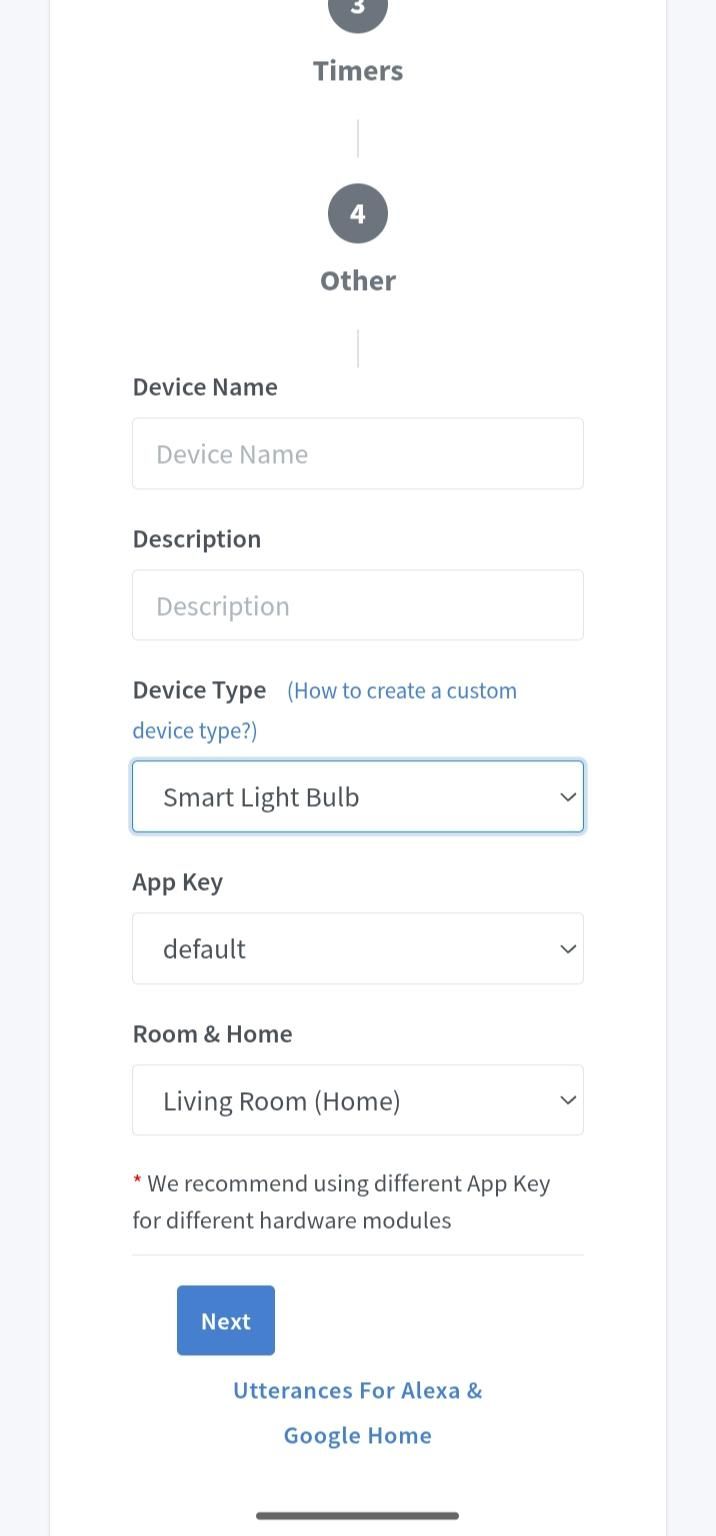
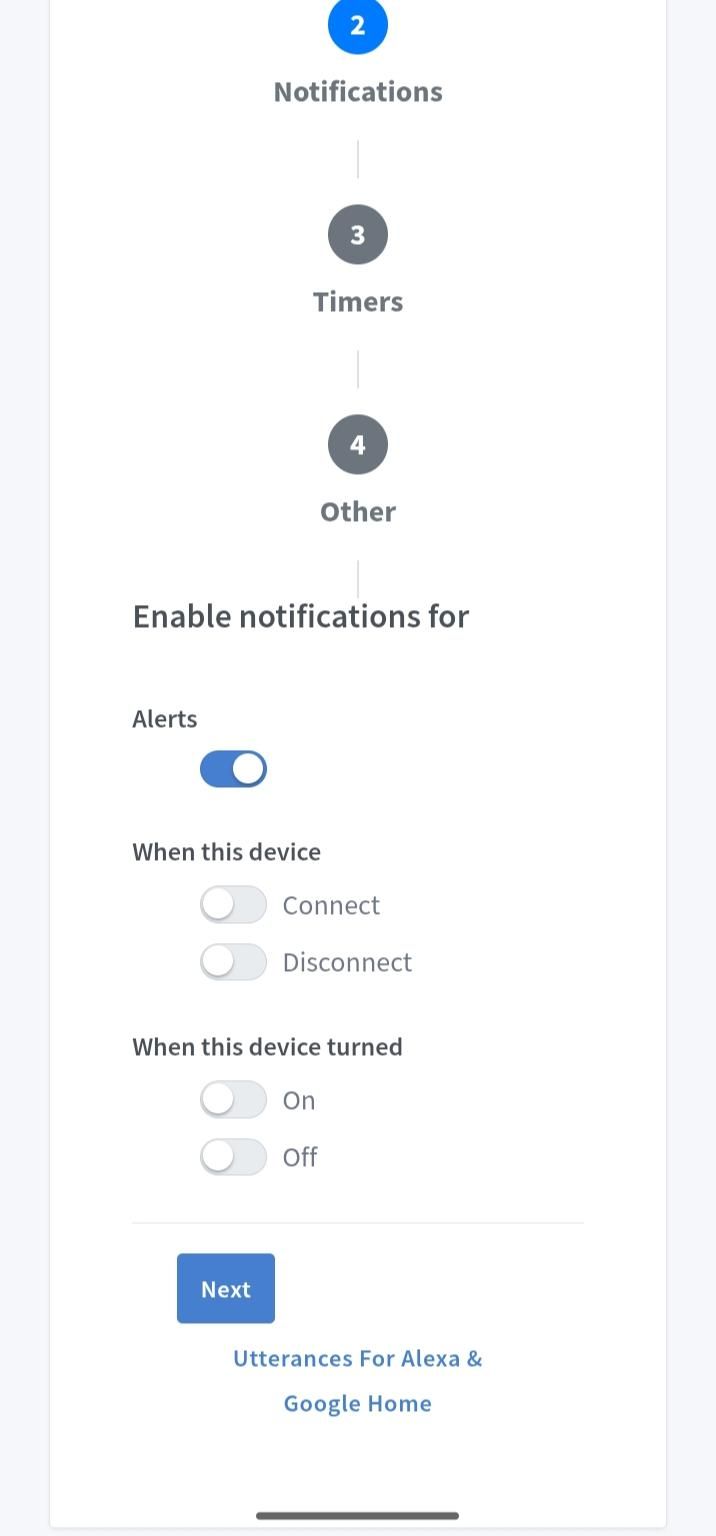
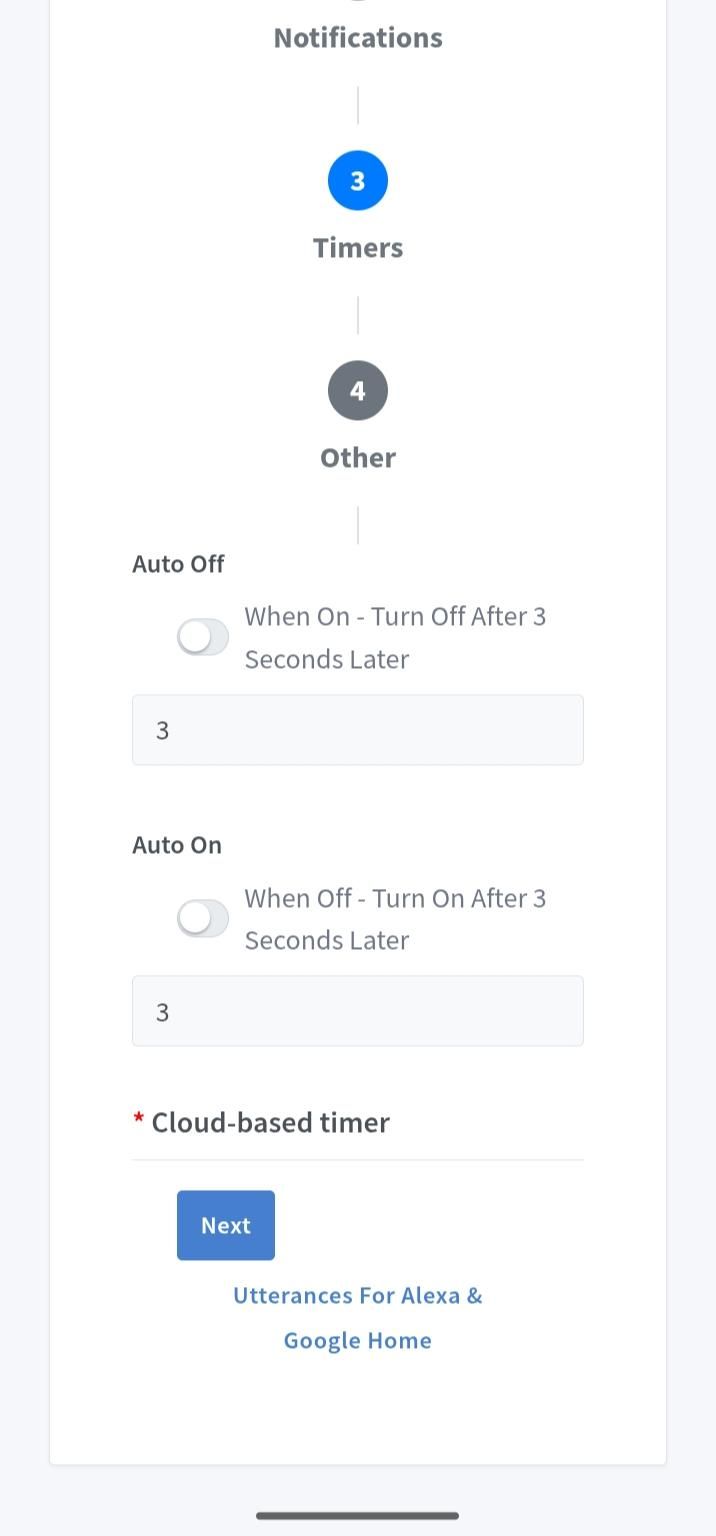
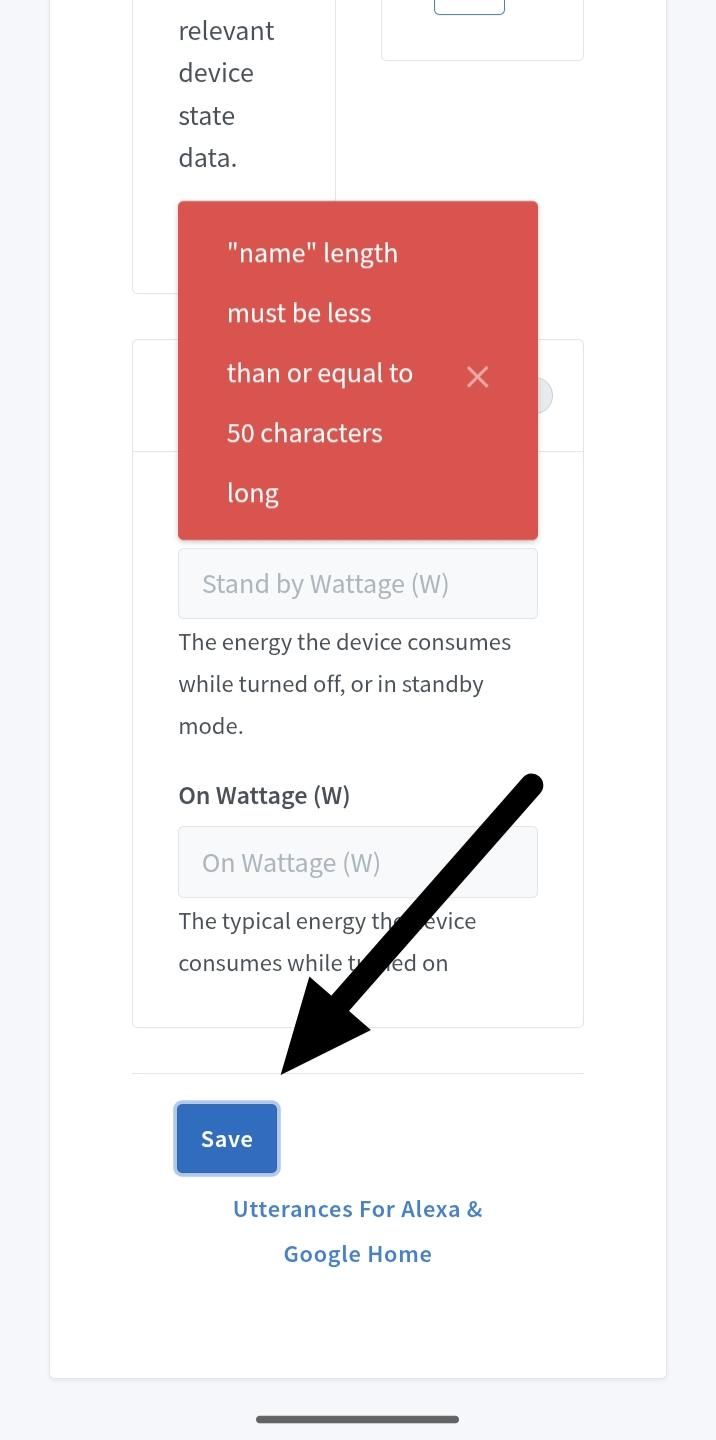
CREAT SINRIC PRO ACCOUNT
- open the sinric pro website
- signup and login
- select room
- Create multiple device (Light1,light2) in the rooms
- copy the Device IDs, APP KEY ,APP SECRET
Step 3
Install Required Labraries
- Open Arduino IDE
- Go to Library manager
- Install sinric pro library
Step 4
Upload code to ESp32
- Paste the ESp32 Code in Ardino IDE
- Enter your Wifi Credetial and sinric pro detail.
- Select Borad: ESP32Dev model.
- select Correct COM
- Upload code
CODE
#include <WiFi.h>
#include "SinricPro.h"
#include "SinricProSwitch.h"
// WiFi Credentials
#define WIFI_SSID "sejal"
#define WIFI_PASS "sejal1234"
// Sinric Pro Credentials
#define APP_KEY "222abdd5-728b-414f-9a27-aeac03a325d2"
#define APP_SECRET "39bb1084-c7e9-40a0-aae5-d0df7b0a5096-4e593b2d-a8b7-4a00-8b0c-45b5fdd28f6f"
// Device IDs (create 2 devices in Sinric)
#define DEVICE_ID_1 "69be7723c2dbd7108b42ff5e"
#define DEVICE_ID_2 "69be7a0317b32c0941d9249c"
// LED Pins
#define LED1 5
#define LED2 18
// Control Function
bool onPowerState(const String &deviceId, bool &state) {
if (deviceId == DEVICE_ID_1) {
digitalWrite(LED1, state ? LOW : HIGH);
}
else if (deviceId == DEVICE_ID_2) {
digitalWrite(LED2, state ? LOW : HIGH);
}
return true;
}
void setup() {
Serial.begin(115200);
pinMode(LED1, OUTPUT);
pinMode(LED2, OUTPUT);
// OFF initially (for relay logic)
digitalWrite(LED1, HIGH);
digitalWrite(LED2, HIGH);
// Connect WiFi
WiFi.begin(WIFI_SSID, WIFI_PASS);
Serial.print("Connecting to WiFi");
while (WiFi.status() != WL_CONNECTED) {
delay(500);
Serial.print(".");
}
Serial.println("\nConnected!");
// Setup Sinric Pro
SinricProSwitch &sw1 = SinricPro[DEVICE_ID_1];
SinricProSwitch &sw2 = SinricPro[DEVICE_ID_2];
sw1.onPowerState(onPowerState);
sw2.onPowerState(onPowerState);
SinricPro.begin(APP_KEY, APP_SECRET);
}
void loop() {
SinricPro.handle();
}
Step5
Connect to wifi
- open serial monitor
- wait until it show "wifi connected
Link with Google Assistance
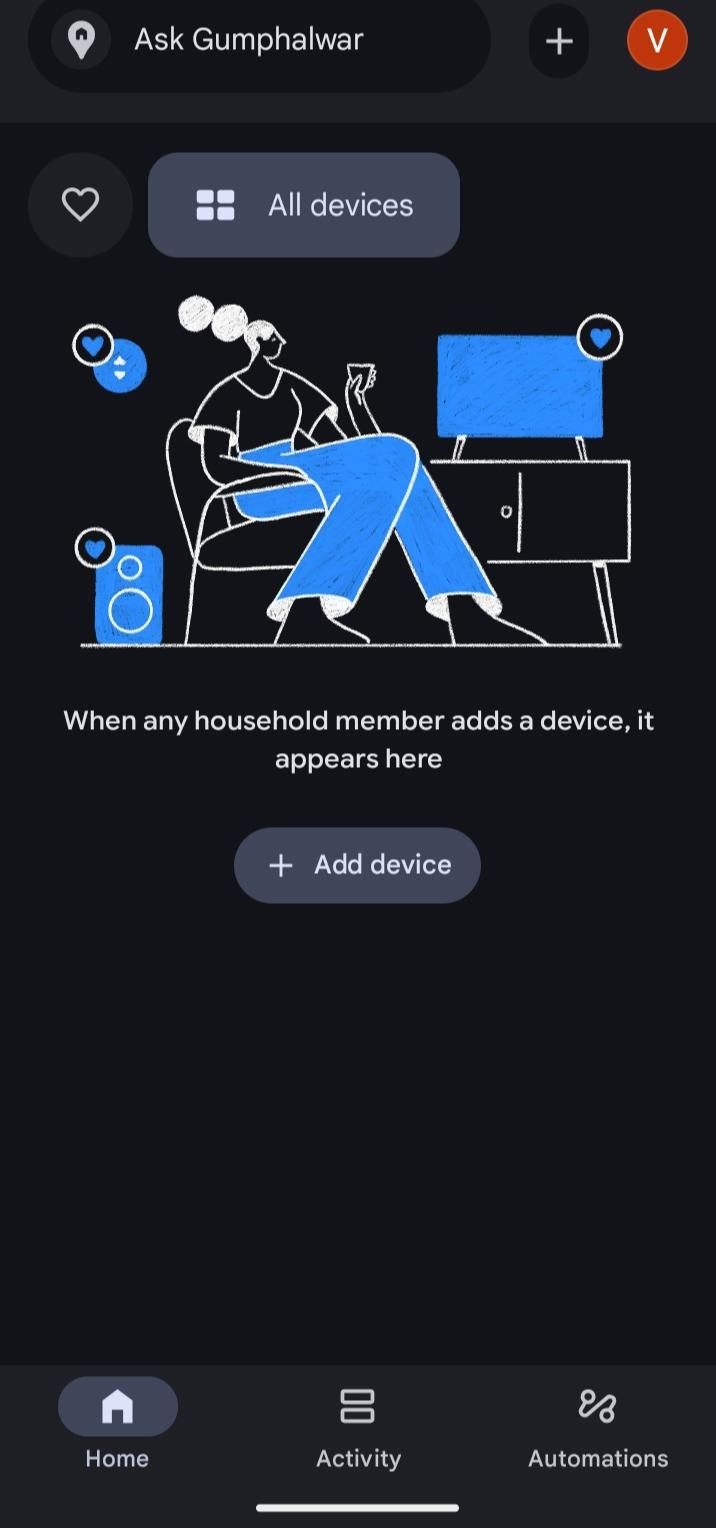
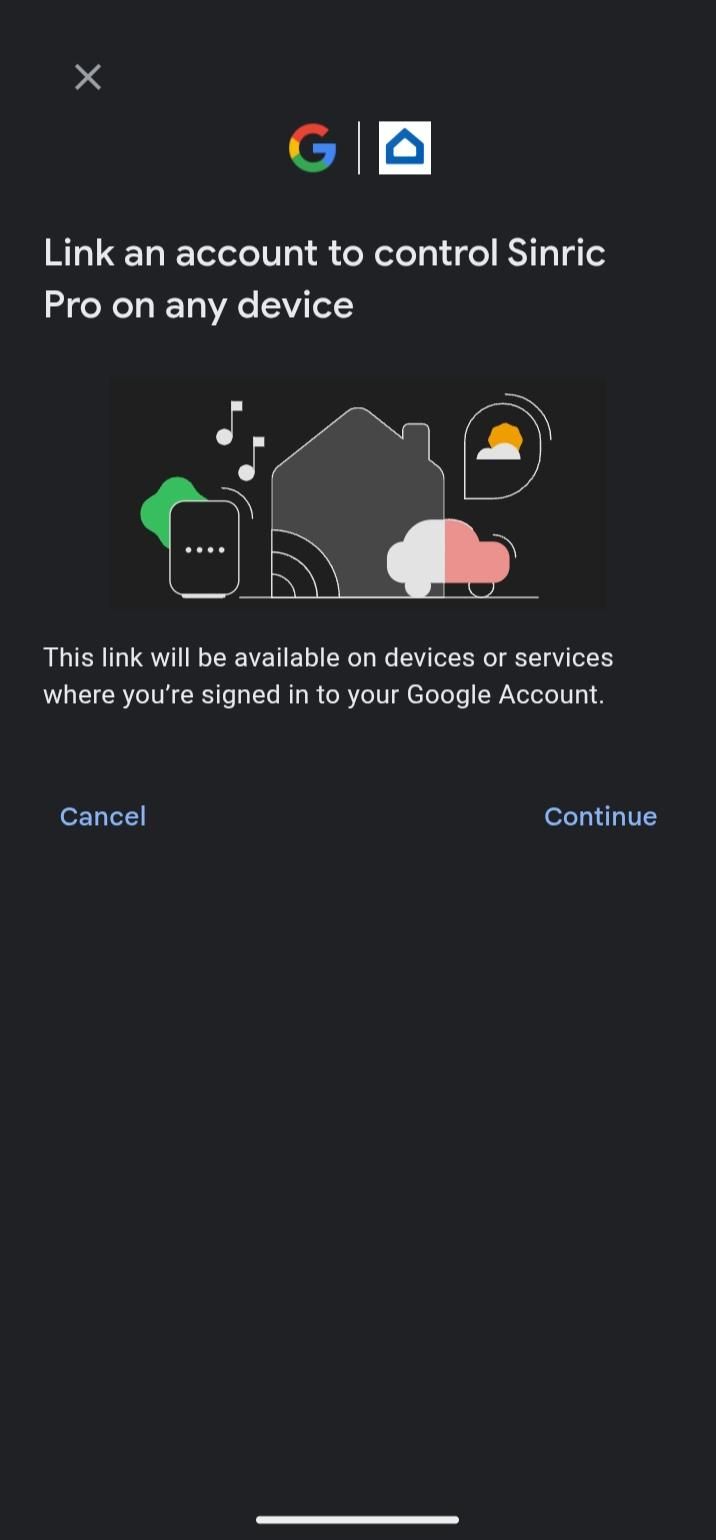
- Open Google Home App
- Tap add -work with Google
- Search sinric pro and login
- Your device will appear
Working
working:-
- When the command is received
- The ESP32 process it
- The corresponding GPIO pin changes the state
- Relay switches ON/OFF or LED glow accordigly
output:-
- You can control the home applinces from anywhere using voice command through google assistance ,making your home smart
Downloads
CONCLUSION
conclusion :-
In this project we succsefully built the smart home automation system using ESP32 microcontroller with Google Assistance. by using sinric pro platform . we are able to control the electrical device such as LED and and Relay through voice command over the internet
Application
APPLICATION:-
- Smart home automation : control Light ,fans using voice command.
- Remote device control : oprate device frome anywhere using internet connectivity.
- Energy saving :Turn off unused device easily to reduce electricity consumption.
- Office Automation: manage the office equipment like light and AC Effeciently