Scratch Built POD 042 From Nier Automata
by Dankozi713 in Craft > Reuse
653 Views, 0 Favorites, 0 Comments
Scratch Built POD 042 From Nier Automata
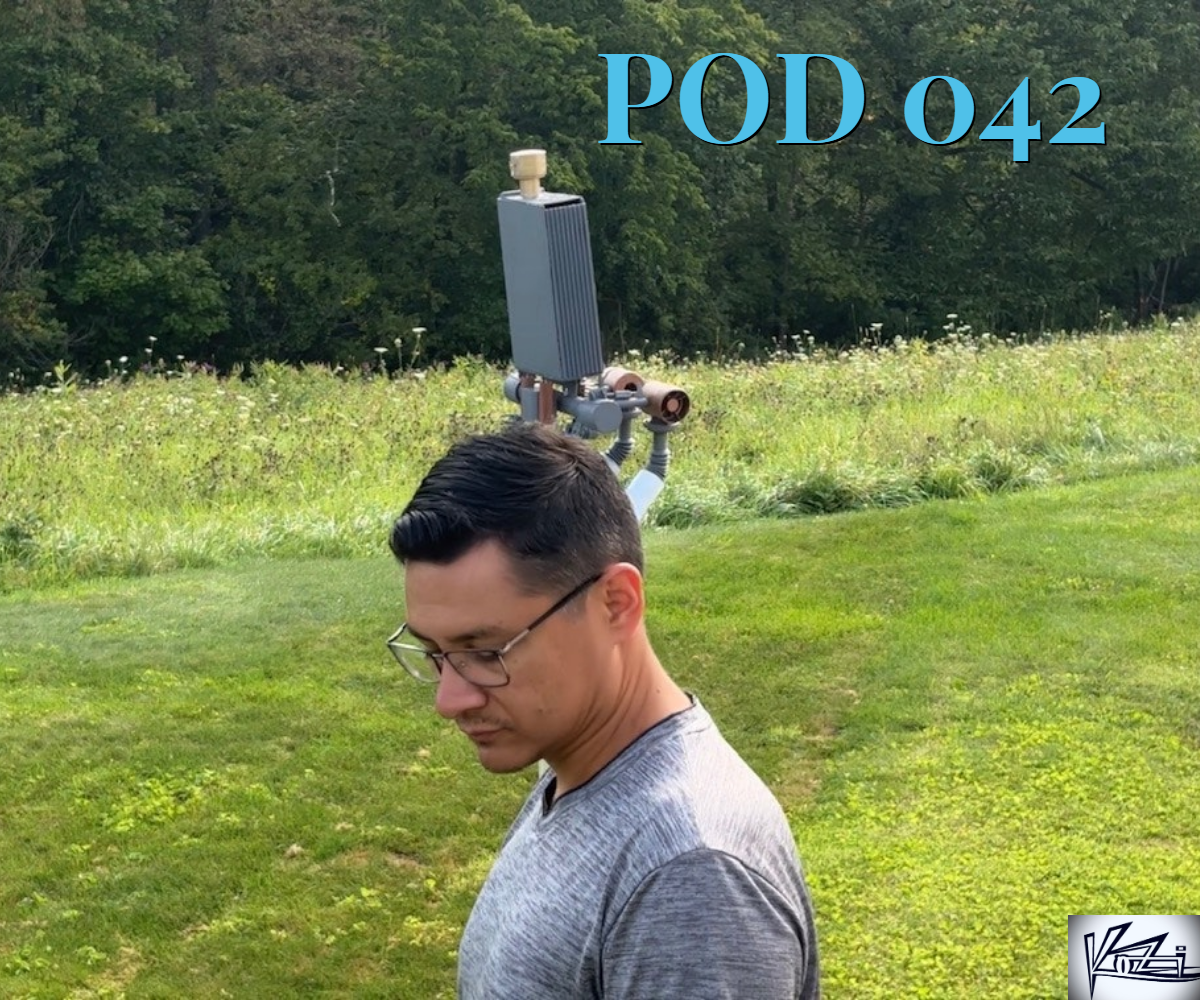
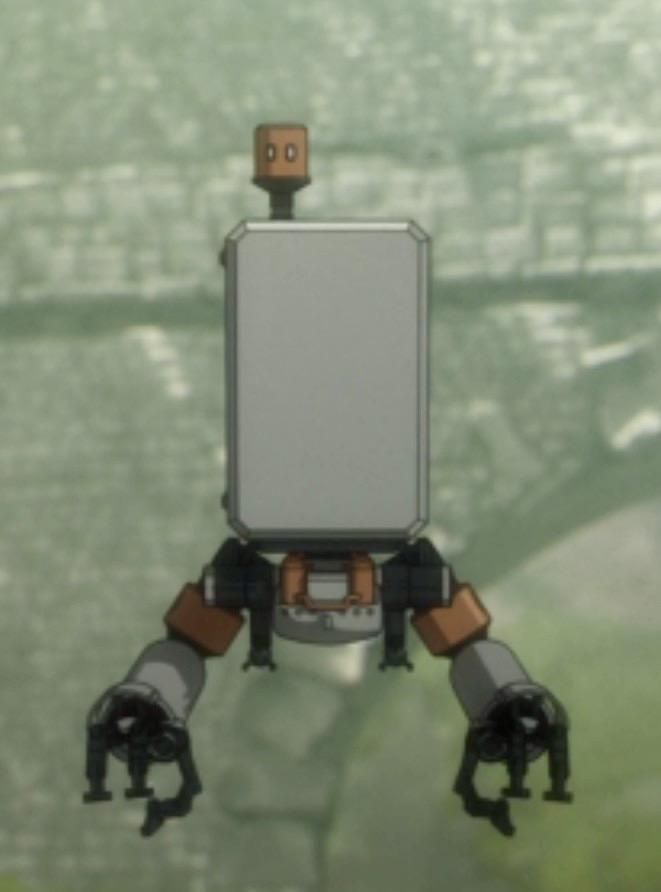
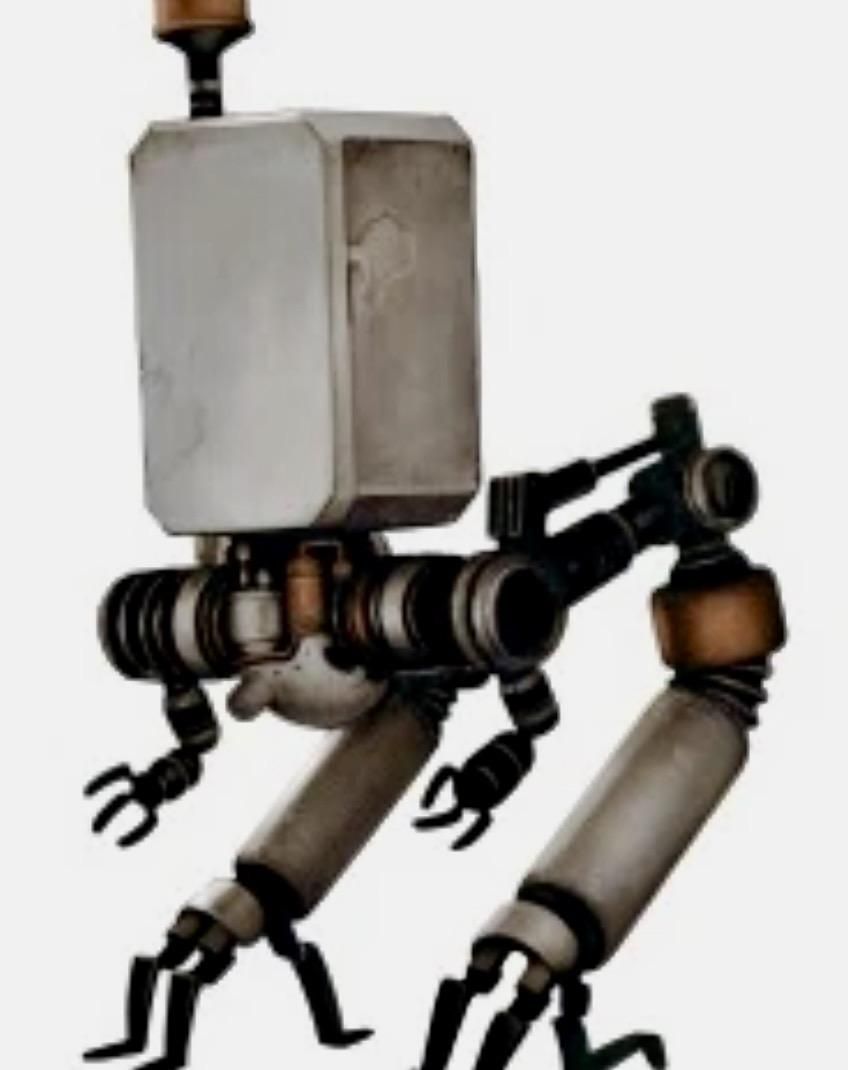
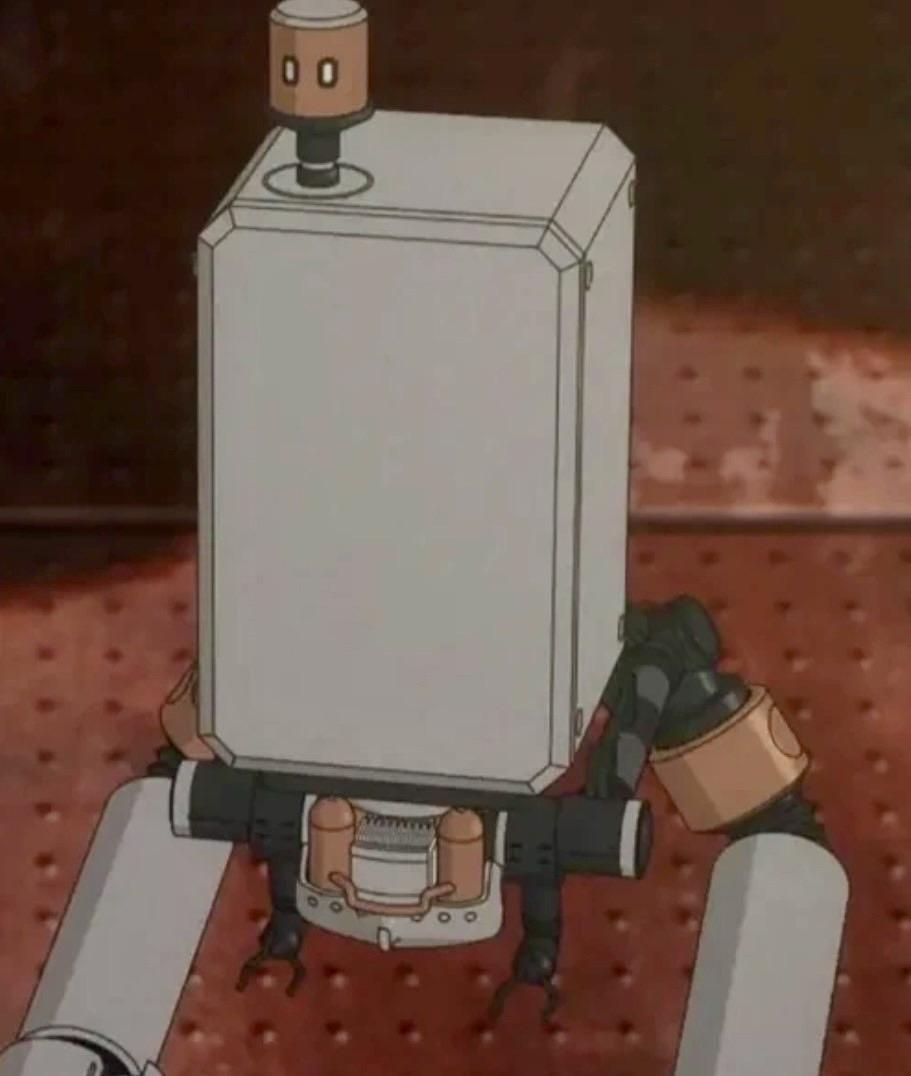
Nier Automata was released in 2017, but it is still one of my favorite games of all time. IYKYK, but I am willing to bet that if you clicked this Instructable, you do! It turned me on to the rest of the series I never played prior but now I have! I even made a Fang of the Twin replica you can check out HERE if you are interested.
I have wanted to make my own Pod unit for longer than I care to admit but my patience and lack of a 3D printer made that a big hurdle for me. I had recently heard of scratch building/kit bashing and thought that was a more viable option.
In this Instructable, I will show off which pieces parts I collected over time. This will be more of a guide rather than a true step by step since some of these parts are "hard" to find. However, my goal is to inspire, you just need to create, if you would like a Pod of your own. Let's begin.
Supplies
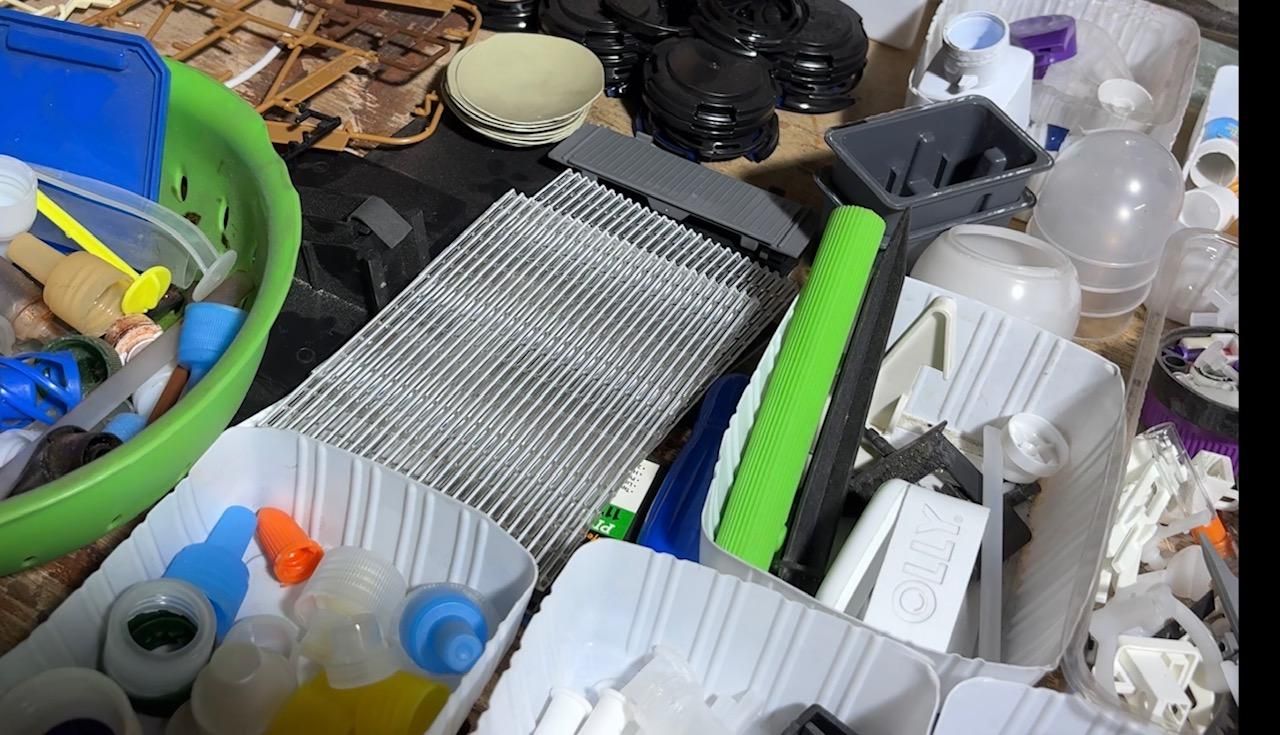
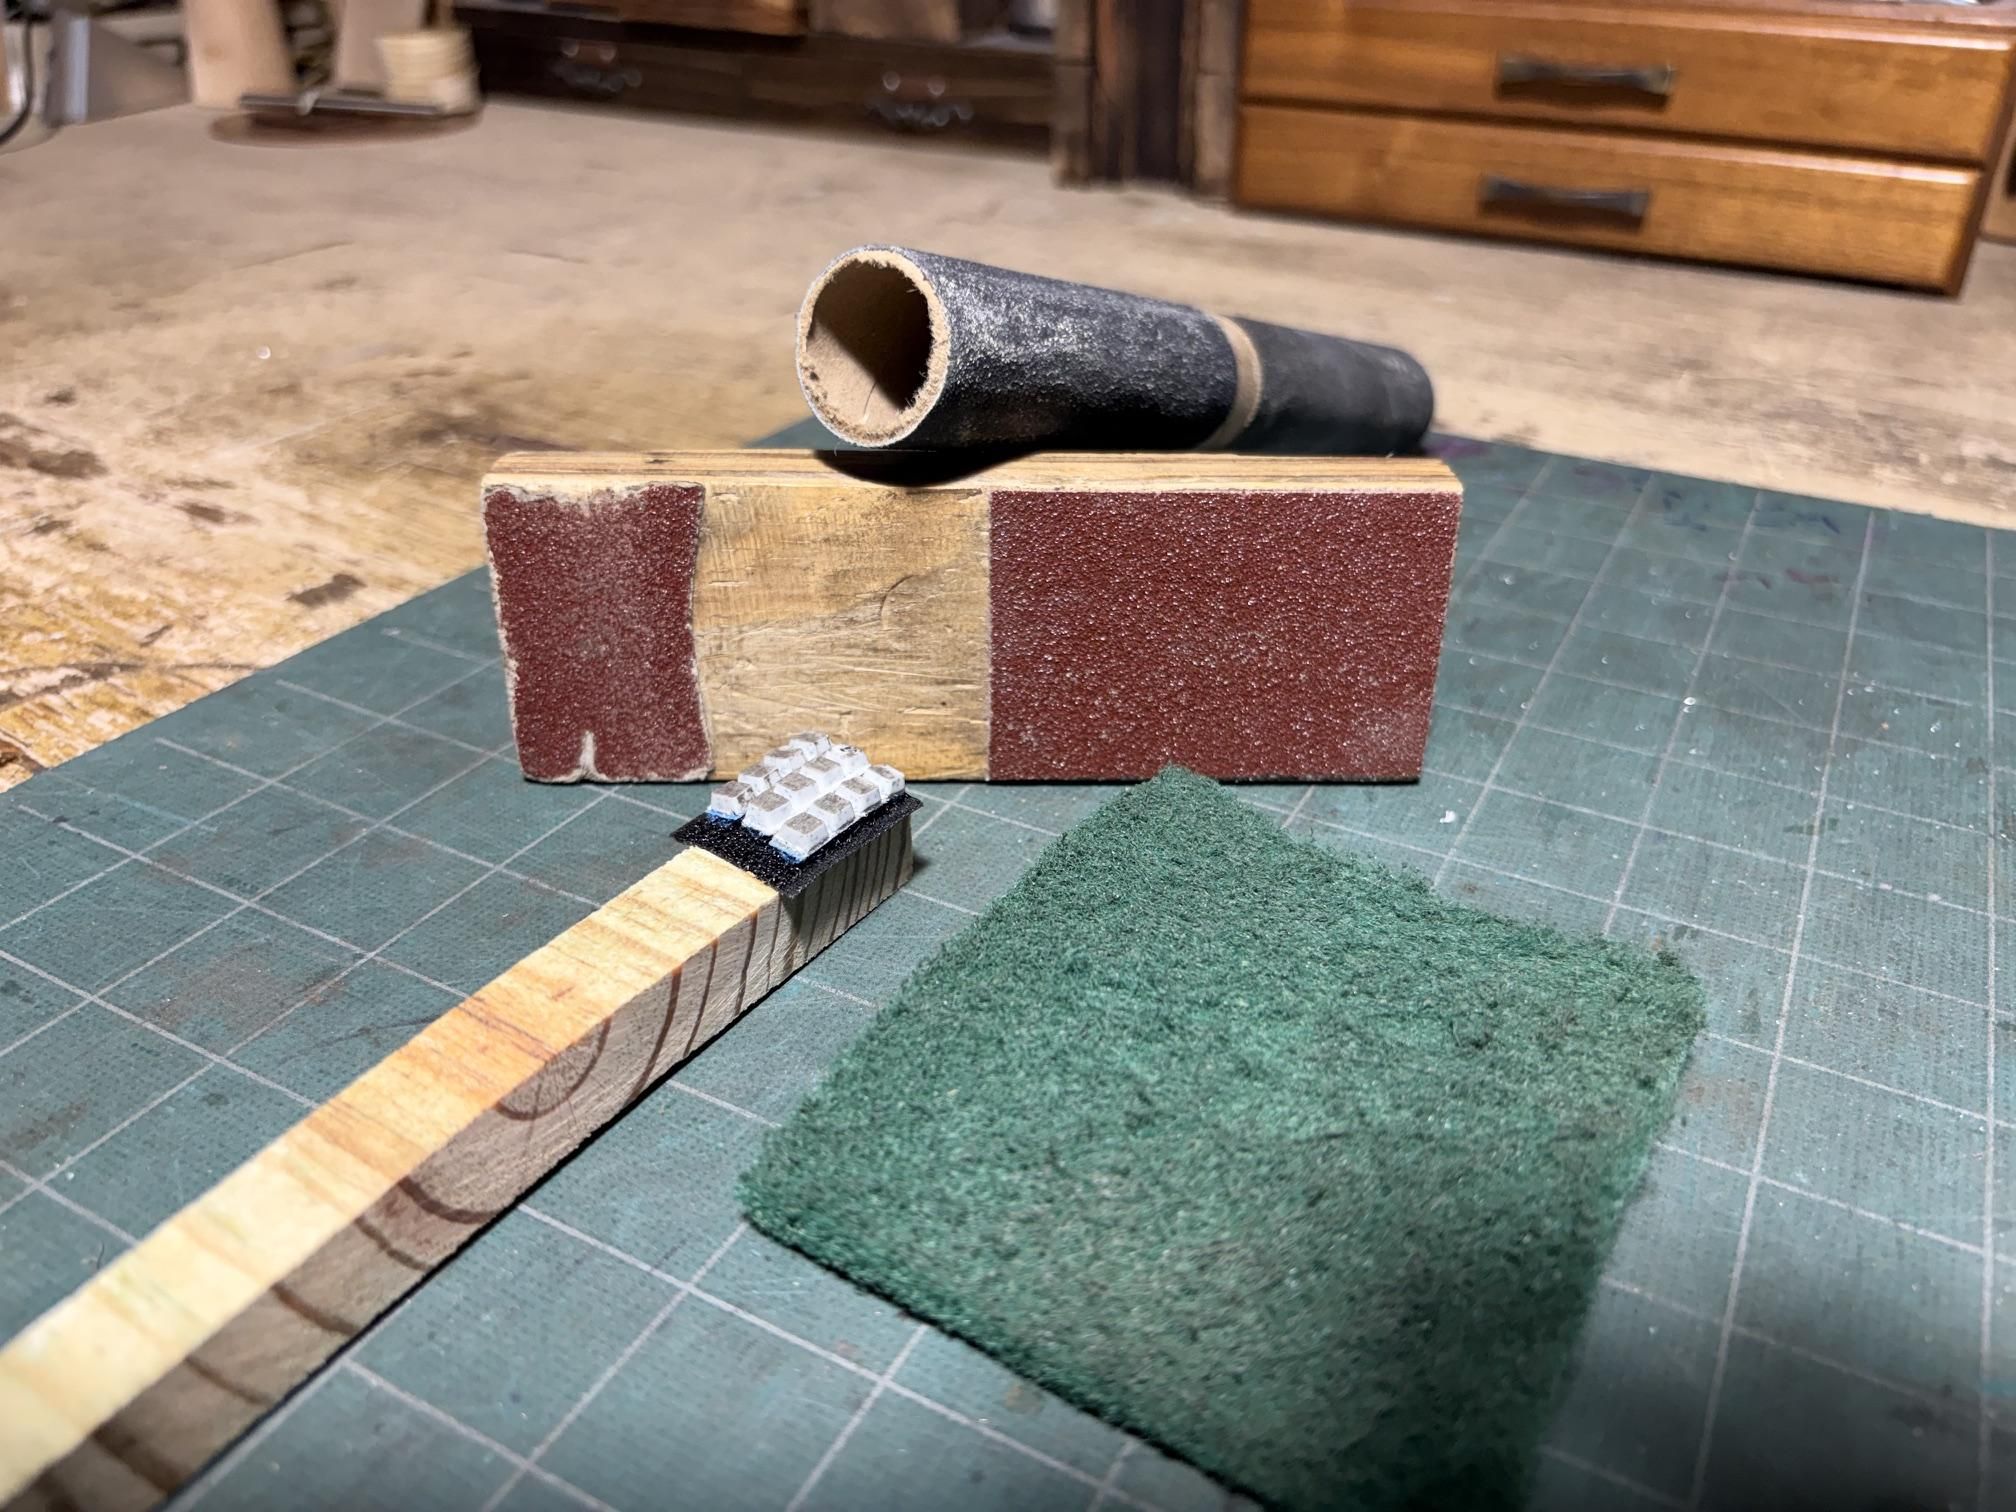
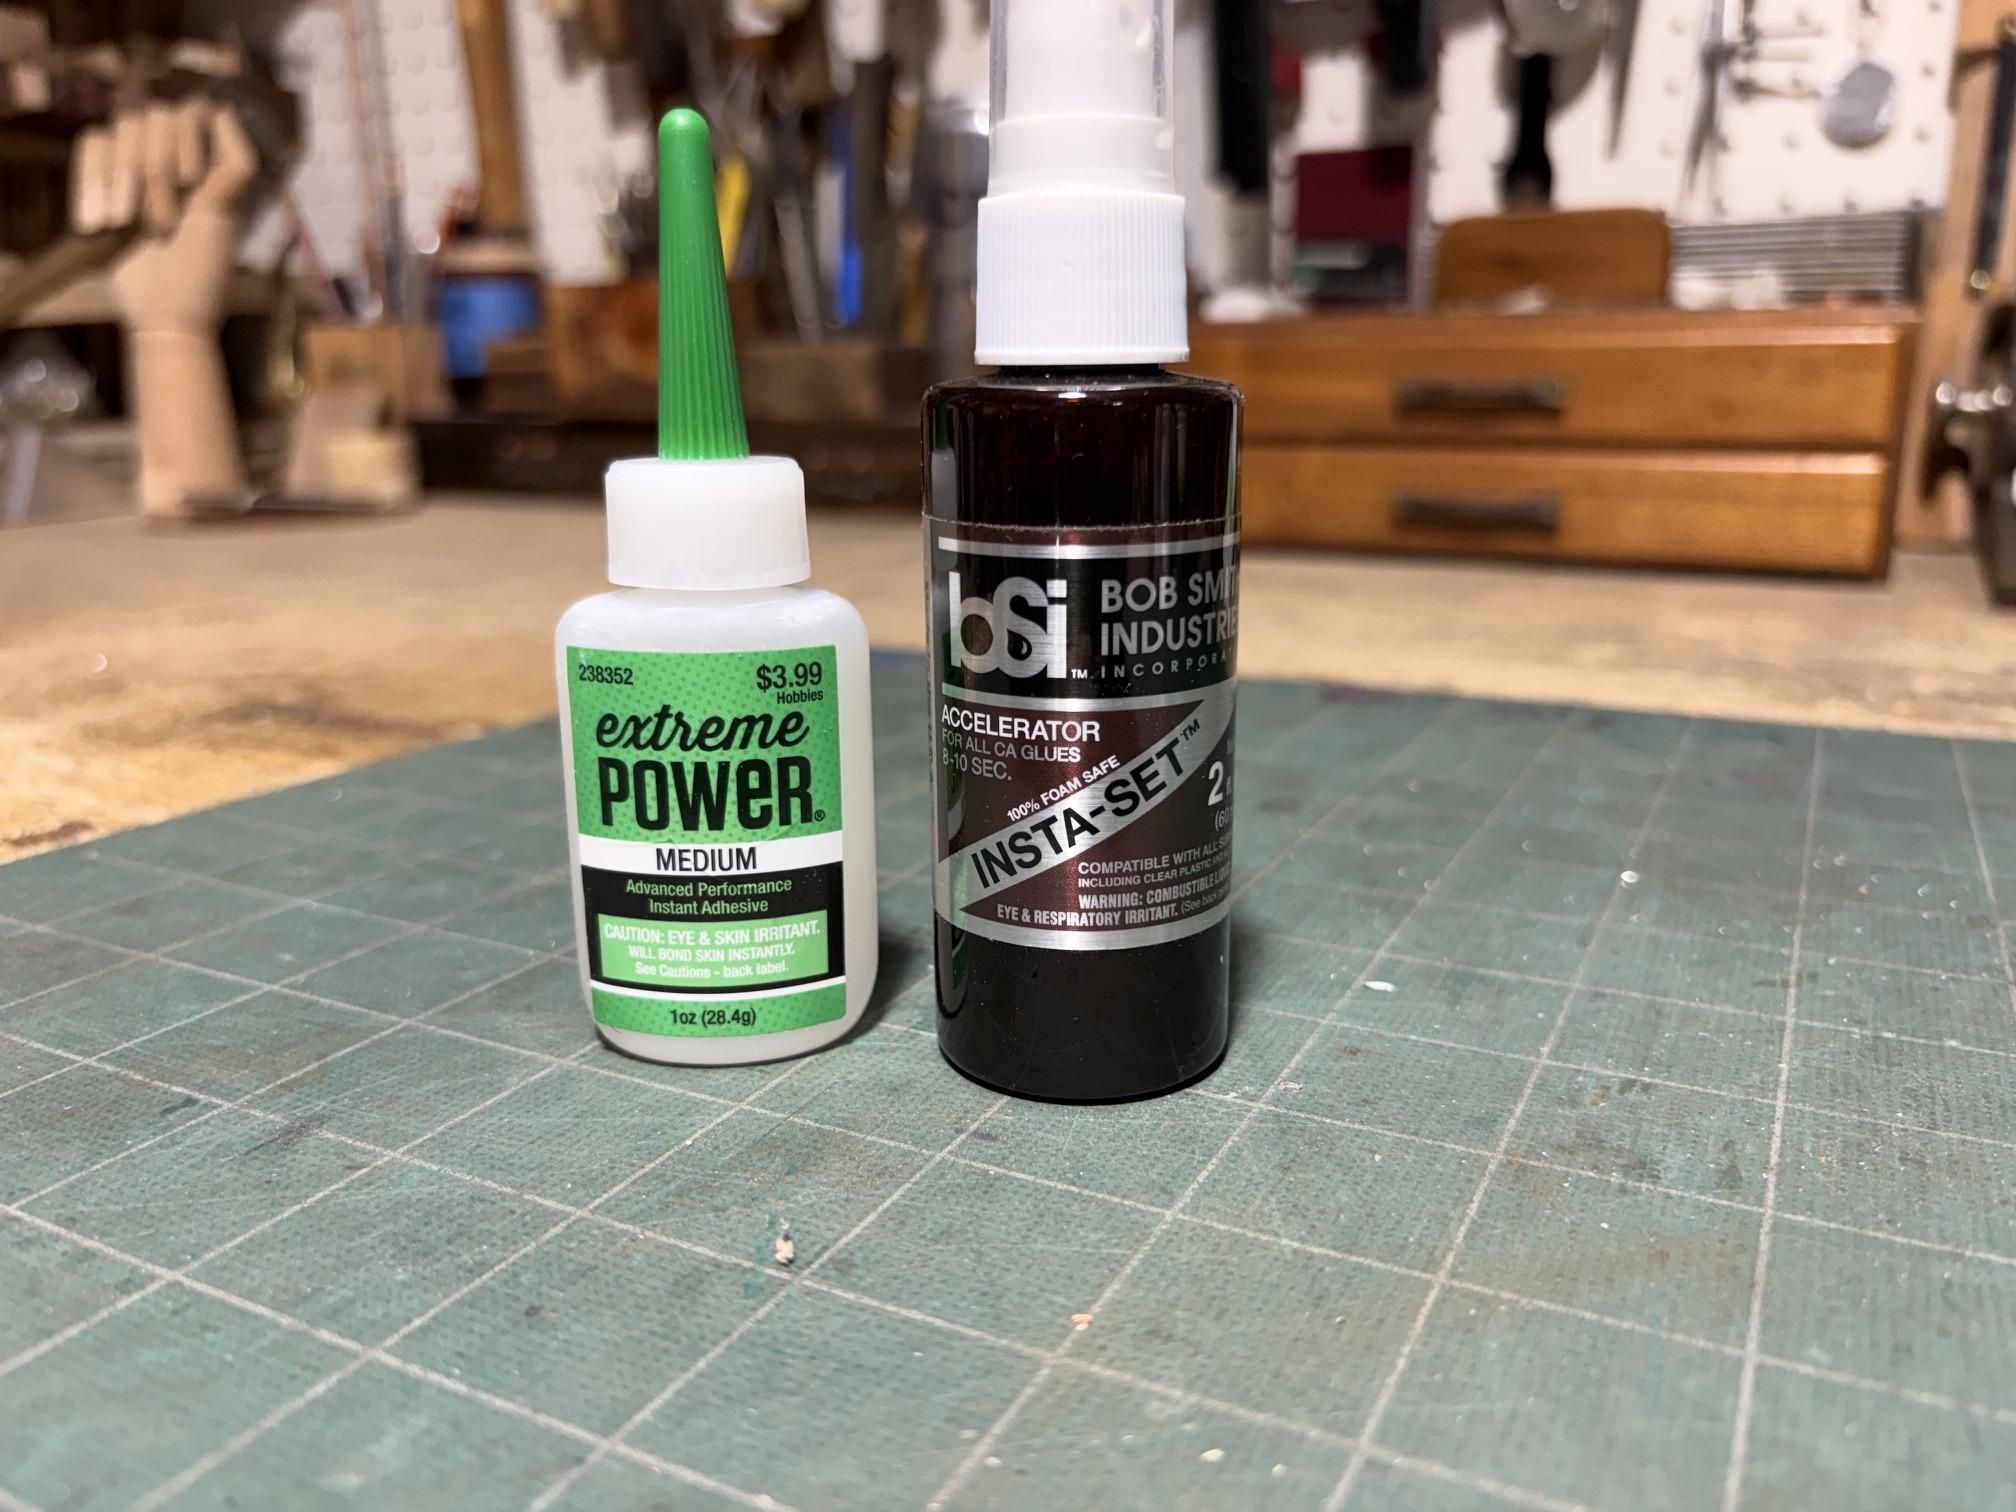
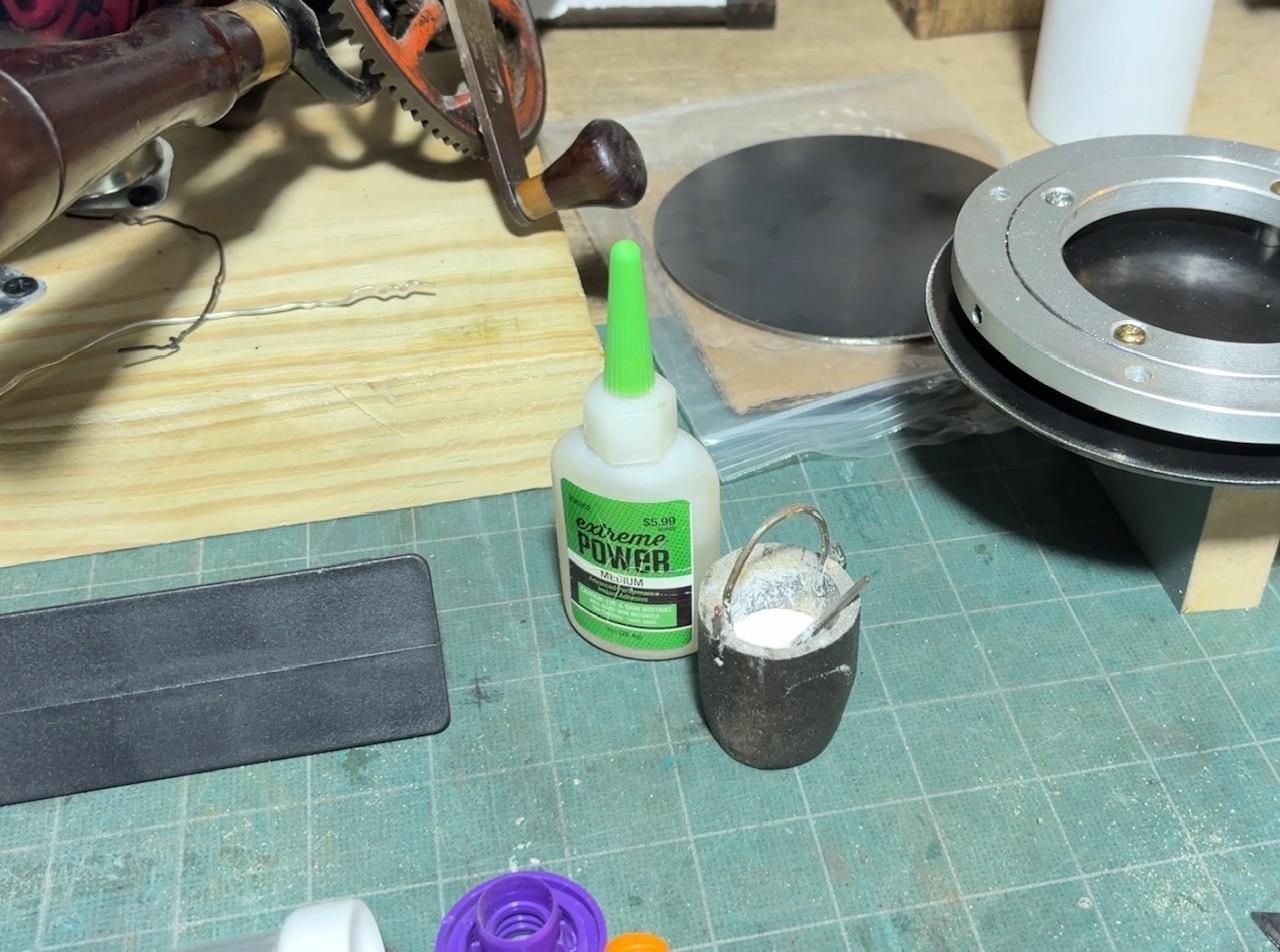
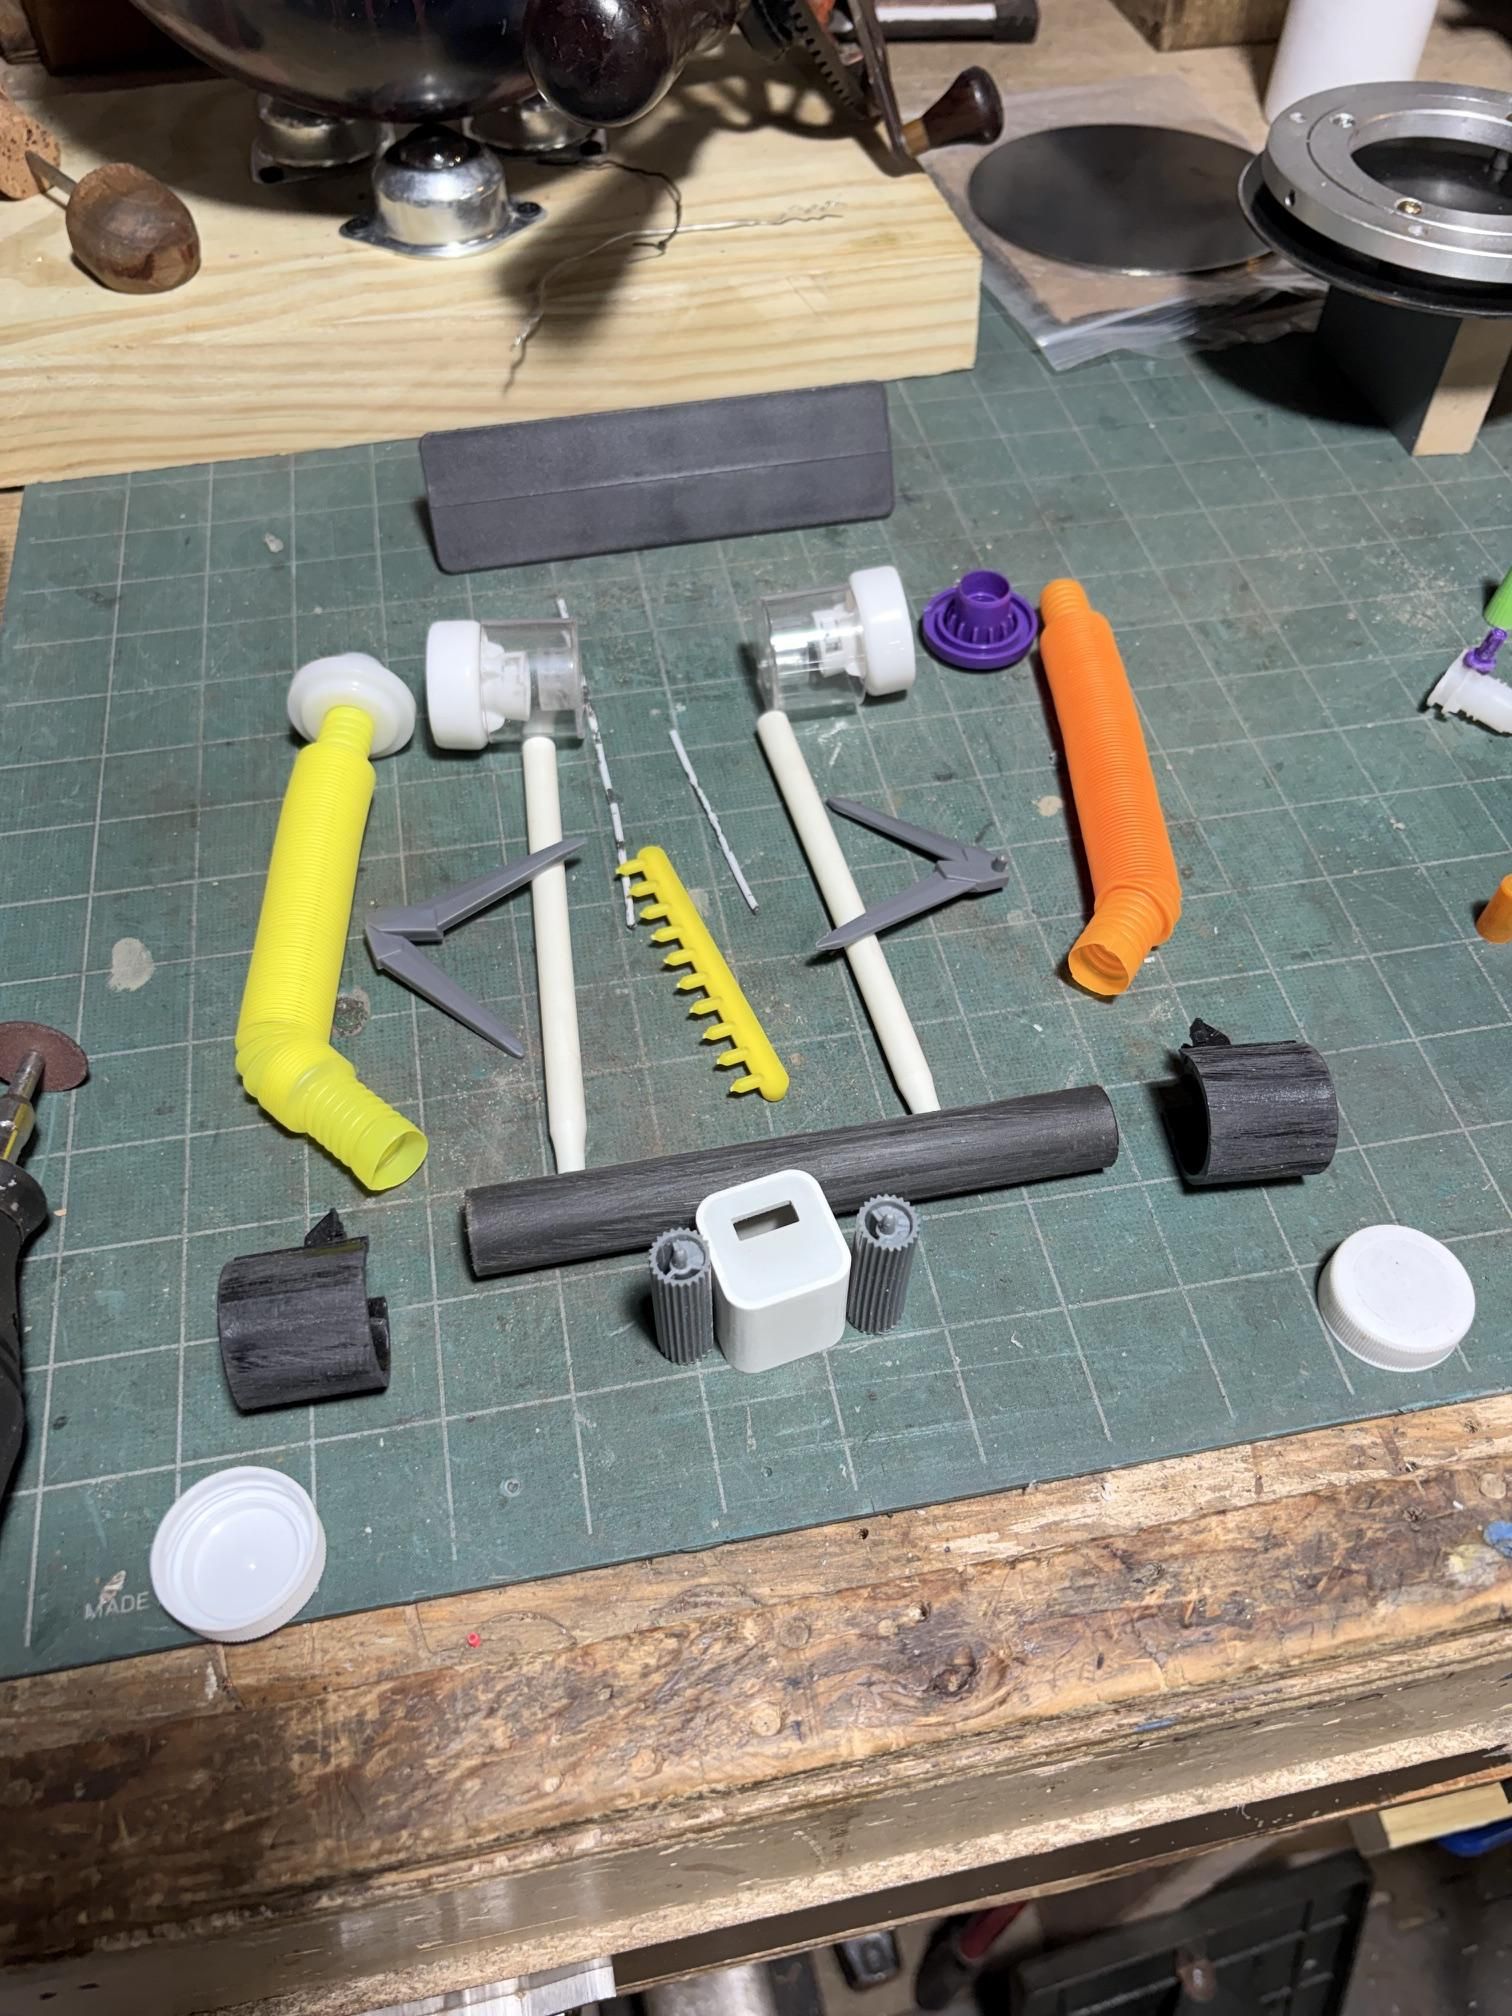
Collection of various plastic parts (I will describe them in the steps below)
CA glue
CA Activator (or baking soda)
Sanding equipment
Dremel or small saw
Drill
Painter tape
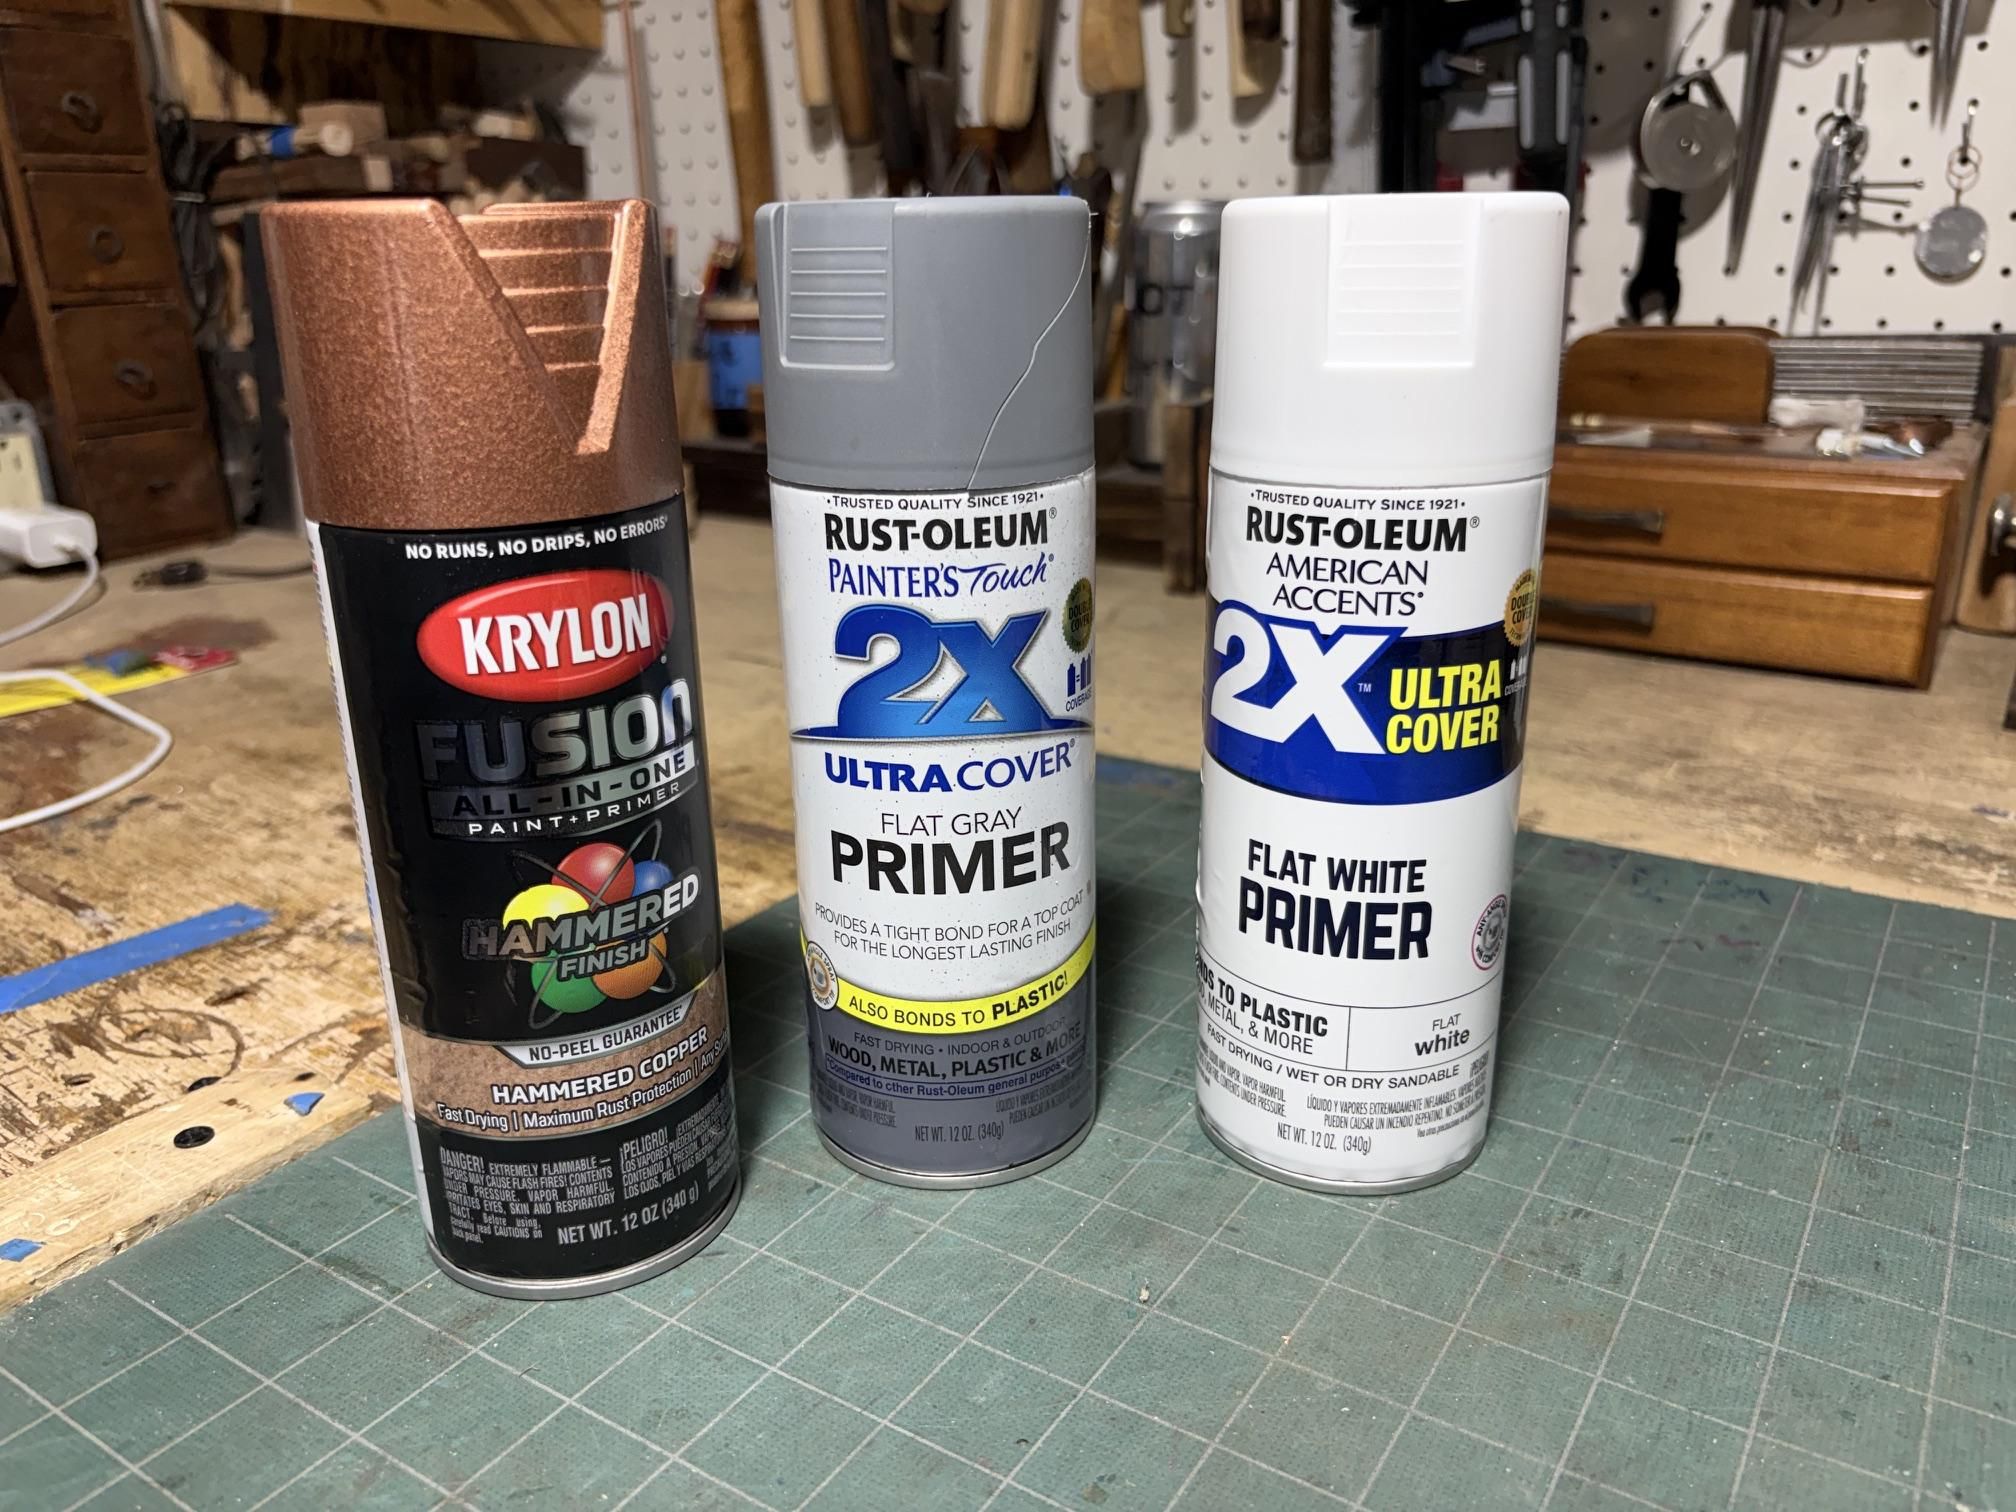
Spray paint/primer
Side cutters / Xacto knife
Paint brushes
Acrylic paint
Scrap wood (optional, for a stand)
PPE
The Dry Run
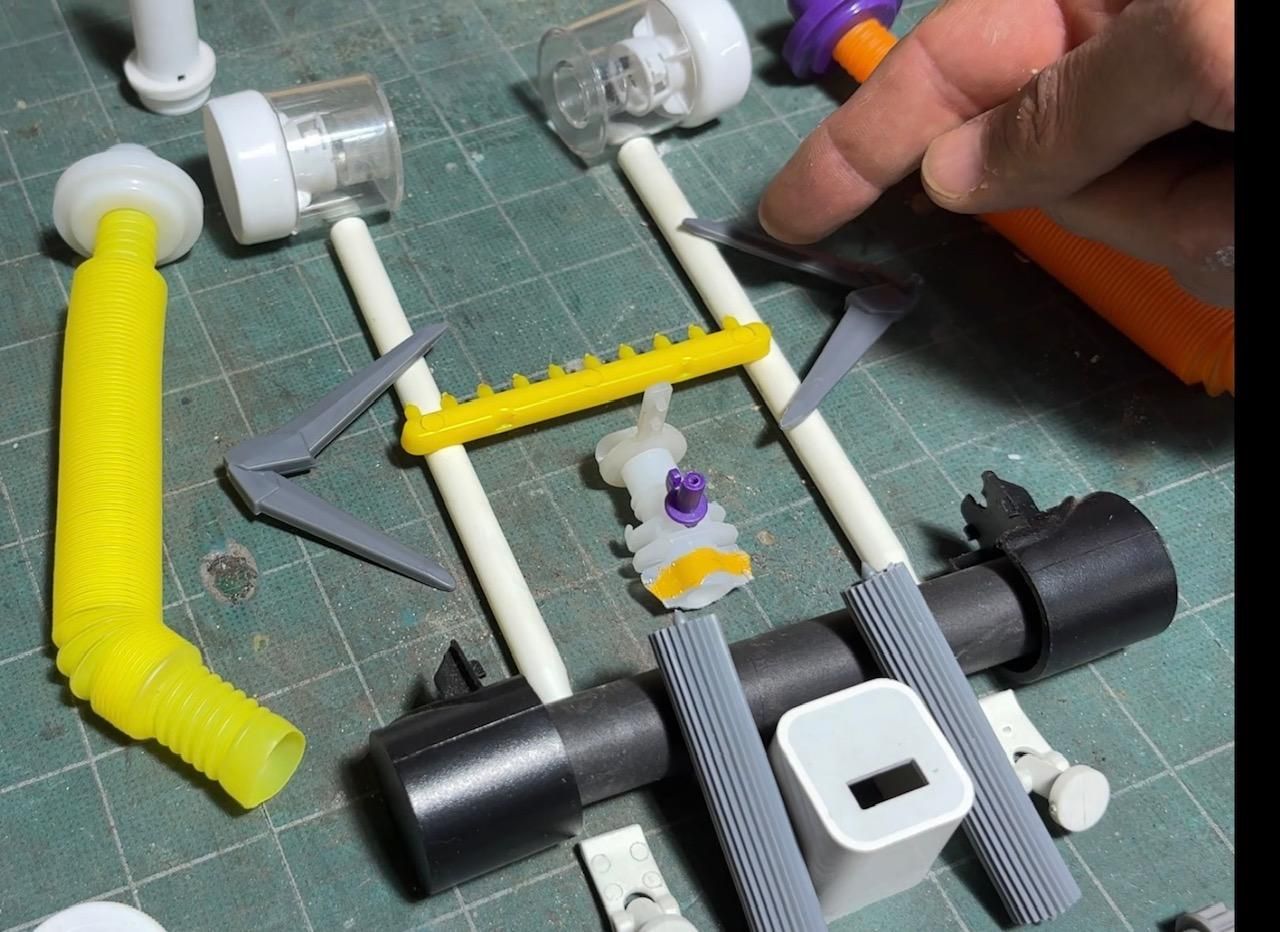
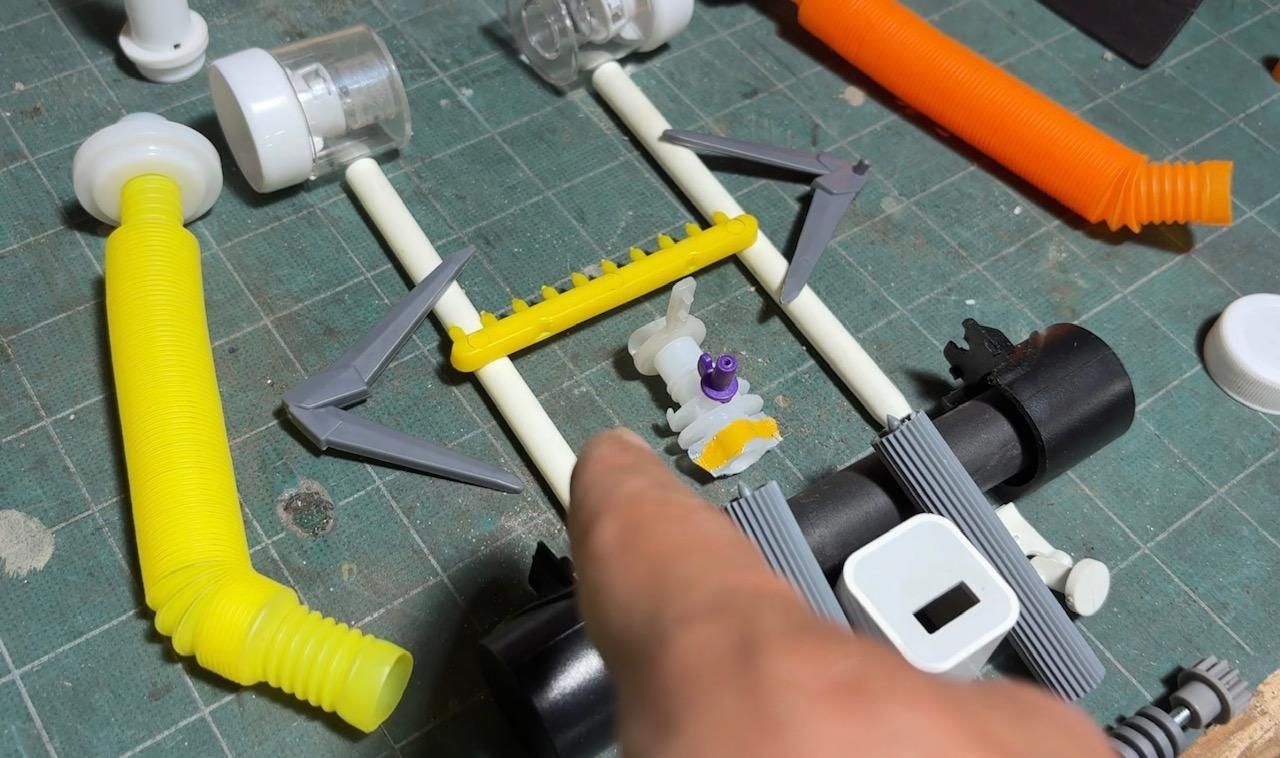
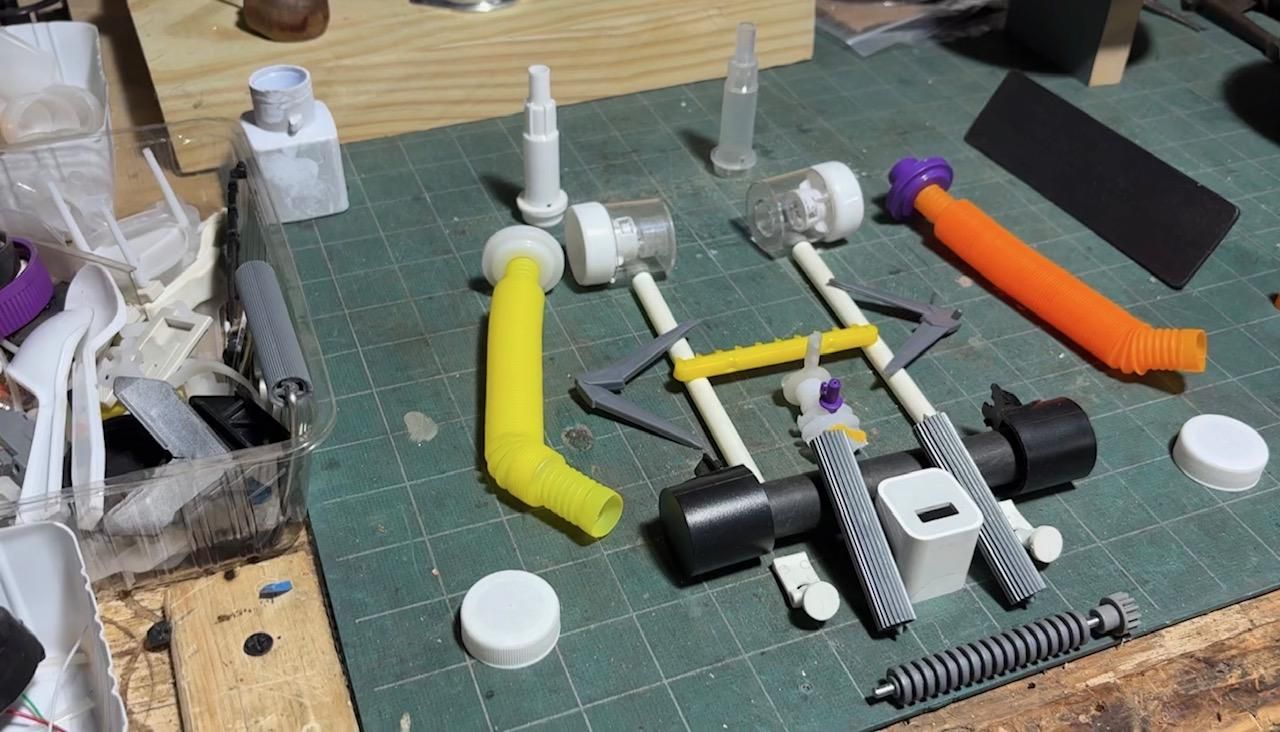
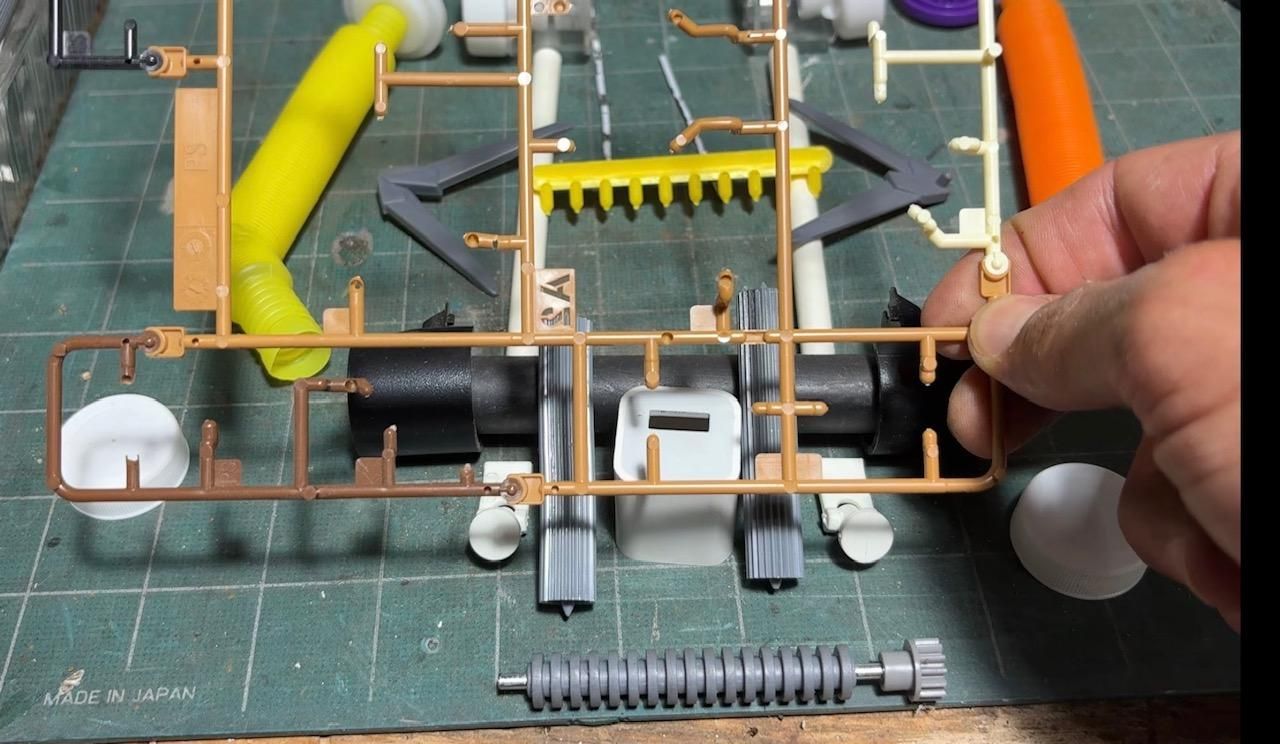
I gathered so much junk many parts that I was thinking of throwing / donating them all. They were cluttering my shop so (of course) when I was going through it all, I thought, "I think I have all the parts I need to make Pod 042..!"
I started putting pieces here and there and looking at the potential of other parts until I finally "Mapped" out all the main parts of the Pod: The arms, head, thrusters, engine, turrets, etc. After I mapped them out, i looked at a bunch of photos from the game, from Etsy, from YT, and other Reddit posts of folks who made their own Pods. While most were 3D prints, or the SVG files, I thought I could save time, money, and effort, by doing it myself.
I had the concept and the dry run looked like it was going well so I started sanding, cutting, and gluing.
Some Tips I Learned From Scratch Building
I watched a lot of scratch builders on YT to get a general feel for what products they used and why. I also have a first attempt scratch build you can check out HERE. My experience taught me the following:
- Most plastics are Polypropylene (#5) or HDPE (#2), which are hard to glue (esp. HDPE).
- Scuff up the gluing surface to help the CA glue "bite" / "grip" into the plastic.
- Scuffing also helps primer adhesion later.
- BTW, use CA glue!
- And do yourself a favor and buy CA activator!
- I started out using baking soda and while that does the same thing, using activator halfway through the project opened my eyes to how much easier it is to progress/bond. After doing it the cheap/hard way, activator led to a lot less swearing
- Prime and Paint your individual parts first, then glue. (it takes longer but looks better)
- Small pieces will tend to catch on everything you brush past. Protect them.
You can also check out my wooded Stubby build HERE.
The Main Body
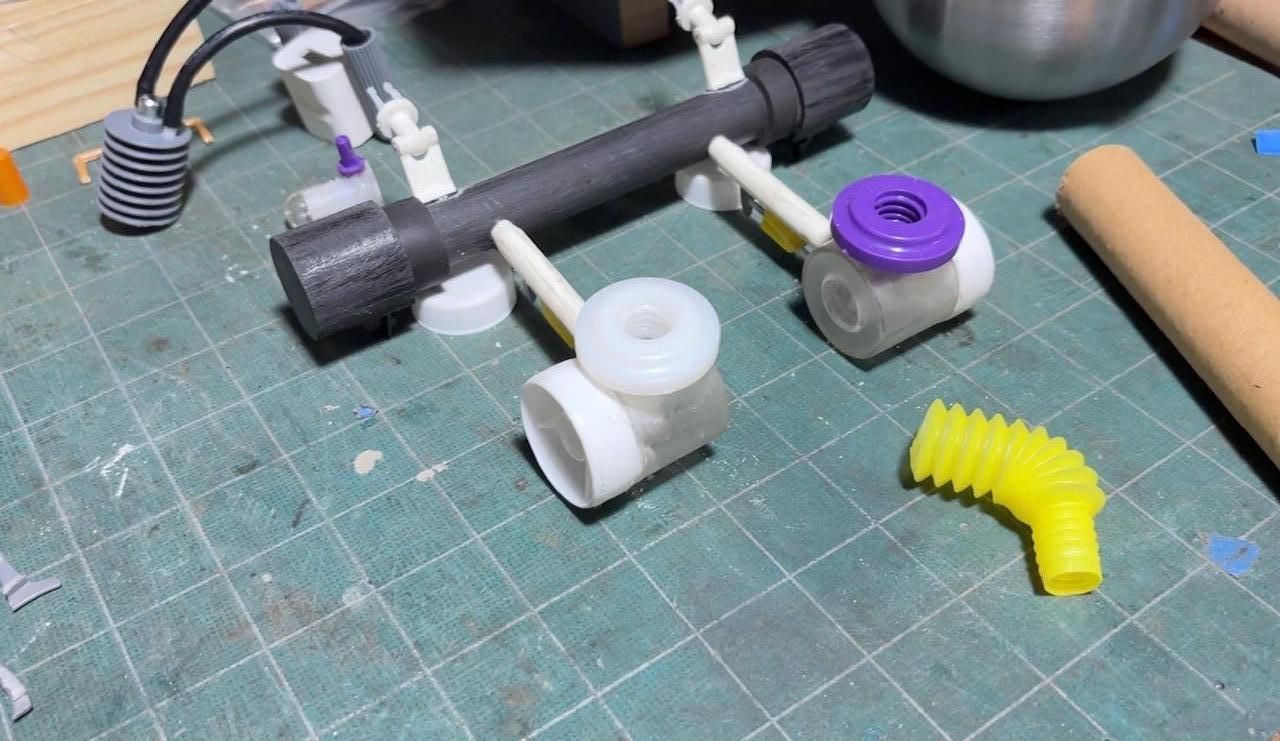
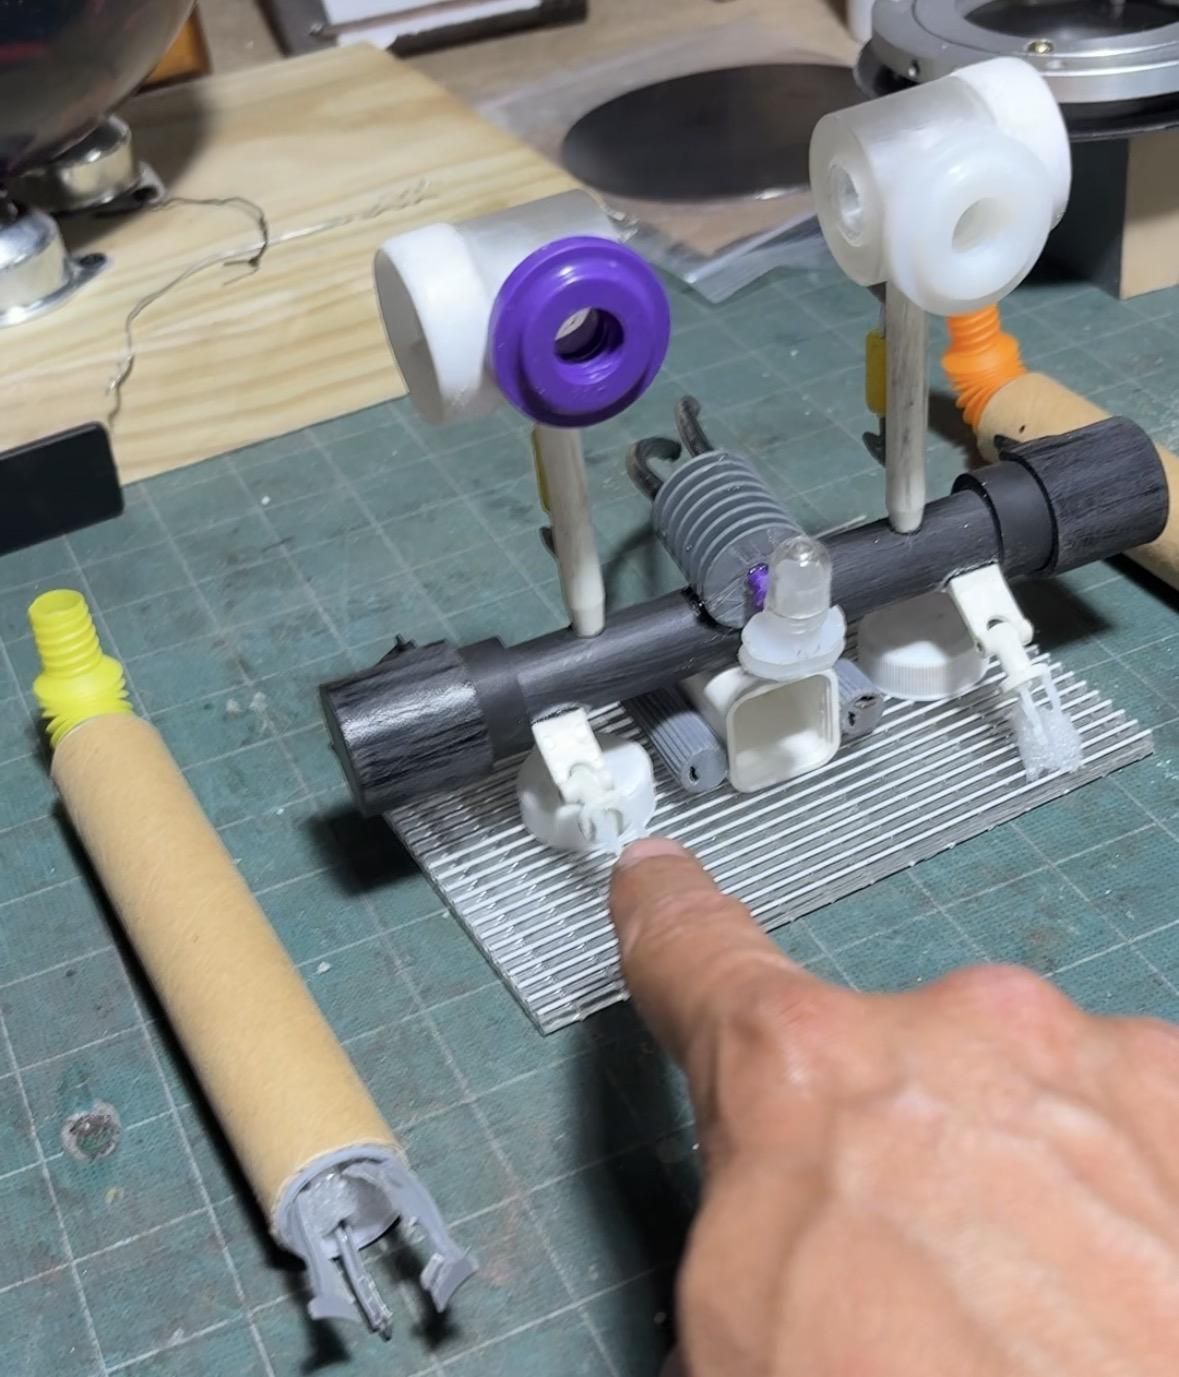
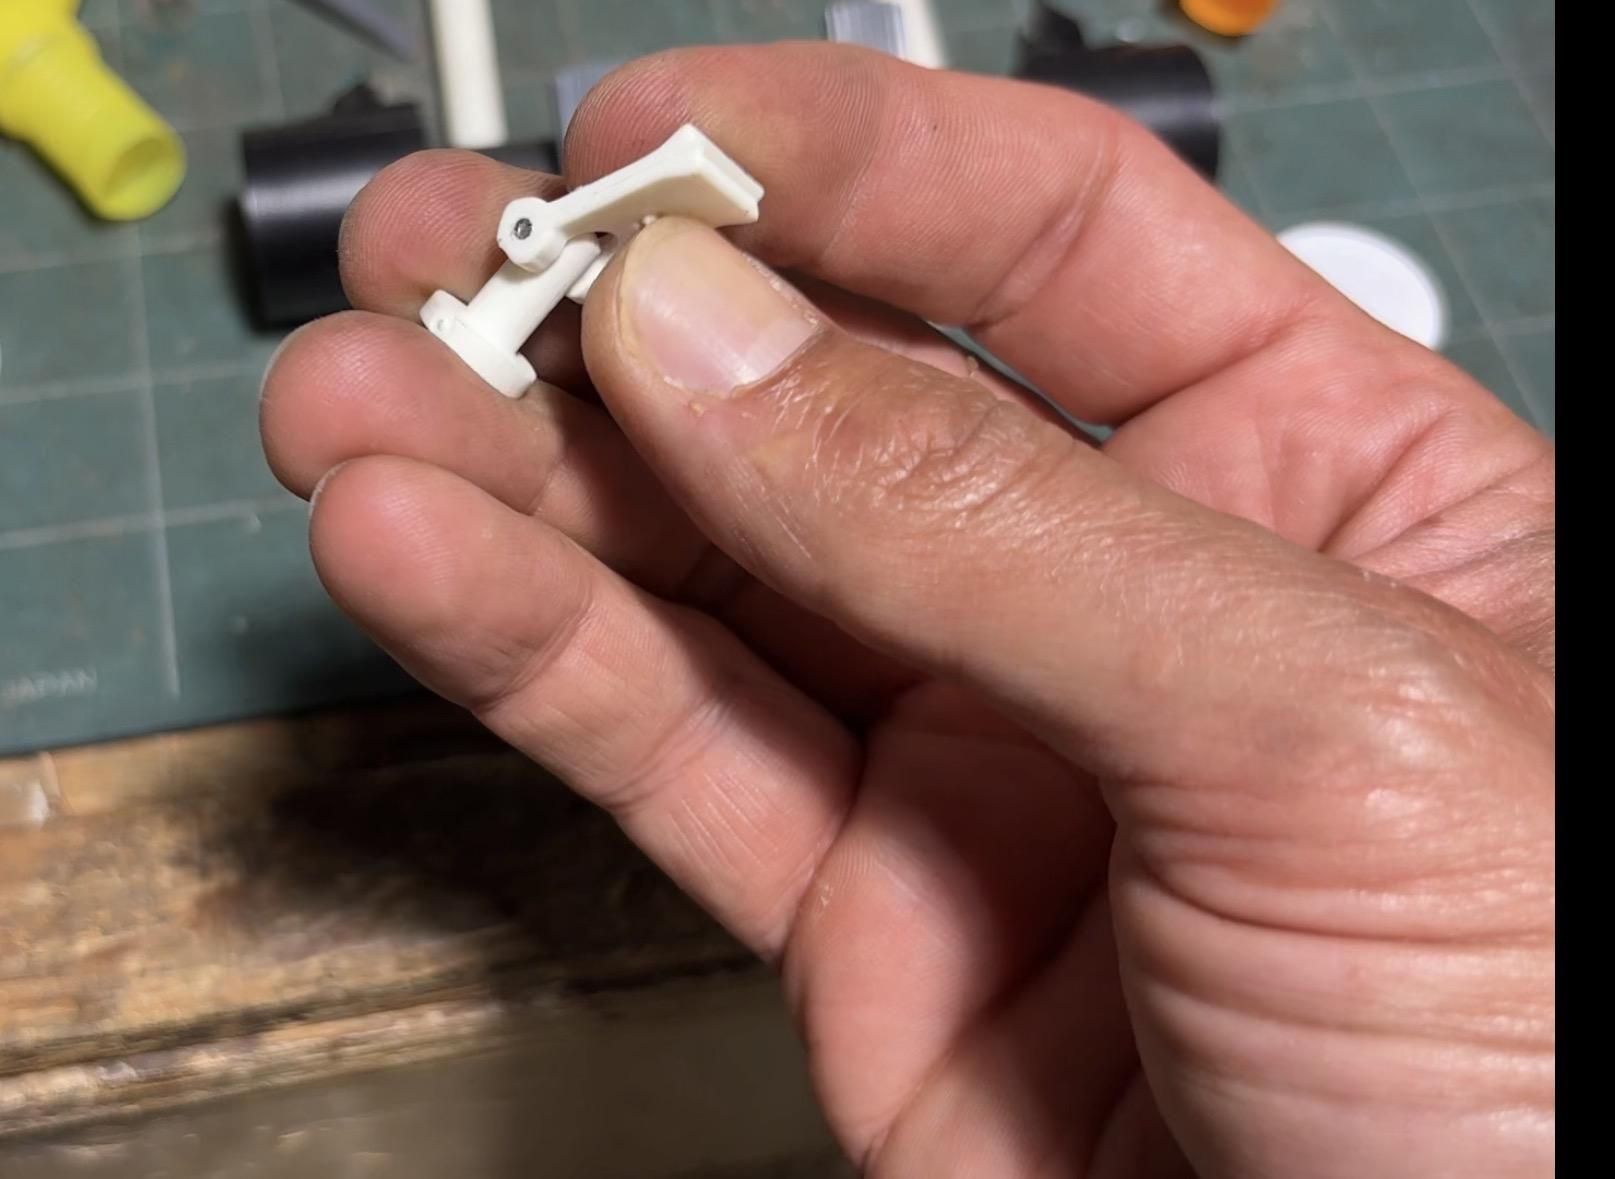
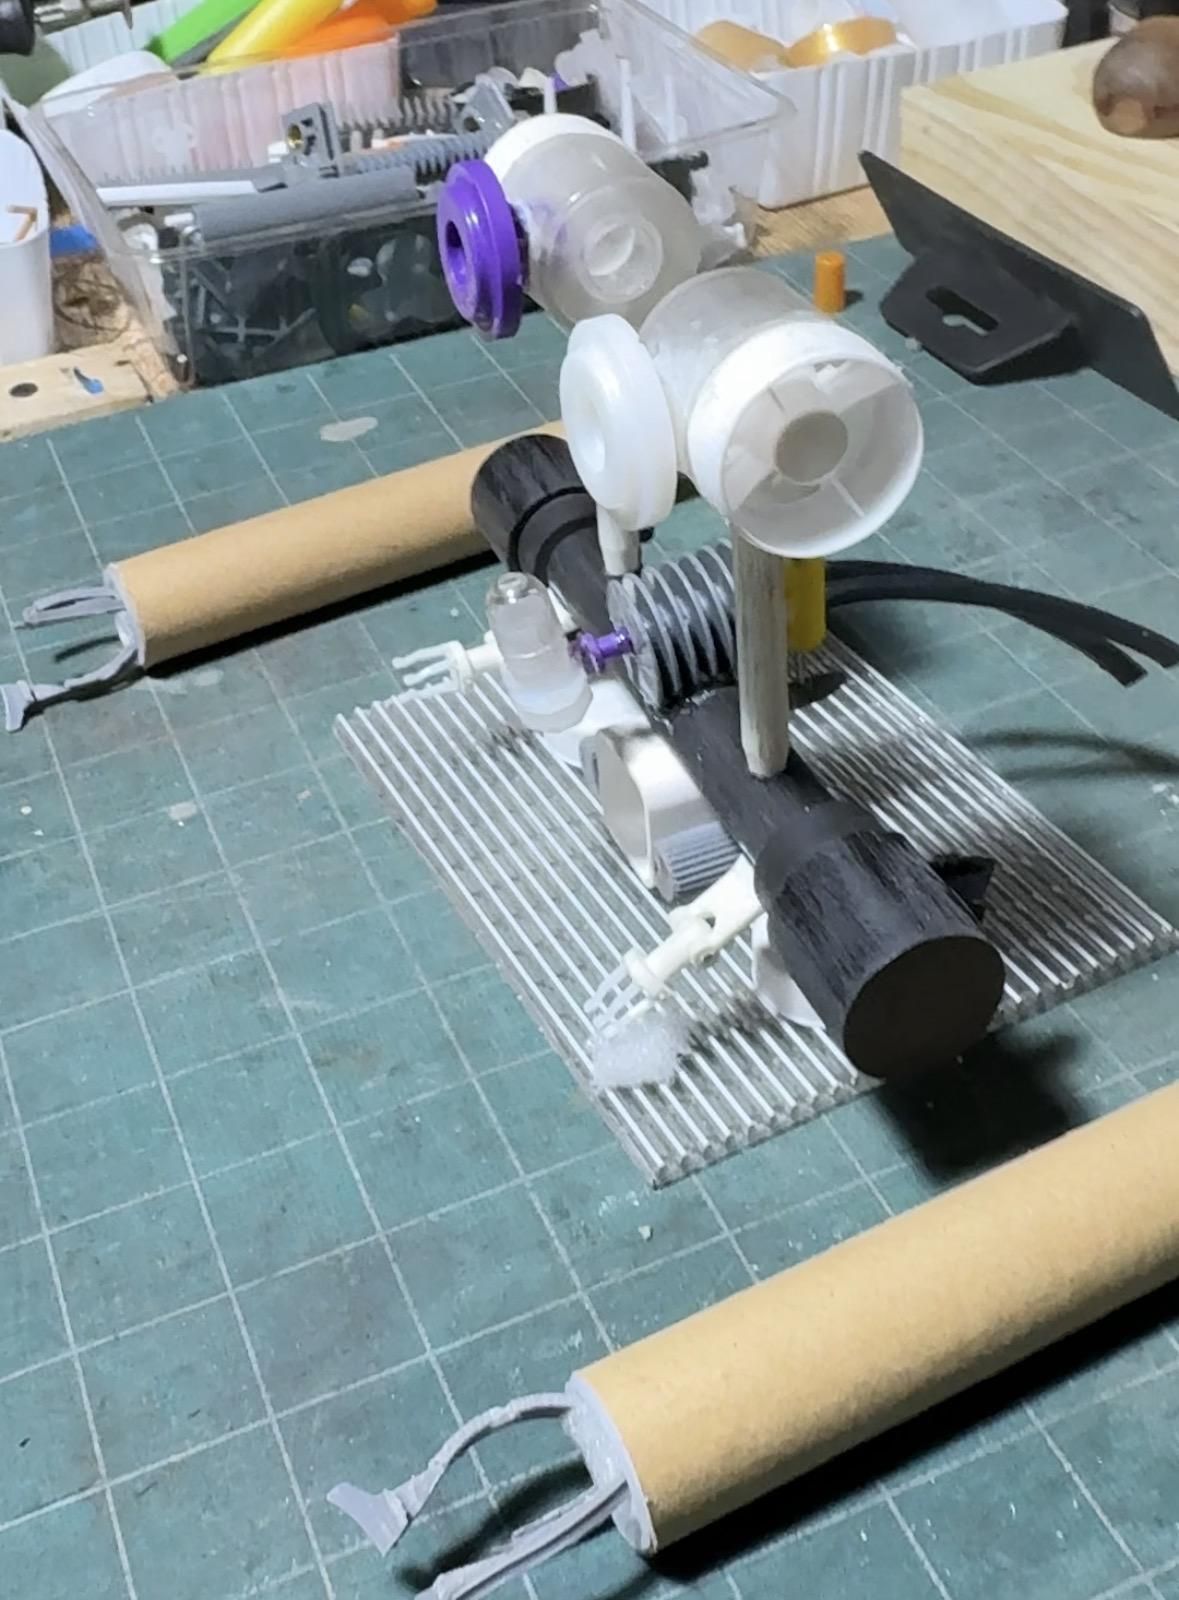
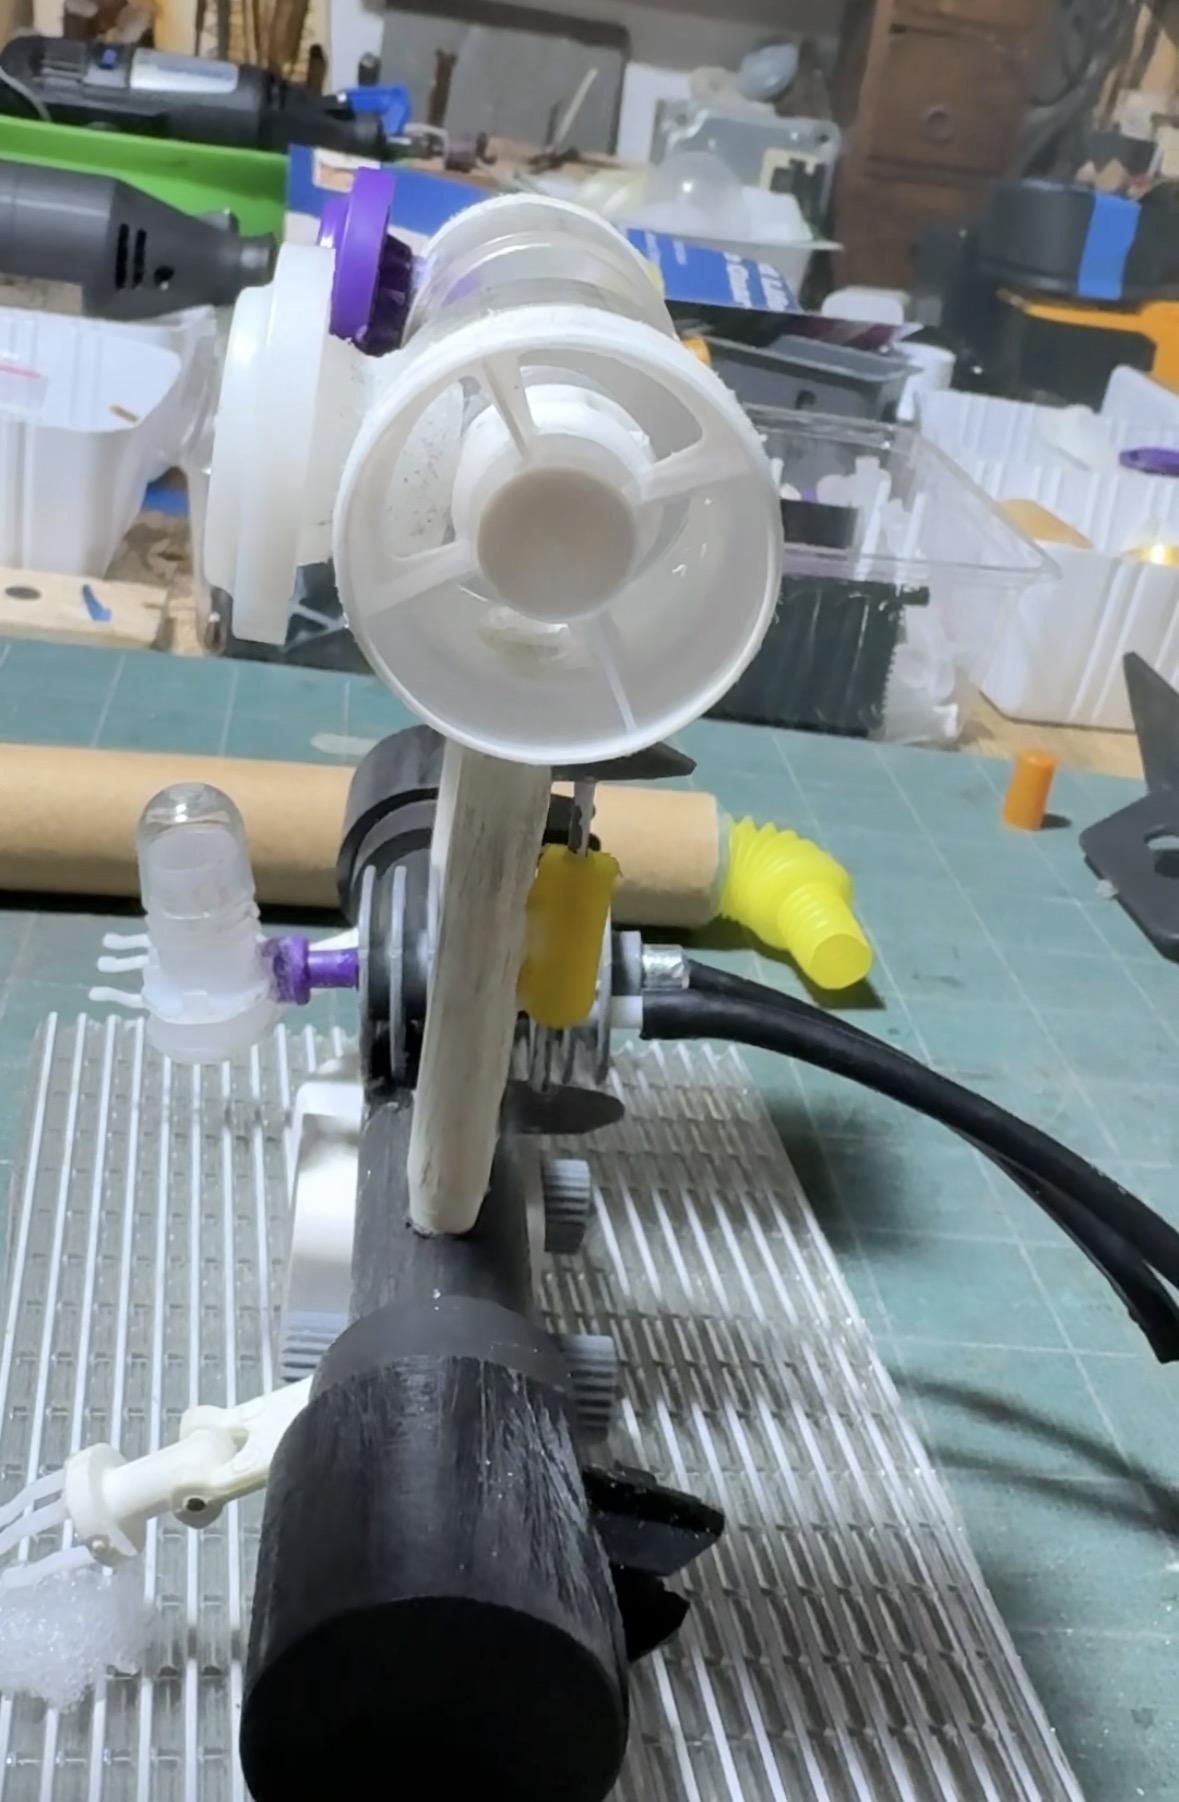
The main black plastic tubing you see for the body in pic 1 & 7-9 came from solar lantern stakes. I am 90% sure I got them from the dollar store and they broke after one season but they serve as the main support. The hubs in either end came from broken selfie sticks.
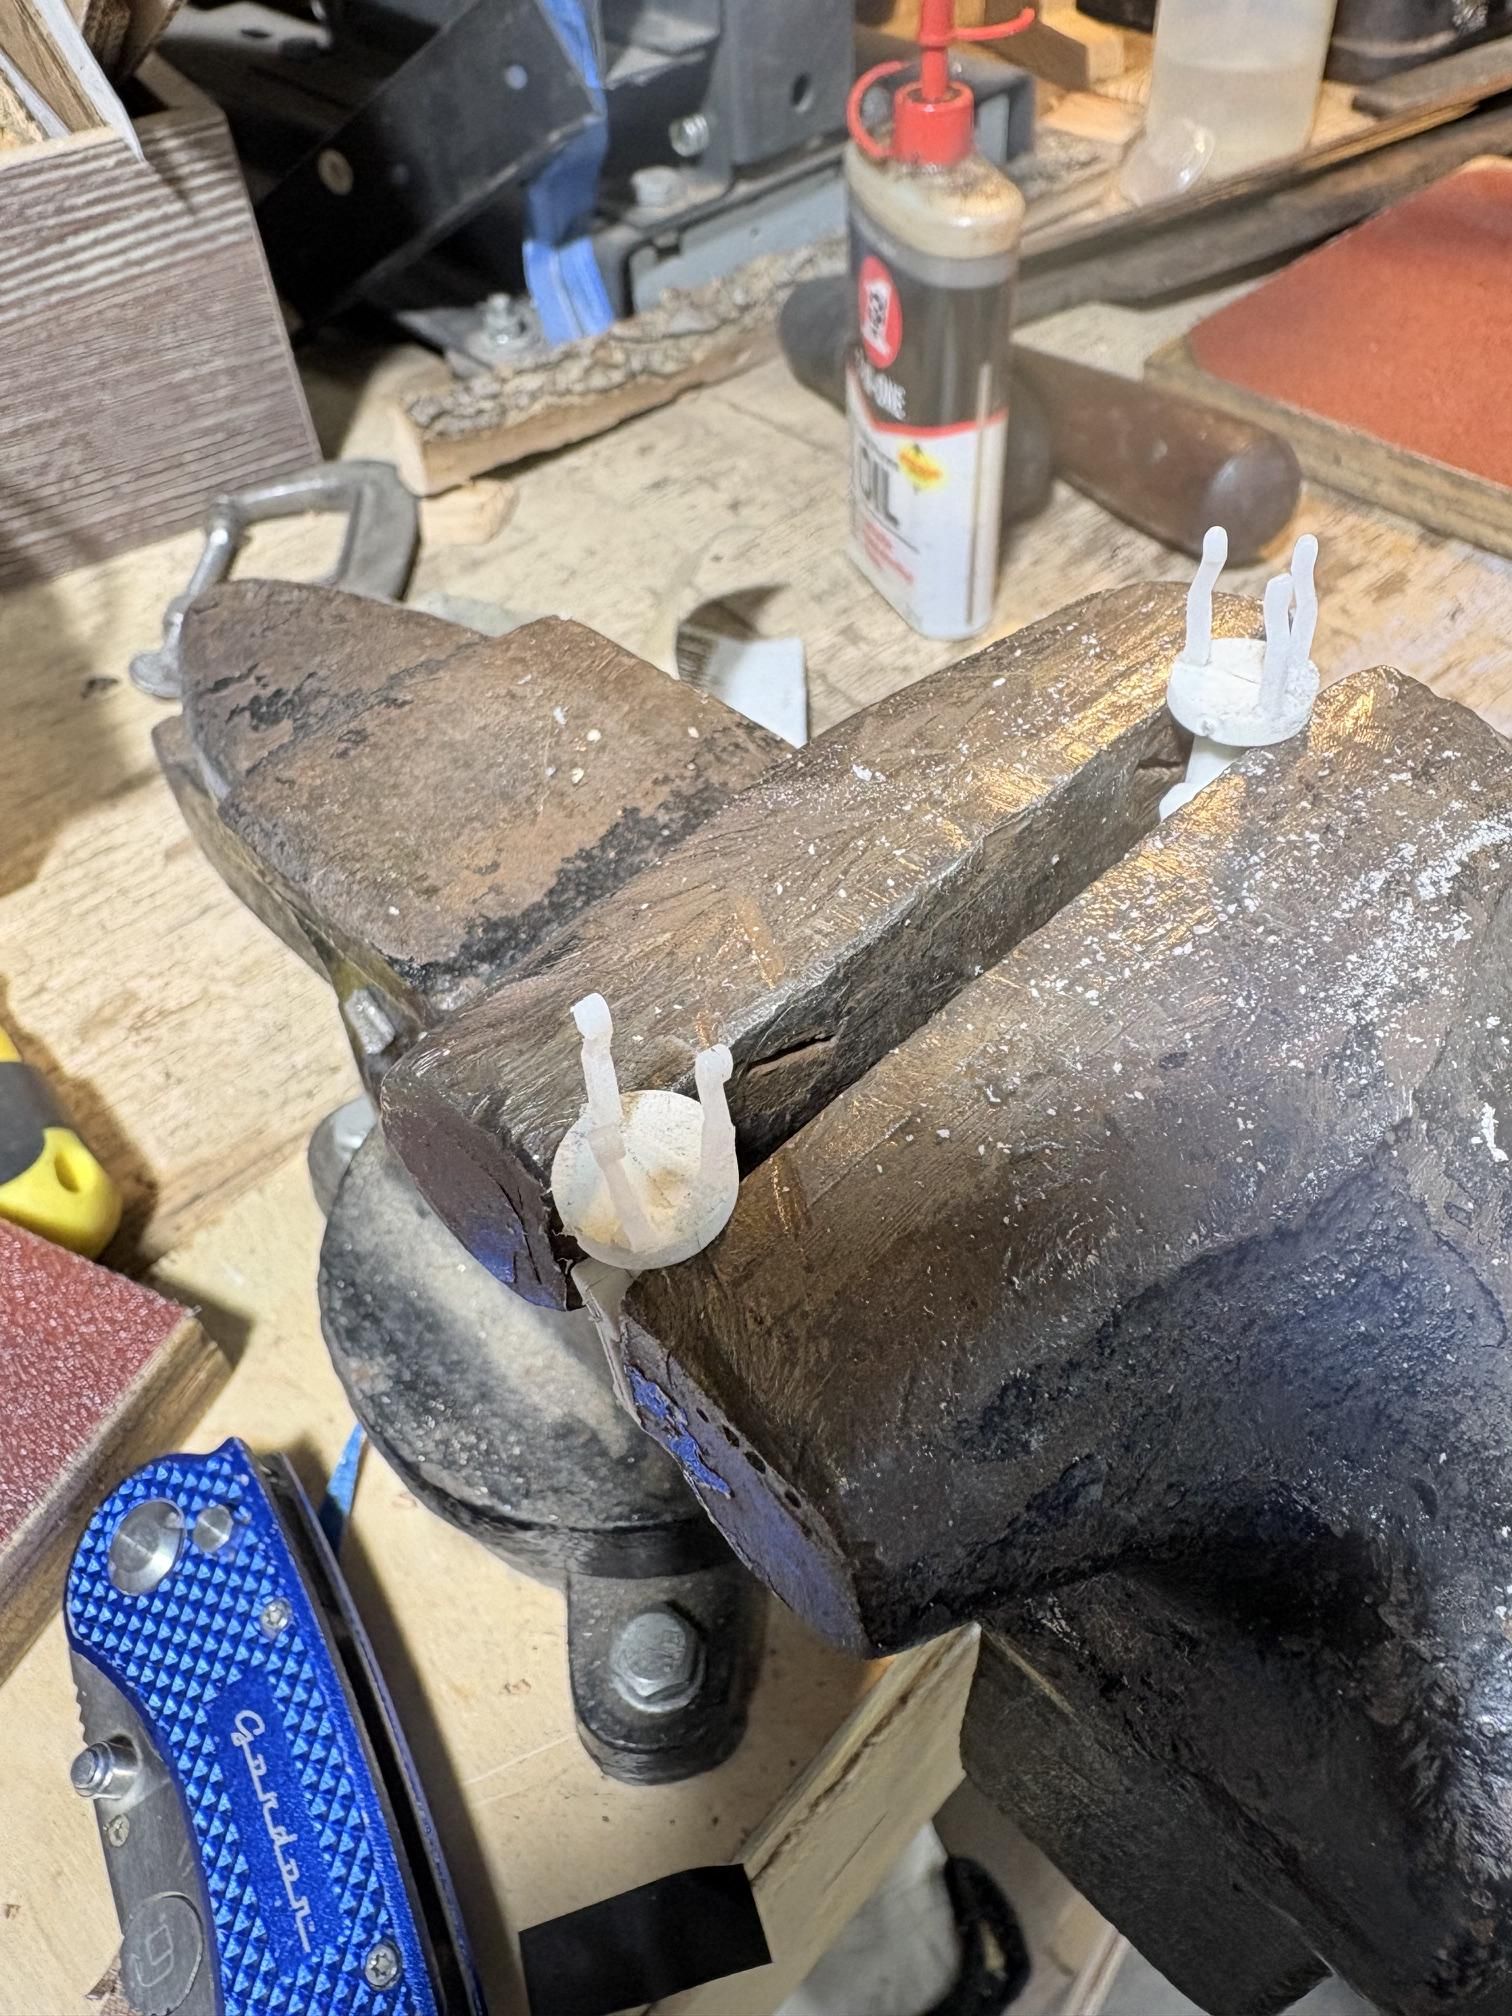
The white turrets are from an Ikea curtain kit. The fingers you see in pic 4 were glued on using CA glue and baking soda and were definitely the parts that would break off the most. Activator was a game changer.
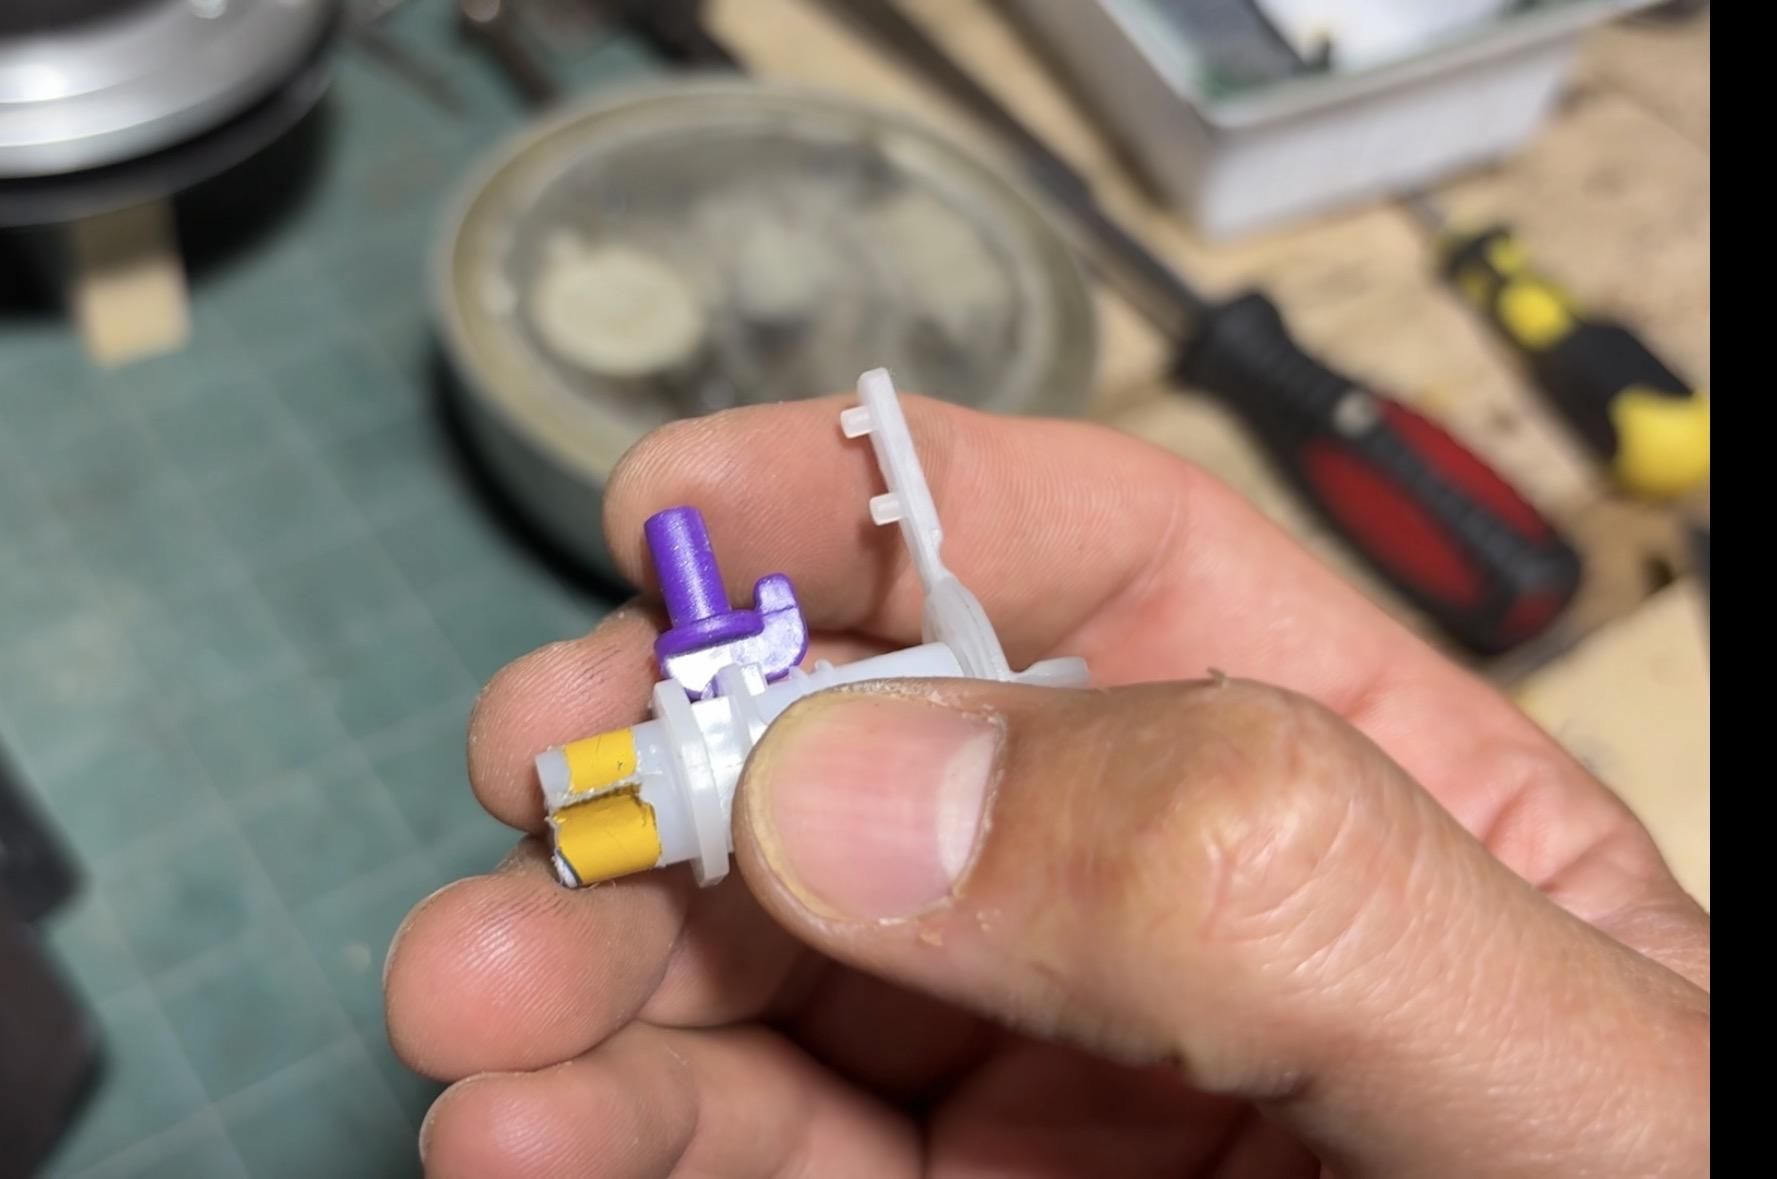
The thruster/engine part (Pic 5) is actually the plastic part from a yogurt pouch with various nubs from pens and the small plastic parts that secure dolls in their packaging (back in my day it was zip ties). I used a dremel to cut/shape recesses for the purple part to glue onto.
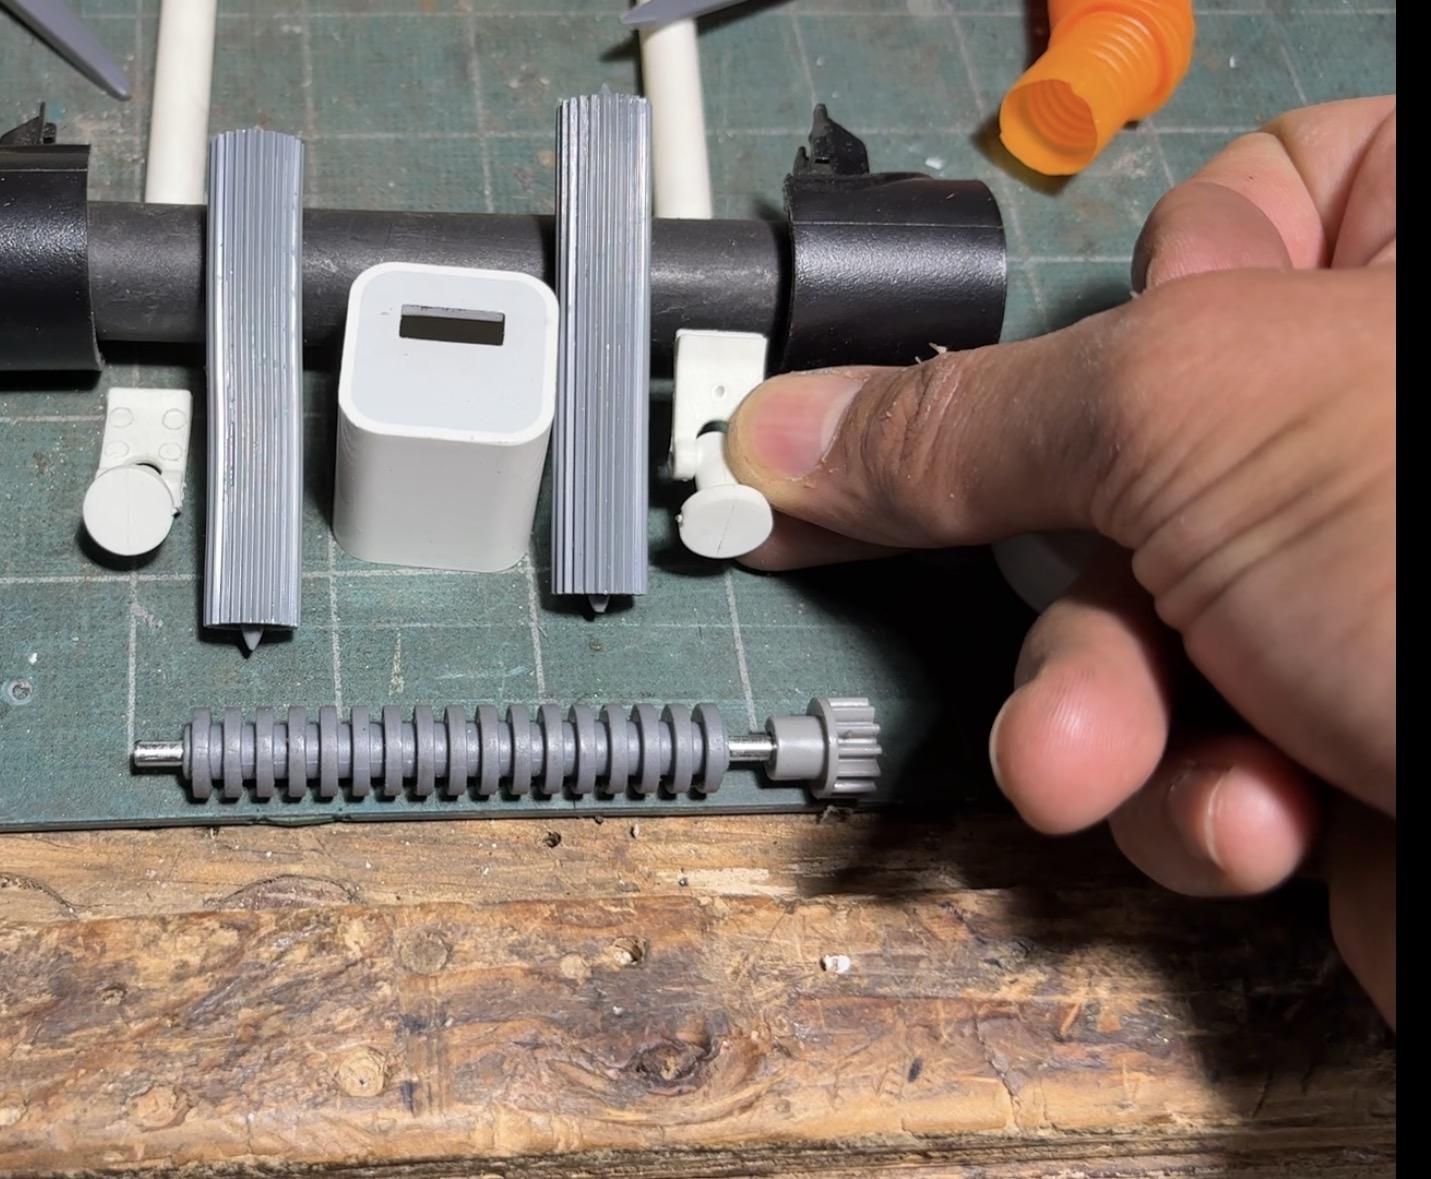
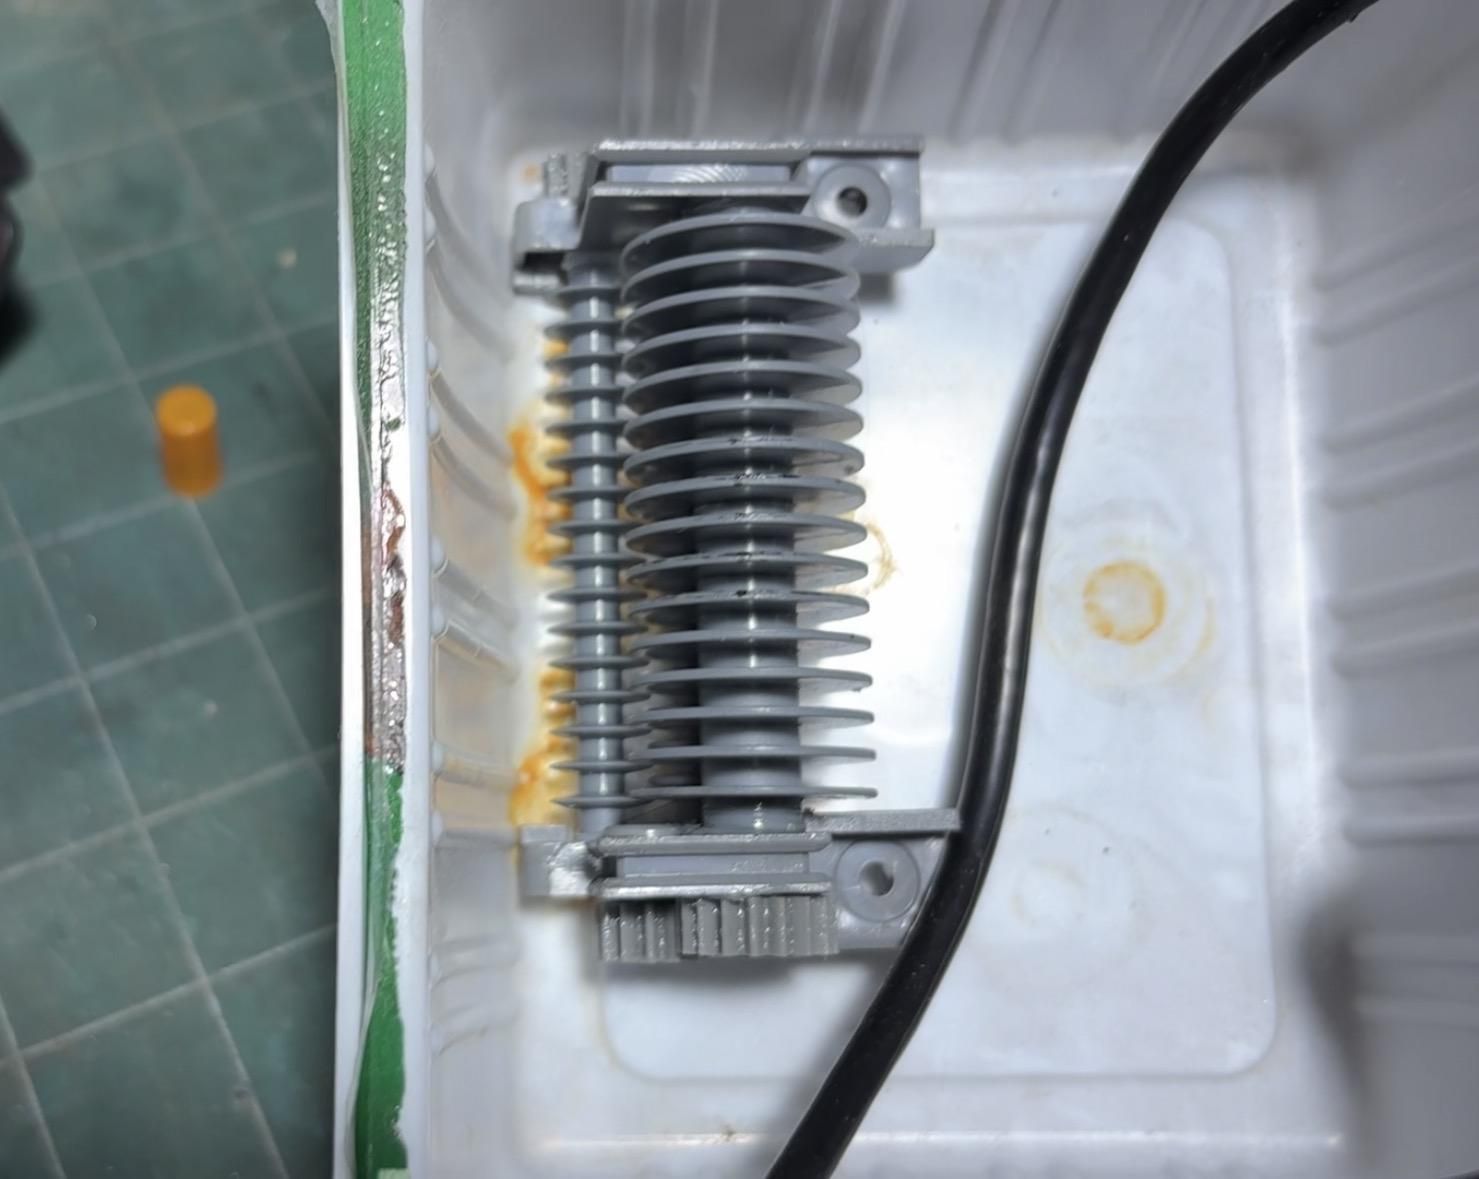
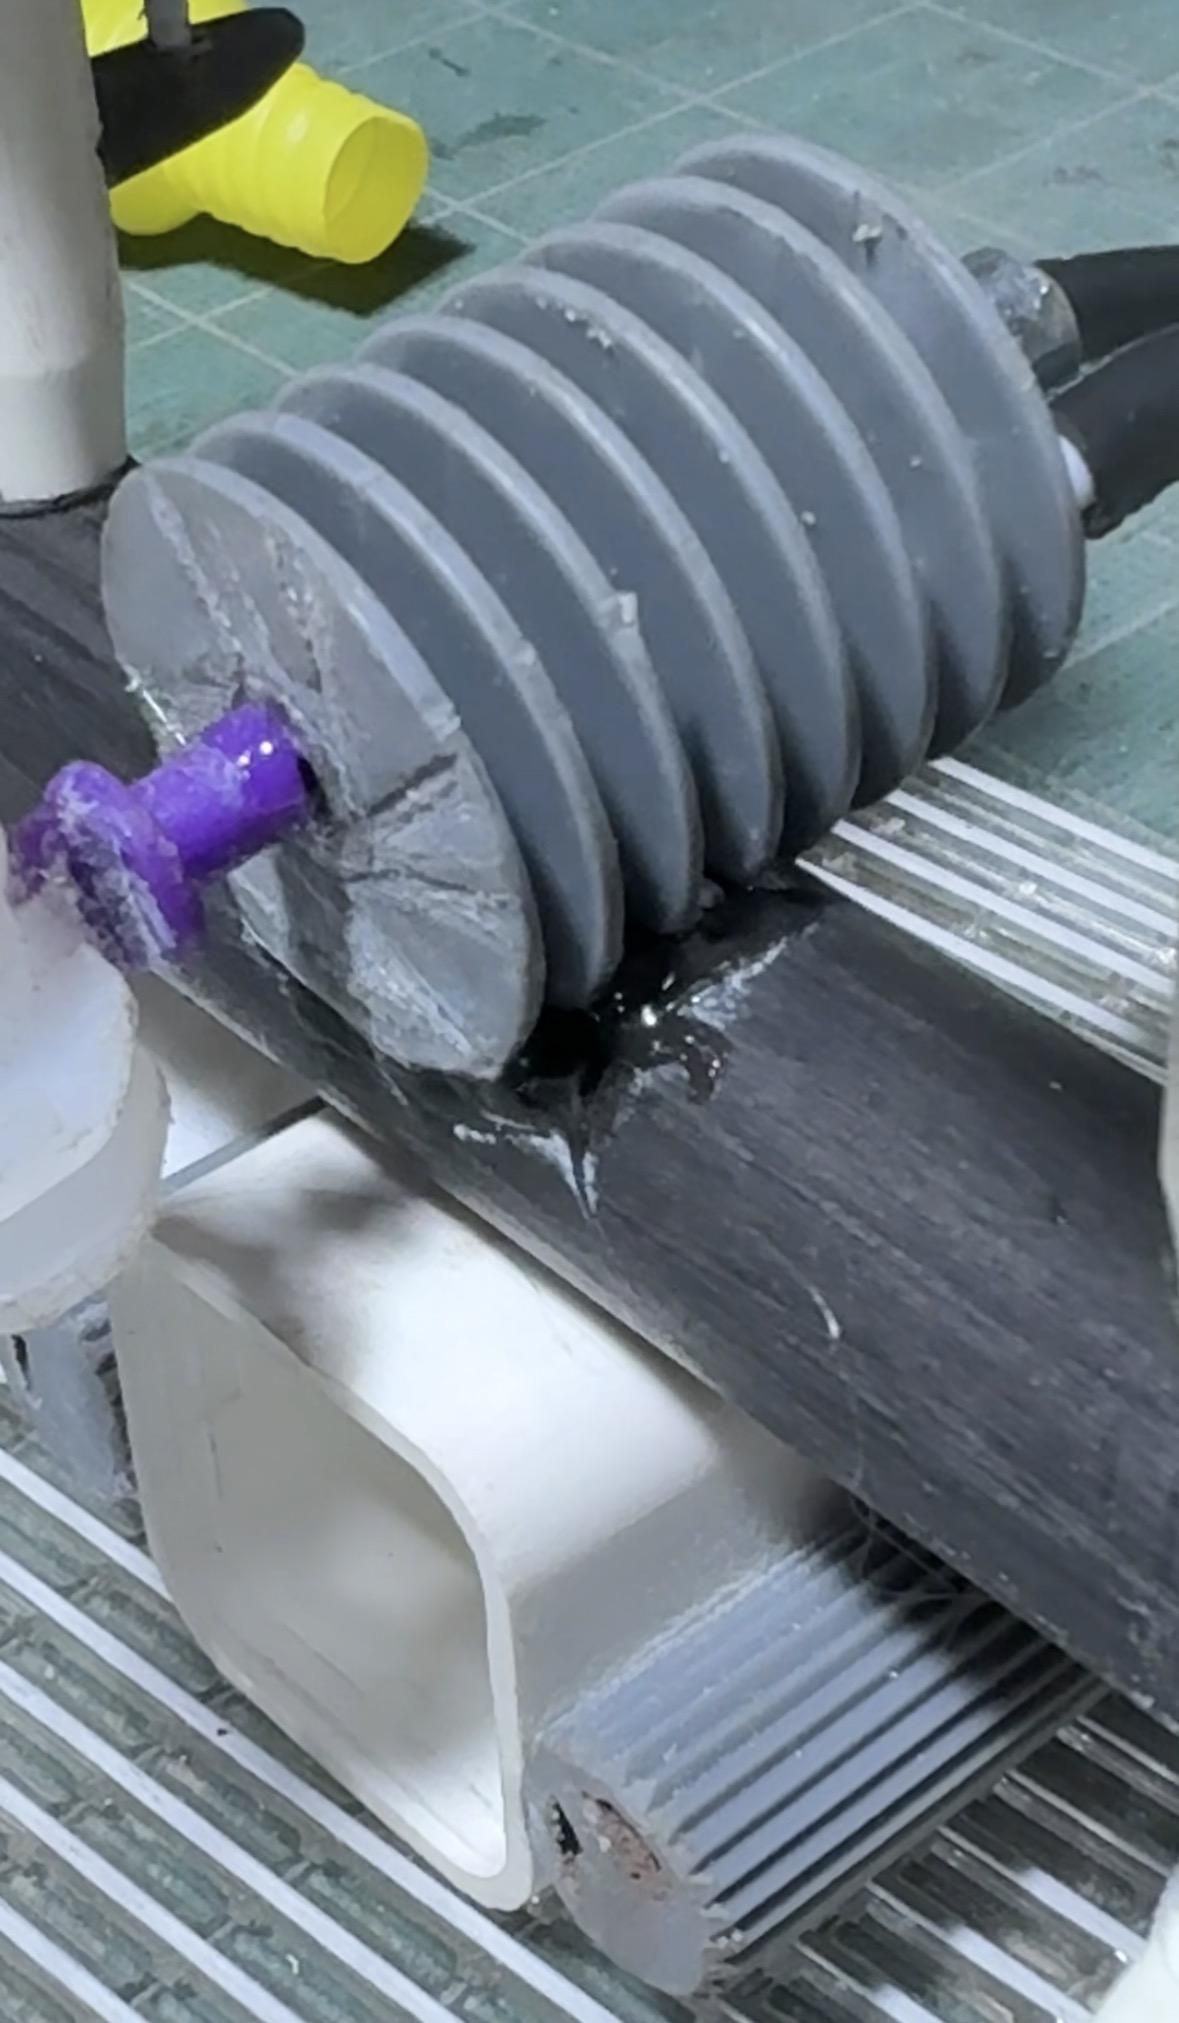
The finned grey piece (and others you'll see later) came from a broken tape cutter but you can find similar parts from a broken paper/receipt printer (I've seen them). I cut this in half with a hack saw since the core was metal.
The back supports are Bic pen tubes cut in half. The back hubs are plastic tubing with yogurt caps on either end. The white and purple discs you see in Pics 1 & 7 are from the pumps on soap containers. If you look back at Step 1, pictures 1-4, the supports for the support are the yellow sprues and wings from an action figure (the grey V-wings). The railing between those is just a coat hanger cut to length. I know, it is metal but I should have used the straight rod from the sprue as well, in hindsight.
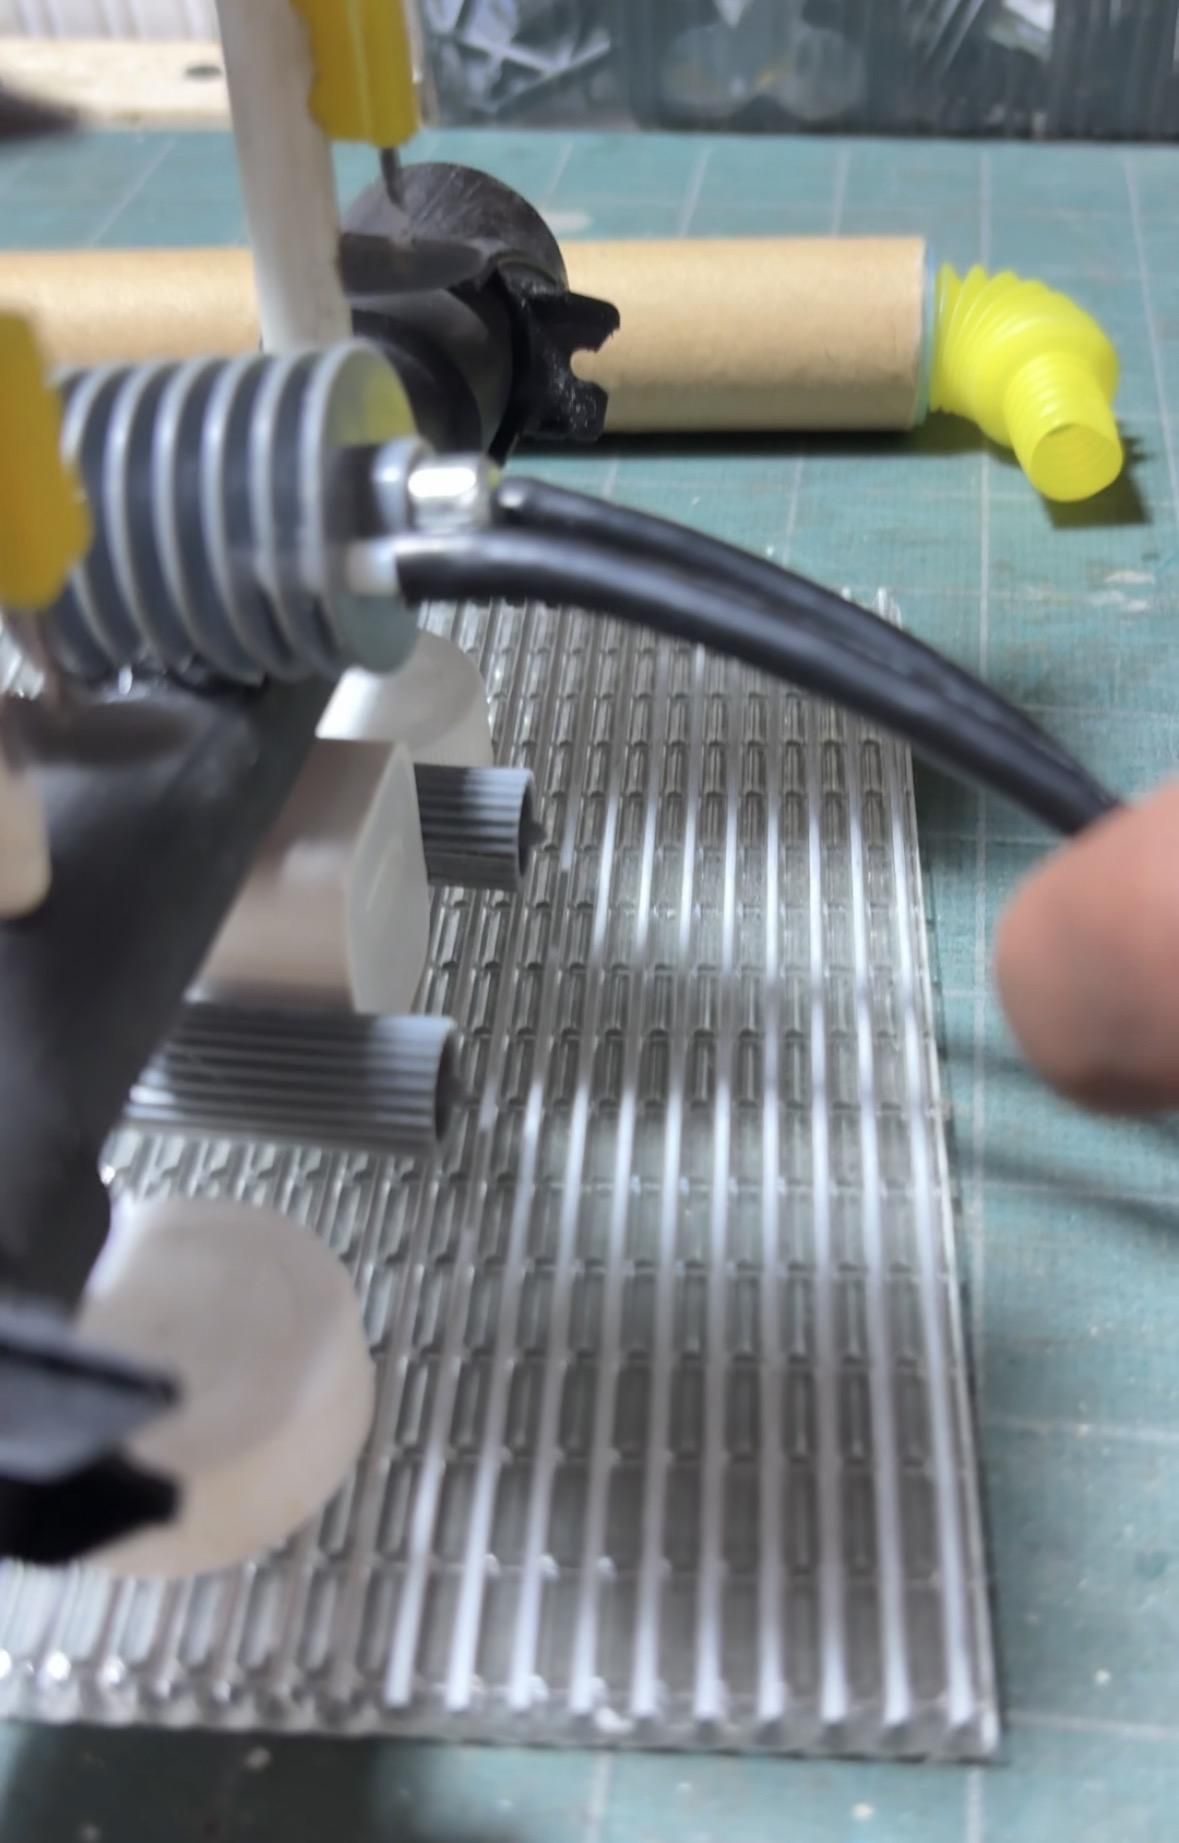
The chassis piece that goes in the front is from a broken apple charger (I am sure that was obvious, lol) and the ribbed grey fuel tanks? are from the tape cutter, too. I cut those in half. They had a protrusion in the front to connect a tube to (pic 9 & 11). You can see how it connects to the engine part in pic 11. To do so, I drilled tiny holes on either side. This allowed the ink tube from the Bic pen to glue on and was a good diameter for the black tubing to press fit.
One thing I should have done early was cut the recess for the head to attach to the black solar tube now instead of after full assembly! Learn from my mistake.
Arms
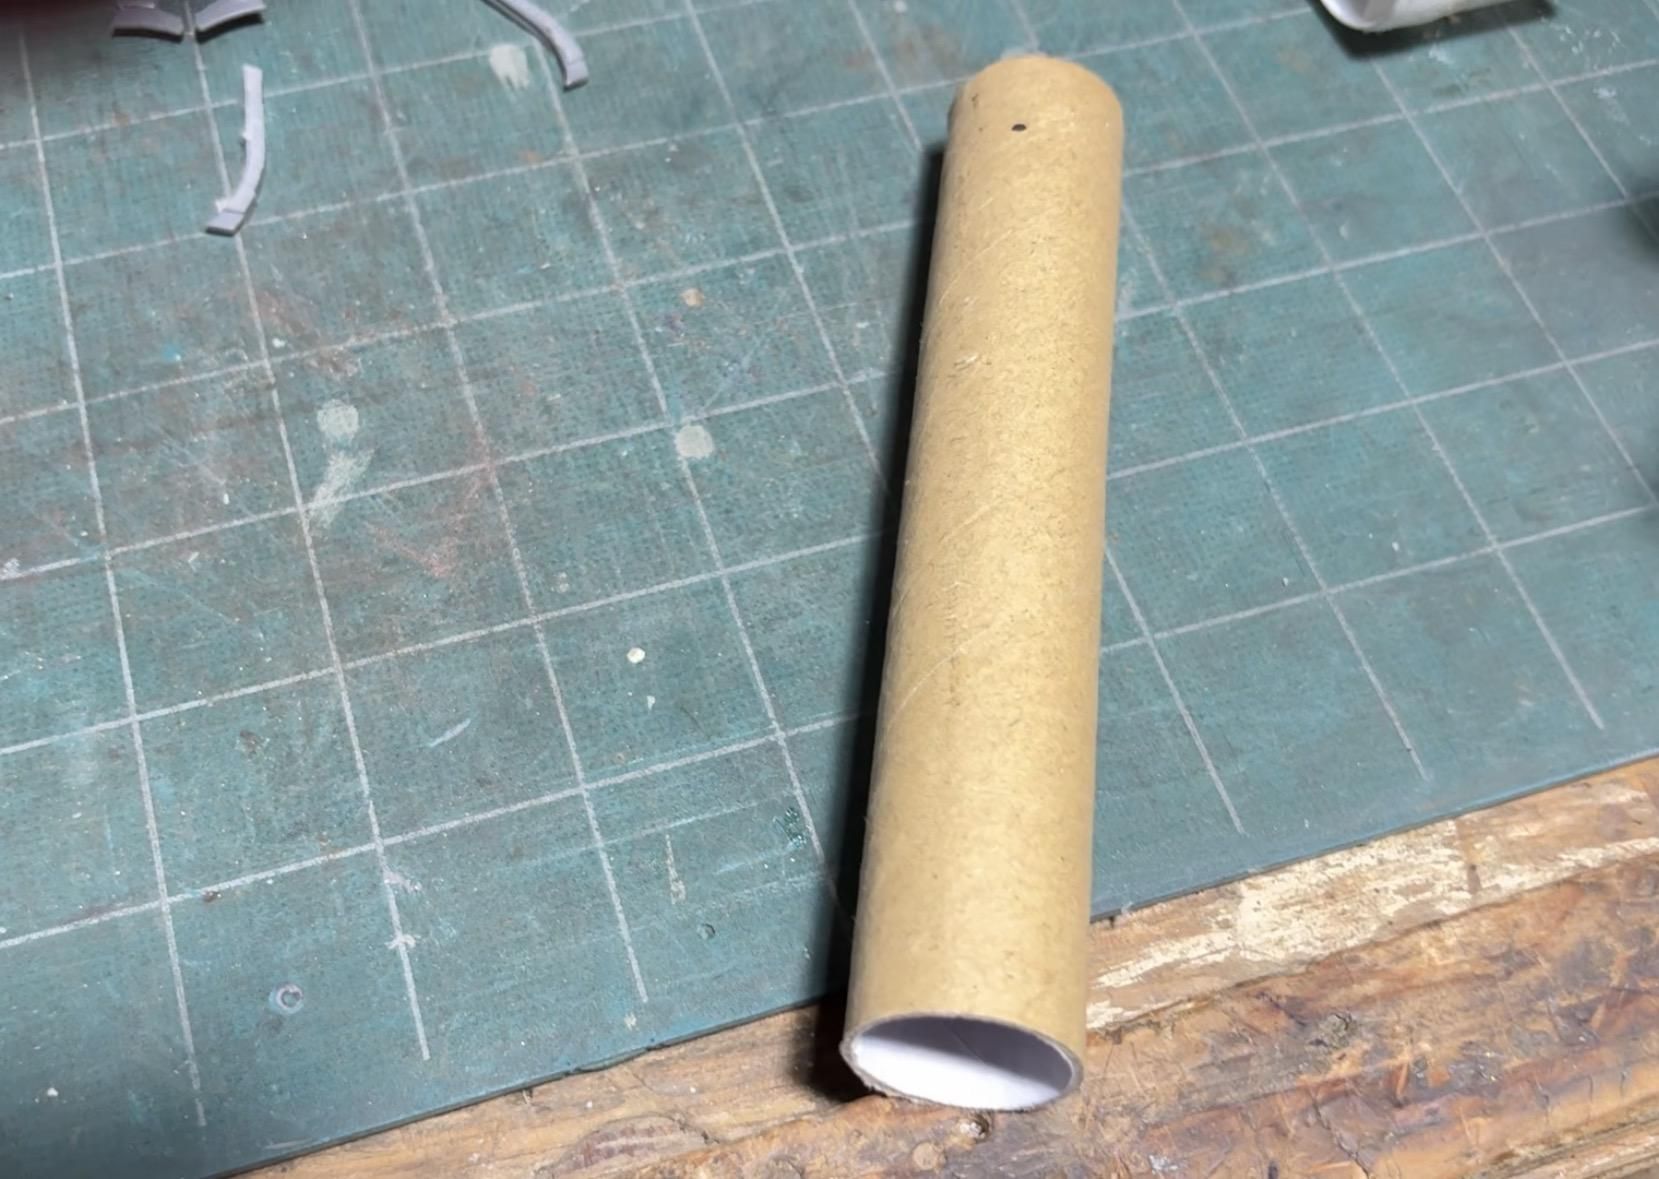
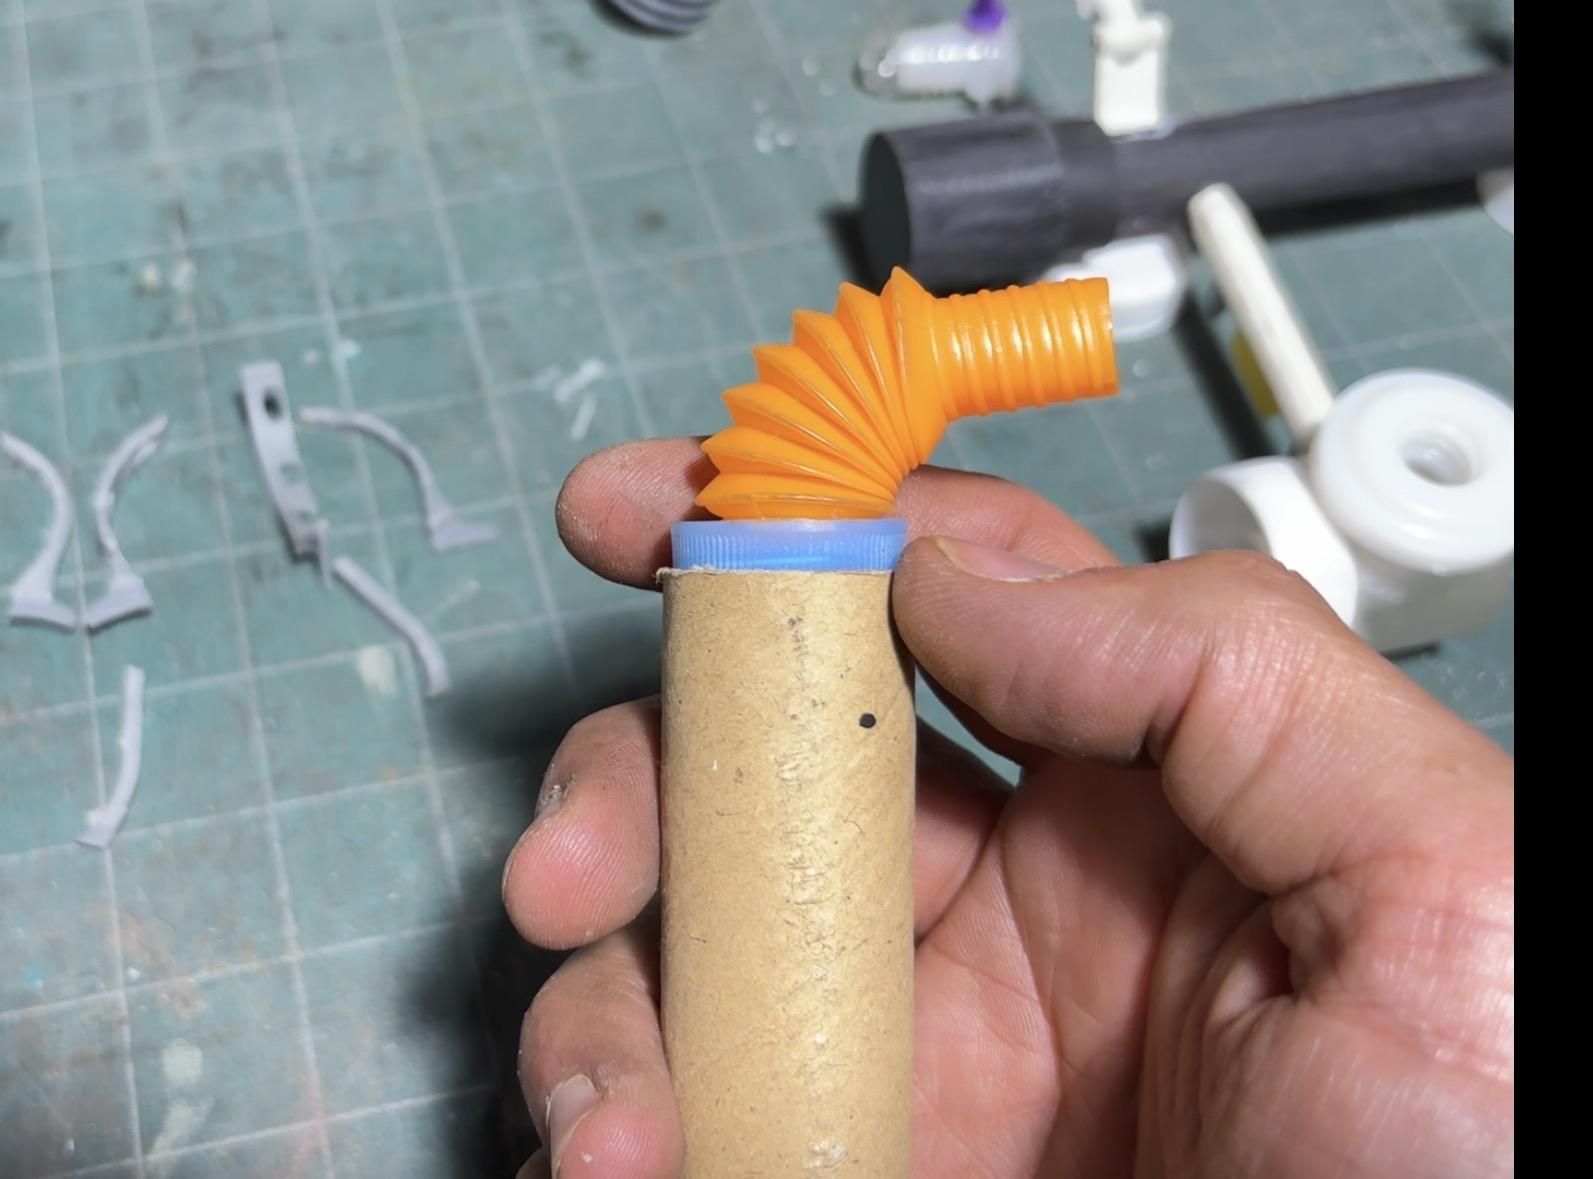
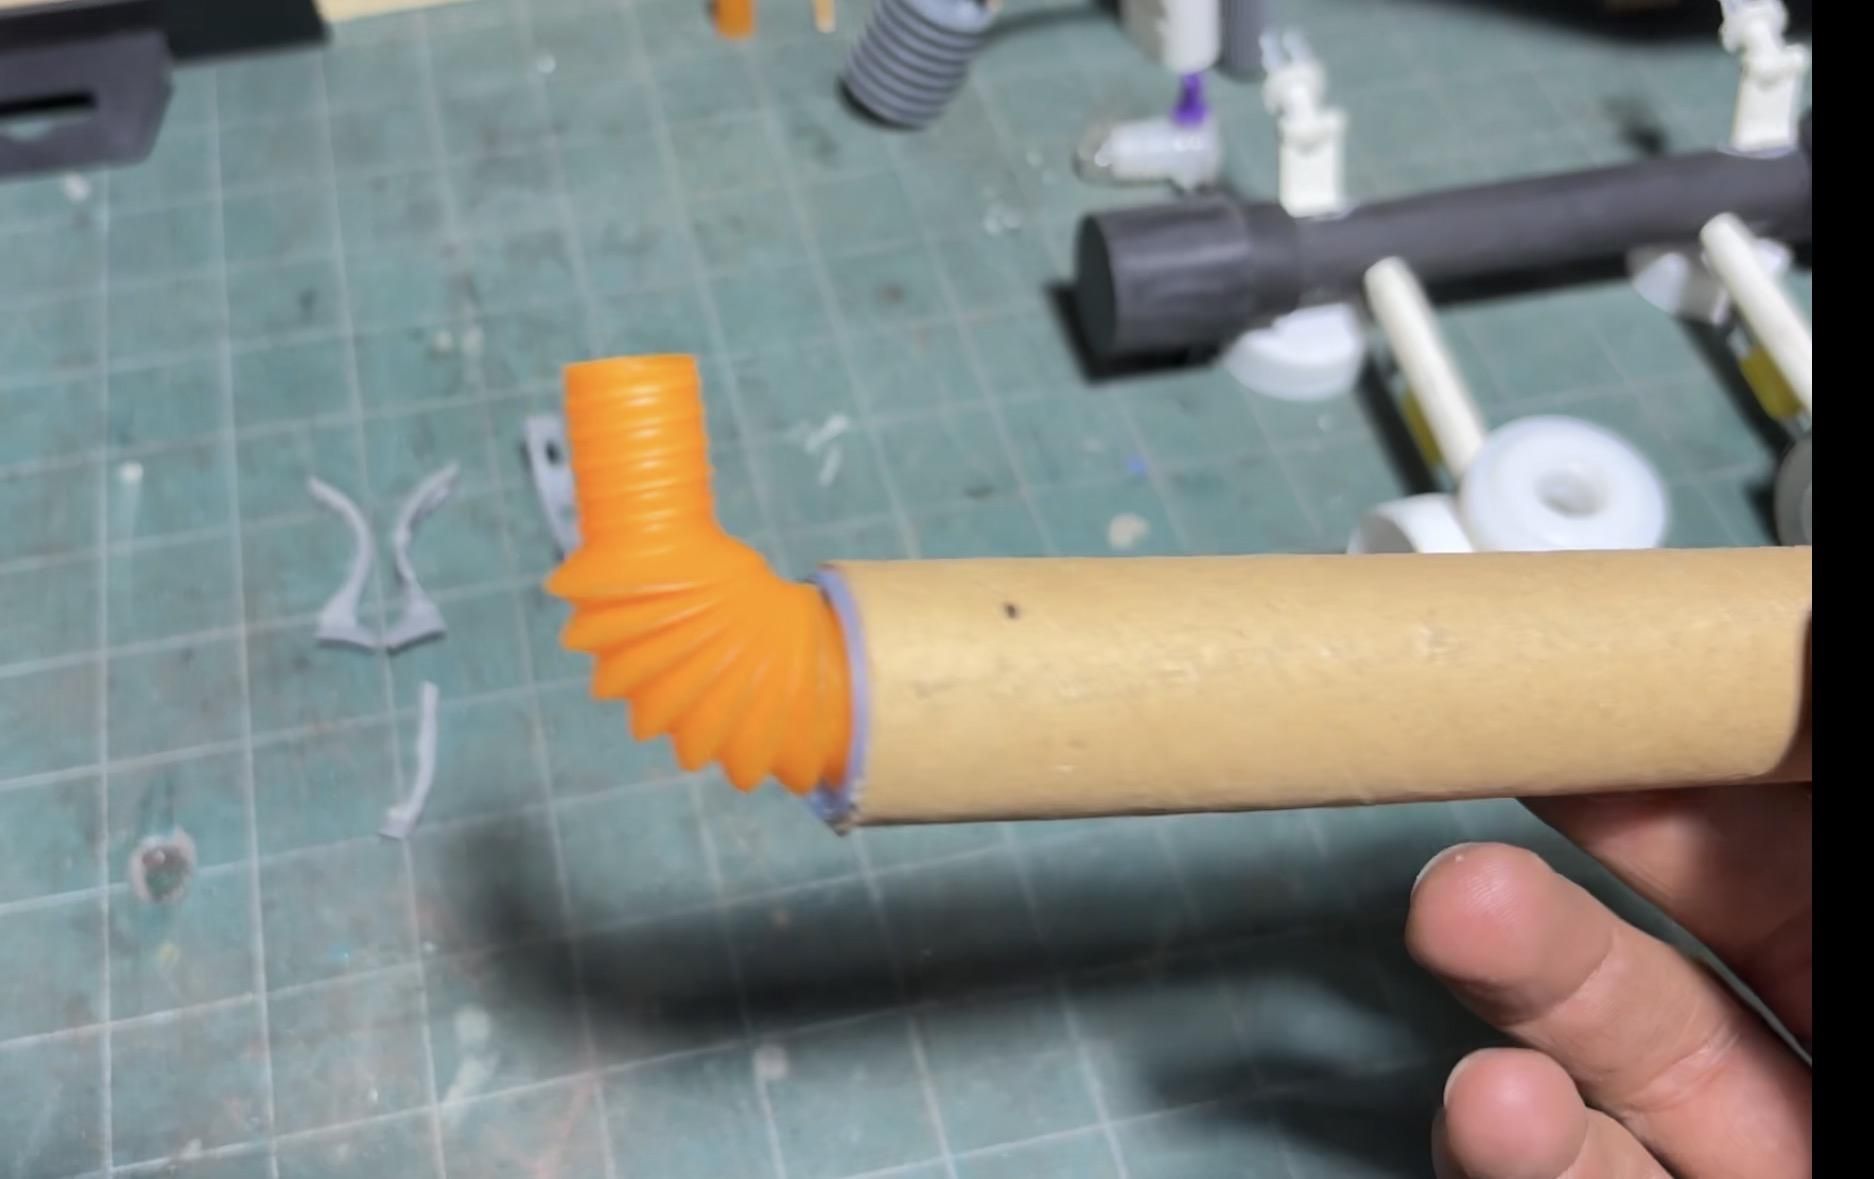
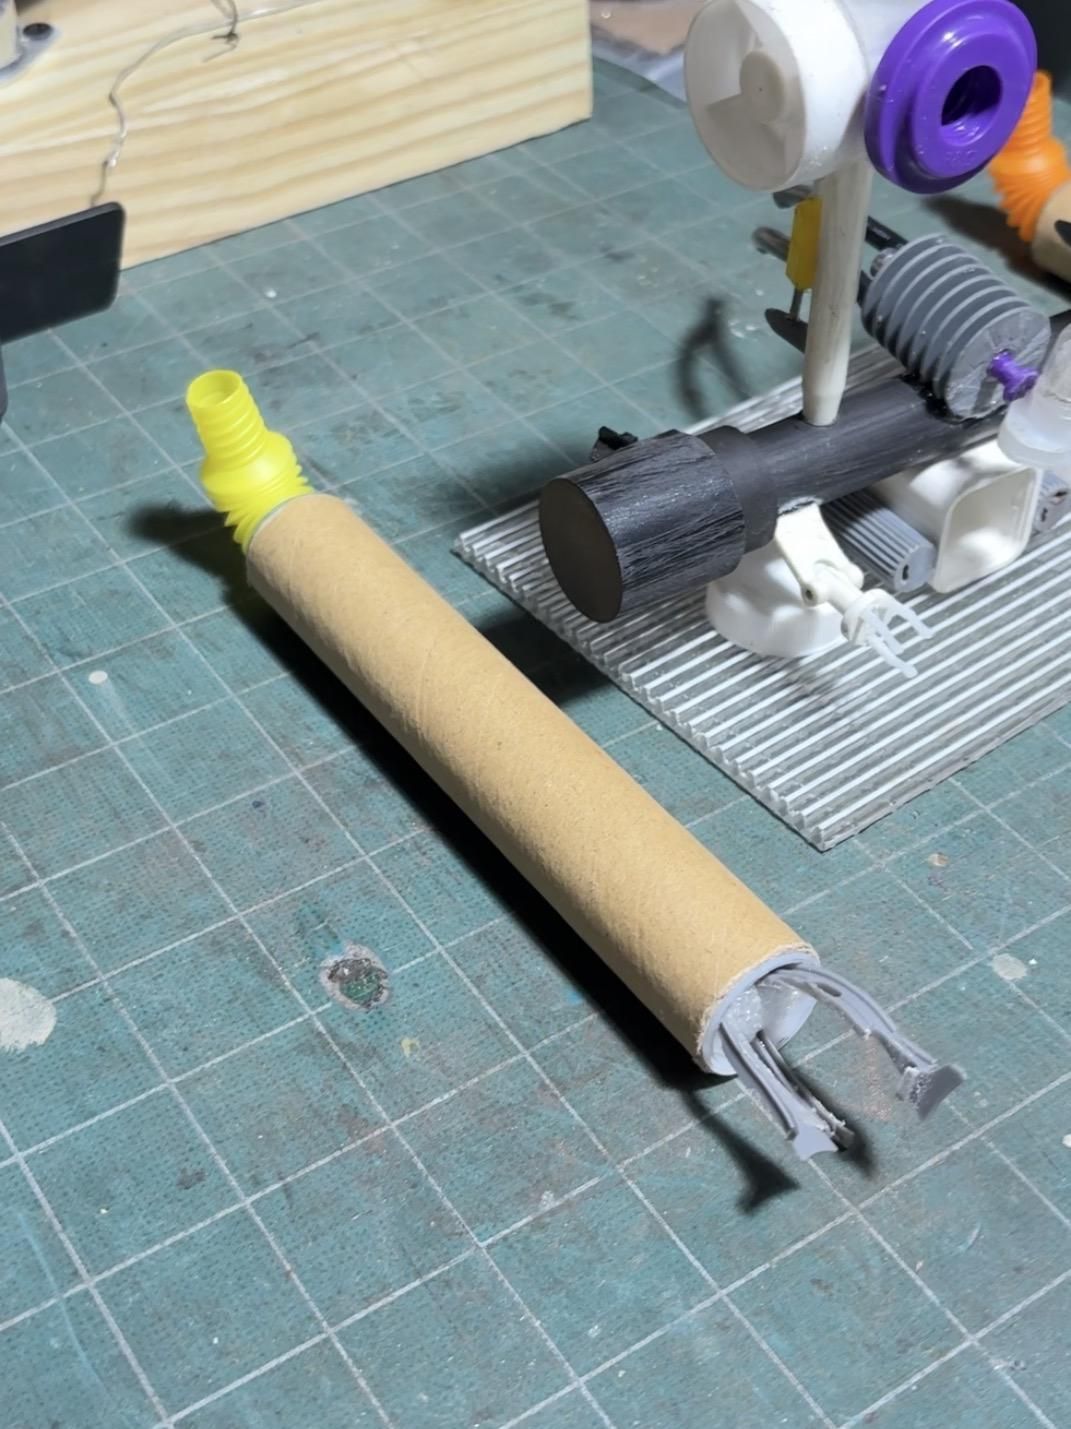
I was originally going to use PVC pipe to make the arms out of but they would have been too heavy for the rinky dink plastic stretchy tube-elbows (the yellow and orange ones). So I wound up cutting a paper towel tube ( the thinner/thicker type). These were light enough to progress.
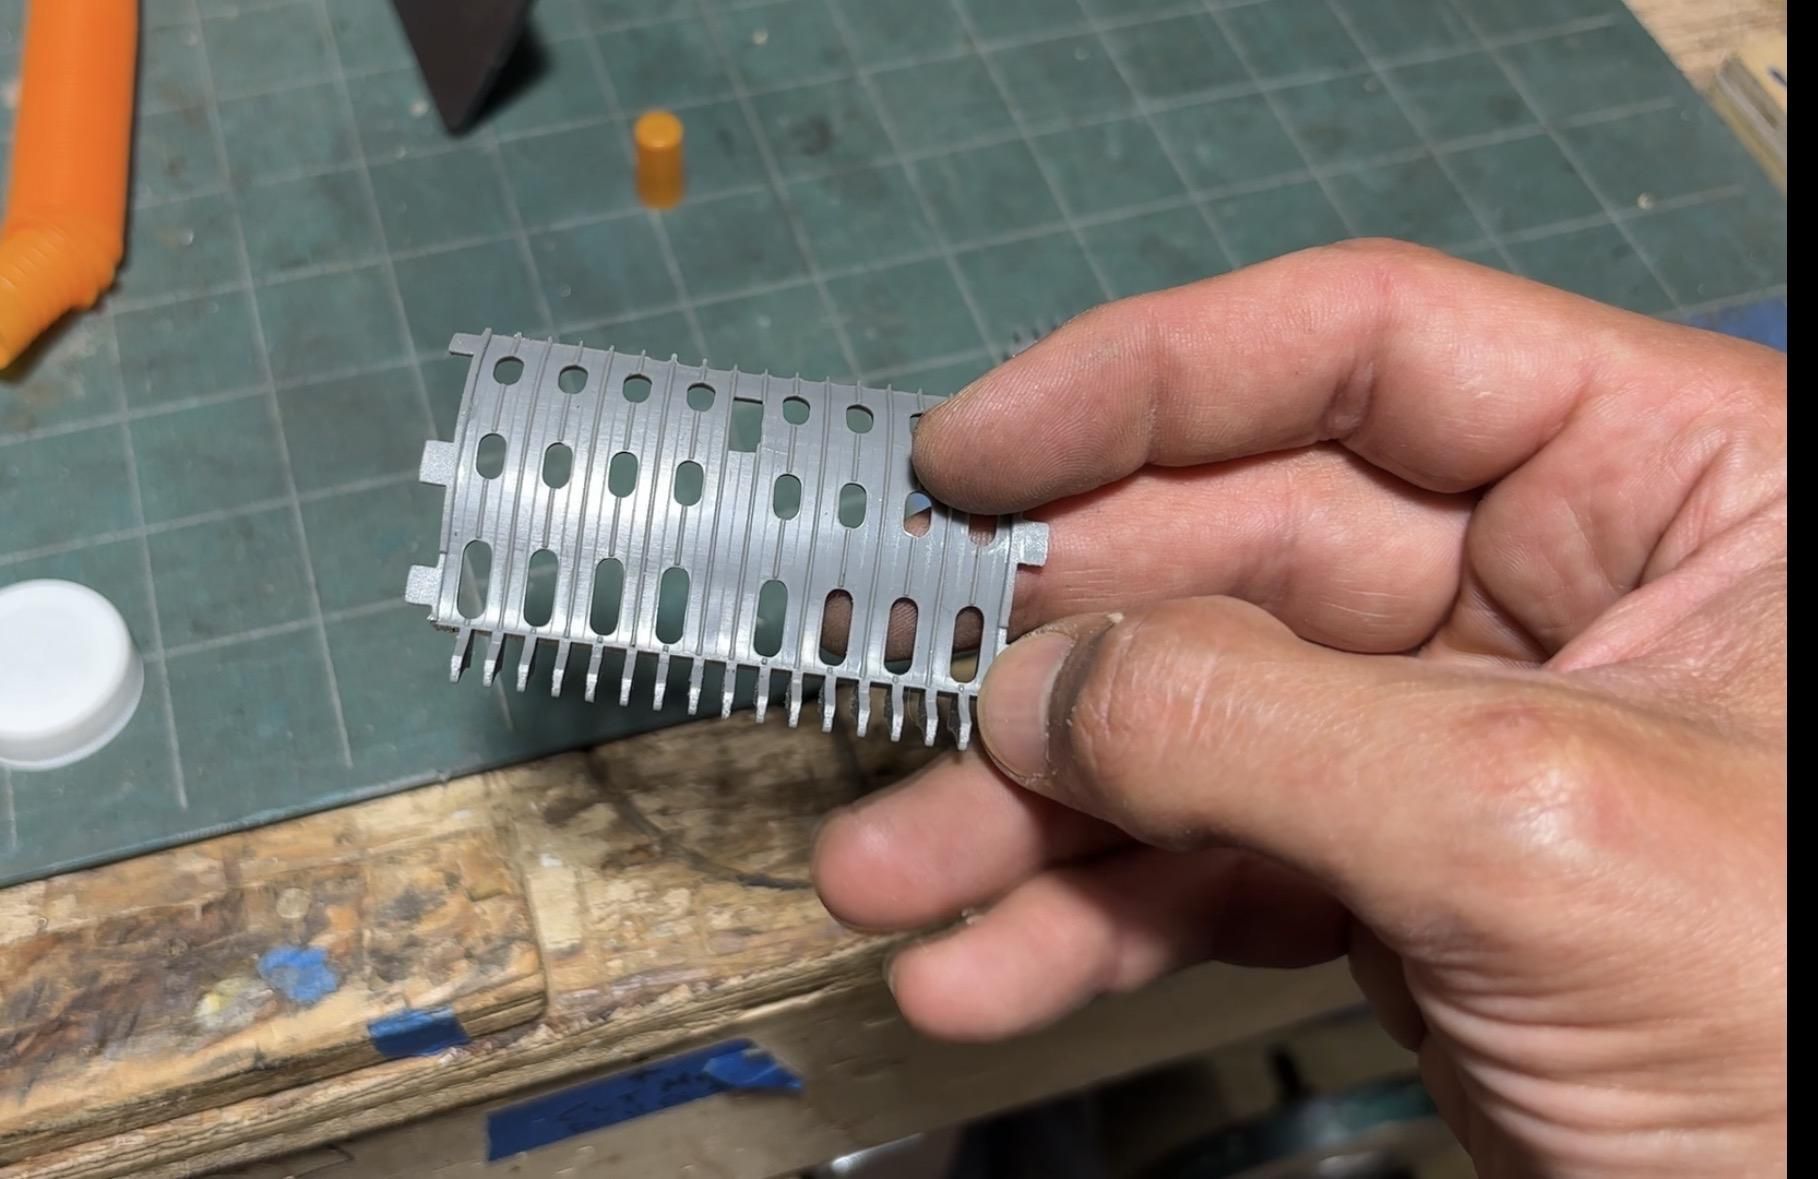
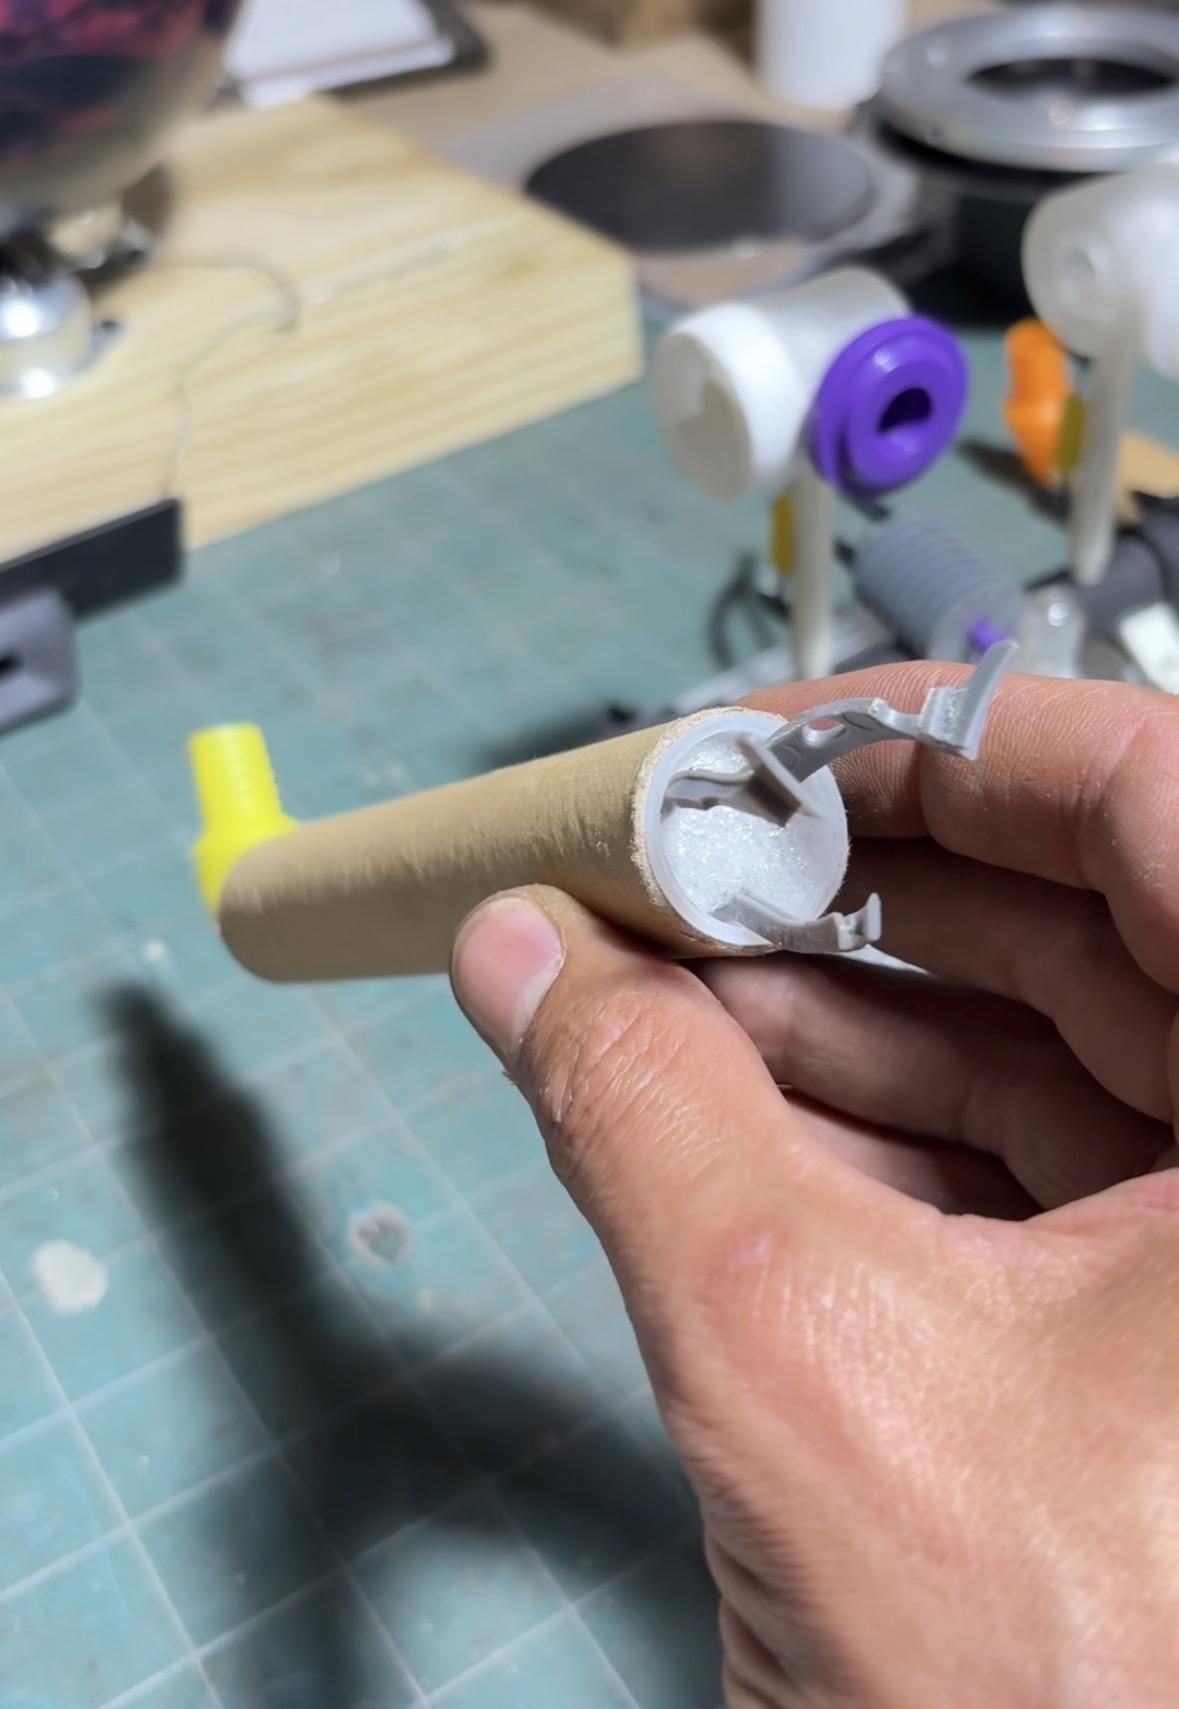
The hands were cut from the tape cutter guide you see in pic 2 using a dremel. Then I stuck foam on one end and pressed the fingers in place (pic 3).
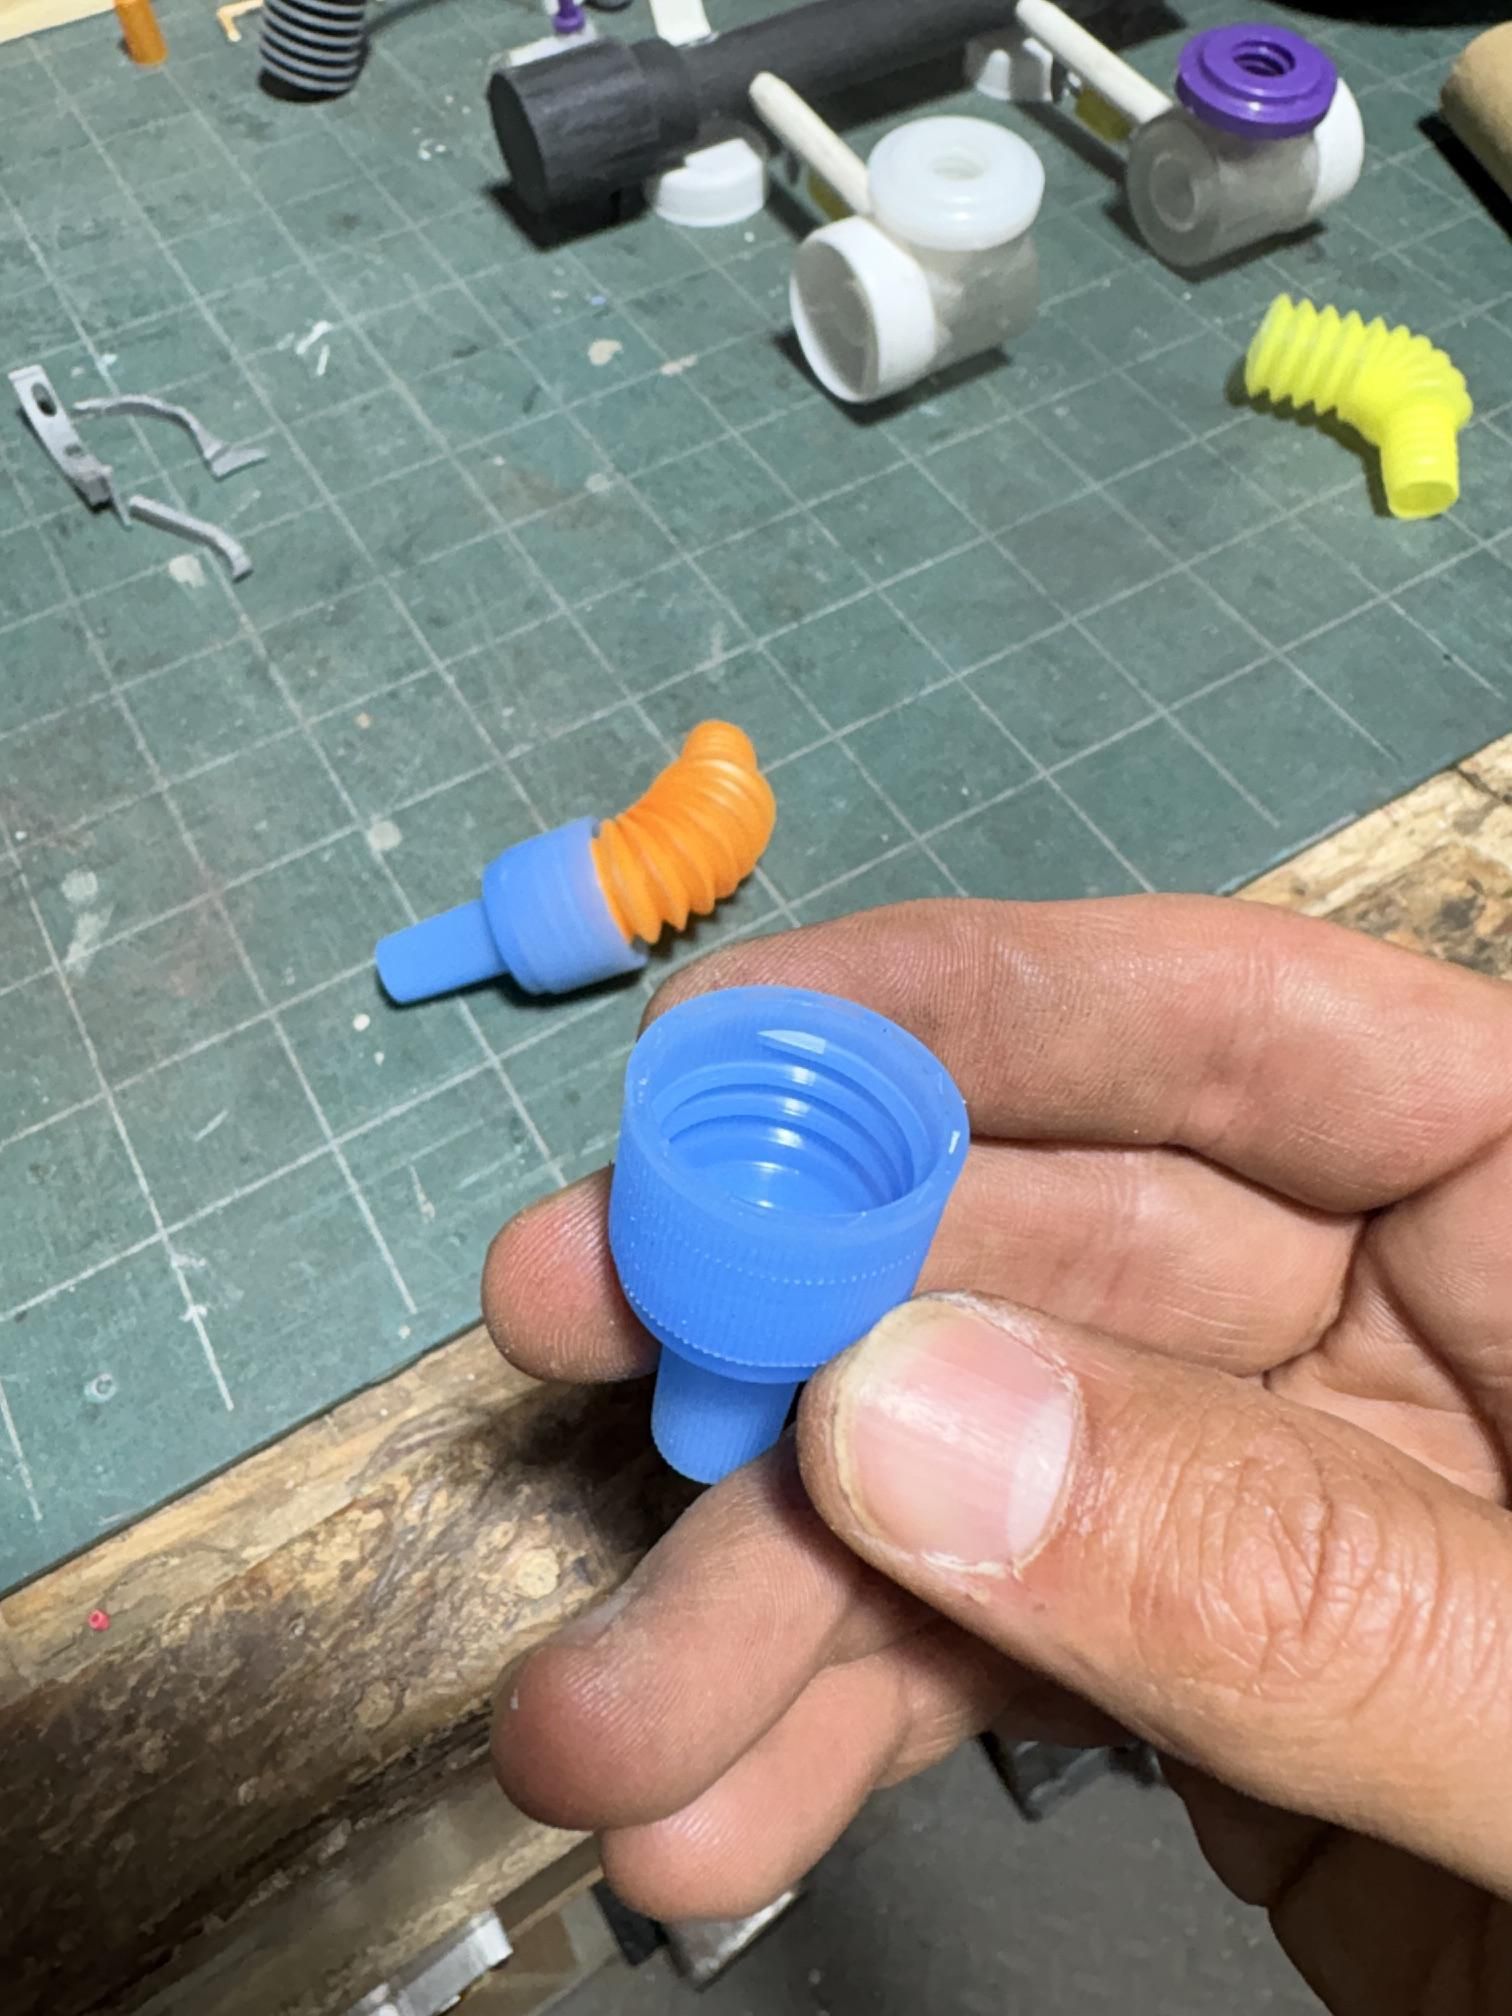
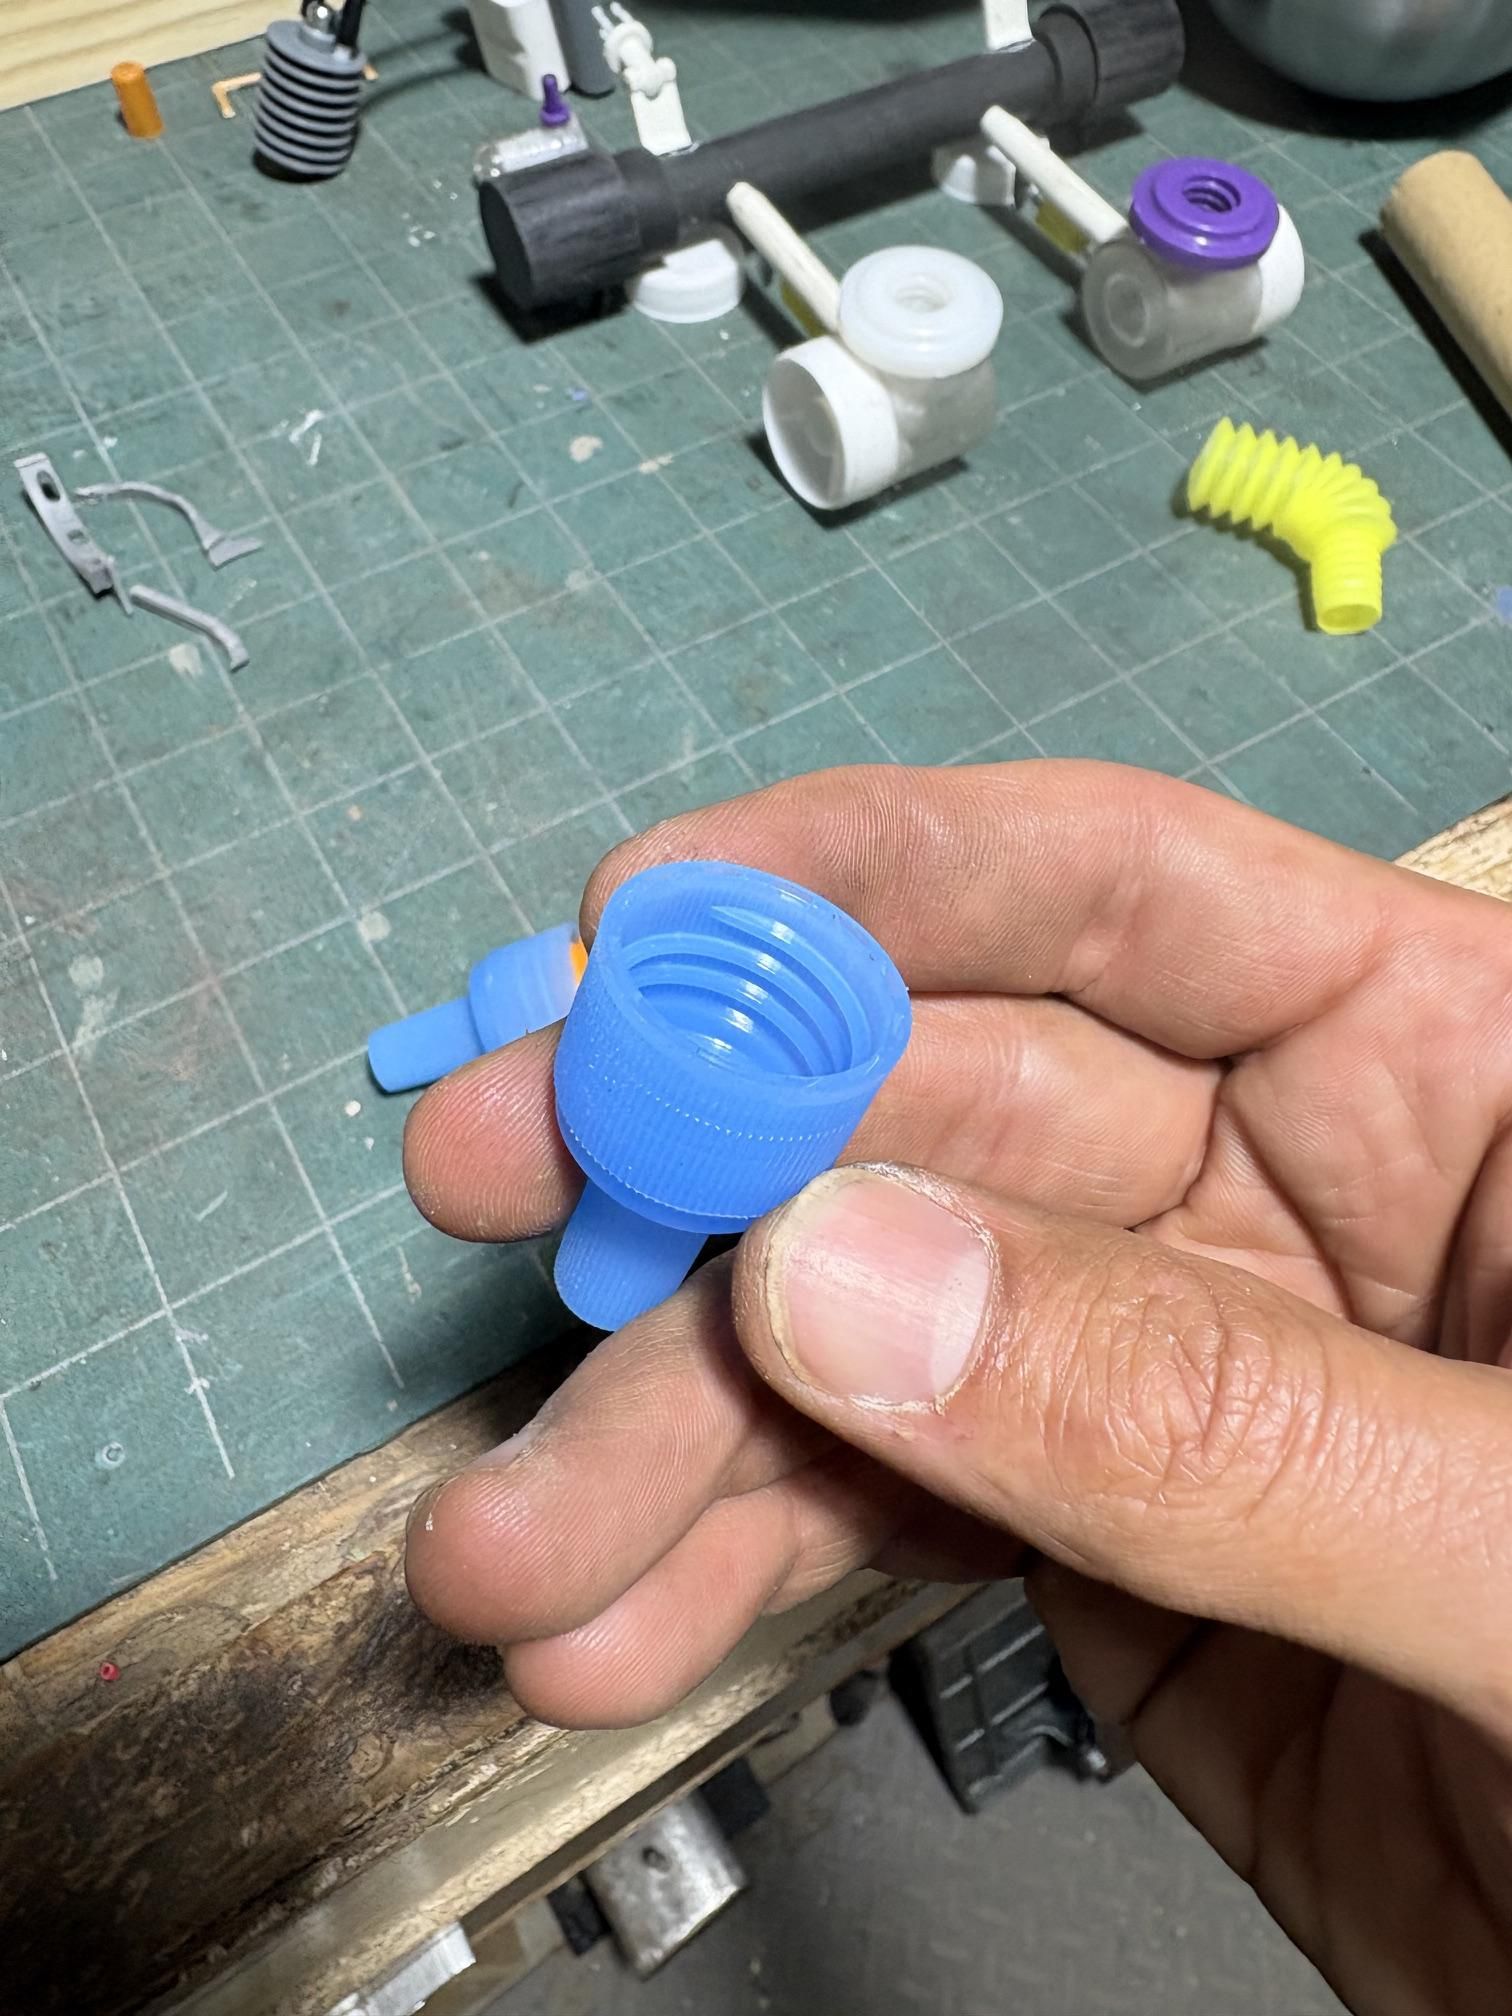
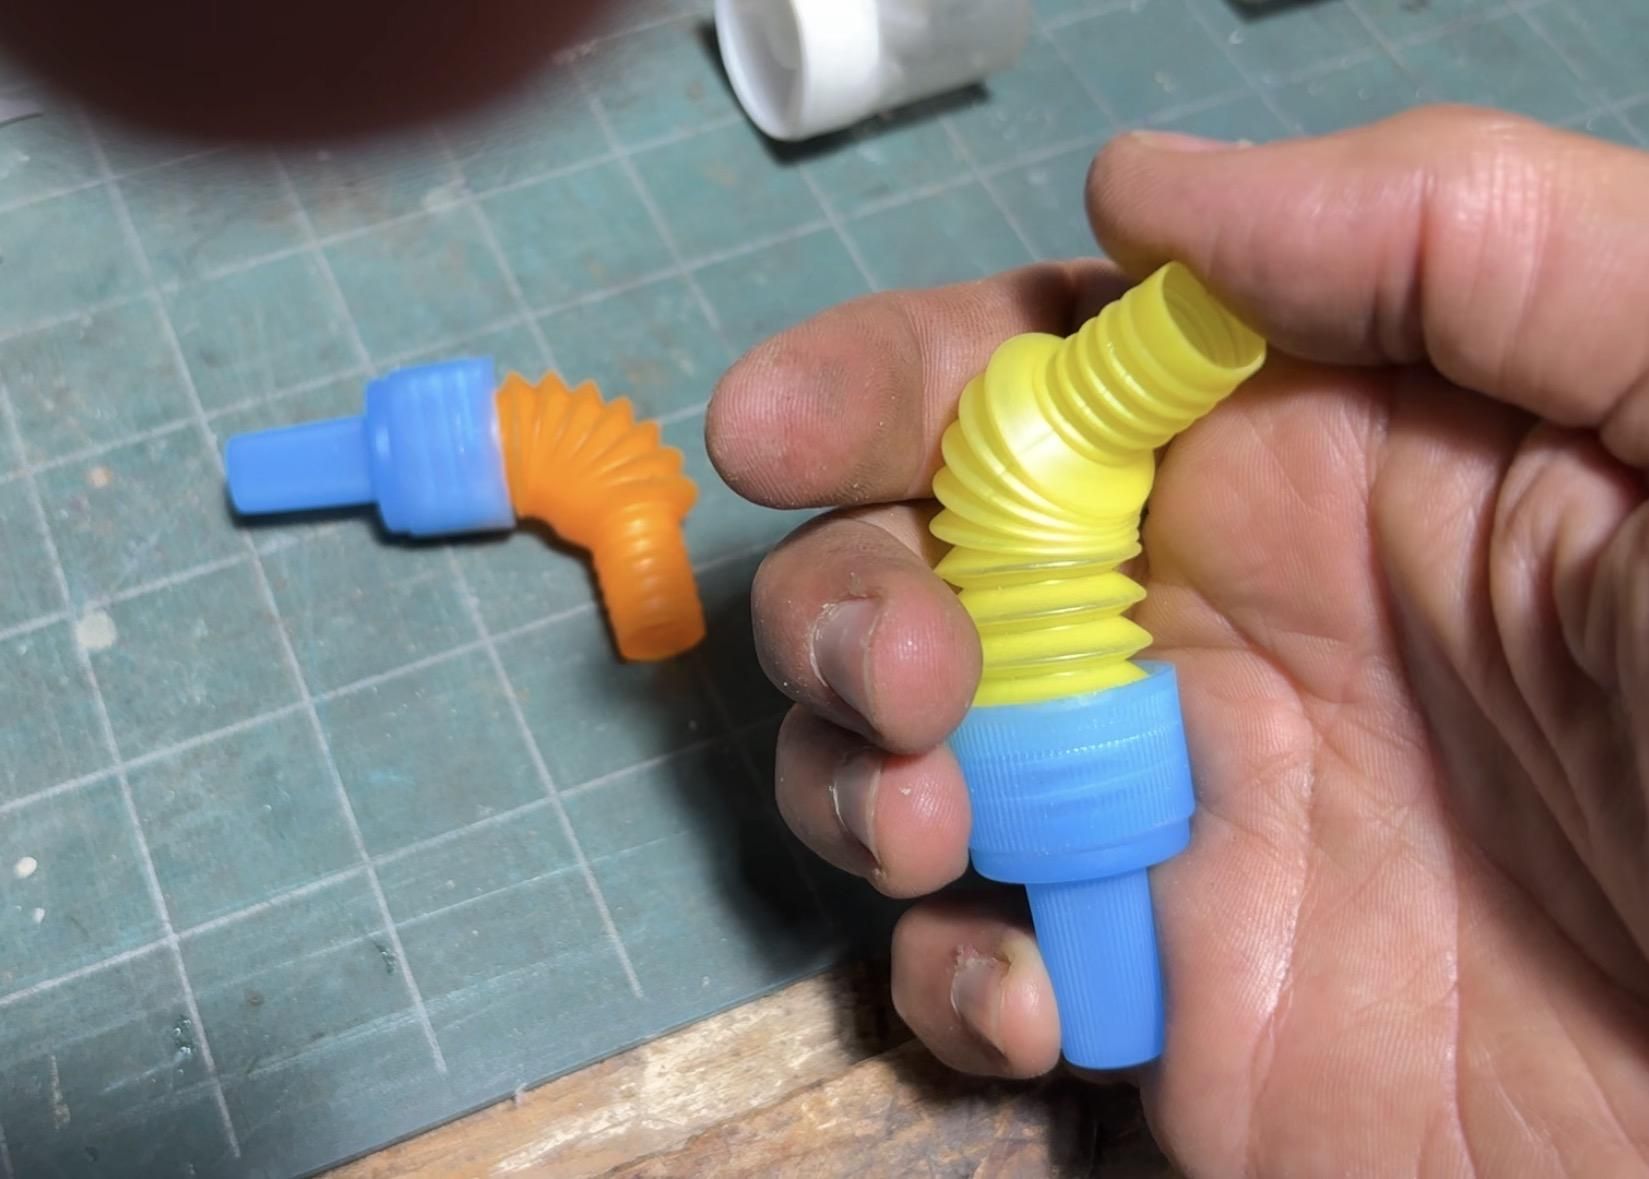
Then I had a serendipitous moment. The blue caps are from a glade plug in but the cool thing is that the stretch dollar store kids toy will screw into the cap (pic 4 & 5). You can reinforce with CA glue if you want but I never did. Then the other end of the cap is press fit into the paper towel tube opposite of the hands (pi 6 & 7).
The arms were done at this point (pic 8).
Finalizing the Body
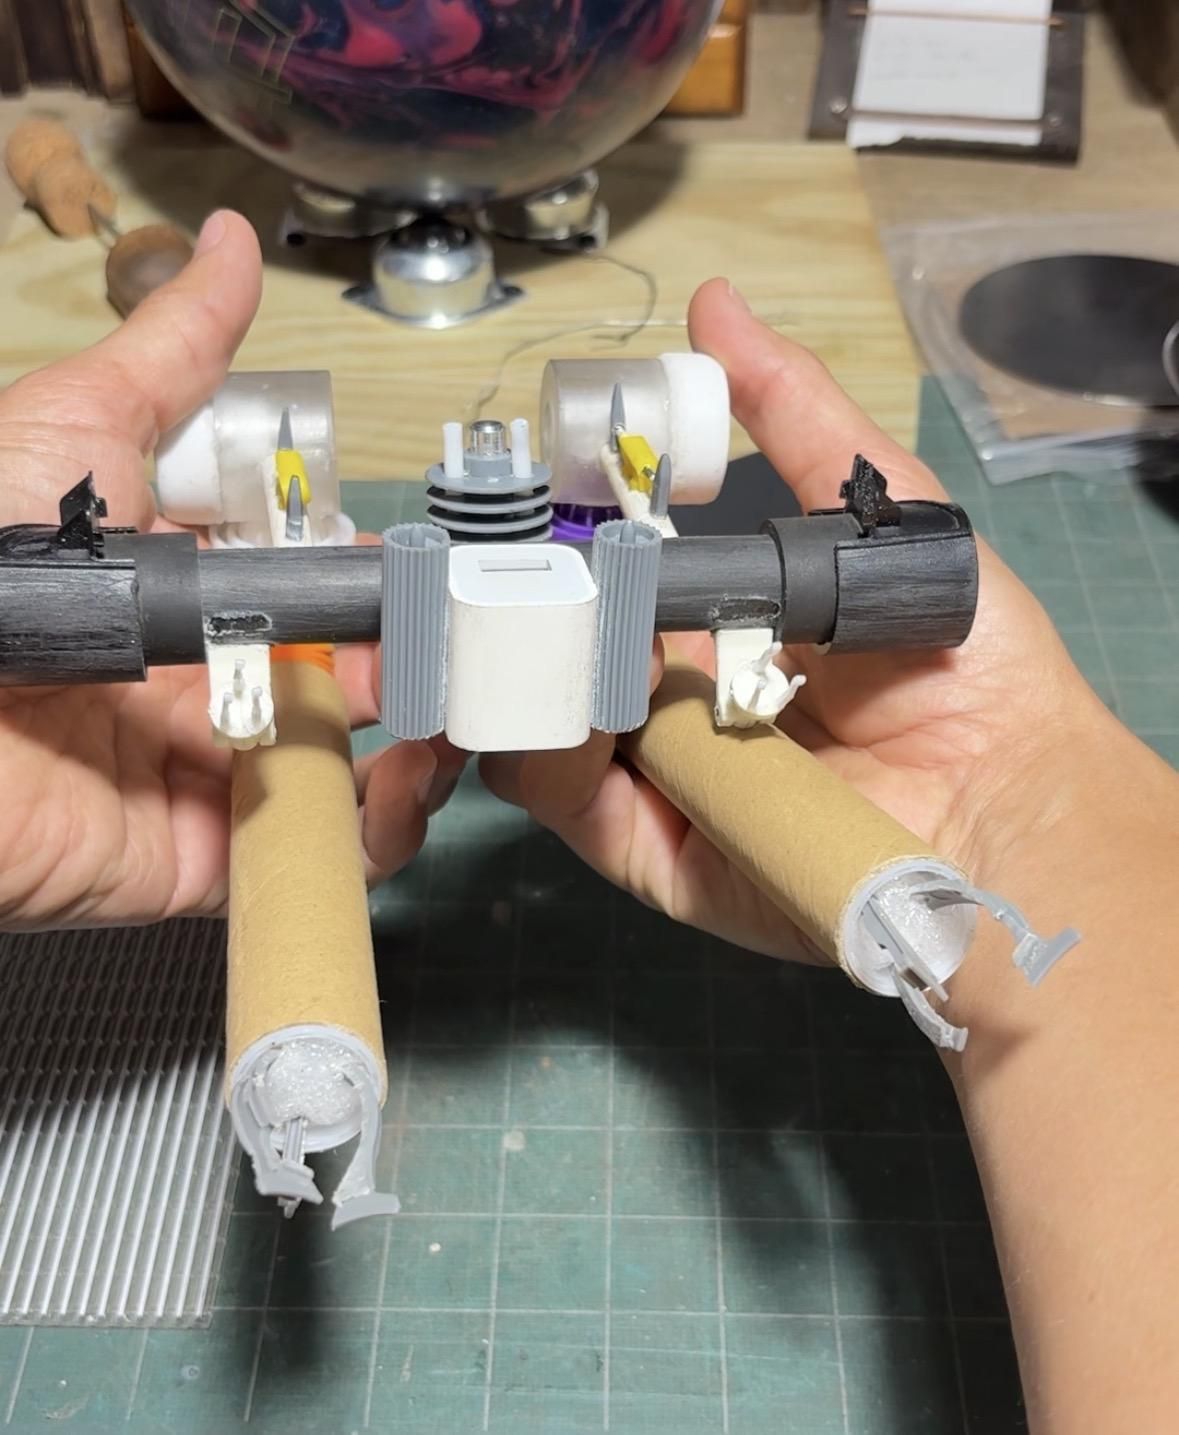
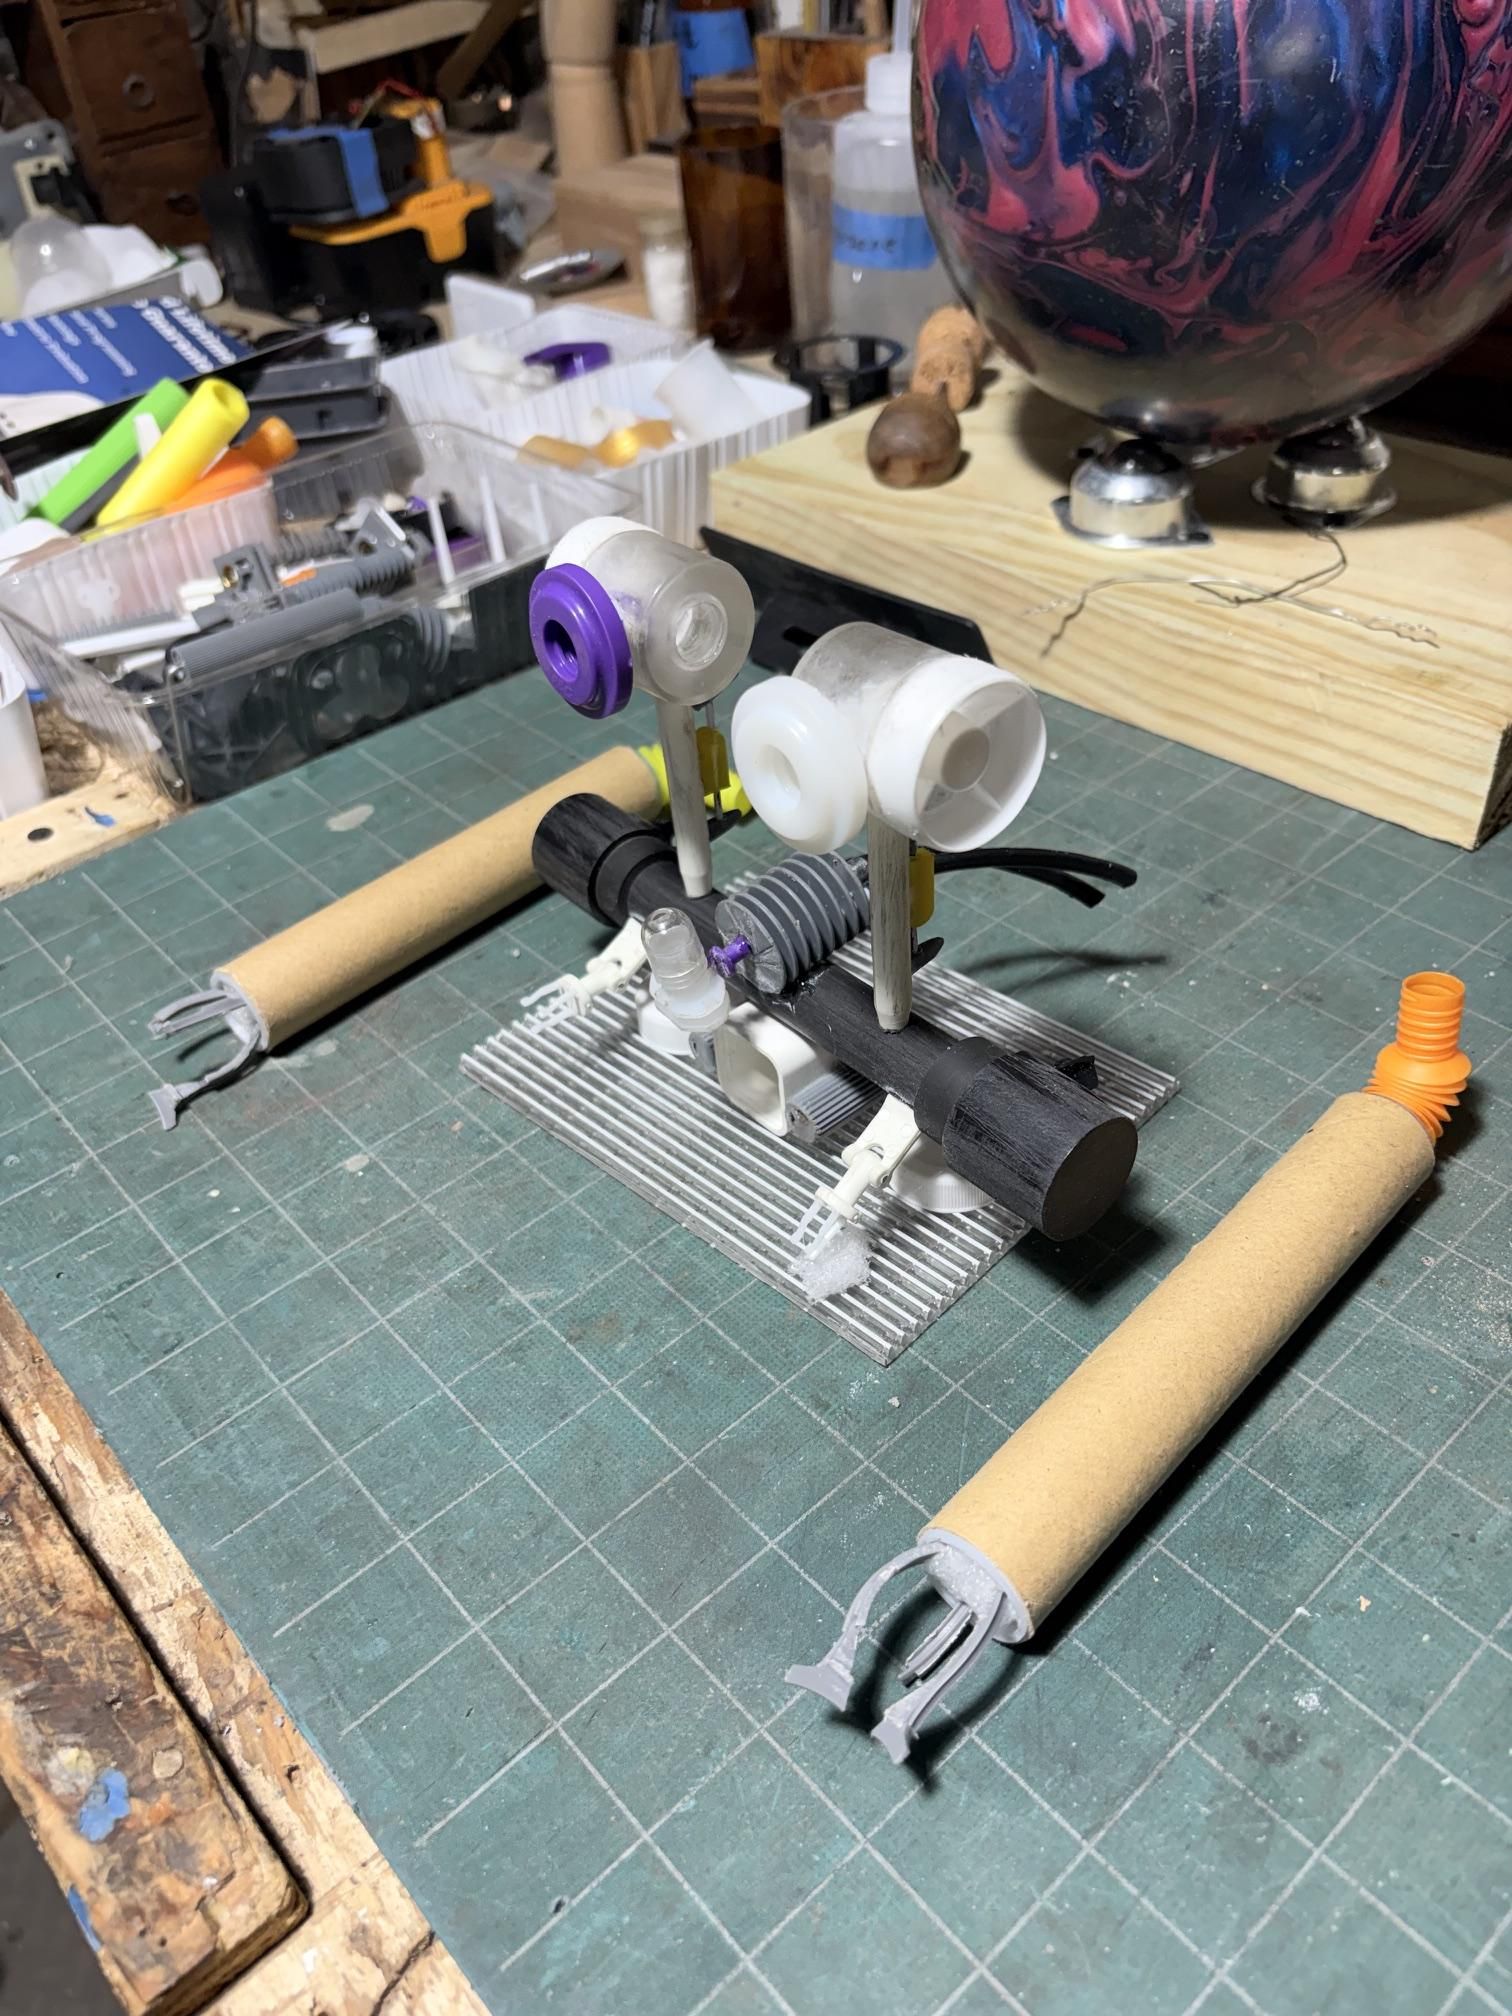
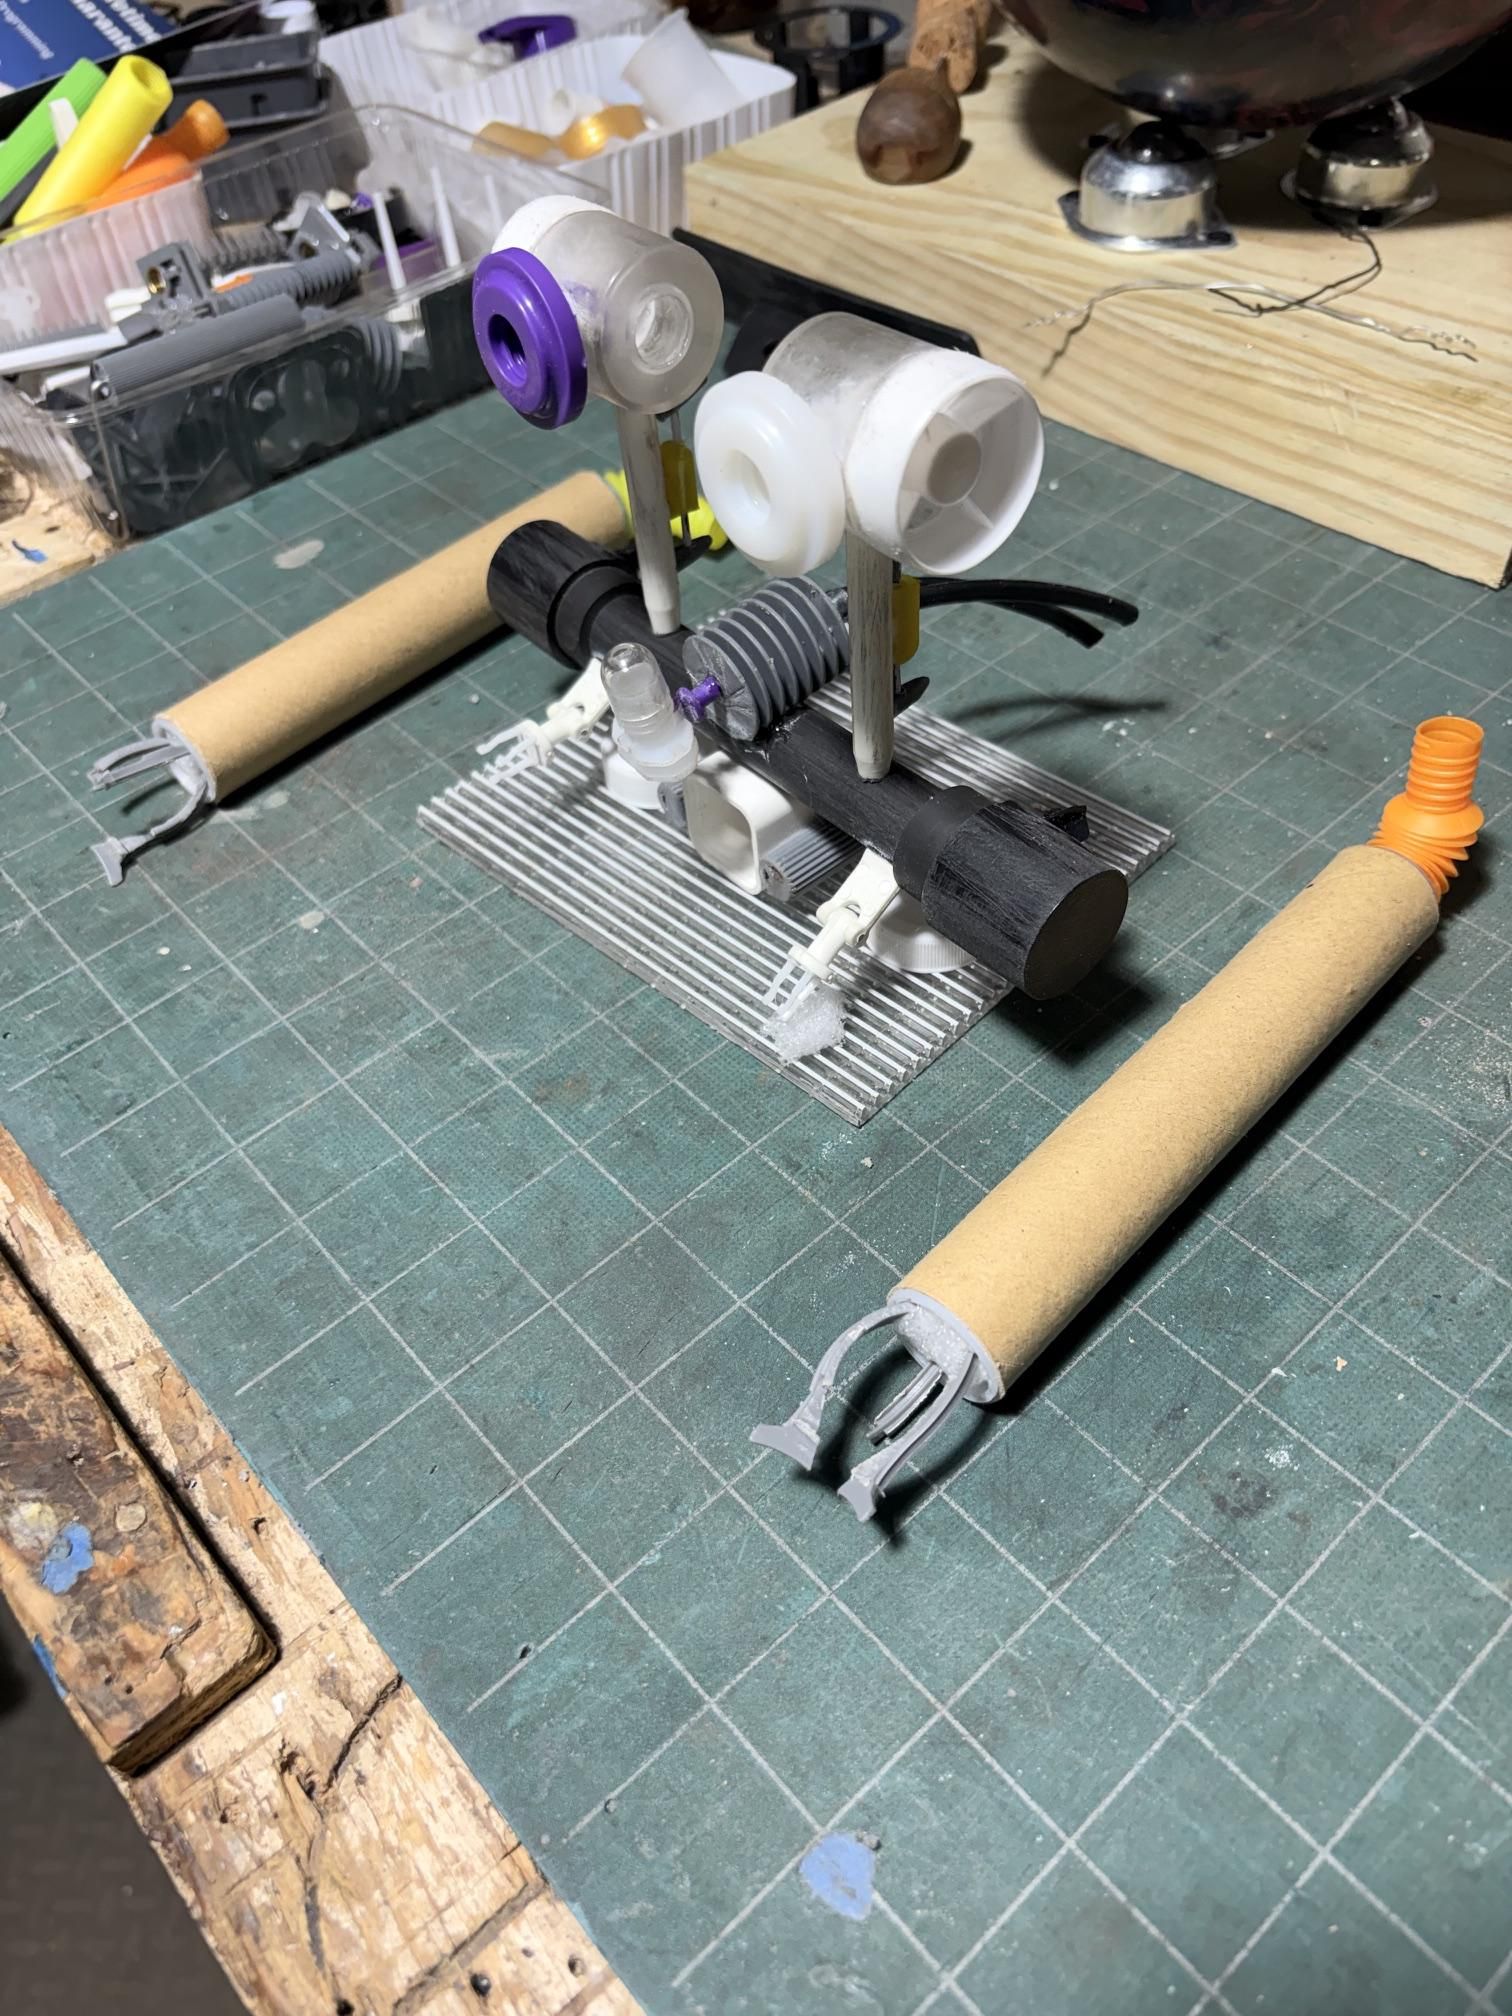
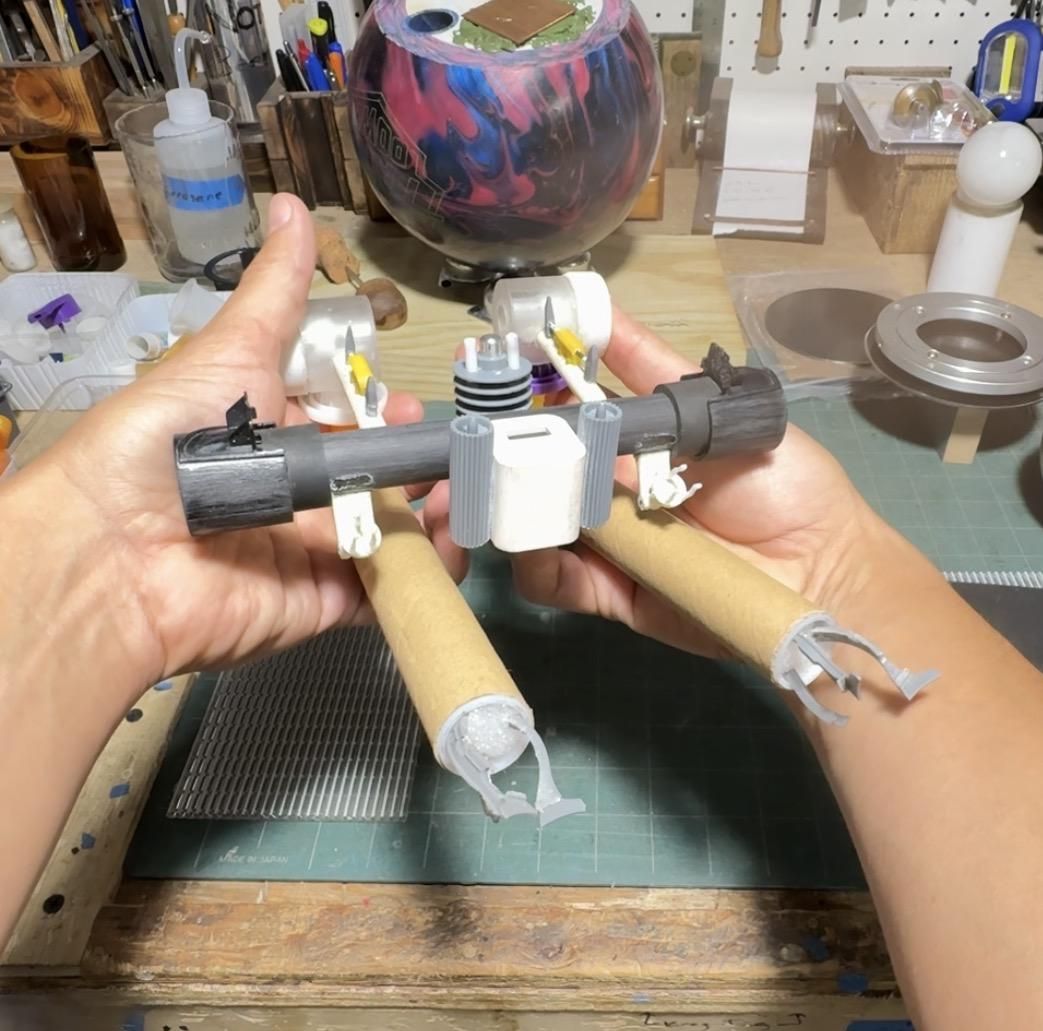
With those body parts glued up, I was able to start attaching everything. The body and arms all came together nicely and was able to be primed a painted. I was especially happy that the arms didn't droop too much with the thin plastic elbows, mentioned earlier.
The Head
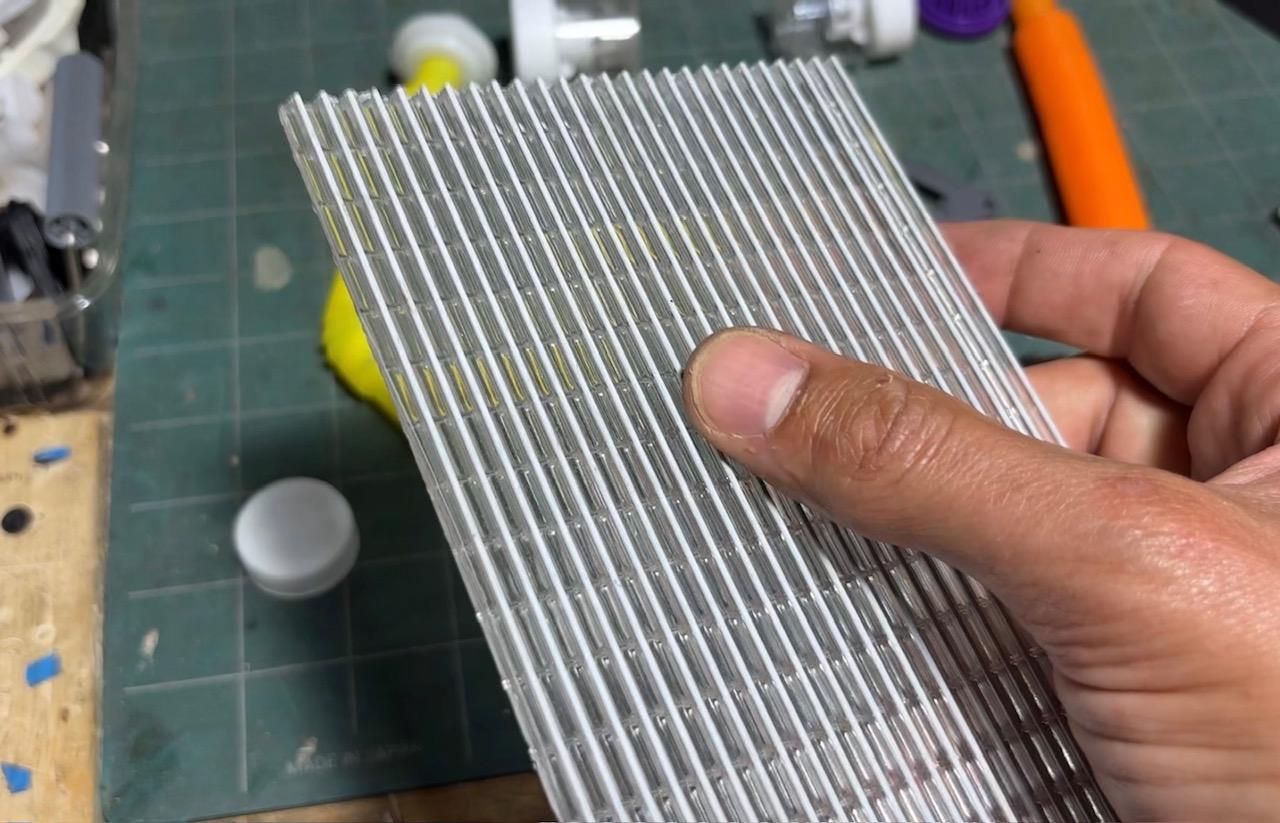
The head should have been the easiest part but was the cause of a lot of frustration for me. This was mainly keeping everything square without gluing clamps to the CA glue and head itself. I apologize for the lack of pictures in this section but I am sure those that do so can sympathize. This point of frustration was what led me to get CA activator from the hobby store. I had reached my limit, haha.
What I wound up doing prior to using activator (i.e., baking soda at this first stage) was taking different edges separately and allowing the glue to fully cure using a block of wood to support at 90-degrees. I could not have any angles droop or out of alignment.
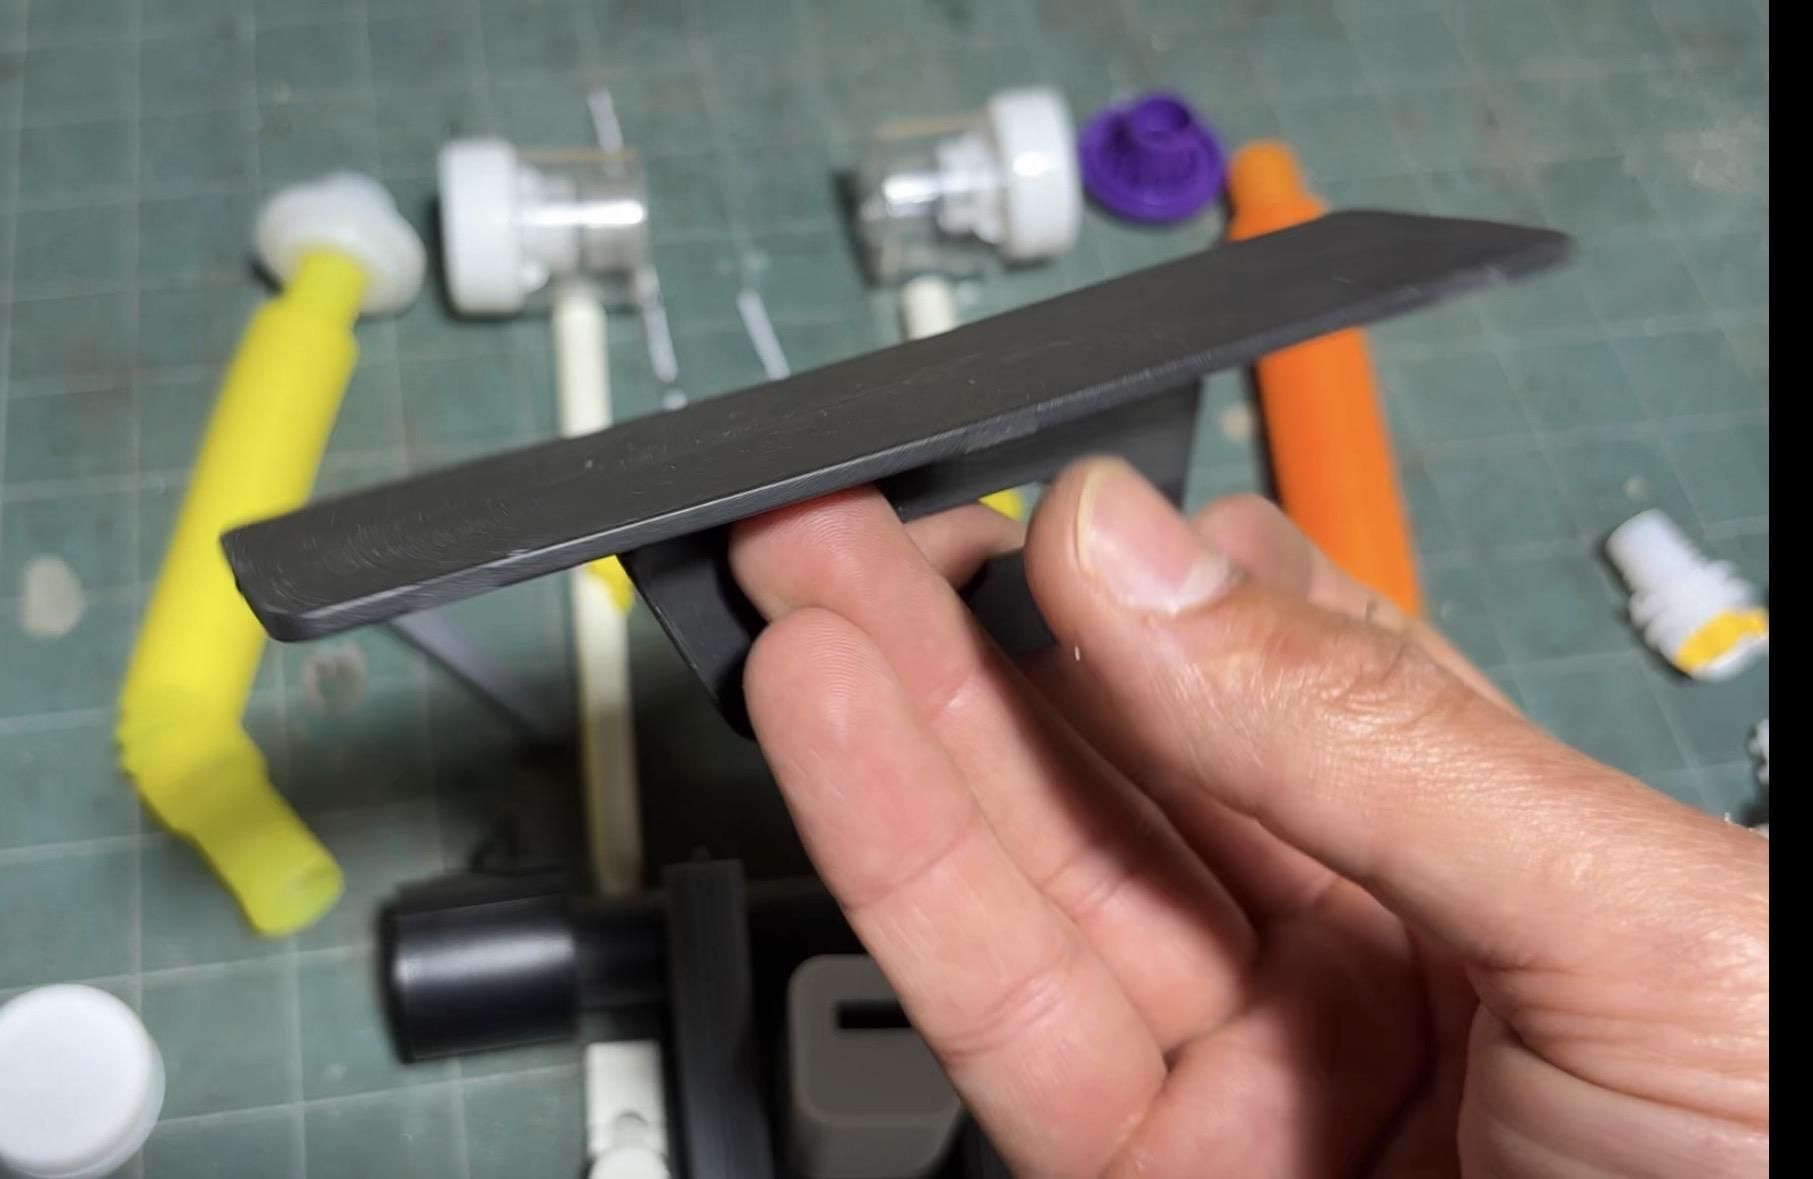
I used a fluorescent light diffuser (pic 1) as the ribbed sides of the head to mimic the Pod as much as I could (I didn't want just a smooth box). Pic 2 shows the bottom of the head that will attach to the black solar light tube seen in the body section. This is basically a handle from a flat pack but it worked better than I thought when attaching the head to the body. The front/back/top are ABS plastic sheets cut from an old printer.
The antenna you will see in the next step is also from a soap dispenser spout (the part inside the bottle). I believe this was from a large shampoo bottle. I drilled out the little eye sockets and glued on clear buttons from a controller but I cannot recall where I got them specifically. If I had to guess it was an old printer or the tape cutter.
My 042 Inspired Pod
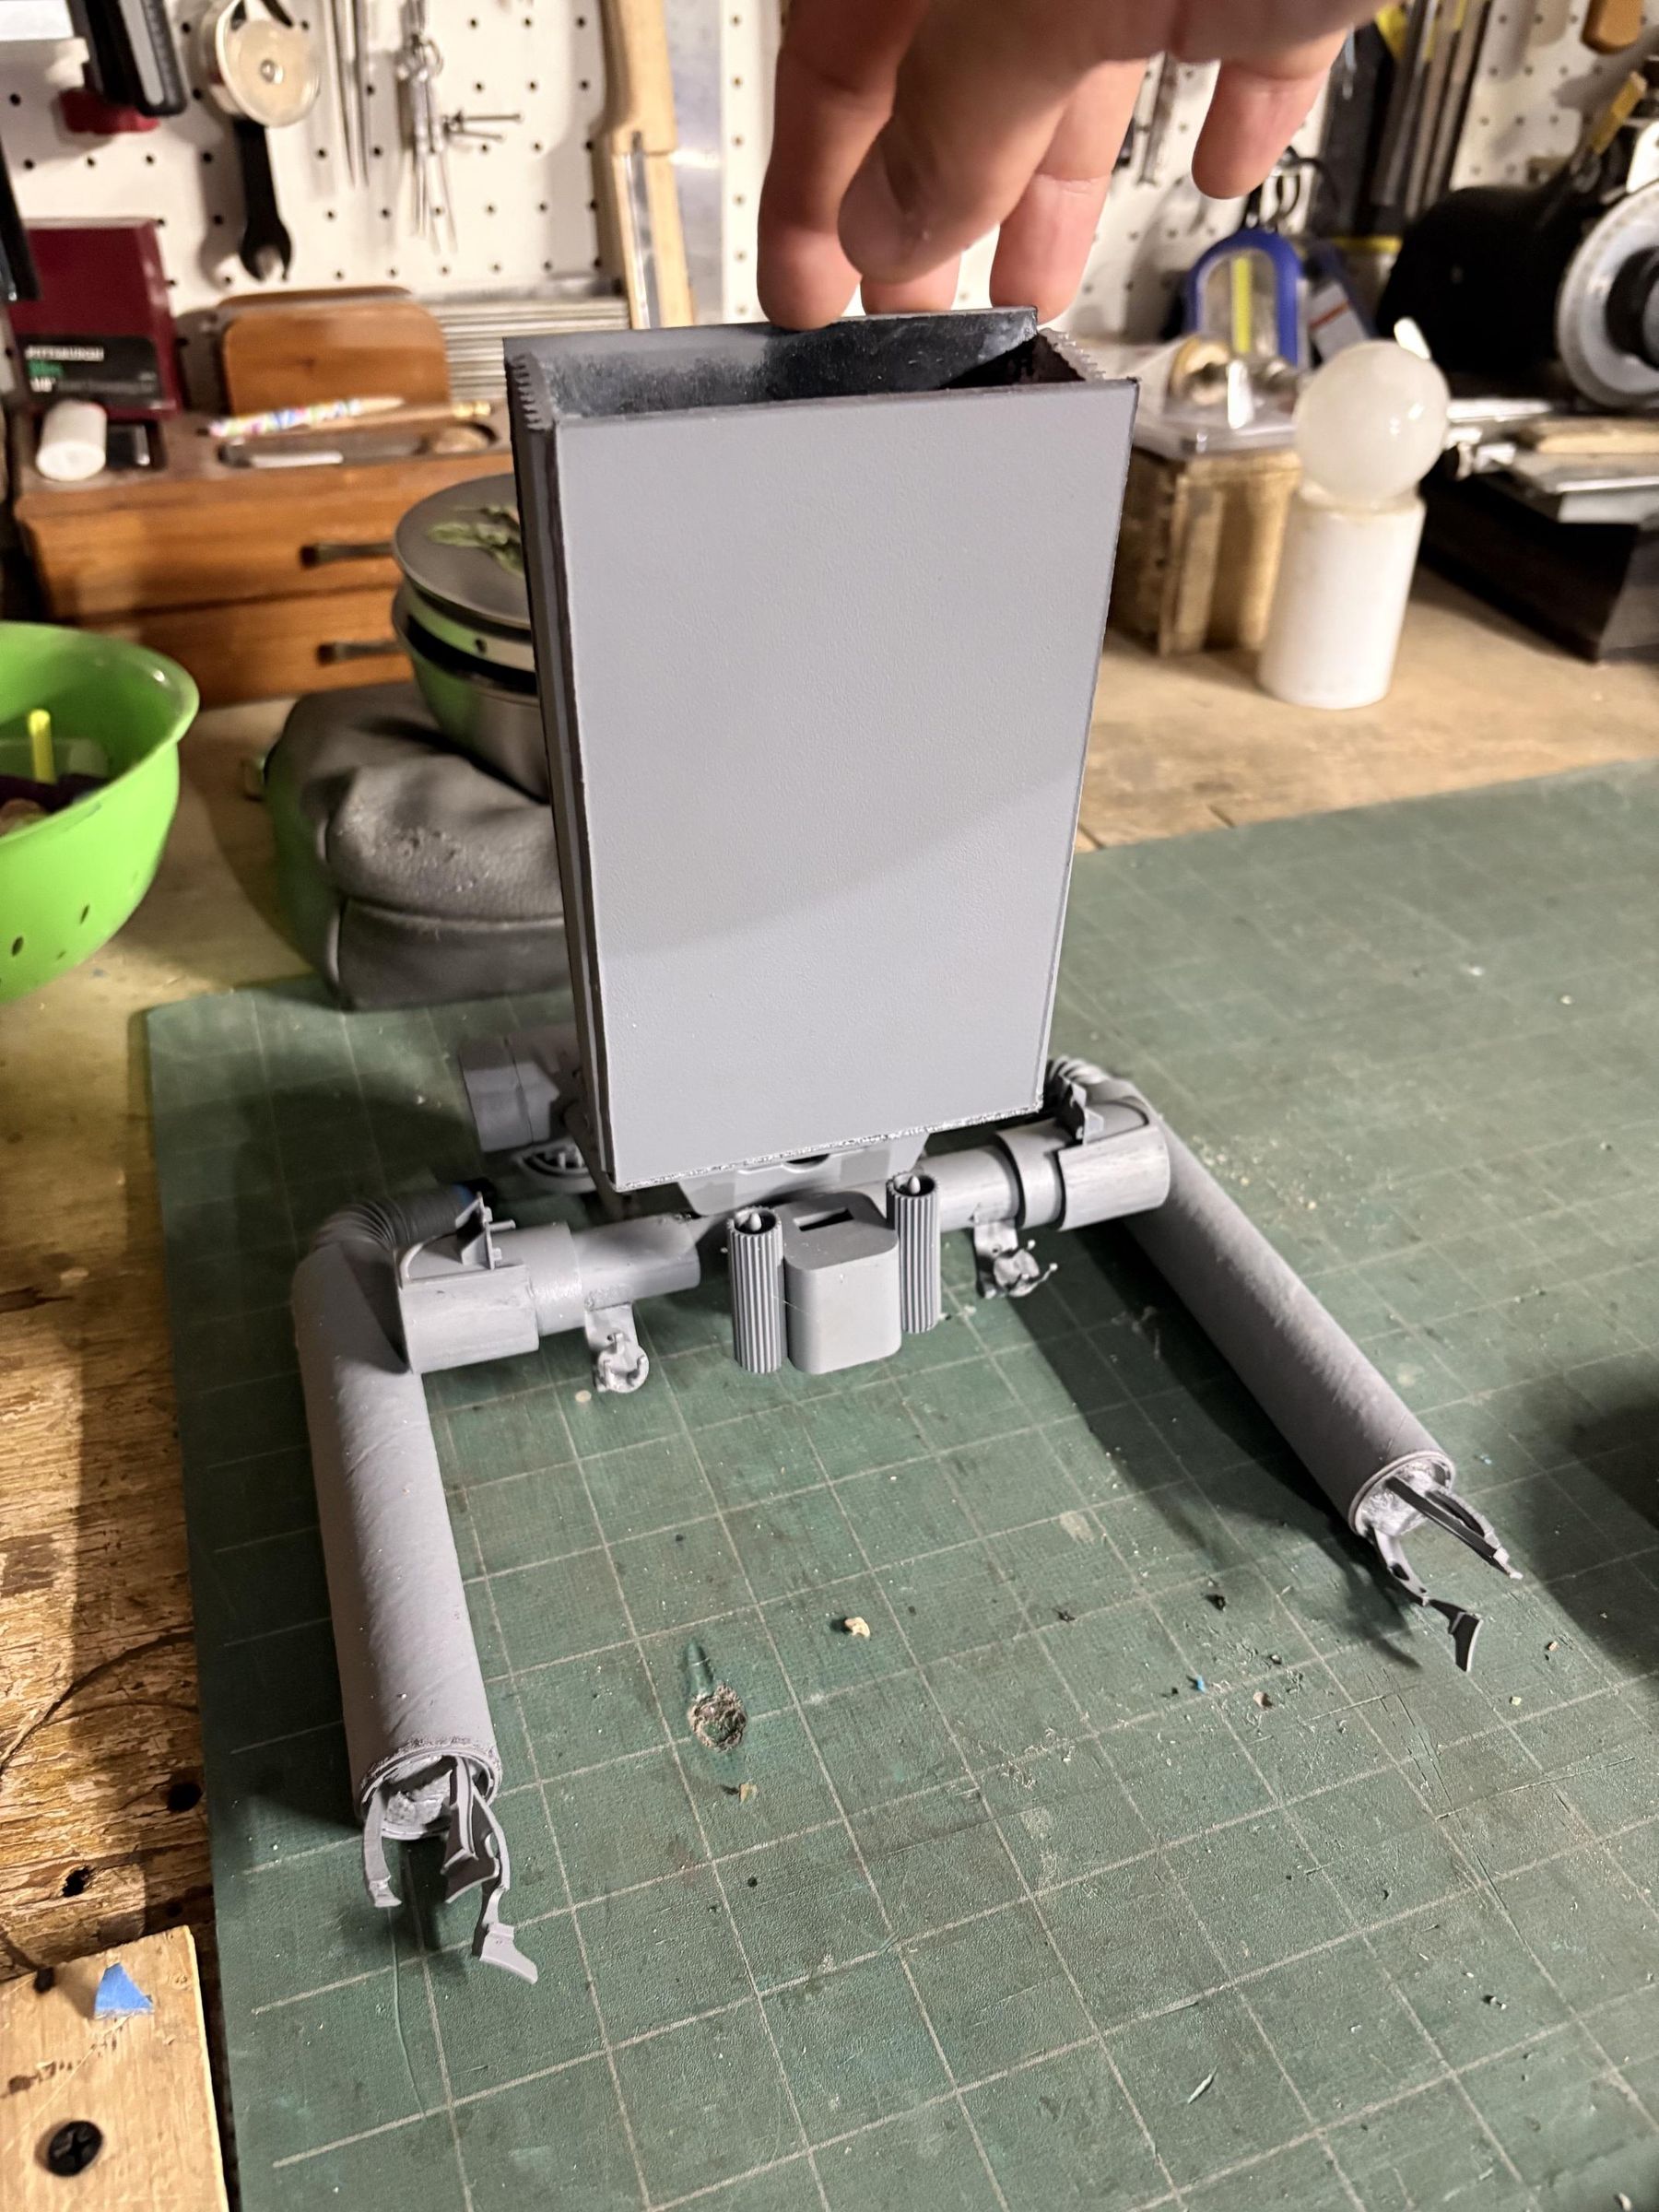
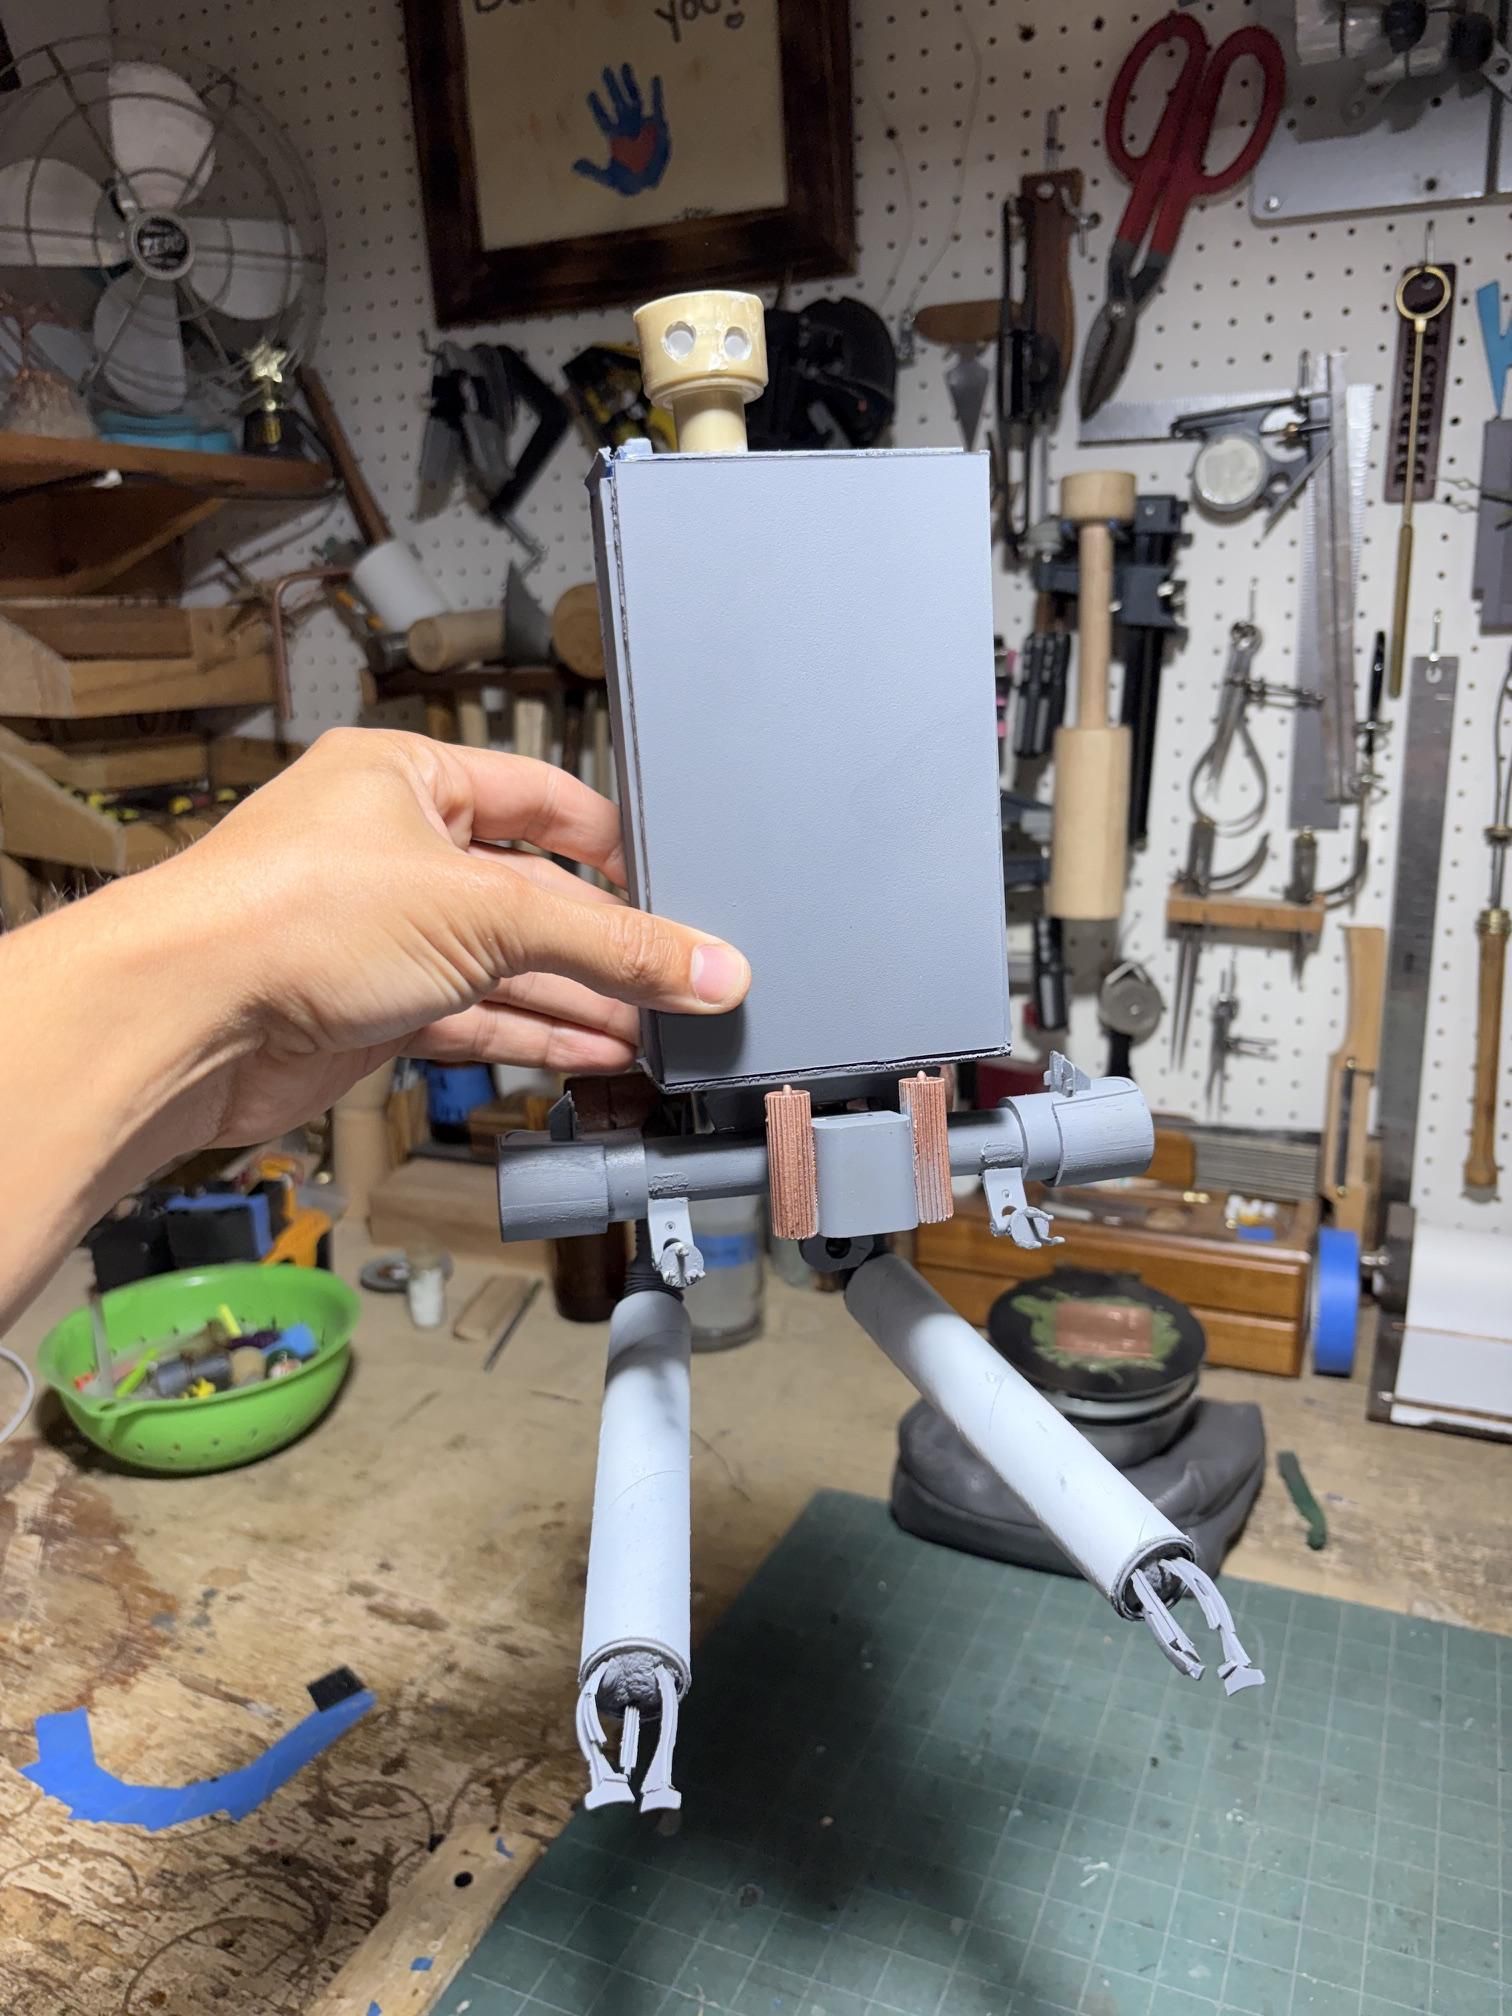
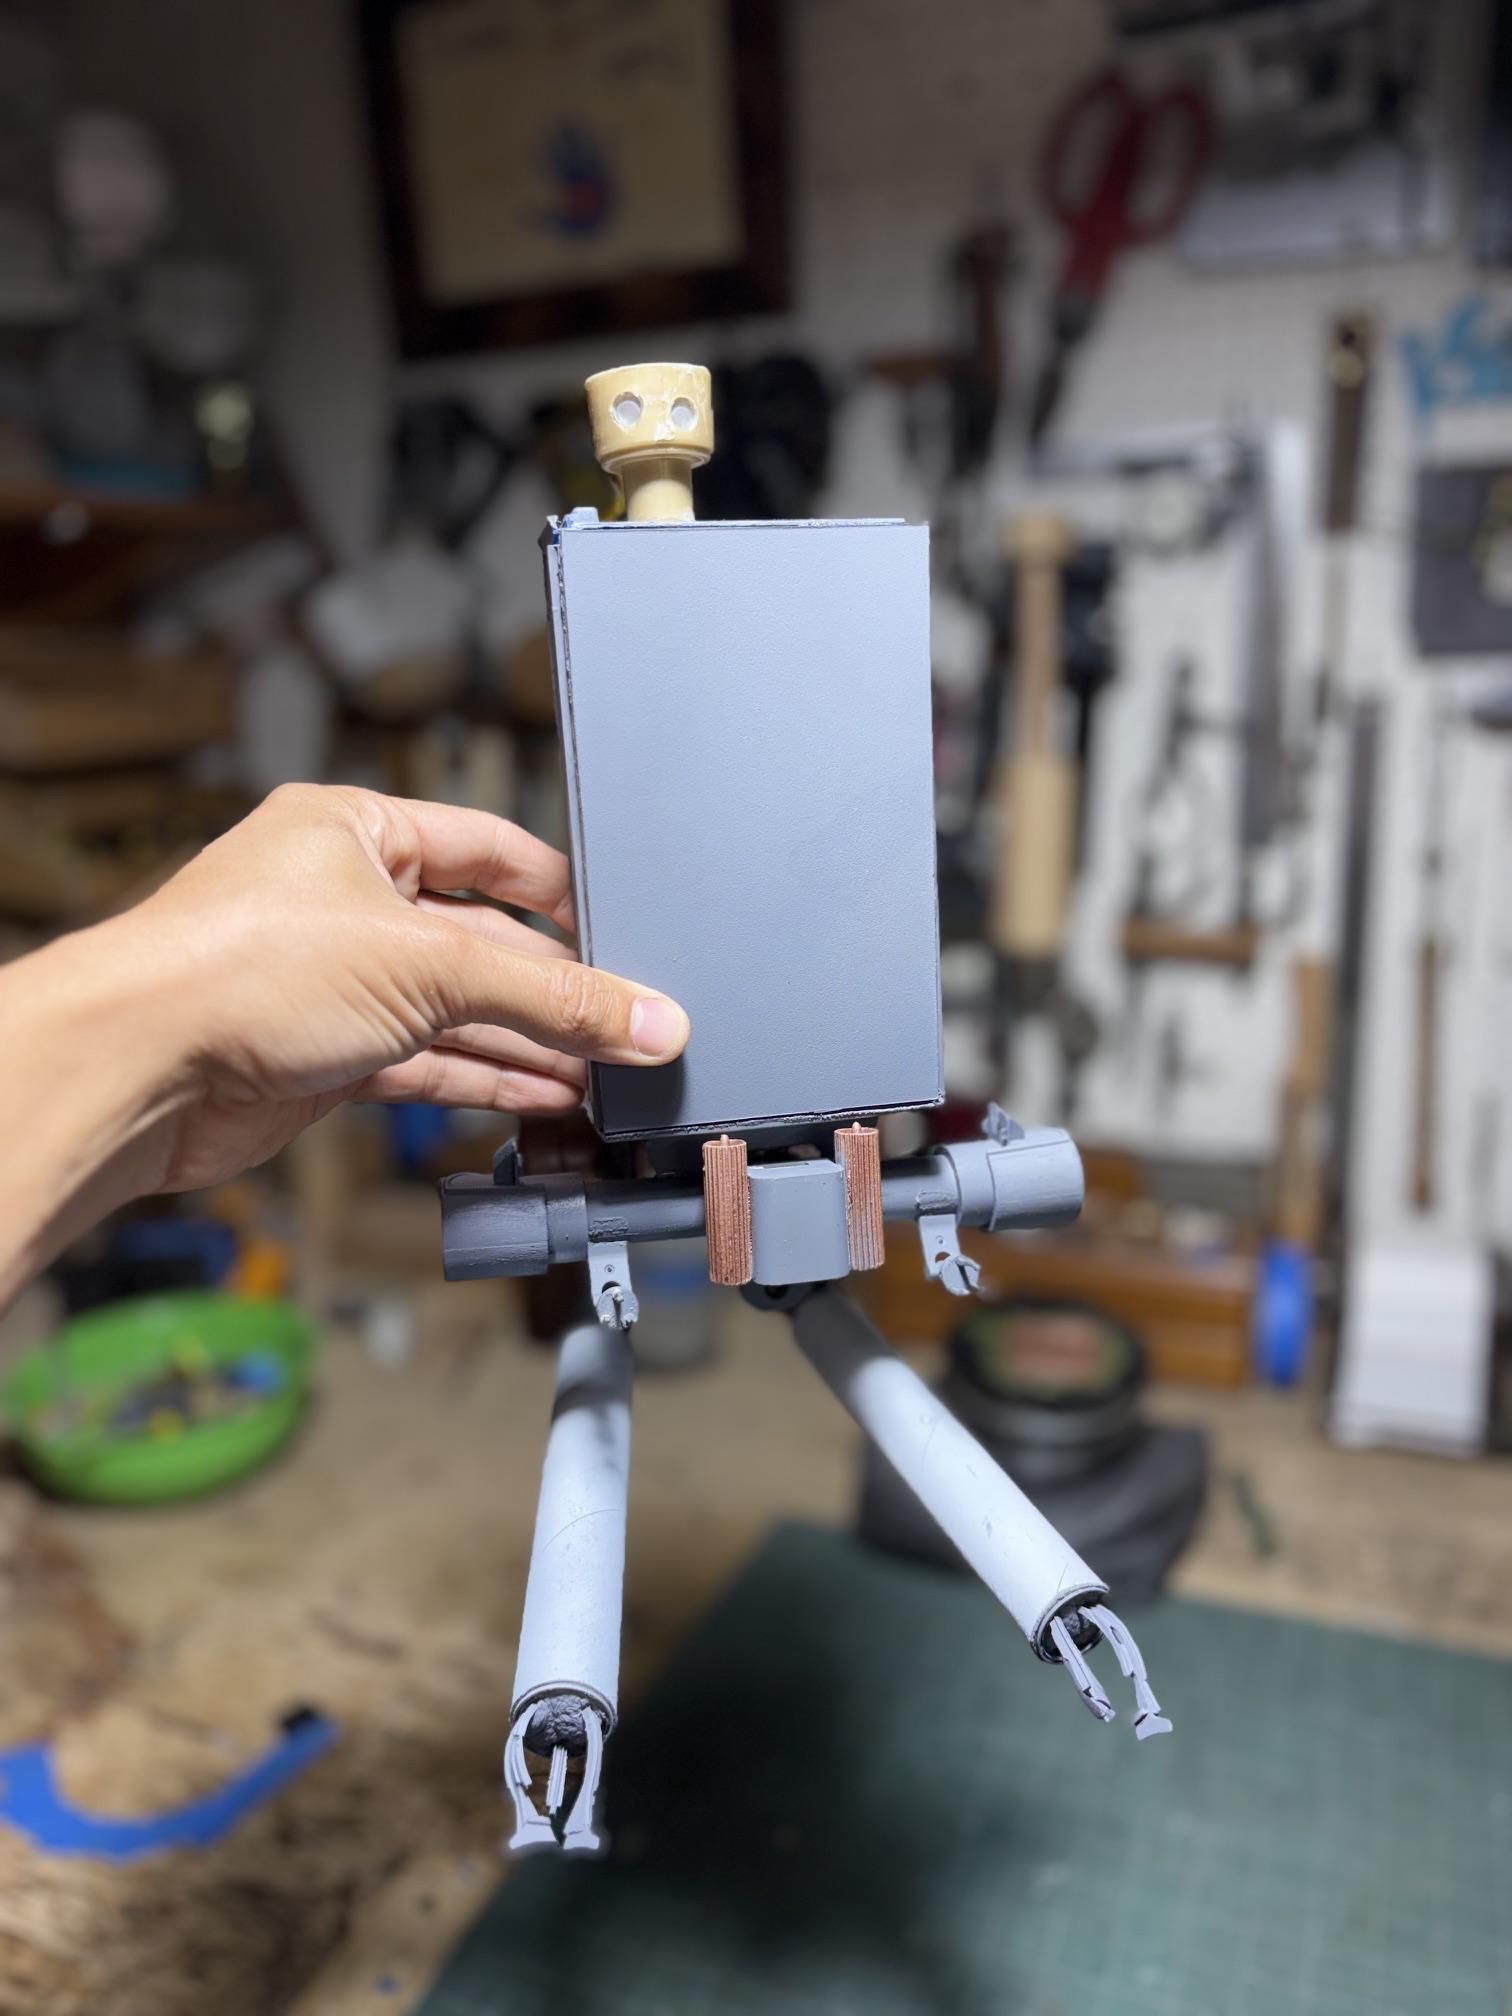
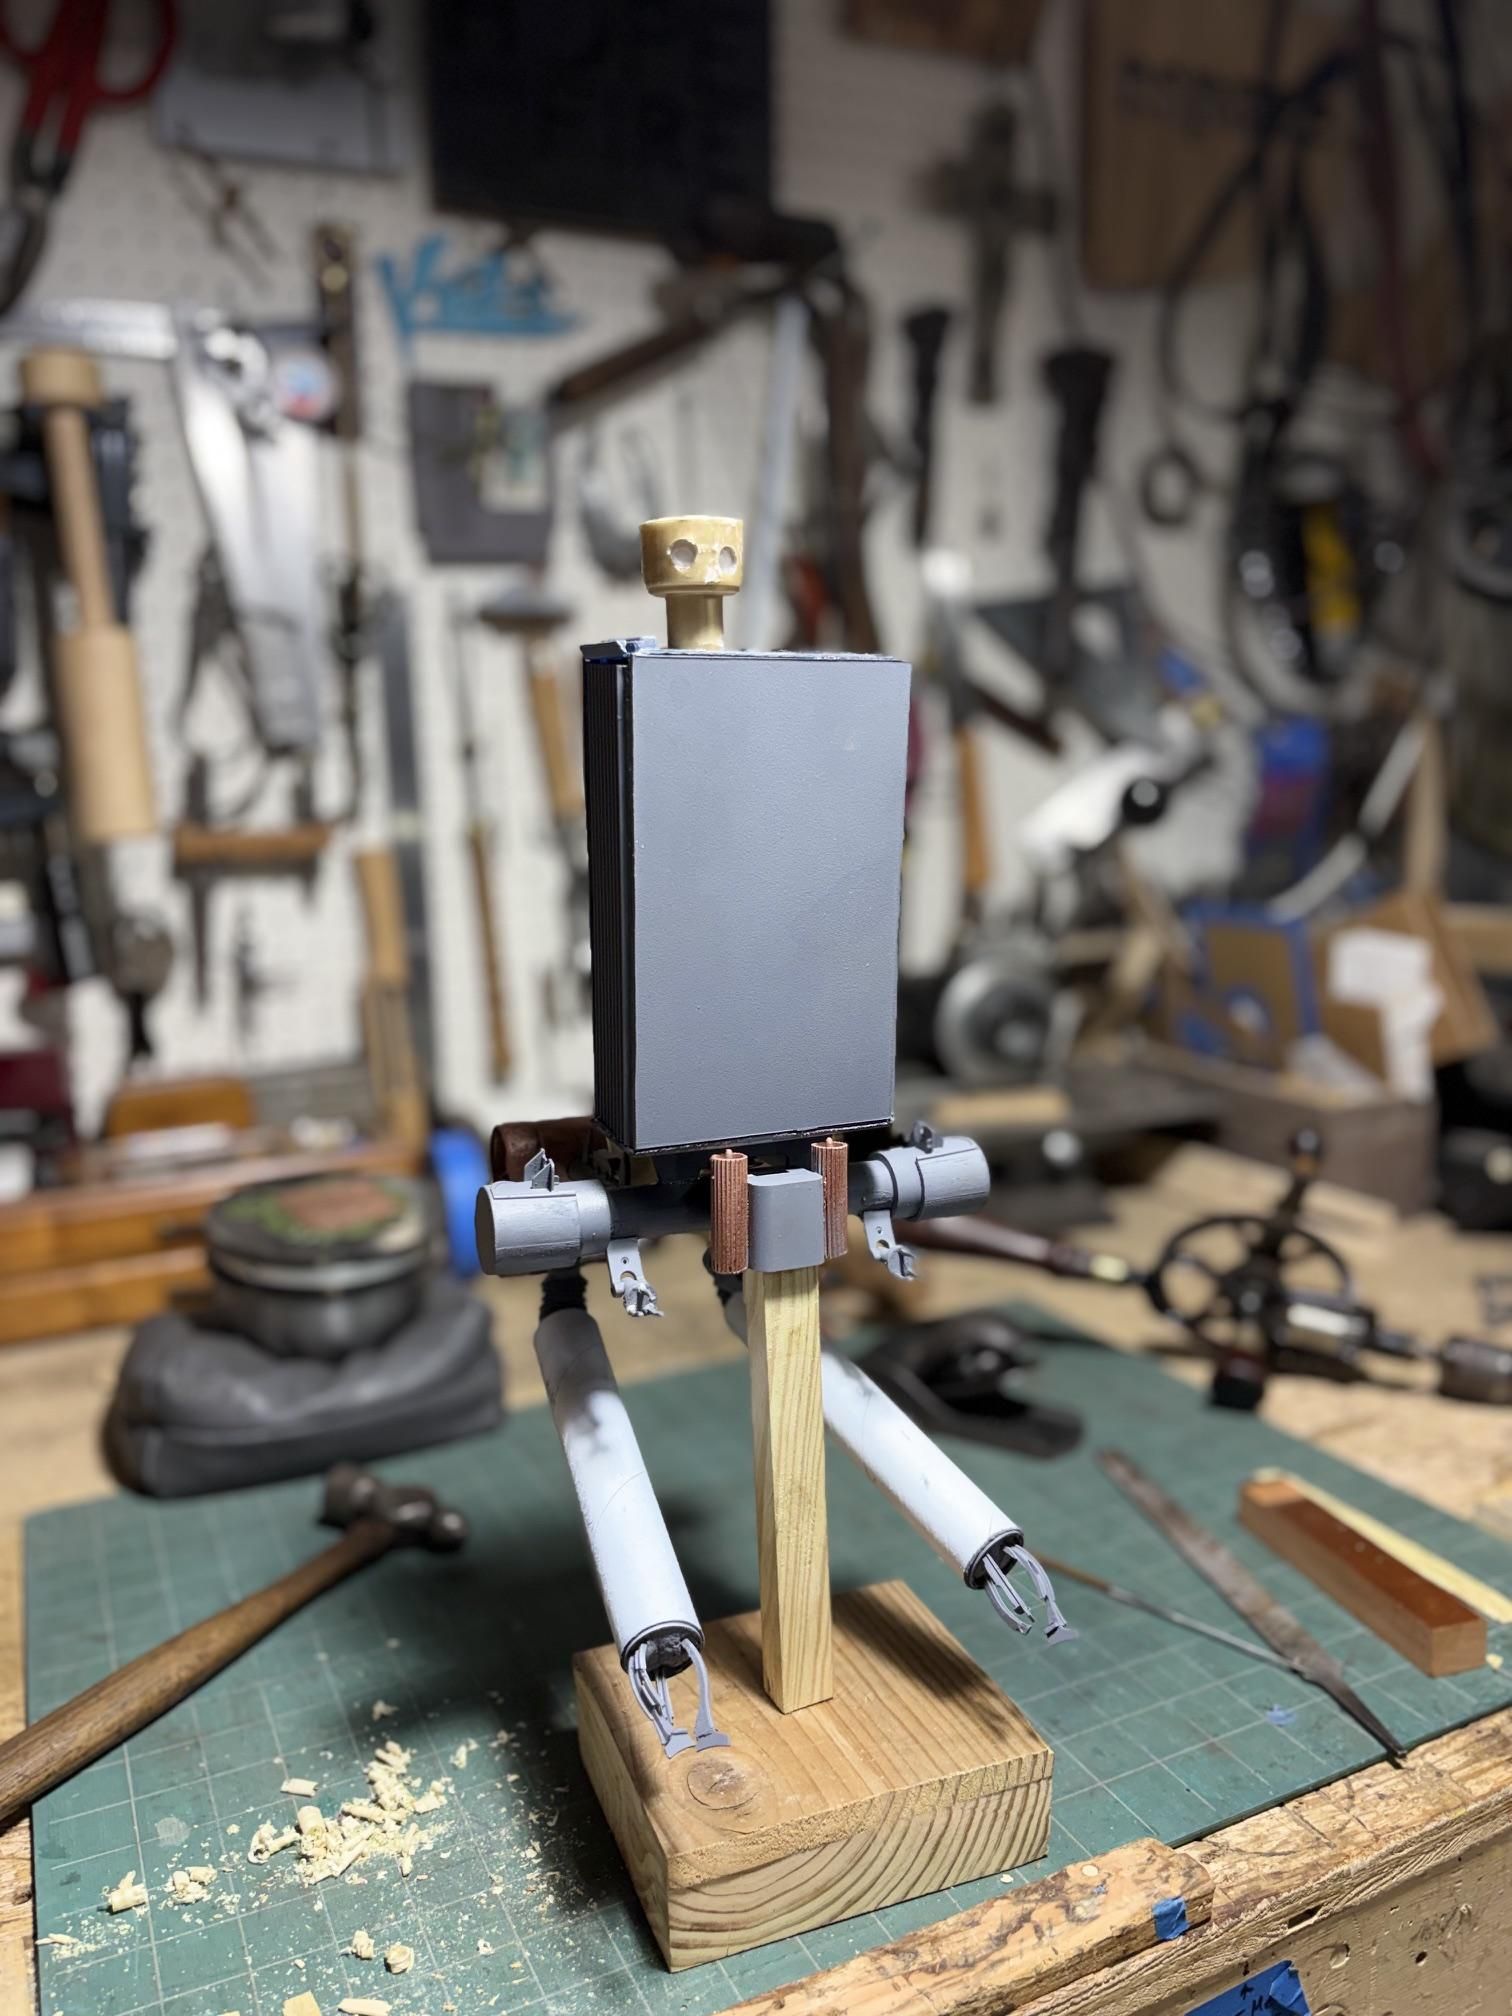
After taping off the borders with painter tape, I primed the body parts individually. I did a dry fit of the head to the body (pic 1) afterwards.
I was beaming with excitement of getting this pod looking really close to the real thing and I did it with throw away junk. Right up my alley!
Looking at the reference pics I had, I painted the arms white, the supporting parts with copper metallic paint, and left the rest grey. I intend on using a watered down mix of water and acrylic black paint for weathering in the future but look at how cool this thing turned out!
I made a little stand with some scrap wood and also so this thing can be moved around a little easier. The wood stand was cut so that it would fit snuggly inside the bottom of the apple phone charger wall wart since that is where my Pod's center of gravity is.
I am so pumped to:
A. Have my own Nier inspired Pod, and
B. That I was able to do the thing using random throw aways
I would love to figure out to give this thing a programmable voice box so that it can say, "Alert!" or "Proposal."
I hope this inspires you to do something similar if you have always wanted a prop/toy of your own creation.
"A future is not given to you, it is something you must take for yourself!"
All things are designed to end, and this is the end of my Instructable. Thanks for the support!