Set Up the Linkit One Board and Charge the Battery
by Pure Carbon in Circuits > Microcontrollers
781 Views, 4 Favorites, 0 Comments
Set Up the Linkit One Board and Charge the Battery

Hello World! Pure Carbon here with another Instructable, I recently signed up to receive a Linkit One Board from MediaTek through Instructables and about a month later I received the board in the mail. It came with a nice little note explaining everything, three Instructables stickers (always nice), a tangle free USB cable, and of course the board itself. If you decide that you want one of these unique boards after reading then here is the link.
I'm sure you're probably wondering what makes this board so unique? Well first off, it's similar to the Arduino in the sense that it uses the same IDE and it has the same form factor. Another thing that makes it so unique is the fact that it combines numerous Arduino shields into one small board. This is extremely useful for anyone who doesn't want to spend hundreds of dollars on various different shields for different projects. So without further ado here it is, enjoy!
Thank you for all your support, and tips to help me improve my Instructables. Without you guys I wouldn't be doing this right now, you can expect many more Instructables in the future so don't forget to follow me and/or favorite this Instructable. If you have any question or concerns then be sure to comment, or if you just want tell me how awesome this is, that's fine too! Here it is, hope you enjoy it and once again thank you.
Check me out on:
YouTube: https://www.youtube.com/channel/UCp1Iy_qqZl-TBWrw...
Channel ad:
Facebook: https://www.youtube.com/channel/UCp1Iy_qqZl-TBWrw...
Twitter: https://www.youtube.com/channel/UCp1Iy_qqZl-TBWrw...
Also Support me on Patreon where contributors get early access to all the videos I make along with free PDF downloads of all my upcoming Instructables: https://www.youtube.com/channel/UCp1Iy_qqZl-TBWrw...
About the Board


.jpg)

First off, lets talk about what's on the board and what it can do.
Features of the board:
- GSM
- GPRS
- Wi-Fi
- GPS
- Bluetooth
- ARM7 EJ-S
- Audio Input
- SD card slot
- SIM card slot
- Similar pinout to the Arduino
- 3.7v battery port
All these features are extremely useful for all sorts of projects. It is clear that this board will pave the way for future innovation and allow faster and easier prototyping.
What comes in the box?
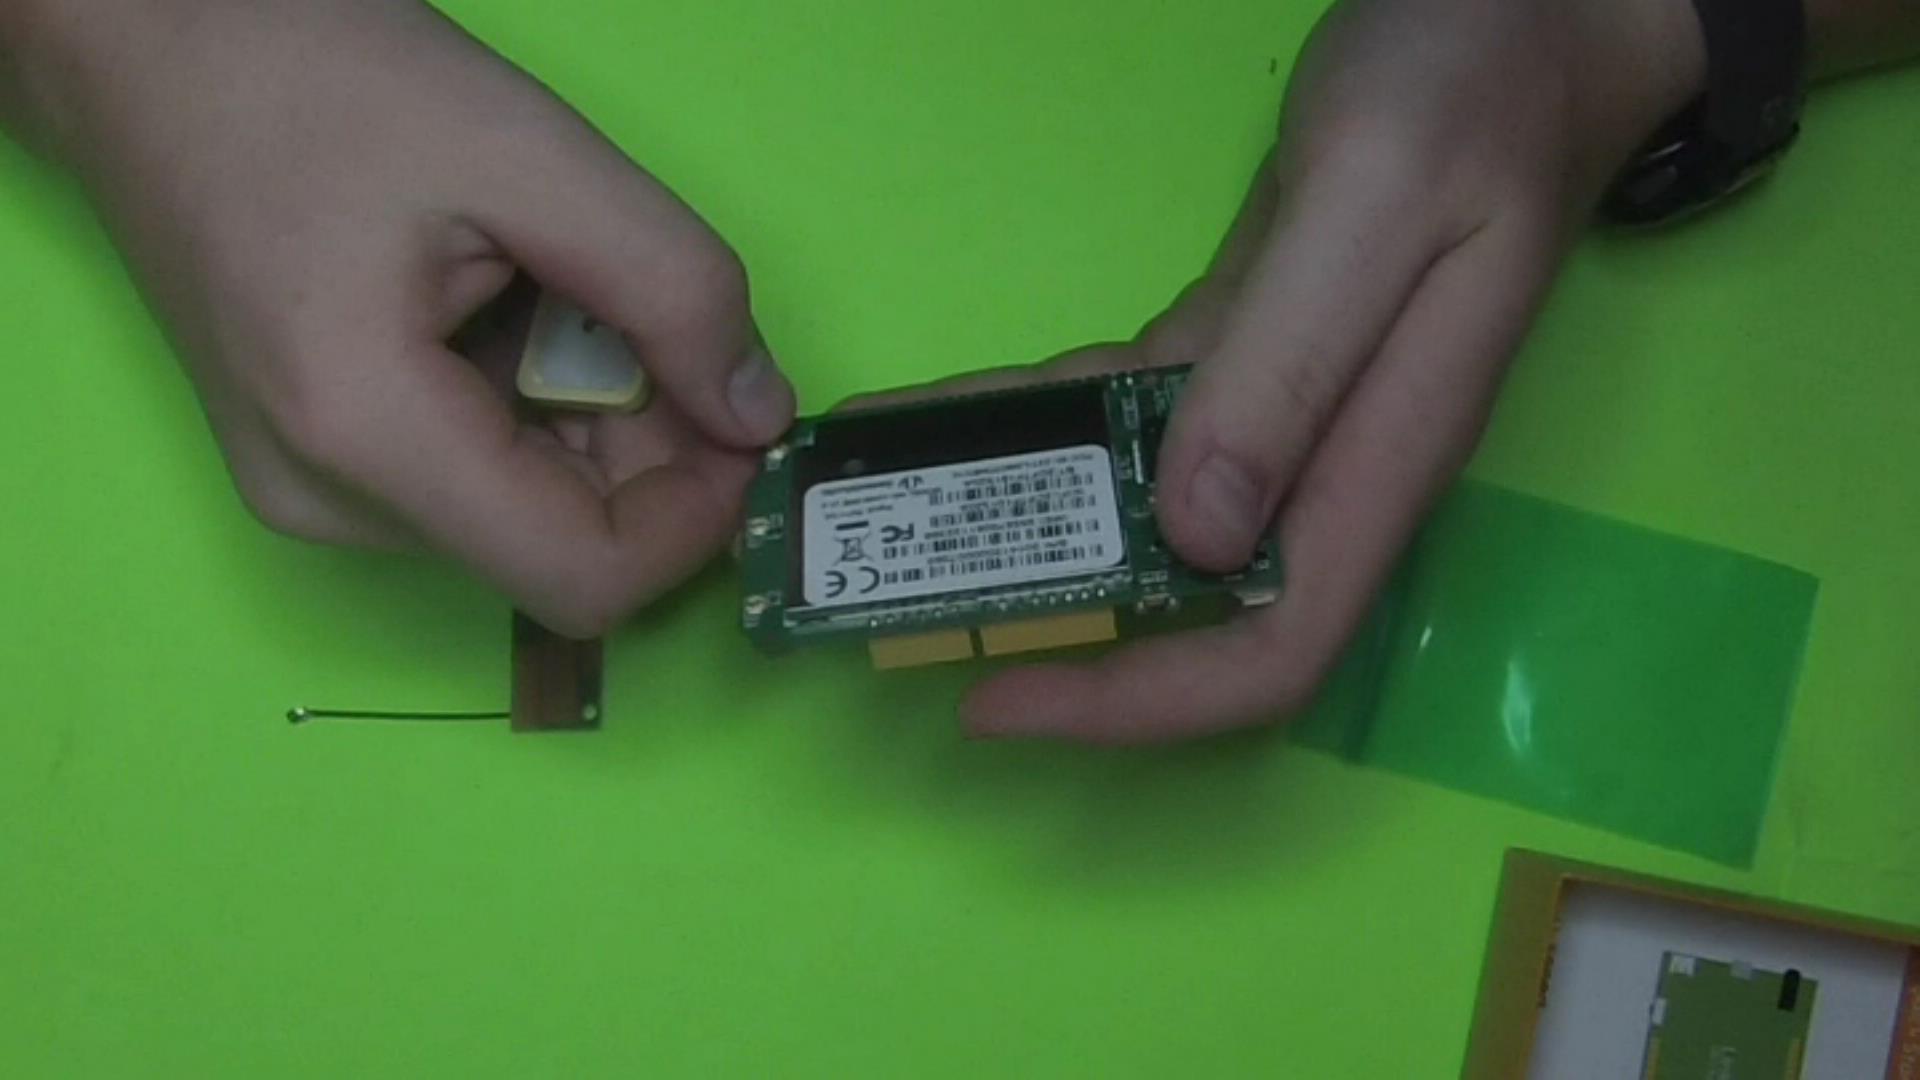
If you do decide to purchase one of these boards then you will not only receive the board, but also a lipo battery, three different antennas, and some information about set up and the board.
Downloading the Linkit One SDK
.jpg)
.jpg)
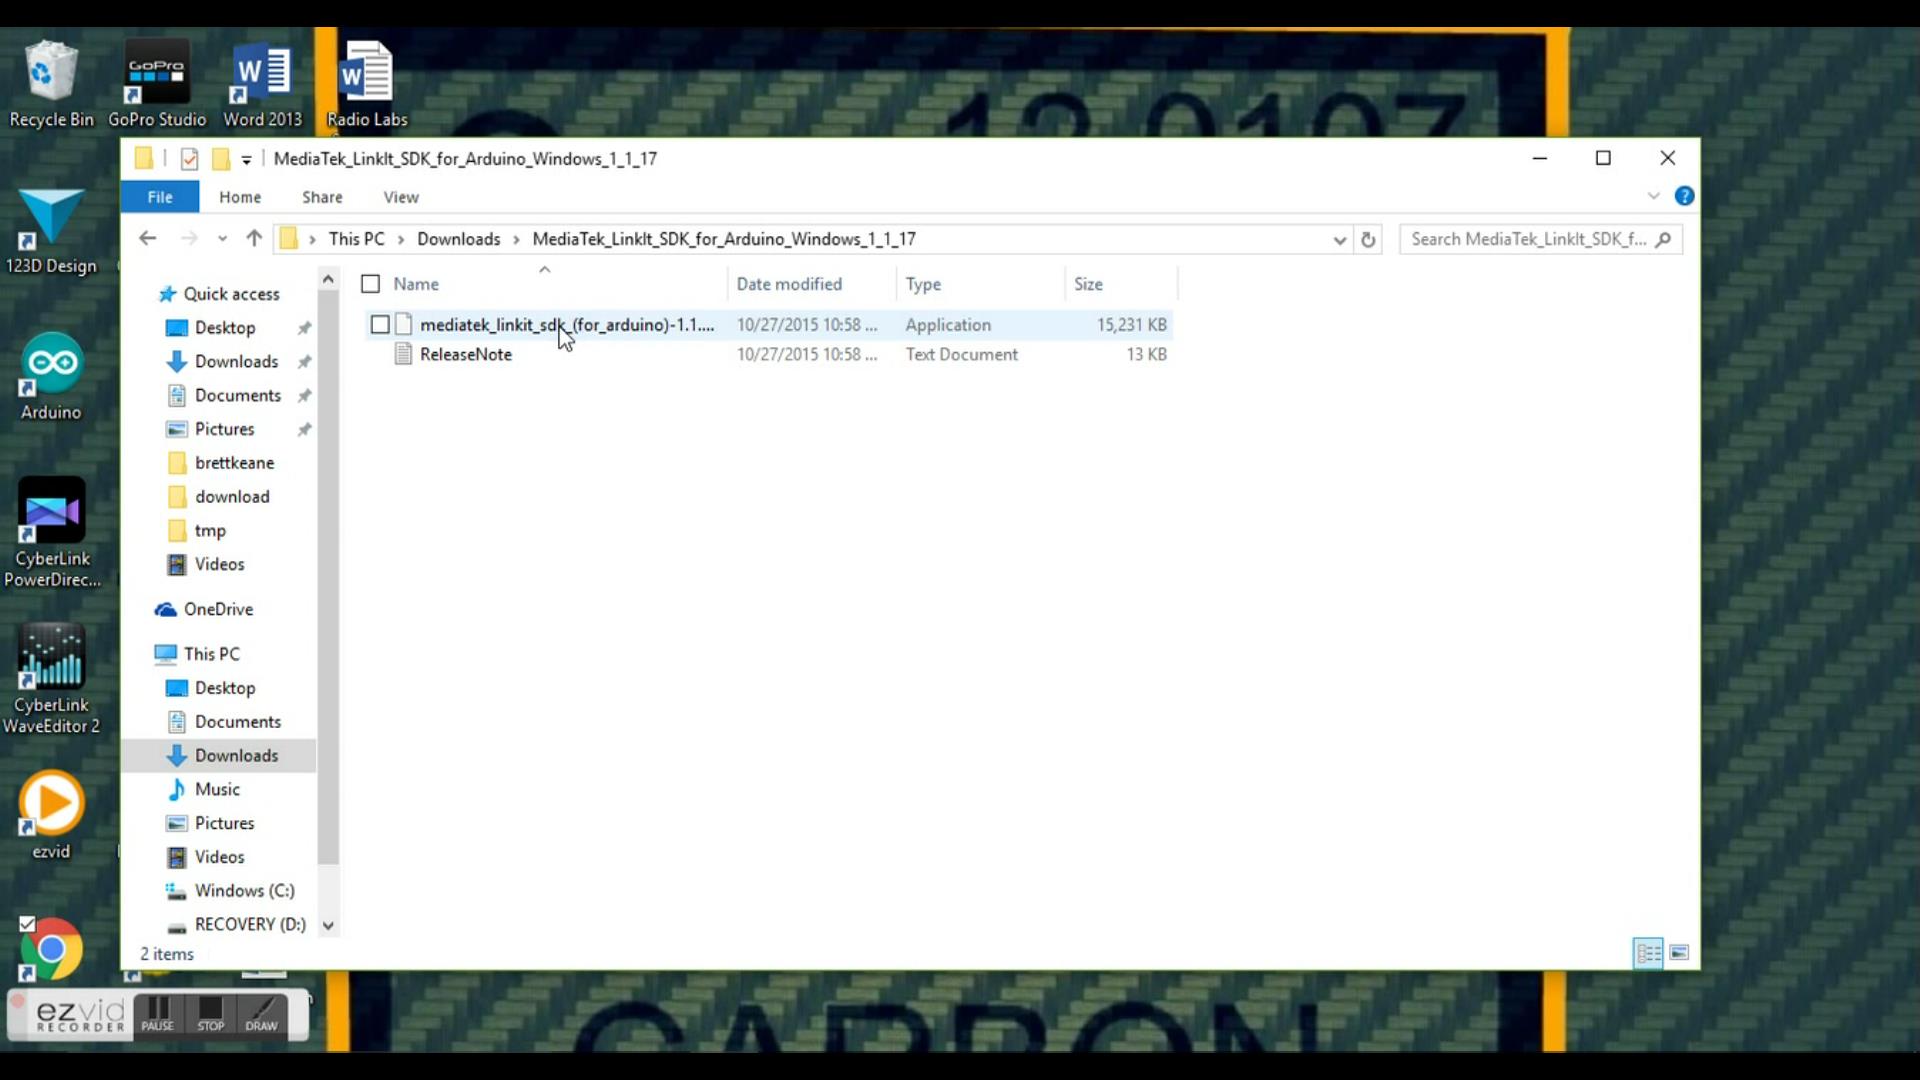
To get the Linkit One working you will need to download the SDK which allows the Arduino's IDE to upload sketches to the board. First go to this website and download the one that is appropriate to your computer.
Installing the SDK
.jpg)
.jpg)
.jpg)
.jpg)
Now search your computer for the file you just downloaded and click on it to start the installation process. After you click on the file a window will pop up like the one in the second picture, continue by following the instructions given and it will install itself.
Upgrade the Boards Firmware


There is a chance that the board you receive will need the firmware updated. Doing this is extremely simple because all you need to do is find the Arduino folder on your computer and inside will be another folder labeled hardware, inside that folder will be yet another folder labeled tools then inside that one will be another folder labeled mtk which holds the firmware updater. To use this tool all you need to do is plug in the board to one of the USB ports and click the big green button on the right and it will update itself.
Uploading an Arduino Sketch to the Board
.jpg)
.jpg)
.jpg)
.jpg)
.jpg)
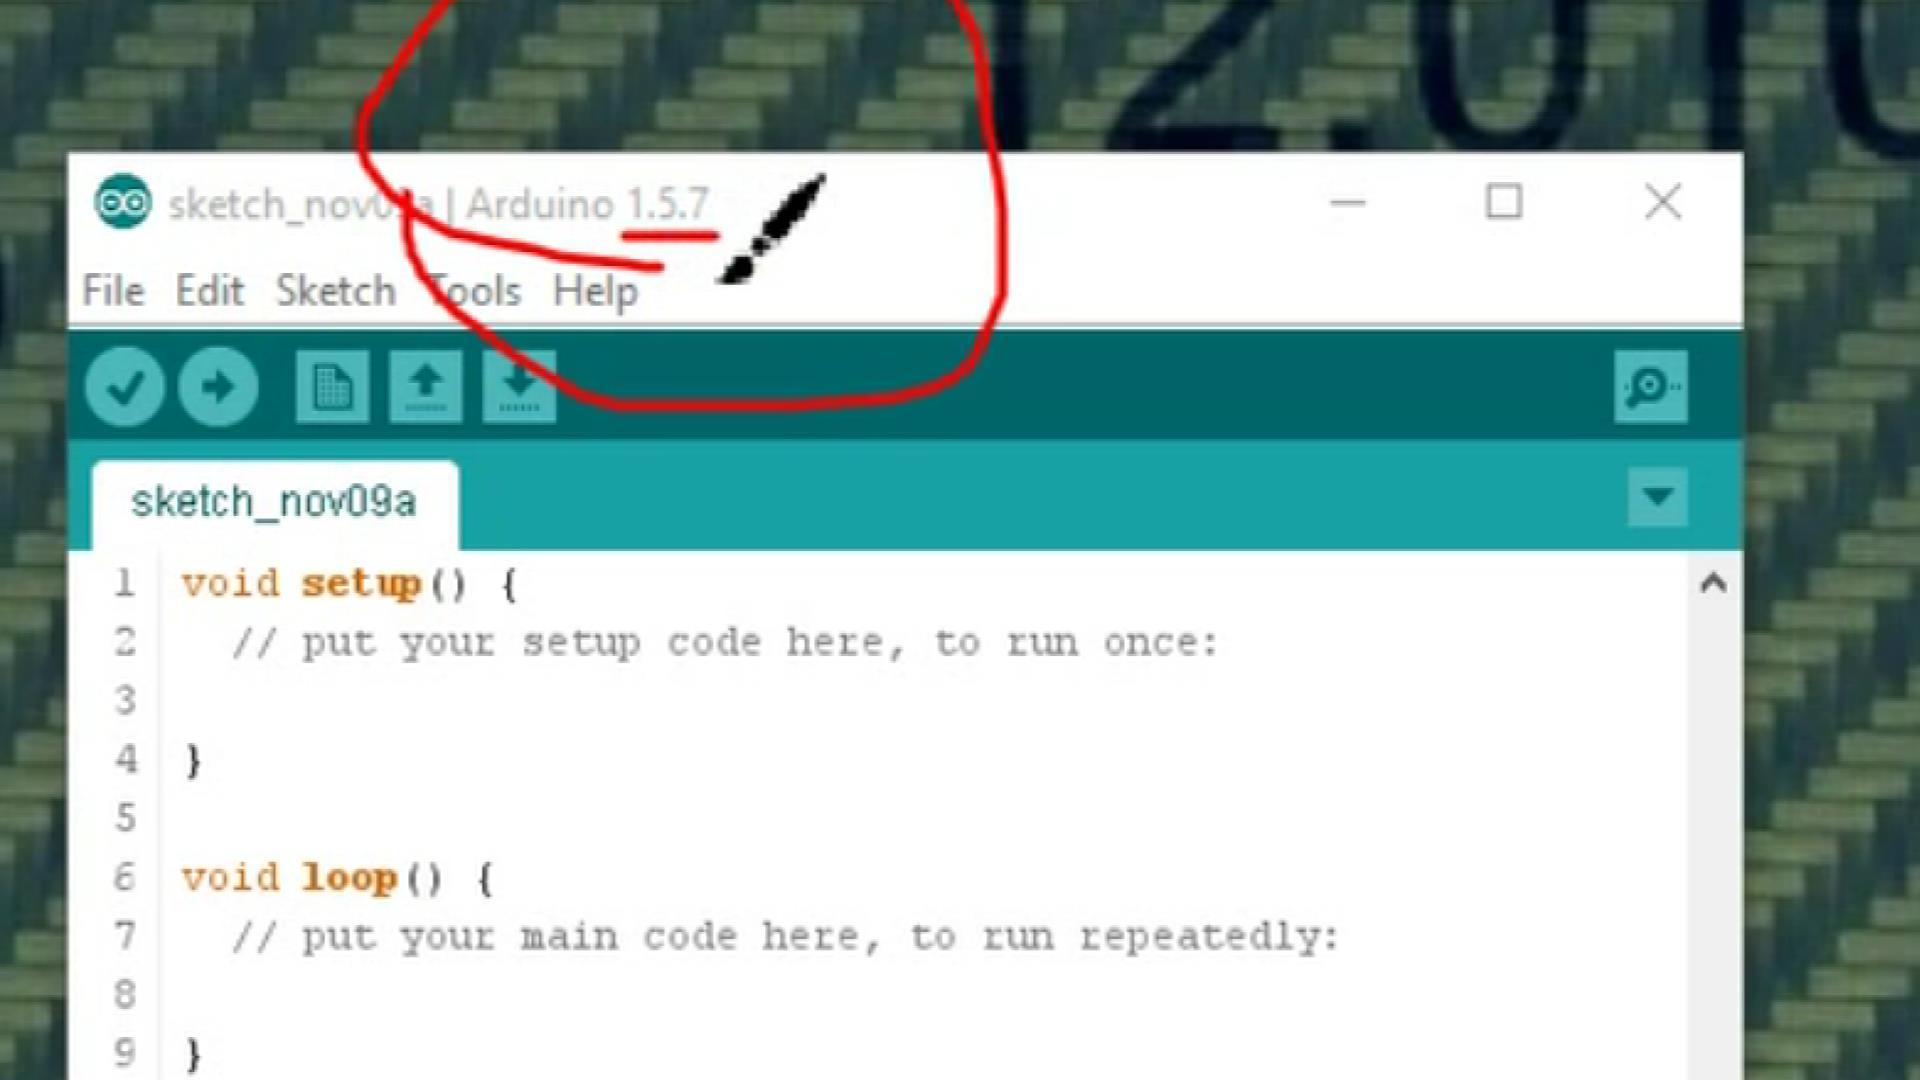
Now for the fun part, uploading a sketch to the board. I should have mentioned this earlier, but you need the Arduino IDE 1.5.7 to even install the SDK unfortunately. After that plug in the board and in the IDE go under tools and board and select "Linkit One." Now once again go under tools and port and select the port that the board is plugged into. once that's all done you can click upload and upload your sketch to the board and your done.
Charging the Battery
.jpg)
Just as an extra I will explain how to charge the battery that it comes with. All you need to do is first plug in both the USB cable and the battery and flip the Battery/USB switch to battery and it will charge.
the Boards Limitations/Conclusion
With all these features should you just throw your Arduino in the trash? NO! Of course not Arduinos are expensive and should not be wasted. Also the Linkit One lacks many of the pins that the Arduino has, for example the LIO has 2 PWM pins and most Arduinos have way more. As a result of this there are quite a few things you can't do with the LIO board like use different shield or control an 8x8 led matrix. There a some other many other limitations to this board and if you want to learn about them then go to section 3.5 of the devlopers guide
For more information about the Linkit One board go HERE.
Like I said earlier if you have any comments, questions, or concerns then leave them in the comment section down below and I will be more than happy to respond. If you like this then please be sure to subscribe to me here and to my YouTube channel for more awesome content like this. there is link on my page to it so be sure to check it out. Thank you for checking out my Instructable and be sure to favorite it, once again thank you.