Sheath/Pouch for Bow Checker and Archery Nock Point Set - I.e. Nock Point Pliers and Nocks
90 Views, 0 Favorites, 0 Comments
Sheath/Pouch for Bow Checker and Archery Nock Point Set - I.e. Nock Point Pliers and Nocks
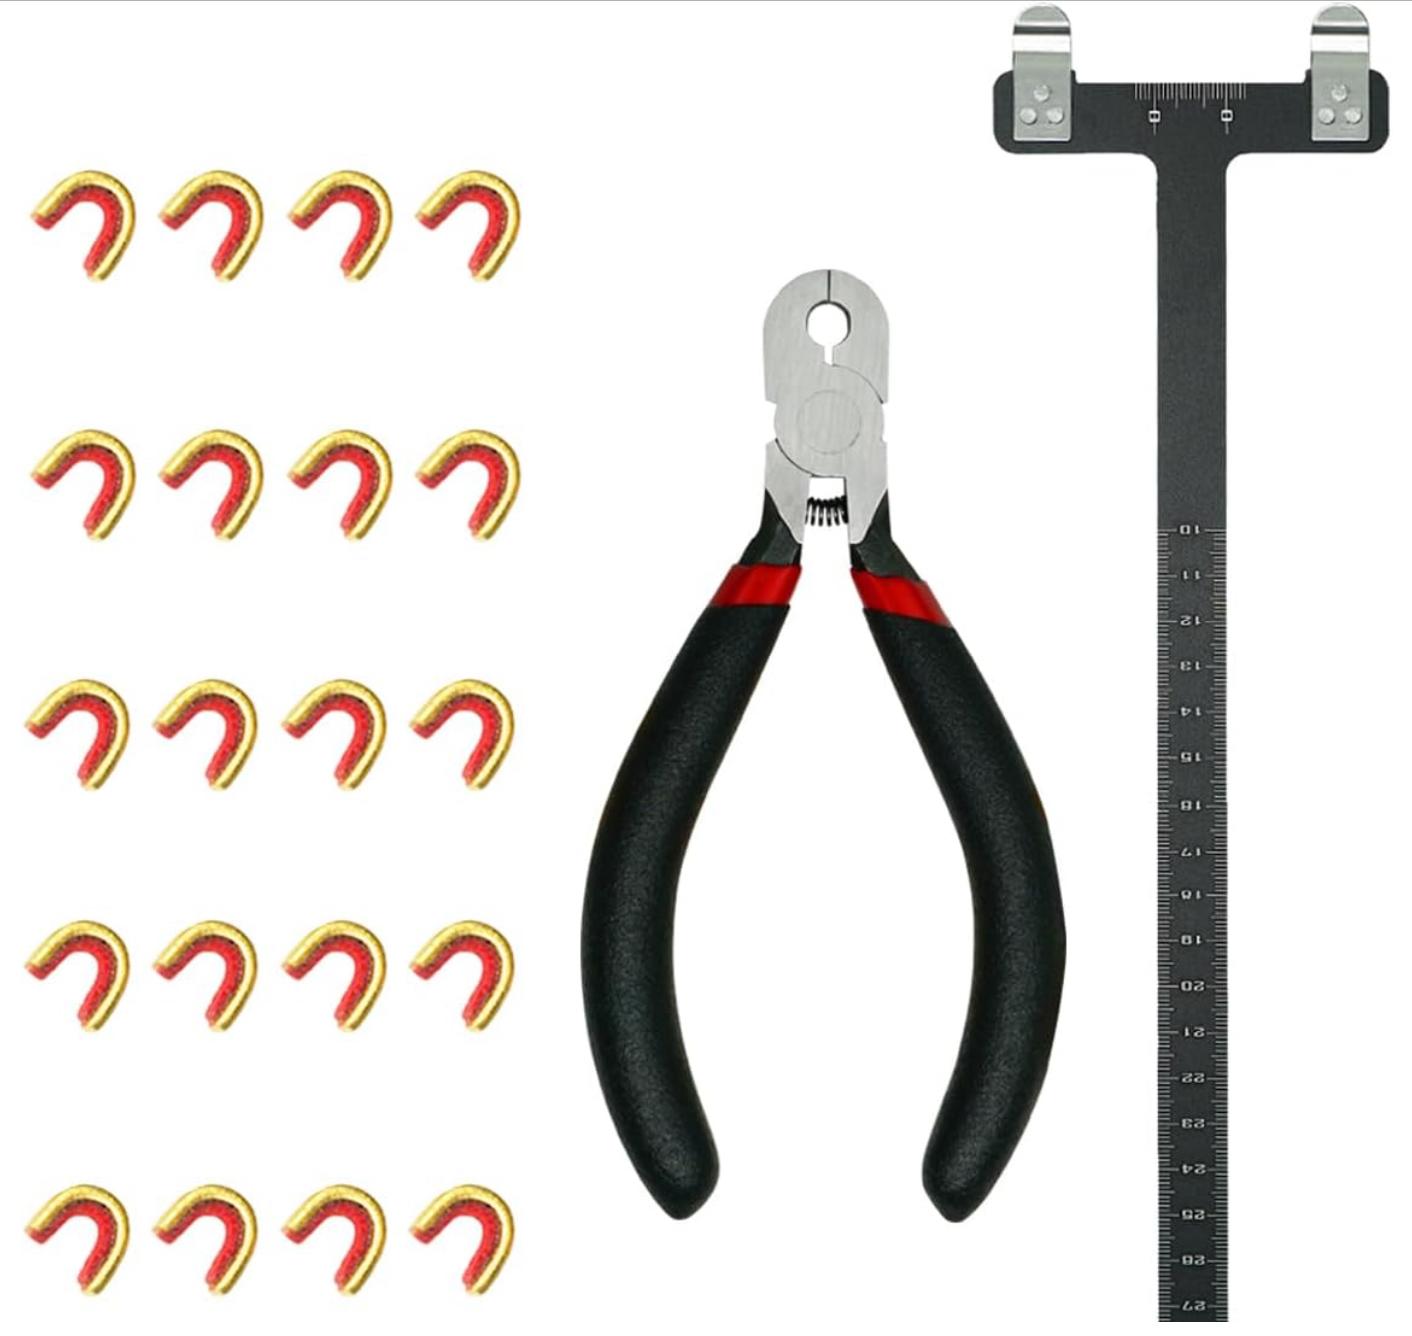
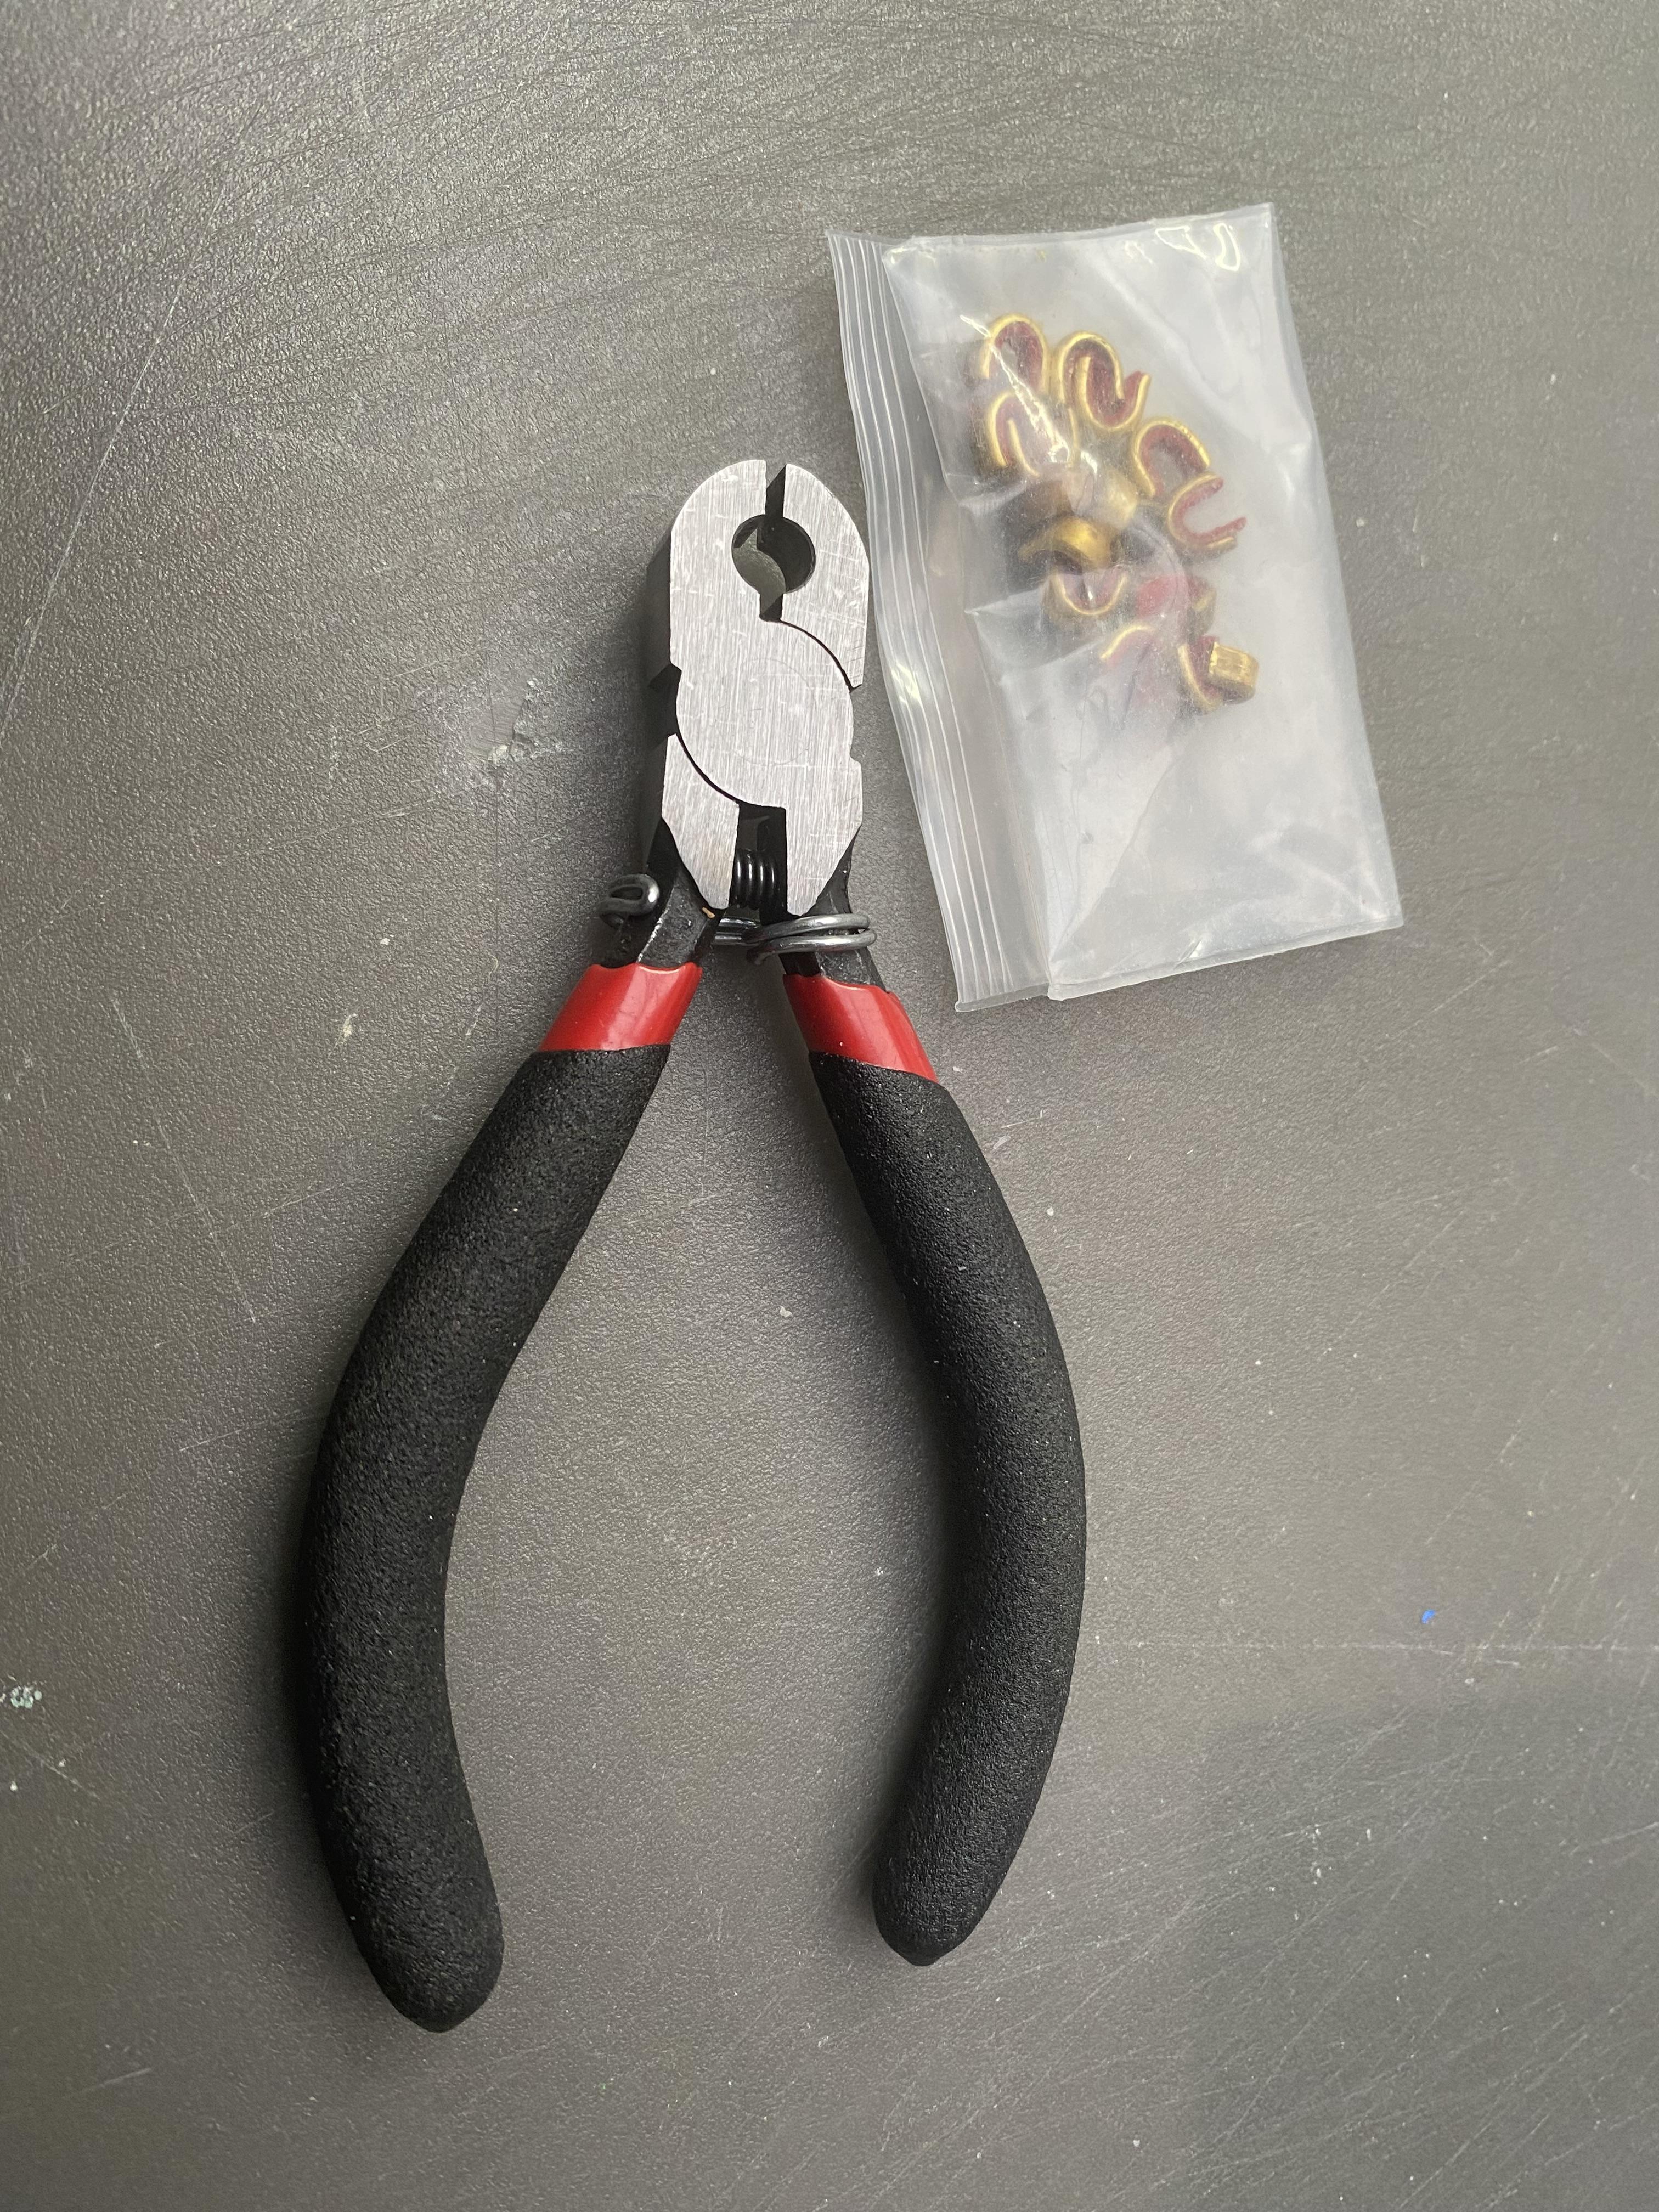
If you are enjoying archery as a hobby, chances are good that you may have acquired a bow checker, or, since you often get them cheap as a set, a bow checker, pliers and a small bag of nock points.
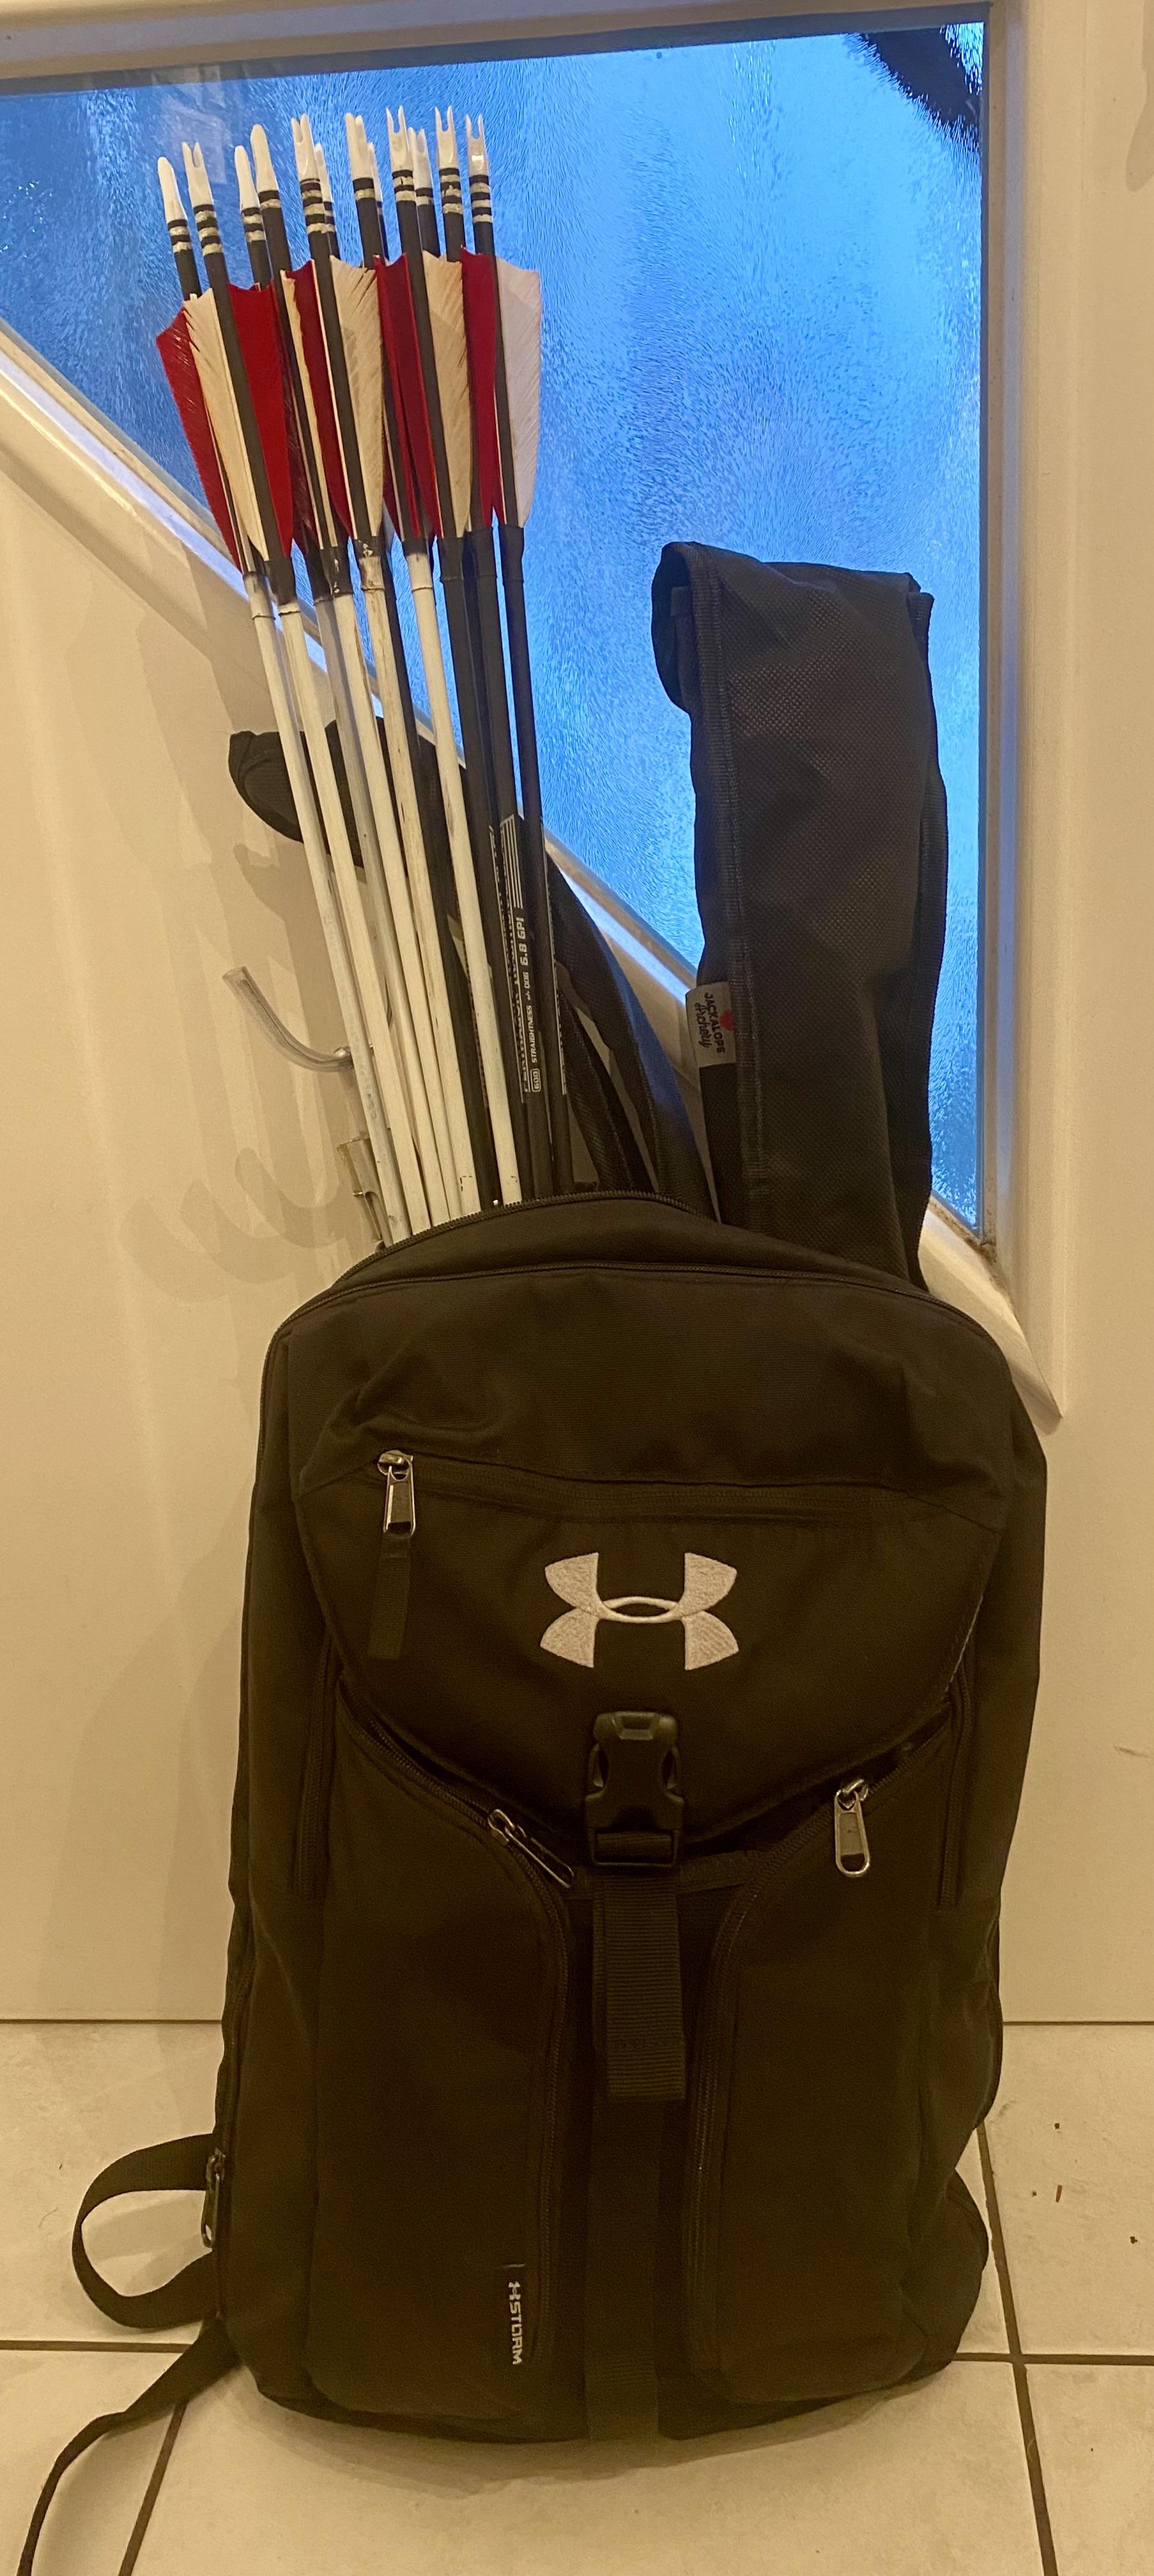
I did, and was not really happy with having more and more items flying around in the backpack I use for my old take down bow. And yes, I sprayed six of my arrows white to make it easier to find them when I miss the targets on an archery parcour.
So, I decided to at least put the set into a bag or some such….
Supplies
- Cheap Archery Checker + Nock Point Set e.g. on Amazon
- Scissors, Scalpel, Pencil
- Thin plastic kitchen cutting board
- Heating Gun
- Wire Paper clip for the pliers
Design
In the beginning, I simply wanted something to protect the bow checker from getting all scratched up. Quite quickly, I decided that the pliers and bag of nock points would also fit quite well with the checker.
Doing some fancy leather work would have been cool, but without readily available leather pieces, I looked for other things though.
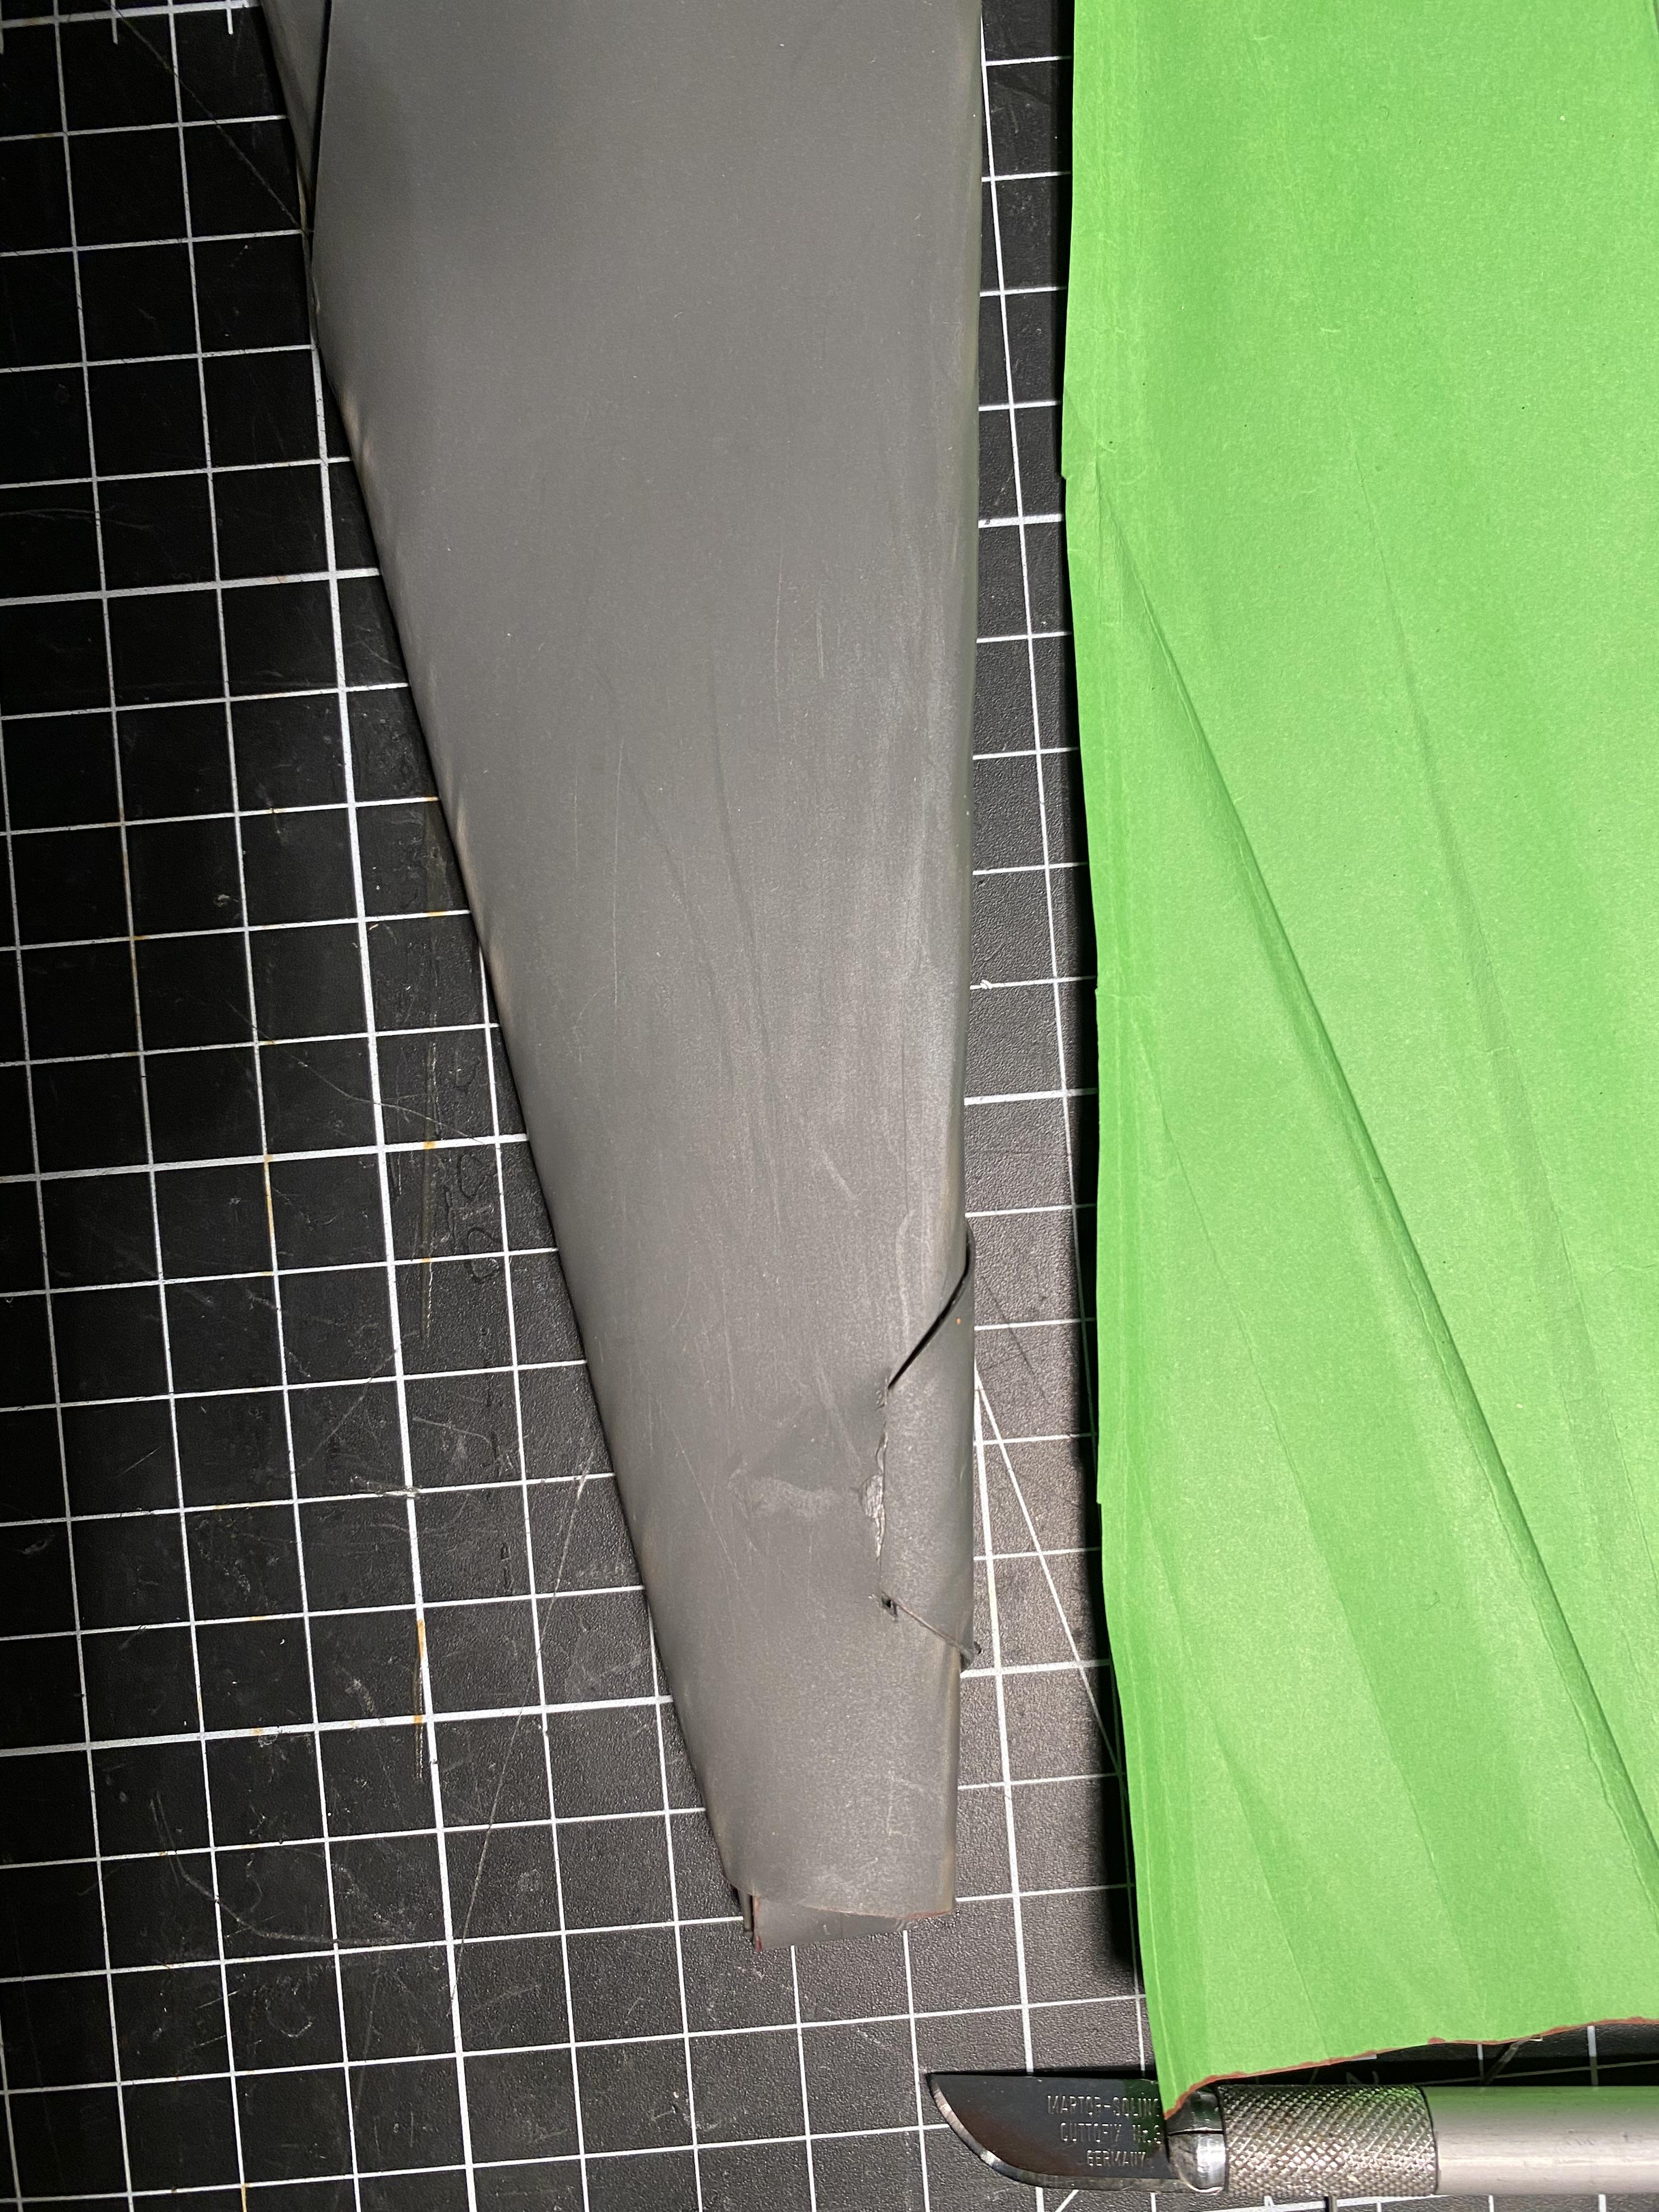
Without thick nylon cloth, the only sturdy enough plastic - other than some bags - was actually a cutting board from the kitchen. It was less than 1 mm thick and an ugly dark grey color, so that no one in my household used it - perfect for me!
Of course, I sketched the idea on paper first to get an idea about the amount of material I would need. The green A4 sheet was too small, so I added the orange piece - the small latch at the bottom, I left out.
With the dimensions clearer, it was easier to figure out how to fold the sheath best from a single sheet.
Since I prefer things simple, I decided not to use buttons, or other connectors, or glue, but let things hold together simply by folding and moulding the plastic with heat.
Implementation
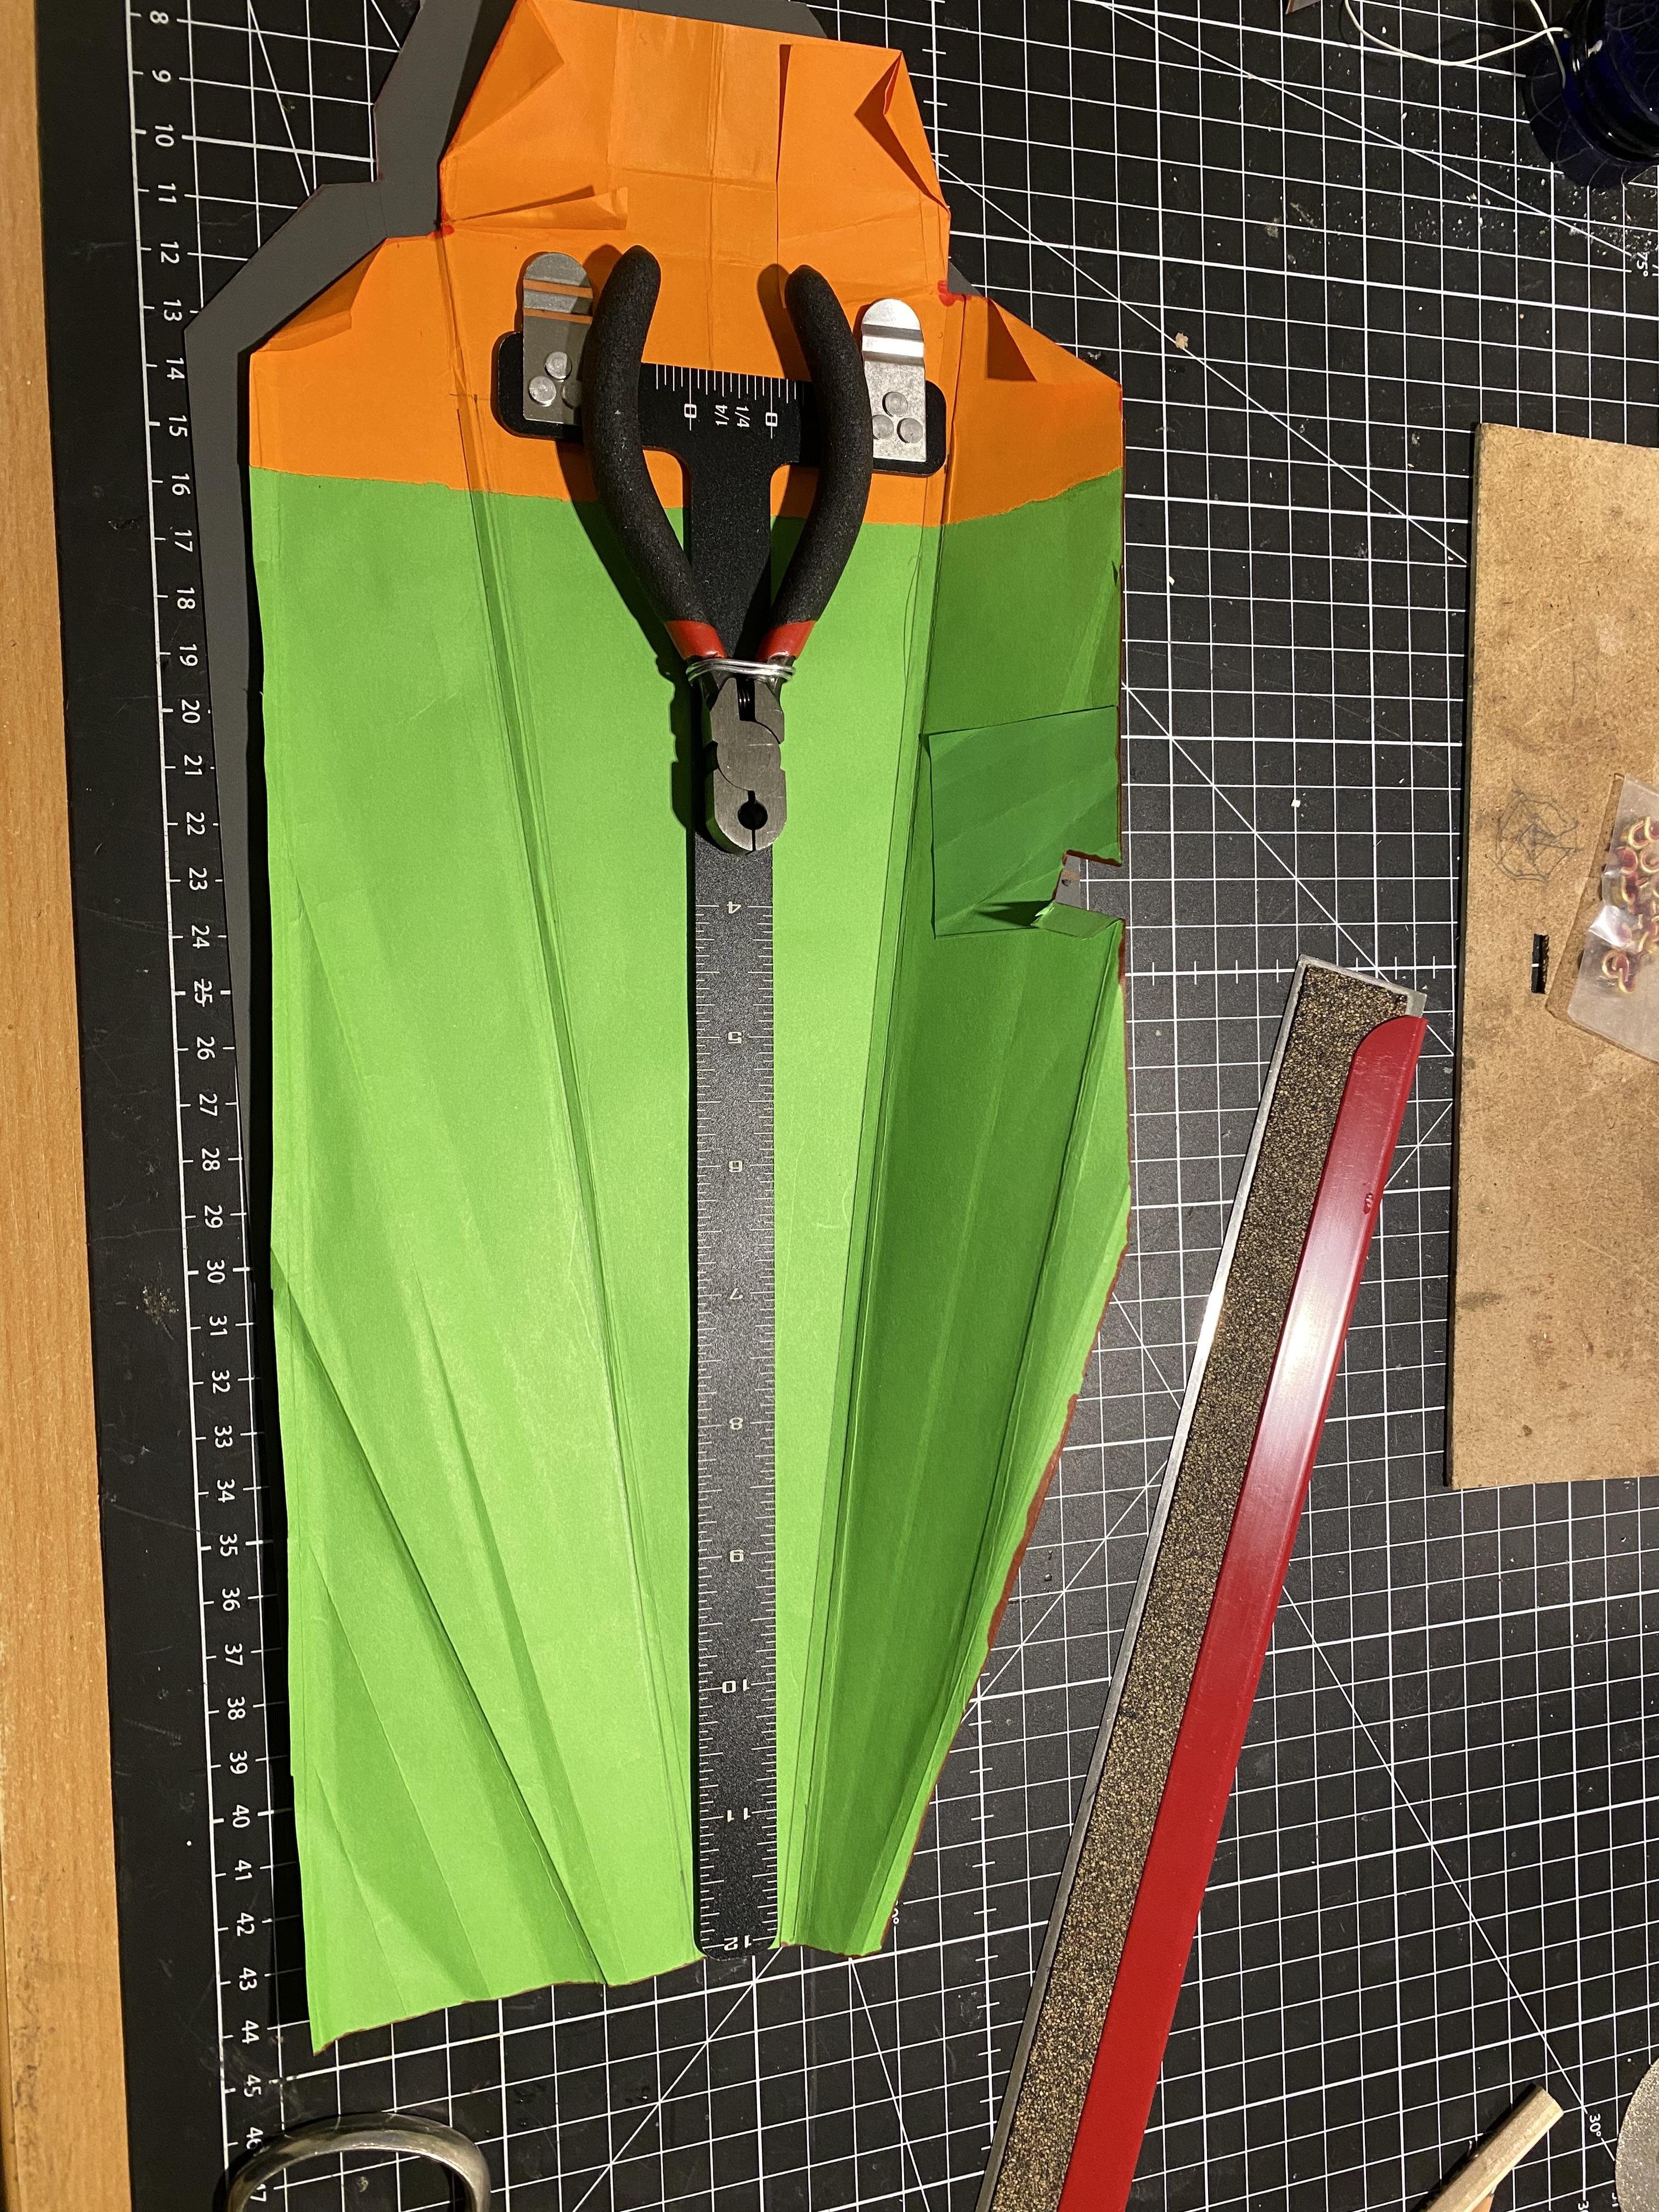
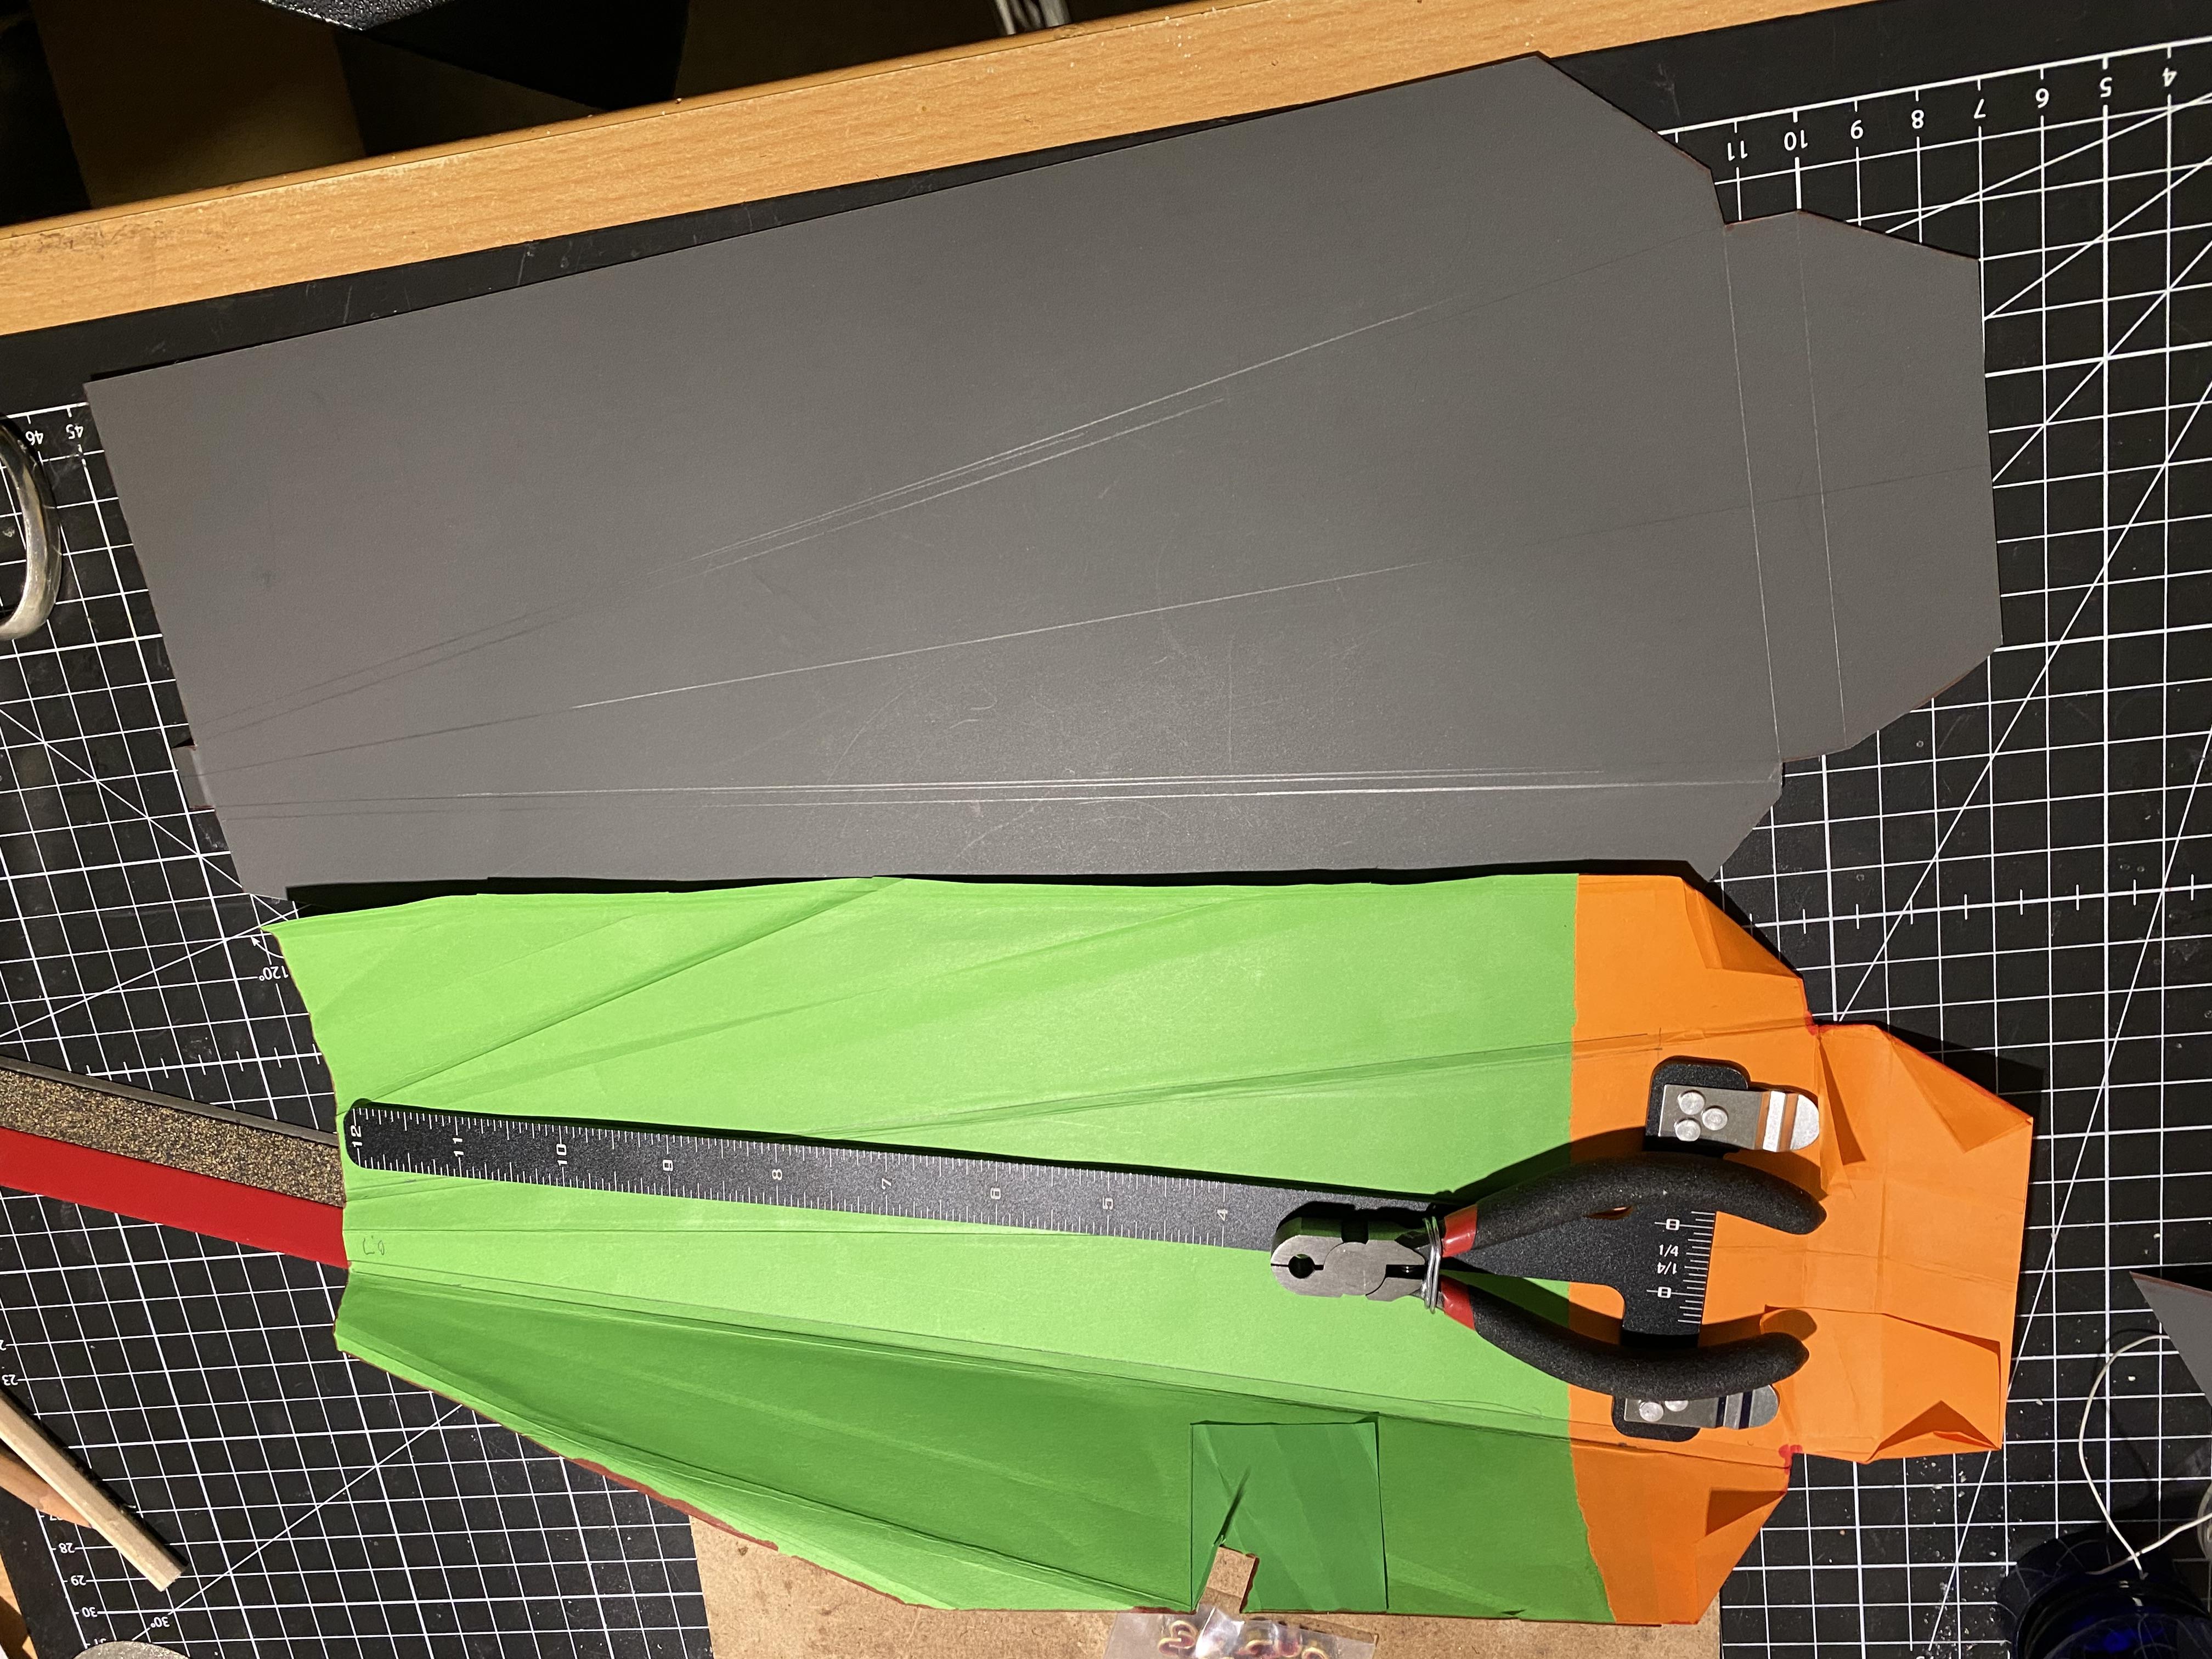
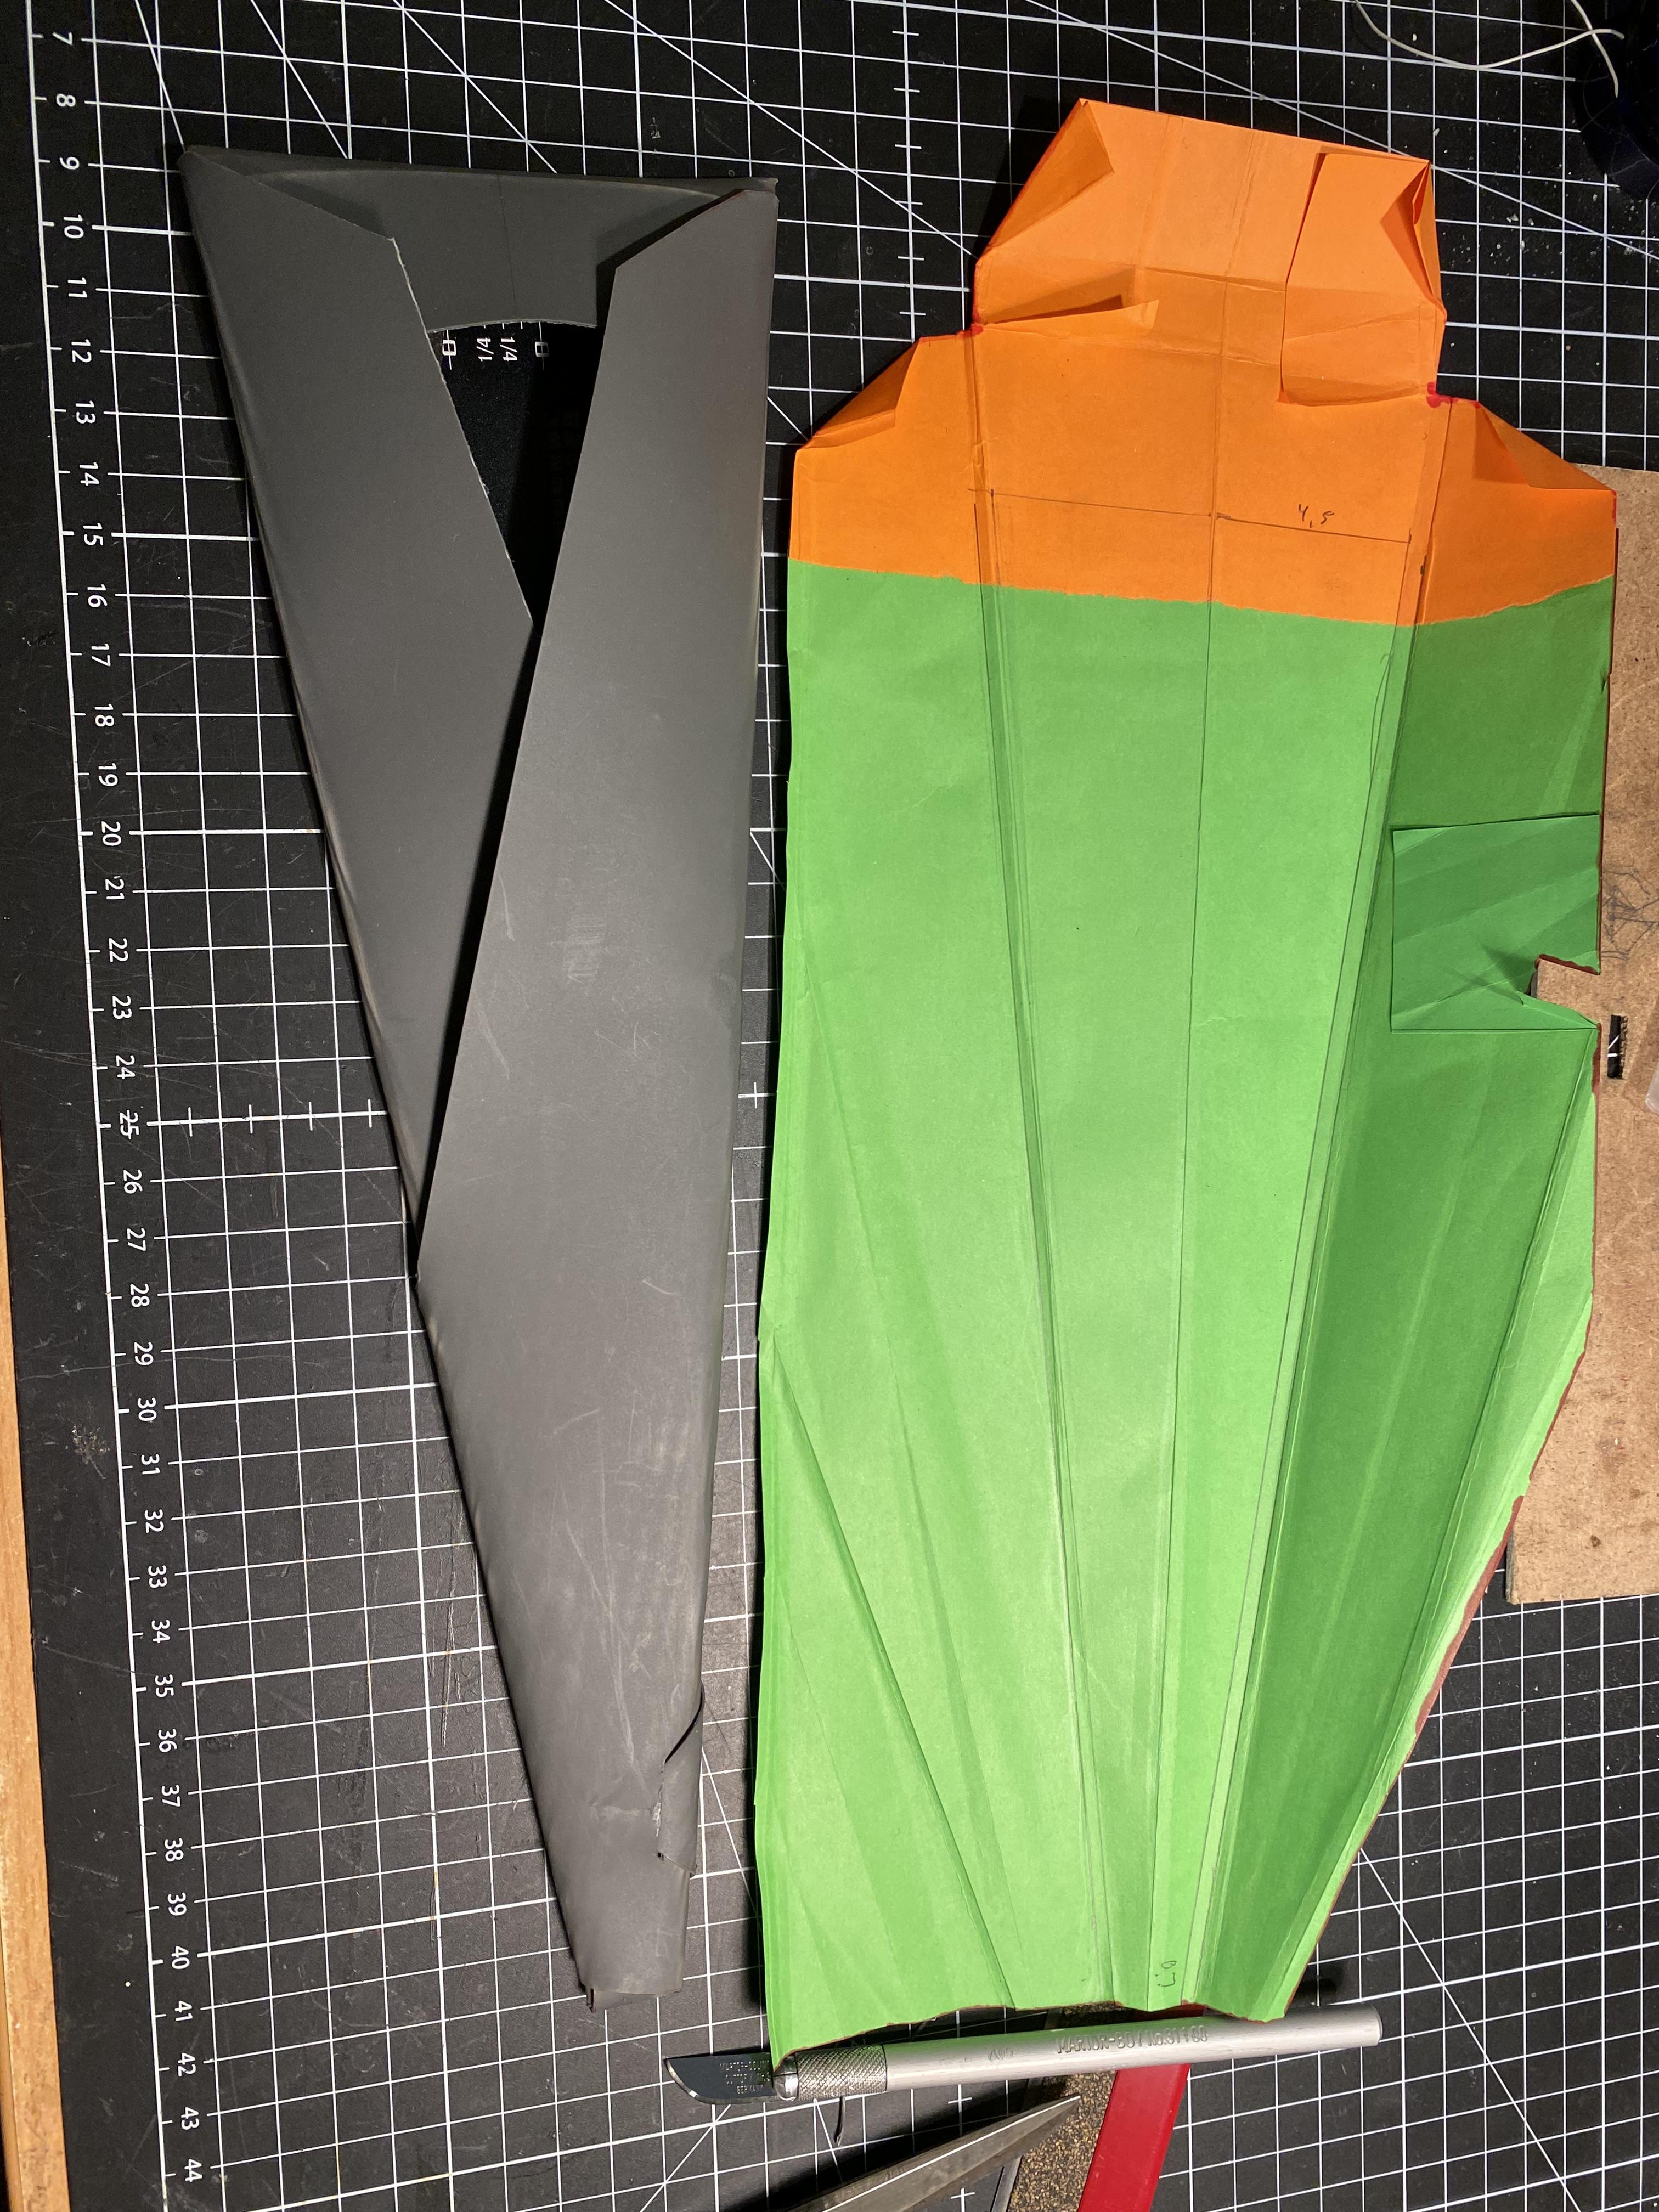
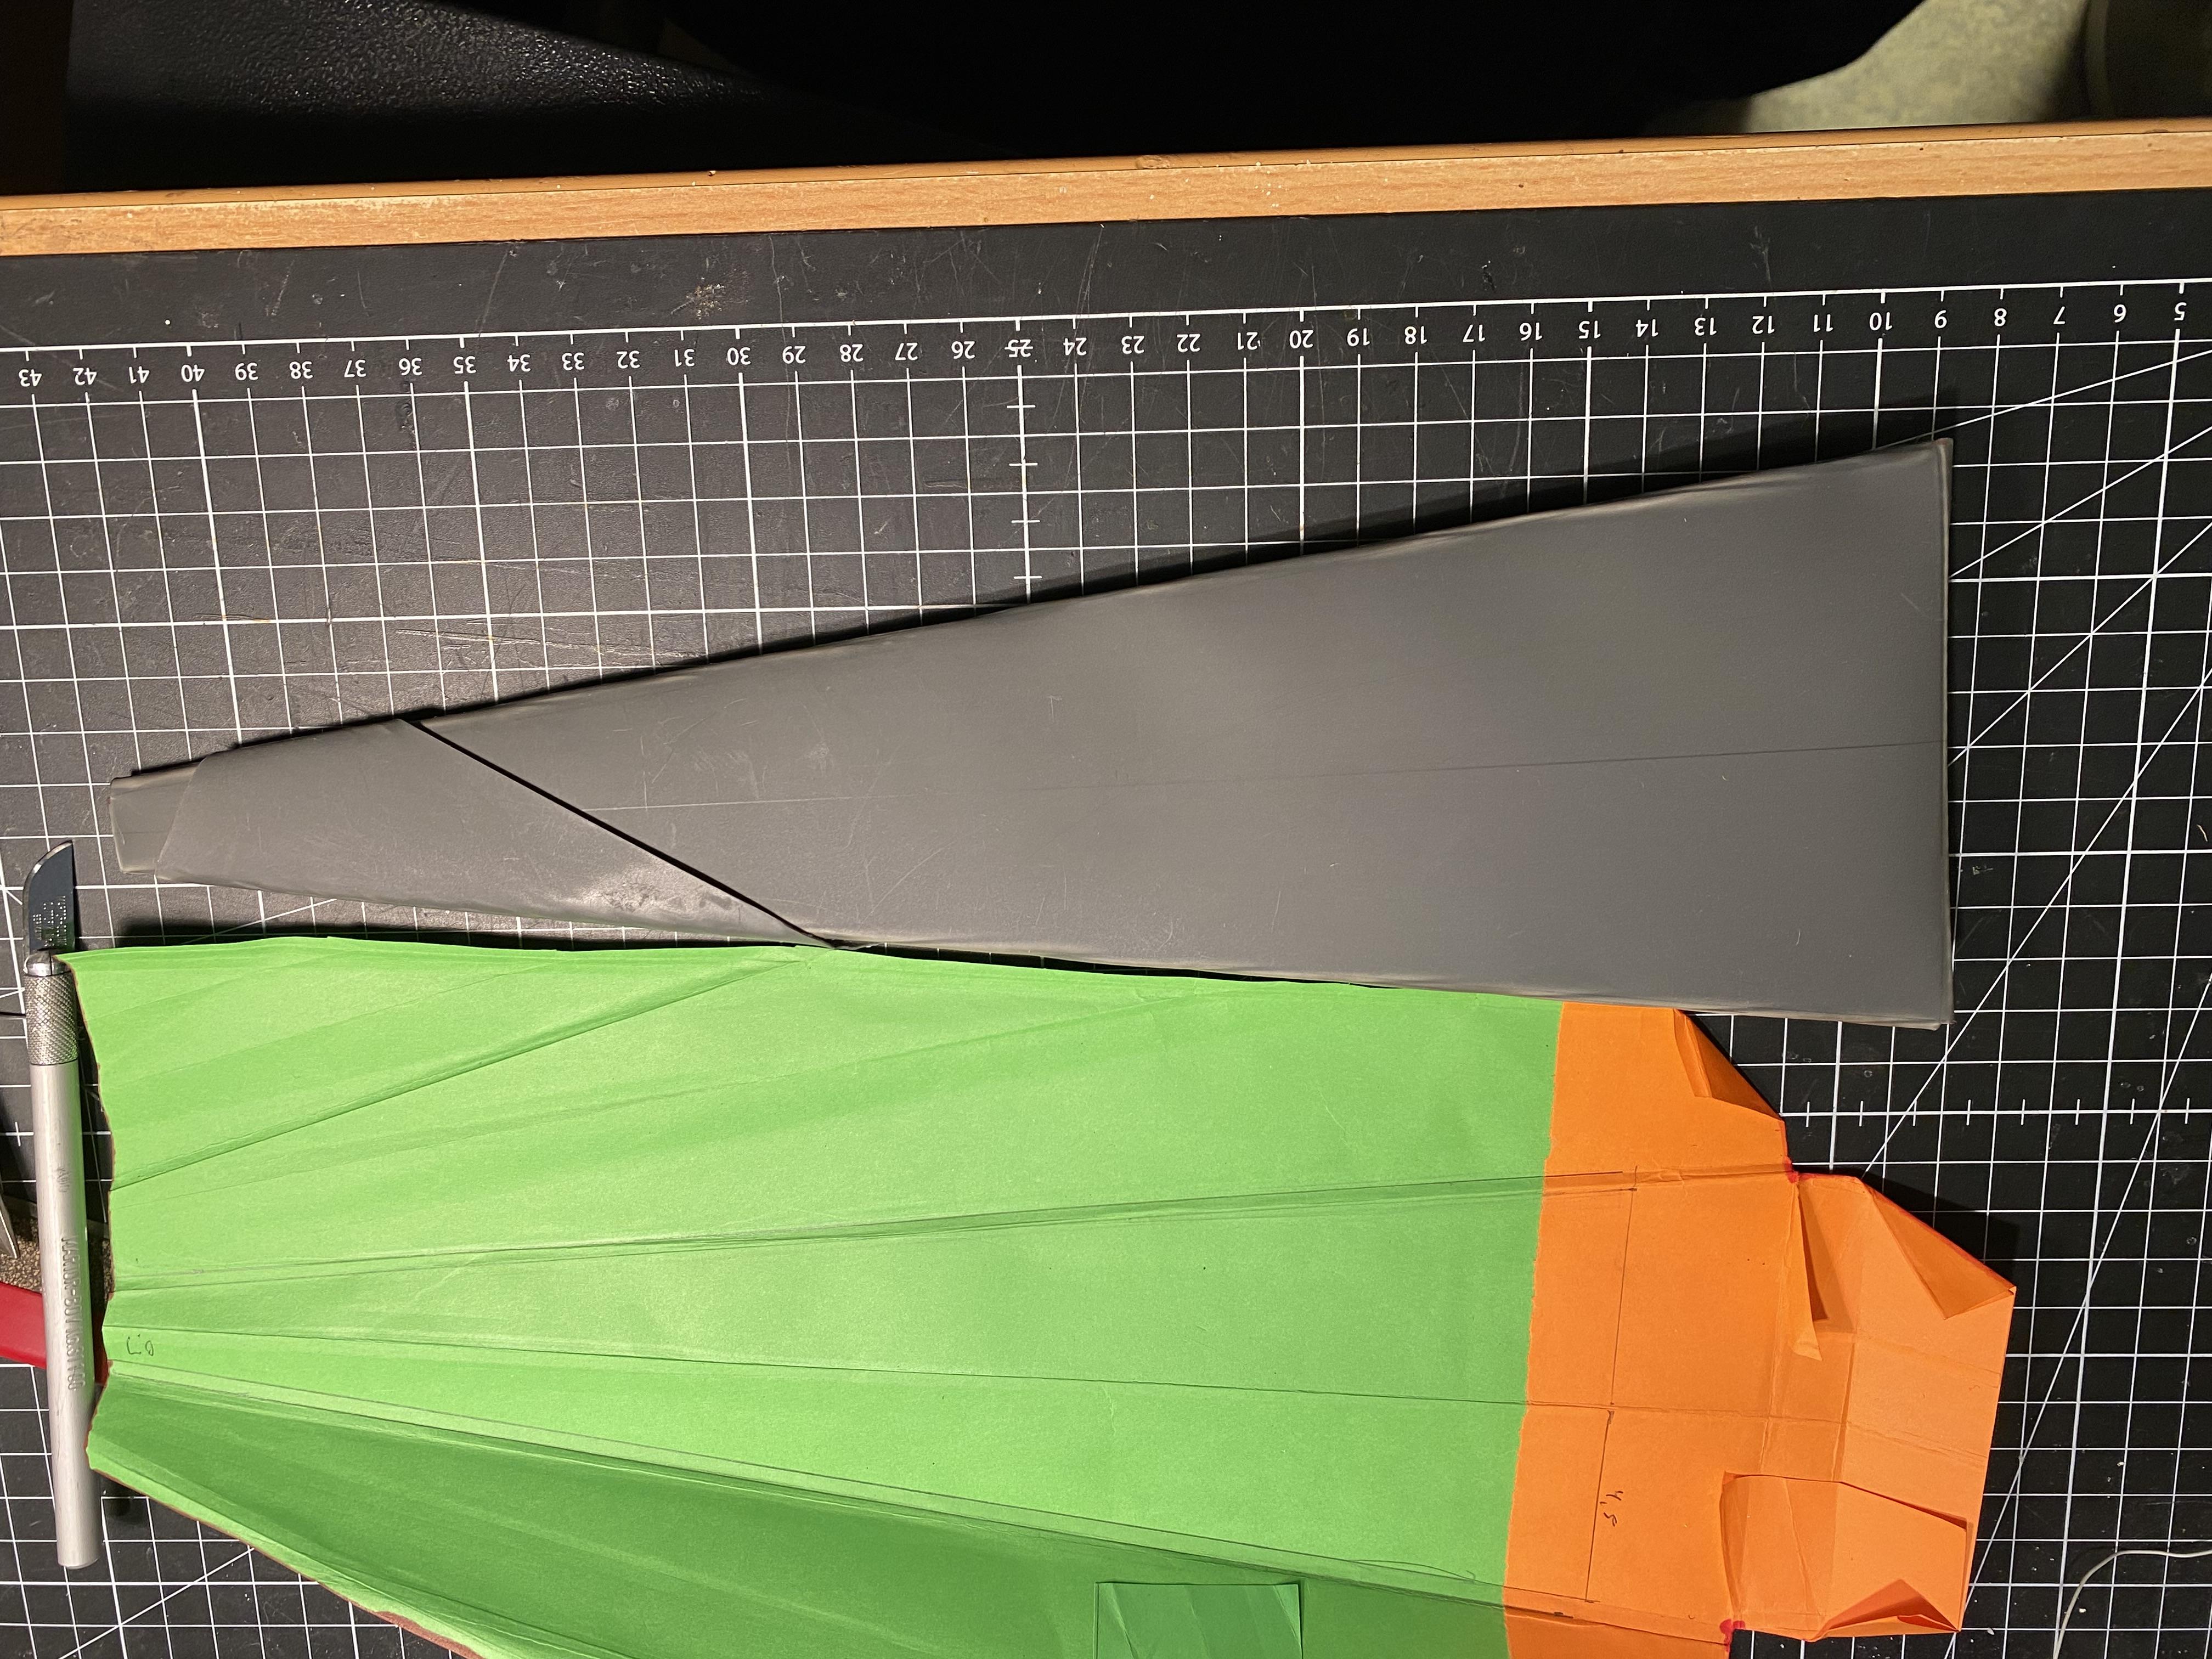
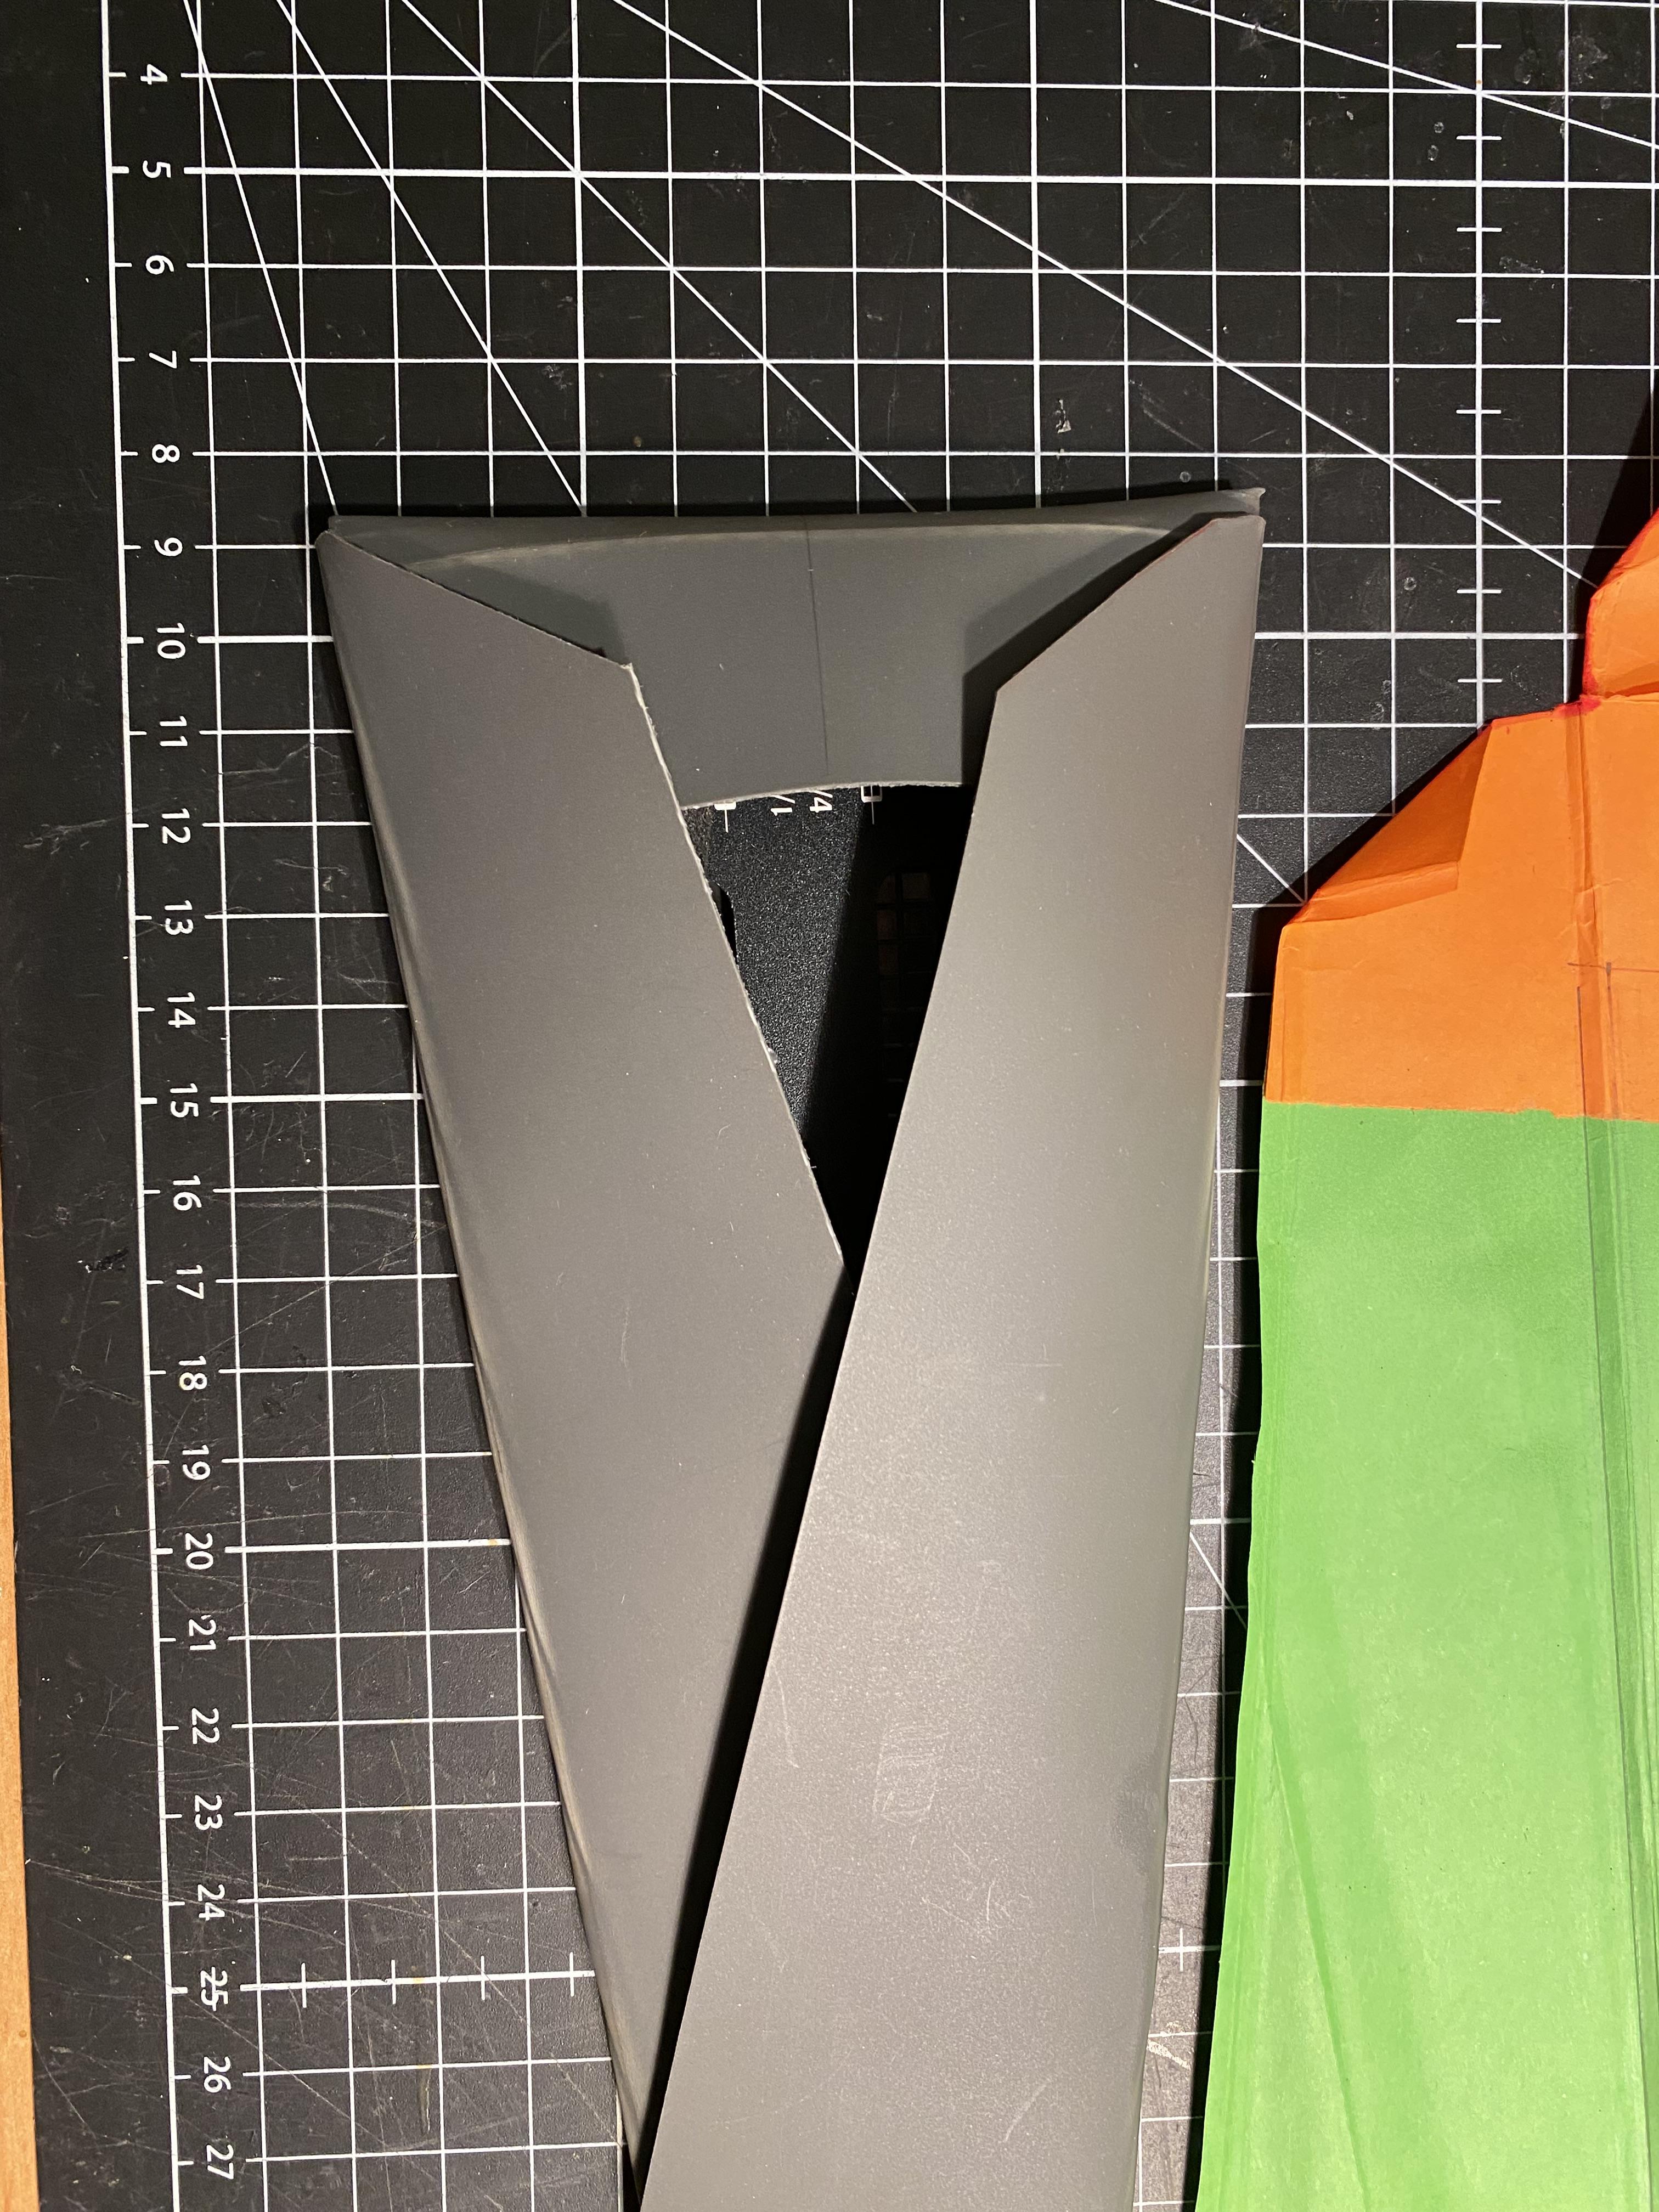
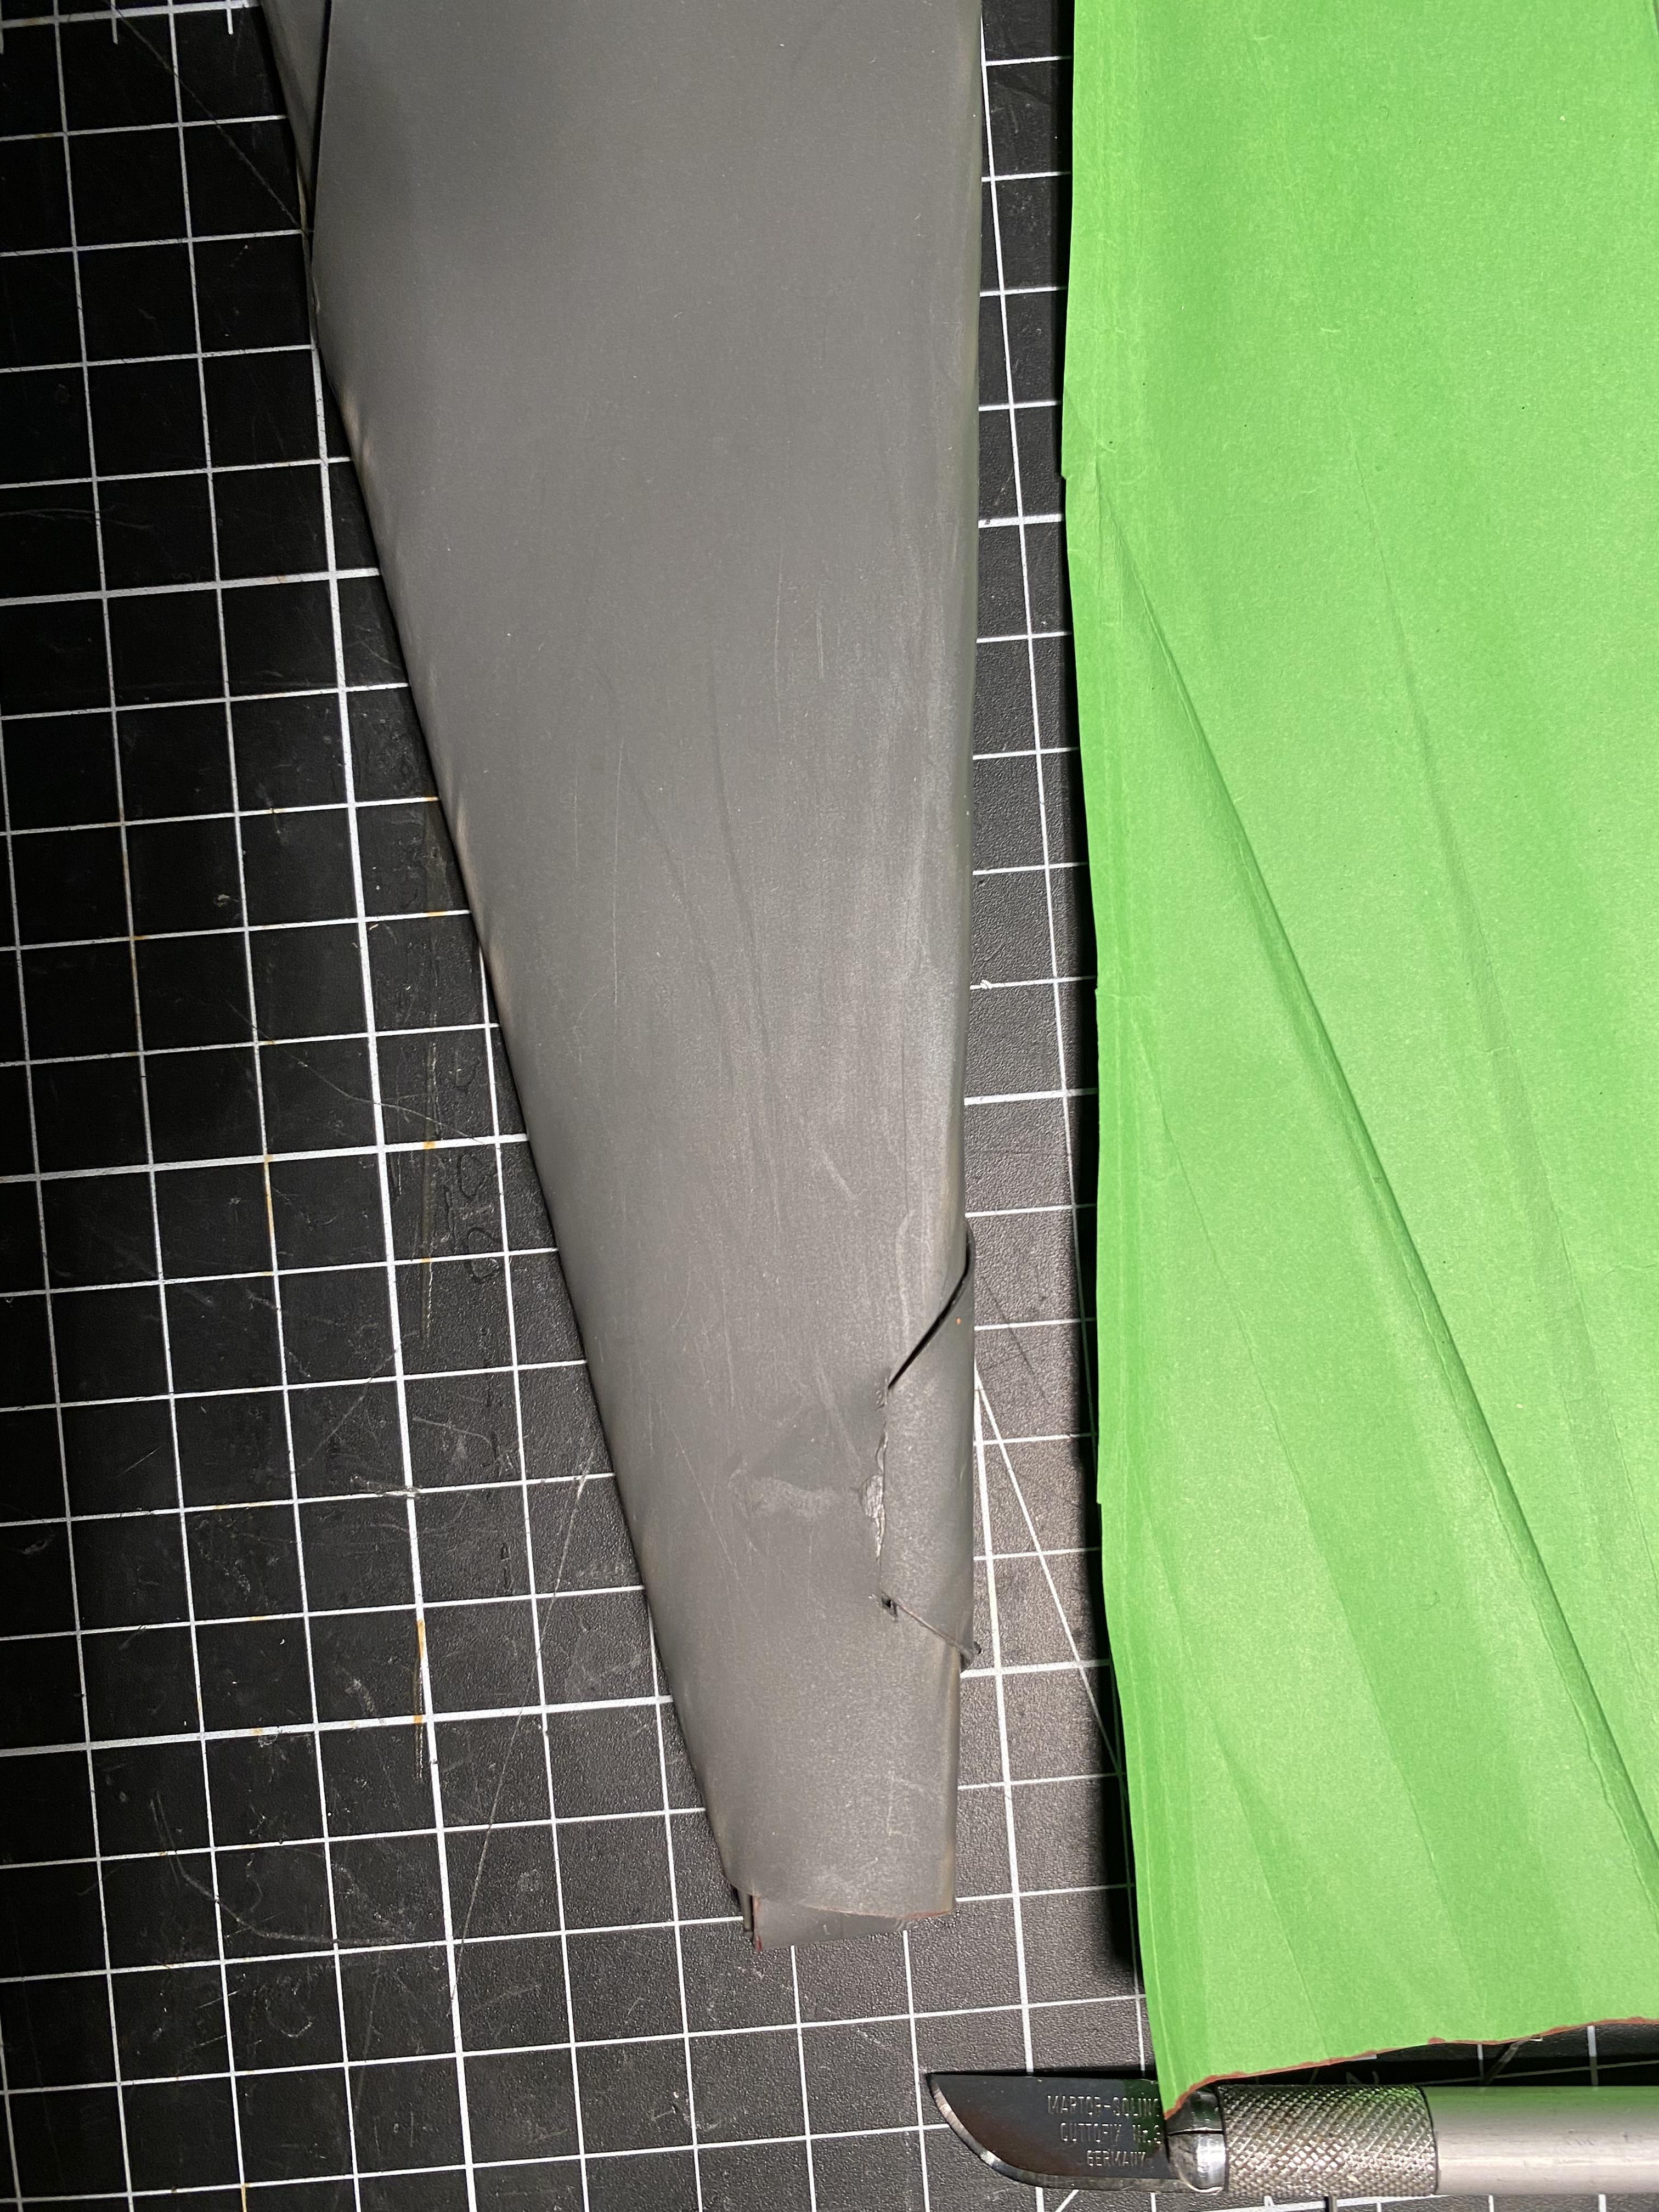
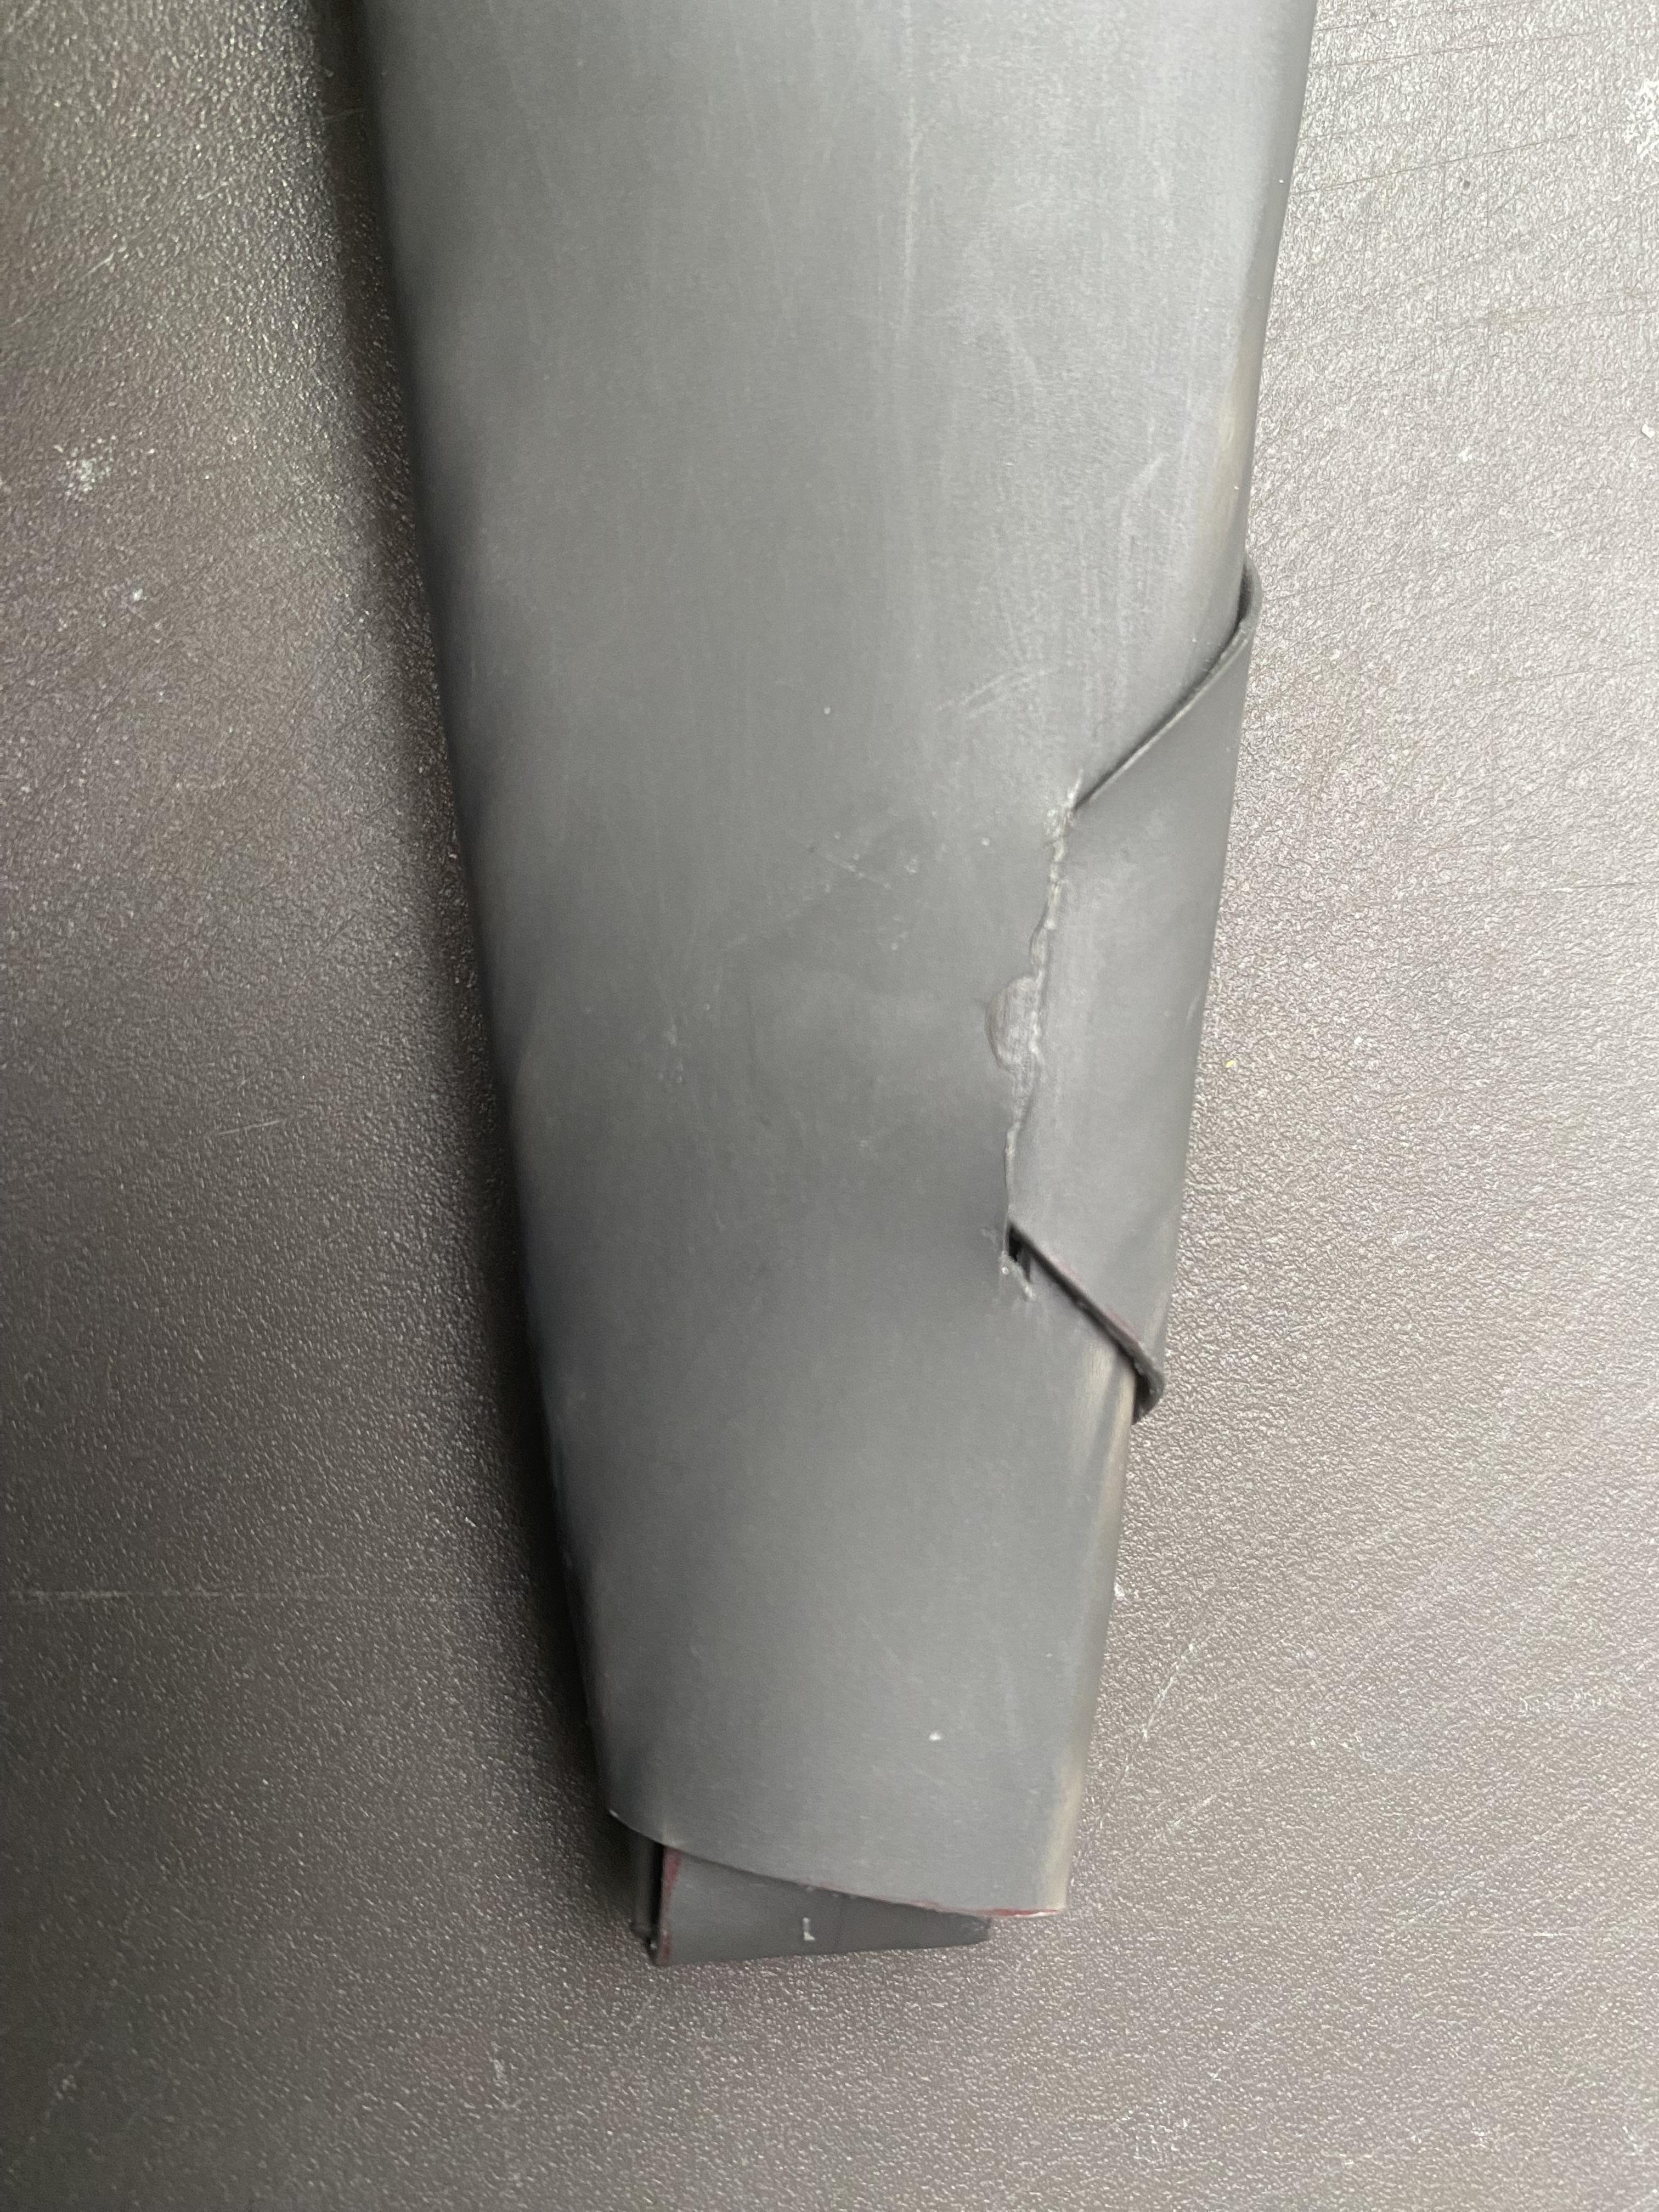
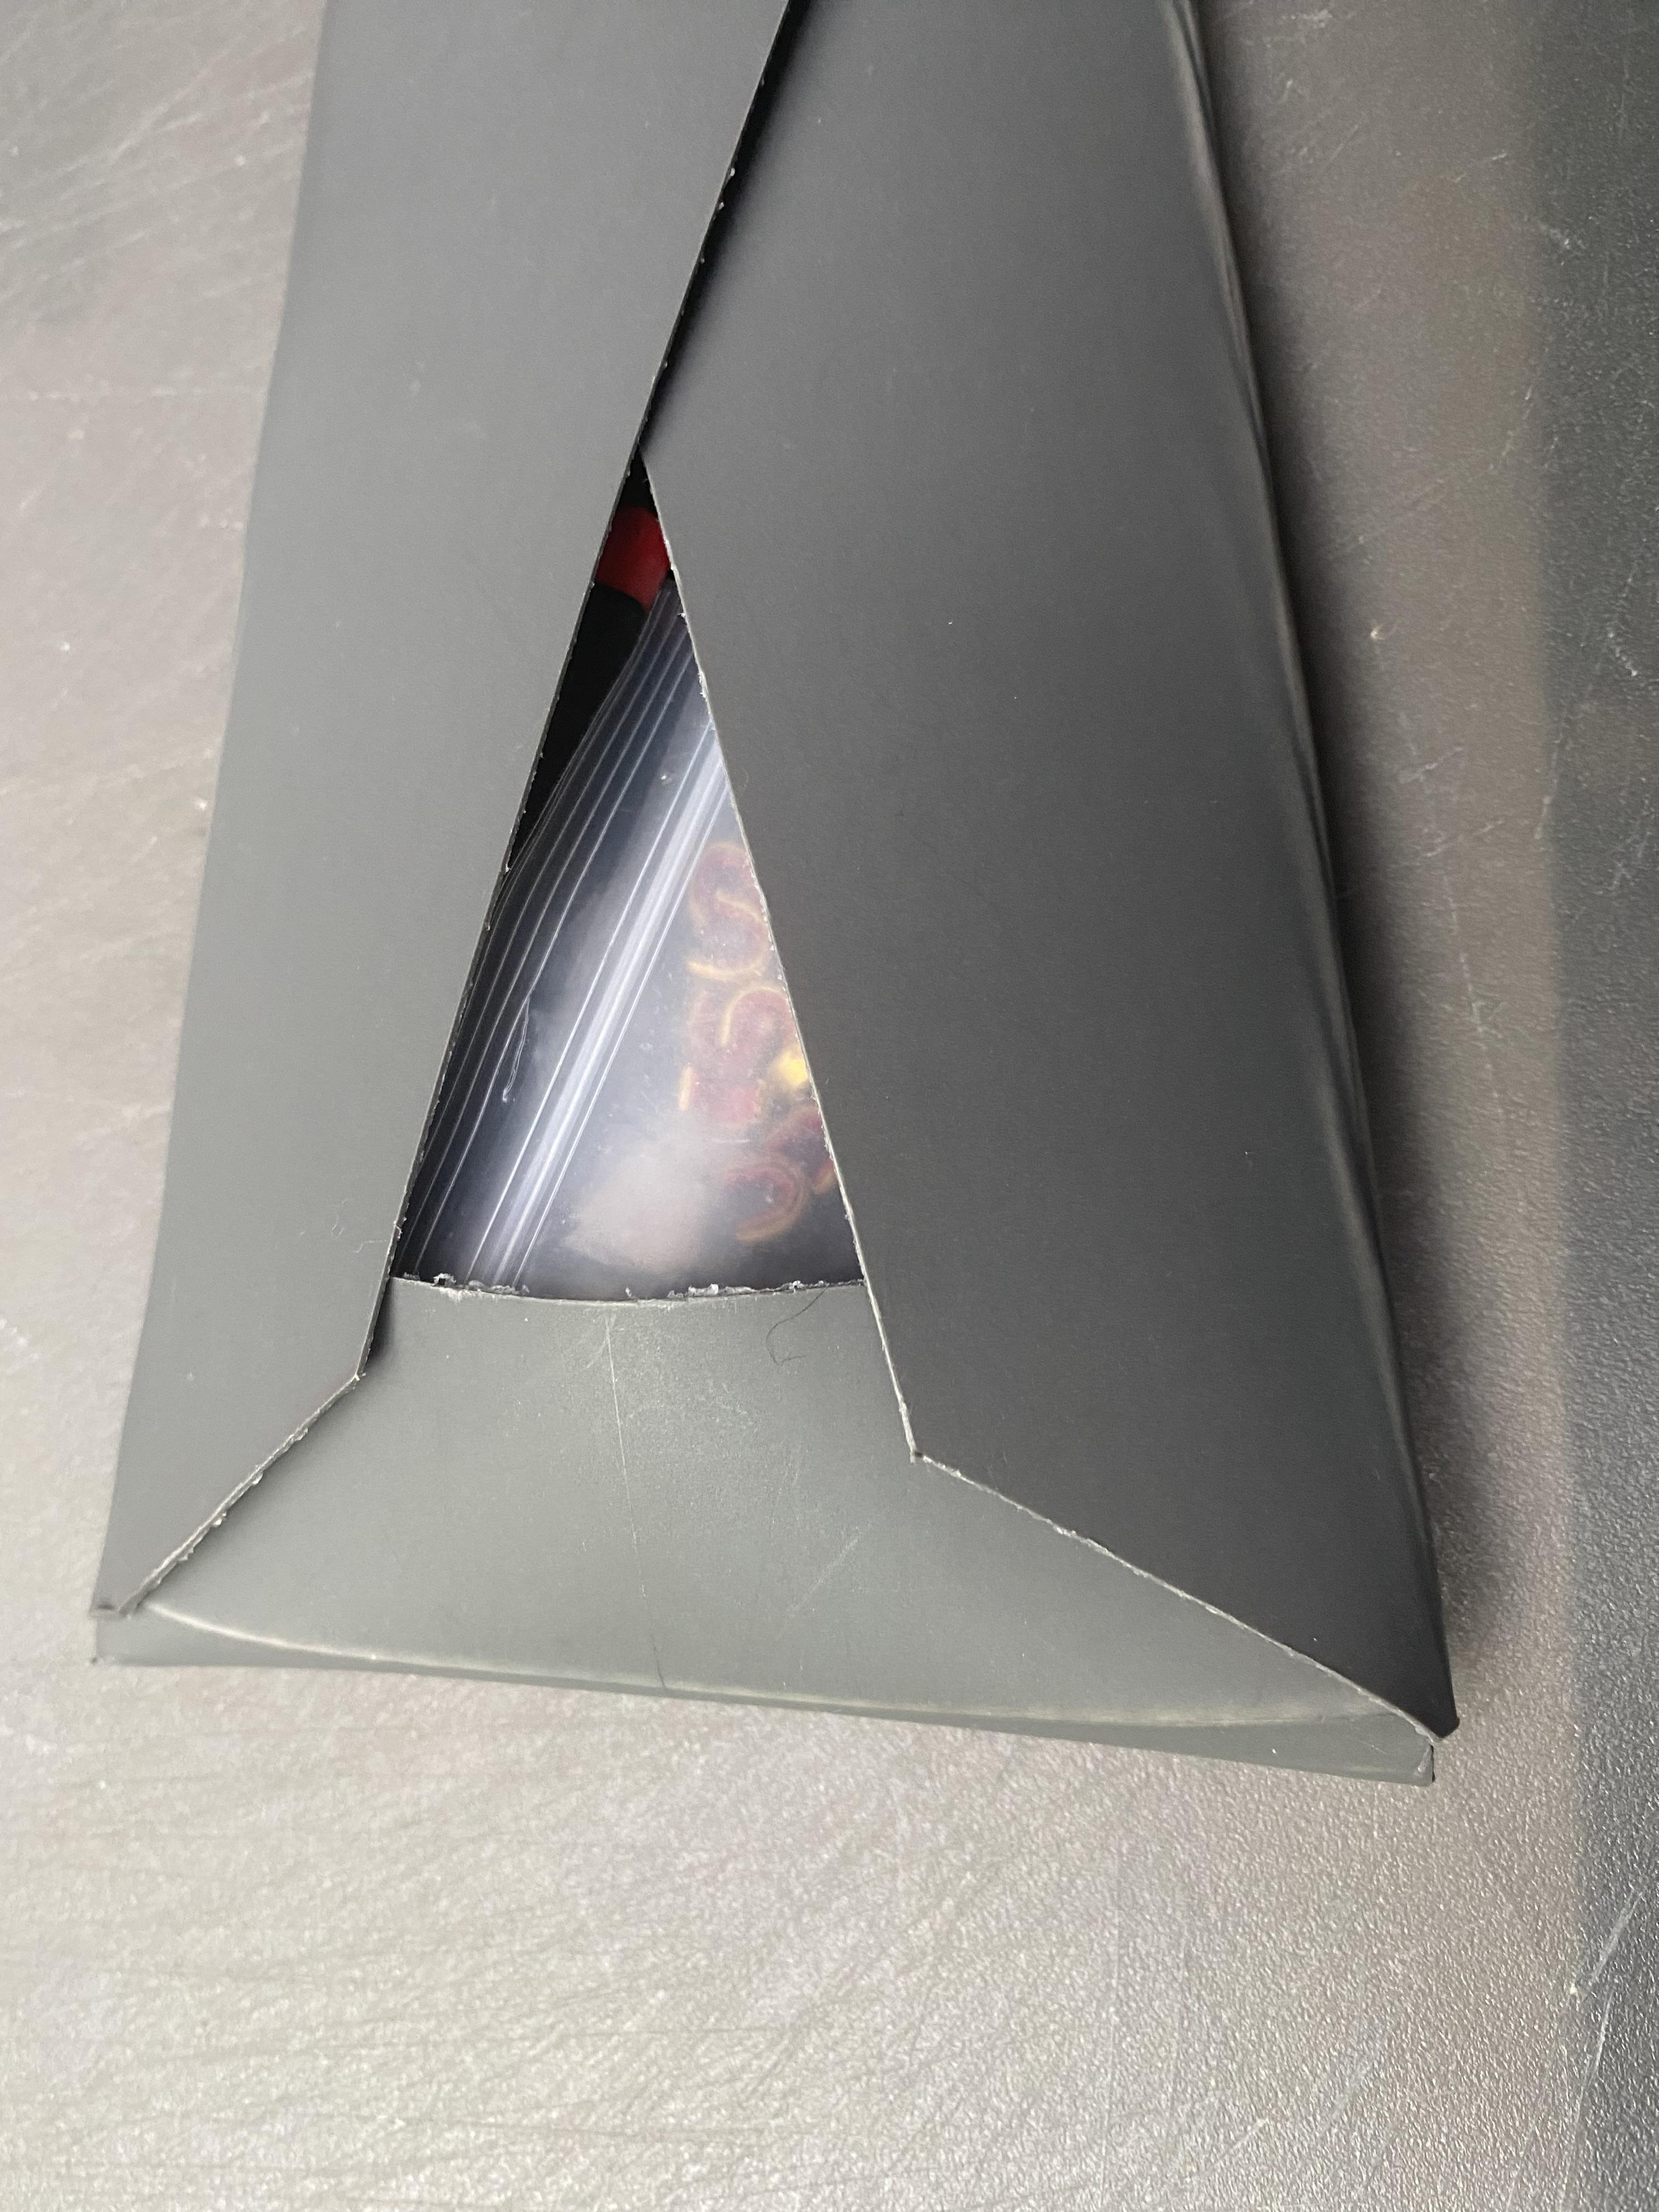
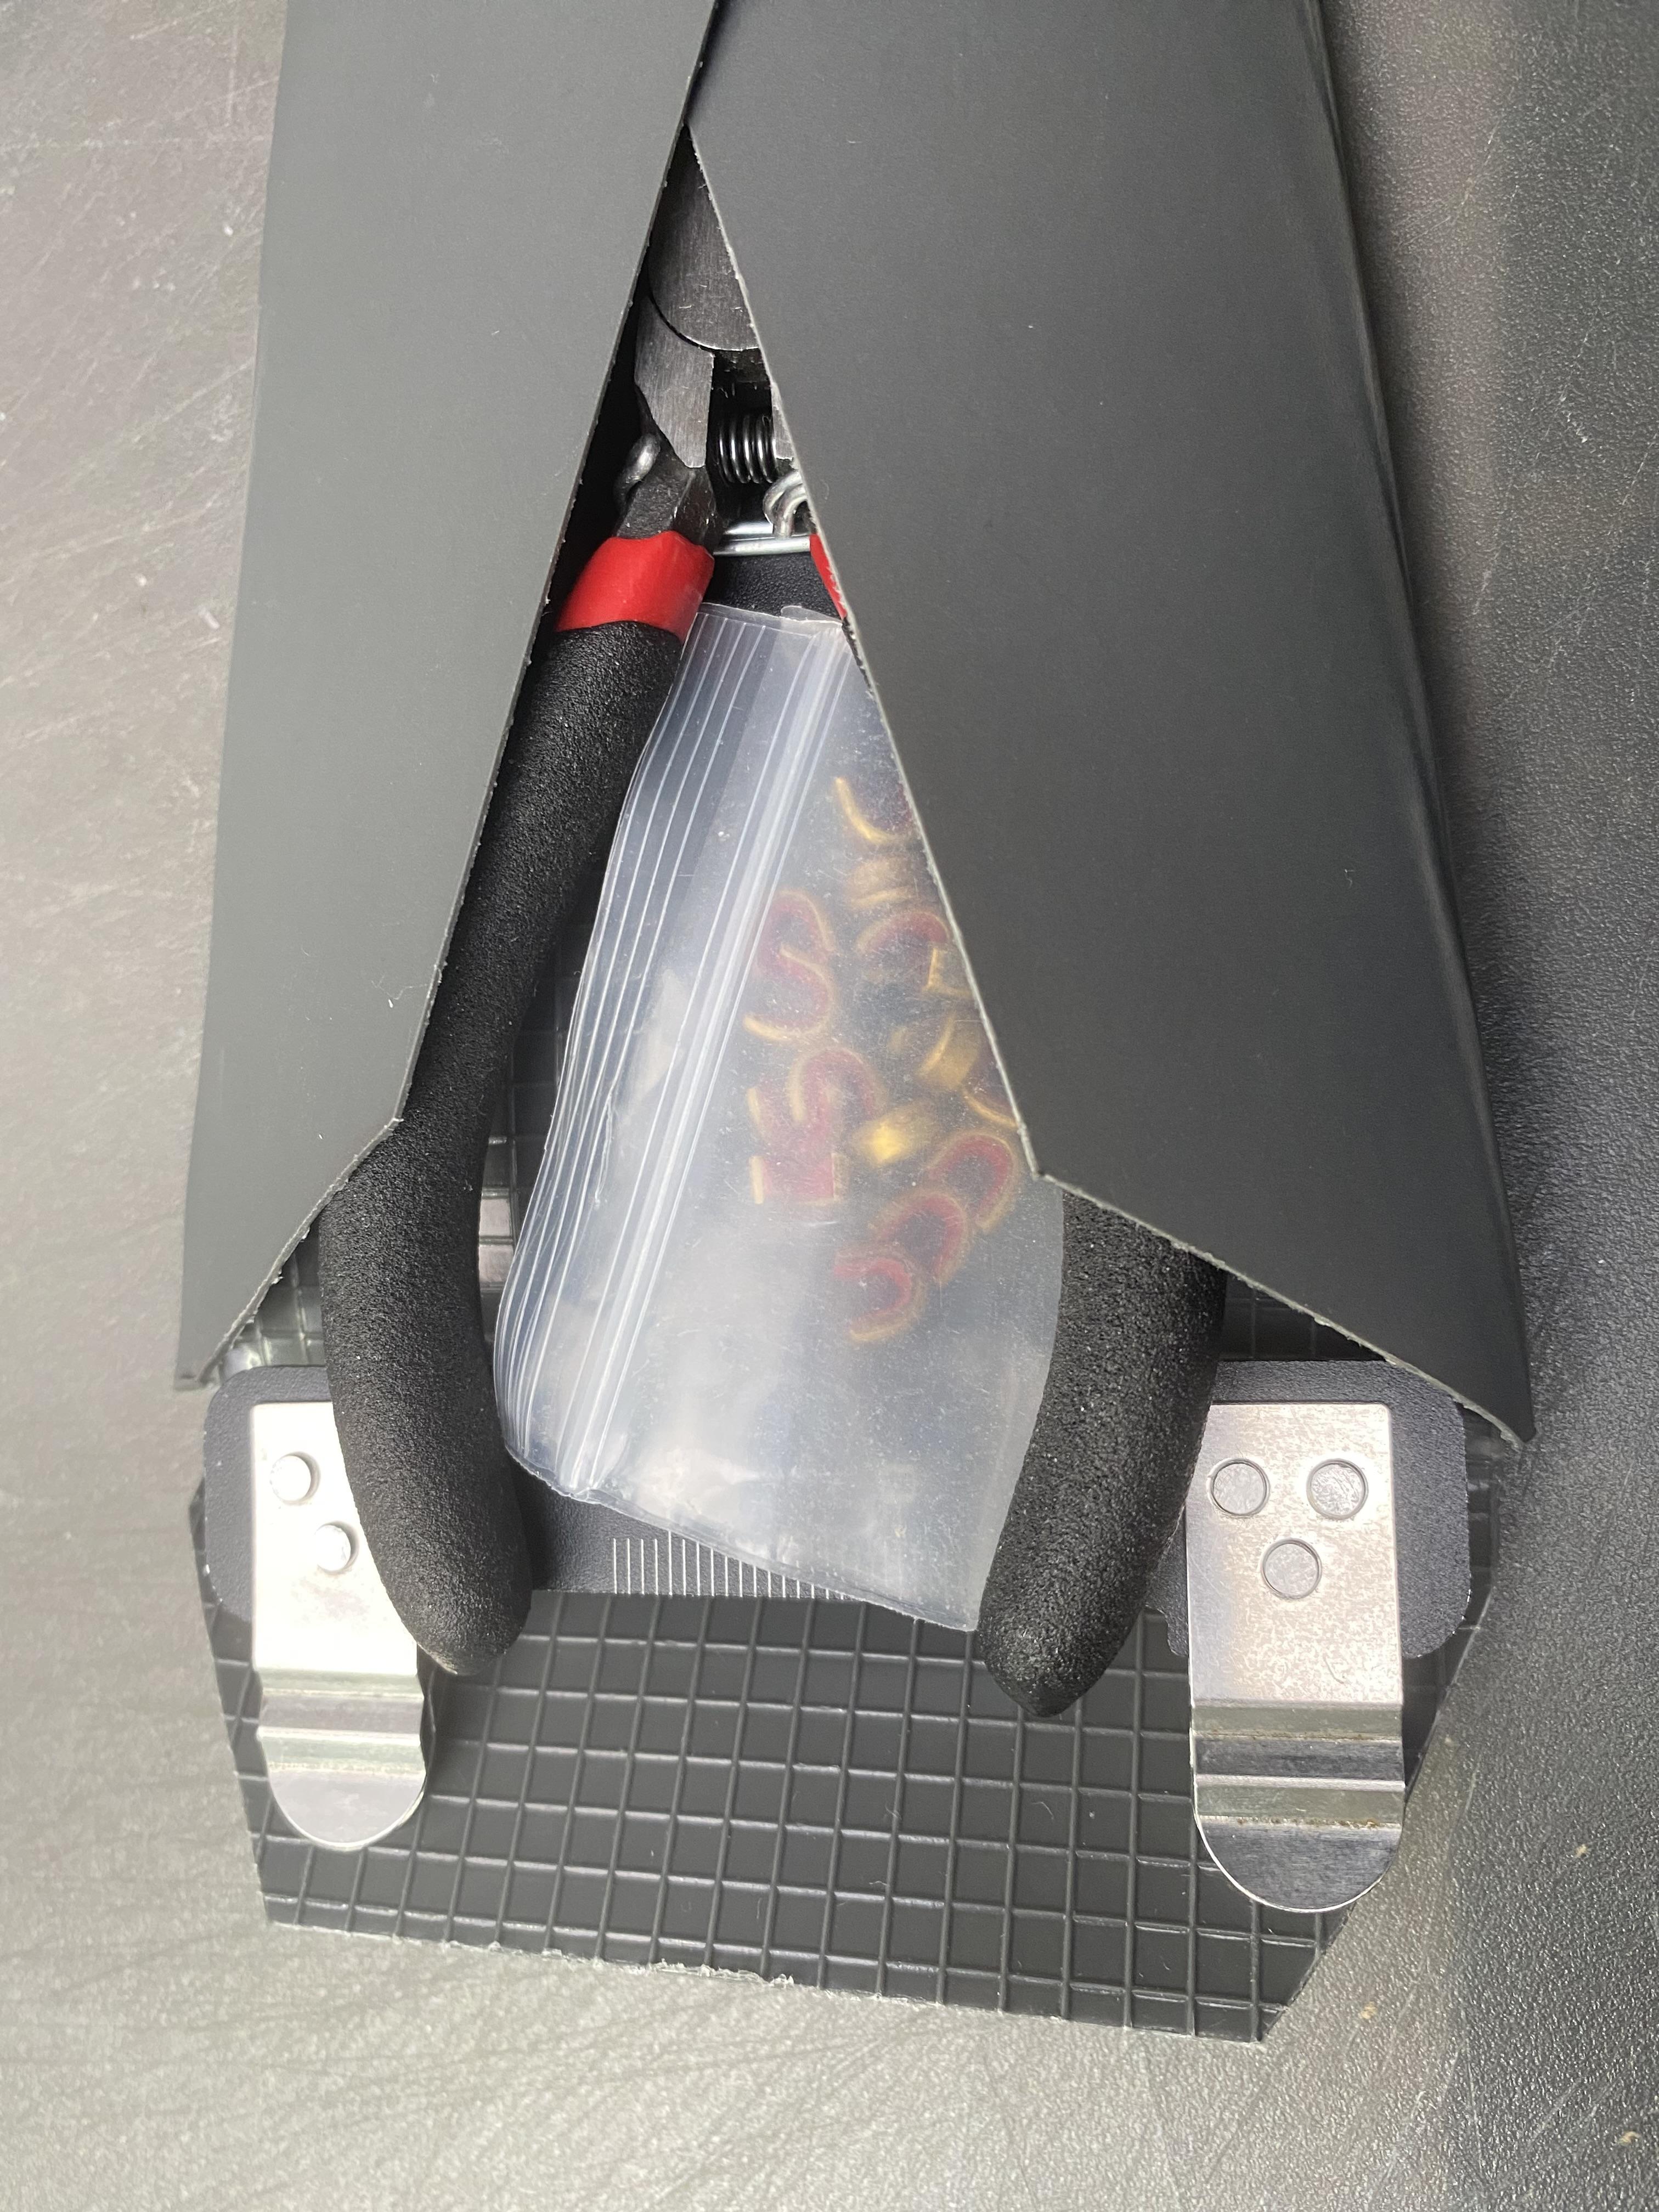
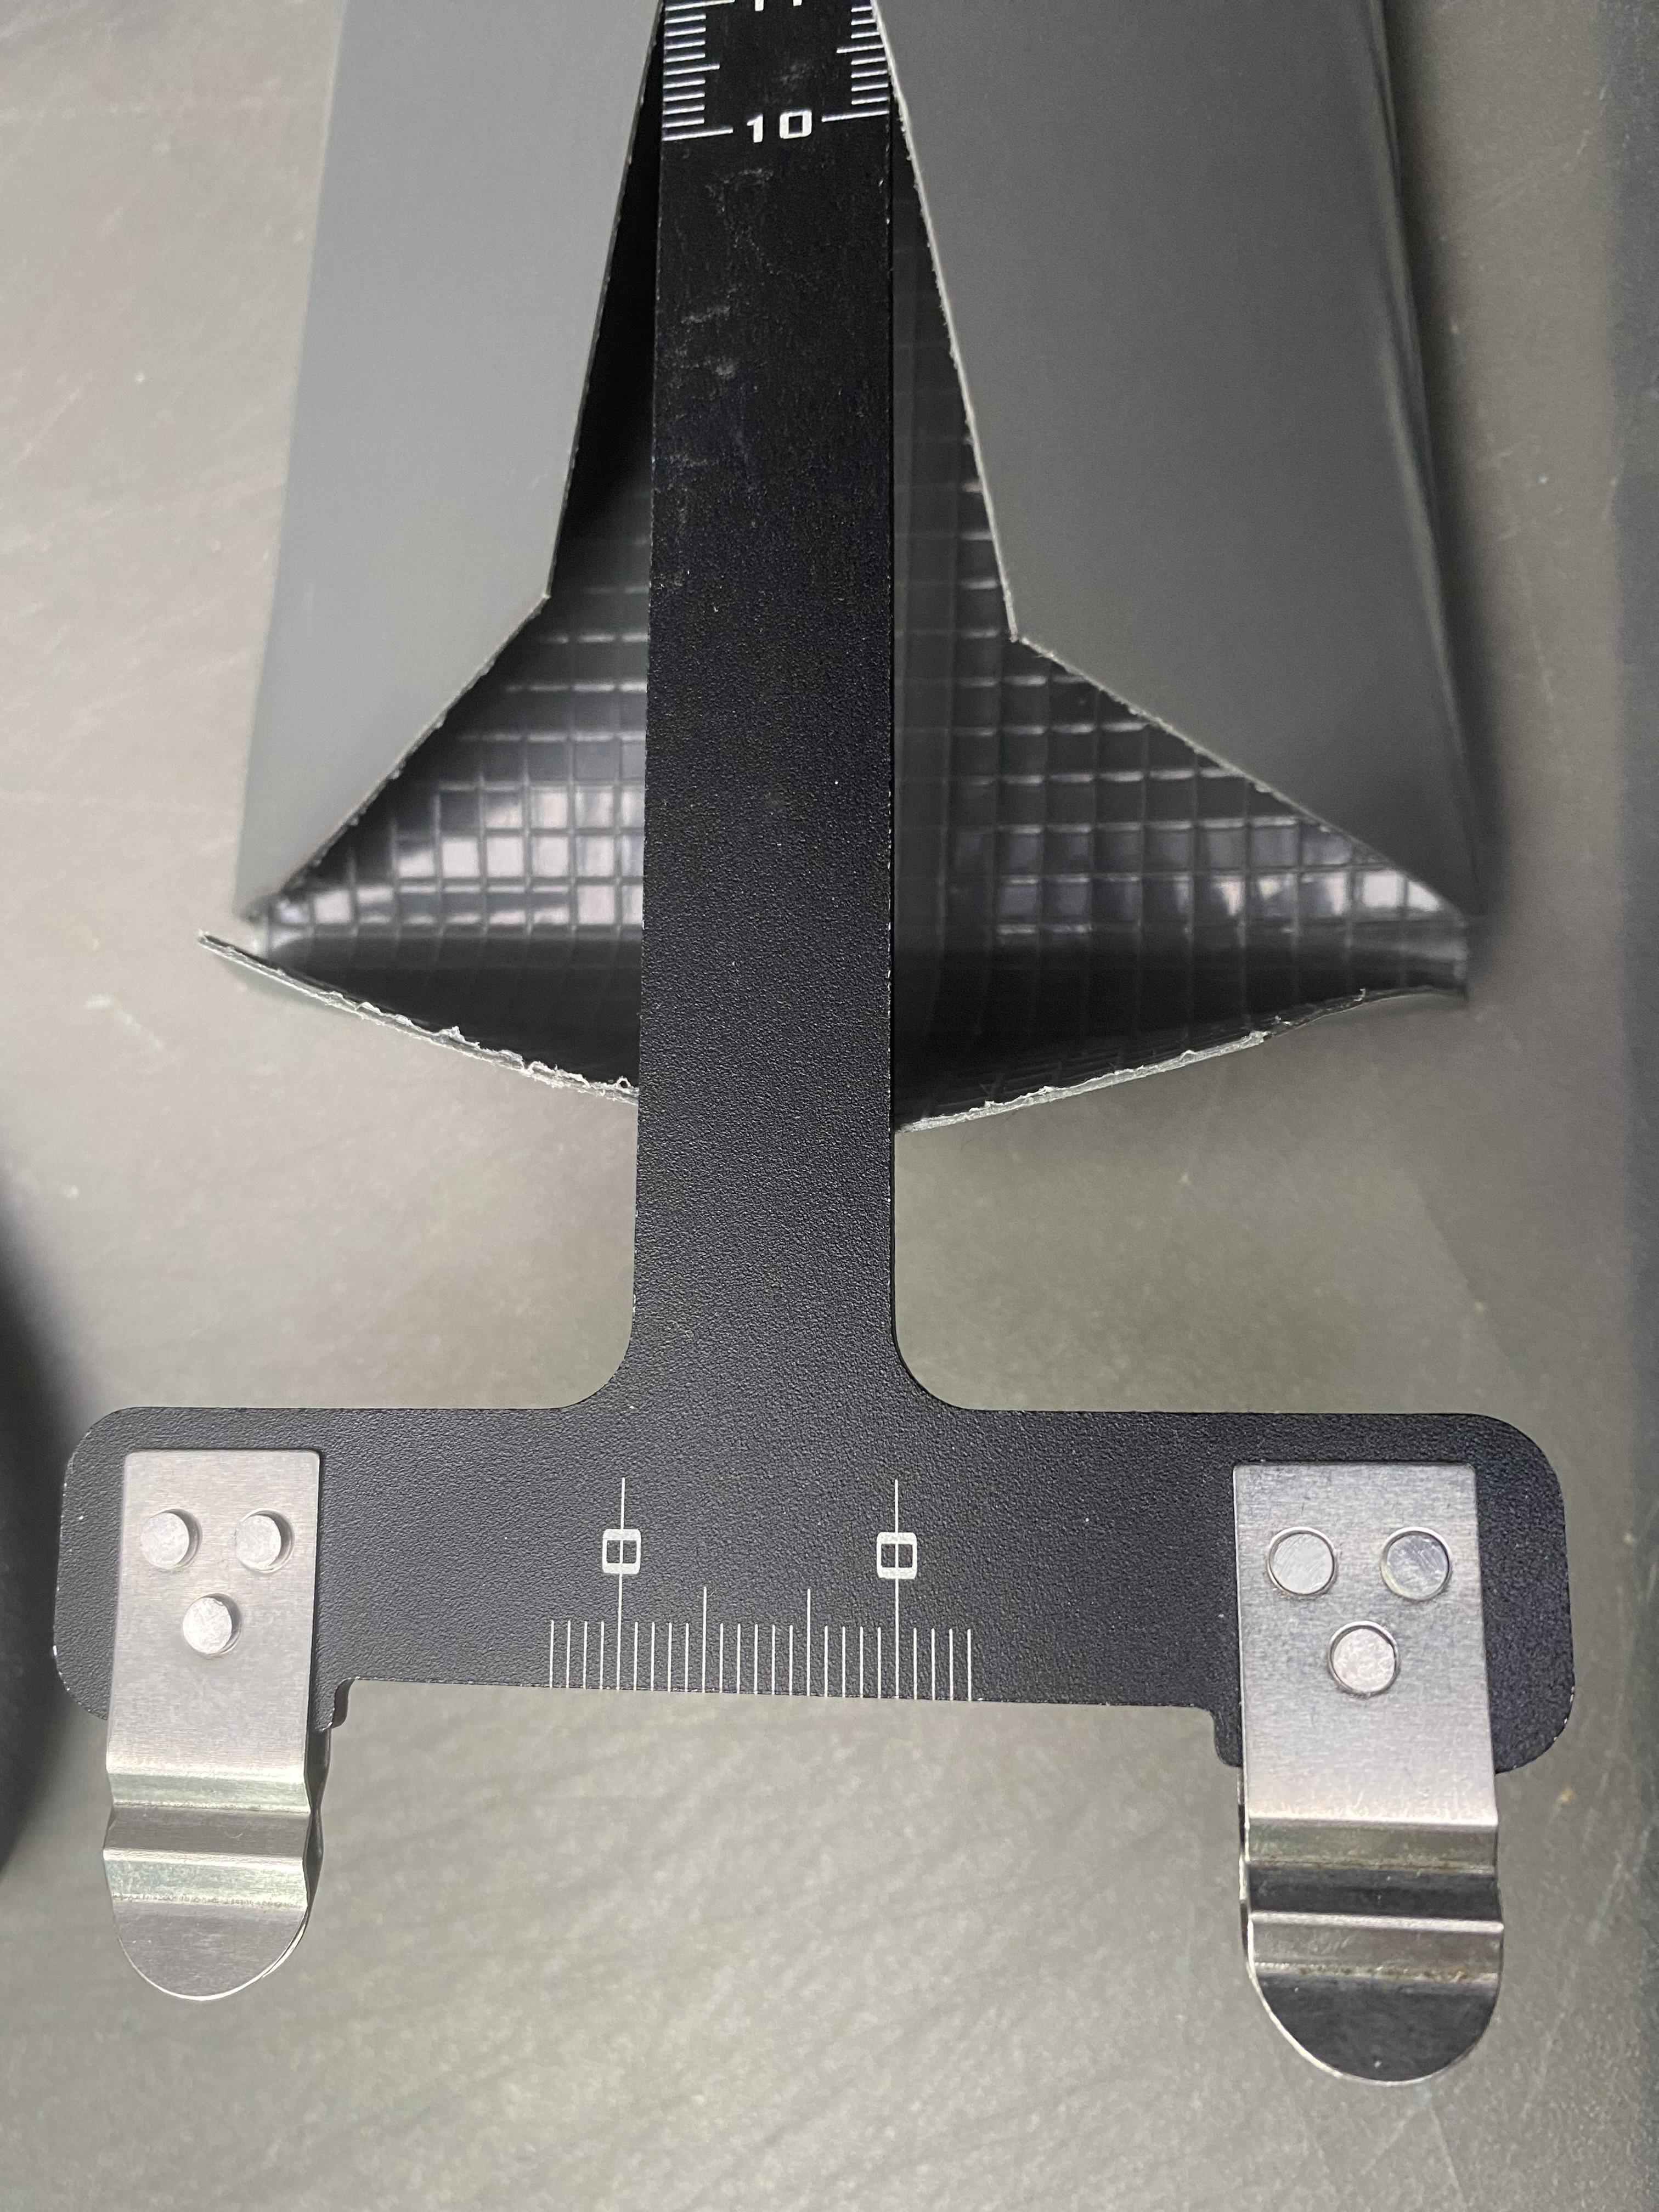
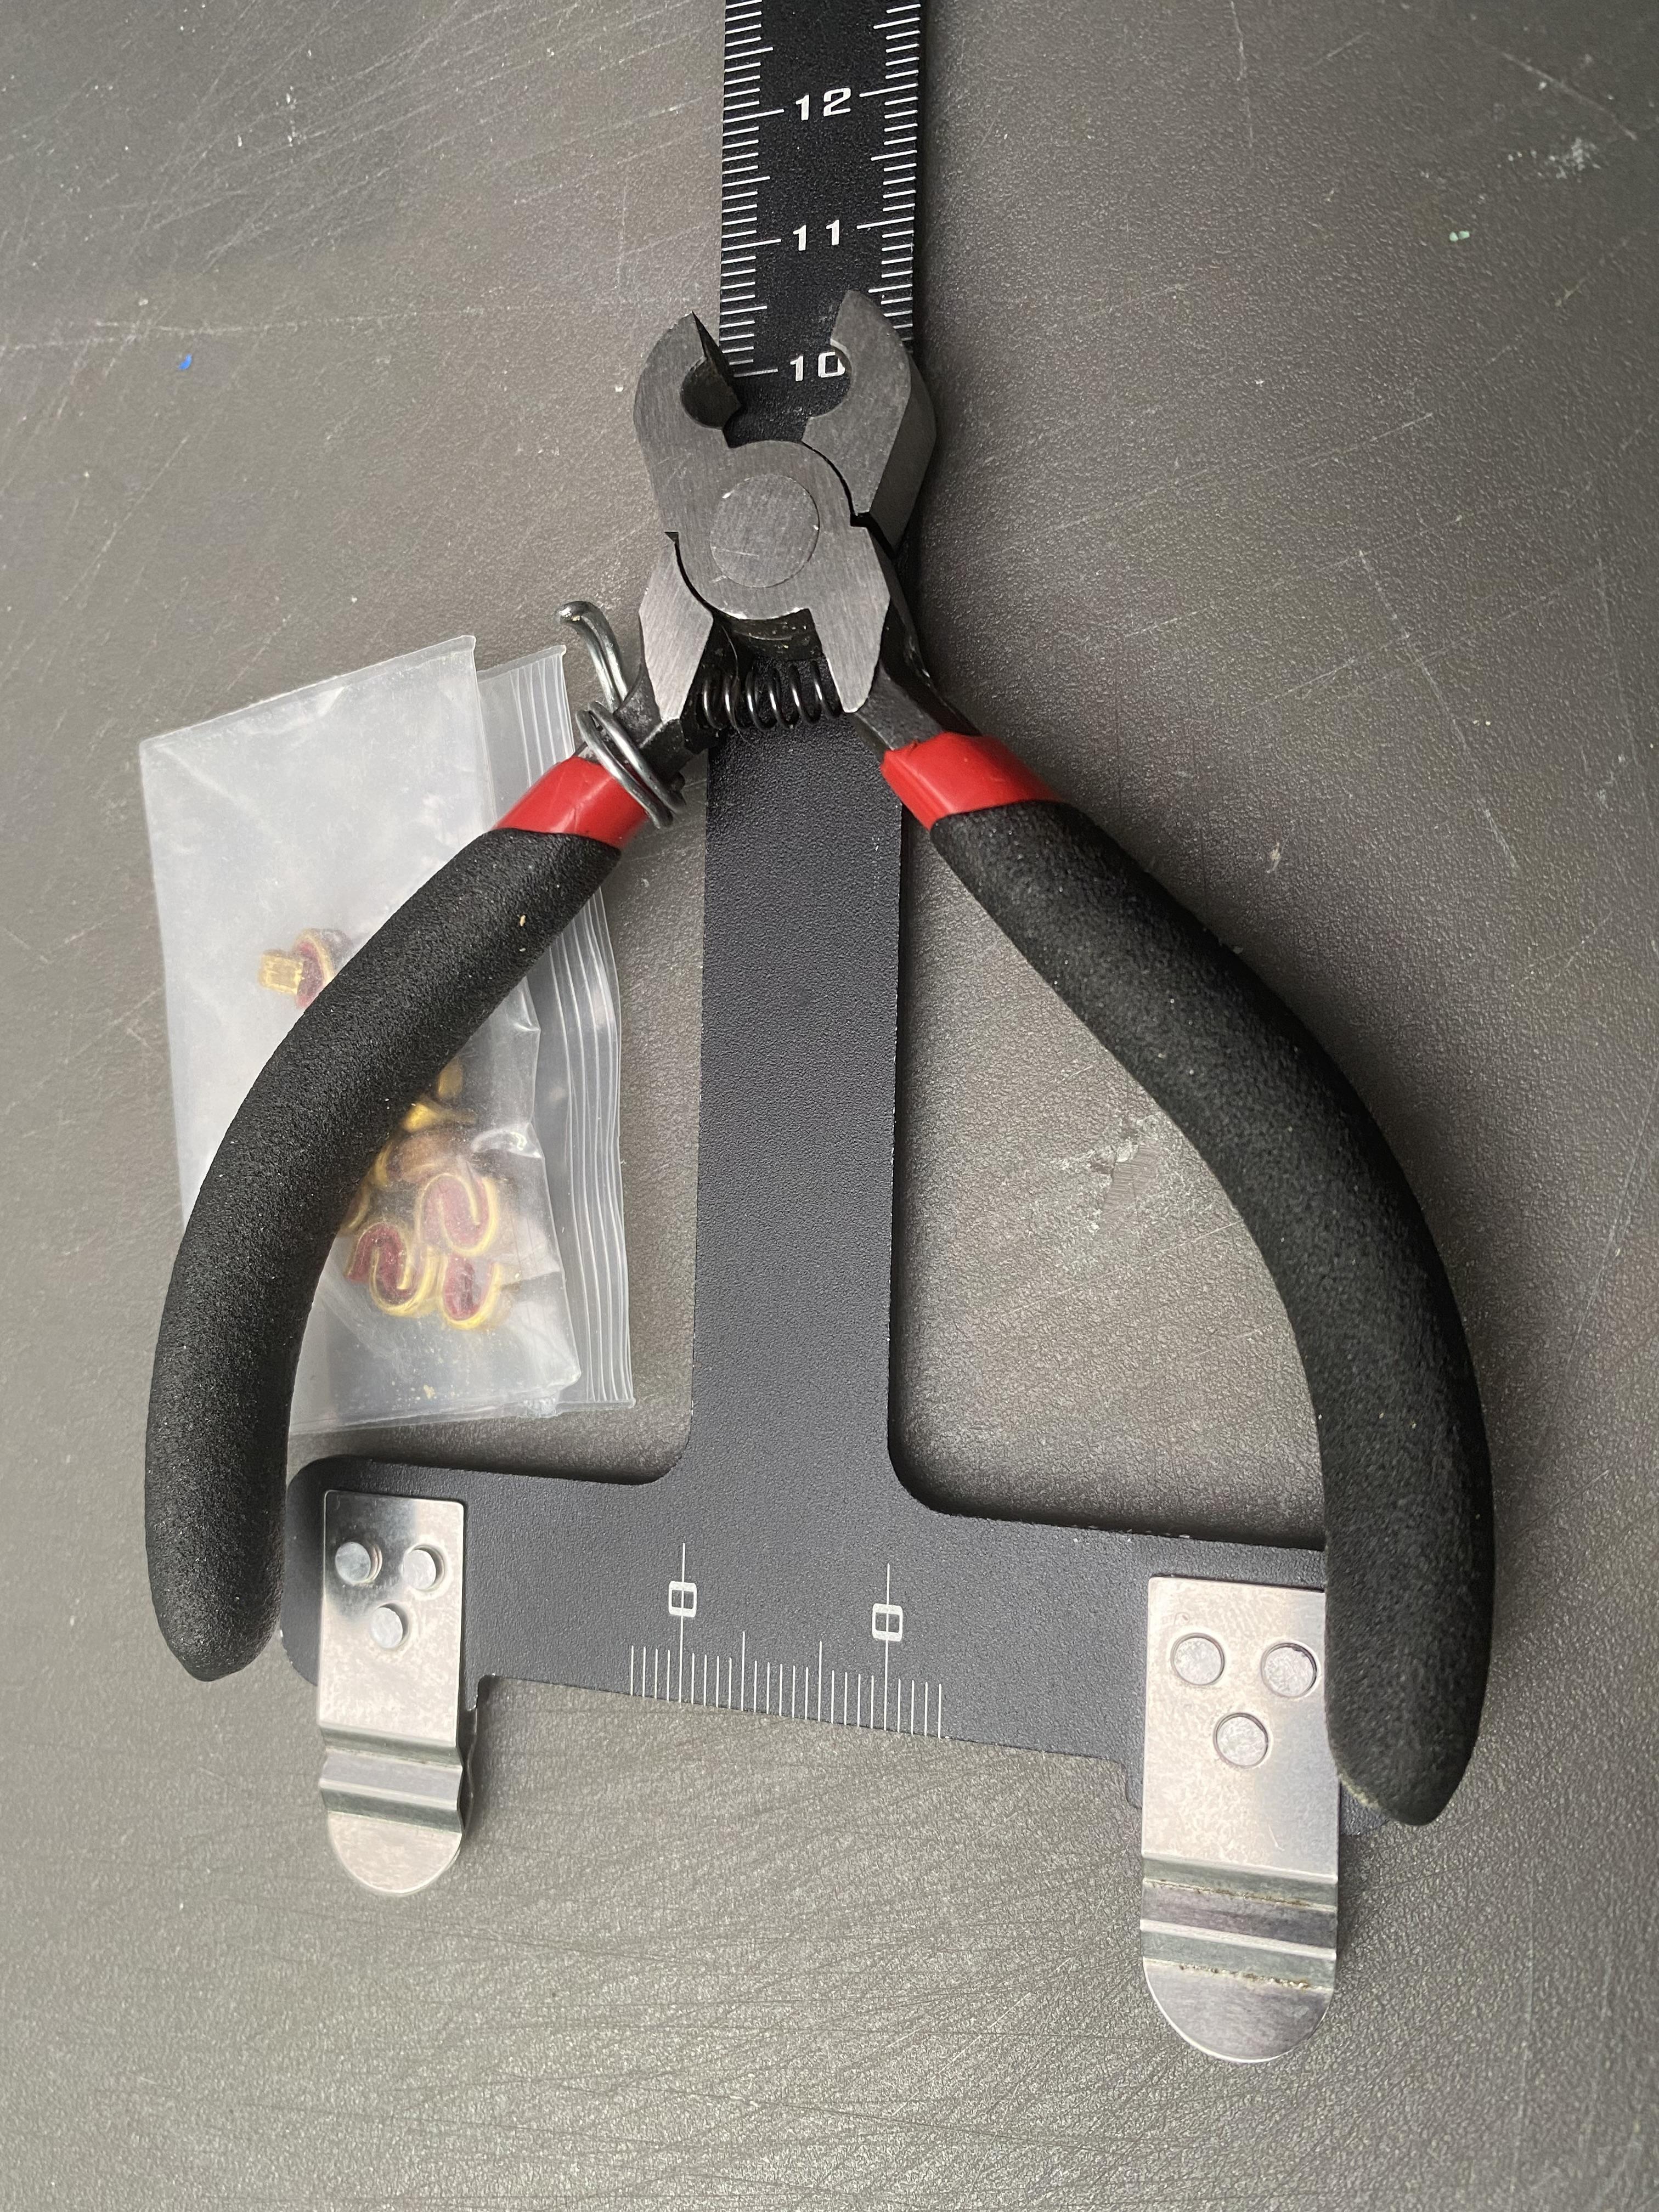
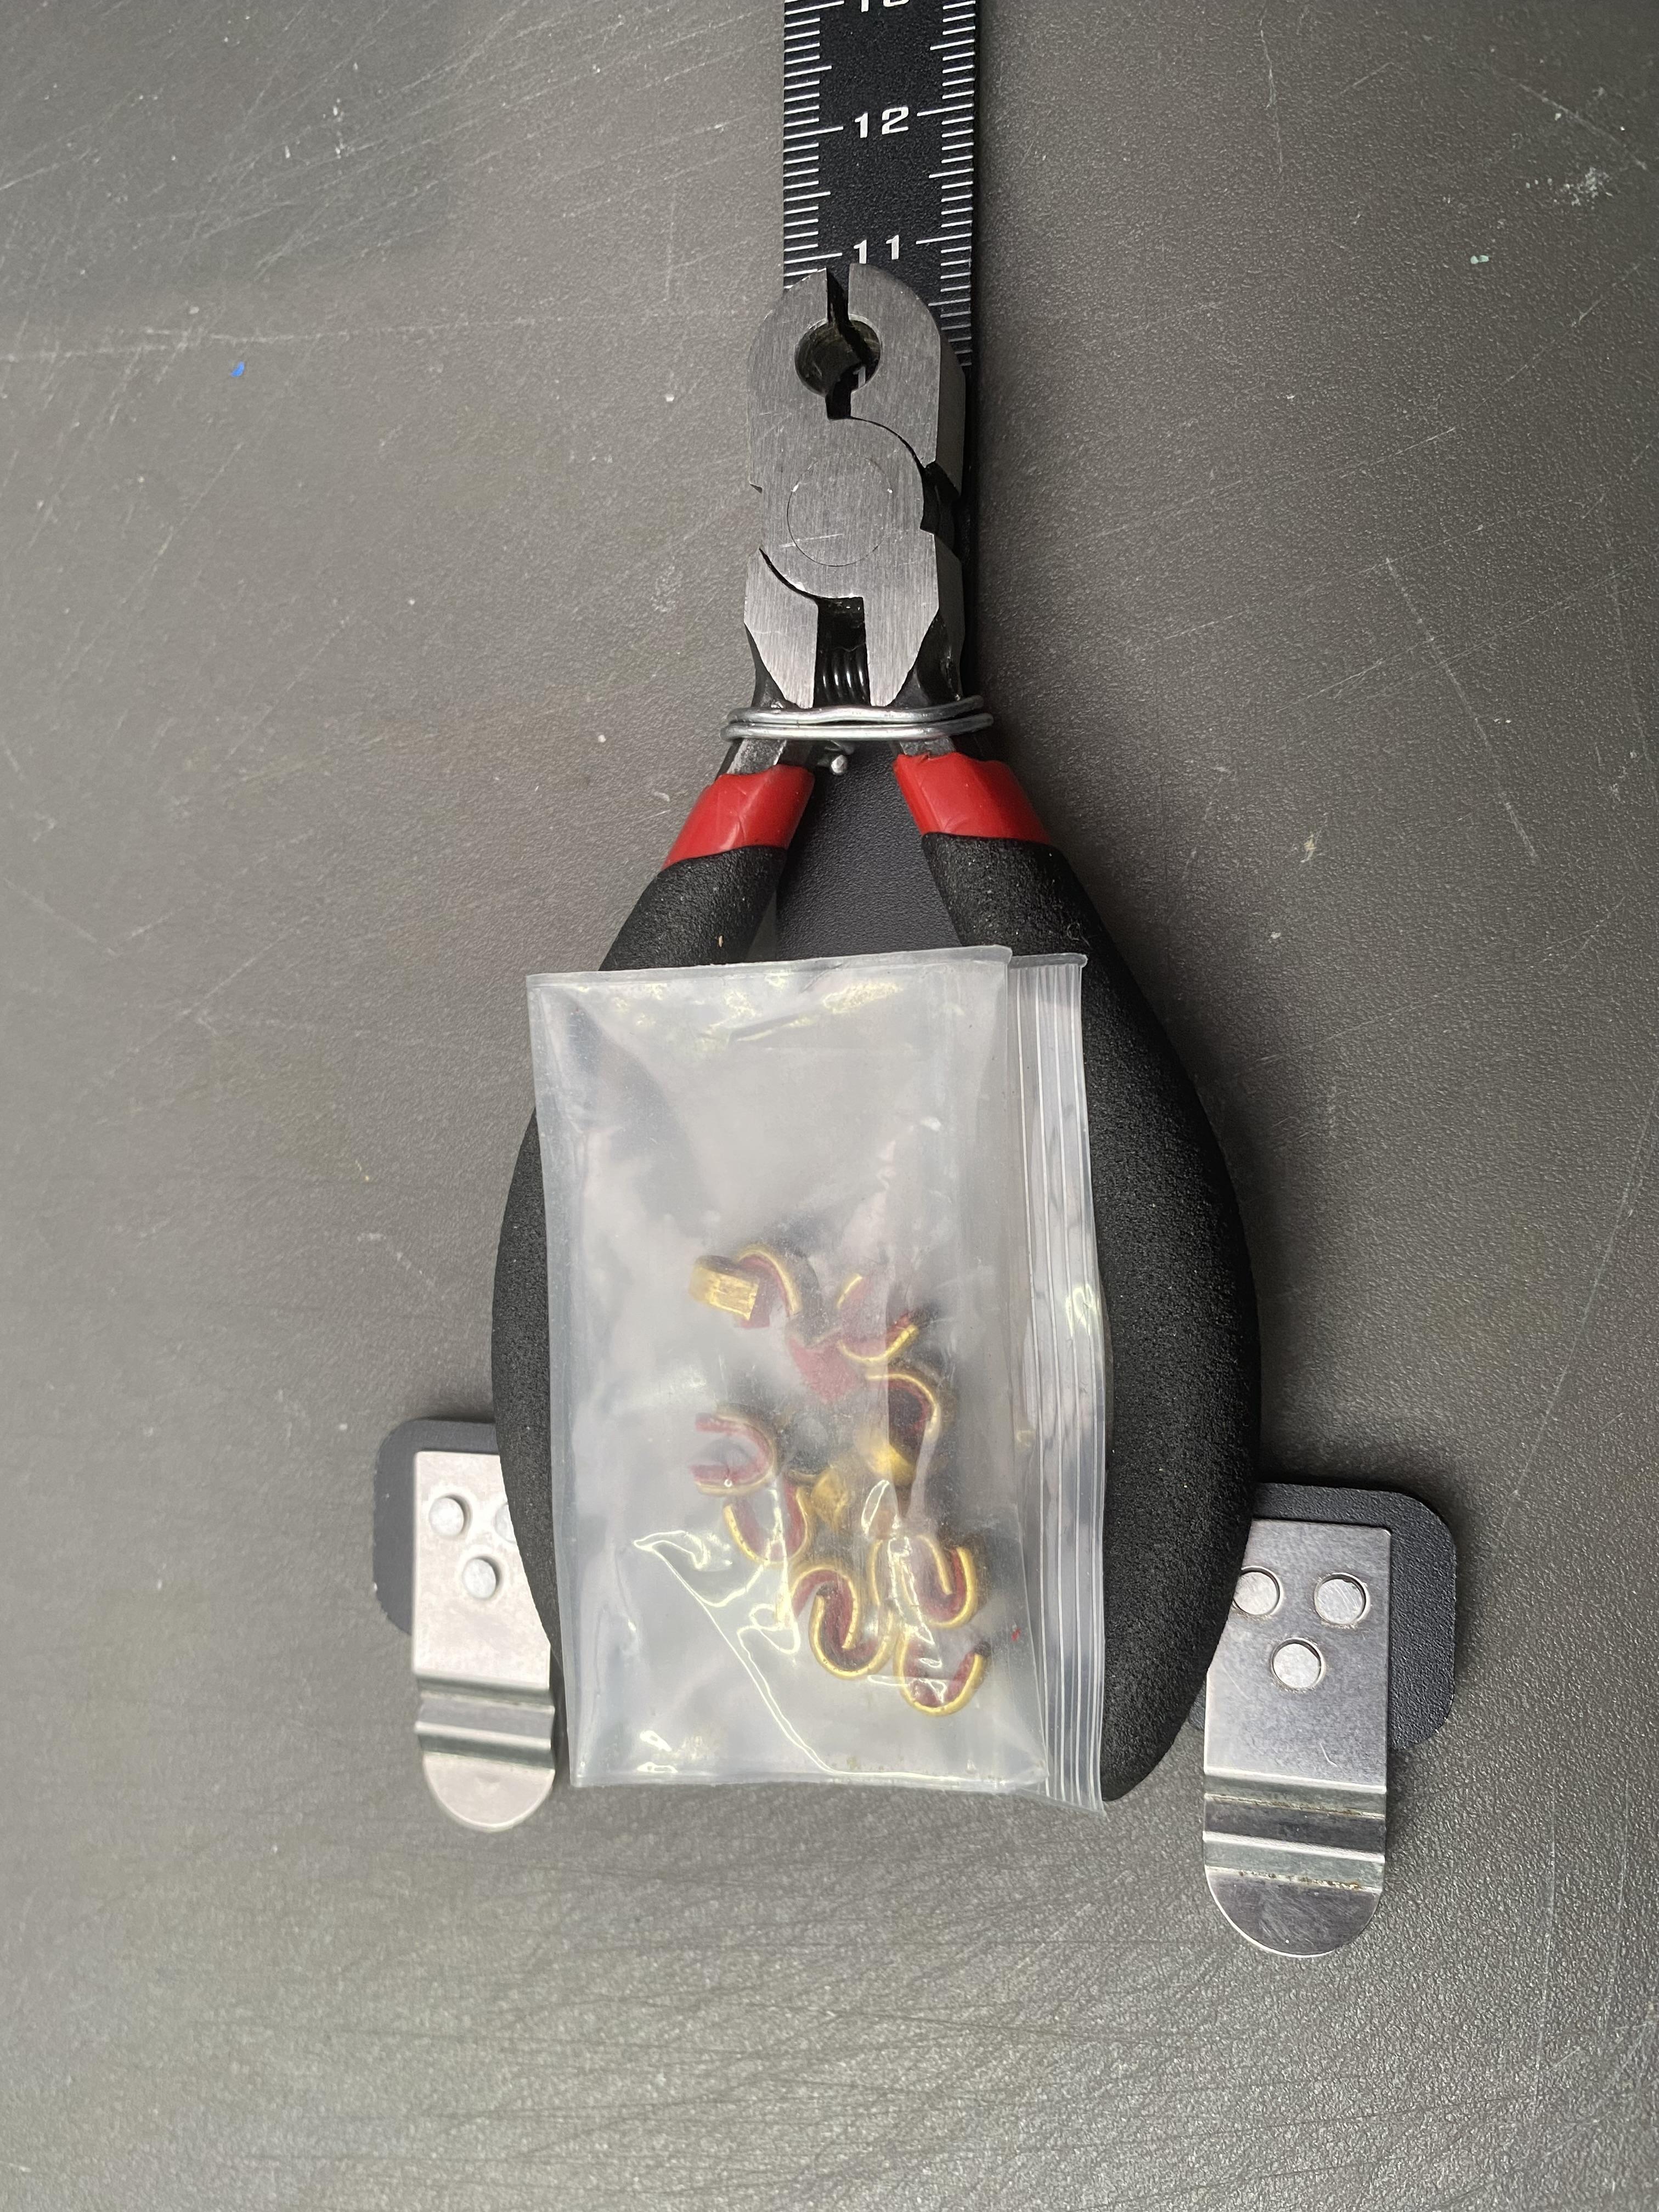
The finished design was transferred to the barely large enough cutting board and the shape cut out with scissors.
Folding the plastic and heating just the relevant edges enough with the heat gun to let them keep the shape without deforming it, is a bit tedious and it may be sensible to wear gloves.
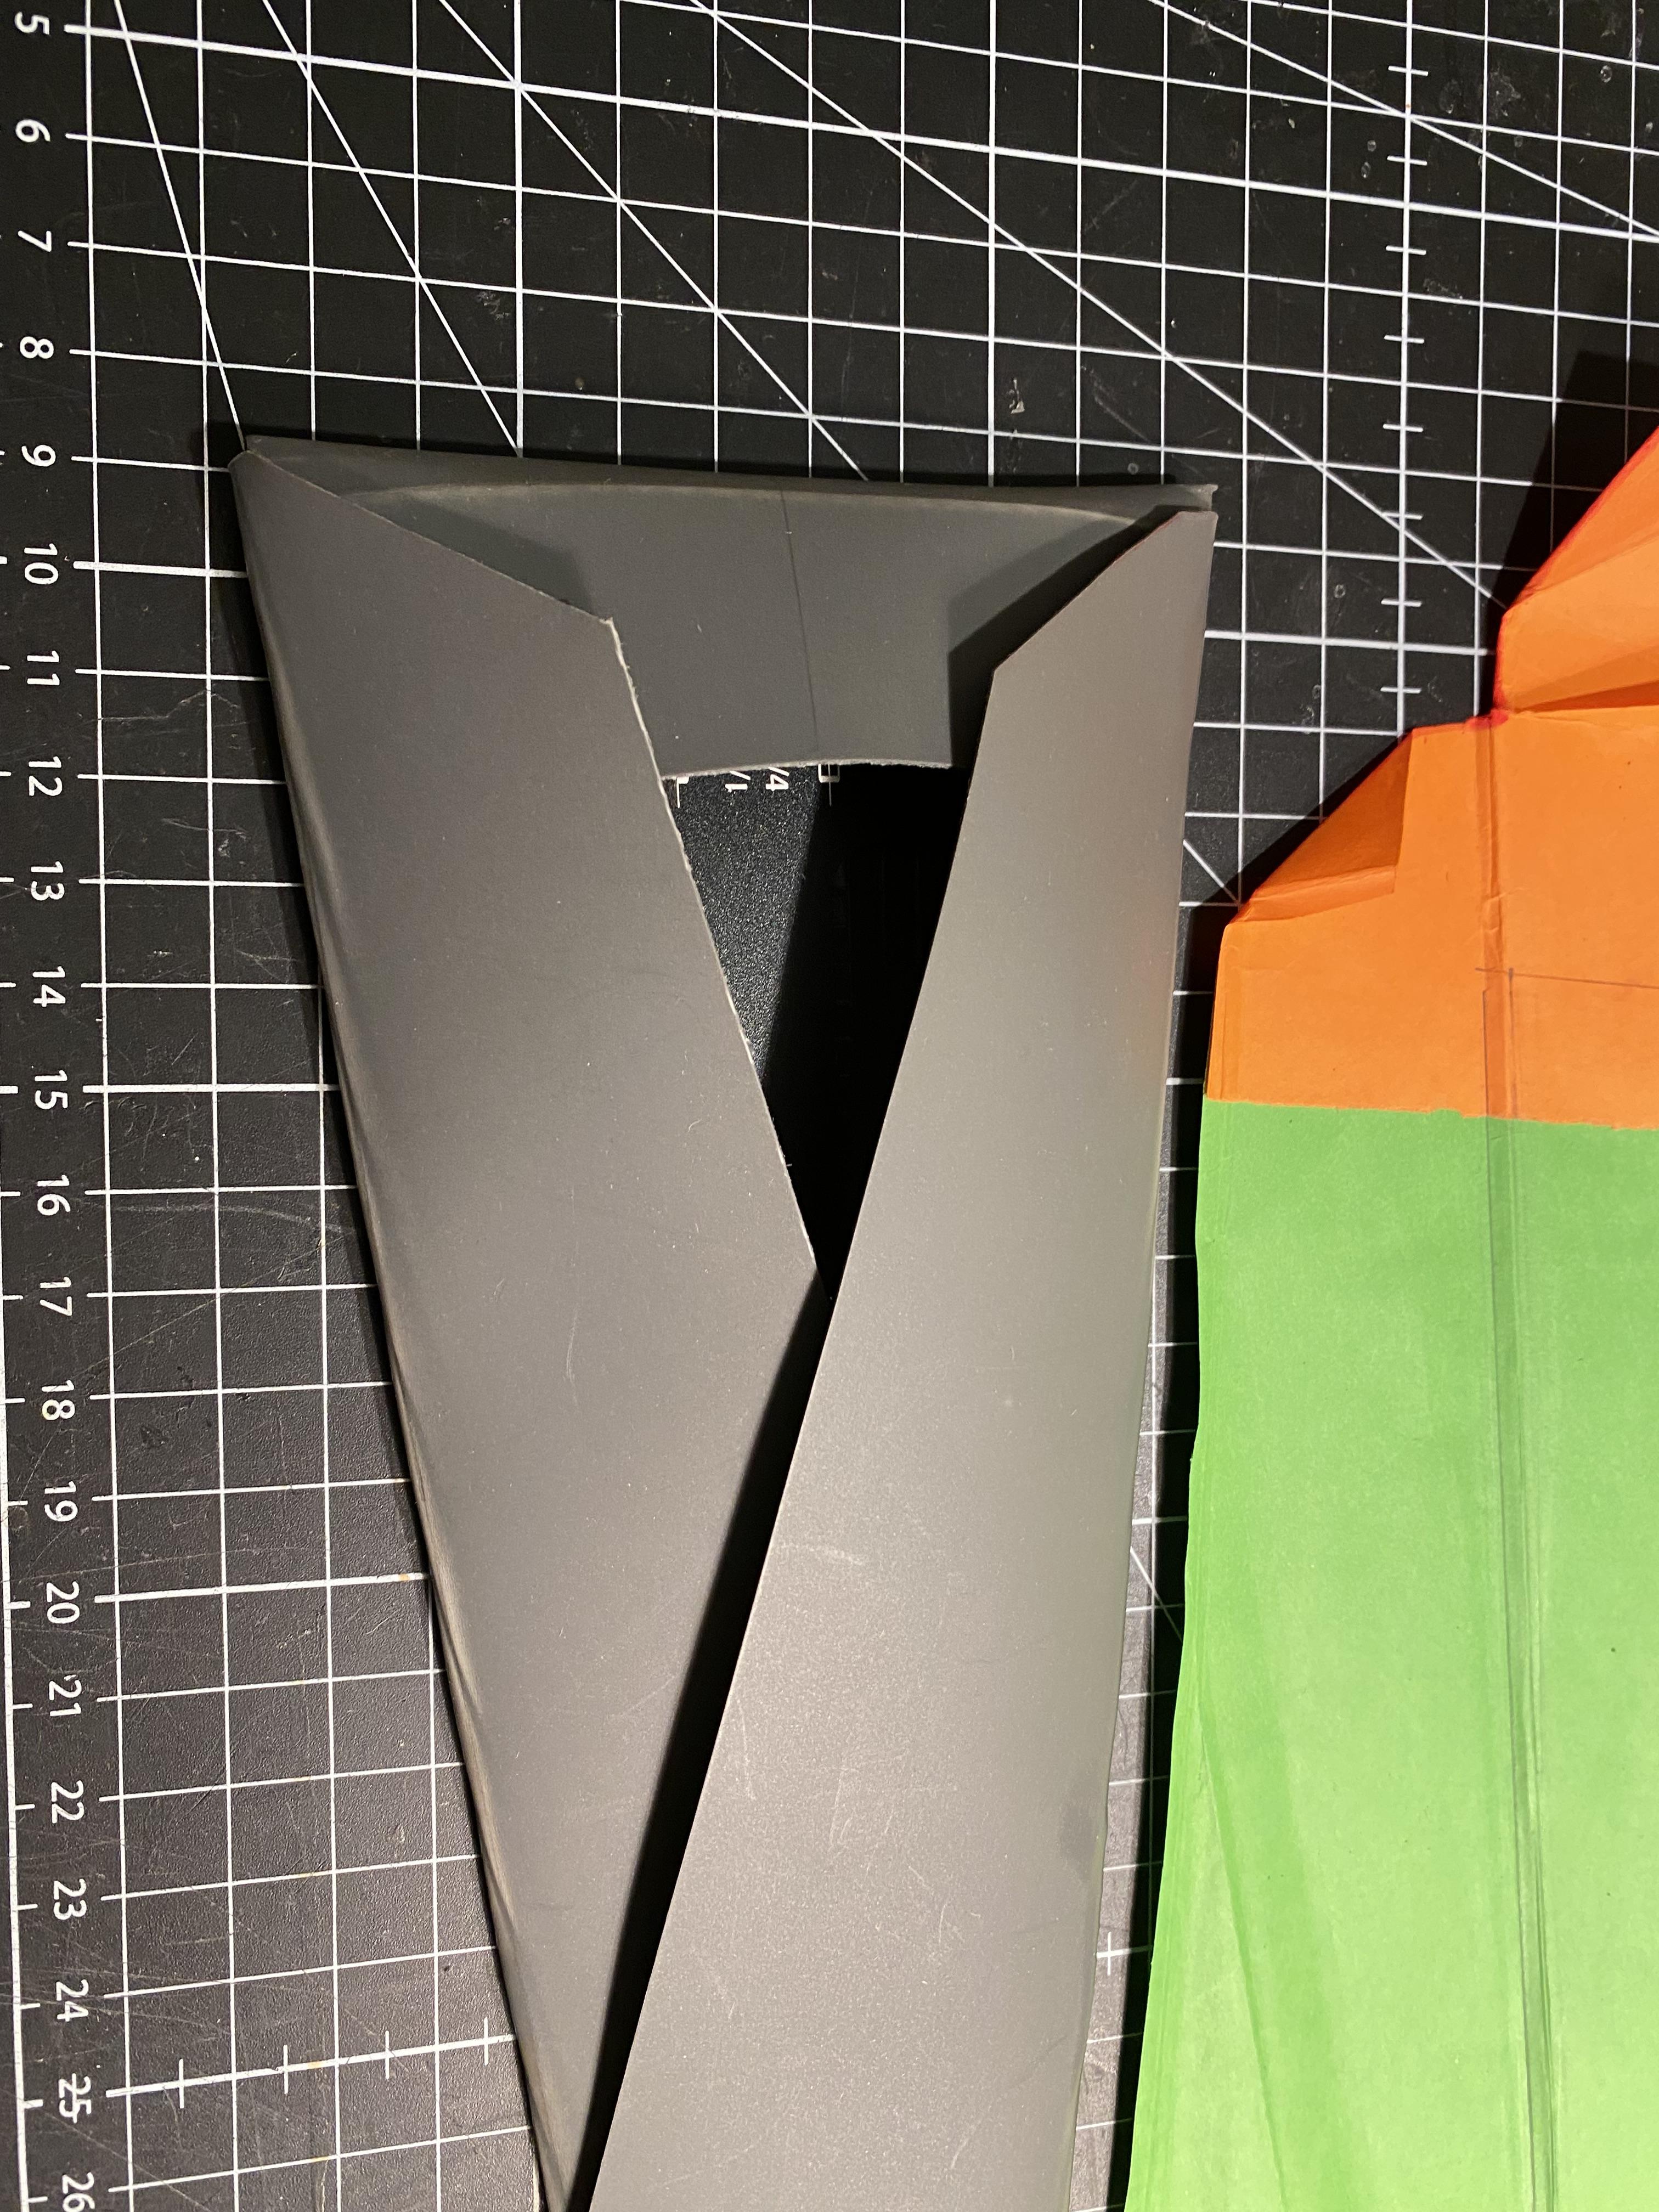
Instead of forming a sheath by folding the sheet in half and glueing or stapling the edges, I had decided to wrap the plastic around itself until the final corner could be inserted into a short cut in the plastic itself. Heating and moulding this was, again, tedious, but worth the trouble.
To keep the ruler from sliding out the bottom, a small piece was folded inward - not on the paper design. For the lid, I decided to simply fold over the top and cut the edges just enough to fit it into the already folded sides - like with a funnel.
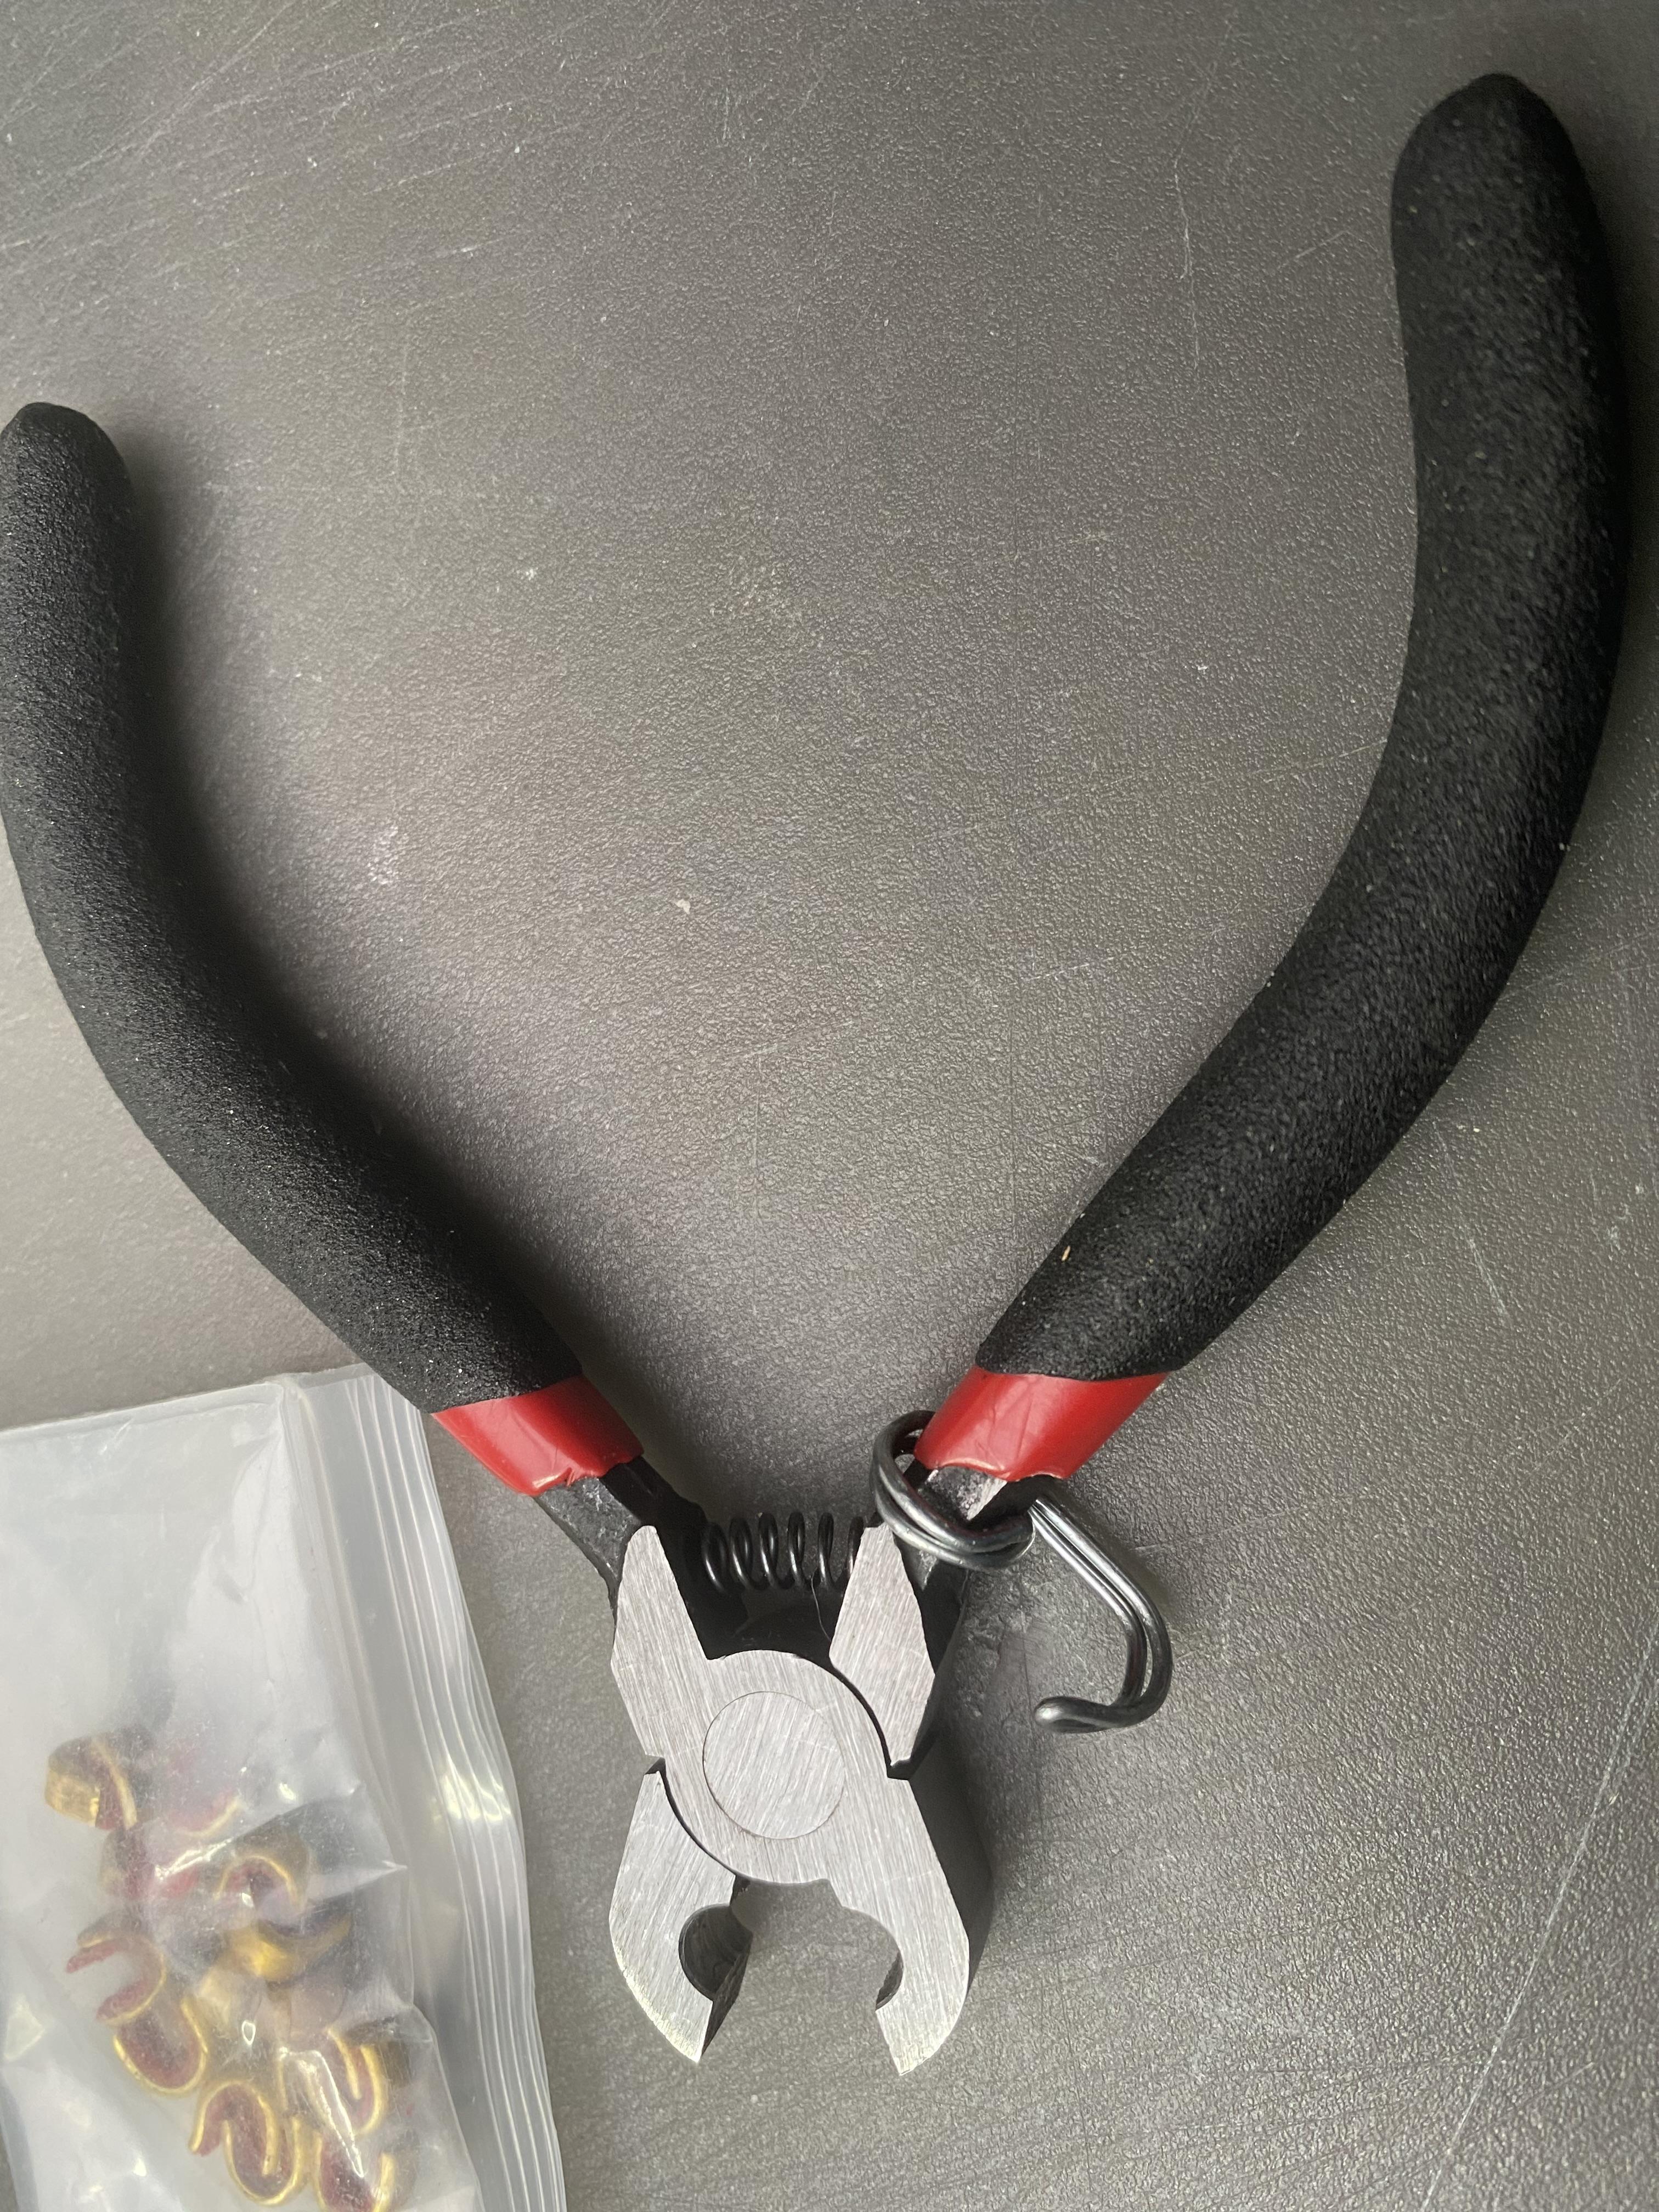
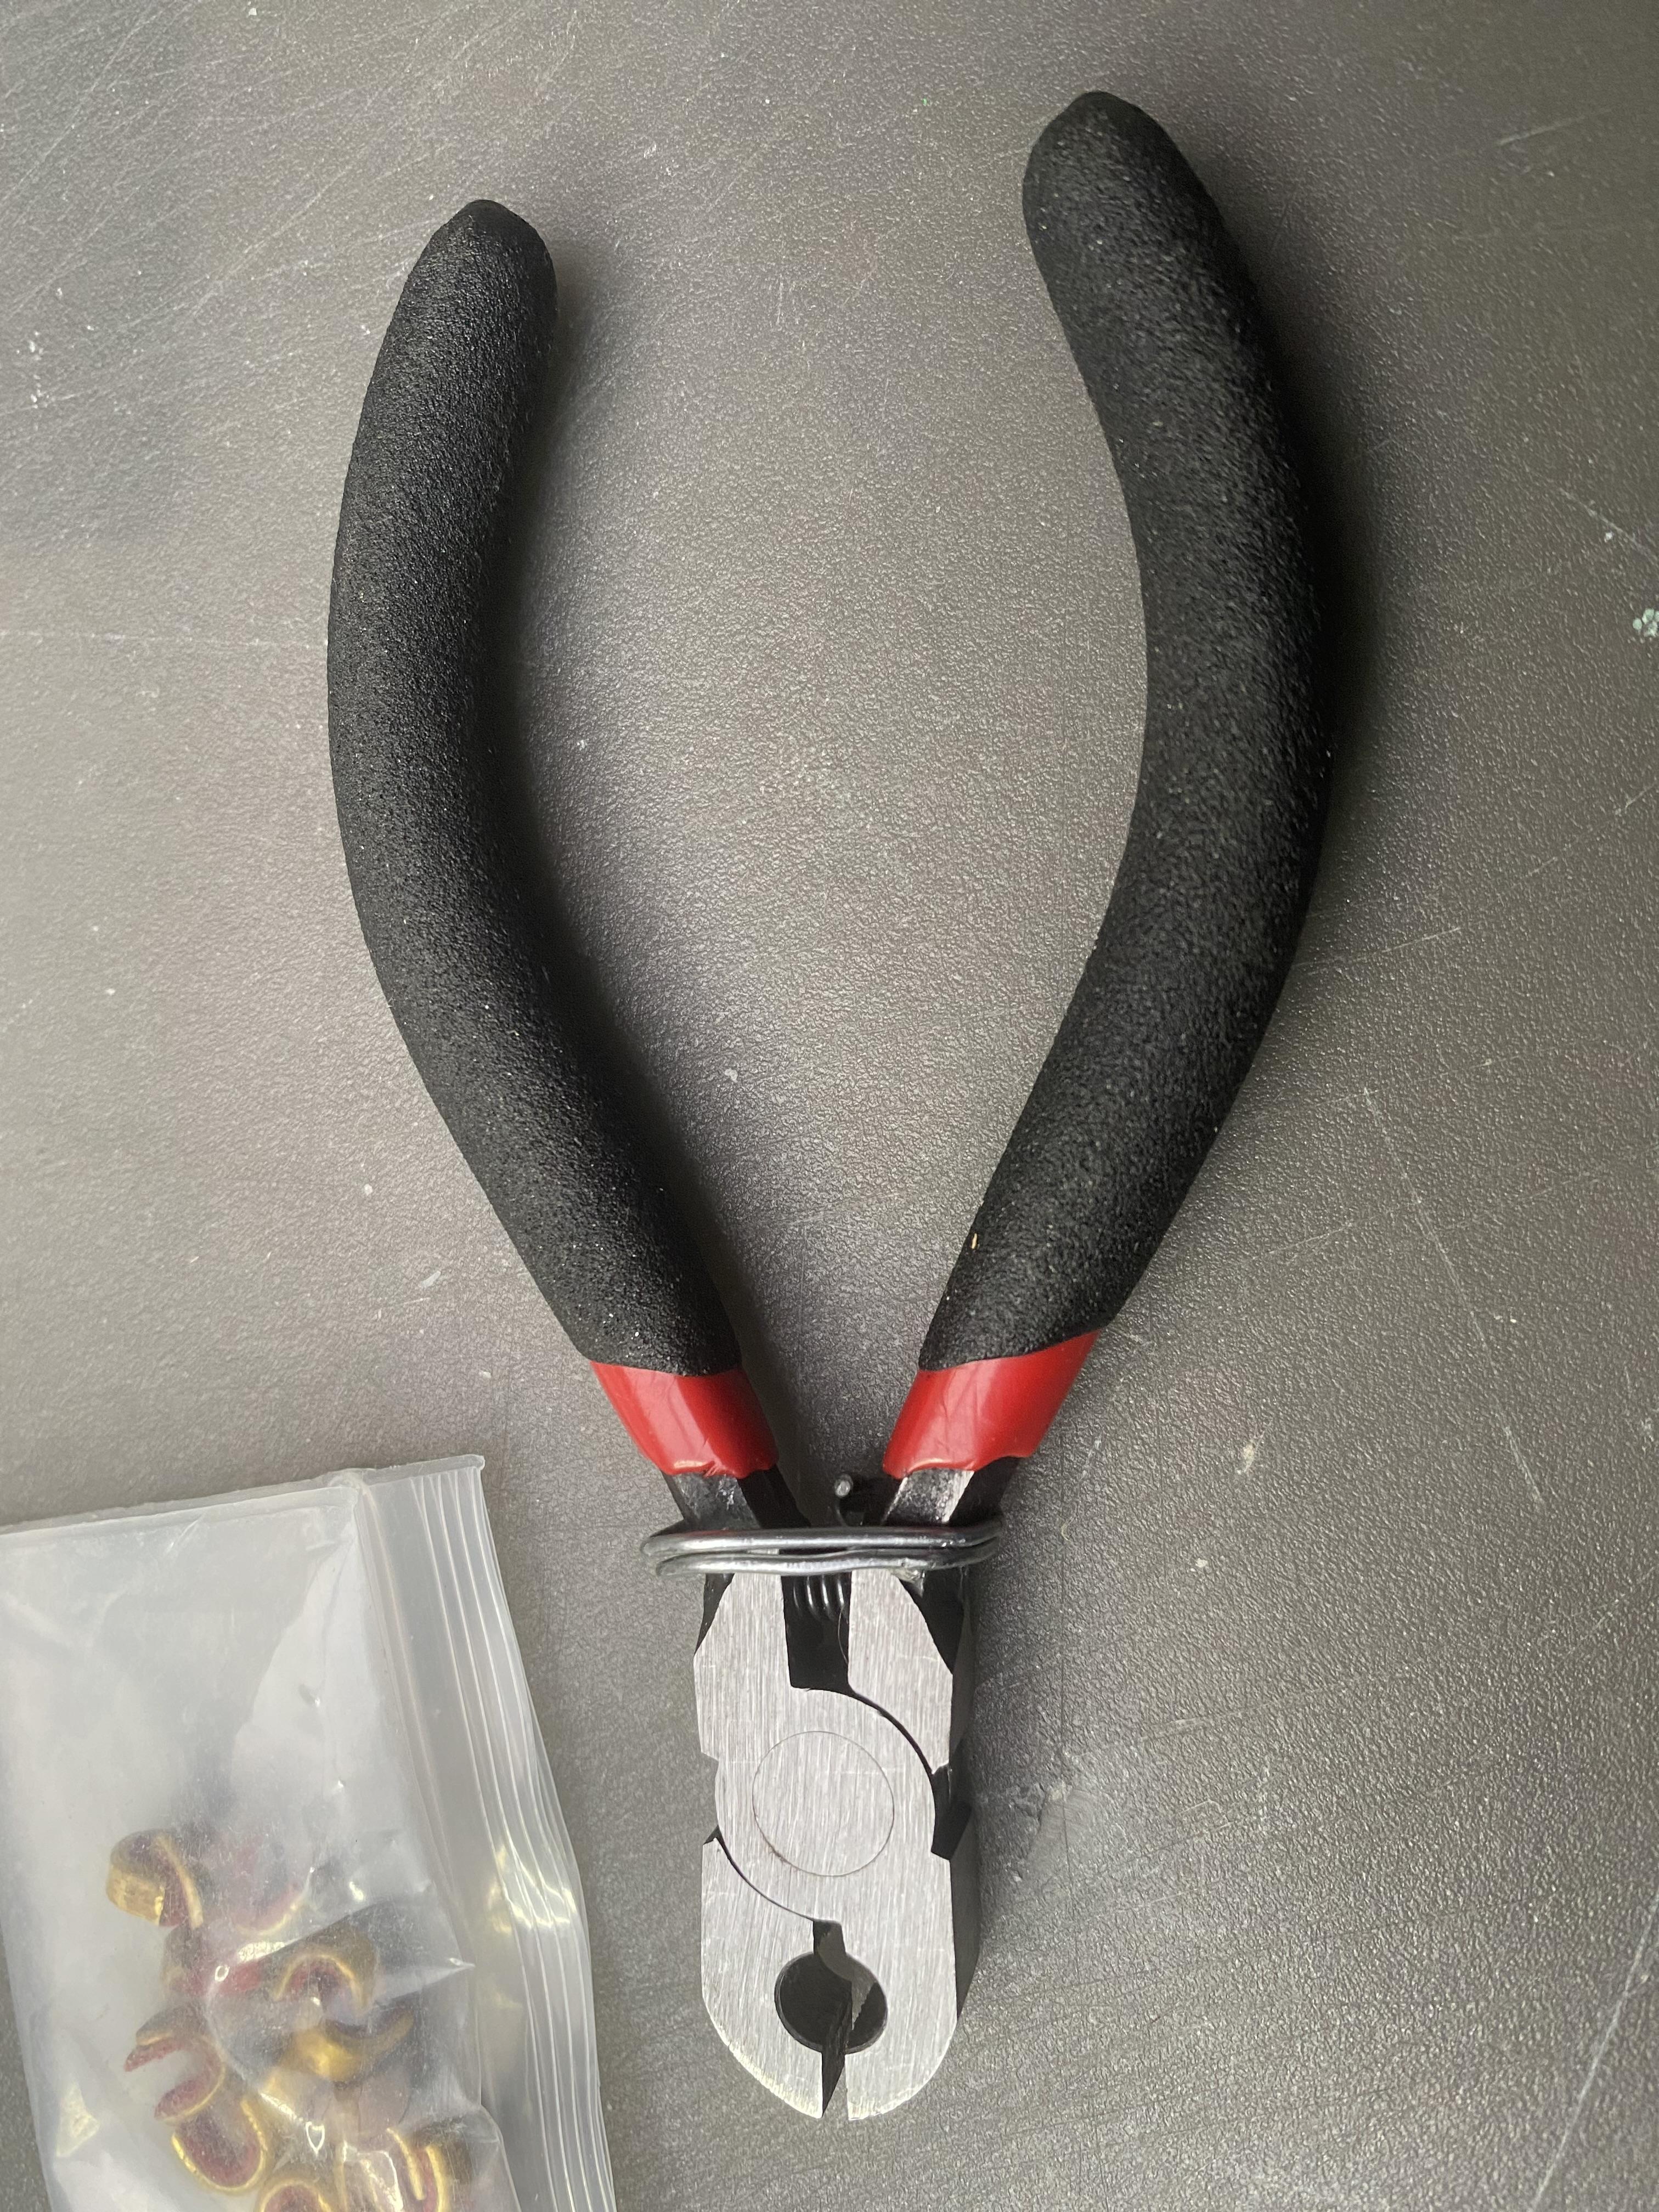
Pliers with a spring to keep them open are nice, until you try to put them somewhere, so I decided to use a wire paper clip to bend a hook, as a means to keep them closed when not in use. That makes it much easier to keep things organized.
Fin.
So now I have a really simple sheath for my bow checker, the nock point pliers and the little baggy of nocking points, that cost nothing but a little time and a cutting board, that no one used, and it looks pretty good.
I was actually asked where I bought it….
Stay fascinated….