Shorten the Length of Wire for Your PC Mouse
by bustatech in Circuits > USB
32447 Views, 10 Favorites, 0 Comments
Shorten the Length of Wire for Your PC Mouse


I just bought a mouse for my sister, its a Logitech M100 wired mouse. After testing on that mouse (its quite a nice mouse with 1000-dpi), this idea comes to me, why not I reduce the length of the wire to perfectly fit my usage? Sometimes the length of the wire for mouse do fit the usage of some consumer but some will find it too long or too short. For example, if you are using a laptop, where you have a USB port at the side of your laptop, I am sure you will find the length of wire for normal mouse is too long for your usage. So, under this step-by-step guide, I am going to teach you on how to reduce the length of wire for your mouse.
Tools and Components

The only tool you will need for this project is a medium size Philips Screwdriver and you will also need some cable ties (simply use the cable tie that comes with the mouse).
Unscrew and Open the Casing


Now, unscrew the screw(s) on the mouse, using the screwdriver and try to “open” the casing of the mouse. Please take note that the placement of the screw for your mouse might be different from the one you see in the image (some of the screw is hidden under the information sticker or warranty sticker). The tips is to unscrew all the screw(s) you can see and try to open the casing, if you can’t open the casing after some trial, there might be some hidden screw and you will need to peel off some stickers. For Logitech M100, there is only one screw located at the lower part of the mouse.
Put the Wires in a Loop.


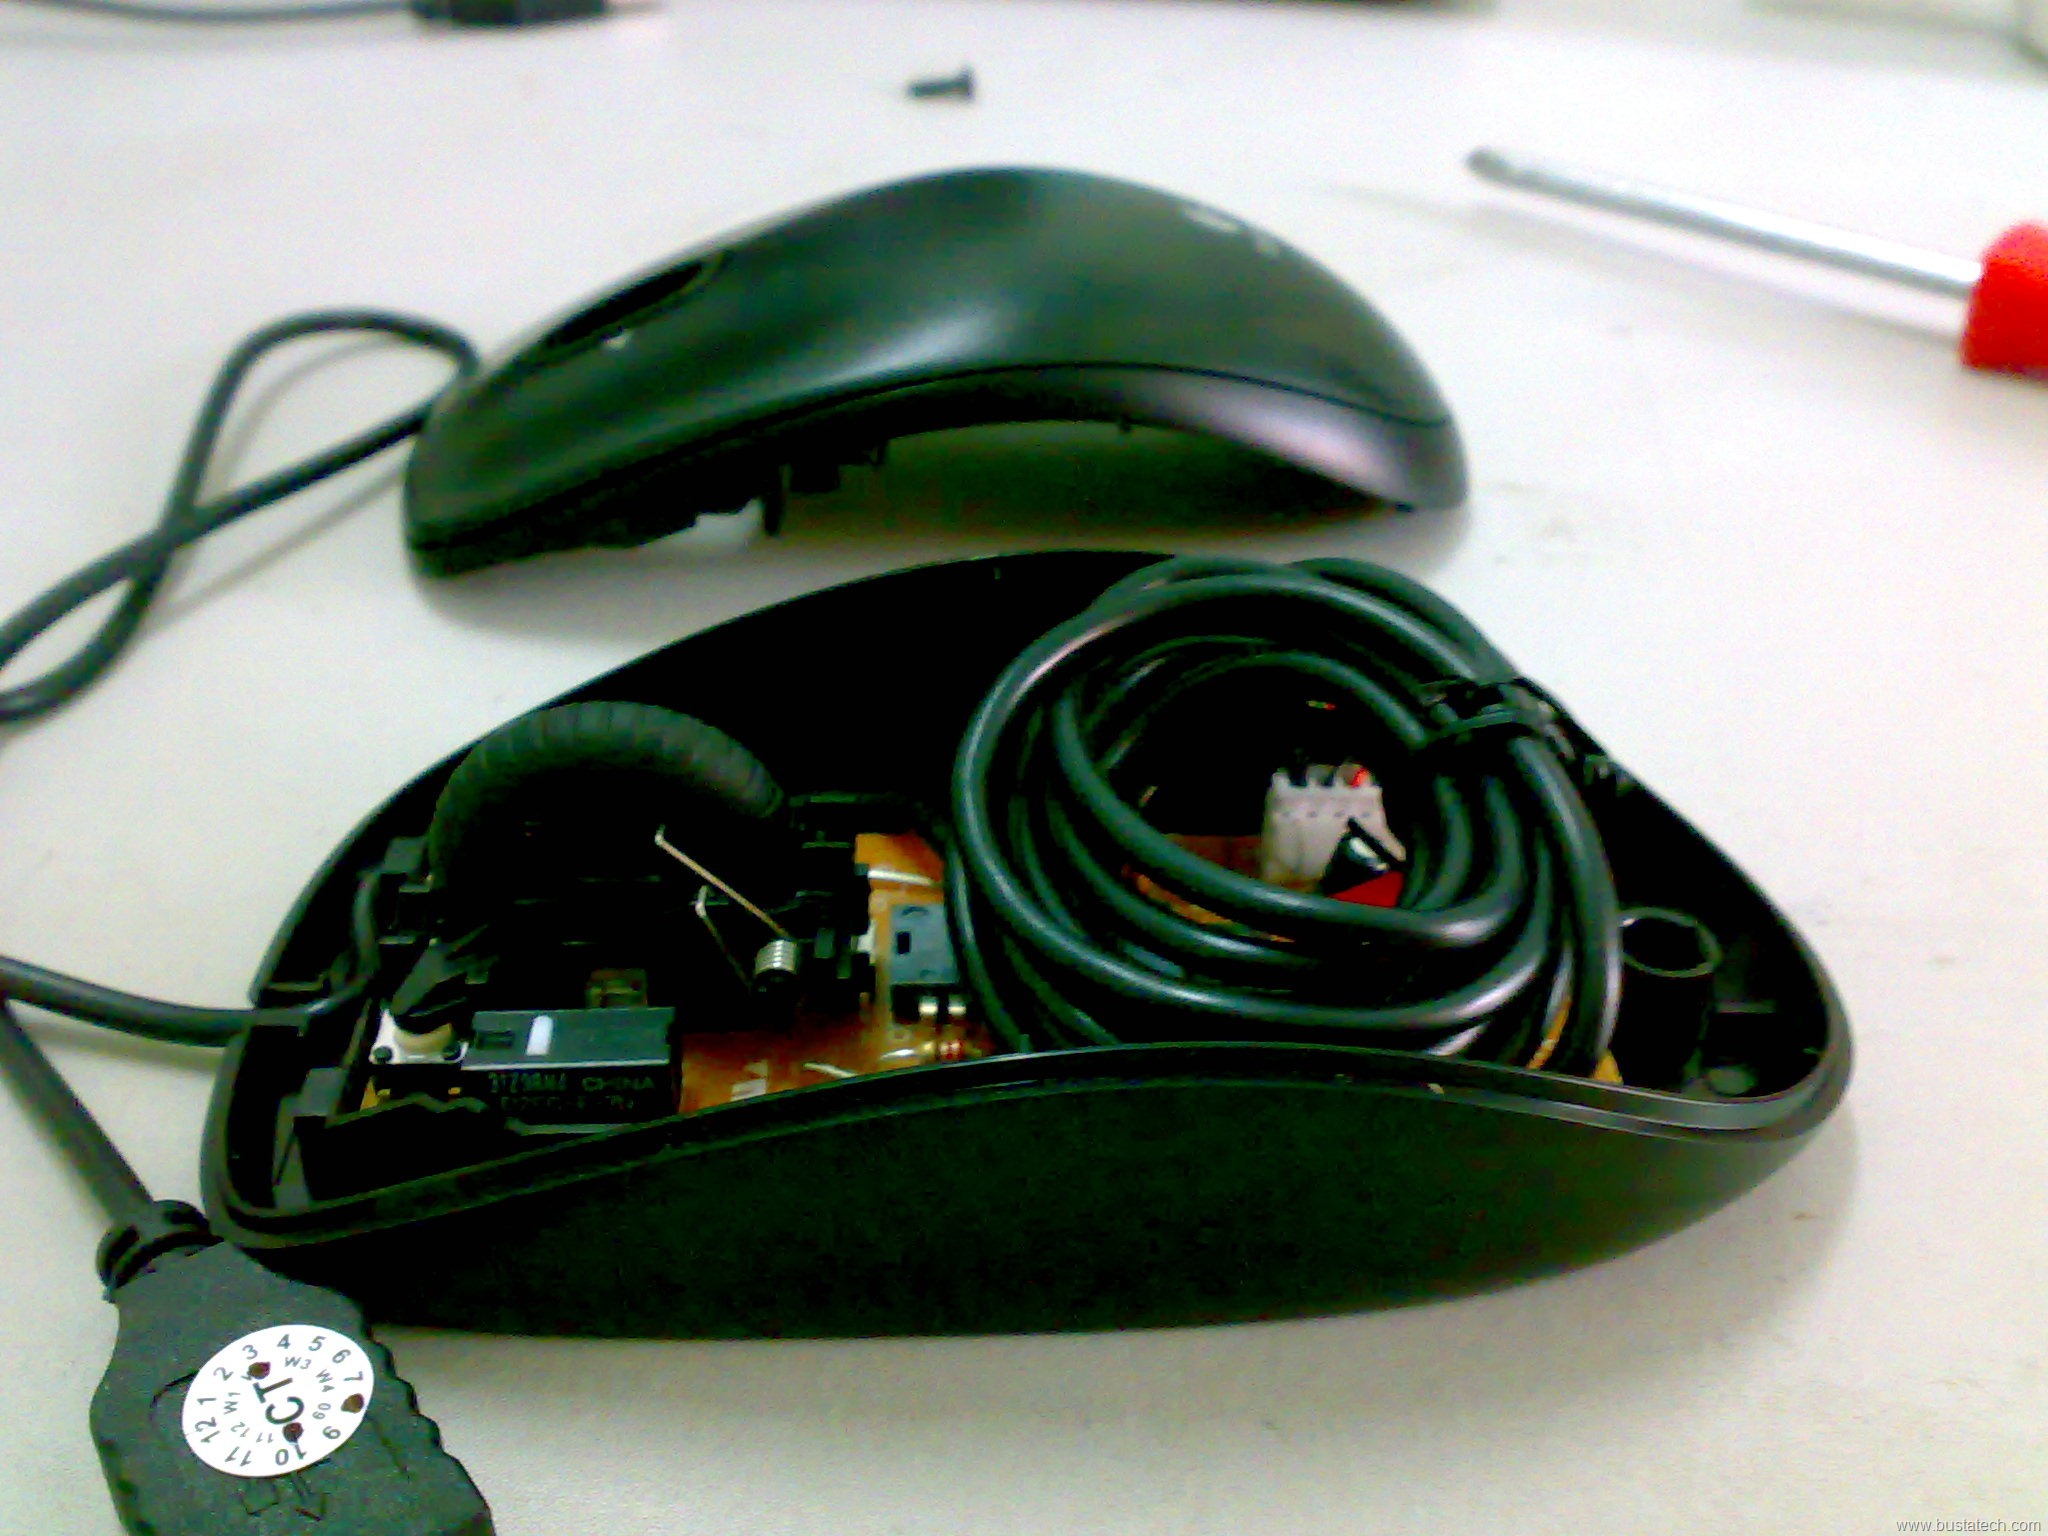
Now try to put the wire in a loop and tie it with the cable tie. Please make sure you have the right size of the loop that you can fit it into the casing of the mouse.
(sorry for the blur image, I found out it is out of focus only when I transfer the image to my PC)
(sorry for the blur image, I found out it is out of focus only when I transfer the image to my PC)
Fit the Loop Into the Casing


Now, try to fit the loop into the casing of your mouse. Be careful that you do not put too much pressure to the component inside the mouse. The best configuration is to put the whole loop at the middle body of the mouse and not too near to the click and scroll or it might affect the functionality of the click and scroll. If you can’t find enough space for the loop, you might need to reduce the size of the loop, or reduce the amount of wire in the loop. You will need some trial and error at this step.
The amount/length of the wire that you can fit into the casing is much affected by the design of the casing and the size of the wire. For different design of mouse, I cannot guarantee on how much you can fit into the mouse, but for Logitech M100, I am able to reduce the length from 2 meter to 50cm (its around 1.5 meter fitted into the mouse).
The amount/length of the wire that you can fit into the casing is much affected by the design of the casing and the size of the wire. For different design of mouse, I cannot guarantee on how much you can fit into the mouse, but for Logitech M100, I am able to reduce the length from 2 meter to 50cm (its around 1.5 meter fitted into the mouse).
Close the Casing and Tighten the Screw


Now put the wire outlet of the mouse nicely according to what you see when you first open the casing of the mouse.
Try to close the casing of the mouse and tighten back the screw(s). You might need to readjust the wire loop inside the mouse to be able to close the casing nicely. Don’t force close it or you might spoil the component inside the mouse.
Now, you will have a 50cm wire for your mouse and a better desktop without lots of wire.
Now, try yours and do comments if you face any problem, or you have any improvement suggestions.
Source: http://www.bustatech.com/shorten-the-length-of-wire-for-your-pc-mouse/