Silhouette: Doing a Two Color Design
by steve.m.graves in Living > Decorating
16193 Views, 22 Favorites, 0 Comments
Silhouette: Doing a Two Color Design


One can do multiple color designs by printing things to be cut on a Silhouette Portrait (or other machines). But printing on vinyl requires special inks and special printers. And if one wants something for outdoors, the bar is even higher. In that case, layering vinyl is your best choice.
I am going to show you how to create a two layered design. I will be overlaying one color on another. In general, if one colors abuts another, then overlaying is the best choice. Aligning two abutting colors is difficult. And even if one gets the alignment right, the colors will separate in time. Especially outdoors with temperature changes and weathering in general.
If the colors don't touch, use the same technique I will show you here. It works even if the colors don't overlay
I have written another Instructable that cover much about cutting designs on a Silhouette. Rather than repeating all that here, I suggest you go and read that Instructable.
https://www.instructables.com/id/Silhouette-Faux-Glass-Etching/
Like the other Instructable, I am using specialty vinyl; reflective vinyl. It is like the signs on the highway. It literally glows when viewed on the same line as the light source (like when your headlights hit it). I have a Tampa Hackerspace bumper decal that be seen for very long distances.
The second image above is taken with the flash. The light from the reflective vinyl swamps out all the other colors making them appear black. That includes the white paper backing. Impressive isn't it?
What You Need

Vinyl cutter, I used a Silhouette Portrait
Red Vinyl
Reflective Vinyl
Transfer Film
Squeegee
You can find all of this online. Particularly at sign supply places. If you Google "Silhouette Reflective Vinyl", you will find that there are sheets sized for the Silhouette. The same applies to the red vinyl.
https://www.google.com/search?q=silhouette+reflective+vinyl&ie=utf-8&oe=utf-8
Choose Your Colors
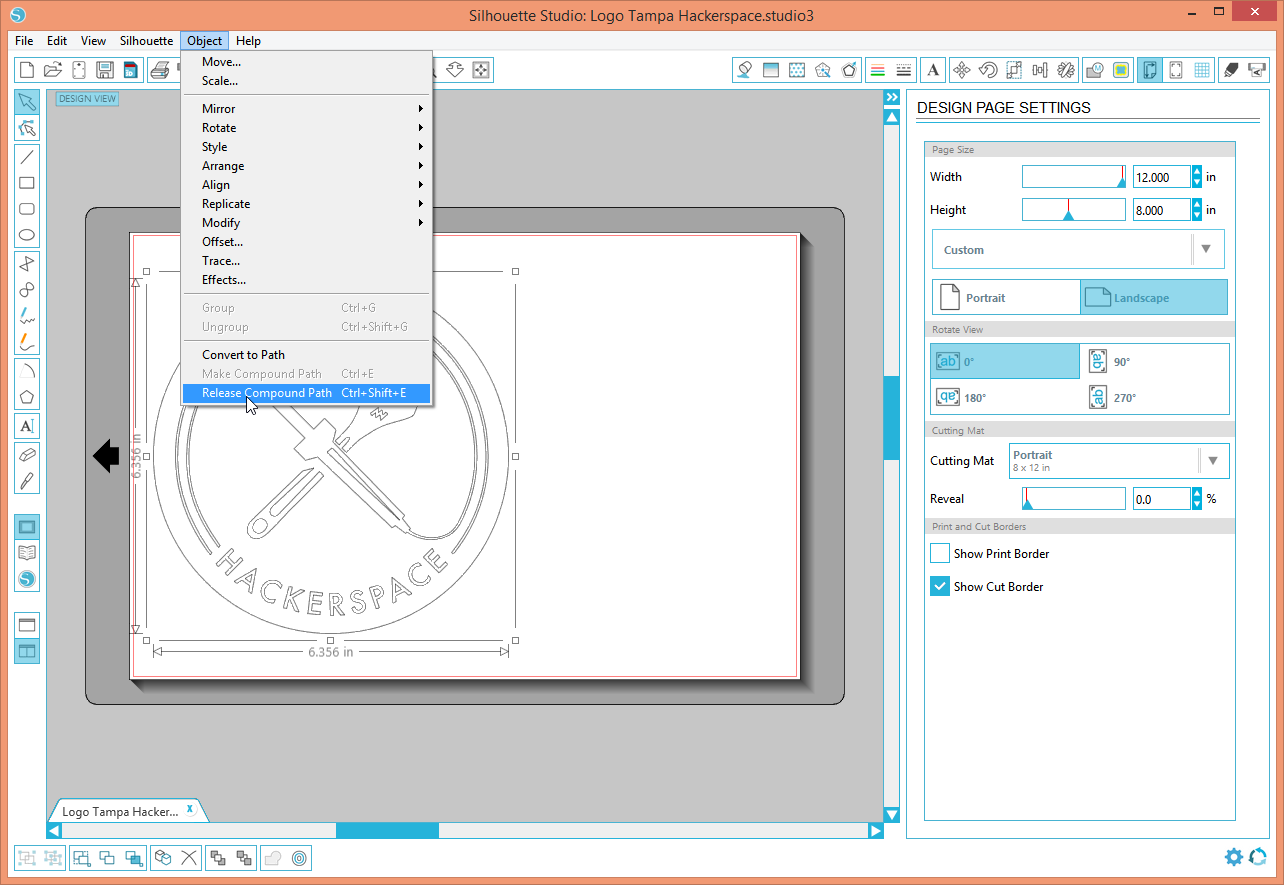
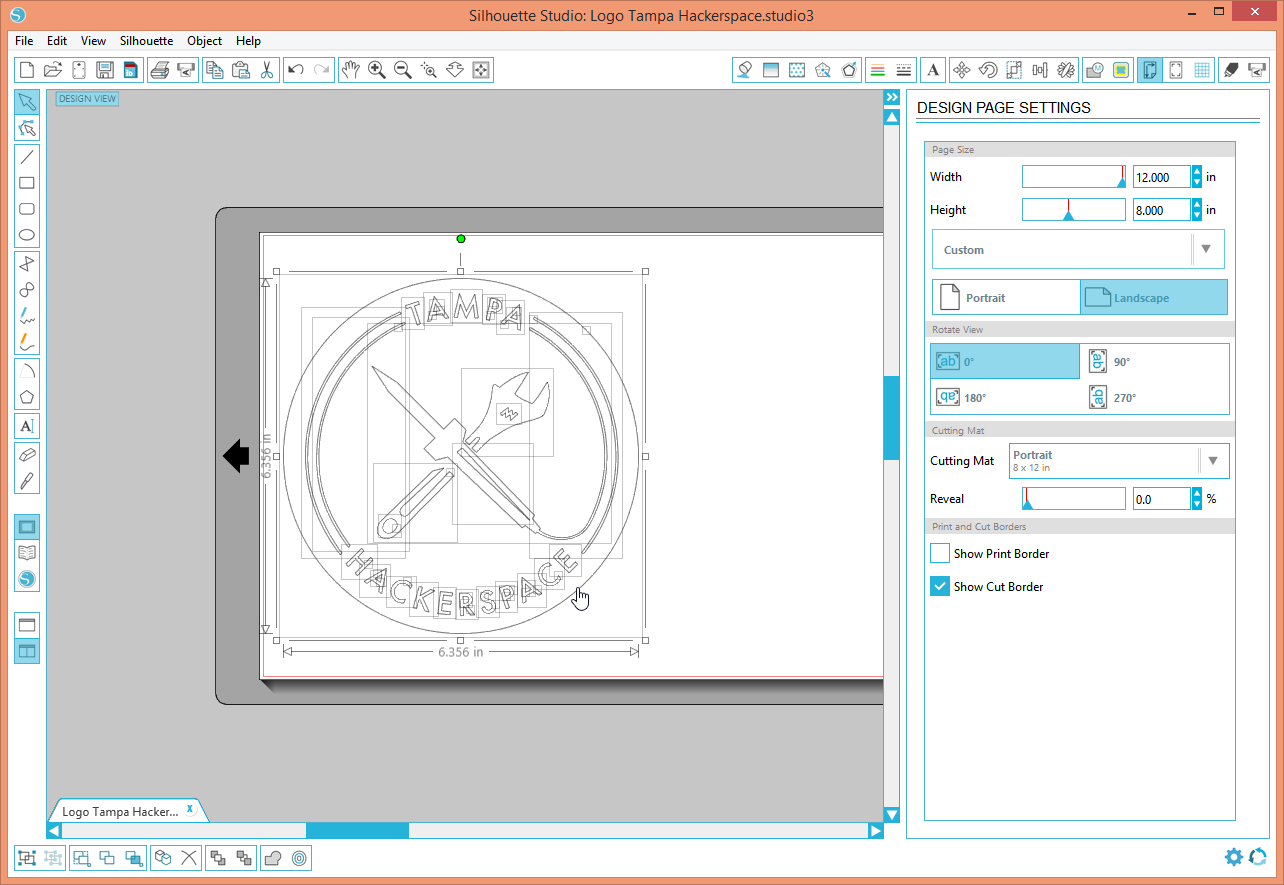

I am using the same design from the other Instructable, the Tampa Hackerspace logo. Now I need to choose what parts will be what color. I have decided that the circle be reflective vinyl and the central design be red.
But now the entire logo is one part. We need to separate the parts to give them different colors. The command for that is "Release Compound Path" as shown above.
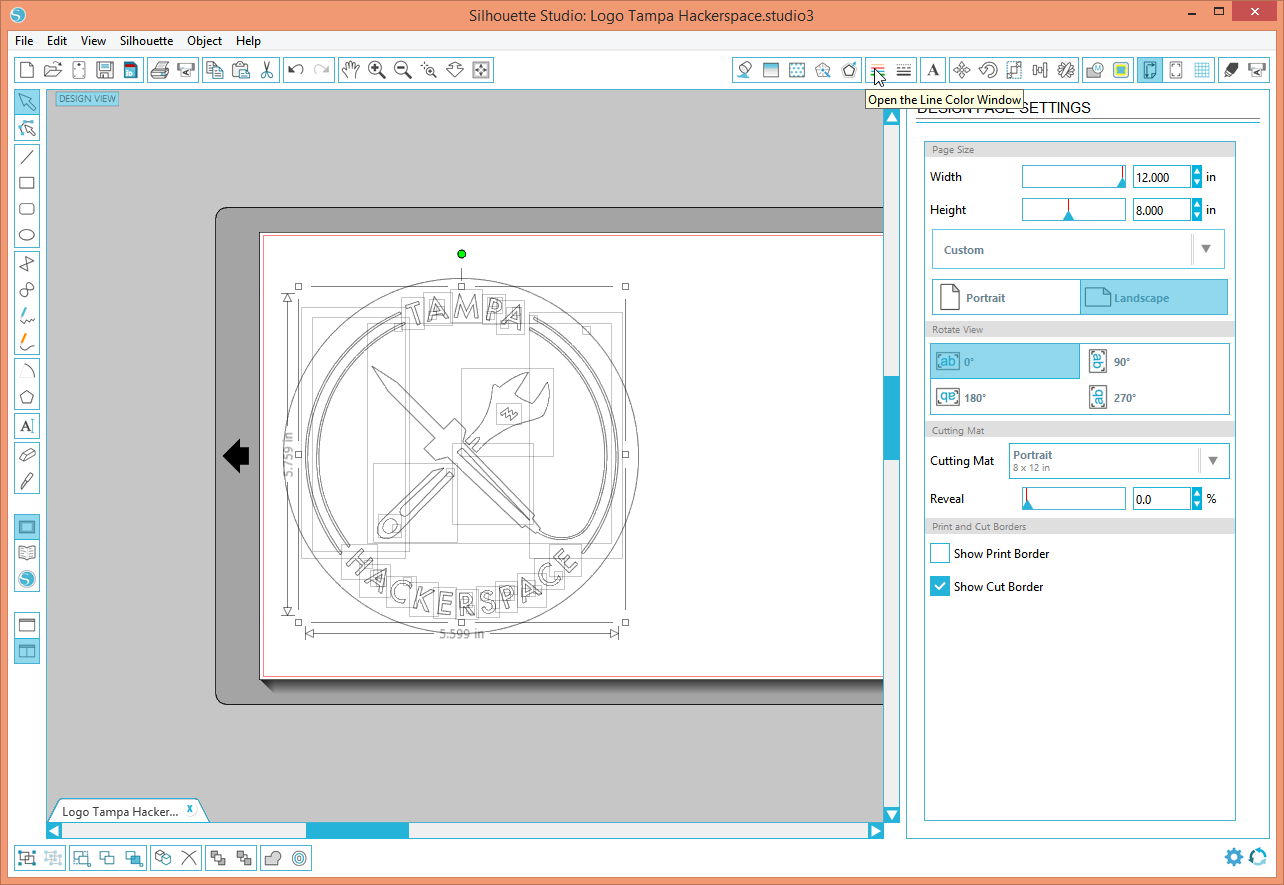
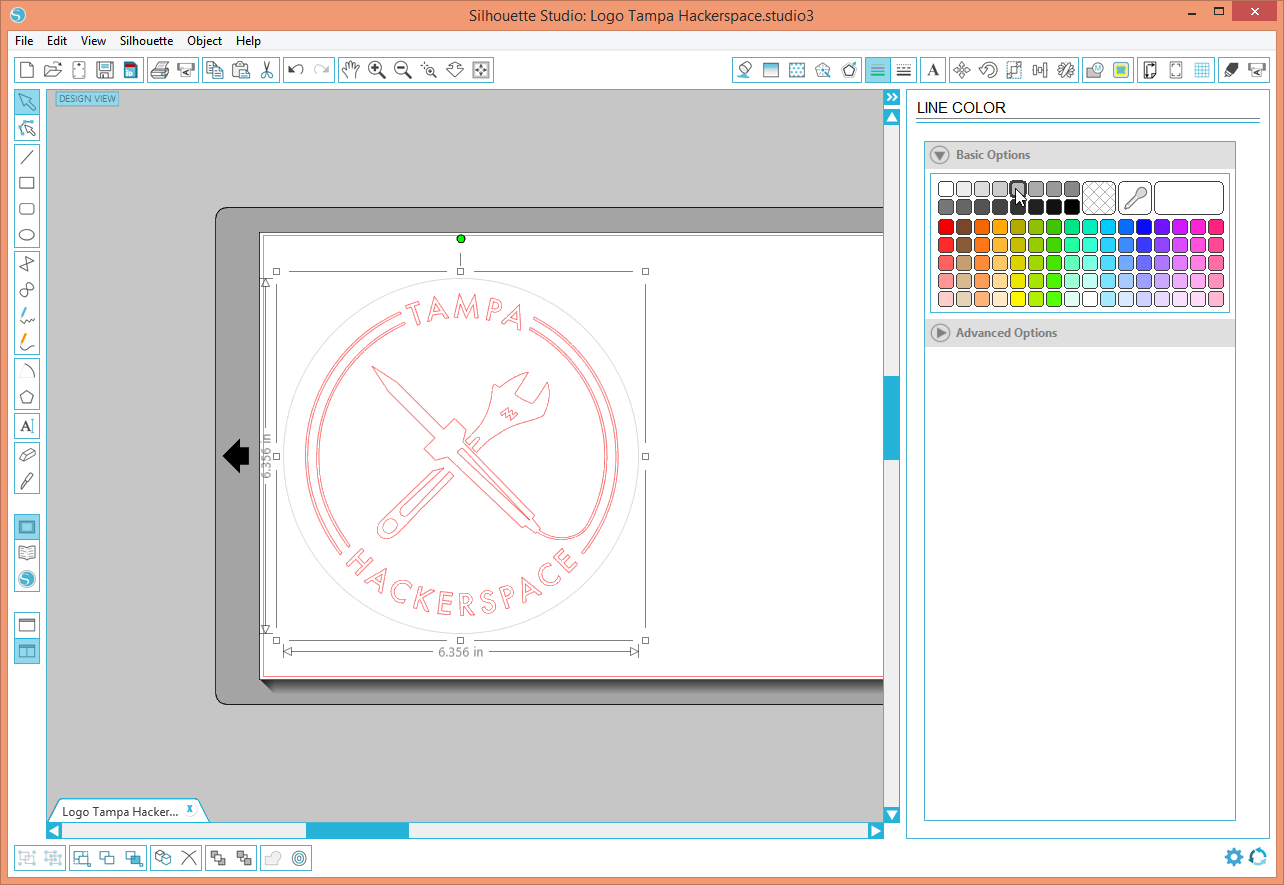
Then I select everything and deselect the circle with a shift-left-click. A button in the toolbar opens the line color window. In that, I select a red color. Then I select the circle. Reflective could be considered white, but white is not visible against the white background. Rather than changing the background, I select a grey color.
Prepare the Design for Two Color Cutting
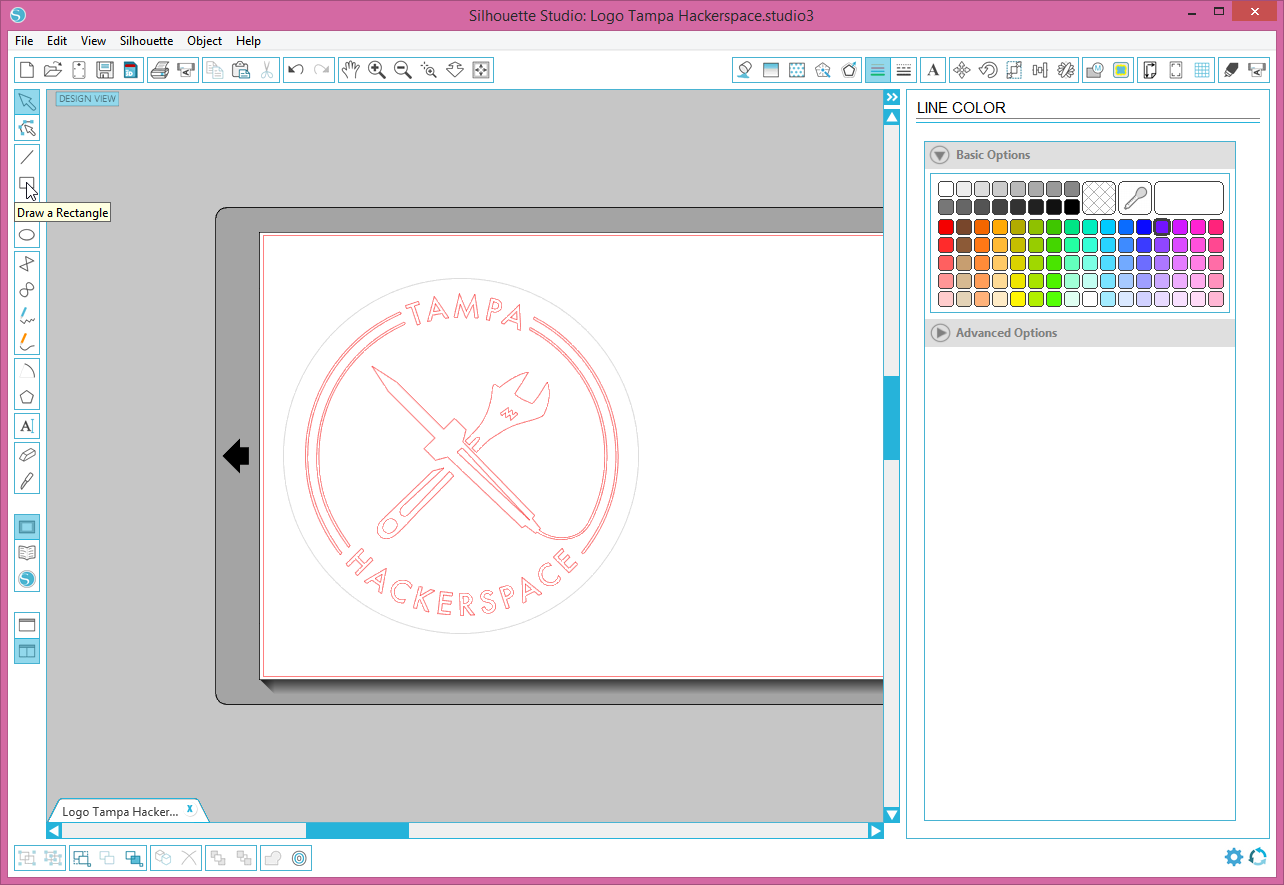
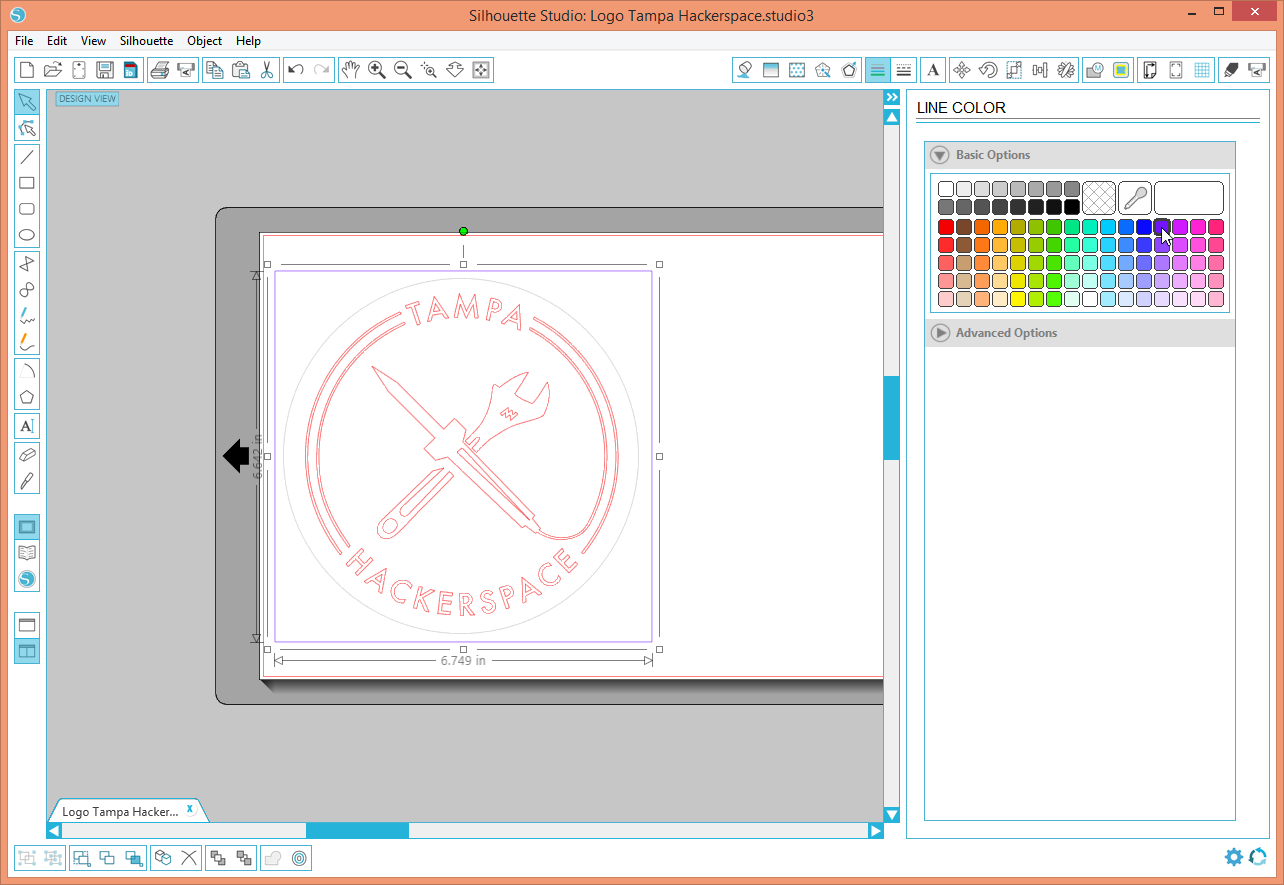
The trick to two color cutting is to have a reference for both colors. That reference is a box around all colors. We use the rectangle tool and draw a box around the whole design.
We set the box to a different color from the other colors. I choose a purple color. That color will be selected to cut in all layers.
Cut the First Layer

Open the Cut Settings window with the toolbar button in the upper right. Select the Advanced radio button. In the line colors section, turn off the grey color that represents the circle.
Cut a piece of red vinyl to size and load it as outlined in the other Instructable.
Unlike the other Instructable, the red vinyl has paper backing. Set the knife to 1 as recommended in the program. Now select the send to Silhouette button in the upper right. Then click the Start button and watch the plotter do its thing.
Cut the Second Layer

Open the Cut Settings again. Deselect the red and select the grey. Note that the purple stays selected. Like I said, it is cut on all layers.
Now cut the reflective vinyl to size and load it. We will need this layer to be a little bigger. We will be taping the upper layer to it with the transfer film tail. Make room for it.
Reflective vinyl is thicker and has a metalized layer. I set the knife to 3.
Now select the send to Silhouette button and click the start button. The plotter is not as exciting since it just cuts a circle and a box. I watch it anyway.
Weed the Layers

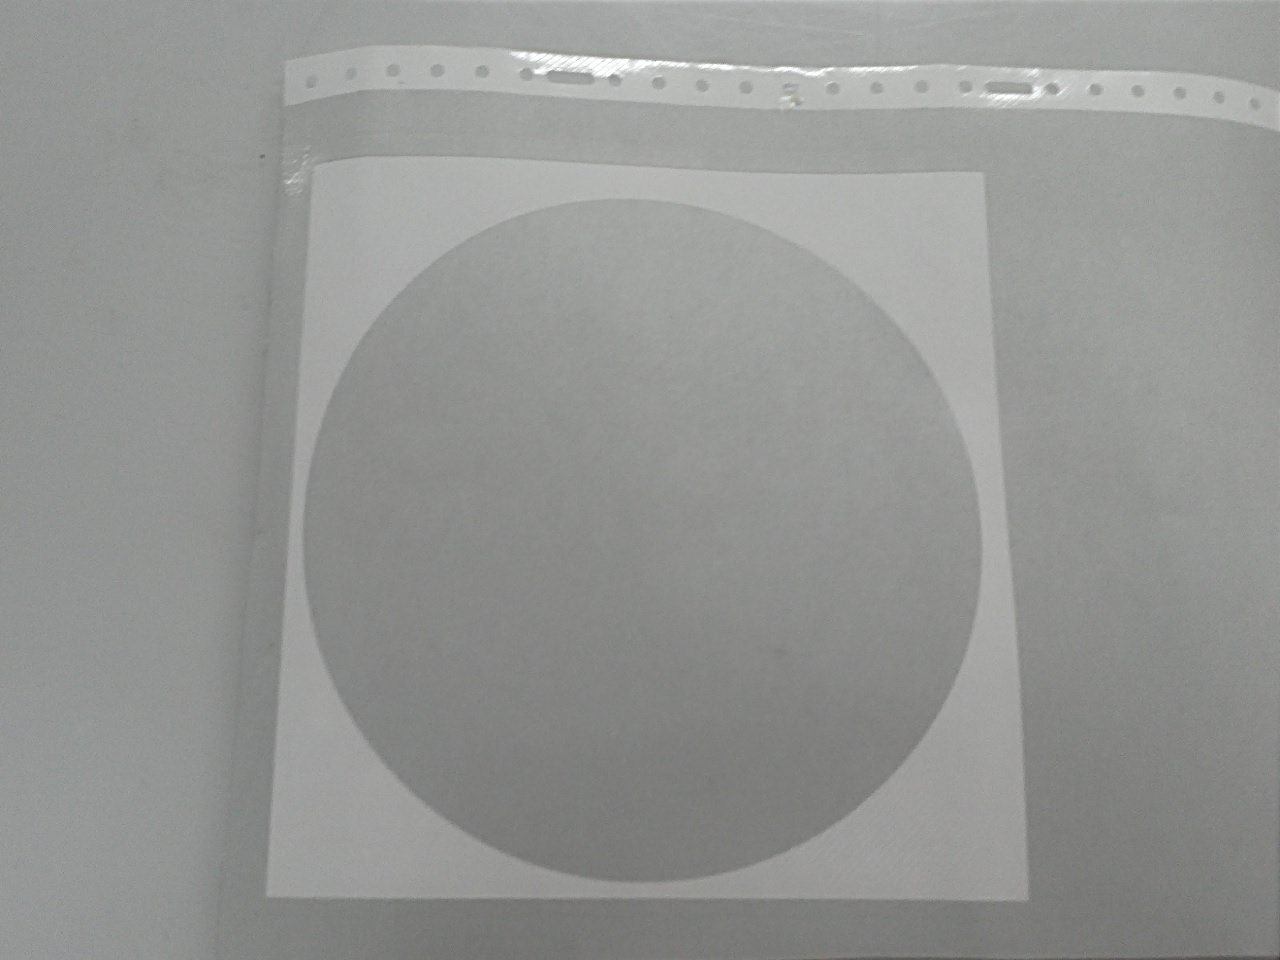
As discussed in the other Instructable, weed the two layers. NOTE: Leave the outside of the box in both layers.
Tape the First Layer
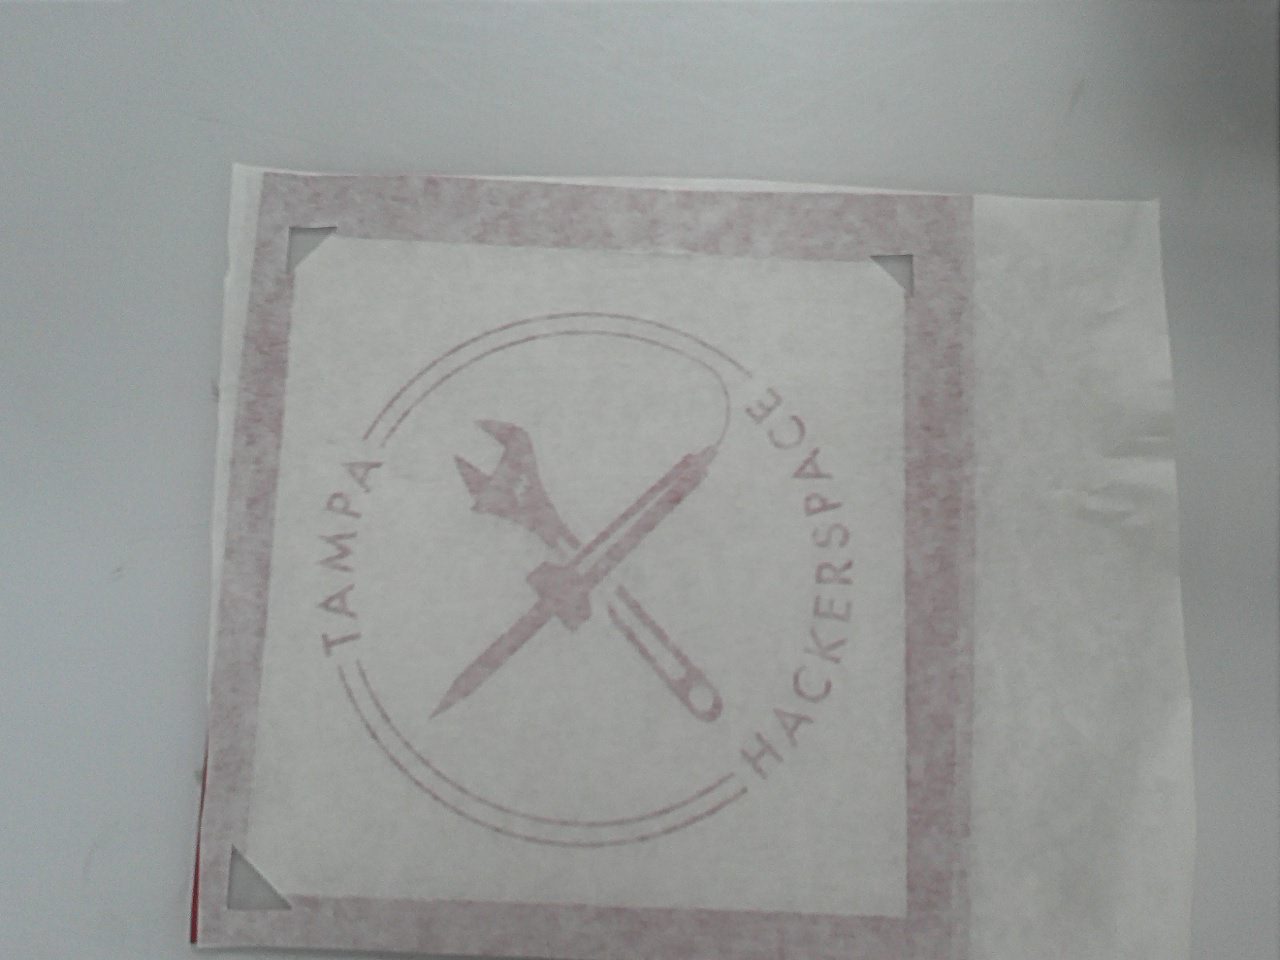
As discussed in the other Instructable, apply transfer film to the first (upper) layer. It is very important that you tape the top layer and not the bottom one. Don't laugh, it's been done. (more than once).
We also need a tail like in the other Instructable.
Cut Corners in the First Layer

Now is the time to cut corners. In this case, cutting corners is a good thing. We cut little triangles in three of the corners. Note that the sides of the triangle are beyond the edge of the box. I lay the vinyl on a surface that can be cut on. I use a knife to cut the triangles.
Align the Two Layers
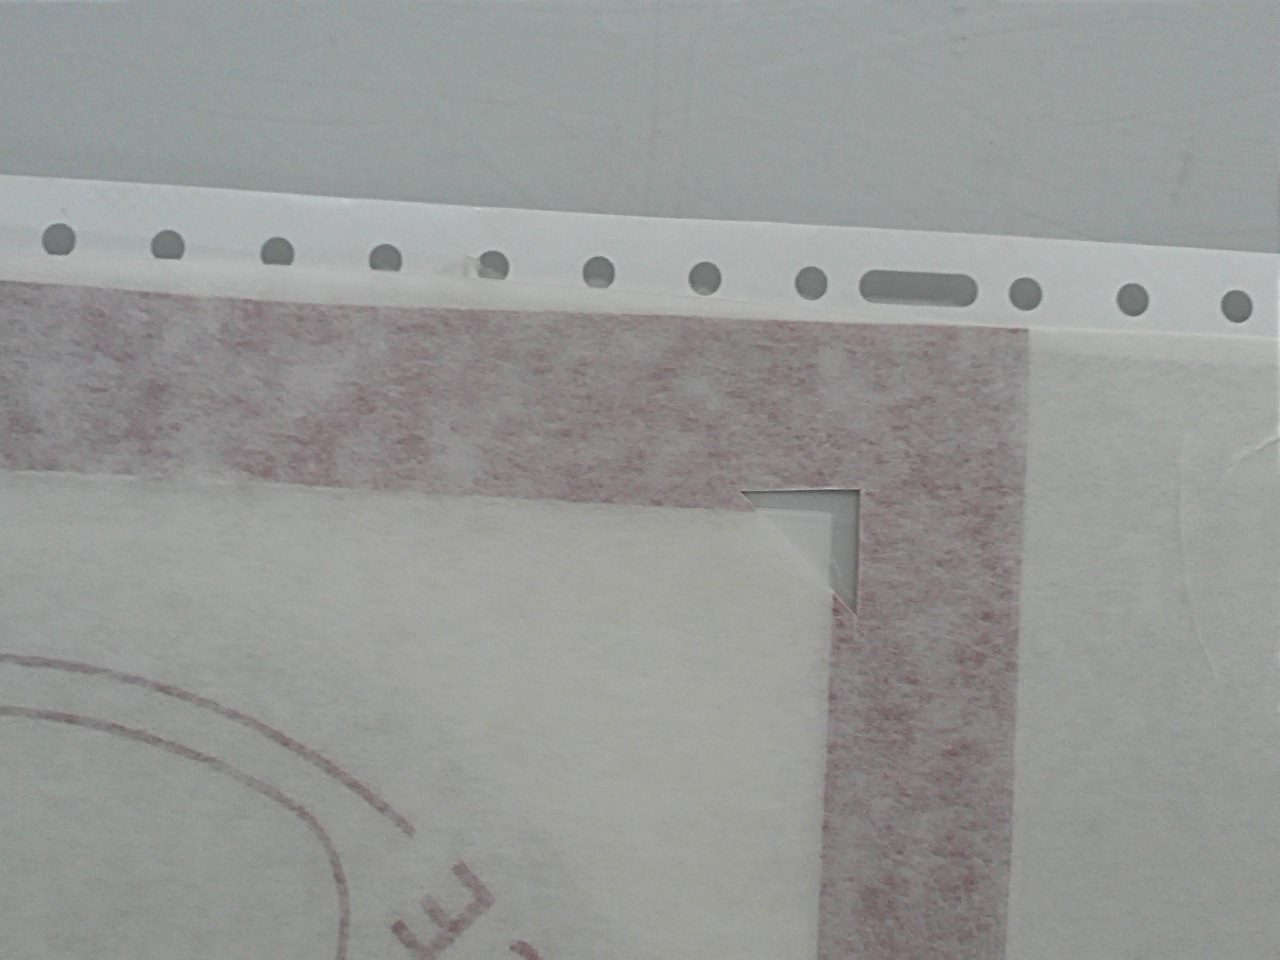
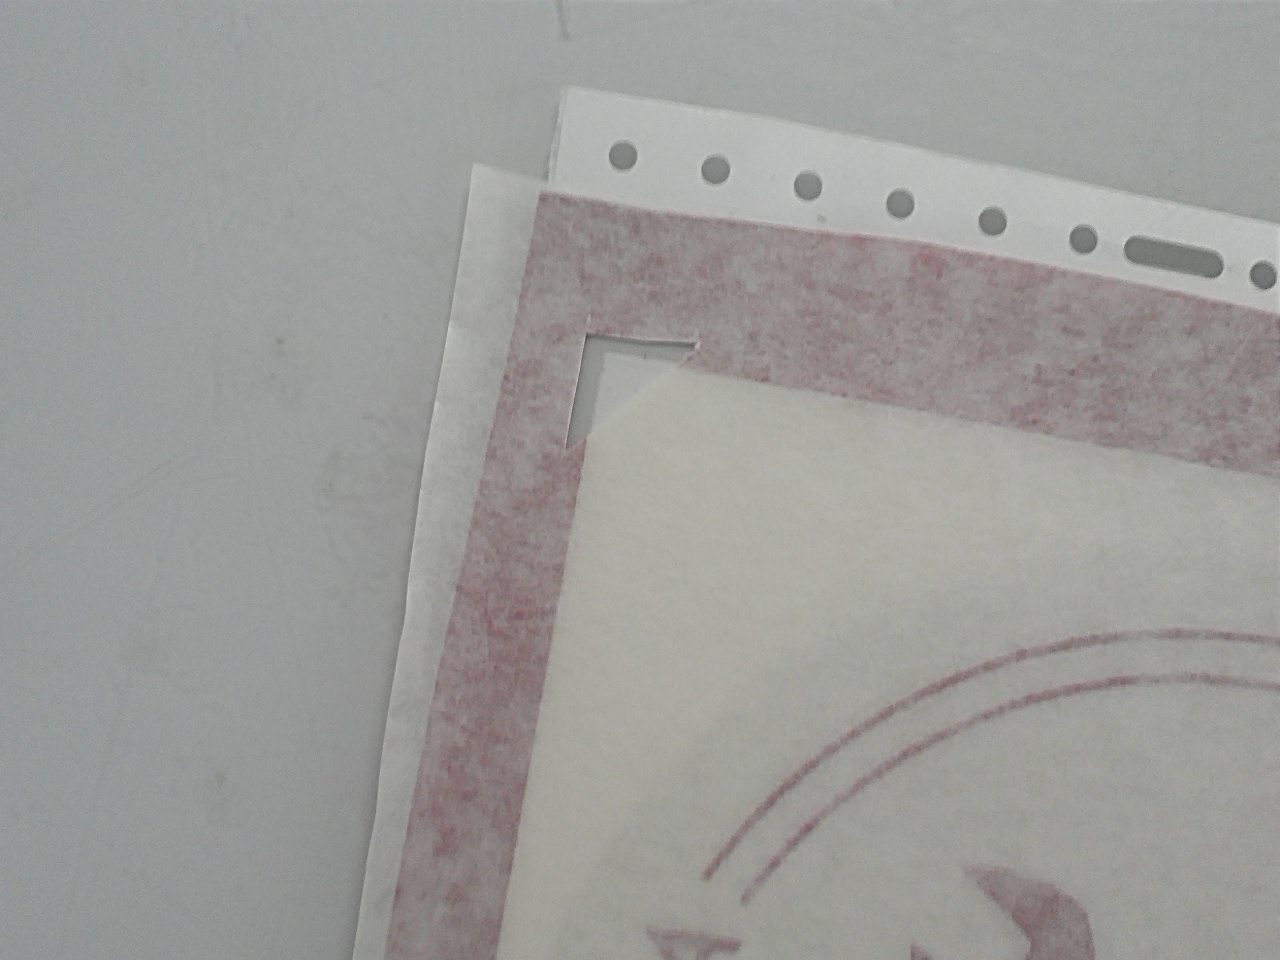
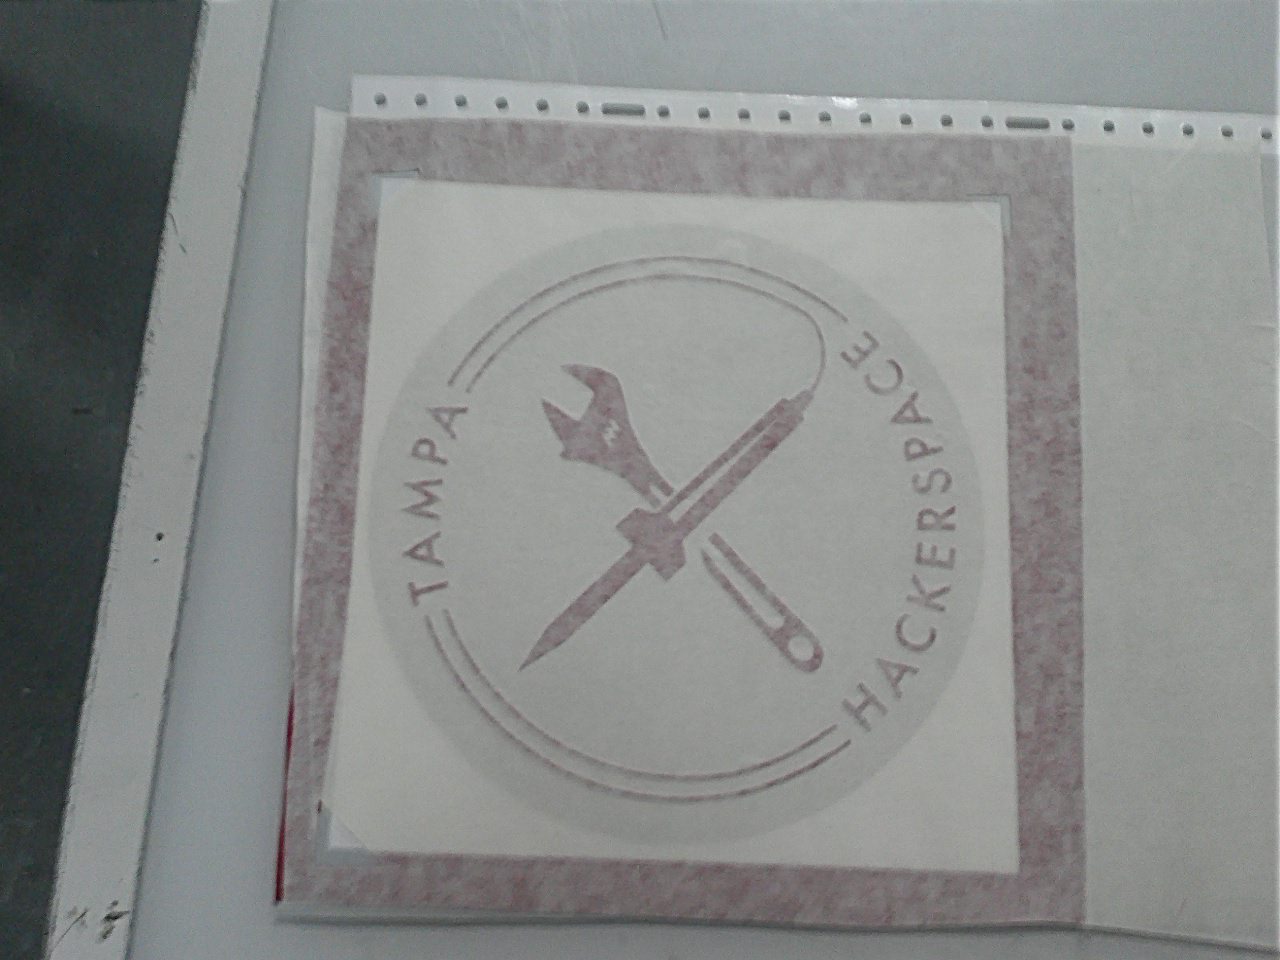
Now we can put the taped (first) layer on top of the bottom (second) layer. Holding the tail up, move the top layer around to align the triangles as shown. For the Silhouette, two triangles would have been sufficient to get alignment. On larger jobs (i.e. 10 feet long) one can't always get precise alignment. Three triangles allow one to split the difference. I am in the habit of doing three.
Once we have alignment, we can put the tail down on the extra vinyl on the lower layer.
Bring the Layers Together


Now one can fold back the upper layer (with the tail secured to the lower layer) and peel off the backing. Then working from the tail side, squeegee the upper layer to the lower layer using the little passes with the squeegee as described in the other Instructable.
The Final Product


I peel away the transfer film. The decal is one piece and the reflective vinyl (hint it's not really vinyl) is very stiff. We do not need transfer film as discussed in the other Instructable.
The decal is ready to be installed on someone's bumper to create awe in the drivers behind them.