Silhouette:Cutting Small
by steve.m.graves in Living > Decorating
23453 Views, 18 Favorites, 0 Comments
Silhouette:Cutting Small

Vinyl cutting plotters like the Silhouette series of plotters is a great way to create things that look like they were painted on the surface when applied. But when the objects being cut get very small, weeding can become a problem. An example is small lettering, if the letter heights get into the 1/4 inch range, the letters want to lift with the weeded vinyl.
In this Instructable I am going to show you how to handle the weeding issues allowing you to cut smaller objects.
To learn about what weeding means, vinyl cutting in general and other basics about the Silhouette family of cutters. See my Instructable below.
https://www.instructables.com/id/Silhouette-Faux-Glass-Etching/
Why There Is a Problem

Above I show the anatomy of a decal from my instruction manual. It should allow one to visualize what I am talking about in the following discussion.
The adhesive on the back of the vinyl is designed to be flexible and conformable. After the plotter cuts the vinyl the adhesive wants to move back into the gap. The backing is designed so that the decal is easy to remove. The problem is that when weeding the small pieces don't have enough surface area on the backing to resist the pull of the adhesive that crossed the gap. The solution is to increase the force holding the small pieces down.
Setting Up Some Test Text

I make decals for aircraft. My exterior kits have a lot of small text. Small text is the number one reason I have for weeding small objects. BTW, most of my competitors print the small text on clear or white vinyl. They look like decals. But cut vinyl has no background, it looks like it was painted on the surface.
This Instructable is giving you a peek at my competitive edge. So don't tell my competitors about this Instructable.
So let's set up some small text to learn the techniques. I have run some tests on the Silhouette. It has about the same limitations as my plotters. About the smallest size it can cut is a non-serif font with capital letters at about 0.250".
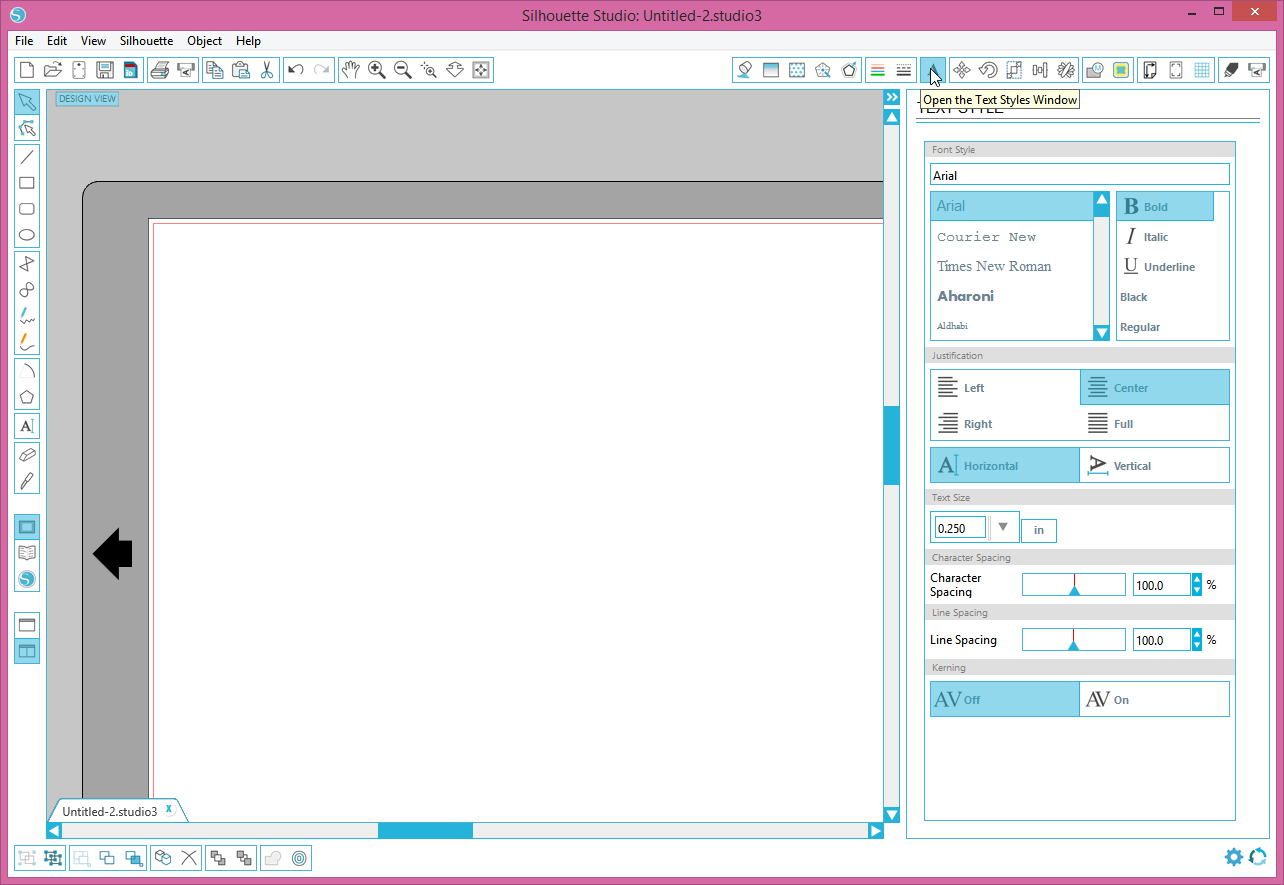
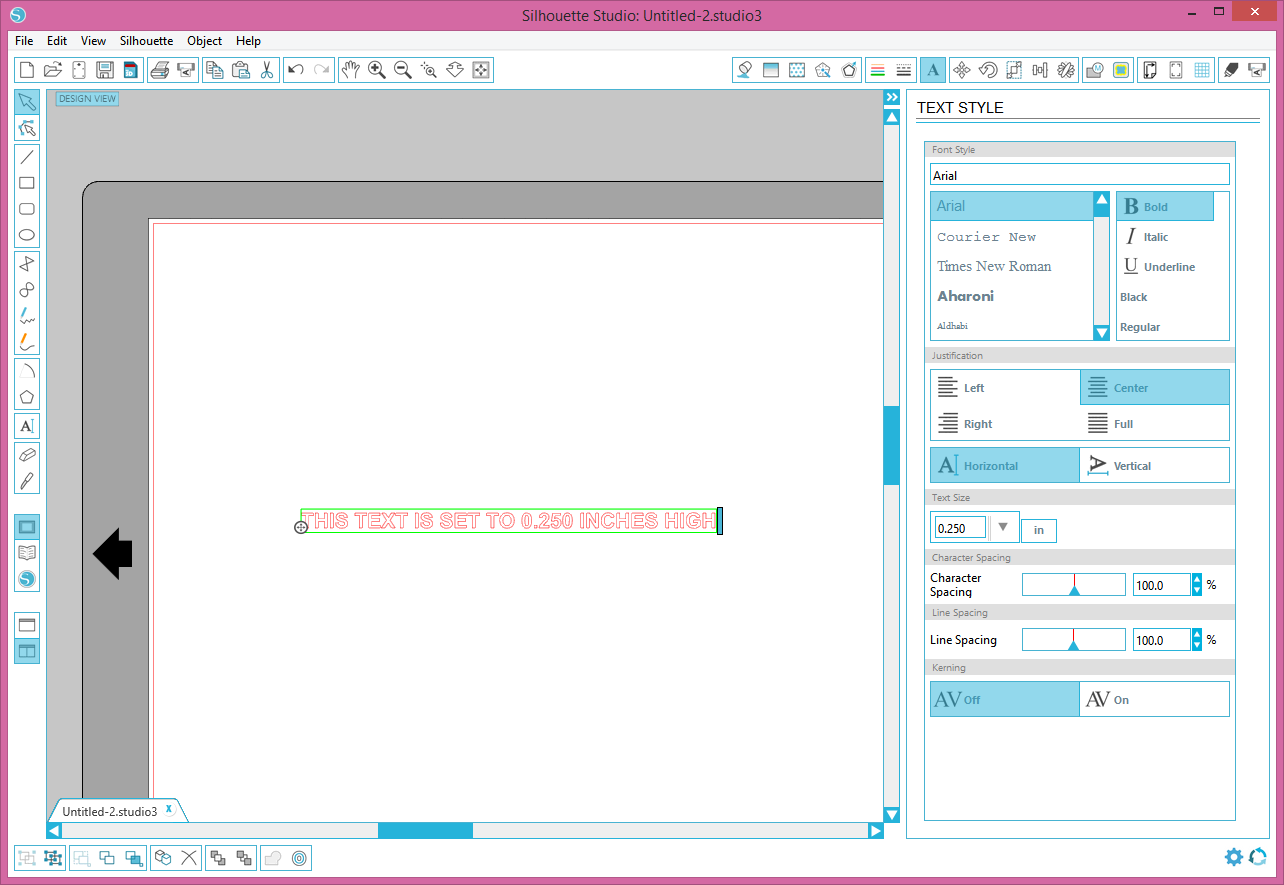
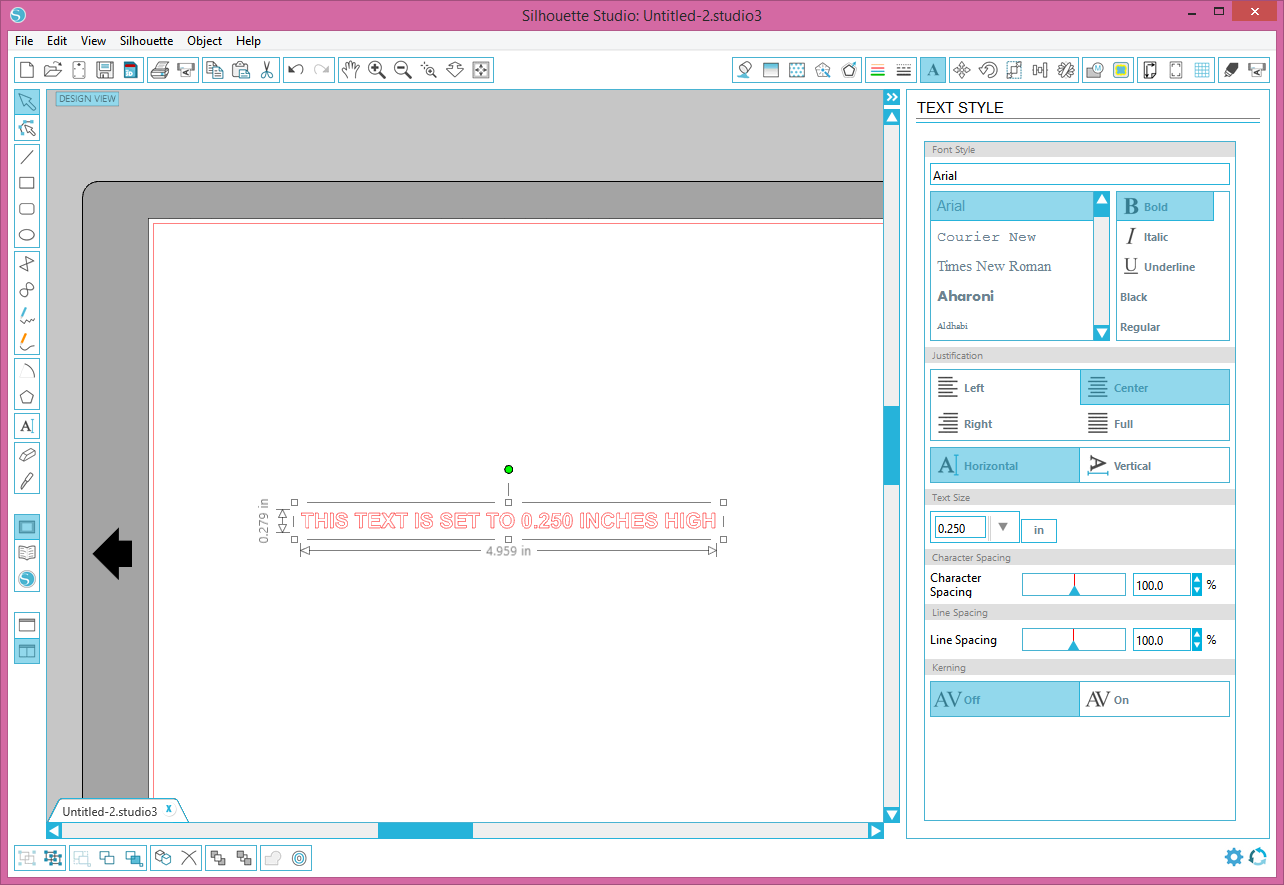
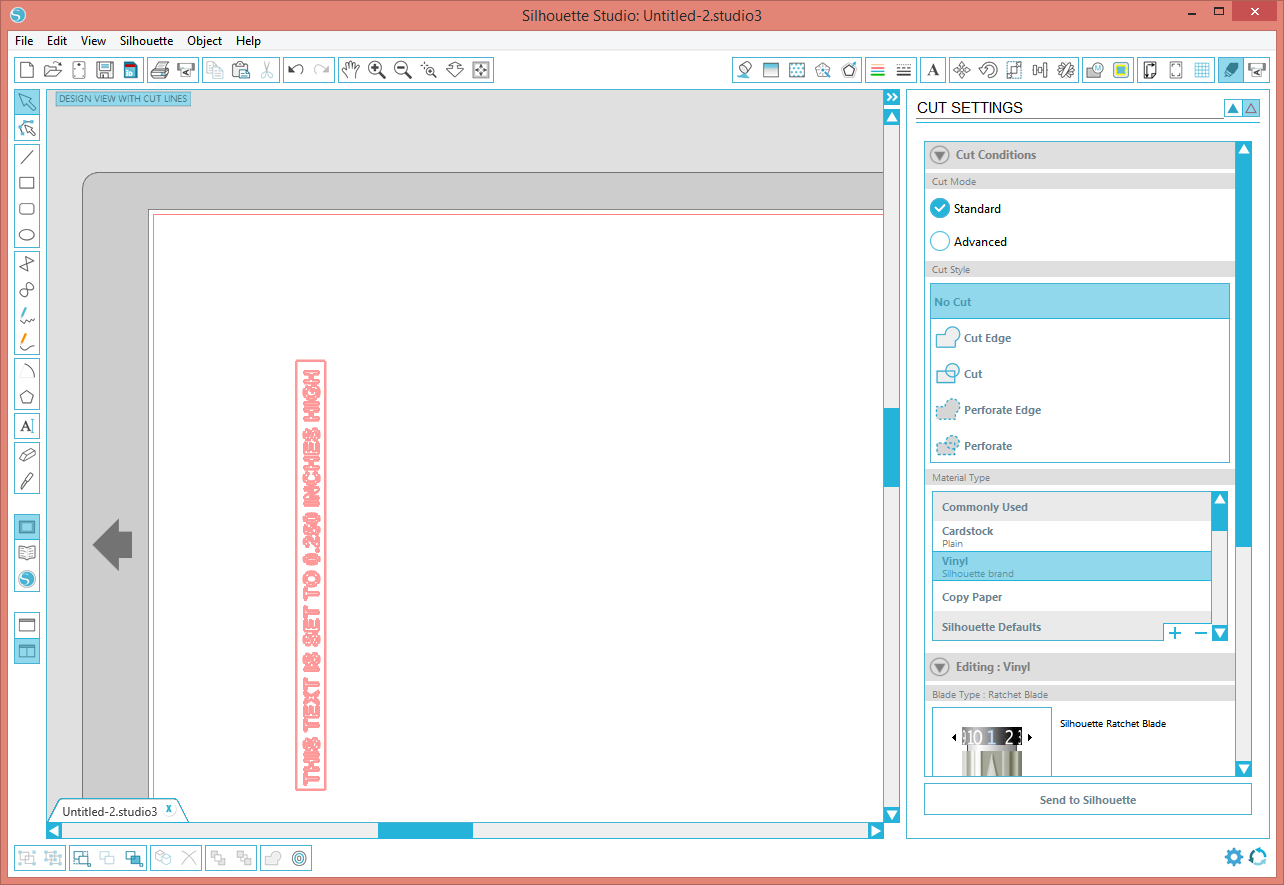
Open Silhouette Studio. Click on the Text Style button. In the Text Style window, select "in" as the units for Text Size. Set the size to 0.250. Select the Text Tool on the left size. I have typed a line of text that says "THIS TEXT IS SET TO 0.250 INCHES HIGH"
Boxing the Text

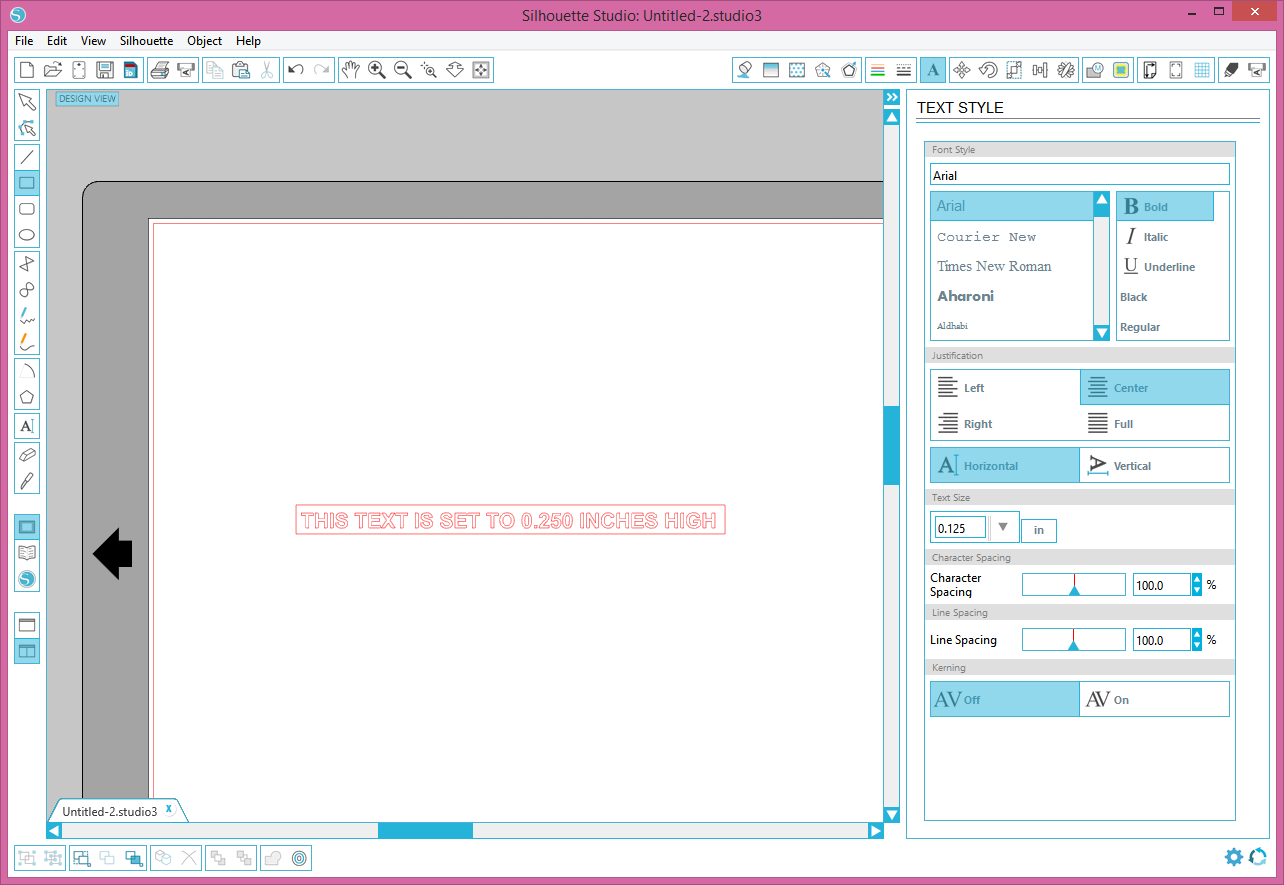


One important step with small objects is to limit the attached vinyl to be weeded. We draw a box around our small text. Now we can weed around that box, leaving only the vinyl inside the box to be weeded.
Click on the Draw a Rectangle button. Draw a rectangle around the text. Now we want to rotate the rectangle to minimize vinyl usage. Click on the Object-Rotate-Rotate by 90 Counter Clockwise as shown. Then move the text and box closer to the edge.
Cutting the Small Text

Cut some vinyl to size (Give yourself extra vinyl around the design) and load the machine as shown in the Instructable I referenced. Set the knife to halfway between 0 and 1. With the vinyl I was using, setting the knife to 1 picked up a lot of letters. The shallower cut is less likely to pick up the letters. However, 0 did not cut deep enough. I found that it is possible to set the knife between numbers. The plotter worked like a champ with the knife set between 0 and 1.
Select send to Silhouette and click the Start button. Watch the plotter cut the small text. There may be problems. The "I" is particularly sensitive to getting picked up as the plotter cuts around it. If there are parts that have just folded back, the leg of the "T" for example, you can probably lay them back down with some tweezers. Don't let the vinyl catch on the top of the unweeded vinyl, that would be bad. With the "I" it would be hard to avoid. With the tweezers one must pull the vinyl away from the area where the "I" goes (a mini weeding job). Then with the area clear, use the tweezers to put the letter in place. With the vinyl on a solid surface, you can press your thumb or finger on the prodigal letter and coerce it into position.
First Weeding

Weed all the vinyl except the boxes around the text. Take the tweezers and pluck all the middles out of the "A"s, ""B"s, "D"s, "O"s, "P"s, "Q"s, "R"s, etc. It is much easier to remove them now than later.
After weeding we can apply the transfer film. Both solutions I will show involve weeding after the transfer film is applied.
Solution 1 Reverse Weeding


This is the solution I use mostly. I want to send completely weeded decals to my customers. I have designed and built special equipment for this operation. For the small jobs on the Silhouette, one should be able to get along without the equipment.
The key to this solution is that the vinyl sticks better to the transfer film than the backing. We are going to weed the vinyl from the transfer film, hence reverse weeding. We lay the decal face down on a table. We are going to pull the backing away from the transfer film/vinyl. That extra vinyl is useful now. We do not want to completely remove the backing, if we leave it attached, we can lay it back down exactly like it was. We can use that fact to replace any letter that gets lifted.
We pick a side that gives us room to work and place a weight on the decal there. (Anything heavy, a can of soup?). Then we pull the backing away from the transfer film/vinyl. When weeding text there are preferred directions. It is best to approach letters from the back side. Most letters open to the right (C, E, F, G, etc.). Working from the back, we weed into those openings. Most numbers open to the left (2,3,5,9). If we have a lot of numbers working from the front is best.
Without my equipment, it will be a little difficult to hold the transfer film down while weeding away the vinyl, but it can be done. I did it that way for a long time.
If you pick up any letters, now you can put them back. The knife cuts into the backing slightly. You should be able to read the text on the backing. You can place the text, adhesive side down inside its shape on the backing. Use the same technique mentioned before to press on the letter and coerce it into position.
Now we can put the backing back down on the transfer film with the now weeded text. Squeegee it down using the technique of little passes working an edge across.
Solution 2: Weeding After Application


This is the approach I use if I am doing the install.
We apply the decal to the surface with unweeded vinyl and all. Then we weed the vinyl from the application surface. This works because the adhesive is normally not its strongest immediately after application. Don't wait, weed immediately.
Another gotcha is hot surfaces. In fact this is a problem for all decal installs. Here in Florida I run into it all the time. Each vinyl has a manufacturer recommended temperature range. The ranges are generally in the 50 deg F to 80 or 90 deg F range. At the high end, surface temperature is a big deal. At higher temperatures the adhesive activates almost immediately. This solution is not recommended on a hot surface. The vinyl will grab the surface and will be very stretchy when trying to weed it.
There they are. Two ways to weed small objects.