Simple Chestnut Launcher
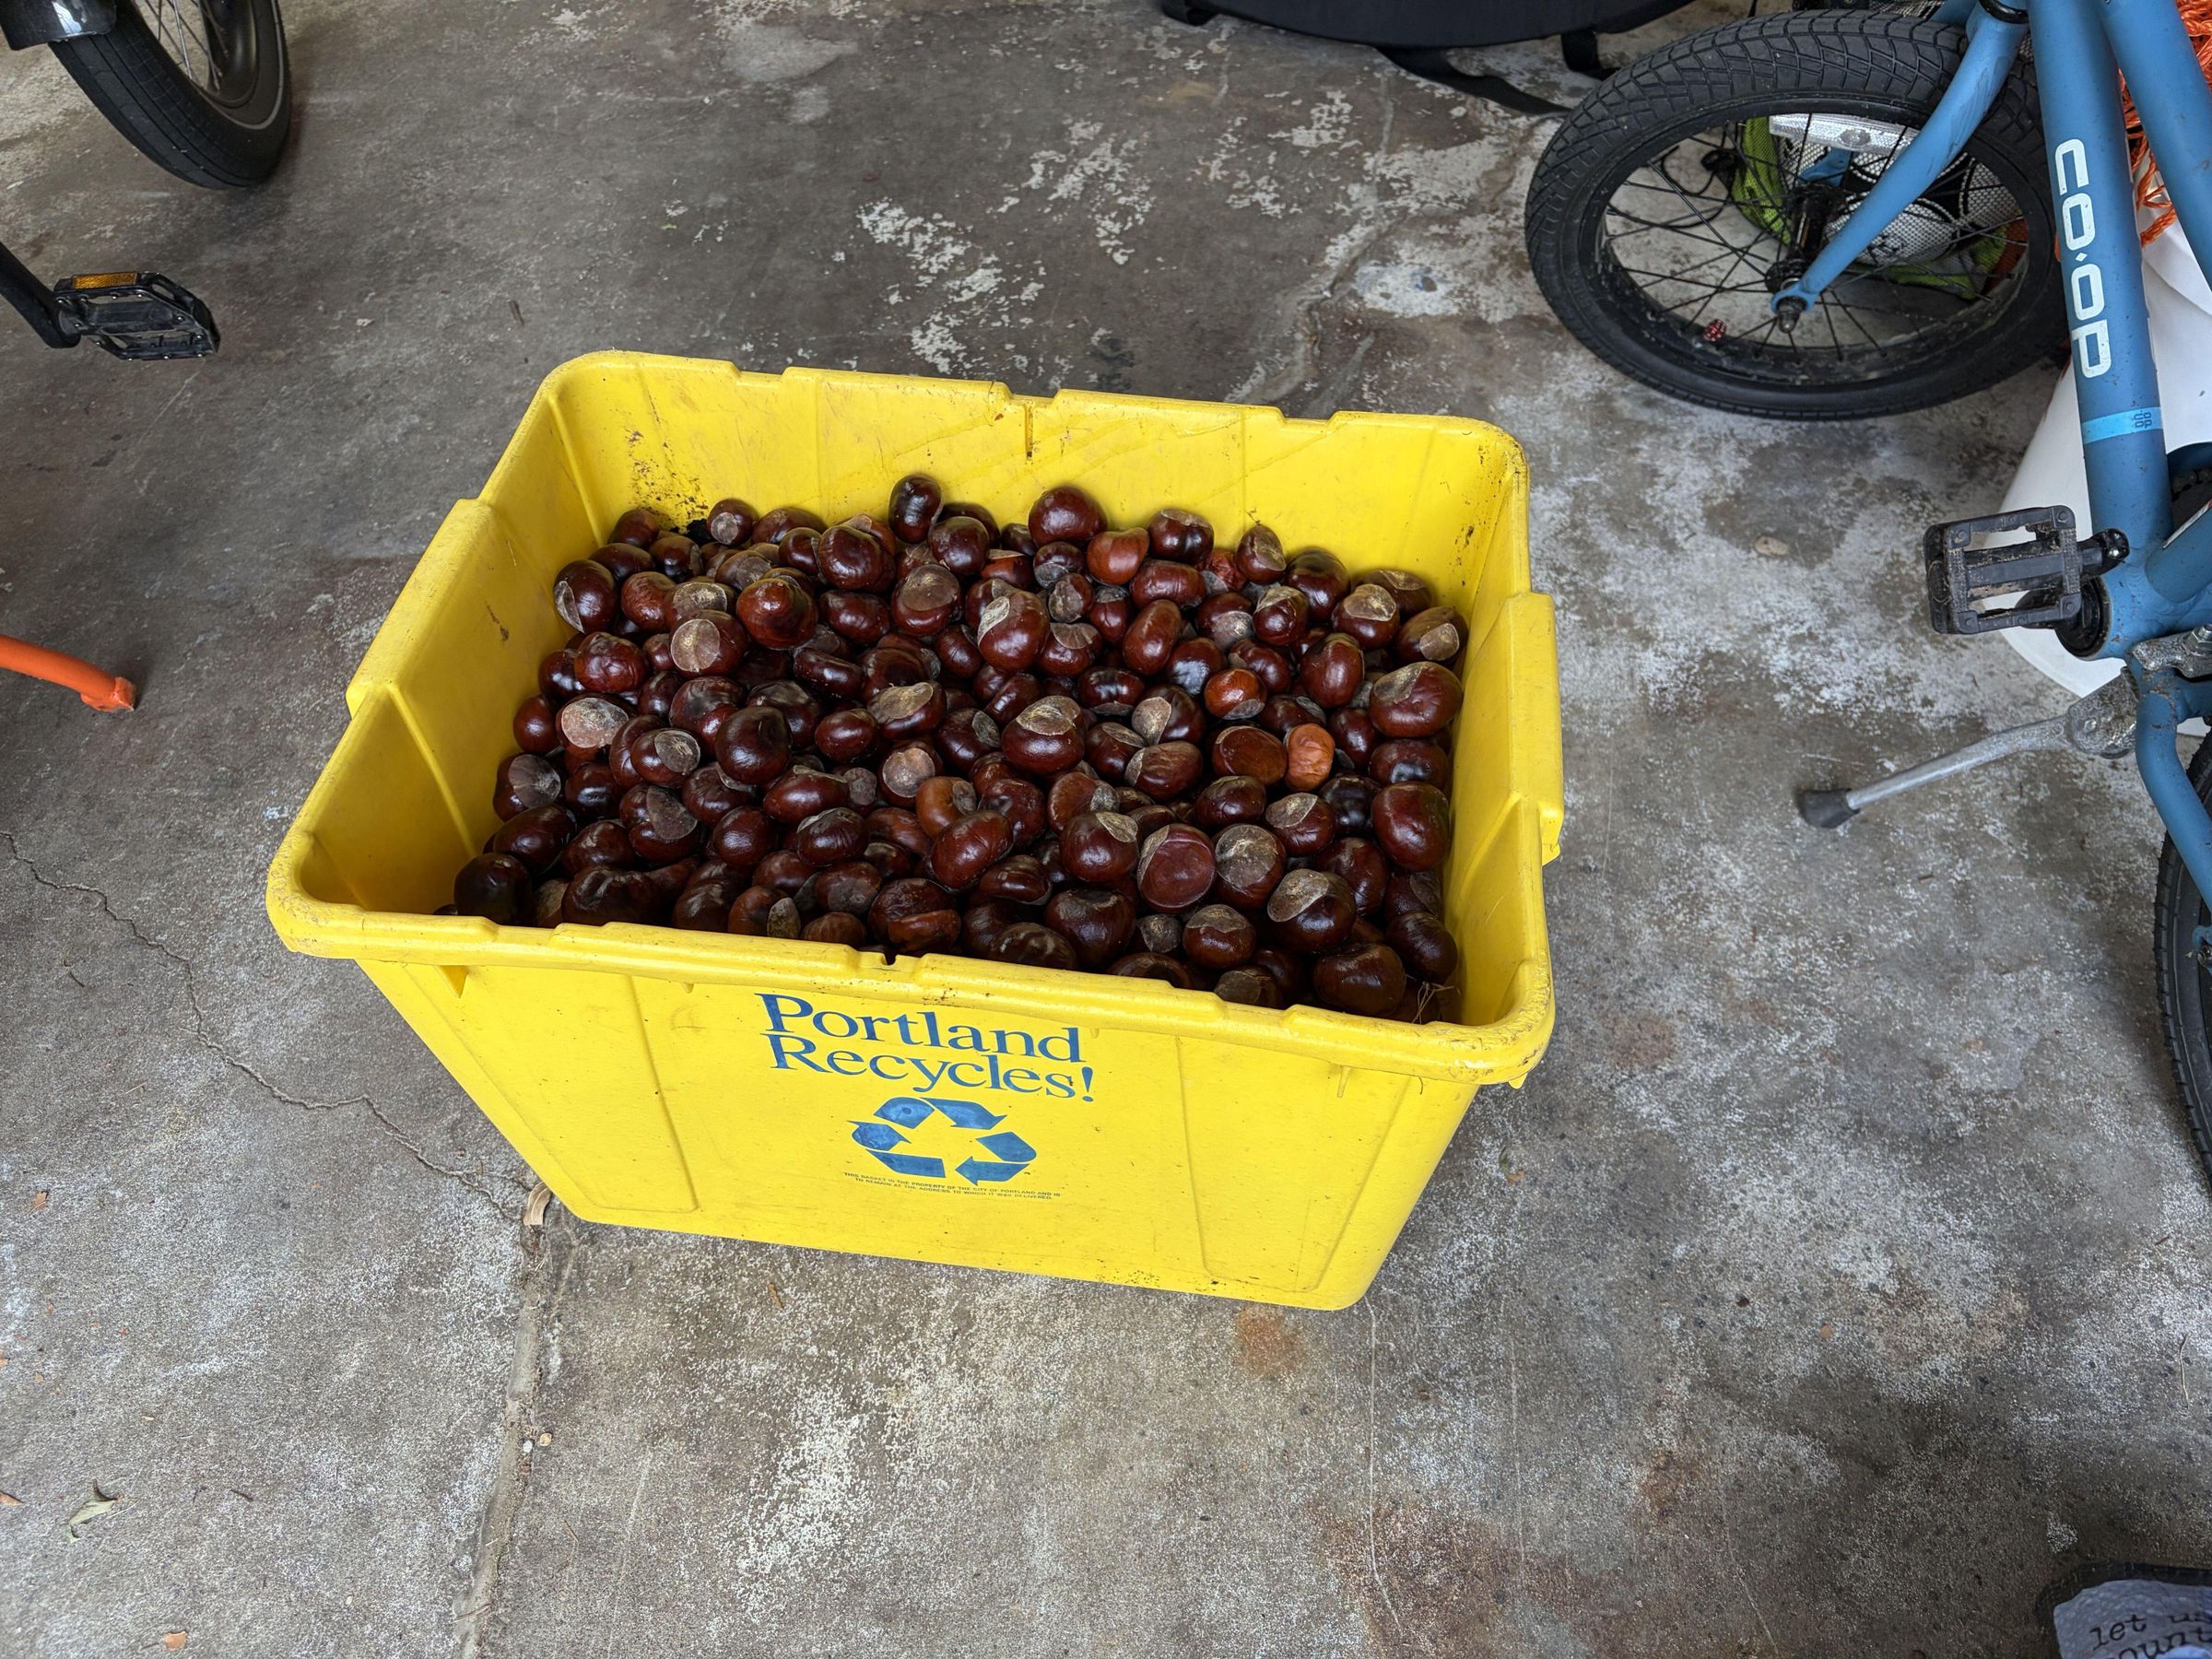
The park near my house has lots of chestnuts and my kids have been collecting them like crazy (it's actually their favorite post-school activity). We've accumulated quite a hoard, so I thought it would be fun to build something to do with it.
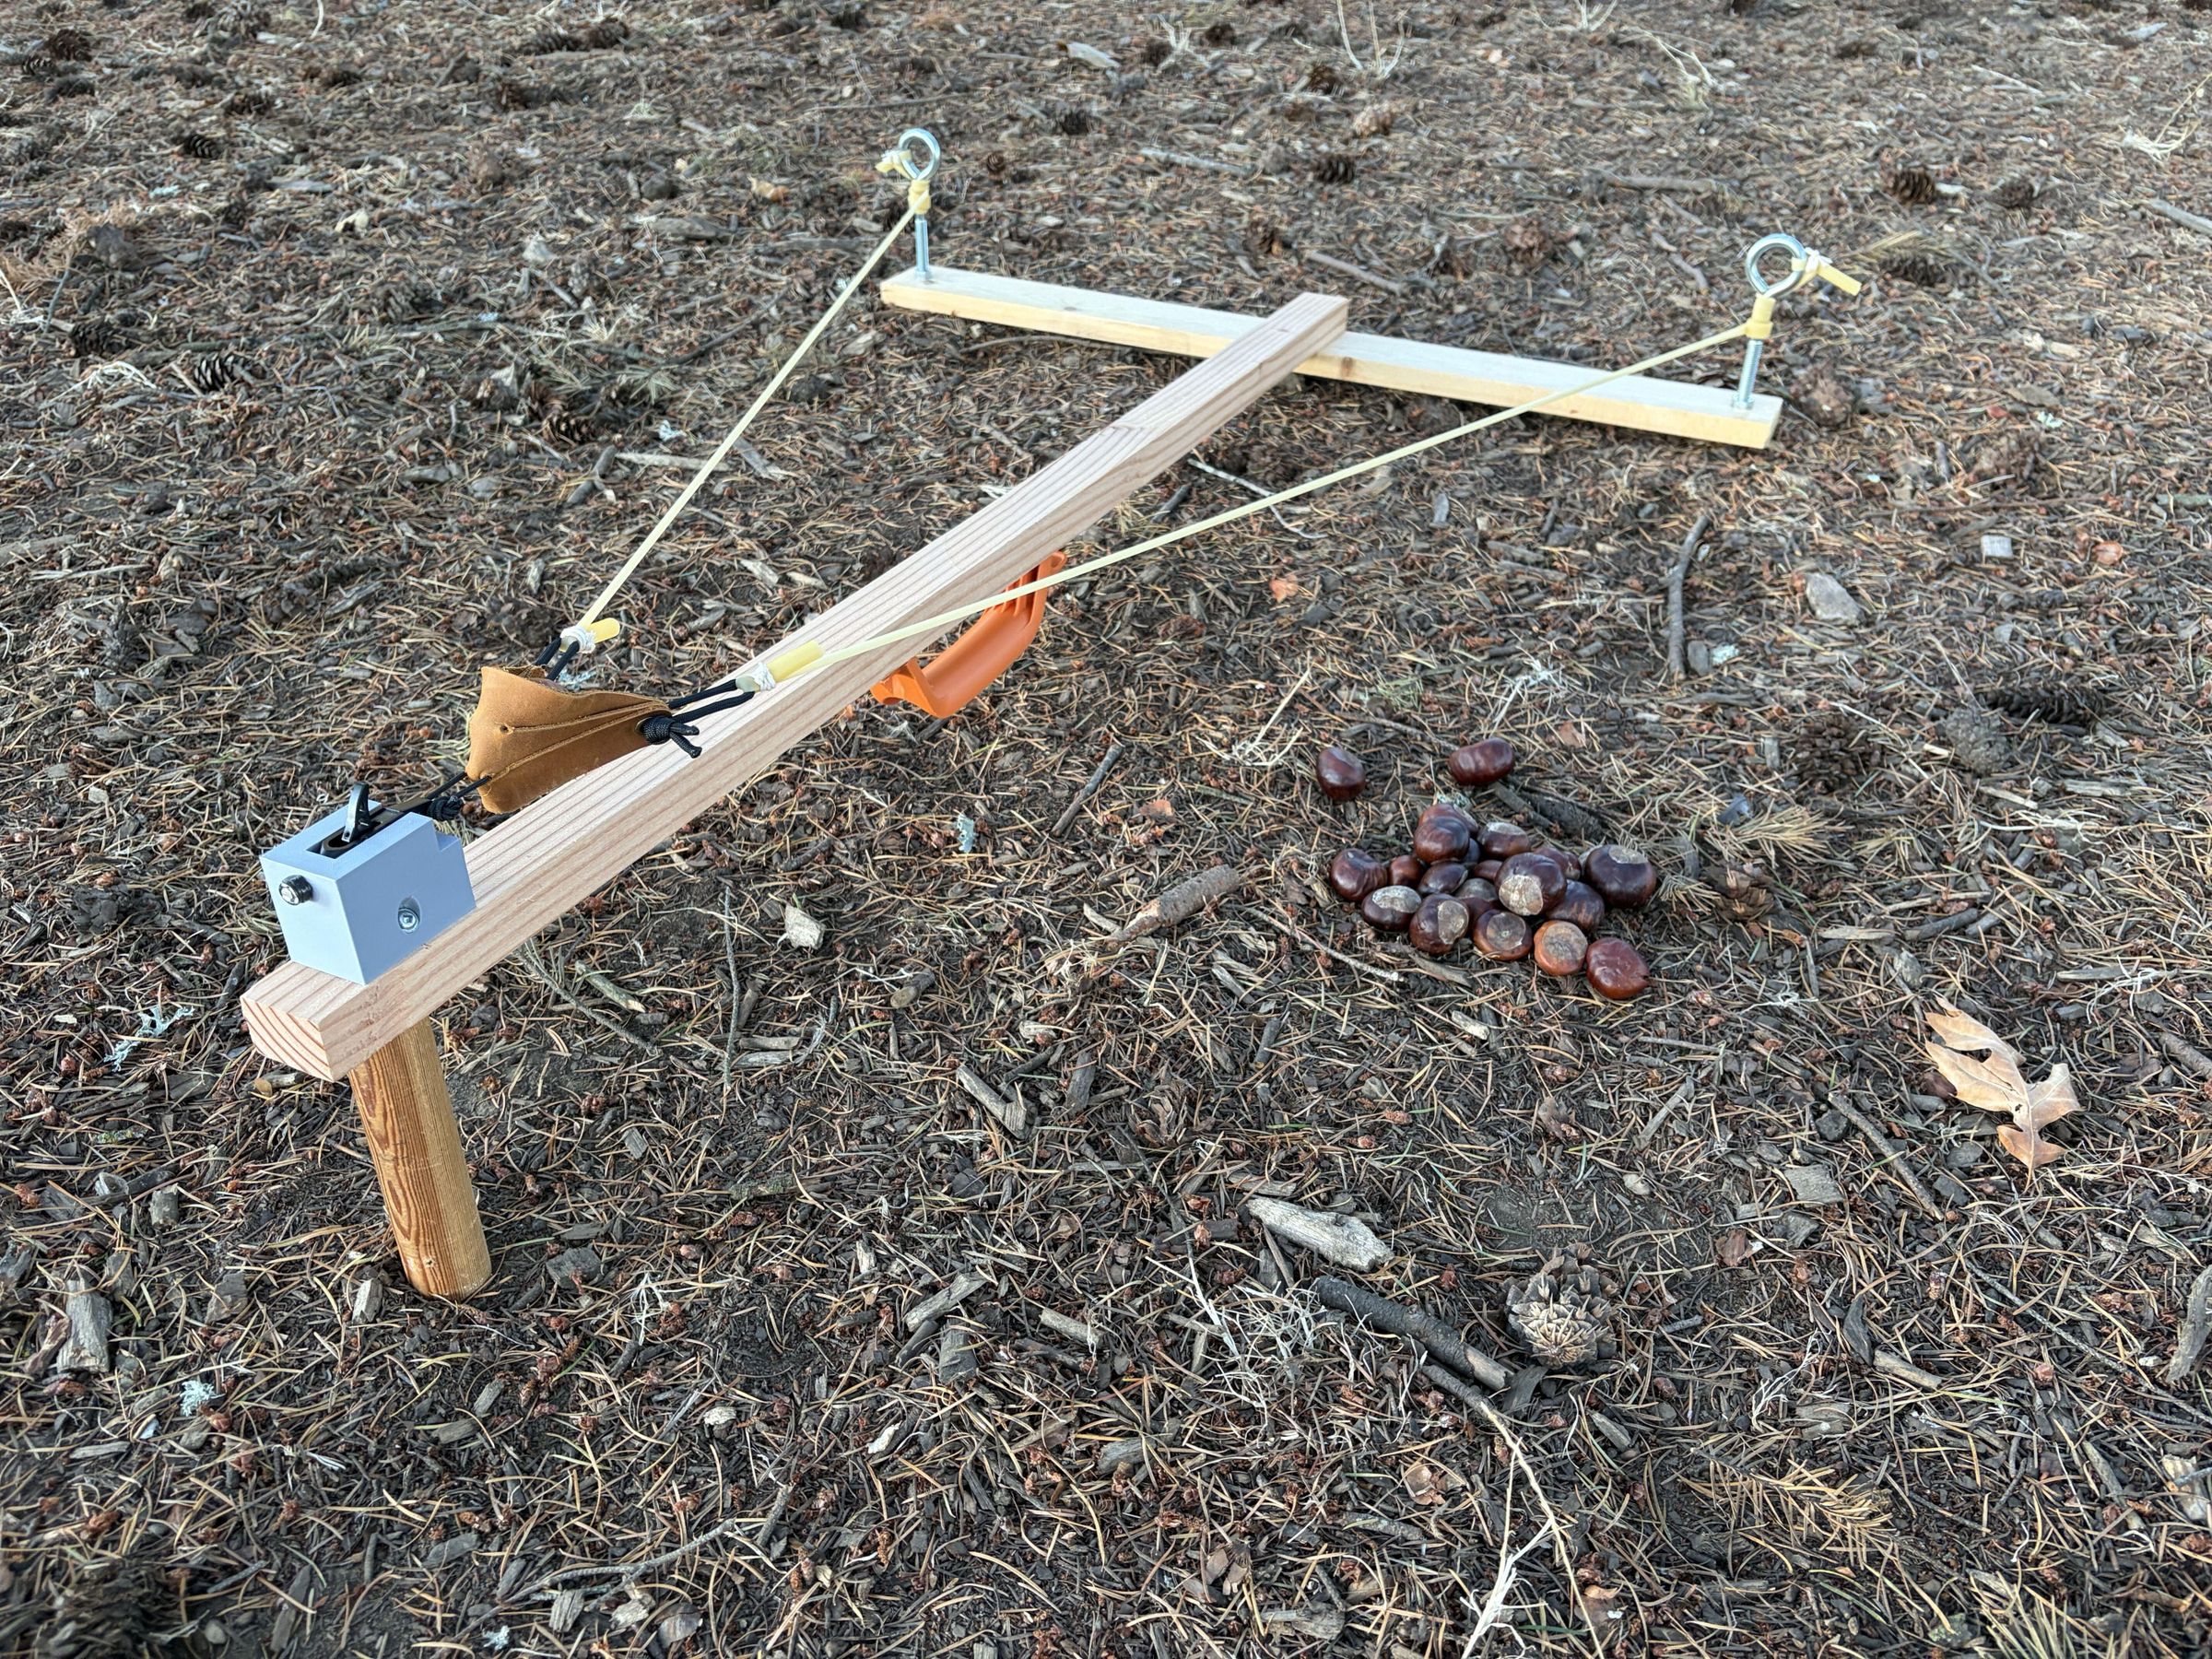
I wanted to go with a very simple crossbow-style design using latex tubing and a leather pouch to hold the chestnuts. It's two pieces of scrap wood, a couple of eye bolts, and an archery release for the trigger. It launches chestnuts over 200 feet, and thanks to the archery release we haven't had a single misfire.
Supplies
- A 2x2, 42 in long, for the main stock (1.5 in x 1.5 in actual)
- A 1x3 board, 32 in long, for the crossbeam (mine is a spare IKEA bed slat, about 2.75 in x 3/4 in)
- 3 wood screws and some wood glue
- 2 eye bolts with nuts, 3/8 in x 6 in (they come in a 4 pack)
- Natural latex surgical tubing, 1/4 in ID x 3/8 in OD (a 10 ft pack is plenty, with spares)
- Cotton butcher's twine
- A leather shepherd's sling, for its pouch
- A few feet of paracord
- A short length of archery D-loop cord
- A Tru-Fire Patriot archery release (you won't need the wrist strap)
- The 3D-printed trigger mount I designed for the release
- A short wooden dowel for the rear grip
- An old handle for the front grip (mine came off a shop vac)
- A collection of chestnuts
Tools: drill, saw, 3D printer, two quick clamps, two small scrap blocks, scissors.
Build the Frame

The frame is just two pieces of scrap wood in a T shape. Glue the crossbeam across the front of the stock and then screw it together with three screws for strength.
Add the Eye Bolts

Drill a 3/8 in hole near each end of the crossbeam and bolt the eye bolts through, eyes up. Mine are spaced about 30 in apart. The tubing gets tied to these, and I like this design because you can wrap the tubing around the eye bolts to add more tension and power.
Tie the Tubing


This was the fiddliest part. Loop the tubing through the eye bolt and fold it back on itself. To bind it, the tubing needs to be stretched while you wrap it, so I clamped two scrap blocks to my workbench to hold it at about 3x its length. Then wrap the stretched section 6 times with cotton butcher's twine and tie it off with a couple of square knots. When you release the clamps, the tubing relaxes and squeezes the twine tight.
Do the same at the pouch end, then repeat for the other side. Try to keep both sides the same length or it'll pull to one side.
Attach the Pouch and Trigger

My favorite part of the design was using an archery release as the trigger. It's a safe and reliable way to hold the tubing back, and it's designed to let go cleanly. I designed a little housing in Fusion that mounts the release securely to the back of the stock. You can find the 3D print on Printables.
I cut the long cords off the sling and used short loops of standard paracord to tie the pouch to the tubing. The release clips onto a loop of archery D-loop cord on the back of the pouch. That's probably overkill, but it's rated for 200 lb and I wanted to be safe.
Downloads
Add the Grips

I added a dowel under the back of the stock as a rear grip (it also works as a little stand when you set it down) and an old handle I'd previously removed from my shop vac as the front grip.
Load and Launch


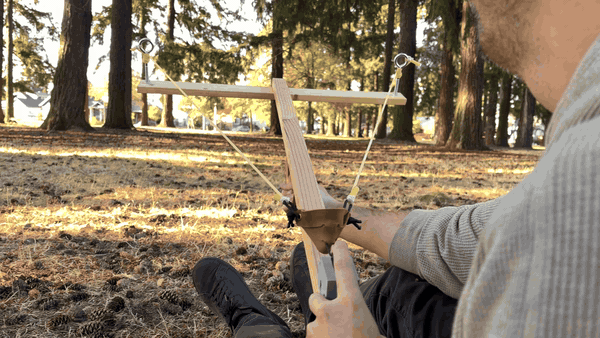
Pull the pouch back and clip the loop into the release, drop a chestnut in the pouch, aim, and pull the trigger. Everyone nearby should wear safety glasses, since the tubing can snap back if a binding ever fails. Never aim it at people, pets, or windows, and check the tubing for cracks before each session.
We tried it at the park and it works surprisingly well. Aimed at about 35 to 40 degrees, it sends our chestnuts about 220 feet.
How Fast Is It? (Roughly)
I got curious about how fast it's actually launching these things, so I did some rough math. Our chestnuts are on the small side, about 10 to 15 grams.
- Launch speed: roughly 85 to 100 mph (about 40 m/s). If there were no air, you'd only need about 58 mph to go 220 feet at that angle. A light, round chestnut loses a lot of speed to drag, so it has to leave much faster than that to get there.
- Energy: about 7 to 15 joules. That's in the same range as a paintball (around 13 J), which is a good reason to take the safety glasses seriously.
- Acceleration: about 90 g. The chestnut goes from 0 to ~90 mph in about 3 feet of travel.
- Force on the chestnut: about 2.5 lb on average. The draw feels heavier than that because the tubing also has to fling the pouch and itself forward.
- Hang time: about 4 seconds.
The assumptions: a 2.5 to 3 cm chestnut, a drag coefficient of 0.45 to 0.6 (a roughly smooth ball), launched from about 3 feet off the ground, with a 3 ft power stroke.