Simple Corner Clamp

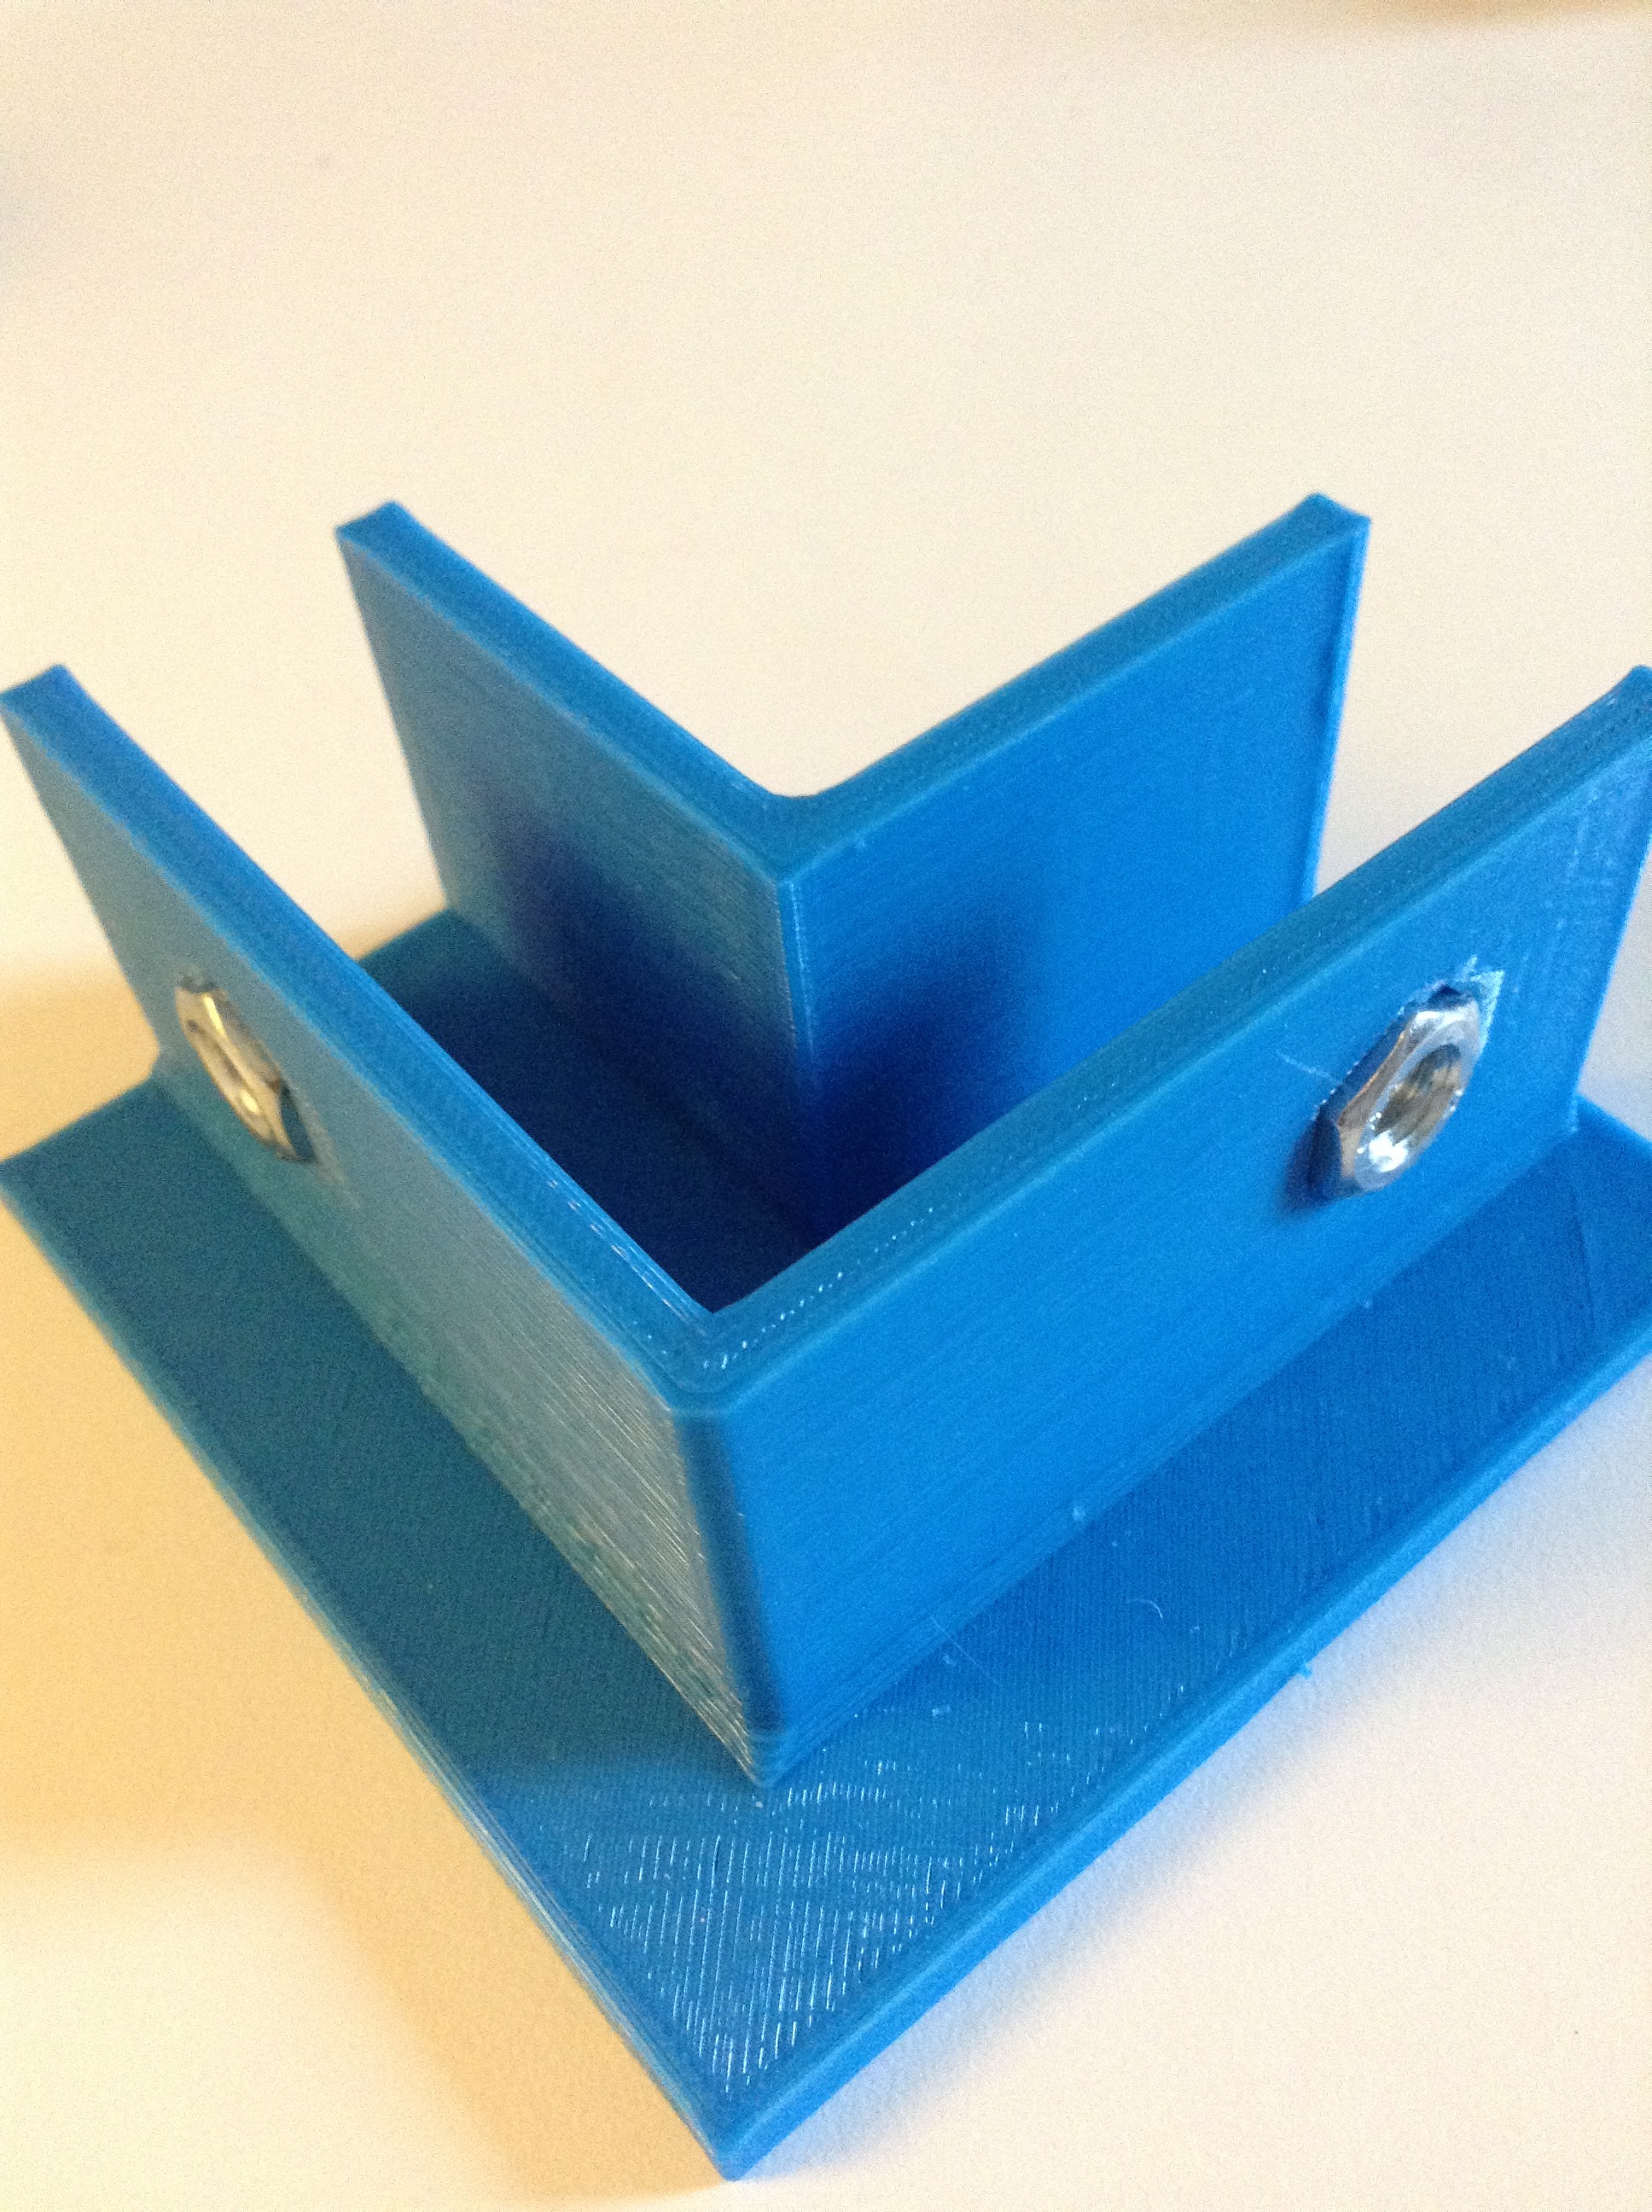
I have created a simple 3D printed corner clamp for woodworking. It takes two hours to make and teaches skills such as CAD modeling and 3D printing. It uses nuts and bolts from the hardware store and PLA plastic for the 3D printed part. Altogether, it is handy if you do many woodworking projects and takes only one afternoon to make.
Materials:
- 3D Printer and Filament
- Super Glue
- Nuts and Bolts
Downloads
Design


For the design part of this project, I used a software called Fusion 360. I started with a sketch of the base and then I extruded it up to make the base and walls. After that, I measured my nut that I was going to embed in the 3D printed plastic and used the polygon tool to make a hole for it. I then used that sketch on the side as a reference for the other side. With both of those "nut sketches" made, I used them to create a hole in the main body of the clamp. Once I finished the model, I got it prepared for 3D printing.
Slice for 3D Printing

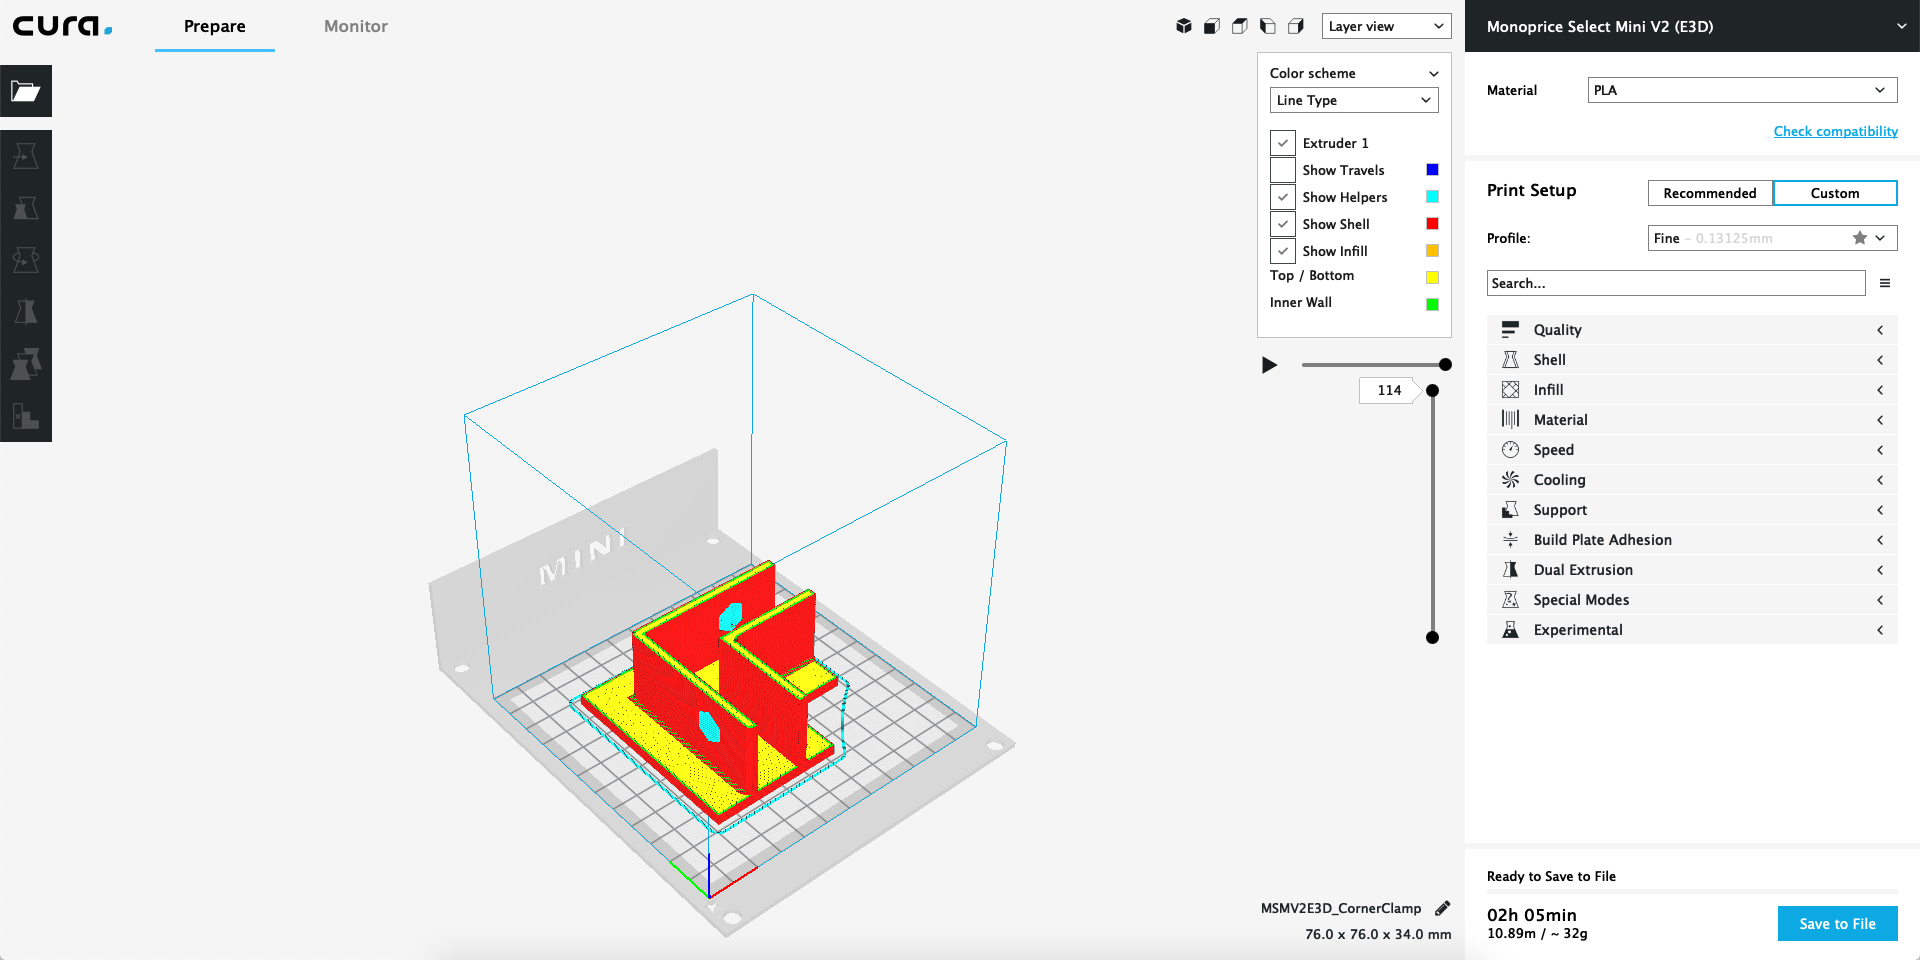
It is now time to make the file into layers for the 3D printer to print. For this step, I use Cura, a free 3D print slicing software. You can also use other software as well. In Cura, you can load in your model and input settings such as infill and speeds. Once you have done that, you can download your .gcode file by clicking the button on the bottom right of the screen. Now, move that .gcode file onto an SD card for the 3D printer to use. You can also print using a USB cable.
Time to Print!


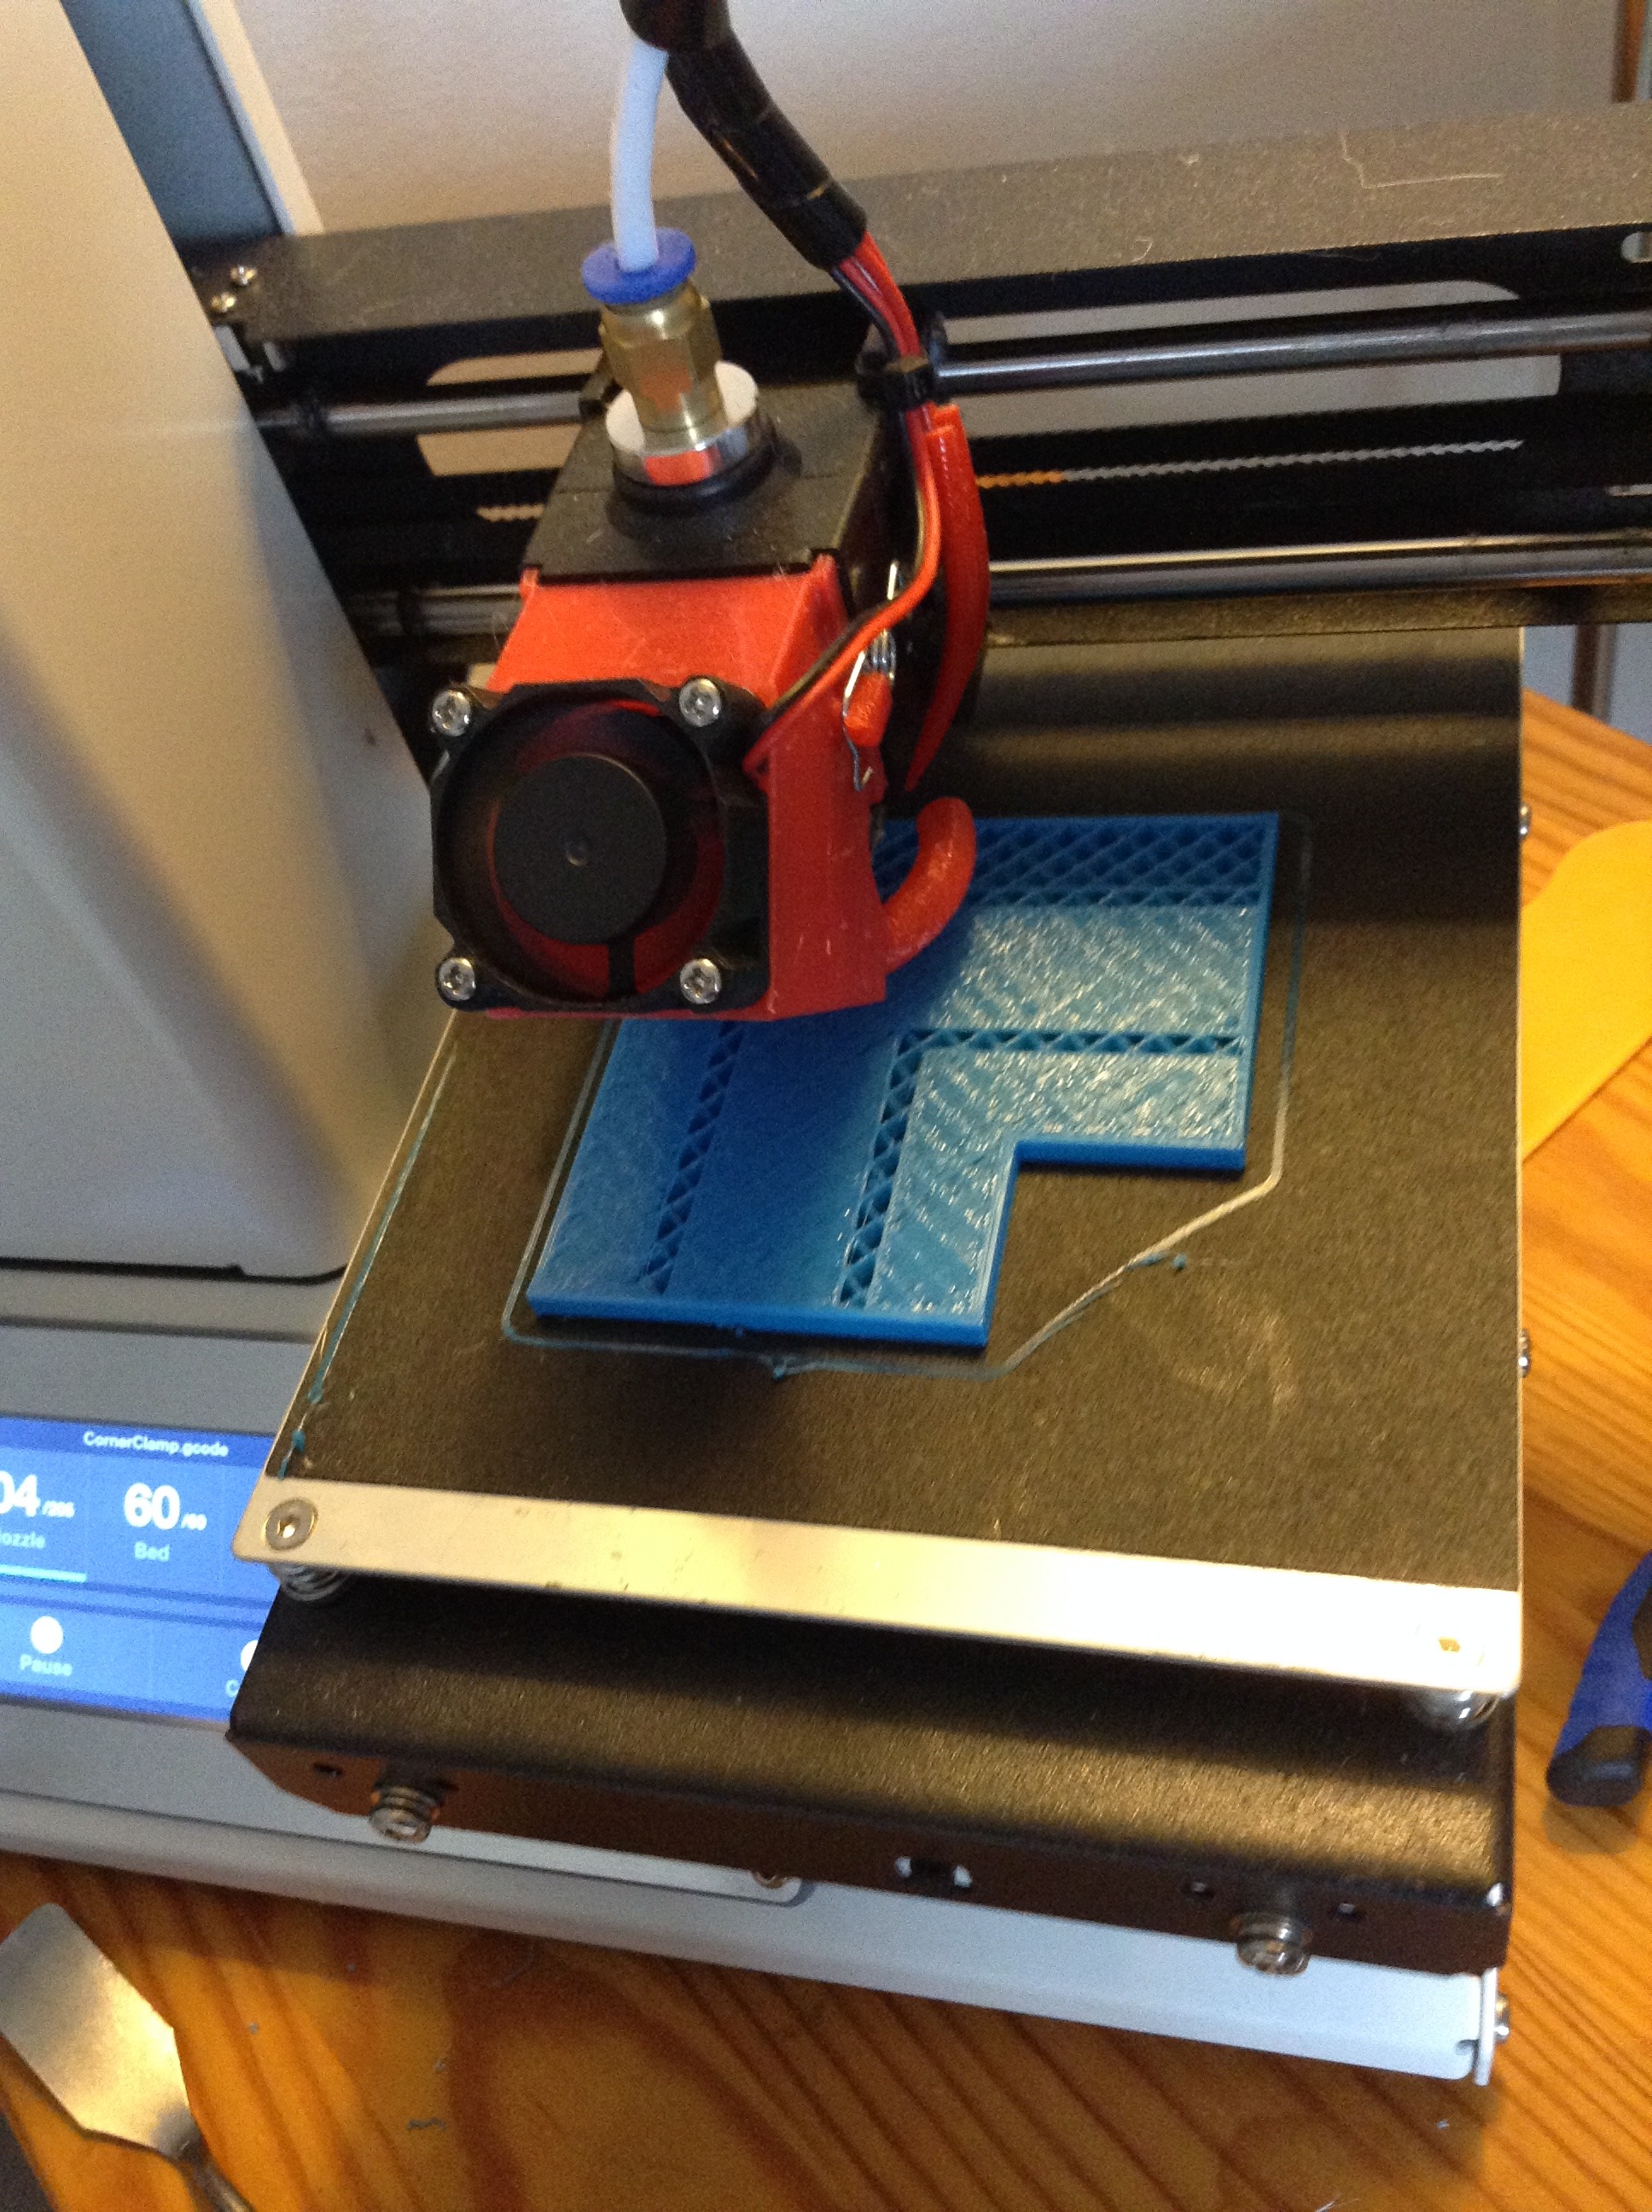
You can now heat up your machine for your type of filament. Now press start and let your printer take it away! Mine took about two hours. Once it has finished printing, you will want to remove it from the build plate. You may notice that there is some support structure on it and you will want that to be removed. I recommend using pliers to remove it.
Embed Nuts and Finish


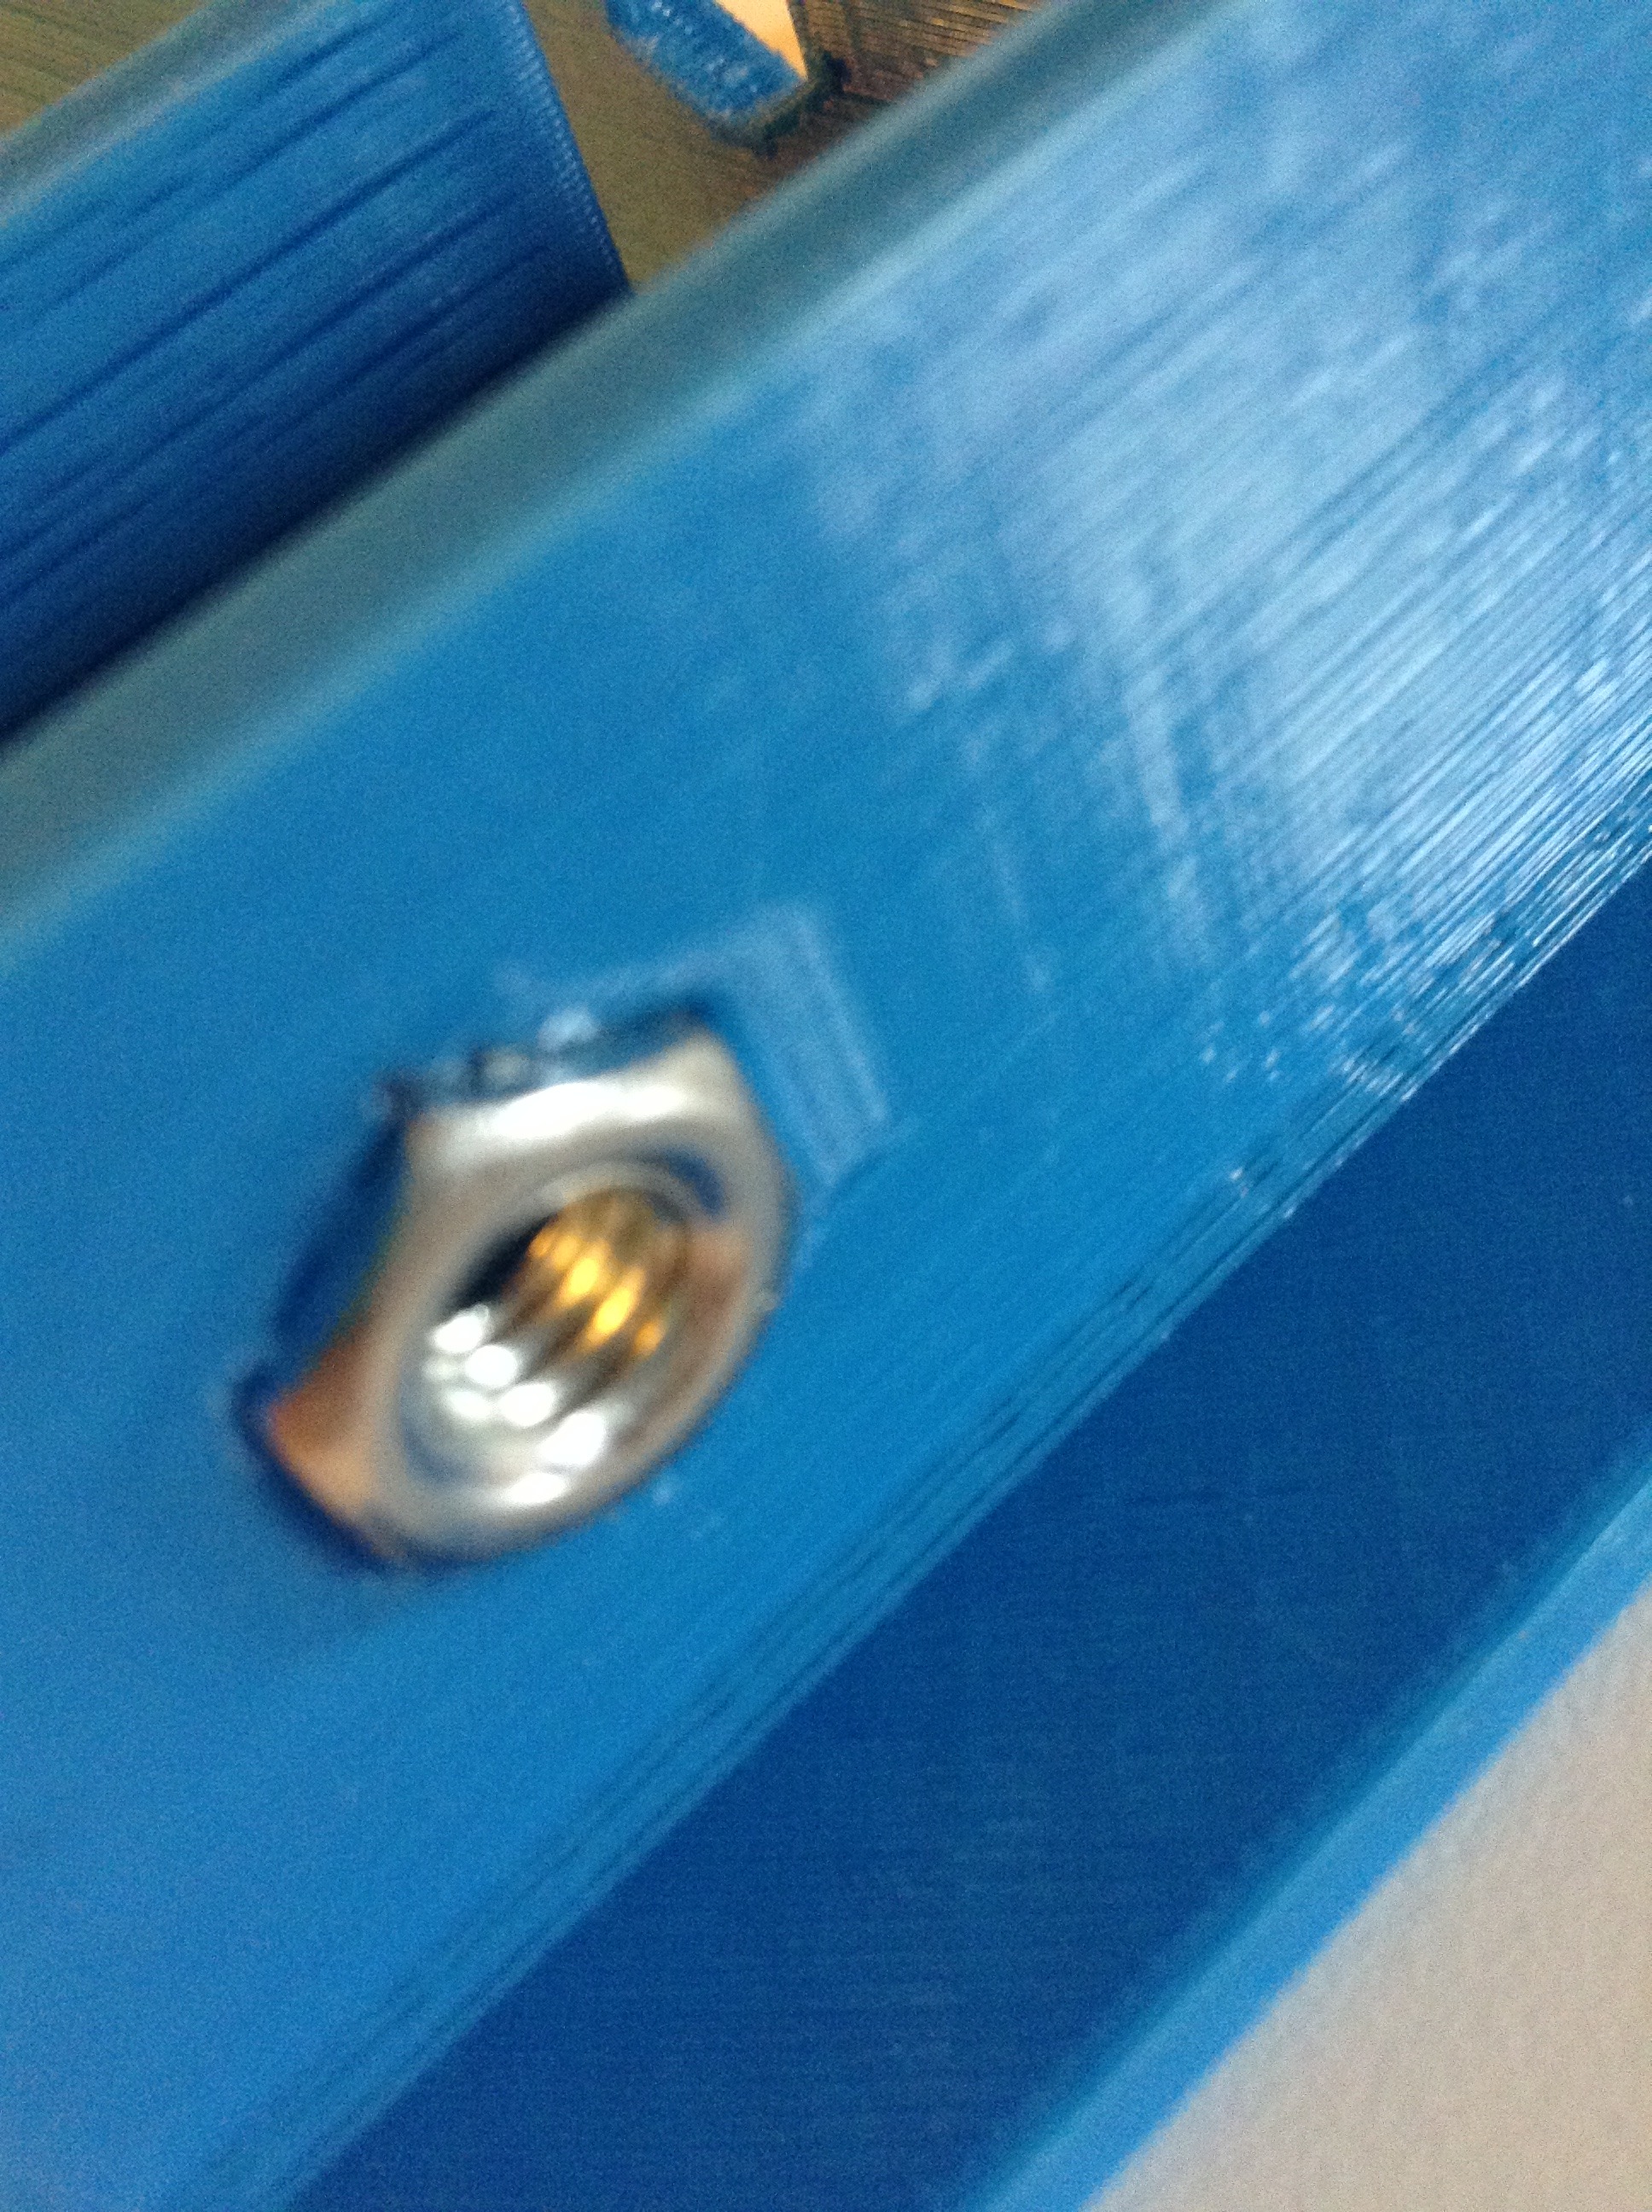
After all the support structure is removed, you can test fit the nuts. If they are a good press fit, perfect, but if they are too tight, you may need to file down the inside of the hole. If they are too loose, you can either redesign the model or add a lot of super glue in the next step. You can now add super glue to the 3D printed part and push the nut in. Try to avoid getting super glue on your hands. After all the glue is dry, you can insert the bolts and get clamping! I have included my model file if you would like to use it.