Simple Scrap Wood Sign

The necessary supplies for building a simple sign like this are a flat square/rectangle of scrap wood that is at least 1' x 1', as a base for the sign. Two more similar boards are needed to make the support triangles. A long 2x2 is needed for the pole, and enough wood to make a suitable flat surface for the face of the sign; keep in mind whether the sign will only face one direction, because this determines if you need one of two more flat boards. Tools needed are preferably a table saw, but any suitable saw able to make square cuts. I recommend a router for use on the edges of the 2x2, which can help make your scrap sign look a little nicer and less rough on the hands to carry. All else that is needed is plenty of wood screws and wood glue, and whatever the most suitable tool for driving screws is. At least two, and preferably 8-16 functional clamps are needed. A long 2x2 will make do for the pole.
Sign Face
.jpg)


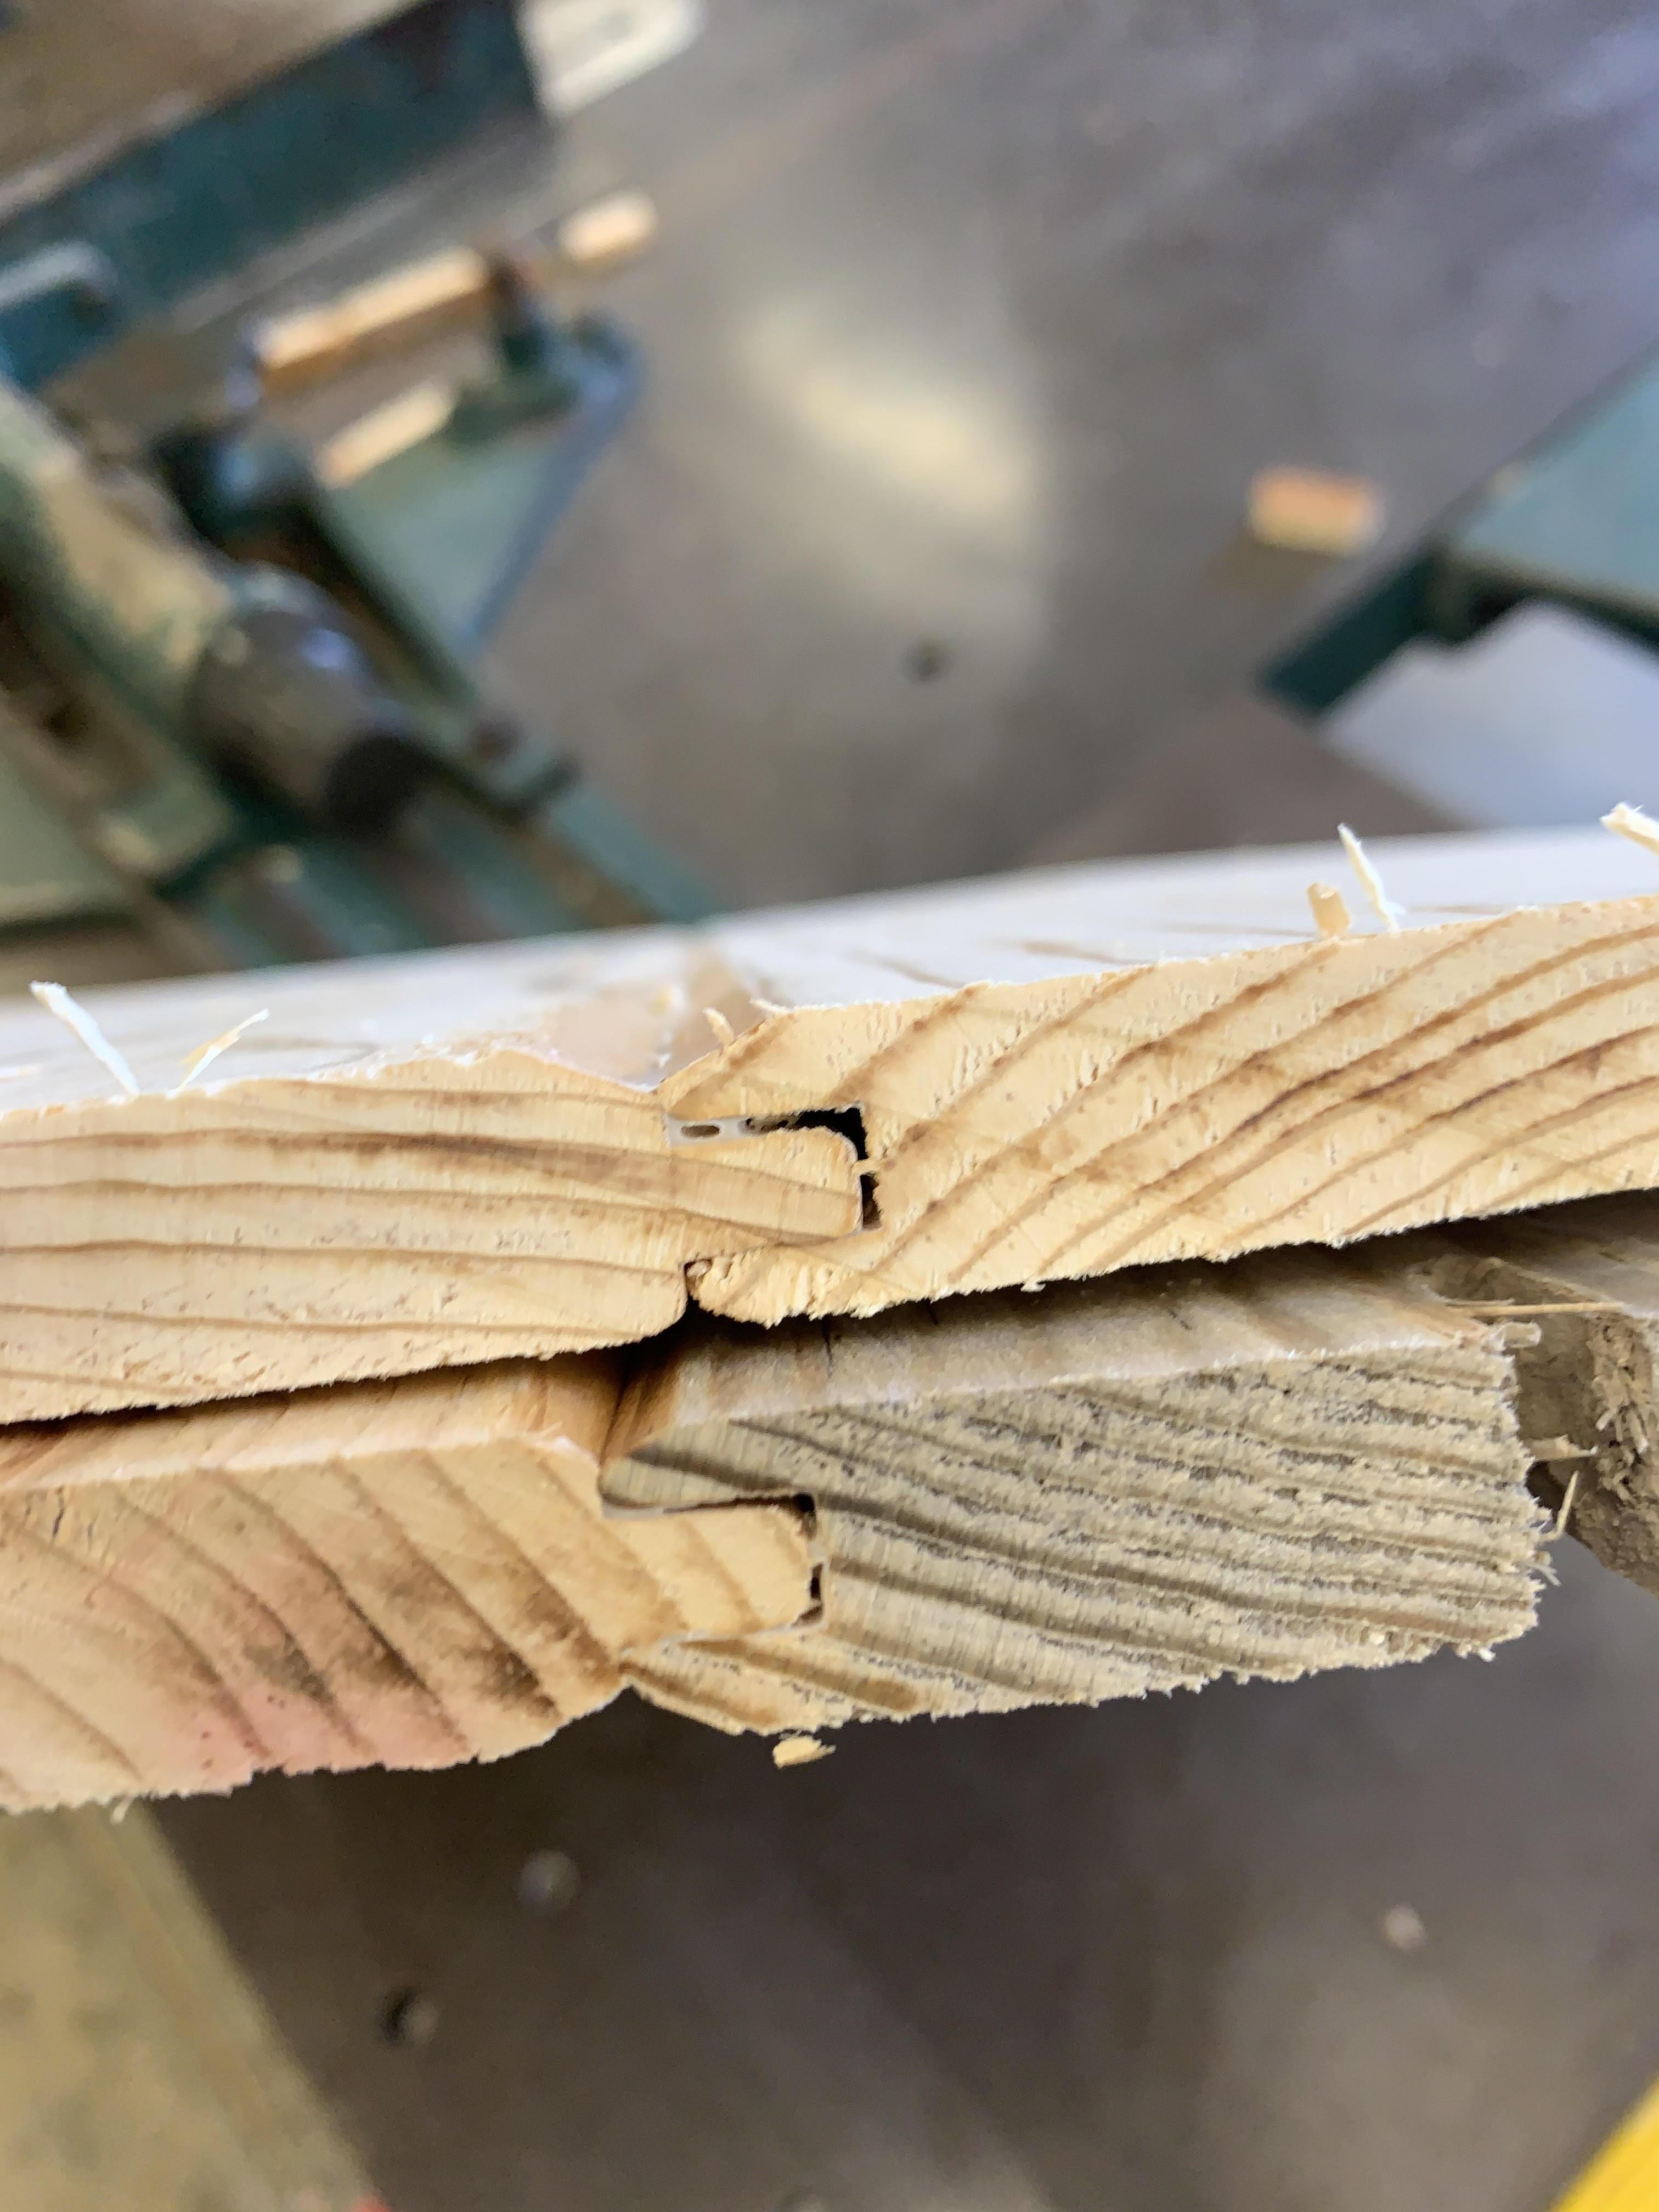
The face of the sign just needs to be a thin, flat piece of wood. Mine was made of slotted pieces glued together, and I planed the faces afterwards to make the wood even and orderly. The sign can face either one way and have one face or be bidirectional and have a face glued to either side of the pole, like I did.
Base Assembly
.jpg)
.jpg)
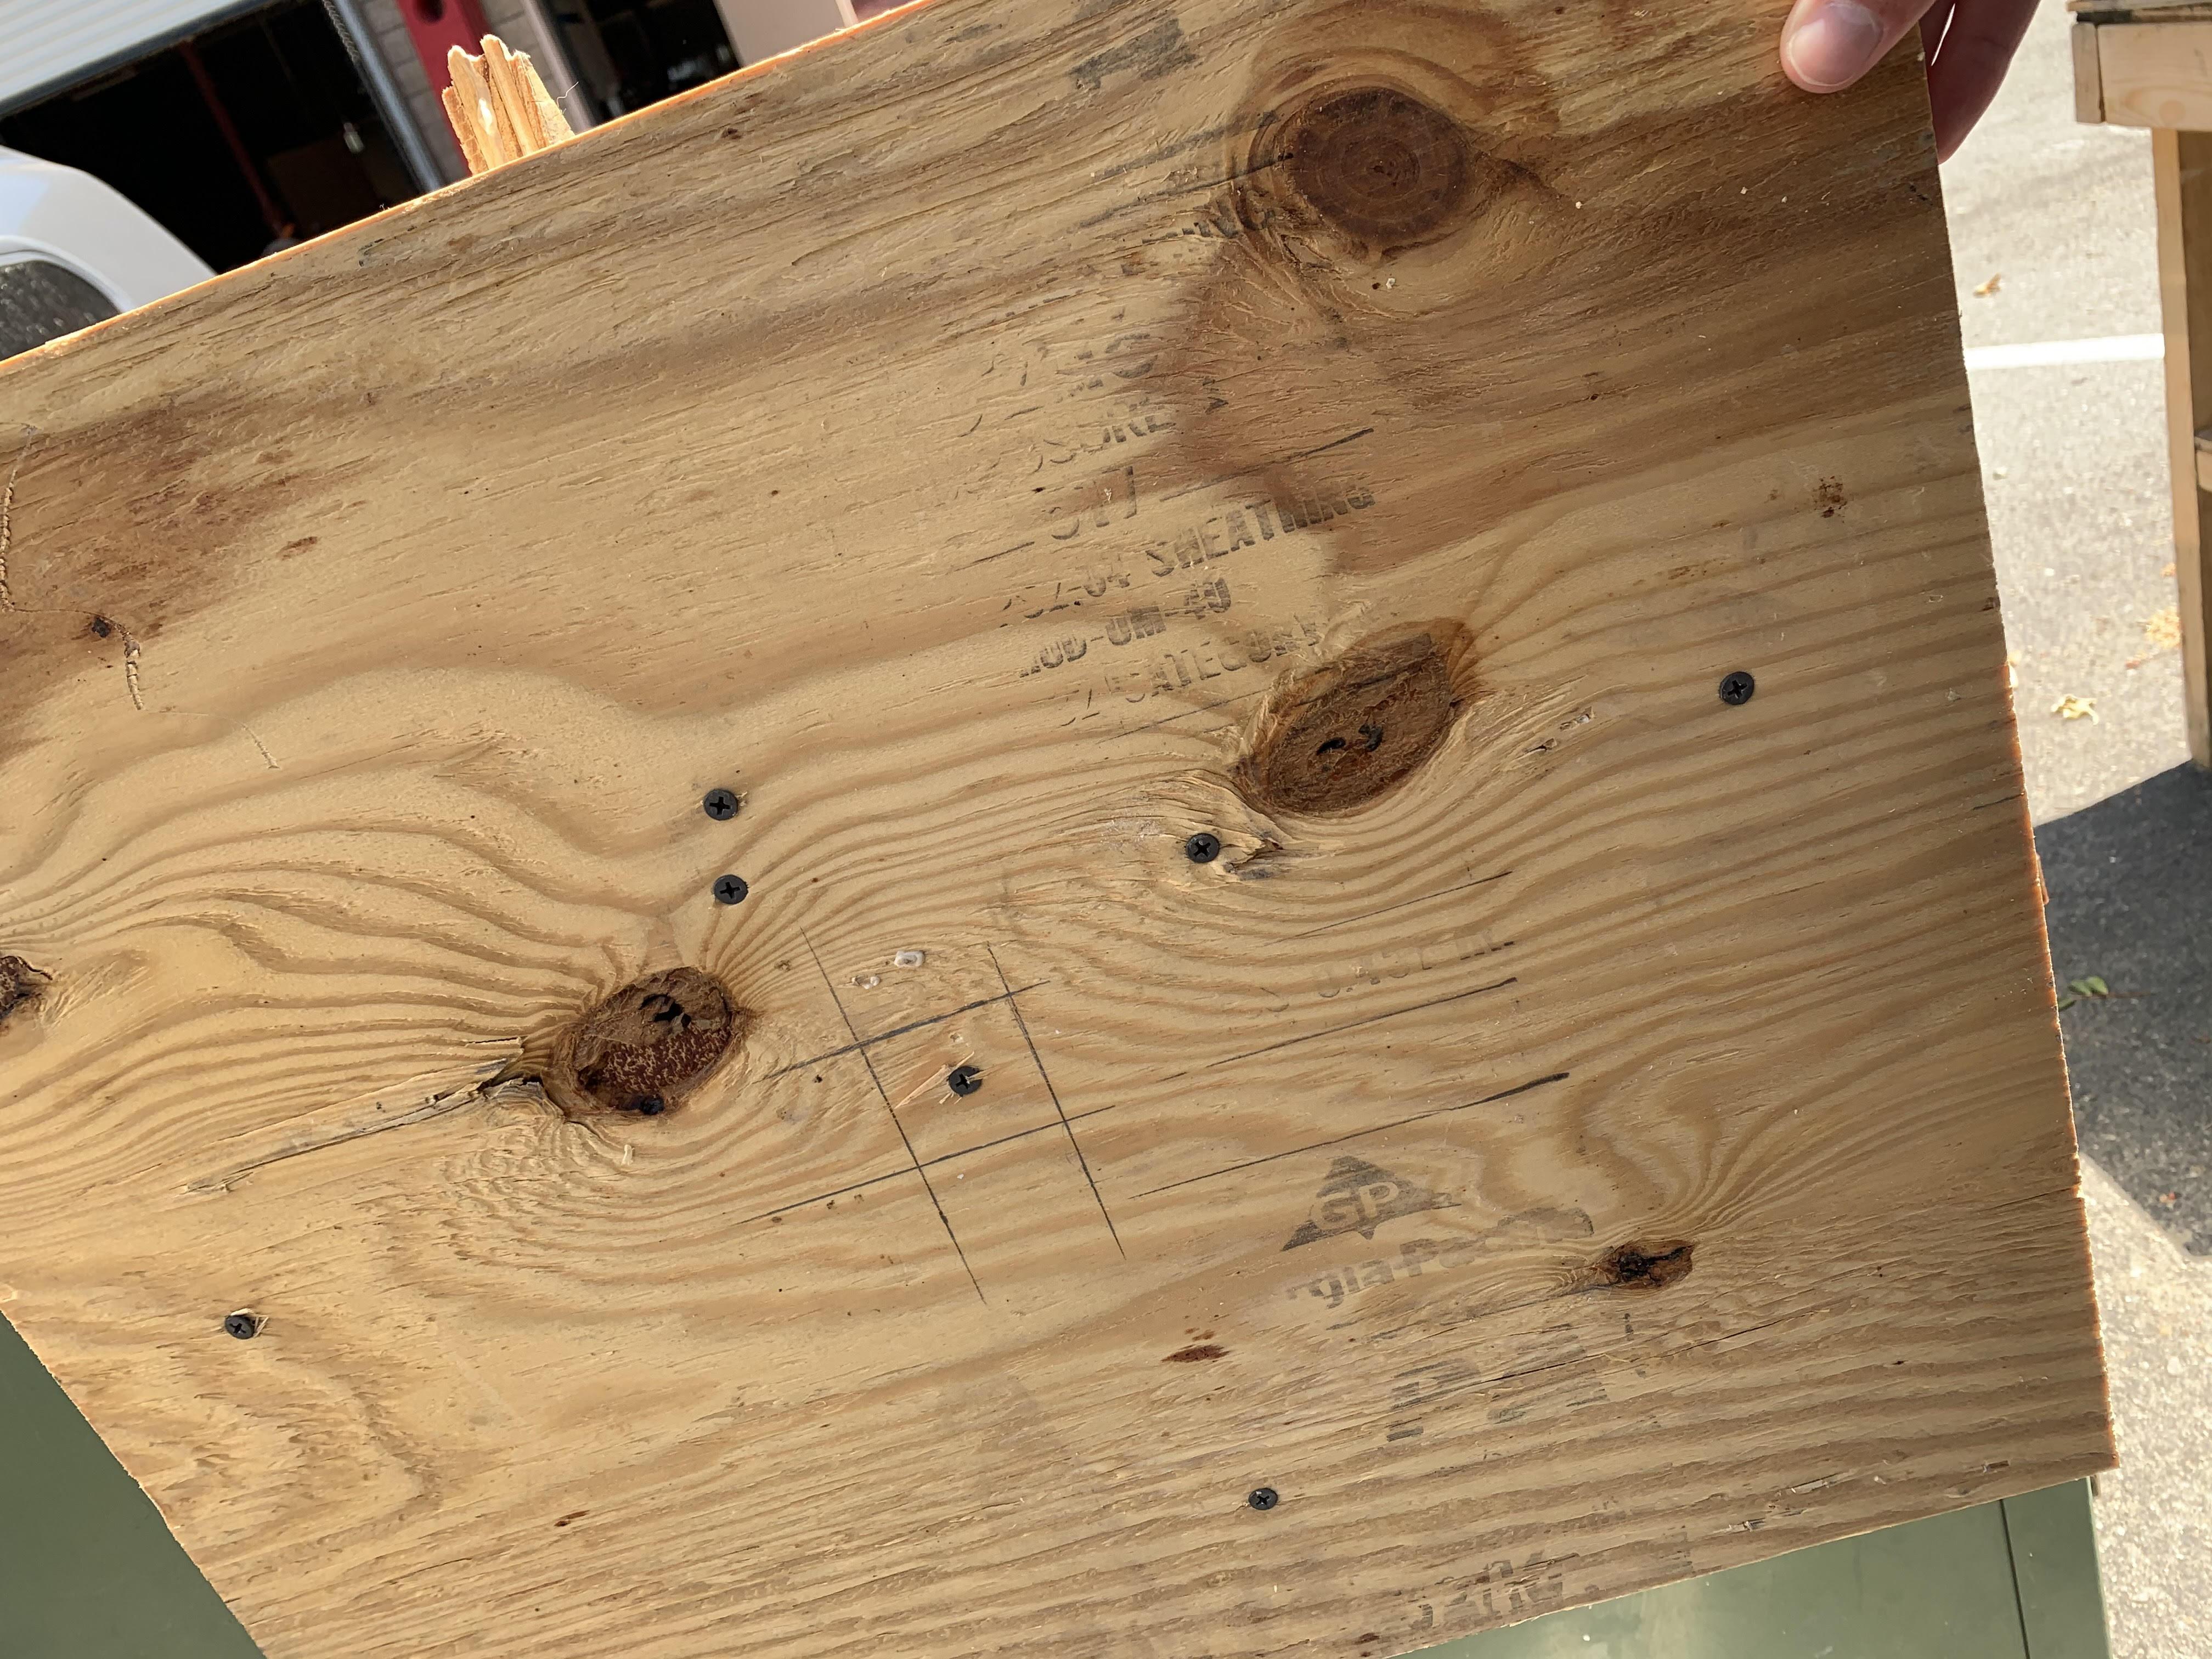
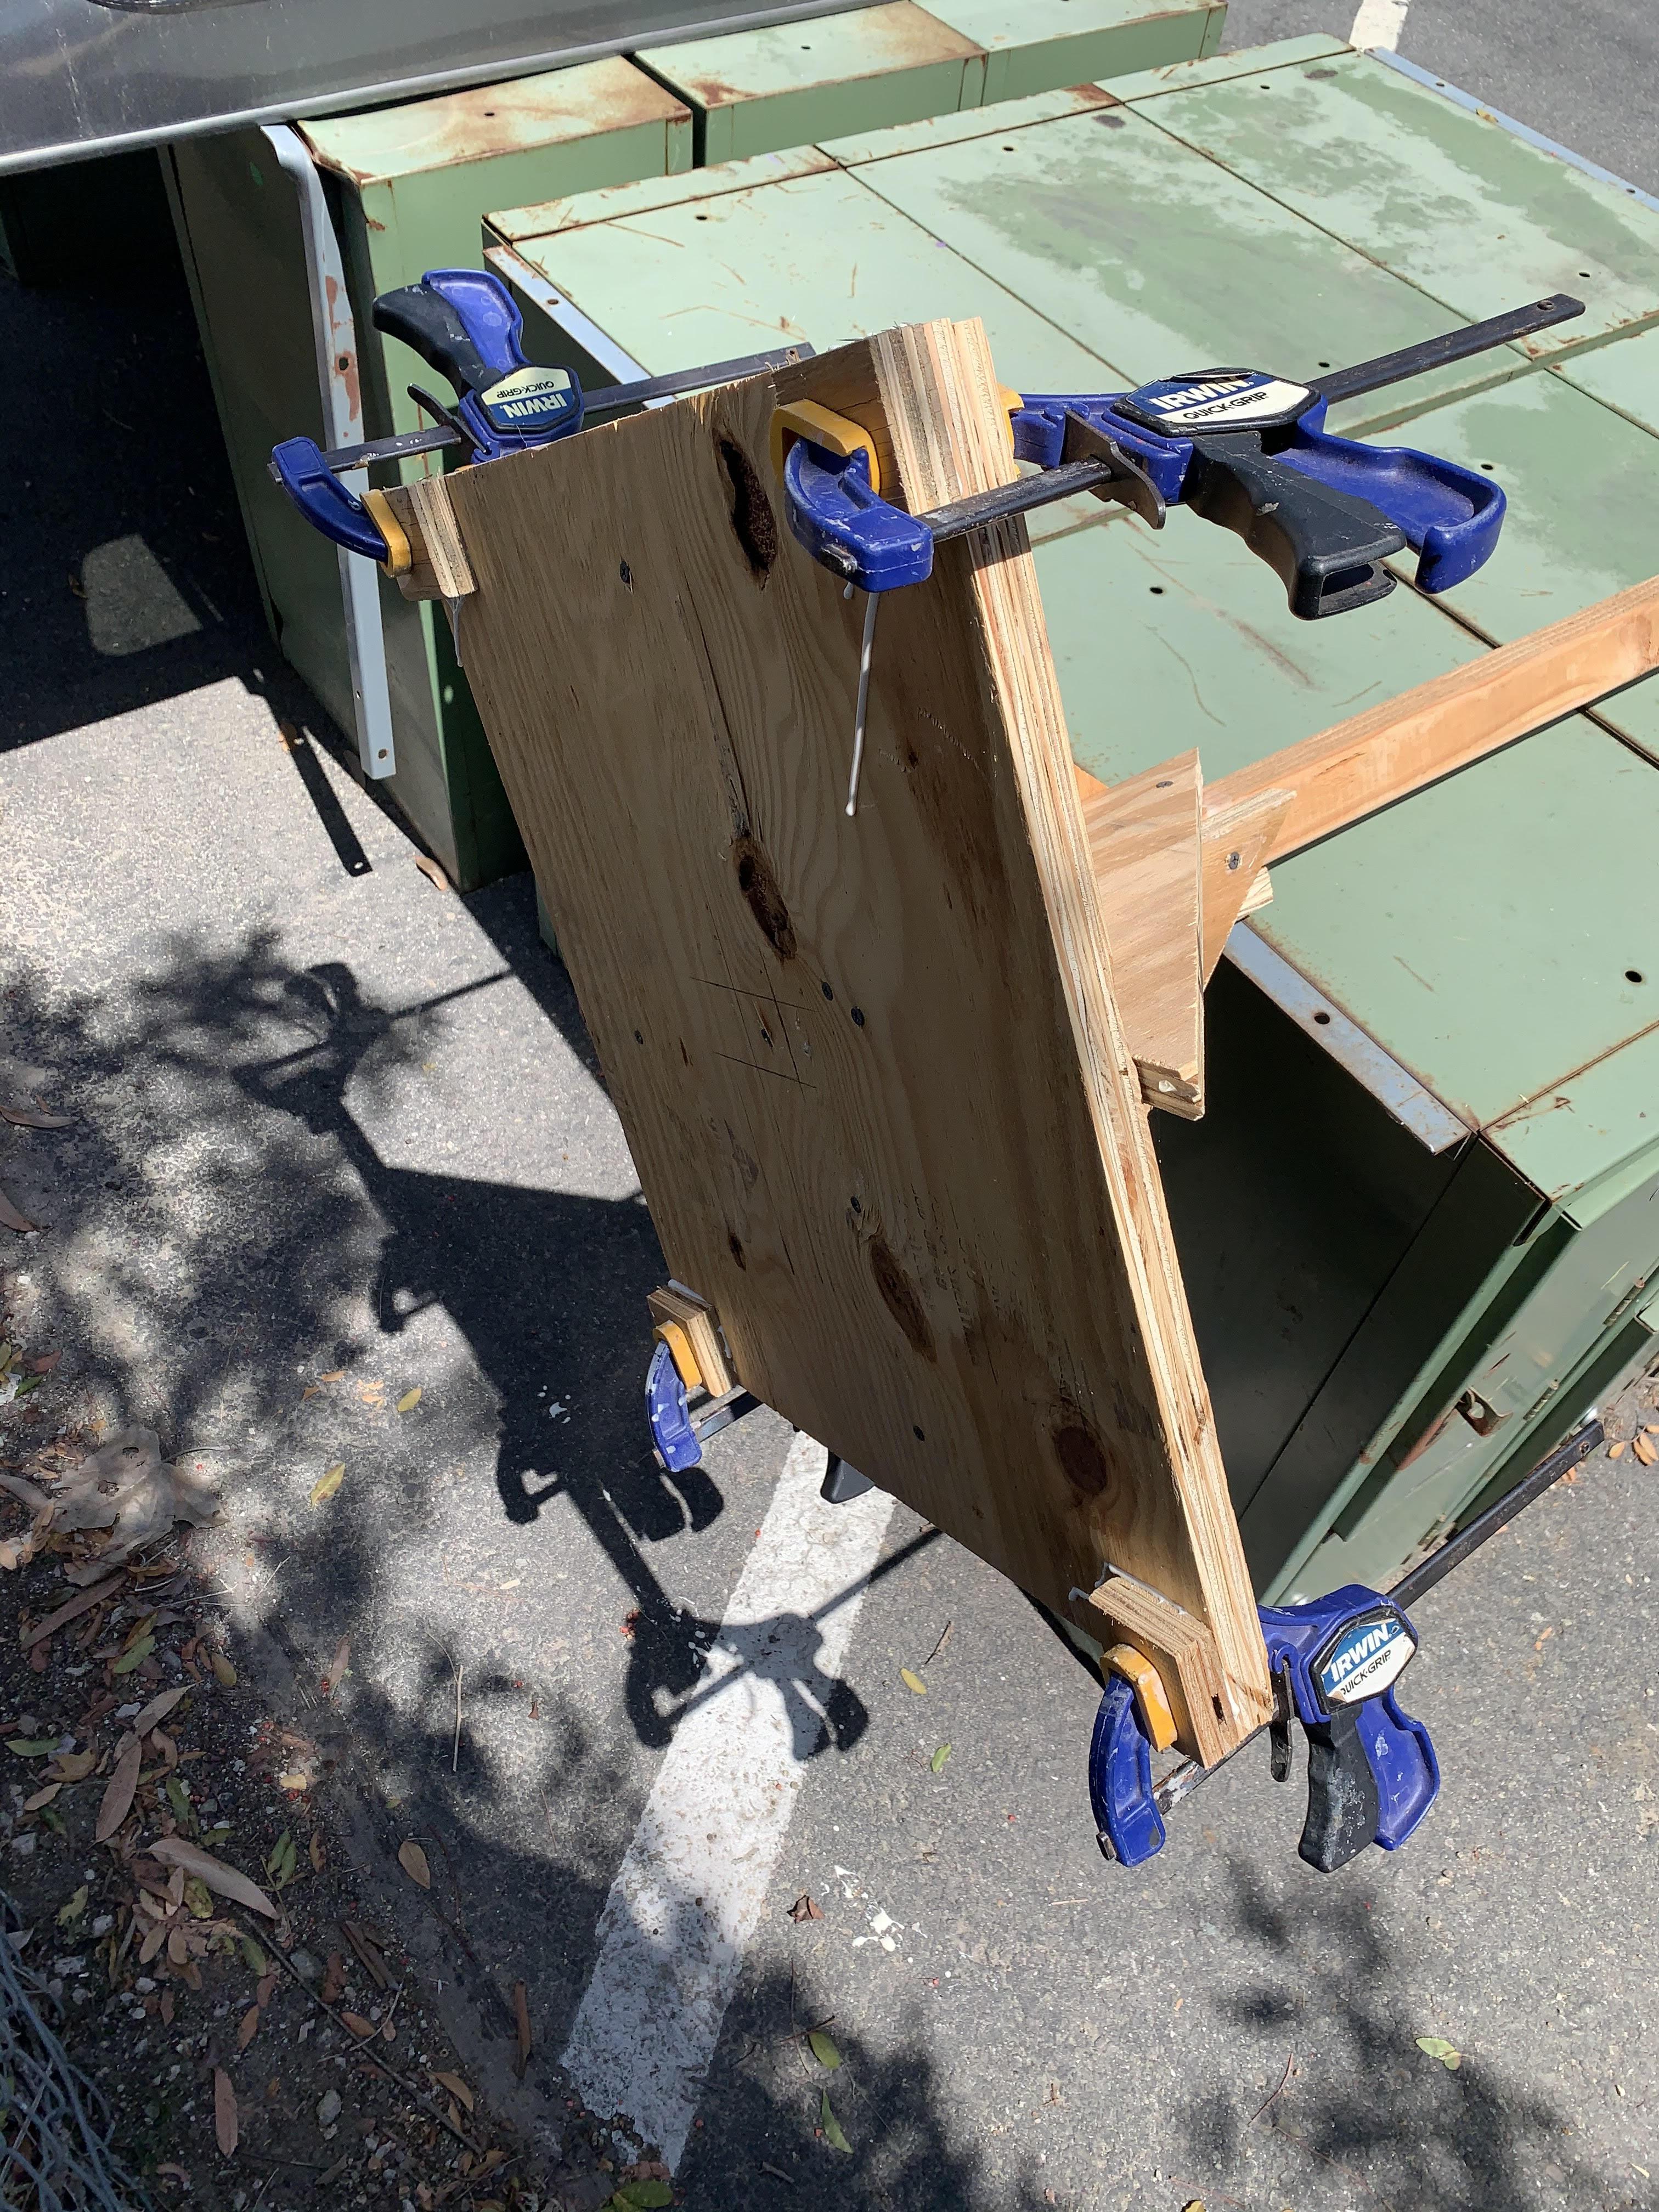
The base can be made of a thicker sheet of plywood. If necessary, glue small blocks of wood with matching dimensions to the base of the sign for feet.
Base + Pole (with Faces) + Supports = Completed Sign
.jpg)
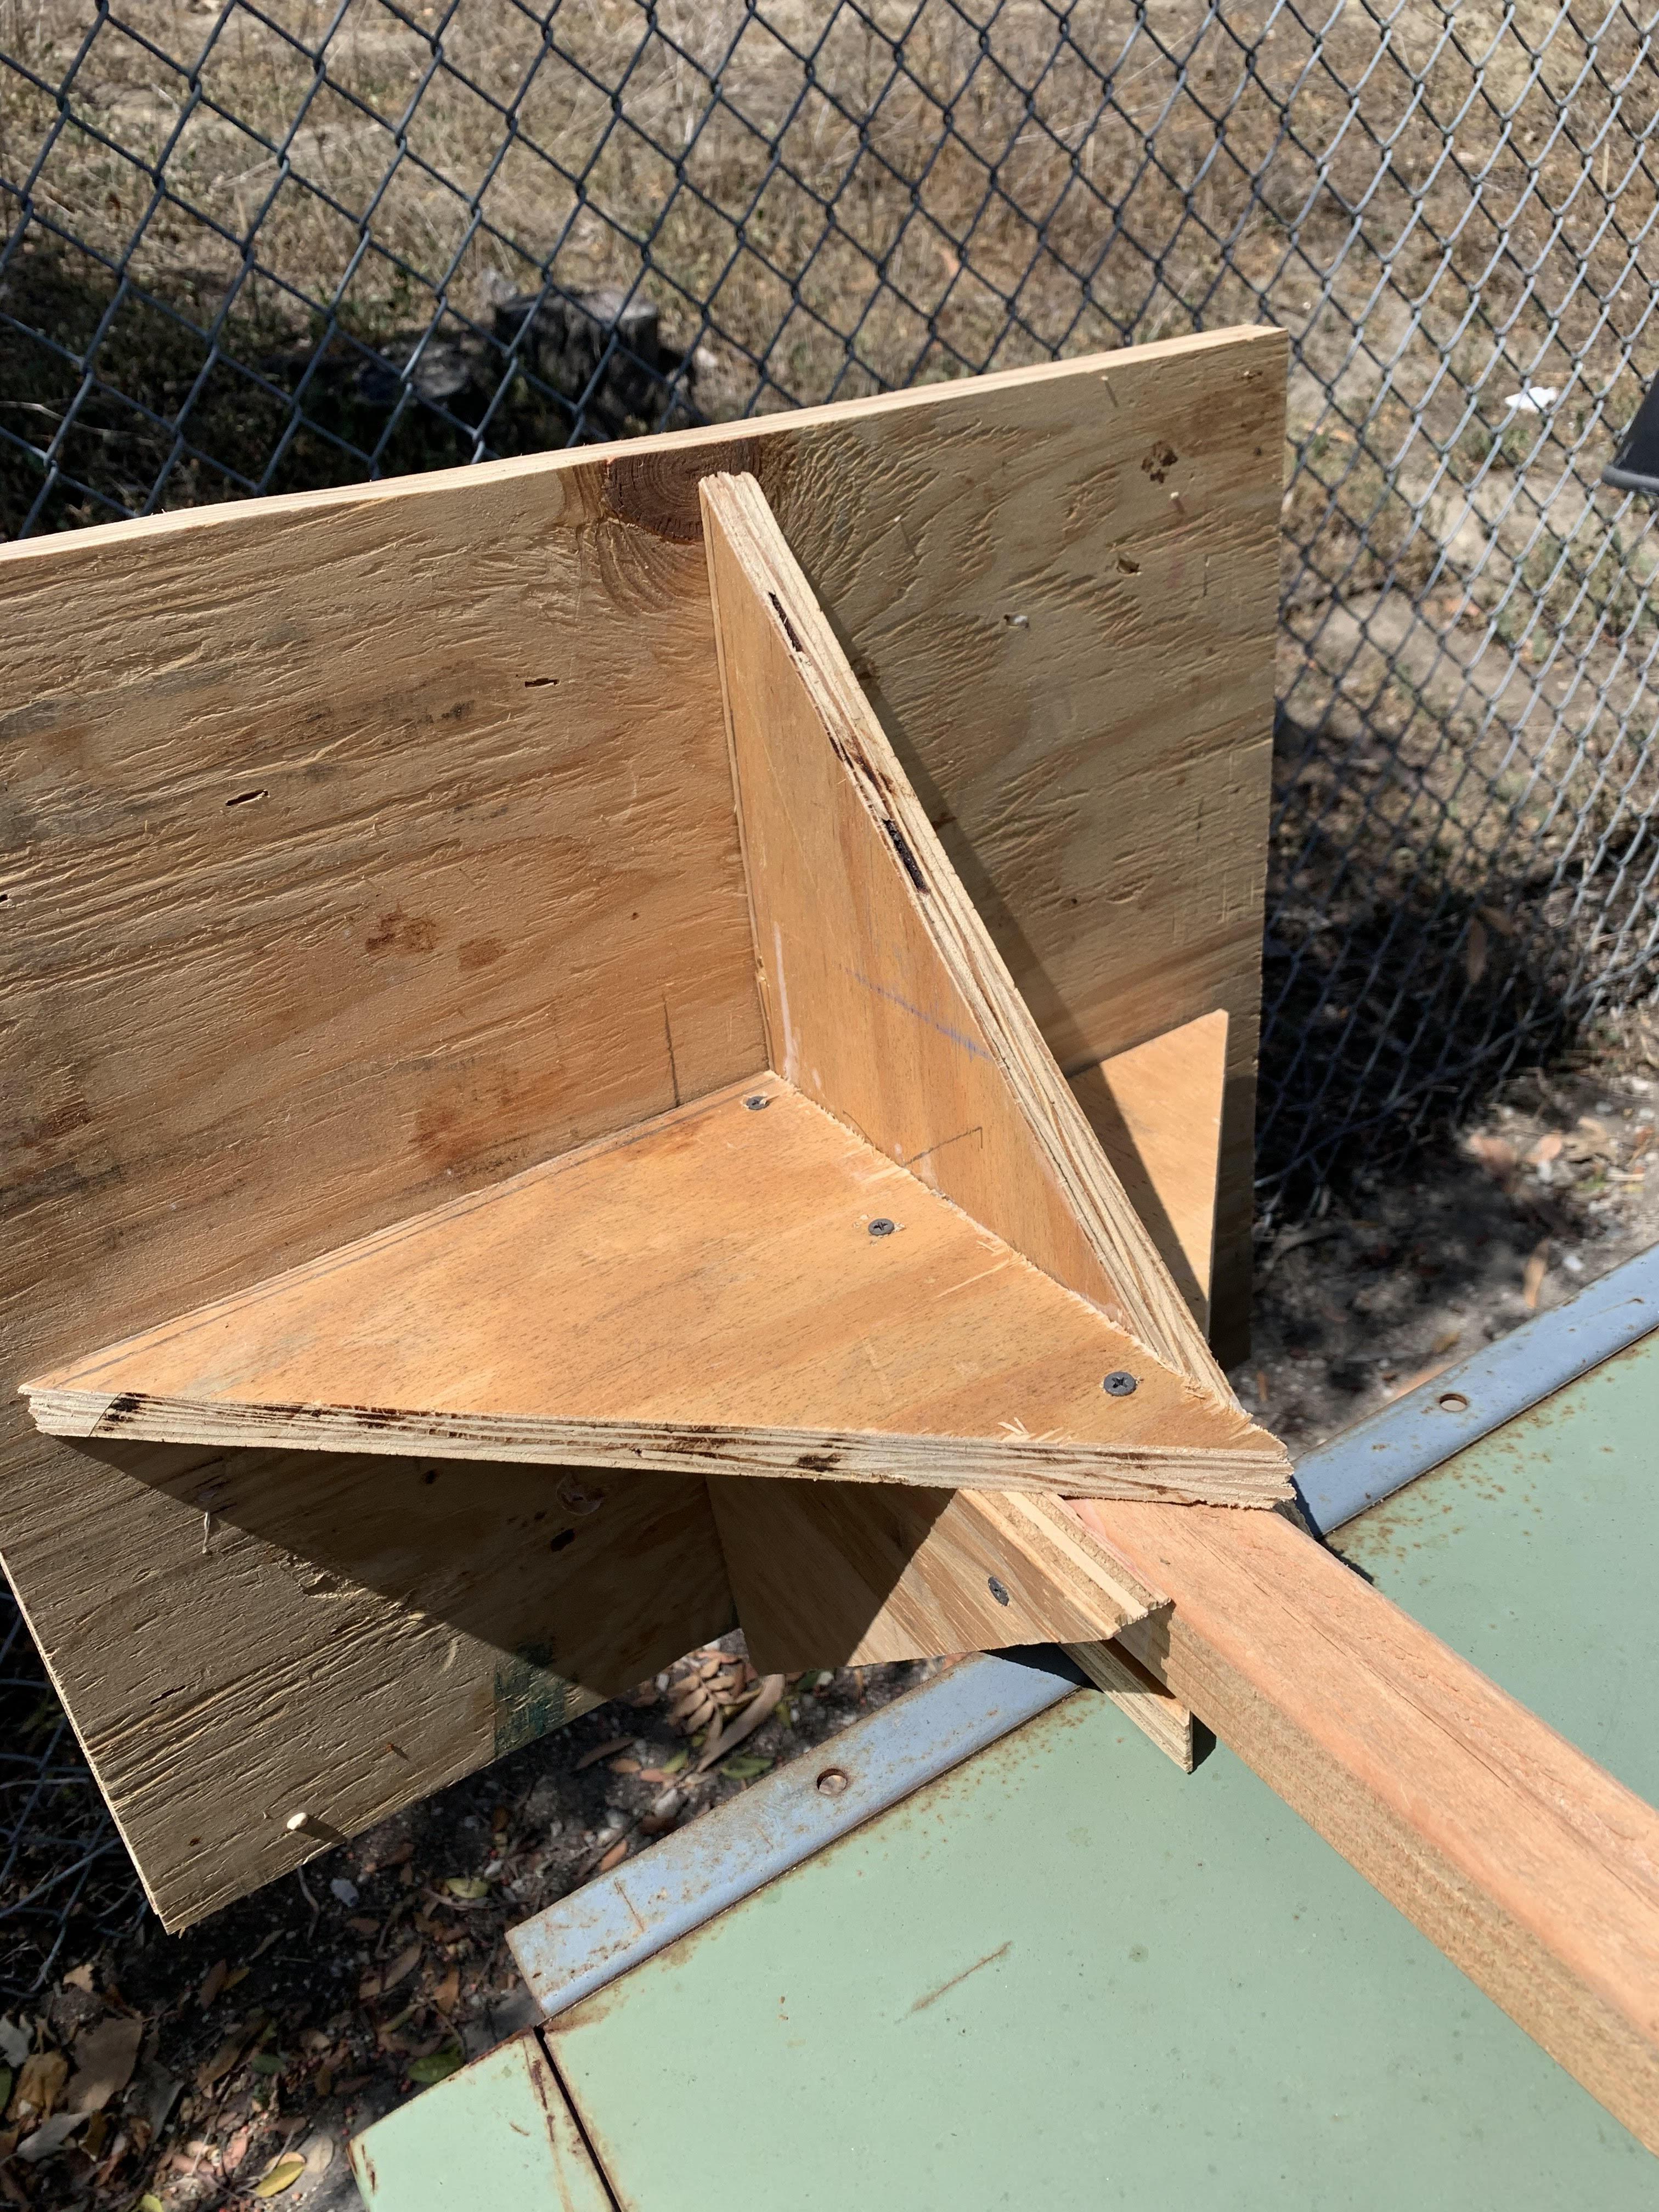
Center the pole in the base in order to assemble the sign. To assemble the sign, use the wooden triangles and place each one so that one edge is on the wood, and one edge runs along the farther edge of the pole. Do this with all triangles, and be sure they all face in the same directions. Glue the triangles in this orientation. This step is much easier with a helper. Once the glue is set, nail the wood to secure it.
Miscellaneous Work

The final step is to appreciate your work! The sign can be painted or finished as needed. If necessary, brace any knots or weak points in the pole with any other scrap wood (demonstrated in the picture).