Single Board Computer Photo Frame
by TomHammond in Circuits > Raspberry Pi
258 Views, 0 Favorites, 0 Comments
Single Board Computer Photo Frame
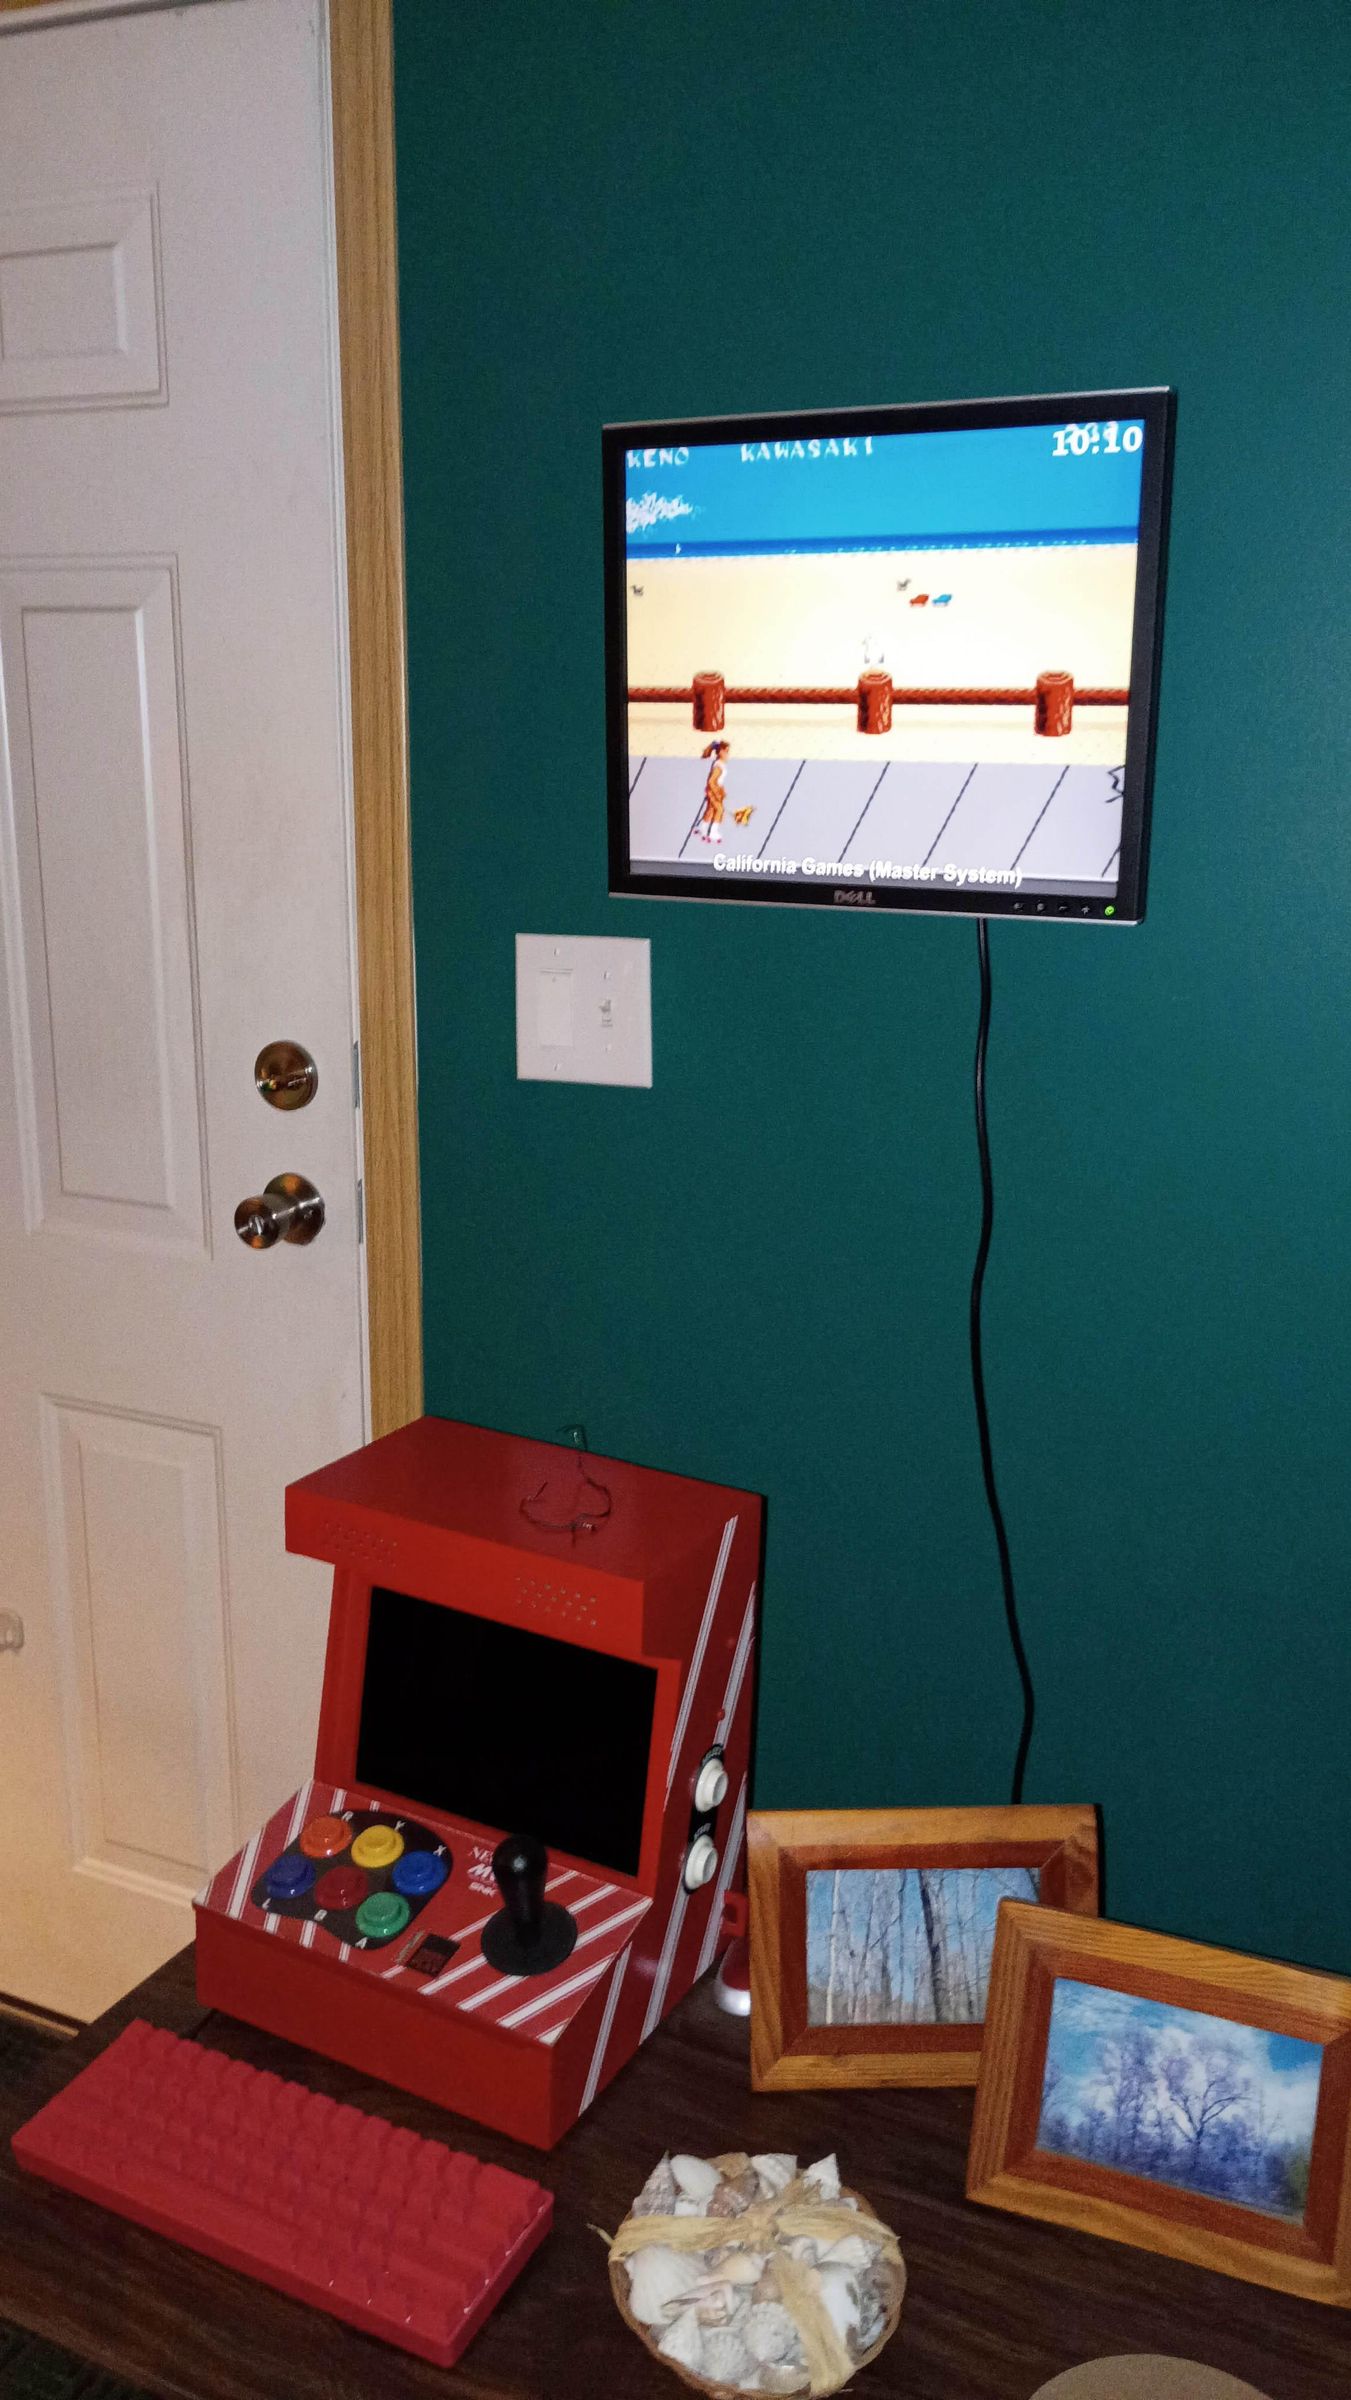
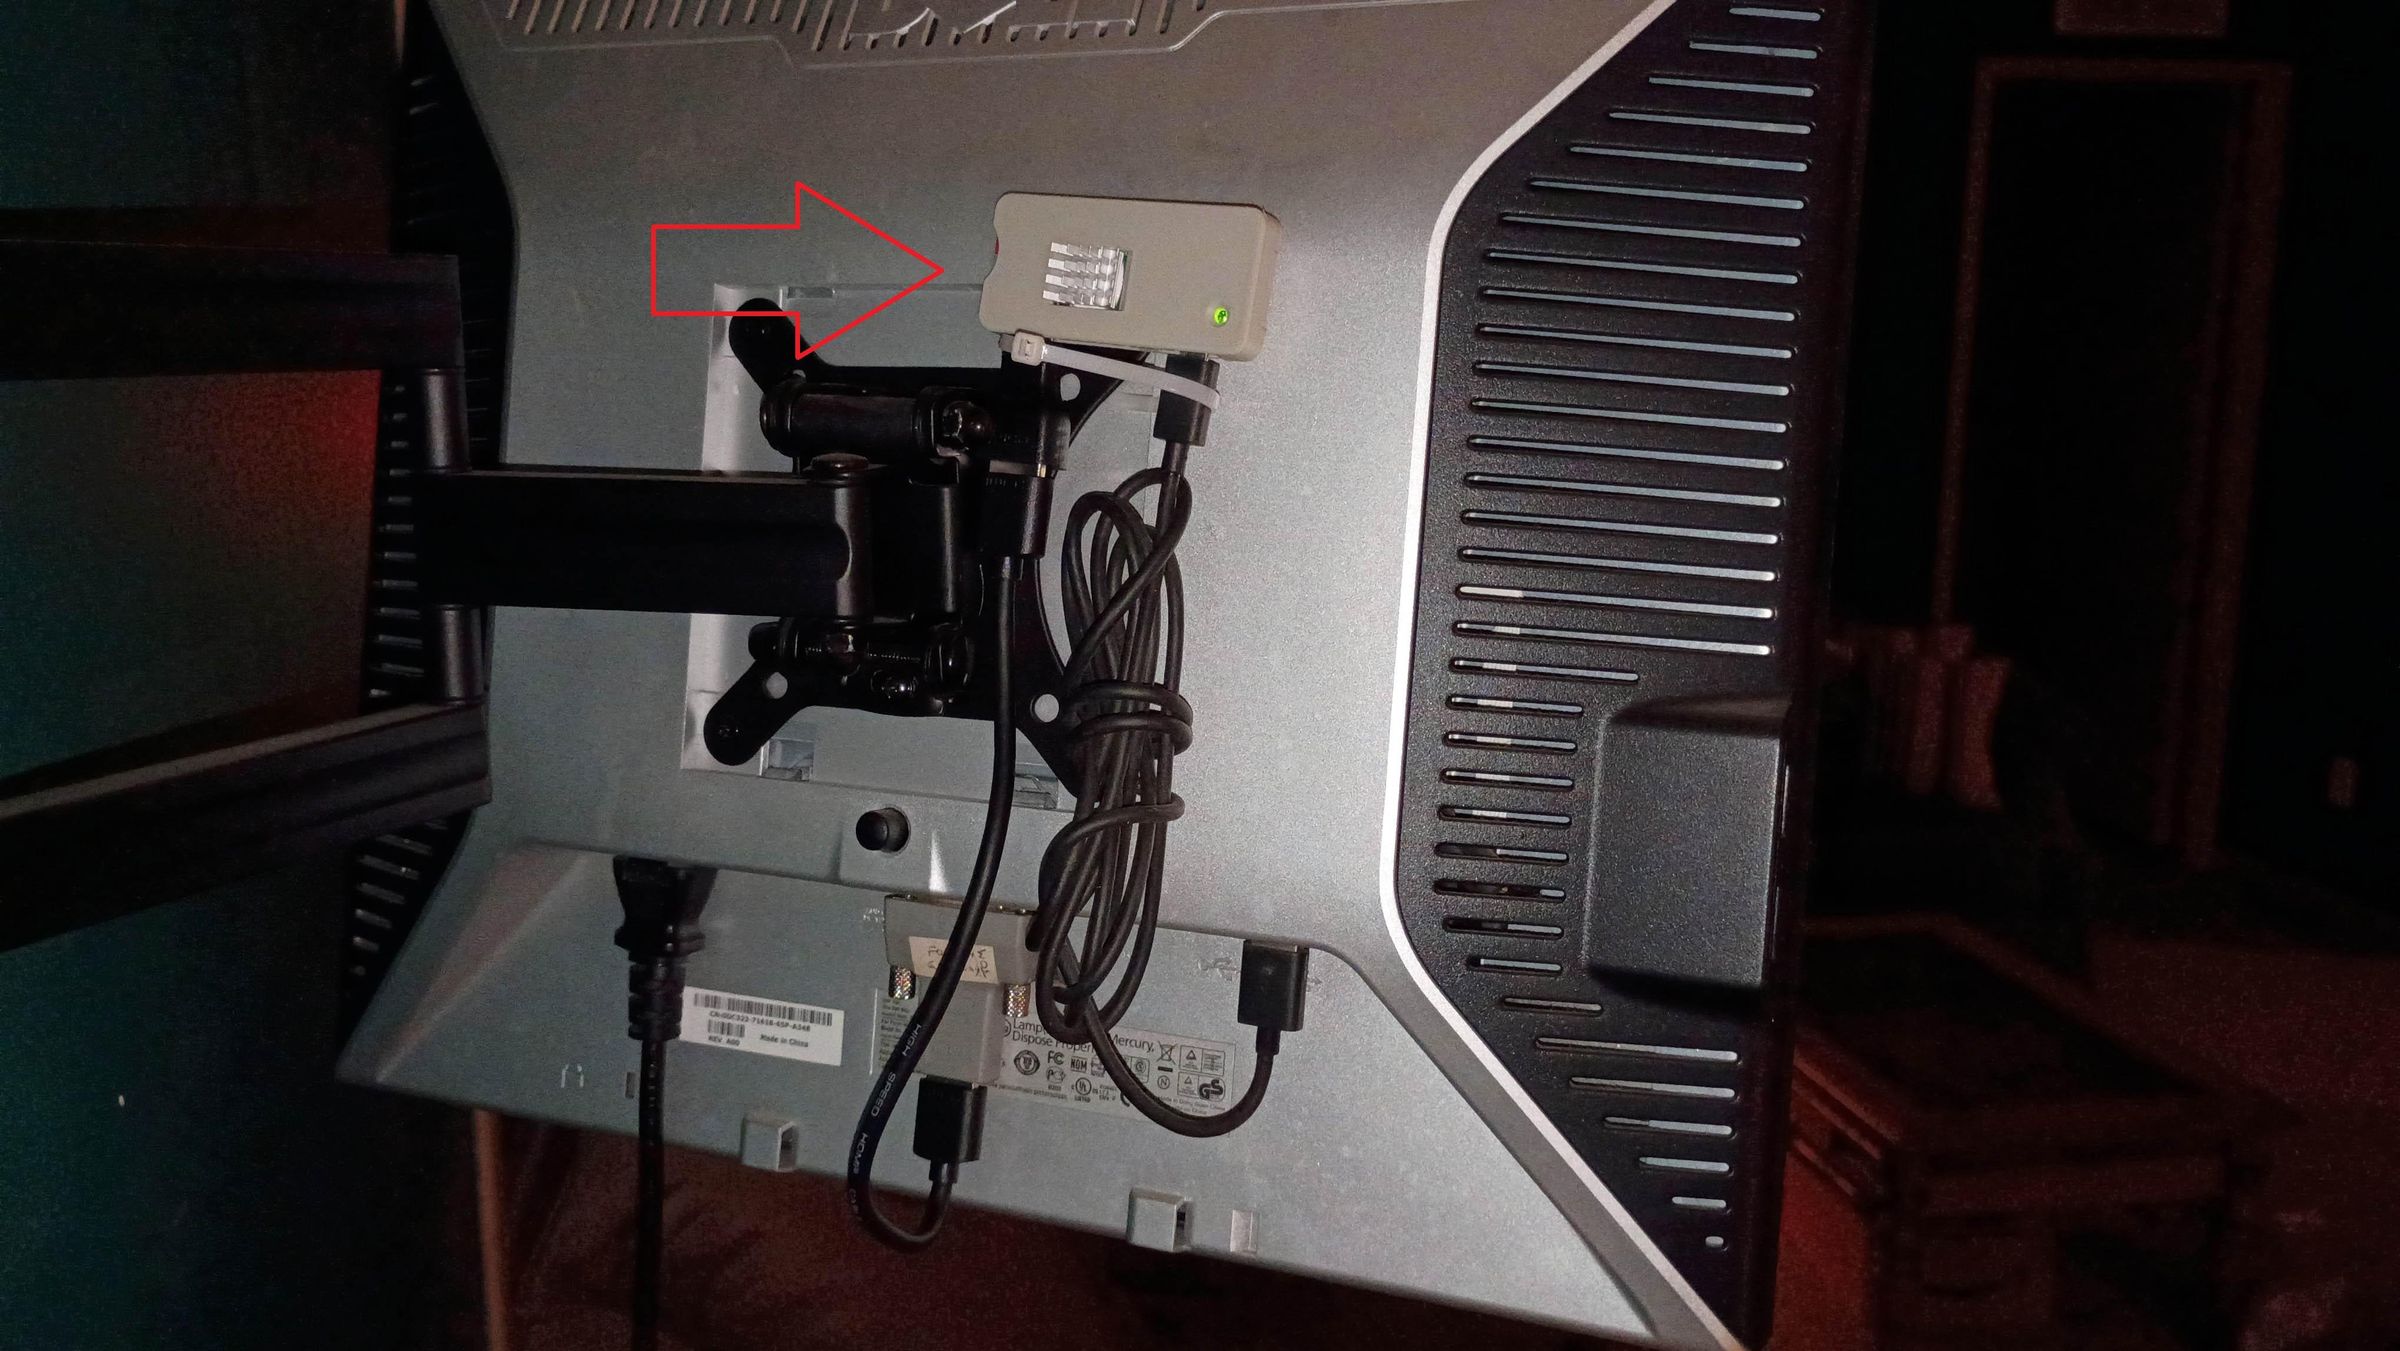
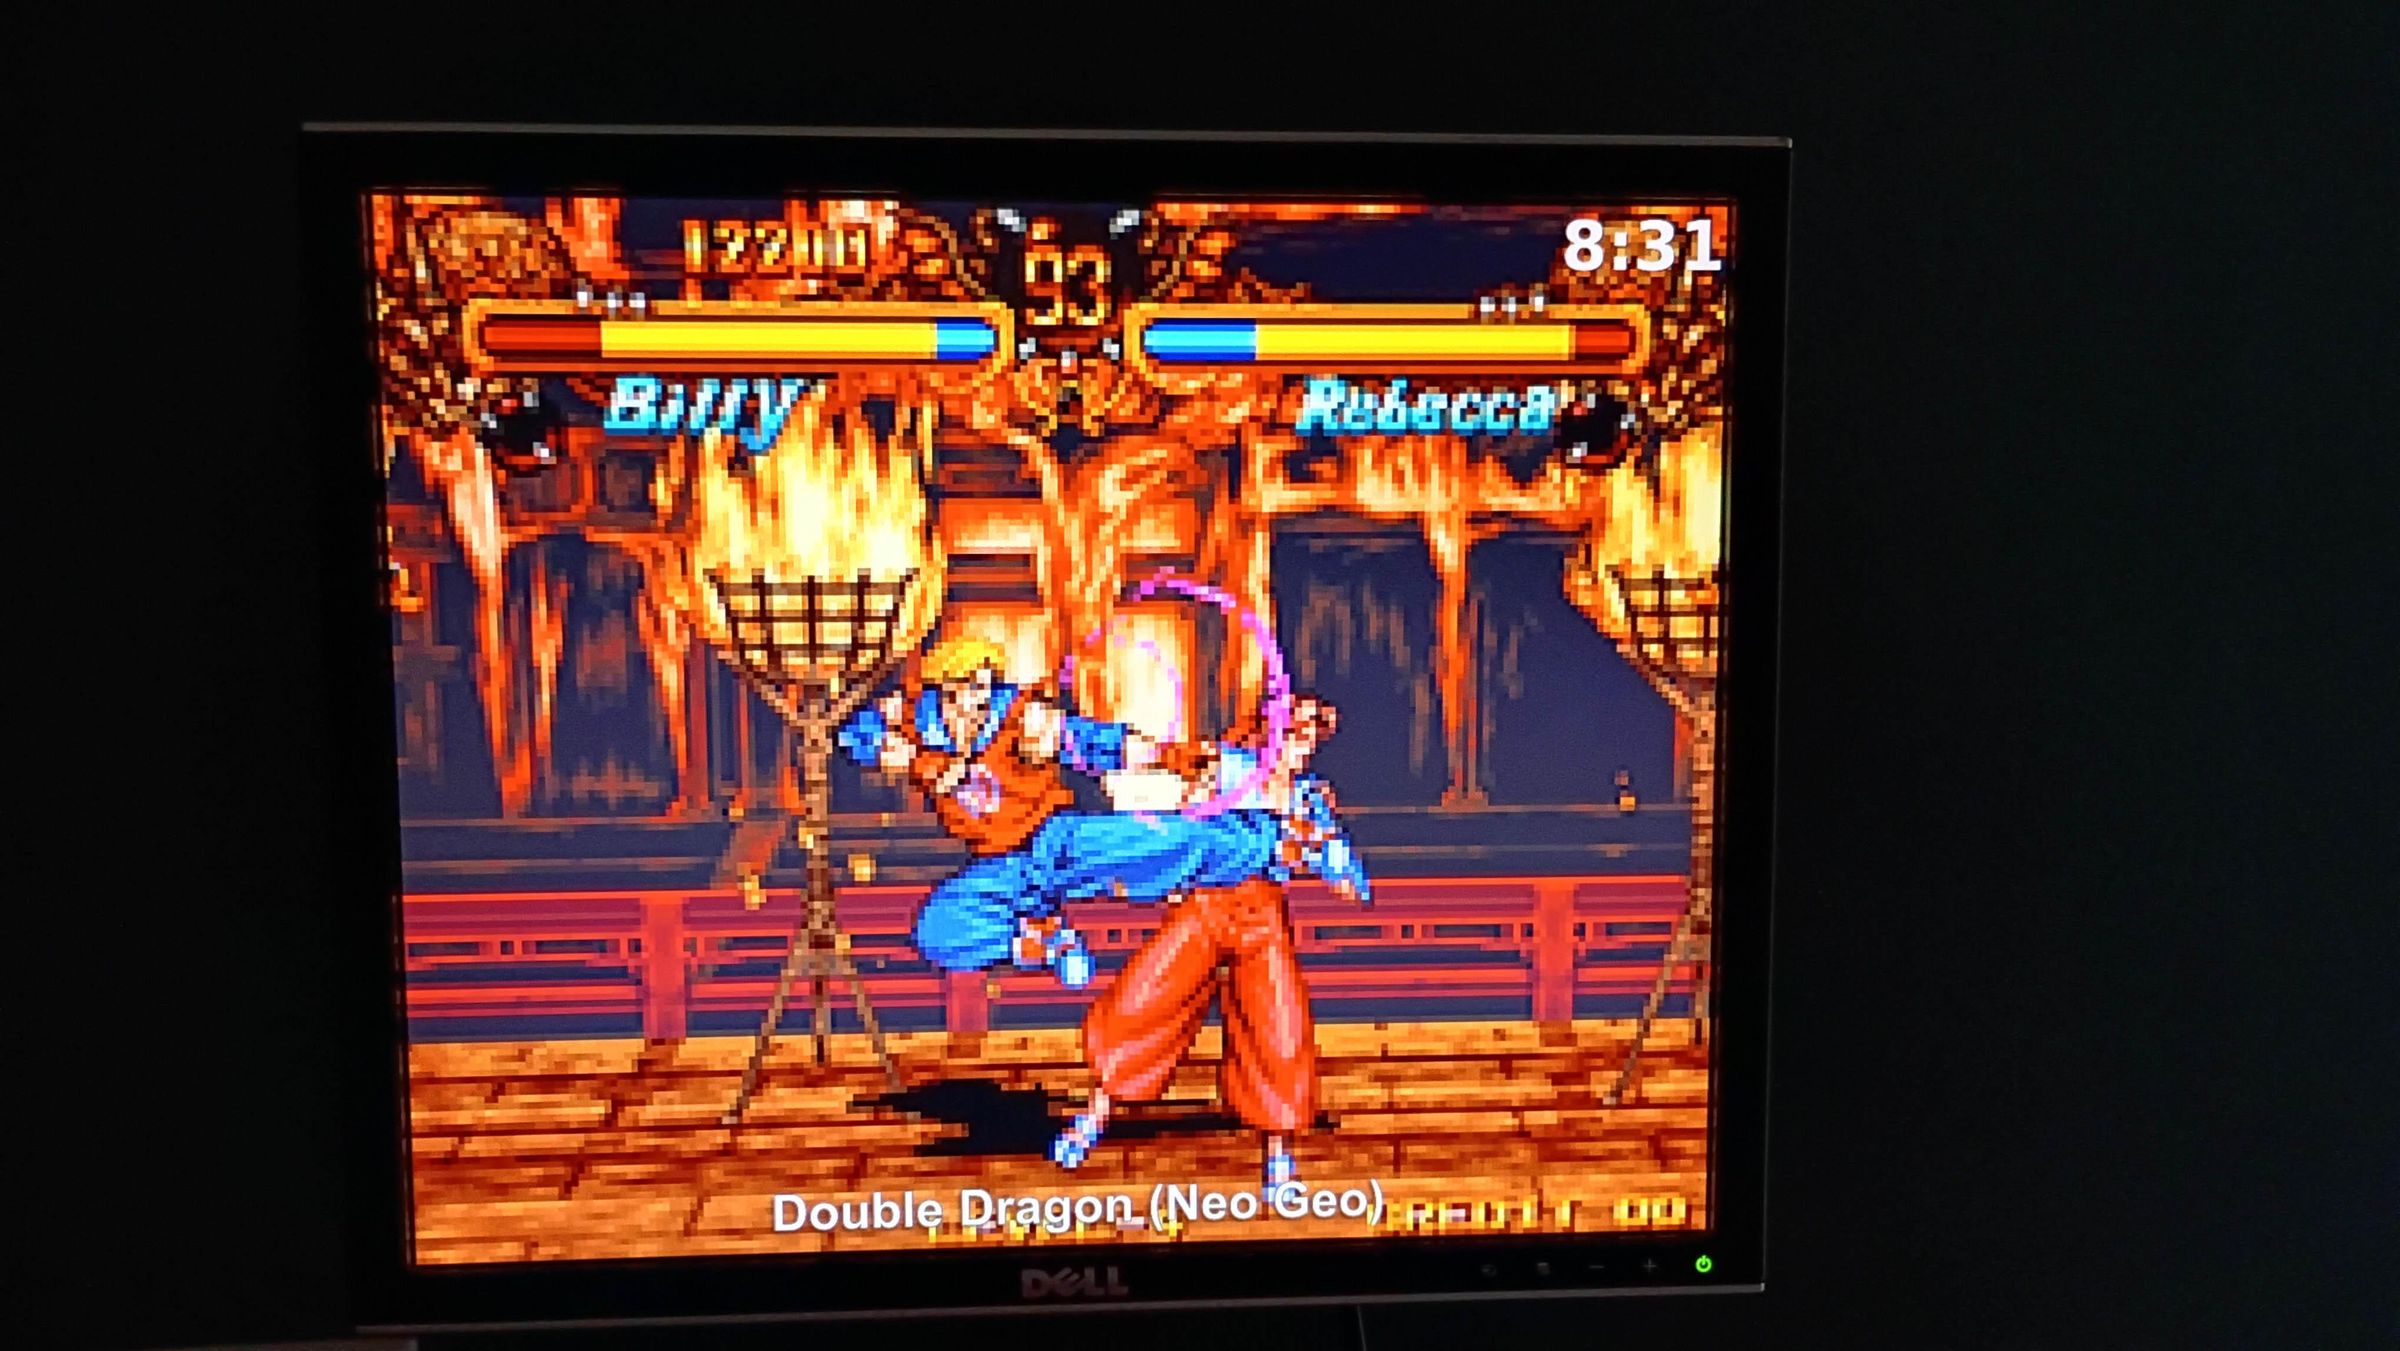
While there are plenty of photo frame projects available on Instructables and other websites, most of them require a fairly modern Raspberry Pi and/or support a relatively small amount of photos. This project will work with many single board computers (SBC), especially the original Raspberry Pi Zero W. It supports thousands of photos stored on its memory card (14,000 tested so far). It will randomly show photos that rotated every 15 minutes (configurable). It also shows the current time in a corner of the screen with the option of displaying much more information such as the date and weather. No cloud storage is needed.
Diet Pi is the operating system, a lightweight Debian variant that works well with older (and newer) SBCs. If you are familiar with Raspbian or Raspberry Pi OS, then you will feel at-home with Diet Pi. While you can use Raspbian or Raspberry Pi OS for this project, I chose Diet Pi as it loads fast and supports older SBC's well.
You can connect this photo frame to practically any TV or computer monitor that accepts HDMI or DVI input.
Once up-and-running, the photo frame optionally connects to your home network where you can update it with SSH terminal access (via Putty or similar) and file management (via WinSCP or similar).
Let's get started!
Supplies
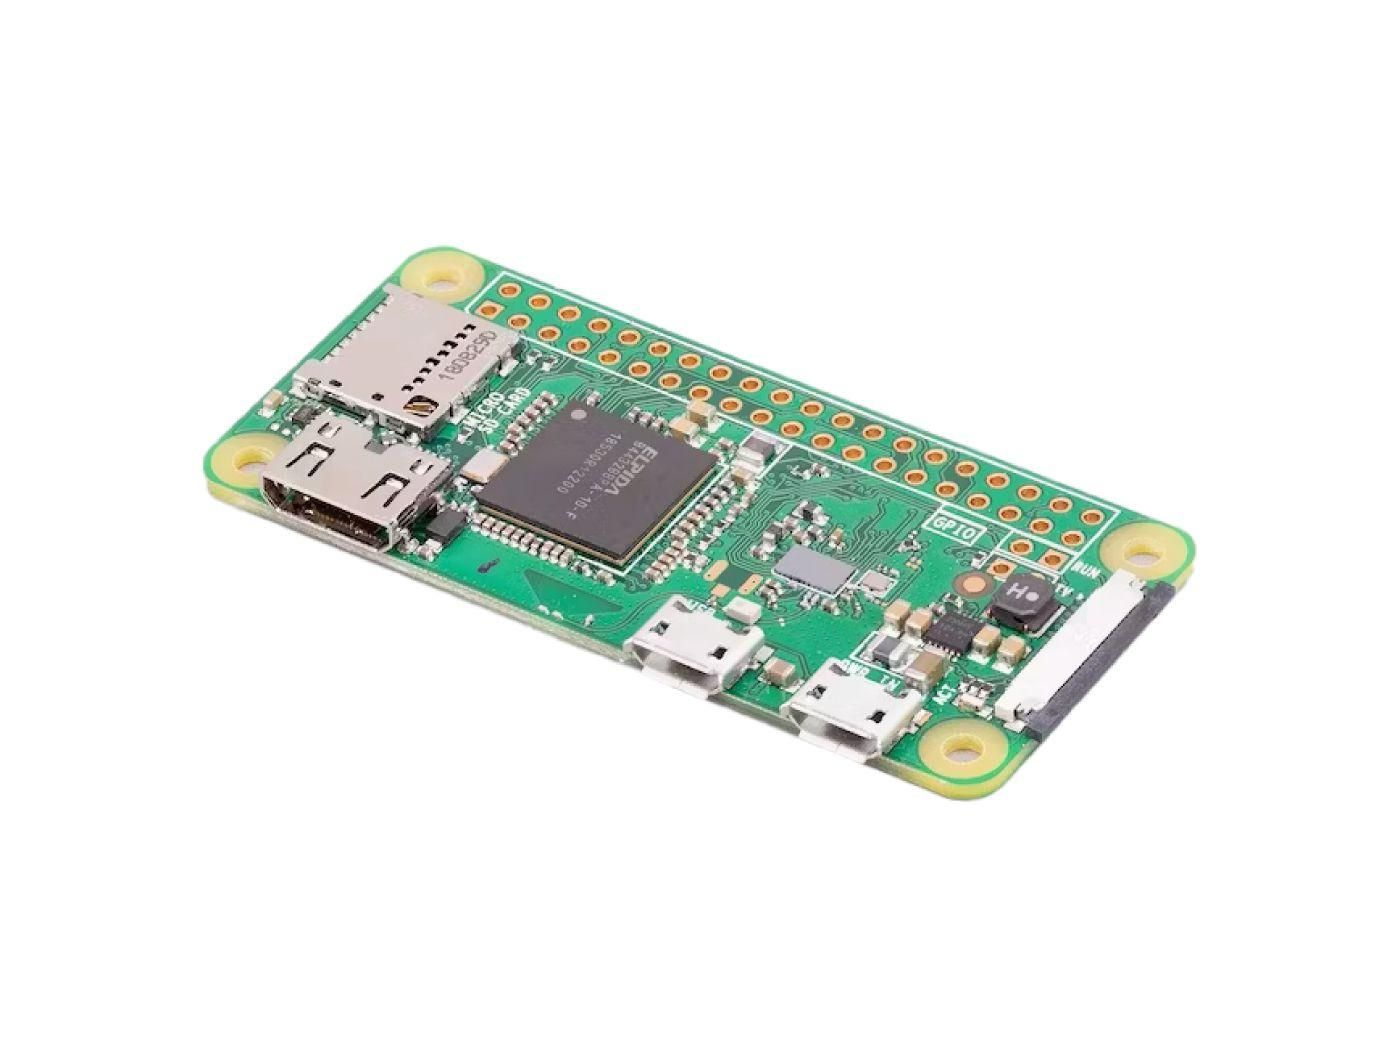
- Single board computer (SBC)
- This Instructable focuses on the Raspberry Pi Zero W, but you can use any of the SBCs in this list of Diet Pi supported hardware.
- If you are using something other than a Pi Zero W, make sure it has an HDMI port and Wi-Fi or Ethernet.
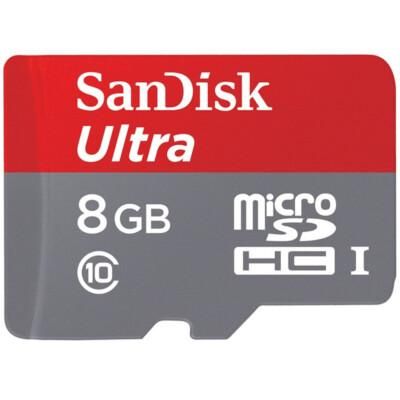
- microSD memory card, 8G or larger
- The Diet Pi operating system uses about 3.5G, leaving approximately 4-4.25G for photos on an 8G card.
- If your home computer does not have a microSD slot (for installing the Diet Pi image onto it), then you will also need a USB memory card reader that supports microSD cards.
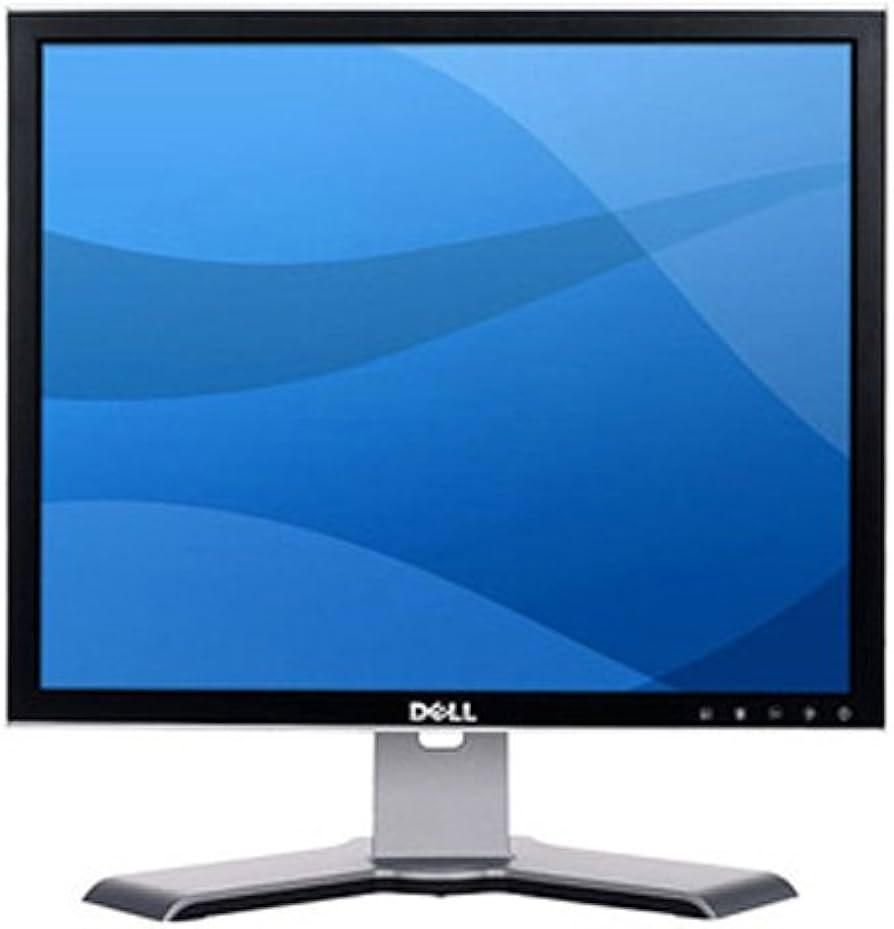
- TV or computer monitor that supports HDMI or DVI input
- If your display only has DVI input, then you will also need an HDMI>DVI adapter
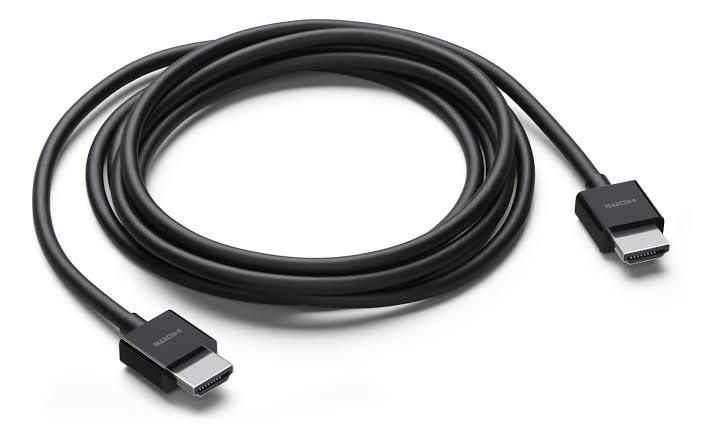
- HDMI cable
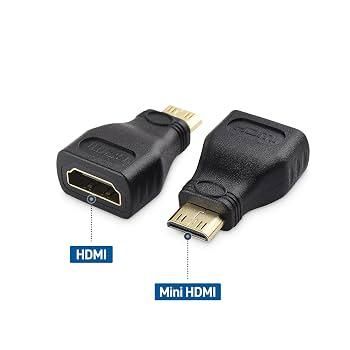
- For the Pi Zero W, you will also need a Mini HDMI to regular HDMI adapter
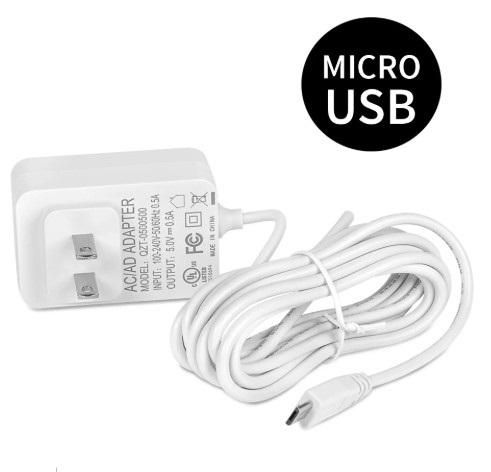
- Power cable
- For the Pi Zero W, a micro USB "phone charger" power supply will work. If your display has a USB port, you can power the Pi from the display with a micro USB to USB-A cable.
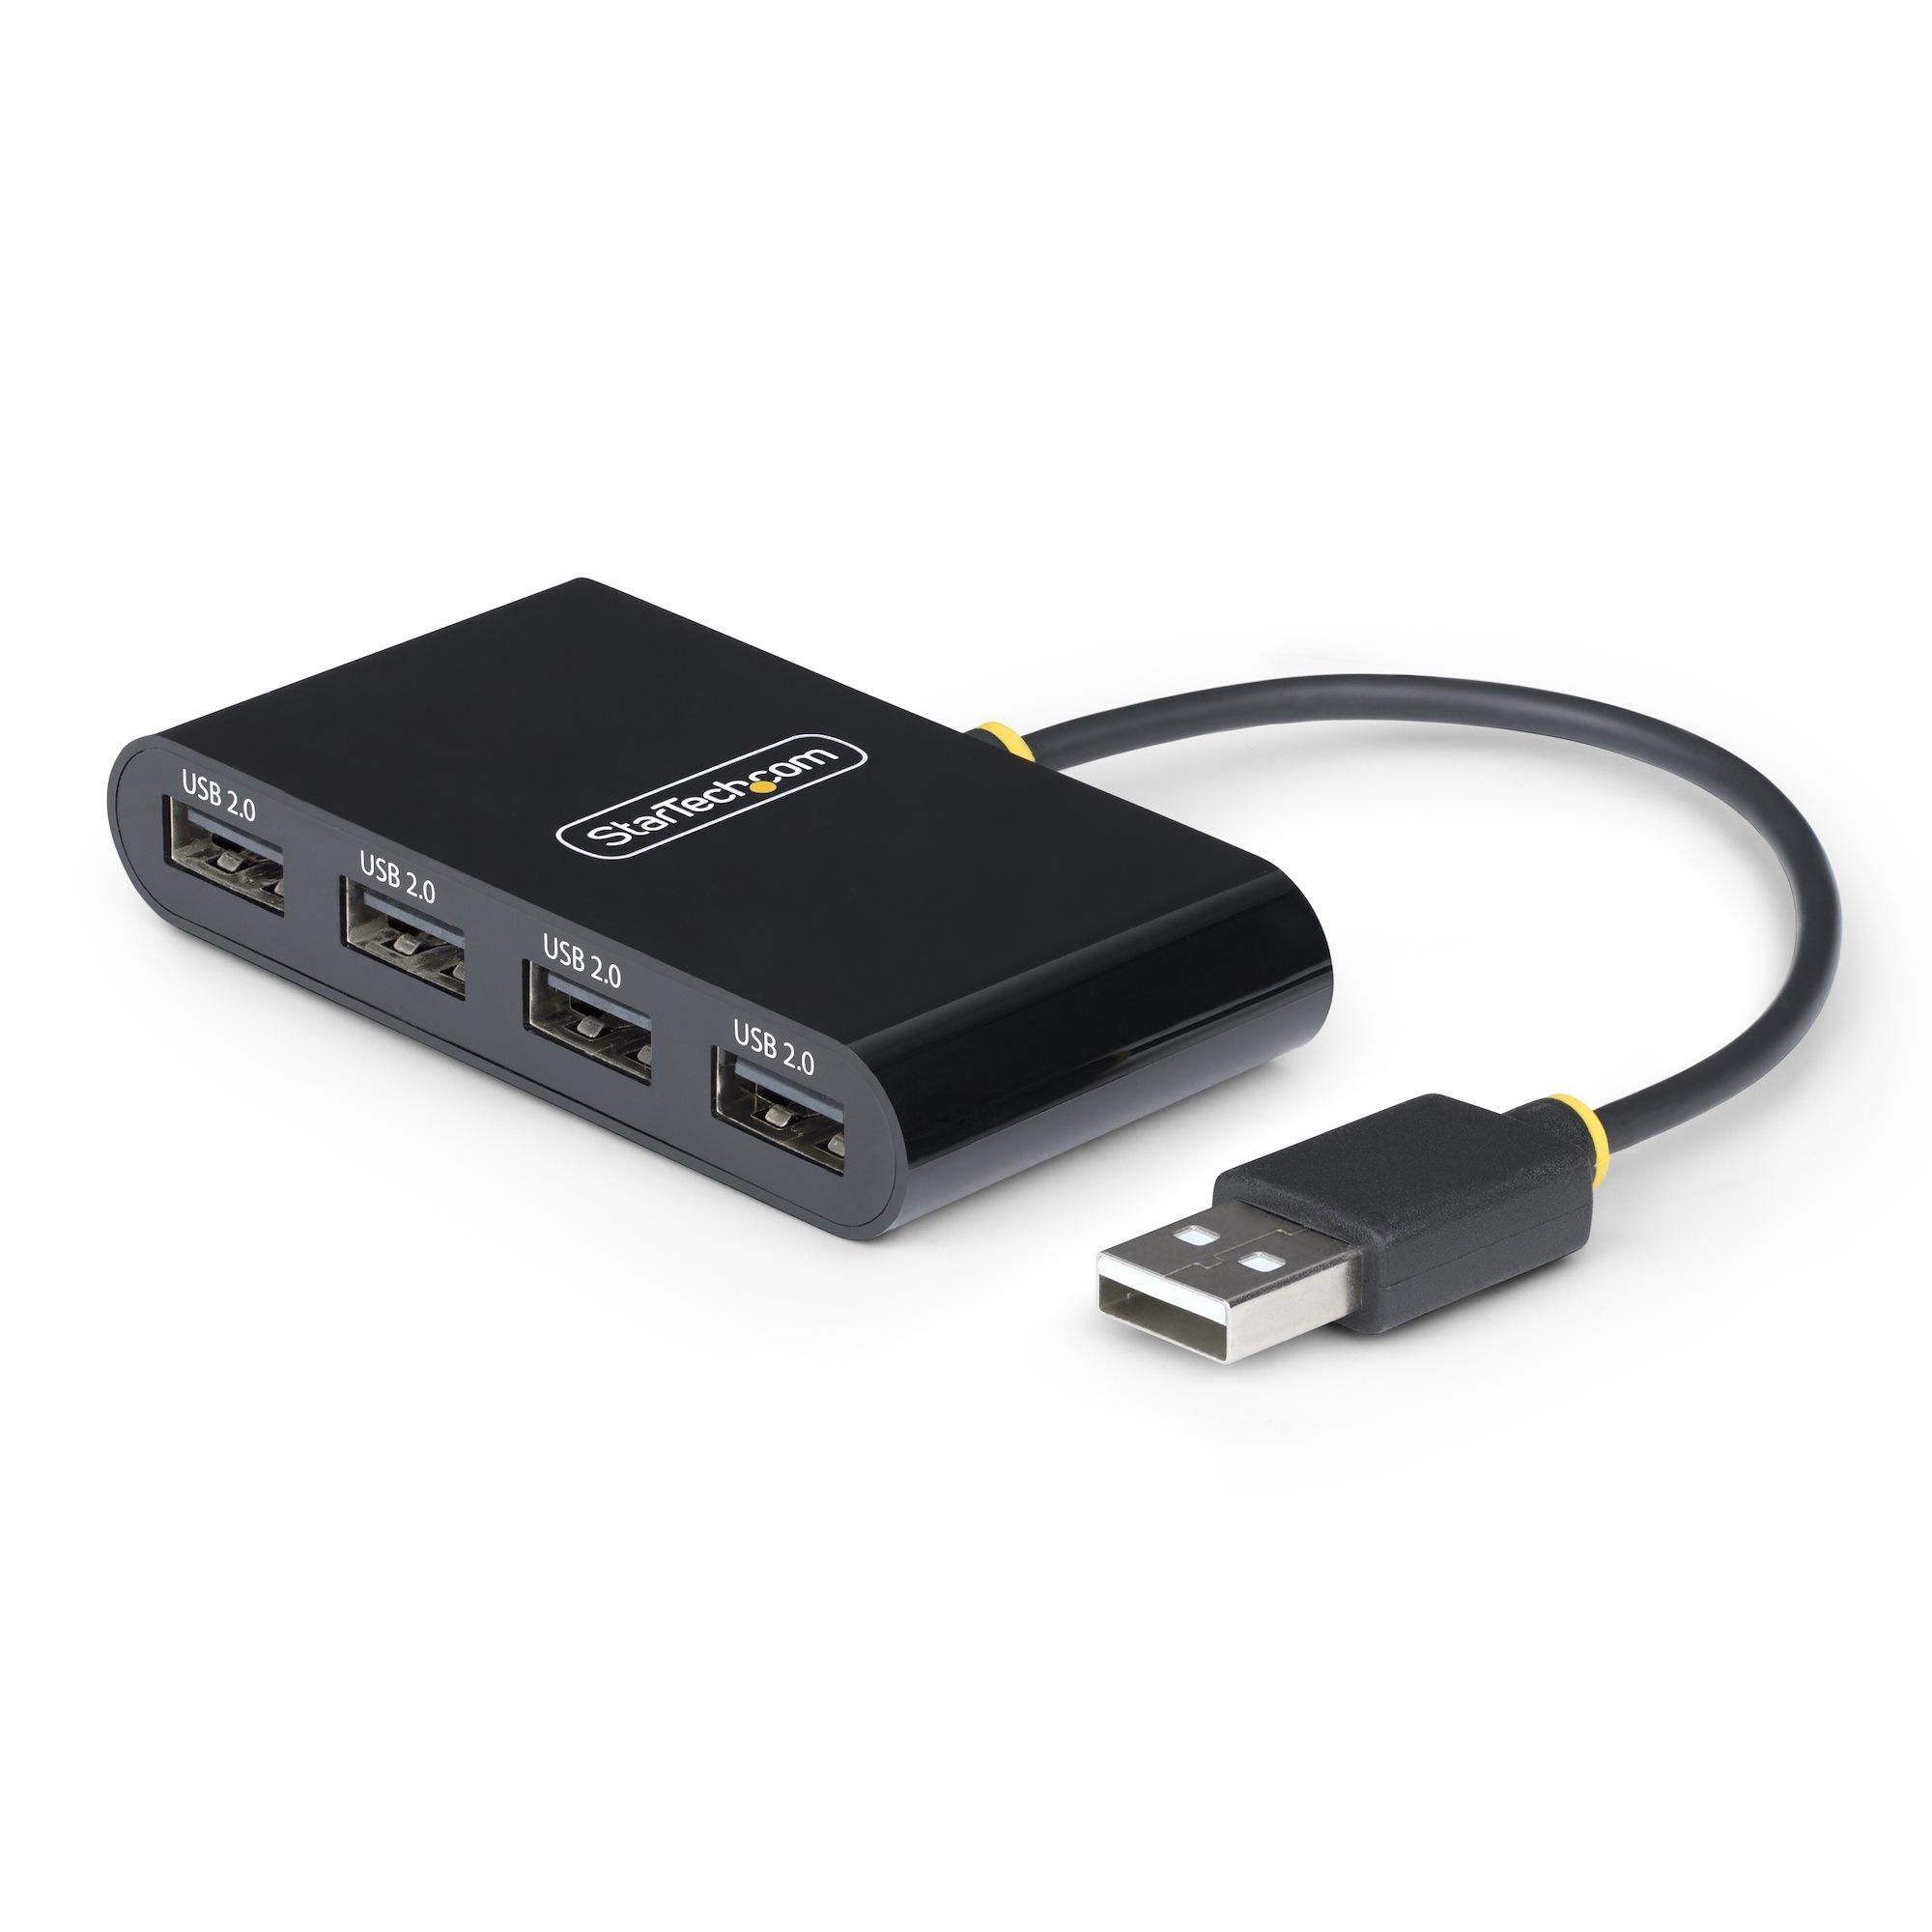
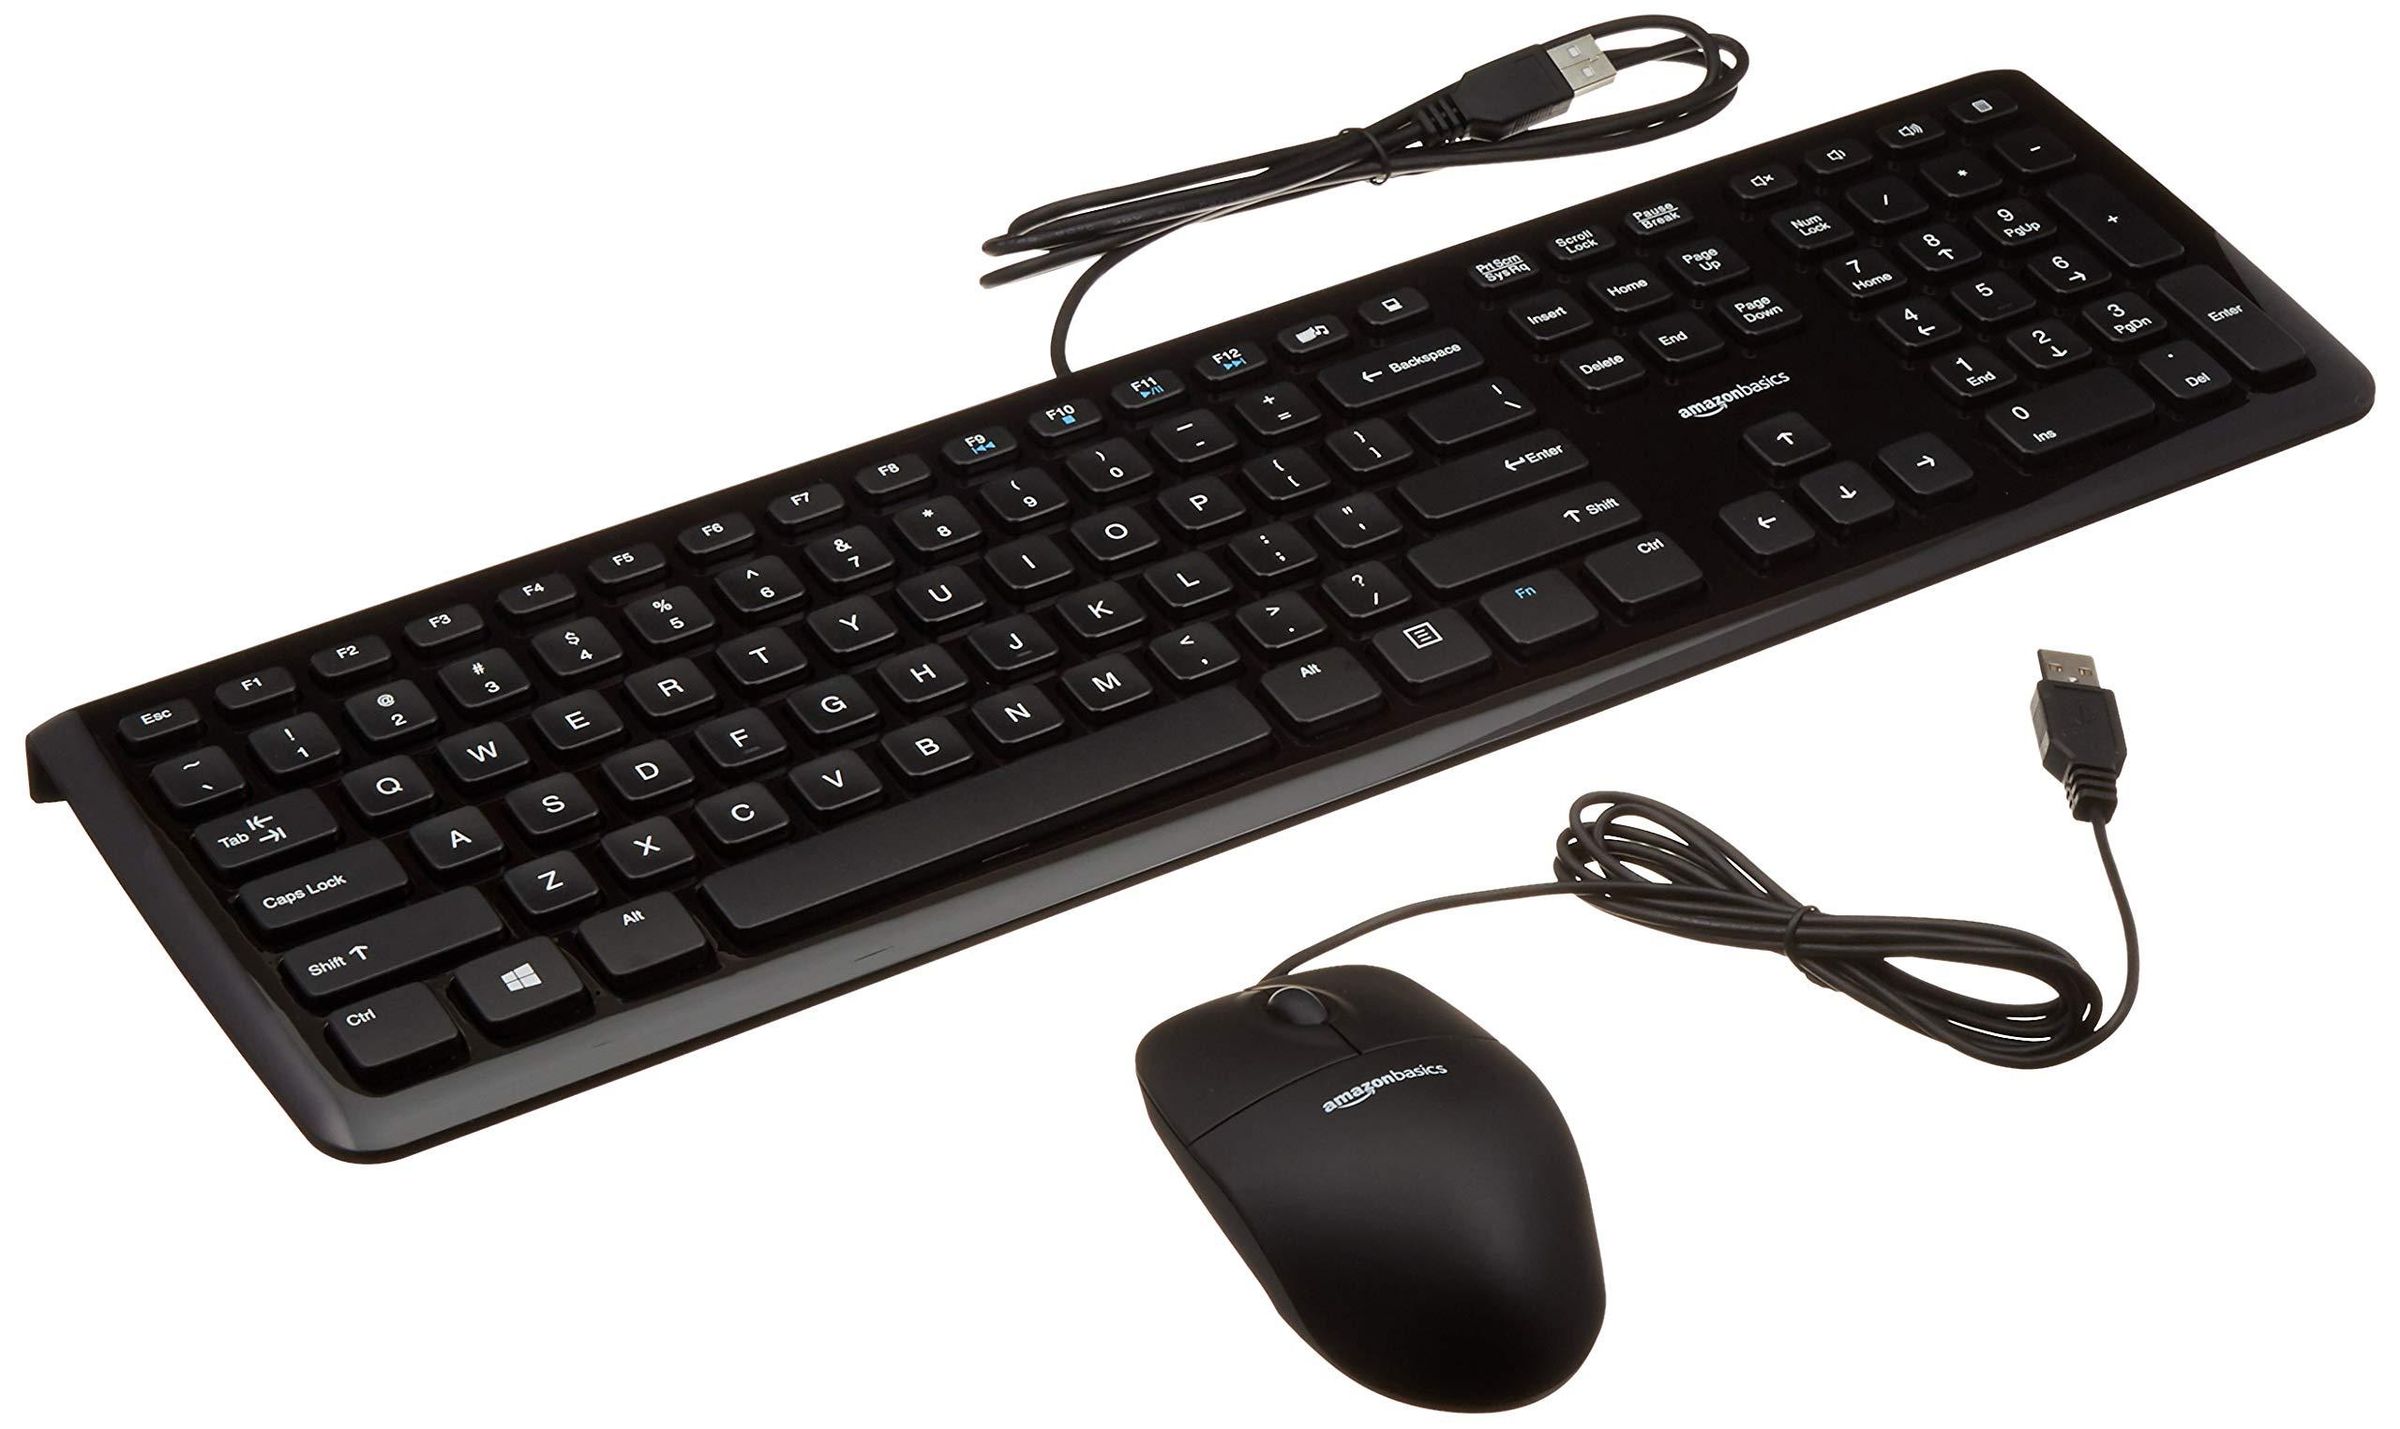
- USB keyboard & mouse and USB hub
- These are temporarily needed to setup the operating system (not needed during normal photo frame operation).
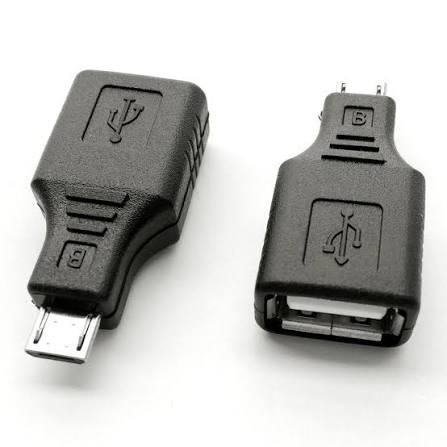
- With a Raspberry Pi Zero W, you will also need a micro USB male to USB-A female adapter to connect the USB hub to the Pi.
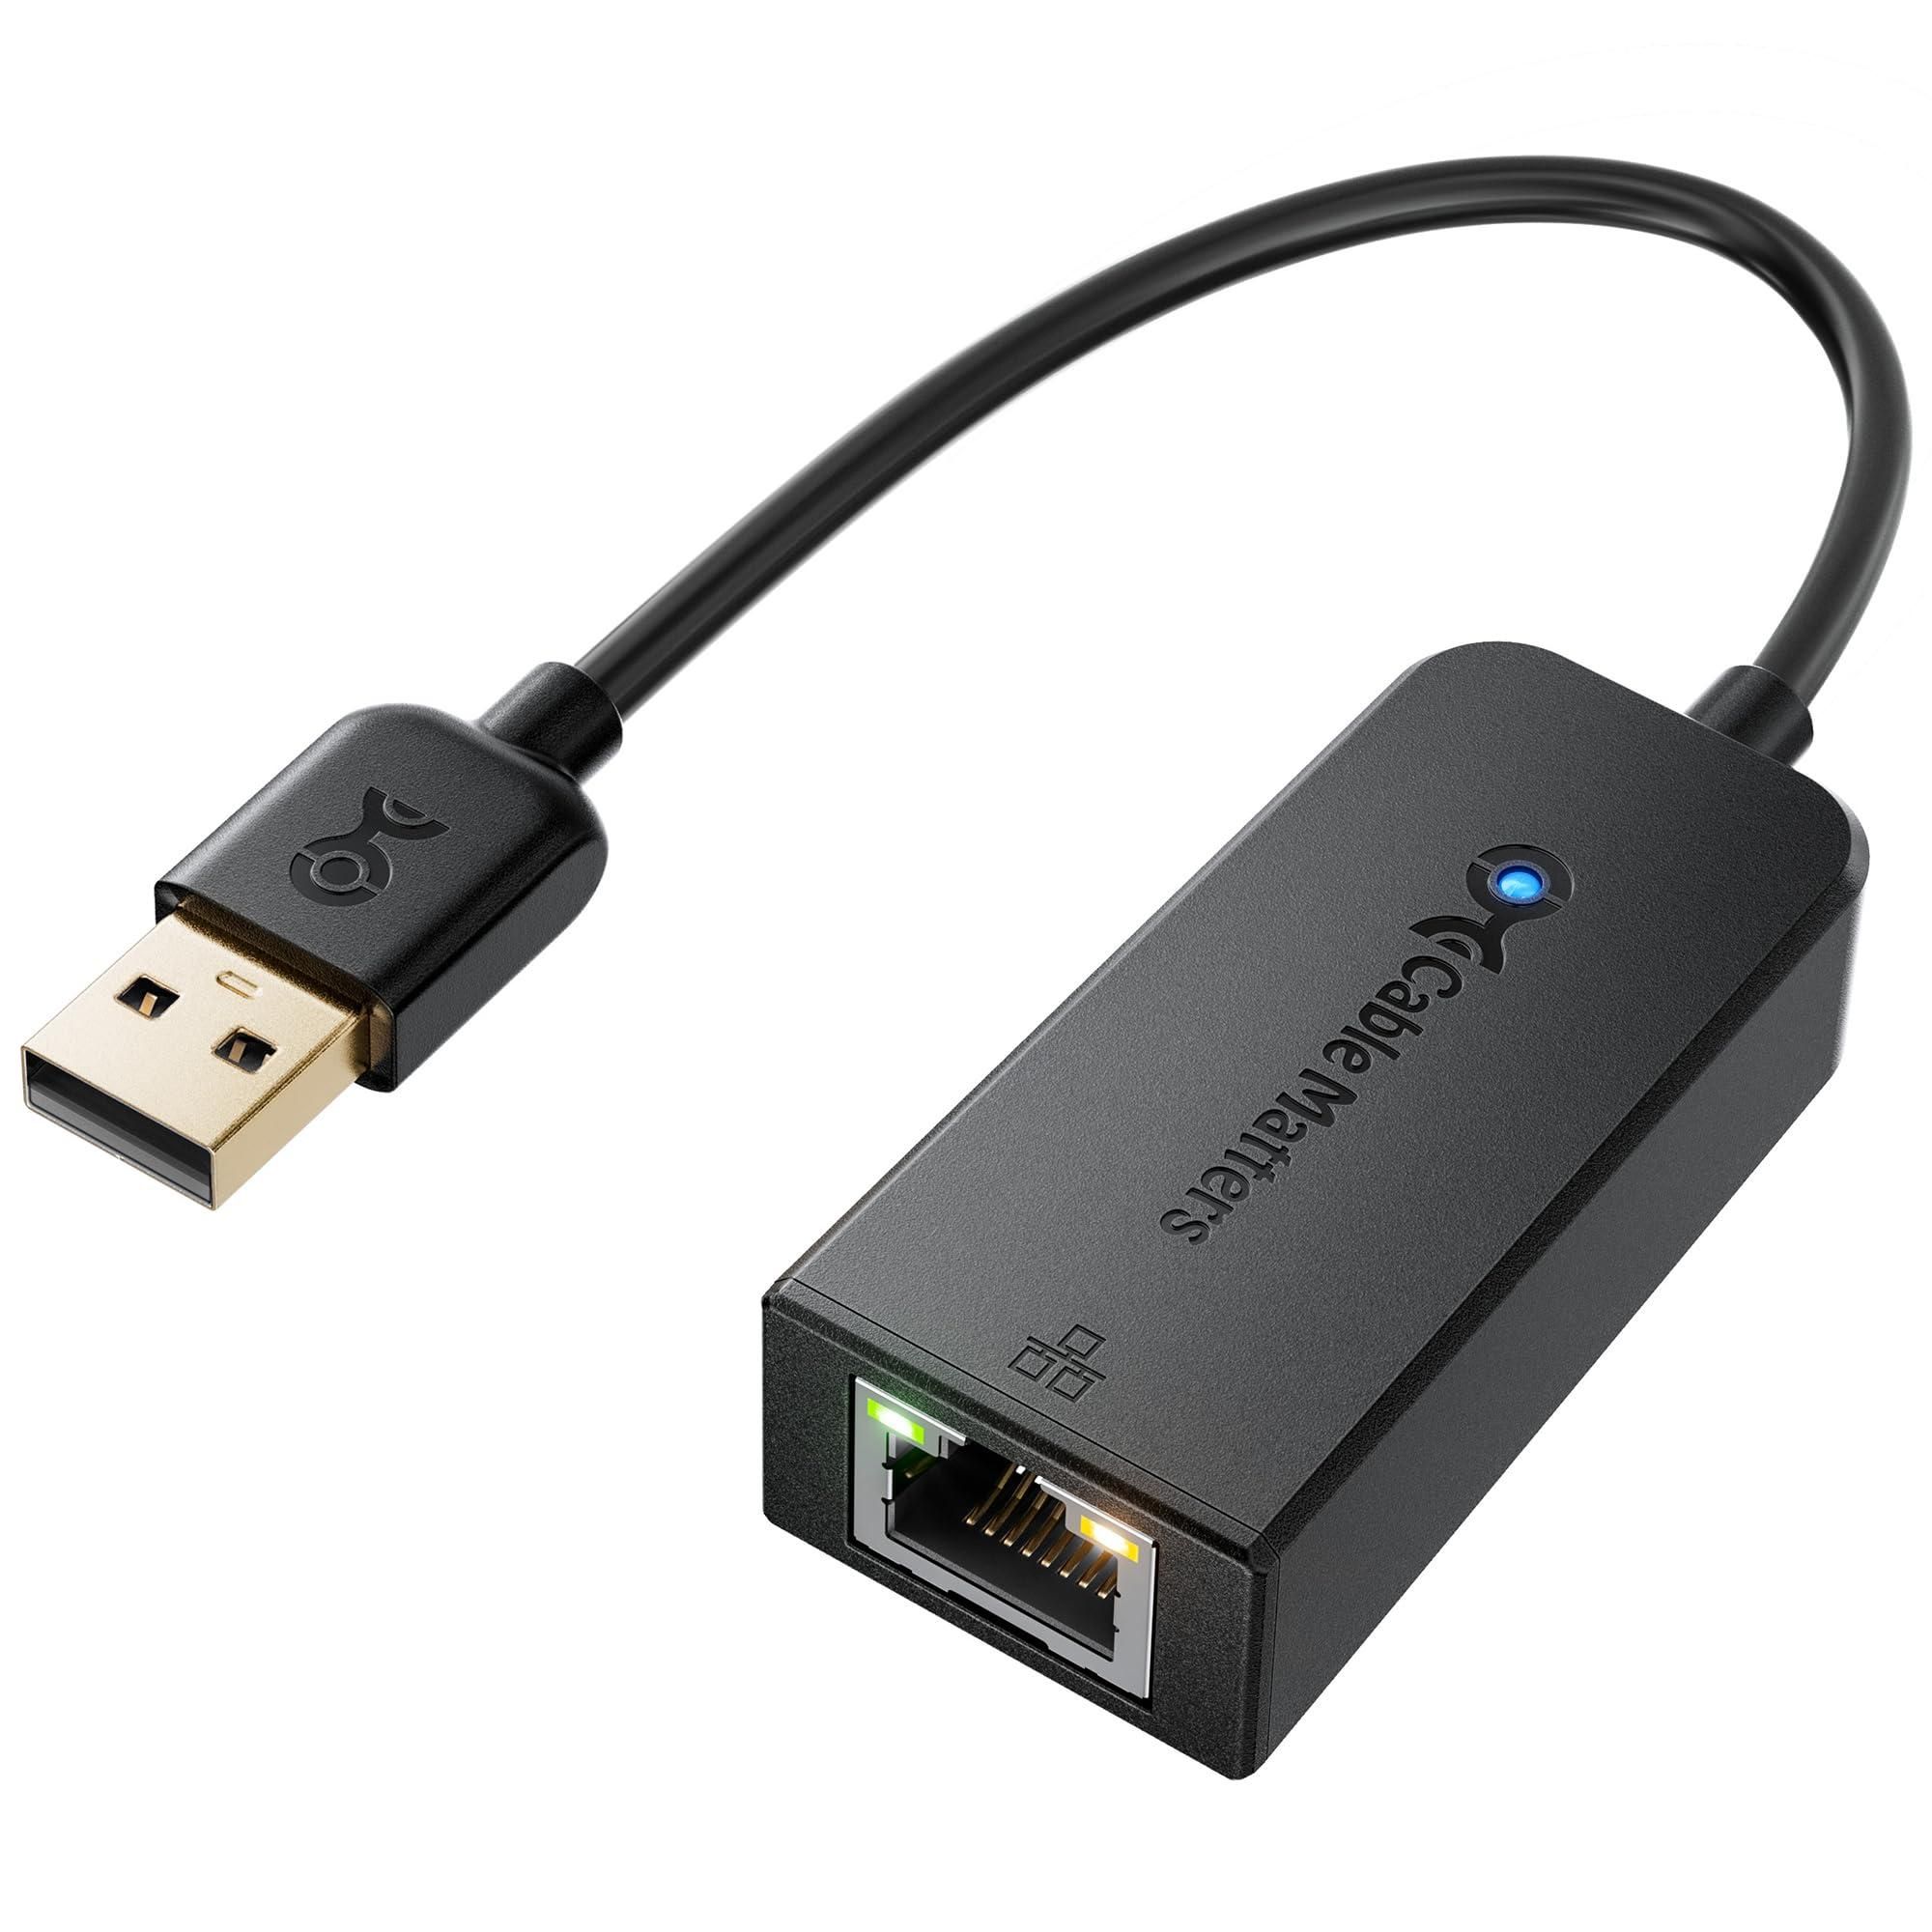
- USB to Ethernet adapter (optional)
- The Raspberry Pi Zero W has wireless built-in. If you are using different SBC that does not have built-in Ethernet nor Wi-Fi, this adapter will connect it to your home network to receive OS updates and download needed programs during the initial setup.
Prepare the Memory Card
The following steps are particular to installing Diet Pi as the operating system. This was chosen for its broad support of many SBC's but also because it's lightweight and runs well on older SBC's with limited resources & speed such as the Raspberry Pi Zero W. You can use a different Linux operating system for this project, but these instructions are specific to Diet Pi so some changes may be necessary to suit a different OS (particularly terminal commands).
This step involves installing the Diet Pi operating system "image" onto a memory card, booting the SBC with the memory card for the first time, then performing initial setup of the OS.
Prepare the SBC
- If your SBC has an Ethernet port, connect it to your network.
- If your SBC has Wi-Fi only, then Diet Pi initial setup will give you the opportunity to connect your SBC to your Wi-Fi network. Be sure to do this during setup and not later so that it downloads OS updates.
- Another option is to connect a USB Ethernet adapter to your SBC if you don't want to setup Wi-Fi right away.
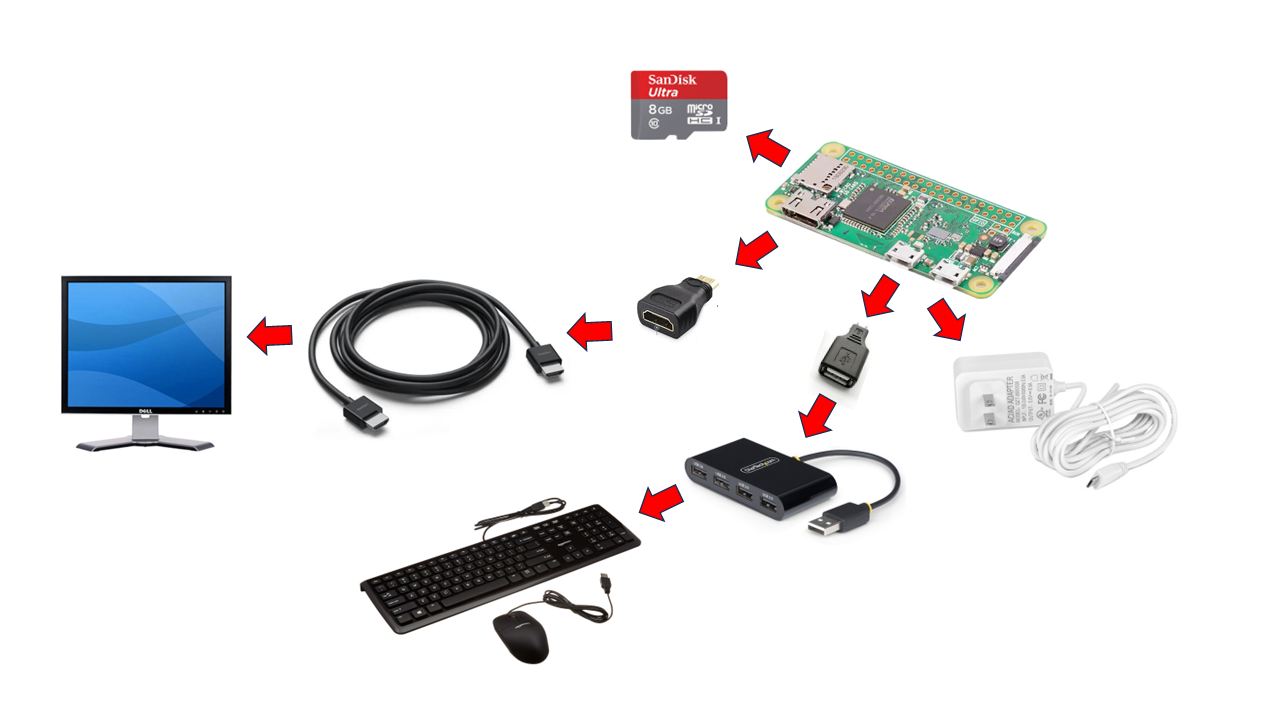
- Connect the mini HDMI adapter to the Pi Zero W, an HDMI cable to the adapter, then the other end of the cable to your display.
- If your display only supports DVI, connect an HDMI > DVI adapter to the cable, too.
- Orient the Pi Zero W with the memory card socket facing the left side. Connect a USB hub to the left-side USB port on the SBC (using the micro USB to USB-A adapter if needed), then connect a keyboard and mouse to the hub.
Prepare the memory card
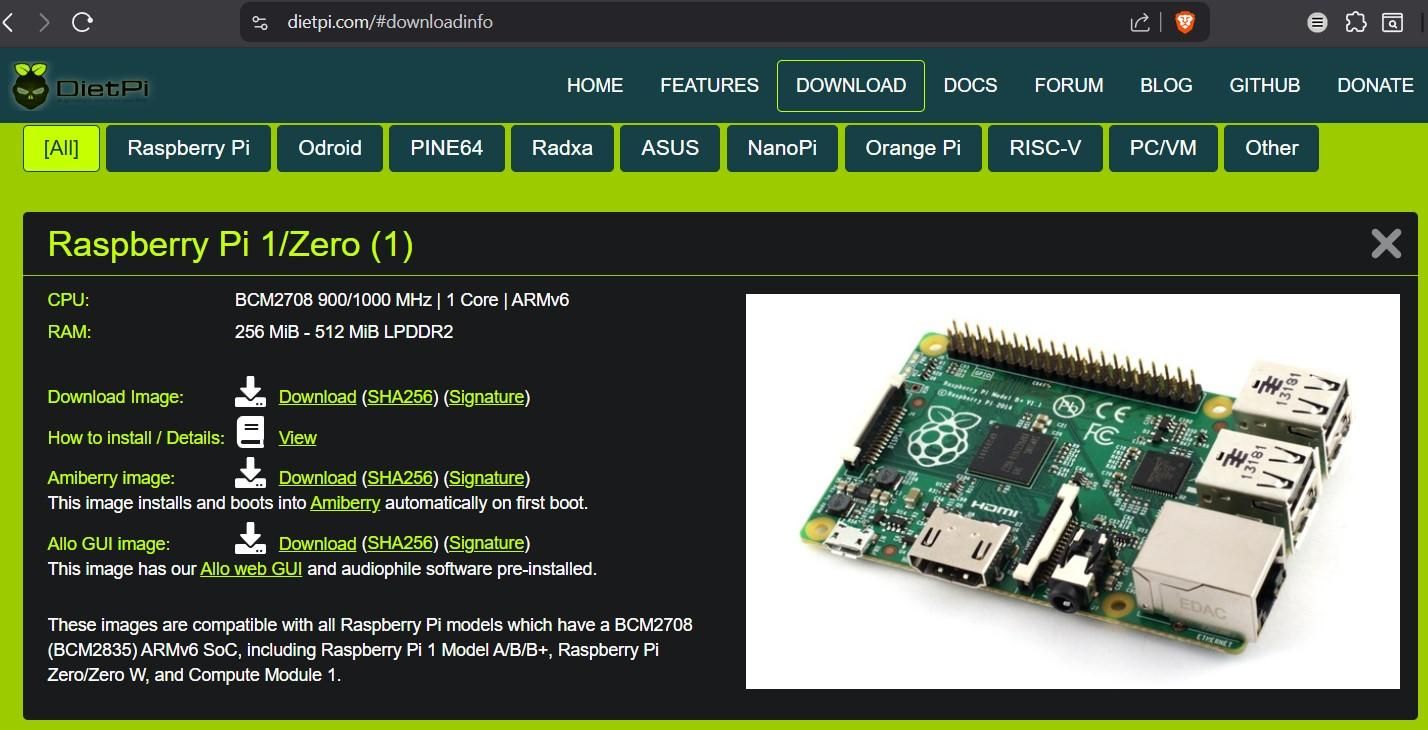
- Choose and download the Diet Pi image for the SBC that you are using.
- These instructions were written for the "Trixie" version of Debian Linux. If the current Diet Pi image is newer than Trixie, some of the steps and screenshots in this Instructable may not be accurate.
- Insert the memory card into your home computer (not the SBC). If your computer does not have a memory card slot, insert the memory card into a USB card reader, then connect that to your computer.
- These instructions do a great job of installing the image to the memory card and going through the initial Diet Pi setup.
Boot Diet Pi for the first time
- Connect power to the SBC (right-side USB socket on the Pi Zero W).
- While Diet Pi boots for the first time, it will prompt you to connect to your Wi-Fi network (if you are not using Ethernet). Do this now, it is important as Diet Pi will automatically download OS updates and patches during setup. This process may take a while.
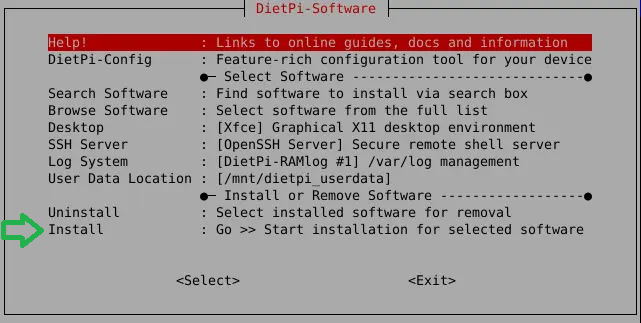
- If you are shown a screen titled "DietPi-Software", do not install any additional software yet. Instead, choose "Install: Go >> Start installation for selected software" at the bottom of the menu (even though no software has been chosen). This will allow the initial Diet Pi setup to continue its steps to finish installing the operating system.
Set Display Resolution
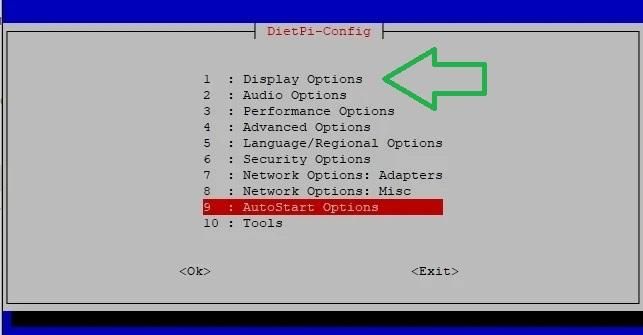
By default, Diet Pi does not install a "desktop" which is a graphical user interface. We will add a desktop to Diet Pi later in these instructions (don't do it yet).
Diet Pi does a good job of determining your display's native resolution. To get it ready for the installation of a desktop, view/change the detected resolution with these steps:
- At the terminal, type:
dietpi-config
- From the menu that appears, choose Display Options > Display Resolution.
- You will be prompted to install additional software to view/change the resolution. Do this.
- Diet Pi will then prompt that you restart the OS. Exit the dietpi-config utility, then type this to restart:
sudo reboot now
Tweak Video Driver (Raspberry Pi Zero W Only)

Diet Pi is a "minimalist" OS, it only loads the minimum needed software for the best performance, especially on older SBC's. As such, it does not install a "desktop" (graphical user interface) by default, but you can easily add one.
If you are using a Raspberry Pi Zero W, the default Diet Pi video driver doesn't seem to work when installing the desktop. The video driver needs changed before installing the desktop with the following steps. If you don't change the driver, you may receive a black, blank screen when trying to start the desktop.
- Enter the following command at the terminal:
sudo nano /boot/firmware/config.txt
- The Nano text editor appears with the contents of config.txt displayed.
- Look for this line:
dtoverlay=vc4-kms-v3d
- Change it to:
dtoverlay=vc4-fkms-v3d
- Save changes by pressing [Ctrl+O], then exit the text editor with [Ctrl-X].
- Reboot the Pi with this command:
sudo reboot now
Install Desktop
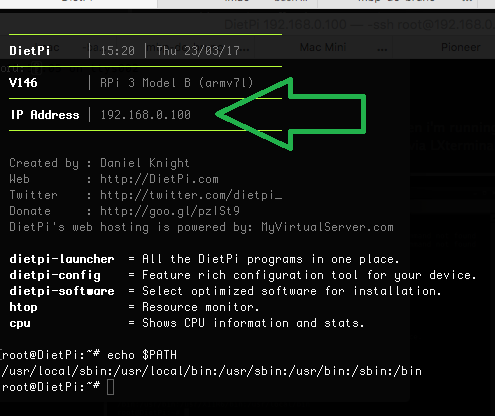
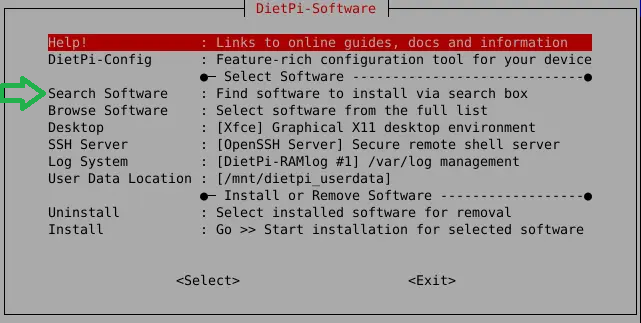
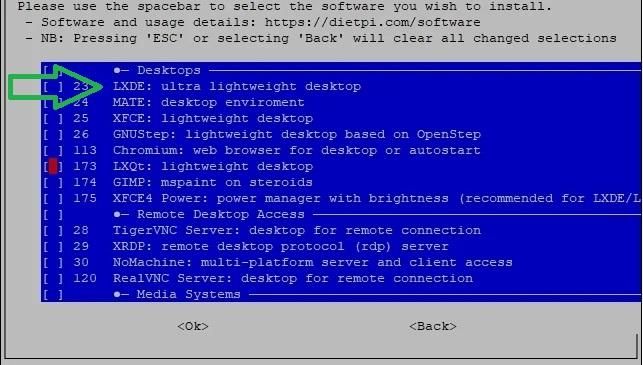
Diet Pi created two users during setup, a "root" user and "dietpi" user.
Up to this point, you have been logging in as the "root" user.
From this point forward, it is important to only login as "dietpi" for the remainder of these instructions. In particular, the desktop needs to be installed as the dietpi user (not the root user).
- Be sure a mouse & keyboard are connected to your SBC via its USB port.
- Reboot your SBC, then login as "dietpi".
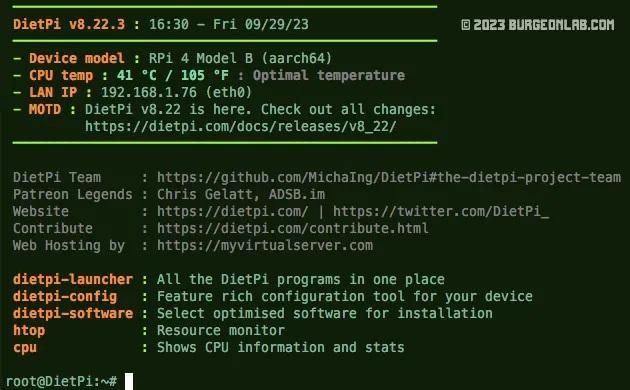
- Write-down the IP address that shows after login. You can use this later to optionally manage your SBC remotely via Putty or WinSCP.
- At the terminal, enter "dietpi-software" then press [Enter].
- Choose Search Software.
- In the list of software shown, choose "LXDE: ultra lightweight desktop".
- Return to the main menu, then choose "Install: Go >> Start installation for selected software".
- Reboot the SBC when prompted.
- Upon boot, the SBC will automatically login as "dietpi" and start the desktop.
Enable USB Support in Desktop
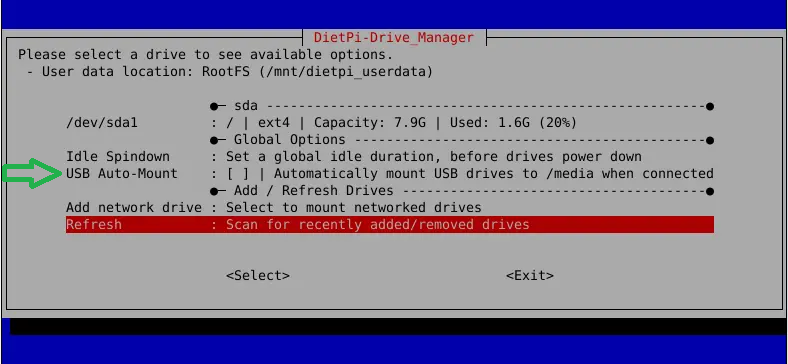
The desktop does not automatically detect USB drives when inserted. While you can load pictures onto the SBC with WinSCP, it's easier to do it initially with a USB drive. Follow these steps to enable USB drive support for the desktop:
- Open a terminal and enter this command:
dietpi-drive_manager
- From the menu that appears, choose "USB Auto Mount" to activate it.
- Exit the Diet Pi Drive Manager.
- Reboot your SBC.
Copy Pictures to Your SBC
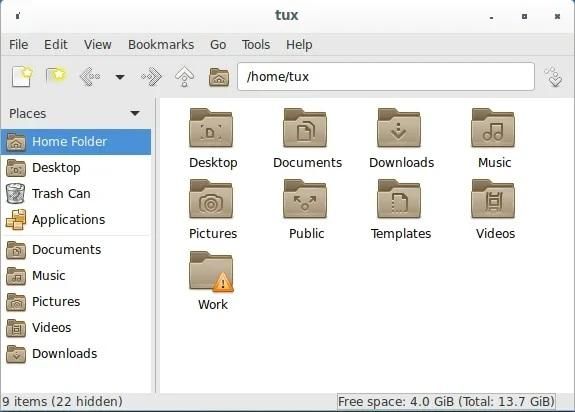
The picture display program (feh) supports the JPG and PNG picture format (among others). I find it easier to initially copy the pictures to a flash drive, then use Diet Pi's desktop file manager to copy them to the SBC. After your photo frame is finished and hanging on a wall (disconnected from a mouse & keyboard), you can later use WinSCP (a free Windows SSH file manager) to remotely manage the pictures on the SBC.
Before copying your pictures to a flash drive, determine your display's native resolution. Then use a program like FastStone Photo Resizer to resize your pictures to that exact resolution. For instance, if your display has a native resolution of 1280x1024, resize your pictures to match.
The photo frame should automatically zoom pictures with lower resolutions to fill the screen, but I find it easier to make them the same resolution as the display to avoid distortion/stretching problems.
- On your home computer, resize your pictures to match your display's native resolution (optional).
- Copy pictures to a flash drive.
- Insert flash drive into SBC's USB port.
- On the LXDE desktop, click the "Up Arrow" symbol in the lower-left corner of the screen. This is akin to the Windows "Start" menu.
- Choose System > PCManFm from the menu that appears.
- When the file manager appears, browse to "/media" to show the contents of the flash drive. Your flash drive should be represented as a subfolder inside /media, named with random characters & numbers.
- Highlight all of your pictures, then choose Edit > Copy from the top menu.
- Browse to /mnt/dietpi_userdata/Pictures
- Right-click the empty space inside Pictures, then choose the option to create a new folder.
- Name the new folder "screenshots" (exactly, no capitalization).
- Choose Edit > Paste from the top menu. Your pictures should copy from the flash drive to the "/mnt/dietpi_userdata/Pictures/screenshots" folder.
This project has been tested with 14,000 pictures and should support more. You can make subfolders under "screenshots" if you wish you organize your photos.
Install Photo Frame Software
The photo frame relies on three free programs to display pictures:
feh Randomizes your pictures and displays them every 15 minutes (configurable).
conky Displays the current time in the top-right corner of the screen, on top of the current picture. You can also configure conky to show a lot more use information, too.
picom Adds a "composite manager" to the desktop so that the time has a transparent background (blends with the pictures better). If you don't install this, the time will show in a black box.
- Open a terminal, then type these commands to install the above programs:
sudo apt-get install feh
sudo apt-get install conky-all
sudo apt-get install picom
- Reboot the SBC.
- Download fehstart.txt from this Instructable, rename it to fehstart.sh, then add this line to the top of the file (with a text editor).
#!/bin/bash
Note: The "900" number in this file refers to the number of seconds between picture changes (900 seconds = 15 minutes). You can change this to a longer/shorter duration if you like.
- Copy fehstart.sh to a flash drive.
- Download conky.txt from this Instructable, rename it to conky.conf, then copy to a flash drive.
- Insert the flash drive in your SBC.
- Copy fehstart.sh from the flash drive to /home/dietpi
- This script tells feh to start showing pictures. It also starts conky to display the time overlay.
- From a terminal, enter this command to make the fehstart.sh script executable:
sudo chmod +x /home/dietpi/fehstart.sh
- Move conky.conf from the flash drive to the "/home/dietpi/.config" folder.
- Moving this file from the flash drive to the hidden ".config" folder may be easiest when done from the terminal. The contents of the flash drive should be found in the /media folder. For instance, if the flash drive is located at /media/84B9-28C0, then use a command like this to do the copy:
cp /media/84B9-28C0/conky.conf /home/dietpi/.config
- This configuration file tells conky how to show the time. To show additional information on your photo frame (such as the date, weather, and much more), visit conky's website here. You can also change the font and size of the time this way,
- Lastly, follow these steps to make the SBC run fehstart.sh immediately upon boot:
- From terminal, enter this command:
sudo nano /home/dietpi/.config/lxsession/LXDE/autostart
- When the contents of the file is displayed in the Nano text editor, add these lines to the bottom of the file:
@xset s 0 0
@xset s noblank
@xset dpms 0 0 0
@picom -b
@/home/dietpi/fehstart.sh
- If this line exists, delete it:
@xscreensaver -no-splash
- The autostart.txt in this Instructable is an example of how the autostart file should look on your SBC.
- The above lines:
- Disables the default Diet Pi desktop screensaver
- Loads the composite manager (for a nicer time display with a transparent background)
- Starts feh to display pictures.
- At this point, your photo frame is ready! Reboot your SBC. In a couple of minutes, it should start showing pictures automatically.
- You can optionally disconnect the flash drive, USB hub, keyboard, and mouse as you can manage the photo frame remotely over the network.
In this step is a video showing bootup. It takes about 1:20 minutes to fully boot to showing pictures on a Raspberry Pi Zero. It's slow starting up, but works fine as pictures change every 15 minutes.
Note: You will notice that my example photos show the picture's title at the bottom of the screen. I manually added these titles to the pictures with a photo editor. However, you can configure feh to overlay the filename automatically on the pictures. Read the feh manual for more information; you can modify the feh paraments in the /home/dietpi/fehstart.sh script to do this.
(optional) Access Your Photo Frame Via Remote Terminal

You can access the photo frame's terminal from your home computer, over the network. Diet Pi comes with a SSH client preinstalled to do this. Here is how:
- You should already know the IP address of your SBC from previous steps. If not, on the Diet Pi desktop (not remotely), determine the IP address via this terminal command:
ip a
- Look for the "inet" line under "eth0" (Ethernet) or "wlan0" (Wi-Fi) to find the numerical address.
- Alternatively, you can also access your router's interface to determine the IP address of the photo frame.
- On your home computer, download and install Putty.
- Enter your SBC's IP address in the Host Name field
- Click the Open button, then you can login to the remote terminal for your photo frame (as user "dietpi").
Optional: Allow Read/write Picture Access Over Your Home Network
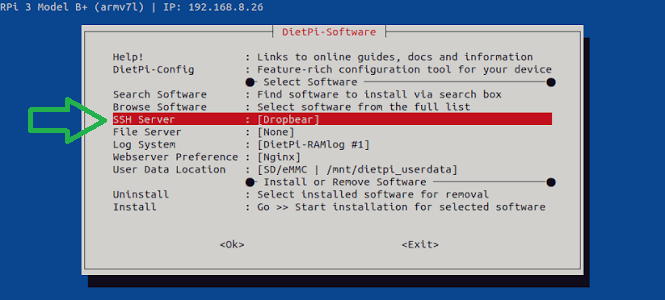
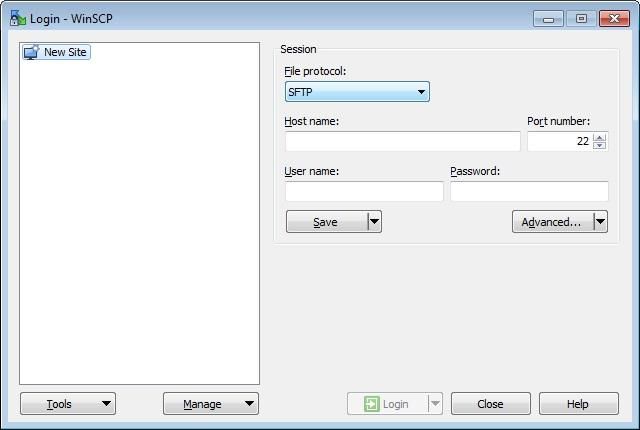
You can add or remove pictures on the photo frame without needing a keyboard nor mouse connected to it. This is done through an SSH server that comes with Diet Pi. You can use a program like WinSCP on your home computer to browse the memory card then add/remove pictures on it.
However, the default "Dropbear" SSH server that is preinstalled with Diet Pi does not support SFTP/SCP file transfers required by WinSCP. This is easy to fix as Diet Pi allows you to replace Dropbear with OpenSSH. Follow these steps to do this:
- Open a terminal then run the software management tool:
- dietpi-software
- Choose SSH Server from the menu, then change the selection from Dropbear to OpenSSH.
- Return to the main menu, then choose "Install: Go >> Start installation for selected software" to allow Diet Pi to install the software
- Reboot your SBC when prompted.
To browse files on the photo frame from your home computer, do the following:
- Install WinSCP on your home computer (for Windows based computers).
- Enter your SBC's Host Name (IP address).
- Set the Username to "dietpi".
- Enter the dietpi user password, then click Login.
(optional) Automatically Shutdown the Photo Frame Every Night
While you could leave the photo frame running 24x7, it would eventually wear-out the display. I prefer to run it on an AC power timer (or a smart home timer if that is your gig). That way, the photo frame automatically powers on when I get home from work and turns off at bedtime.
Cutting power to the SBC on a regular basis is probably not healthy for the memory card, so the following steps will tell Diet Pi to perform a "soft shutdown" before power is cut via the AC timer:
- Enter these commands in a terminal:
cd /home/dietpi
sudo nano timedshutdown.sh
- Enter these lines in the text editor:
#!/bin/bash
sudo /usr/sbin/shutdown -h now
- Press [Ctrl+O] to save the file, then [Ctrl-X] to exit the text editor.
- Enter this command to make the script executable:
sudo chmod +x ./timedshutdown.sh
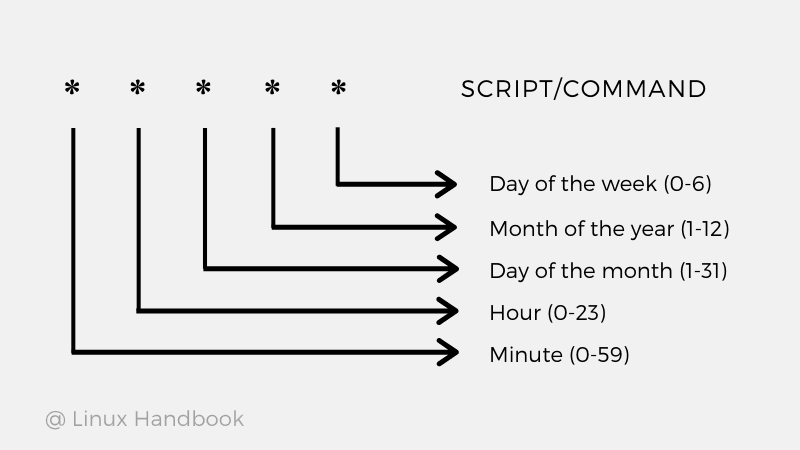
- We will use a "cron job" to run this script every night at 11:00 p.m.
- In a terminal, enter this command:
crontab -e
- Add this to bottom of file
00 23 * * * /home/dietpi/timedshutdown.sh
- To change the shutdown time, the "00" is minutes and the "23" is hours (in military time).
- Press [Ctrl-O] to save the file, then [Ctrl-X] to exit the text editor.
- Reboot the photo frame with "sudo reboot now".