Single LED Blink Using Arduino
by Supernova09 in Circuits > Arduino
56 Views, 1 Favorites, 0 Comments
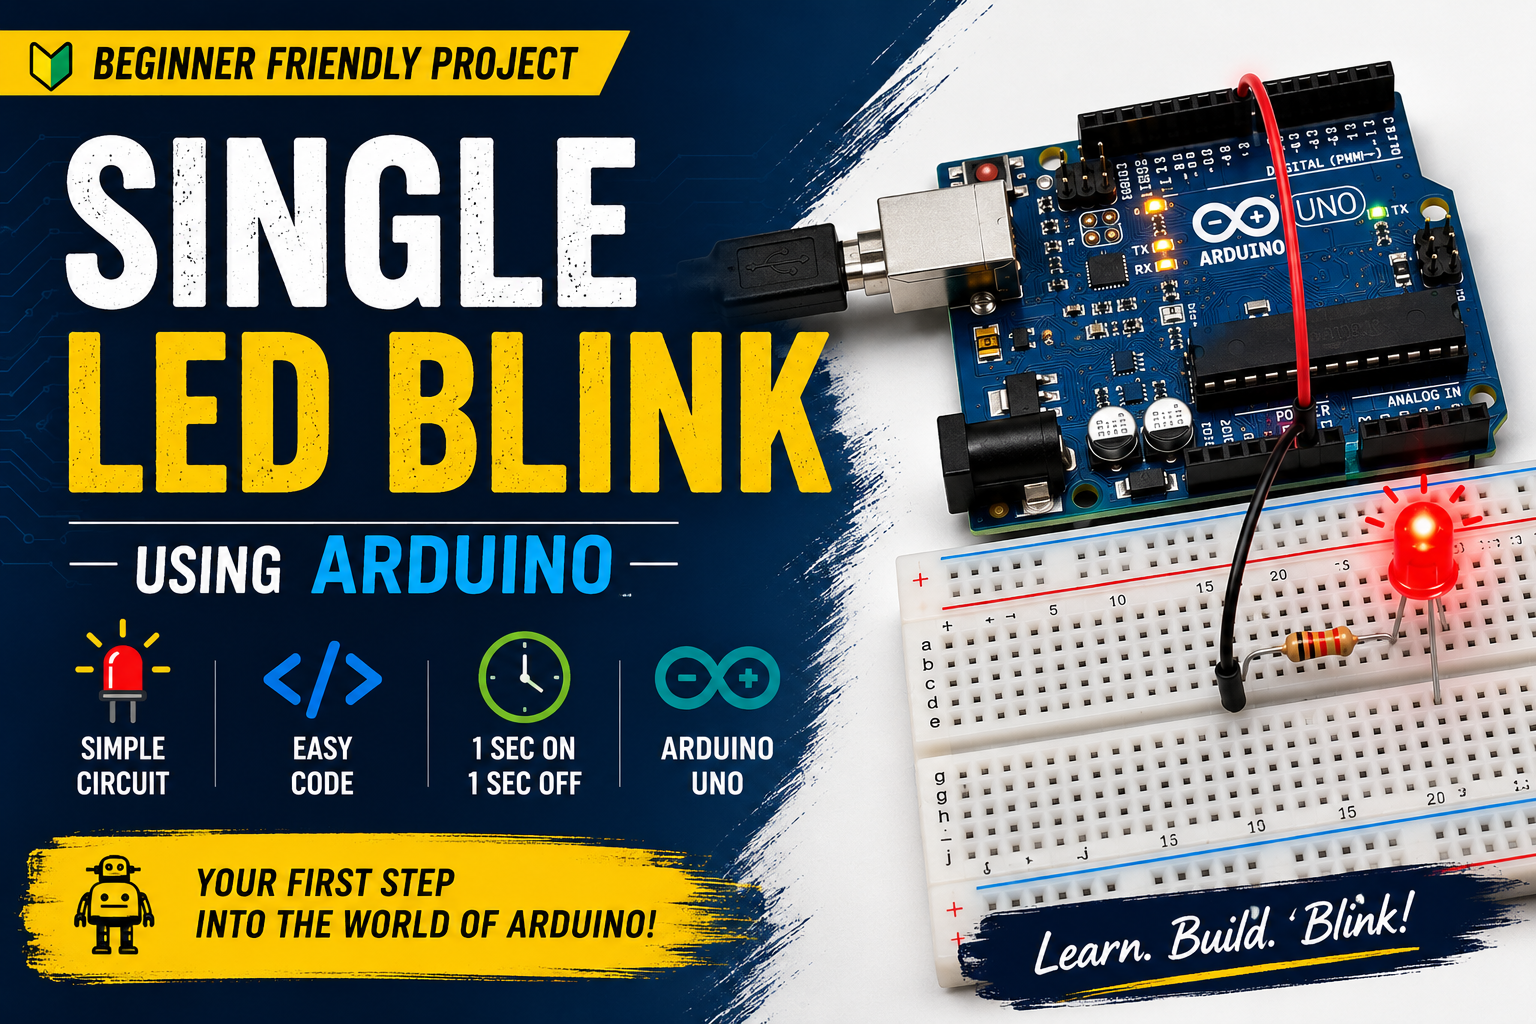
Single LED Blink Using Arduino
)
Hello Makers!
In this project, we will create the most basic Arduino project: a Single LED Blink Circuit using Tinkercad Circuits. This project is perfect for beginners who want to learn Arduino programming, circuit connections, and digital output control.
The Arduino will turn an LED ON for one second and OFF for one second repeatedly, creating a blinking effect.
What You Will Learn
- How to use Tinkercad Circuits
- How to connect an LED to Arduino
- How digital output pins work
- How to write and upload a simple Arduino program
- Understanding delays and loops
Gather Components
Required Components
- 1 × Arduino Uno R3
- 1 × LED (Any Color)
- 1 × 220Ω Resistor
- Breadboard (Optional)
- Jumper Wires
Create a New Circuit
- Visit Tinkercad.
- Login to your account.
- Click Circuits.
- Click Create New Circuit.
- Rename the project as:
Single LED Blink
Add Components
Drag the following components into the workspace:
- Arduino Uno
- Breadboard
- LED
- 220Ω Resistor
Arrange them neatly for easy wiring.
Connect the LED
Identify the LED terminals:
LED Terminals
- Long Leg = Anode (+)
- Short Leg = Cathode (-)
Connections
- Connect Arduino Pin 13 to one side of the 220Ω resistor.
- Connect the other side of the resistor to the LED Anode (+).
- Connect the LED Cathode (-) to Arduino GND.
Connection Summary:
Arduino Pin 13 → Resistor → LED (+)
LED (-) → GND
Verify the Circuit
Double-check the wiring:
- Arduino Pin Connected To
- 13 220Ω Resistor
- Resistor LED Anode
- GND LED Cathode
Incorrect LED polarity will prevent the LED from blinking.
Open the Code Editor
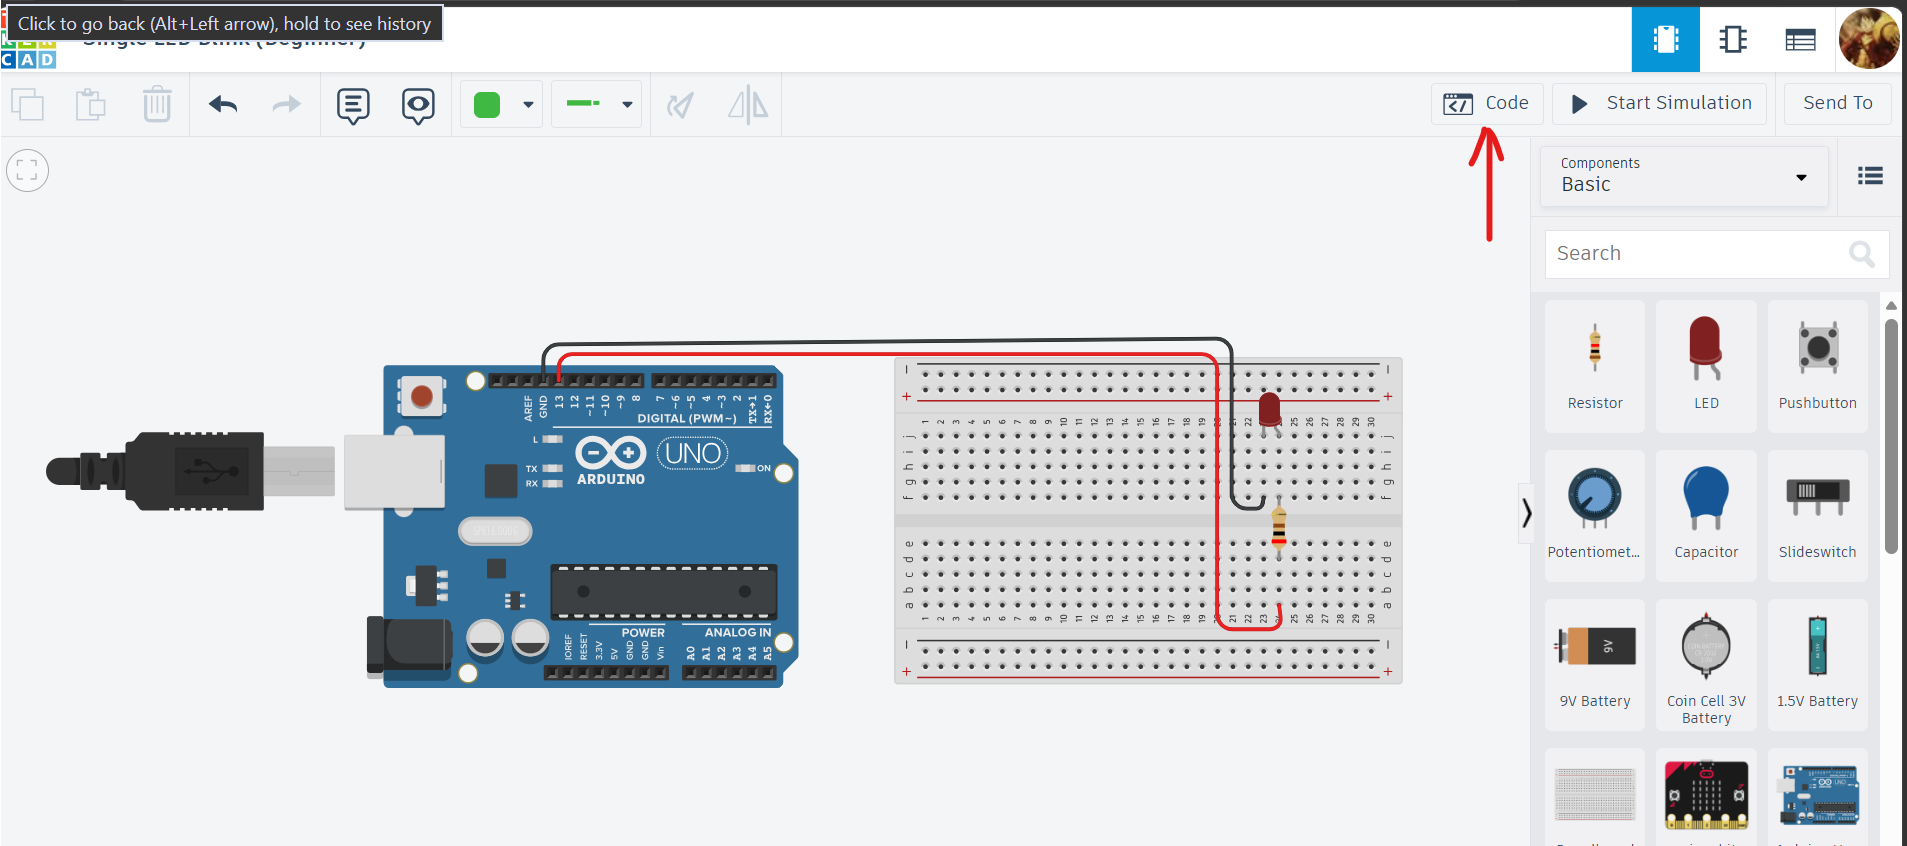
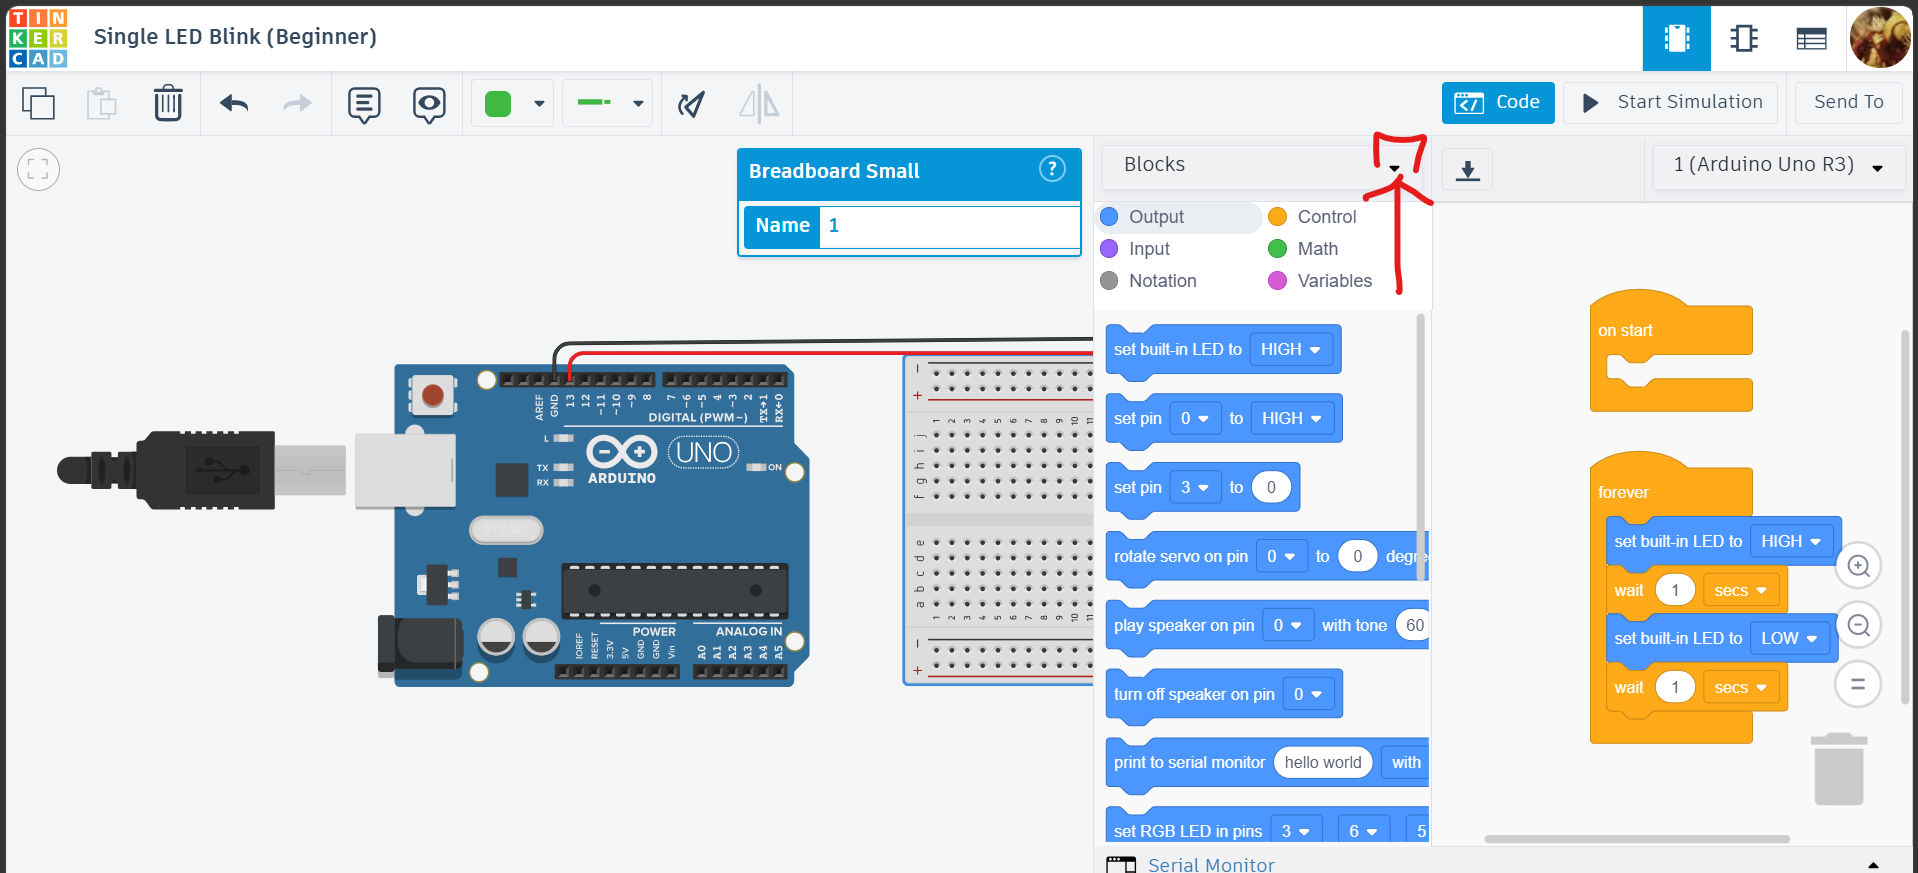
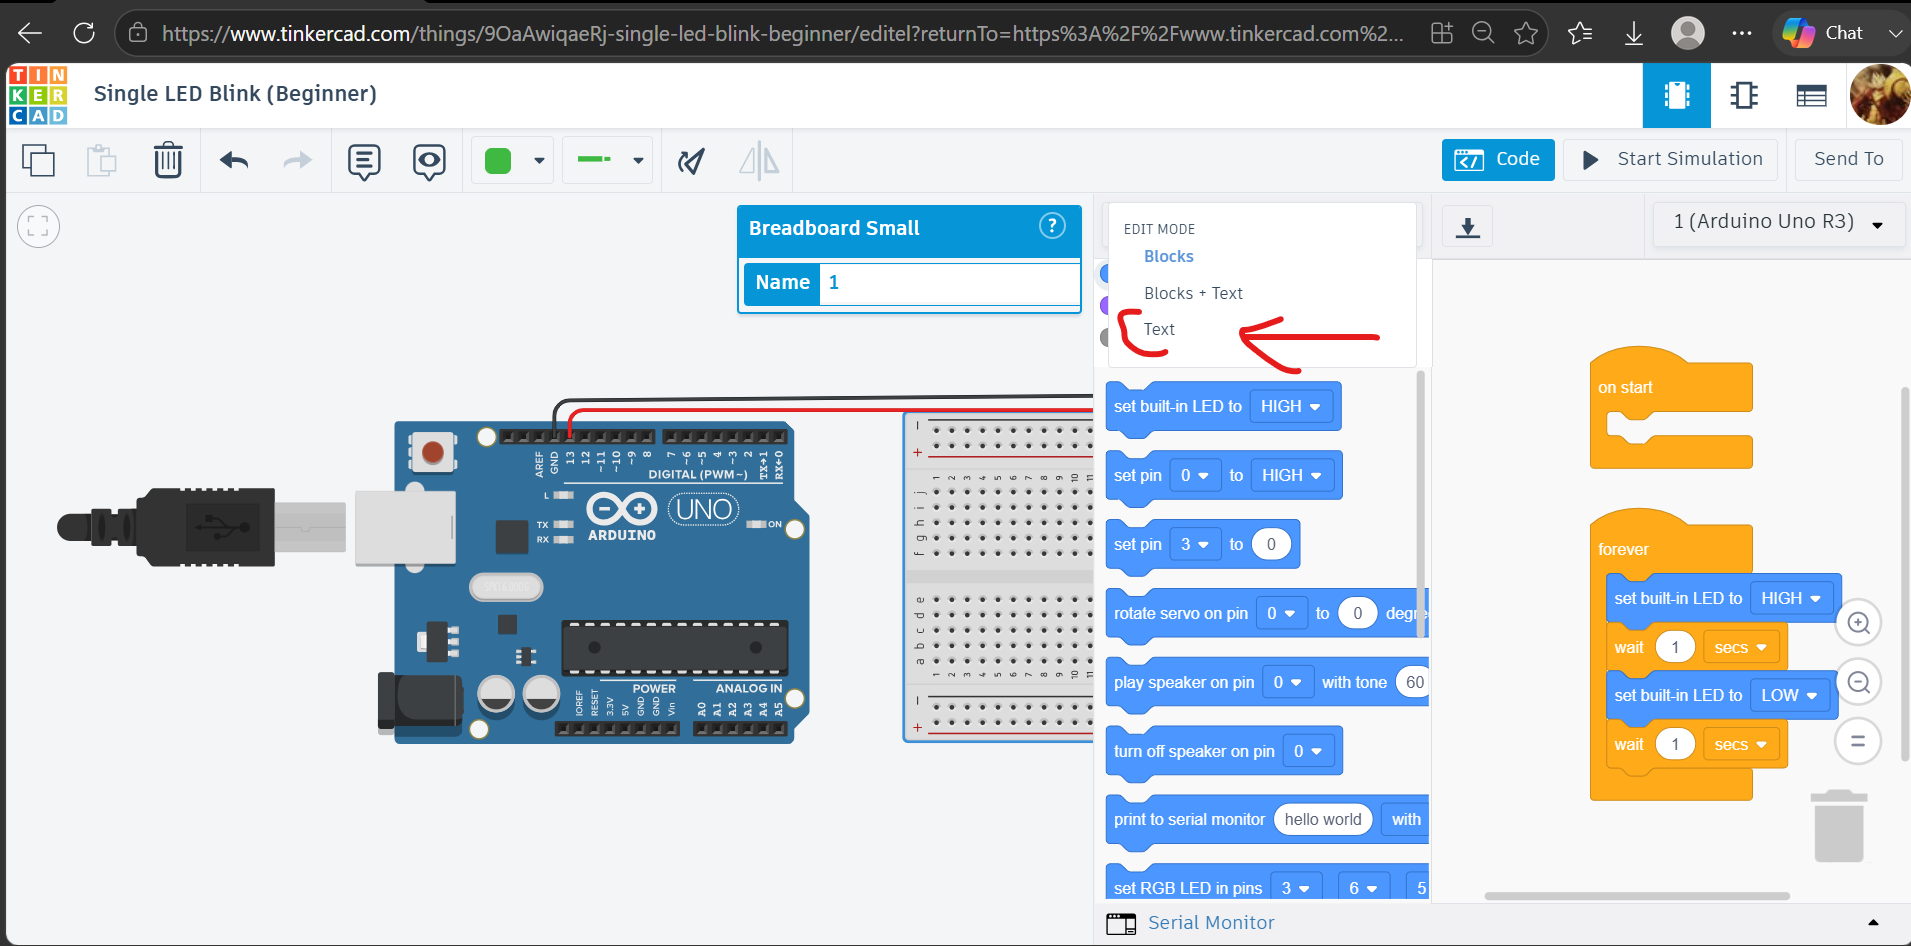
- Click the Code button.
- Select Text Mode.
- Remove any existing code.
You are now ready to write the program.
Write the Arduino Program
void setup()
{
pinMode(13, OUTPUT);
}
void loop()
{
digitalWrite(13, HIGH);
delay(1000);
digitalWrite(13, LOW);
delay(1000);
}
Understanding the Code
setup()
void setup()
{
pinMode(13, OUTPUT);
}
Runs only once when the Arduino starts.
Pin 13 is configured as an OUTPUT.
loop()
void loop()
{
}
Runs continuously forever.
Start Simulation
- Click Start Simulation.
- Observe the LED.
The LED should:
- Turn ON for 1 second
- Turn OFF for 1 second
- Repeat continuously
Congratulations! Your first Arduino program is working.
Applications
The LED Blink project is the foundation for:
- Traffic Light Systems
- Home Automation
- Robot Indicators
- Alarm Systems
- IoT Devices
- Smart Sensors
- Industrial Automation
Almost every Arduino project begins with LED blinking.
Project Outcome
Successfully designed and simulated a Single LED Blink circuit using Arduino Uno in Tinkercad. The LED continuously blinks with a 1-second ON and 1-second OFF interval, demonstrating basic digital output control and Arduino programming concepts.