SleeveVent : a Passive Cooling Vent for Bikers
by SUCHI2004 in Design > 3D Design
552 Views, 8 Favorites, 0 Comments
SleeveVent : a Passive Cooling Vent for Bikers
Summer bike rides always put me in a dilemma.
When I wear a half-sleeve T-shirt, the moving air feels amazing. As the bike picks up speed, the wind flows directly over my arms and gives me some relief from the heat.
But after a few rides, I started noticing the other side of it — tanning, strong sun exposure, and irritated skin. So I switched to full sleeves to protect my arms.
And then the problem changed.
The moment my arms were covered, the airflow disappeared. Heat started building up inside the sleeves, and after riding for a while, my arms became sweaty, sticky, and uncomfortable.
So I found myself stuck between two choices:
Half sleeves: Cool, but exposed to the sun.
Full sleeves: Protected, but hot and sweaty.
I kept thinking:
Why can't I have the protection of a full sleeve and the cooling airflow of a half sleeve at the same time?
Then I realized something — while riding, I'm already surrounded by a huge amount of moving air. What if I could simply capture some of that air and direct it inside my sleeve?
That thought became SleeveVent.
A small, 3D-printed passive air-vent designed for bikers that uses the bike's own movement to push fresh air inside the sleeve — no battery, no fan, no electronics.
Just ride, catch the air, and stay cool. 🌬️🏍️
Supplies

- 3D Printer - I use Bambu A1 mini
- Filament — PLA / PETG.
- Sleeve Vent — 3D-printed.
- Mounting Clips — 3D-printed.
- Biker's Sleeve / Full-Sleeve T-Shirt/Shirt— for attaching the vent.
That's all you need for the prototype. The vent and its clips are the only parts that need to be 3D printed.
3D Print the SleeveVent
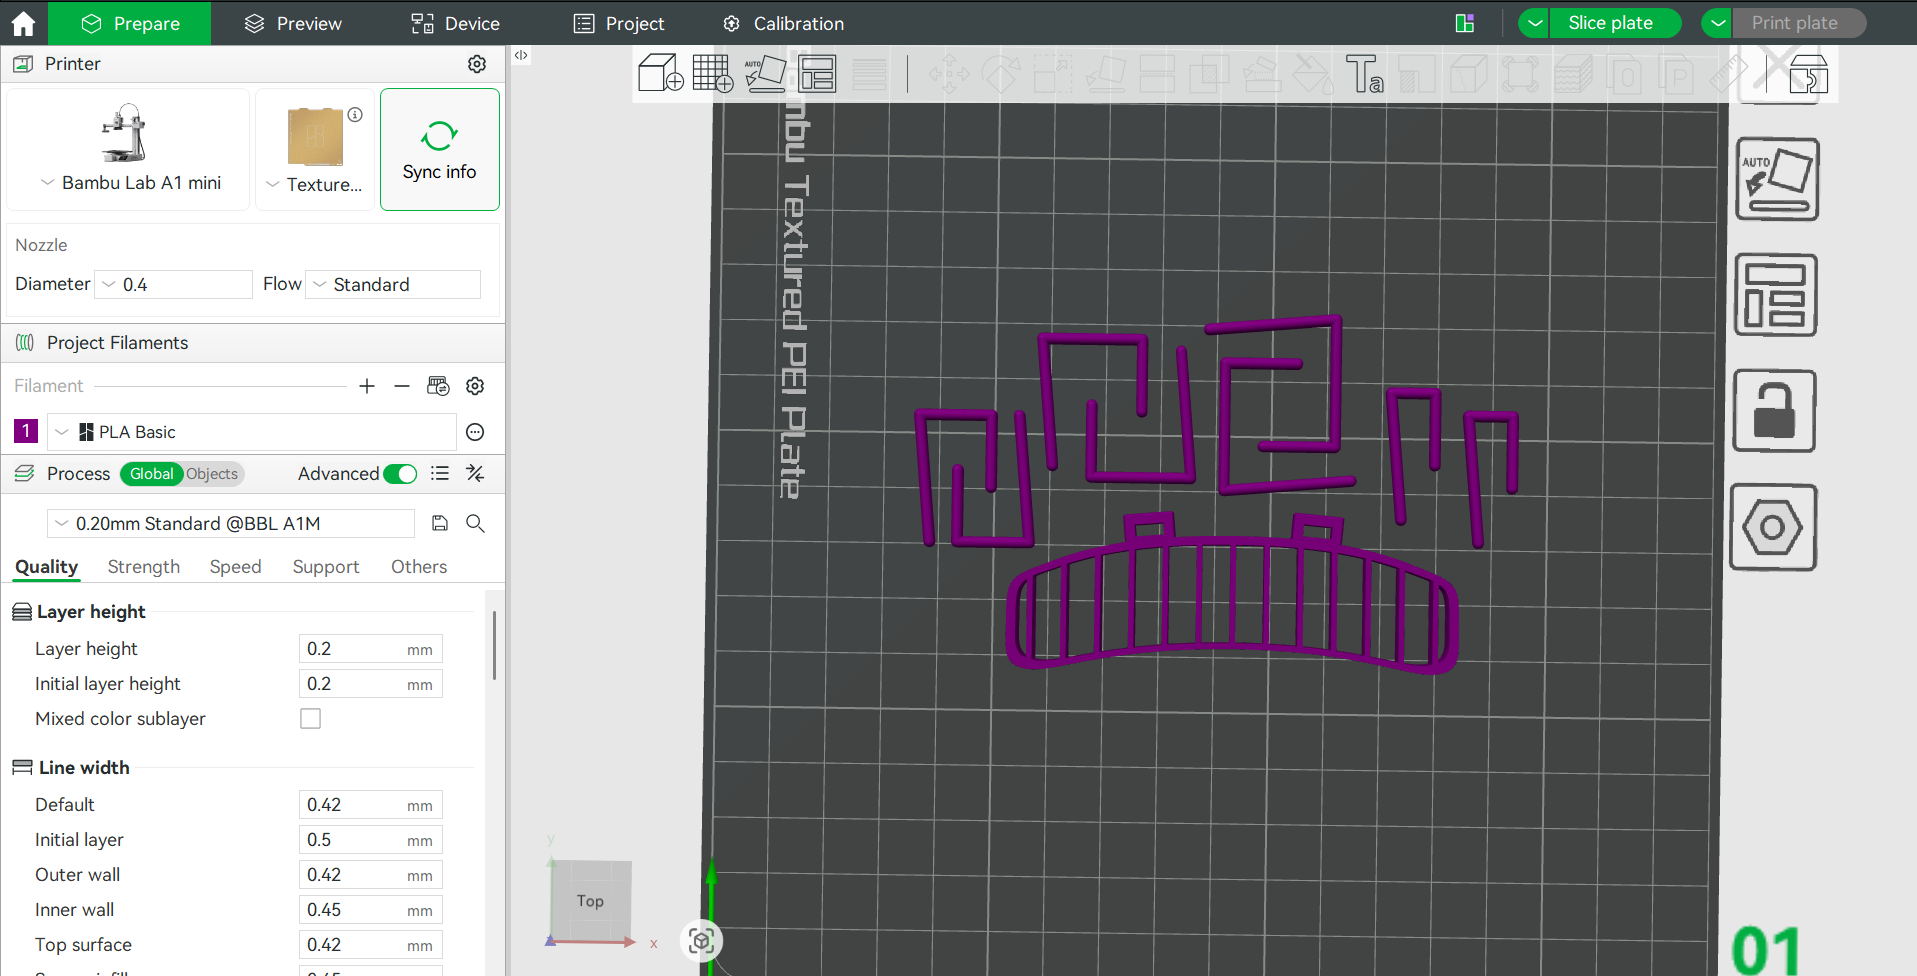

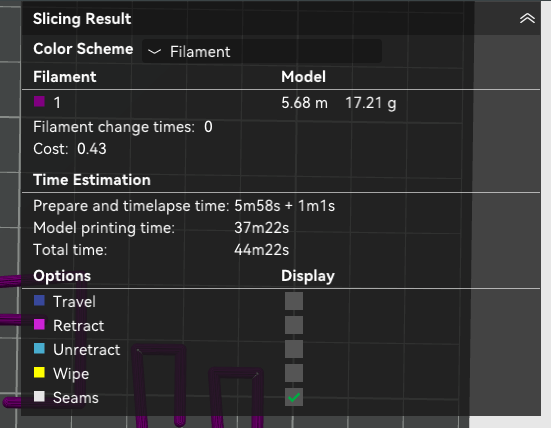
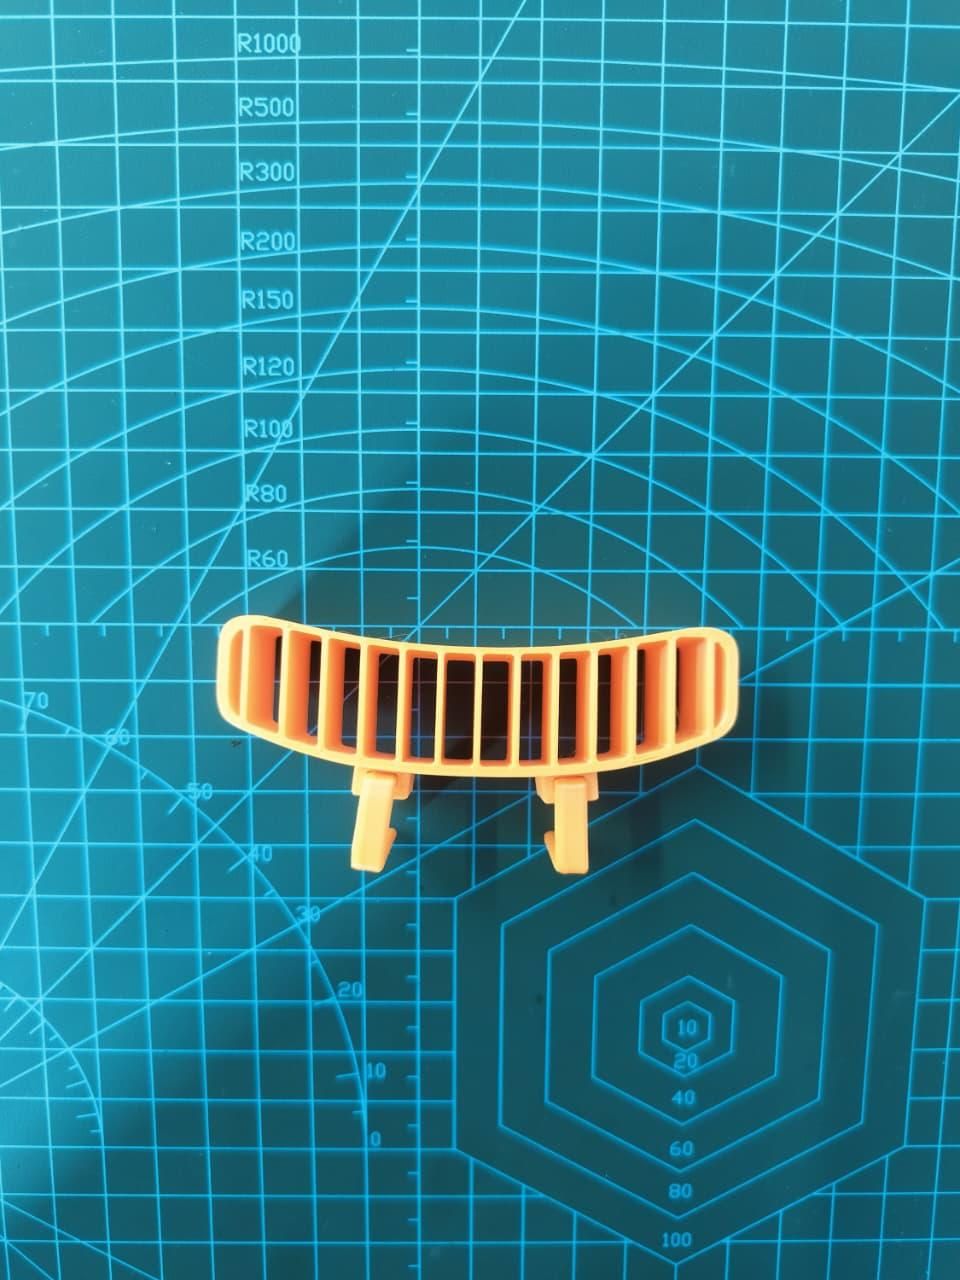
I have attached the vent.3mf file for the SleeveVent. For this project, I used a Bambu Lab A1 Mini to print the vent and mounting clips.
🖨️ Print Settings
- Printer: Bambu Lab A1 Mini
- Material: PLA
- Layer Height: 0.20 mm
- Infill: 15–20%
- Wall Loops: 3
- Supports: ❌ Not required
- Print Speed: Standard
- Build Plate: Textured PEI
The design is made to be support-free, so you can simply load the .3mf file and start printing.
📏 Different Clip Sizes
I also designed the mounting clips in different sizes to accommodate different clothing thicknesses. Choose the clip that fits your shirt or sleeve properly before printing.
Once the vent and the selected clips are printed, remove them from the build plate and move on to the assembly.
Downloads
Assembly
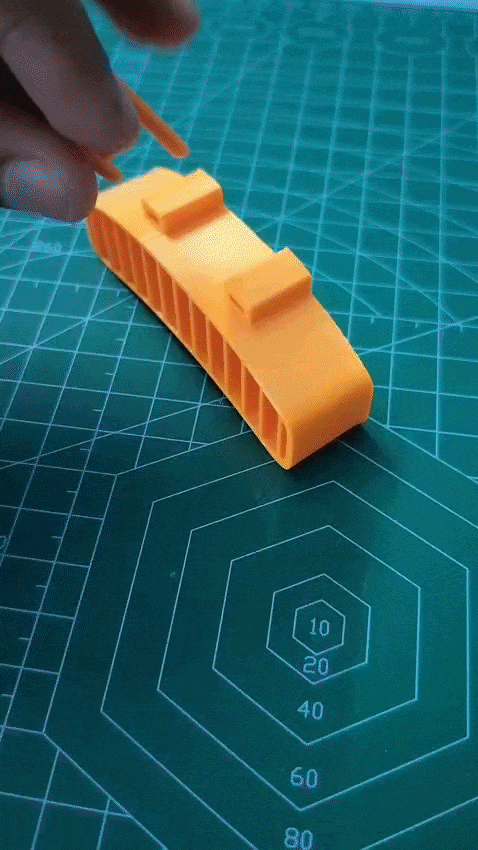
- Choose the correct pair of clips according to the thickness of your shirt or sleeve. The different clip sizes are provided to ensure a proper fit.
- Take the 3D-printed SleeveVent and your selected pair of clips.
- Locate the mounting holes on both sides of the vent.
- Take one clip and identify its shorter side.
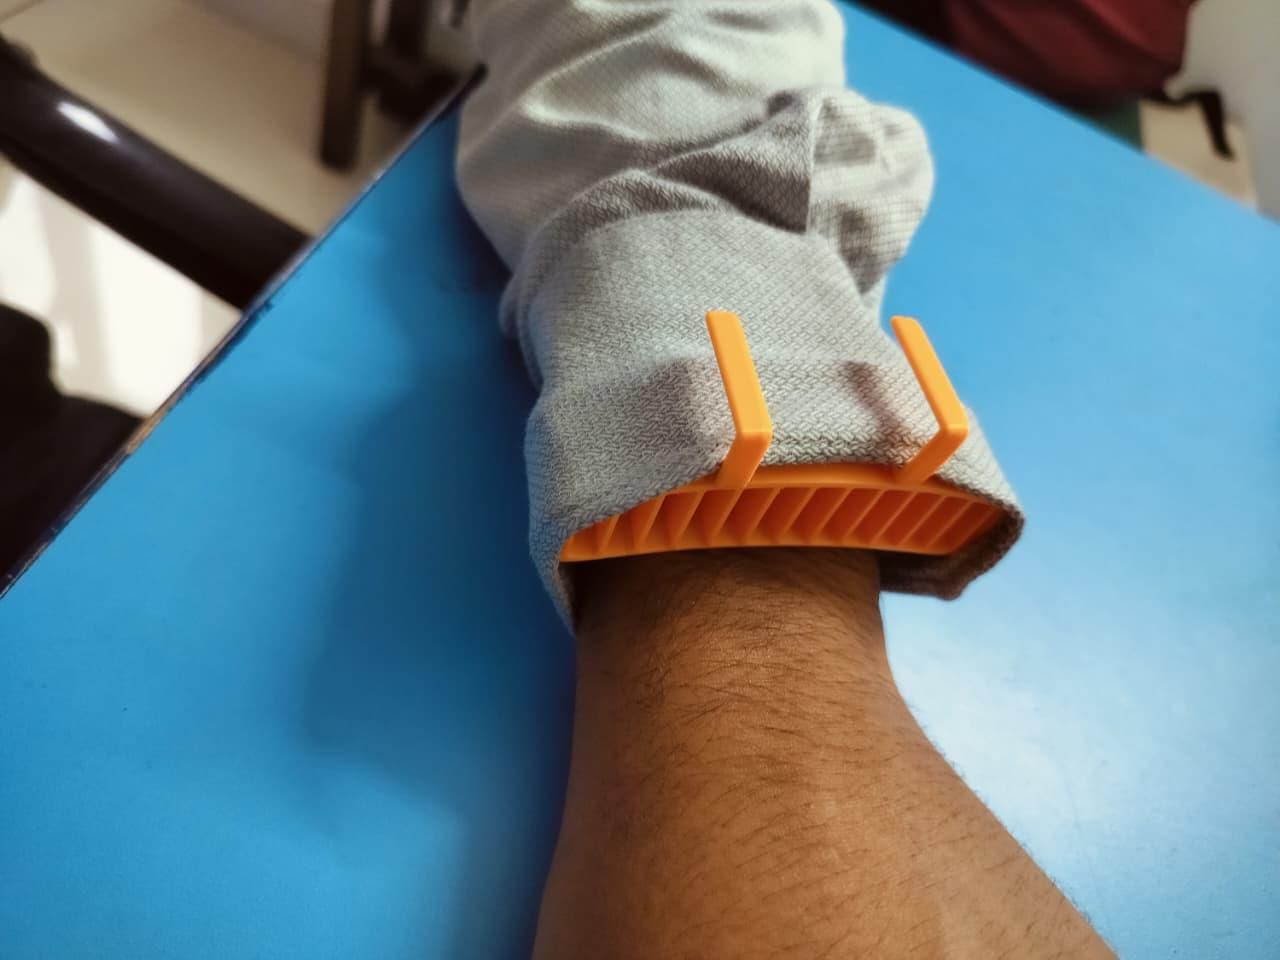
- Insert the short side of the clip into the mounting hole on the vent, as shown in the image.
- Push it firmly until the clip is properly seated.
- Repeat the same process with the second clip on the opposite side.
- Check that both clips are securely attached before moving to the next step.
✅ Your SleeveVent is now assembled and ready to be attached to your sleeve.
Attach to Your Wrist & Ride
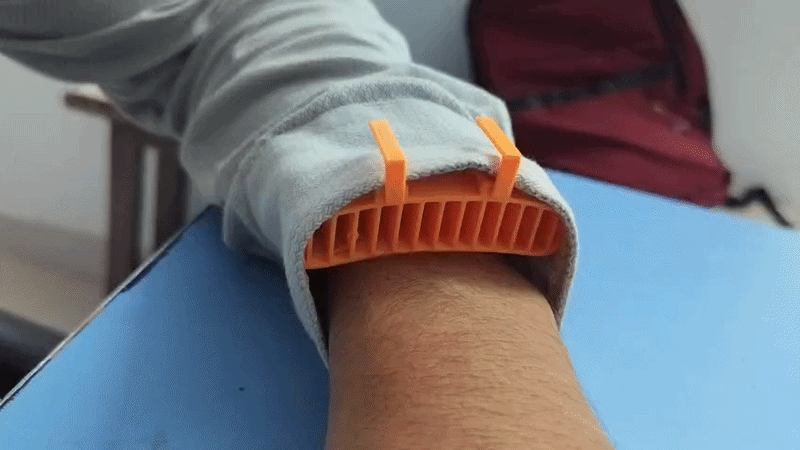
- Take your assembled SleeveVent and your full-sleeve shirt.
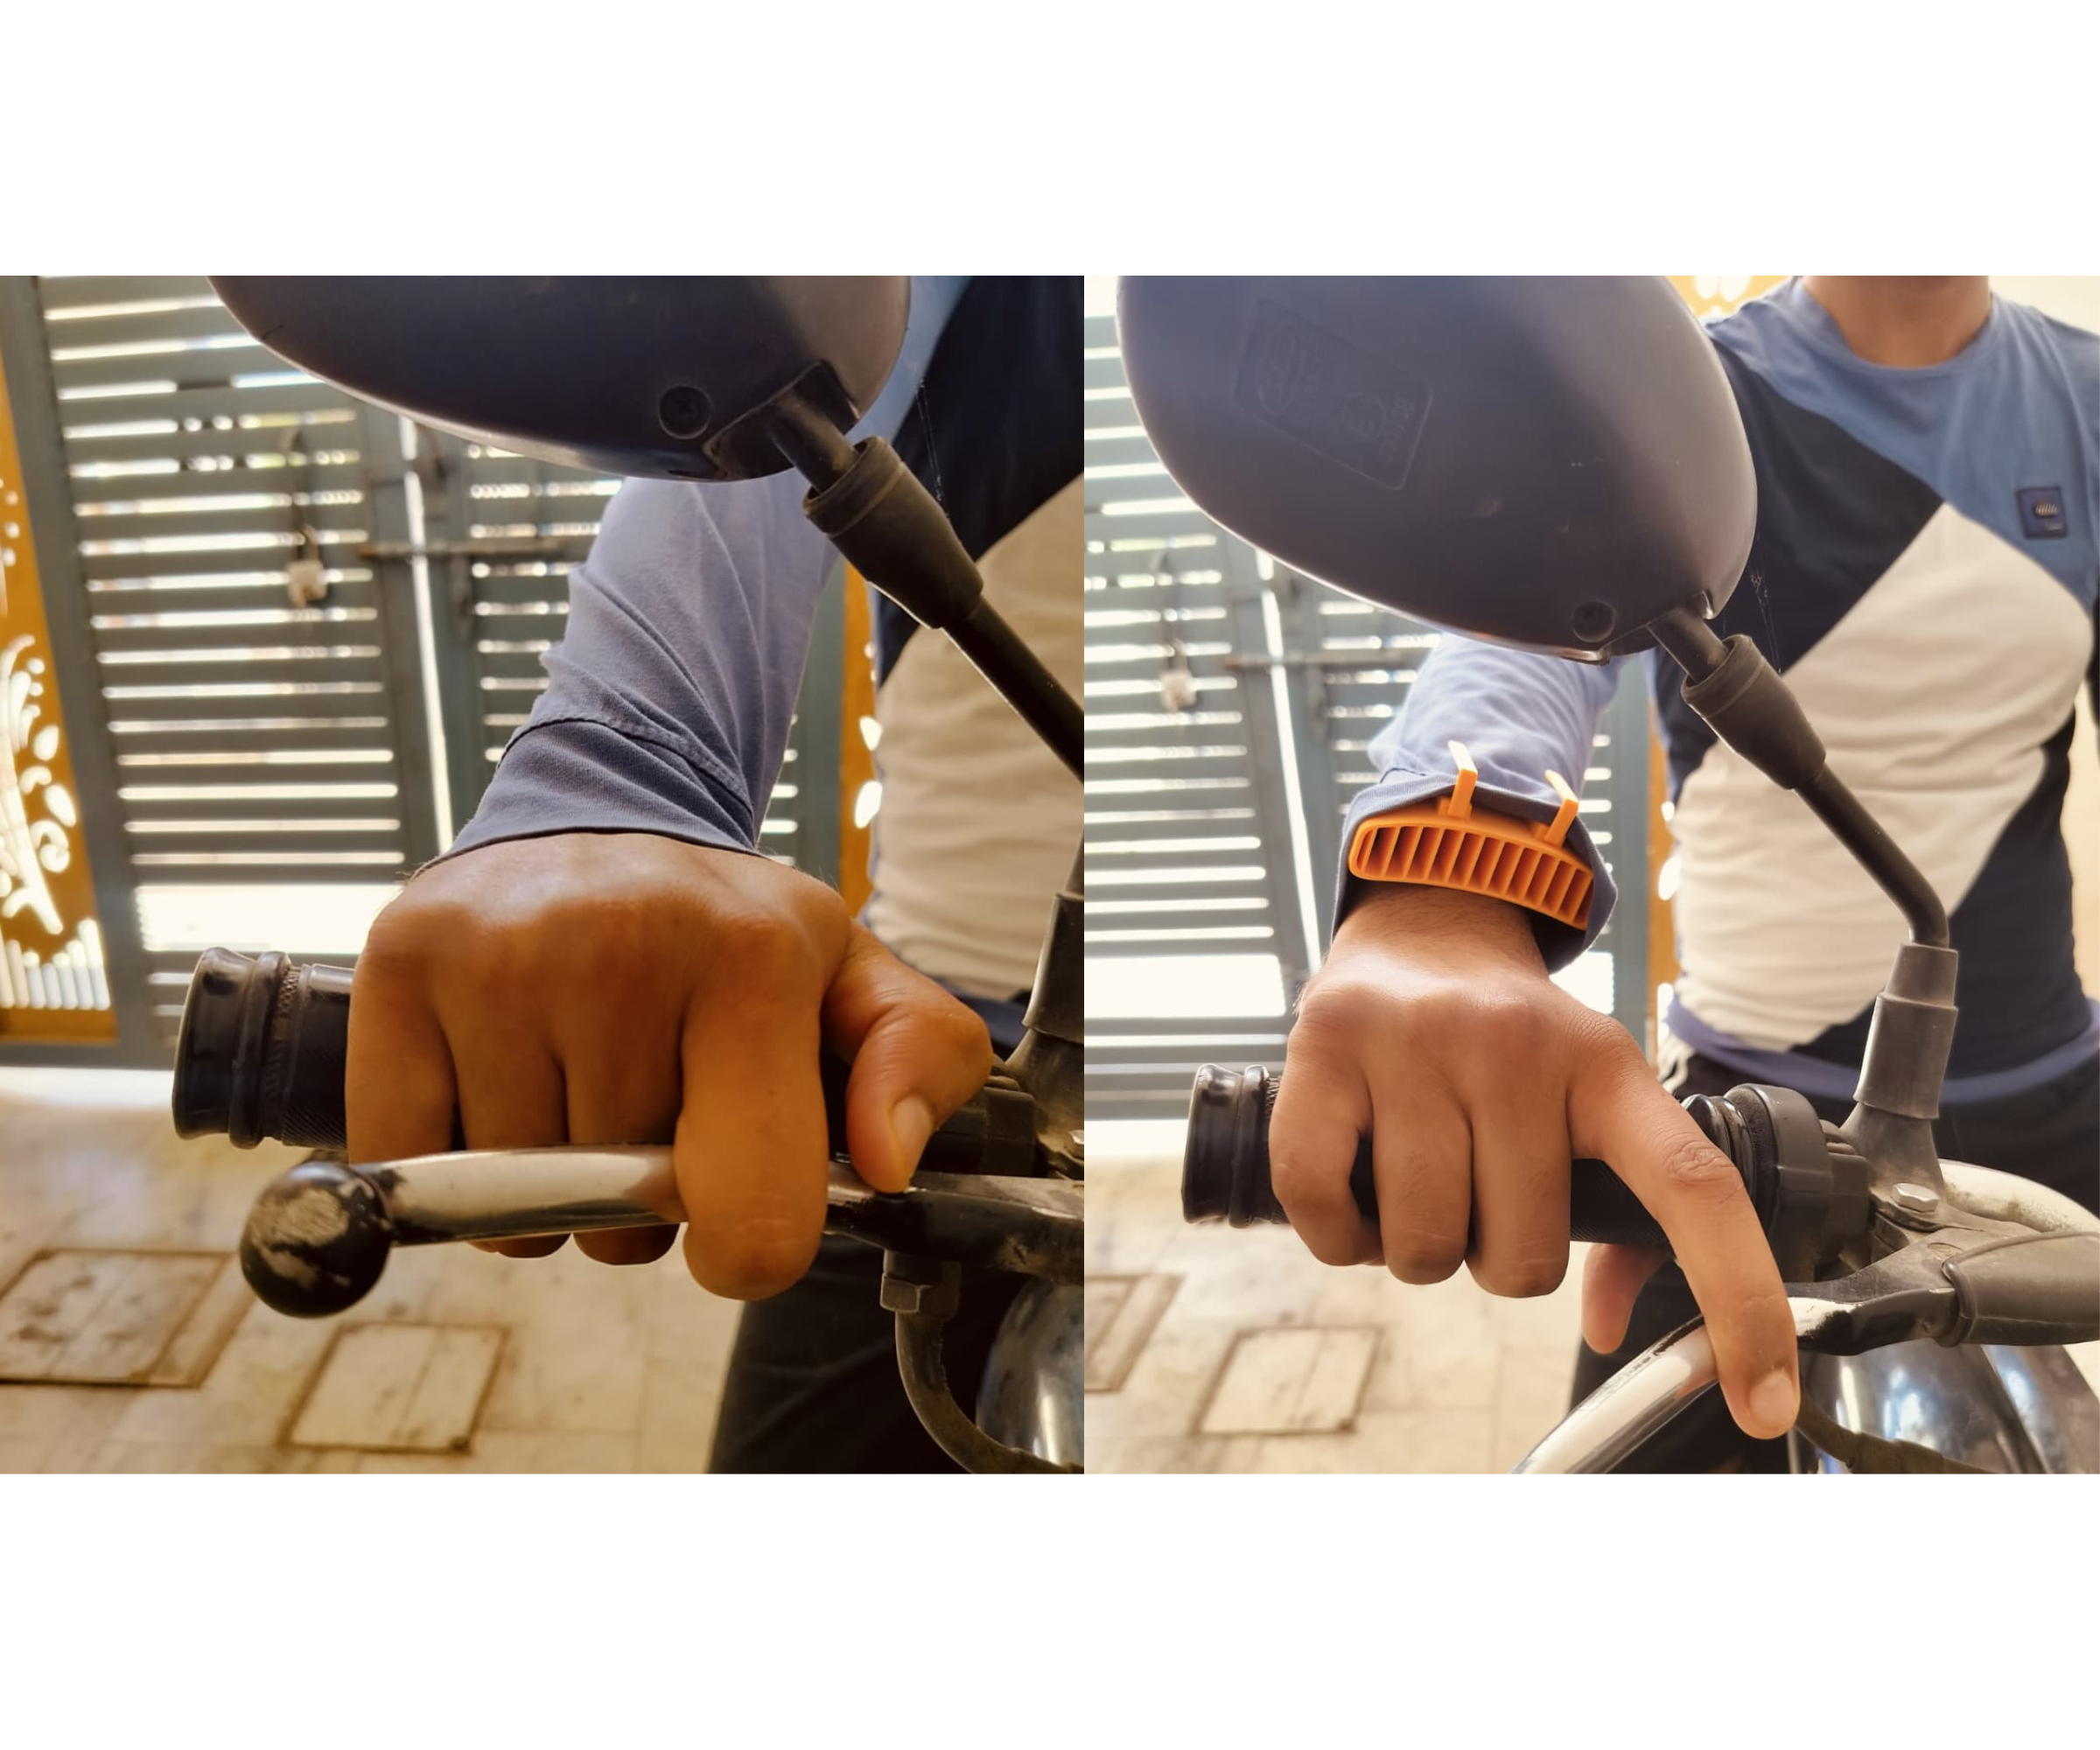
- Attach the SleeveVent around the wrist area of the sleeve using the clips.
- Make sure the vent is positioned toward the incoming airflow while riding.
- Check that the vent is securely attached and does not restrict your wrist movement or interfere with the bike controls.
- Now you're ready for the road!
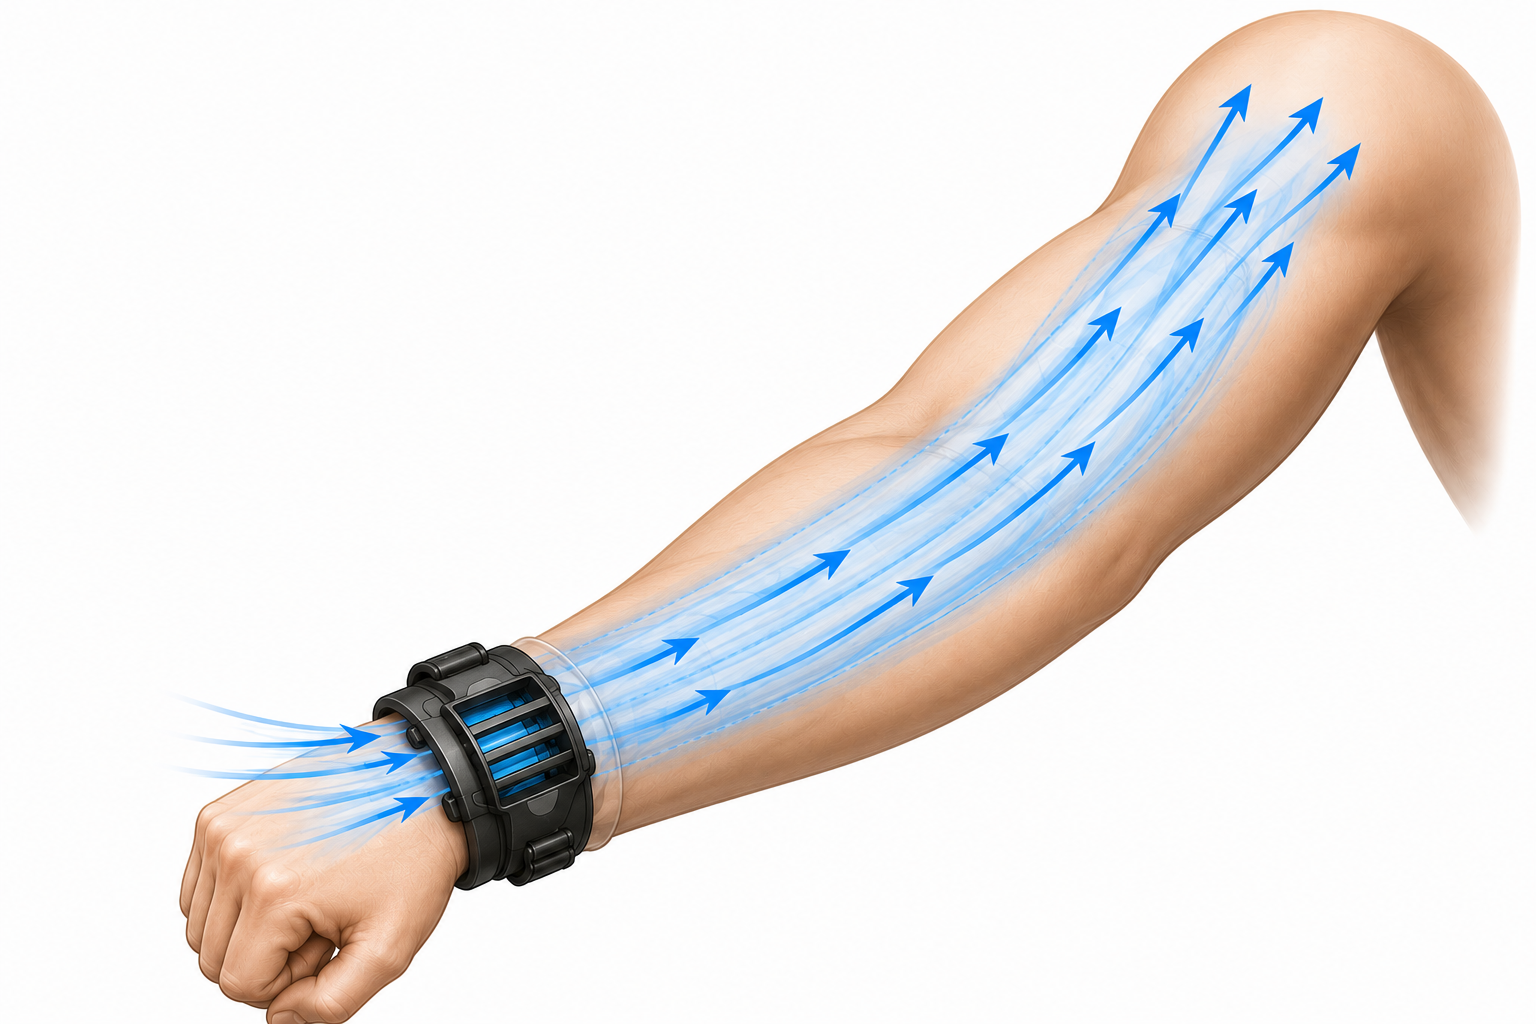
- During a long ride, the moving air enters through the SleeveVent at your wrist and travels upward inside the sleeve, creating airflow around your arm.
- This helps reduce the feeling of trapped heat and sweat while keeping your arms covered from direct sunlight.
☀️ Beat the Heat. Keep Riding.
Stay covered. Stay comfortable. Let your ride create the airflow. 🏍️💨