Slip Strop

As a carver who works primarily with carving knives, I sometimes have a project that requires using a small or medium-sized chisel. Unfortunately, my flat knife strop isn't going to cut the mustard when it comes to round and v-gouges. I've been looking online for slip strops as I've started using these tools more, but also not really wanting to spend money on a tool I'd be using infrequently. And then, I was in the workshop and had one of those lightbulb moments when walking past a piece of wooden cornice (crown molding).
This slipstrop will suit small (Japanese style) and medium-sized/palm gouges/chisels.
Supplies
- Piece of off-cut cornice/crown molding (with shaping/grooves reflecting gouge surfaces)
- Offcut piece of thin leather (a thin suede will work well, as does kangaroo leather)
- Glue (something that will strongly bond leather to wood)
- Scissors/craft knife
- Table saw/hand saw/jigsaw
- Old toothbrush/bristle brush (e.g., shoe polish brush) (optional)
*You will need stropping compound for use on the strop once finished. I have not included it in the supplies as it is technically not needed to make the strop, and because most carvers will already have this as part of their supplies.
- Note: You can forego adding the leather and simply use the naked wood as your strop. I prefer using leather because I like the option of being able to replace it if needed. It also helps to avoid accidental chips/cuts when stropping.
Cut the Cornice to Size
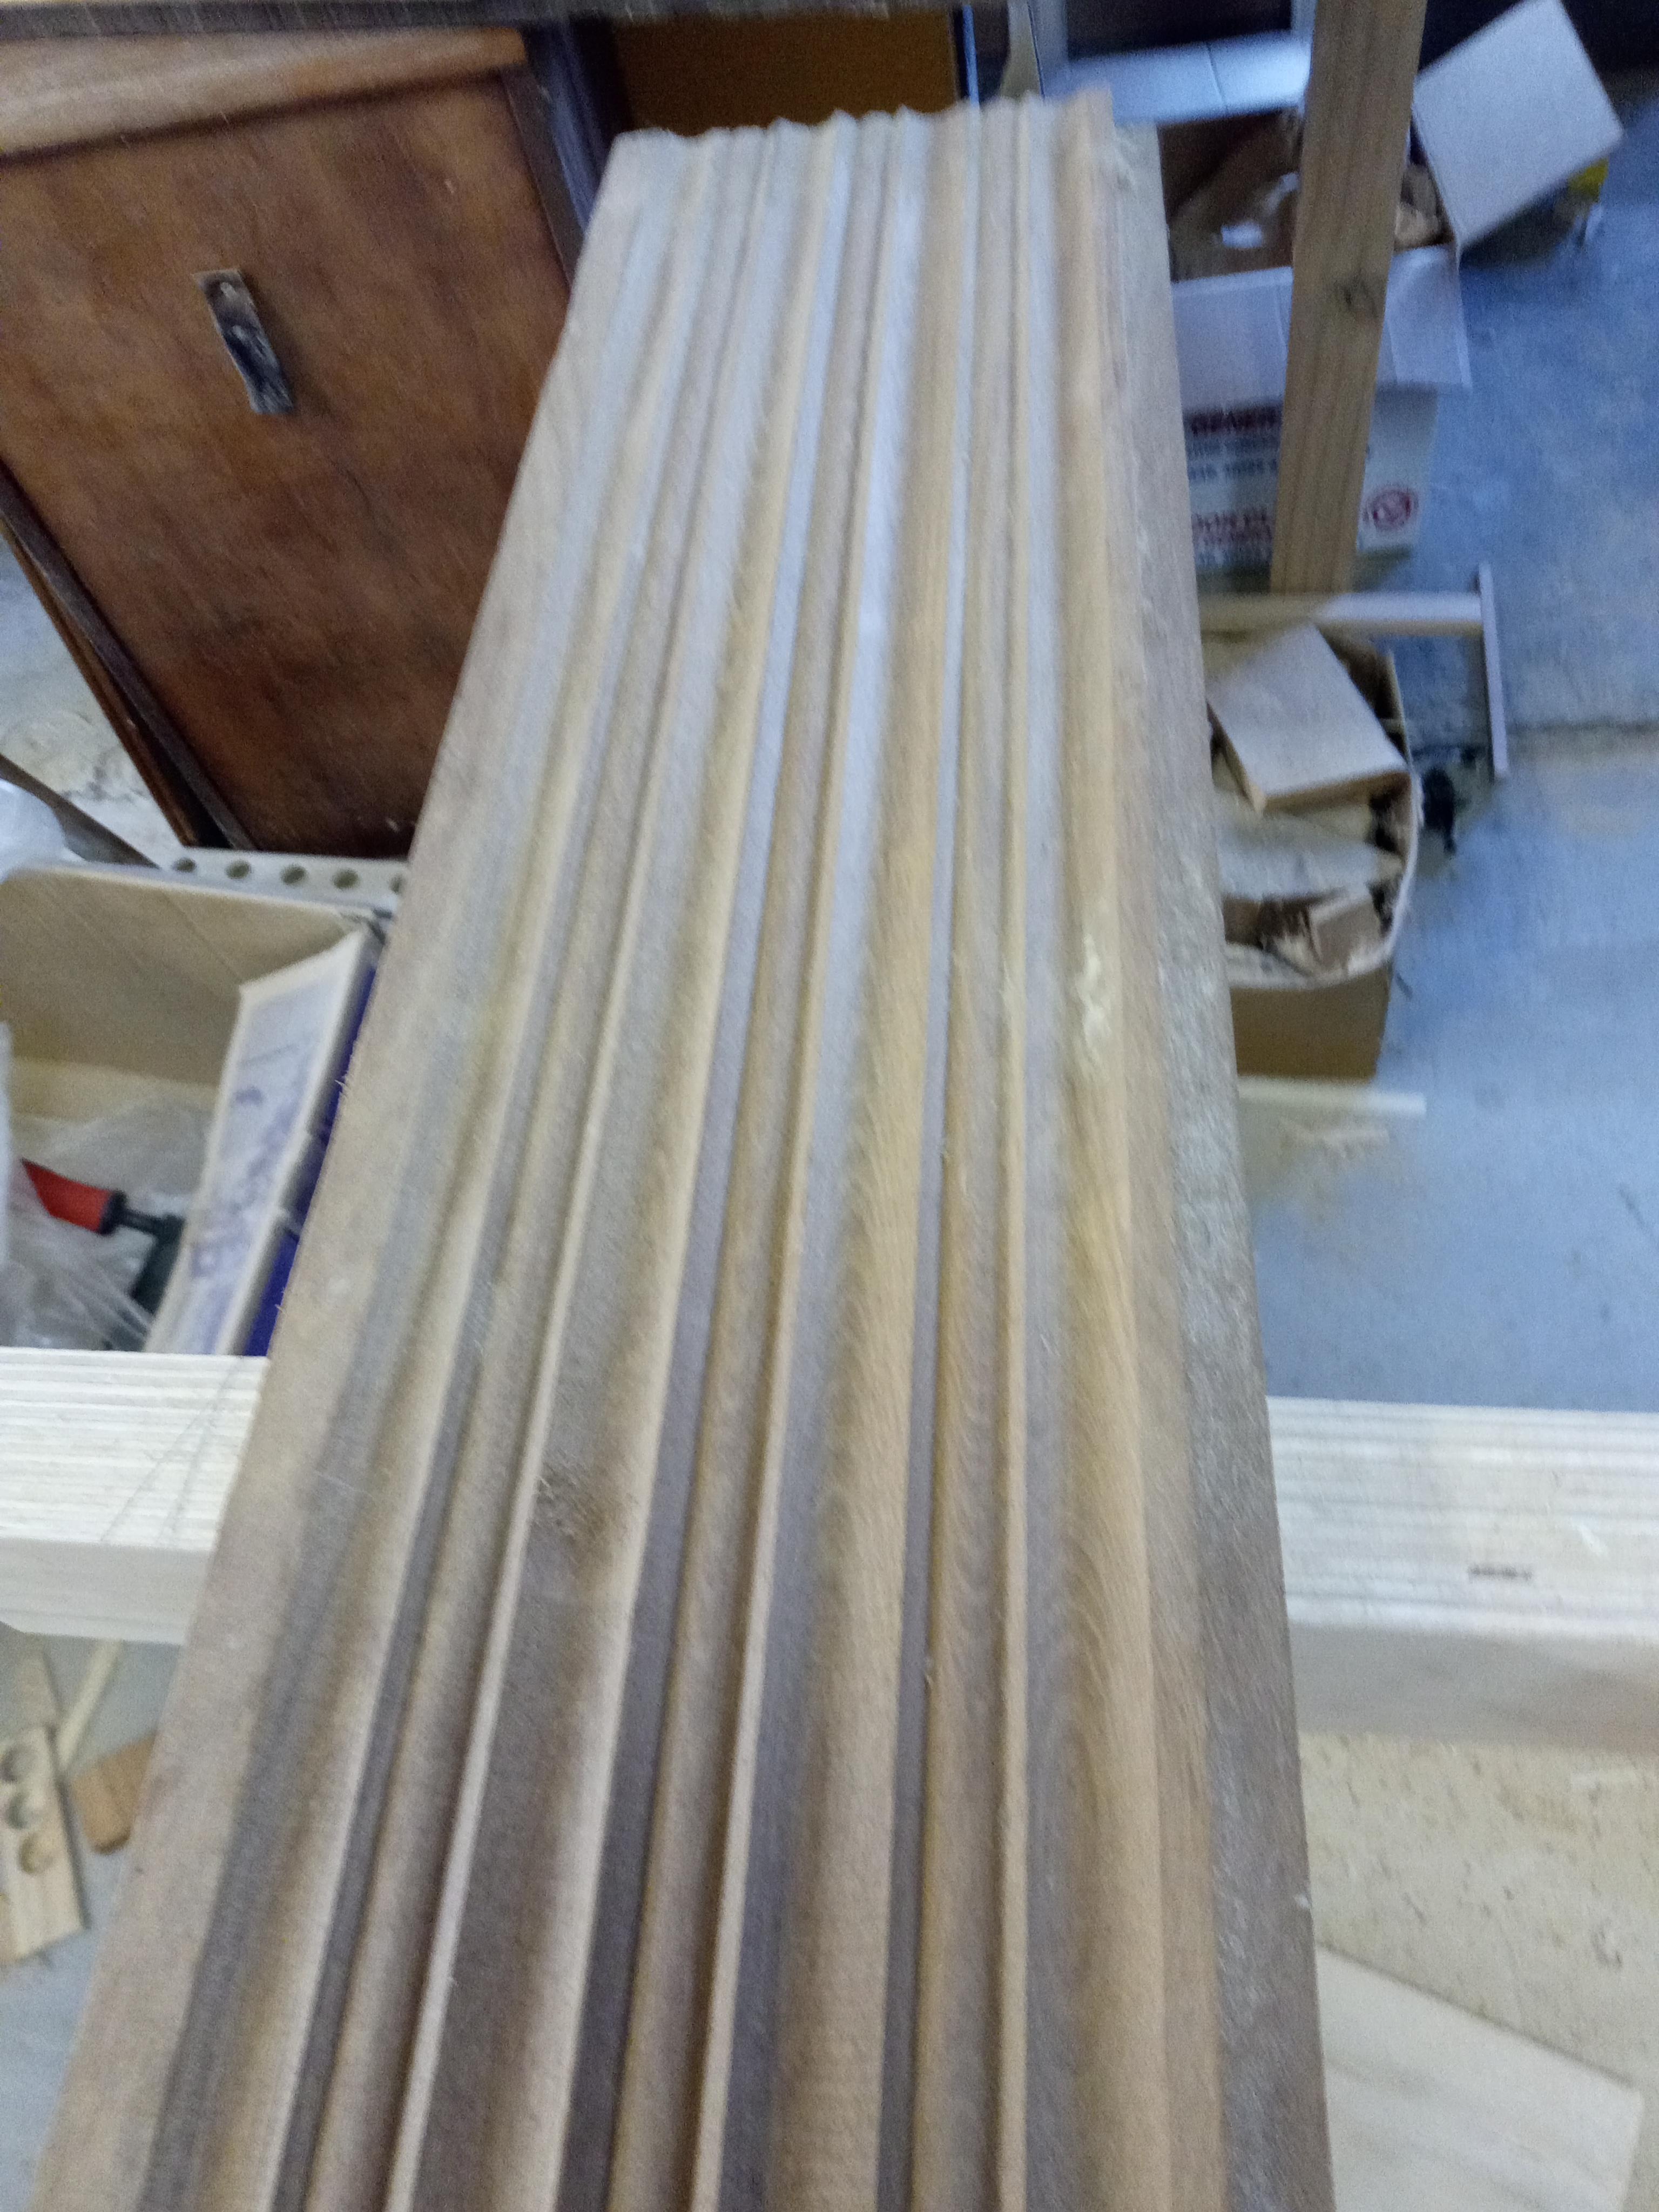
I was lucky to have a piece of offcut cornice already in the garage. I reckon you could probably get an offcut piece from a lumber yard, or if you know a builder, they might be able to get you something that would work.
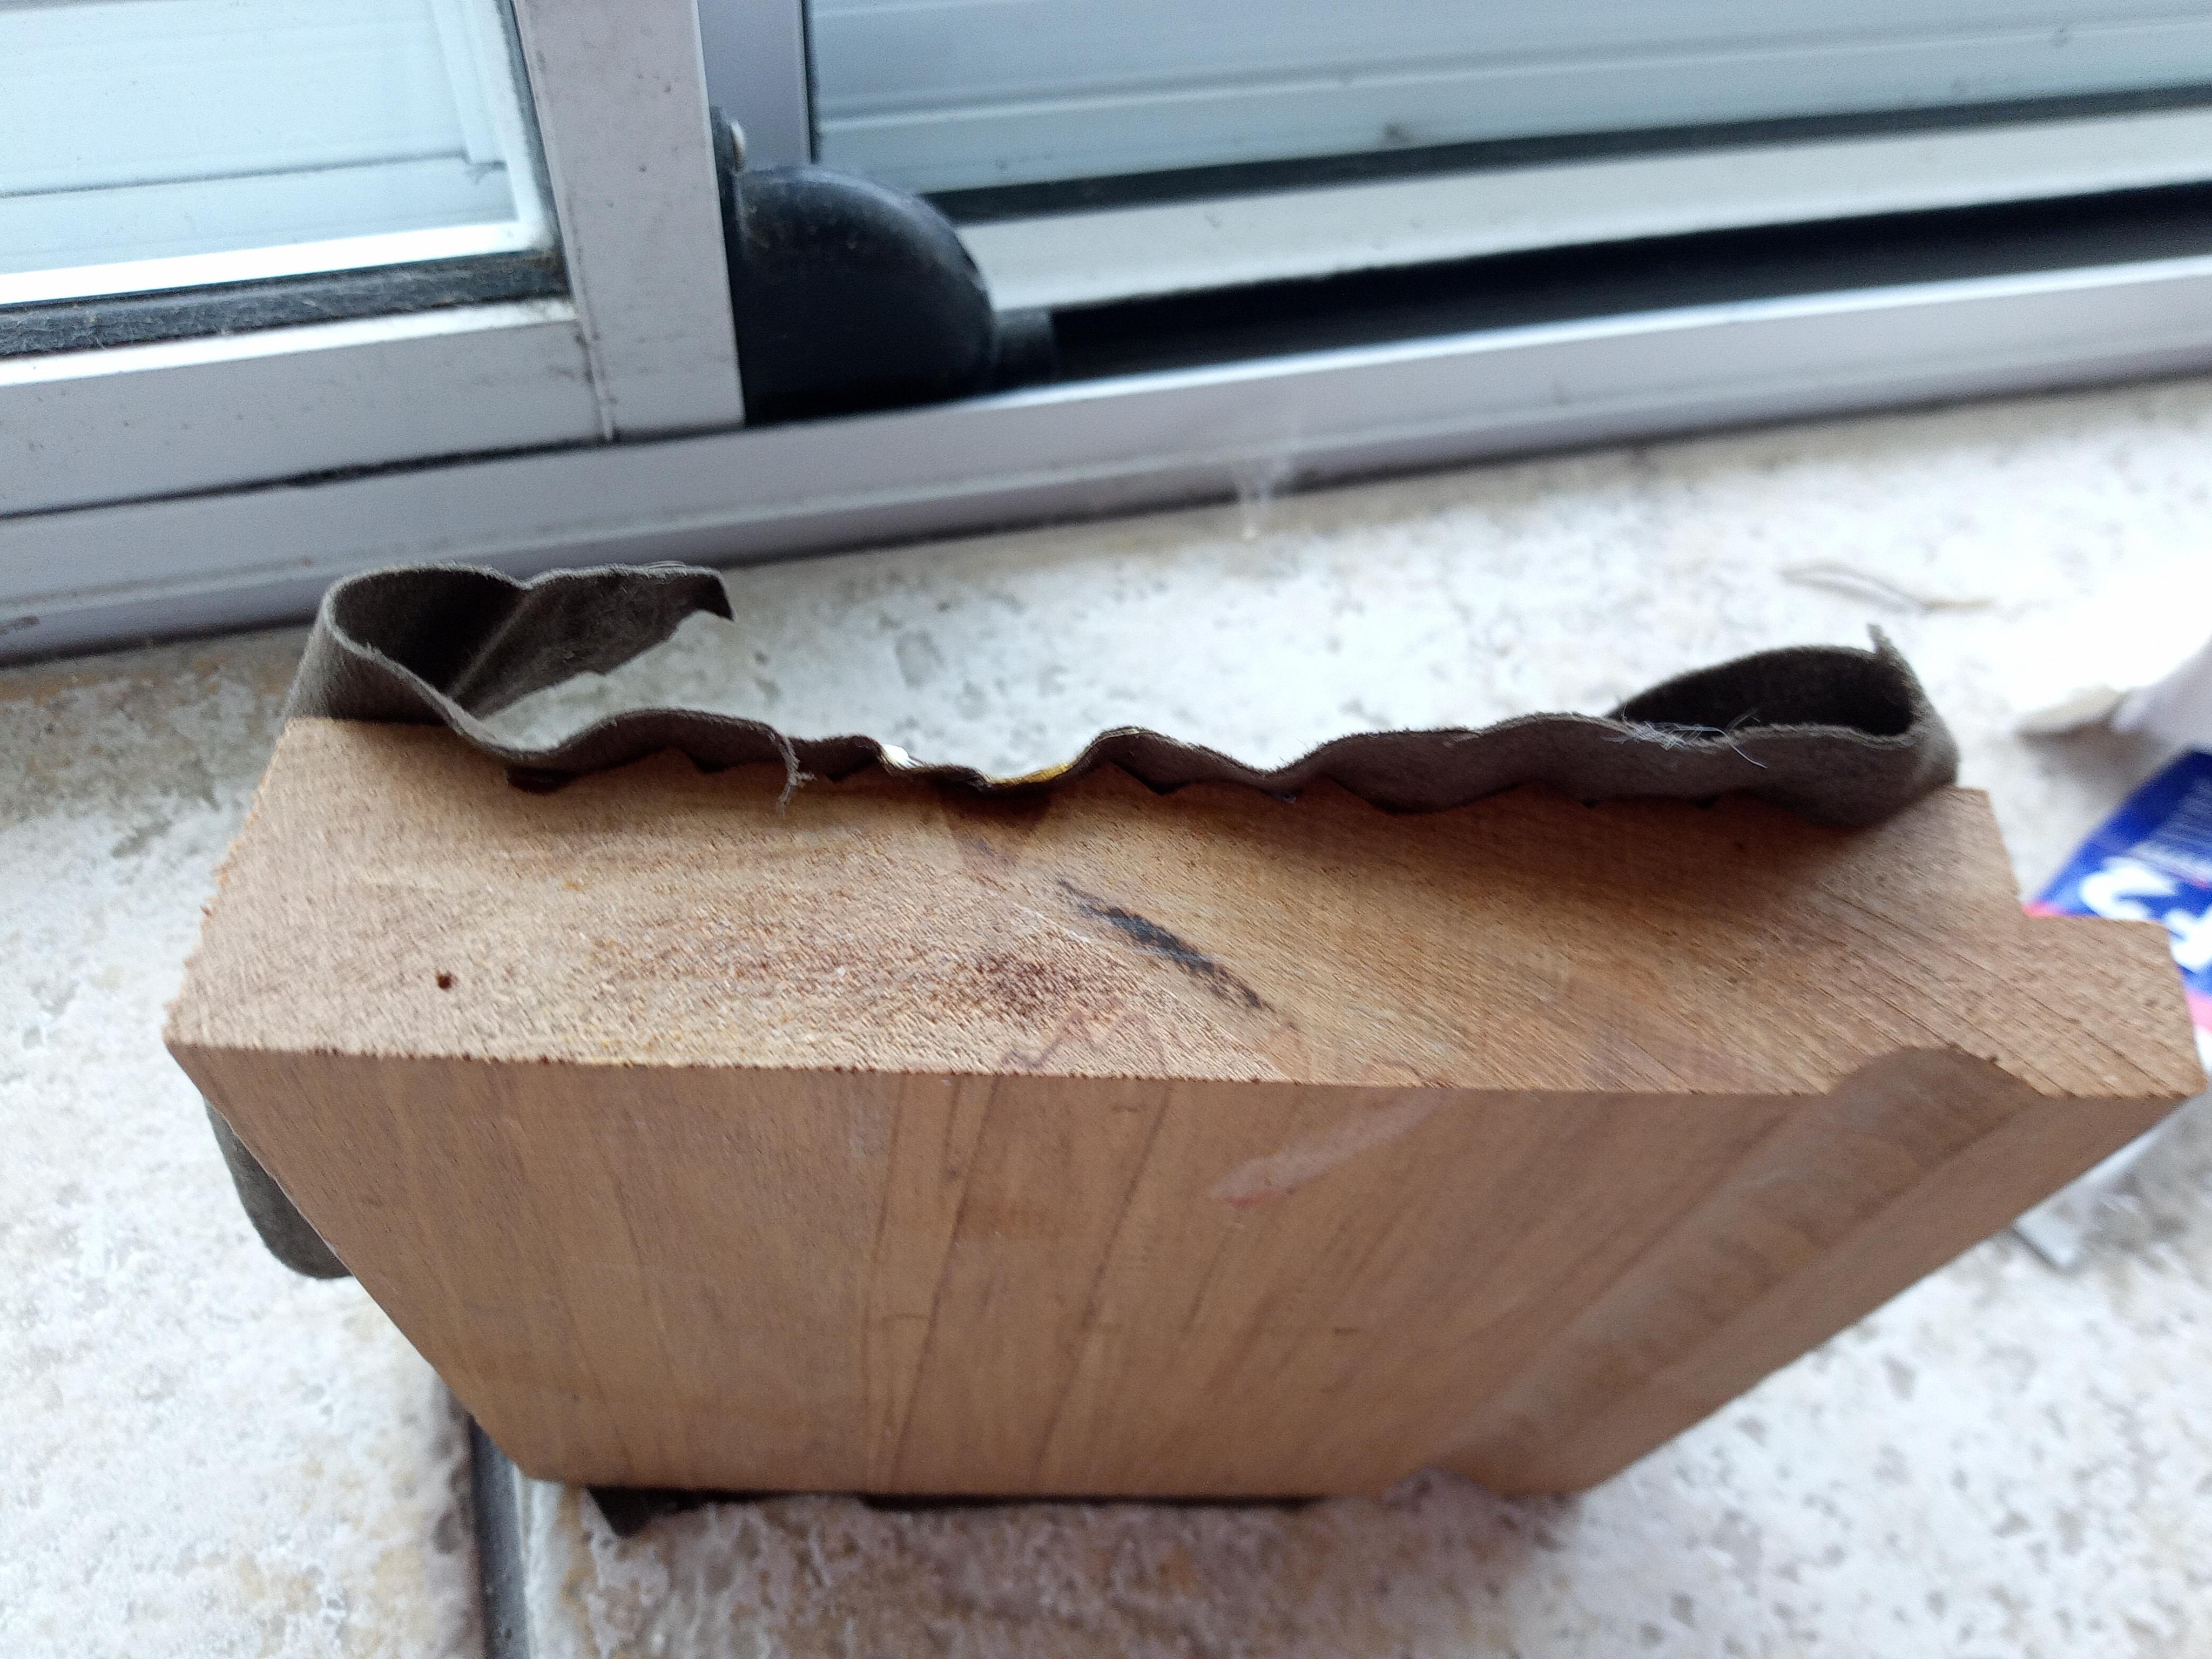
First, I cut a smaller piece of cornice from the piece I had, about 15 x 15 cm squared. Make sure that you use a piece without dents and nicks in it. You want the surface to be smooth, otherwise sharpening anything on it will lead to inconsistent results.
I cut mine with a table saw, but you can use a jigsaw, circular saw, or even a hand saw, since it is not an overly large piece.
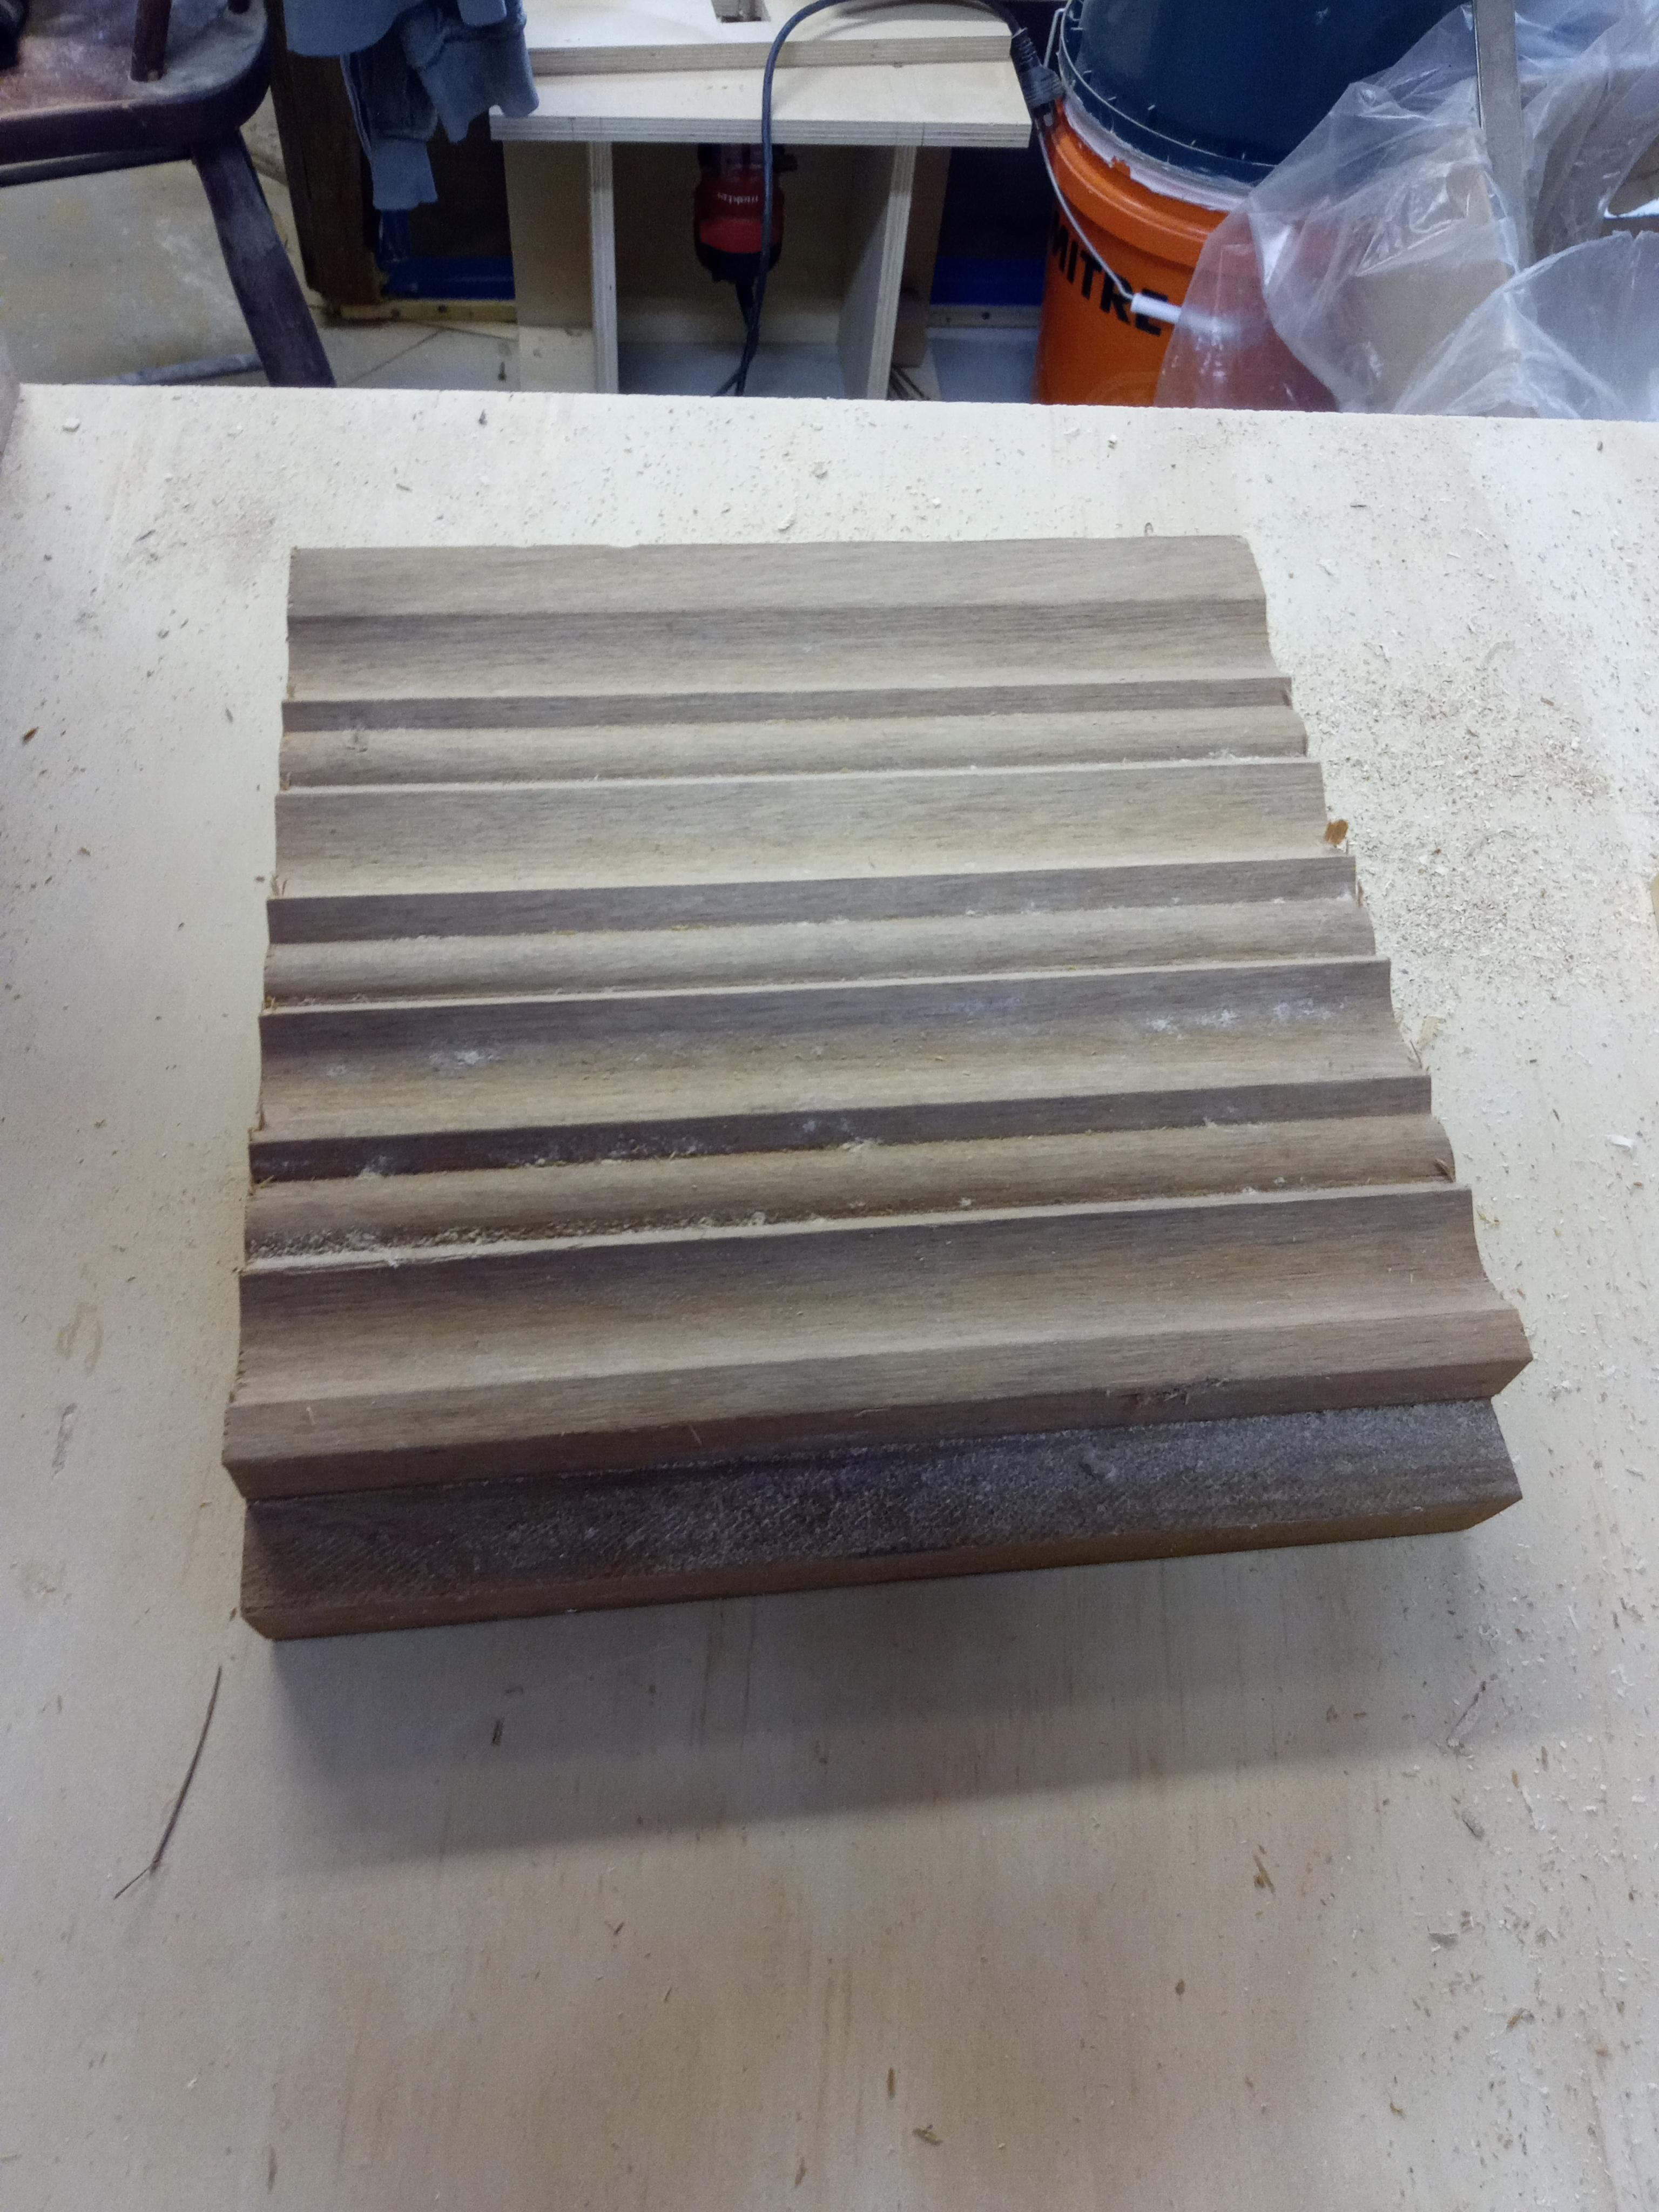
Clean/remove Dust and Dry
Next, I cleaned the cut-off piece with a damp cloth and let it dry in the sun for a few hours. Once dry, I made sure to clean off any remaining dust with an old toothbrush.
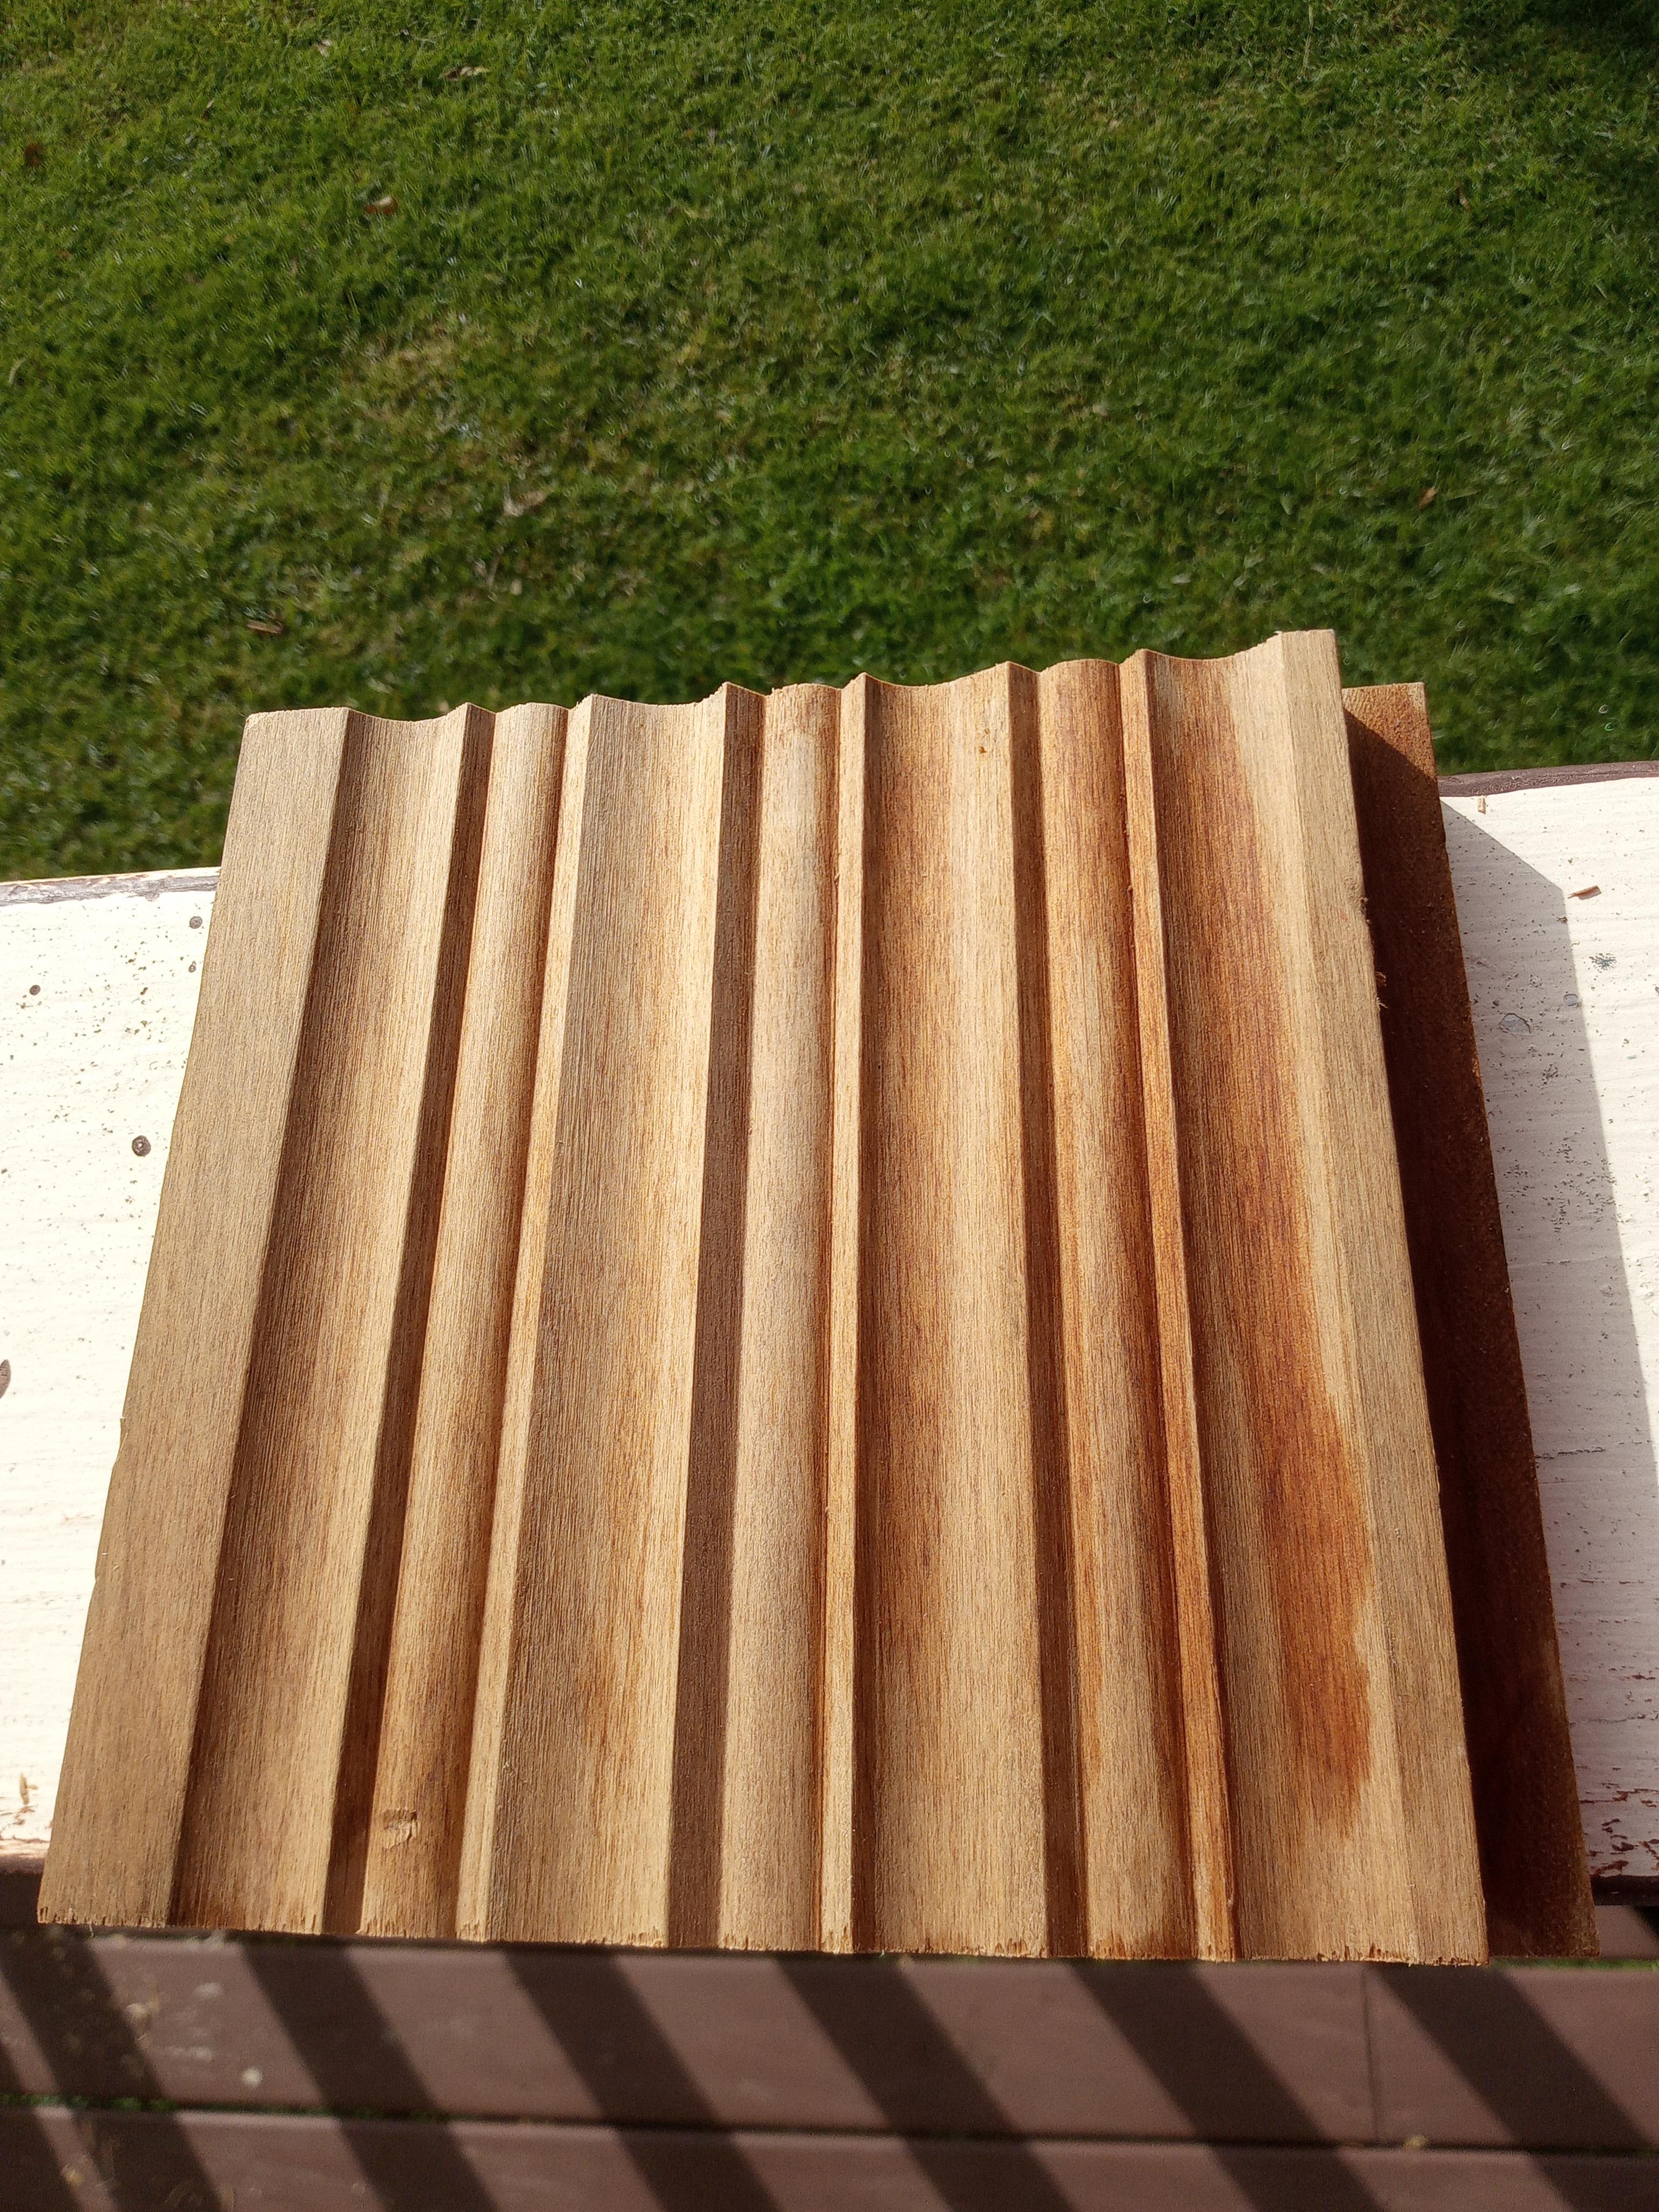
Glueing the Leather
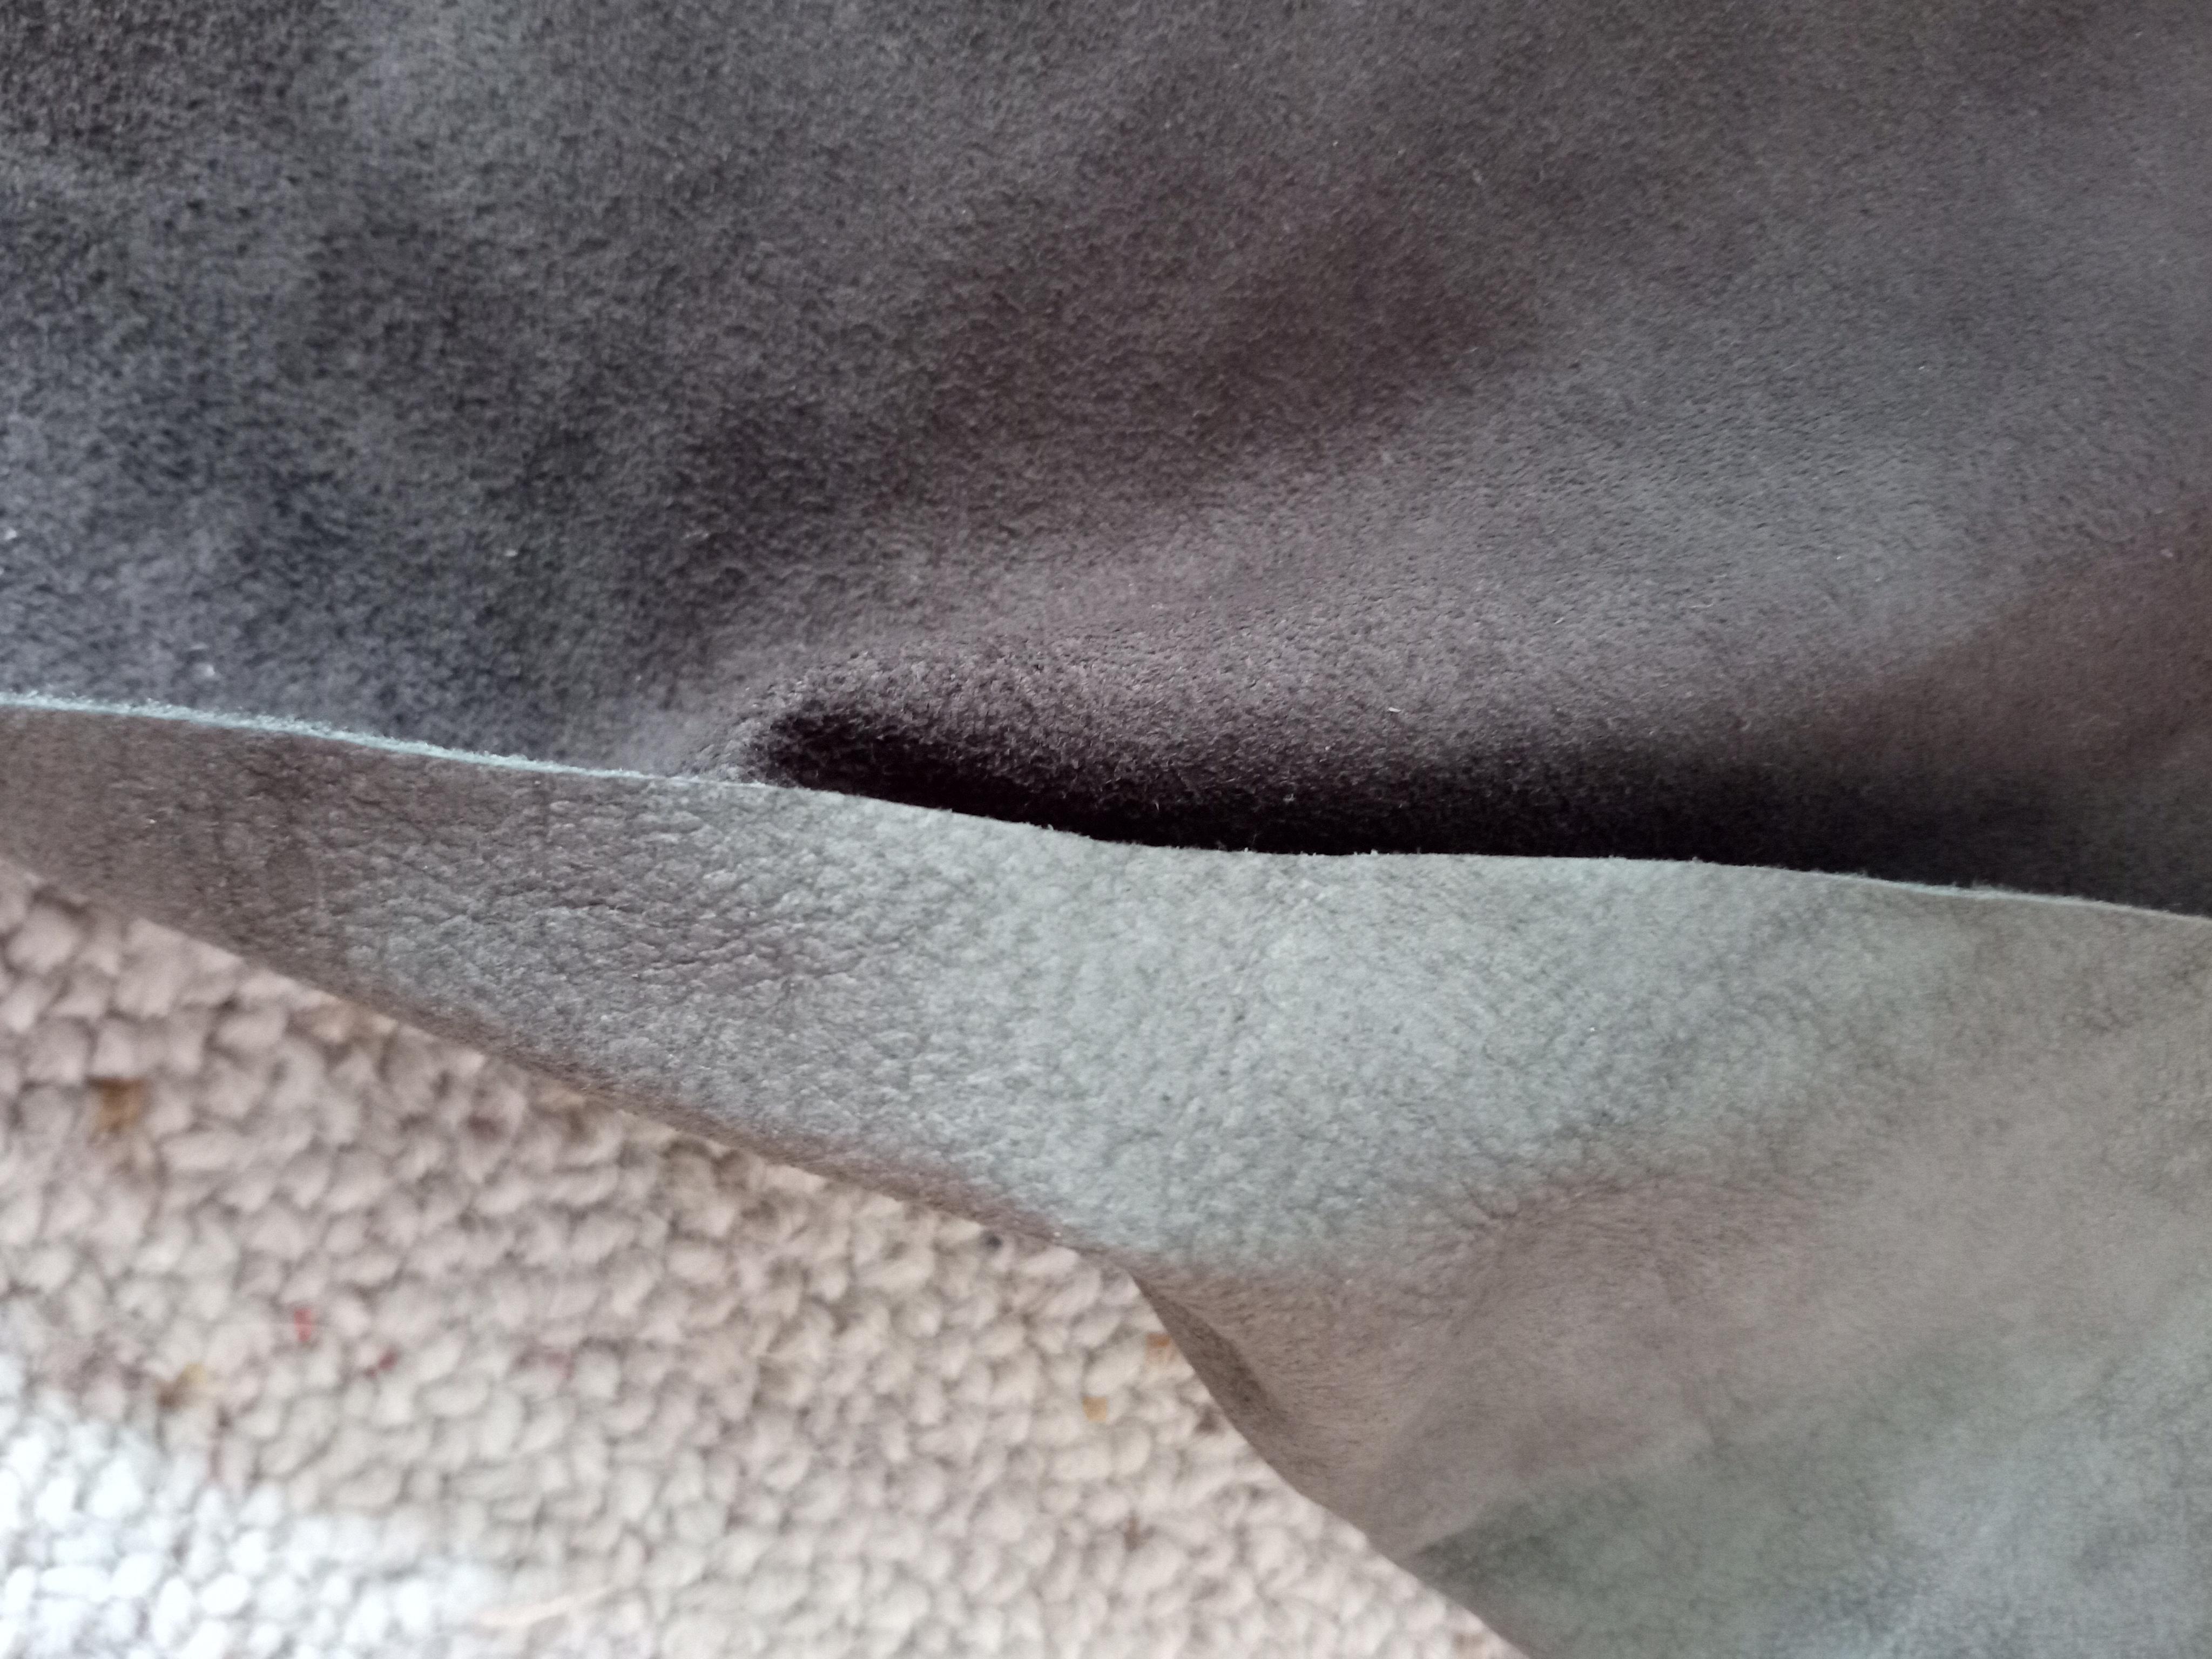
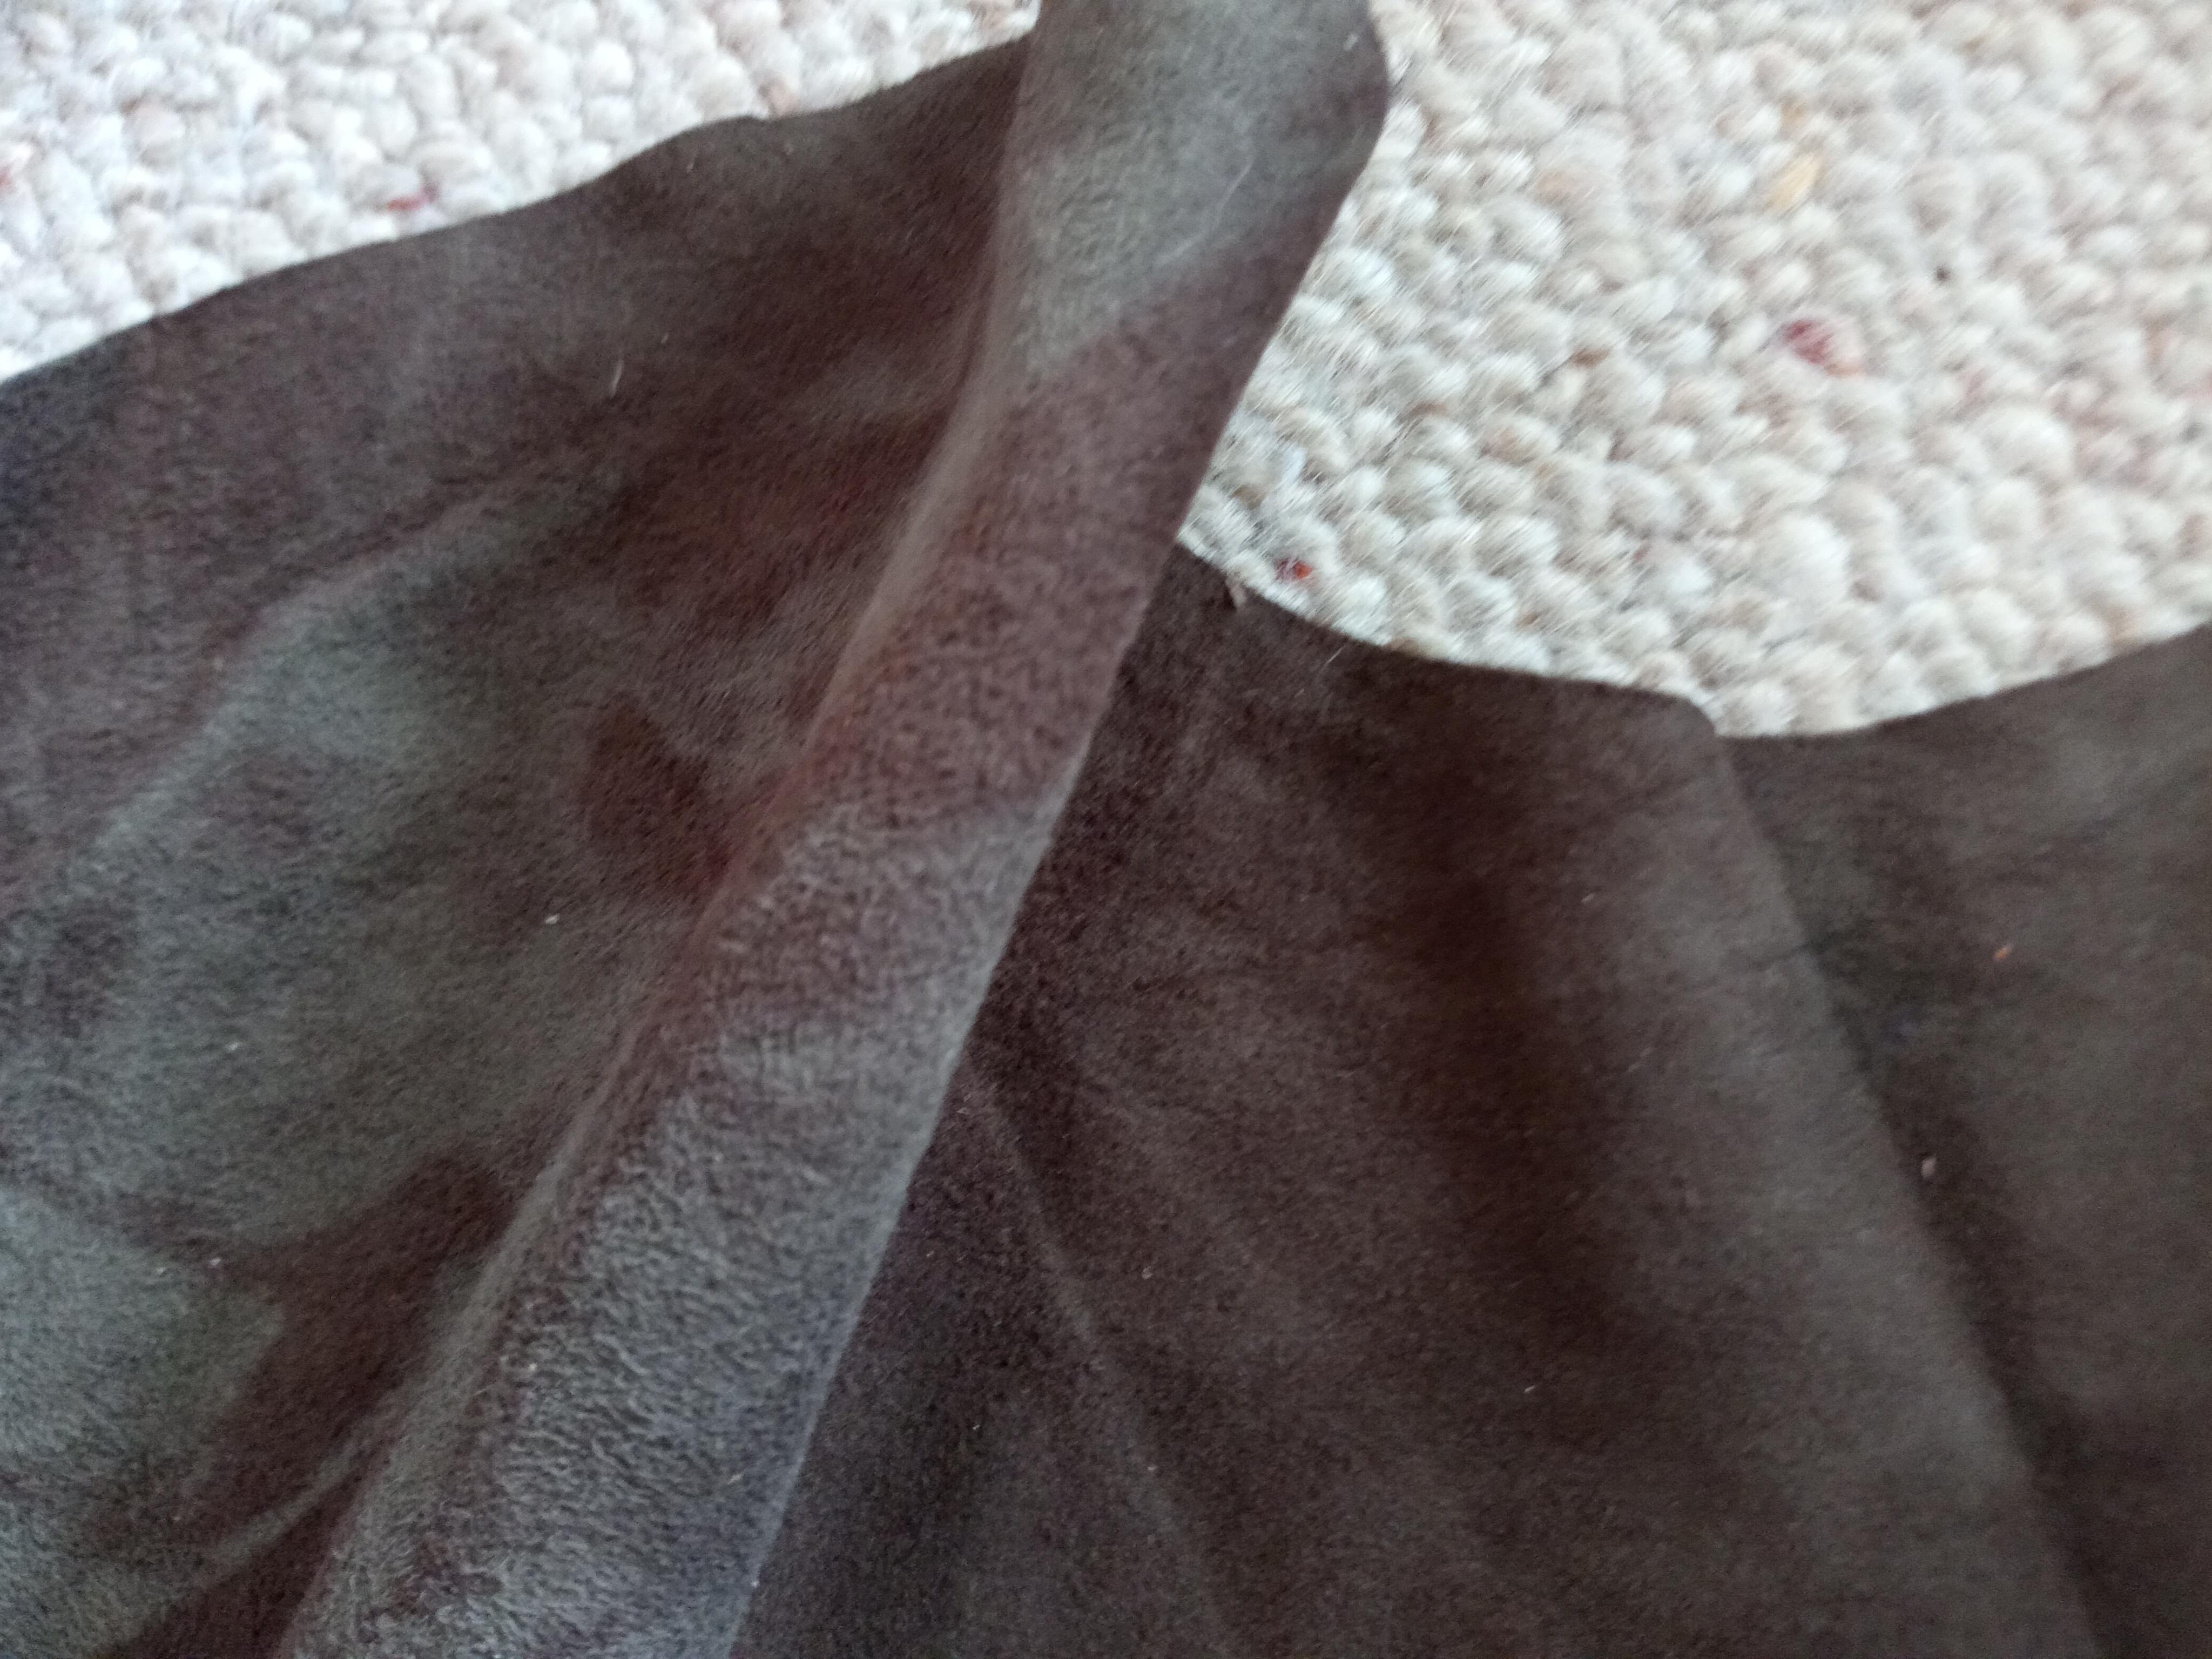
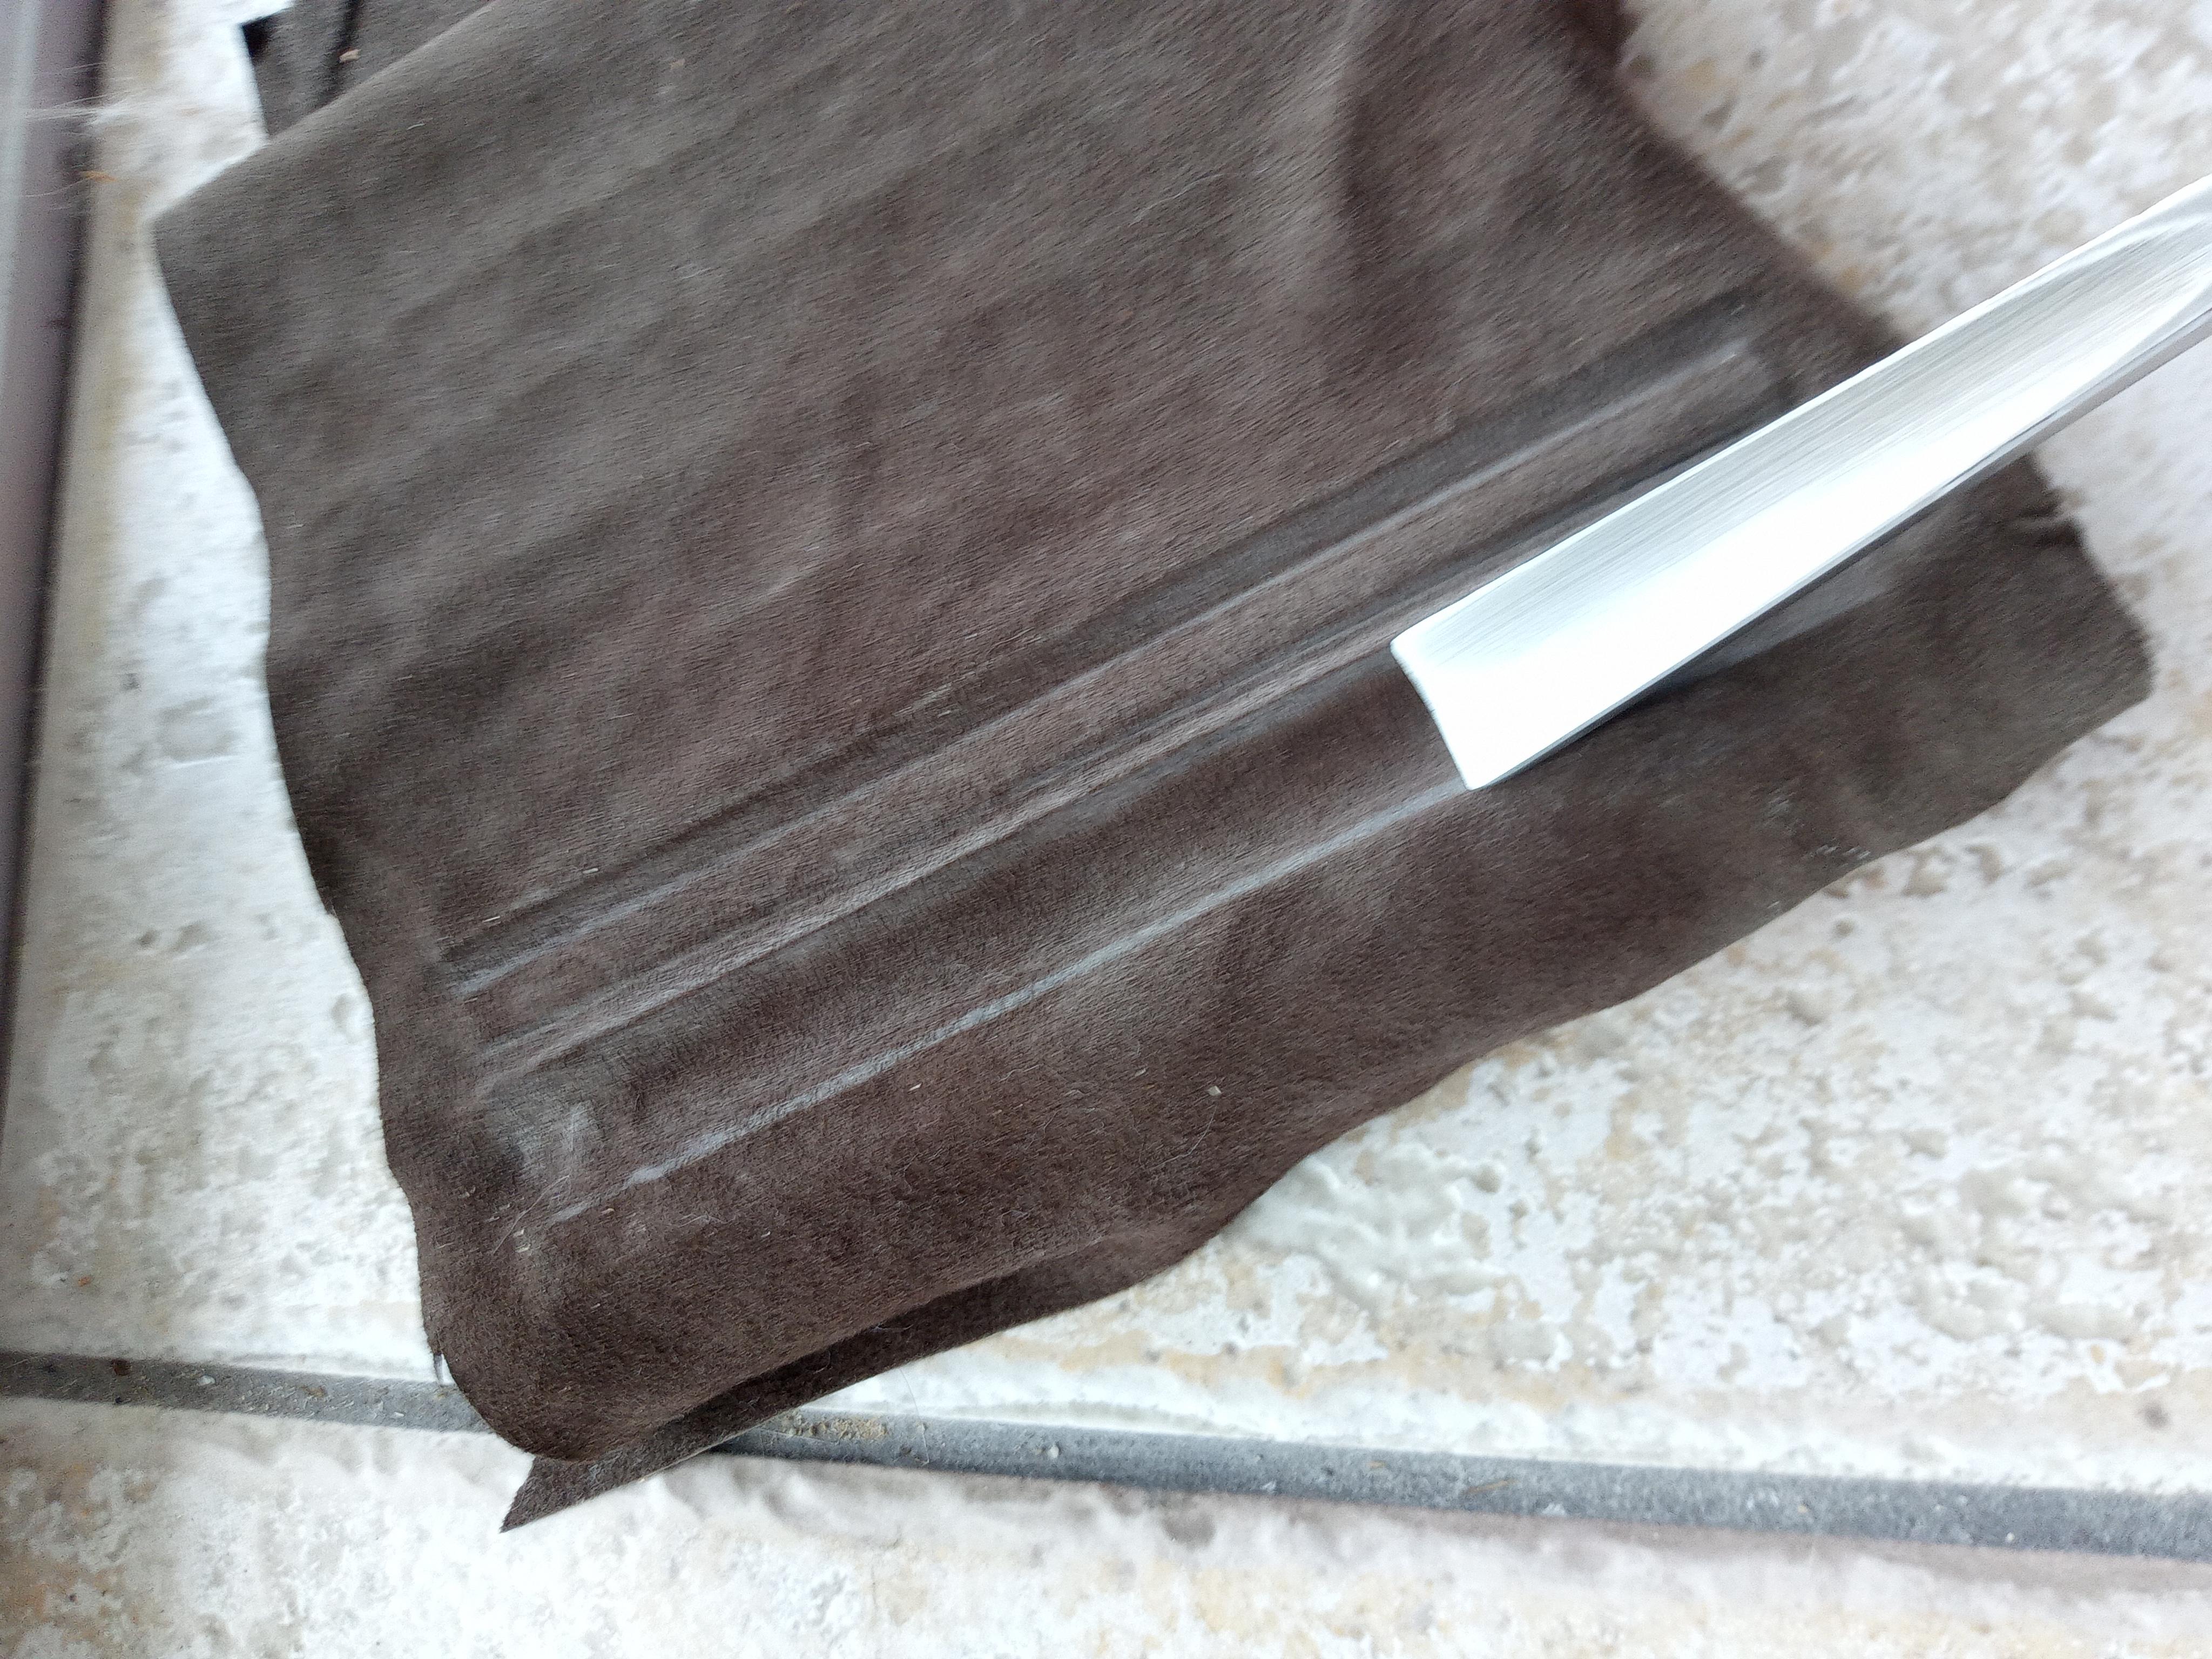
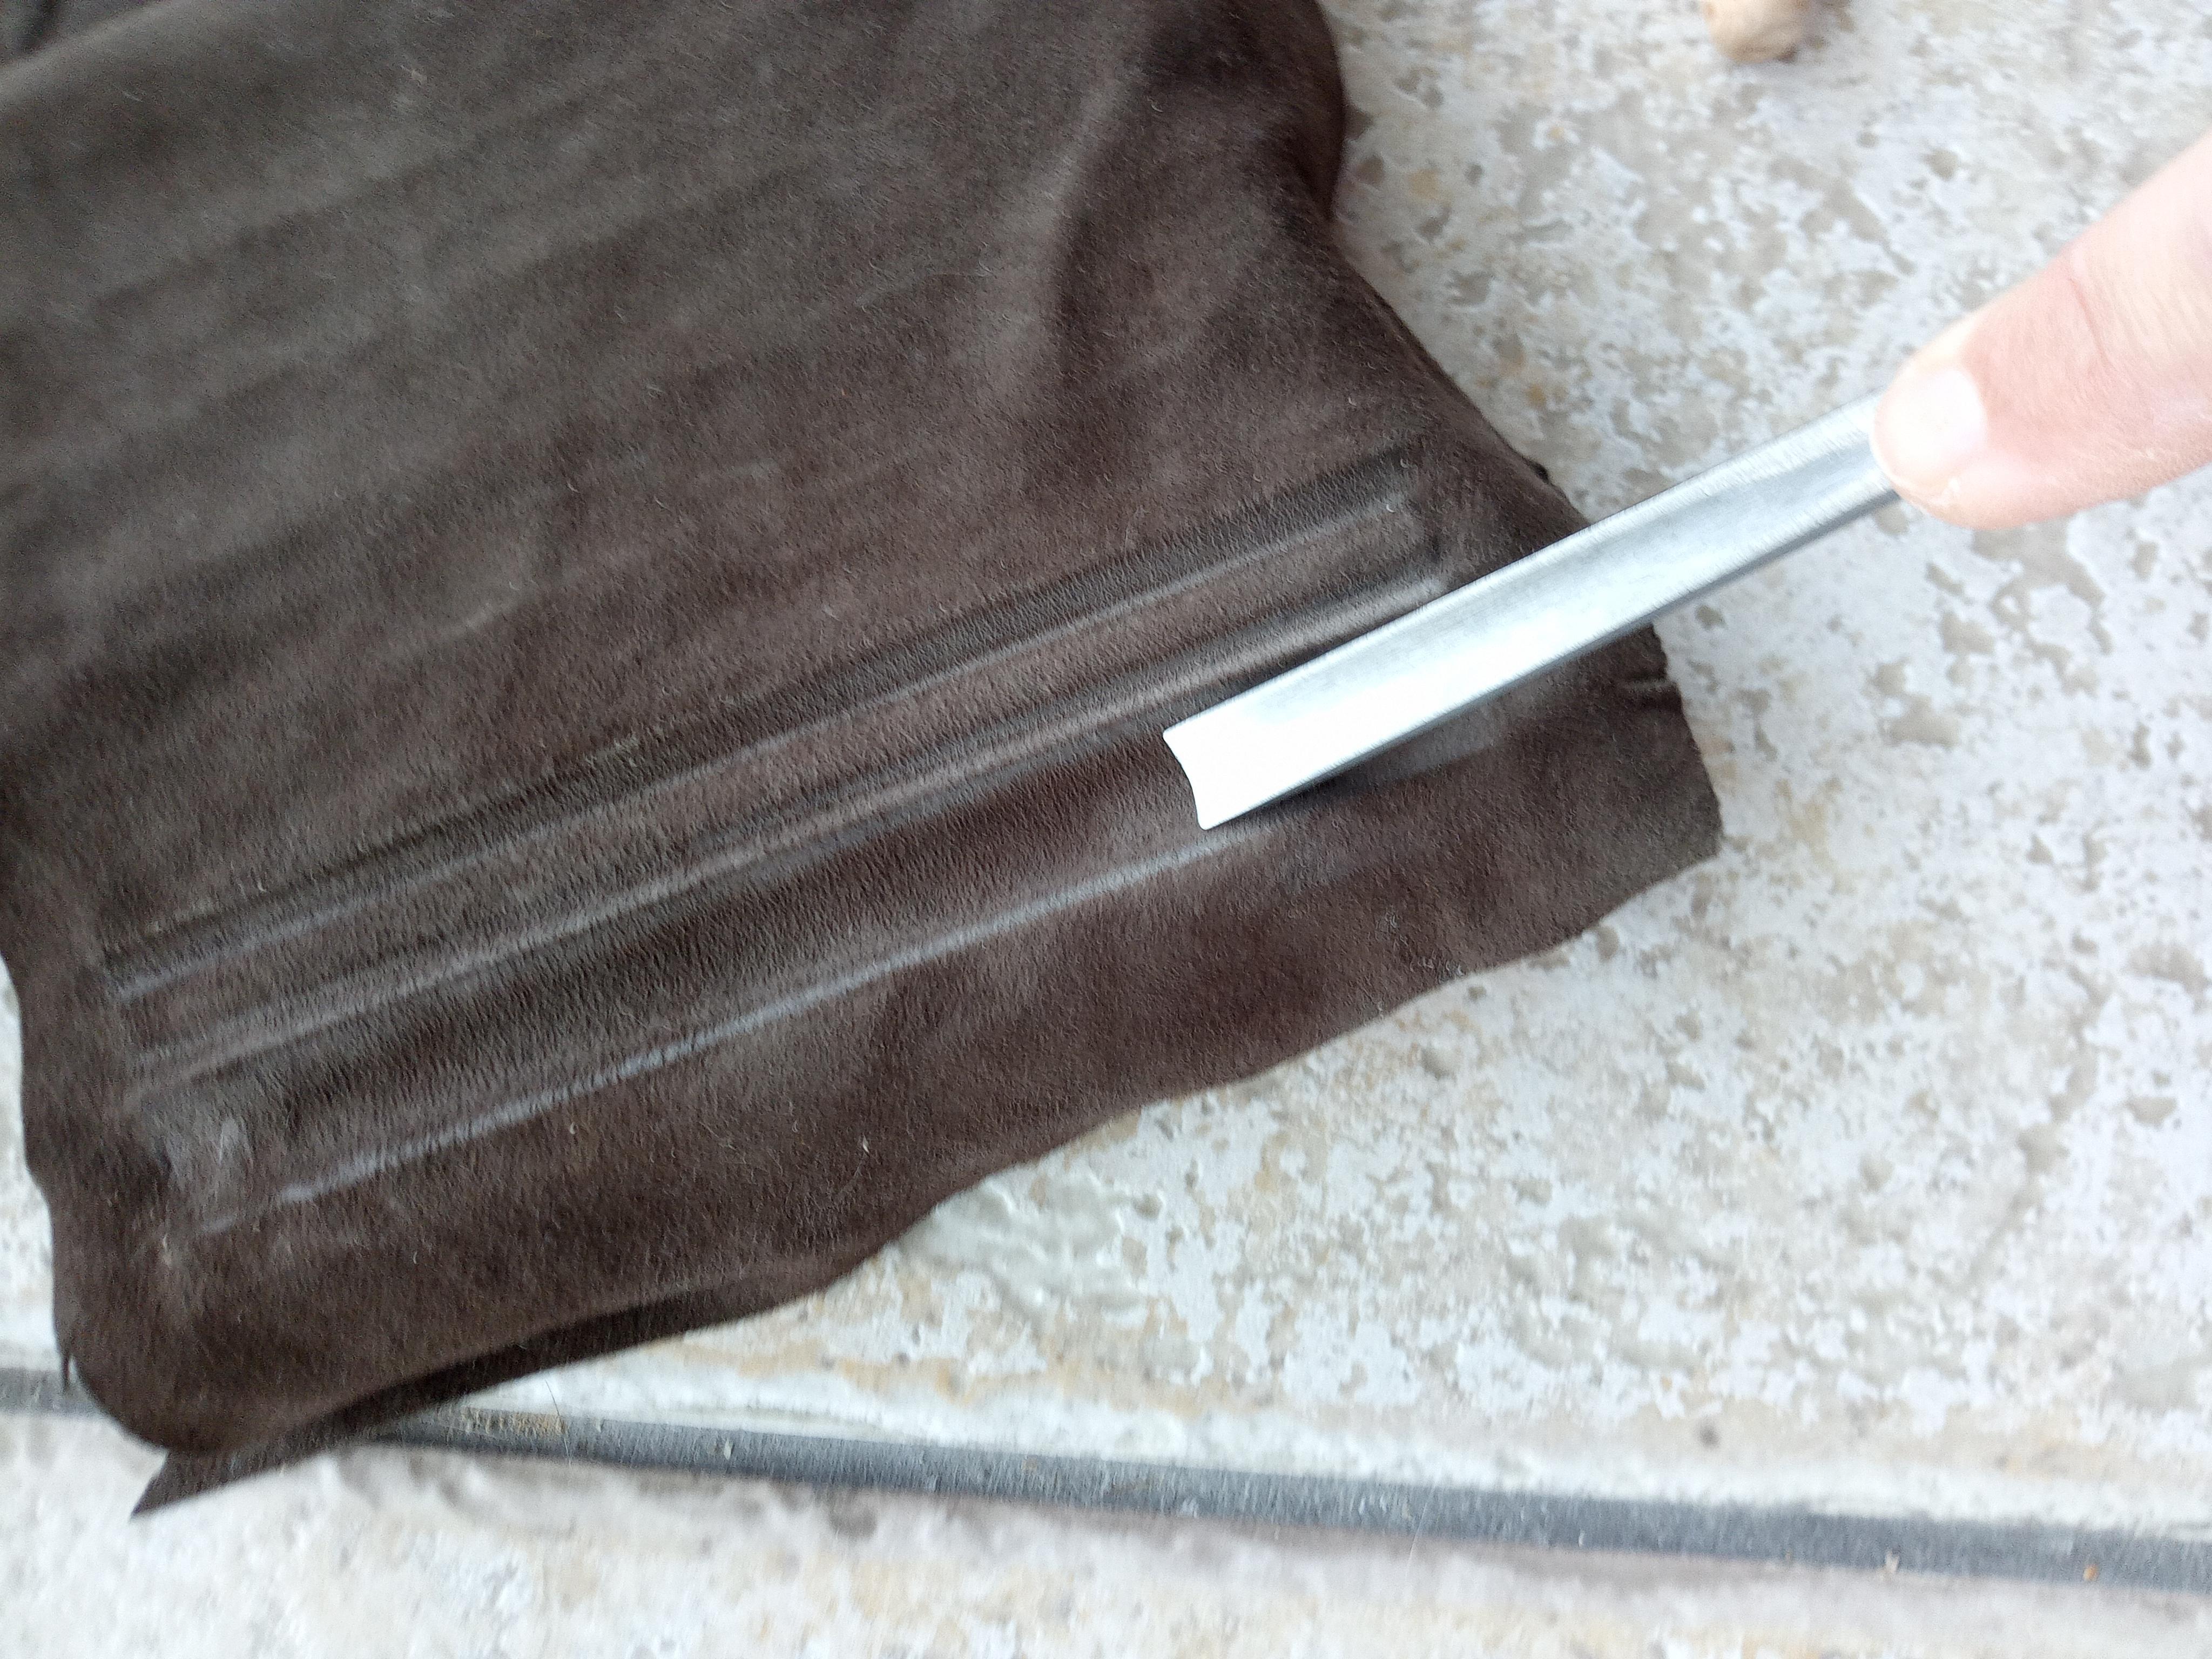
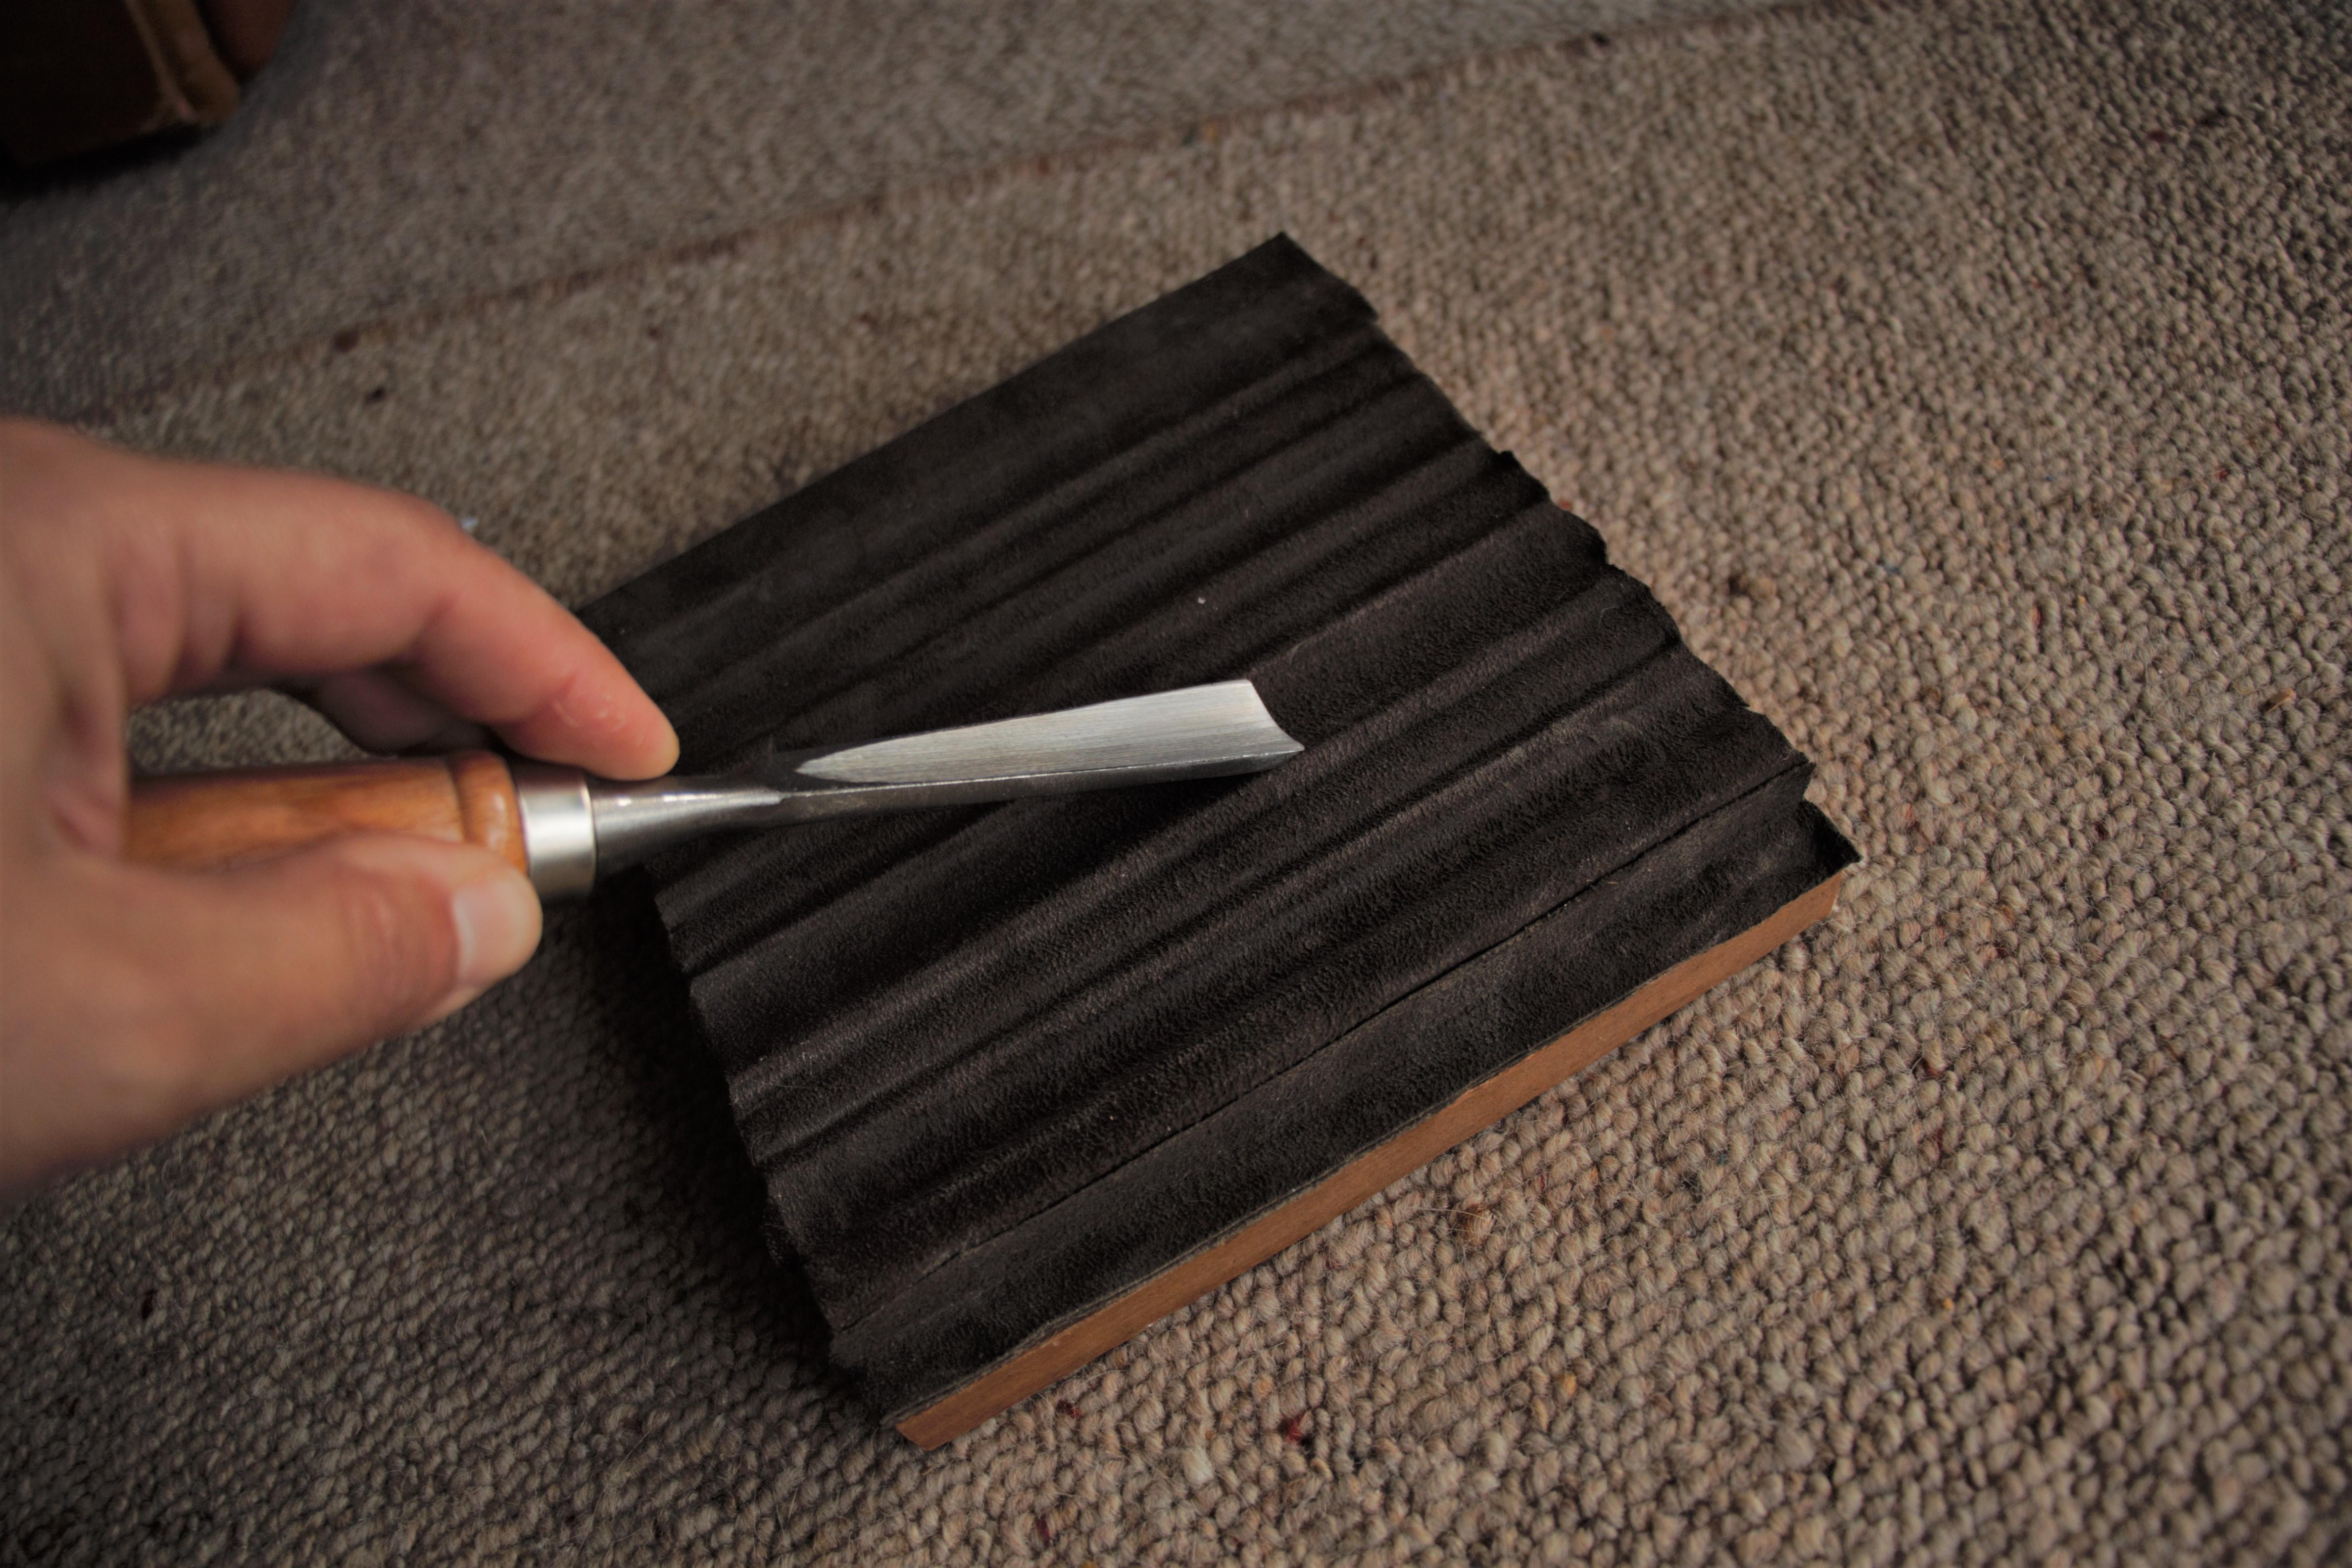
Next, you want to glue your leather to the newly-cut slipstrop. Cut the piece of leather just slightly larger than the piece of wood. When glueing down the leather, ensure that the underside of the leather (not the smooth skin) faces up. That is, you're going to glue it with the skin-side facing down.
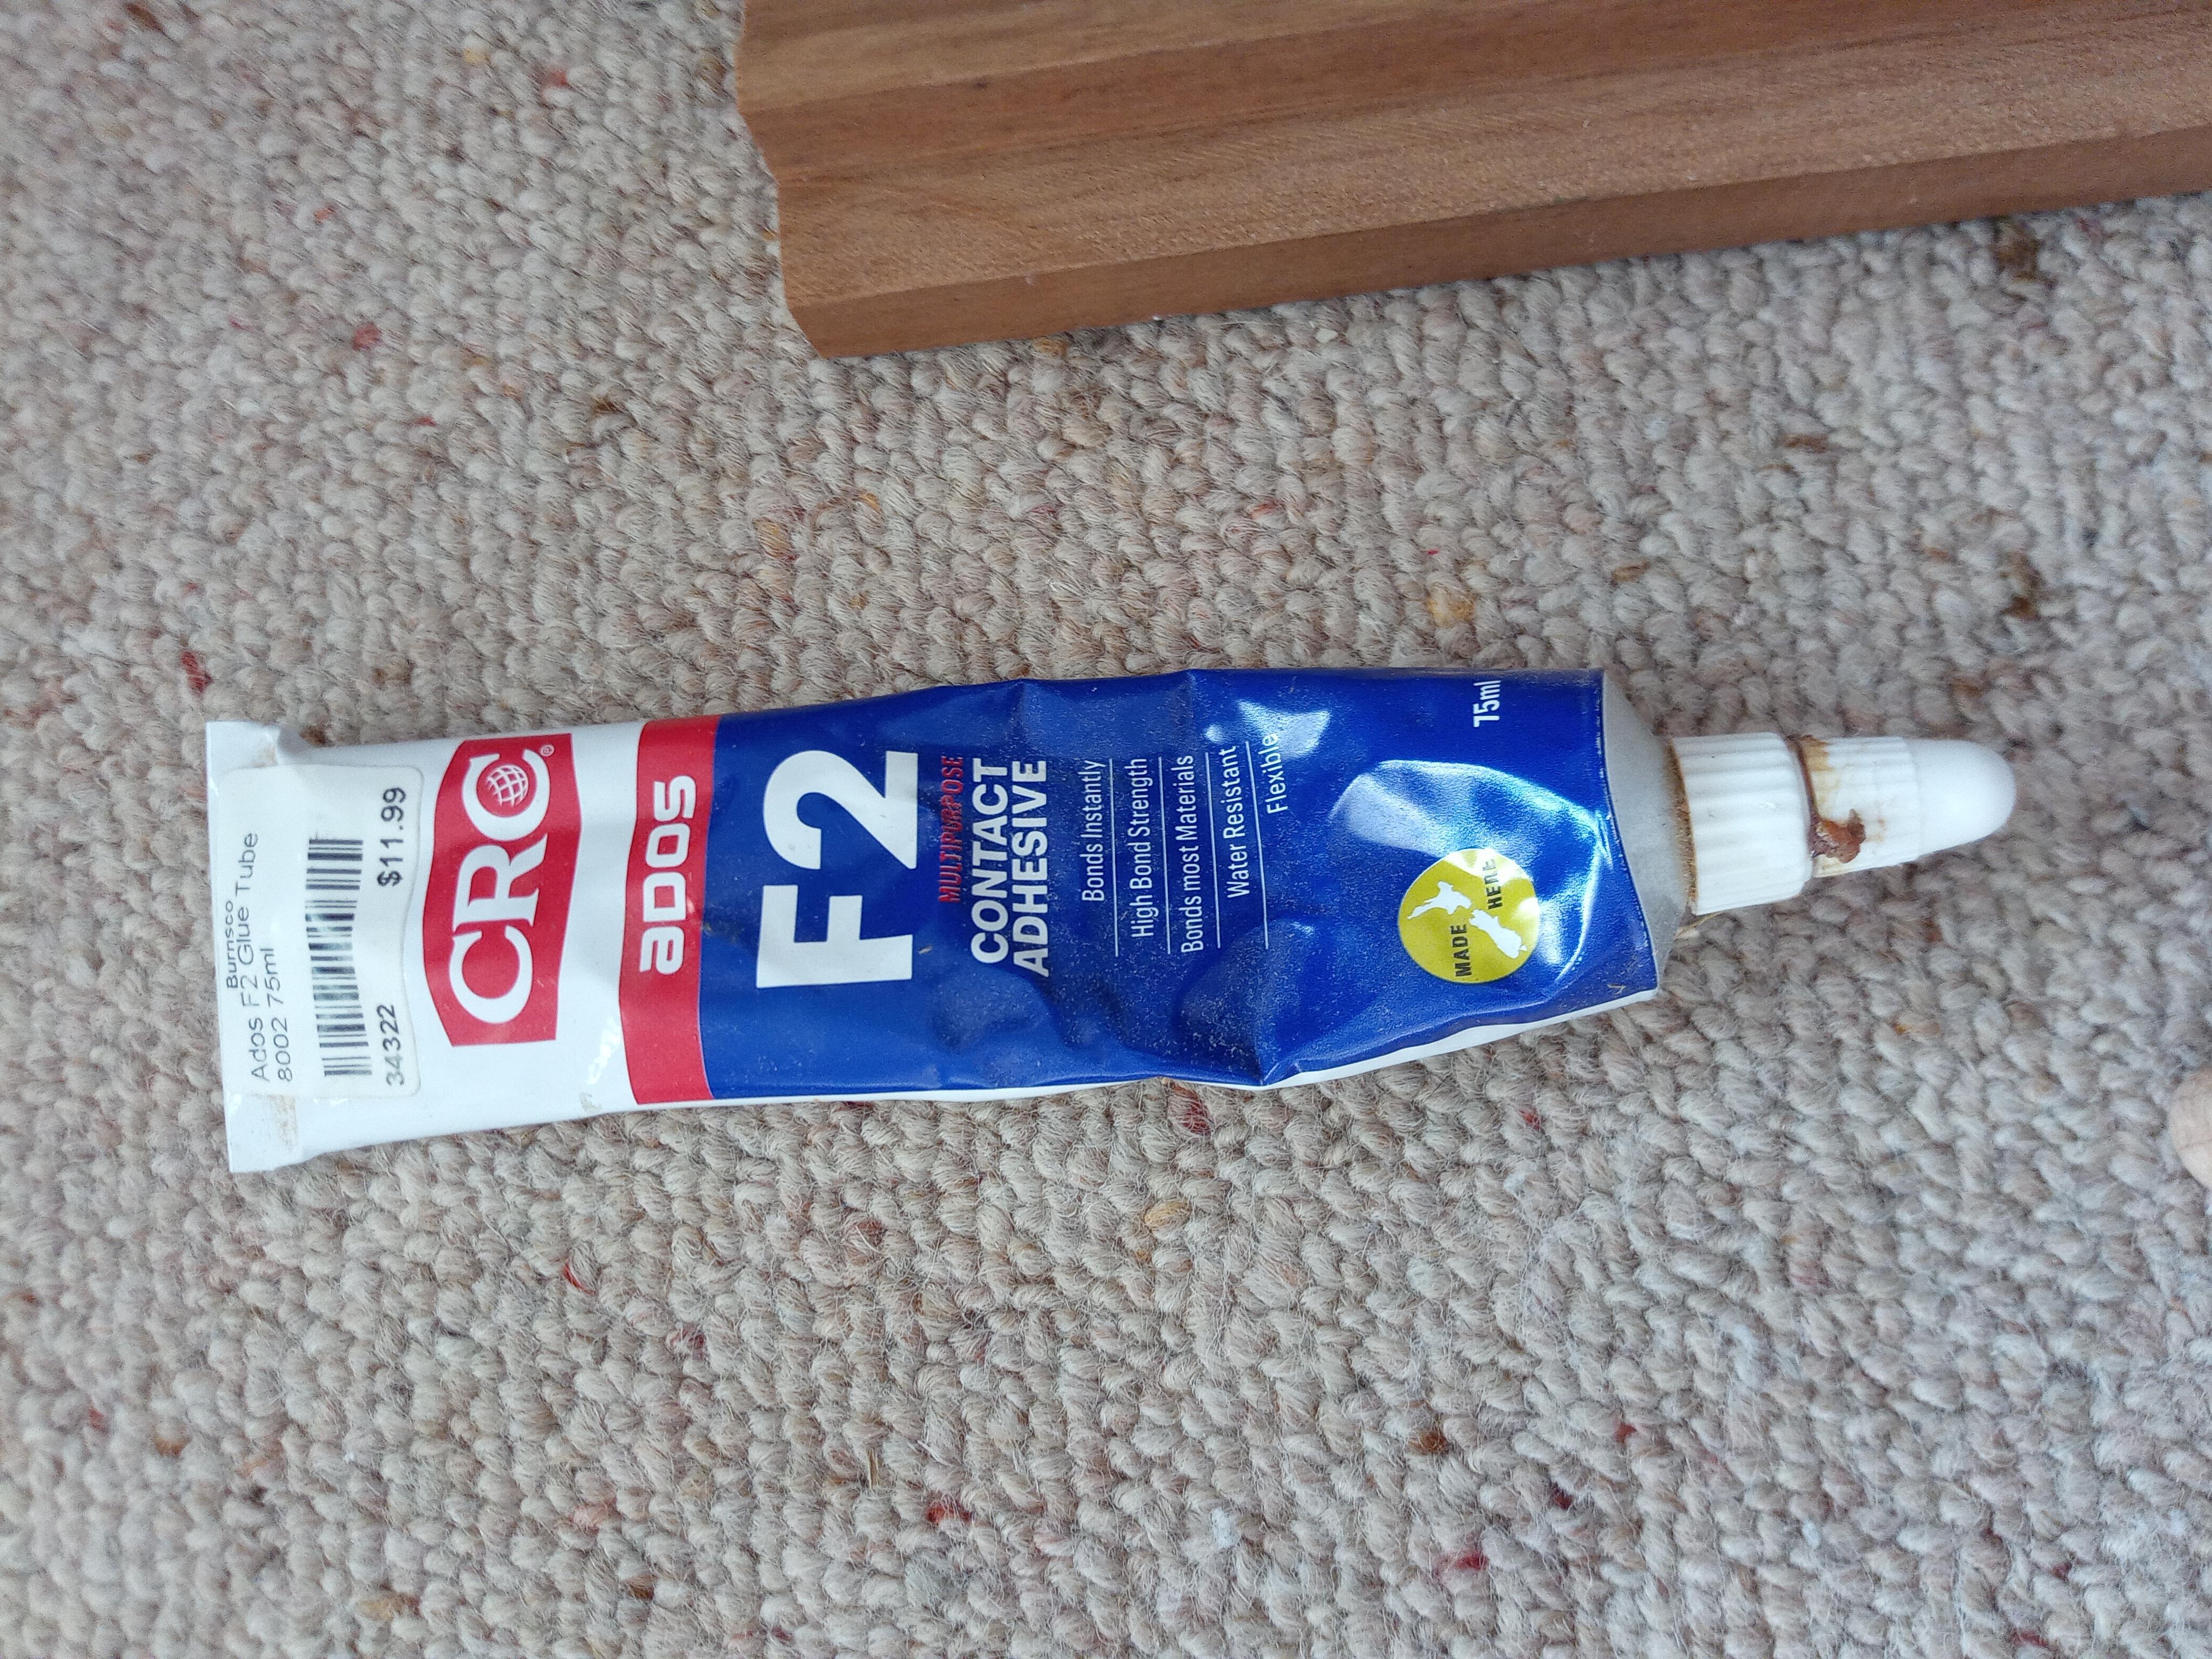
I used ADOS F2 Contact adhesive, but any multi-purpose glue with a high bond strength will work.
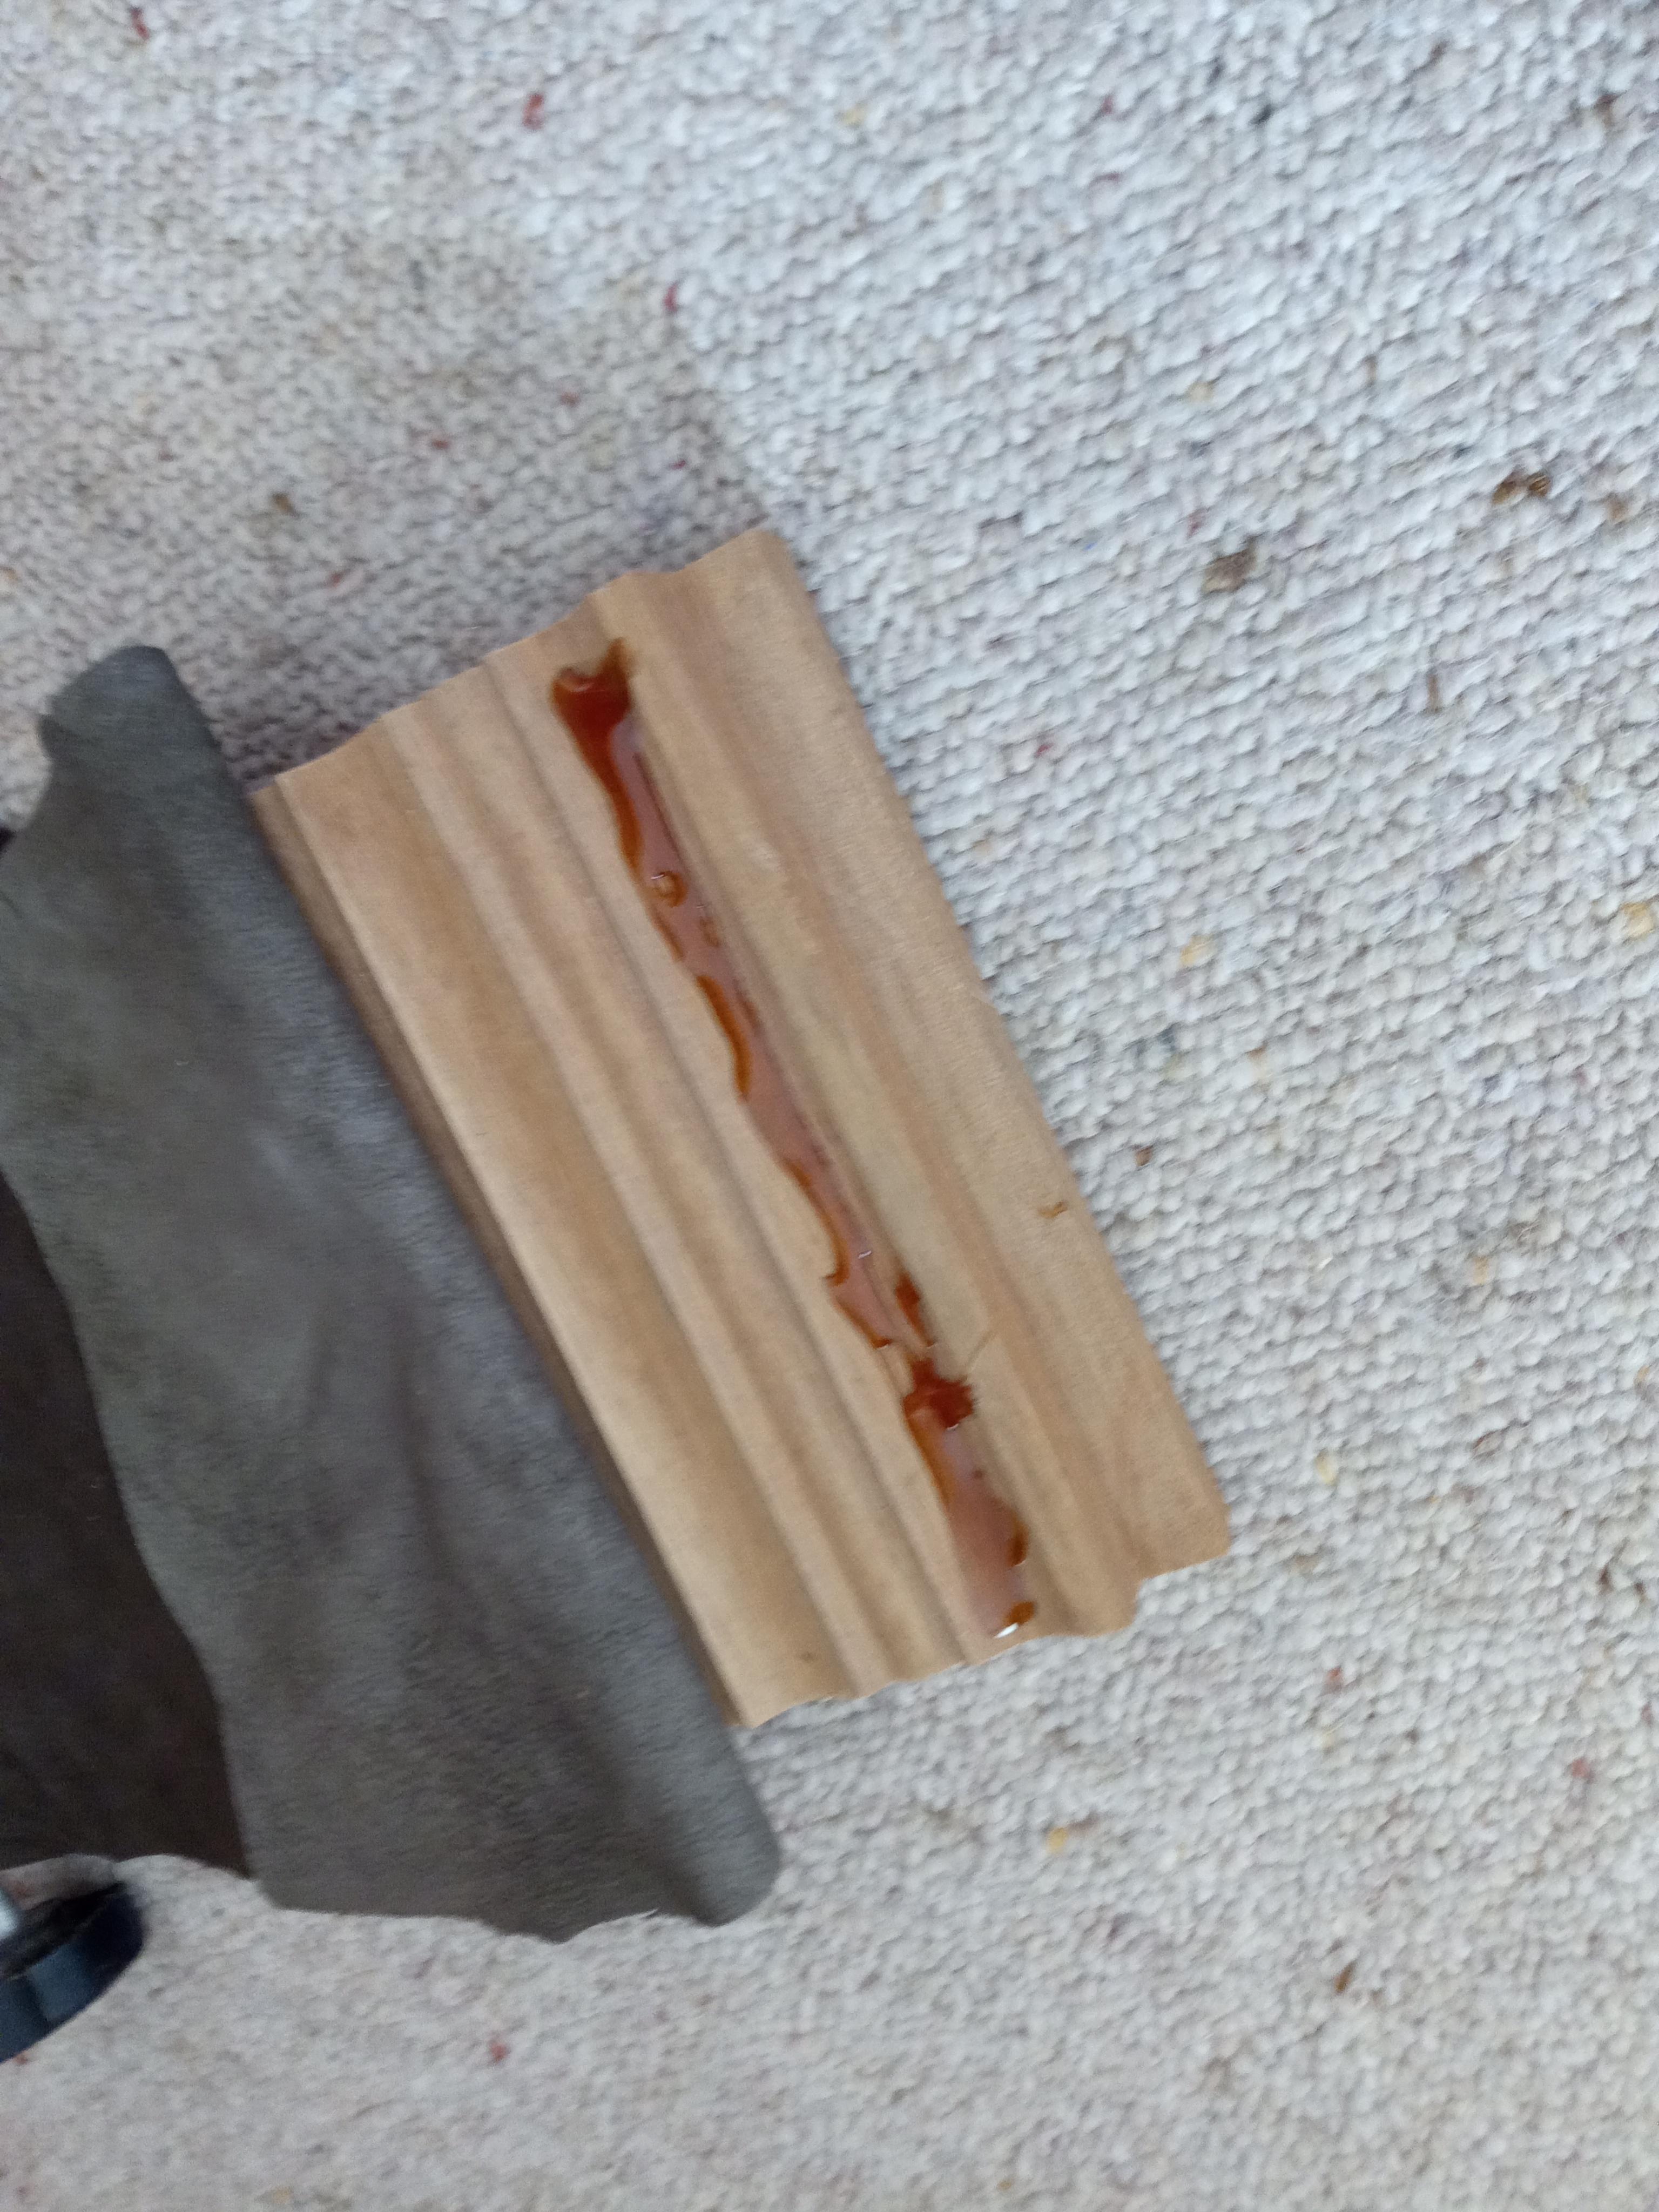
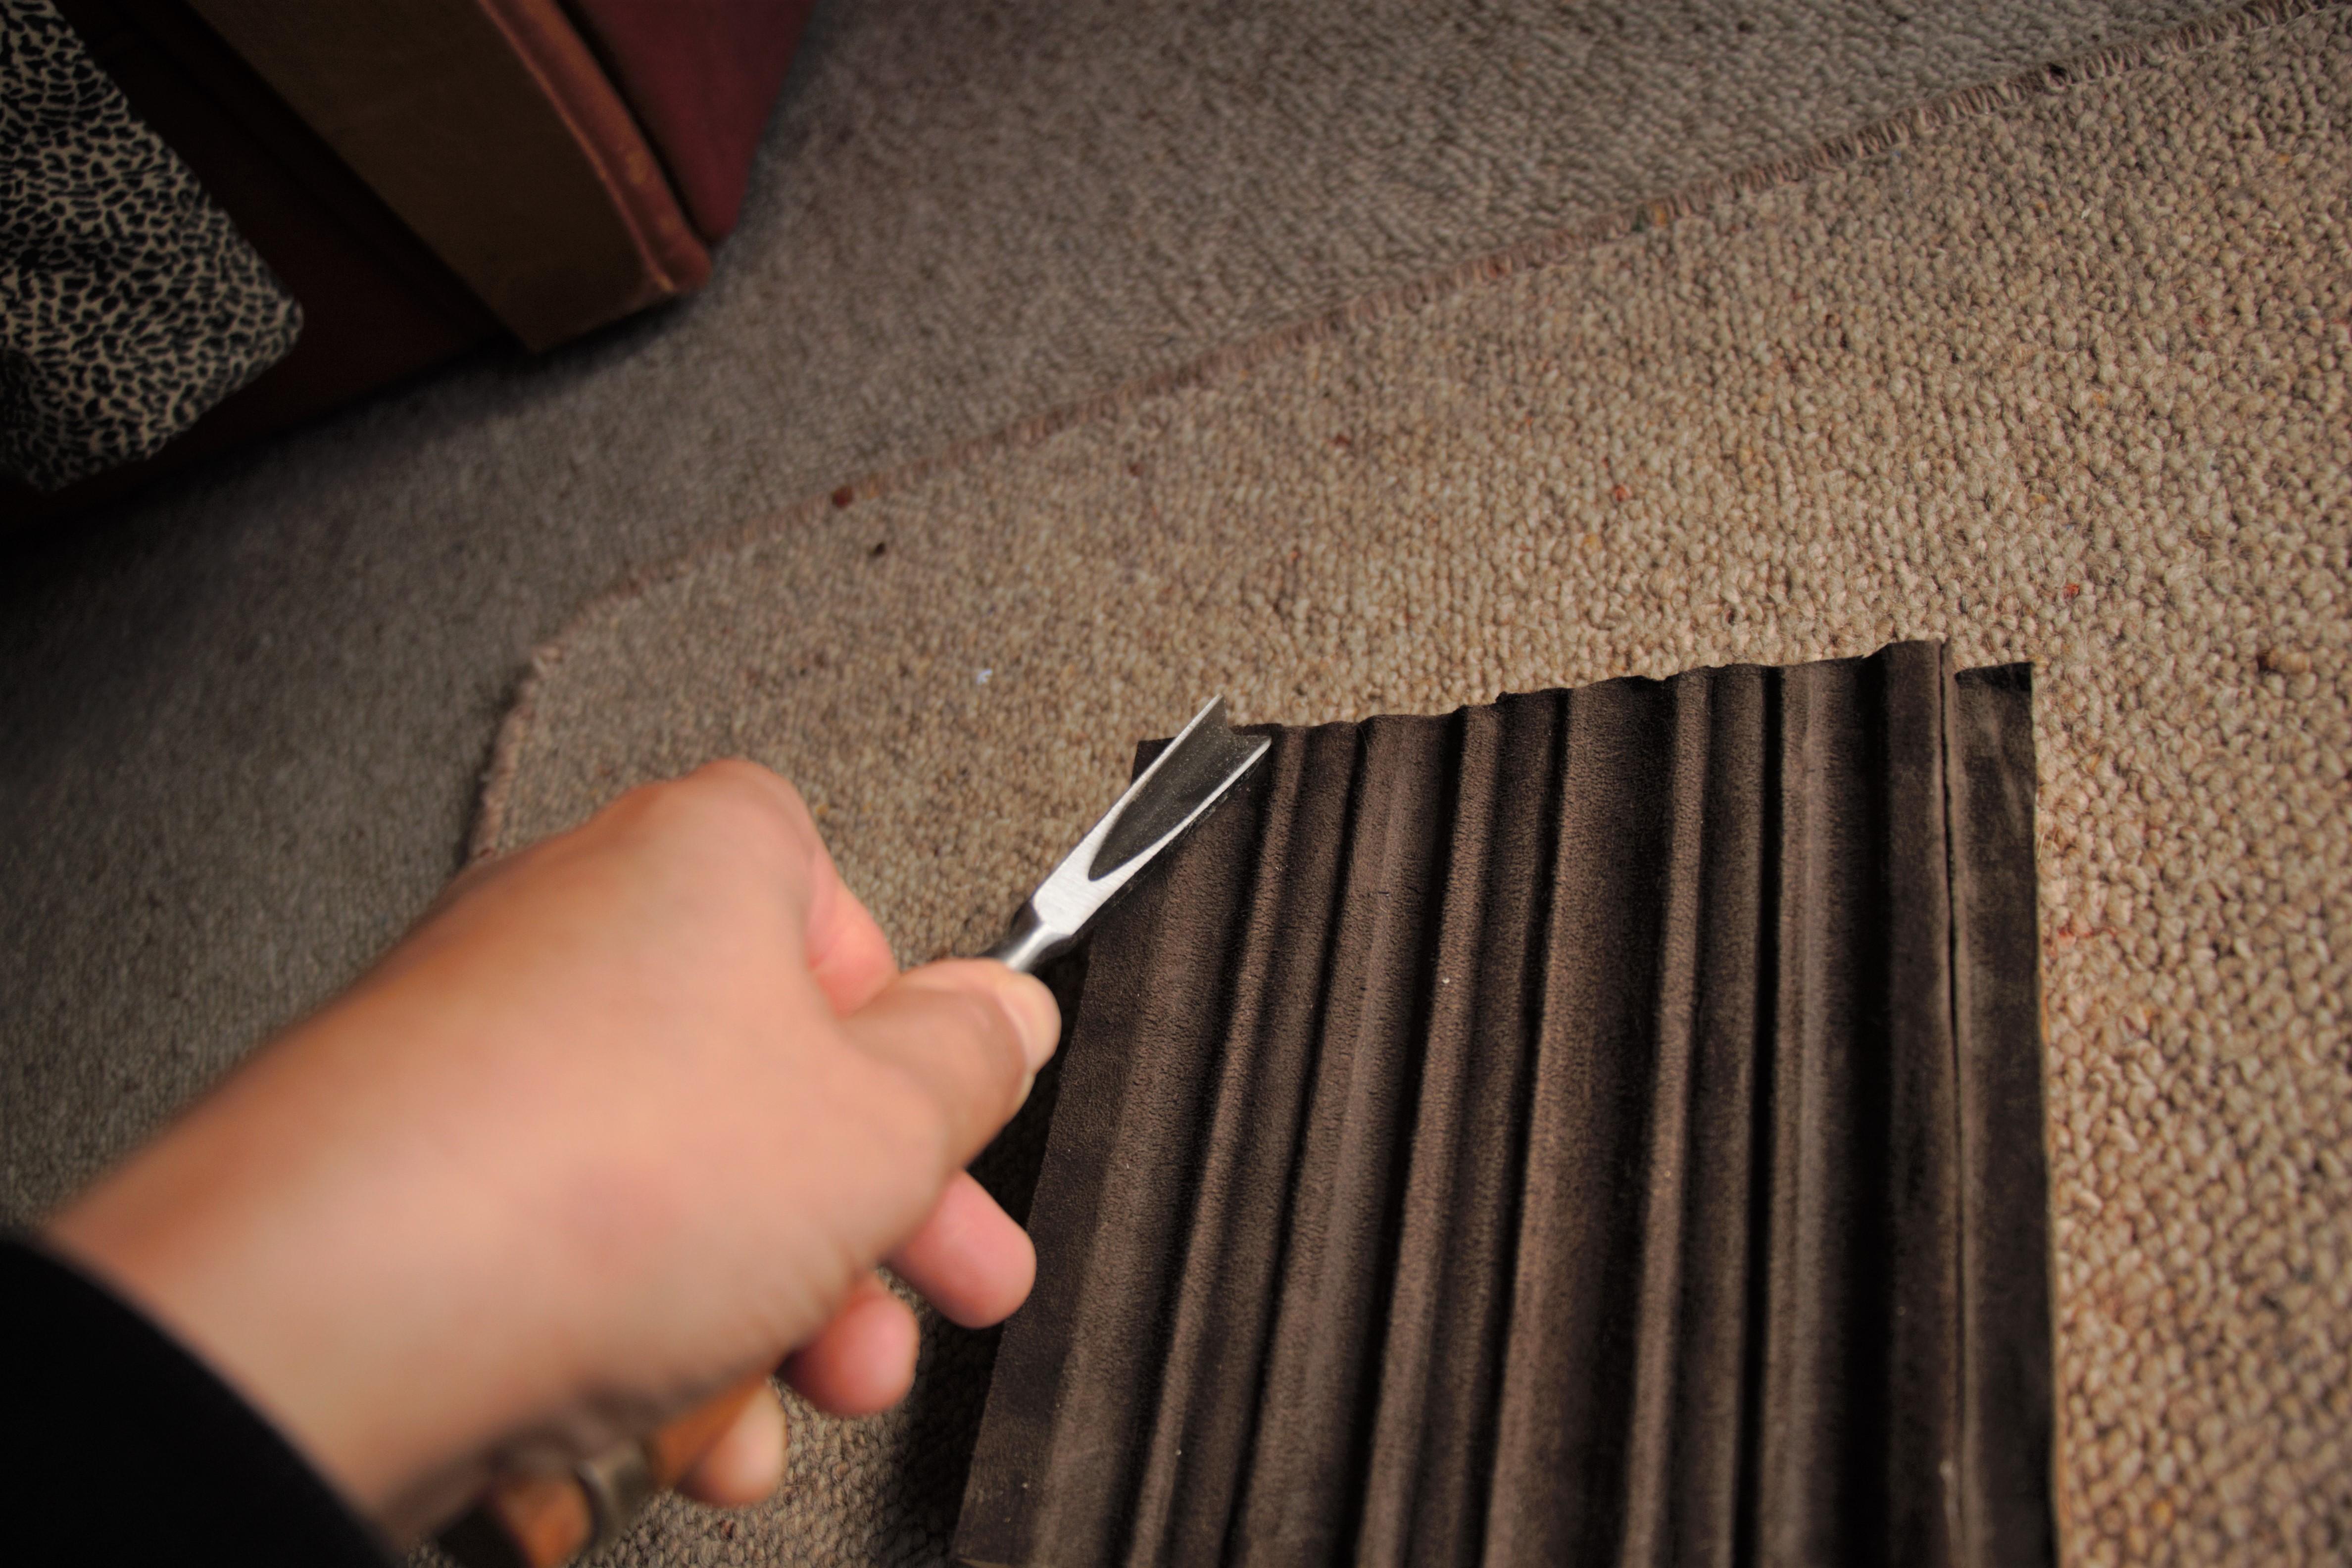
Apply the glue to the skin (smooth) side of the leather. When glueing the leather to the wood, be mindful not to stretch the leather unnecessarily. To ensure that you get the leather into the grooves properly, first, gently smooth down the leather with your fingers. Next, take the gouge/chisel that fits into each space and slowly edge it along the sides/grooves of each shape. This will help to ensure that the leather is glued down flush into all the gaps and grooves. After an hour or so, trim excess leather from the edges using sharp scissors or a craft knife.
Allow the glue to bond overnight.
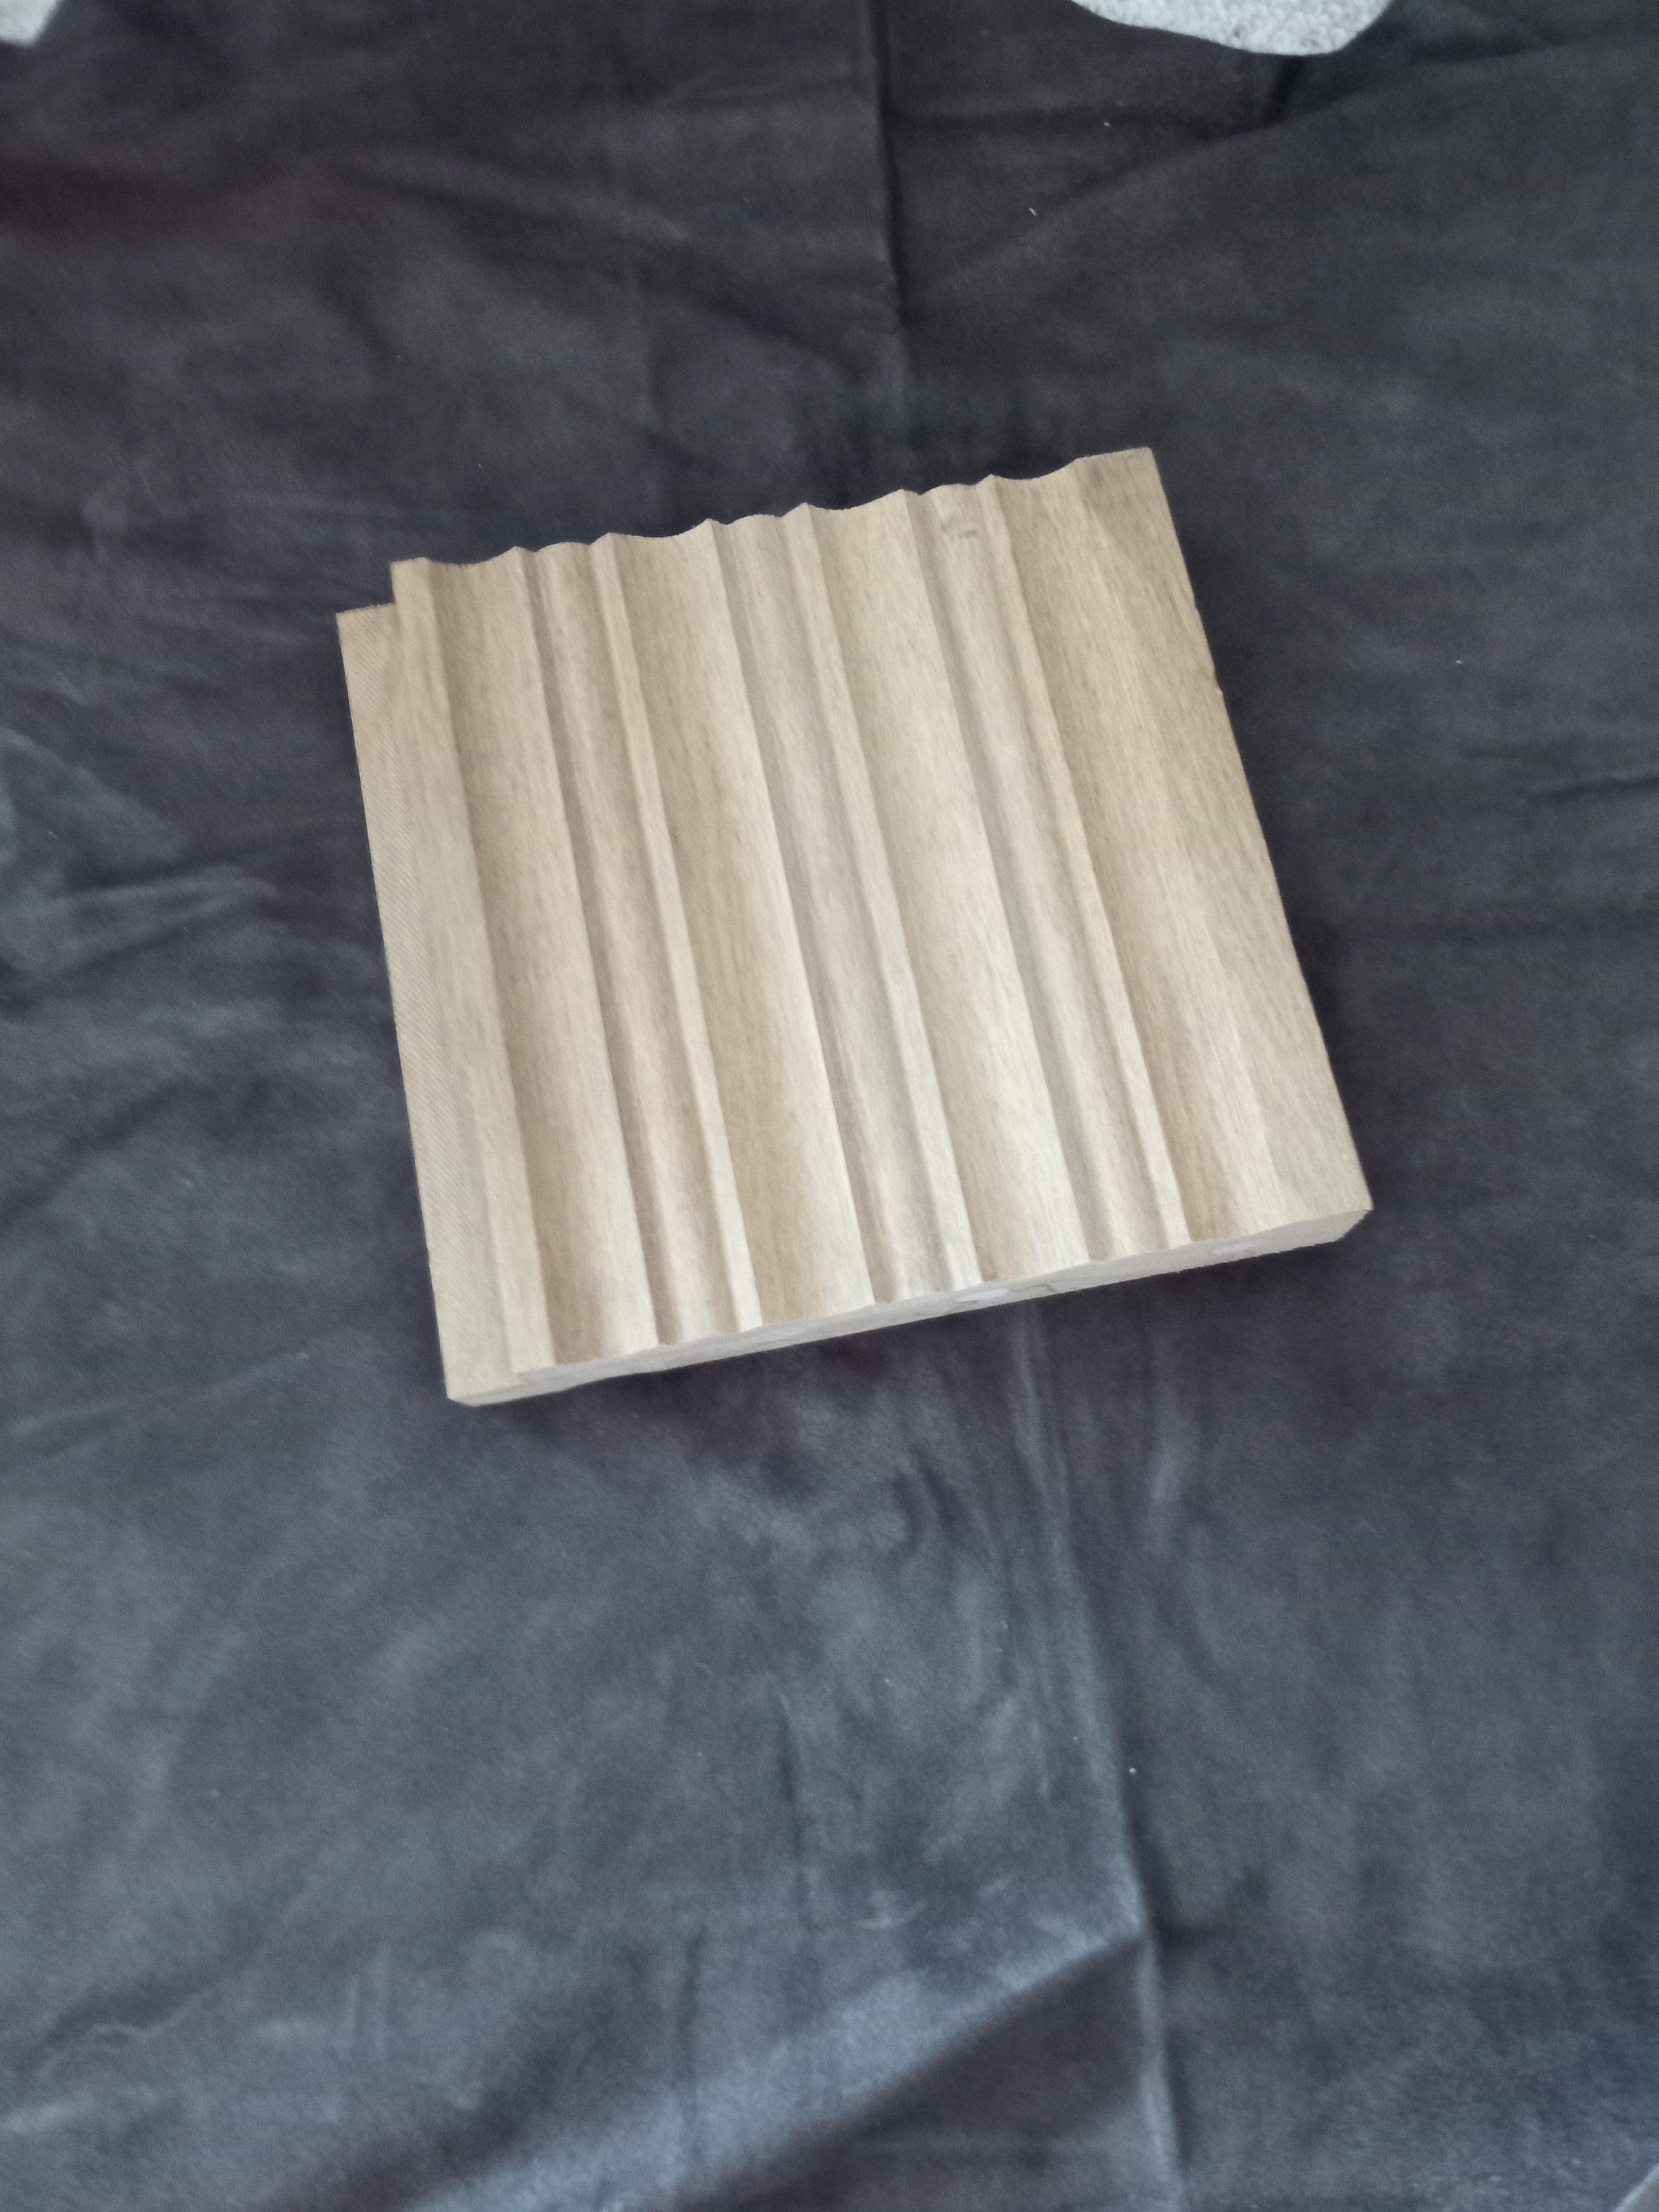
Enjoy Your New Slipstrop!
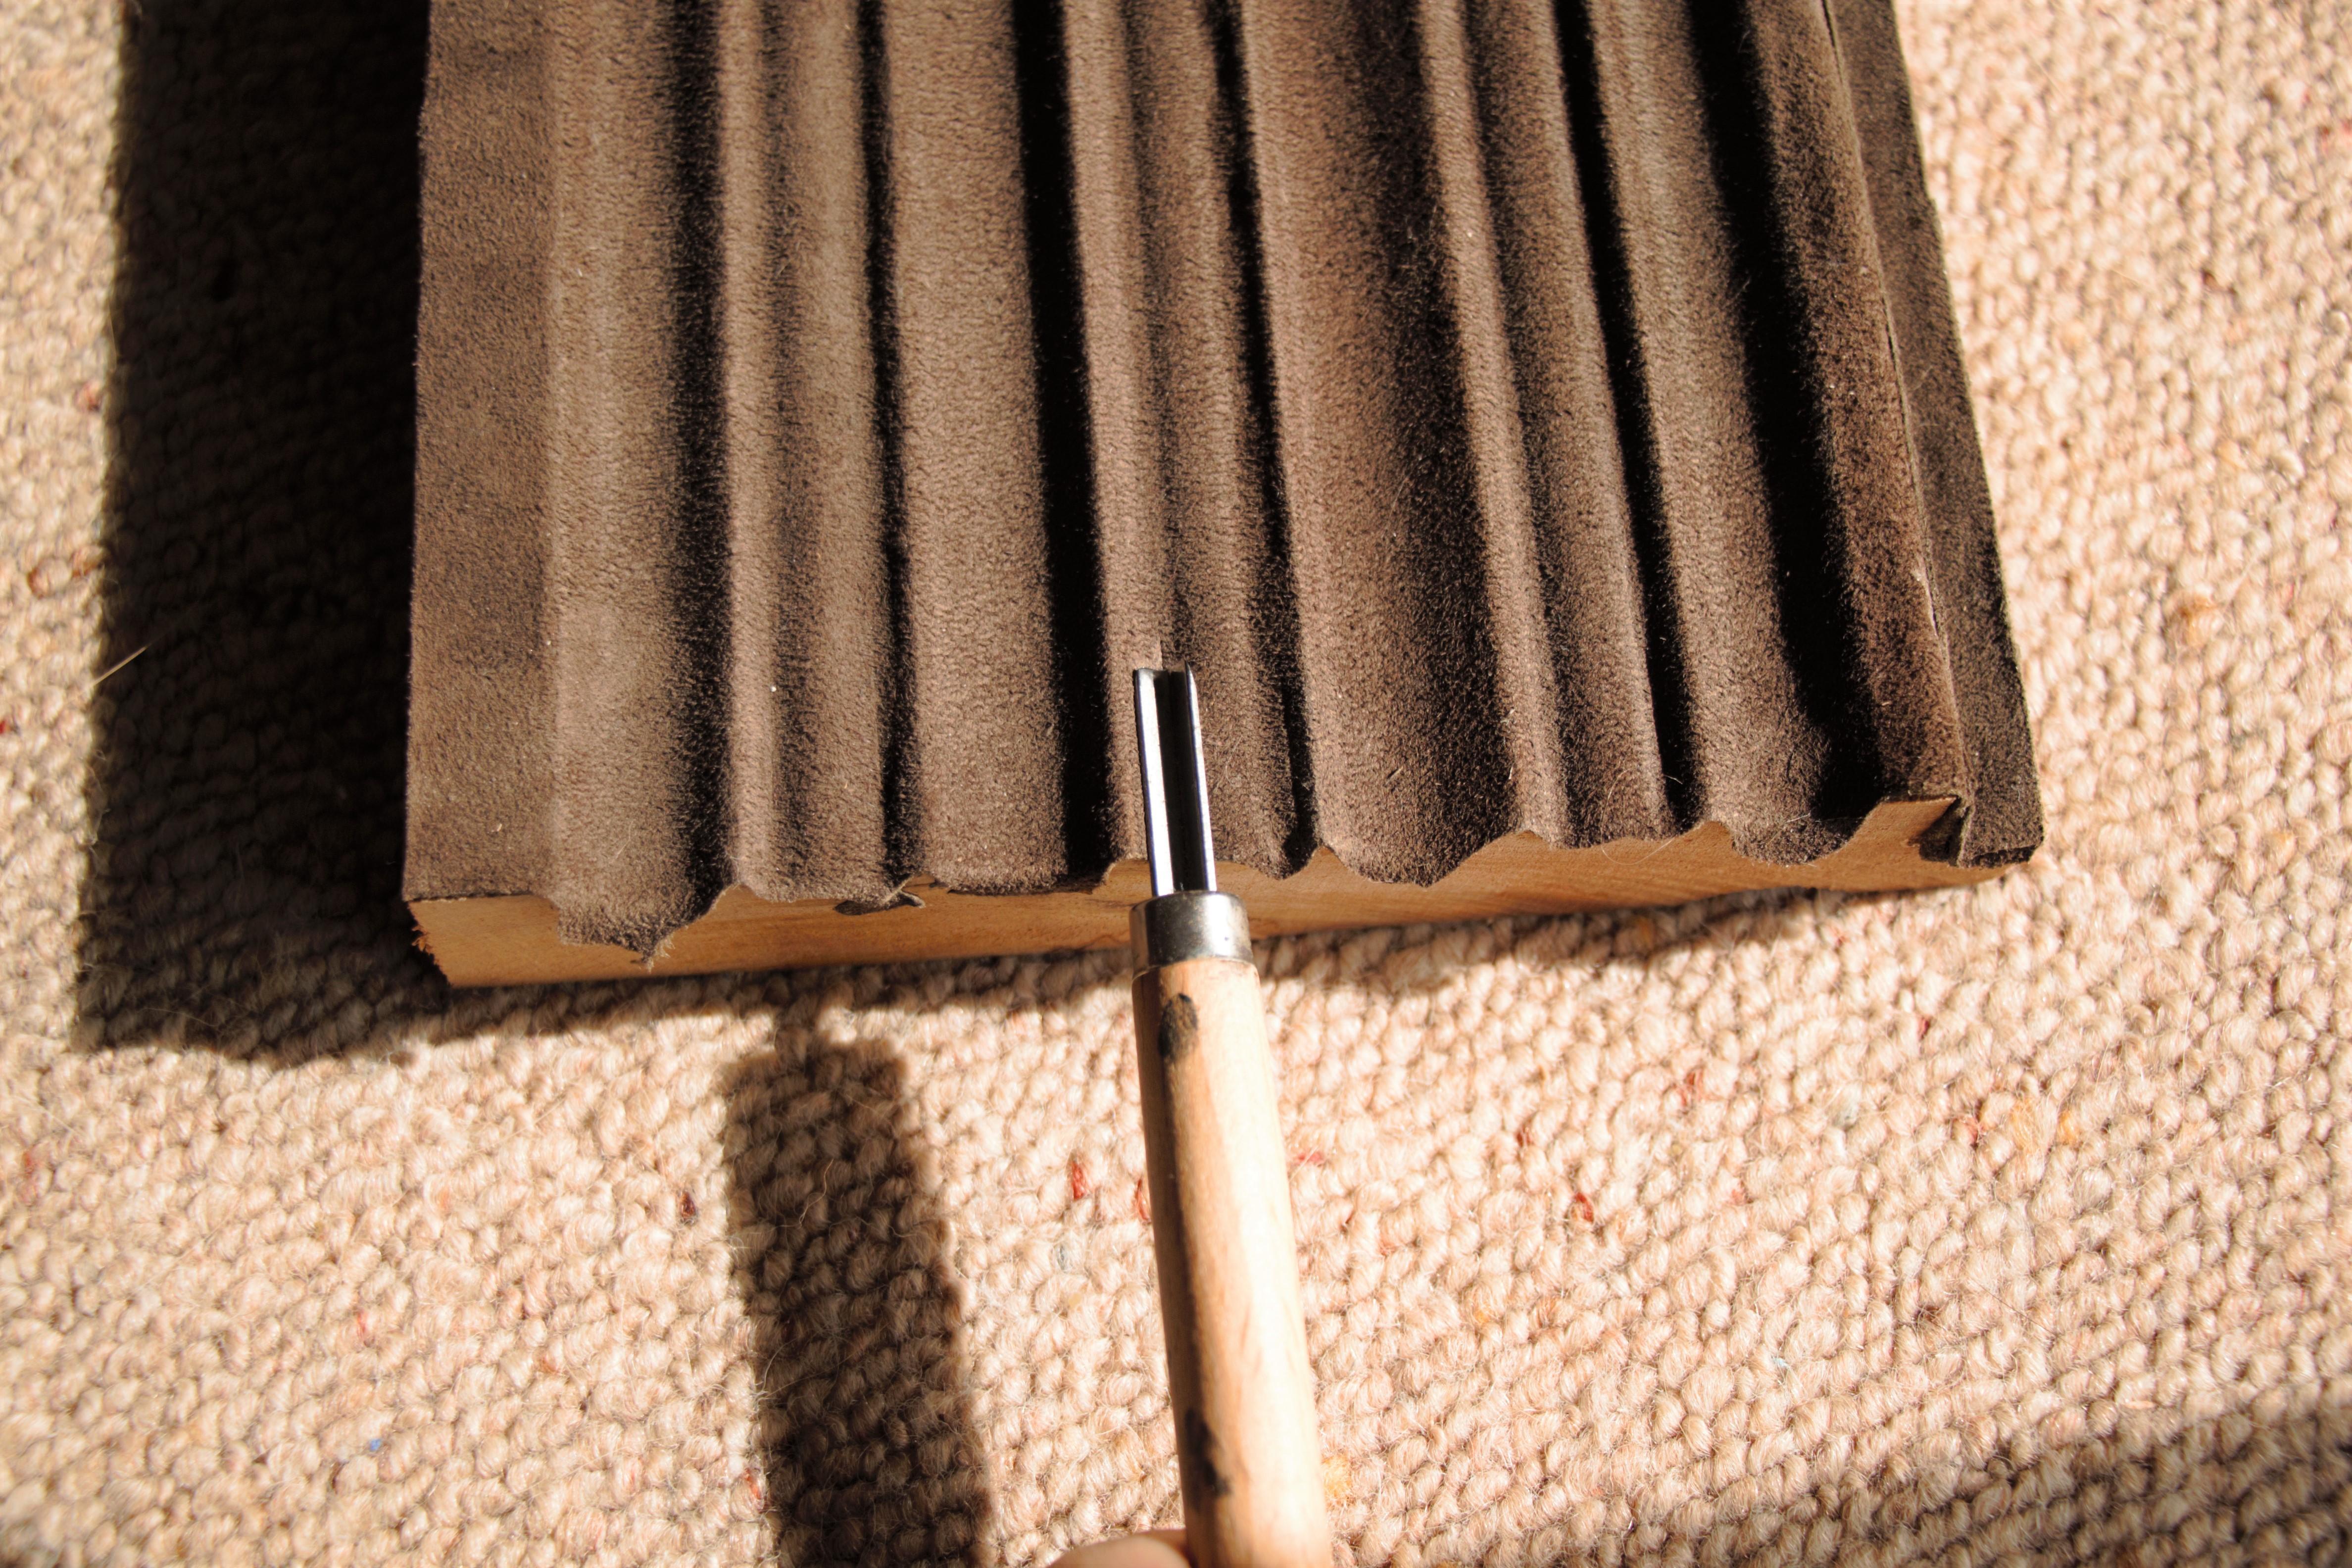
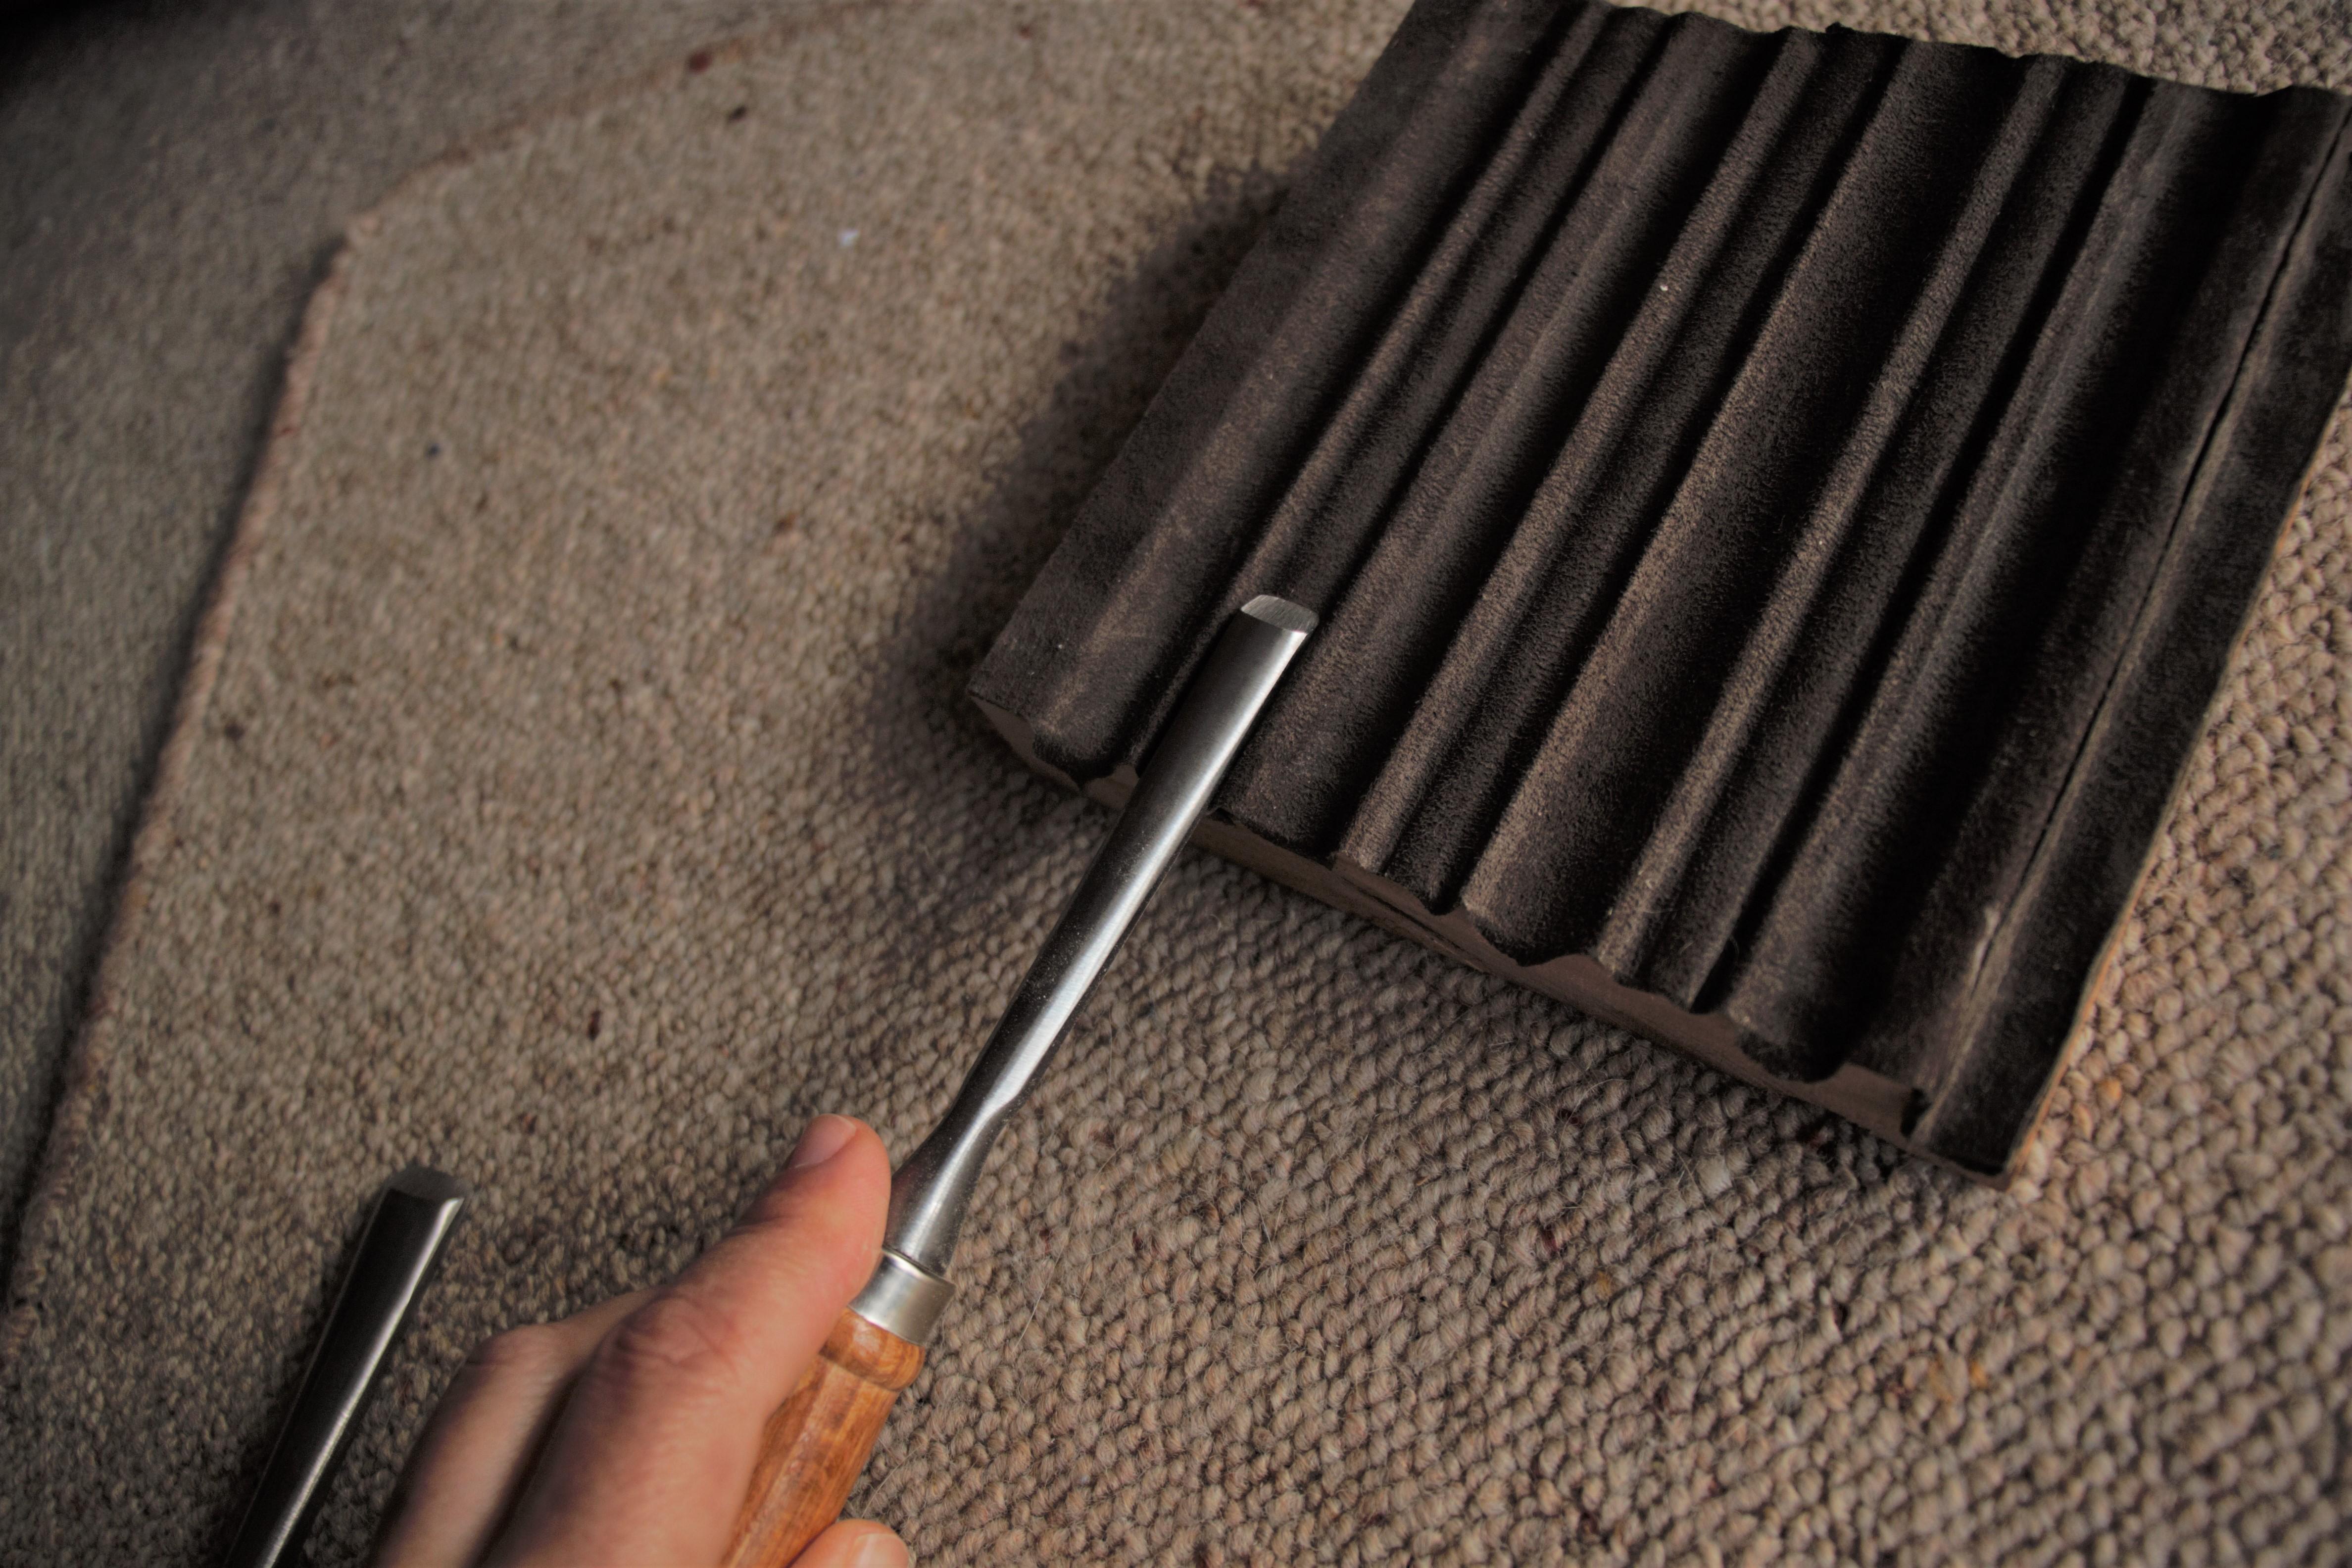
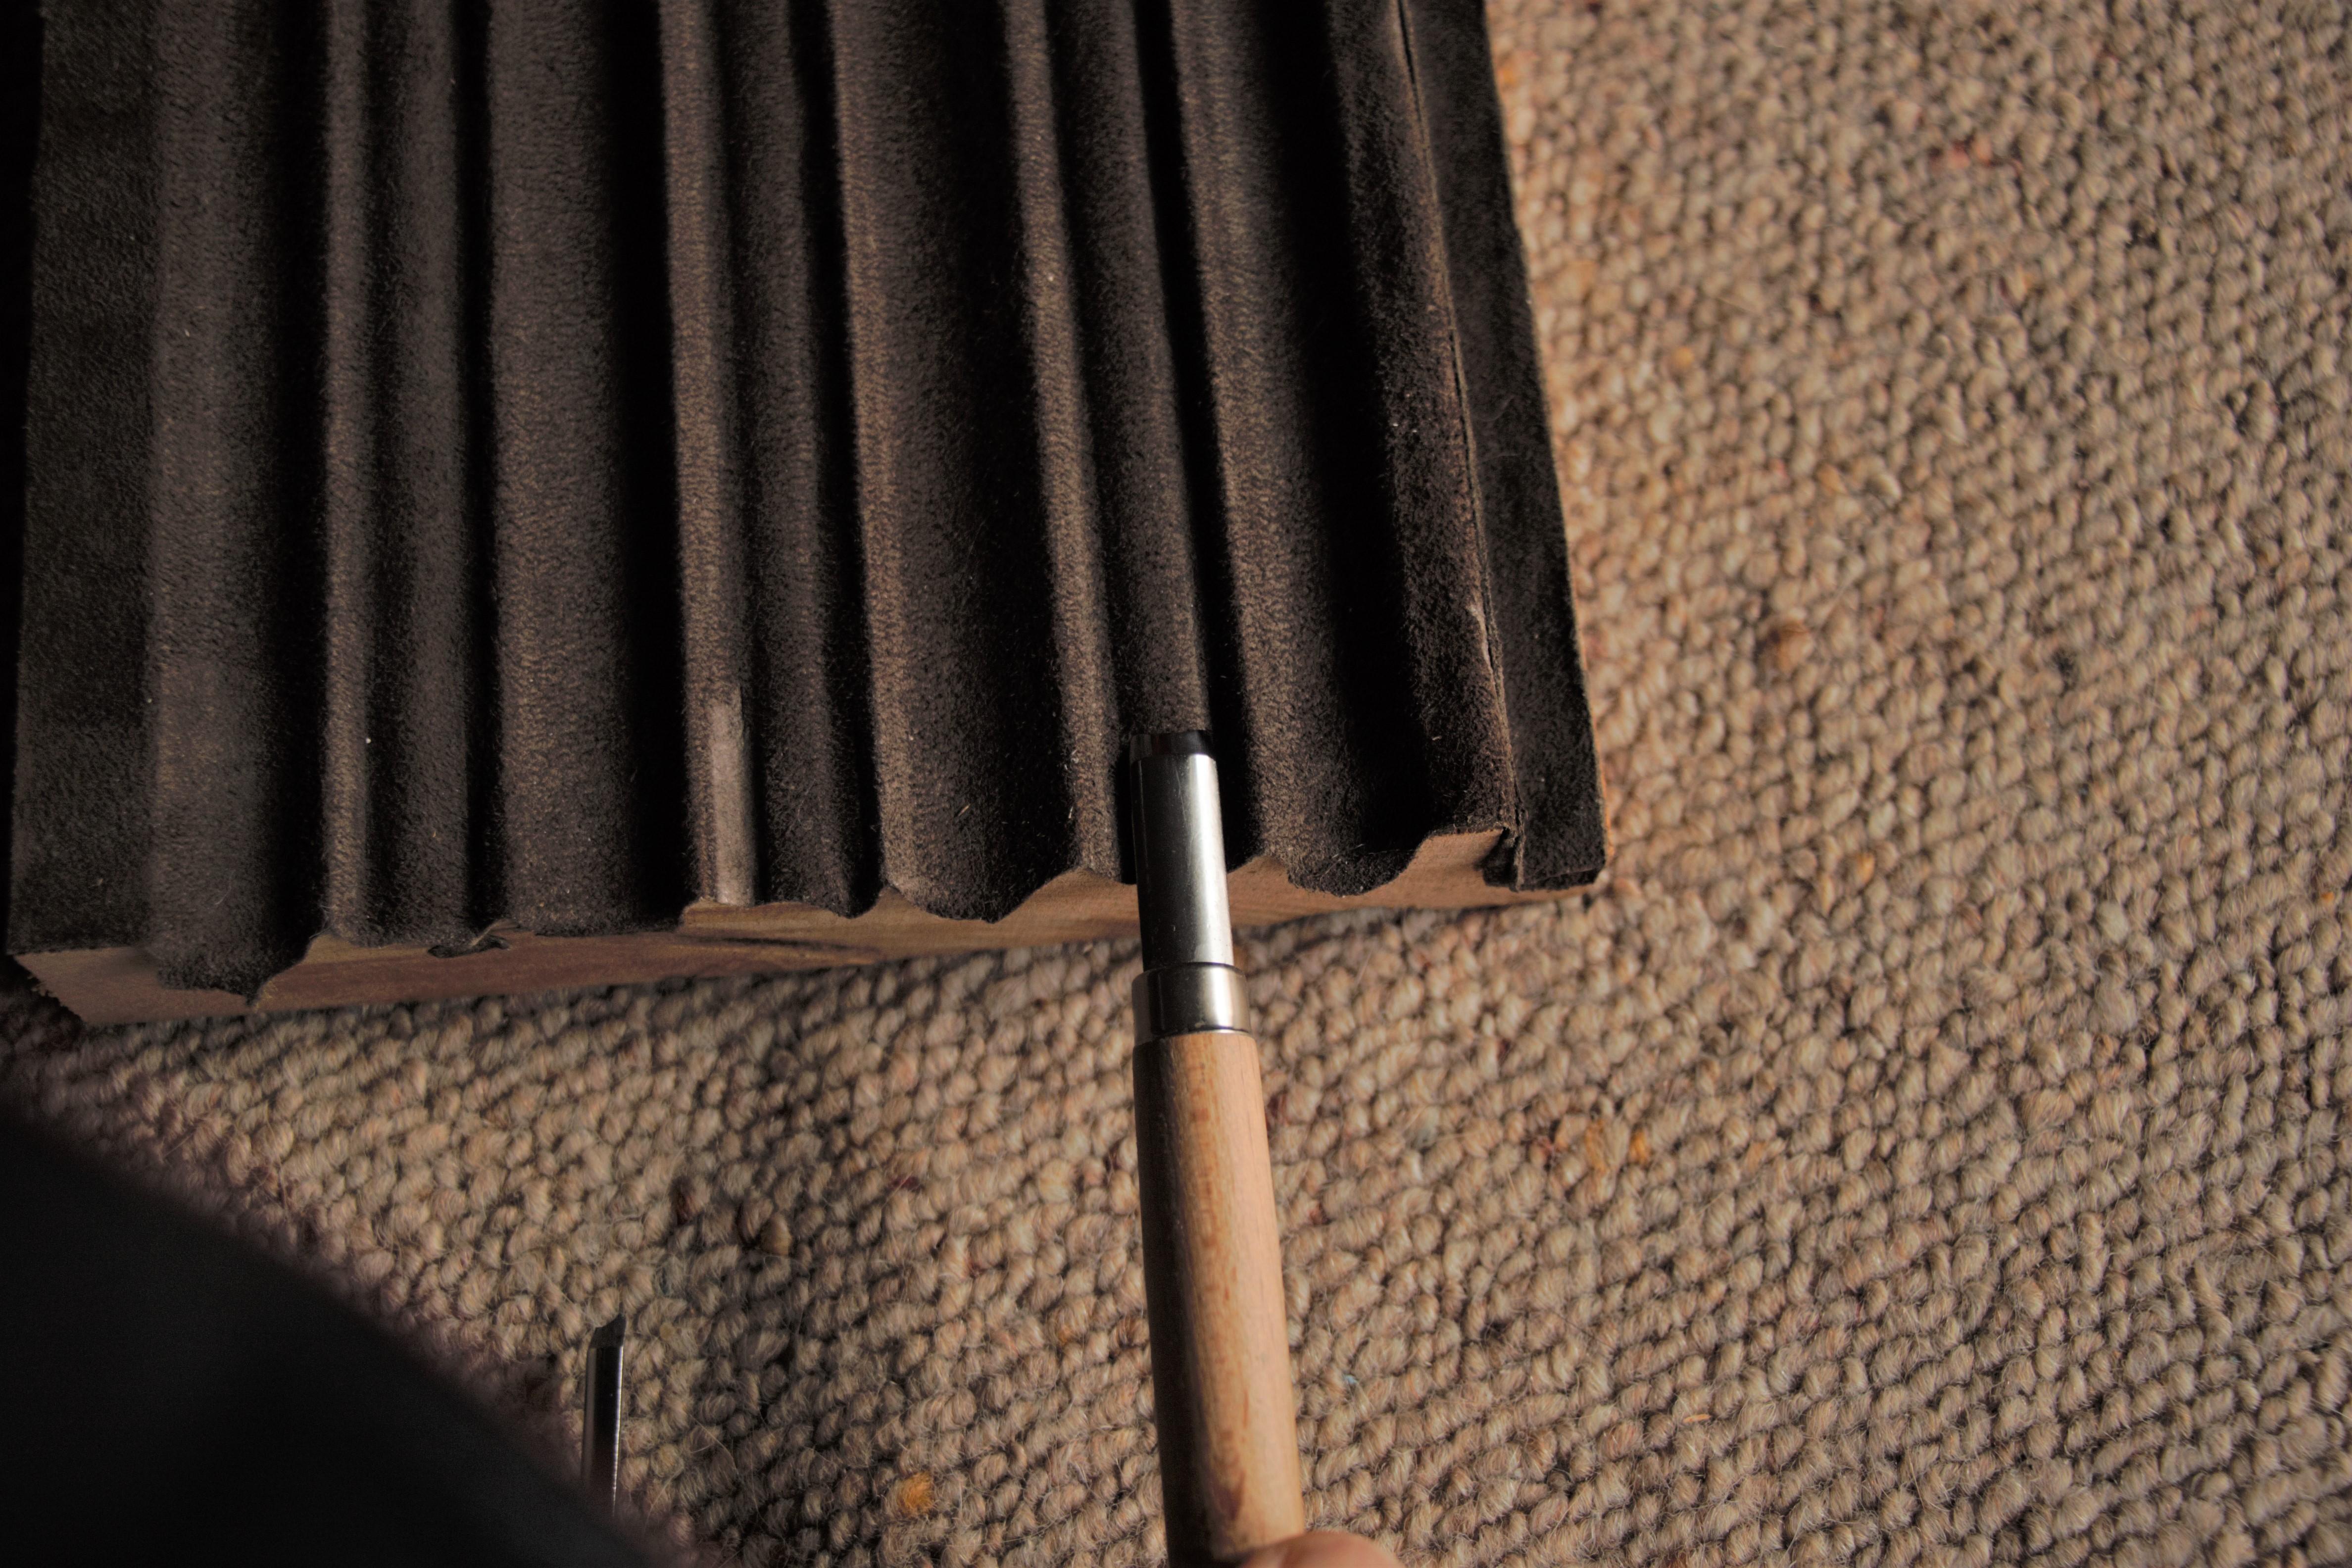
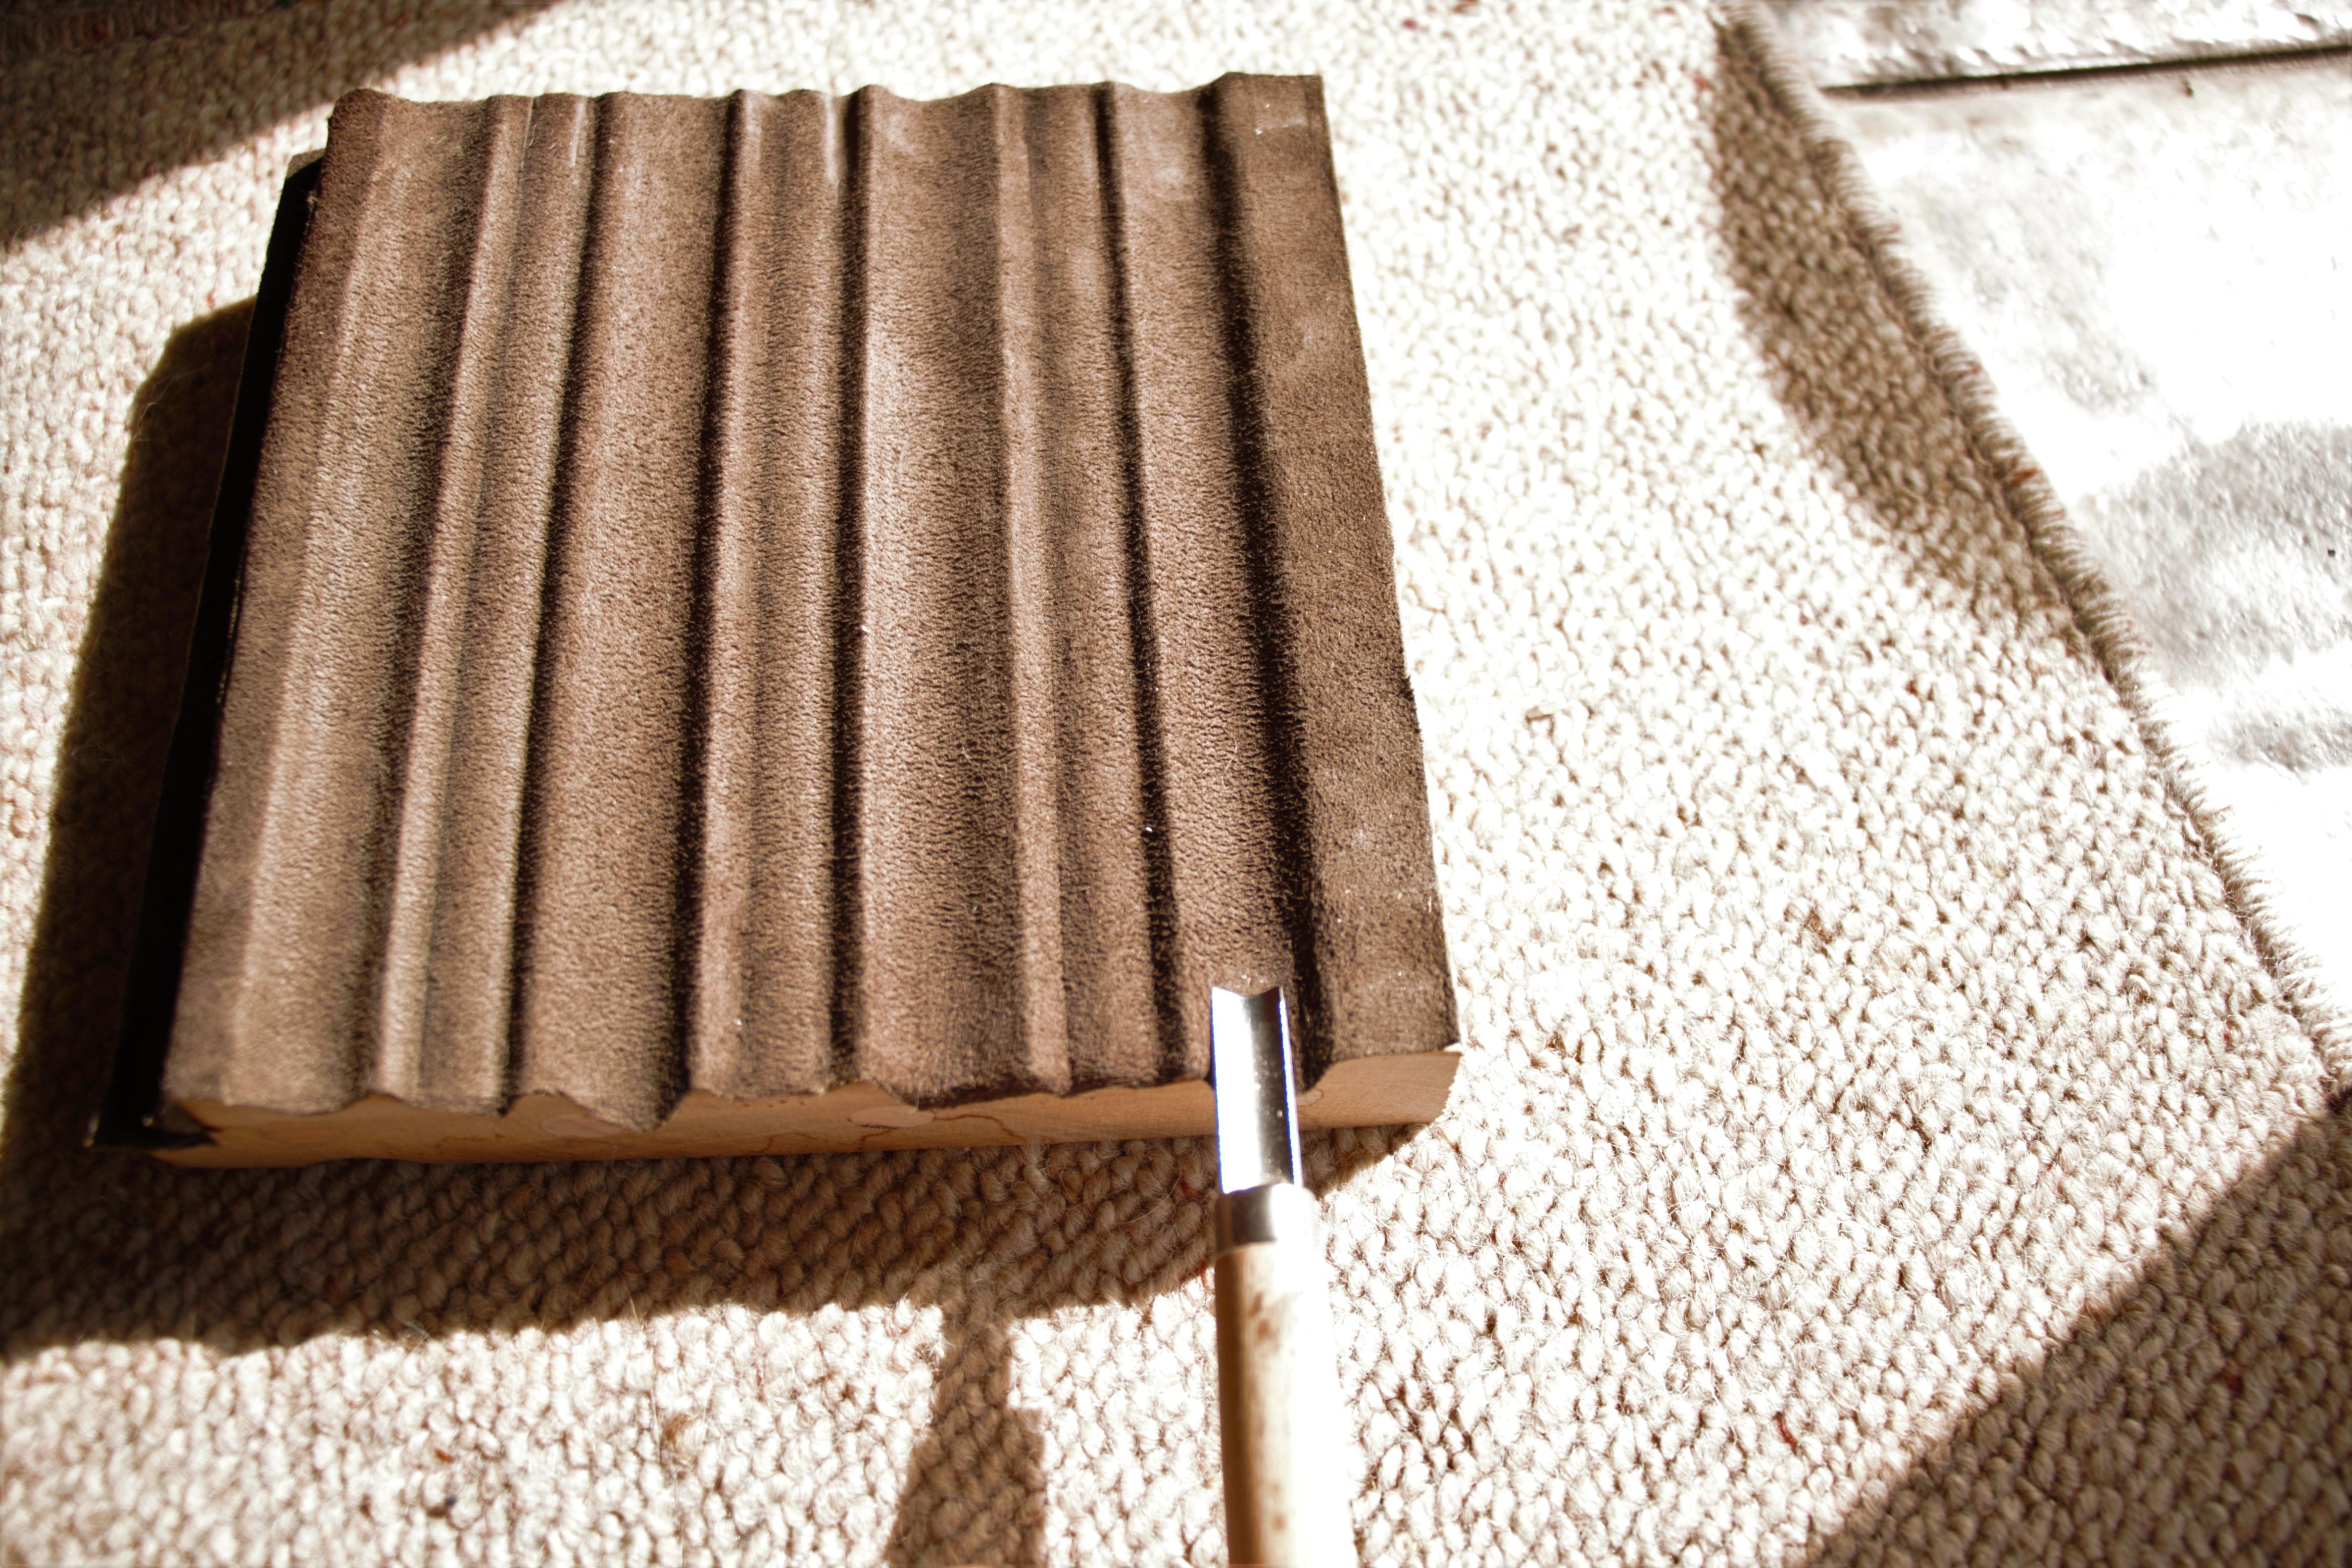
Your new slip strop is now ready to use! (Test the glue bond by running the appropriately-shaped chisel down the relevant groove. The leather should remain smooth, with no bunching.)
Add a thin layer of your preferred stropping compound to the leather, and you are ready to go. Depending on the shapes of your cornice/molding, you should be able to strop at a number of angles. Some might require turning a gouge first one way, then another. Go slowly; make sure to keep your angle correct on both sides and you'll be good as gold. ✨🌟💫