Smart Animated Kids Clock (ESP32-C6 + LVGL)
by andreimagic in Circuits > Arduino
1064 Views, 4 Favorites, 0 Comments
Smart Animated Kids Clock (ESP32-C6 + LVGL)
)
)
Welcome! In this tutorial, we are going to build a smart, animated clock packed with features, designed specifically for kids (but fun for everyone).
Powered by the Waveshare ESP32-C6 Touch LCD 1.47" board and driven by LVGL v9, this clock doesn't just tell time. It plays scheduled GIF animations, sounds custom alarms, features a live-rendered analog face, and even hides a secret menu with ASCII mini-games behind a math challenge!
The best part? It is completely configurable via a simple config.ini file on a MicroSD card. No need to recompile code just to change the Wi-Fi password, timezone, or alarm time.
Key Features:
- Massive Custom Clock Face: Easy to read from across the room.
- Live Analog Clock: A custom-rendered analog face with a sweeping pie-sector minute indicator.
- Interactive GIF Emotions: Day and night animations that react to device tilt (thanks to the built-in IMU).
- Secret Apps Menu: Solve a math problem to unlock Rock Paper Scissors, Dice, Coin Flip games and a well tuned Metronome perfect for your music practice.
- Safe Power Management: Built-in LiPo charging and a clever low-battery gate that forces deep sleep to protect your battery.
- Offline Capable: Full date/time editor built-in, saving to an SD card log so it remembers the time even without Wi-Fi.
Let's get building!
Supplies
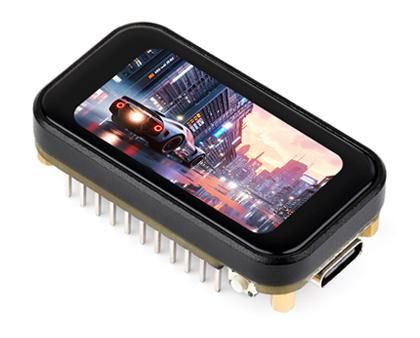

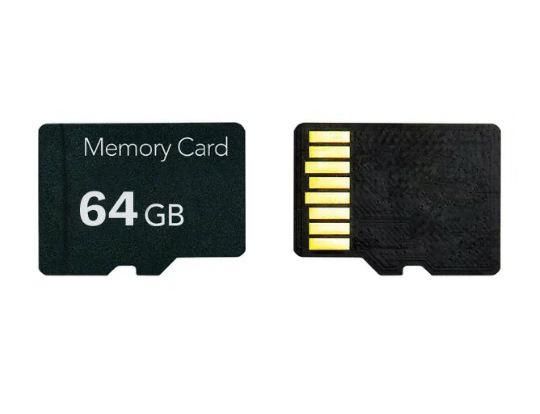
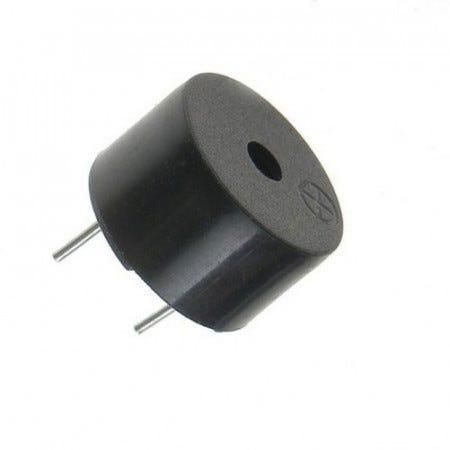
The beauty of this project is how much is packed into a single, tiny Waveshare board.
Hardware:
- Waveshare ESP32-C6 Touch LCD 1.47" (This board has the ST7789 display, AXS5106L touch controller, QMI8658 IMU, ETA6098 battery charger, and SD slot all integrated!).
- USB-C Cable for programming the board.
- MicroSD Card (Formatted to FAT32).
- Passive Buzzer (Do not use an active buzzer, we need to generate specific pitches via PWM).
- Optional: 100 Ω resistor (if your buzzer is too loud, wire this in series).
- Optional: 3.7V LiPo battery (the board has an onboard connector and charging circuit).
Wiring the Buzzer: Because the board integrates almost everything, the only external wiring required is for the audio.
- Connect the Passive Buzzer between GPIO 5 and GND.
Download the Project Code
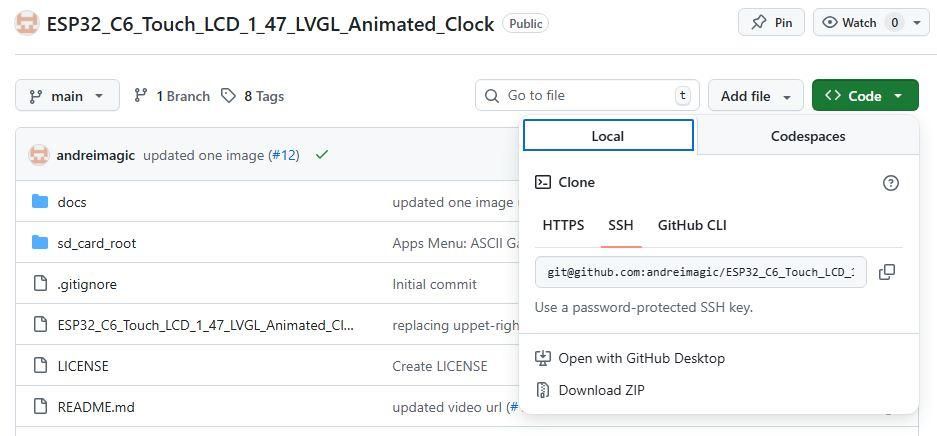
To get started, you'll need to download all the code, custom fonts, and UI files for this project to your computer. I've hosted everything on GitHub. You have two options to get it: the quick ZIP download, or cloning it via Git.
Option A: The Easy Way (Download ZIP)
If you just want to get the clock running quickly, this is the simplest method.
- Go to the project's GitHub page: ESP32_C6_Touch_LCD_1_47_LVGL_Animated_Clock.
- Click the green <> Code button near the top right of the file list.
- Select Download ZIP from the dropdown menu.
- Once downloaded, extract the ZIP file into your Arduino projects folder (usually Documents/Arduino on Windows or Mac).
- Ensure the extracted folder is named exactly ESP32_C6_Touch_LCD_1_47_LVGL_Animated_Clock (remove the -main at the end if Windows added it) so the Arduino IDE recognizes it properly.
Option B: The Maker Way (Git Clone)
If you prefer using the command line and want an easy way to pull future updates or bug fixes, cloning the repository is the way to go.
For Windows Users:
If you don't have Git installed, you'll need to grab it first:
- Go to gitforwindows.org and download the installer.
- Run the installer (clicking "Next" through the default settings is perfectly fine for our needs).
For macOS / Linux Users: Git is usually already installed. If not, macOS will automatically prompt you to install the command line developer tools the first time you type git into the terminal.
Cloning the Repo:
- Open your Terminal (Mac/Linux) or Git Bash / Command Prompt (Windows).
- Navigate to your Arduino folder using the cd command (e.g., cd Documents/Arduino).
- Run the following command to download the project:
- This will automatically create the properly named folder and download all the latest files inside it. You are ready to move on to the software setup!
Software Dependencies & Library Setup
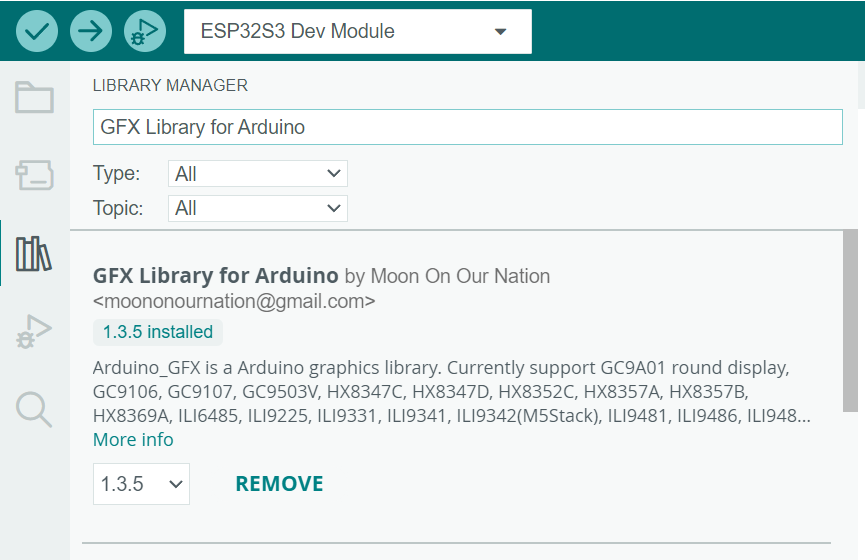
To compile this project, we are using the Arduino IDE.
1. Install ESP32 Board Support: Go to File → Preferences, add https://raw.githubusercontent.com/espressif/arduino-esp32/gh-pages/package_esp32_index.json to the Additional Boards Manager URLs. Then, in the Boards Manager, install the esp32 by Espressif package.
2. Install Arduino Libraries: Open the Library Manager and install the following:
- LVGL (v9.5.0) - The UI framework.
- Arduino_GFX_Library (latest) - Display driver.
- FastIMU (latest) - For the accelerometer.
- esp_lcd_touch_axs5106l - The specific touch driver for this board.
3. Configure LVGL: You must enable specific features in LVGL for the GIFs and custom fonts to work.
This is already done and the lv_conf.h configuration file is added in the GitHub repo, keep it where it is and will work without editing the library soruce.
If you want to review the library source you may do so by navigating to Arduino/libraries/lvgl/src/lv_conf.h and edit these lines:
(Note: You will also need the custom generated fonts for the giant clock numbers and ASCII art. The .c files are already in the project GitHub, directly in your Arduino sketch folder).
SD Card Preparation
This clock uses the SD card for configuration, saving the time, and storing animations. This prevents the ESP32-C6 from running out of RAM.
Format your MicroSD card to FAT32 and create the following structure:
Plaintext
⚠️ CRITICAL GIF RULE: You must resize your GIFs to exactly 160 × 86 pixels before copying them over. If you use full-size GIFs, the ESP32 will run out of RAM and crash. The firmware automatically scales these 2x to fill the screen cleanly. You can use a free site like ezgif.com to resize them.
The config.ini file: Create a plain text file named config.ini in the root of the SD card. Here is a starter template:
Ini, TOML
Flashing the Firmware
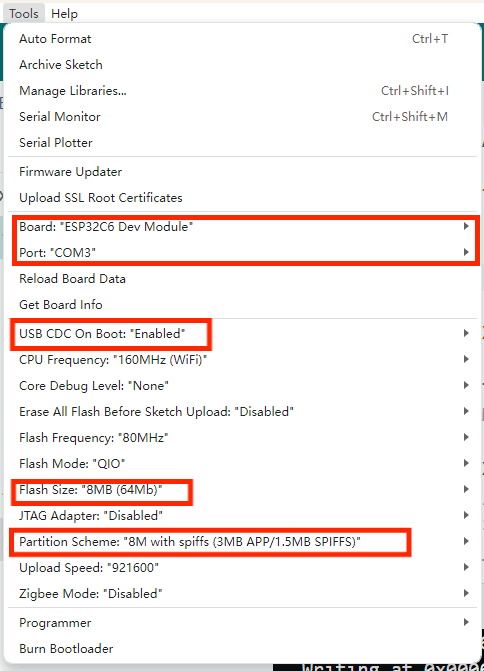
Open the Arduino sketch and prepare to upload. Because this is a highly integrated ESP32-C6 board, your IDE settings must be exact.
Go to the Tools menu and set the following:
- Board: ESP32C6 Dev Module
- USB CDC On Boot: Enabled (Crucial! Without this, the Serial Monitor won't work).
- Flash Size: 8MB (64Mb)
- Partition Scheme: 8MB with spiffs (3MB APP/1.5MB SPIFFS) (Mandatory to fit LVGL)
- Upload Speed: 921600
Plug in your board, select the correct COM port, hit Upload, and open the Serial Monitor at 115200 baud to watch the boot sequence!
How to Use the Clock
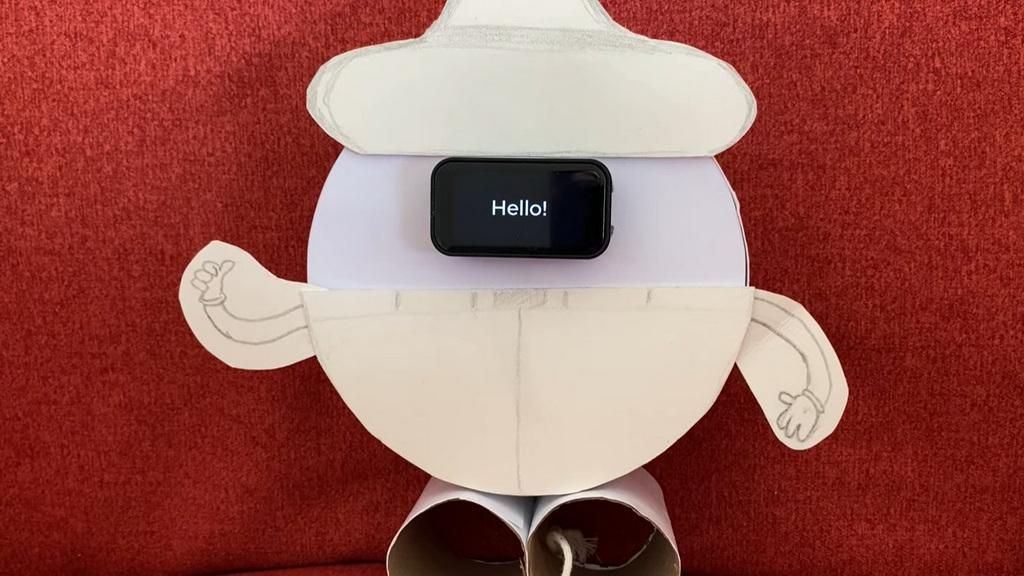
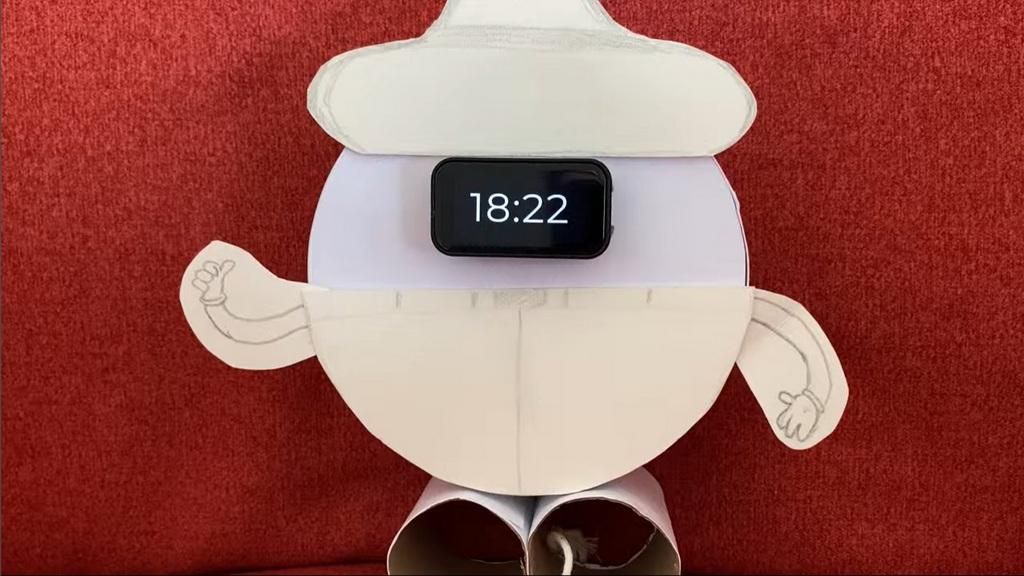
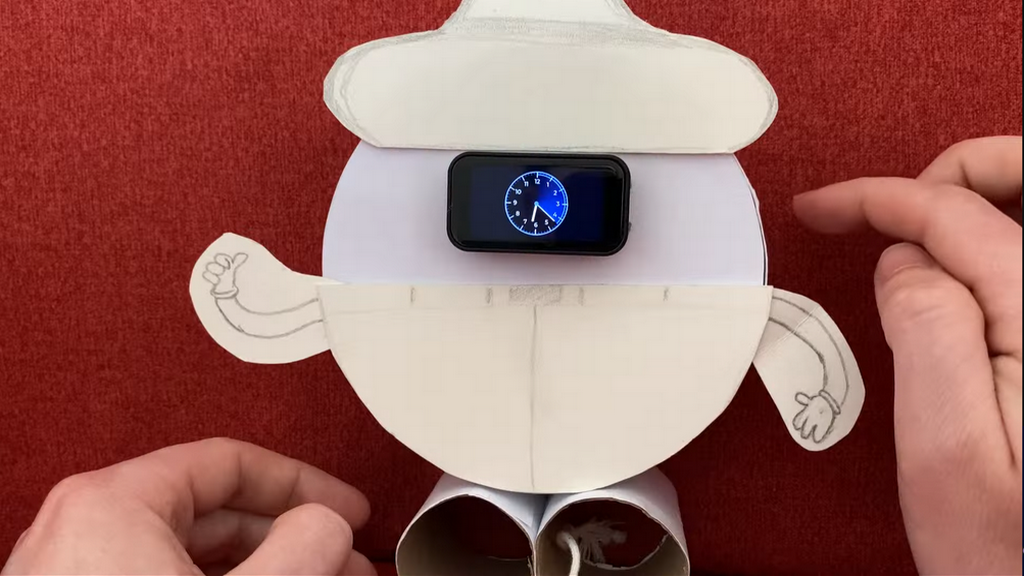
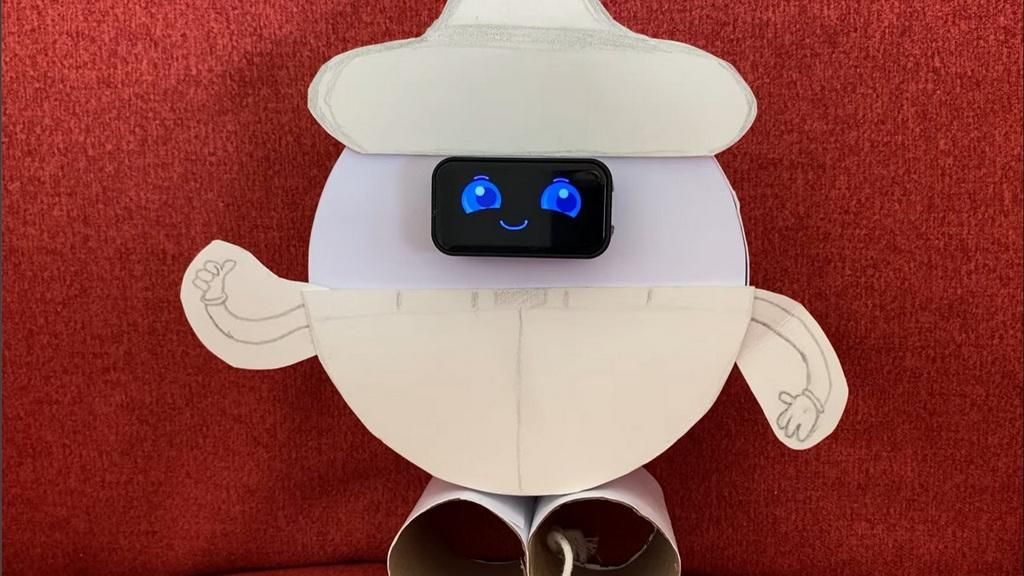
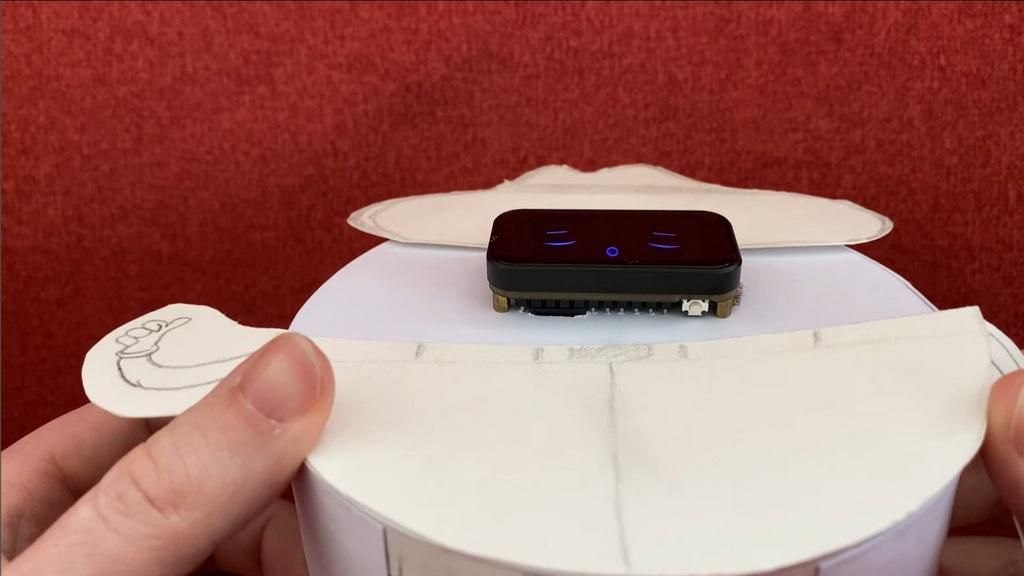
The user interface is designed around four invisible touch zones on the home screen:
- Top-Left (Smile GIF): Tapping here plays the daily animation. While it plays, tilt the clock! The built-in IMU swaps the GIF to happy, sad, or sleepy depending on the angle.
- Top-Right (Analog Clock): Taps into a beautiful, live-rendered analog clock face.
- Bottom-Left (Status): Shows Wi-Fi status and today's date. Pro tip: Tilt the device left/right while on this screen to adjust the brightness!
- Bottom-Right (Battery): Shows live battery stats. Long-press this to safely power down the device into deep sleep.
The Carousel Menu: Long-press anywhere on the main screen to open the Carousel. Swipe left/right to access the Clock Editor (set the time offline), Countdown Timer, Alarm settings, and Wi-Fi toggle.
The Secret Apps Menu: Long-press the Smile GIF to trigger the math gate. Solve a random arithmetic problem correctly, and you'll unlock the games menu featuring Rock Paper Scissors, a dice roller, and a coin flipper—all rendered in retro ASCII art!
Architecture Highlights (For the Makers!)
If you're curious about how this code works under the hood, here are two of my favorite technical implementations in this project:
1. The Analog Clock Engine The analog clock isn't an image; it's drawn entirely using LVGL primitives via LV_EVENT_DRAW_MAIN. The minute sweeping effect is a triangle fan—one 6° triangle per elapsed minute—with opacity ramping up towards the hand. It calculates screen coordinates from angles on the fly using a custom trigonometry helper function. It invalidates and repaints exactly once every 60 seconds to save power.
2. The Low-Battery Boot Gate LiPo batteries hate being over-discharged. To protect the battery, I built a low-power gate that intercepts the boot process right after Wi-Fi init, but before the UI builds. If it detects the battery is ≤ 10%:
- The screen turns black.
- A single "Empty Battery" icon is flashed to the screen for 5 seconds.
- The backlight is killed, and it calls esp_deep_sleep_start() with no wakeup source configured. It effectively acts like a dead smartphone, refusing to boot loop and protecting your cell until you plug it in and hit the physical RESET button.
Wrapping Up & Make It Your Own!
Congratulations, you now have an incredibly feature-dense smart clock on your desk!
Because everything is driven by the SD card, you can easily swap out the cruzr_emotions GIFs for your child's favourite characters (or your own custom pixel art) without ever touching the Arduino IDE again.
Now for the fun part: the enclosure! A bare circuit board is cool, but giving it a physical body brings the character to life. I kept things crafty and mounted my clock on a simple round piece of cardboard, then gave it a tiny cowboy hat. But the possibilities are endless—you could cut out a giant cardboard pizza slice and mount the screen right in the middle of a pepperoni, build it into a 3D-printed robot chassis, or frame it in Lego!
I would love to see what wild and creative enclosures you come up with. Please post your ideas, custom animations, and click the "I Made It!" button to share your photos in the comments below!
If you want to view the full source code, report an issue, or contribute to the software side of the project, head over to the GitHub Repository.
You can purchase the development board from Waveshare. It’s an affiliate link, so if you use it, you’re basically buying me a coffee (and I really appreciate it)! ☕
Happy building!