Smart Environment Monitor — DESHBOT SHIEL+DHT22 + OLED + Bluetooth
by devkrishnavhora in Workshop > Science
5 Views, 0 Favorites, 0 Comments
Smart Environment Monitor — DESHBOT SHIEL+DHT22 + OLED + Bluetooth
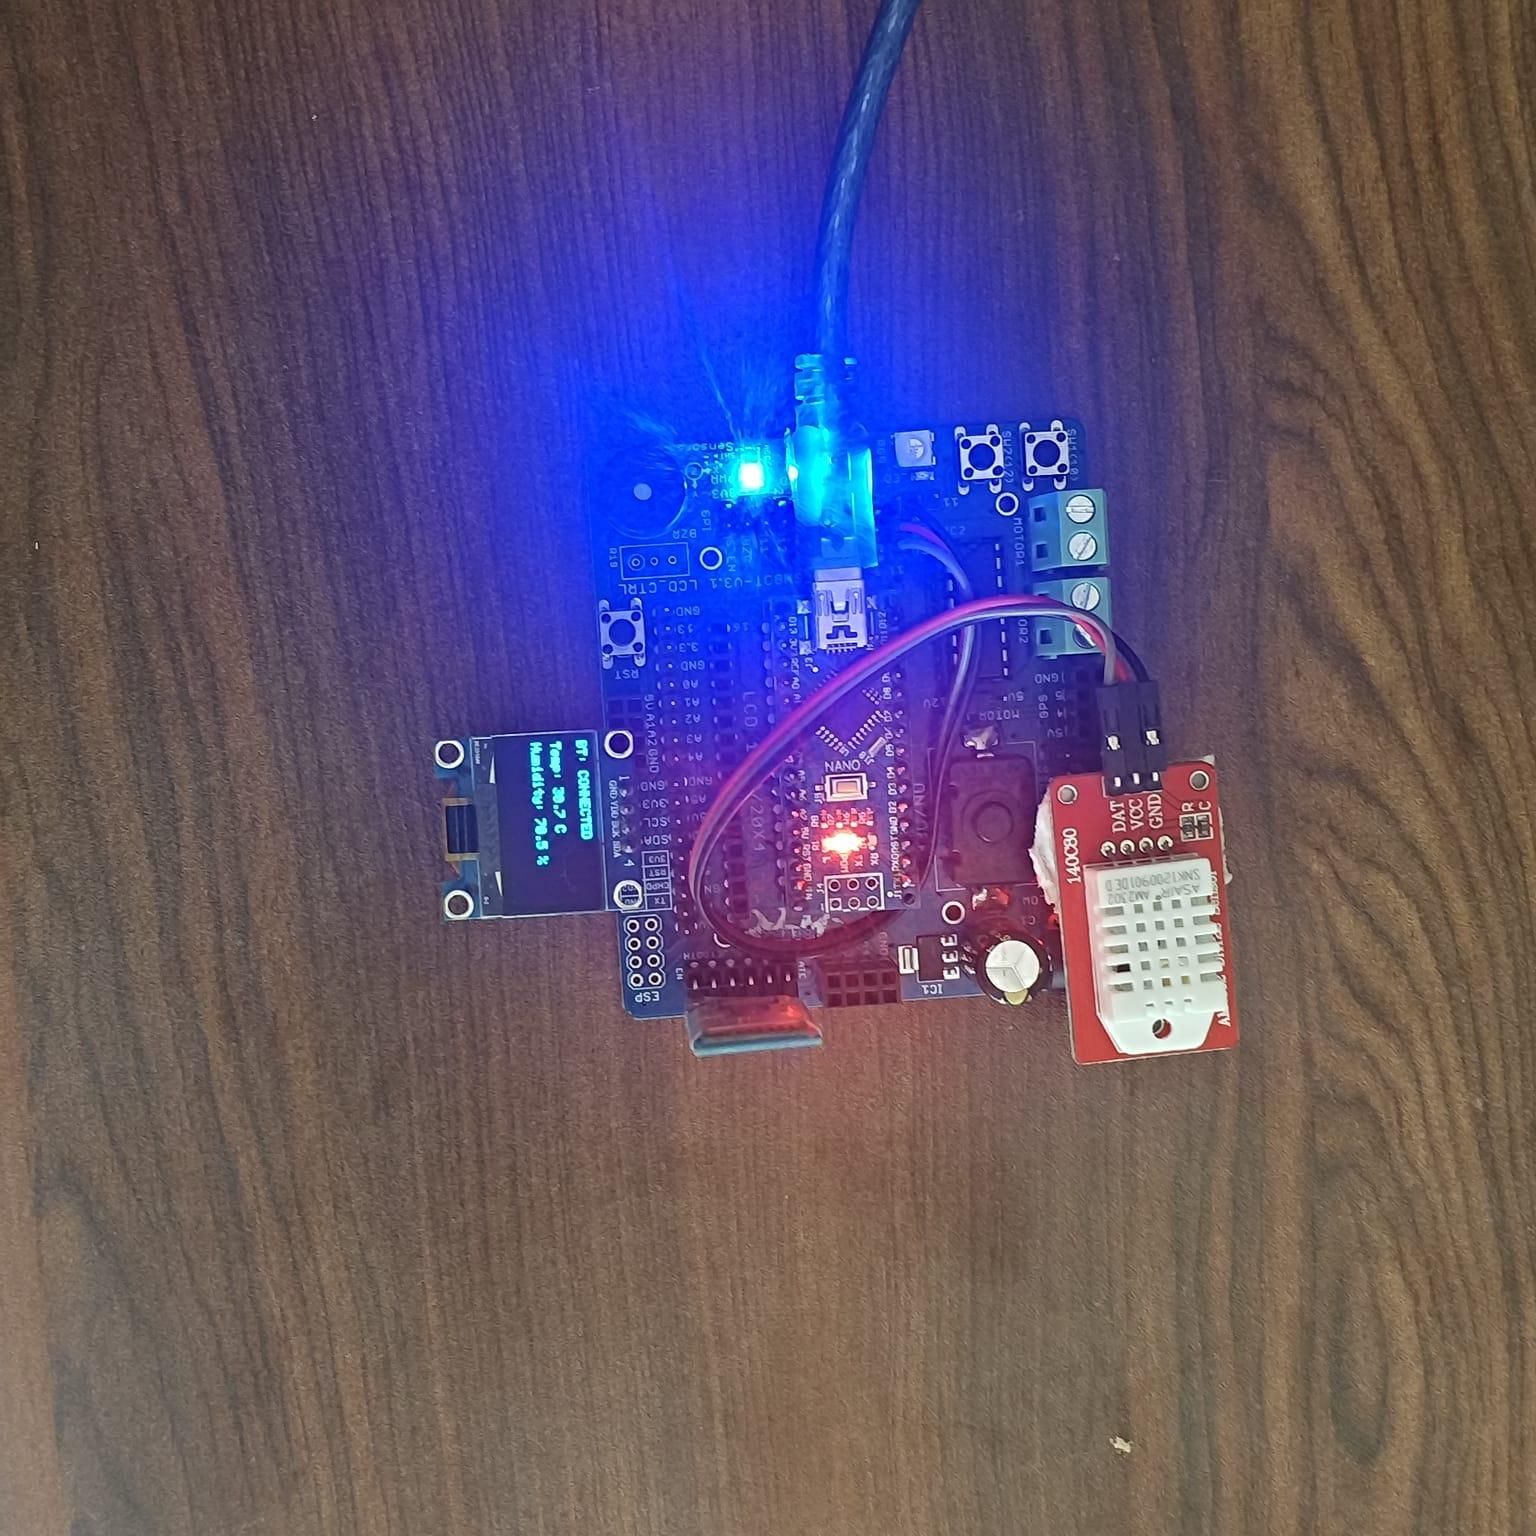
To design a temperature and humidity monitoring system using an Arduino Nano, DHT22 sensor, OLED display, and Bluetooth module. The system measures the surrounding temperature and humidity, di
Supplies
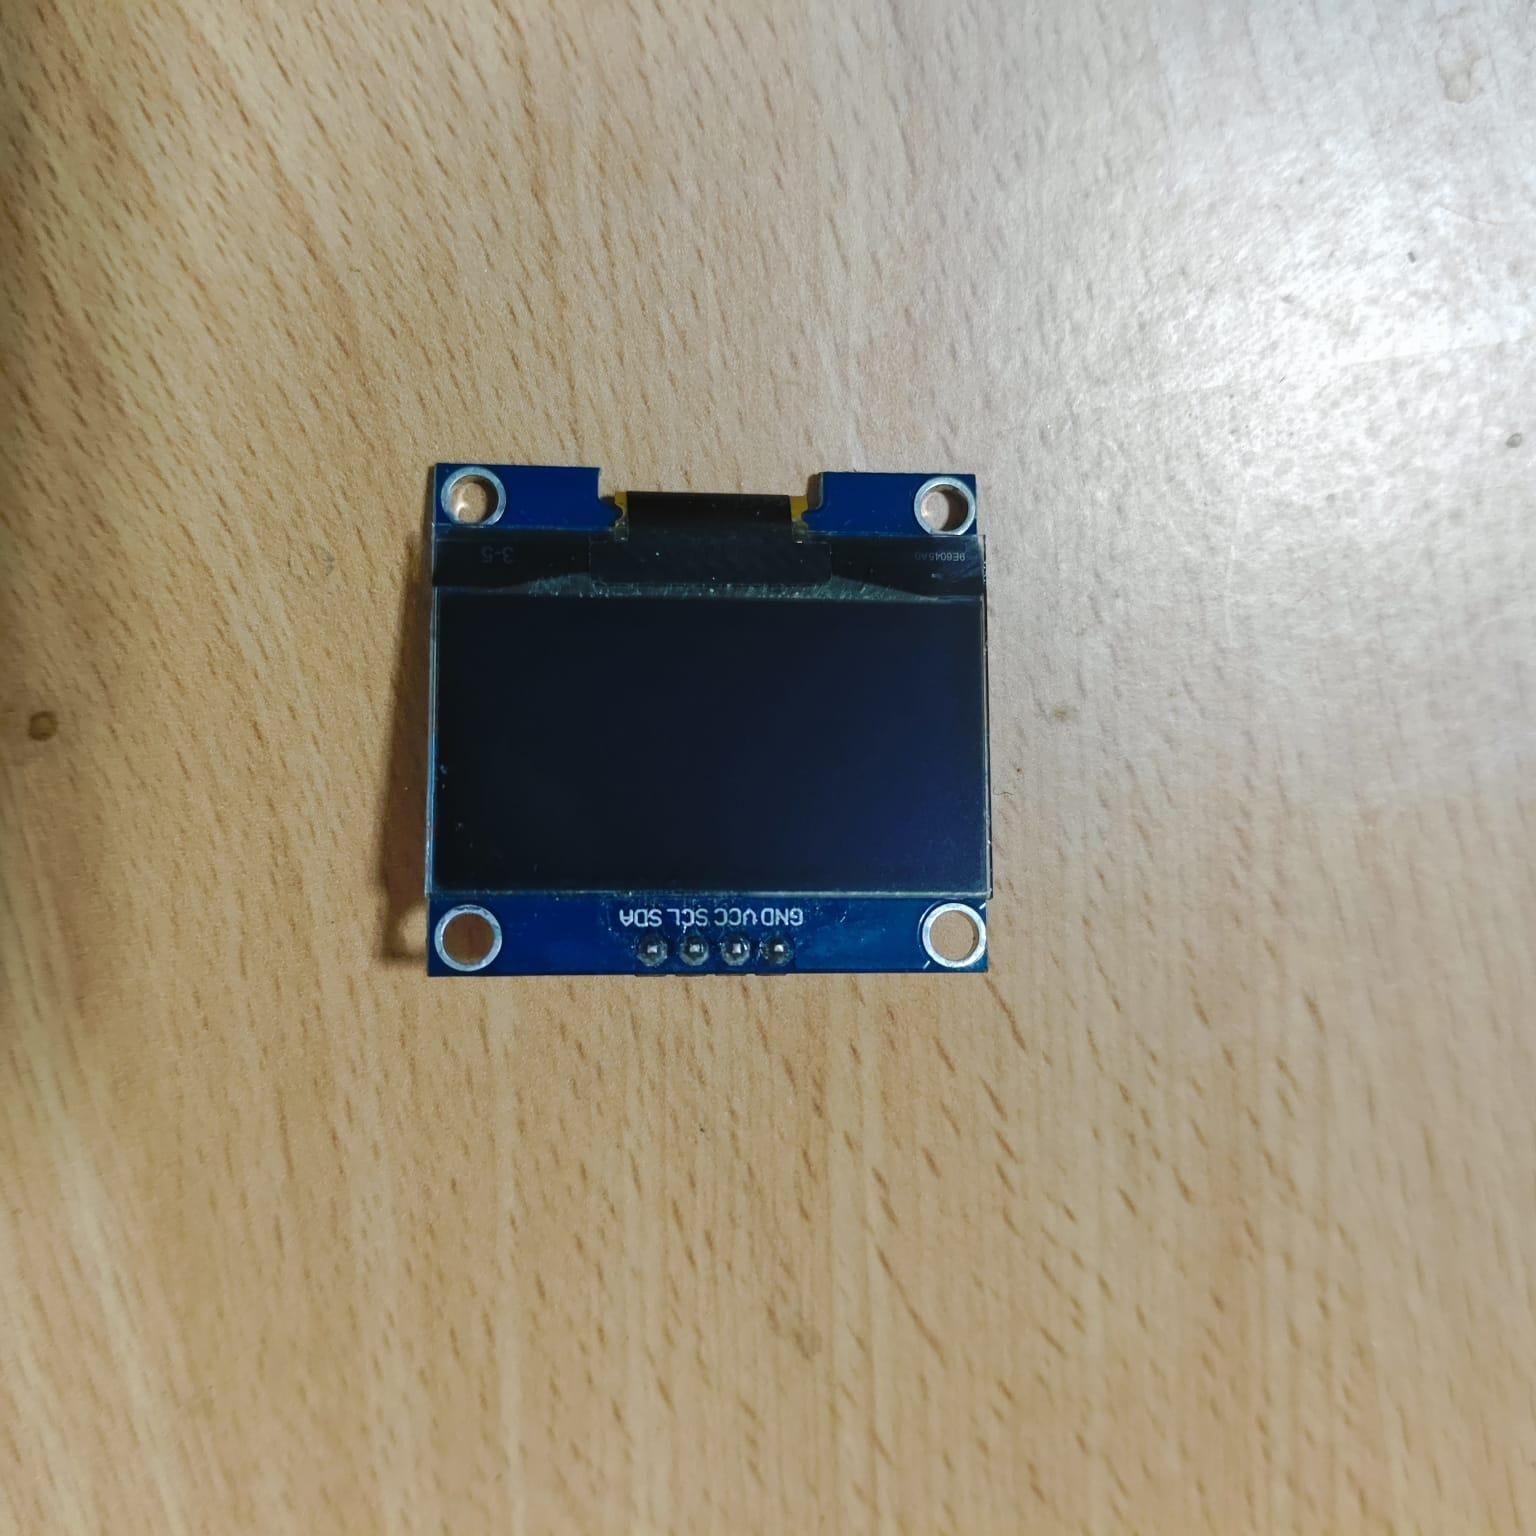
S.No.ComponentQuantity
1.Arduino Nano
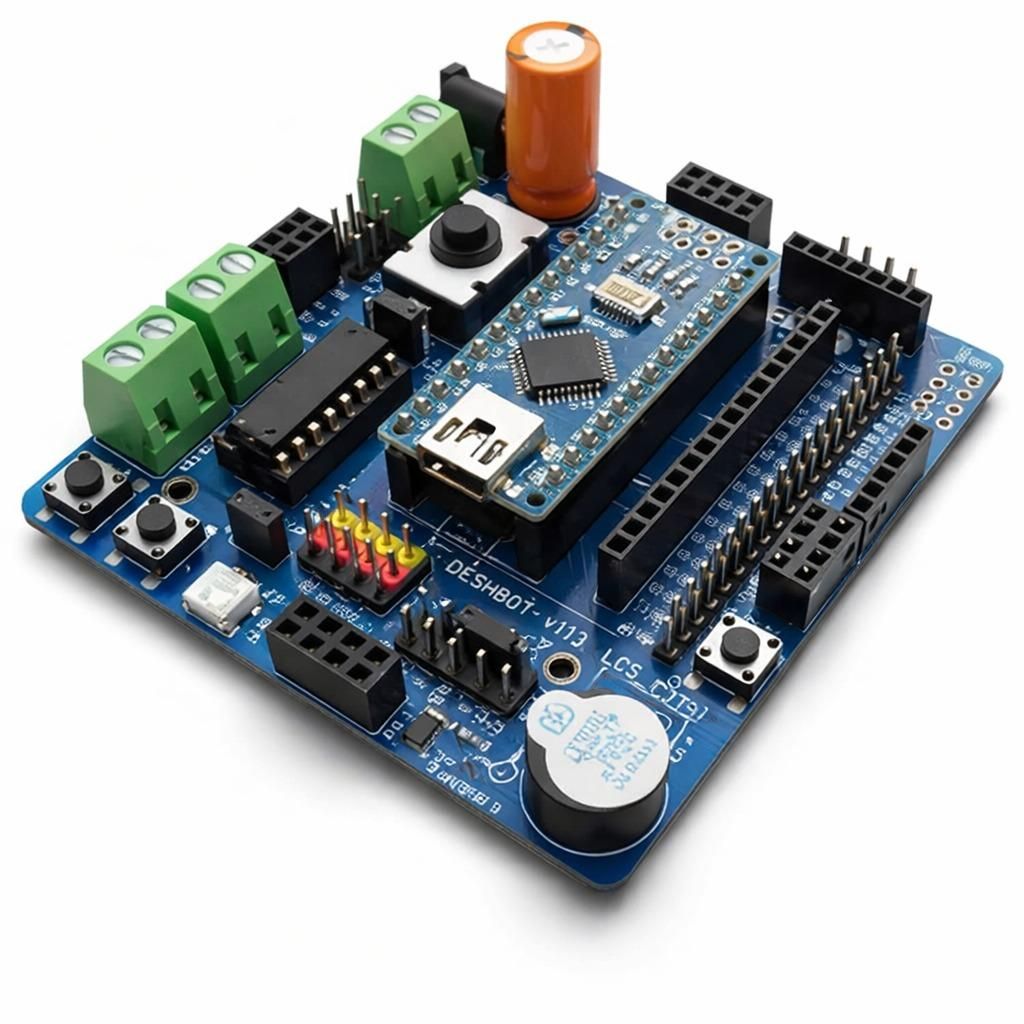
2.DESHBOT Shield
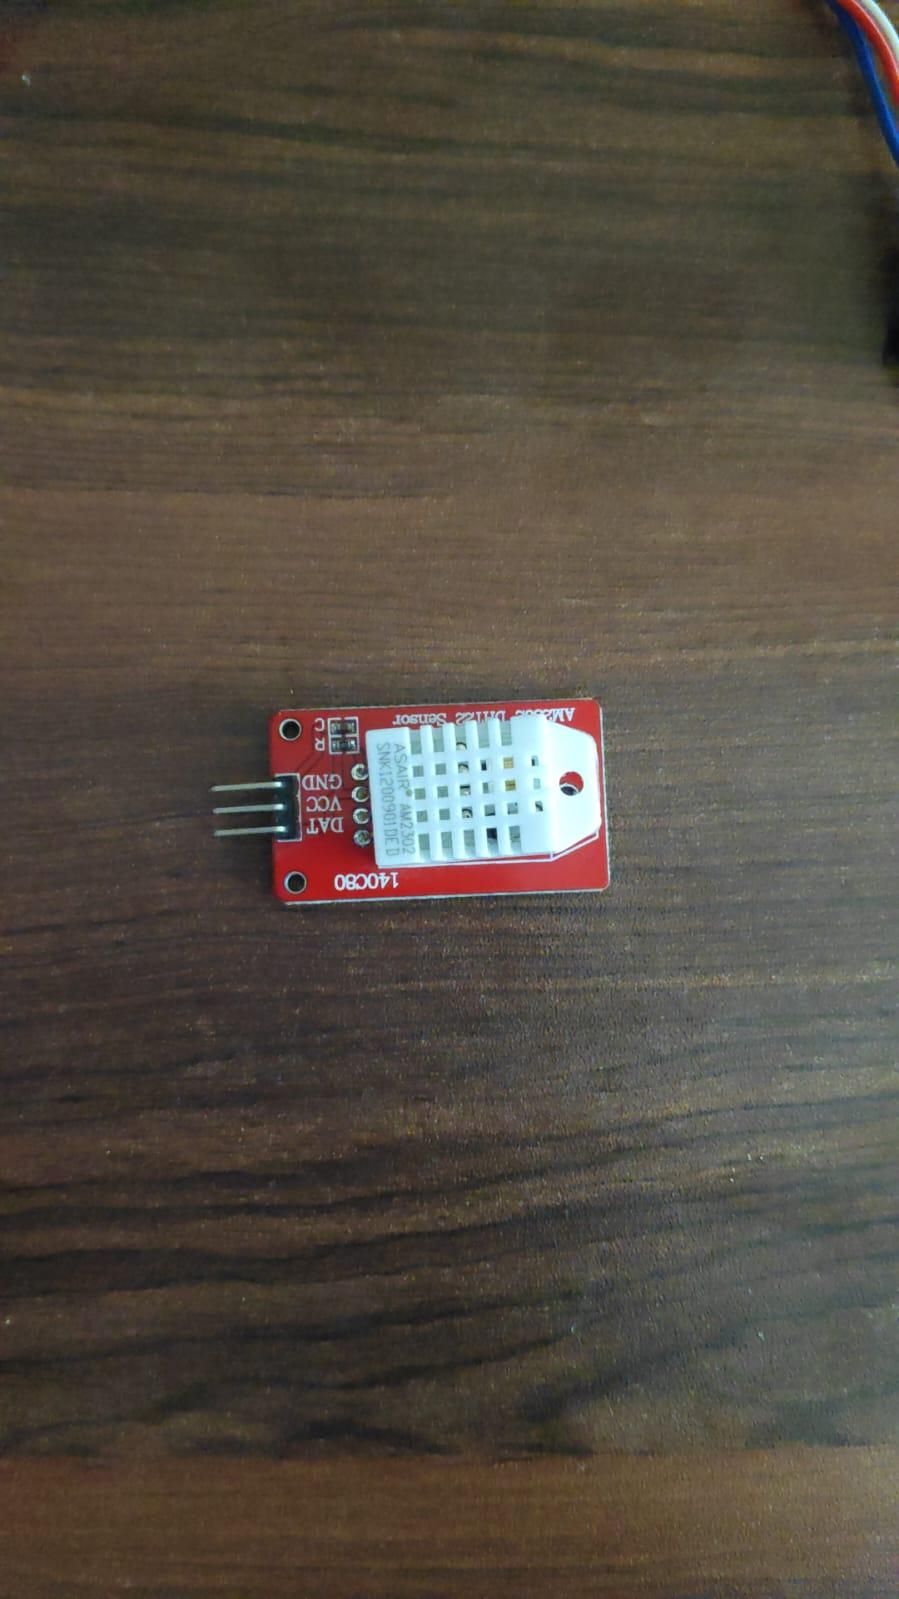
3.DHT22 Temperature & Humidity Sensor
4.OLED Display
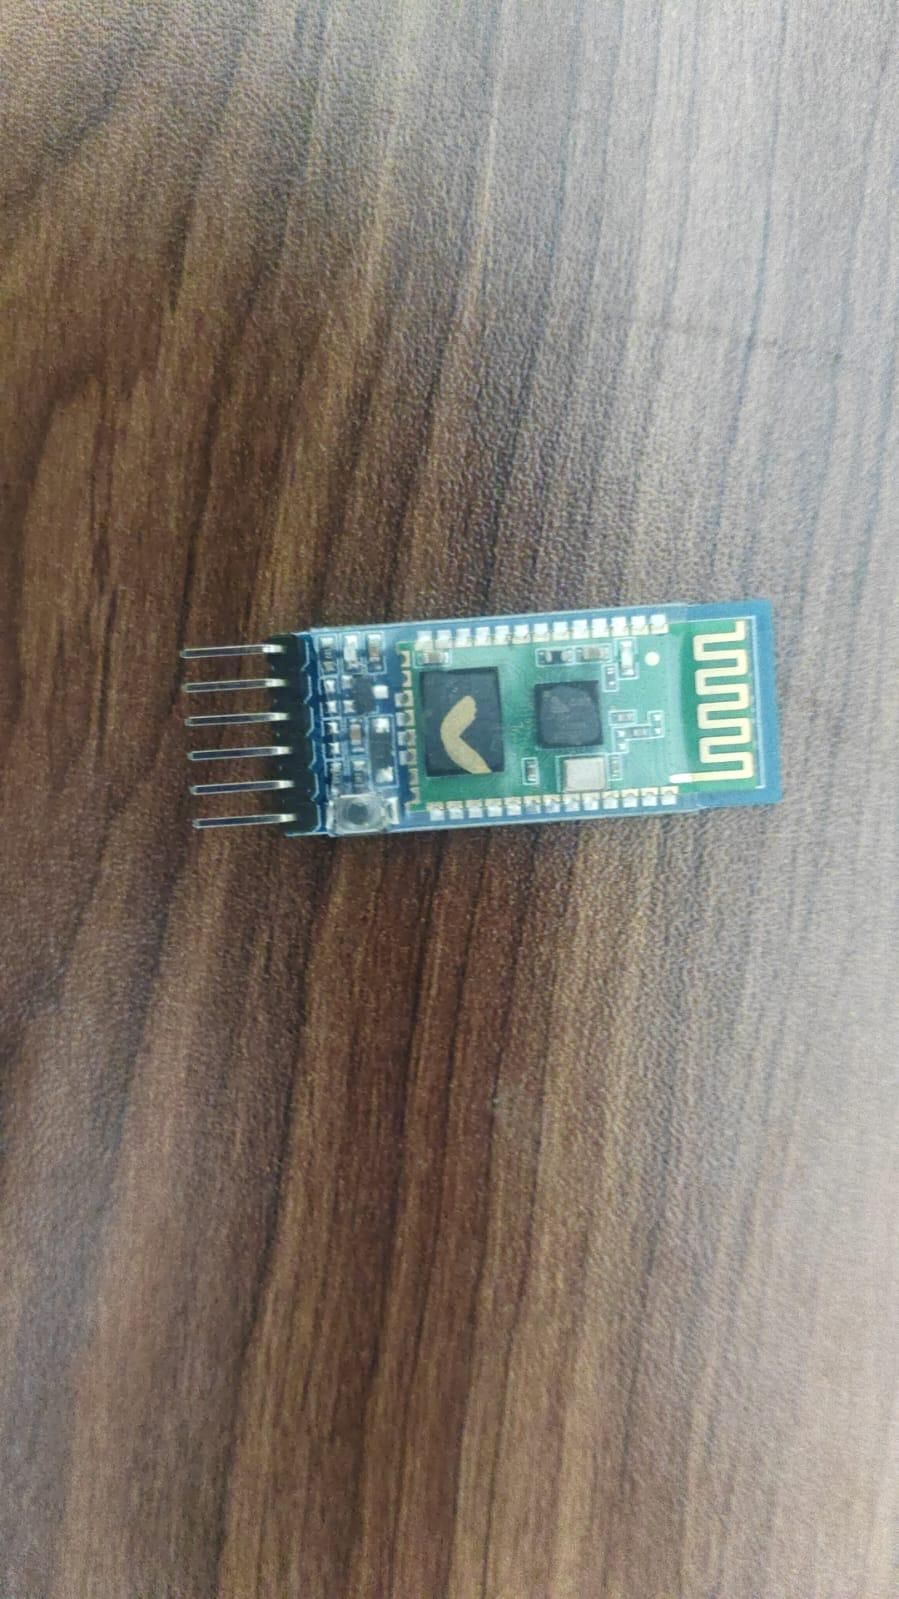
5.Bluetooth Module
6.Jumper Wires
7.USB/Battery Supply
CONNECTION
Pin Connections
DHT22
DHT22 PinArduino Nano
VCC-5V
DATA-D3
GND-GND
OLED Display
The OLED uses the Arduino Nano's I²C communication pins.
OLED PinArduino Nano
VCC-5V
GND-GND
SDA-A4
SCL-A5
Bluetooth Module
Bluetooth PinArduino Nano
TX-D0 (RX)
RX-D1 (TX)
STATE-D2
VCC-5V
GND-GND
Working Principle
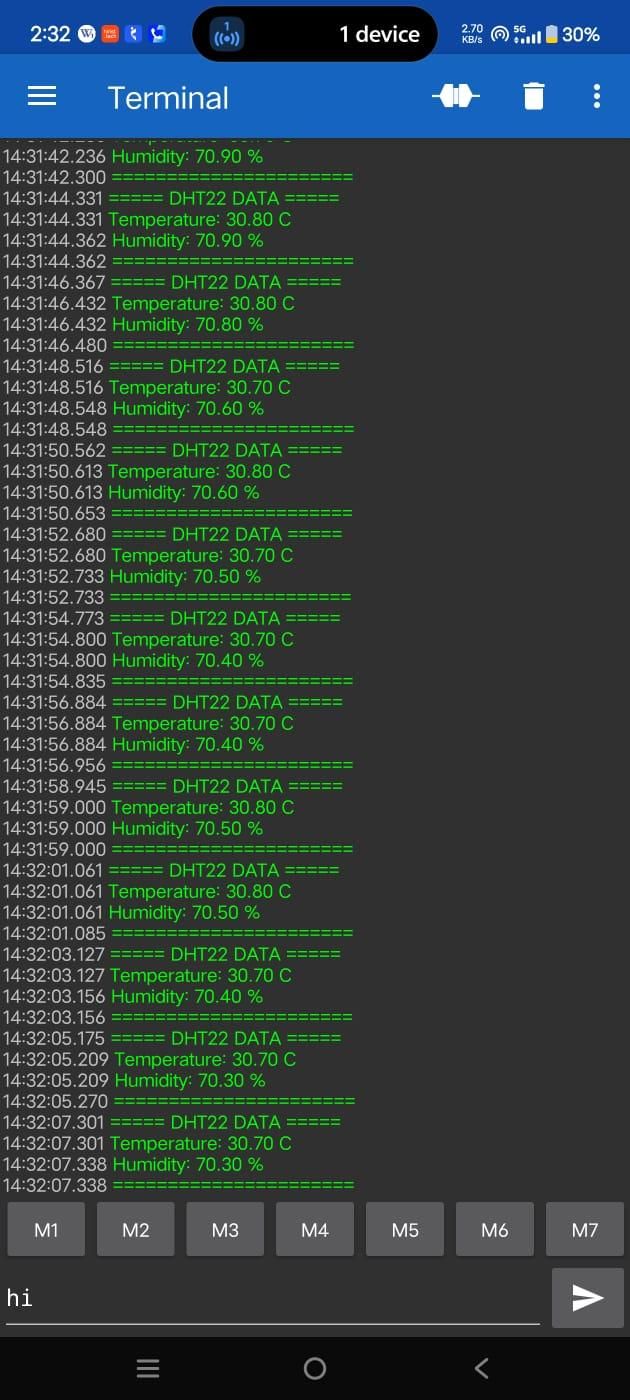
The DHT22 sensor measures the surrounding temperature and relative humidity.
The Arduino Nano reads these values and displays them on the 128×64 OLED display.
The Bluetooth module is used to communicate with a mobile phone. The STATE pin of the Bluetooth module is connected to D2 so that the Arduino can determine whether a Bluetooth connection is active.
When Bluetooth is connected, the Arduino also sends the temperature and humidity readings through Bluetooth.
System Flow
Code Explanation – Step by Step
Step 1: Include Required Libraries
These libraries provide the functions required to control the OLED, communicate using I²C, and read the DHT22 sensor.
- Wire.h → I²C communication
- Adafruit_GFX.h → graphics and text functions
- Adafruit_SSD1306.h → OLED control
- DHT.h → DHT22 sensor control
Step 2: Define OLED Display
The OLED display has a resolution of 128 × 64 pixels.
The Wire library is used for I²C communication.
Step 3: Define DHT22
The DHT22 data pin is connected to D3.
The program specifies that the sensor being used is a DHT22.
Step 4: Define Bluetooth STATE Pin
The Bluetooth module's STATE pin is connected to D2.
This pin is used to determine whether the Bluetooth device is connected.
Step 5: Start the System
The setup() function runs once when the Arduino is powered on.
Step 6: Start Bluetooth Communication
The Arduino's hardware serial communication is started at 9600 baud.
The Bluetooth module is connected to:
Step 7: Configure Bluetooth STATE
The STATE pin is configured as an input so that the Arduino can read its status.
Step 8: Start the DHT22 Sensor
This initializes the DHT22 sensor and prepares it for taking measurements.
Step 9: Start the OLED
This initializes the OLED using the I²C address 0x3C.
If the OLED is not detected, the Arduino stops at this point.
Step 10: Display Starting Message
When the system starts, the OLED displays:
Main Program
Step 11: Read Bluetooth Status
The Arduino reads the Bluetooth STATE pin.
If the pin is HIGH, the program considers Bluetooth to be connected.
If the pin is LOW, it displays that Bluetooth is not connected.
Step 12: Read Temperature
The DHT22 measures the surrounding temperature and stores the value in the temperature variable.
The temperature is displayed in degrees Celsius (°C).
Step 13: Read Humidity
The DHT22 measures relative humidity and stores the value in the humidity variable.
The value is displayed as a percentage (%).
Step 14: Display Bluetooth Status
The OLED displays either:
or:
Step 15: Display Temperature
The temperature is displayed with one decimal place.
Example:
If the DHT22 fails to provide a valid reading, the OLED displays:
Step 16: Display Humidity
The humidity is displayed with one decimal place.
Example:
Step 17: Send Data Through Bluetooth
When Bluetooth is connected, the Arduino sends the sensor readings to the connected mobile device.
Example Bluetooth output:
Step 18: Delay
The Arduino waits for 2 seconds before taking another reading.
This prevents the DHT22 from being read too frequently and makes the display easier to read.
OLED Output
When Bluetooth is connected:
When Bluetooth is disconnected:
Downloads
Conclusion
The DHT22 Temperature and Humidity Monitoring System successfully measures environmental temperature and humidity using the DHT22 sensor. The Arduino Nano processes the sensor readings and displays them on the OLED display. The Bluetooth module provides wireless communication with a mobile device, while the Bluetooth STATE pin allows the system to display the connection status. This project demonstrates basic environmental monitoring, OLED display control, and wireless data transmission using Arduino.