Smart Suitcase
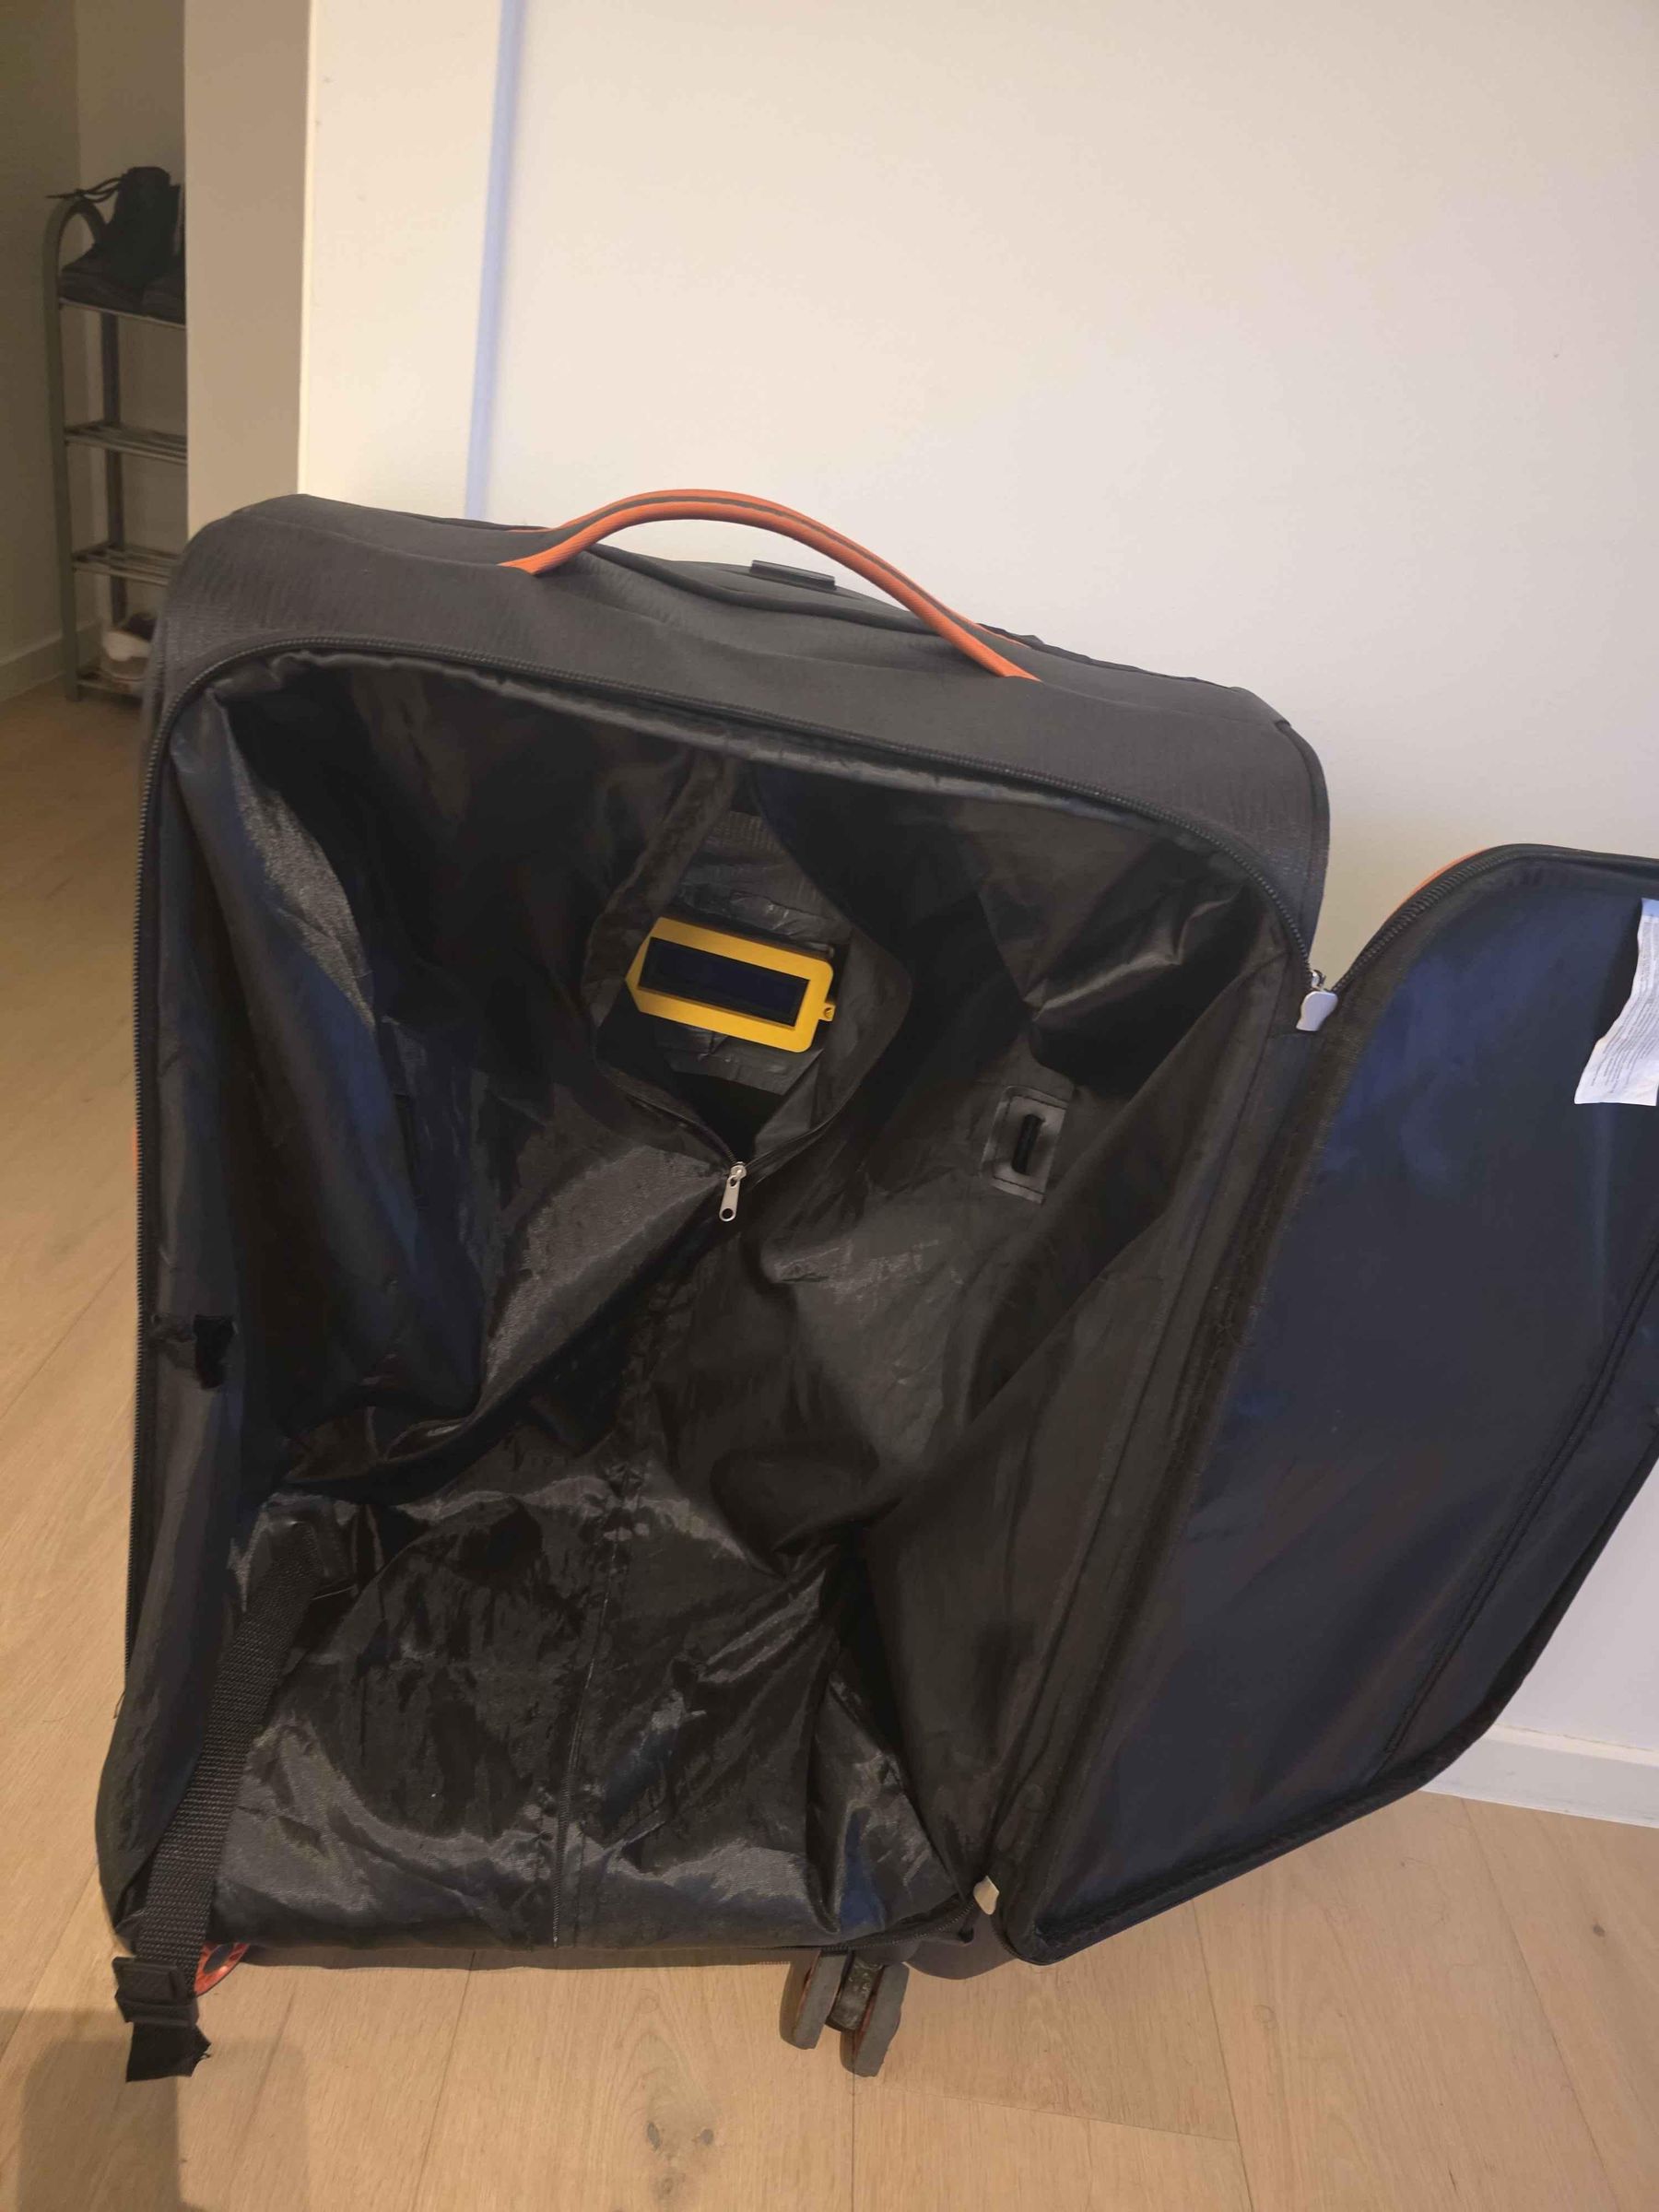
I’m someone who often has stress about forgetting things when i start packing for a trip. To reduce this travel anxiety I built a smart suitcase with an automated RFID tracking system. It keeps an eye on my essentials so I don’t have to. Now with this suitcase I can focus on the destination instead of worrying about what I might have forgotten. Here i will show you how to make one for yourself so you too can forget about the stress of packing.
Supplies
- Raspberry pi 5 4GB
- Raspberry PI T-cobbler
- Alphanumeric LCD Display
- PN532
- NFC stickers
- N-MOSFET to 120
- active buzzer
- 5V Electric Lock
- battery holder (4 batteries)
- 3.7V li-ion battery x4
- 5V DC step down Converter USB C
- 5V DC step down Converter
- 1N4007 diode
- jumper wires
- heat-shrink
- M4 lock nut
- M4 x 16mm Allen bolt
- M4 fender washer
- 4x20mm machine screw + nut
- wires
- 3d-fillament
- 6mm mdf plate
total cost: €185.46
Lasercutting
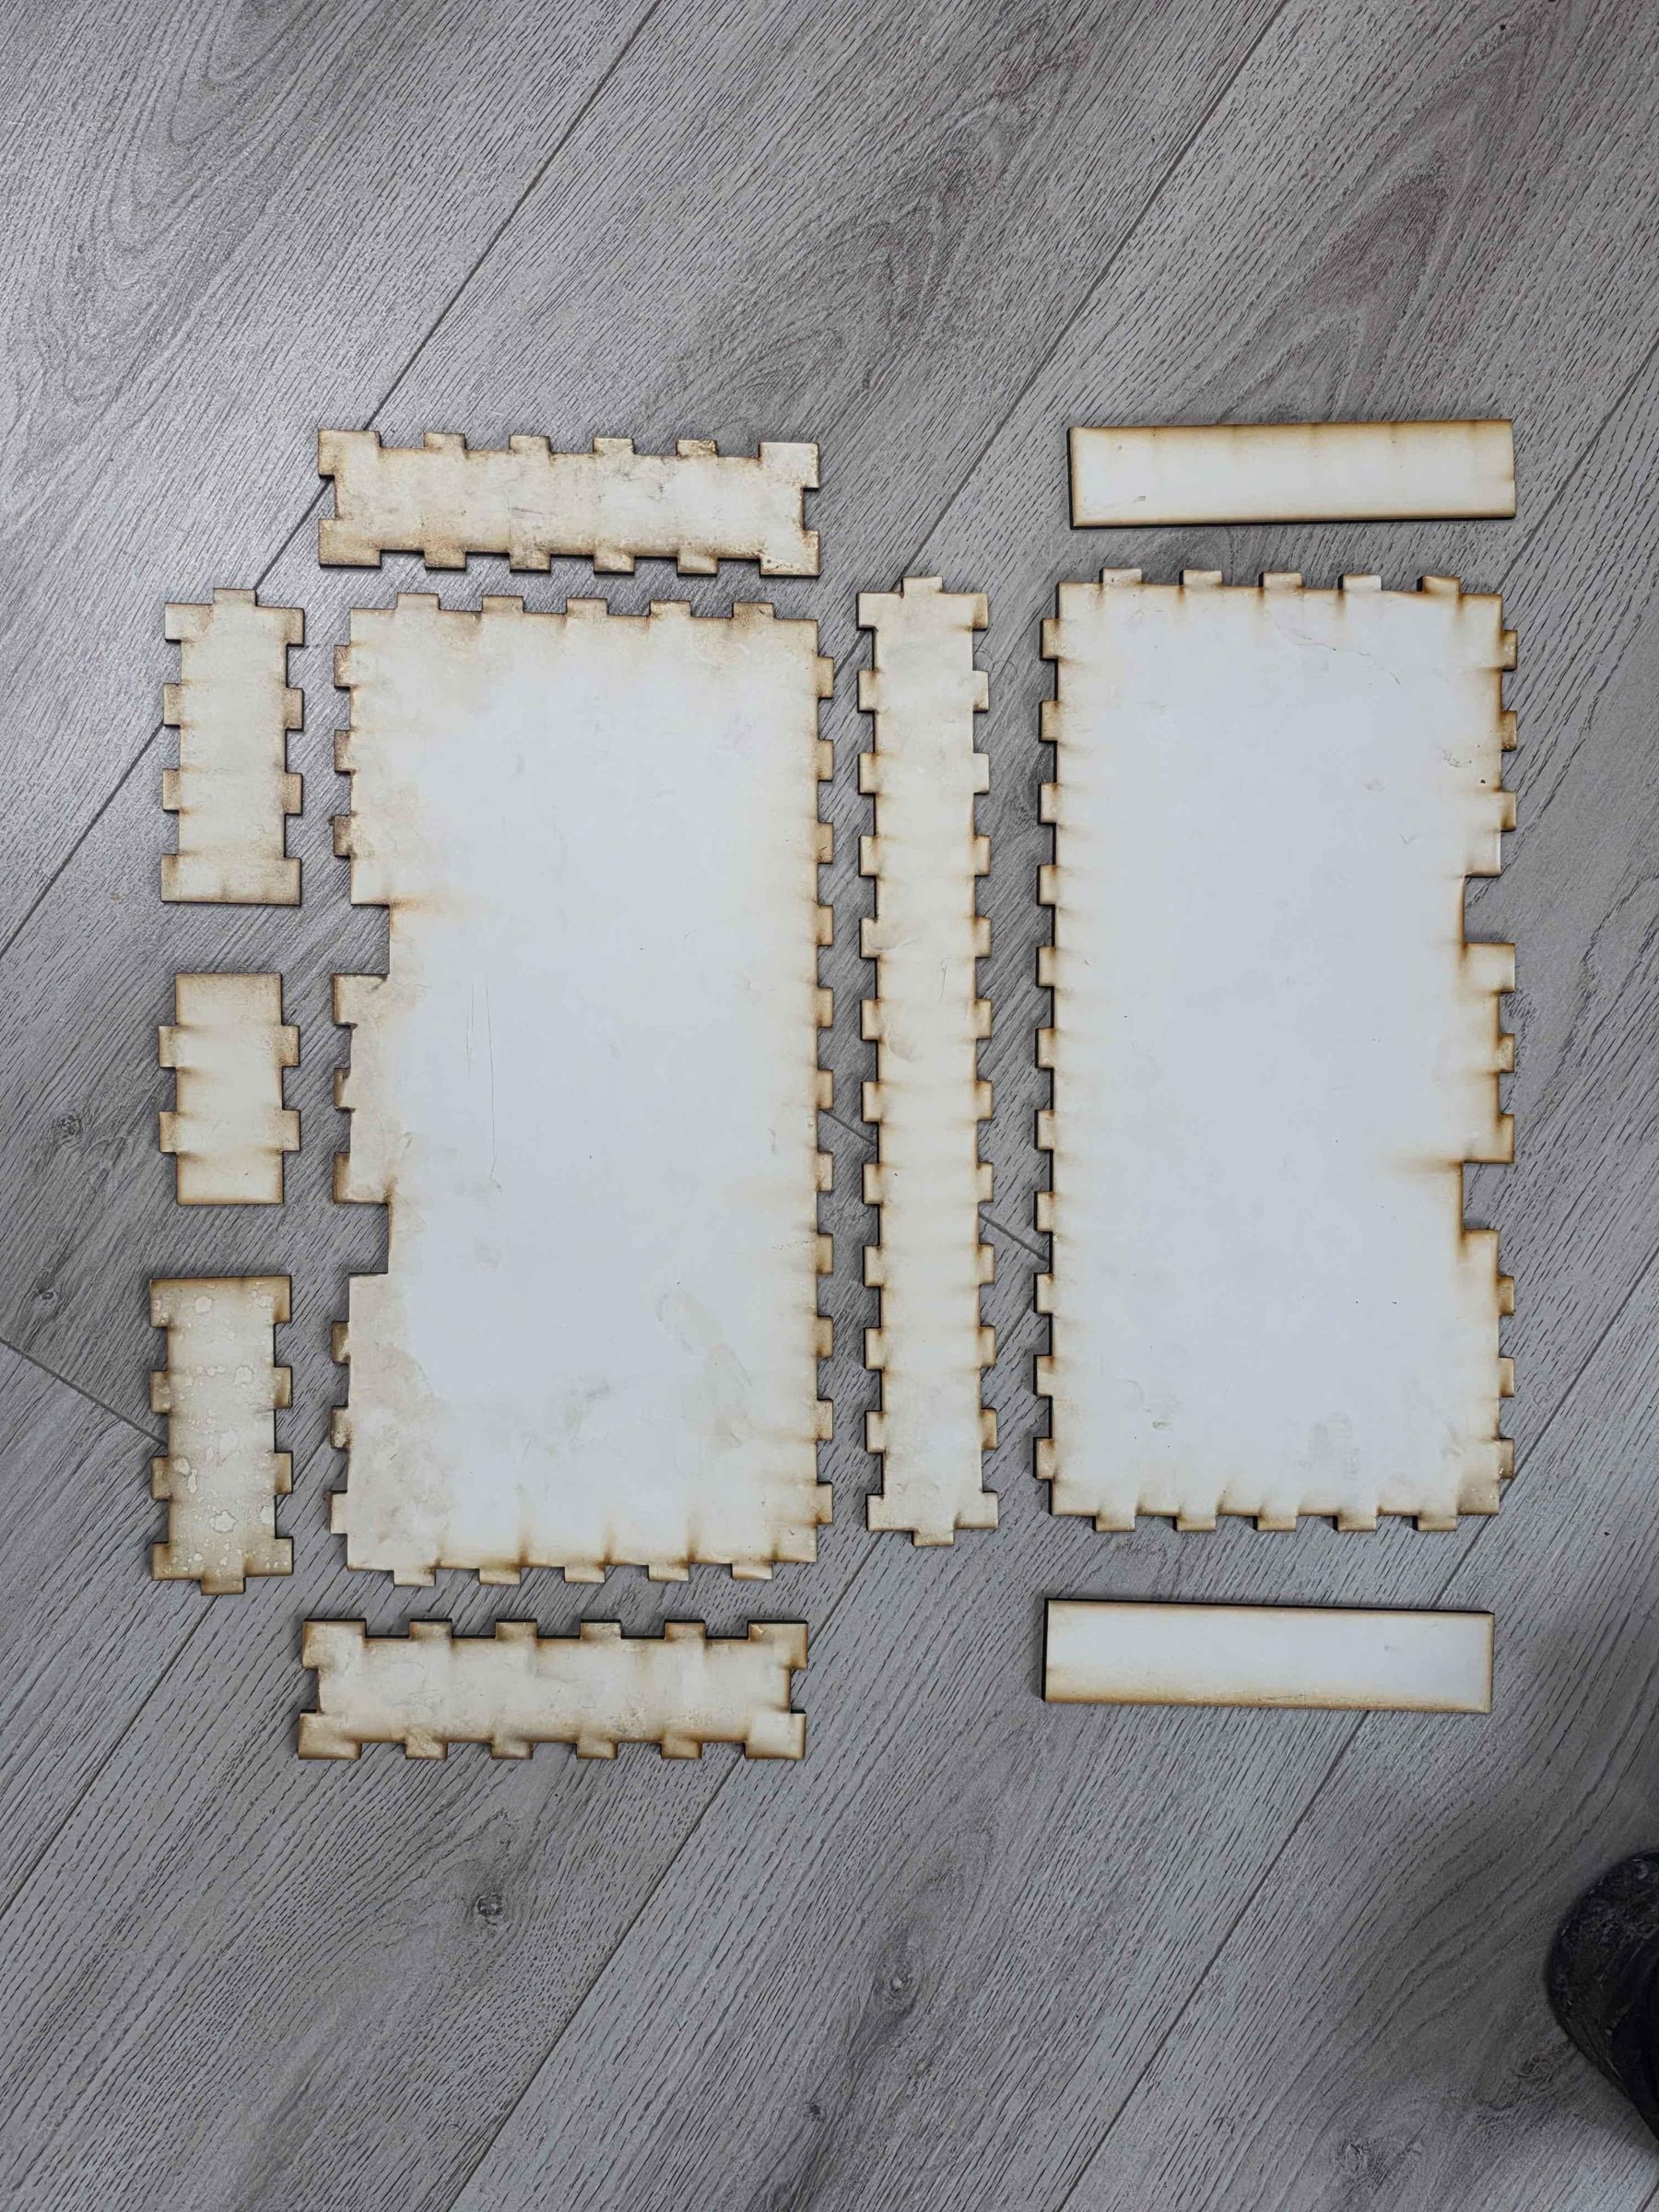
The parts need to be laser cut on a 6mm sheet to make sure it's durable enough to hold all your items.
Don't forget to add holes into your plates so you won't have to do this later.
Downloads

3d Printing
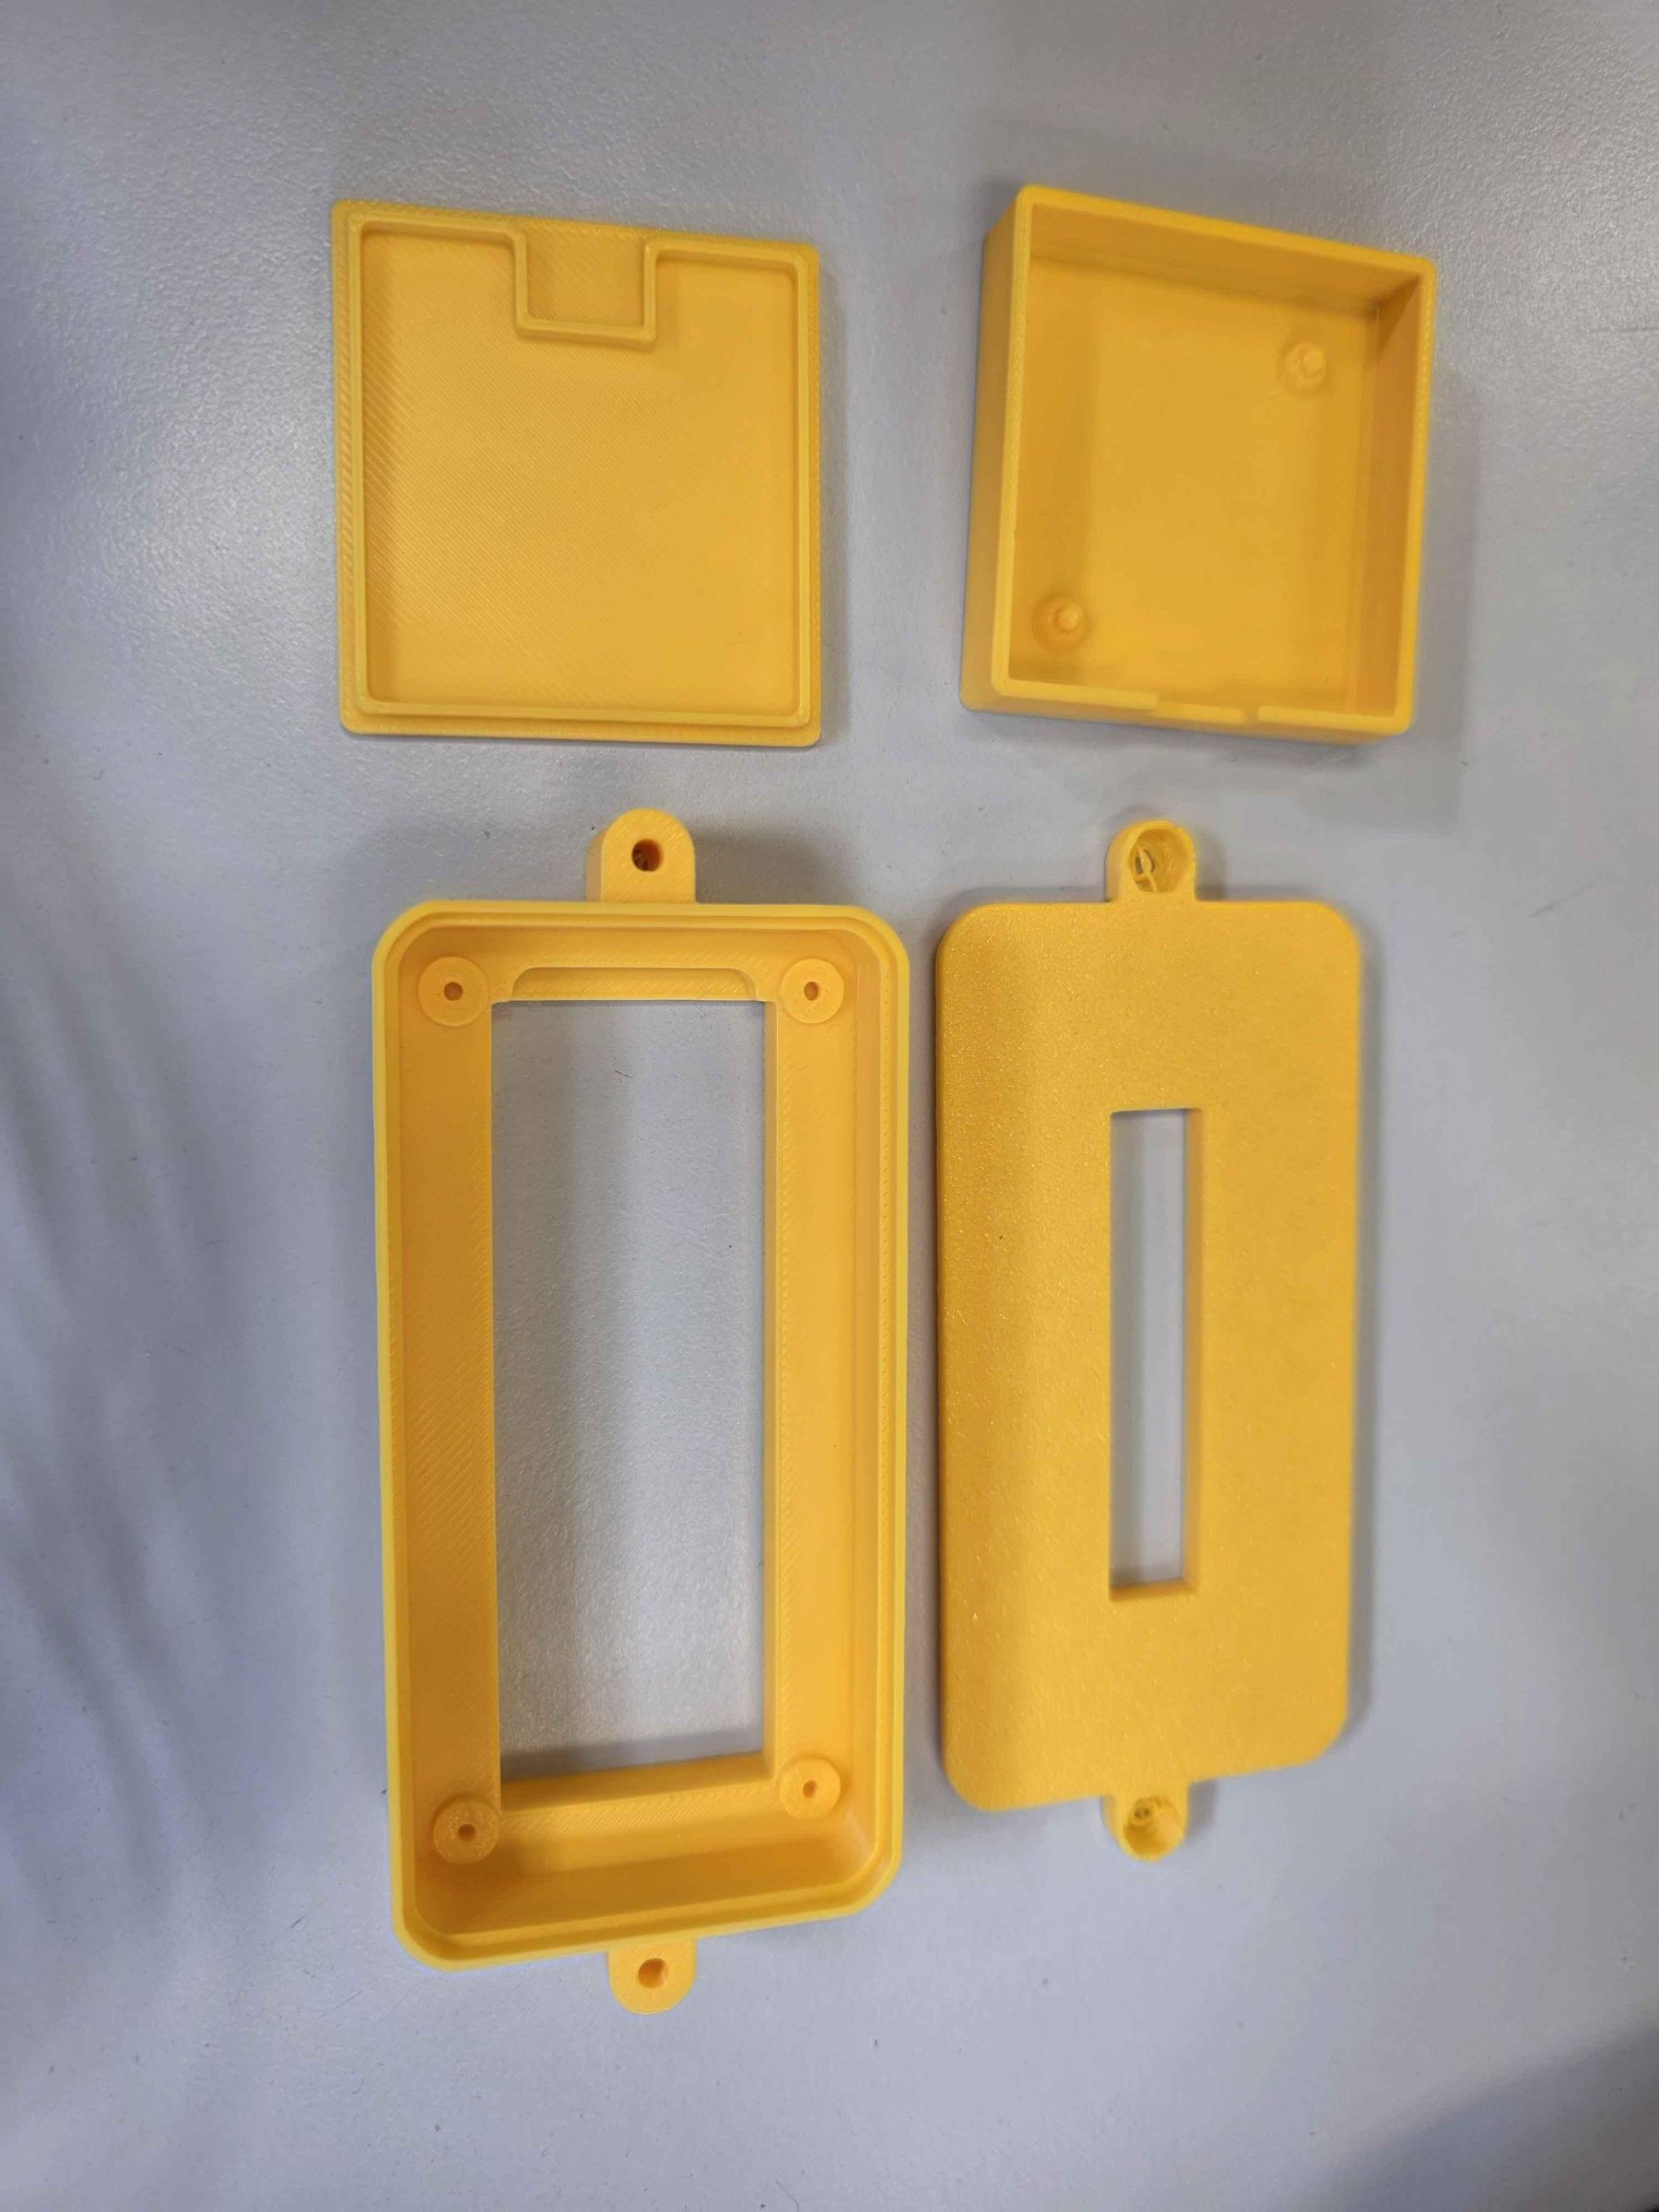
Print the cases for the lcd and the pn532. once finished you can place the components into their cases.
Build the Compartment
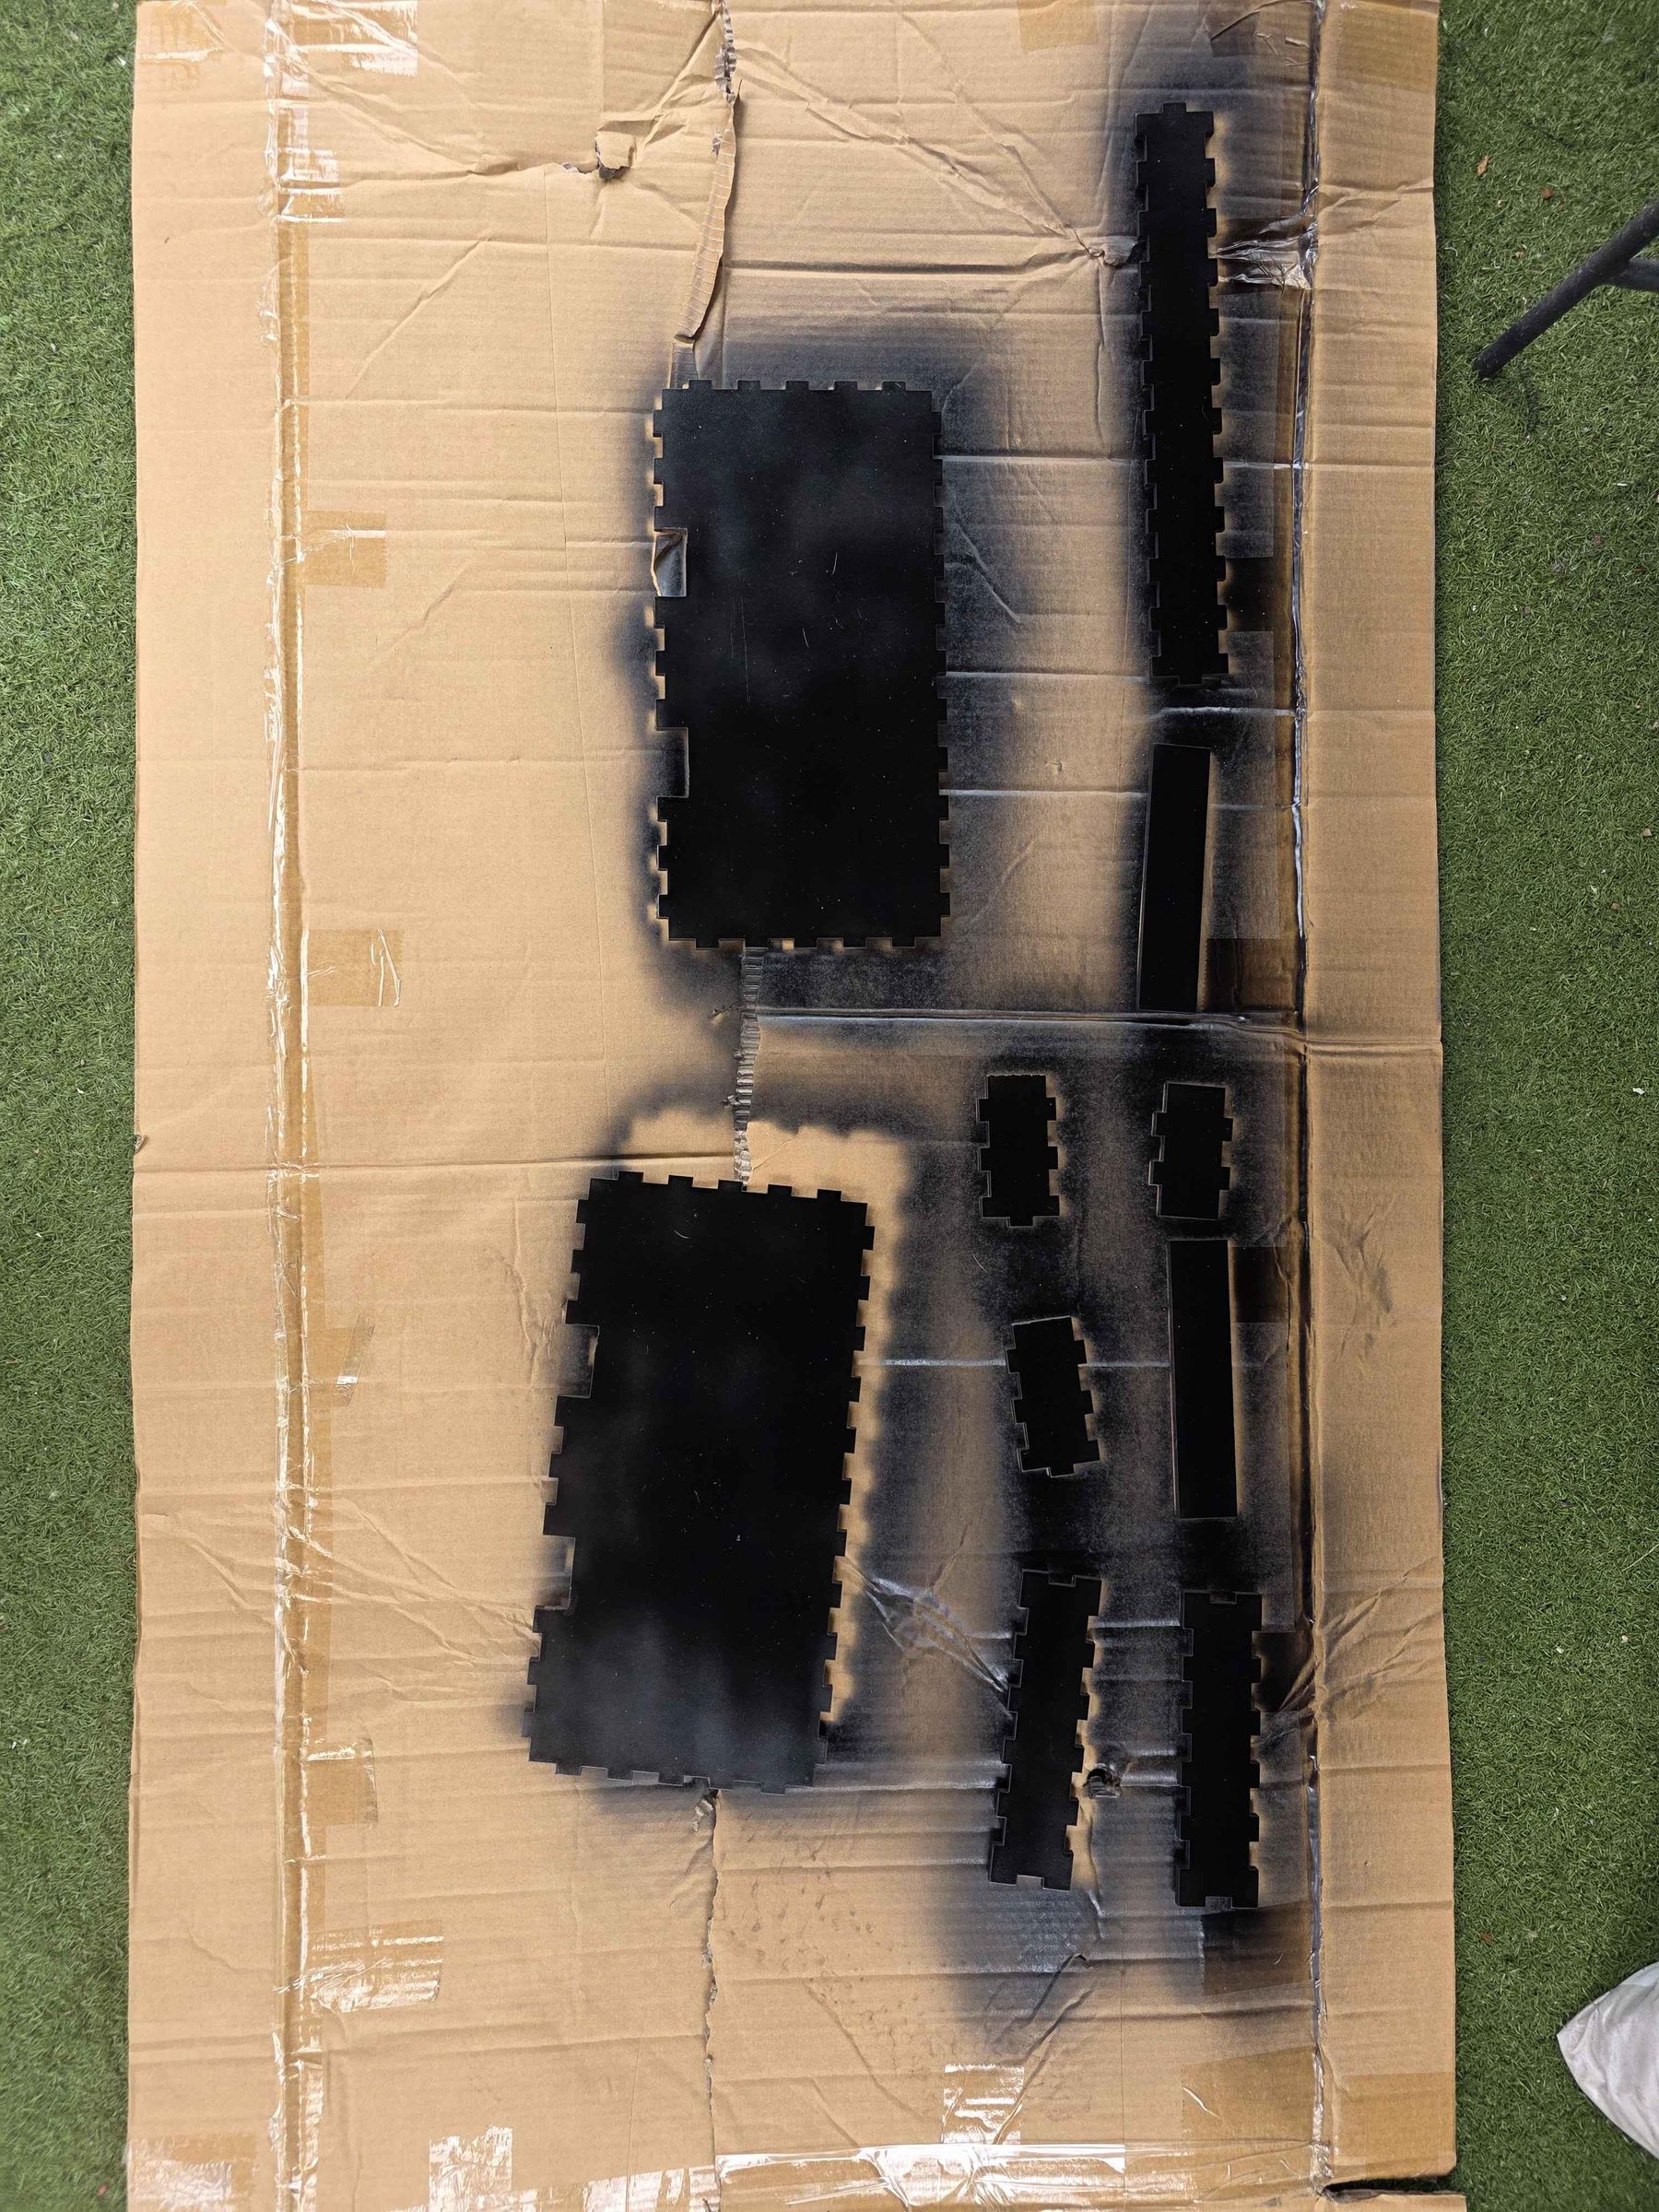
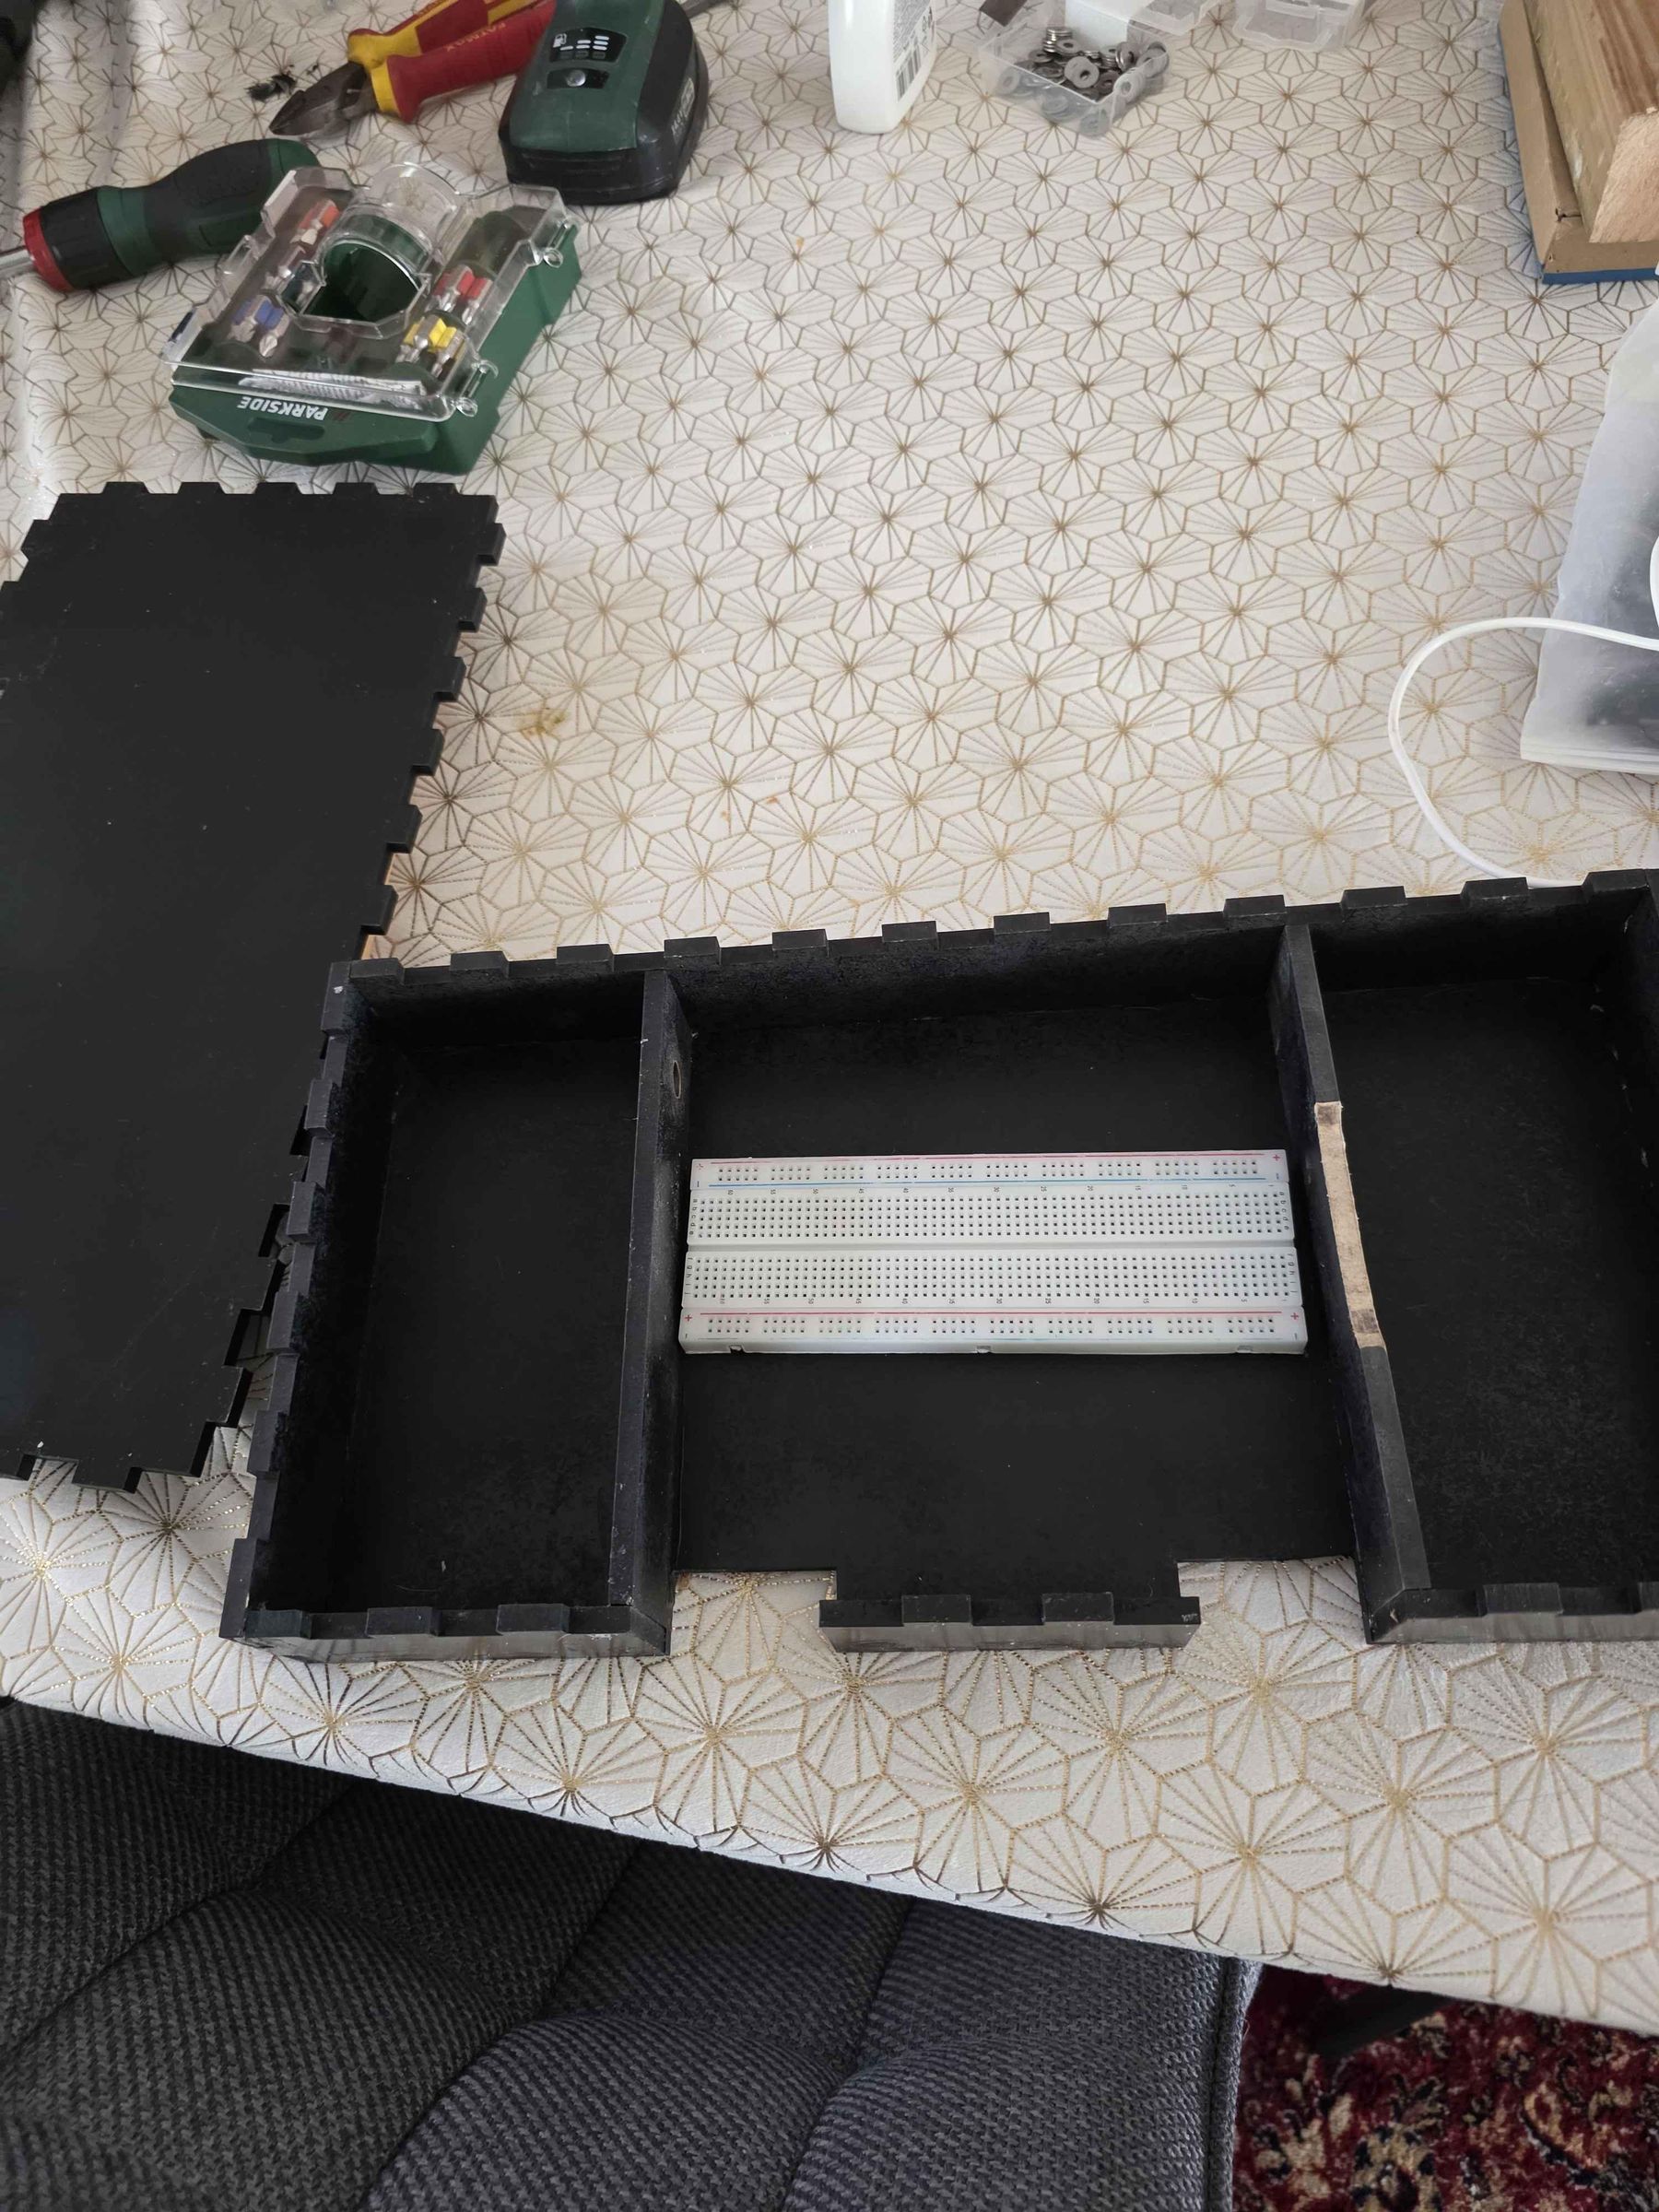
If you forgot to add holes while laser cutting, now would be the time to add them manually.
Sand the plates and paint them a color of your choosing (or leave them as they are if you prefer it that way).
Once the parts have all dried, you can glue them together. Make sure you use the correct glue for the material you used.
Screw Parts Into the Suitcase
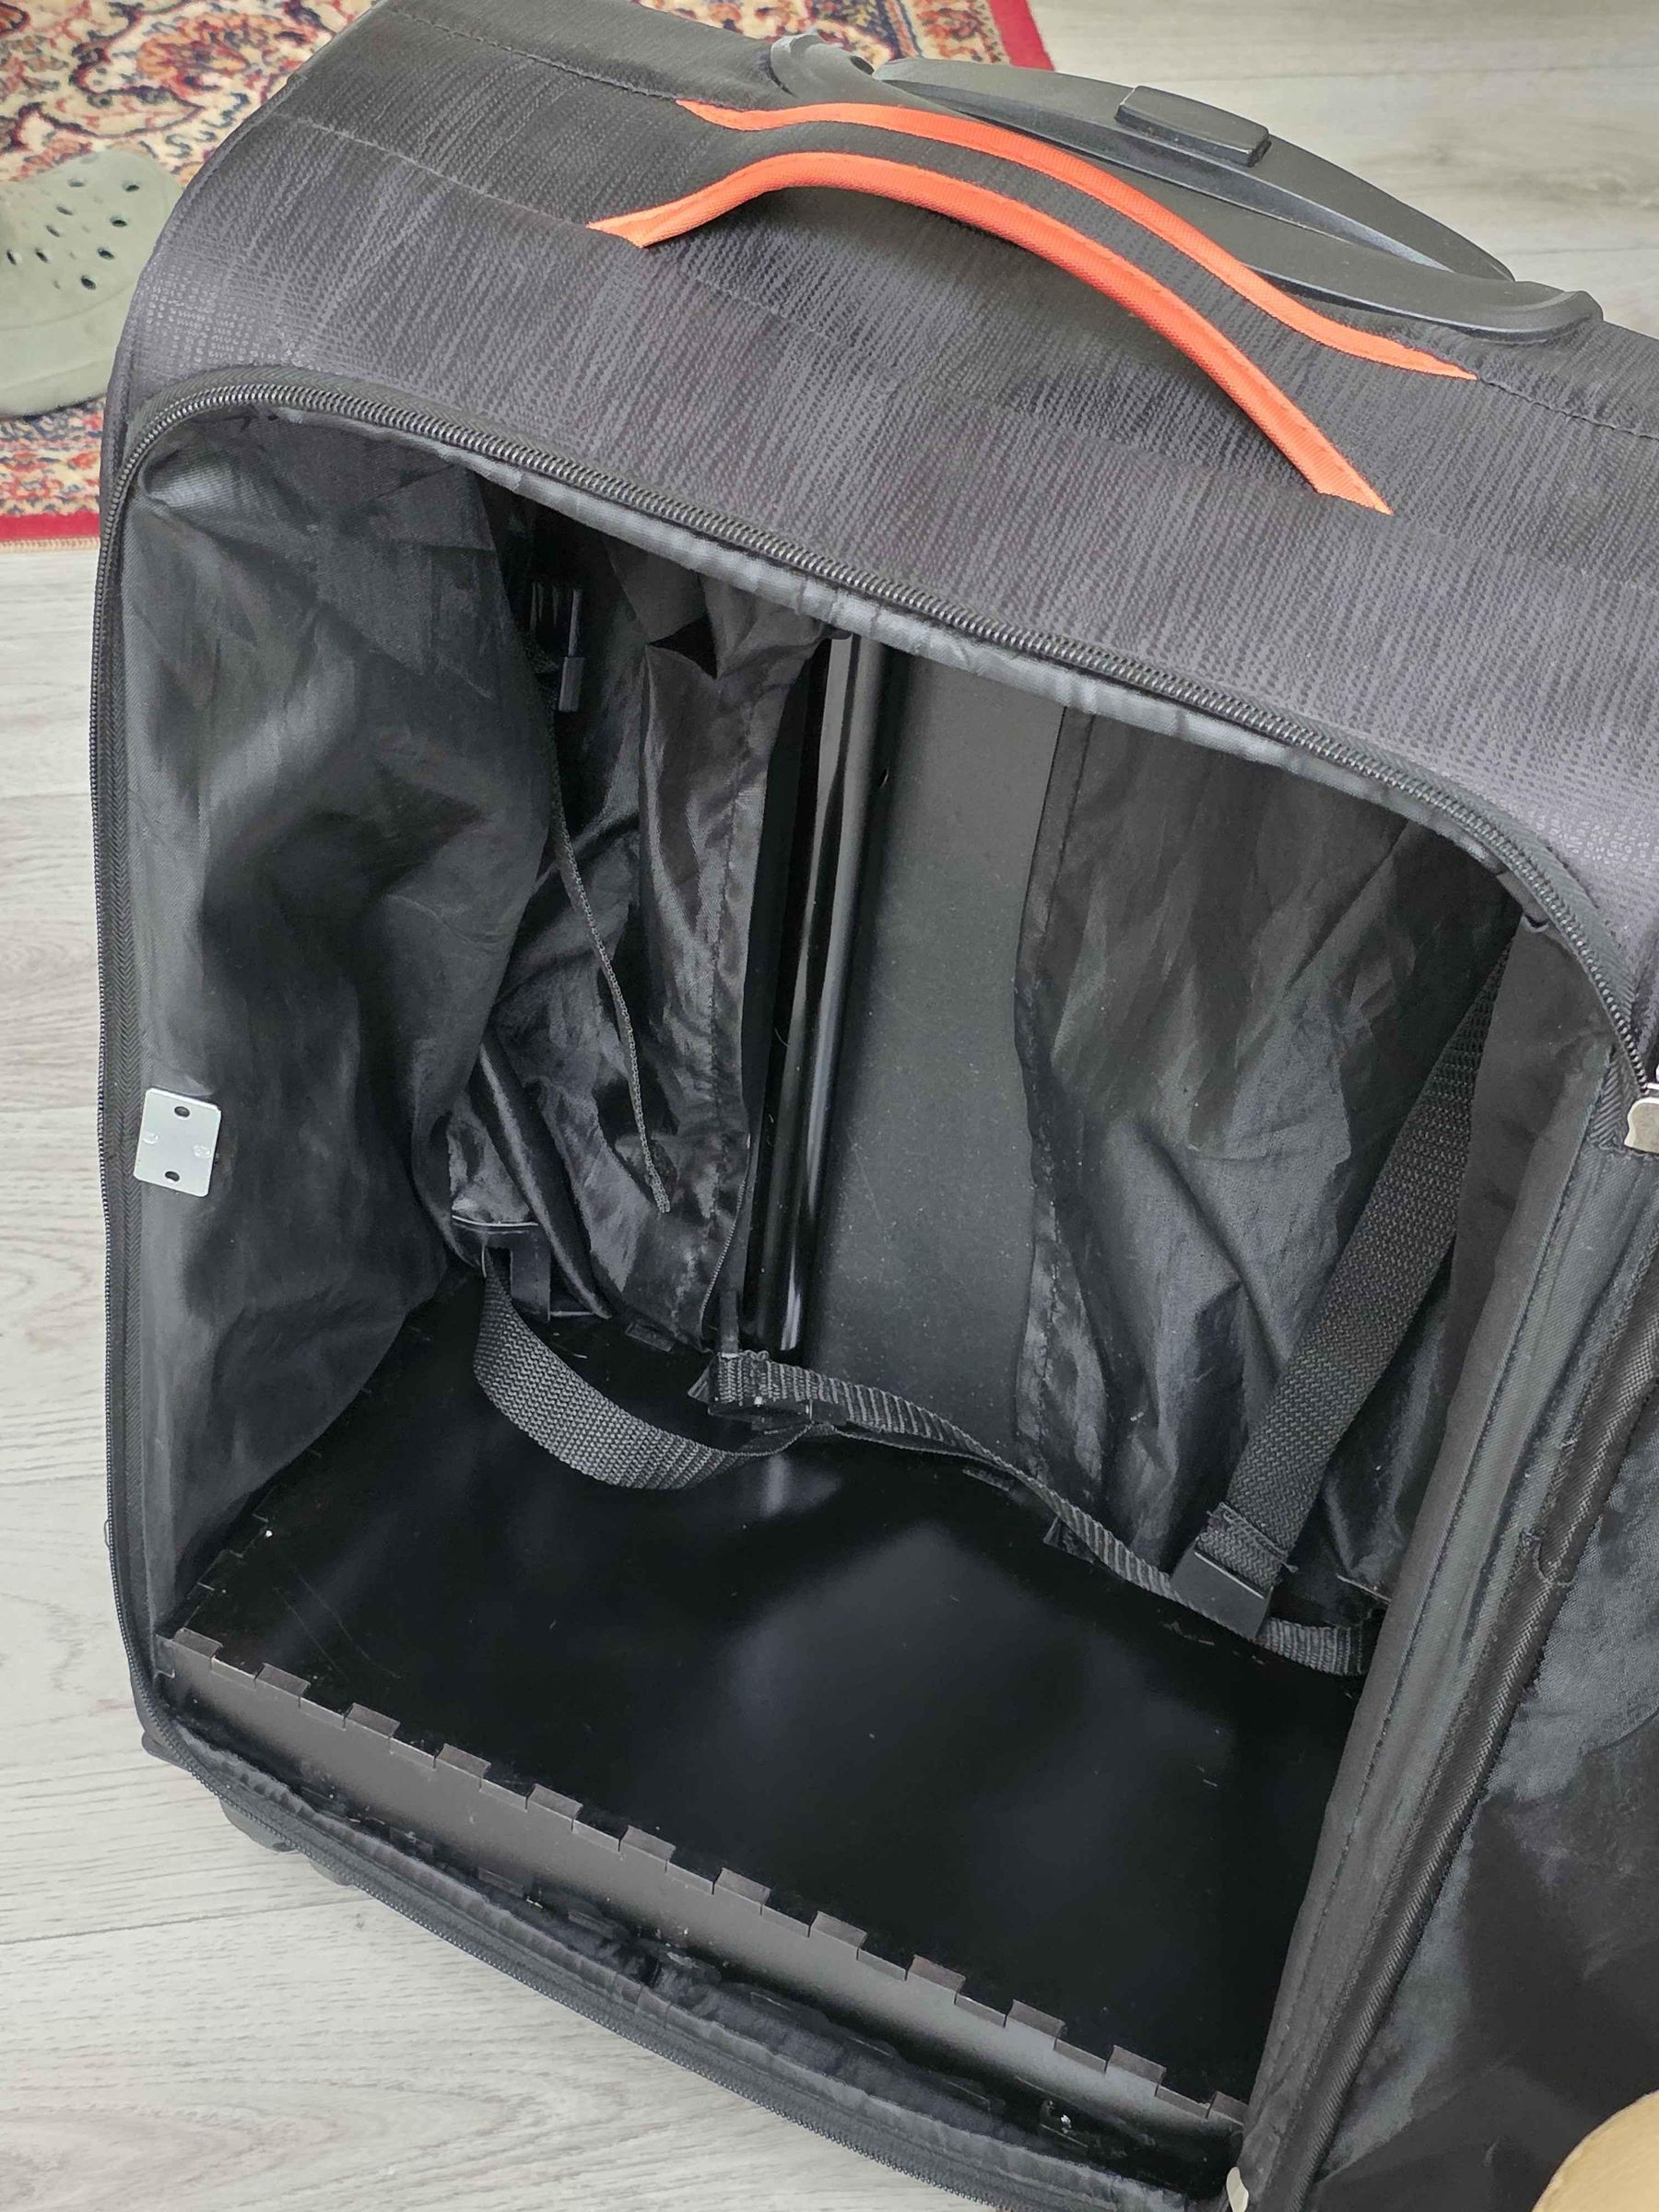
For this step you will have to make a few holes into your suitcase.
Locate where you want to place your lock, around the part where the suitcase opens. Make 3 holes and screw the lock into the suitcase.
For the lock hinge make 2 holes and screw it onto the inside of the door.
For the compartment make 2 holes into the bottom of your suitcase and screw in the compartment.
Protect the Wires
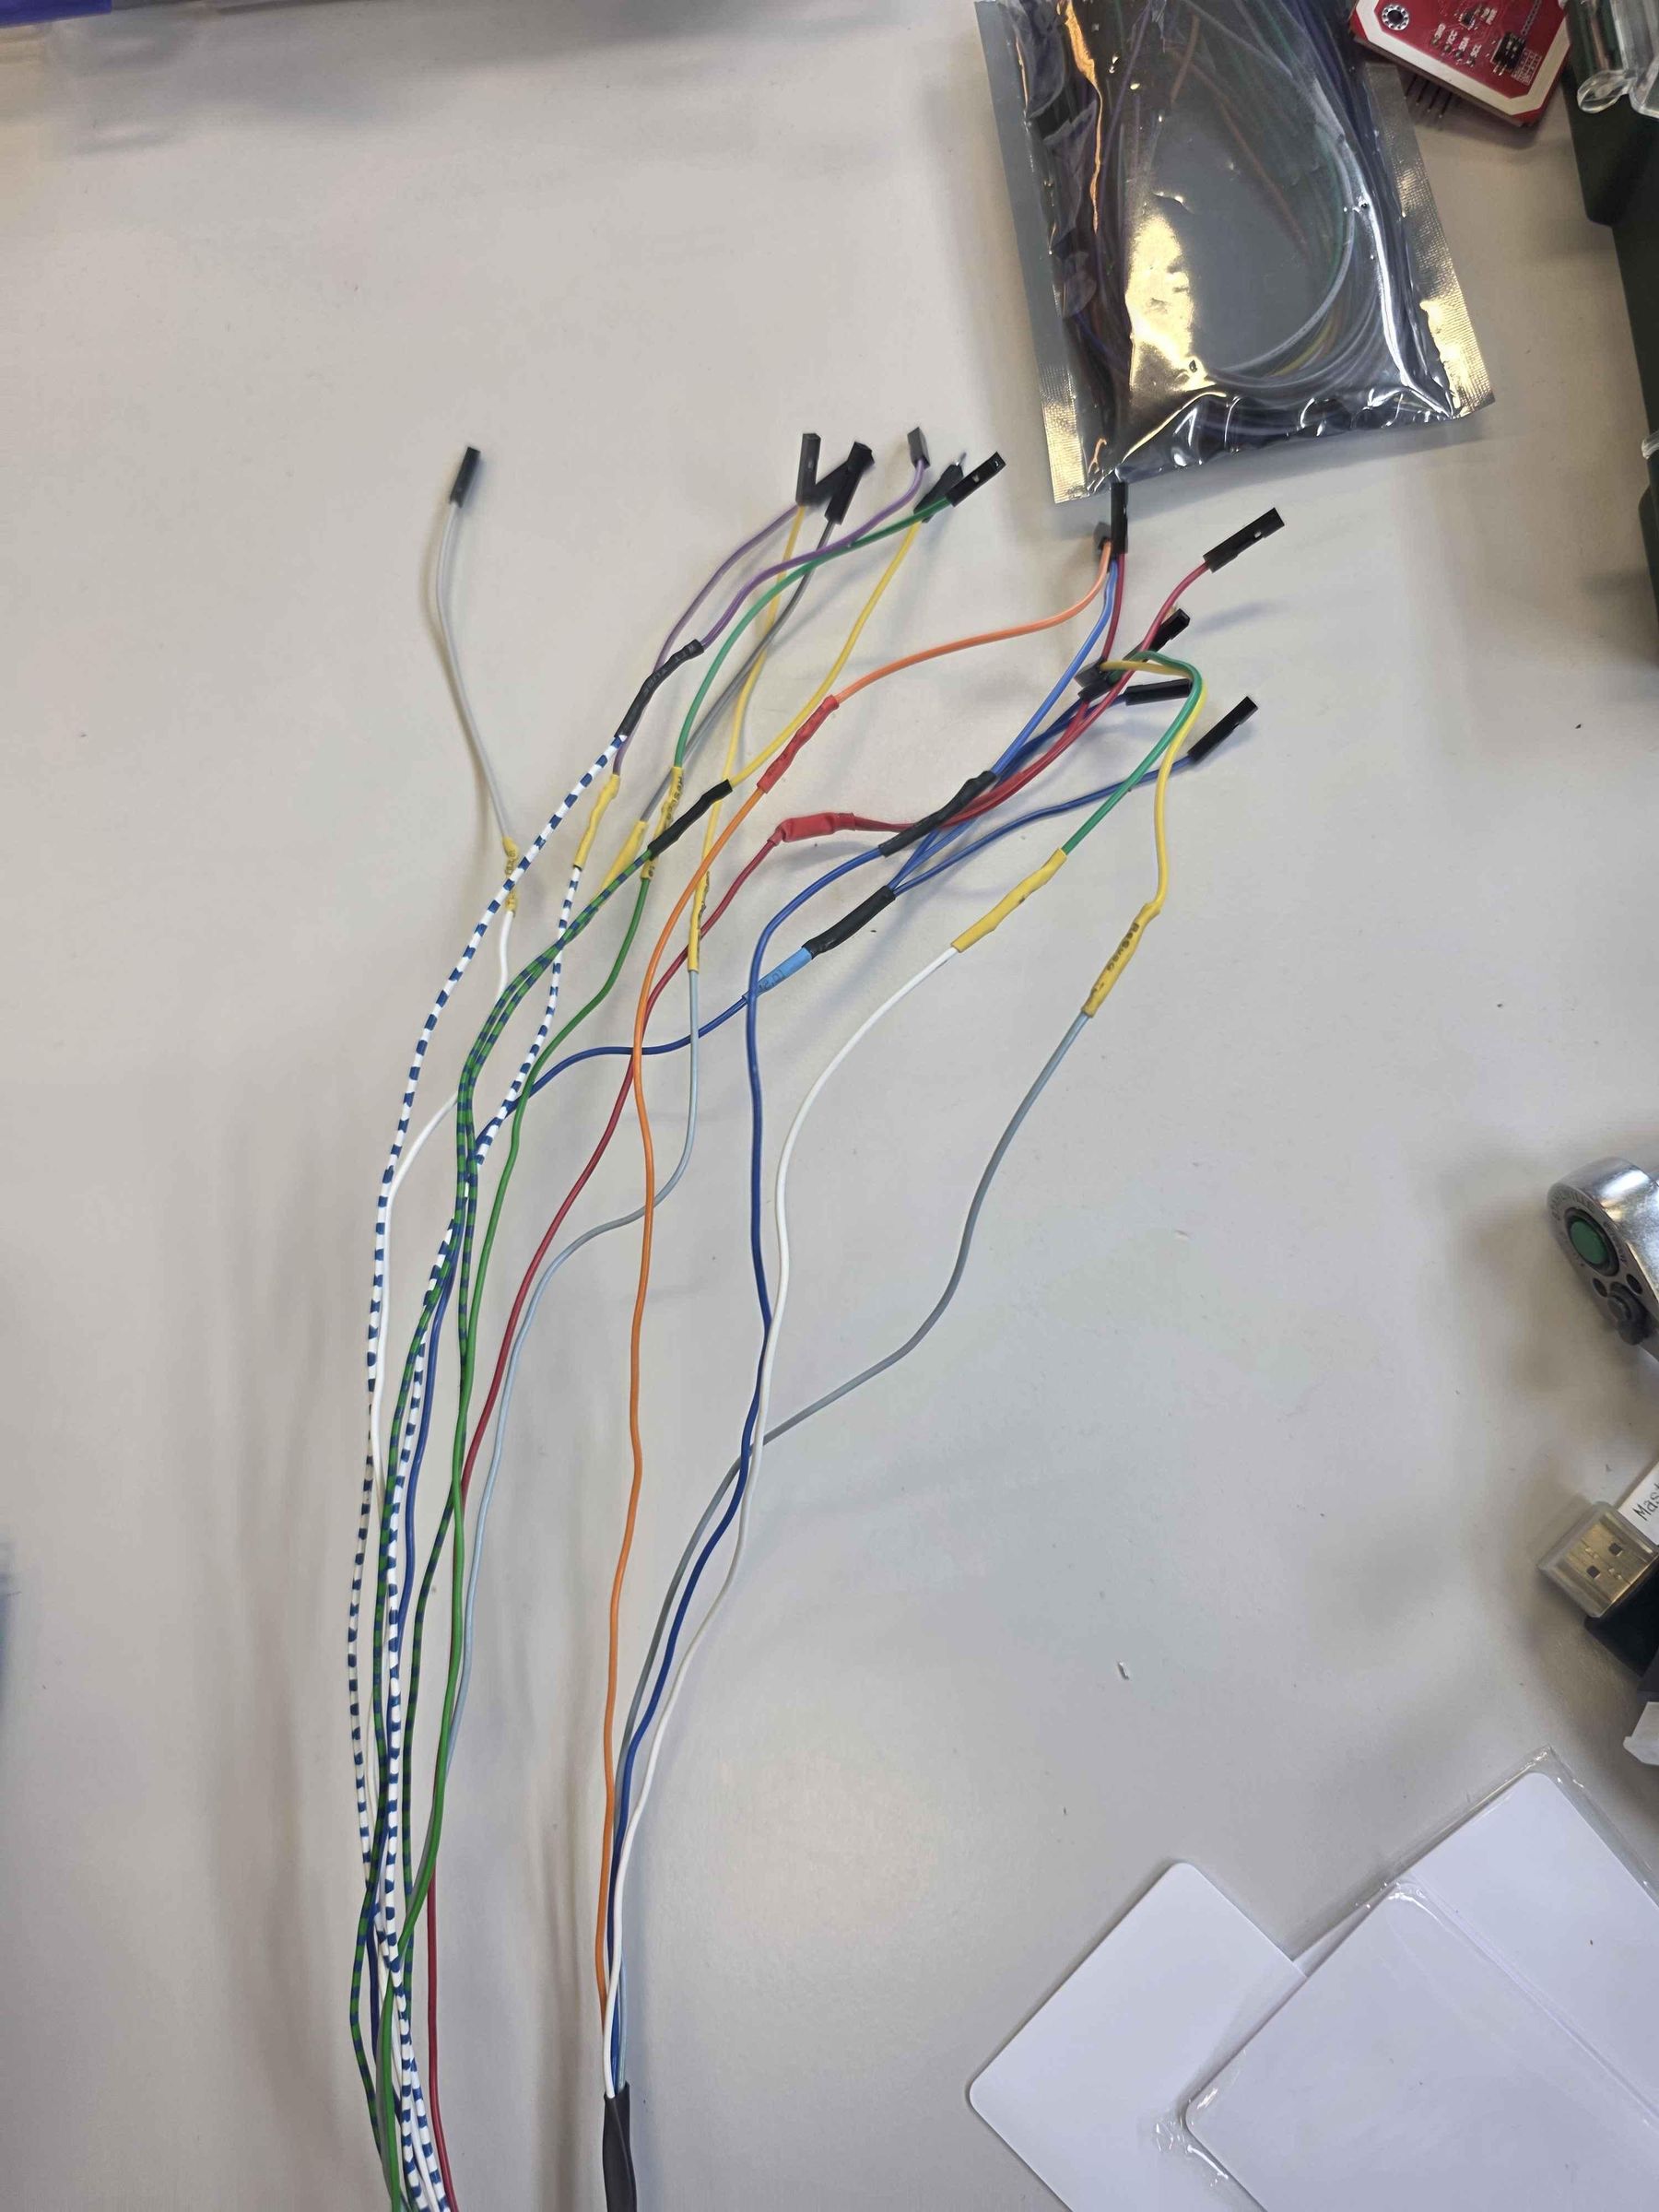
Take 13 Wires and solder Female headers to one end.
Place all the wires into a single heat shrink and shrink it over the cables.
Now the cables are protected.
Connect 1
Glue down 2 breadboards into the center of the compartment and connect all the wires to said breadboard.
this includes:
- lock
- rfid
- lcd
- mpu
- gps
- potentiometer
- buzzer
Be careful to keep the 5v and 3v3 components power supplies separate.
Connect 2
Glue down the battery holder and the rpi holder. Connect these to the breadboard aswell
Tape the Cable and Glue the Rfid and Lcd
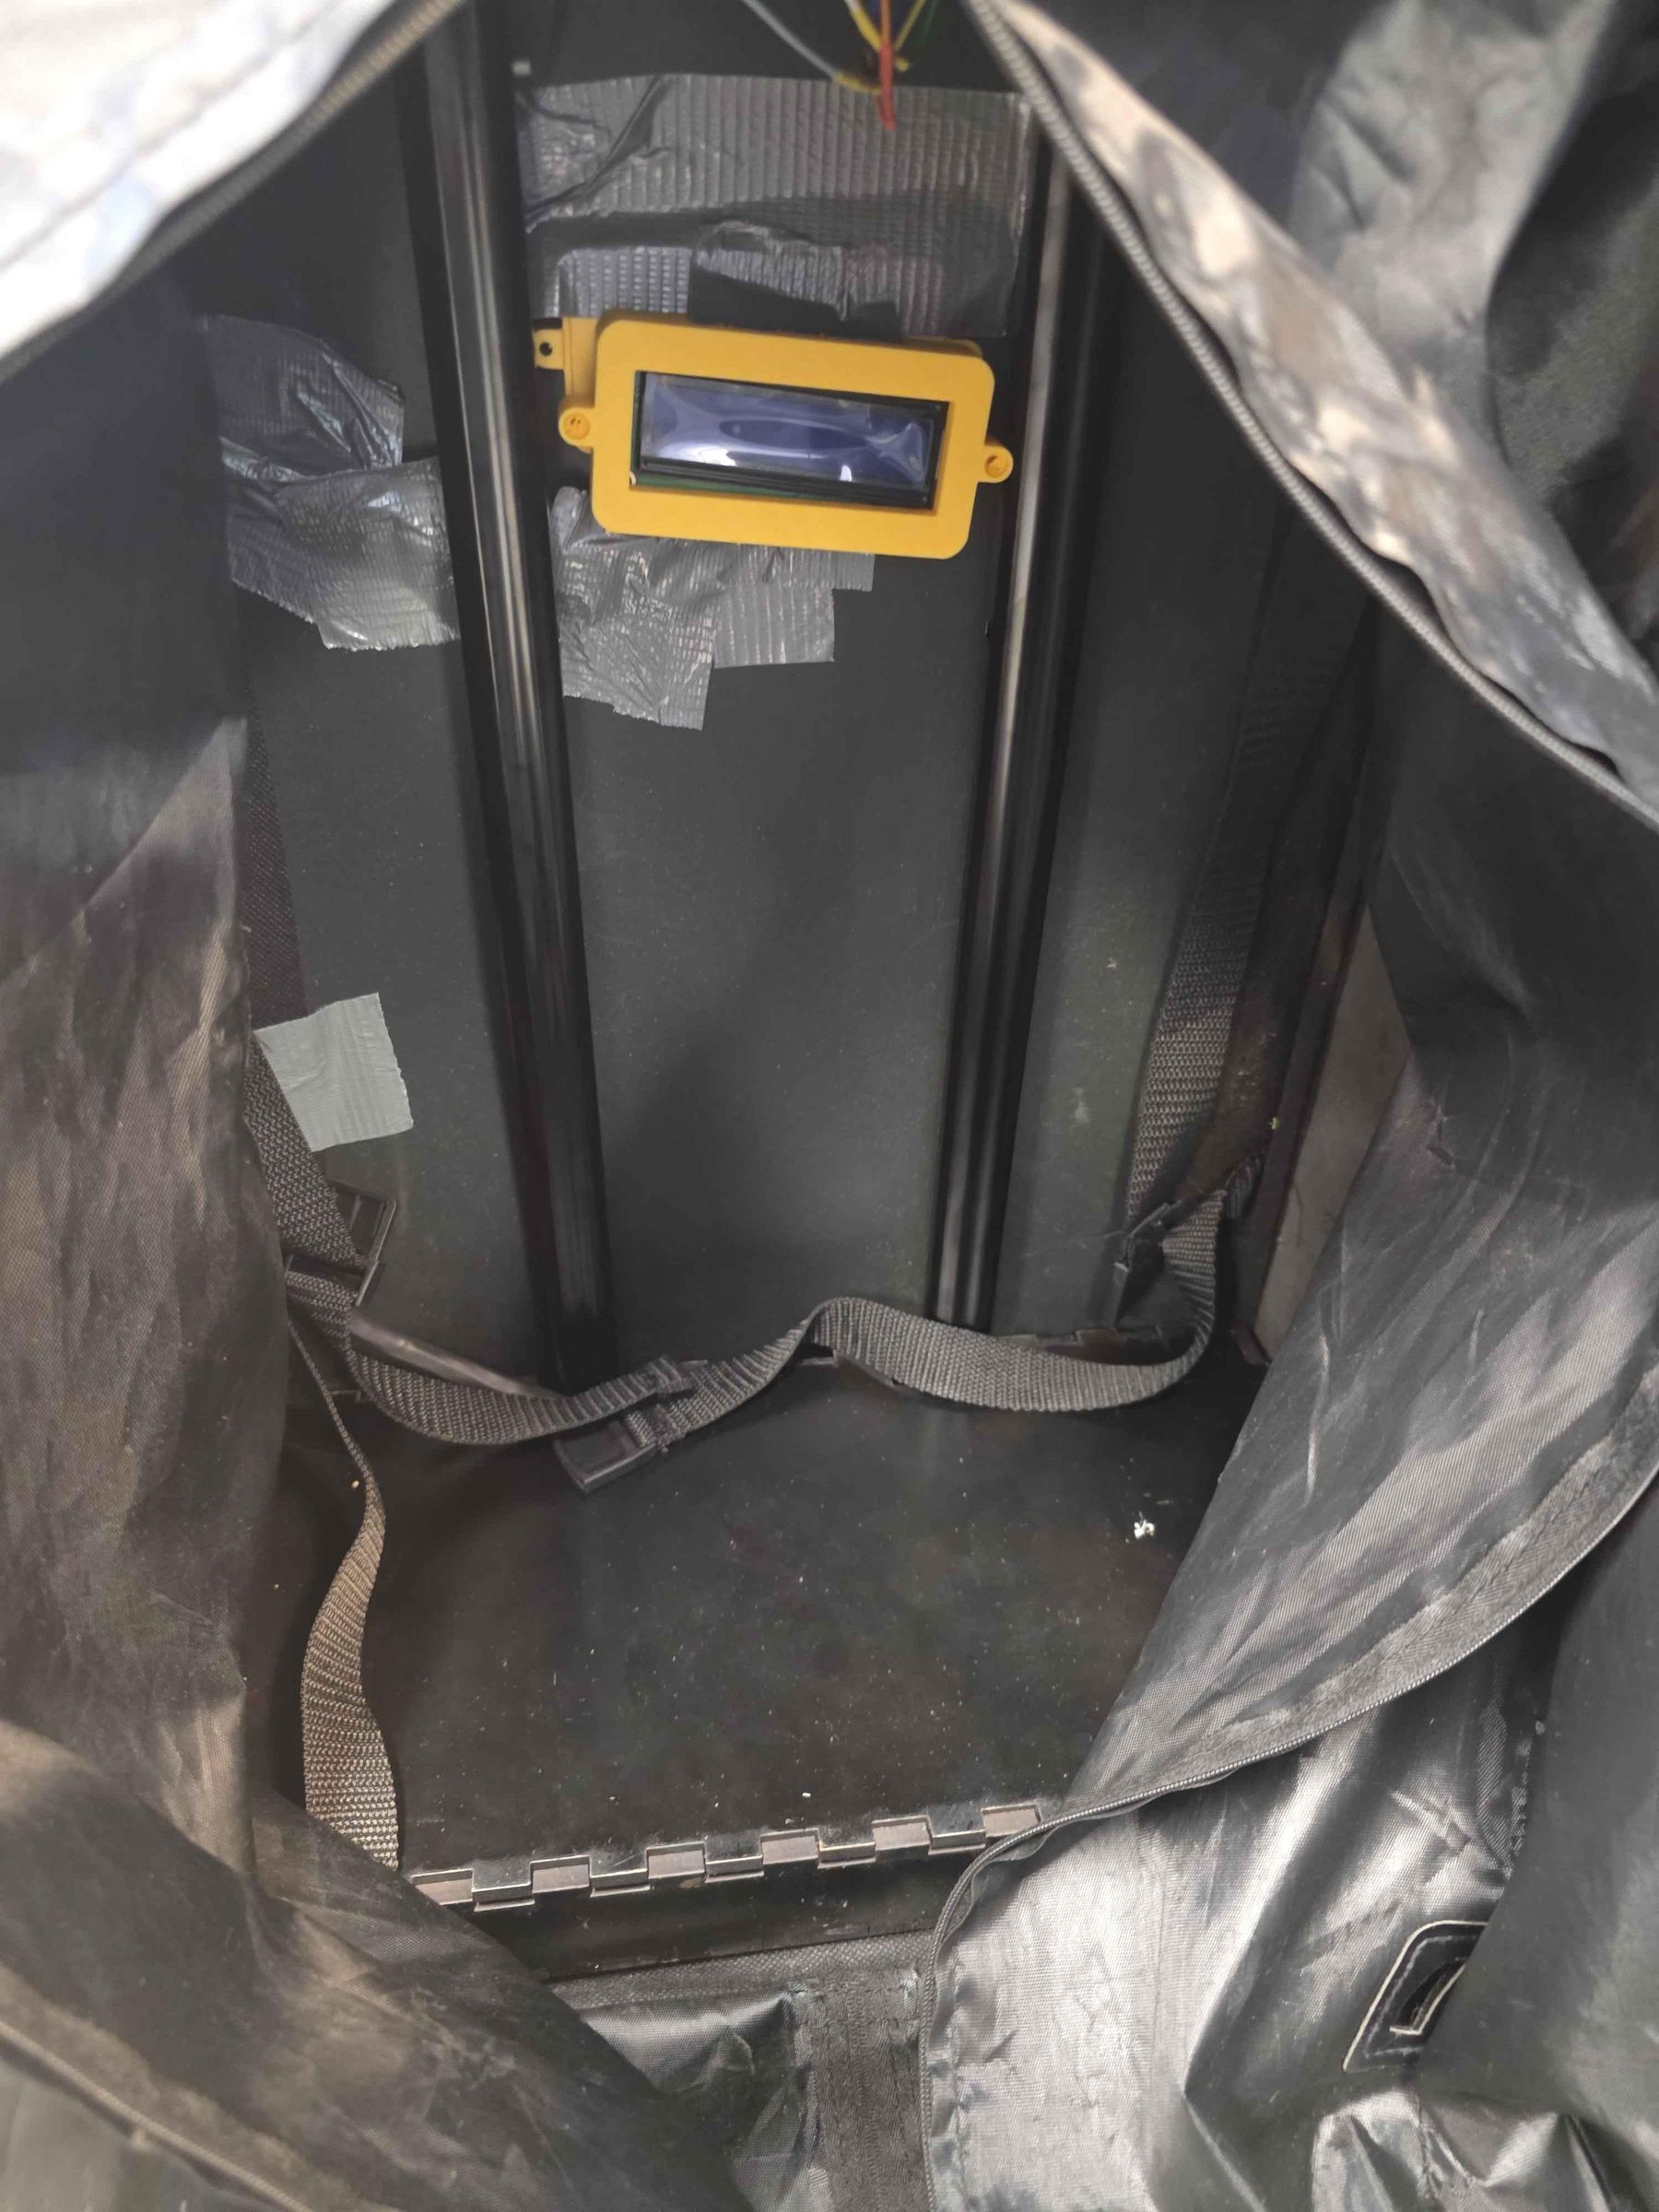
Once everything is connected you can fix the wire to a corner of the suitcase using ductape. After that glue the lcd and rfid to the suitcase. The top is the best place for the rfid so they won't get covered by items when you're actively packing, the rfid can be glued anywhere to the back but also preferably higher so it won't get covered wile packing. Make sure to tape them down while they dry.
Raspberry Pi Code
start up your raspberry pi and clone the github repo
Import the DataBase
inside the github repo, under data you will find the sql file. run this file to create a new database
Create Config.py
create a copy of the config_example.py and change the username, password and database name to the ones you will be using.
Install Requirements
create a venv
activate the venv
install requirements.txt
Set Up Apache and Autostart Python
inside the github repo under docs you will find the file 3.production.md. This file has step by step instructions to set up apache and autostart
Finished
Your suitcase is now is ready!