Spaceballs Takeoff Make It Fly
by Skip Rowe in Design > 3D Design
1245 Views, 5 Favorites, 0 Comments
Spaceballs Takeoff Make It Fly

Hello! My name is Skip Rowe, I am a practicing 3d animator. this is my project for Make it fly. I was inspired by this rig I found on Agora, and I imagined a great take off scene. And what better place to do that scene than the desert? This project was a lot of fun and also challenging. My goal for this project was to make an animation and add extra details like smoke and sand. I am using Autodesk Maya to animate and add effects to this project. Permission was given from the creator of the rig to use in animation challenges.
Supplies


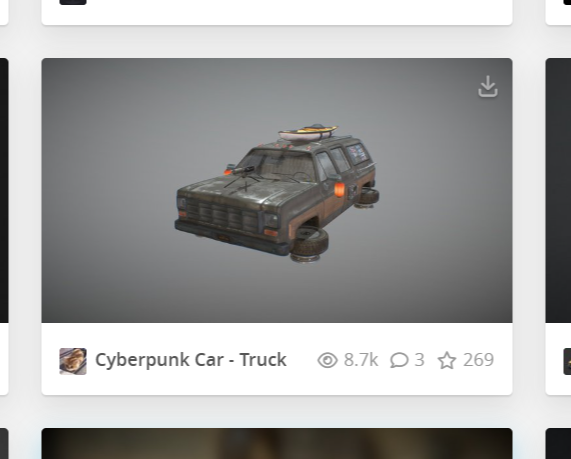
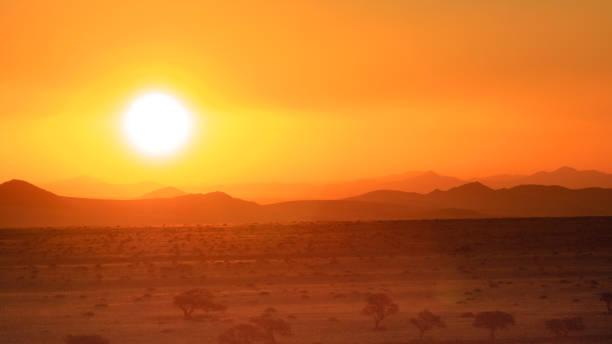
The images above are the assets that I took from Sketchfab. Not including the Spaceball rig-Which I downloaded from Agora. Nothing in this project is mine, and can be found online.
Grab Missing Textures


Grab textures for the sand floor and the car. I added these textures because the textures are either missing or don't match the scene. I added them with lamberts to the sand floor and the car. For the rocks in the scene, I used the same texture that came with the mountains.
Put Together Scene

Now that I added textures to the scene, I set it up. The rocky mountain is used as the backdrop to make the scene feel big. Rocks are placed around and resized to make the place feel natural. Now it is time to add the skybox to make the desert seem more alive.
Add Skybox/Finish the Scene


I changed a Jpeg into an HDRI for the skybox because there was no skyboxes available. It turned out alright so I added it to the scene. Now the scene is fully made and the car can be added. I did extend the map by duplicating it. Now it is time to add the Car to the scene!
Block Out the Animation


This is a fully blocked out scene with a path for the car to follow, this is good to do because now I can animate the car without losing sight of my goal. I will now add details using squash and stretch, exaggeration, and FX.
Finish Blocking Out, Add Cameras


This is a little ahead, but you can see that I fully made the animation. see that I used squash and stretch for more effect in my scene. I also exaggerated turns and bounces. The camera shakes when the car passes for extra effect. Over all, its important to exaggerate everything to get the full effect in an animation.
Add Sand/smoke


Create smoke/sand by doing what I did the images above. The sand is then put behind the wheels of the cars in scenes where it is turning/drifting. This is so that it does not look like the car is just riding on a hard surface. adjust the speed of the sand to make it look like there is a lot.
Add Fire Effects to the Engines.


using the same method as the sand, put the smoke in the scene. Now give the smoke a fire orange/yellow color. I had to do this twice for both engines. Now I placed them on the back of the engines, and started the smoke when the car takes off. This added extra effects to the scene, and makes it feel like the car is actually taking off.
Playblast the Animation


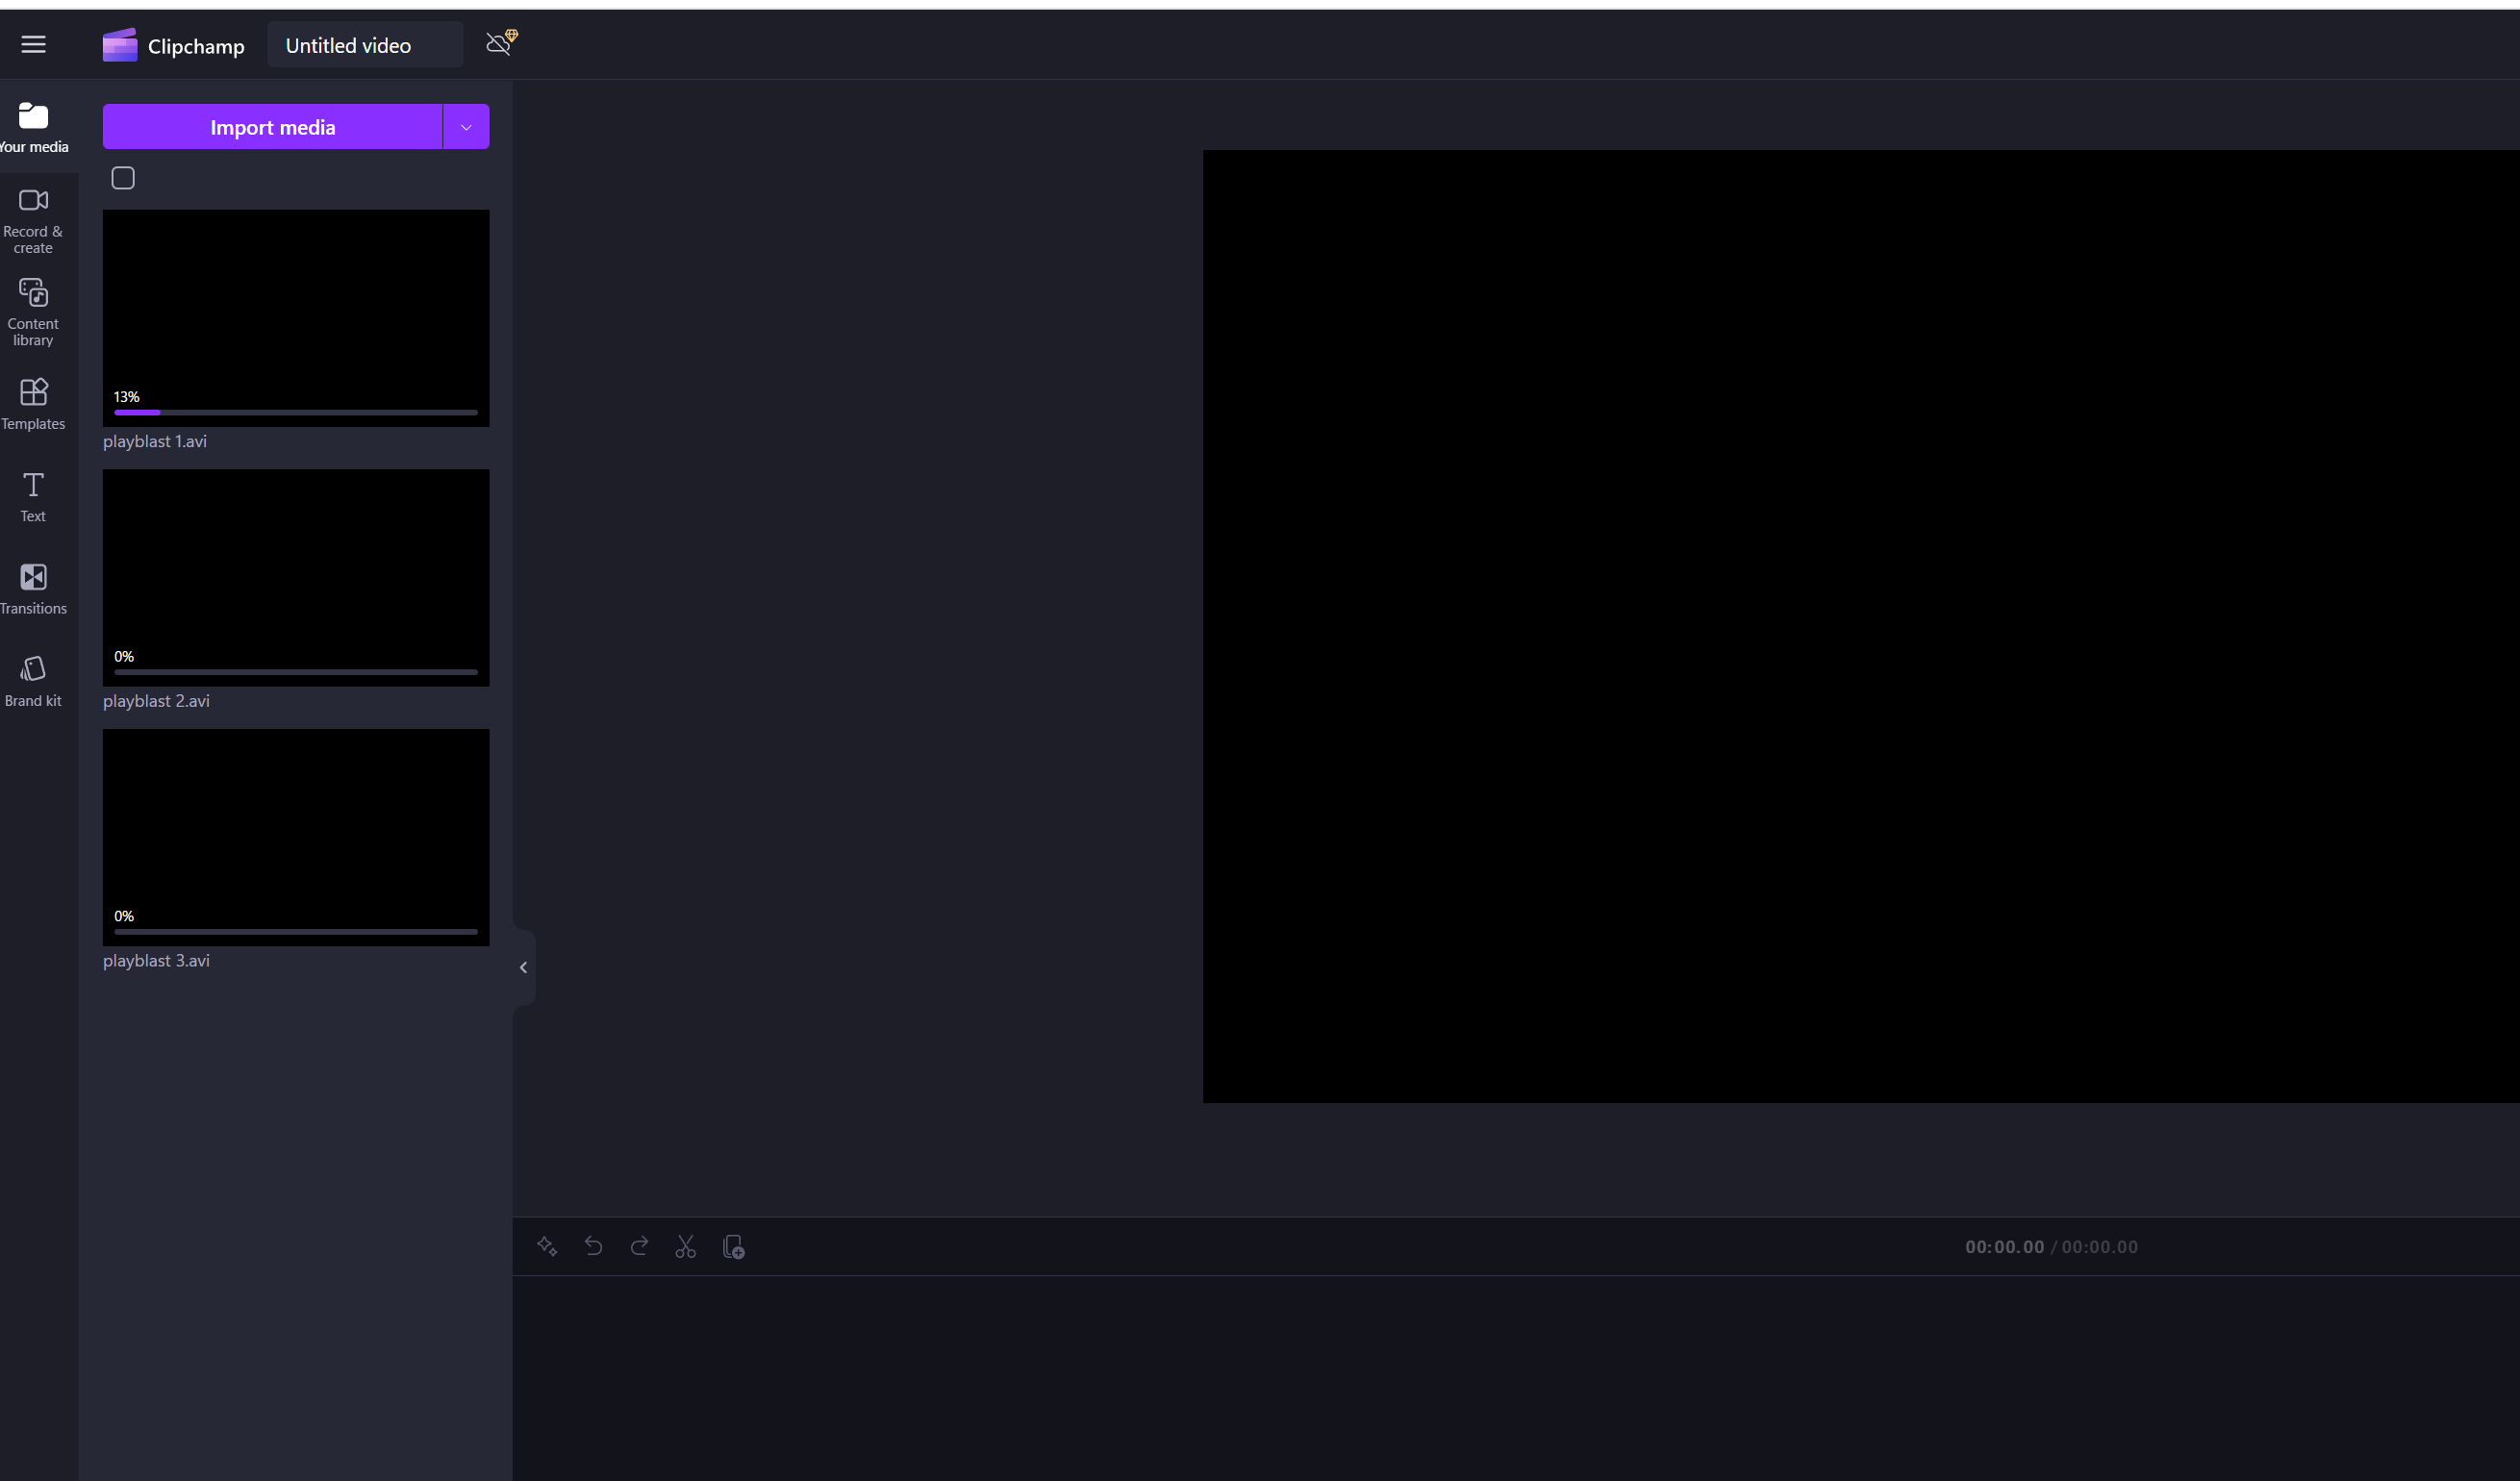
On the 'show' tab, I changed what can be seen in the viewport. This makes it so bones and curves don't ruin the scene. Now you can do this for all the cameras and playblast. Once you are done playblasting you can add them together in Clipchamp-A free video editor.
Make Sure to Save in Iterations!(end)

To keep my work safe in case of a crash or an accidental deletion, I saved my scene with different names every time I made a significant change.
Thank you for looking at my work! I put a lot of effort in this project. I still have a lot of skills to improve but I am proud of this animation. This is also using smoke in my project, so this was extra experience.