Spool Lamp
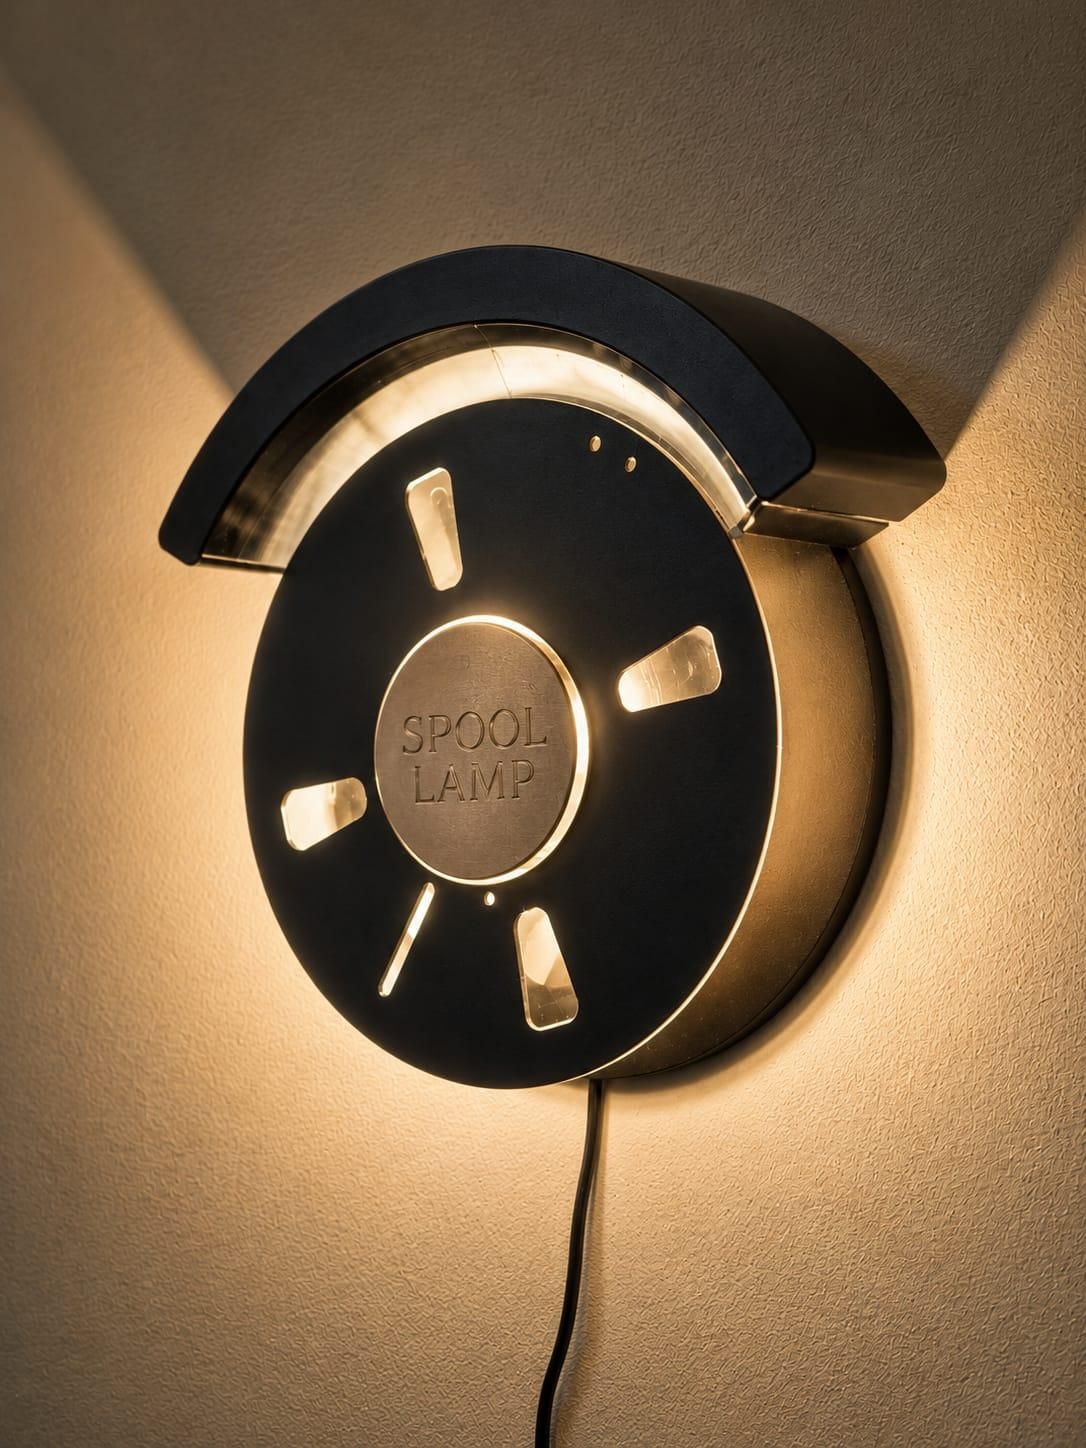
Every maker knows the pile of empty filament spools that accumulate after countless 3D prints. Instead of tossing them into the trash, why not transform them into something functional and stylish? This project shows how to repurpose discarded spools into a wall-mounted lamp inspired by film reels, combining sustainability with creativity.
Supplies
.jpeg)
.jpeg)
Gather Materials
Setup
Collect all the supplies needed for the lamp build.
- Empty 3D printer filament spools (PLA/ABS)
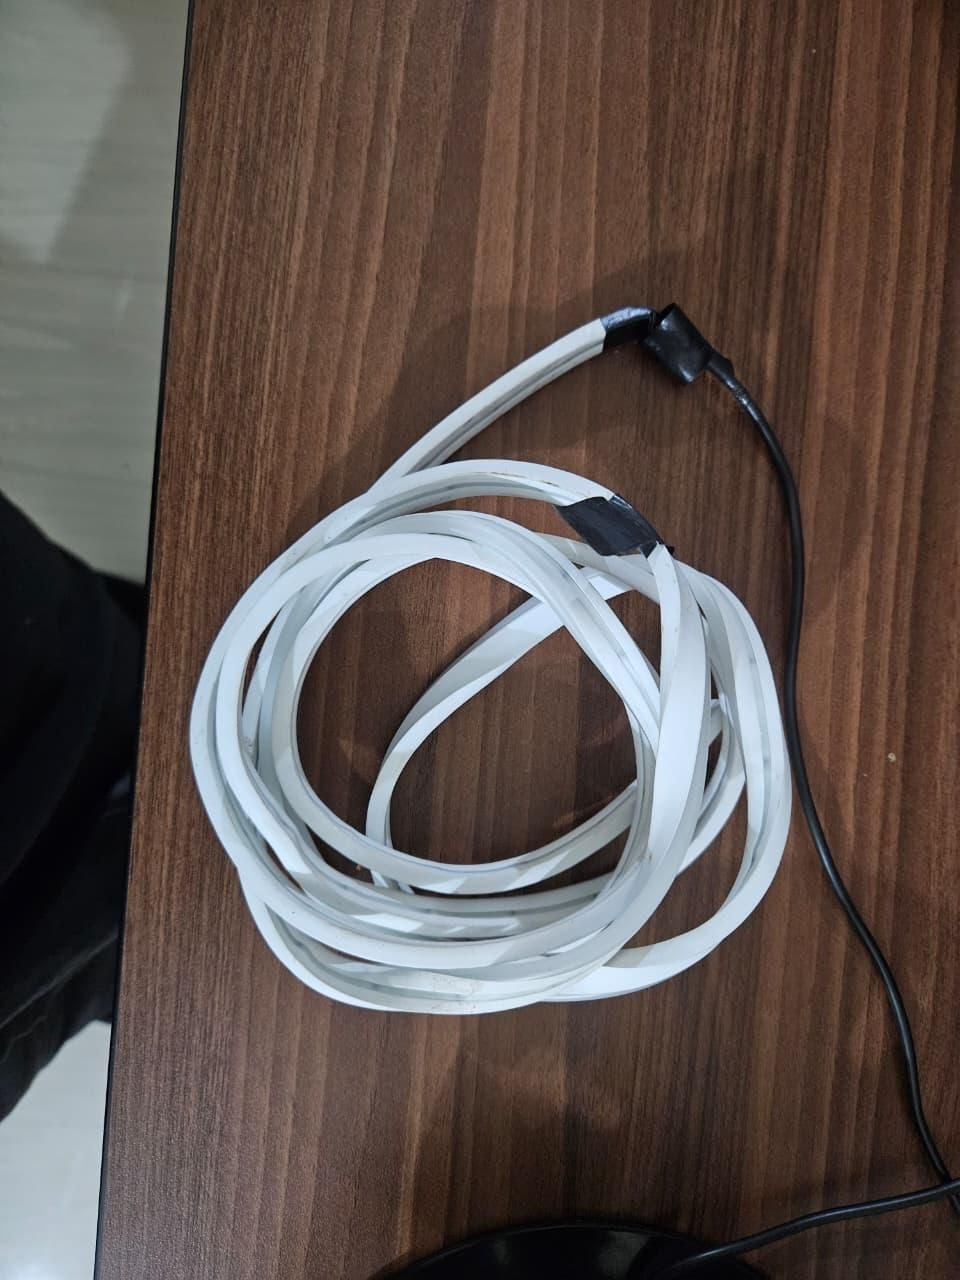
- LED strip or bulb socket
- AC/DC adapter (12V, 2A)
- Electrical wires and push-button switch
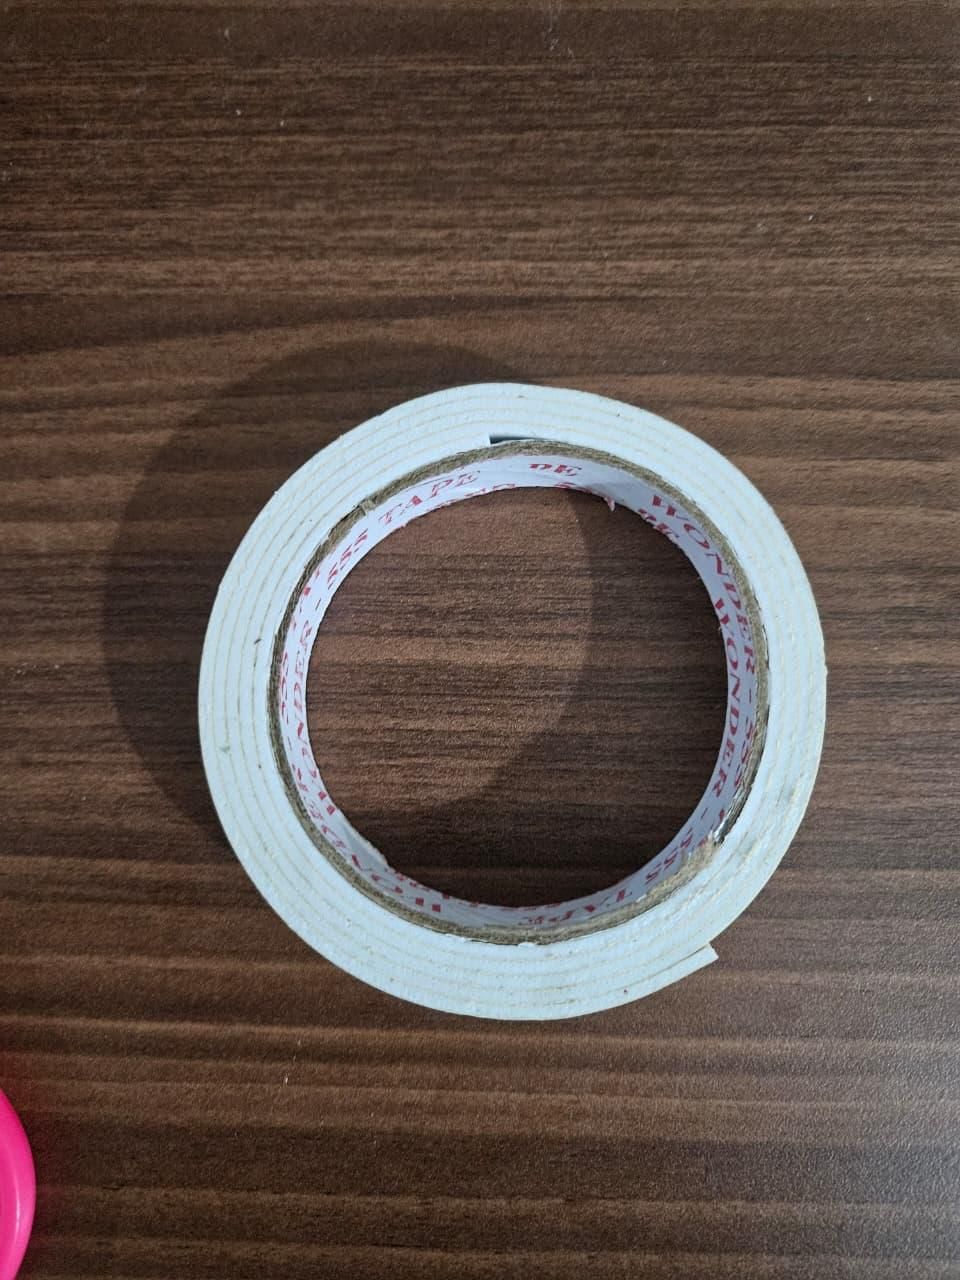
- Double-sided tape or hot glue
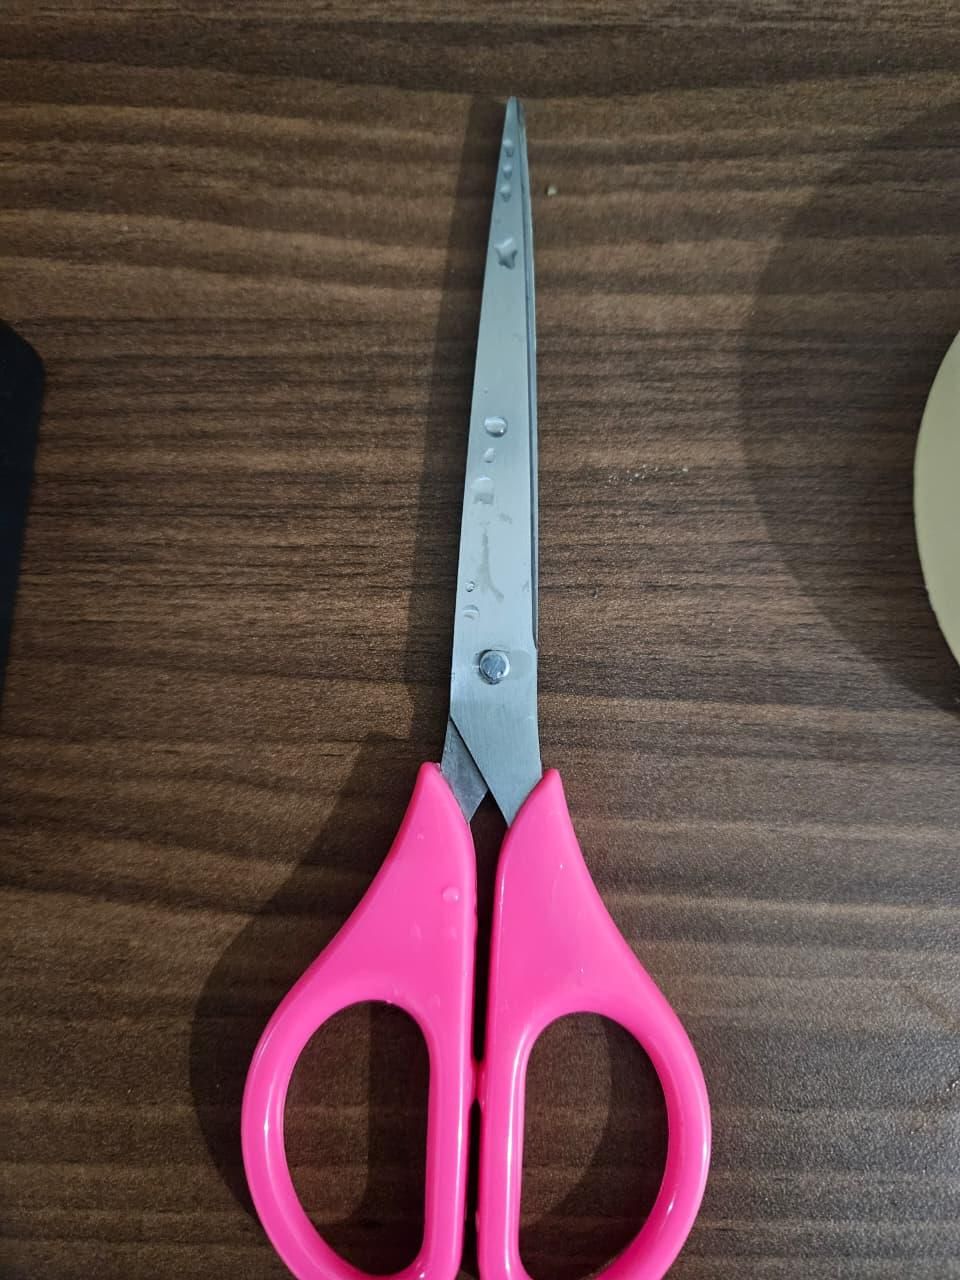
- Scissors, ruler, and notebook for planning
Prepare the Spool
.jpeg)
Clean and inspect the filament spool to ensure it’s sturdy.
- Remove leftover filament
- Wipe down dust and debris
- Check for cracks or weak spots
Wire the LED Strip
.jpeg)
Connect the LED strip to the switch and adapter to ensure safe power delivery.
- Identify the positive (red) and negative (black/white) wires on the LED strip.
- Solder or firmly connect the LED strip leads to the inline switch terminals.
- Connect the switch output wires to the 12V DC adapter output.
- Insulate all joints with heat-shrink tubing or electrical tape to prevent shorts.
- Test the circuit before assembly to confirm the LED strip lights up.
3D Print the Lamp Parts
Print the outer case and front logo plate to house the spool lamp.
- Slice the STL files for the outer casing and front logo plate.
- Use PLA+ filament with nozzle temp 205–230°C and bed temp 50–70°C.
- Print at 0.2 mm layer height for balance of speed and detail.
- Allow parts to cool and remove supports carefully.
Insert and Wind the LED Strip
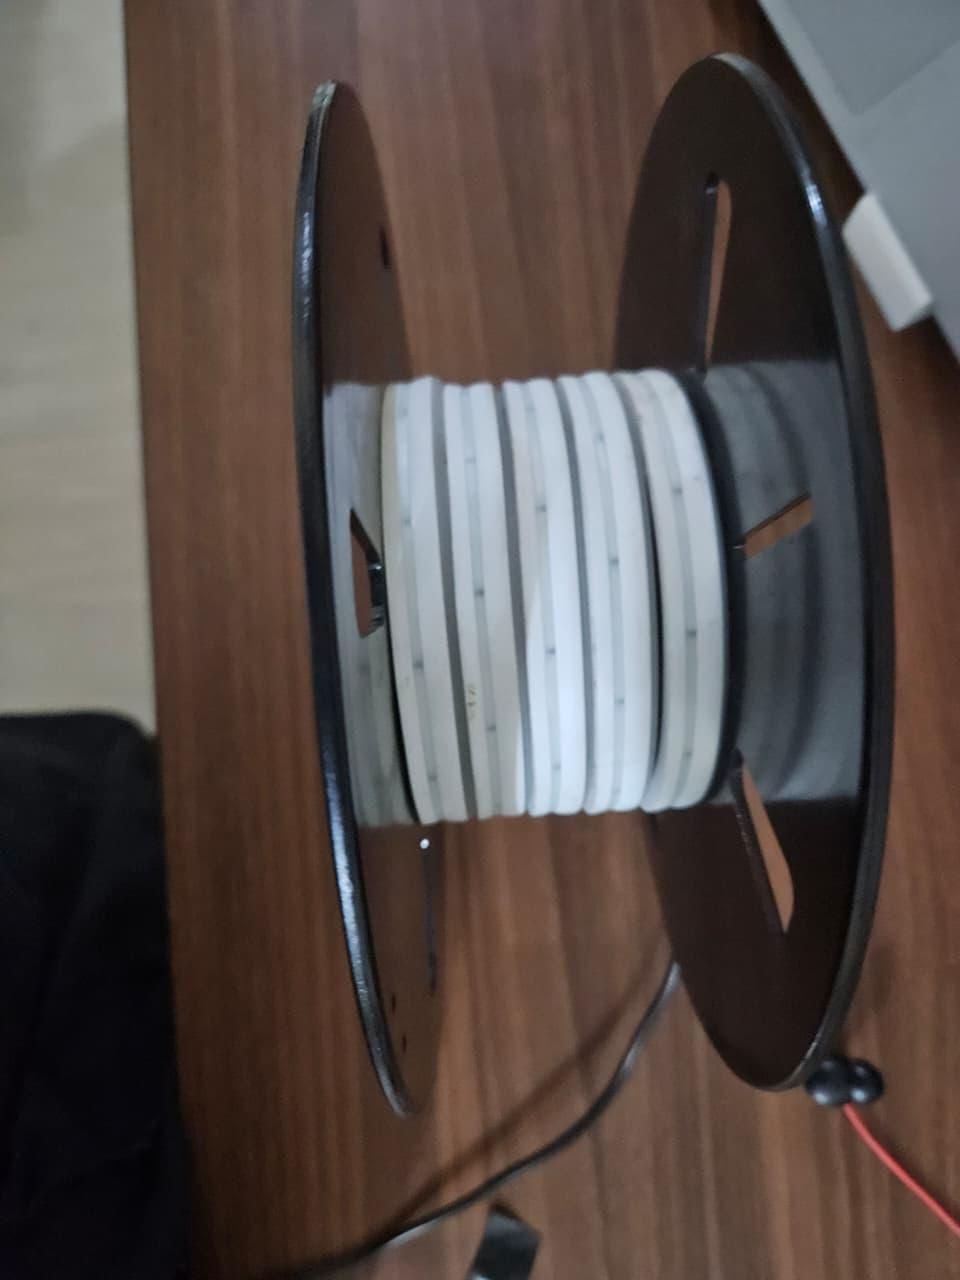
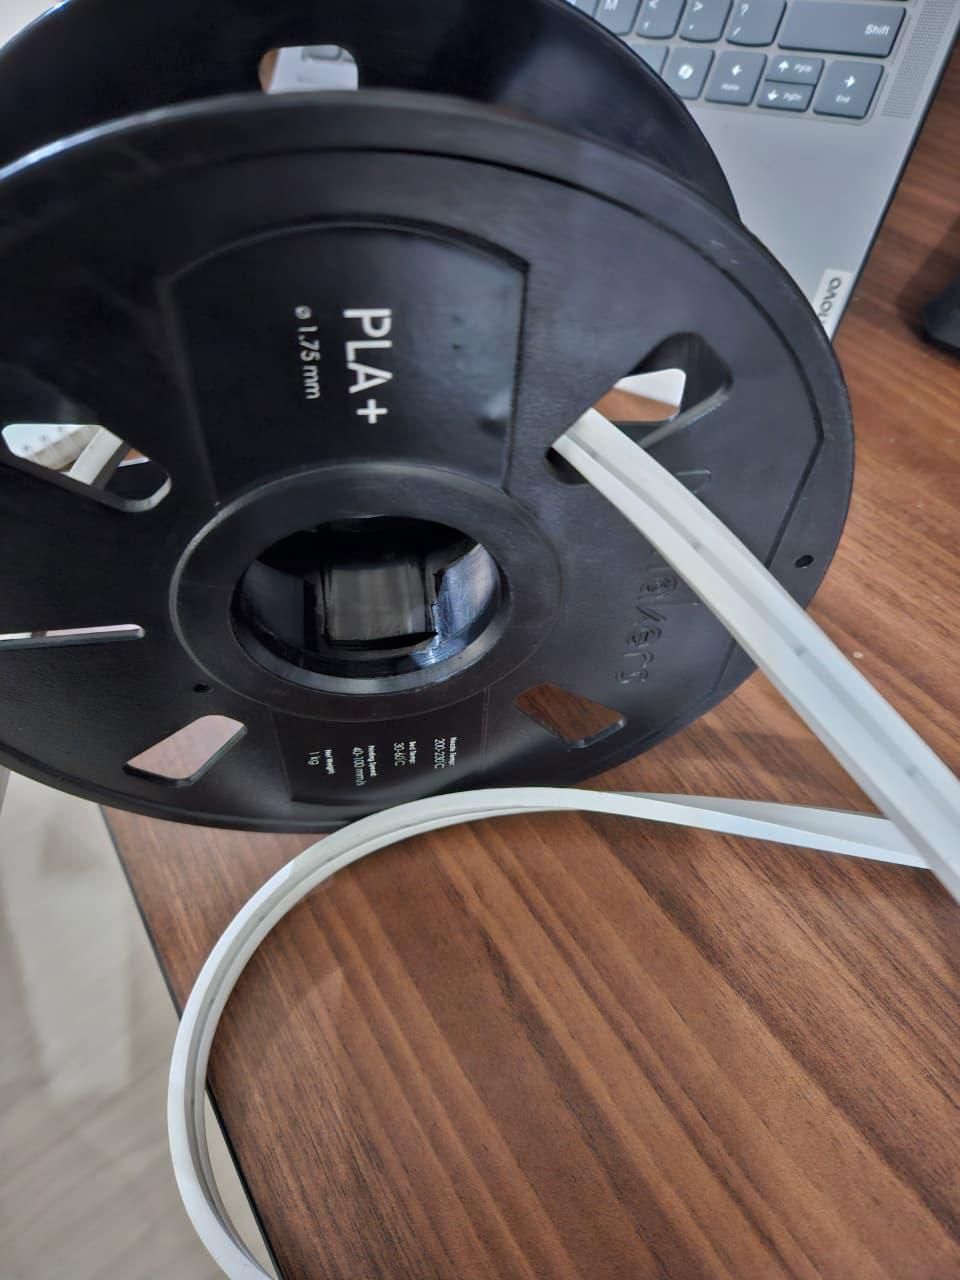
Mount the LED strip inside the spool for even light distribution.
- Feed the LED strip through the spool’s side opening.
- Wind the strip evenly around the inner circumference.
- Secure with small pieces of tape or hot glue to prevent slipping.
- Ensure the wires exit cleanly through the spool’s side.
Assemble Printed Parts With Spool
.jpeg)
.jpeg)
Combine the 3D printed casing and logo with the LED spool assembly.
- Align the outer case with the spool edges.
- Snap or screw the case into place depending on design.
- Attach the front logo plate securely to cover the spool face.
- Double-check that the LED strip remains firmly wound inside.
Mount the Lamp to the Wall
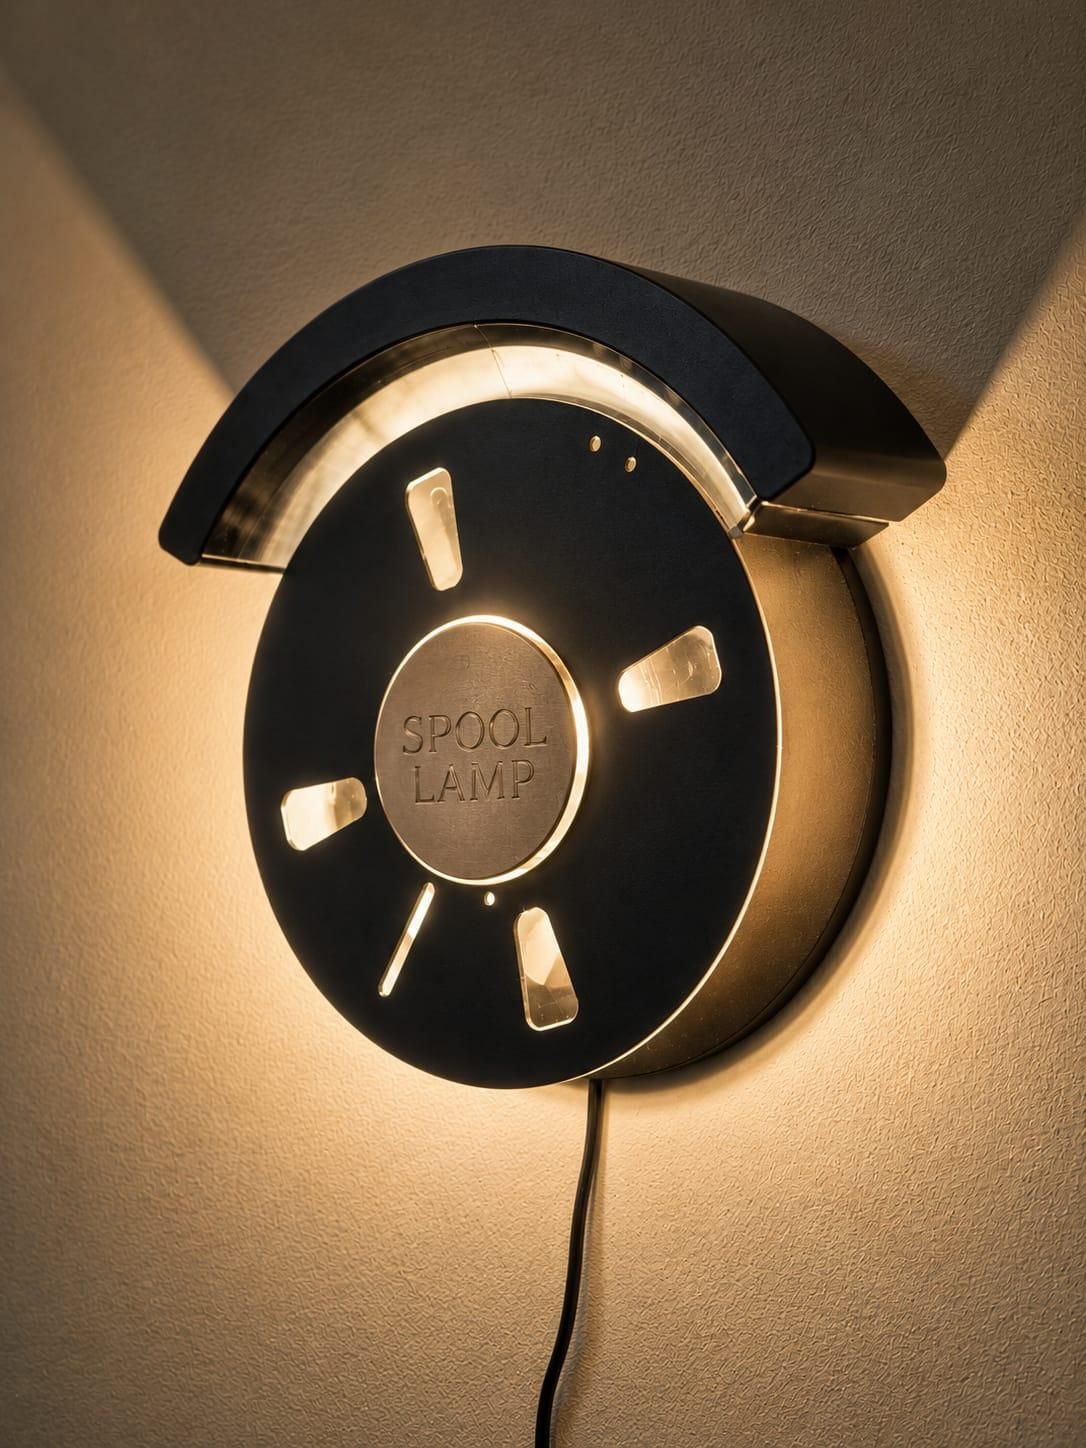
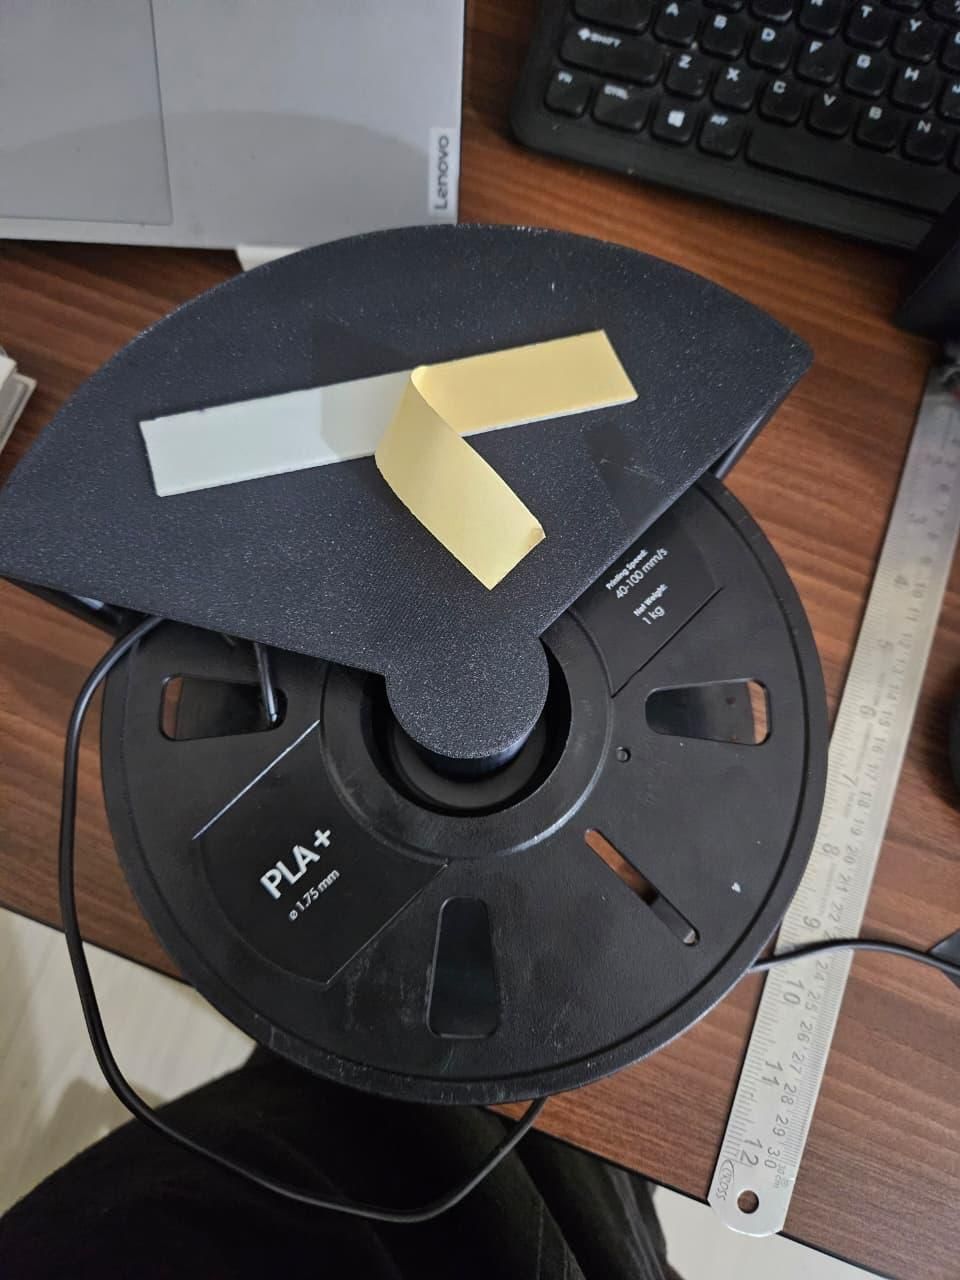
Attach the finished spool lamp securely to your wall.
- Apply double-sided adhesive tape to the back of the spool casing.
- Press firmly against a clean wall surface.
- Route the power cable neatly downwards.
- Switch on the lamp and enjoy your upcycled cinematic glow.